-
Posts
529 -
Joined
-
Last visited
About Richard Dunn

- Birthday 10/14/1971
Profile Information
-
Gender
Male
-
Location
Brisbane Australia
-
Interests
3D Artist and Ship Modelling
Recent Profile Visitors
-
 KeithAug reacted to a post in a topic:
TEV Wahine 1965 by Richard Dunn - scale 1:35 - RADIO
-
 woodartist reacted to a post in a topic:
TEV Wahine 1965 by Richard Dunn - scale 1:35 - RADIO
-
What's taken so long is it's very hard to do a forensic study of the ship when she is complete, but during the restoration we had all the planking off for quite a while as the planks needed conservation, and it enabled us to measure and document everything including deadwood parts and butt plates for planking. I did express to the publisher my dislike of having plans that vanish into the spine across pages so we have decided to also provide actual sheets as well in a folder as an additional product at 1/48.
-
Hopefully better than those book's as it will all come from a 3d model it will all line up. It's something I have been dwelling on for years, but the chance only arrived 3 weeks ago and I grabbed it. I plan to do the usual sections and elevations but also renders of the views in colour as well. It's a first for this type of ship so it should be interesting
-
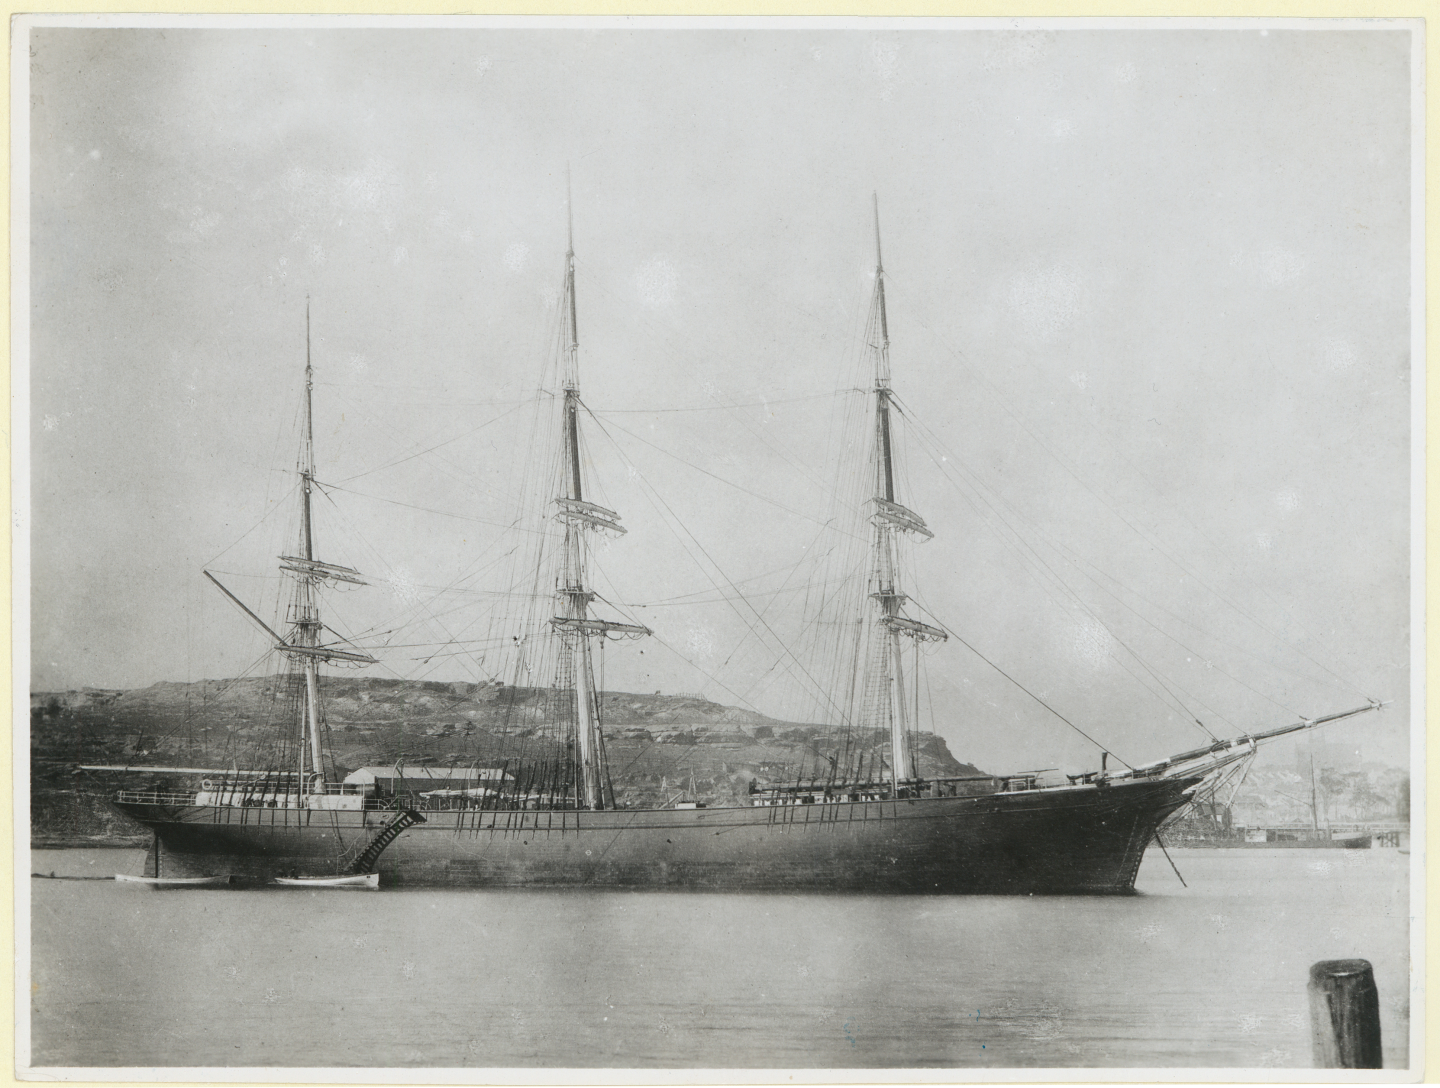
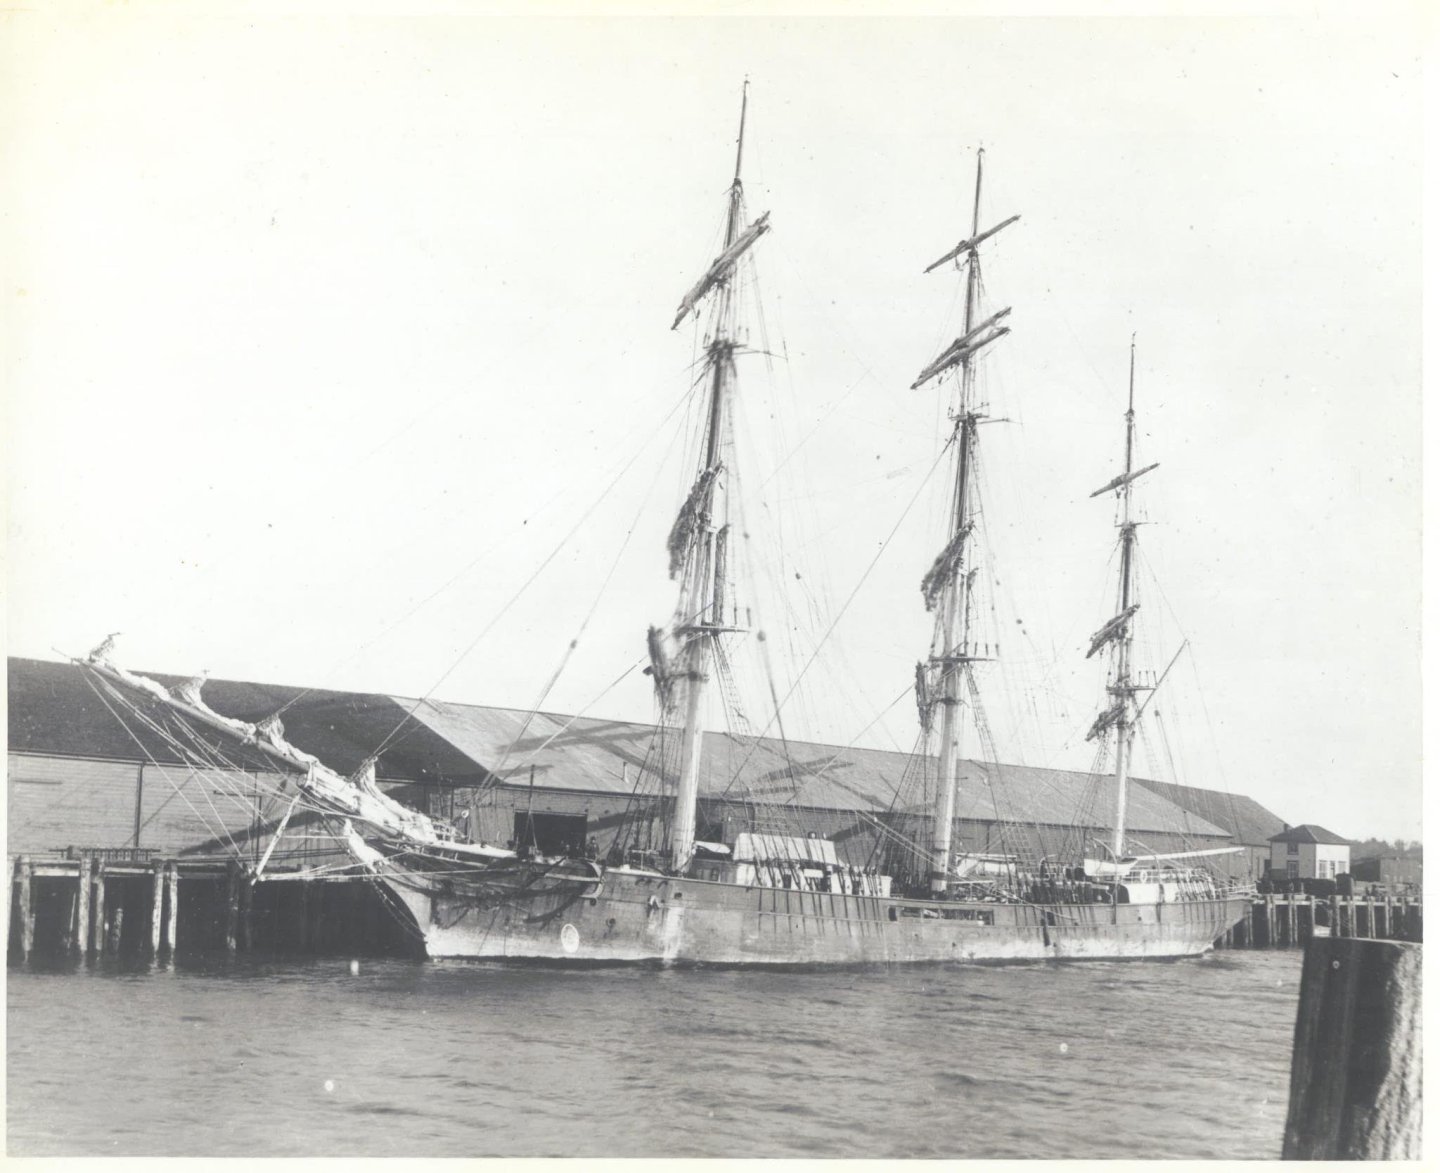
Having worked on the CS restoration and designing the kit based on her proper scanned lines, and all the research that got done in 2011 I would say I initially would have agreed with you, but now in the midst of this they are very different. they all look similar from a distance, but CS and Thrm are like chalk and cheese. Here are the main points. Lines are very different, Therm has much softer Bilge and much flatter aft run, entrance is duller then CS. The CS had Iron Bulwarks but Therm has wooden with wood stanchions, much like they way they were built in 1700,s Therm counter is a single plane of turn with no top rail running along the top of the main rail. Threm has only the 1 main cargo hatch midships. Therm has only one deckhouse forward. The Couchhouse roof on Therm is very unique and one of her most distinguishing features. The Rigging being fixed outside of Bulwarks on Therm as well. The headwork of Therm is very different to, as her trial boards do not go far aft of the rabbet line, not even to catheads. Her coppering is done quite differently as well, the neat goring strakes that CS has appears to have been dropped on Therm and the top-most line of coppering is cut to the waterline resulting in triangular tiles, that is very odd but only in one photo so may have been different every time depending who did the sheathing. As far as models go Therm is a MUCH easier option.
-
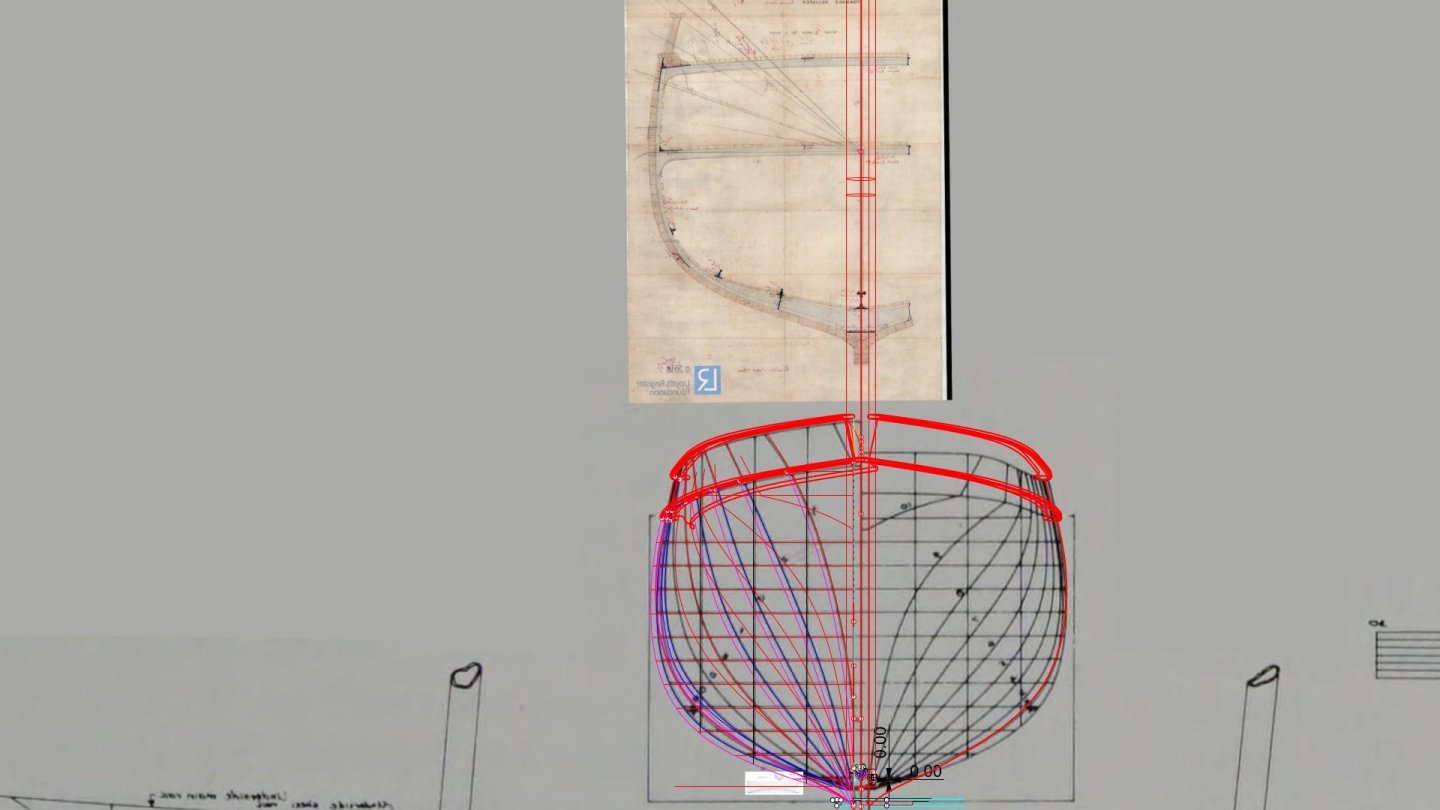
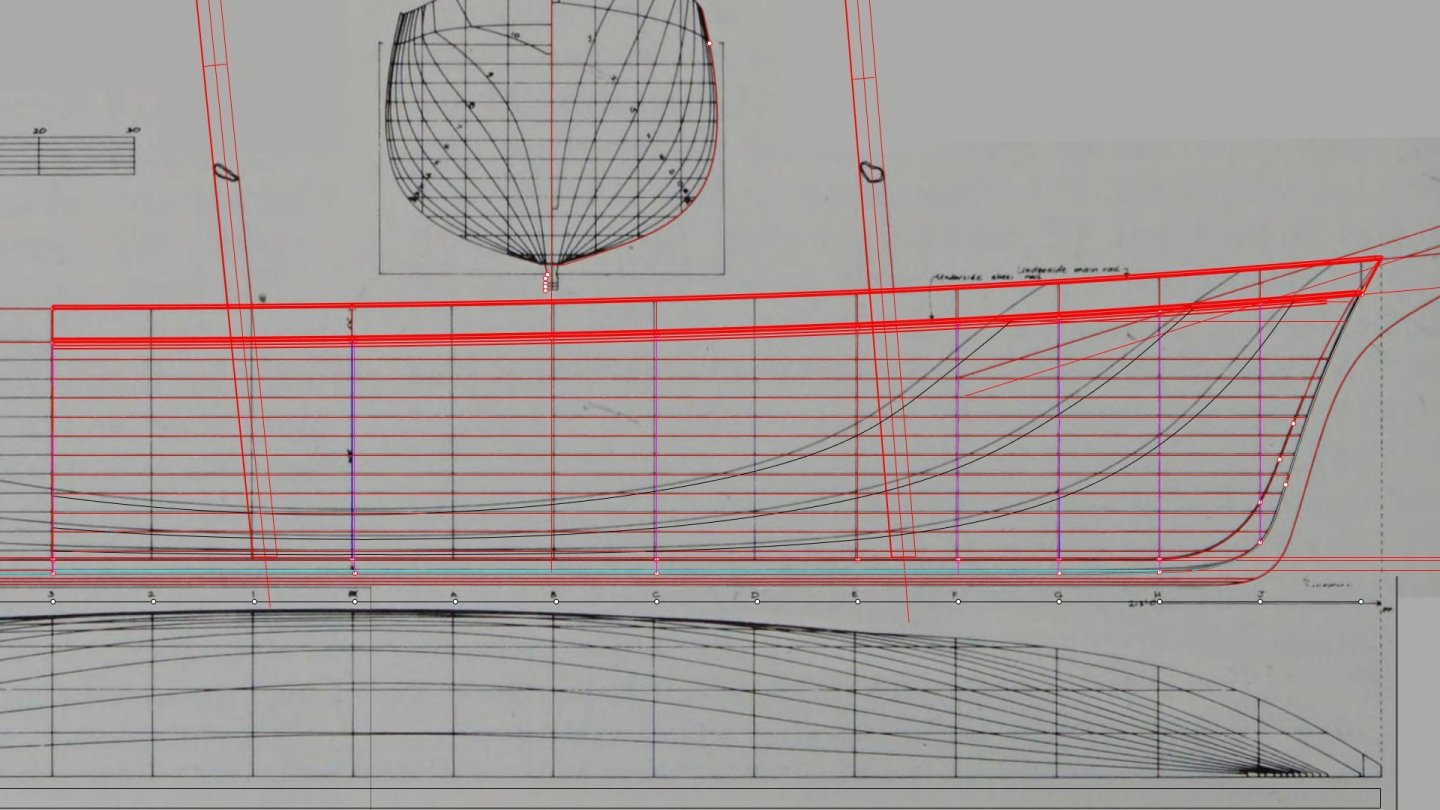
I have 3 sources of actual plans from the ship yard. The first set comes from Hall Russell & Co the builder and are in quite poor repair but readable The second are the offsets from james Henderson that were lofted from the shipyard, these are as built lines but marked to inside planking, this then requires the planking to be added on top which is not the same thickness so nice fun job. The third is the Lloyds Midship which is pretty close but not the final section. Then we have the Cyril Hume model in Sydney which was viewed by ex crew and given the tick of approval for accuracy in regards to deck layout and fittings. The Hall Russell & Co plans are not 100% accurate and I think an earlier iteration of her design as they feature an aft cargo hatch, als othe lines of the head do not line up with the as built offsets.
-
The total length is 6ft, the hull is .4.8ft I received a whole bunch of plans from the Aberdeen archive last night and am currently sorting out proposed designs from as built. It's an easy build compared to Cutty Sark and going to be more along the line of a solid keel with half-checked frames, and open tween deck, though from what I have read her tween deck was not laid.
-
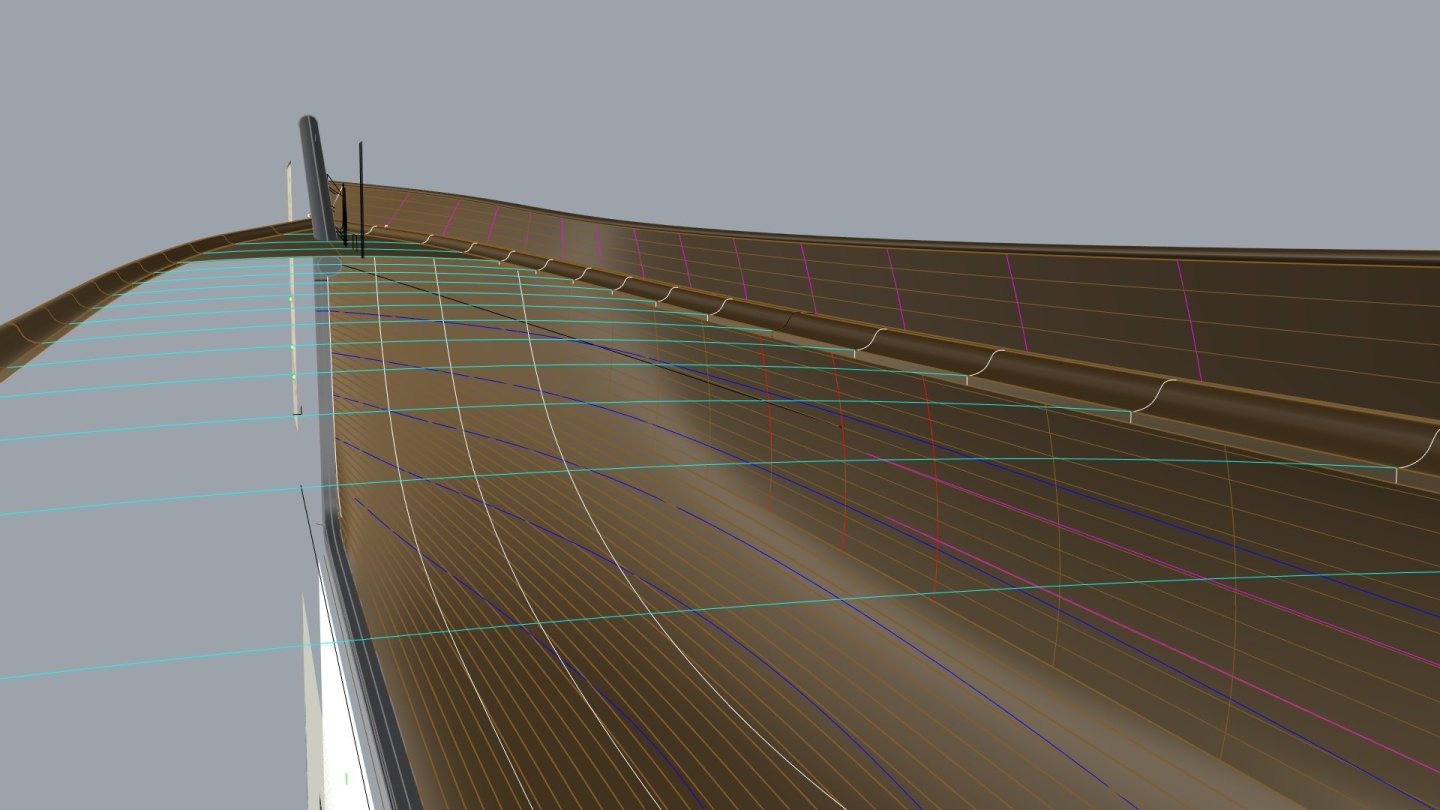
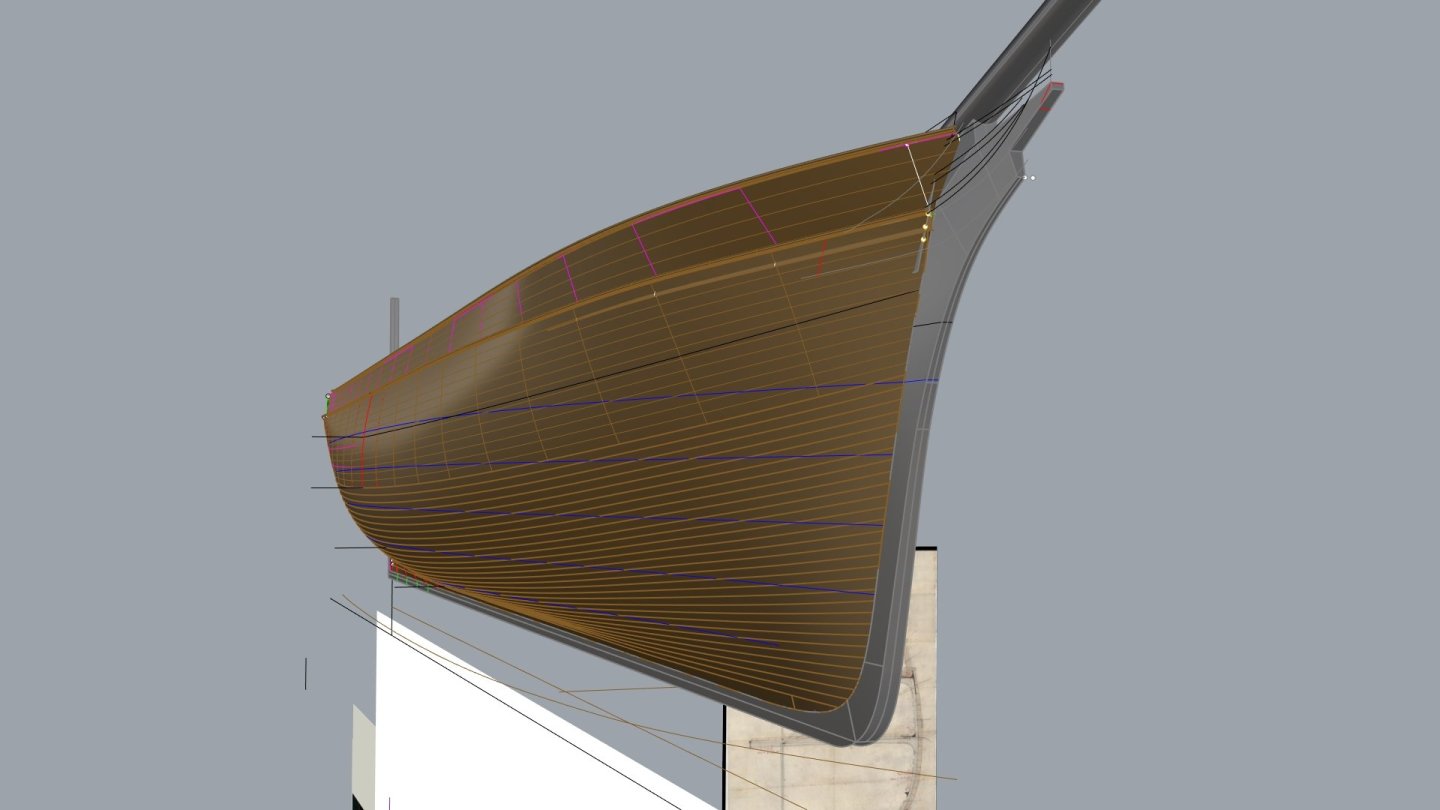
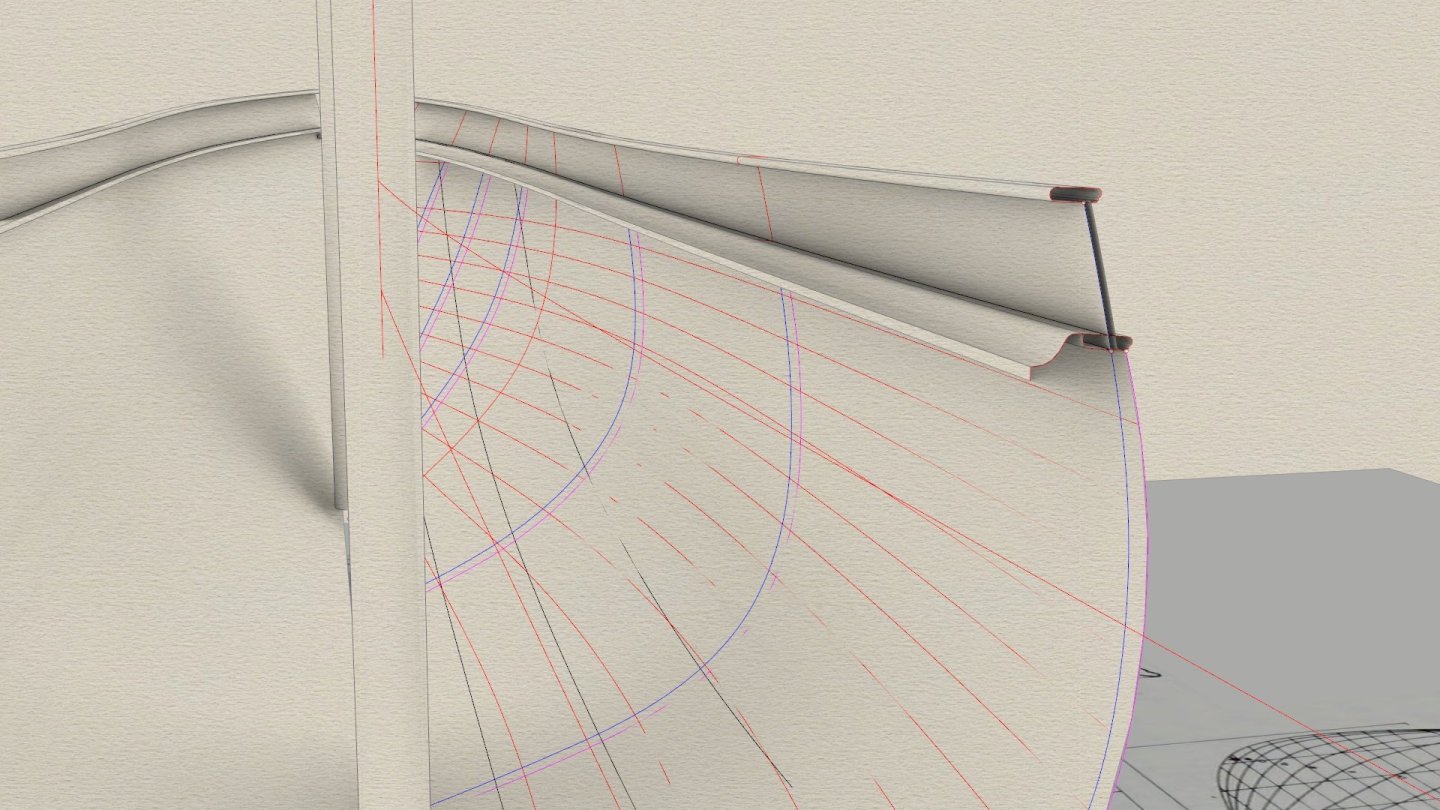
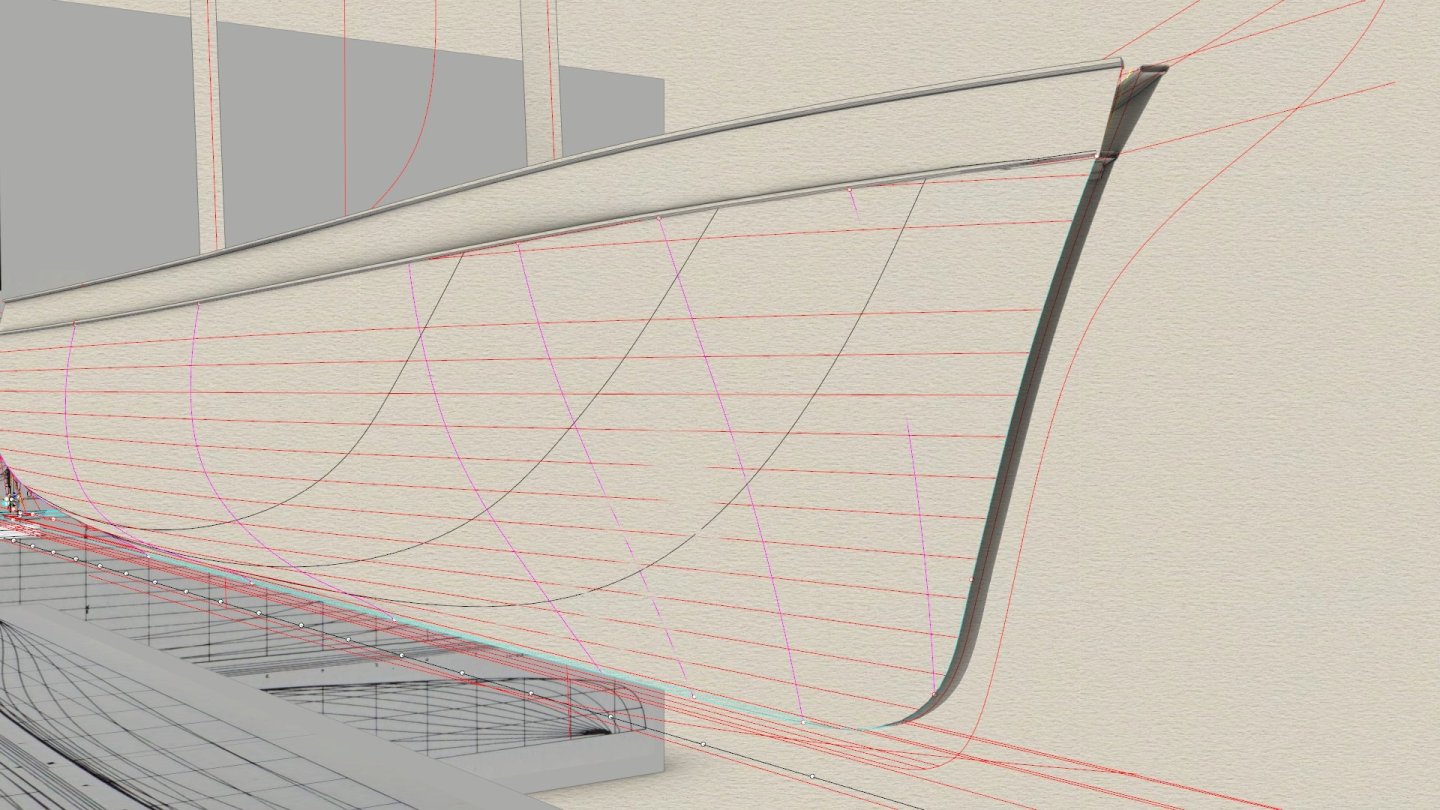
Forward Lines recreated from offsets. They are very different to Cutty Sark The blue sections are the moulded offsets The buttocks here are on the planking , but the plan is moulded so they don't line up in this view, and of course because Thermopylae had 6 inch planking over the middle 3/5ths of her girth tapering to 4.5 inch at sheer it throws out the lines a bit.
-
Hi Some of you will remember my build of the 1/40 Cutty Sark Semi kit I did for a customer a couple of years back. It is possible I might be doing one for Thermopylae very soon on a "larger scale" but it's not defined yet. Would anyone be interested in this?, and if so, what scale? Please don't comment with scales like 1/96. I am considering providing patterns and CNC files to people so shipping is not an issue. Could I have an indication of interest for this please?. I am thinking 1/48 as a starting point and in the realm of $400-$500 Usd Thanks in advance.
-
- 454 replies
-
- Union Steamship Company
- Stepcraft 840
-
(and 3 more)
Tagged with:
-
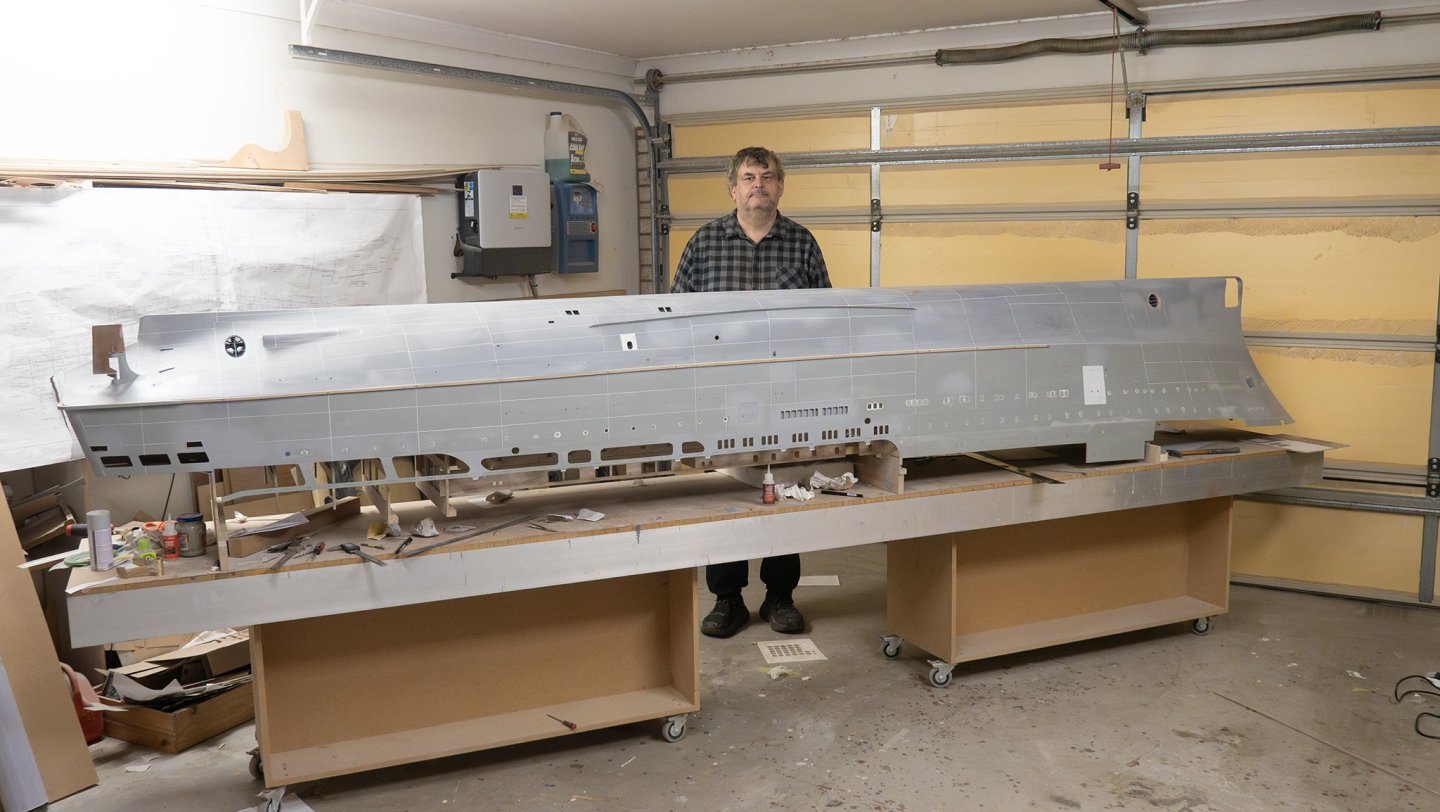
When you see it in person, it's big, but not that big. I have seen bigger, but it's just manageable to turn and handle alone.
- 454 replies
-
- Union Steamship Company
- Stepcraft 840
-
(and 3 more)
Tagged with:
-
Well the plate distortion is not visible in primer as you need some gloss for it to show but the weld beads are nearly done and the hull is primed to 600 grit , the portholes are all masked at the moment, all the running gear is hooked up and the prop shafts and props are almost ready to install for good. Some superstructure elements are removed for now of course.
- 454 replies
-
- Union Steamship Company
- Stepcraft 840
-
(and 3 more)
Tagged with:
About us
Modelshipworld - Advancing Ship Modeling through Research
SSL Secured
Your security is important for us so this Website is SSL-Secured
NRG Mailing Address
Nautical Research Guild
237 South Lincoln Street
Westmont IL, 60559-1917
Model Ship World ® and the MSW logo are Registered Trademarks, and belong to the Nautical Research Guild (United States Patent and Trademark Office: No. 6,929,264 & No. 6,929,274, registered Dec. 20, 2022)
Helpful Links
About the NRG
If you enjoy building ship models that are historically accurate as well as beautiful, then The Nautical Research Guild (NRG) is just right for you.
The Guild is a non-profit educational organization whose mission is to “Advance Ship Modeling Through Research”. We provide support to our members in their efforts to raise the quality of their model ships.
The Nautical Research Guild has published our world-renowned quarterly magazine, The Nautical Research Journal, since 1955. The pages of the Journal are full of articles by accomplished ship modelers who show you how they create those exquisite details on their models, and by maritime historians who show you the correct details to build. The Journal is available in both print and digital editions. Go to the NRG web site (www.thenrg.org) to download a complimentary digital copy of the Journal. The NRG also publishes plan sets, books and compilations of back issues of the Journal and the former Ships in Scale and Model Ship Builder magazines.

