USNCHief013107
-
Posts
62 -
Joined
-
Last visited
Content Type
Profiles
Forums
Gallery
Events
Everything posted by USNCHief013107
-
 Progress is a little slow due to working late. I will post some photos tomorrow. Gun ports cut out, stern and transom are done, putting planks on inside bulwarks. Will try to frame gunports and install and cap rail this weekend.
- 63 replies
-
- 1
-

-
- Dapper Tom
- Model Shipways
- (and 1 more)
-
In the book "The Heavy Frigate" I came across a term I have never heard before and cannot find the definition in the text. The sentence reads: "carronades to be on the outside principle and fitted as ships came forward for service". Can anyone shed light on what "outside principle" means?
-
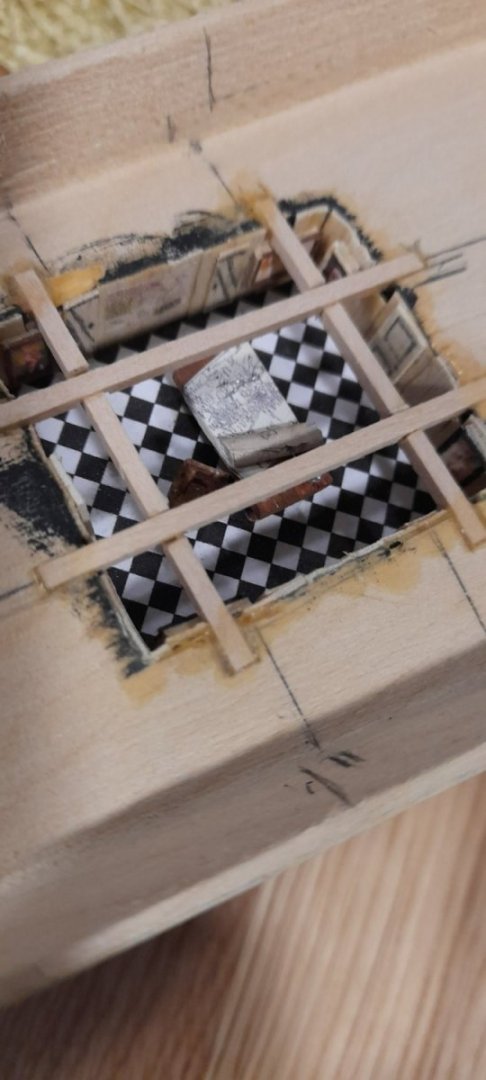
One of my Navy Bubbas just pointed out my Maryland flag is backwards. :O( That is how it was when I downloaded it. I will attempt to correct this grievous error this weekend. To my Maryland friends, please accept my humble apology.
- 63 replies
-
- 1
-
-
- Dapper Tom
- Model Shipways
- (and 1 more)
-
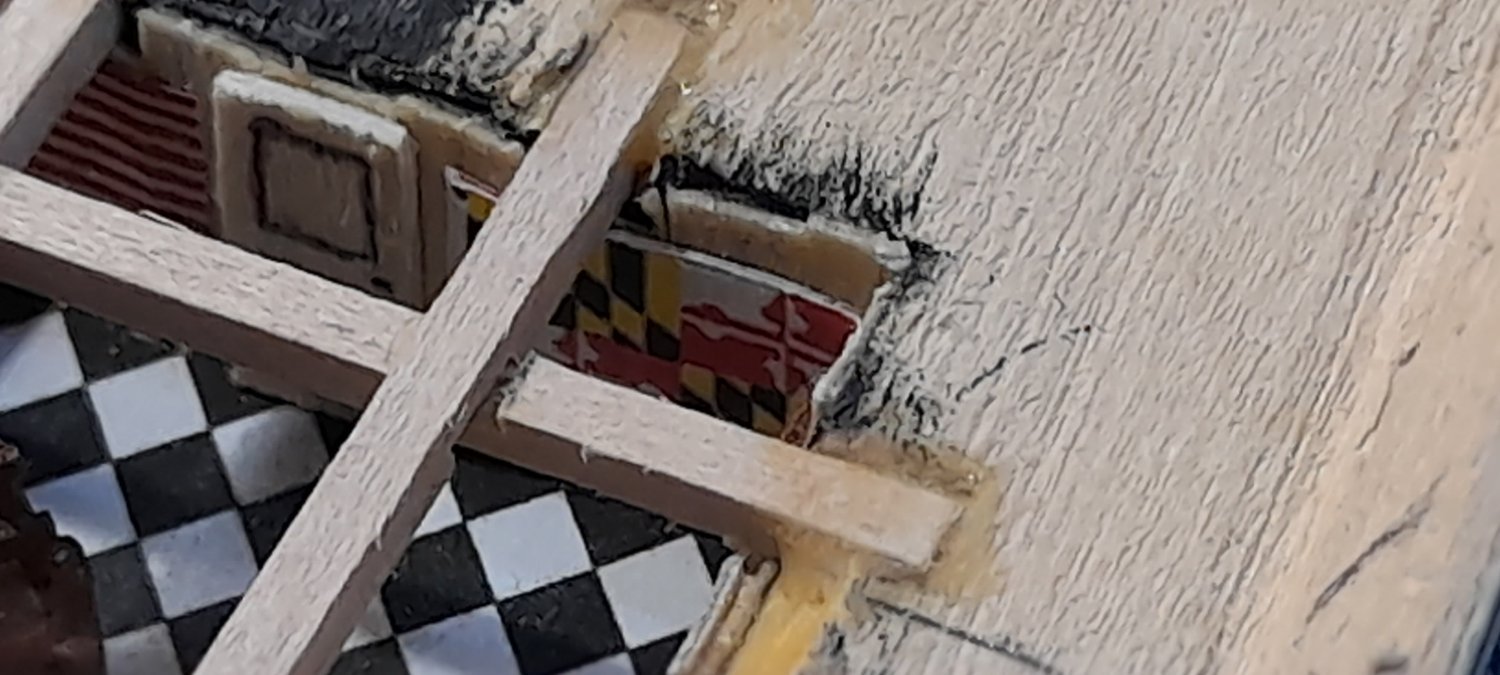
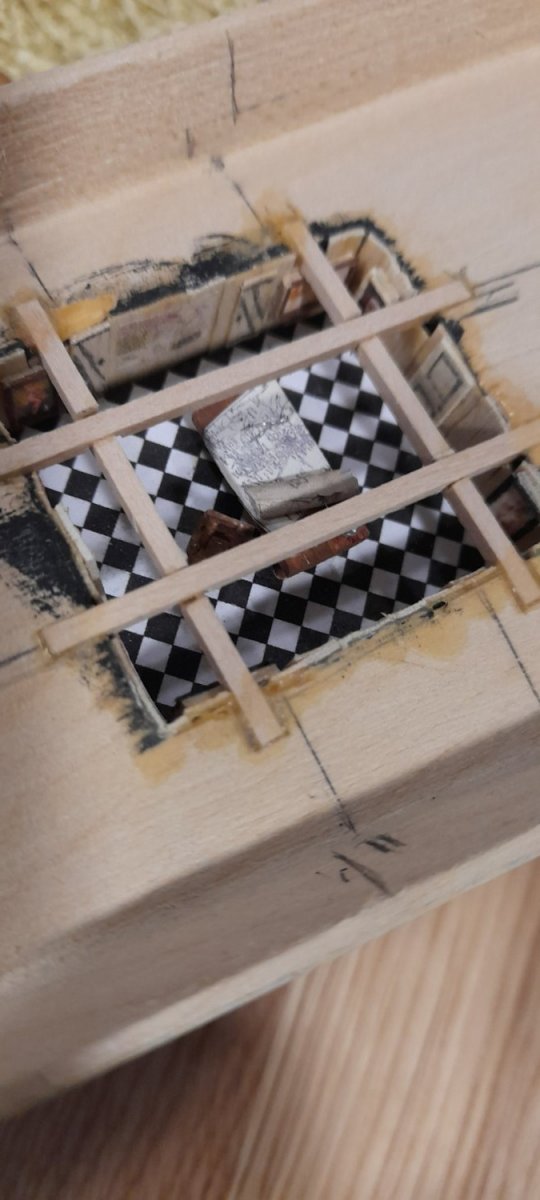
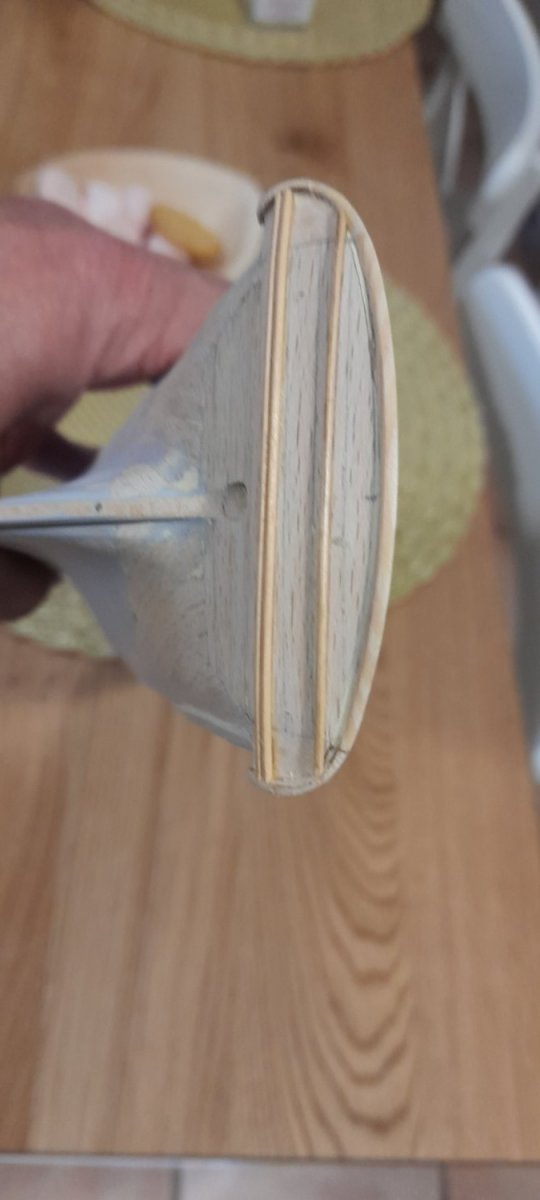
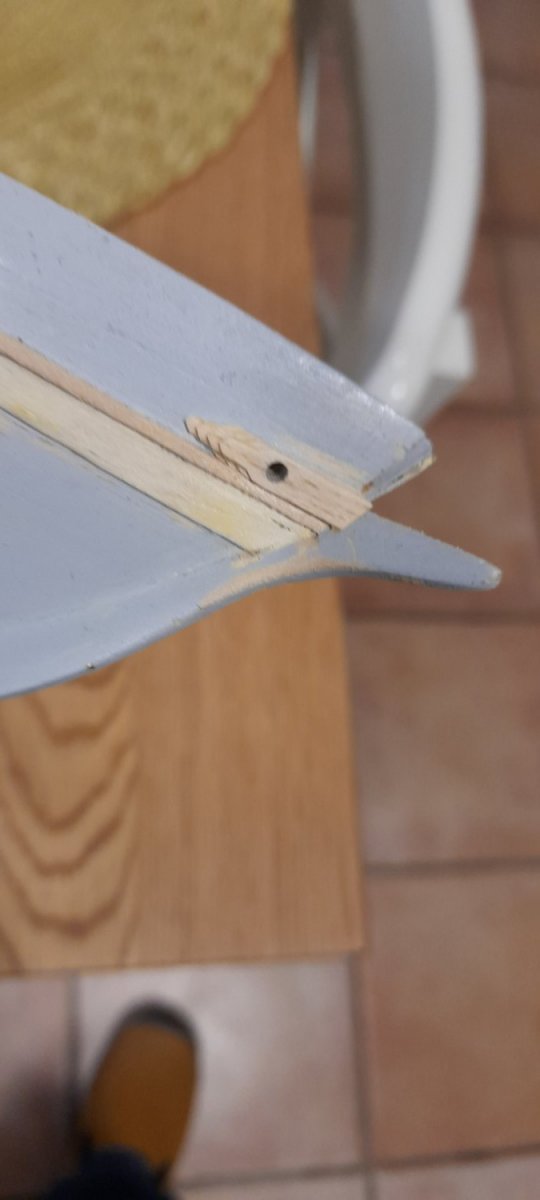
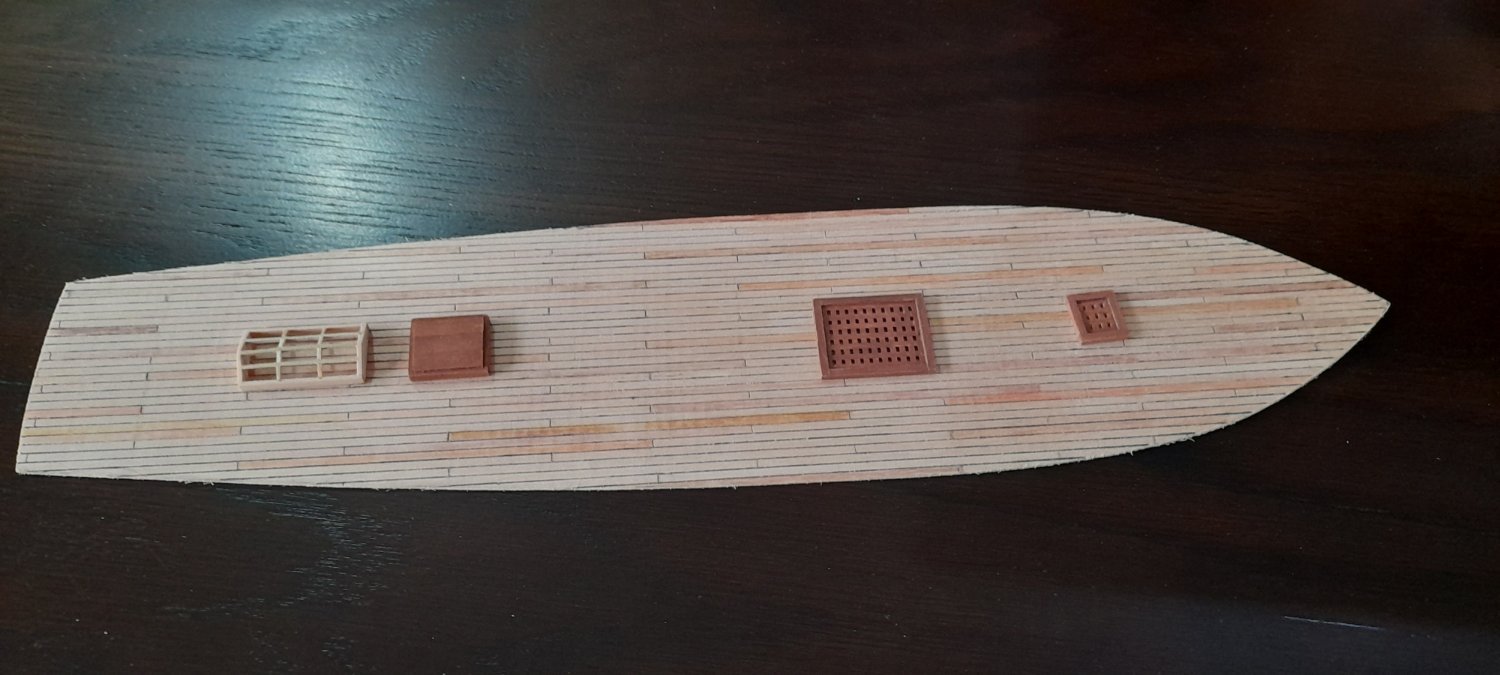
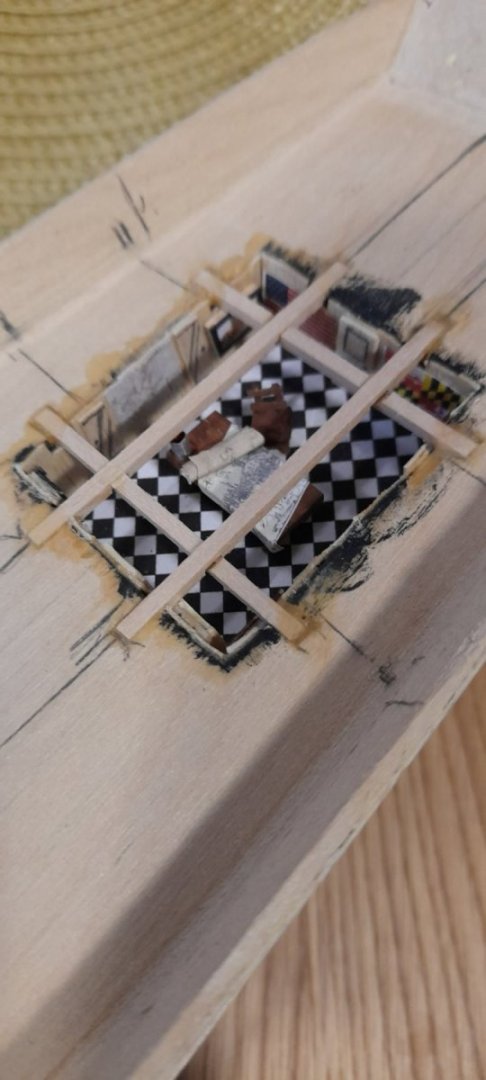
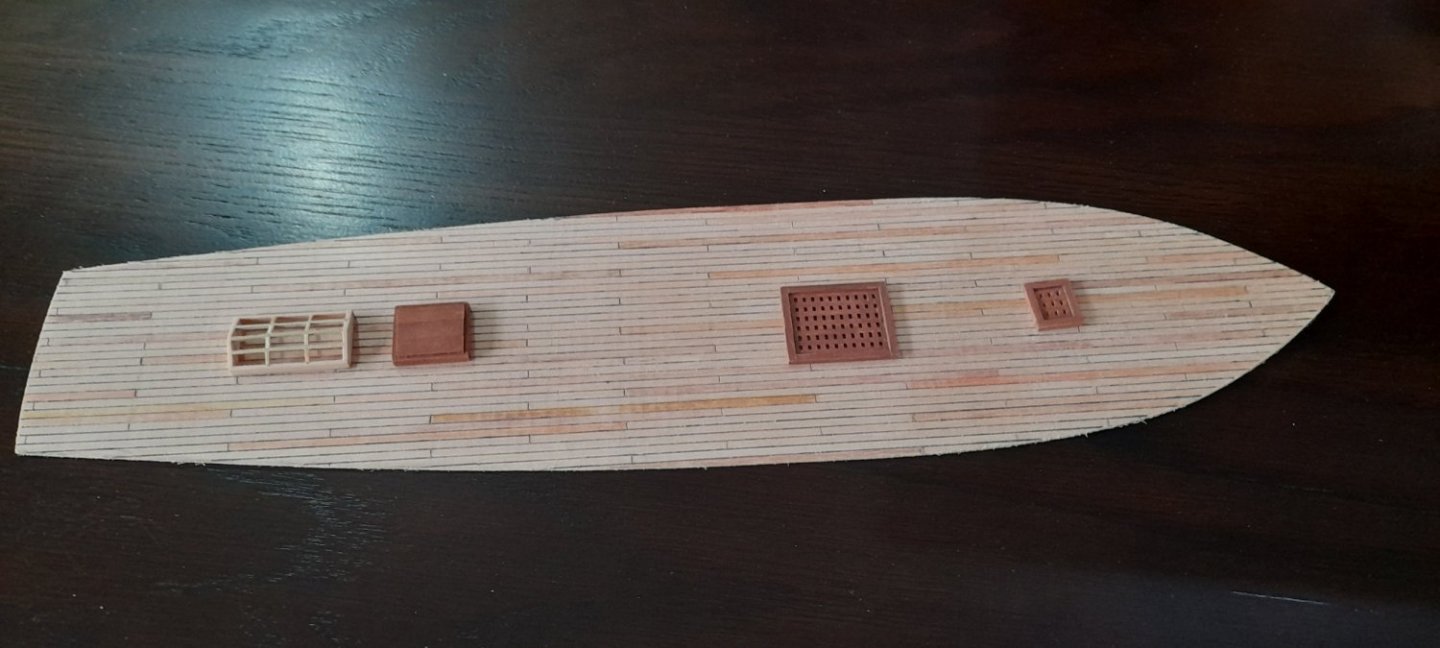
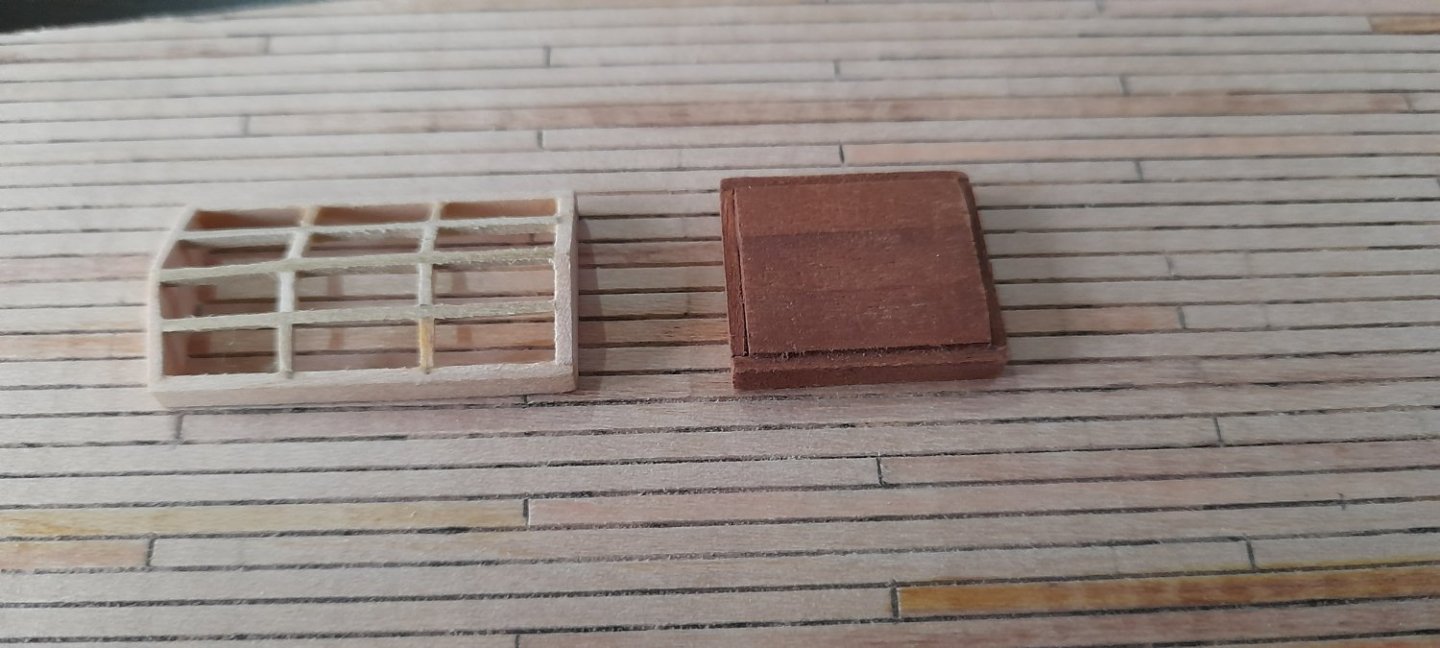
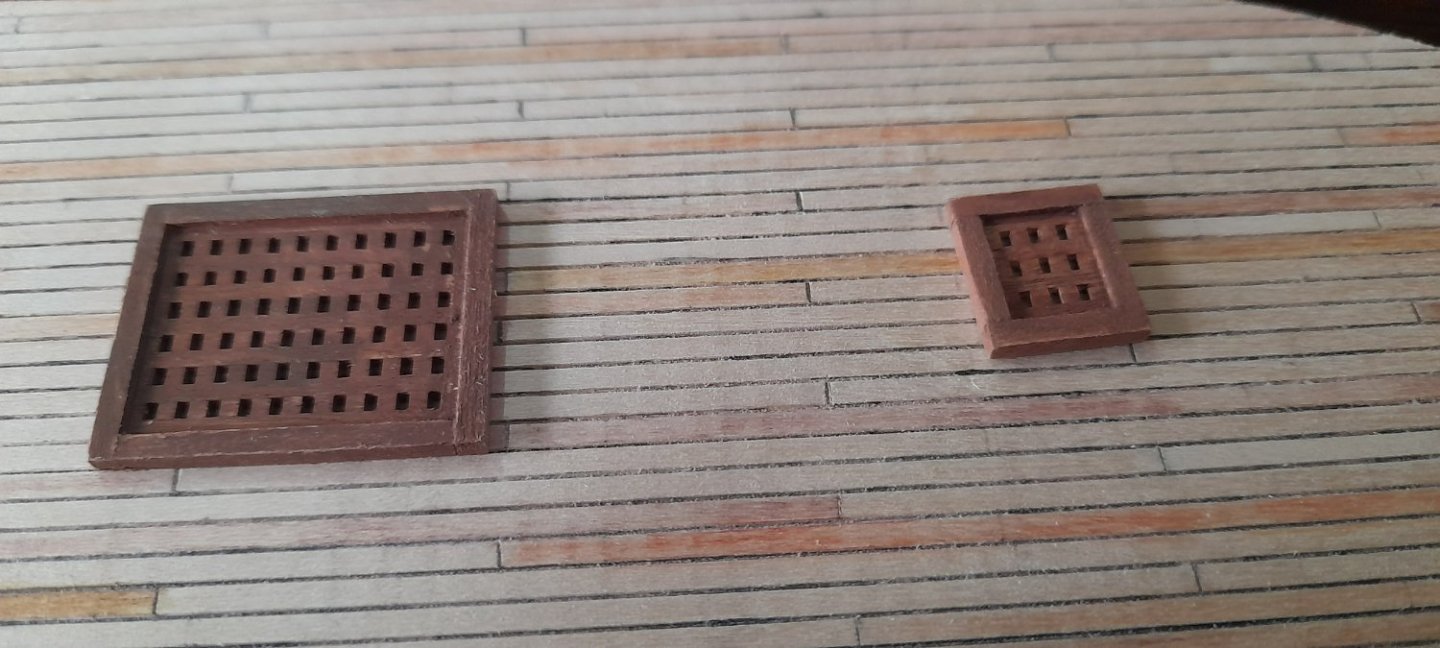
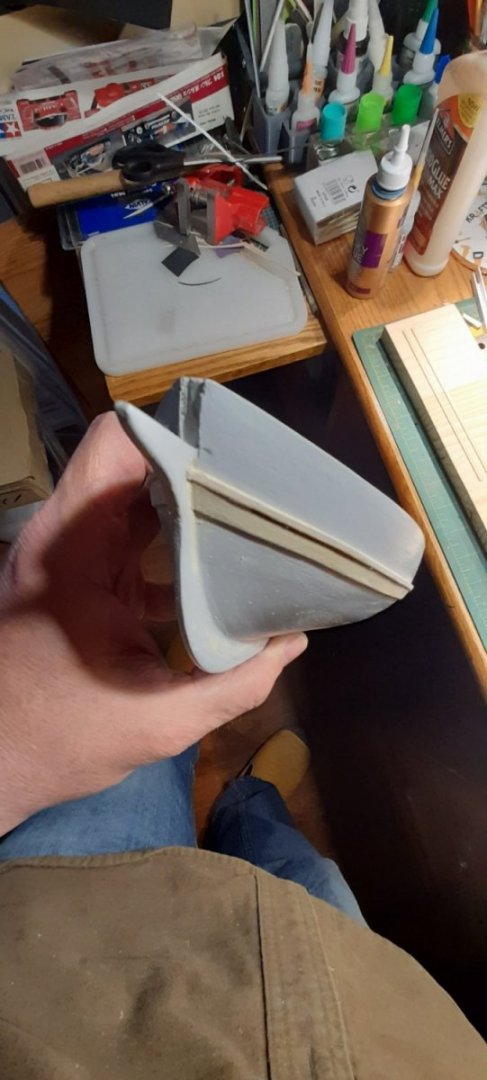
Finally a bit more progress on the ship. The Captain's cabin with the checker board "carpet" was all done on Sunday. An open map with dividers, a rolled map and a tankard on the table. You can't see it very well but the Captain's tankard on the corner of the table is full of Port. Paintings, maps and flags are on the cabin bulkheads. 1812 US and since this is a "Baltimore Clipper" the Maryland flag. The skylight will allow a look down into the cabin. I am cheating a bit by using a scribed sheet for the deck. I just didn't feel like doing all of the planking on this one. I borrowed color pencils and a .5 archival pen from my daughter Bronwyn, who is an artist, to add the seams and color a few planks so it didn't look so monochrome. The Transom and Taffrail gave me fits and I had to re-do them. Twice. I need more practice on edge bending. Sorry some of the photos are off.

- 63 replies
-
- 5
-
-
- Dapper Tom
- Model Shipways
- (and 1 more)
-
NICE!!! Very well done!
-
I see where the line is secured at the pin rail on a belaying pin, through the block on the boomkin, then up through another block on the end of the yard and down, but I must apologize I cannot see where it finishes.
-
Work was less than accommodating this past week so the family took a day trip to Malaga. Trying to make some progress today and will post photos of transom and boarding ladder steps. The instruction book lack a bit of information so I bounce back and forth between the book, sheet plans and parts list sheets. I discovered a part call out for a "Tack Boomkin" but it is not shown anywhere in the instructions or on the plan sheets. Can someone assist please?
- 63 replies
-
- 1
-
-
- Dapper Tom
- Model Shipways
- (and 1 more)
-
A little more progress, Wales and Waterway Strip added.
- 63 replies
-
- 8
-
-
- Dapper Tom
- Model Shipways
- (and 1 more)
-
Yes! Ferguson and MacFarlane. I actually own 3 kilts and eat Haggis when I can find it. :O)
- 63 replies
-
- 2
-

-
-
- Dapper Tom
- Model Shipways
- (and 1 more)
-
2 Questions for the build experts: 1) What do you all do for raised letters for the ship's name on the transom? 2) What are recommendations for inside/under the skylight? I don't want it to look like a box sitting on the deck. It should show depth underneath to the lower deck since it has windows.
-
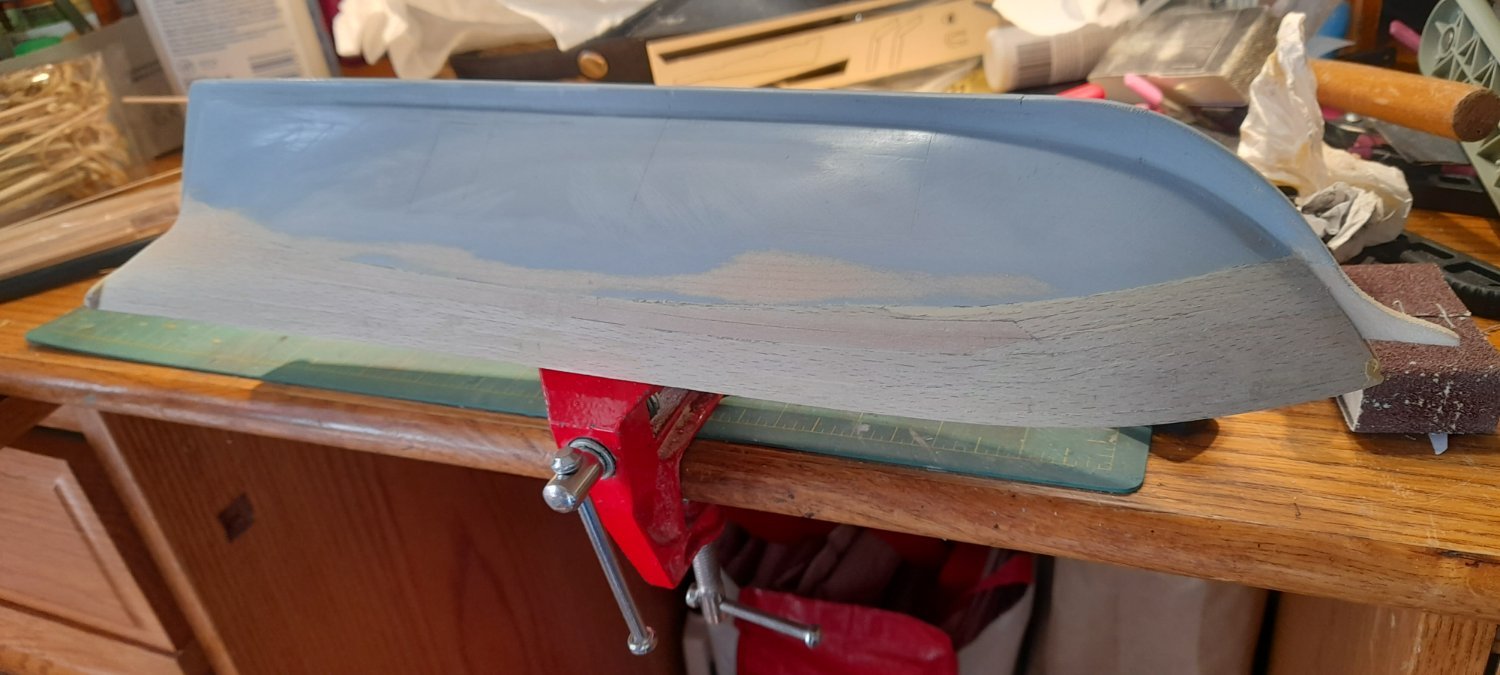
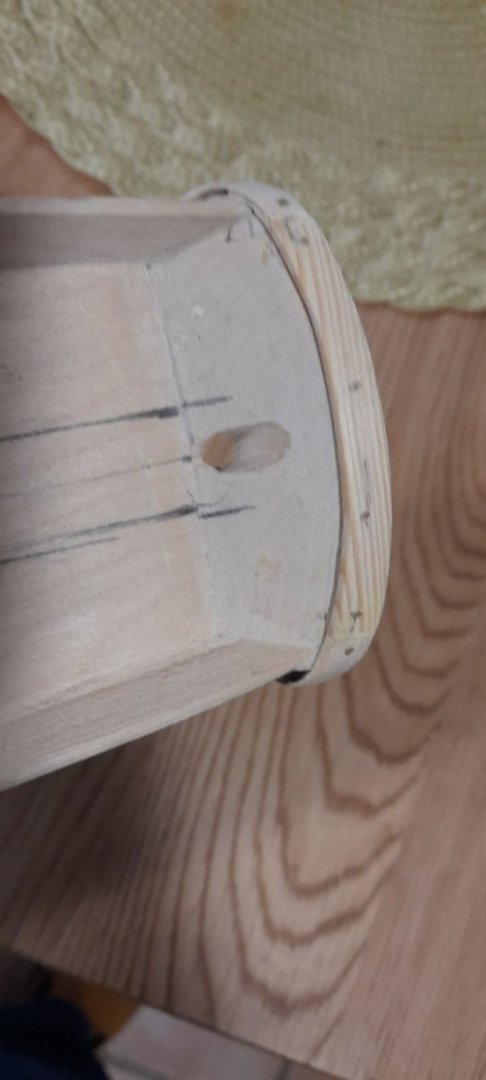
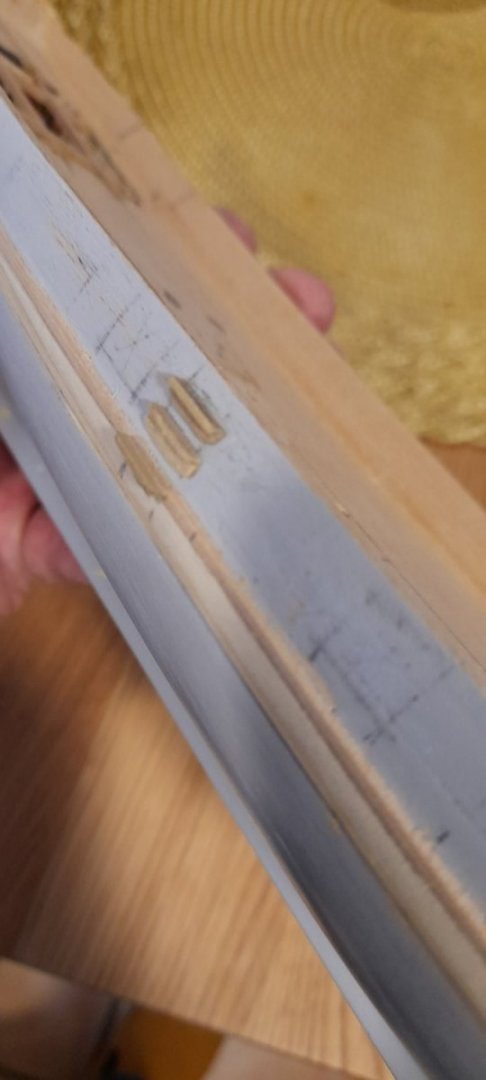
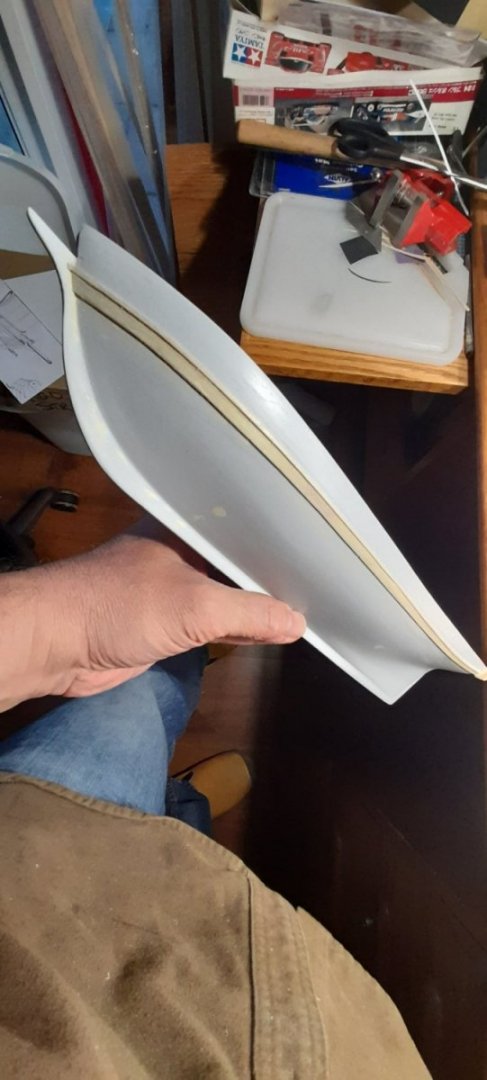
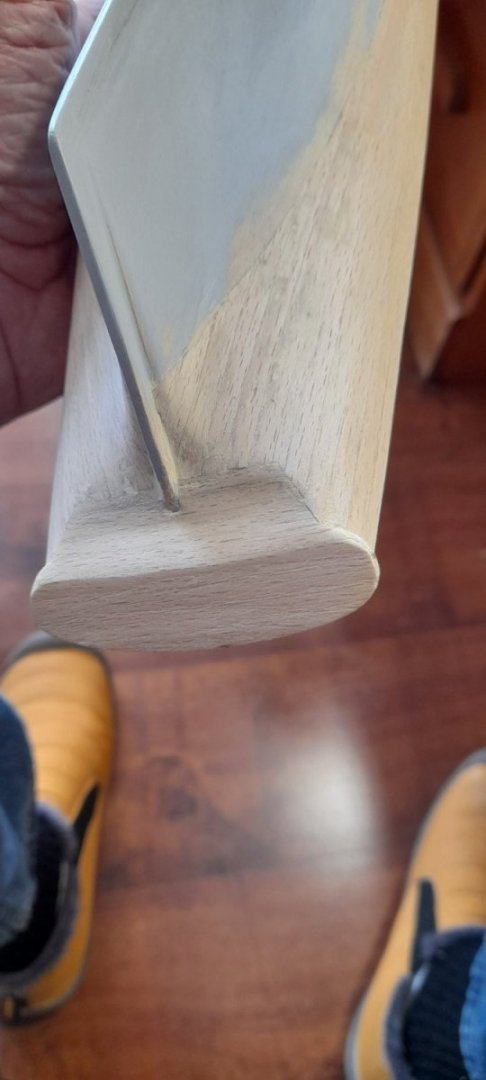
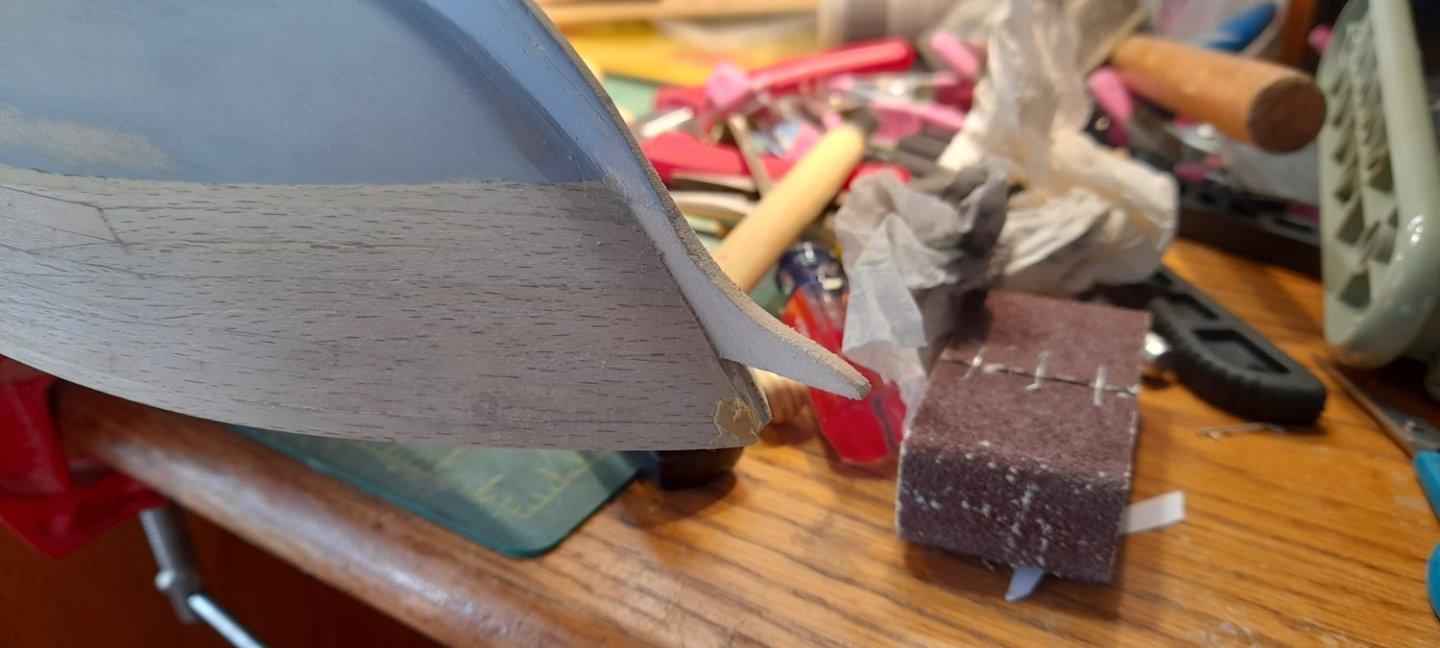
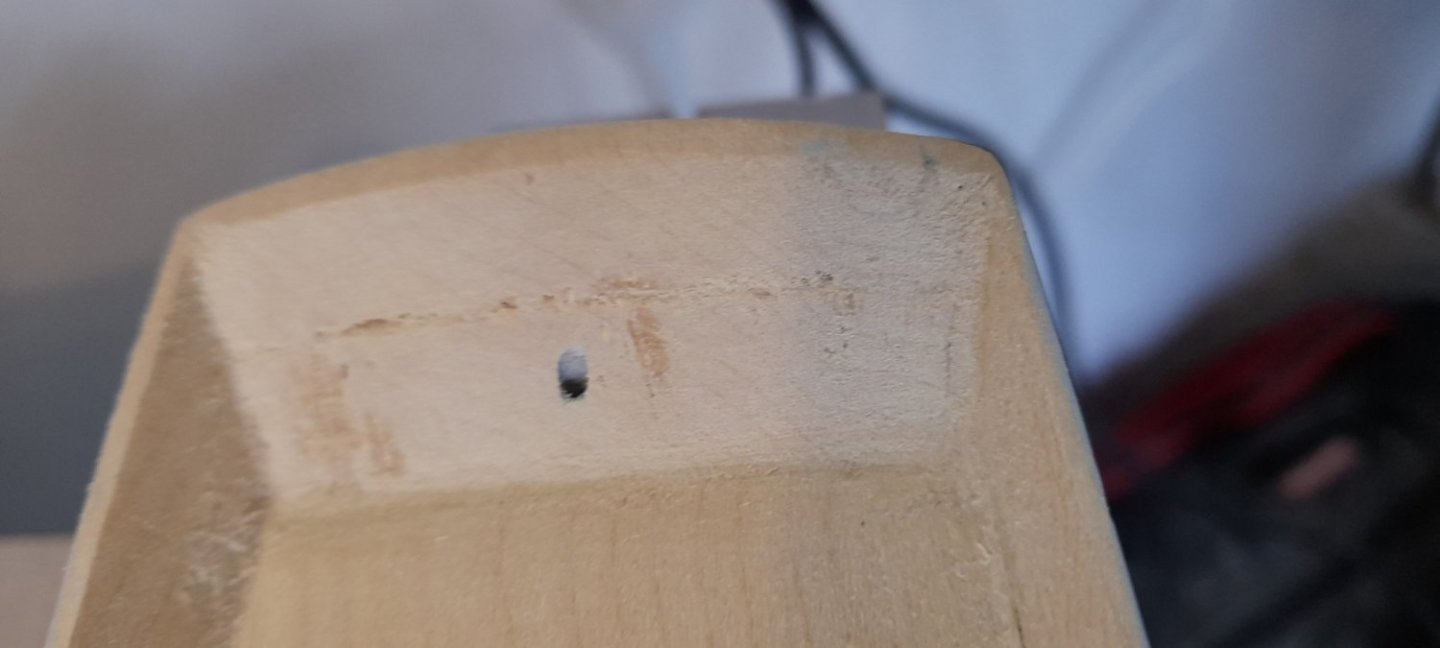
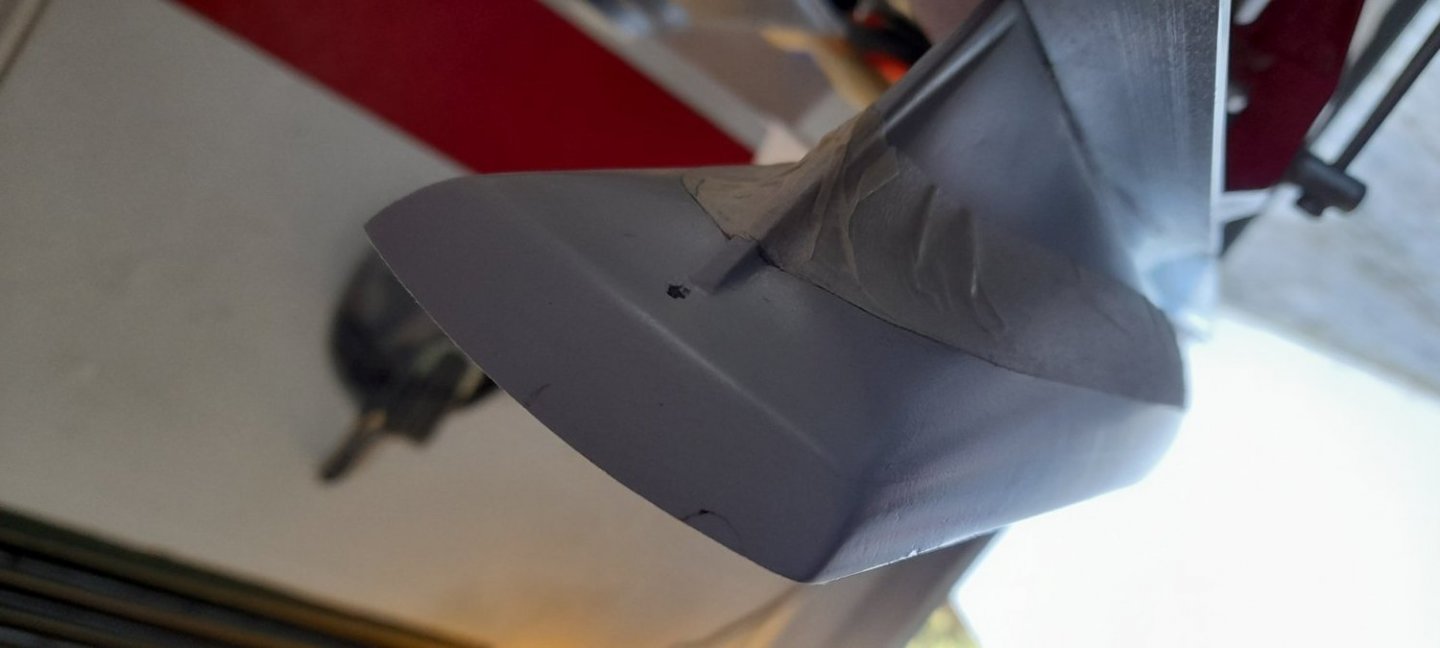
Progress and setbacks. I am enjoying the build, along with the frustrations but like life, its a steep learning curve. I am learning a lot, mostly its patience and what doesn't work. ;o) Got the upper section of hull planked, but dropped the boat when I was sanding the putty and snapped off the end of the stem and cracked a few planks. Thank God wood is a little bit forgiving. Got it fixed and am happy with the repair. It got cold in the "Dungeon" (garage below the house) even here in Spain so I moved inside to my model desk till it warms back up in a few weeks. Some lessons learned: 1. Take your time in preparation and watch videos/ask questions. THANK YOU TO ALL WHO HAVE PROVIDED TIPS/ENCOURAGEMENT! 2. Learn to sharpen tools and change blades often. Sharp tools cut better and do not splinter the wood. Plus they cut easier and you reduce the chance of cutting a finger. Don't ask. (Should have transferred this lesson over from plastic models). 3. If you are married, sand outside, especially the hull after puttying. Trust me on this, do not go there. 4. Clean as you go. 5. Enjoy the process.


- 63 replies
-
- 11
-
-
- Dapper Tom
- Model Shipways
- (and 1 more)
-
Dave, I started following your build today. I am on my first as well, Dapper Tom. I noted you are home ported in Stanwood. 18 months ago, I shifted colors from NAVSTA Everett living in Lake Stevens WA. to NAVSTA Rota living in El Puerto de Santa Maria, Spain. I miss the PNW, Halibut and family, but the food here is awesome! Good luck on the build Sir!!!
- 362 replies
-
- 3
-
-

-
- Amati
- Lady Nelson
- (and 2 more)
-
I just noticed the aft taffrail on the dark trimmed build. I like the balusters under the rail cap. NICE!
-
Thank you! You have a couple of very nice builds. Do you have any tips as far as stuff to watch out for or what rigging to do first? Also, how did you drill the holes for the masts to make sure they are dead center and symmetrical?
- 63 replies
-
- 1
-
-
- Dapper Tom
- Model Shipways
- (and 1 more)
-
VERY NICE and clean work there! Impressive.
-
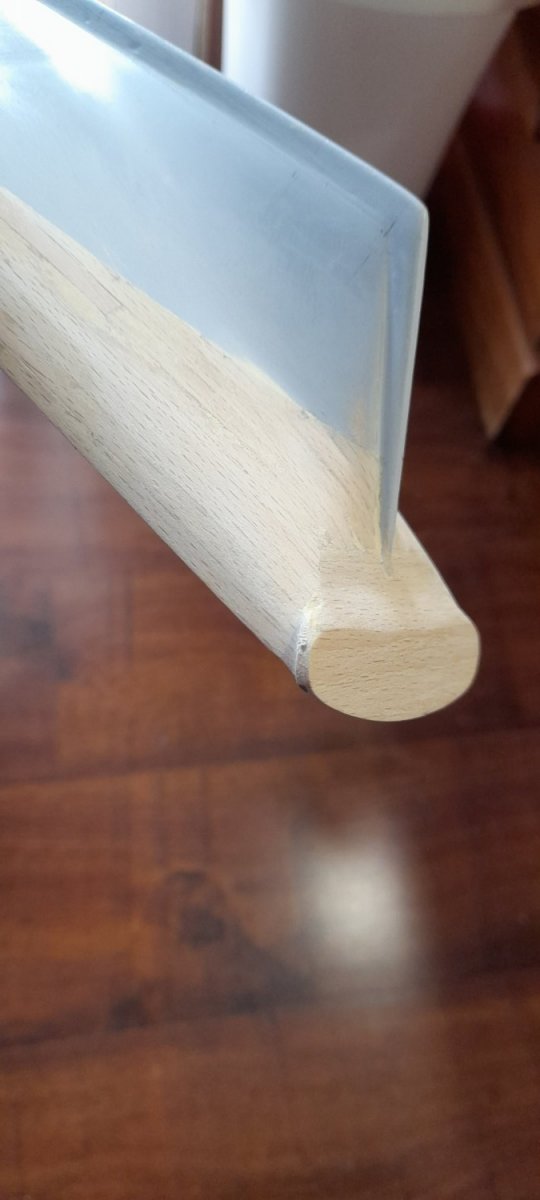
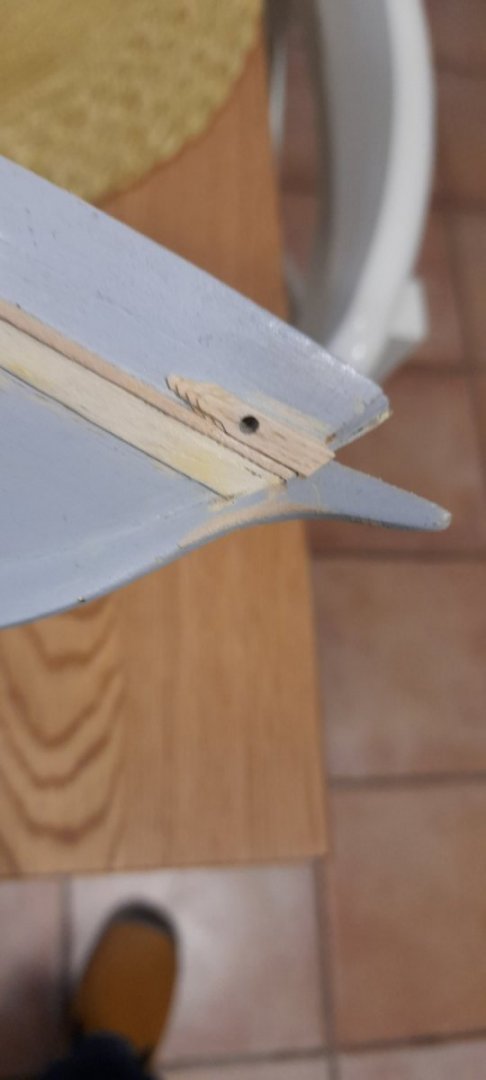
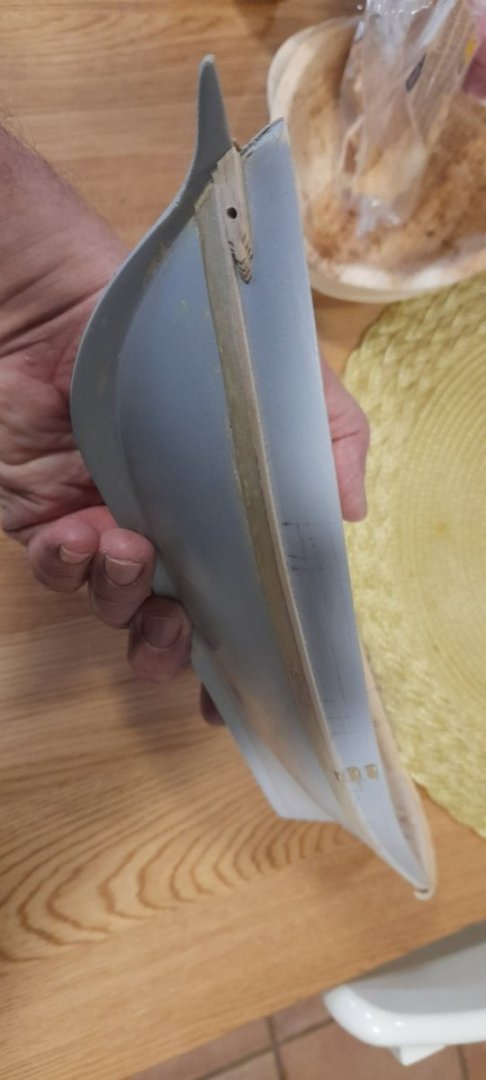
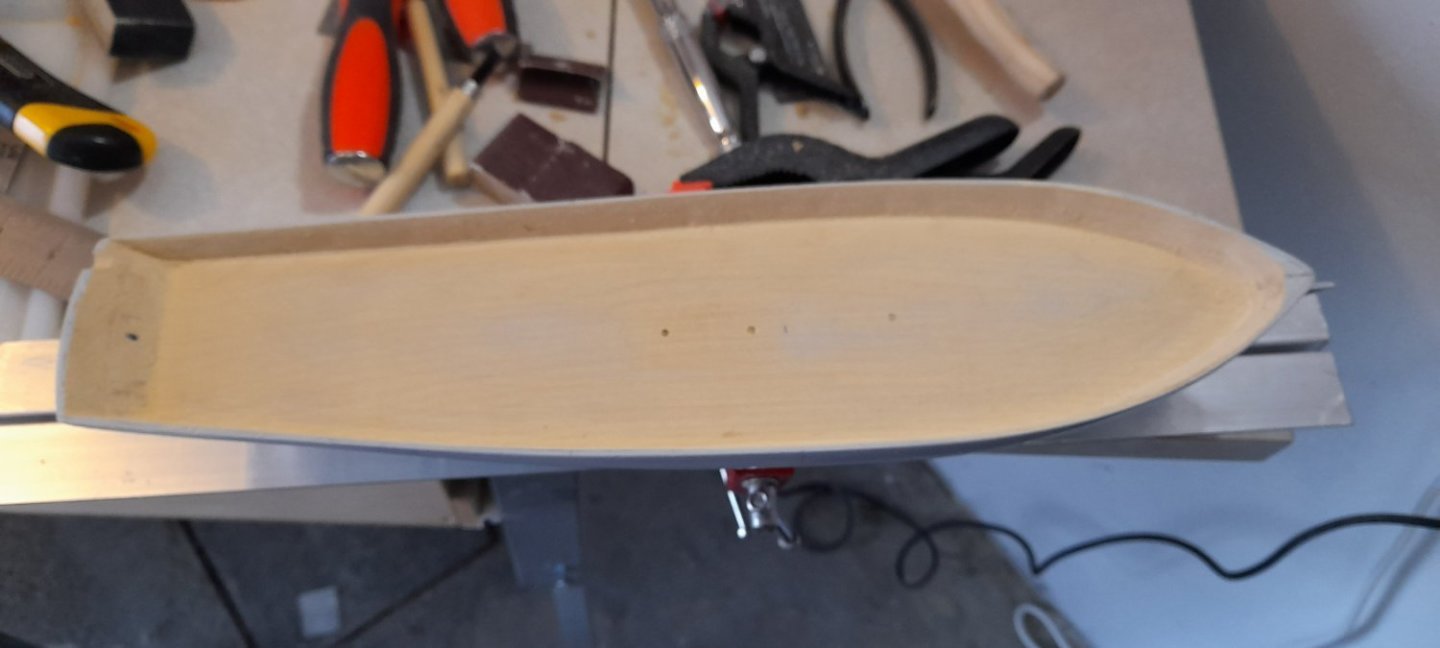
Fixed it. Finished the bow section and now onto the transom extension pieces. That is about as far as I can go until I get the waterline drawing jig and the rest of my supplies.

- 63 replies
-
- 11
-
-

-
- Dapper Tom
- Model Shipways
- (and 1 more)
-
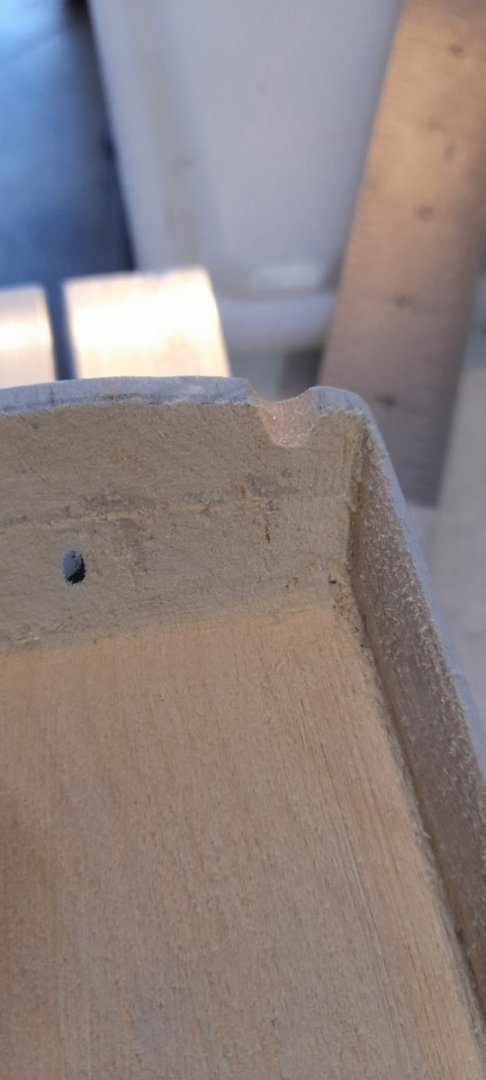
Ooopppsss! Crud!!!! Slipped with the gouge. The good thing is I had just swept the floor so it was easy to find the chunk that was removed and glue it back in. Break time while it dries.
- 63 replies
-
- 6
-
-
- Dapper Tom
- Model Shipways
- (and 1 more)
-
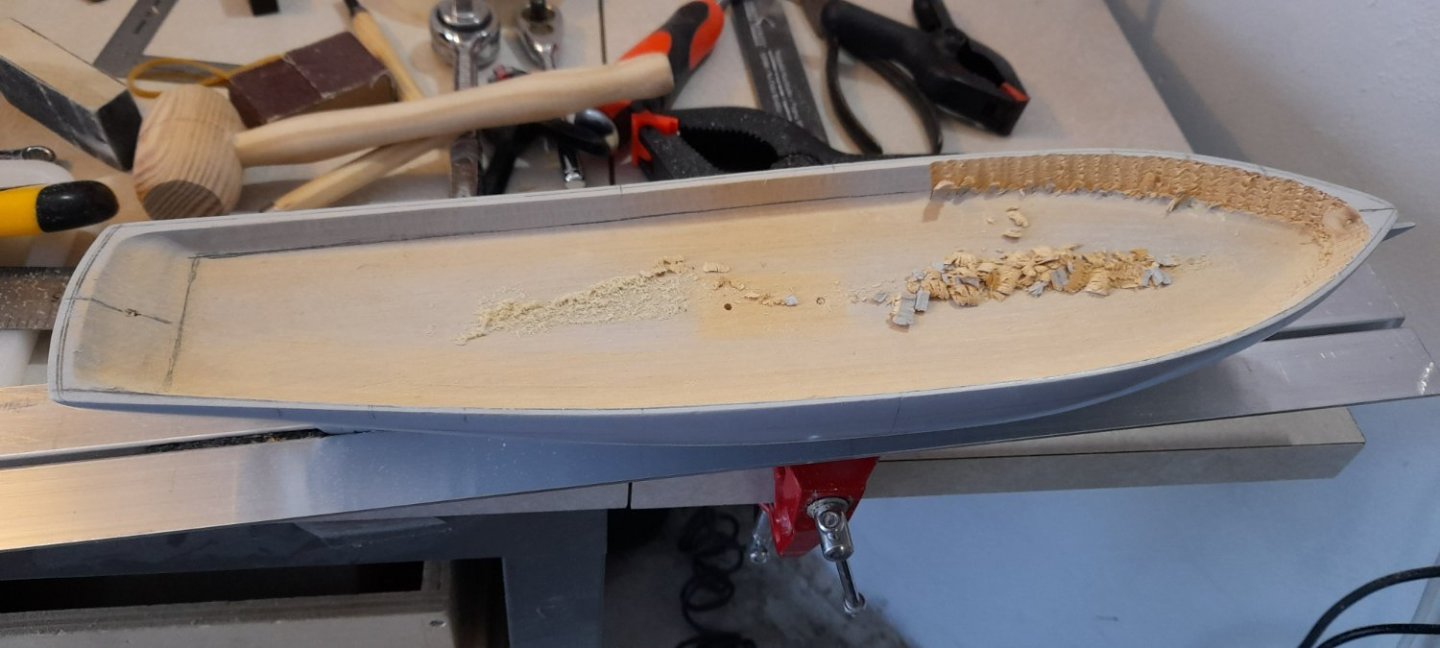
Started whittling down the bulwarks early this AM. I figured since I was the only one up, it is a good excuse.
- 63 replies
-
- 4
-
-
- Dapper Tom
- Model Shipways
- (and 1 more)
-
Thank you ADMIN(s) for fixing my title. Sorry I didn't get it right the first time. CHEERS!!!!
- 63 replies
-
- 1
-
-
- Dapper Tom
- Model Shipways
- (and 1 more)
-
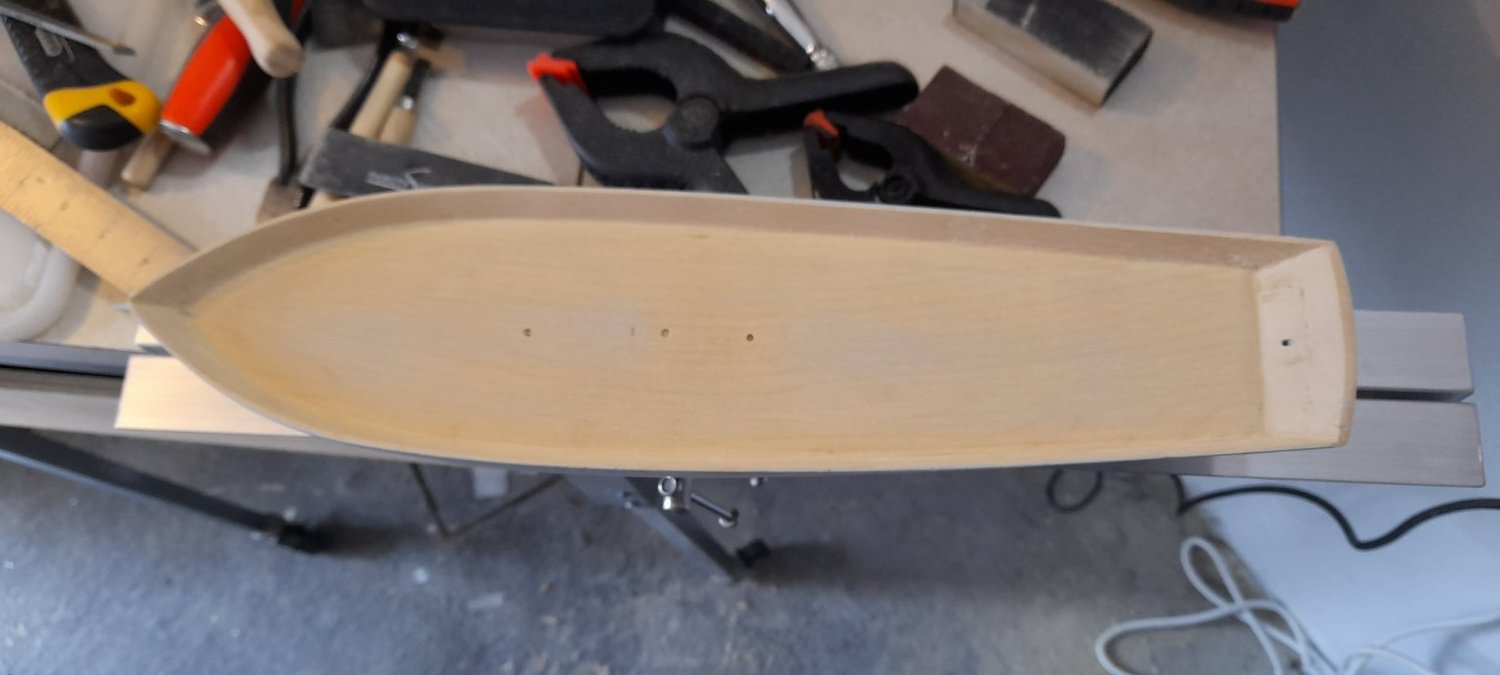
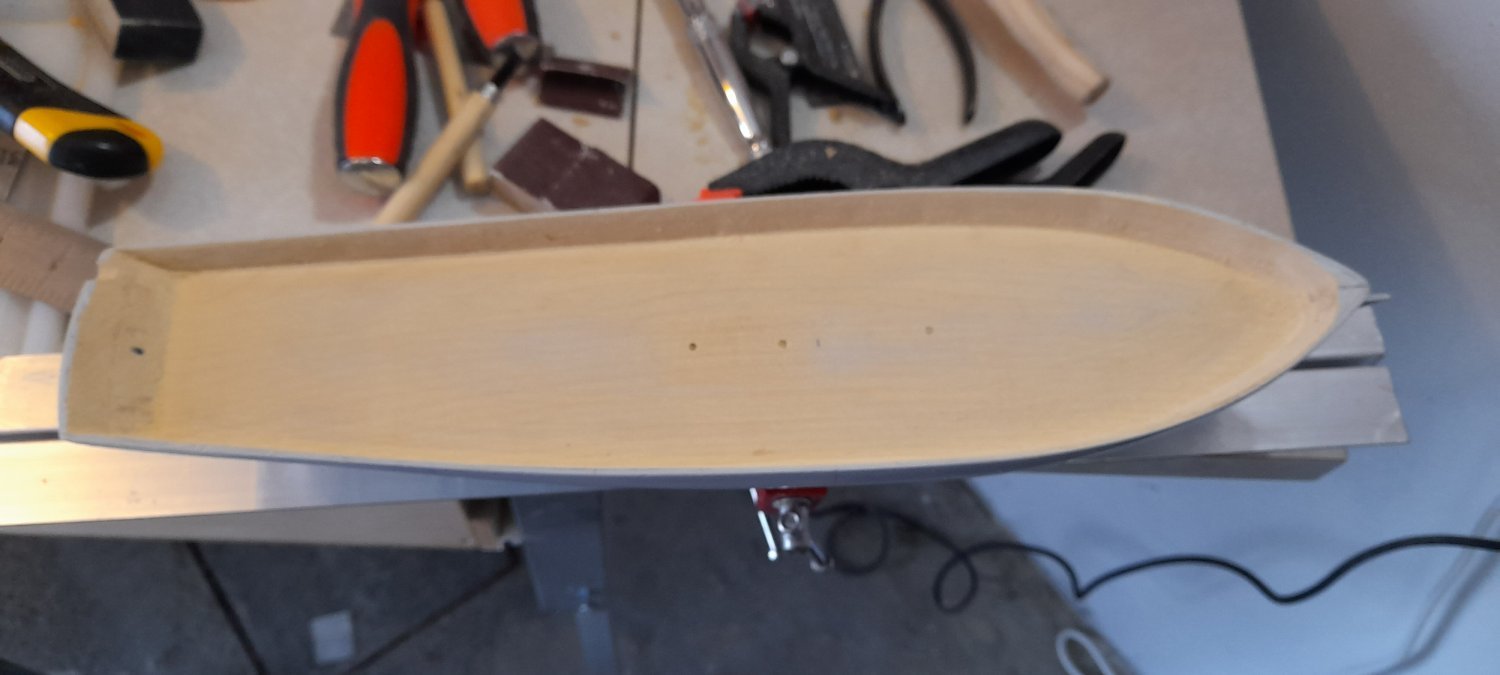
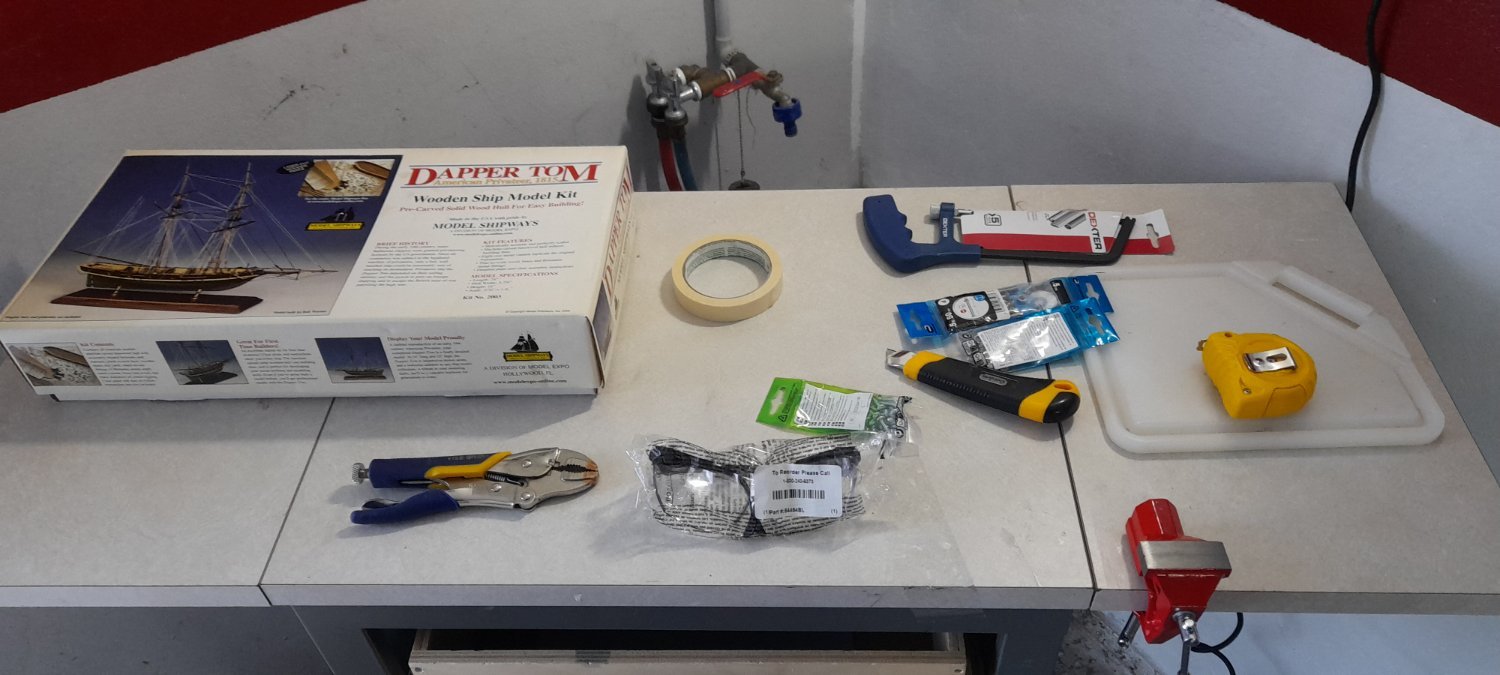
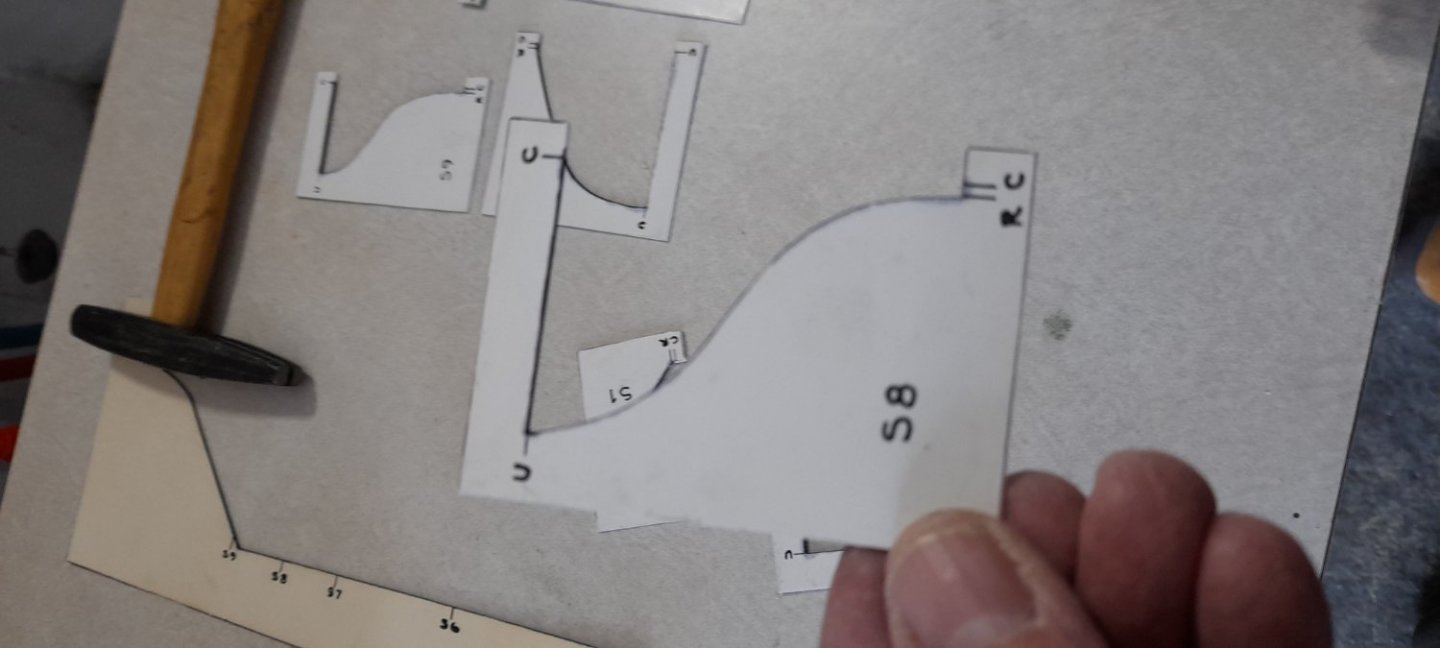
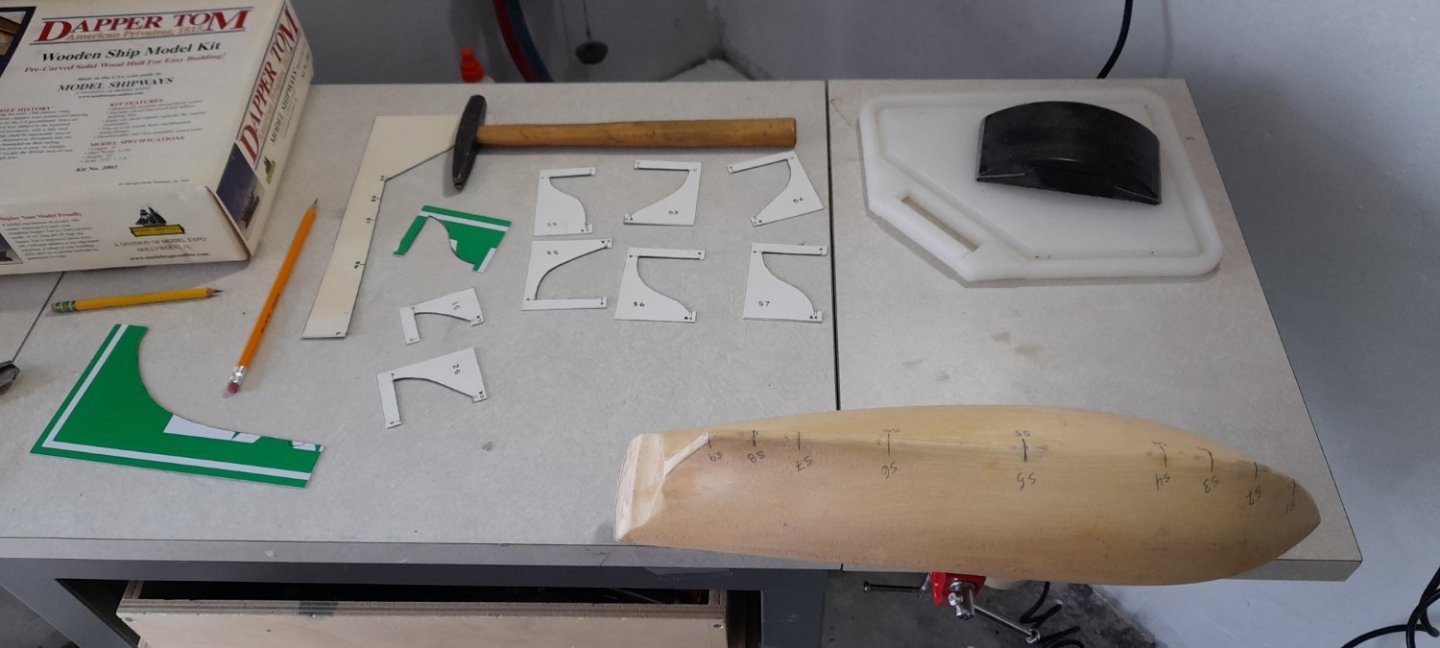
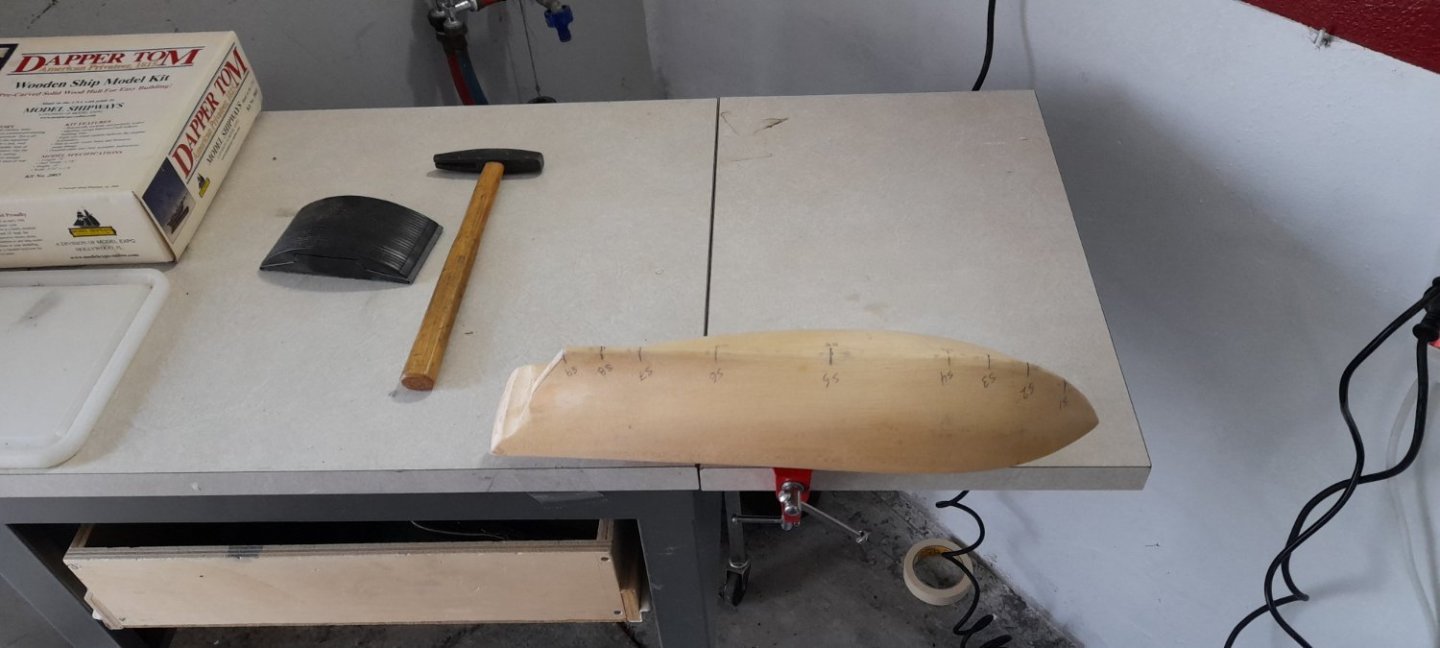
Ahoy all! I decided to make an attempt at a build log for my Dapper Tom build. It is my first wooden ship kit but my experience with carpentry and building plastic models, I should be able to muddle through. I have a long way to go to learn the shipwright's vernacular even though I am a retired sailor, they got rid of sail powered ships a few months before I enlisted. ;O) I started this past weekend with setting up a small table in the corner of the garage and hung 2 shop lights for lighting. I re-enforced the paper templates from the kit by gluing them with an industrial glue stick to a plastic exit sign I bought at a dollar store. I pressed them overnight between a couple of books with bottles of wine on them for weight. They were cut out with a box cutter and straight edge and sanded to the template line with a sanding stick. This turned out very well and allowed me to form 2/3 of the hull on Saturday and I finished the roughing out on Sunday, followed by sanding with 80/100/120/200 grit paper in successive steps. I finished off Sunday evening with some Titan Marine Primer. Hopefully I can make more progress this coming weekend. Cheers, and a tot of rum for the crew!


- 63 replies
-
- 7
-
-
- Dapper Tom
- Model Shipways
- (and 1 more)
-
Got a suggestion for books?
USNCHief013107 replied to USNCHief013107's topic in Wood ship model kits
Thank you for the tips, I now have a place to start. Cheers all!