-
Posts
509 -
Joined
-
Last visited
Content Type
Profiles
Forums
Gallery
Events
Everything posted by Barbossa
-
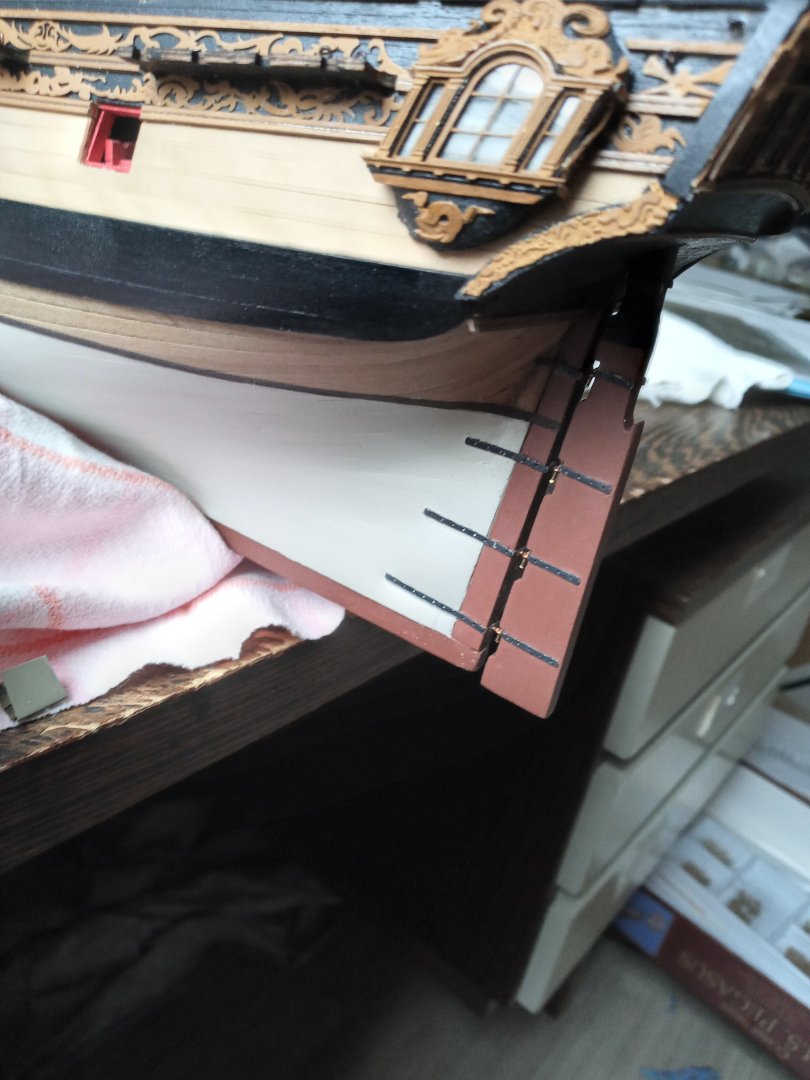
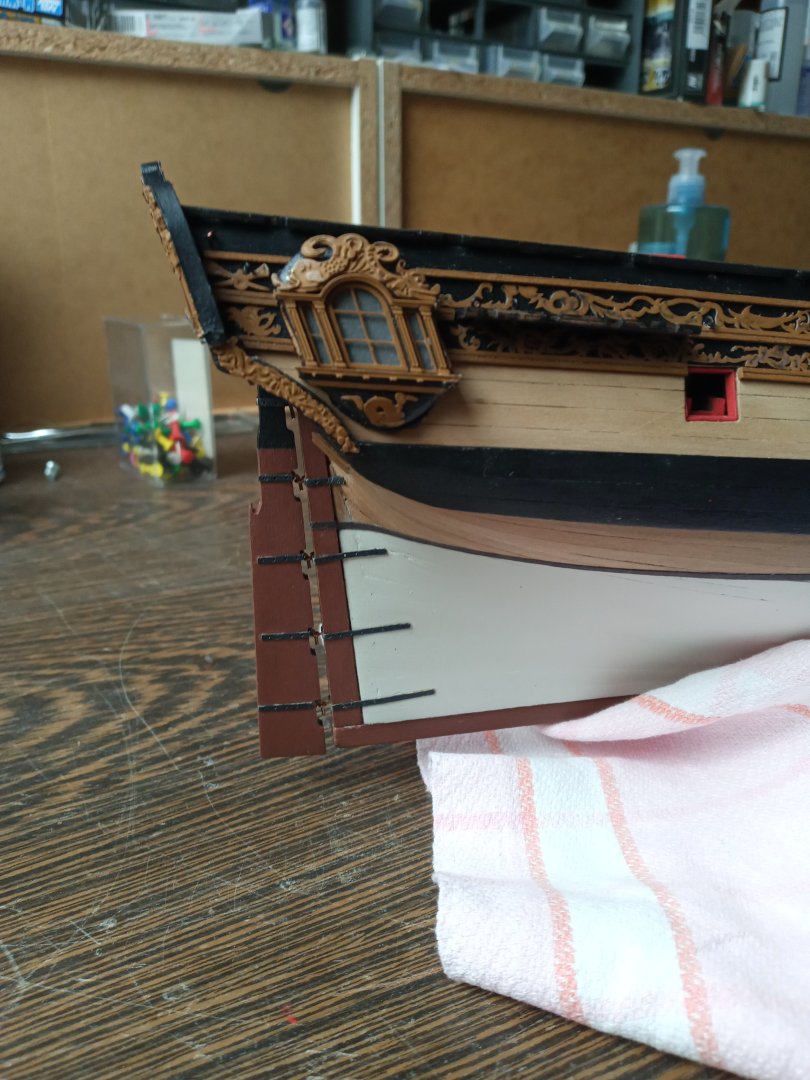
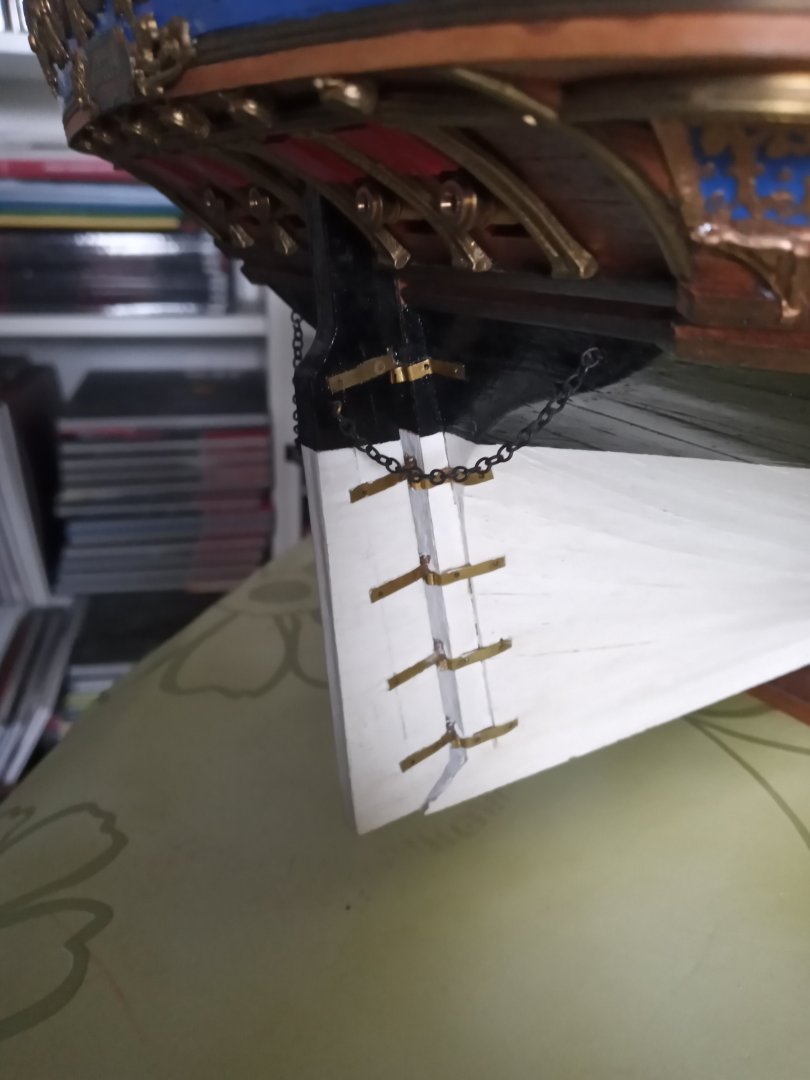
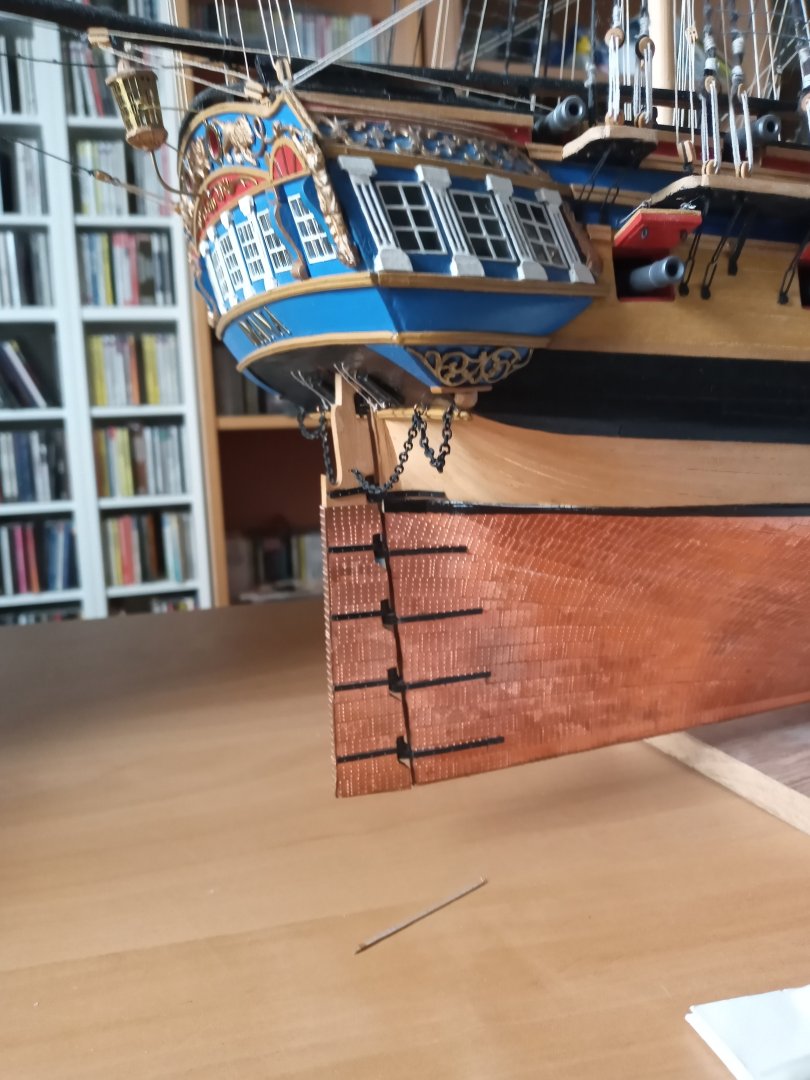
The rudder : almost there..... But also I must admit an avoidable error. As I had the "coppering process" still in mind, I thought it would make sense to fix the irons in the rudder area later on. But at present I could have simplified things if I took hold of this previously to the white painting under the waterline. While using masking tape overdye the irons in black grey this would have prevented some trouble, especially when cyanoglue is involved. It took me a while to obtain a result by whereby I can settle although the rudder is still dry fit Also a few pics from previous builds about the matter.
- 64 replies
-
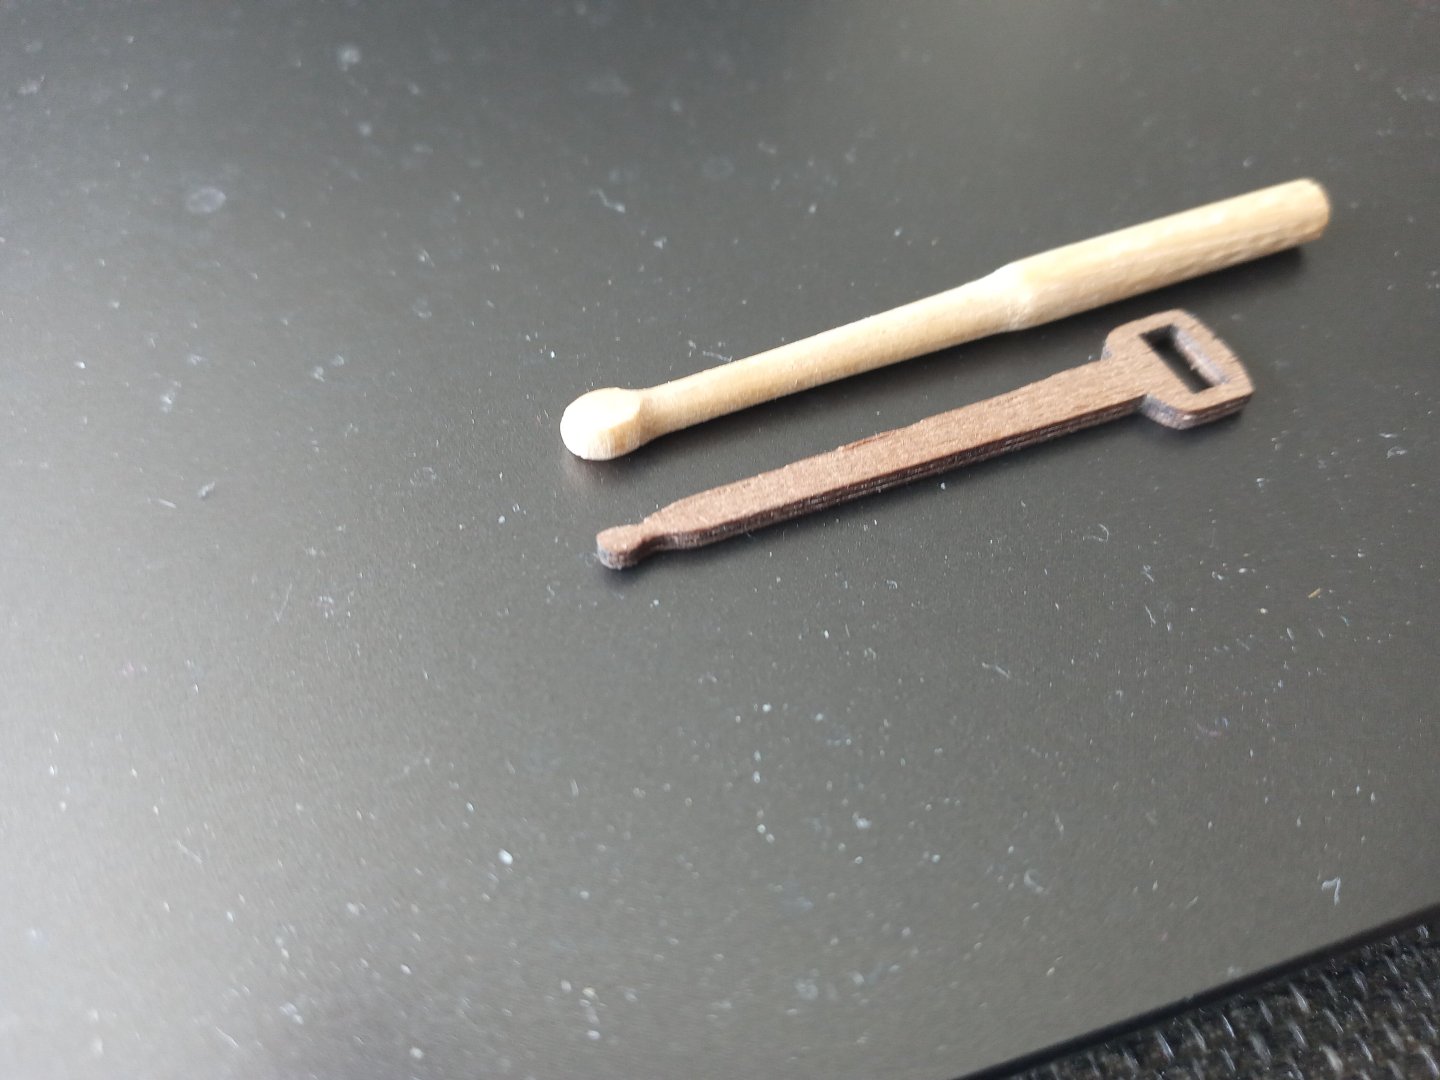
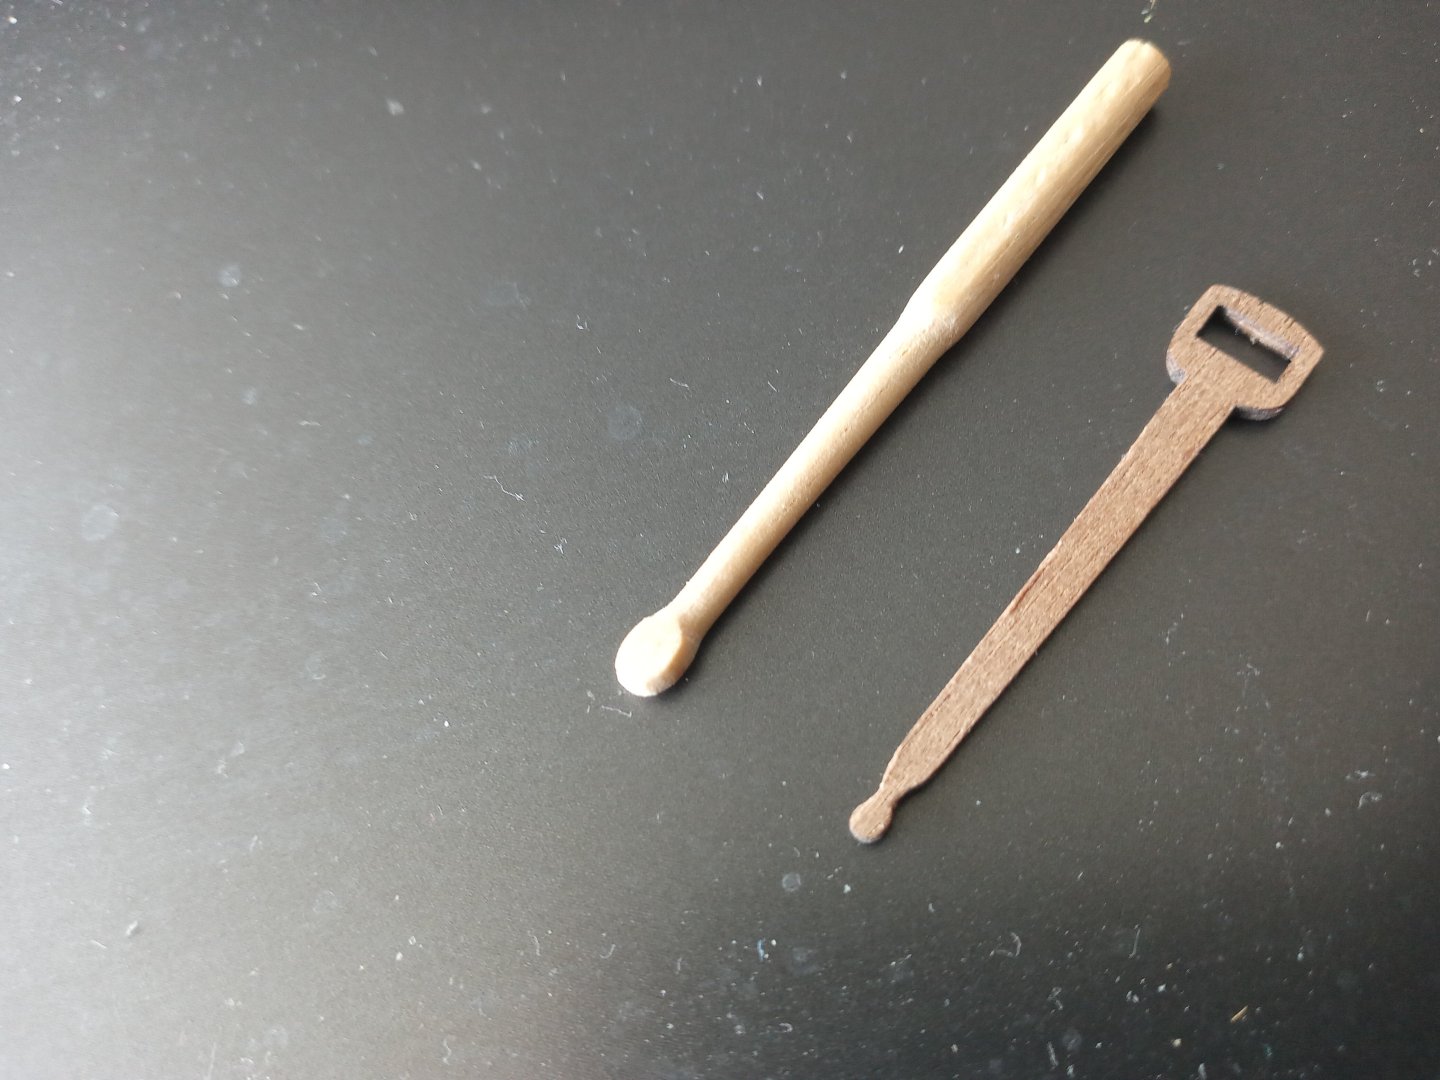
Another item you may want to replace is the tiller. It's quite visible and fragile. There's eyebolts to be attached, which is a risky business. I'not that enthousiastic about the kit's version : it's rather flat. Besides, research demonstrated this item was way bigger. This attempt was made of a 4mm. ramin dowel . However, and accordingly to internet research, I flattened the "knot" at the end a bit. If availability is no concern, you may want to use ramin dowels instead of walnut. I intend to use ramin dowels also for the masts as it requires no yellow painting. Just my personal taste. How to connect this part with the rudder ? I'll figure something out.... Oh yes,...the swivel guns provided in the kit..... But that's for later
- 64 replies
-
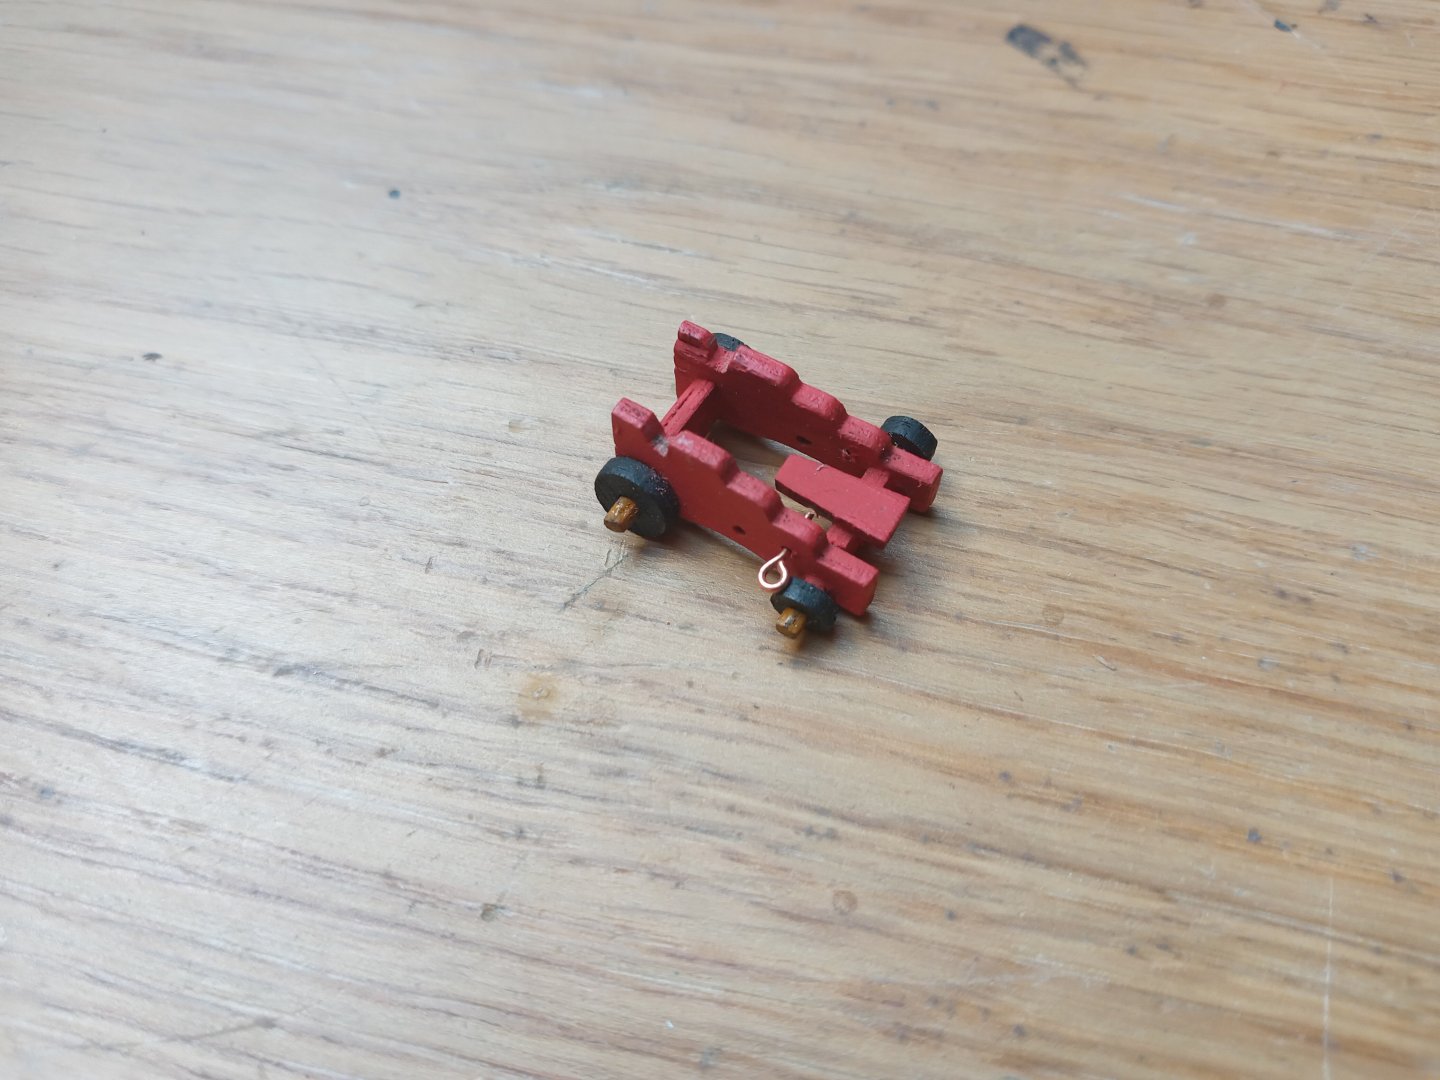
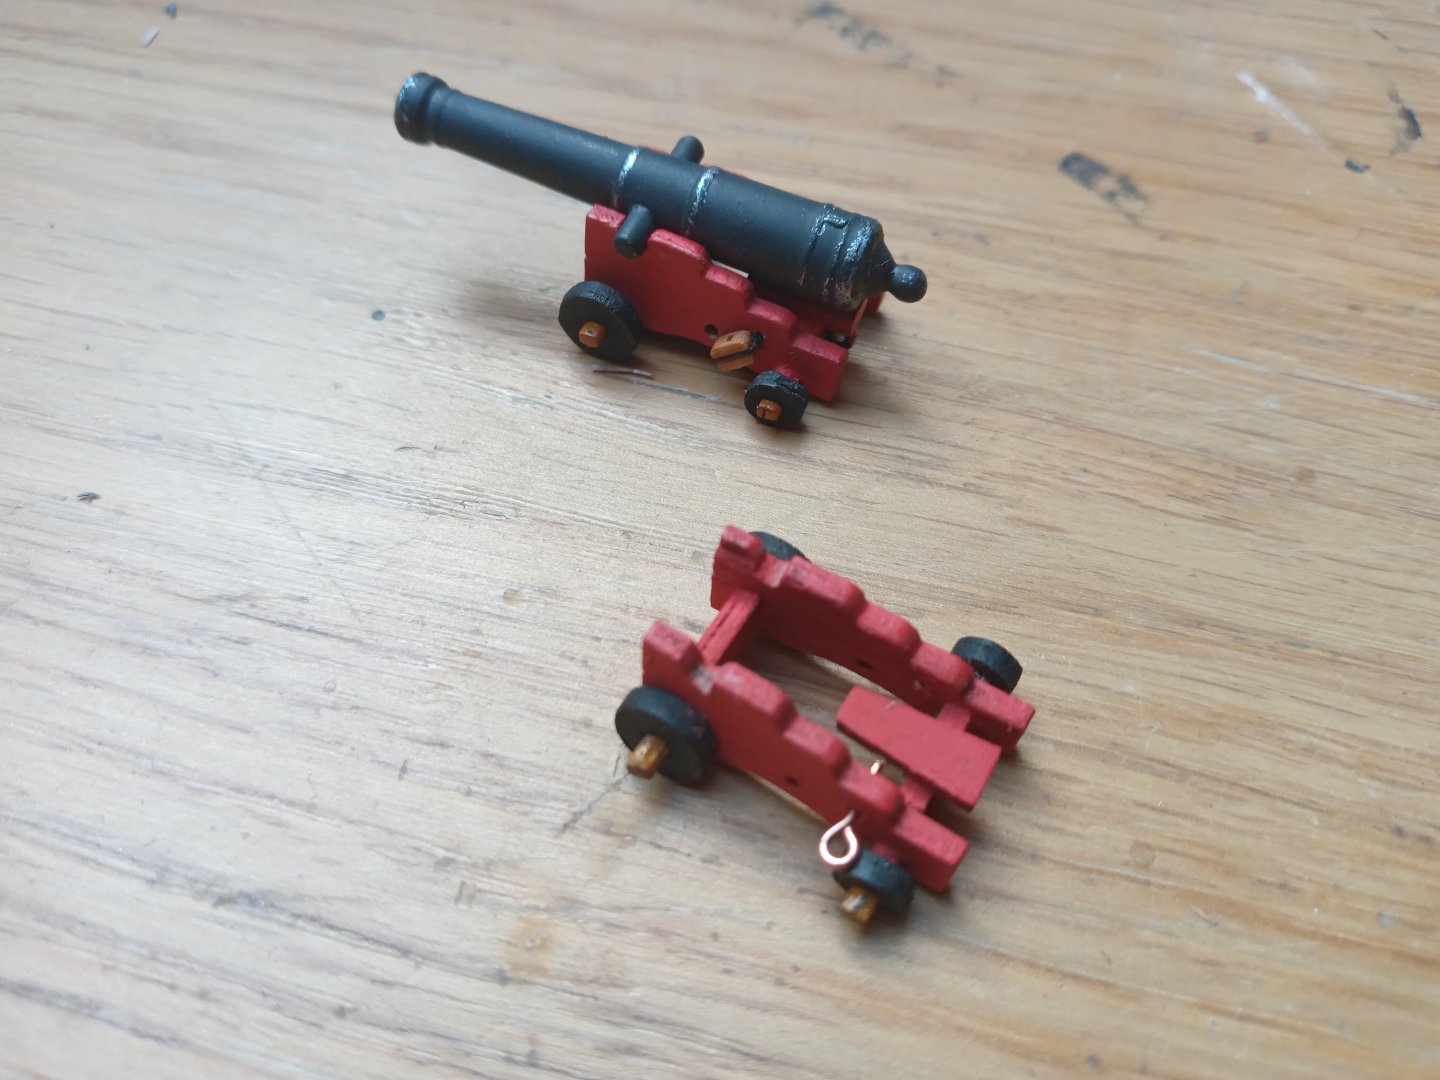
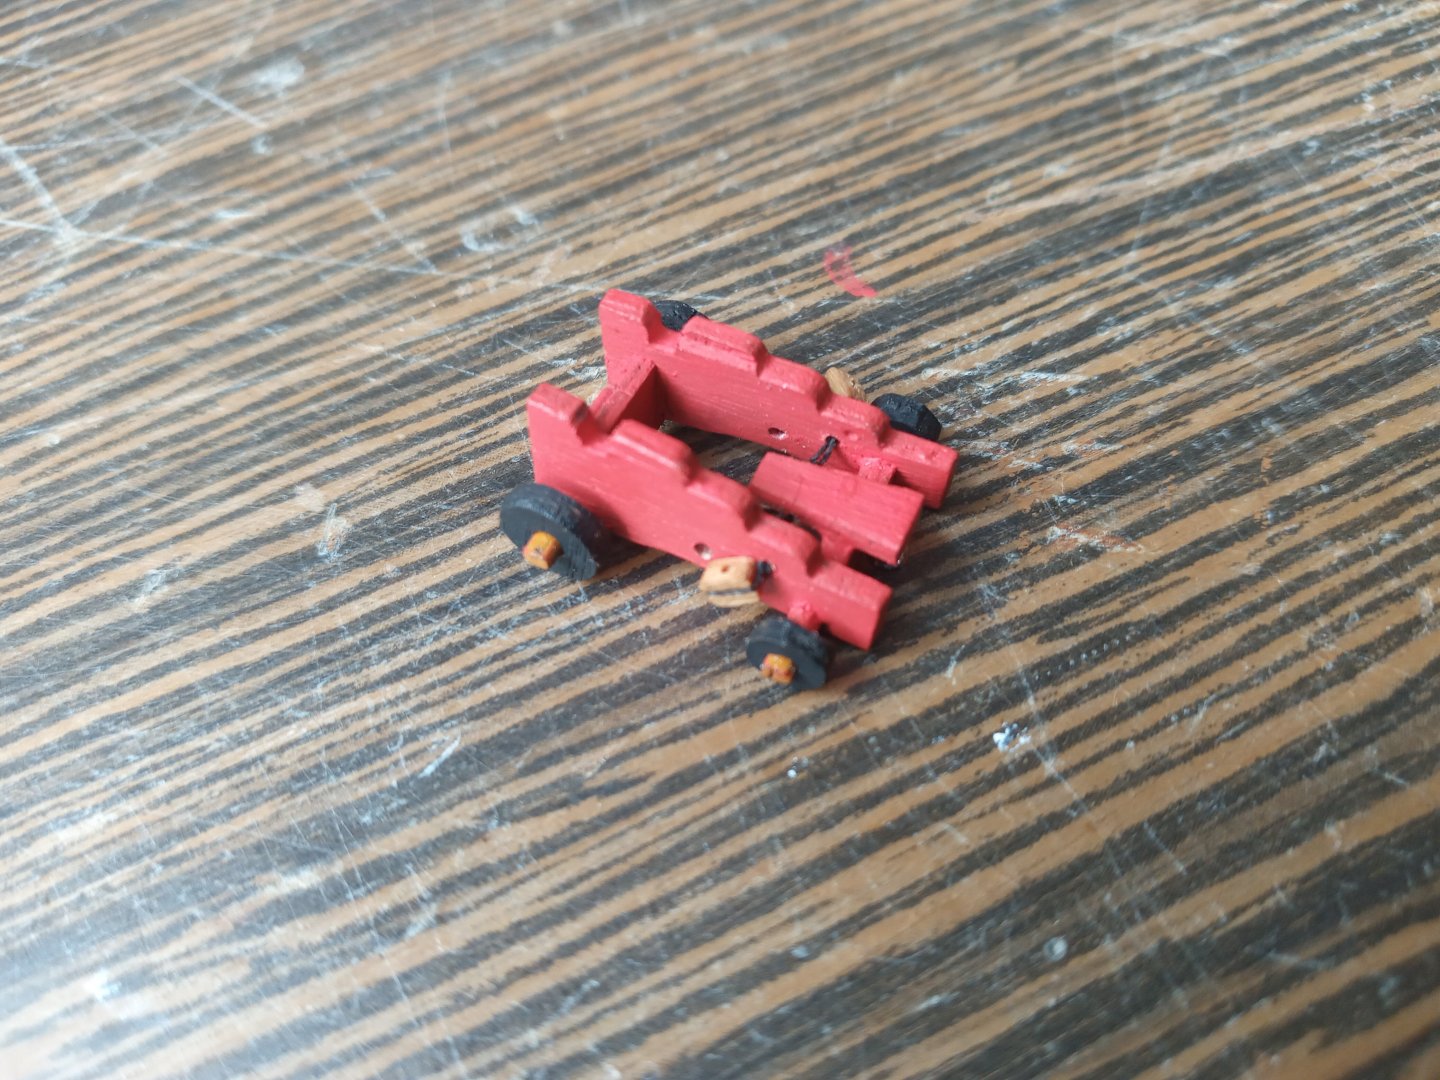
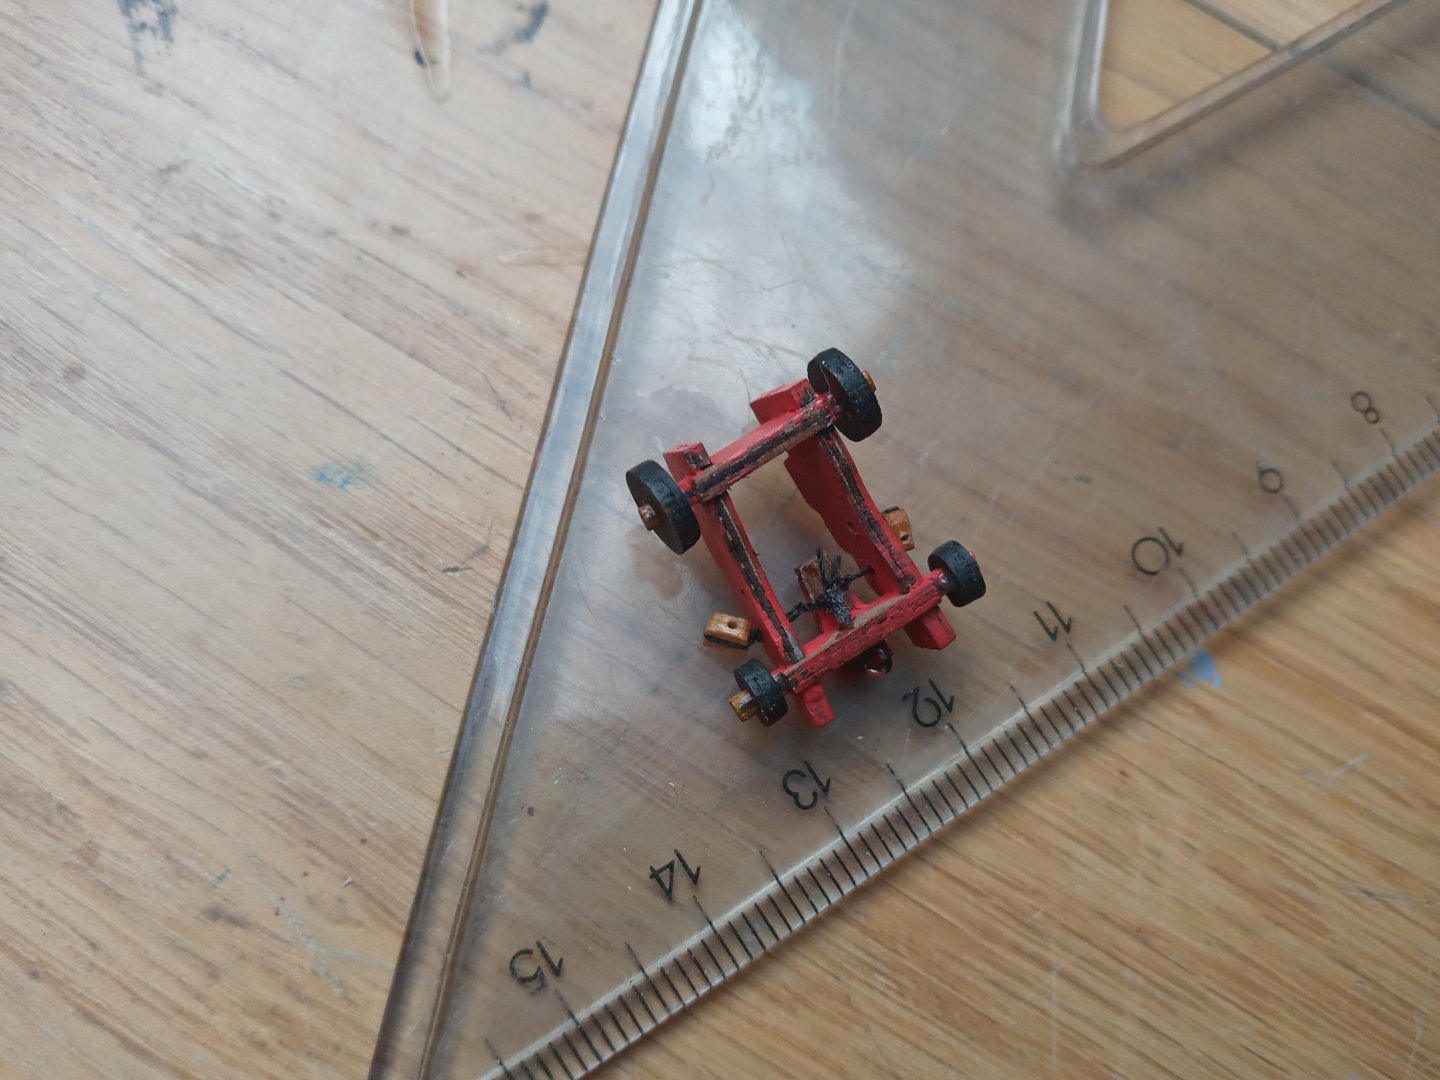
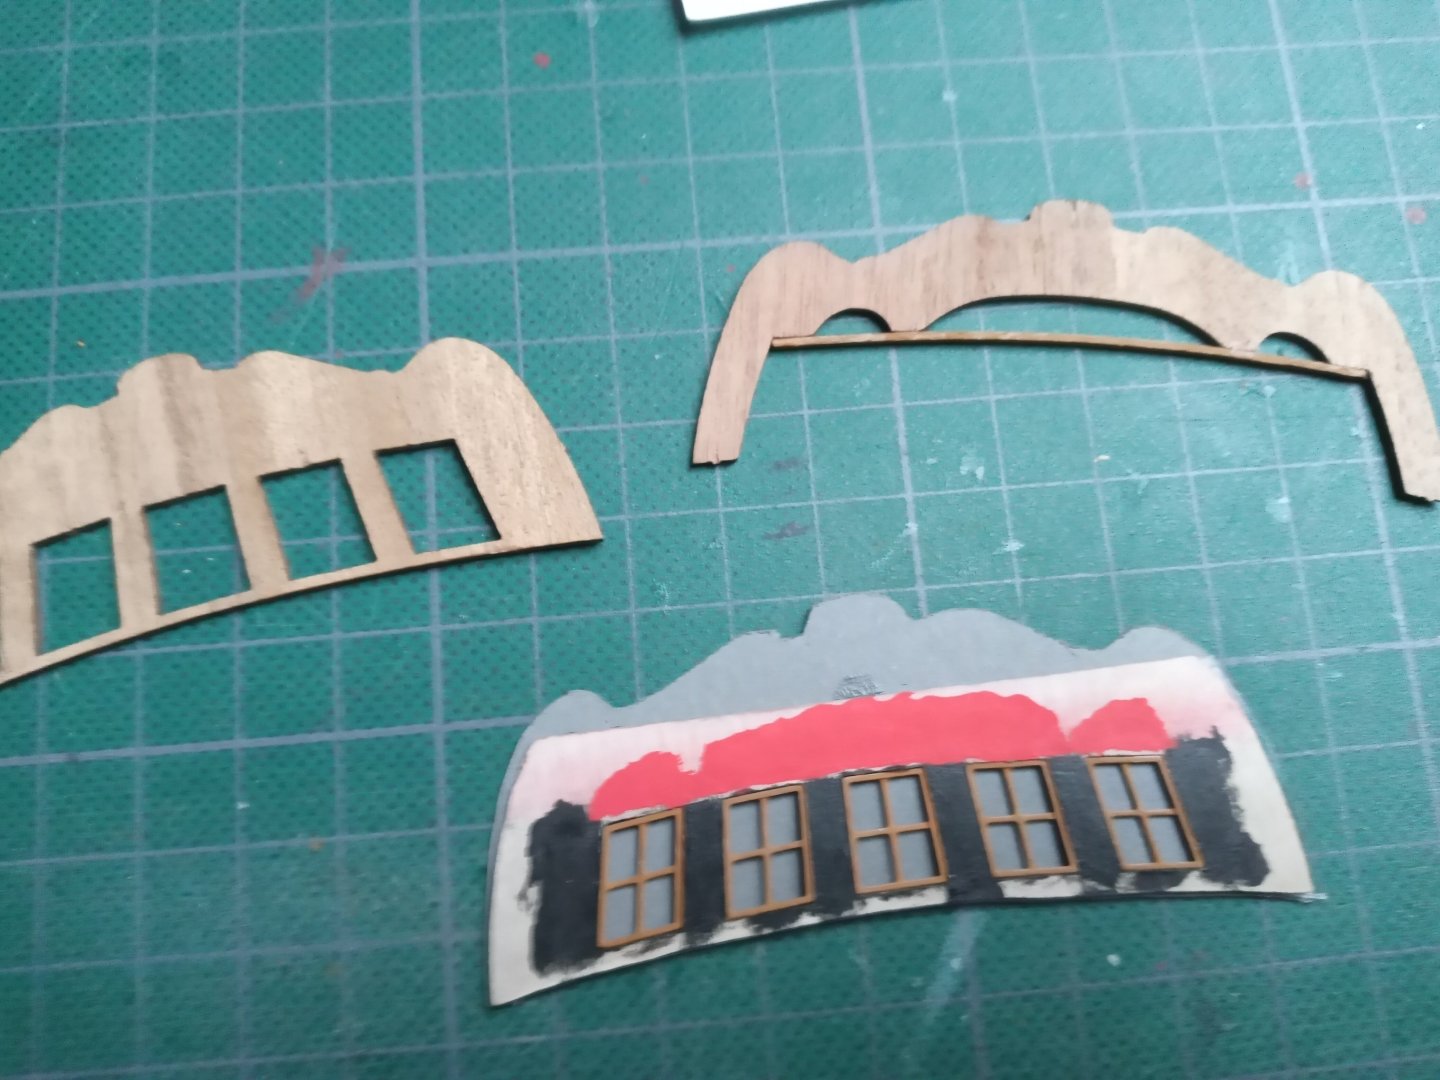
Thanks for your high praise, Rod. This is certainly the correct place to ask your question, you are very welcome Although imho the real shipwrigts are more likely to be found in the scratch-build section, I'm afraid. Also built Corel Vasa, so we have this in common. The gun carriages are not prefabricated, they are an assemblyprocess of different parts ( see pic below, you can still distinguish the different parts ). I understand that this problem of prefabricated carriages might occur with (early ? ) versions of the HMS Fly Amati kit. Unfortunately, this is also the case with my next project ( Sciabecco Amati 1/60 ) You are quite right to question the size ( and perhaps also the quality )of the guns. I haven't figured out yet how to tackle this issue. The concern of the guns ( wether or not with carriages) and longboat....., well if there's no problem of availability, I can only tell you : go for it ! ( e.g. Vanguard Models,... ). Certainly the metal longboat is indeed asking for alternatives, or at least different approaches. However, I used the photoetched windowframes supplied by the kit. Only the grey paper I fixed behind the plastic provided the effect I was seeking for. Hope this helps. I not, feel free to ask further questions
- 64 replies
-
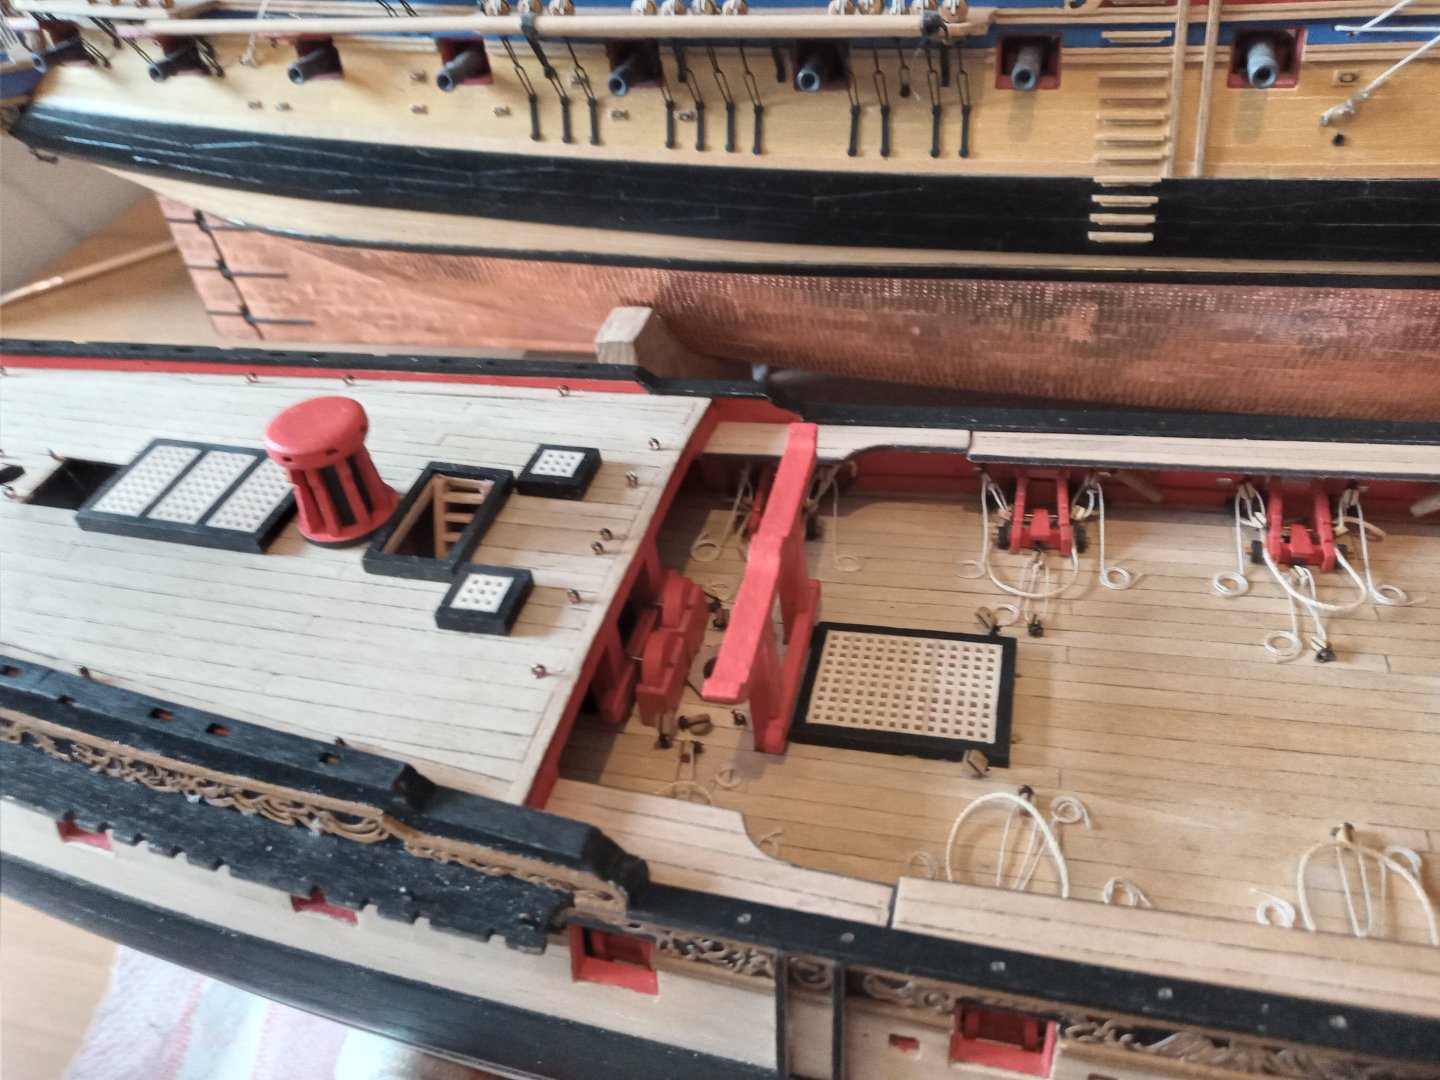
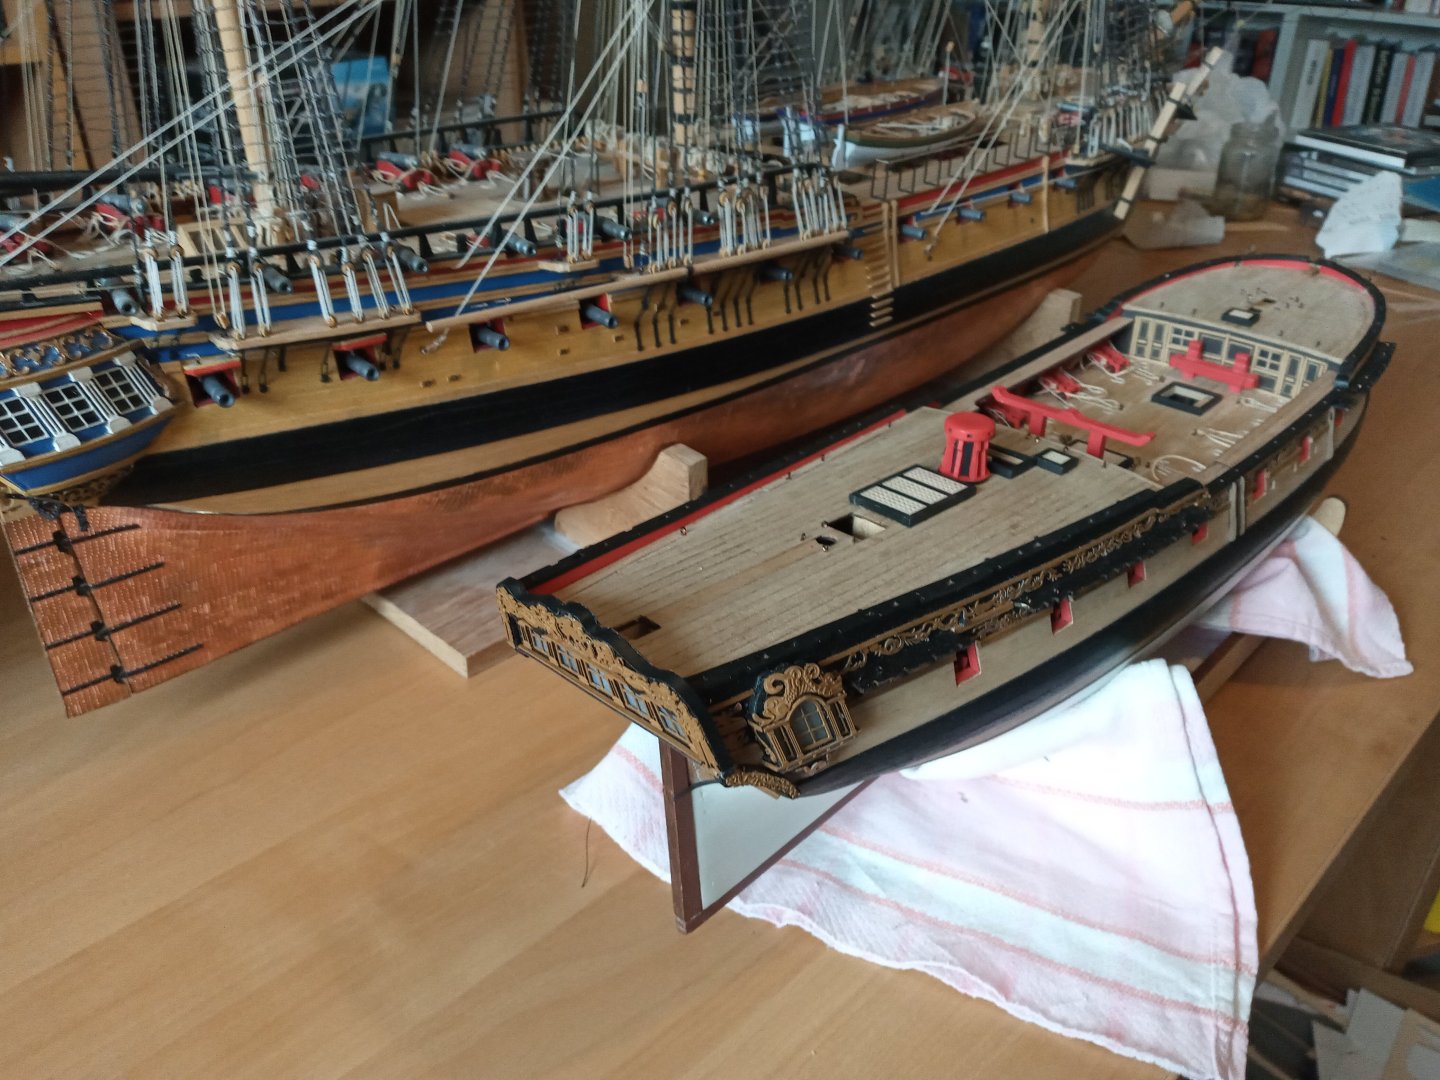
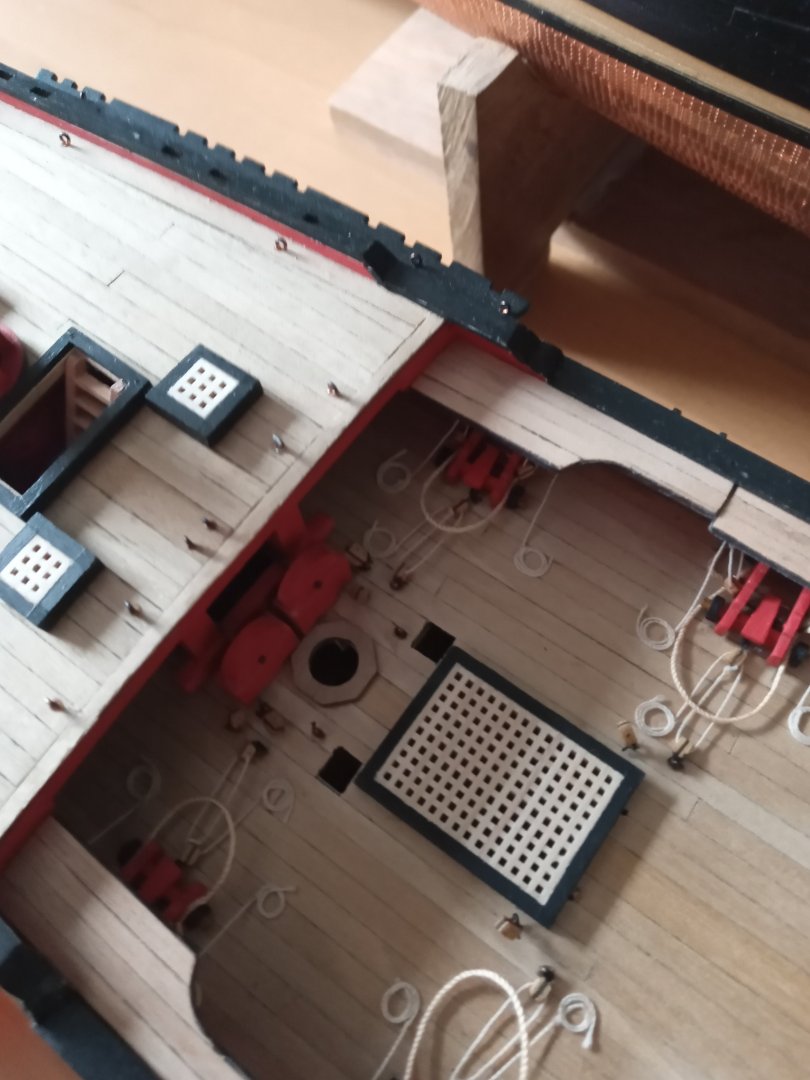
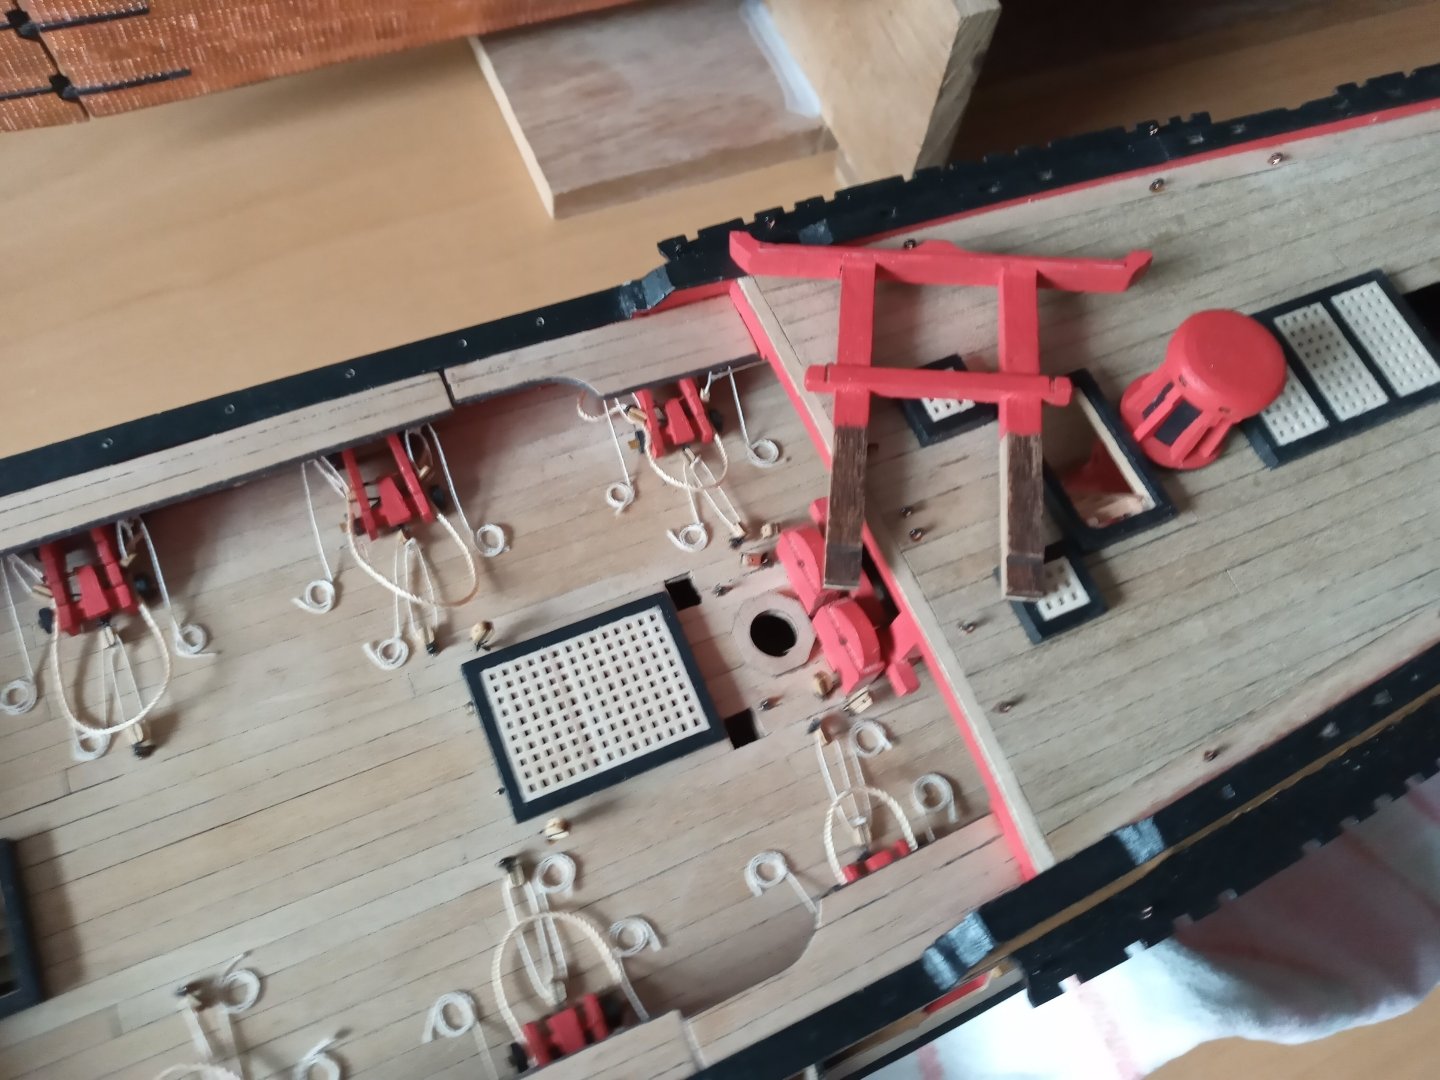
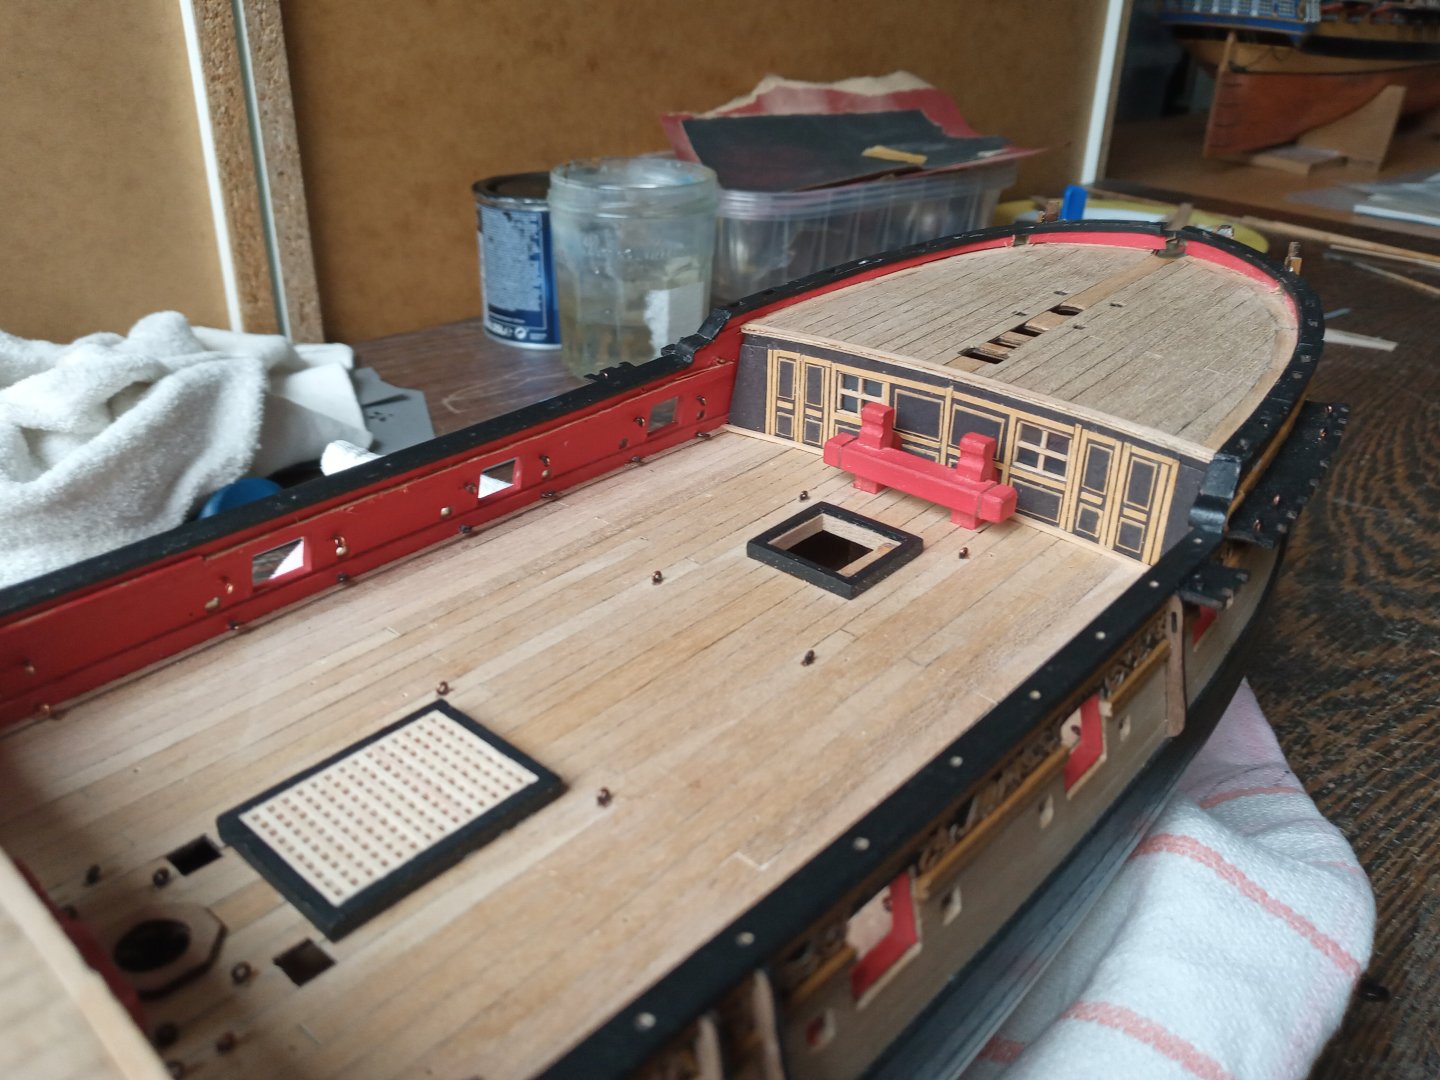
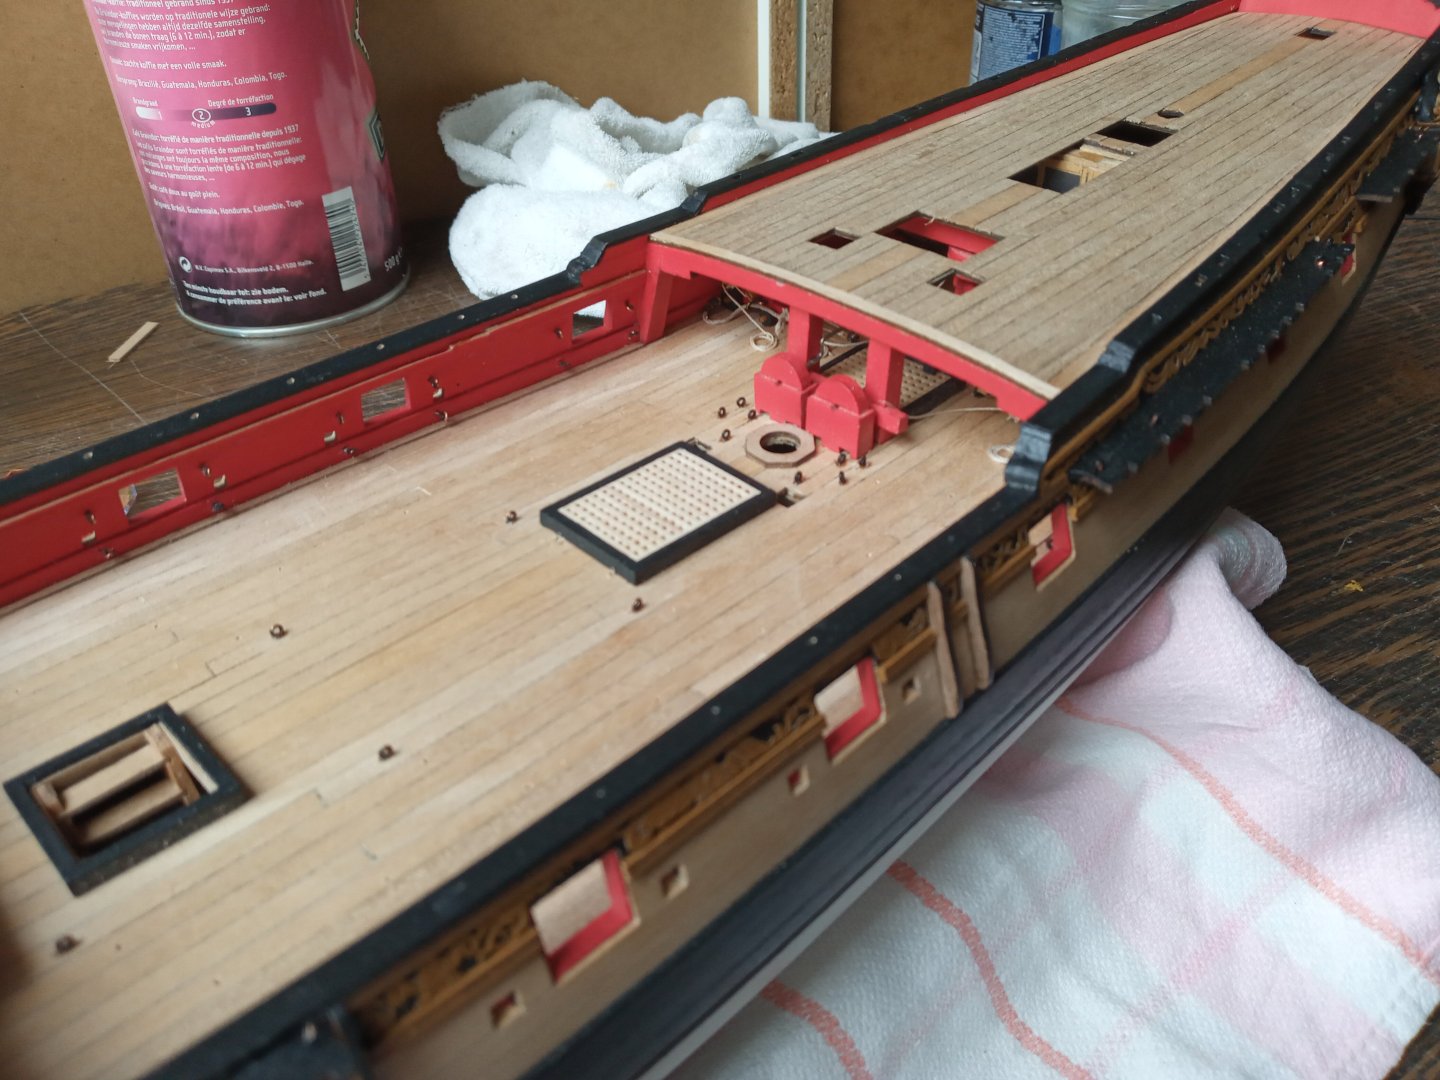
Thanks for the info and showing interest. B.E. Well, it is hardly noticeable. The moreover I've painted the edge of the captstans base in flat black color ( kind of a camouflage ). From stern to bow view the capstan is isolated between stairs and gratings and from port to starboard and the other way around...well ratlines and shrouds and probably other rigging will cover this issue completely. I've painted the capstain axe also in black as I was anxious to avoid the red flashy color overall this item. A calculated risk ?
- 64 replies
-
- 64 replies
-
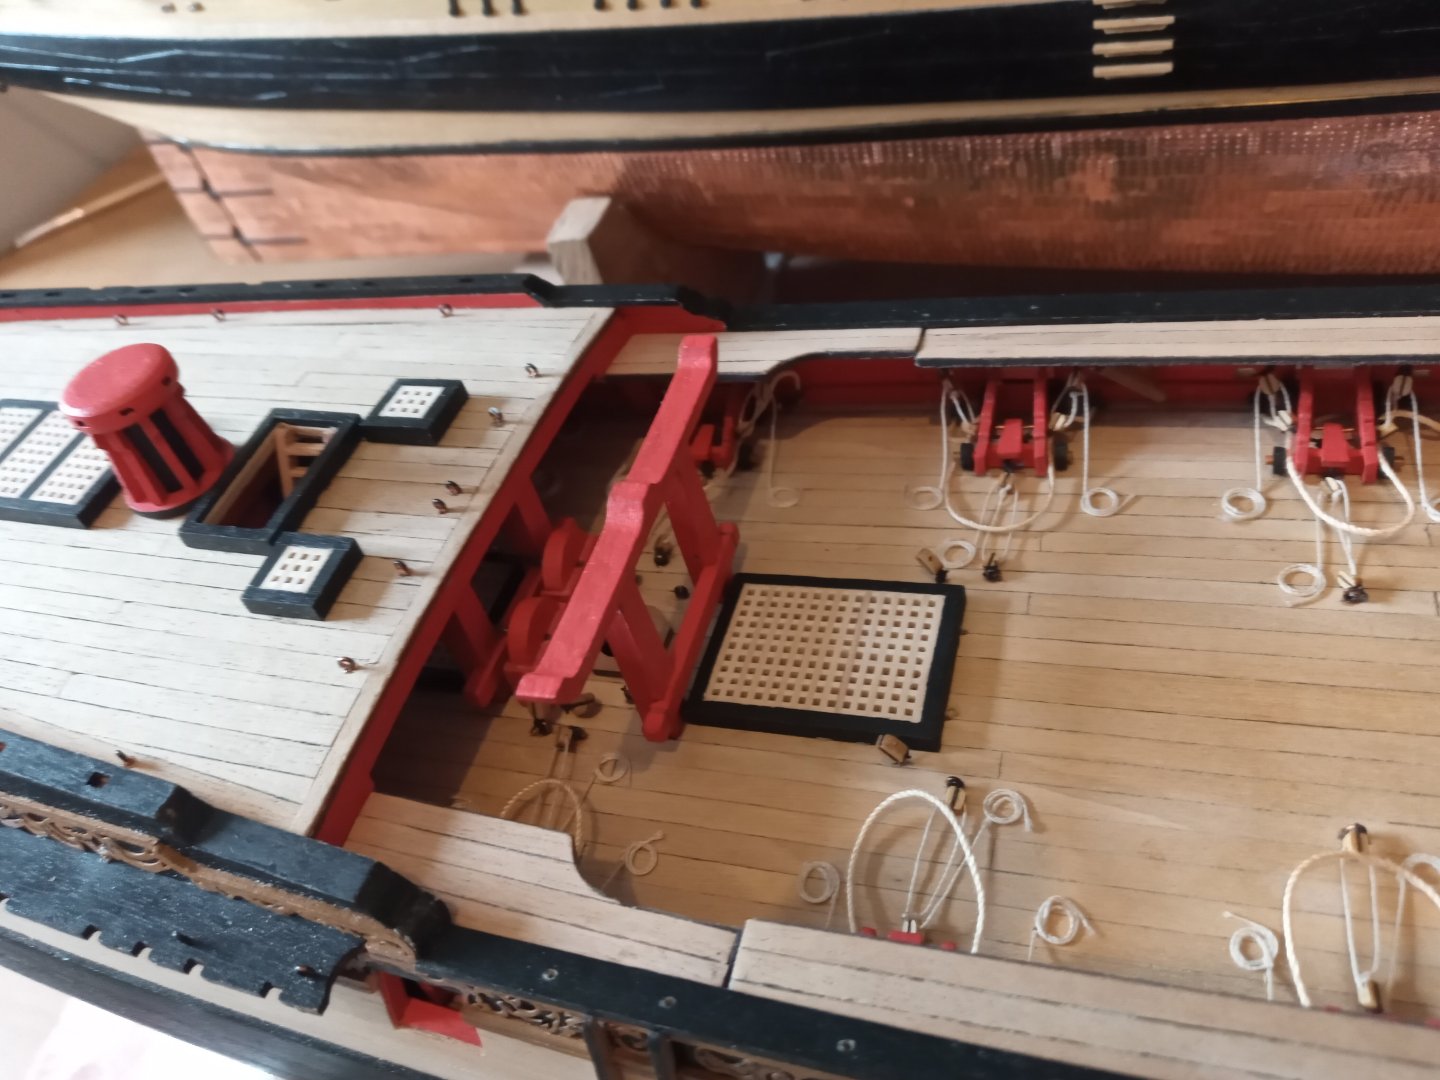
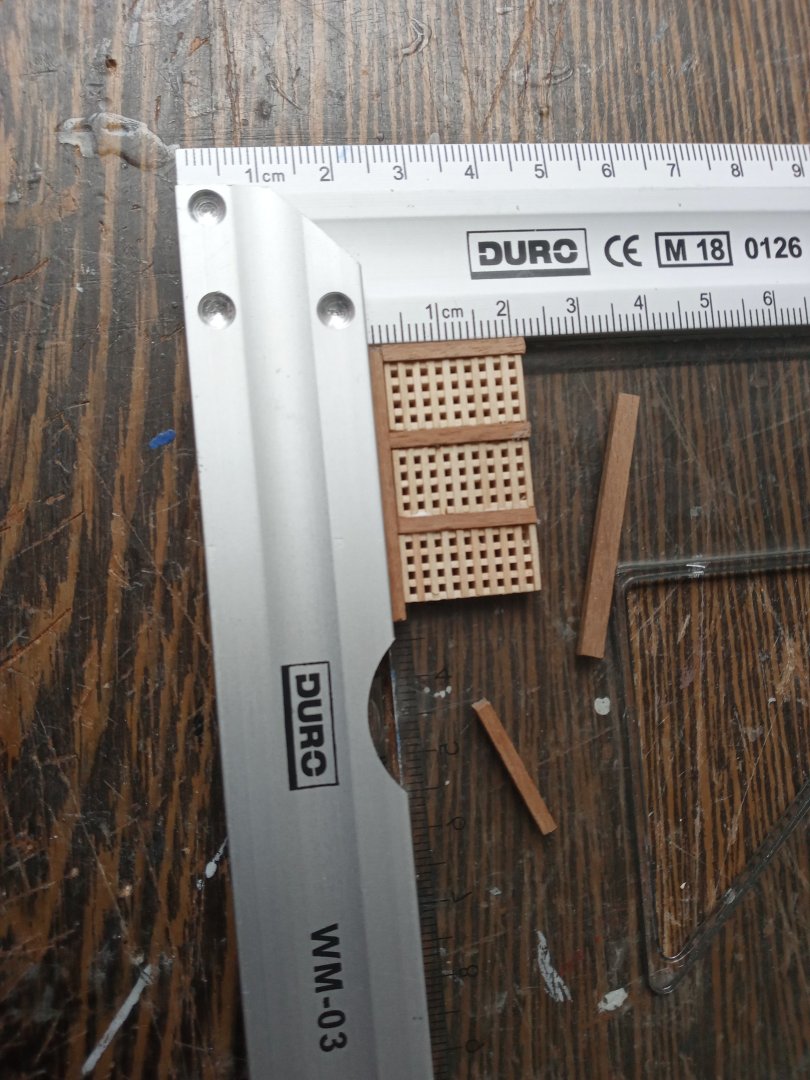
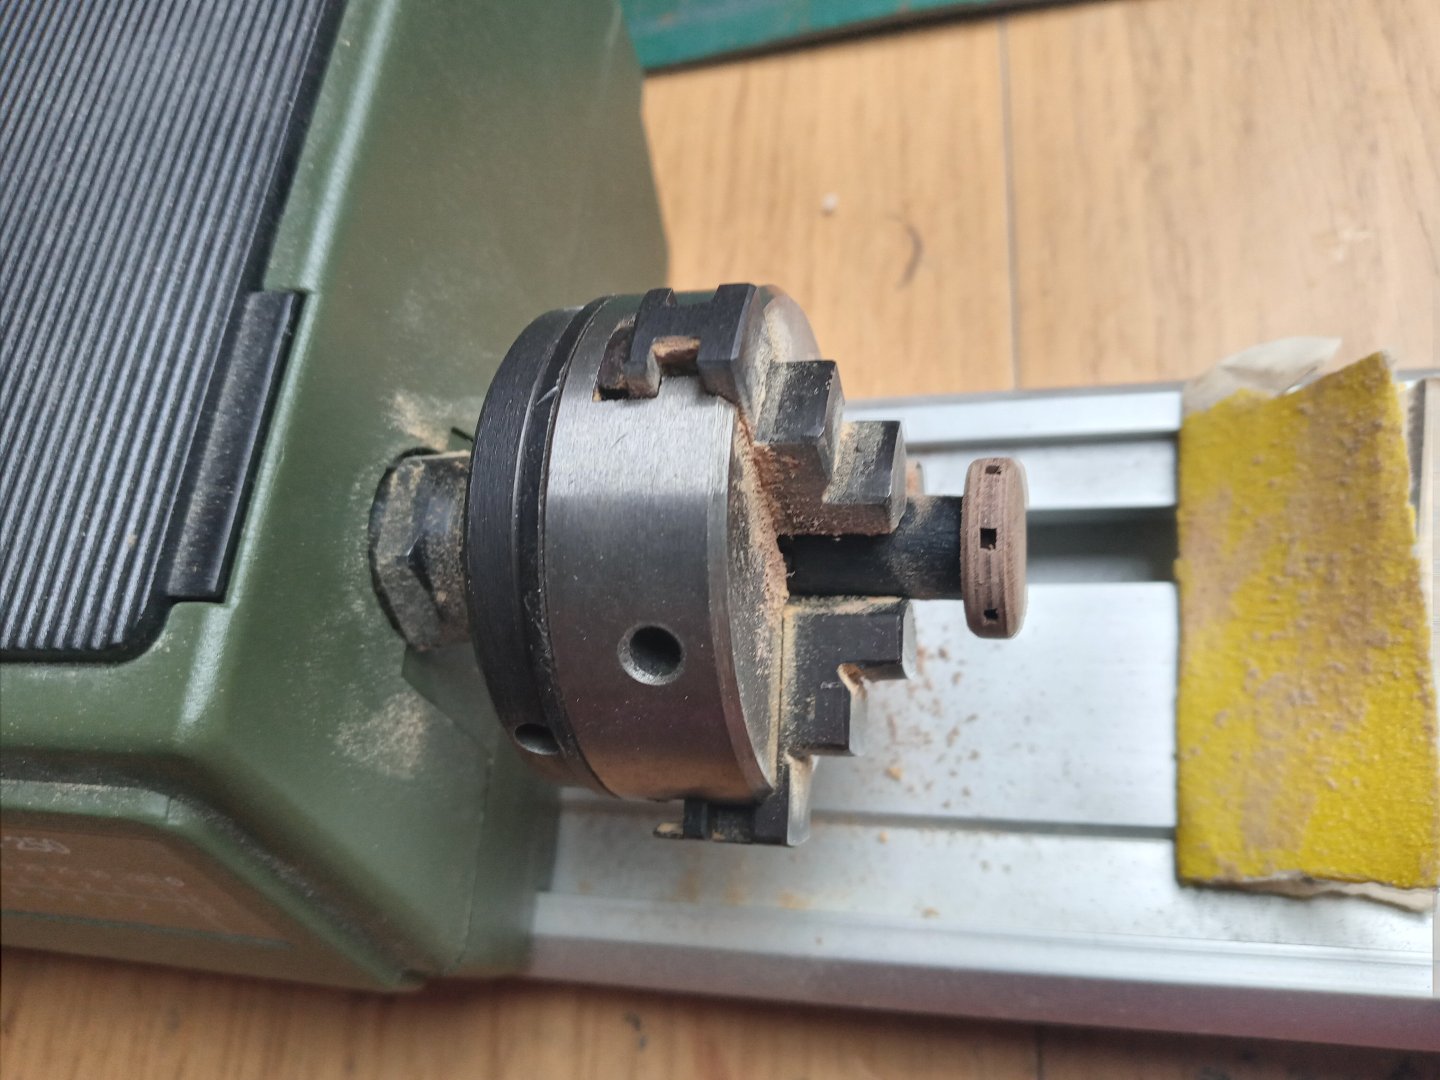
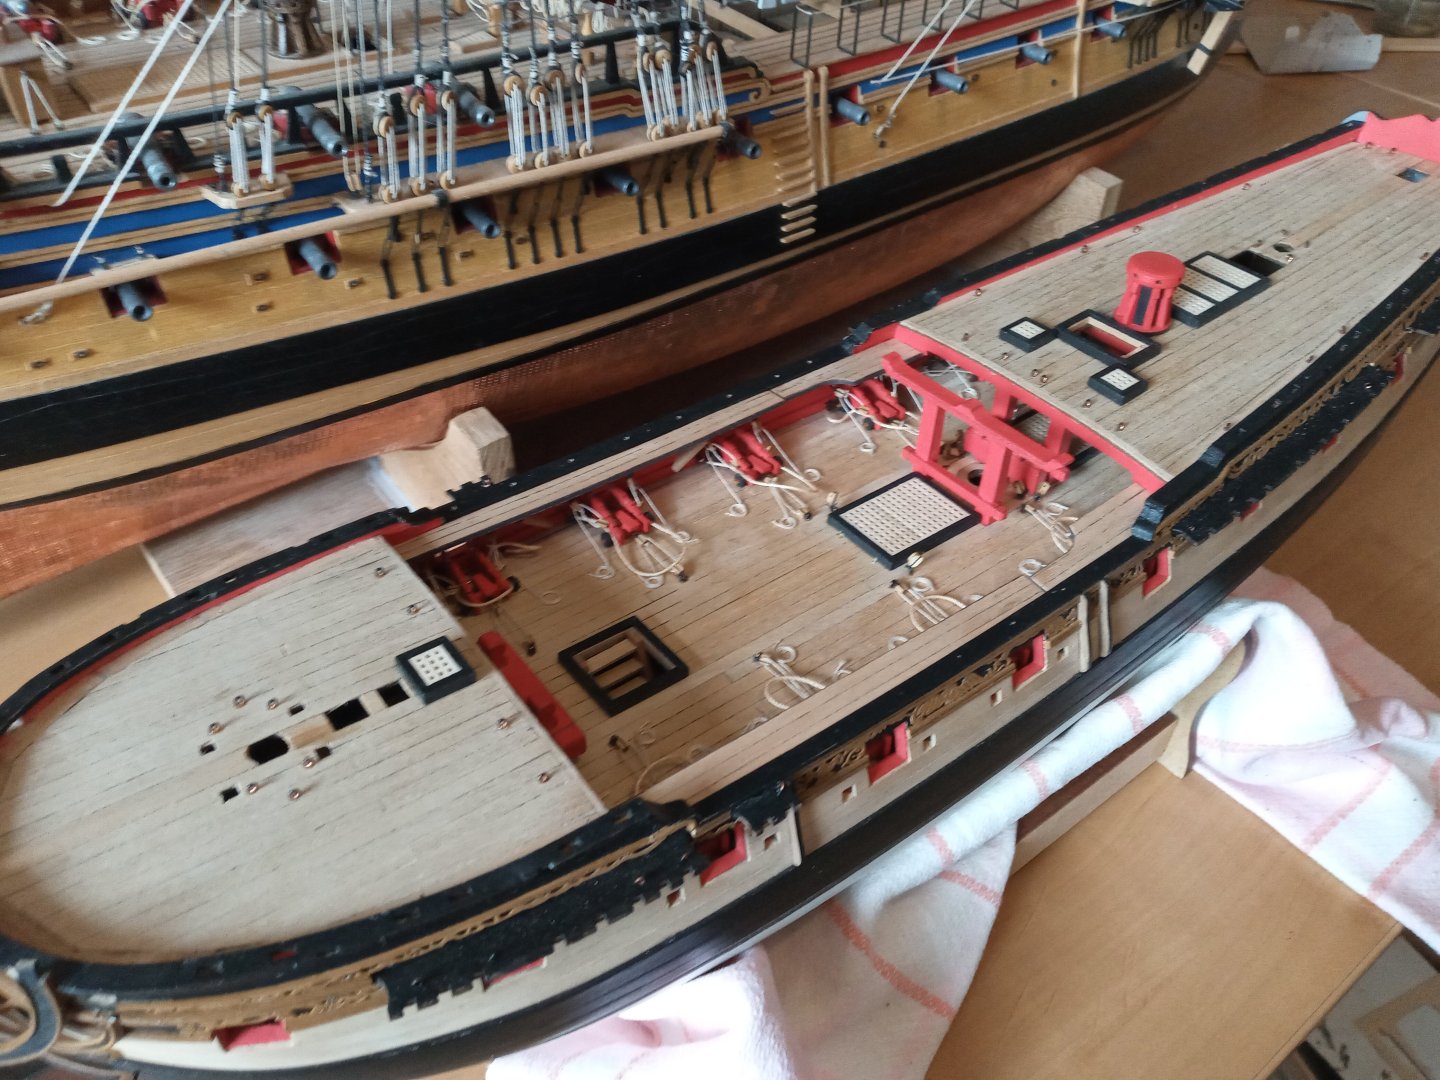
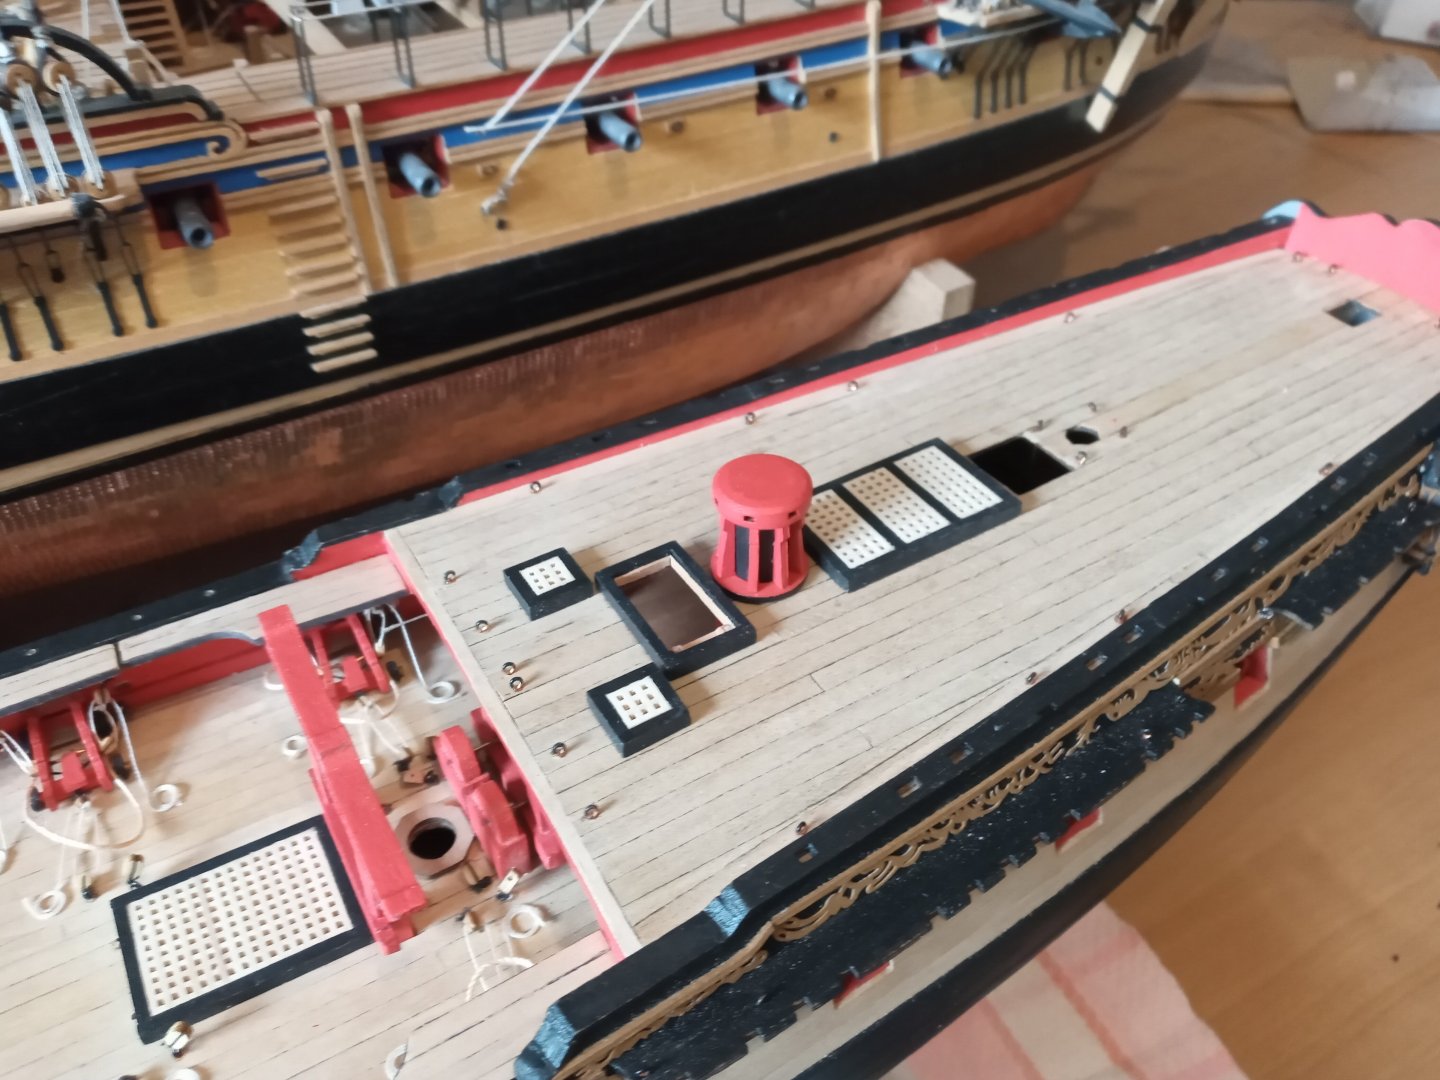
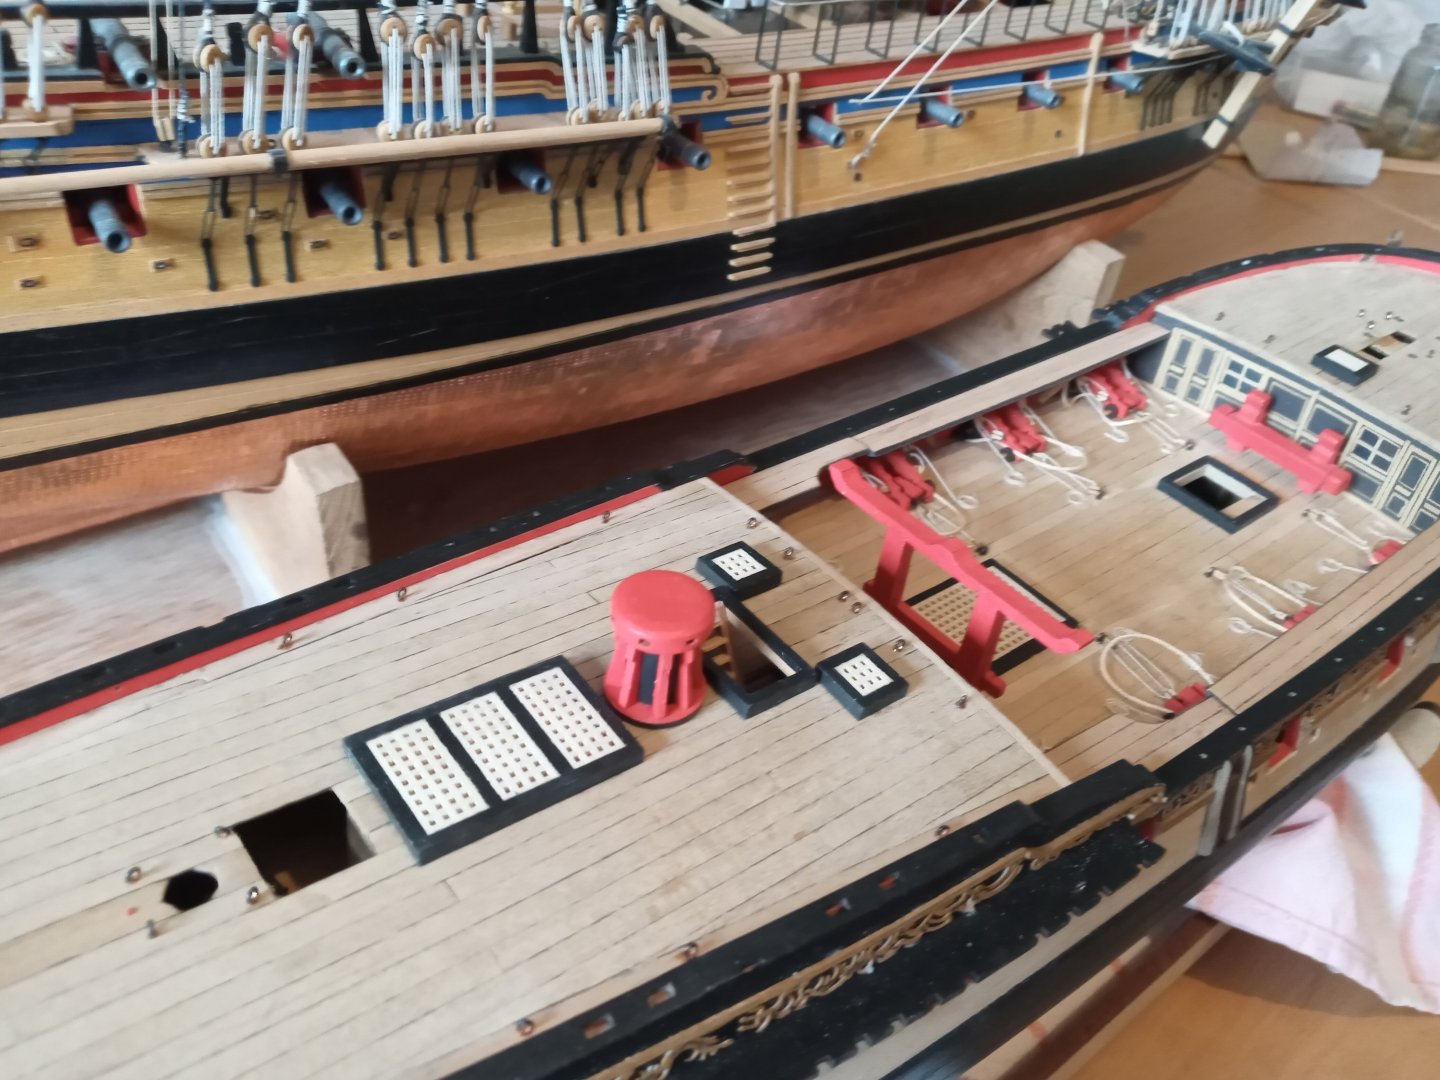
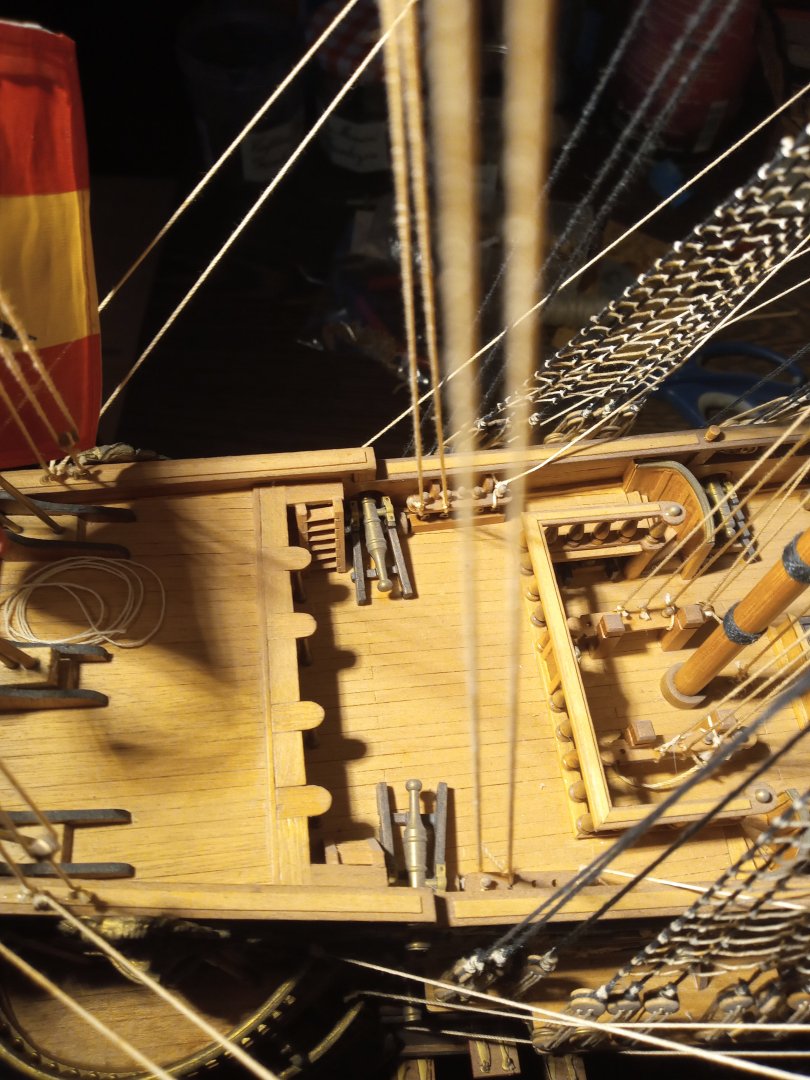
An in between update. ( part 1 of 2 ) The gratings & capstan. About the latter : this item is very present on the quarterdeck so I decreased the diameter a bit and rounded the edges. Also and as far as I know, the position of the capstan is perpandicular but as the quarterdeck describes a small slope, I bevelled the bas of the capstan a bit. However : this item is not glued yet. I also opted for the gangways above the gun area : a nice feature The gallows are also dry fit and with good reason. In this area there's 2x2 blocks related to the rigging process. Just to avoid accessibility concerns. Some general overviews alongside HMS Diana : the difference in size is just striking.
- 64 replies
-
Thanks, Bug. Your interest is much appreciated ( as is your buildlog ). Well, you have these nice English/American sayings or expressions, such as "Hold your horses" and that is what I'm going to do right now. Meaning : I'll go back to the instruction manual and oversee the plans....in order to prepare the next stages, outside, while enjoying the weather. Can't do any harm.
- 64 replies
-
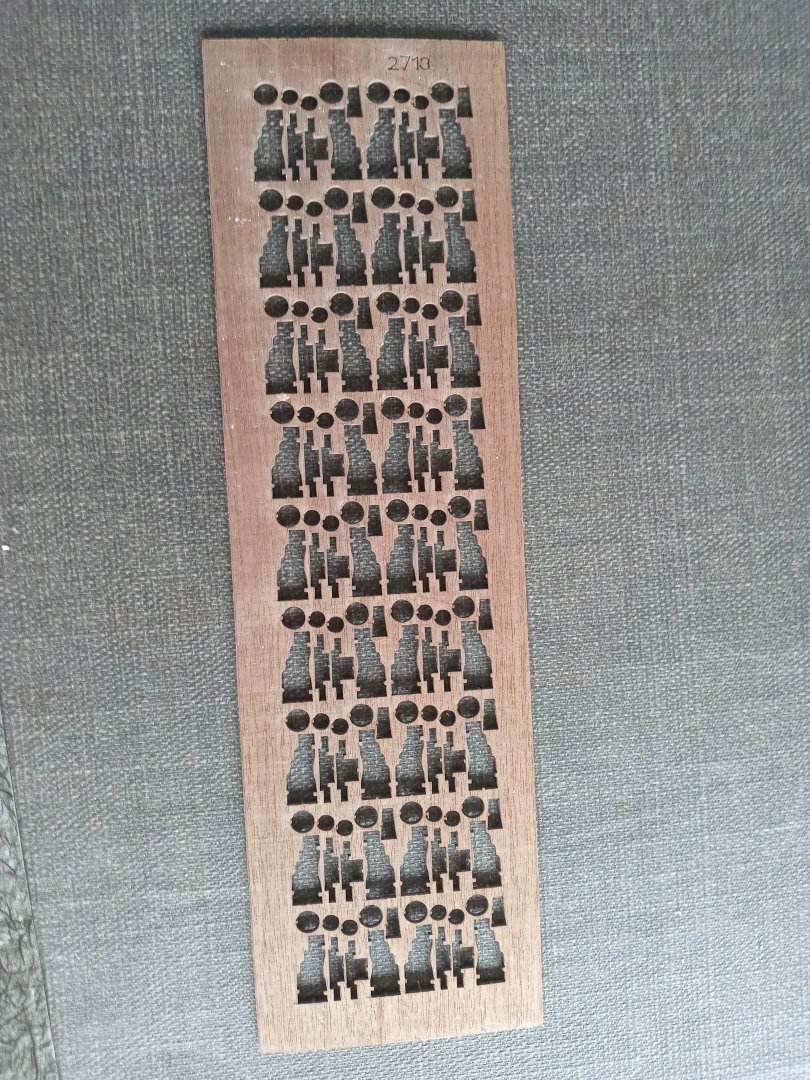
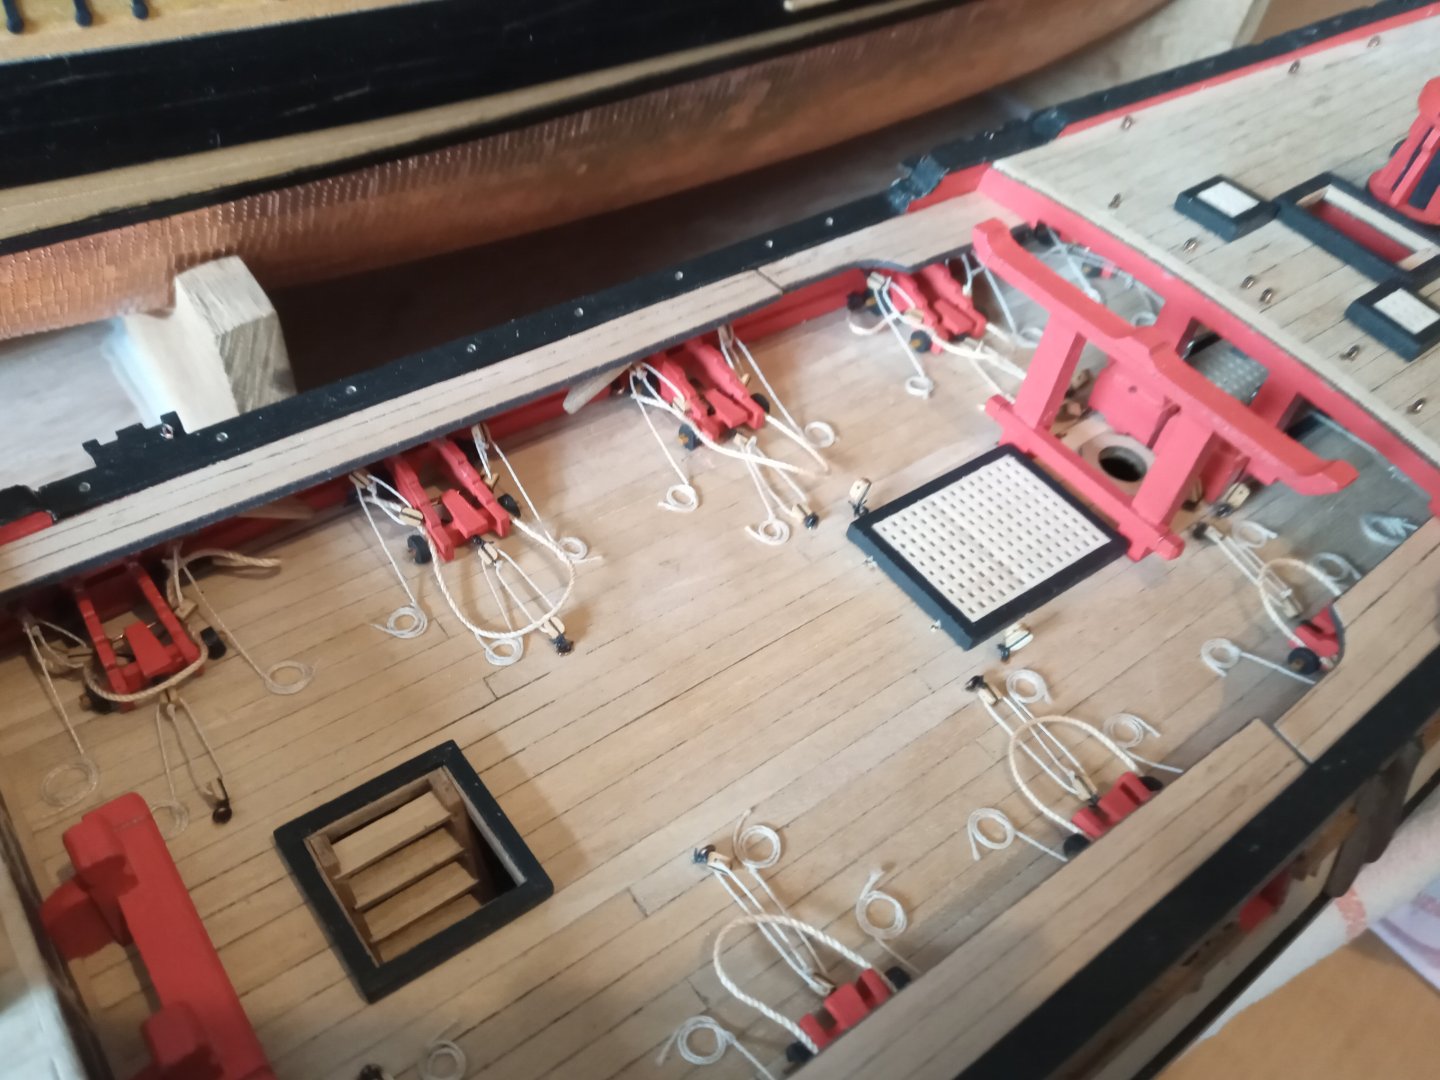
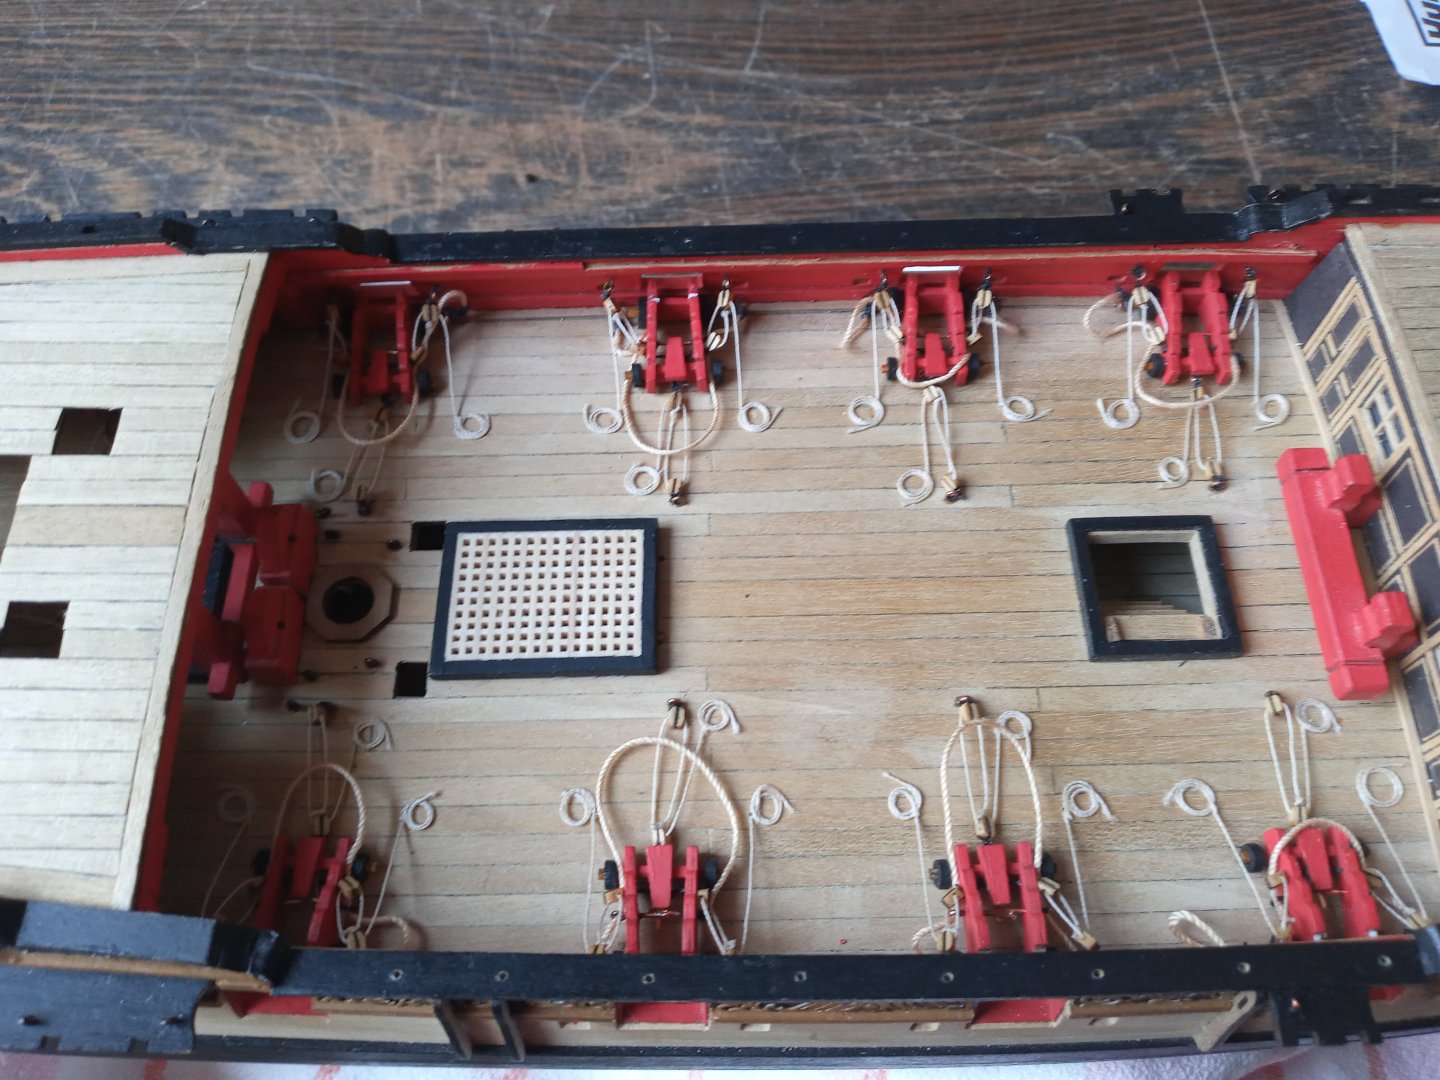
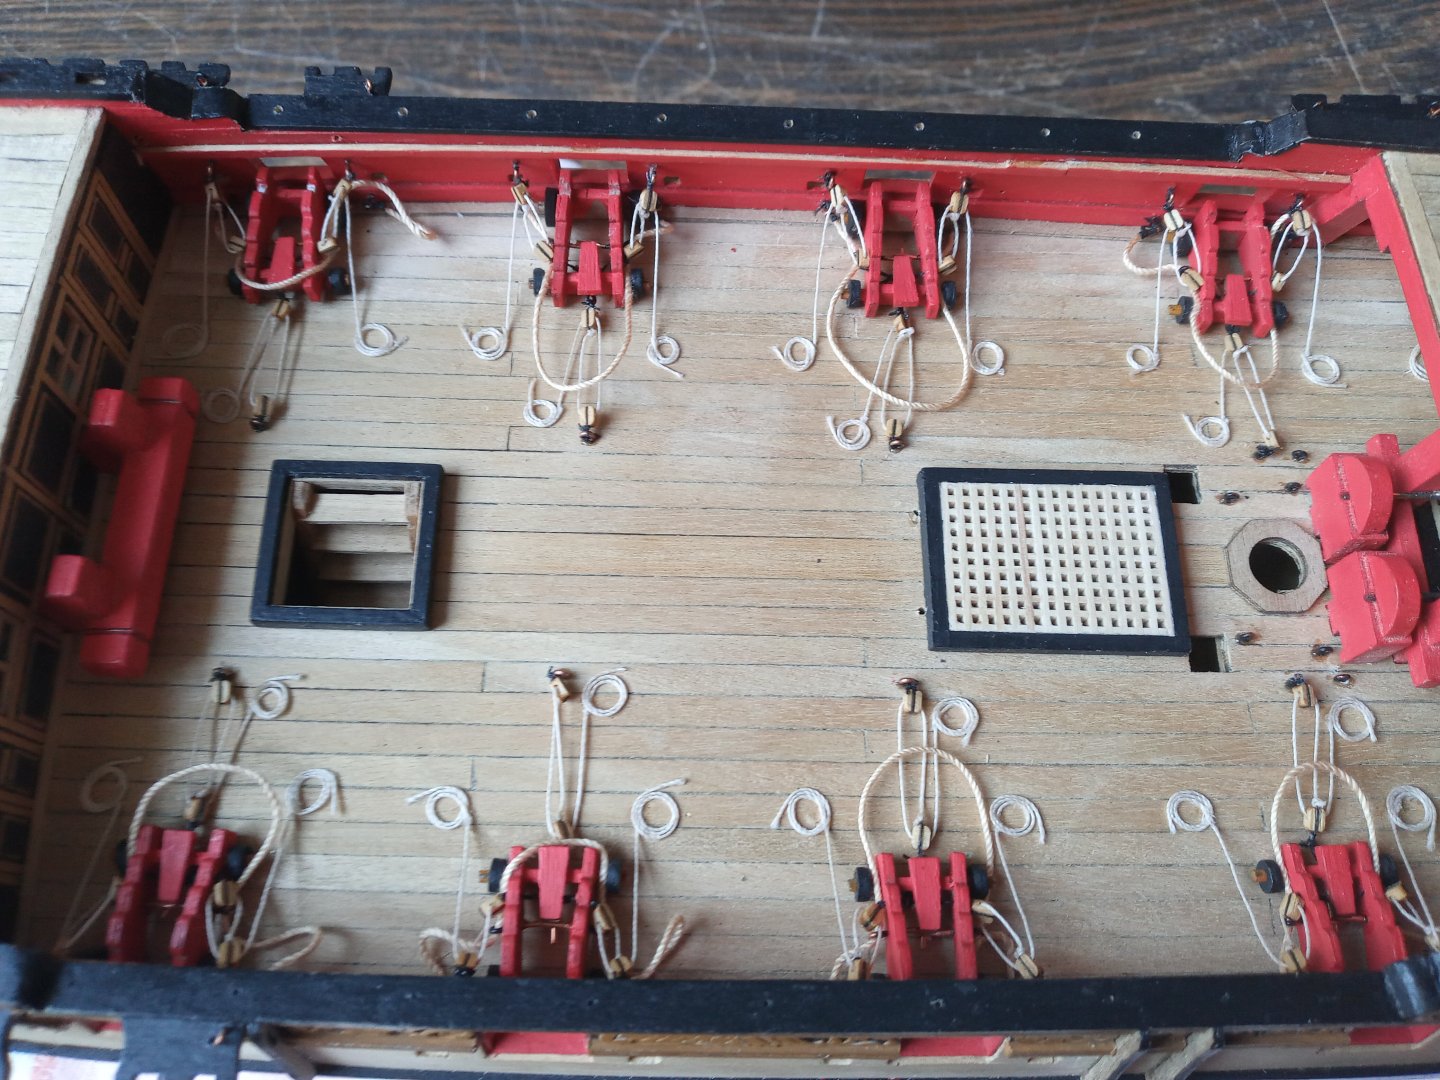
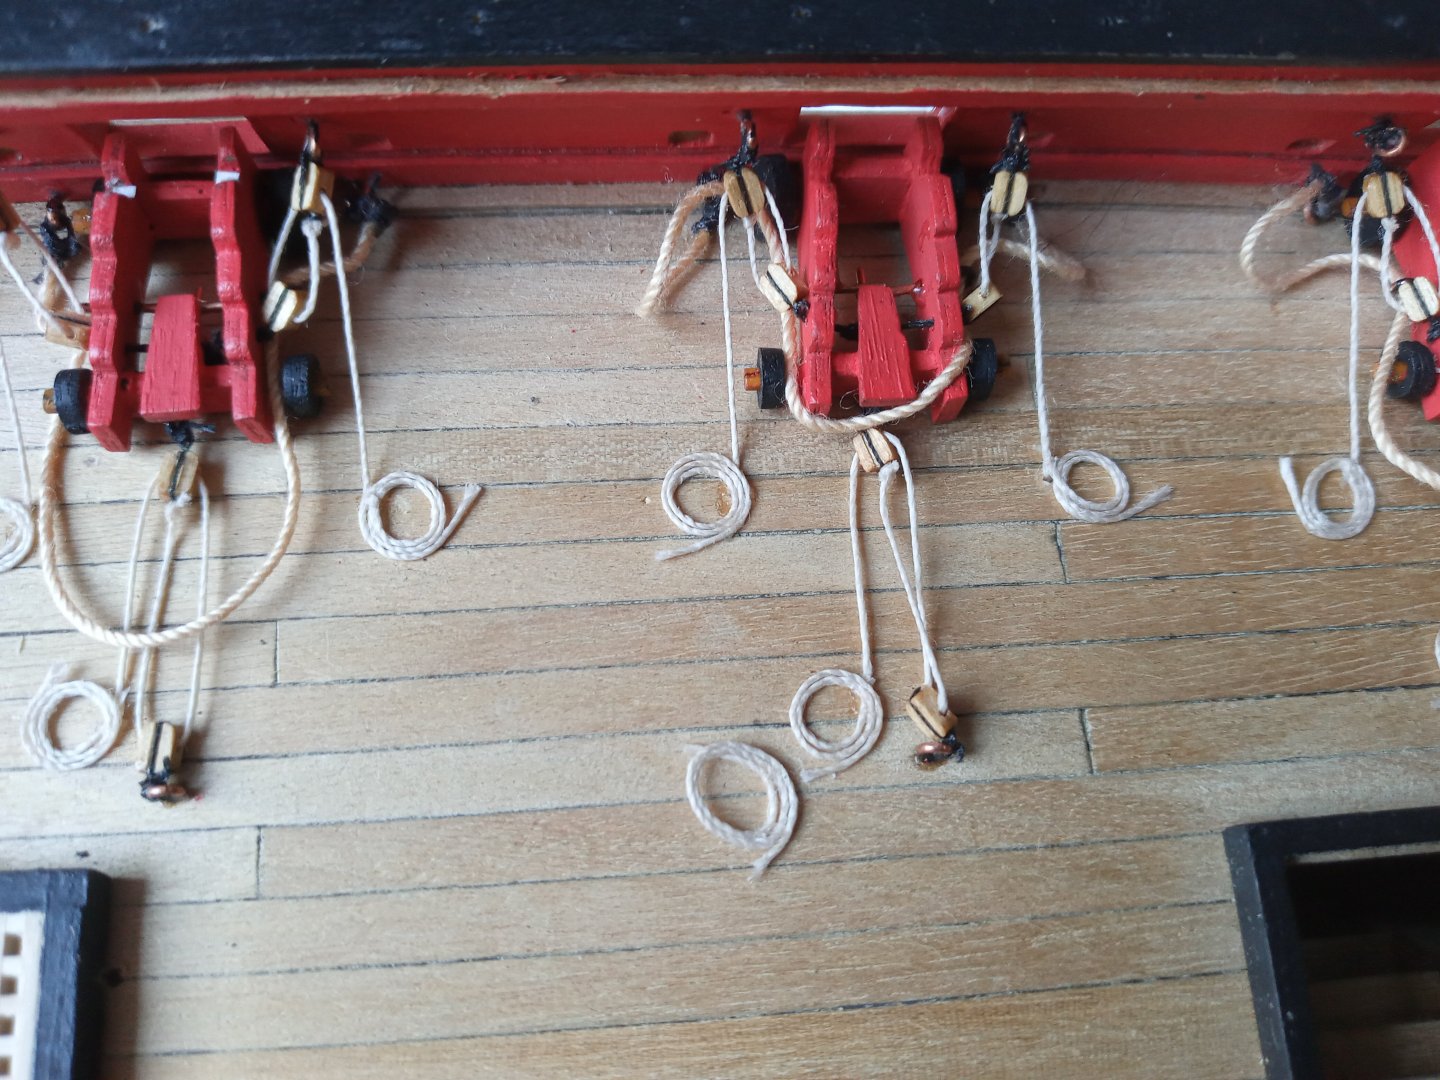
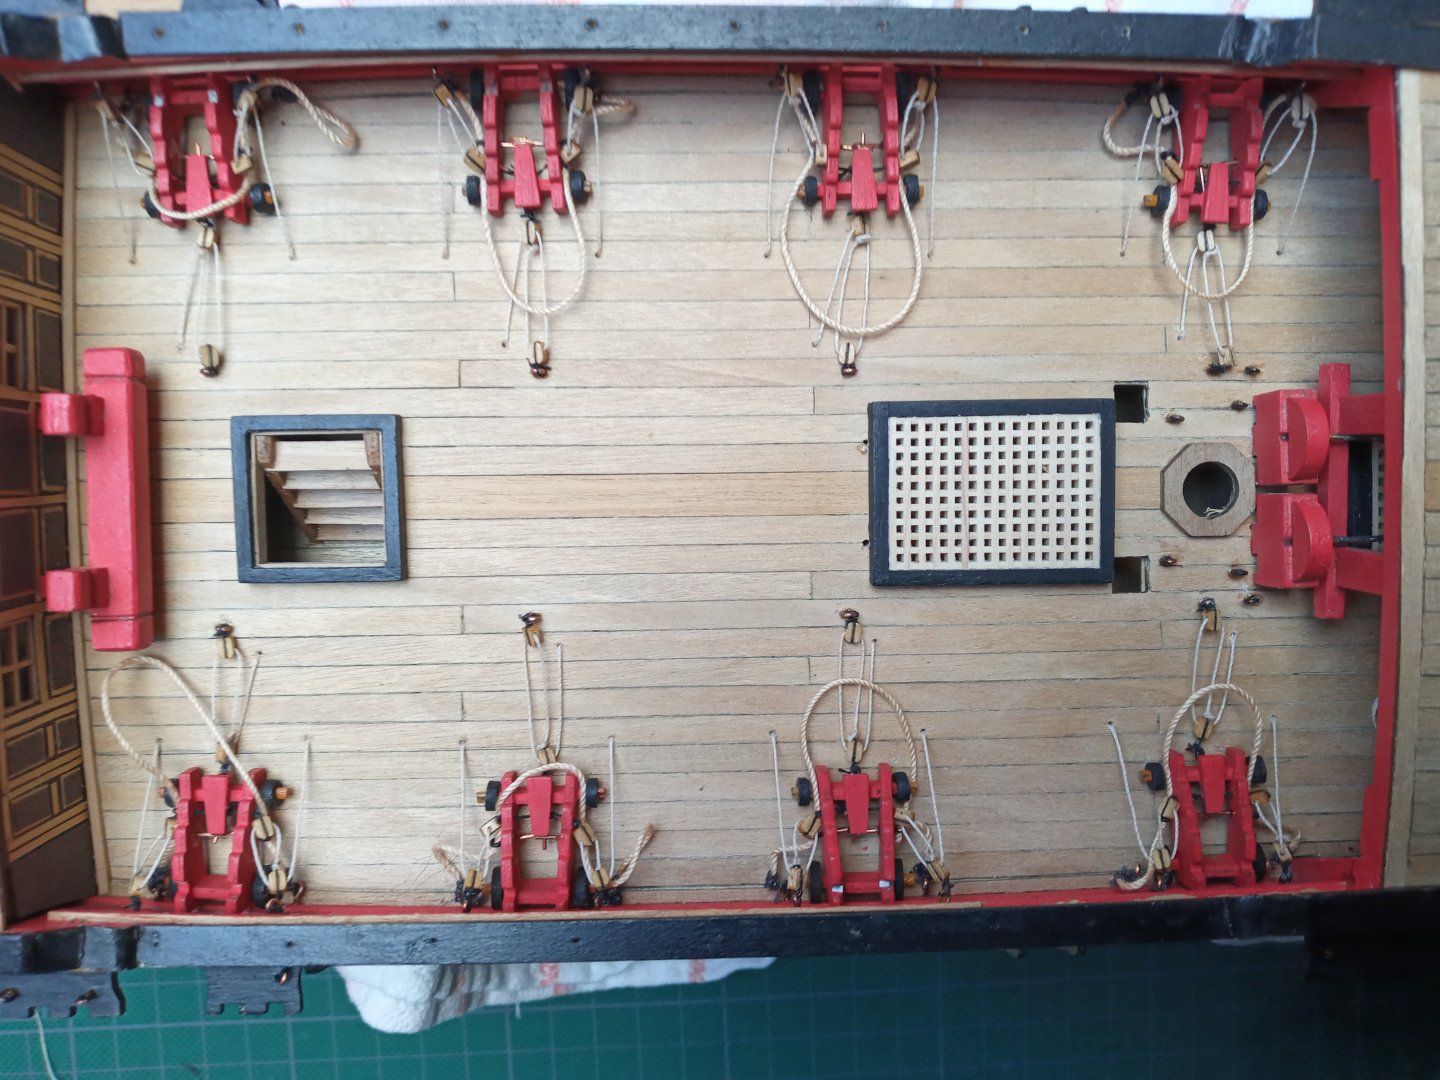
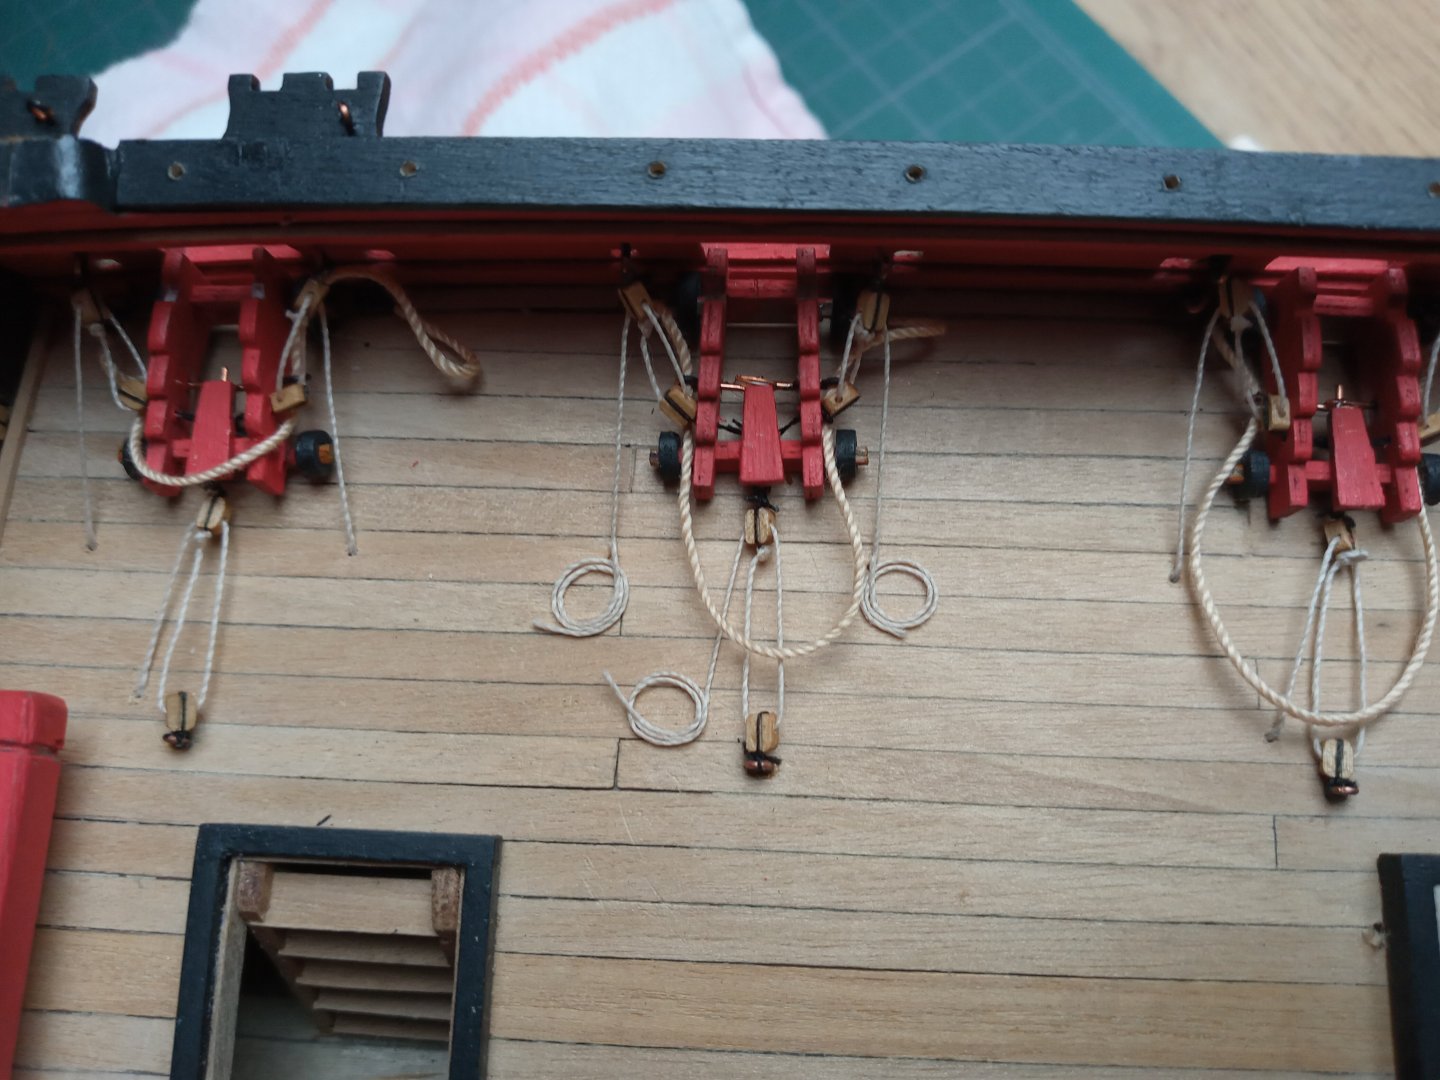
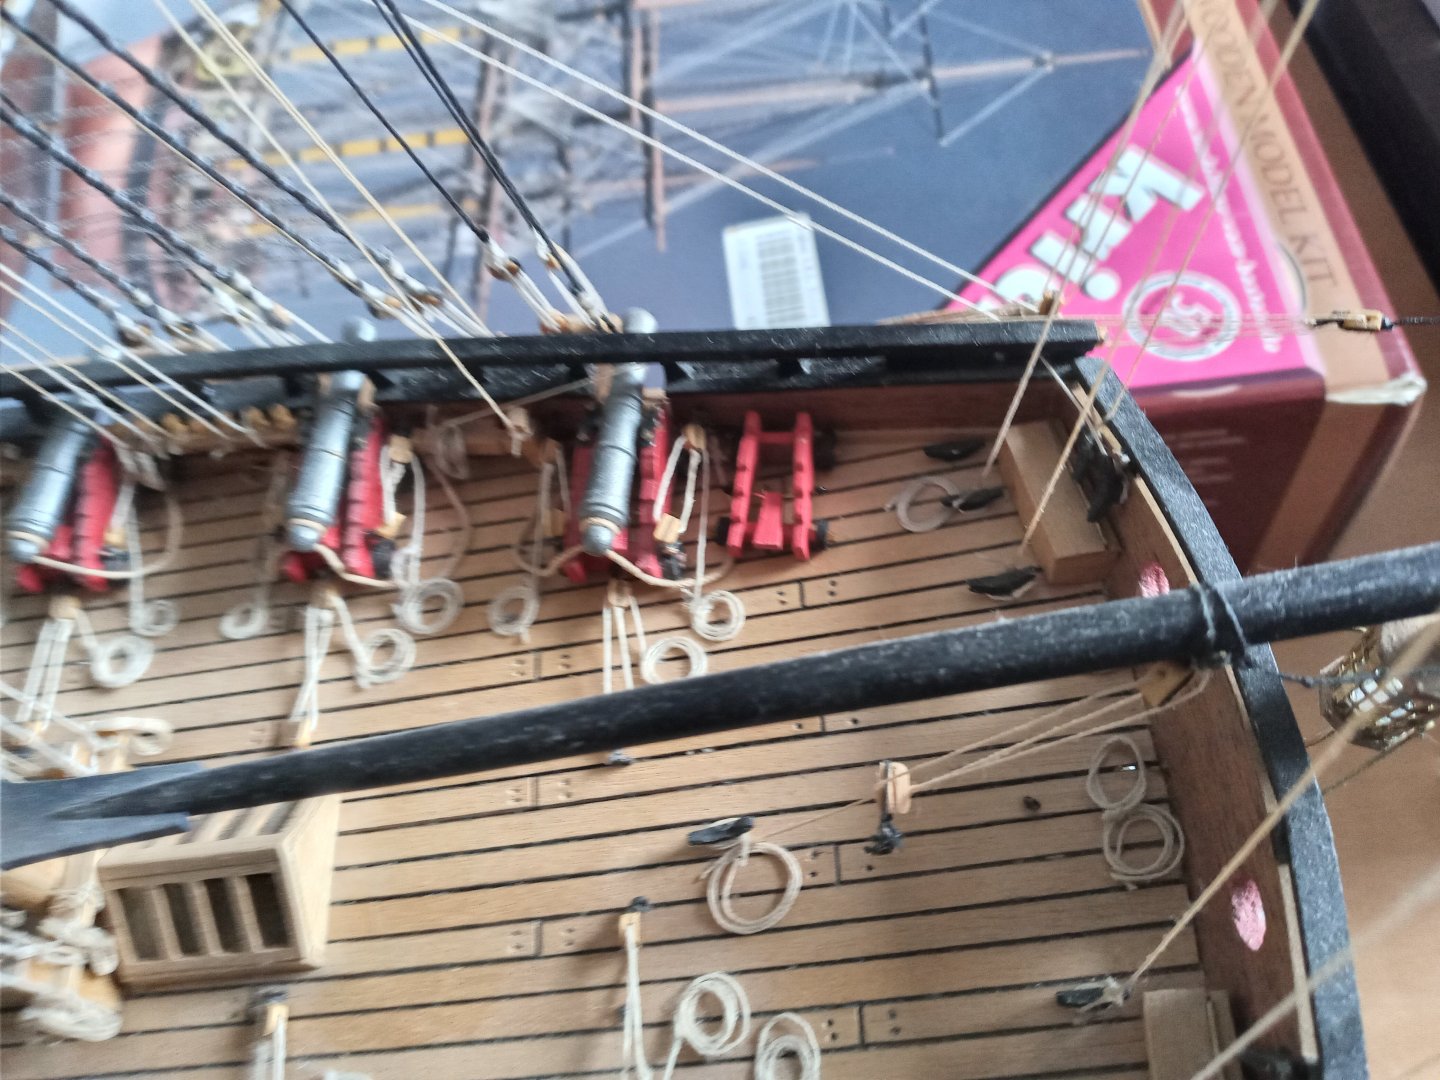
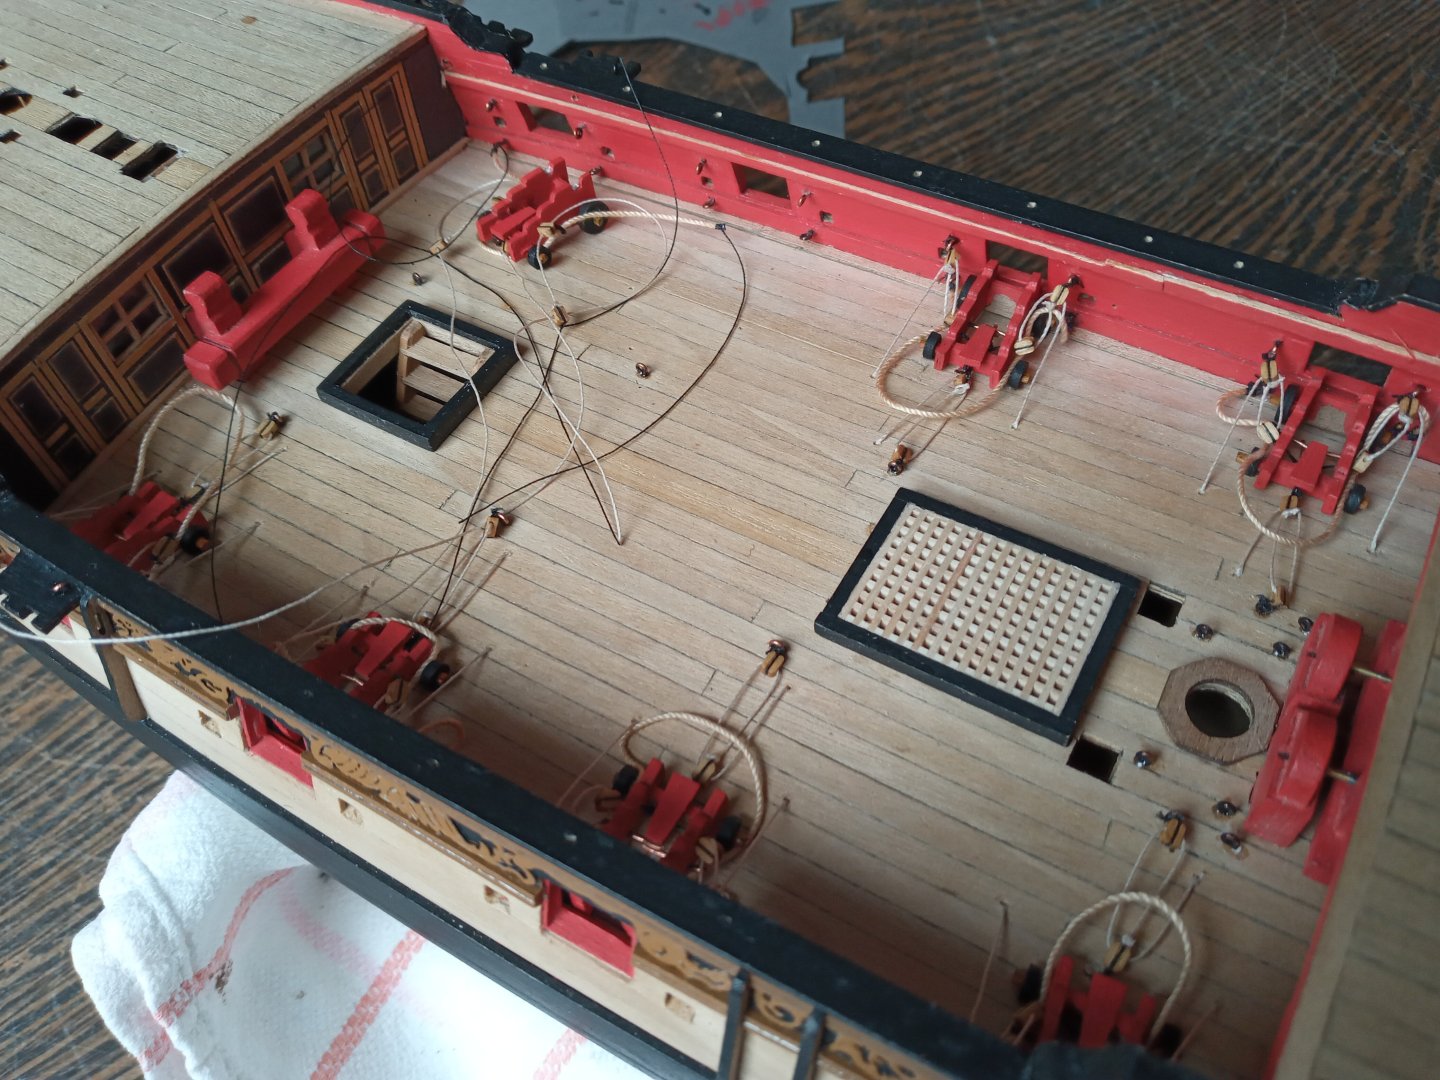
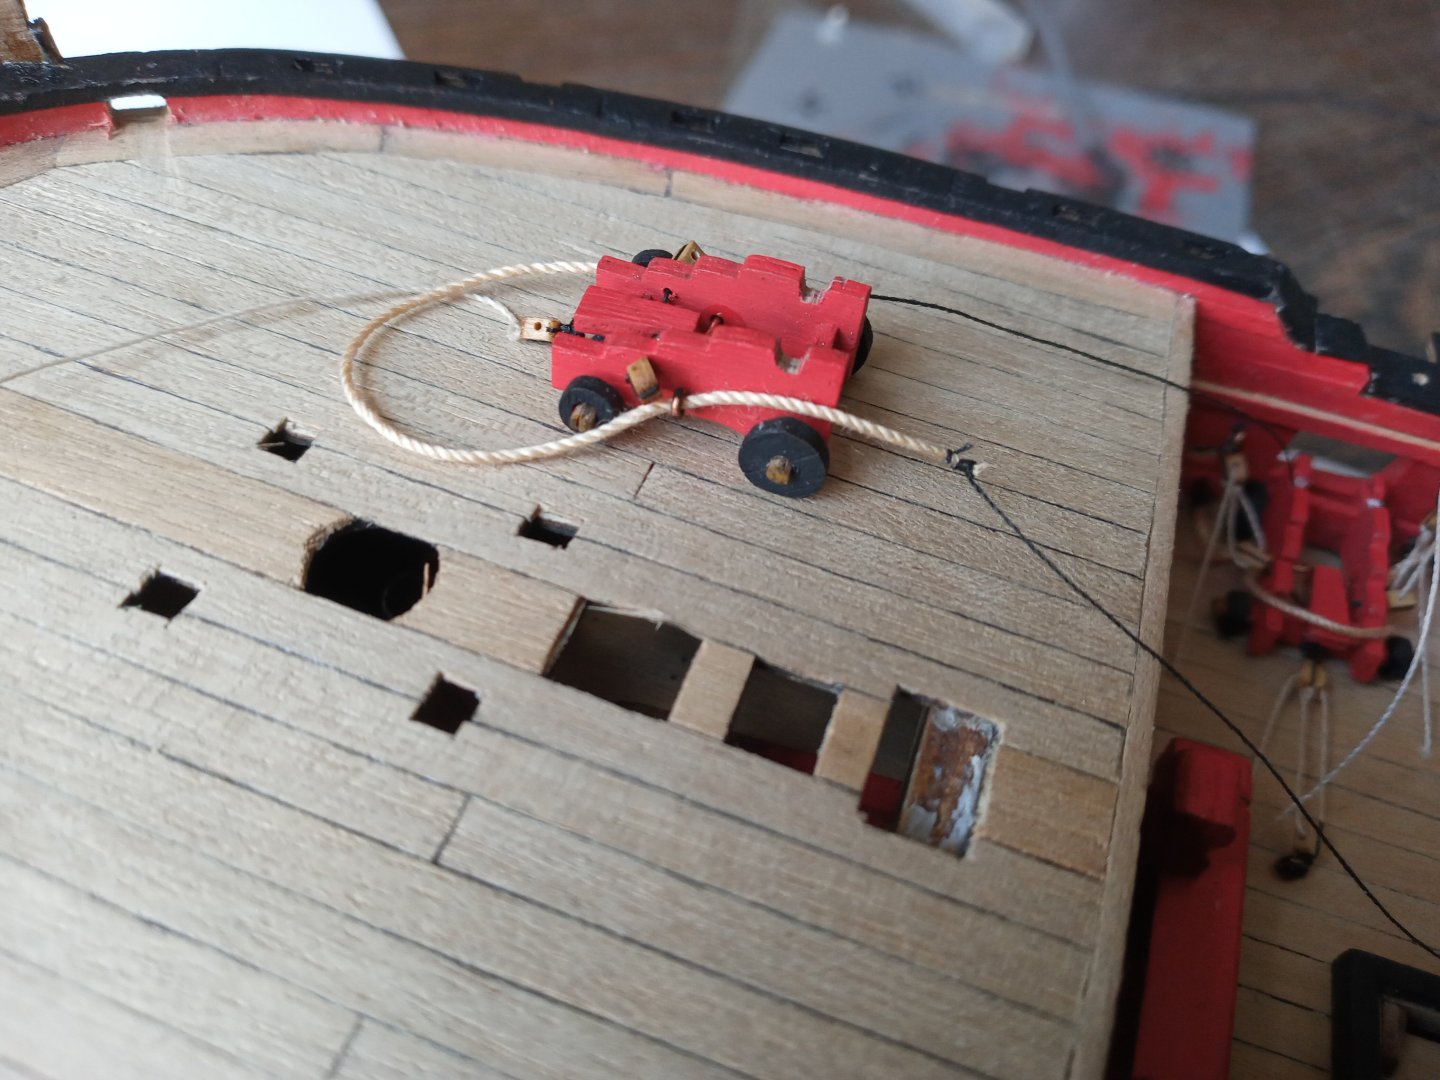
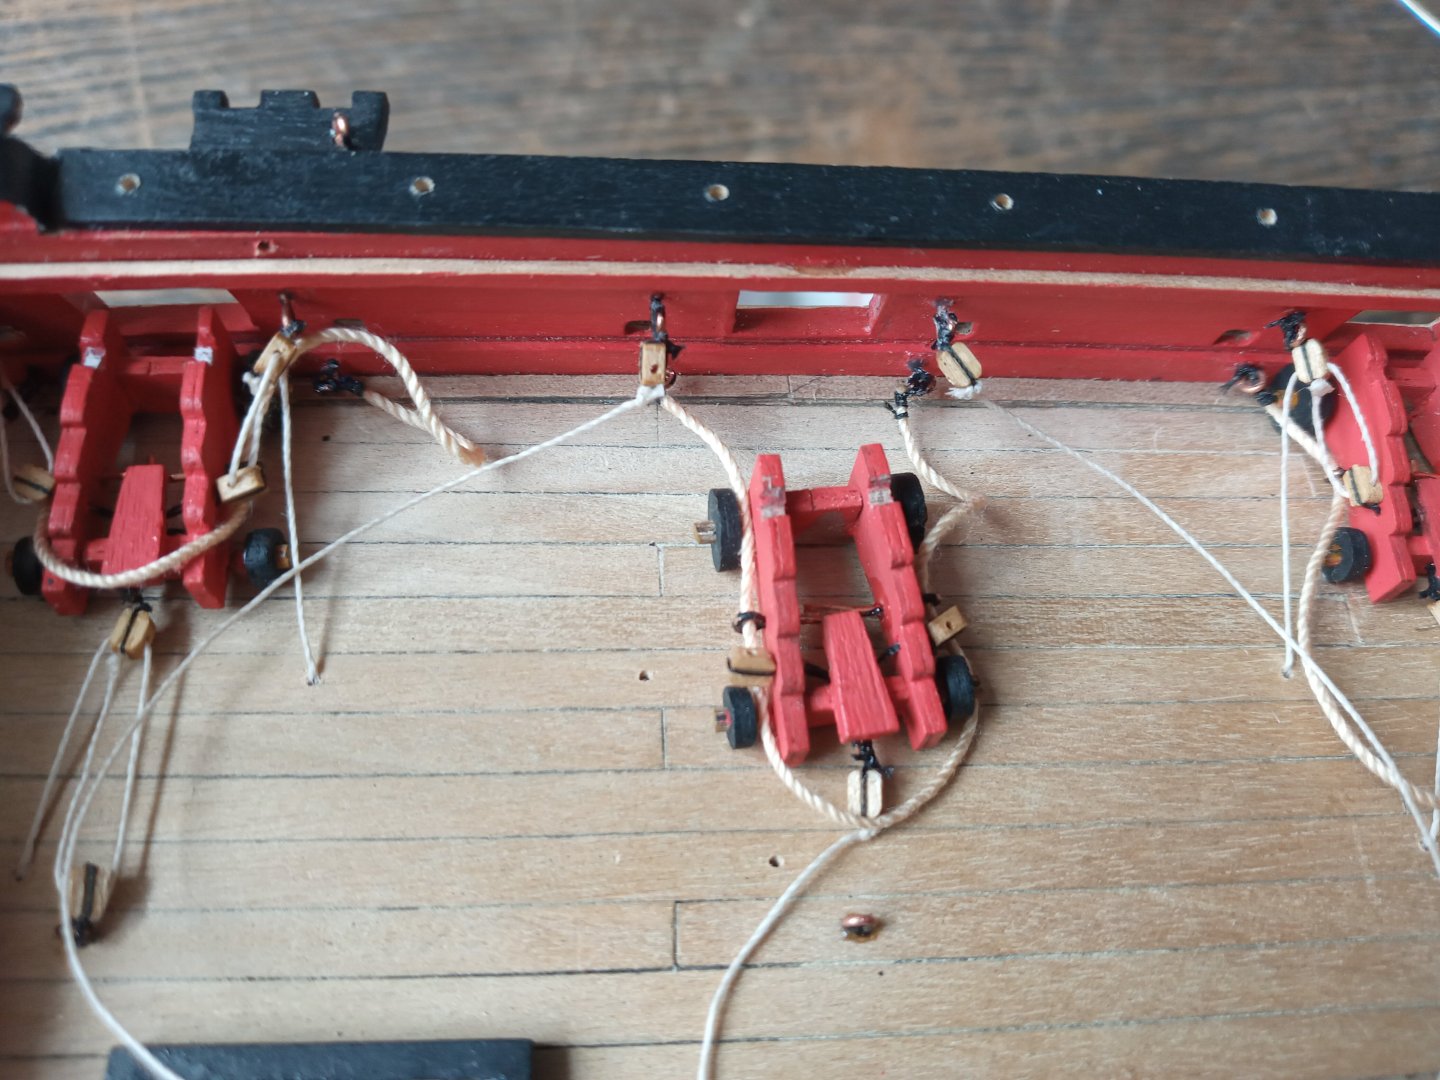
At last, at last...job done. The finishing of the tackles with the loops hinder a bit the clarity or surveyability of the deck. The only way to handle this was to realise the loops as small as possible. The last pic shows a comparison with the first try-outs. Needless to say : be ultraconservative with the cyano.
- 64 replies
-
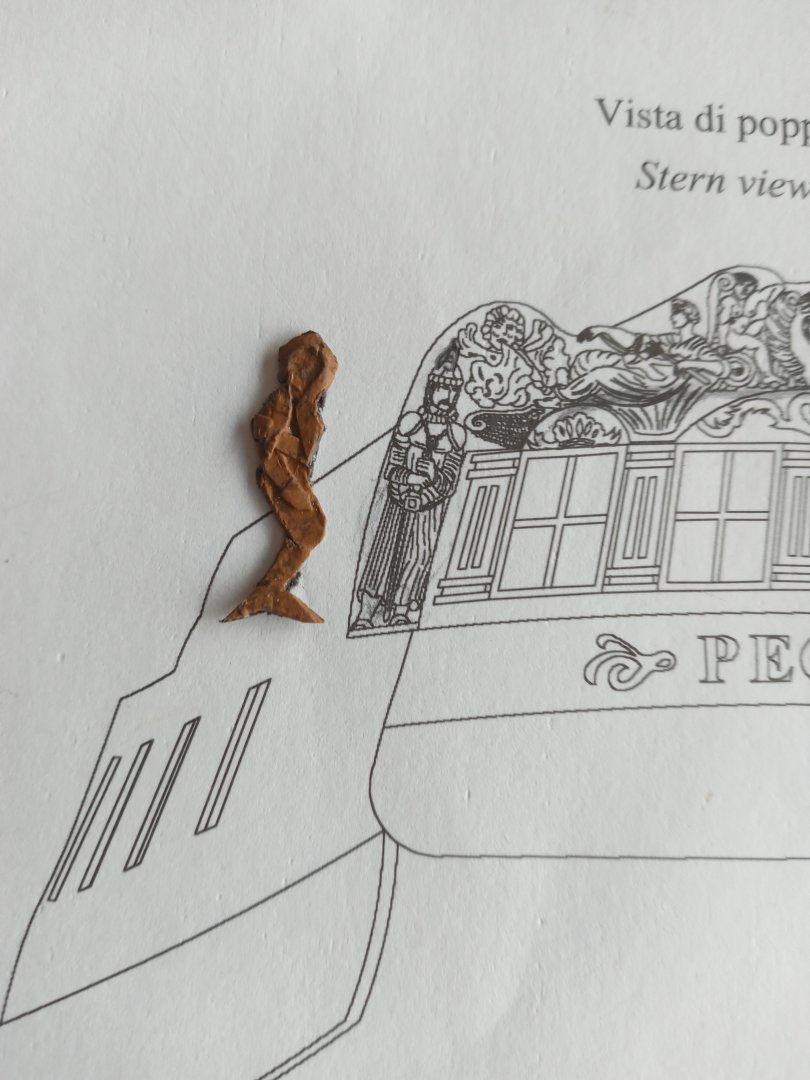
Ah...talking about doubts and mistakes. Initially, I was looking to replace the Norman Knights ornaments in favour of something more appropriate. During 17th and 18th century apparently ships ornaments were often related to Greek/Roman myths or symbols. So I went for a mermaid, trying the same approach according the "layer-system" provided in this kit. Well...for obvious reasons, I thought I'd do better to stick with the Norman Knights...ahem...ahem.😉
- 64 replies
-
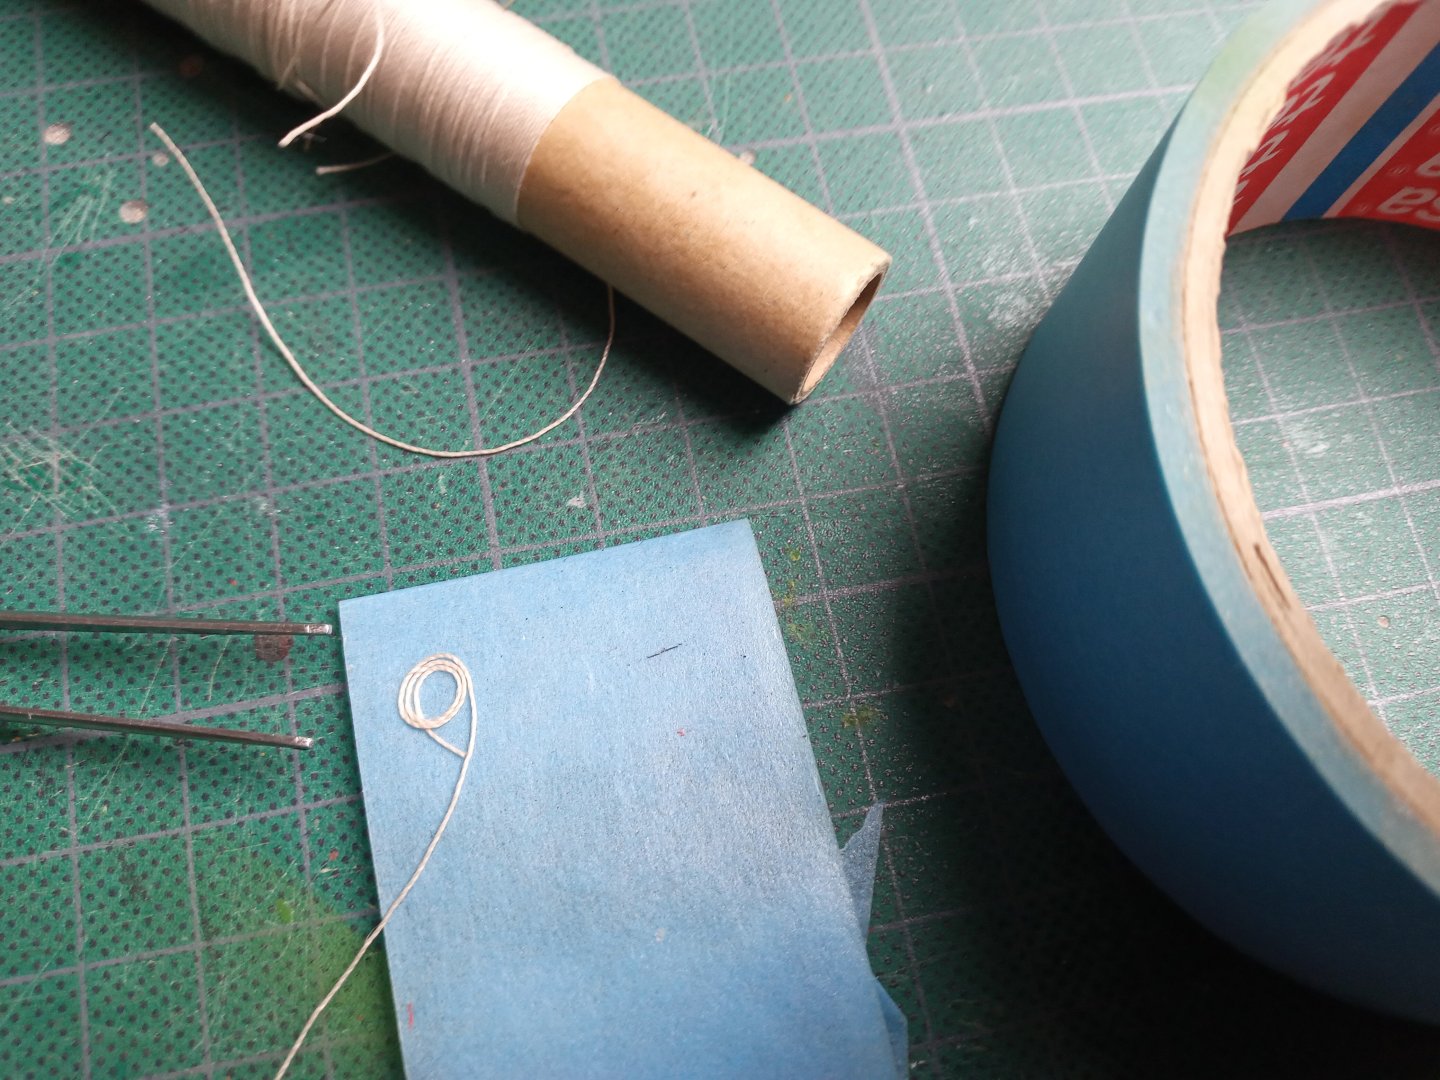
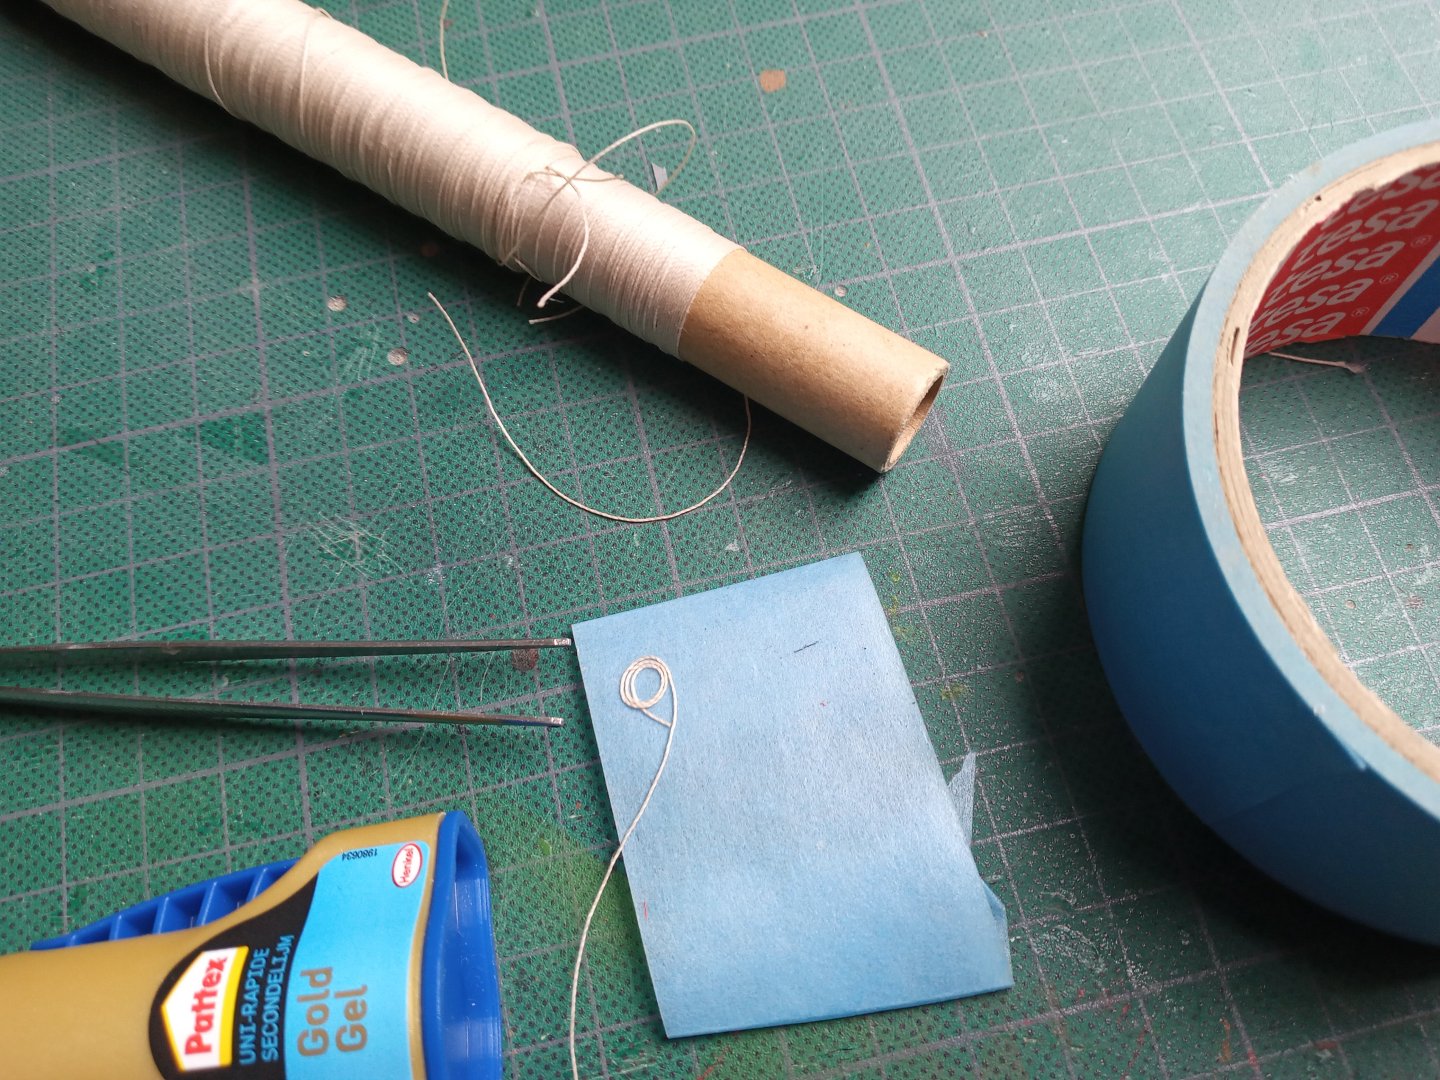
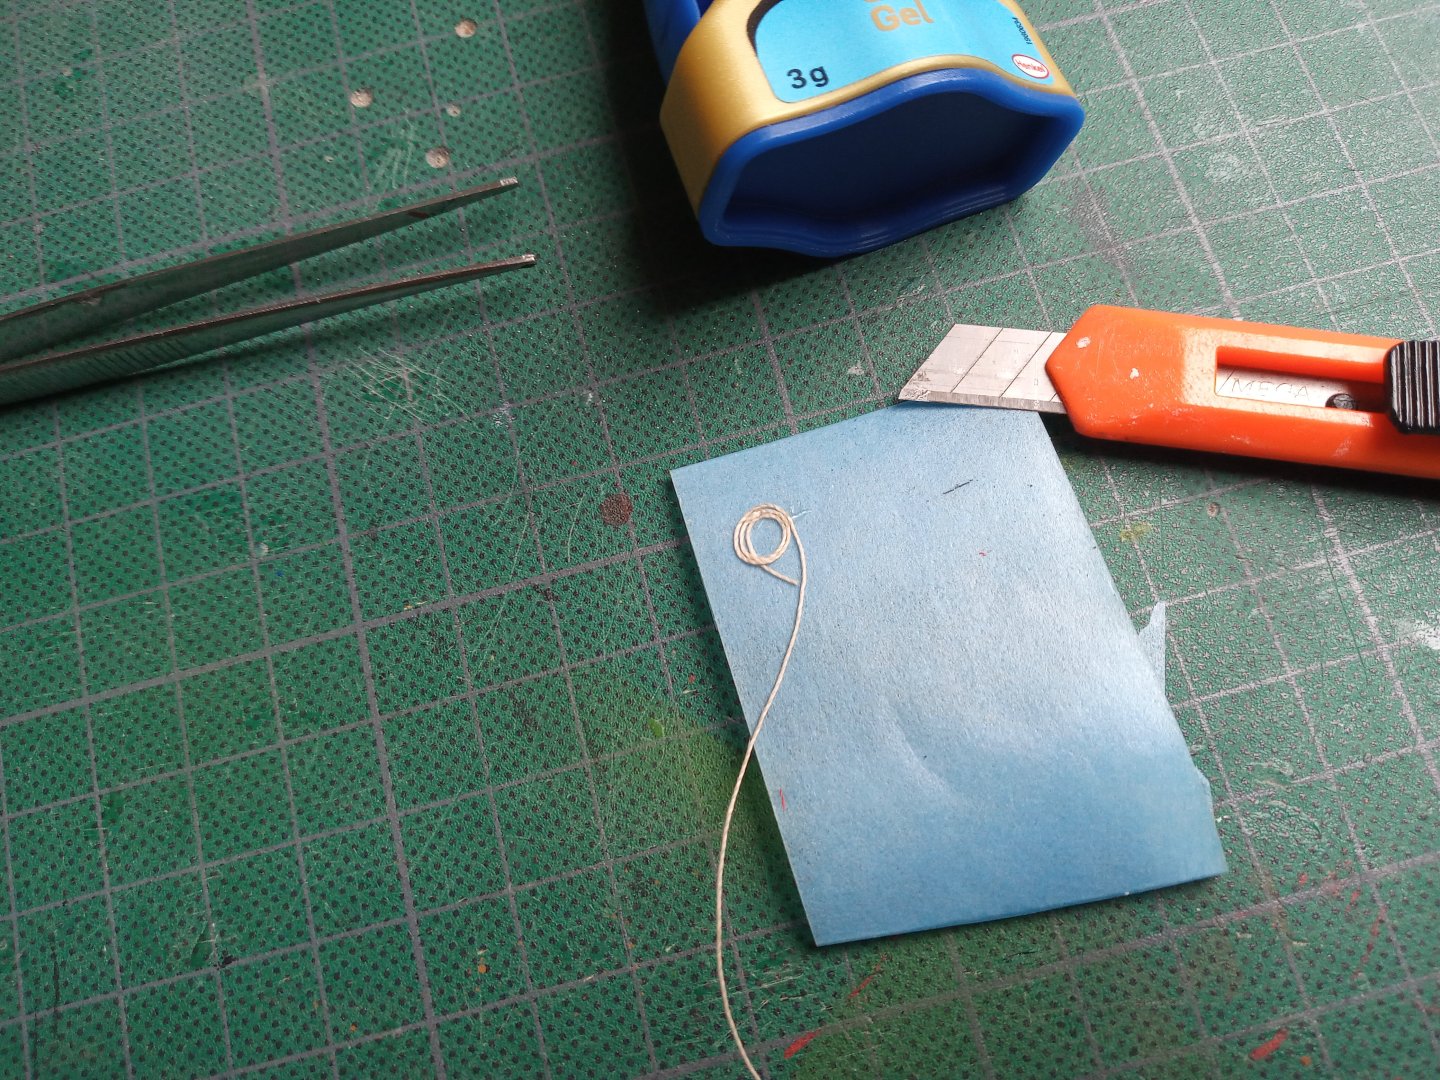
And here we are : final result and my approach for the extra rope for the tacke rigging. ( dry fit ) There's 24 of them required, but I'll make some extra items and make a selection Gentle push the rope upon the adhesive paper and try to make a loop using the tweezers. Then a very small drop of cyano en also gentle remove with a sharp blade.
- 64 replies
-
Just take a look : the difference in size compareed to a 9lb gun. The picture tells something about the sense of urgency to remove the dust from my Diana🥺 Well : I was supposed to avoid a jumble of threads...didn't quite succeed...
- 64 replies
-
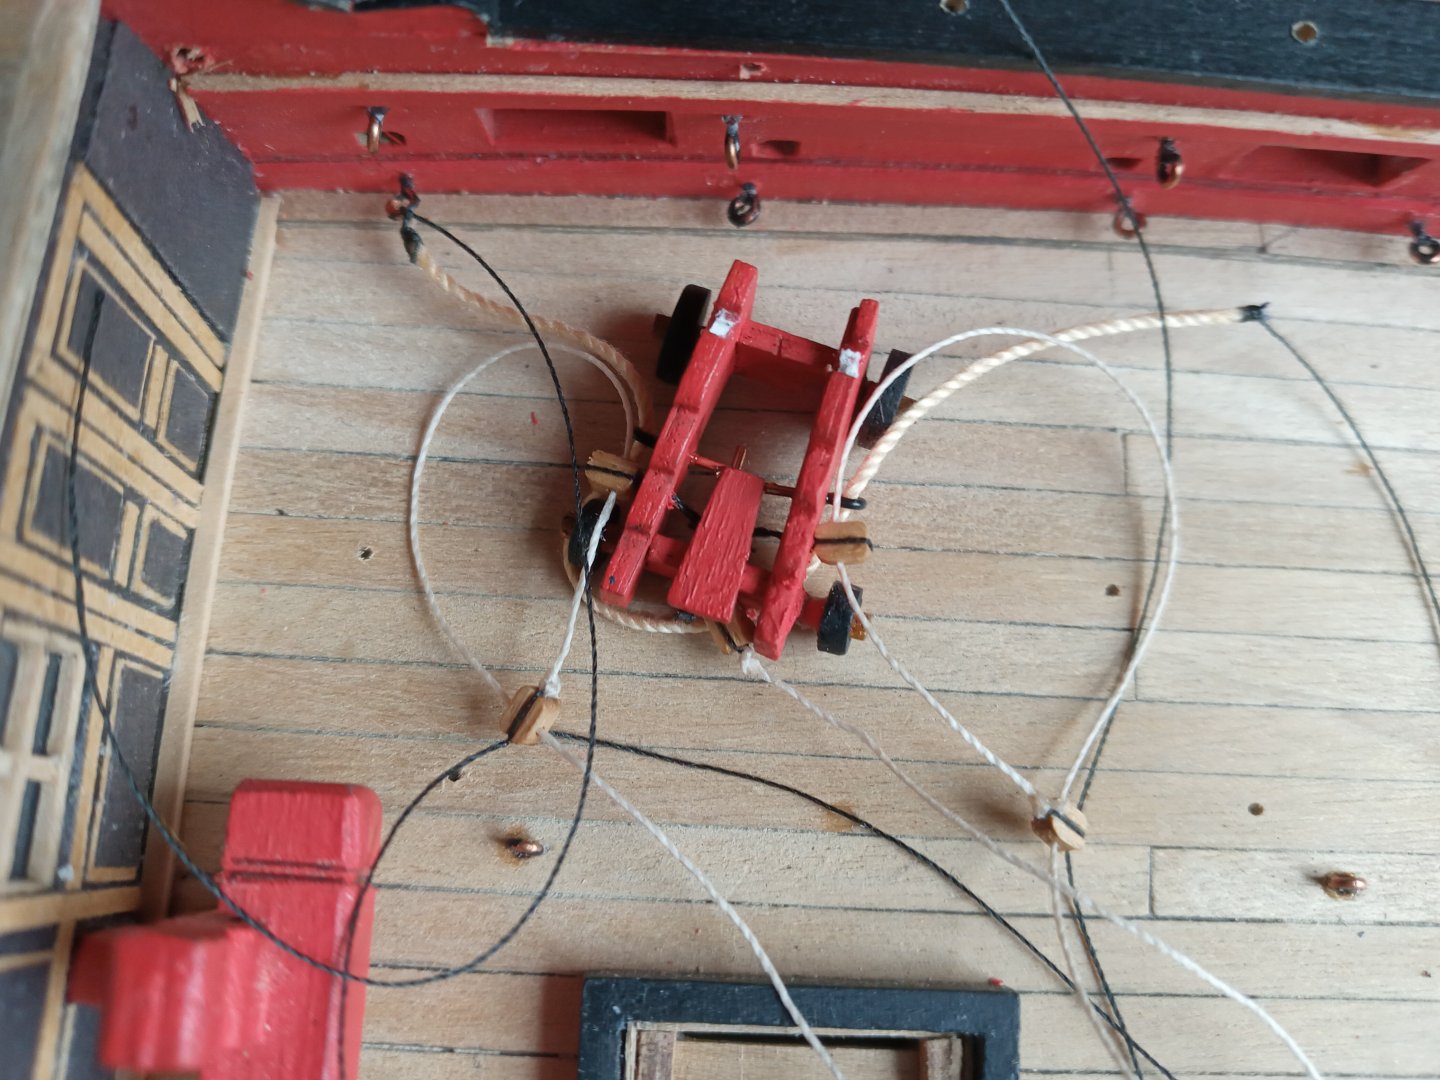
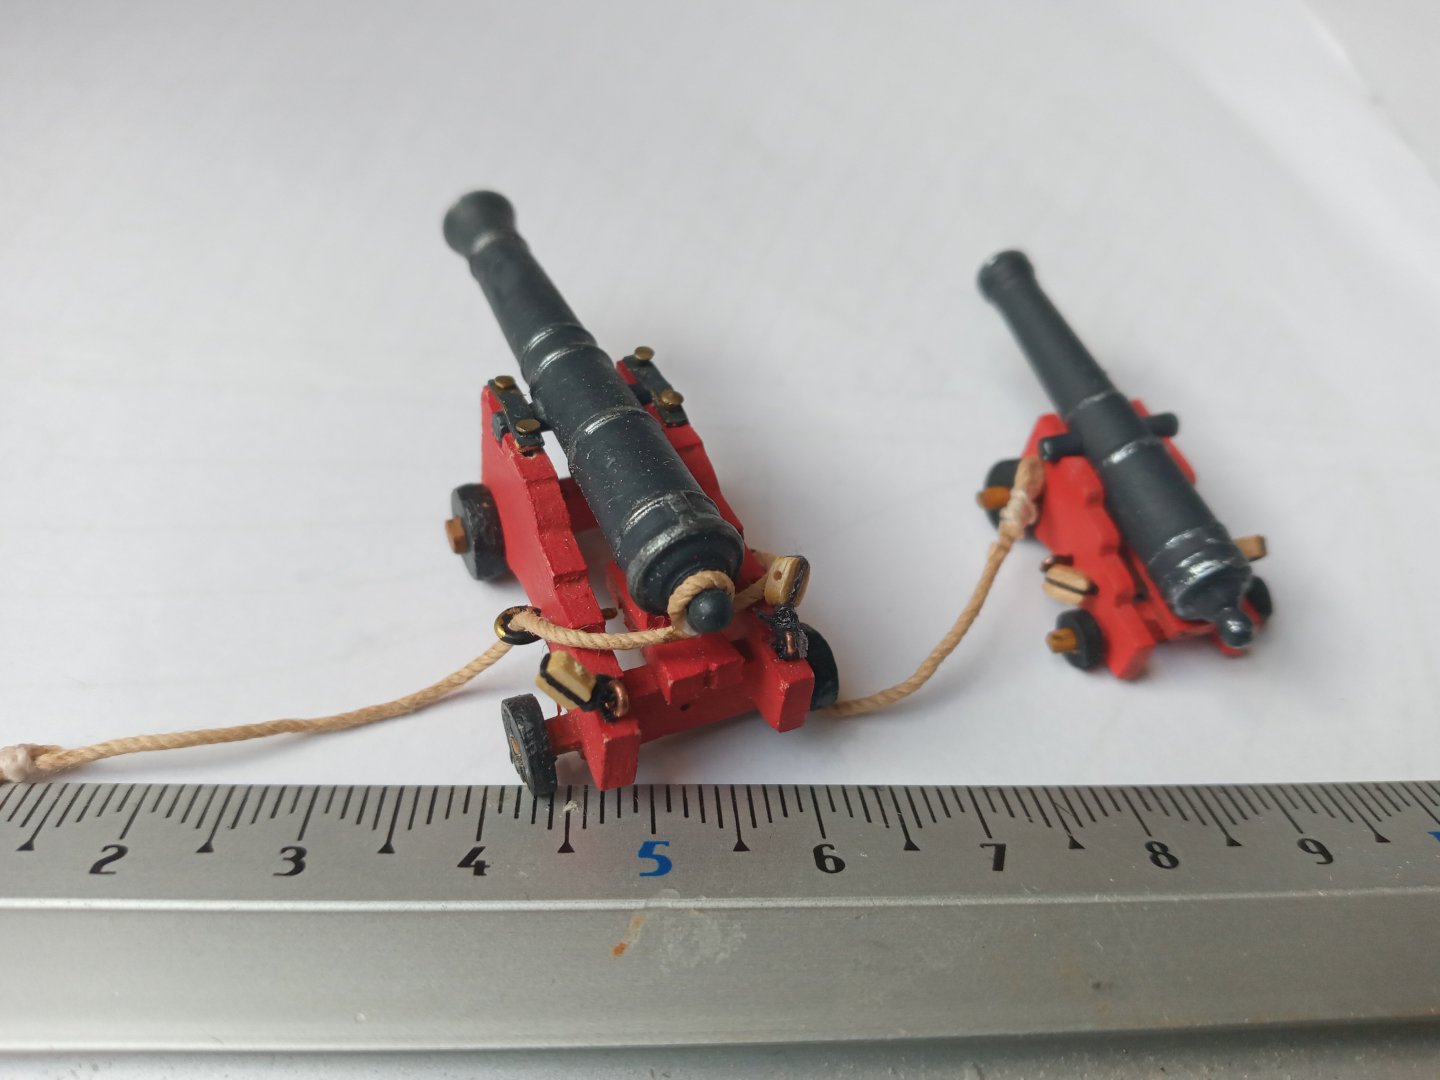
The rigging of the guns....almost there. Went through some pain to realise this stage. And the question still remains : was it worth the effort ? Especially in a 1/64 (or smaller), I wonder if it were better to omit the tackle and limit myself to the breechings. Anyway, here we are. As mentioned in previous posts : it is about feasbility versus historical accuracy. At first the breechings : 1 small rope for measurement + adding Güterman for fixing them to the eyebolts just to limit the bulky knots
- 64 replies
-
Wonderful work indeed, in my previuos build ( HMS Diana), regarding the euphroes, styrene came to the rescue. As I have -at present- a limited stock of boxwood at my disposal, I'll give it a shot but styrene is Plan B. Drilling those holes in wood especially walnut is just whishful thinking.
- 419 replies
-
- Victory Models
- Pegasus
-
(and 2 more)
Tagged with:
-
Perhaps, we're digressing a bit, but this specific topic is worth expanding and maybe other Pegasus fans might benefit from this. Comparison between a 18 lbs gun ( my La Vénus -project )and the gun + carriage provided with the HMS Pegasus Amati kit. Although it is also worth mentioning that regarding this French ship, the eyebolt was fixed more in the rear of the carriage ( according to the Boudriot plan ), which creates even more space for the rigging. SO : I've made my mind up. PS : I do not entend to use the Amati kit's falconets
- 64 replies
-
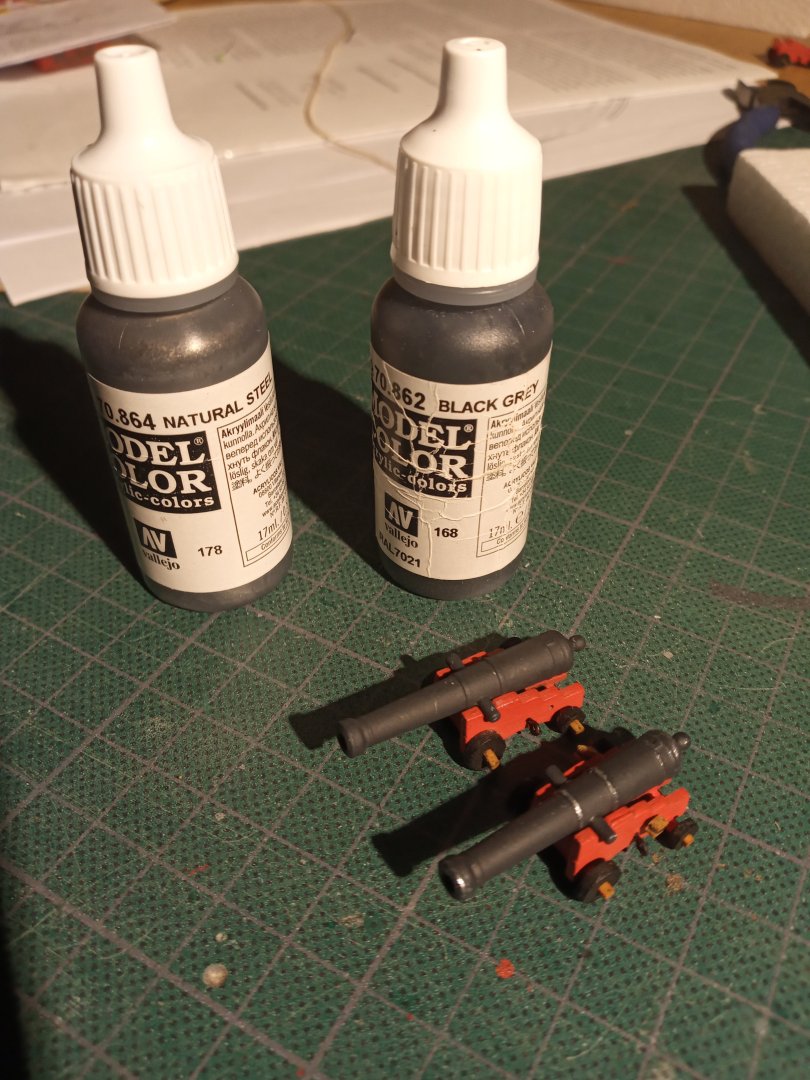
This is sound advice, Bug Sincere thanks for your input. The moreover, here's some pics of my San Felipe ( finished in 2006 ) : no rigging of the guns or falconets whatsoever. Which I deeply regret. The fact that this build proceeded my MSW membership may be just a convenient excuse. The point is : if I had the choice between : 1) let us call it a minimalistic approach ( less eyebolts ) 2) the whole package, with a high possibility I'll create a jumble of threads & knots 3) no rigging at all I'll settle for the first option. Another thing : let us not forget that a 18lbs gun carriage ( my previous build HMS Diana ) is way bigger Aside, a word about the colors. I'm a bit reluctant painting the guns 100% black, so I went for the AV 70862 Black Grey and a highlighted a bit the edges and collars with AV 70864 Natural Steel. Just a try out
- 64 replies
-
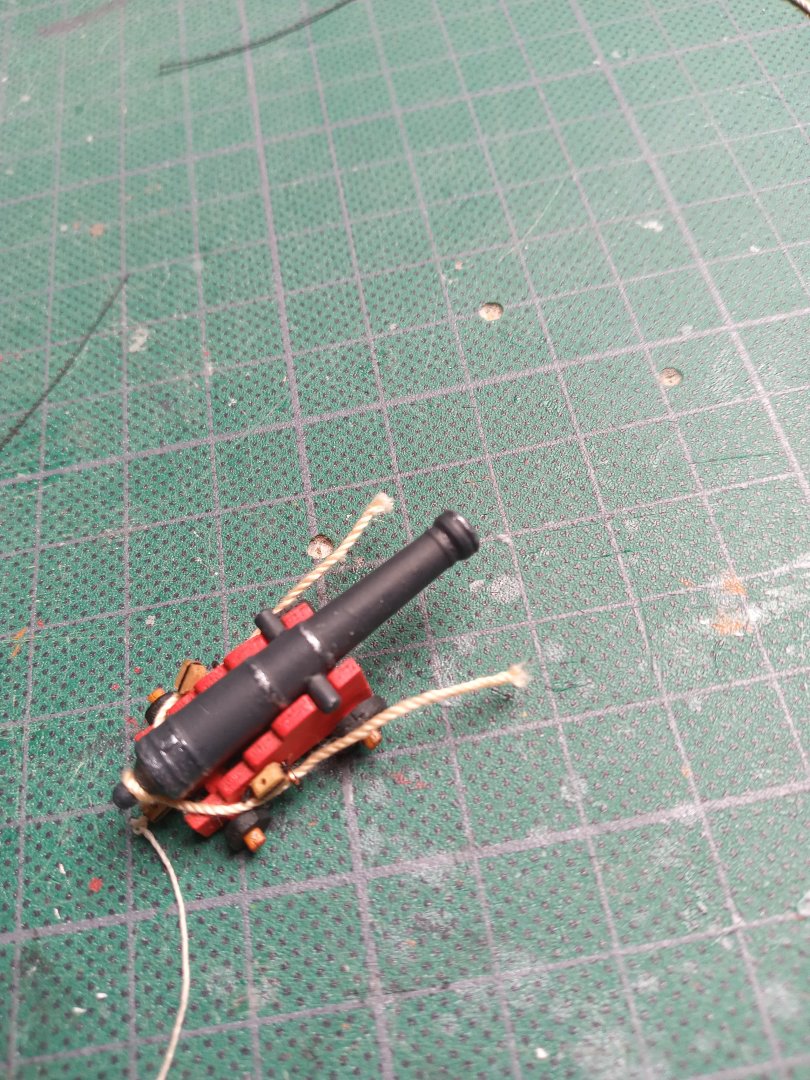
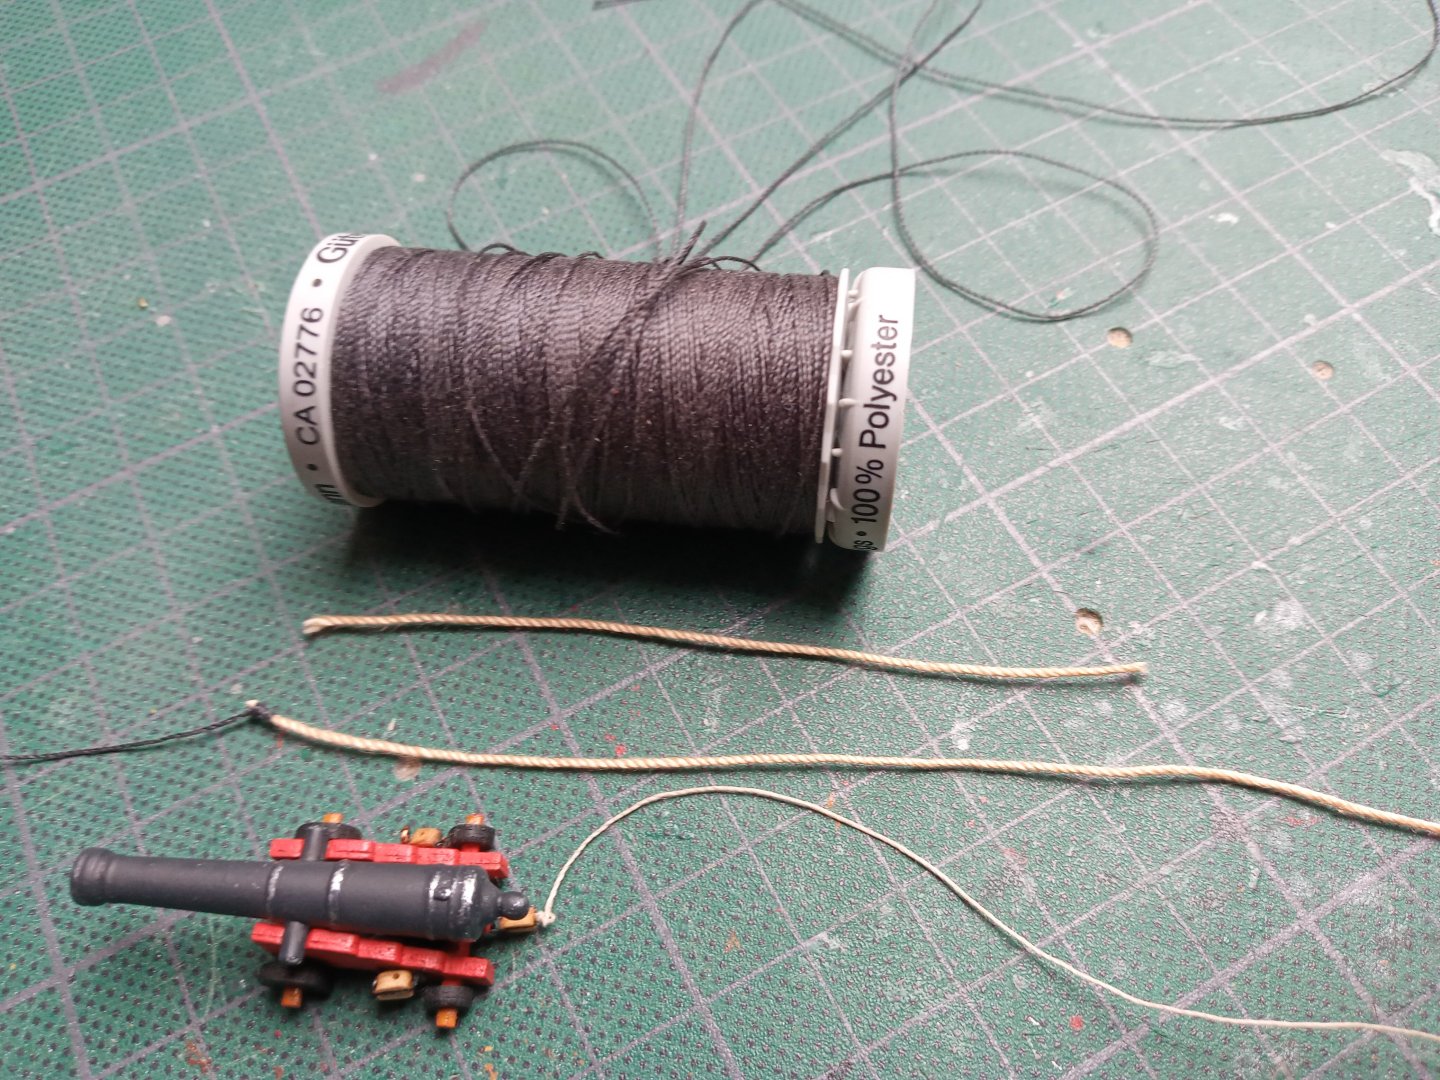
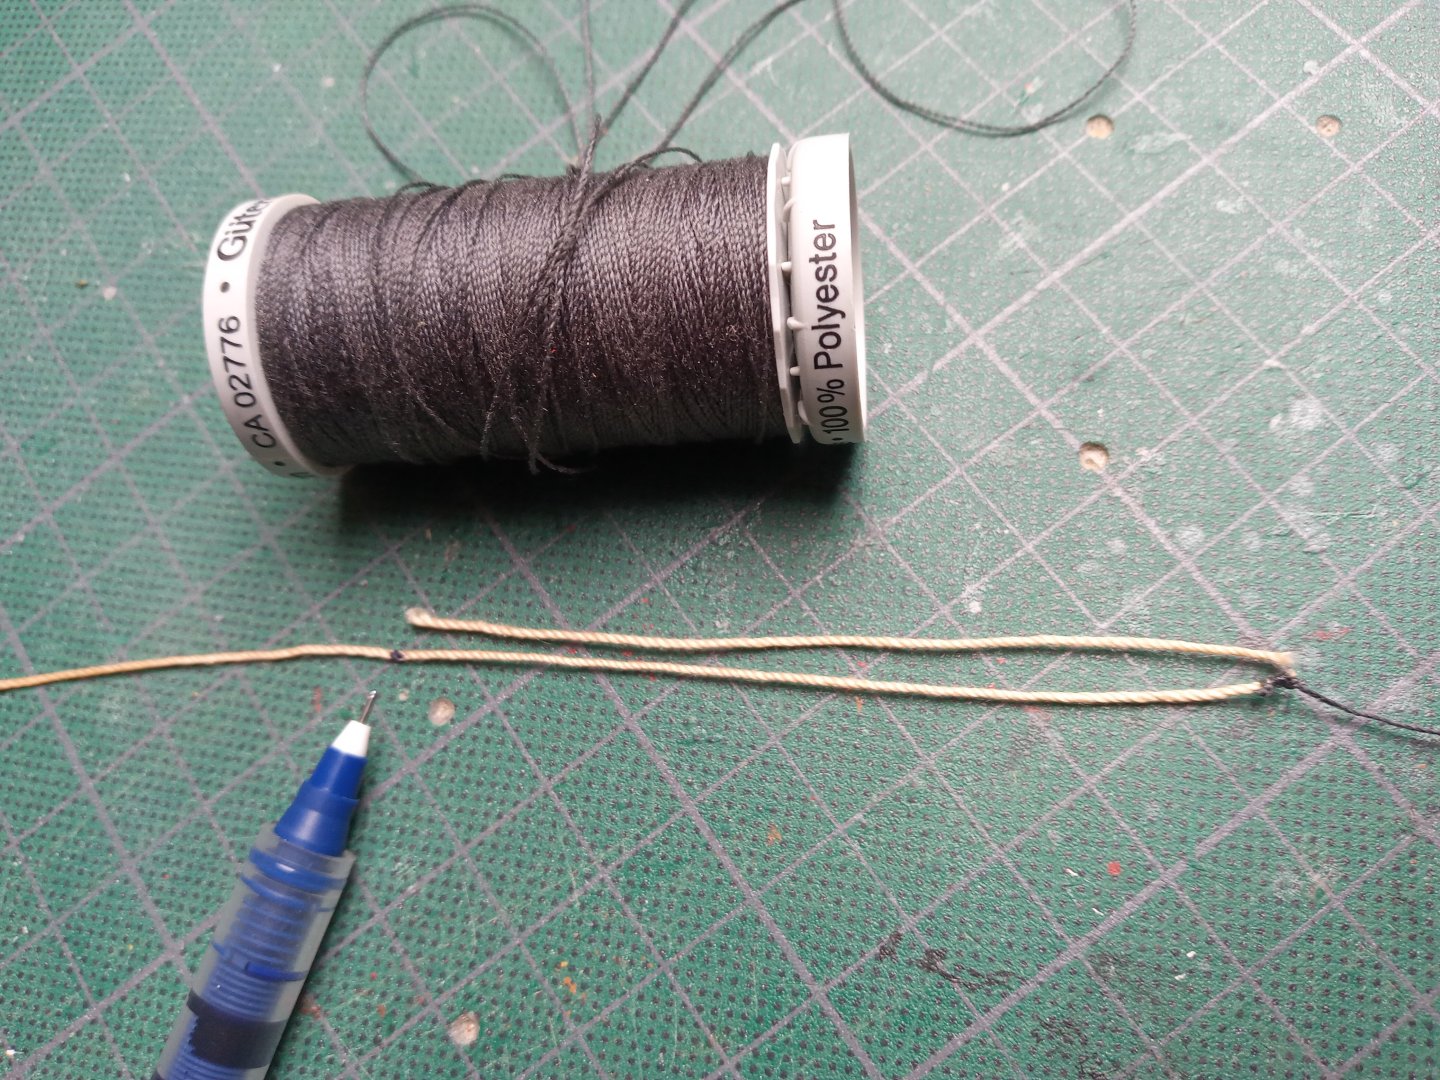
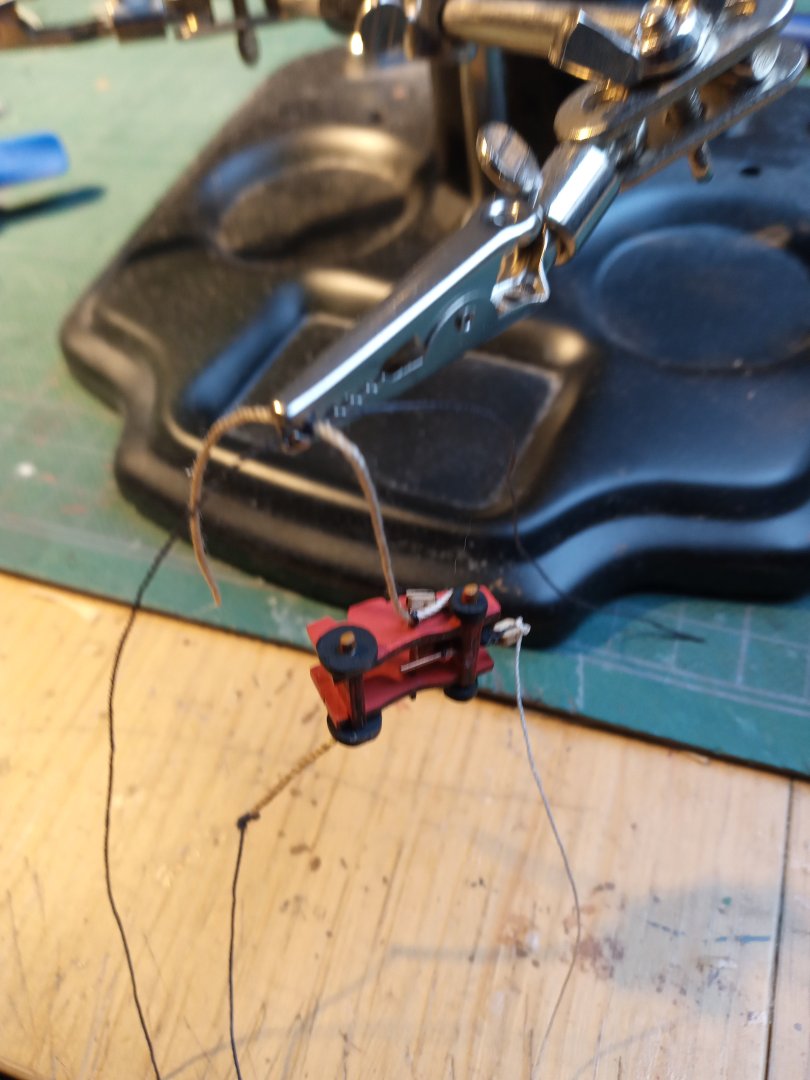
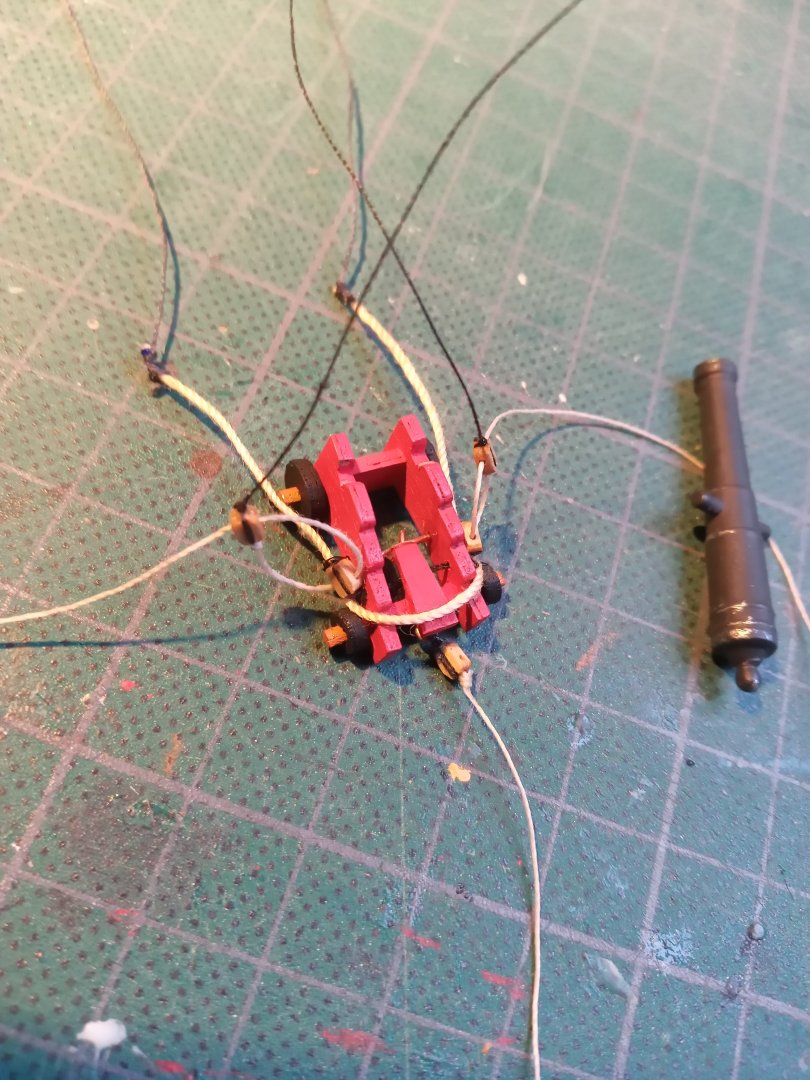
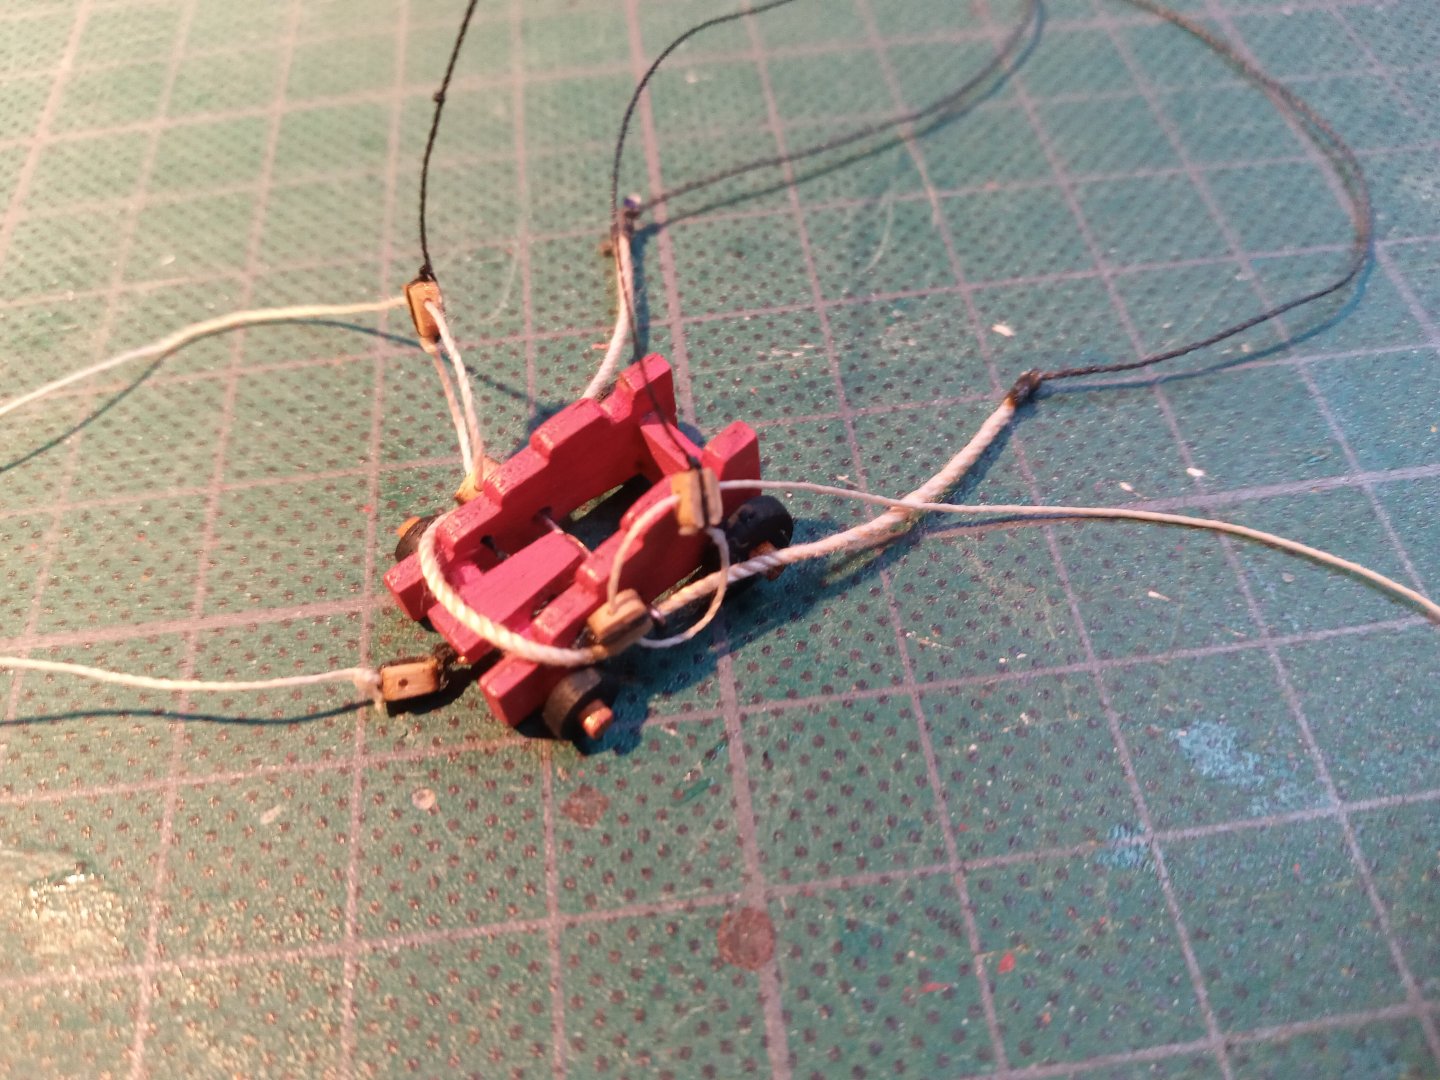
Being doubtful about the matter, here's something I'd like to submit. Regarding the rigging of the guns, especially the blocks on the gun carriages. The iedea is to omit the fixing of the eyelets thus to avoid the bulky knots in this area and create more space and visibility for the rigging itself. The thing is that the eyelets are already a bit out of scale ( to big ! ). So both extremities of the black thread went through te hole that was initially entended for the eyelet. From both sides a knot and some cyano glue secured the whole thing, see the upside down pic. I know, this is not by the book, but it's a ( more or less clean solution ) Thoughts, criticism, disagreements, alternatives are welcome
- 64 replies
-
Nice, clean and crisp work And very motivating too, as I face the rigging part on my build with some apprehension. Looking for alternatives regarding thread, yarn, ropes is definitely an asset , I understand.
- 419 replies
-
- Victory Models
- Pegasus
-
(and 2 more)
Tagged with:
-
Thanks for the kind words, Bug. As you may have noticed , I'm following your build with great interest. Imho, HMS Pegasus is a recommendable kit with great potential when it comes to improve, add own interpretations, color schemes....etc Also thanks to all the likes.
- 64 replies
-
You're welcome, Sir. Compared to walnut, Boxwood may me expensive but I can assure you that it is money well spent. Plenty of availability in the US, I.guess By the way, regarding the 2*2 decoration strips : mark the position on the first planking and anticipate the necessary space while proceeding the second planking. Thus you can insert the 2*2 strips, which avoid difficult painting afterwards.
- 64 replies
-
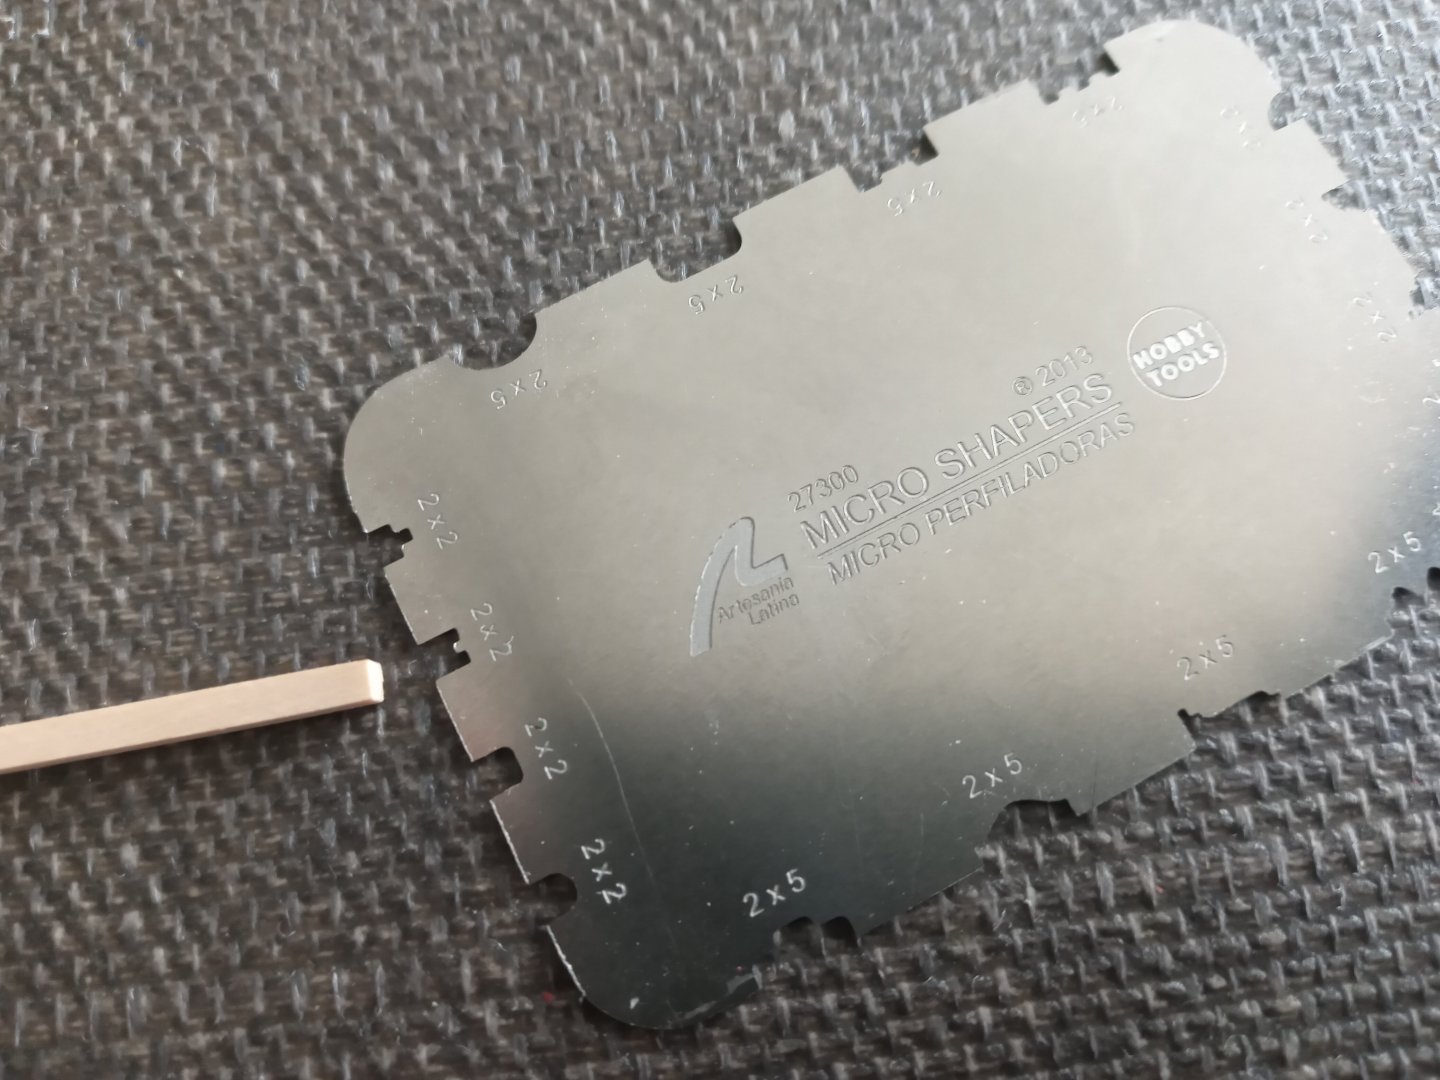
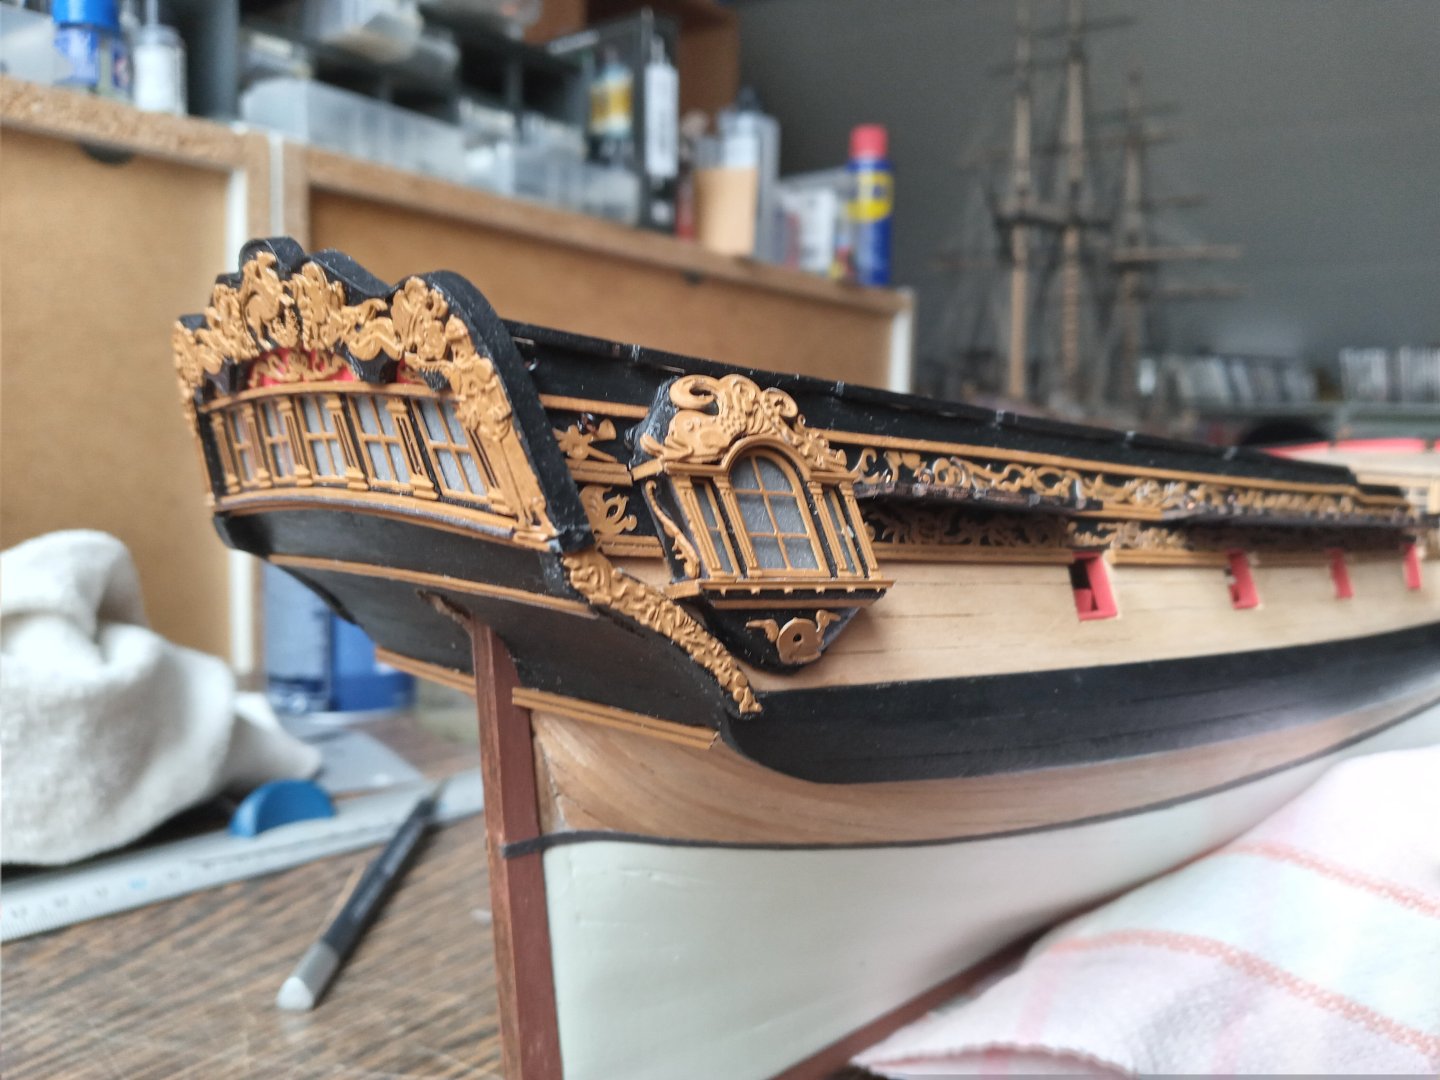
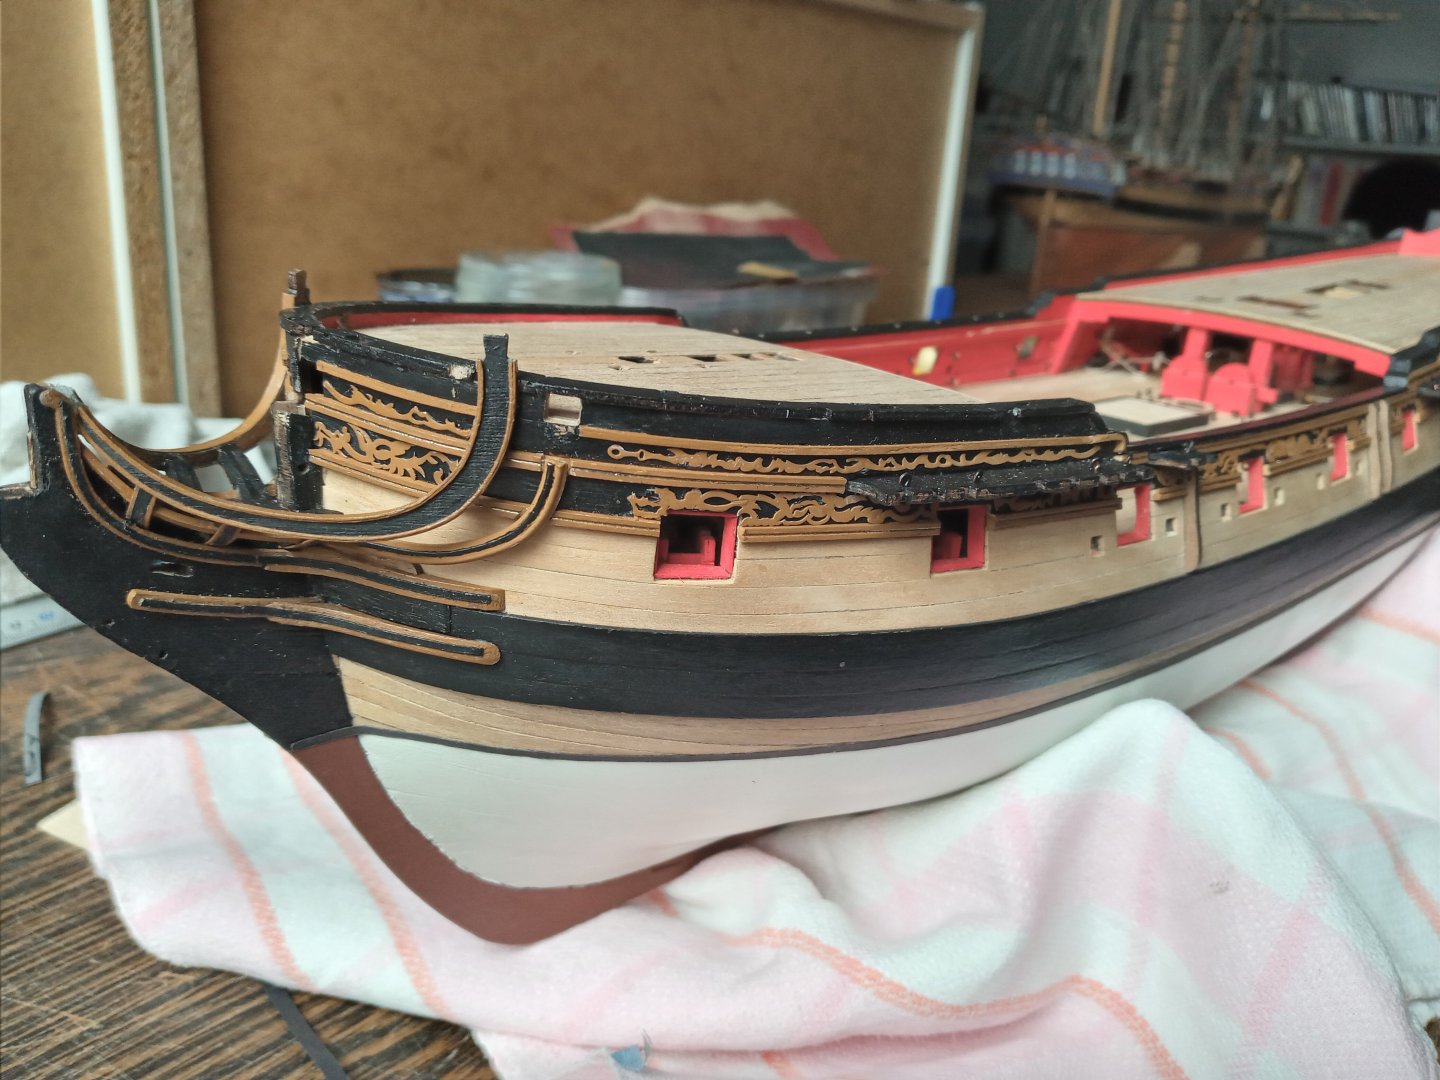
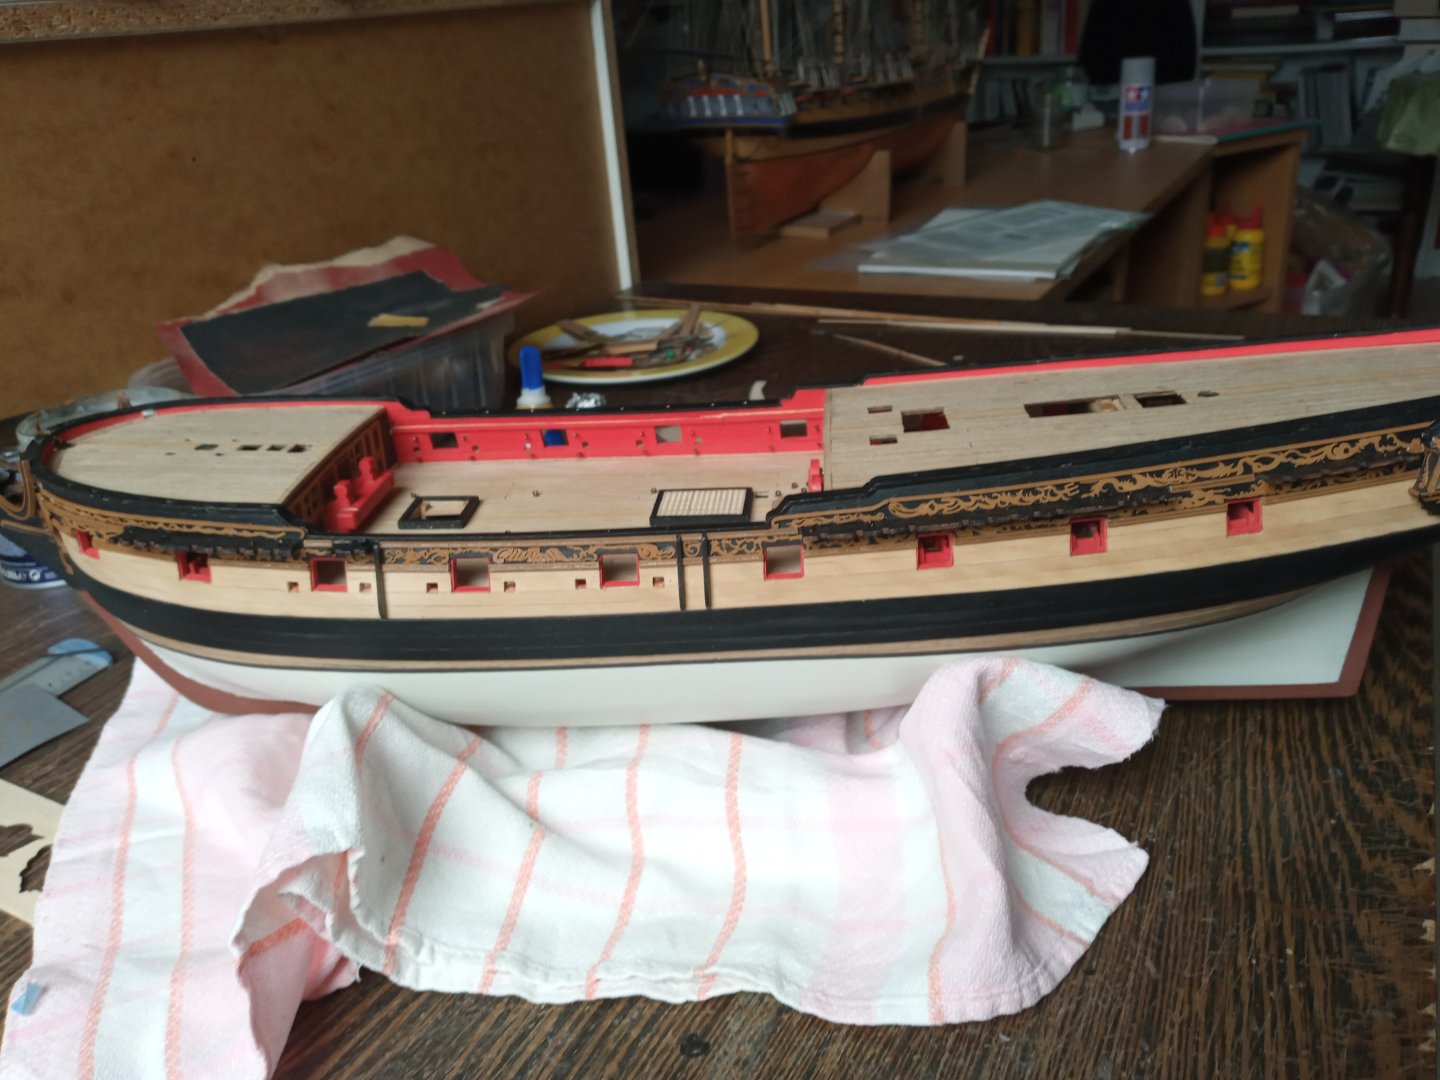
And finally a word about the transom/tafferal I proceede more or less the same way as I did by realising the quarterbadges. For aesthetic reason I added an extra strip to piece n° 115 .As I had to deal with different layers one above the other such as : the grey paper, the plastic, and n°115 , I duplicated n° 114 out of a piece of birchwood but with a 0,5 mm thickness instead of its original 1,5 thickness. This as a measure of compensation. Accordingly to the quarterbadges, I fixed the ornaments following the instructions. Which brings me to the Norman knights. I tried altarnatives such as mermaids but these trials were very inconclusive, the least to say. Another concern -again aesthetically speaking- was the necessity to provide those knights with a kind of support instead of leave them "hanging in the void". See next pic. The only issue left was to file this until they fitted properly with the hull, then I took care adding pieces 336-335. Finally a word about the decoration strips all along thee port and starboard side. I Used 2x2mm boxwood strips which I could eventually bend ( after several attempts ) to follow the curve of the bow section. But boxwood is great stuff. These strips required some carving : I used a micro shaper for that purpose. The 2*2 strip is pointing towards the profile I employed. So there you have it. Feel free to react, give feedback,...
- 64 replies
-
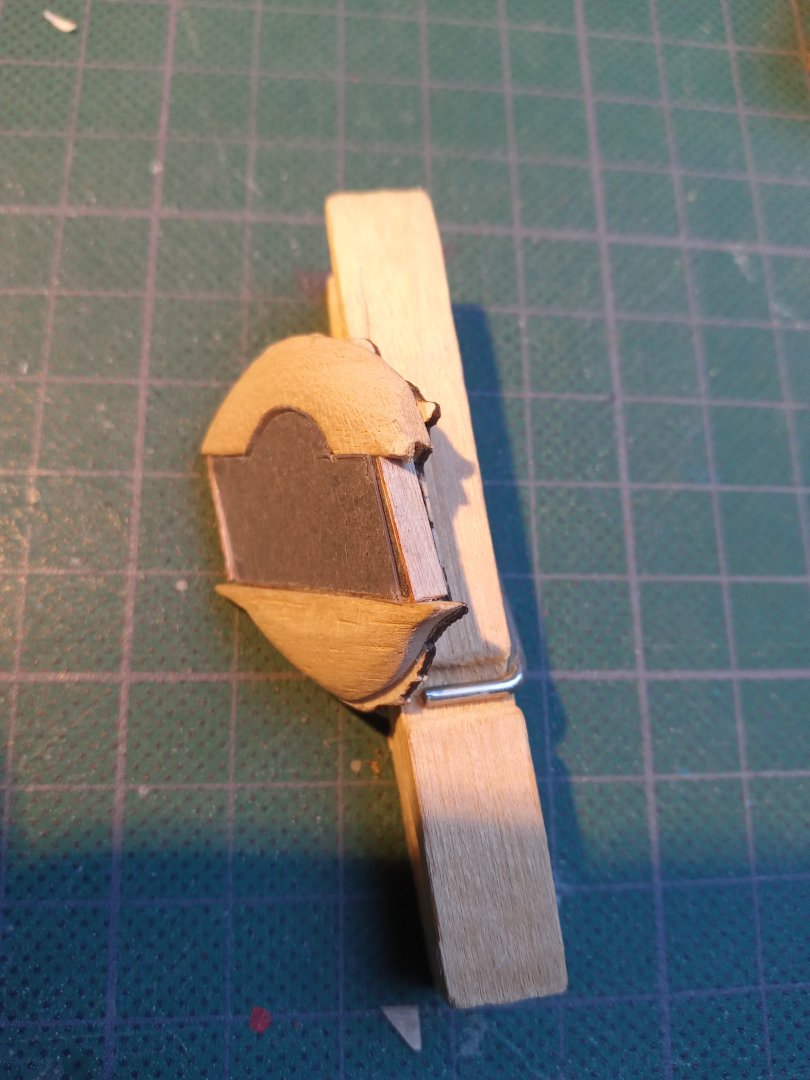
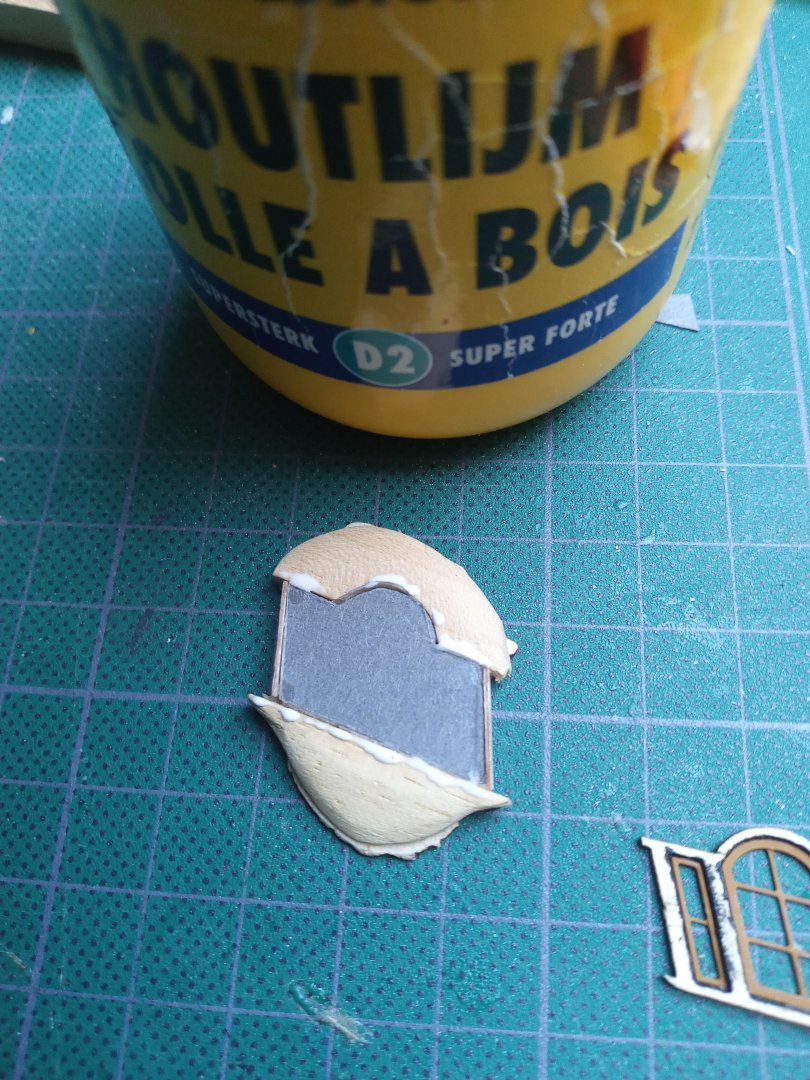
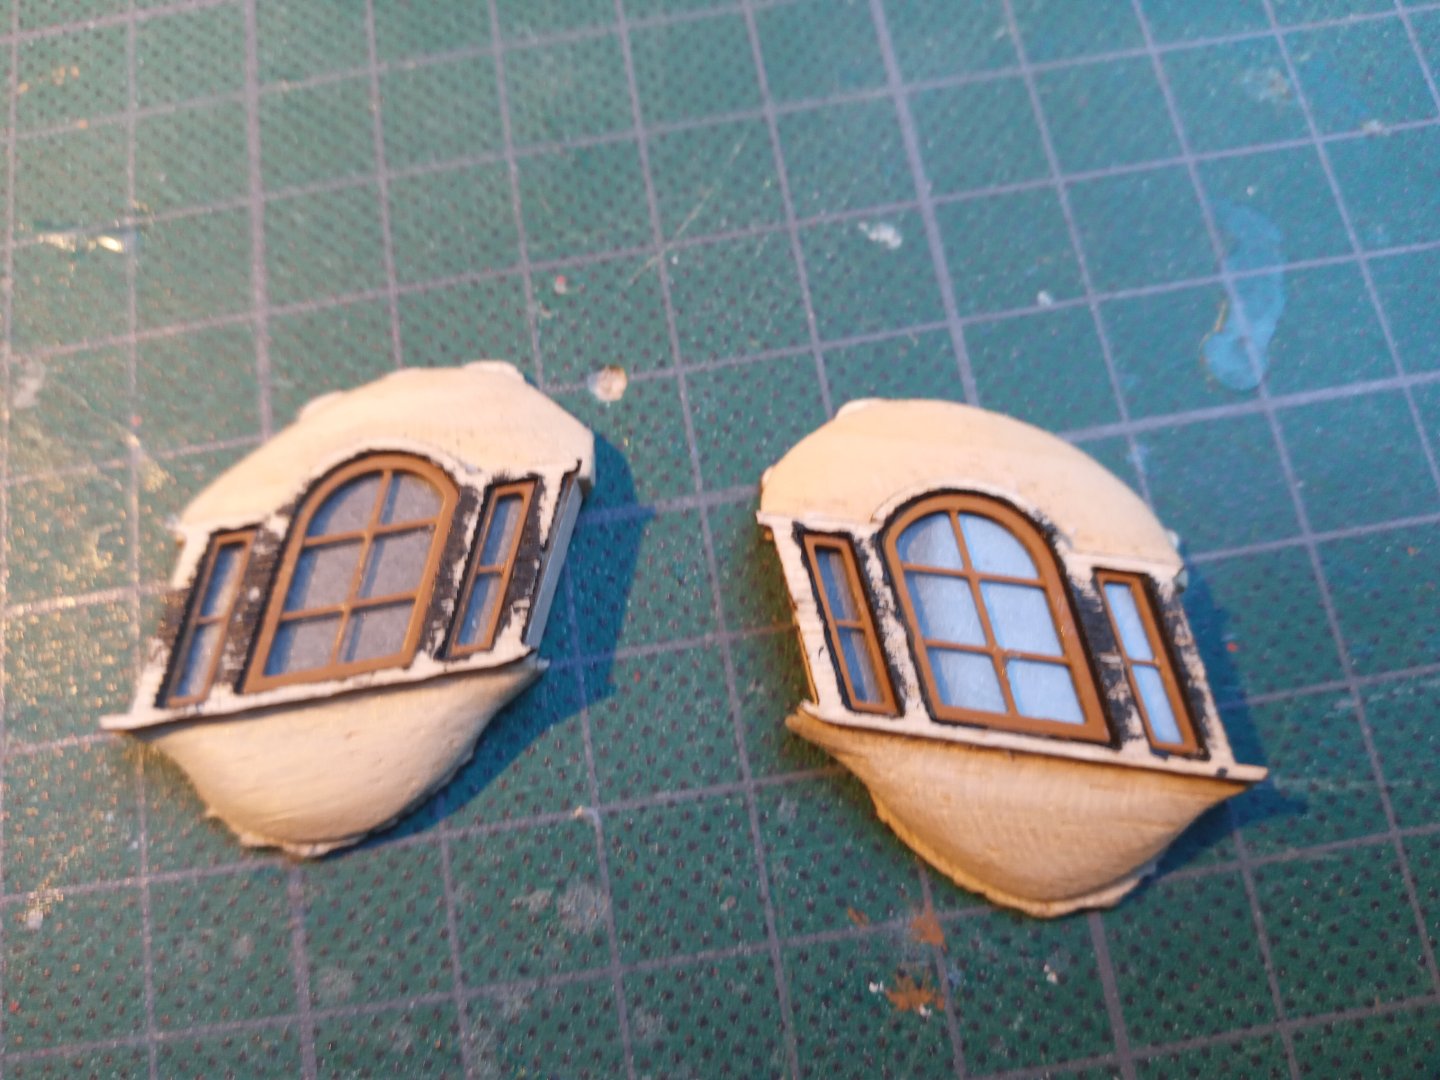
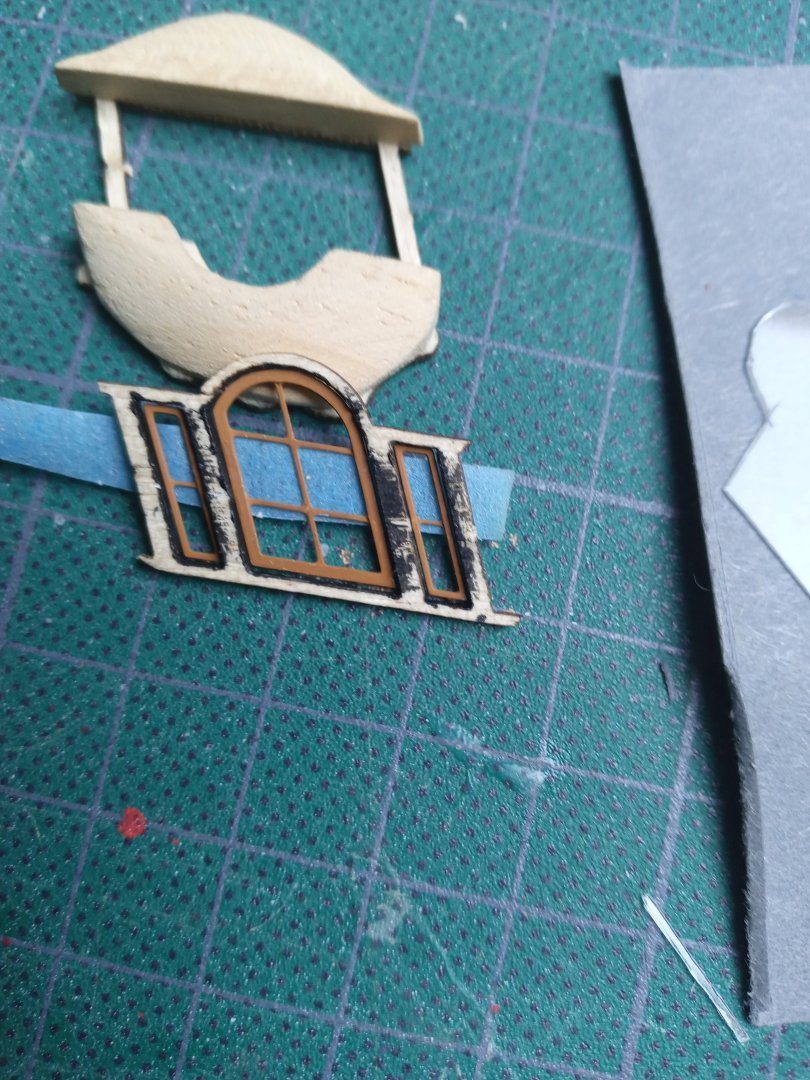
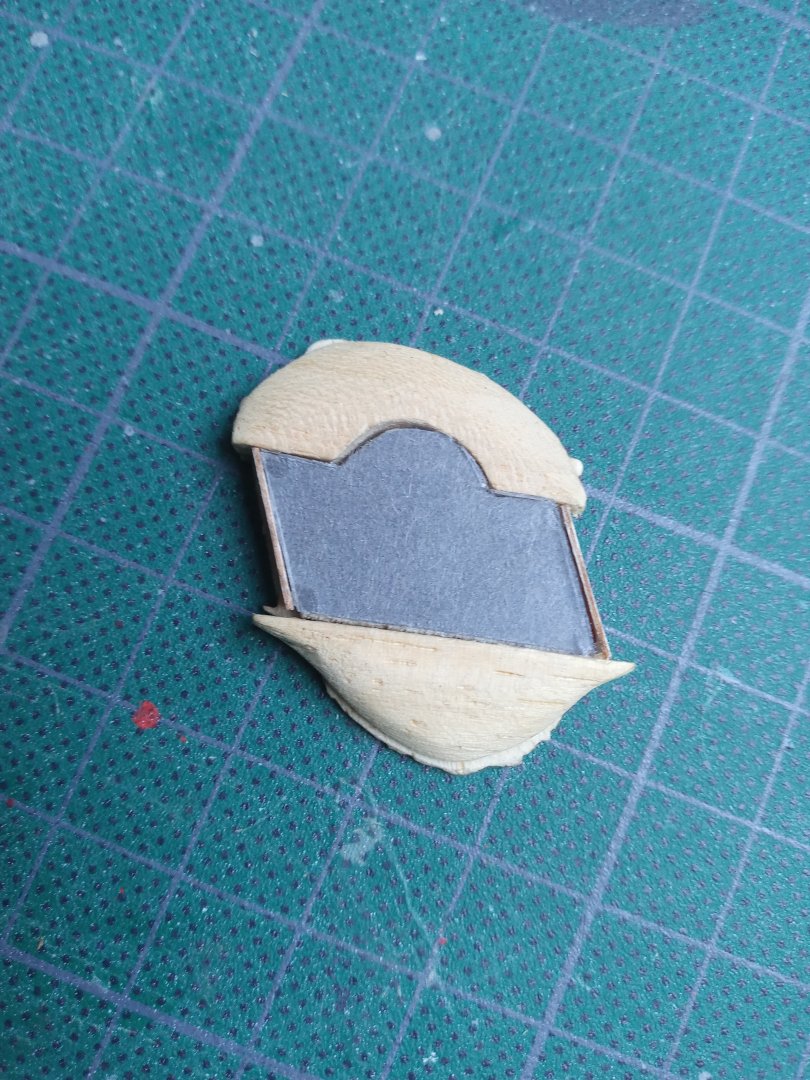
Related to the quarterbadges : here's the second and last part : On both sides : a small strip of wood to secure the plastic And glue part 308 with the inserted PE-windows Again : be conservative with the glue. Here's the final result : the dolphin ornaments (315 and 316 ) allow bending upon the more or less spherical surface. Though the bird ( bottom piece ) is a different story. By consequence piece 333 is a small sacrifice, and 334 was the only doable ornament in this area Finally, instead of fixing parts 338 next to the quarterbadge, I glued them on both sides which was pretty convenient. So that's it. Next post will be related to the trasom/tafferal.
- 64 replies
-
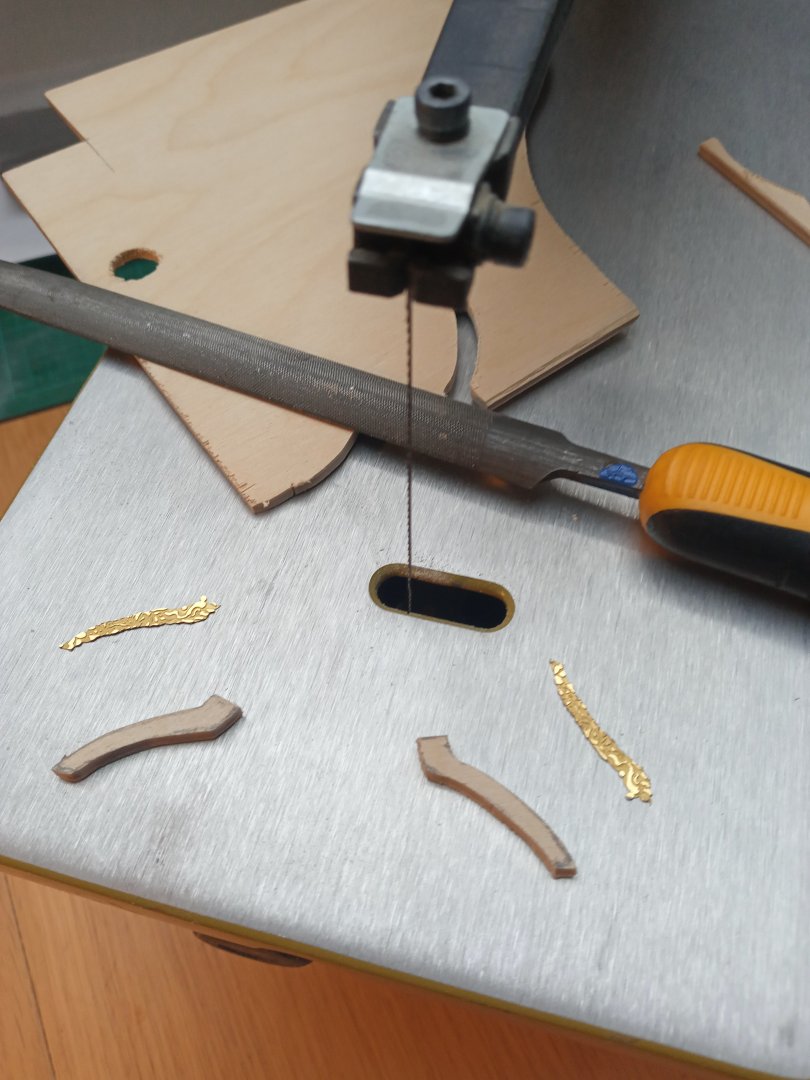
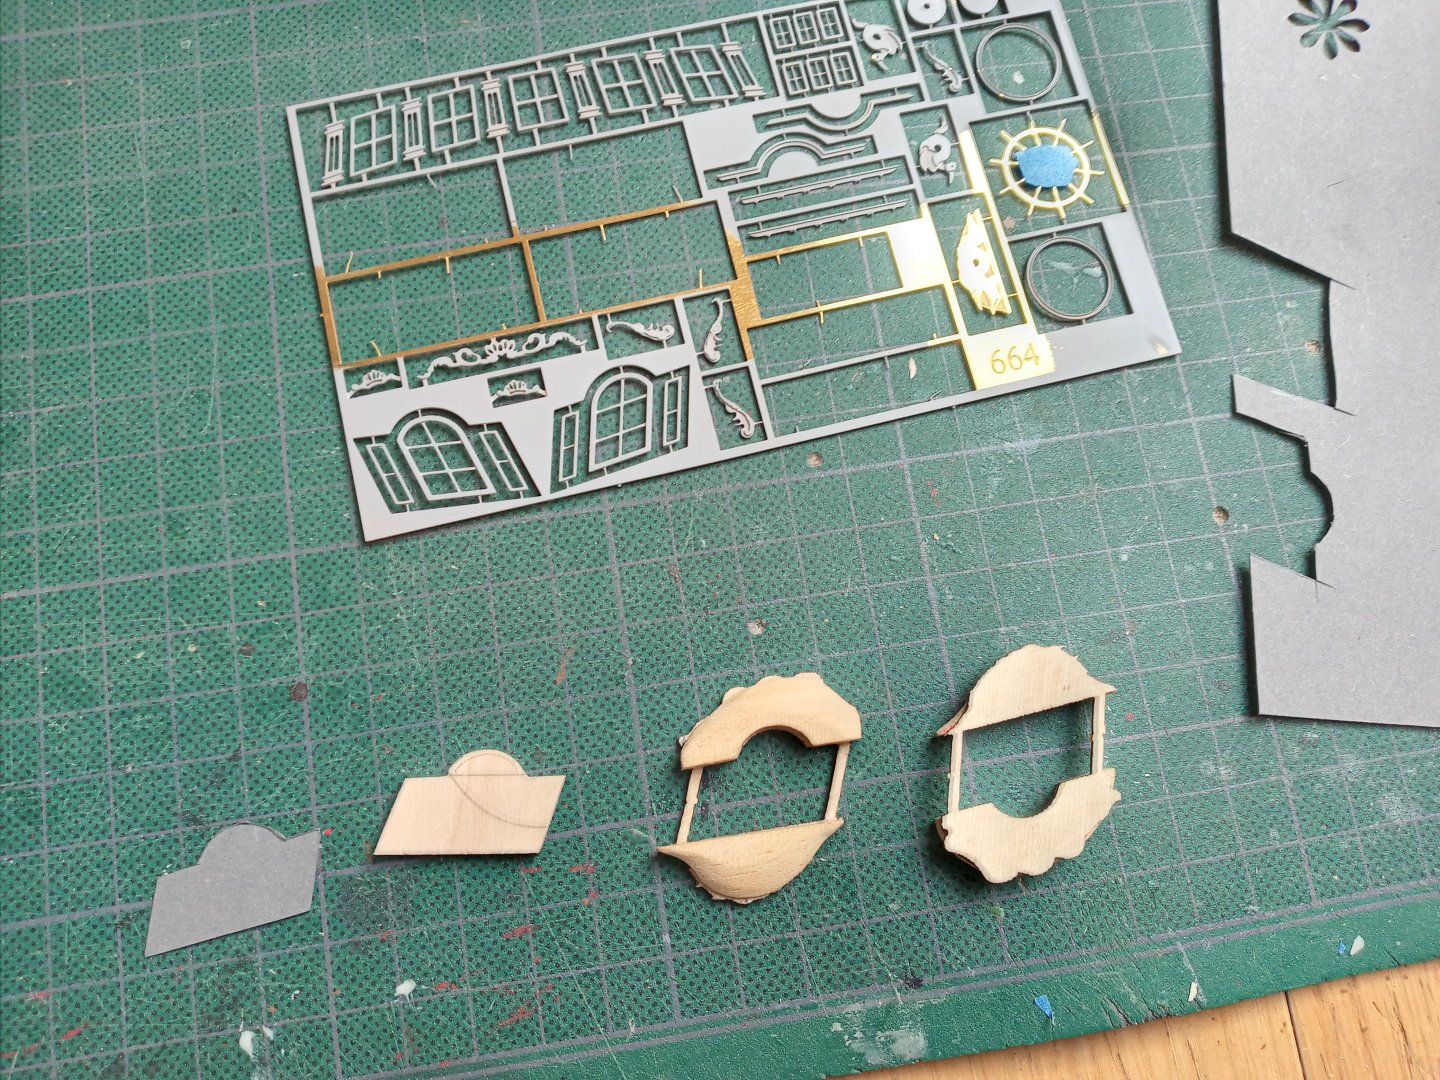
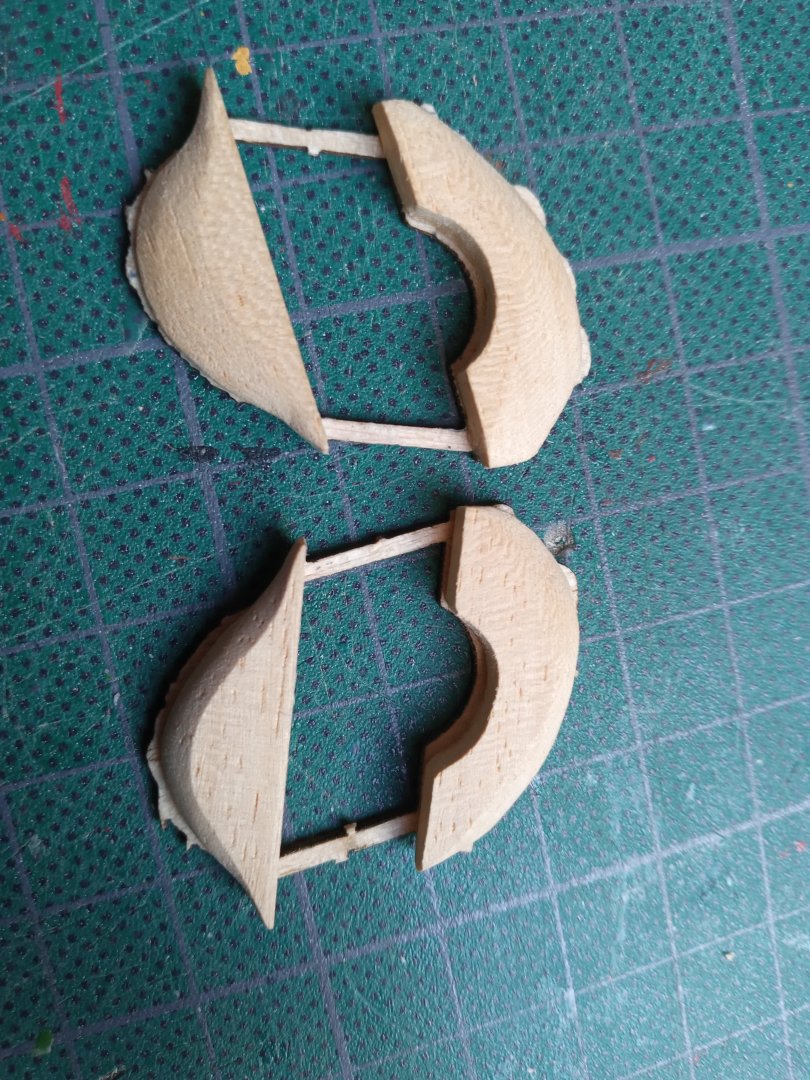
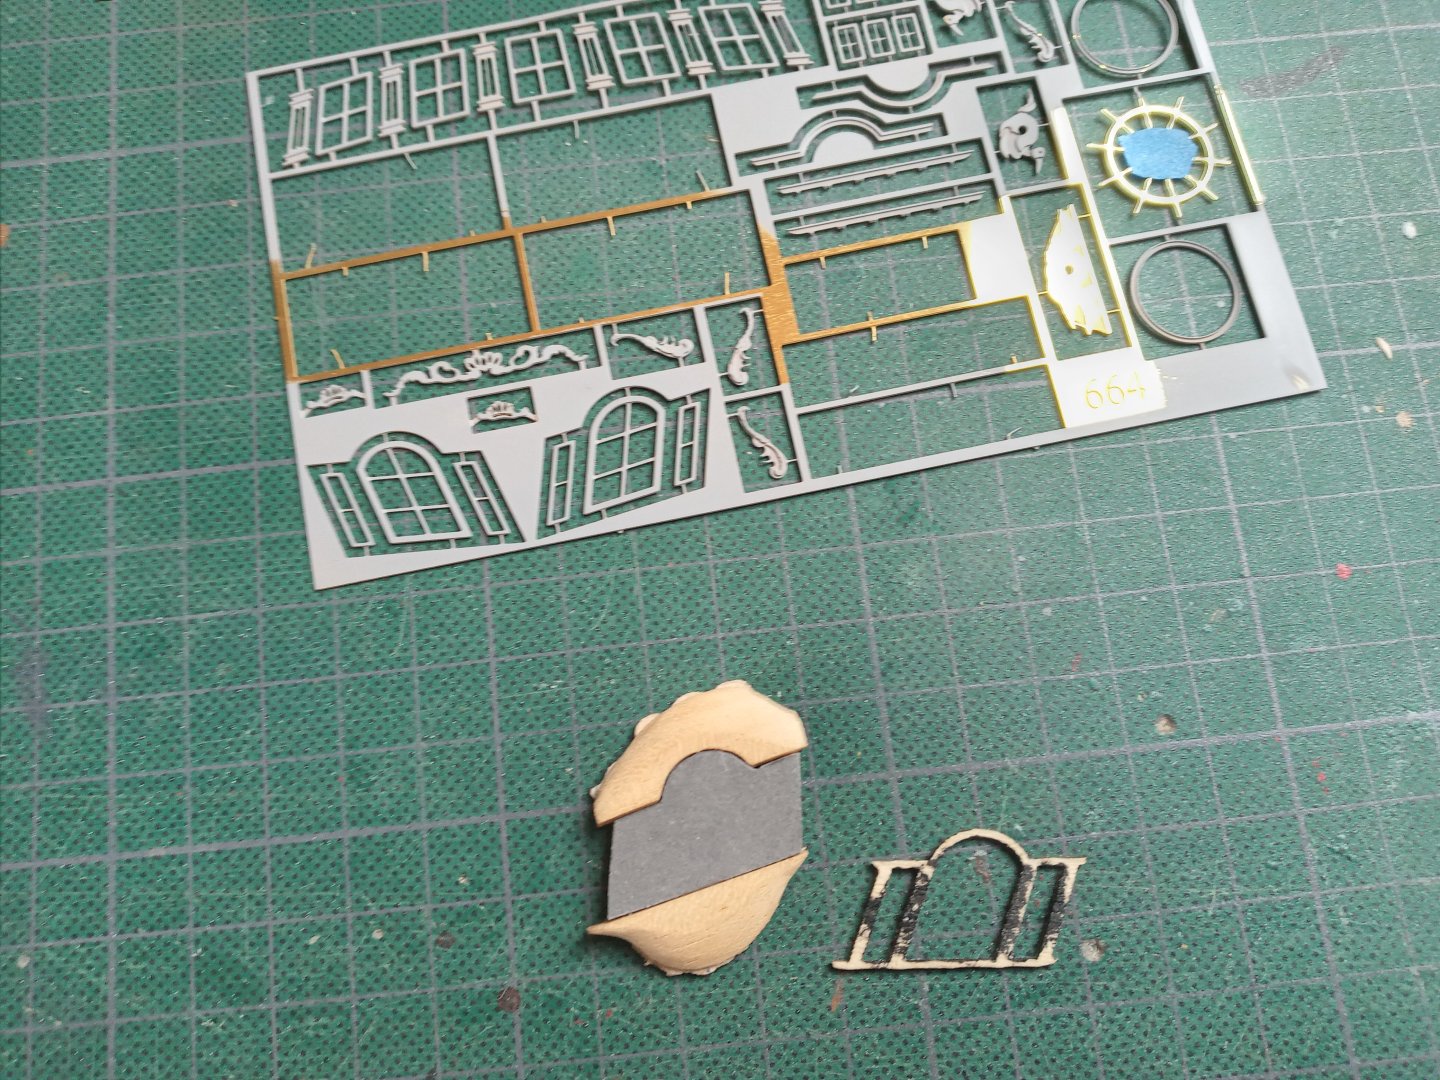
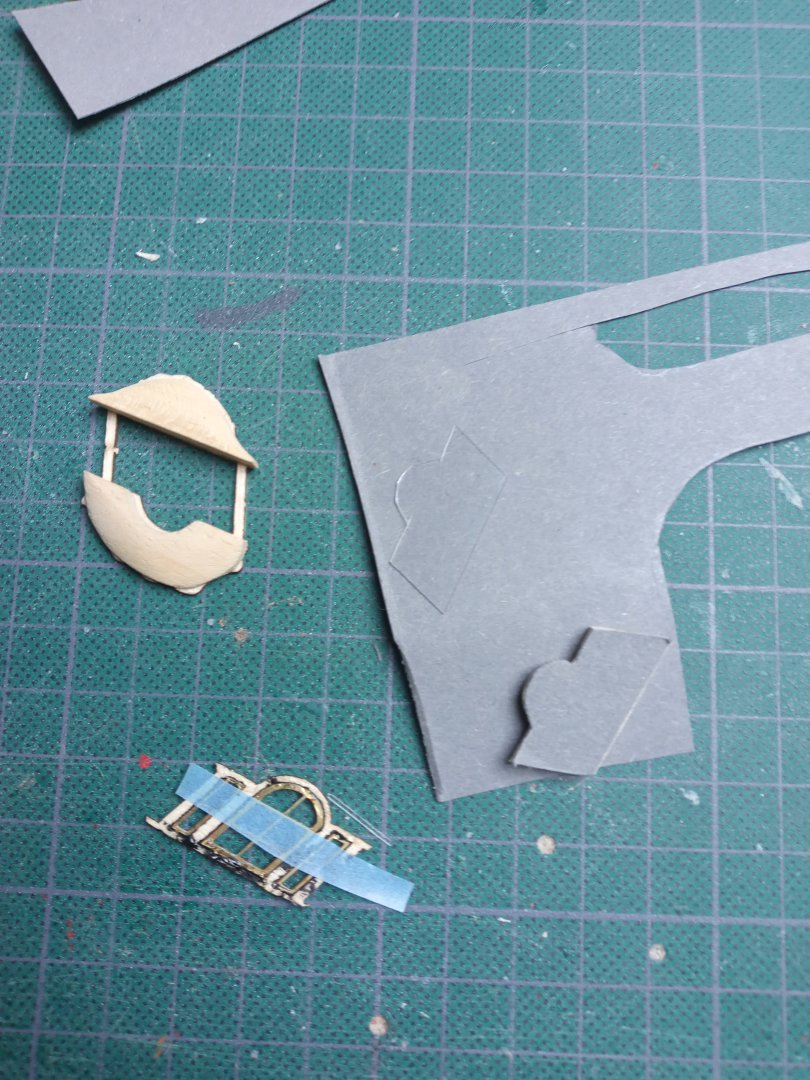
The quarter badges, just my approach : (part 1 ) Much has been said in previous builds about the matter : nonetheless : striving for a more 3 D-effect is (imho ) definitely a plus. At first I made a bottom and top piece which a glued upon piece nr.307 ( starboard side ) : once fixed, this allows a better finetuning of the necessary filingwork. A third element from scratch is to fit between bottom and top piece. Made it big enough, to create a little tension on part 307 making so it would decribe a small curve : it's destination on the hull surface isn't flat either. Again : part 307 is fragile so caution is required Accordingly to the shape of the the 3rd piece , I made a grey paper and plastic strip. The thing is that I was anxious to avoid awkward bending pieces 308 and 314 . The the delicate windows on the backside of piece 308. Most challenging was fixing the plastic upon the grey paper with cyanoglue. Needless to say : be ultraconservative with the glue.
- 64 replies
-
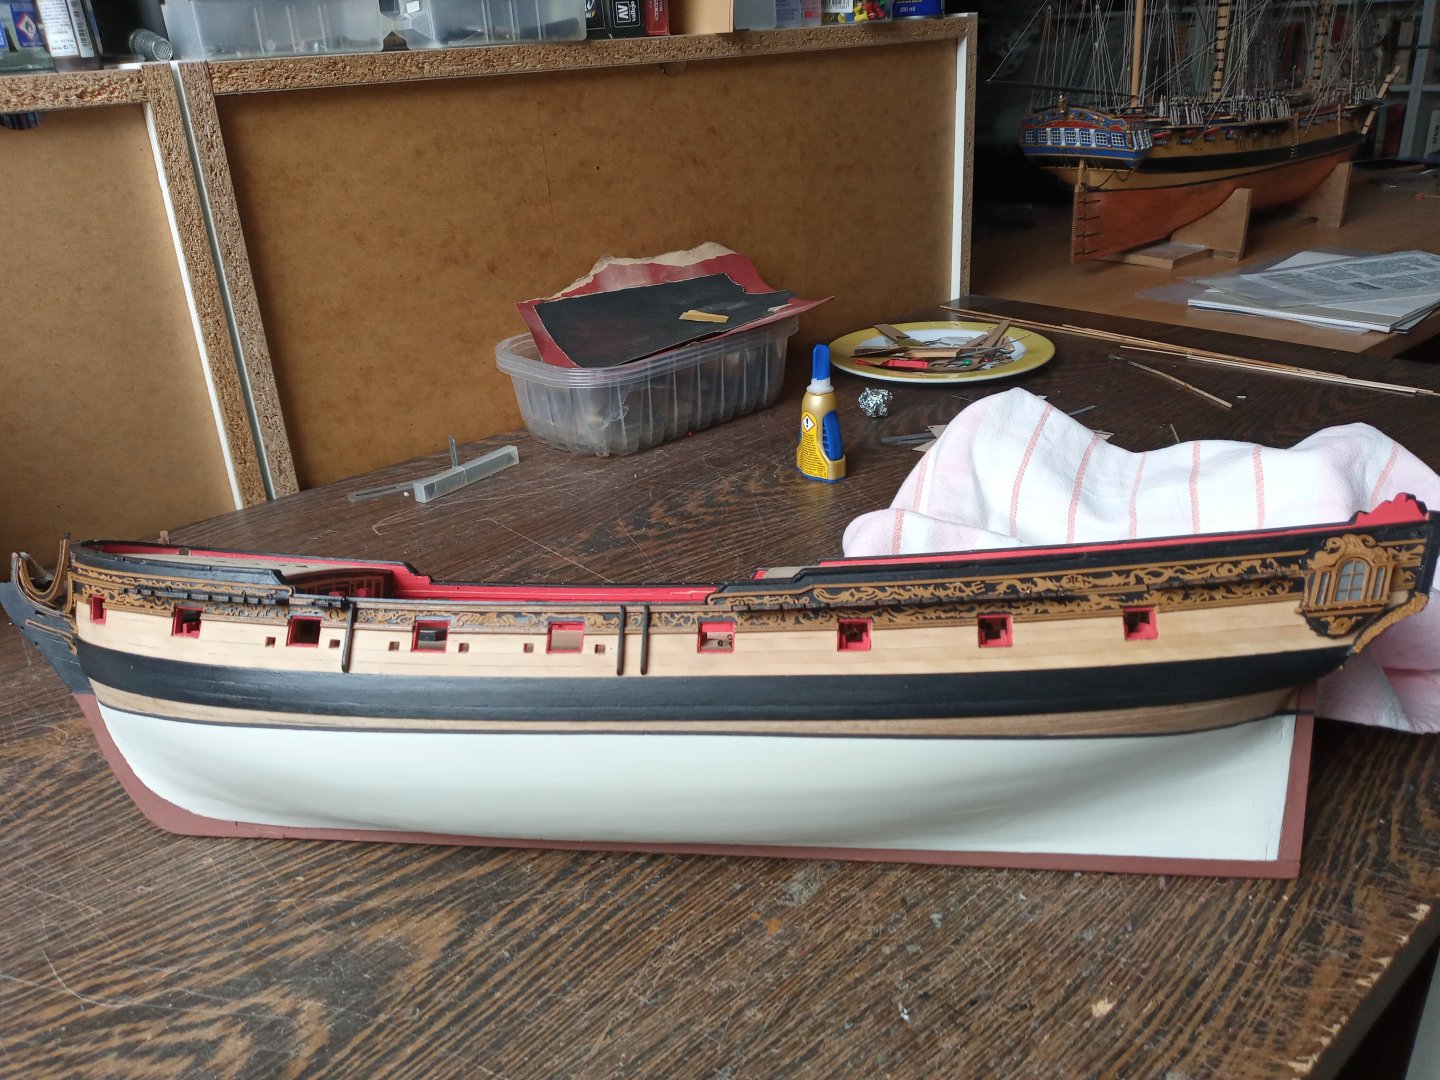
As promised yesterday, here's some extra info : At first a general remark : I'll mention some brands of whom I have no commercial benefit whatsoever but they just worked out fine for me. 1. The hull : ( see pic ) As you may have noticed : I'm done with coppering. It took me a while finding the just shade of white color beneath the waterline until a wellknown modelbuilding specialist in Antwerp advised me AV white grey 71.119. It's just perfect.😀 I took care of fixing a primer : Tamiya surface primer does the job. The white paint was applied with my Badger Patriot airbrush. The black paper strip is not by the book but looks pleasant to the eye. 2. Inner bulwarks and other areas painted in red. AV vermillion 70.909 : don't be afraid to dilute if necessary 3. The black paint = DIY-store 4. All brass ornaments : I'm no longer into the "bling-bling" so I went for the AV New wood 311 Next post : the quarter badges
- 64 replies
-
If not, it would be shameful. The moreover : I invested in boxwood for the gun area above the wales, as you will have noticed.
- 64 replies
-
- 64 replies
About us
Modelshipworld - Advancing Ship Modeling through Research
SSL Secured
Your security is important for us so this Website is SSL-Secured
NRG Mailing Address
Nautical Research Guild
237 South Lincoln Street
Westmont IL, 60559-1917
Model Ship World ® and the MSW logo are Registered Trademarks, and belong to the Nautical Research Guild (United States Patent and Trademark Office: No. 6,929,264 & No. 6,929,274, registered Dec. 20, 2022)
Helpful Links
About the NRG
If you enjoy building ship models that are historically accurate as well as beautiful, then The Nautical Research Guild (NRG) is just right for you.
The Guild is a non-profit educational organization whose mission is to “Advance Ship Modeling Through Research”. We provide support to our members in their efforts to raise the quality of their model ships.
The Nautical Research Guild has published our world-renowned quarterly magazine, The Nautical Research Journal, since 1955. The pages of the Journal are full of articles by accomplished ship modelers who show you how they create those exquisite details on their models, and by maritime historians who show you the correct details to build. The Journal is available in both print and digital editions. Go to the NRG web site (www.thenrg.org) to download a complimentary digital copy of the Journal. The NRG also publishes plan sets, books and compilations of back issues of the Journal and the former Ships in Scale and Model Ship Builder magazines.


