
MORE HANDBOOKS ARE ON THEIR WAY! We will let you know when they get here.
×


Barbossa
-
Posts
509 -
Joined
-
Last visited
Content Type
Profiles
Forums
Gallery
Events
Everything posted by Barbossa
-
 Hi G.L. : Thanks for the immediate answer, much appreciated. The reason of my inquiry : the weight of the display could be an issue for my completed previous build.
 -
Truly wonderful and inspiring work, G.L. Can I ask a question about the display case ? I may have overlooked, but are you using genuine glass or plexi glass ? In either case how thick are the blades ? Regarding the plexi variant, I was recommended by a manufacturer a minimal thickness of 6 mm ( provided the length = 1,2 m and 1 m high )
-
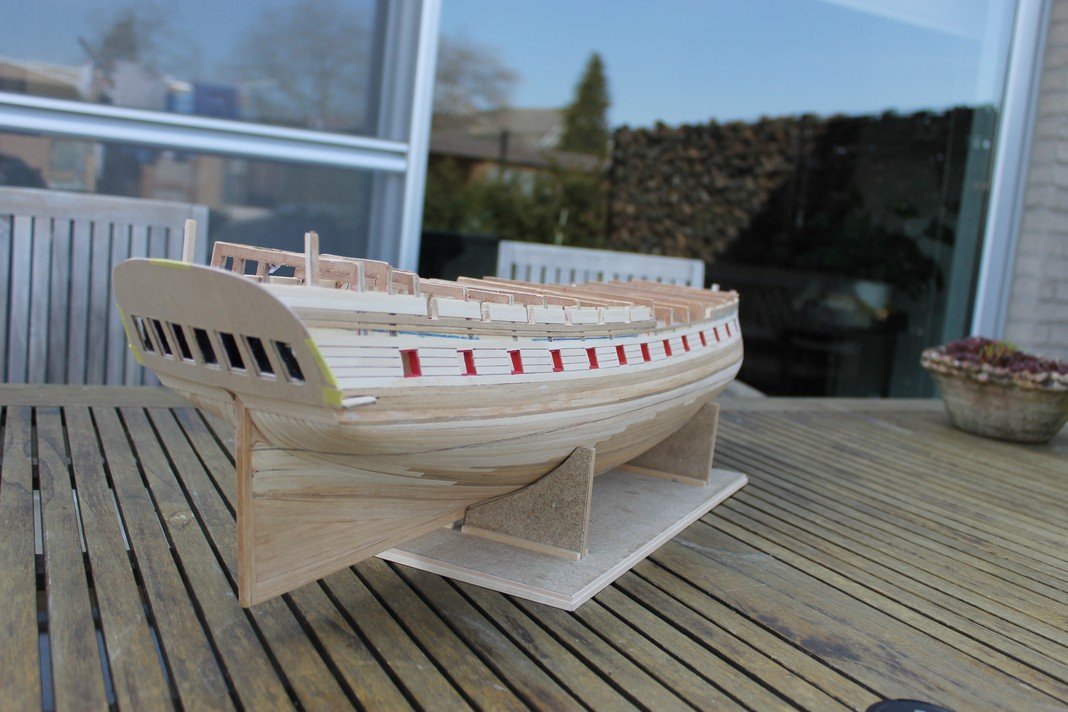
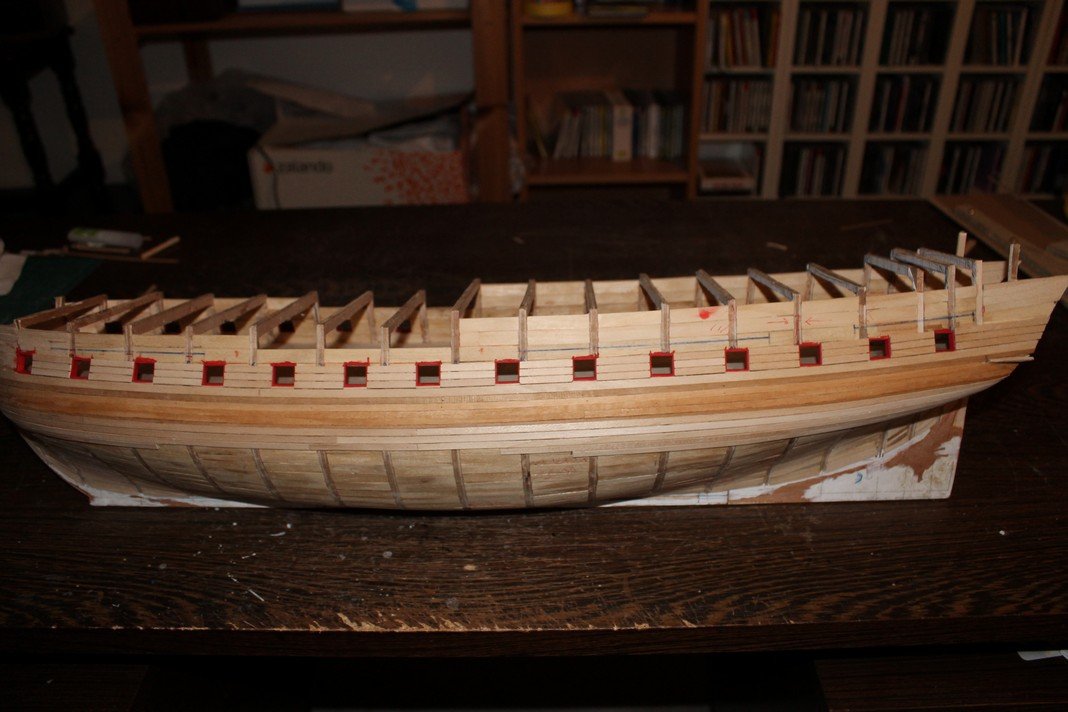
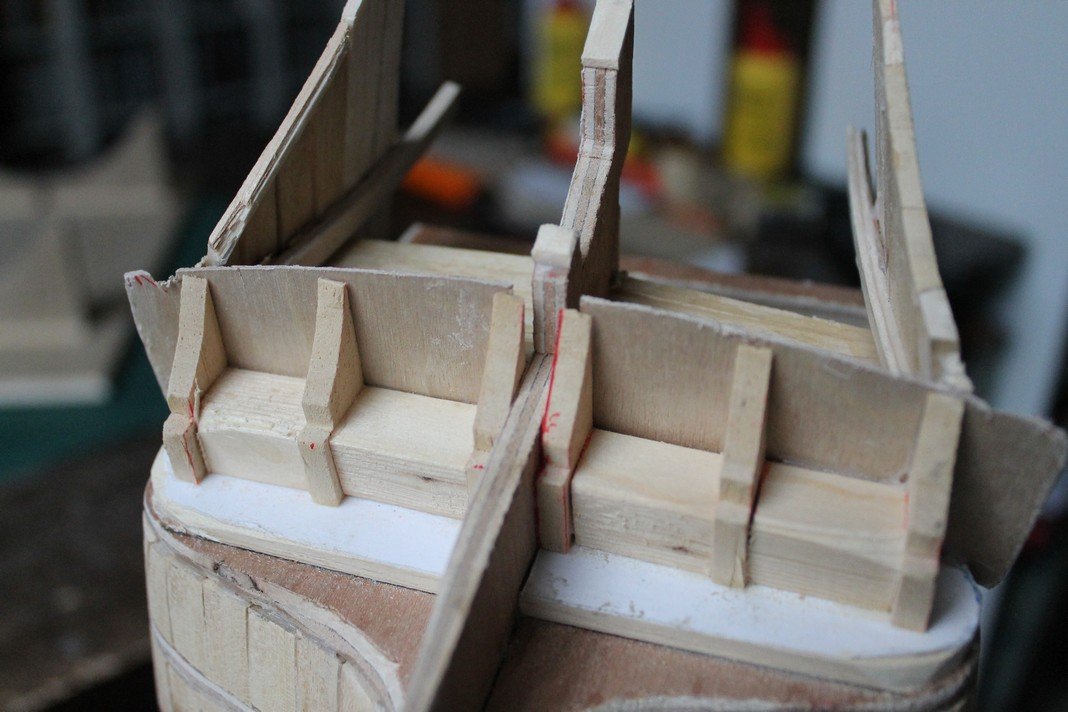
Thanks Patrick and thanks everybody for the likes and showing interest. Just removed the reinforcements on top of the bulkheads. It's already a different sight ! Added other reinforcements to secure the inner structure. This will be covered by forecastle and quarterdeck and might help to obtain the correct camber. Inner bulkheads are to receive 1x4 mm strips, making the preparations ( = clean up the mess )

-
Part 2 You may notice some gaps between the planks in the fourth pic : this is in anticipation for the decoration strips


-
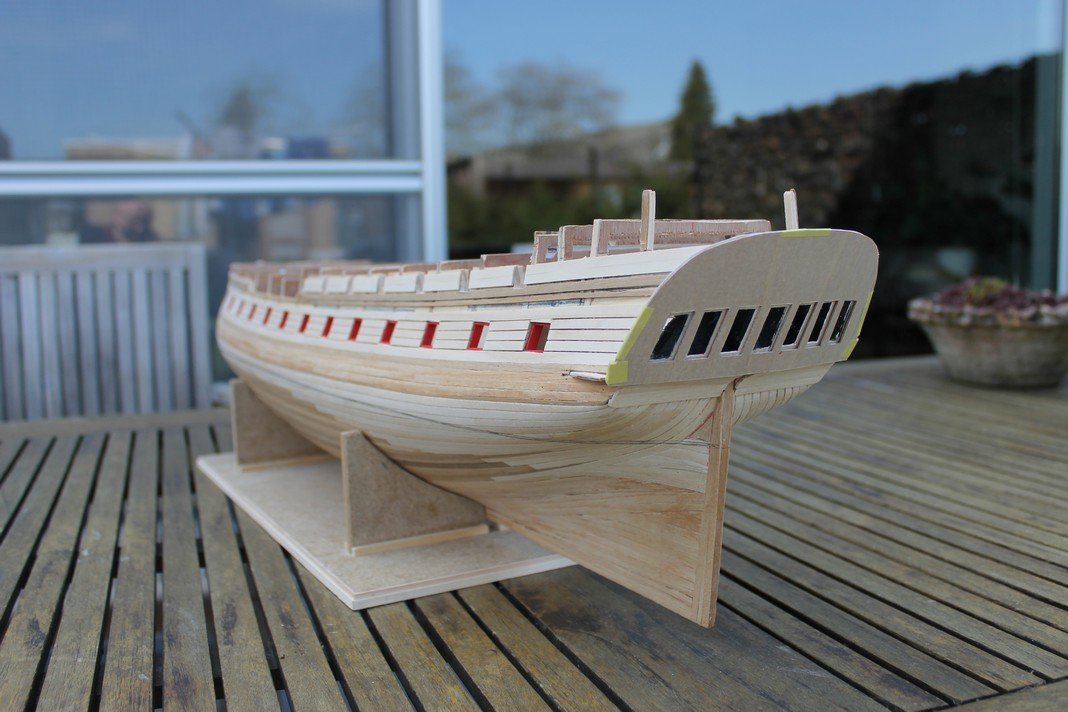
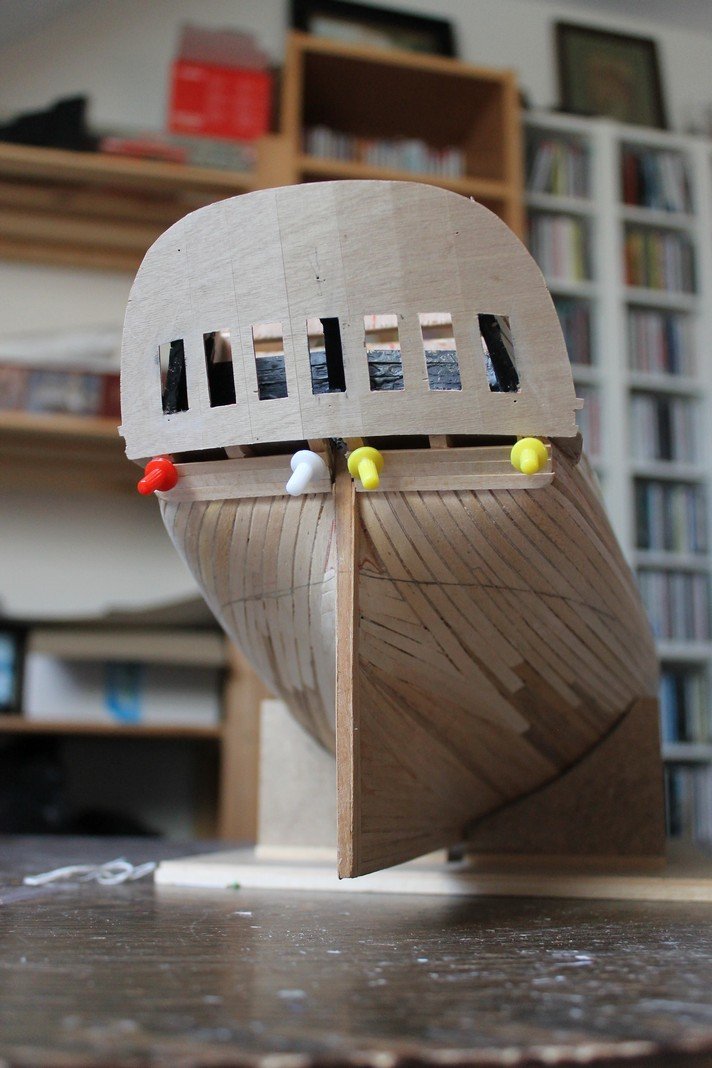
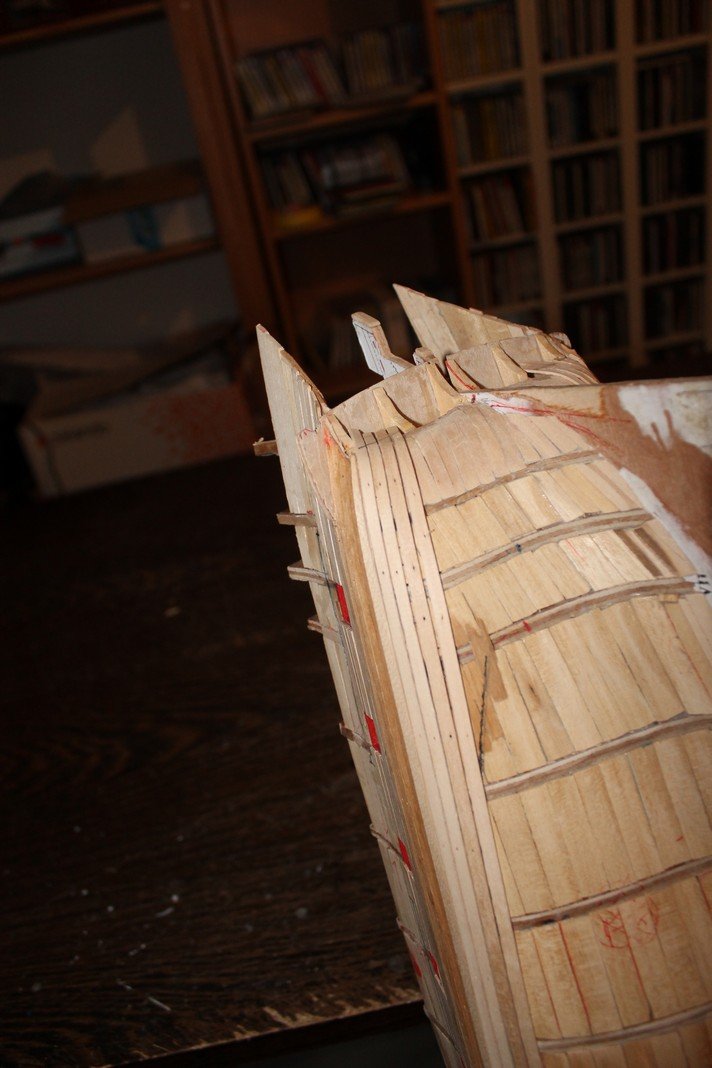
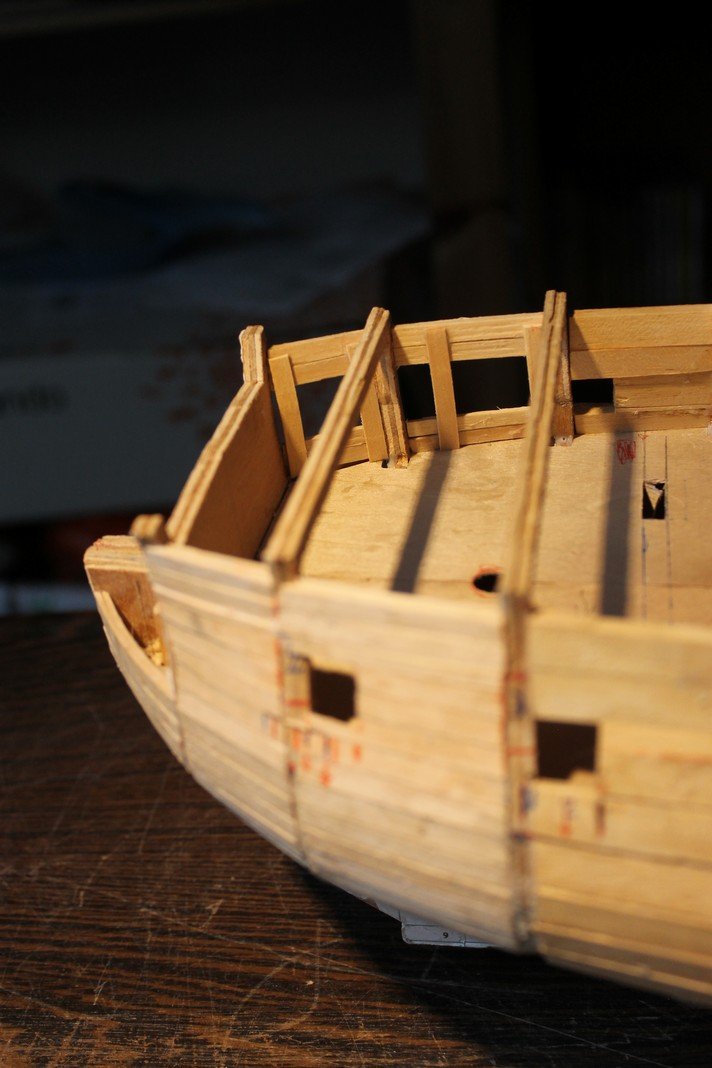
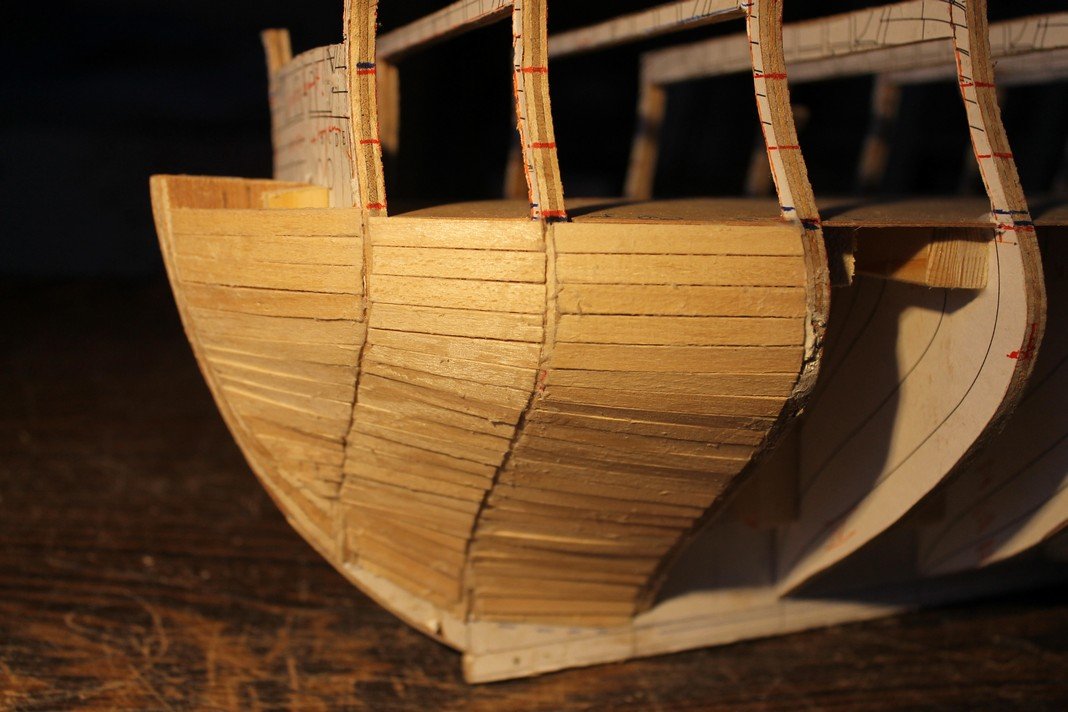
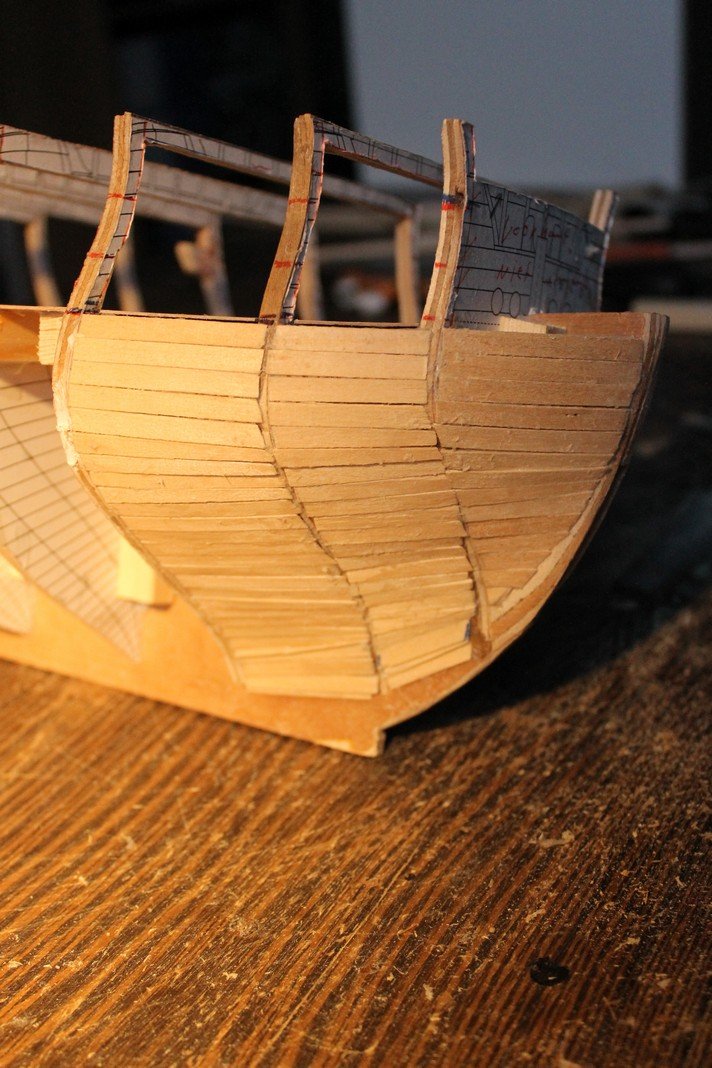
Hello, another small update (part 1 ) Tried to imitate the pattern of the bow, at least the part above the waterline. Although the bow is to be painted in black, still I'd like to distinguish the different components the bow was made of. Please, pay no attention to different types of wood under the waterline : this area is to be coppered anayway The rest of the pics show it's present status.


-
Sincere congrats At the beginning of this wonderful hobby I was "a big ship many guns"-addict. But this definitely whets my appetite for smaller ships ( in the future )
- 335 replies
-
- 1
-

-
- alert
- vanguard models
- (and 1 more)
-
Stunning work and a pleasure to follow your progress. Reminds me a documentary about Guédelon castle where craftsmen are using the building techniques and tools way back then.
-
Beatiful Collection, indeed I like the diversity ( type of ships vs. period of ships )
- 38 replies
-
- 3
-
-
- billing boats
- hjejlen
- (and 2 more)
-
Hi Patrick. Great work and a pleasure to follow the progress. About the plastic spars : the minimal tension while rigging your ship would probably deform them anyway.
-
Continuation.

-
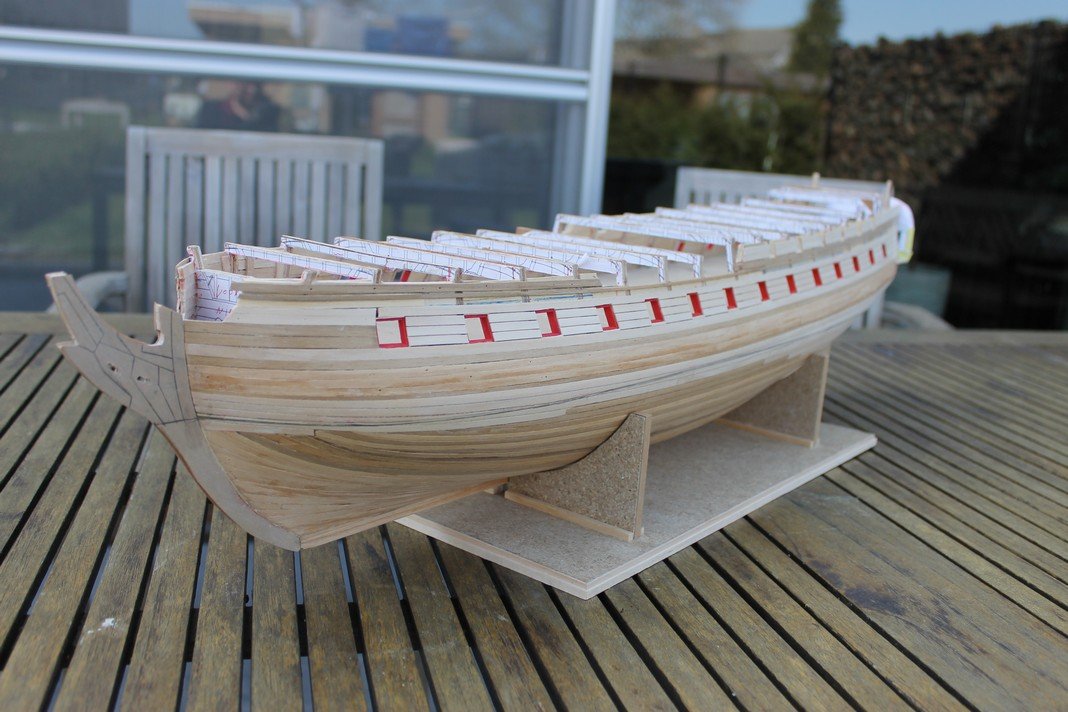
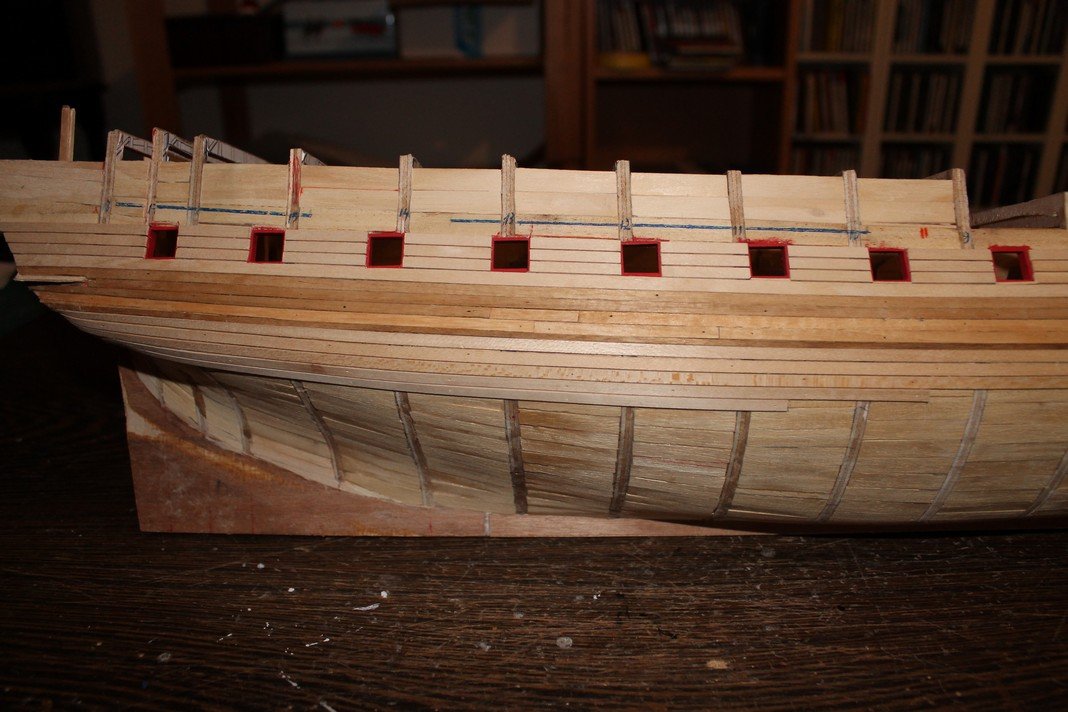
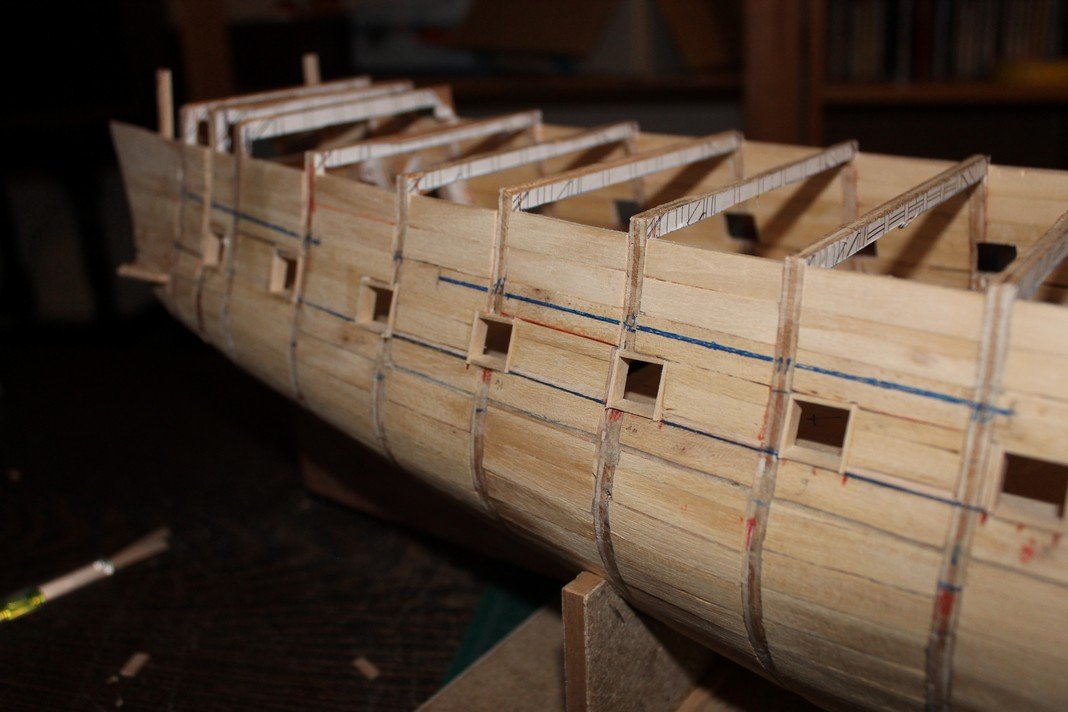
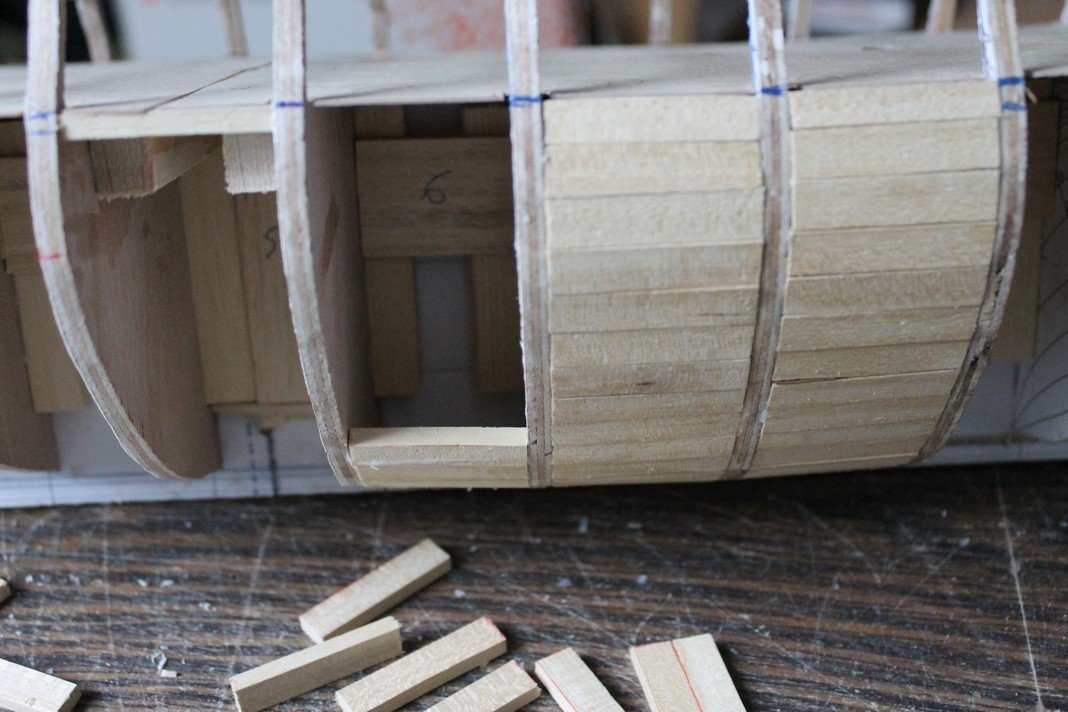
Hello, Still busy with the planking process but I'm enjoying this. Looking at the pics, you will notice the planks are slightly separated. I'll come to this later on. Also, everything under the waterline is to be covered by coppertiles which I purchased through Victory-Amati. So don't you worry about me using different types of wood in this area. Must admit -as far as I'm trying to finishing the hull with the best of my abilities and according to the plans- the hull describes funny, dare I say awkward curves, especially when I reach the bow area. But as I mentioned, the "flaws" will be covered with copper, so no harm done so far. Another 5 pics are to follow this post


-
Hi Rob, the contrast between the pale wooden strips and the black parts in the crosstrees is pleasant to the eye. A very good idea.
-
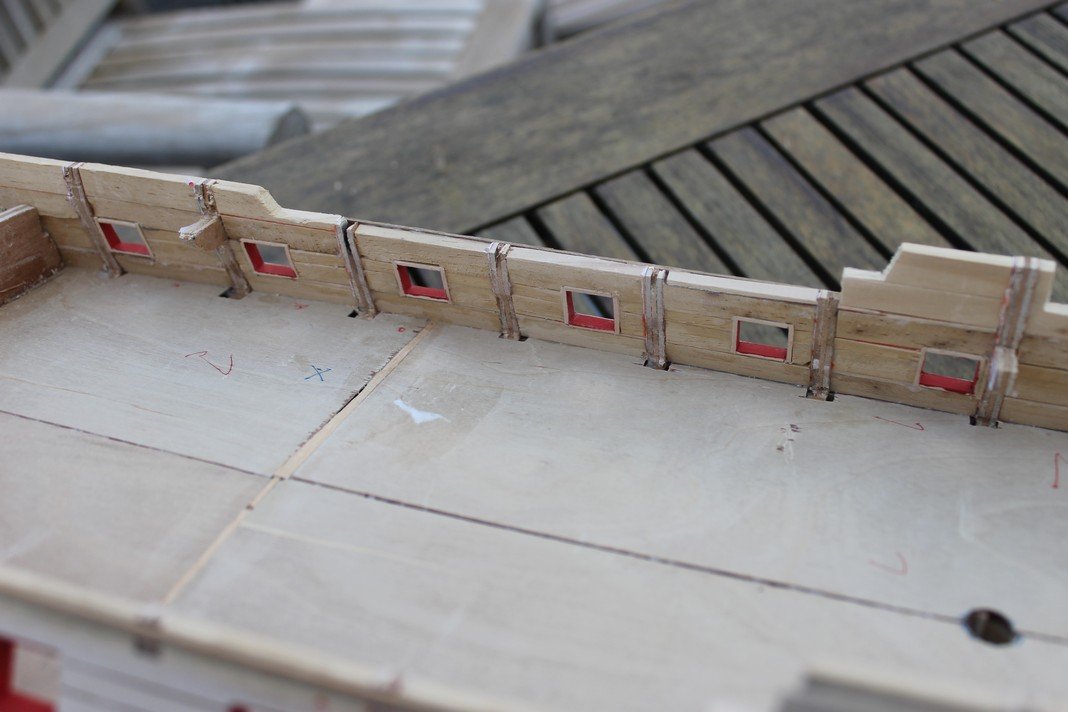
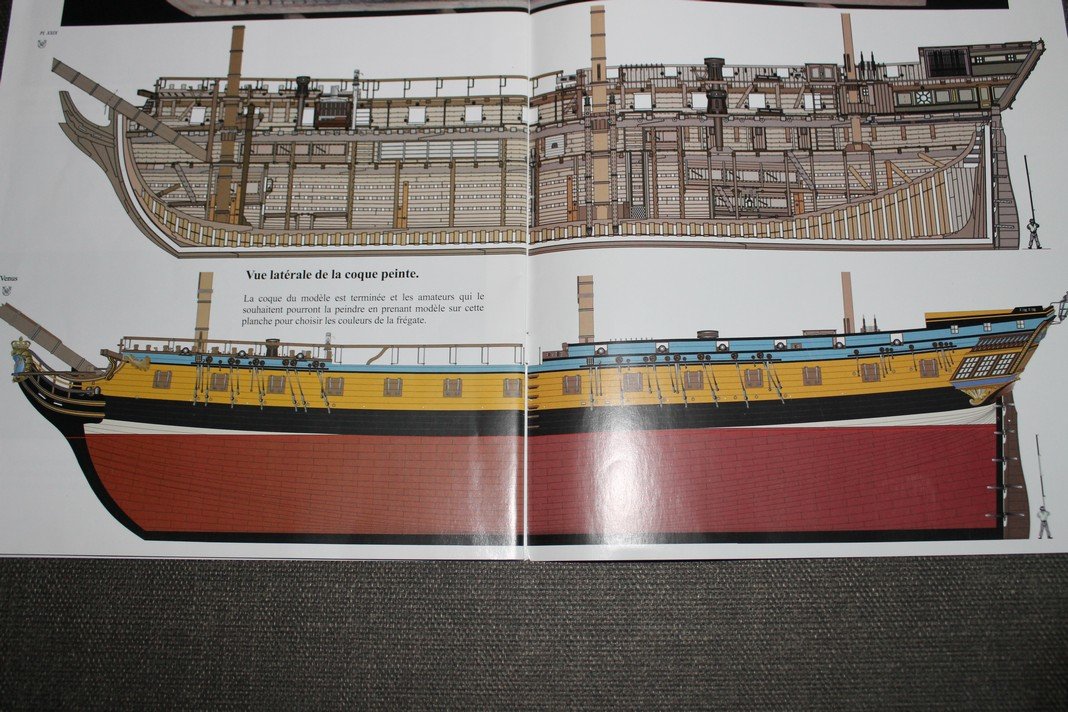
Thanks Patrick and a thanks for all the likes. As from the start of this project it was always the intention to paint the model, for two reasons 1)Lack of patience and talent 2) Quality wood ( boxwood,...) is as good as unavailable First pics are some experiments : I'd like to insert black or darkgrey paper between the planks in the gunport area. Following pics : a careful start ( wood = ramin ) Last pic I took from the additional monography ( Franco Fissore ) raised some questions and I submitted this color scheme to French MSW-colleagues ( forum actif 5500 ) and Mr. G. Delacroix himself was so kind to answer that the color scheme was an artist's view and a bit a questionable one as everything under the waterline should be coppered. In addition French frigates don't seem to have this distinctive black belt ( wales ) you often see on their English counterparts. On the contrary : the black painted area seem to continue till the waterline ( La Renommée, La Belle Poule 1765,... if painted of course ) Even more : The Boudriot Monography shows the front side ( towards the bow ) the first gunport included in black color. This is convenient as the bow area describes funny curves ( see point 1 in this post 😅 ) . But this is the path I intend to follow.


-
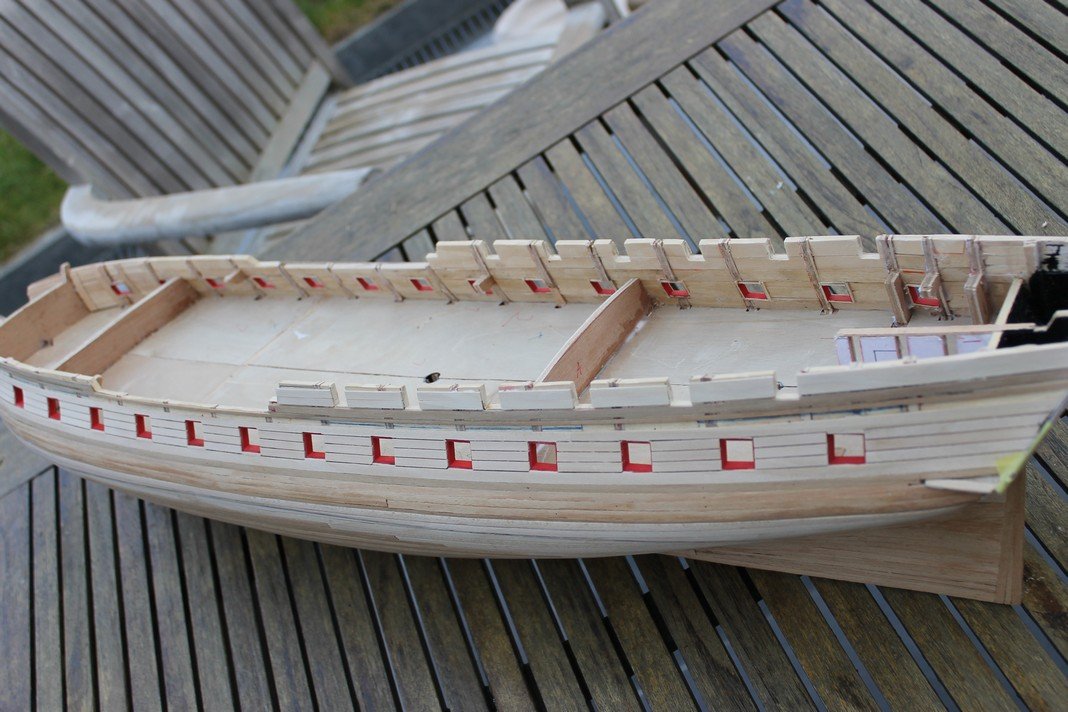
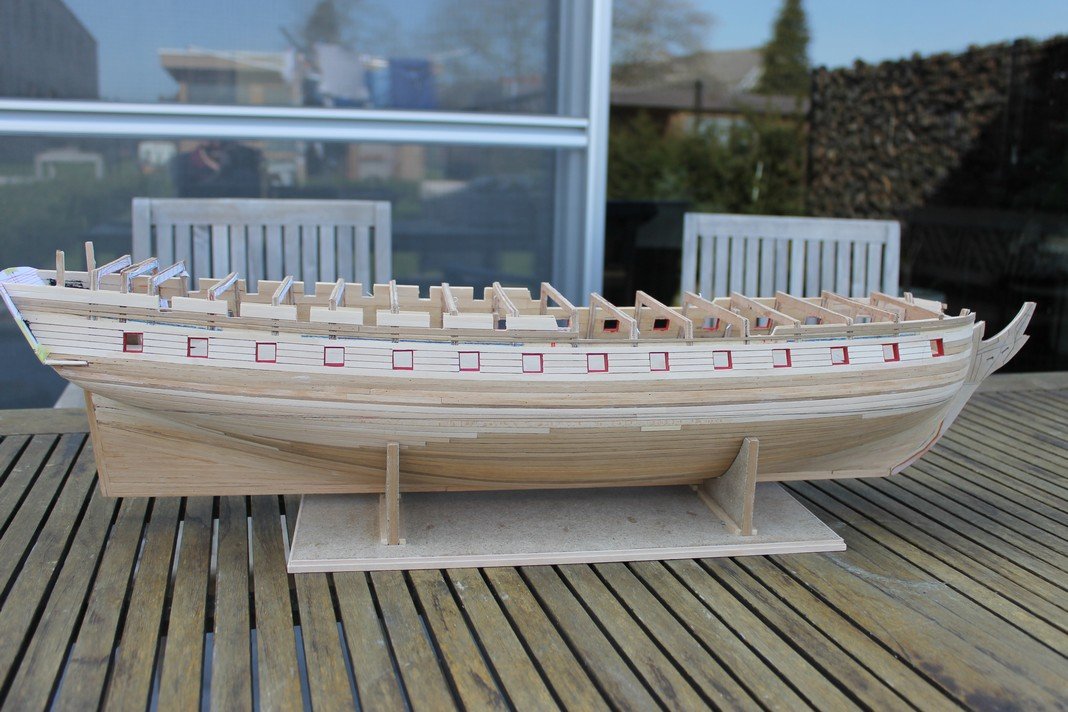
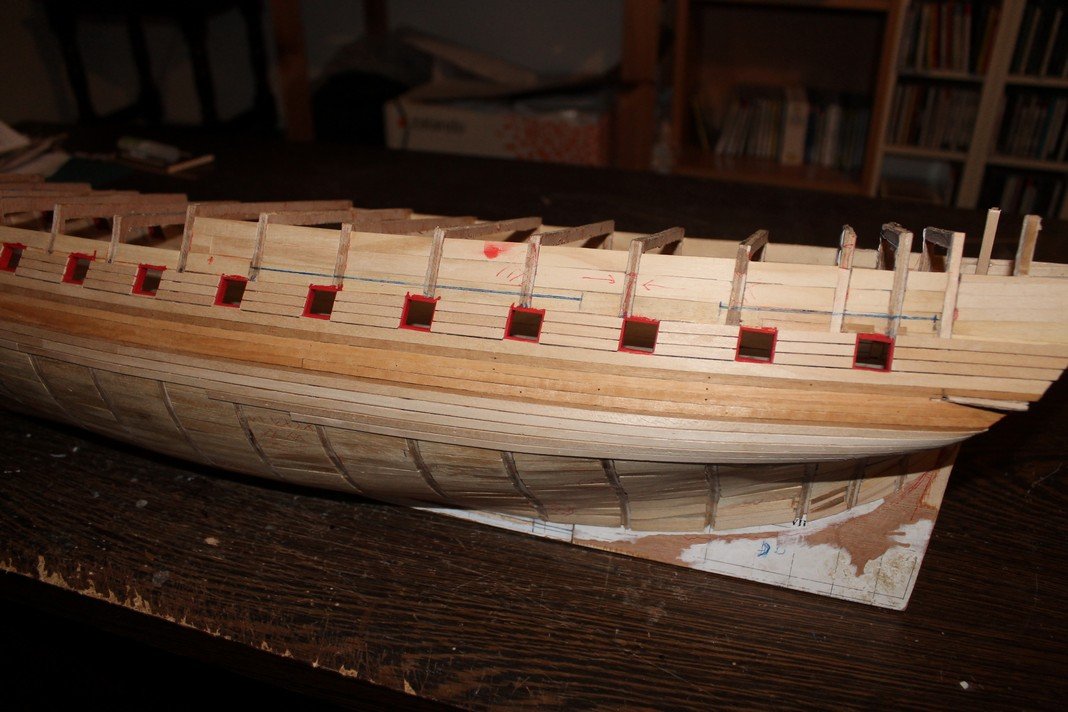
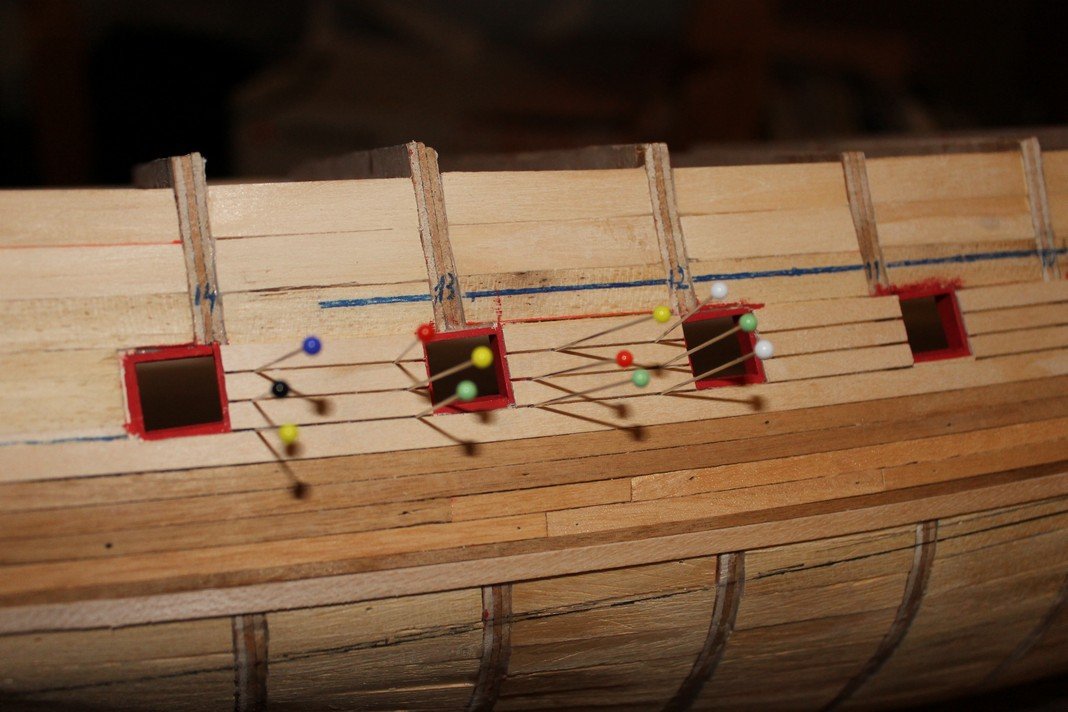
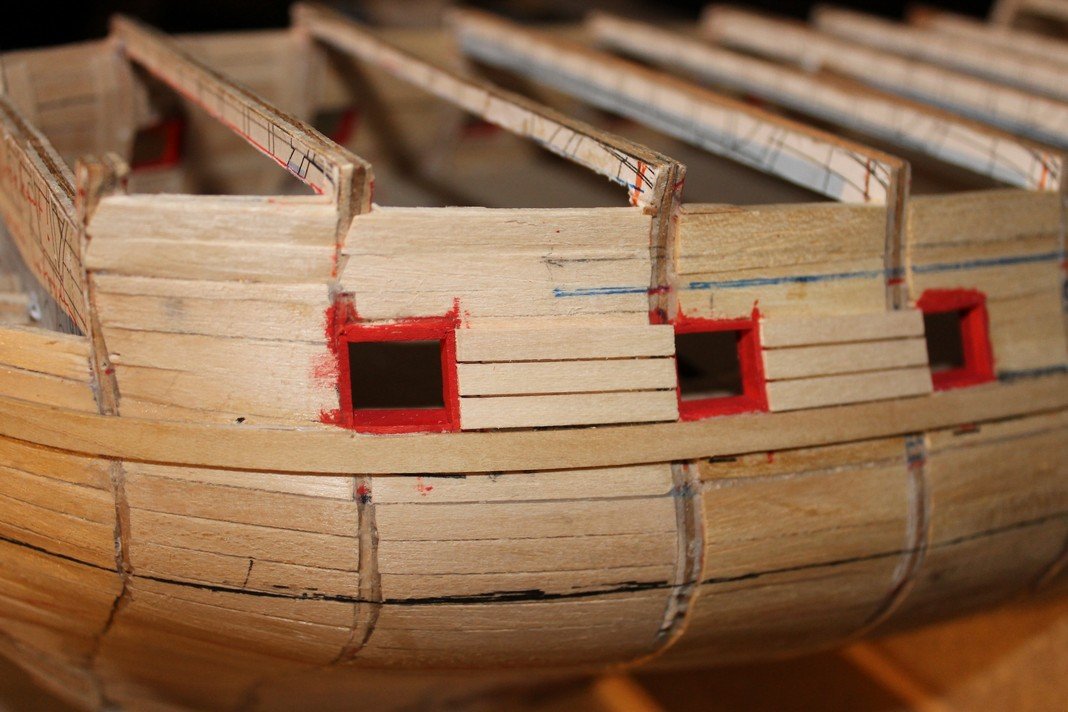
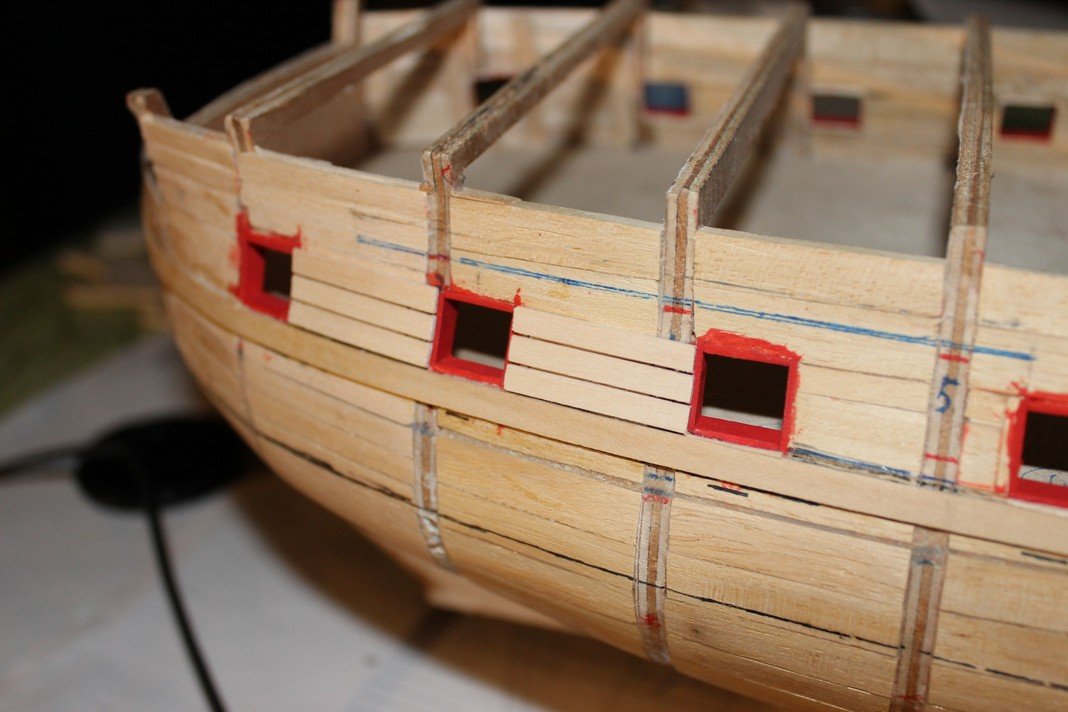
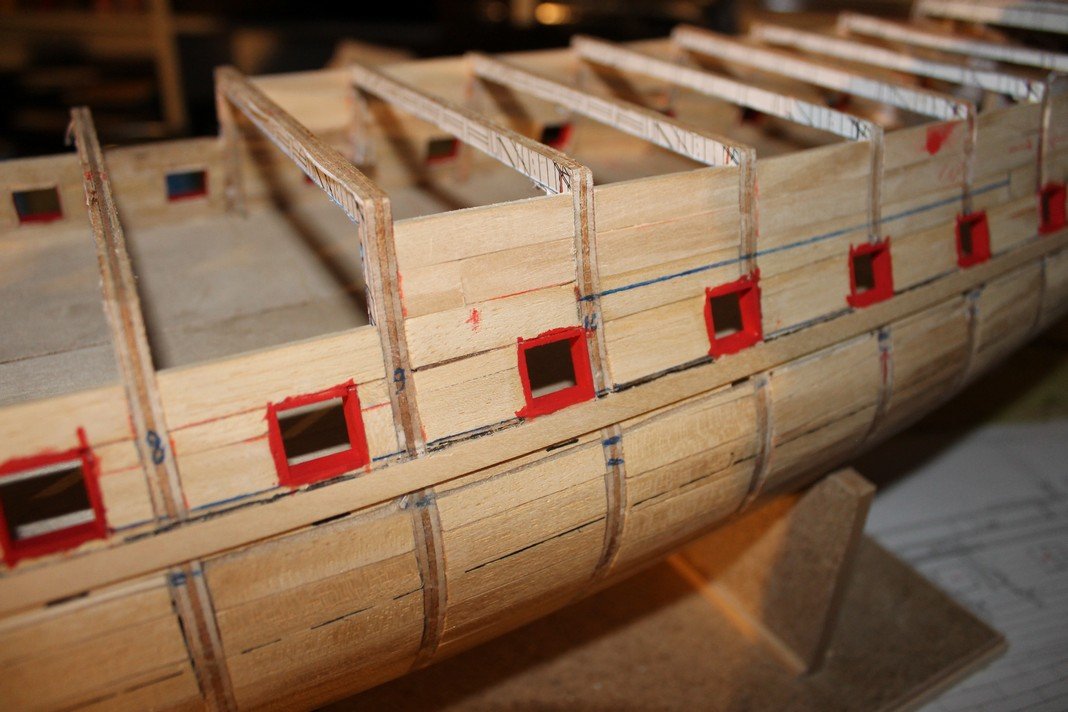
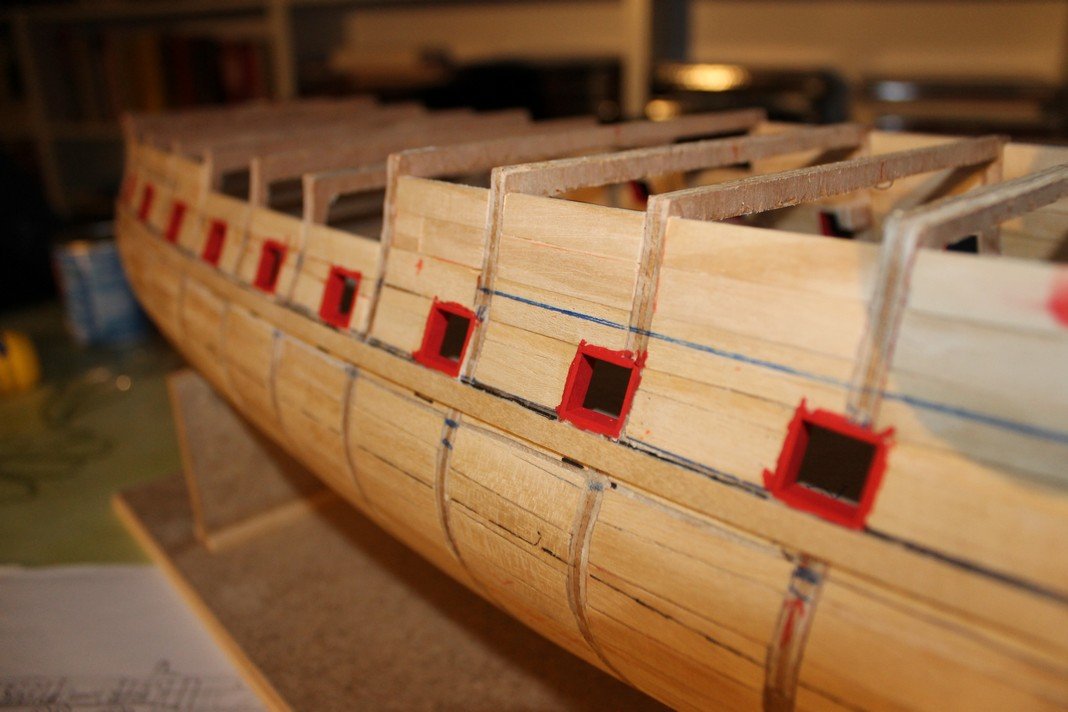
Last update : painted the inside of the gunports with AV Flat Red 70.957 Later on I would like to submit some ideas about the color scheme

-
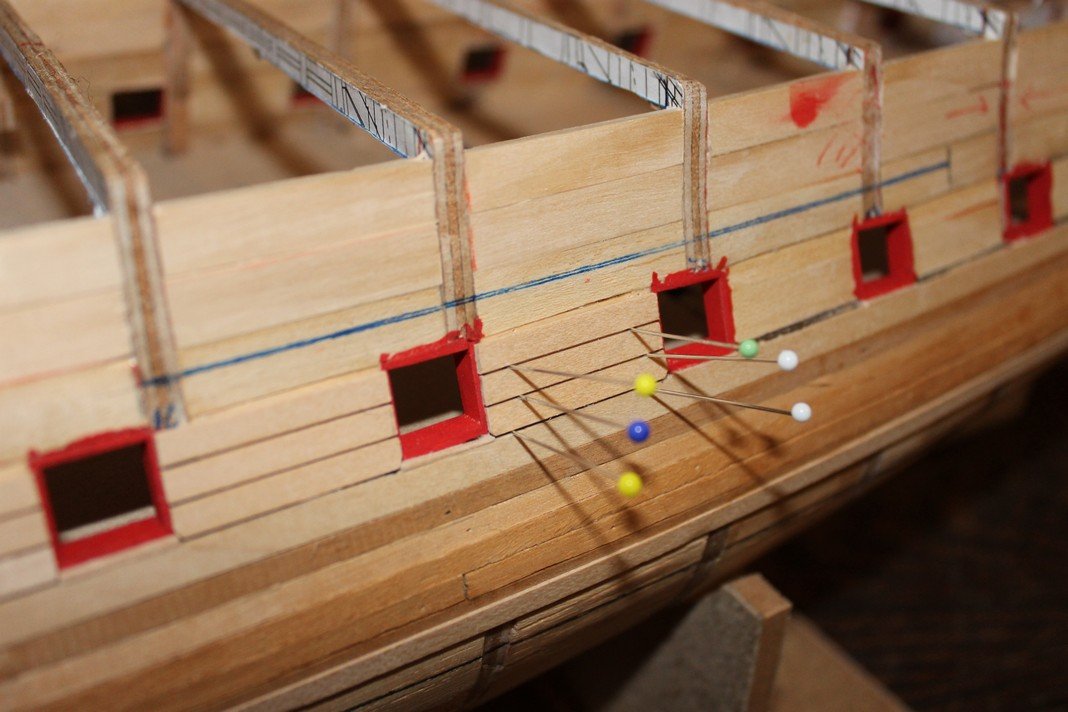
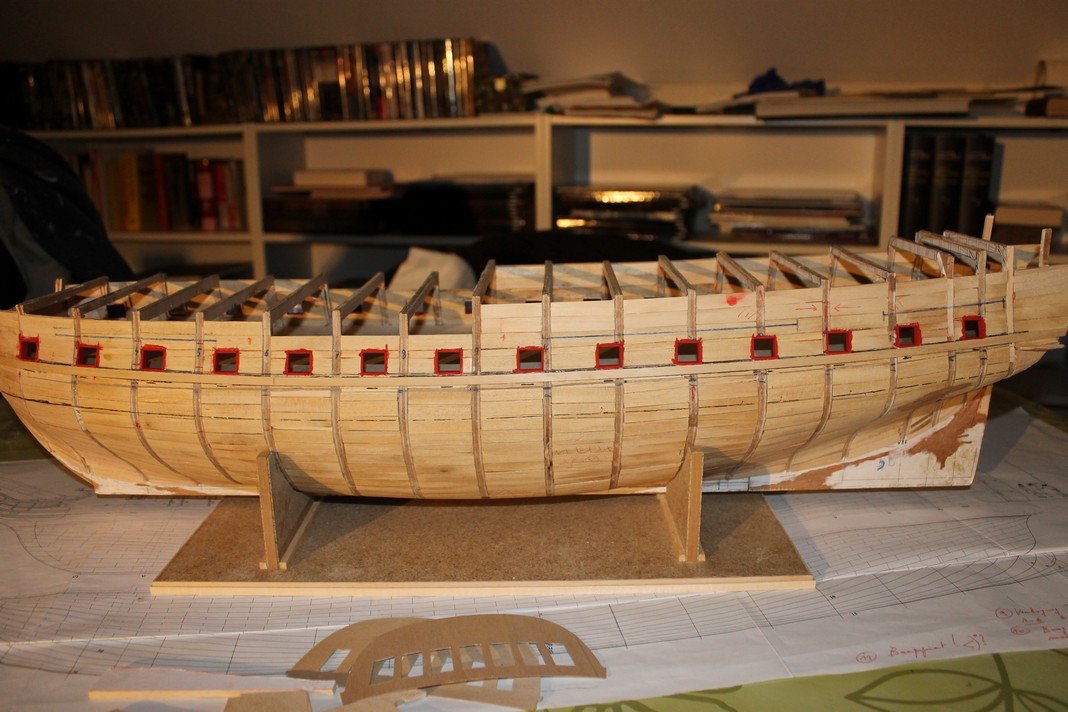
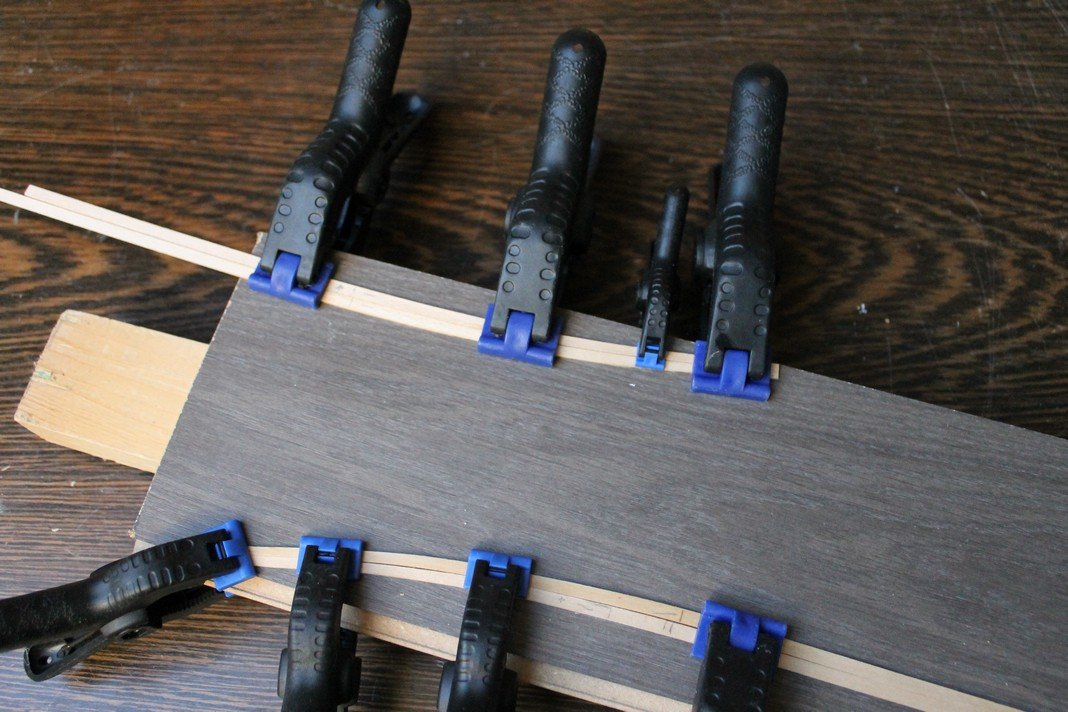
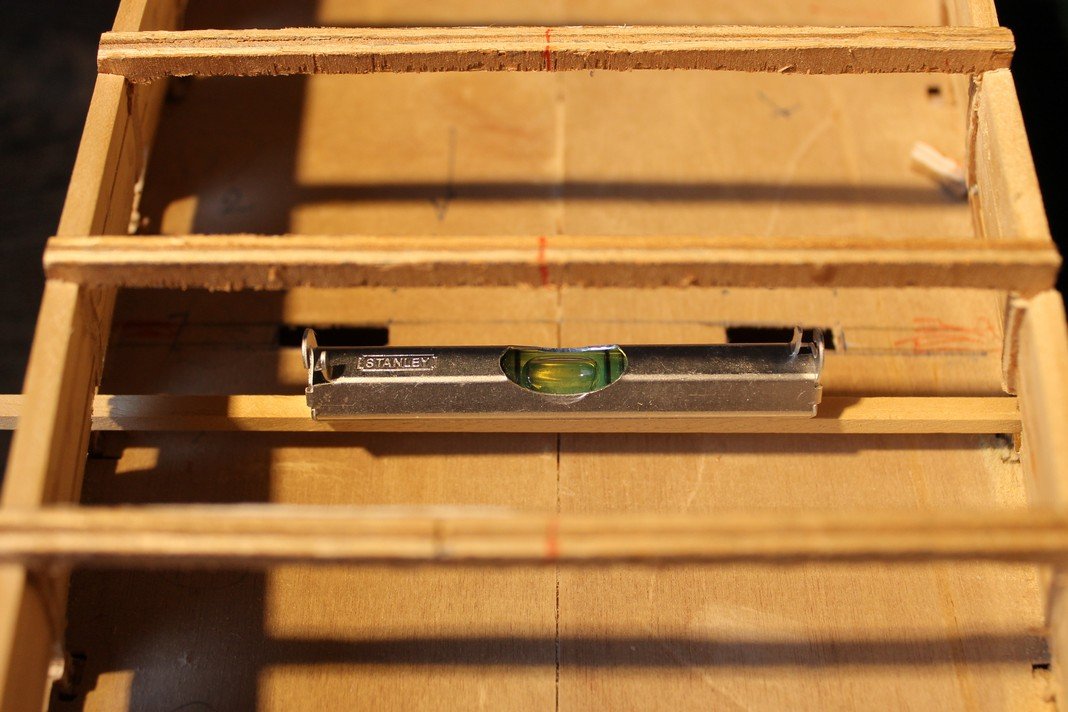
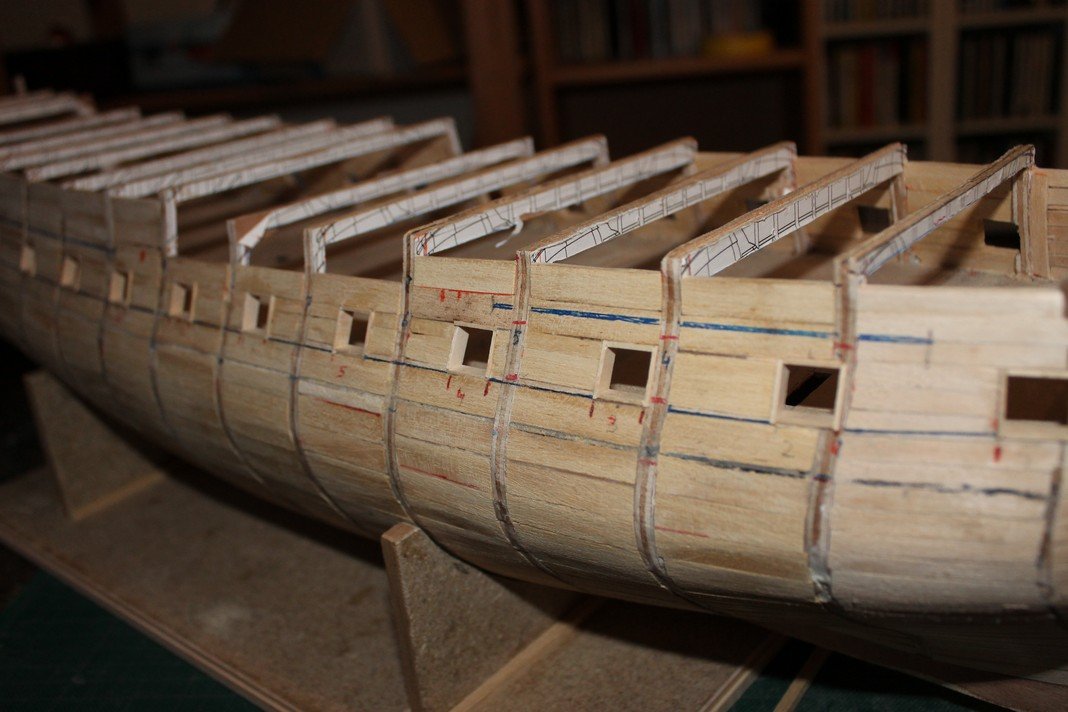
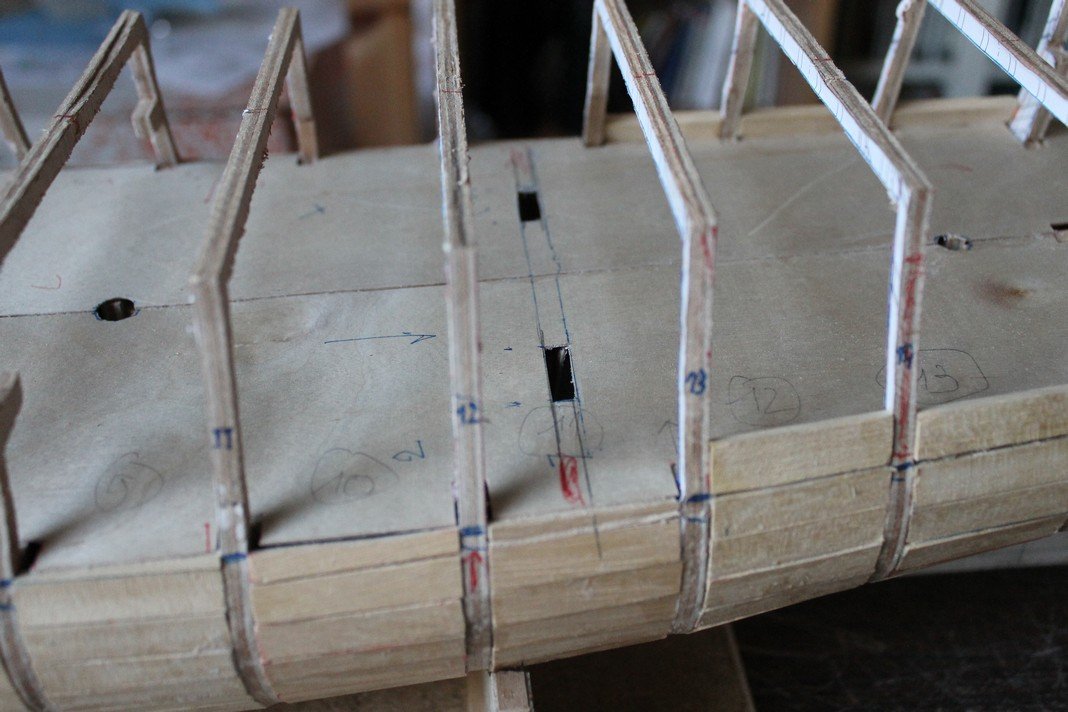
I forgot to mention in my previous post that the blue lines above the gunports indicate the position of the channels. Now a word about the stern : to obtain a proper fit, I had to reduce the camber by < 2 mm. This was the unavoidable consequence of my doubts regarding the correct heigt of the gundeck. In my opinion this is a minor setback and it is be hardly noticeable I also applied the first plank of the second planking and it is a crucial one as it dictates the position of all other planks that are to follow Meanwhile some plankbending using what we may call " the chuck-method" ( including ironing )

-
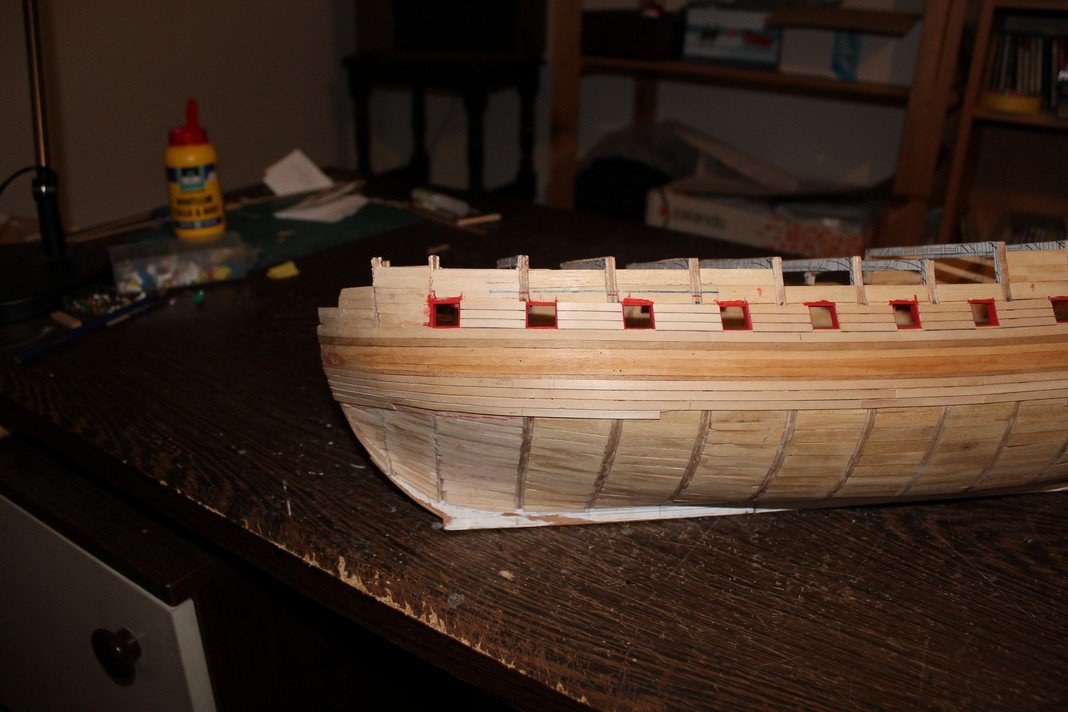
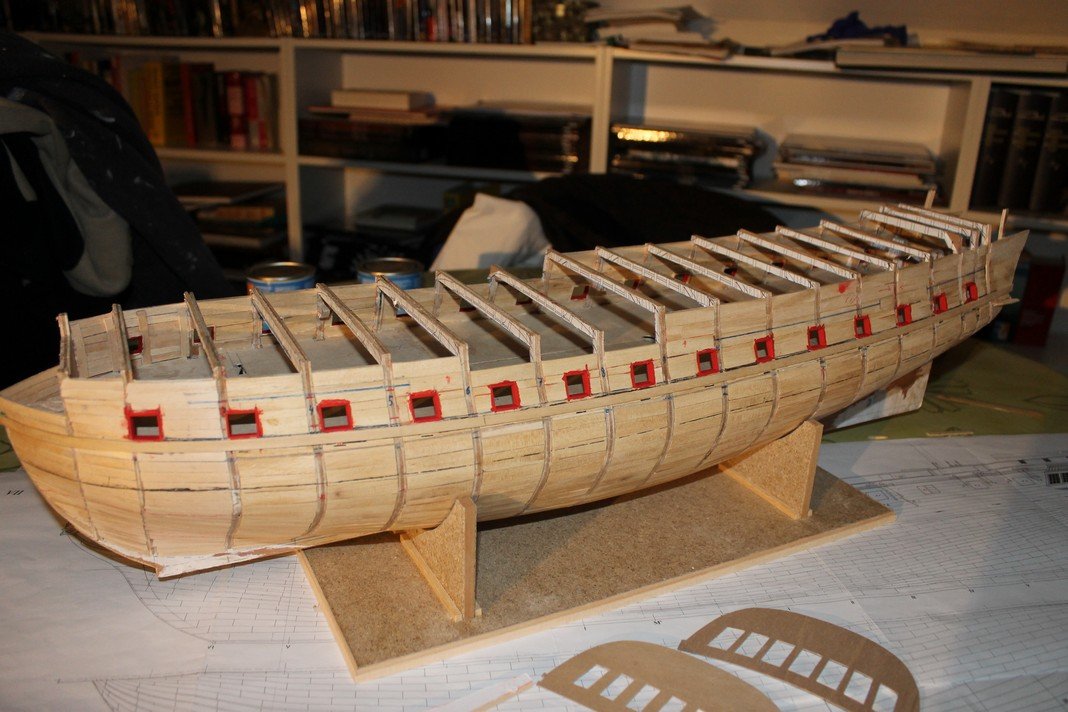
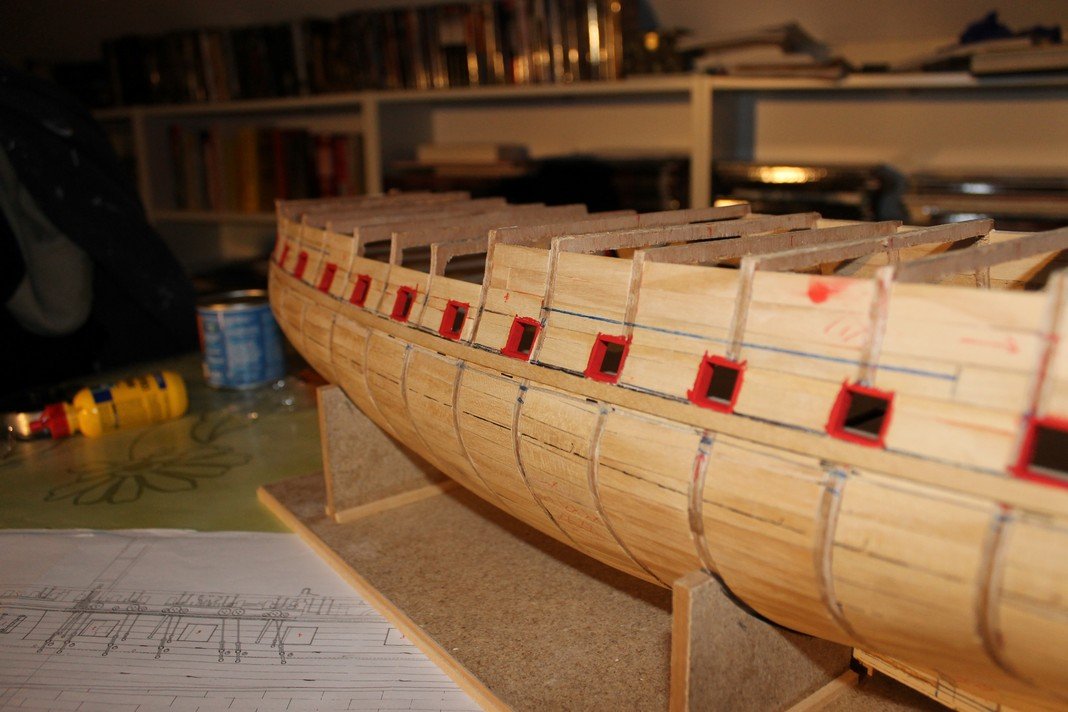
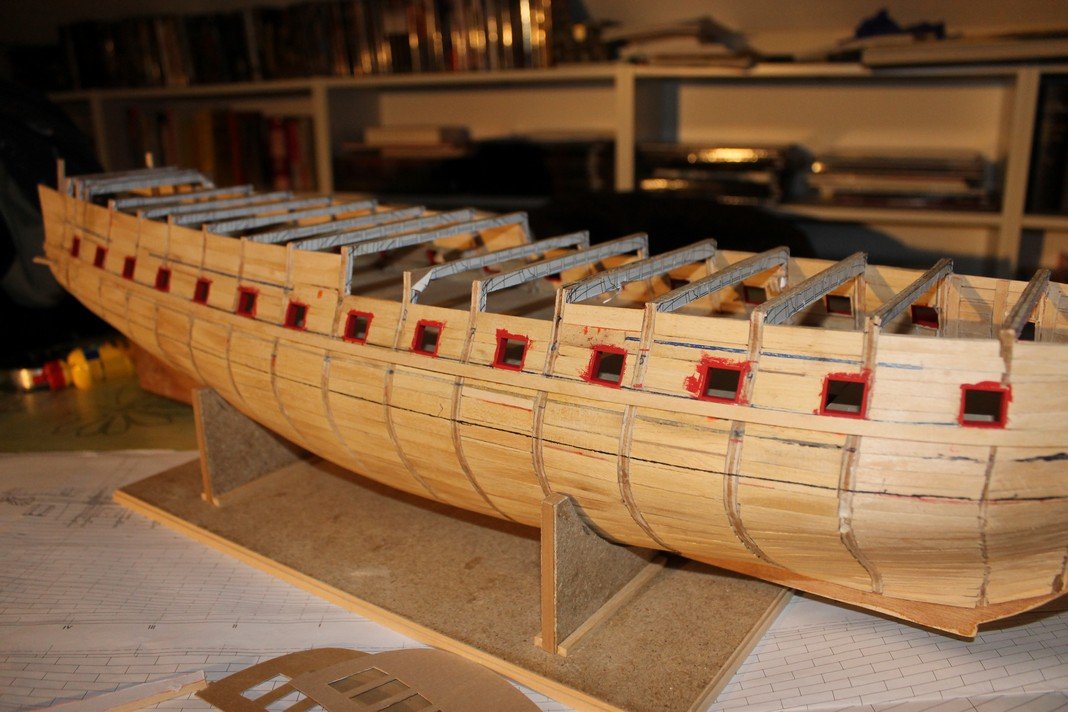
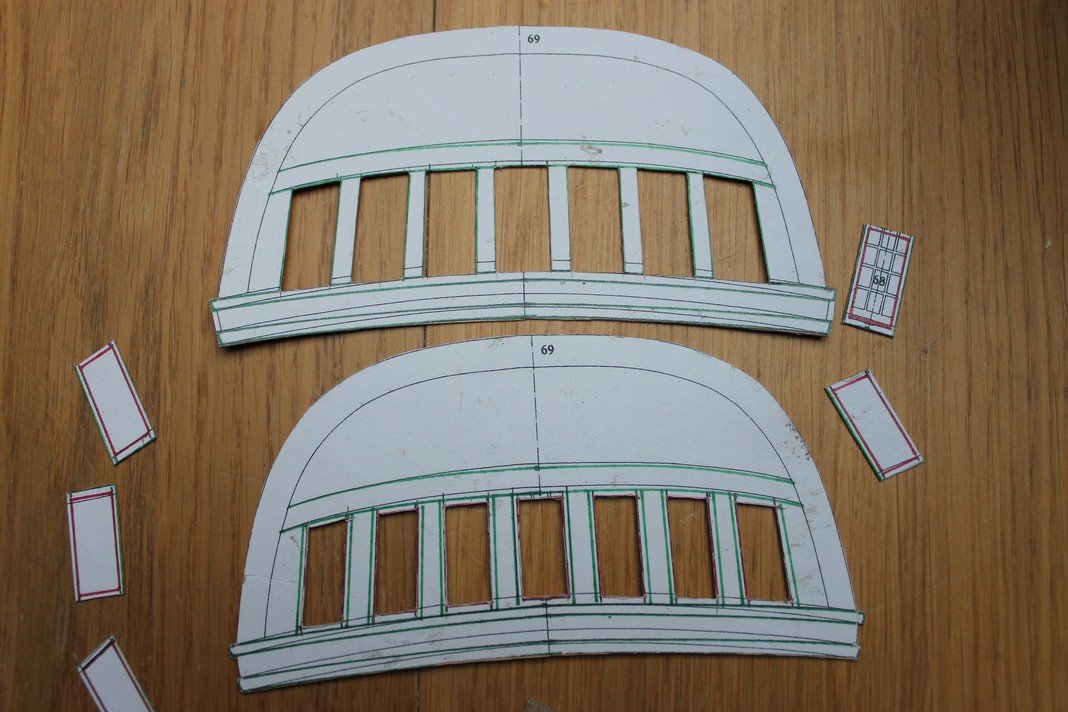
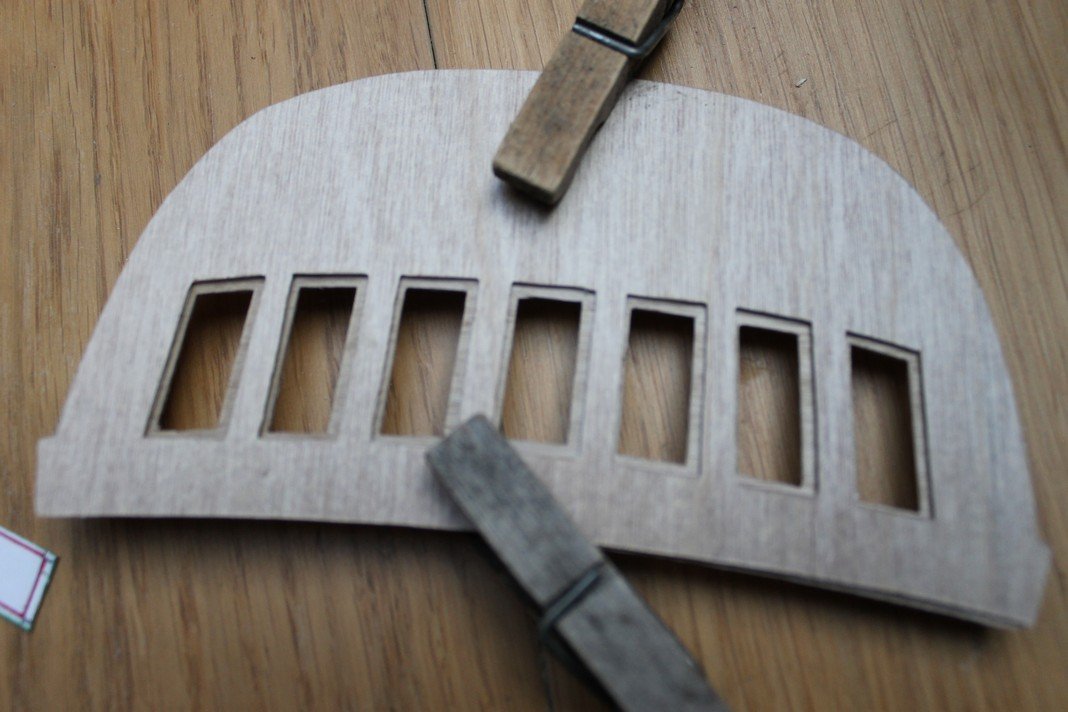
Hello, another update concerning the finalisation the shape of the gunports + checking their transversal position other content is to follow


-
Thanks Patrick and all members showing interest. I'll post some pics showing Venus' present status, in a few days Also happy X-mas and many shipbuildingfun for 2020 for all MSW-staff & members ! About Fluffy ( "Pluis" in Dutch) : she's up to her 17th birthday ( in 2020 ) We had two cats, the eldest passed away this year ( 18 years ). " A cat has servants" : I agree 100 %
-
You're welcome Edward, here's a (last) few pics to bring us back in real time, so updates will be less frequent. The area under the stern is delicate : lateral planking (wales,...) and bottom planking : it comes all together. Off course : "Fluffy" couldn't care less😃


-
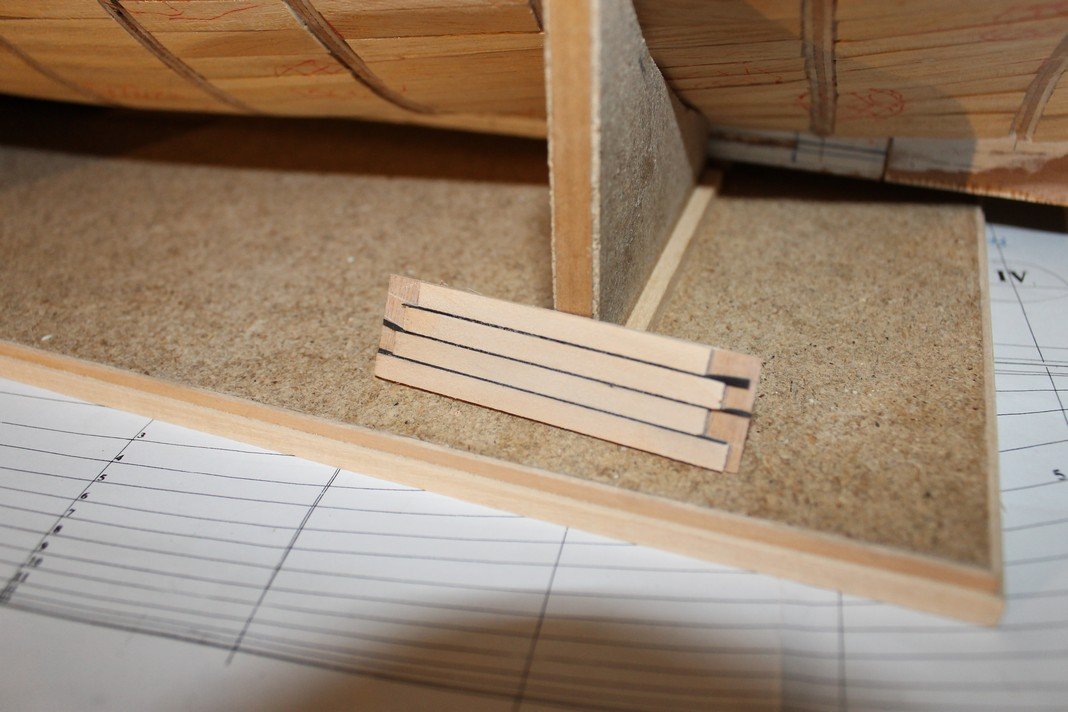
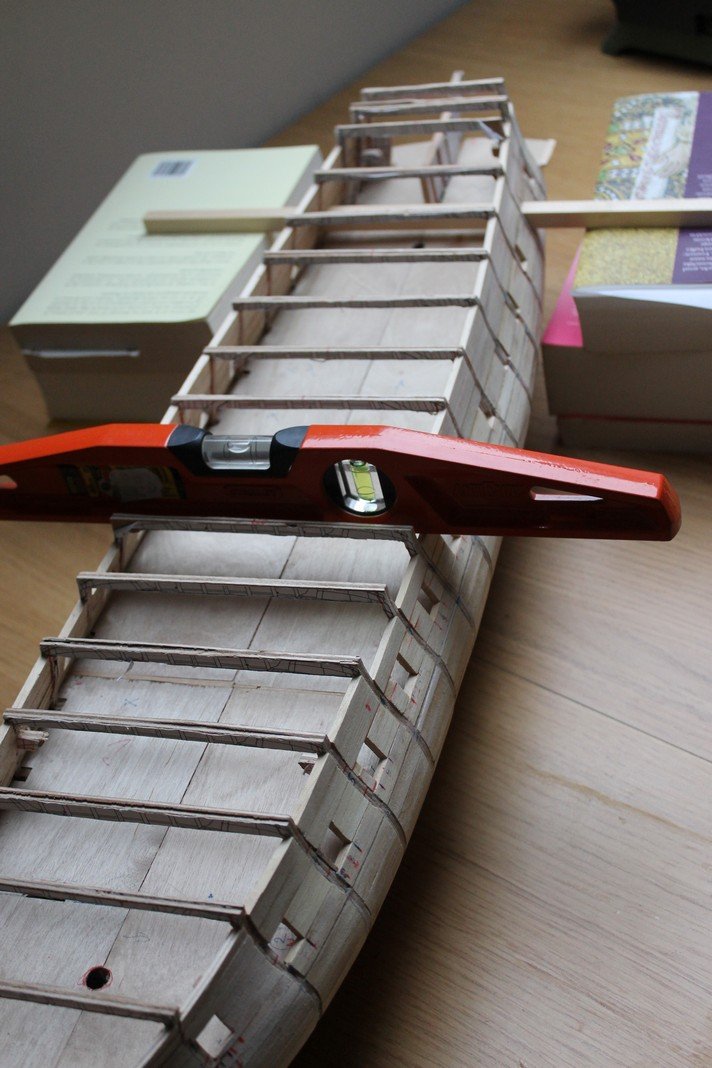
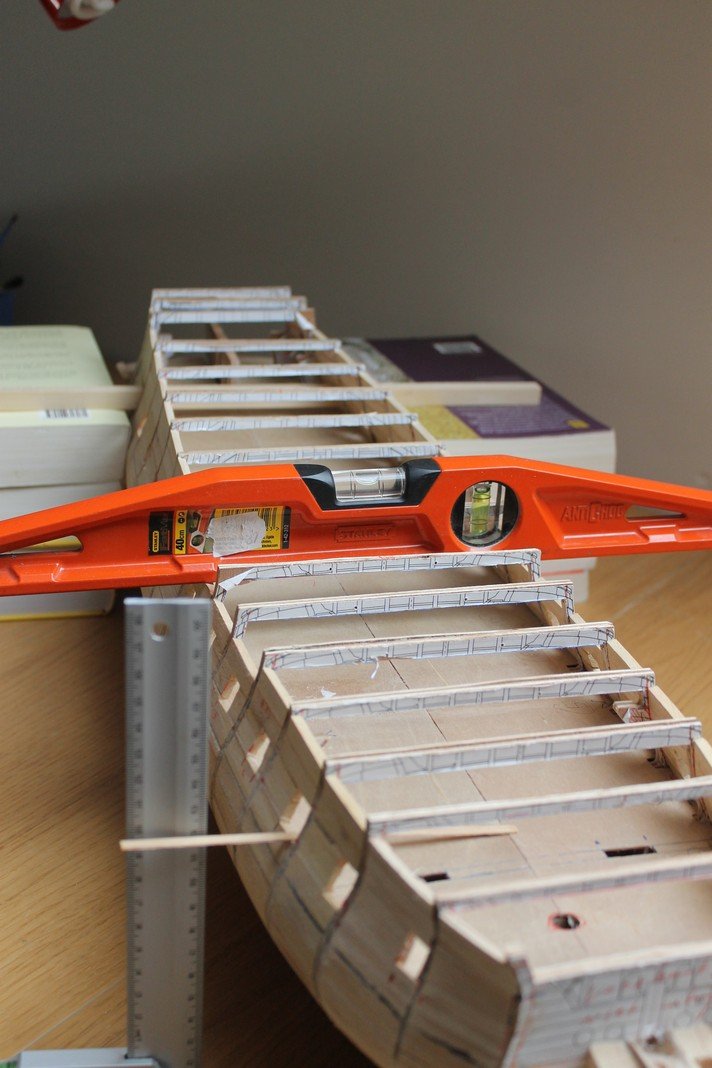
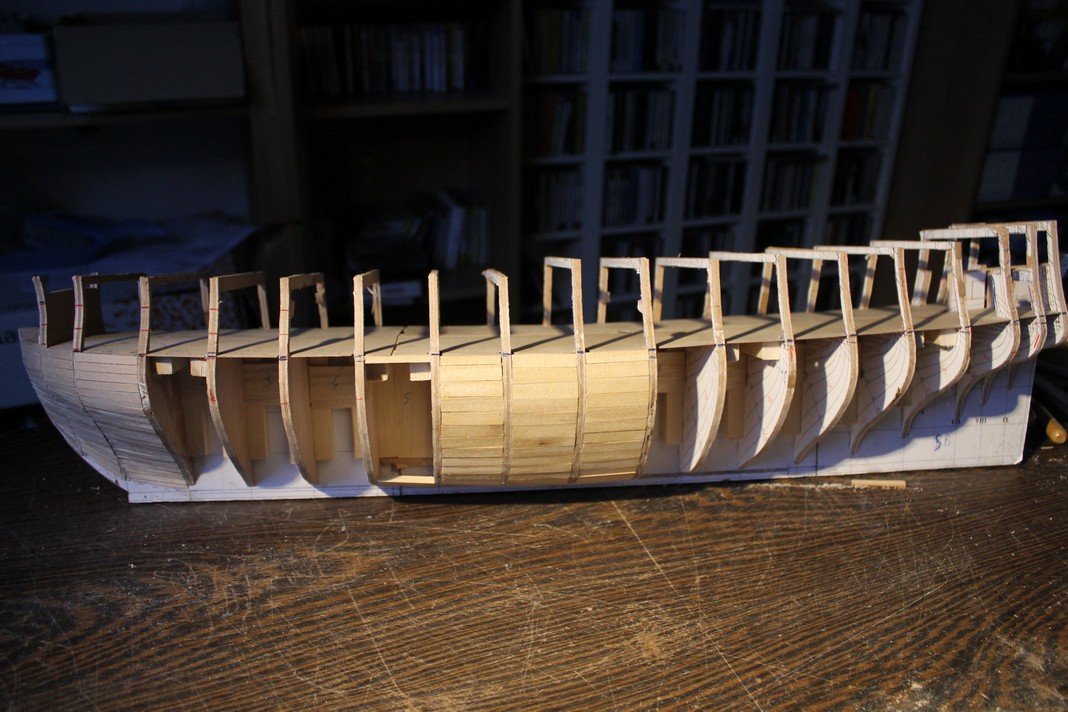
Yet another update : 1) continuation "filler method" : the advantage of this approach : no drilling for the gunports 2) and measuring 3) next update : the stern arera, which is (always) delicate

-
When have you actually passed the halfwaypoint in building a kit?
Barbossa replied to Vane's topic in Wood ship model kits
Hello, It may (perhaps) help to start every different part as a separate project, e.g. the mizzen mast or one gun carriage,... Having said that, once the hull completed, starting the rigging part is IMHO the turning point and one I'm a bit reluctant to do.... -
1/72 ADGZ M35 funkwagen armoured car. FINISHED
Barbossa replied to Baker's topic in Non-ship/categorised builds
Great work. I assumed this type of vehicles were only available in a 1/35 scale, which makes this achievement even more impressive. -
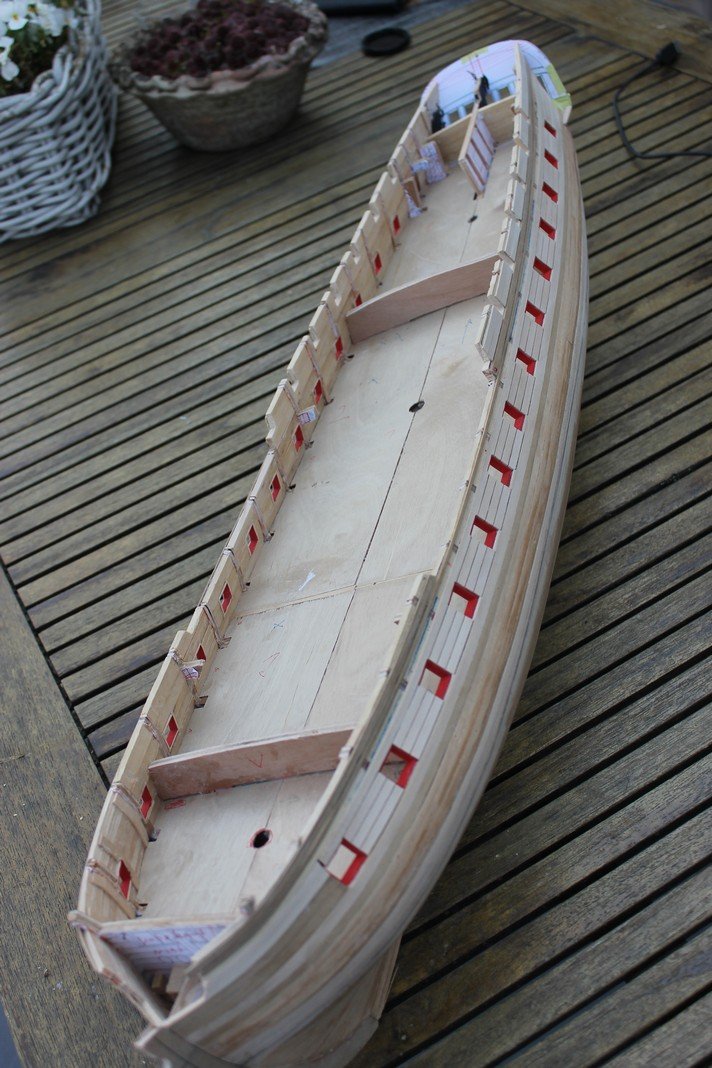
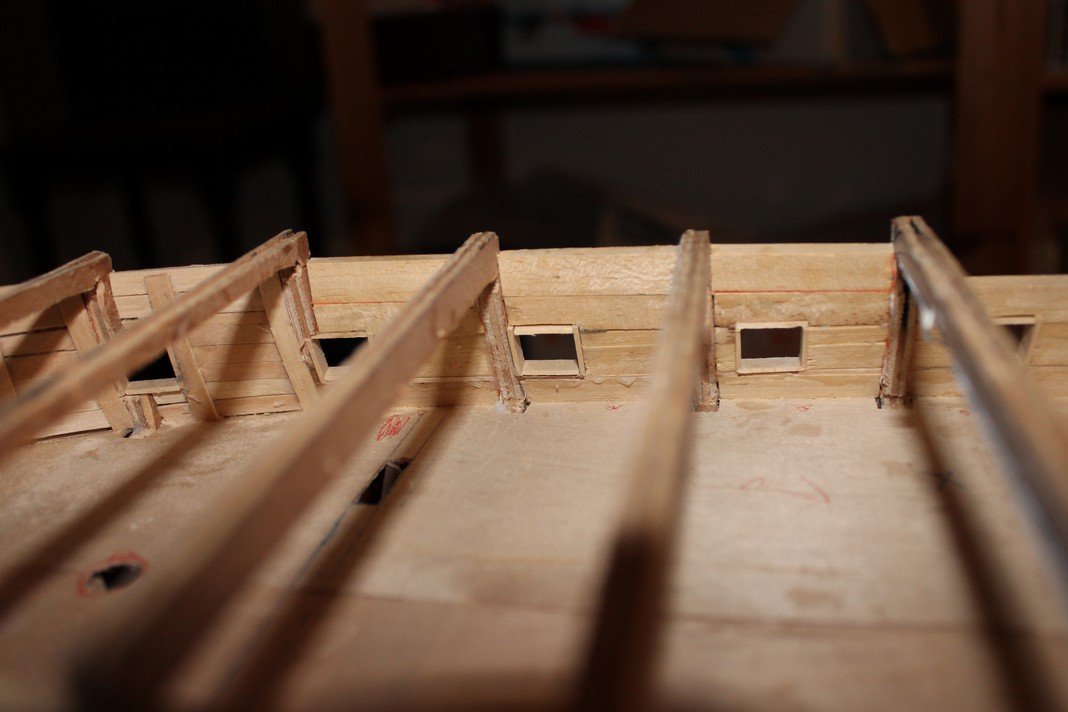
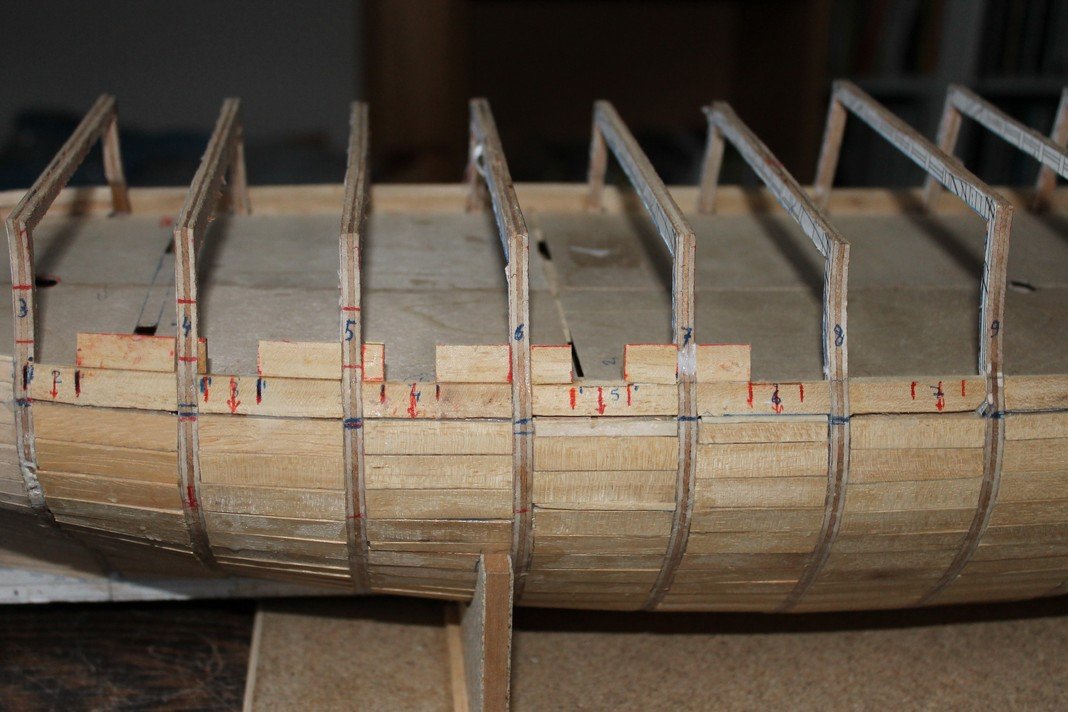
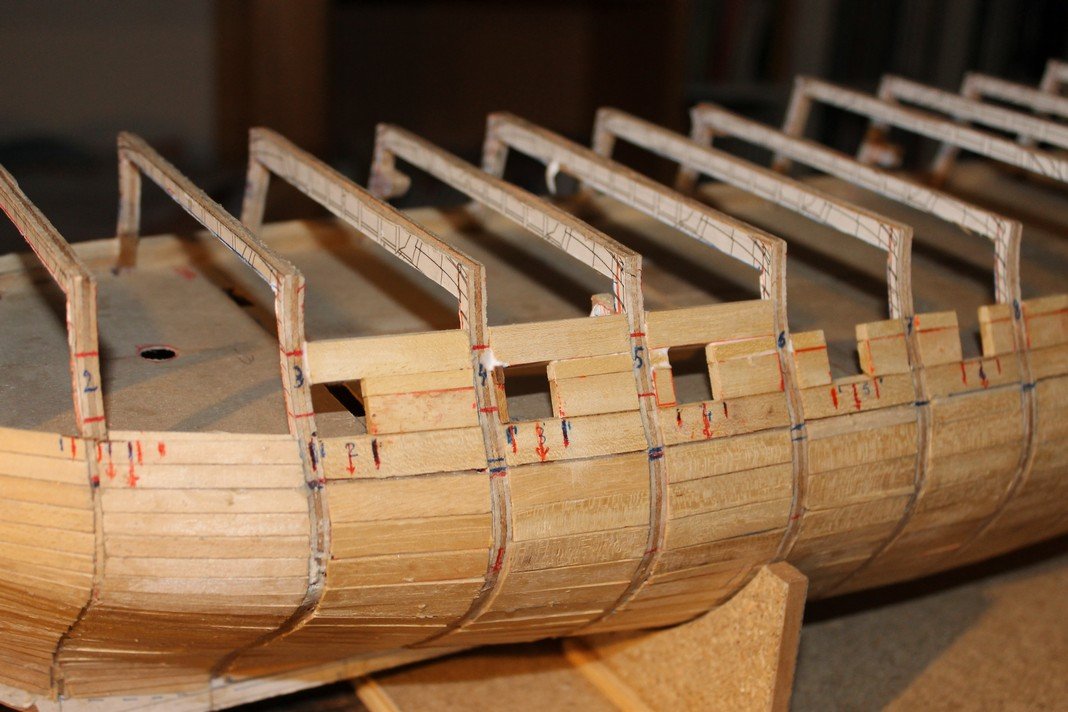
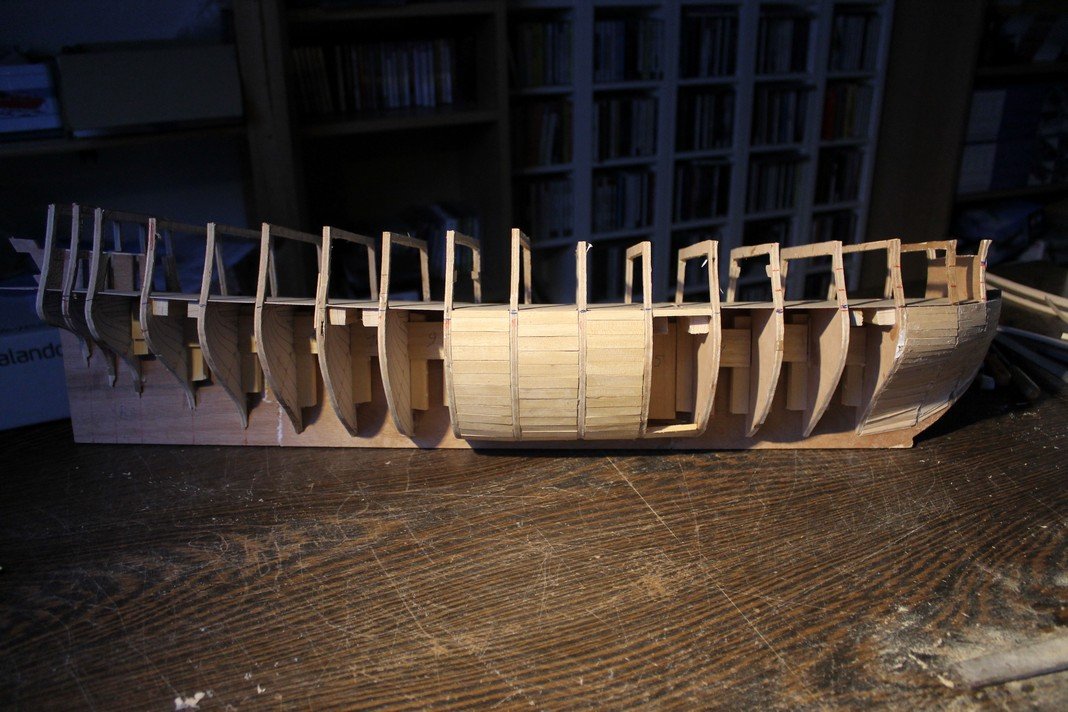
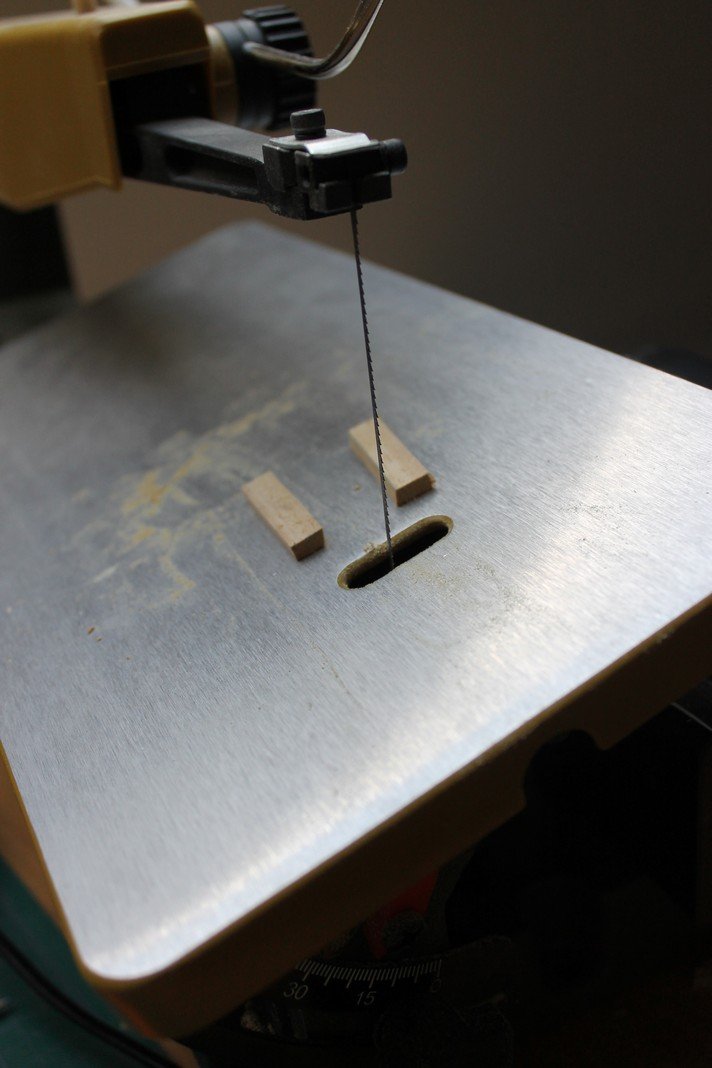
Hello G.L. You're more than welcome. Don't hesitate for input or feedback. Made some additional measurements, gunports required some minor extra filing & adjustments. According to plans position of the gunports coincides now with channels and the 3 masts, at least at the portside . While I'm at it, why not post the continuation of the filling-up proces ? I guess the pics speak for themselves, to connect the blocks, I had to pivot the sawtable

-
Hi ETNZ, The eternal story of pro's & con's, I guess. The advantage : the dimension of the blocks I inserted between the bulkheads ( except those in the bow & stern area) allowed me to follow the shape the hull is to receive after ( minimal) sanding. To avoid any warping : I alternated the inserting process port & starboard side Aside from that, you have noticed that the position of some bulkheads obstructs some gunports. Related to present approach, this is but a small inconvenient ( cfr. last pic post Friday 22, nov. ) Although I have no clue , but designers must had good reason for this.