moreplovac
-
Posts
701 -
Joined
-
Last visited
Content Type
Profiles
Forums
Gallery
Events
Everything posted by moreplovac
-
 Hi Imagna, i agree with you; will definitely use your suggestion in the future. Cheers.
 -
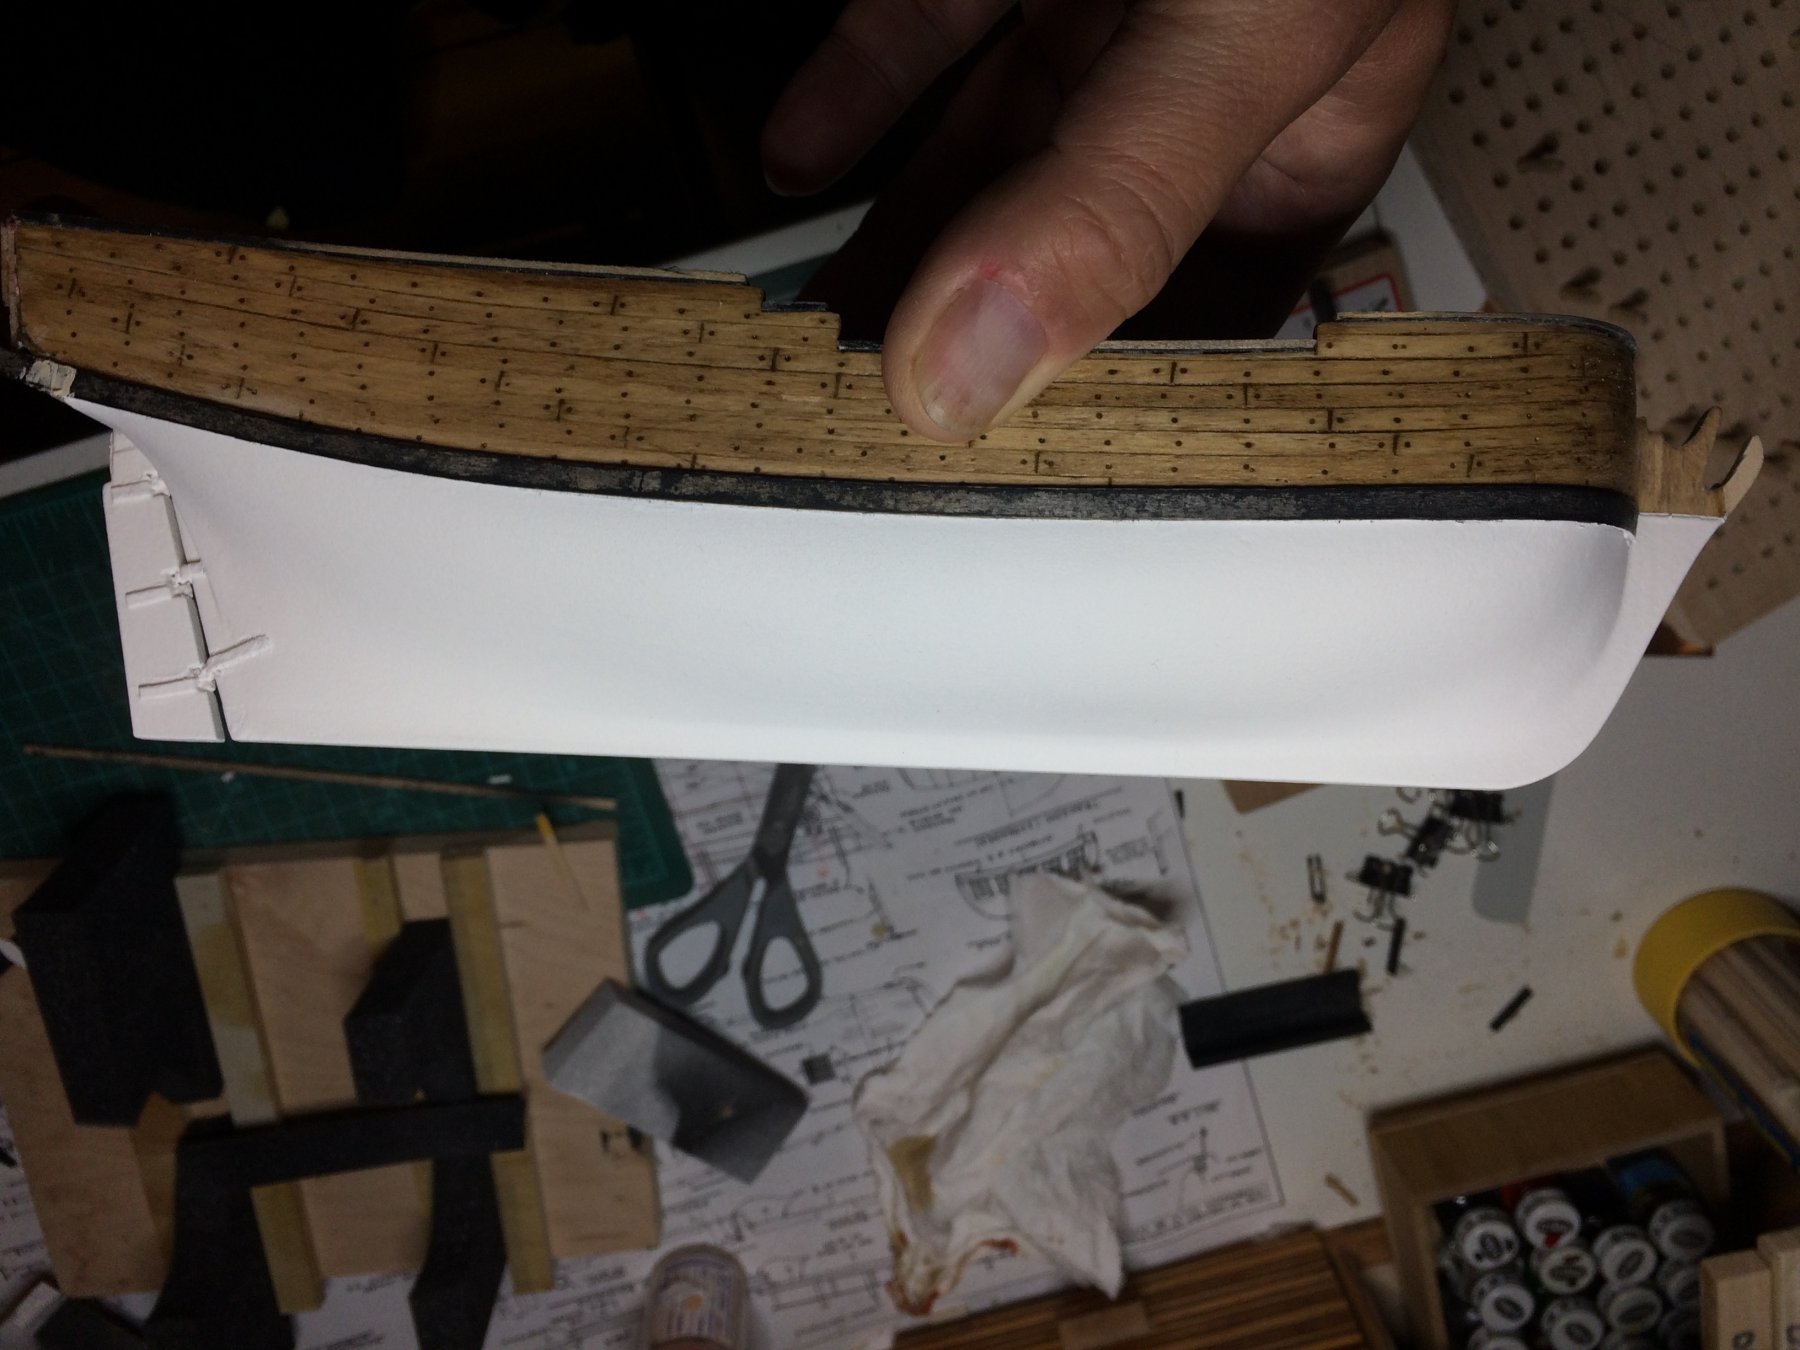
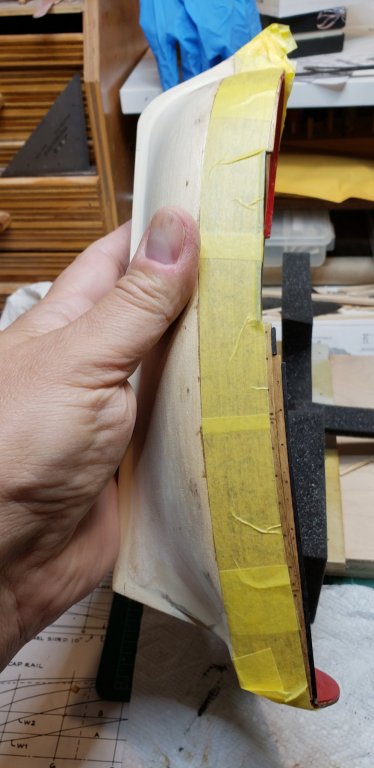
Another layer of black paint was applied to wales, after masking the whole hull.. It took me more to mask the whole hull then to actually paint the wales. After paint was dried i applied a layer of varnish to wales - to protect it from my fingers and other dangerous material.. Happy modeling..
- 360 replies
-
- 2
-

-
- sultana
- model shipways
- (and 1 more)
-
No much to report; i had an eye laser procedure so was not quite active in the shipyard. Today i just lay a layer of varnish to protest the hull from dirty hands and dust. Next will "attack" wales with another layer of black, golden oak on hull planking and finish up with protective layer of varnish. Happy modeling..
- 360 replies
-
- 1
-
-
- sultana
- model shipways
- (and 1 more)
-
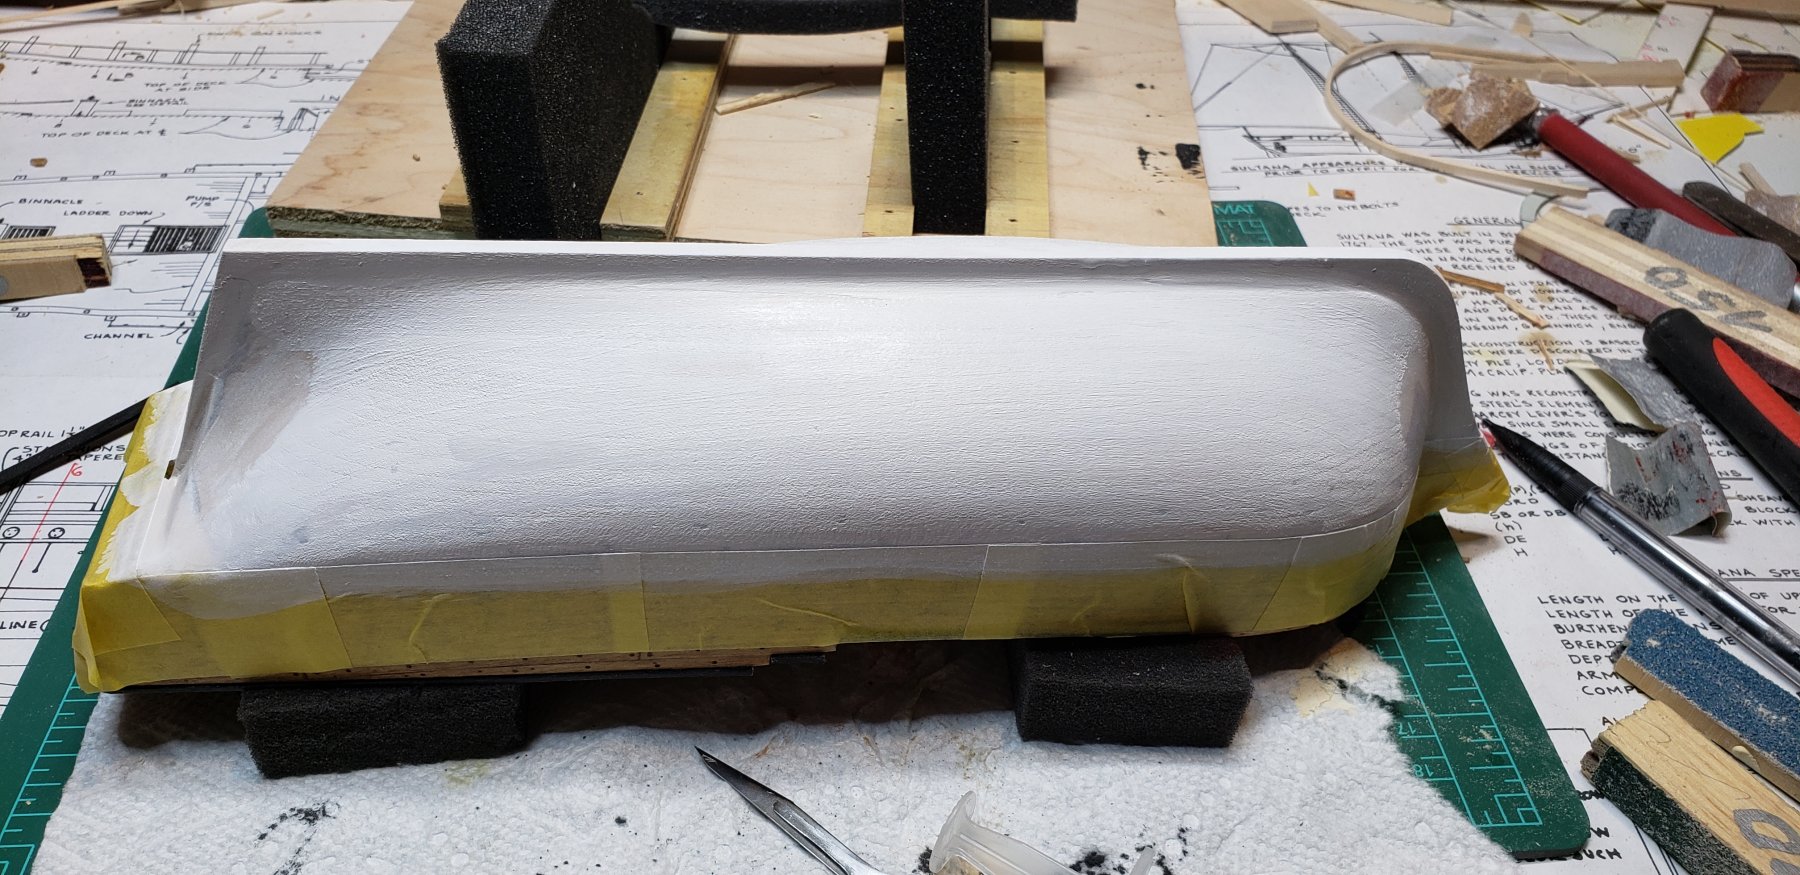
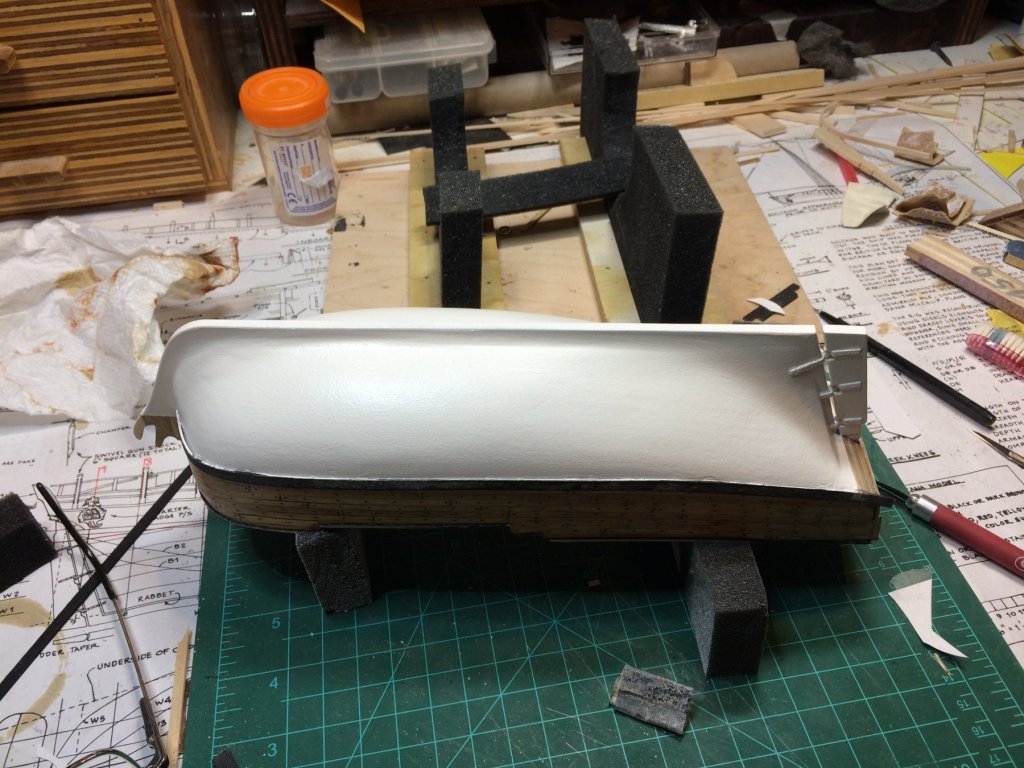
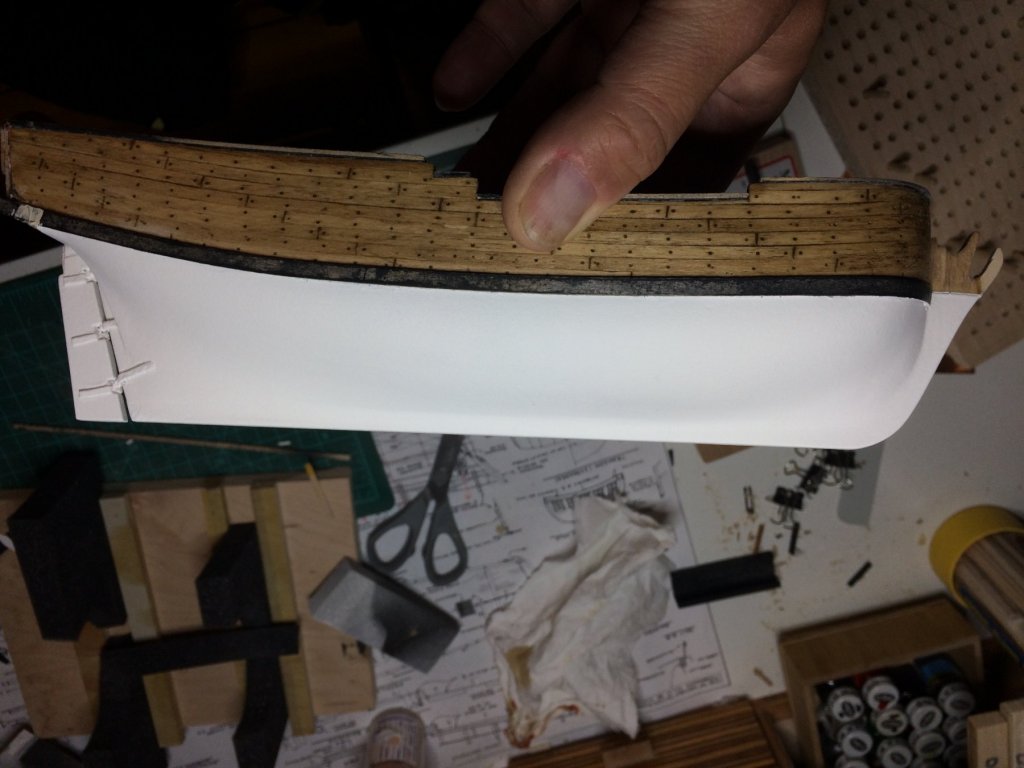
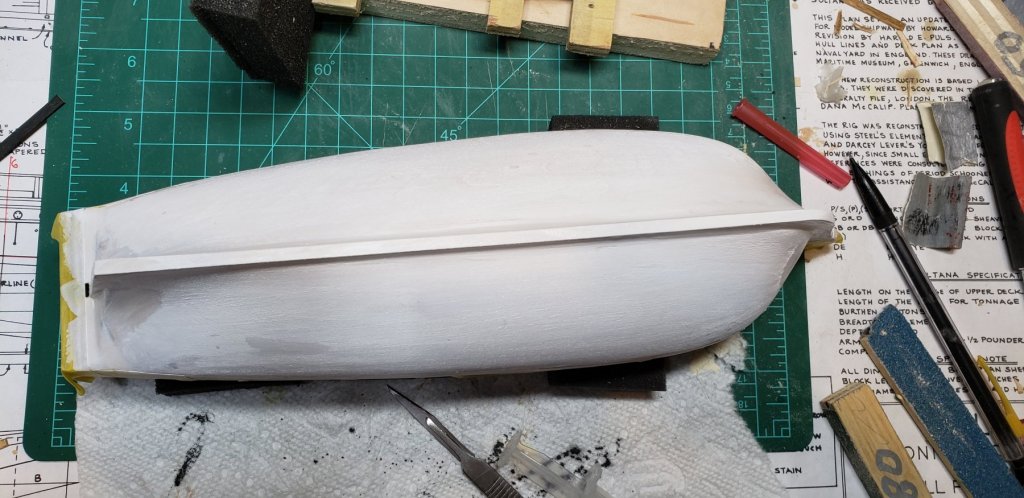
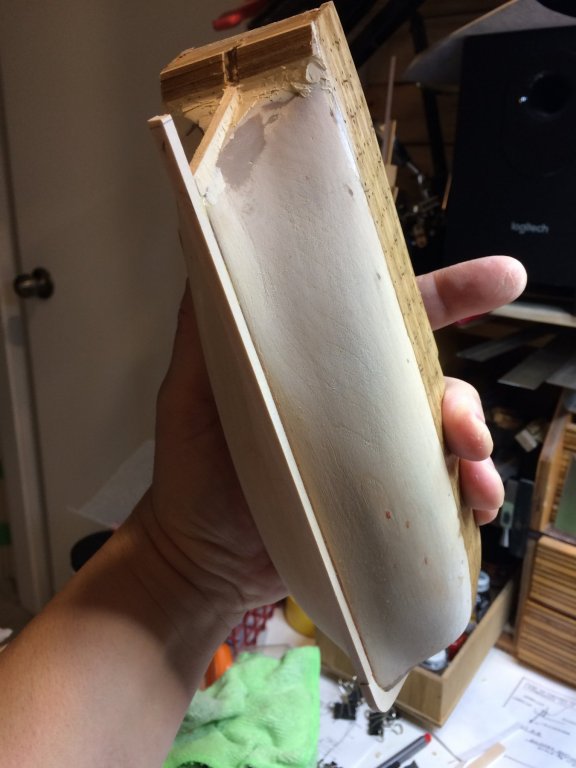
Another layer of white primer was applied. It looks very nice, not shiny, small imperfections and scratched were covered, and i would safely say that part of hull below wales is completed. Now i need to apply one more layer of flat black on wales and final coat of golden oak stain on hull planking. Then a coat of varnish over the whole hull will seal it all nicely.. Happy modeling.
-
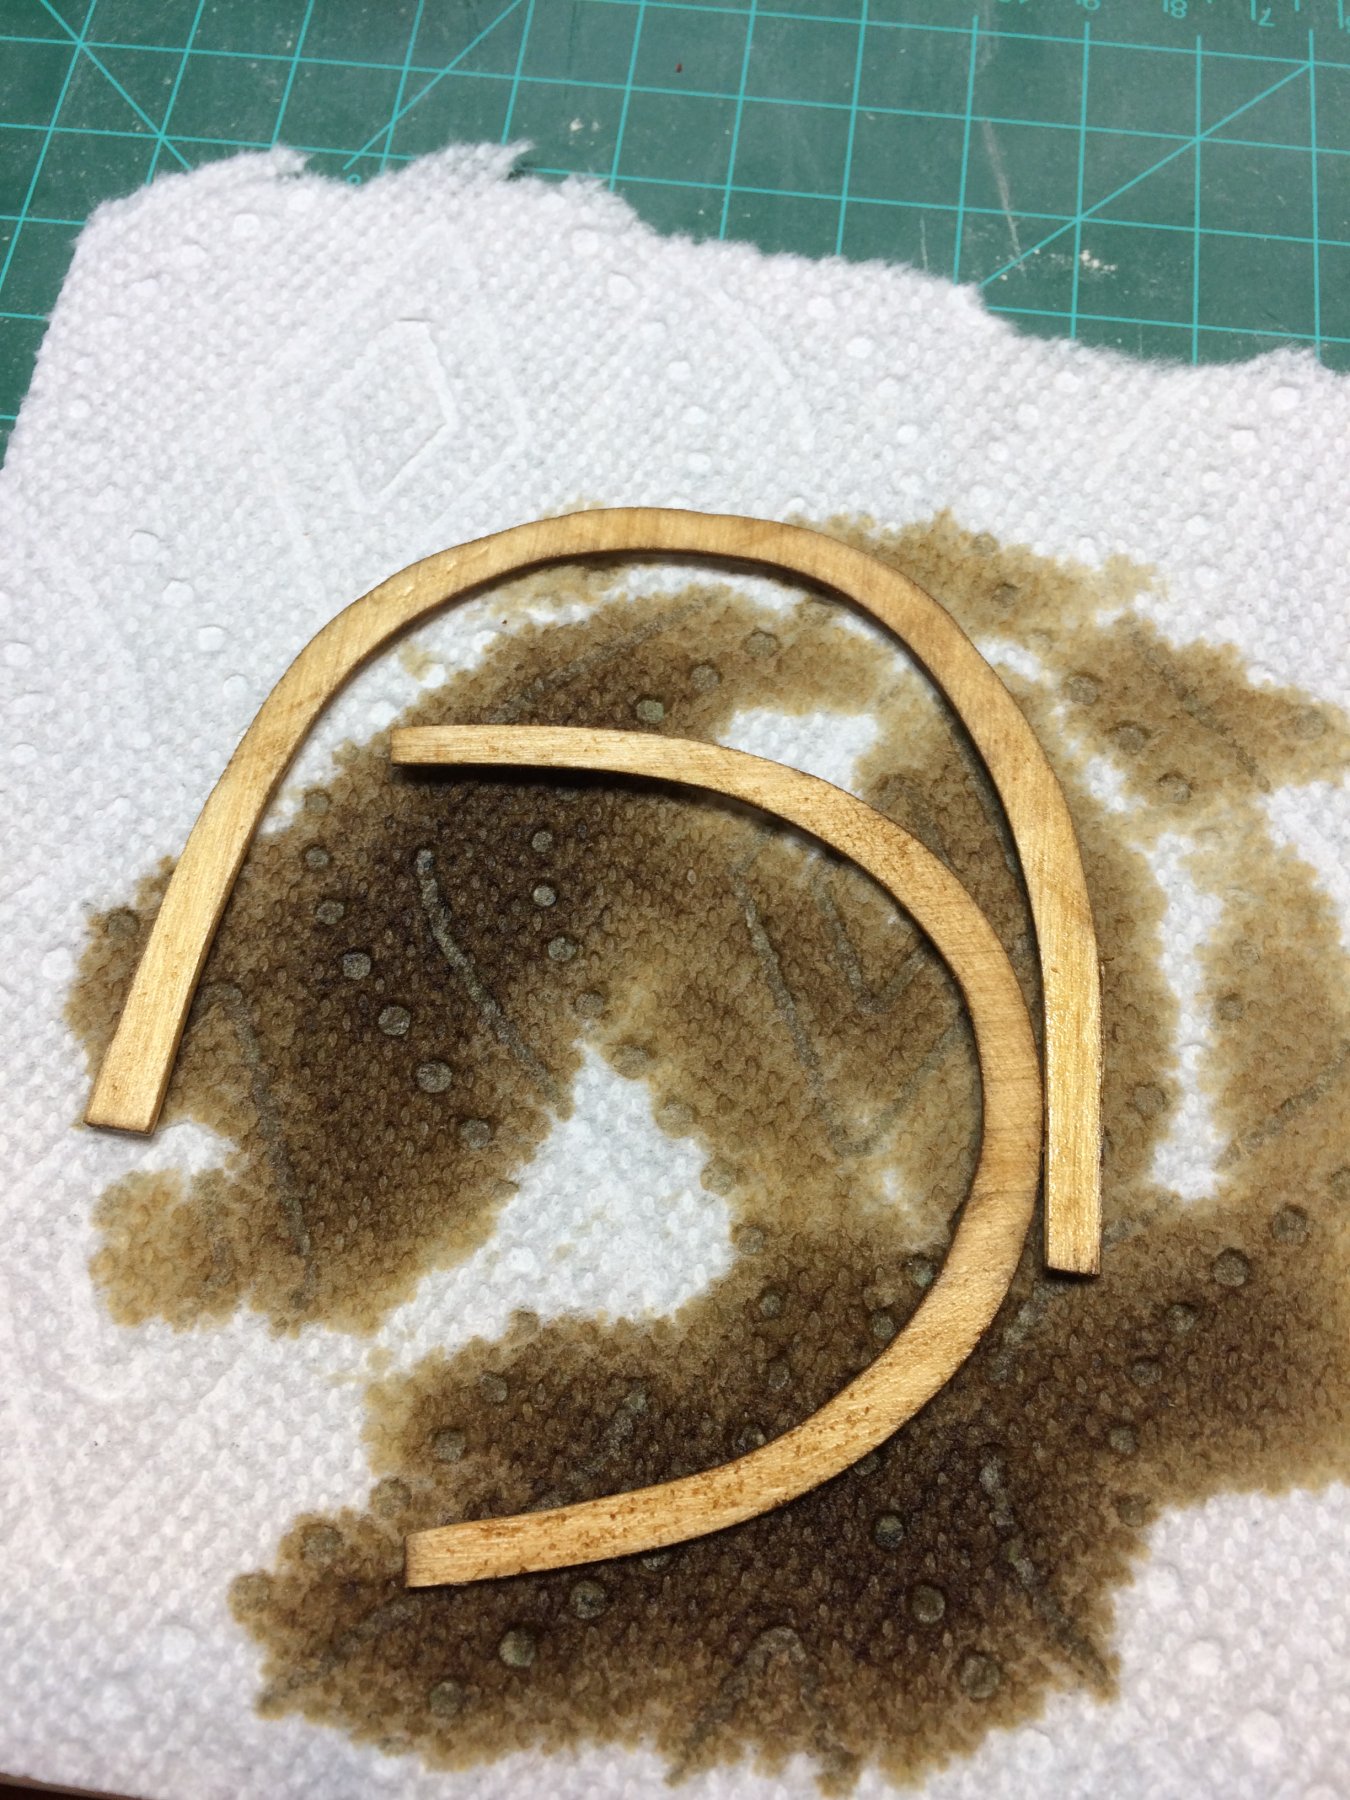
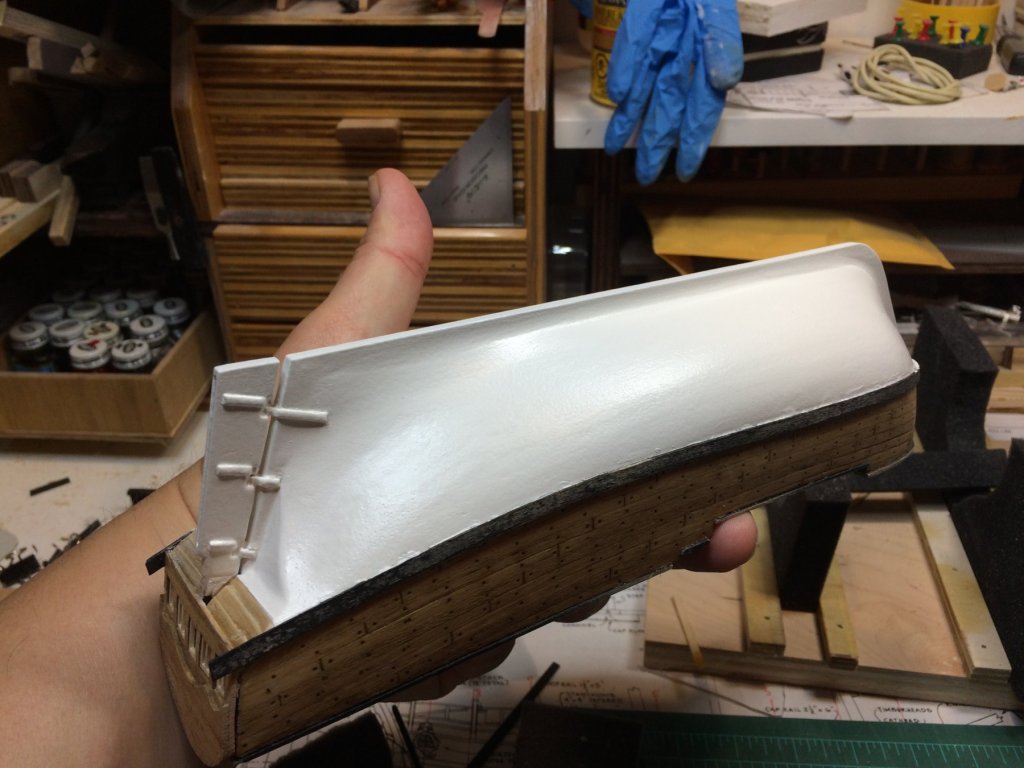
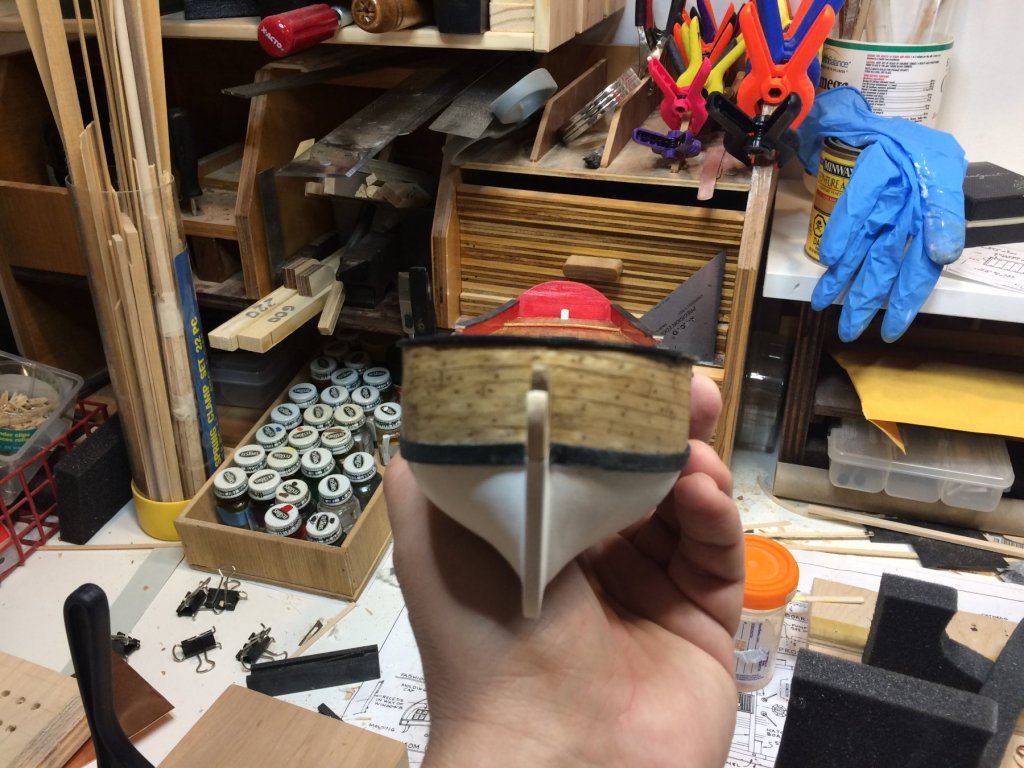
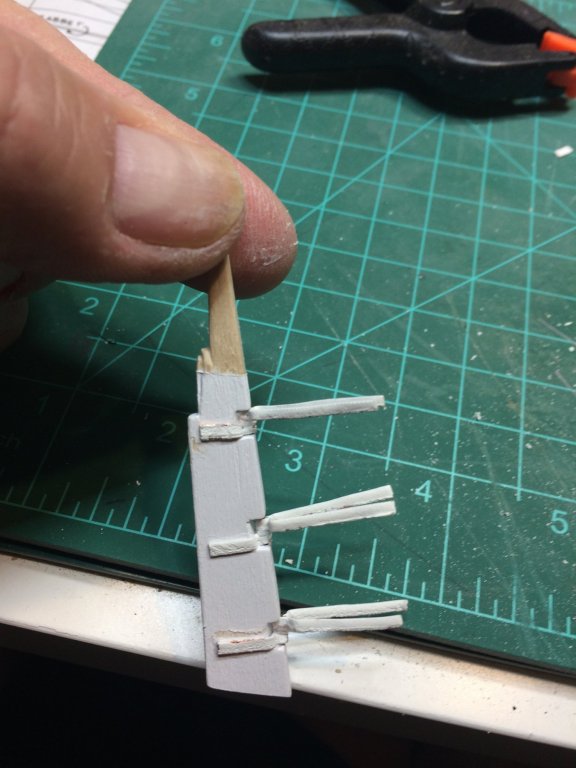
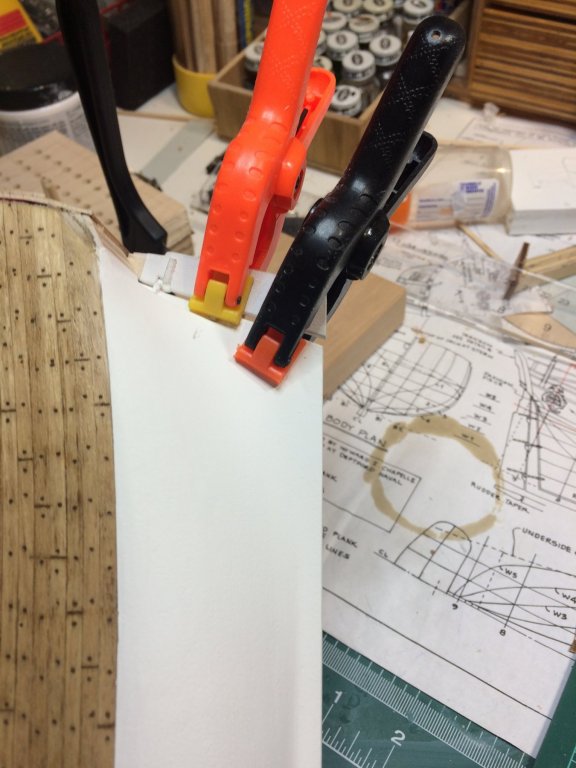
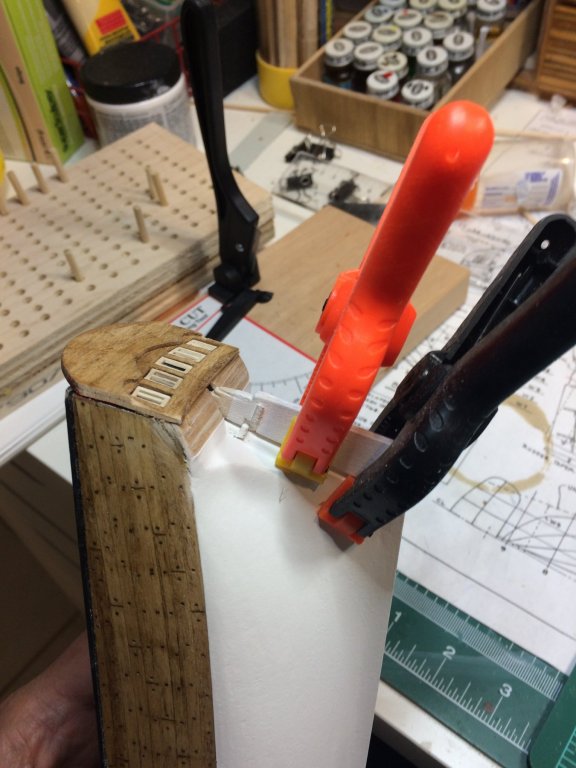
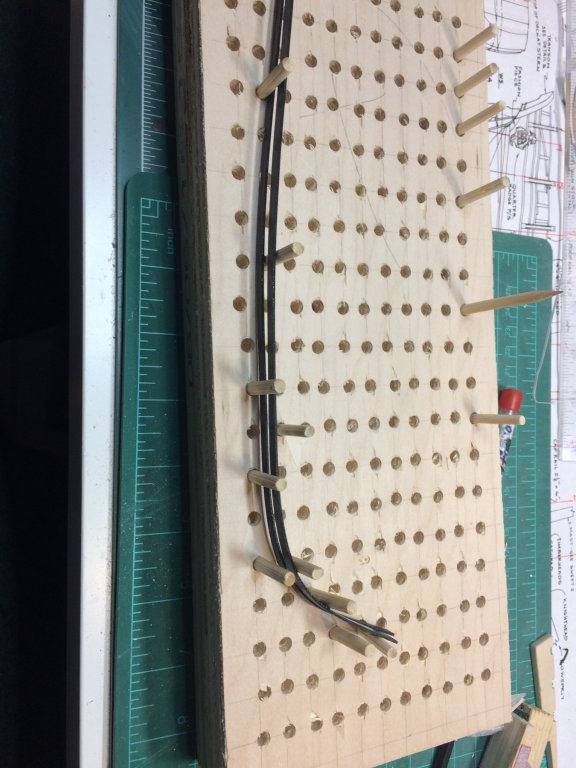
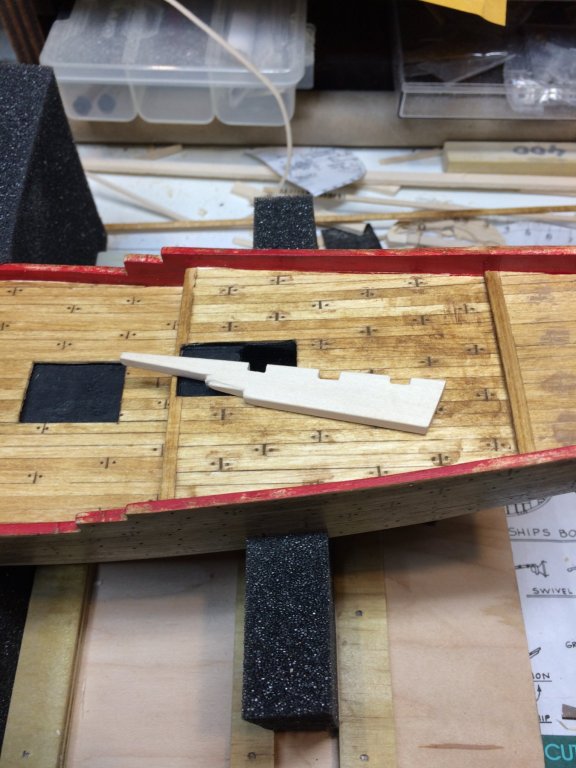
I have worked on rudder; hinges were assembled with 22 gauge black wire connecting pintles and gundgeons. Then they were cut to the correct length as per plan and with a help of few cyano drops, they were mounted to the rudder. Next, all together (rudder and hinges) were pained with white primer. I am more and more satisfied with results when using primer, more to show. Mounting it on the hull.. Then i worked on wales; two wales were dip into water for about 15 minutes, then twisted to the approximate shape in home-made jig.. The i applied several drops of cyano gel to the hull, and few drops of carpenters glue between. The cyano gell with grab the wales amost instantly and carpenter's glue will help on log run. It takes more to cure but it supposed to be very sturdy. From the front.. In this process of wales mounting, the wales were pre-painted with modeler's black paint which was leaving a black mark on fingers and, which will in turn, leave marks on white hull. Noticing that i decided to re apply white primer on the hull. Using masking tape i covered all ship parts except hull and run another layer of white primer. This will cover dirty spots, rudder and rudder hinges, and small scratches hinges were leaving on the hull. Cap rails were mounted and sanded to the shape and dimension. They should be appr 4mm wide. Bellow pictures still do not show correct size.. In the meantime i painted hull again and it is drying as we speak (or as i type).. i also cover with flat black paint, the cap rail that will be mounted around transom.. Happy modeling.

- 360 replies
-
- 2
-
-
- sultana
- model shipways
- (and 1 more)
-
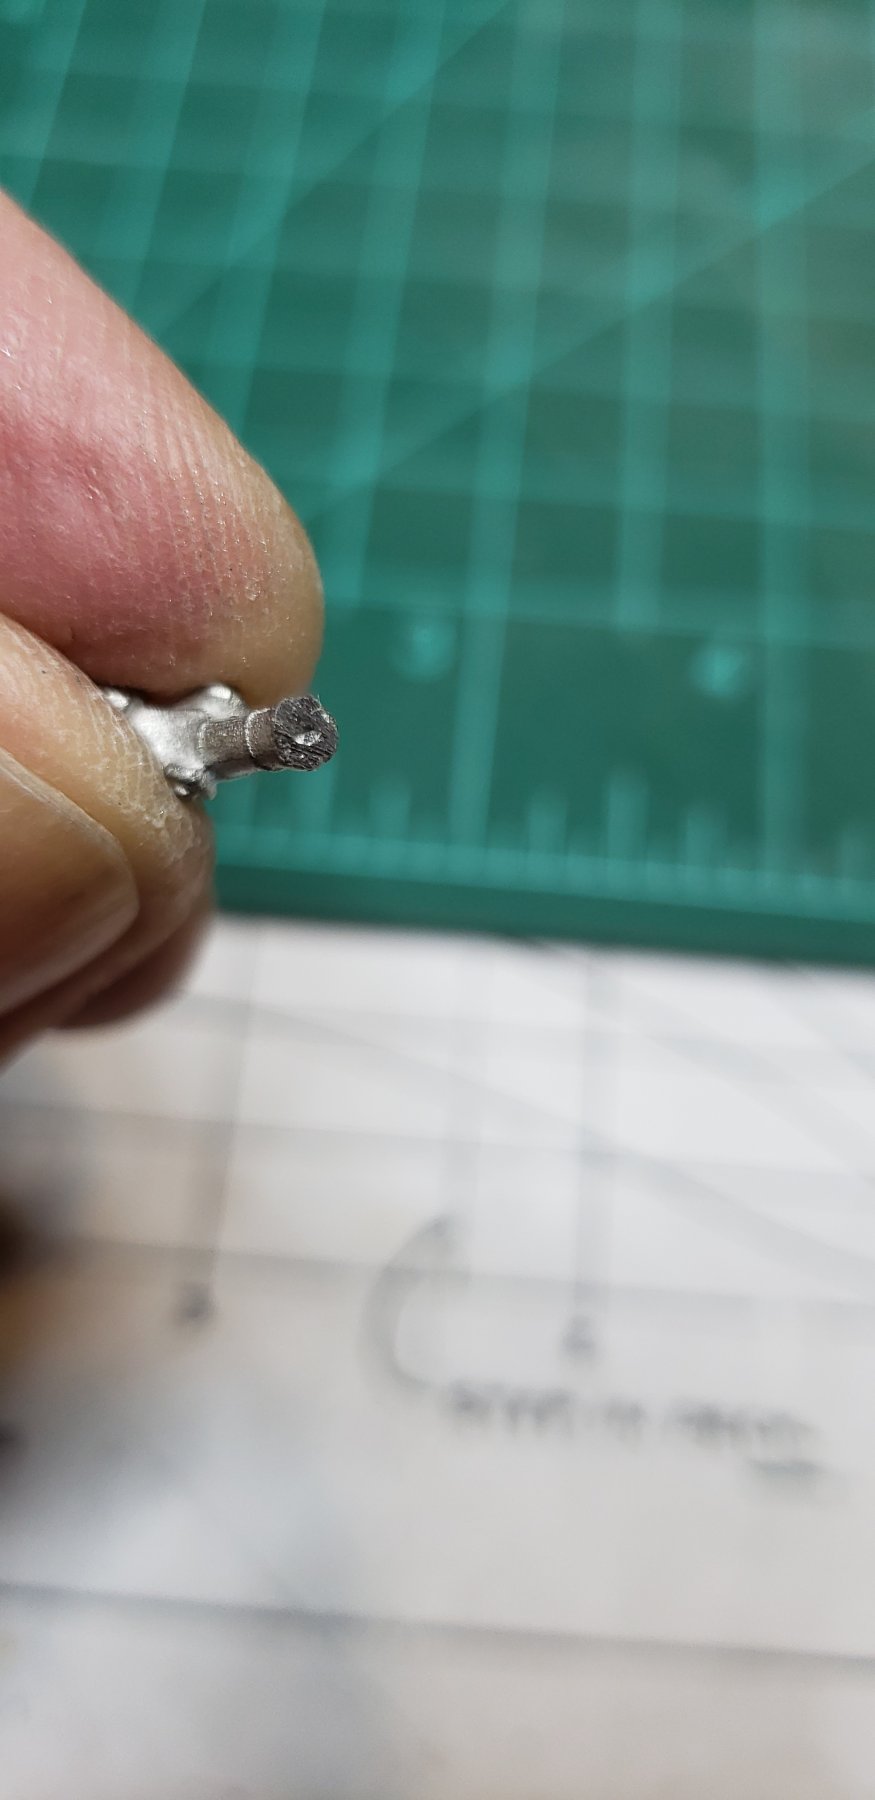
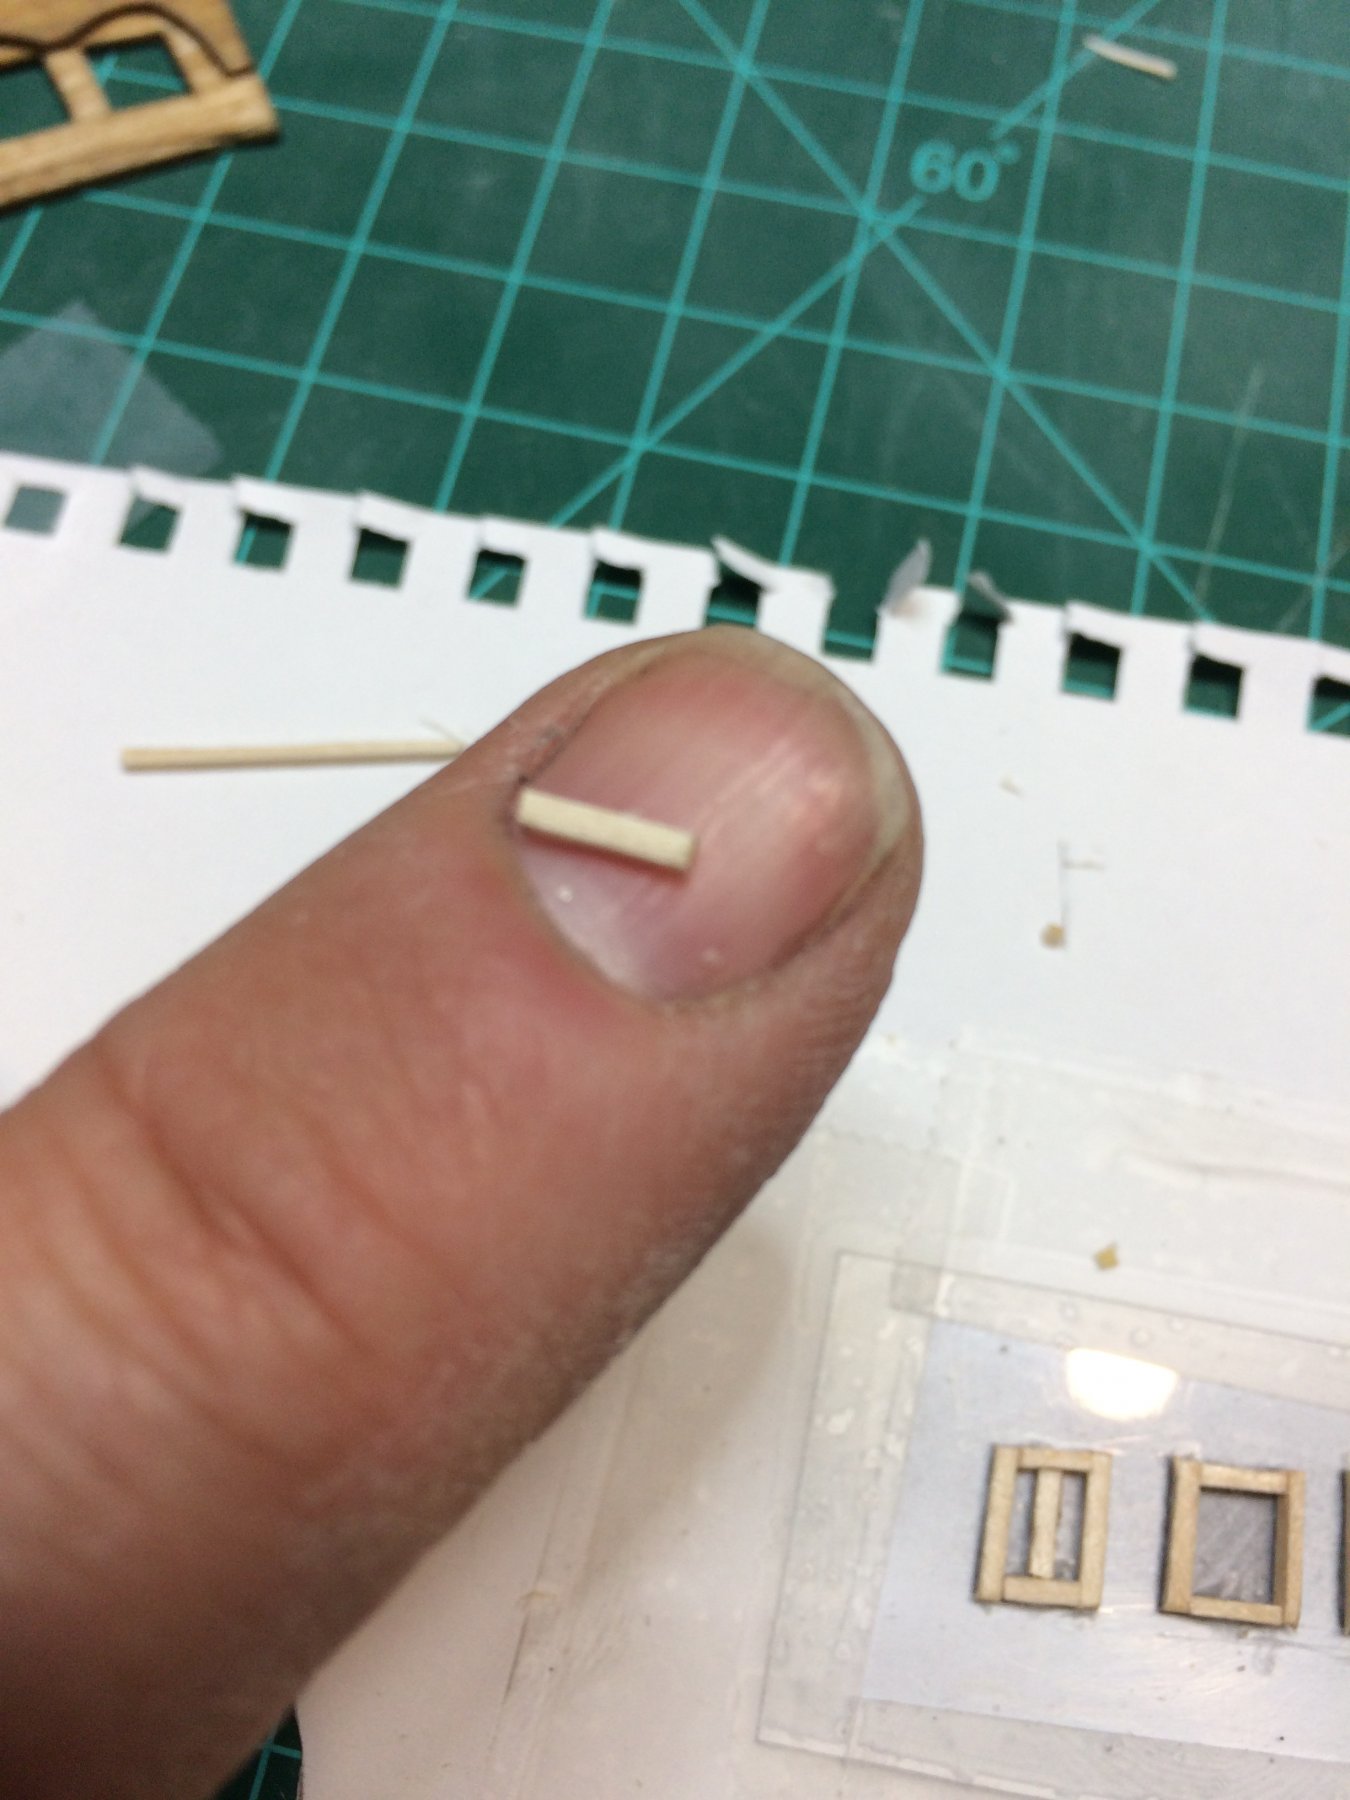
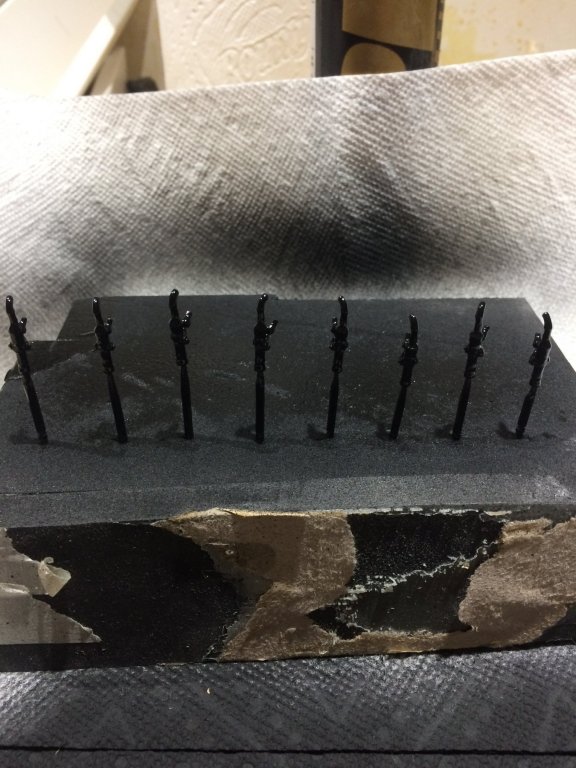
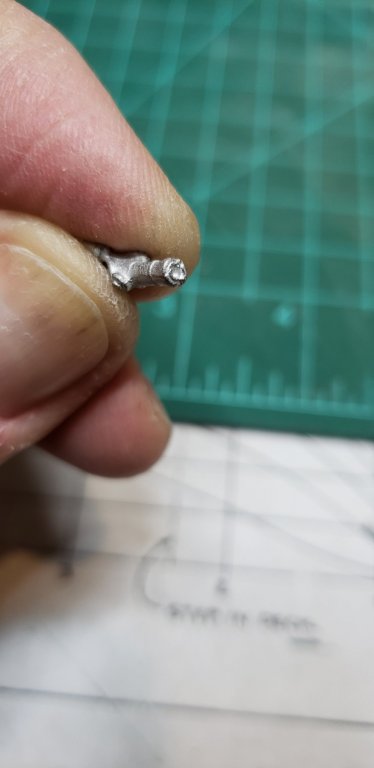
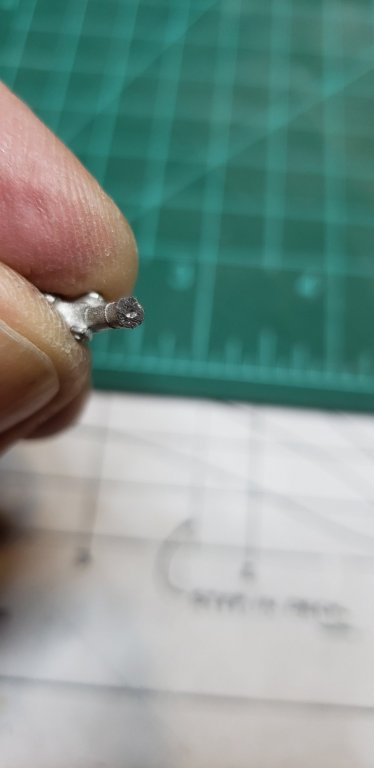
Absolutely Lou. Now that i am a bit more comfortable and skilled in making those, i might even try to make few new, to have them more uniformed.. But, boy they are tiny..
-
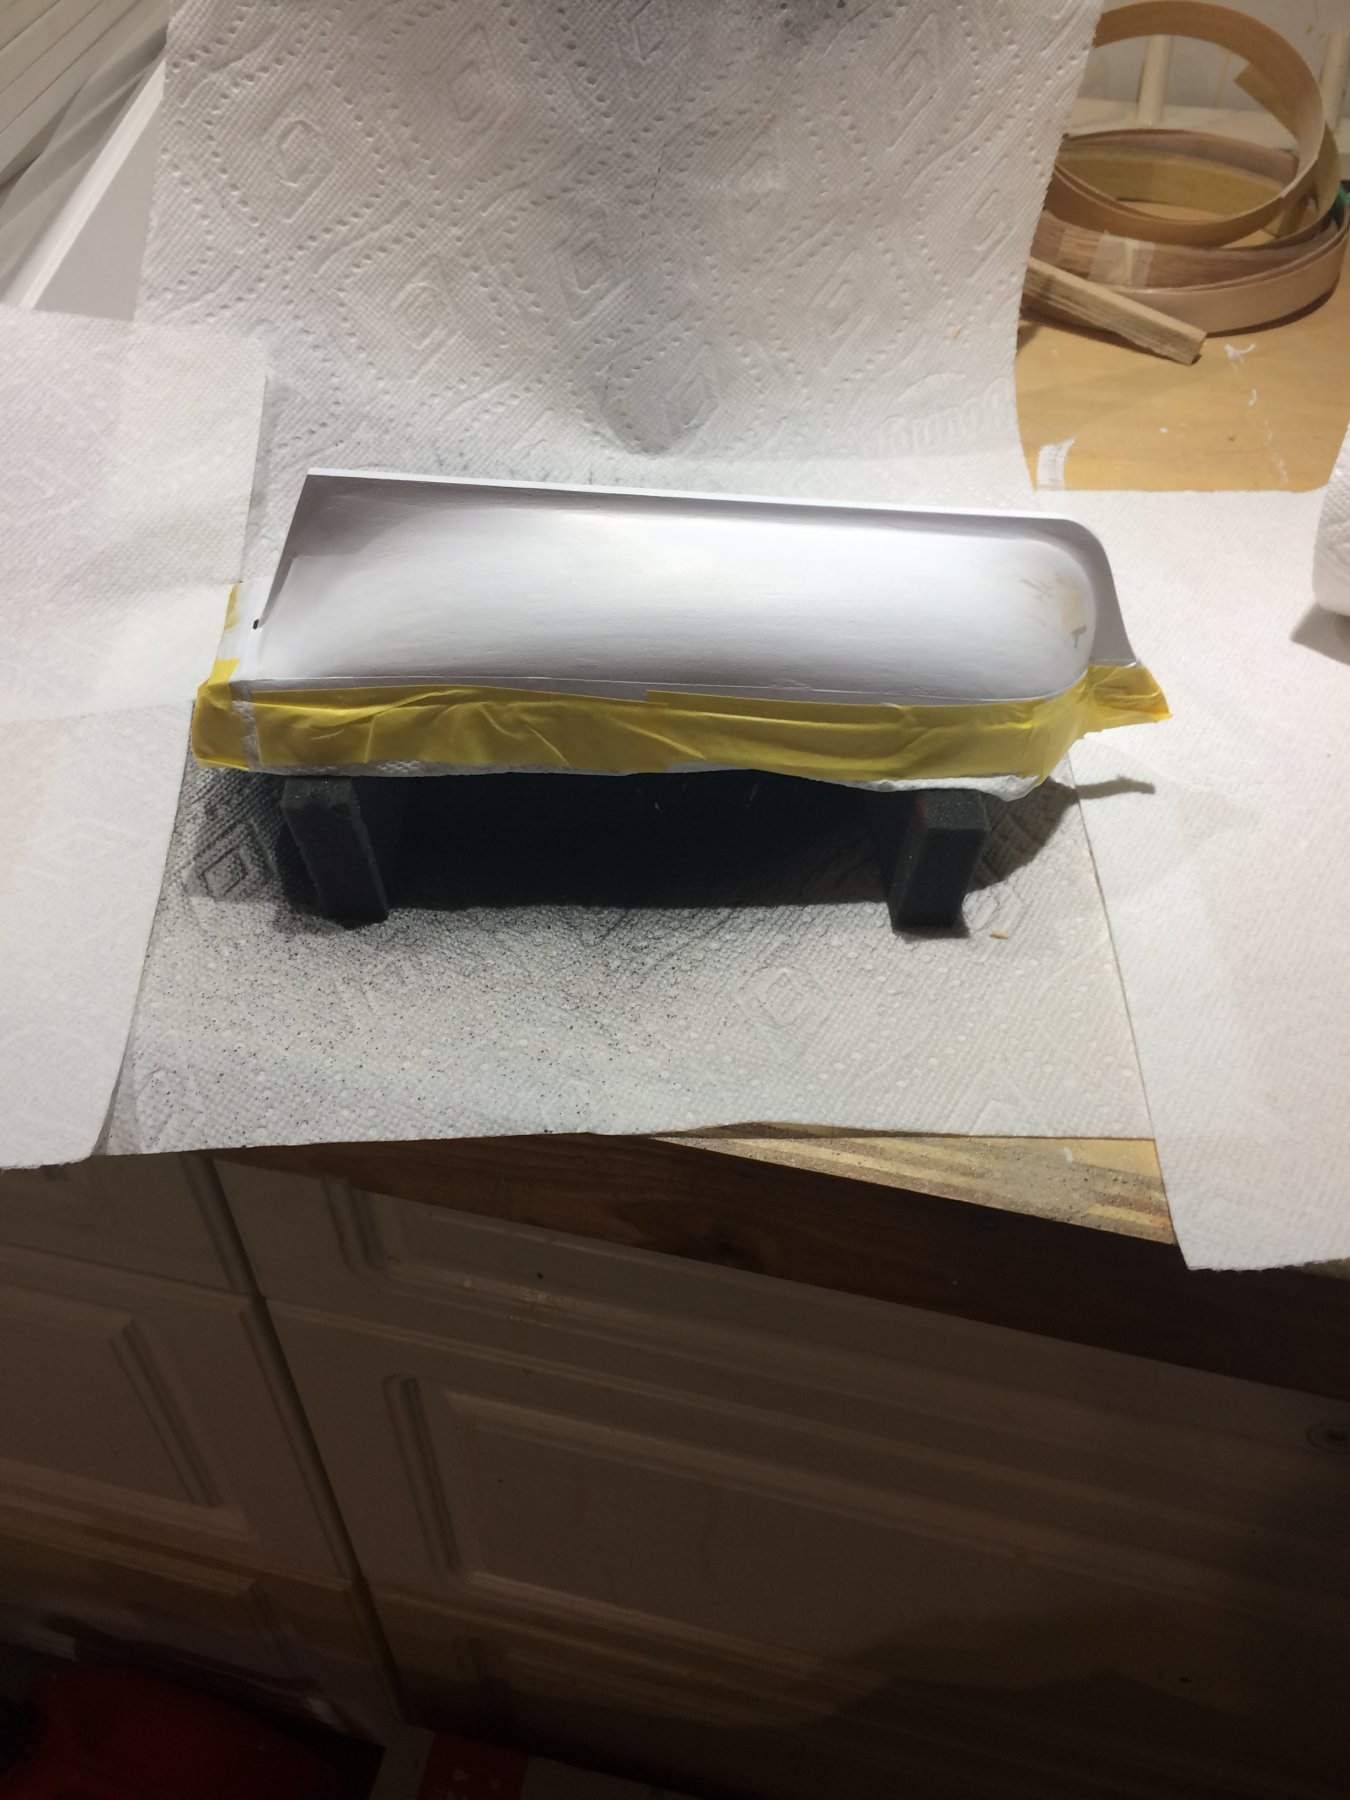
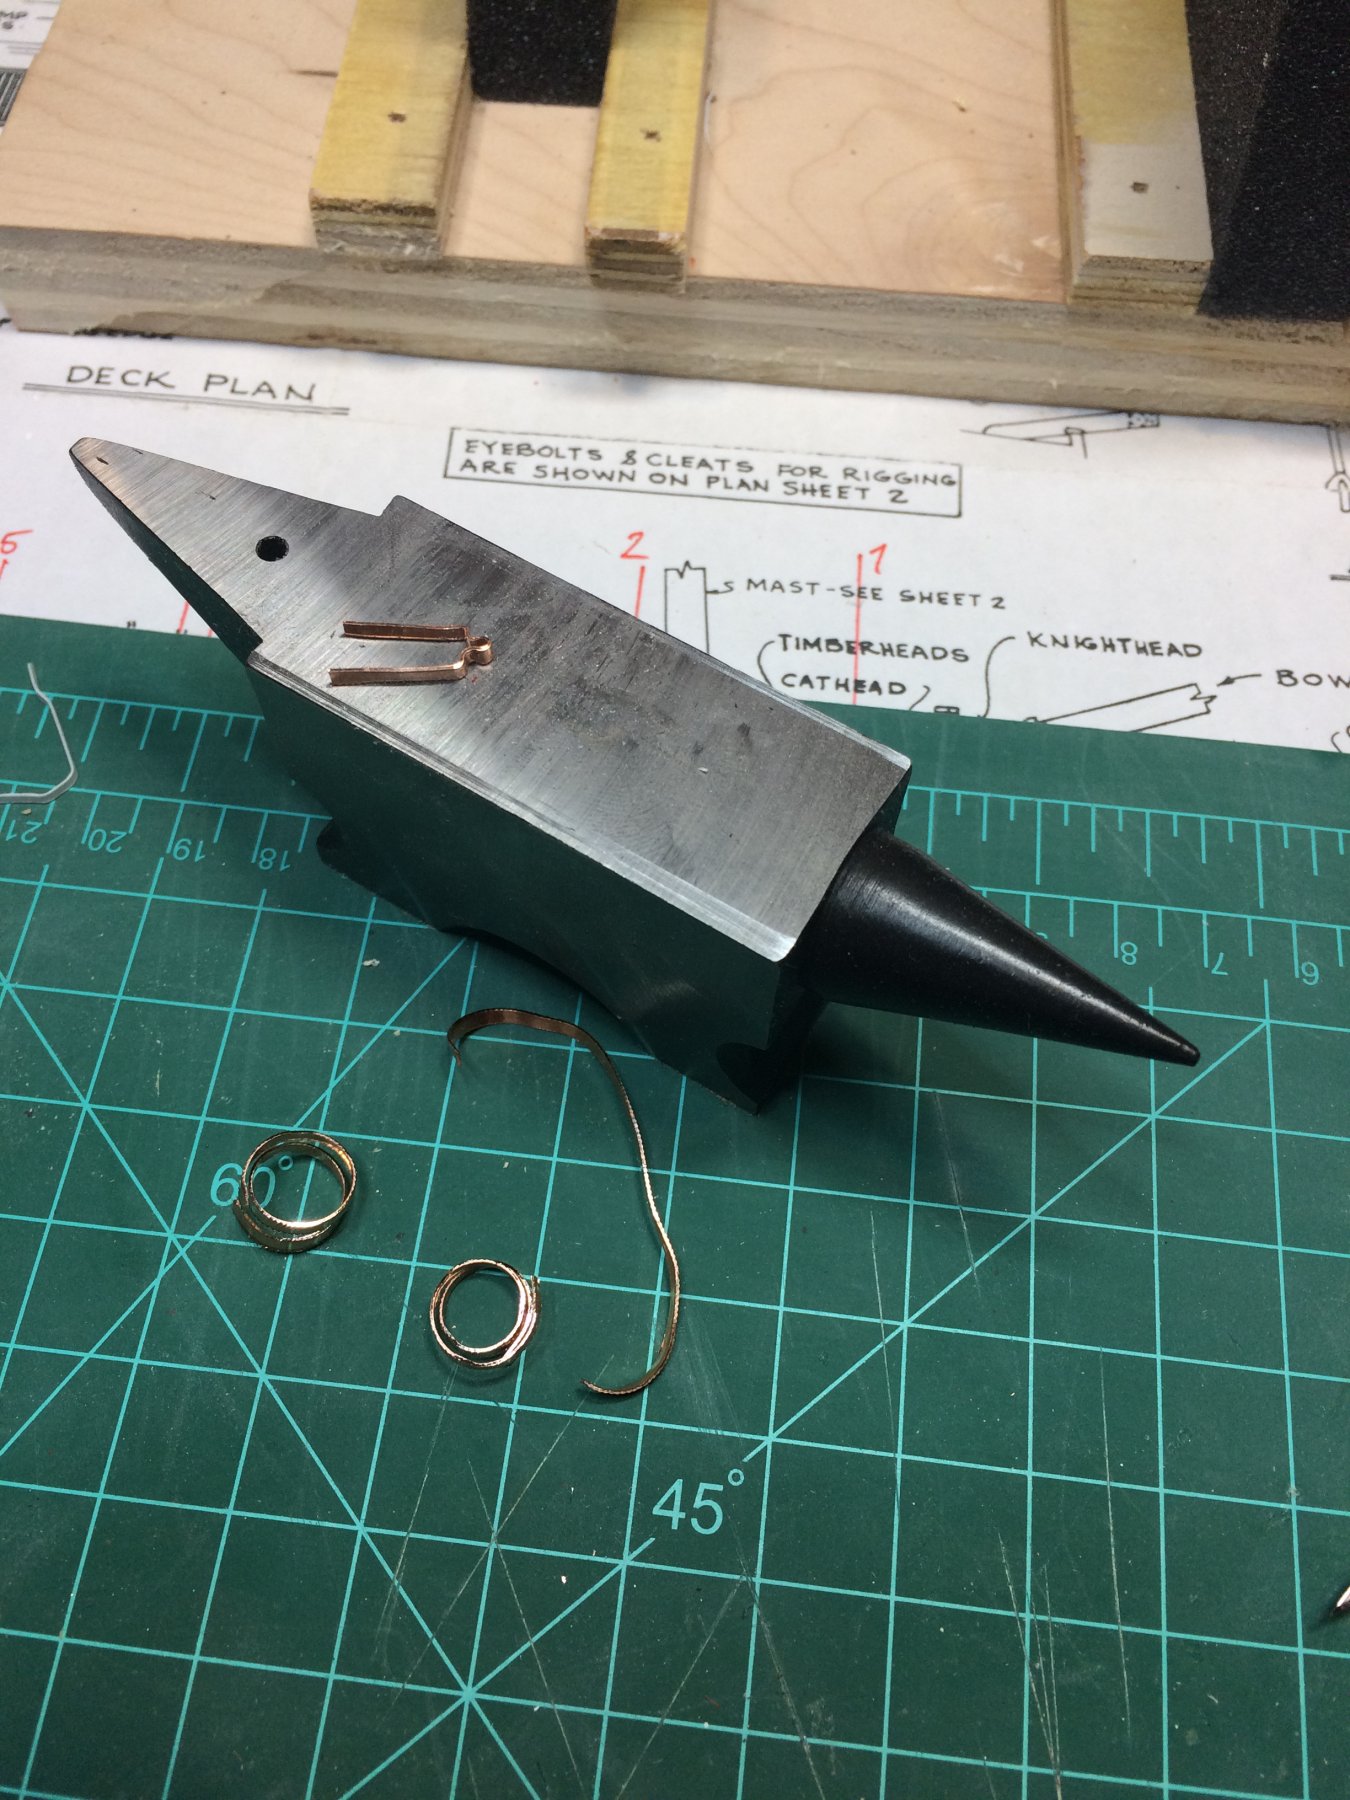
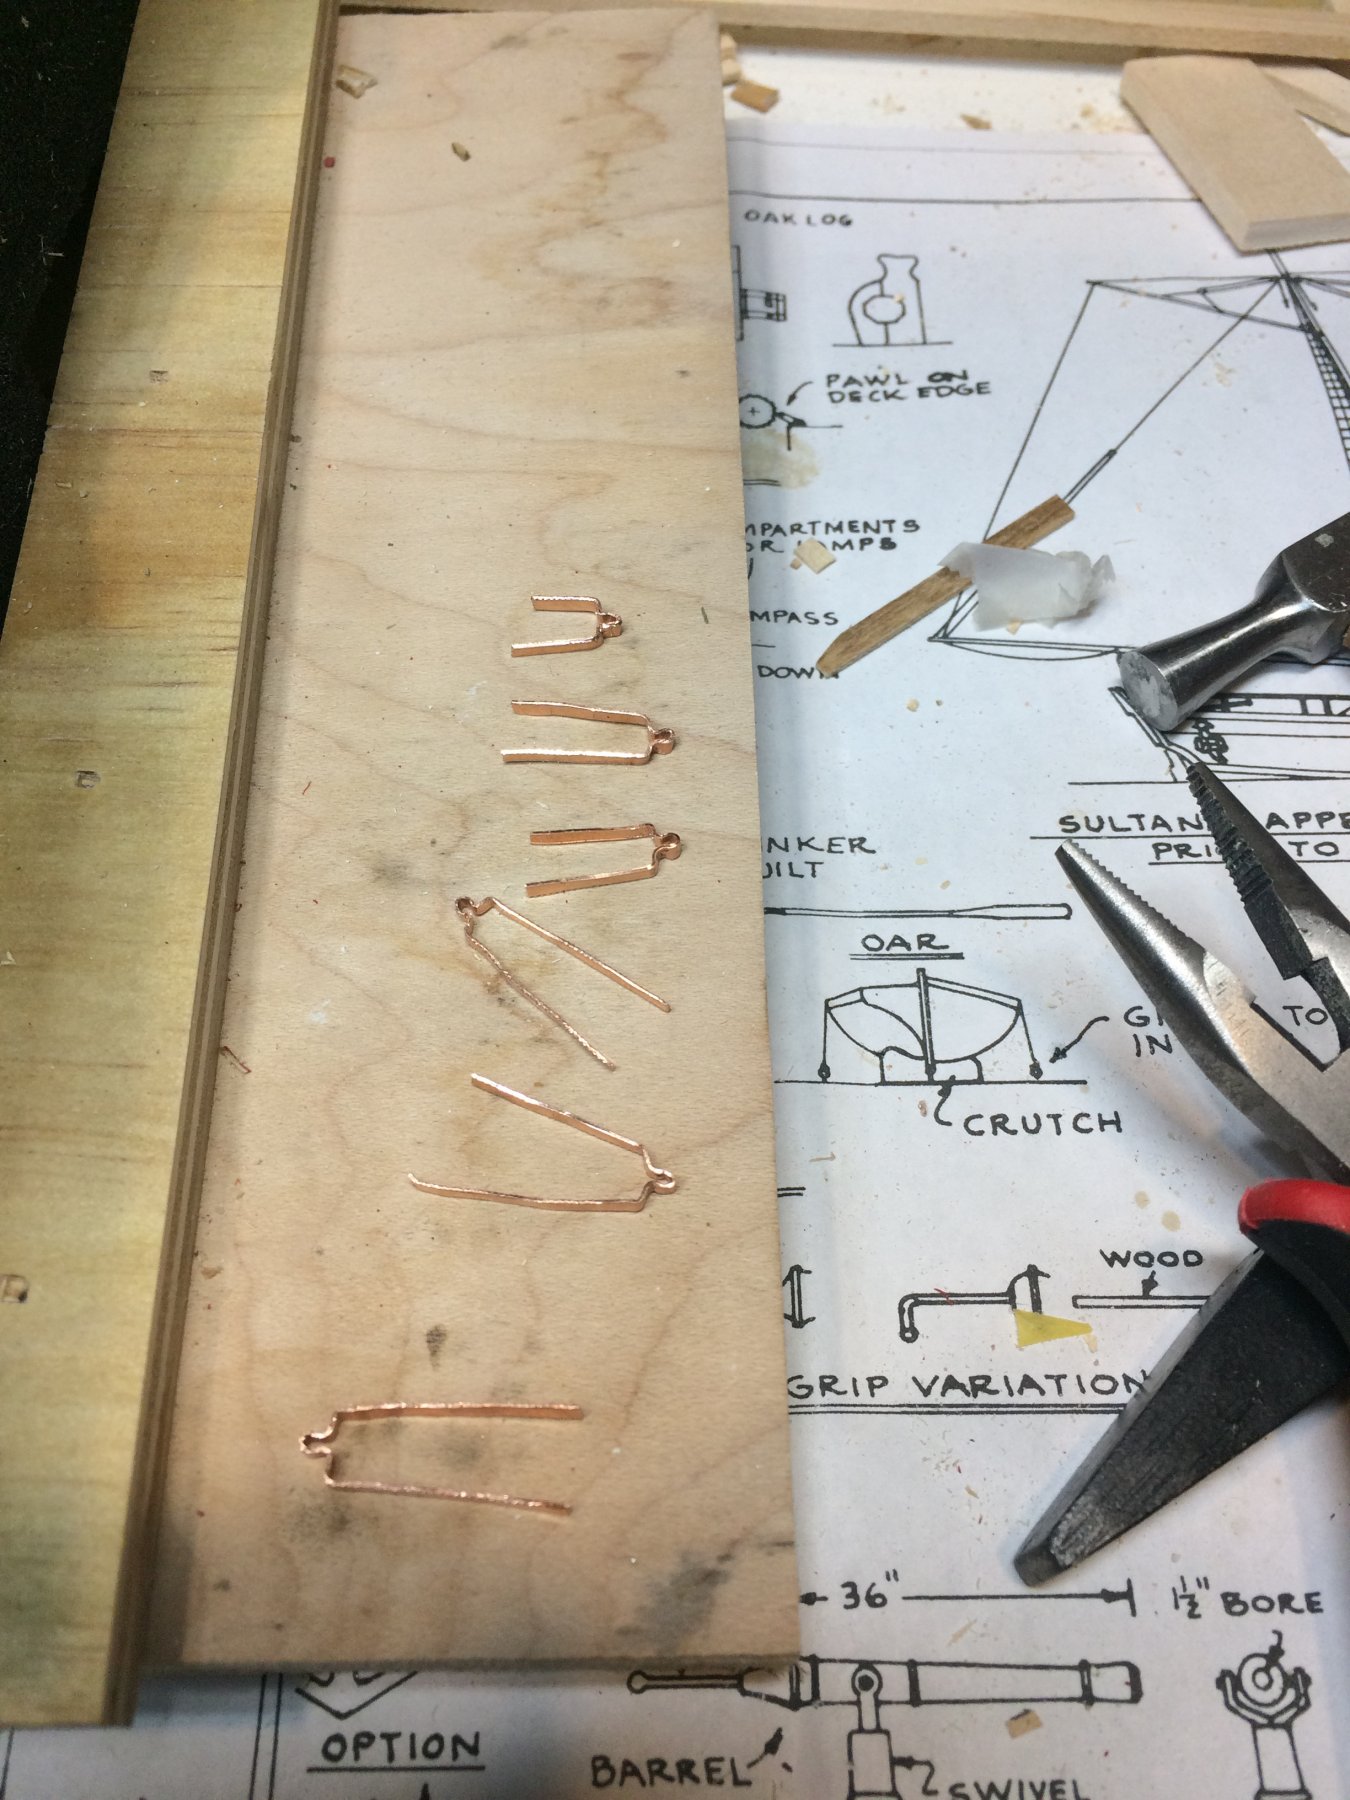
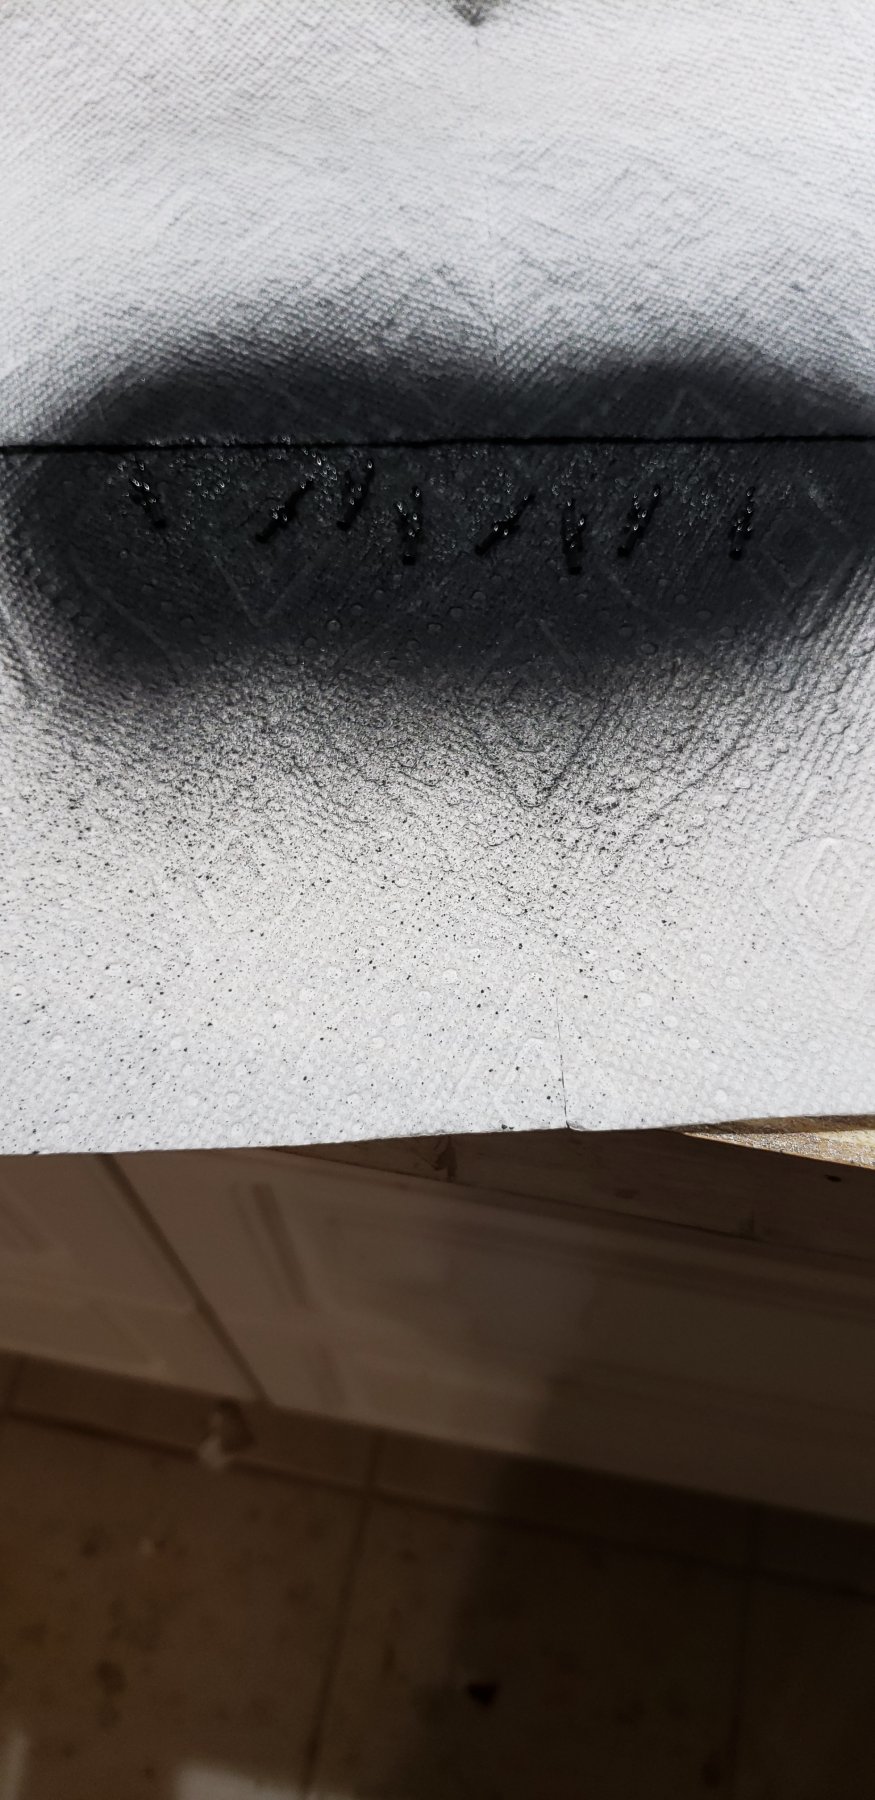
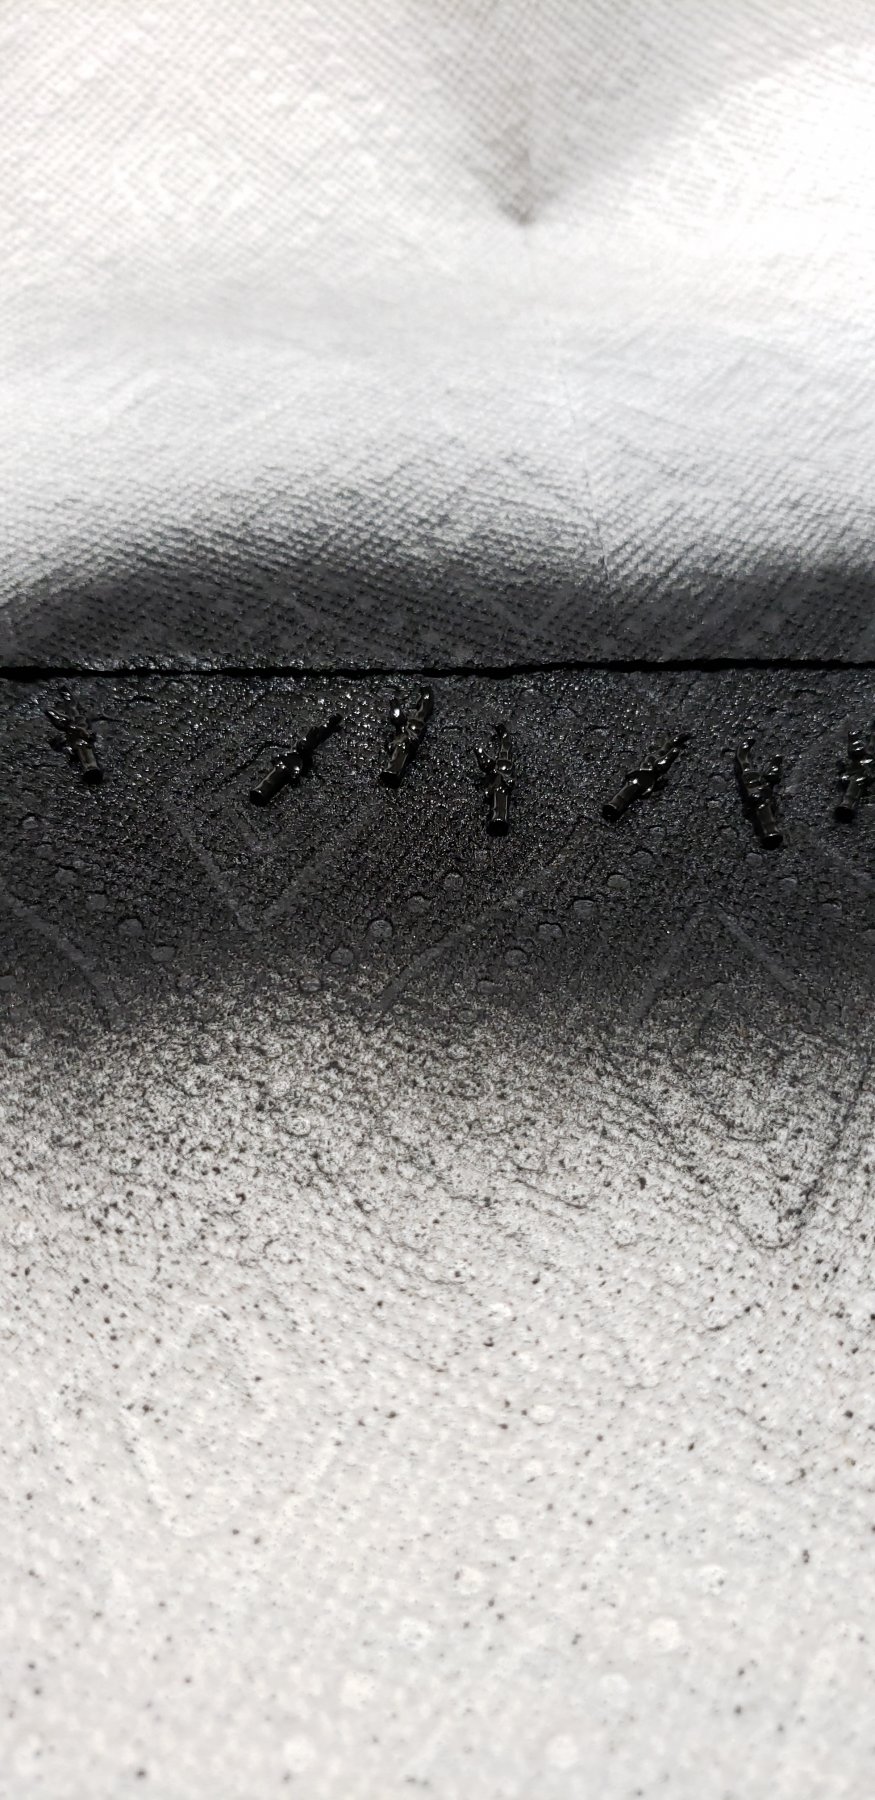
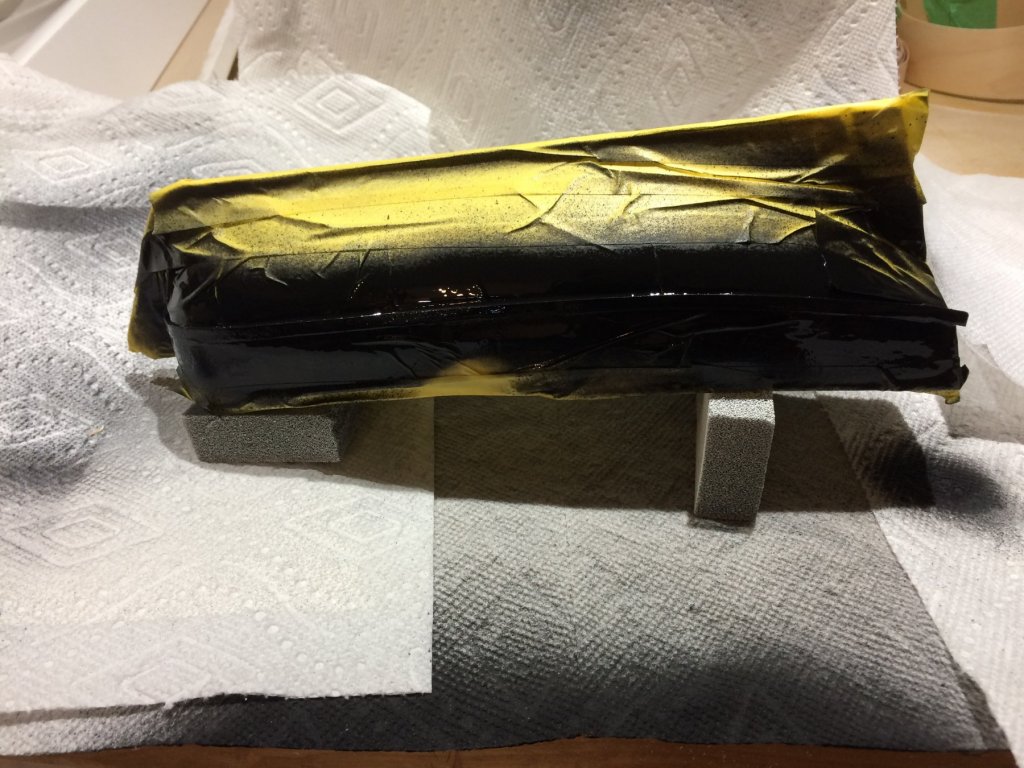
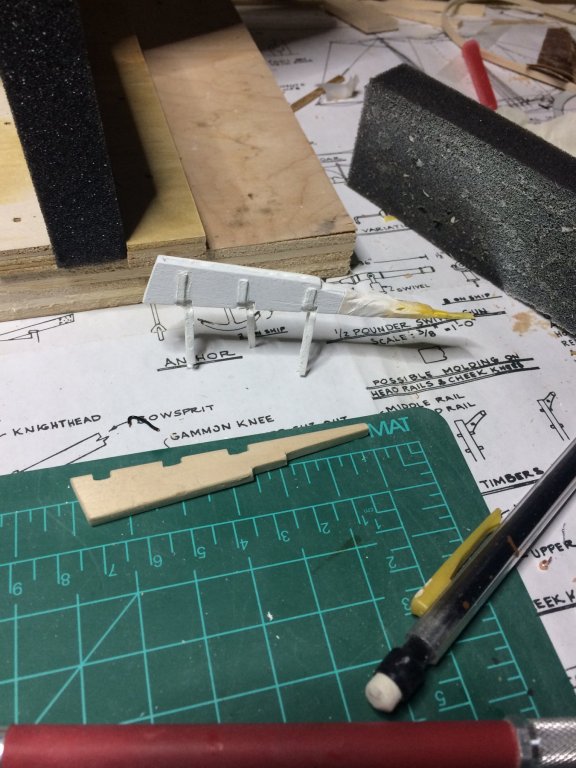
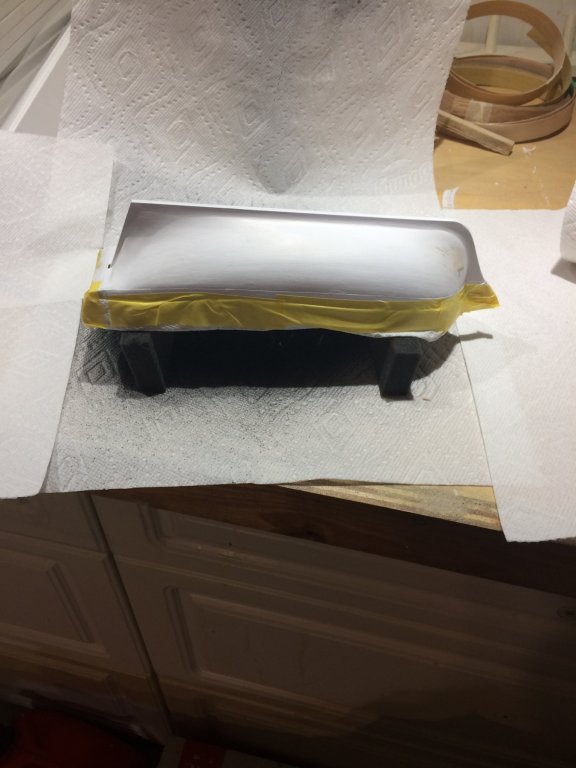
Swivel guns are ready for installation. Nice black color.. I was not happy with end results of hull painting so i decided to give it a good layer of white primer. Results might be even satisfactory so i might leave it with white primer. Will see tomorrow.. Hull protected with more tape... End result still shiny but will see when primer dries out.. Then i started working on rudder hinges called pintles and gudgeons. Cut 6 stripes of copper even dough kit suggested to make them out of cardboard. I tried i did not like results but the making process was much simpler. Strips were flattened and bend over 22 gauge wire and then bent over piece of wood left from rudder making process. That wood was the same thickness as rudder and that basically completed the whole process. They are identical except pintles will have a small wire glued into place. I will paint them in white to match the hull so here they are, ready for a coat of paint.. The correct length will be cut later. Happy modeling.


- 360 replies
-
- 2
-
-
- sultana
- model shipways
- (and 1 more)
-
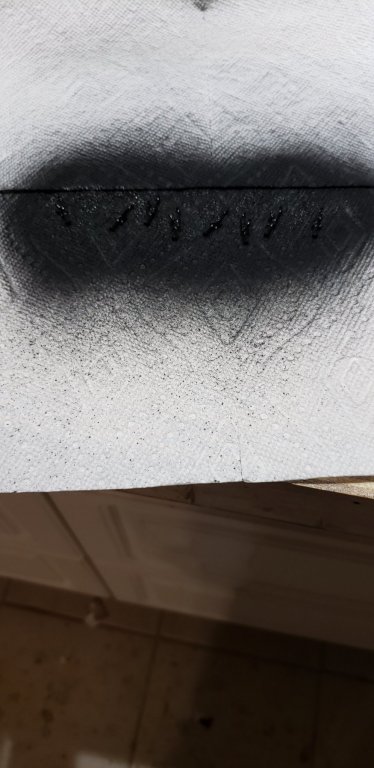
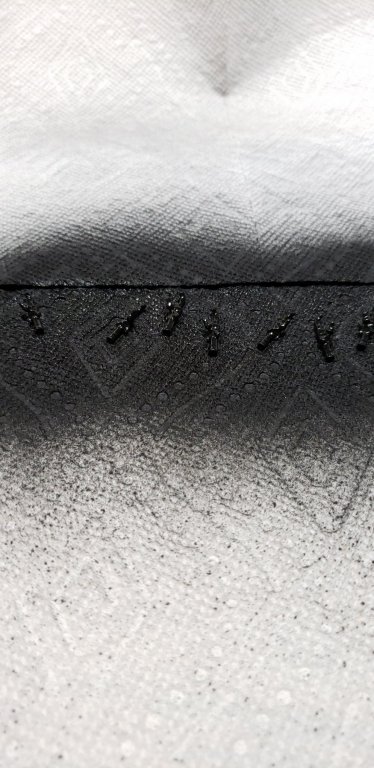
A bit of a sanding and second coat of paint... Not as existing process as planking... Swivel guns received a second coat of flat black; actually areas that were not covered with the first layer... Happy modeling..
- 360 replies
-
- 2
-
-
- sultana
- model shipways
- (and 1 more)
-
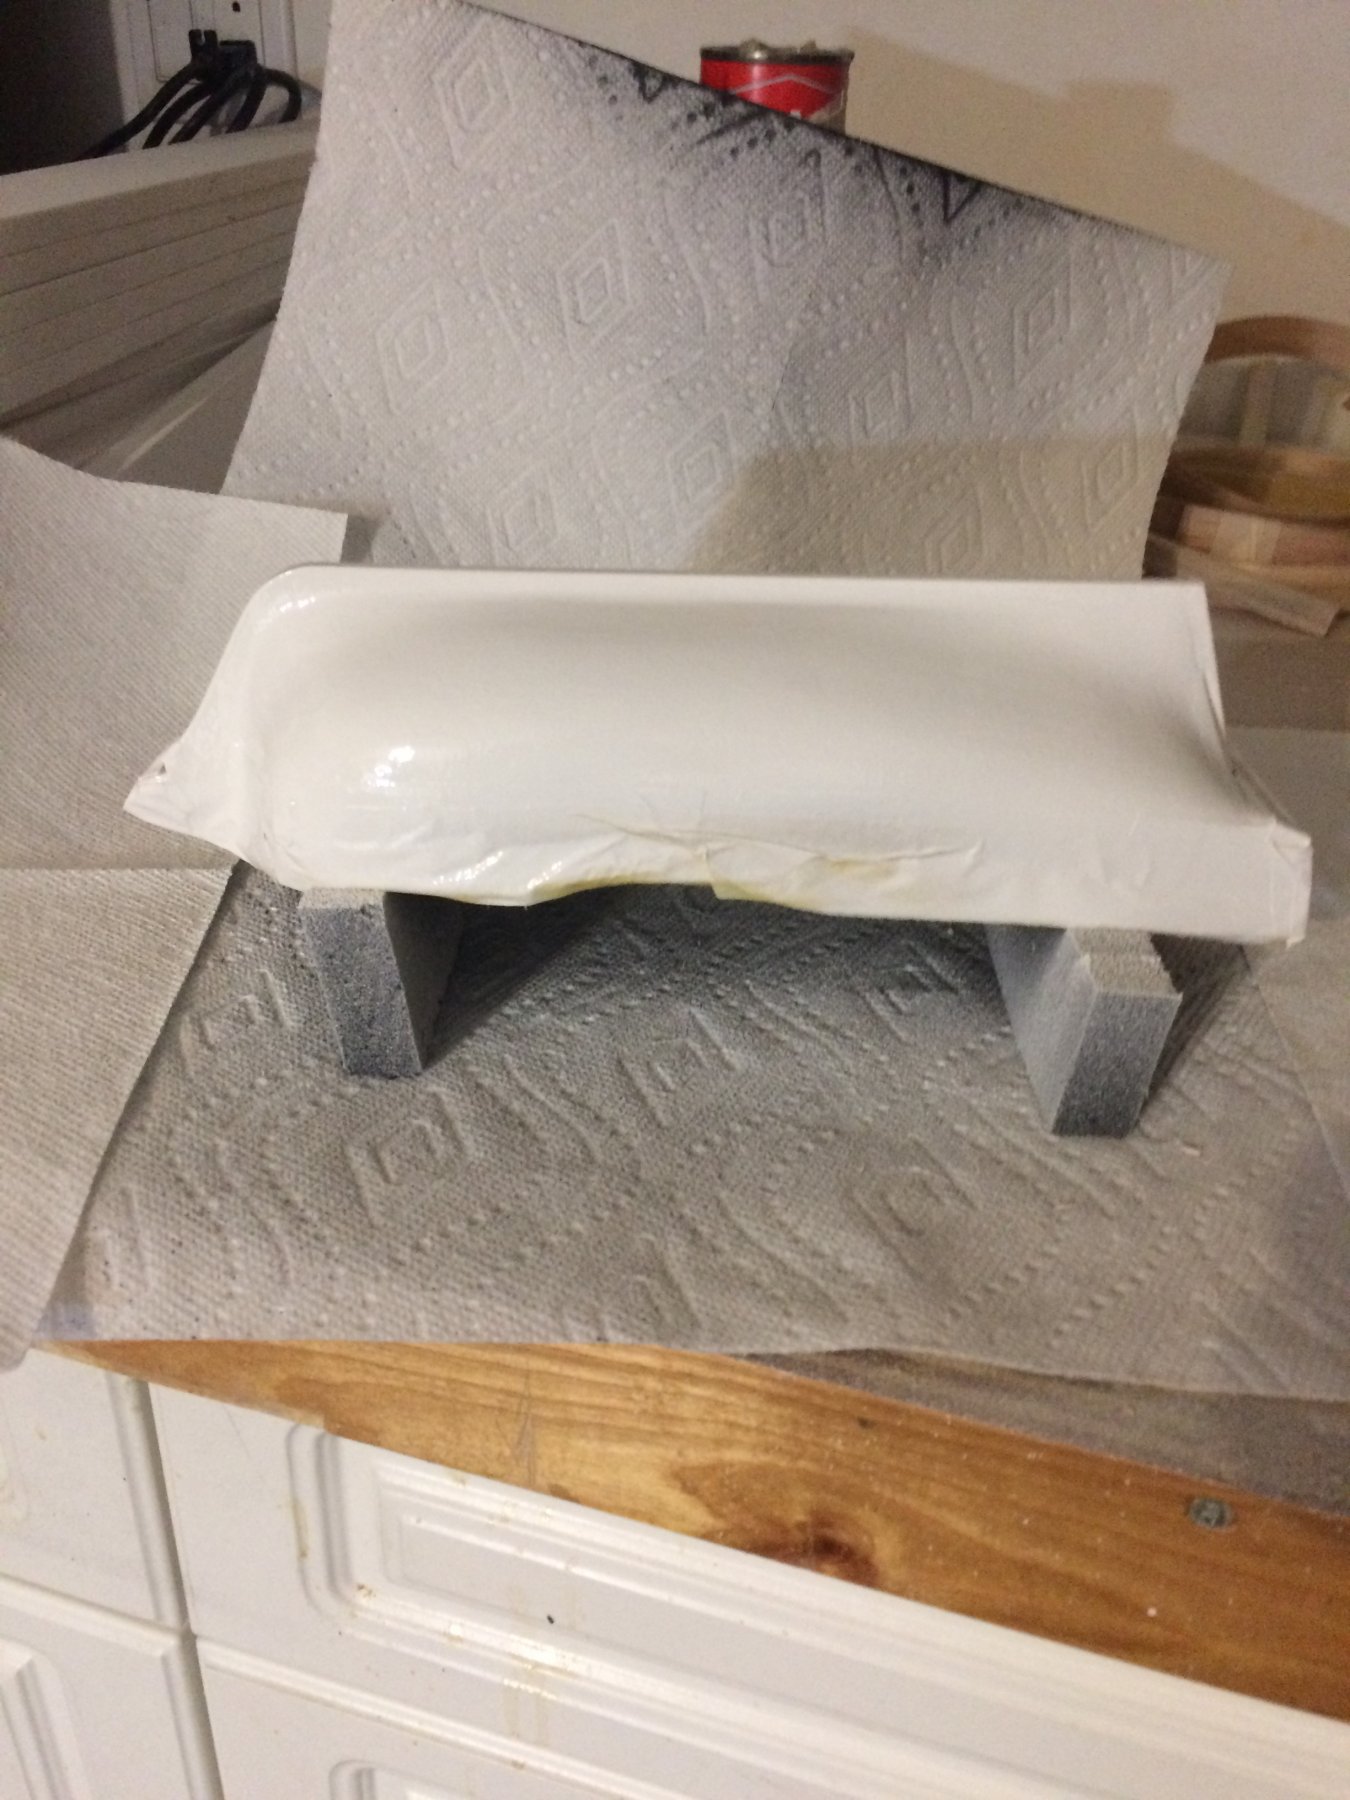
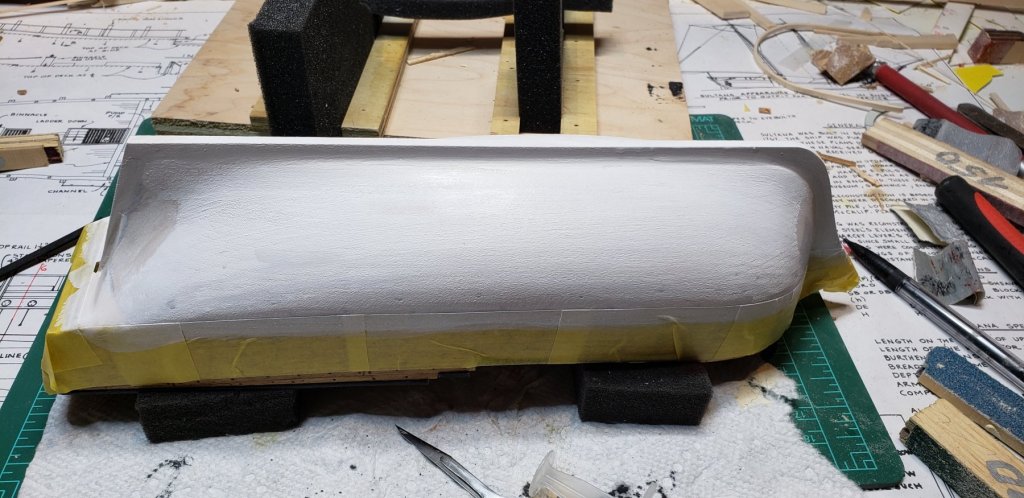
Started to paint the hull. Went with white color which i tinned down with some water so it would most likely need 5-6 layers of paint. Thinning is required so painting process will not leave those heavy brush lines if you use non thinned color. Protected the hull.. First layer completed. Tomorrow a bit of a sanding and another thinned layer.. Also, completed all tree-nails on the bow deck. Swivel guns were next. I cannot do much with a hull, might as well start working on other parts. Cleaned up guns, drill a hole in muzzle area and put a thin layer of black flat color. Happy modeling..

- 360 replies
-
- 1
-
-
- sultana
- model shipways
- (and 1 more)
-
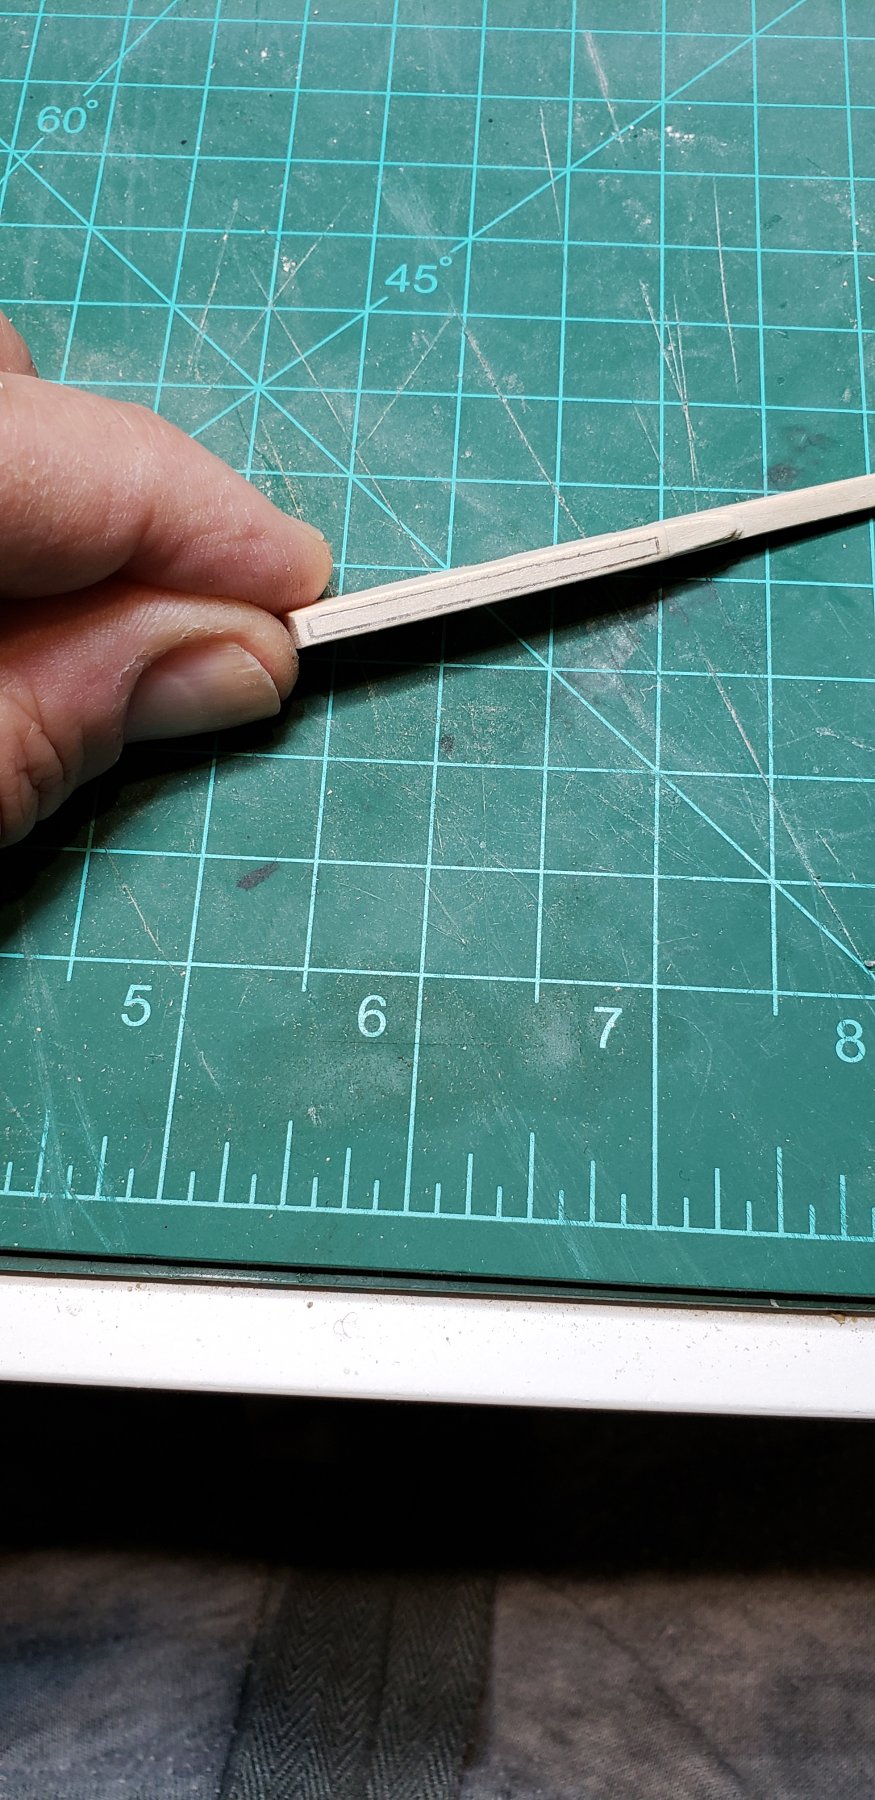
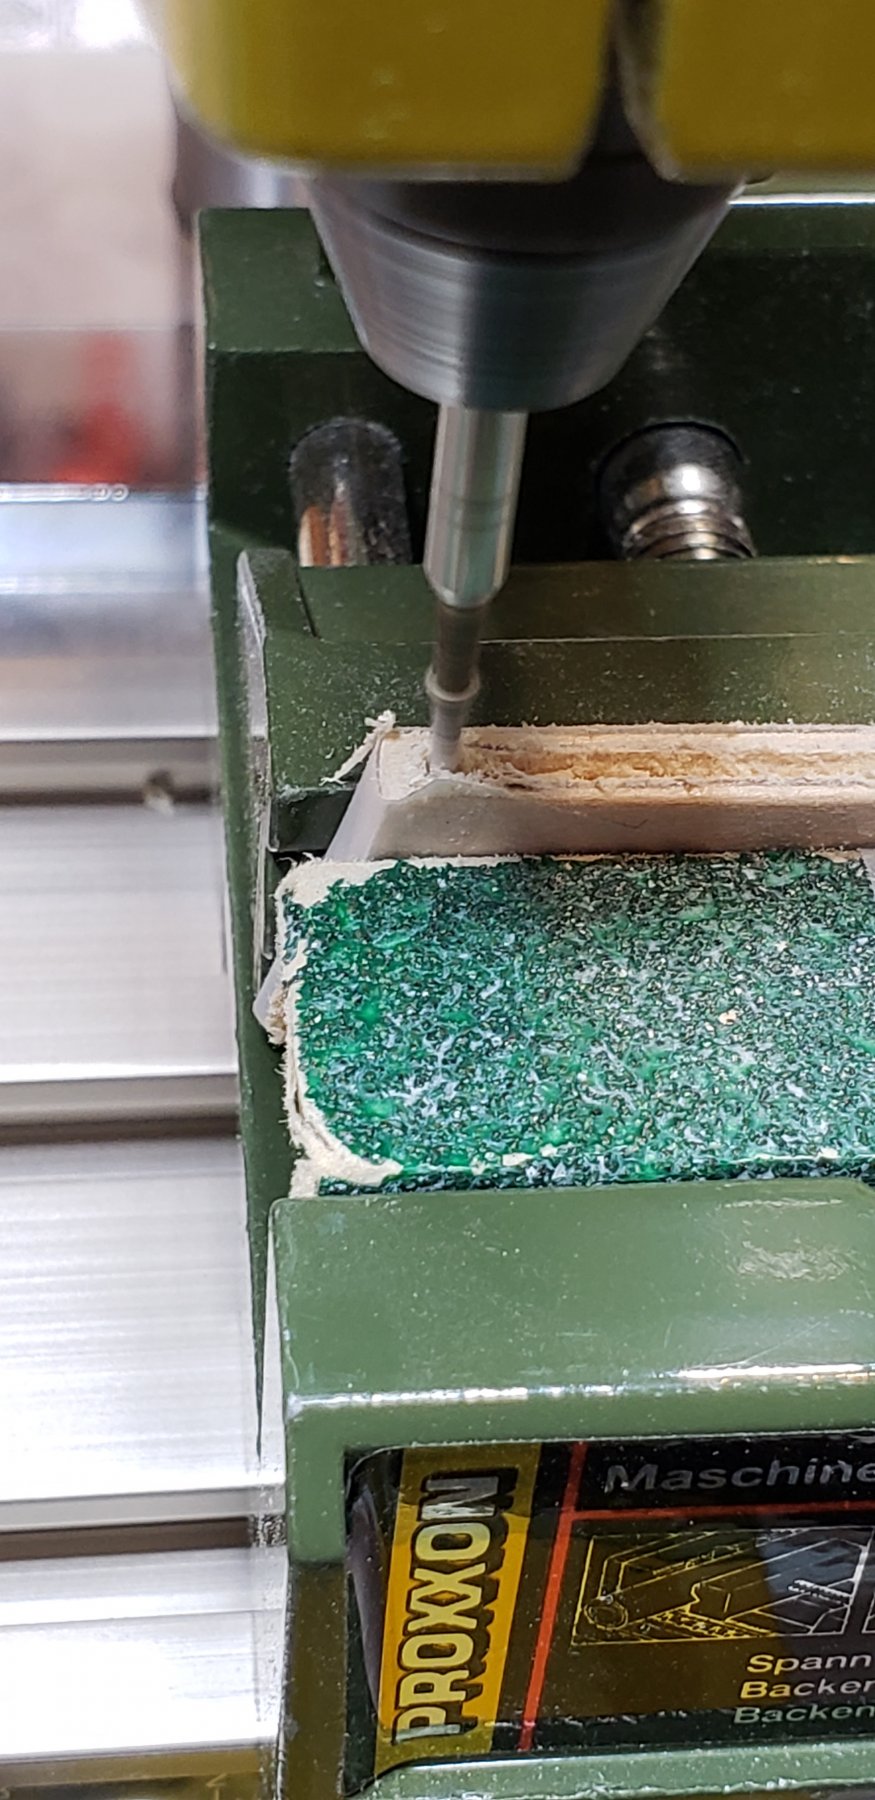
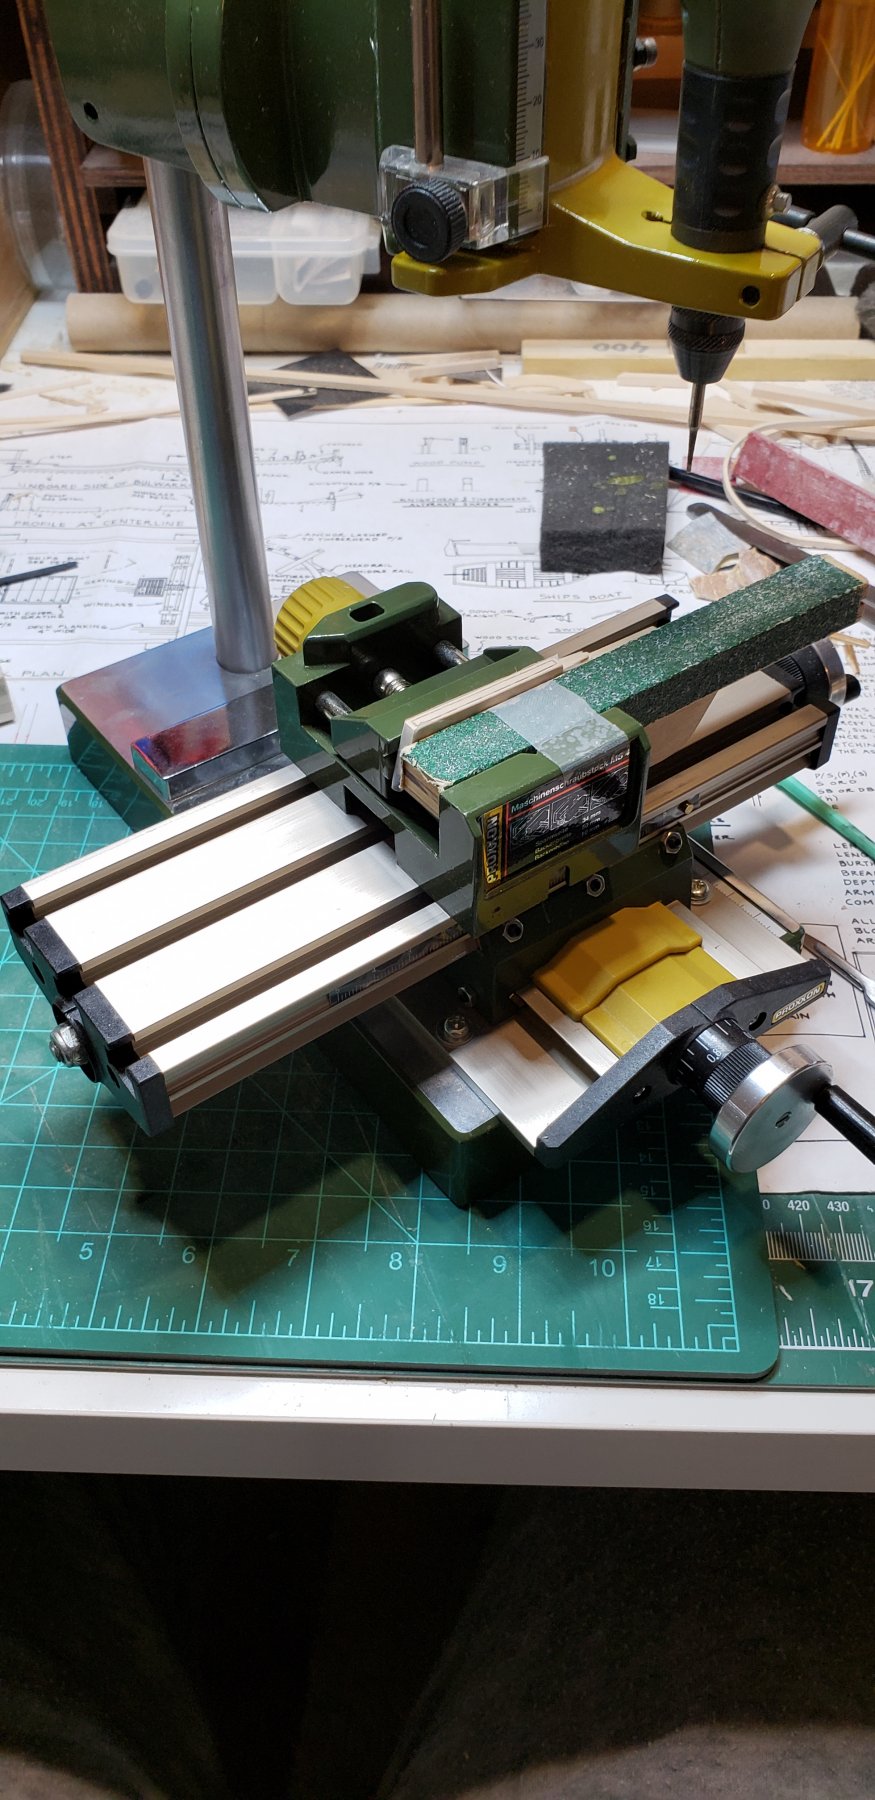
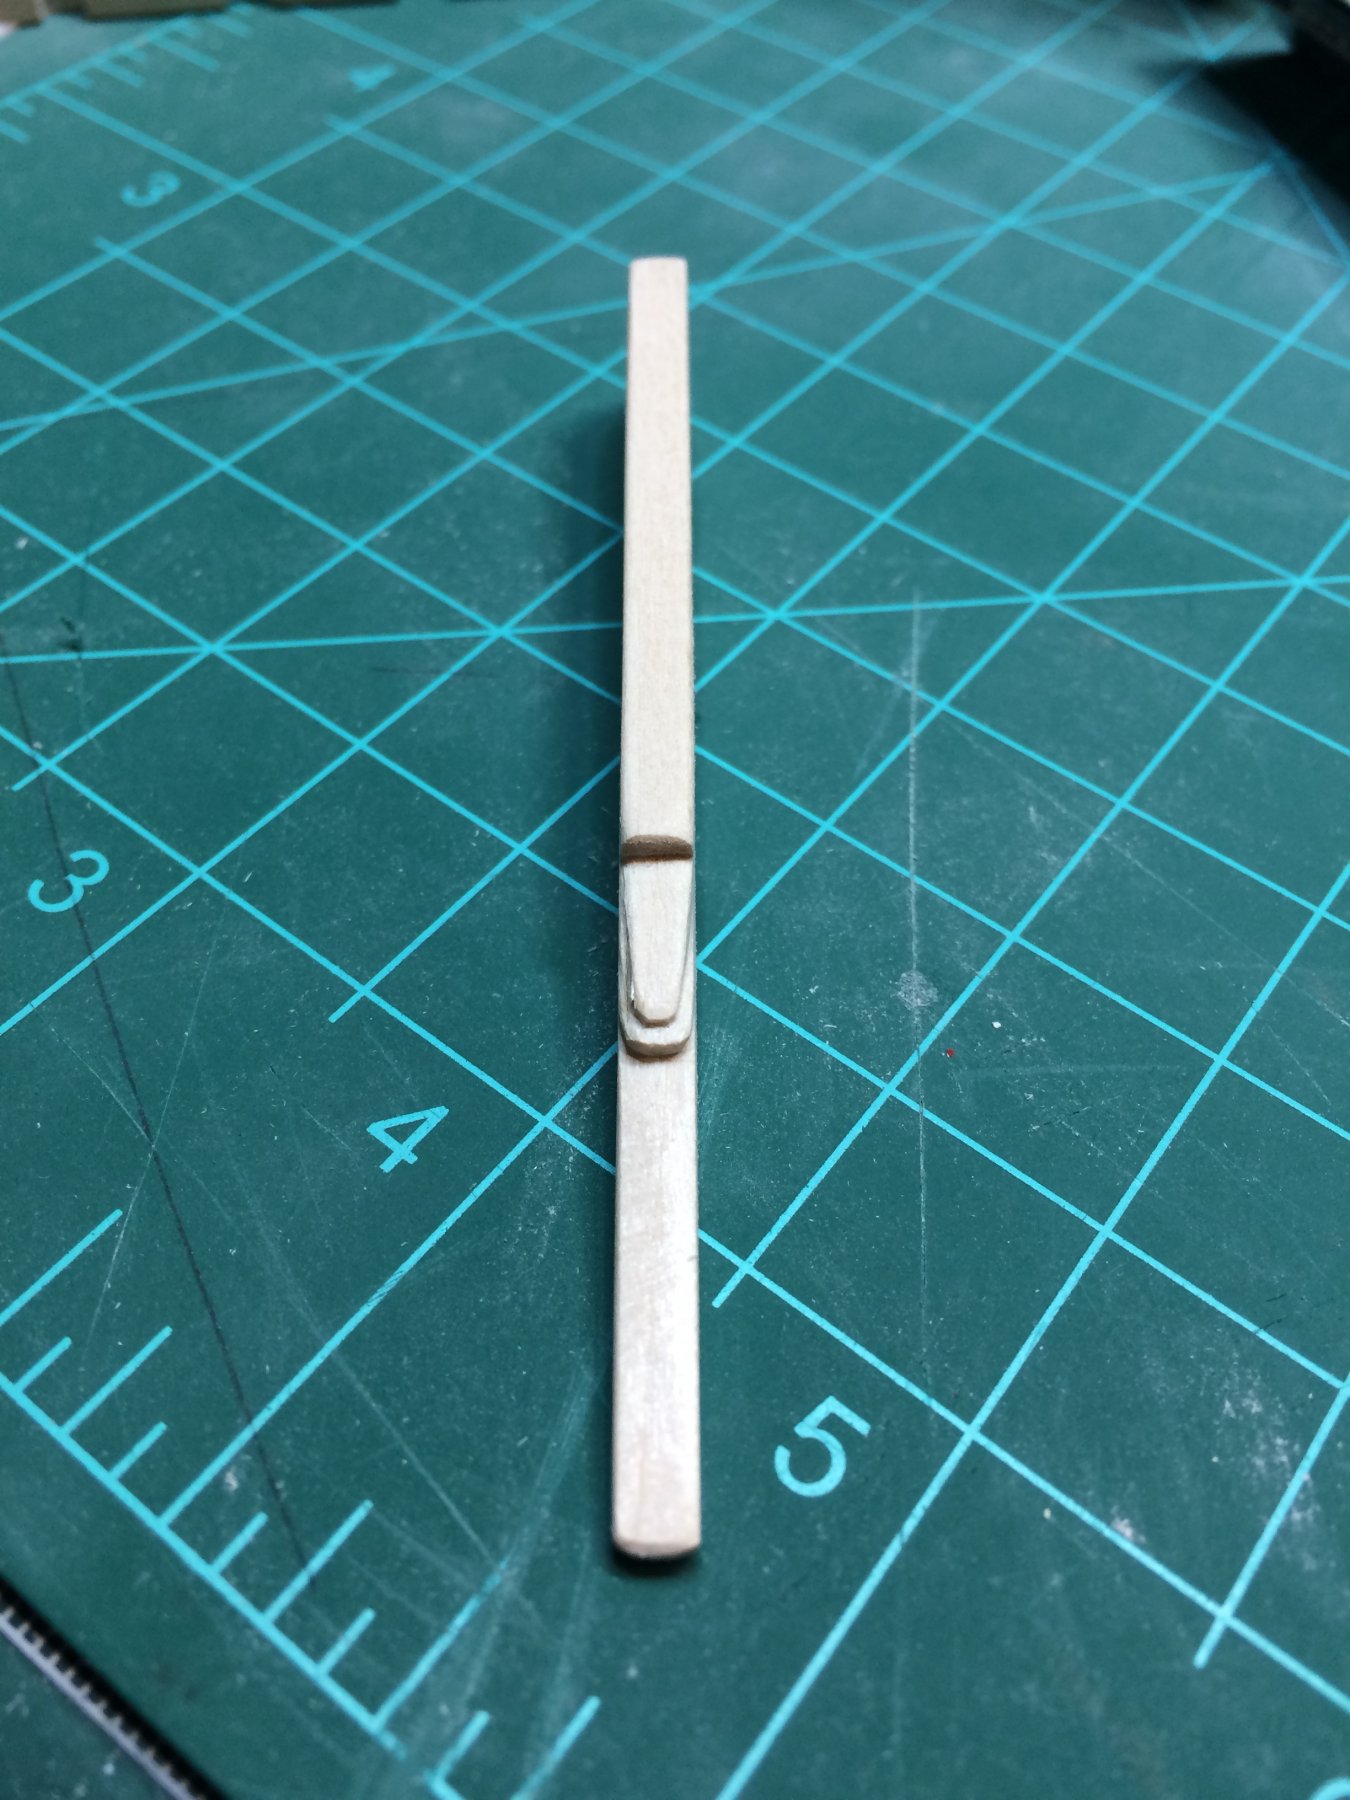
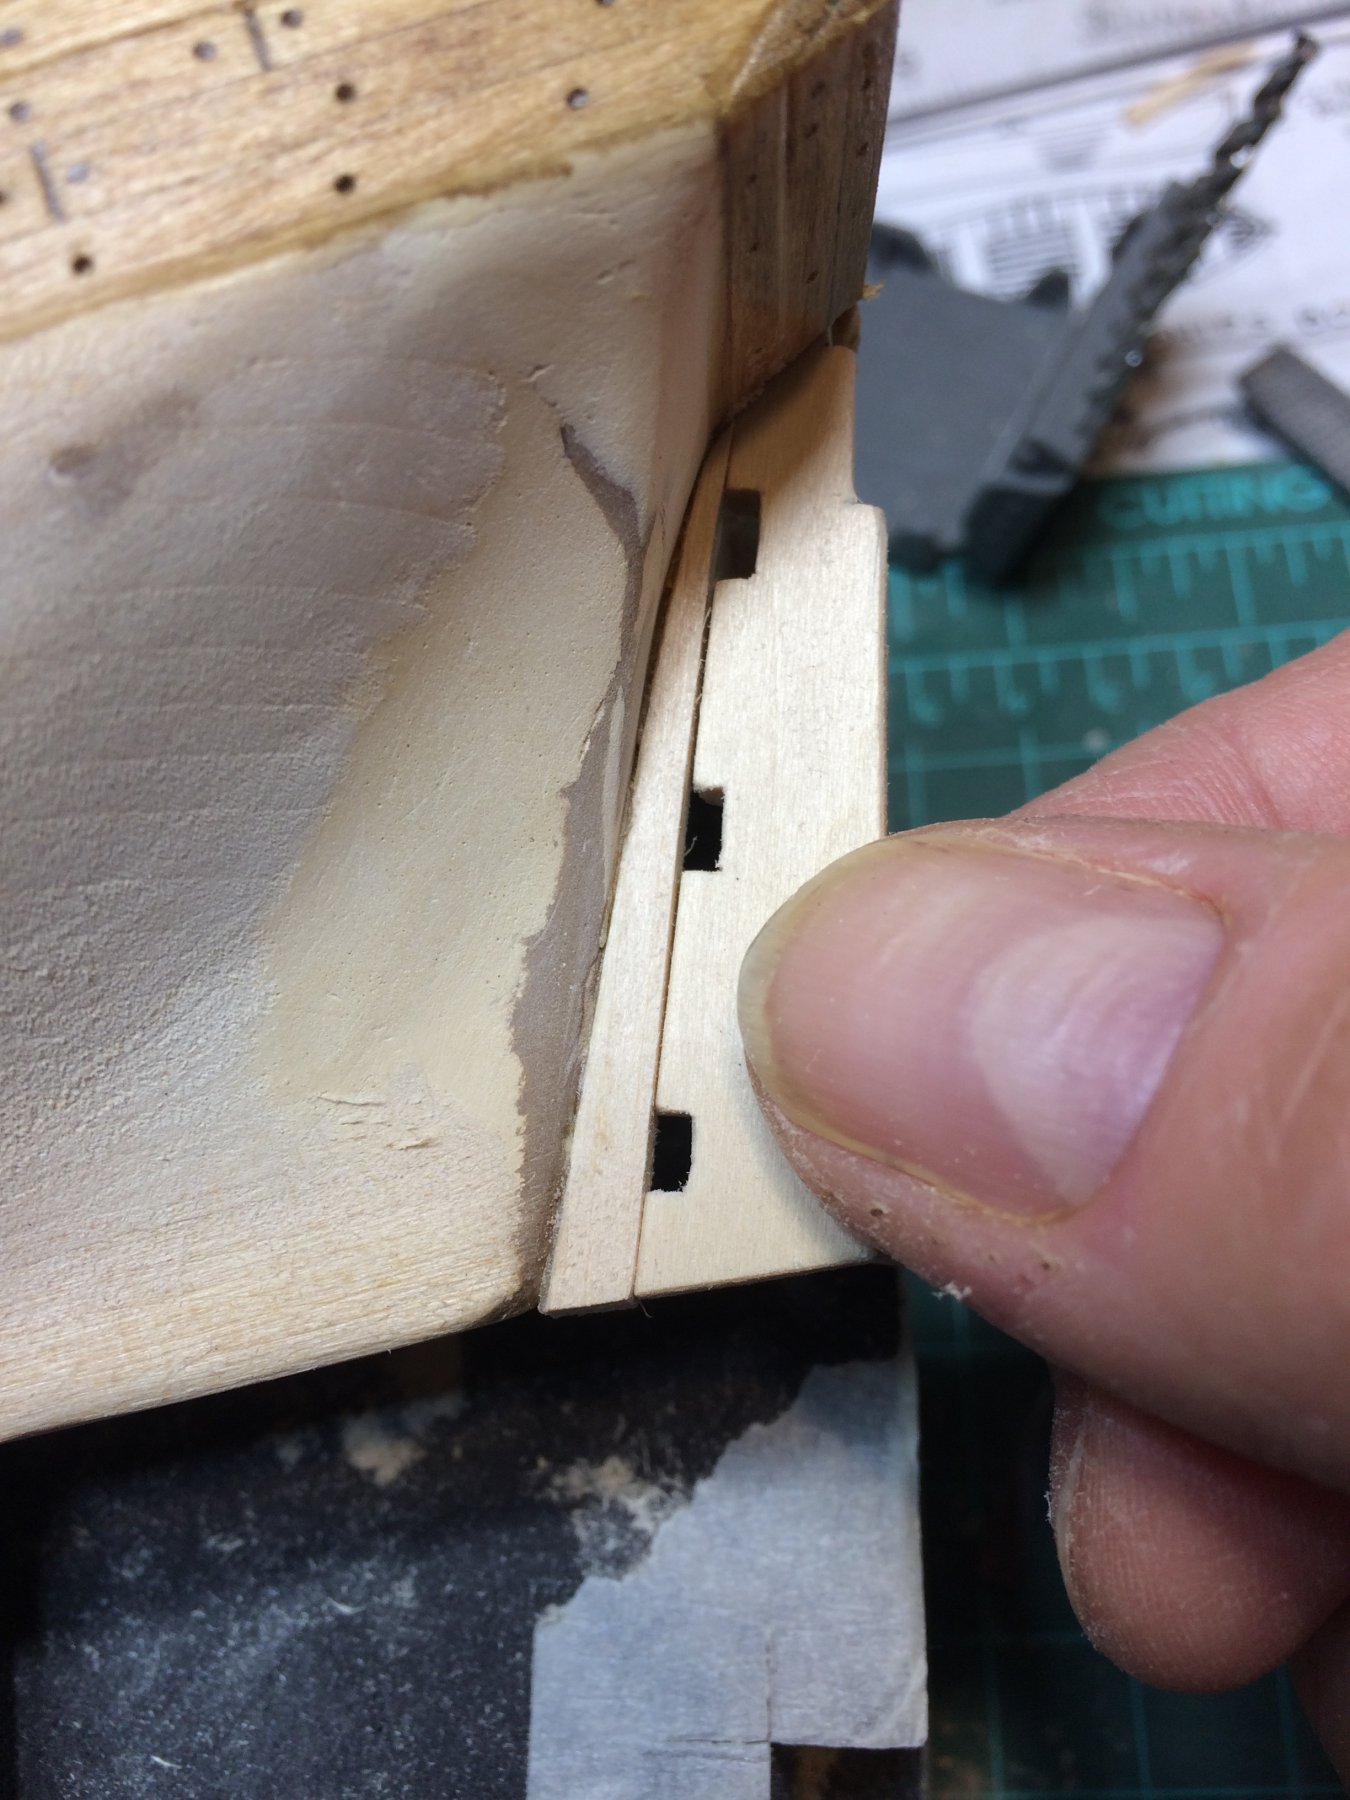
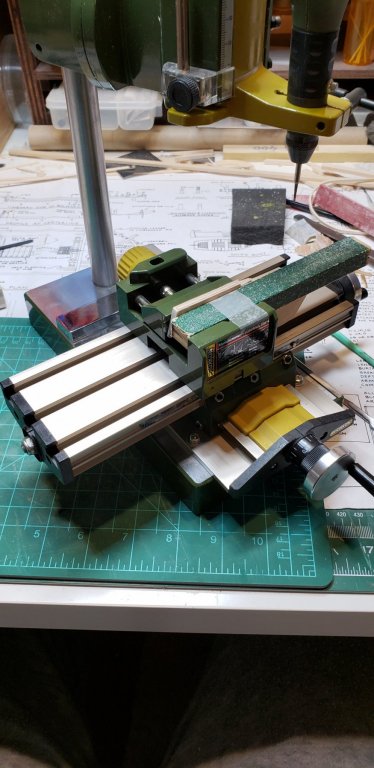
Not much free time today but there is always some time for shipyard... Today i created small rabbet down to the face of the rudder. It does not appear on the kit plan but as per Chuck's practicum, it is a nice little detail common on rudders at that time, specifically for schooners. It is time to get my micro compound table dirty again. Marked the rabbet line on rudder.. Little setup to get it going.. During process.. Also, i have done some touch up paint work on transom. It took me more time to clean the brush afterwards then to do actual paint work. Then i installed cap rails, except one cap rail on bow area. Had to paint the bottom side of it before installation. So that is all for today.. Happy modeling..

- 360 replies
-
- 2
-
-
- sultana
- model shipways
- (and 1 more)
-
Thanks Lou, i was also on the same page as you. It would be really hard to notice after all deck furniture is in place. Appreciate your comment.. Cheers
- 360 replies
-
- 1
-
-
- sultana
- model shipways
- (and 1 more)
-
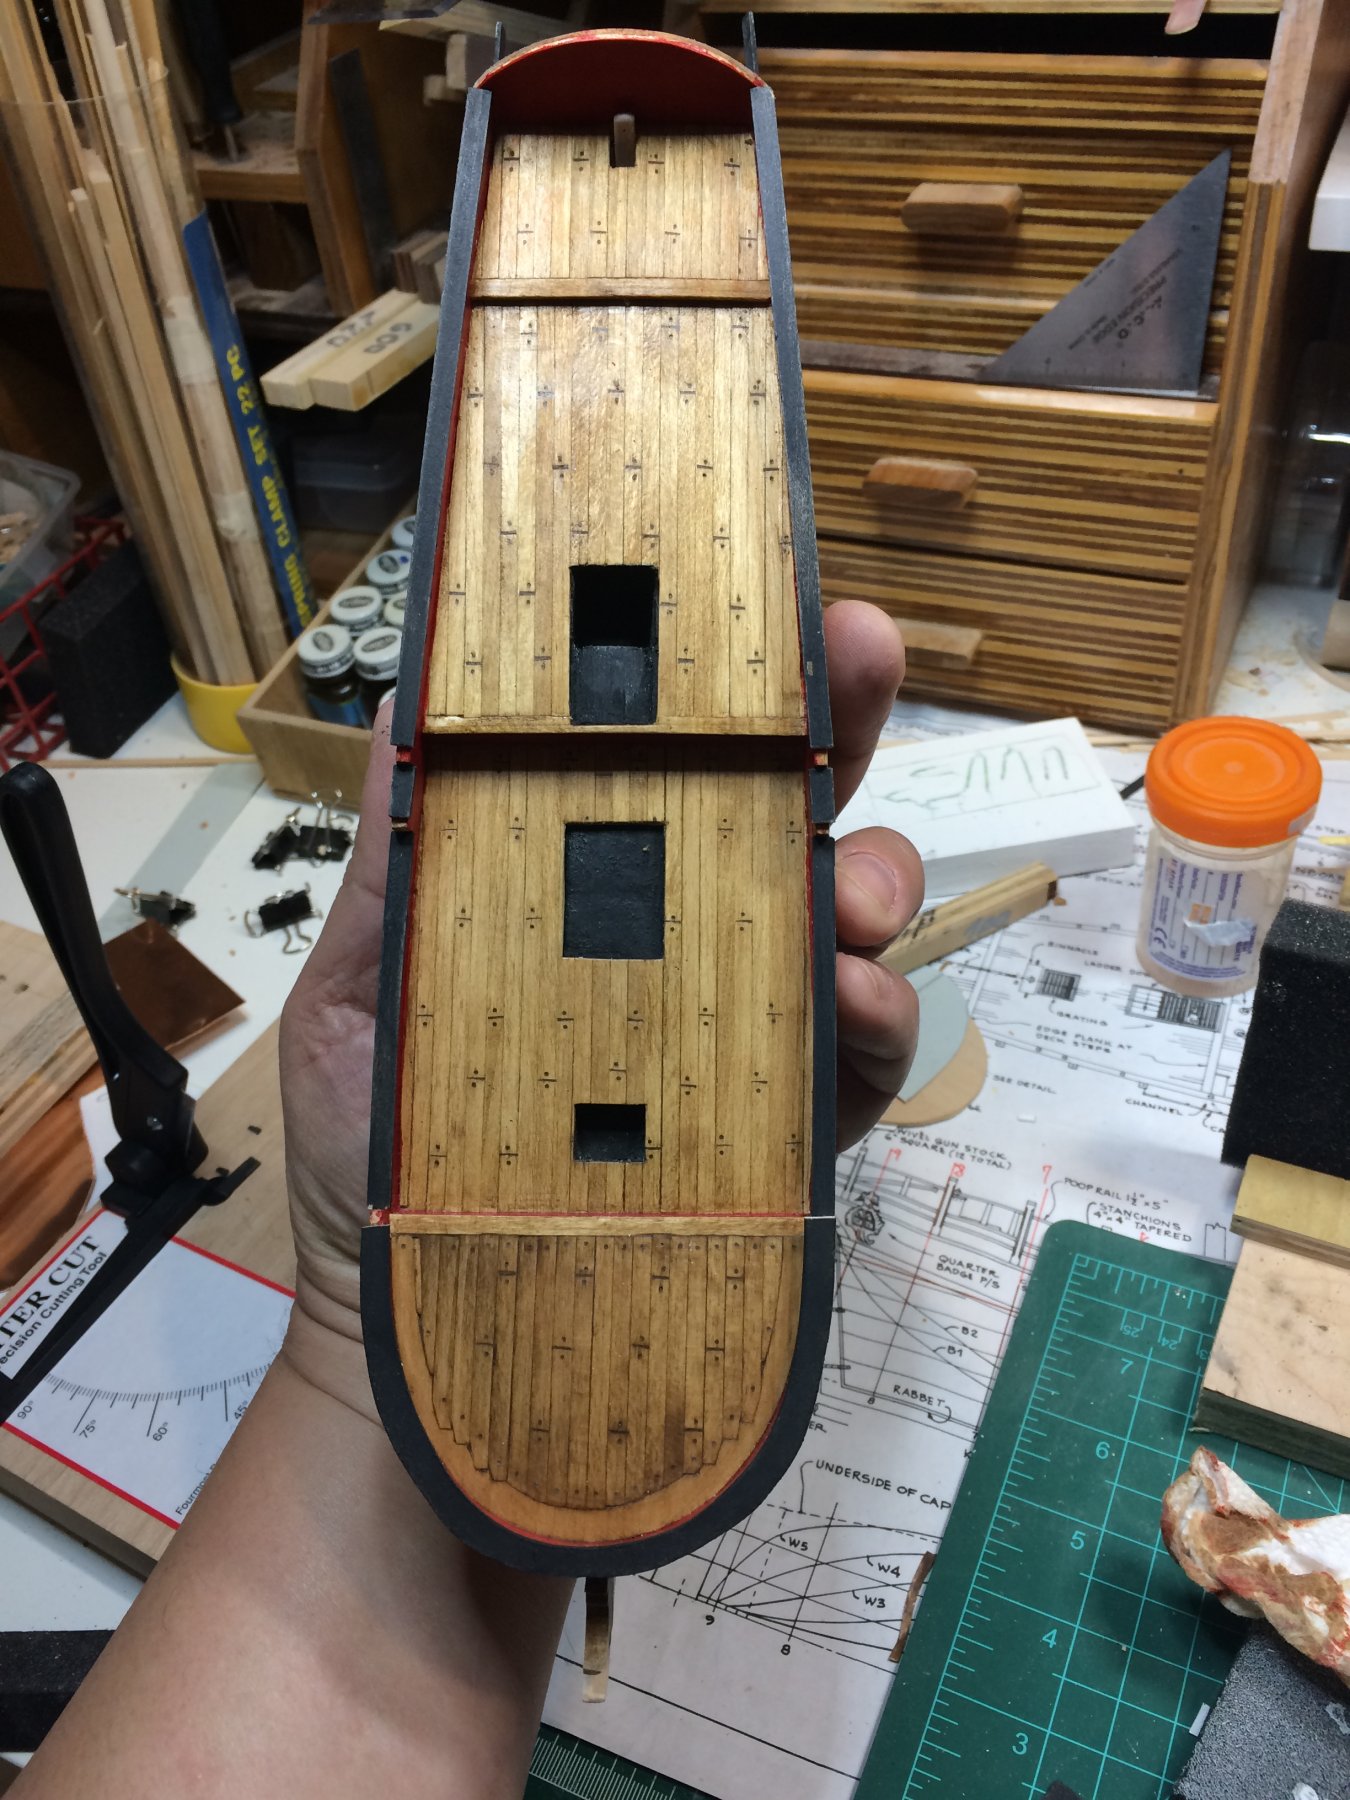
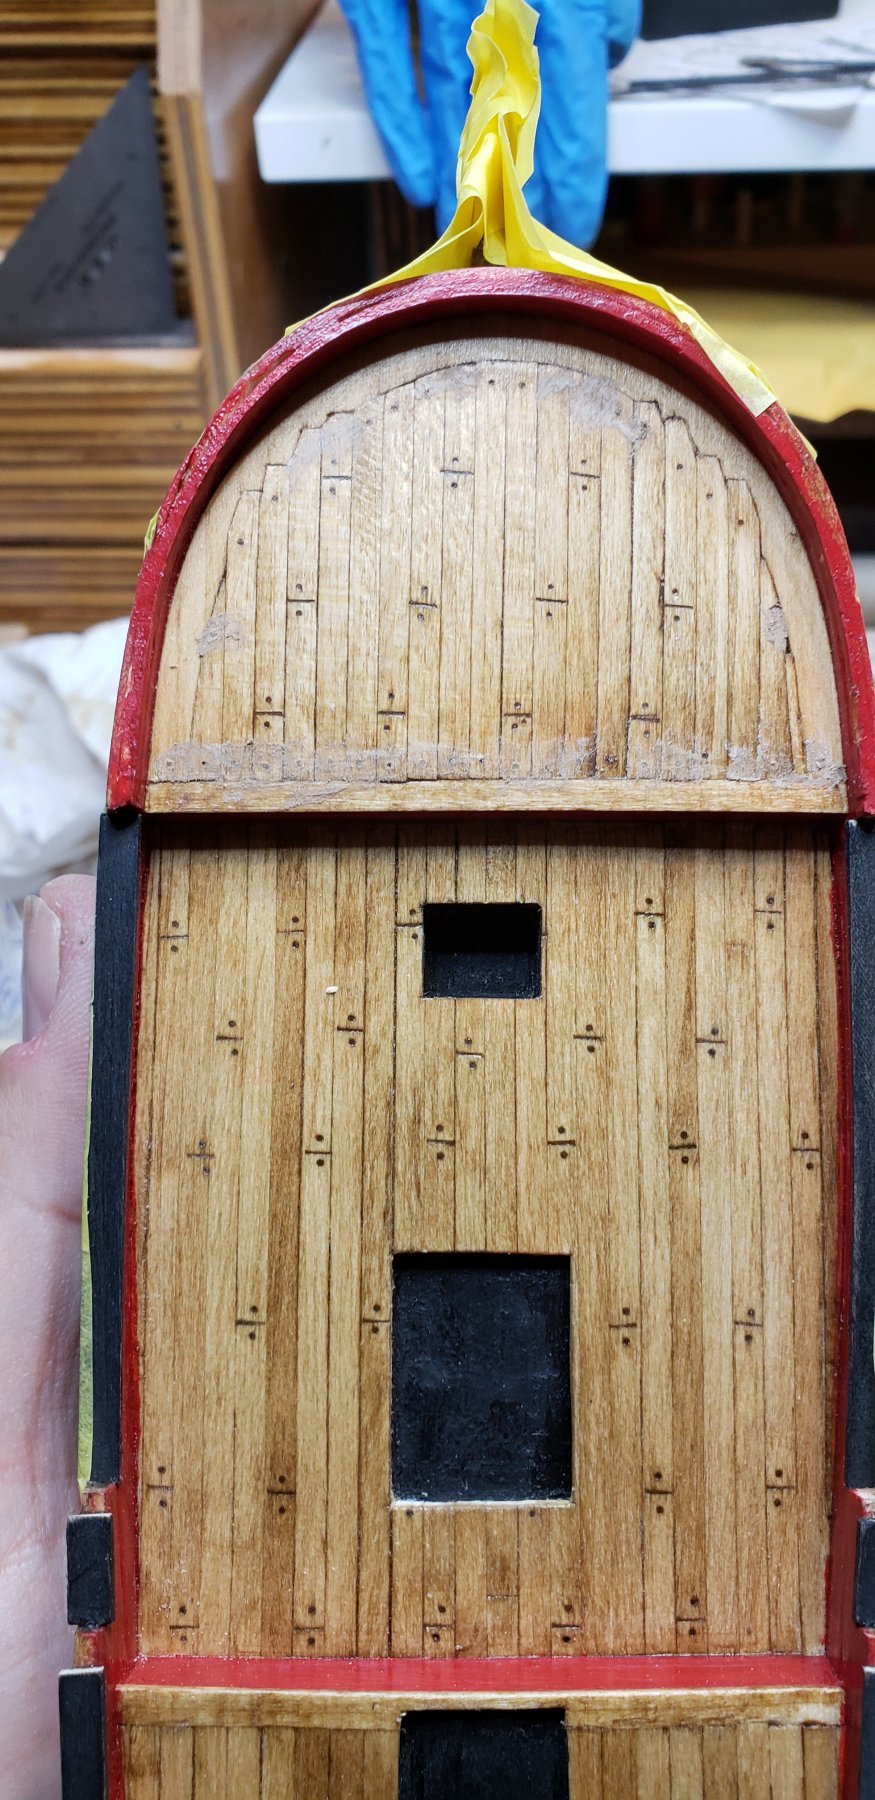
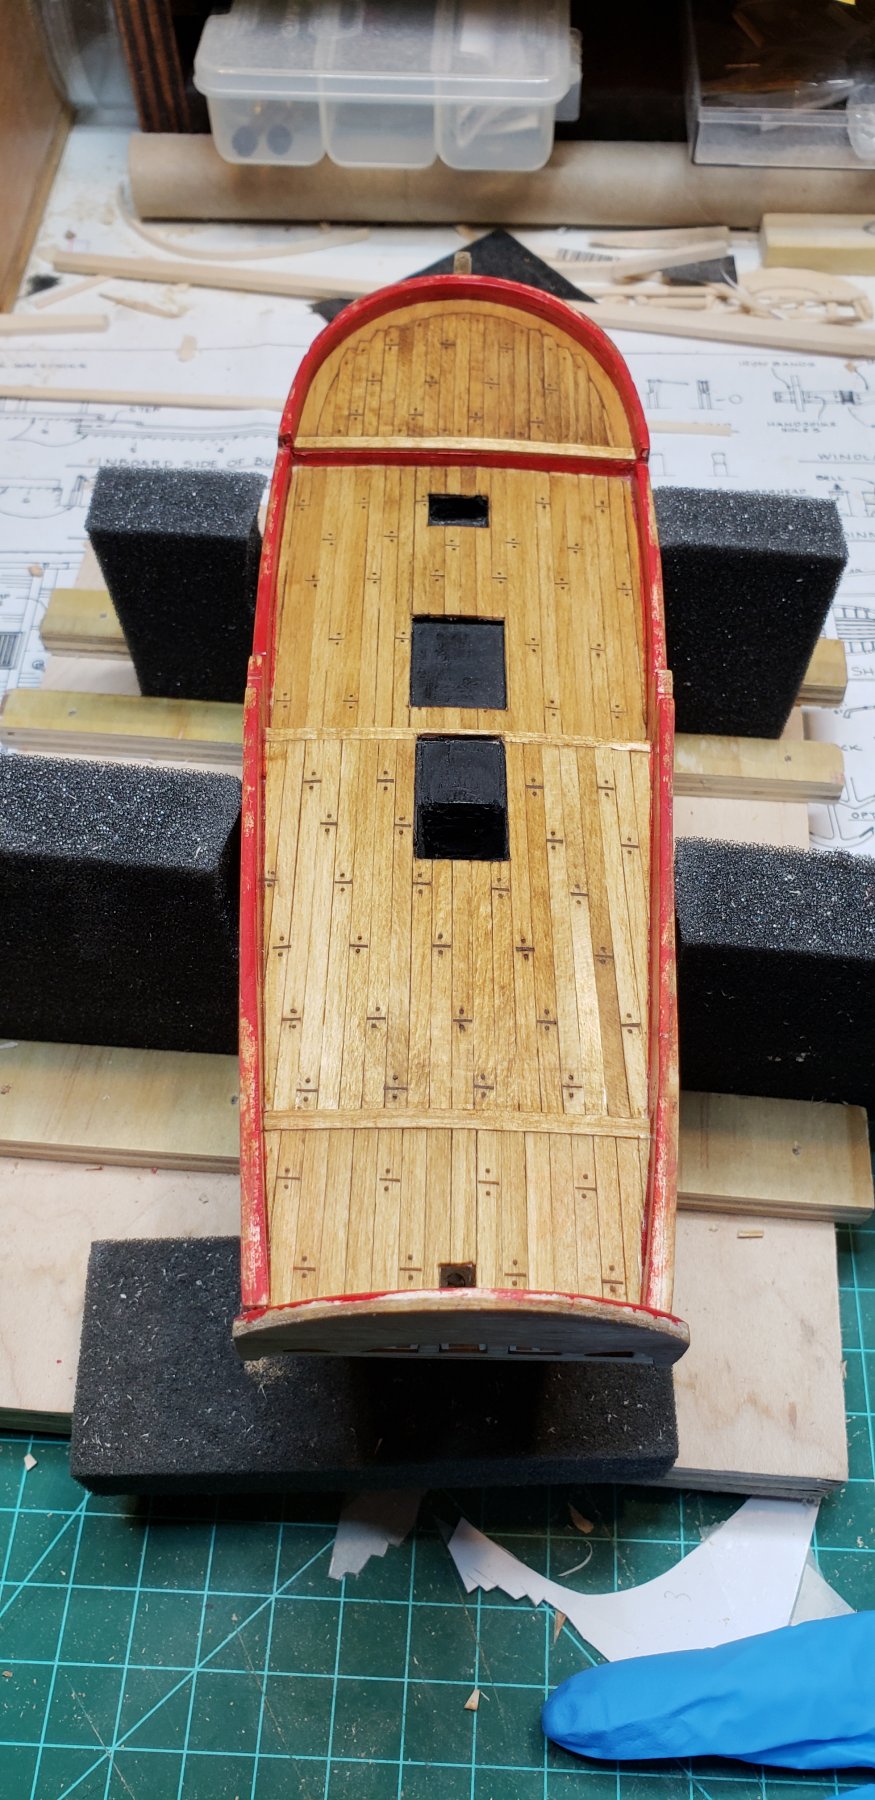
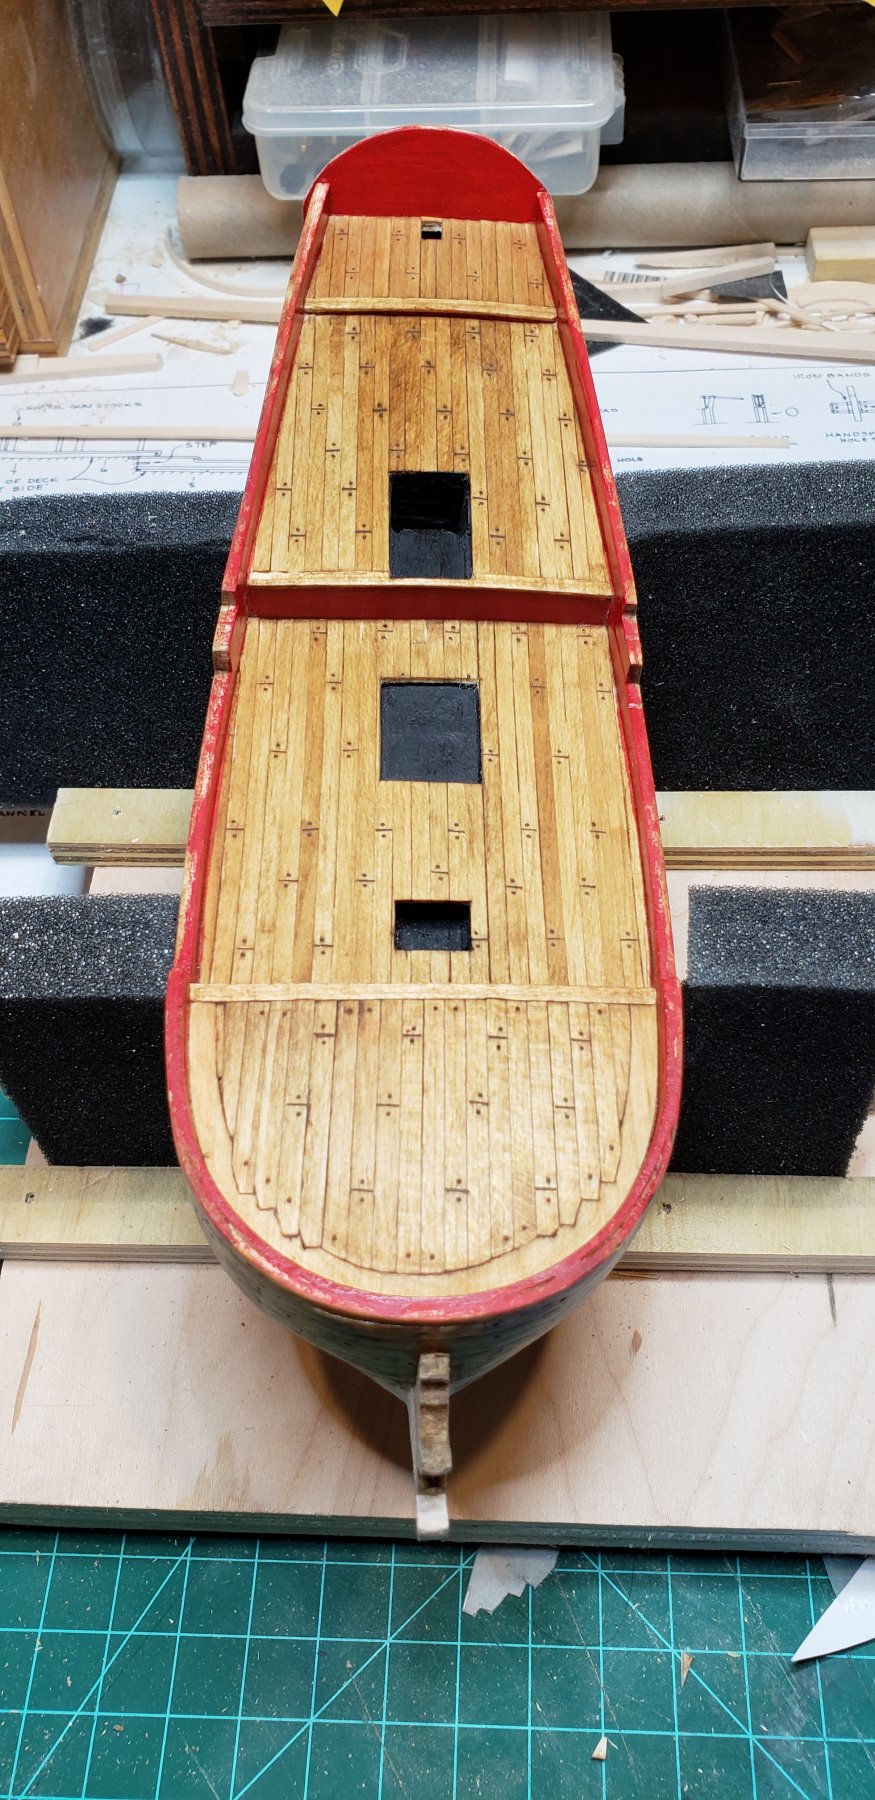
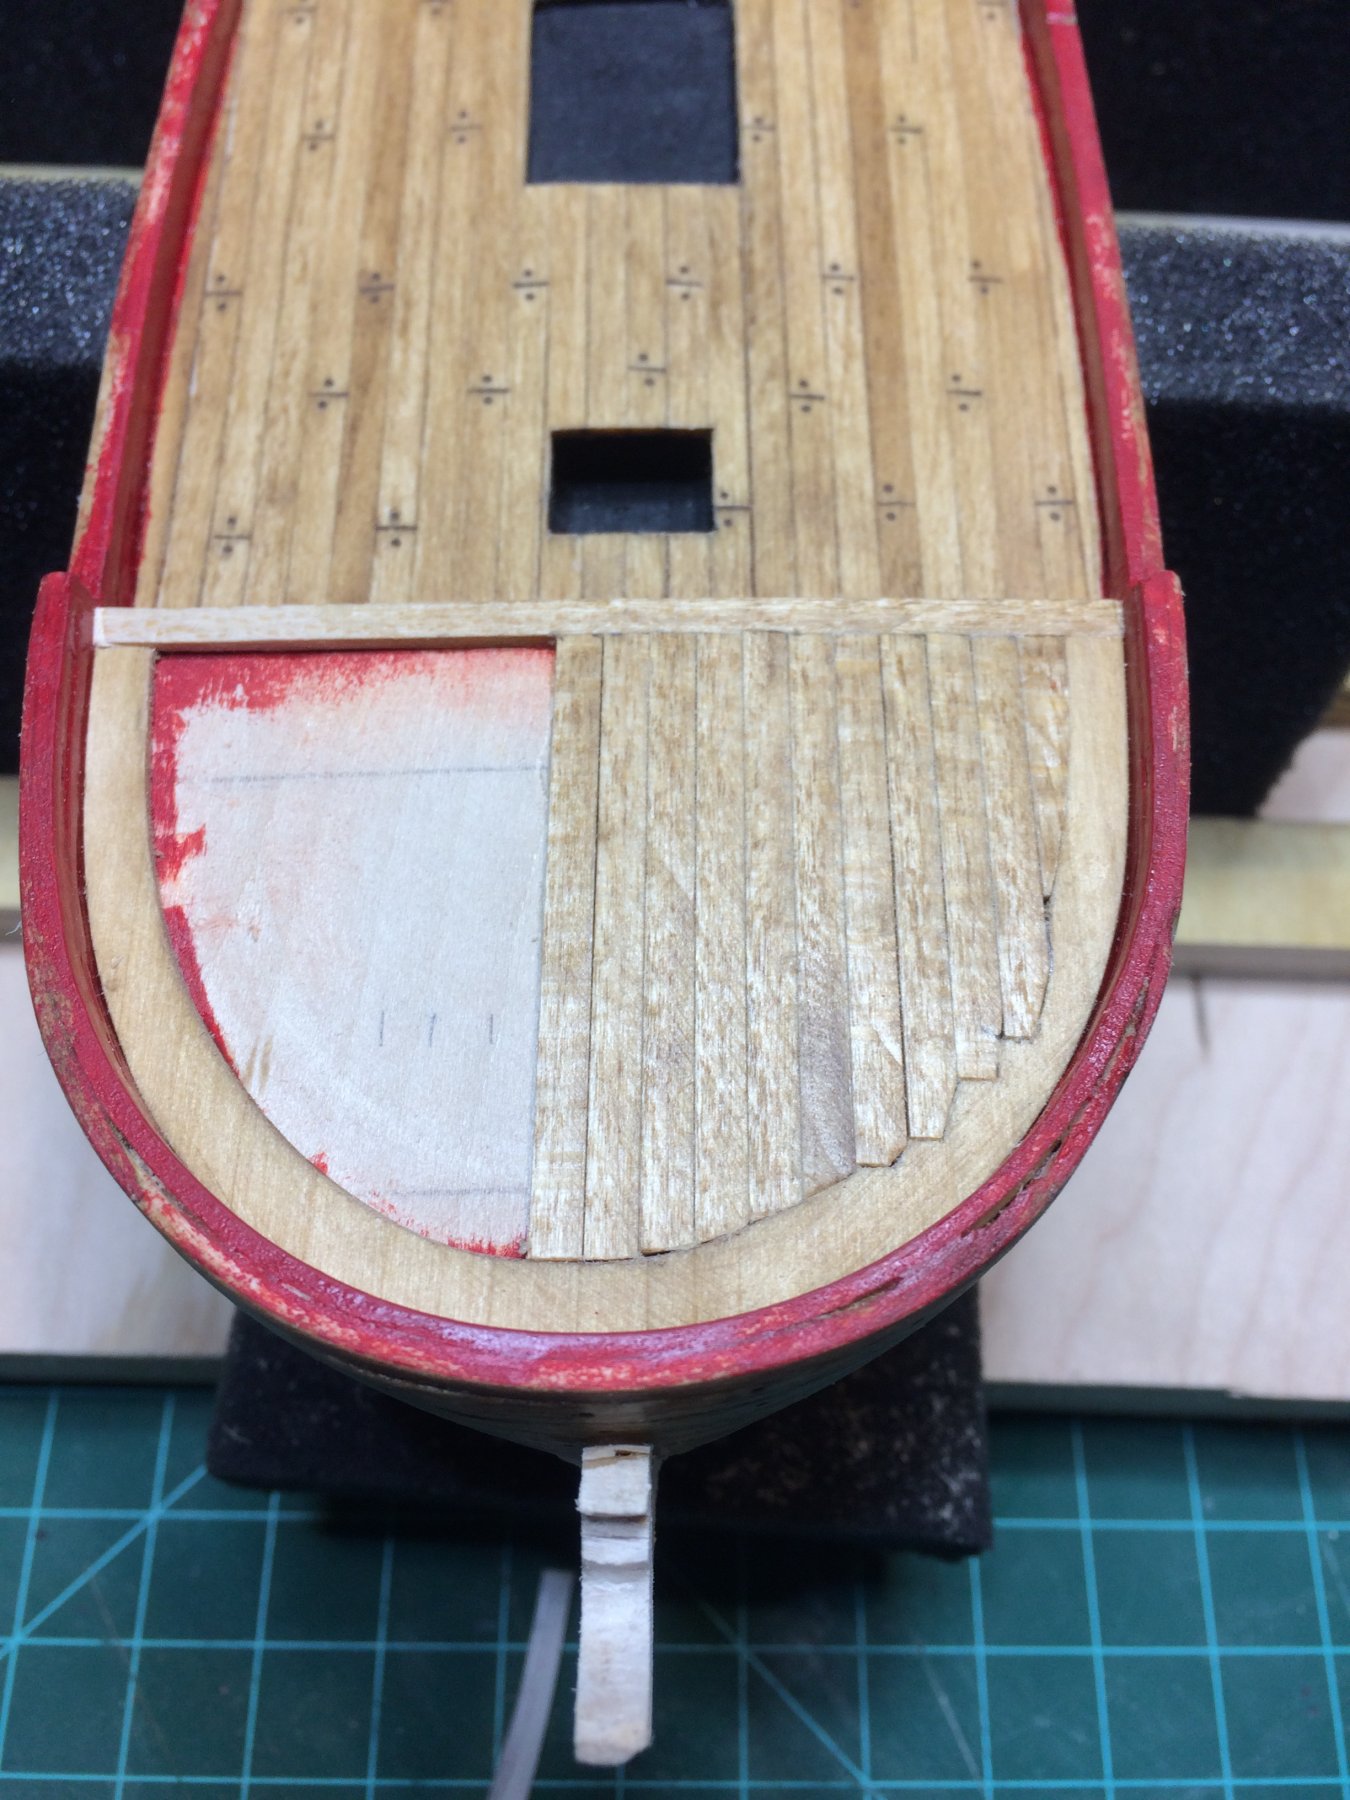
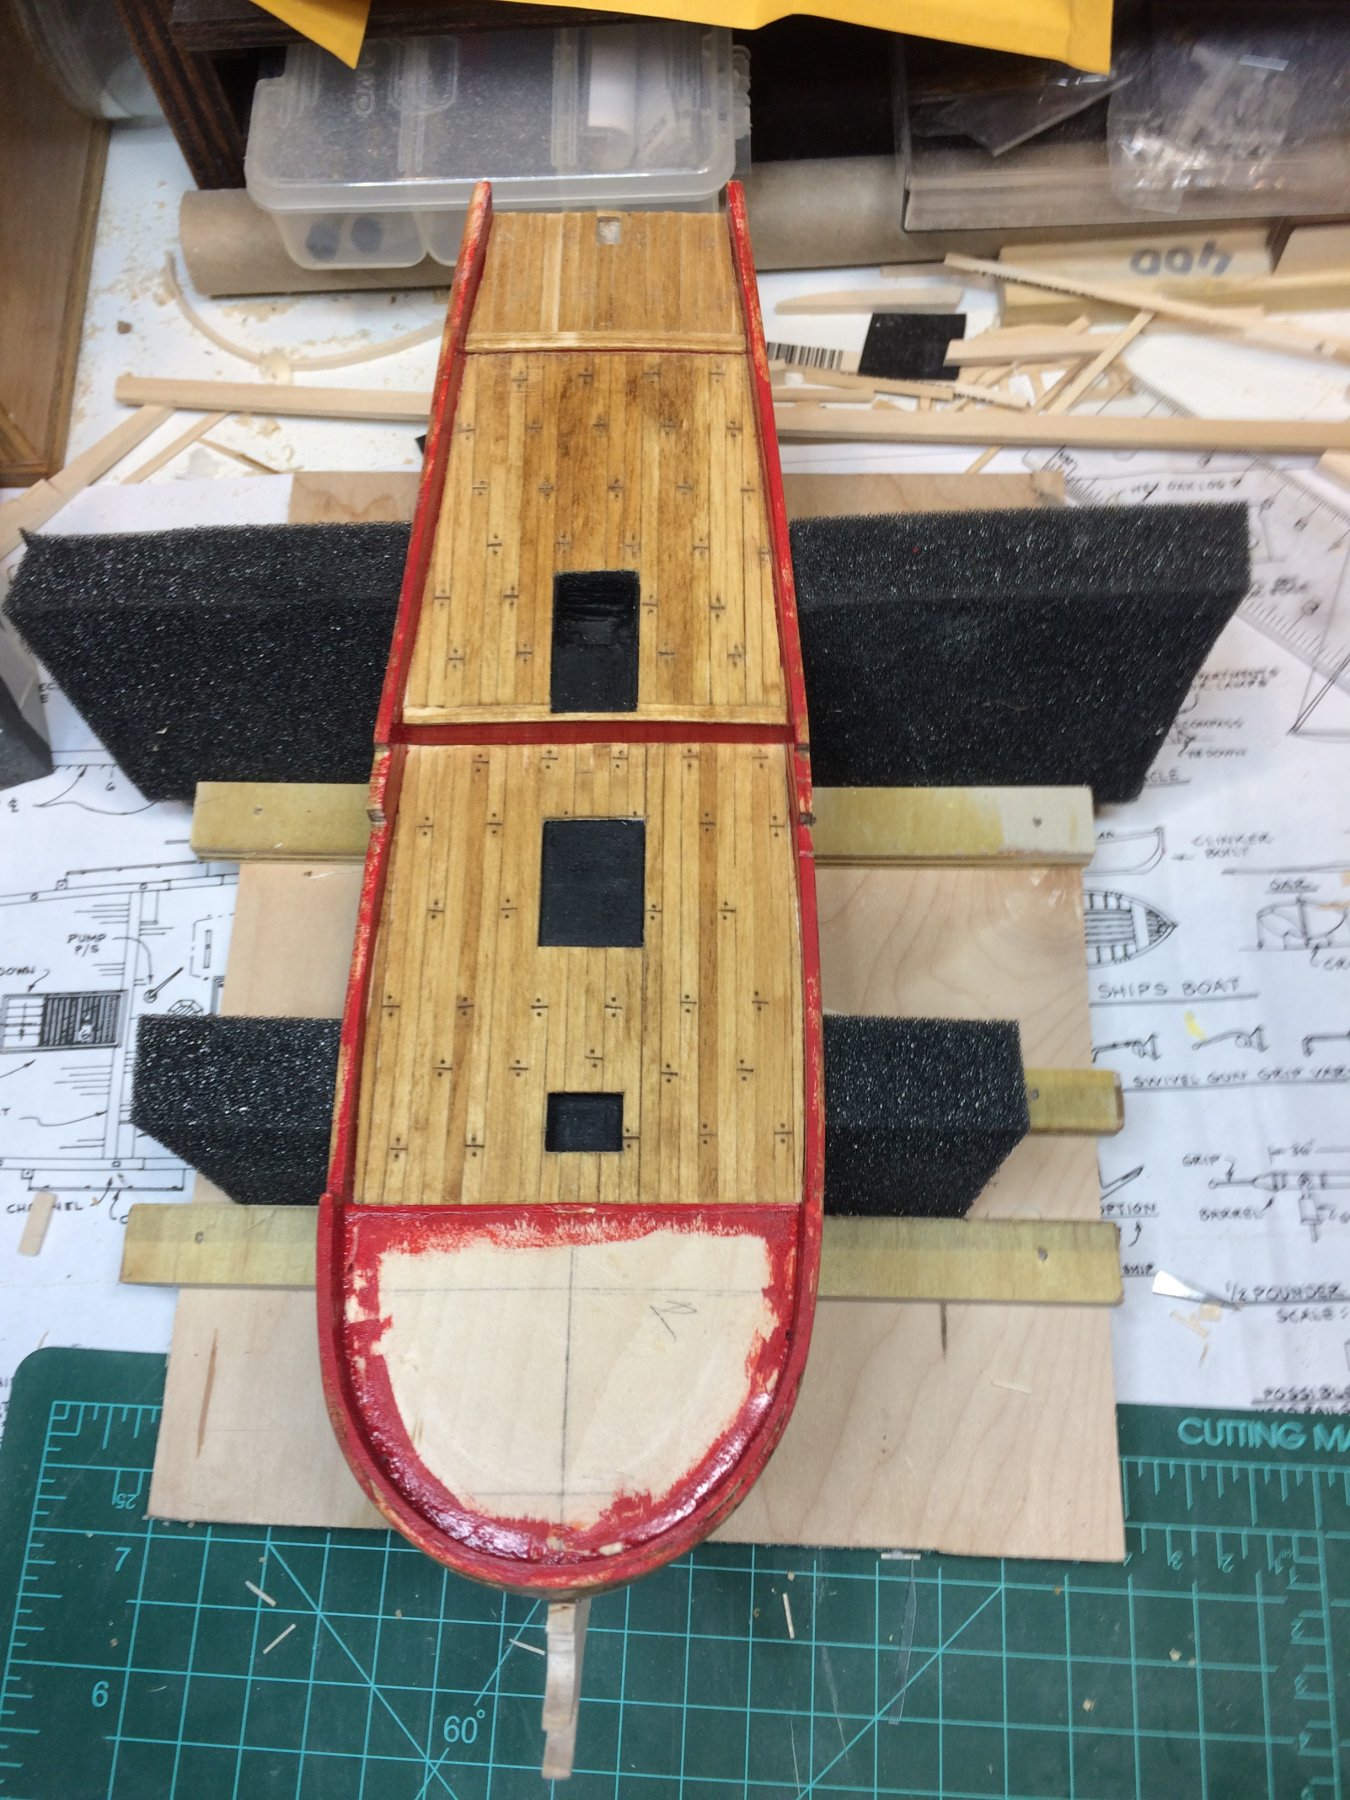
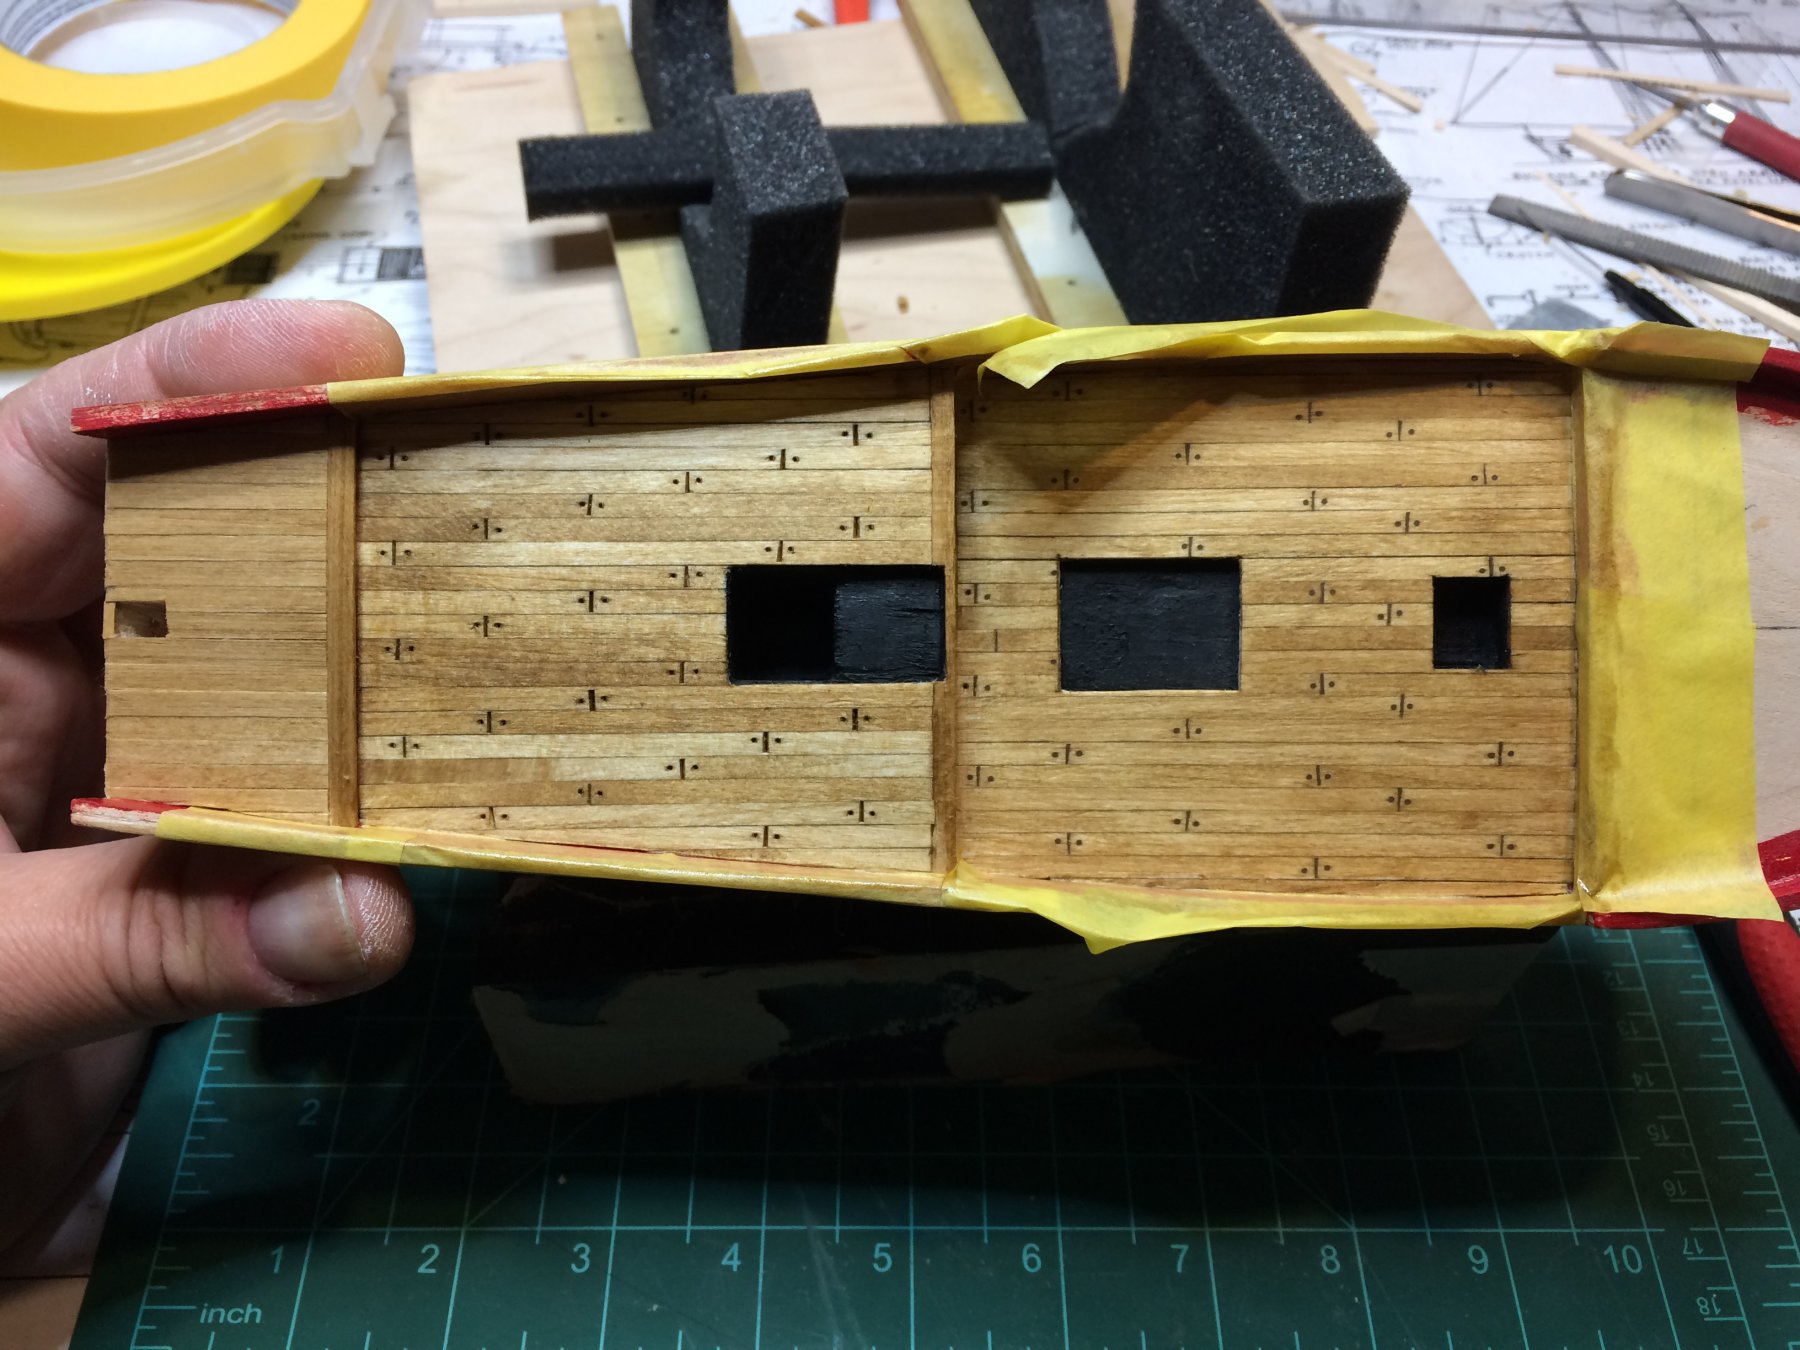
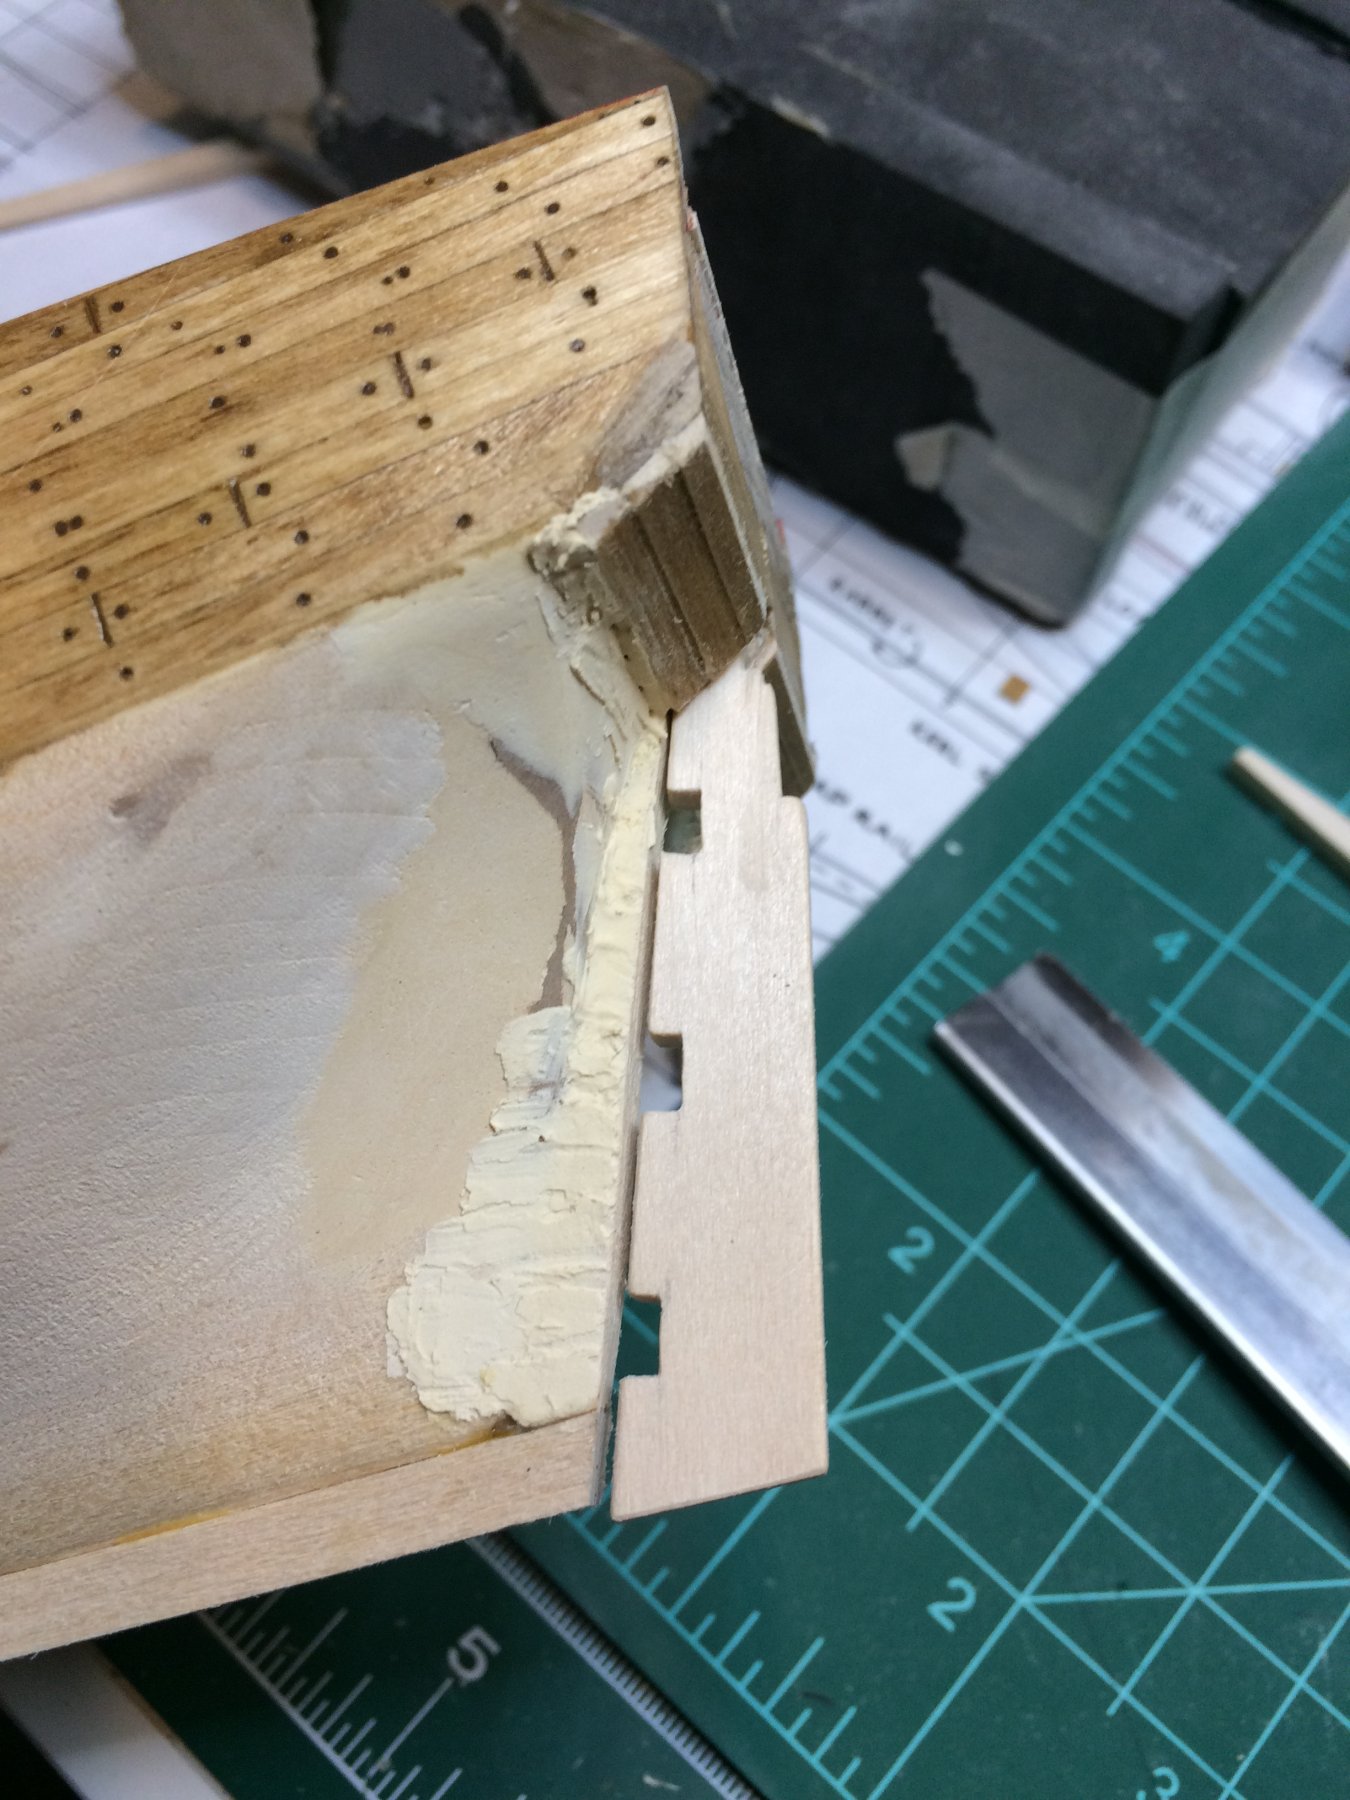
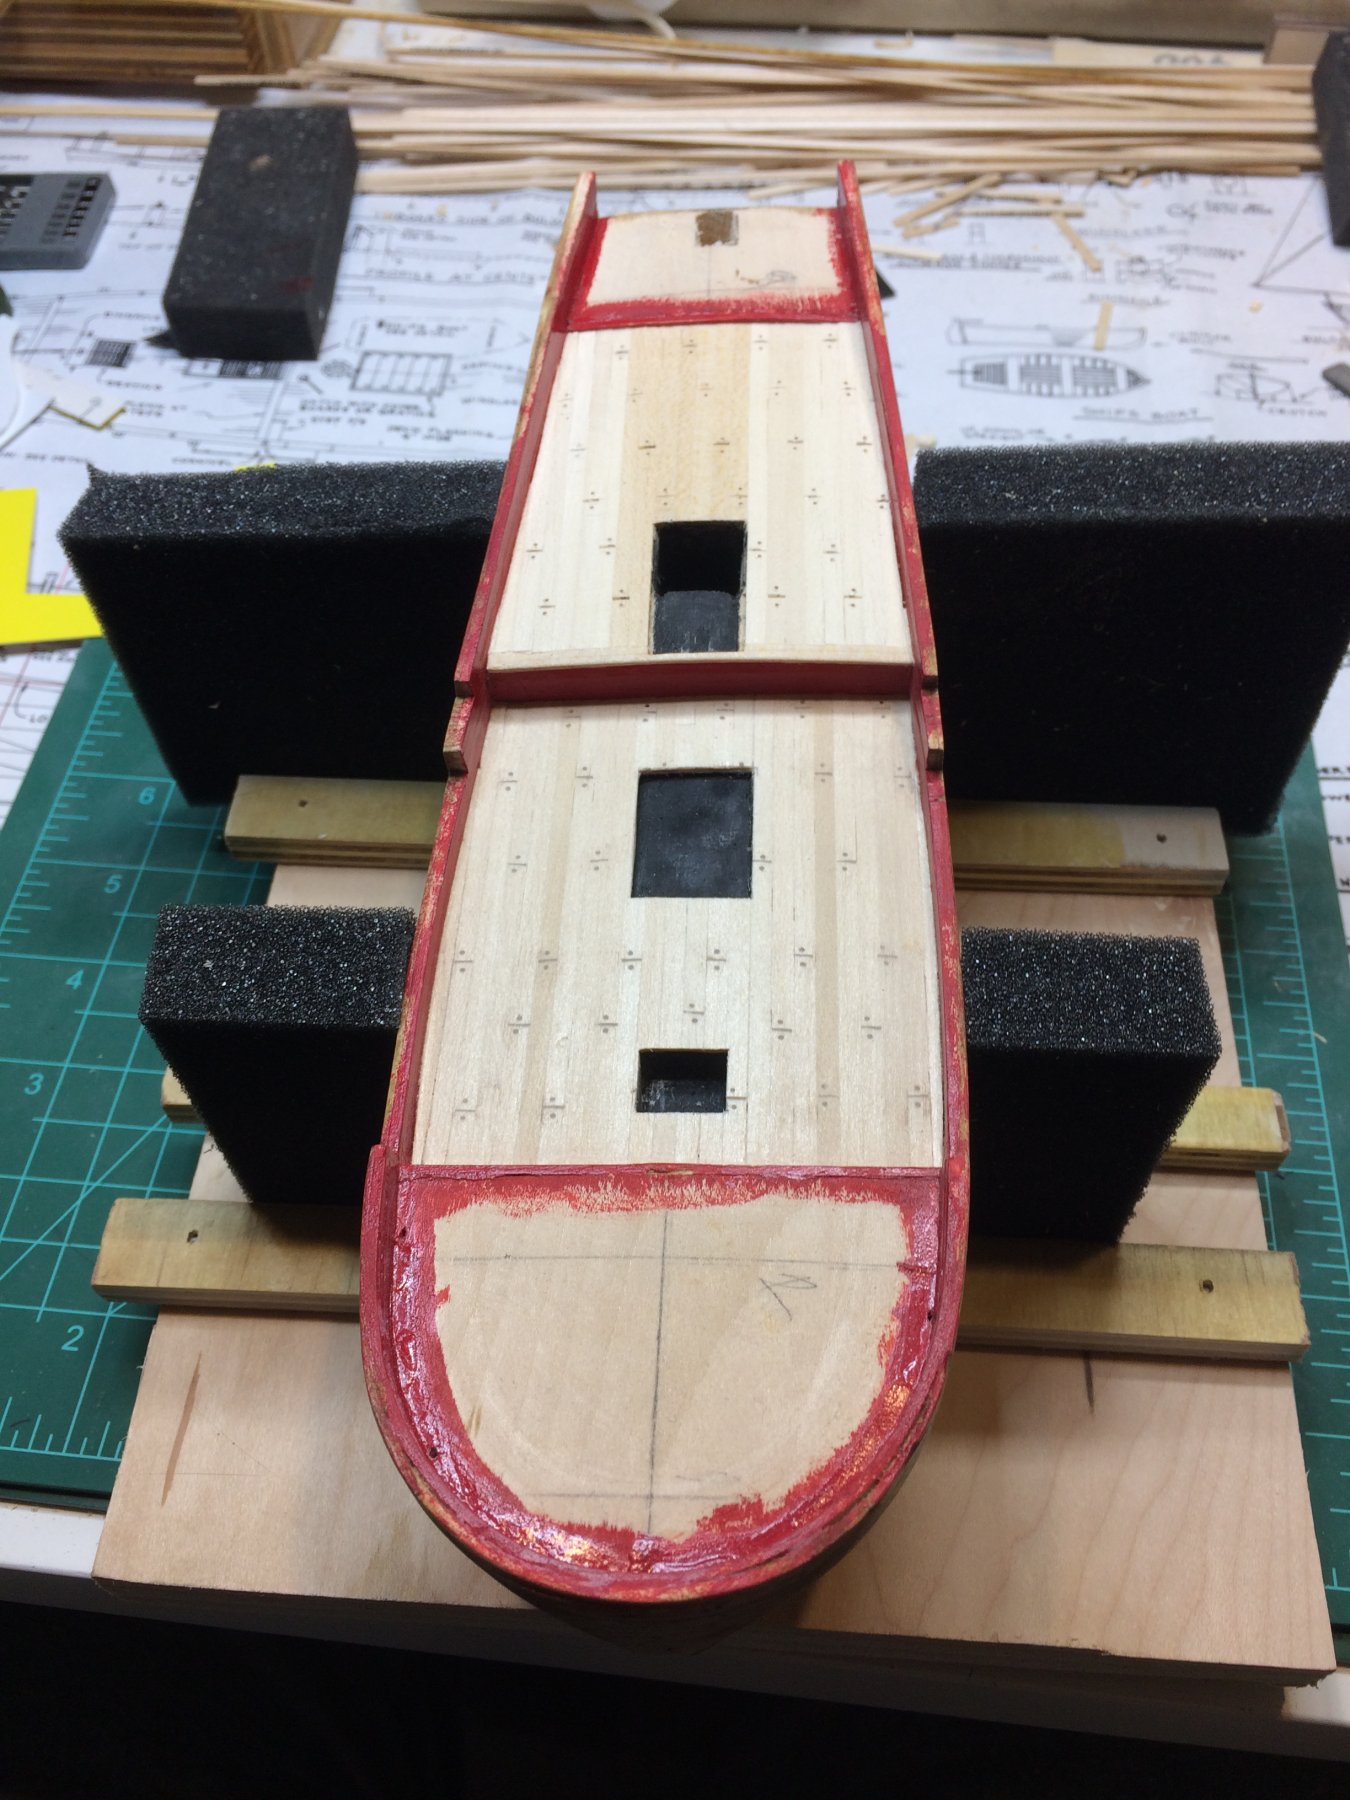
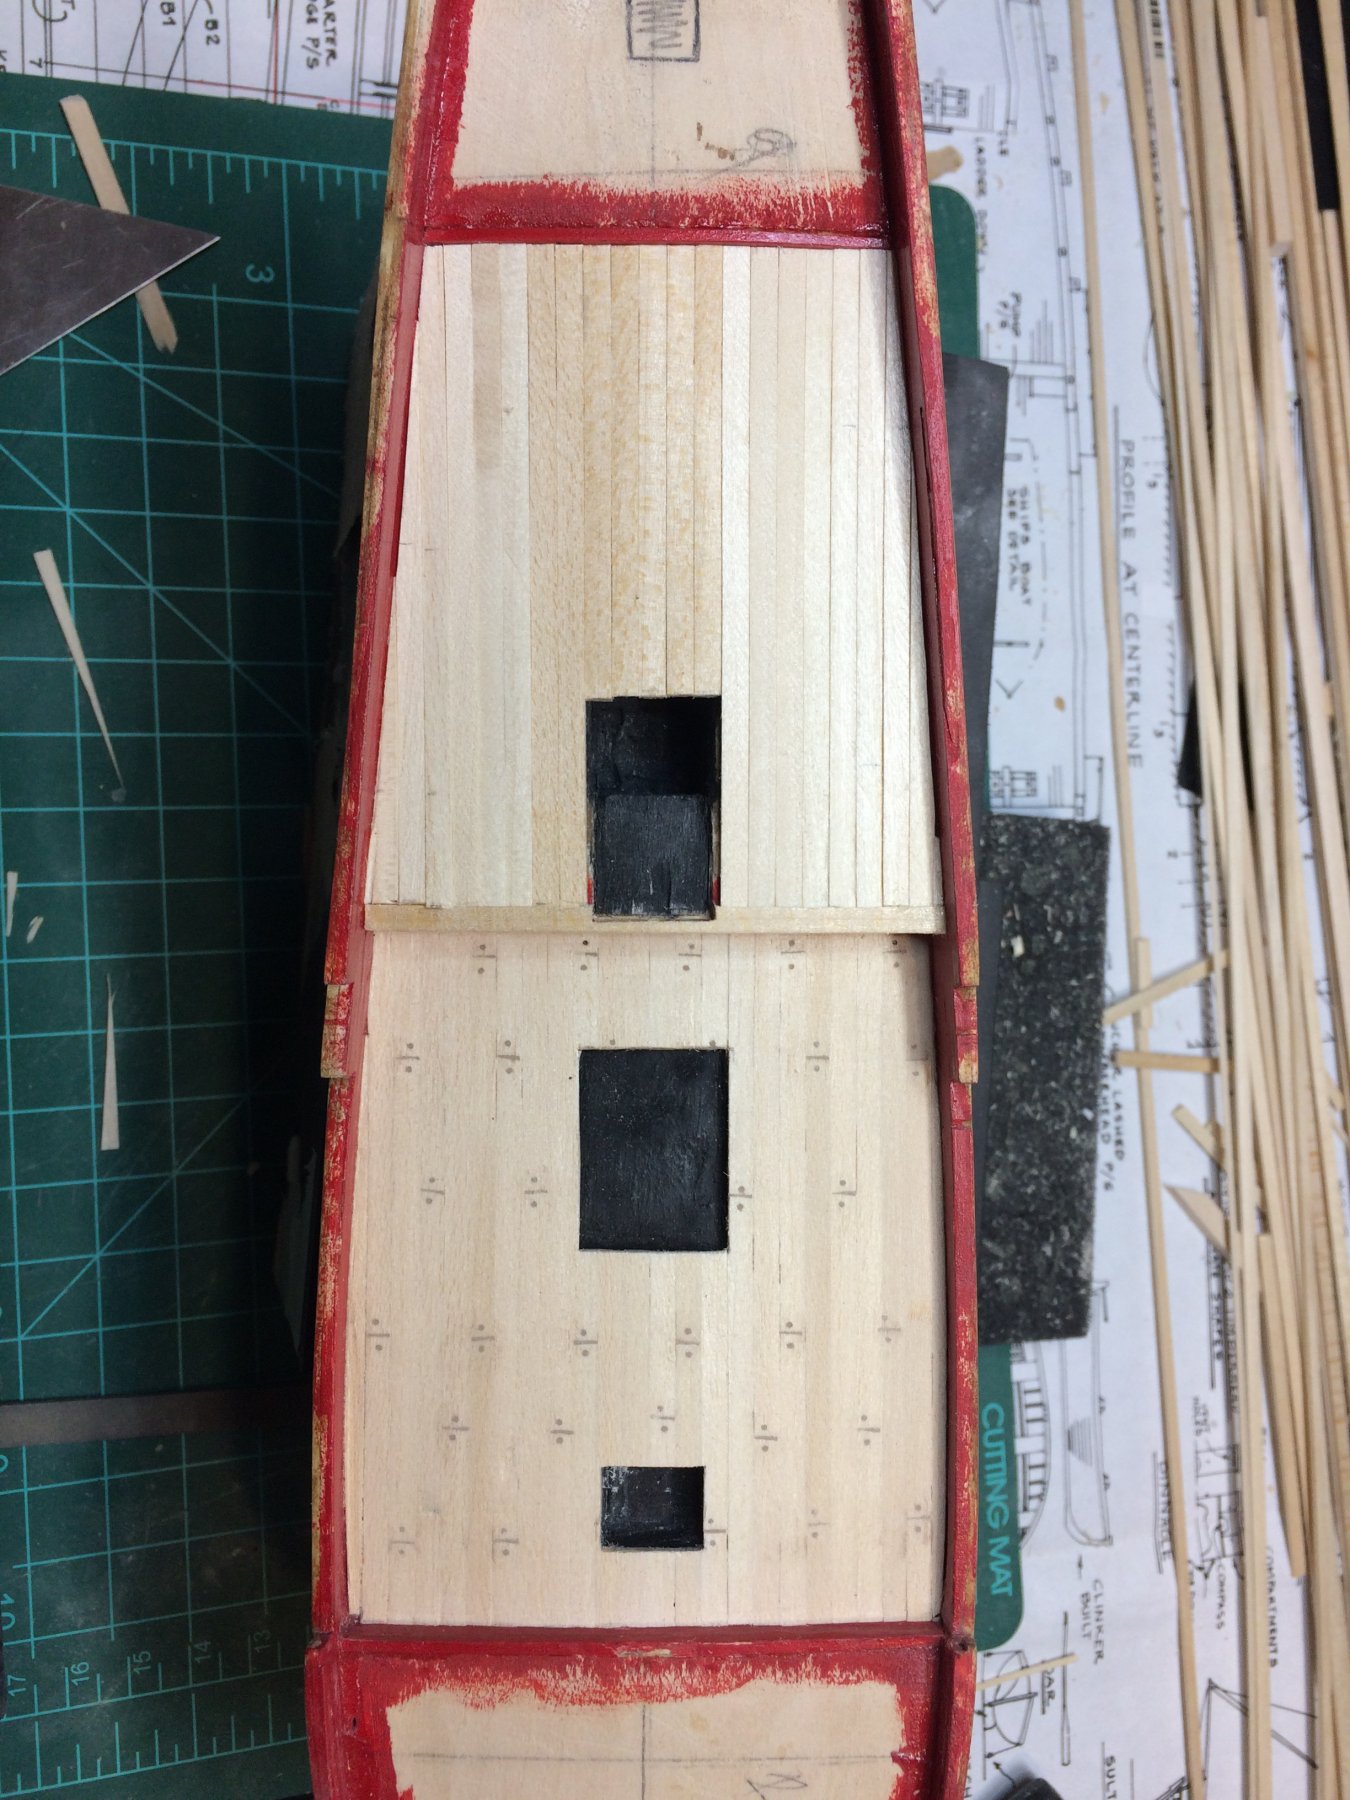
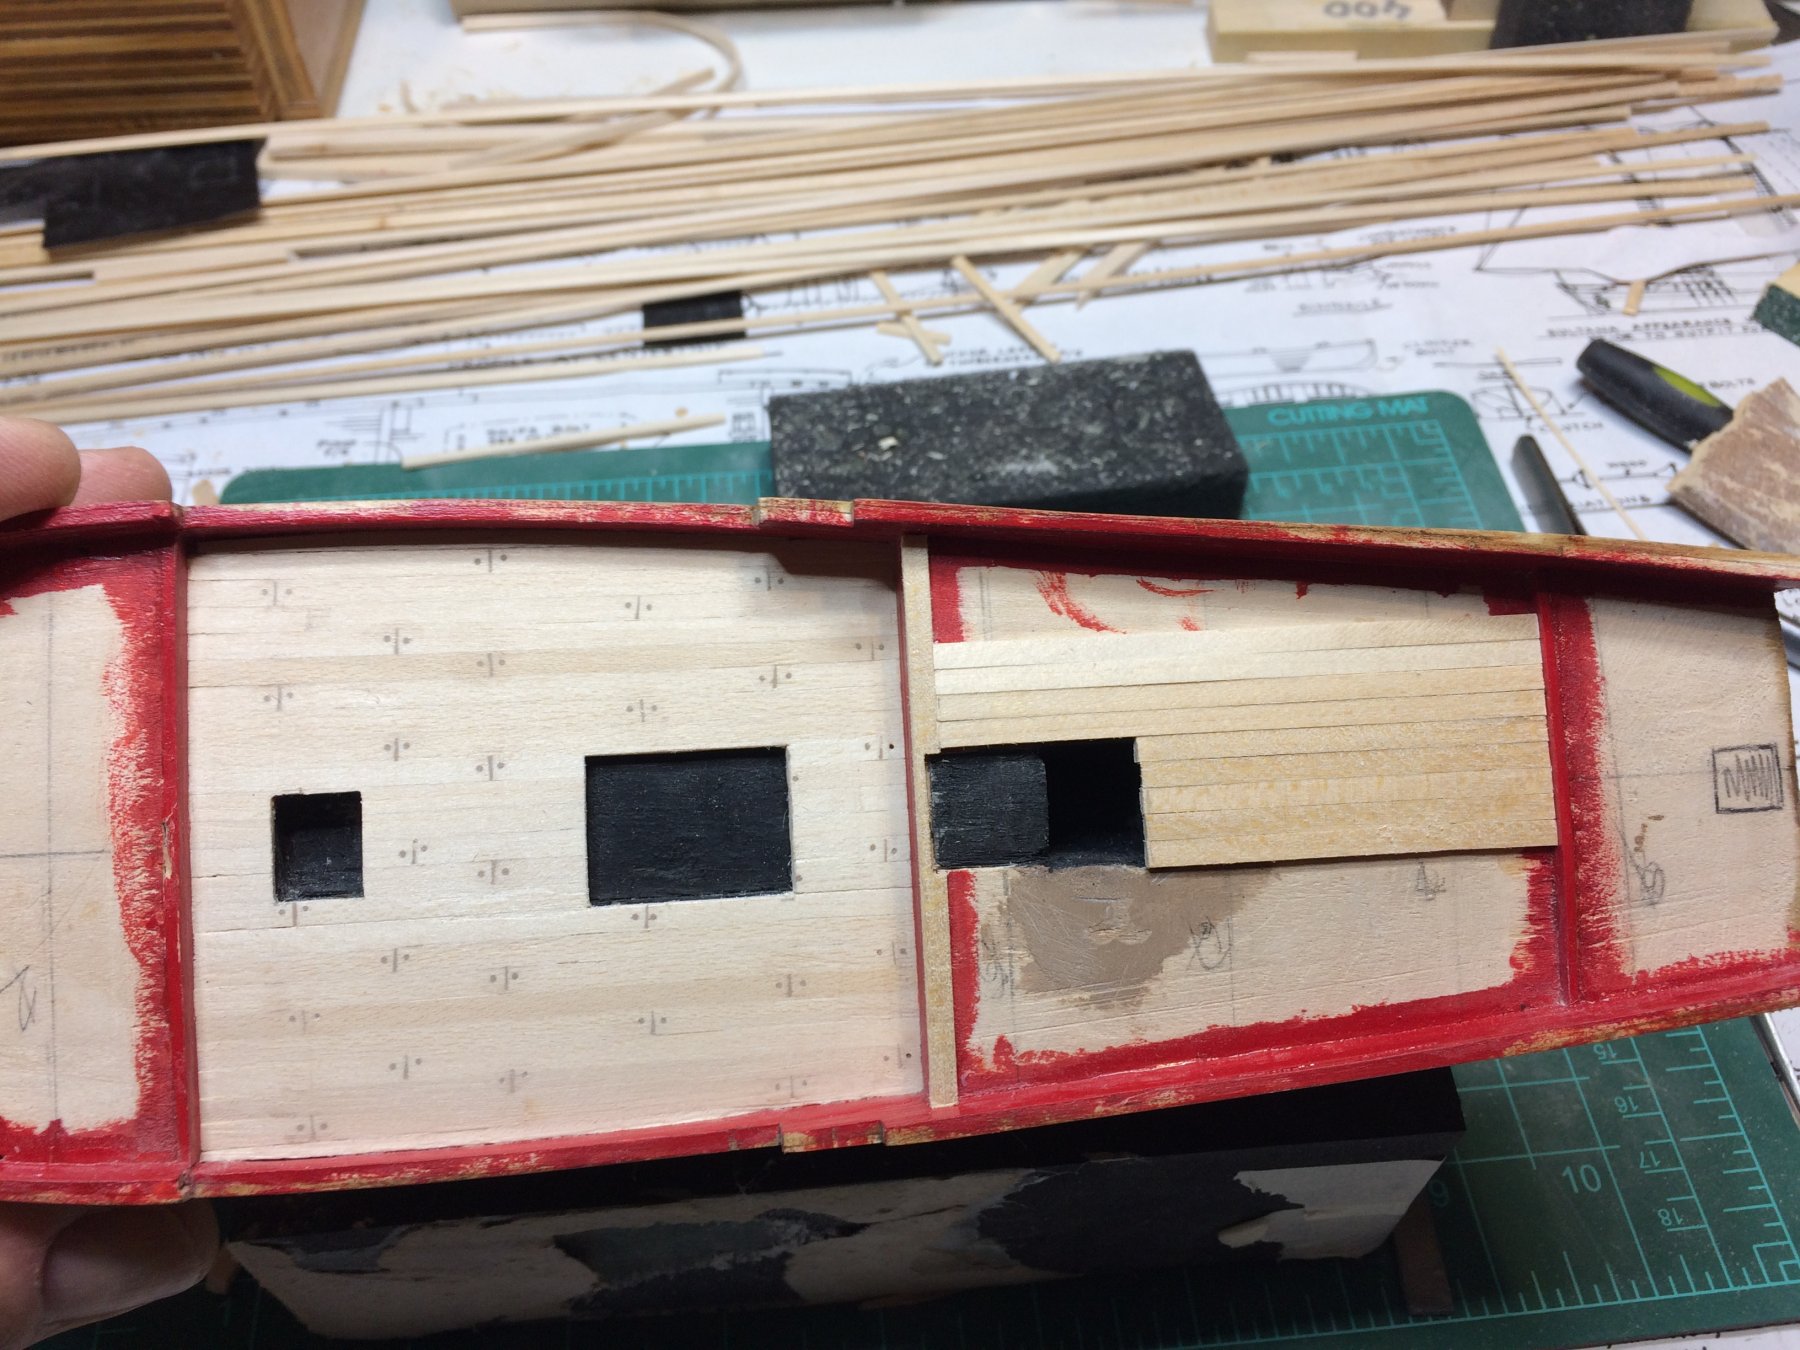
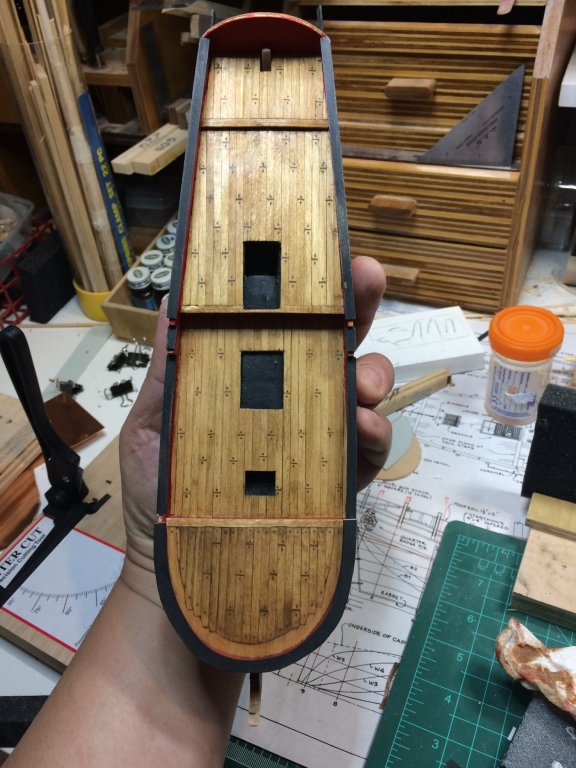
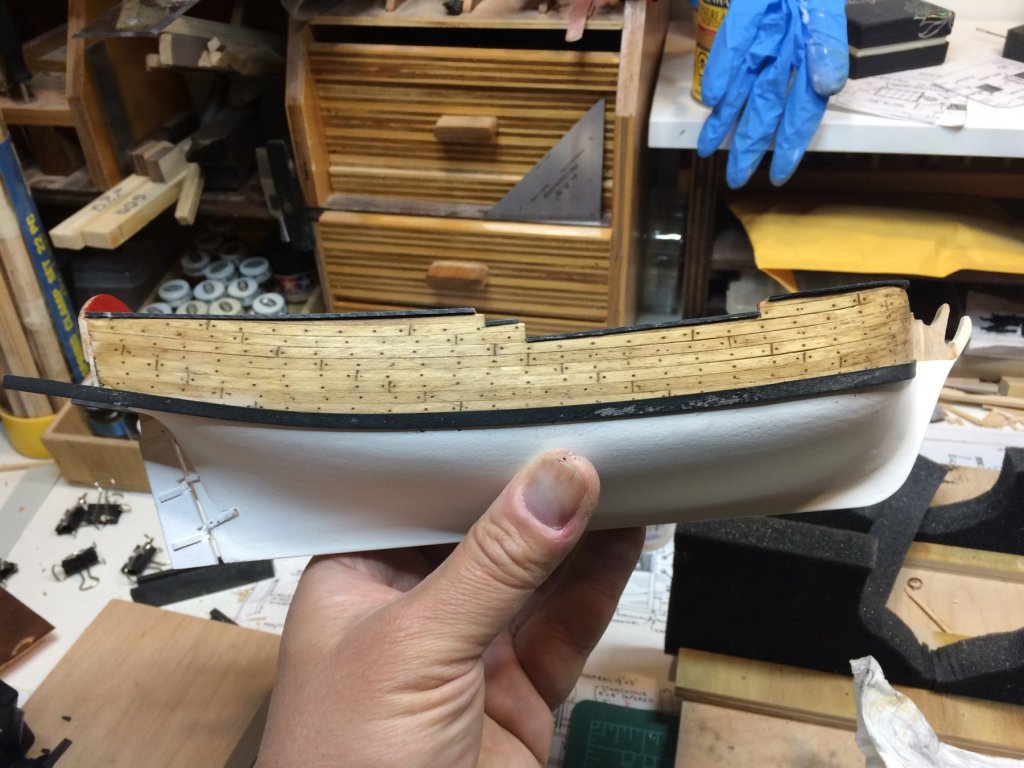
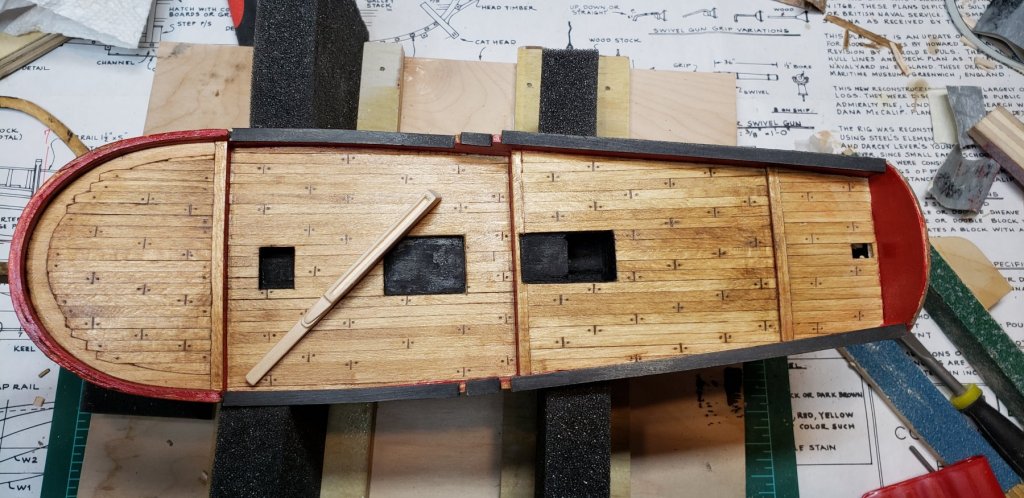
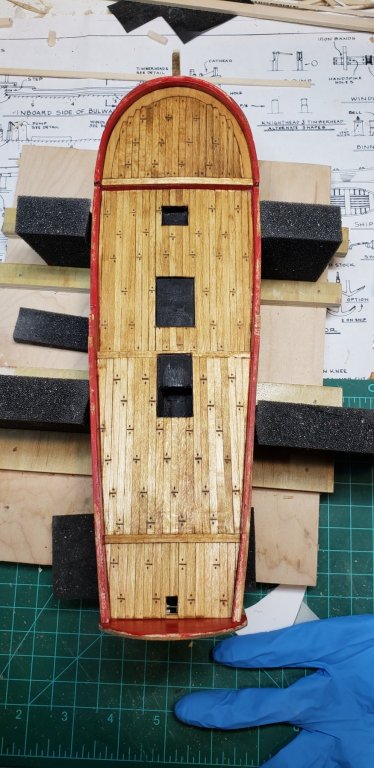
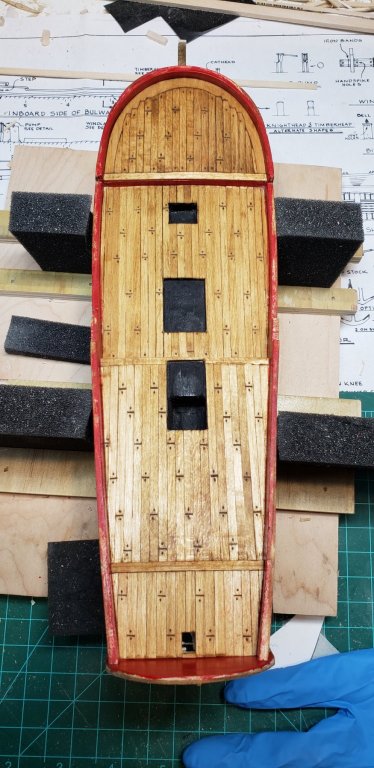
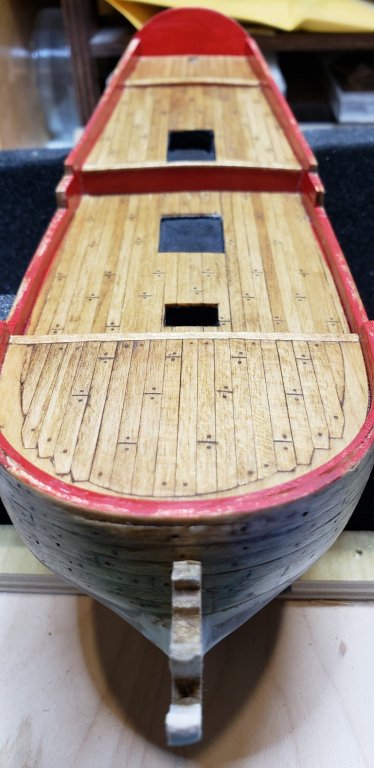
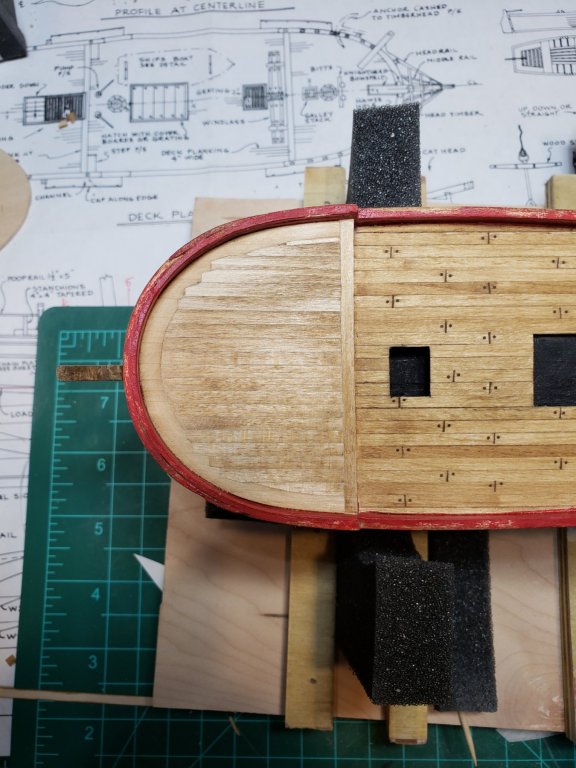
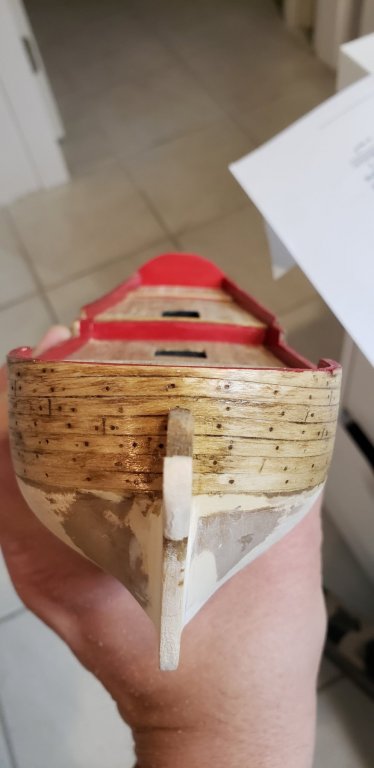
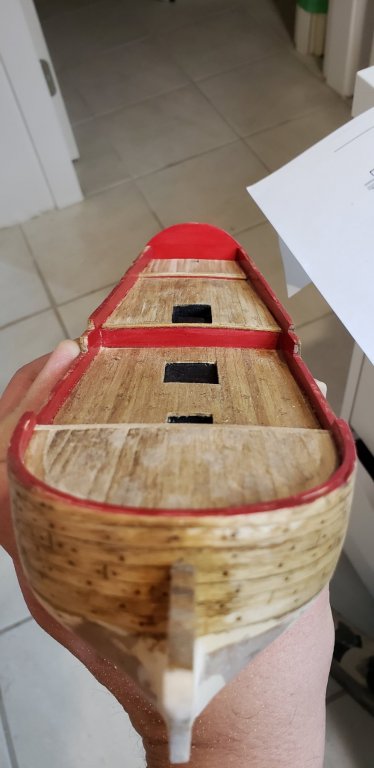
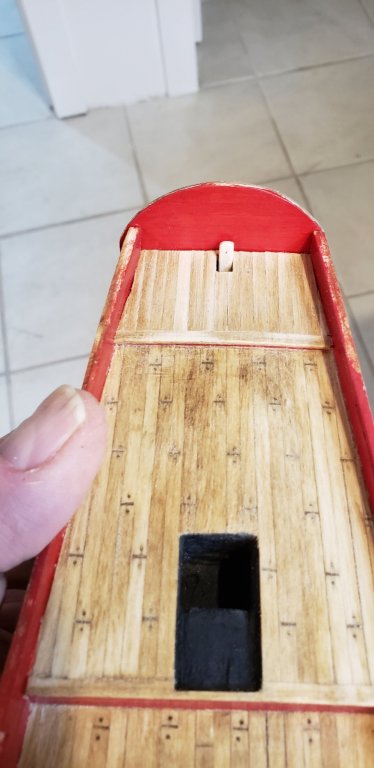
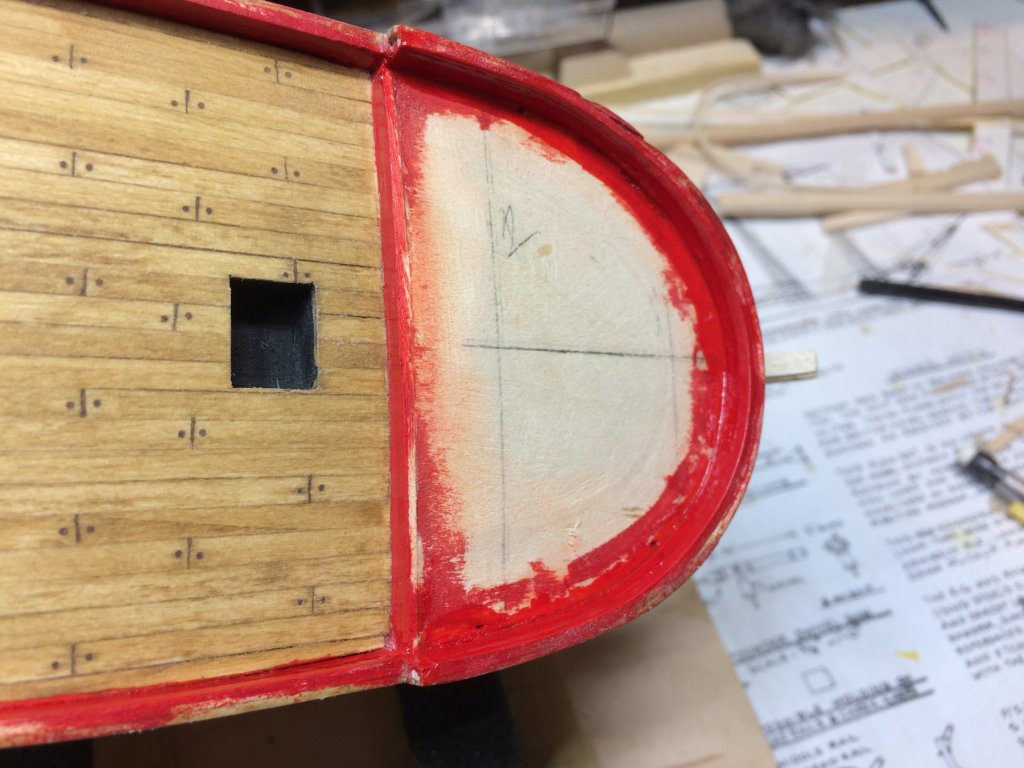
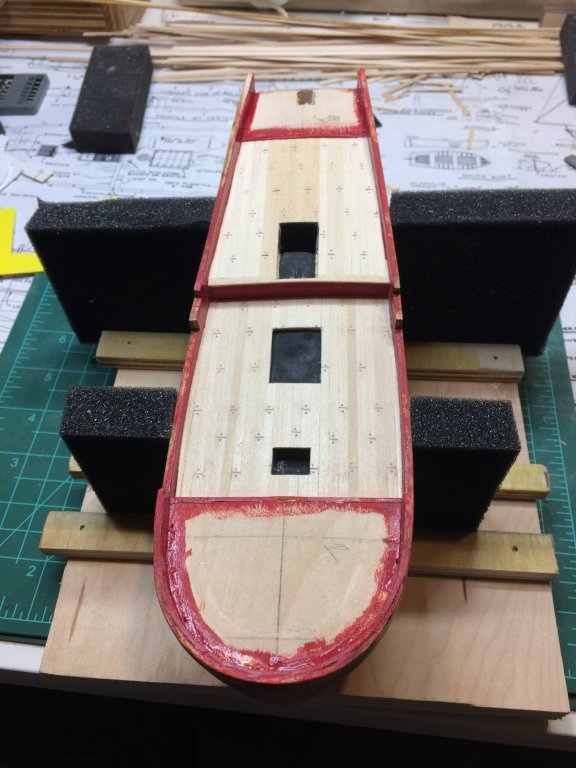
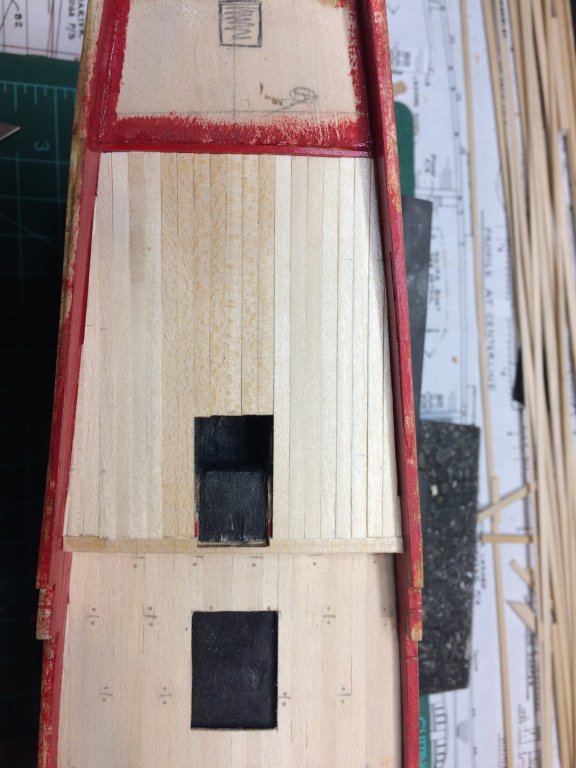
The deck planking is done. Unfortunately. Not sure for you guys, but for some reason deck planking is my favorite part of model making process... Anyhow, a bit changed presentation process follows.. Done for today: How did i get here? First i completed second half of a deck planking processes. Come up with template for plank joggling and transfer it to second half of a deck, after 4 planks being installed. Then, planking started... each plank measured and cut/sand to fit correctly....and completed... You will notice a small stringer at the bottom right-hand corner; it appears that bow is a bit wider at that area than 19 planks x 3mm (wide) so a small stringer (hope that have a term correctly) has been placed... Then a tree simulation happened, in the same matter as previously... After filler was dried, deck sanding took place. After sanding the whole deck, tiny layer of golden oak stain has been applied on all deck. Extra stain was removed with piece of bounty and the end result is up there, somewhere.. I installed transom after this. Looking towards transom, from bow.. And testing of rudder fitting.. I glued broken part of bow keel; it is fine now, still to make a decision to live with it or to make another, new part.. Then i painted cap rails for tomorrow work.. Tomorrow i will also put a coat of varnish on the deck to protect it... Happy modeling..


- 360 replies
-
- 2
-
-
- sultana
- model shipways
- (and 1 more)
-
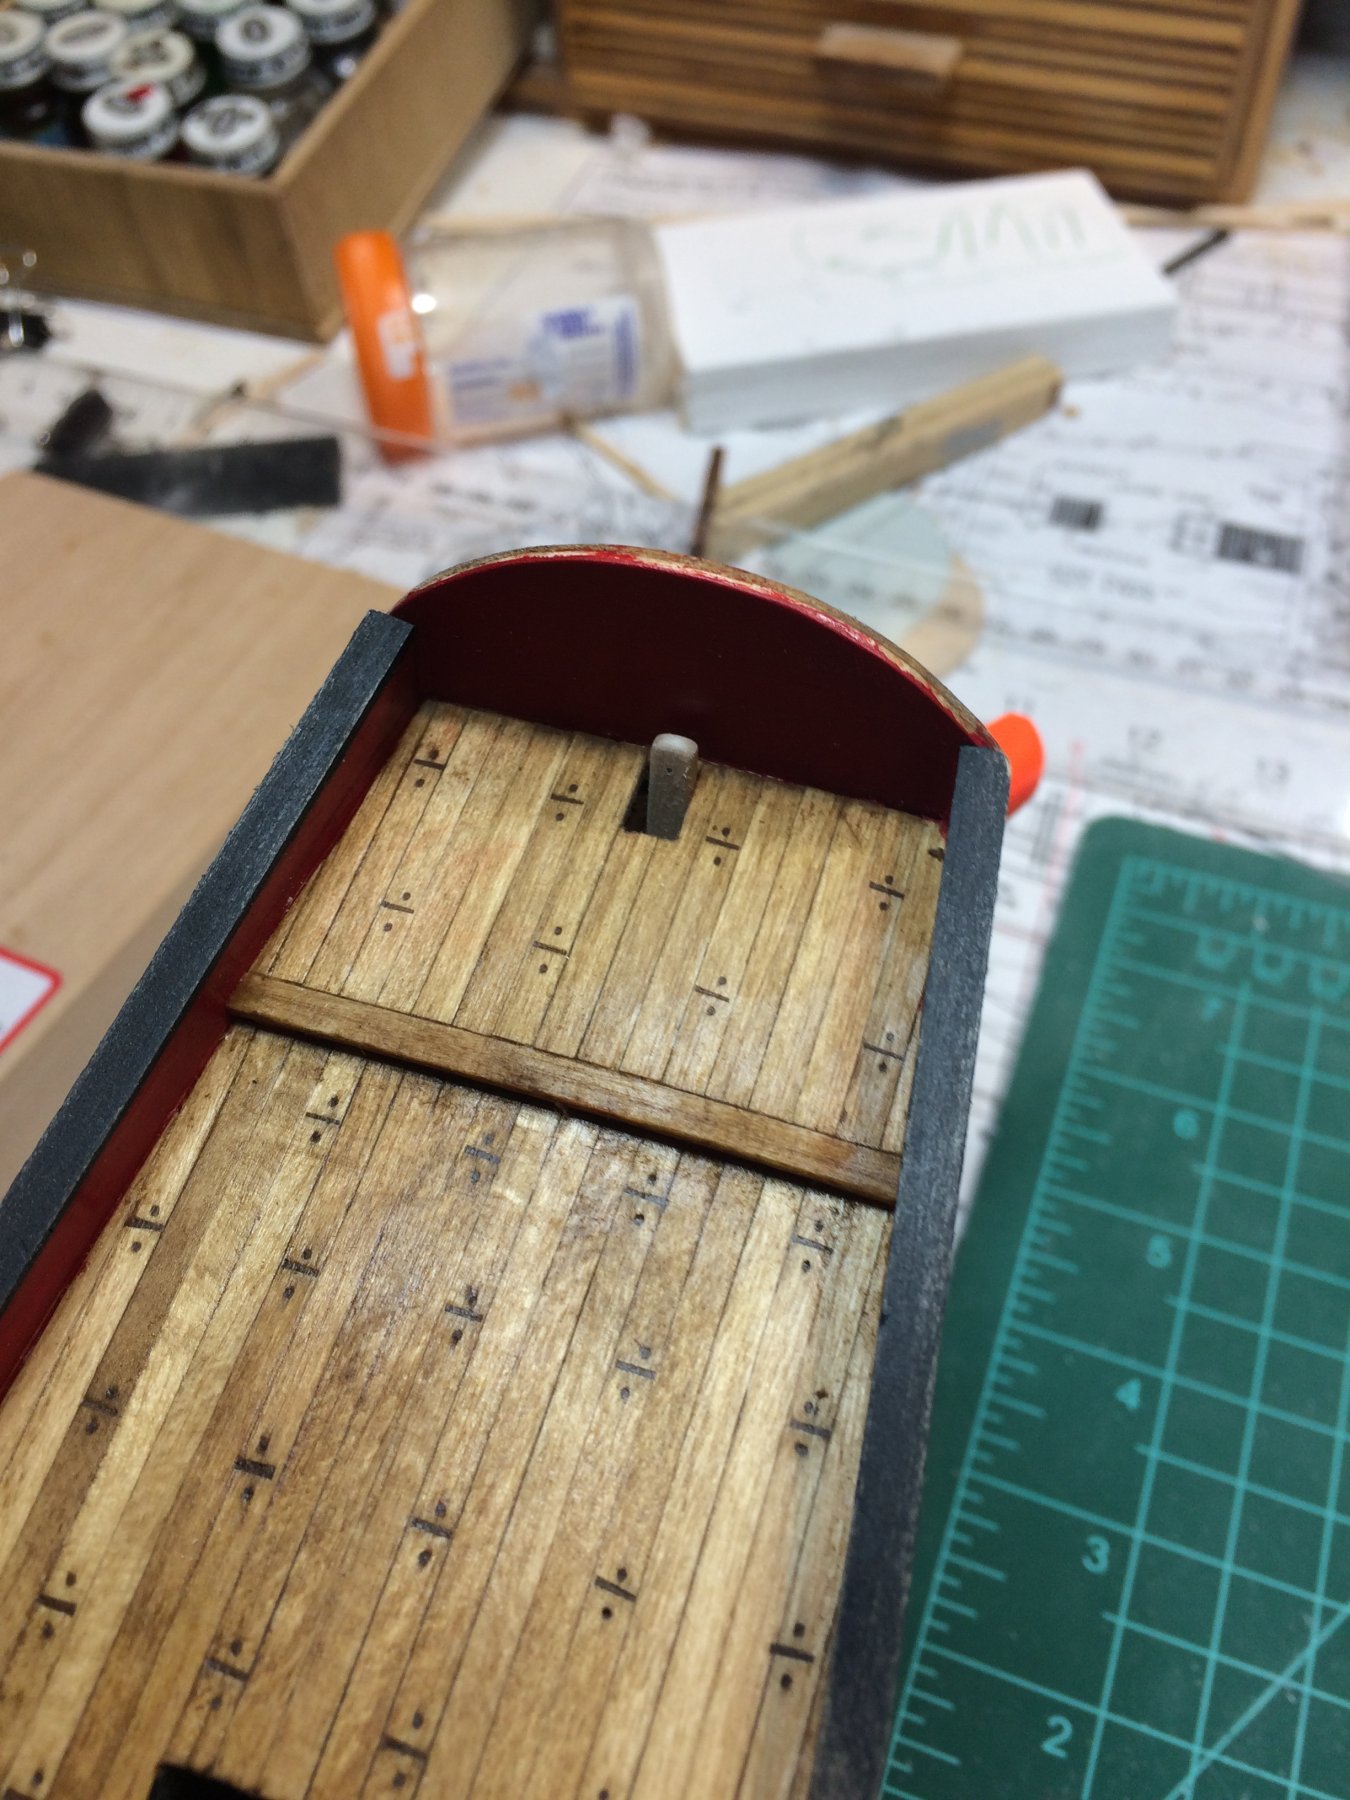
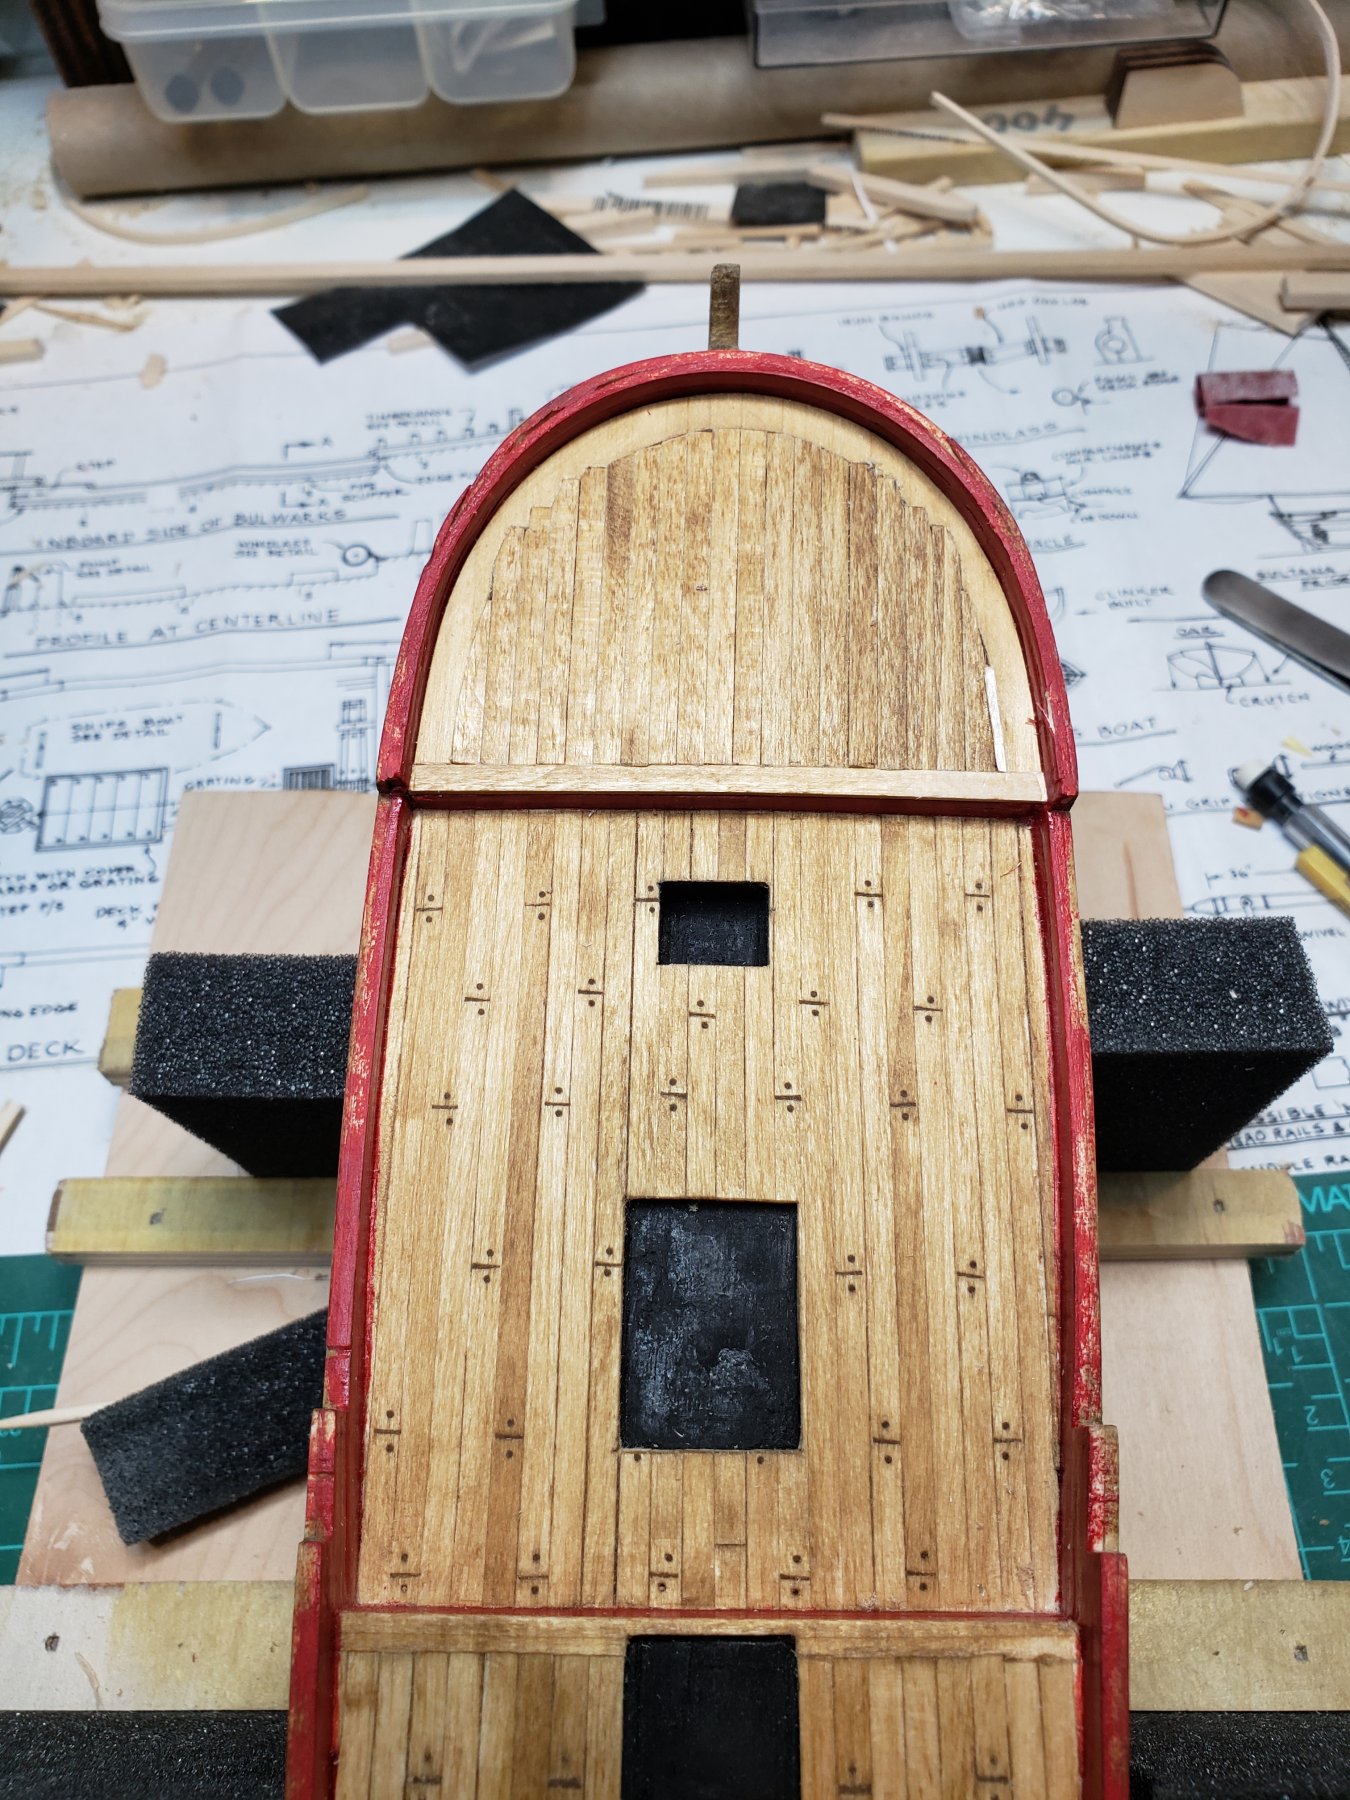
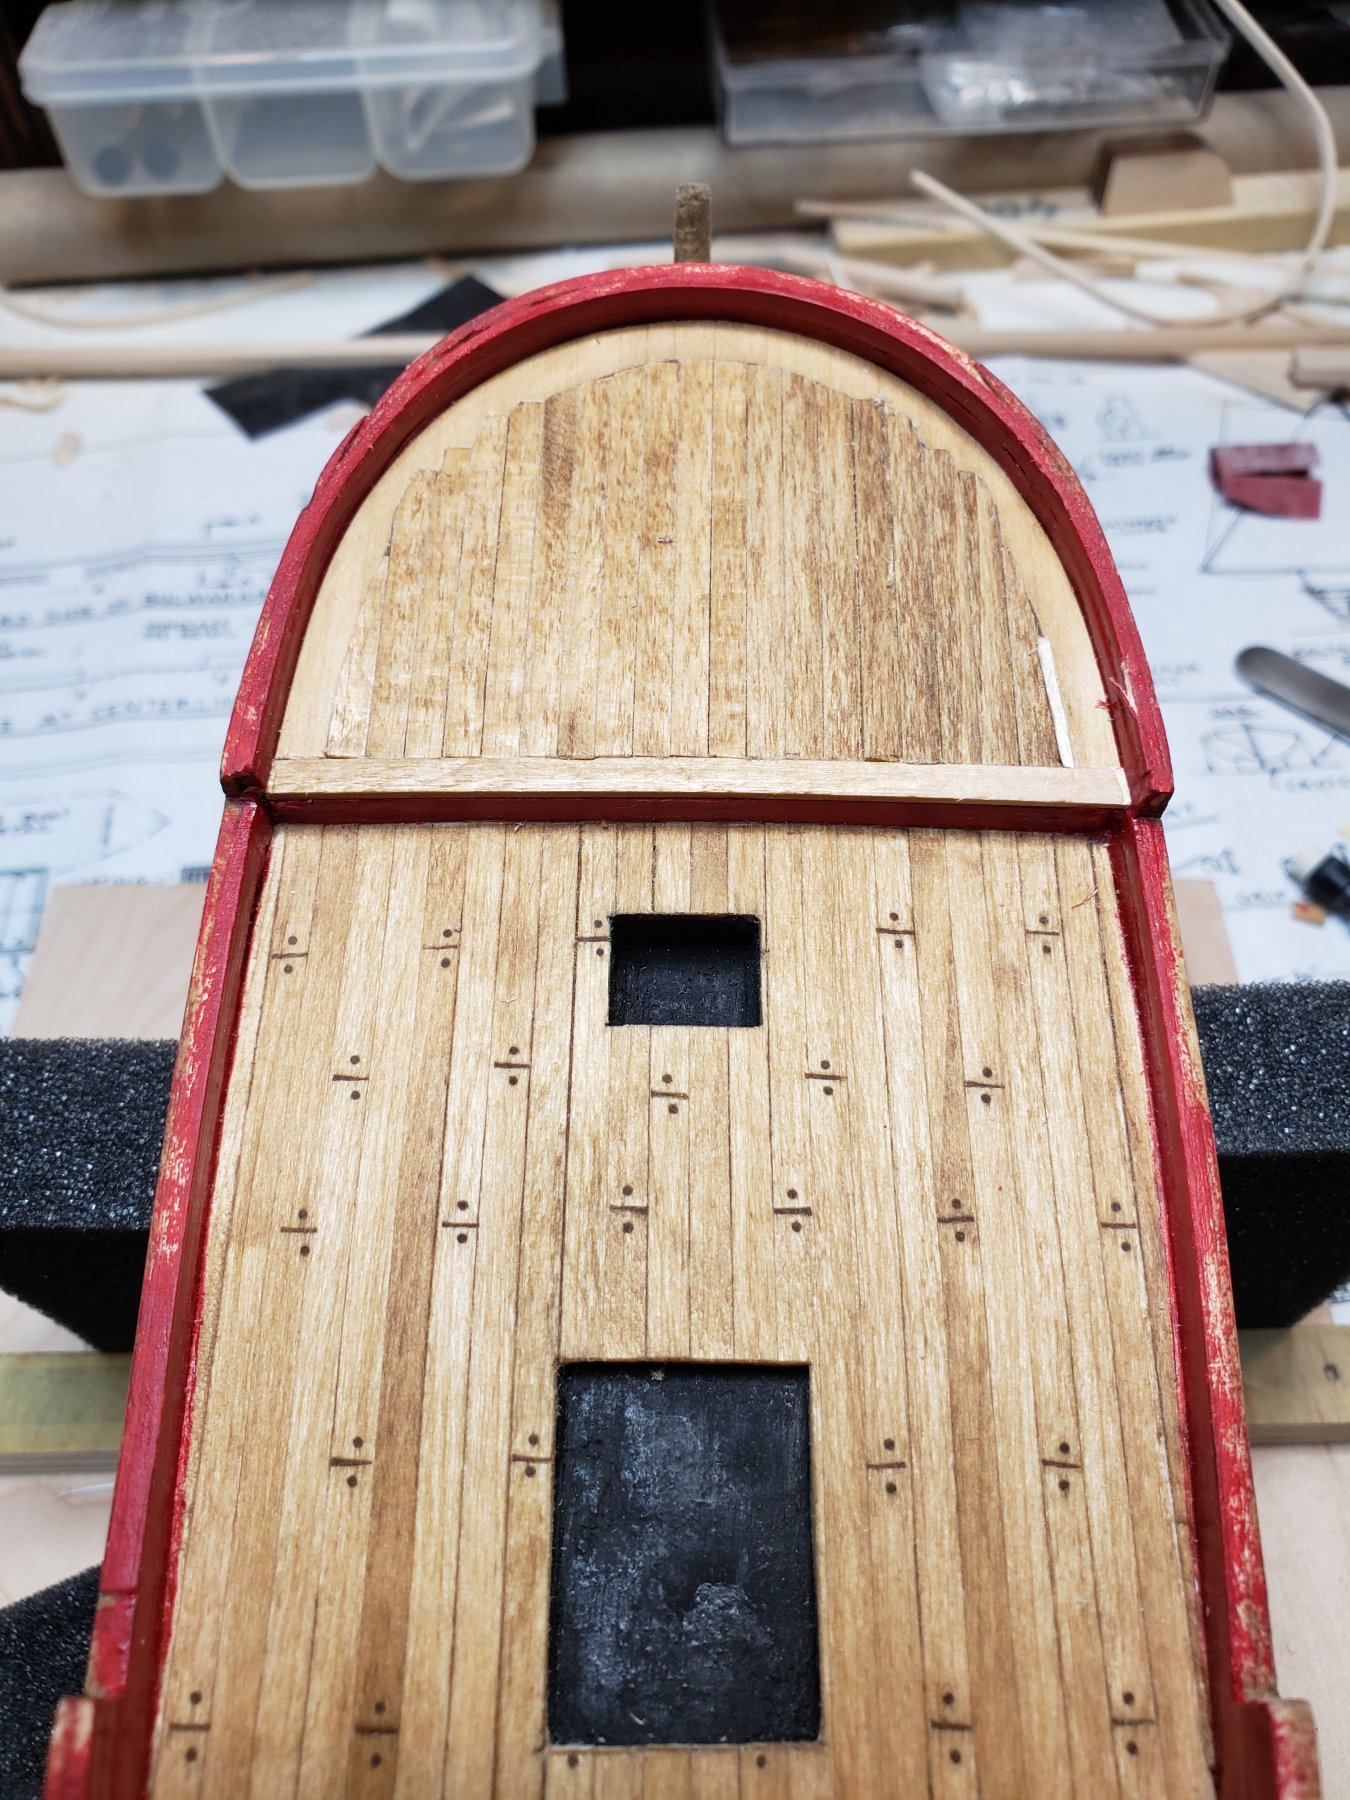
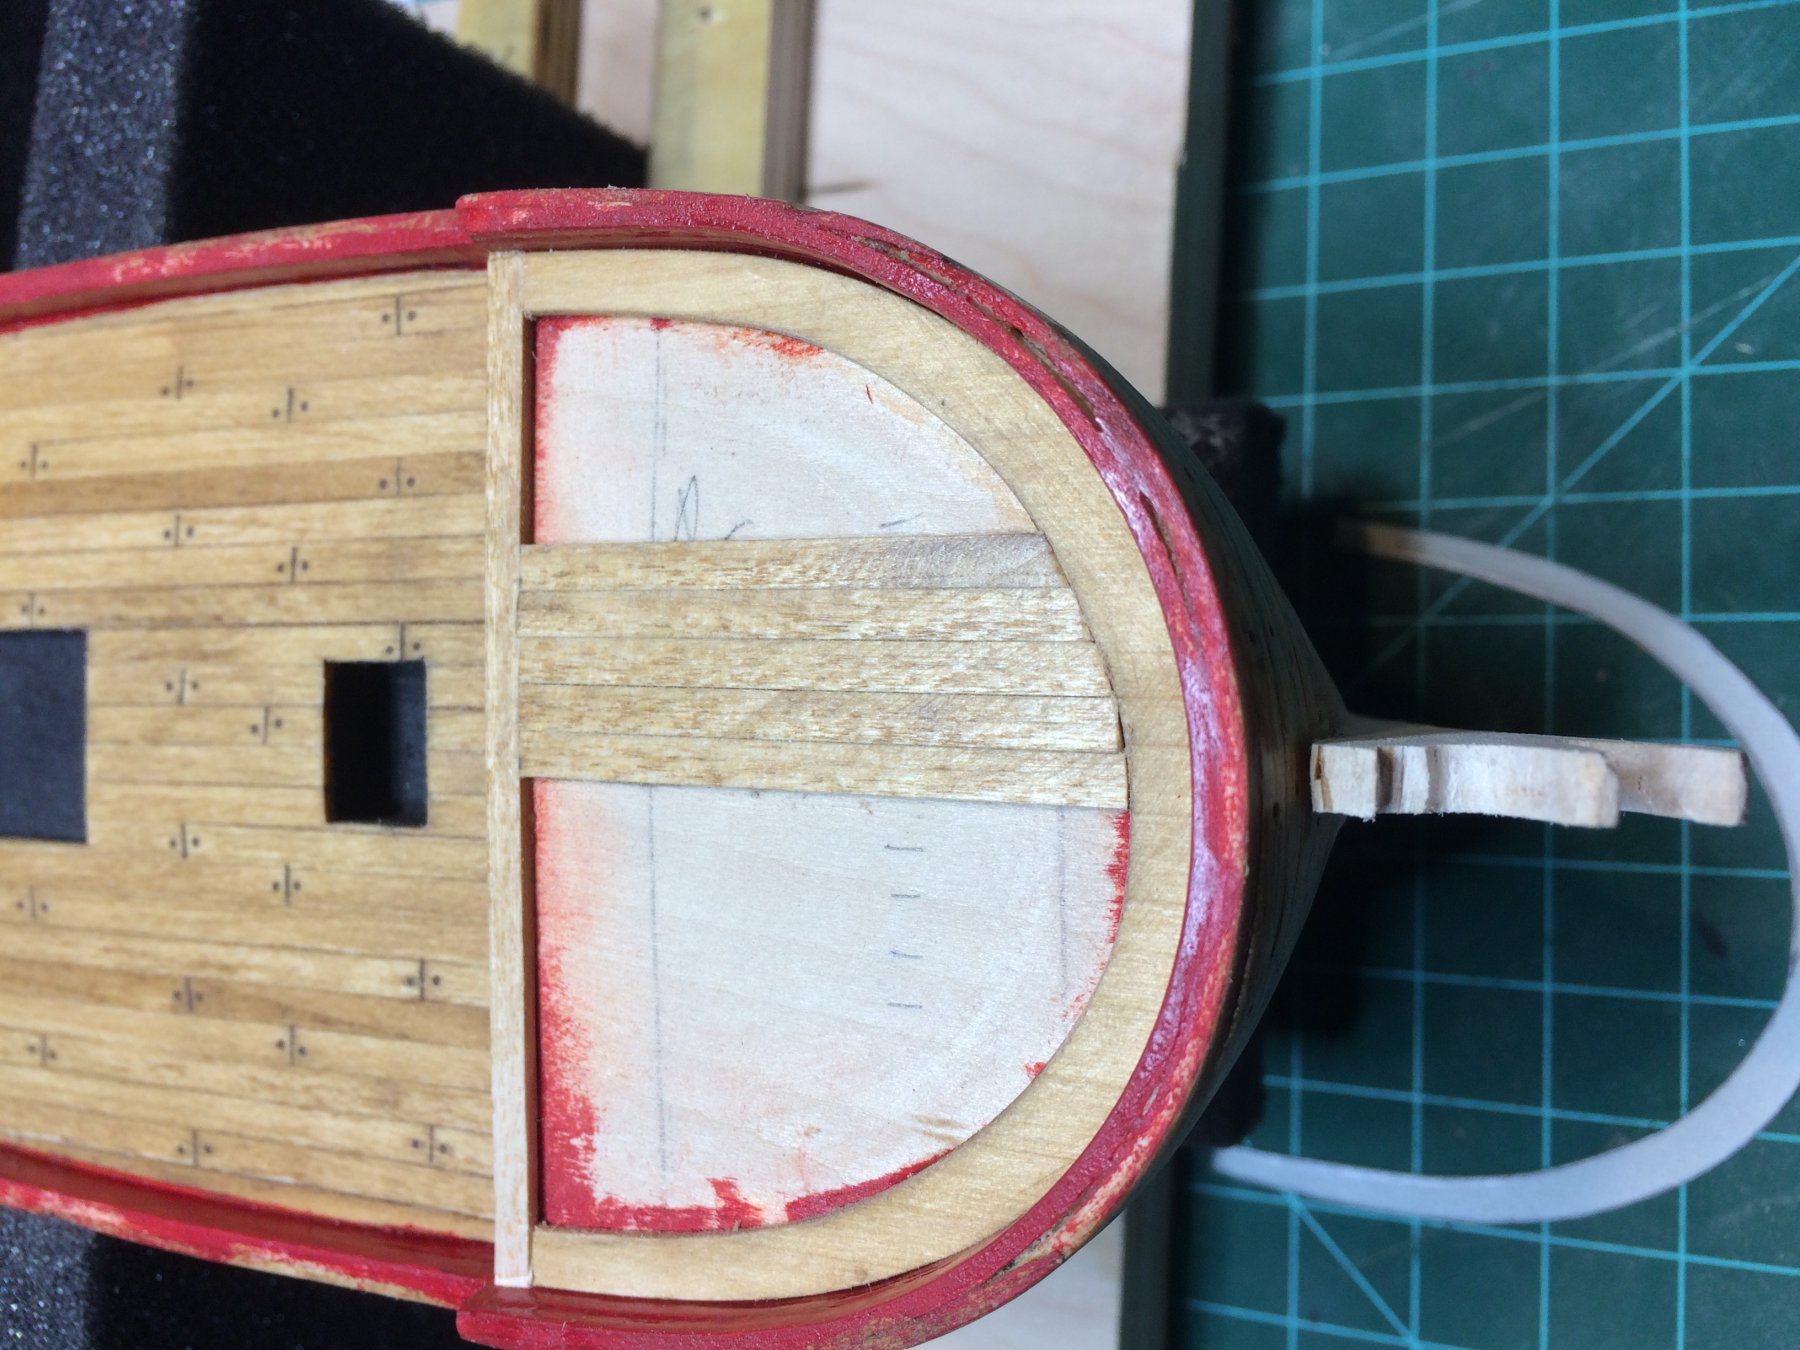
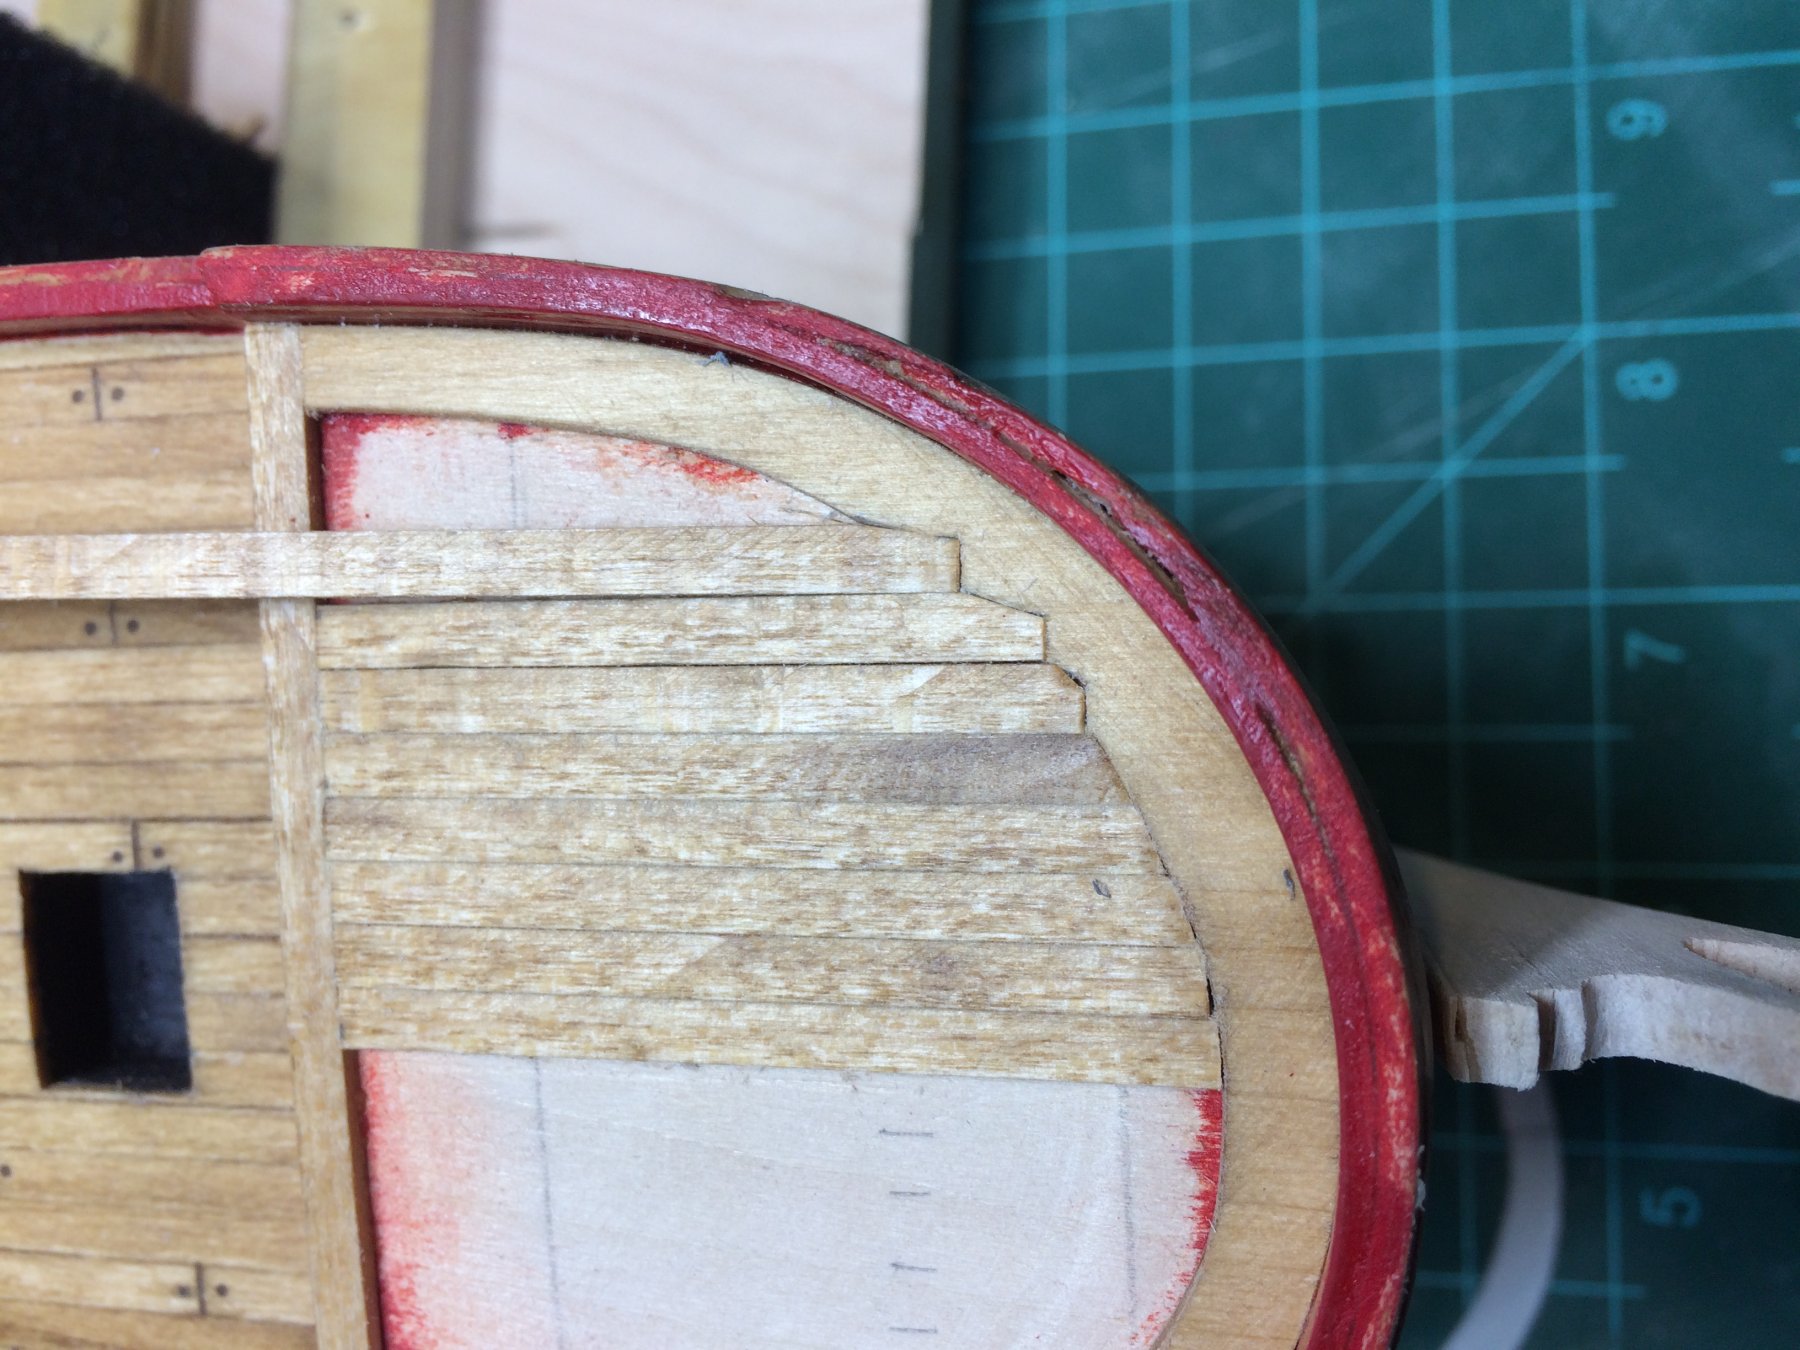
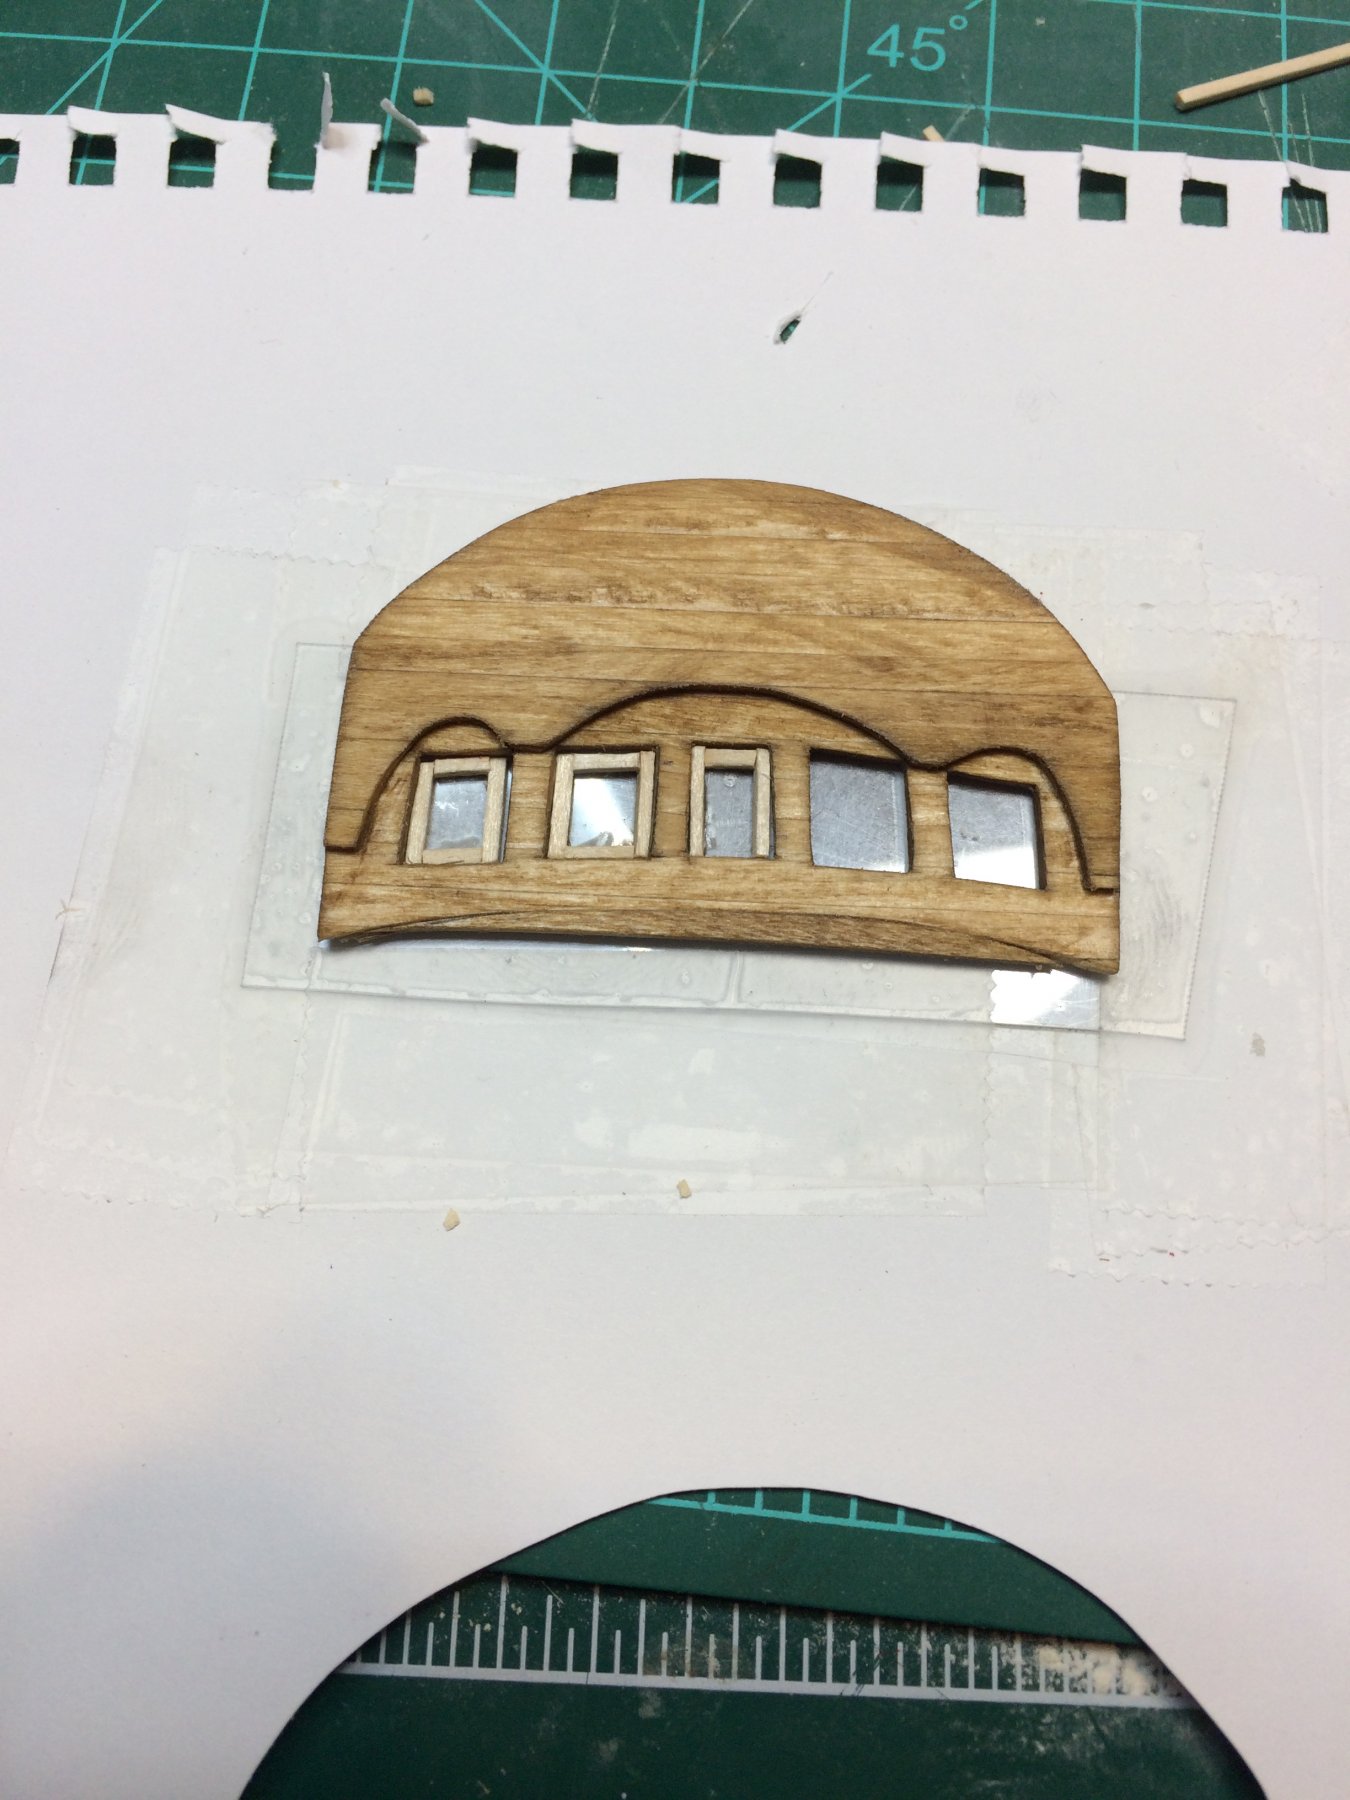
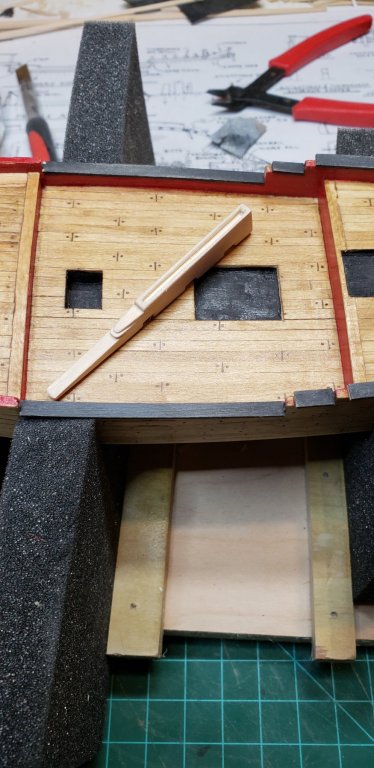
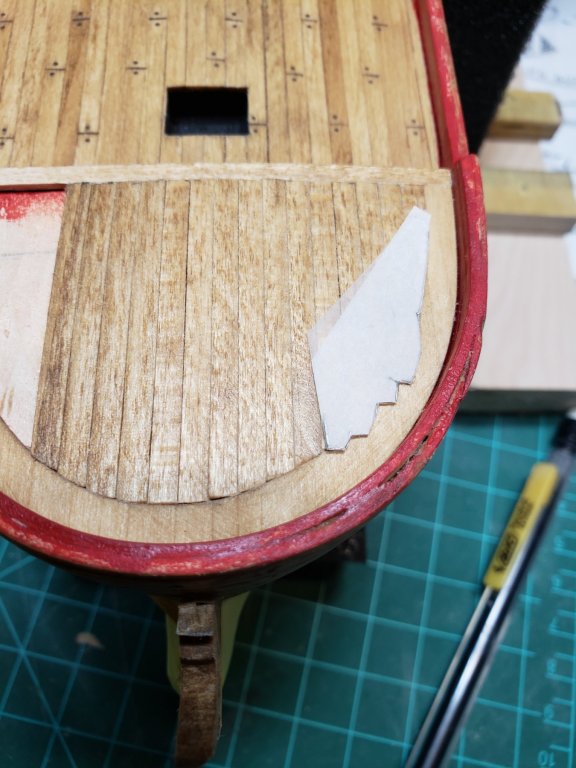
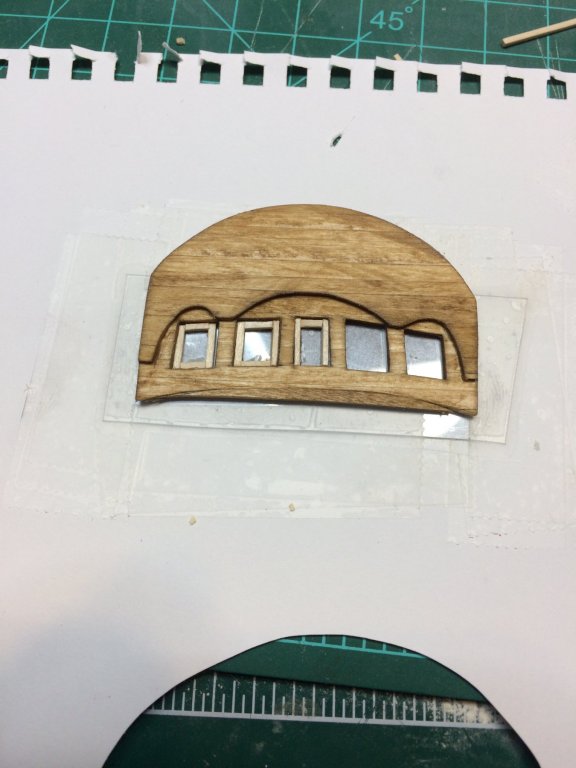
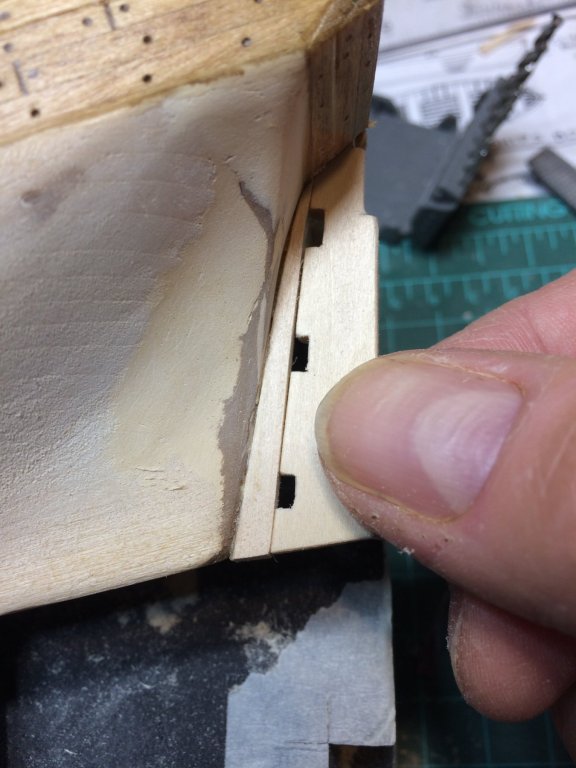
Today i planking the deck at the bow area.. This area does require a bit of an extra attention since deck planks will be joggled into margin plank. The margin plank was glued first into place. Then edge plank was glued and deck plank started... The first plank was installed in the middle of the deck and other followed on one side. I was thinking to go one plank from both end of the first and continue with that pace but for some reason i simply forgot and get my self completing one half of the deck... Then plank joggling exercise started.. It will be very interesting to match the same joggling pattern on other side... During this process a piece of keel at the bow area simply snapped. I got the piece and will be trying to glue it back on. Worst case scenario i will replace most of the keel that is located in the bow area.. Will see how repair goes.. Then i glued windows to transome.. That is all for today... Happy modeling..


- 360 replies
-
- 1
-
-
- sultana
- model shipways
- (and 1 more)
-
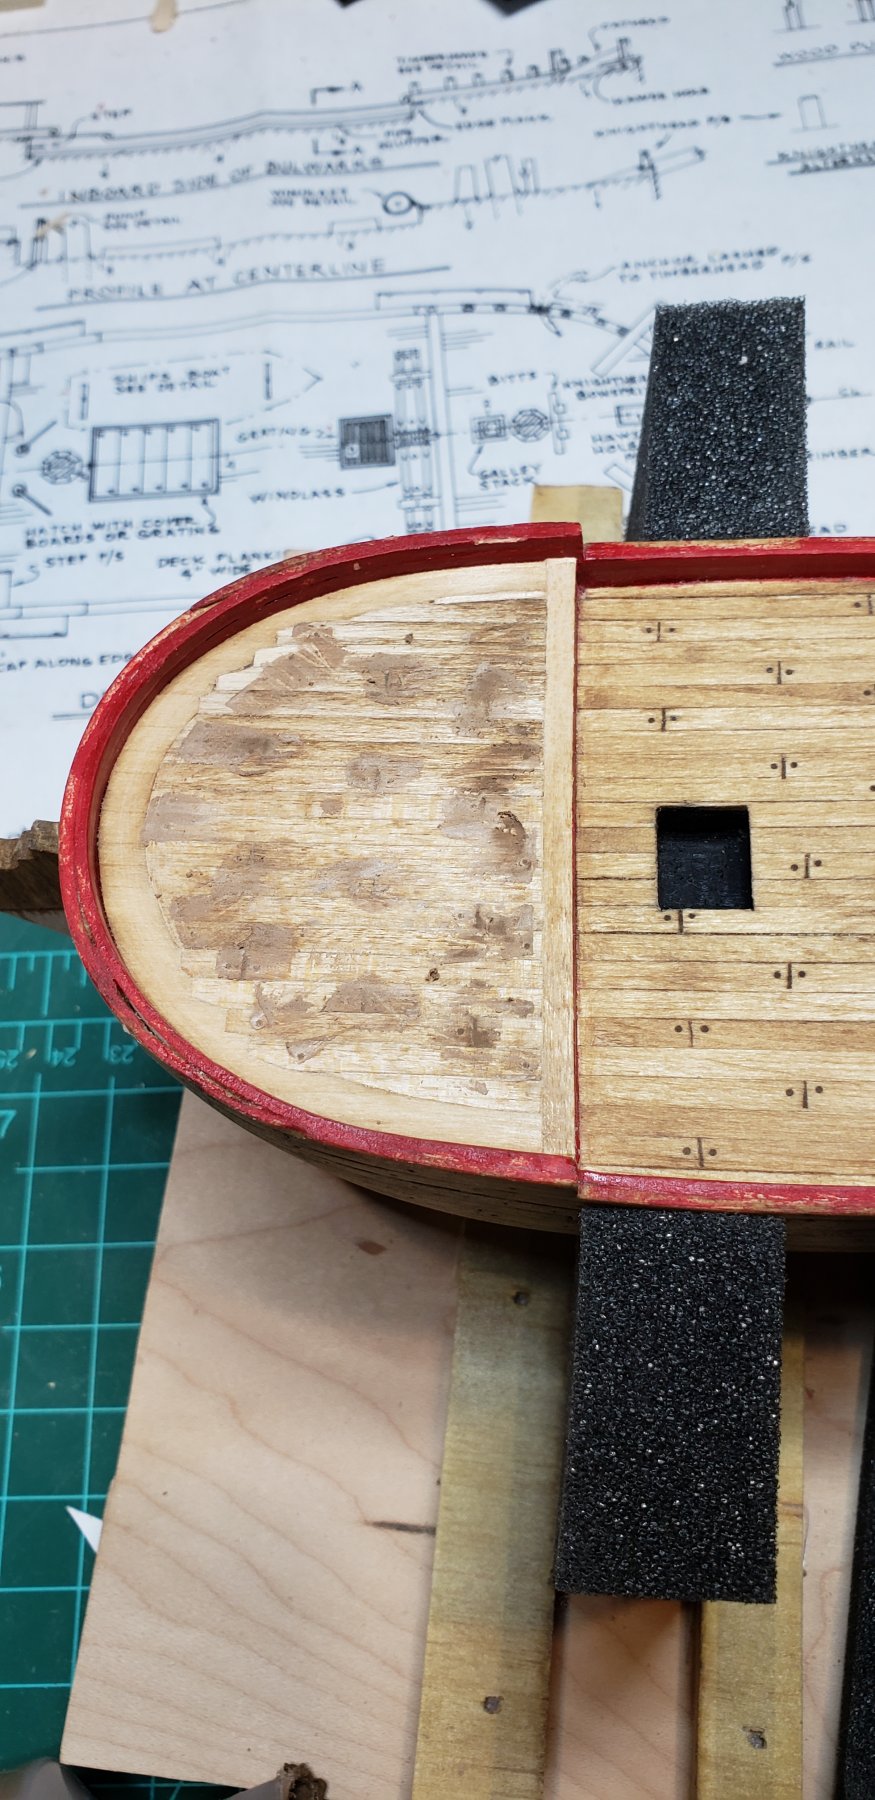
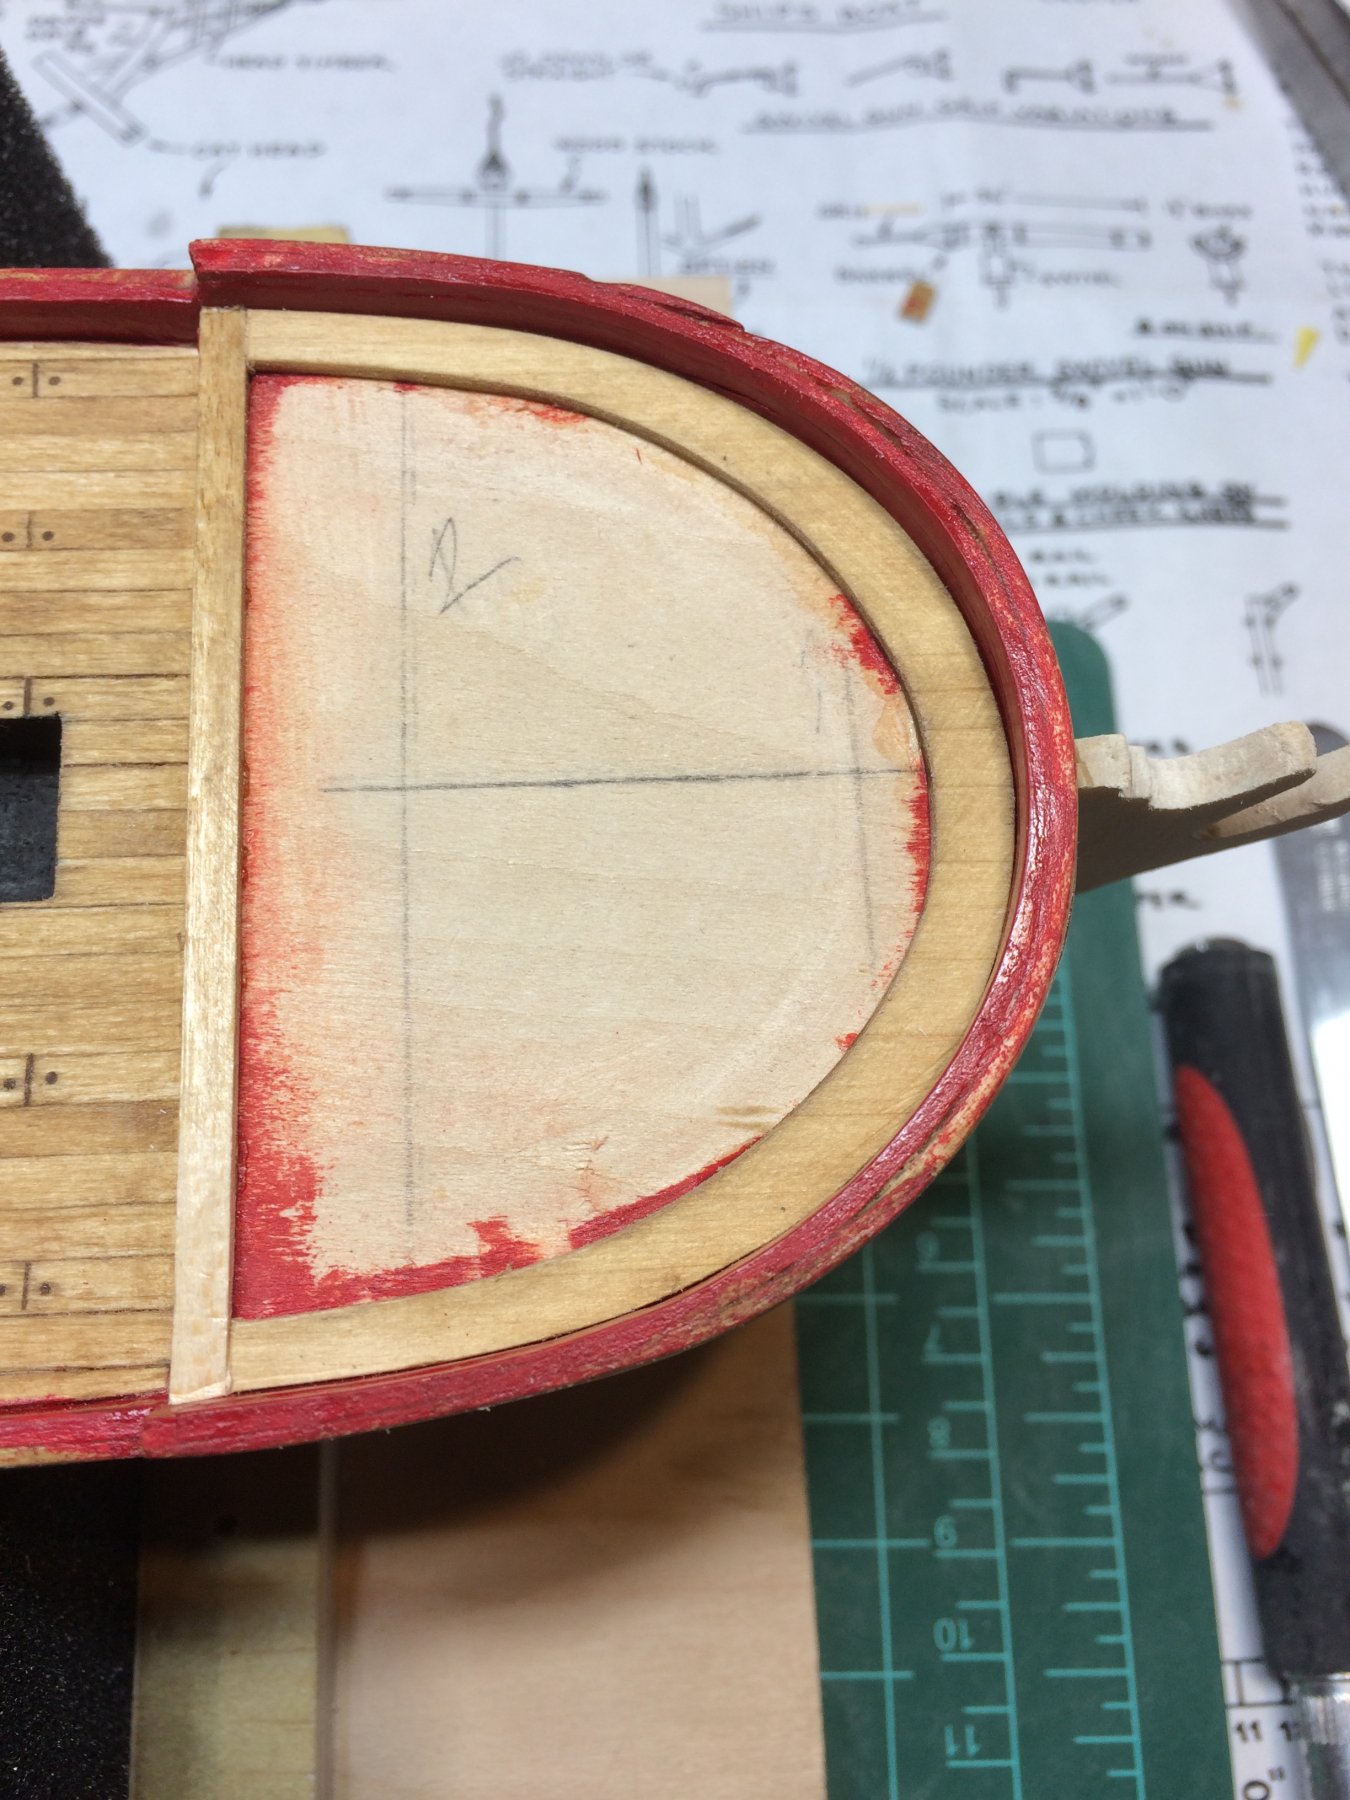
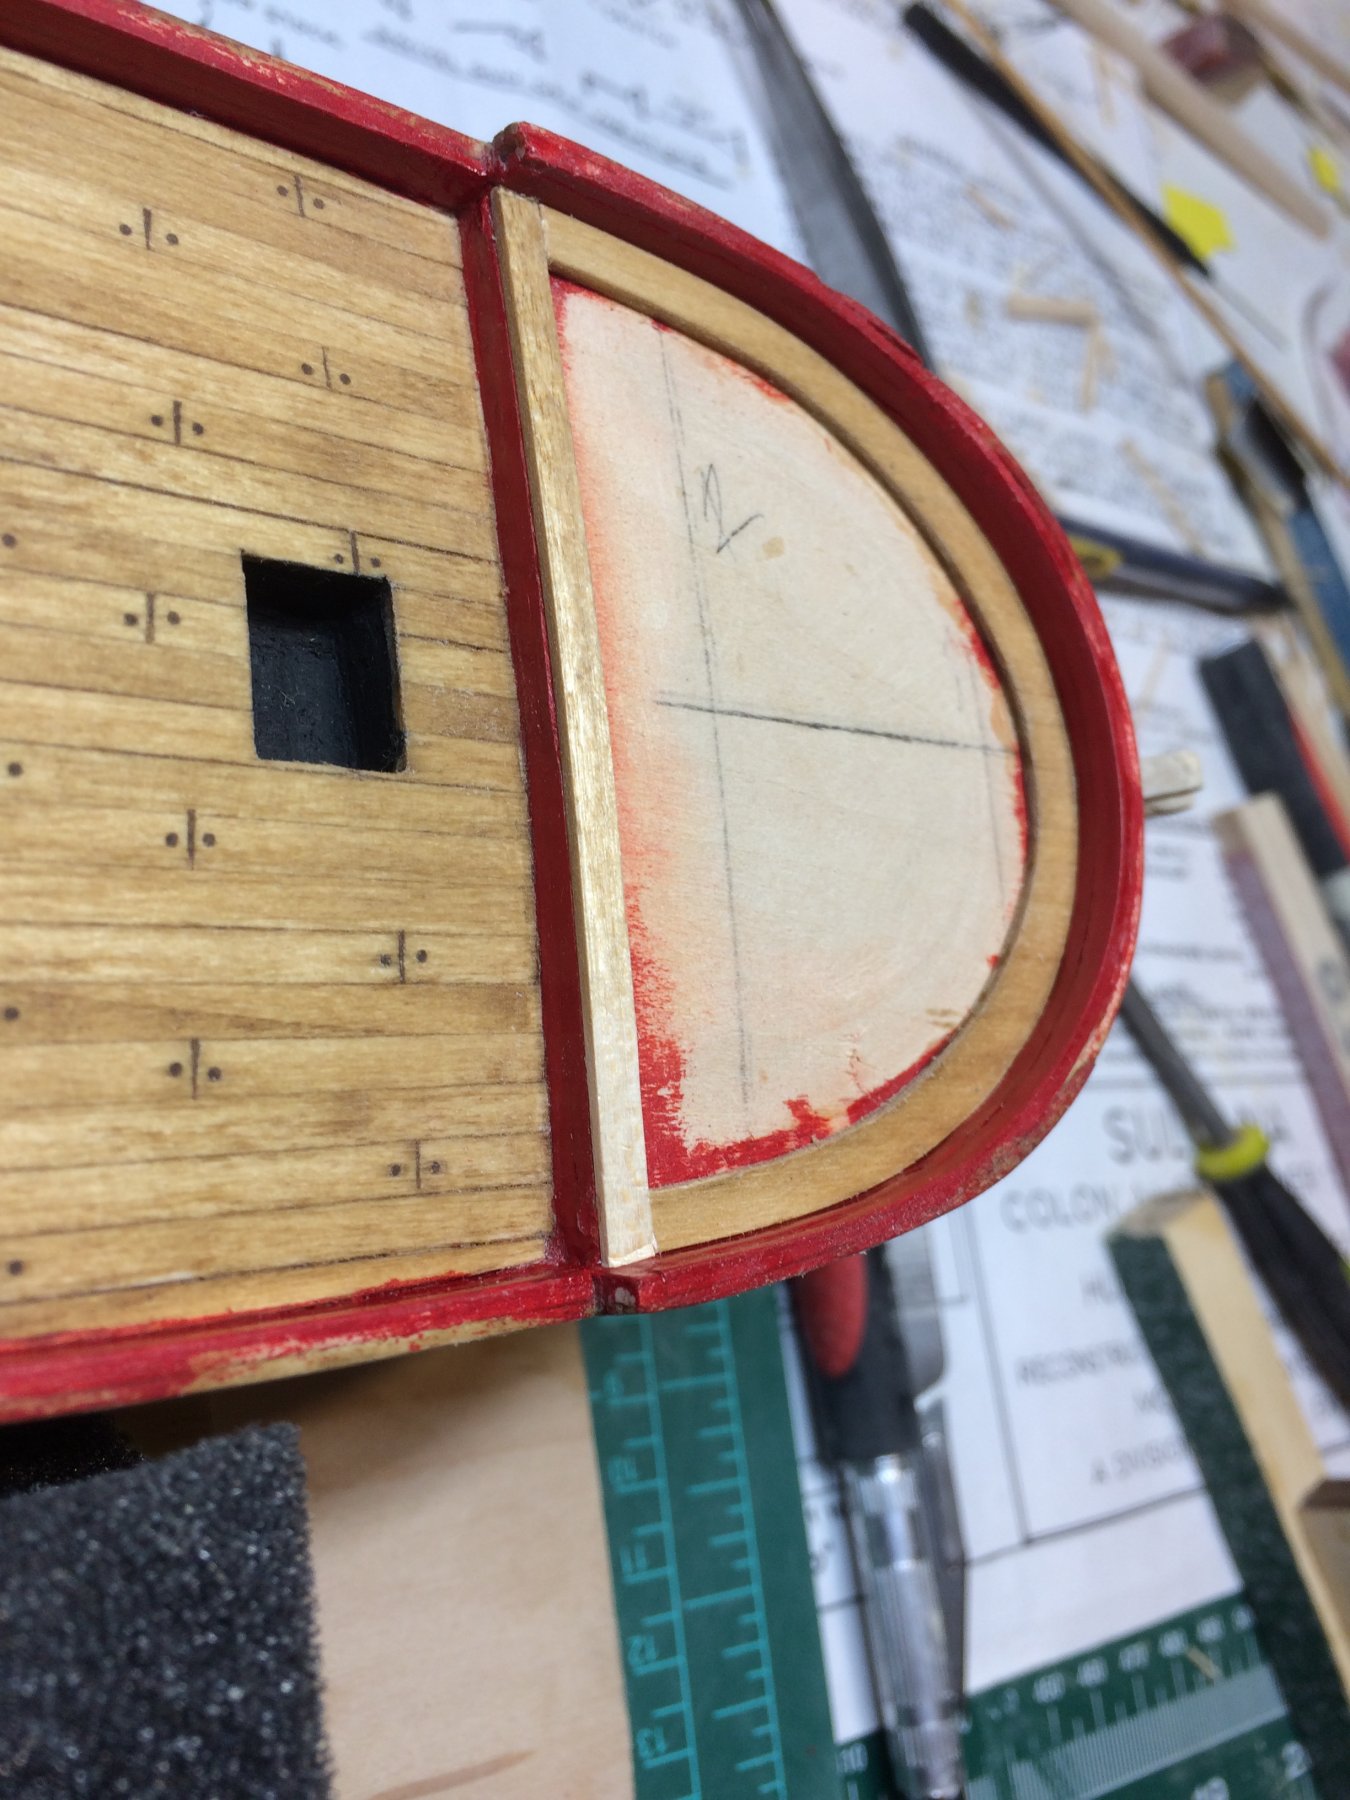
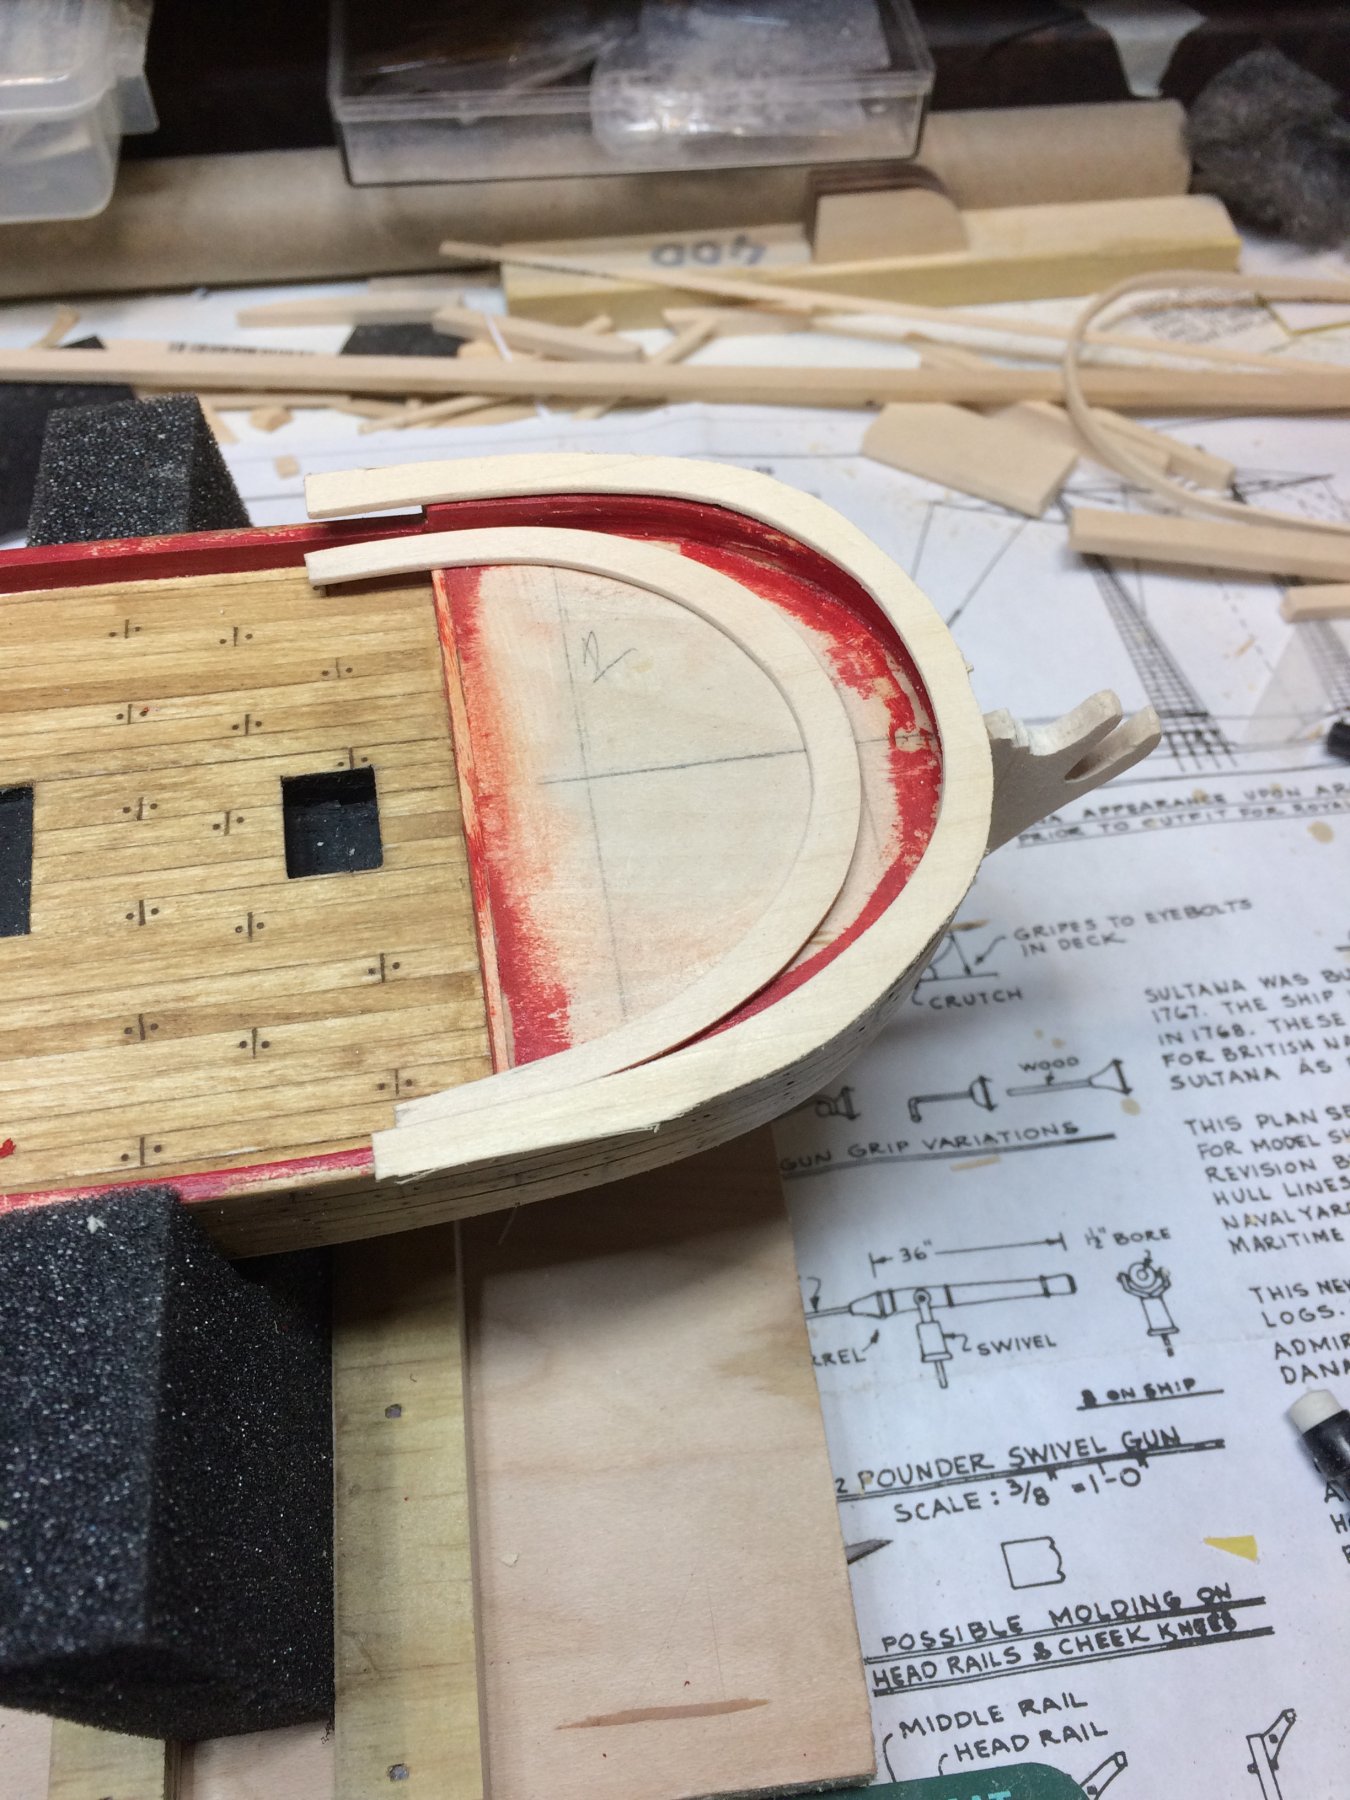
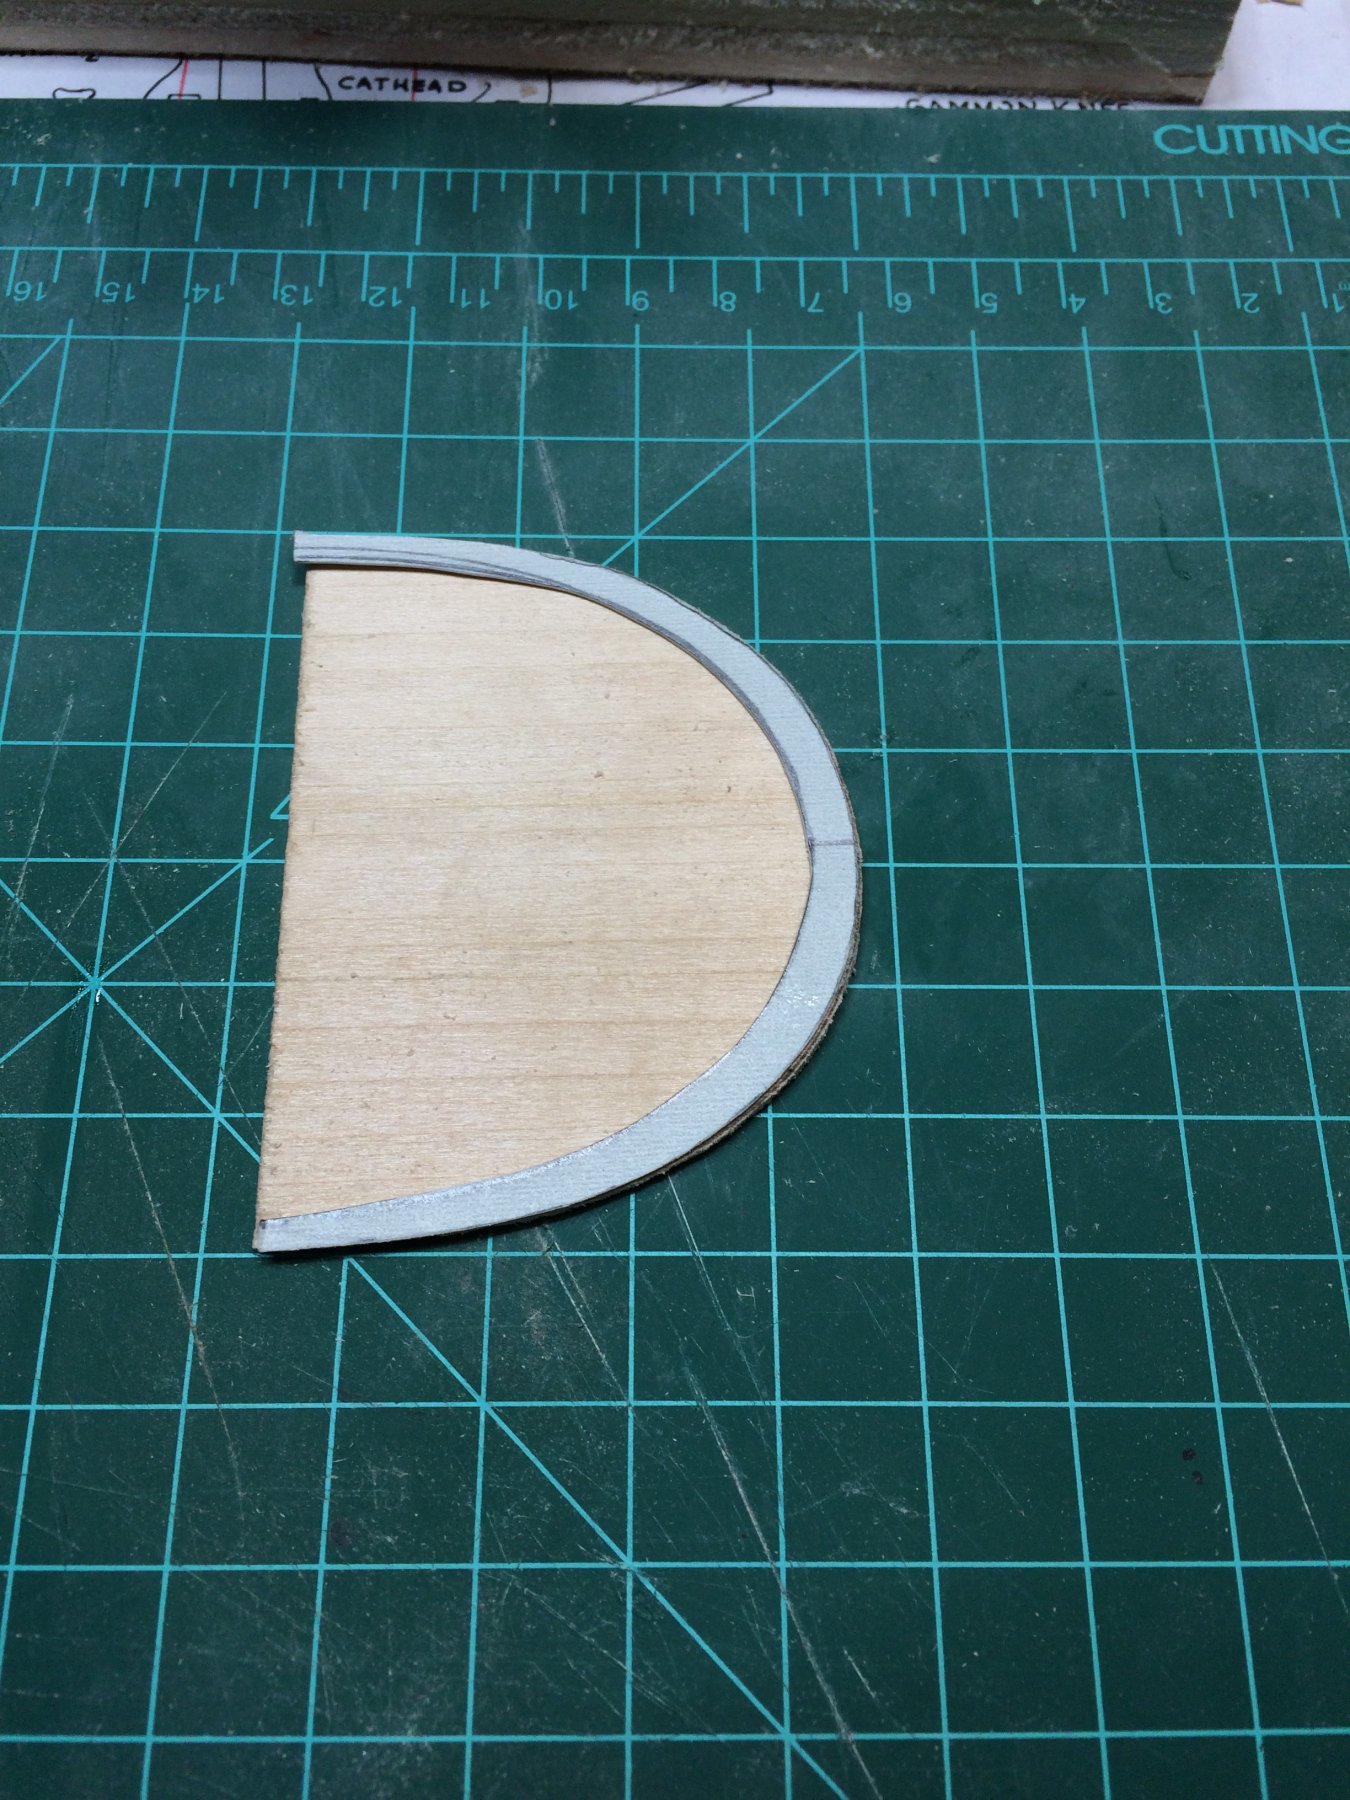
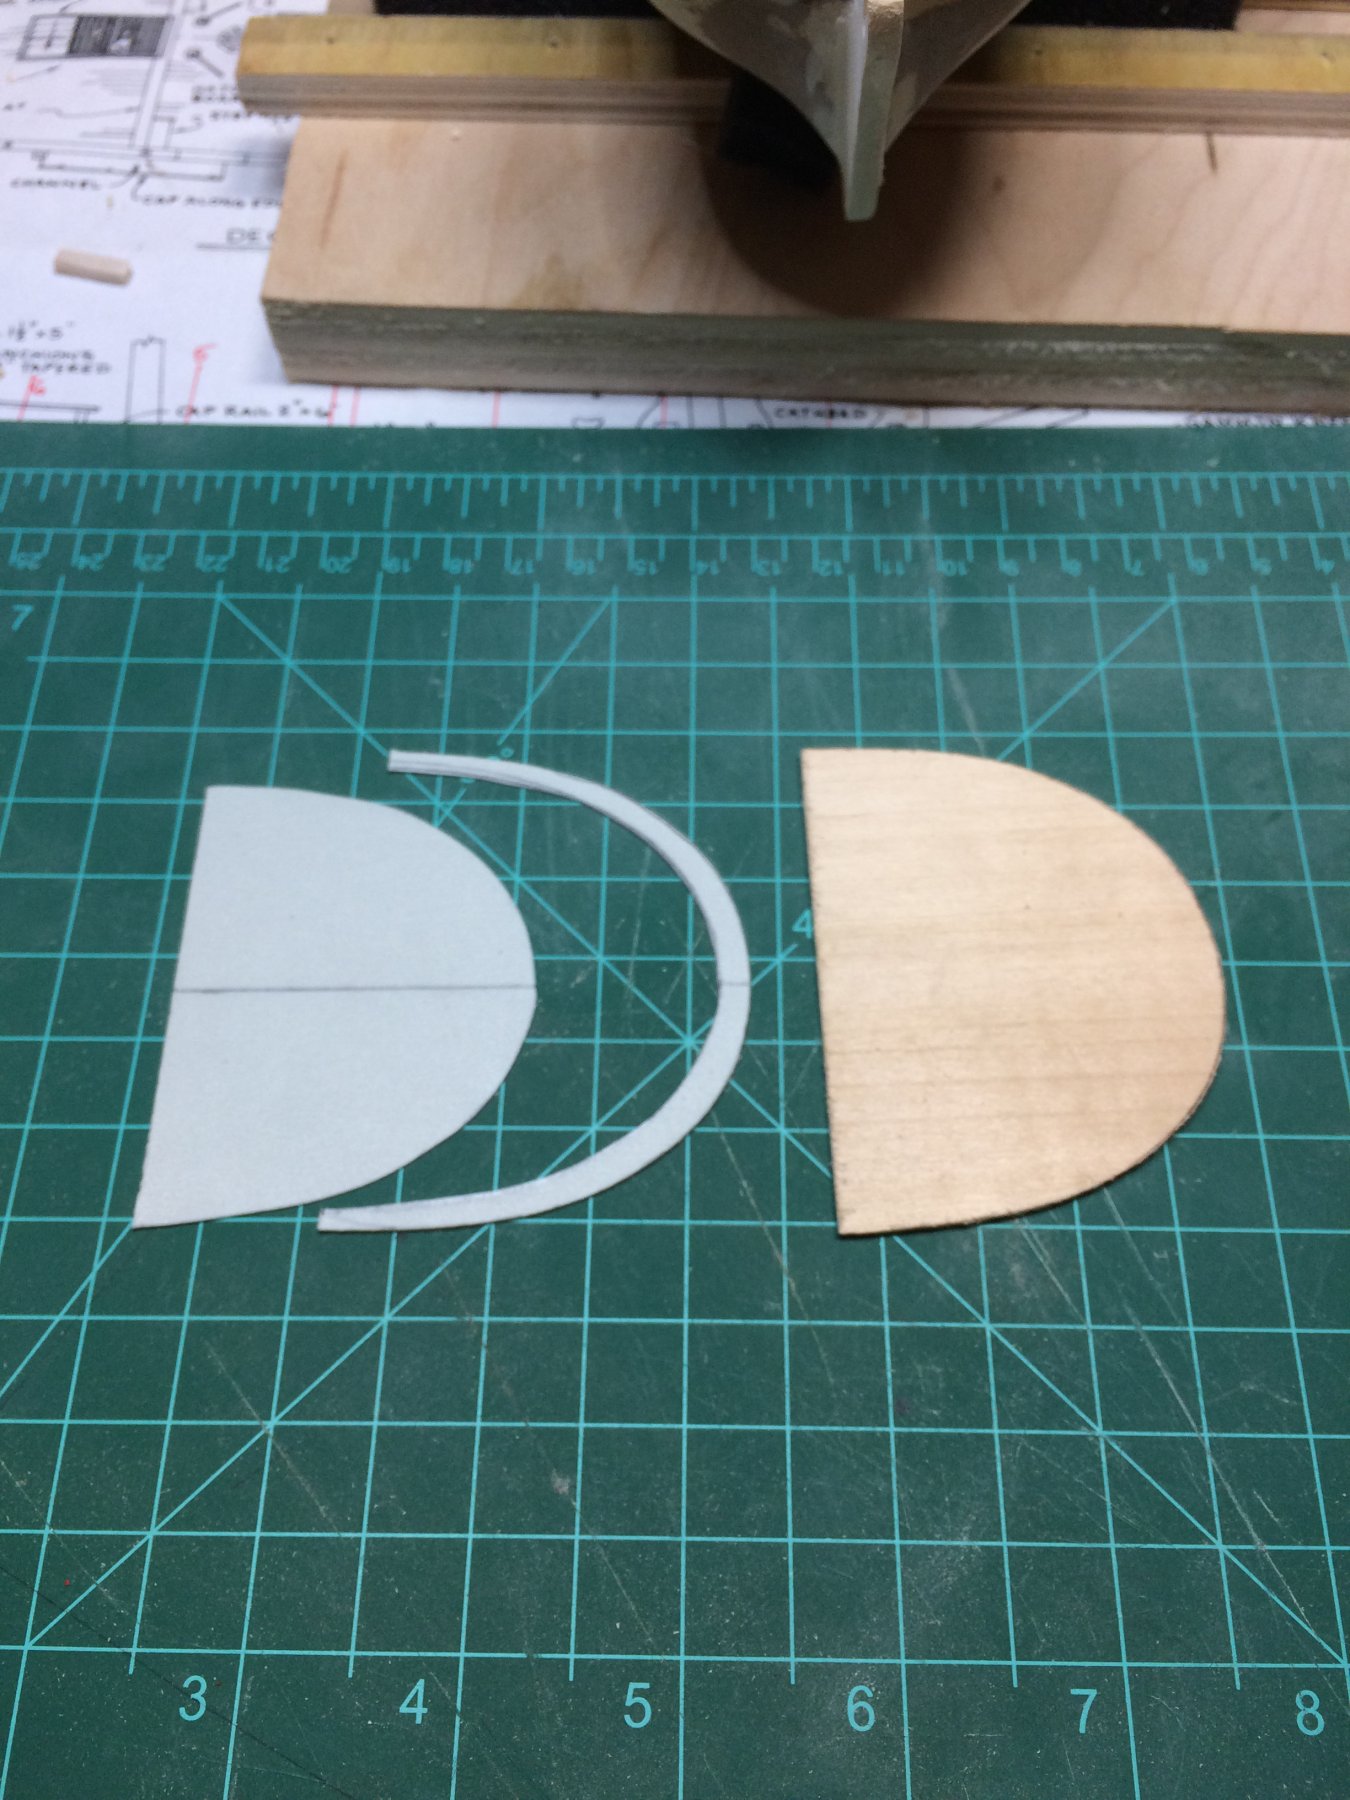
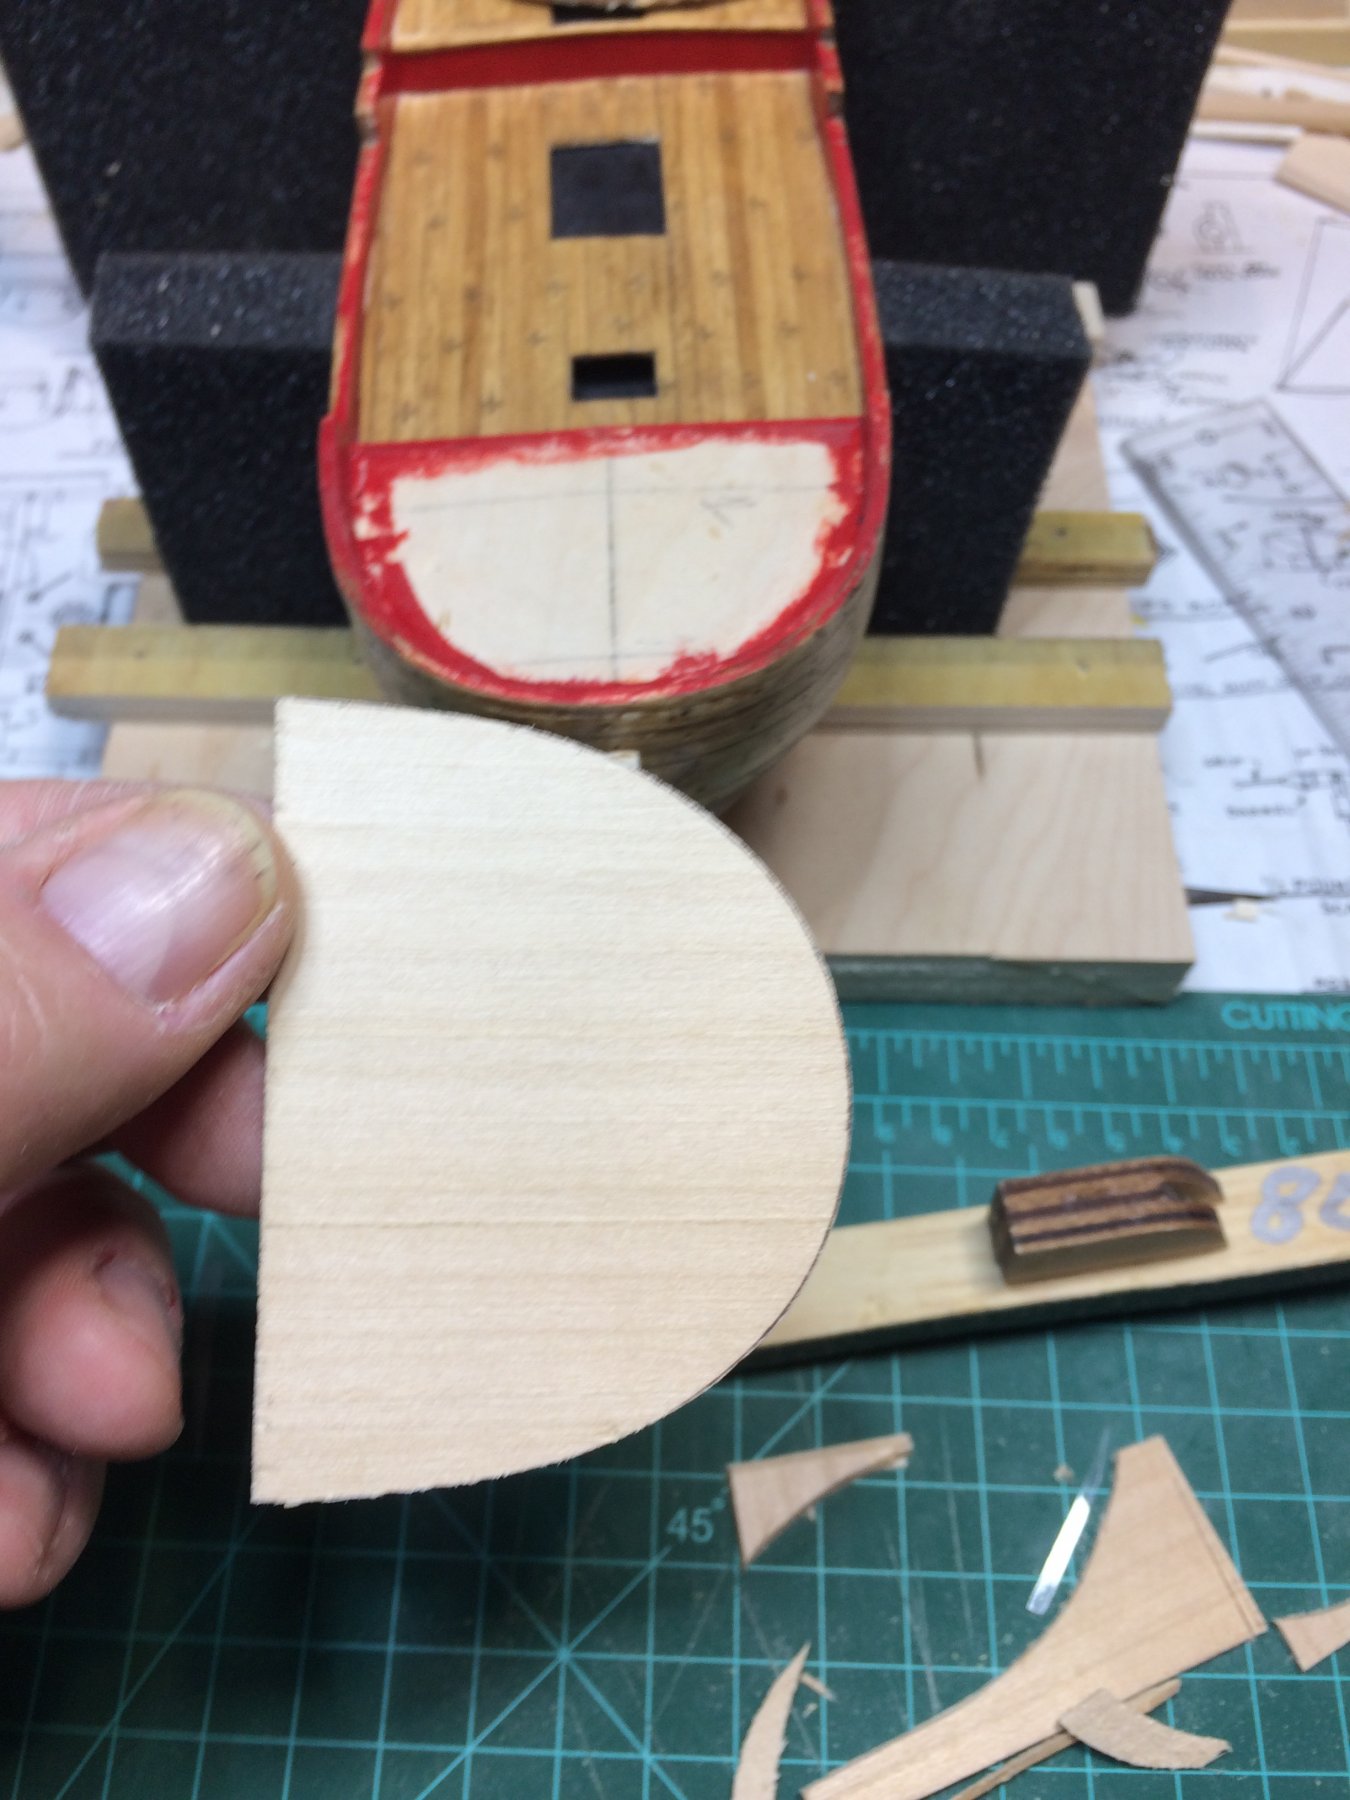
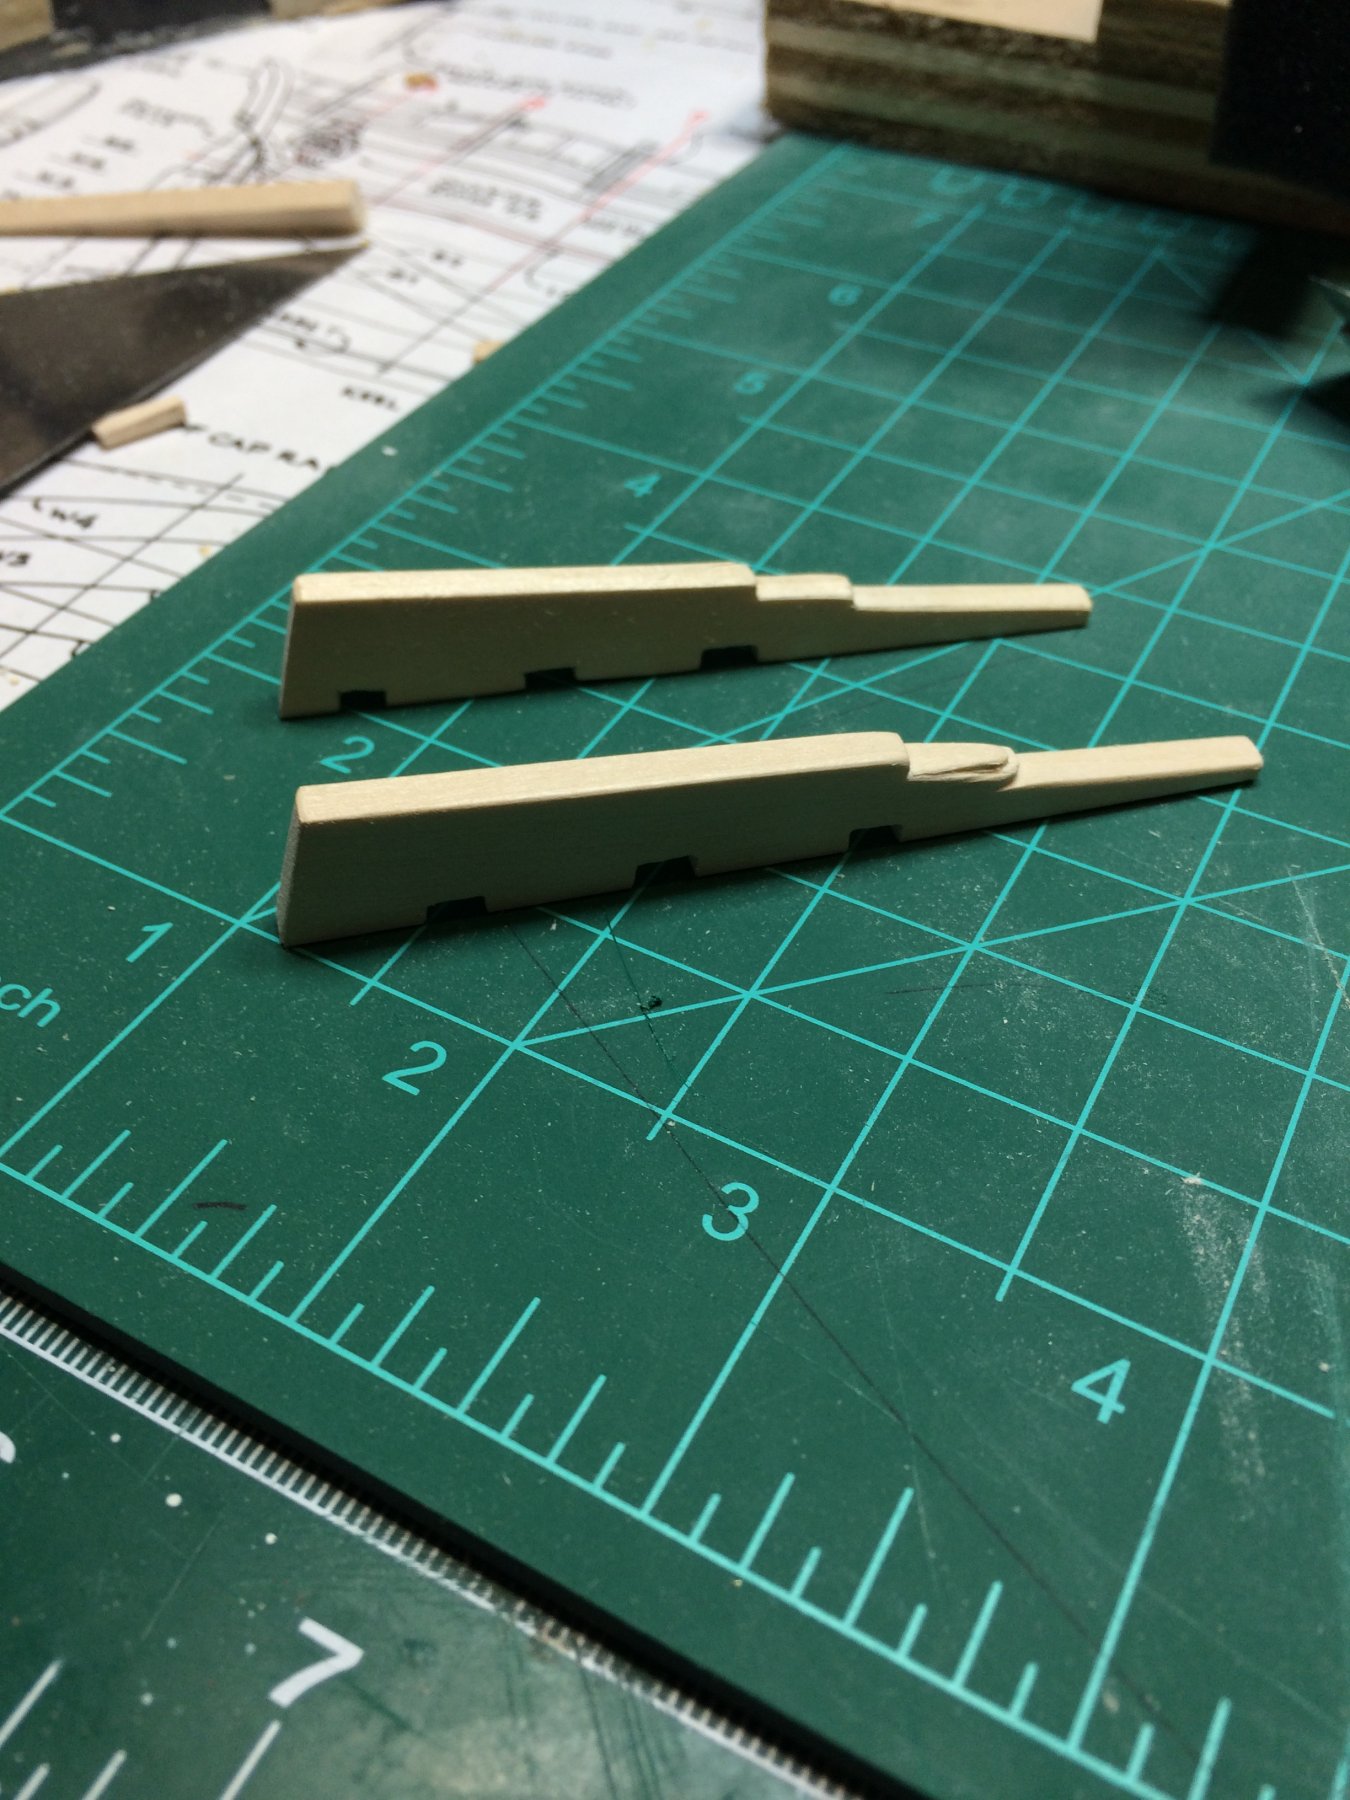
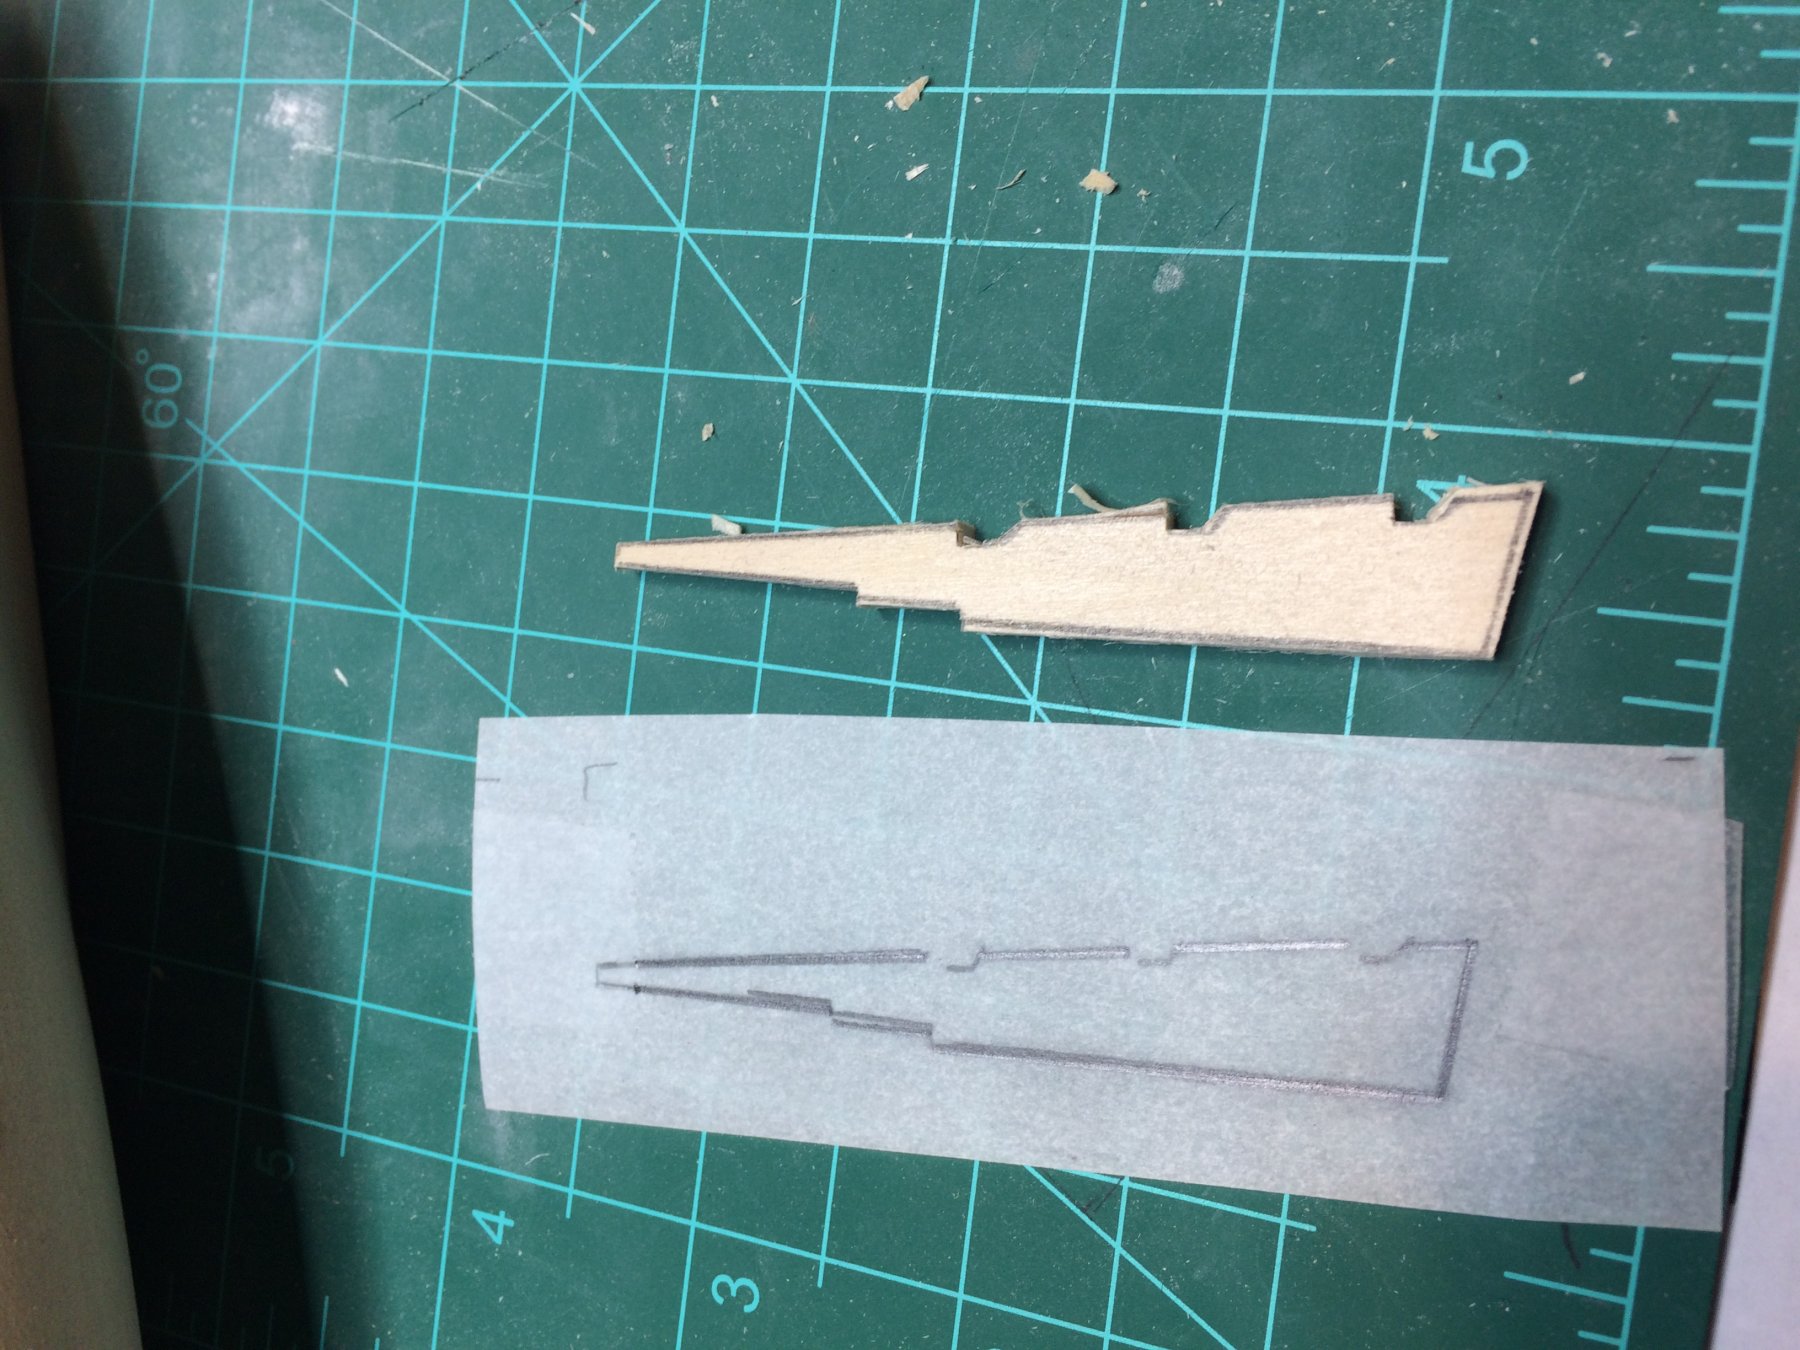
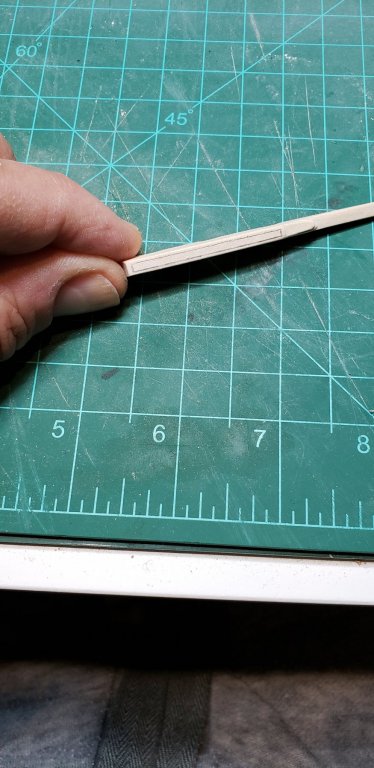
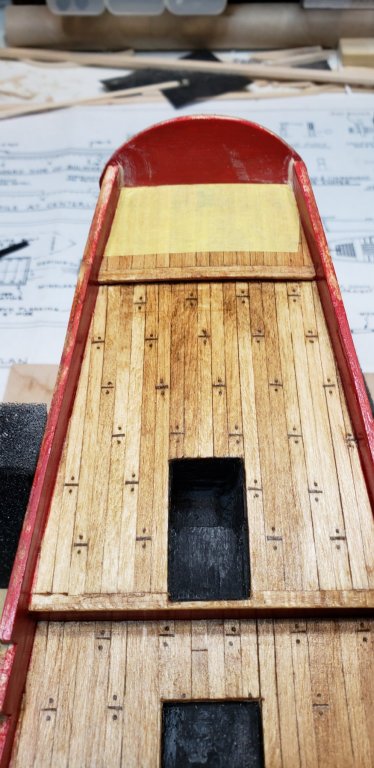
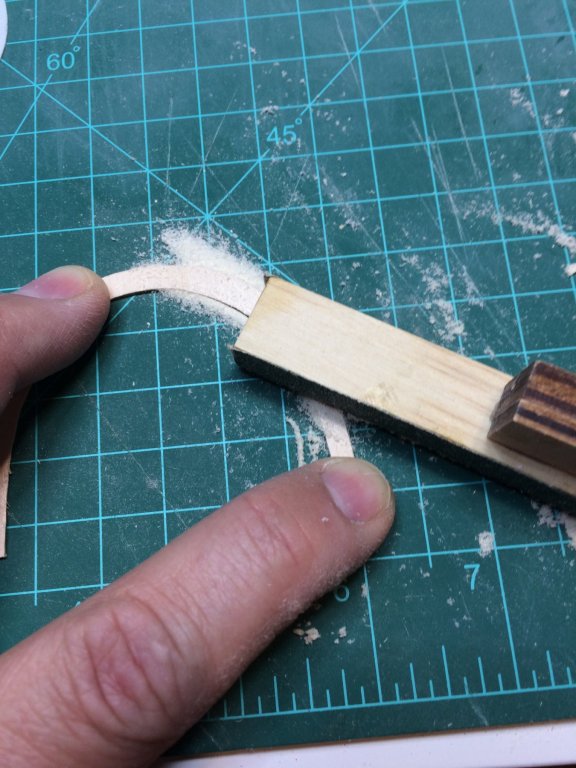
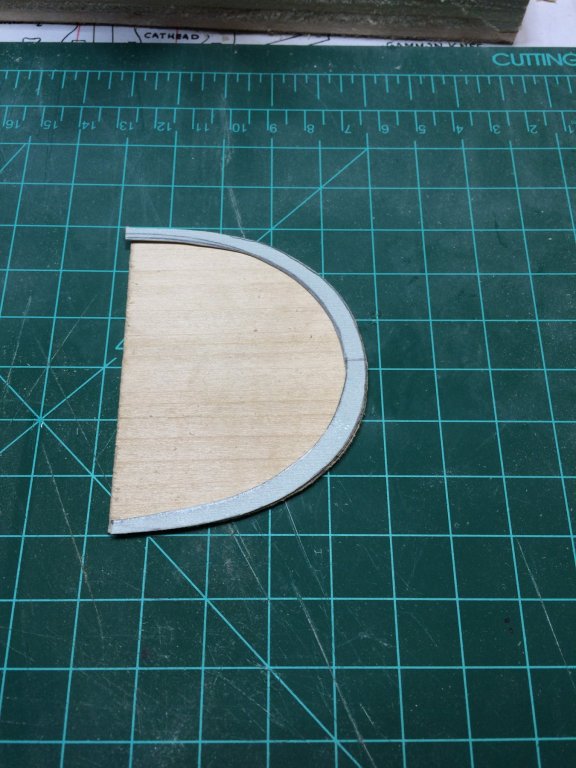
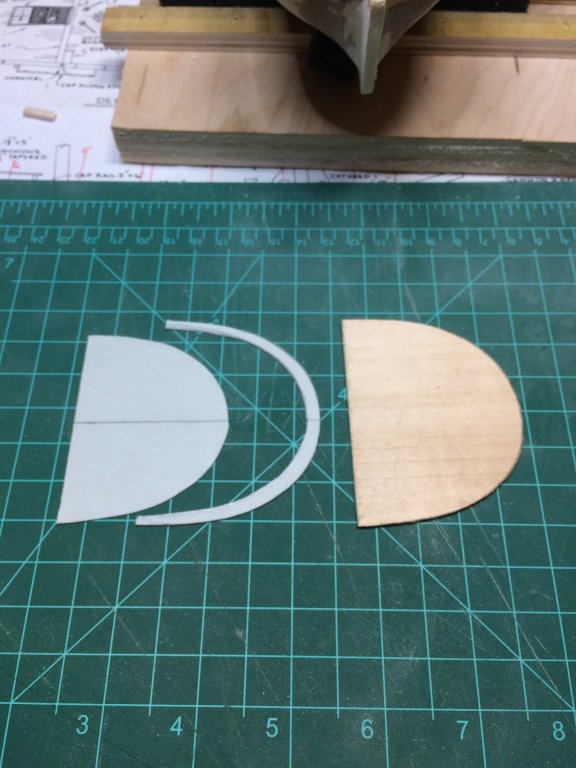
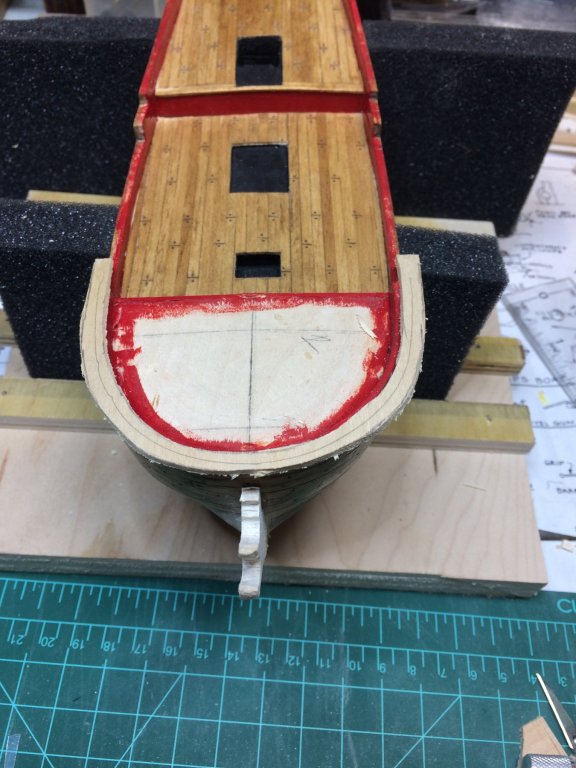
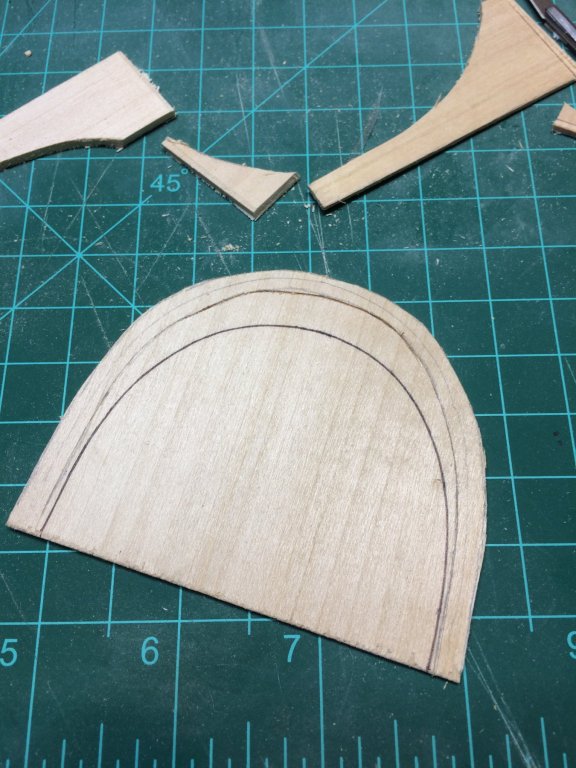
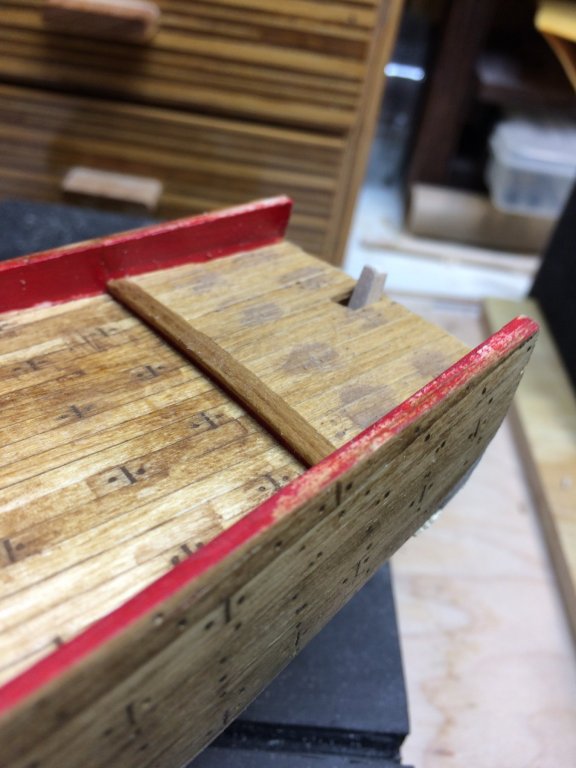
Today i spent some time building a cup rail. It was cut in one piece, from a sheet from basswood not supplied with the kit. From the same piece i cut a margin plank that will accept the joggled deck planks... The outer lines shows cup rail and inner lines margin plank. The margin plank was cut from template; first i made a template from cardboard, cut to dimension and trimmed to fit. Then transferred to the basswood ... .. and cut with #11 knife or with scroll saw if you have one.. The basswood sheet i had was a bit thicker and needed some sanding .. Cap rail cut to the shape.. Both pieces done. Stained.. Forgot that cap rail should be painted black. Oh well, will paint it black than. Final sanding will be done once i install cap rail. Then i painted another layer of red paint, just to make it nice and uniform in preparation for cap rail and margin plank installation. Happy modeling..


-
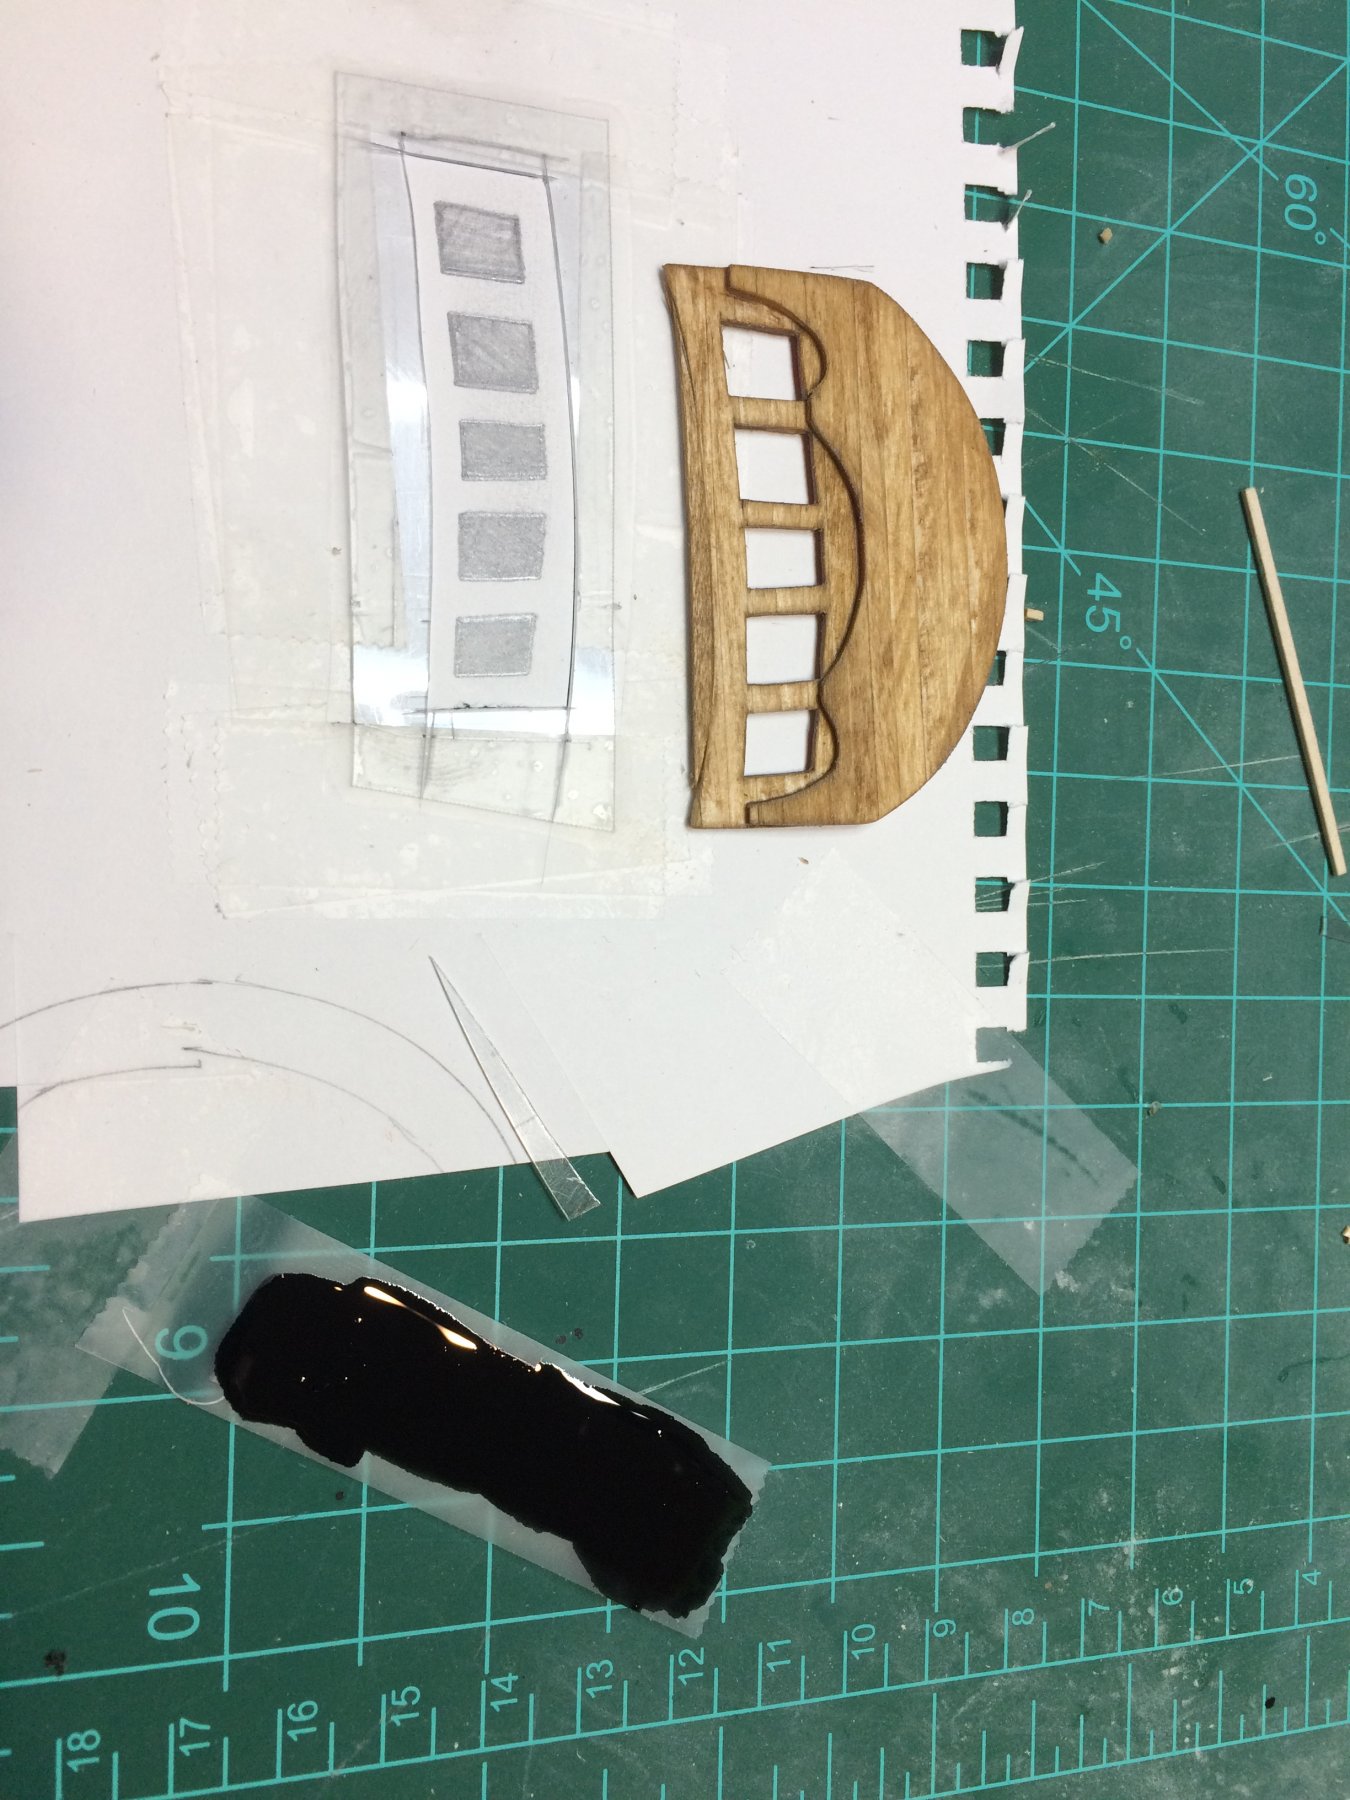
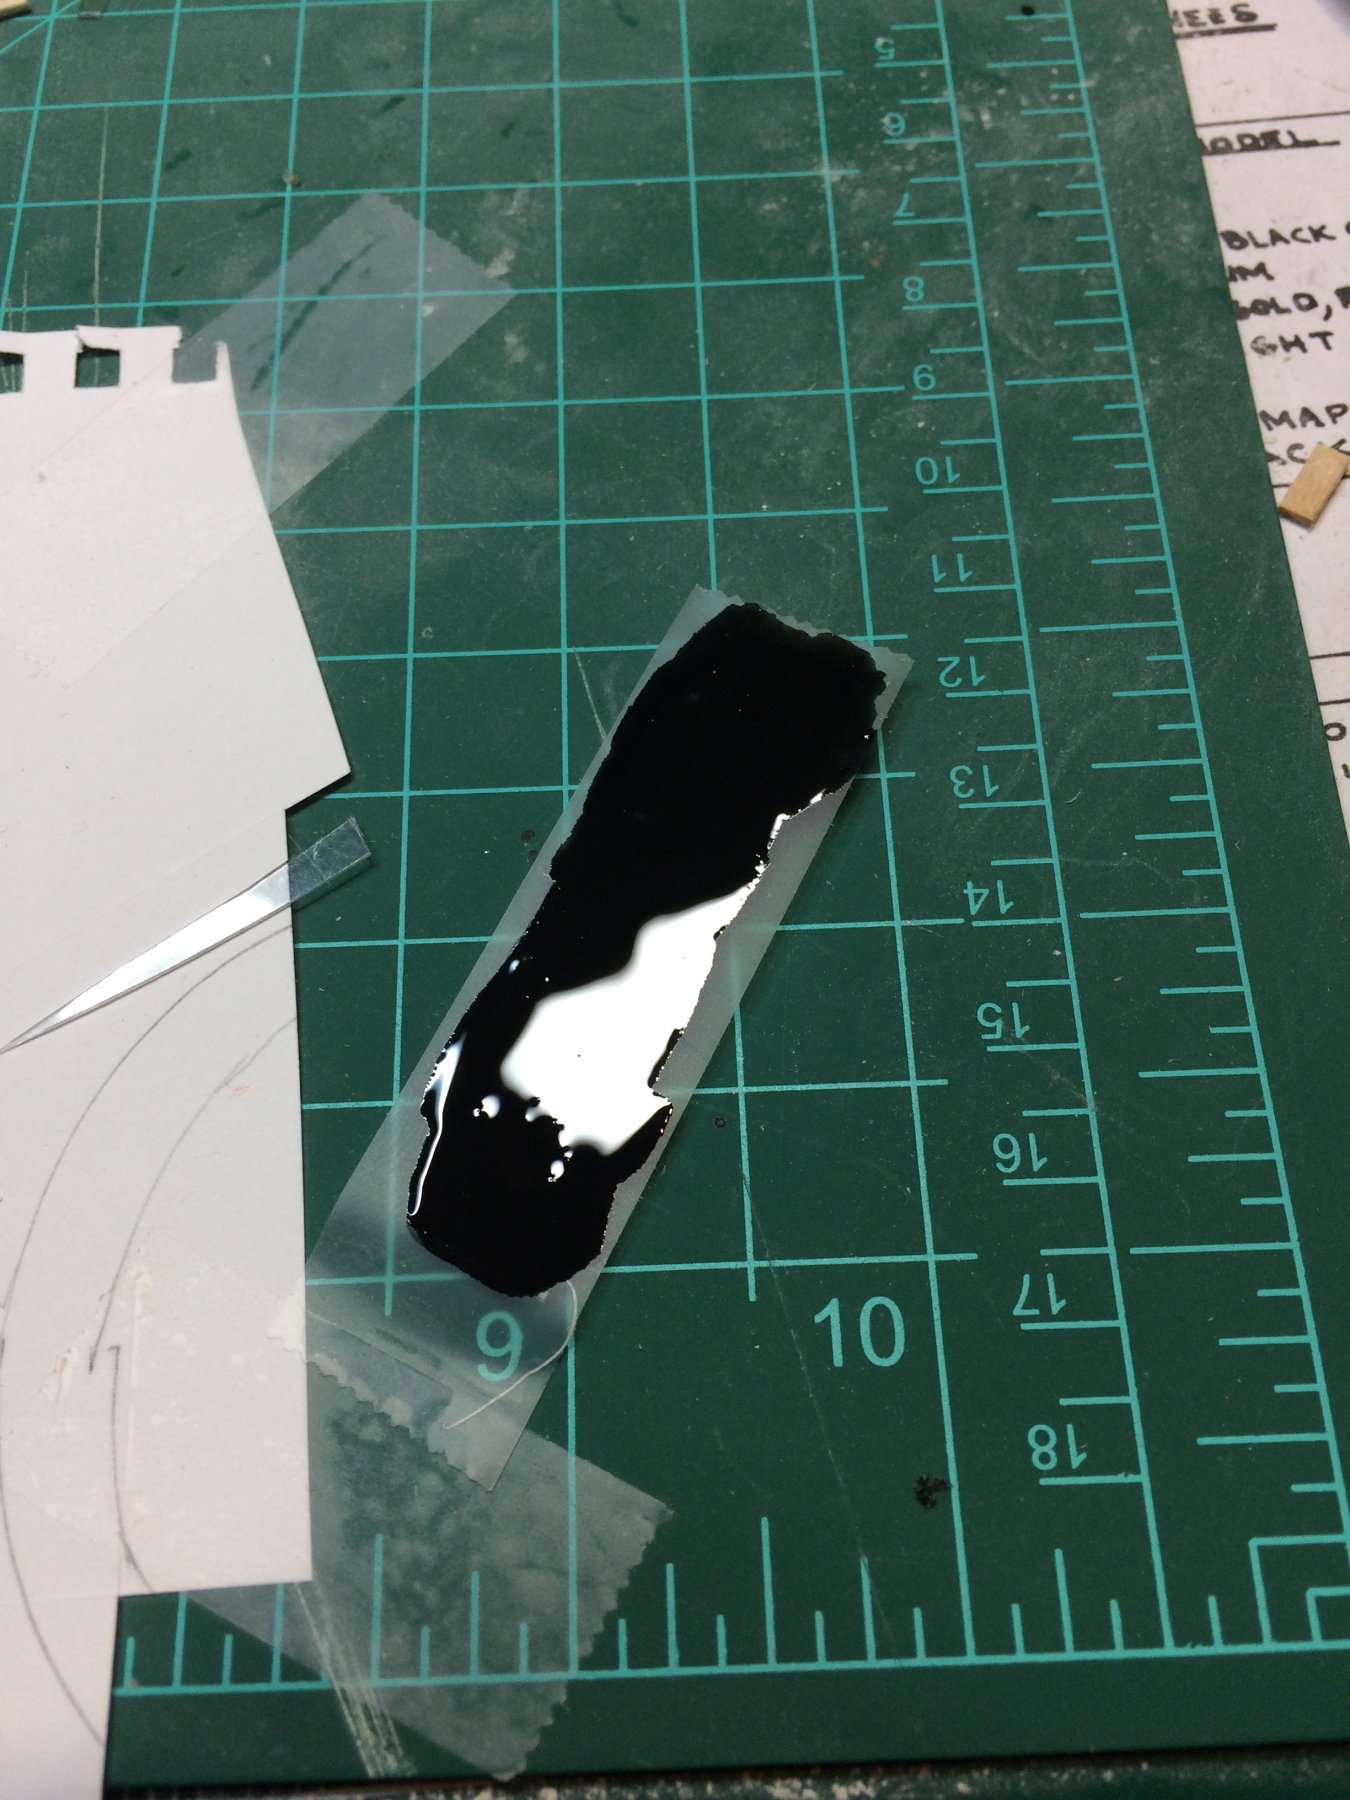
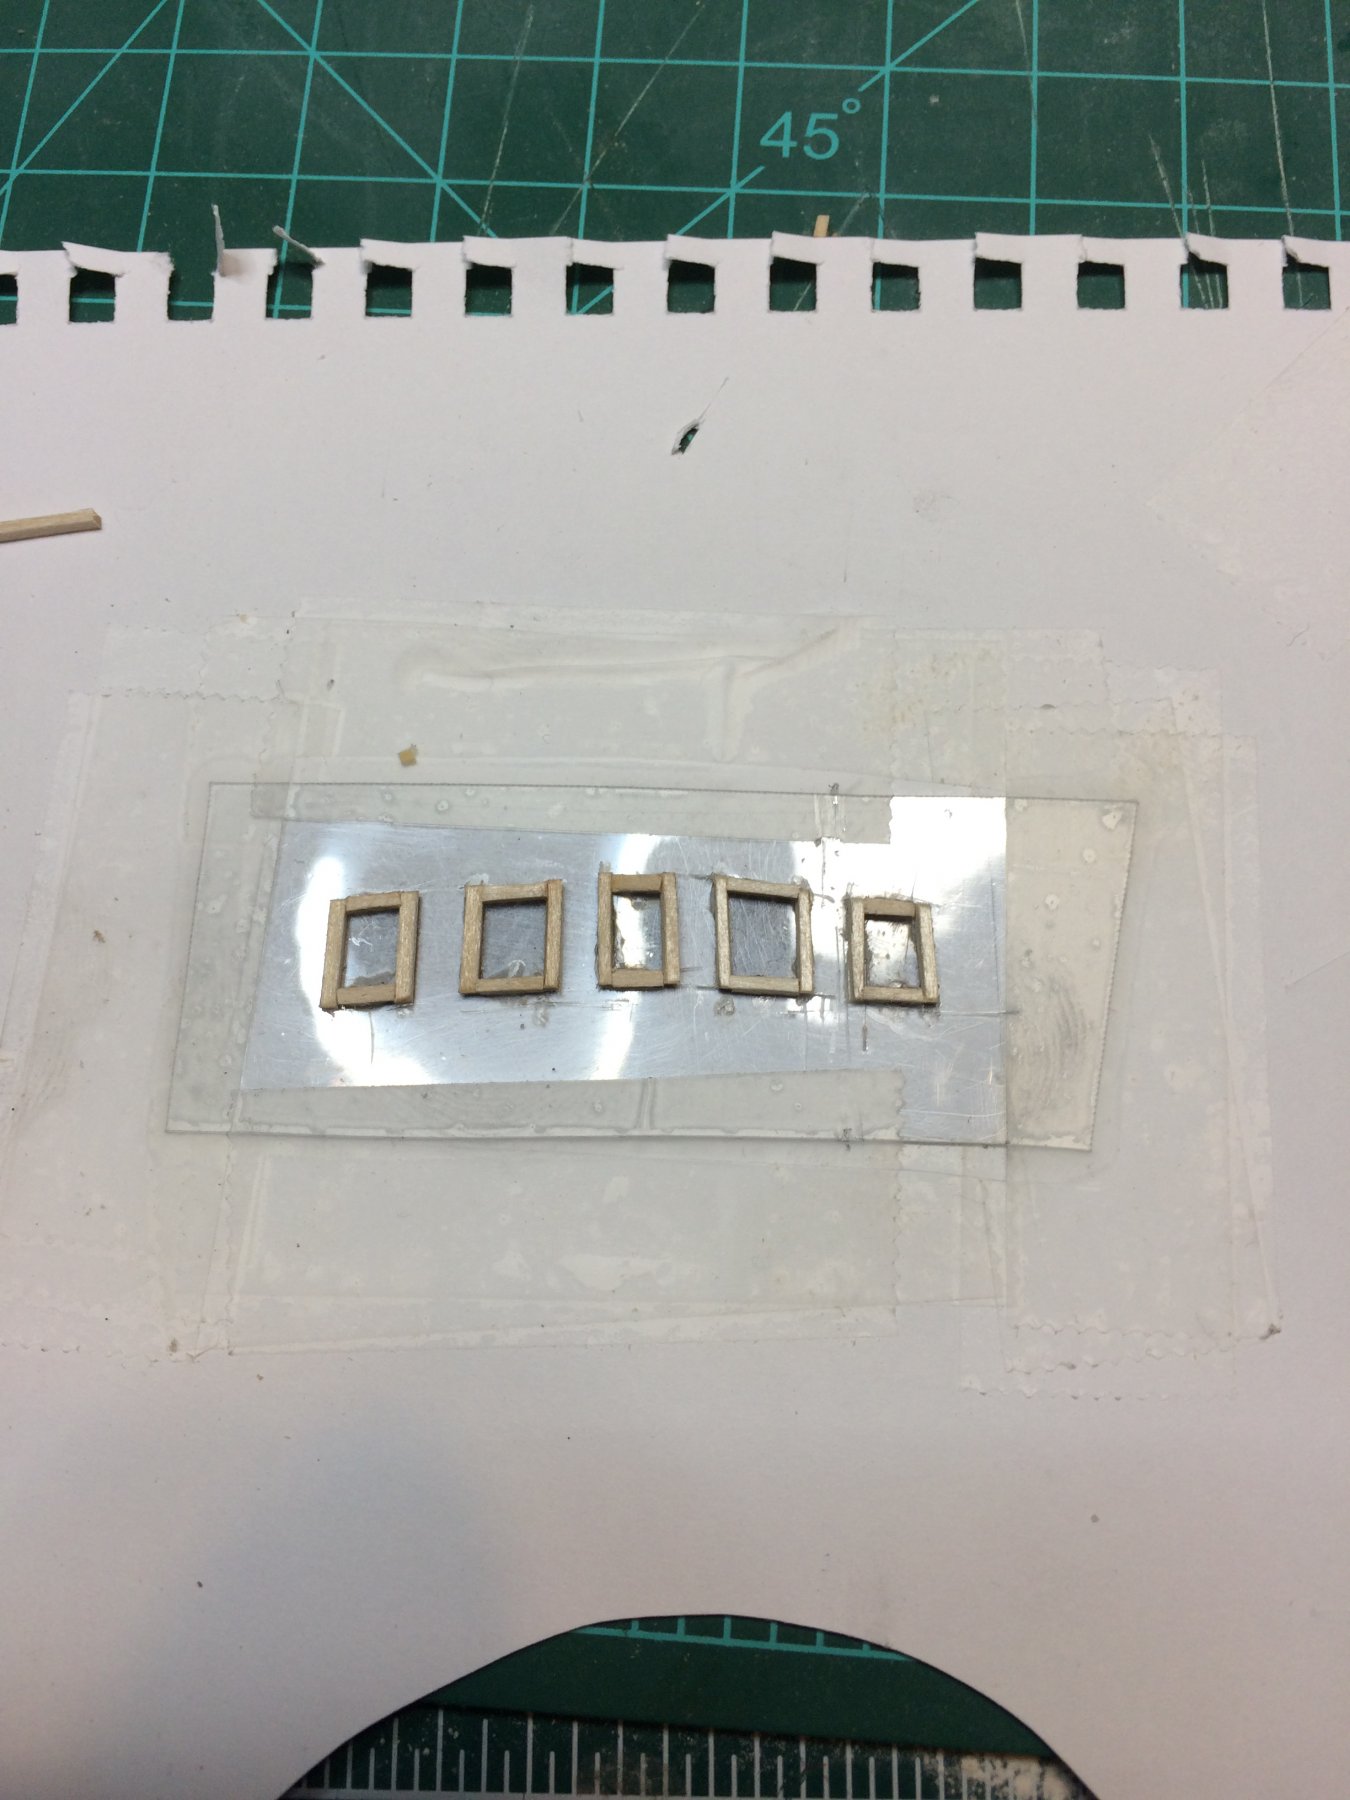
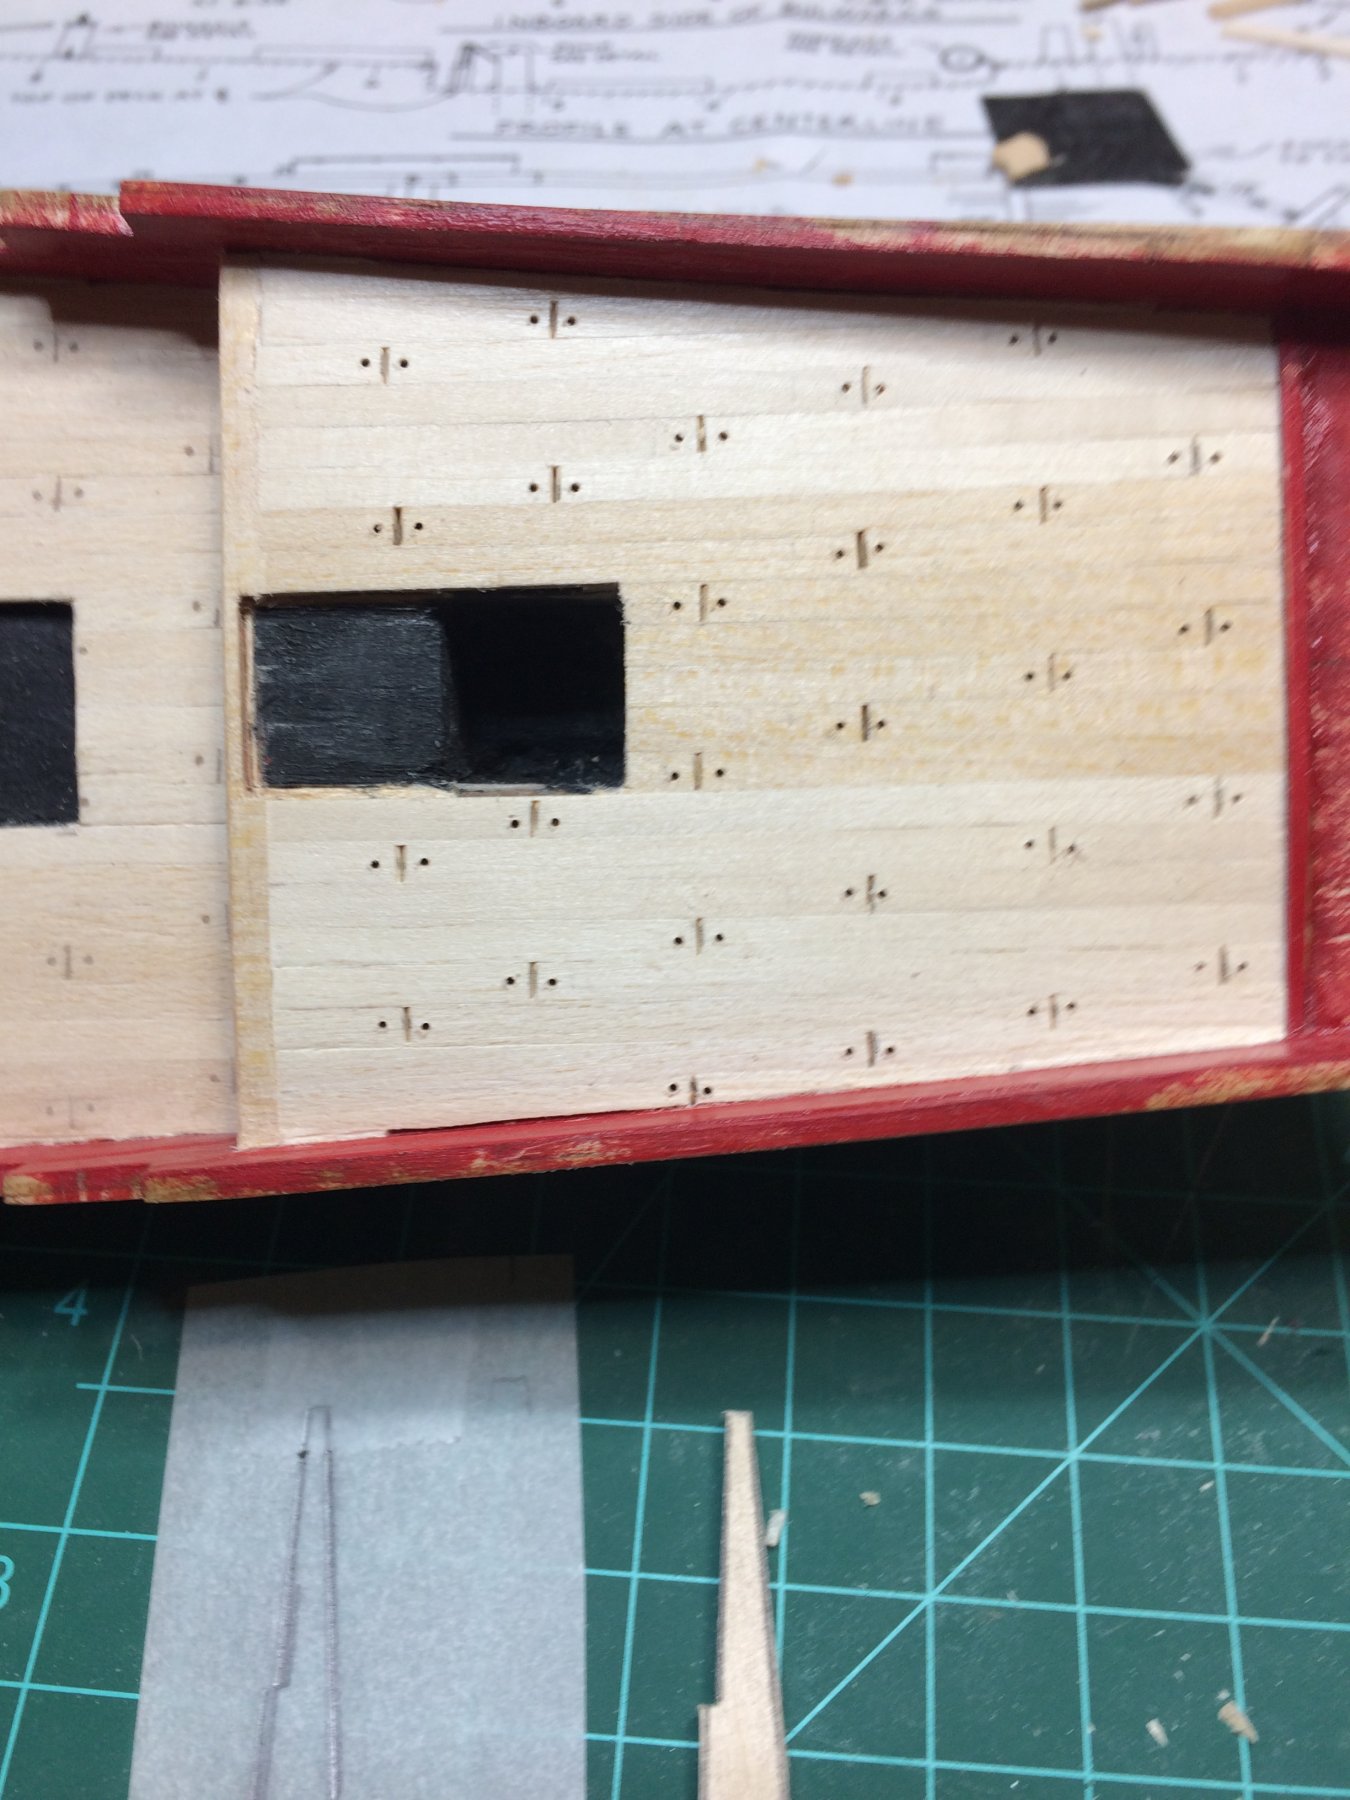
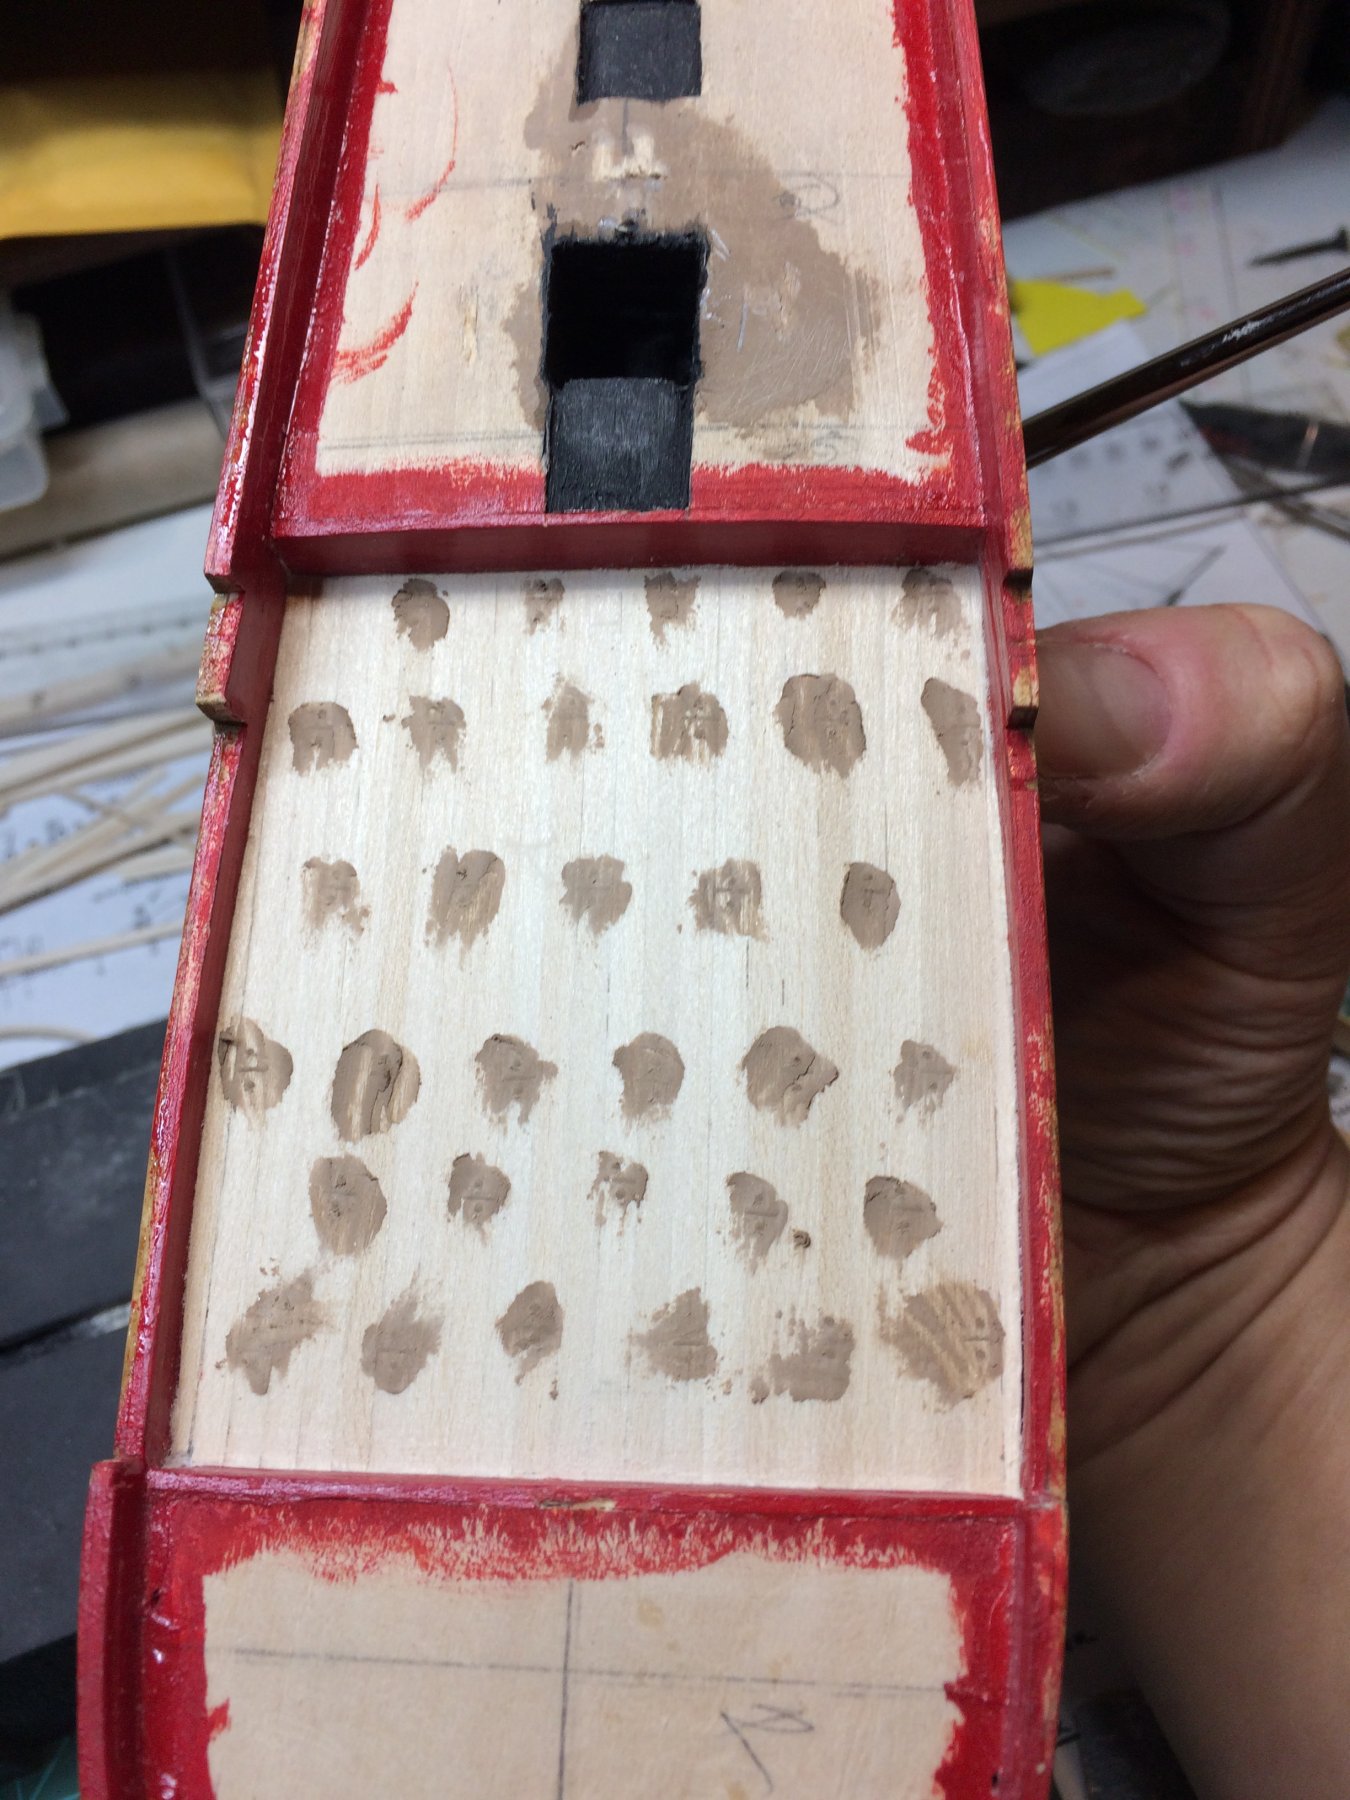
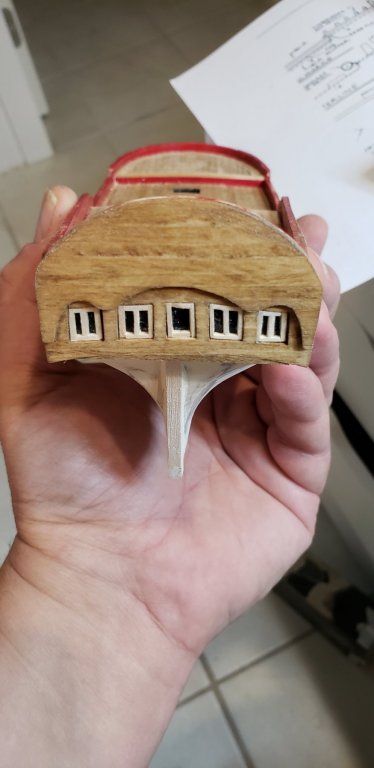
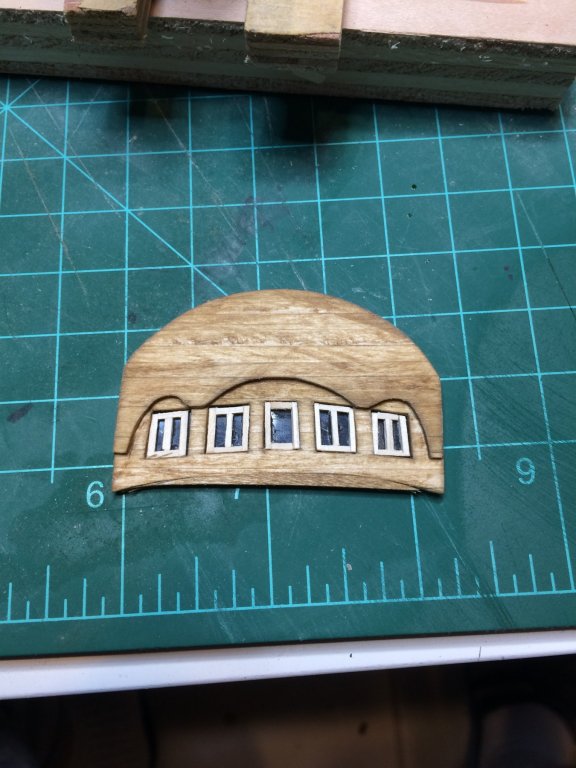
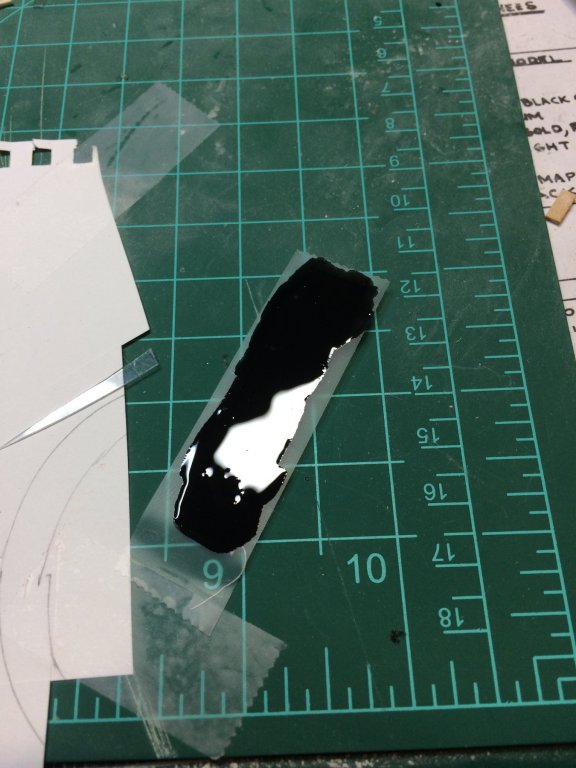
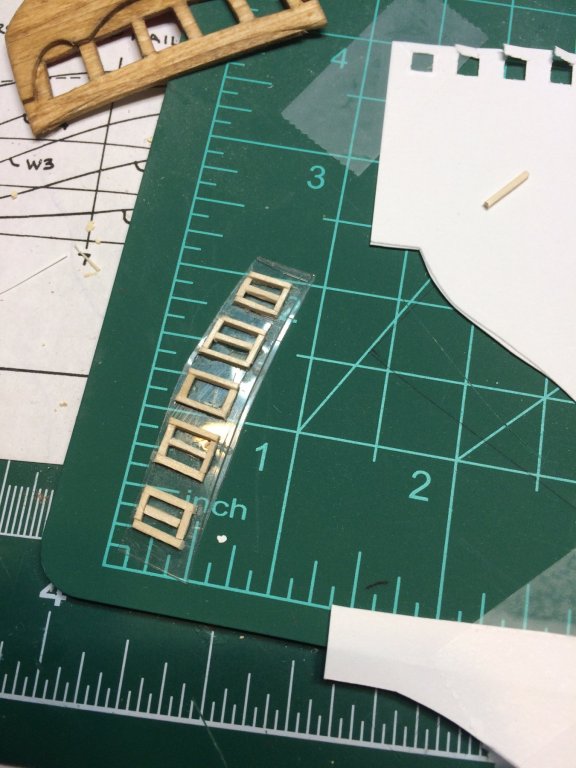
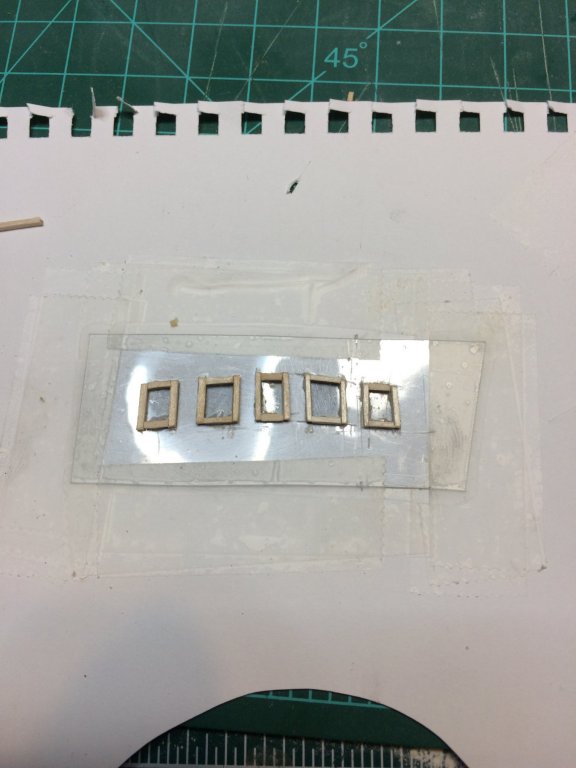
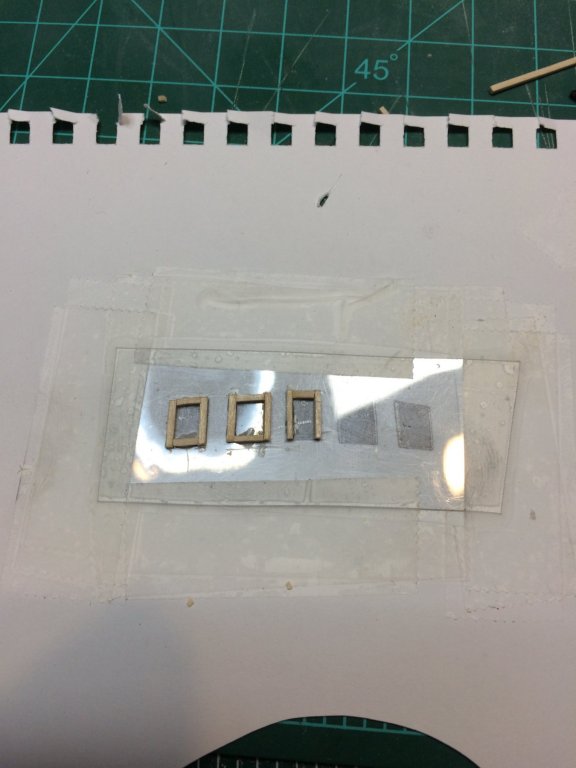
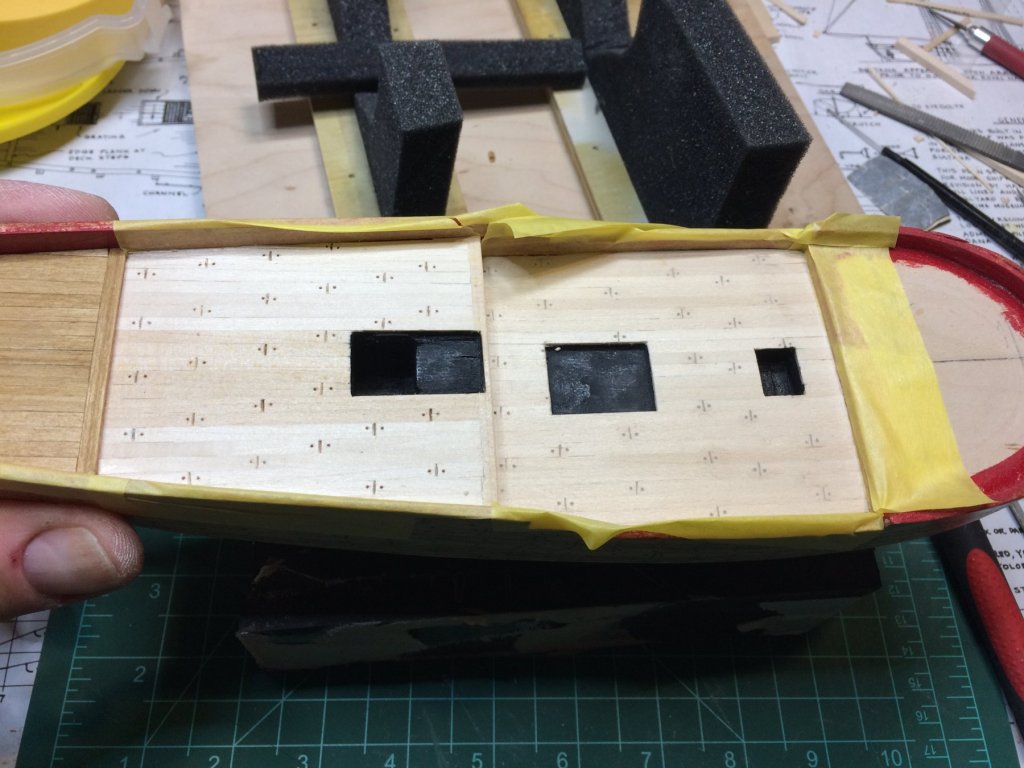
Had completed sanding of planked part of a deck. Bow is waiting for planking.. Then i worked on keel, filled holes with wood putty, and give a bit of a sanding after filler was dried. There are few spots that do need some extra filling... Then i attacked windows. Man, those are tiny one, very tiny. When i finish with Sultana i would need a new prescription glasses.. One piece of window panes, 1mmx1mm... So, first i traced the windows on the paper. then put a piece of plastic i cut from blueberry case and fix it on the paper with traced windows. Next i started to make window frames.. After each window i put the transom on completed window to make sure it fits properly. Then next window, same process... Completed windows and plastic sheet cut in correct size. I have made executive decision and decided only to install a vertical window panes and not horizontal. It would be very difficult to cut them into correct size and install to look normal.. After that, i put a piece of tape and paint it in flat black. The reason is that paint will not stick on plastic sheet.. It would take some time to dry it so shipyard is closed for today.. Happy modeling..


- 360 replies
-
- 2
-
-
- sultana
- model shipways
- (and 1 more)
-
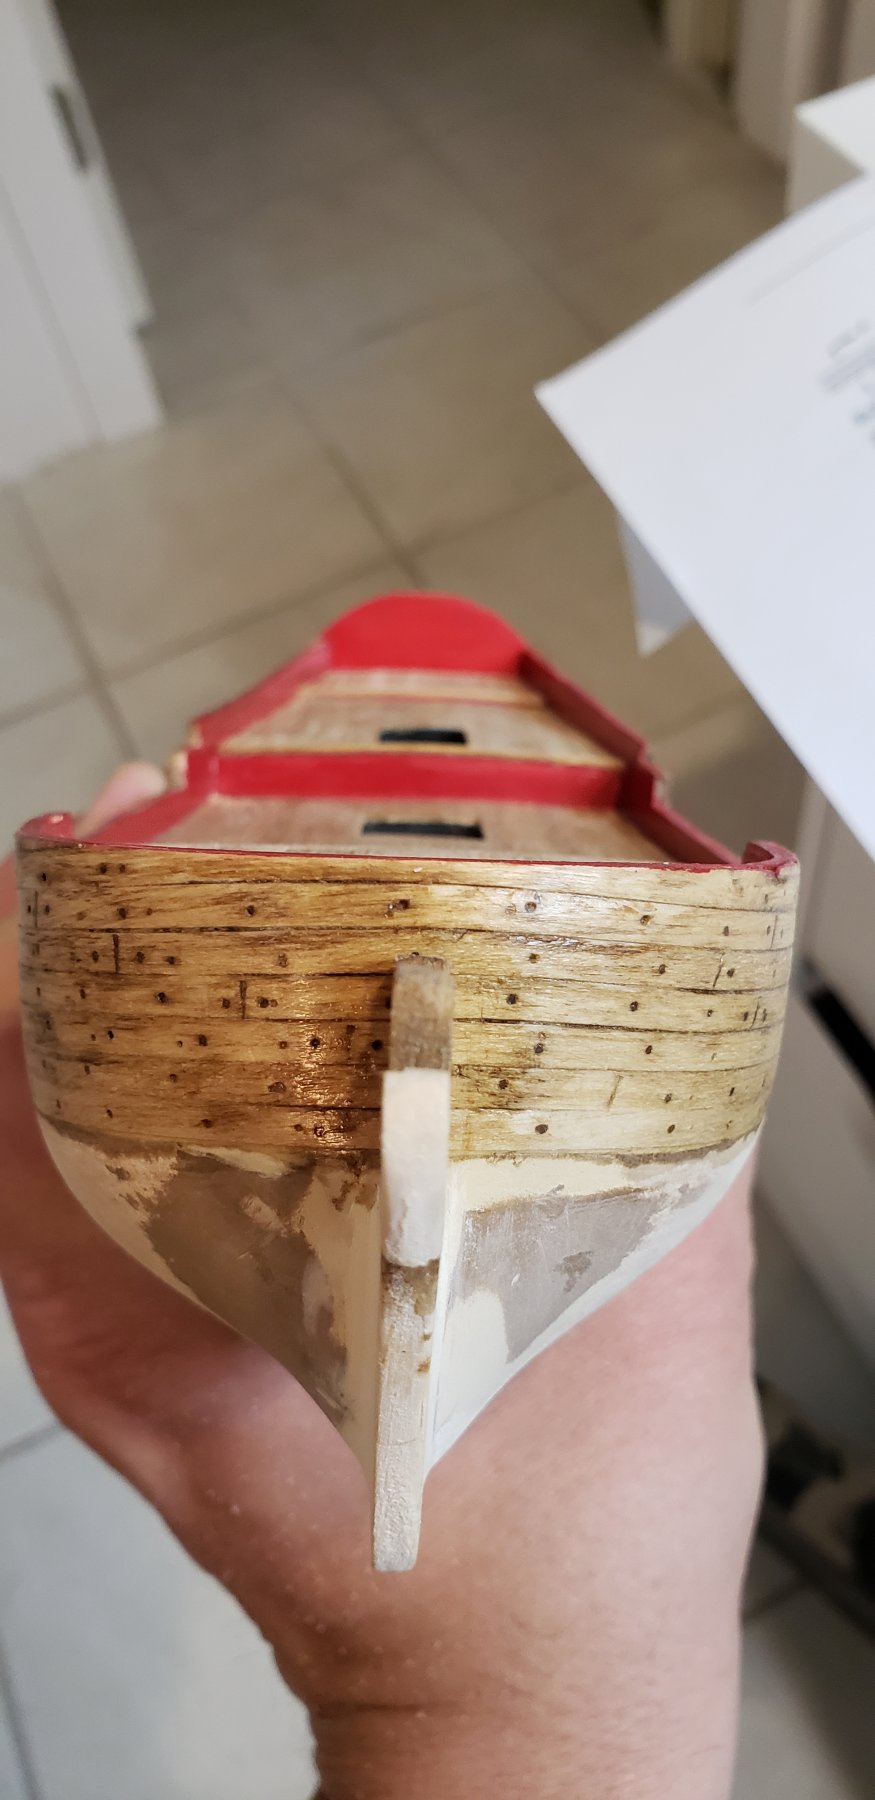
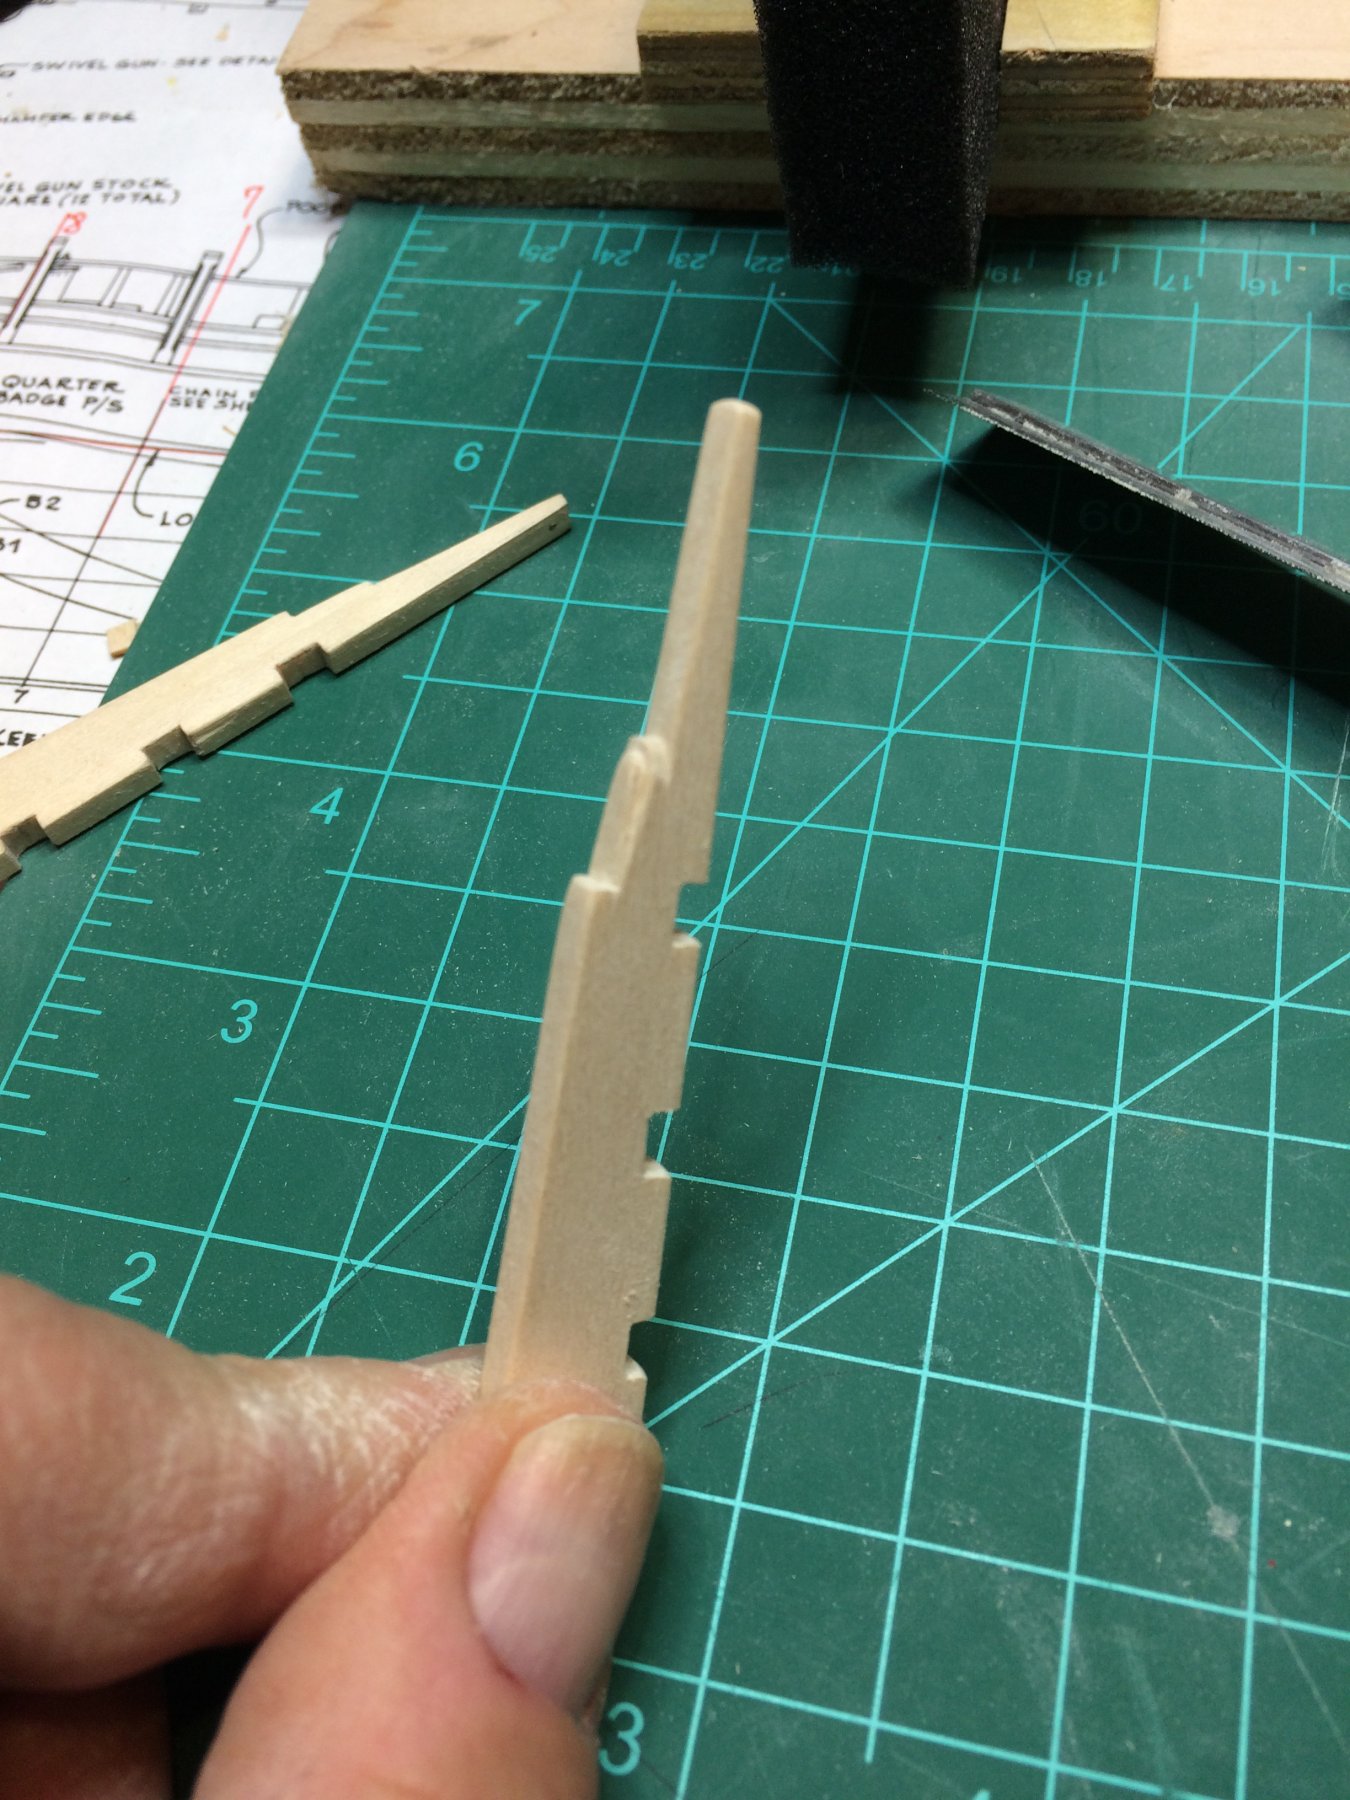
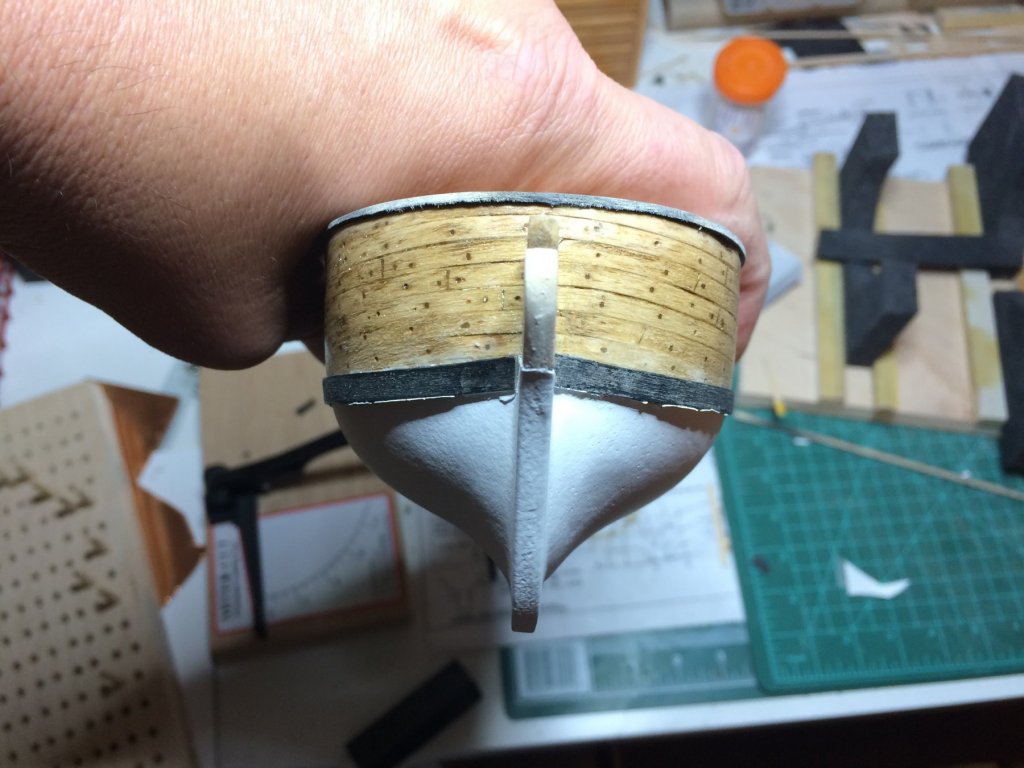
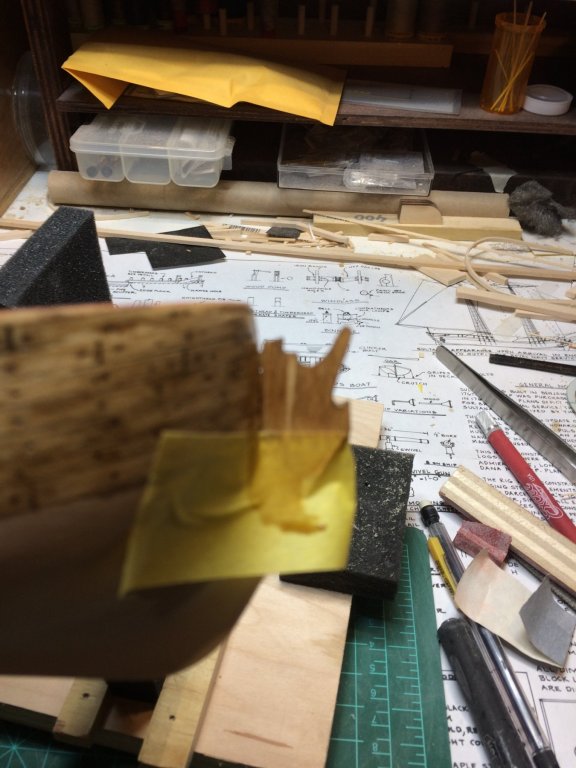
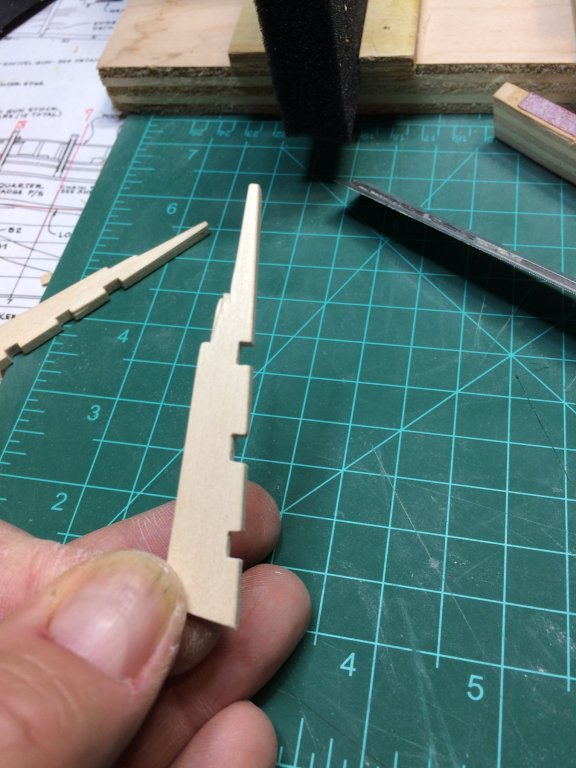
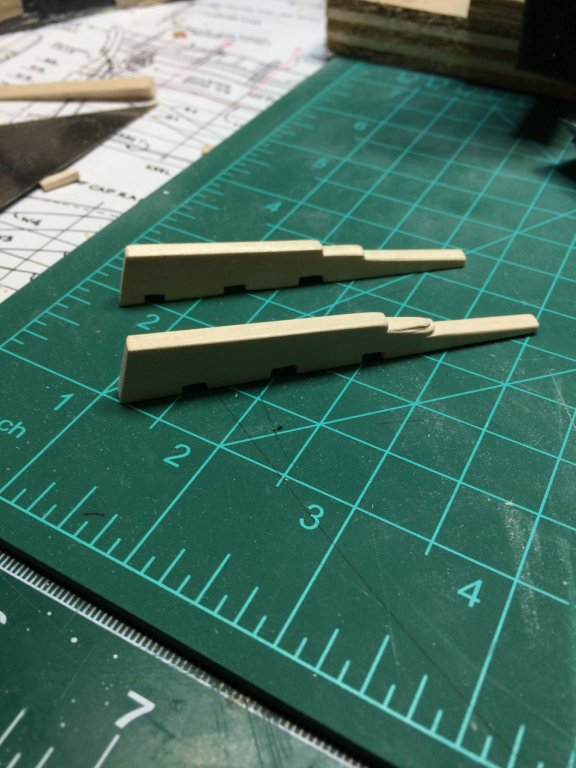
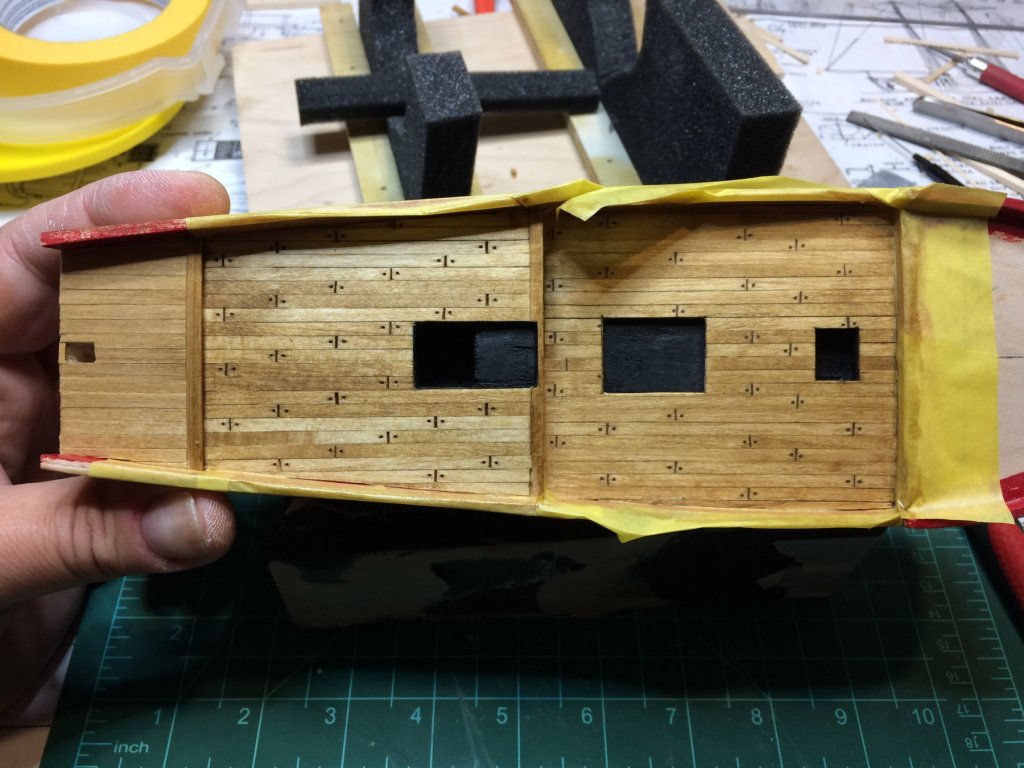
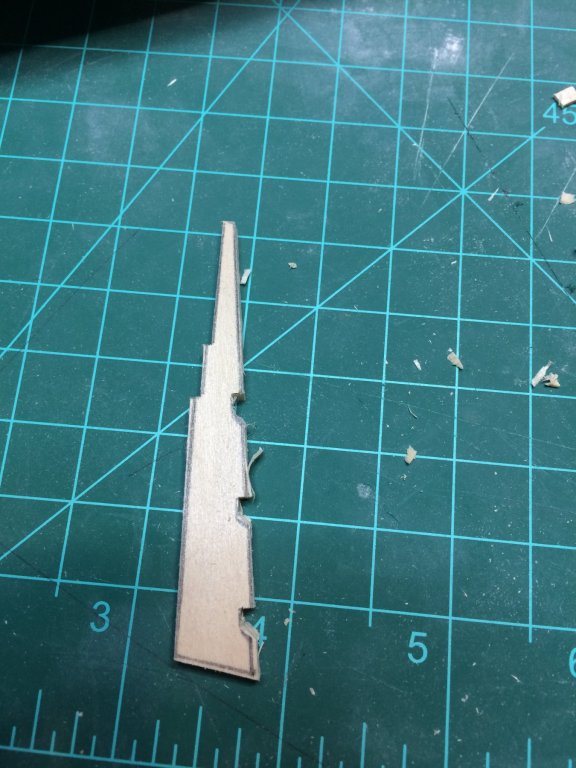
Today i had some extra hours in shipyard; here are results. I have done deck staining, of course first had to mask the red painted parts so they don't get a golden oak patina.. Run a light layer of stain and clean the extra stain with piece of bounty. It ended up be a nice color.. After that i mounted all keel parts. Glued them to the hull with cyano gel and carpenter' yellow glue. Then i noticed that my rudder is a bit smaller that needed; for some reason i did not get rudder measurements correctly from ship plan. So, lets do it again. I still had some extra 4mm basswood that was left over after i made a first rudder. Back on drawing board, traced old rudder, adjusted the length and start building it. It was not that hard, practice make it perfect :-). Then followed Chuck' suggestion, i did a bit of carving to make the rudder a bit more appealing.. Testing the rudder fit... And accomplishment for today.. Happy modeling..


- 360 replies
-
- 2
-
-
- sultana
- model shipways
- (and 1 more)
-
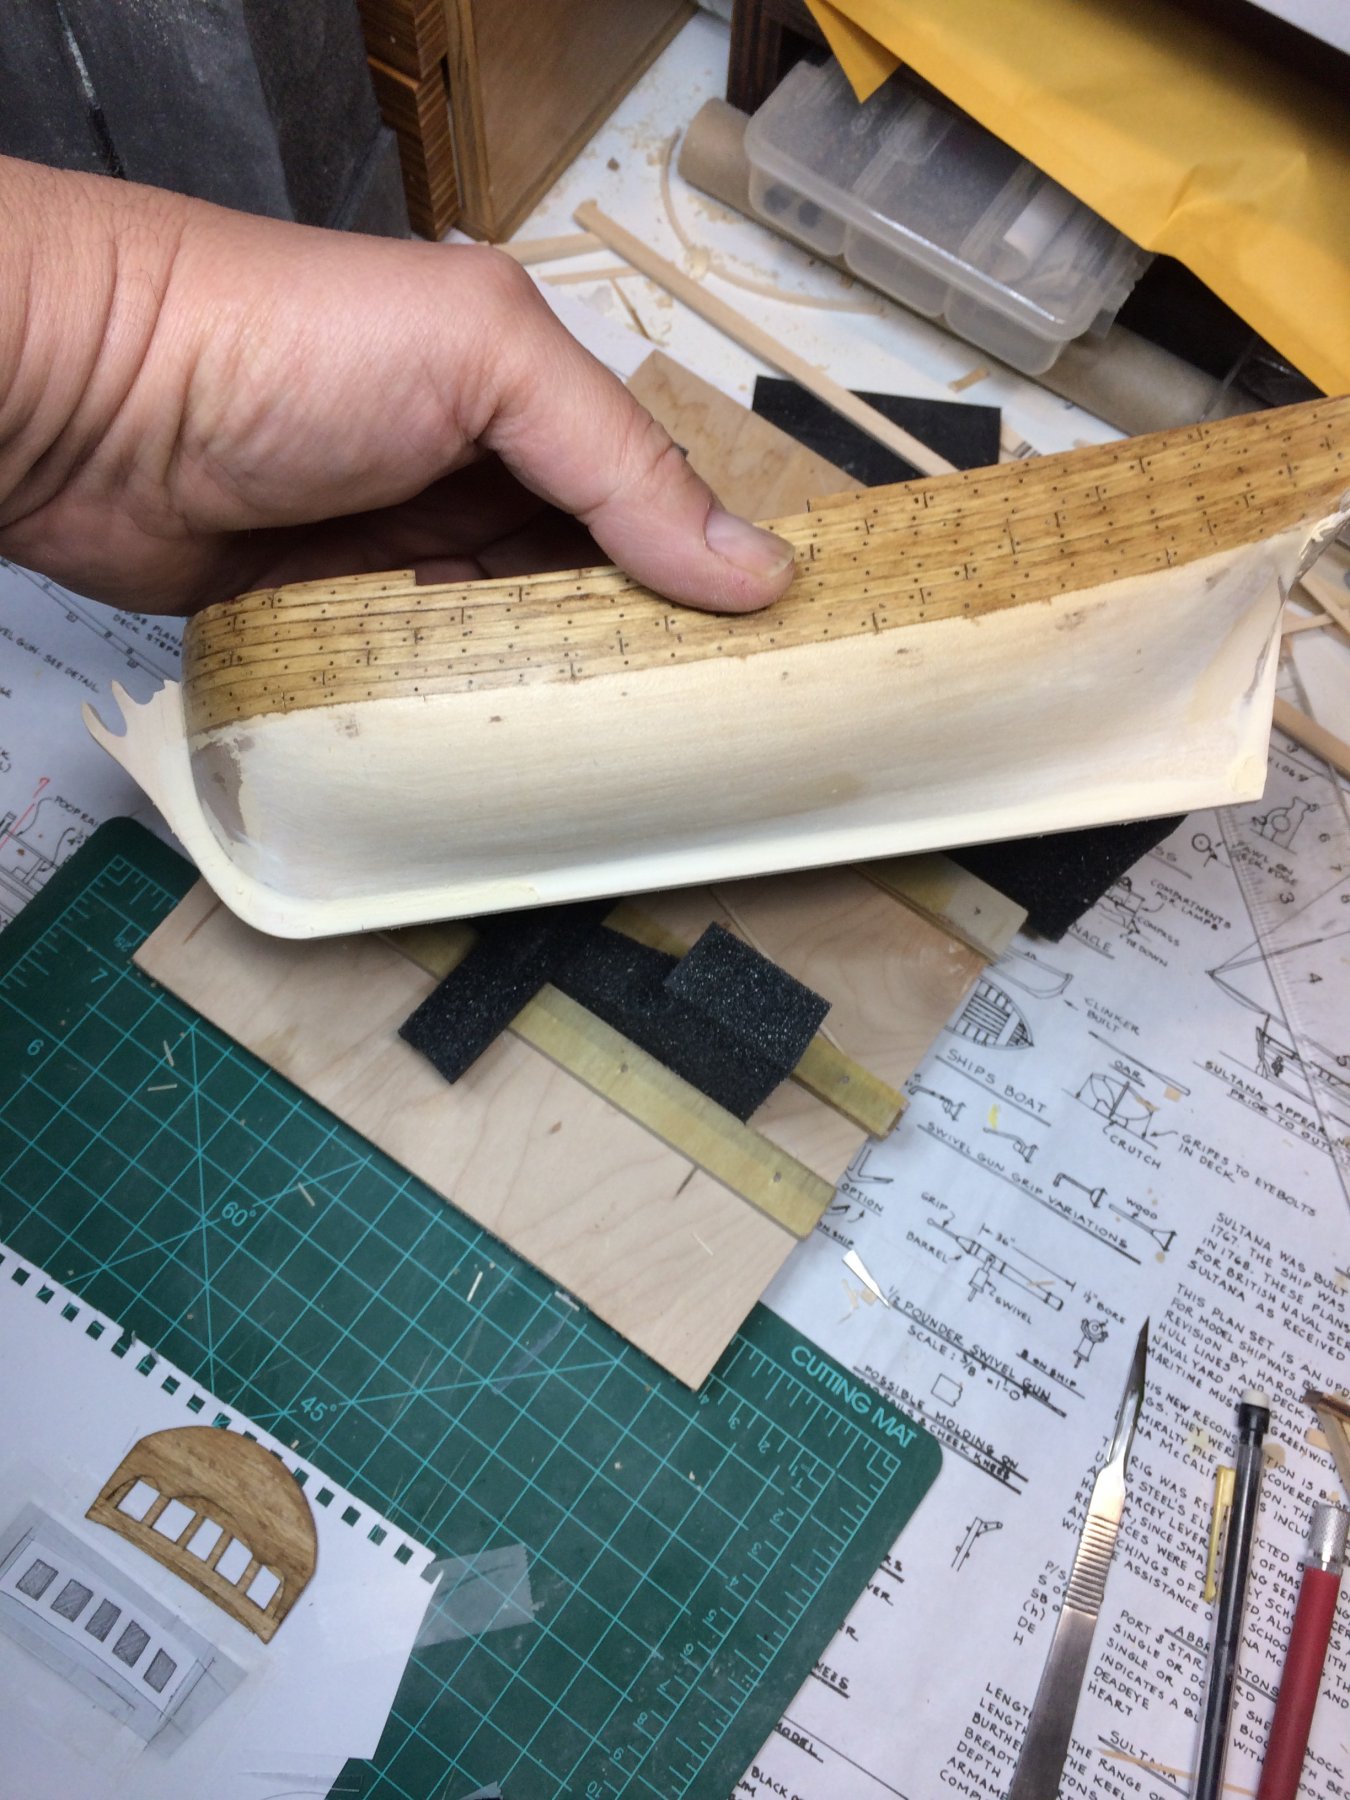
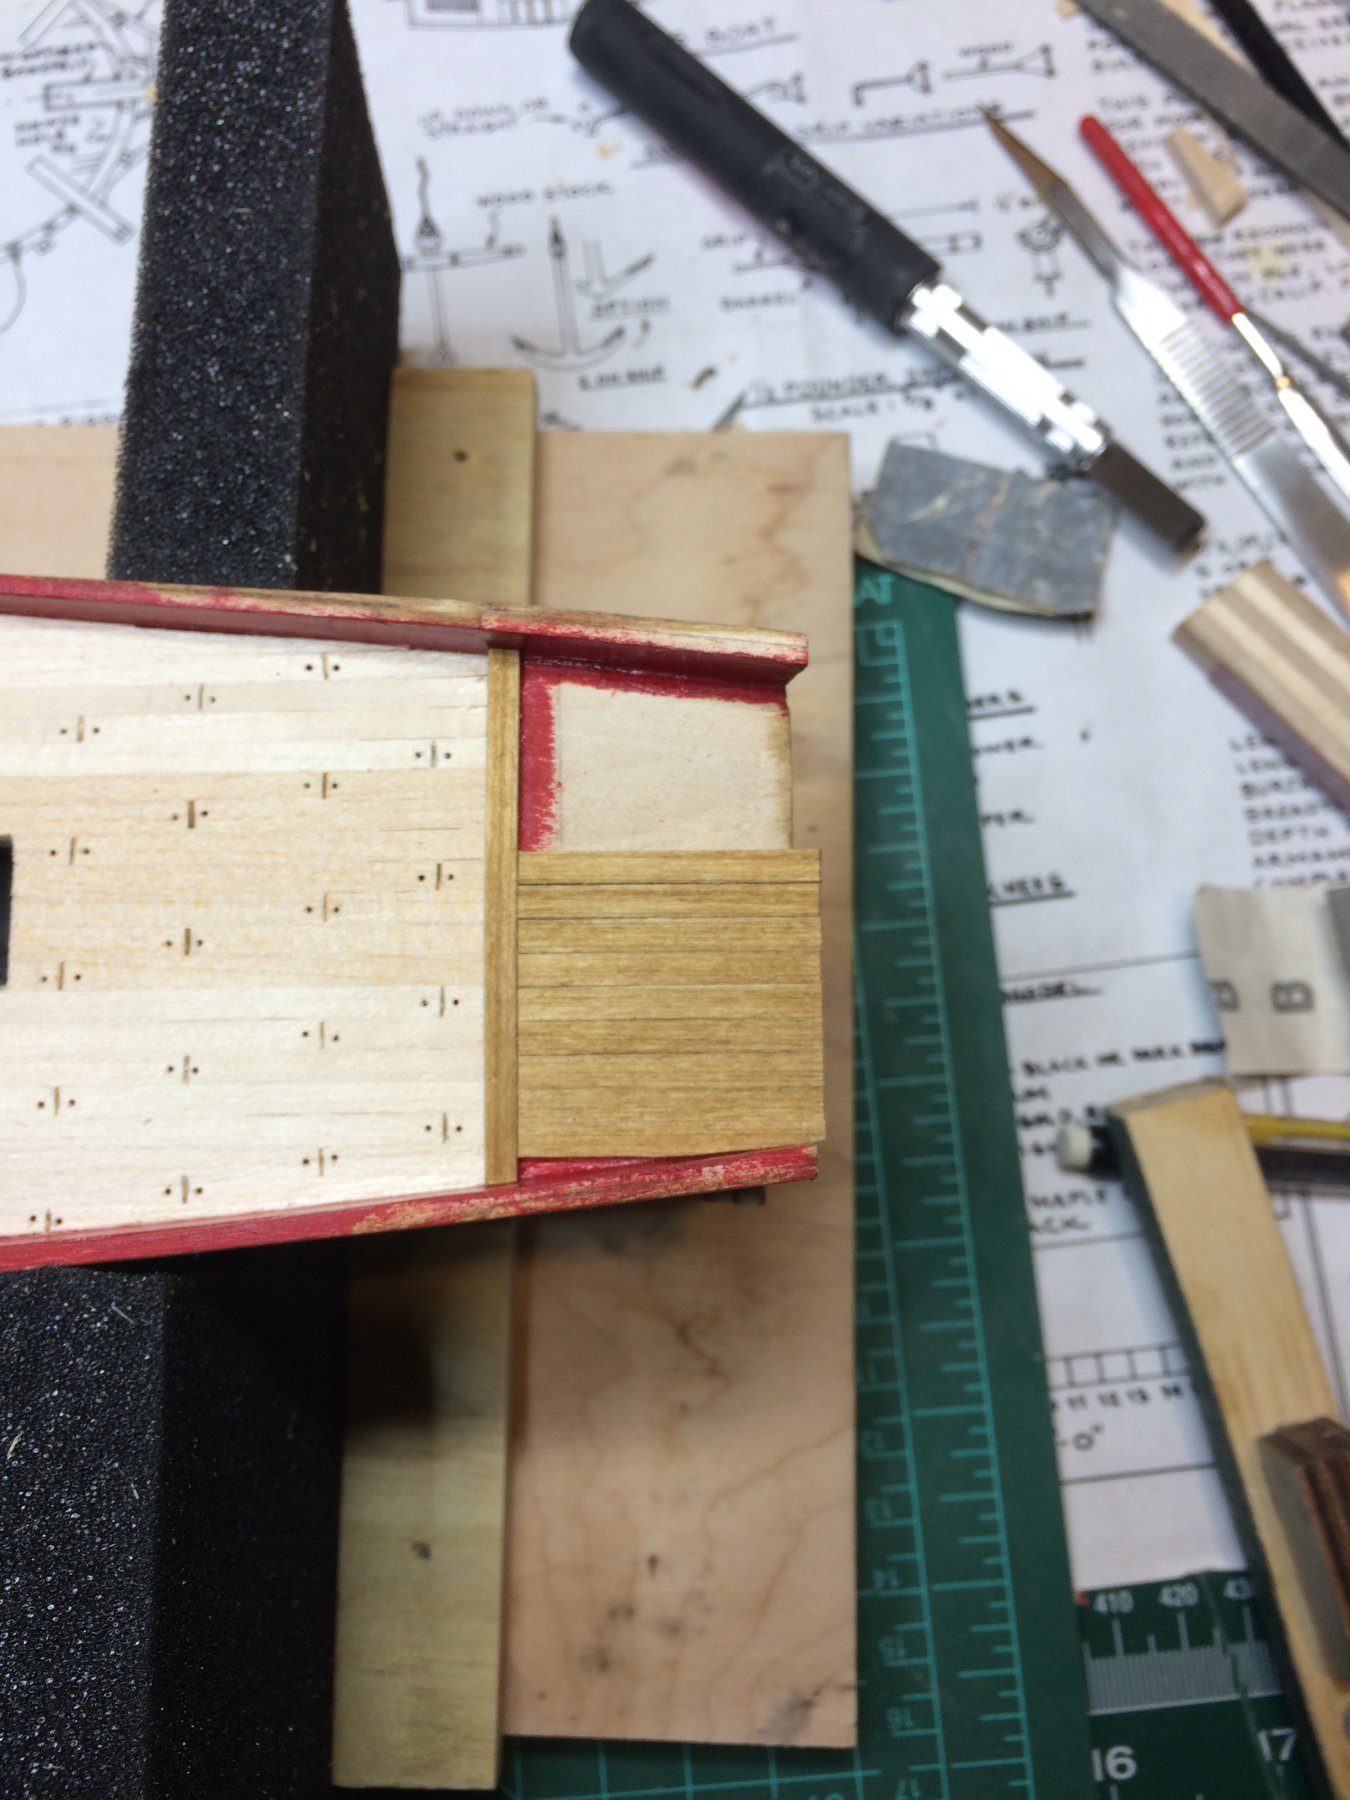
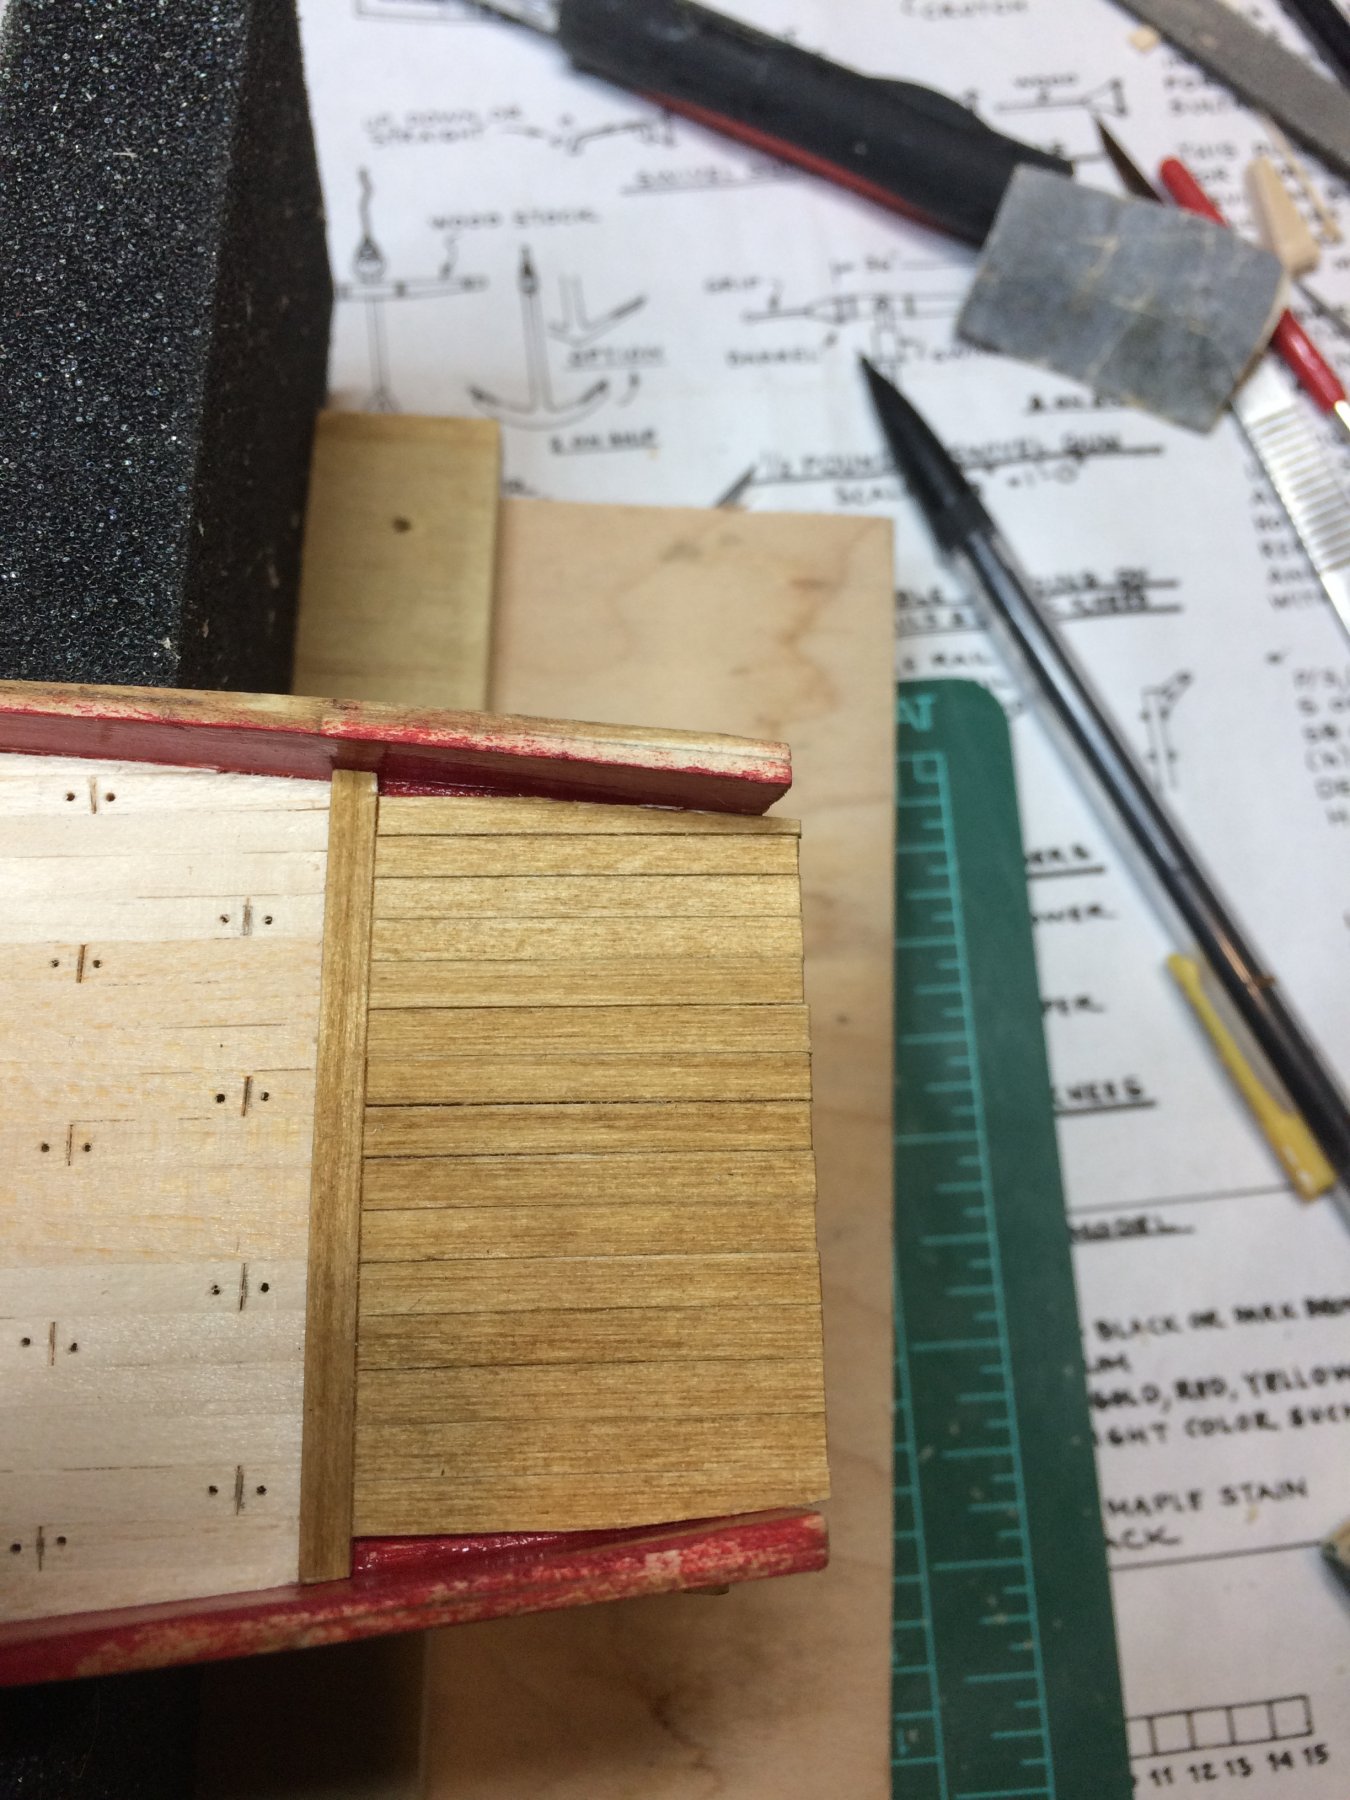
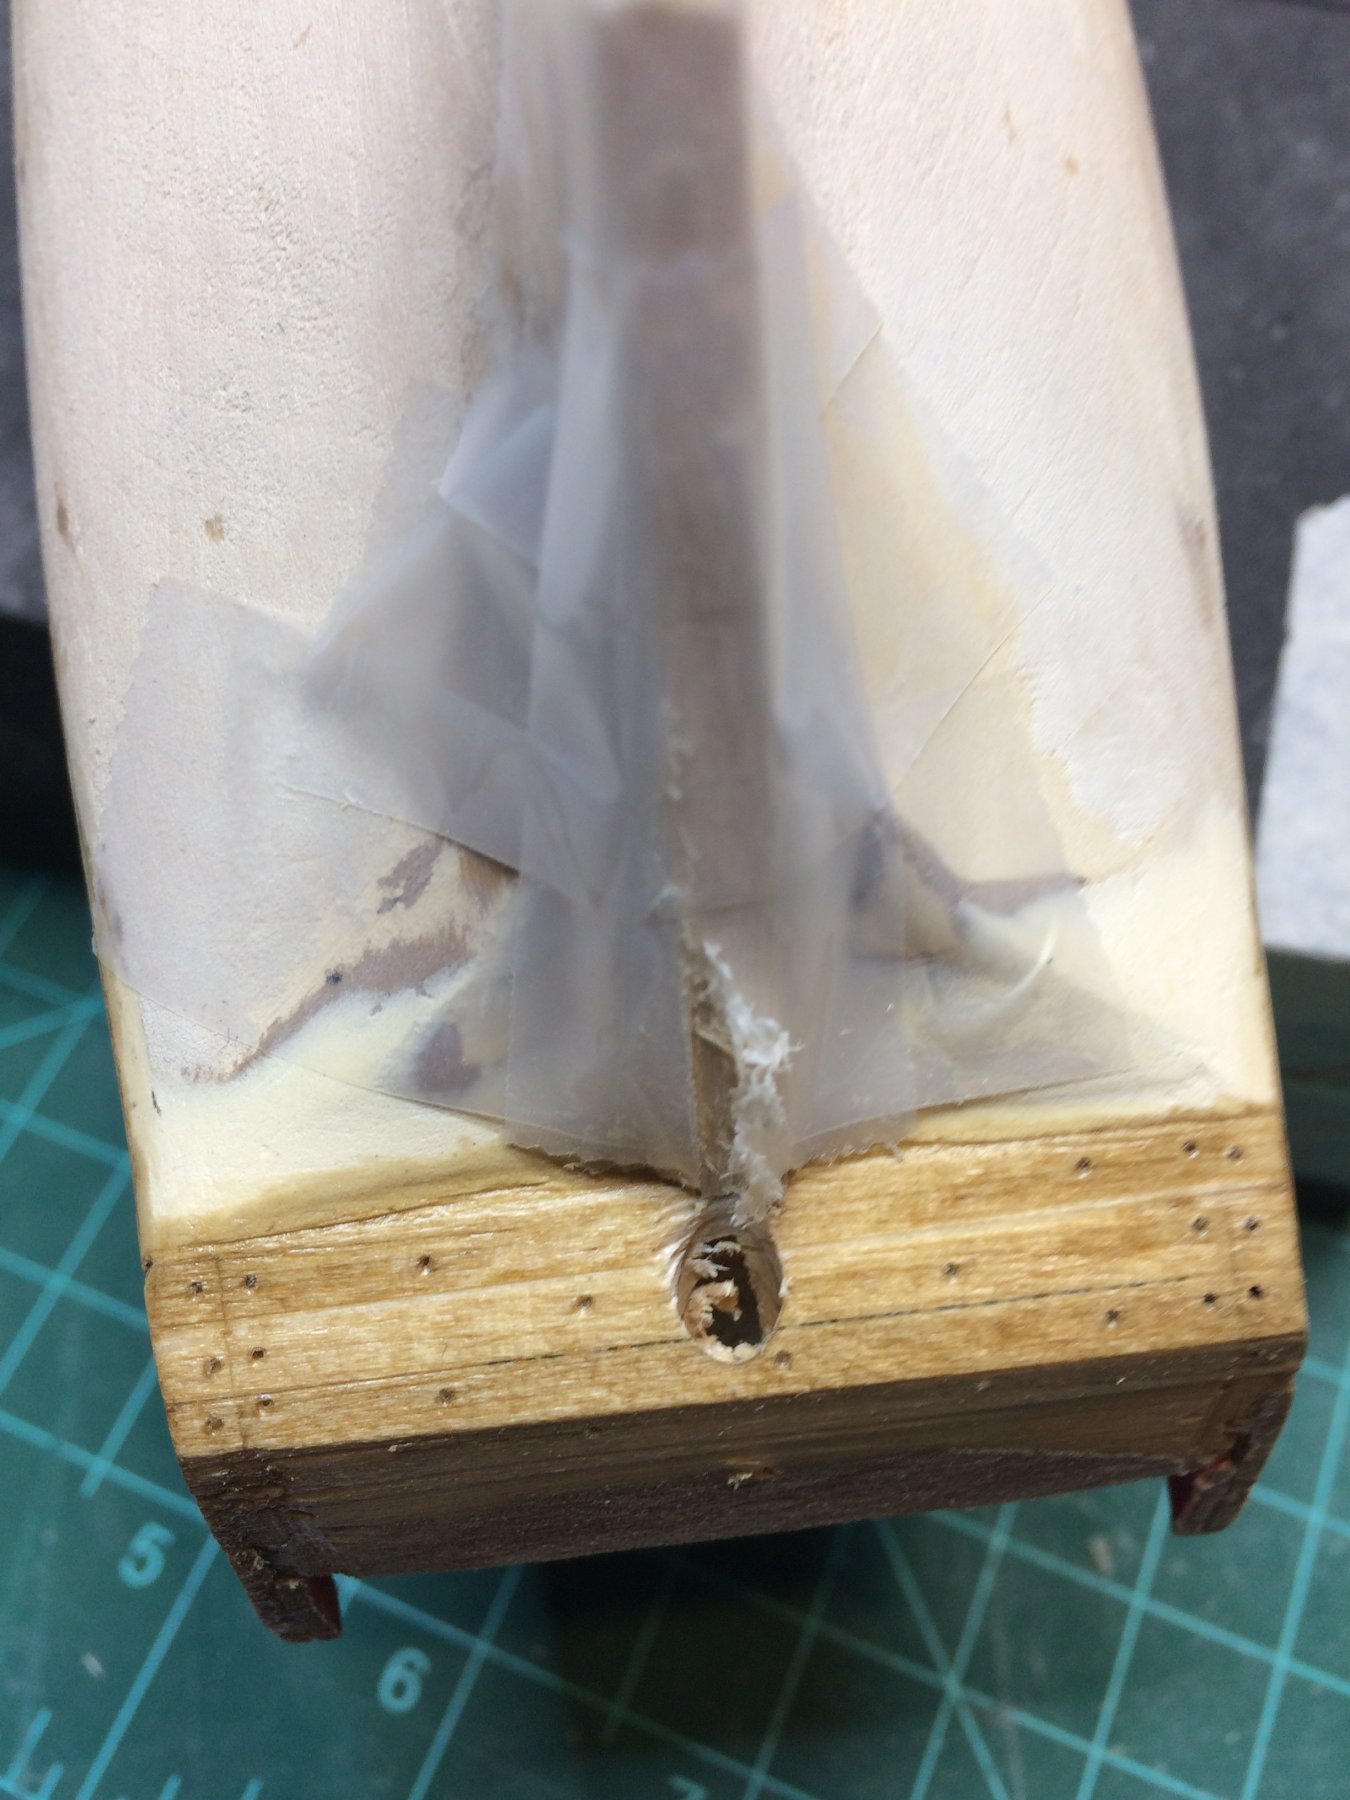
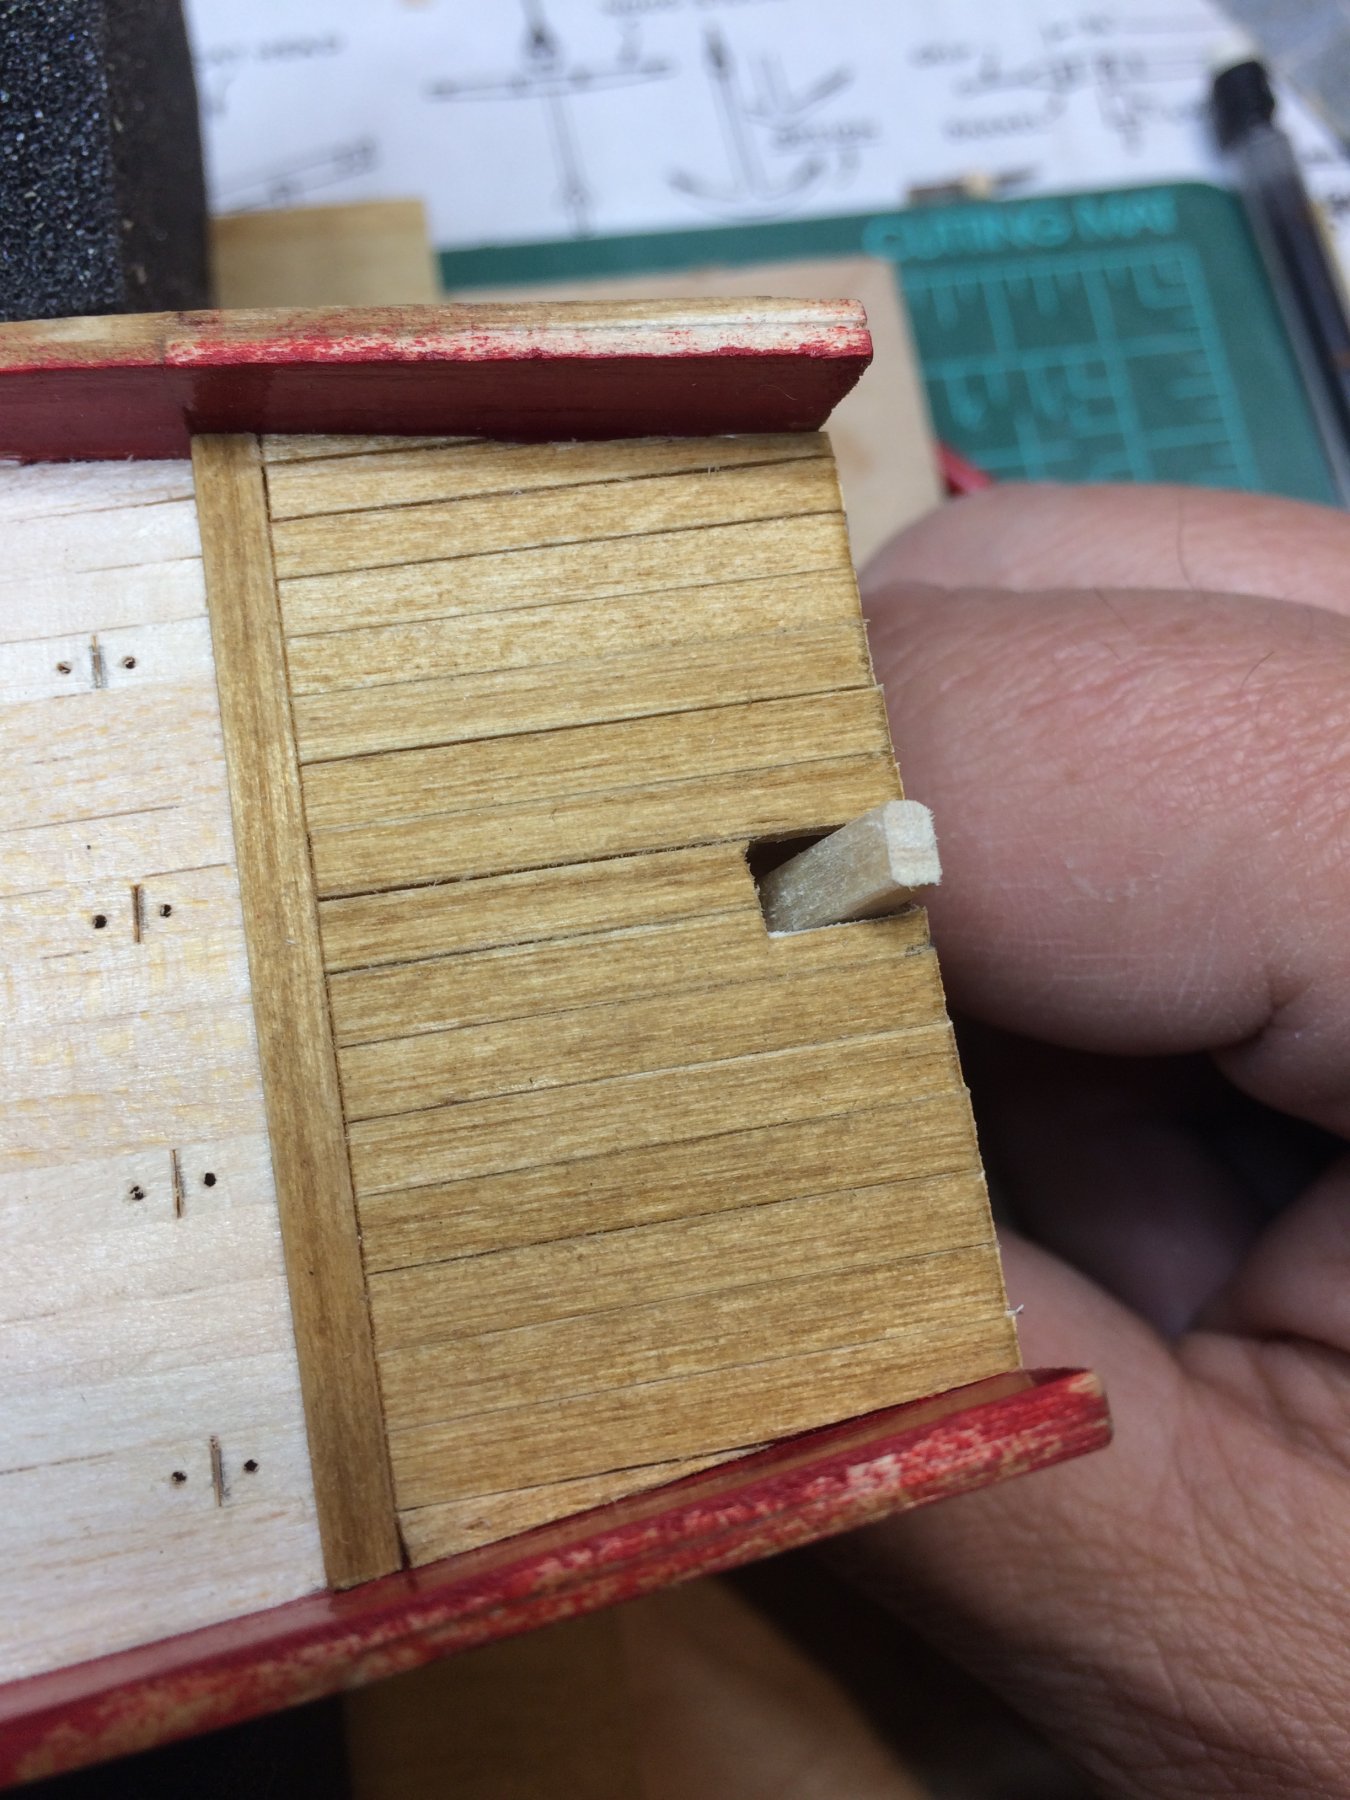
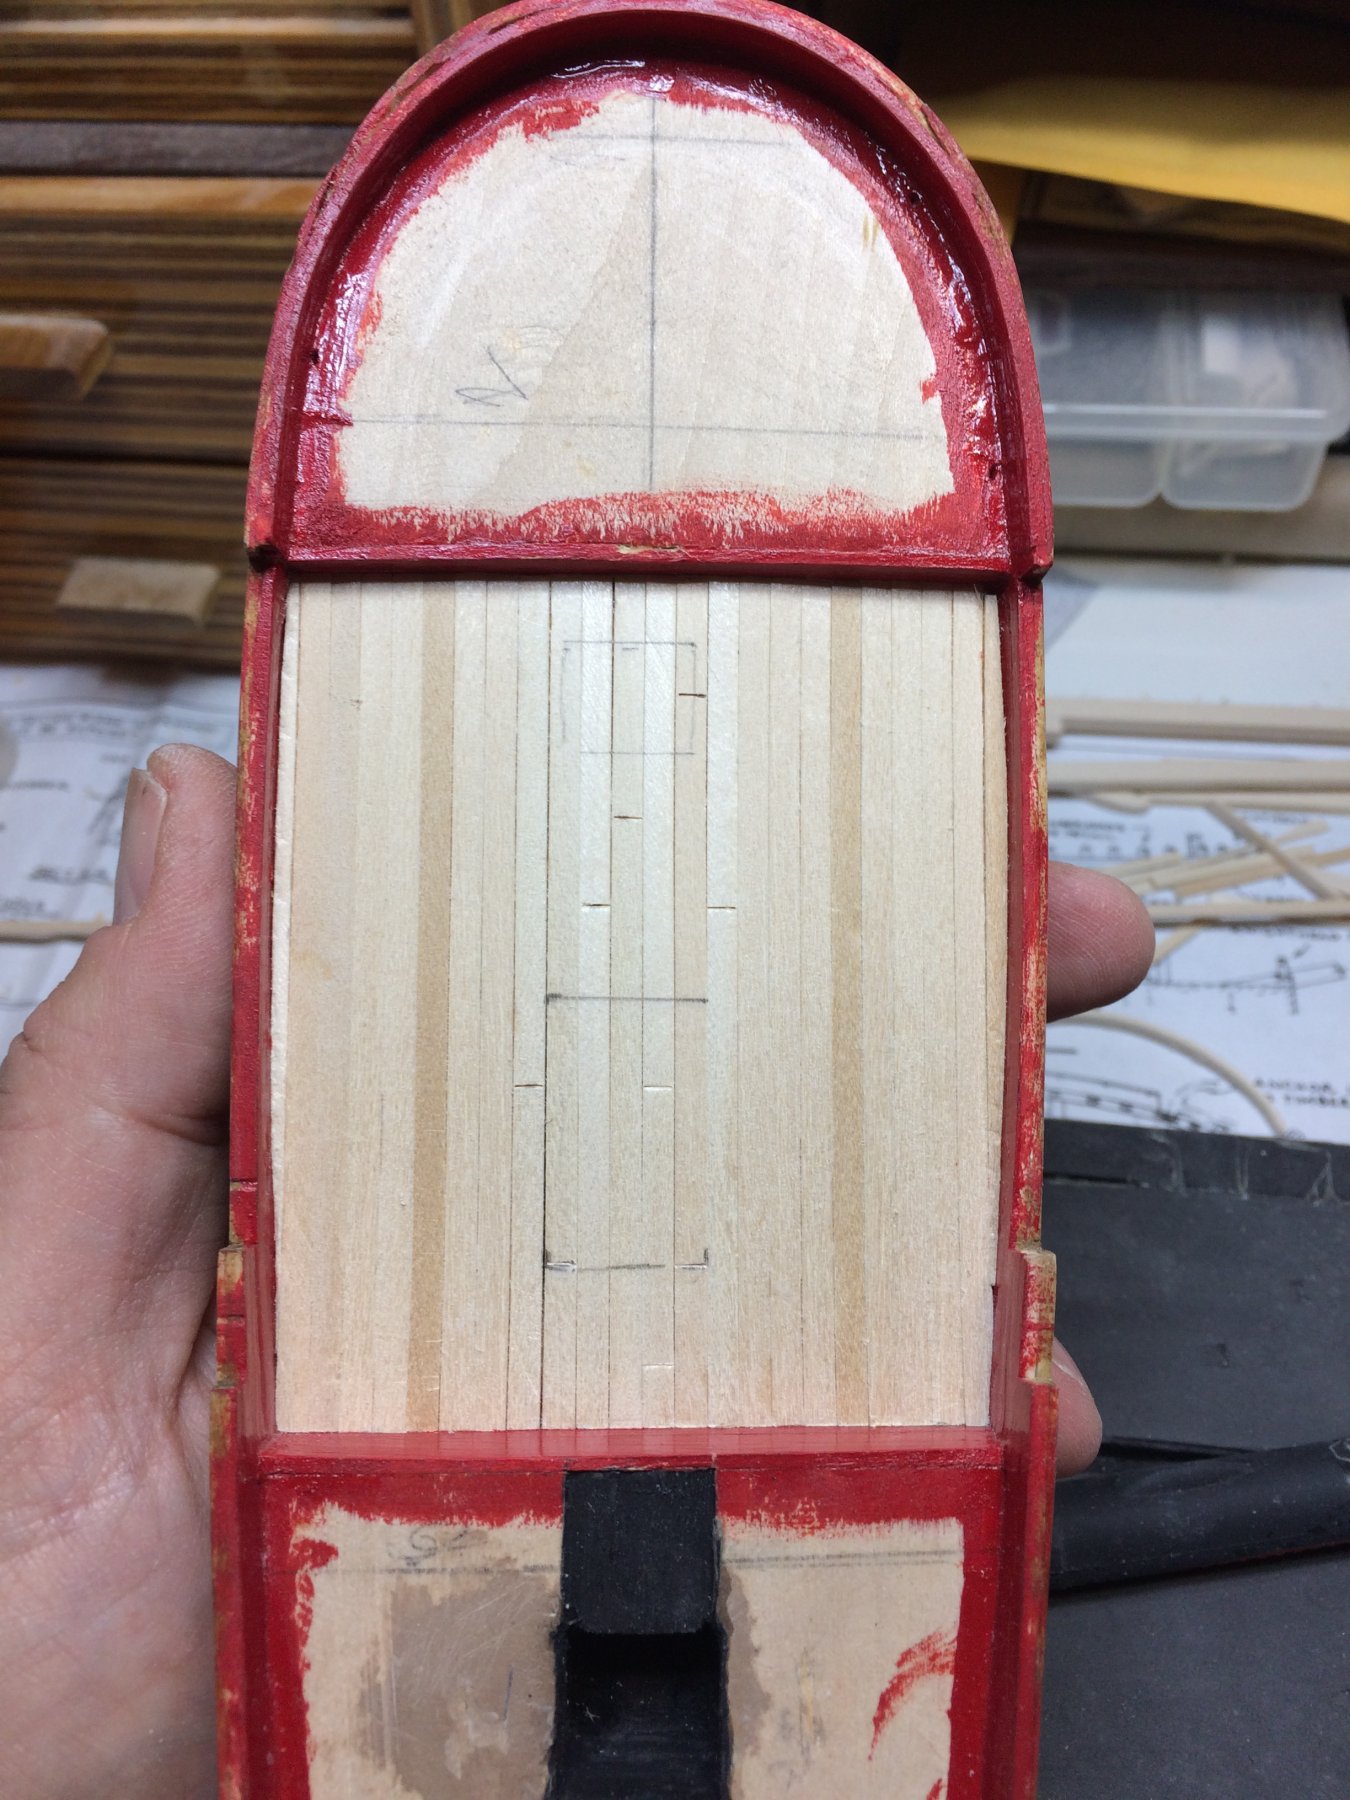
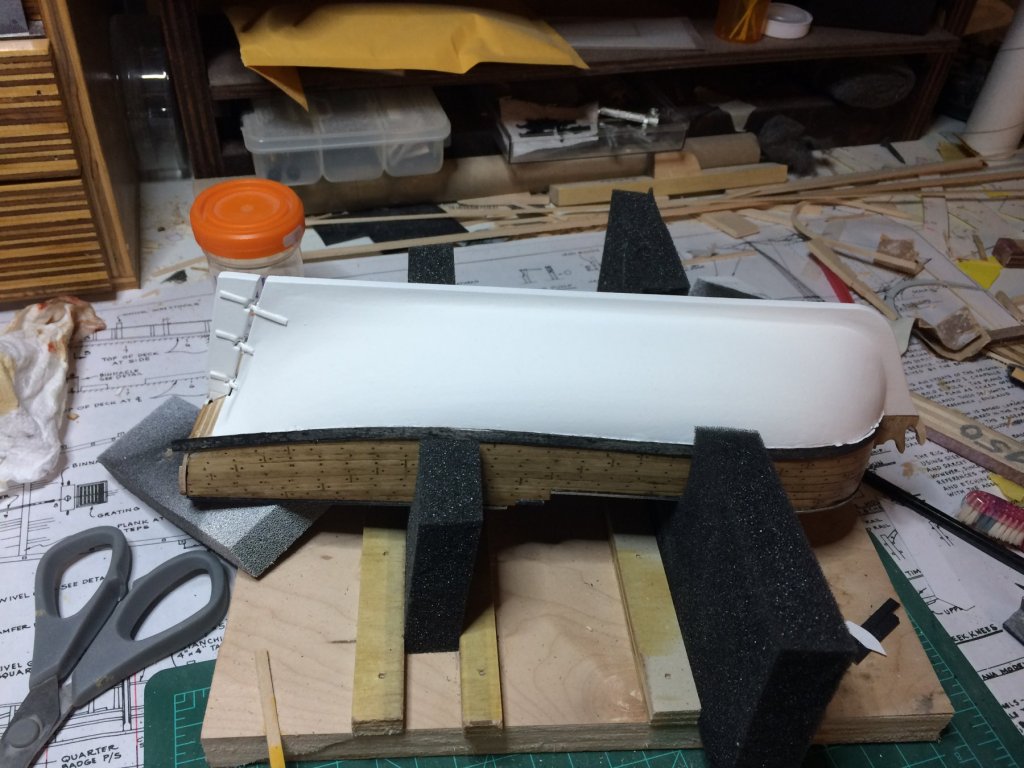
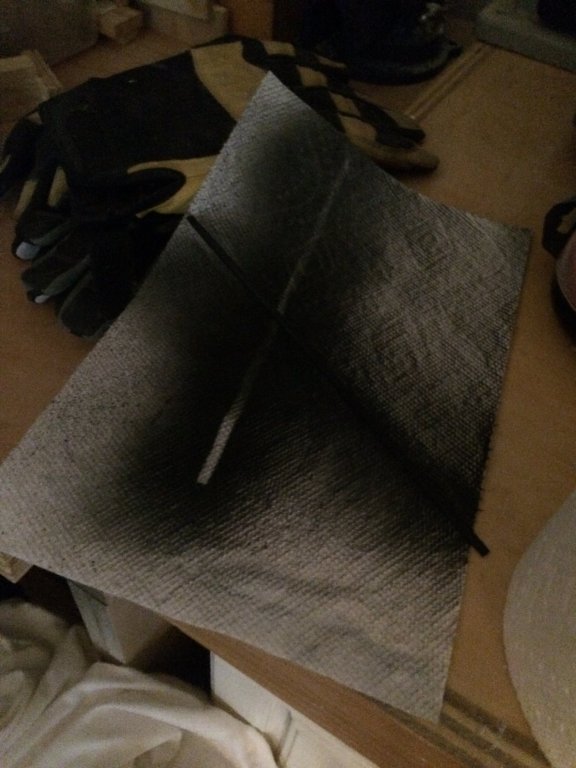
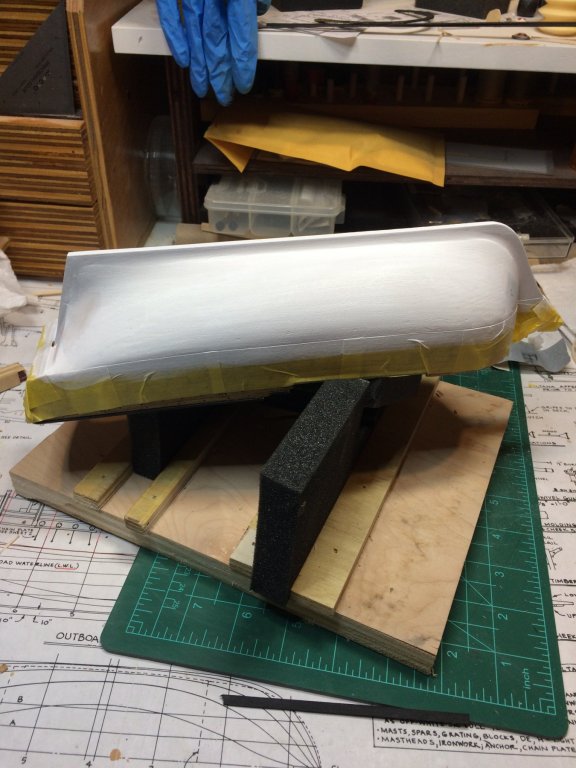
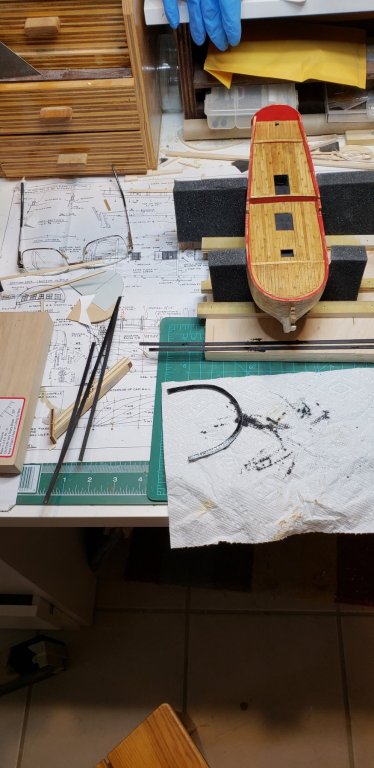
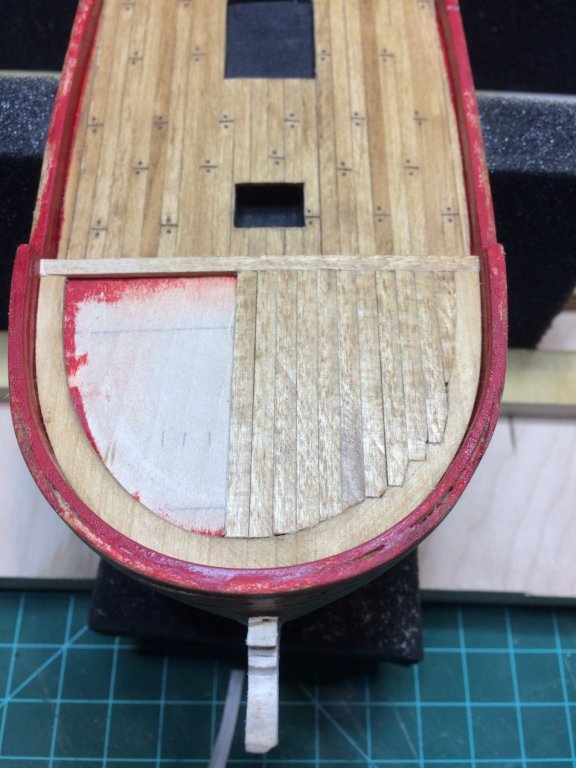
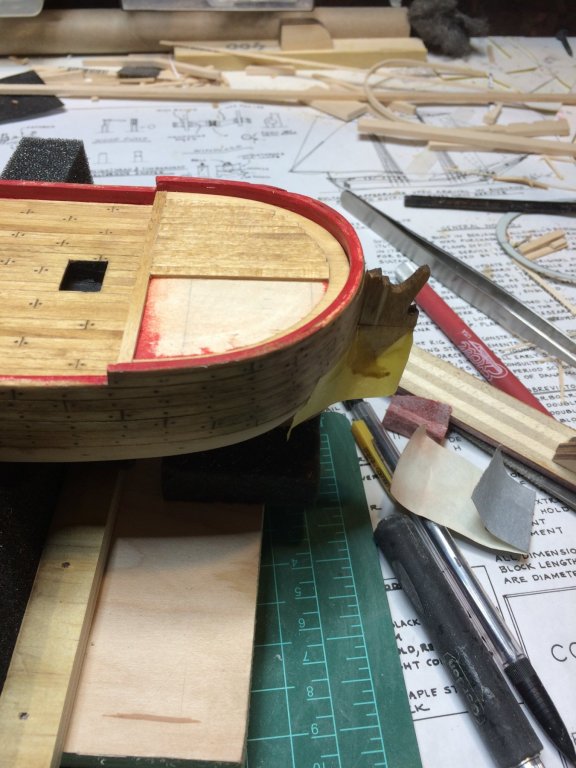
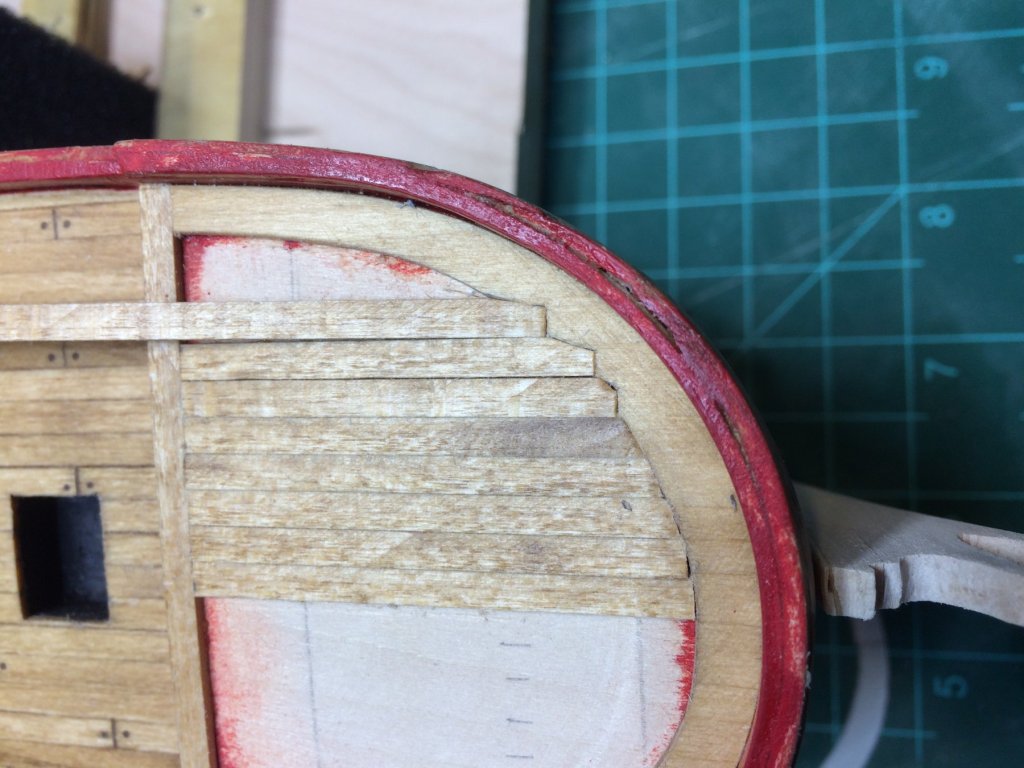
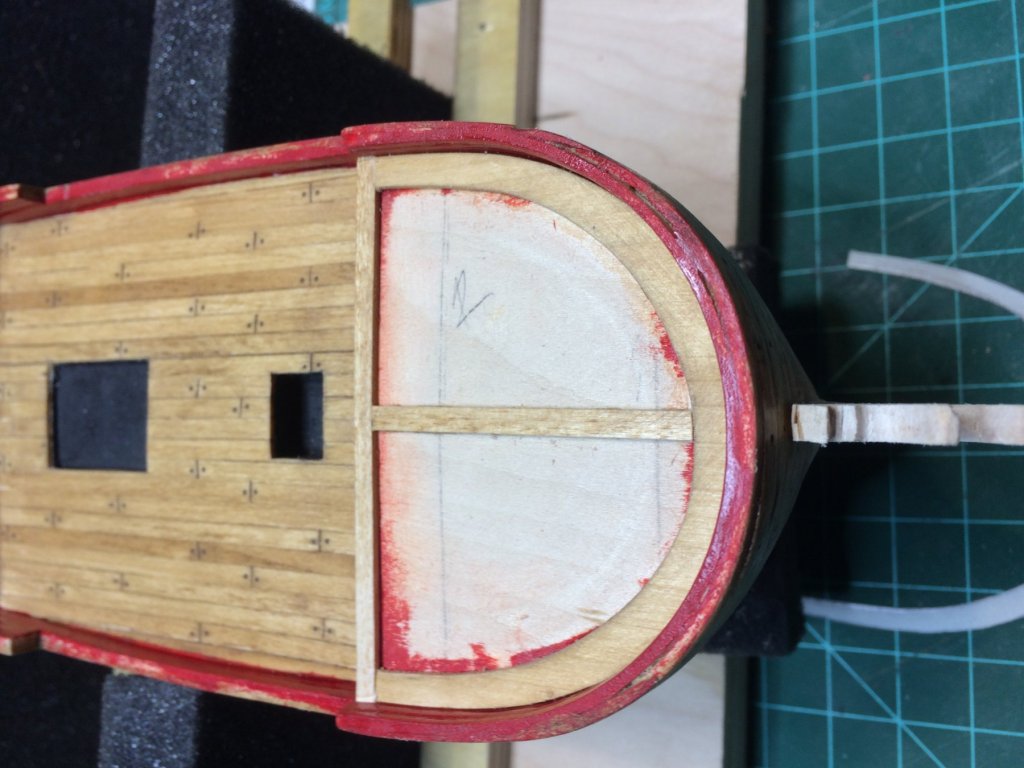
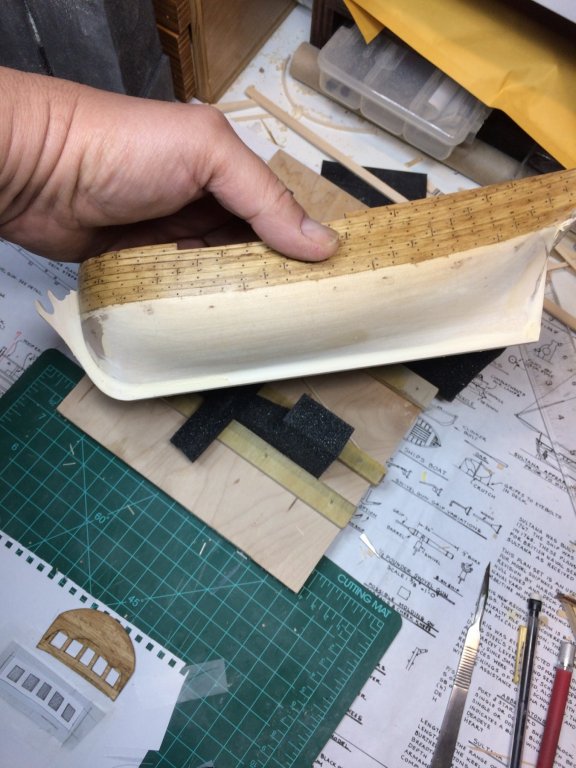
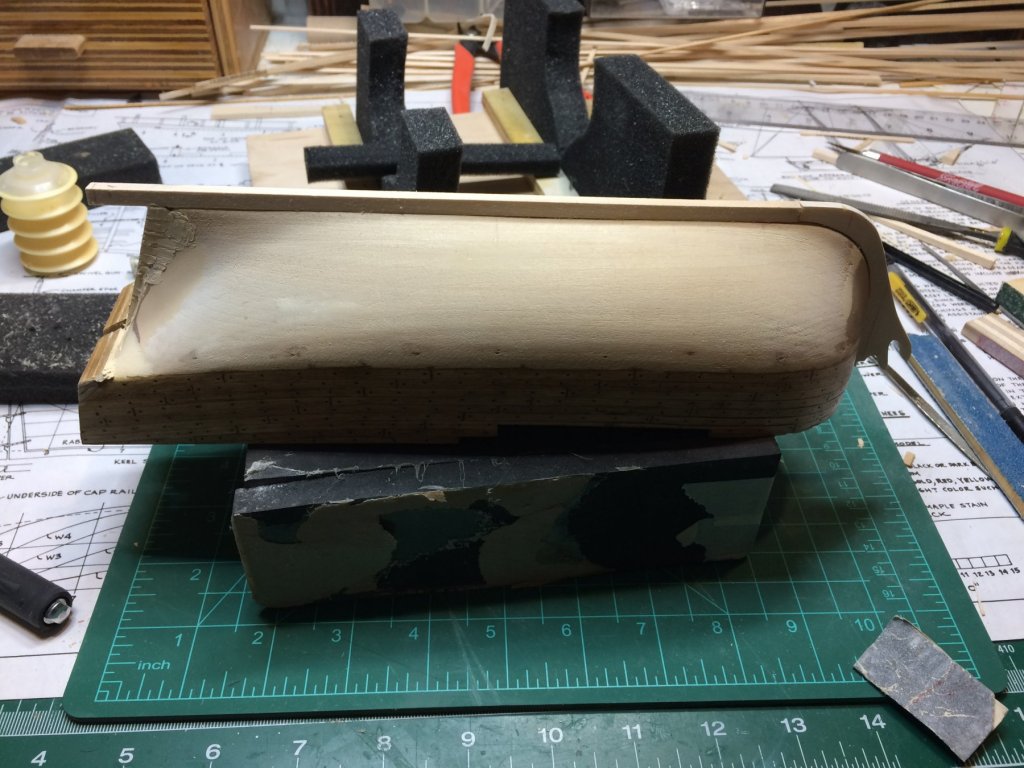
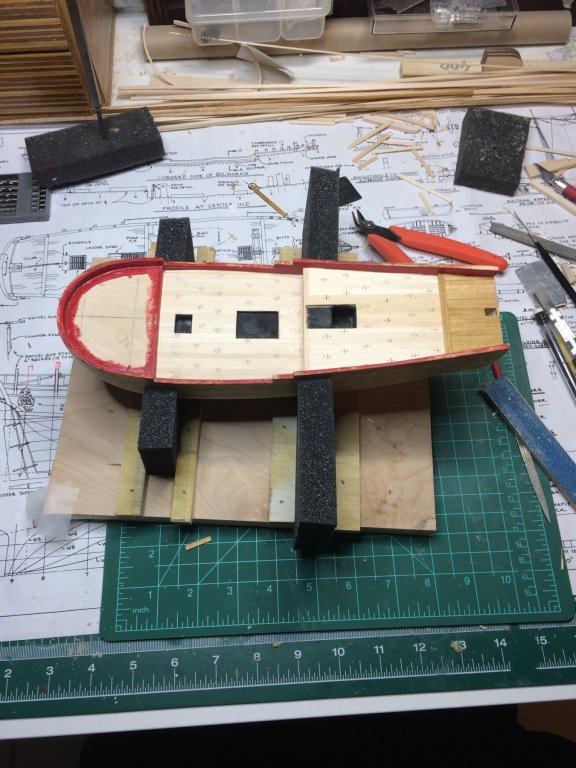
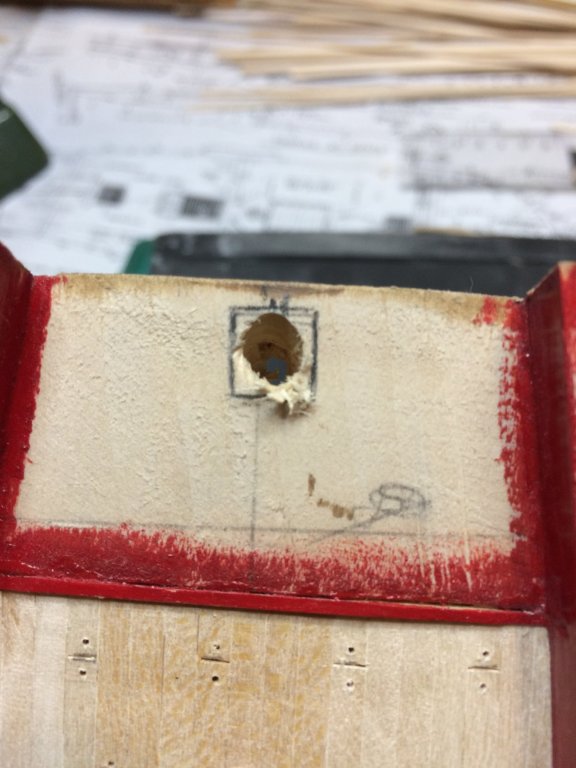
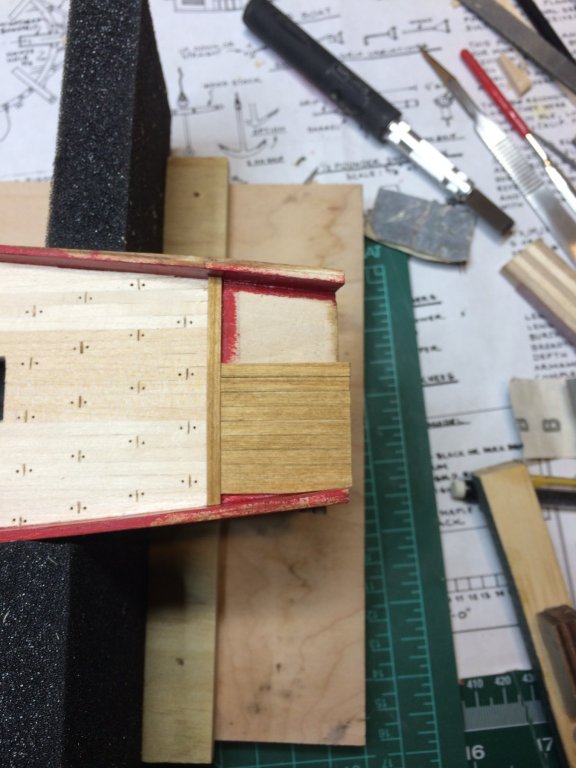
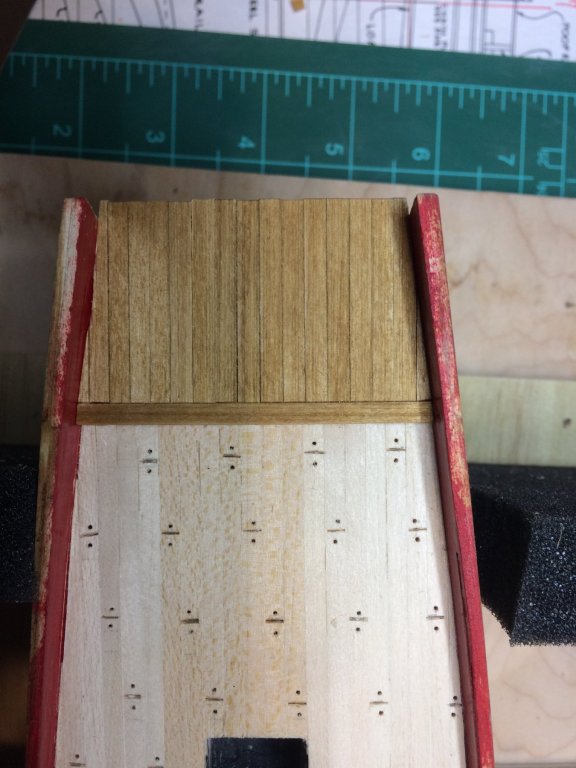
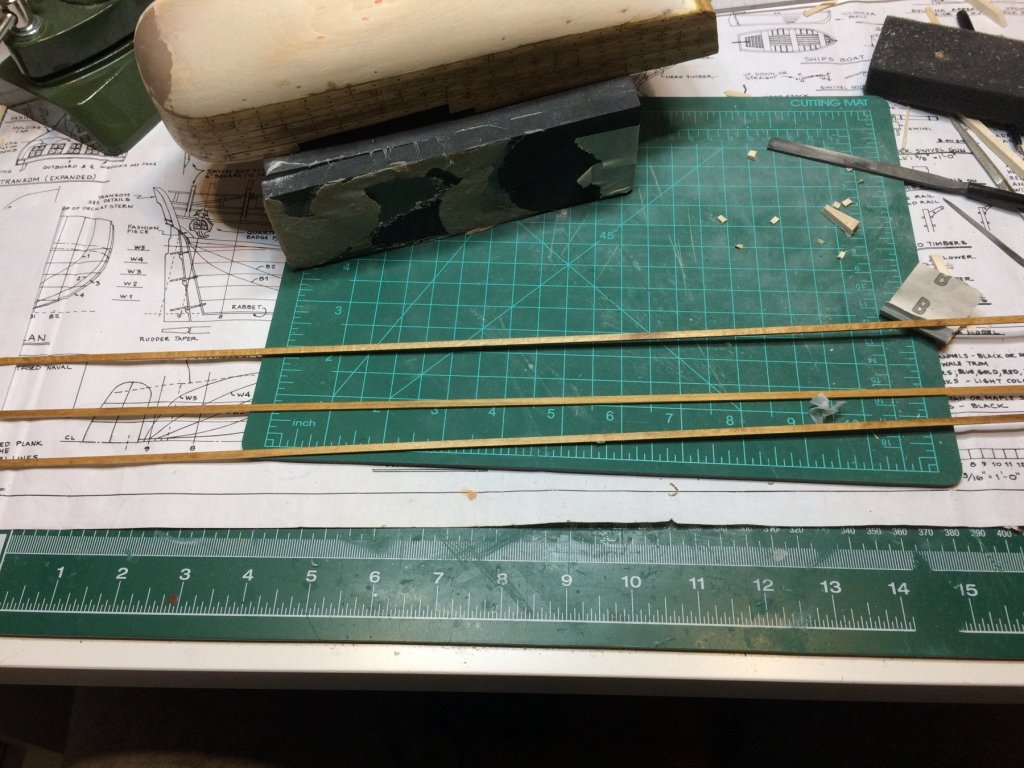
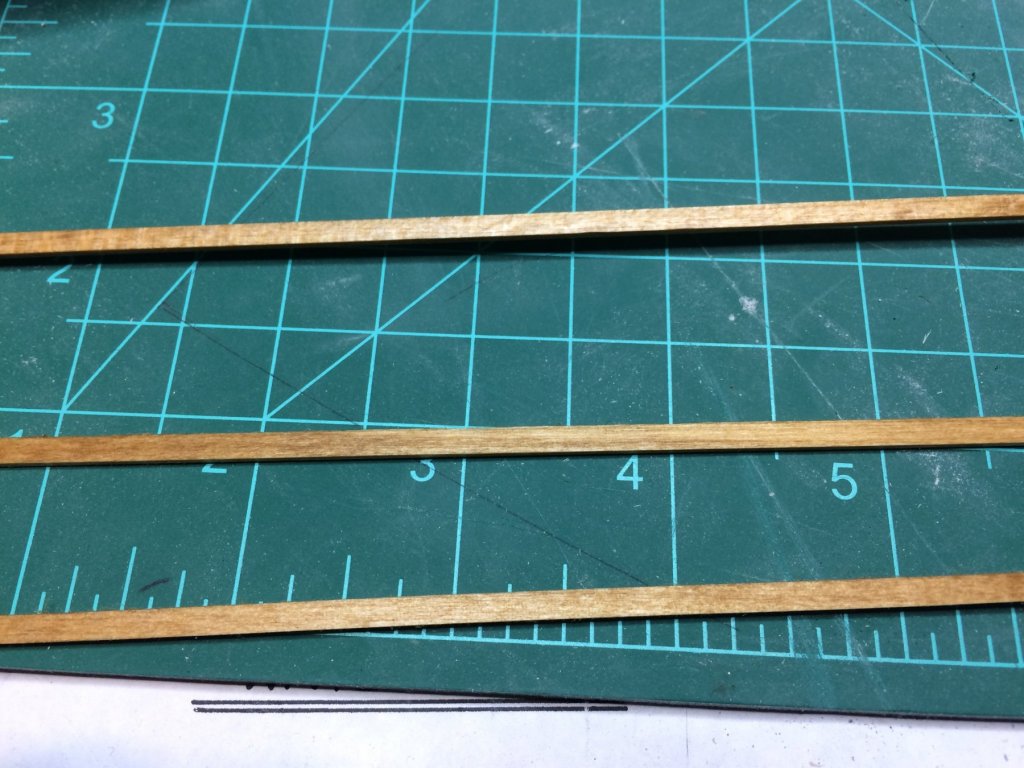
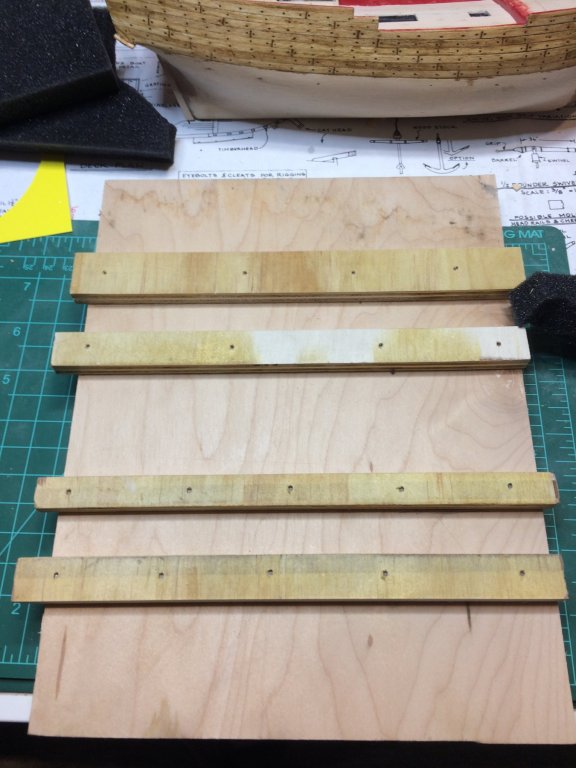
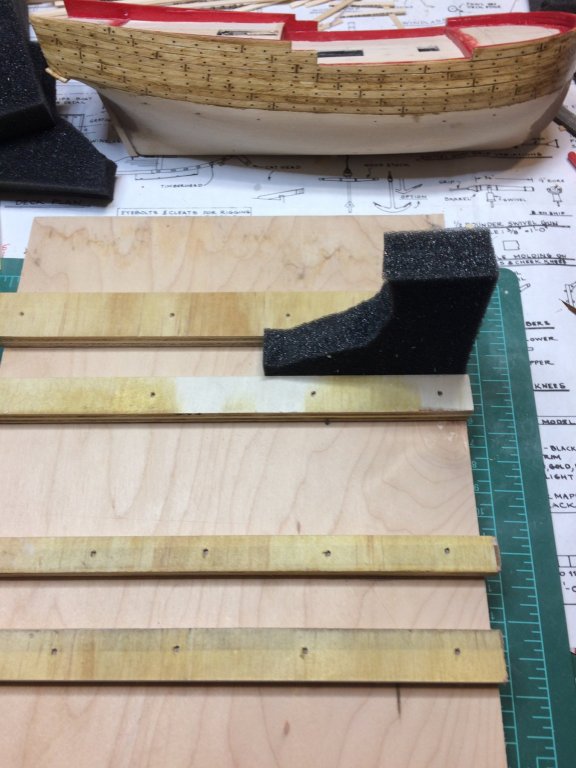
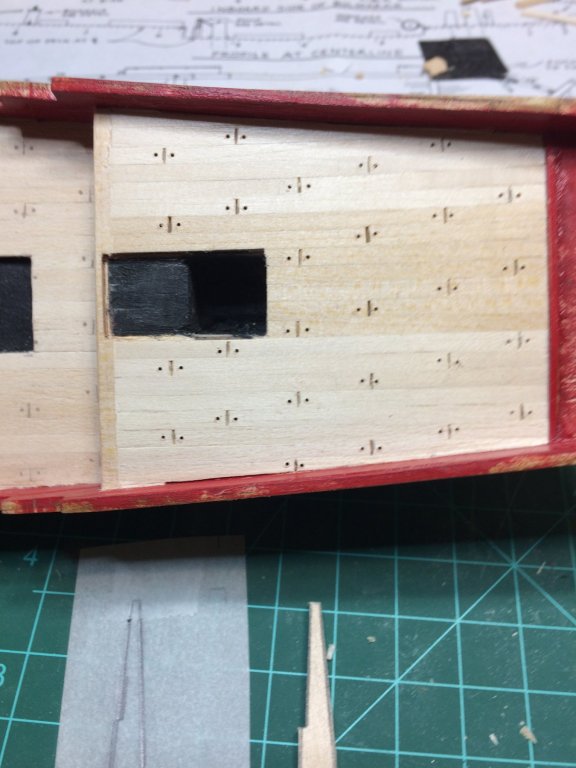
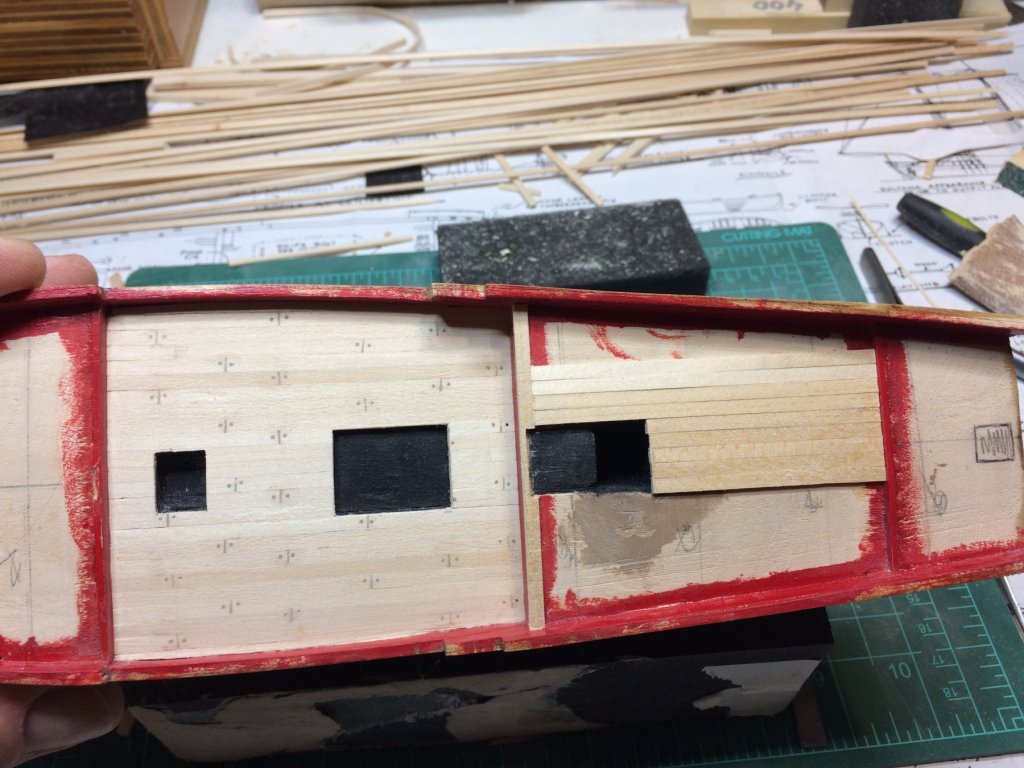
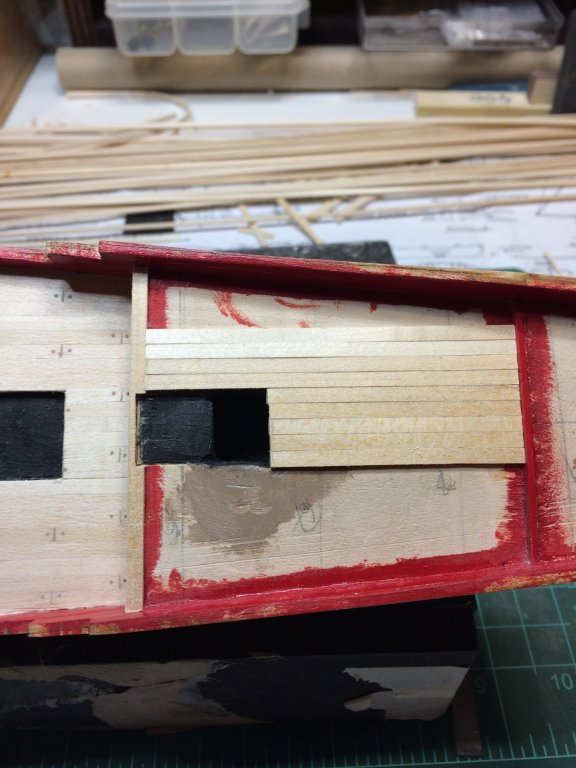
Today i have been working on deck planking and on hole for rudder. Also i stained few planks that i will be using for deck planking.. I decided to change a process of planking, staining, etc and to go with following sequences: cut planks in length - sand plank - stain plank - do the deck planking - varnish planks - do a "treenail" simulation - light sanding - another layer of varnish. I believe (and also getting some ideas from other forum members, more experienced than myself) this process will prevent getting stain into wood grain as well as into treenail simulation. Will see how it goes.. Planks cut and stained in golden oak.. Then i needed to hold the model in more steady position in order to continue with planking. For this planking job, the planks are shorter than for the rest of deck planks (appr 2.4 cm) and the model should be steady sitting and not moving around. Did not want to cut the wood at 11pm so i found few appropriate pieces that can be utilized.. I think pictures are self explanatory. The idea is that for future builds of the similar size, i can use the same cradle and just replace the foam parts that will be cut in the hull shape. The ship fits very nicely in the cradle.. It is time to drill a hole for a rudder. Since the hole needs to be drilled very close to the edge and under certain angle, several supporting items (did not have enough hands to take a picture while holding ship and supports) are used throughout the process. After some sanding, it is time to test the fitting of a rudder.. So, lets do deck planking now.. And completed.. Planks are oversized and hanging over the board but will be sanded later. The hole is cut for a rudder on new planked deck and rudder was tested for fitting... Done for today. Happy modeling..


- 360 replies
-
- 2
-
-
- sultana
- model shipways
- (and 1 more)
-
Hello Lou, thanks for following along and for kind words and thanks for letting me know about picture issues. Yeah, how they say.. picture say it better than 1000 words.. Regards,
- 360 replies
-
- 2
-
-
- sultana
- model shipways
- (and 1 more)
-
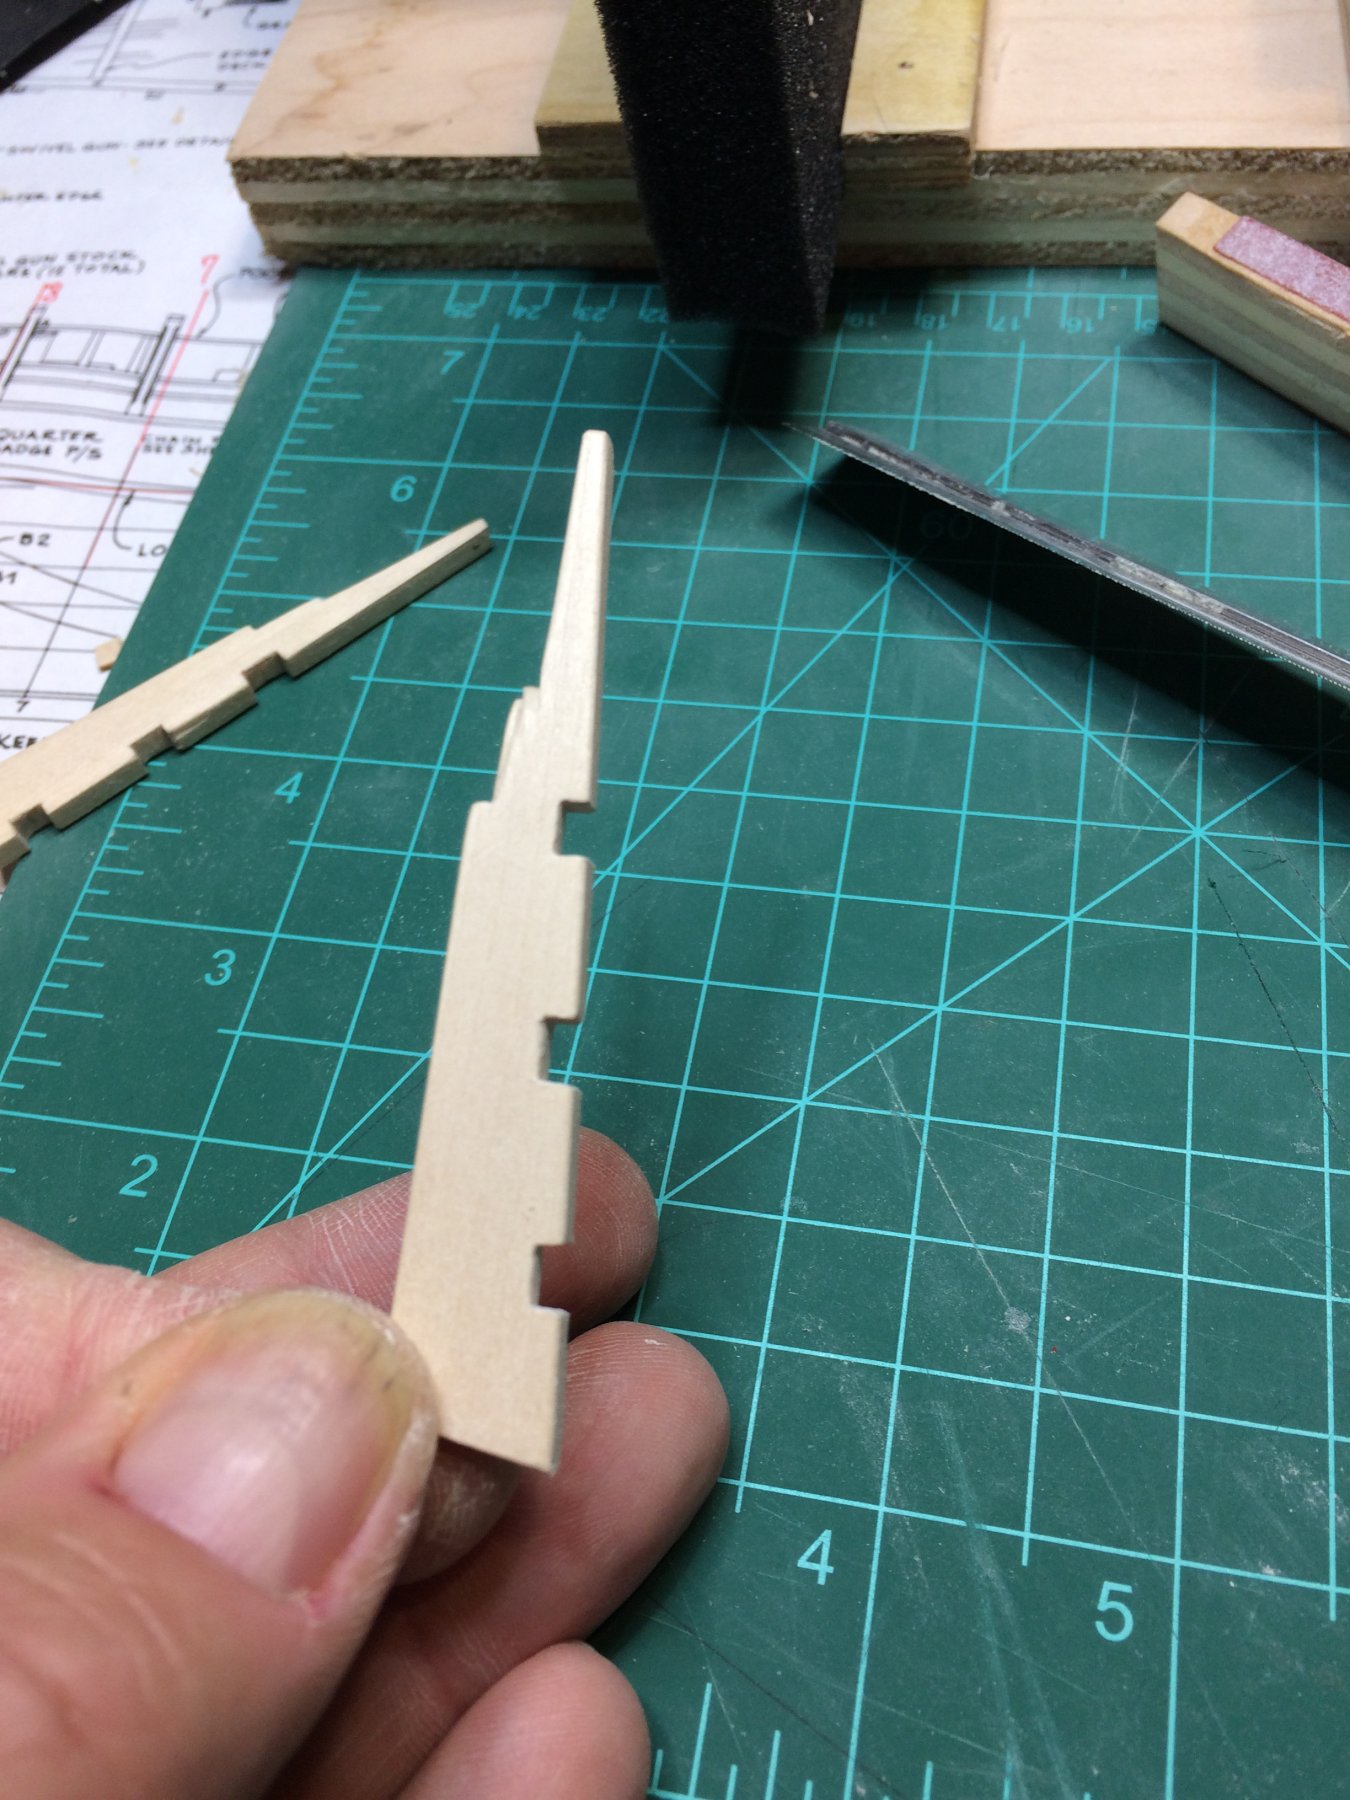
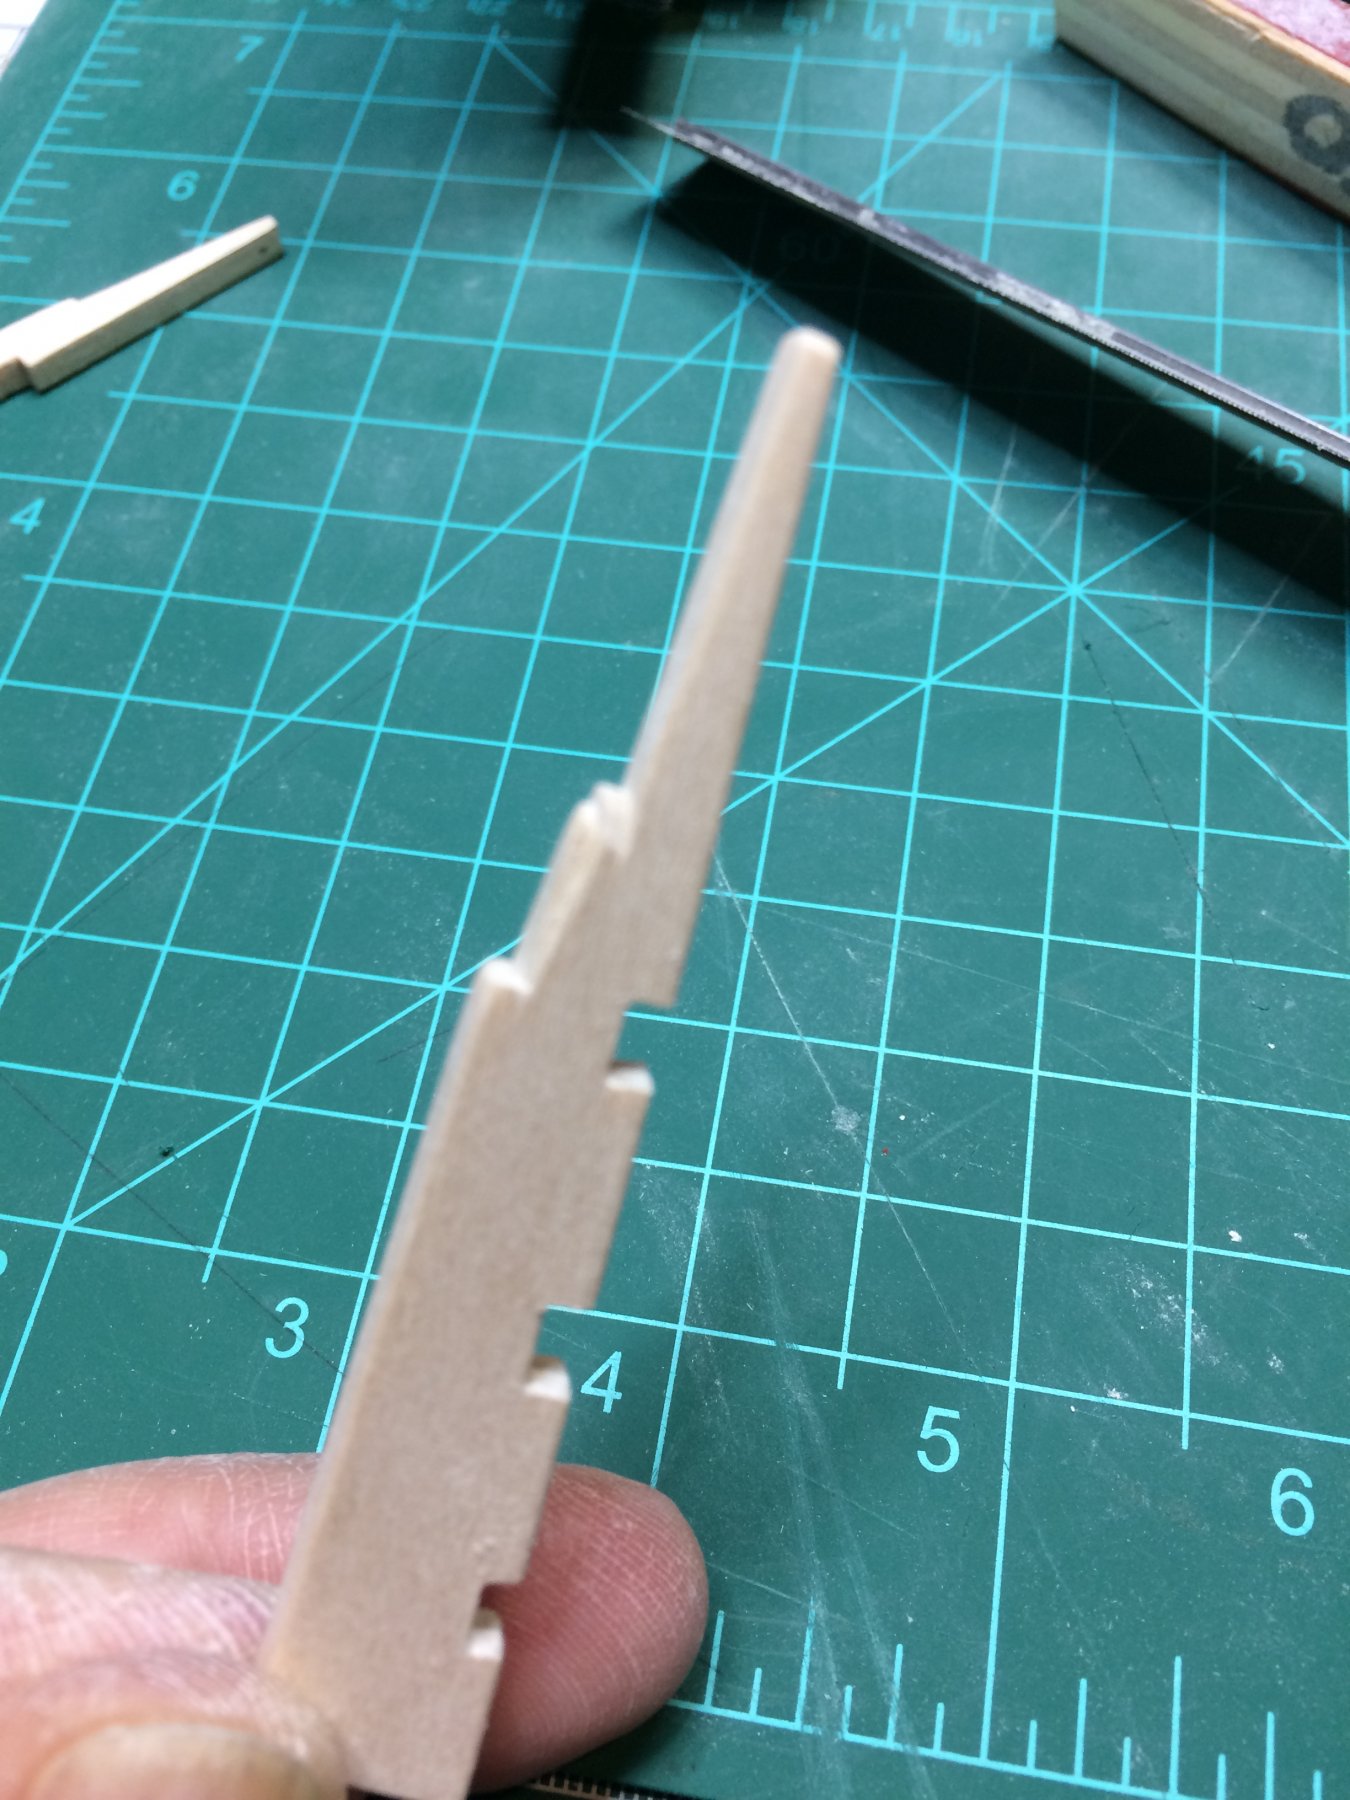
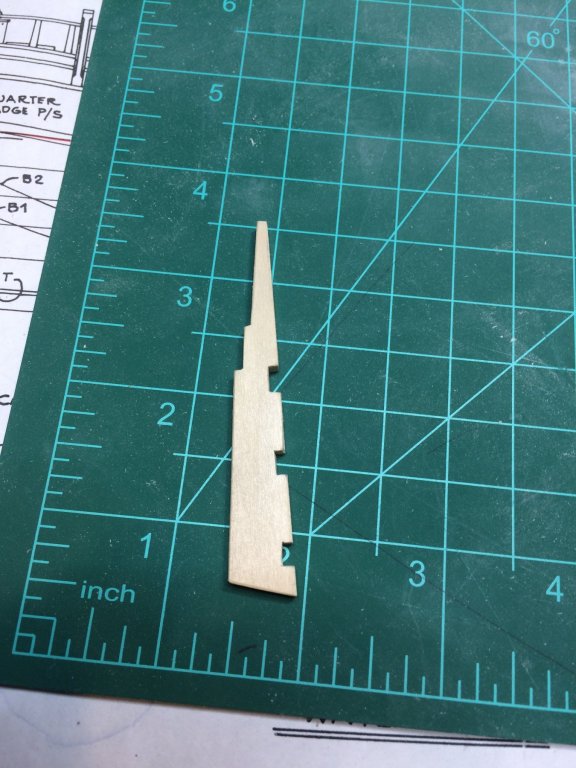
Today i completed one more planking exercise. Need a nice coat of golden oak finish i will do once i complete planking on the hole deck. Then to spice it up a bit, i started working on rudder; traced the shape from the plan, followed suggestions from Chuck's practicum and using a #11 knife i cut it from the peace of basswood, 4mm thick that was supplied in the kit. Lots of sanding and shaping... I will do some carving also as suggested in practicum. Carving will take place later today.. Next are hinges and carving. Do have some sheets of copper and brass so will be using those instead of one provided in the kit.. Happy modeling..

- 360 replies
-
- 2
-
-
- sultana
- model shipways
- (and 1 more)
-
Sorry about that; it looks OK on my screen. I will upload those files again. Sorry, they might have been out of order..


- 360 replies
-
- 4
-
-
- sultana
- model shipways
- (and 1 more)
-
Continue with deck planking... Completed and done for today.. Next, sanding, scoring to the desired plank length and trunnels.. Happy modeling..