HOLIDAY DONATION DRIVE - SUPPORT MSW - DO YOUR PART TO KEEP THIS GREAT FORUM GOING! (Only 20 donations so far - C'mon guys!)
×


moreplovac
-
Posts
794 -
Joined
-
Last visited
Content Type
Profiles
Forums
Gallery
Events
Everything posted by moreplovac
-
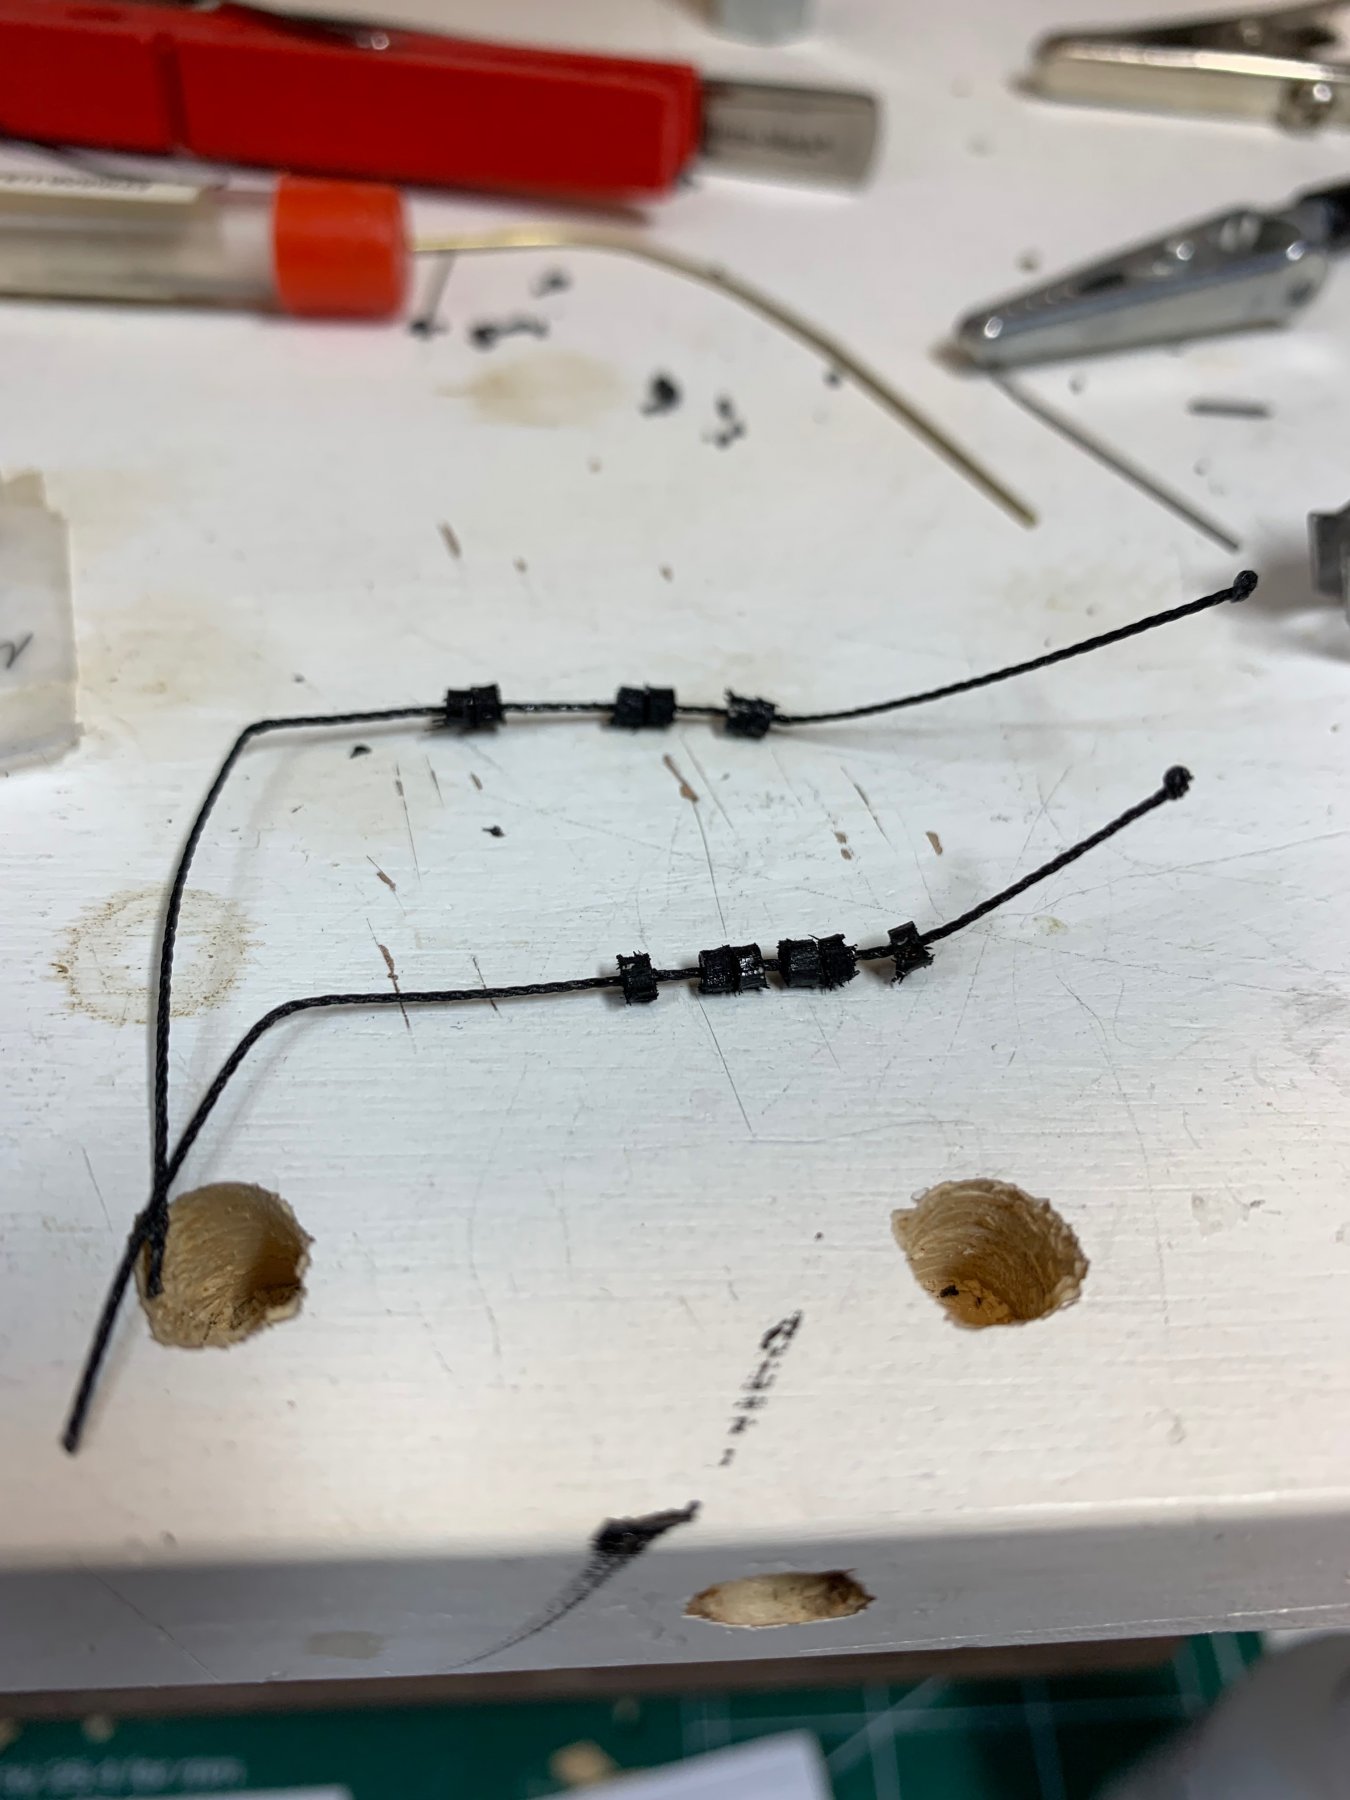
 Did not quite like how blocks ended up so i made them again; removed from yard, and seized them into a bit more nicely manner. I did not have enough black rope so i used tan rope that was colored in black. First time using this technique and so far looks nice. and on the yard. Happy modeling.
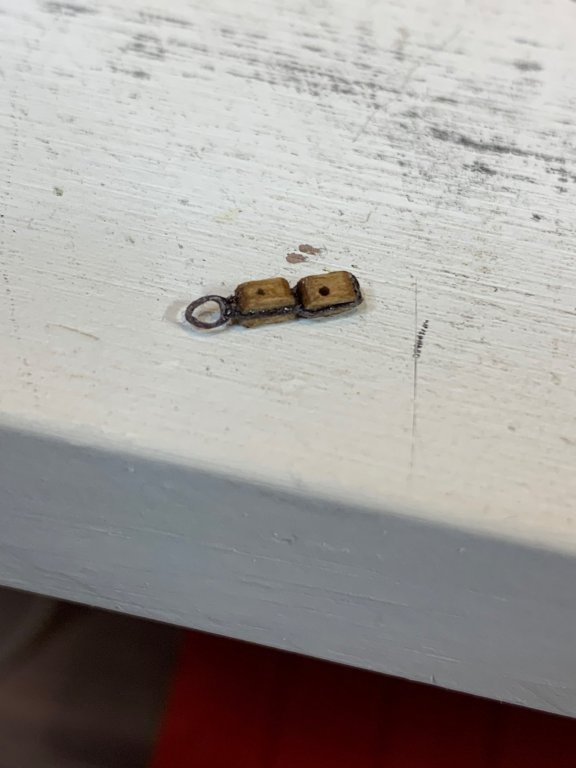

- 360 replies
-
- 4
-

-
- sultana
- model shipways
- (and 1 more)
-
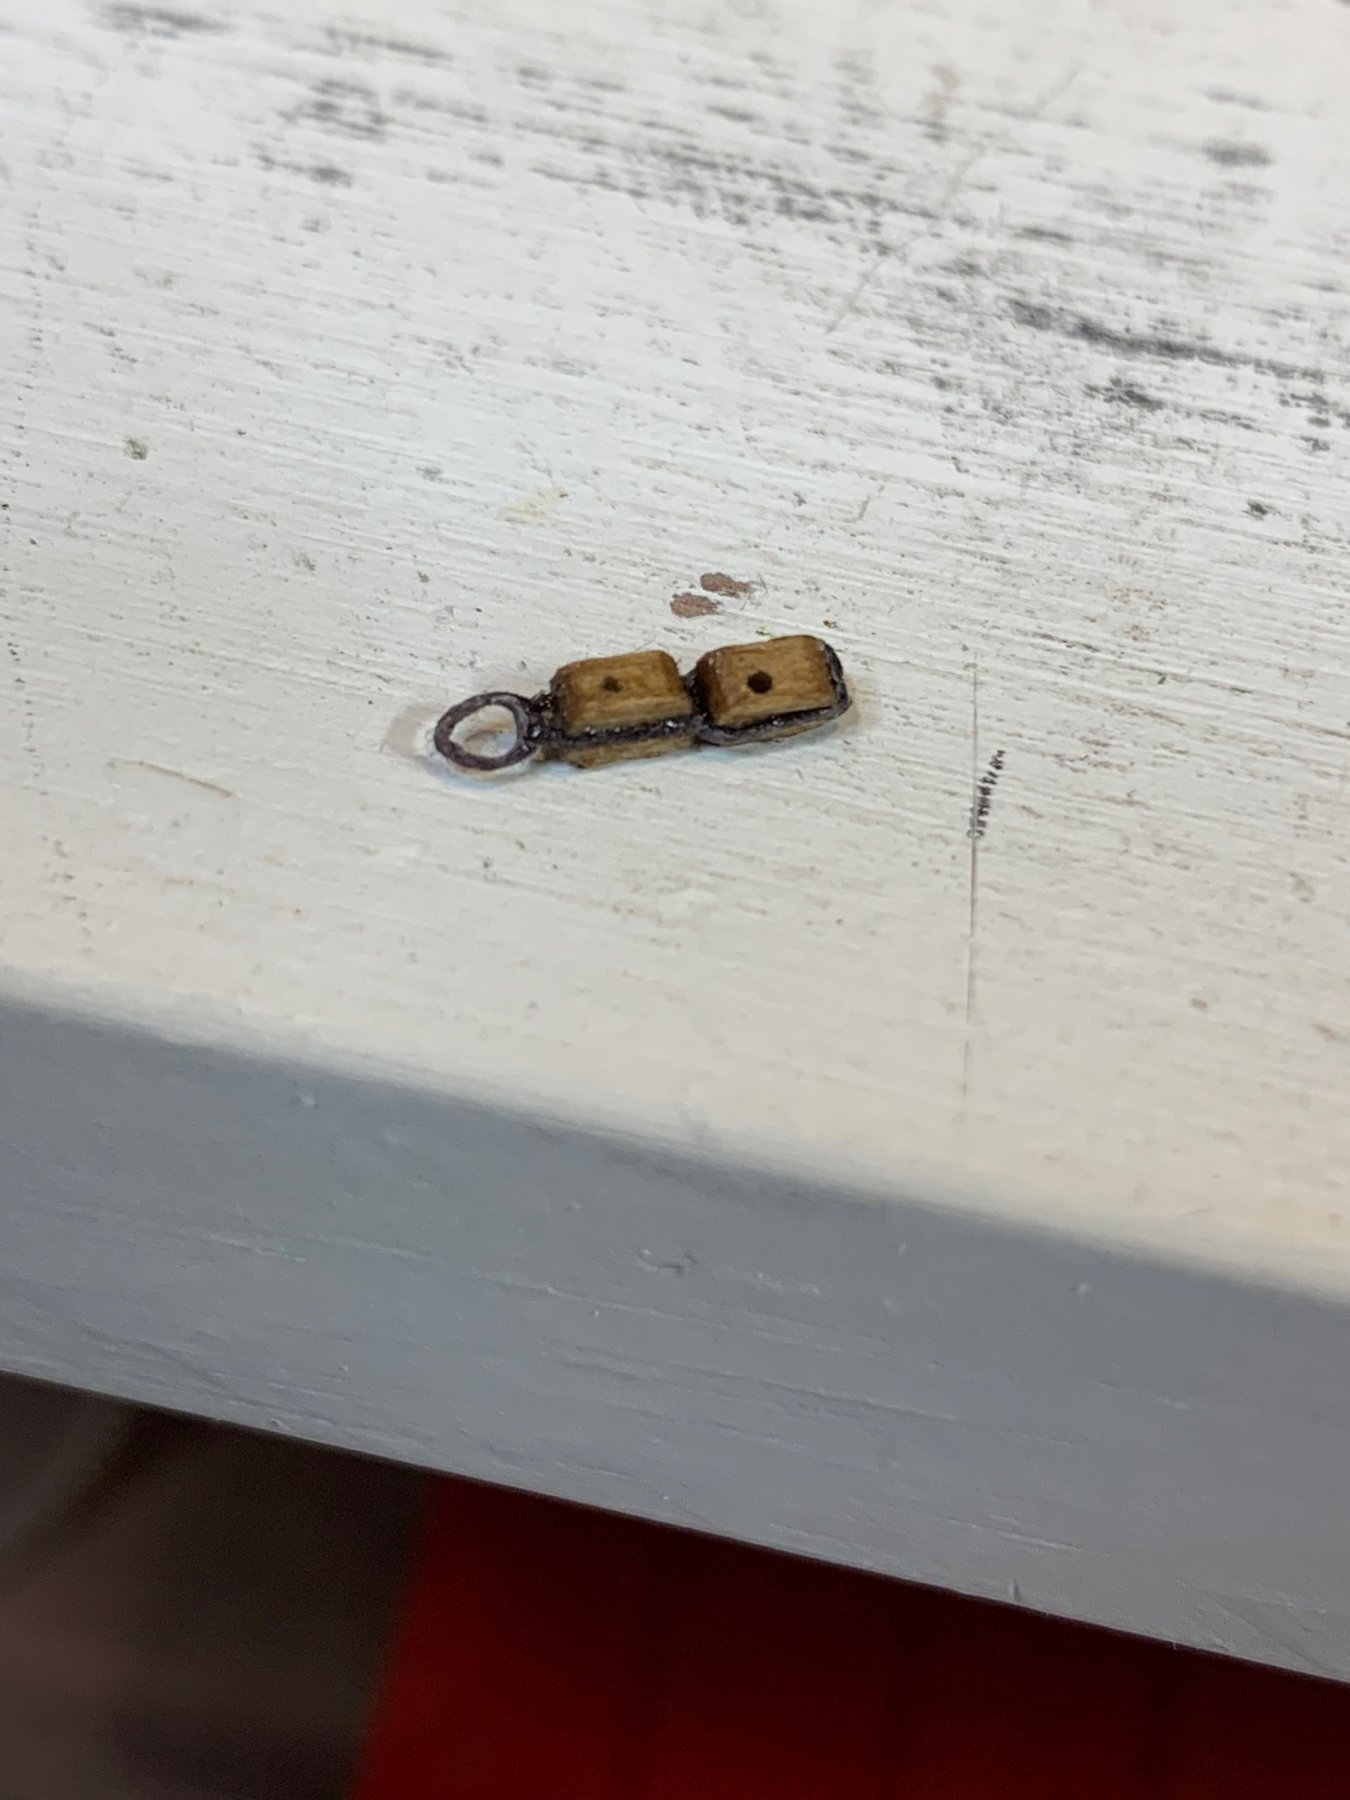
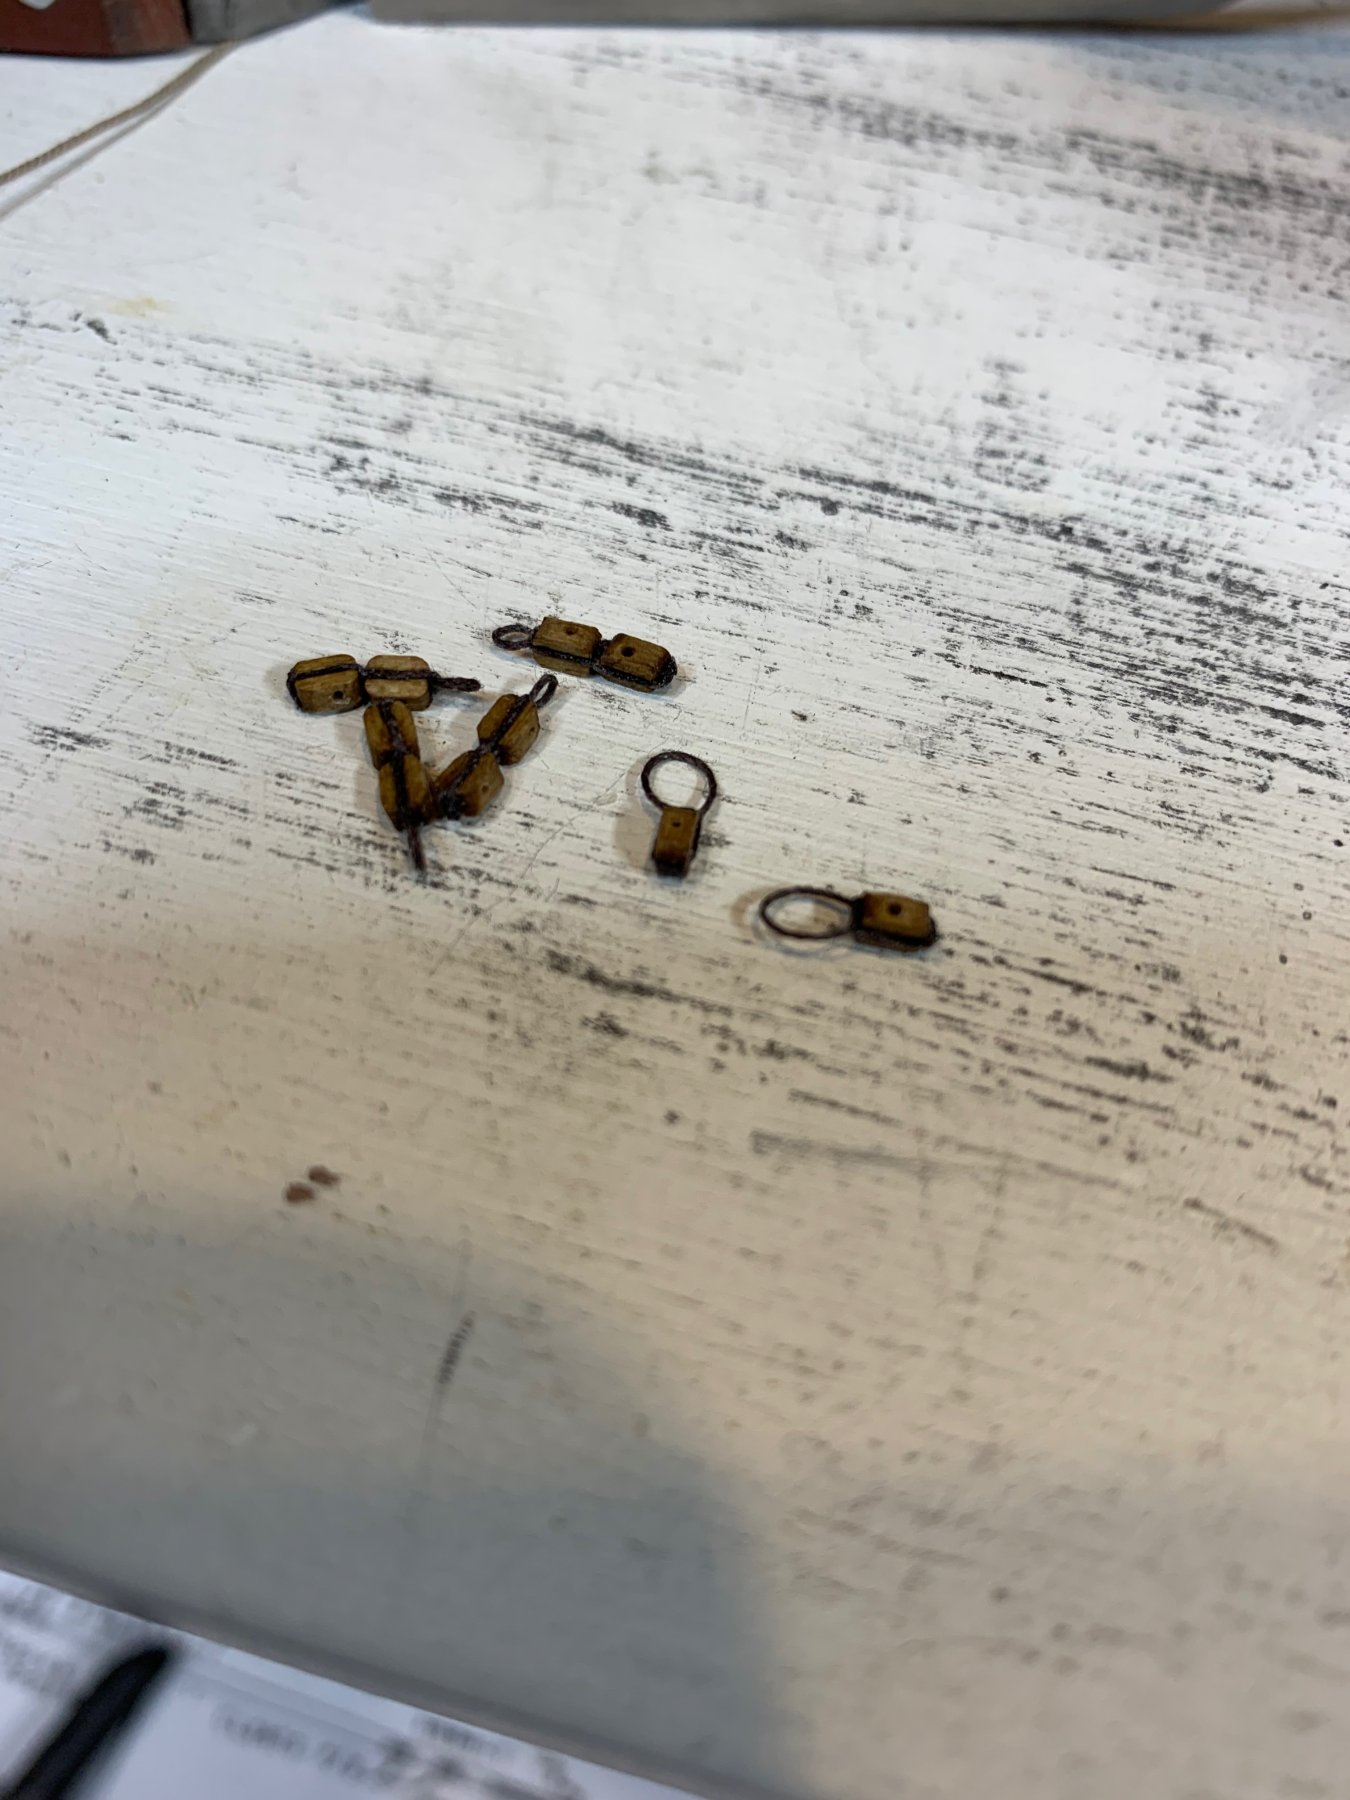
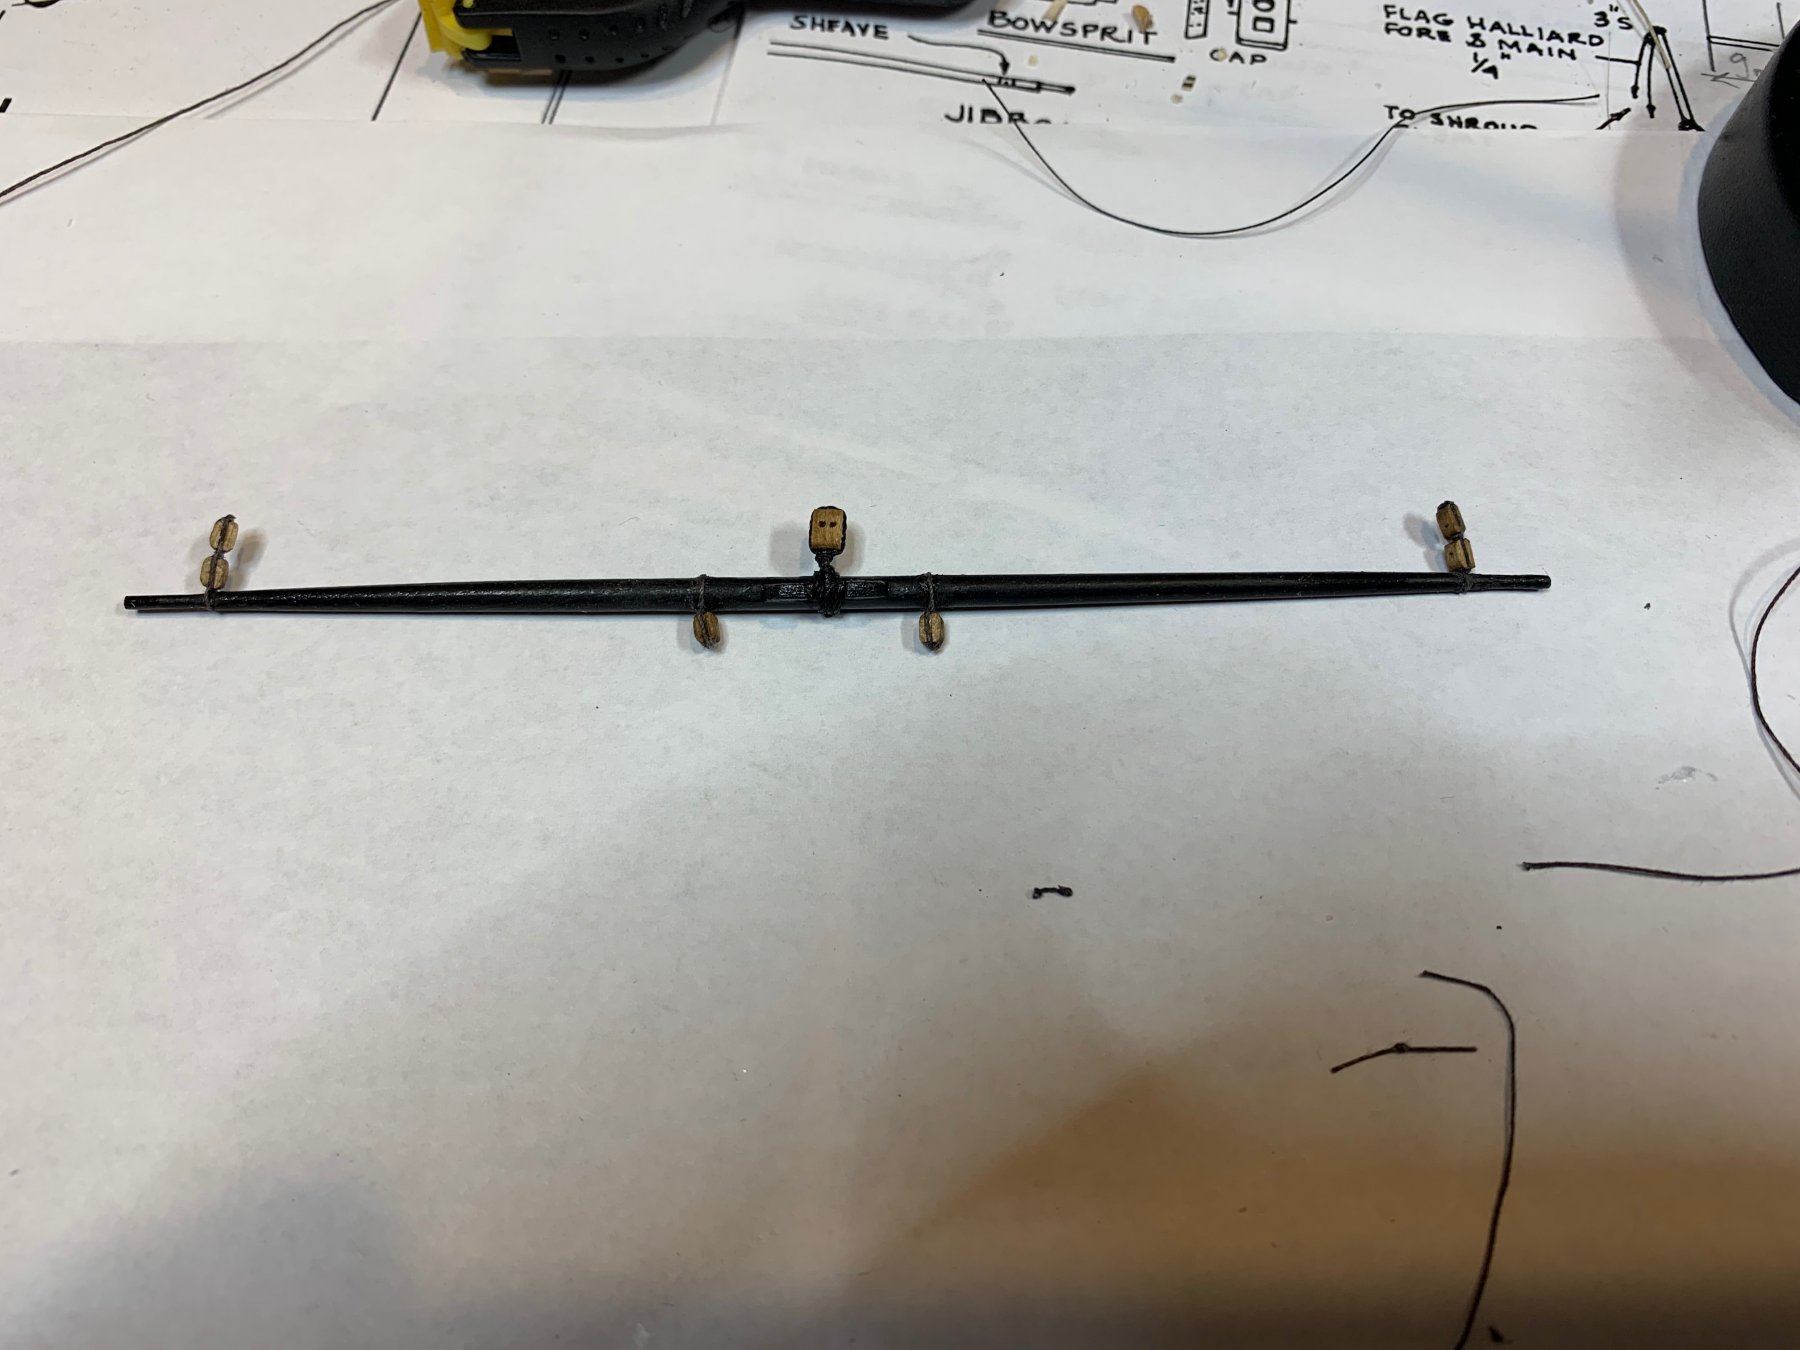
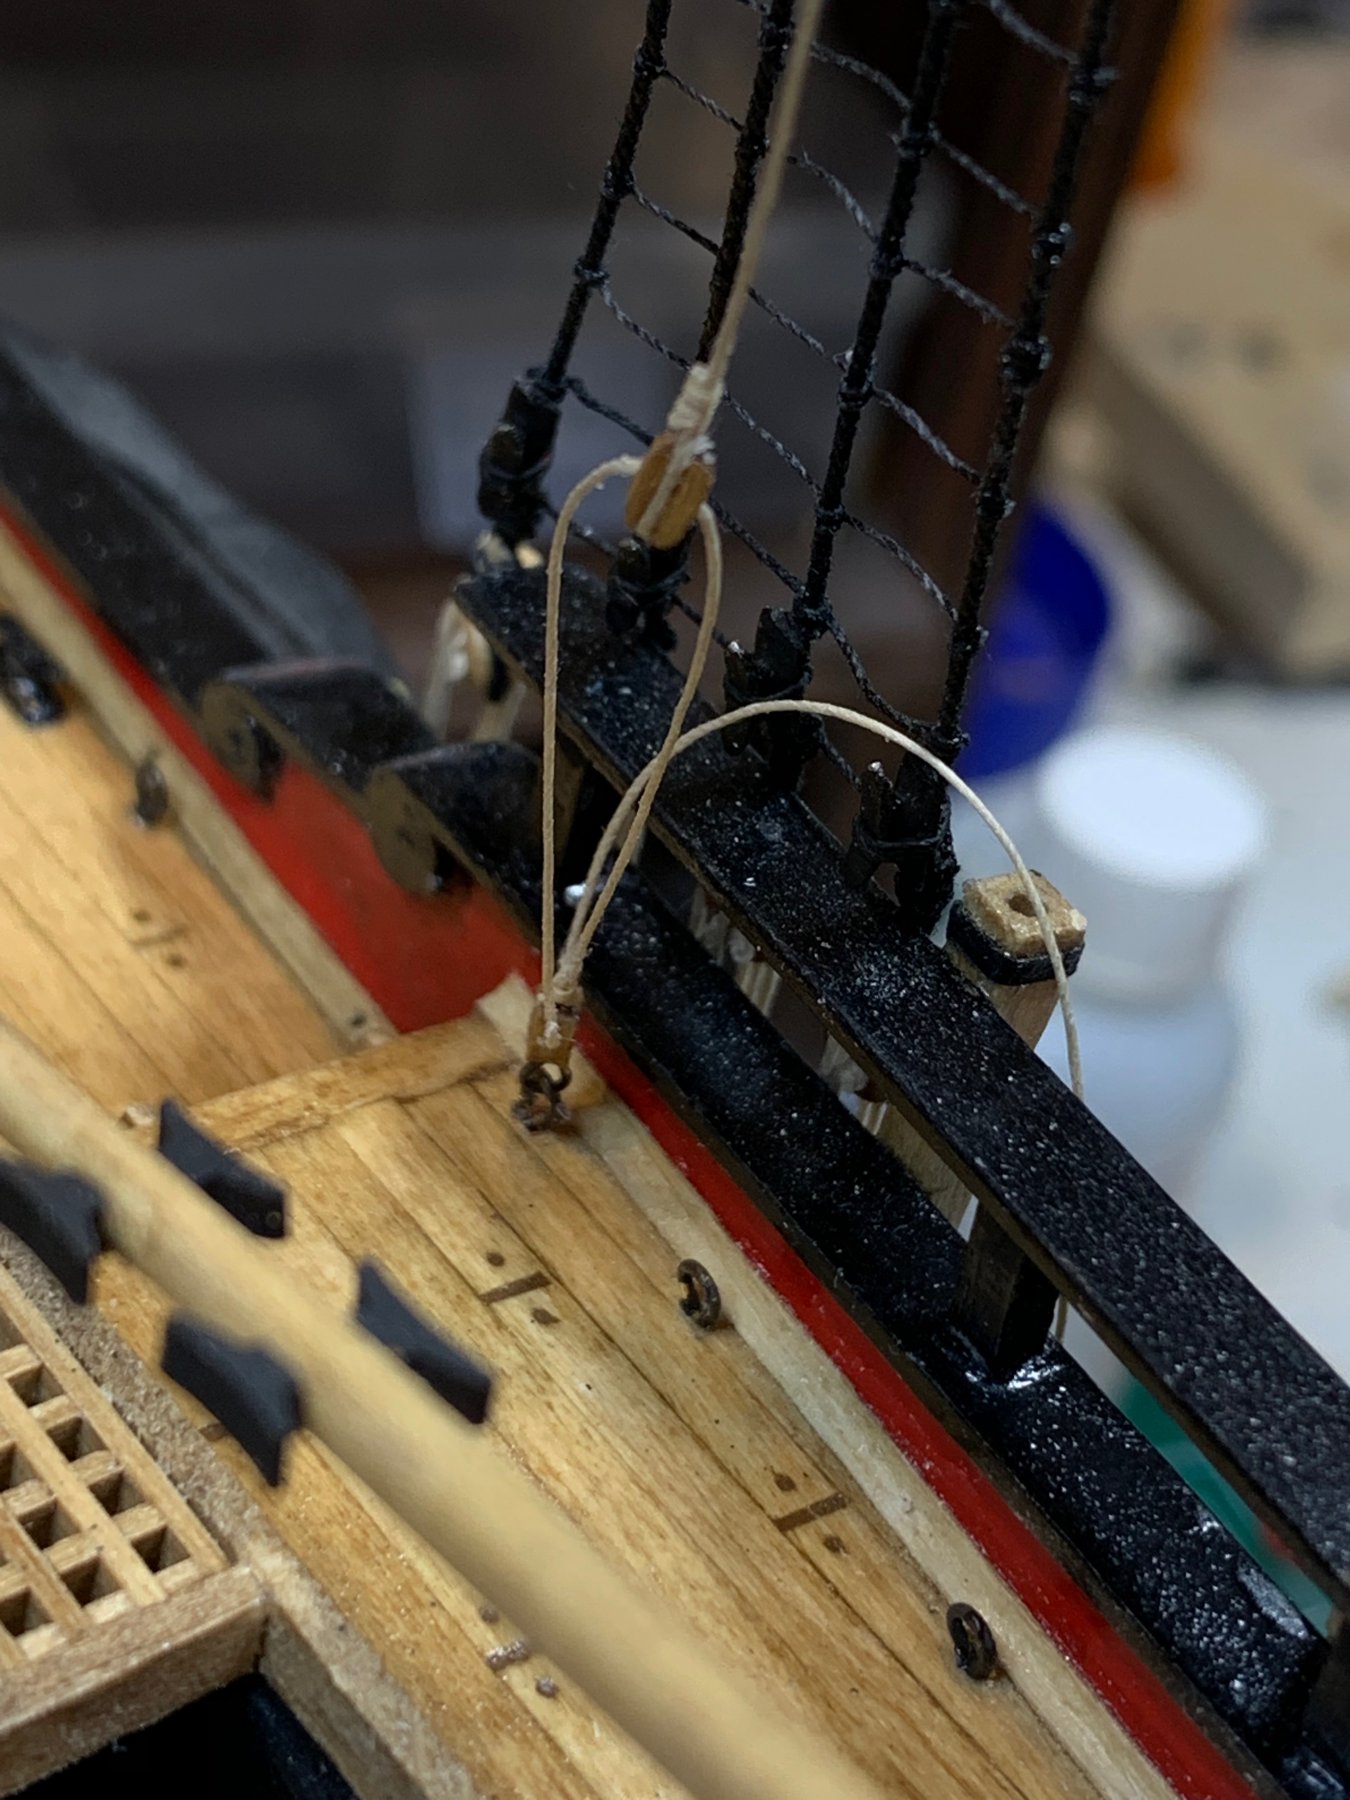
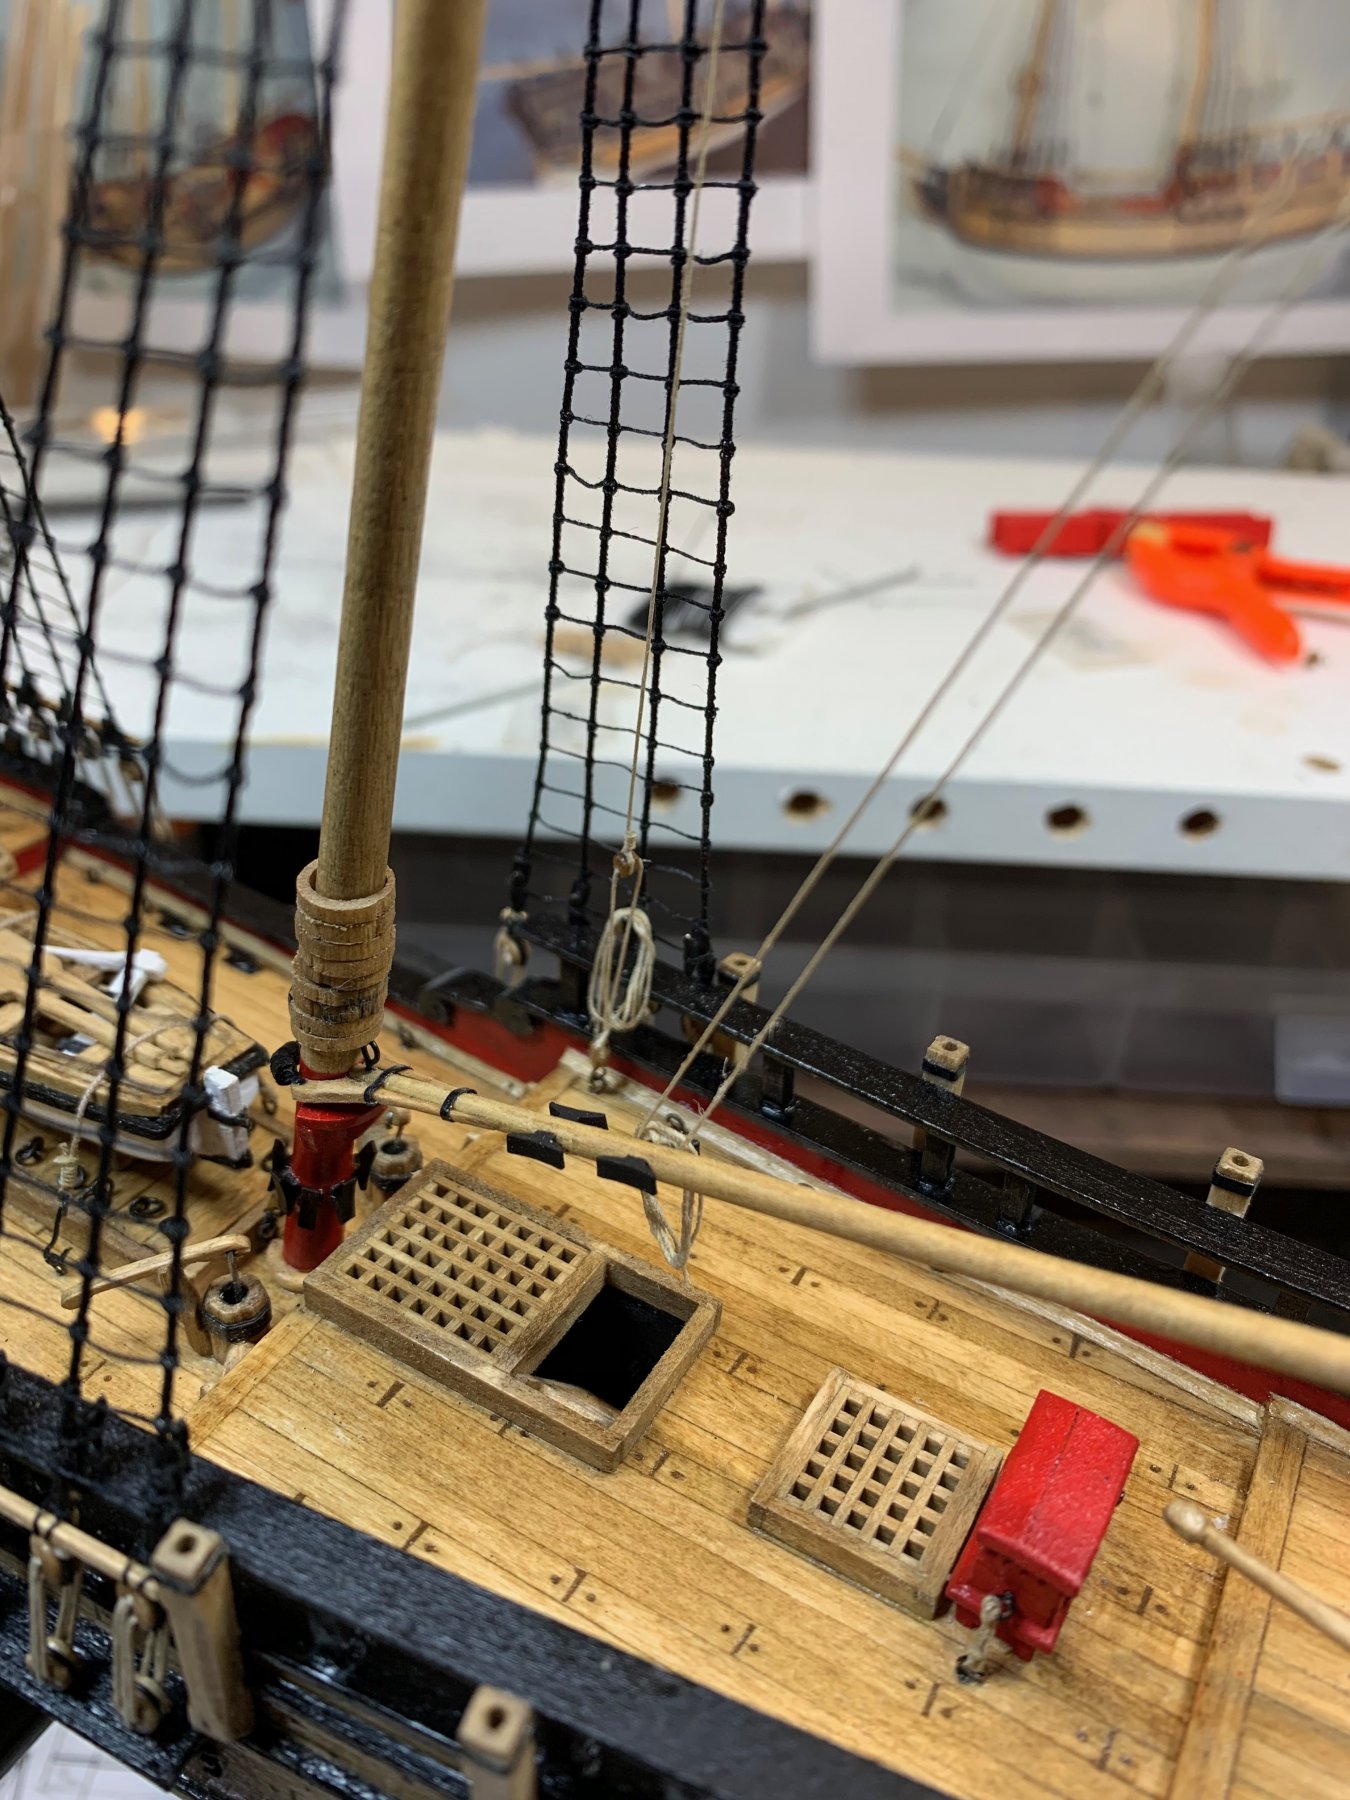
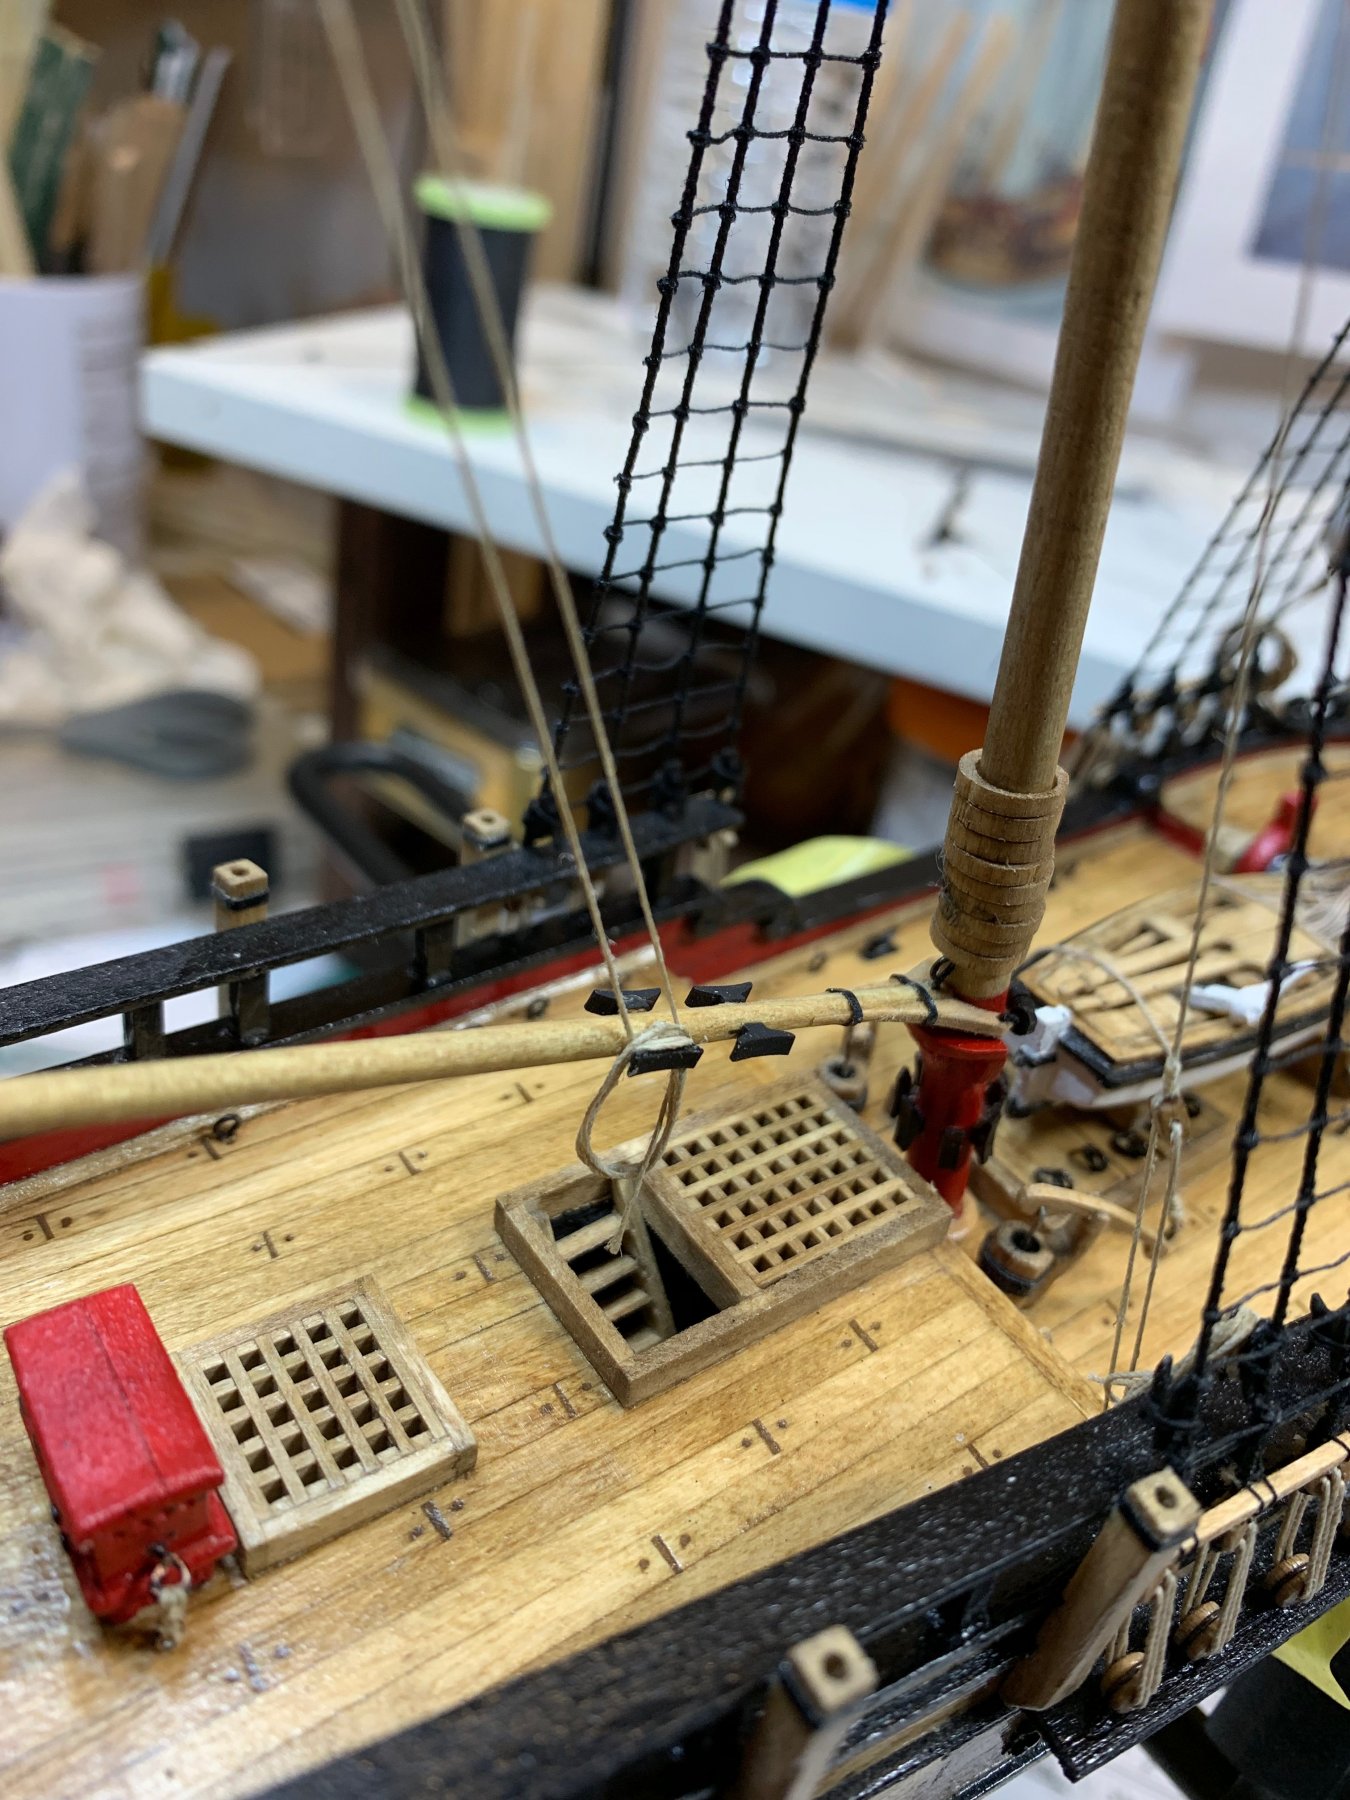
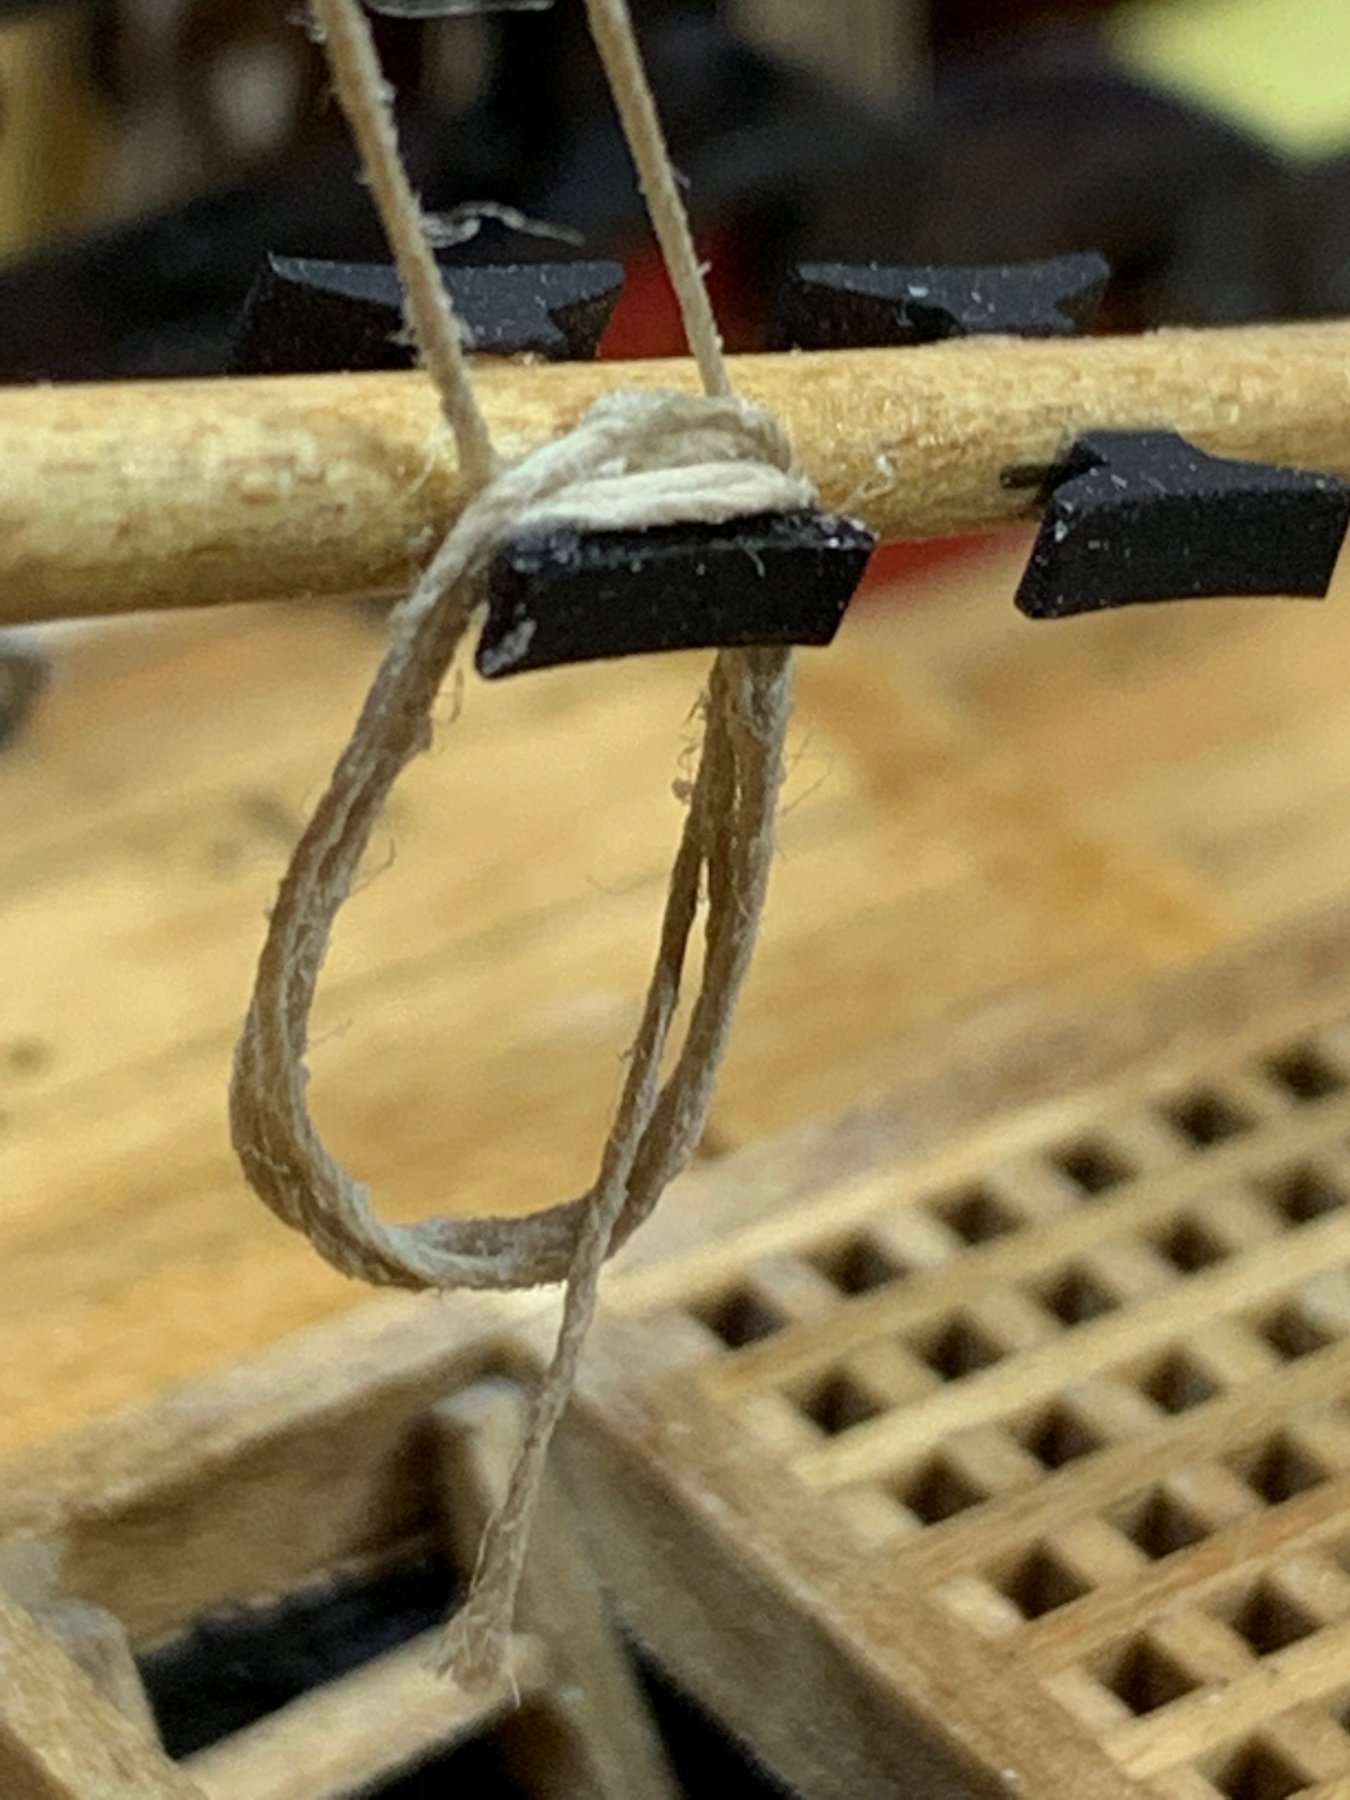
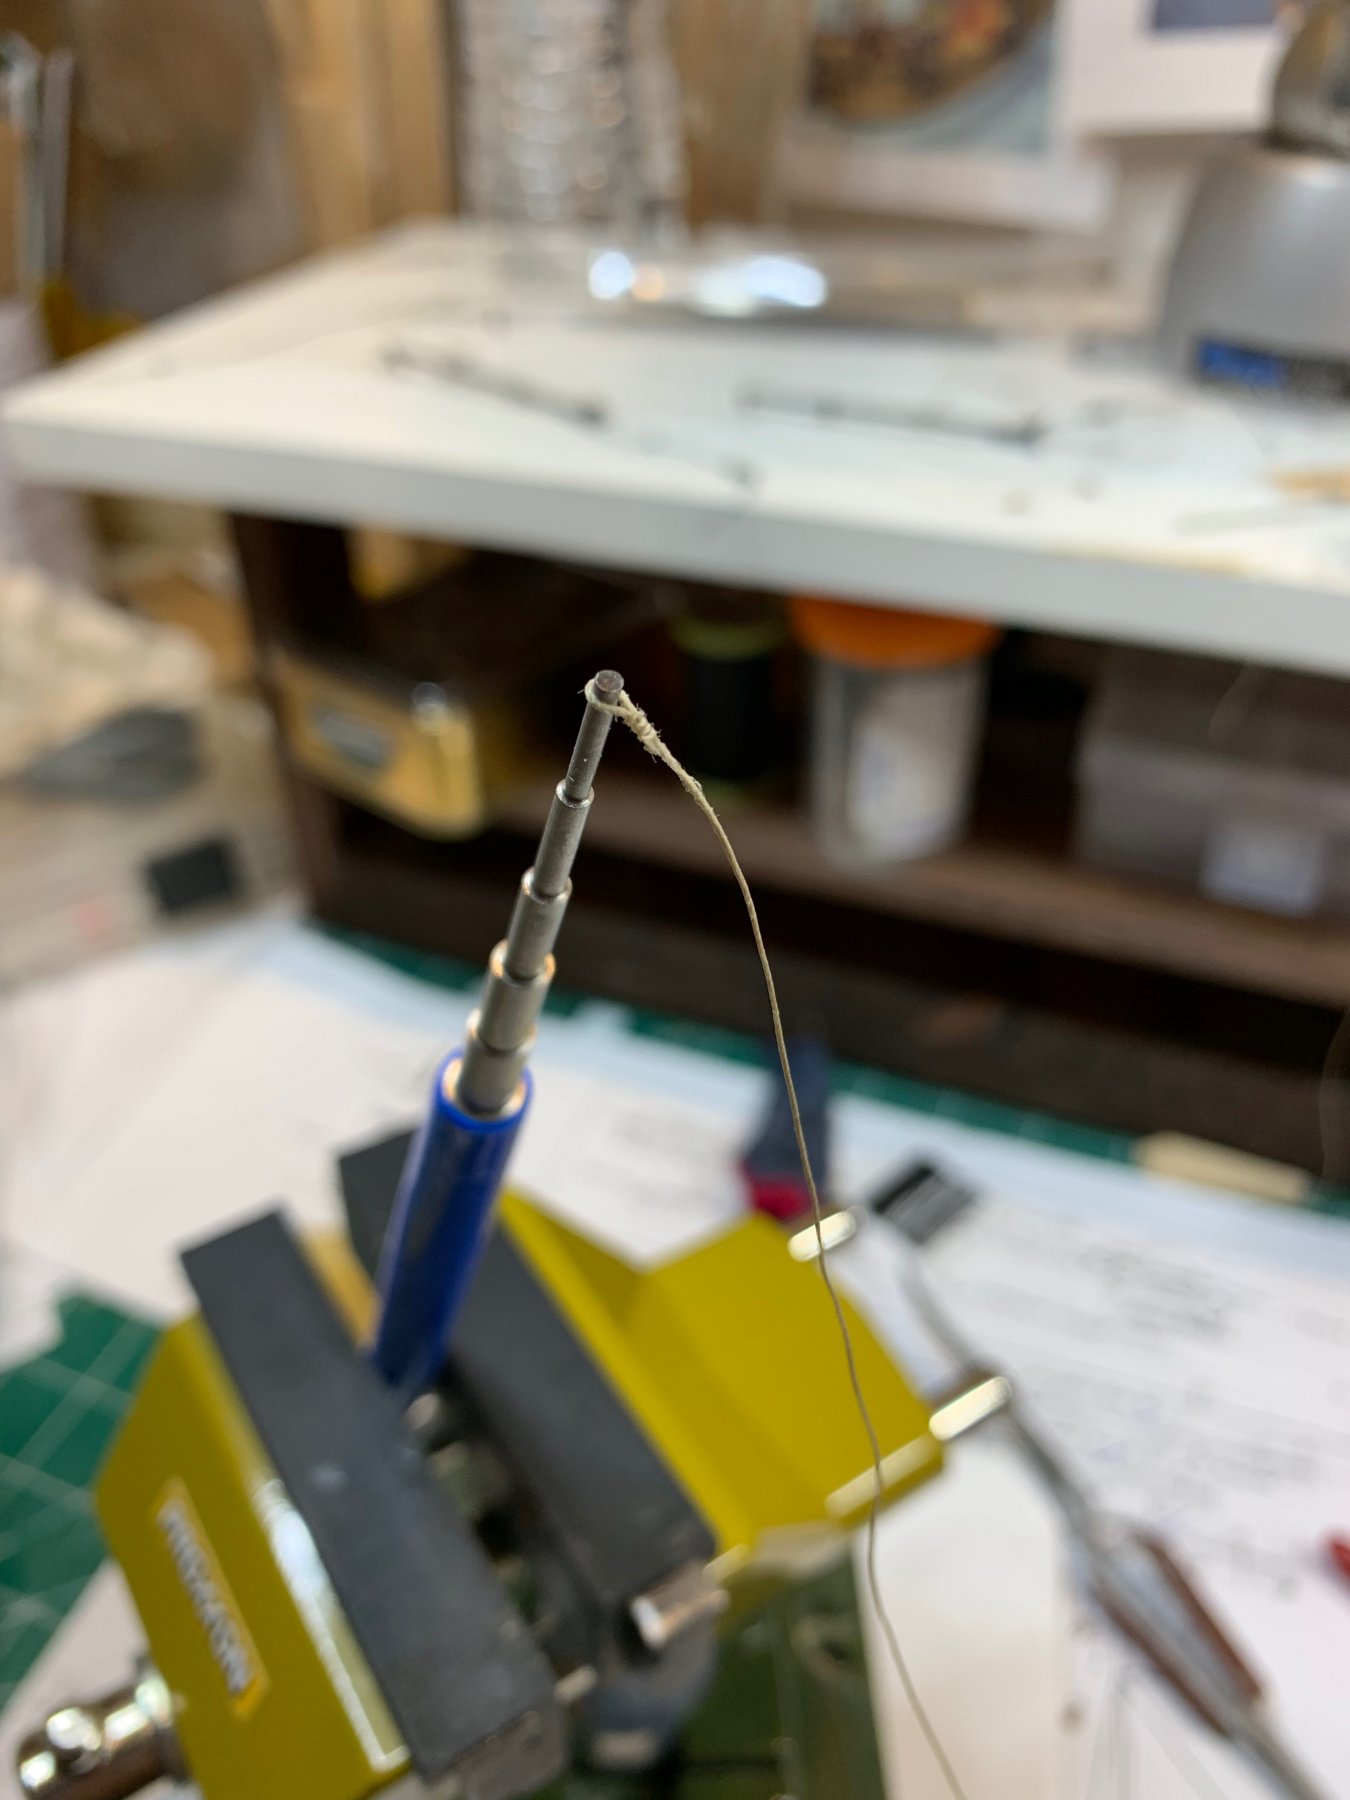
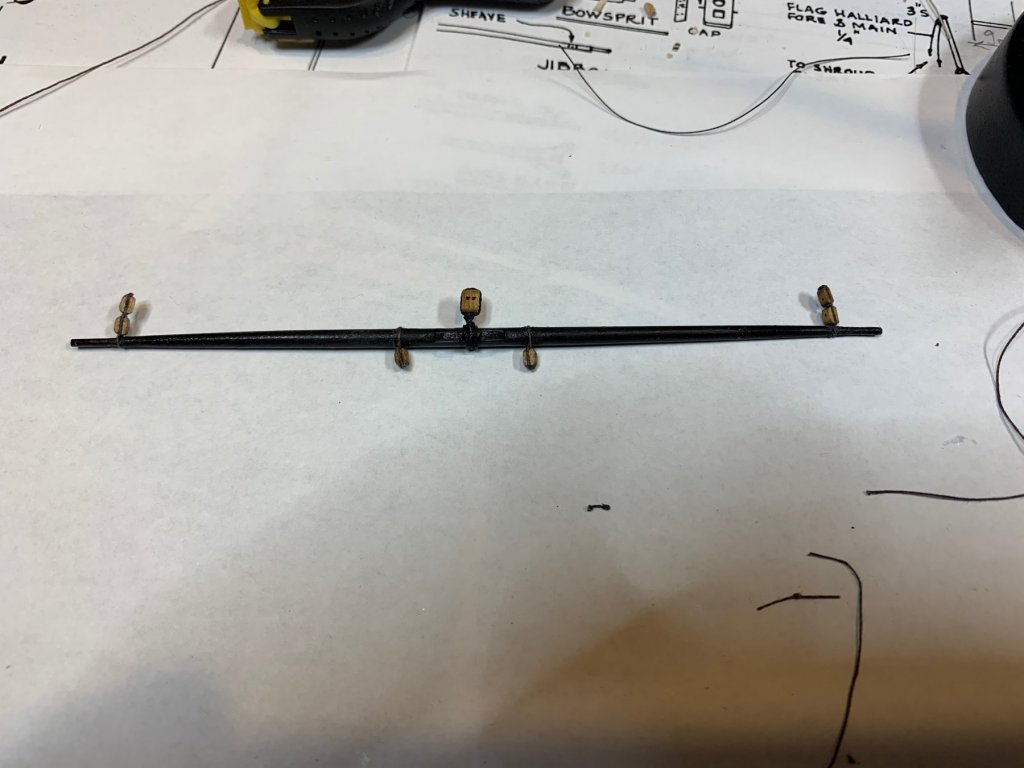
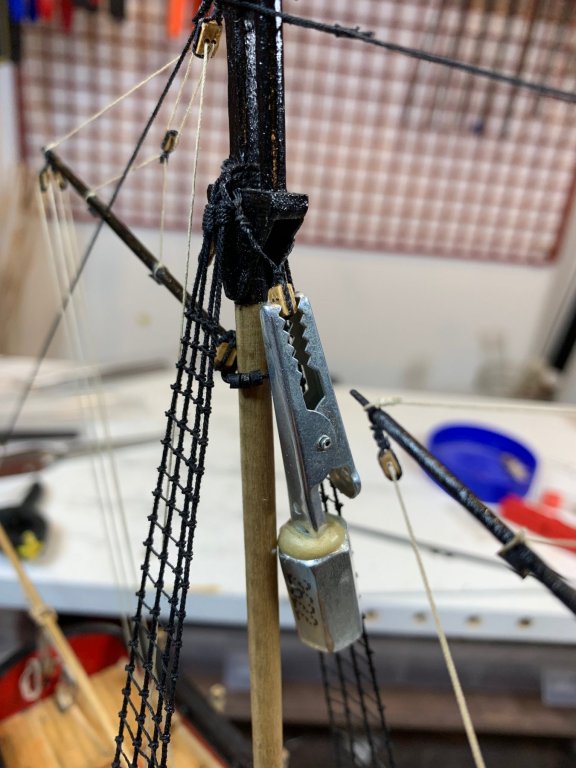
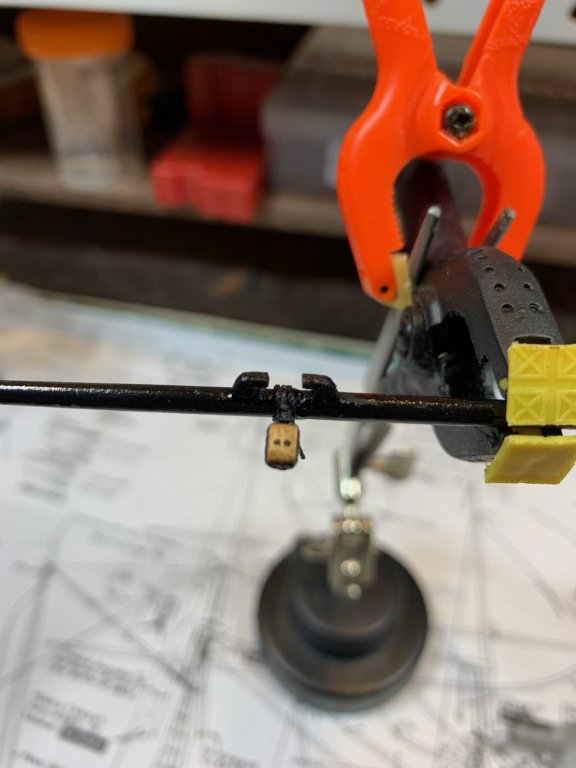
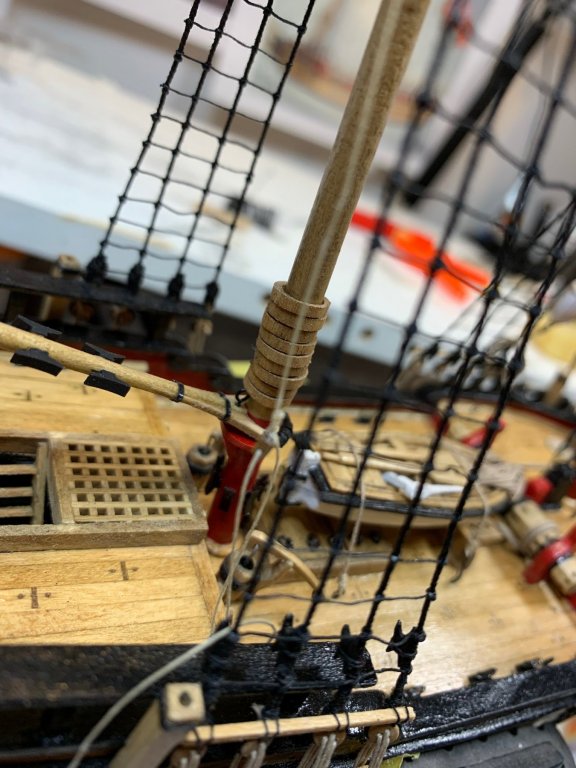
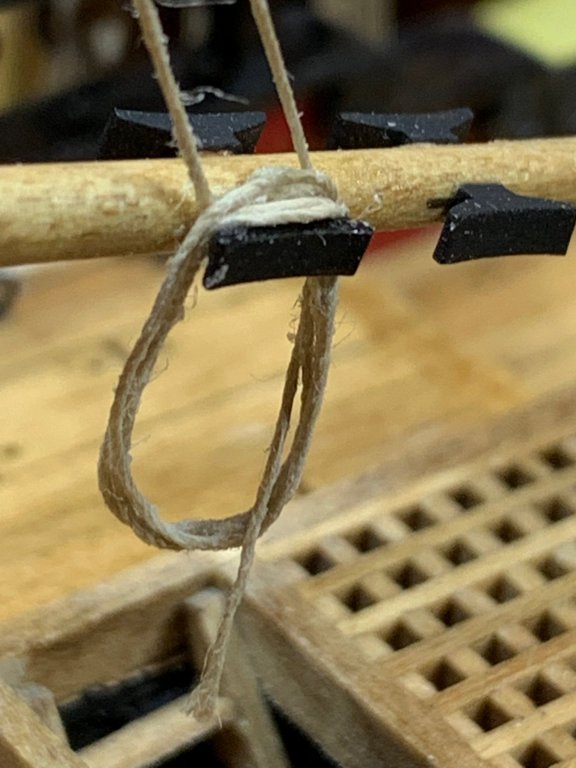
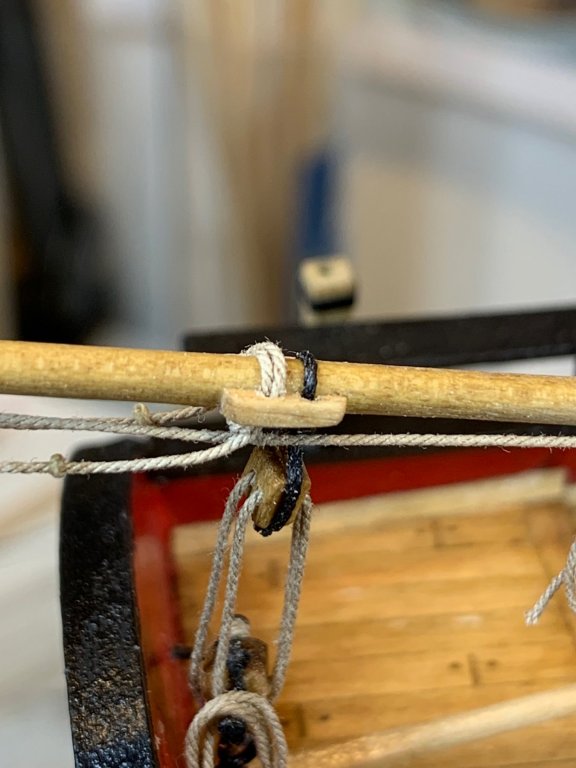
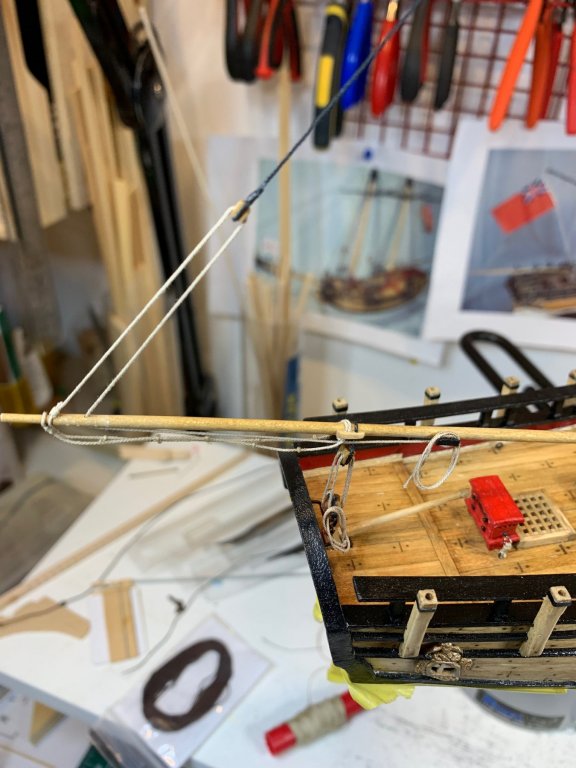
Lower yard construction continued by rigging blocks to yard already tapered. A 3 mm double block was lashed to the center of the yard following a kit supplied instructions.. This one will be used for a halliard. Two single blocks were seized together and placed on the ends of the yard arms. I am not quite happy with end results so need to do a bit of research to find a useful process of seizing two blocks together. Suggestions appreciated. Single double block seizing process.. Sling for the lower yard halliards was also made, following practicum for proper dimensions.. and attached to the ship, with a bit of a weight to make it fit correctly.. On above picture the block is facing outwards but it was actually positioned properly after. The area is very populated so extra care is advisable while working.. Happy modeling.


- 360 replies
-
- 1
-
-
- sultana
- model shipways
- (and 1 more)
-
Haven't been to active these days; work related tasks are keeping me away from hobby... Hopefully back to shipyard soon...
- 360 replies
-
- 1
-
-
- sultana
- model shipways
- (and 1 more)
-
Thanks, getting there..
-
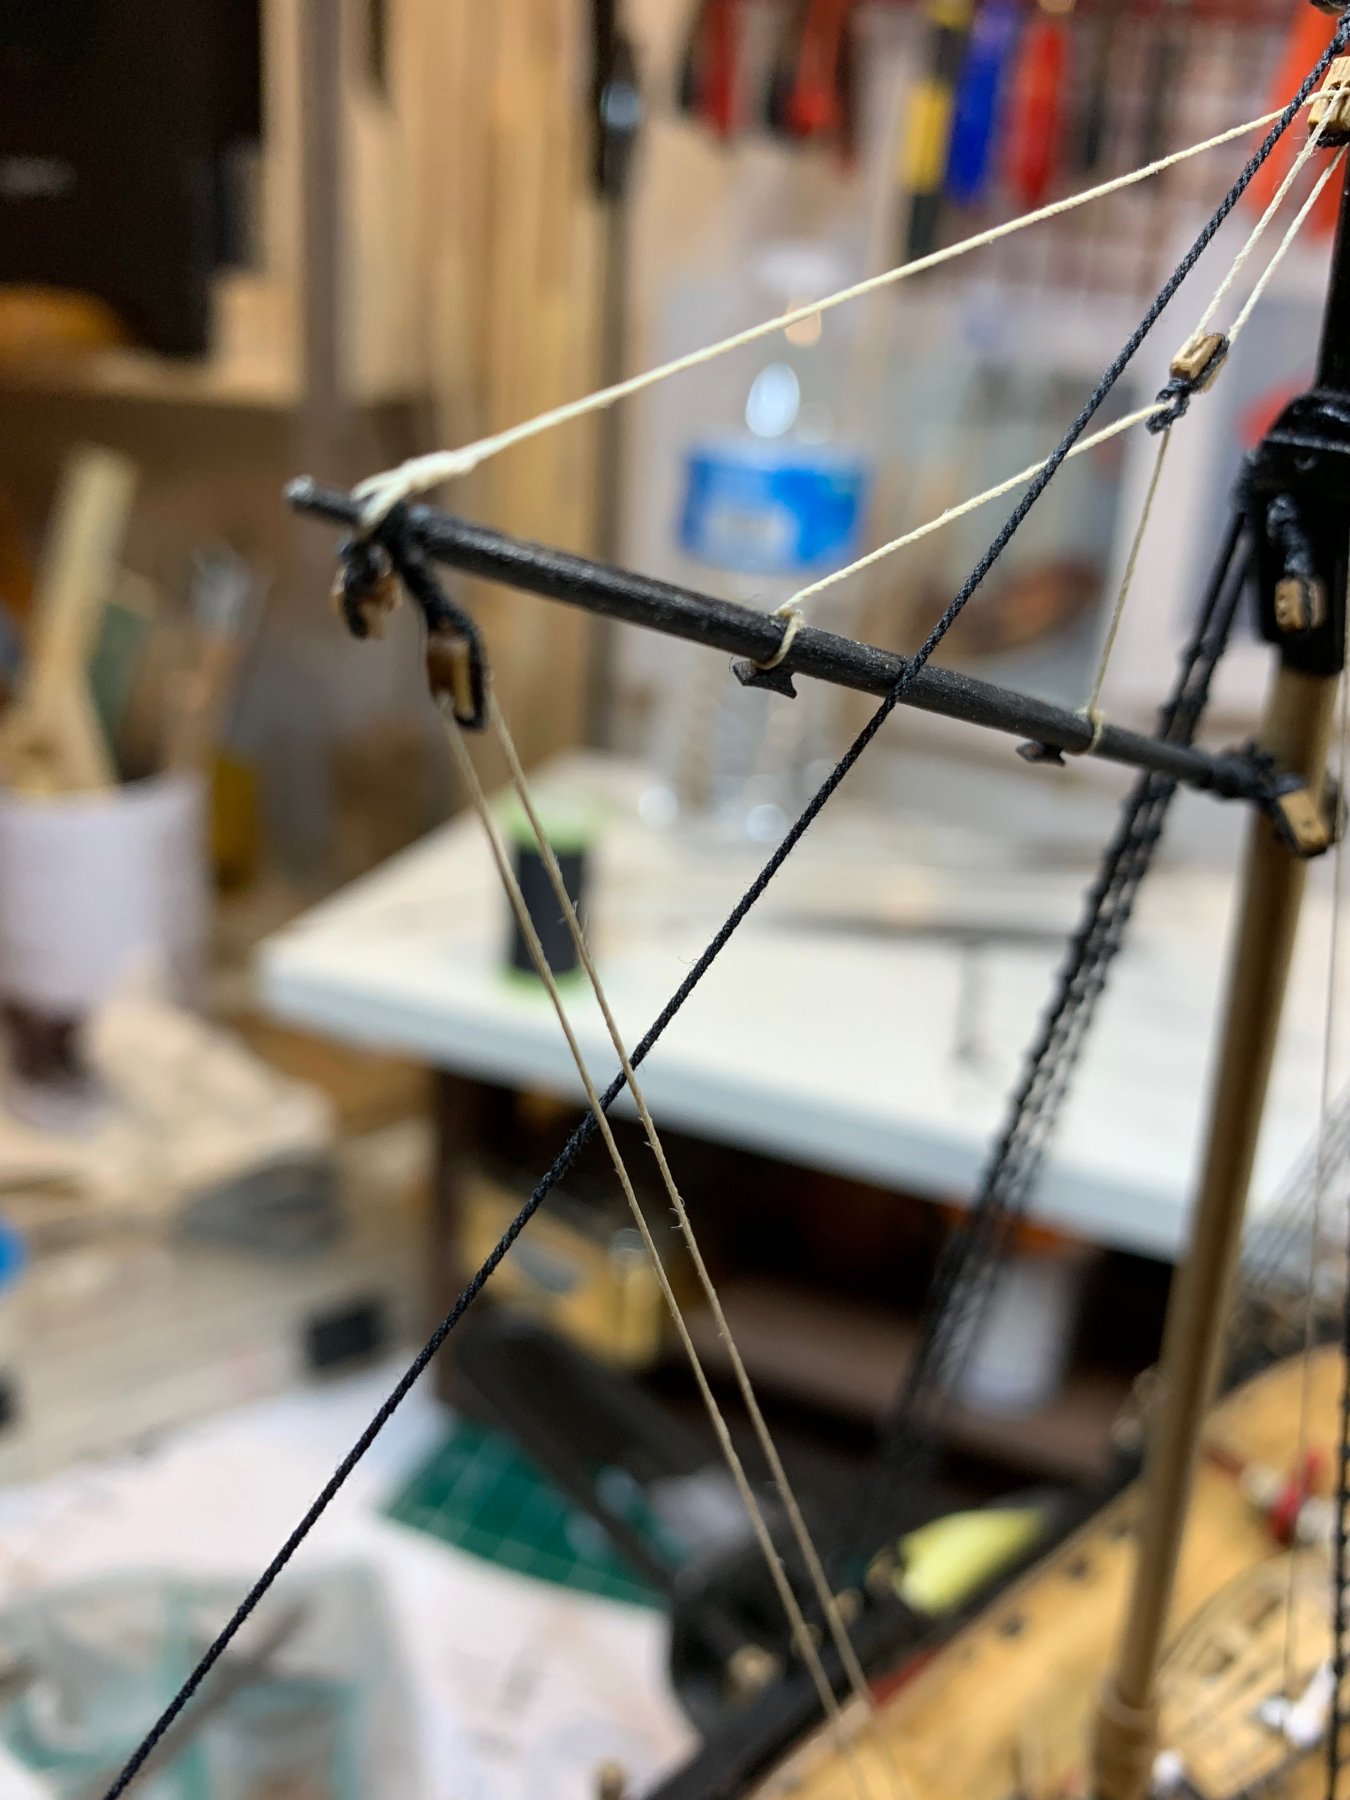
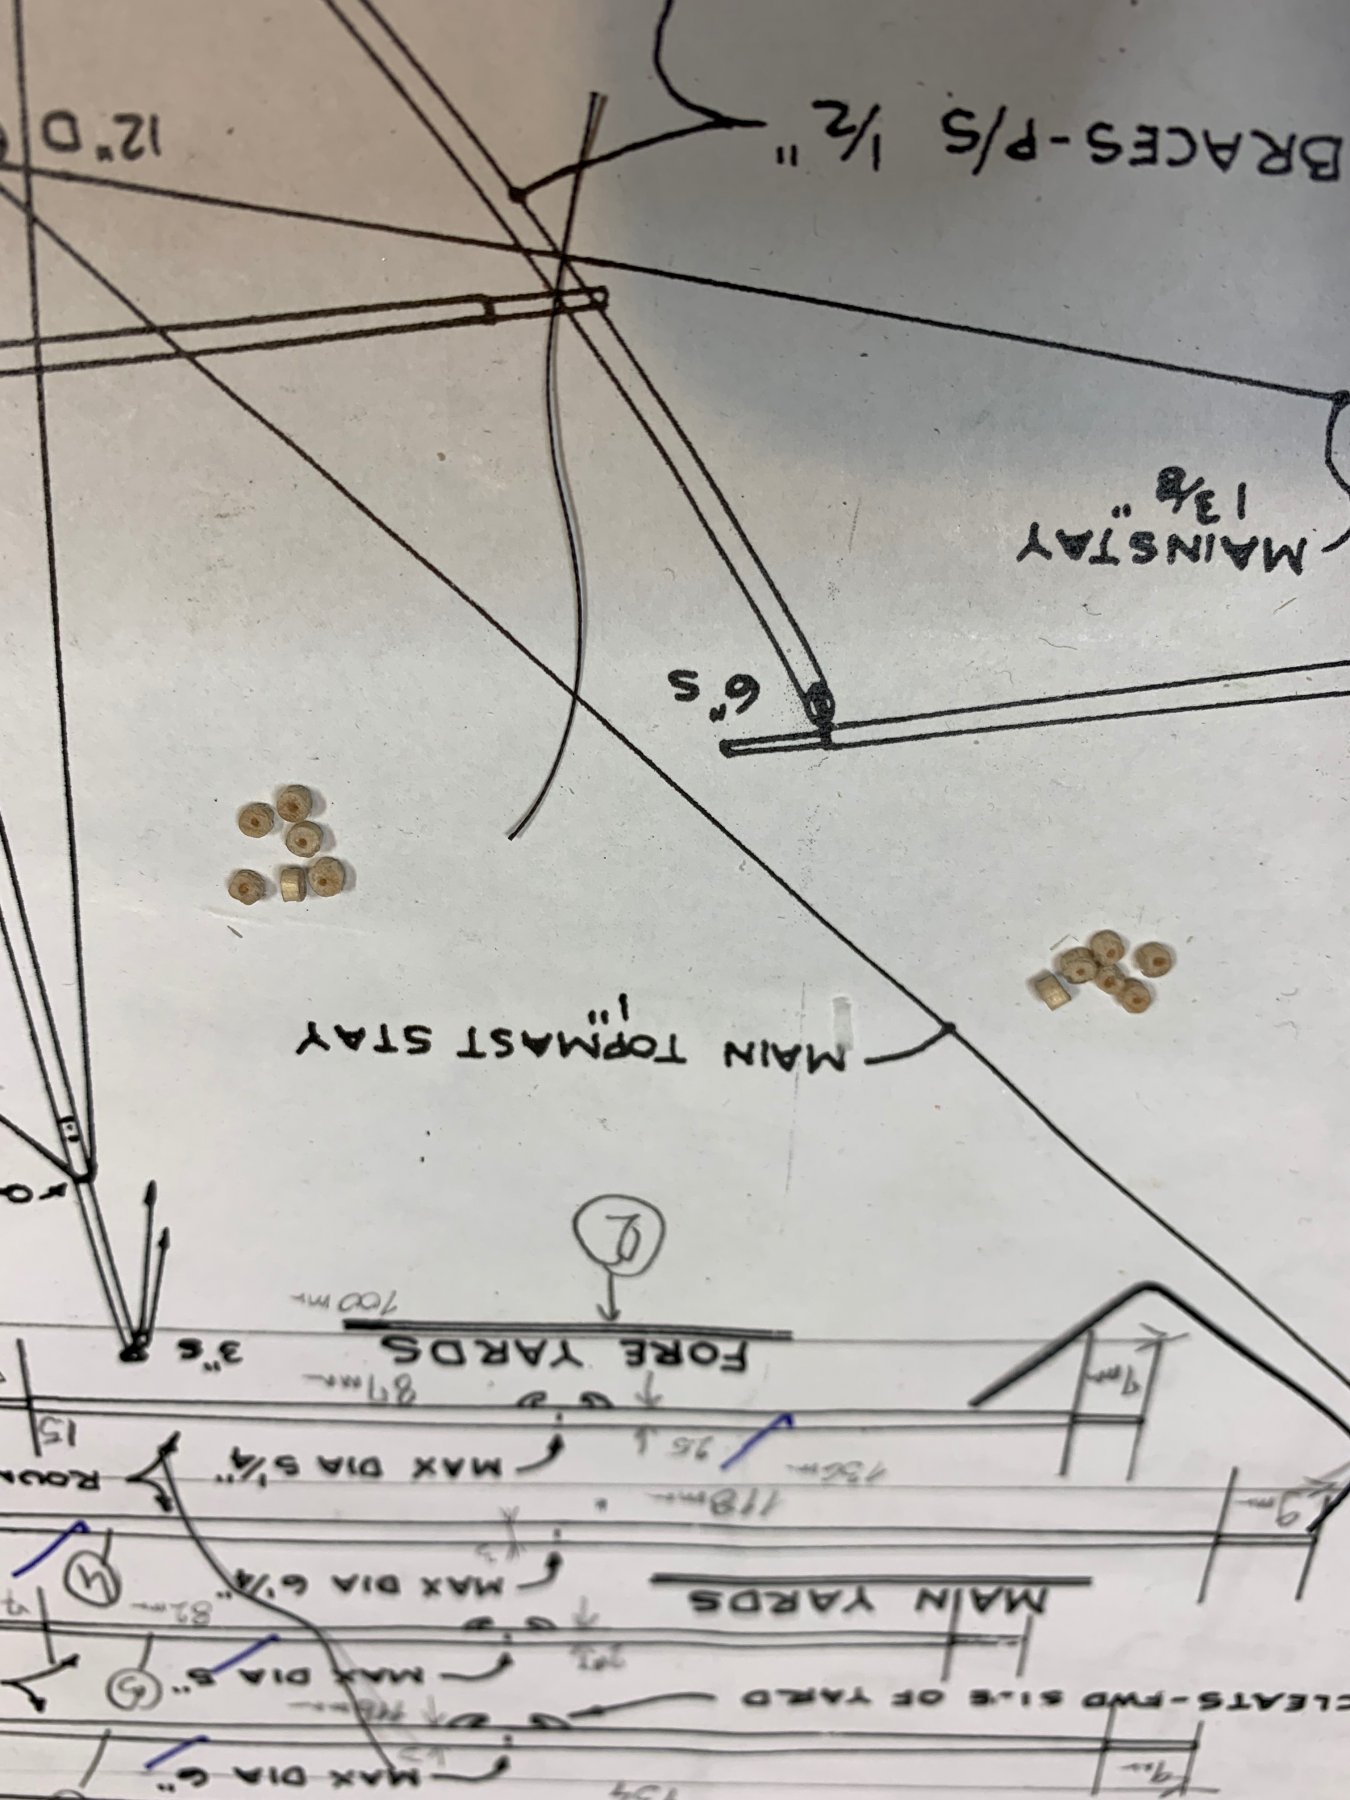
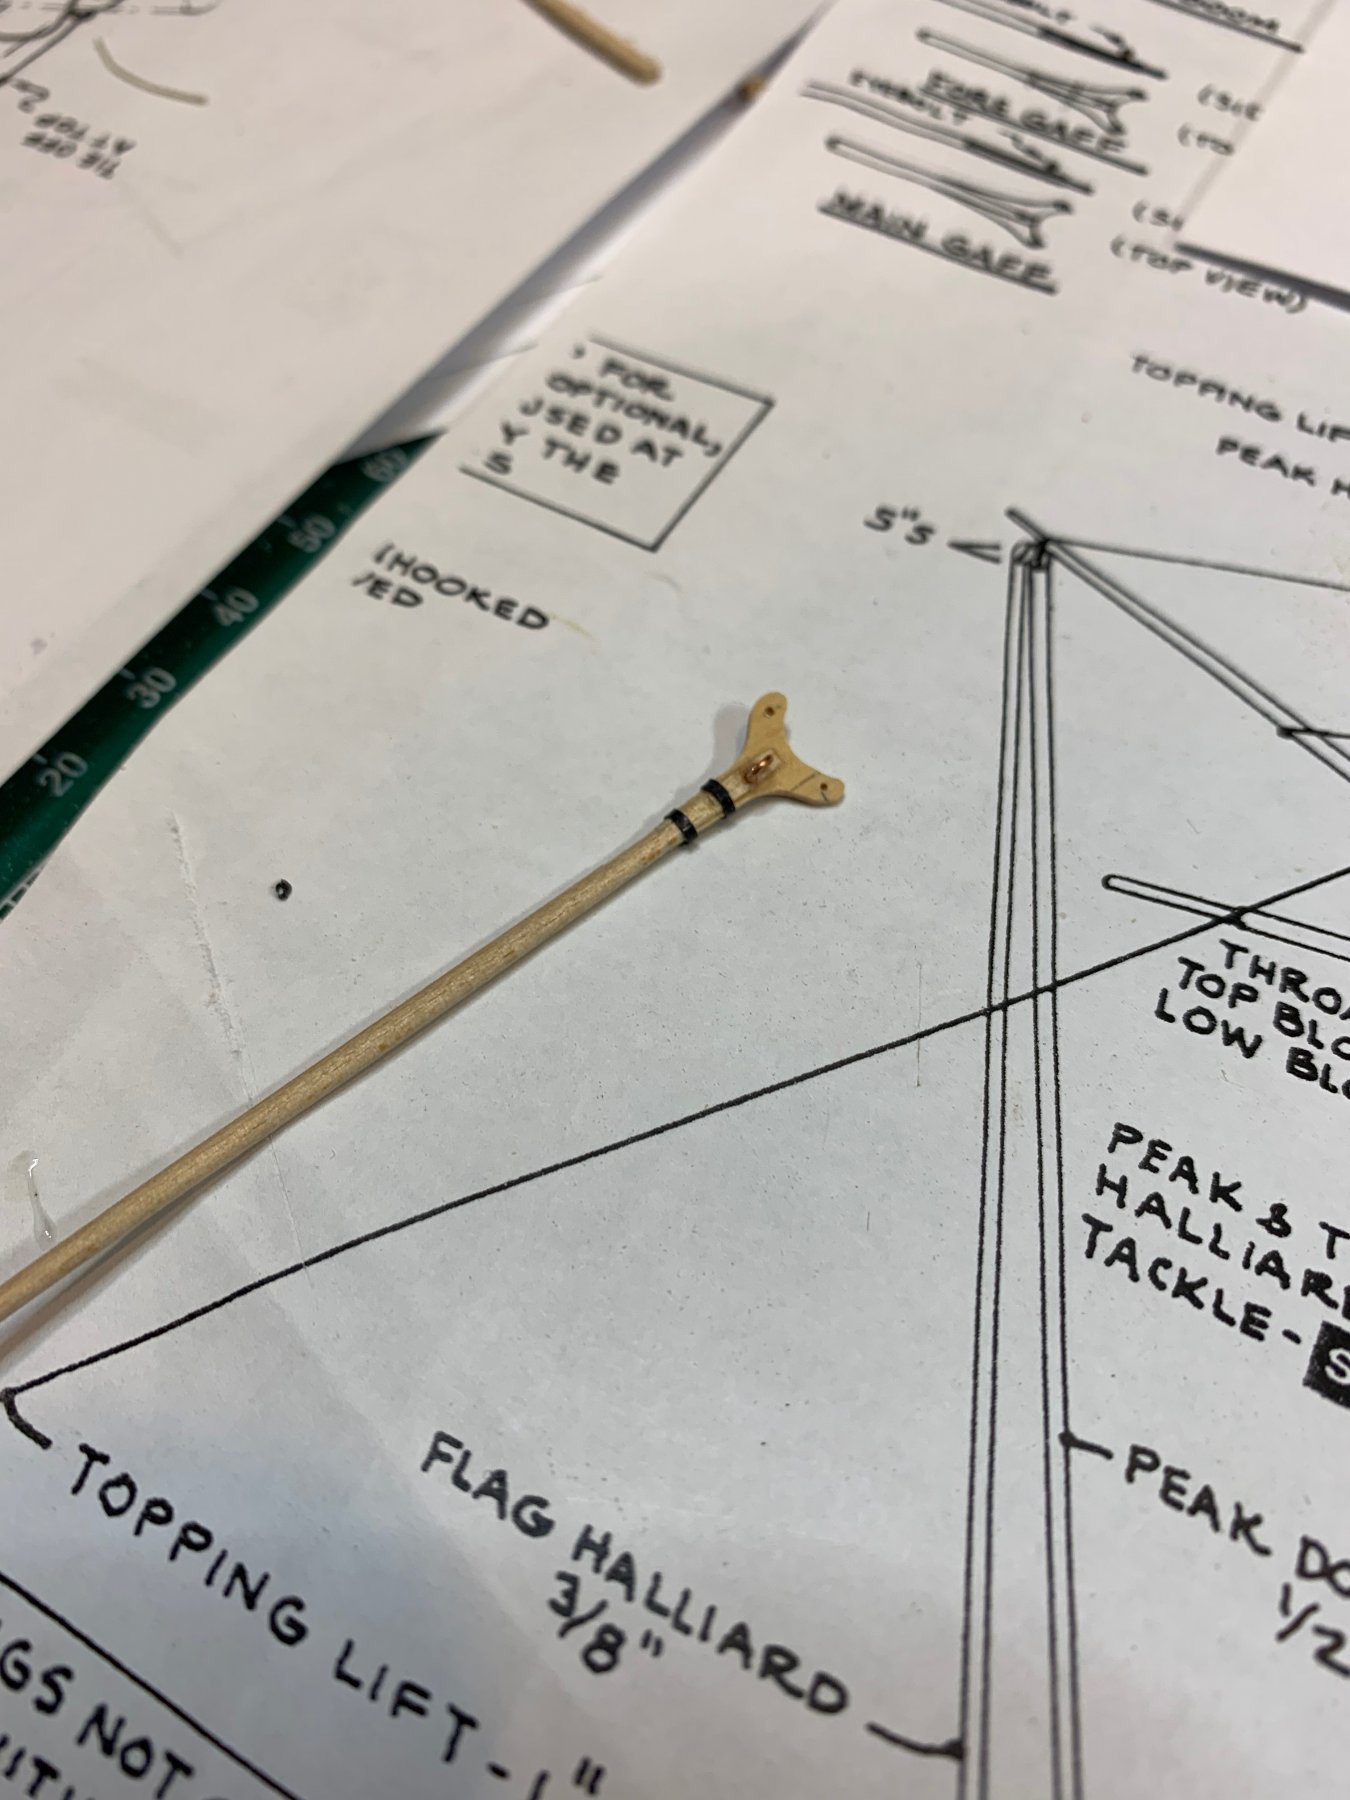
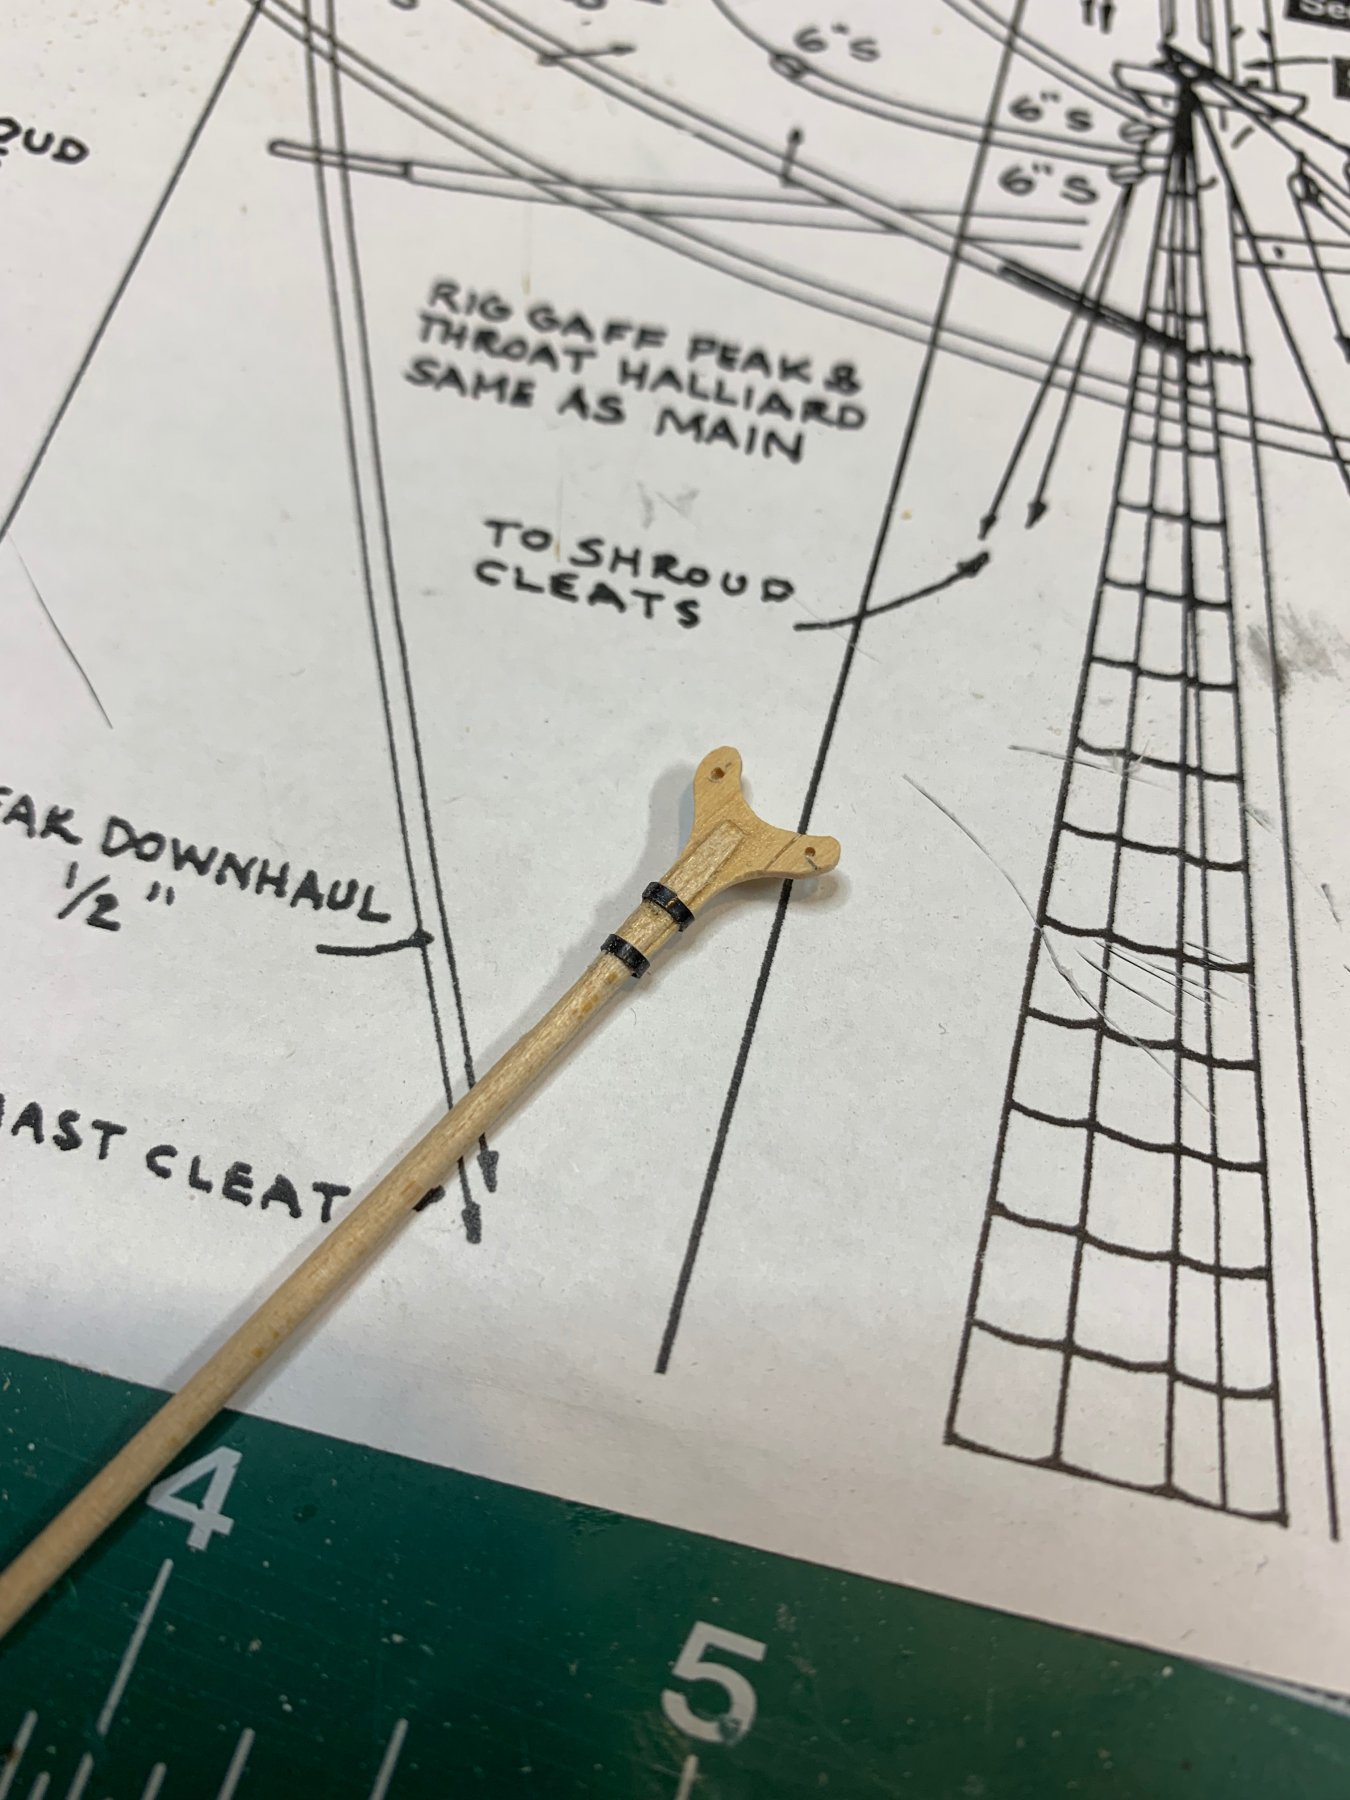
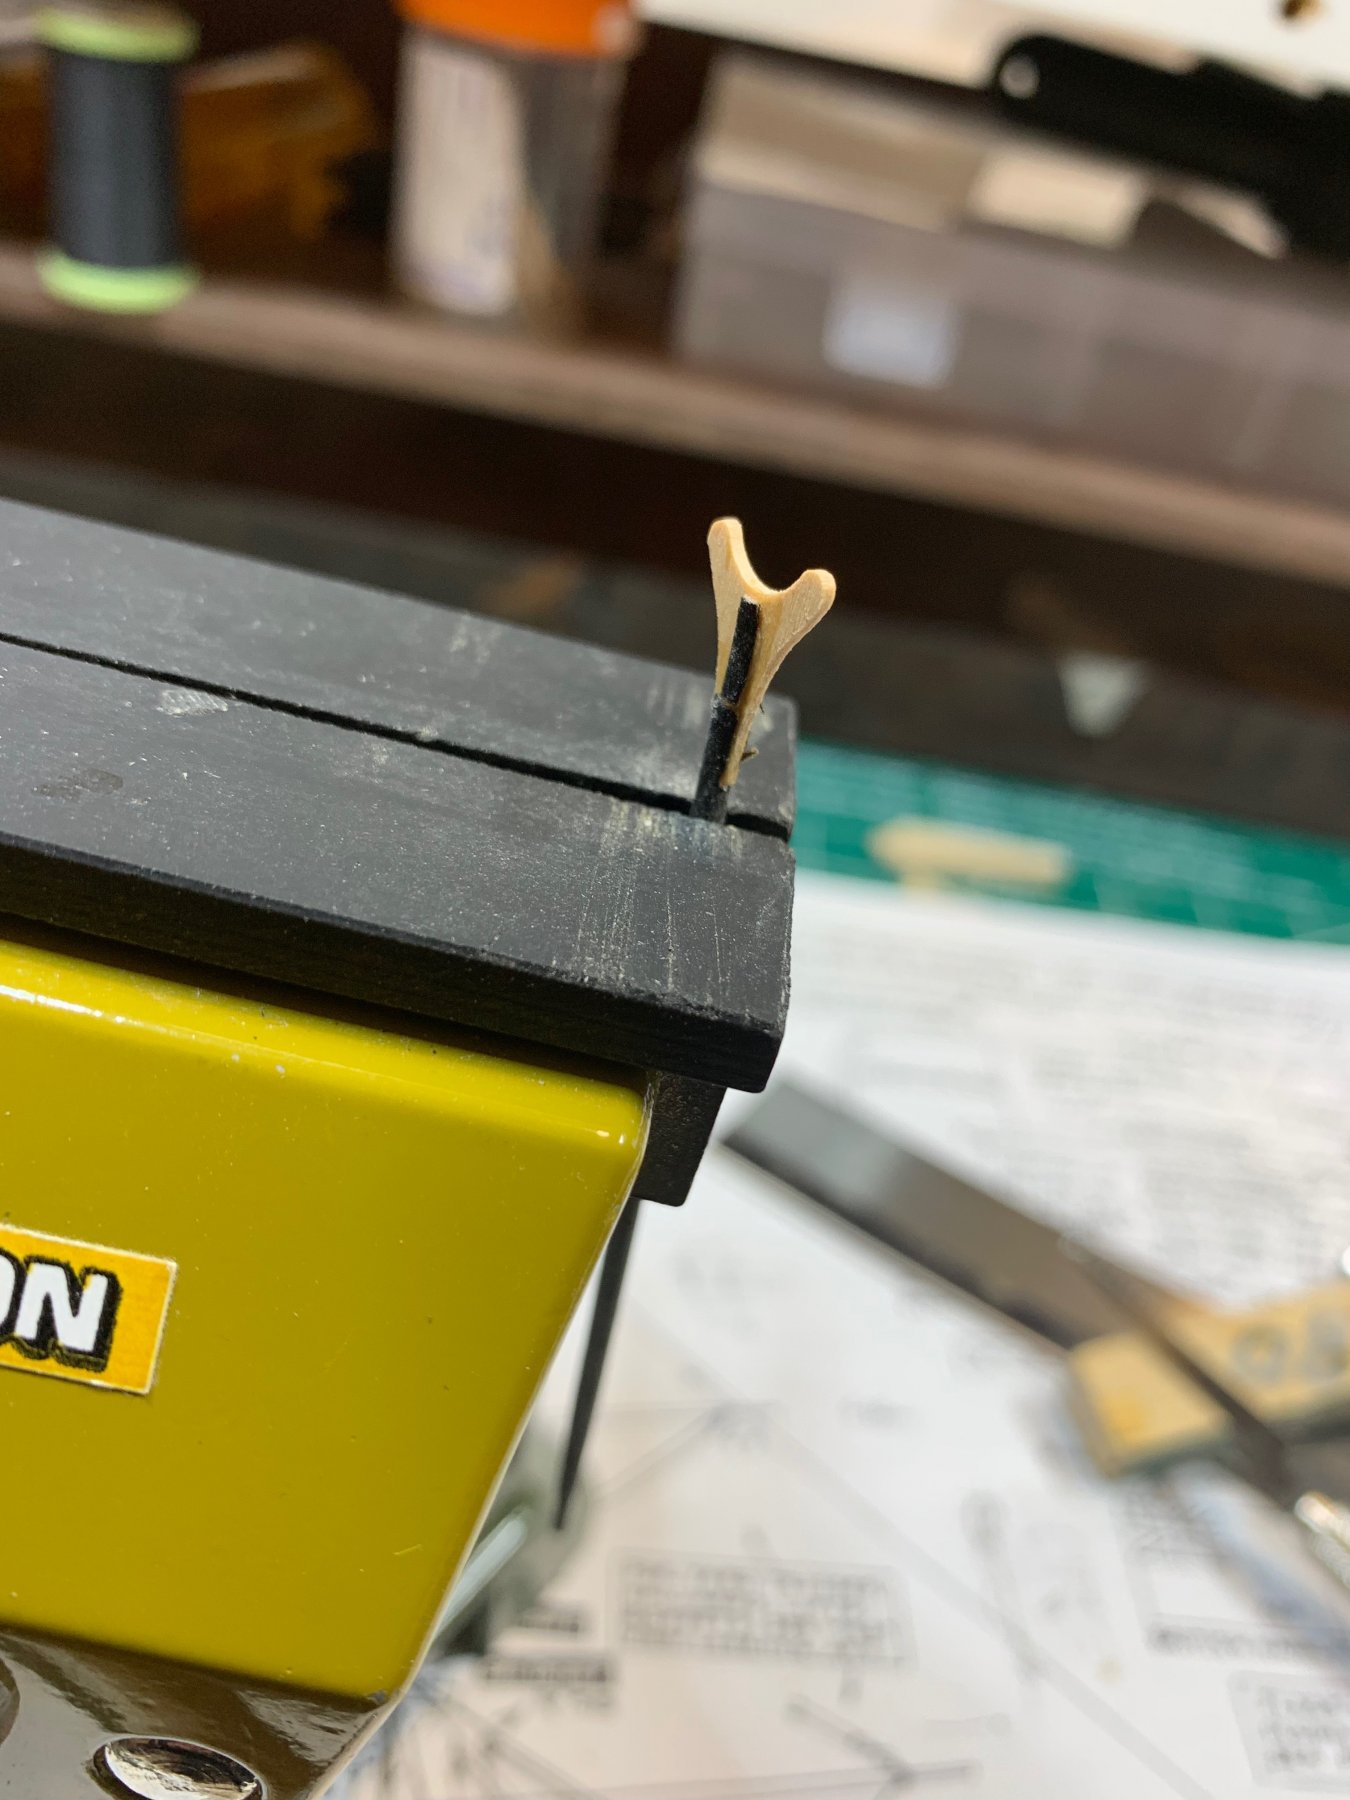
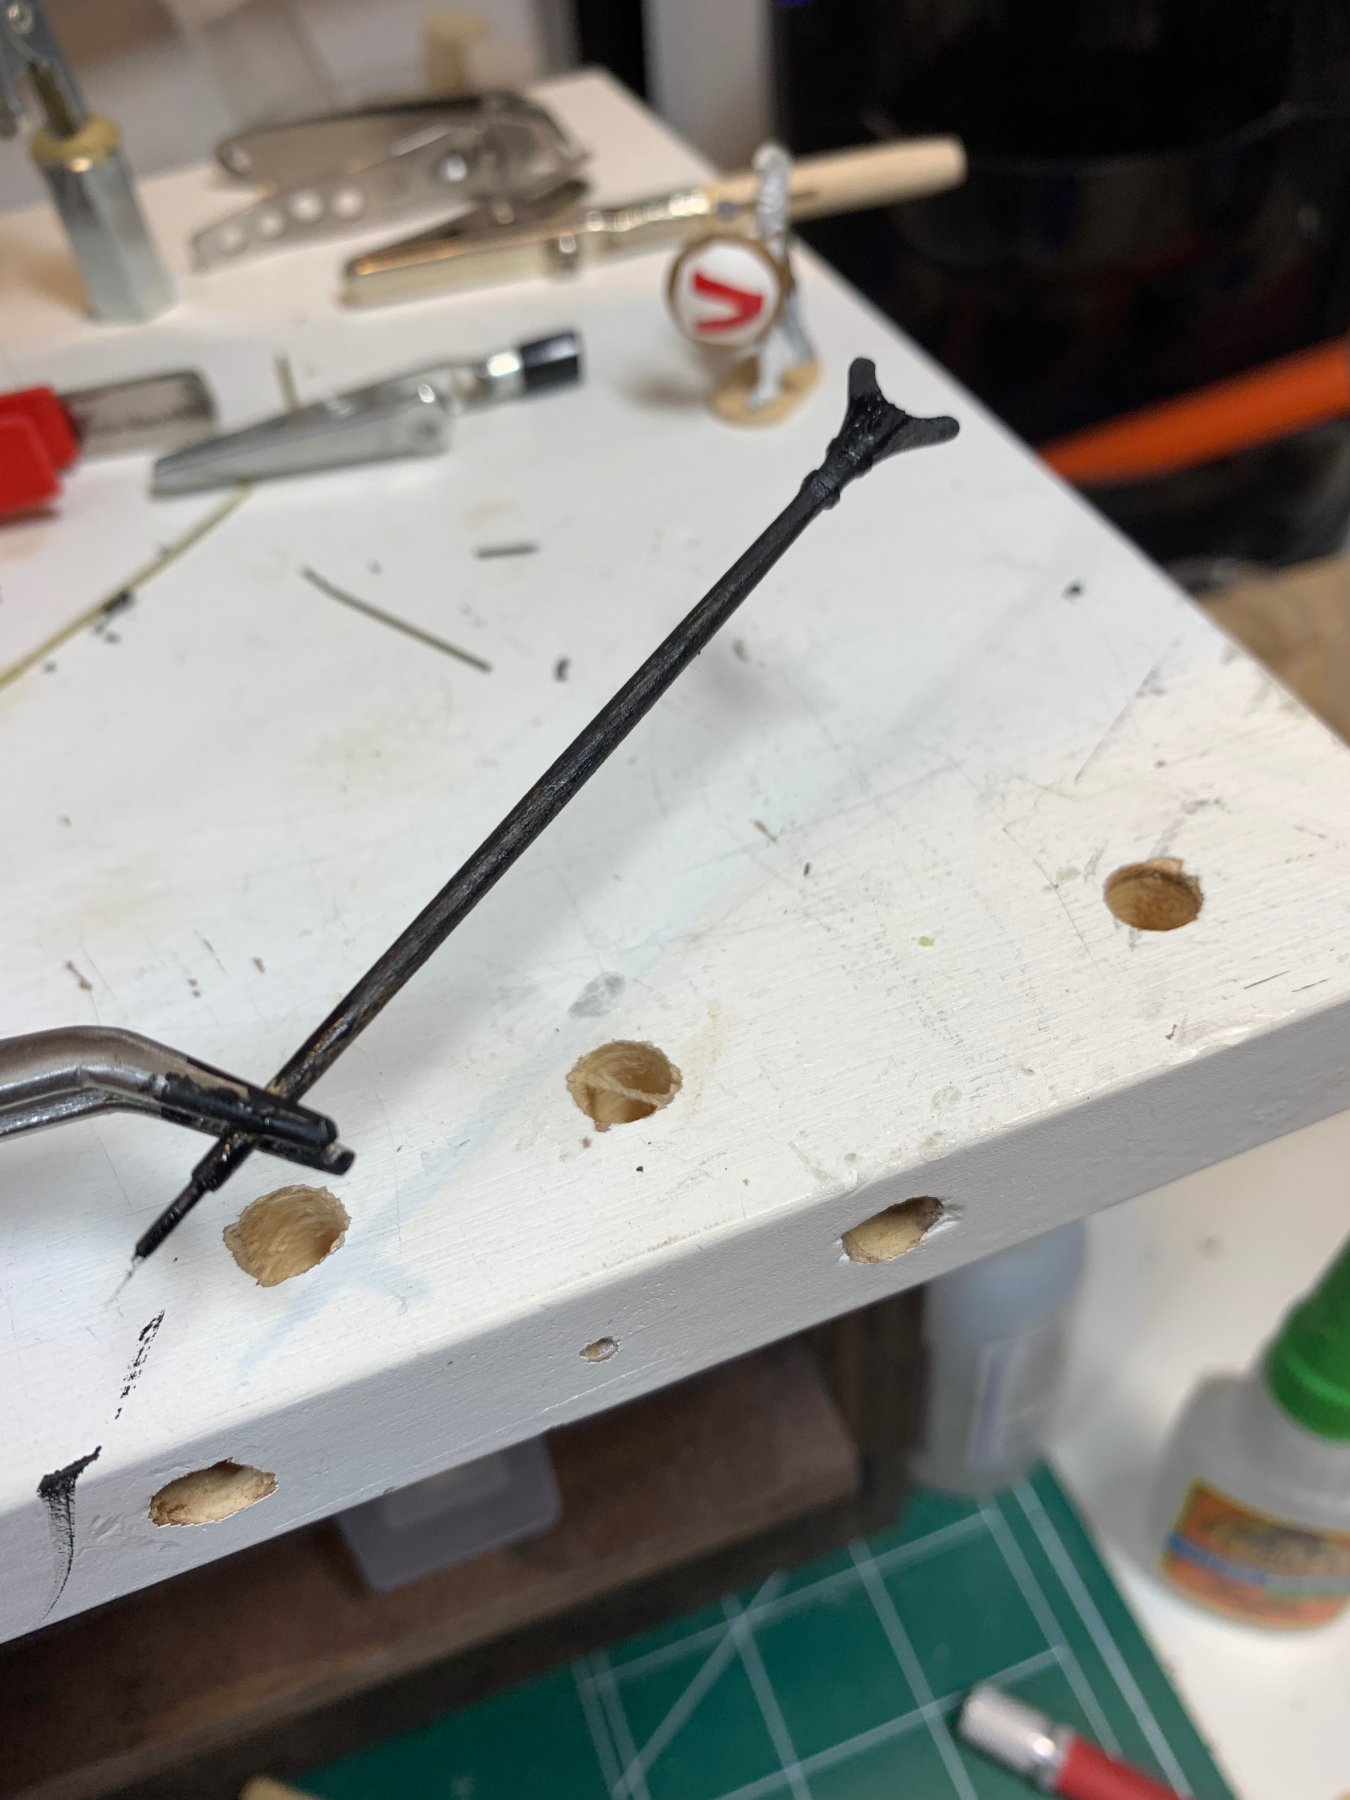
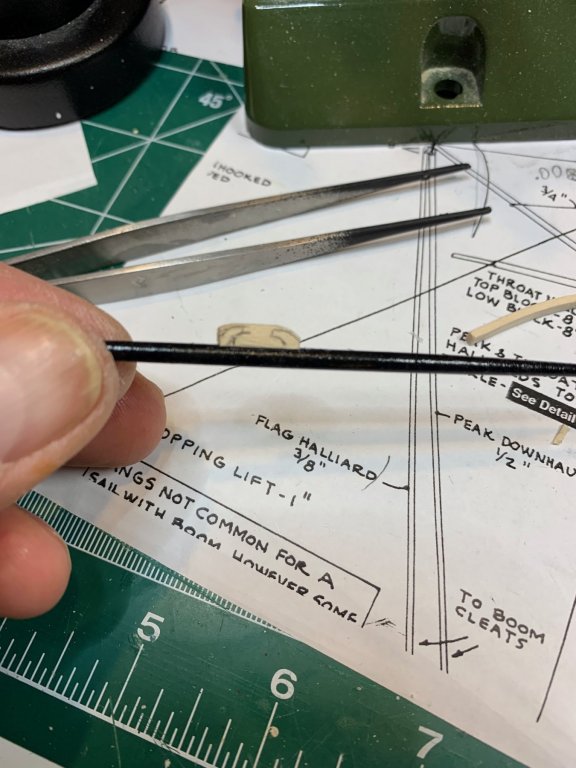
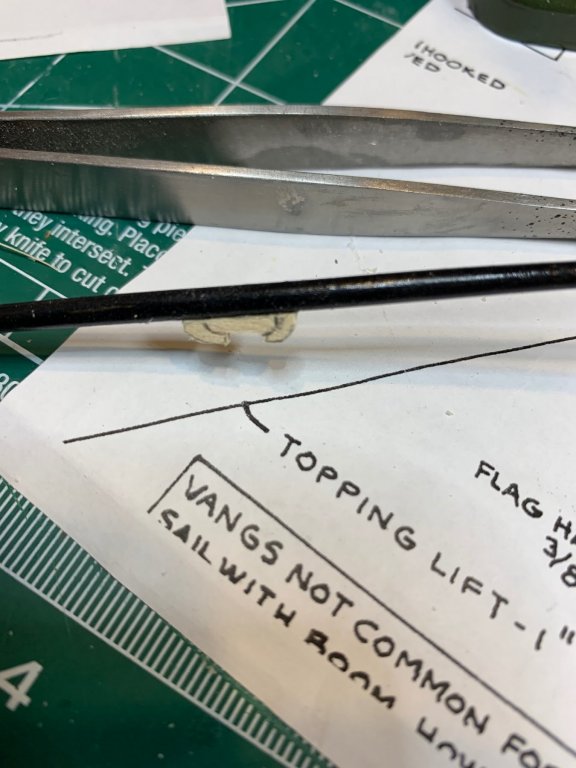
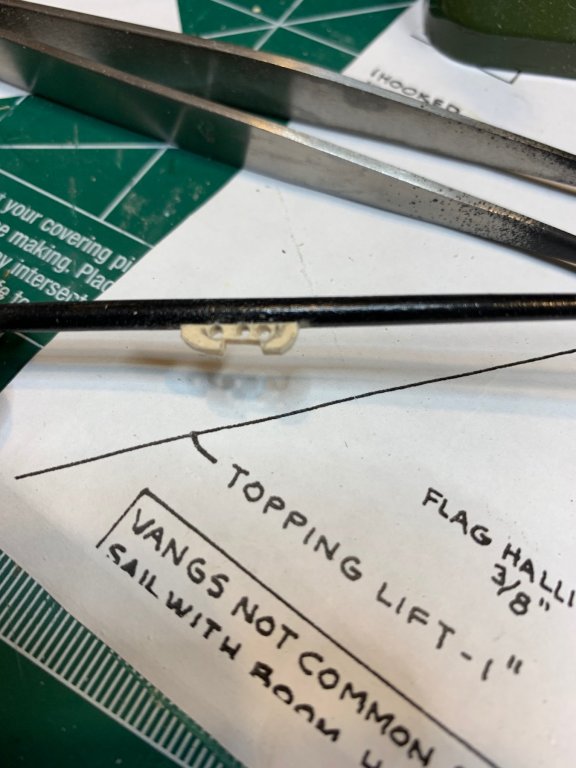
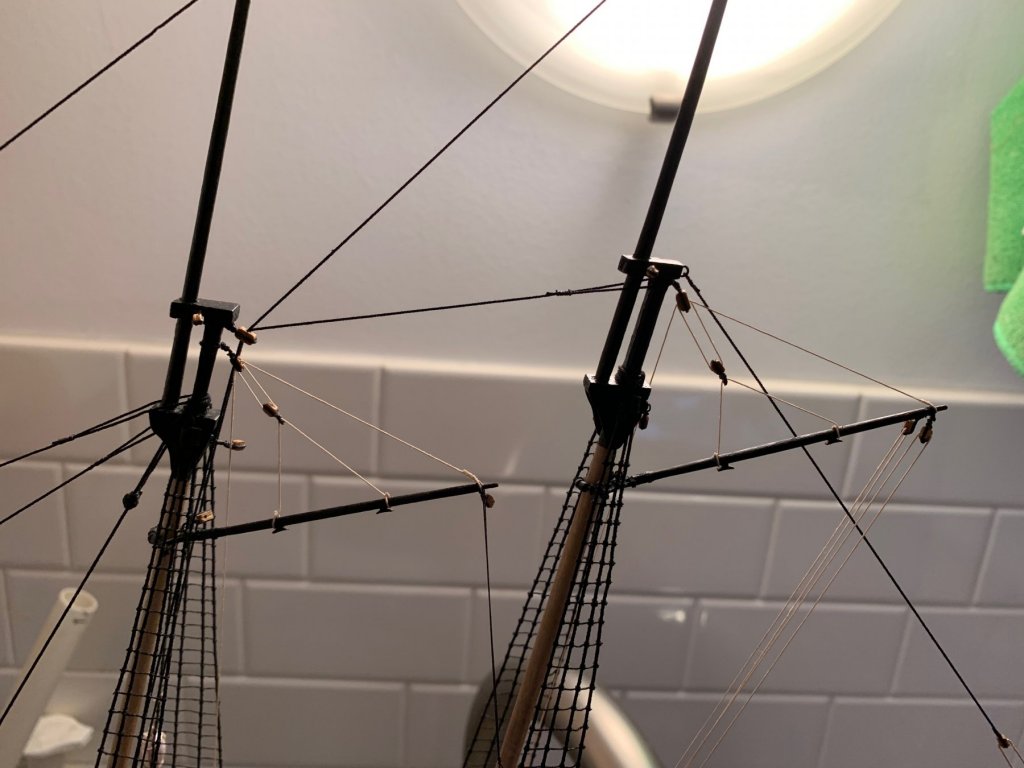
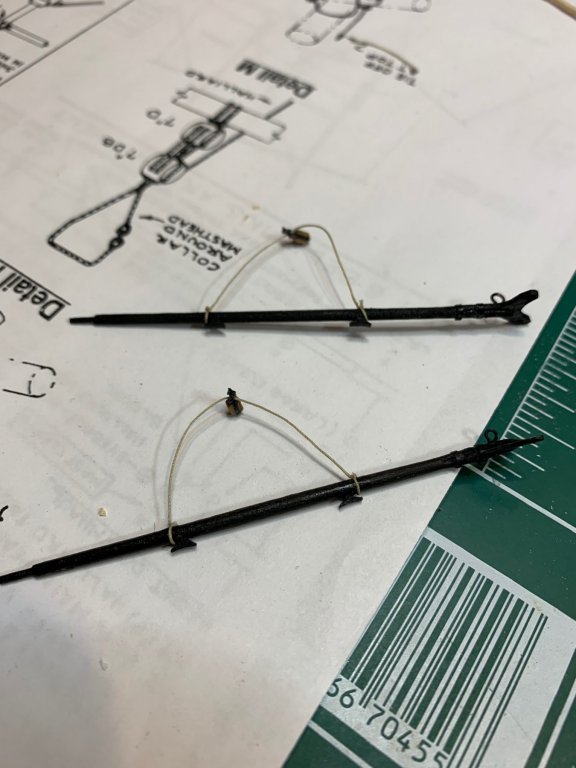
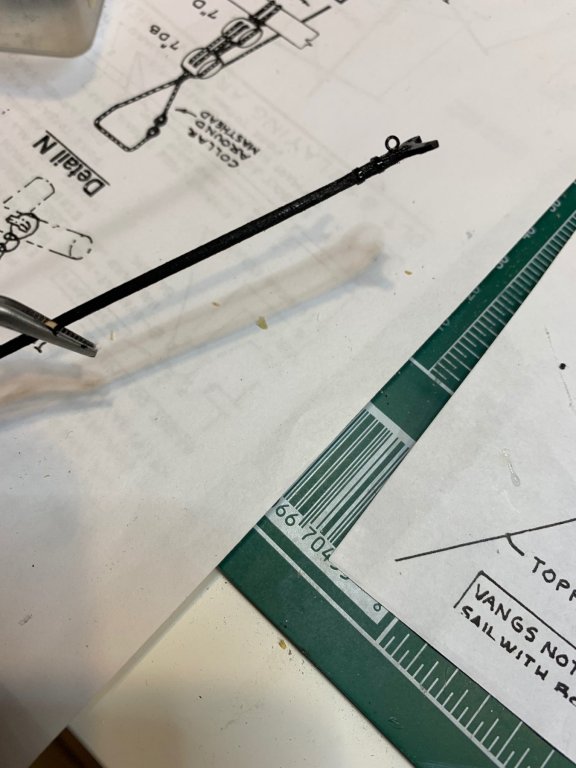
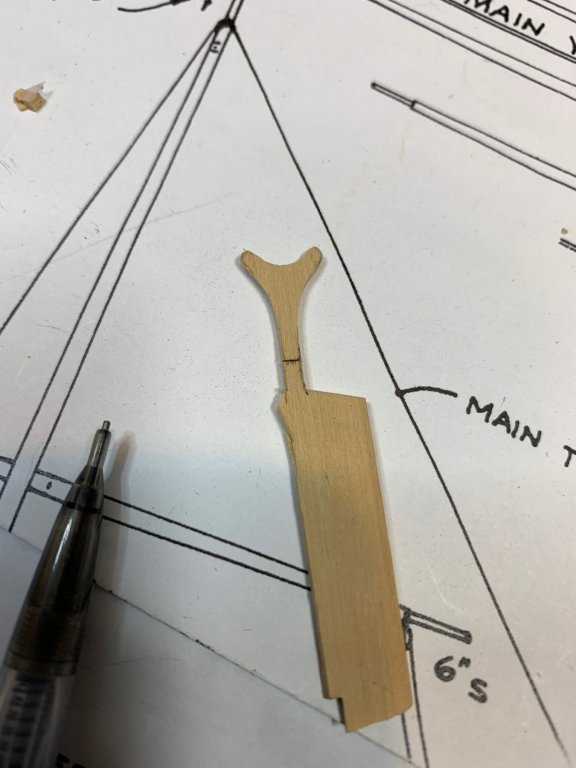
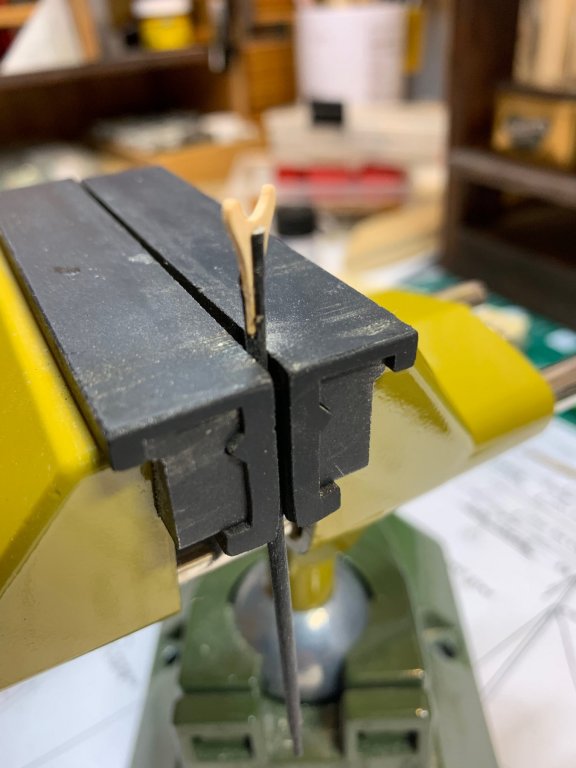
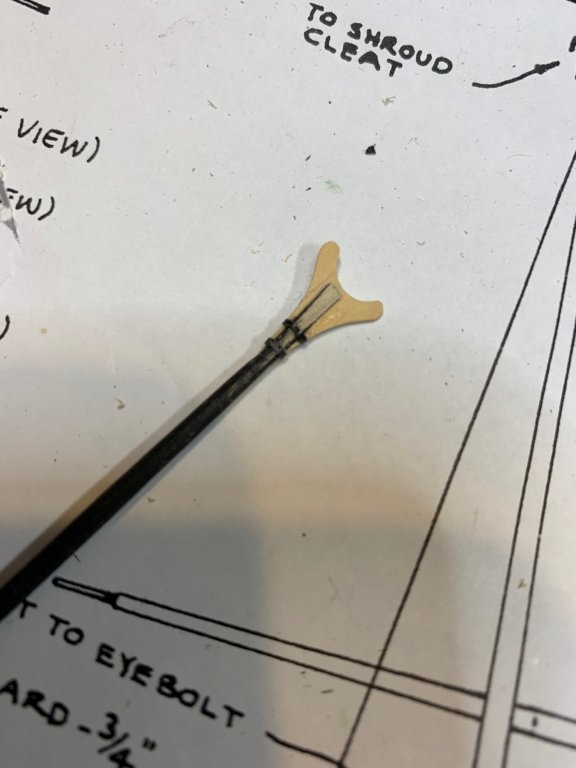
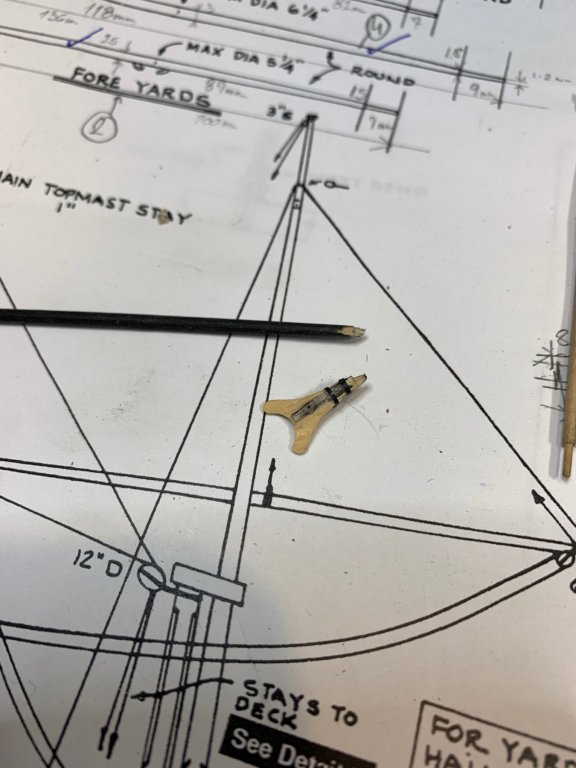
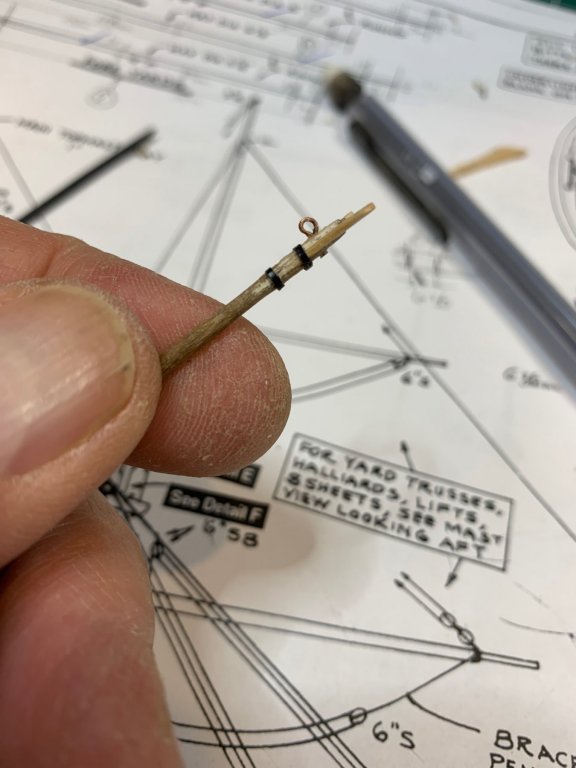
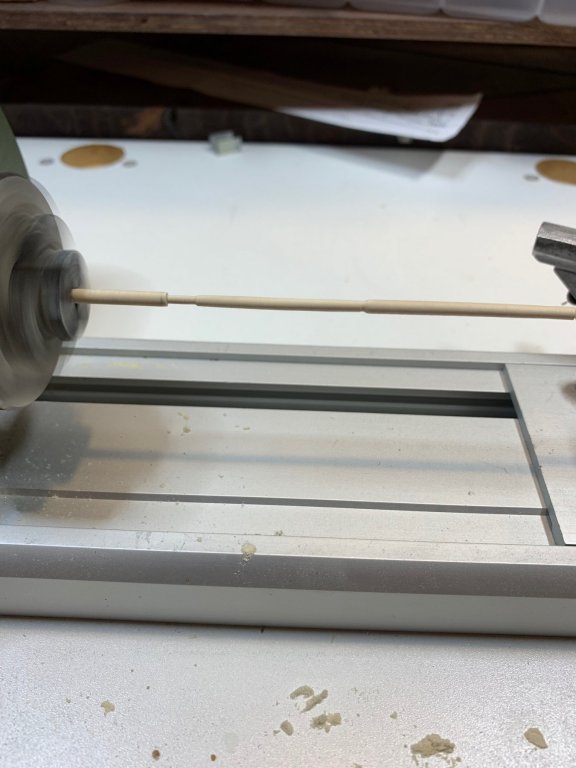
The work on rigging continues... Today i started on topsail yards.. First, a layer of vanishing was applied on all three yards, so i don't forget it as i did with main and fore gaff. The peak downhaul tan rope was run through the 2.5mm single block that was seized on the tip of the gaff. The line was brought down to the mast cleat and finished with a rope coil. That area is very crowded with all details in place so people with big hands like me have to pay special attention not to break something... Then i worked on rigging those tiny 2.5mm blocks that will be seized on the tip of topsail yards. All topsail yards were completed before, by running them on my mini lathe and tips are finished by hand since they are fairly fragile. Then the fun begun with cleats. I have tried to shape them from a small piece of wood. Partially successful by holding them in tweezers so i can follow shape from the plan... Partially successful because, during building process and moving them to better position the file, they simply flew from tweezers.. Somewhere. So another approach was taken. The small piece of wood was filled in concave shape so it can fit snugly to the yard and glued to the yard. Then the shape was taken from the plan and transferred to the wood. A bit of carving took place.. Then three holes were drilled to assist with carving.. And the end result.. The layer of black paint and varnish was applied. The same will be done for two other yards. Happy modeling.


- 360 replies
-
- 4
-
-
- sultana
- model shipways
- (and 1 more)
-
Milling cherry logs
moreplovac replied to moreplovac's topic in Modeling tools and Workshop Equipment
I will definitely try this approach, never thought about it.. Appreciated, Cheers -
Milling cherry logs
moreplovac replied to moreplovac's topic in Modeling tools and Workshop Equipment
No, thanks for a link, appreciated. I think i got the idea how to do it to save wood, saw and fingers.. -
Milling cherry logs
moreplovac replied to moreplovac's topic in Modeling tools and Workshop Equipment
Thanks, appreciated. I will try to do it with my saw but most likely will try to find someone local with more powerful saw... Thanks again. -
Milling cherry logs
moreplovac replied to moreplovac's topic in Modeling tools and Workshop Equipment
Thank you very much for detailed replay, really appreciated. I think i will try to find some local woodworker, dont want to overuse my saw.. I believe it is a Sweet Cherry judging by your explanation. Thanks again, much appreciated. -
Hello, apologies if this is not correct forum for this type of question. I have a pile of cherry logs, app 3in in diameter and about foot long. I would like to mill it so i can use it in model building. I do have a 9in wood band saw, mini table saw, a planer and "normal" table saw. Logs still have a bark on it and they went thru some "drying" process laying on the floor in my shop. I am not sure how to attack it to get the most of it for ship building so any suggestion/how-tos will be much appreciated. Also, any recommendation in which stage of ship modelling i can use this type of wood (deck planking, deck furniture, etc) would be appreciated. Thanks...
-
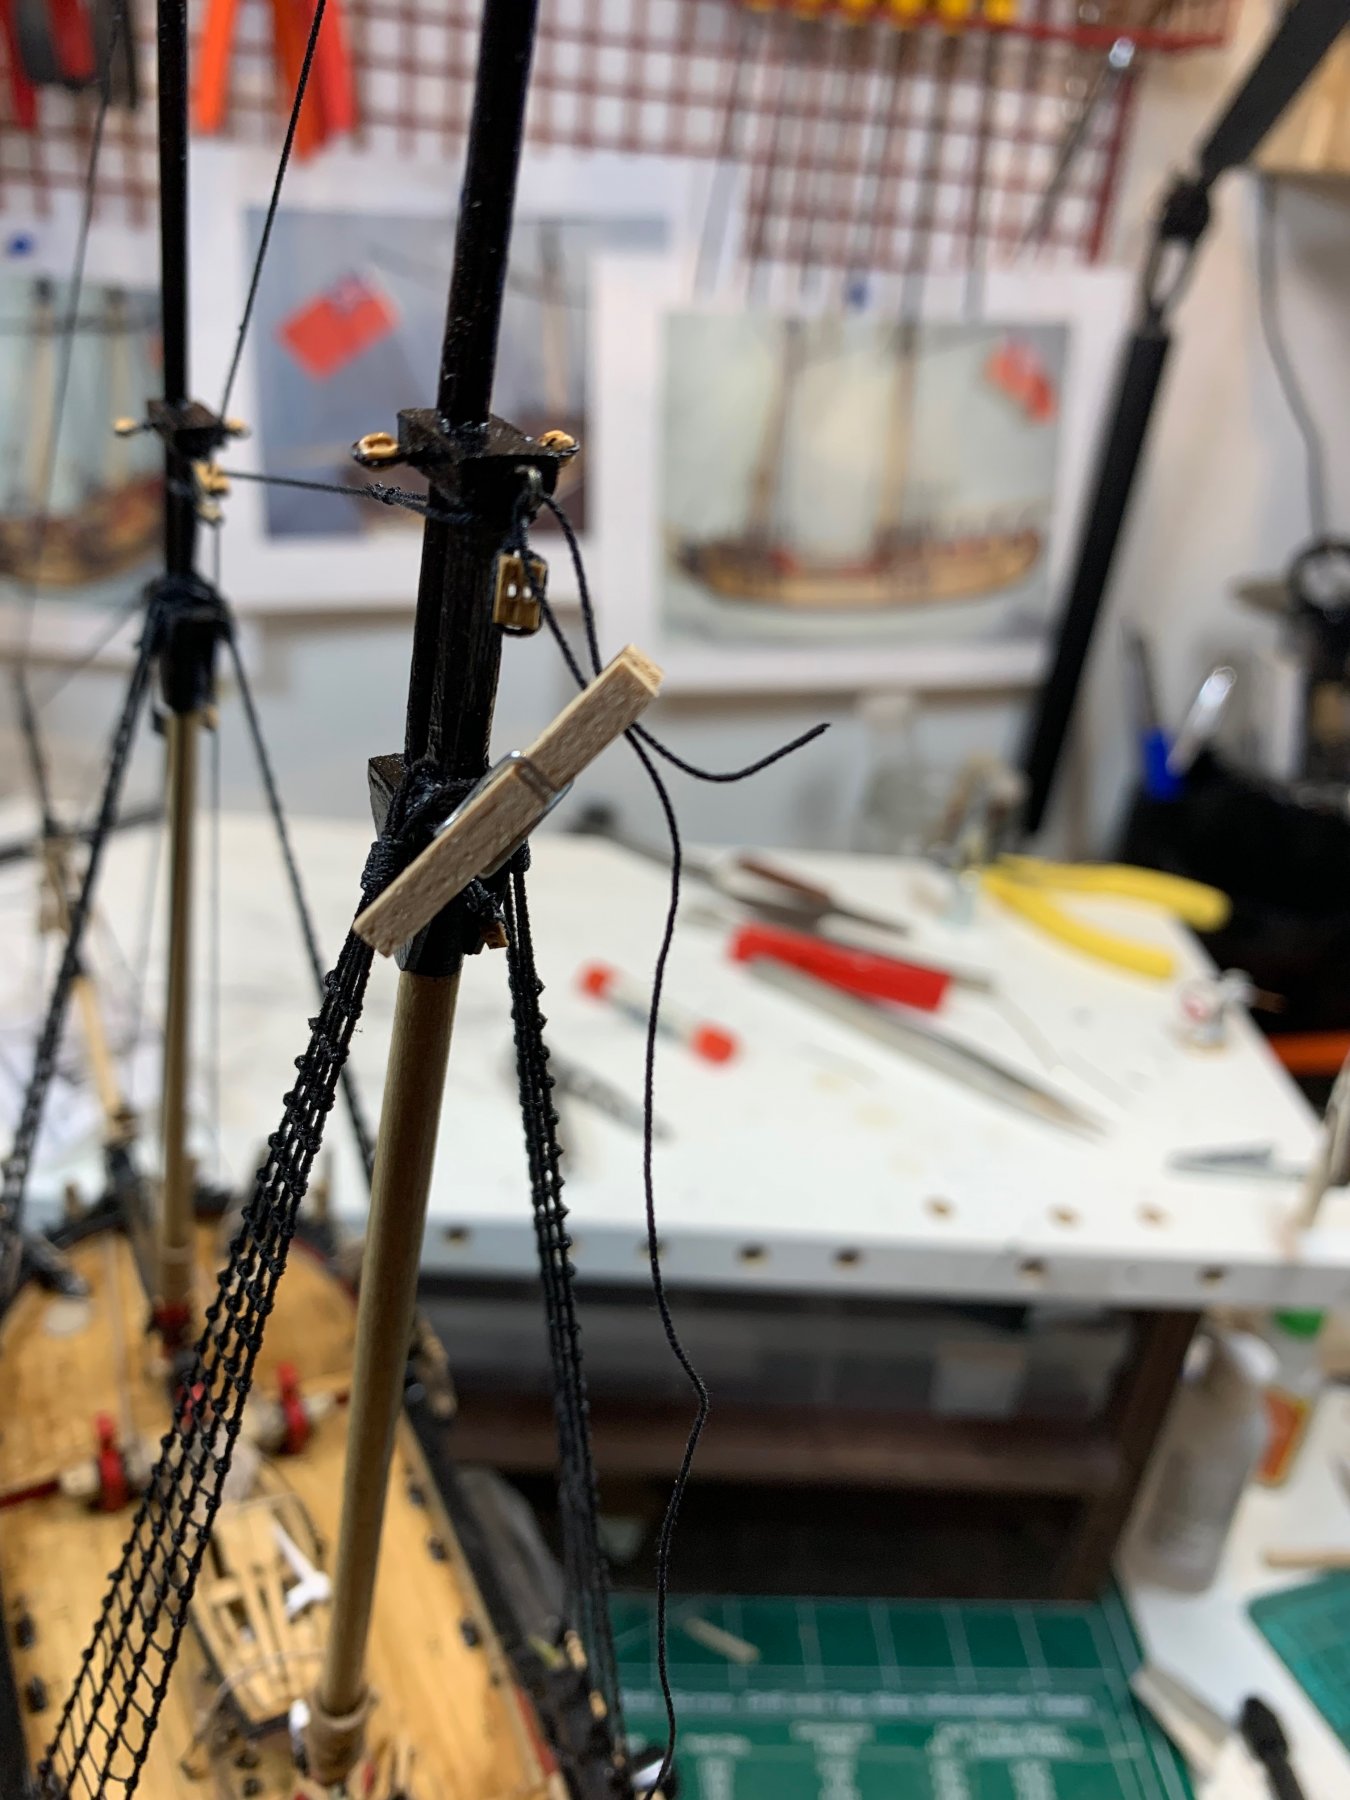
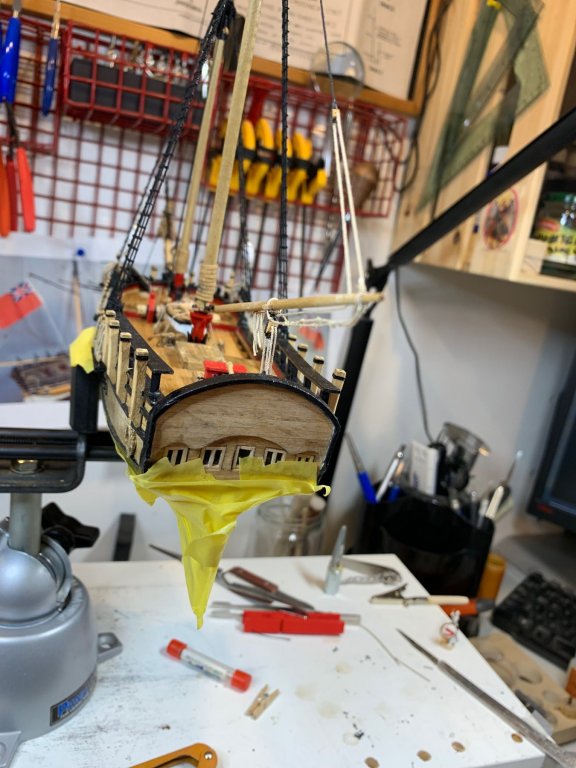
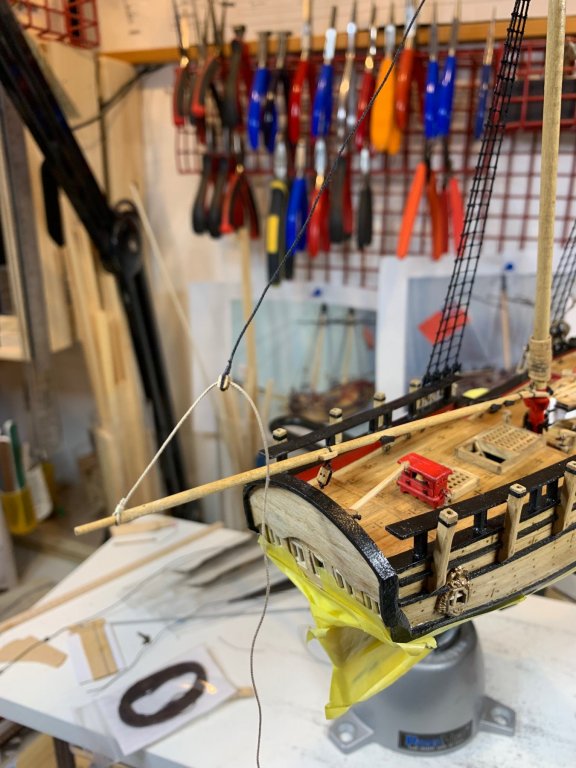
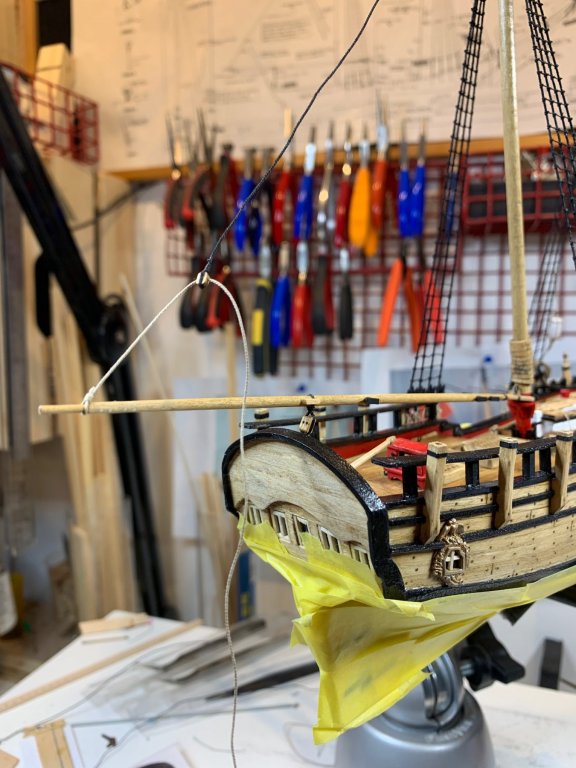
Work on fore gaff continues... To stiffen the line and to have it look tighten, i diluted white glue 1 part glue 8 part water, using a brush i put some amount of watered glue to the line. Home made weight was connected with a piece of rope (tiny black line at the top of fore gaff) to make sure gaff stays tighten while glue dries.. Happy modeling.

- 360 replies
-
- 4
-
-
- sultana
- model shipways
- (and 1 more)
-
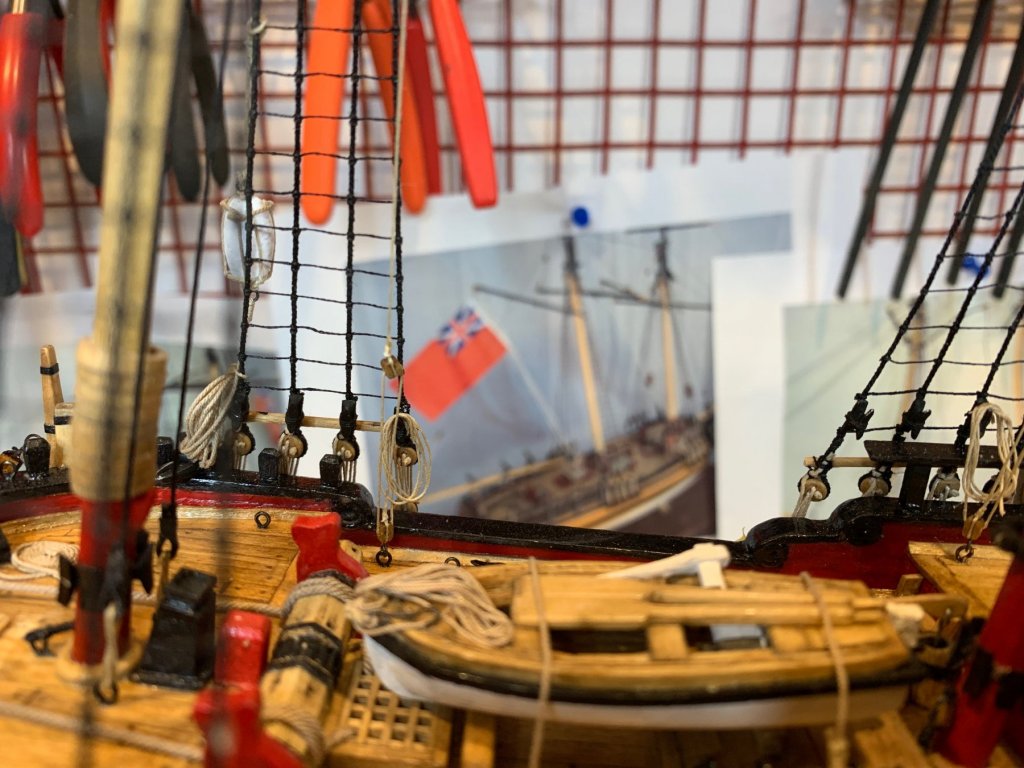
Few pictures during installation... Happy modeling...


- 360 replies
-
- 2
-
-
- sultana
- model shipways
- (and 1 more)
-
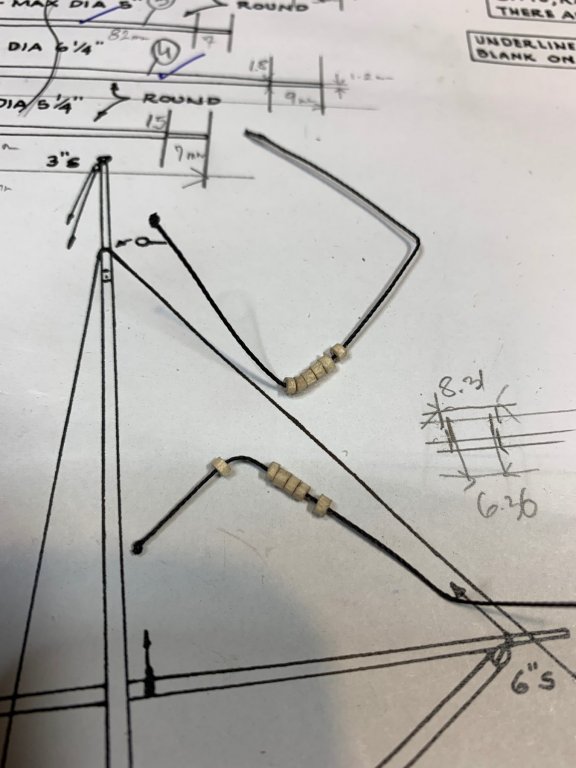
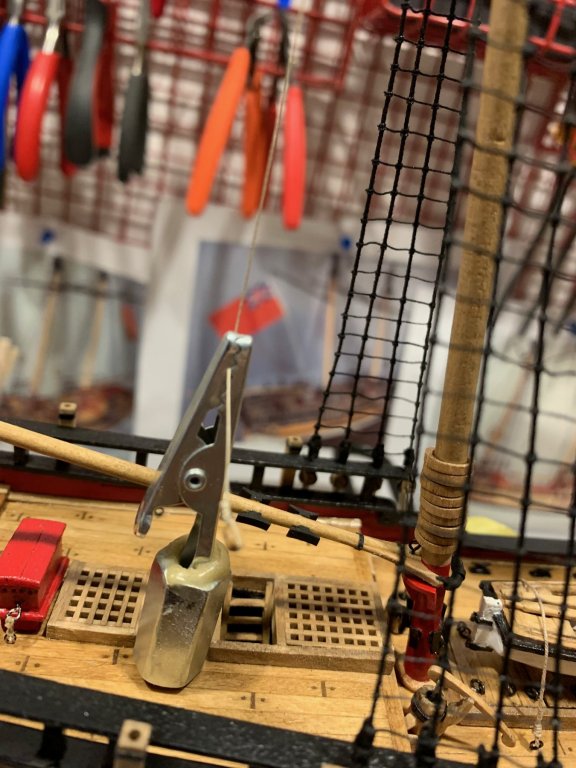
Parral beads were simulated in the same way as for the boom. The beads were cut from the toothpick, the hole was drilled thru the center, the line was put thru and they were painted flat black.. The beads were also sanded close to rounded shape... The tackles were made for throat halliard and for throat downhaul... Peak halliard line was made starting with a eye.... The main gaff was mounted and the lines were covered with a white glue, diluted heavily with water, to stiffen the lines and to make them straight.. To help with straightening, the home made alligator clip was used... The fore gaff waiting for installation... Happy modeling..


- 360 replies
-
- 3
-
-
- sultana
- model shipways
- (and 1 more)
-
The work continues... The rigged 2mm block.. This picture reminds me of a MG-42 machine gun... Happy modeling

- 360 replies
-
- 2
-
-
- sultana
- model shipways
- (and 1 more)
-
Fore gaff construction completed; well at least building part. Now blocks, rope, etc have to be installed. First the shape of a jaws was traced on piece of wood, cut and sanded.. Attached to the giff, iron band installed and hole drilled. The eye bolt mounted as well. This time no snap effect.. Painted in flat black... Ready for next step. Happy modeling.


- 360 replies
-
- 2
-
-
- sultana
- model shipways
- (and 1 more)
-
Next step was to cut a small grove for a jaws by positioning the gaff into wise and cutting the grove in very slowly pace. To make it a bit stronger i wrapped around gaff a small piece of scotch tape. If anyone has more efficient idea of how to cut this grove pls share it... I have one more to make... The jaws were slide in the grove and glued. A little bit of sanding was applied on the whole construction to make it smoother.. Then an "iron" bands made out of electrical tape, were cut and positioned. I also added small amount of glue to make sure those "iron" band will stay put. Then i made a small hook, drilled a hole for it in the gaff, started to push hook in, and ..... snap. A bit too much pressure to install the hook not realizing that small amount of glue applied on both ends of the hole, started to stiffen already... OK, well, trying to glue a jaws back on the gaff was not quite an option in this case. Before I already made few extra gaffs on lathe in longer length so used one of spares. The jaw was refurbished by removing all traces of old gaff, sanded it a bit and mounted on the new gaff. The iron band was next, and hook making sure that glue does not cure before hook is mounted. That extra wire was sanded on opposite side of a jaws. The layer of flat black was added afterwards.. Small holes for the parral beads were also drilled through the jaw ends.. Happy modeling.


- 360 replies
-
- 3
-
-
- sultana
- model shipways
- (and 1 more)
-
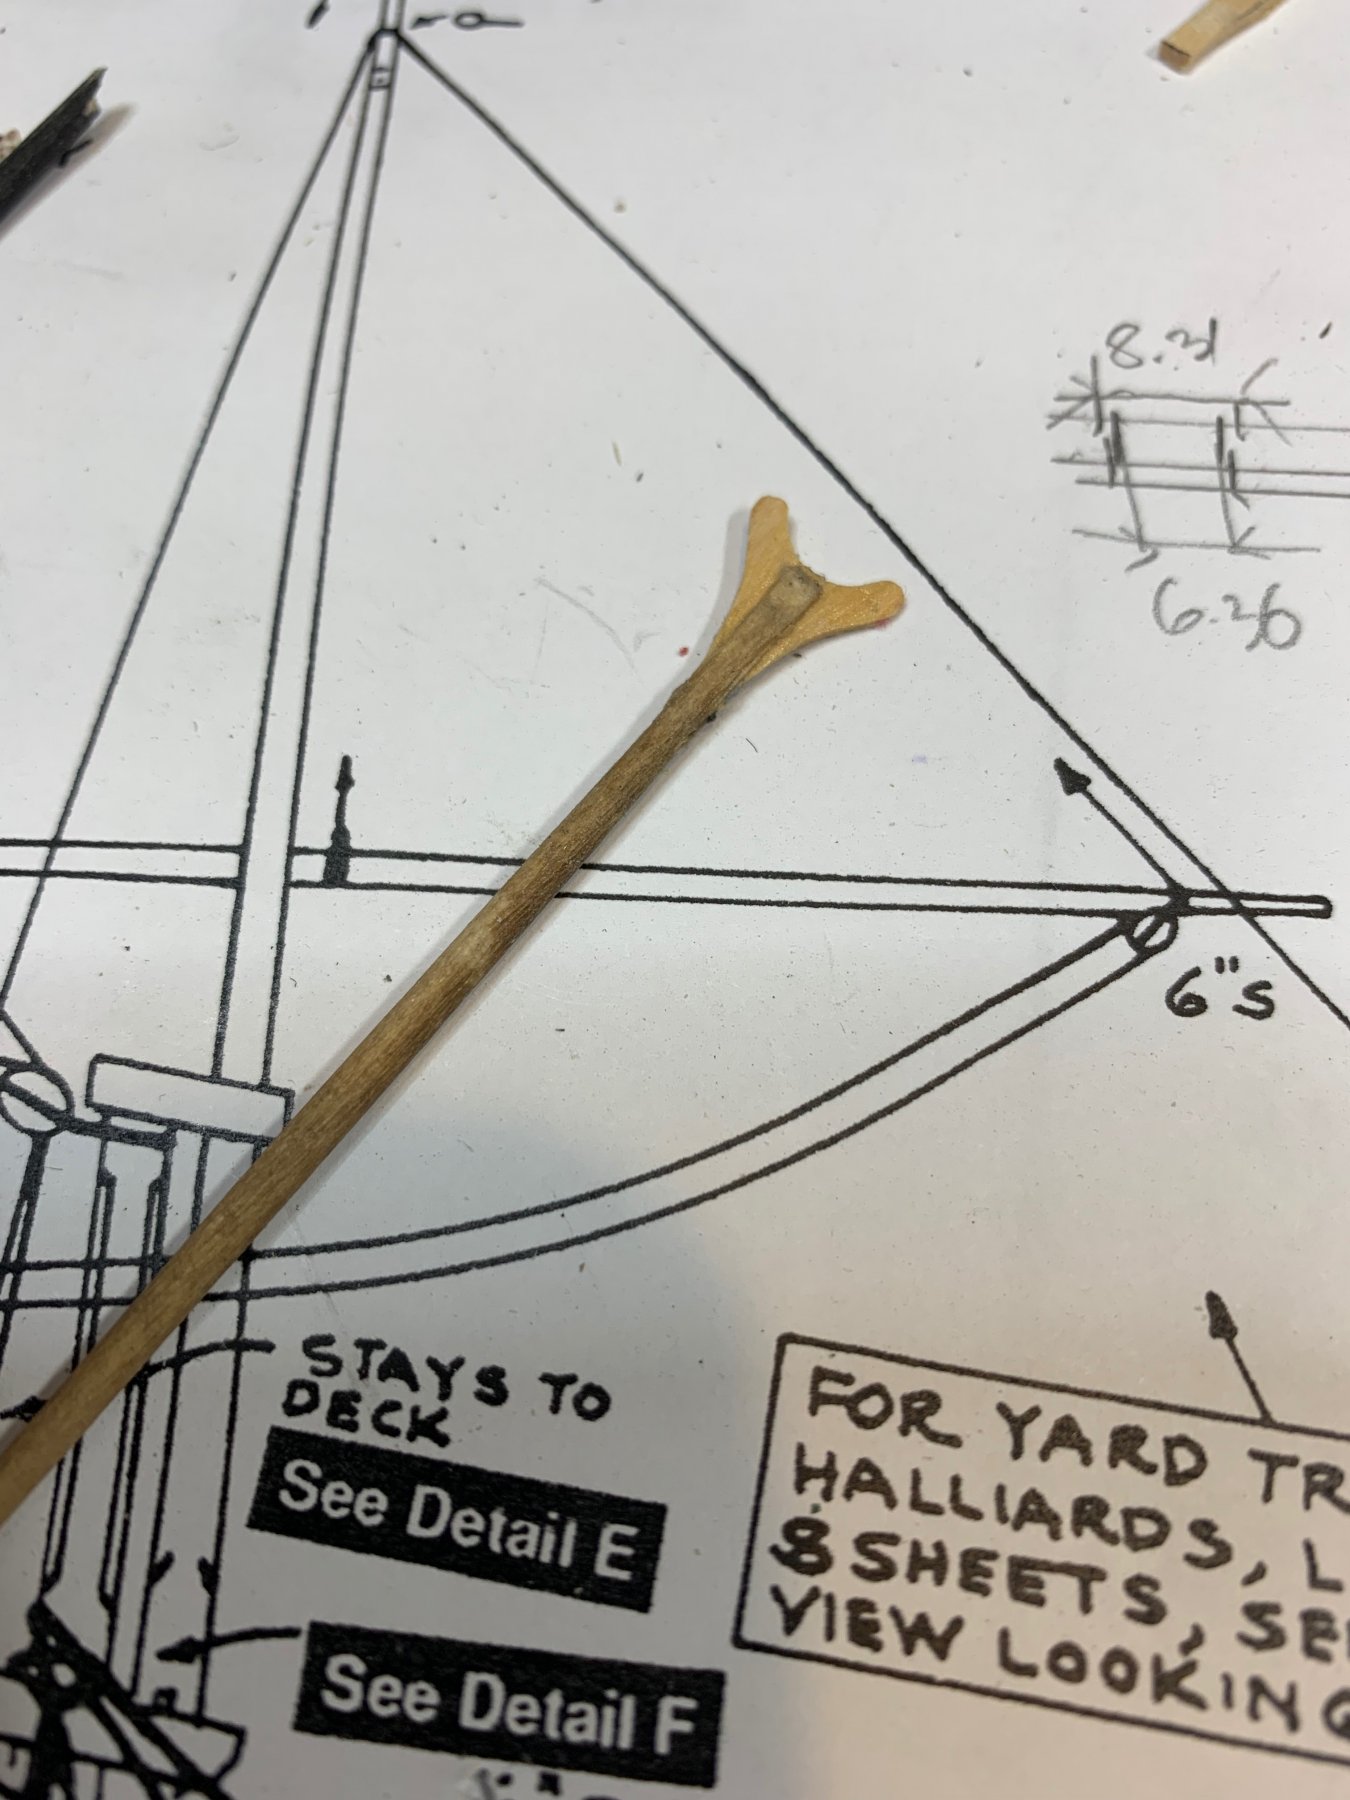
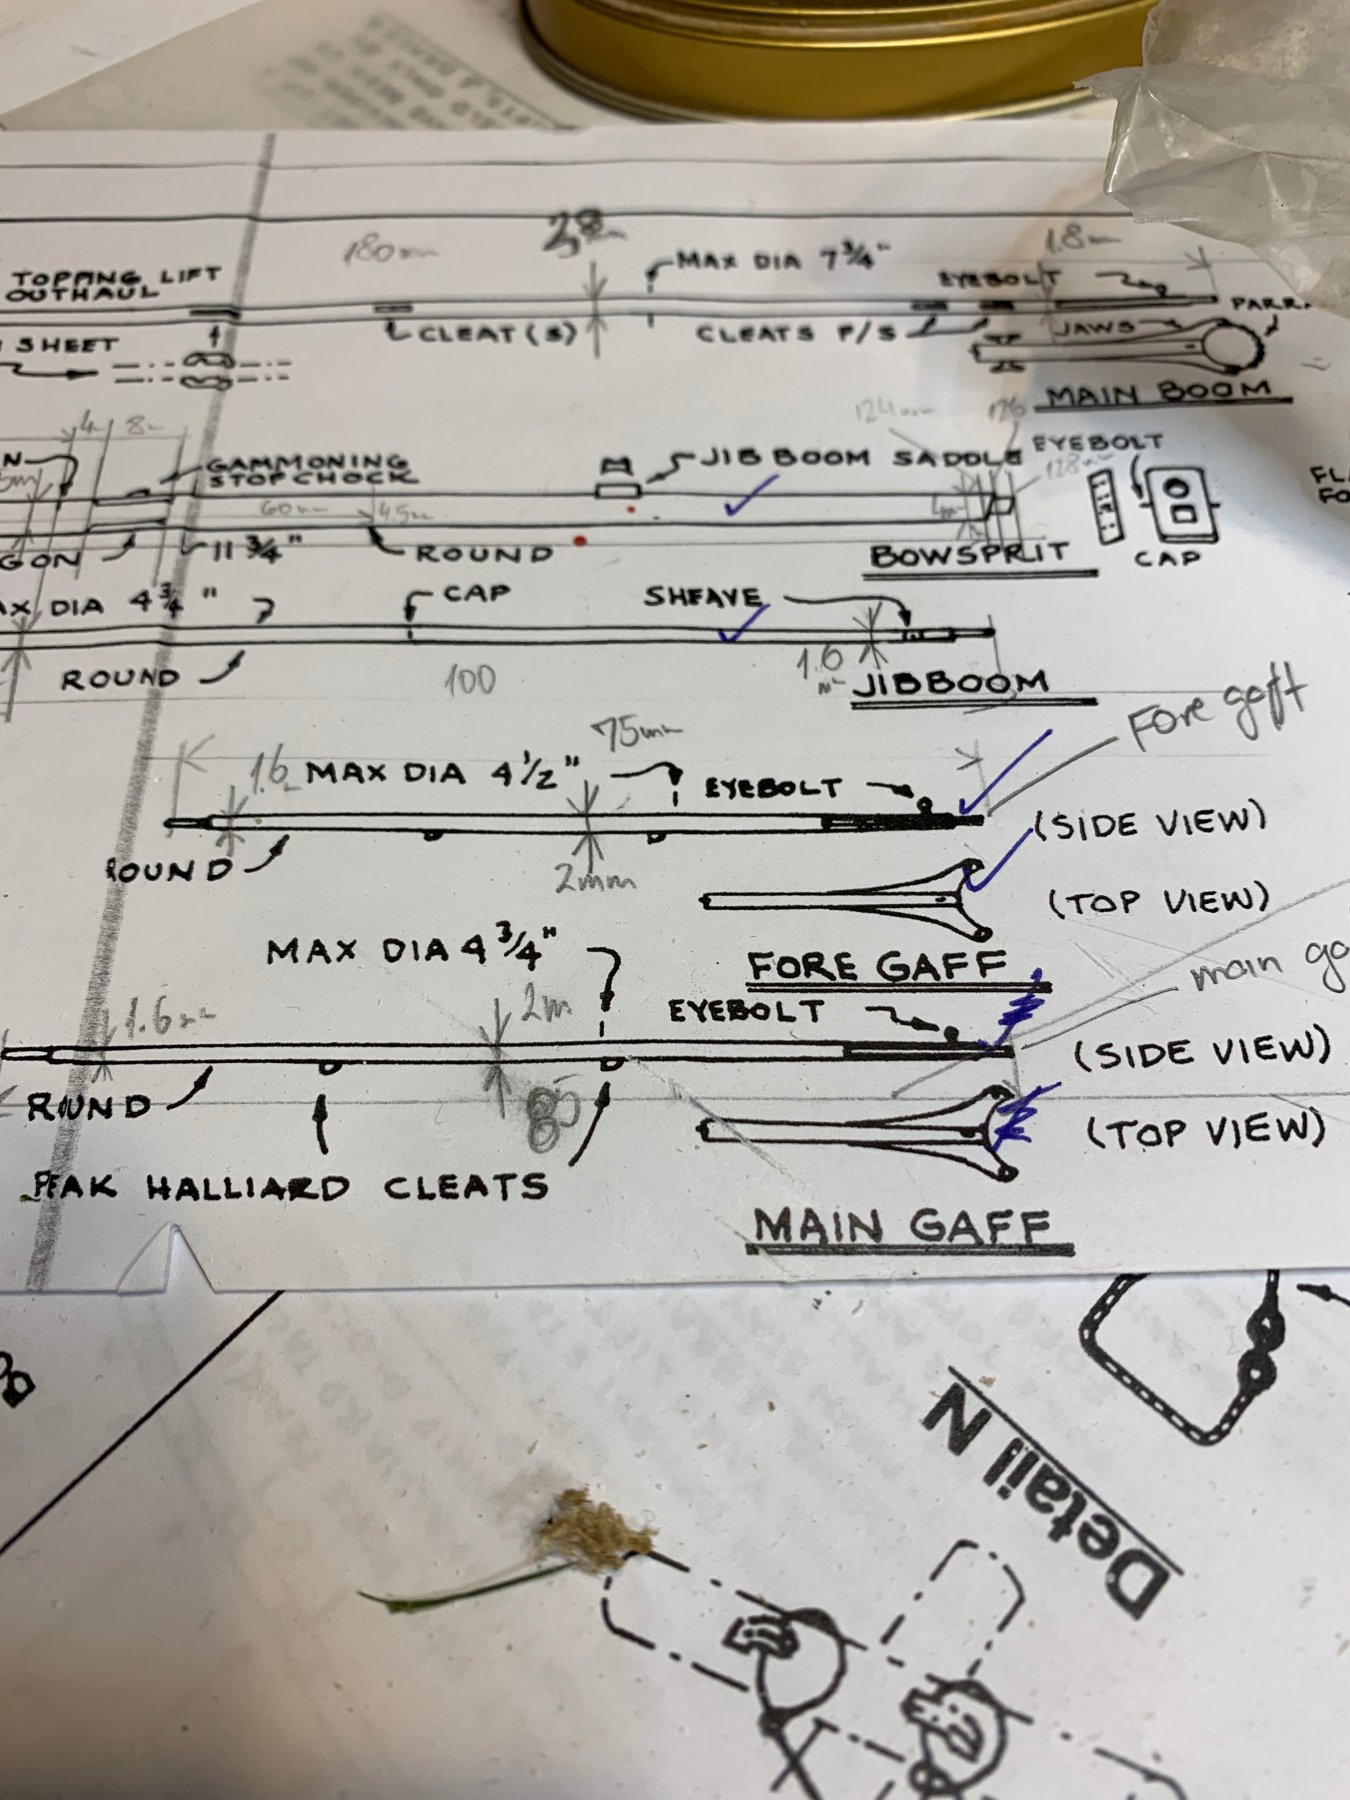
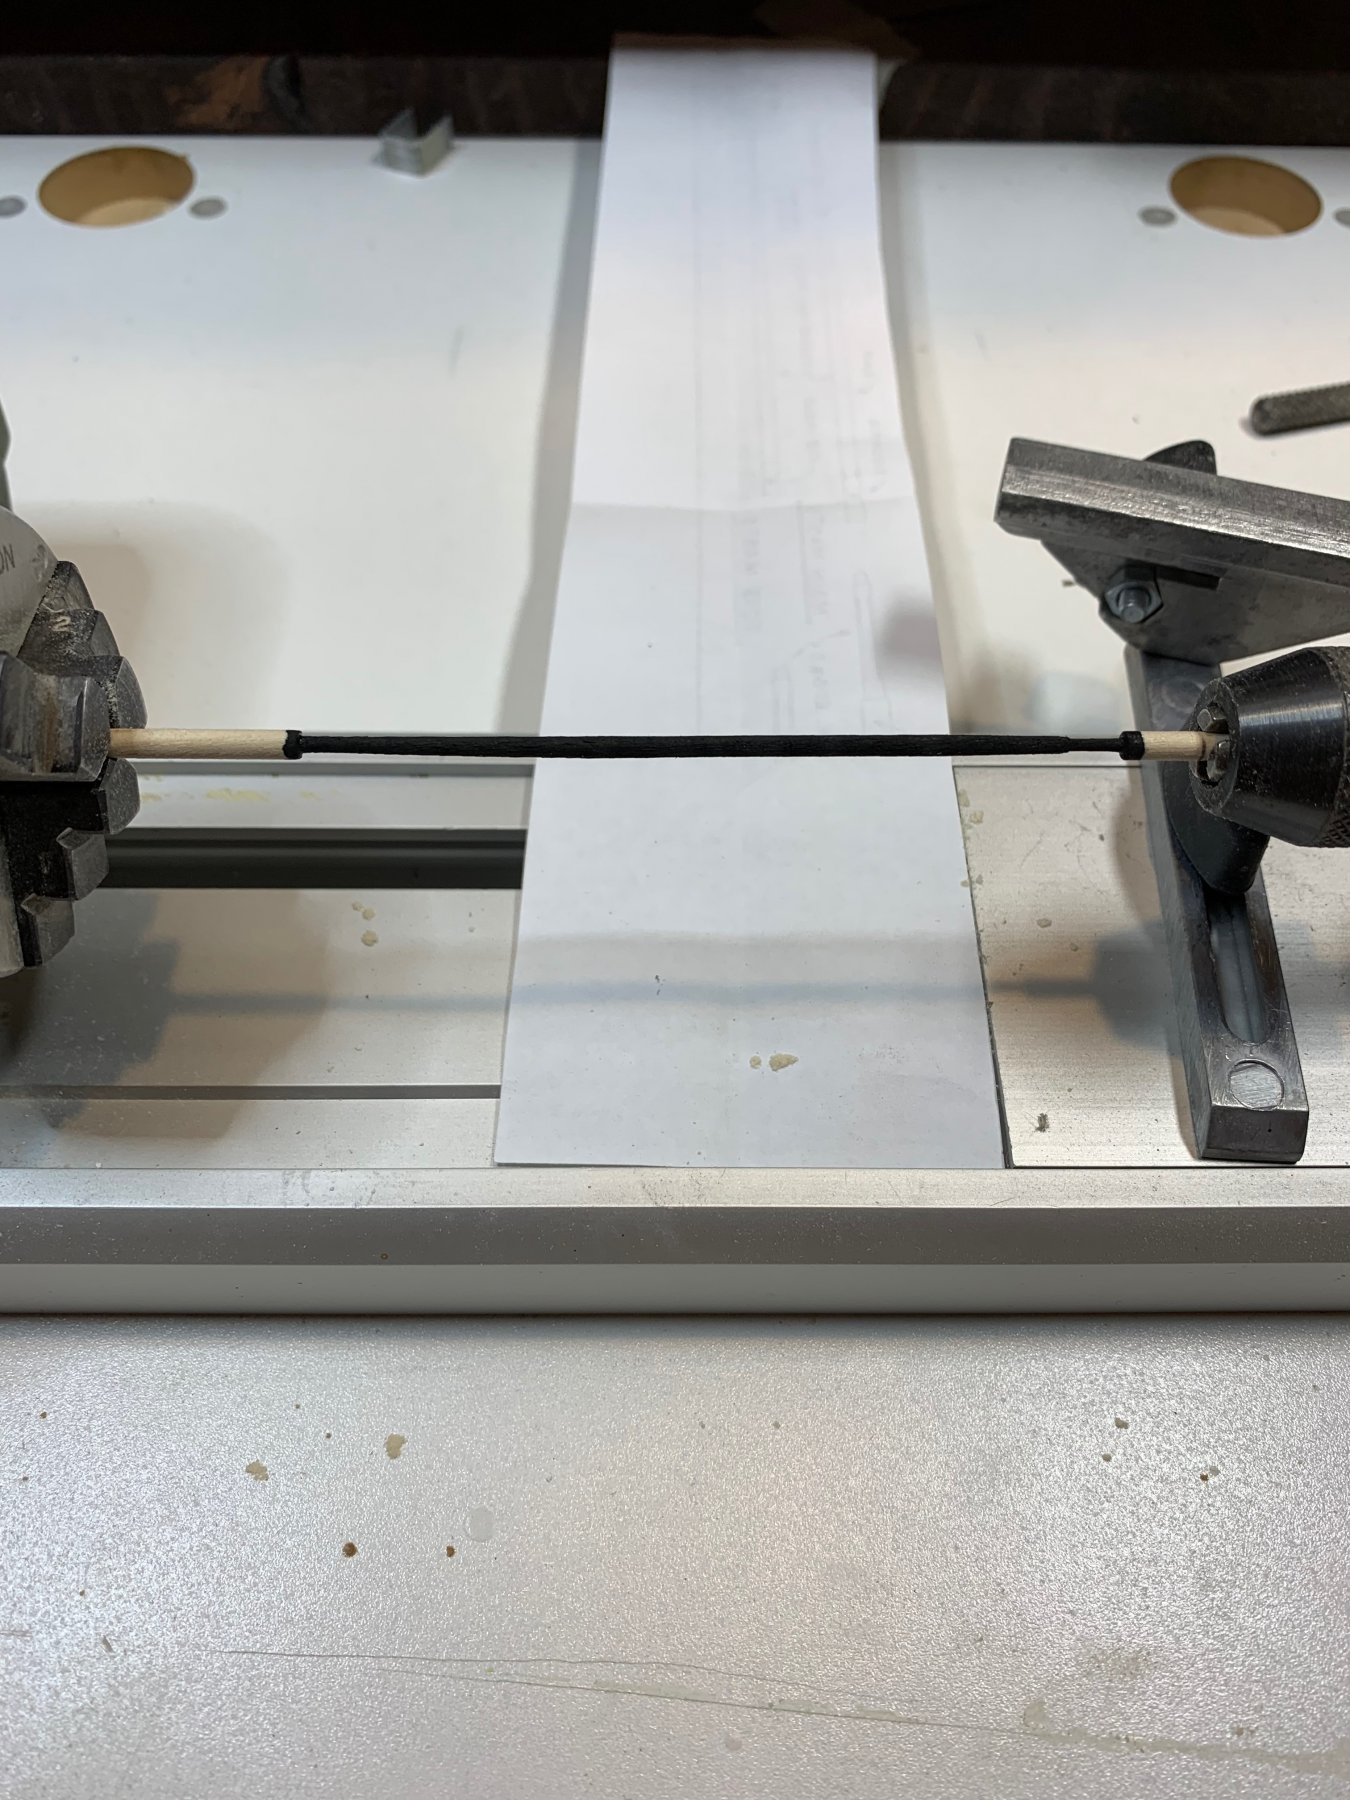
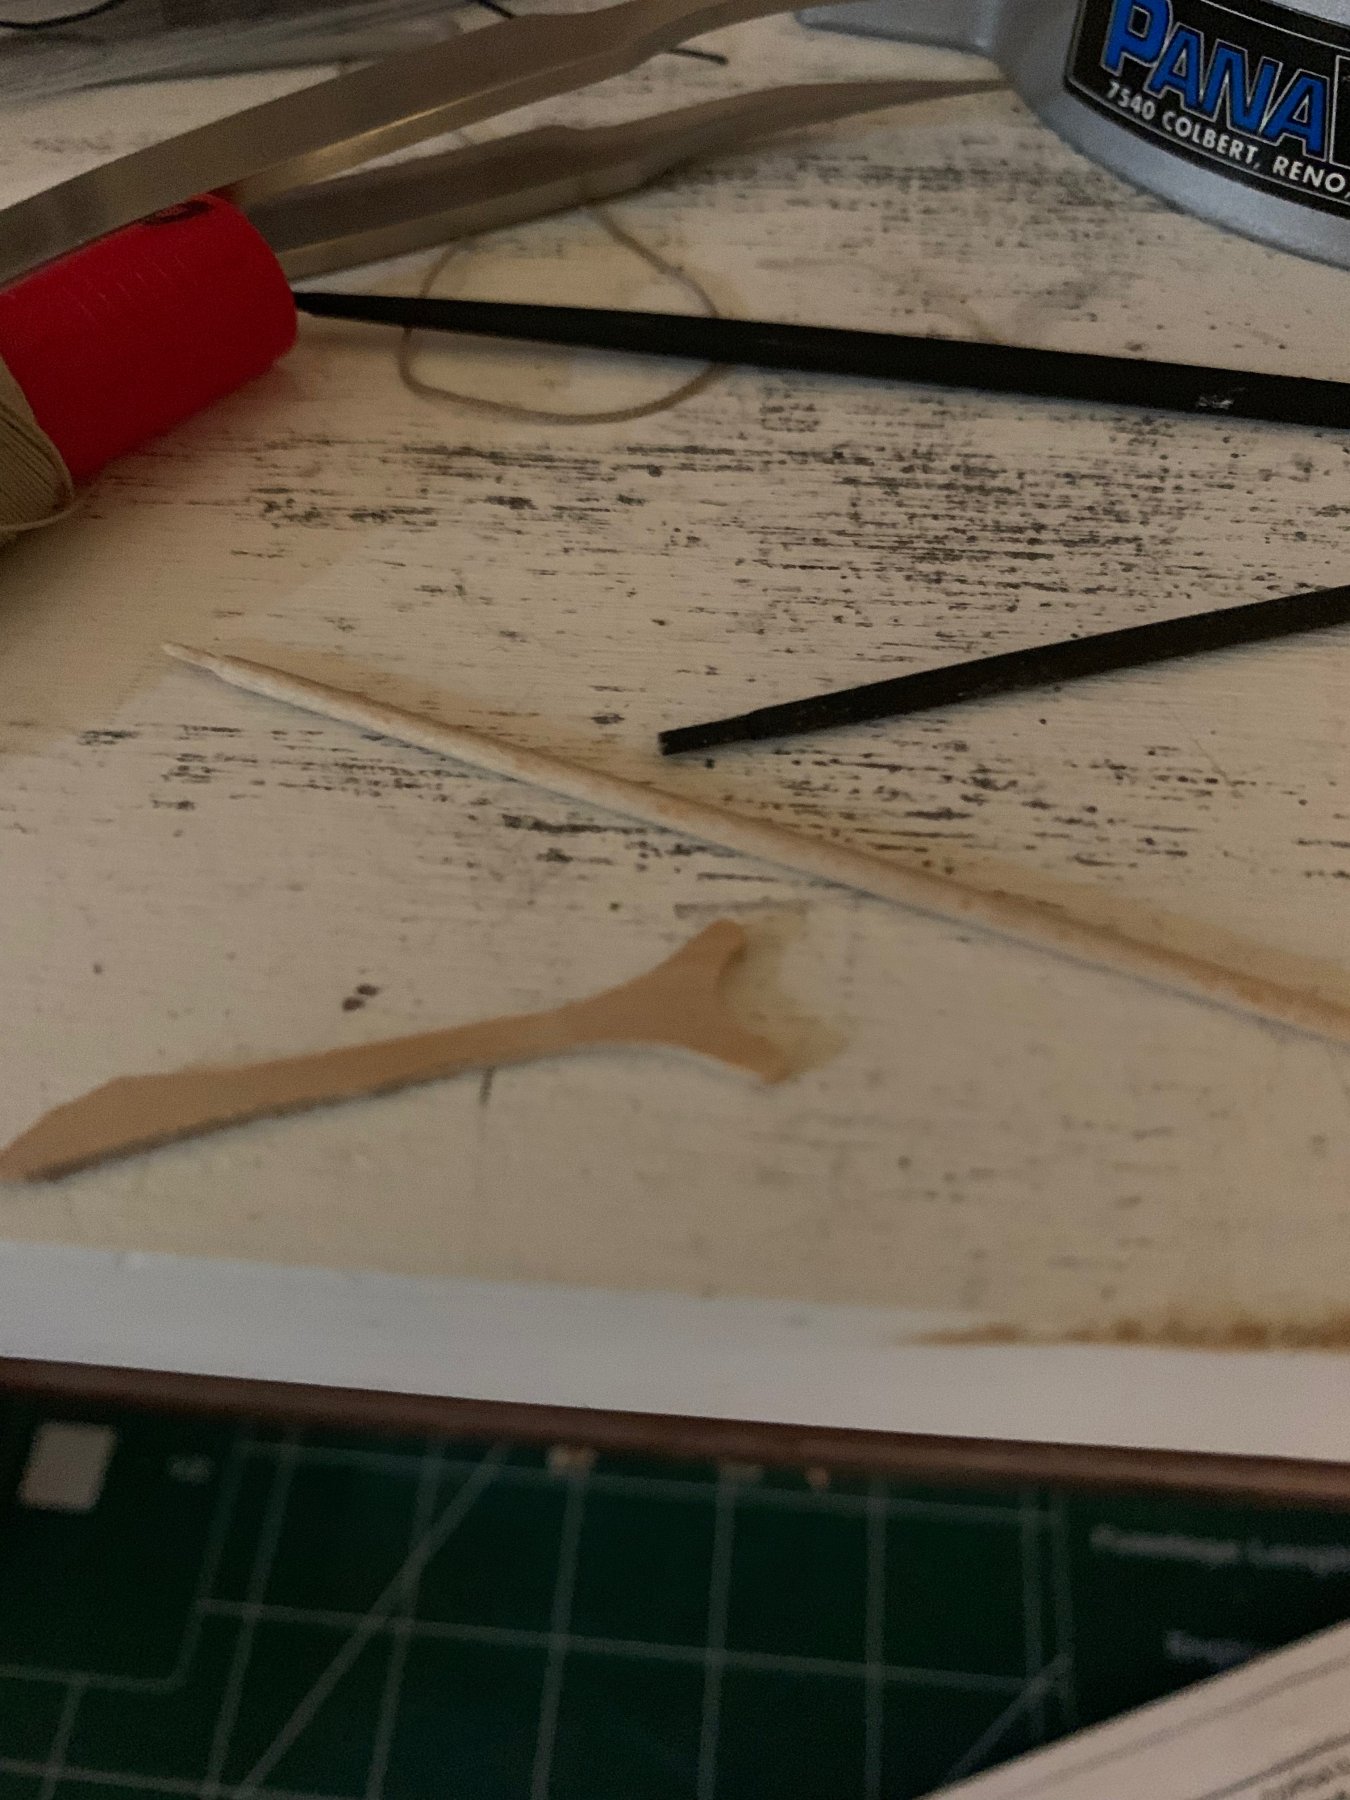
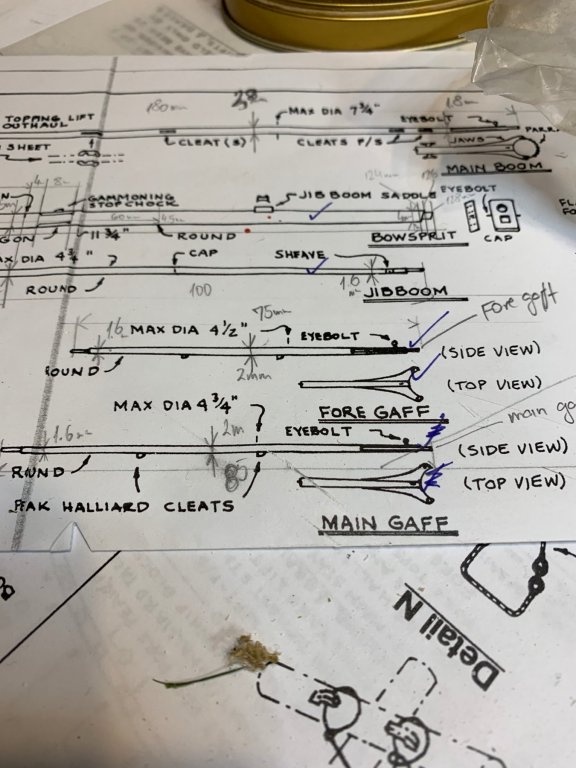
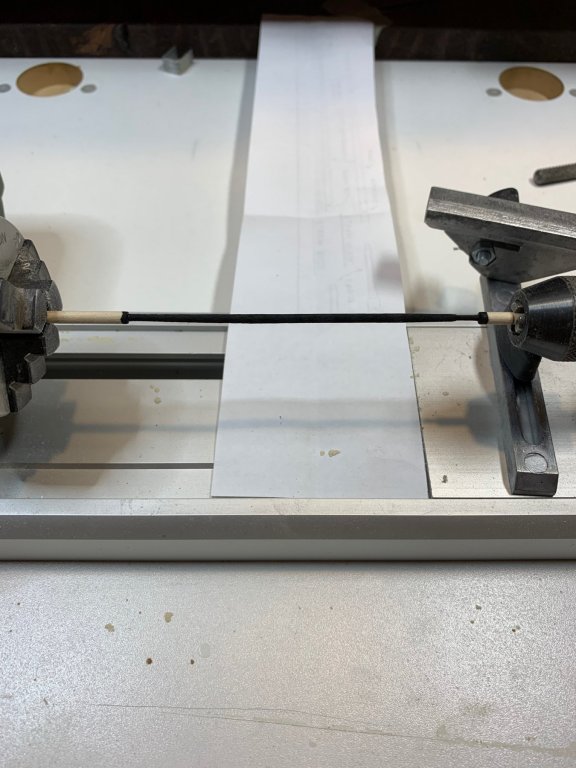
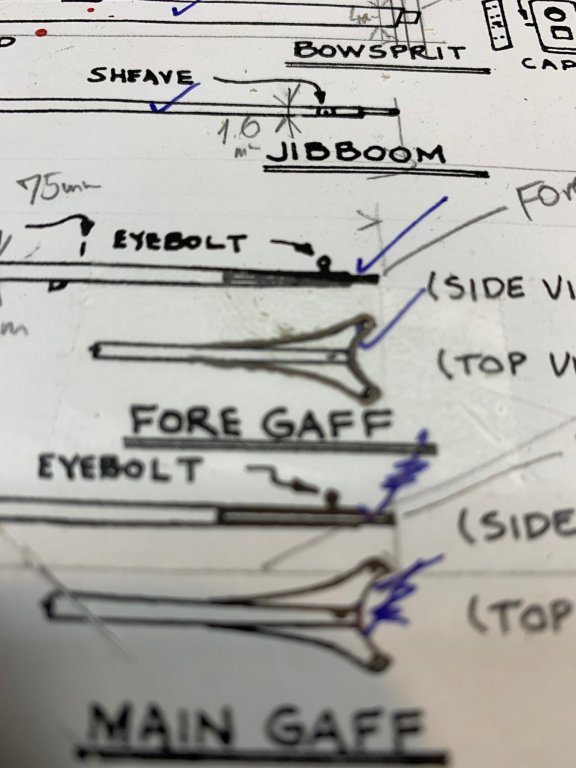
The construction of main and fore gaff has started. First the measurements were taken from the plan... Then the gaffs were made on the lathe... The gaffs were colored before cutting them from the lathe... Then the making of giff end (not sure what is the correct term) was started by tracing its shape to the scotch tape... Then, the scotch tape was put on the piece of wood, and the shape was cut. The final adjustments and mounting yet to come.. More to come...

- 360 replies
-
- 4
-
-
- sultana
- model shipways
- (and 1 more)
-
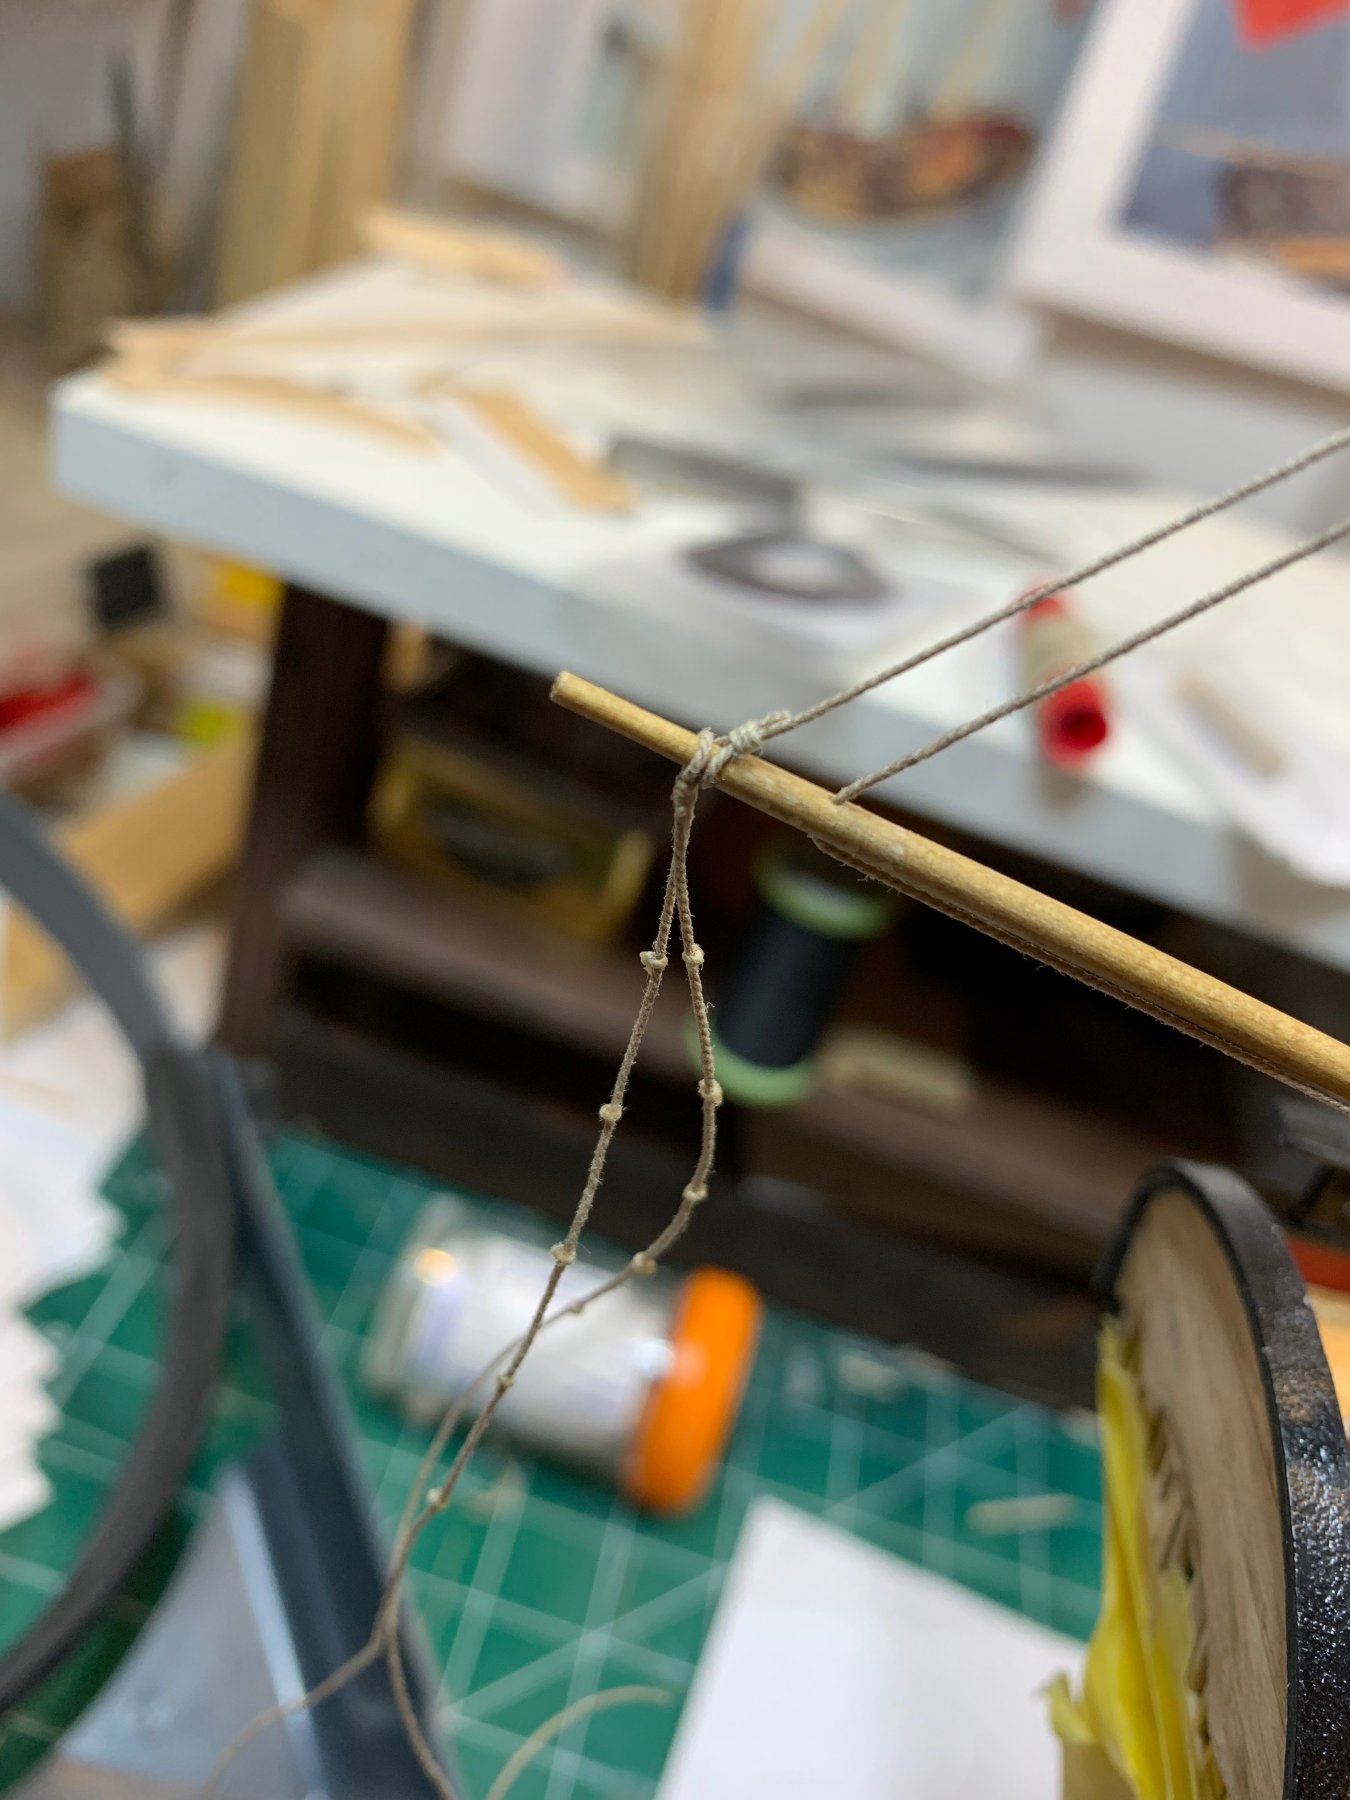
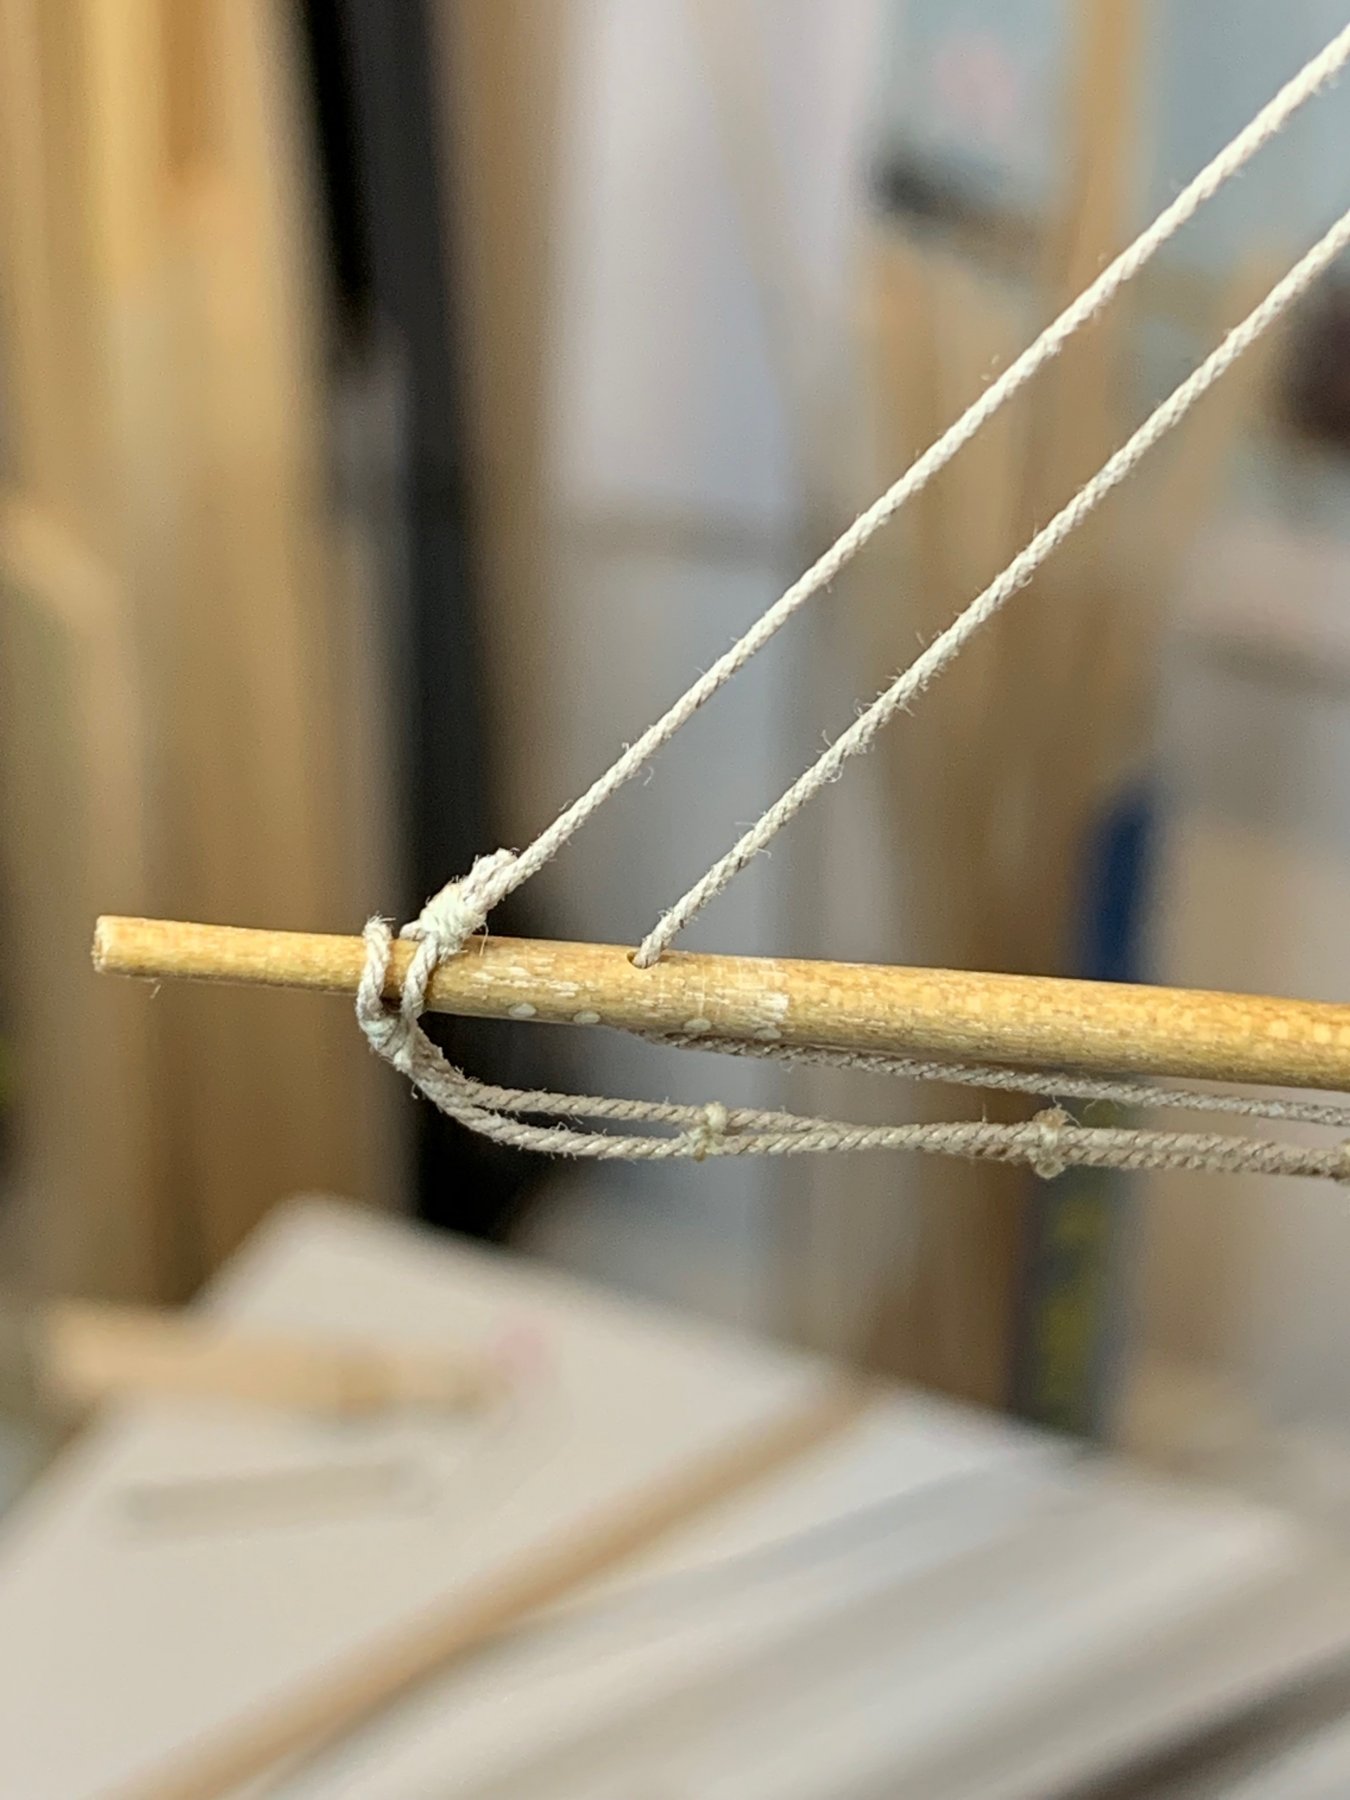
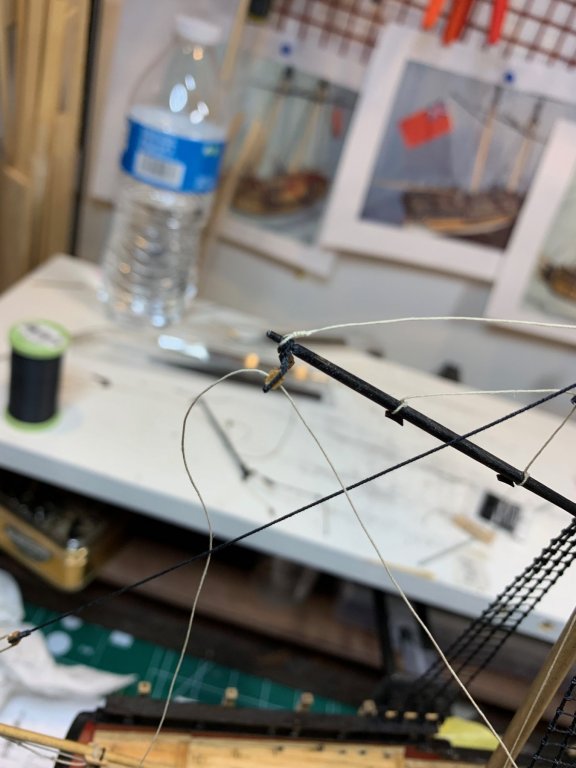
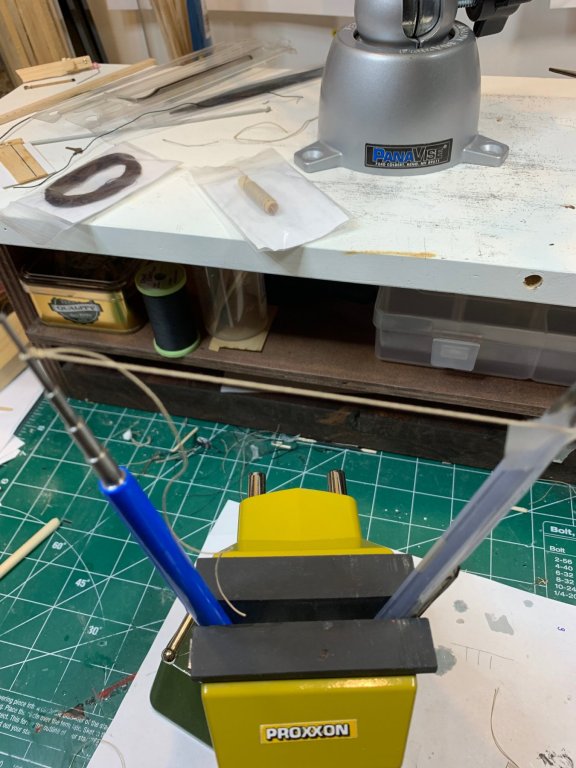
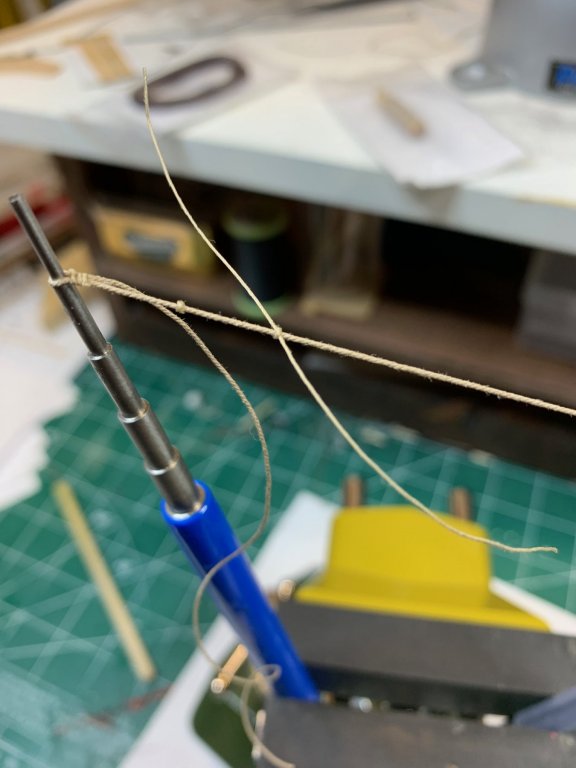
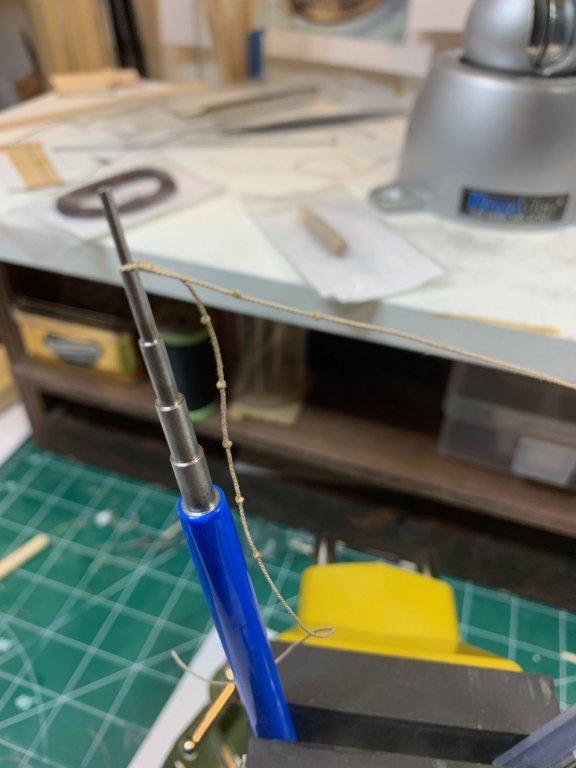
The foot rope has been completed and installed. The knots are done separately by knotting thinner rope over the main rope. I was unable to make all knots in the correct distance by just making knots with the main rope. Had to resize the holes that foot rope goes thru since both ropes have to use the same opening... Happy modeling..


- 360 replies
-
- 3
-
-
- sultana
- model shipways
- (and 1 more)
-
I' am just saying THANK YOU, THANK YOU A LOT. I will definitely start with a first book " The Persians" and will continue with "A history of Greece" and will follow the reading path these two books will make for me.. I am all set for long winter 🙂 Now i remember while in highschool, the mandatory reading was Odyssey and Iliad. Now just need to find those books and to refresh my memory. Time permitting will also make another Greek ship and these two books about trireme will be on my shelves, for sure.. Again, i much appreciate your time and effort you have put in this reading suggestions. I based all my figures on this design i located on the net:
- 122 replies
-
- 2
-
-
- greek bireme
- scale-1/35
- (and 2 more)
-
Thanks for your comments. If this will not cause you too much of a trouble, i would definitely not mind getting a hand of your wall of resources. And will very much appreciate it.. I might just stick with Lambda design as all these above are be a bit too hard to reproduce unless i find a way to resize it and print on correct paper. But i will definitely save it for future references. Thanks again..
- 122 replies
-
- 2
-
-
- greek bireme
- scale-1/35
- (and 2 more)
-
Much appreciated all your comments; keep them coming. That is very interesting part of world history, most of the time not covered correctly, depending on history writer... Do you mind sharing some resource info about shield designs? I still have several uncompleted figures i can paint in different design that overall makes sense. And still have some space on the vessel for them...
- 122 replies
-
- 1
-
-
- greek bireme
- scale-1/35
- (and 2 more)
-
Hi Nikiforos, thanks for your comment. Unfortunately there was no way for me to find correct soldiers for my ship so i ended up with a bit of a mess between warriors and ship origins but hopefully not too far apart. These little dudes are very hard to find anywhere on the net; if you know better place to get correct warriors for the ship pls let me know.... I will replace them gladly... The rest of them are making me a company on my current build - Sultana... Definitely a not historically correct match 🙂... Thanks for following, Cheers,
- 122 replies
-
- 1
-
-
- greek bireme
- scale-1/35
- (and 2 more)
-
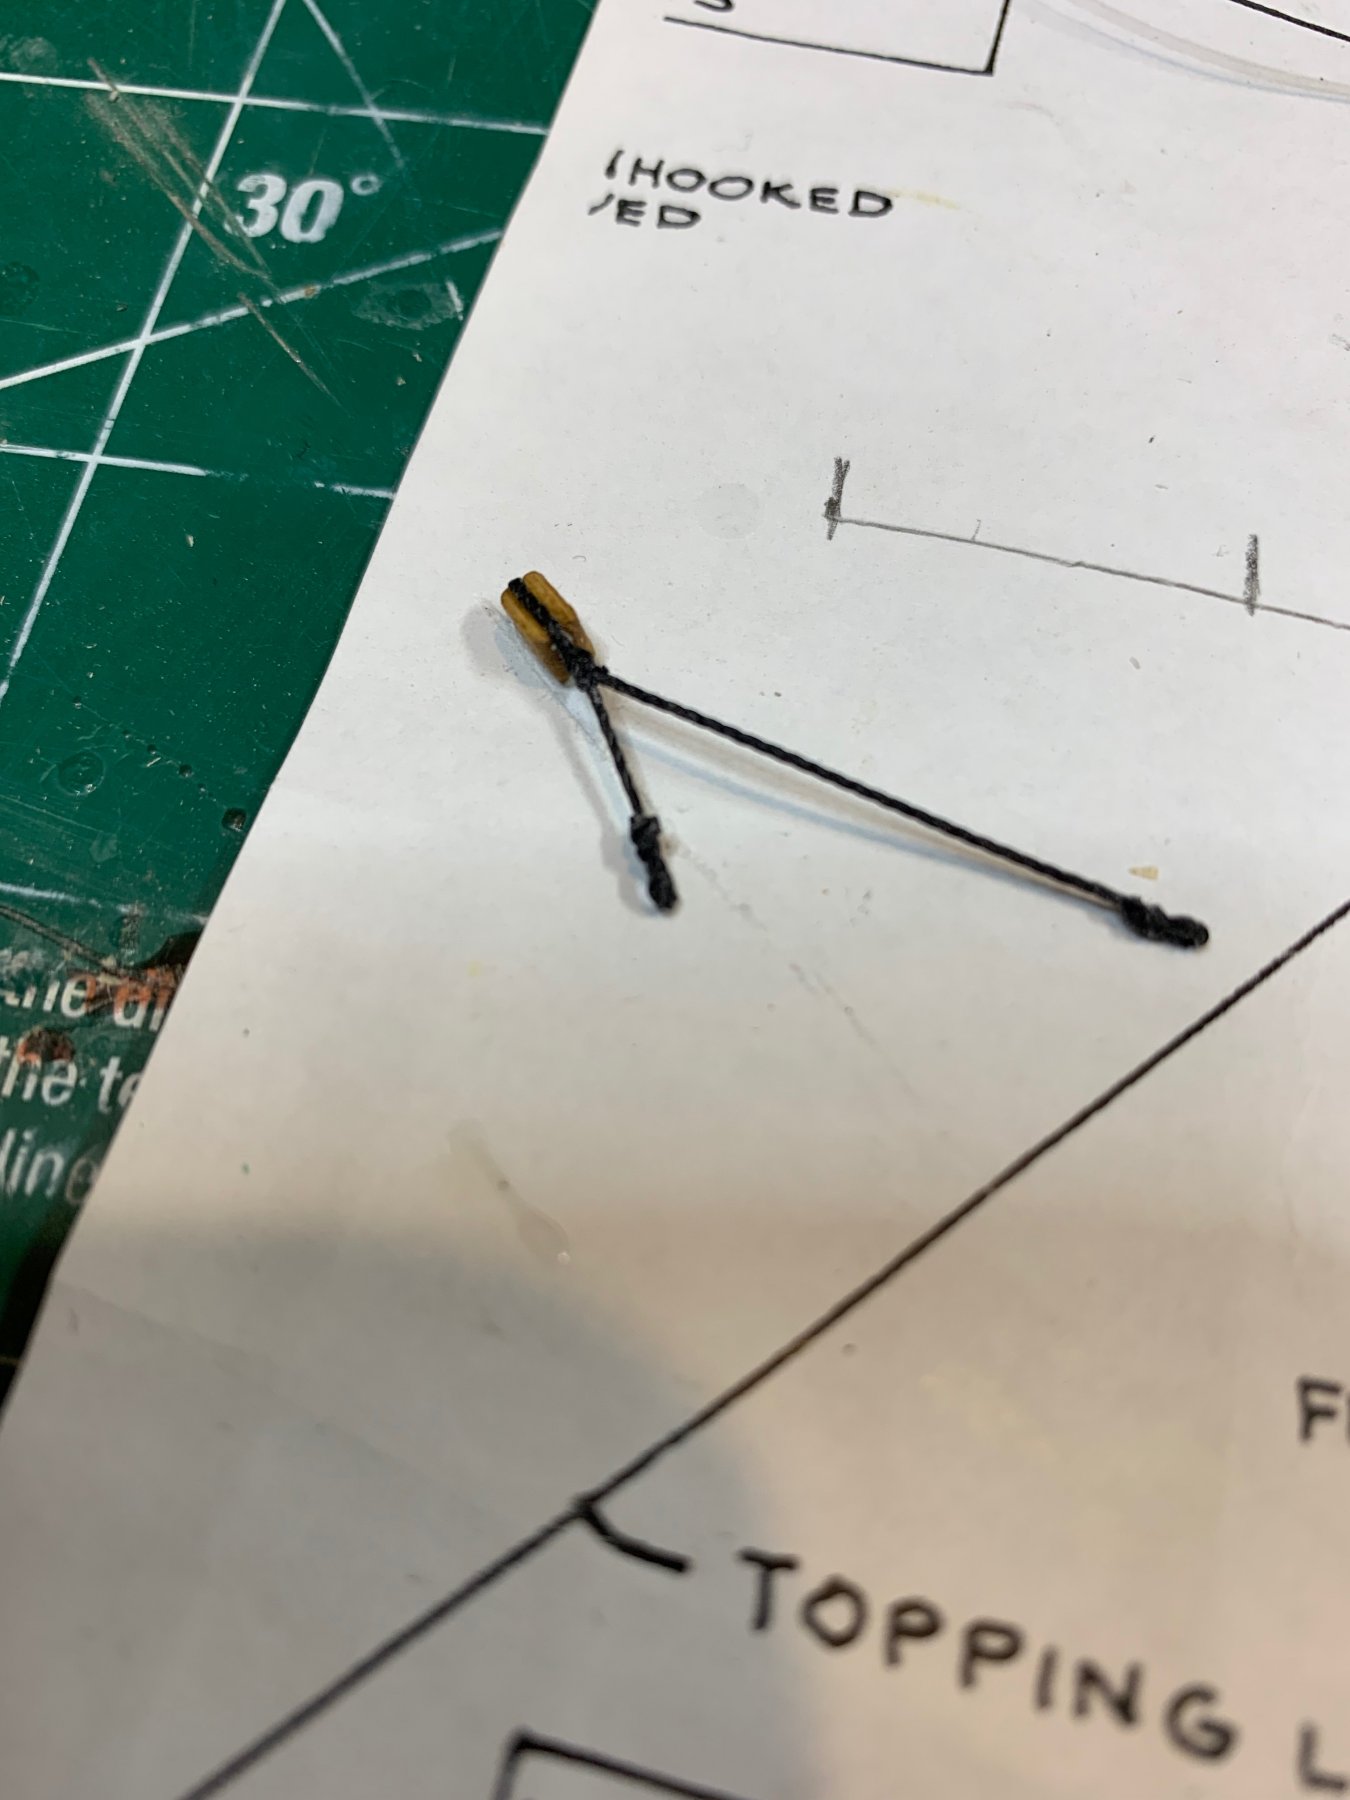
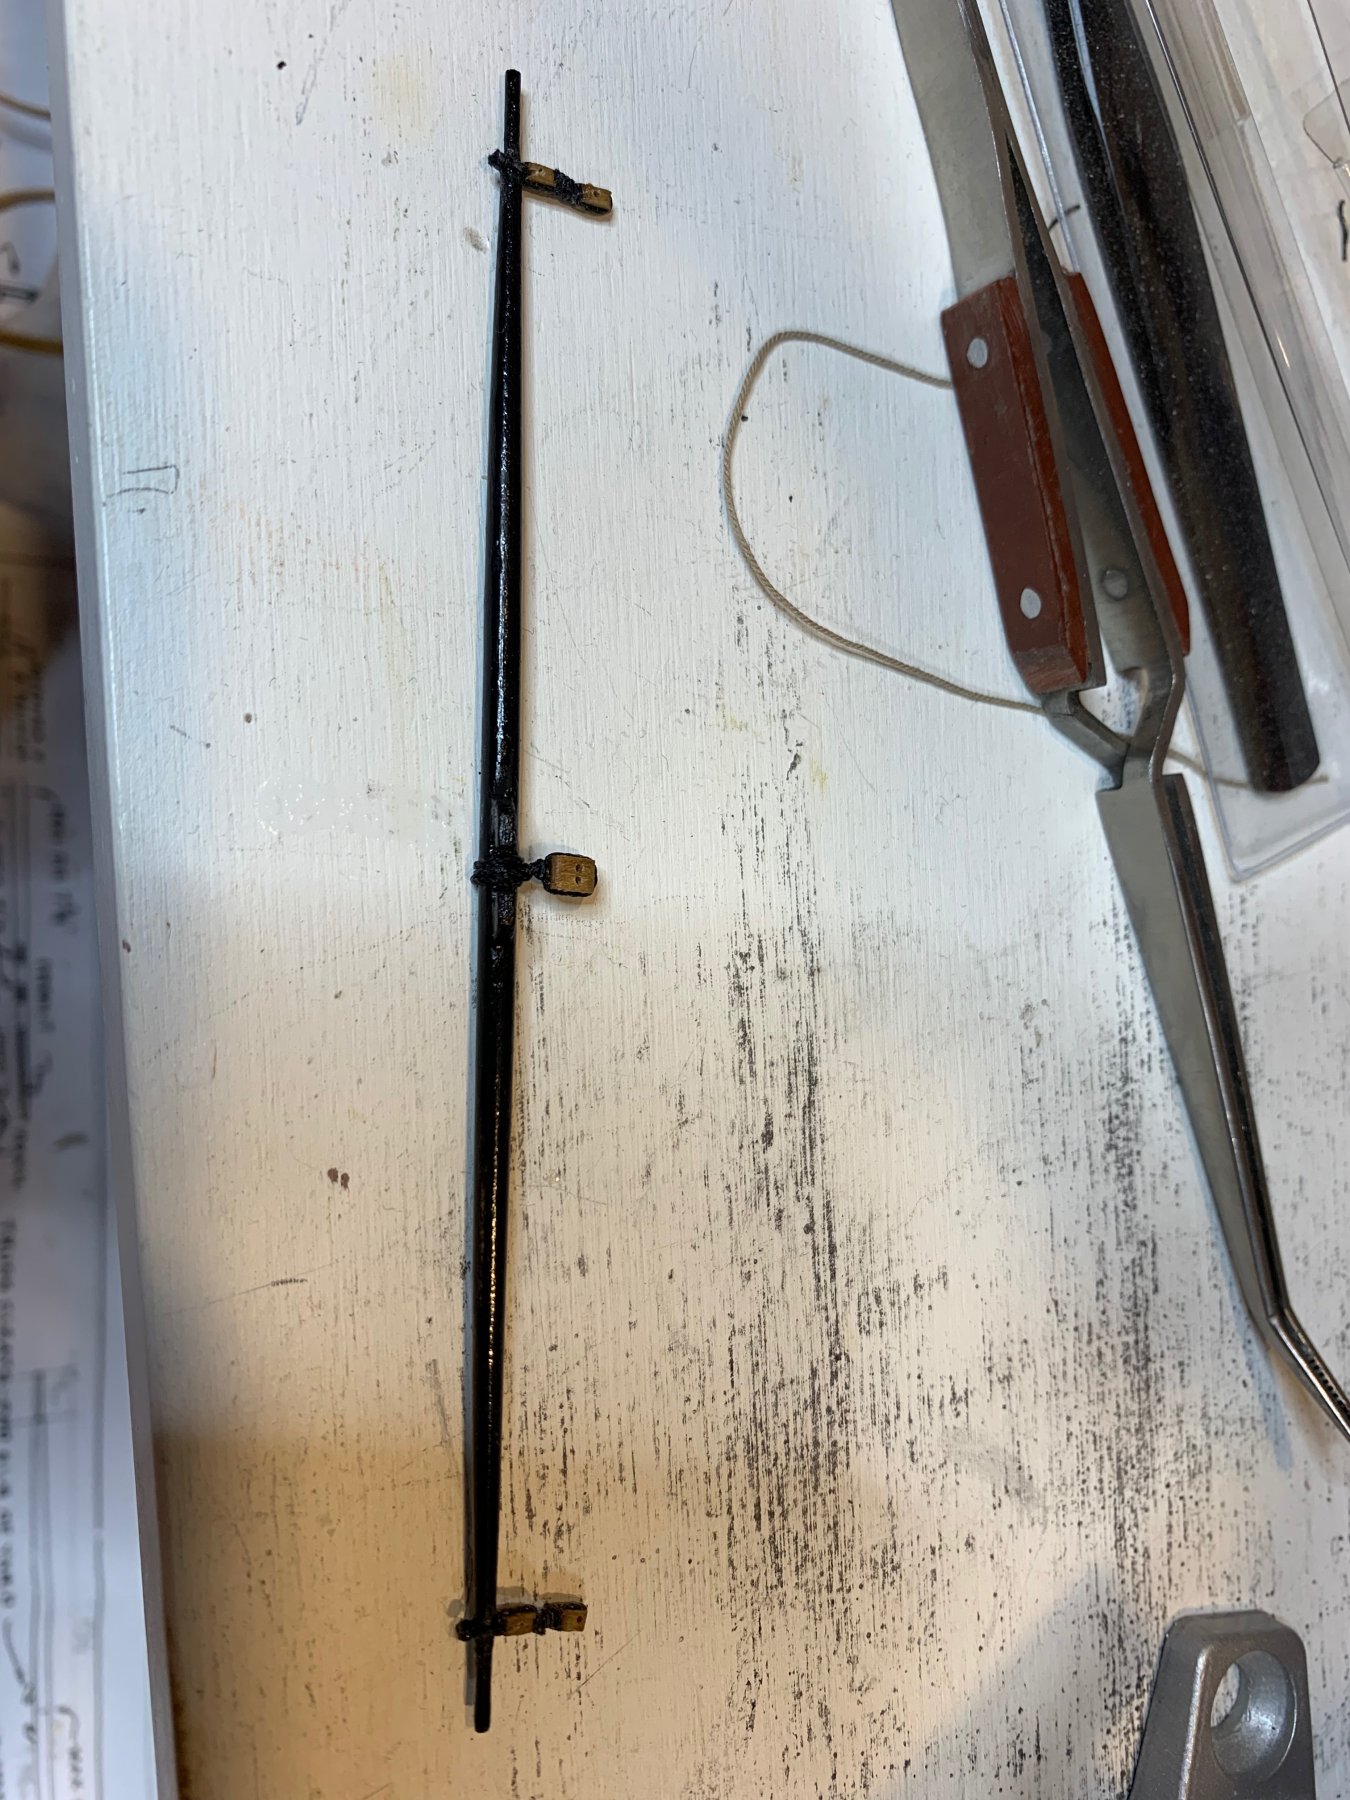
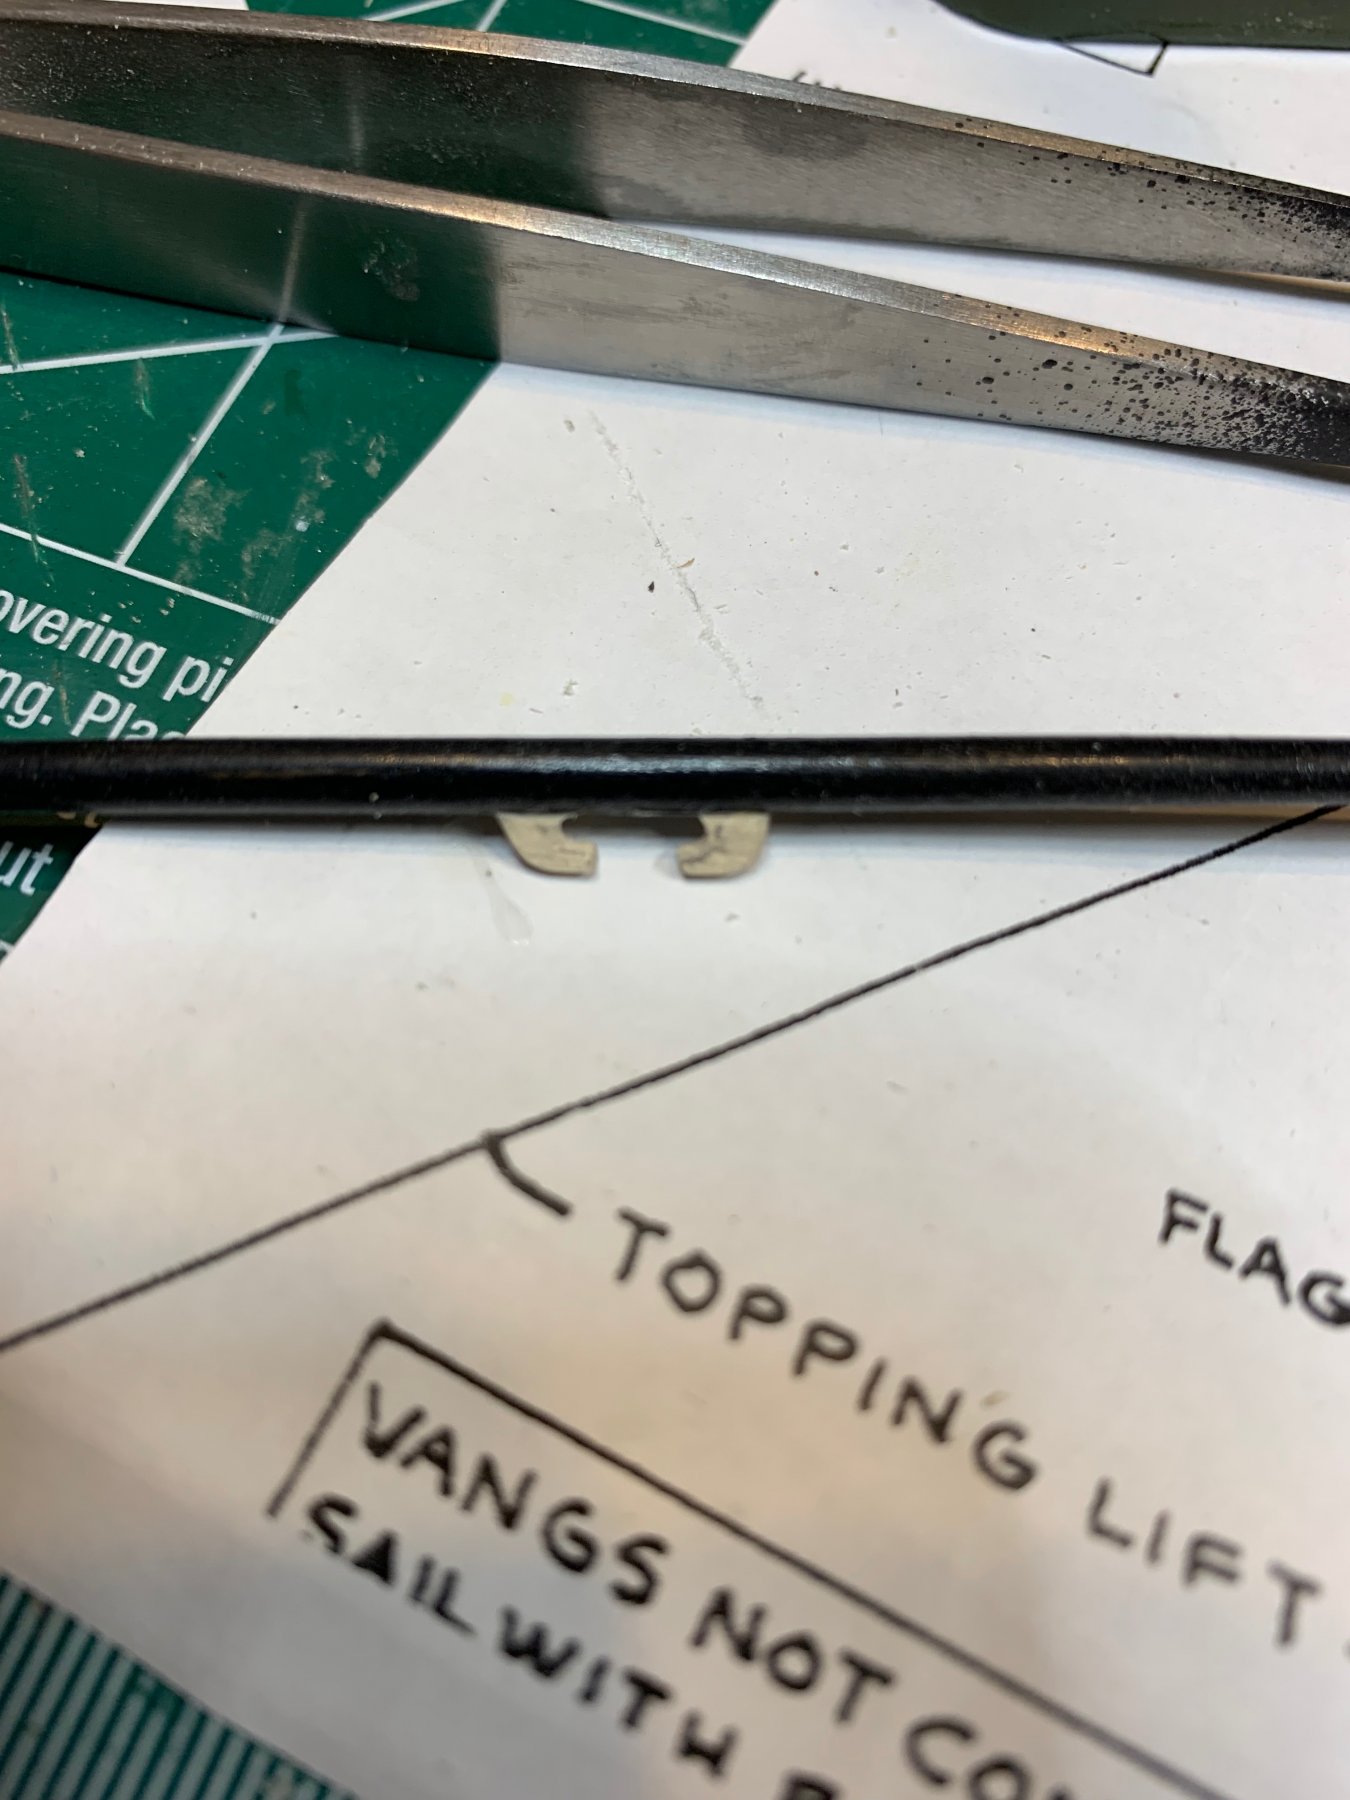
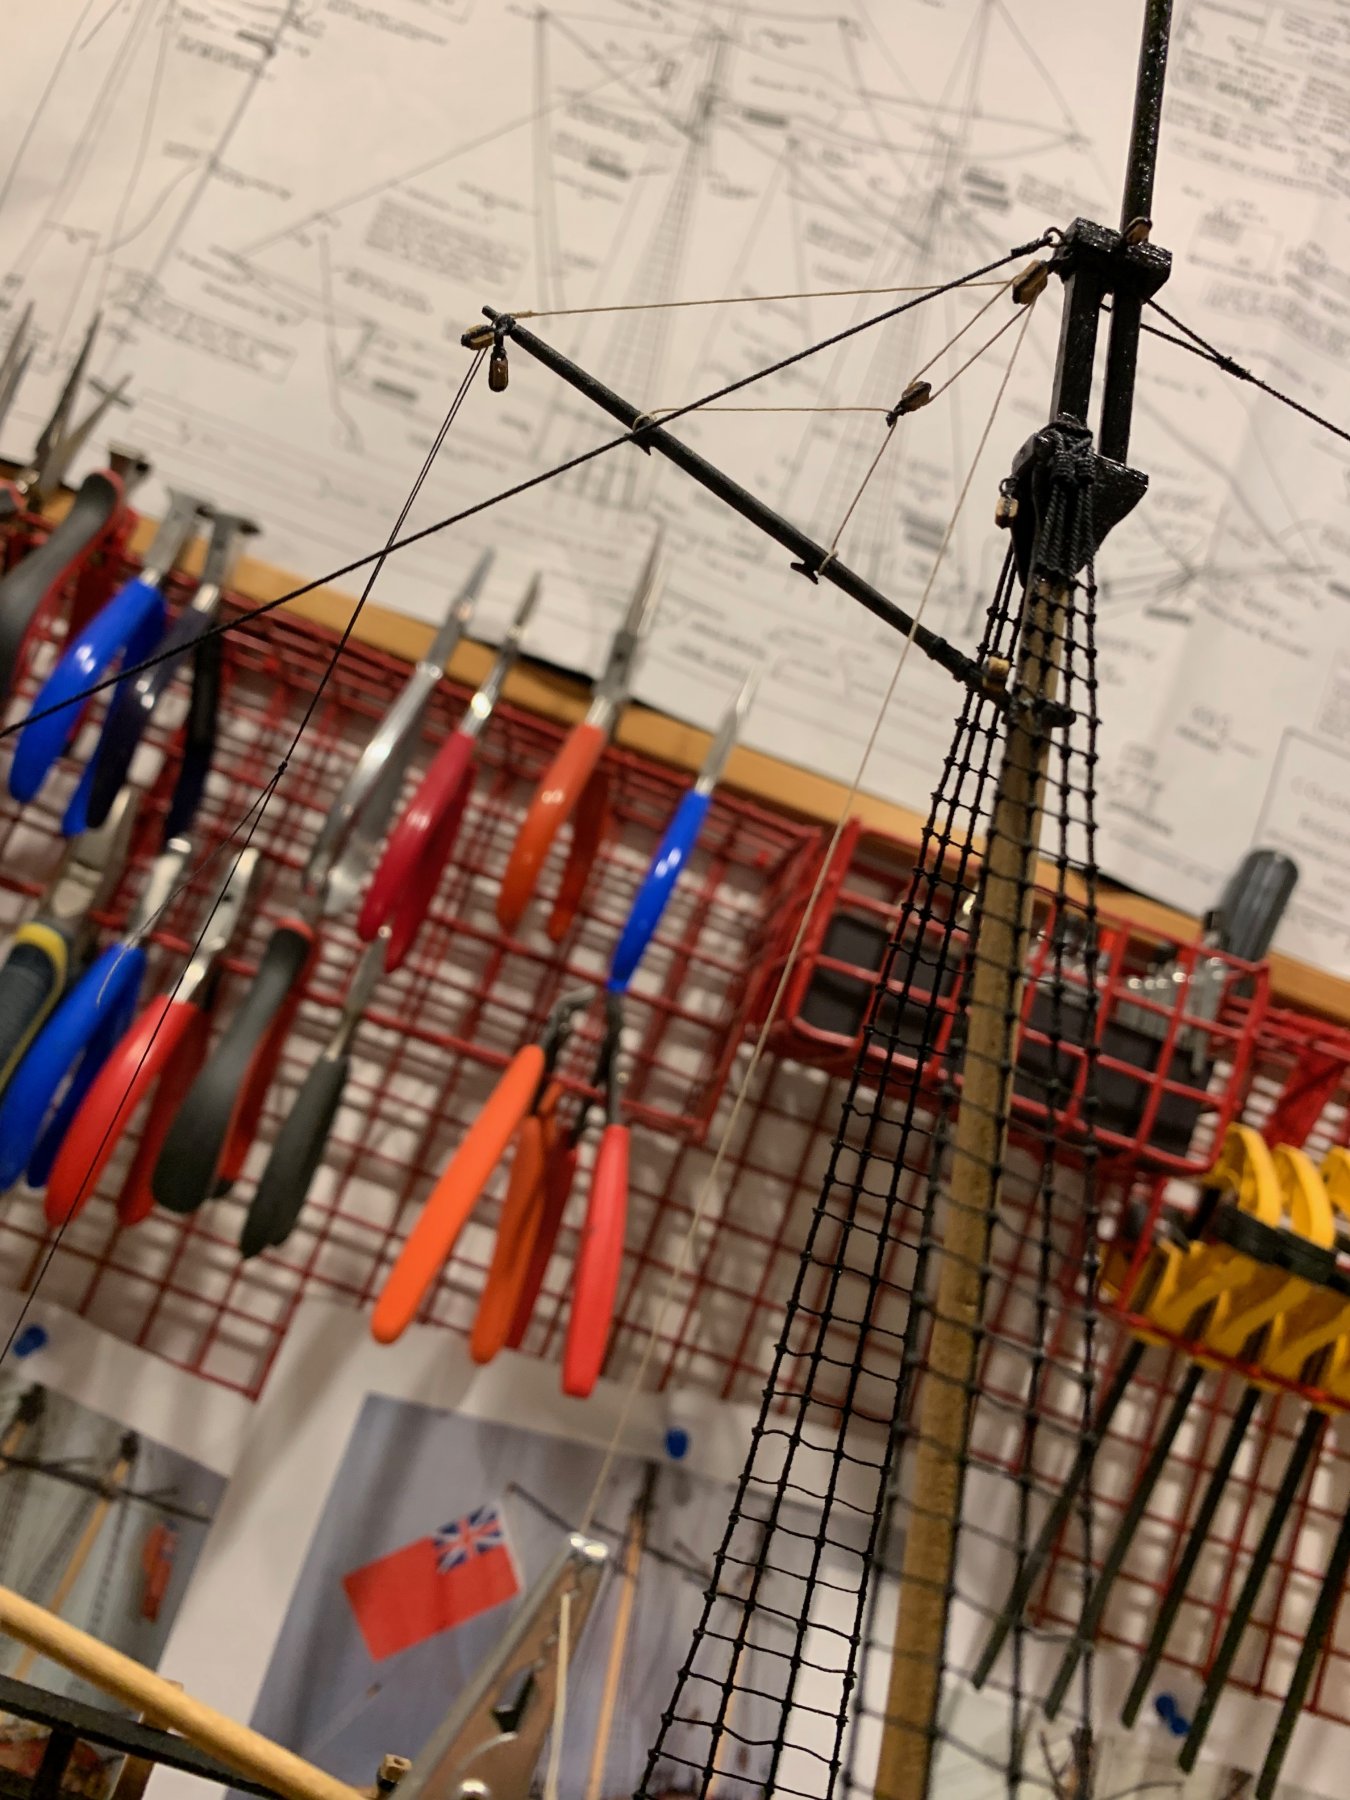
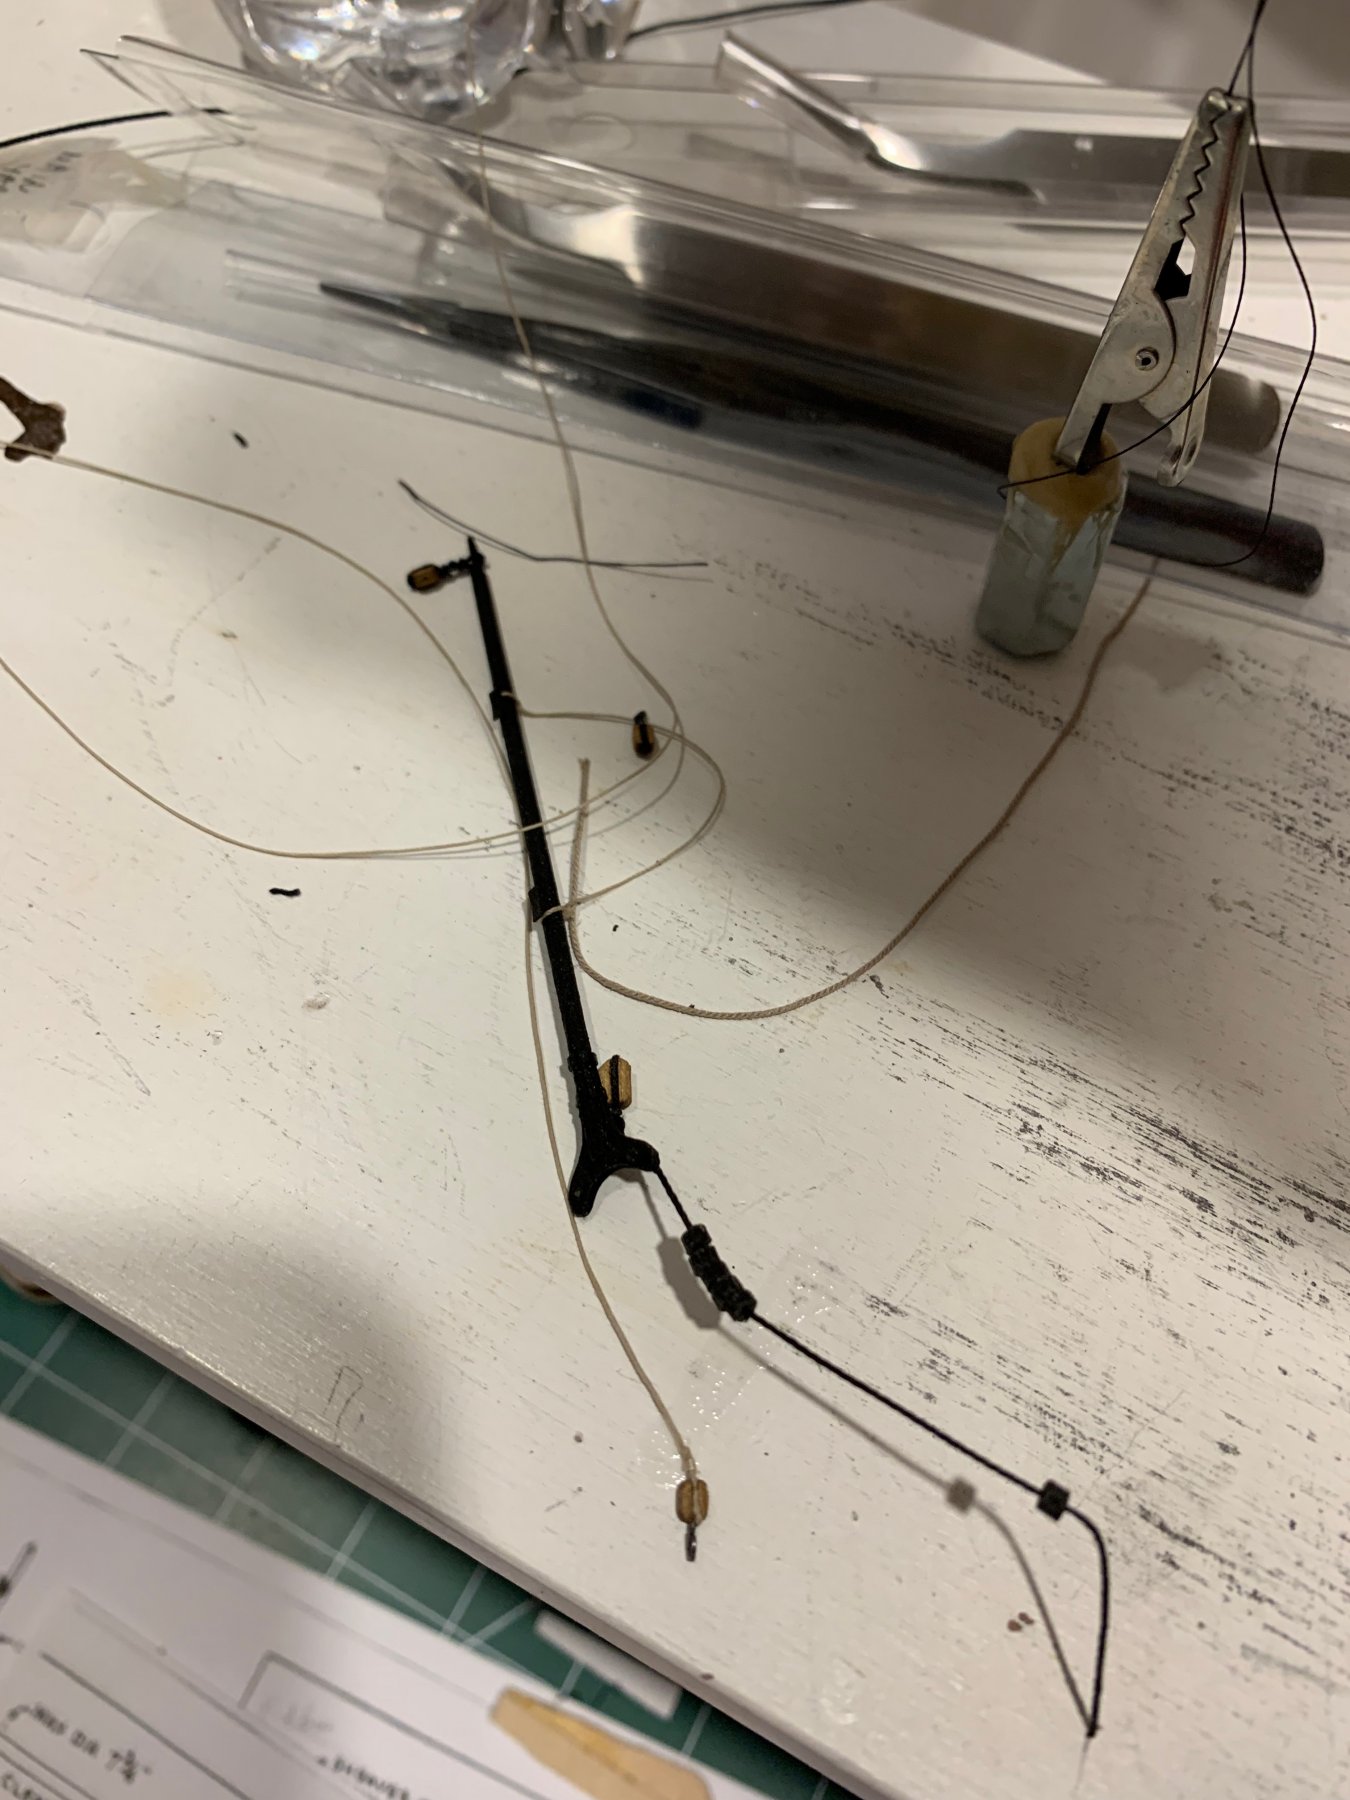
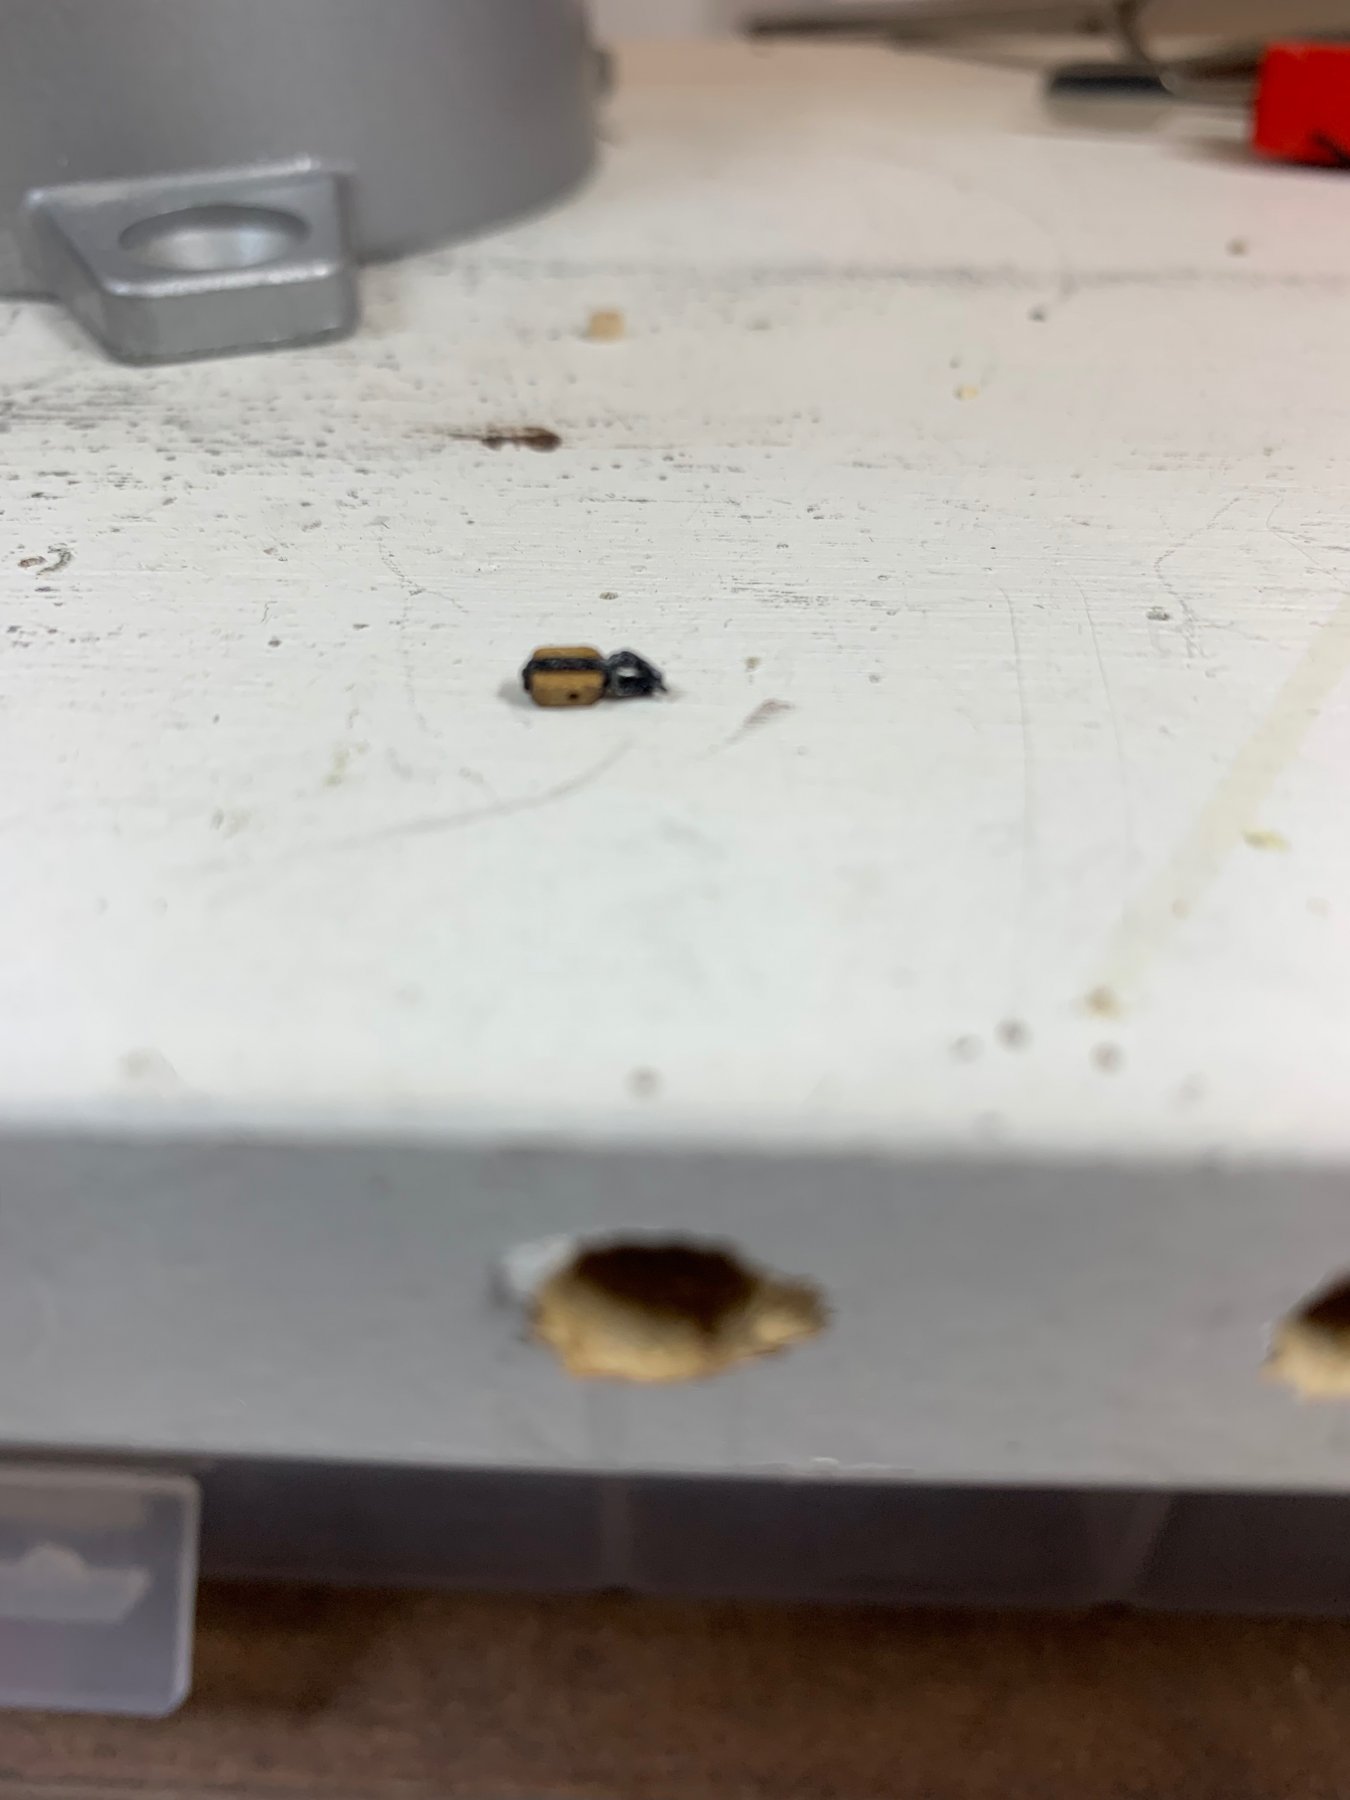
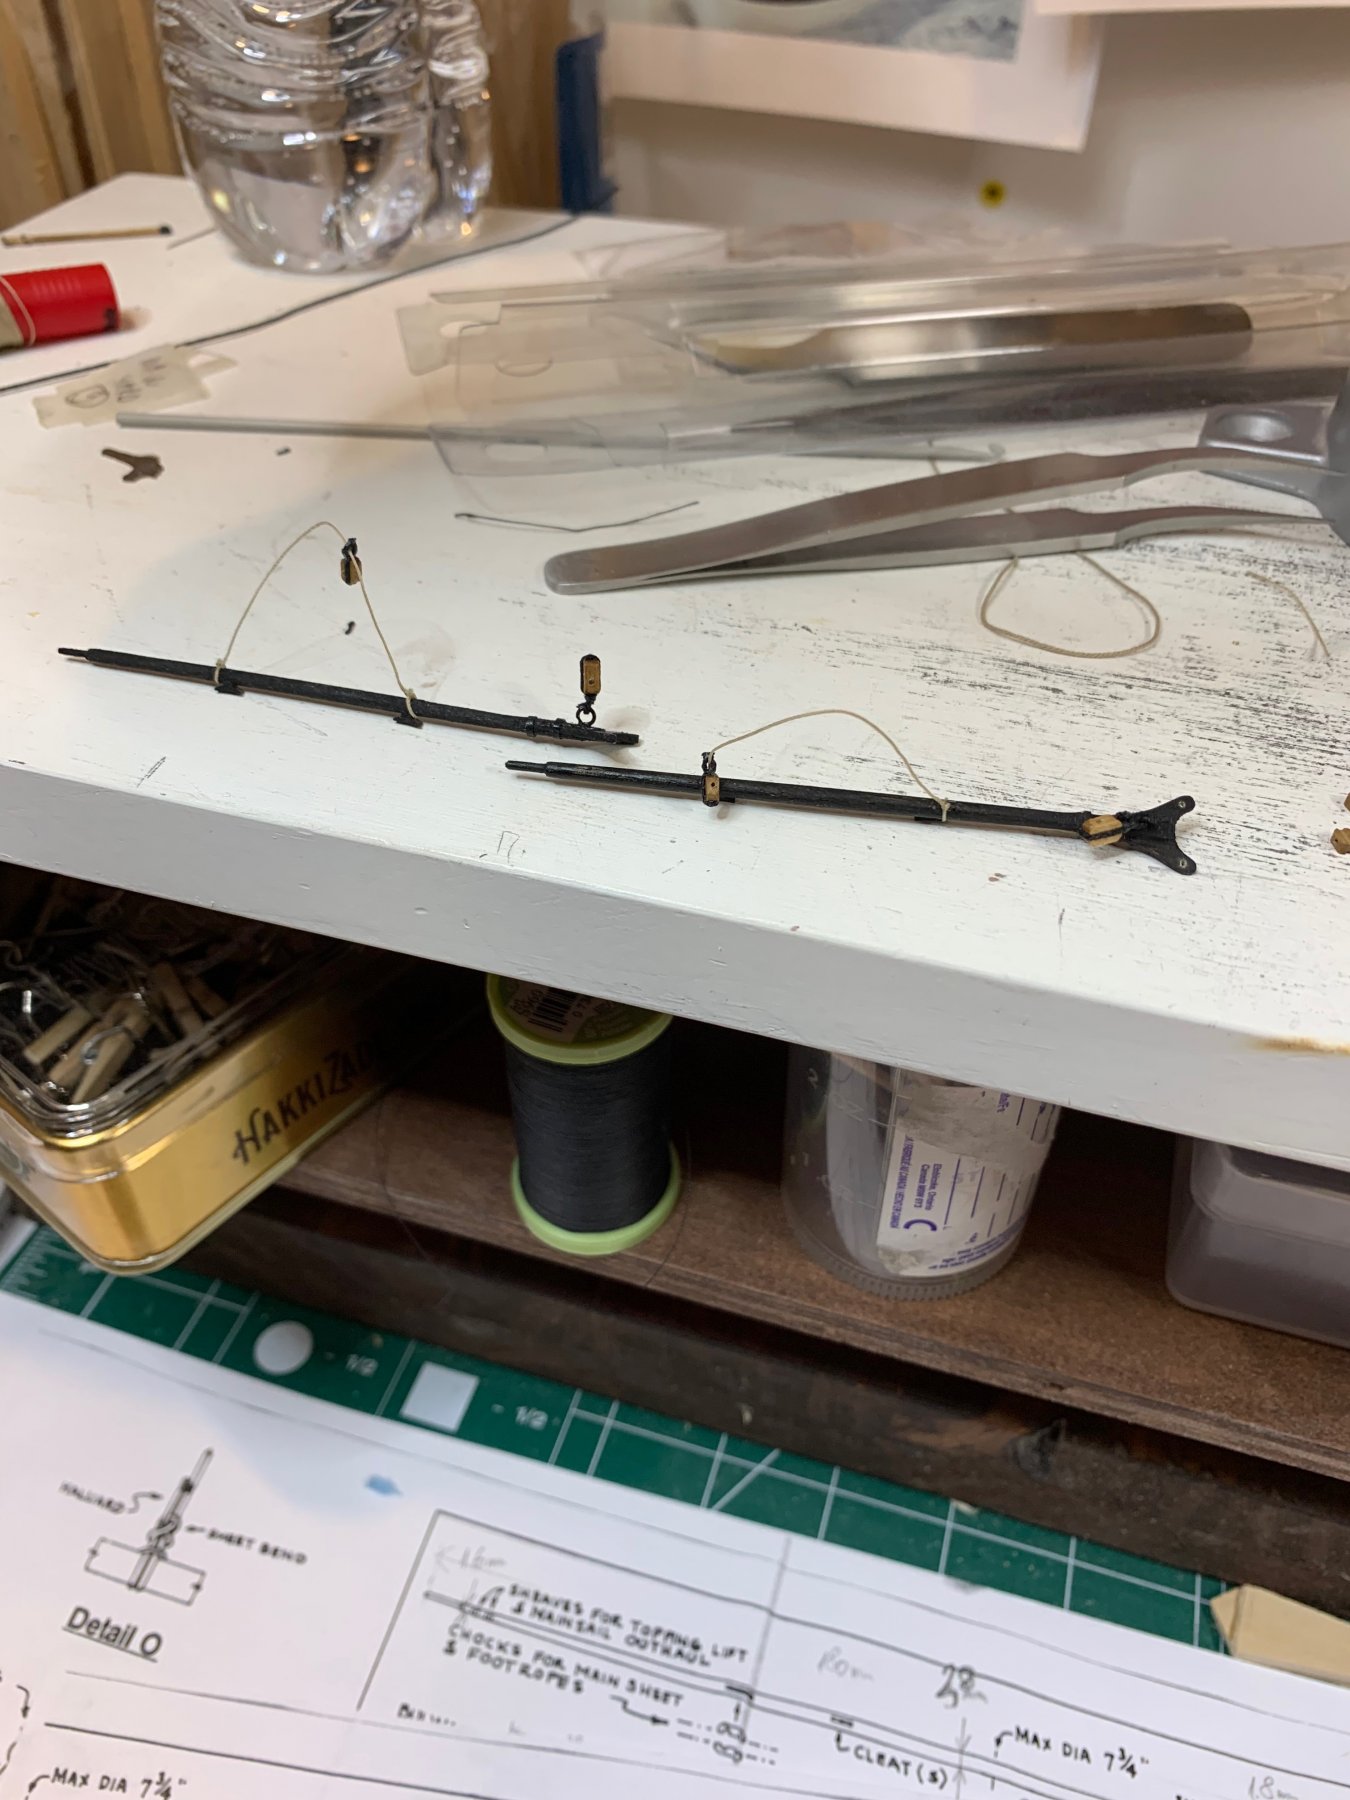
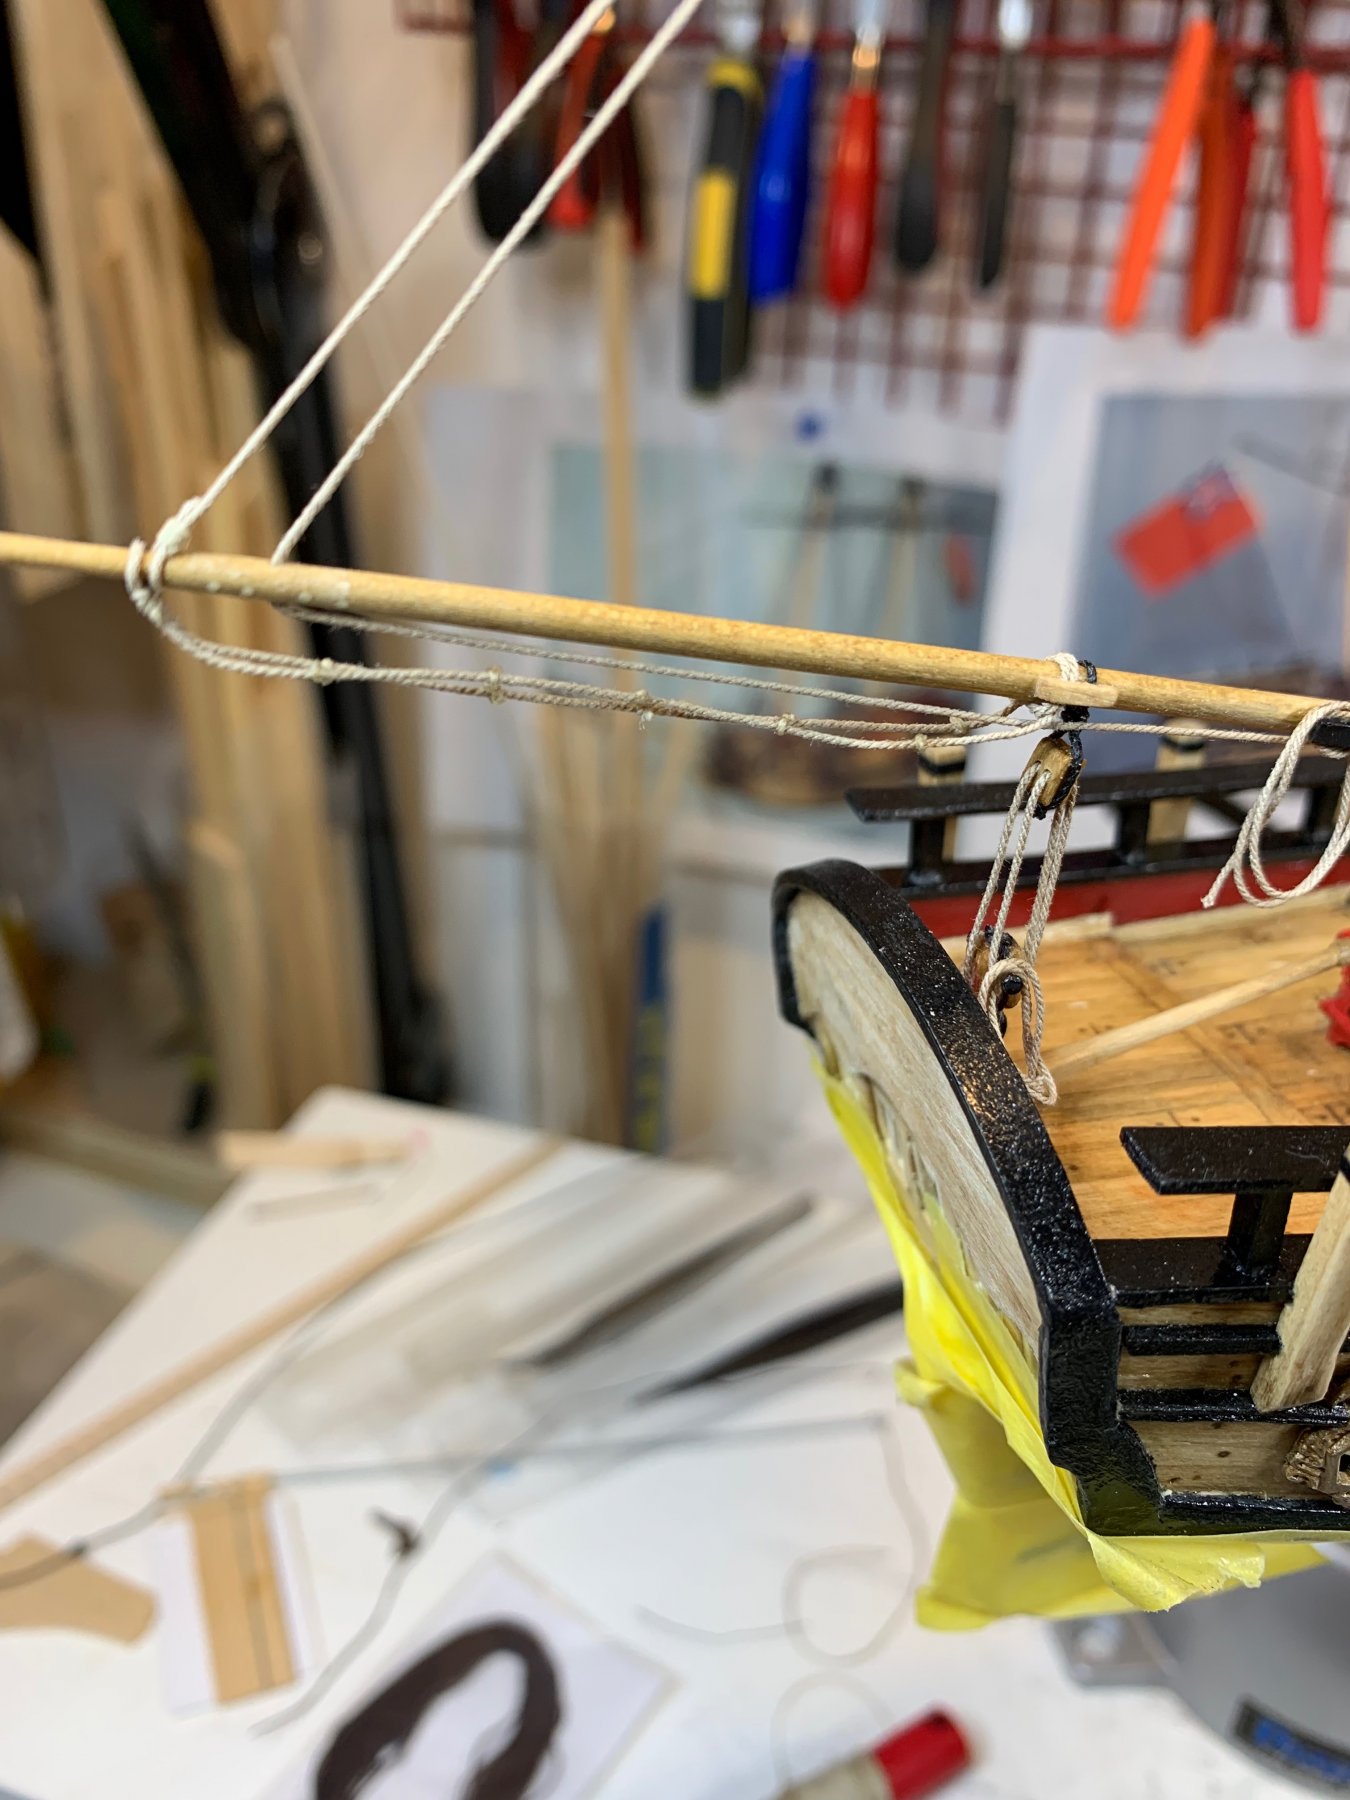
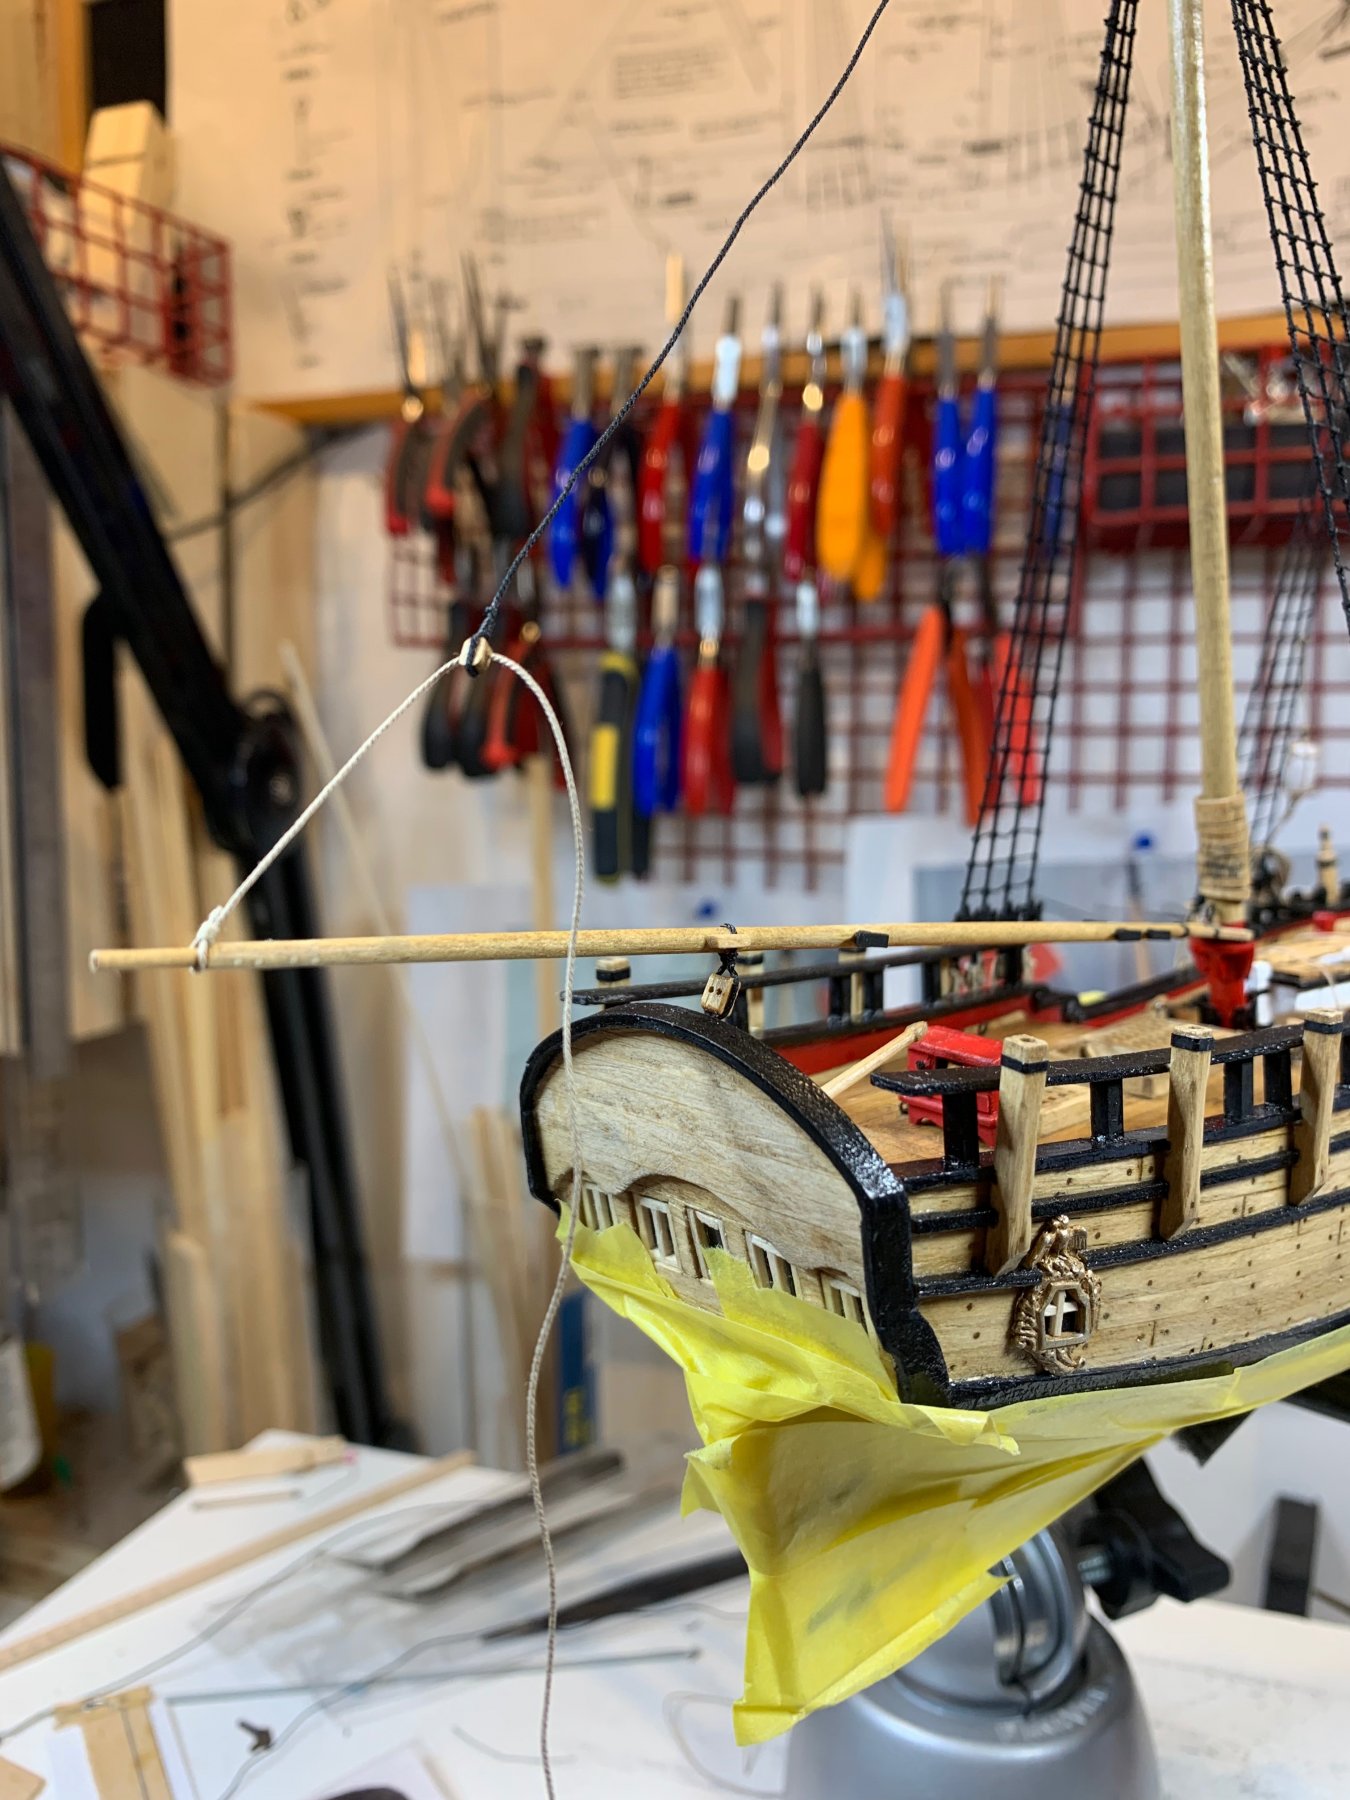
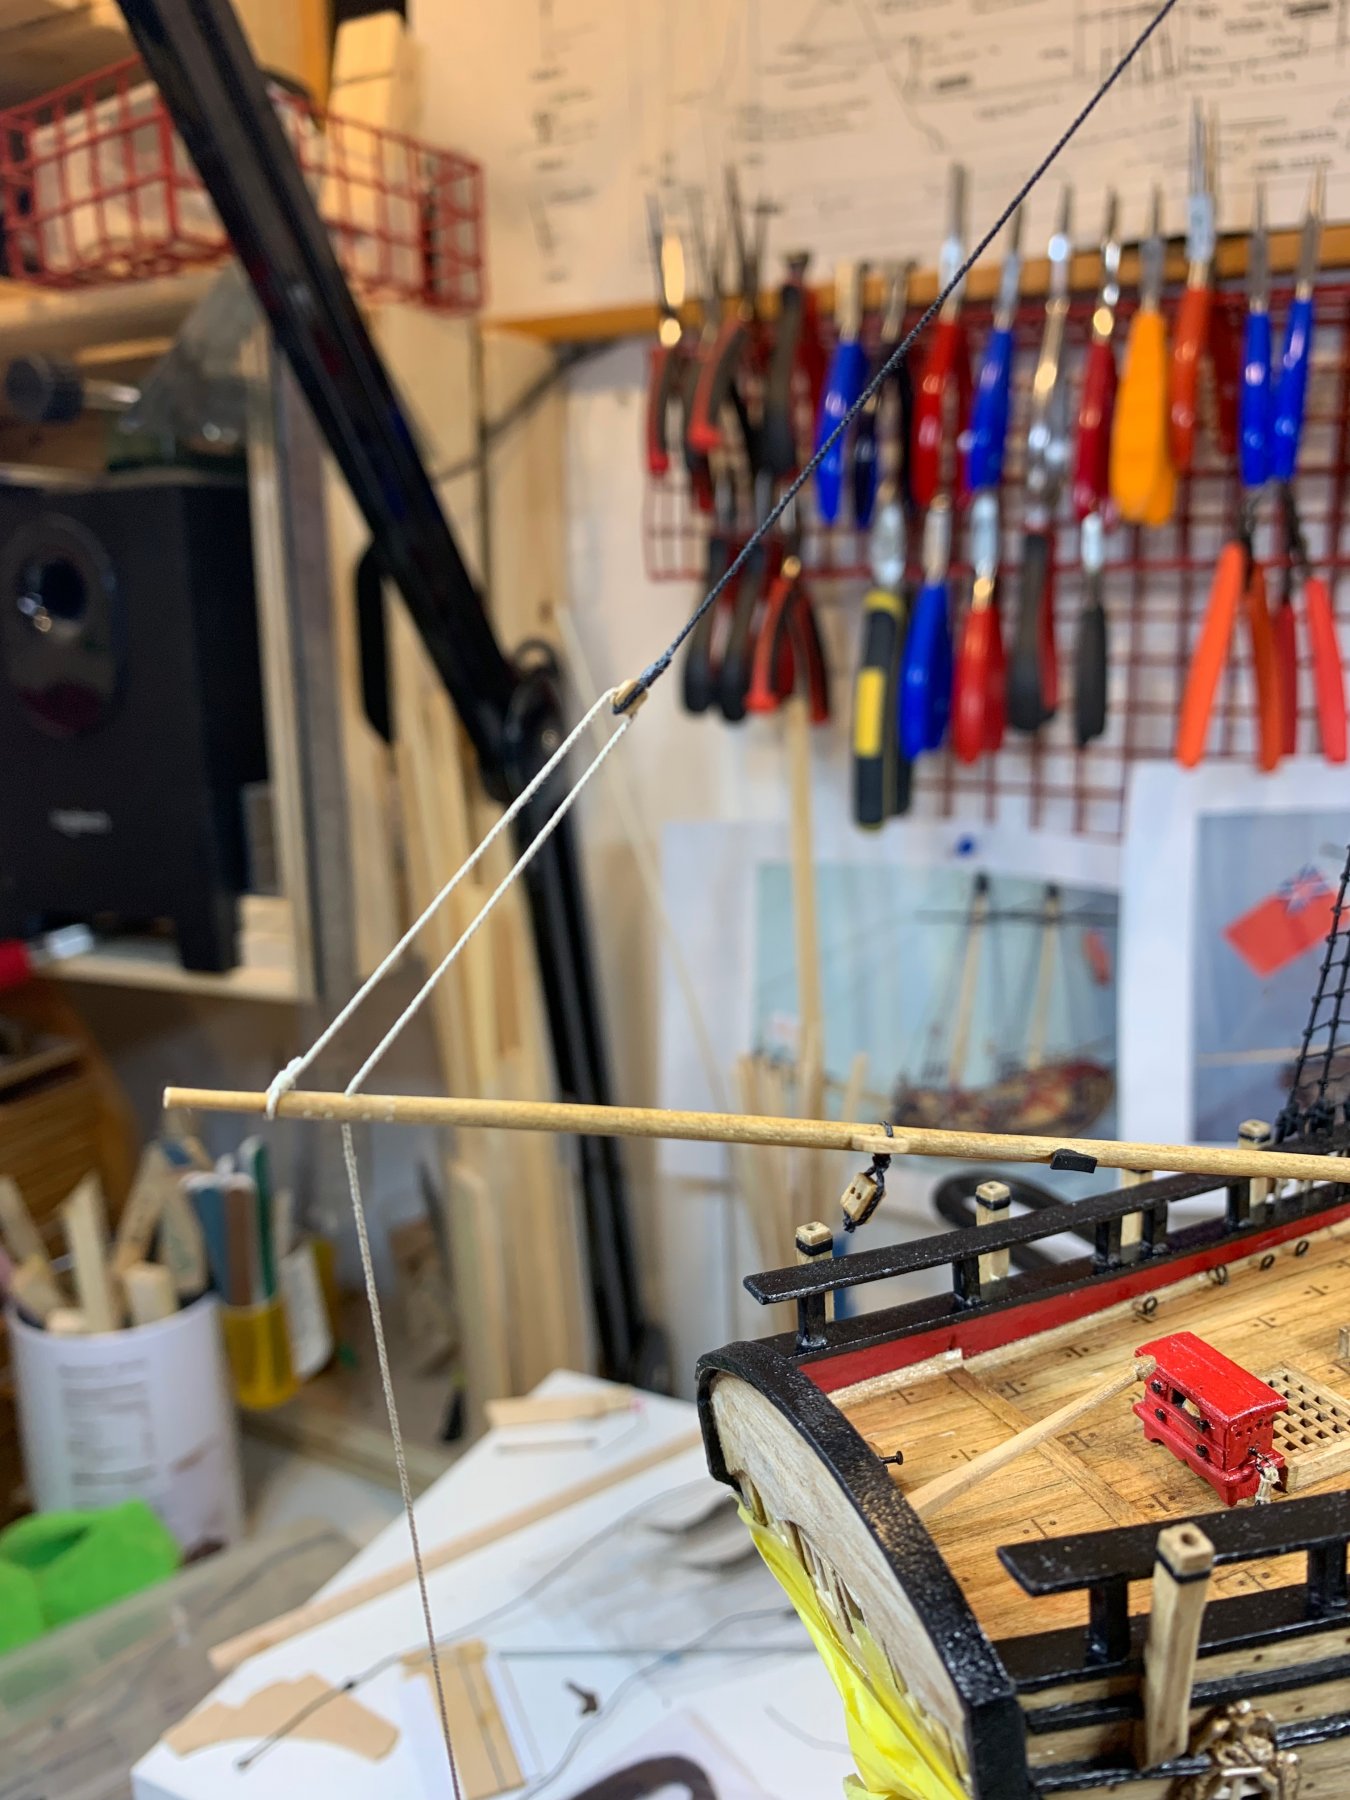
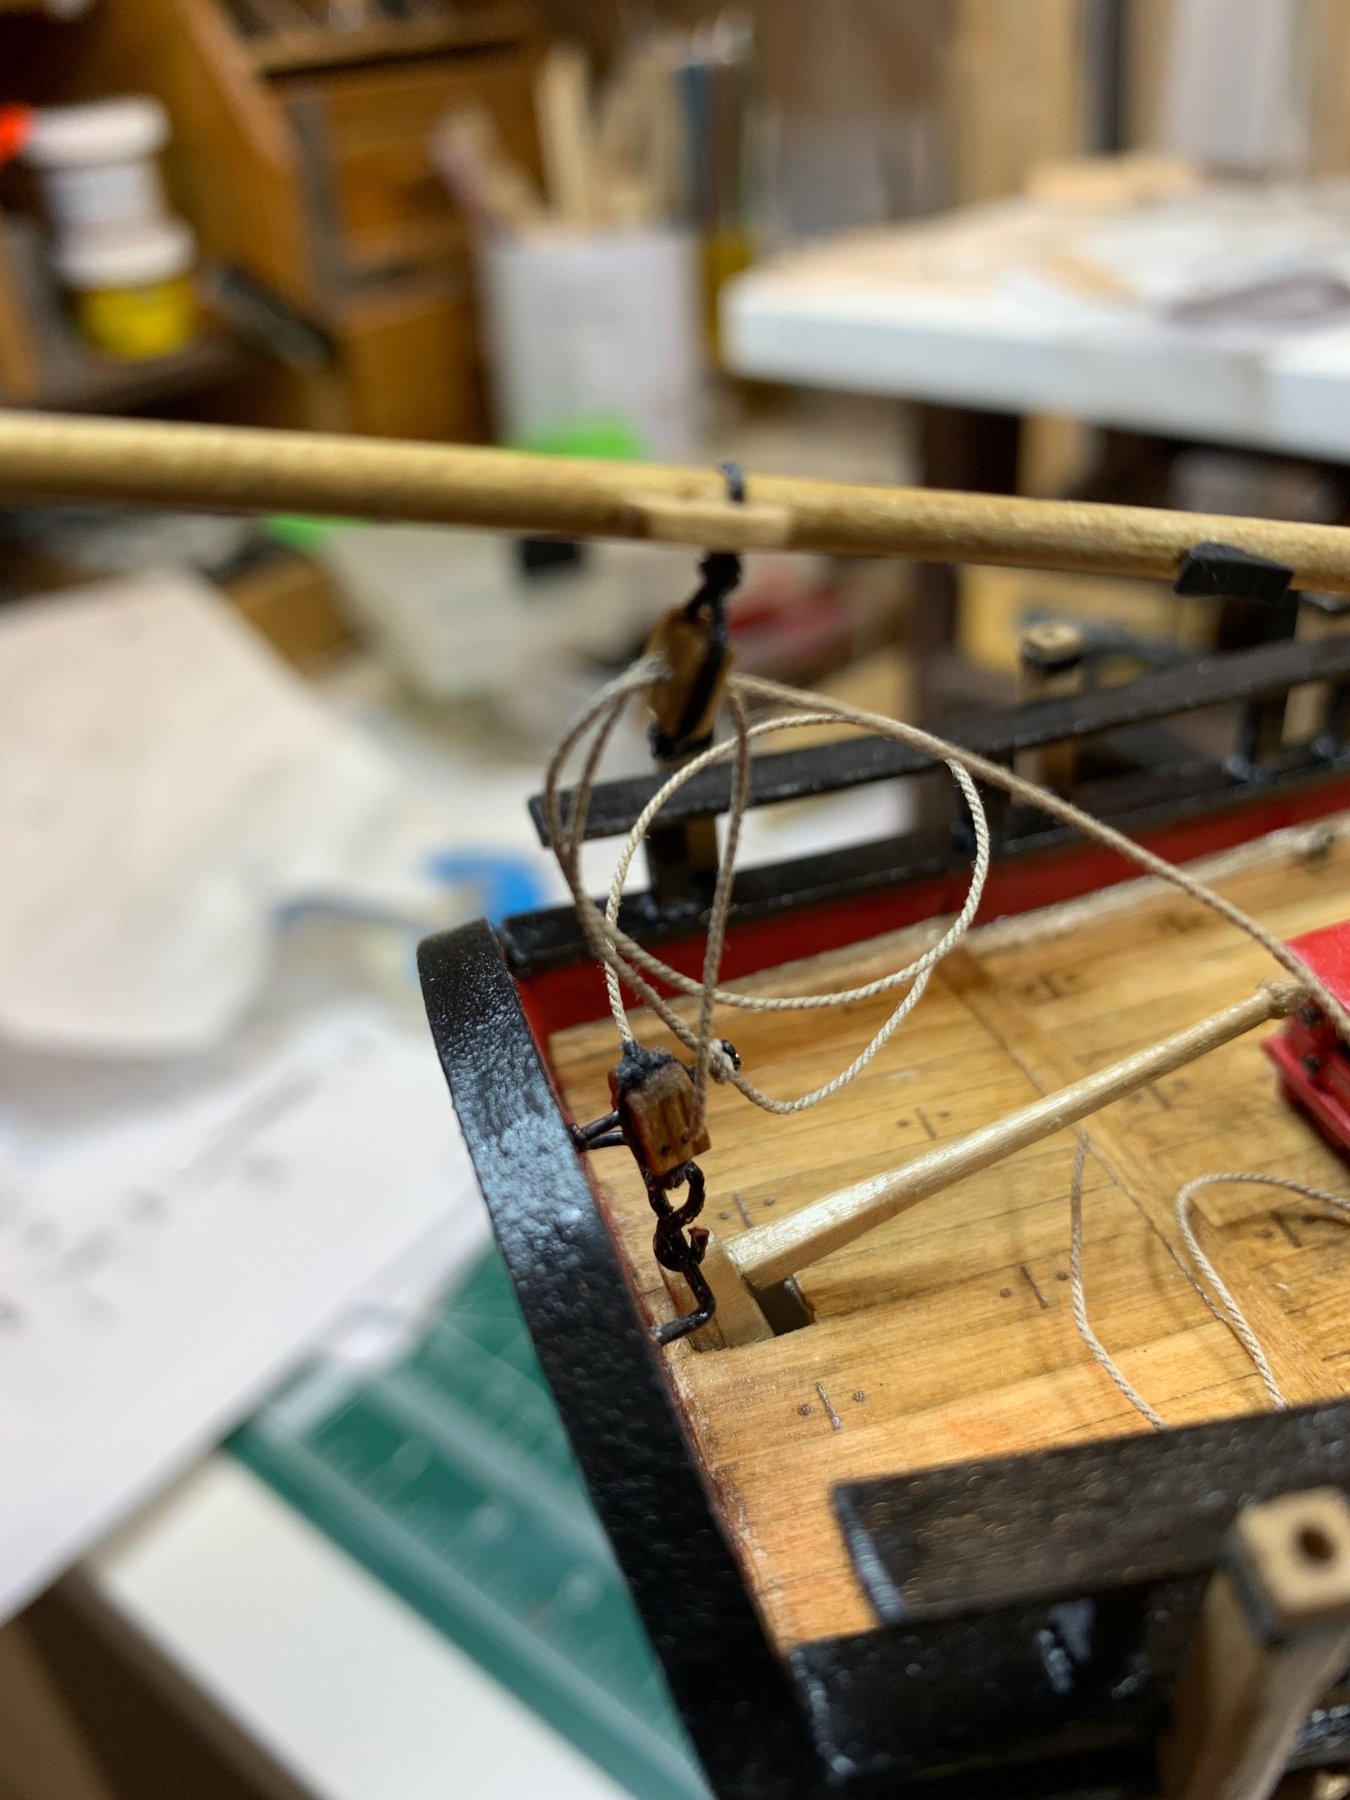
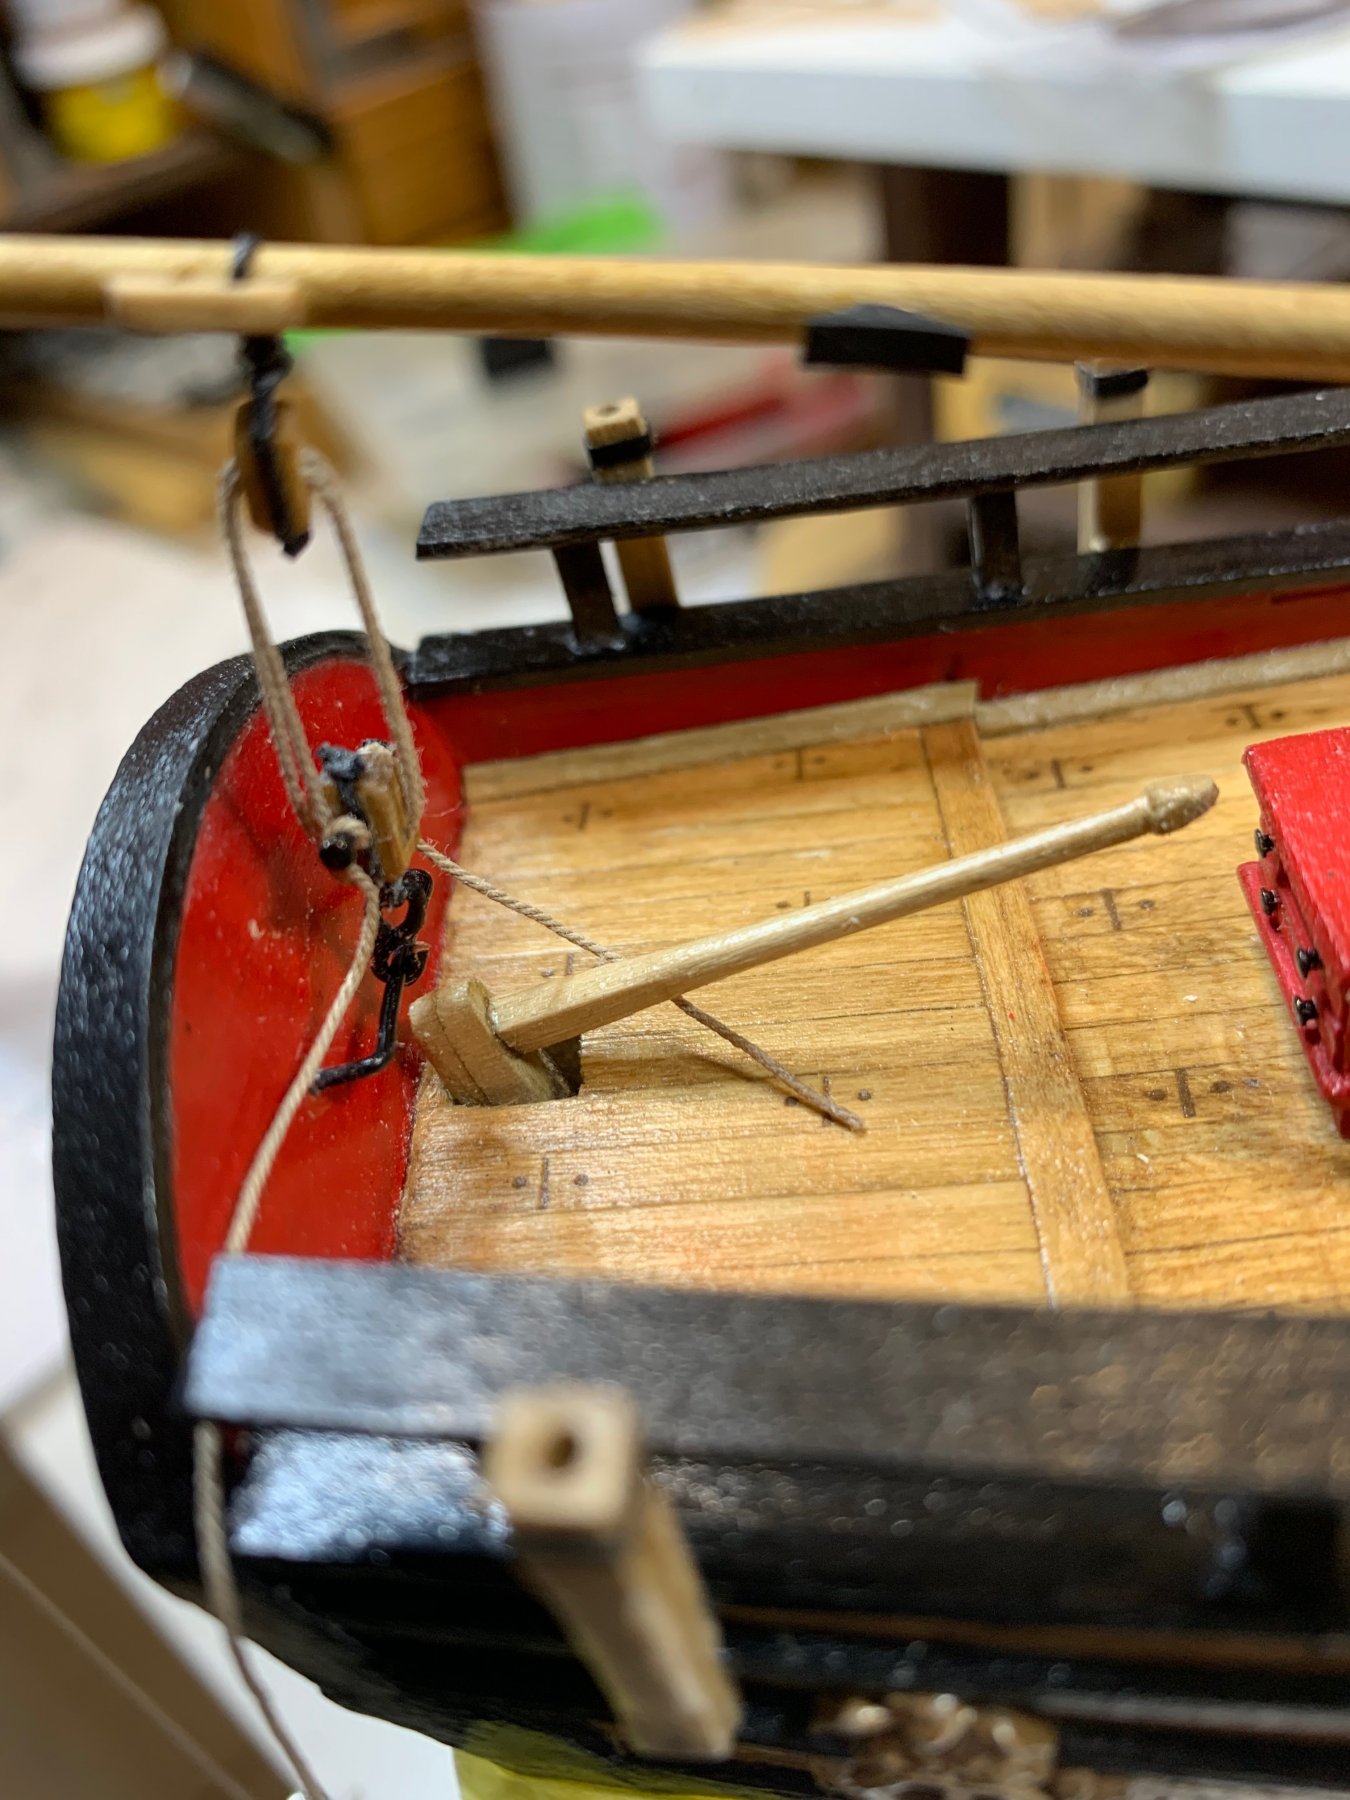
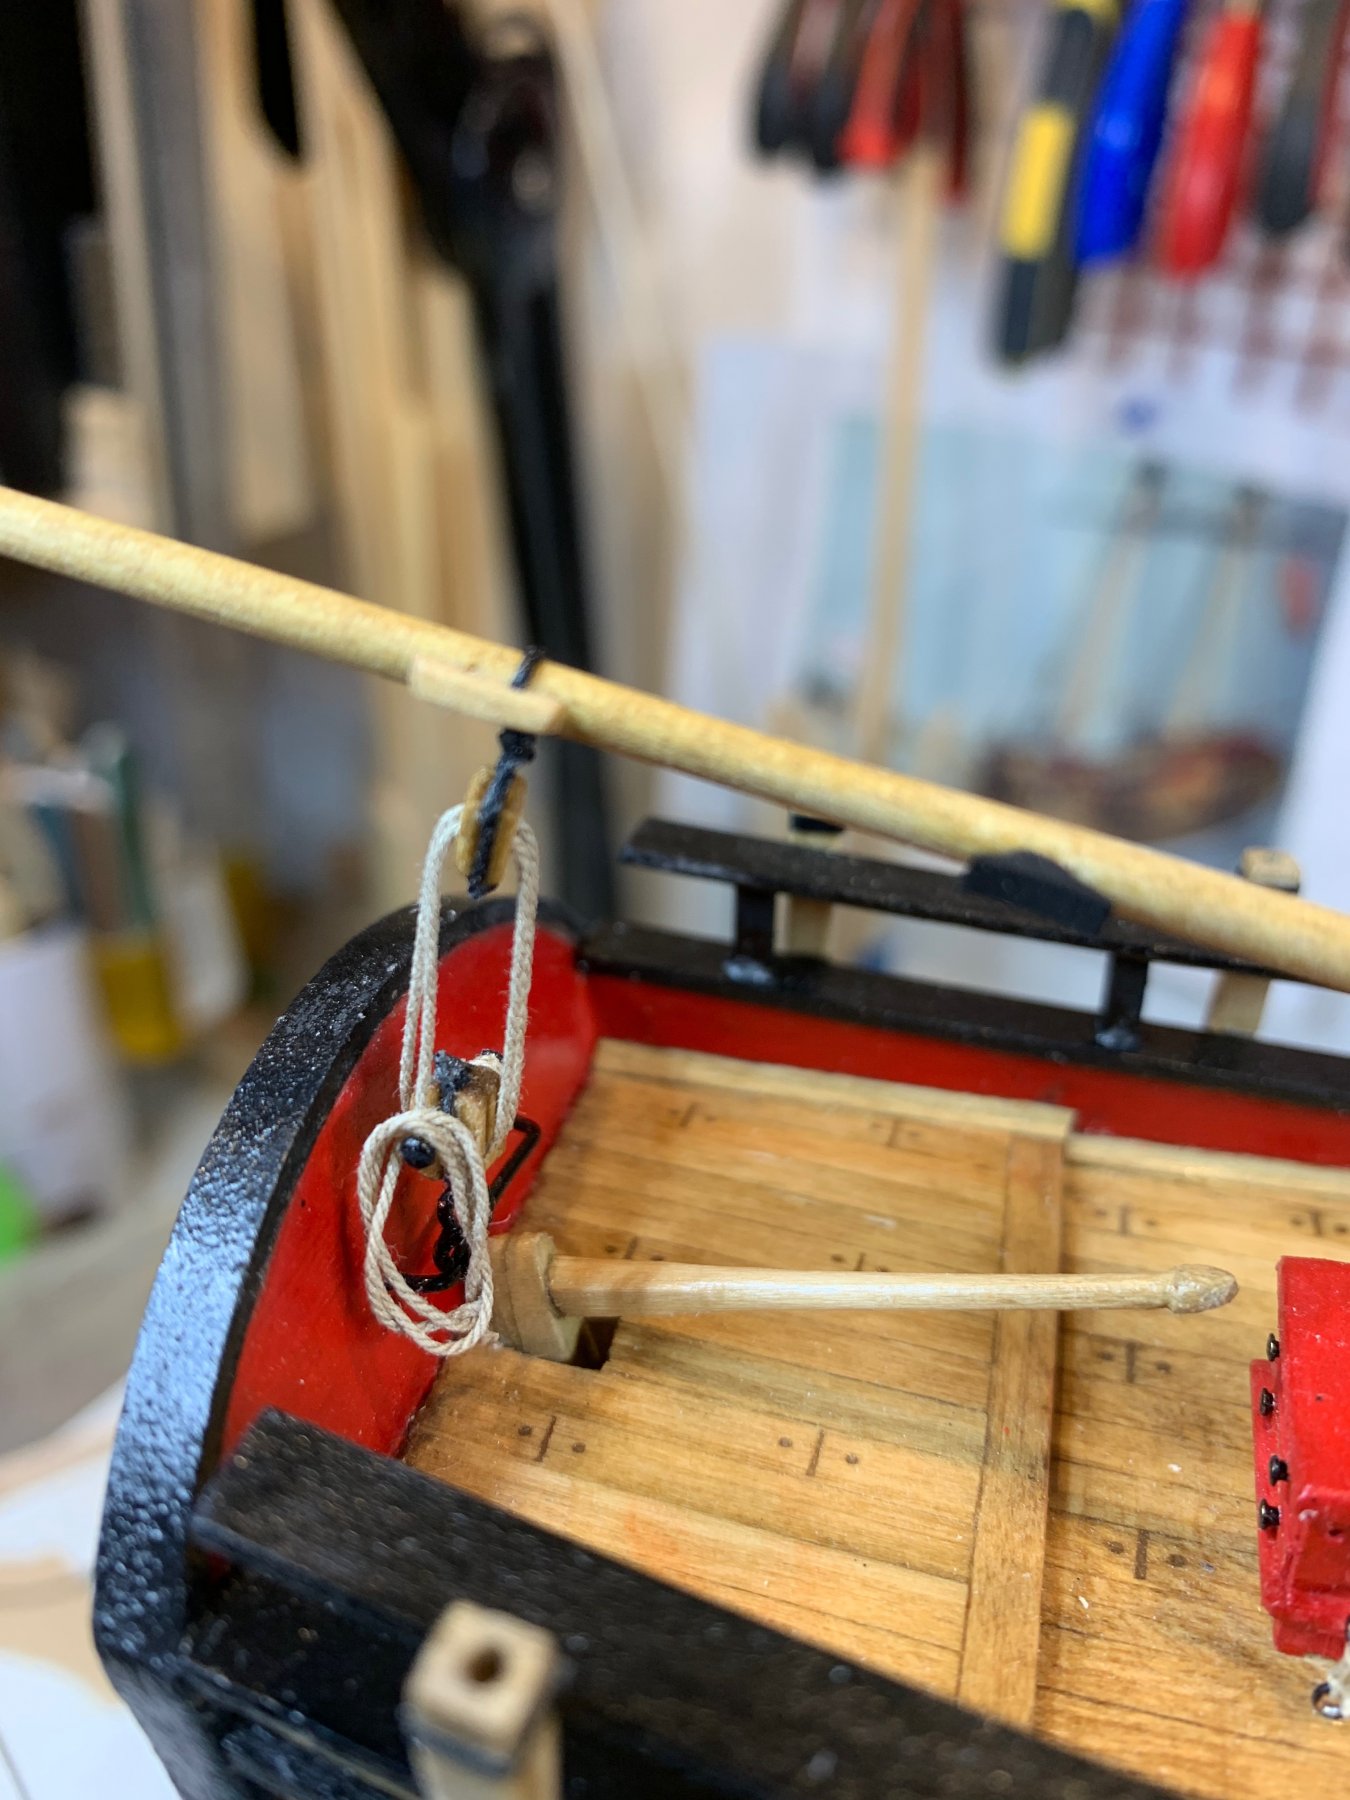
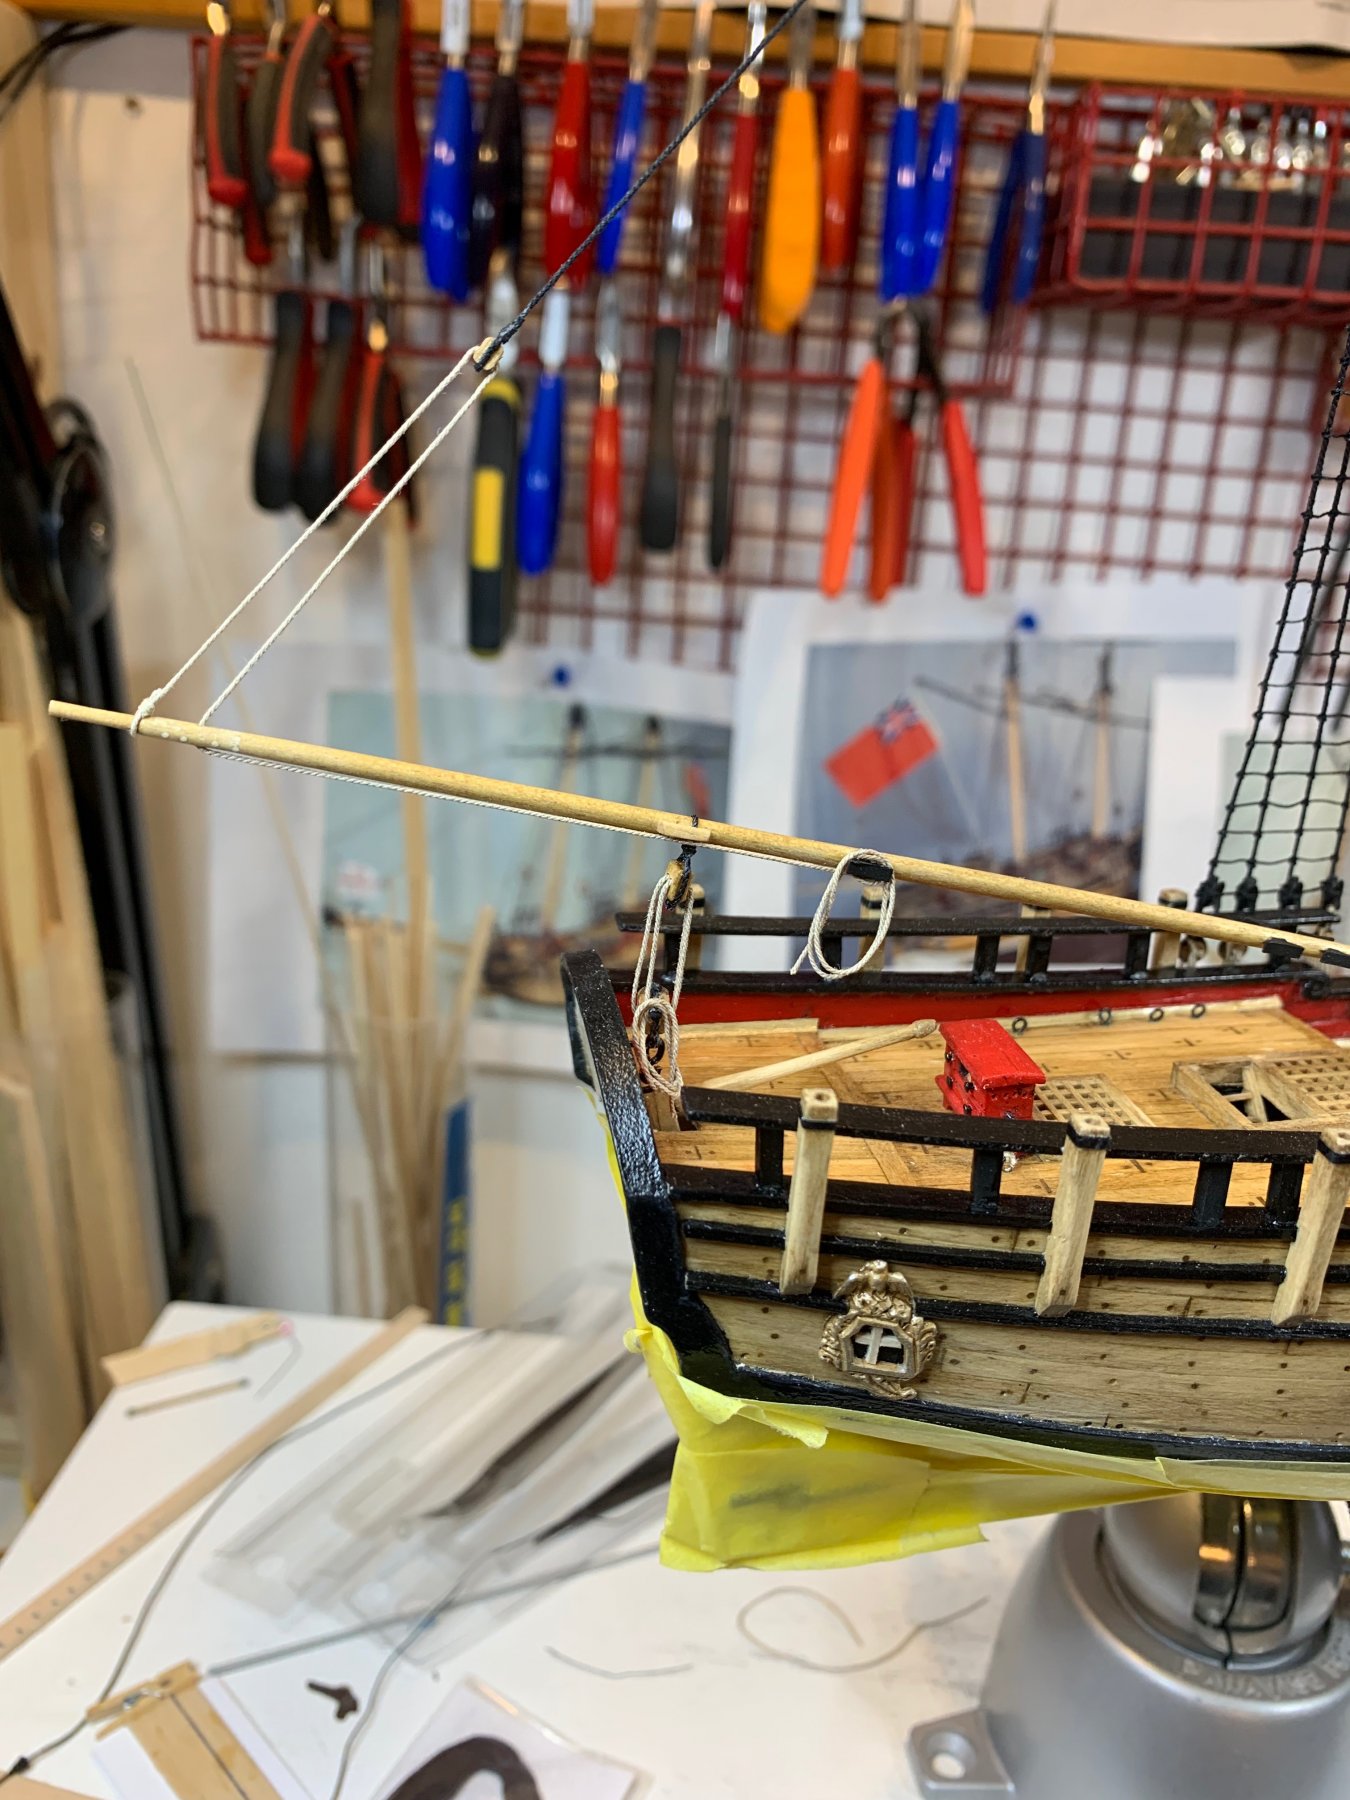
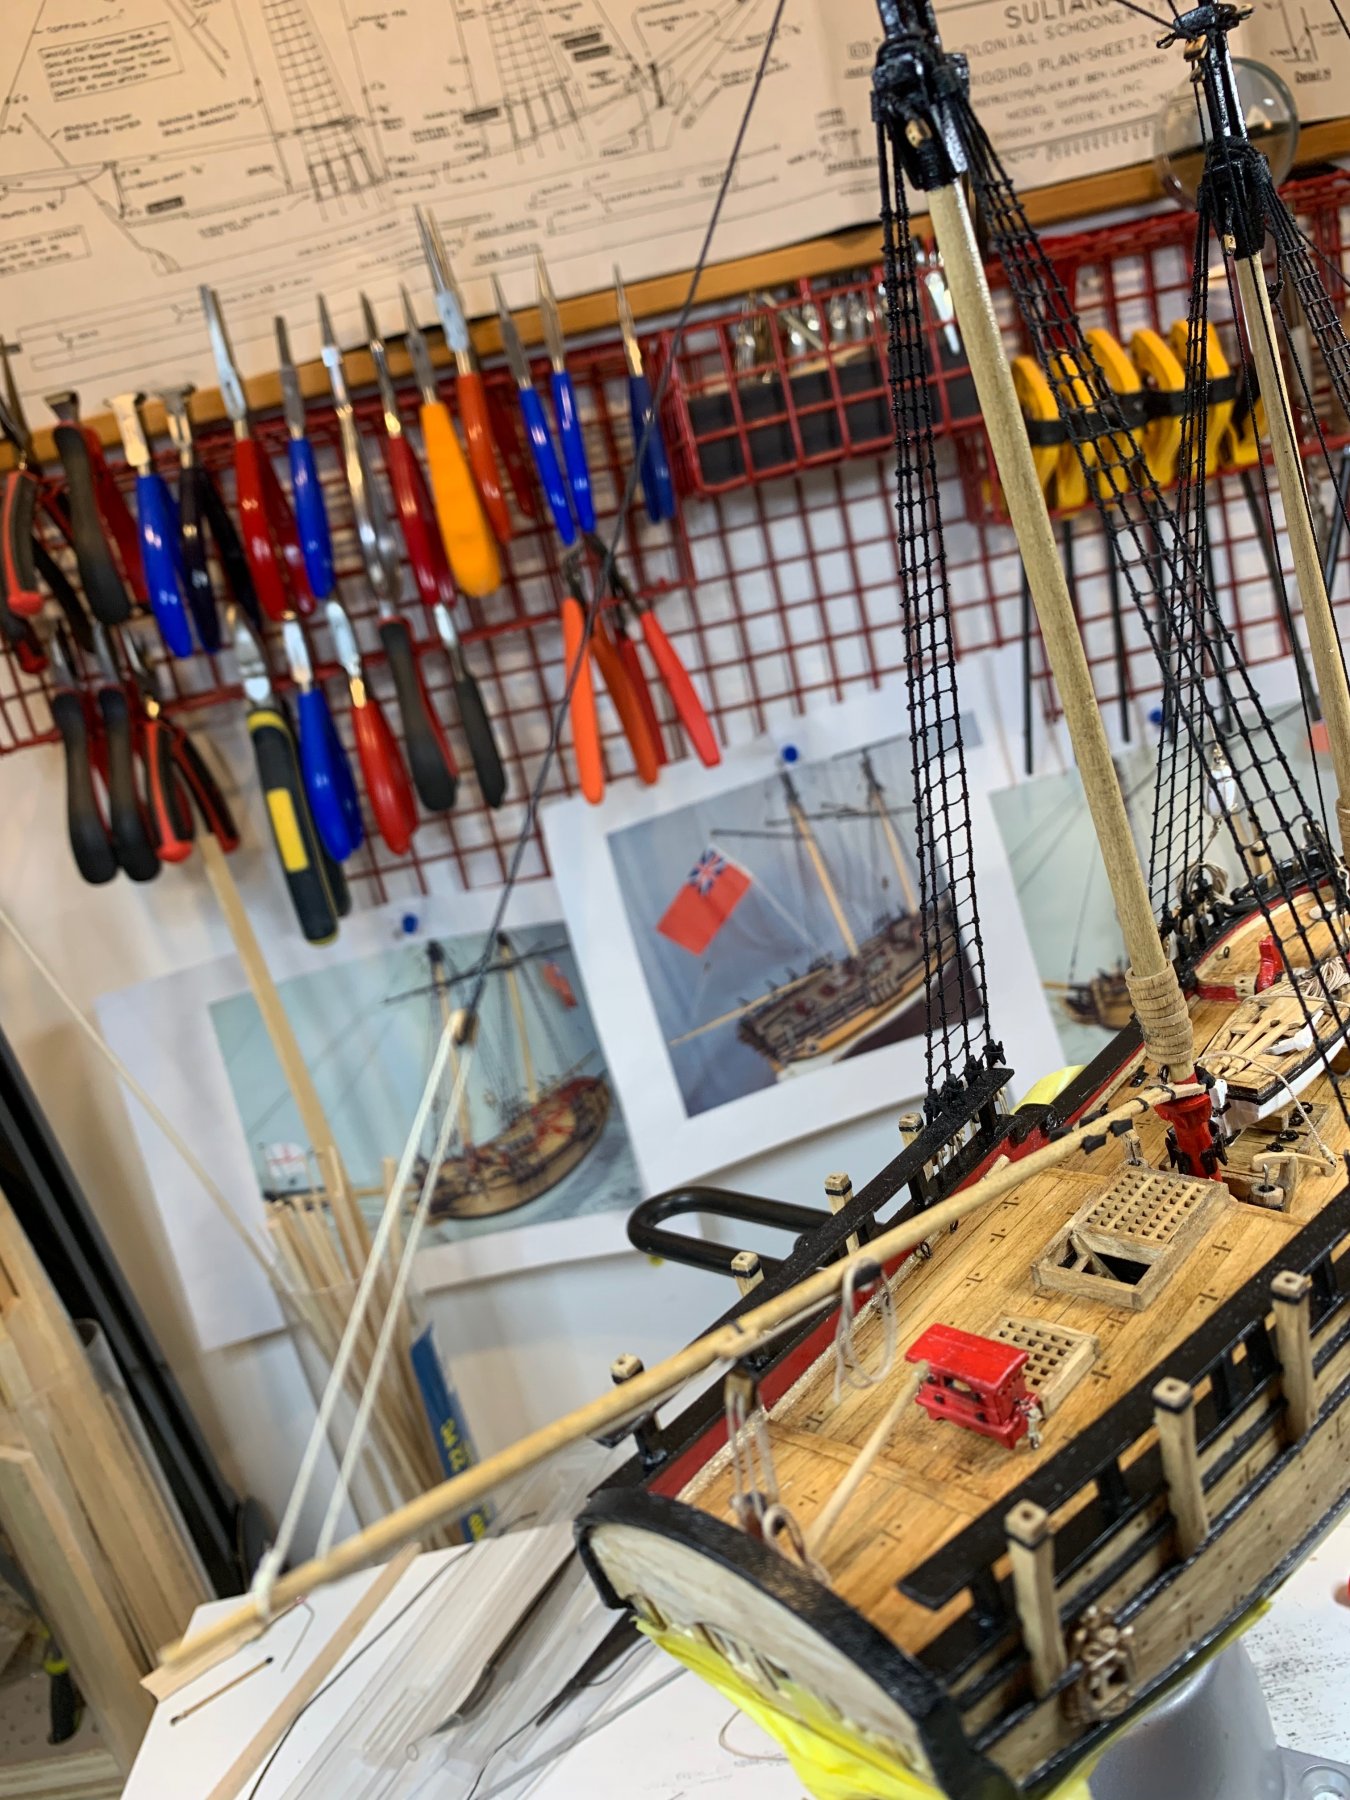
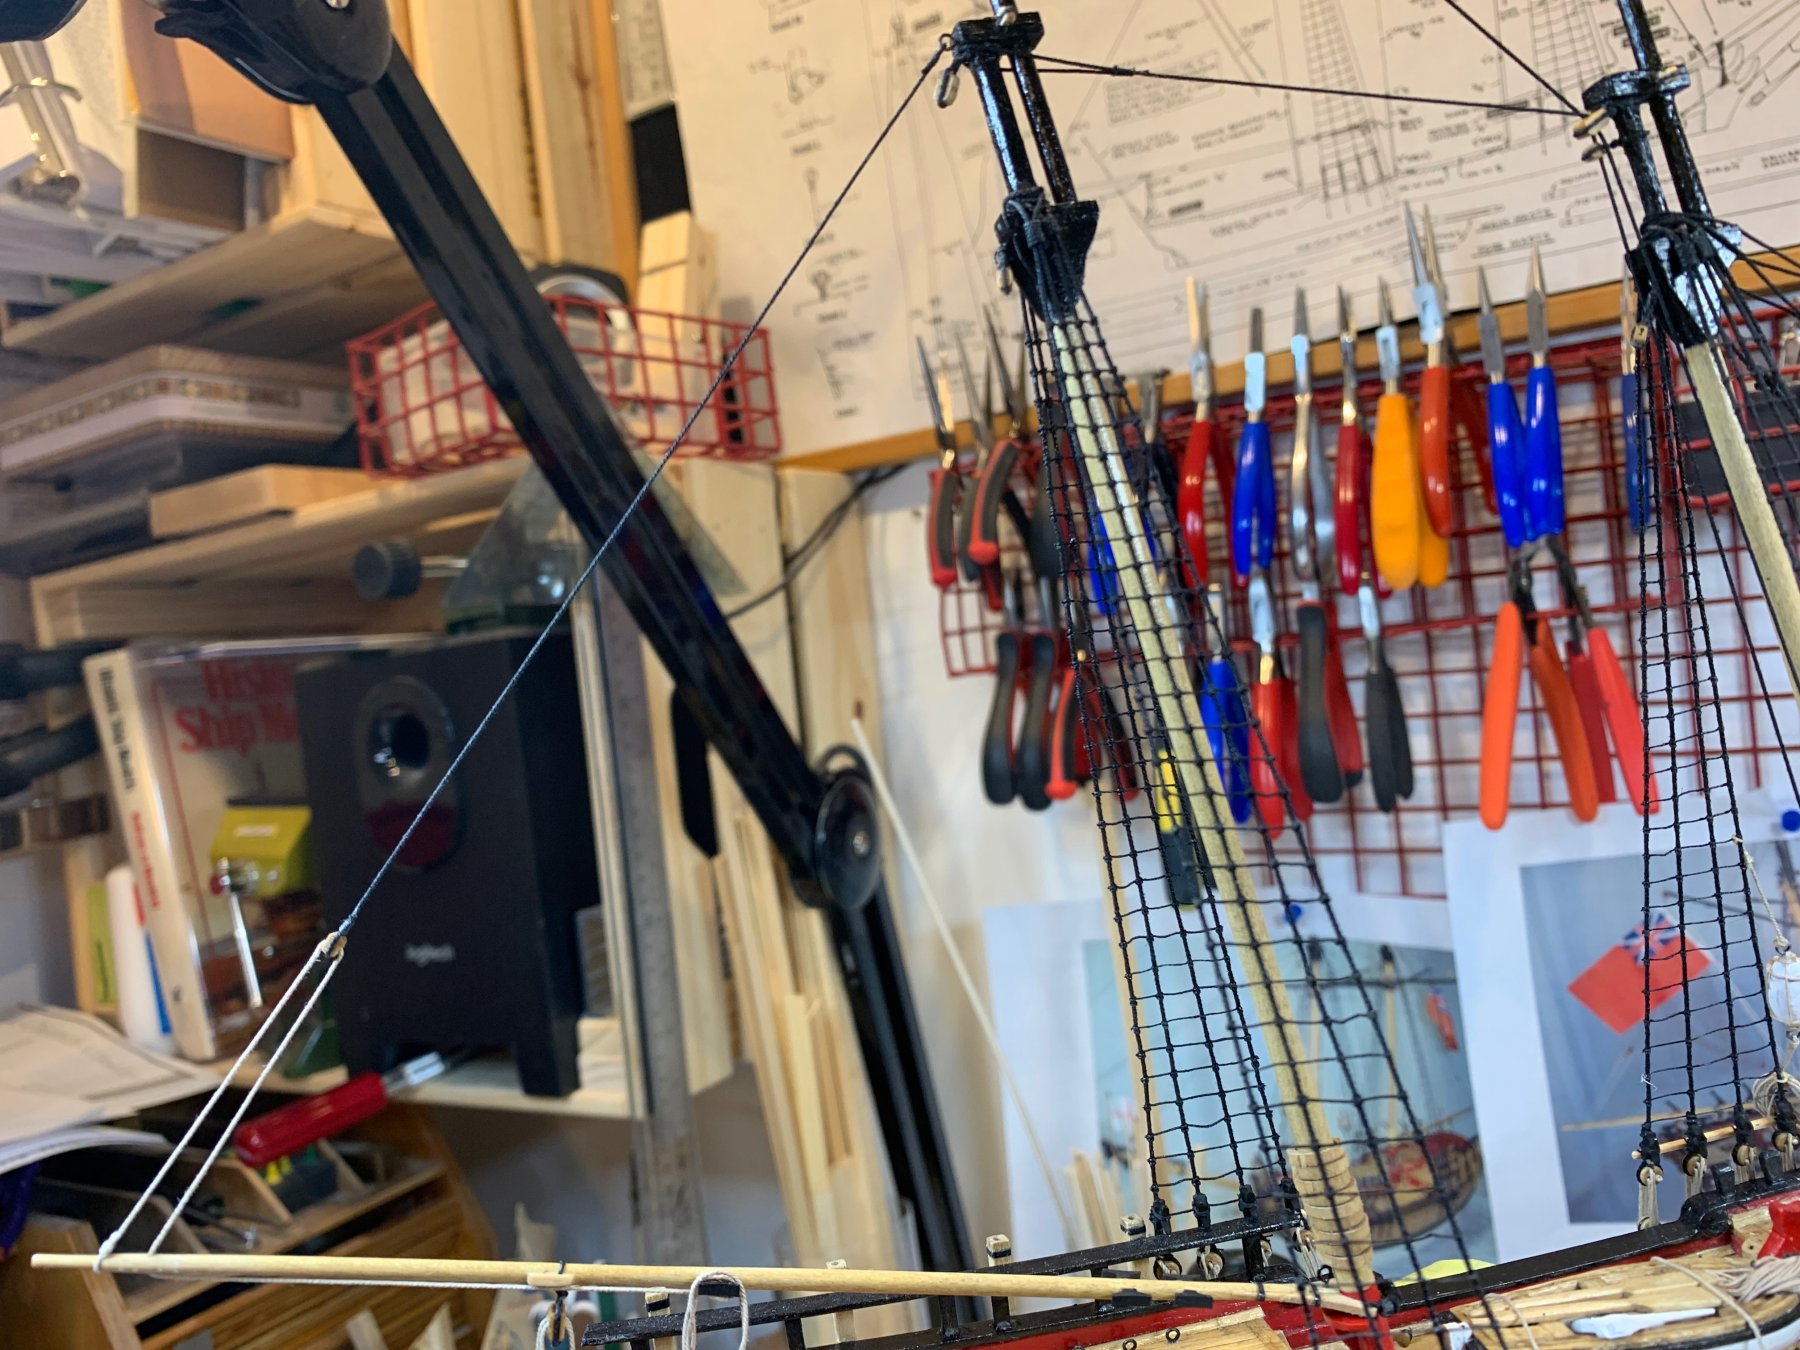
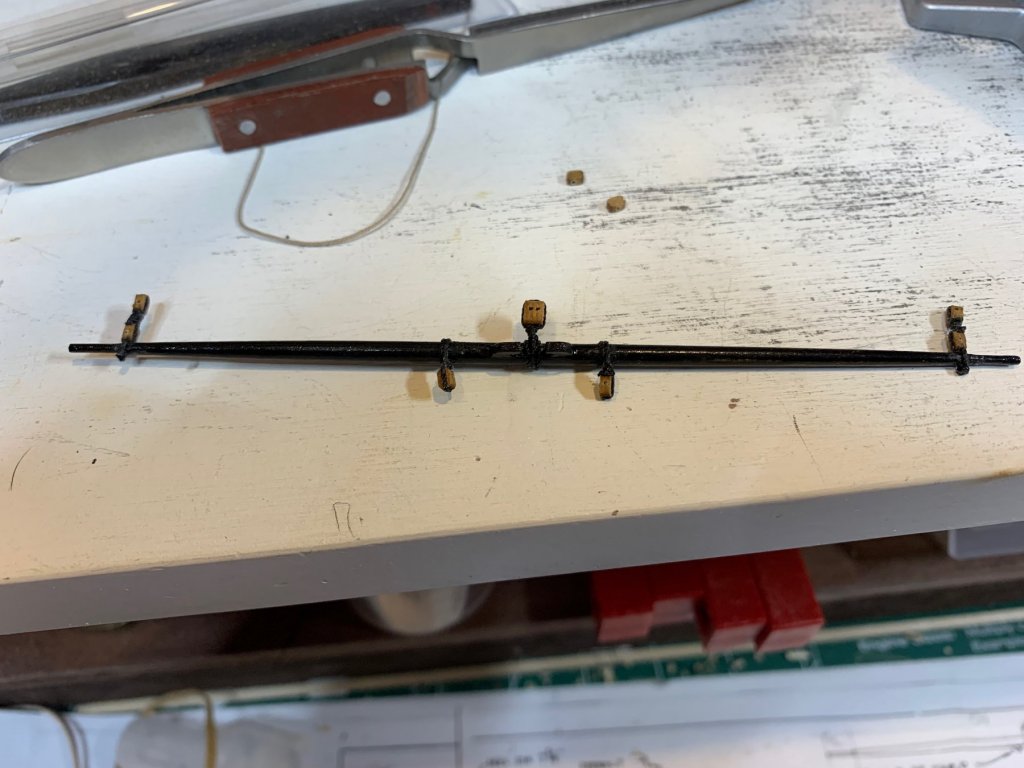
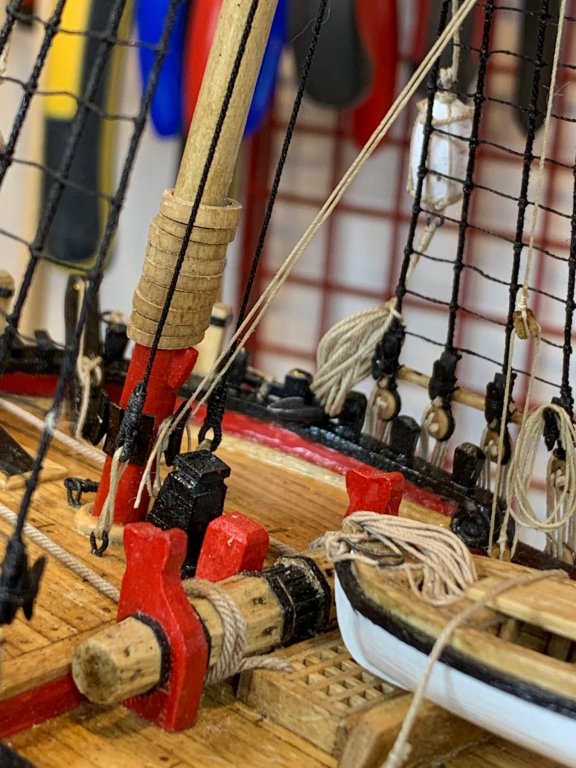
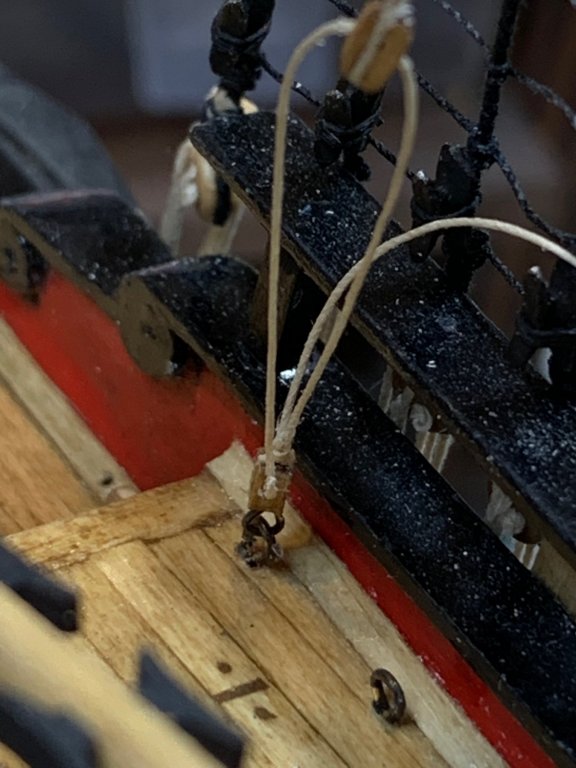
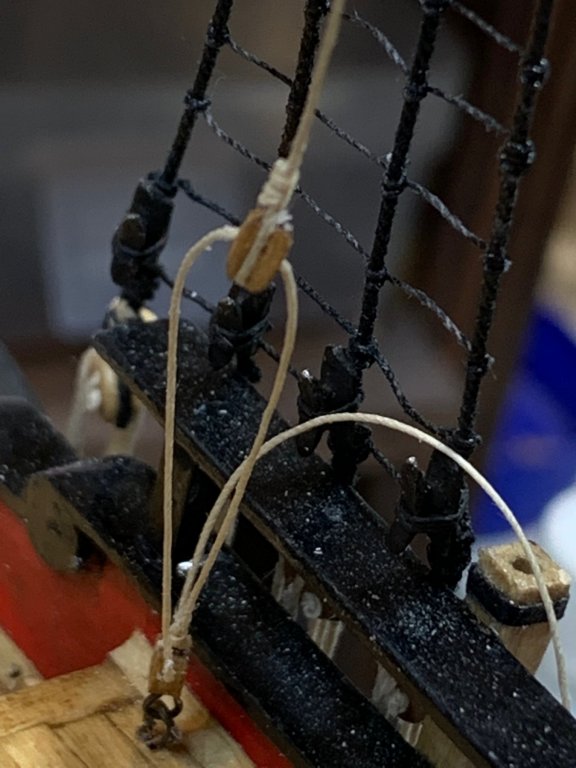
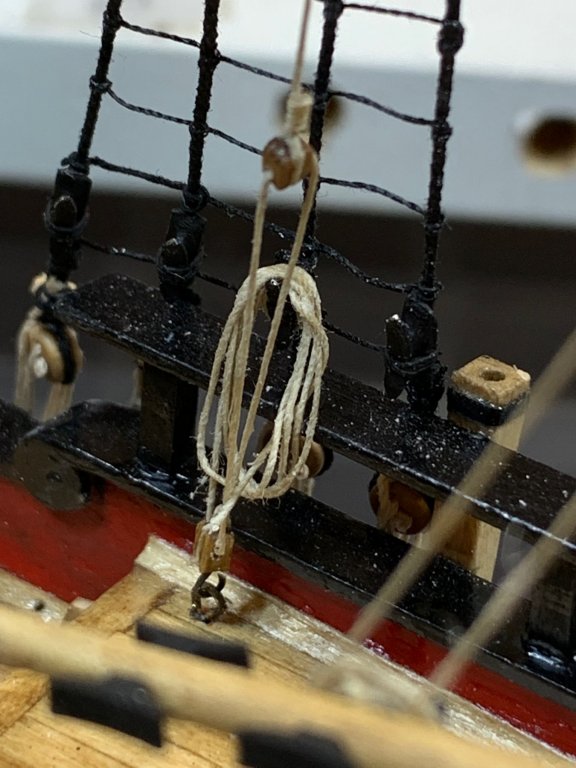
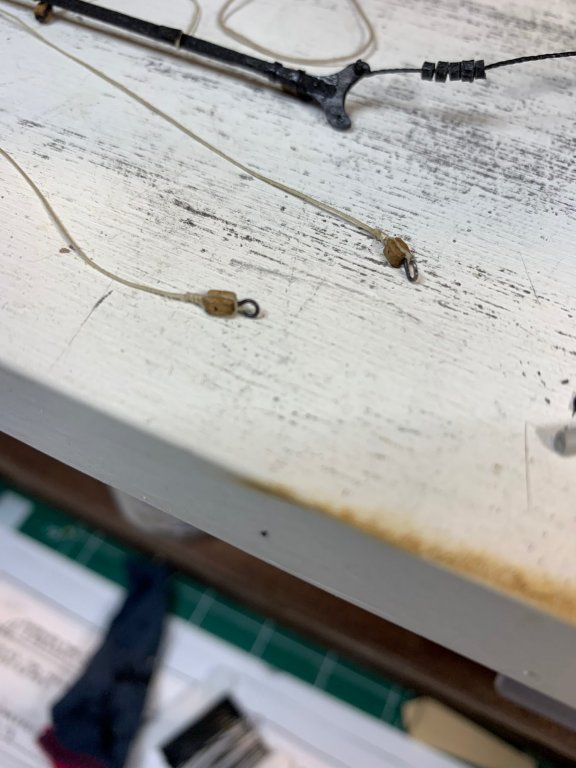
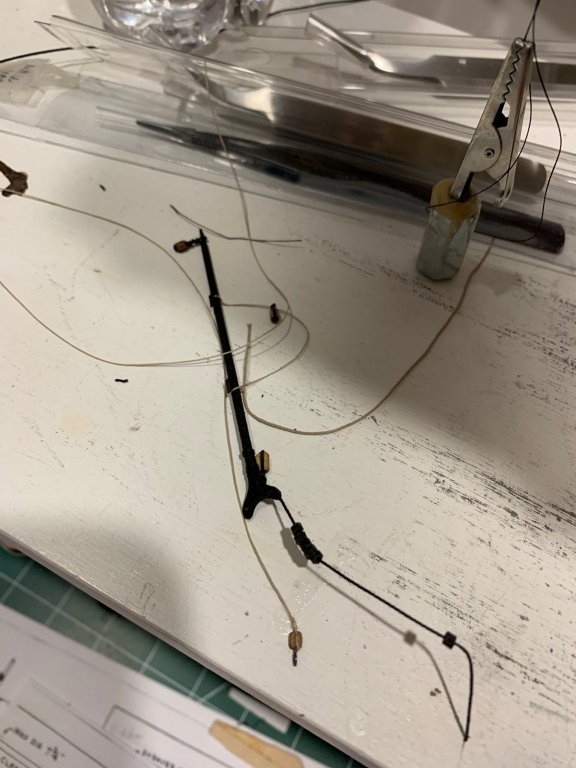
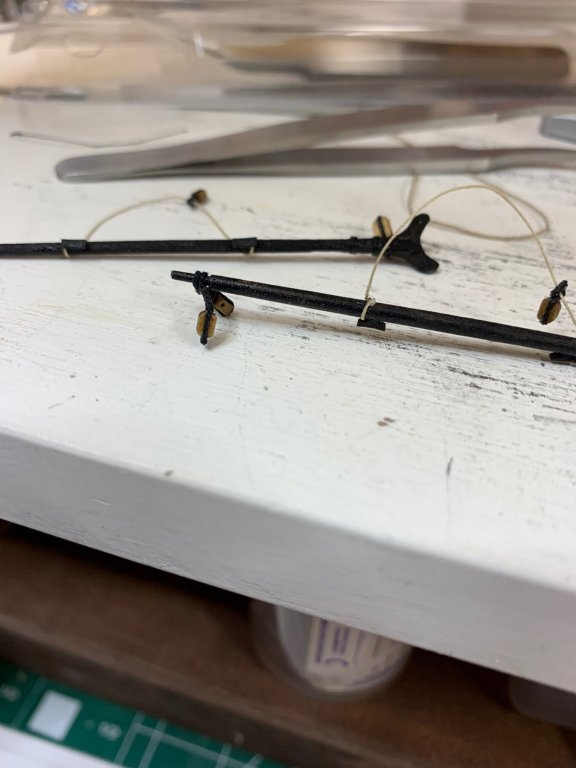
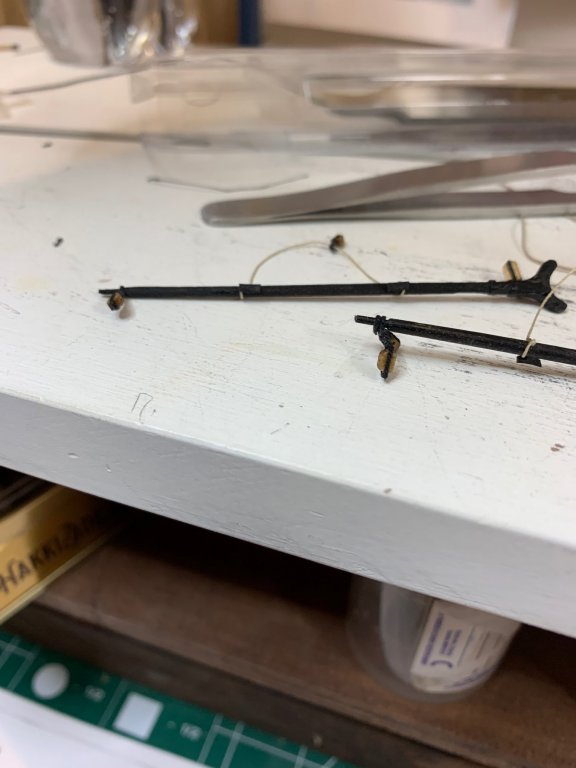
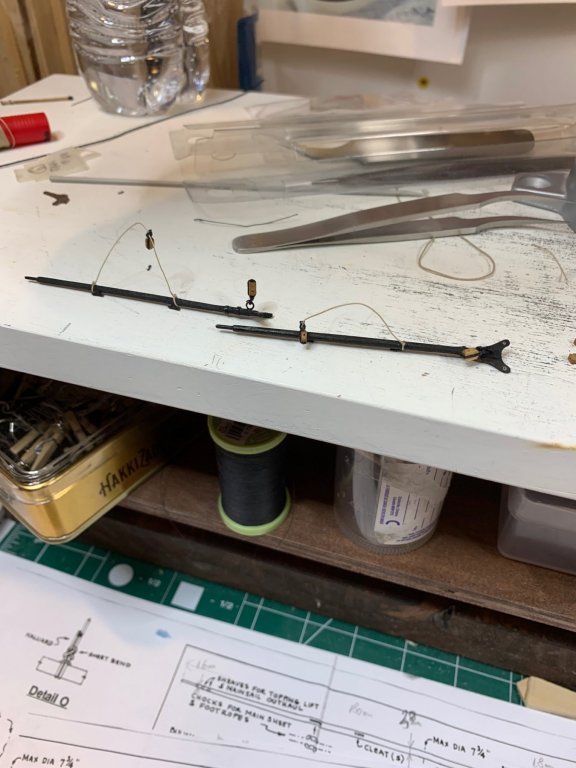
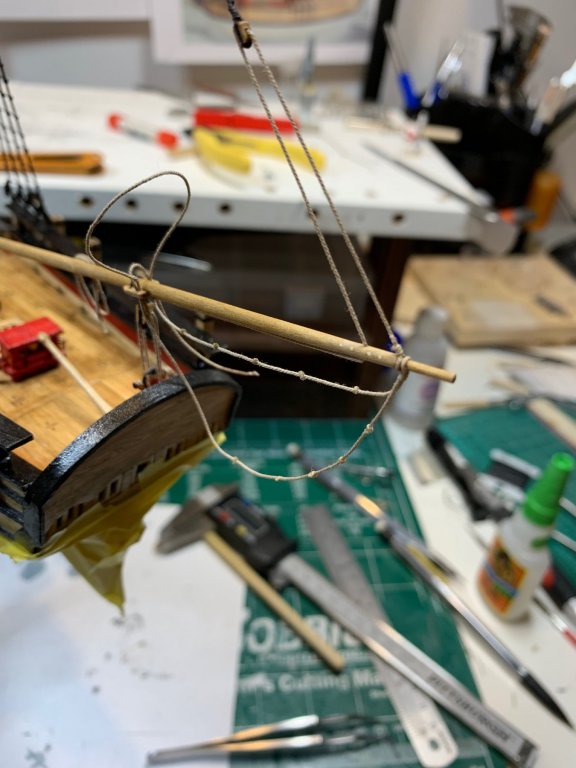
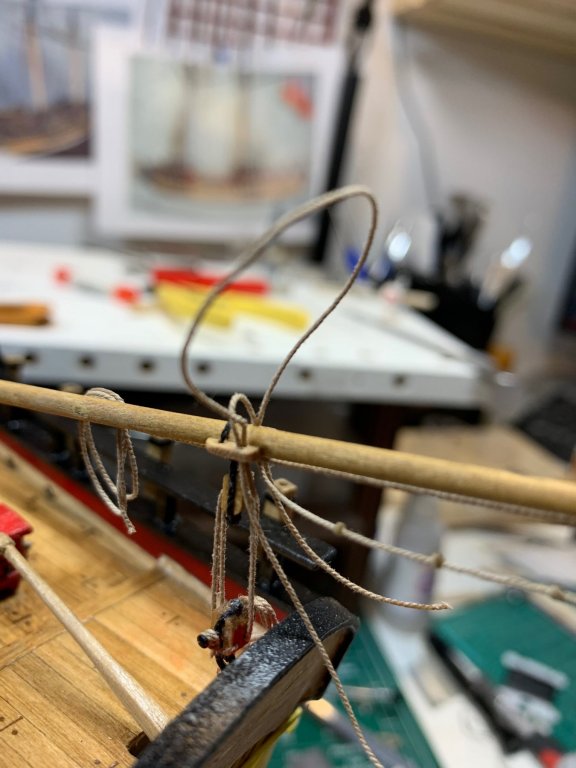
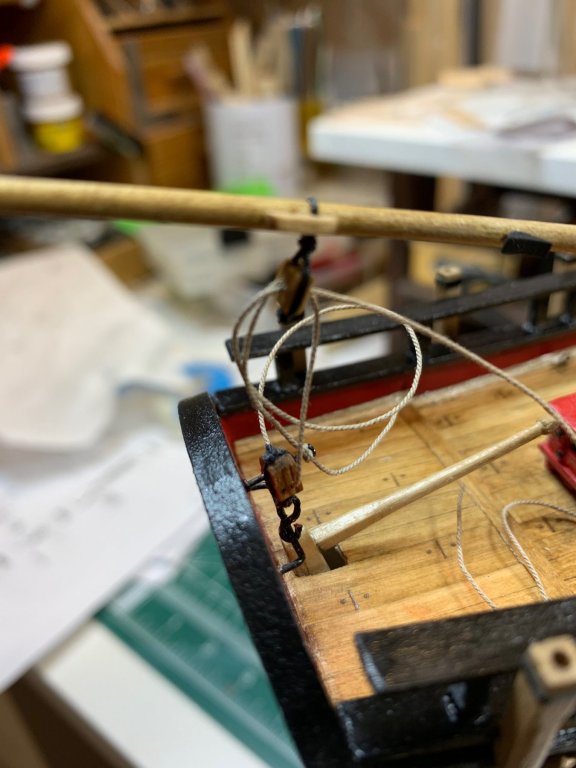
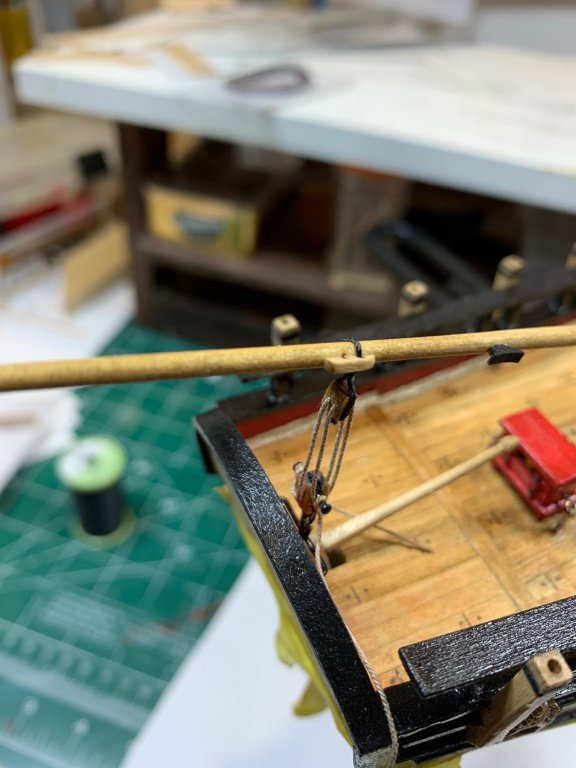
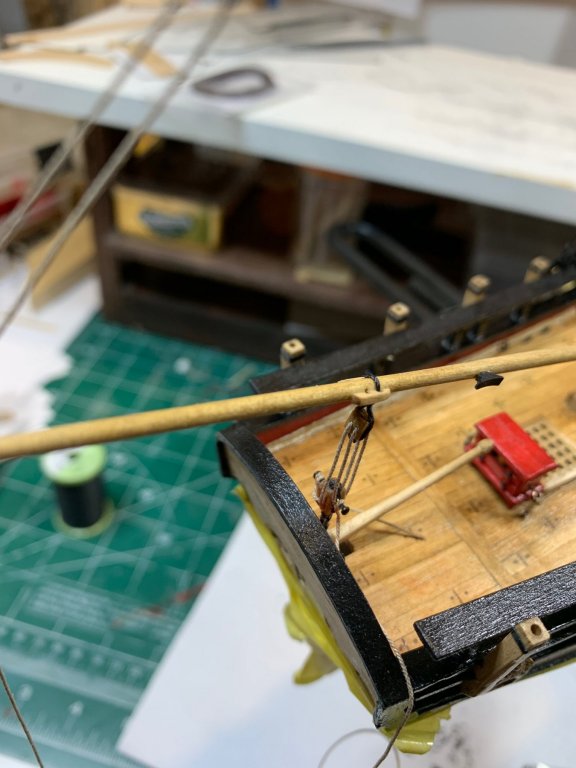
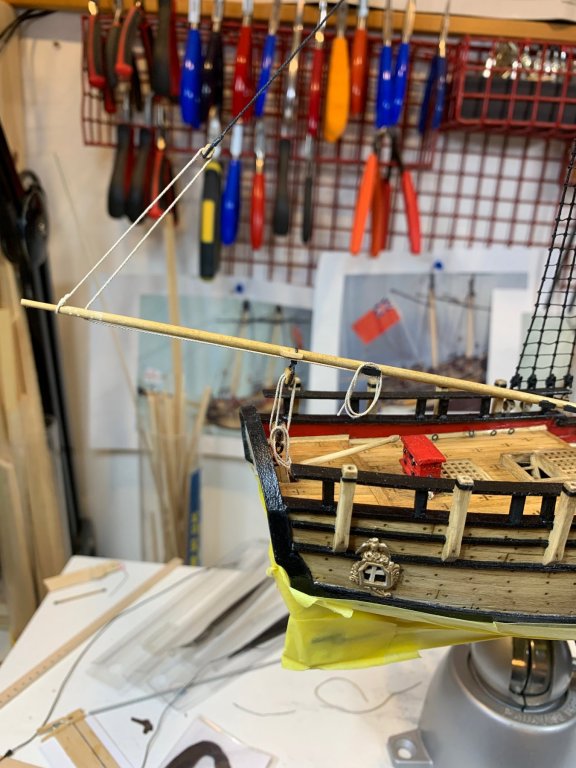
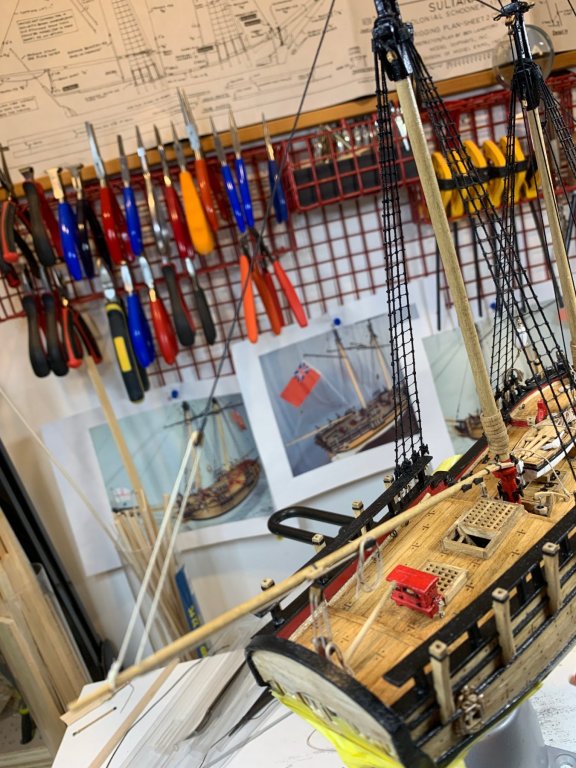
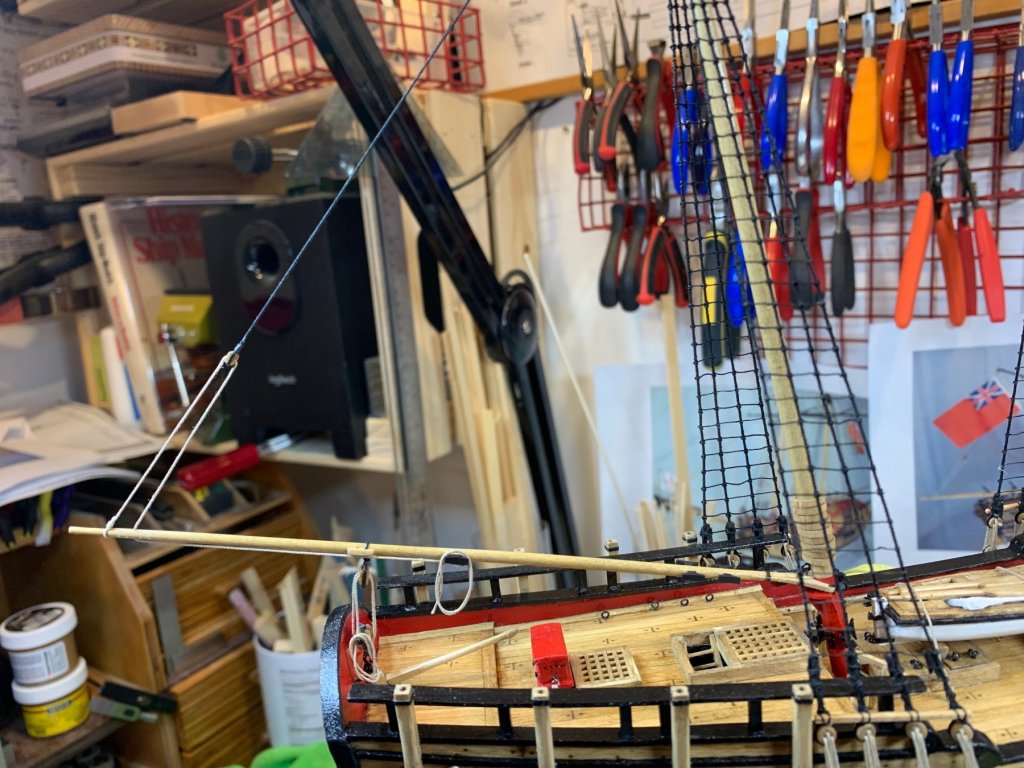
The topping lift was next. First i seized a 3mm single block to the end of not that long black rigging line. I am running out of this rigging line so have to plan every single cm... The place where i purchased these from are not making them in black anymore. The other end of the rope was seized to the eye bolt on the cap. The length of the topping lift was adjusted according to the plan and it should be app 4cm from the boom. The tackle for the topping lift was rigged with tan rigging line (.008). After running the rope end thru the boom it was belayed to the cleat on the boom. The complete assembly included a rope coil.. The running end was belayed to the pin on the double block which was seized to the traveler. It took me some time to do this task as the work area is not that generous in space but freezing the end of the rope and use of the small tweezers did the trick. The small rope coil was hung on the pin after all is assembled. Then the footrope was attacked. I was not able to tight the knots on the same distance apart so i decided to use a smaller rope diameter to make knots. The footrope was stretched to make knotting job a bit easier. End i noticed that tomorrow is a working day so had to stop this exercise... More to come.. Happy modeling.


- 360 replies
-
- 3
-
-
- sultana
- model shipways
- (and 1 more)