HOLIDAY DONATION DRIVE - SUPPORT MSW - DO YOUR PART TO KEEP THIS GREAT FORUM GOING! (Only 20 donations so far - C'mon guys!)
×


moreplovac
-
Posts
794 -
Joined
-
Last visited
Content Type
Profiles
Forums
Gallery
Events
Everything posted by moreplovac
-
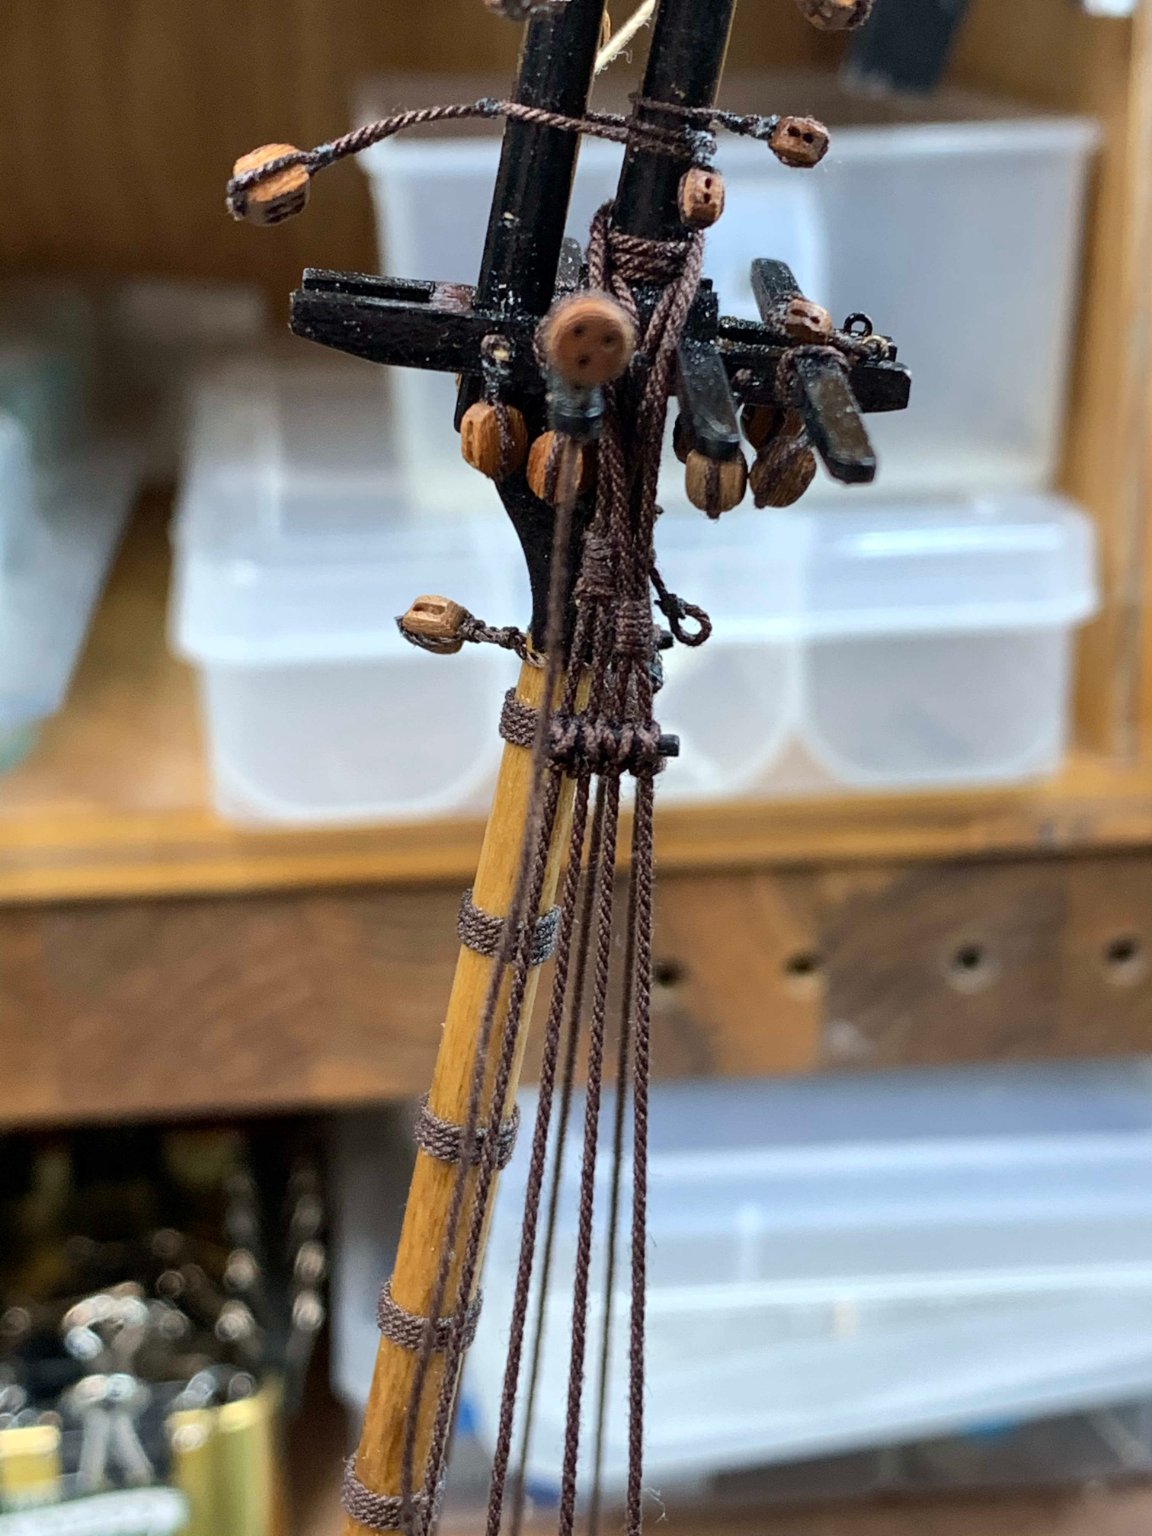
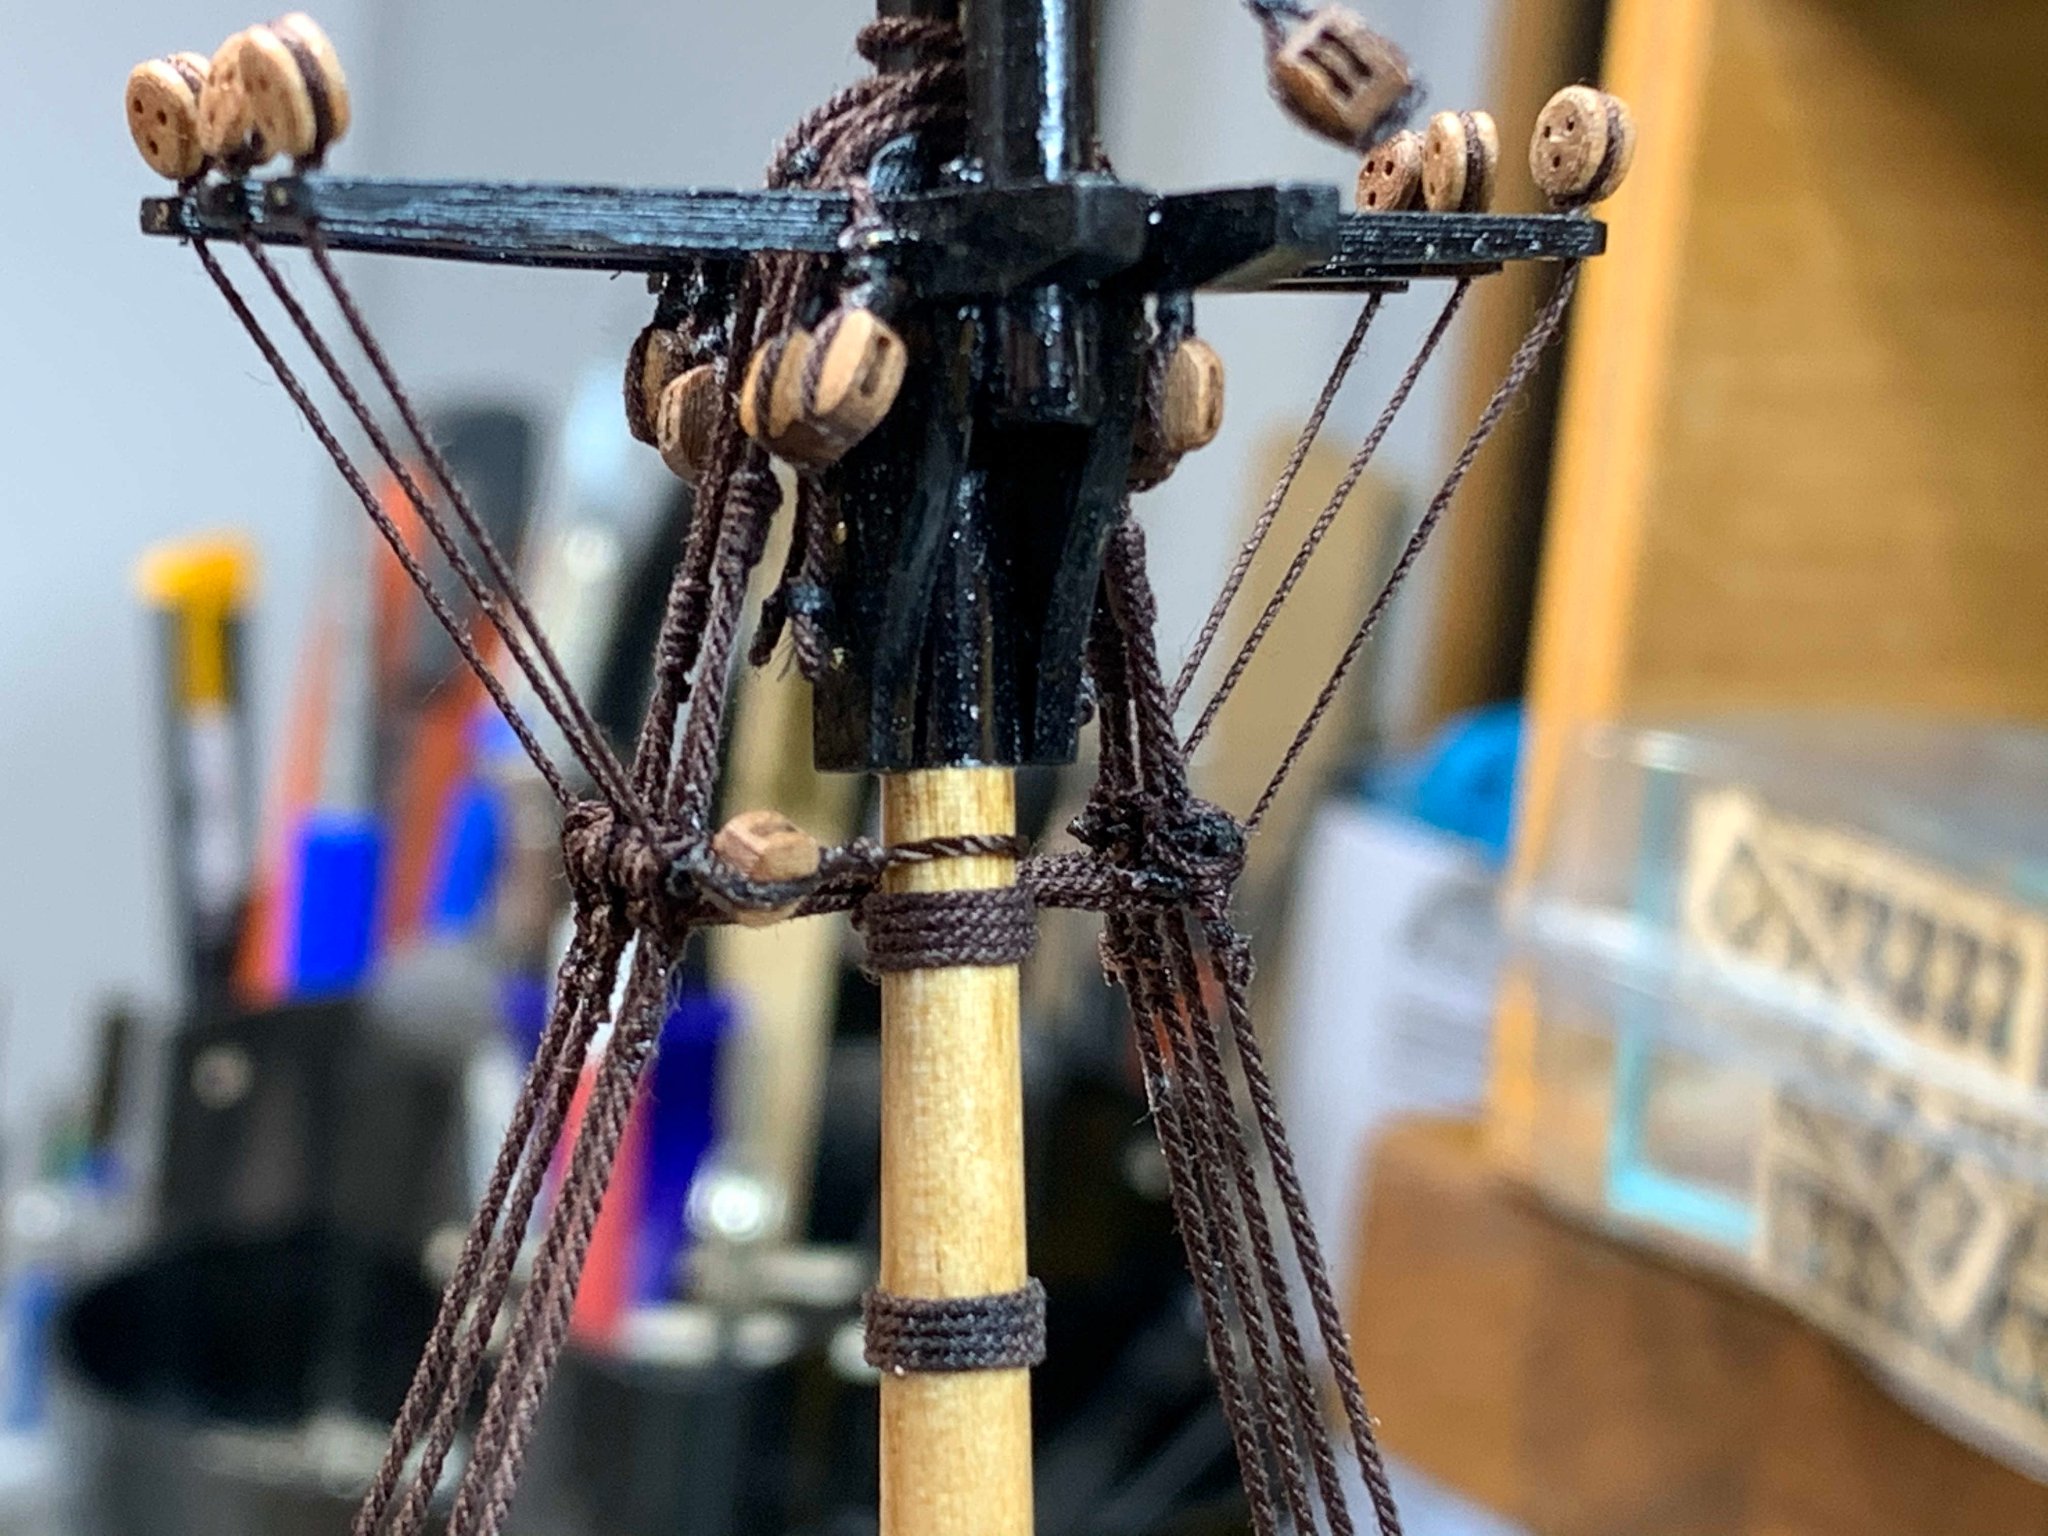
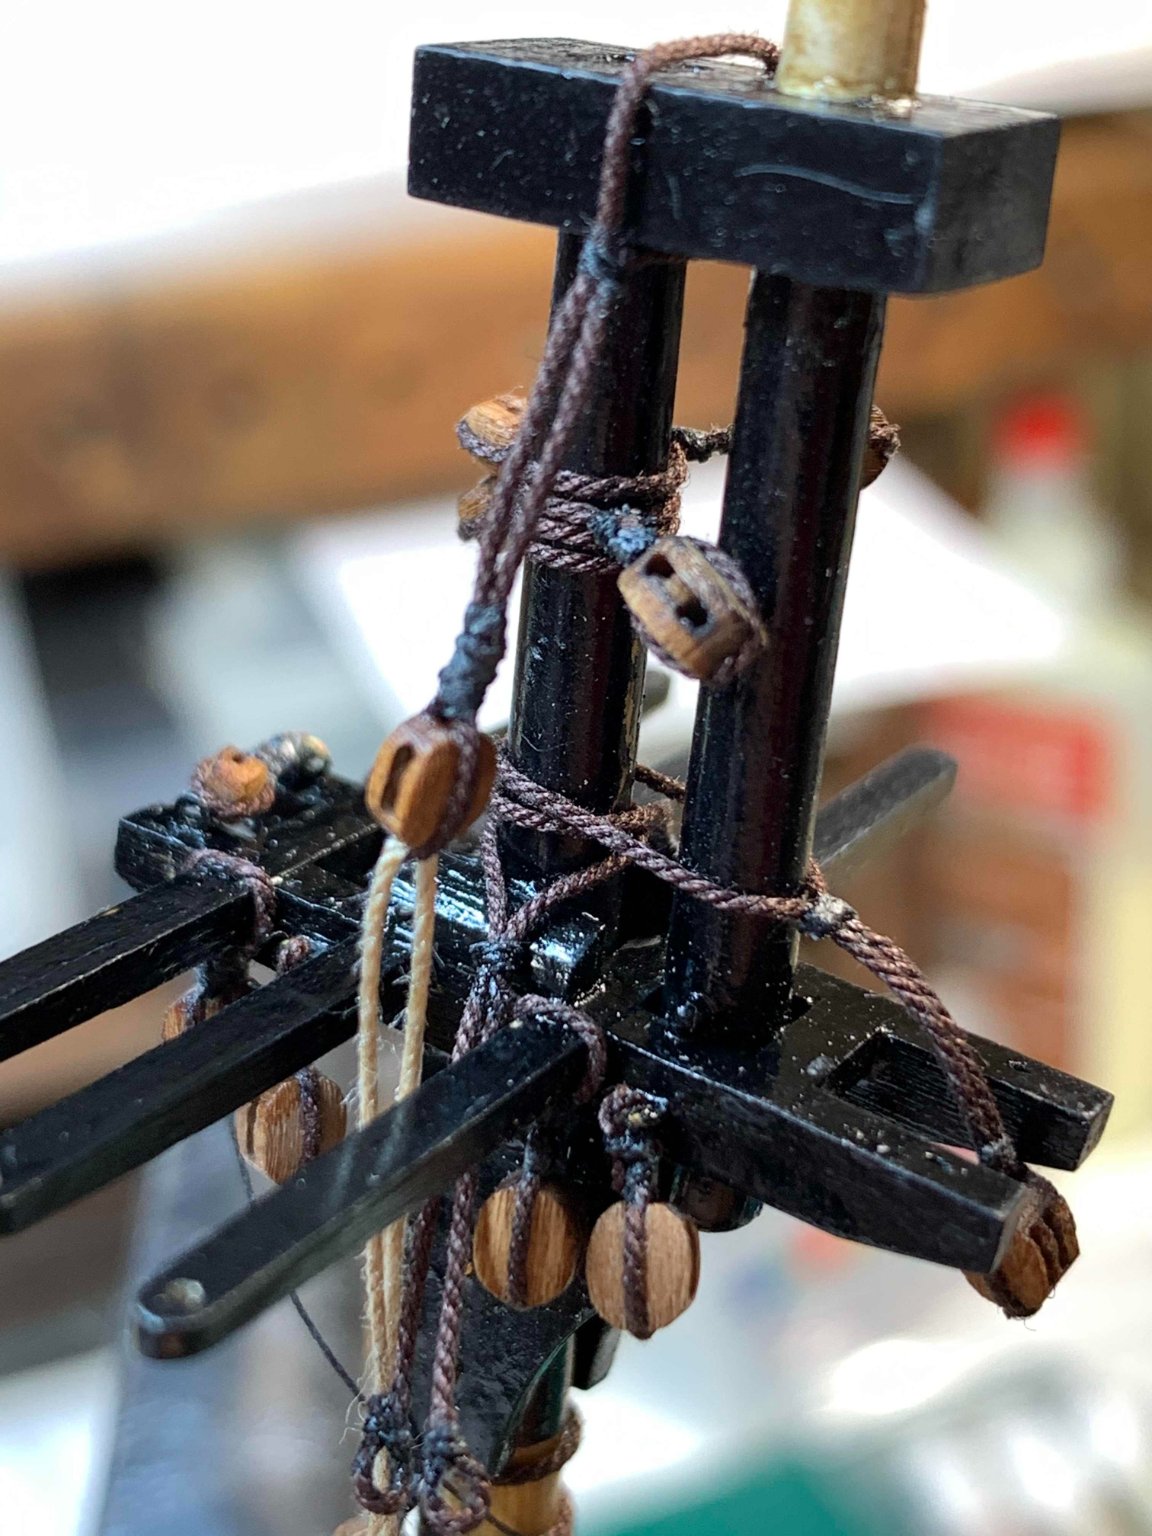
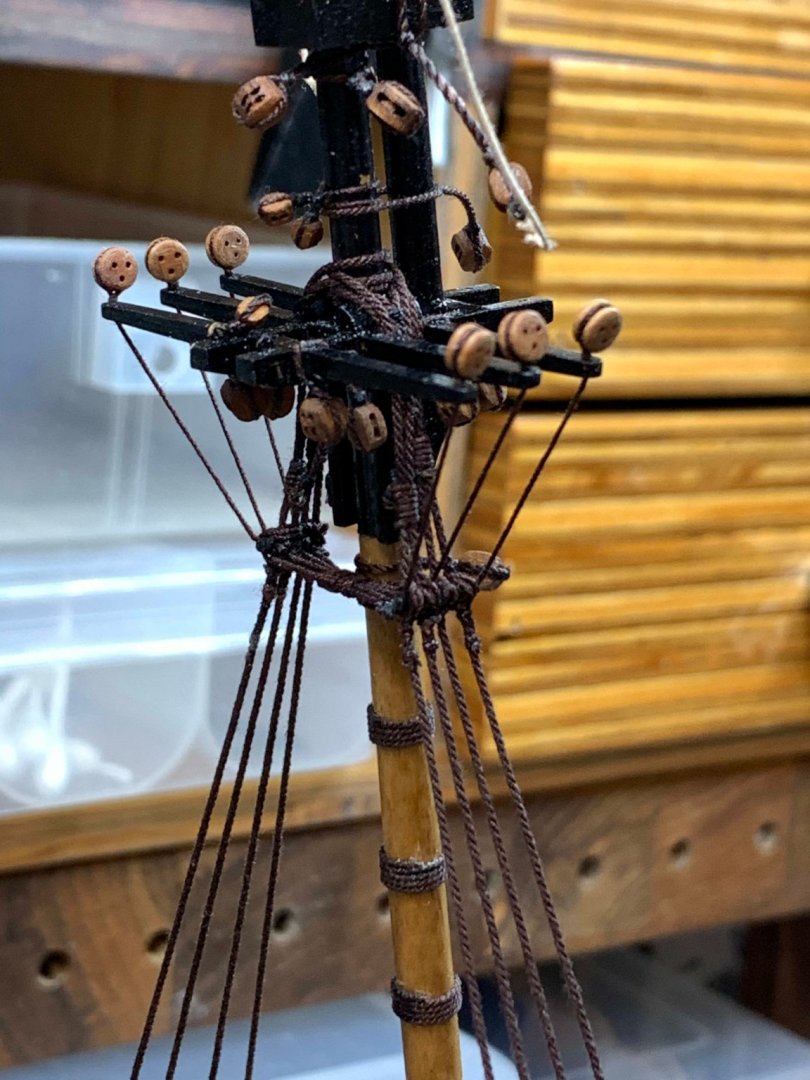
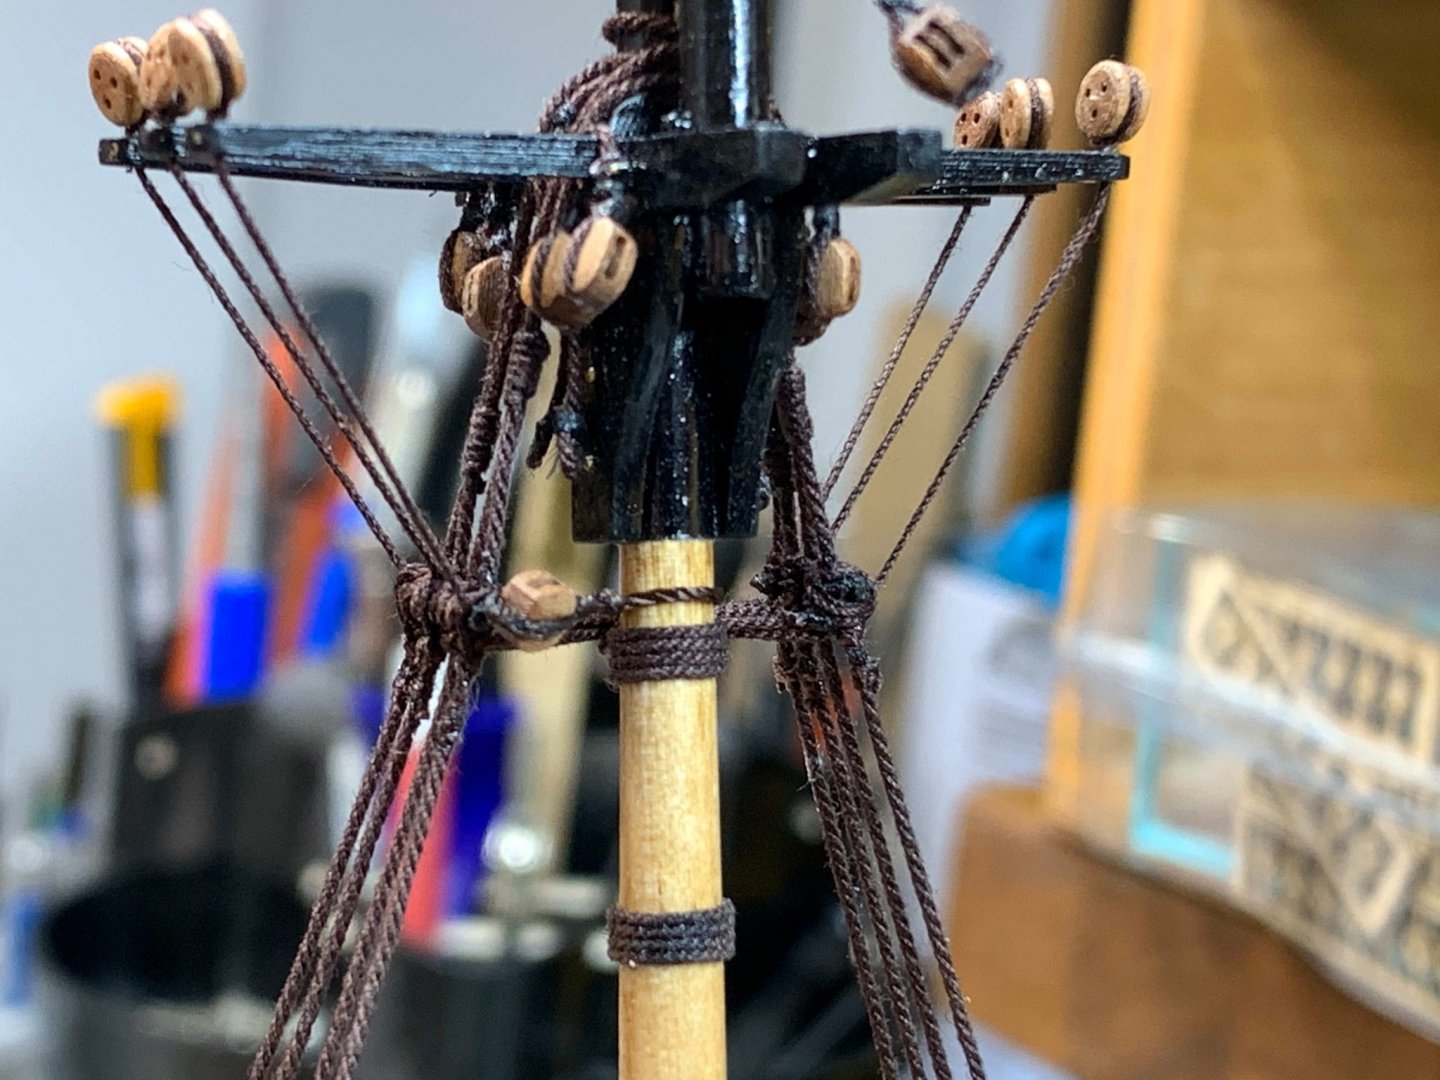
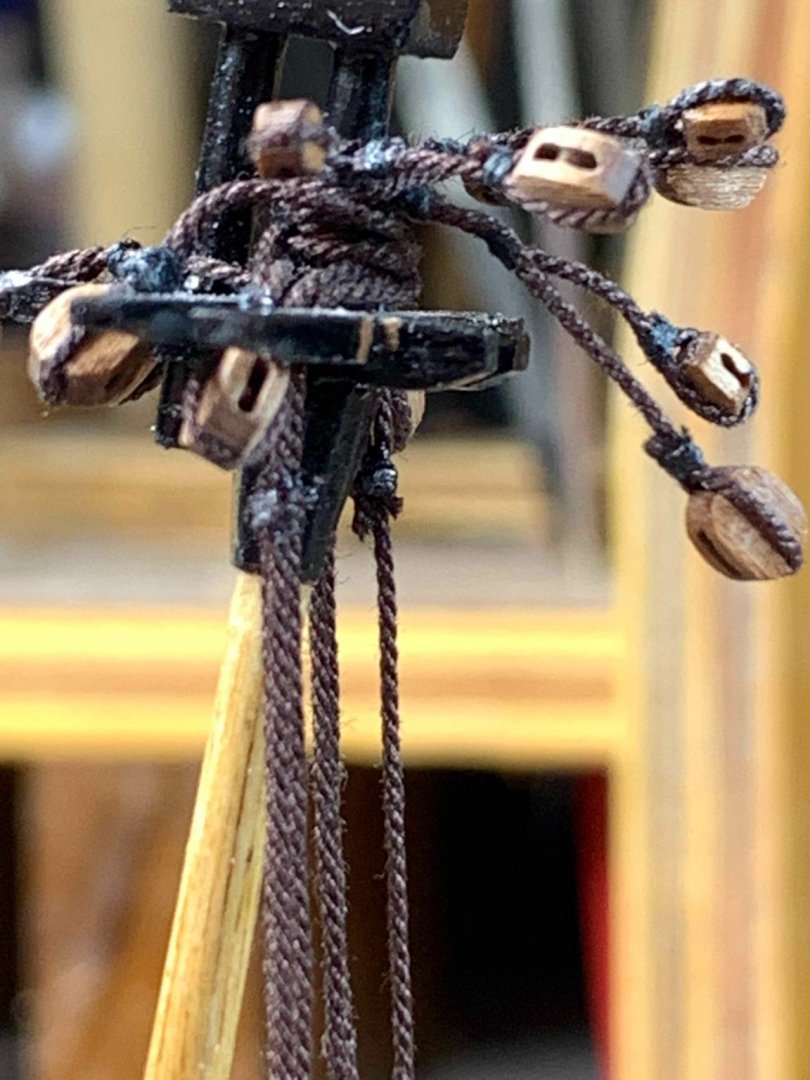
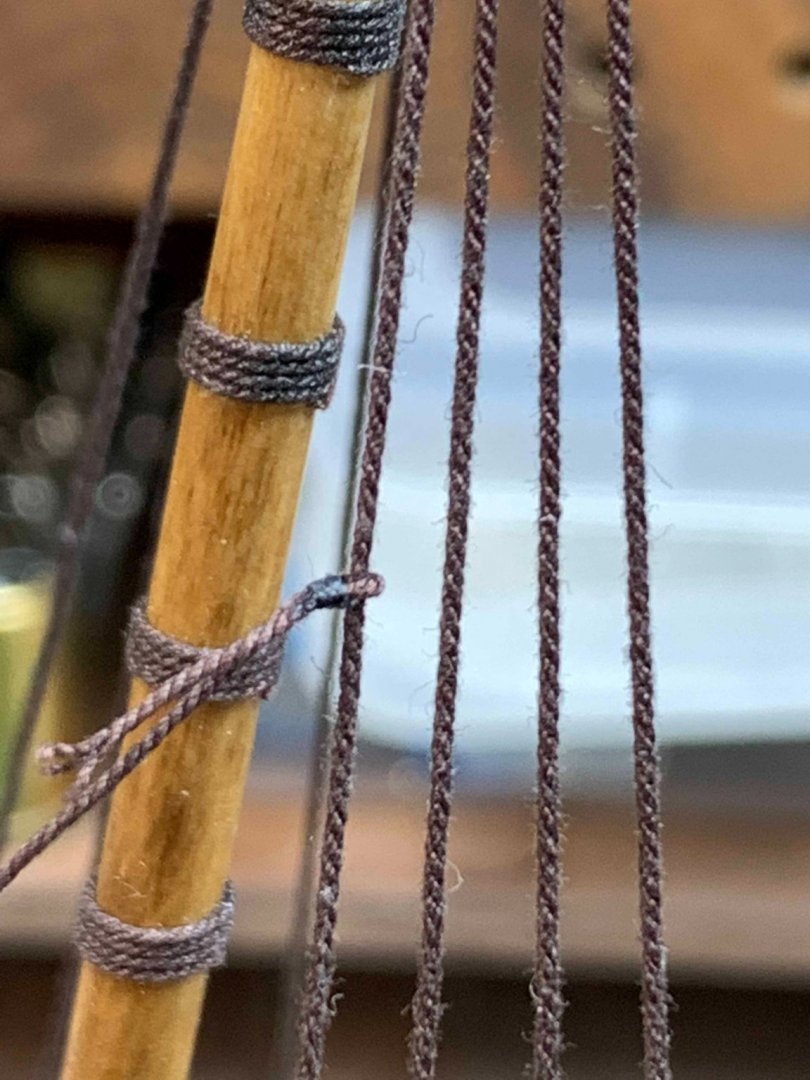
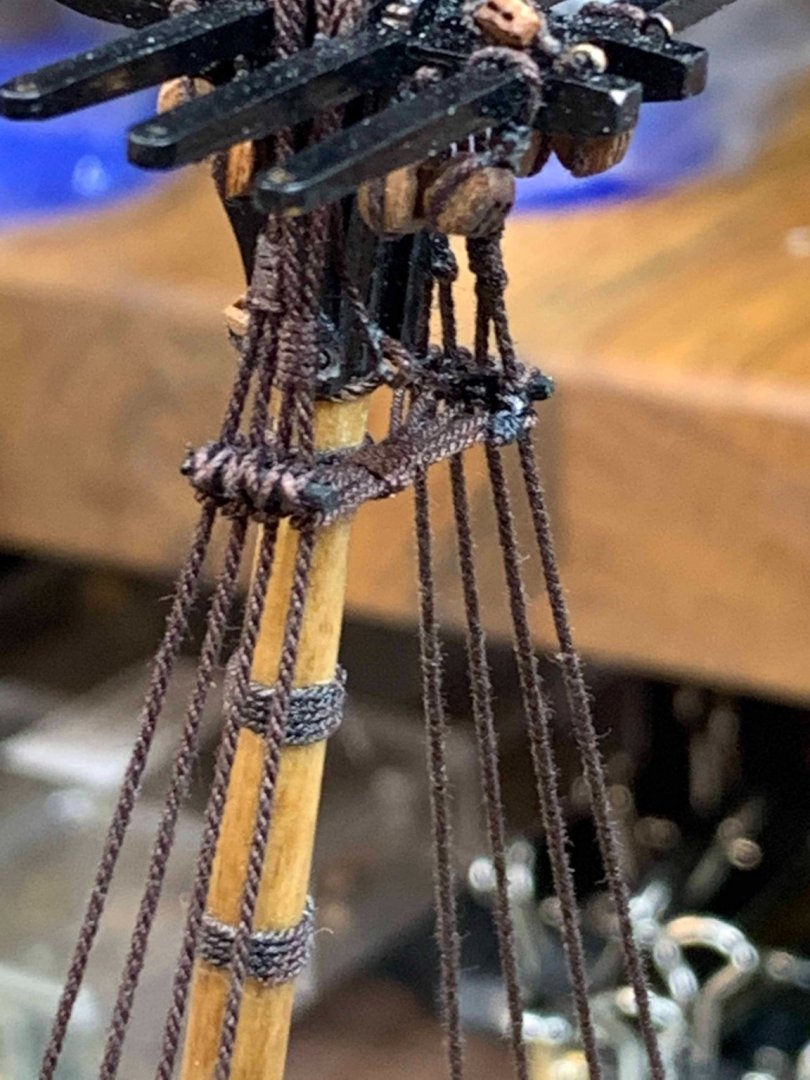
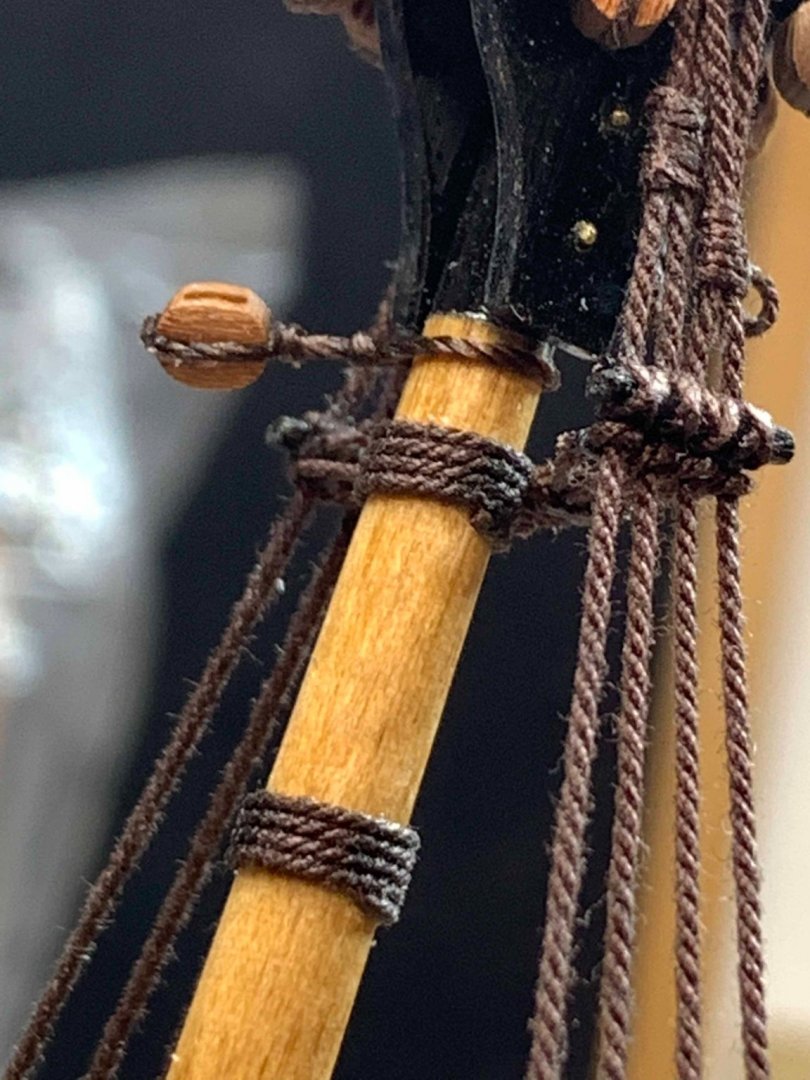
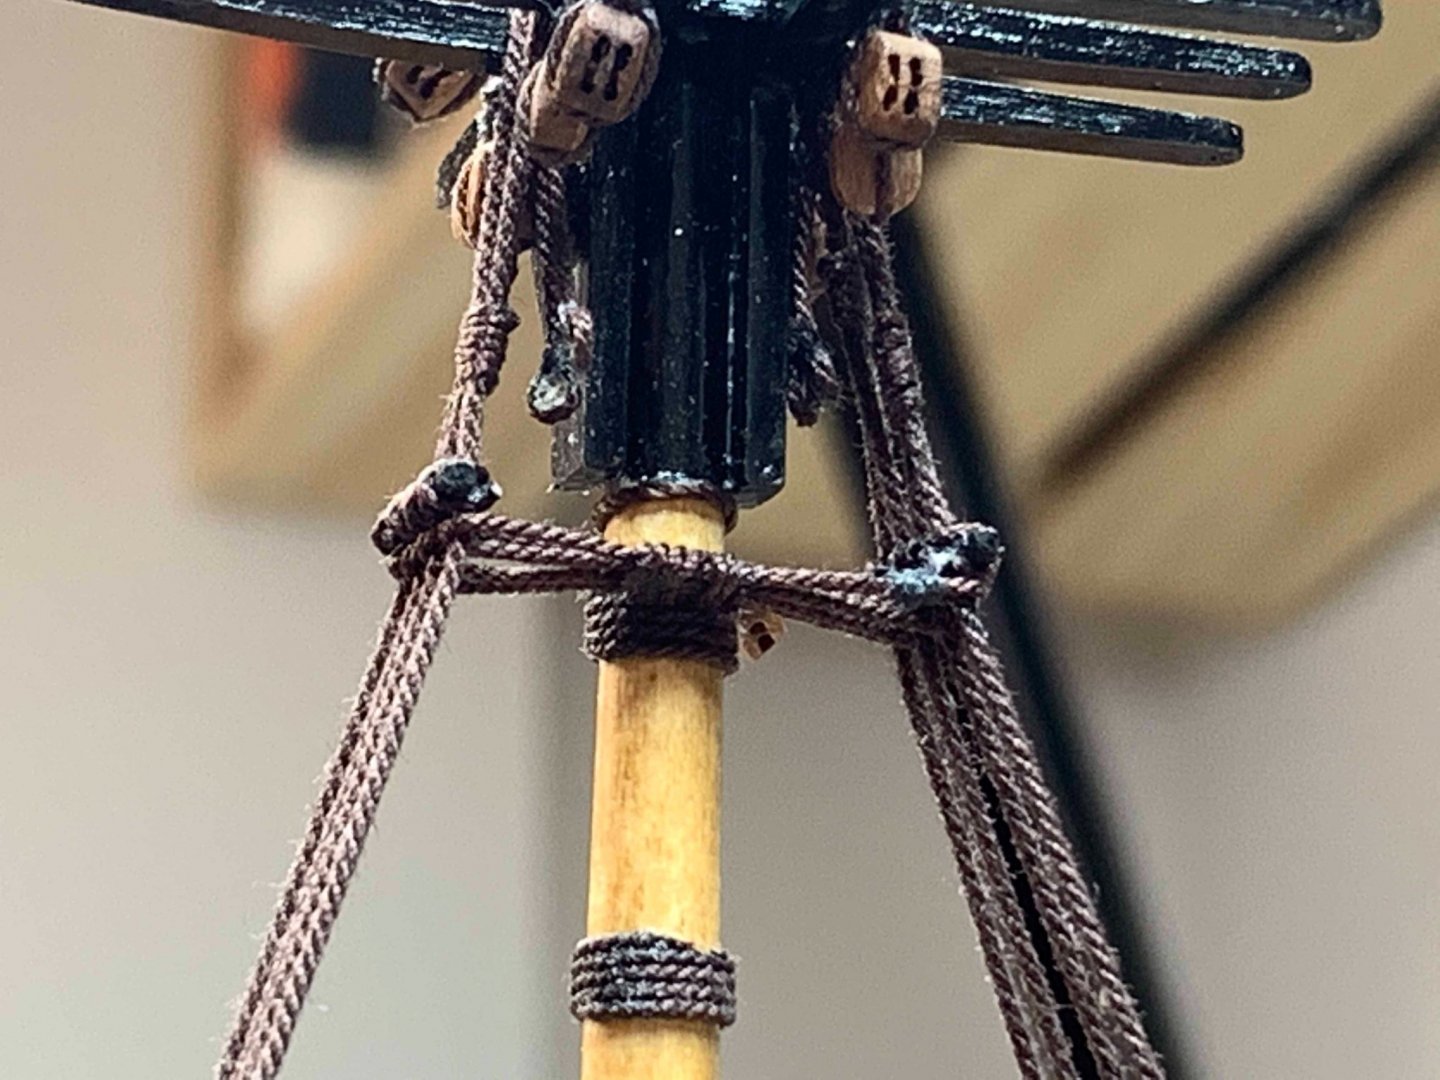
 The futtock shrouds are done next. Here is a brief process. For seizing i used few lines from unwoven thread. The futtock shrouds are turned around the futtock stave and seized to the shrouds in three places. Fore and main topmast shrouds are installed next. Happy modelling..
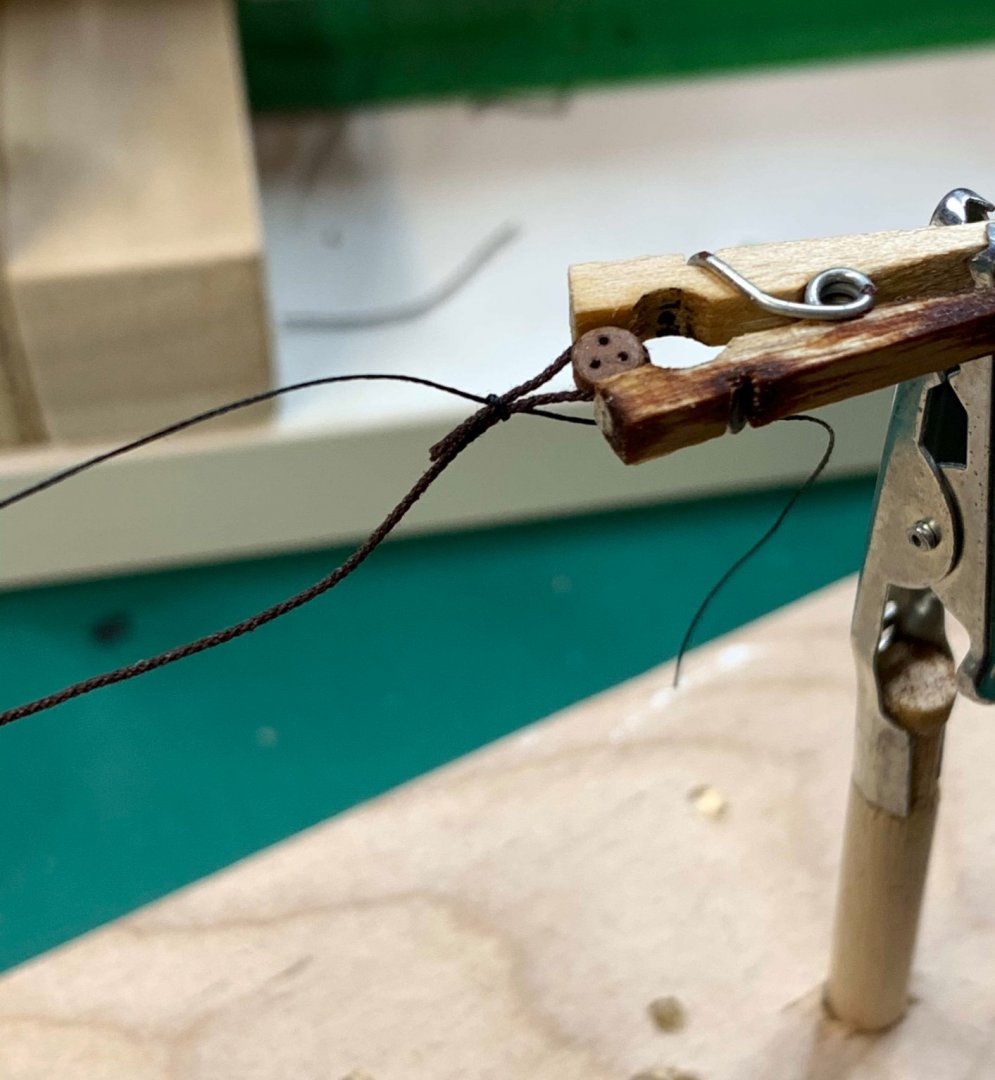


- 275 replies
-
- 1
-

-
- phoenix
- master korabel
- (and 1 more)
-
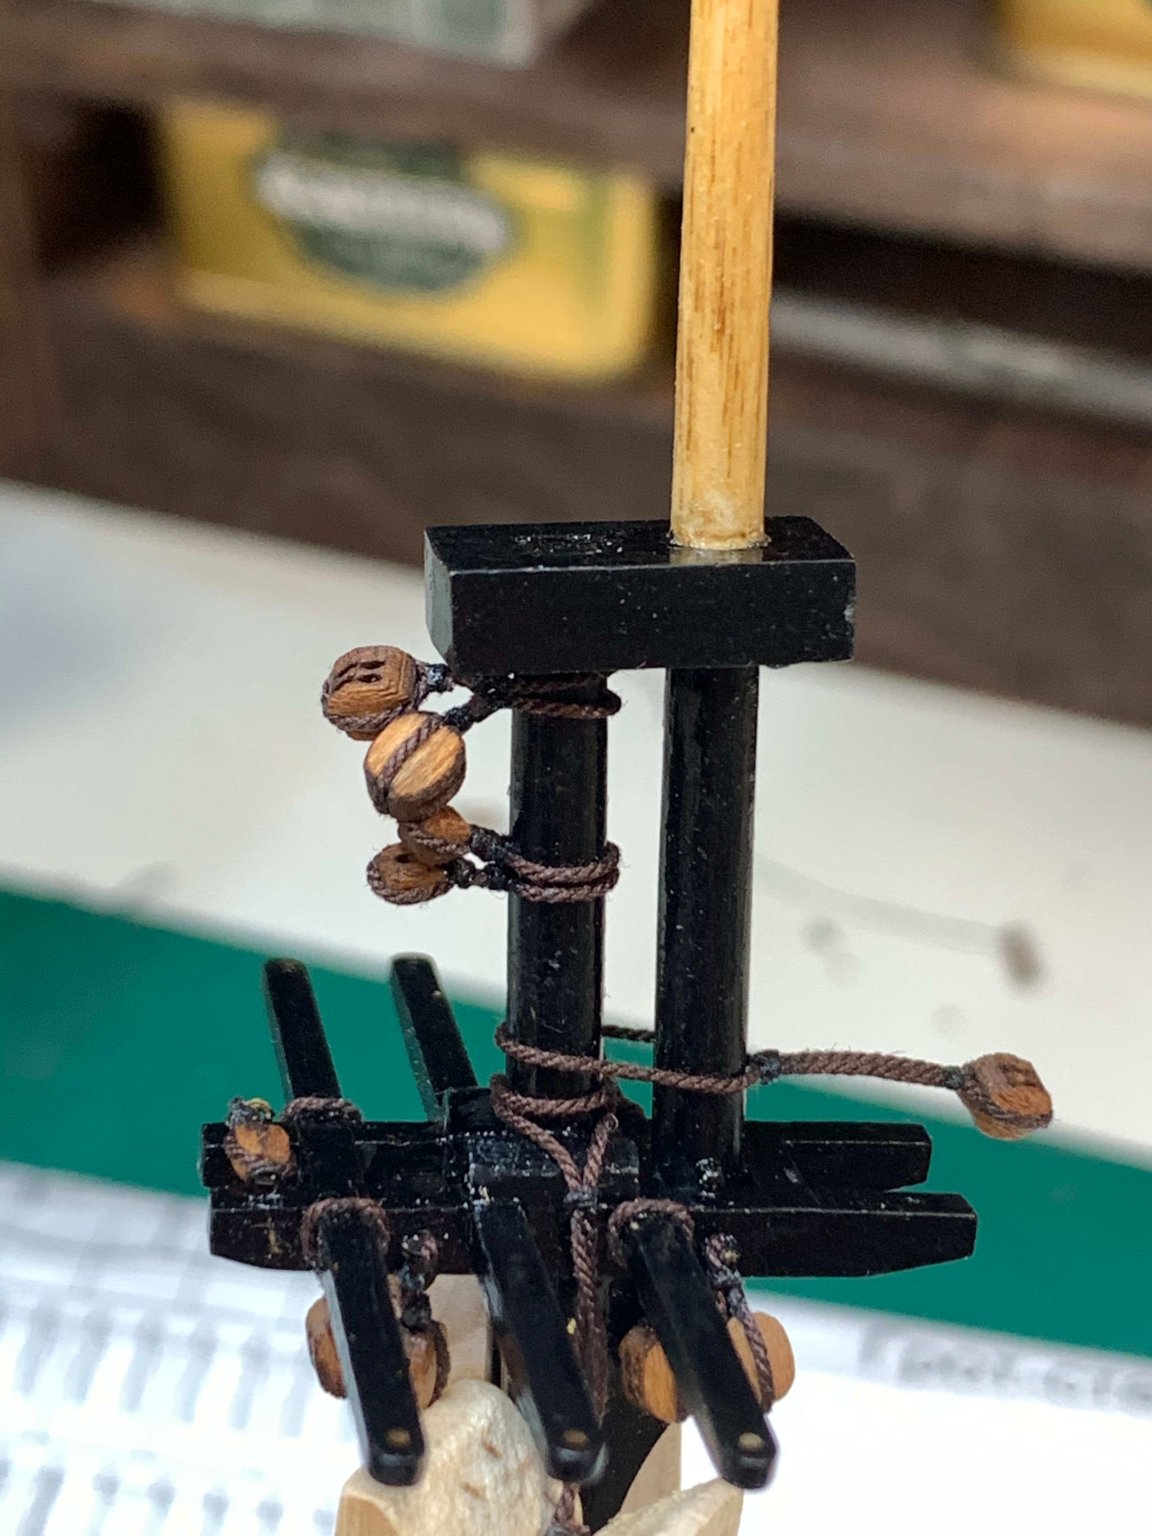
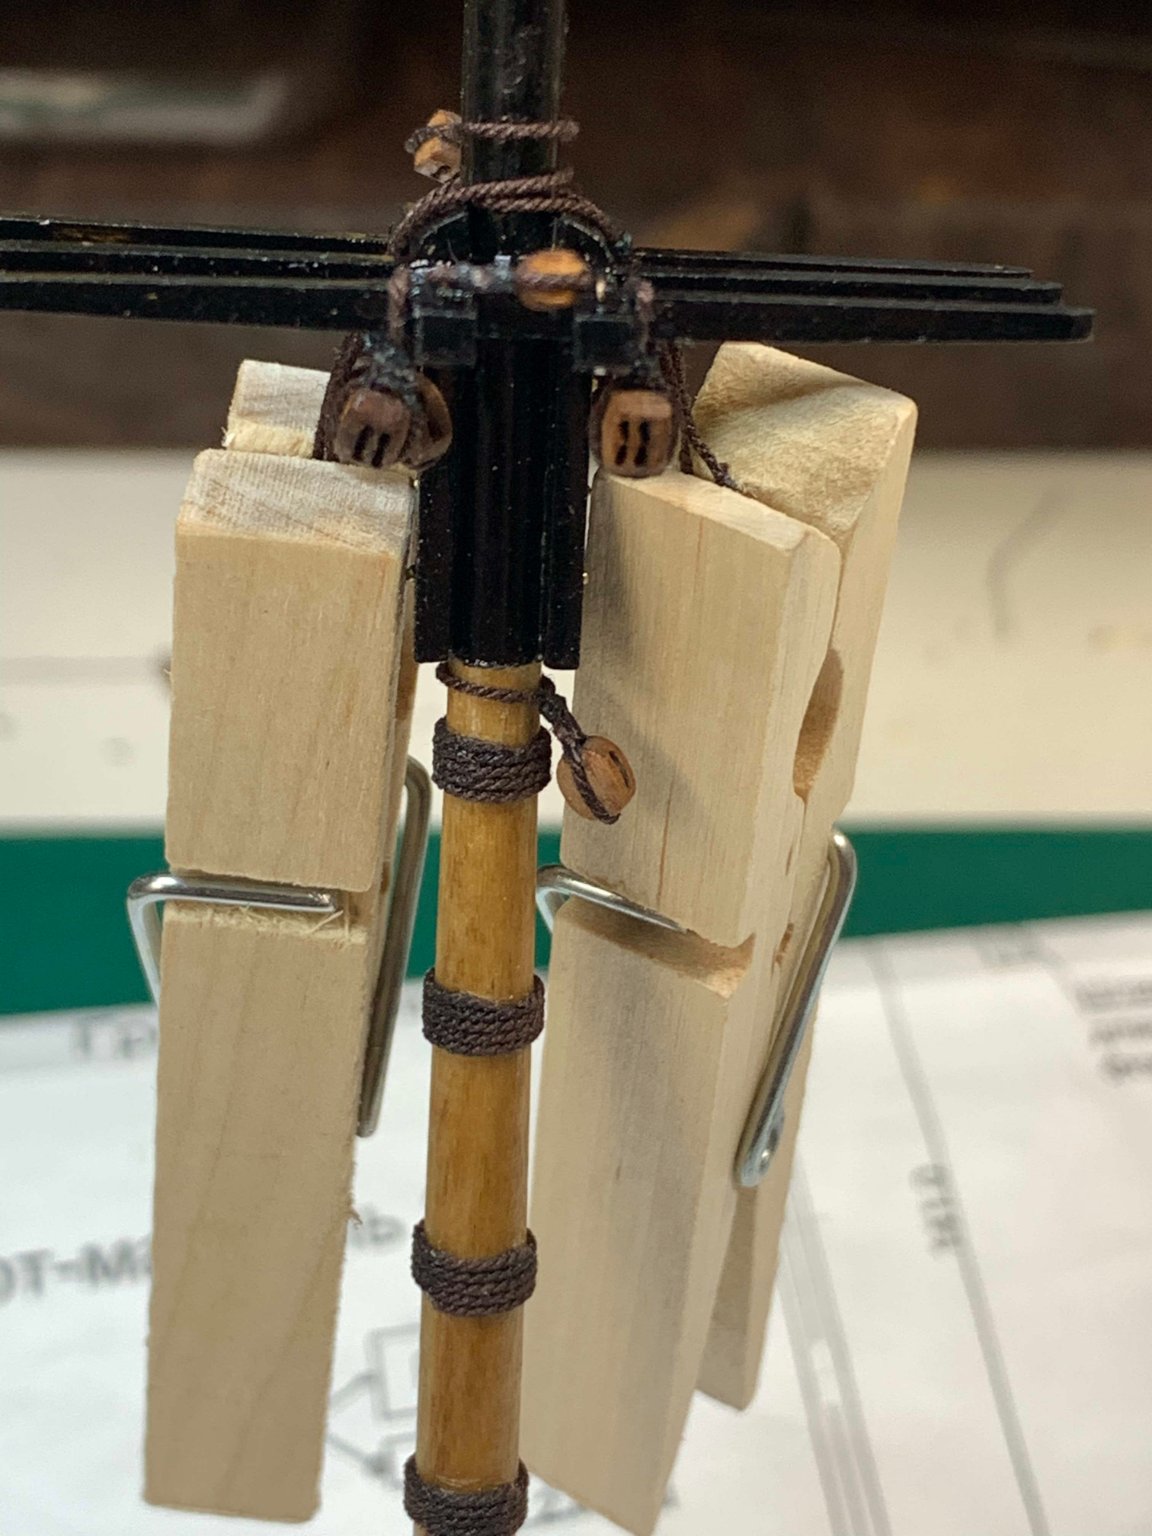
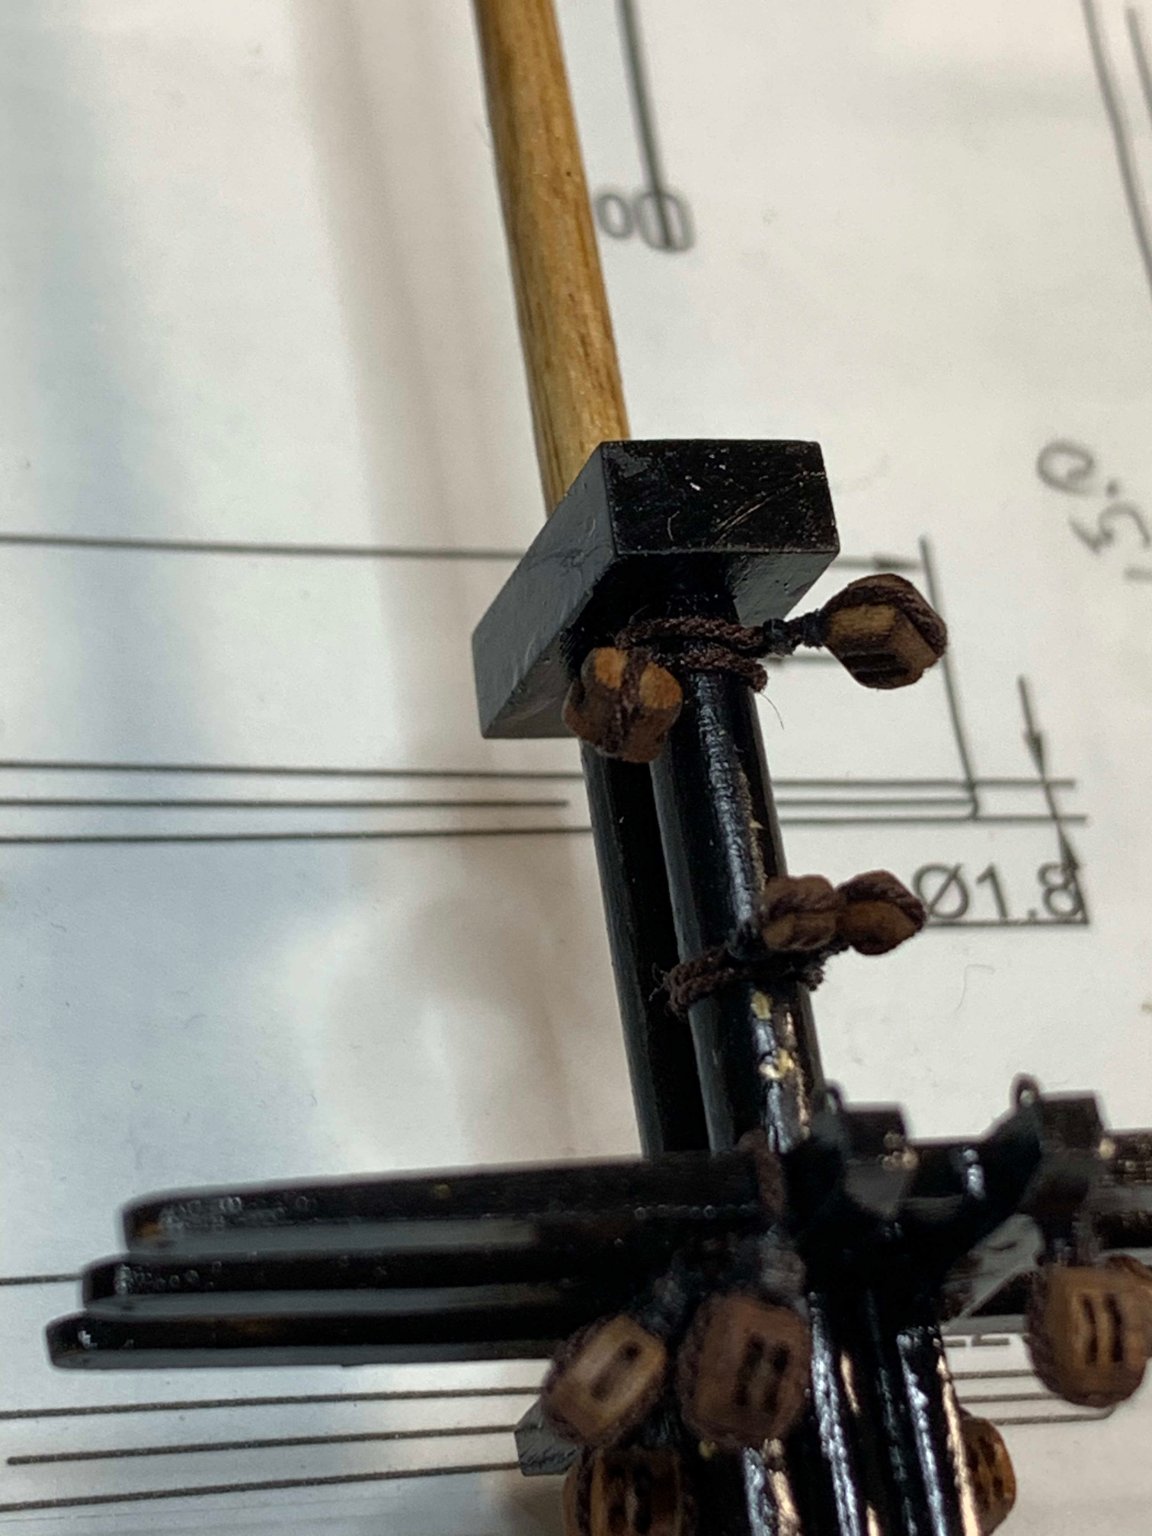
Continue with sheer pole work; this time i made a bit longer so i can easier hold; once the work is done i can just cut the excess and touch up with black paint. Then i put in the catharpins.. Happy modelling..


- 275 replies
-
- 1
-
-
- phoenix
- master korabel
- (and 1 more)
-
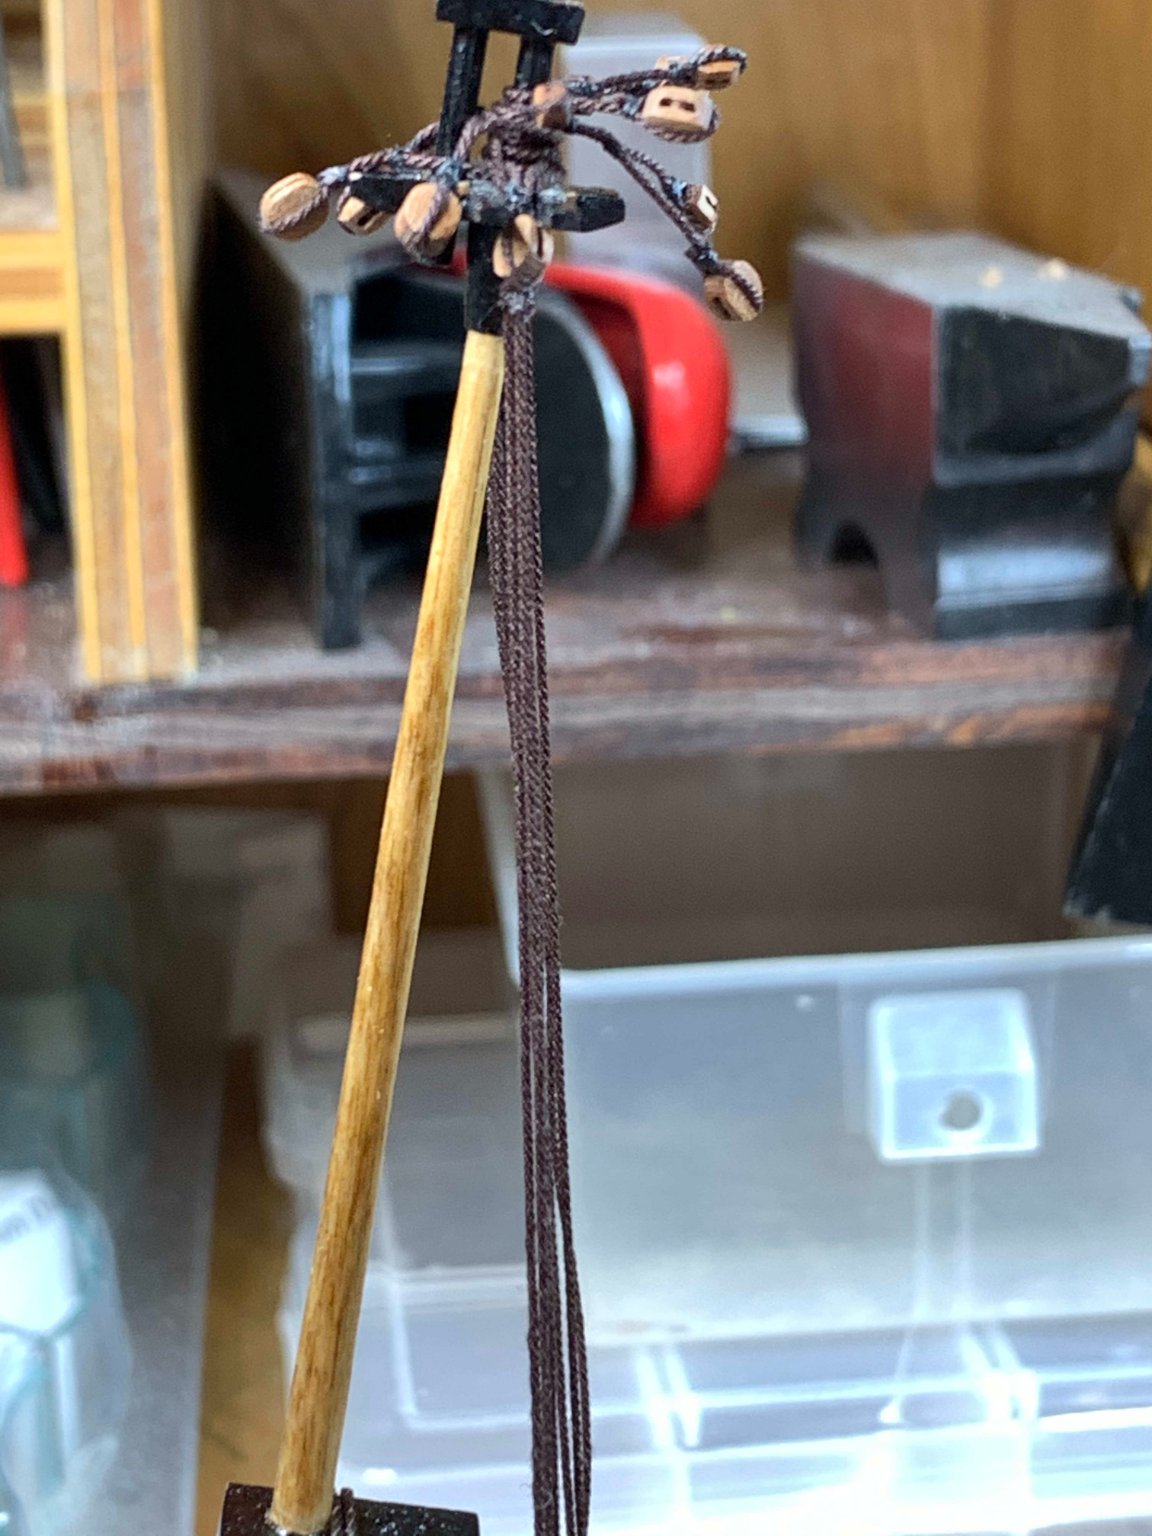
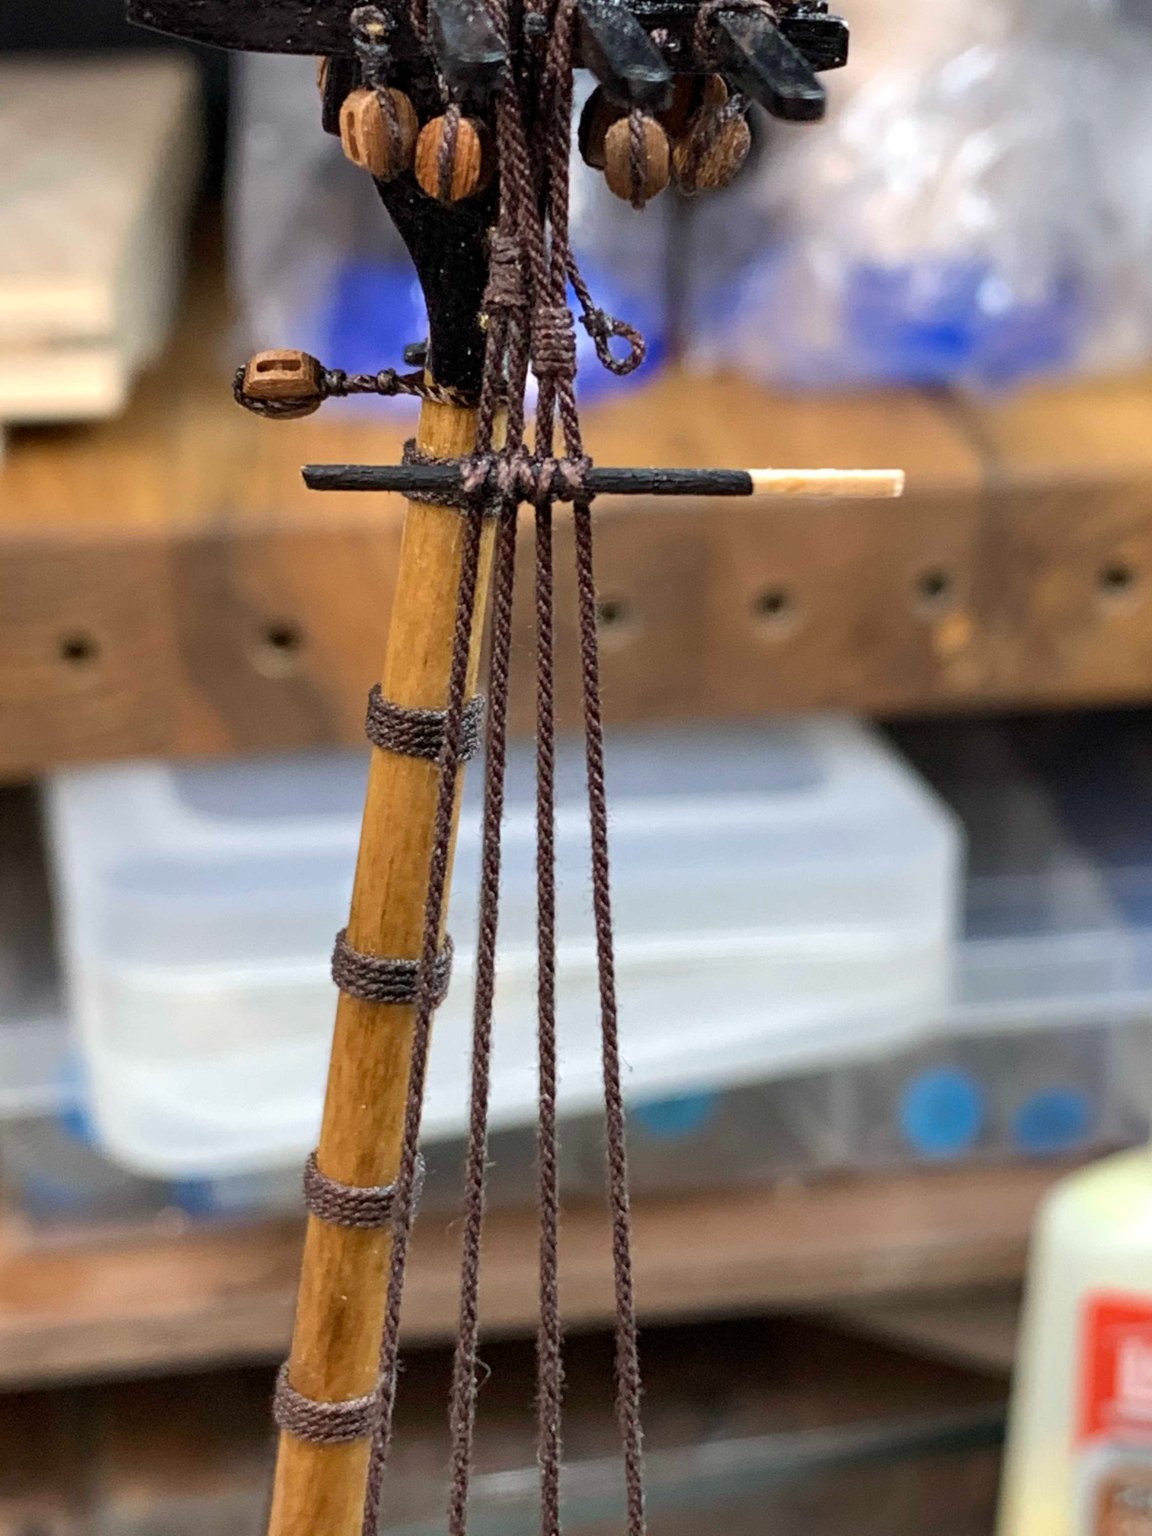
The new sheer batten was made out of a piece of wood, 8mm thick and painted in black. The length of it was a bit longer that's needed which allow for easy holding while working on it. After is mounted, the extra length was cut and few touchups with black paint was done. Happy modelling...


- 275 replies
-
- 2
-
-
- phoenix
- master korabel
- (and 1 more)
-
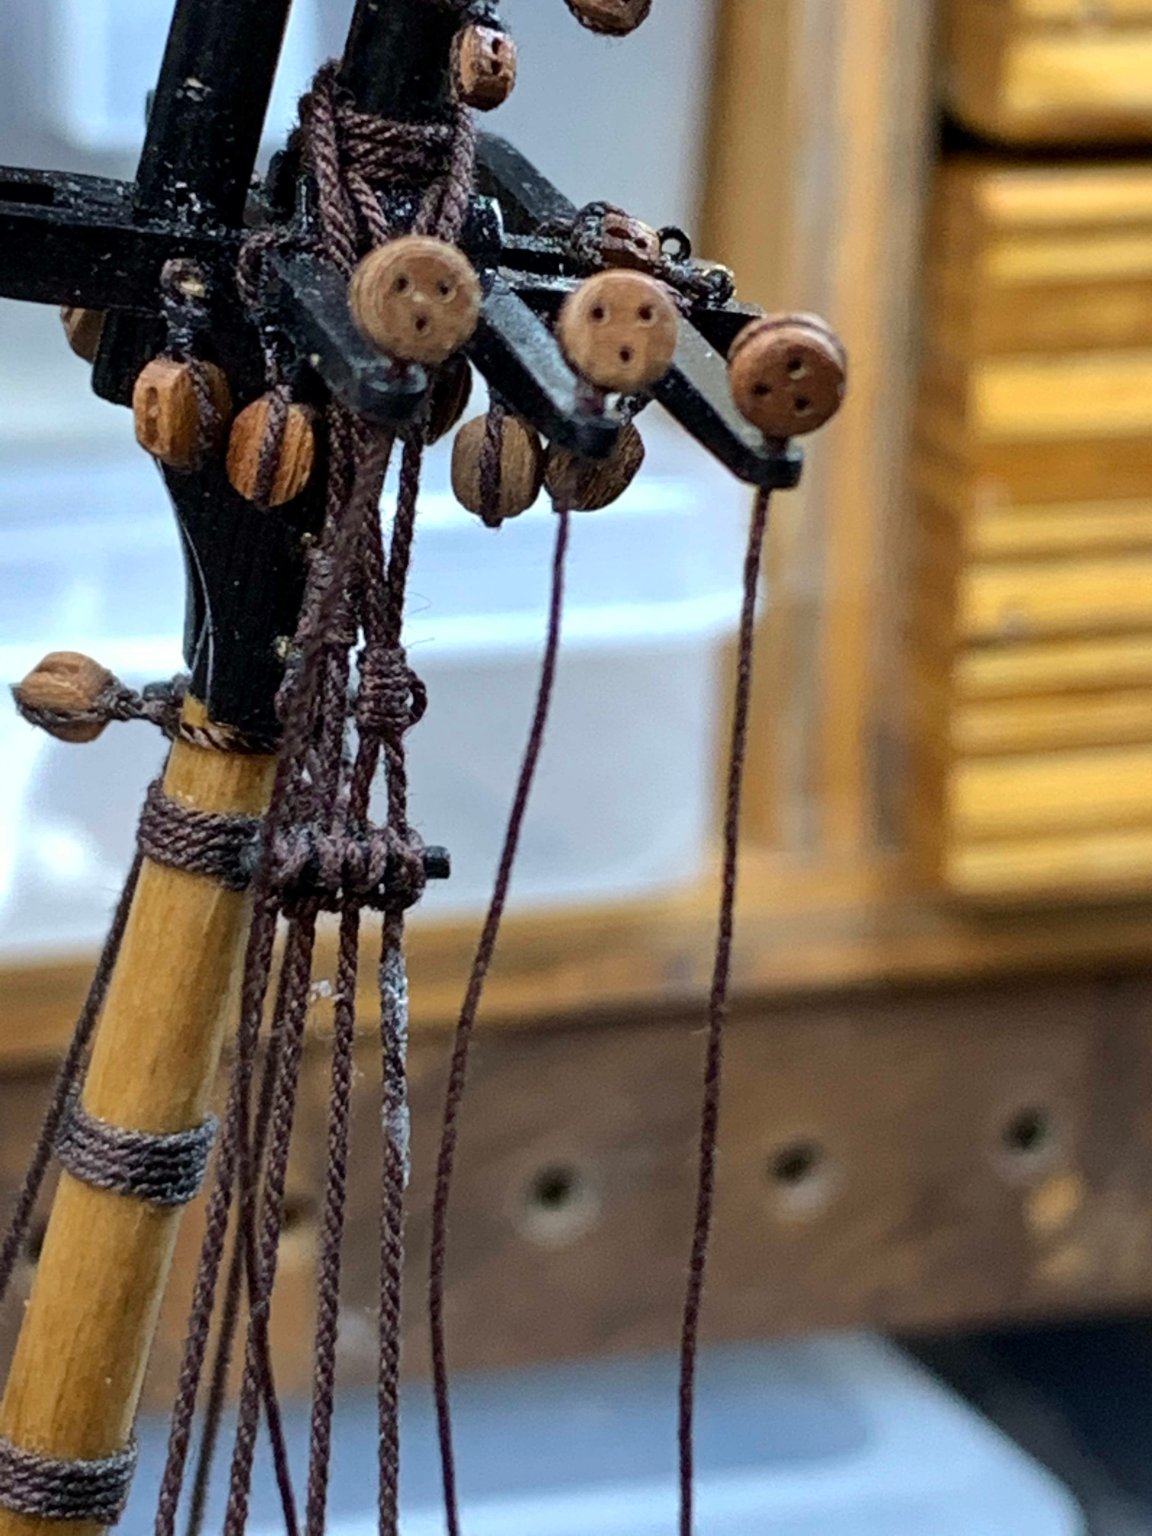
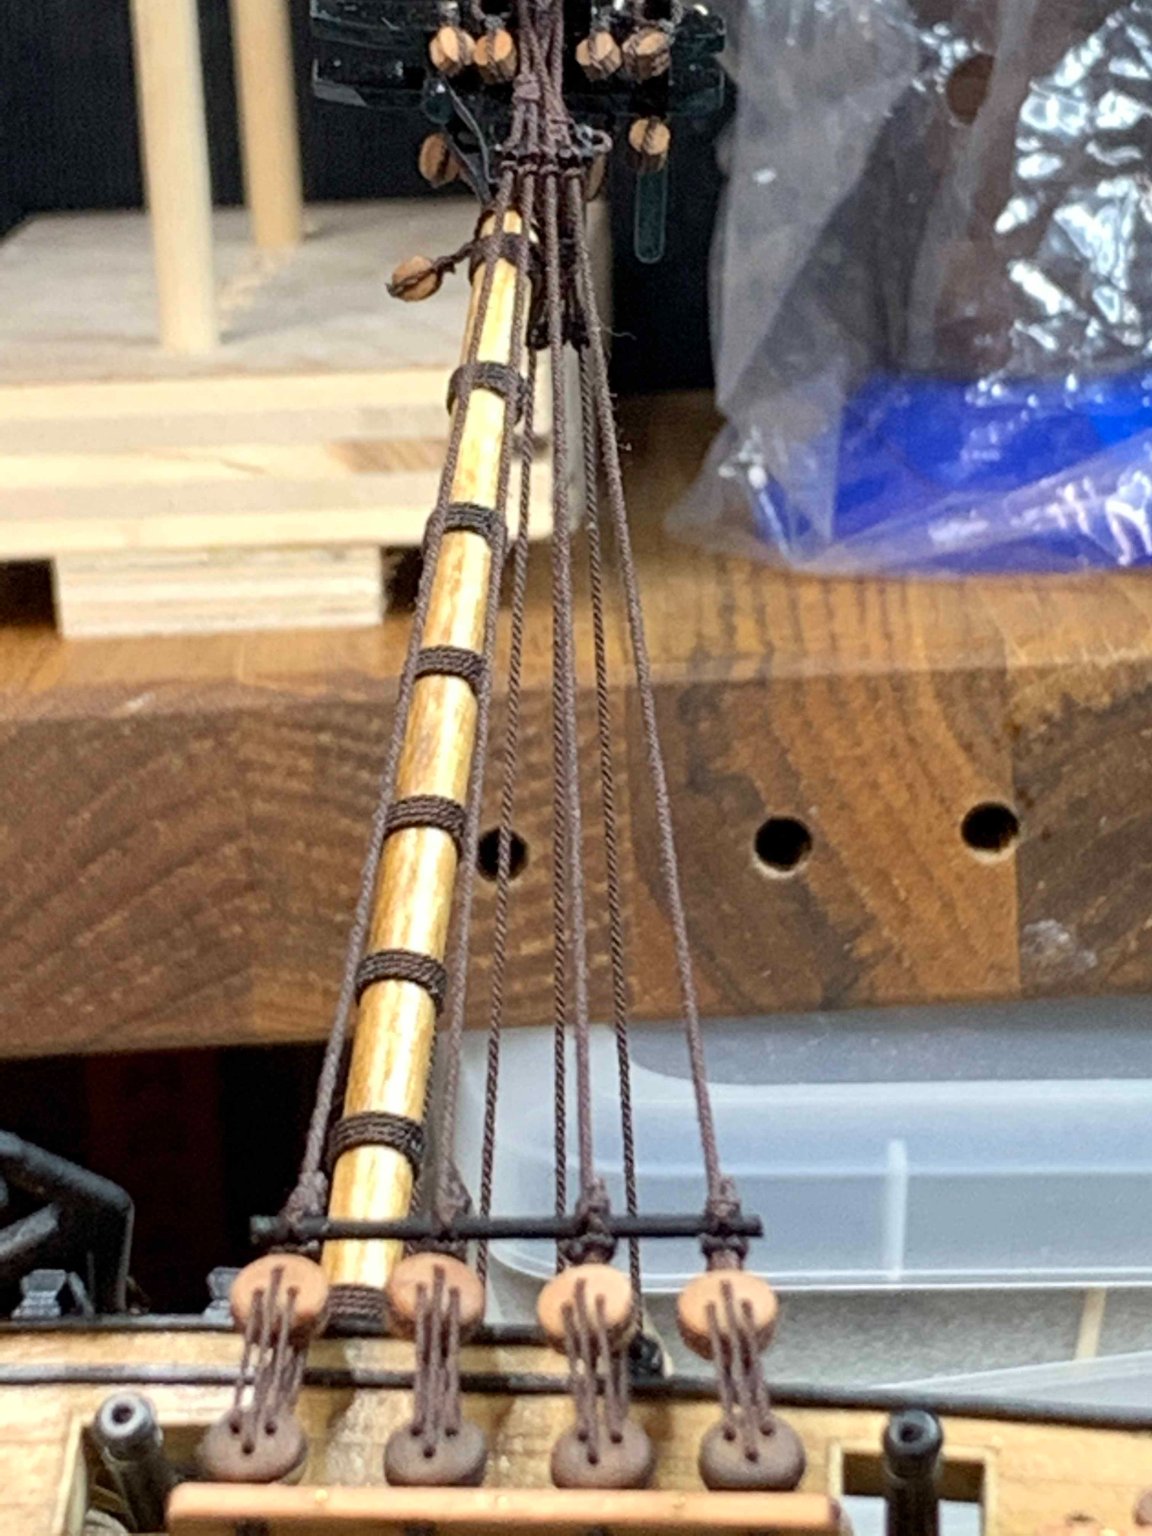
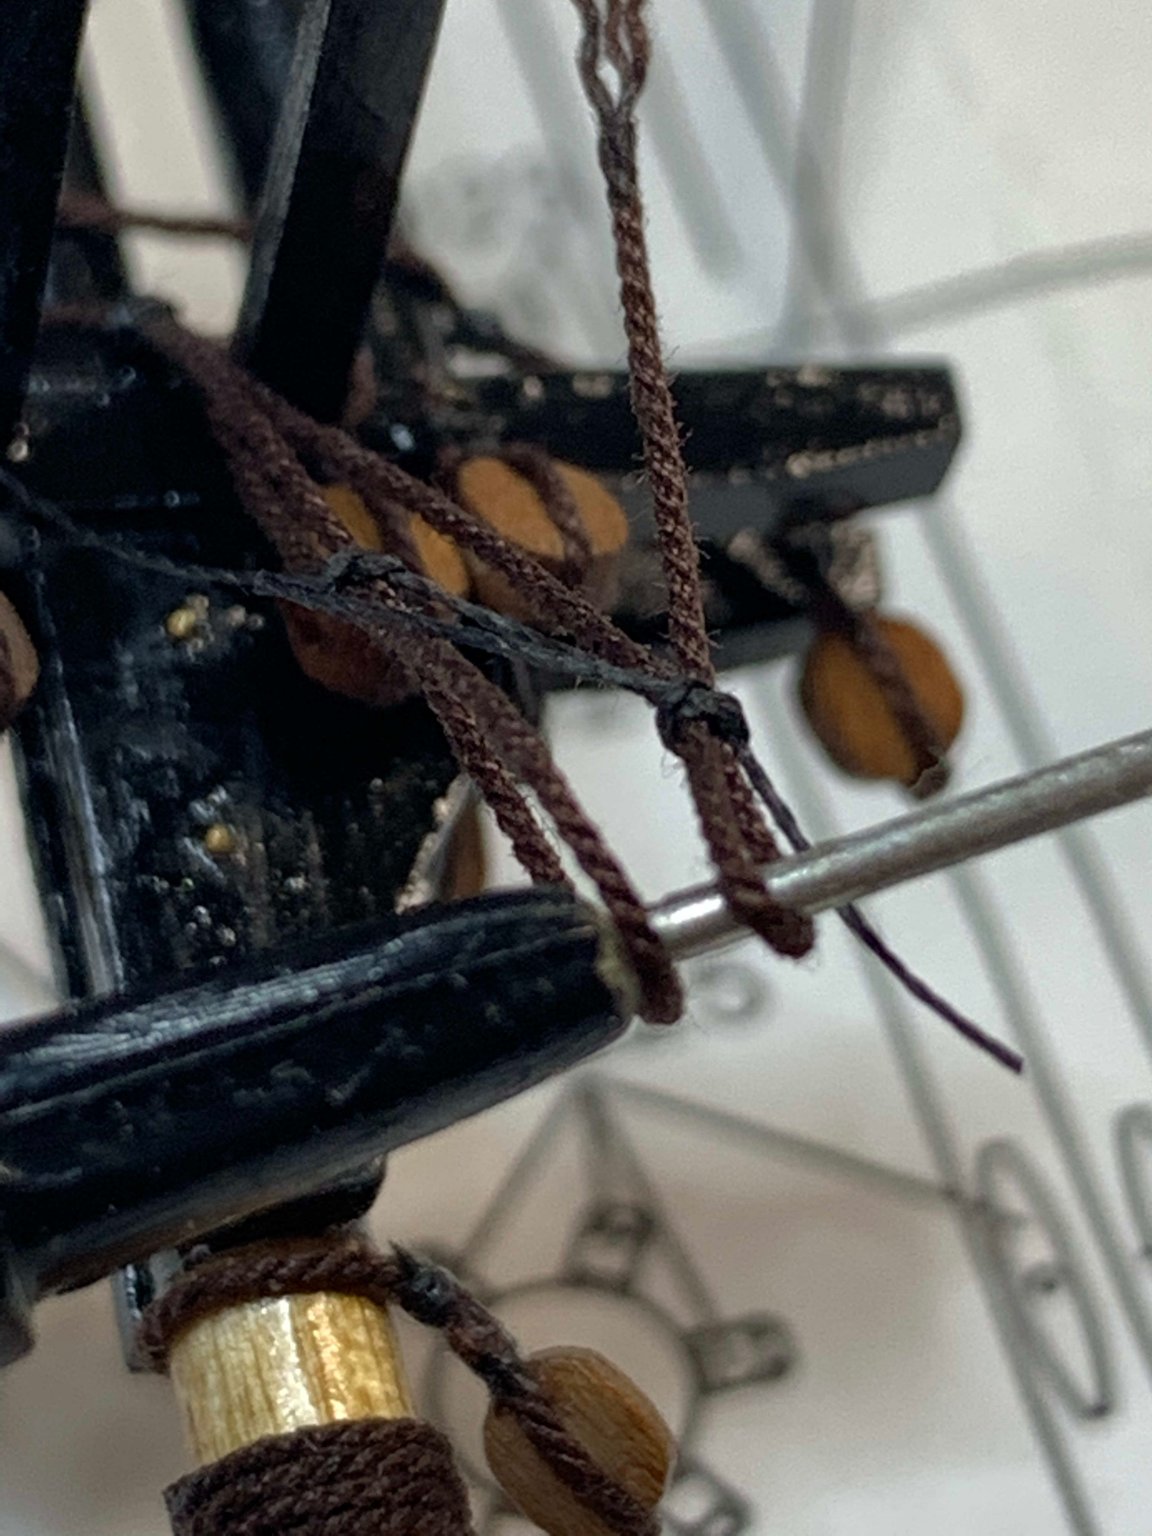
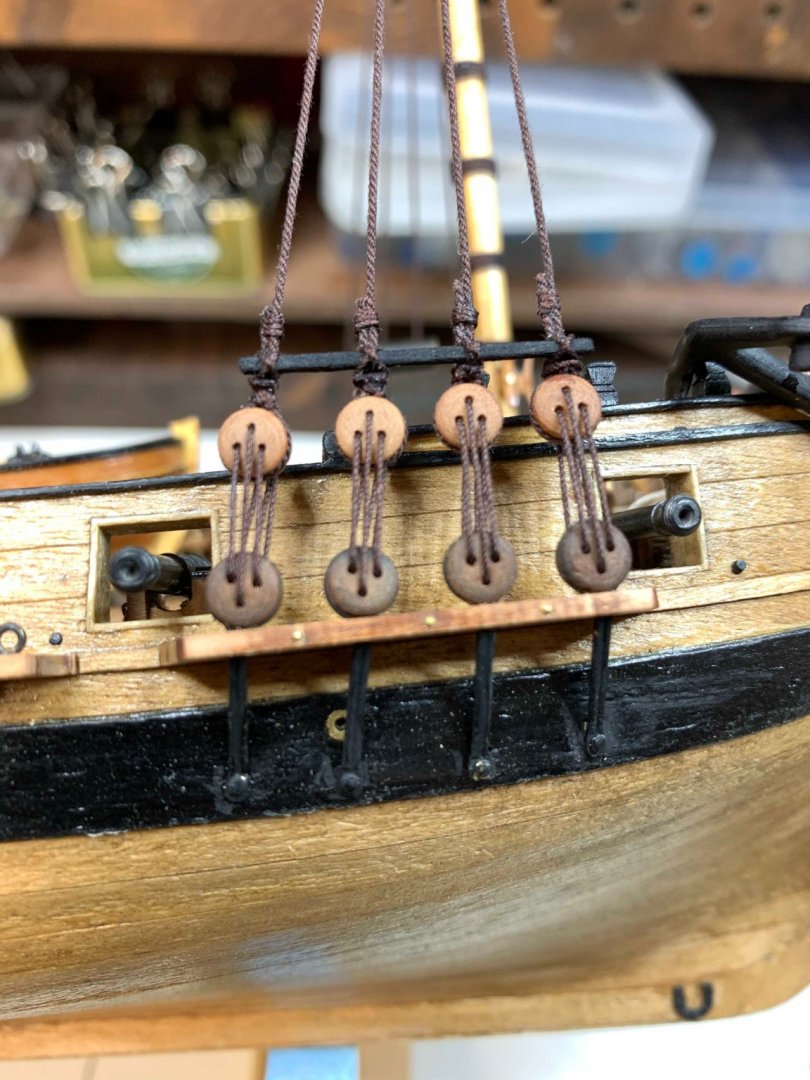
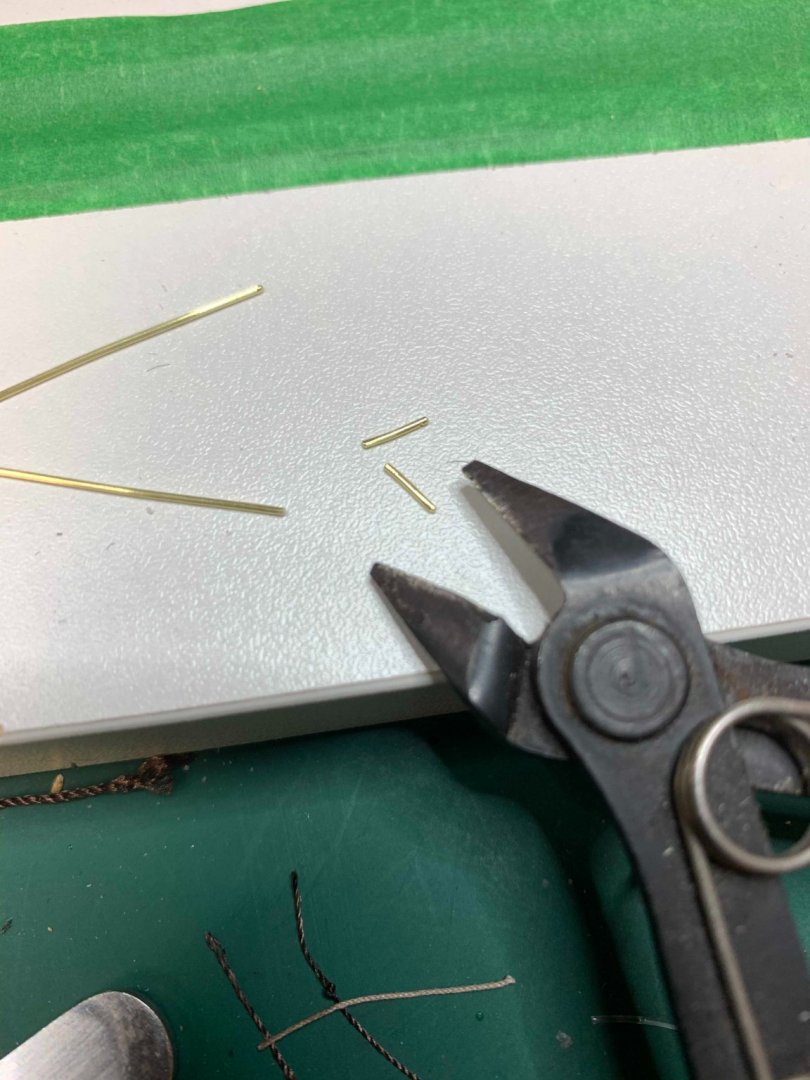
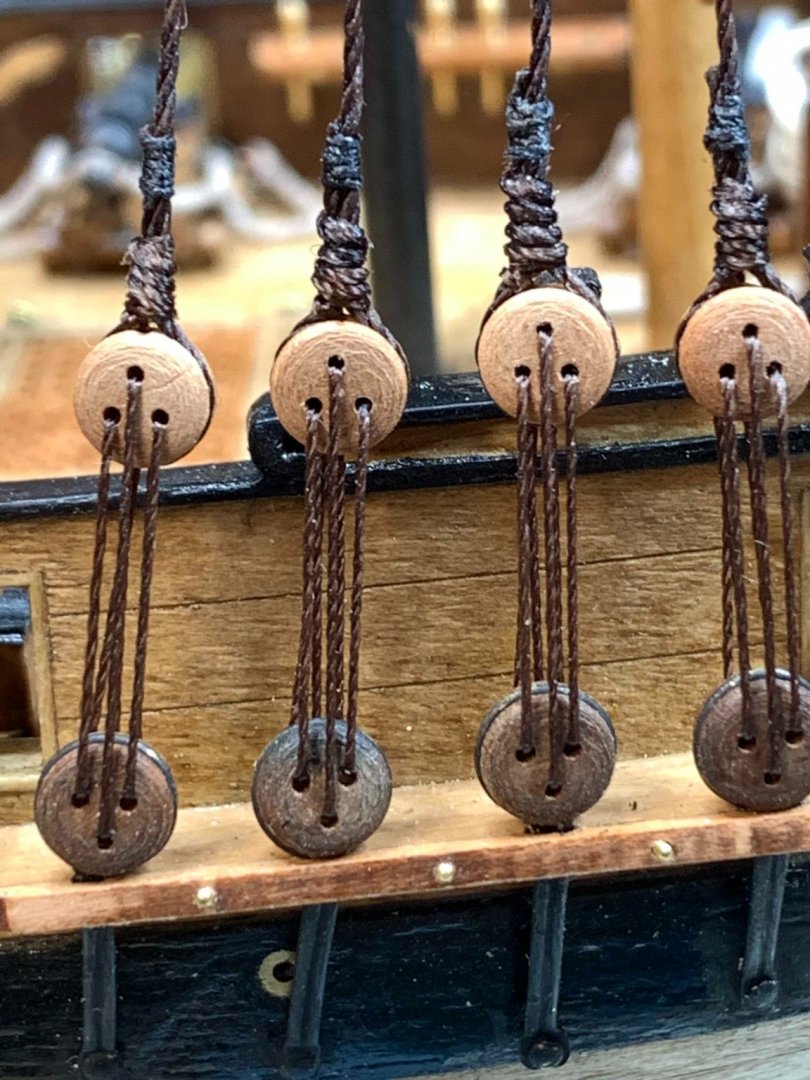
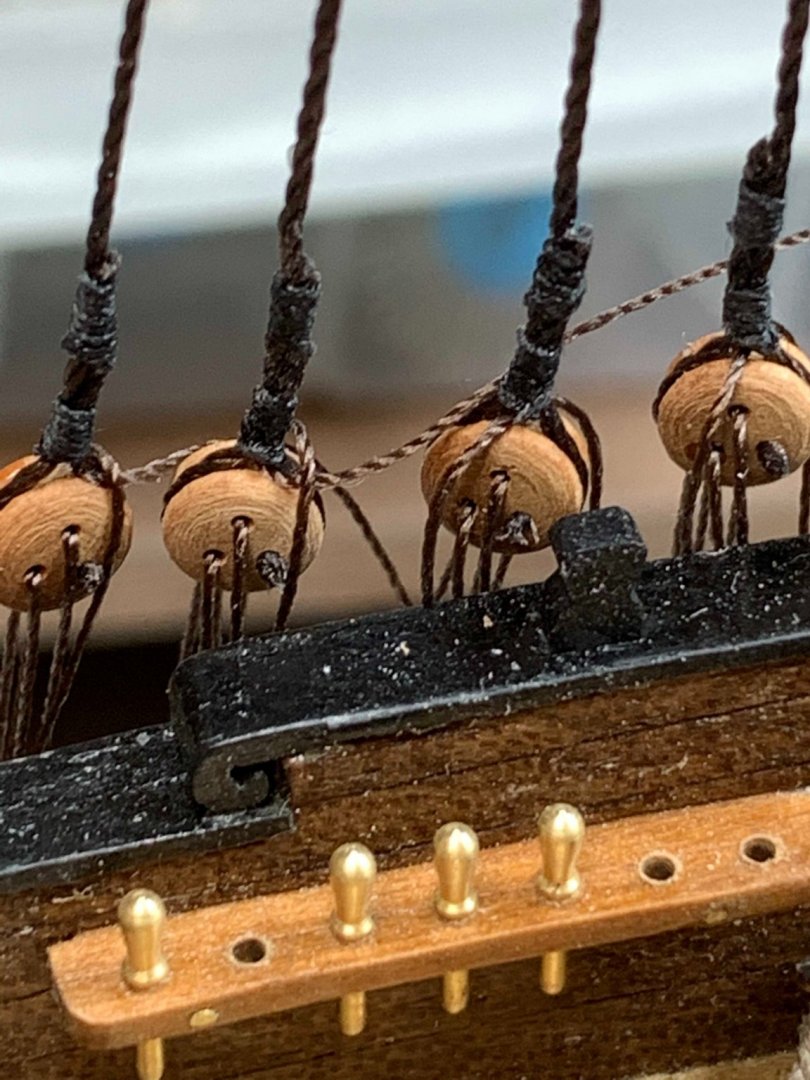
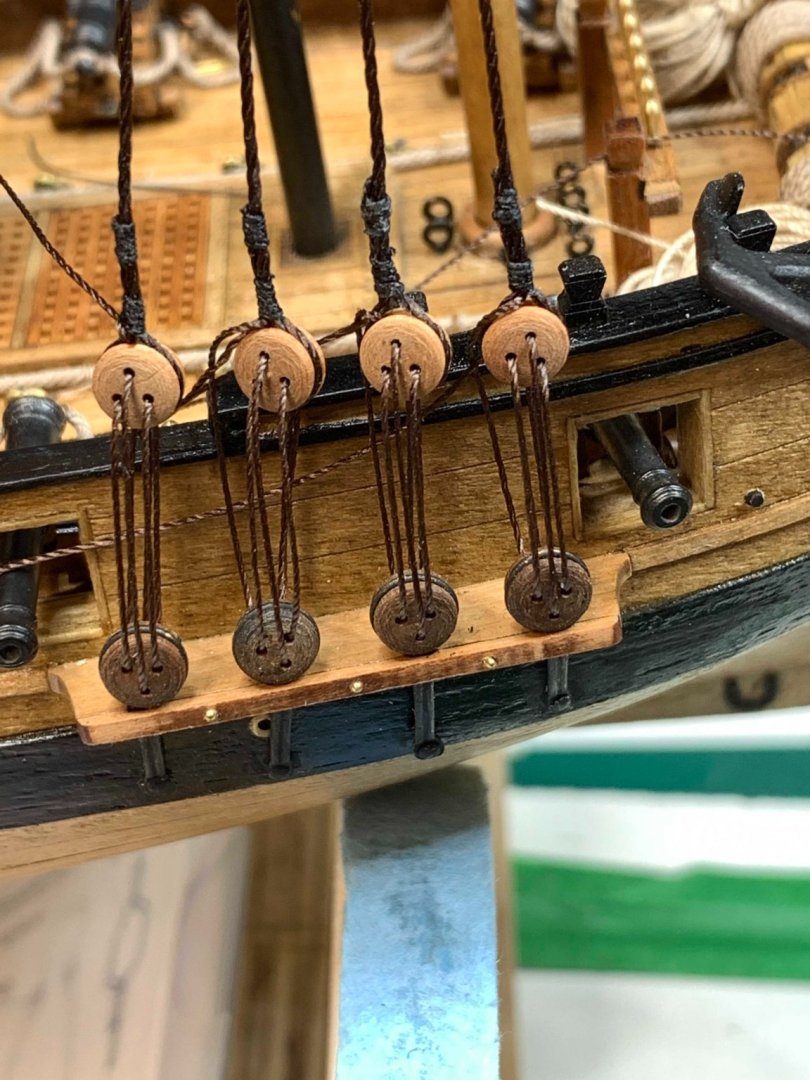
Shrouds are completed, deadeyes rigged, lanyards installed.. and not tightened up yet.. I still did not realize the "small" mistake.. The sheer battens were made out of 0.6mm wire, blackened and polished.. And installed.. Then i started to look at deadeyes, lanyards length, the distance between deadeyes (small mistake mentioned above), the bulkiness at the seizing above deadeyes, the various length of lanyards making the deadeyes not at the same level, so decision is made... Heart breaking moment.. fast reverse to the previous stage... So lets start again by replacing the shrouds, etc... I know overall this might not be a "big" mistake but i will be seeing it any time i look at the model.. Happy modelling..


- 275 replies
-
- 1
-
-
- phoenix
- master korabel
- (and 1 more)
-
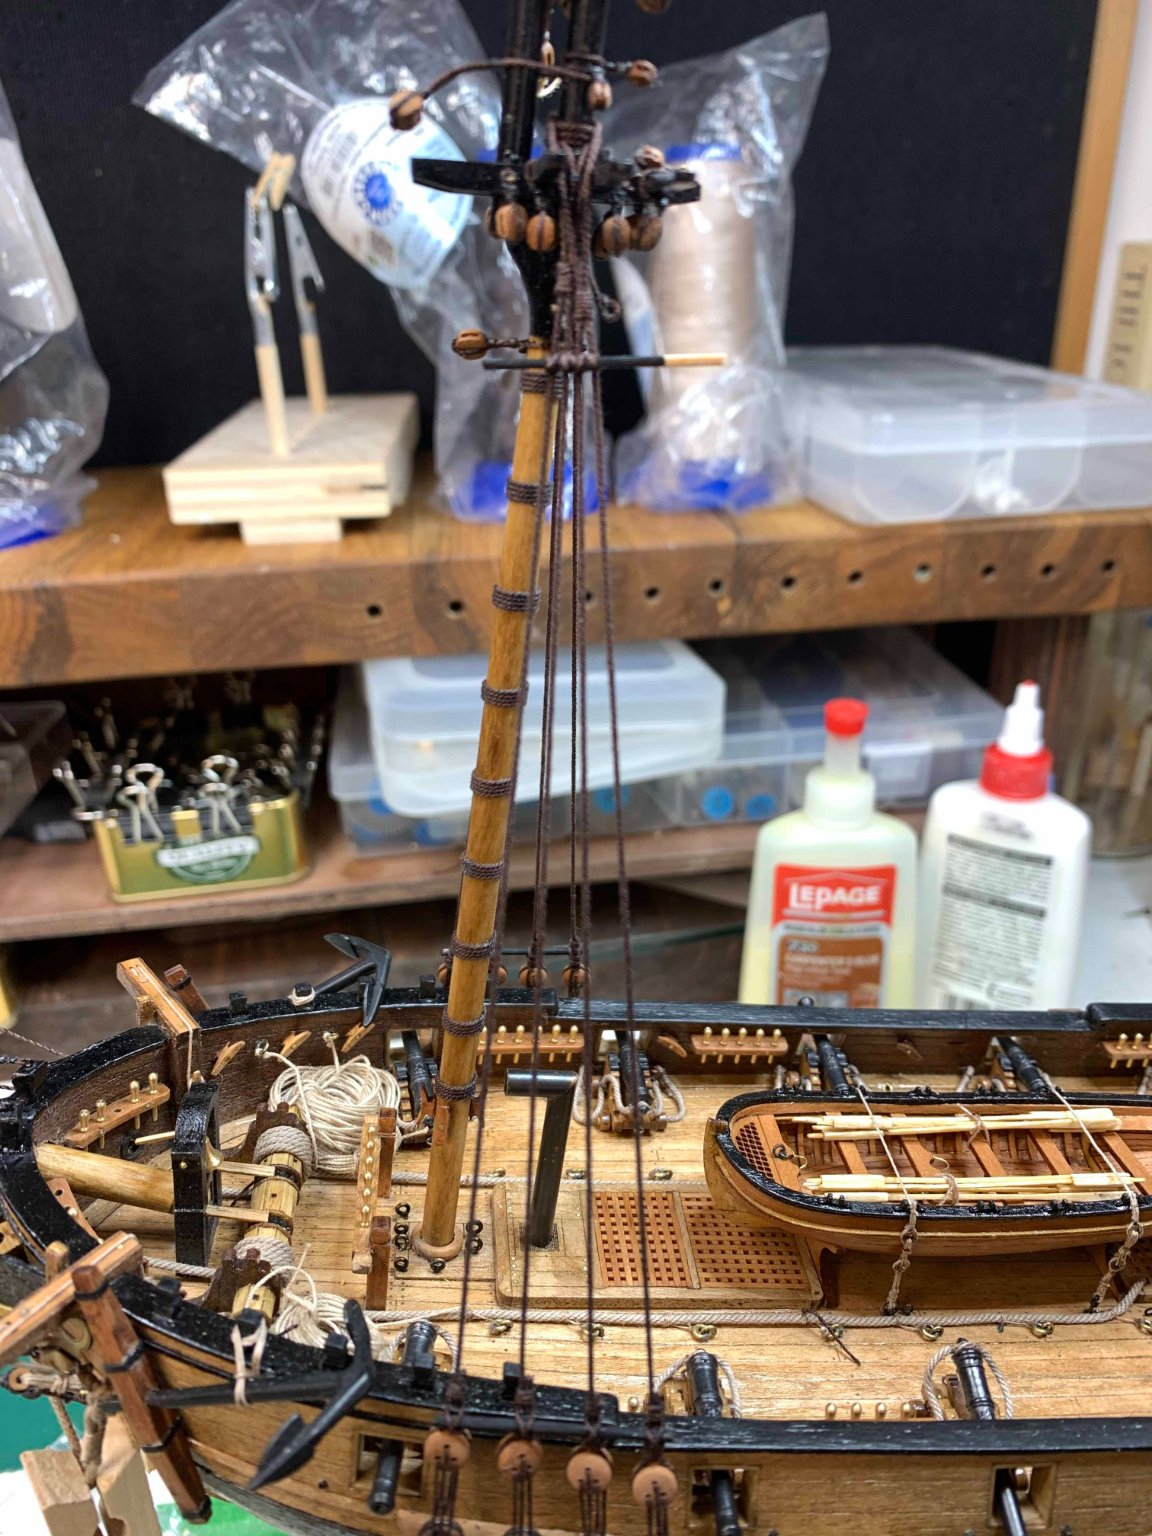
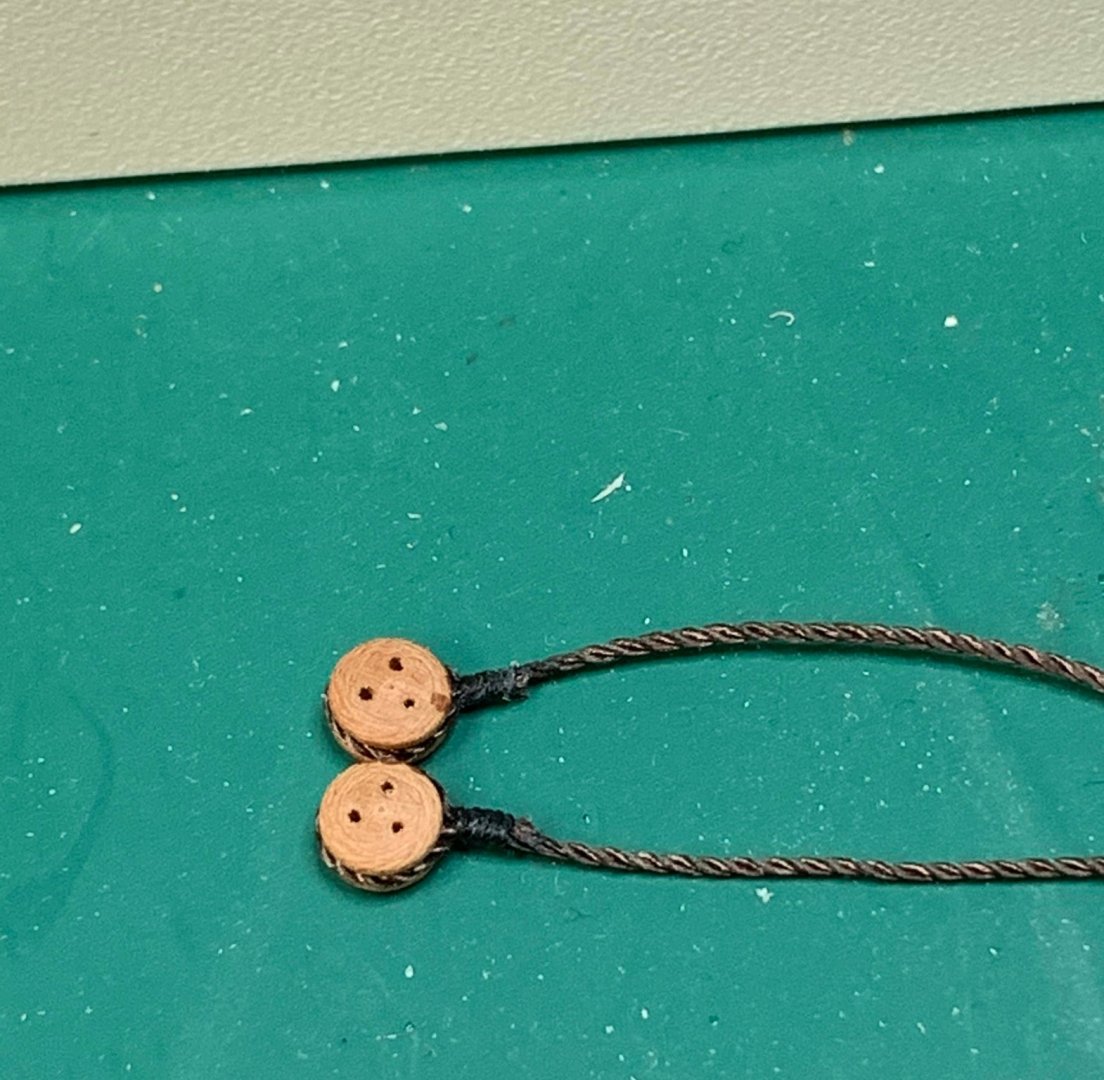
Foremast is on and rigging can start... The shrouds are installing alternating between sides, First, on the starboard then on the port side then again on the starboard and the port side.. Two shrouds are tie together with a short seizing knot and to visually lengthen it, few more loops are added. After all eight shrouds are installed the deadeyes can be rigged.. I have tried to correctly tie deadeyes, but for this scale was not quite visible so i decided to skip the correct way. Happy modelling..


-
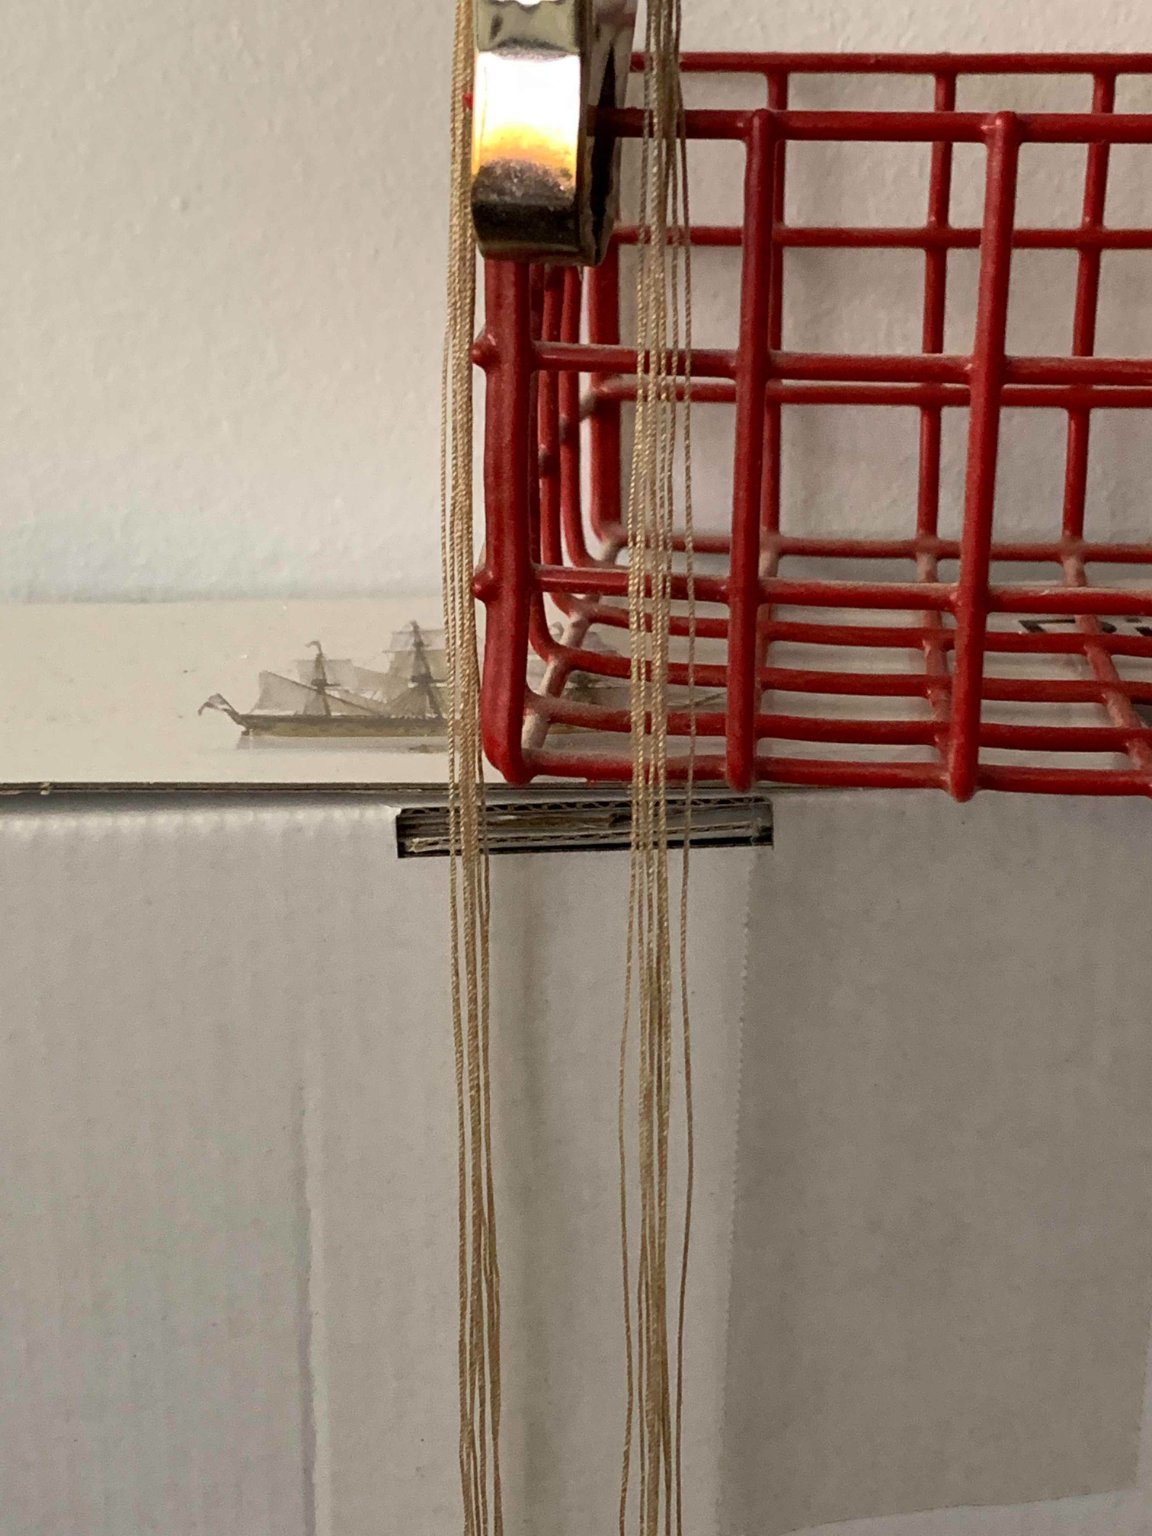
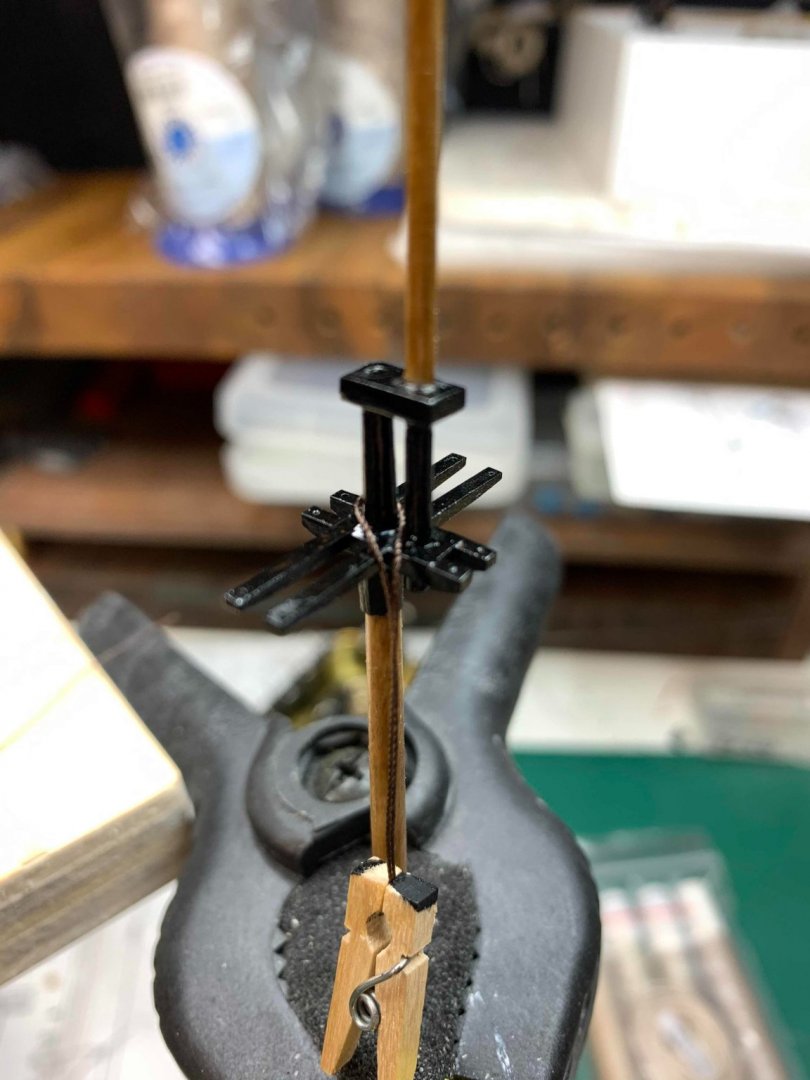
Continue with rigging... Start.. ... end. Holding it in place with wire template... That would do it for this phase. Next is masts rigging... Happy modelling..


- 275 replies
-
- 1
-
-
- phoenix
- master korabel
- (and 1 more)
-
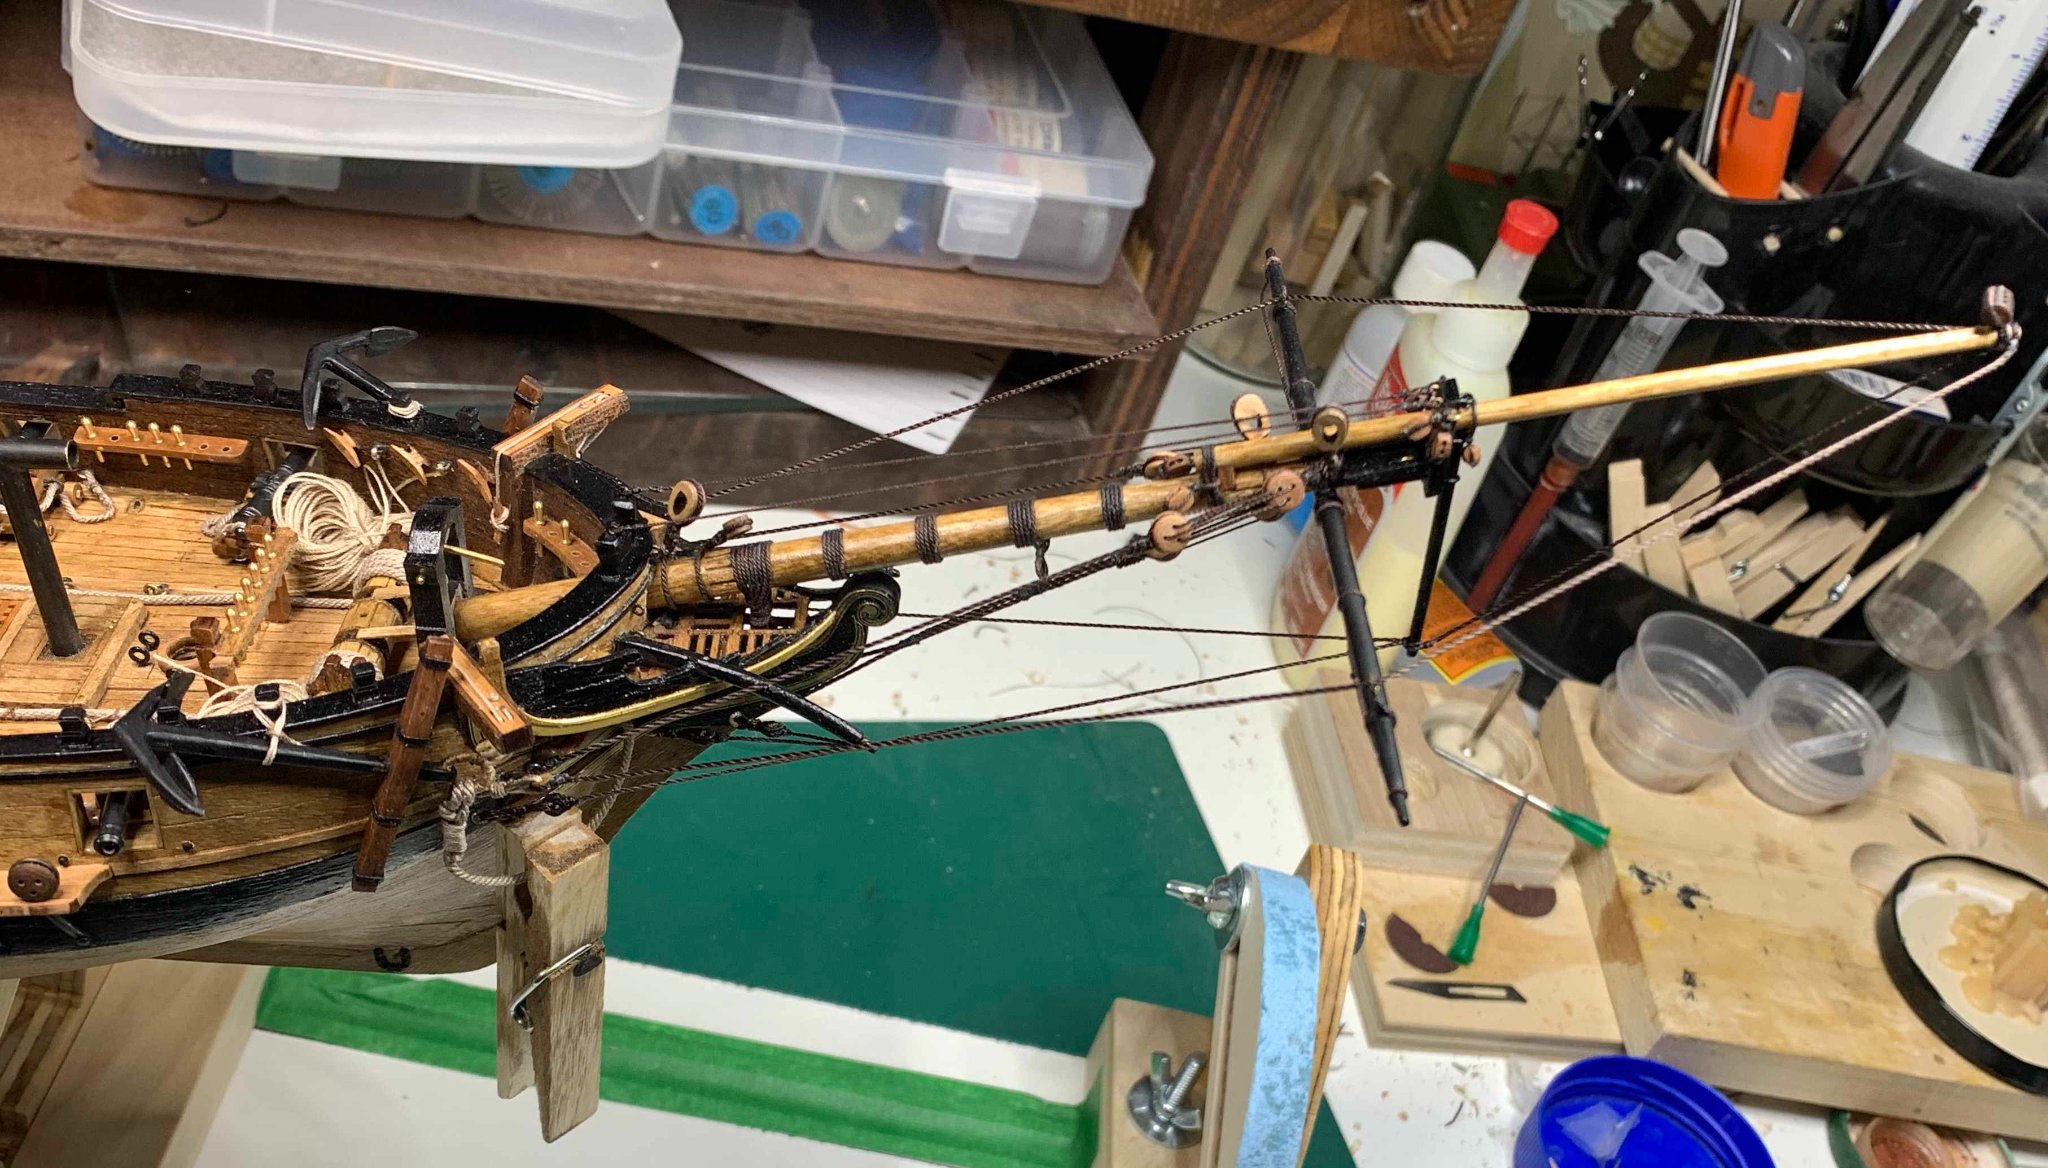
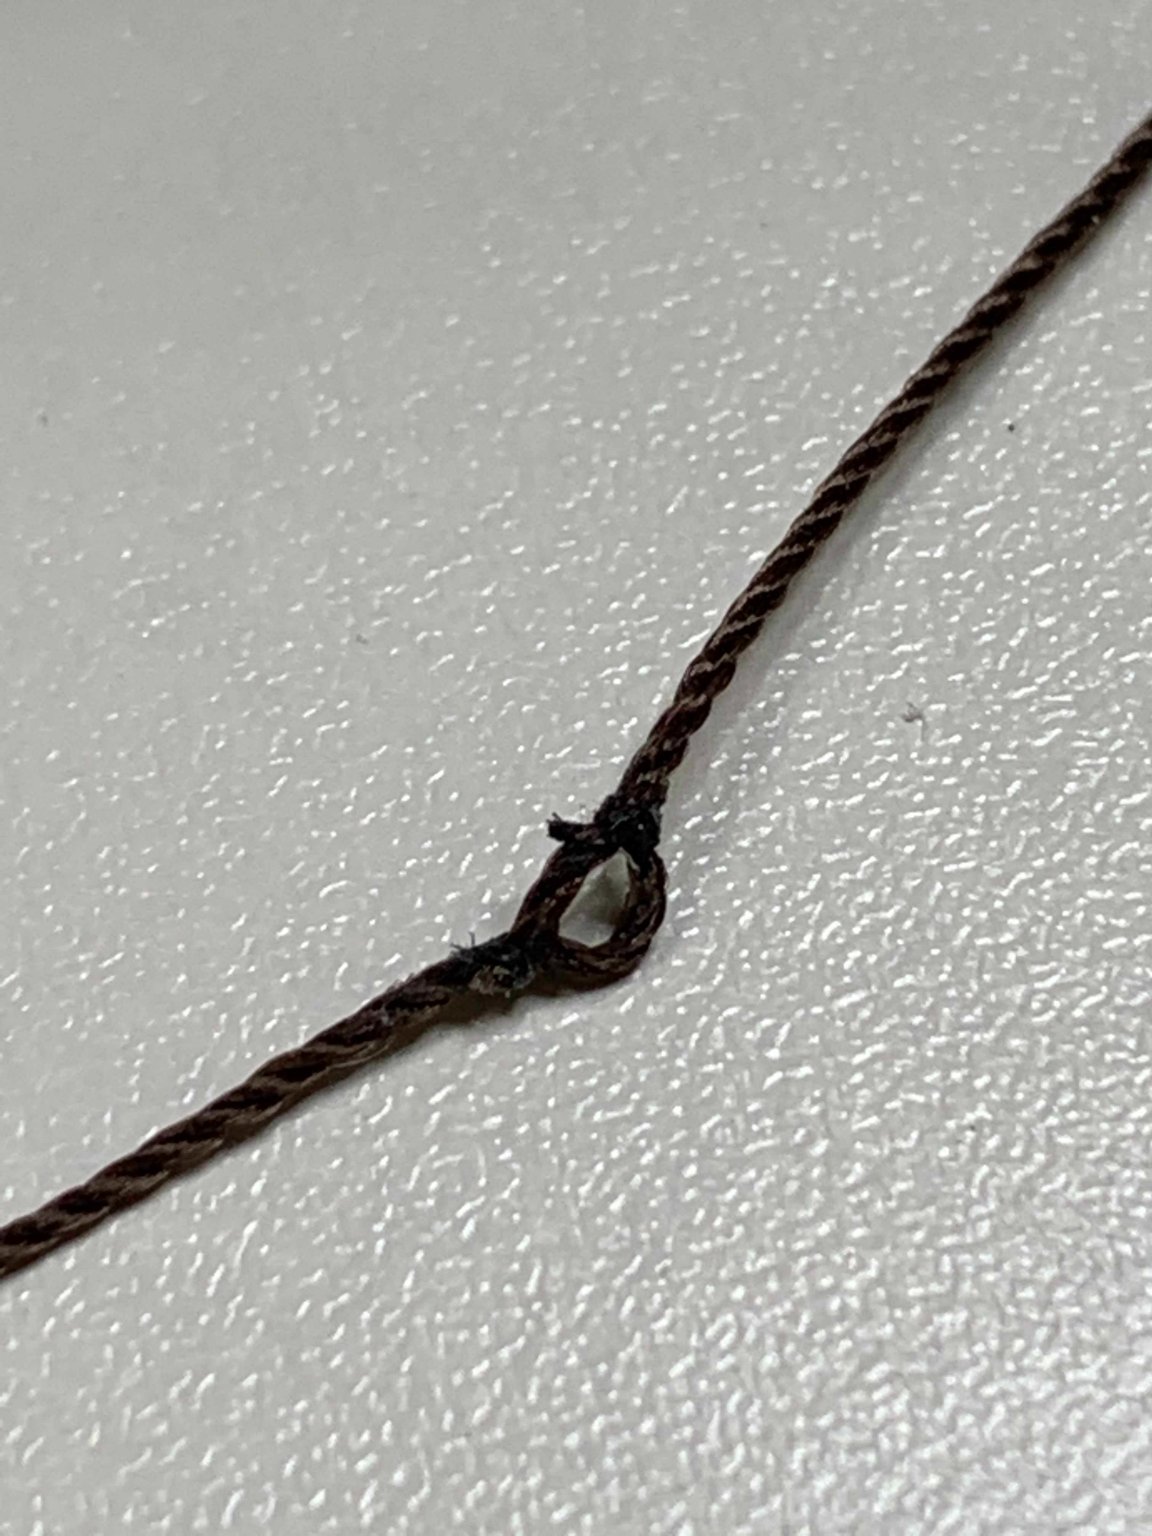
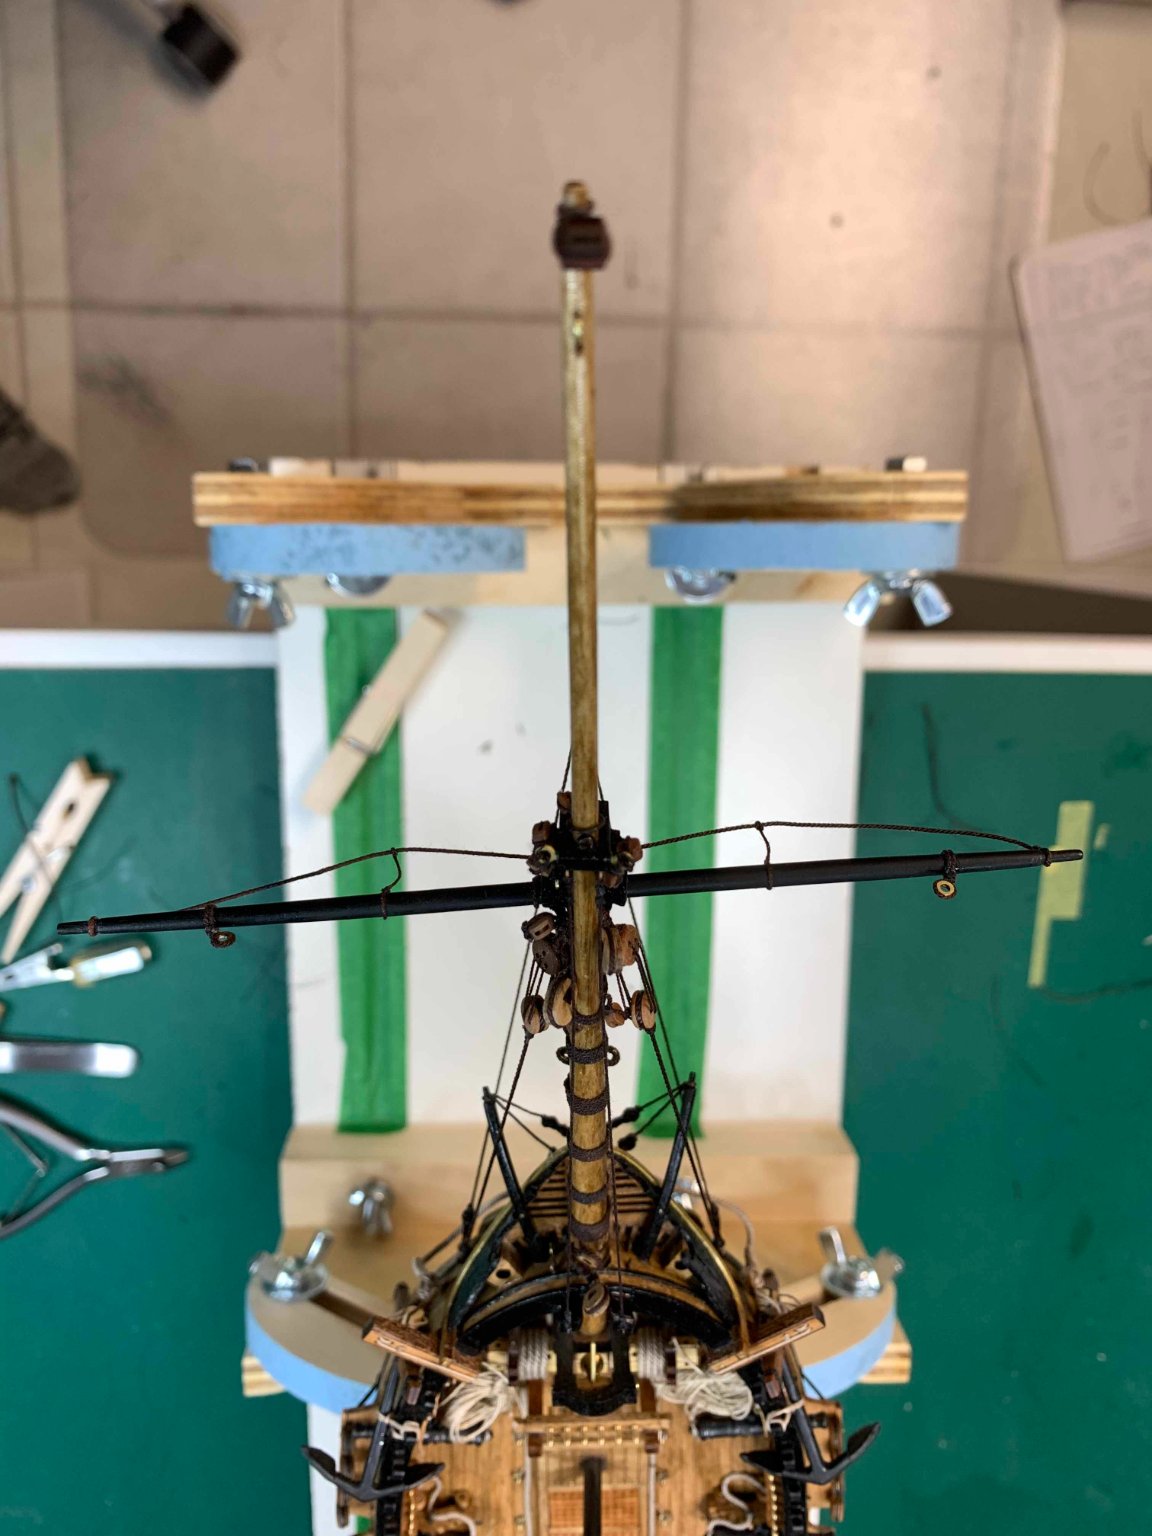
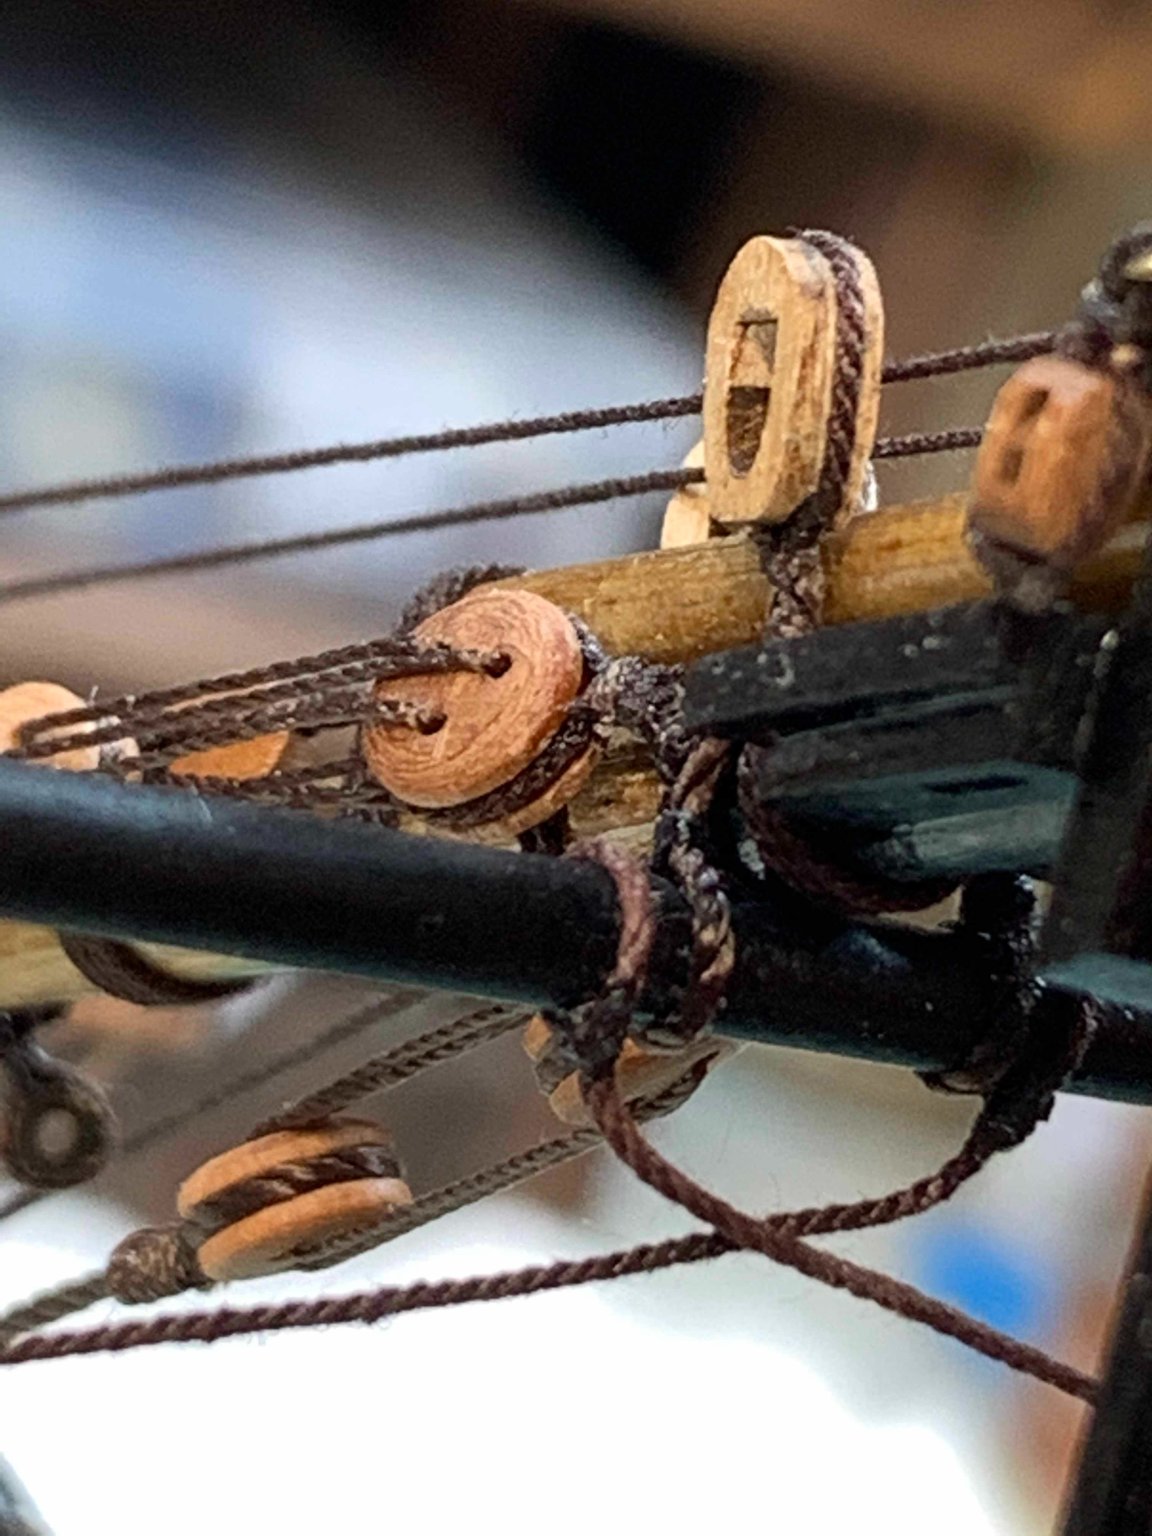
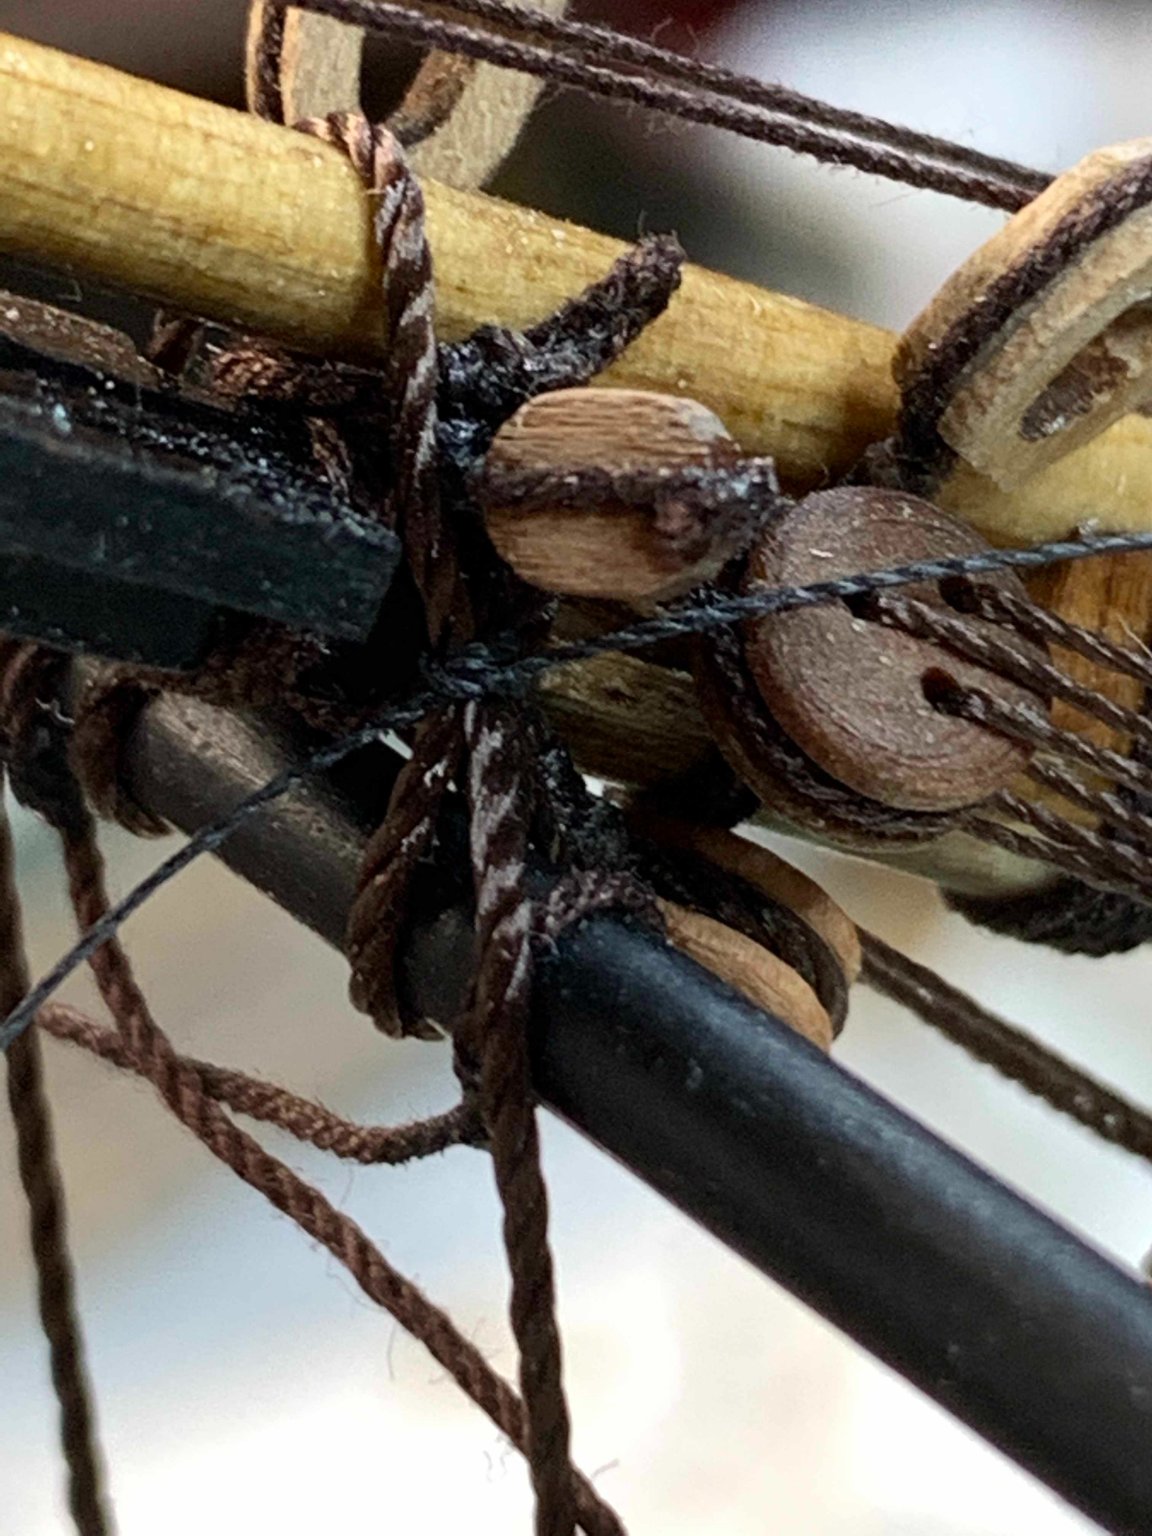
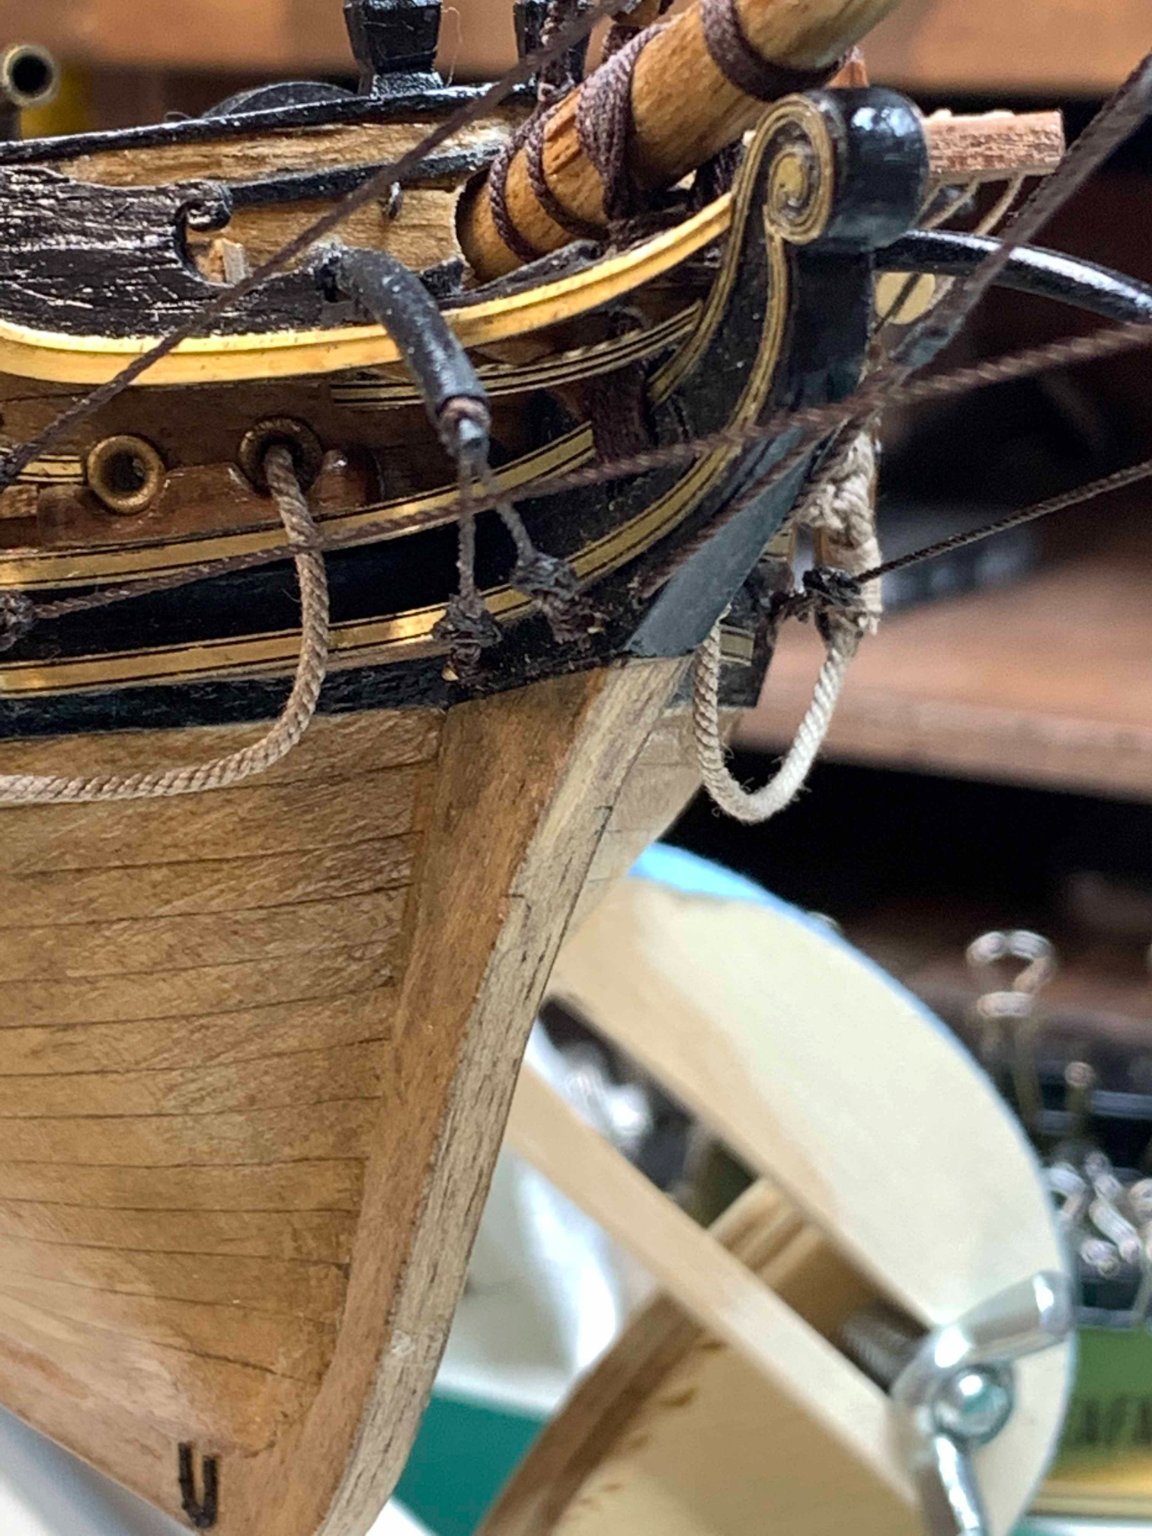
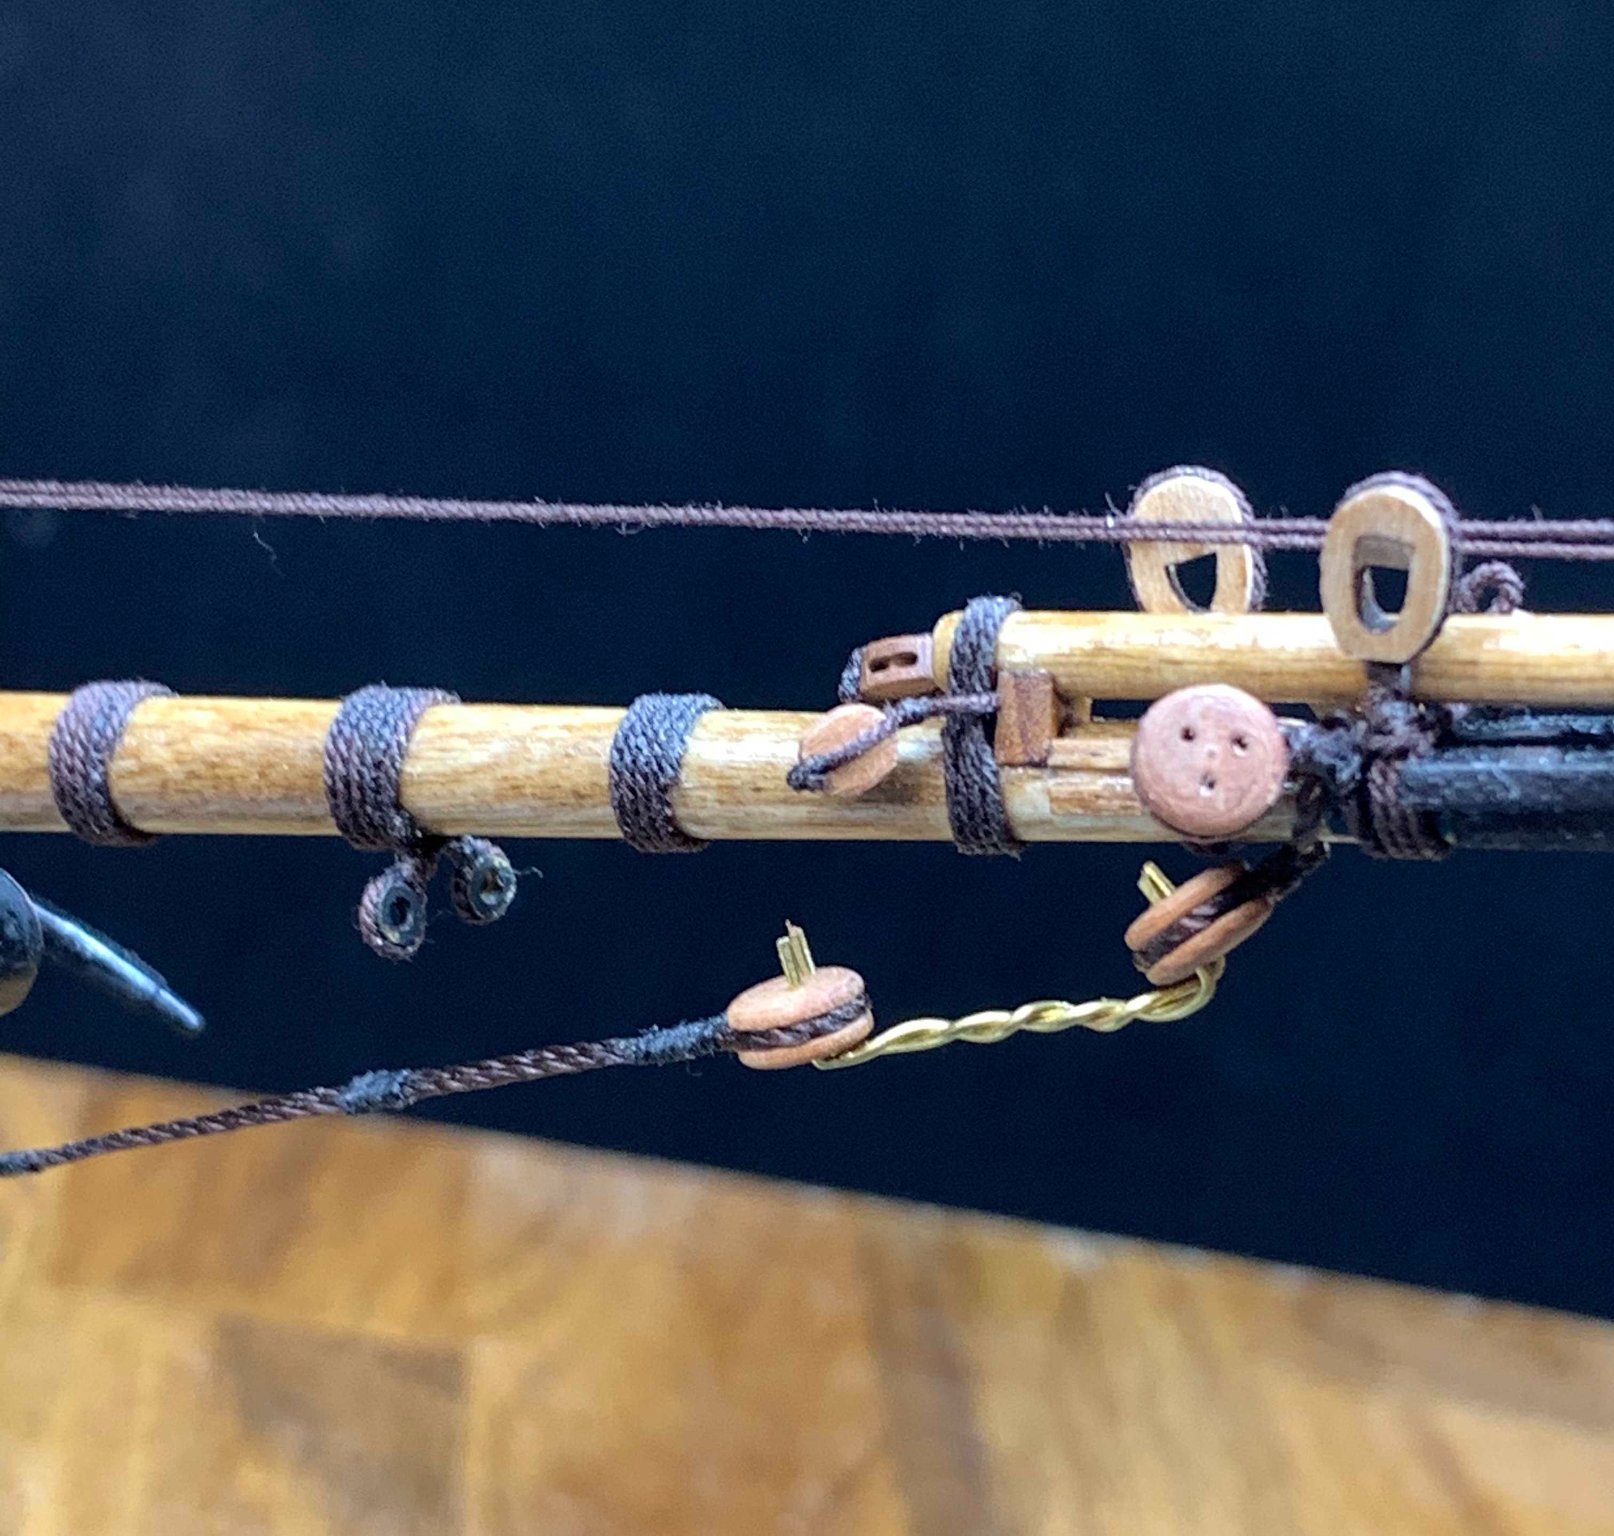
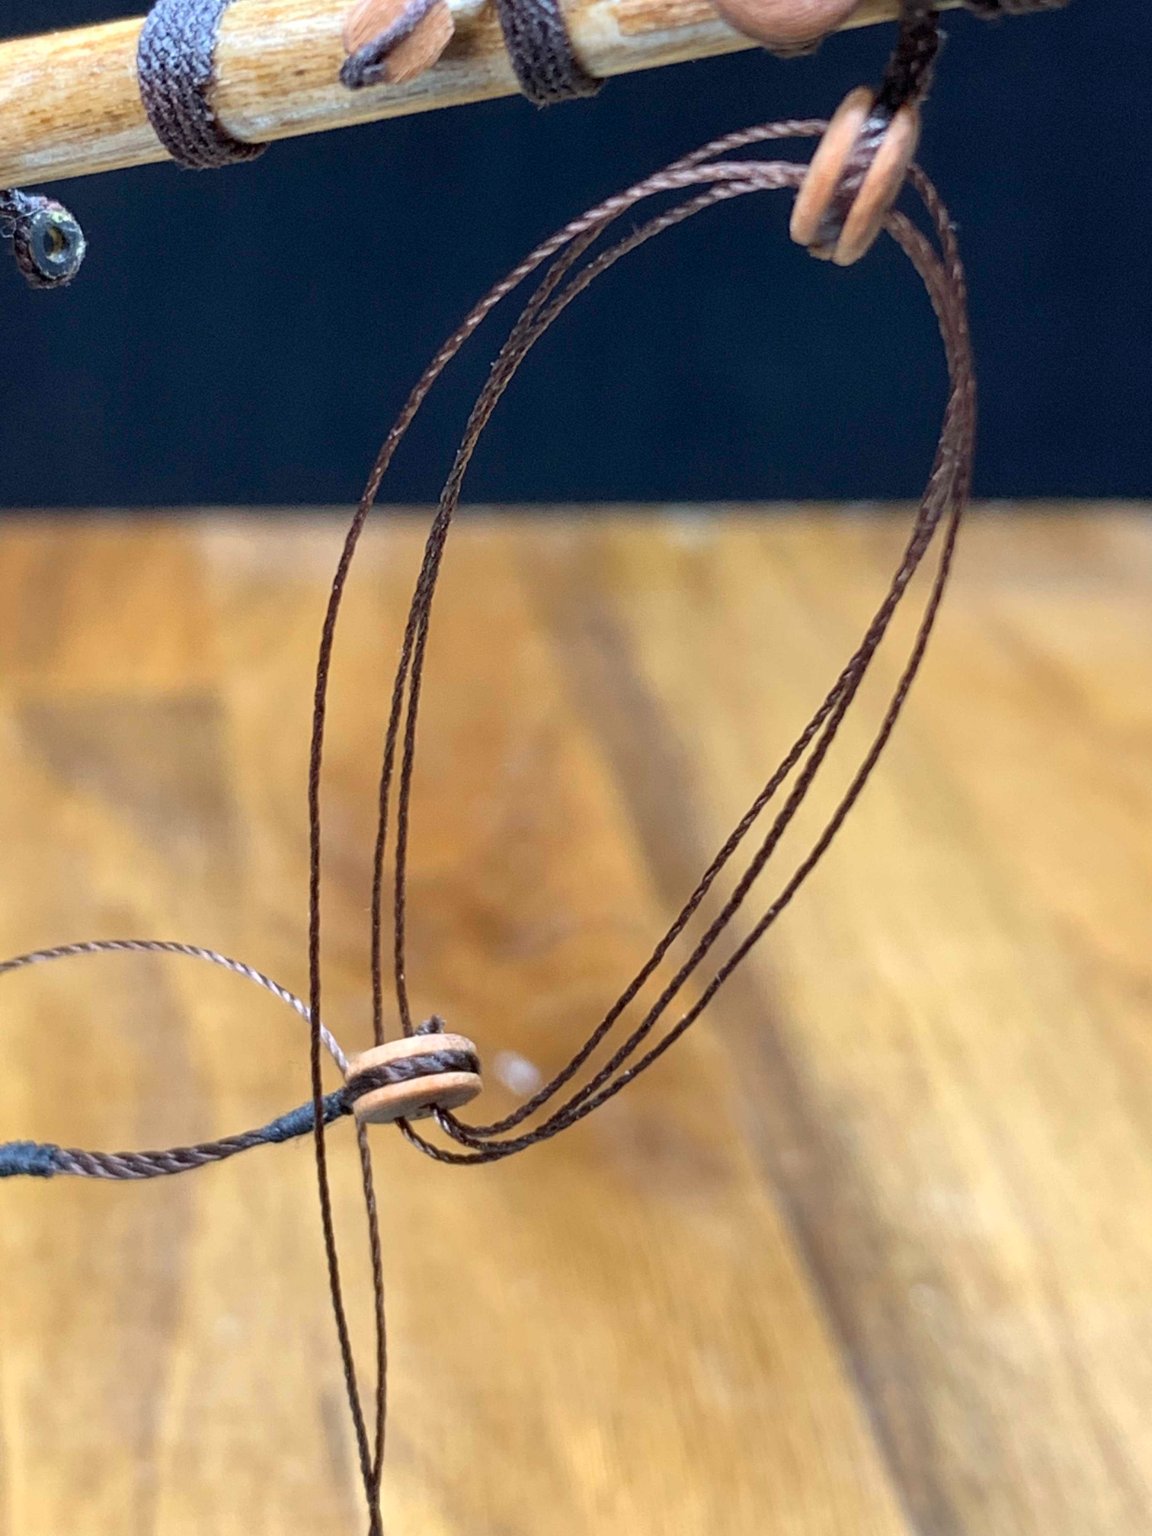
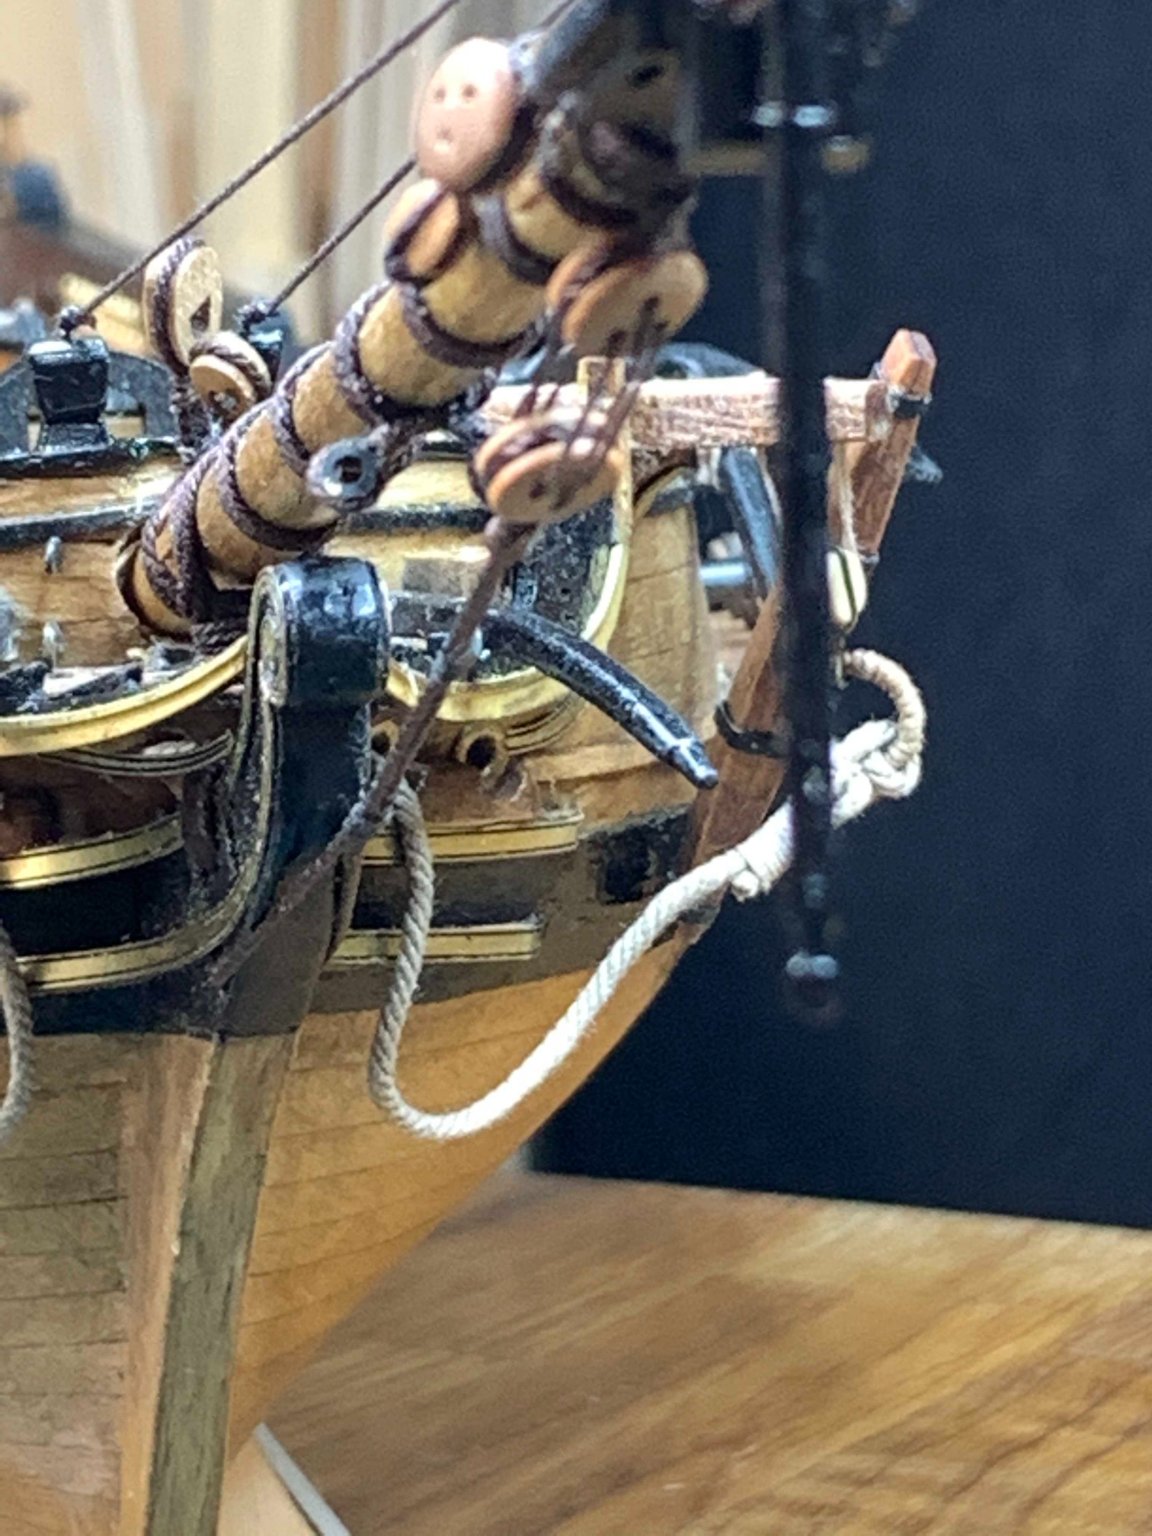
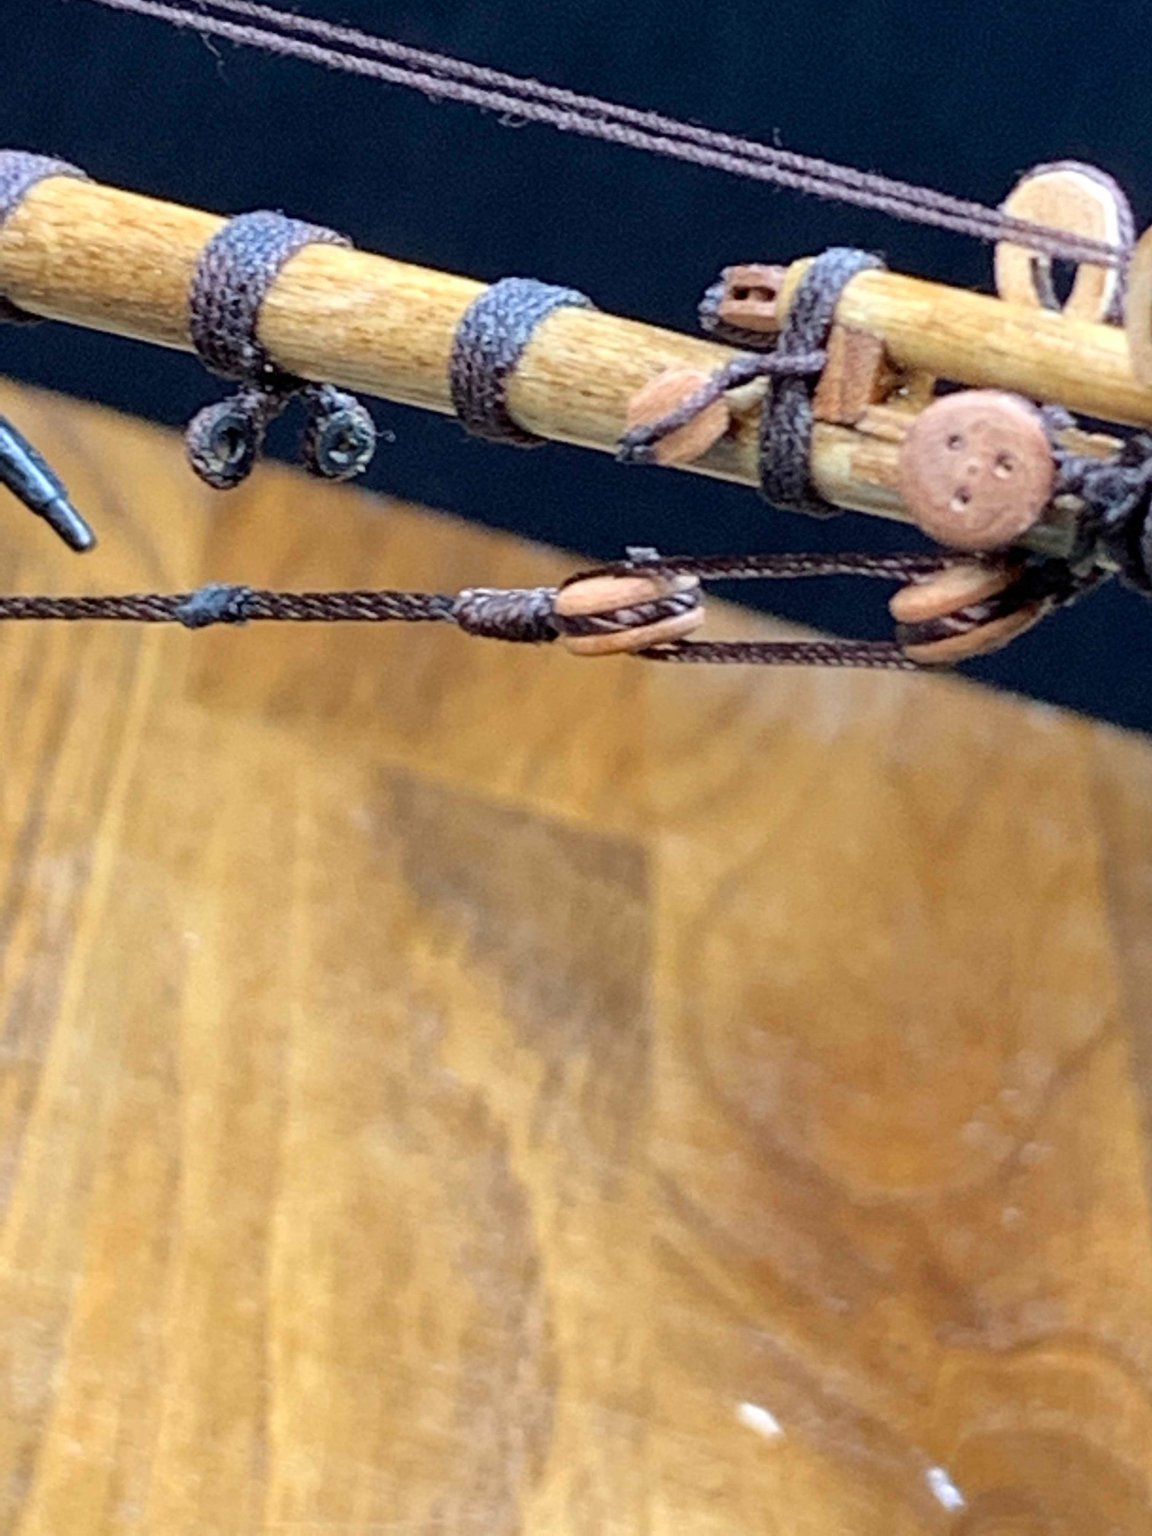
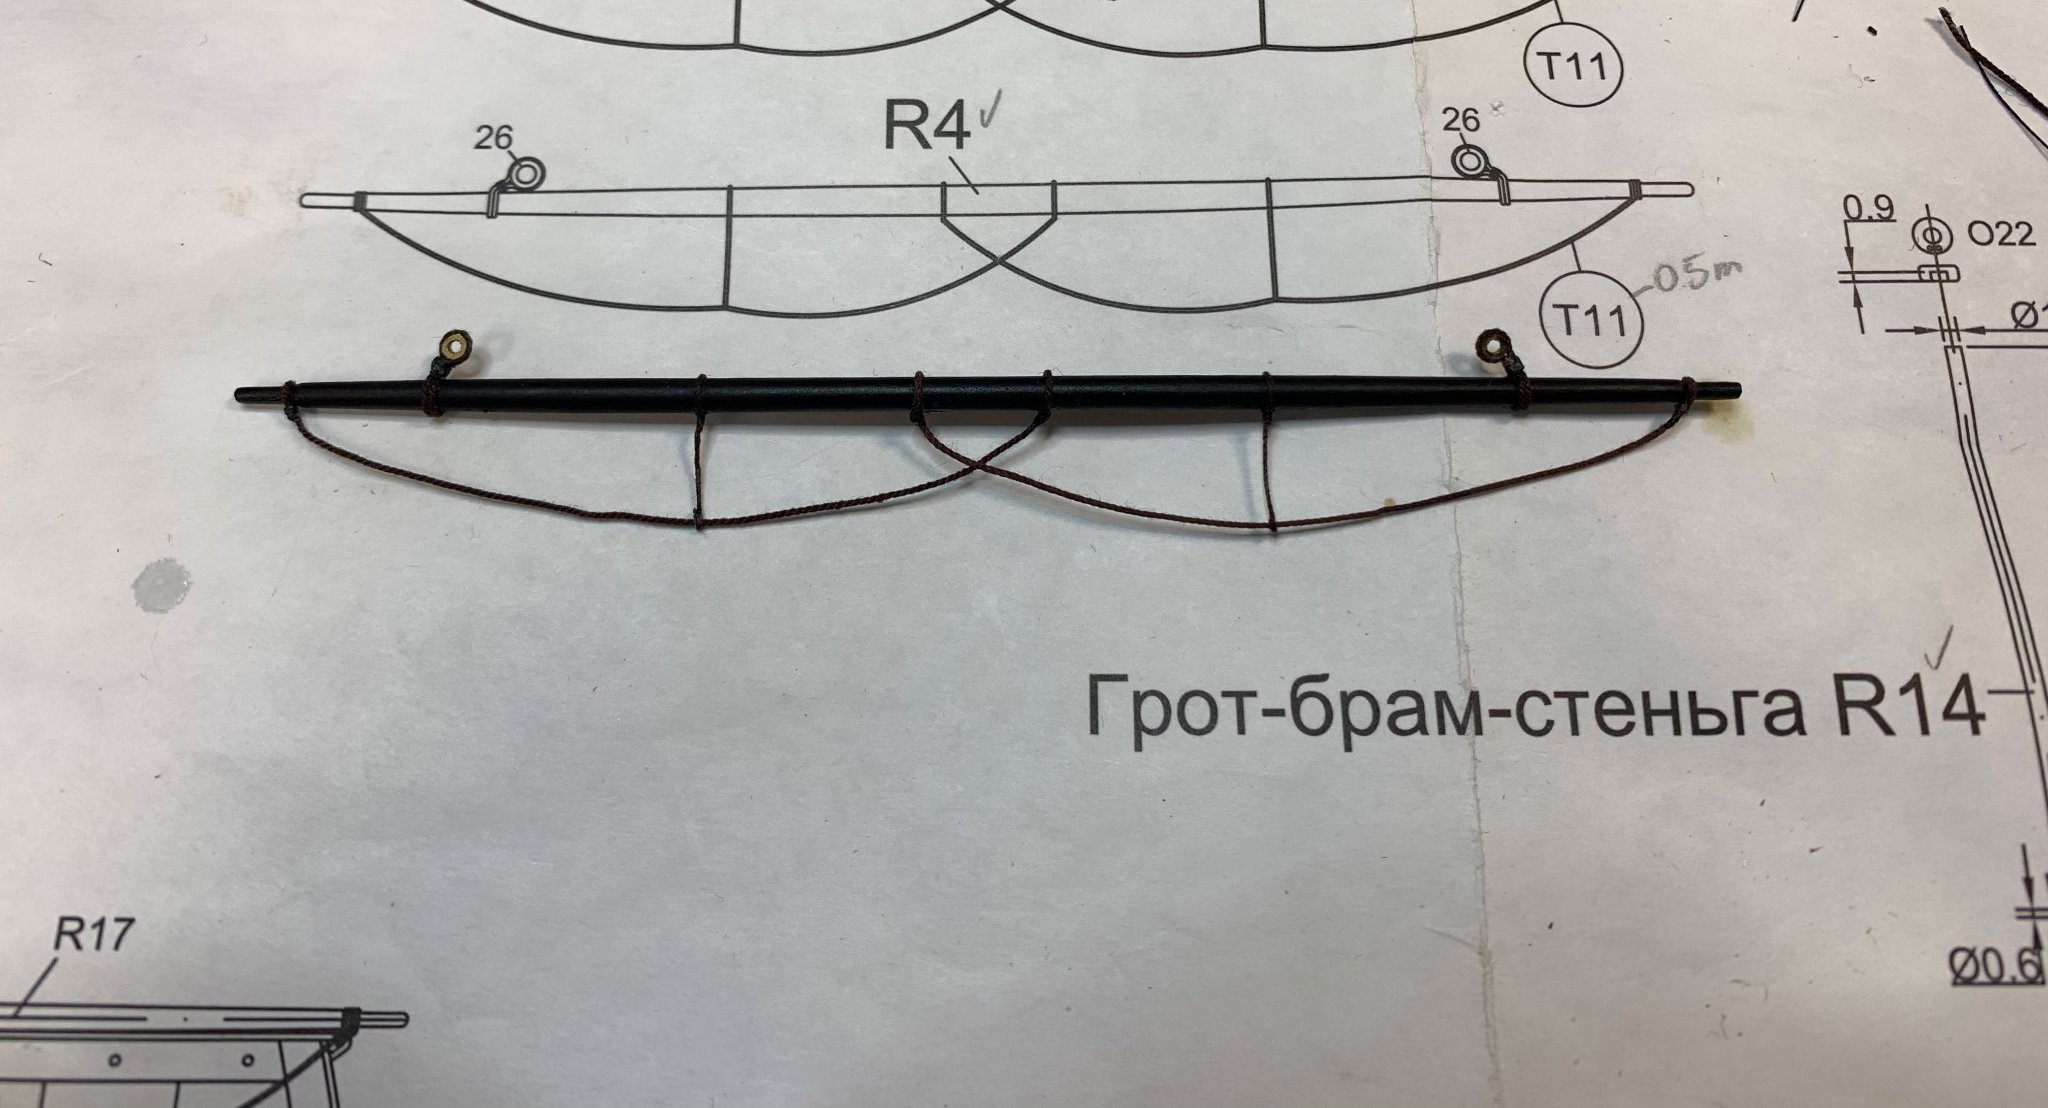
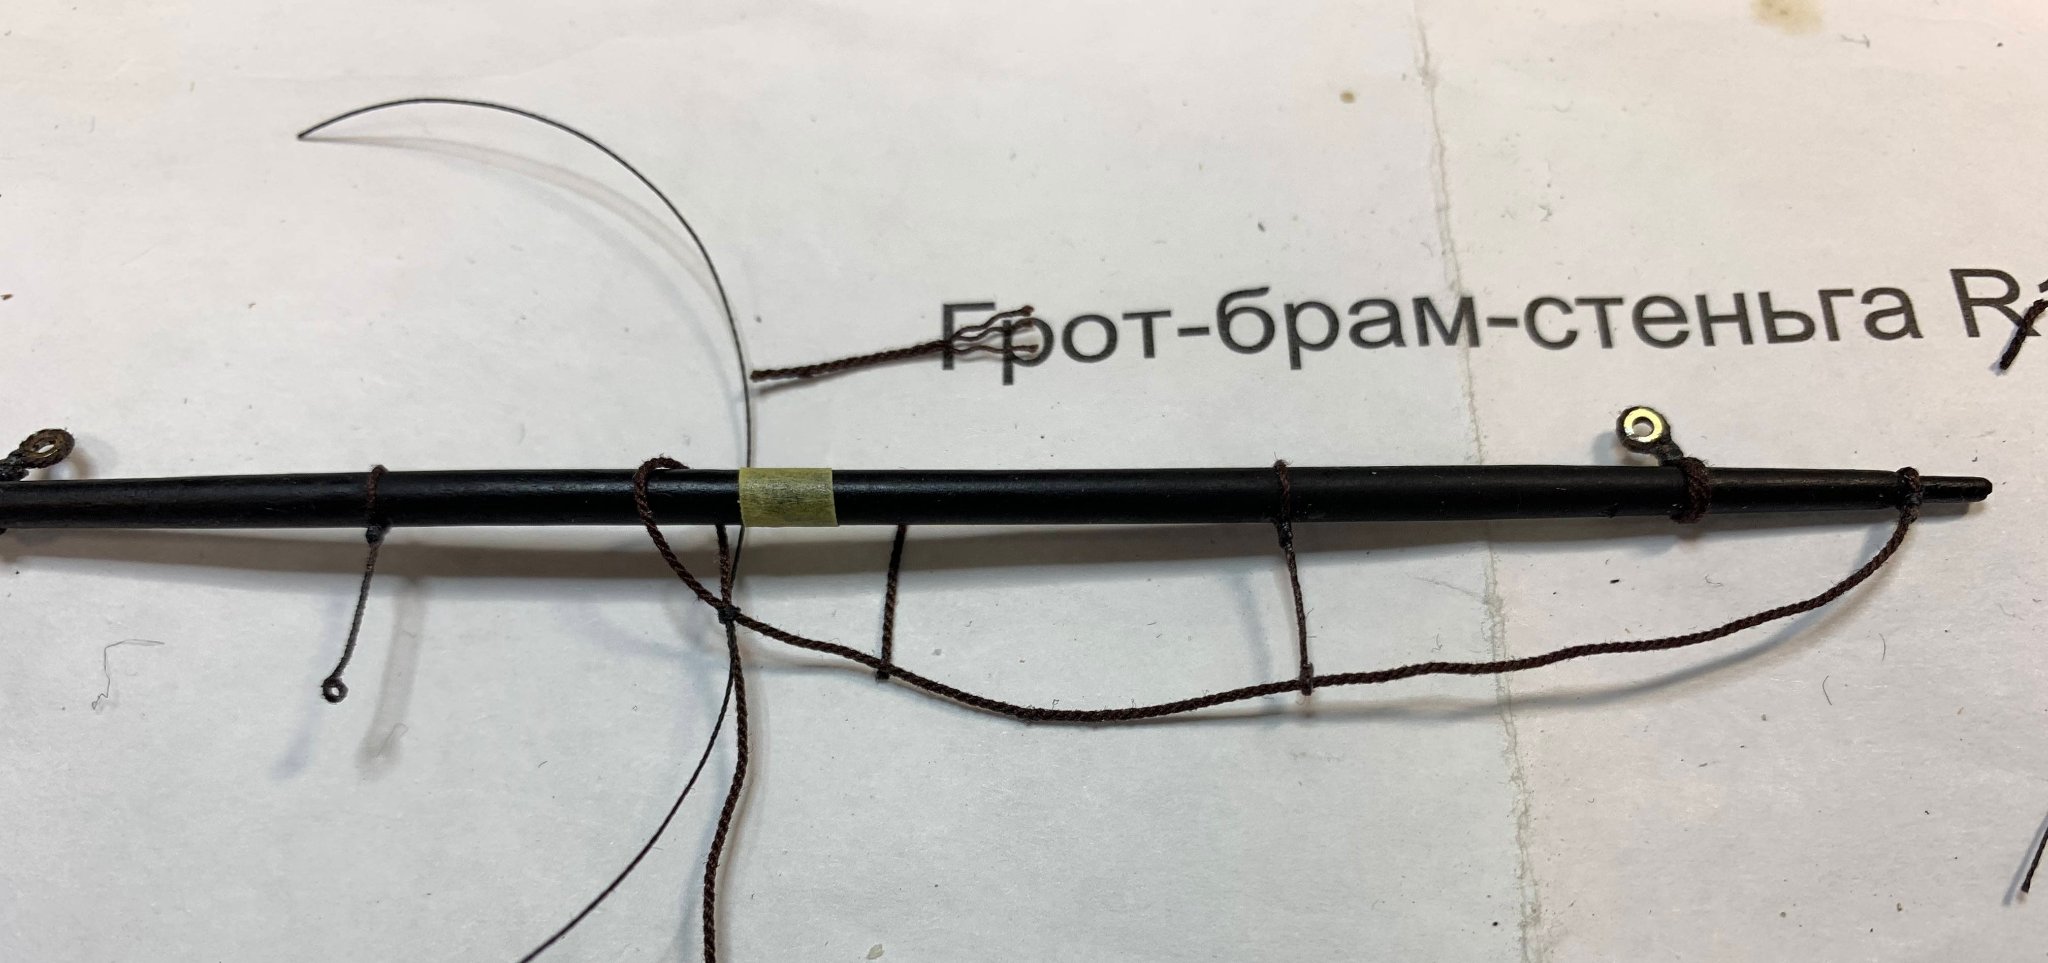
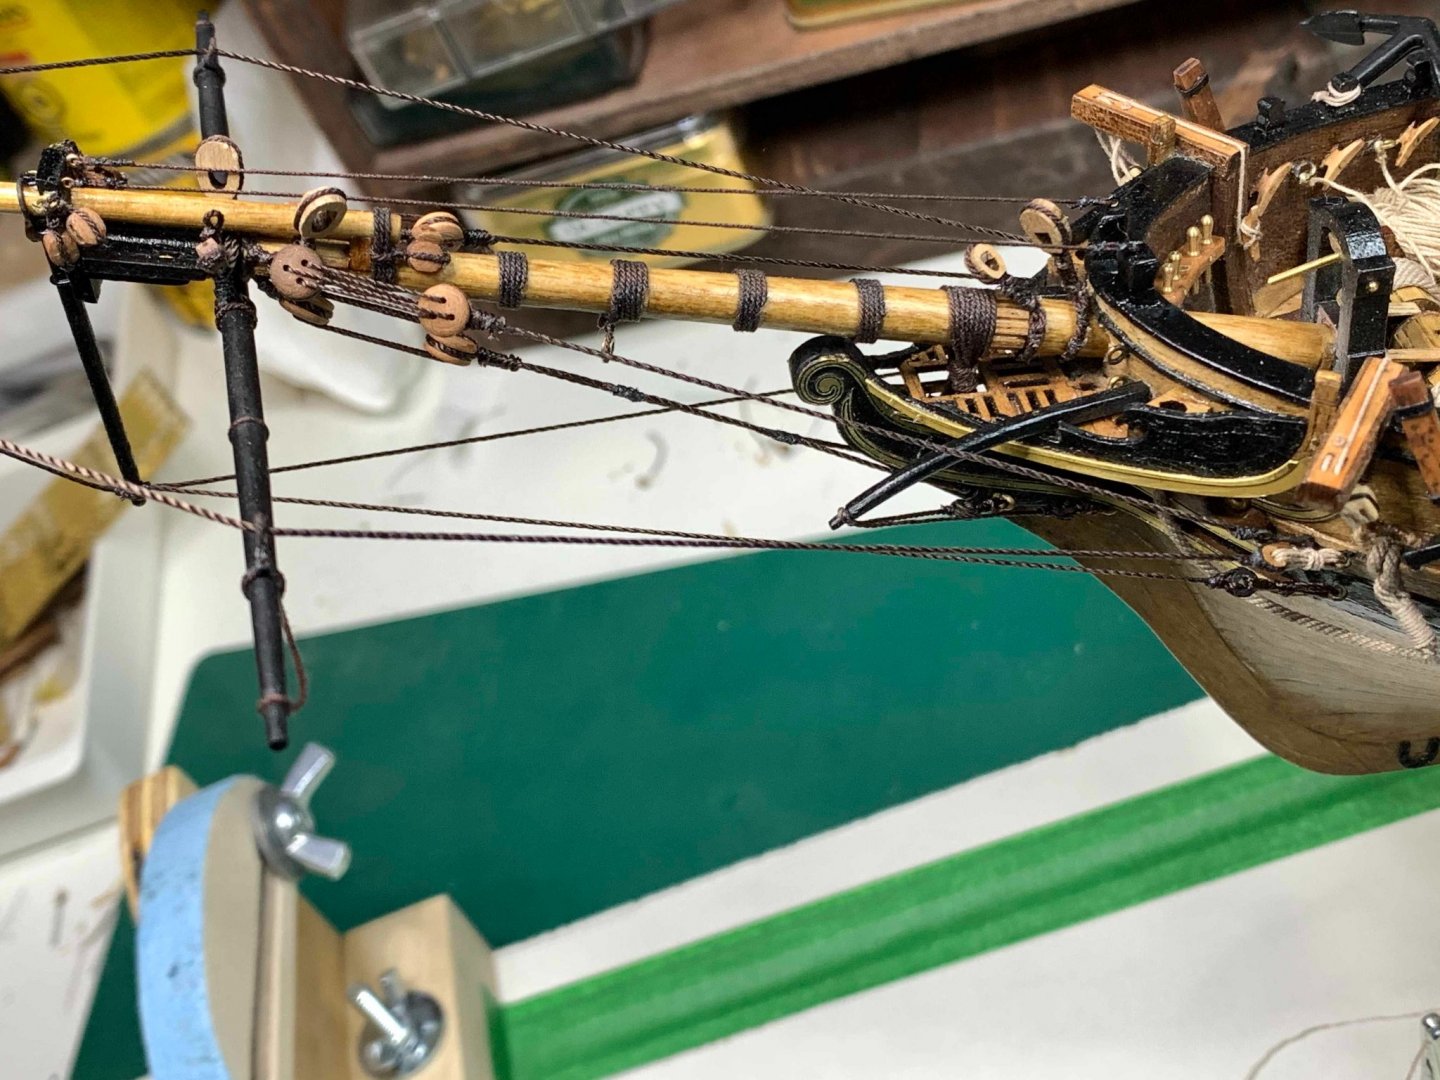
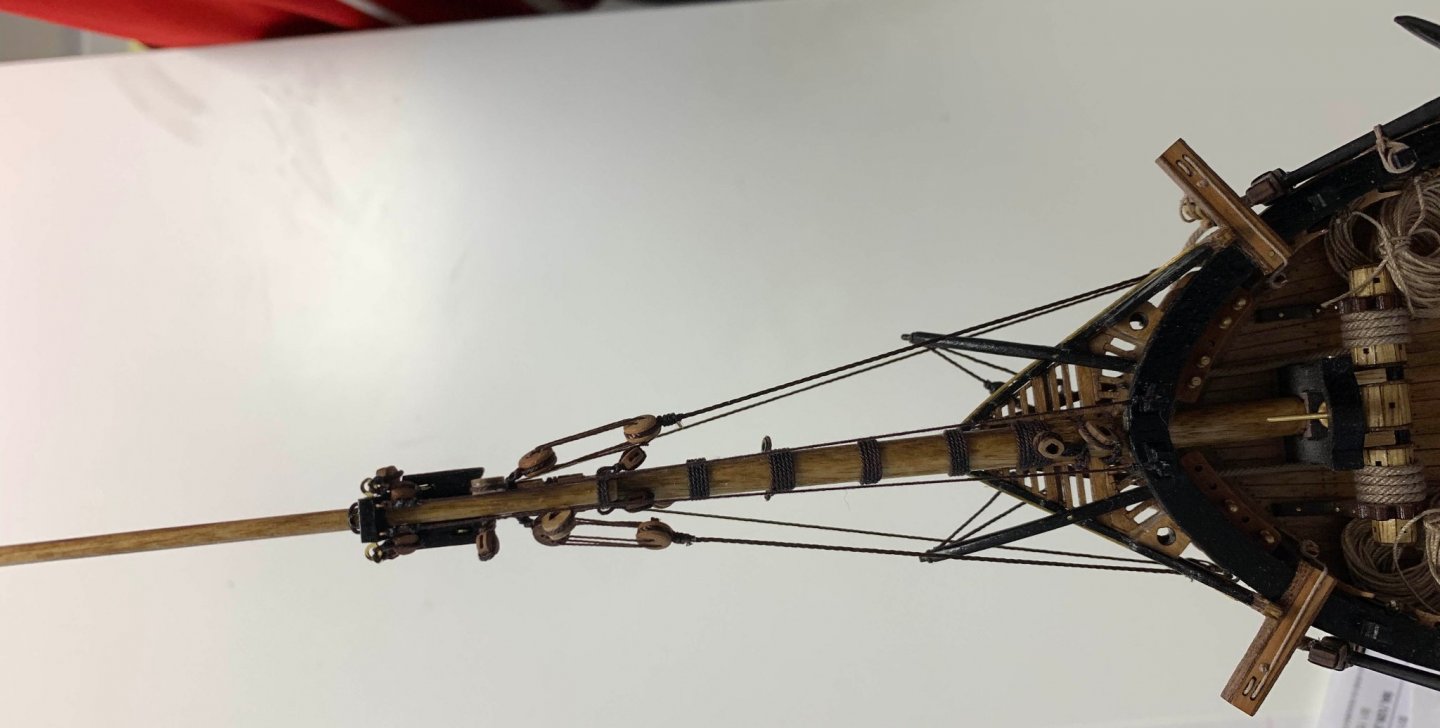
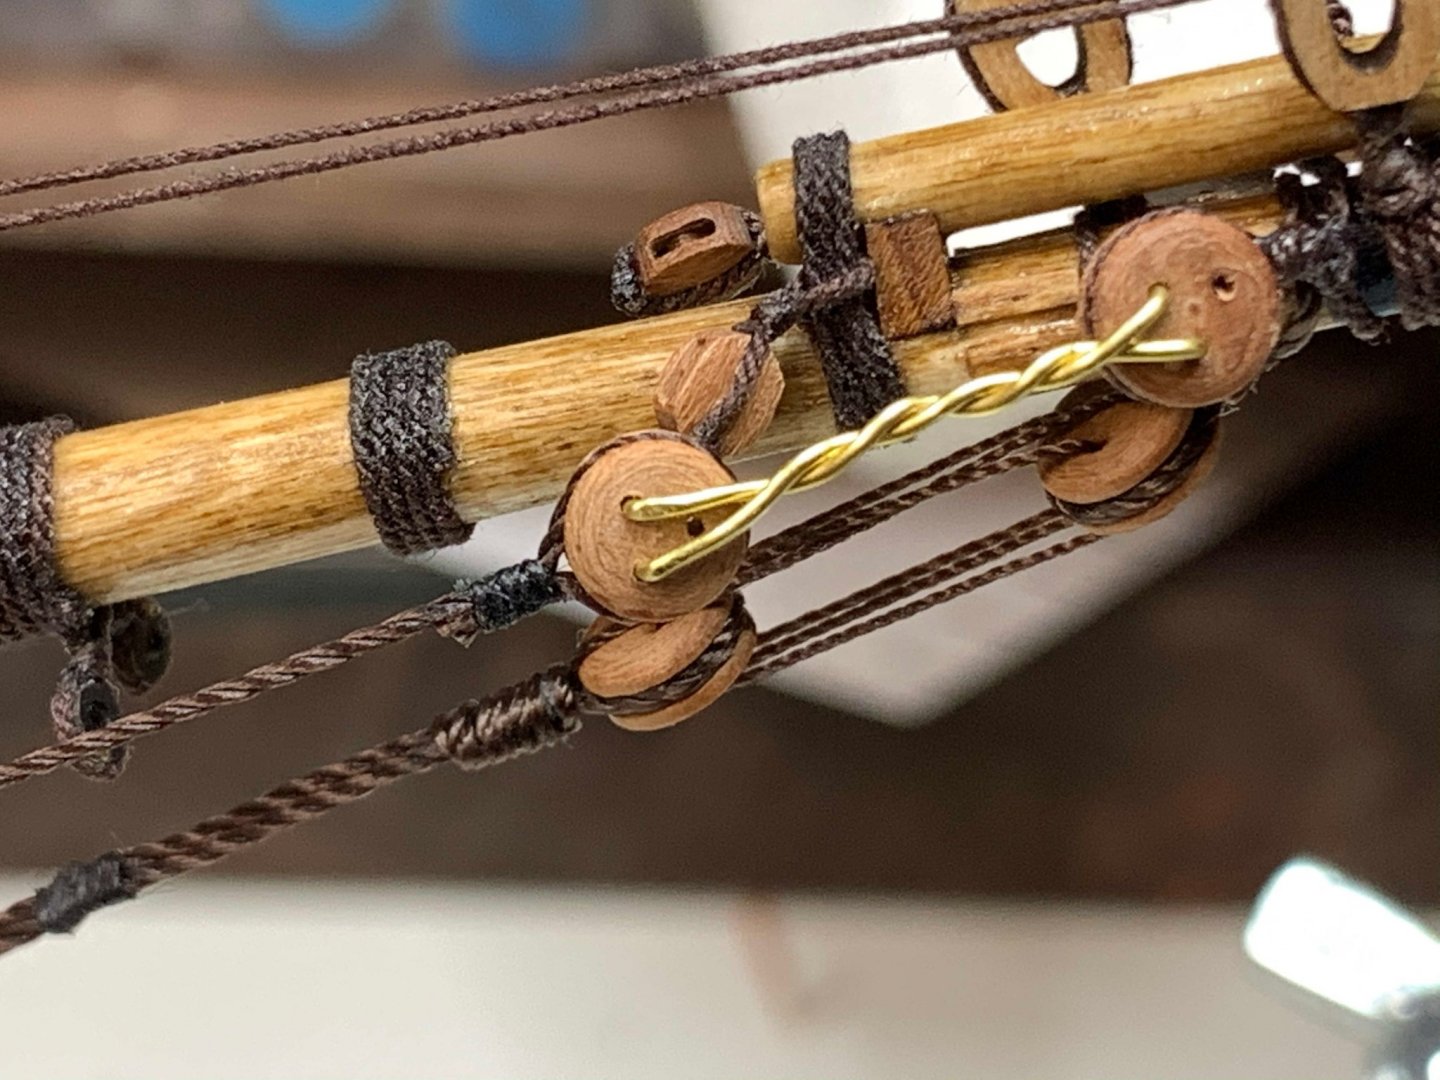
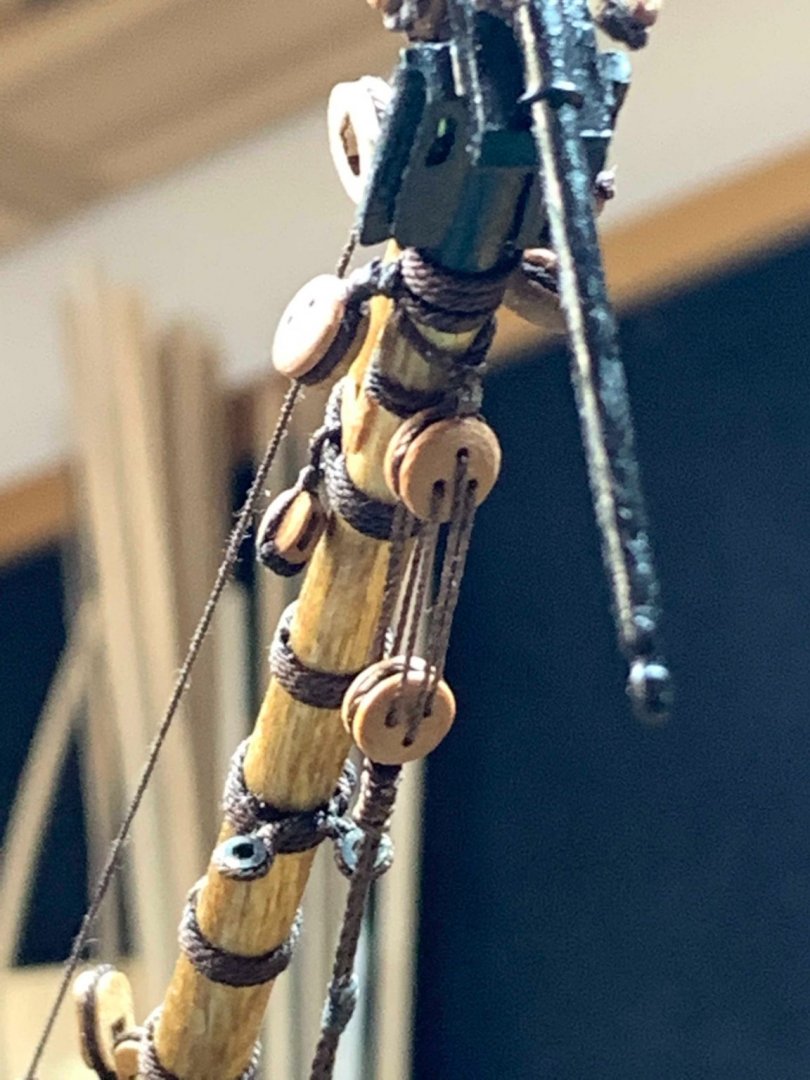
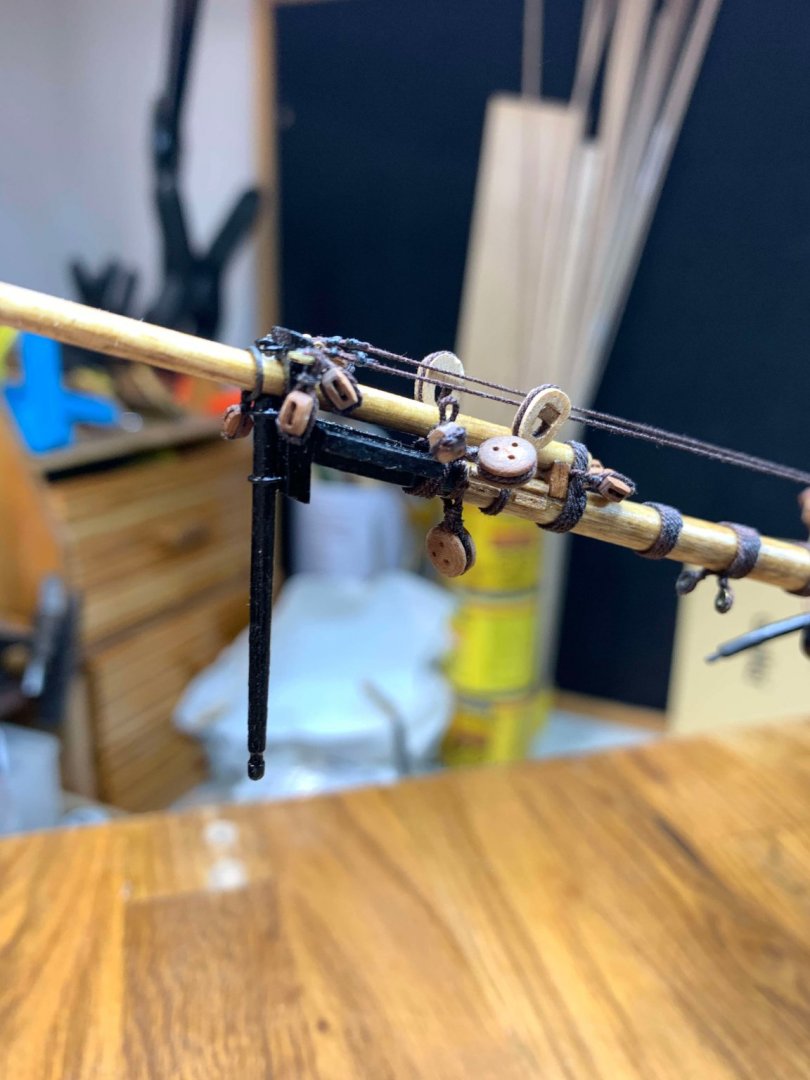
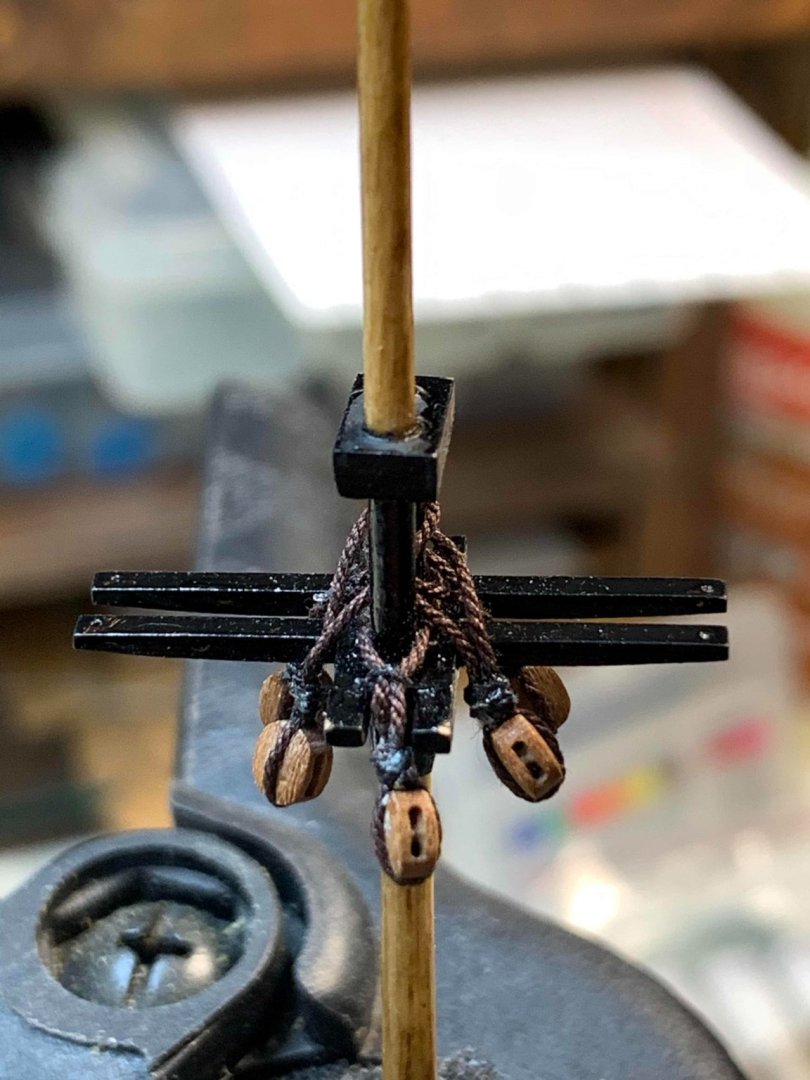
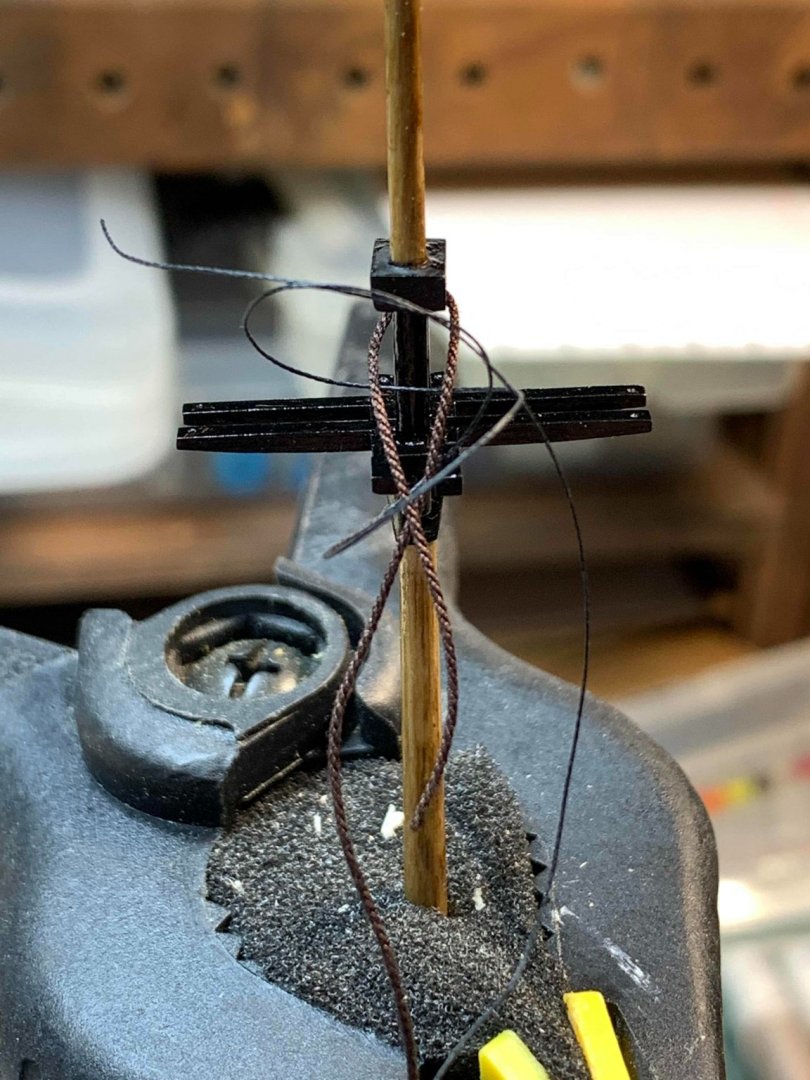
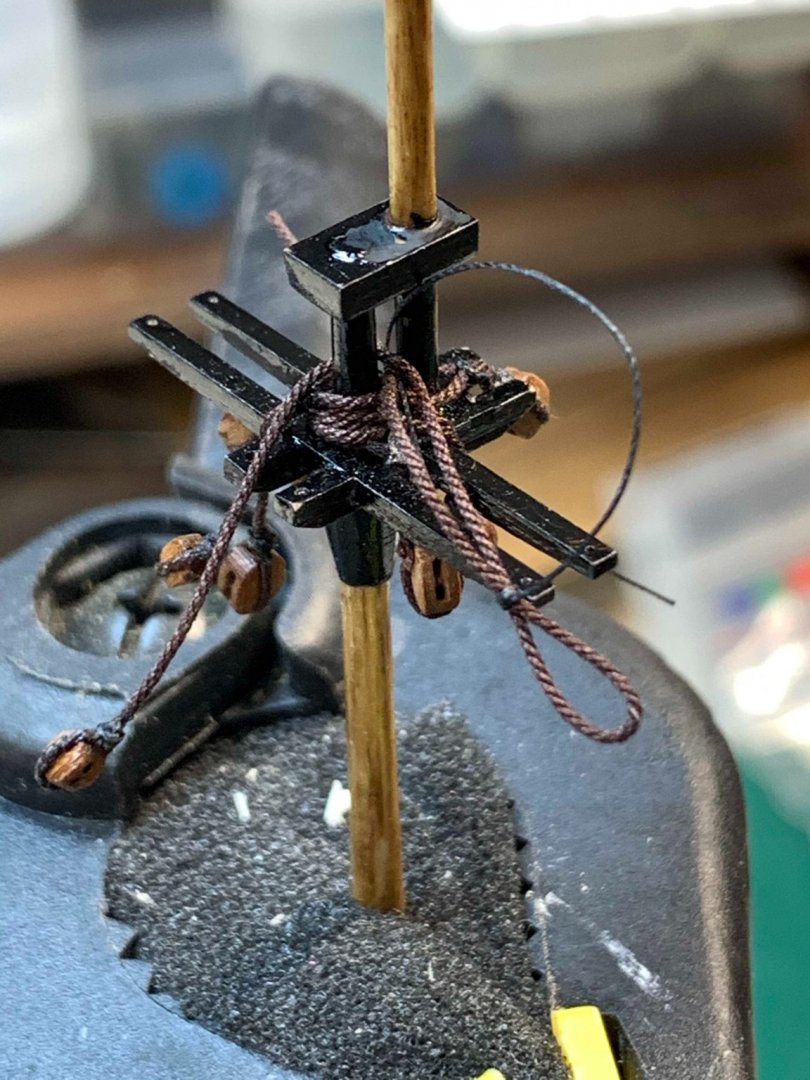
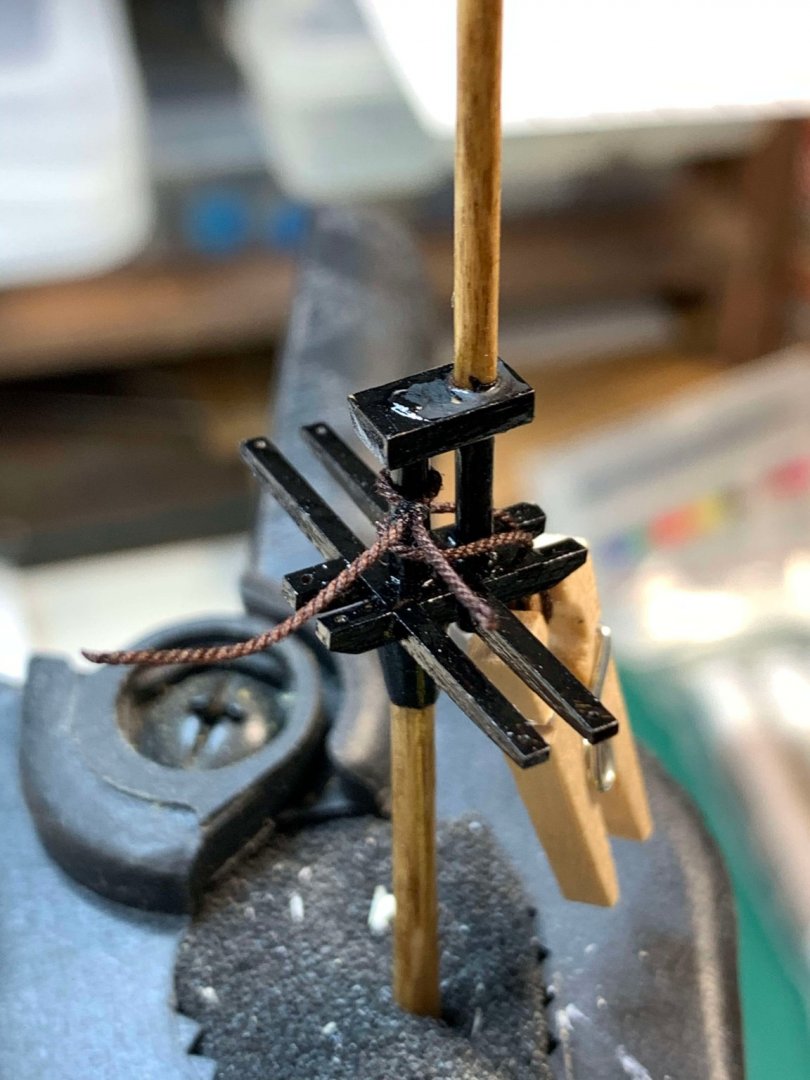
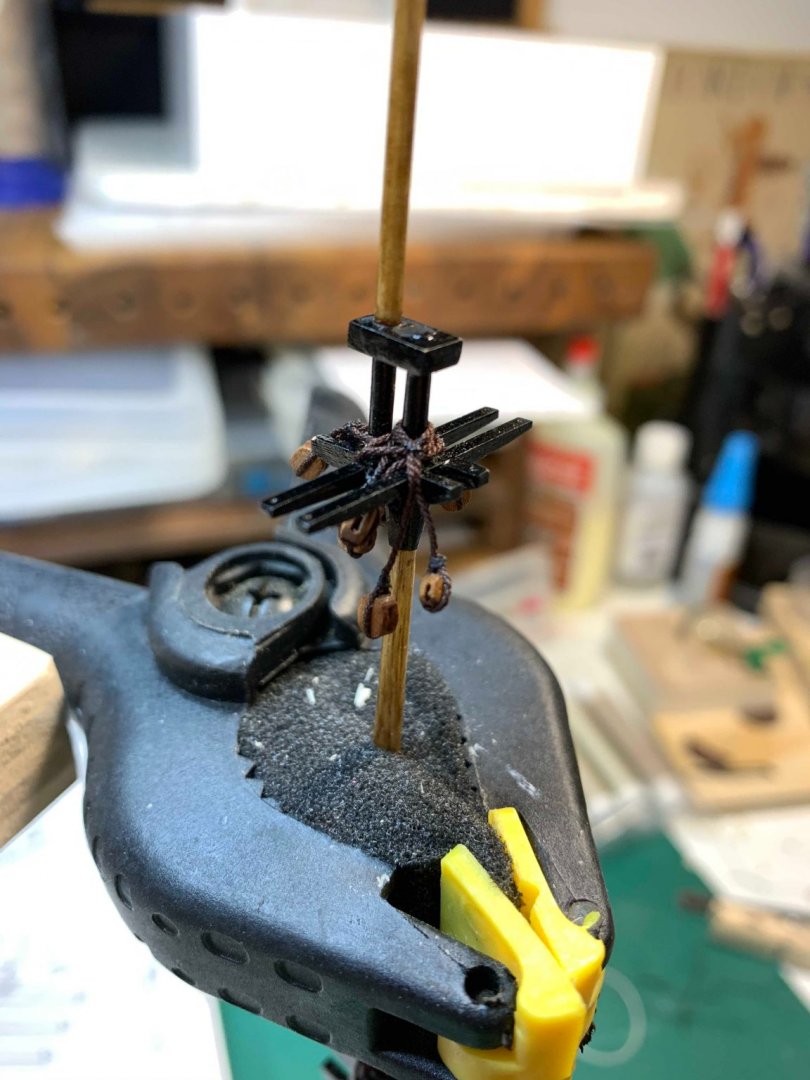
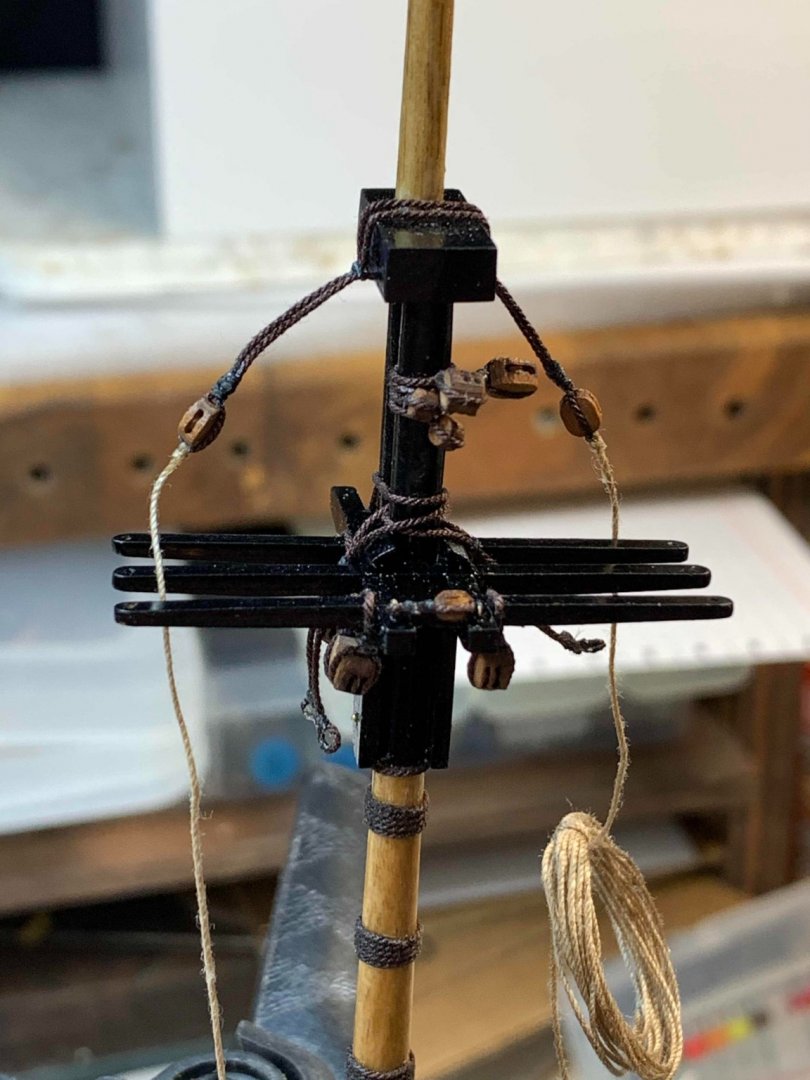
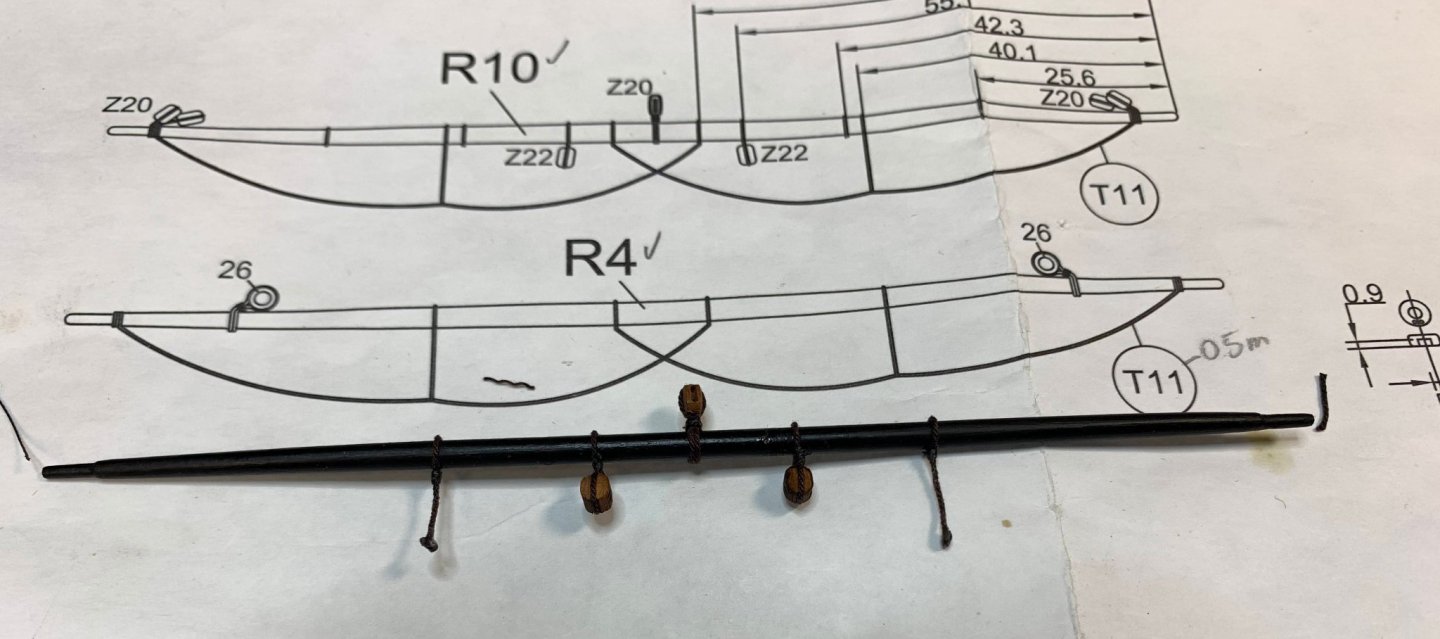
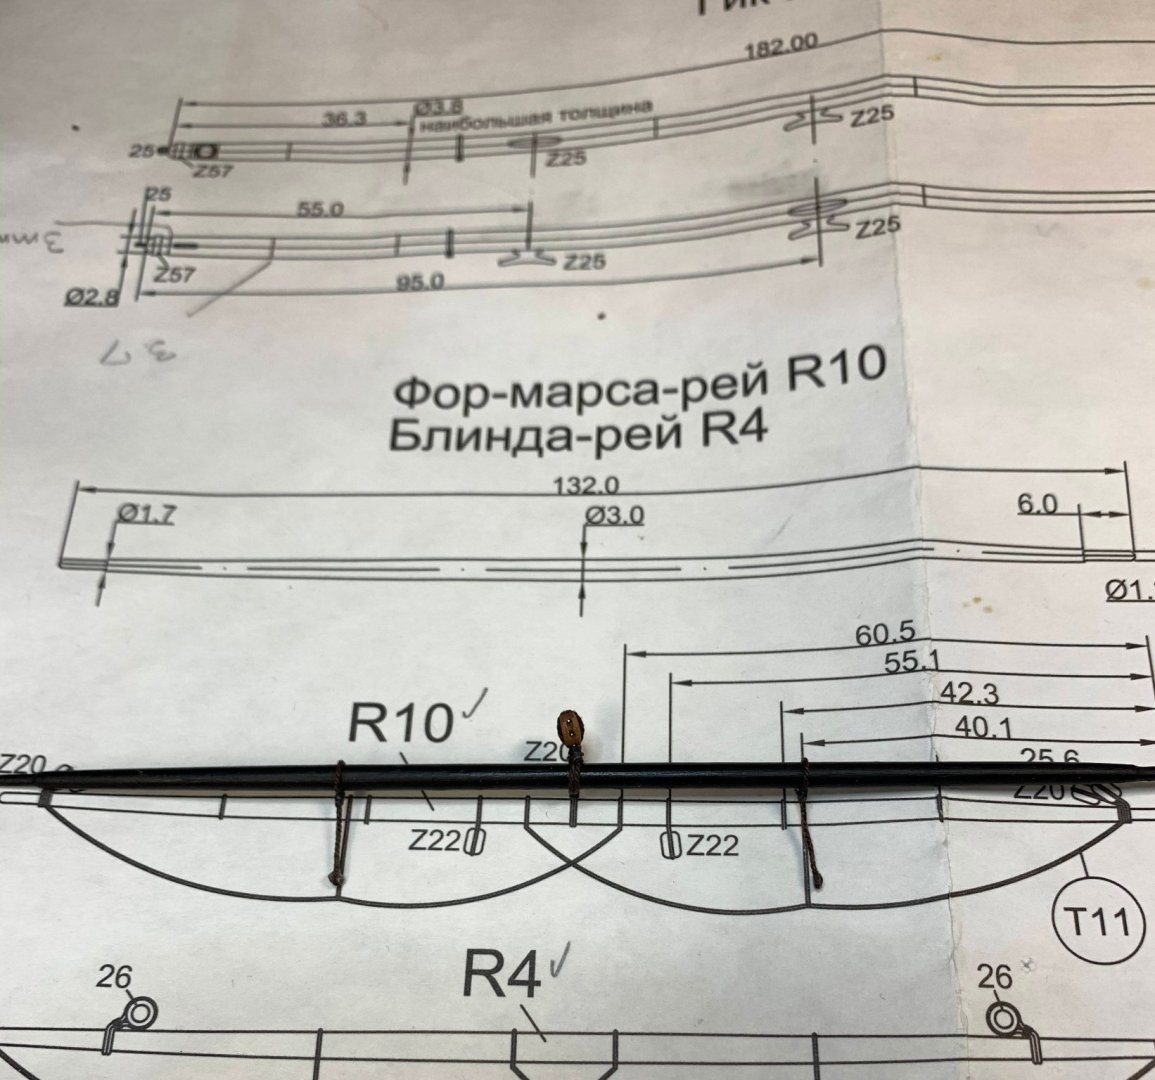
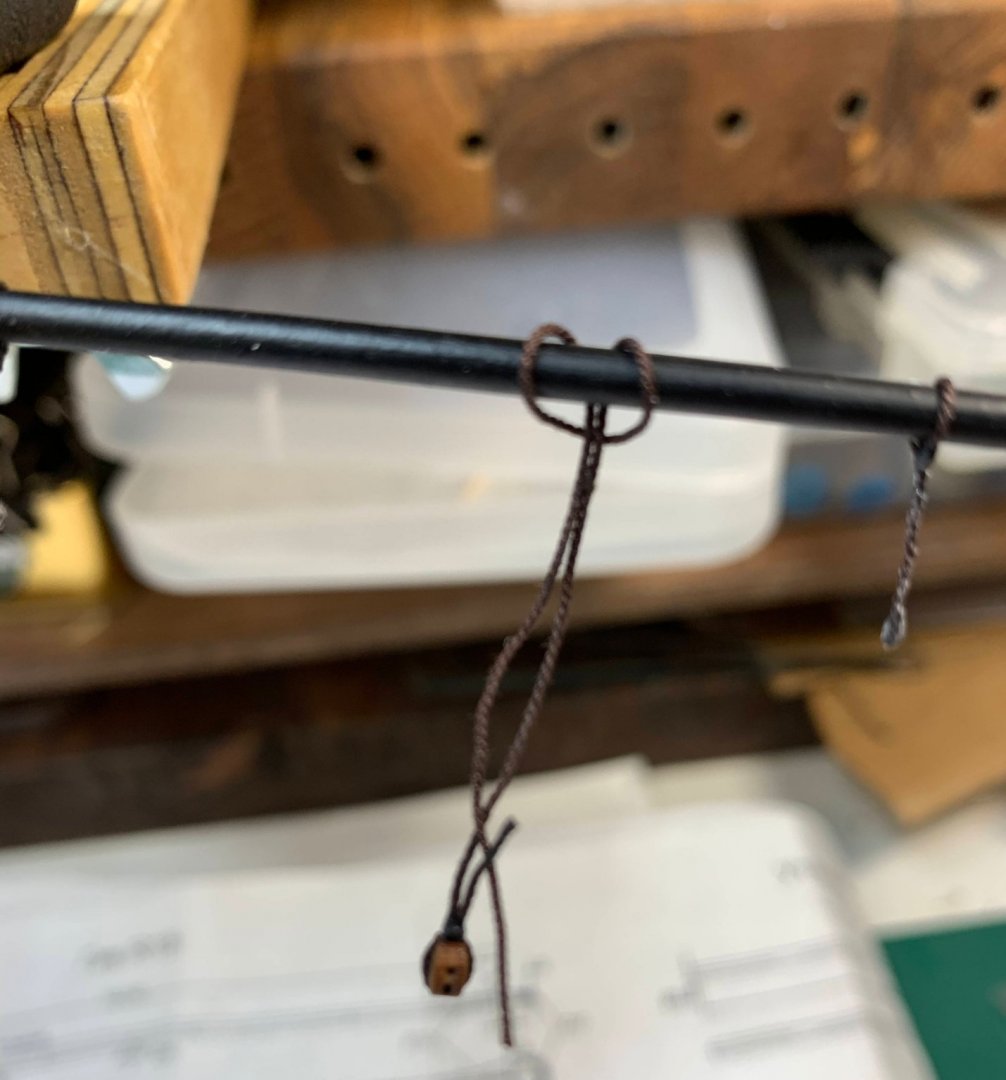
Now the spritsail yard can be attached. But before this the footrope and thimbles are installed. Before installation i have tied one end of the spritsail hard sling to the yard. Following suggestion from some other modeller' blog, i decided not to cut the rope and align the ends, instead i simply seized all three ropes. Happy modelling...


- 275 replies
-
- 1
-
-
- phoenix
- master korabel
- (and 1 more)
-
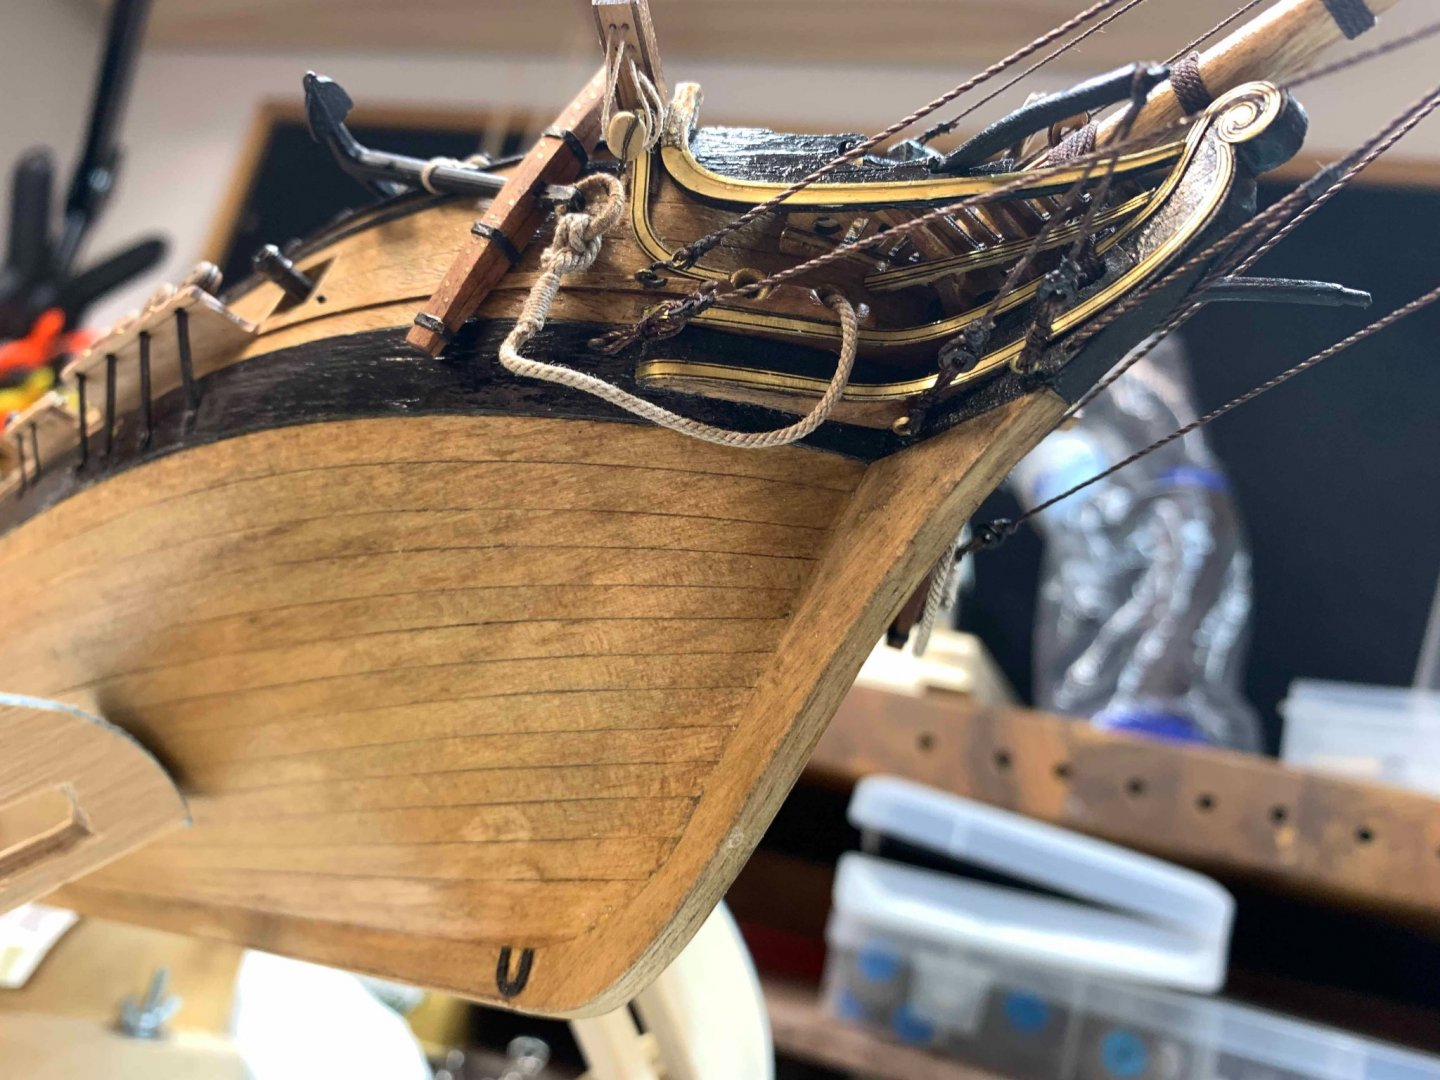
Continue installing standing rigging by installation of the bumkin shrouds. Few fake rings made from spare blocks. Happy modelling...


- 275 replies
-
- 2
-
-
- phoenix
- master korabel
- (and 1 more)
-
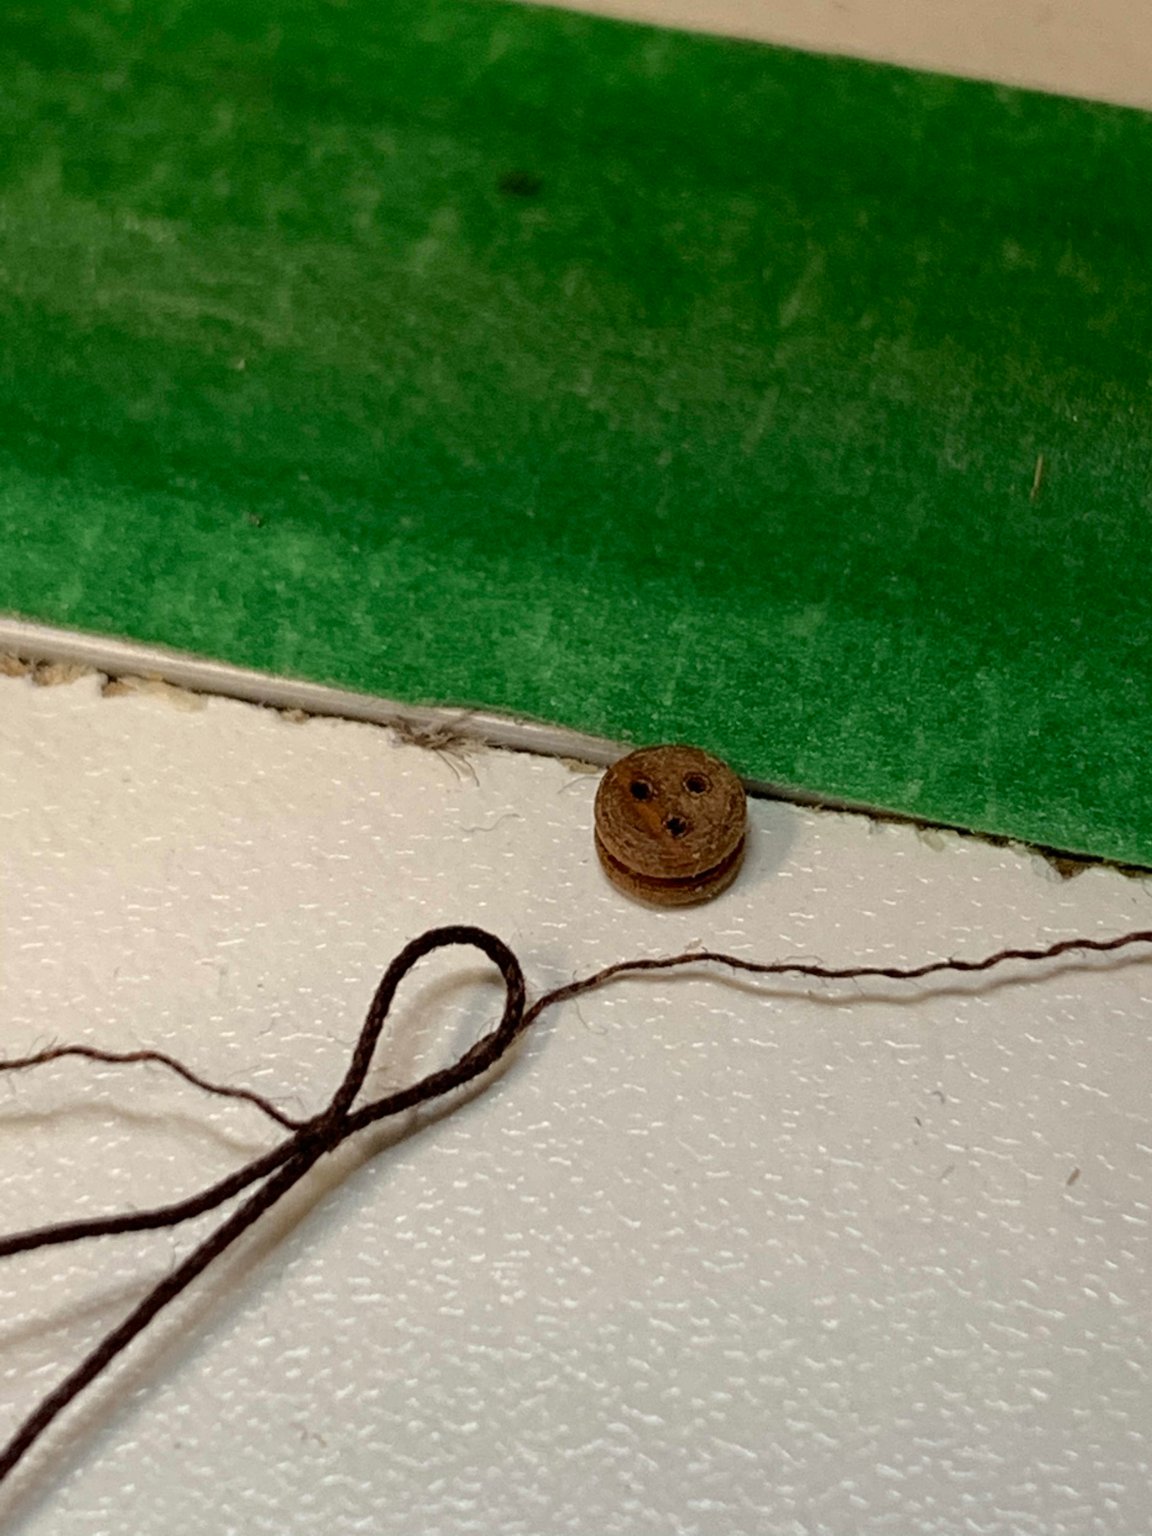
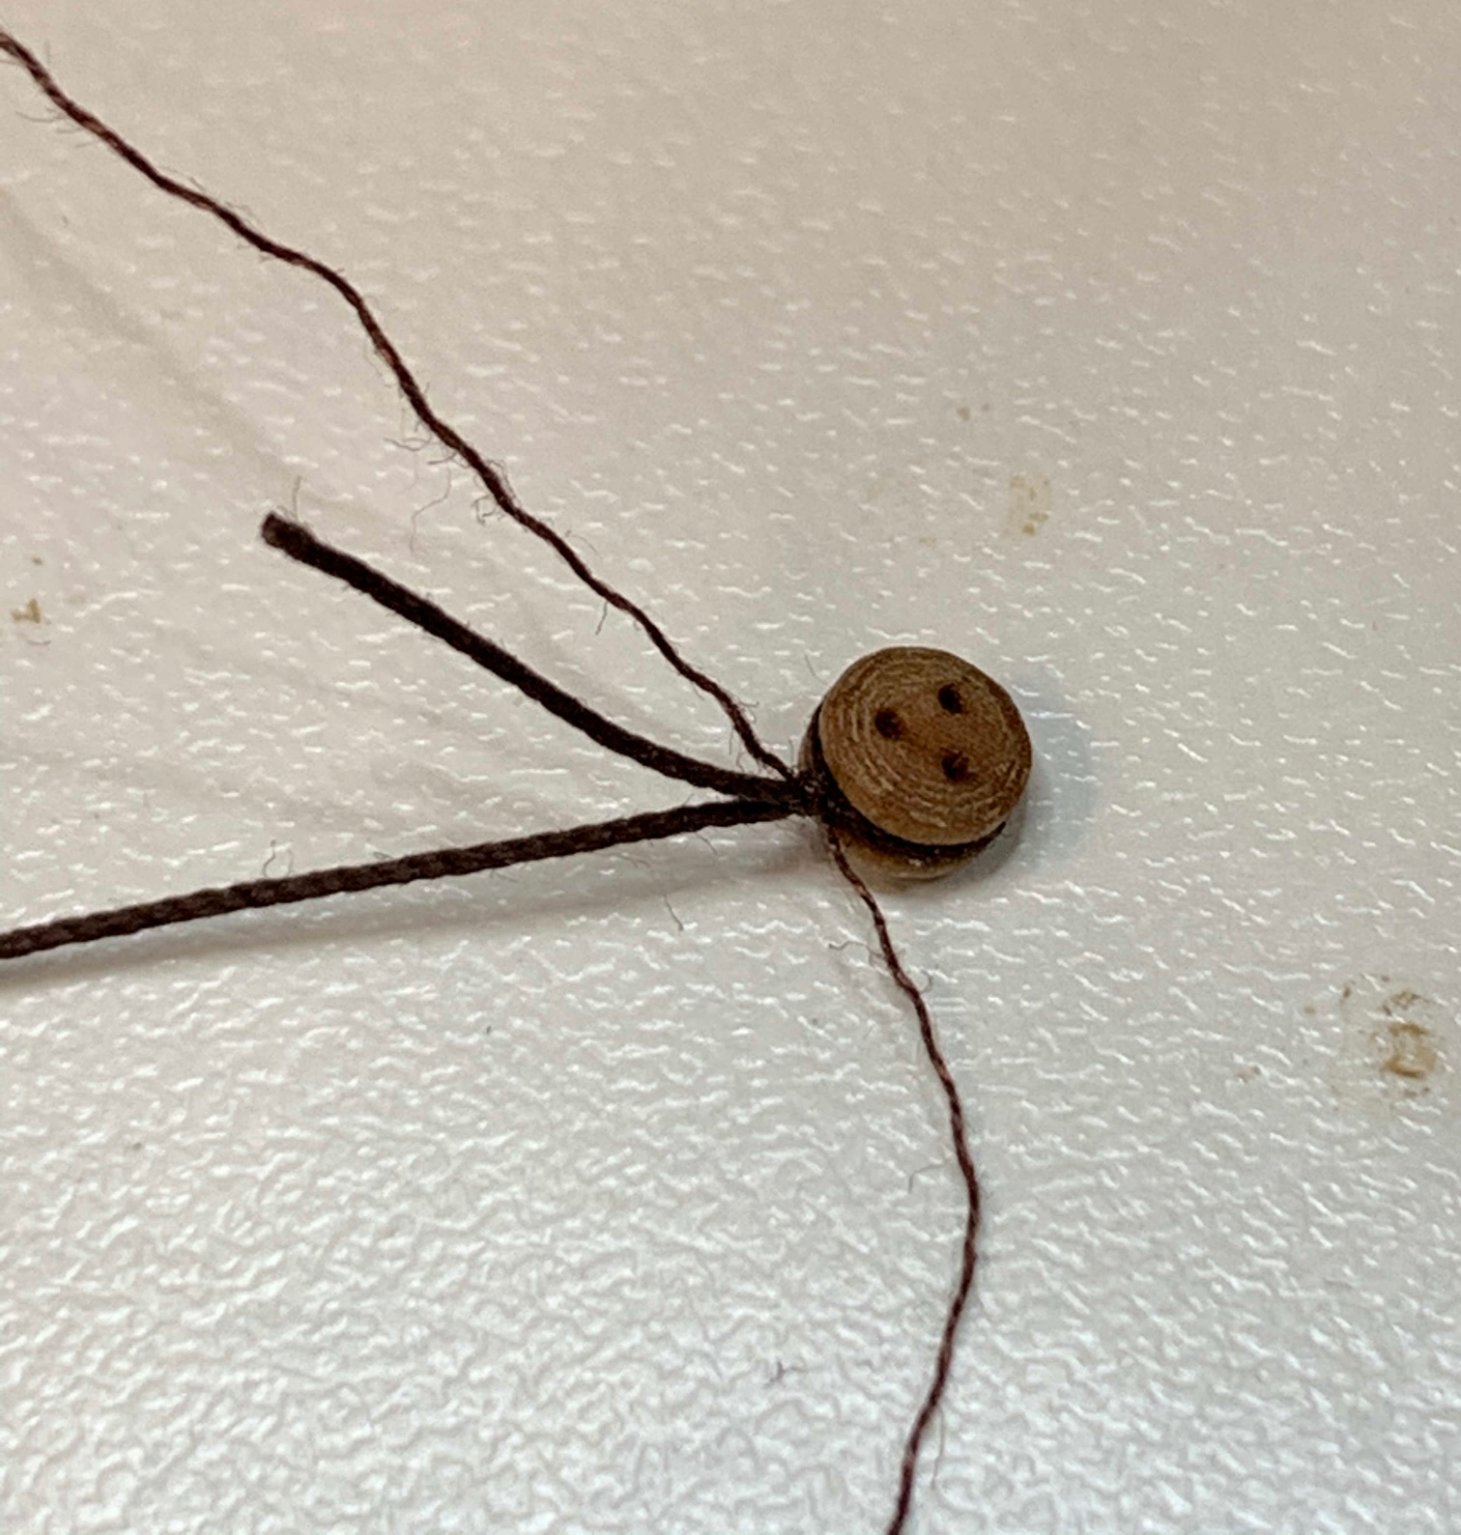
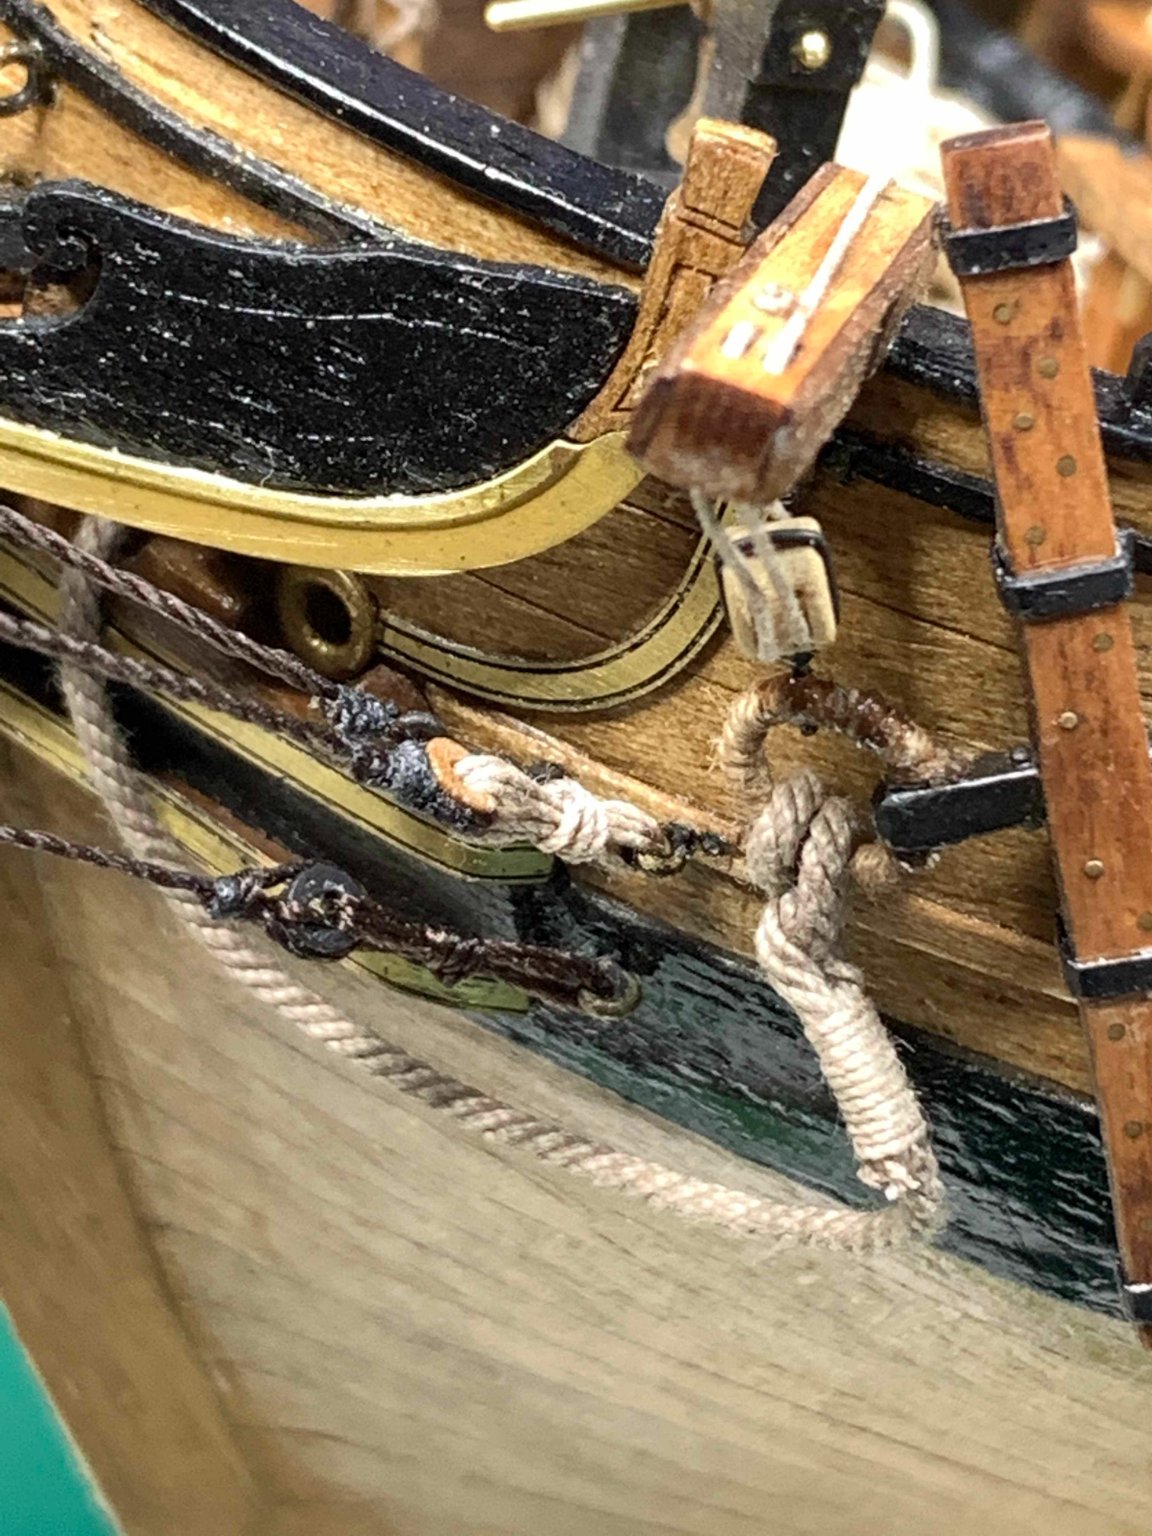
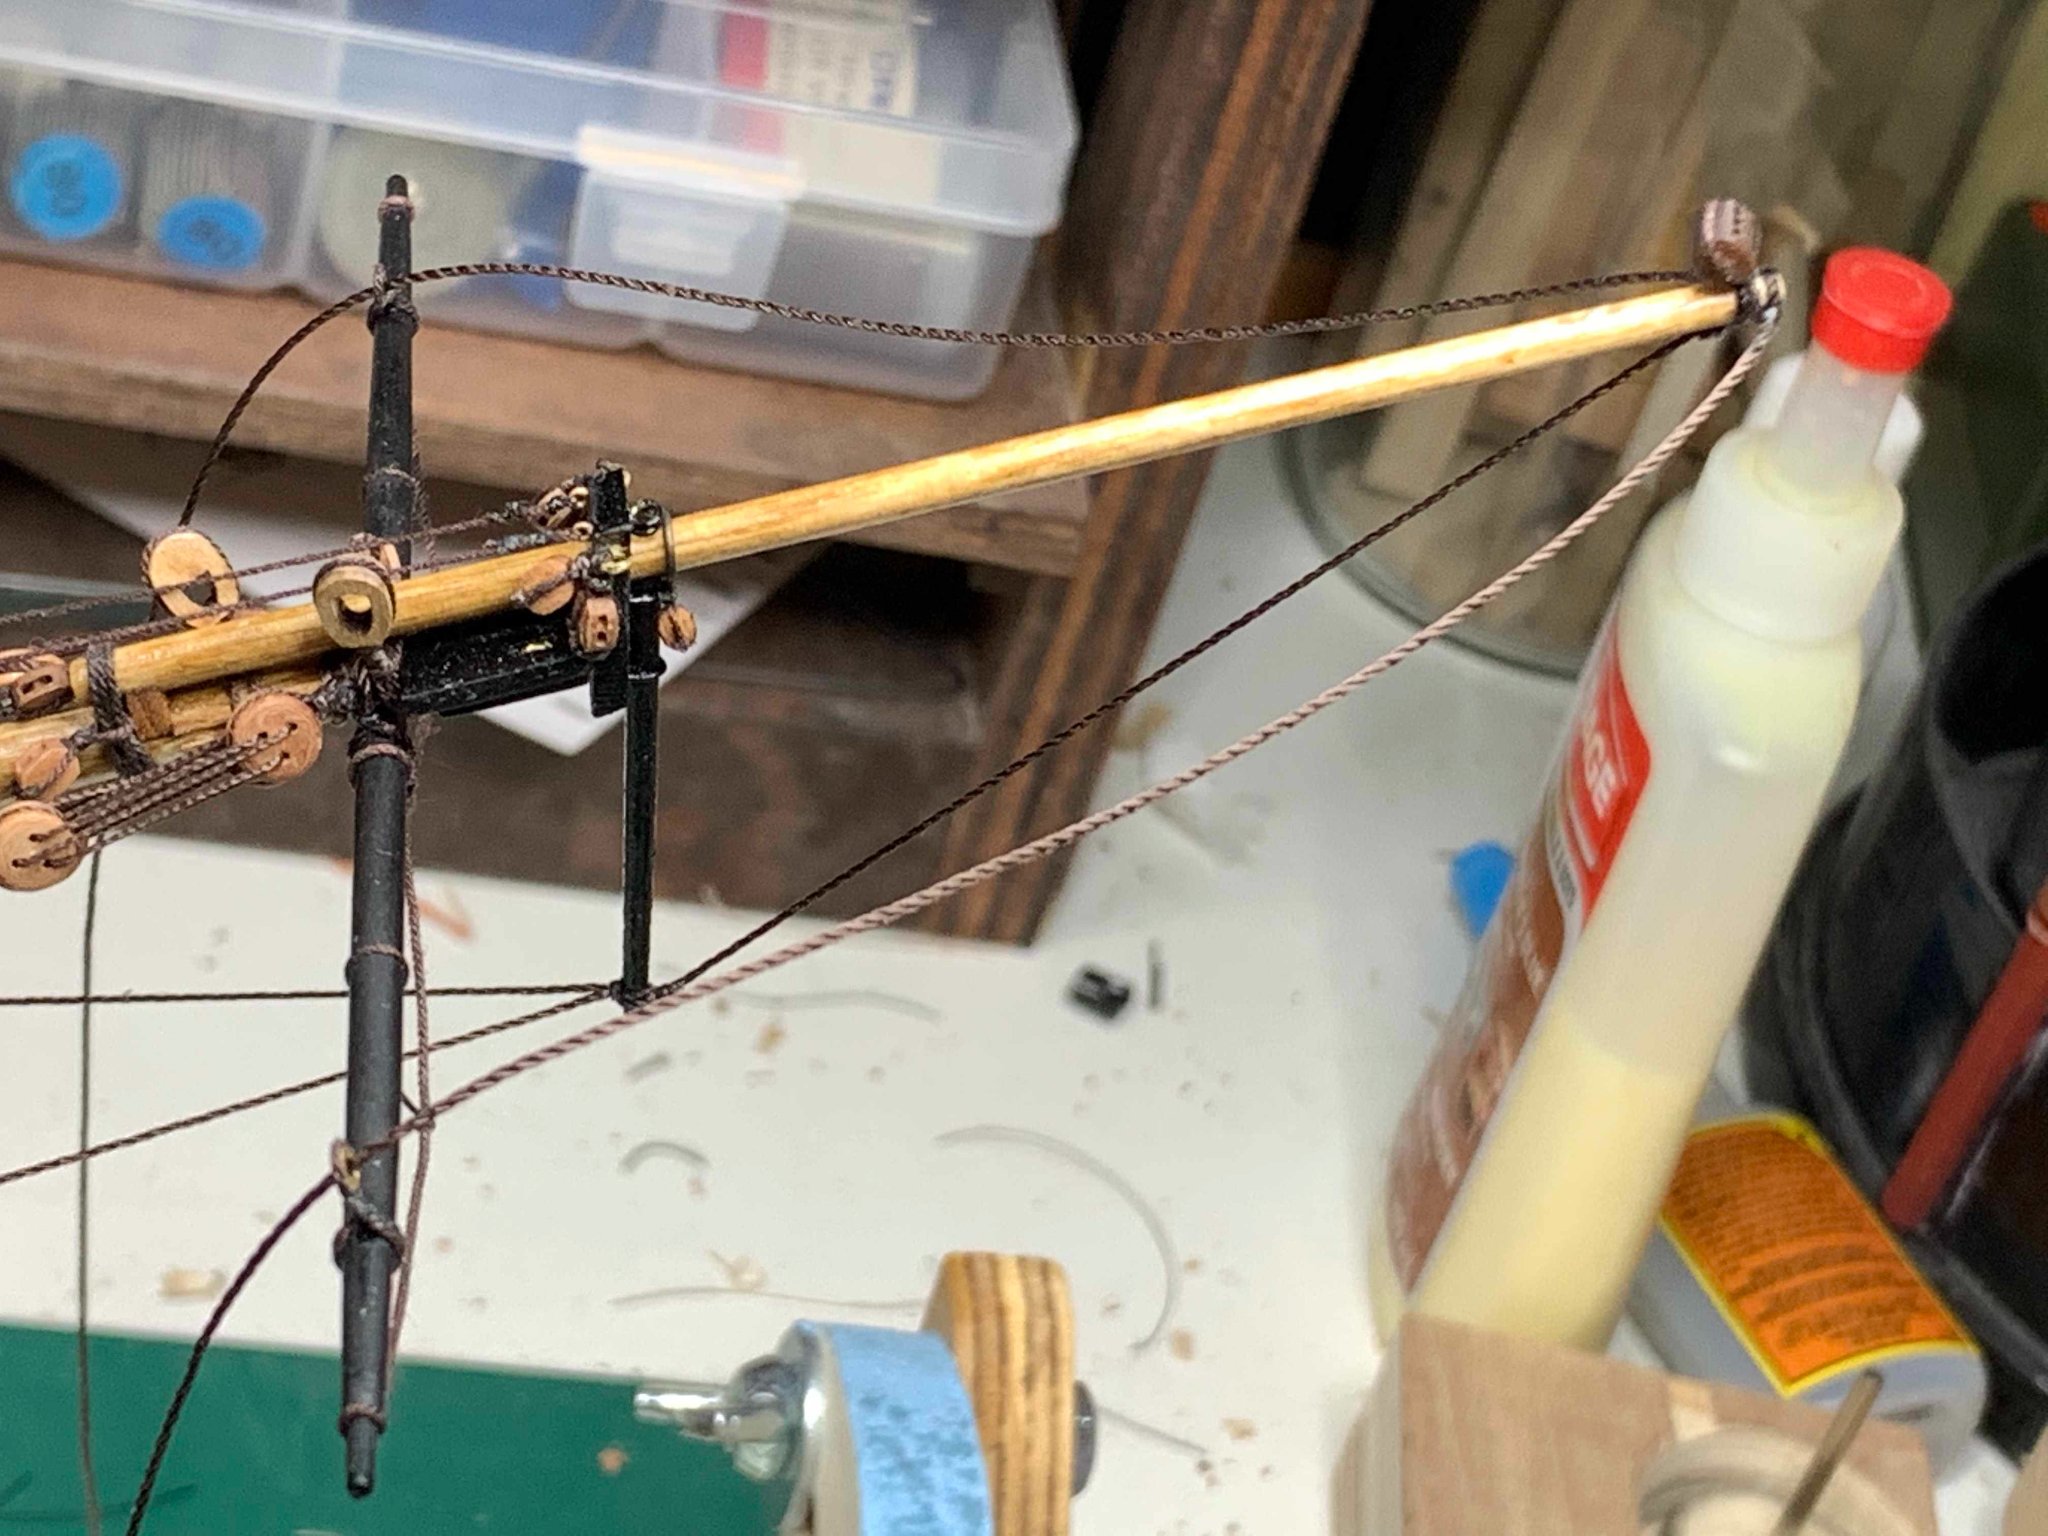
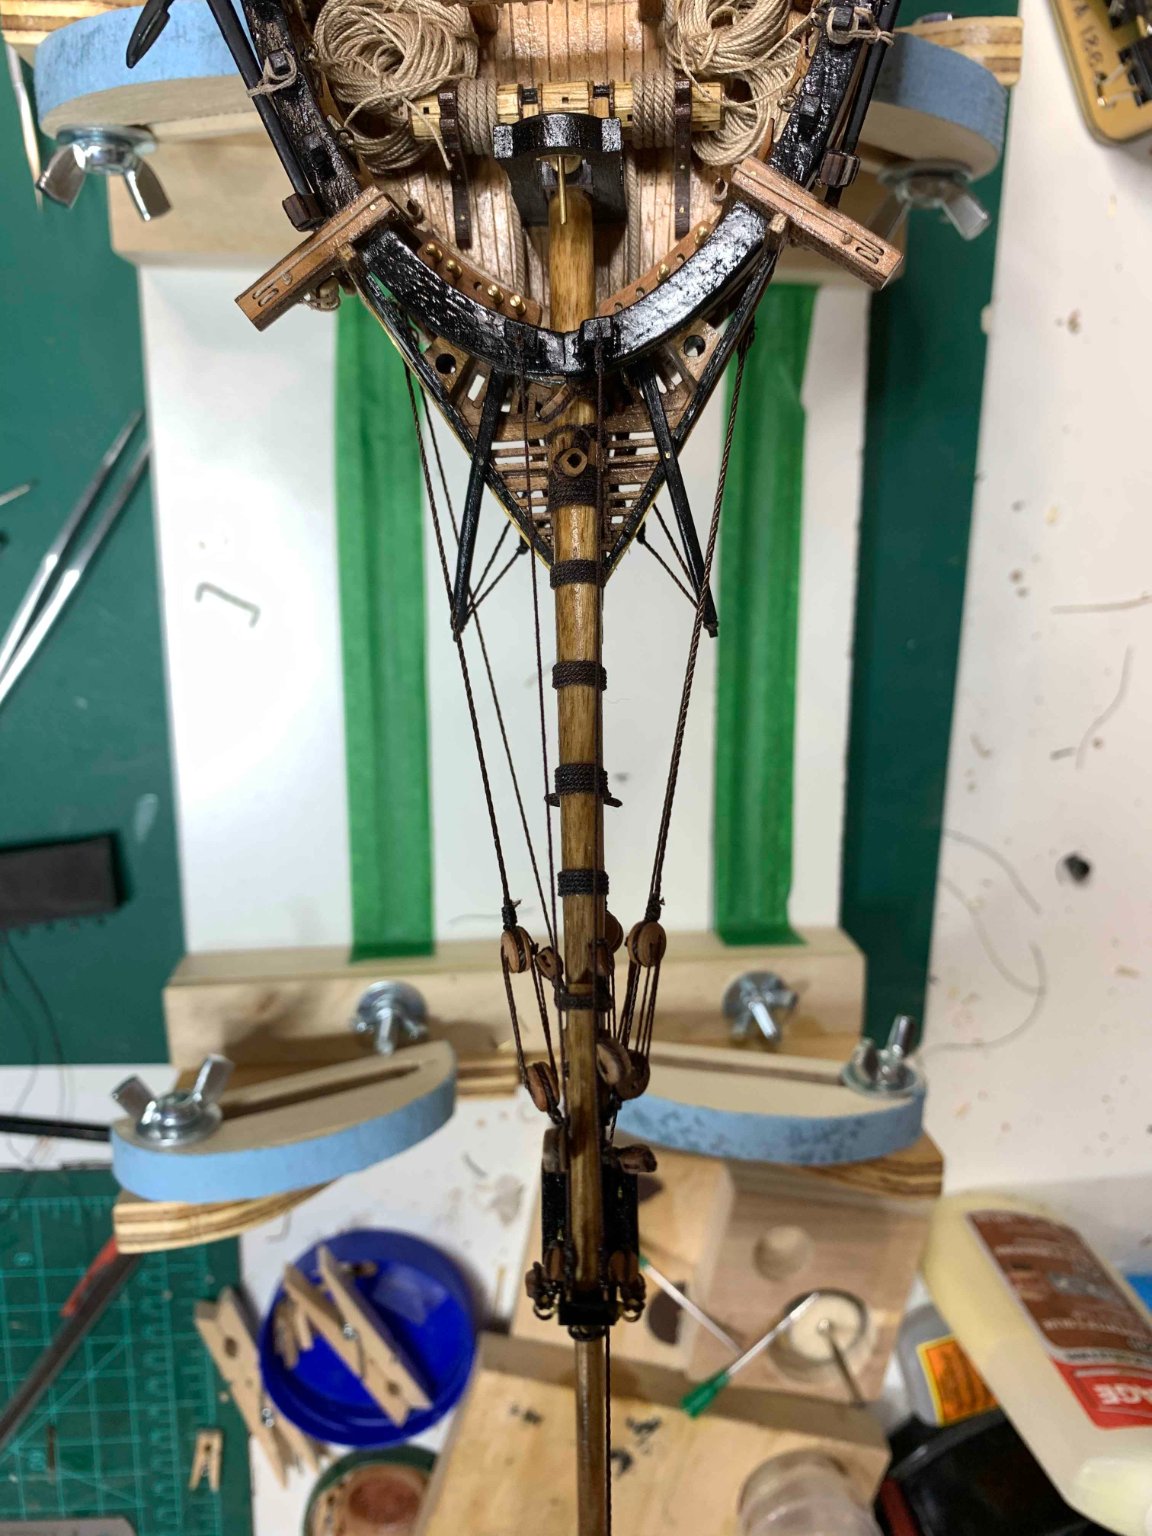
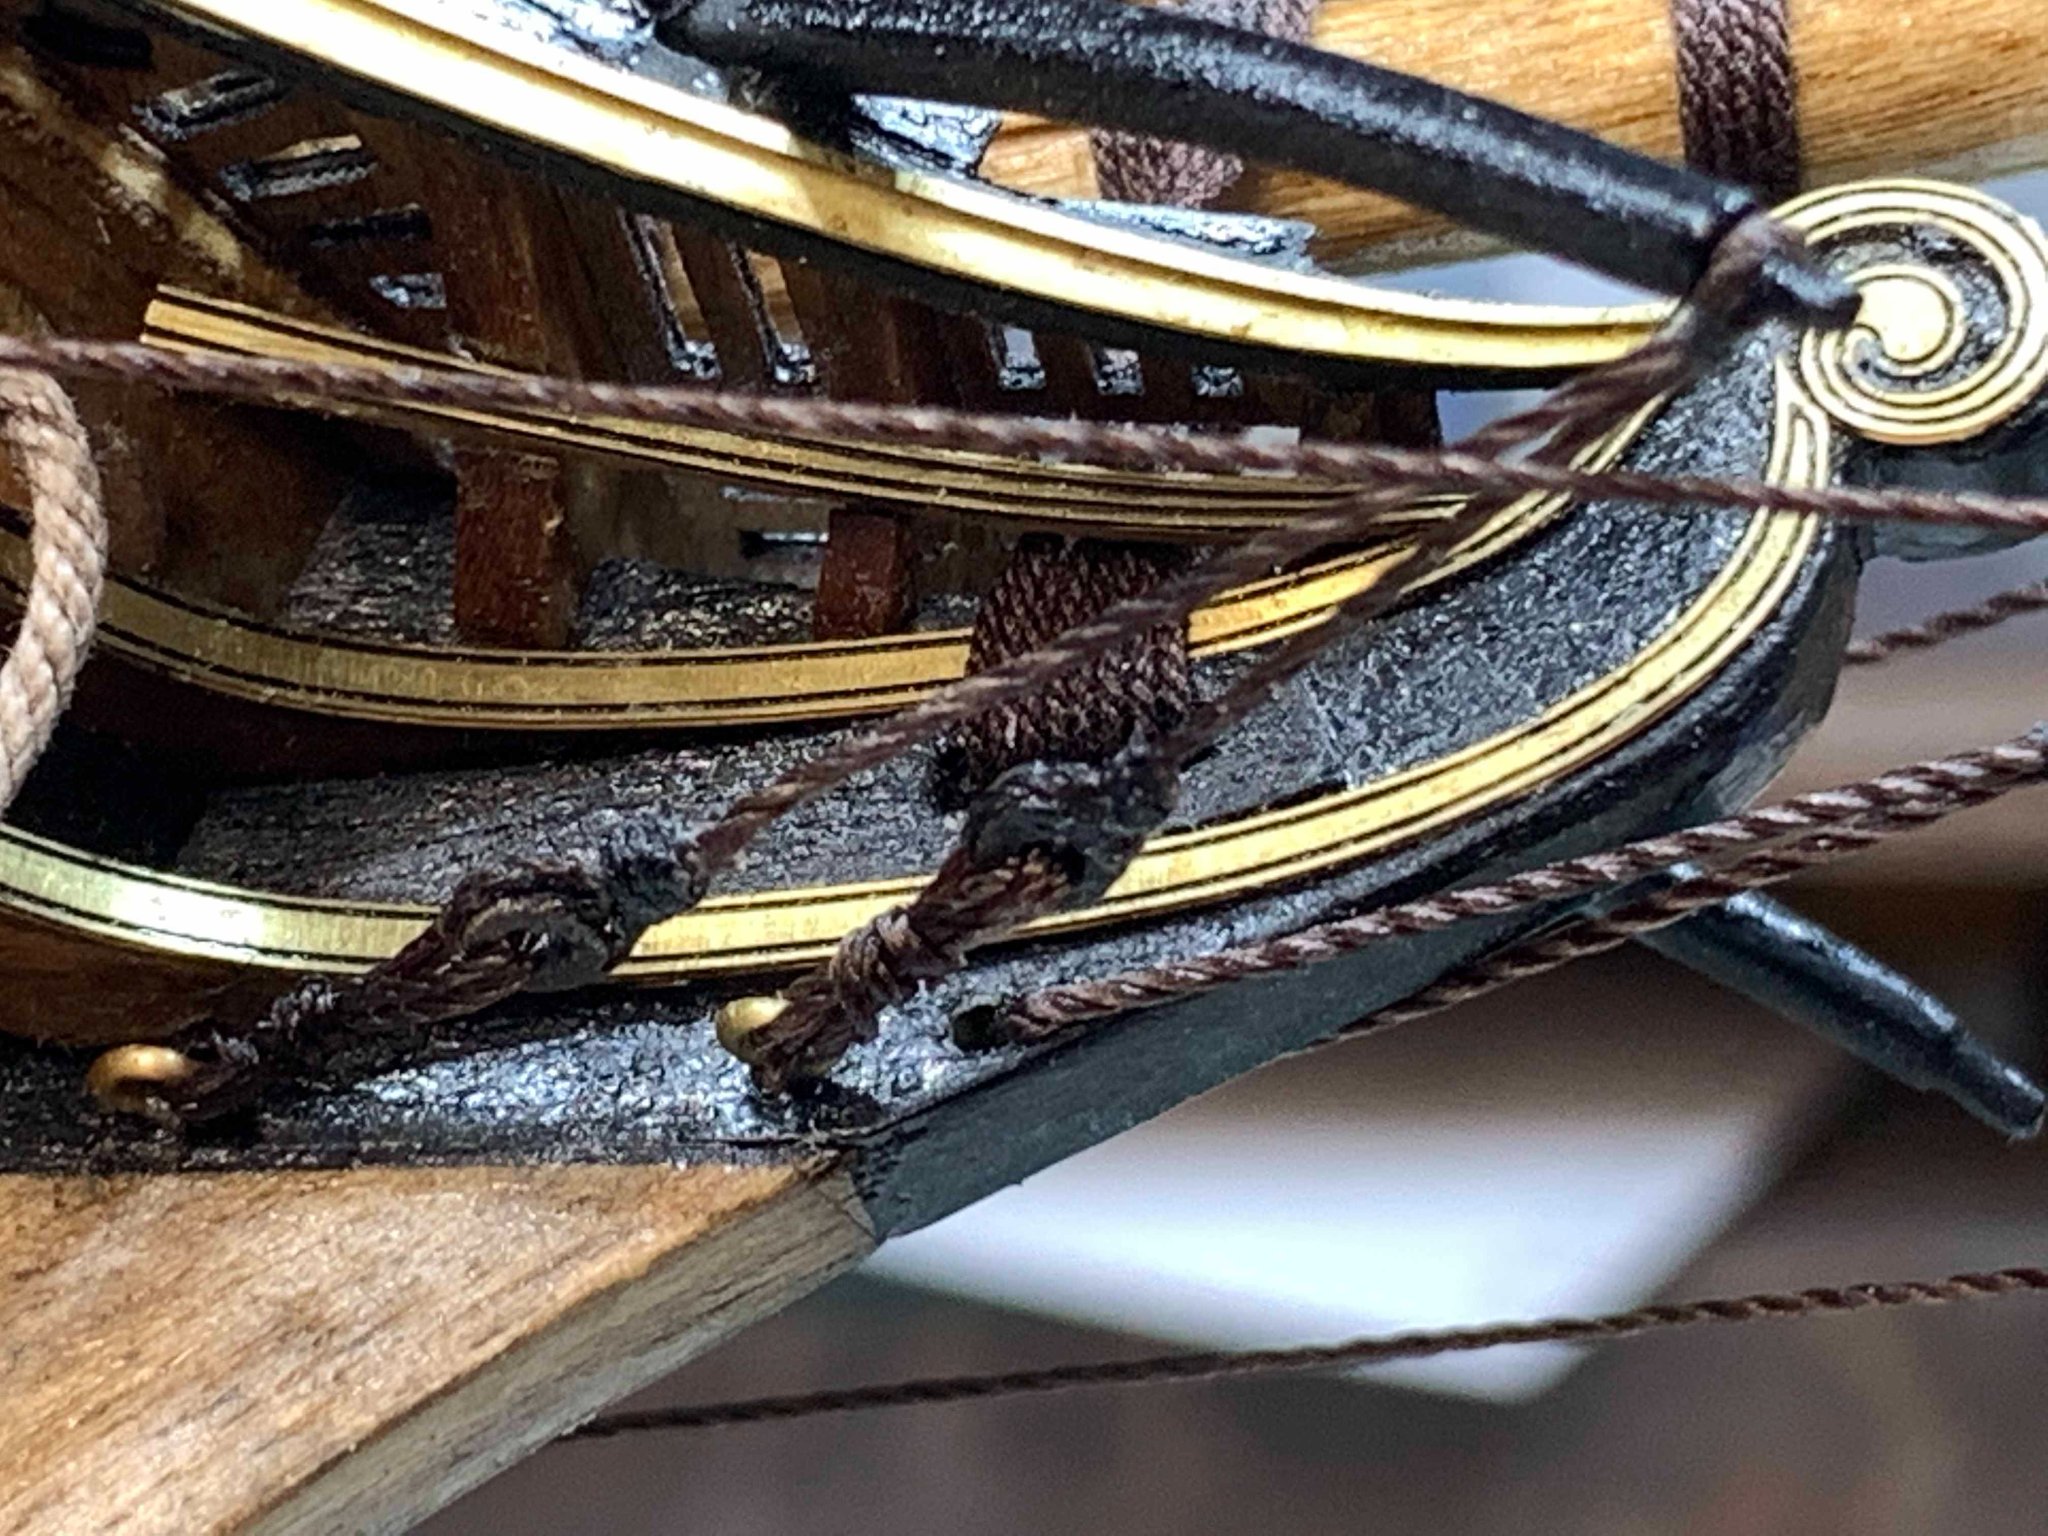
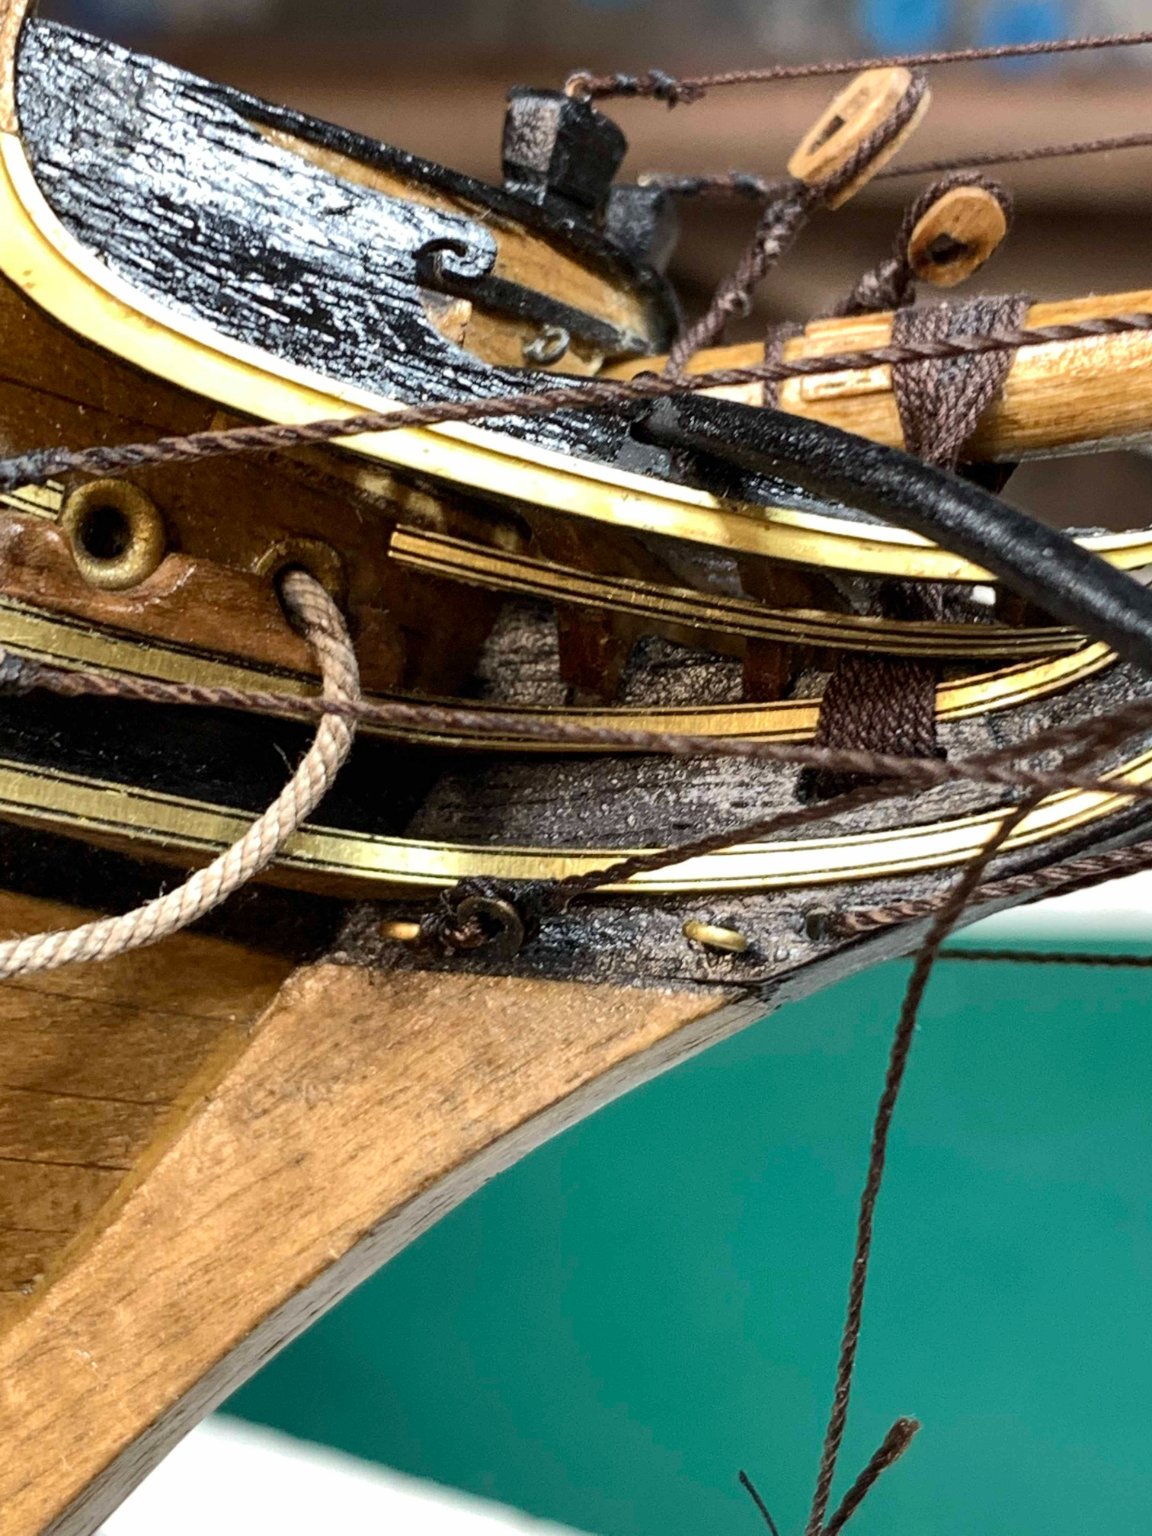
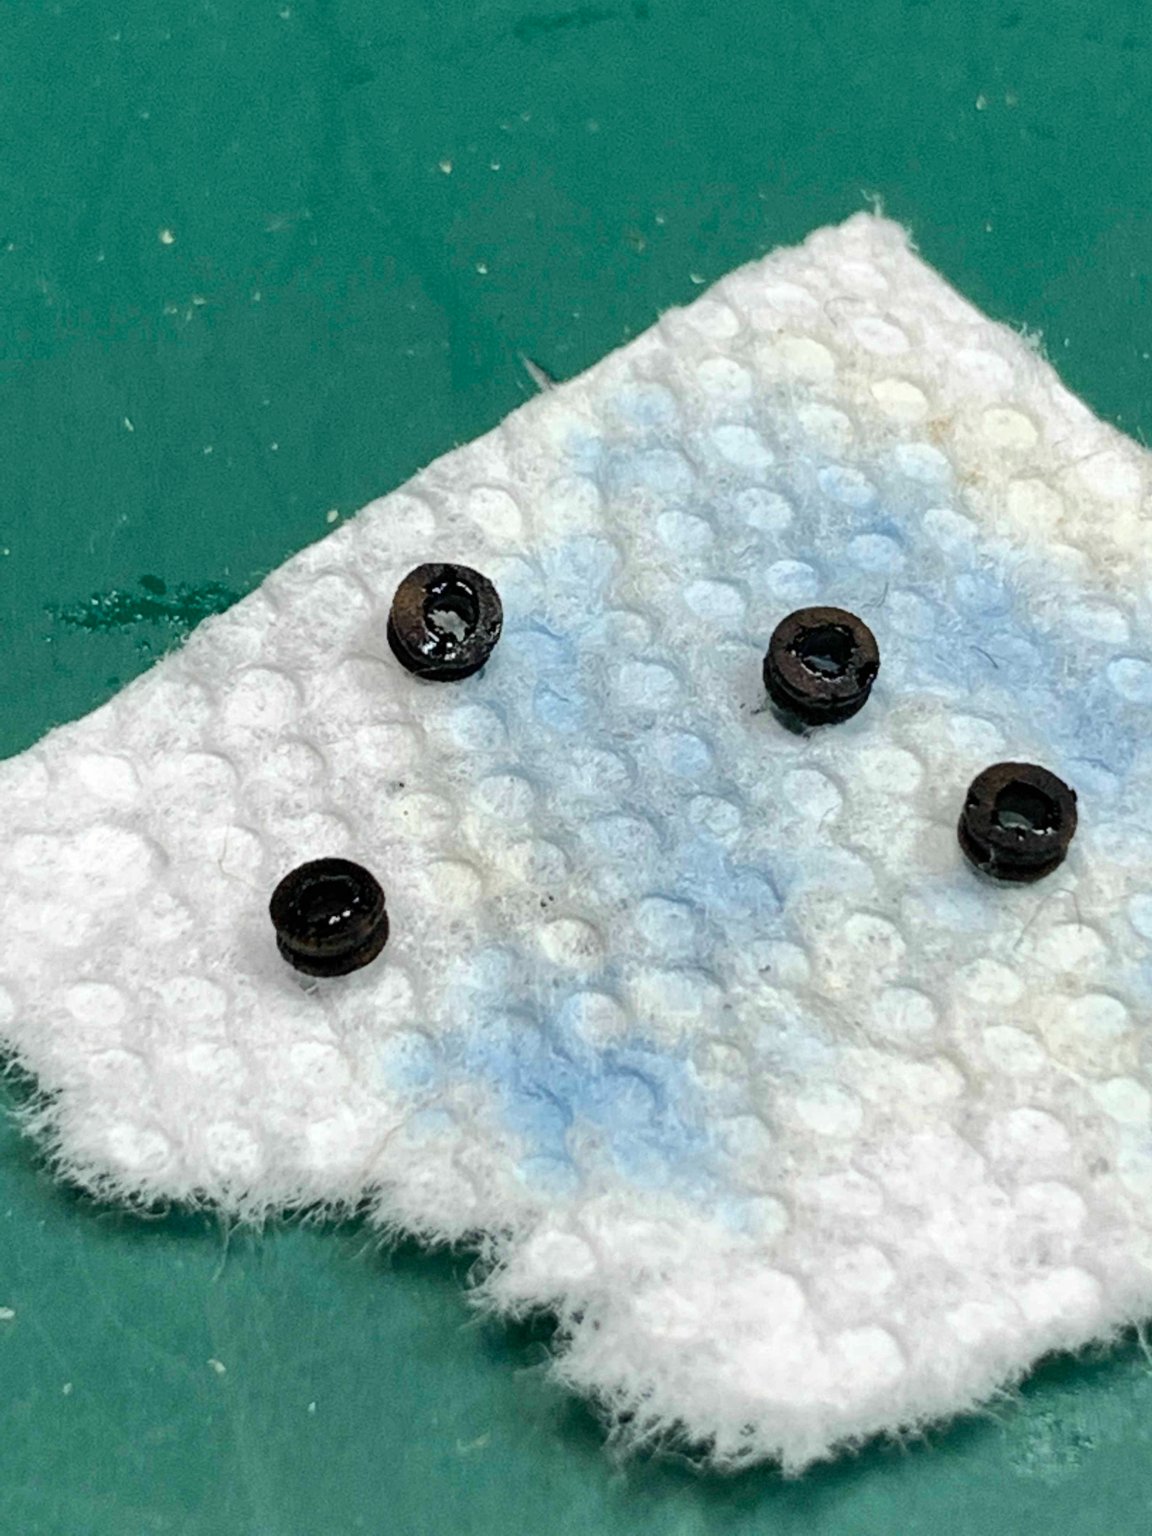
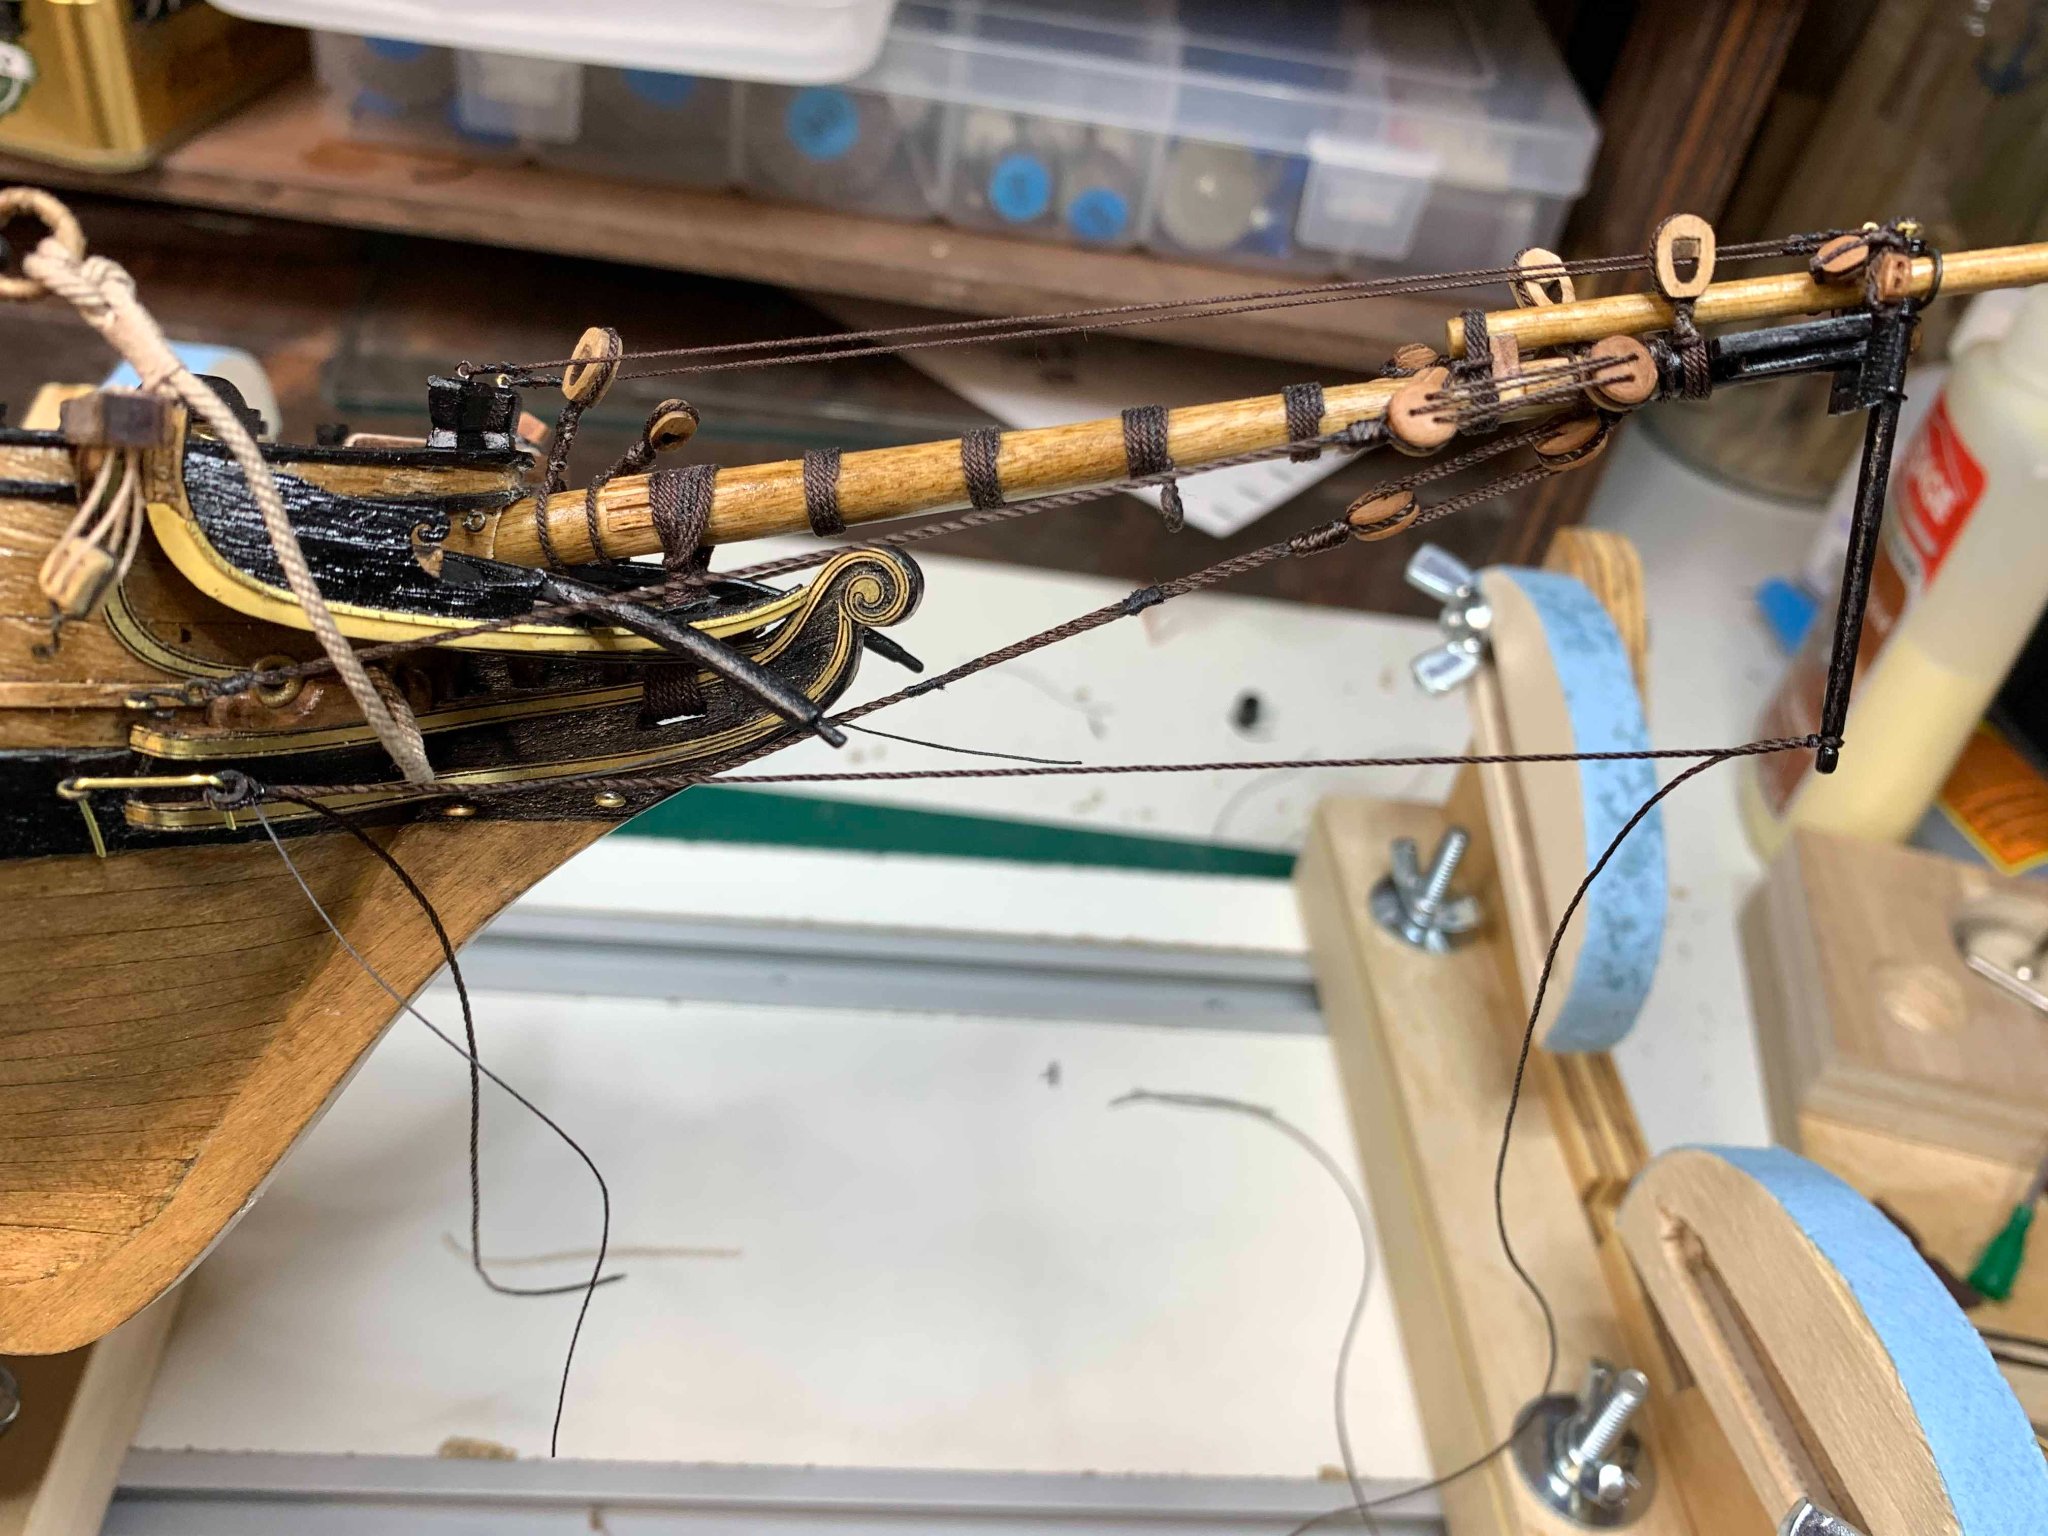
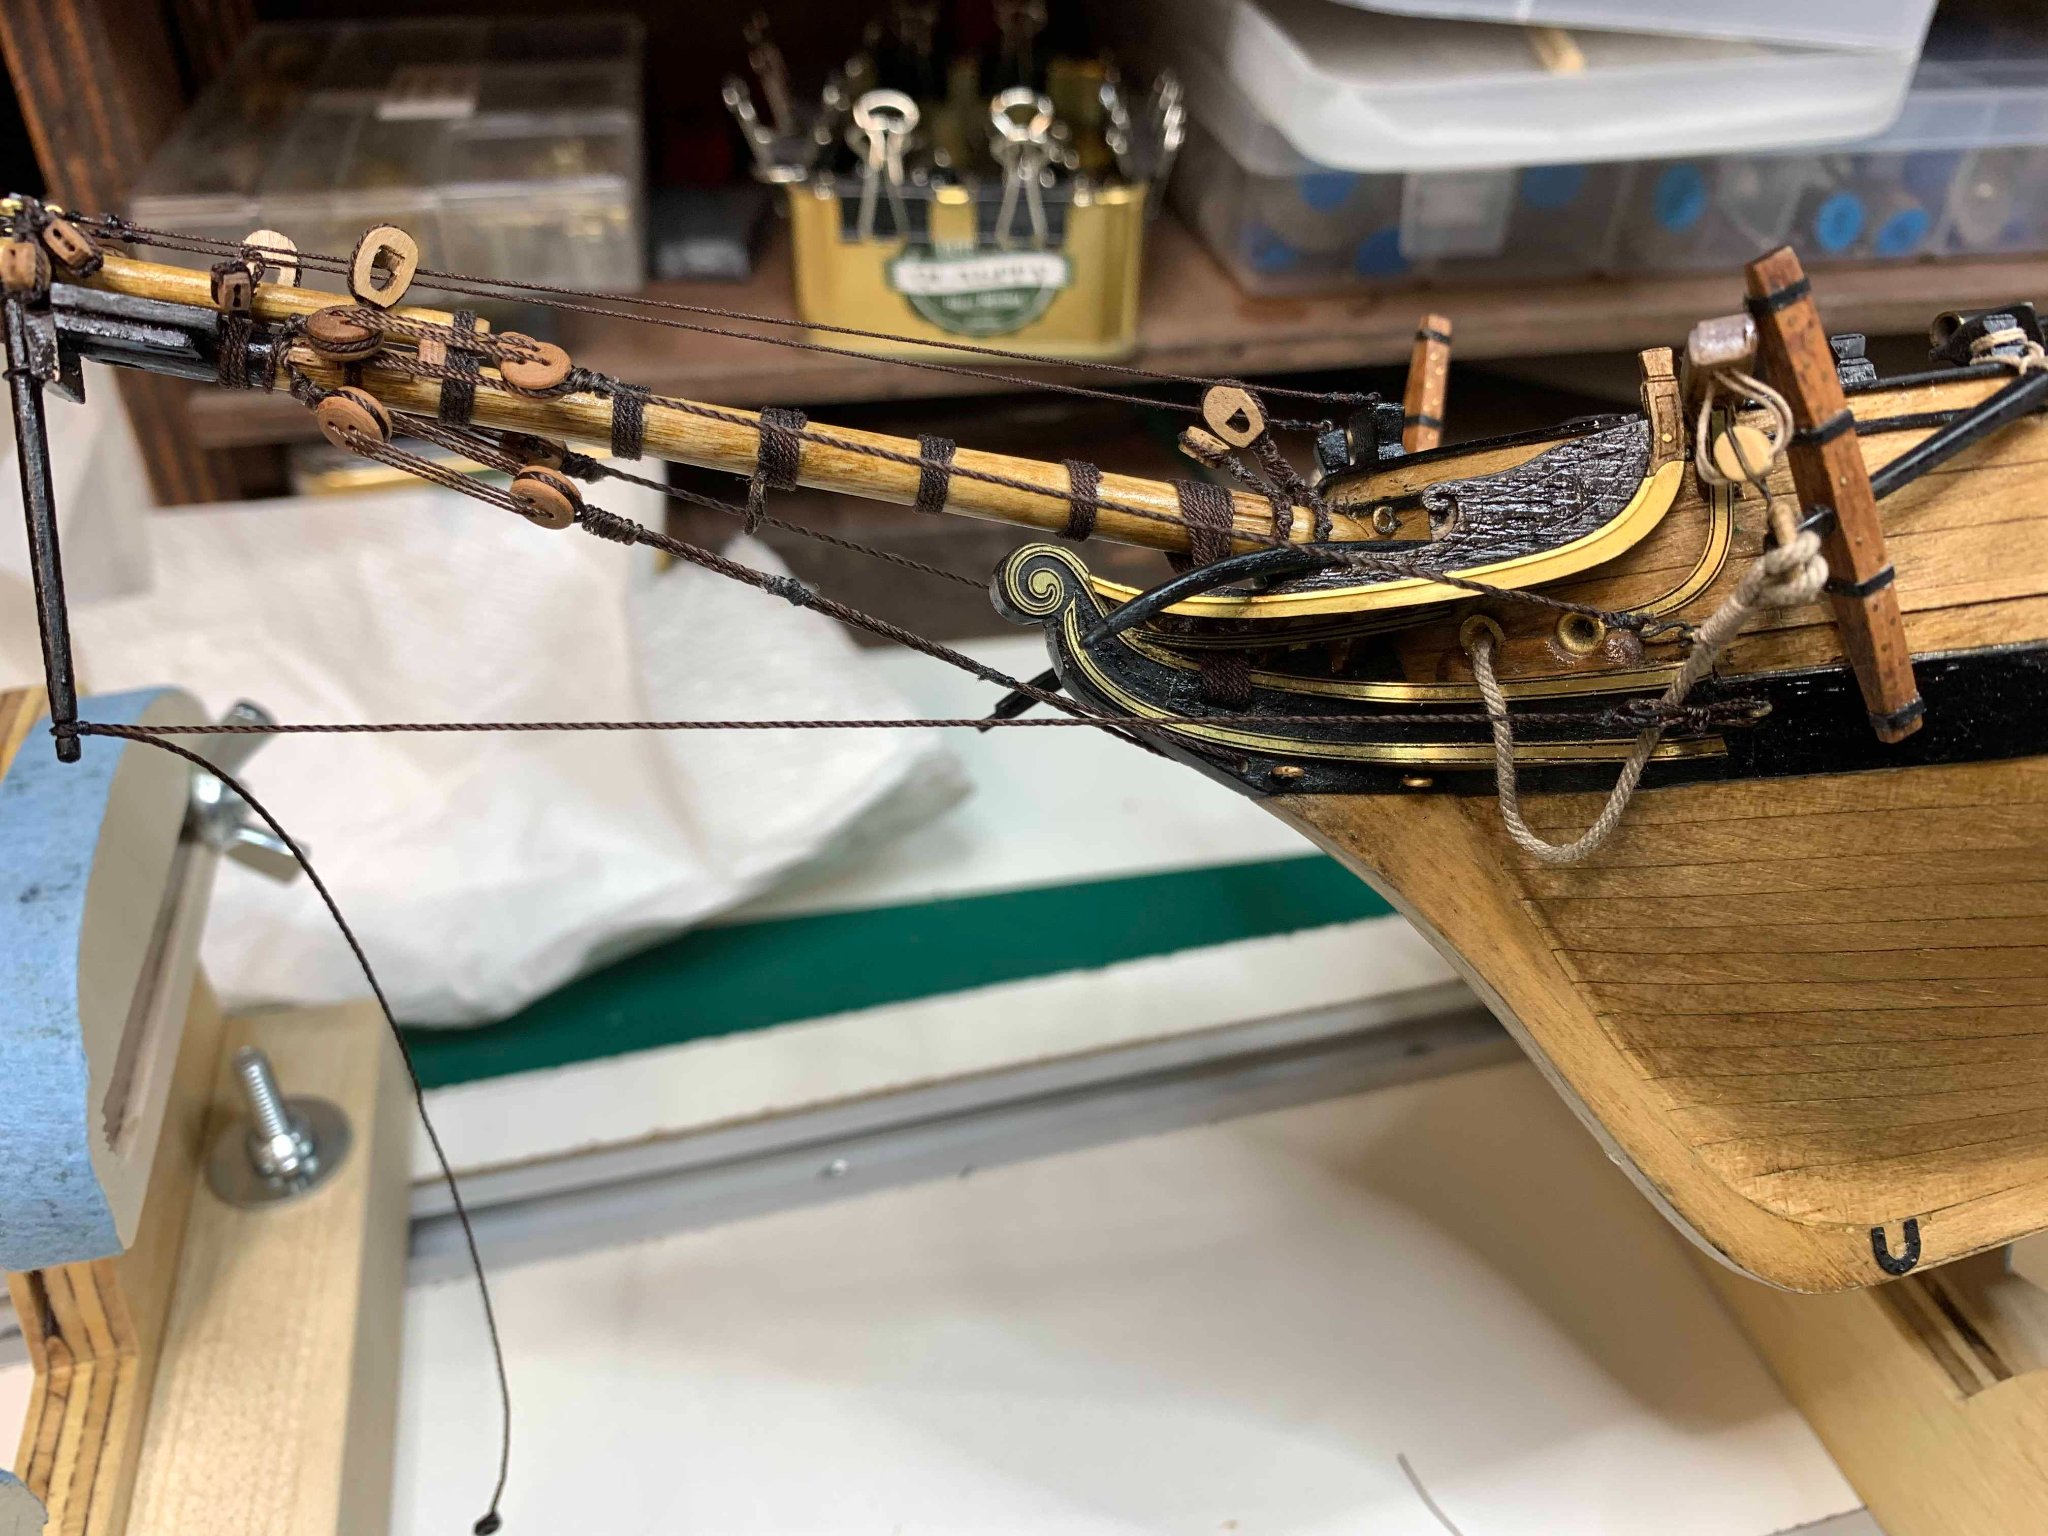
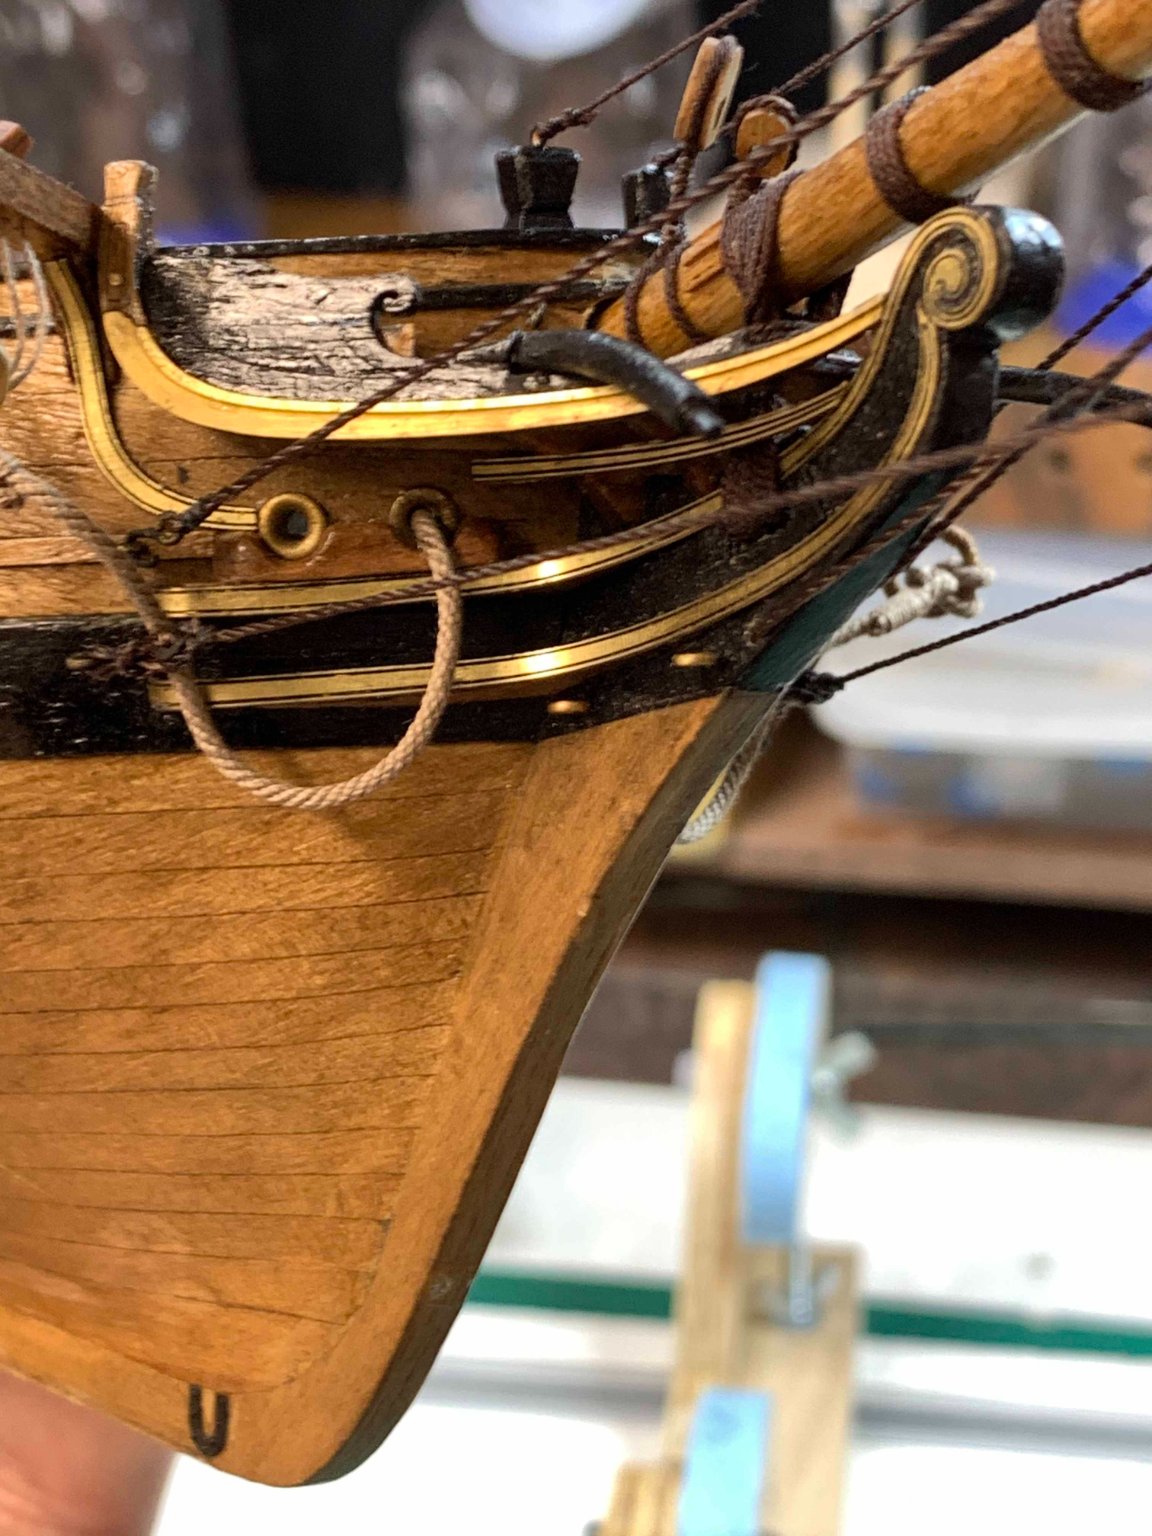
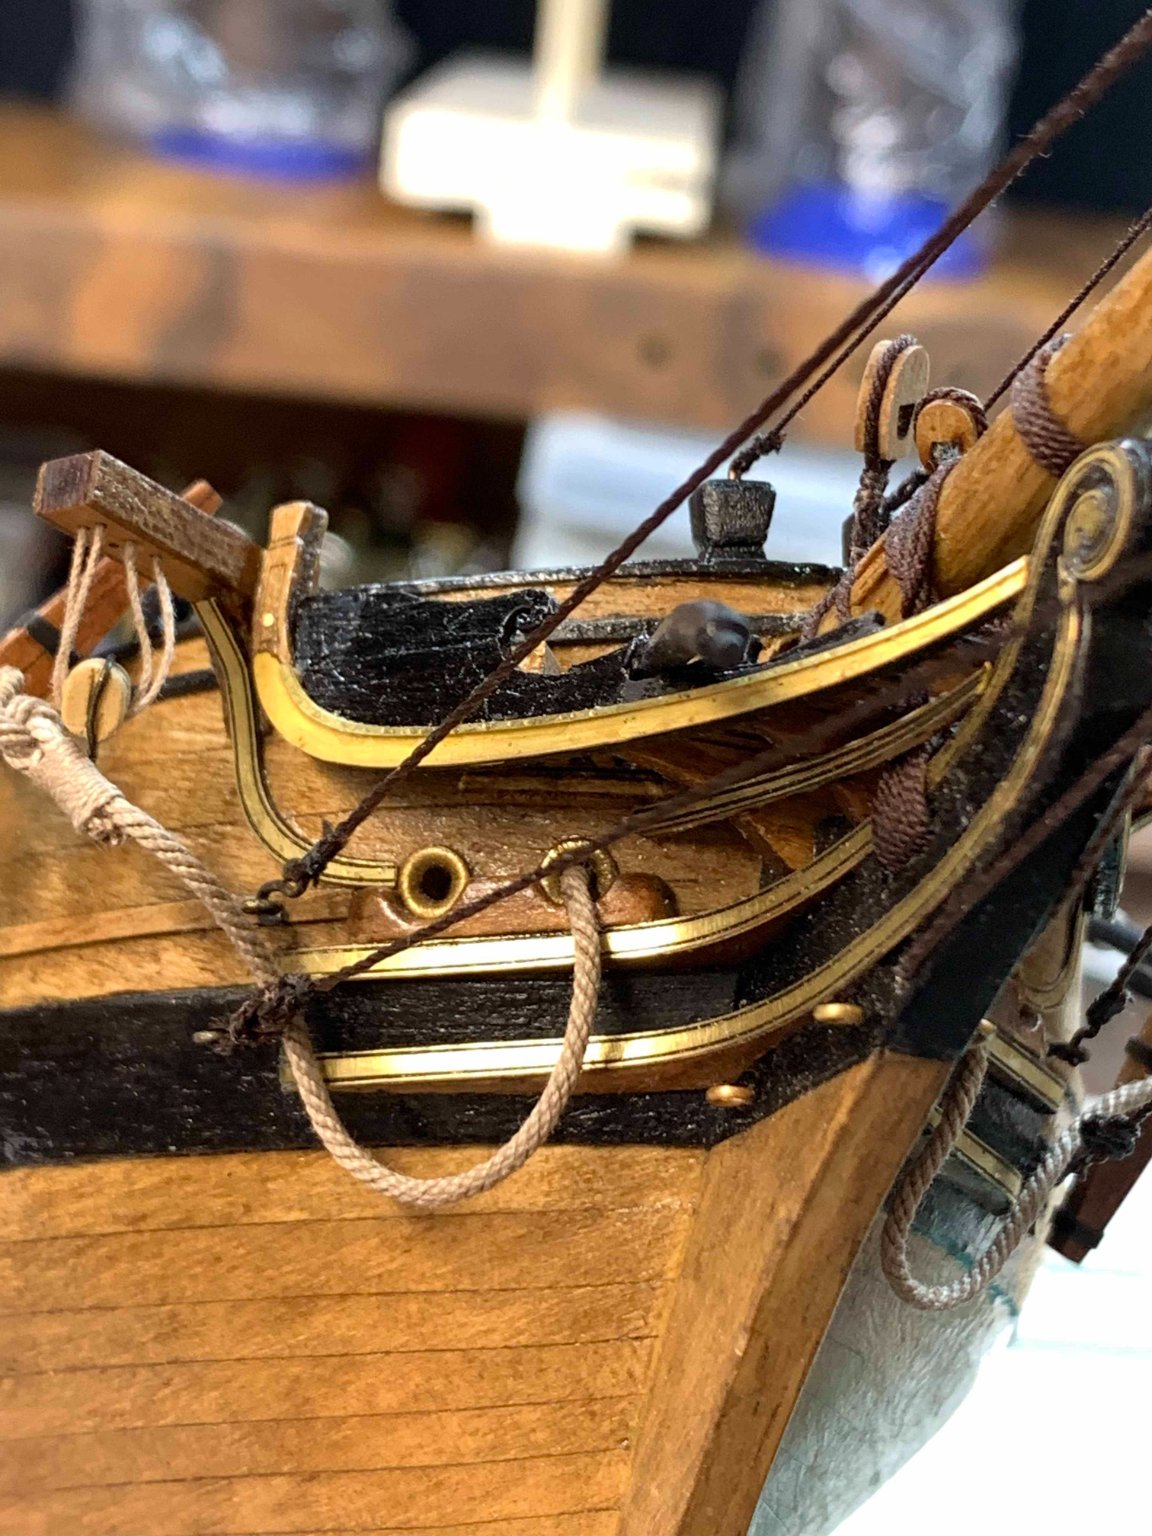
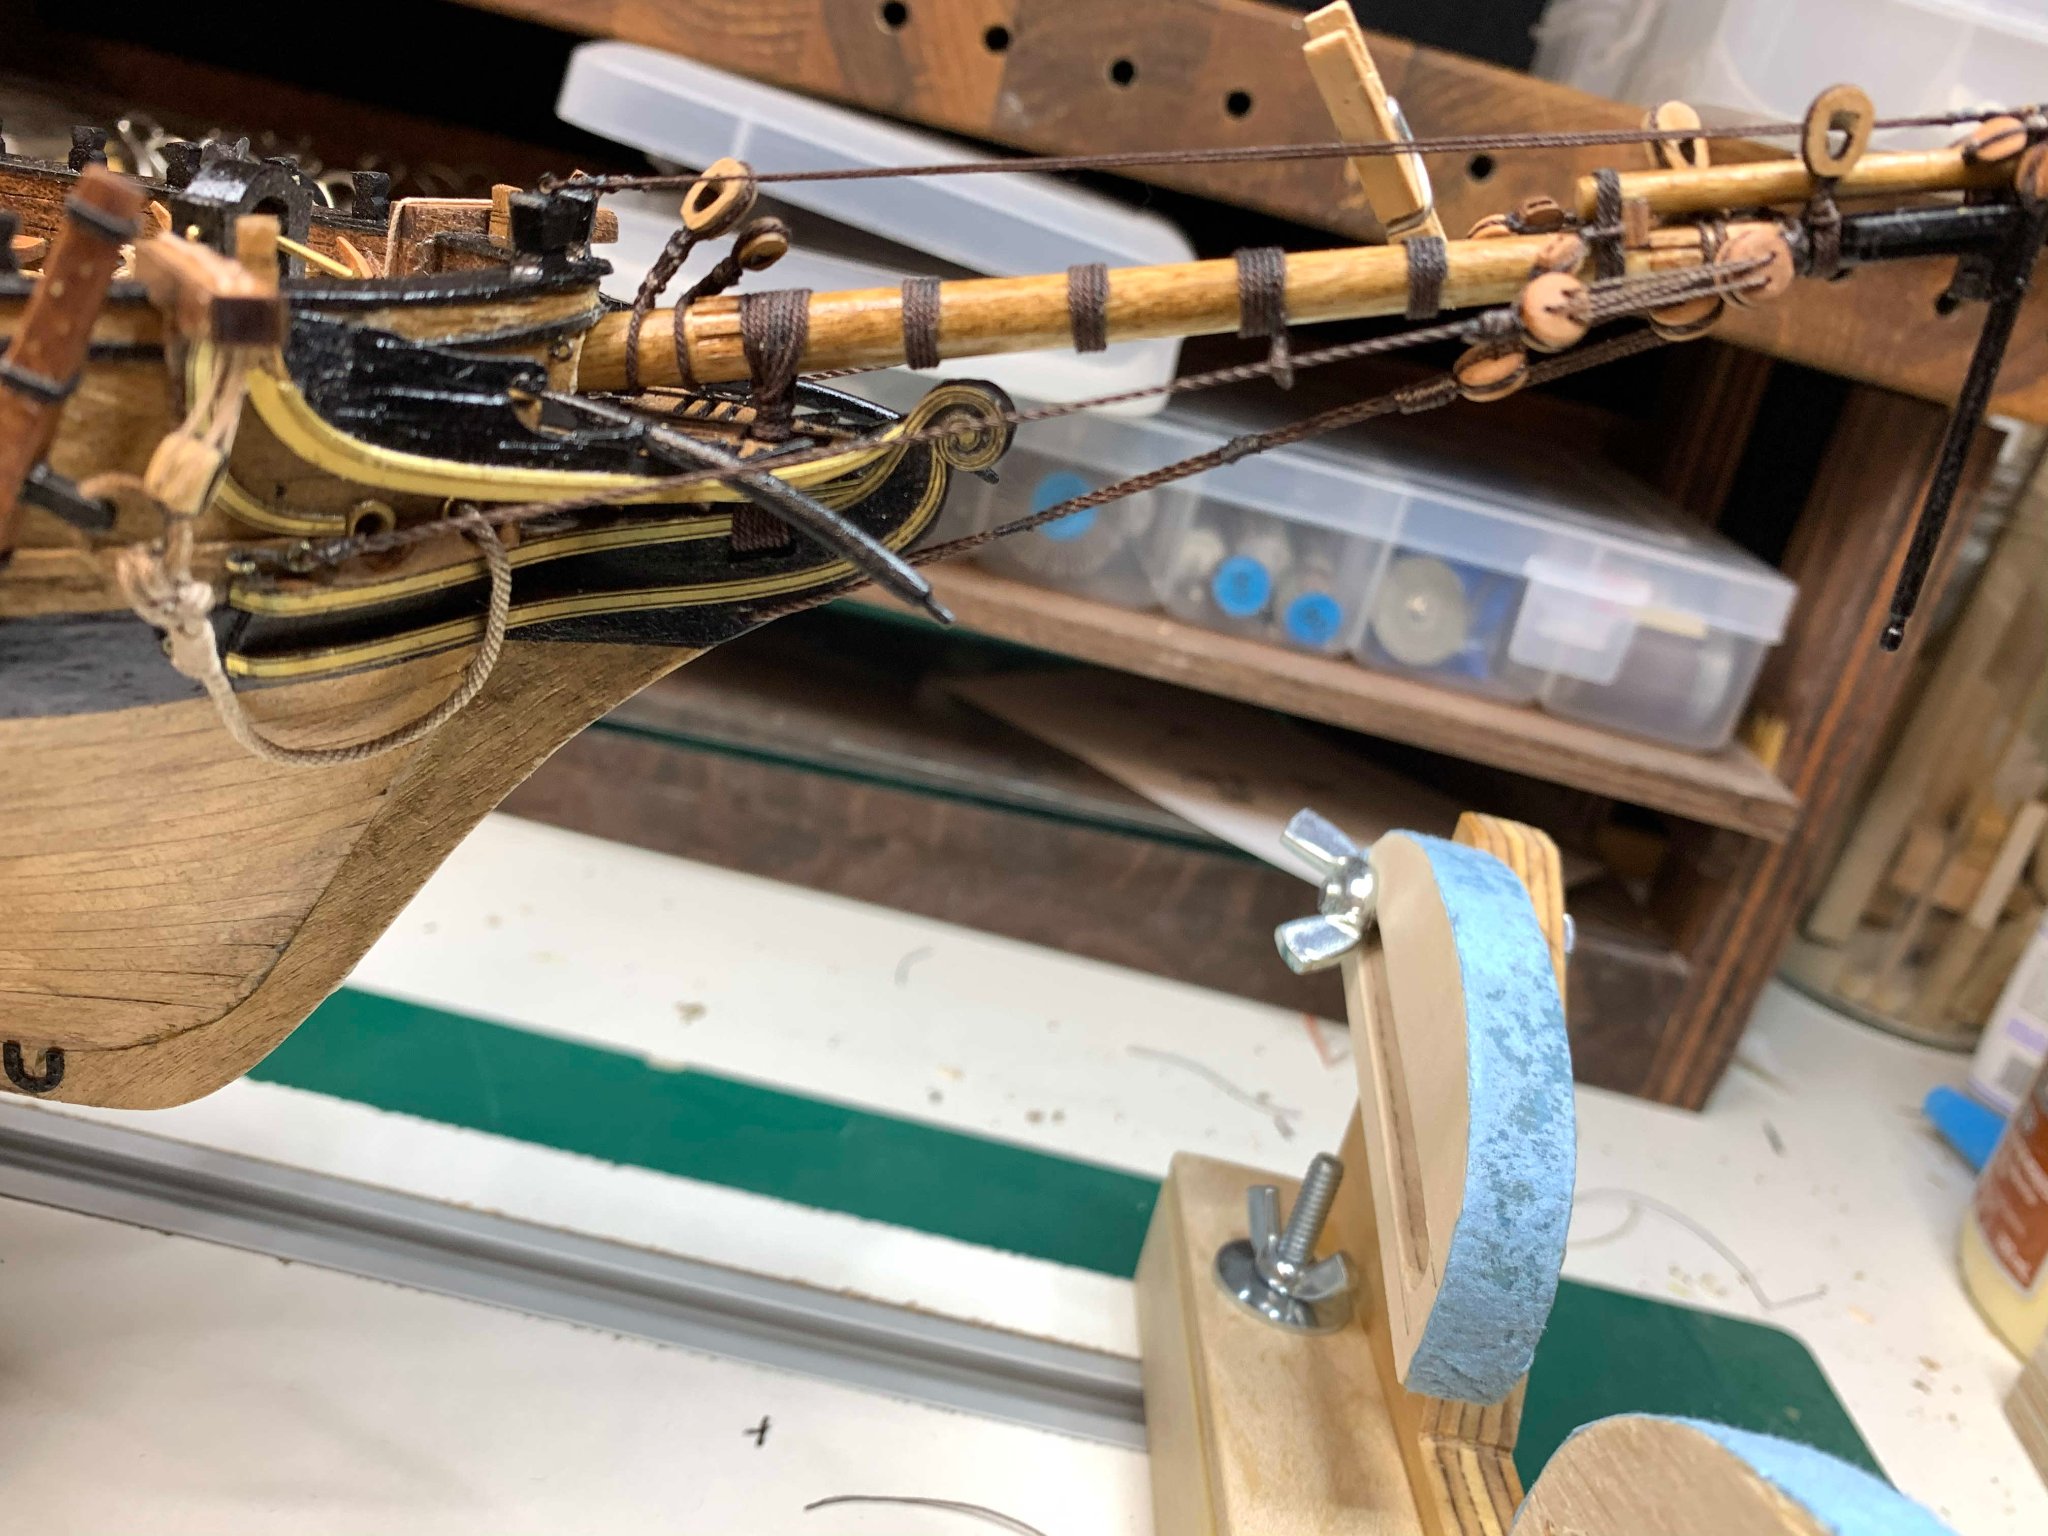
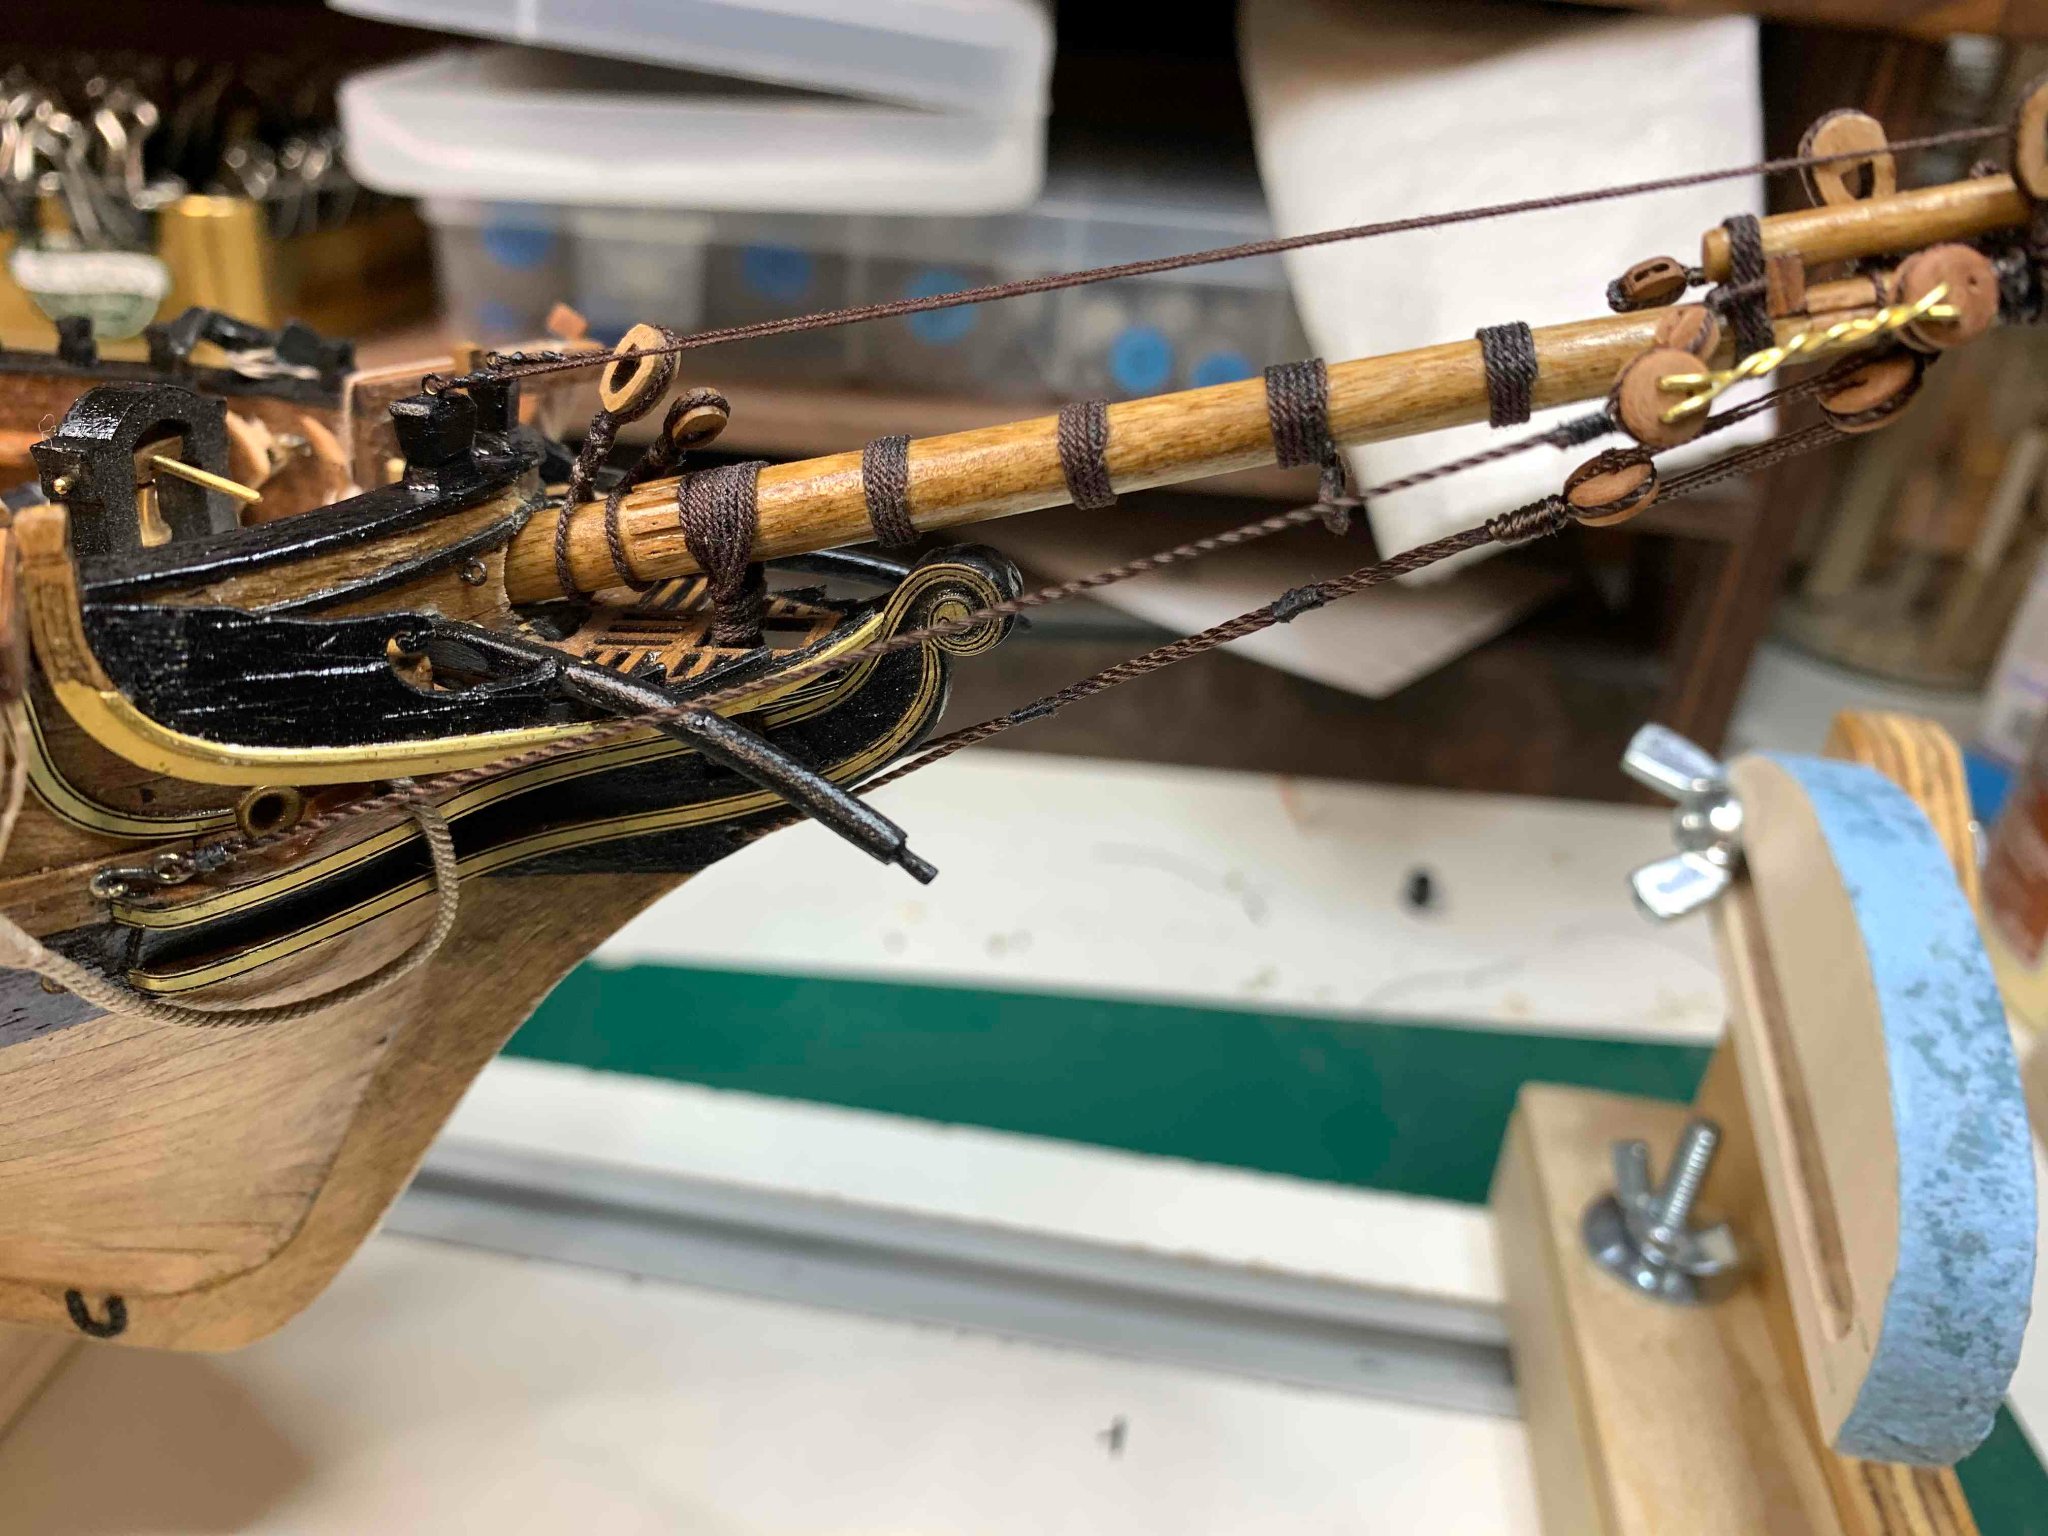
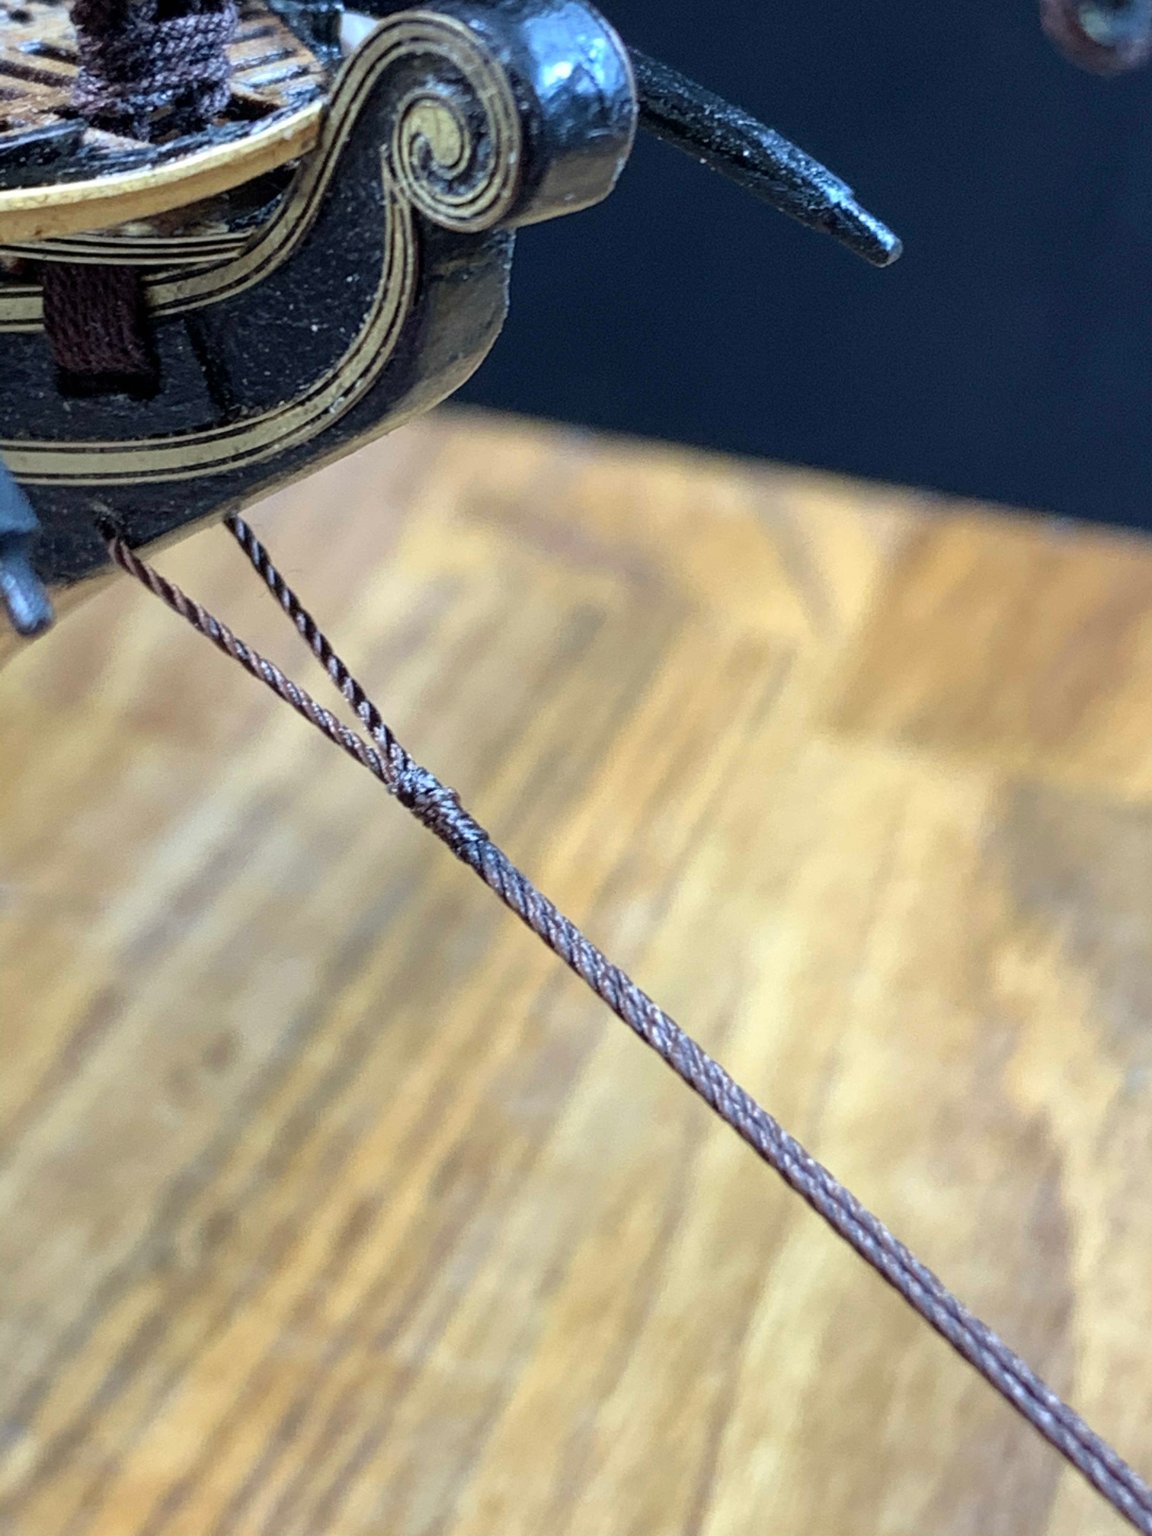
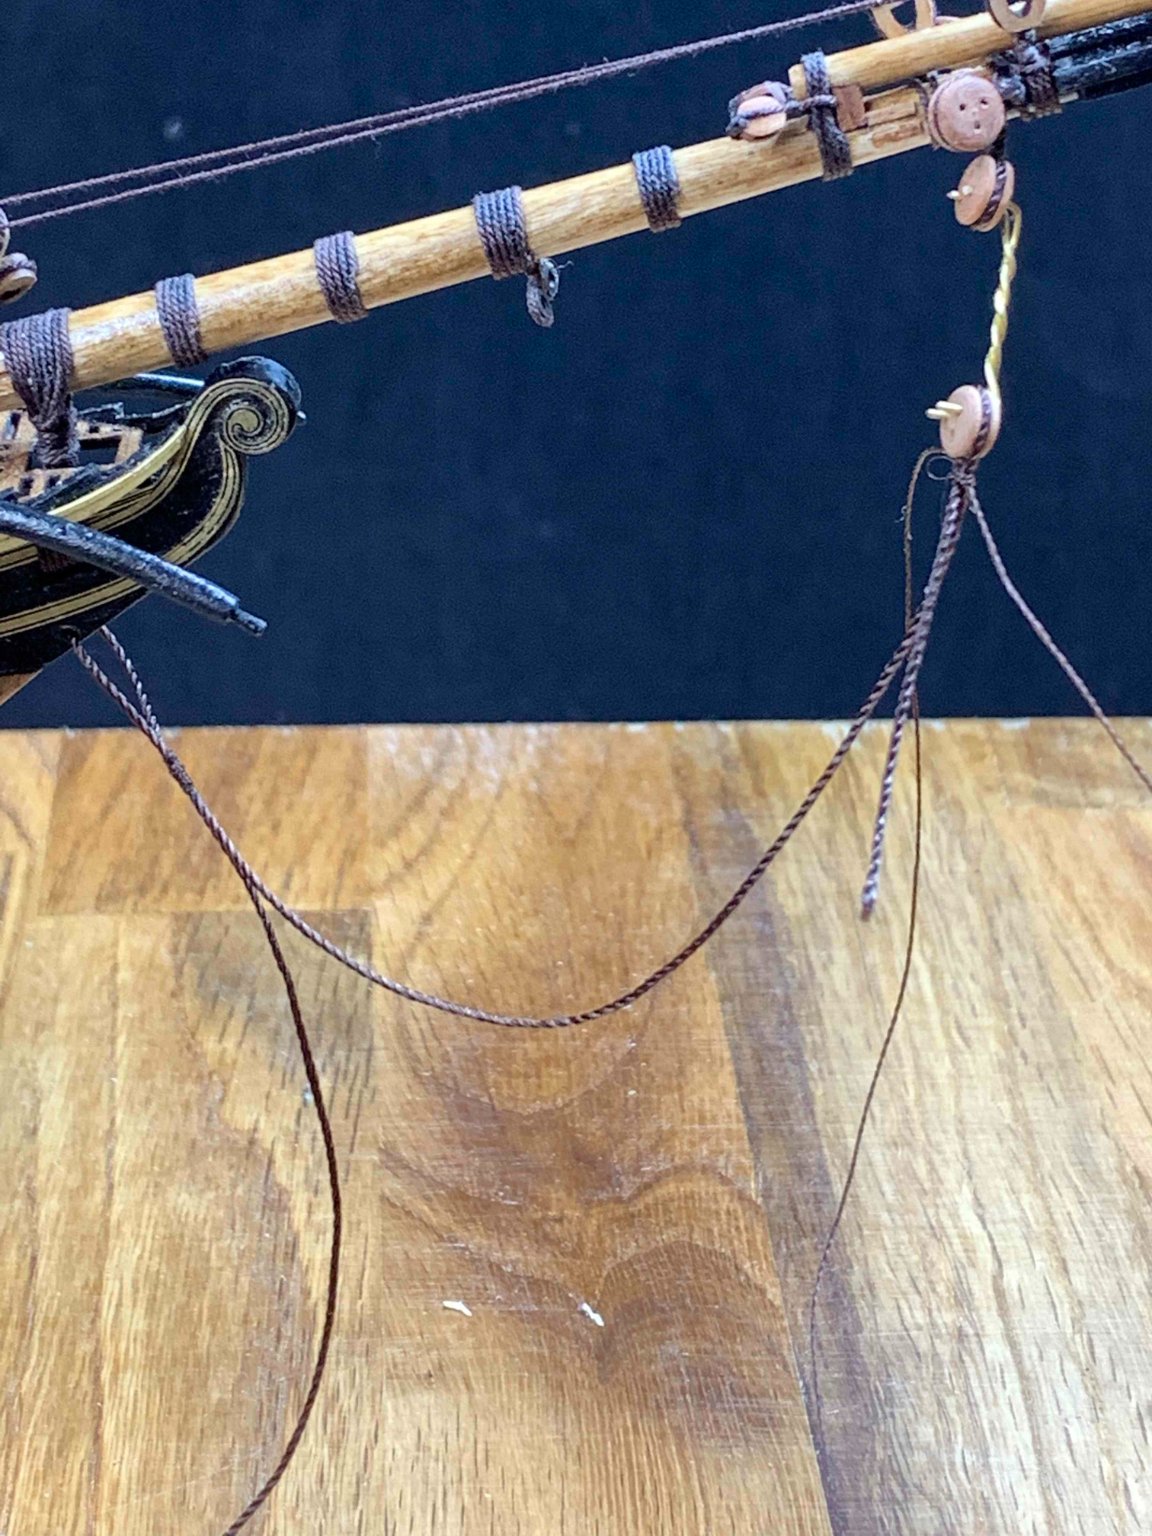
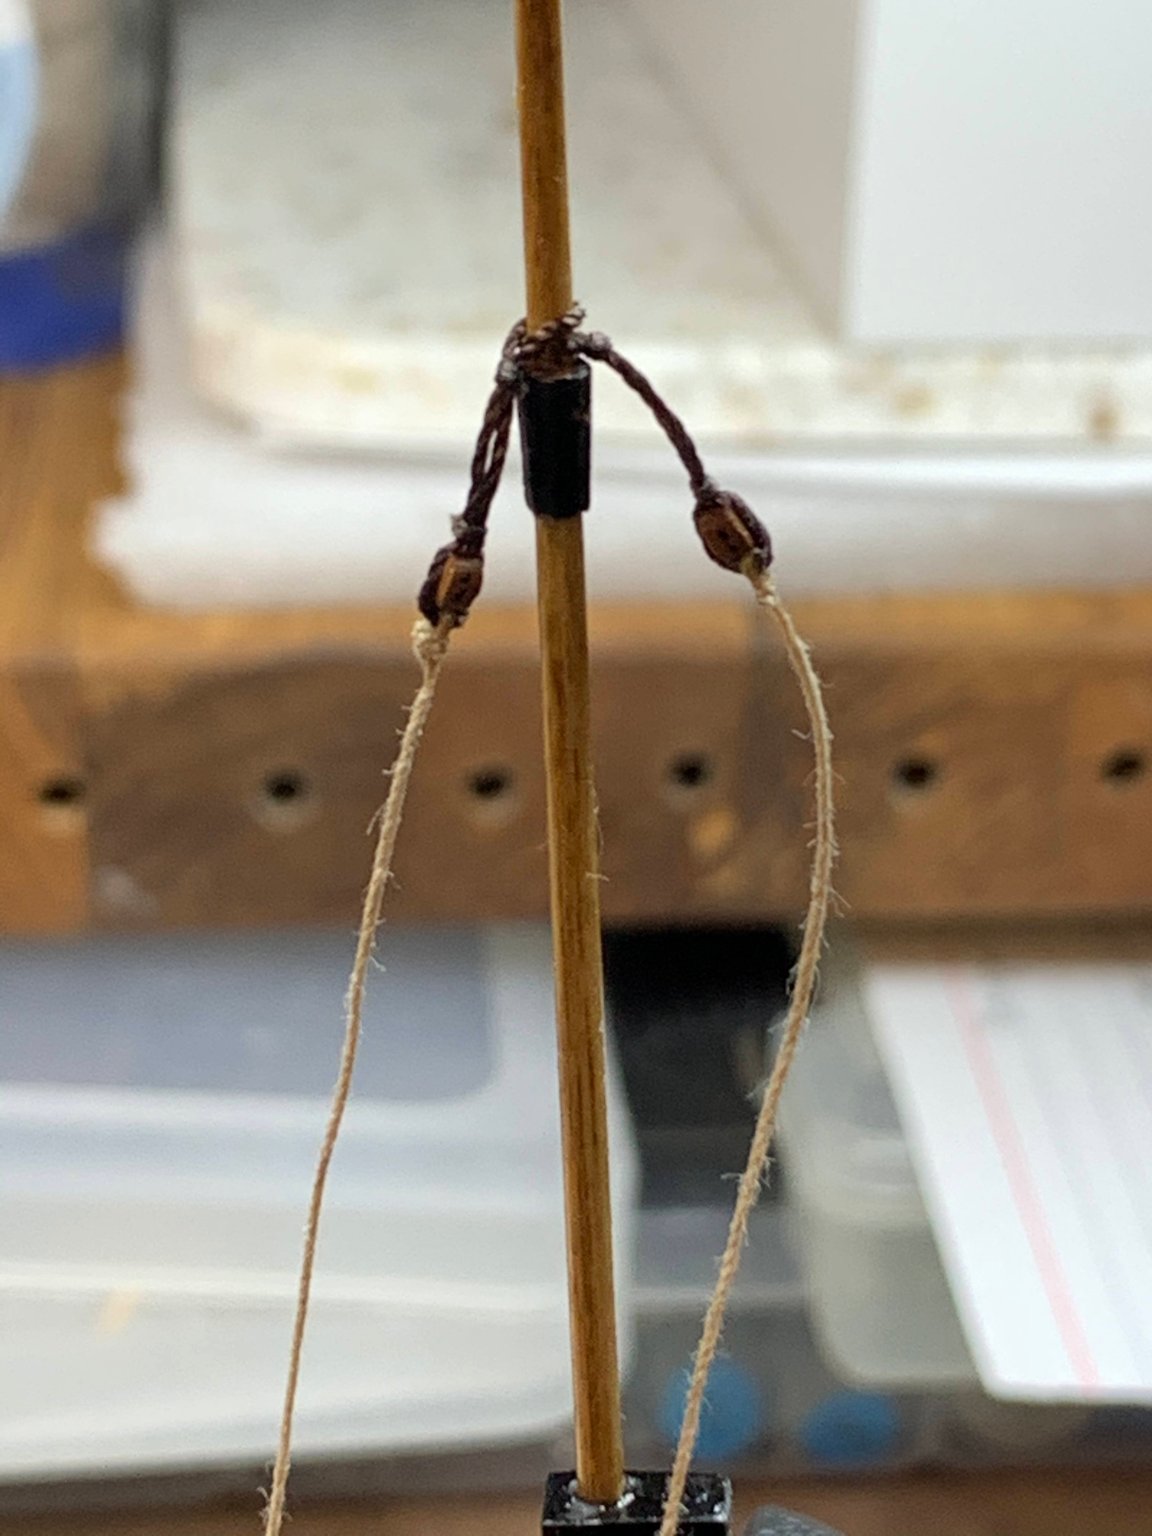
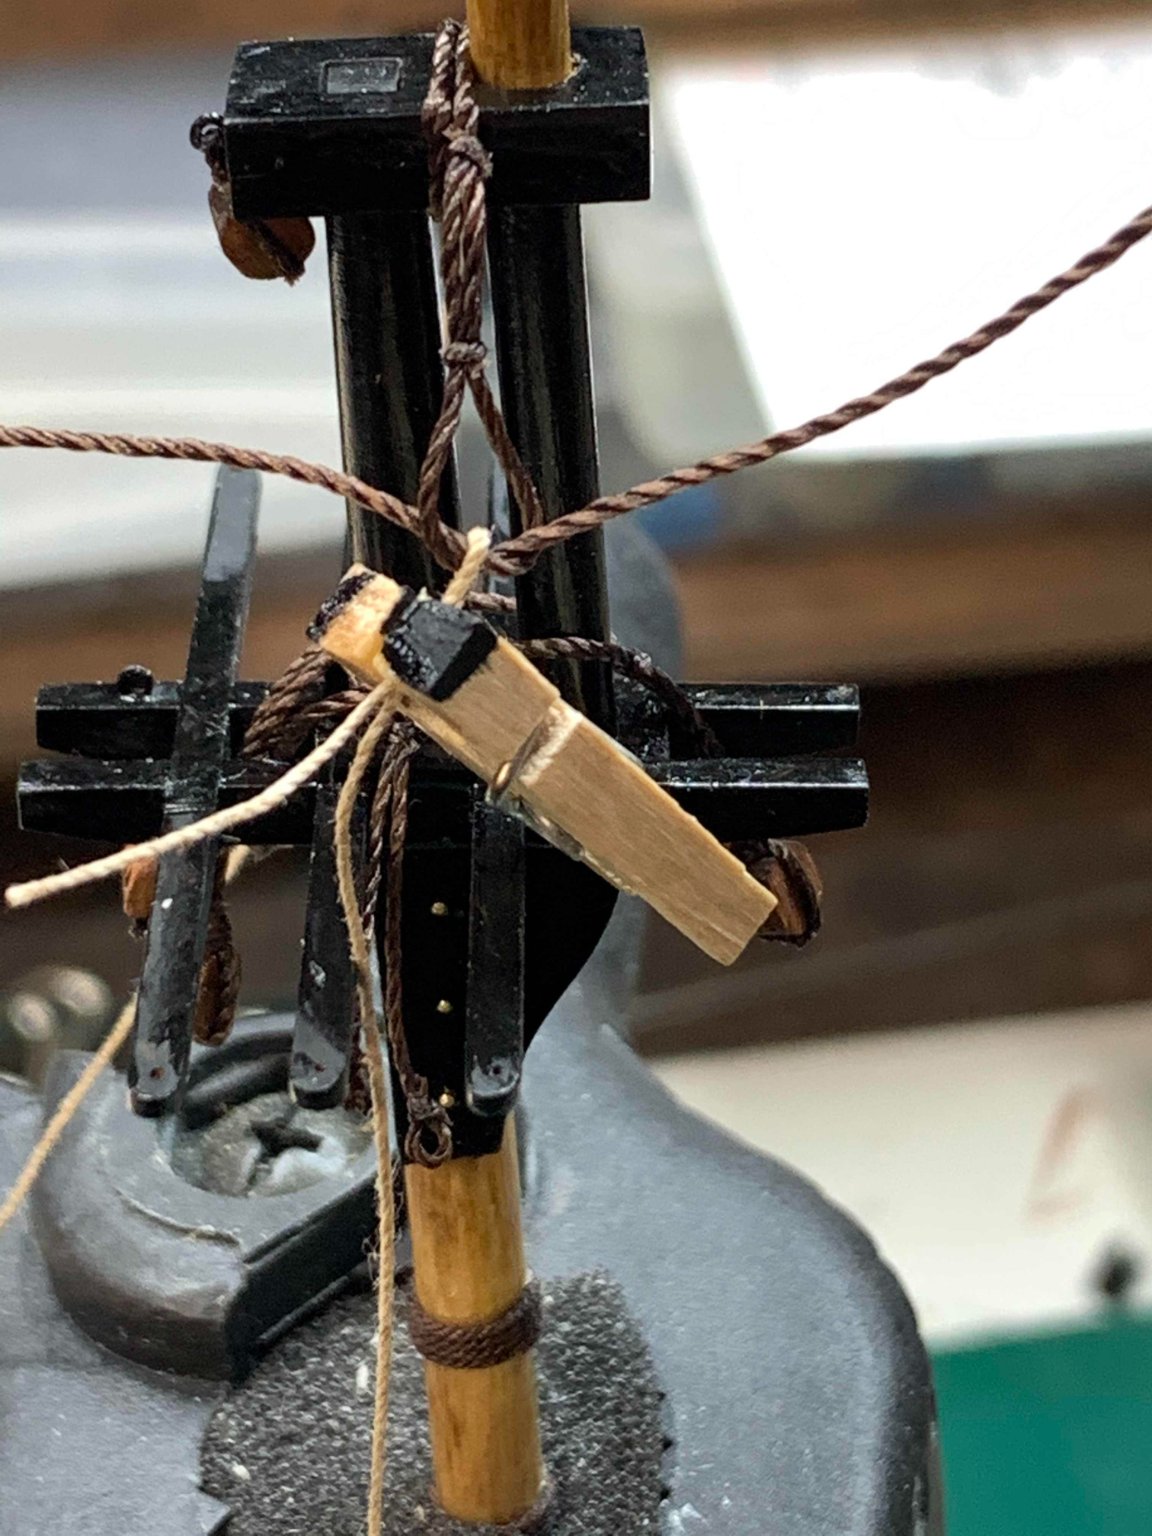
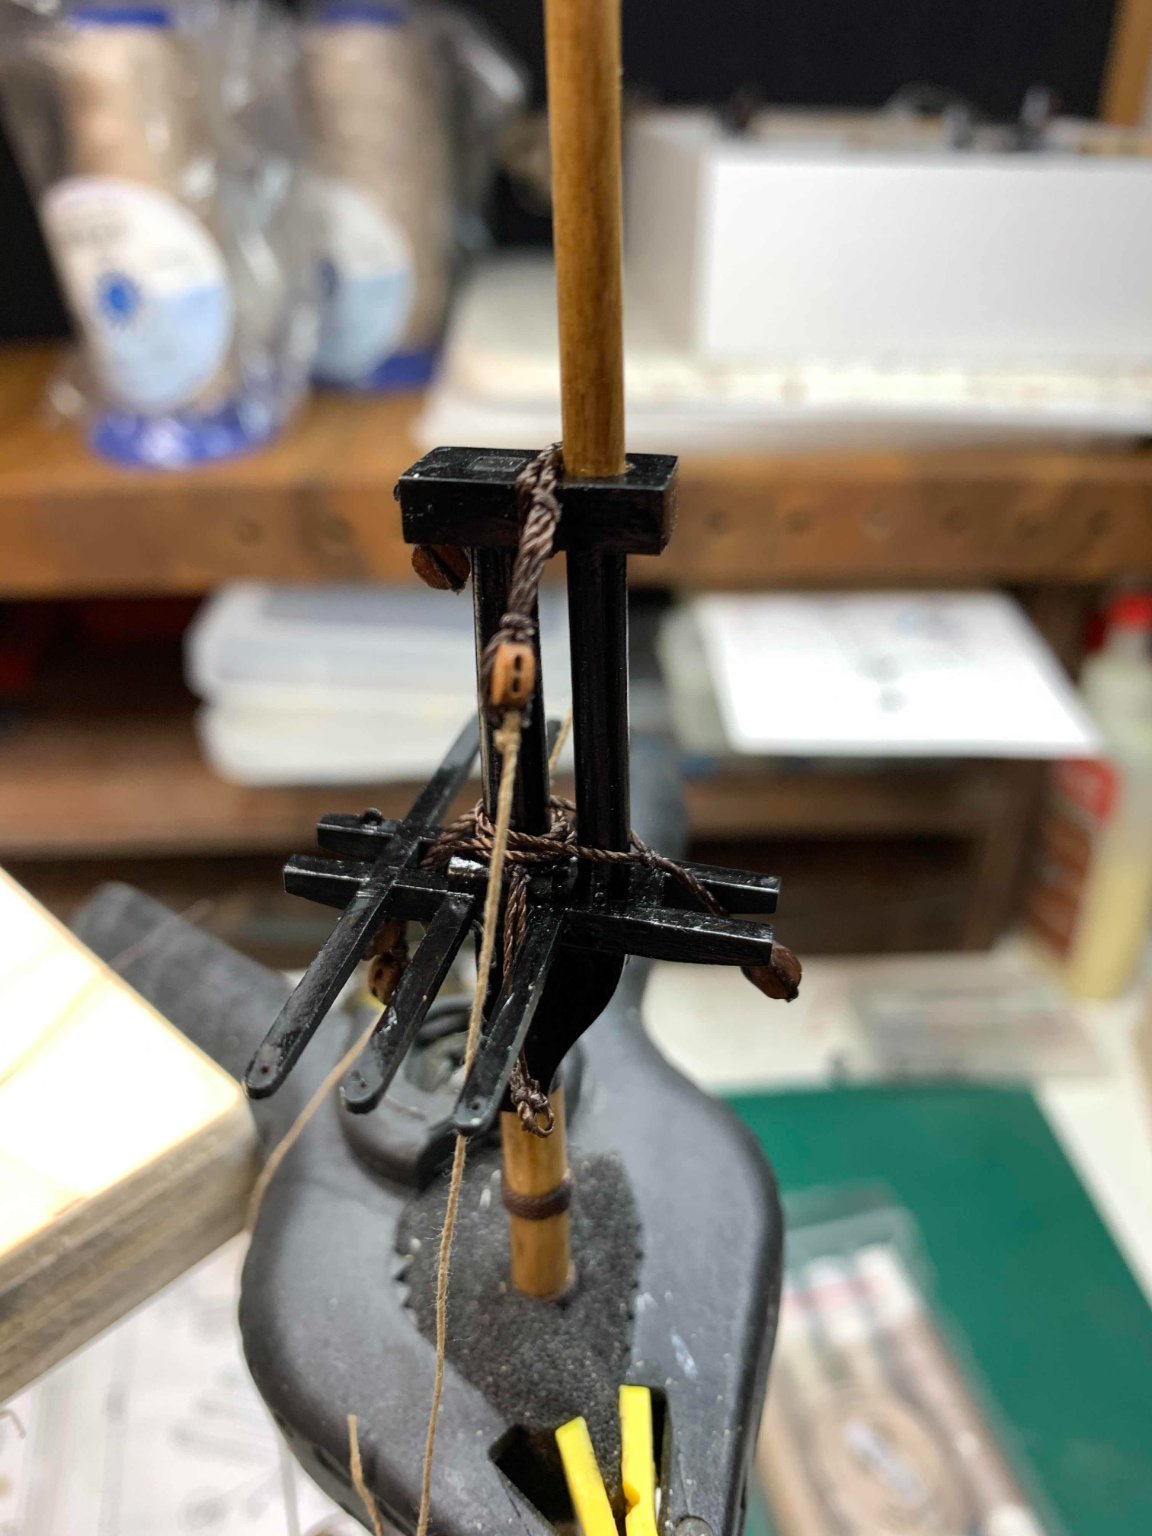
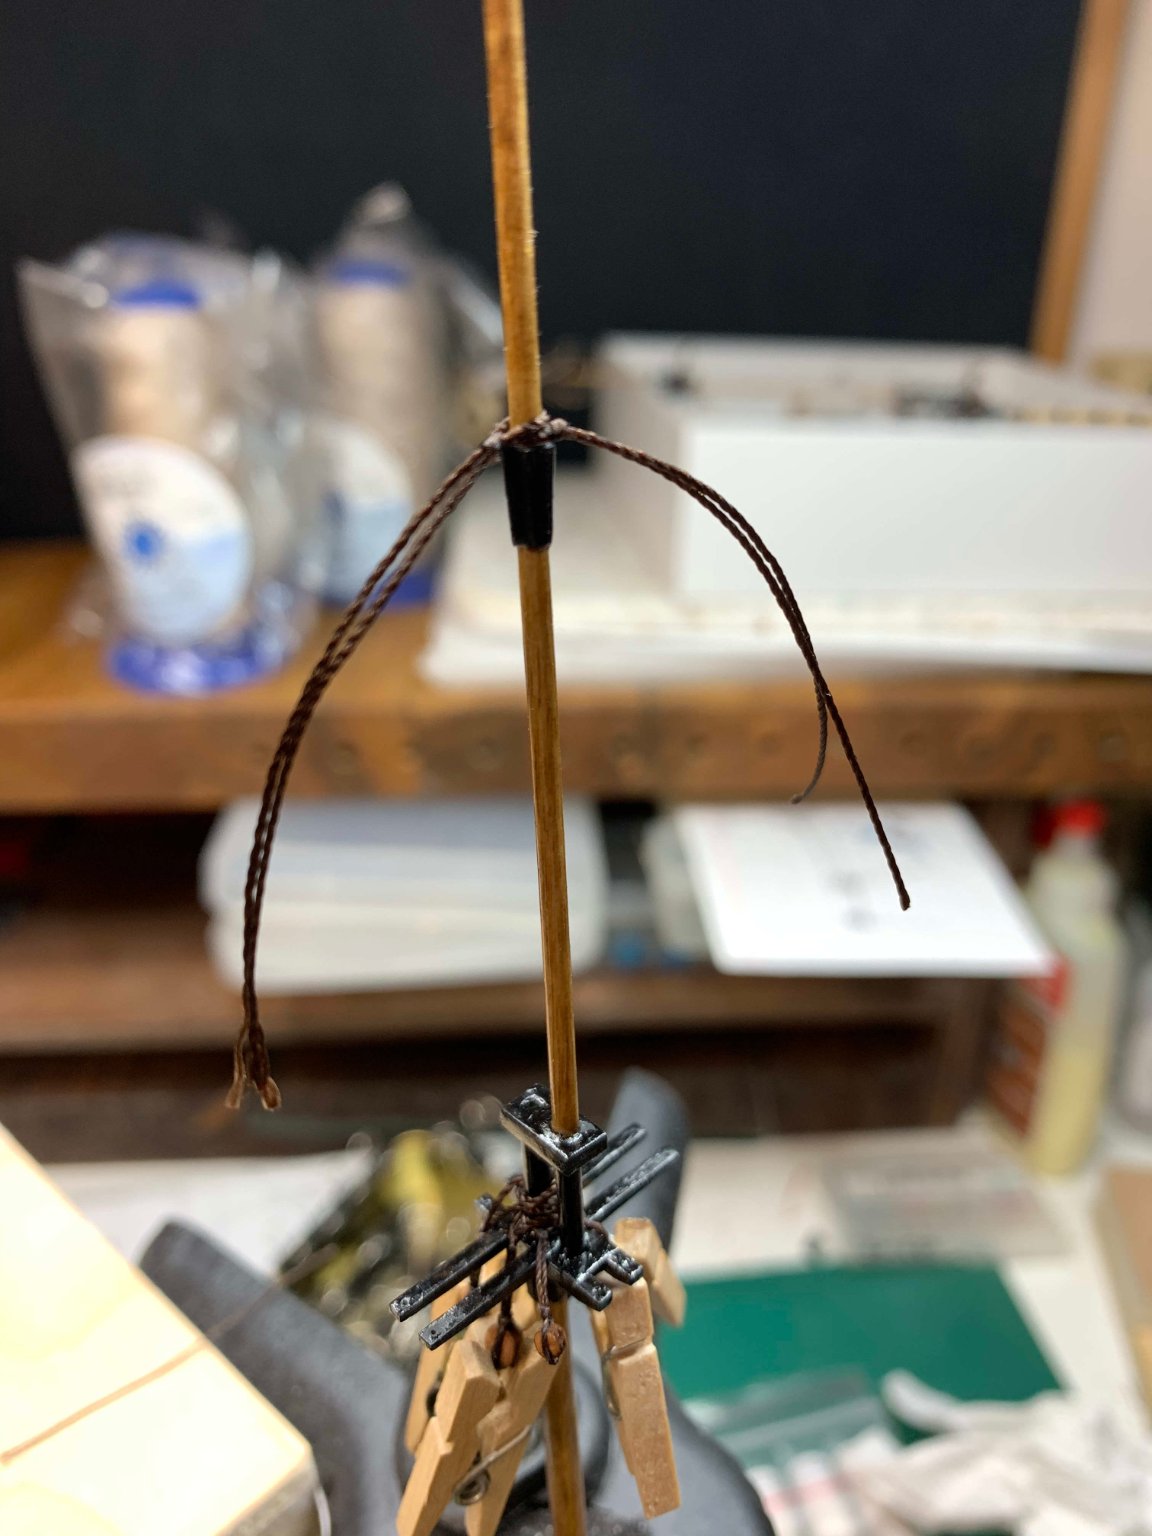
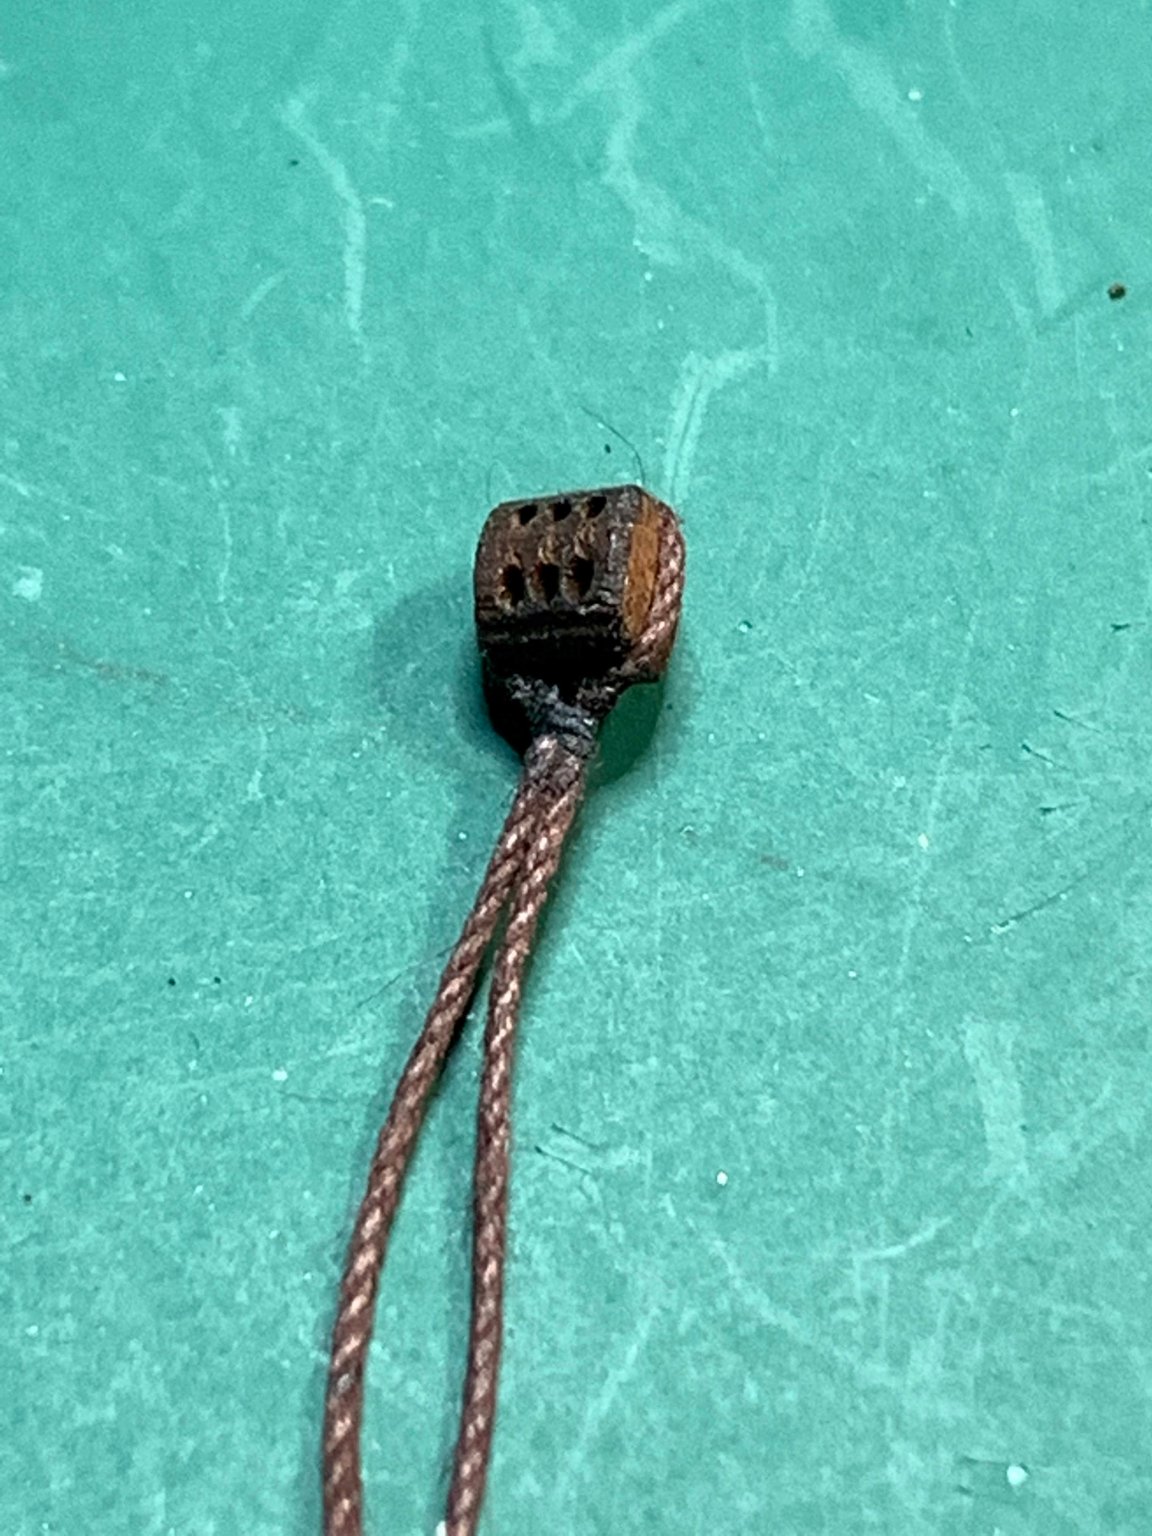
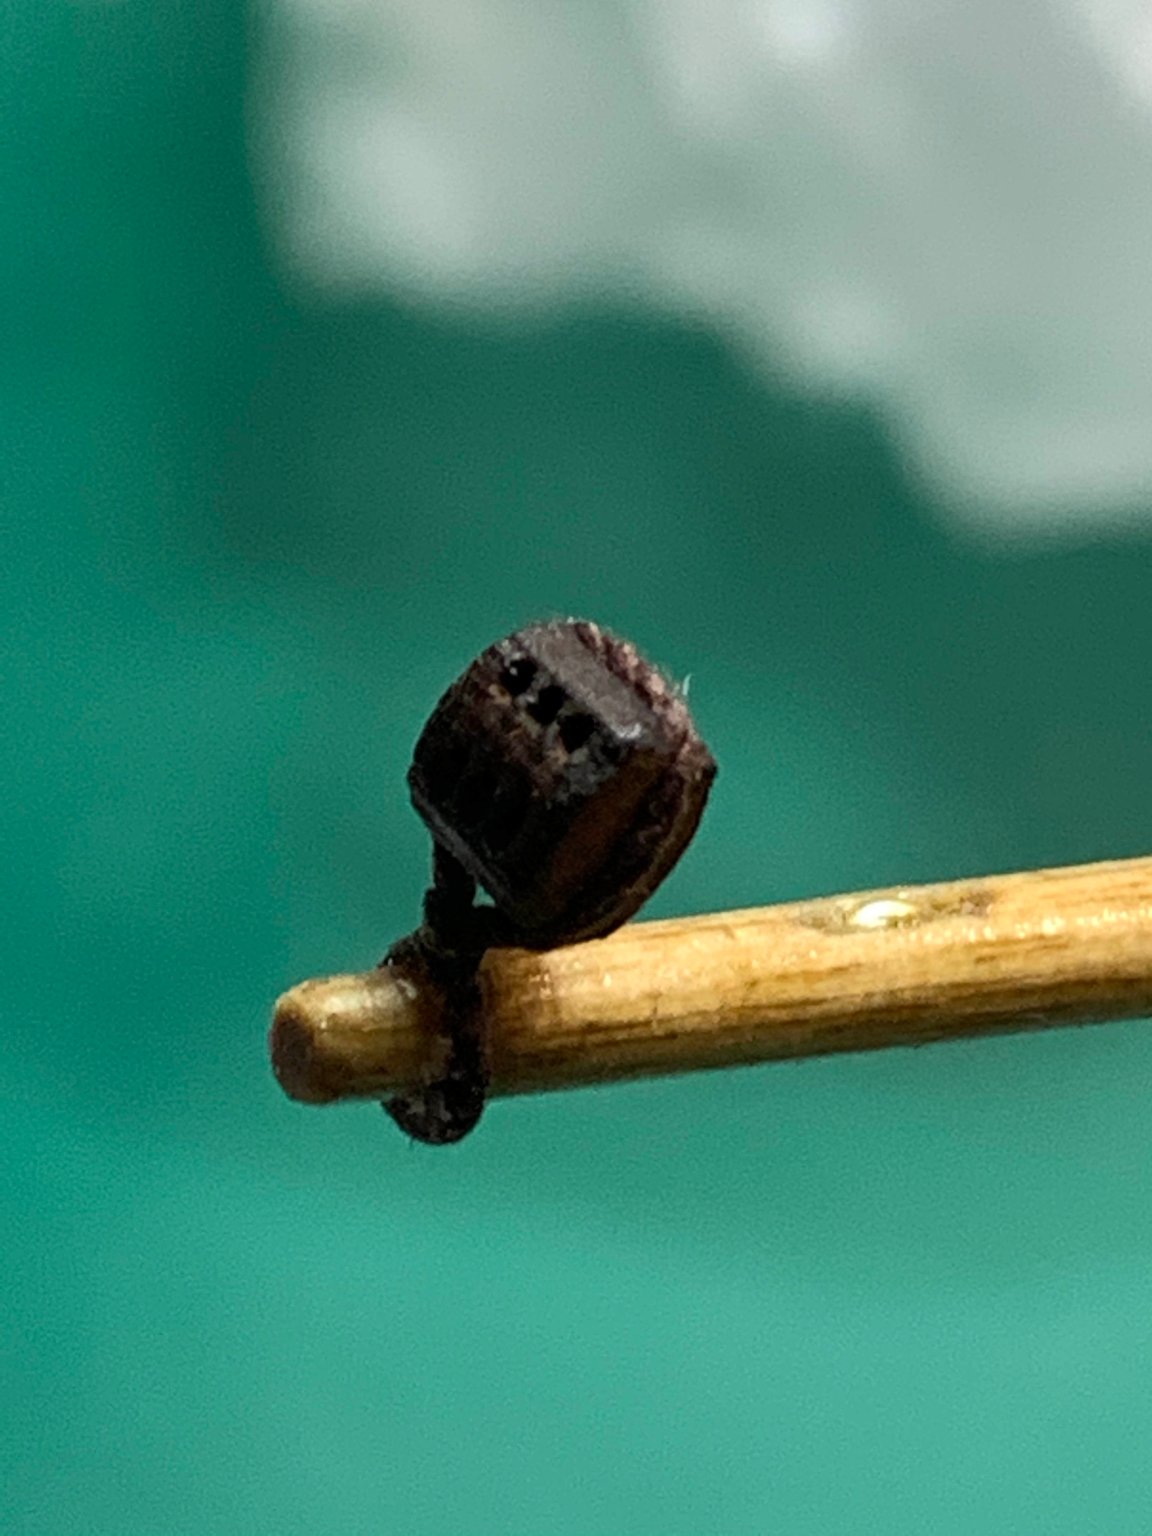
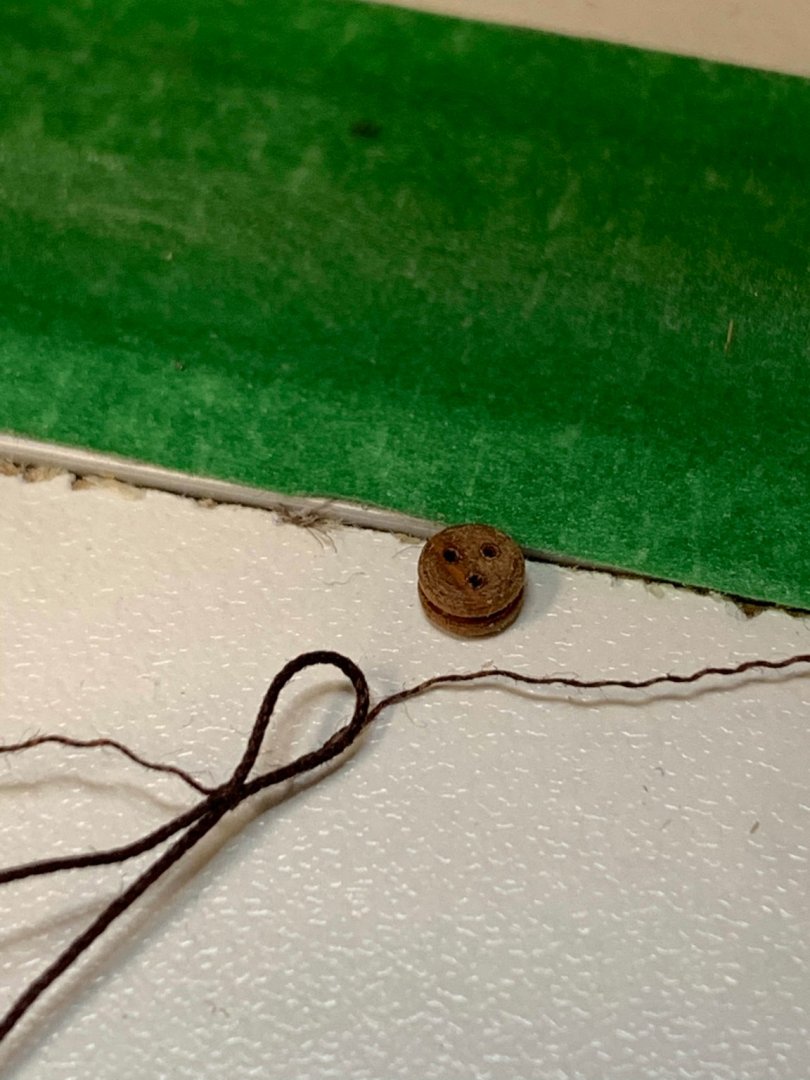
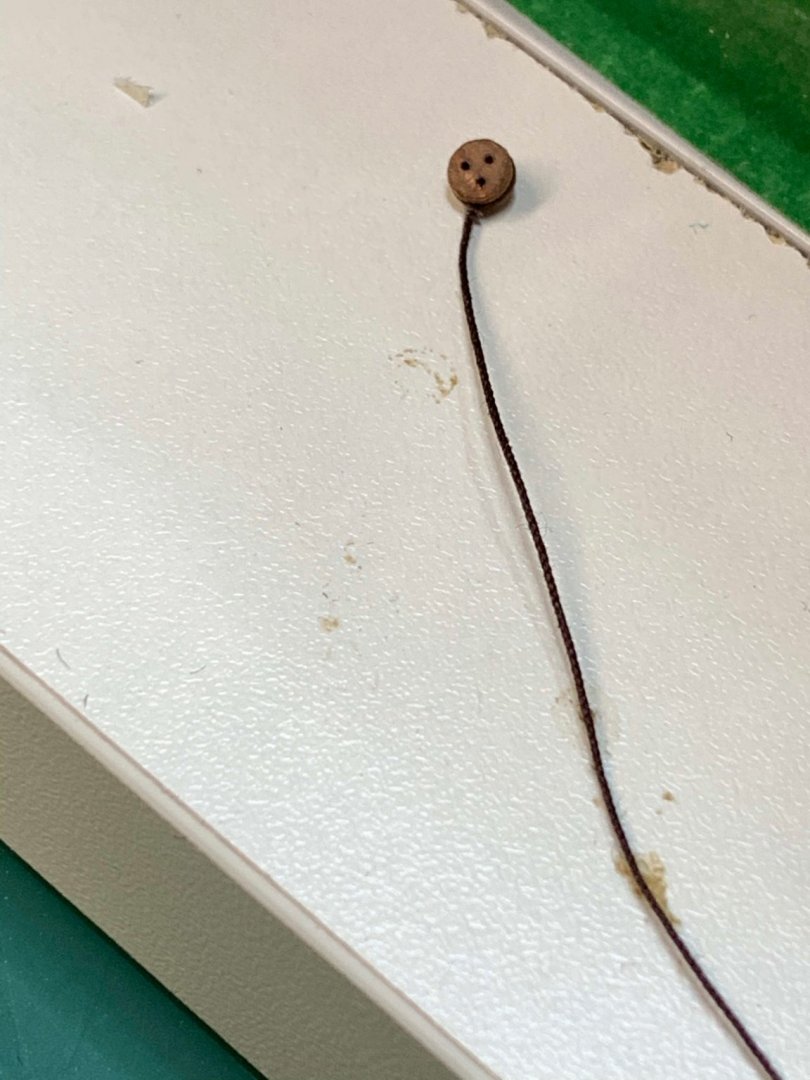
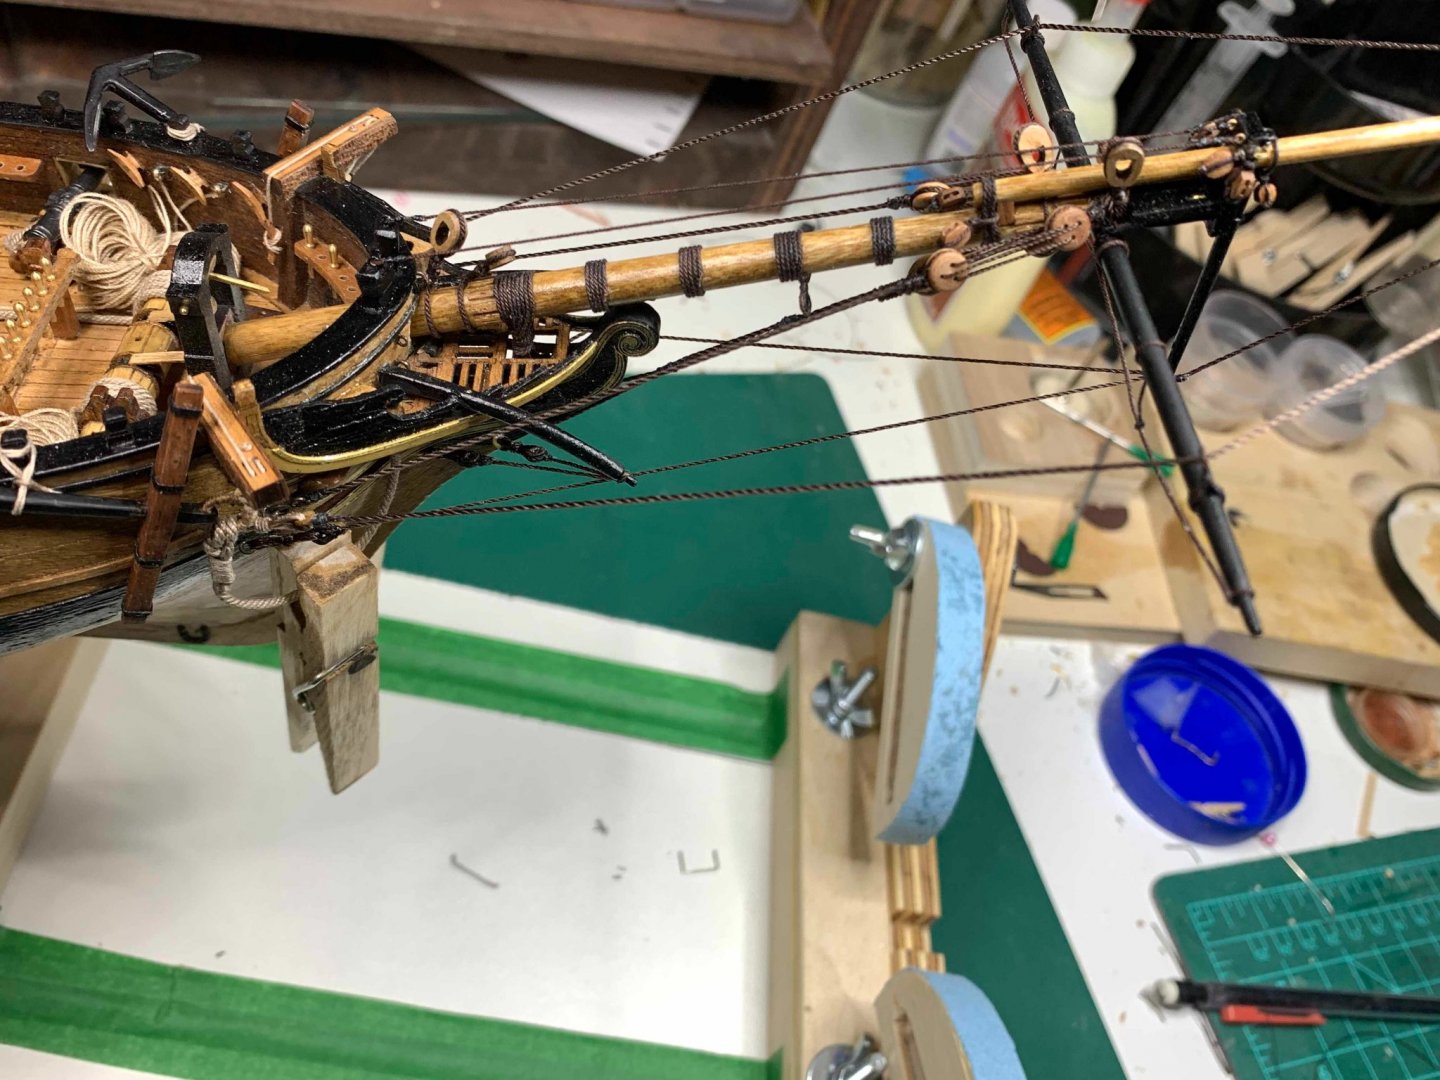
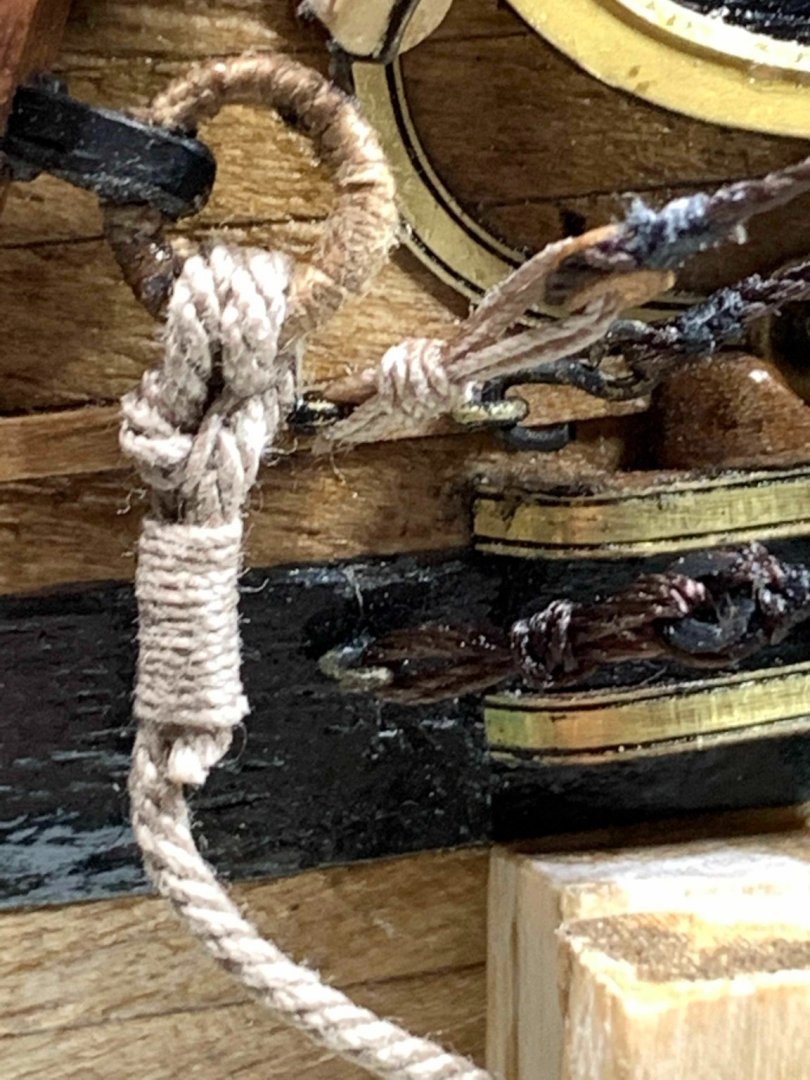
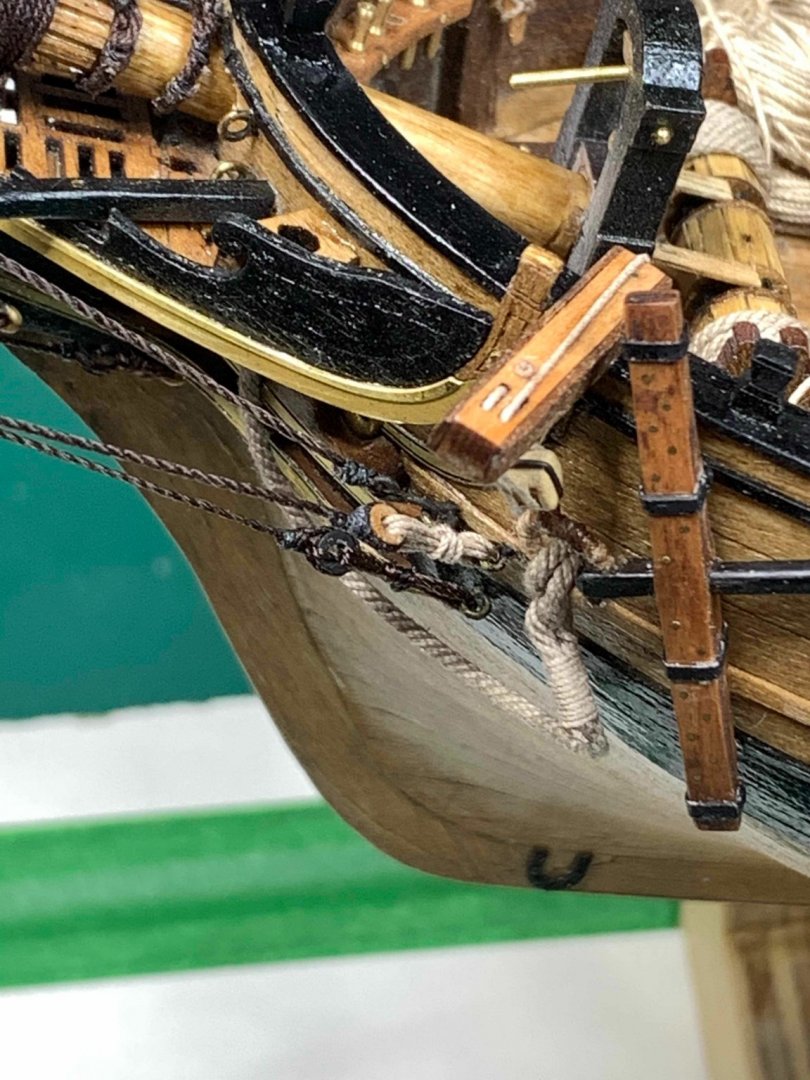
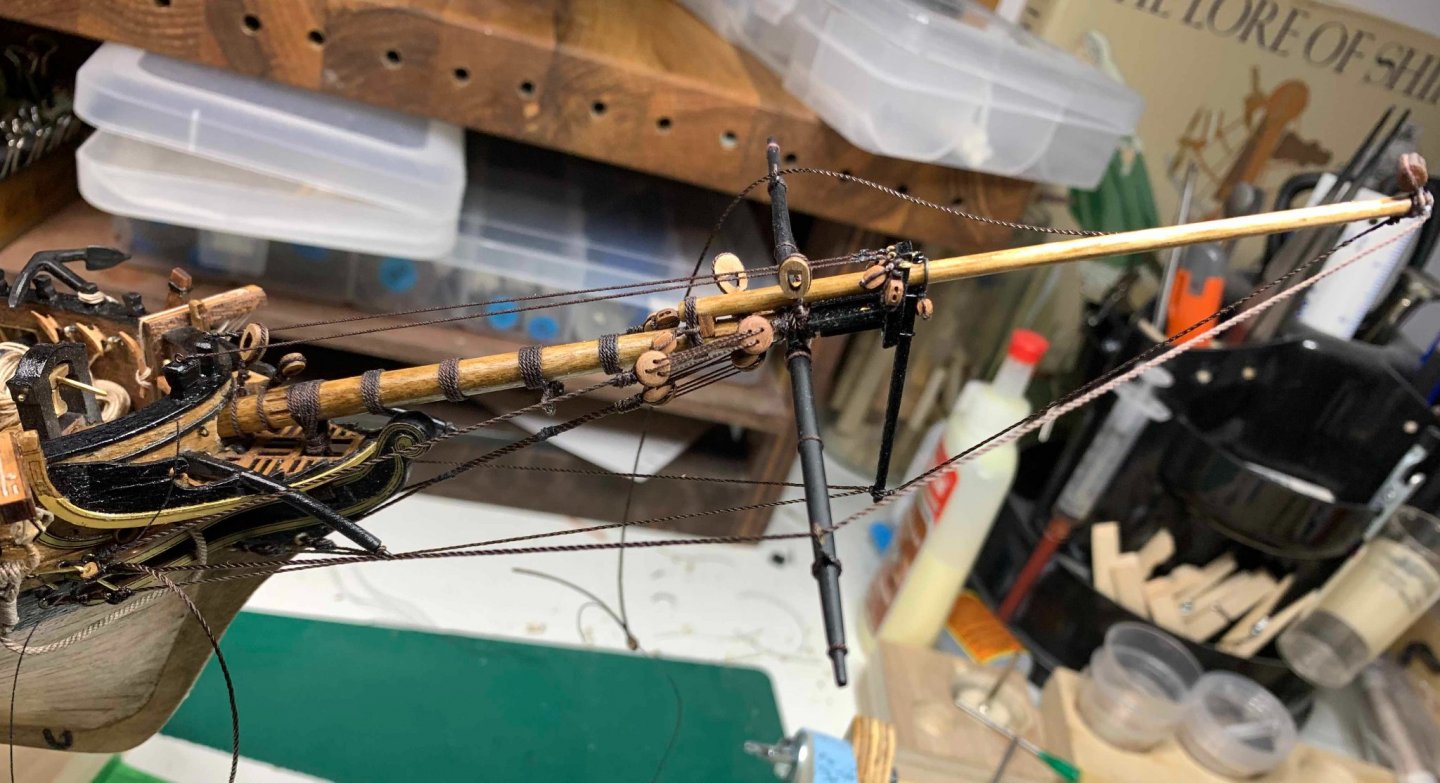
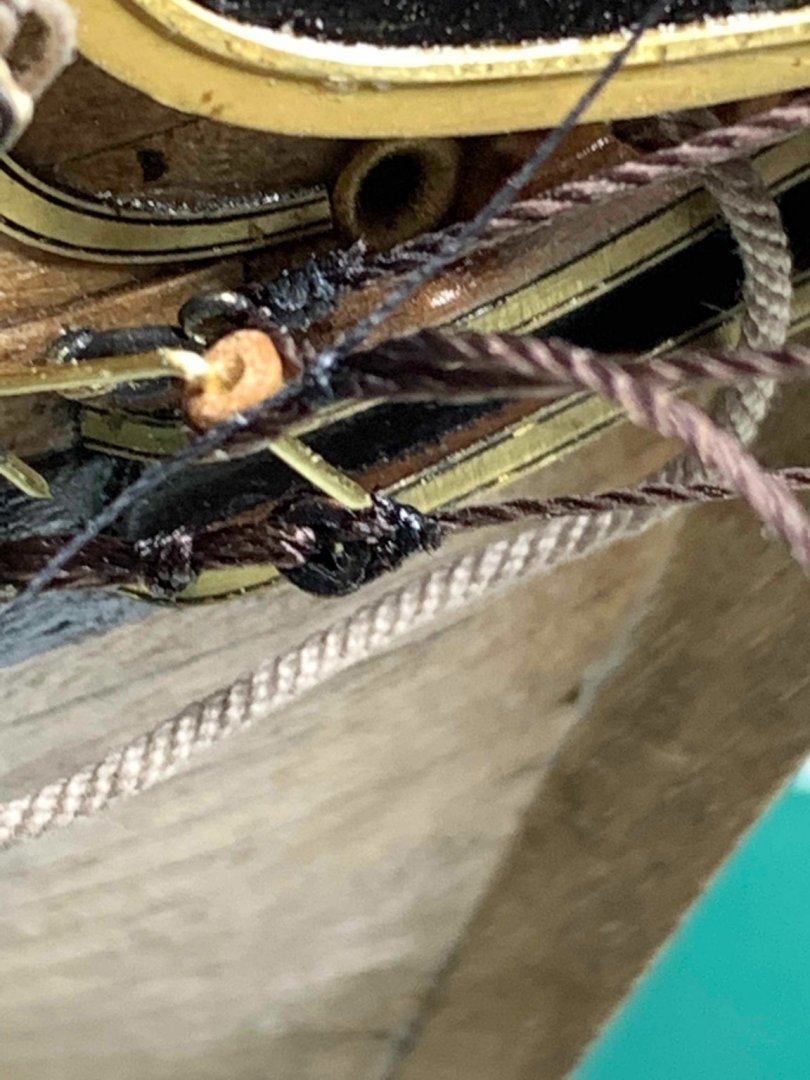
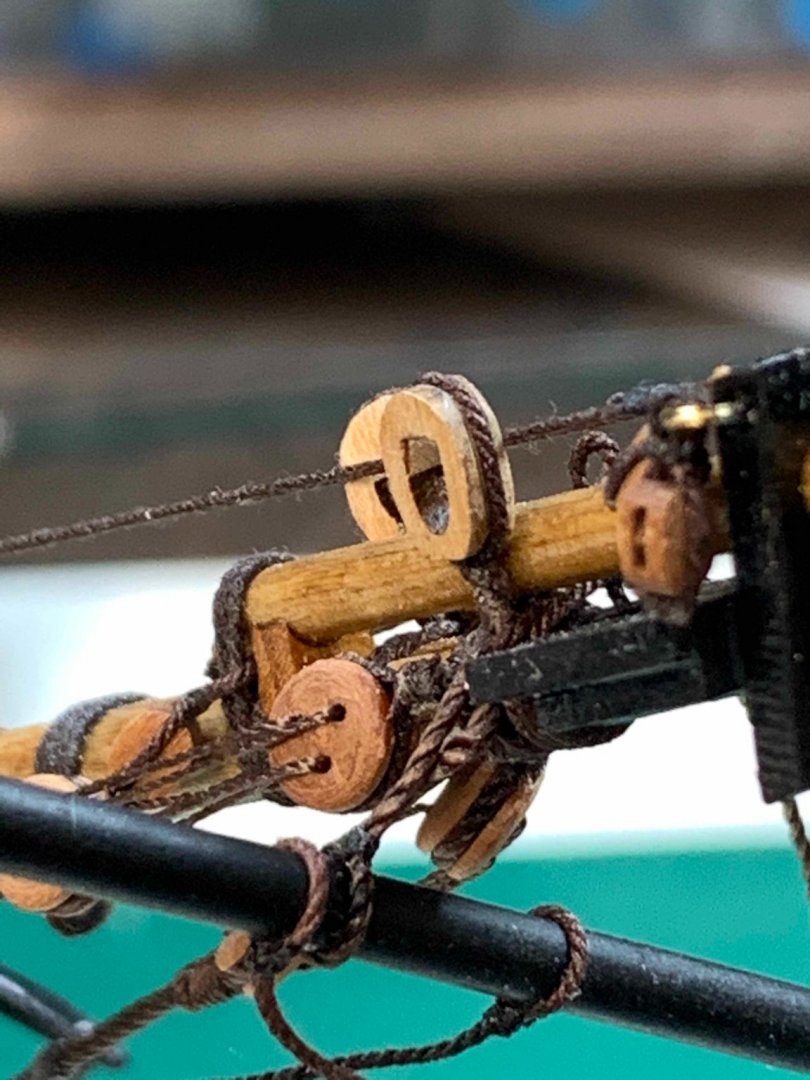
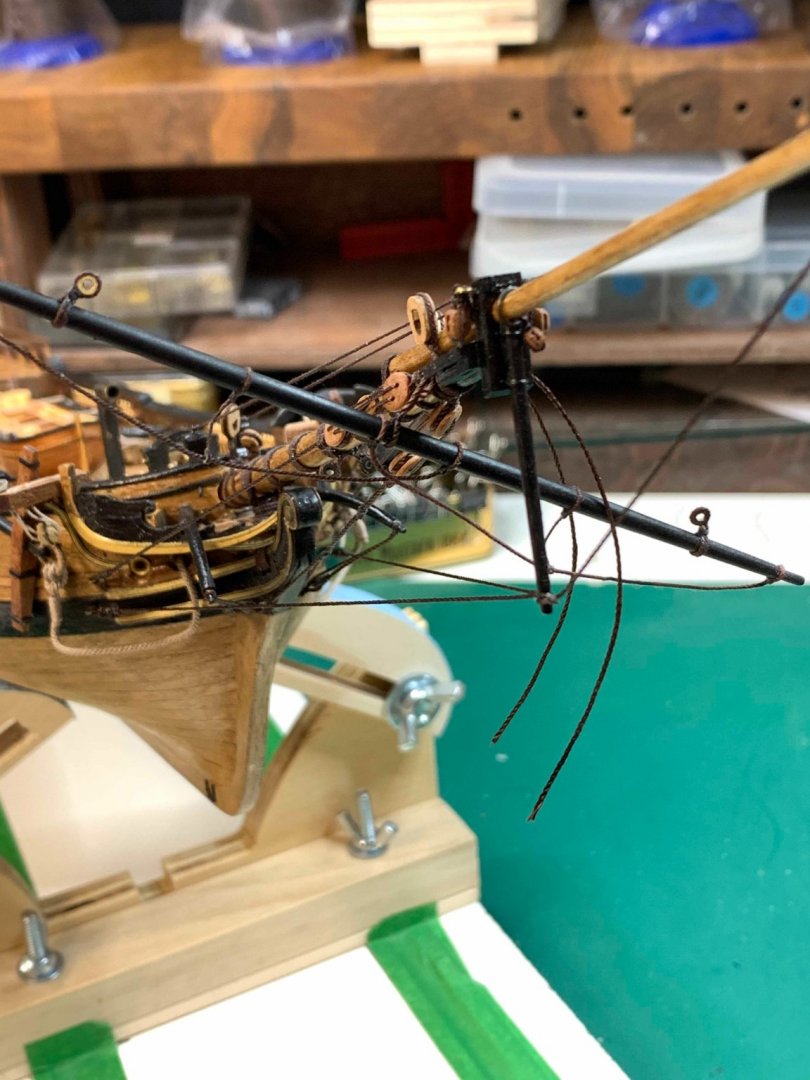
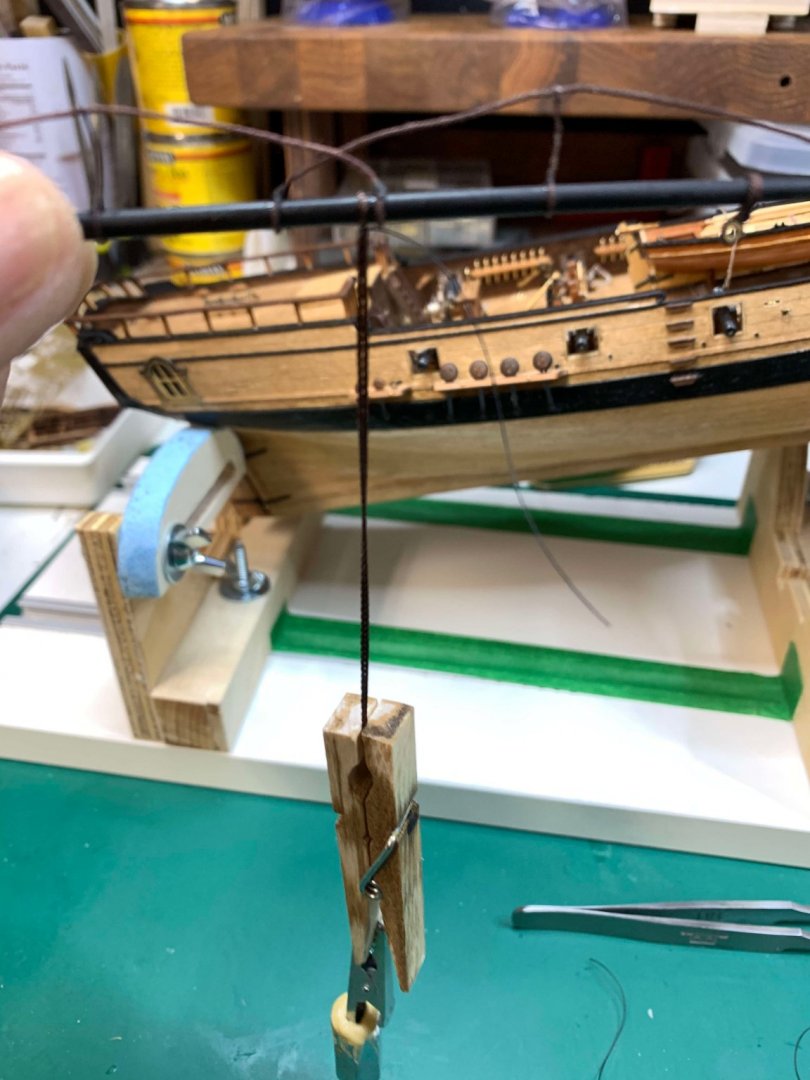
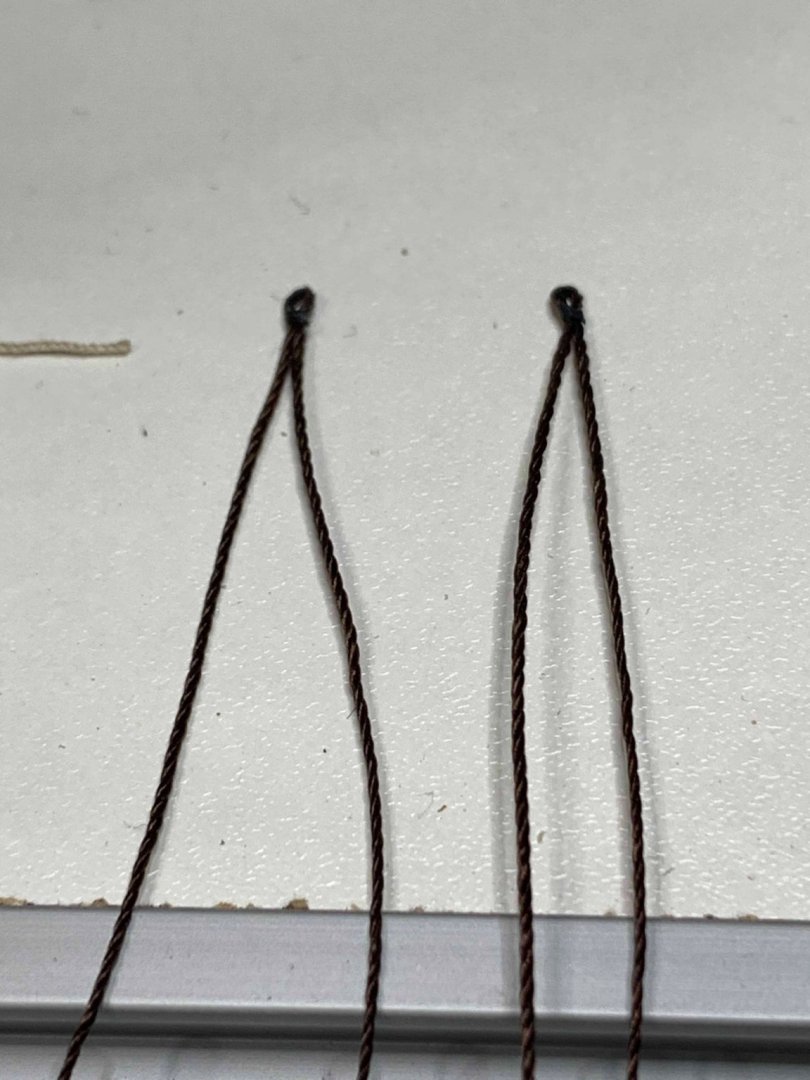
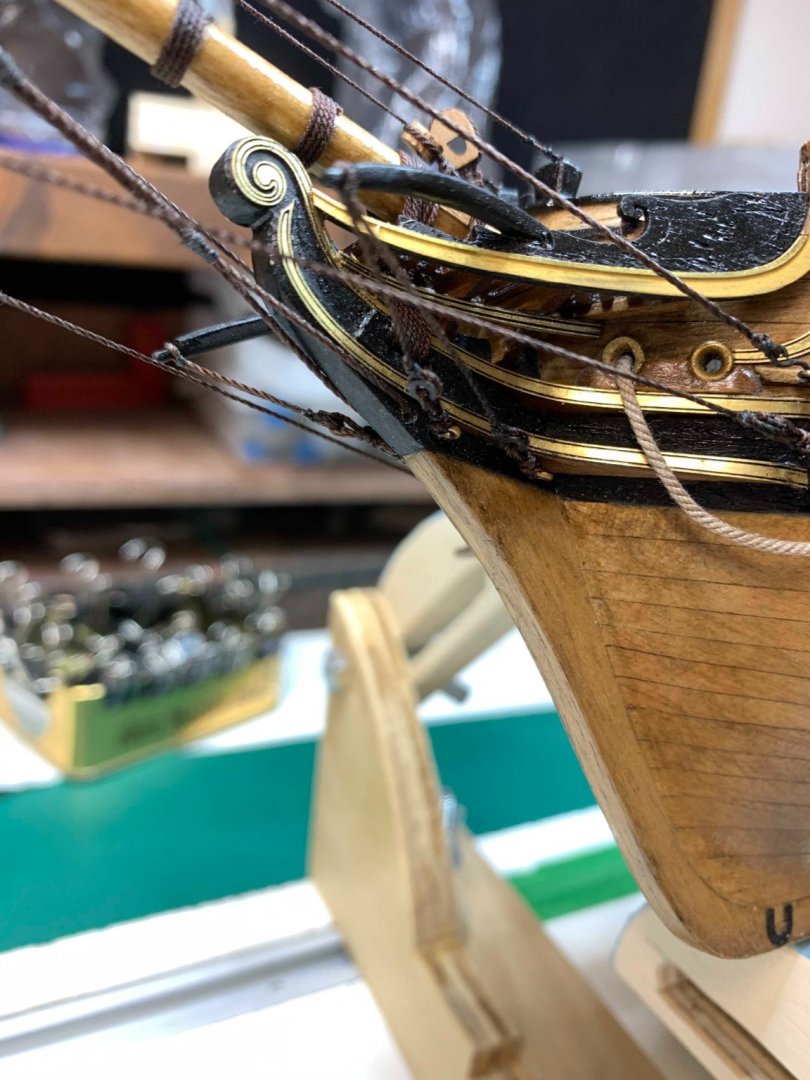
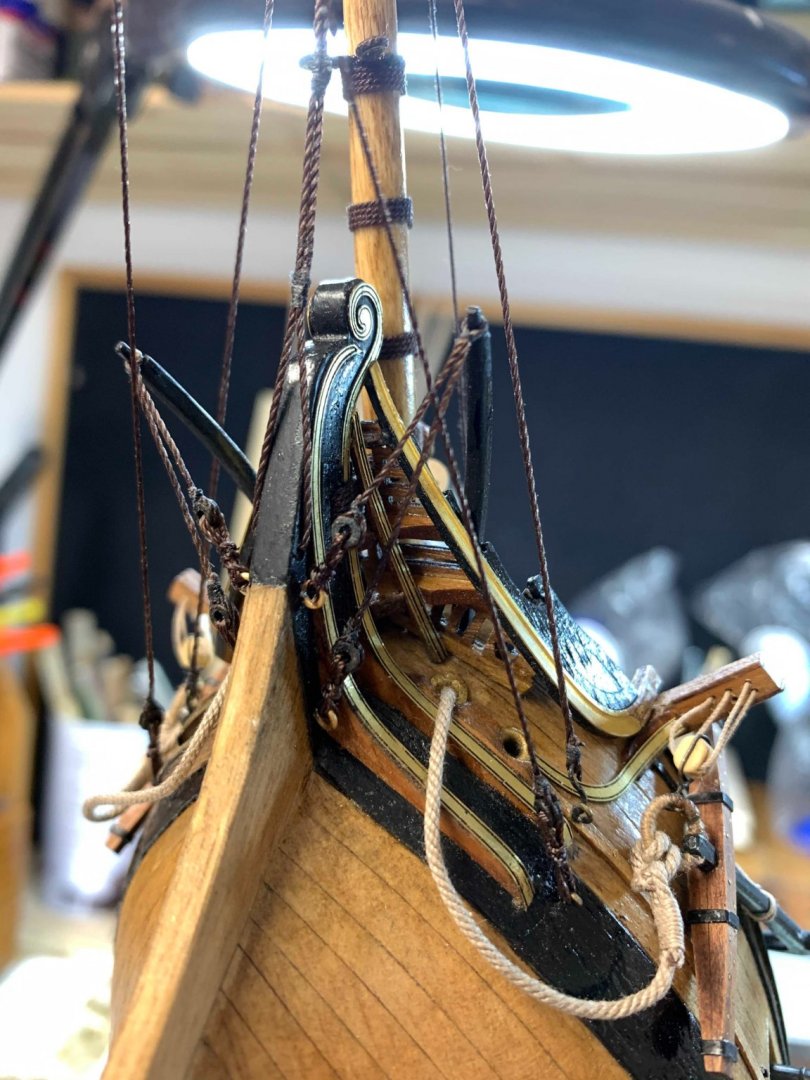
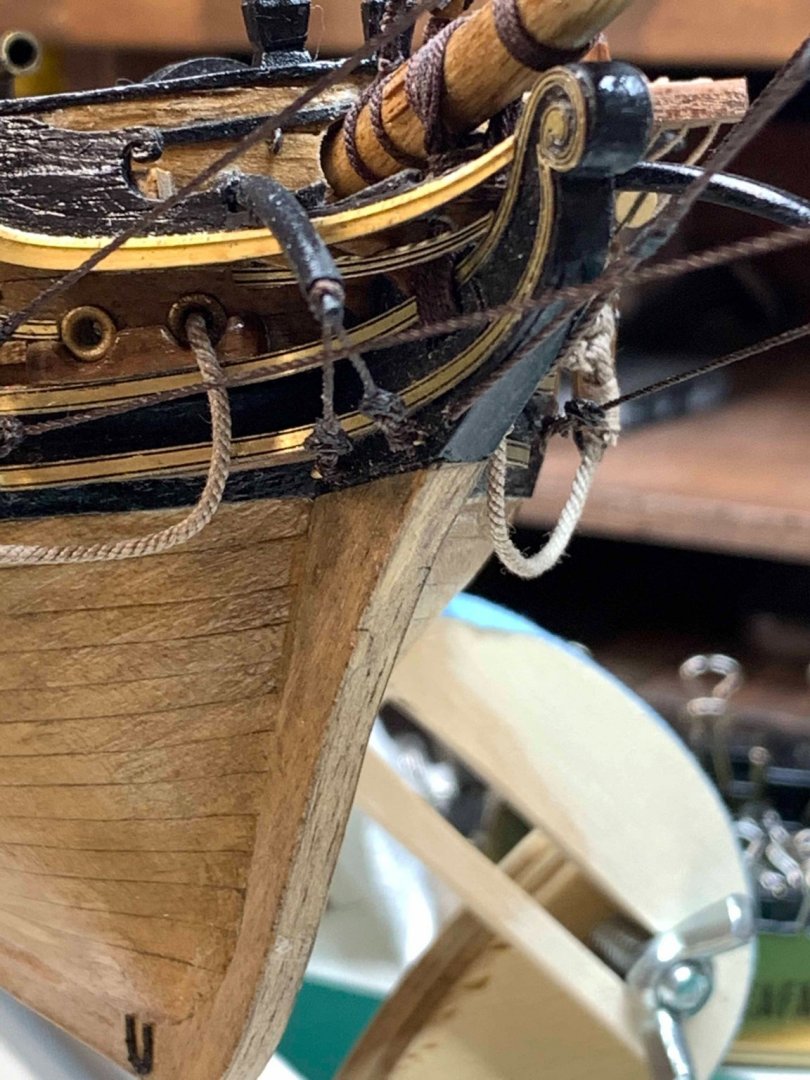
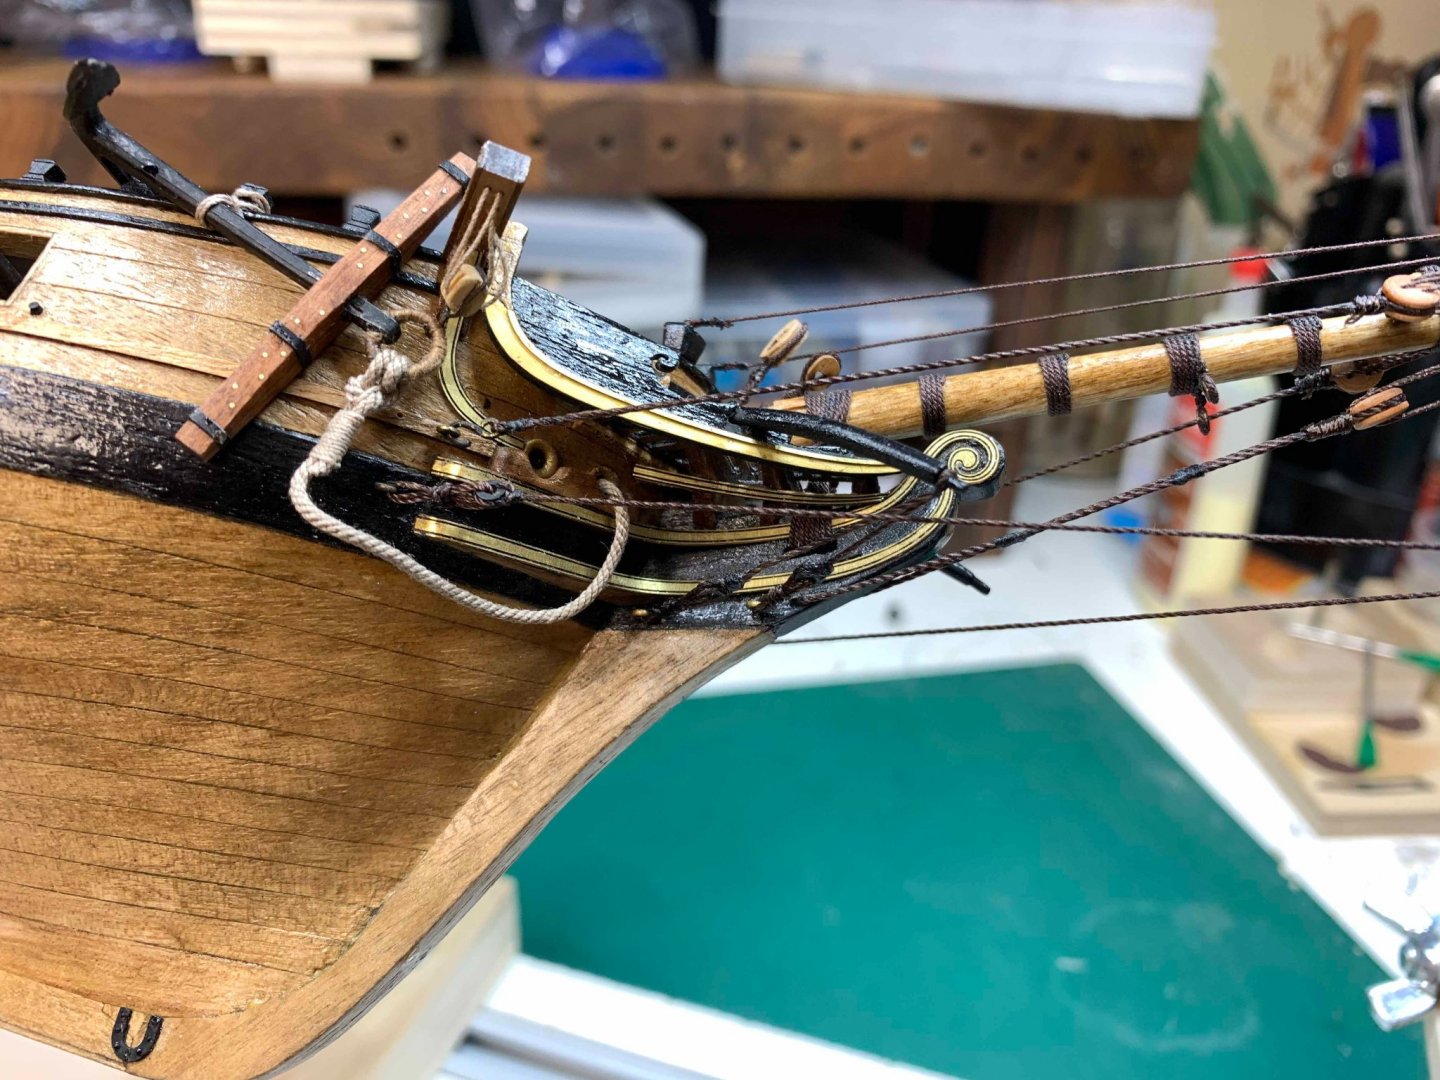
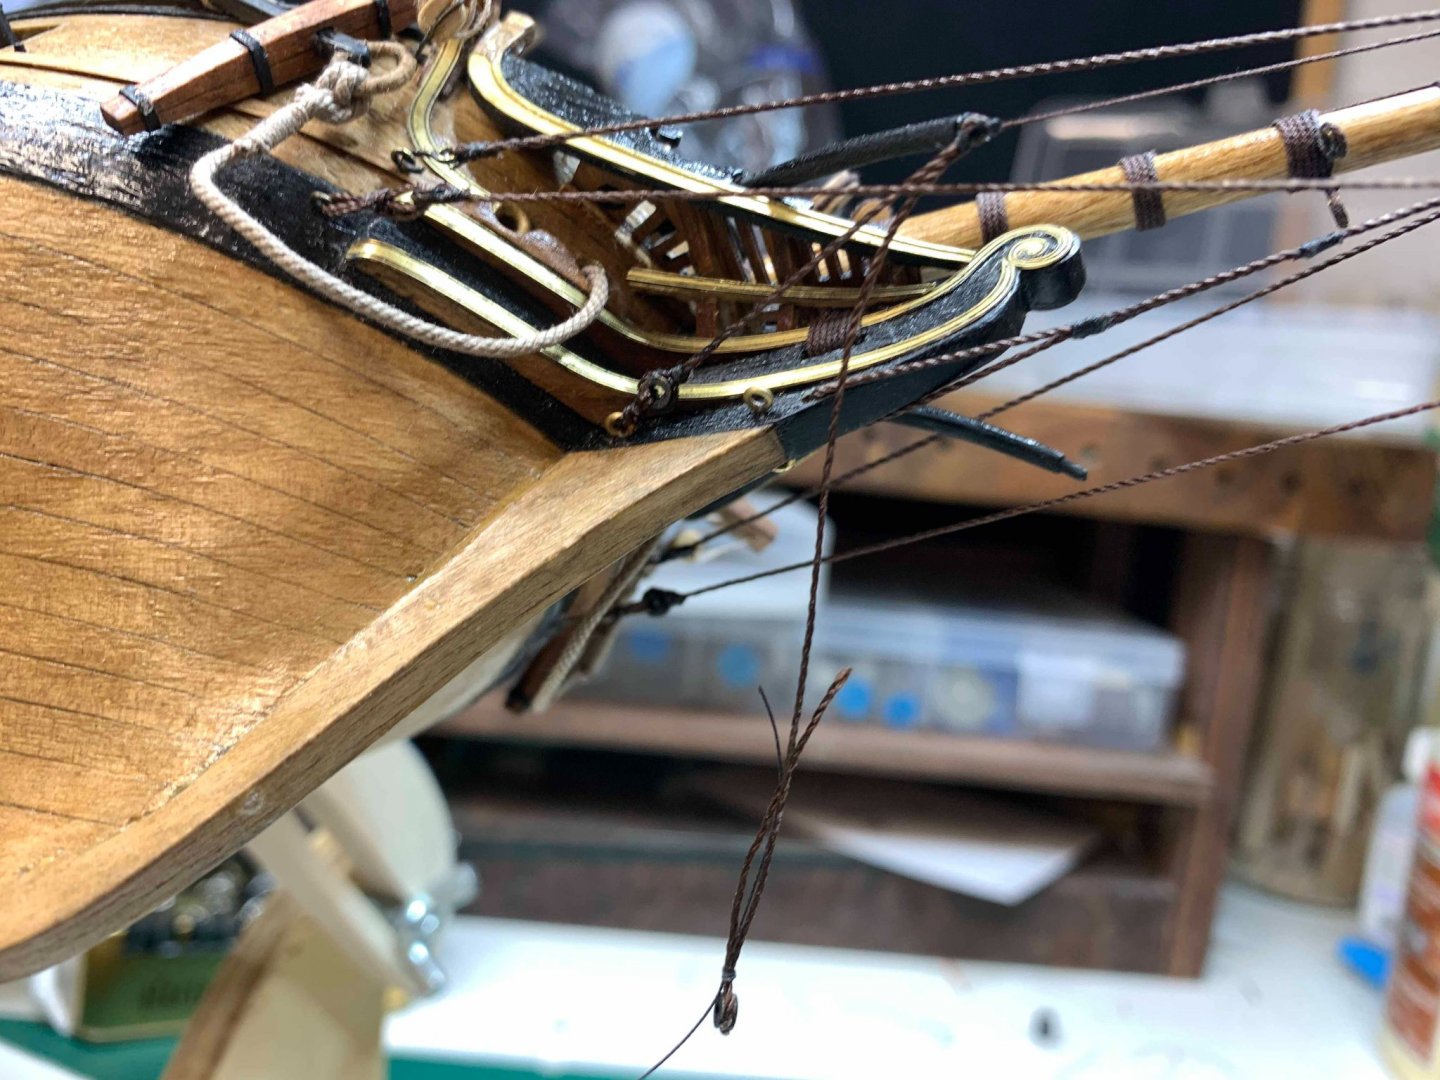
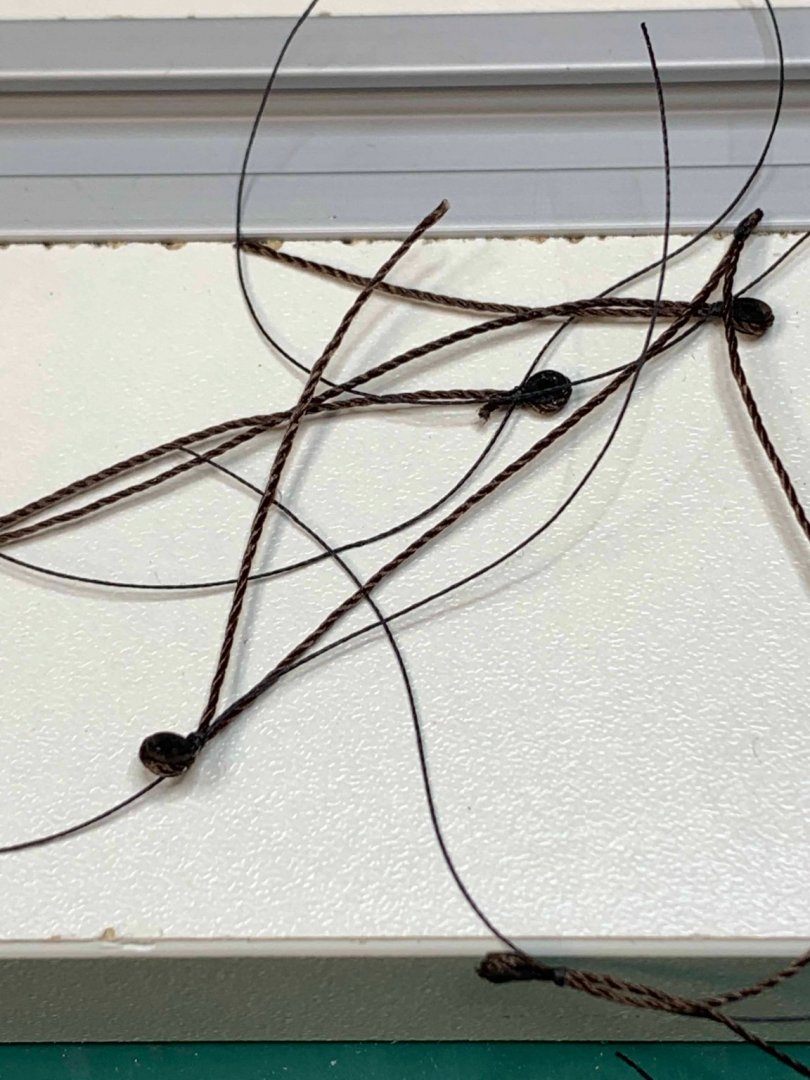
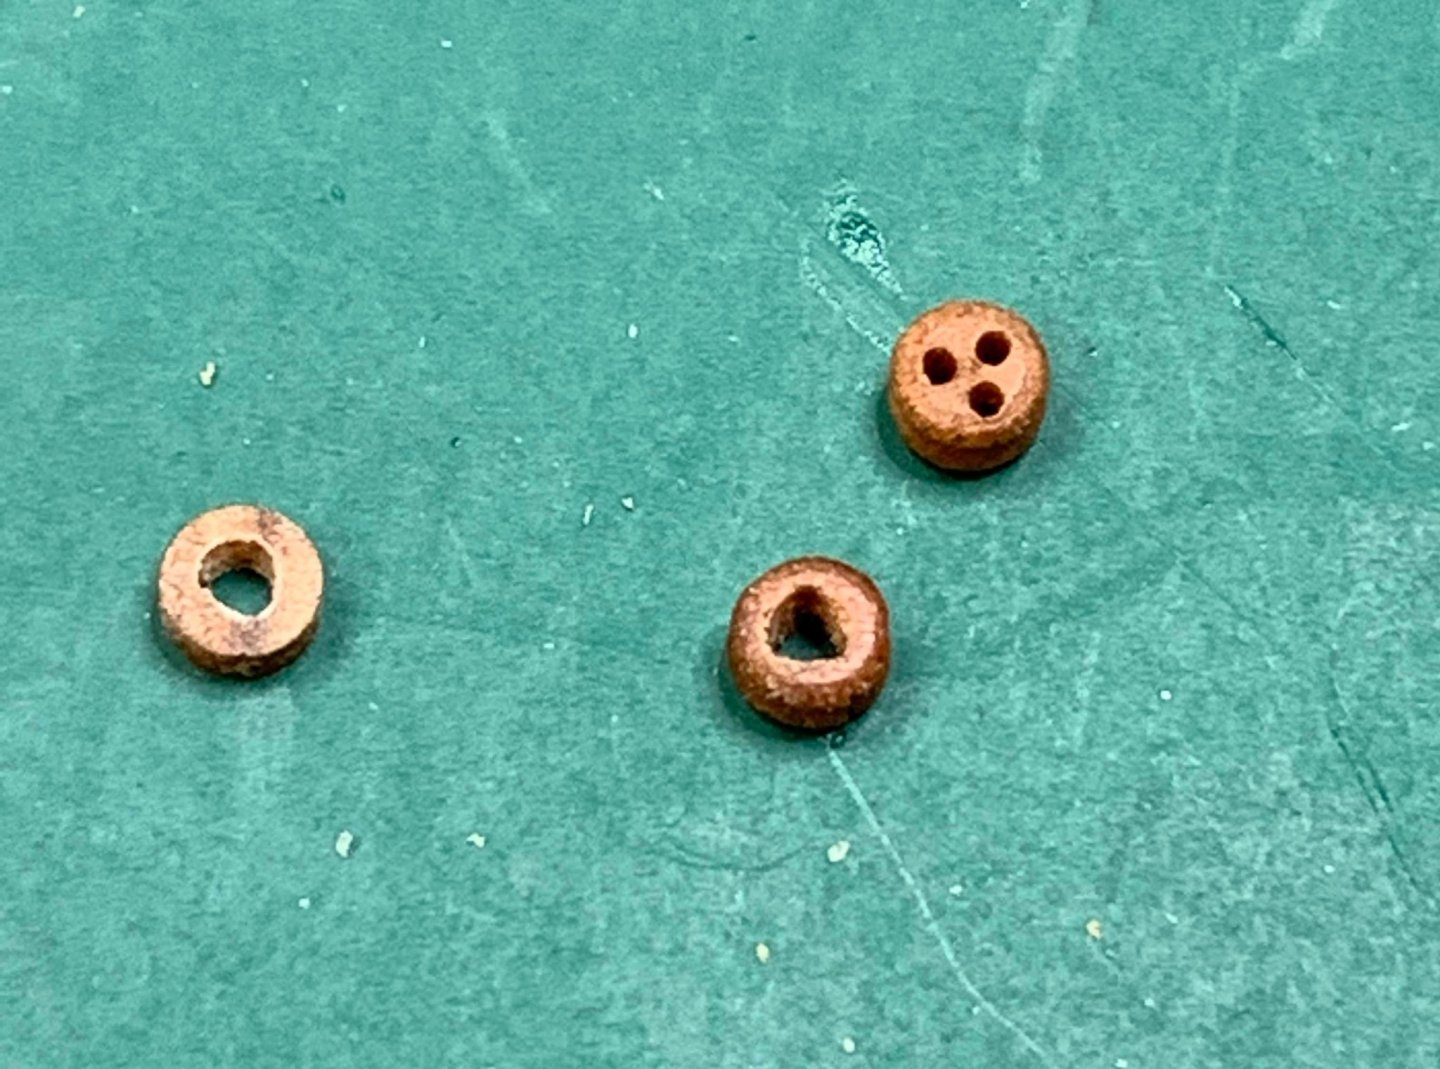
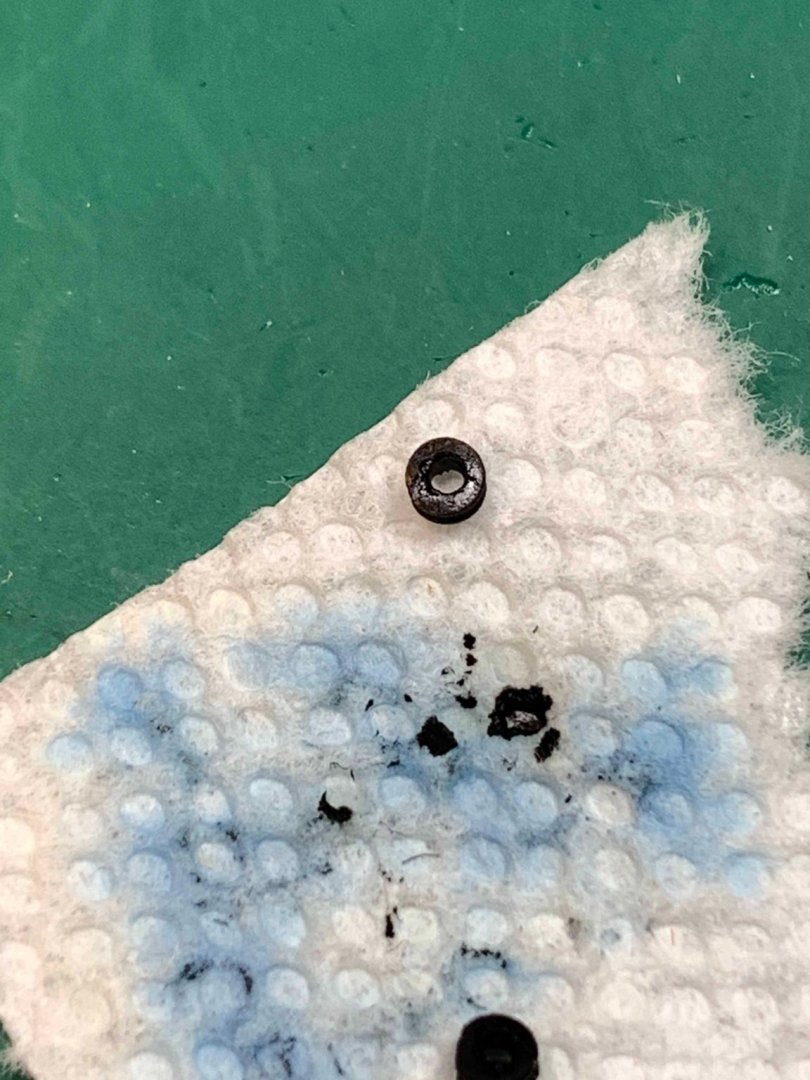
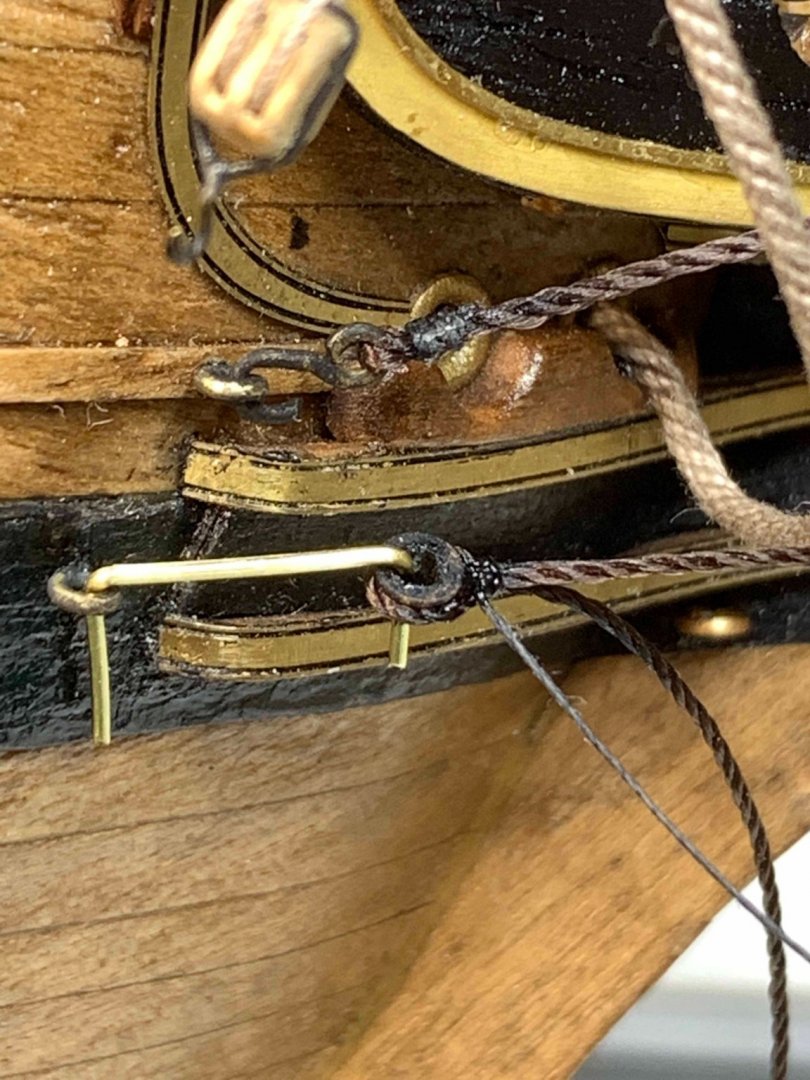
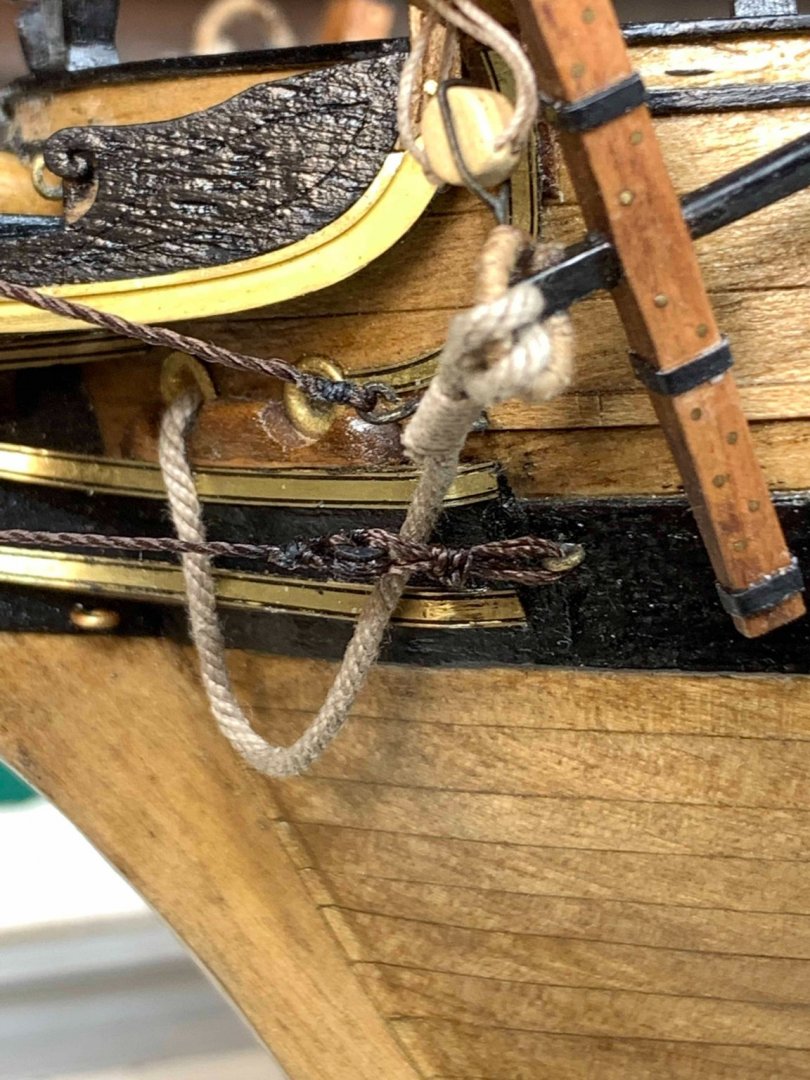
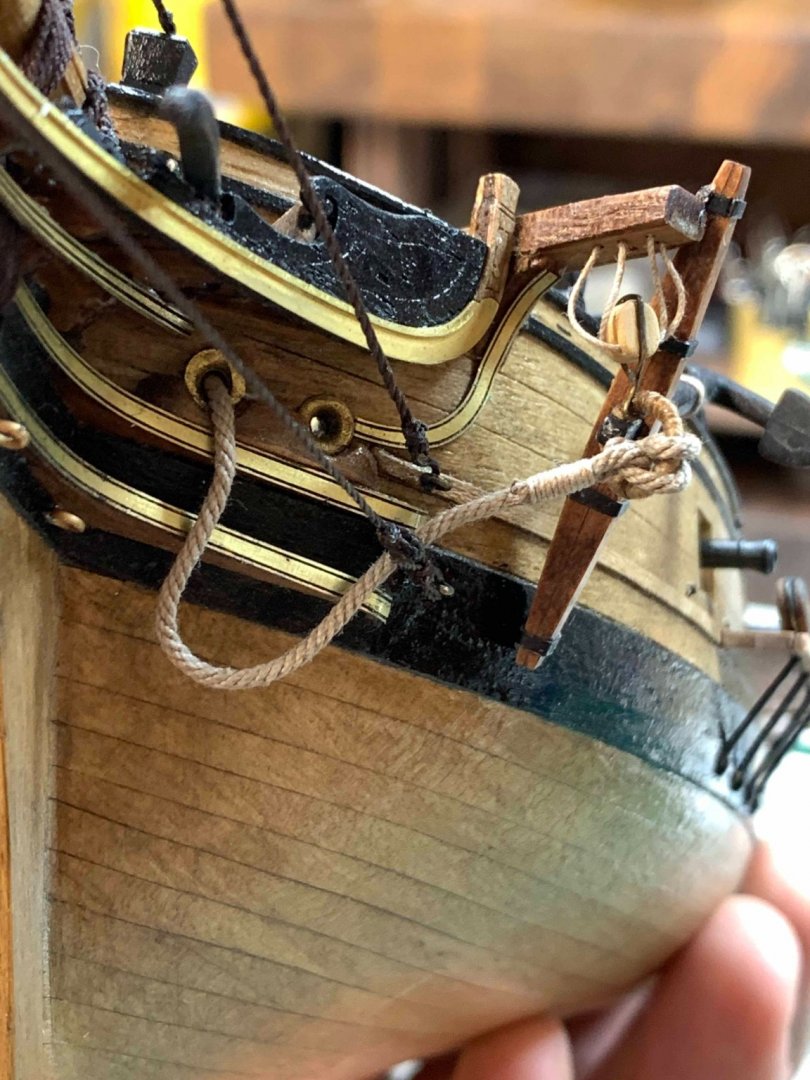
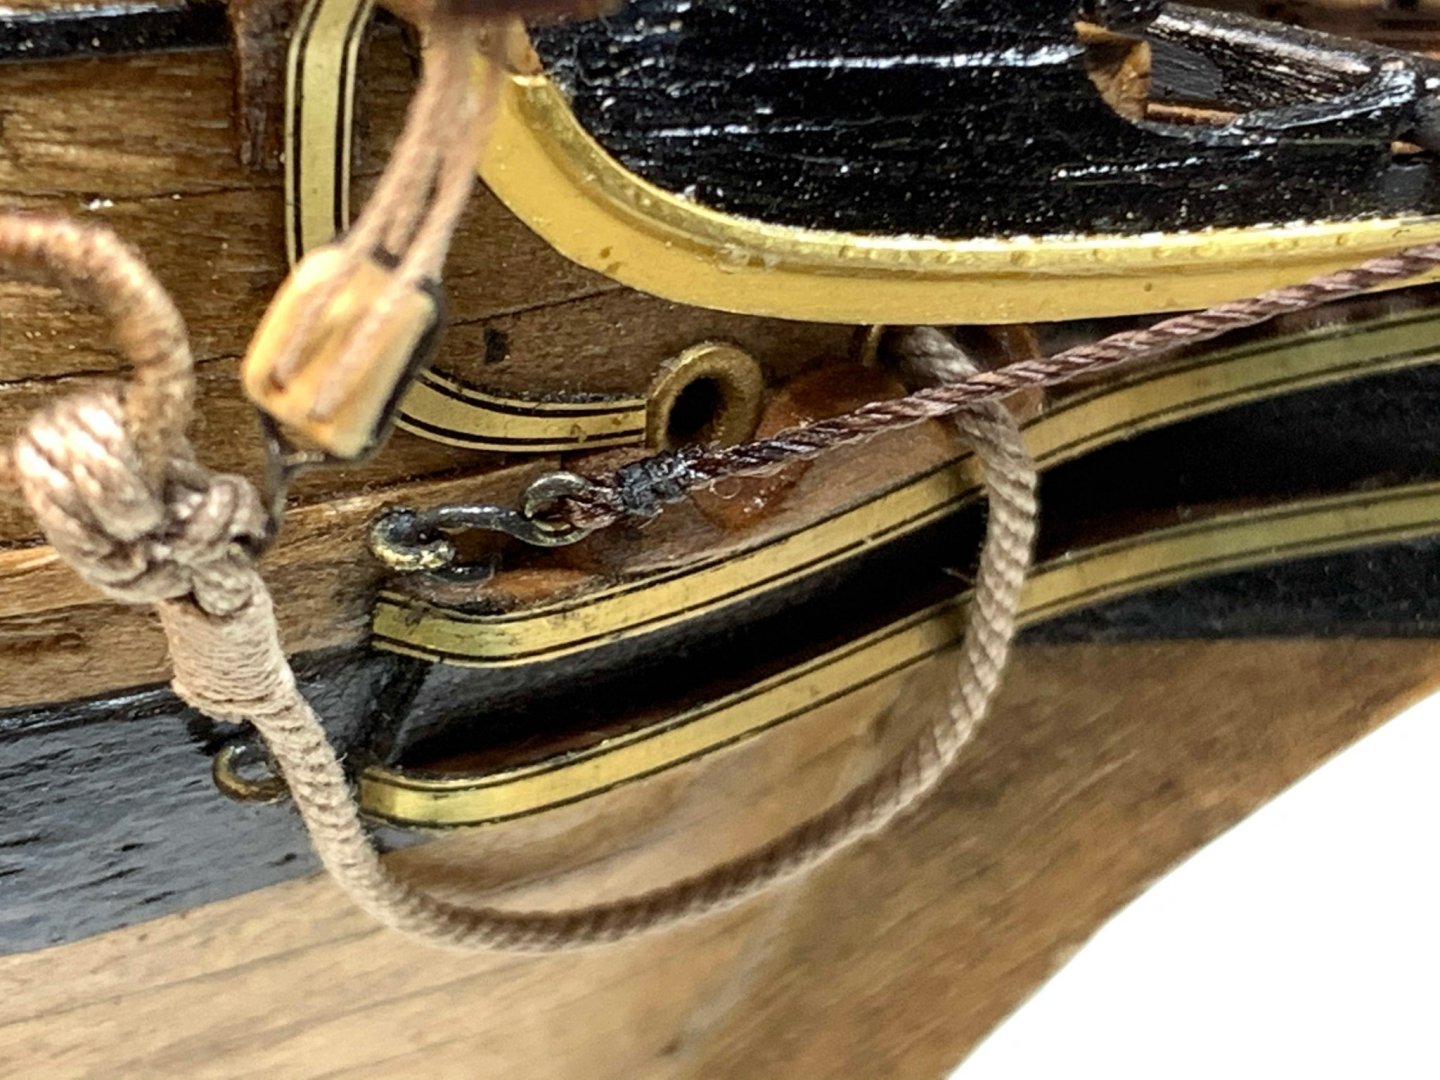
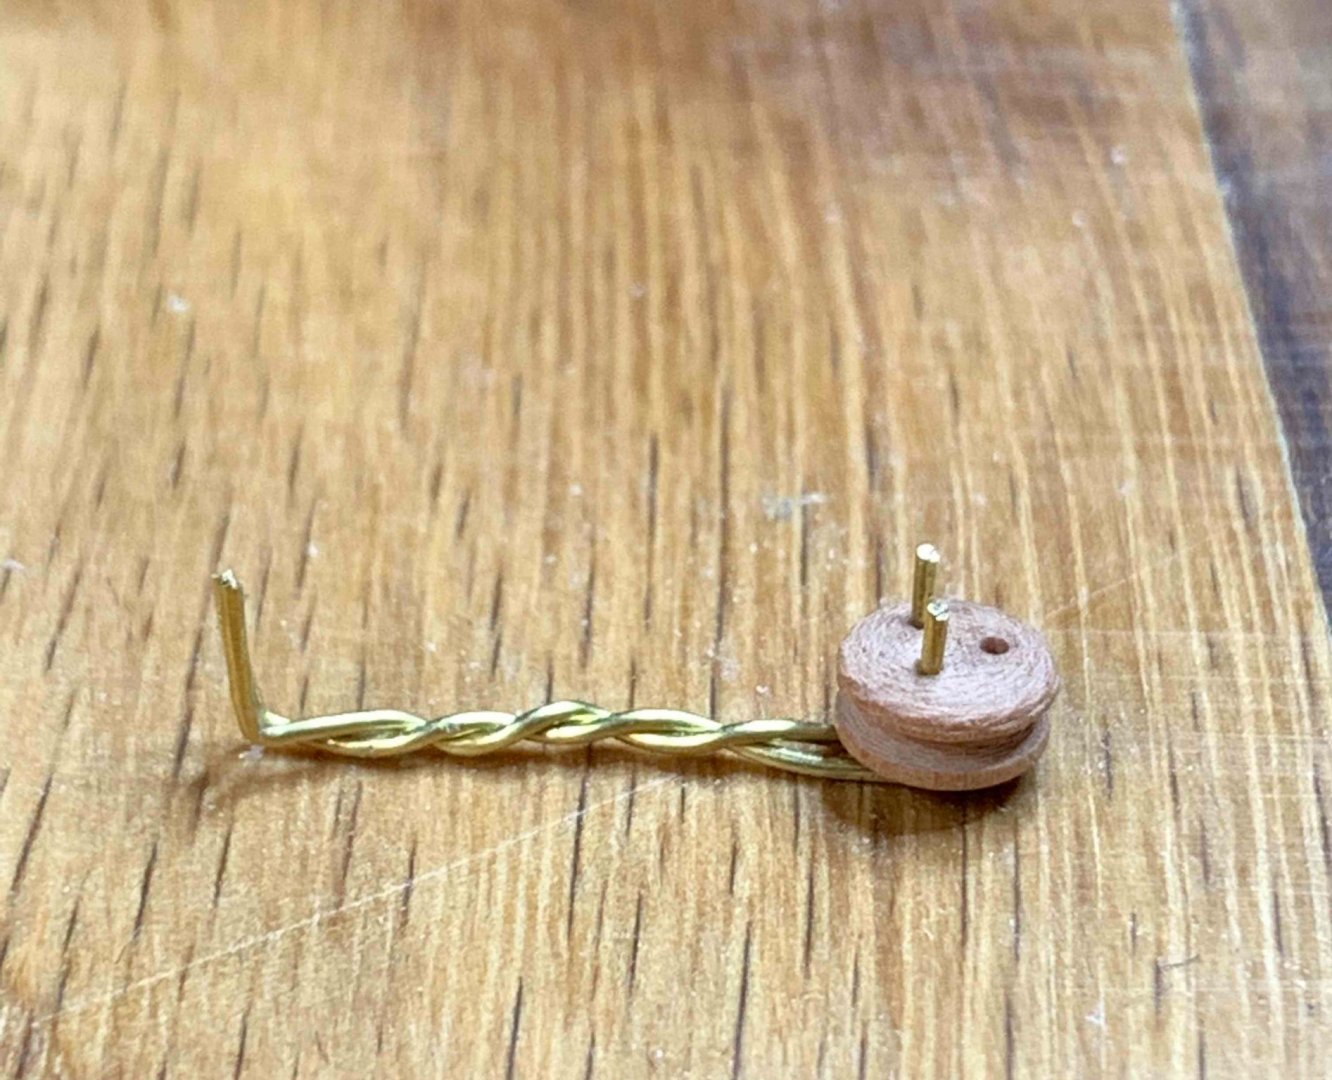
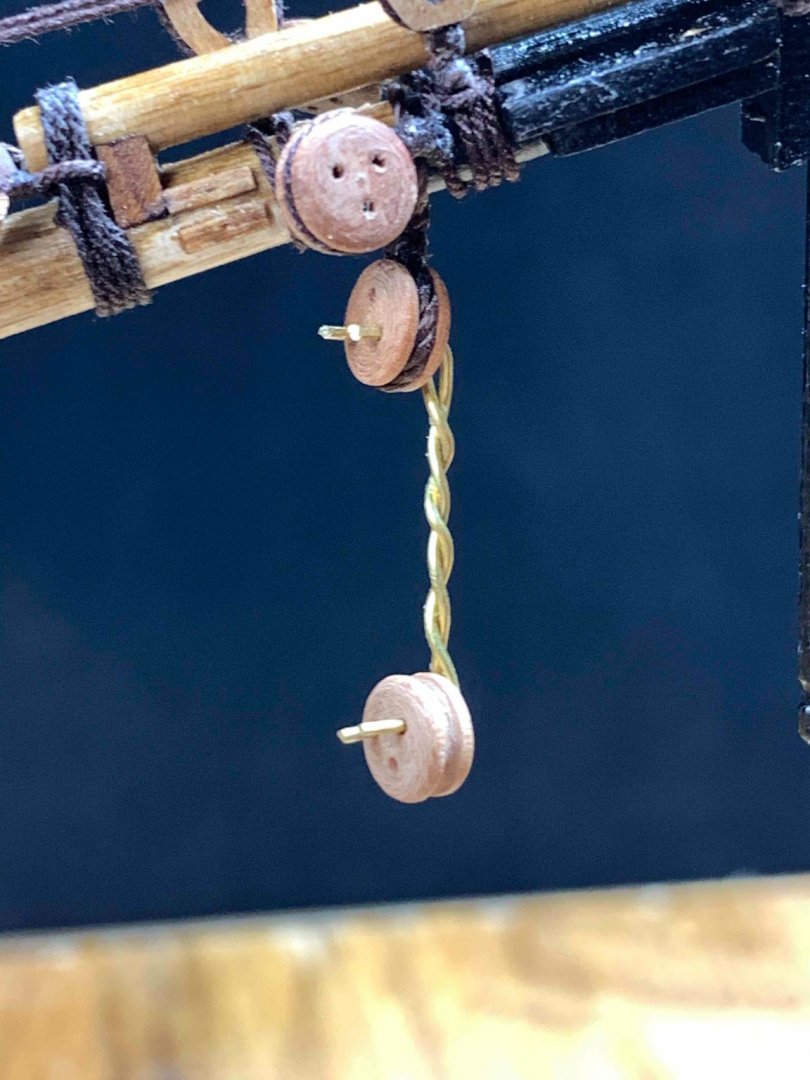
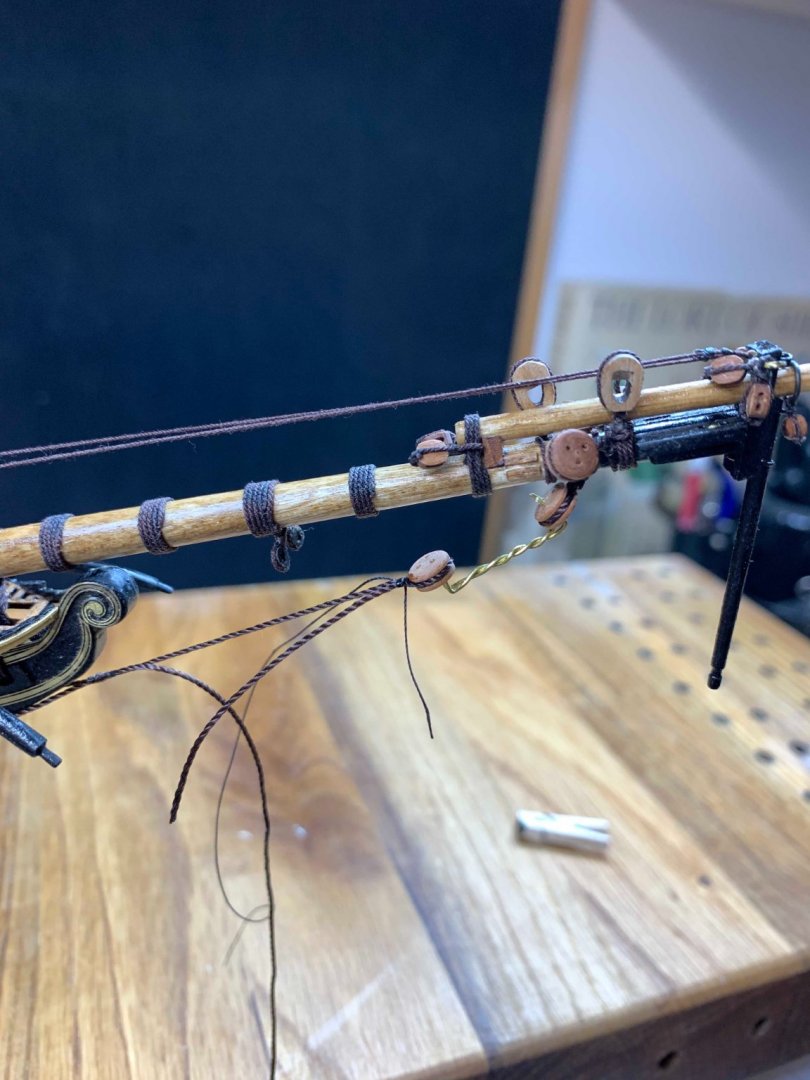
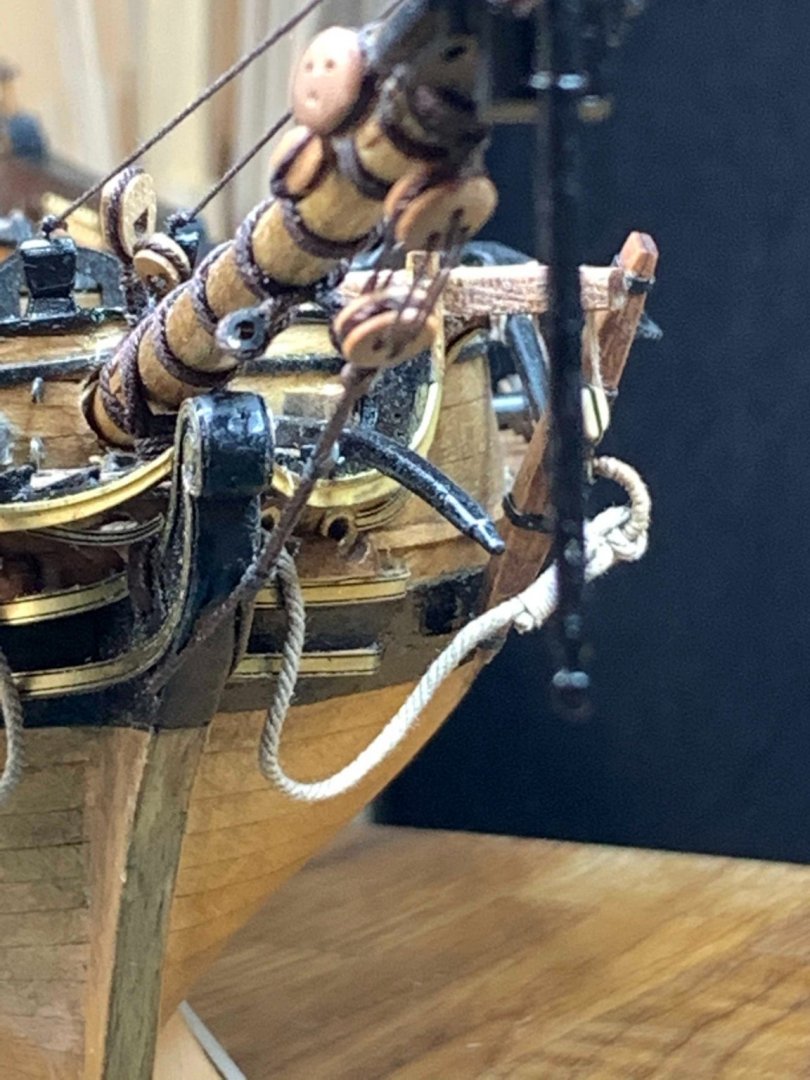
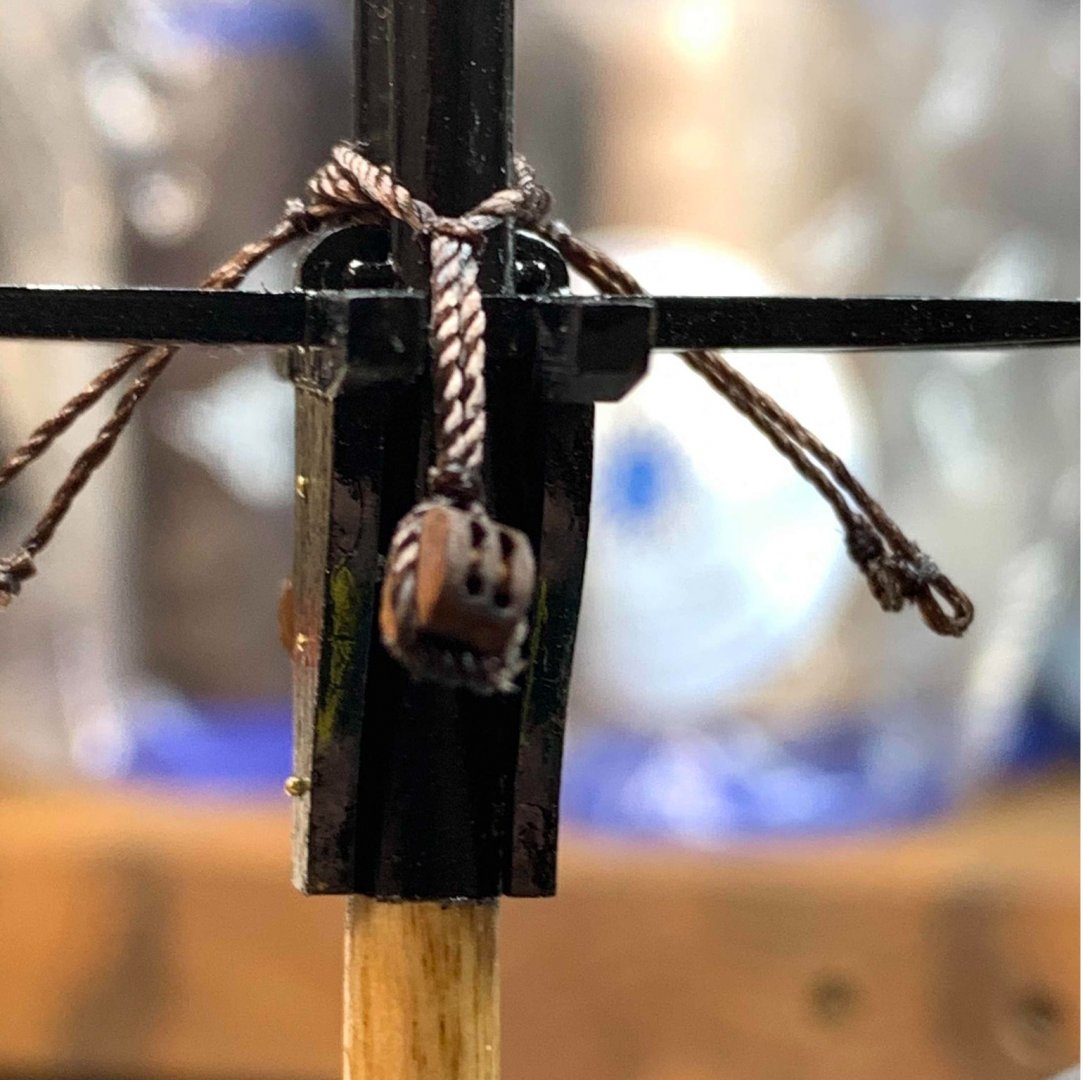
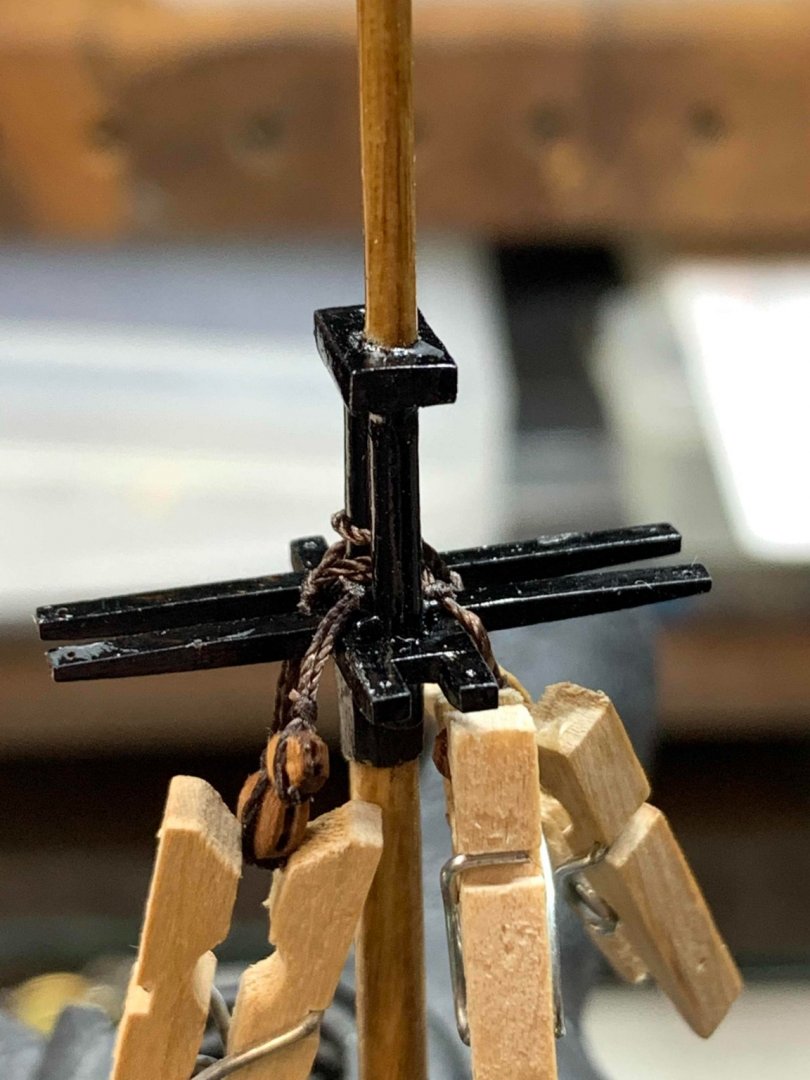
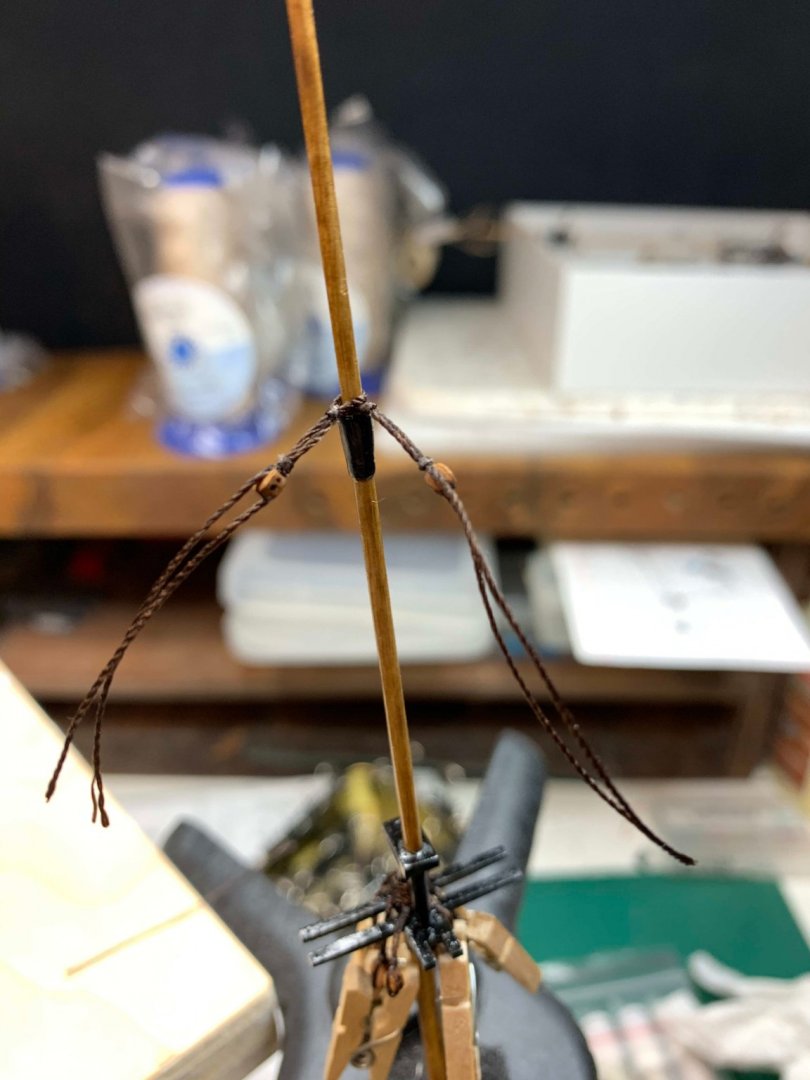
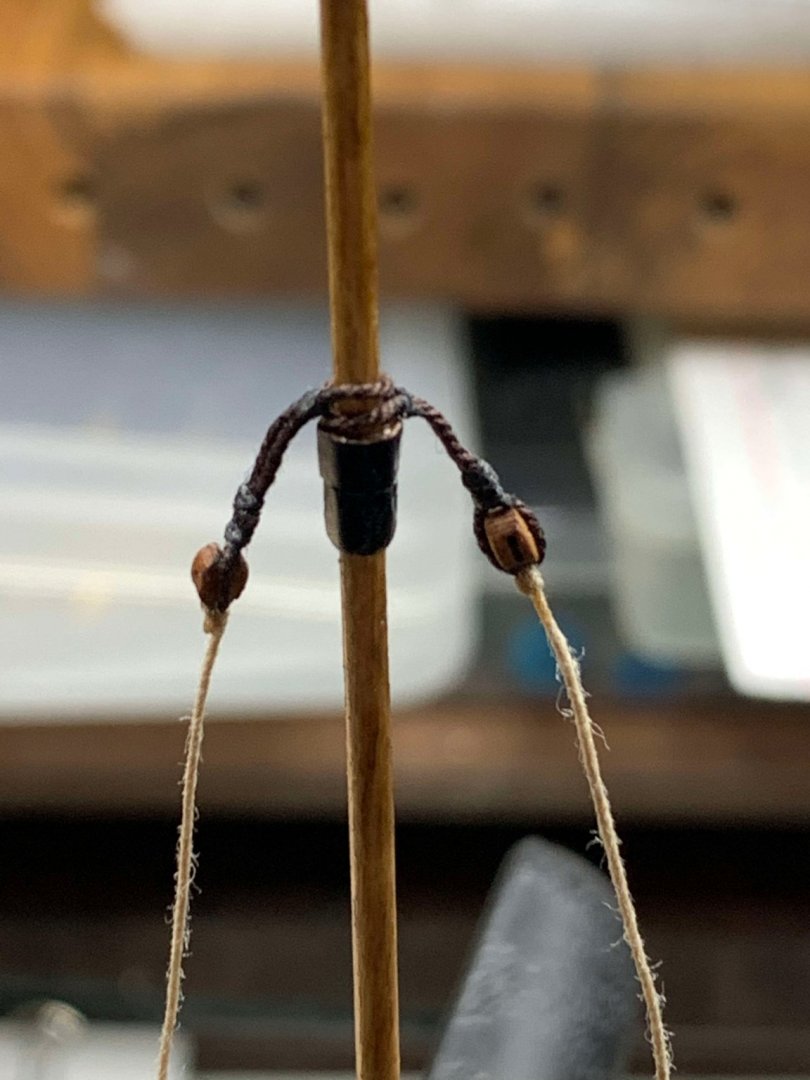
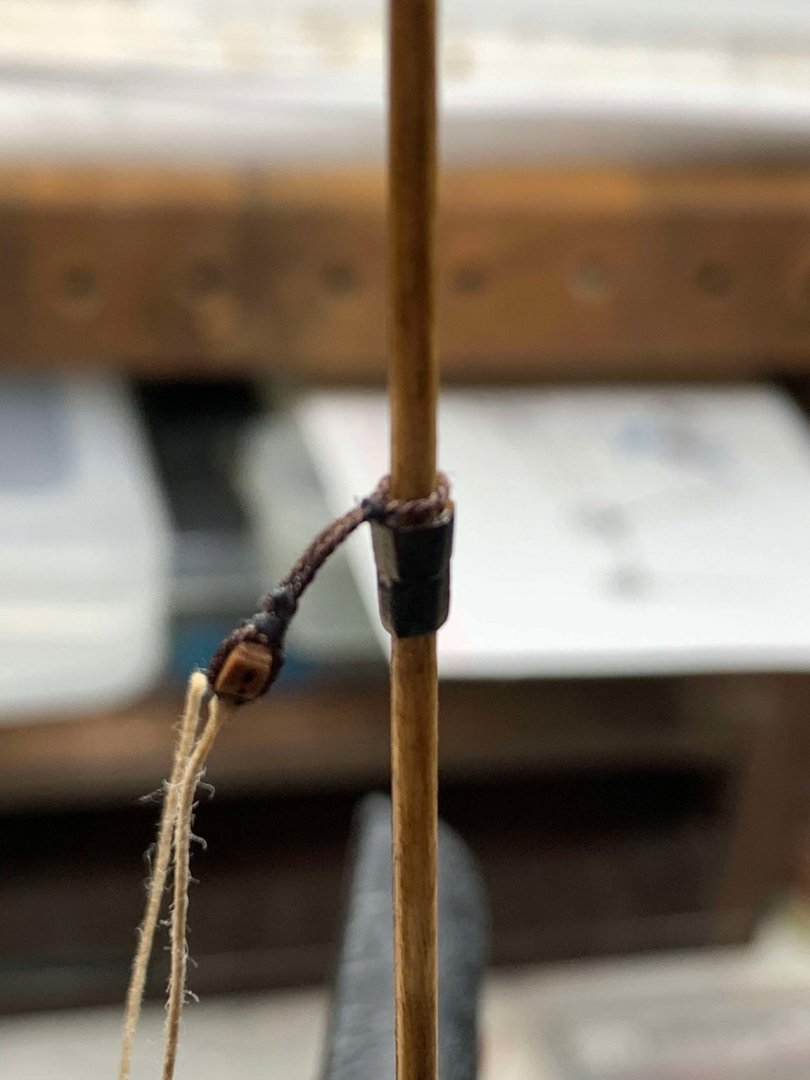
Work on the martingale stay and the martingale backstay is next. For this part since i dont have a metal lathe to build my own metal ring, i have to use a block, carefully drill the hole through it and sand it down a bit. With black color this should simulate a ring nicely. The next photos shows the build process. Forgot to reposition the anchor as this anchor rope position does not quite feel right.. Happy modelling.


- 275 replies
-
- 1
-
-
- phoenix
- master korabel
- (and 1 more)
-
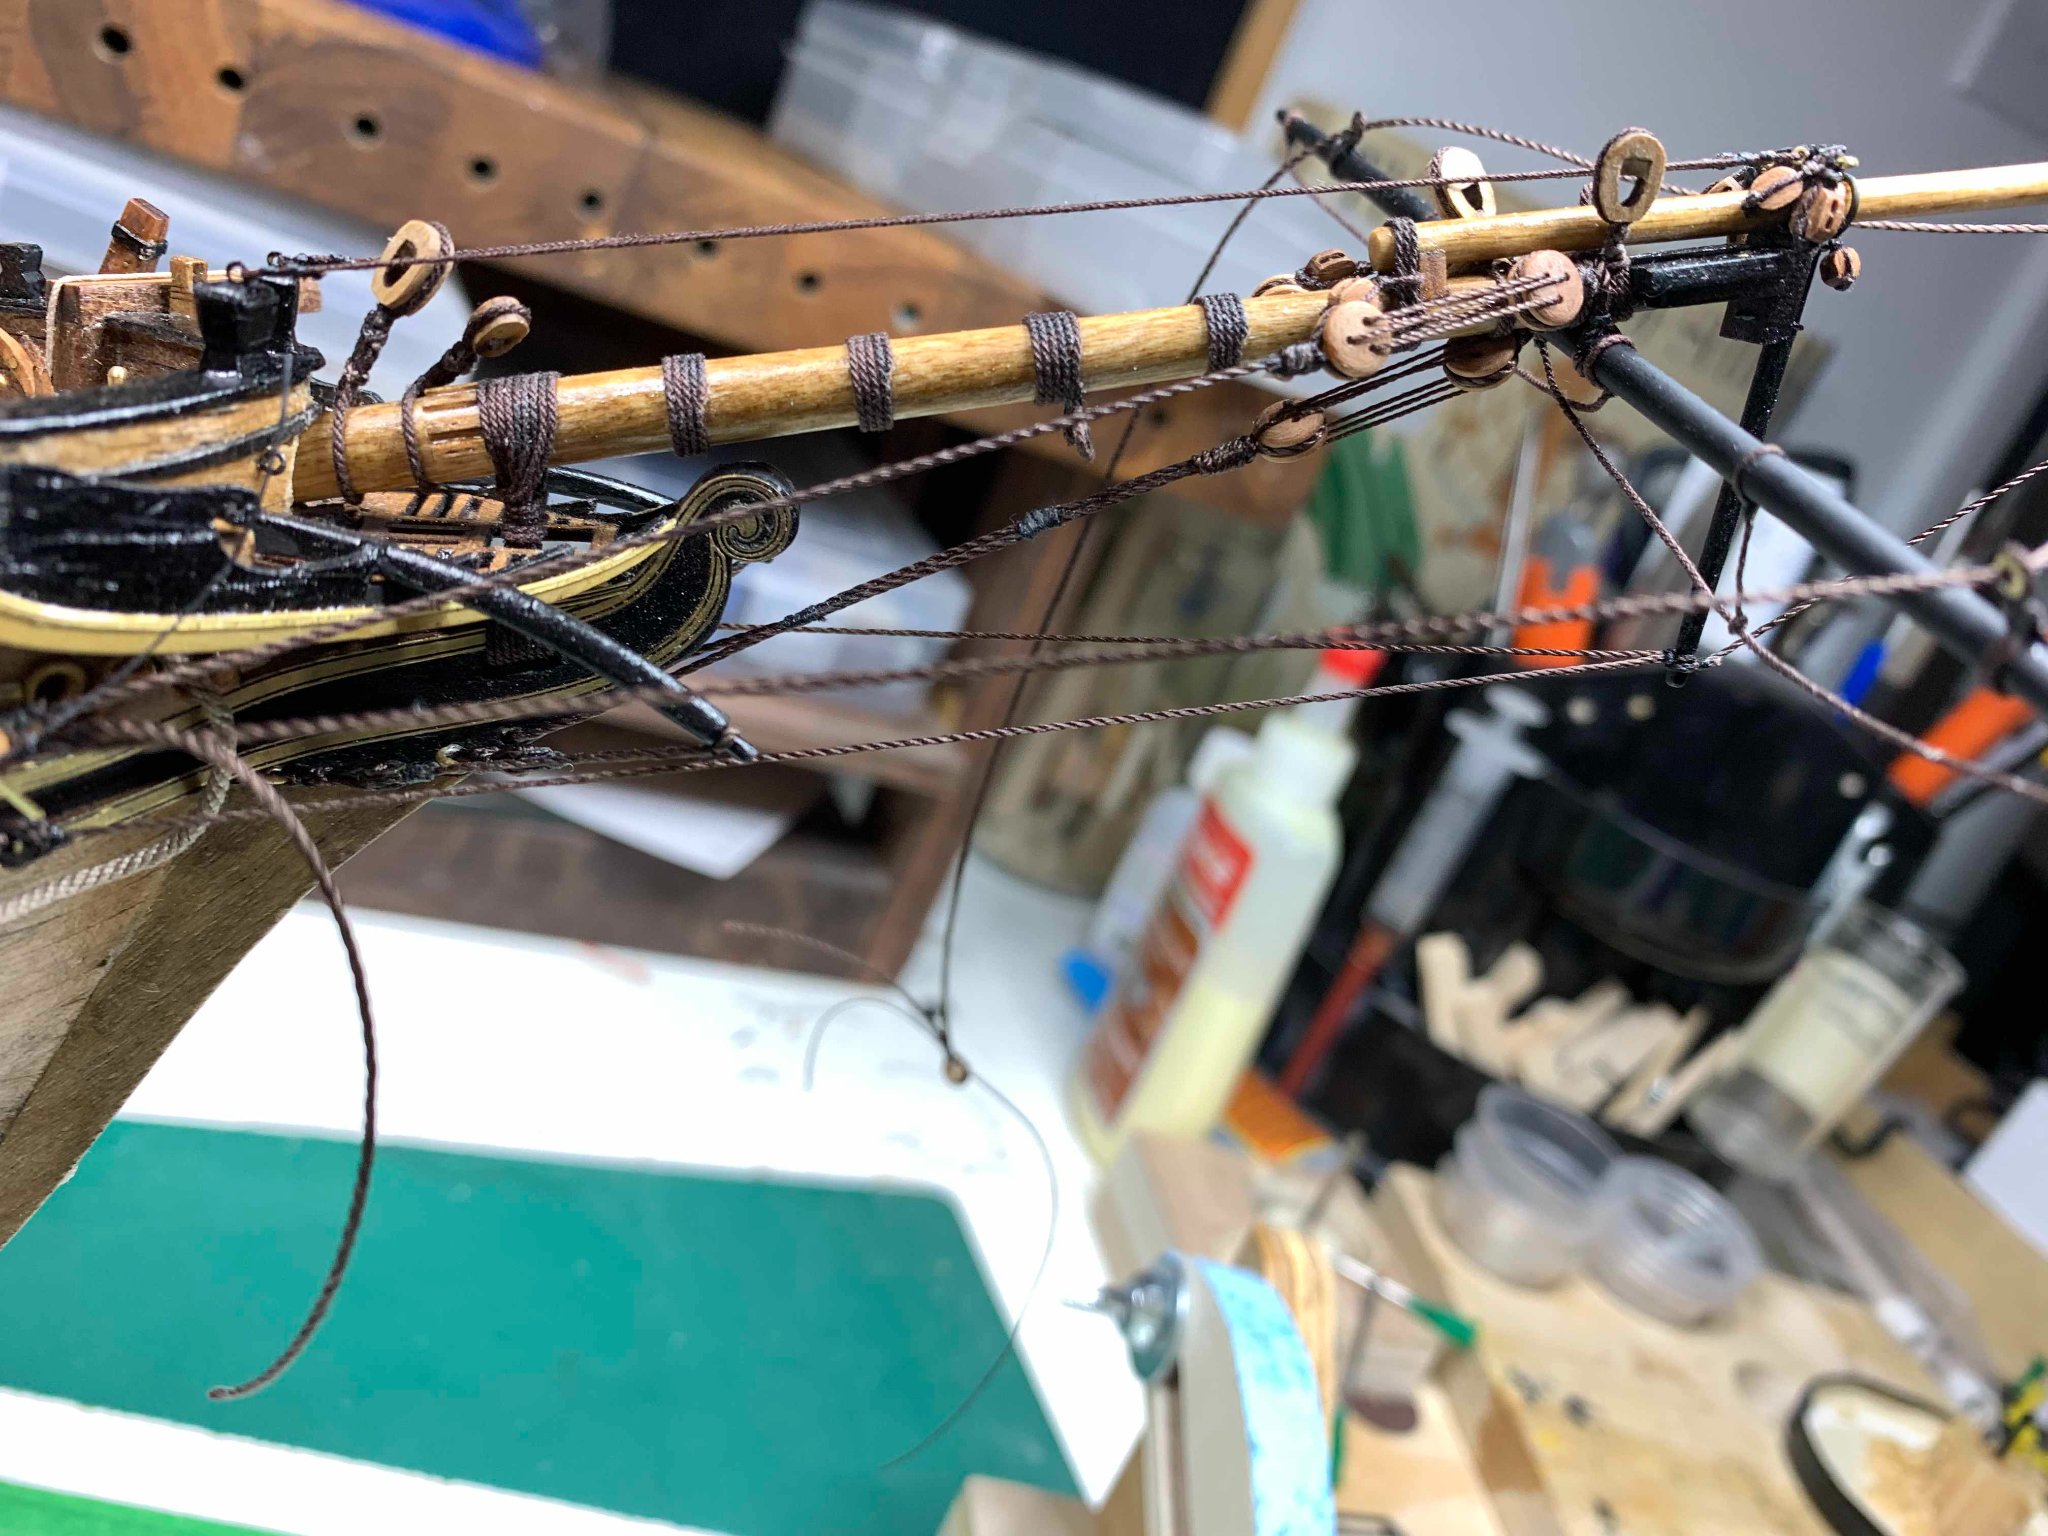
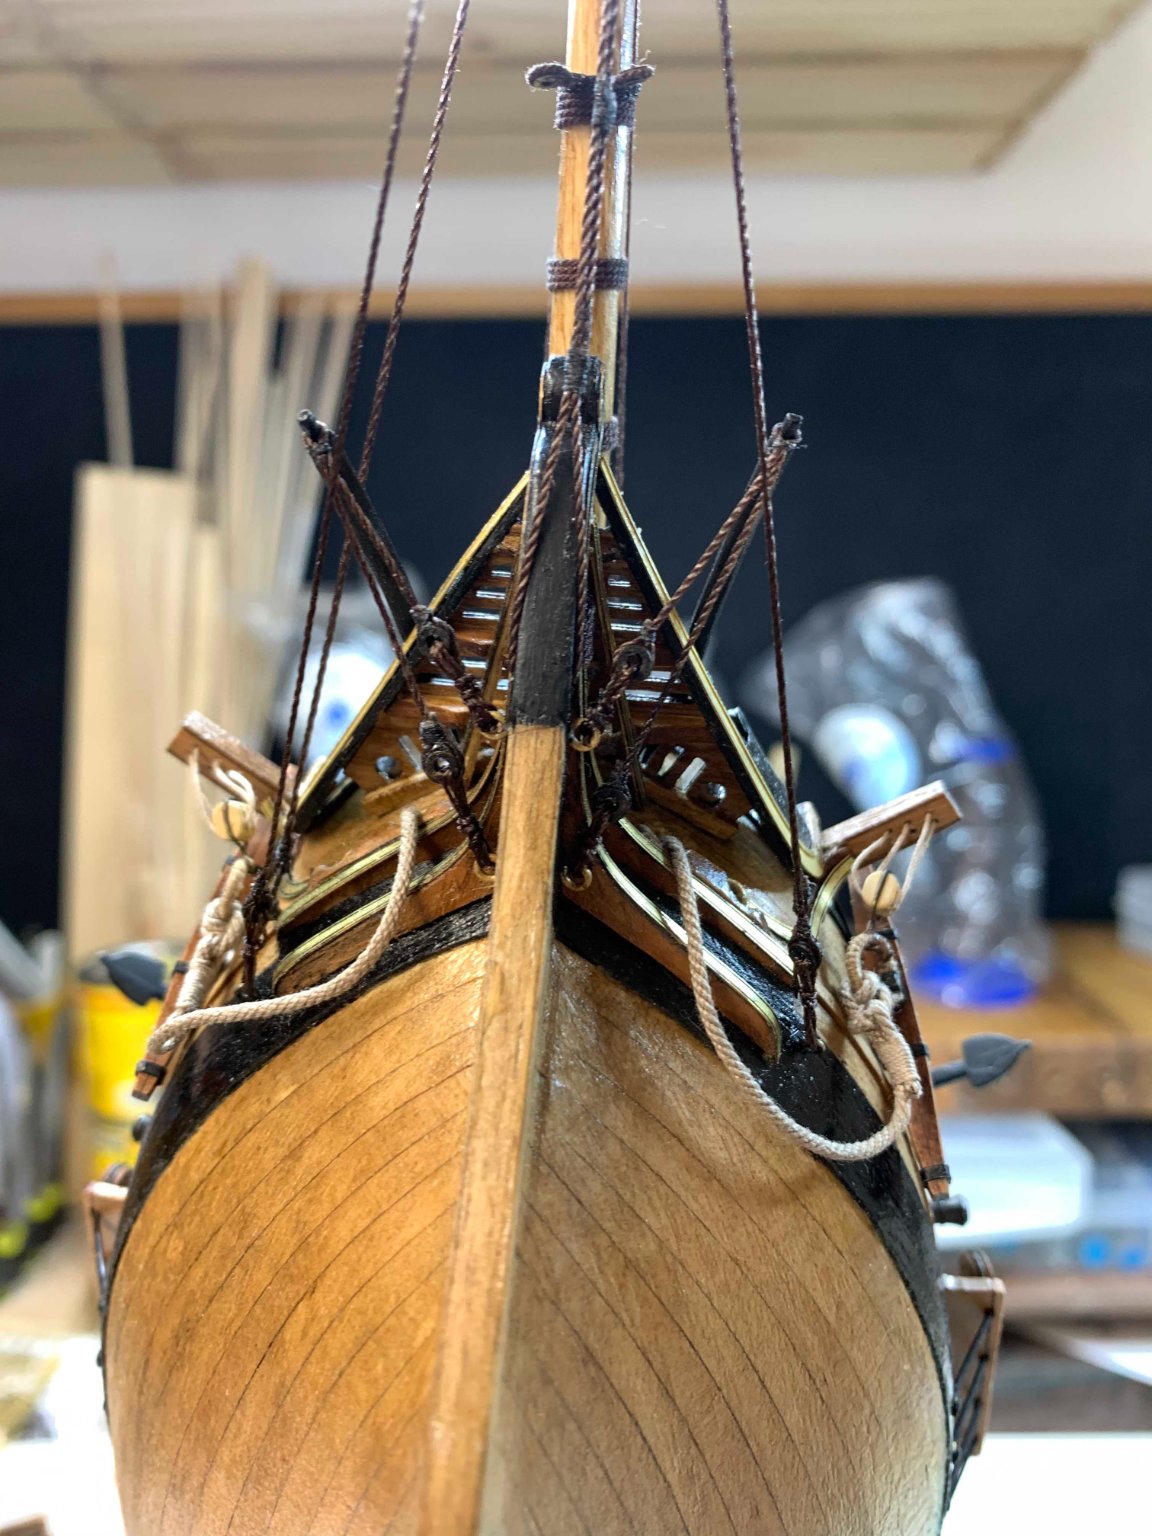
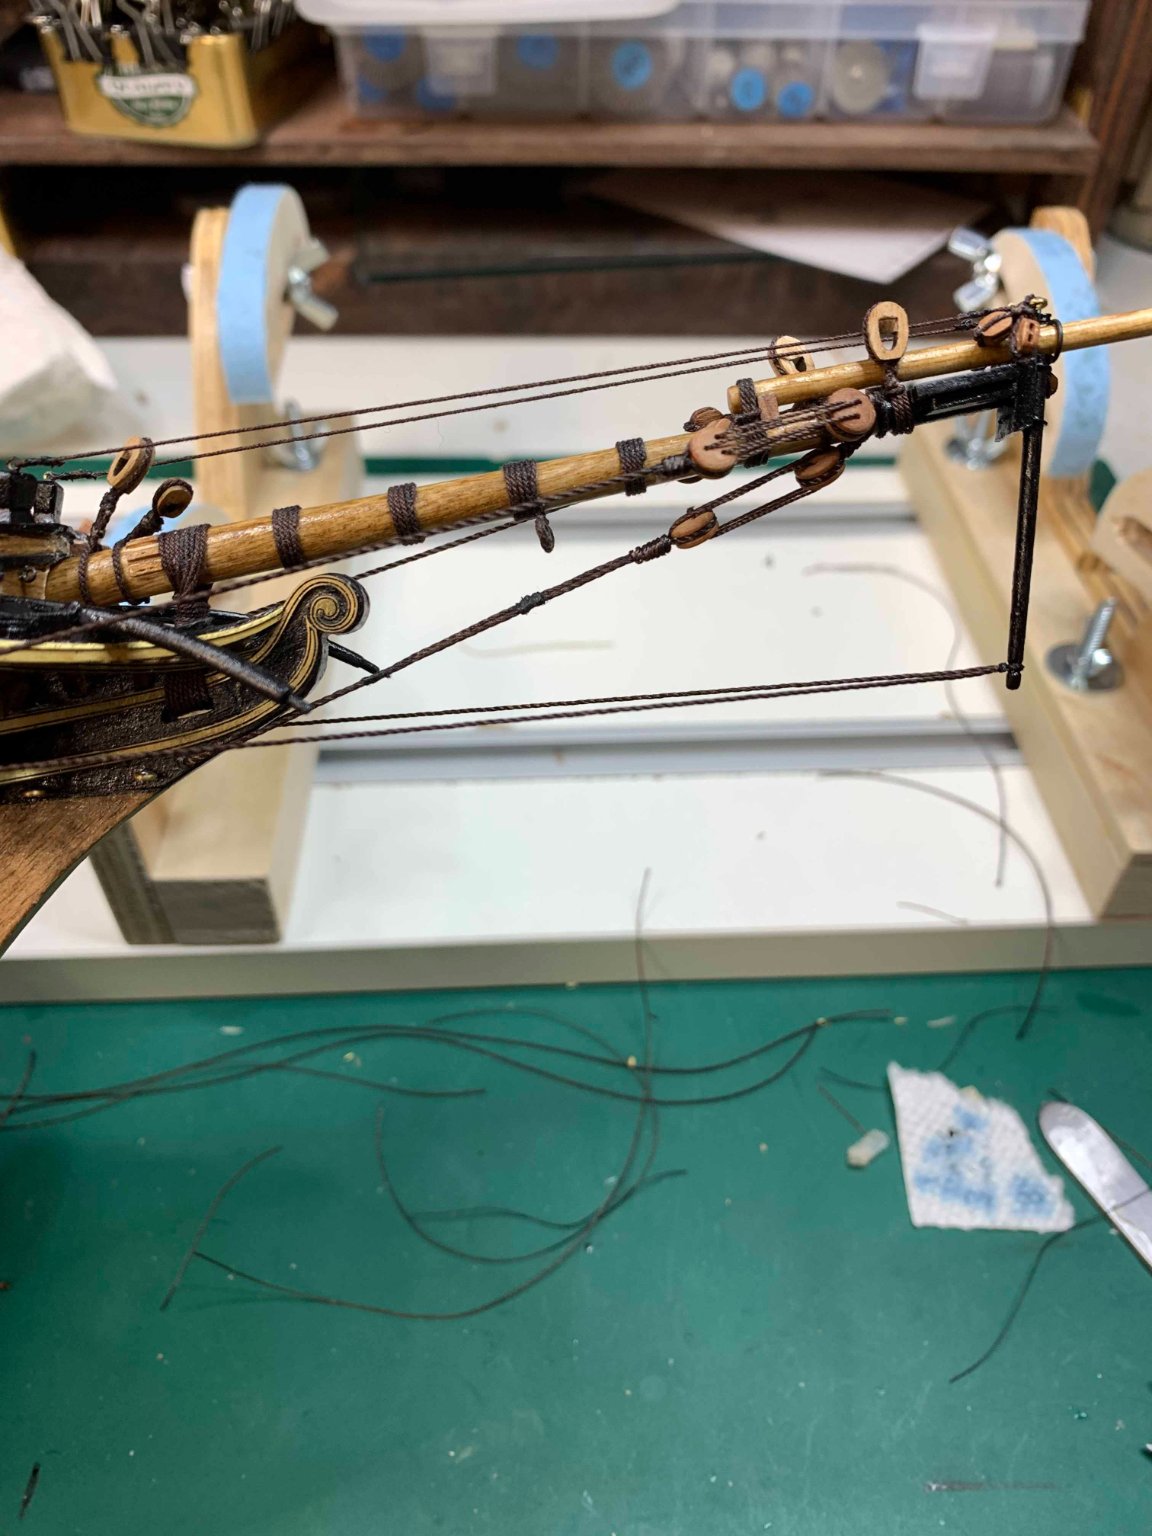
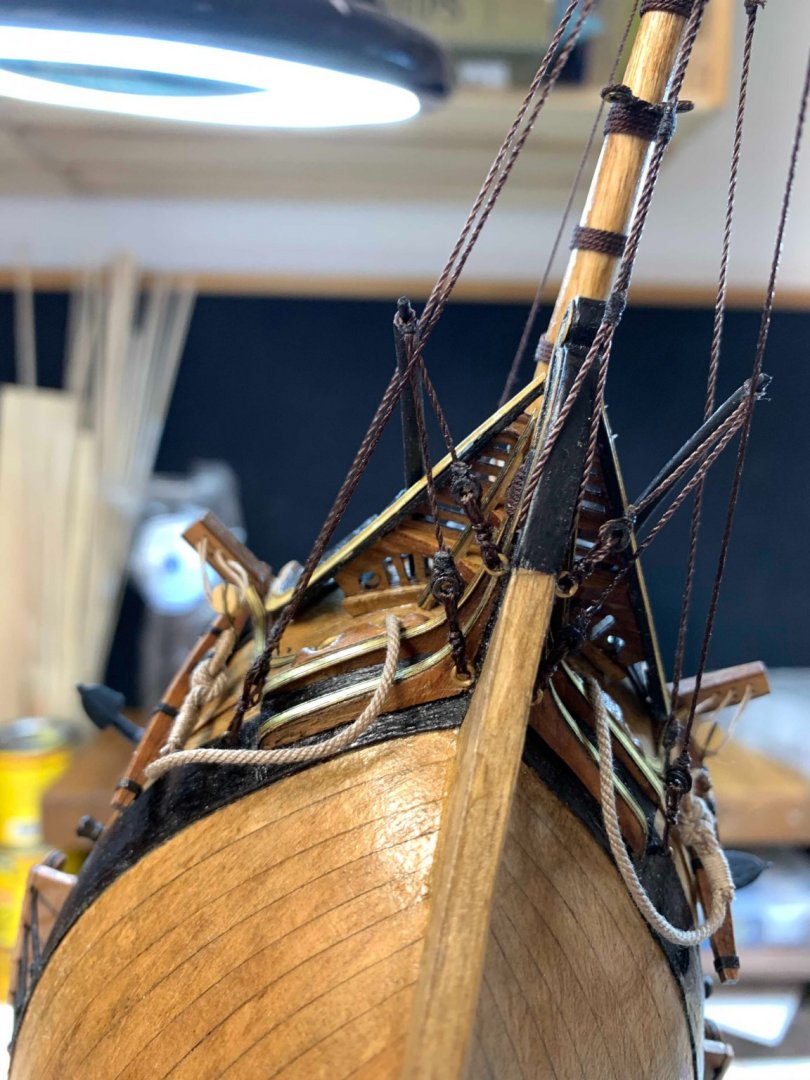
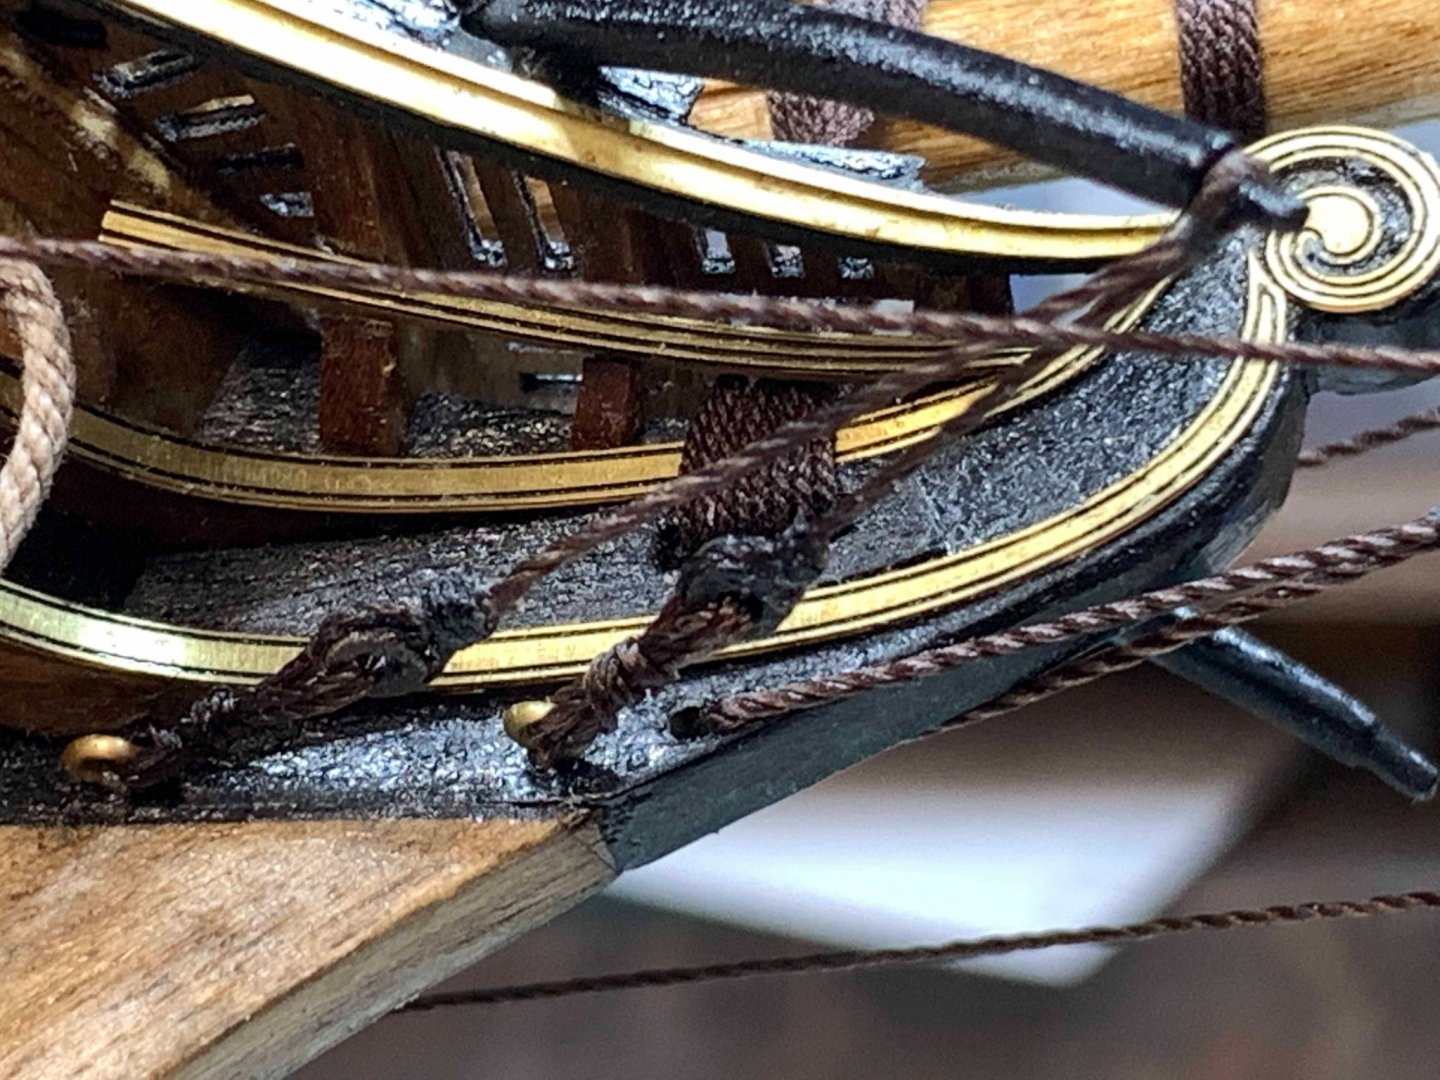
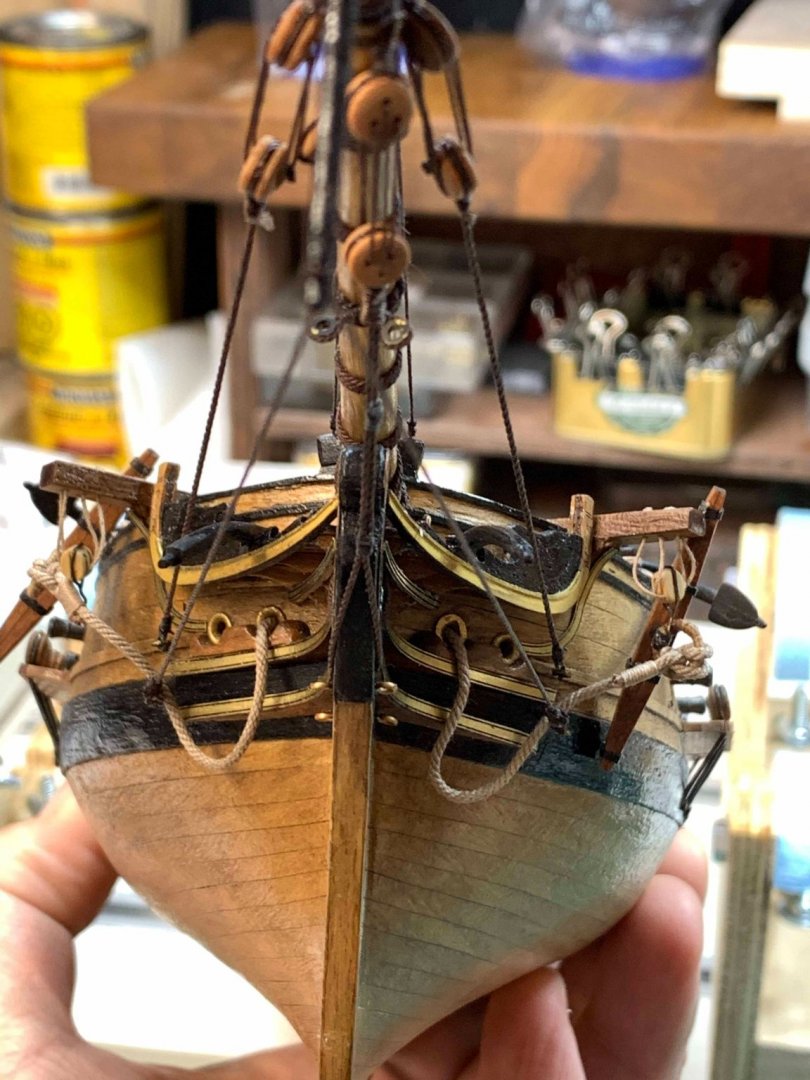
Continue with work on bowsprit shrouds.. happy modelling..


- 275 replies
-
- 2
-
-
- phoenix
- master korabel
- (and 1 more)
-
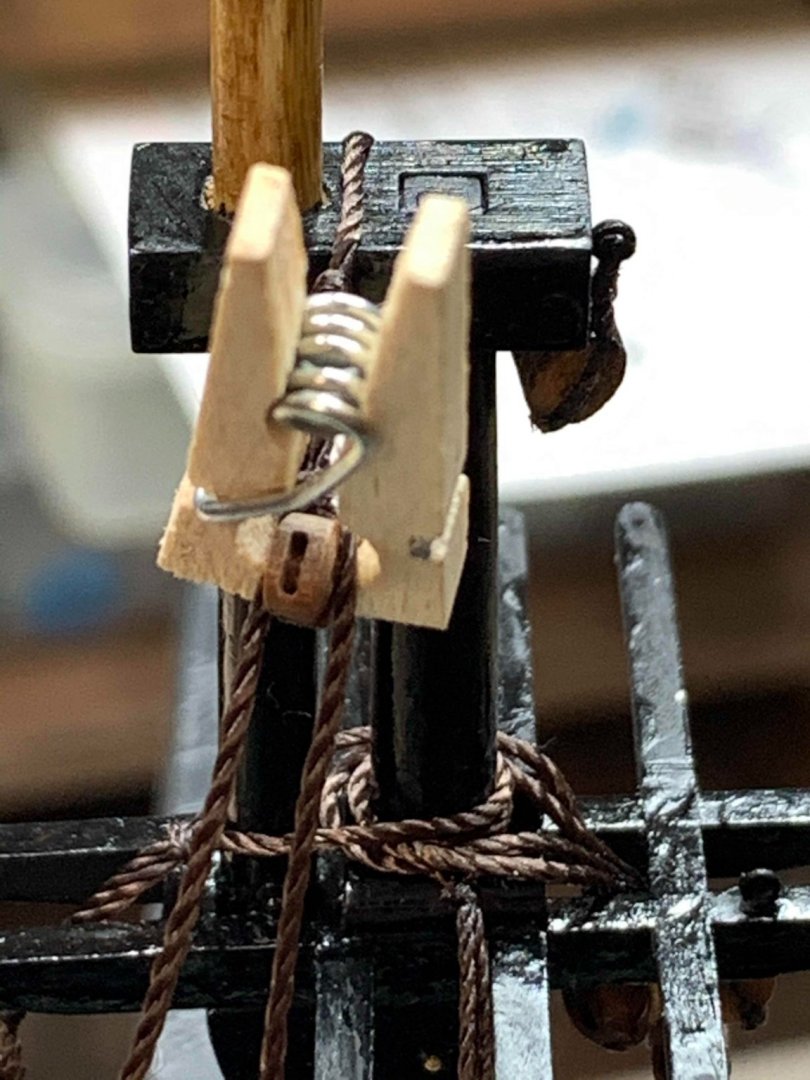
Rigging starting... A little helper ... Then i decided to do a bit different approach; first will be working on block.. then from the ship side... And completed.. Happy modelling..


- 275 replies
-
- 4
-
-
- phoenix
- master korabel
- (and 1 more)
-
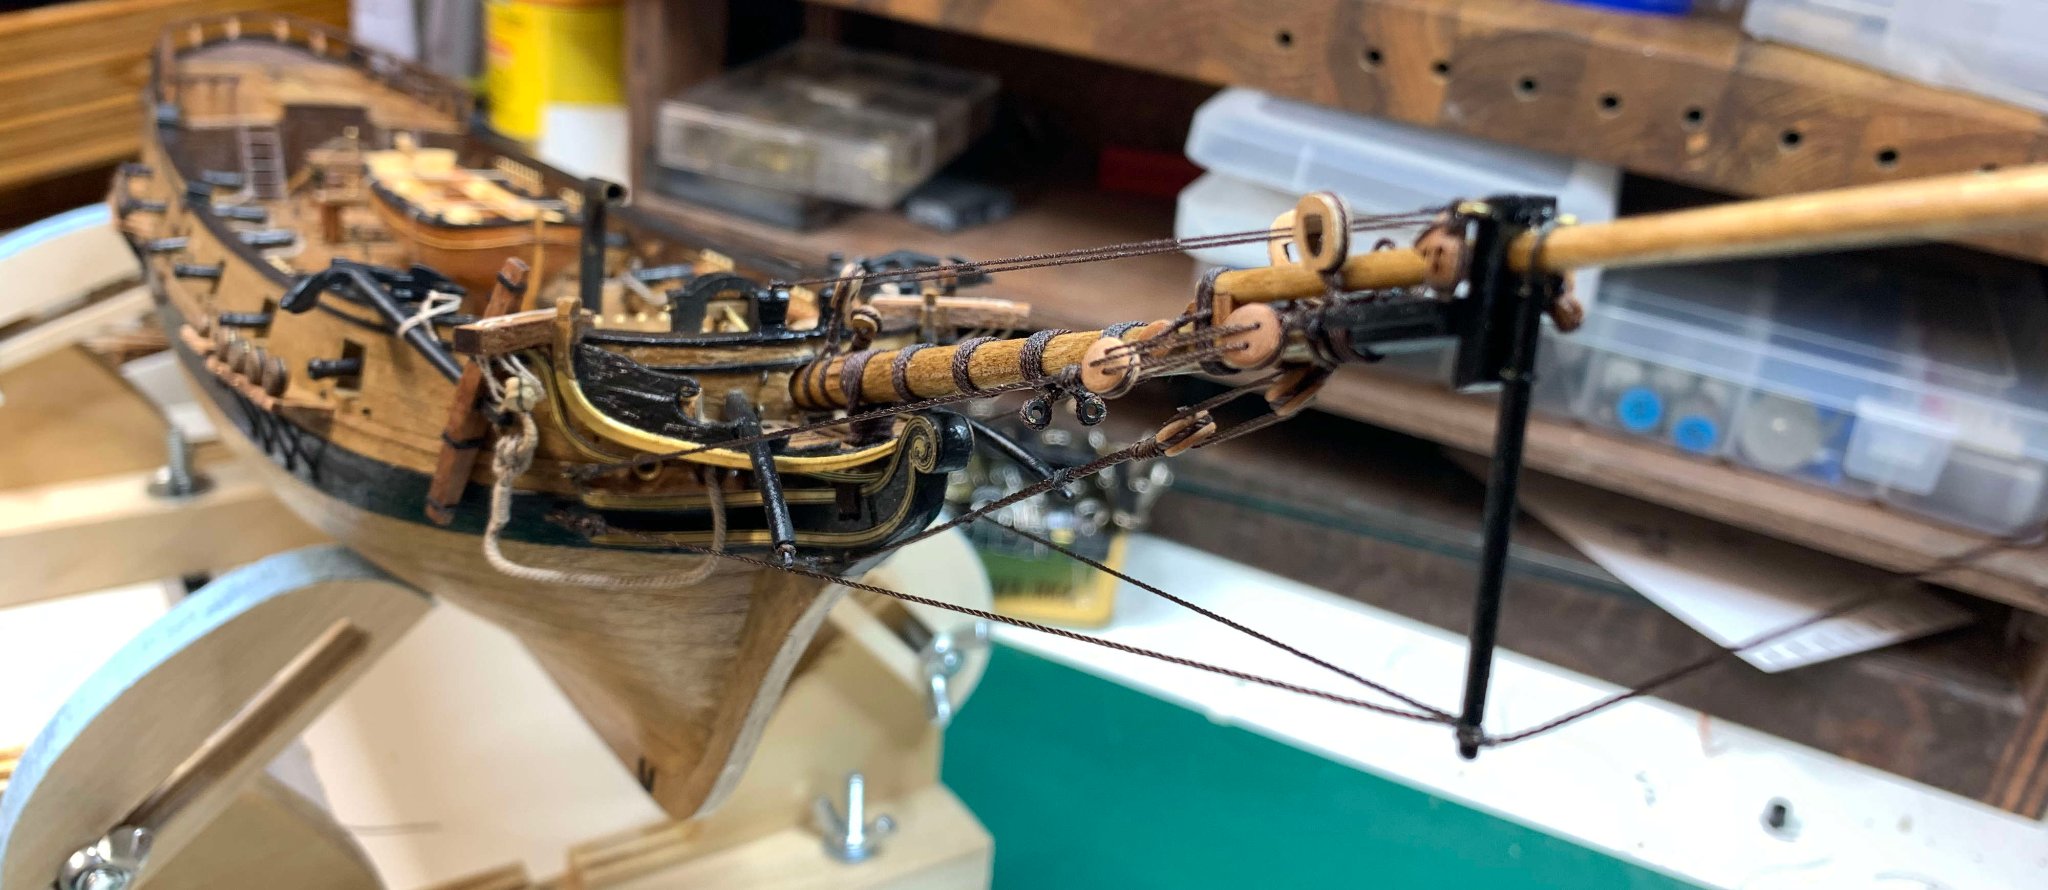
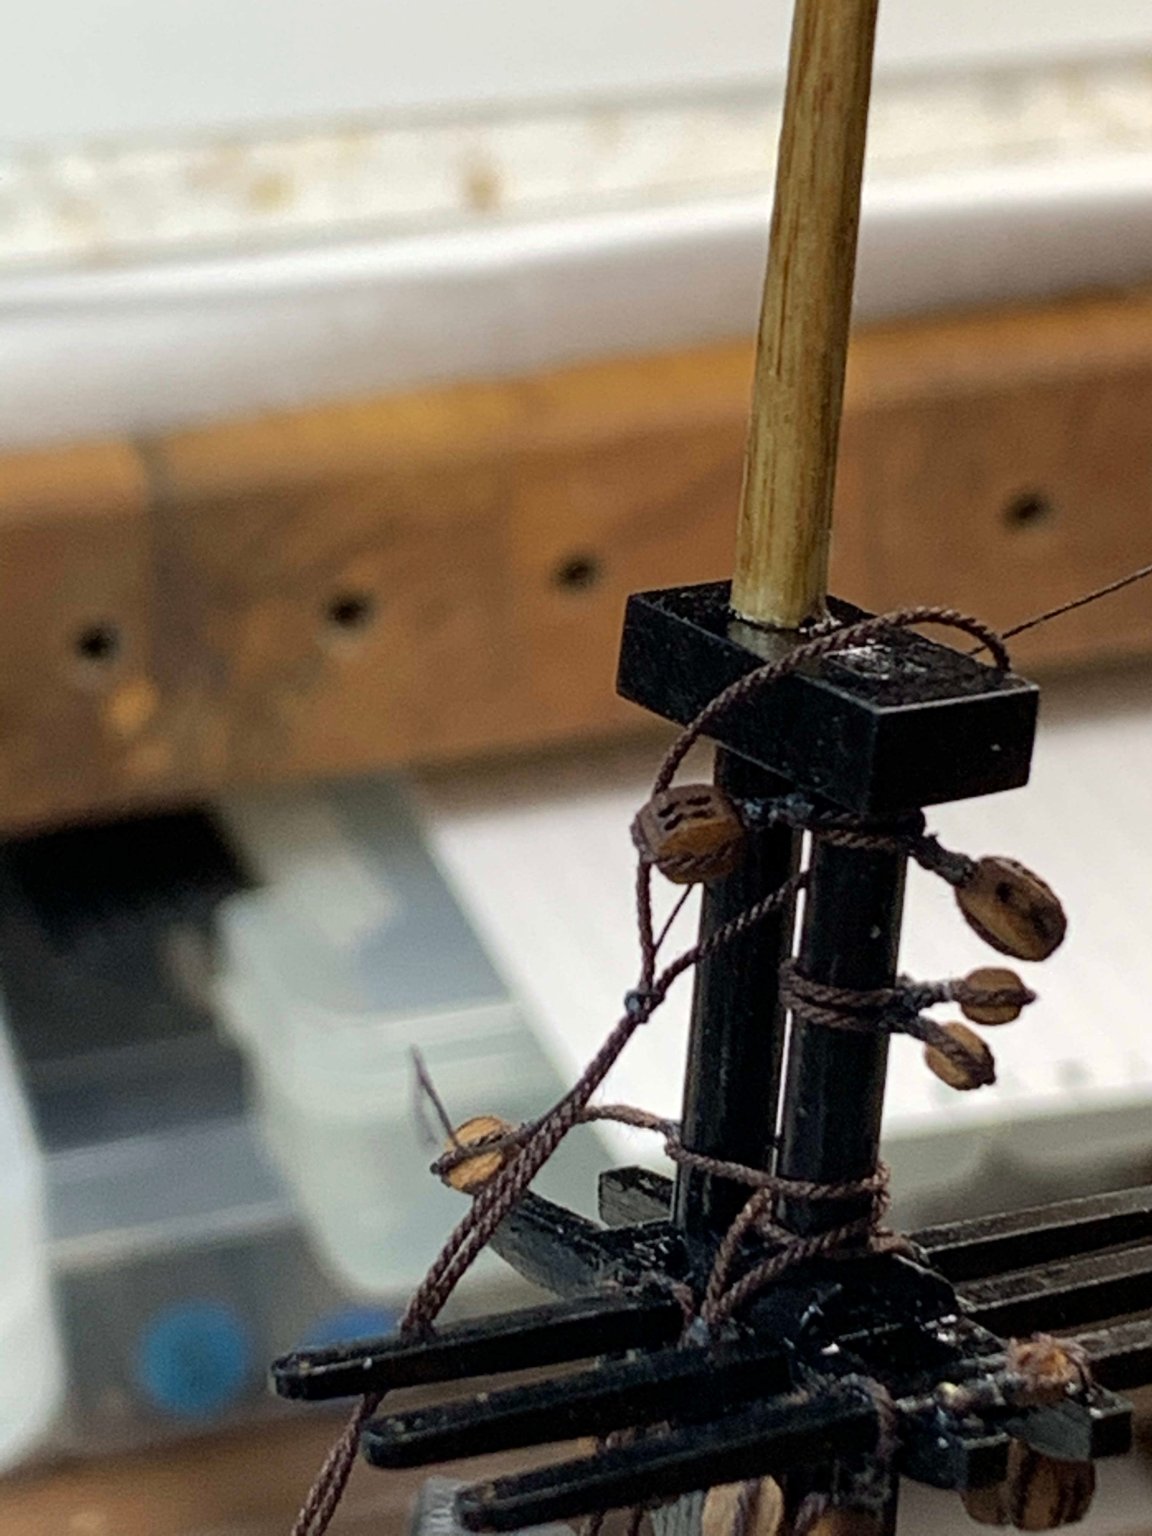
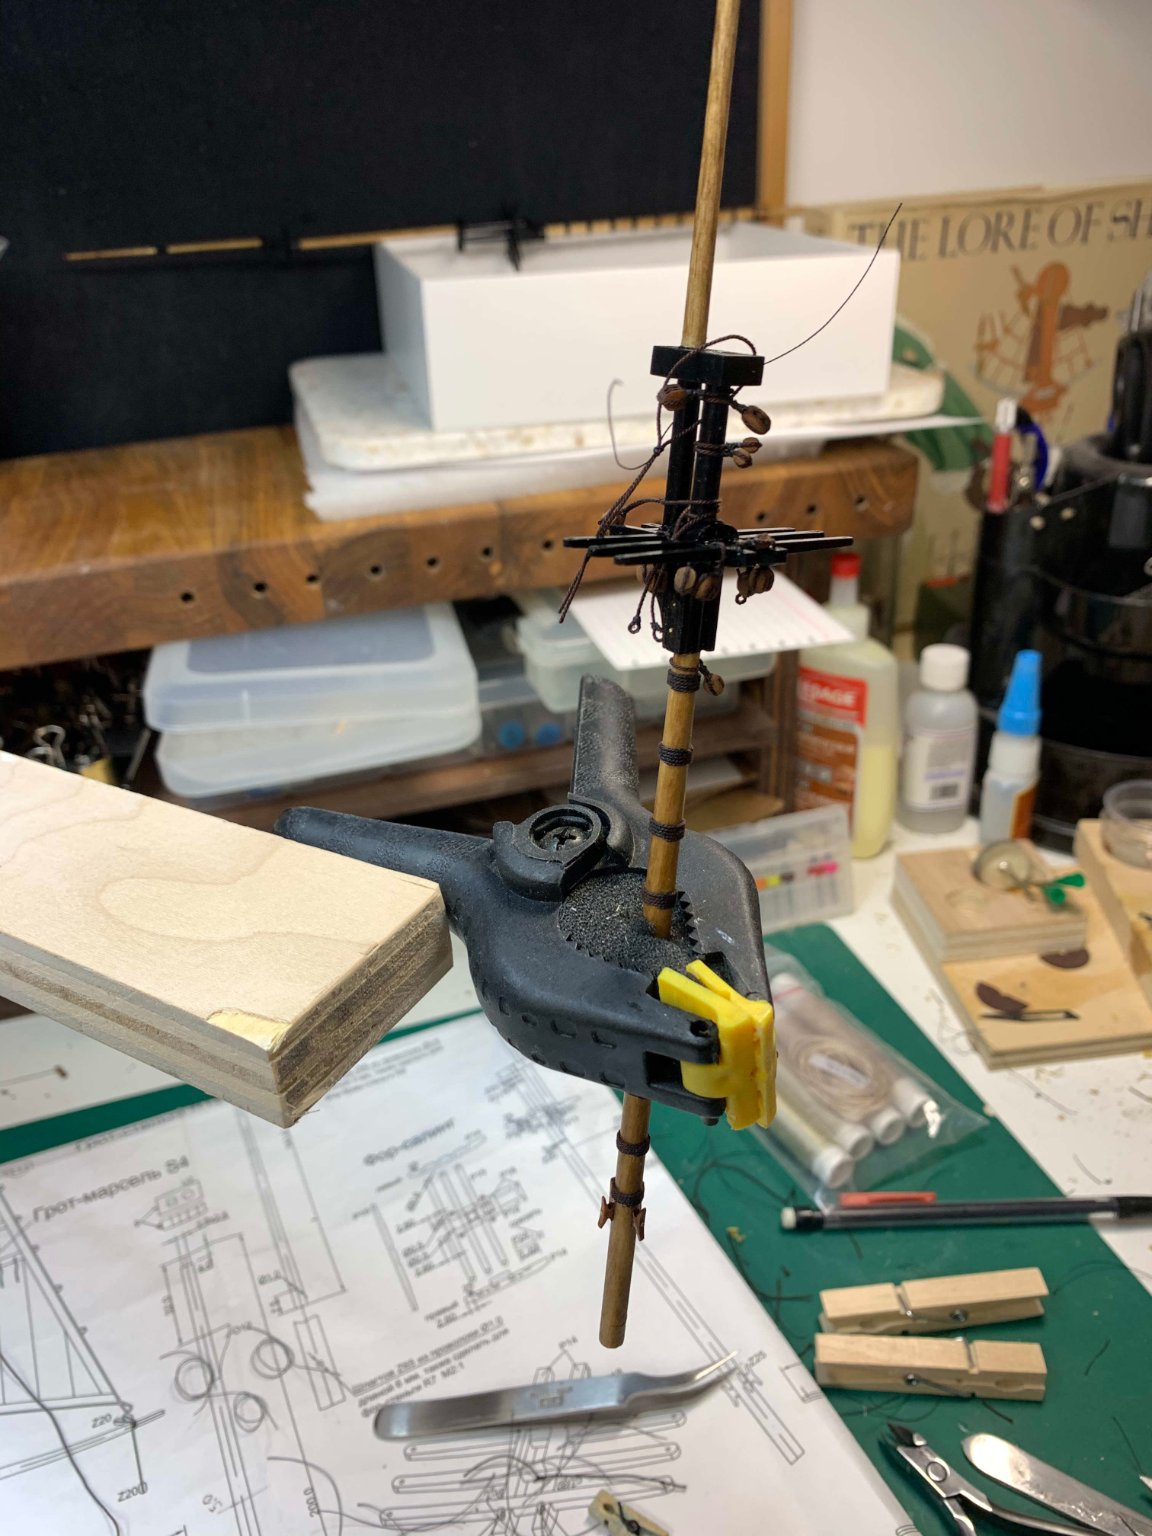
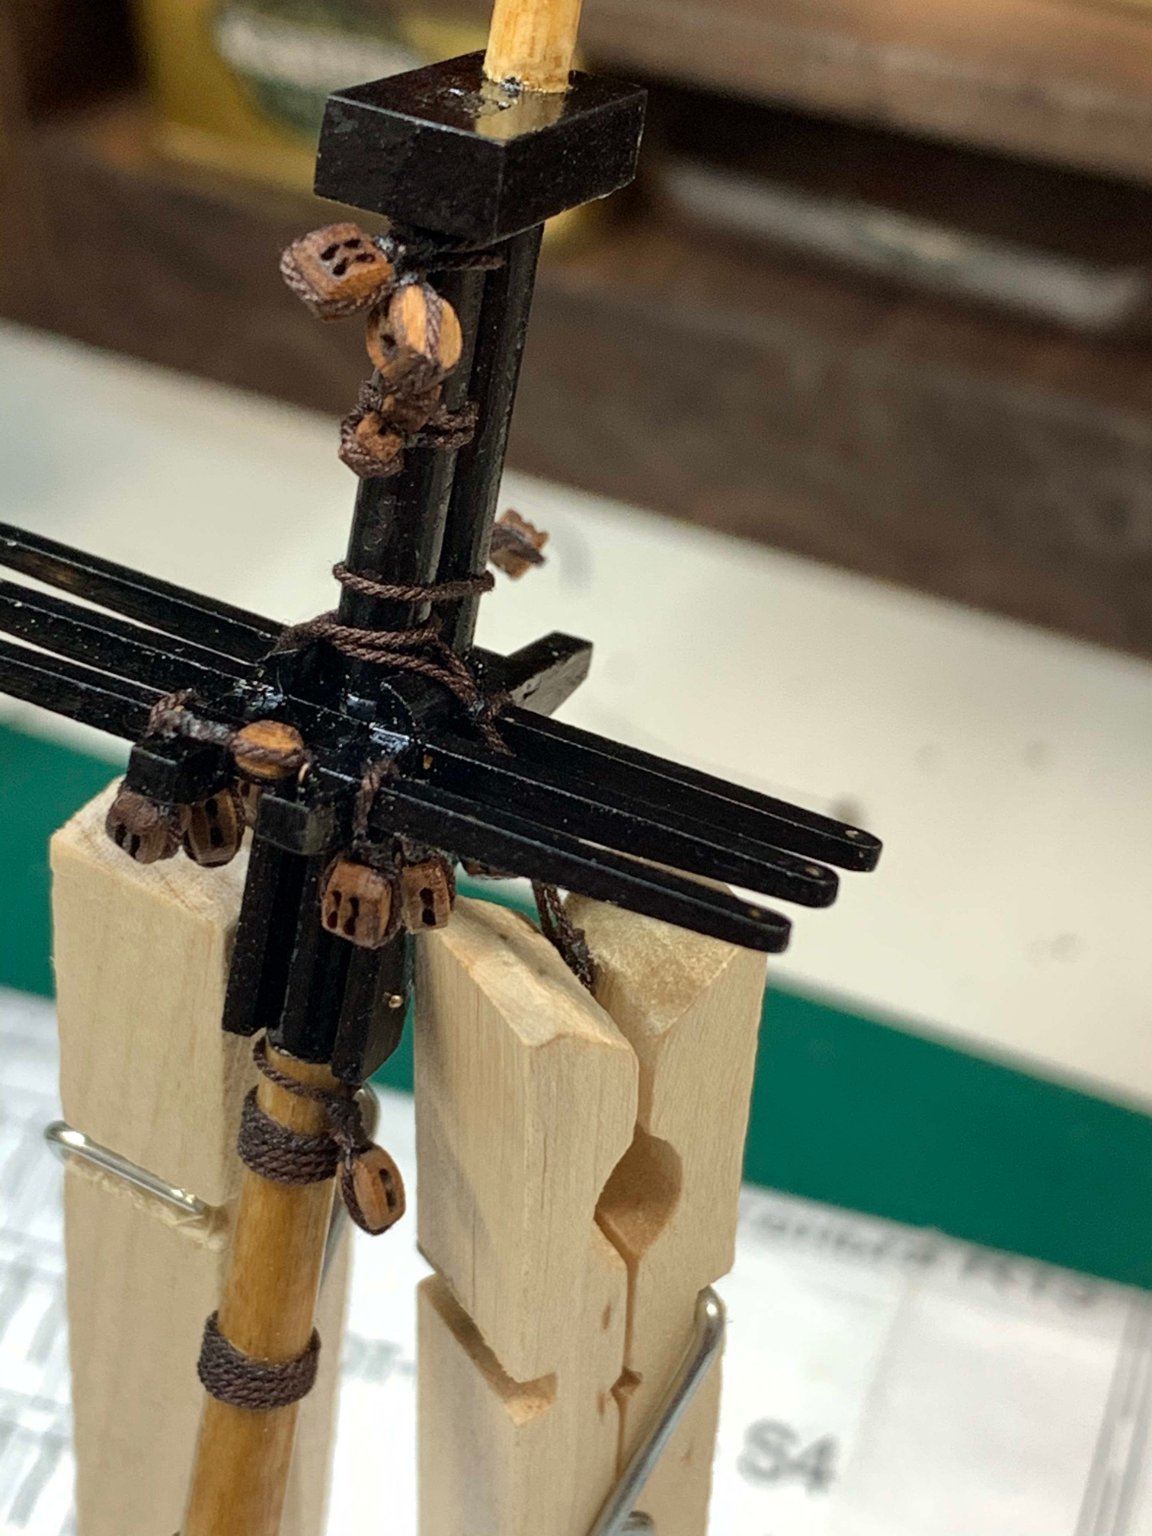
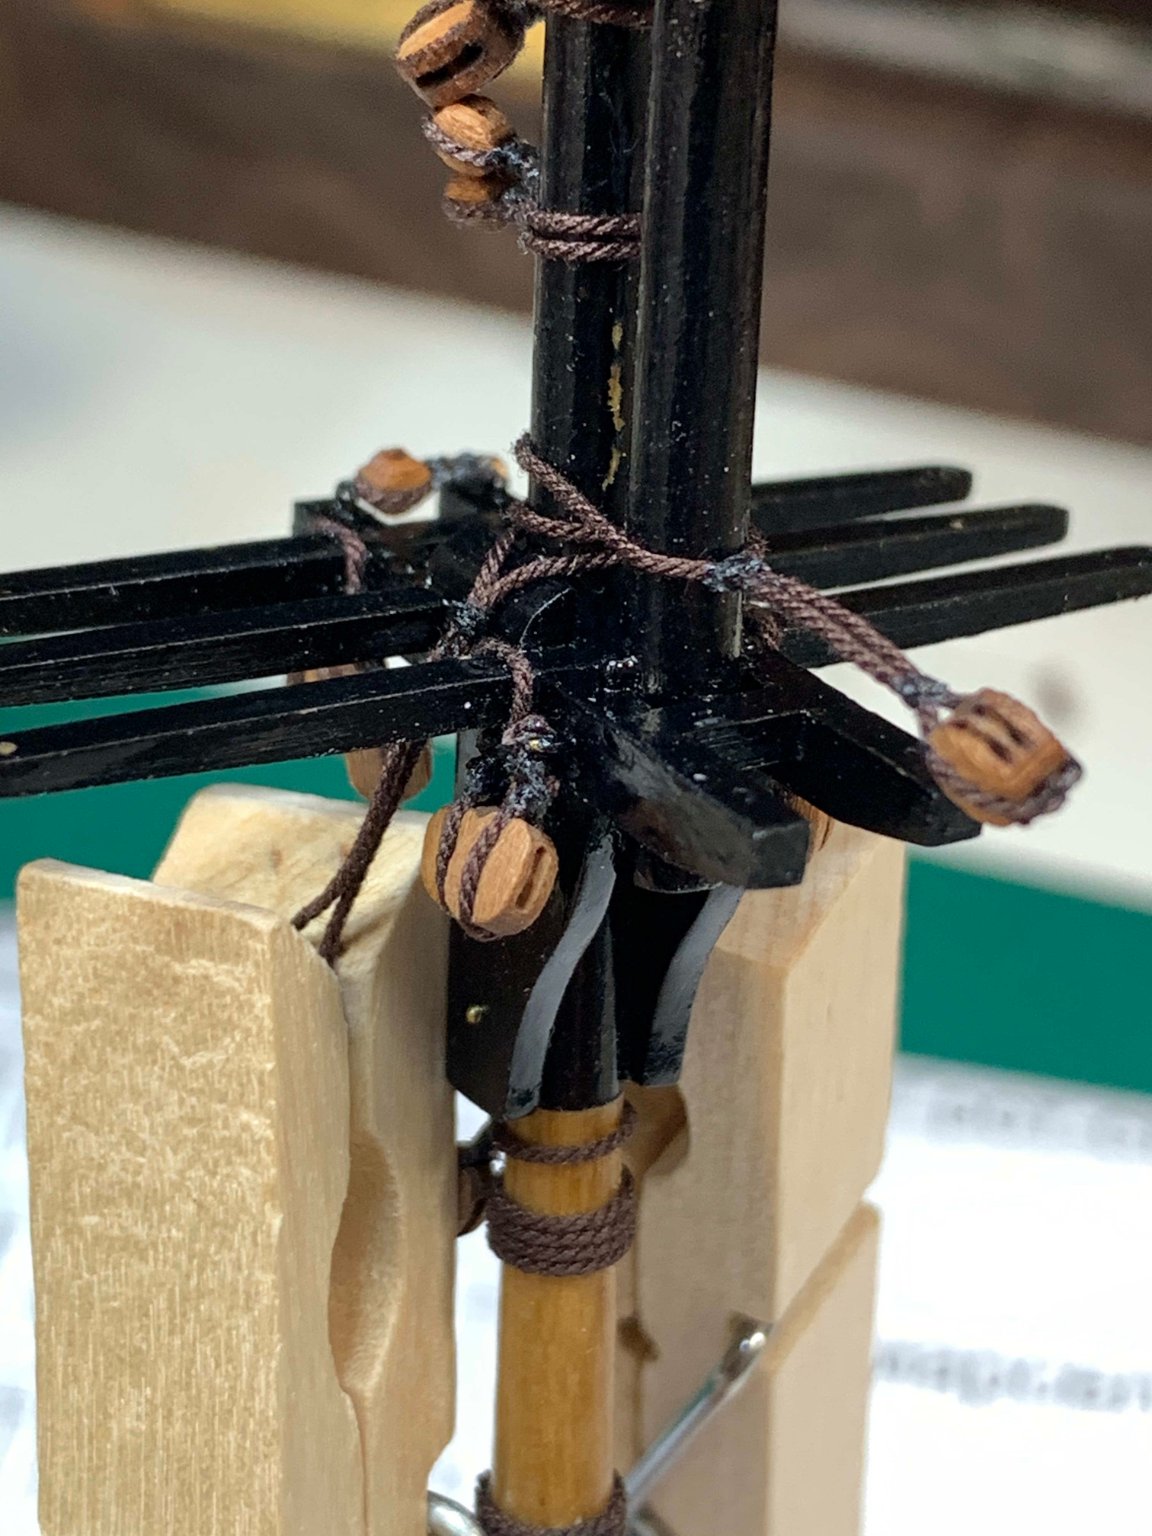
The masts are ready for final mounting... just need to attach a truck on a foremast.. Forgot to mount one block on bobstay... Seizing rope... Happy modelling..


- 275 replies
-
- 1
-
-
- phoenix
- master korabel
- (and 1 more)
-
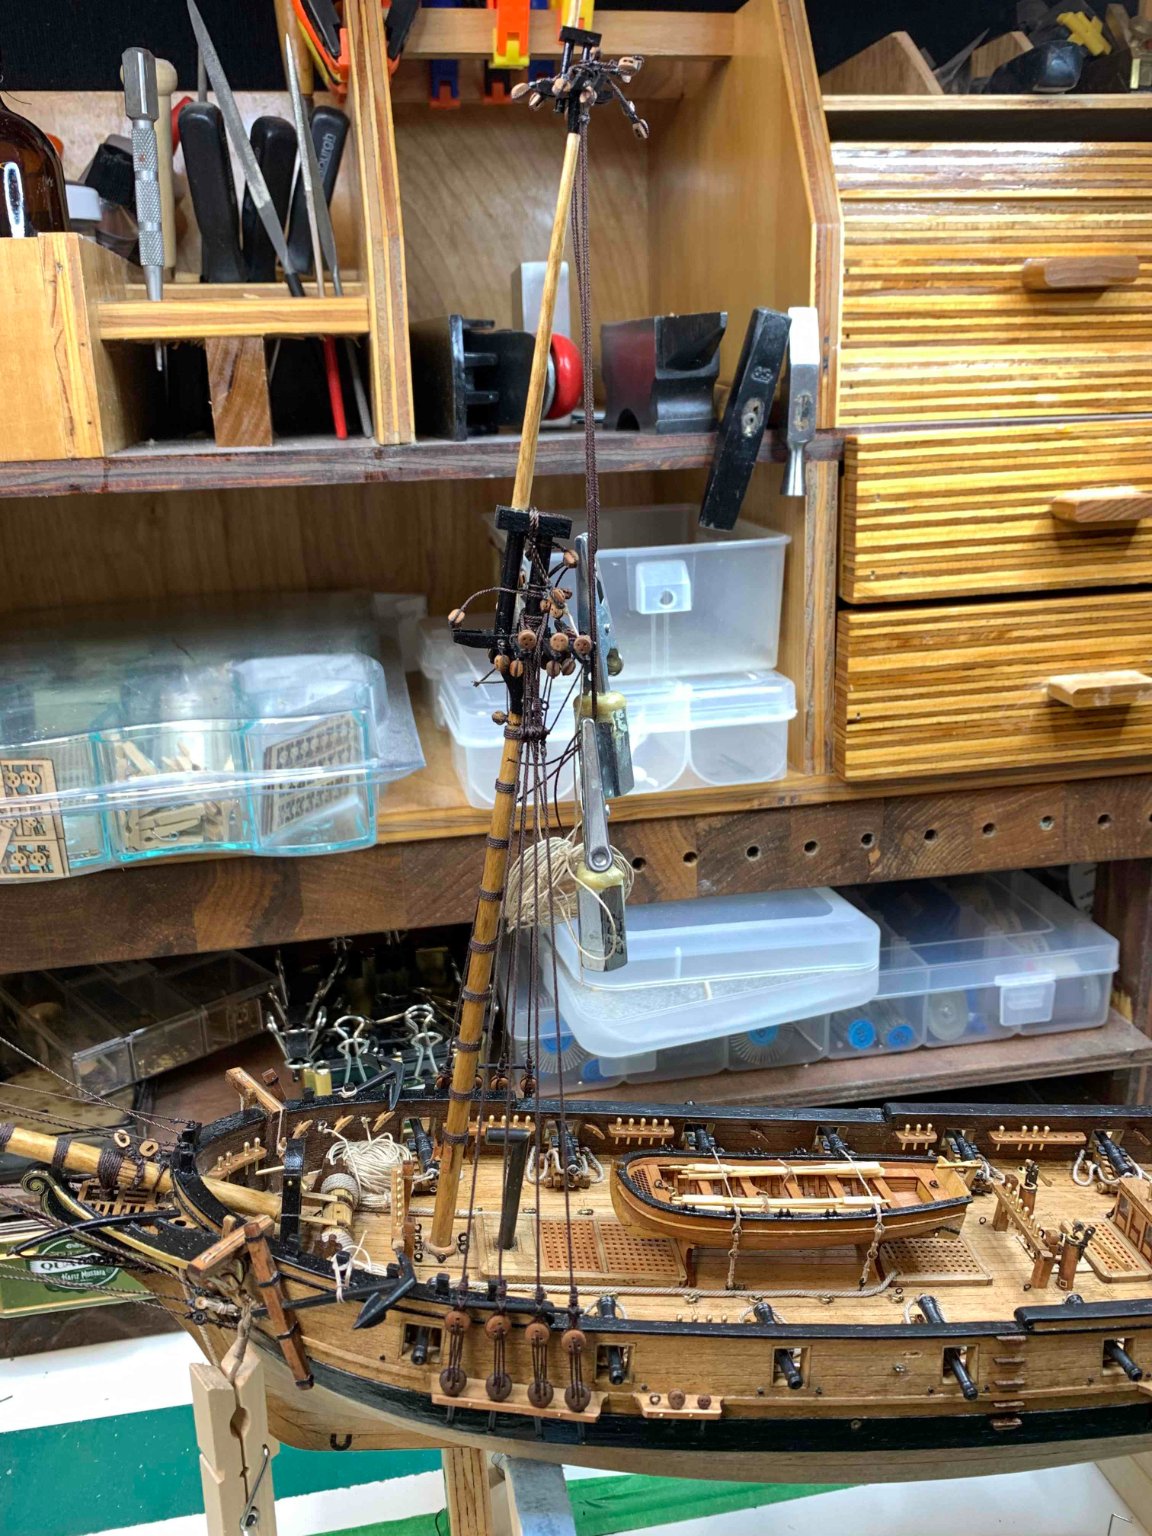
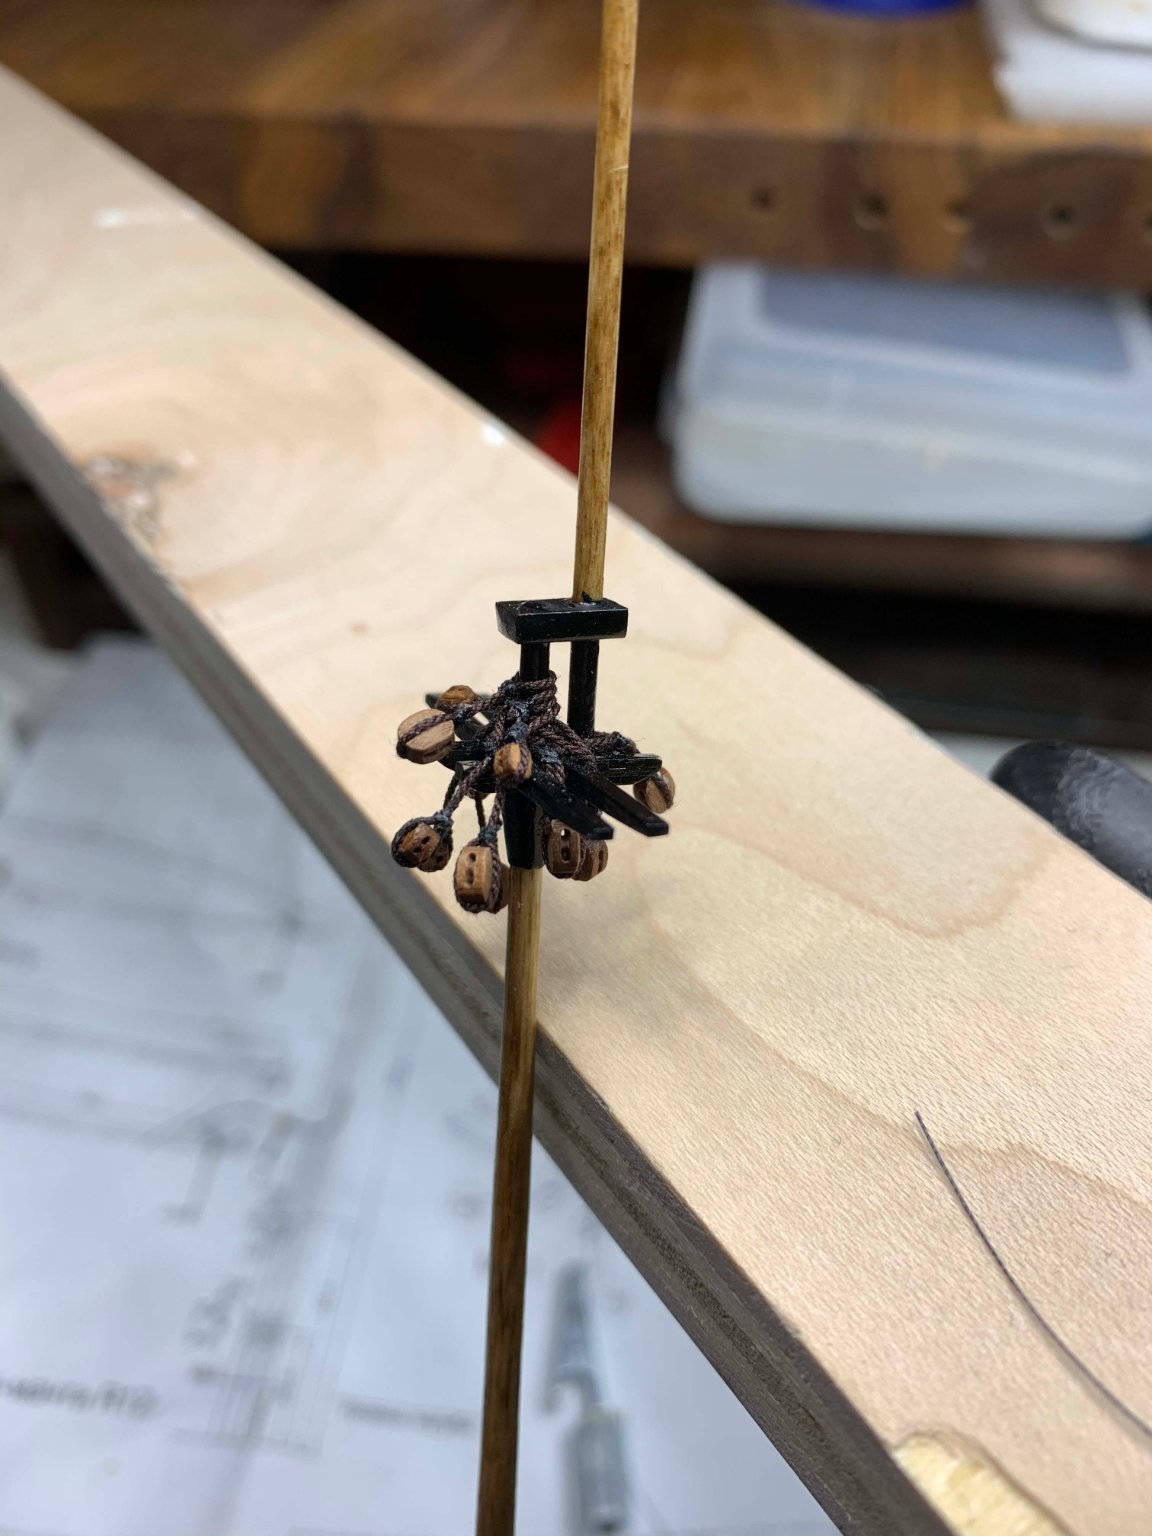
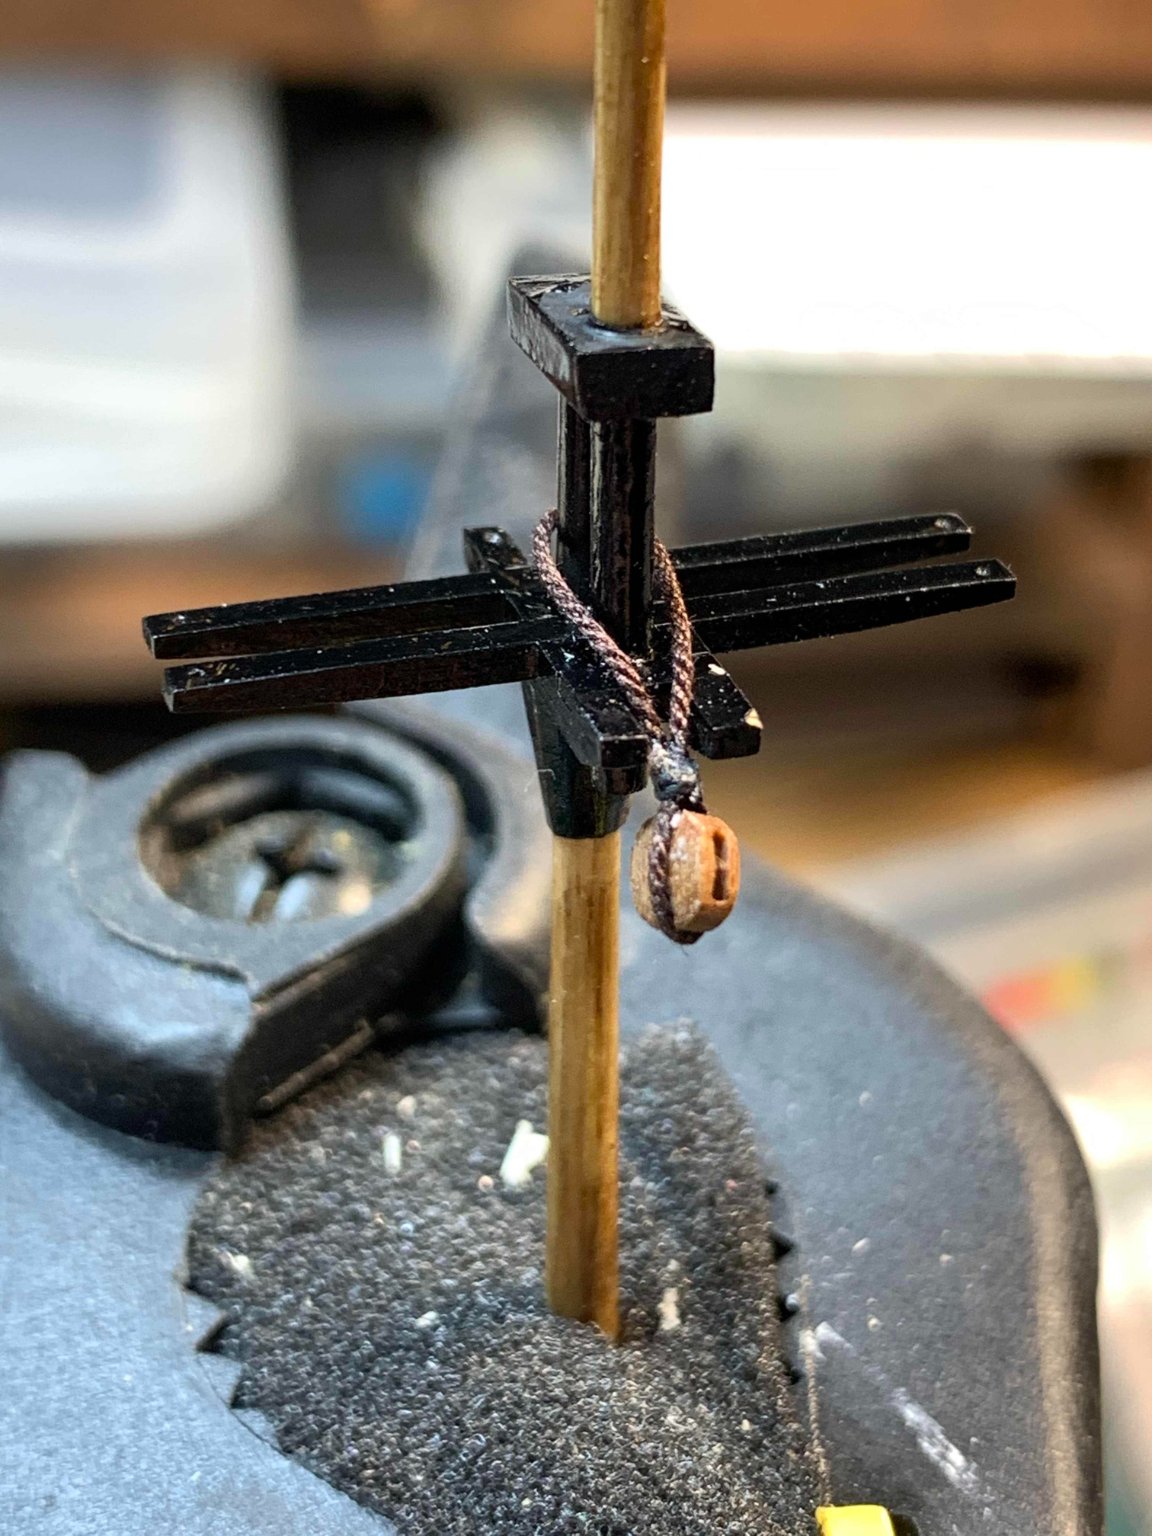
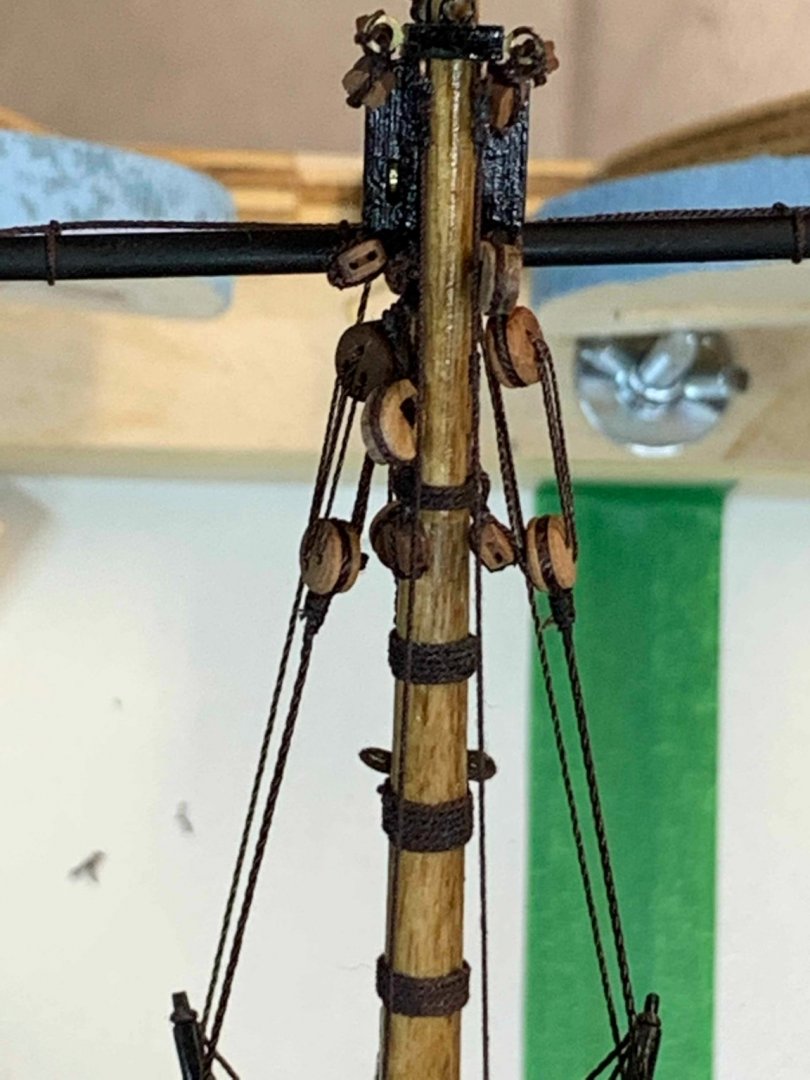
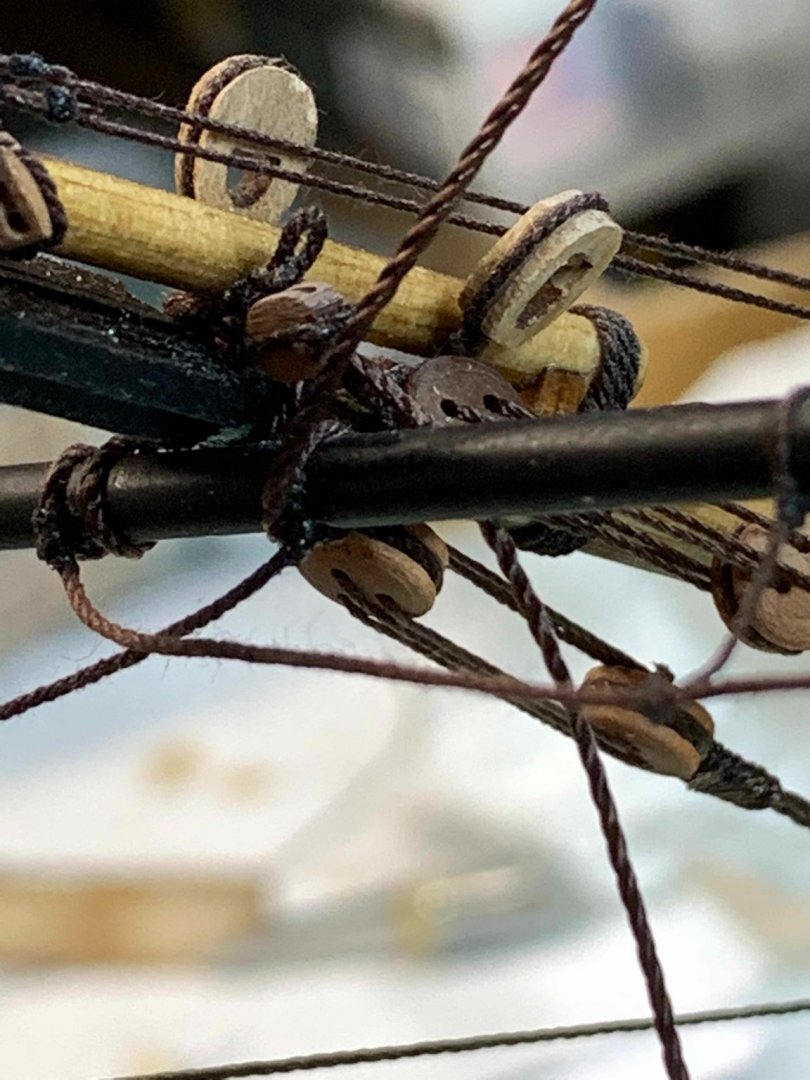
A work on main mast continues with some progress photos, in no particular order. I have received some jewelry nylon string, in different sizes from Griffin i would like to try using on the ship. So will see how it goes... A bit of a building process is also shown.. Here i used a bit of a CA glue to hold blocks in place.. Happy modelling..


-
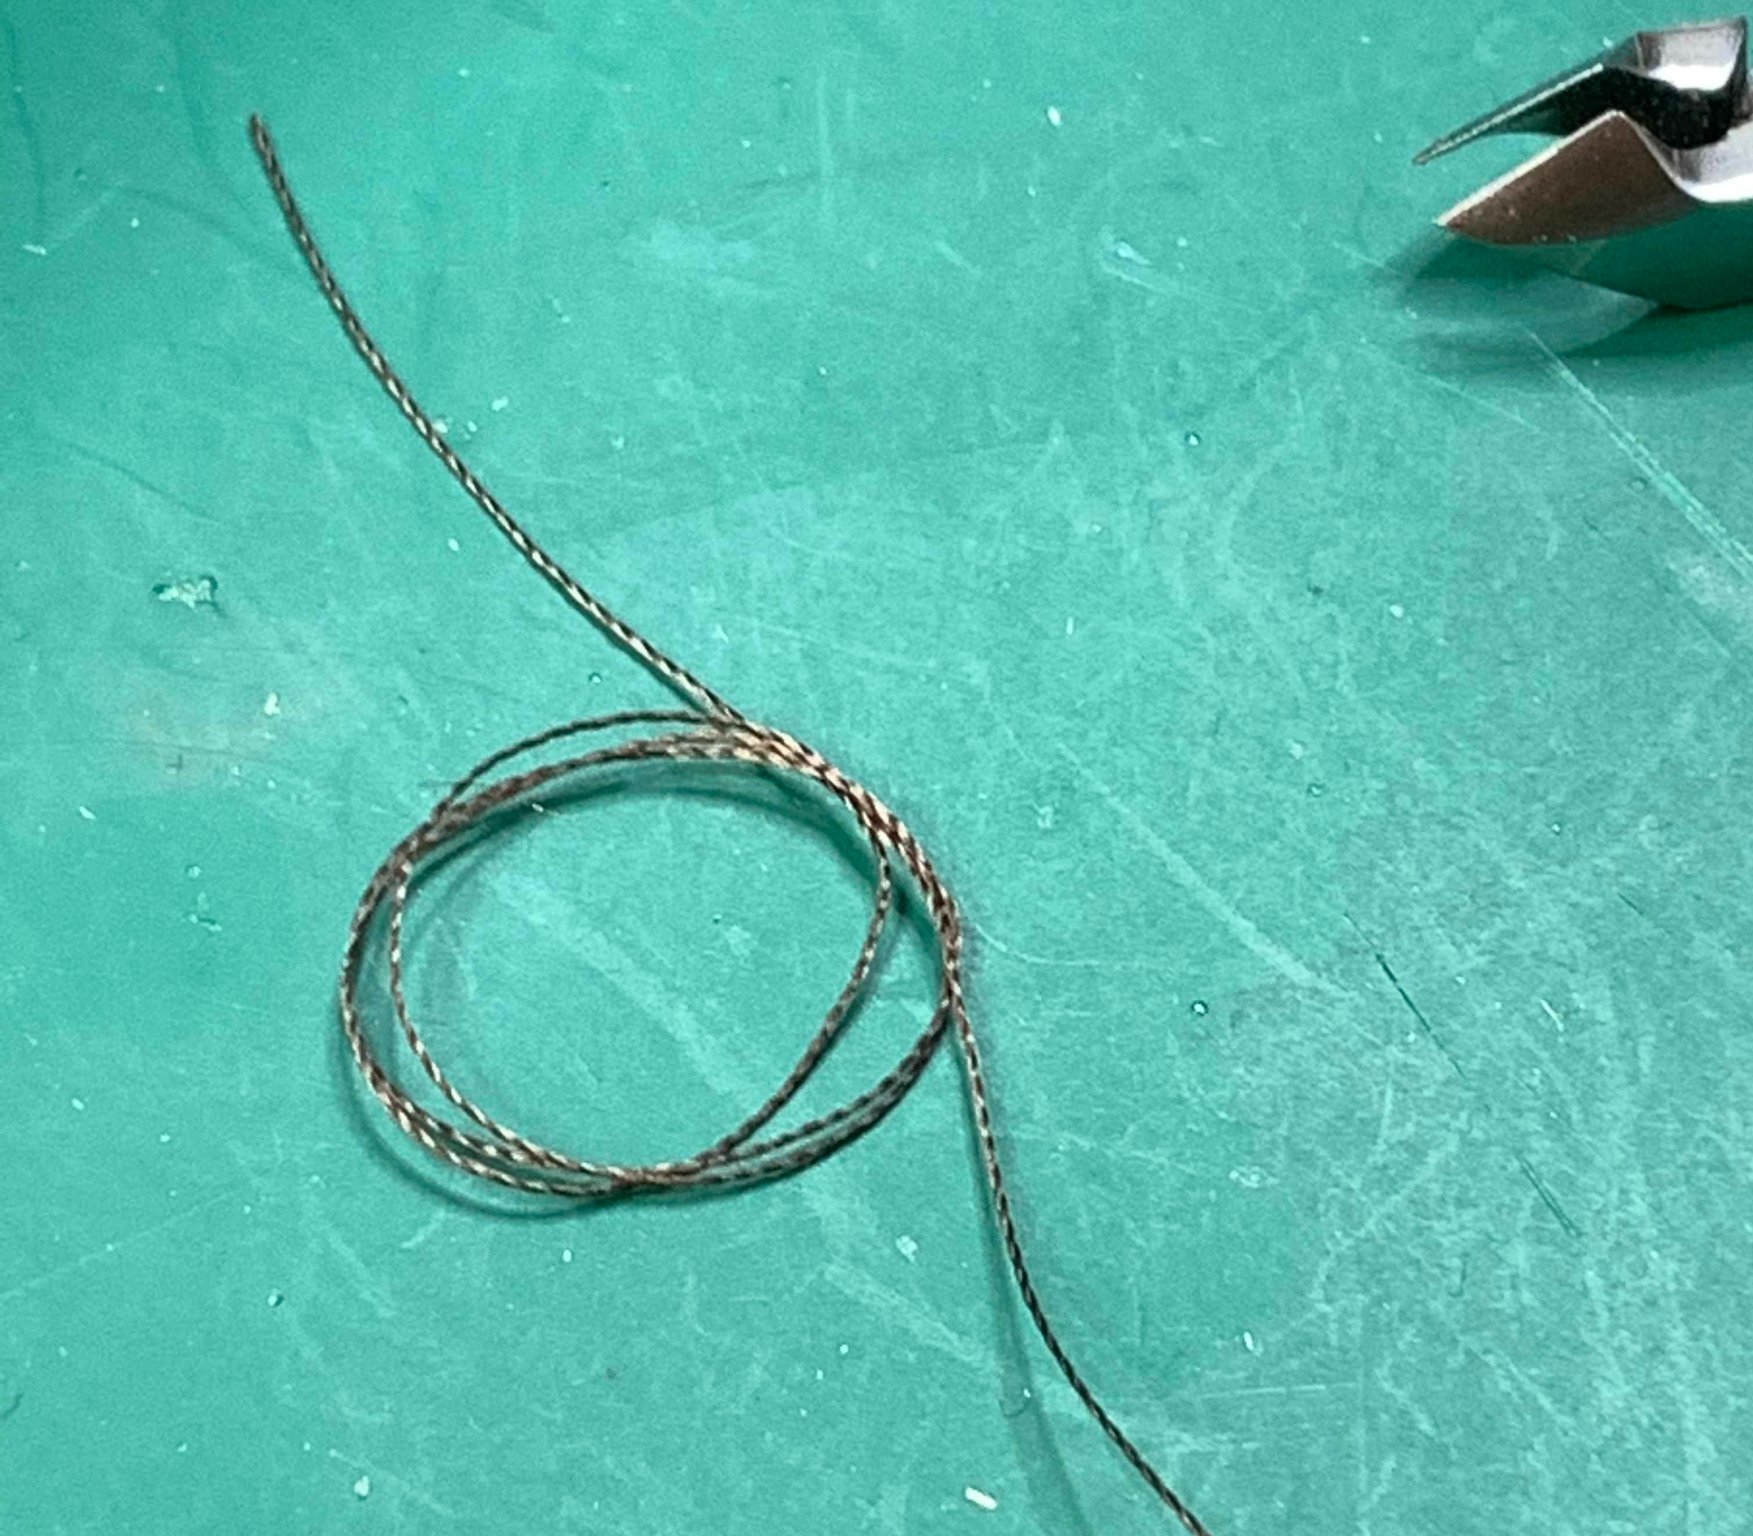
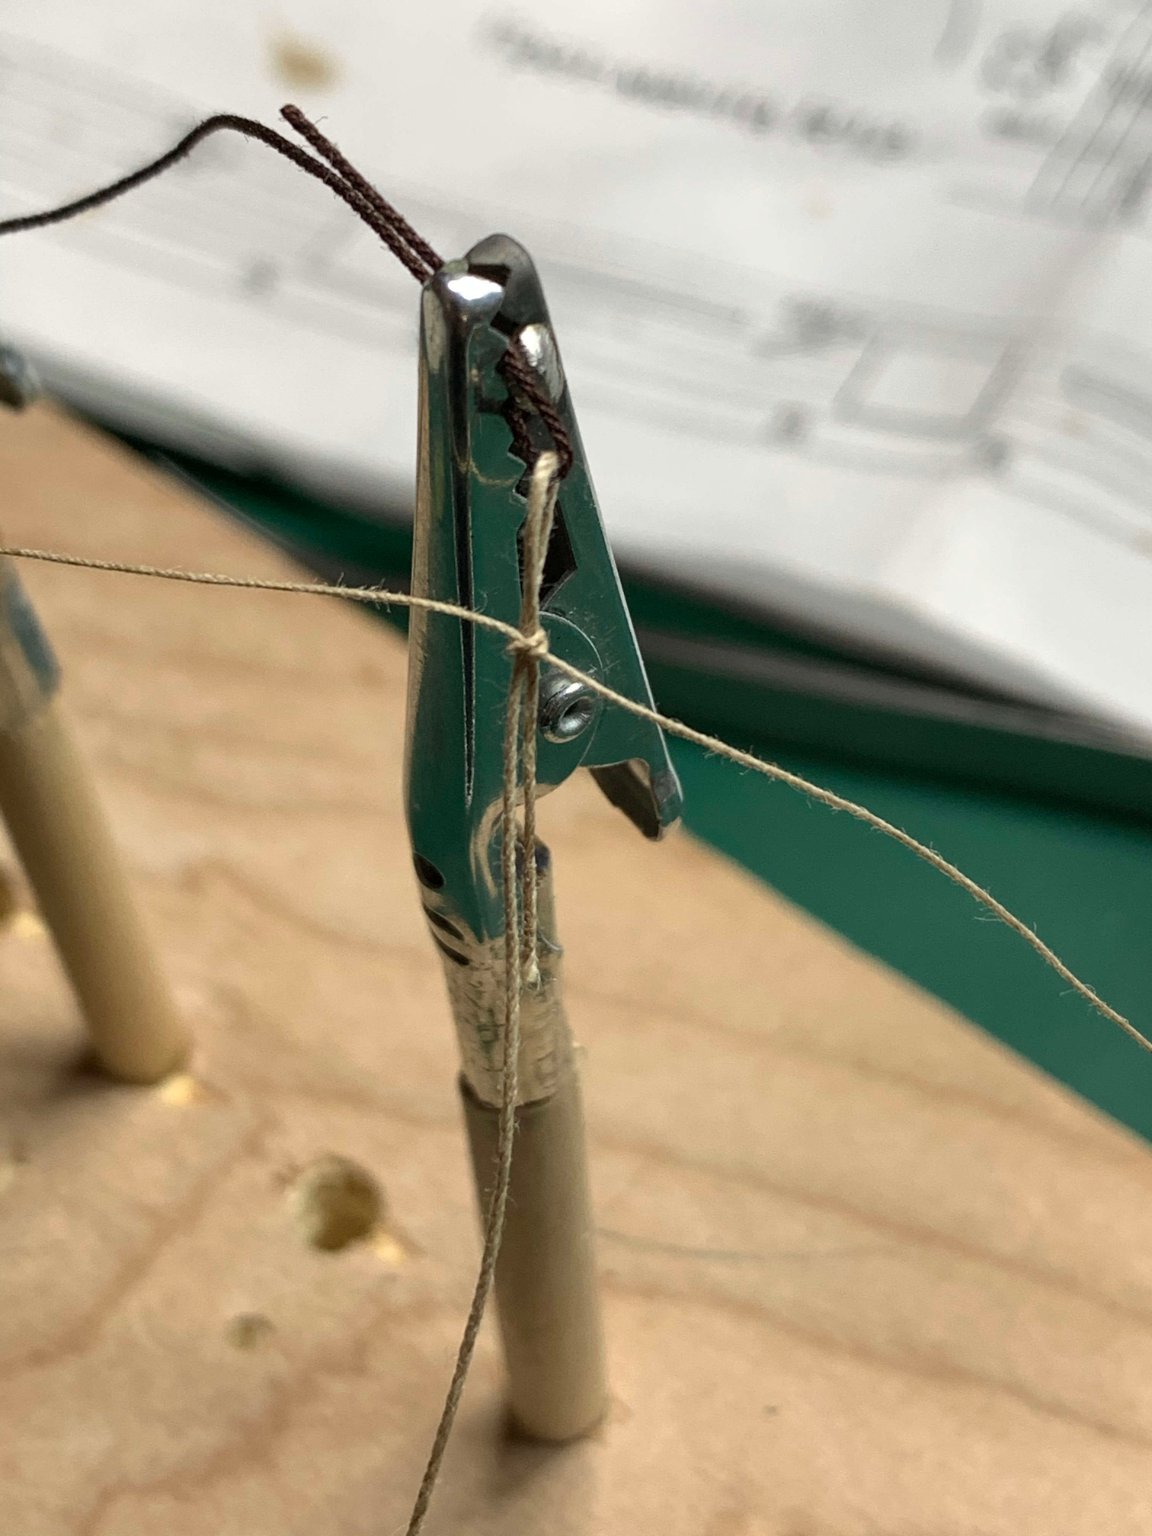
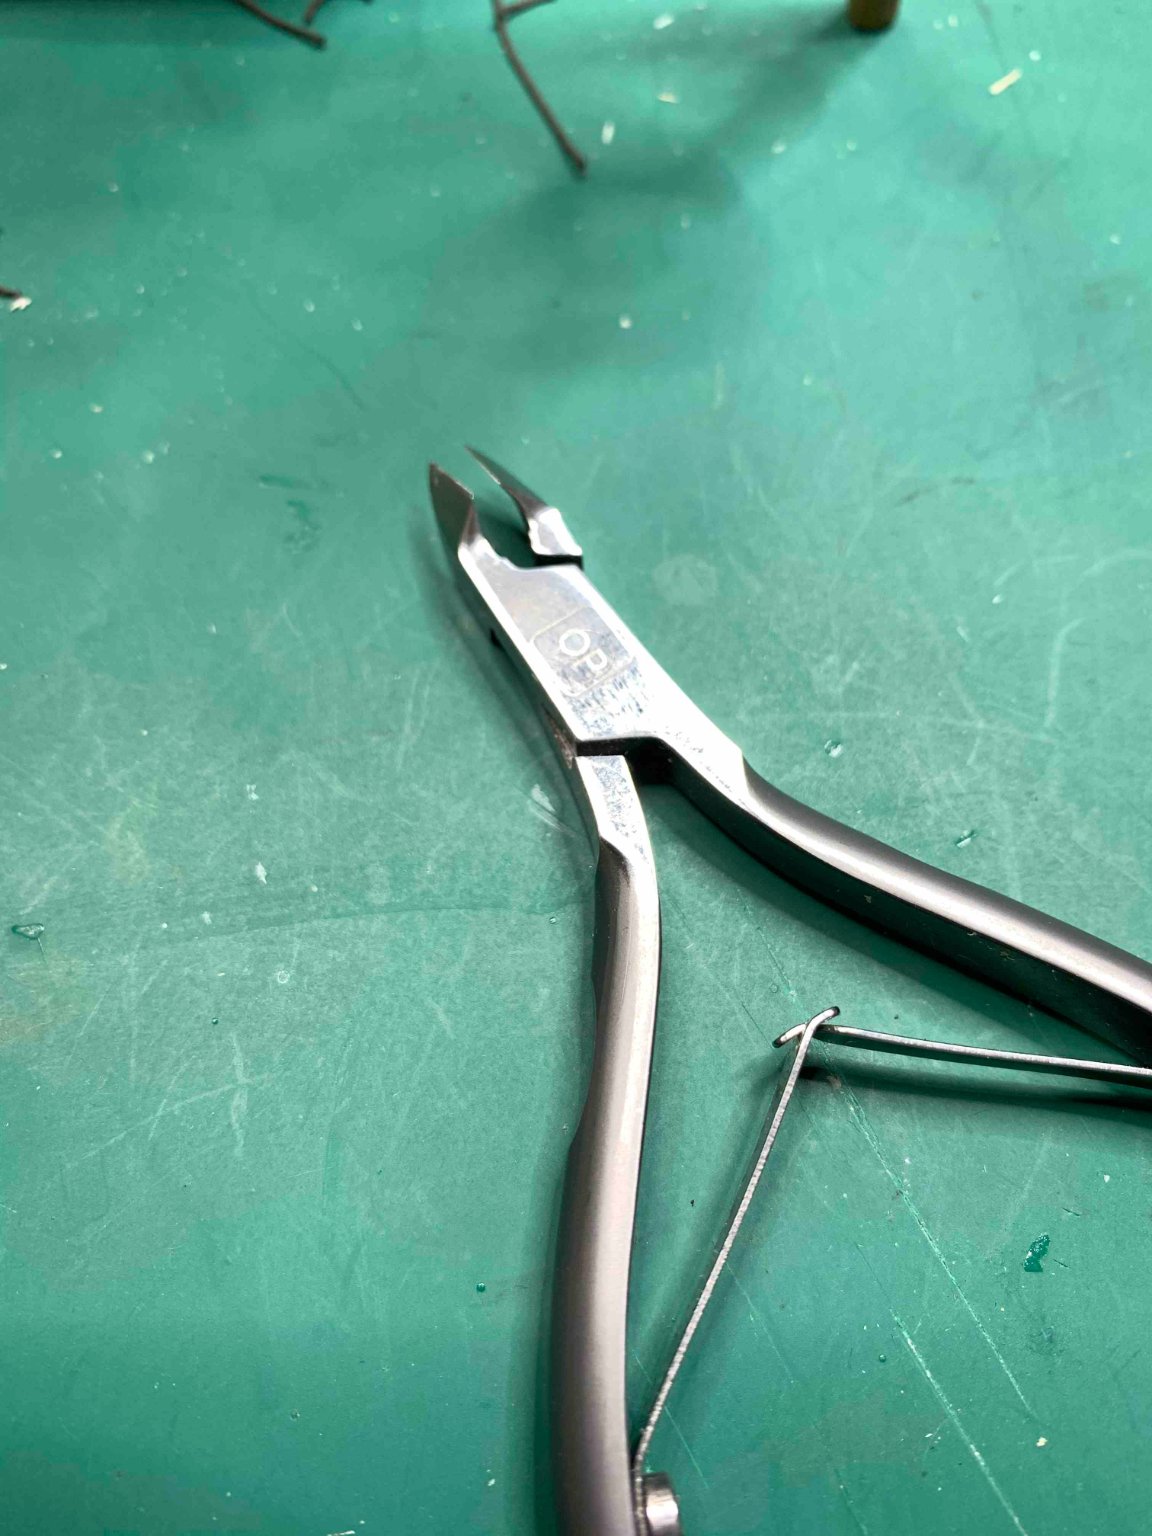
It is getting very packed up here... For the tiny spots normal scissors does not work well, so i got a clippers, very sharp pedicure/manicure tool, strongly suggested.. Continue with rigging... end result... and the process.. there is a need for two blocks, the rigging was done the same for both blocks, but line was inserted differently.. first approach, no block.. Second approach, block first... And mounted on the mast... The whole foremast... Mainmast is next.. Happy modelling..


- 275 replies
-
- 1
-
-
- phoenix
- master korabel
- (and 1 more)
-
Thanks jimncalre, much appreciated. This log is actually a very good refreshment for myself, as in the future i might forget about the way some blocks are seized. And from my personal view, you will not get wrong if you choose this particular ship for your next project. There are few gotchas to be aware of (hopefully this building log will review them) but overall time very well spent. Cheers
-
Continue working on blocks... was thinking i can setup a little assembly line.... ...but forgot i cannot pull the blocks between topmast and topgallant mast, so back to old fashioned approach. Will leave assembling line to Charlie Chaplin.. Few other blocks added as well.. Happy modelling...


- 275 replies
-
- 2
-
-
- phoenix
- master korabel
- (and 1 more)
-
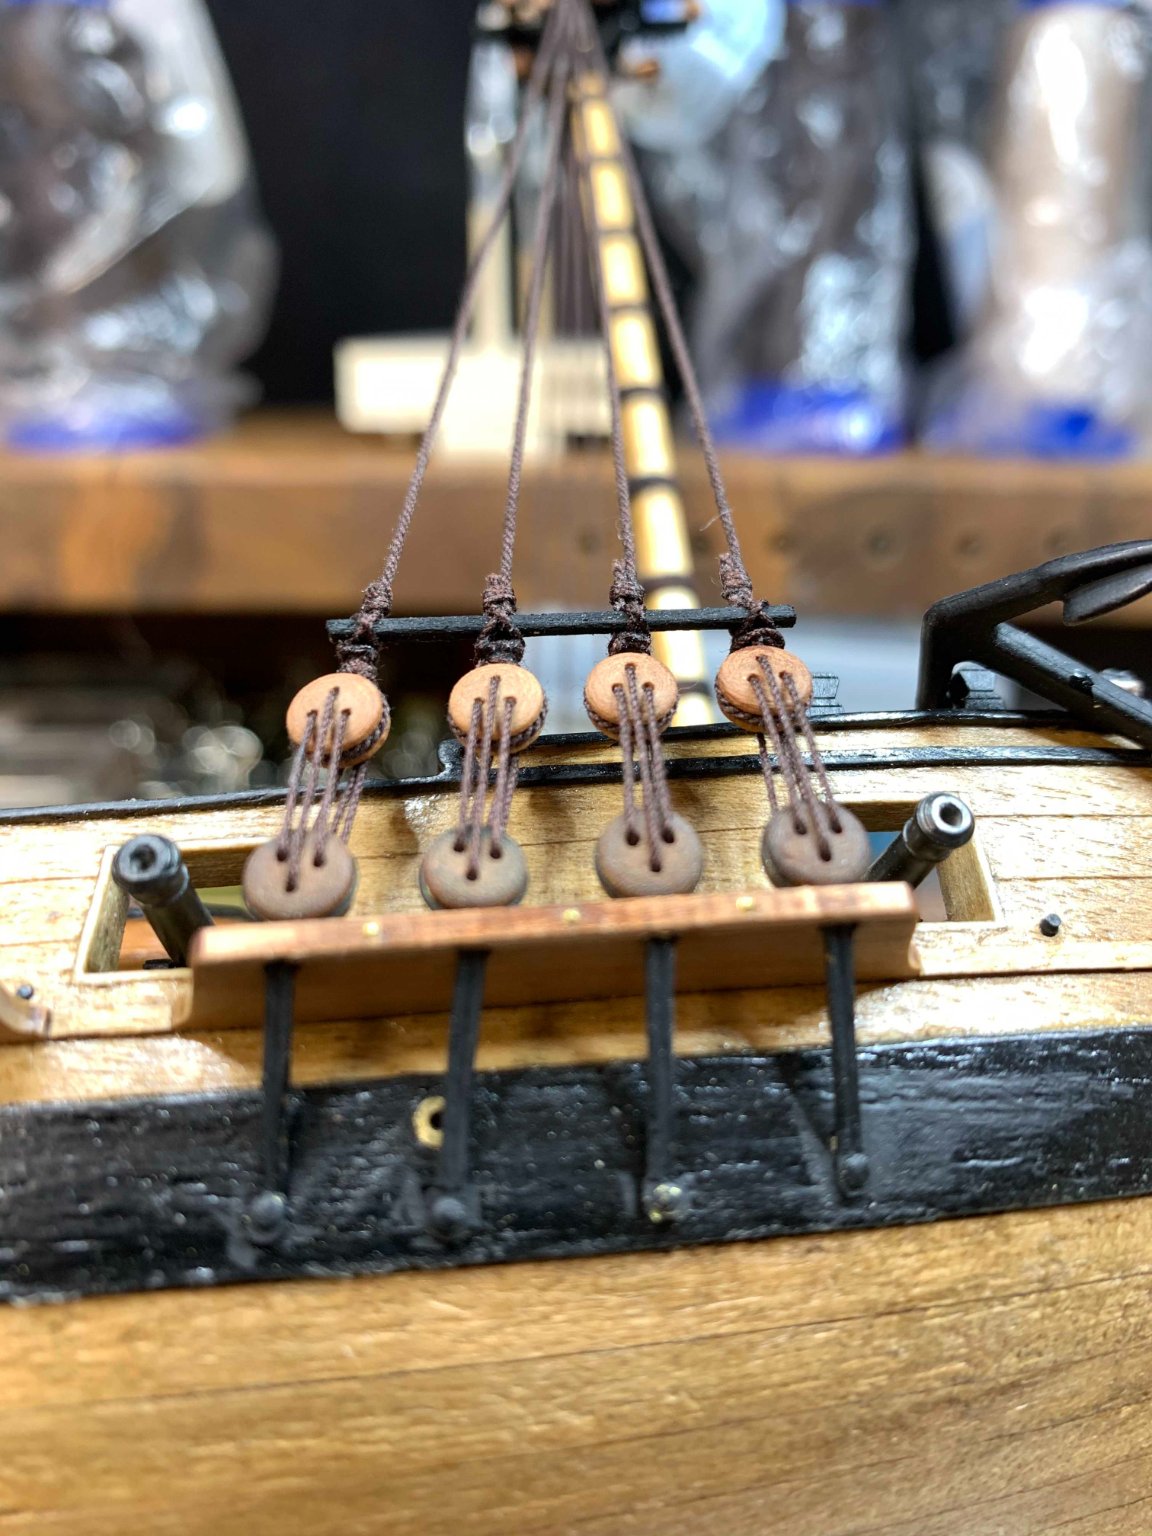
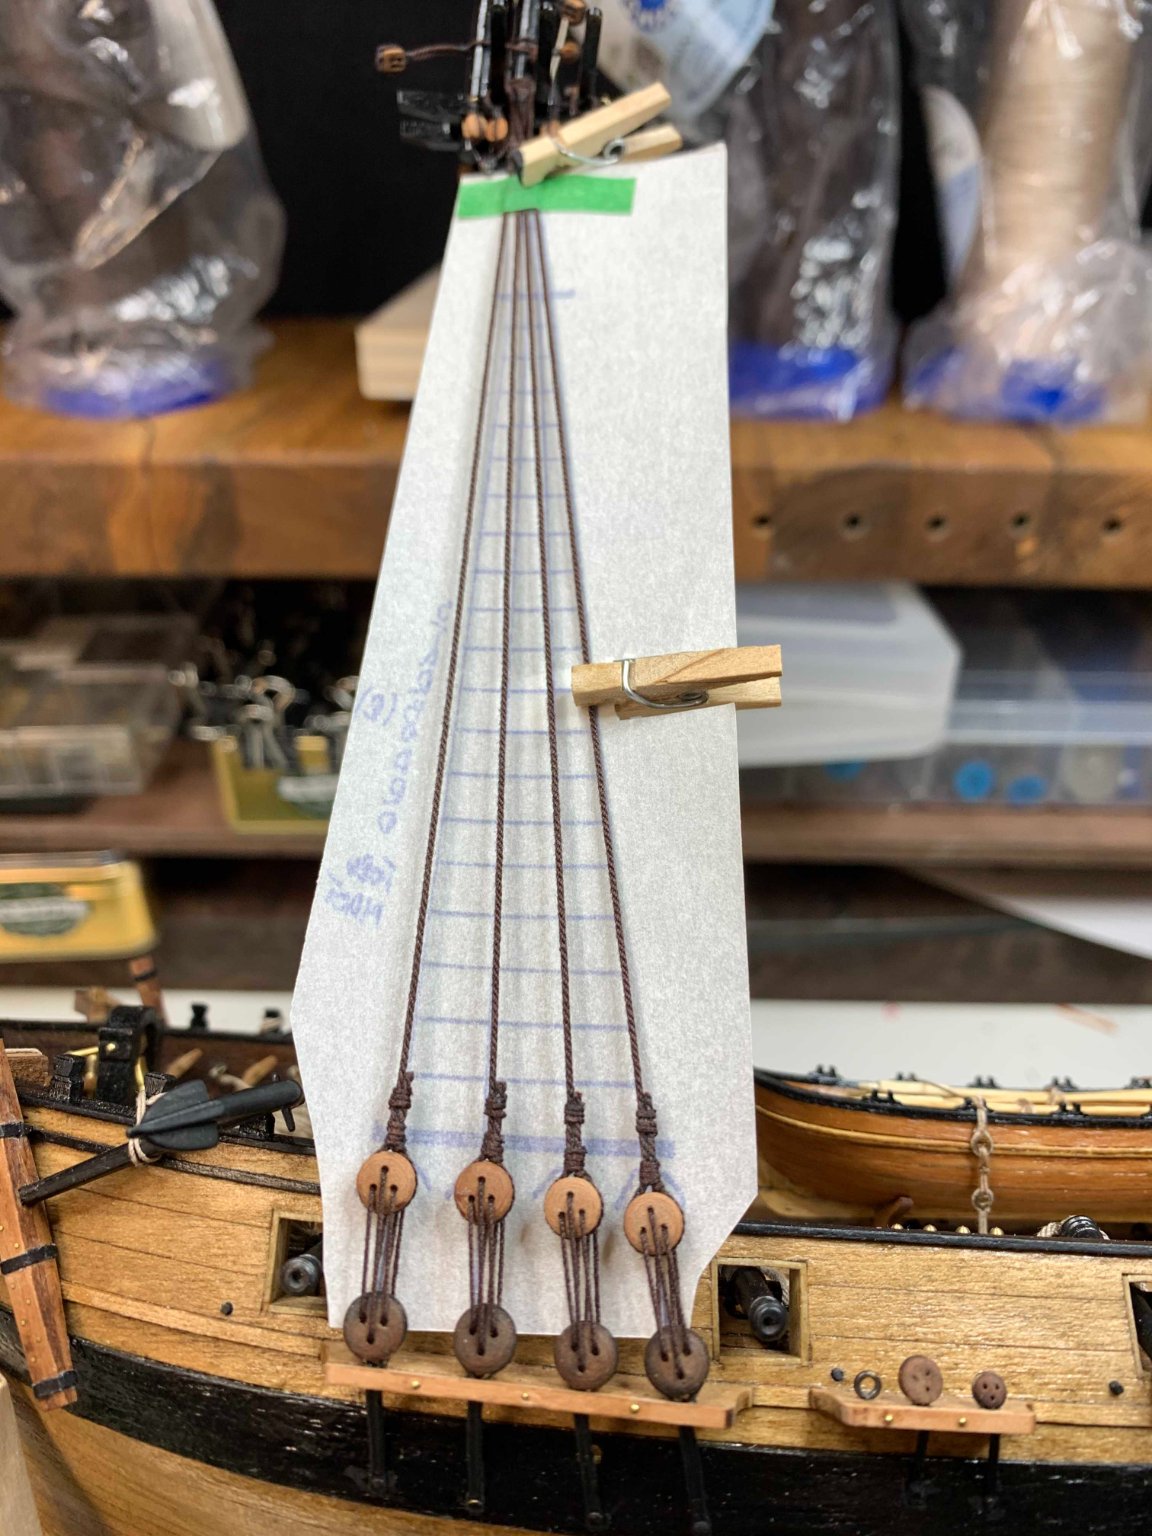
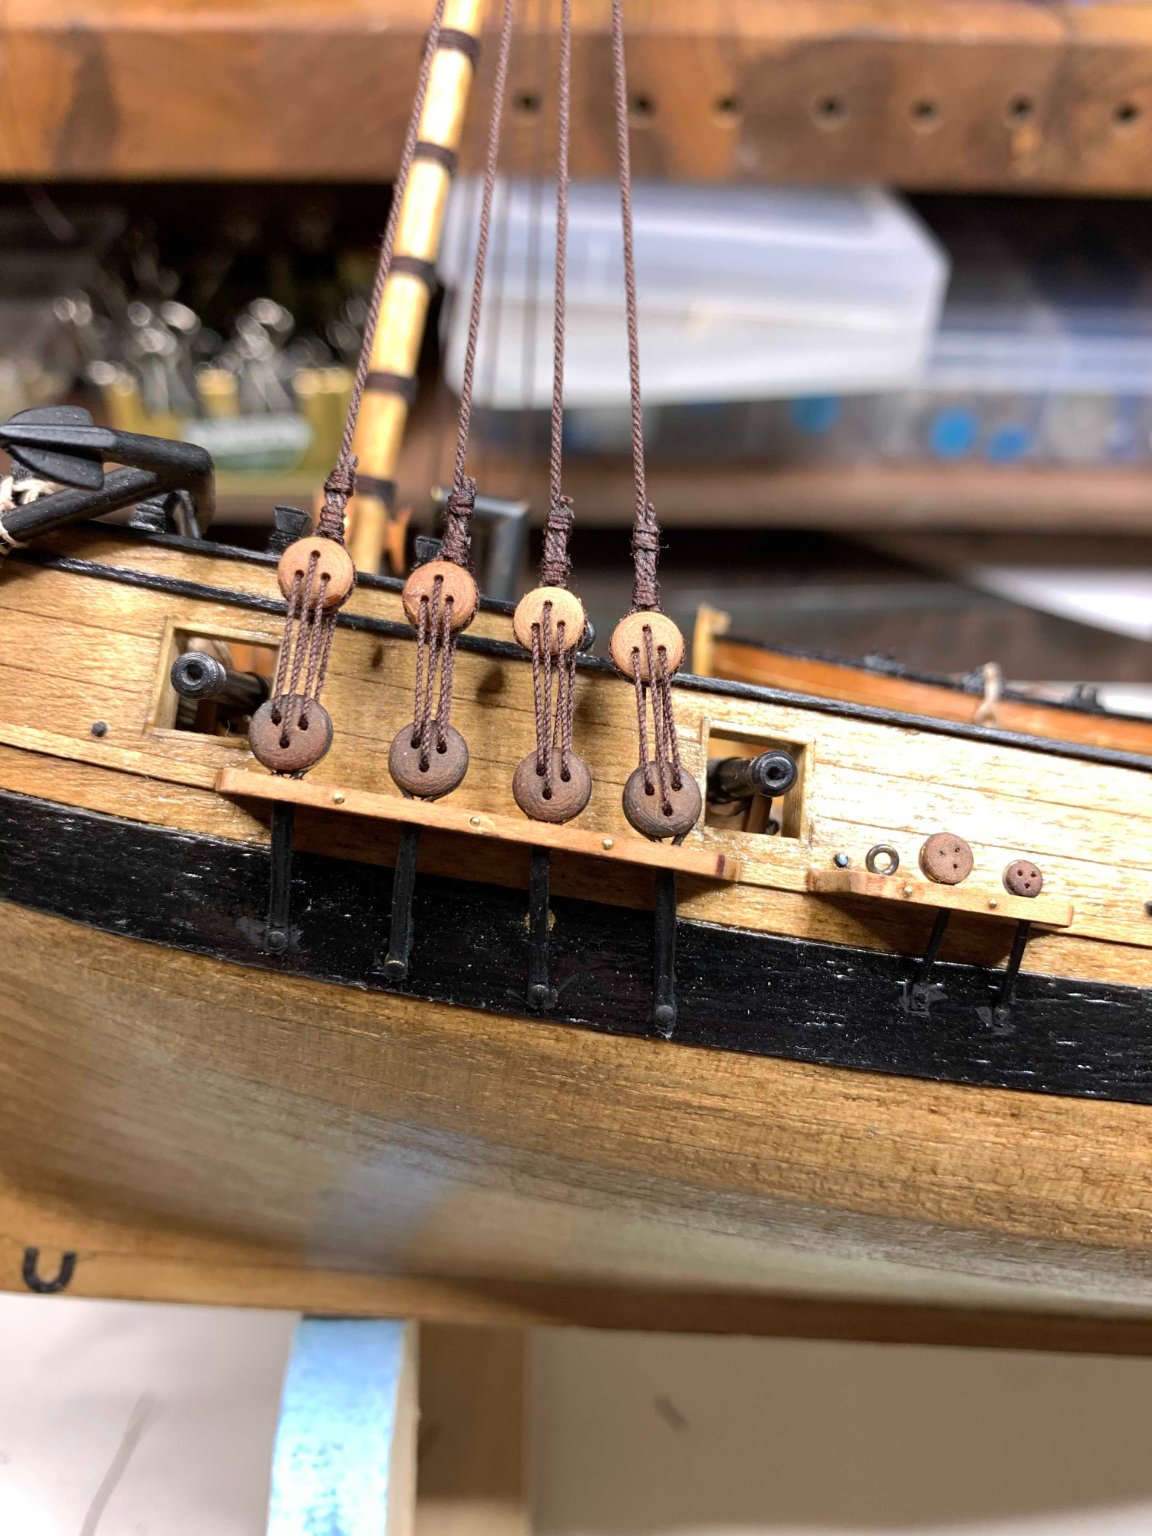
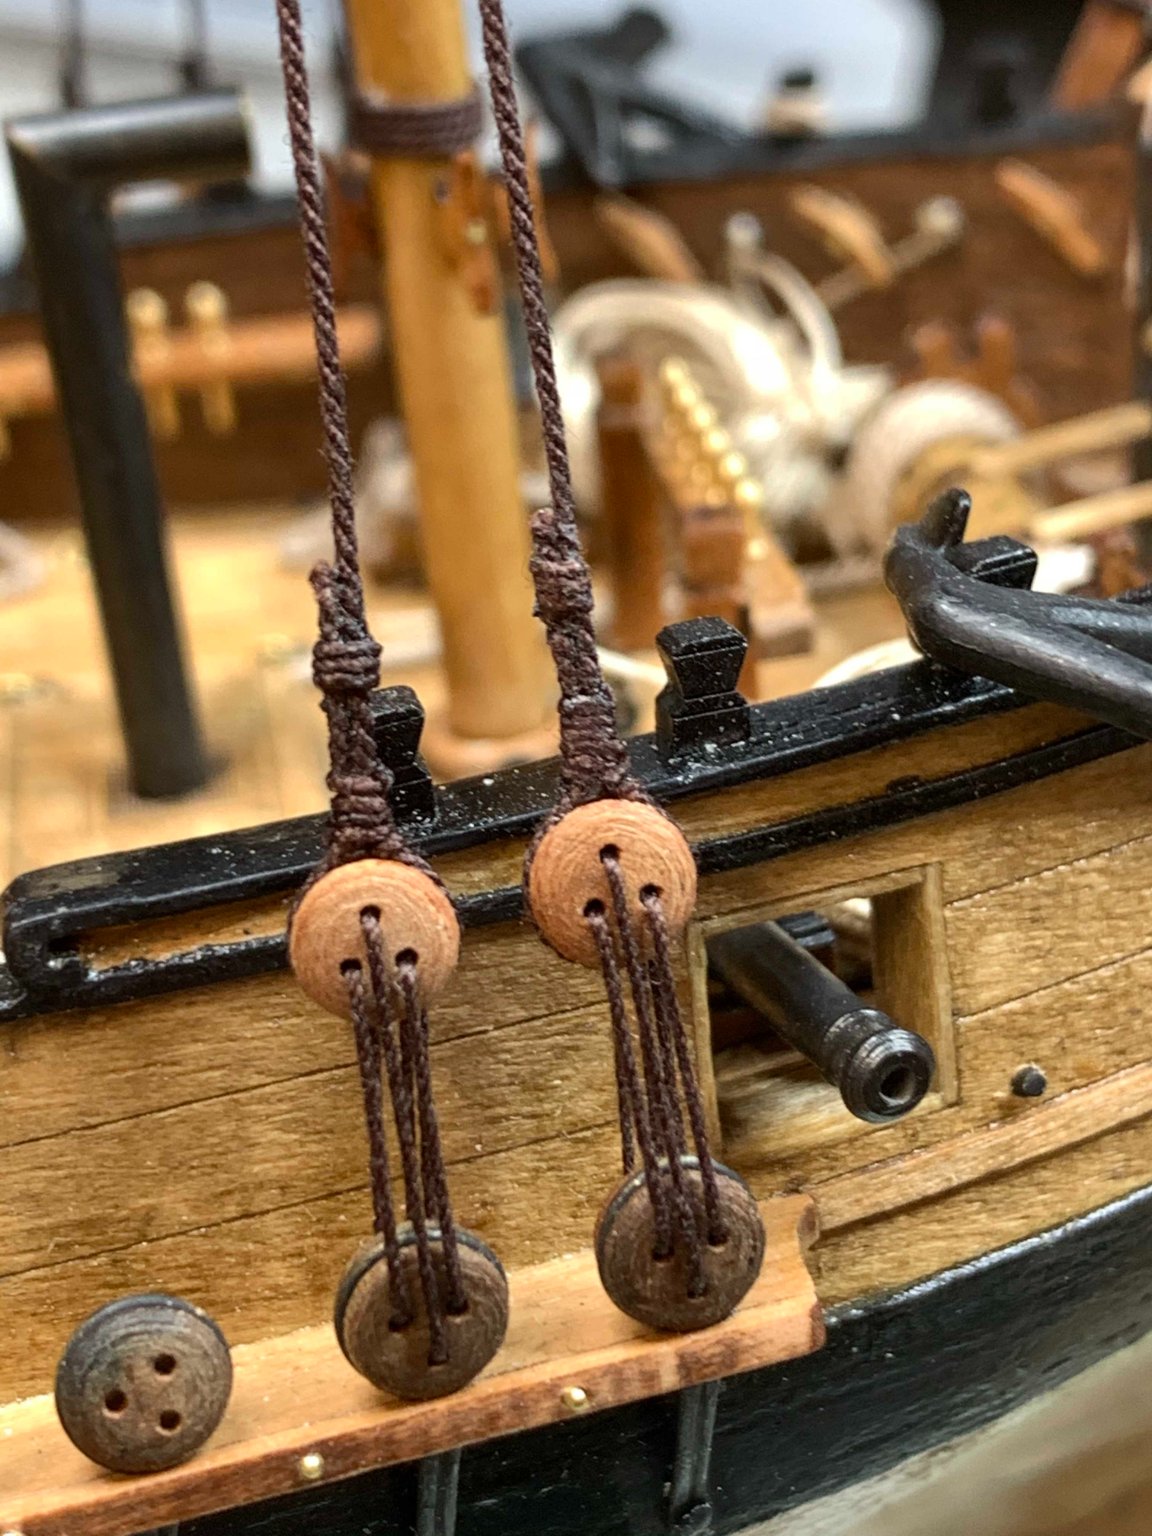
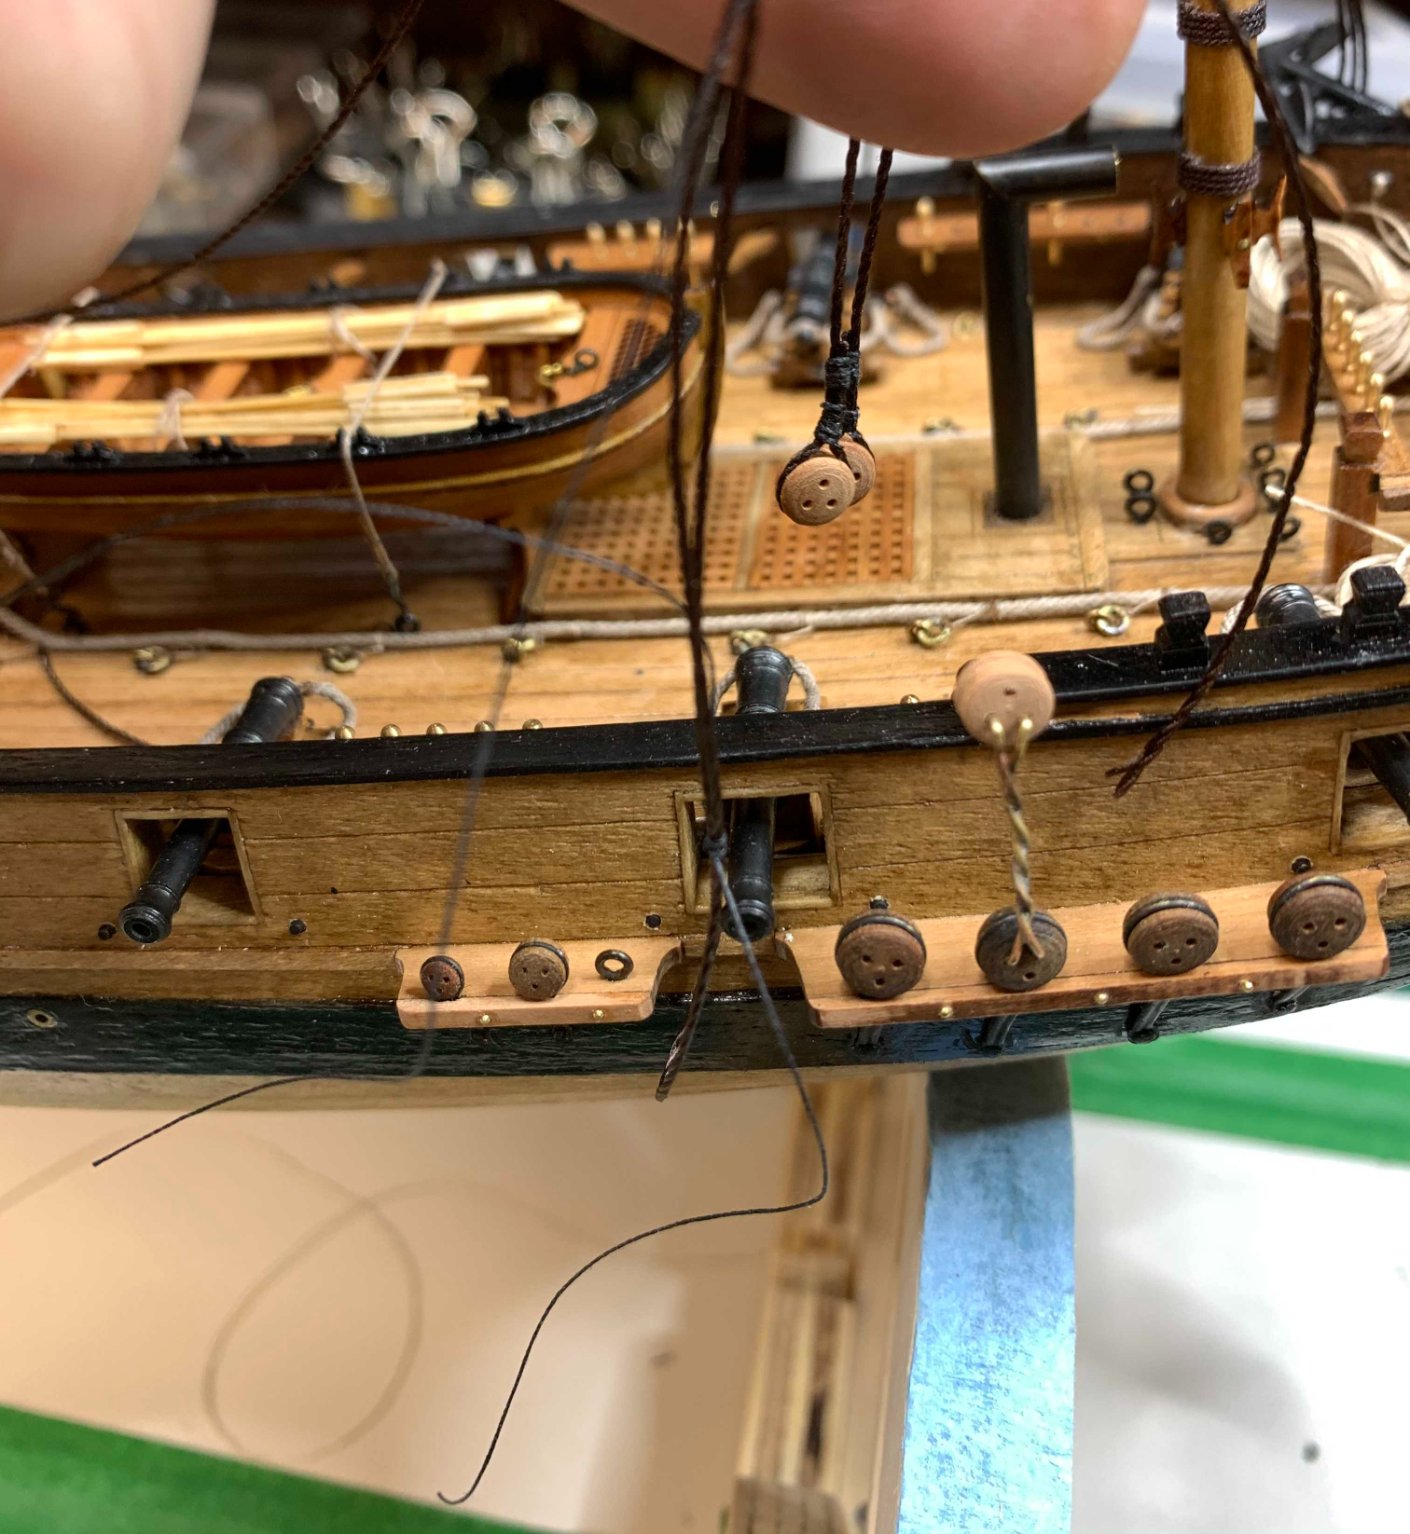
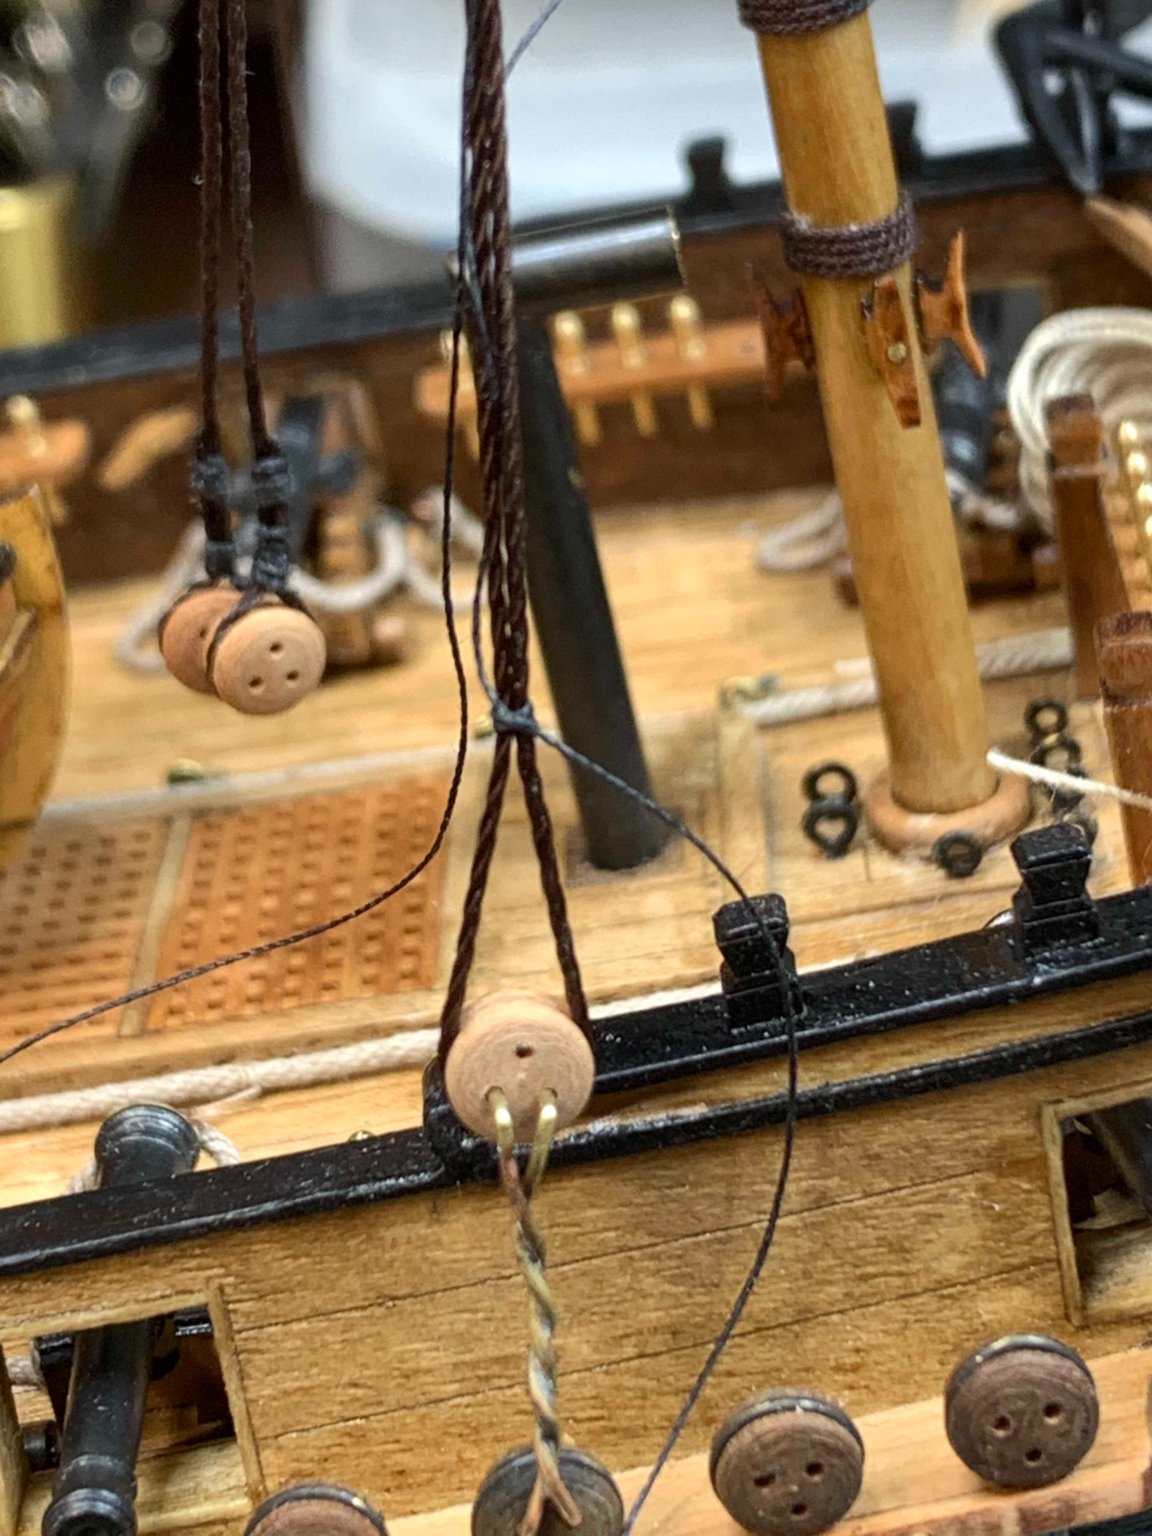
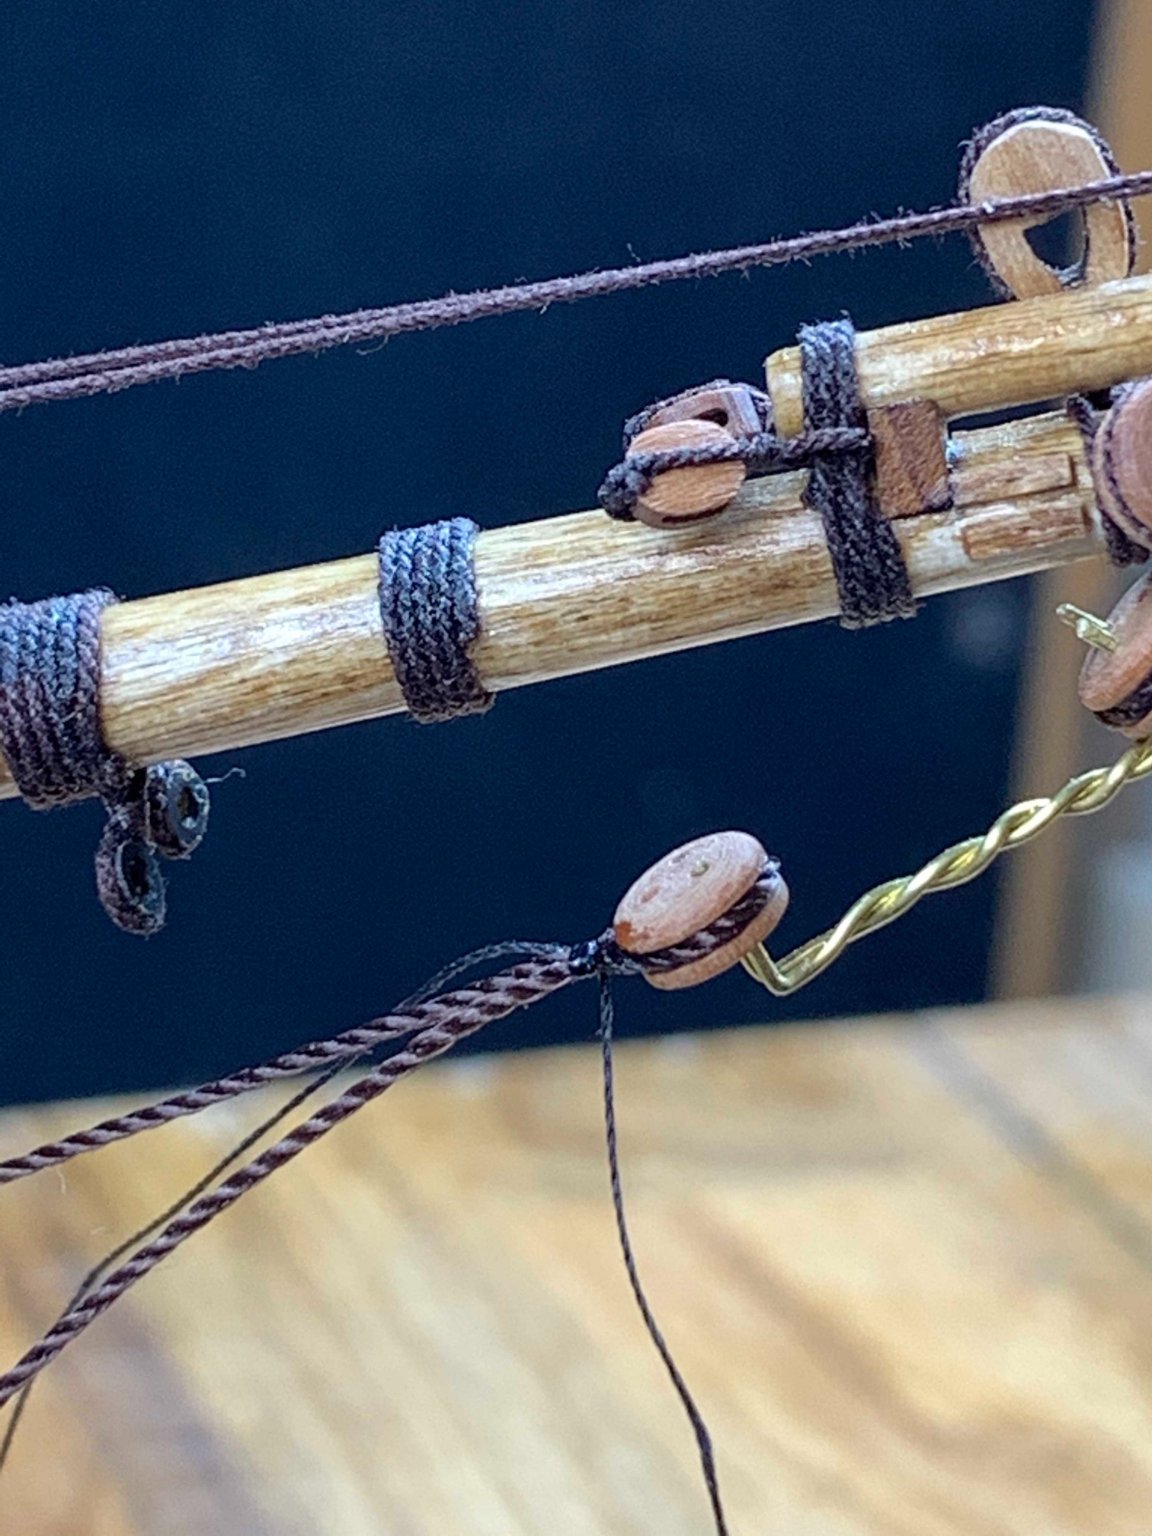
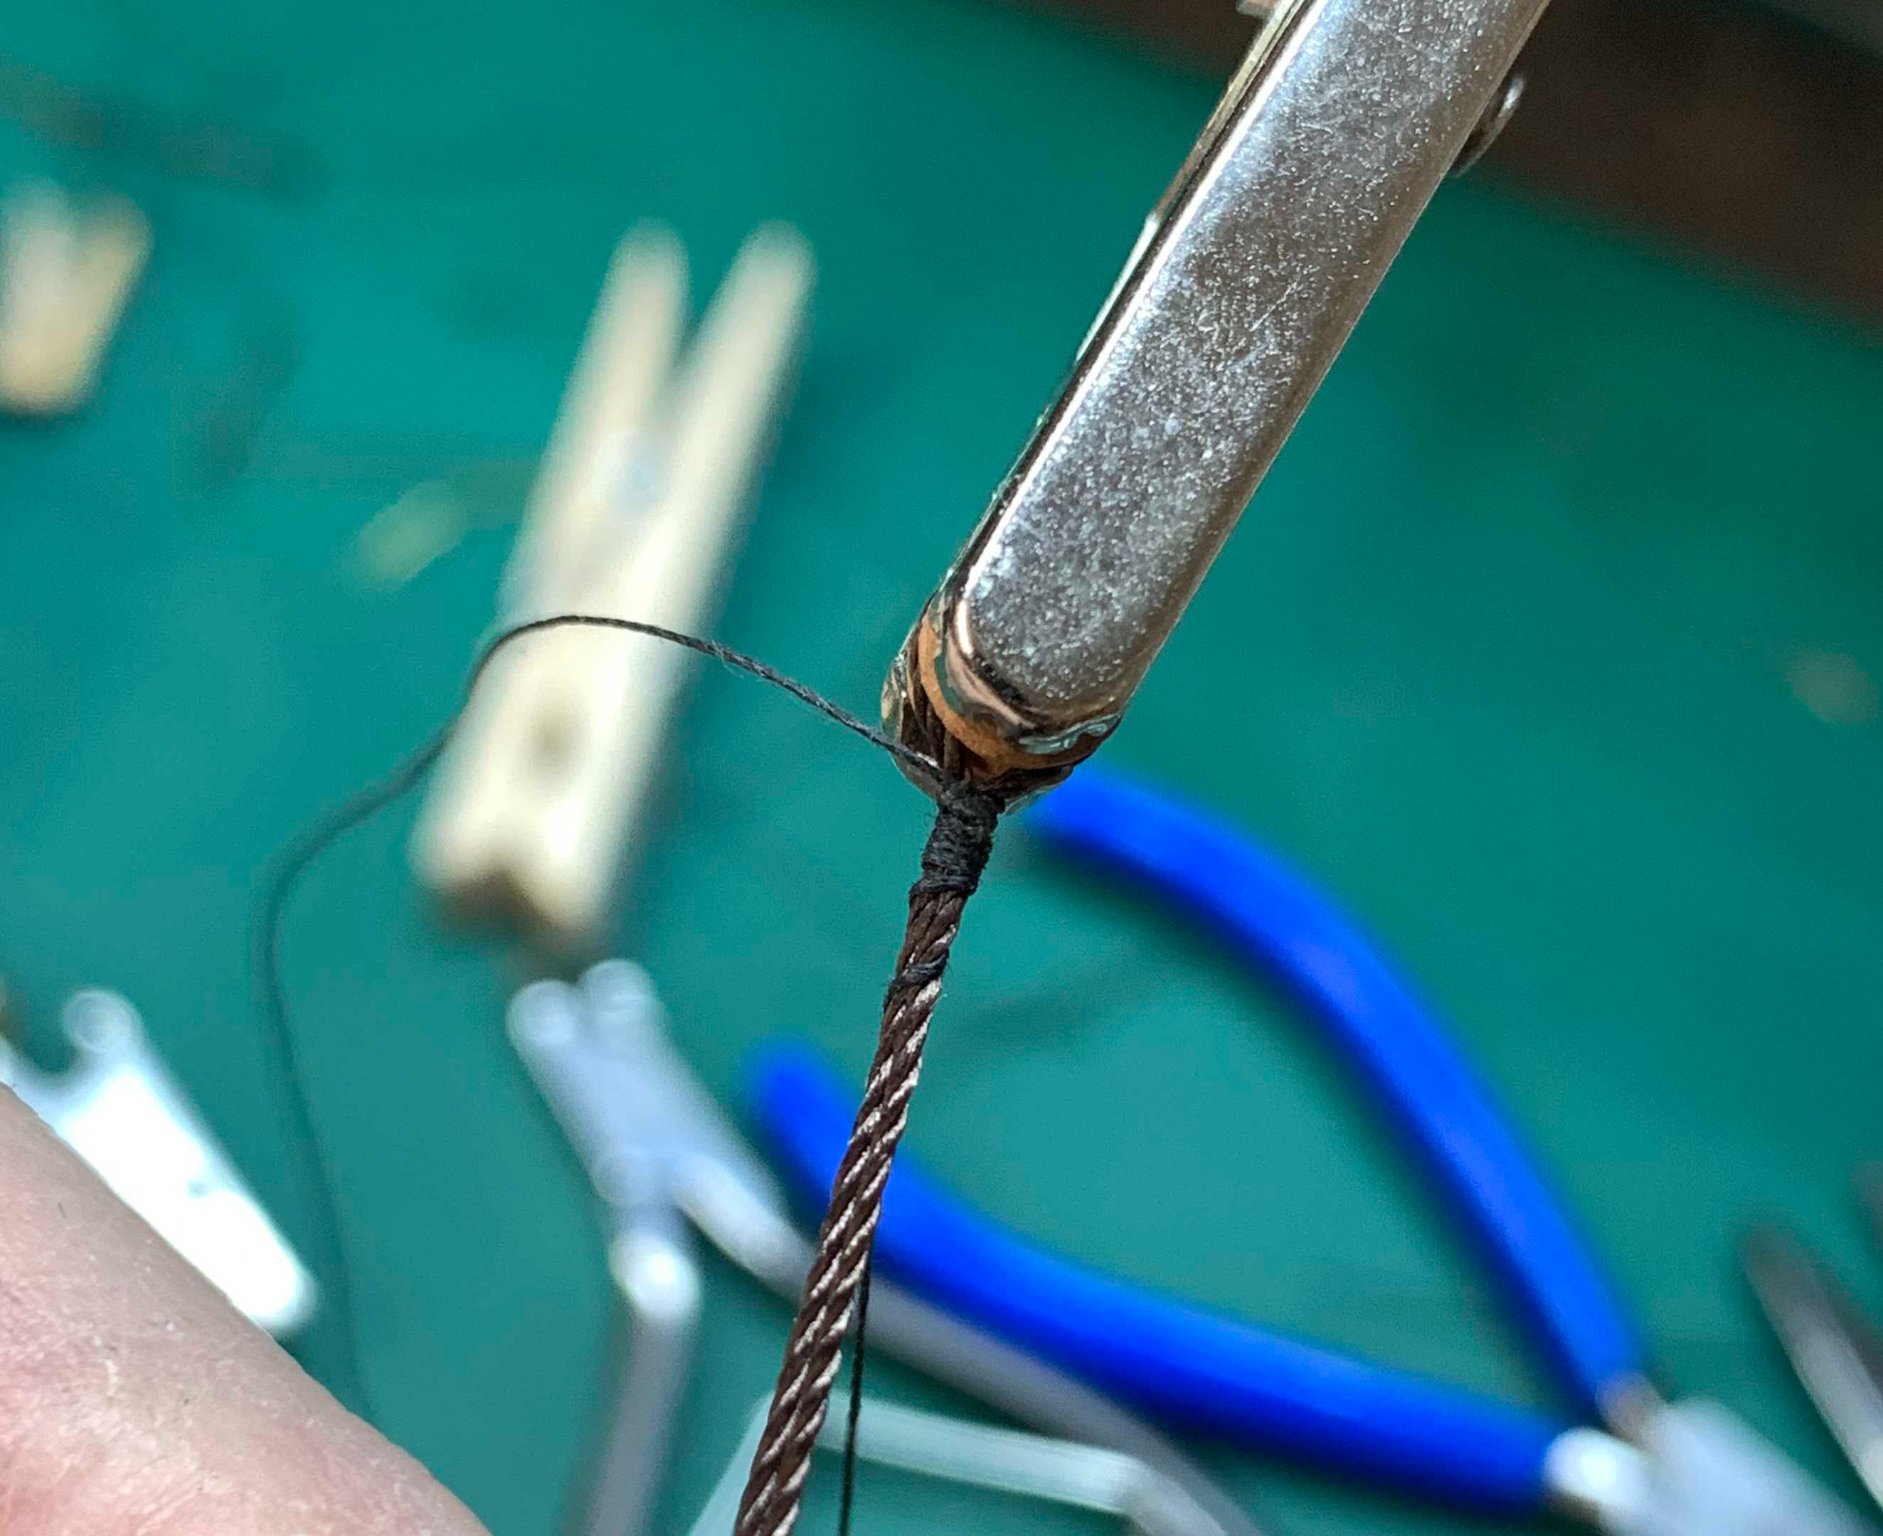
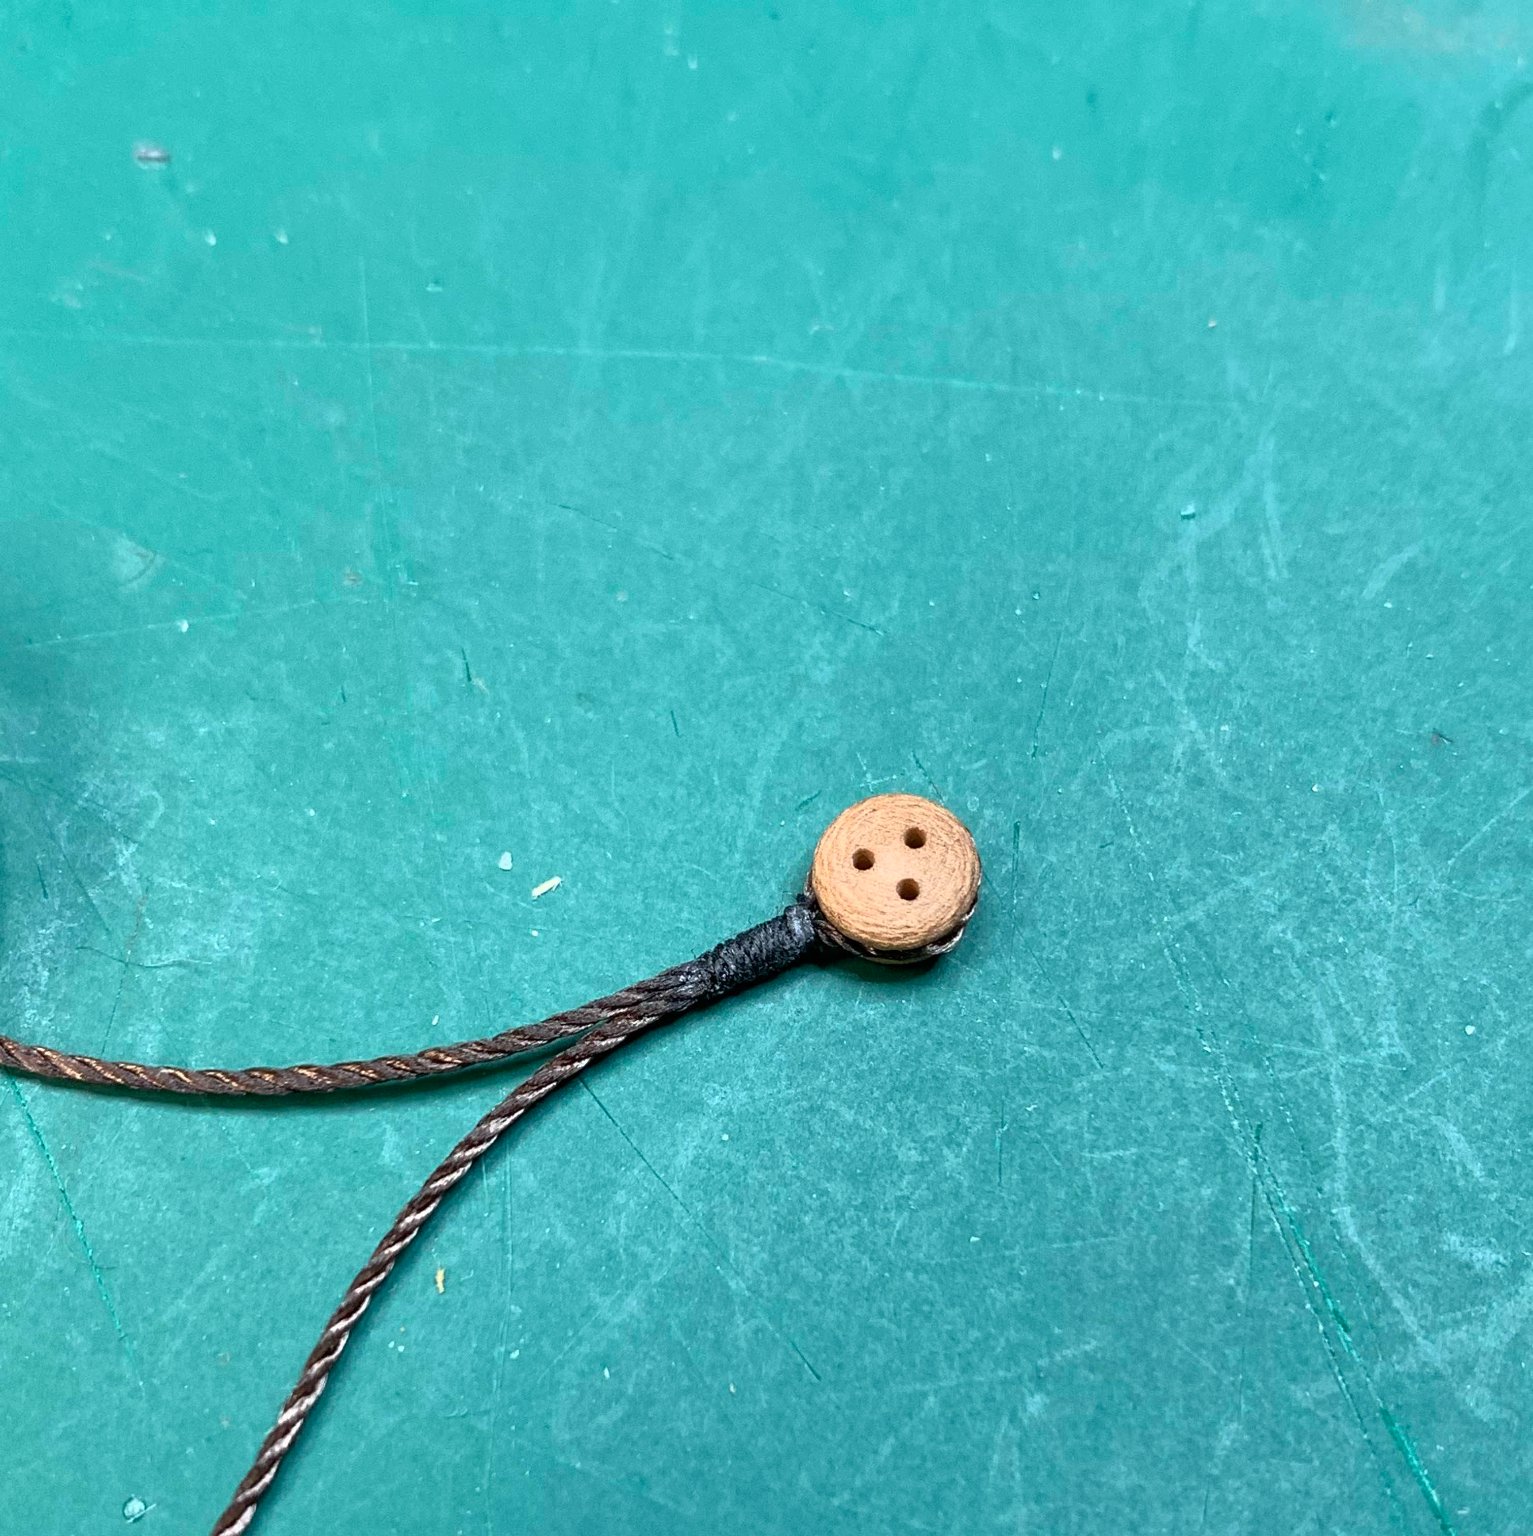
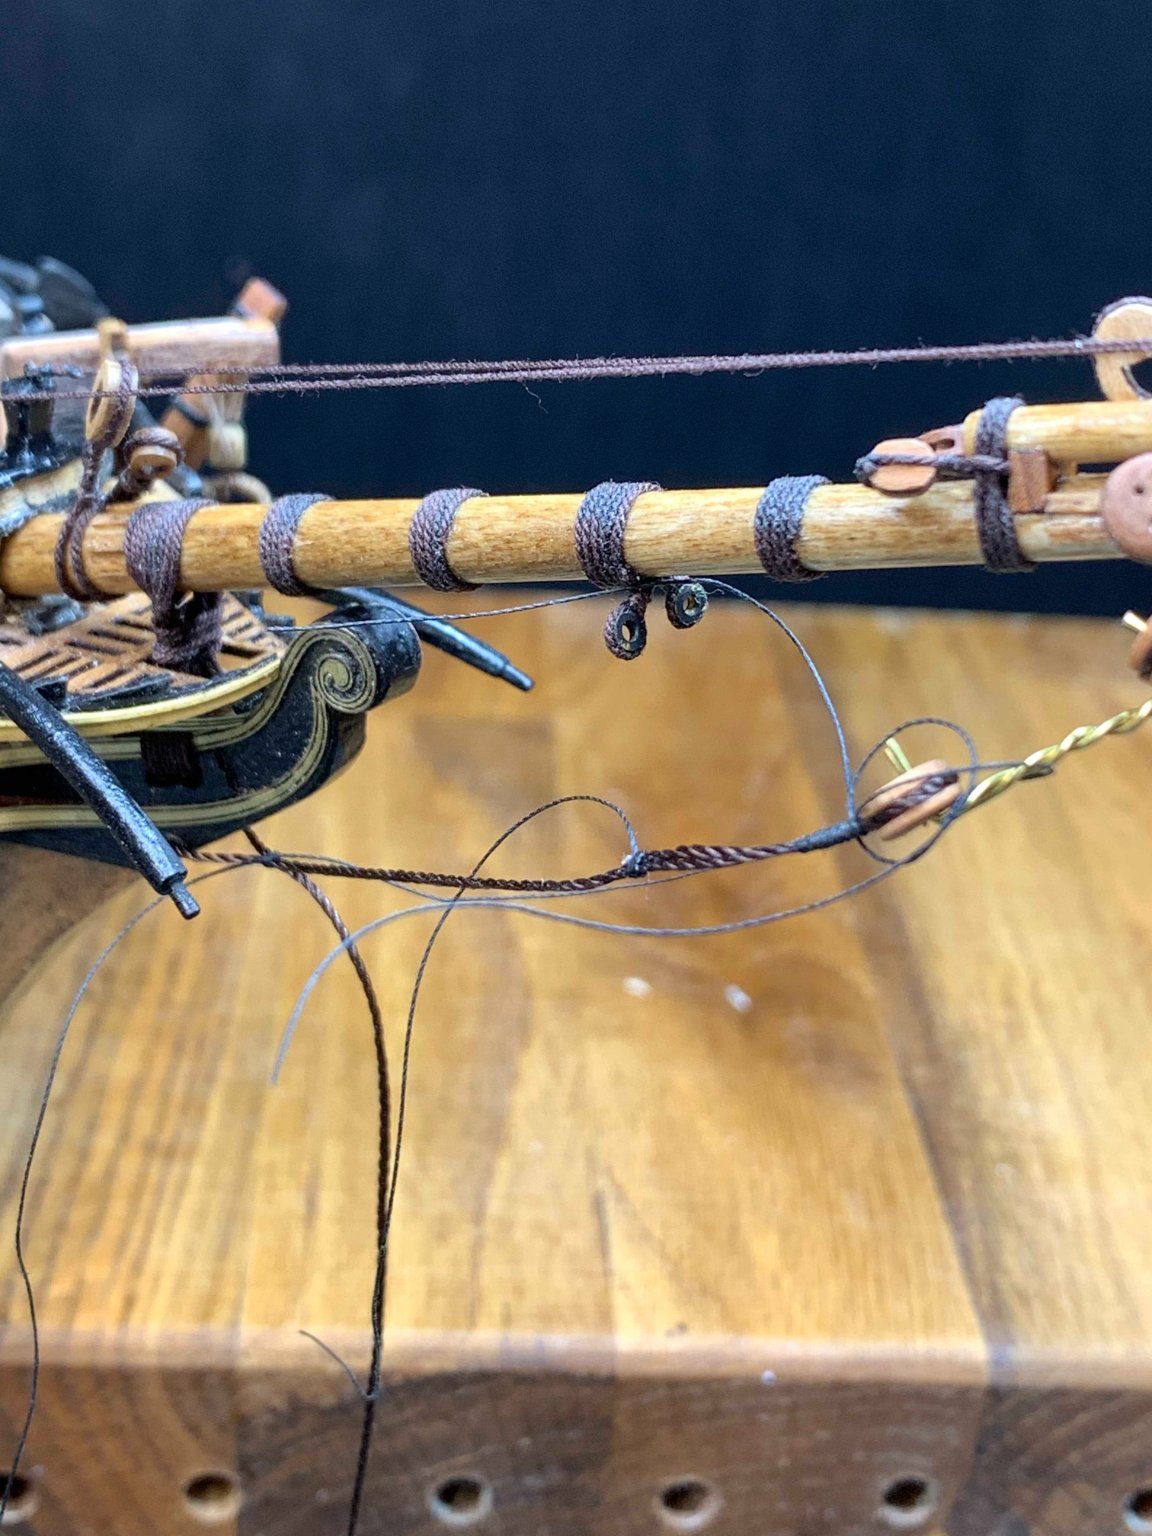
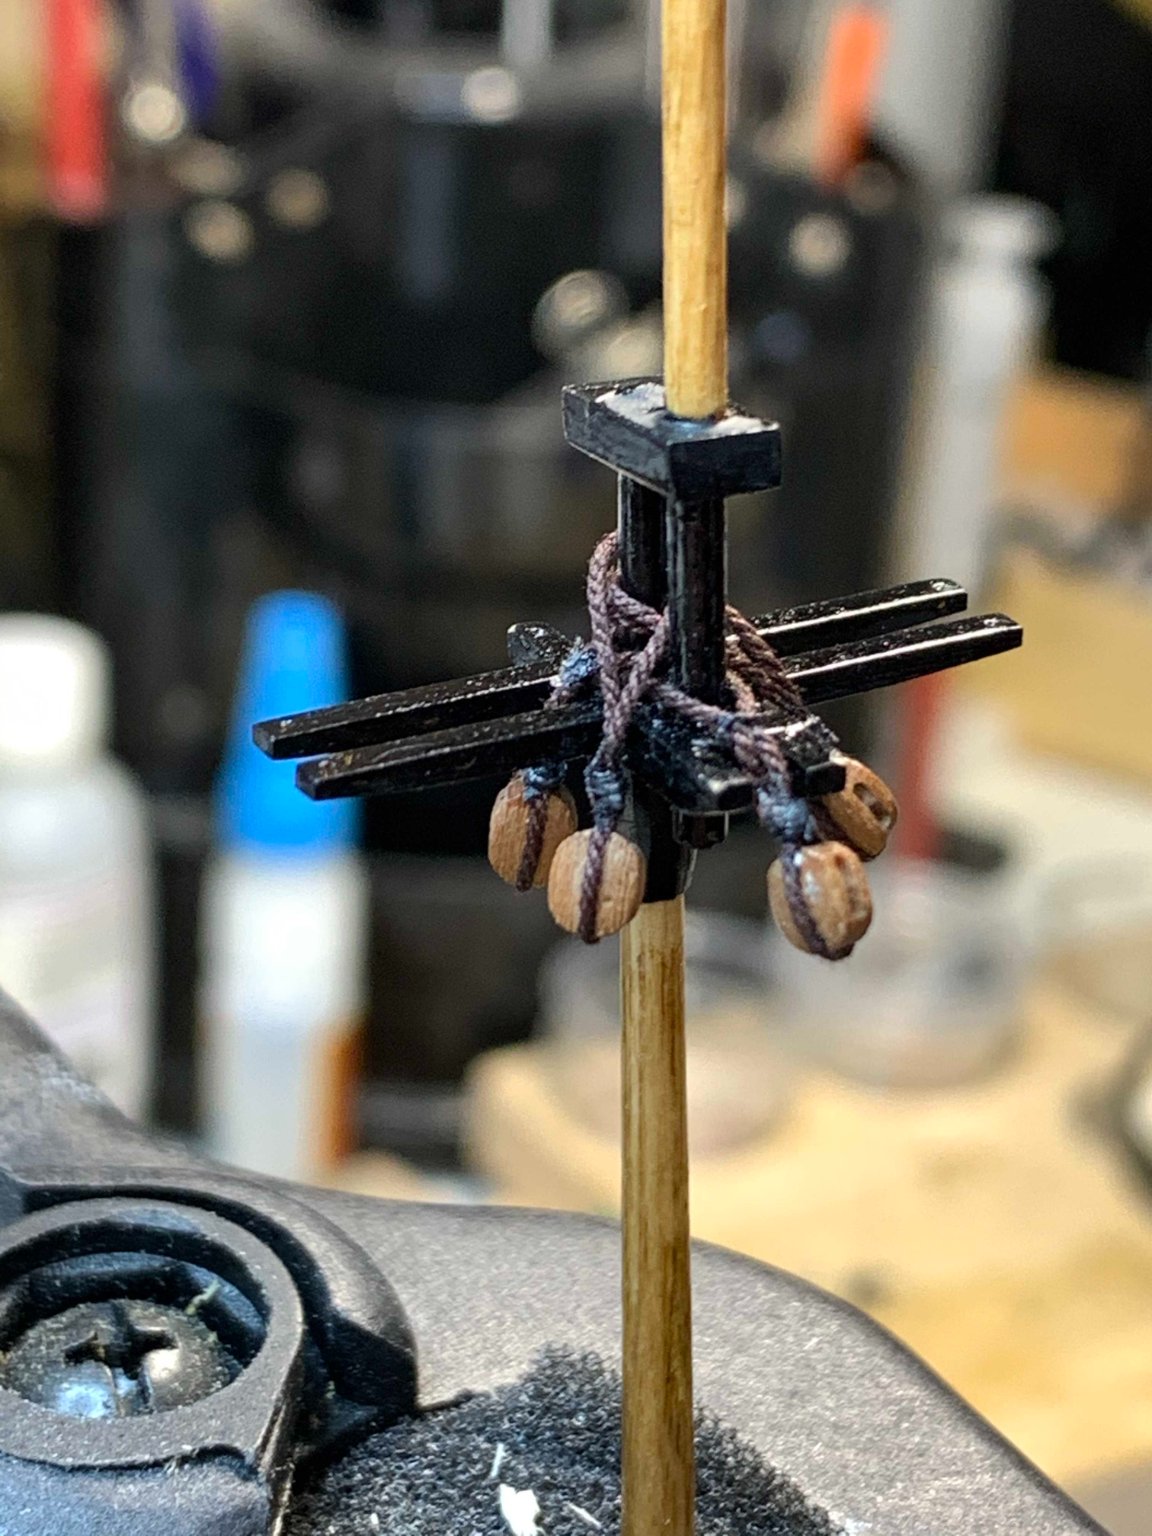
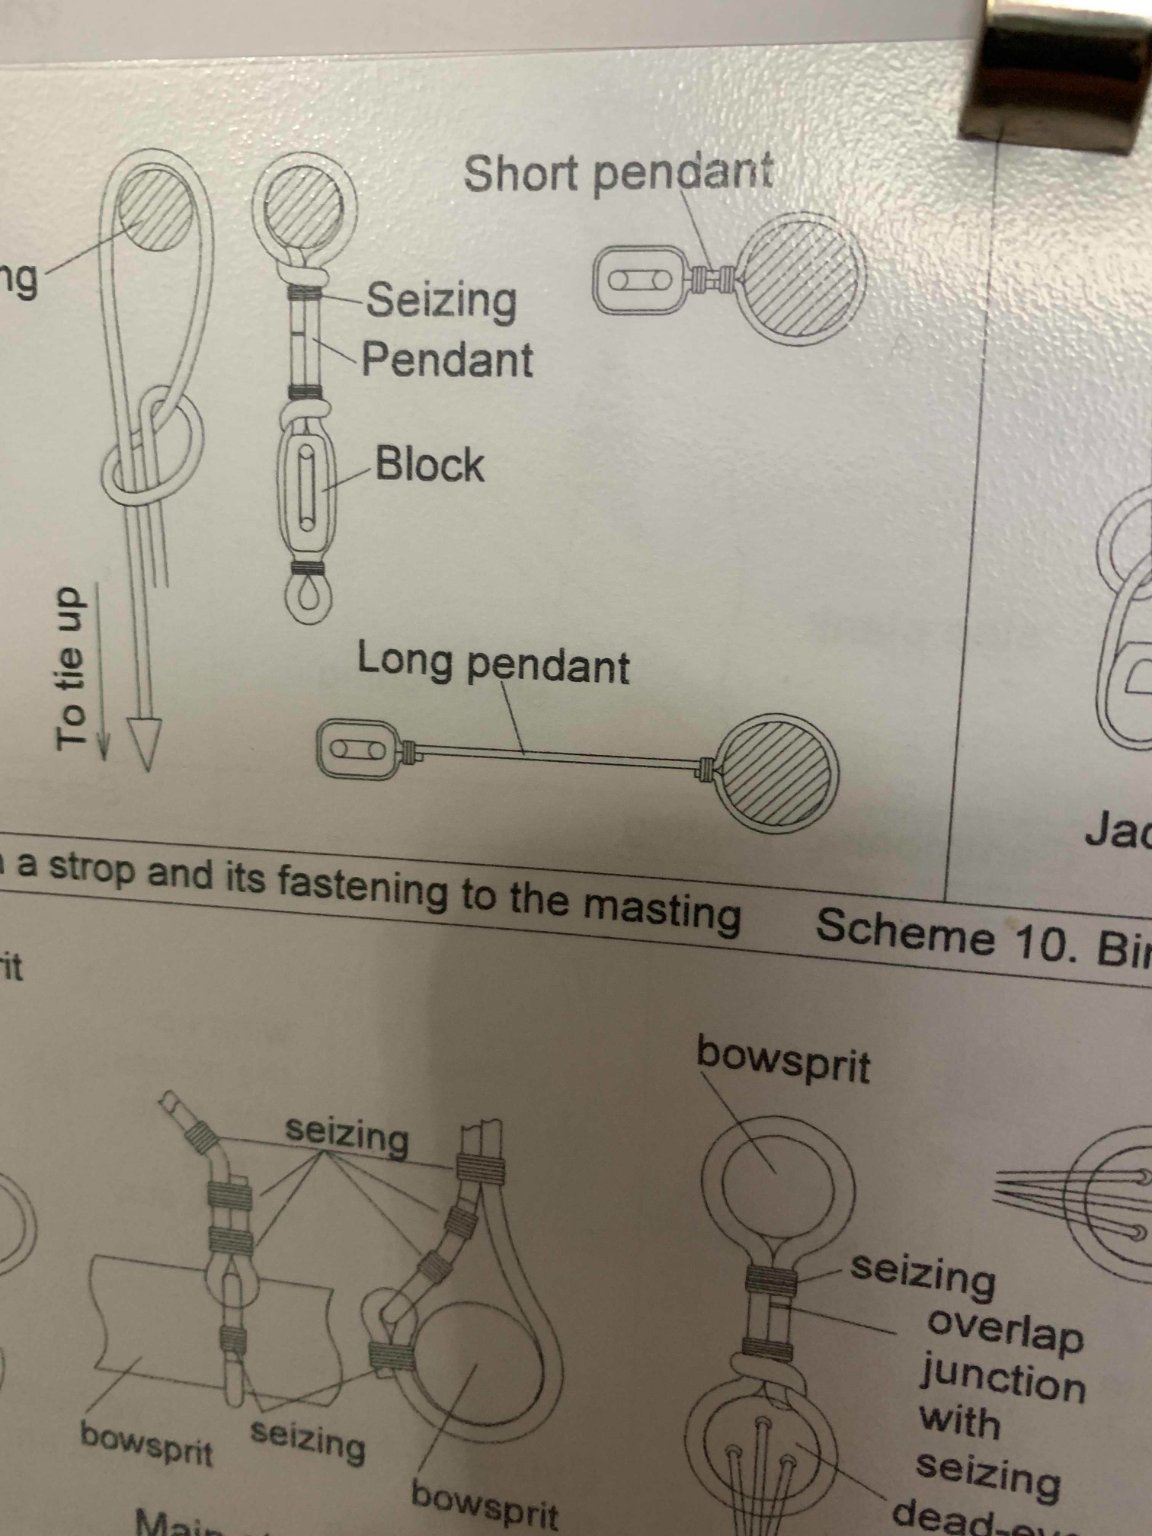
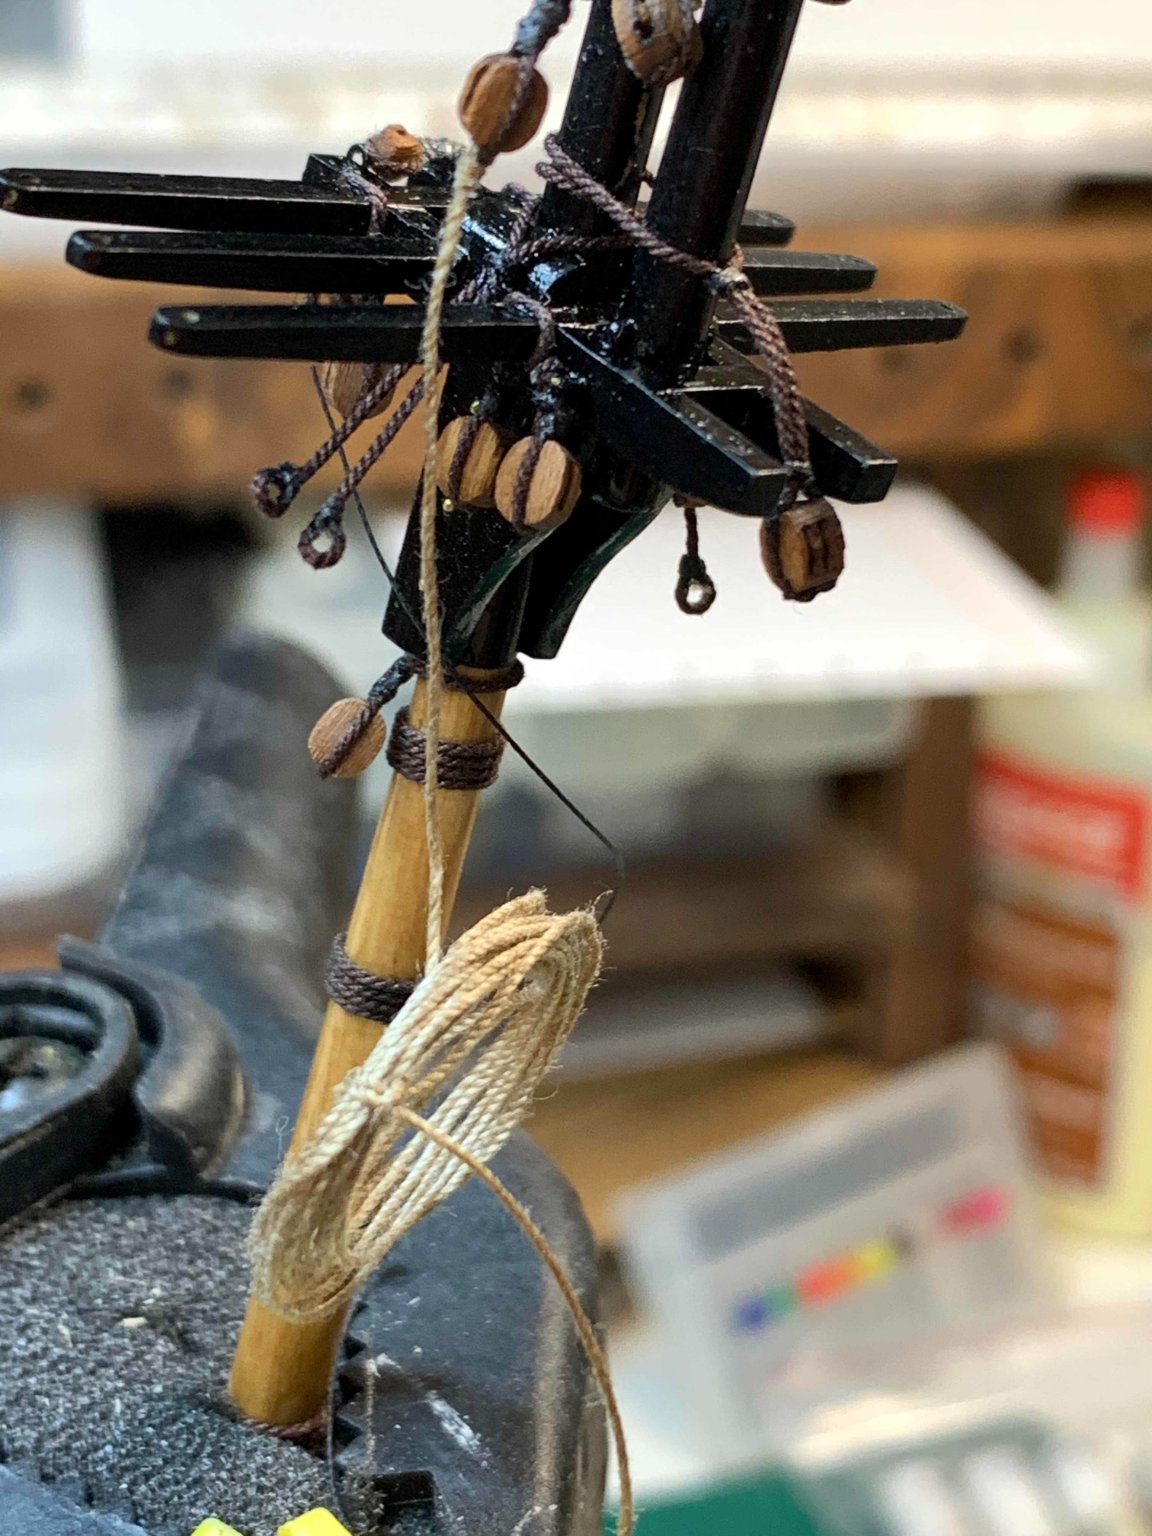
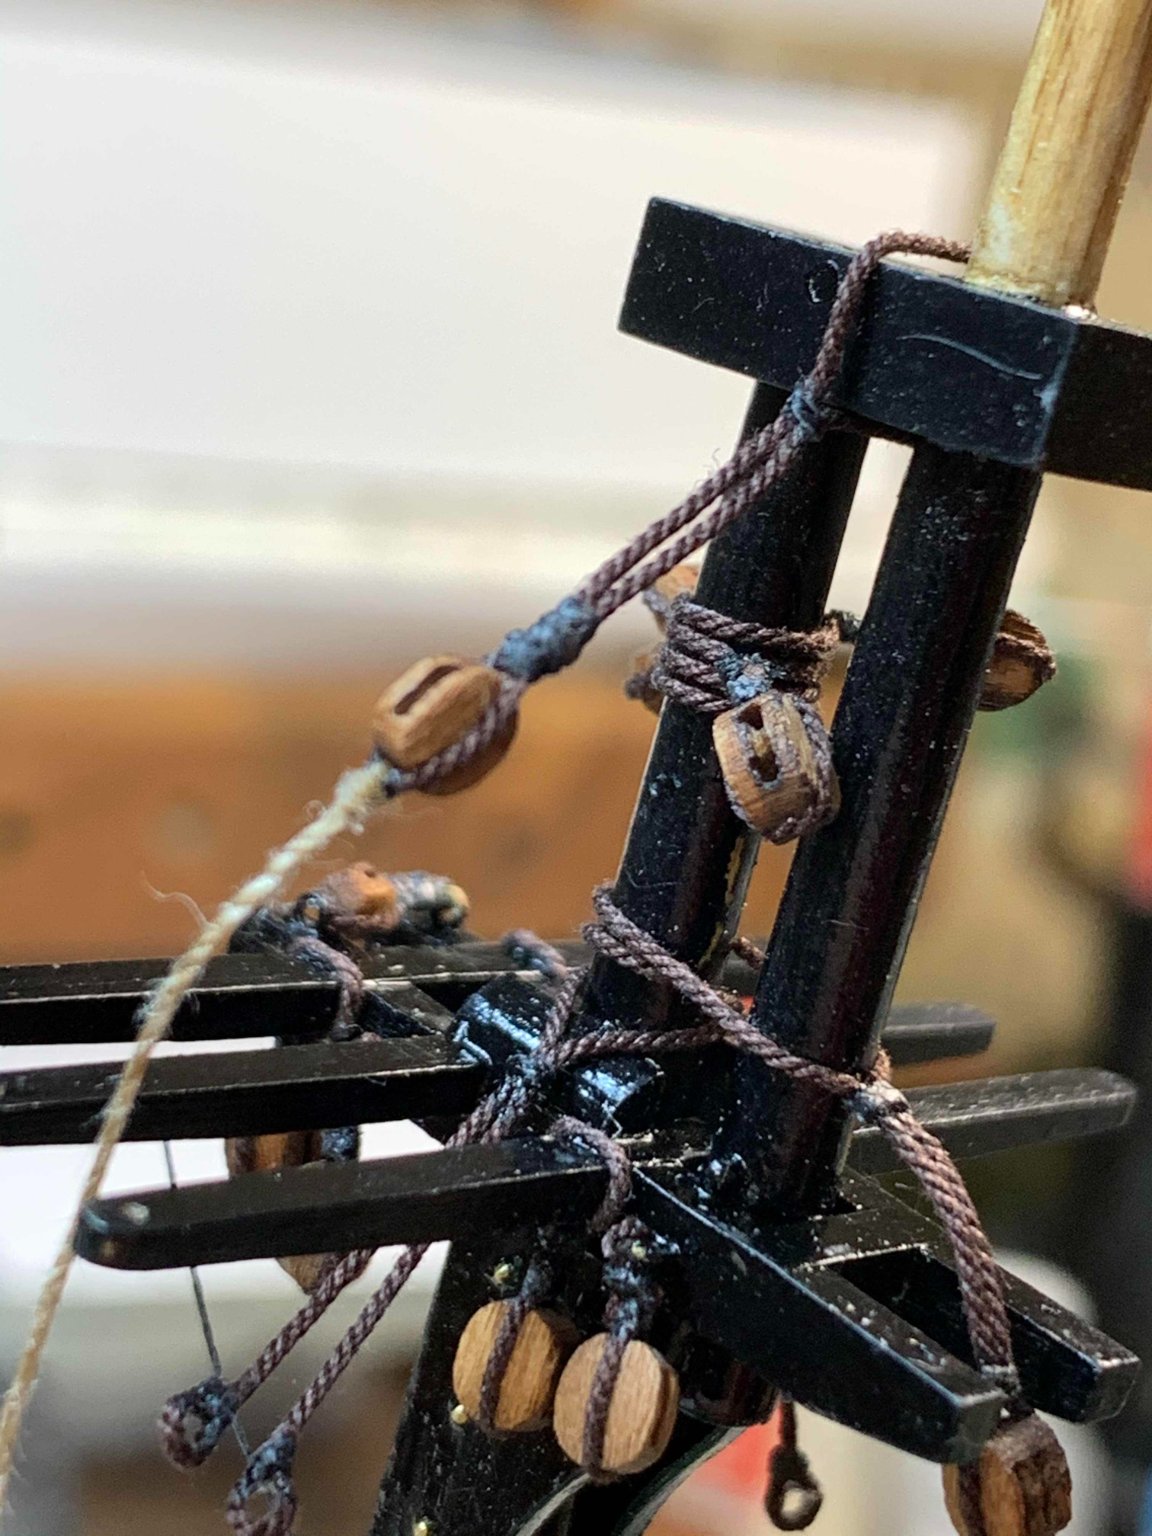
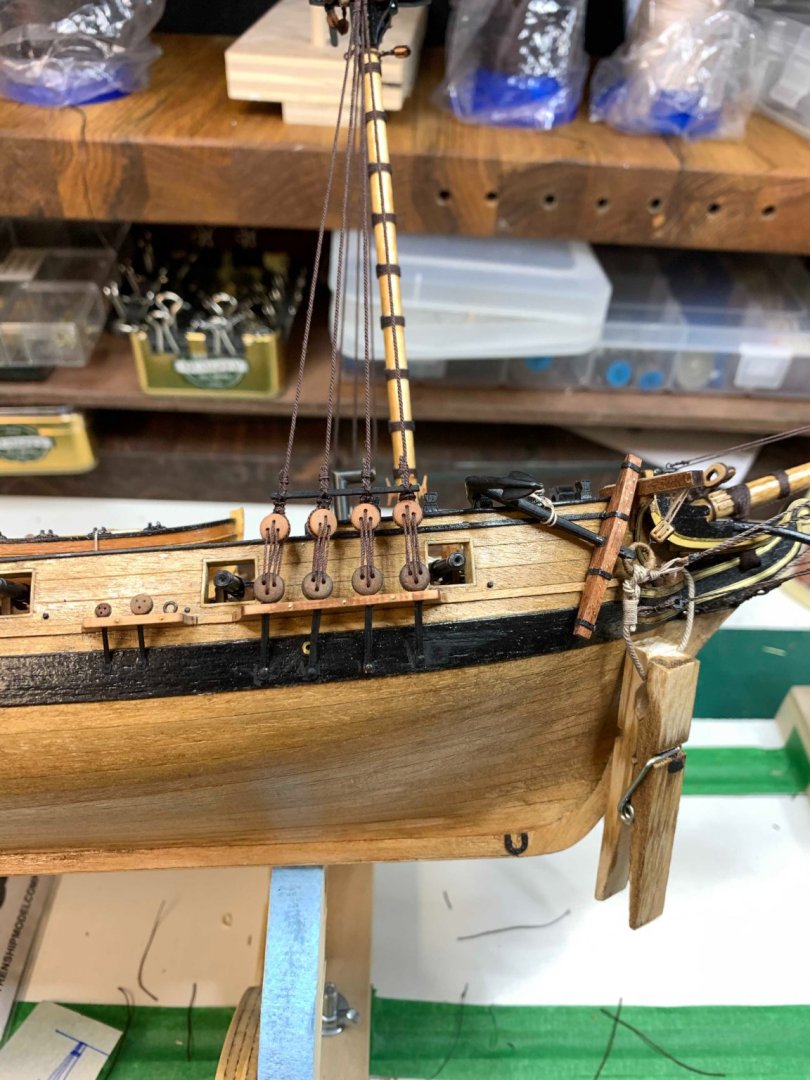
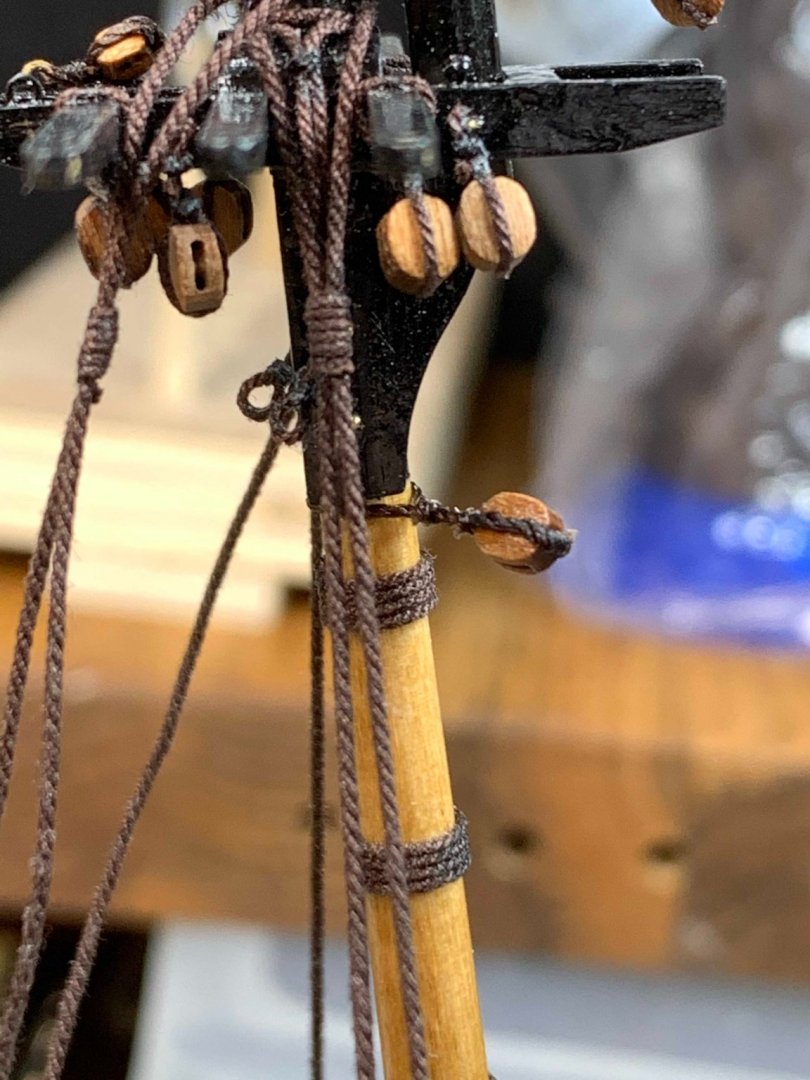
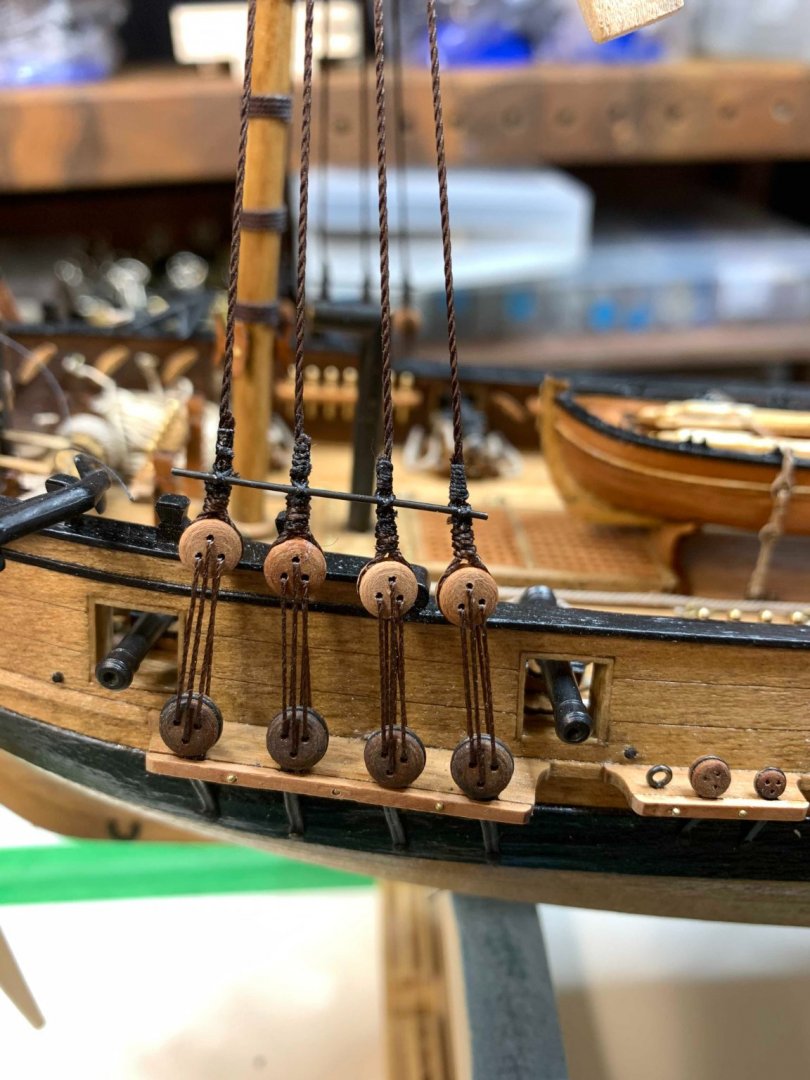
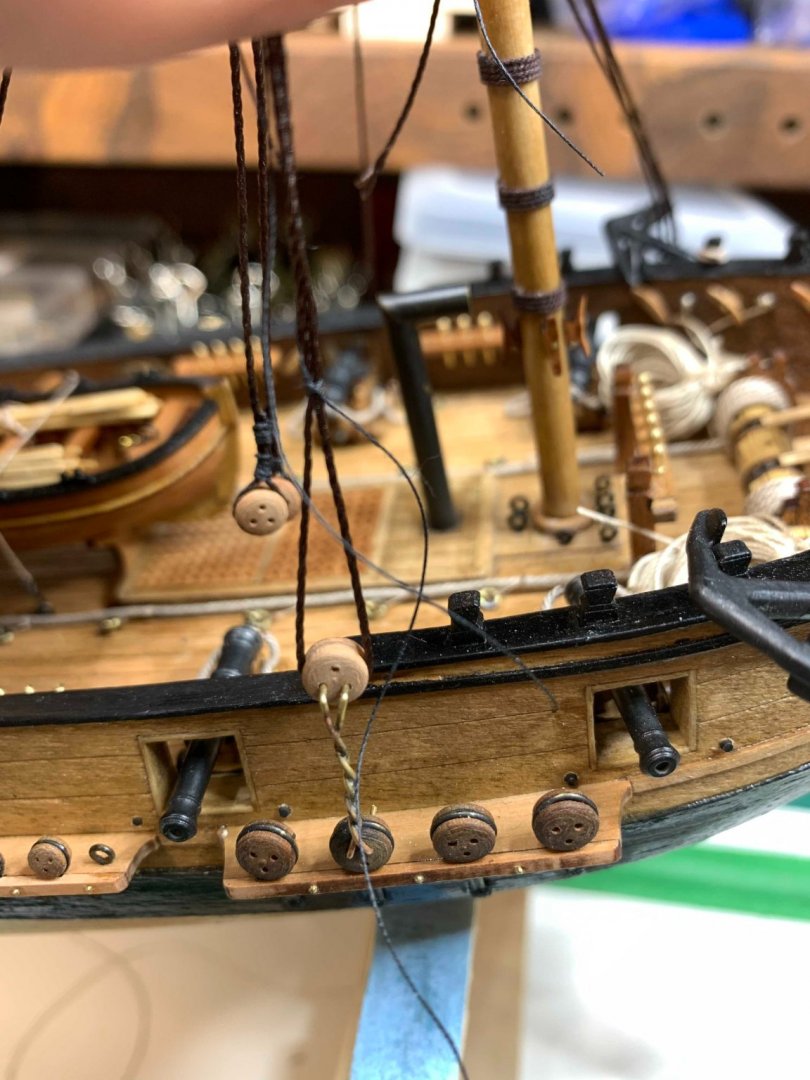
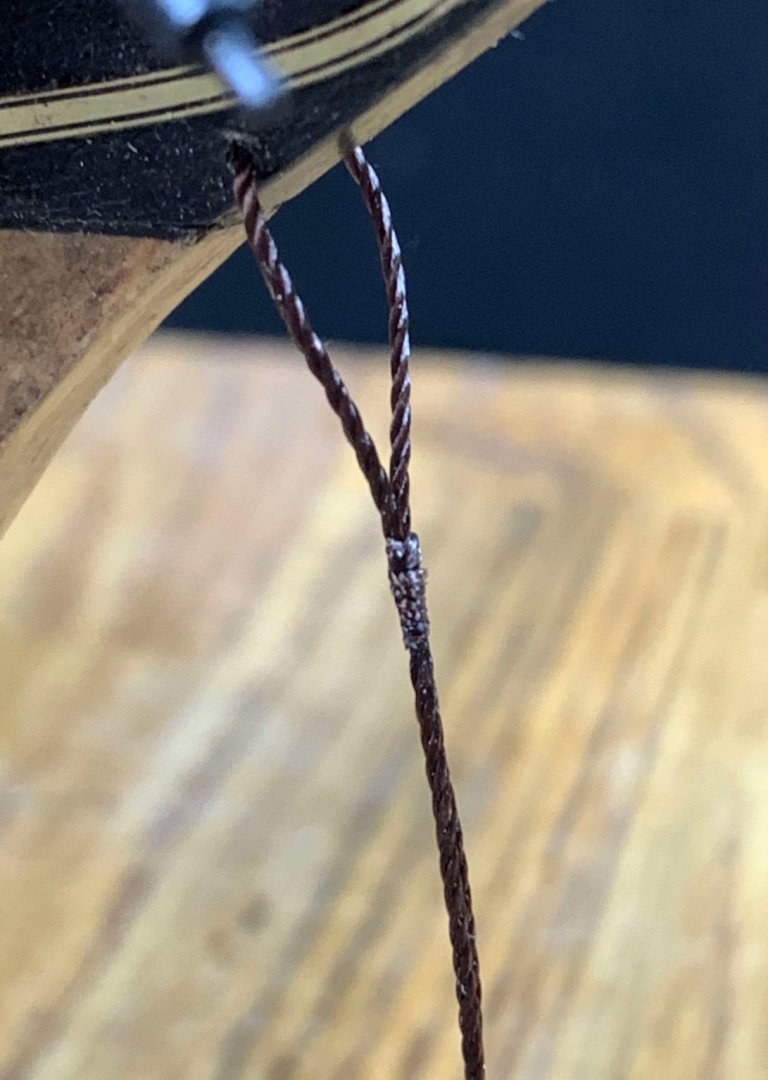
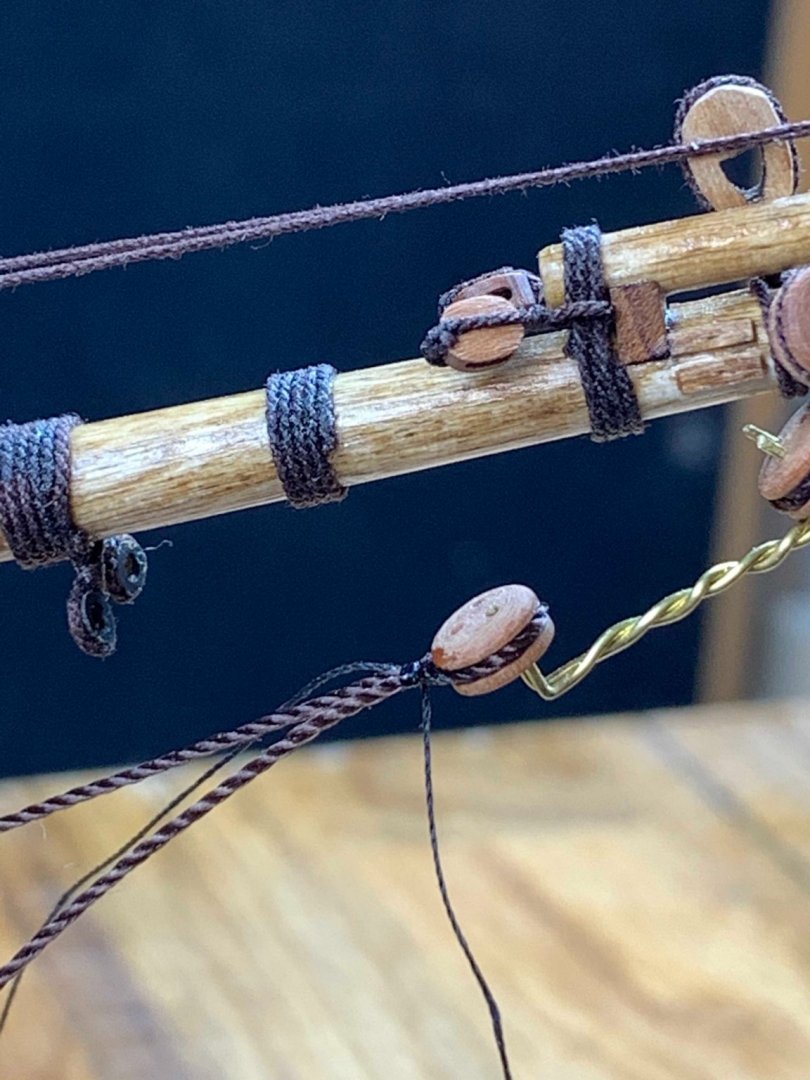
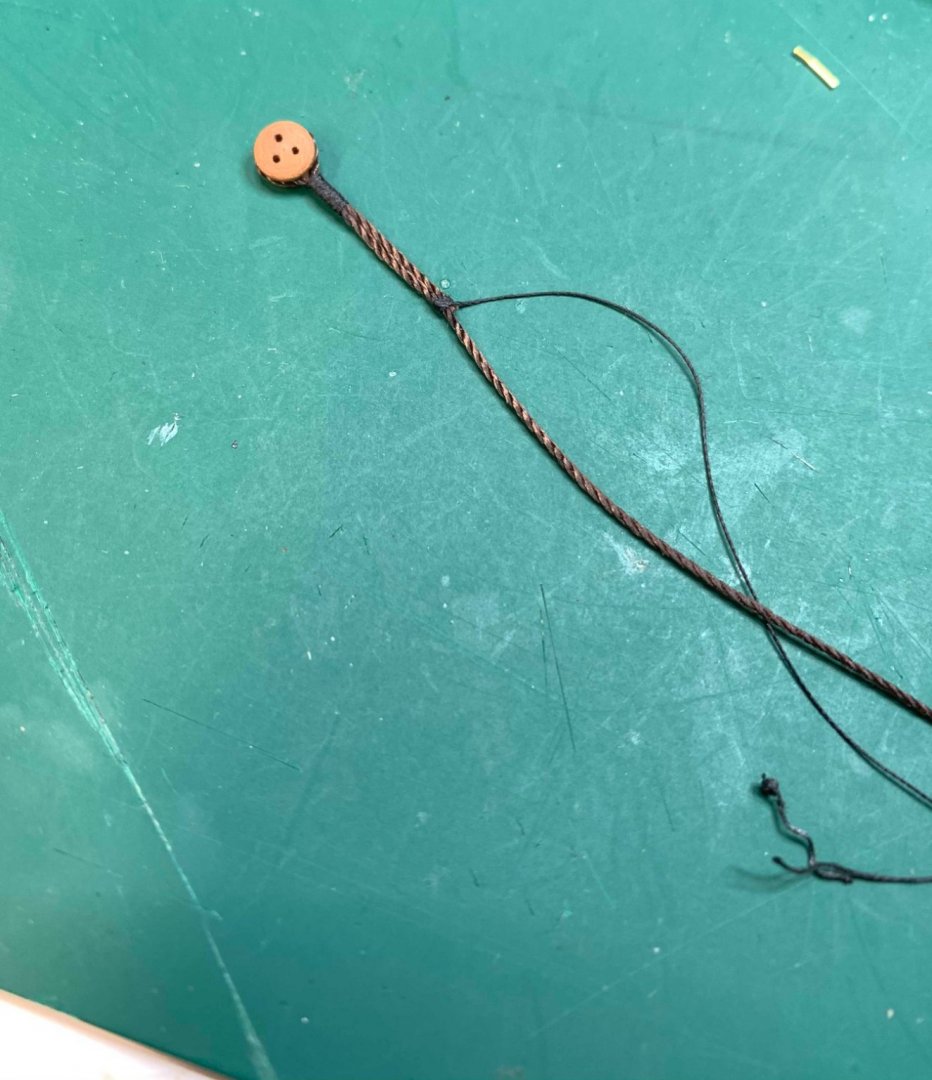
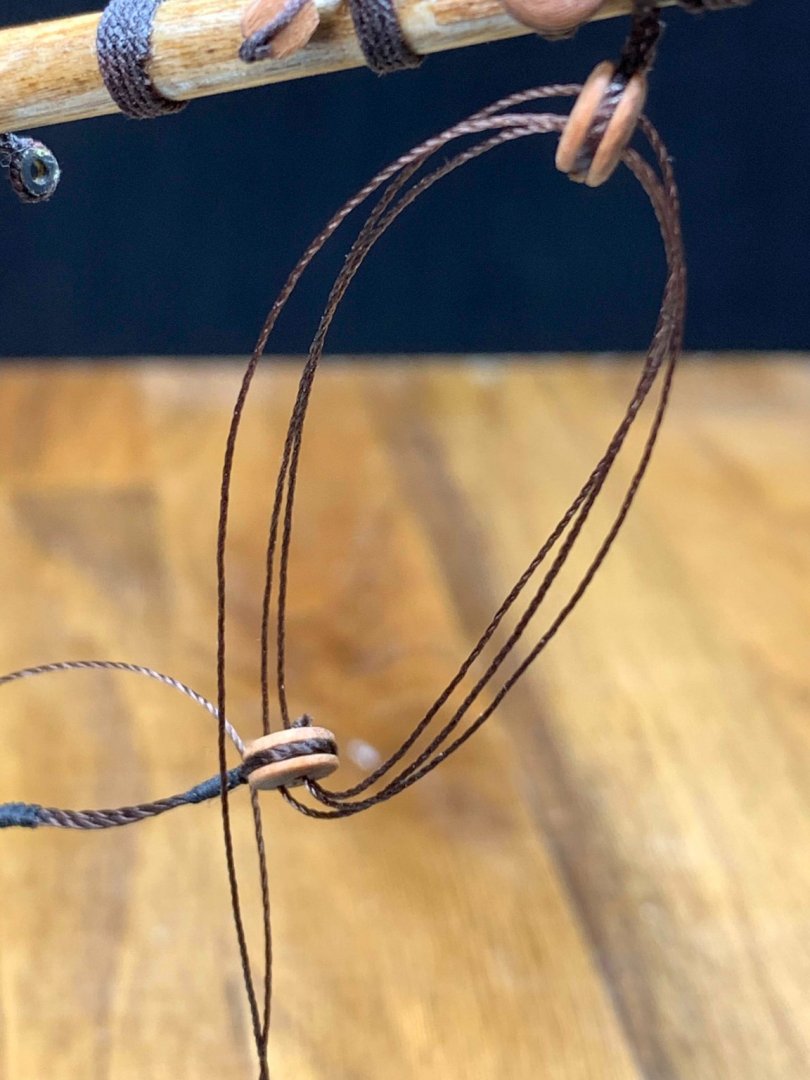
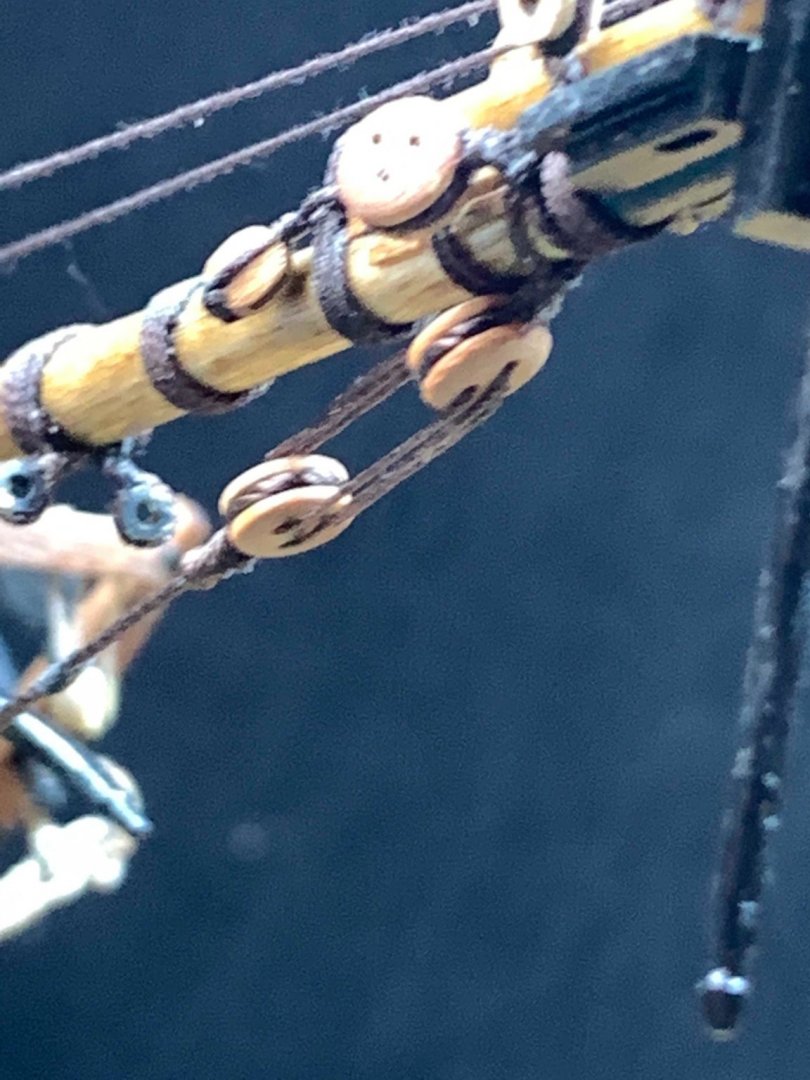
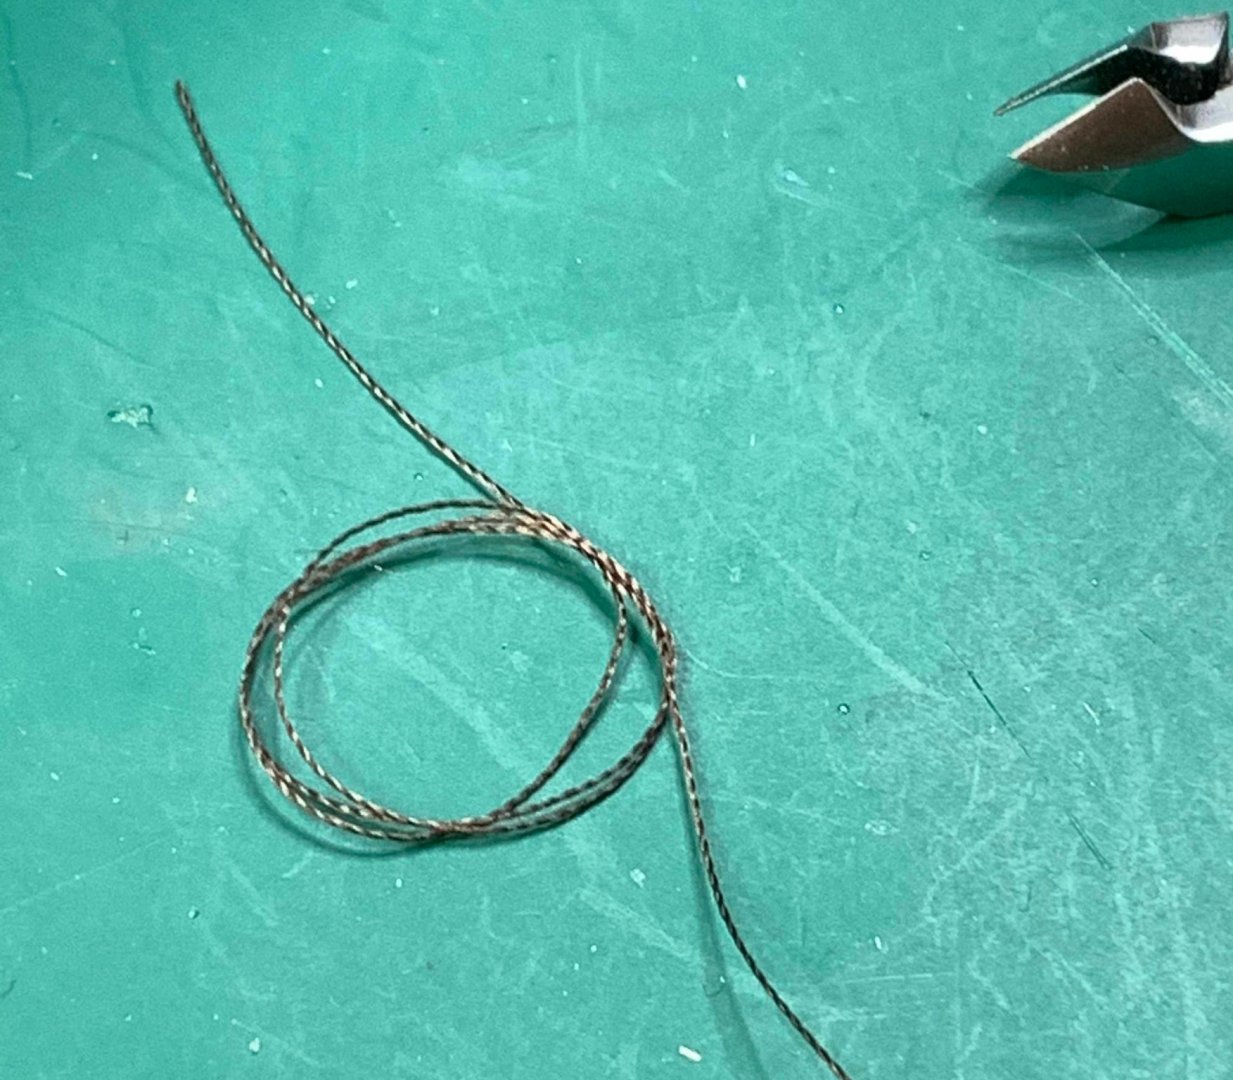
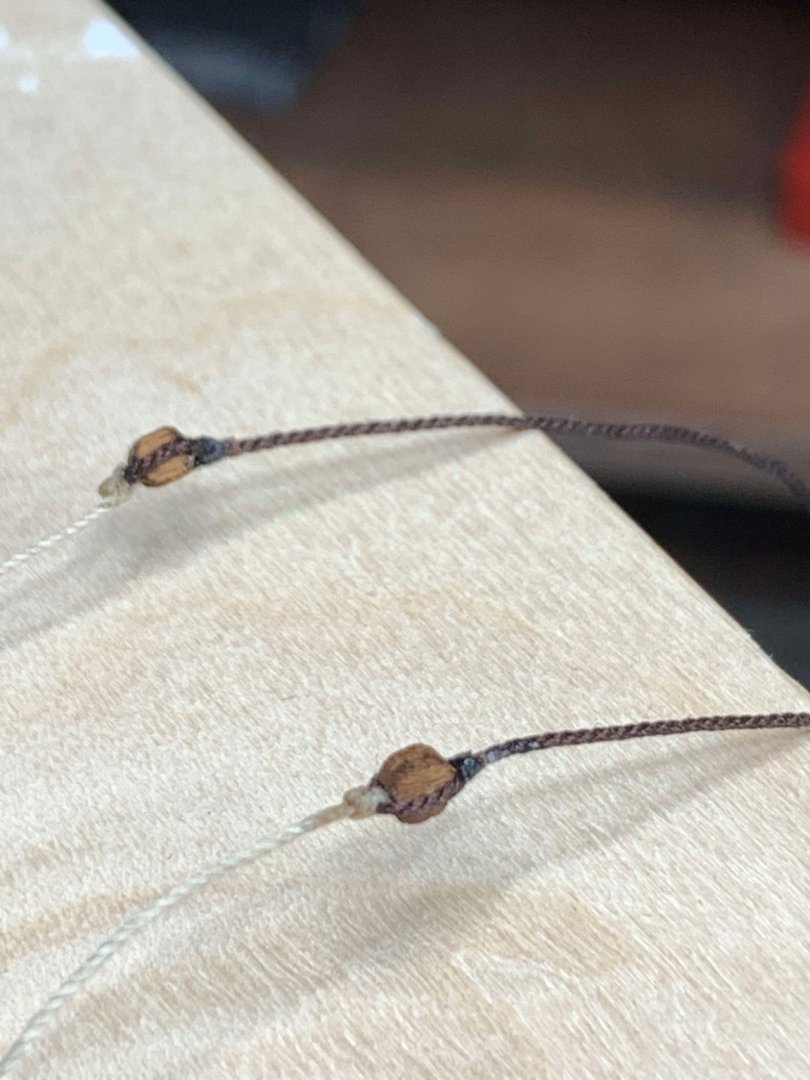
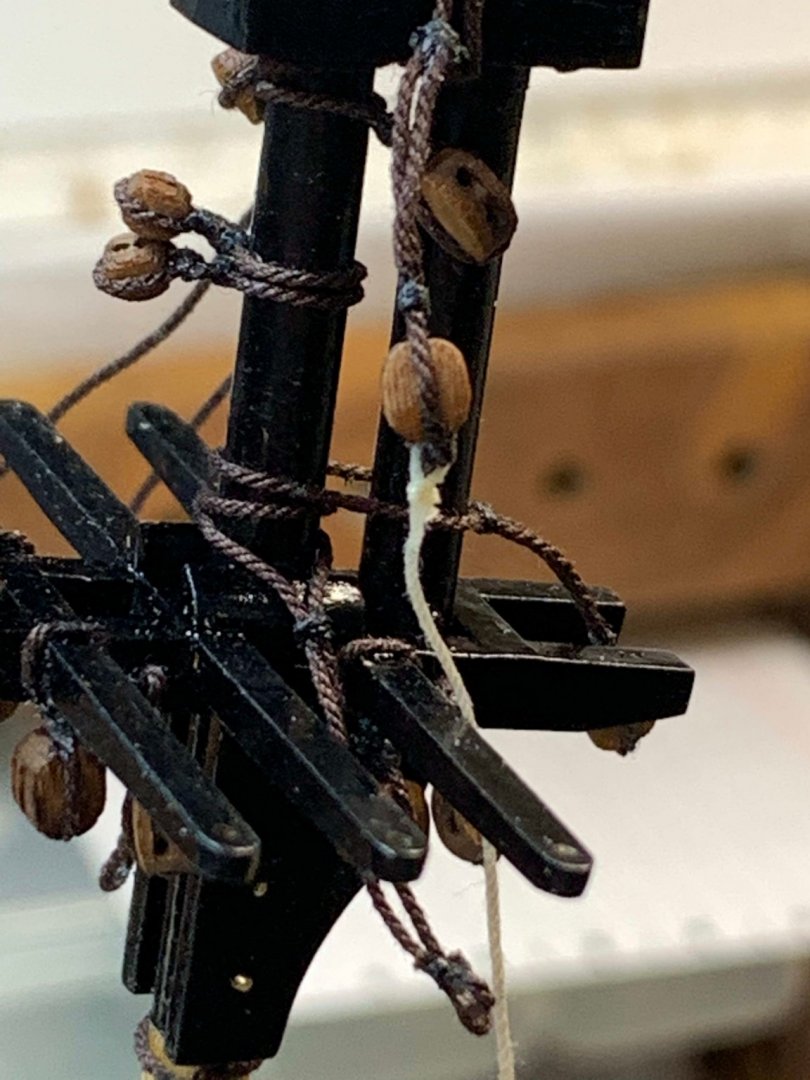
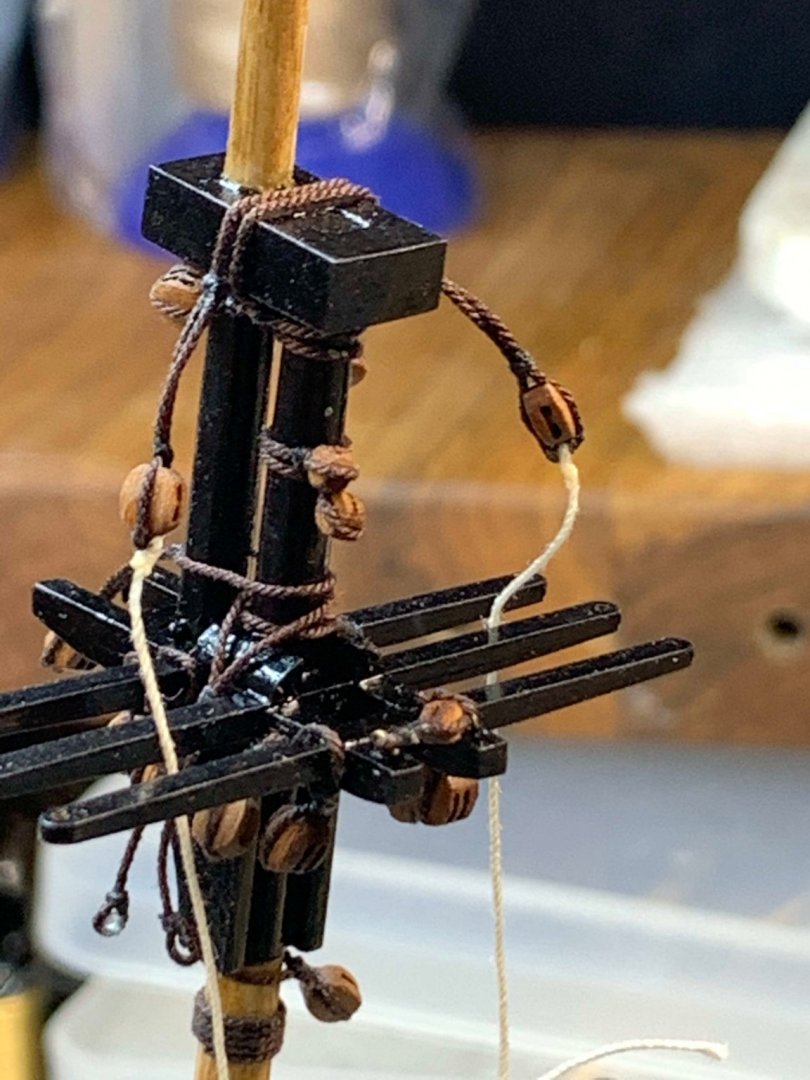
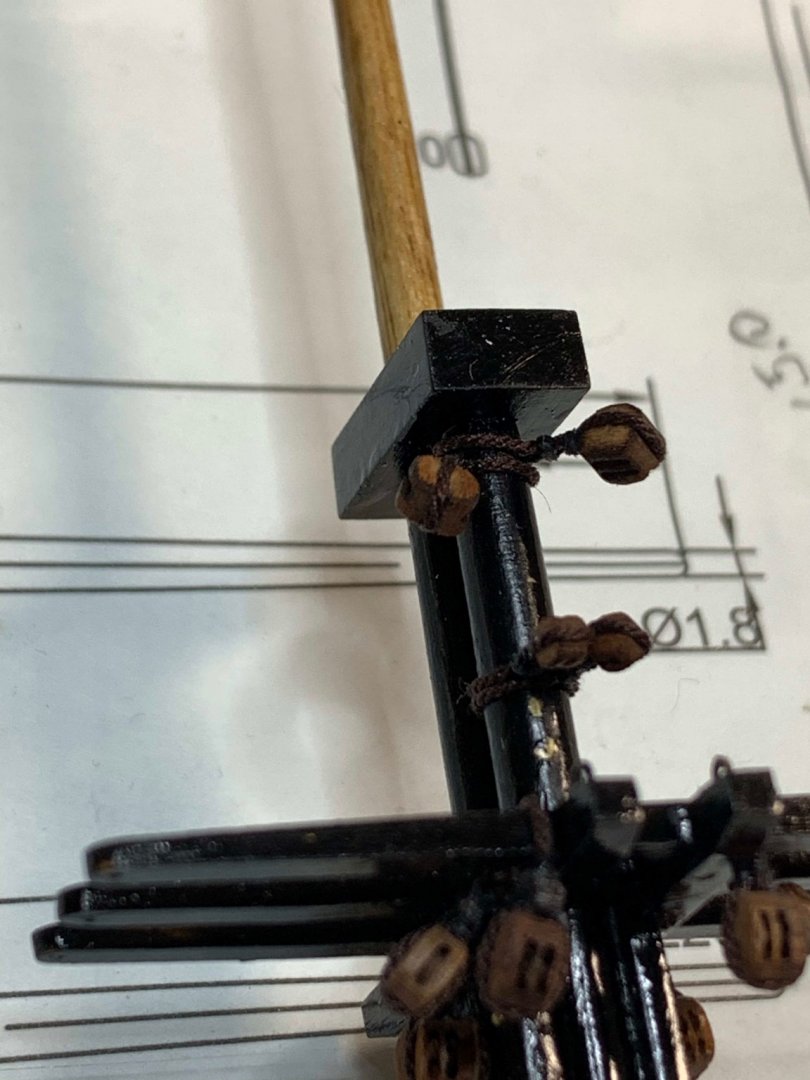
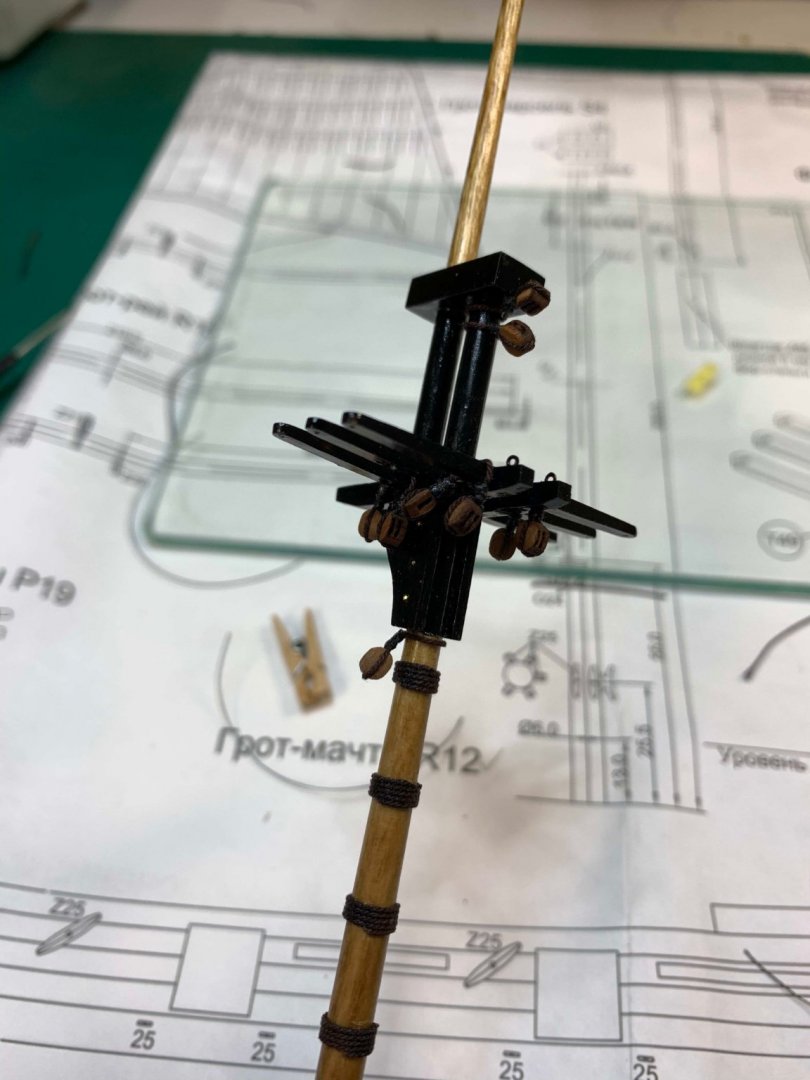
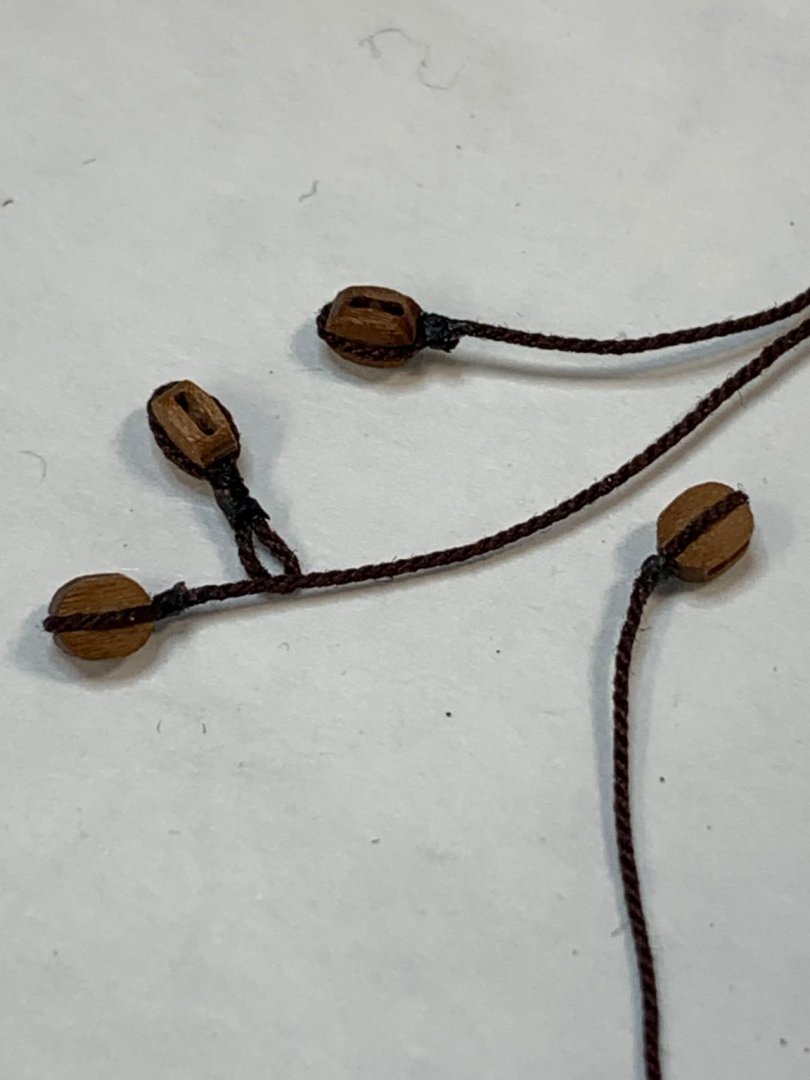
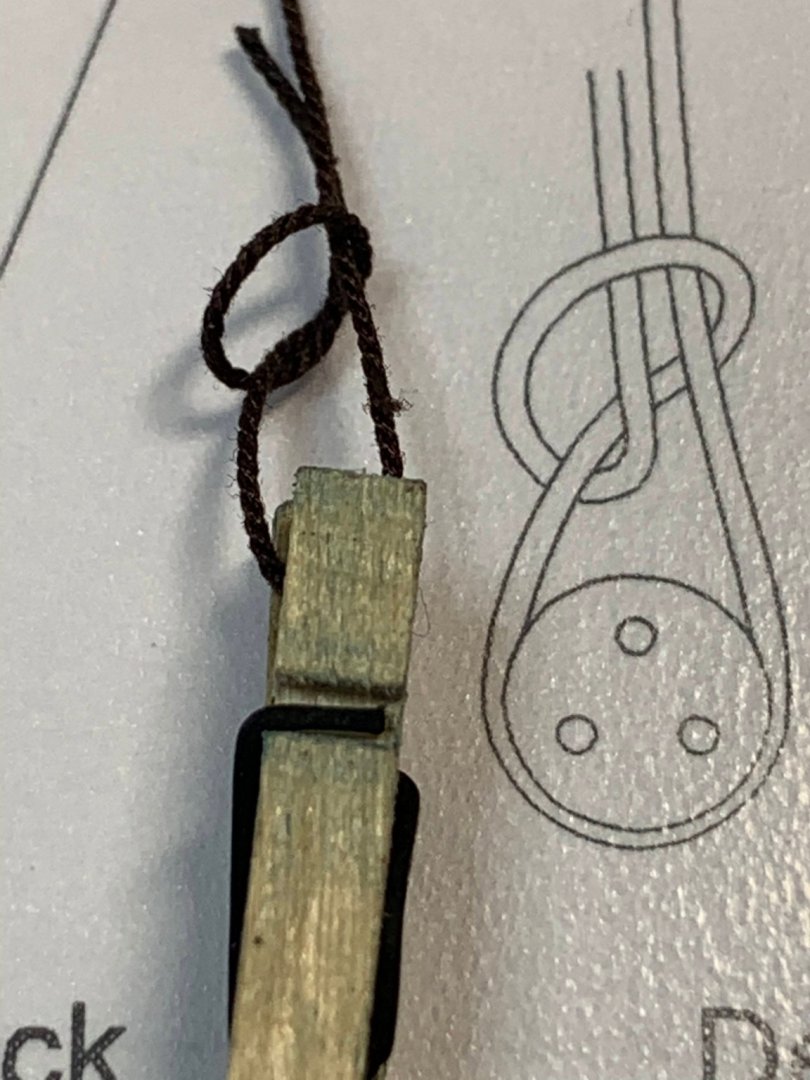
I started replacing those cream coloured running rigging. The process will require replacing the whole rigging setup, which is not that bad since, in my taste, the first one was kind of too bulky, especially where the cream rope meets the dark brown, at the bottom of the single 3.5mm block. I removed them and started from scratch. For this i used long/short pendant seizing, like on this picture: Not sure if it is historically accurate but it looks nicer to my taste. Extra seizing was placed between two seizings, to cover the empty space, at the spot where it say "short pedant" on the above picture. Happy modelling...


- 275 replies
-
- 2
-
-
- phoenix
- master korabel
- (and 1 more)
-
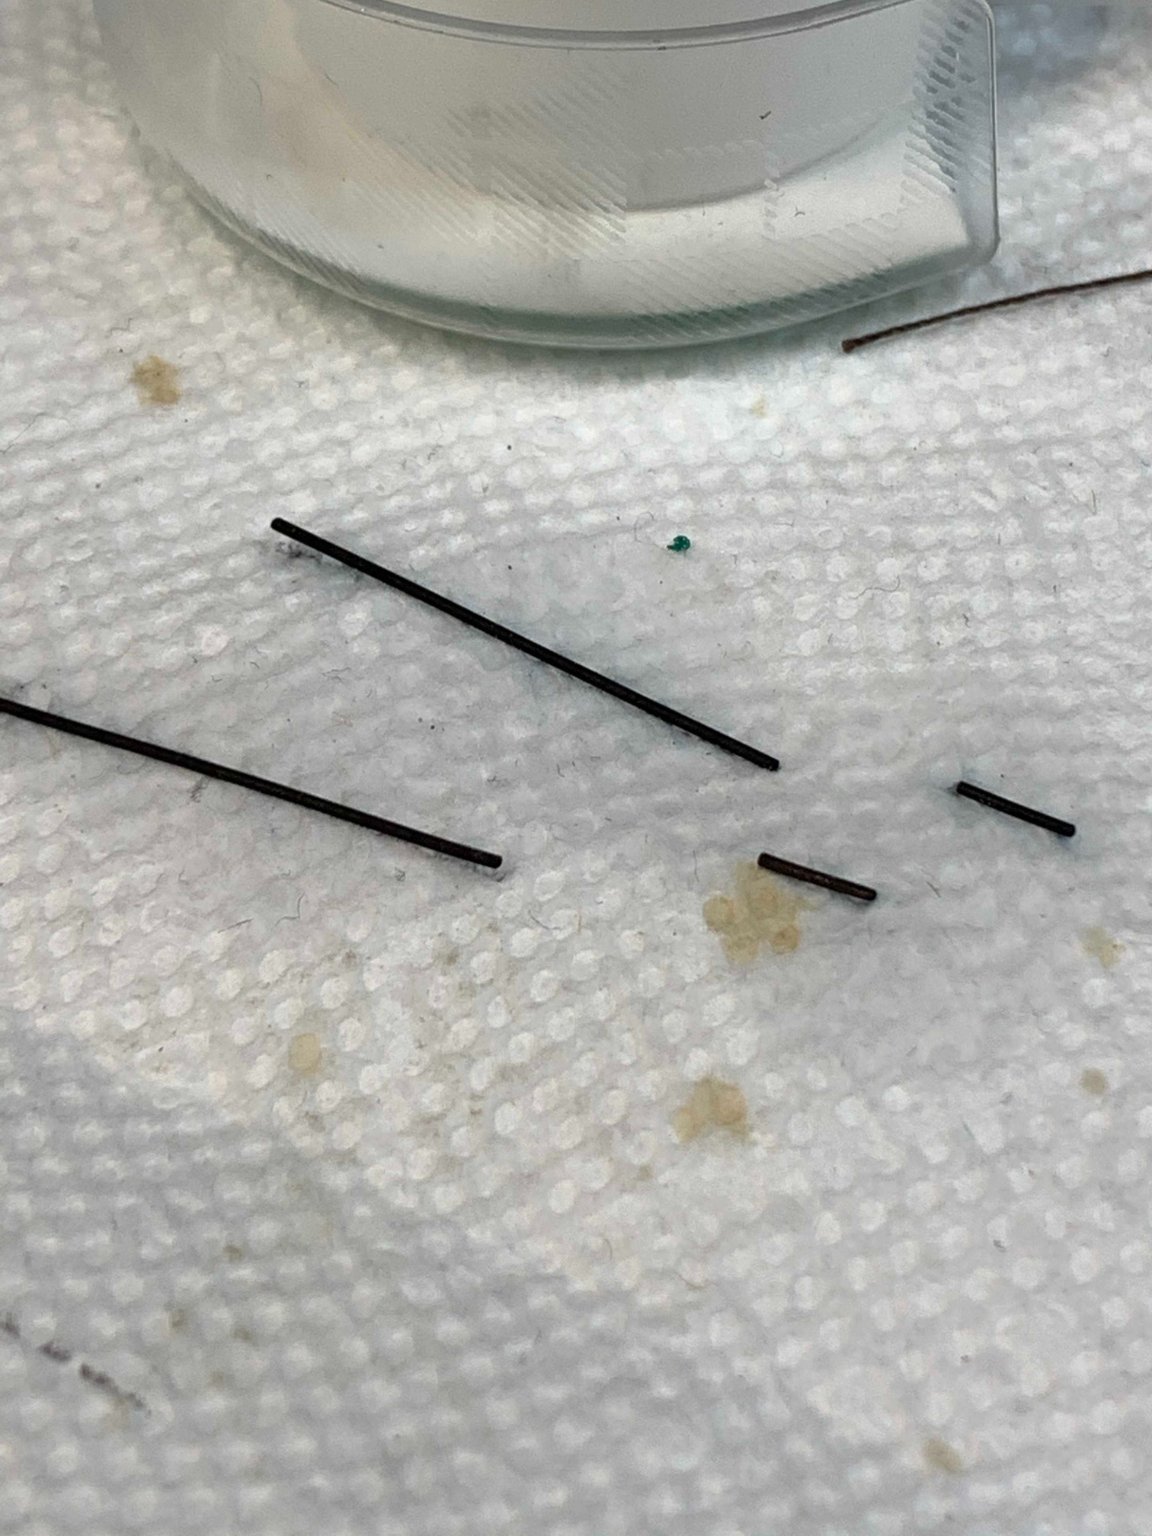
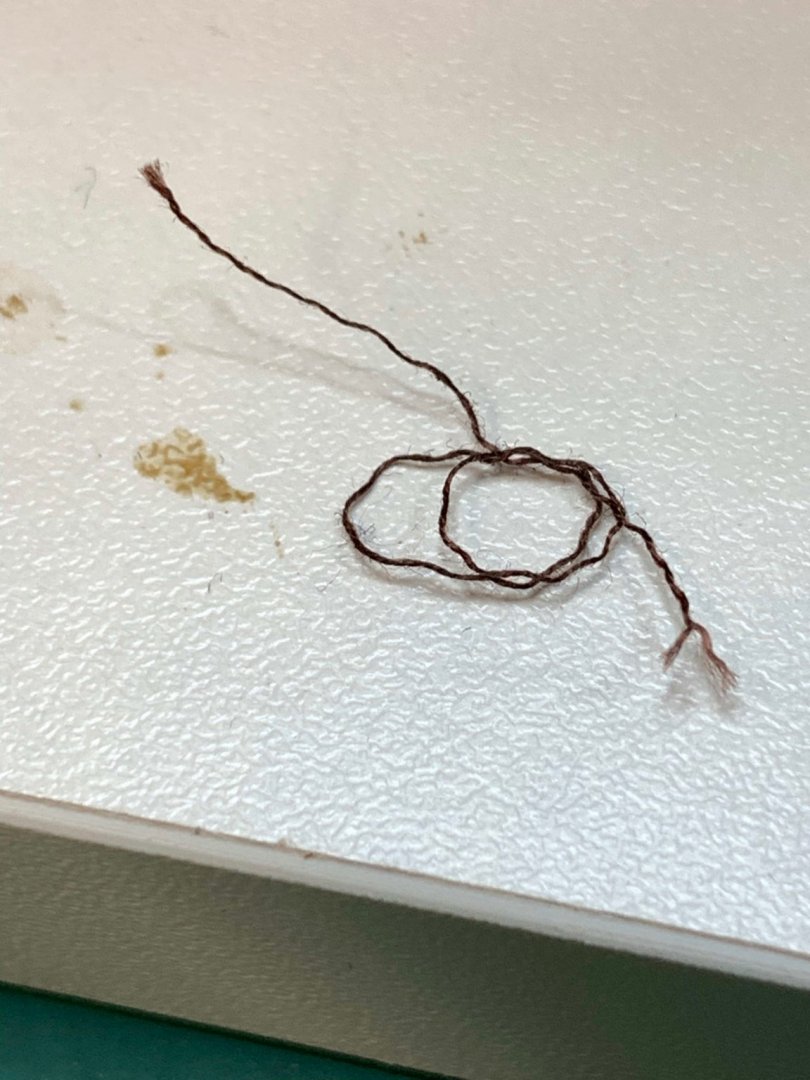
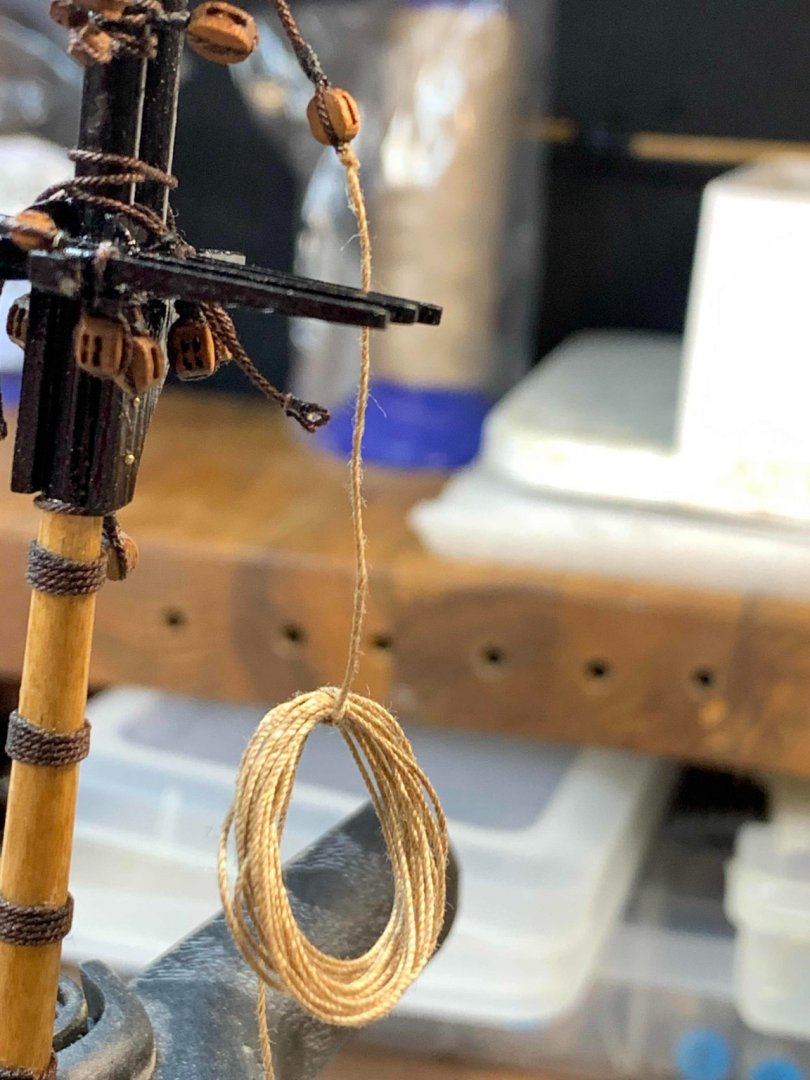
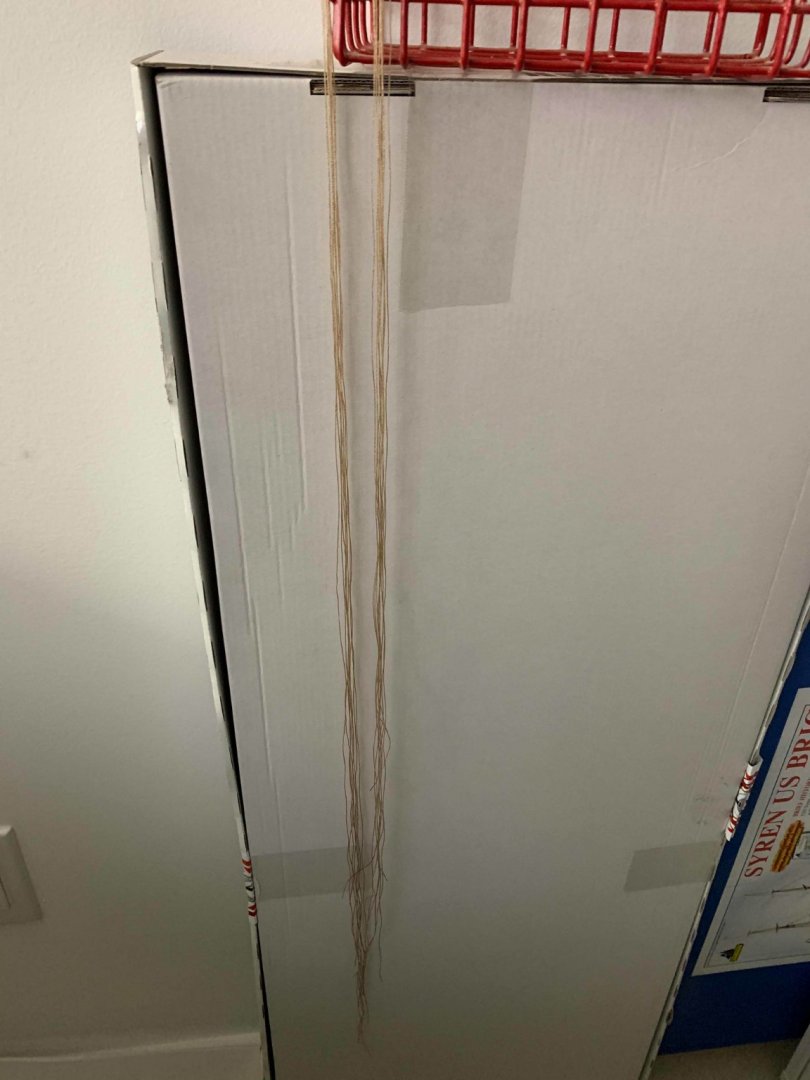
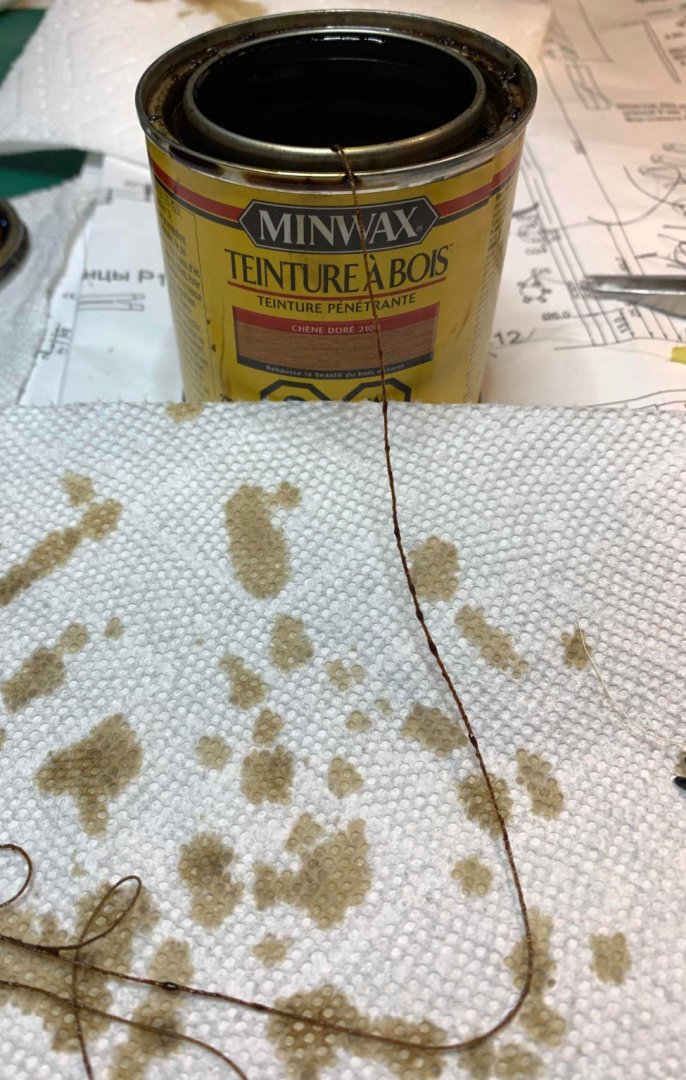
I have played with few different methods of colouring the rope. Used some Rit all purpose dye that worked very well but it does require a bit more time to find correct amount of colour, water, proper glass or similar to hold the dye solution, etc... I might be using it in the future for sure but for this application i decided to use a simple method: first i cut the required length of the rope and did it 8 times; then i dropped single line into minvax golden oak can of stain. For the time i dipped the whole rope i started to pull the rope up from the can. No need to stay longer. Then i just dried it with a piece of bounty paper. The results are very nice. Makes me thinking can i actually make a nice, long hair for myself. I might benefit, who knows. Happy modelling..

- 275 replies
-
- 2
-
-
- phoenix
- master korabel
- (and 1 more)
-
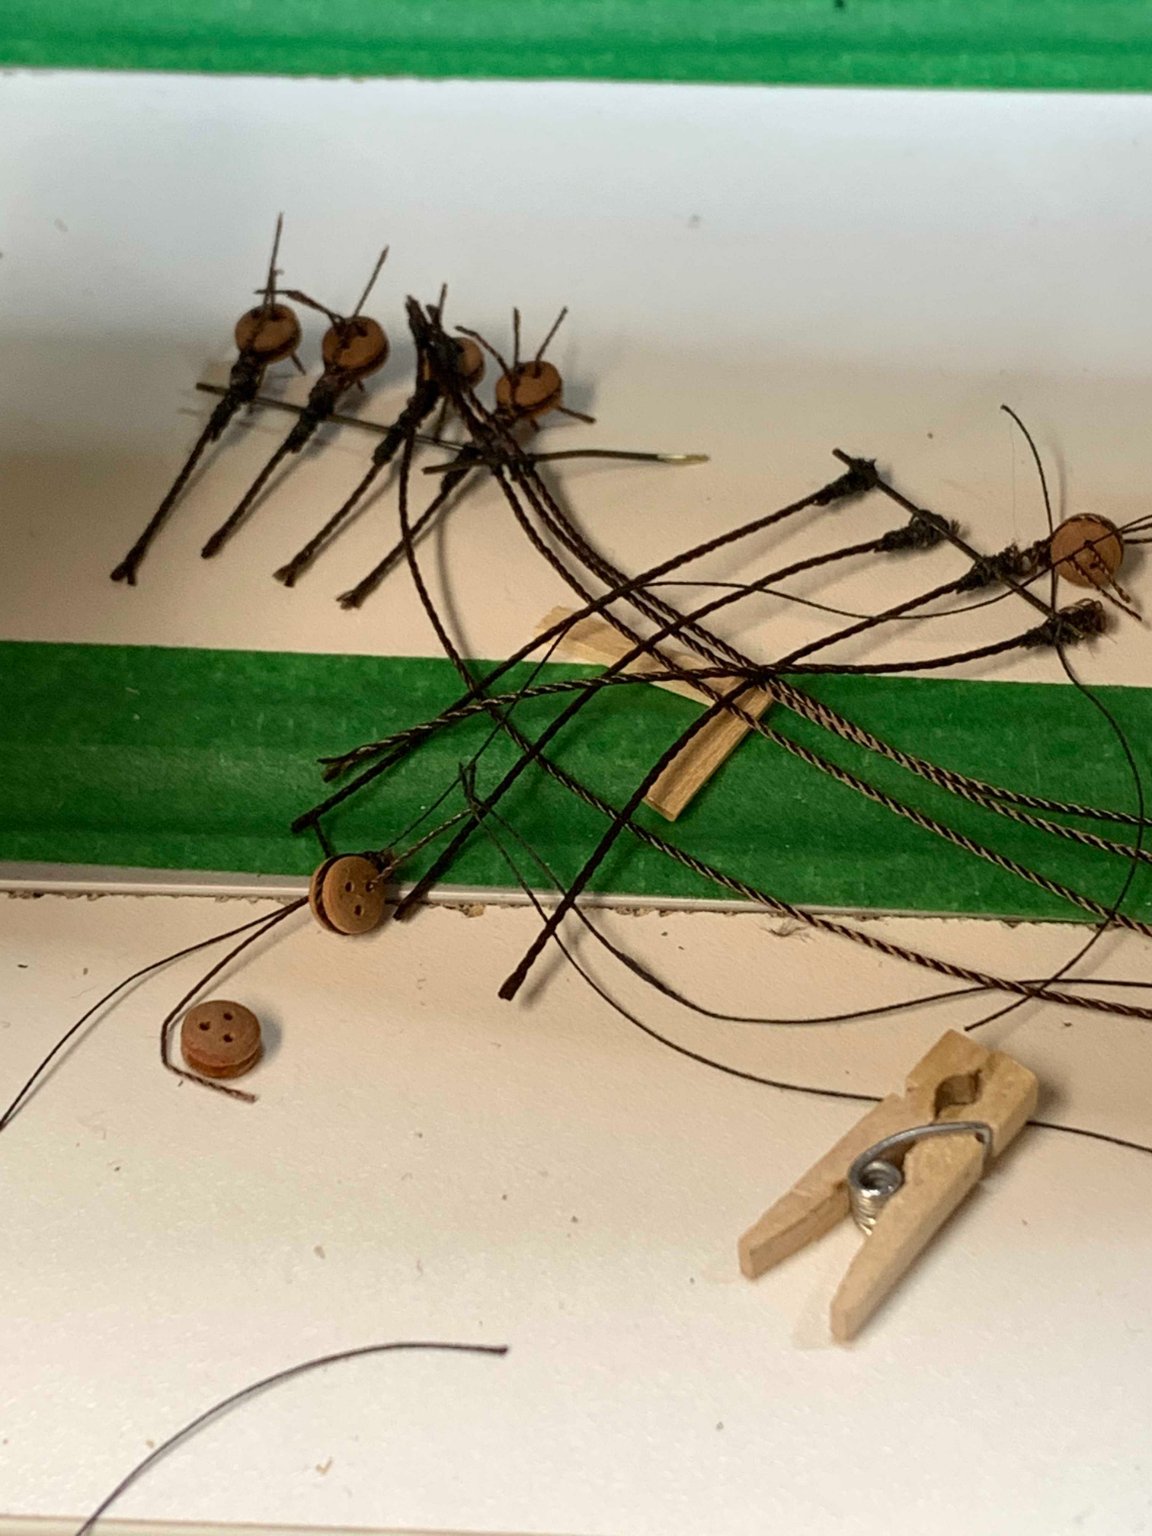
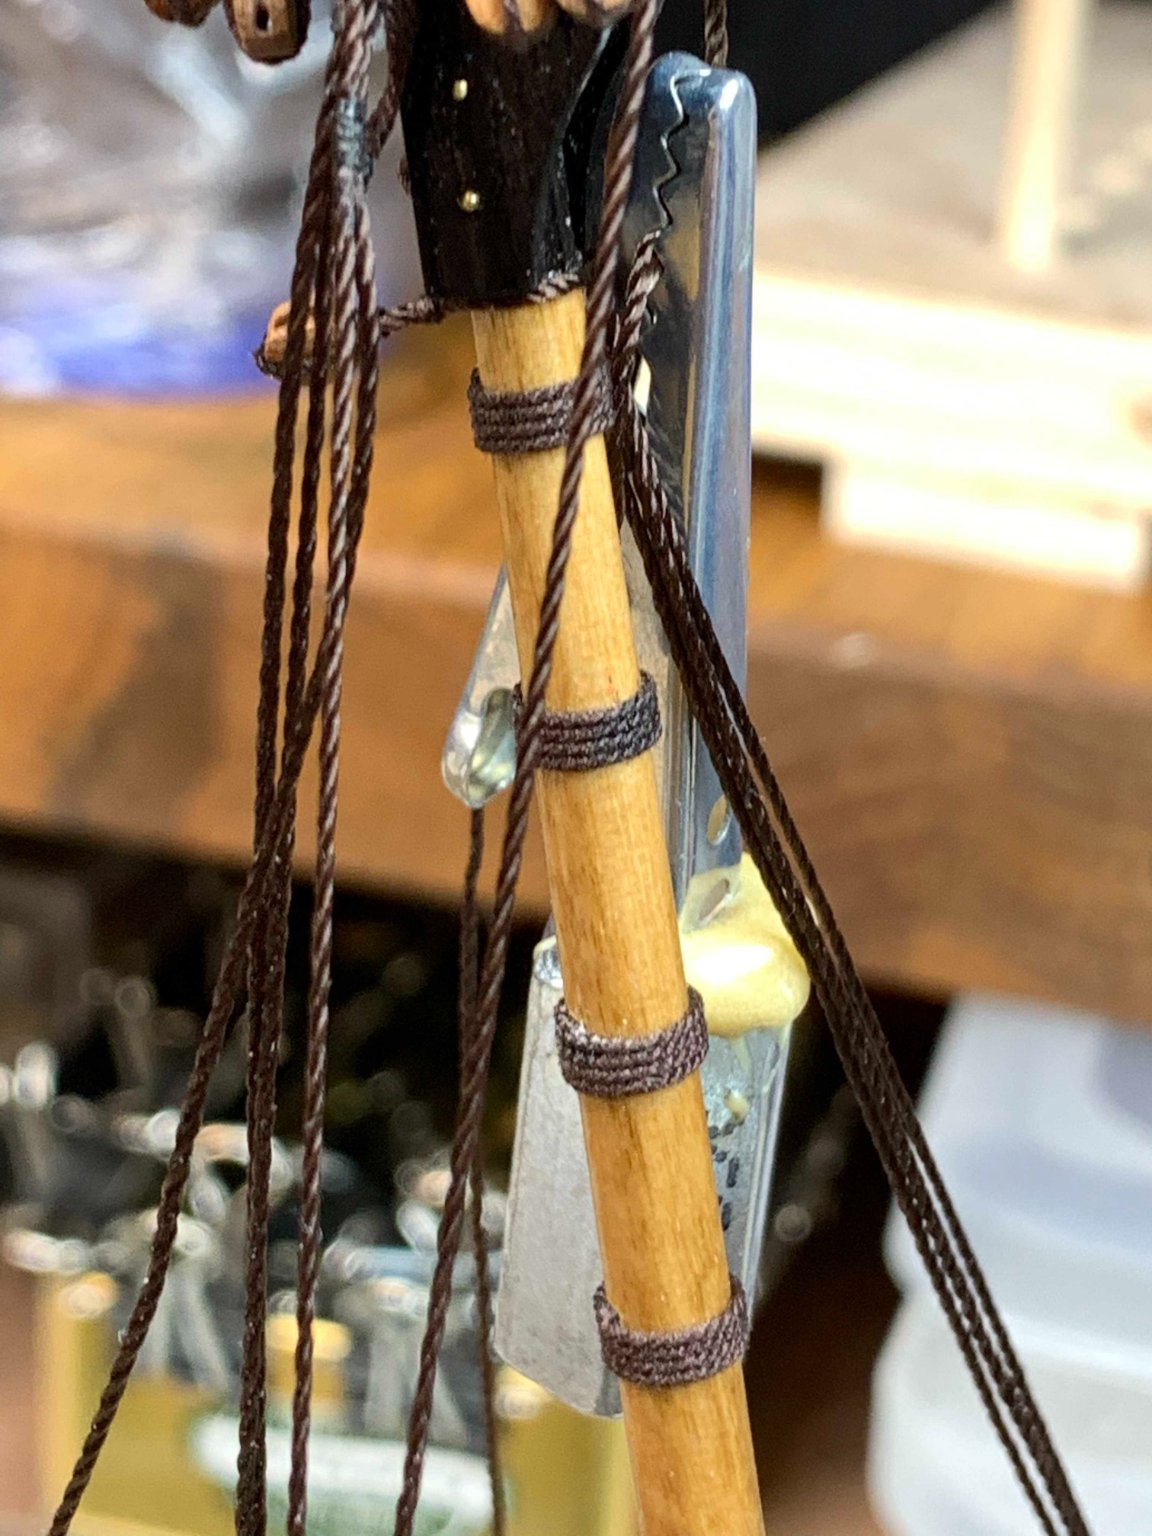
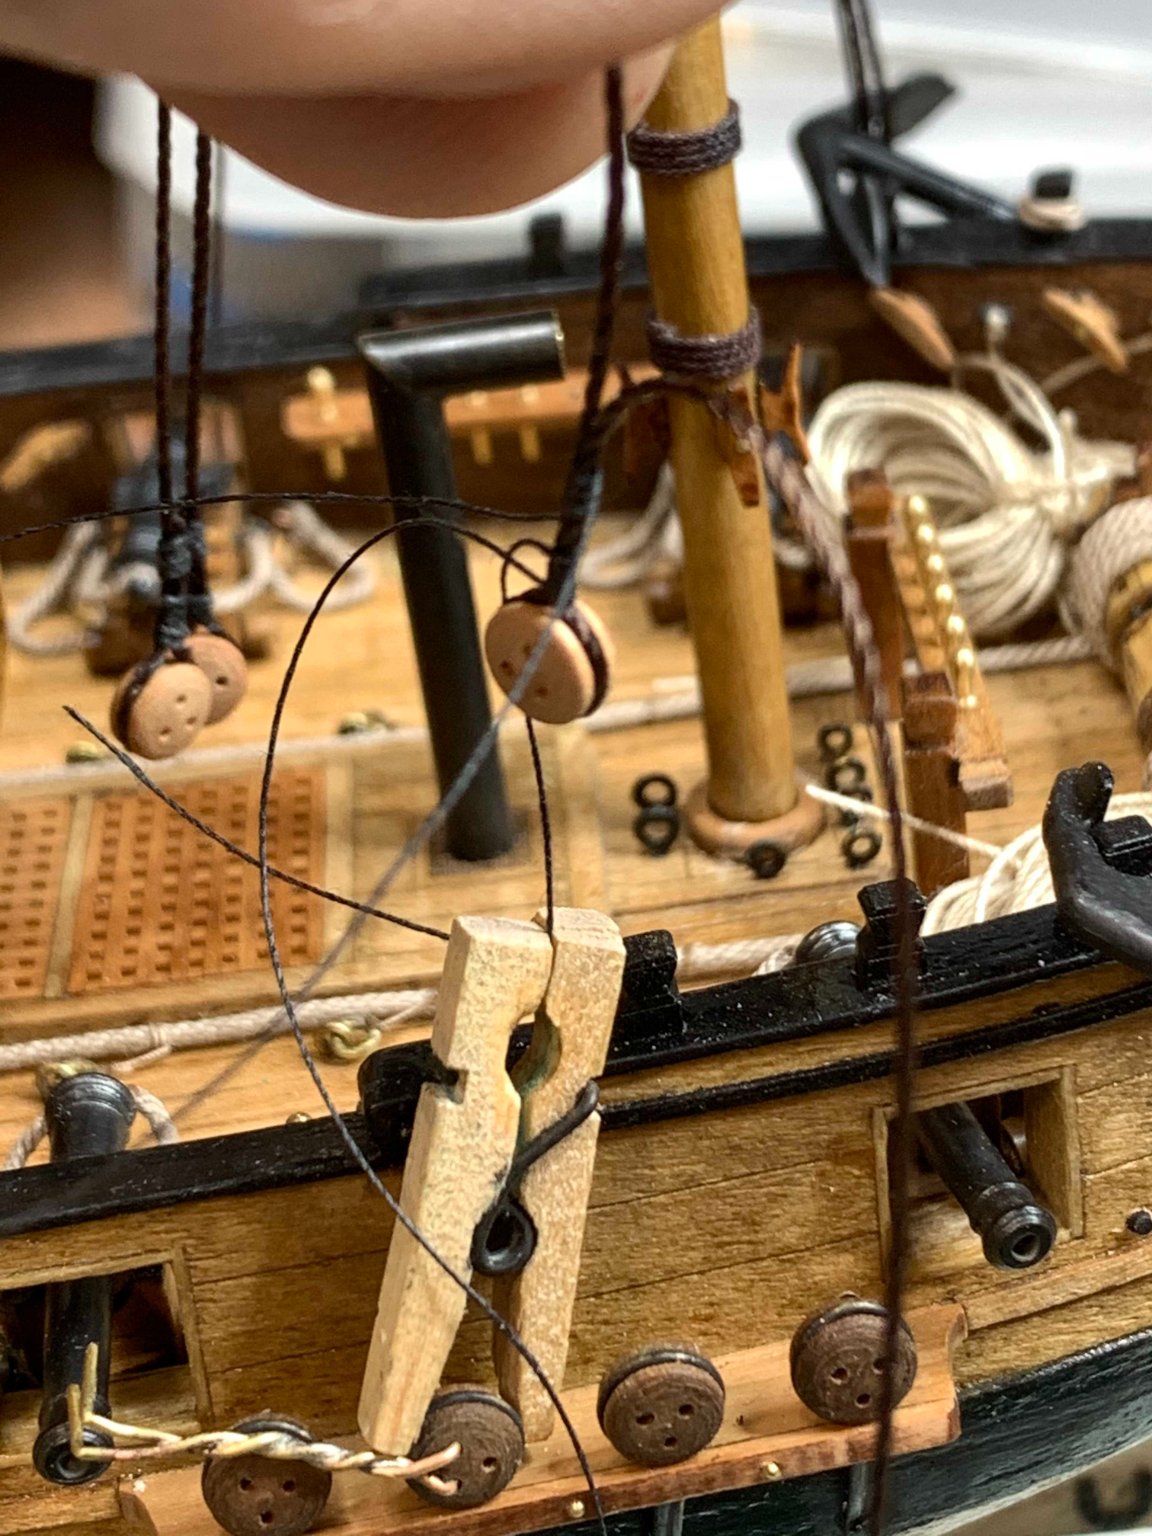
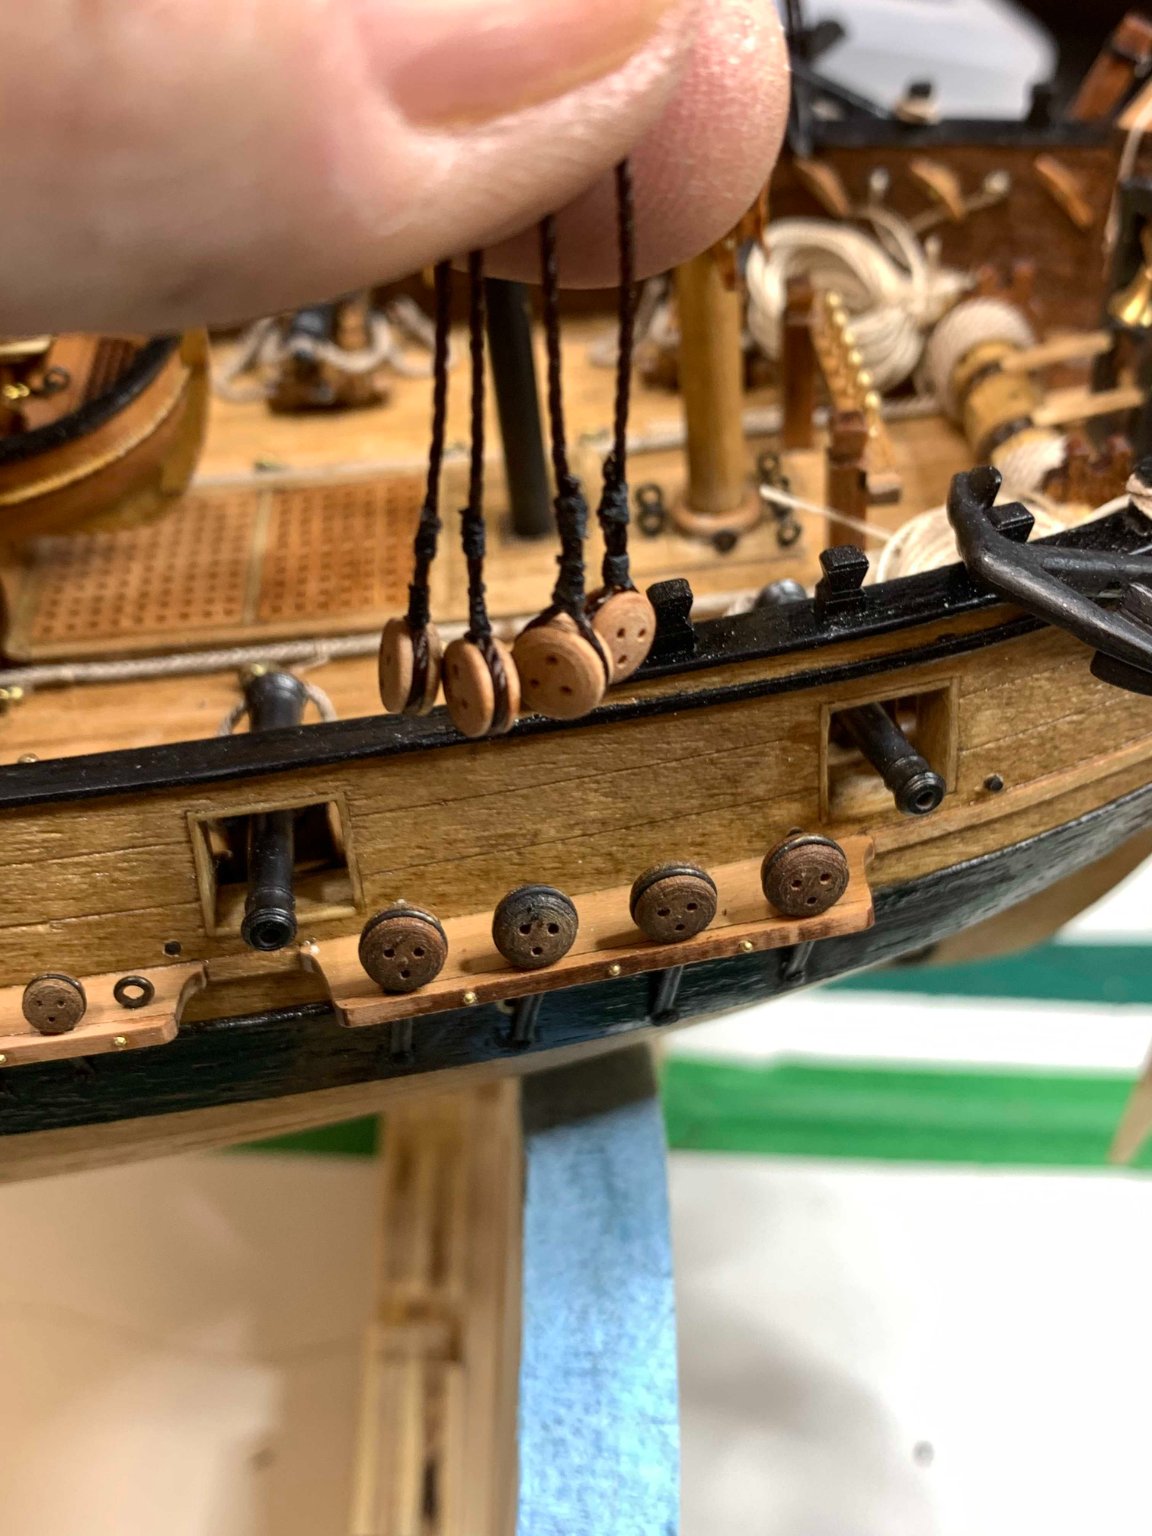
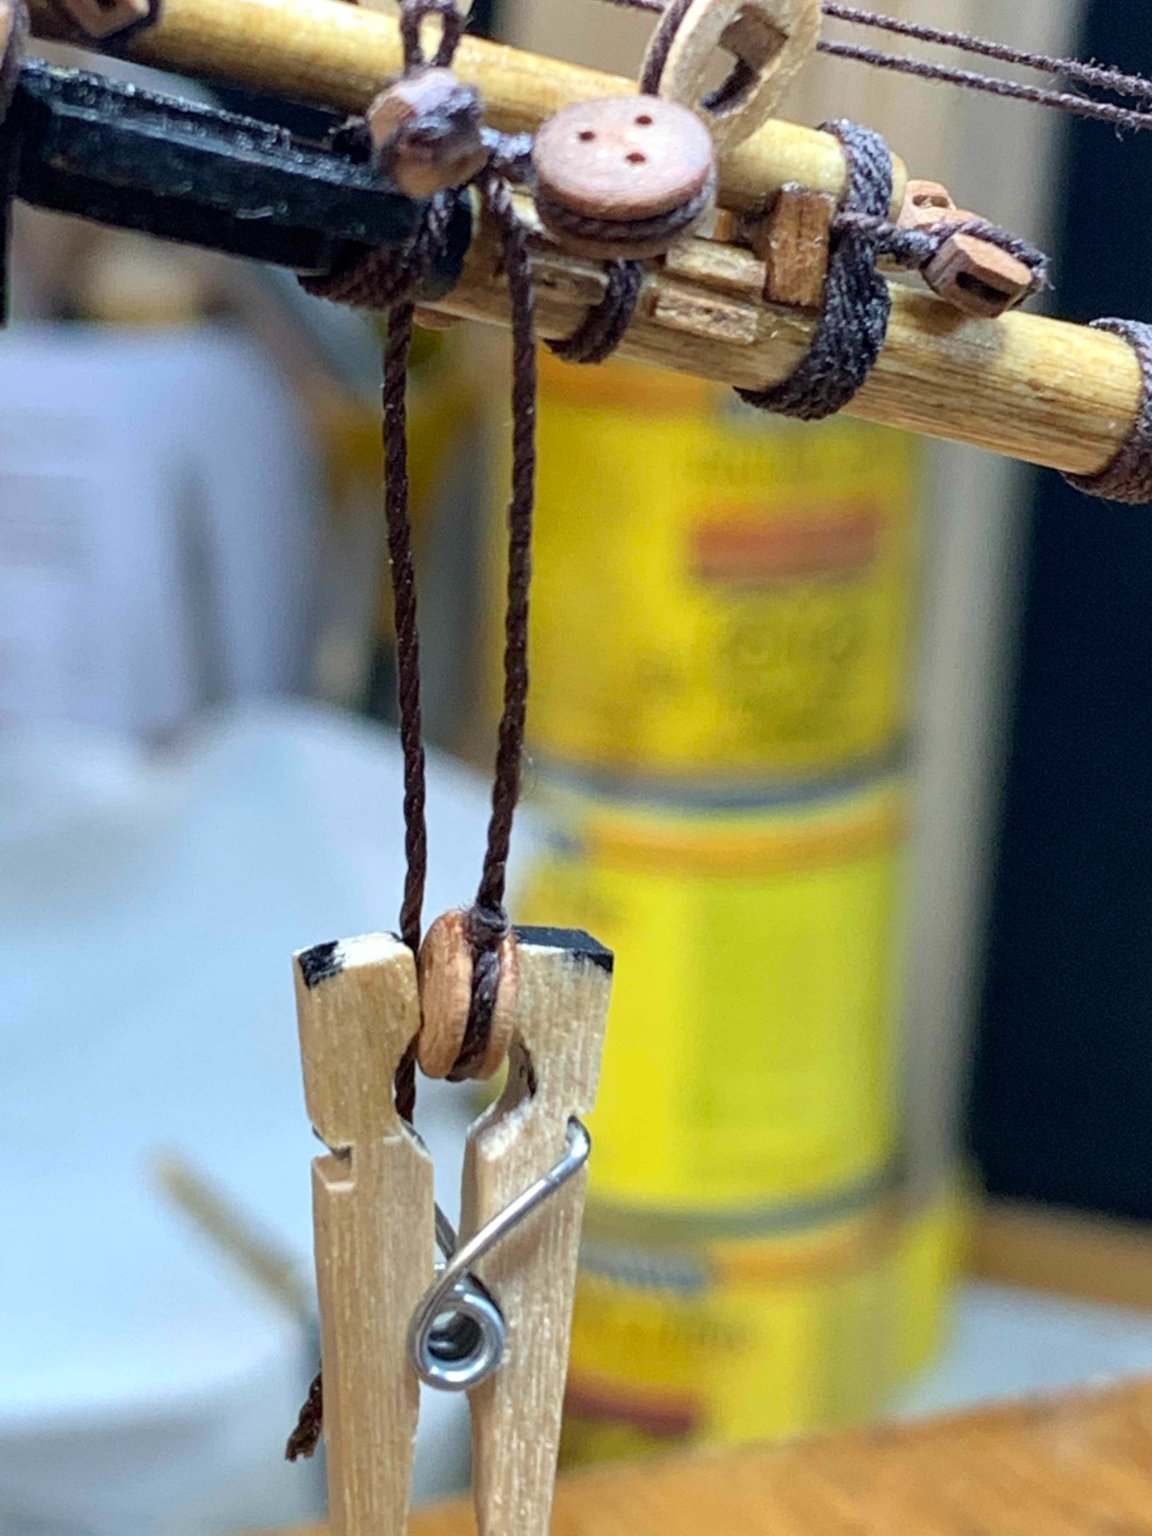
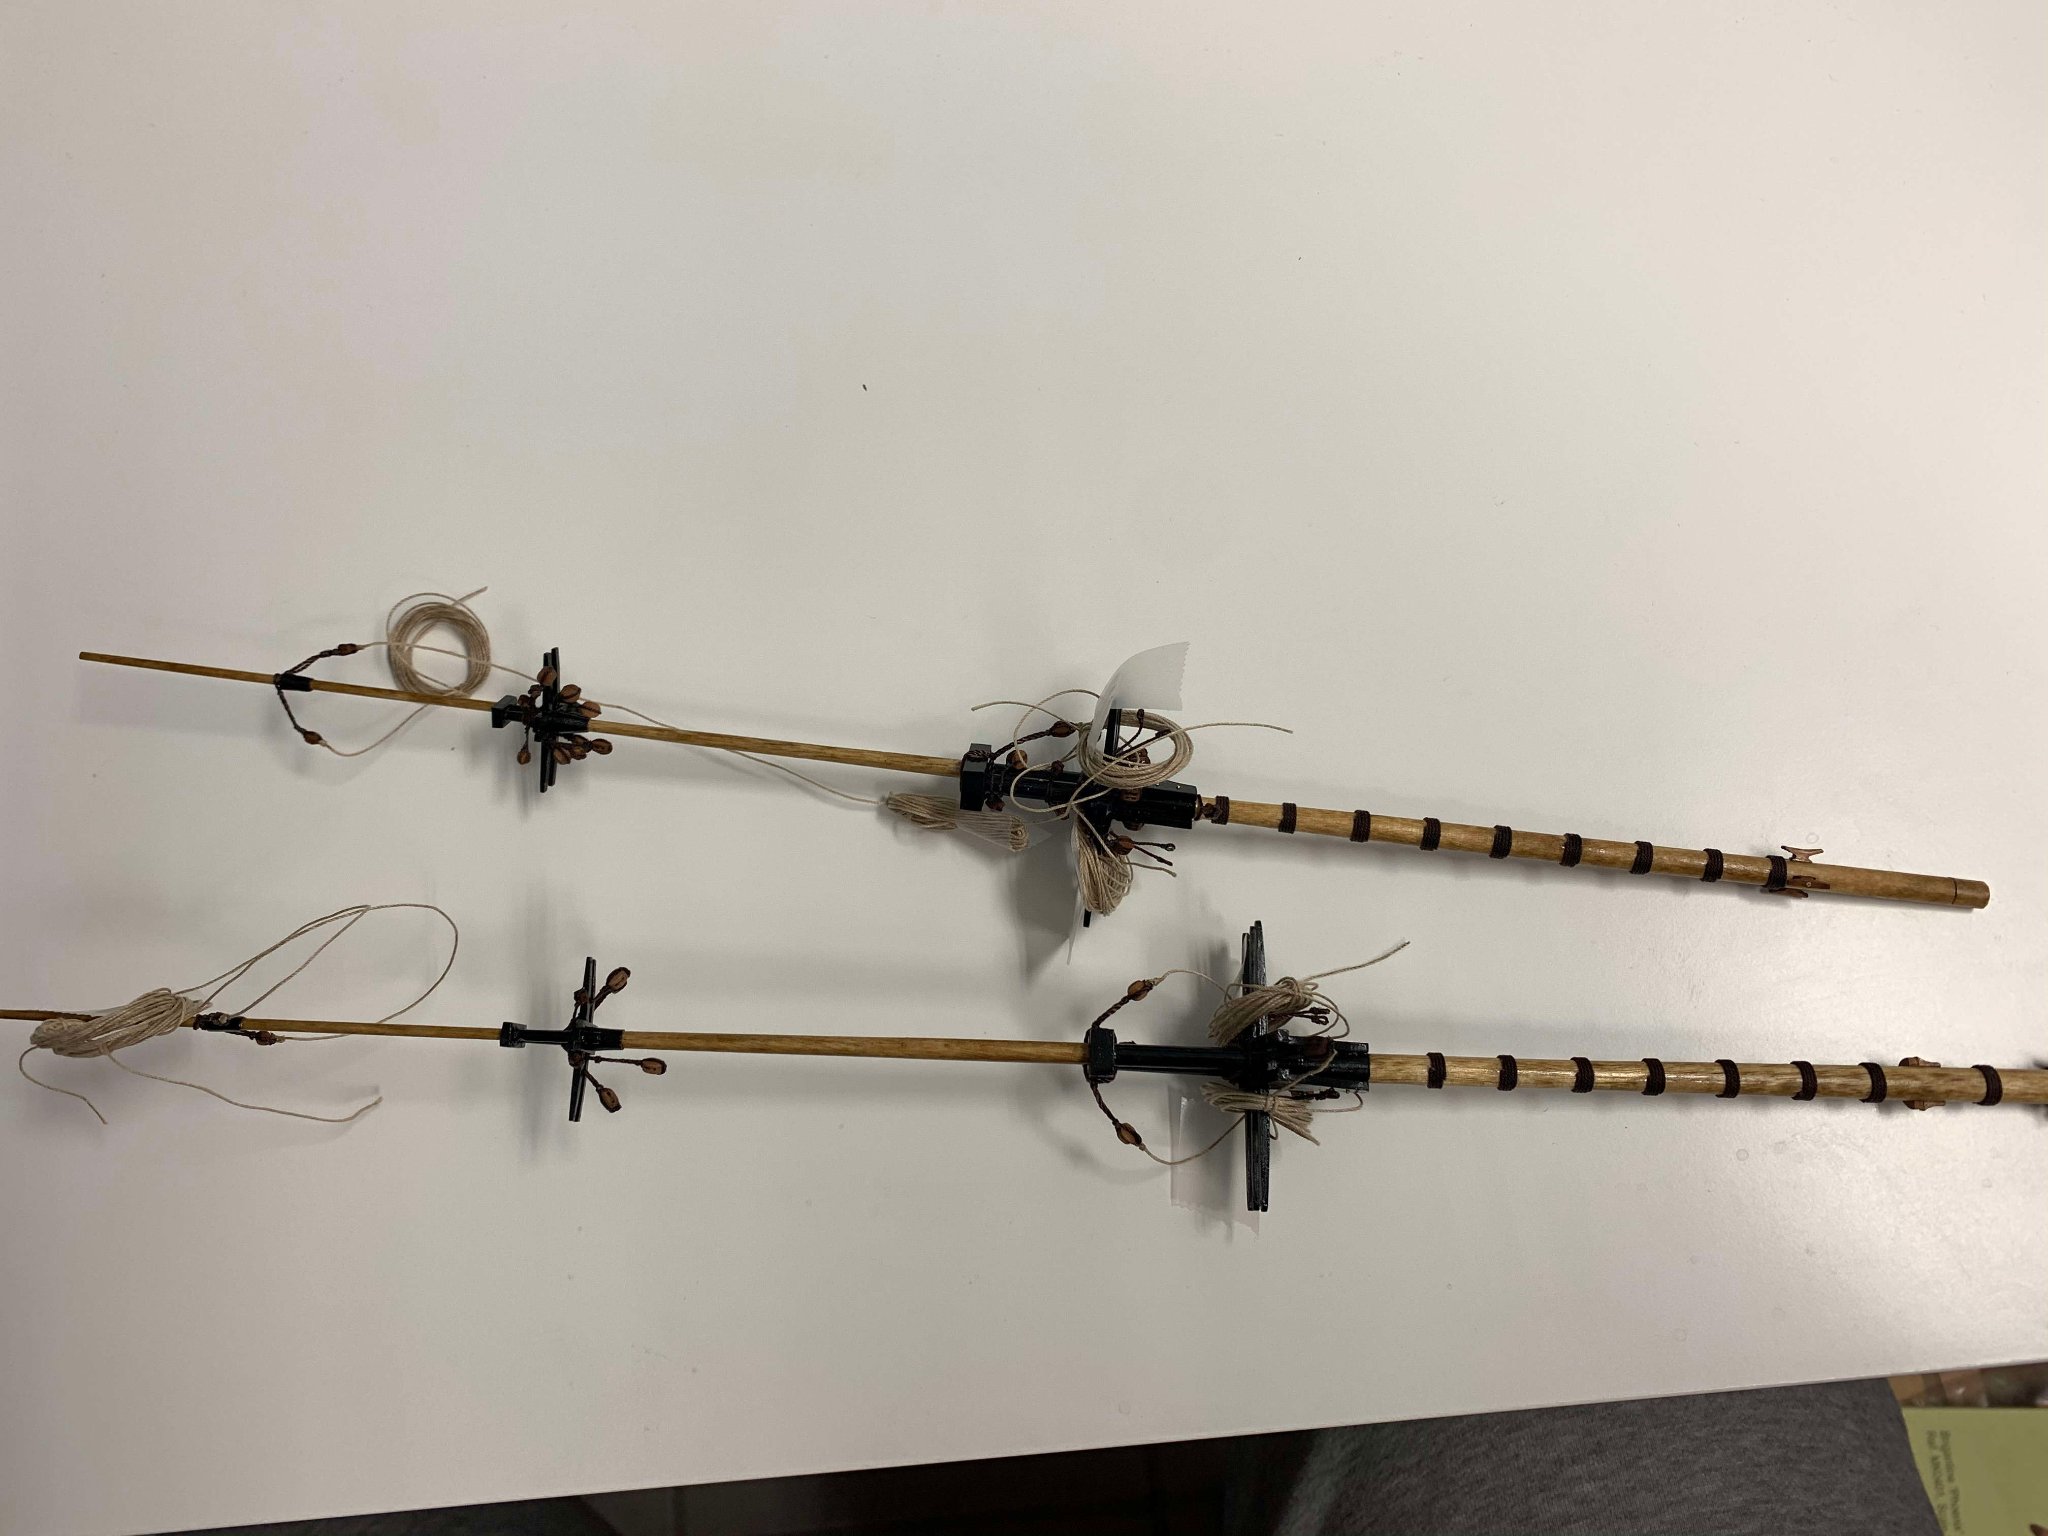
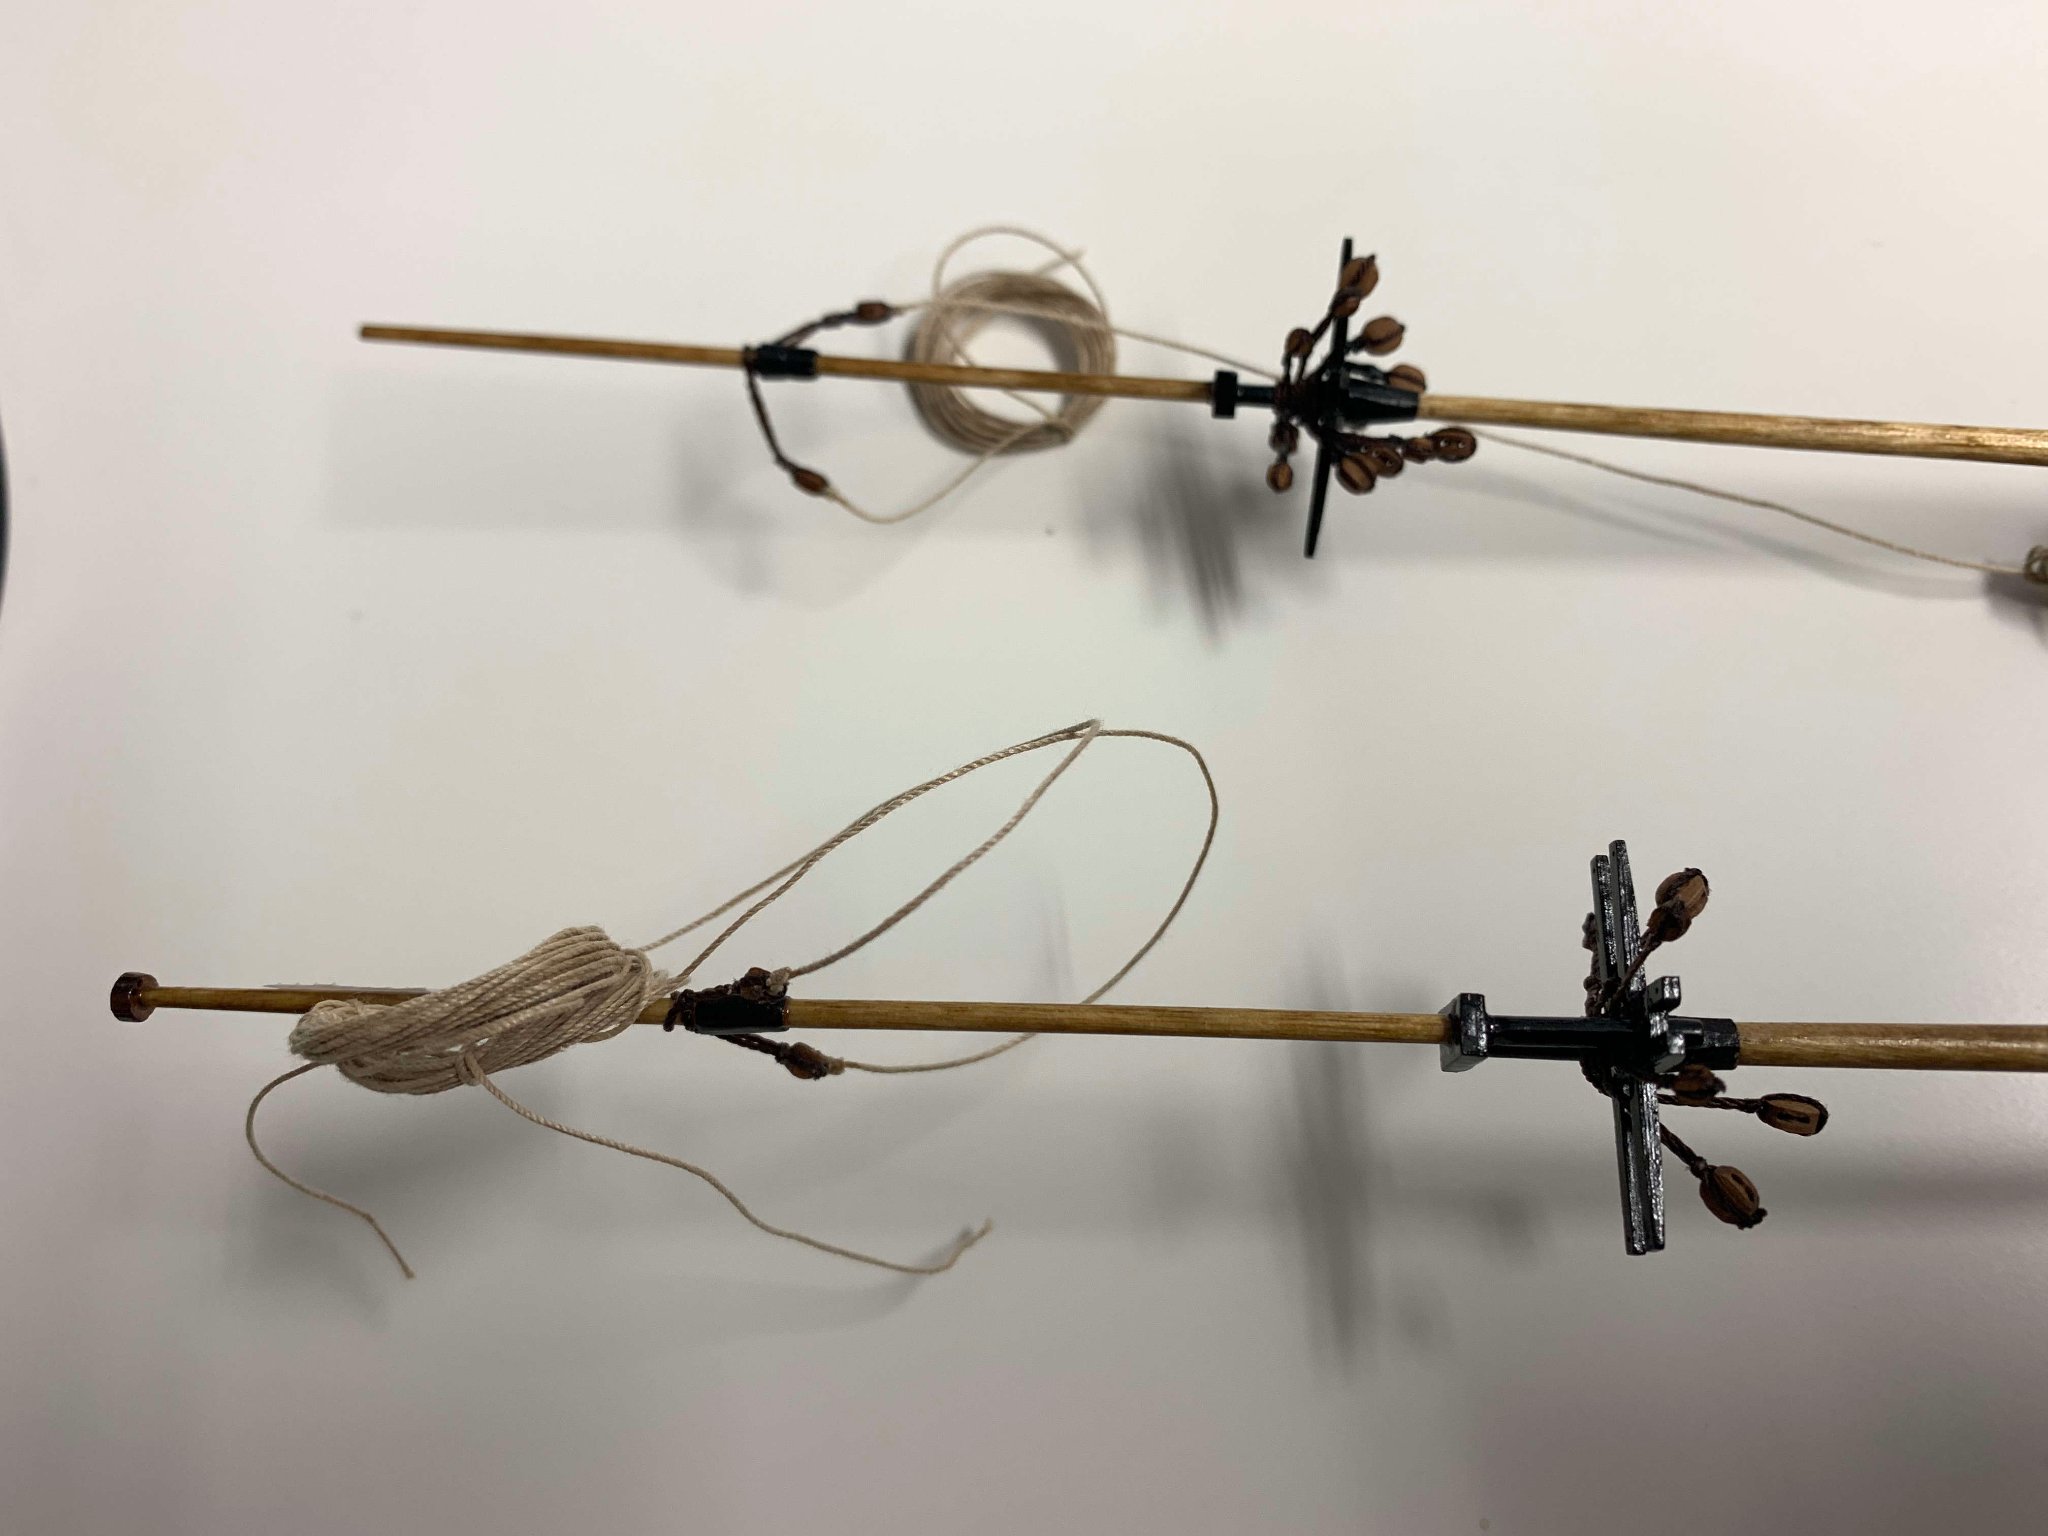
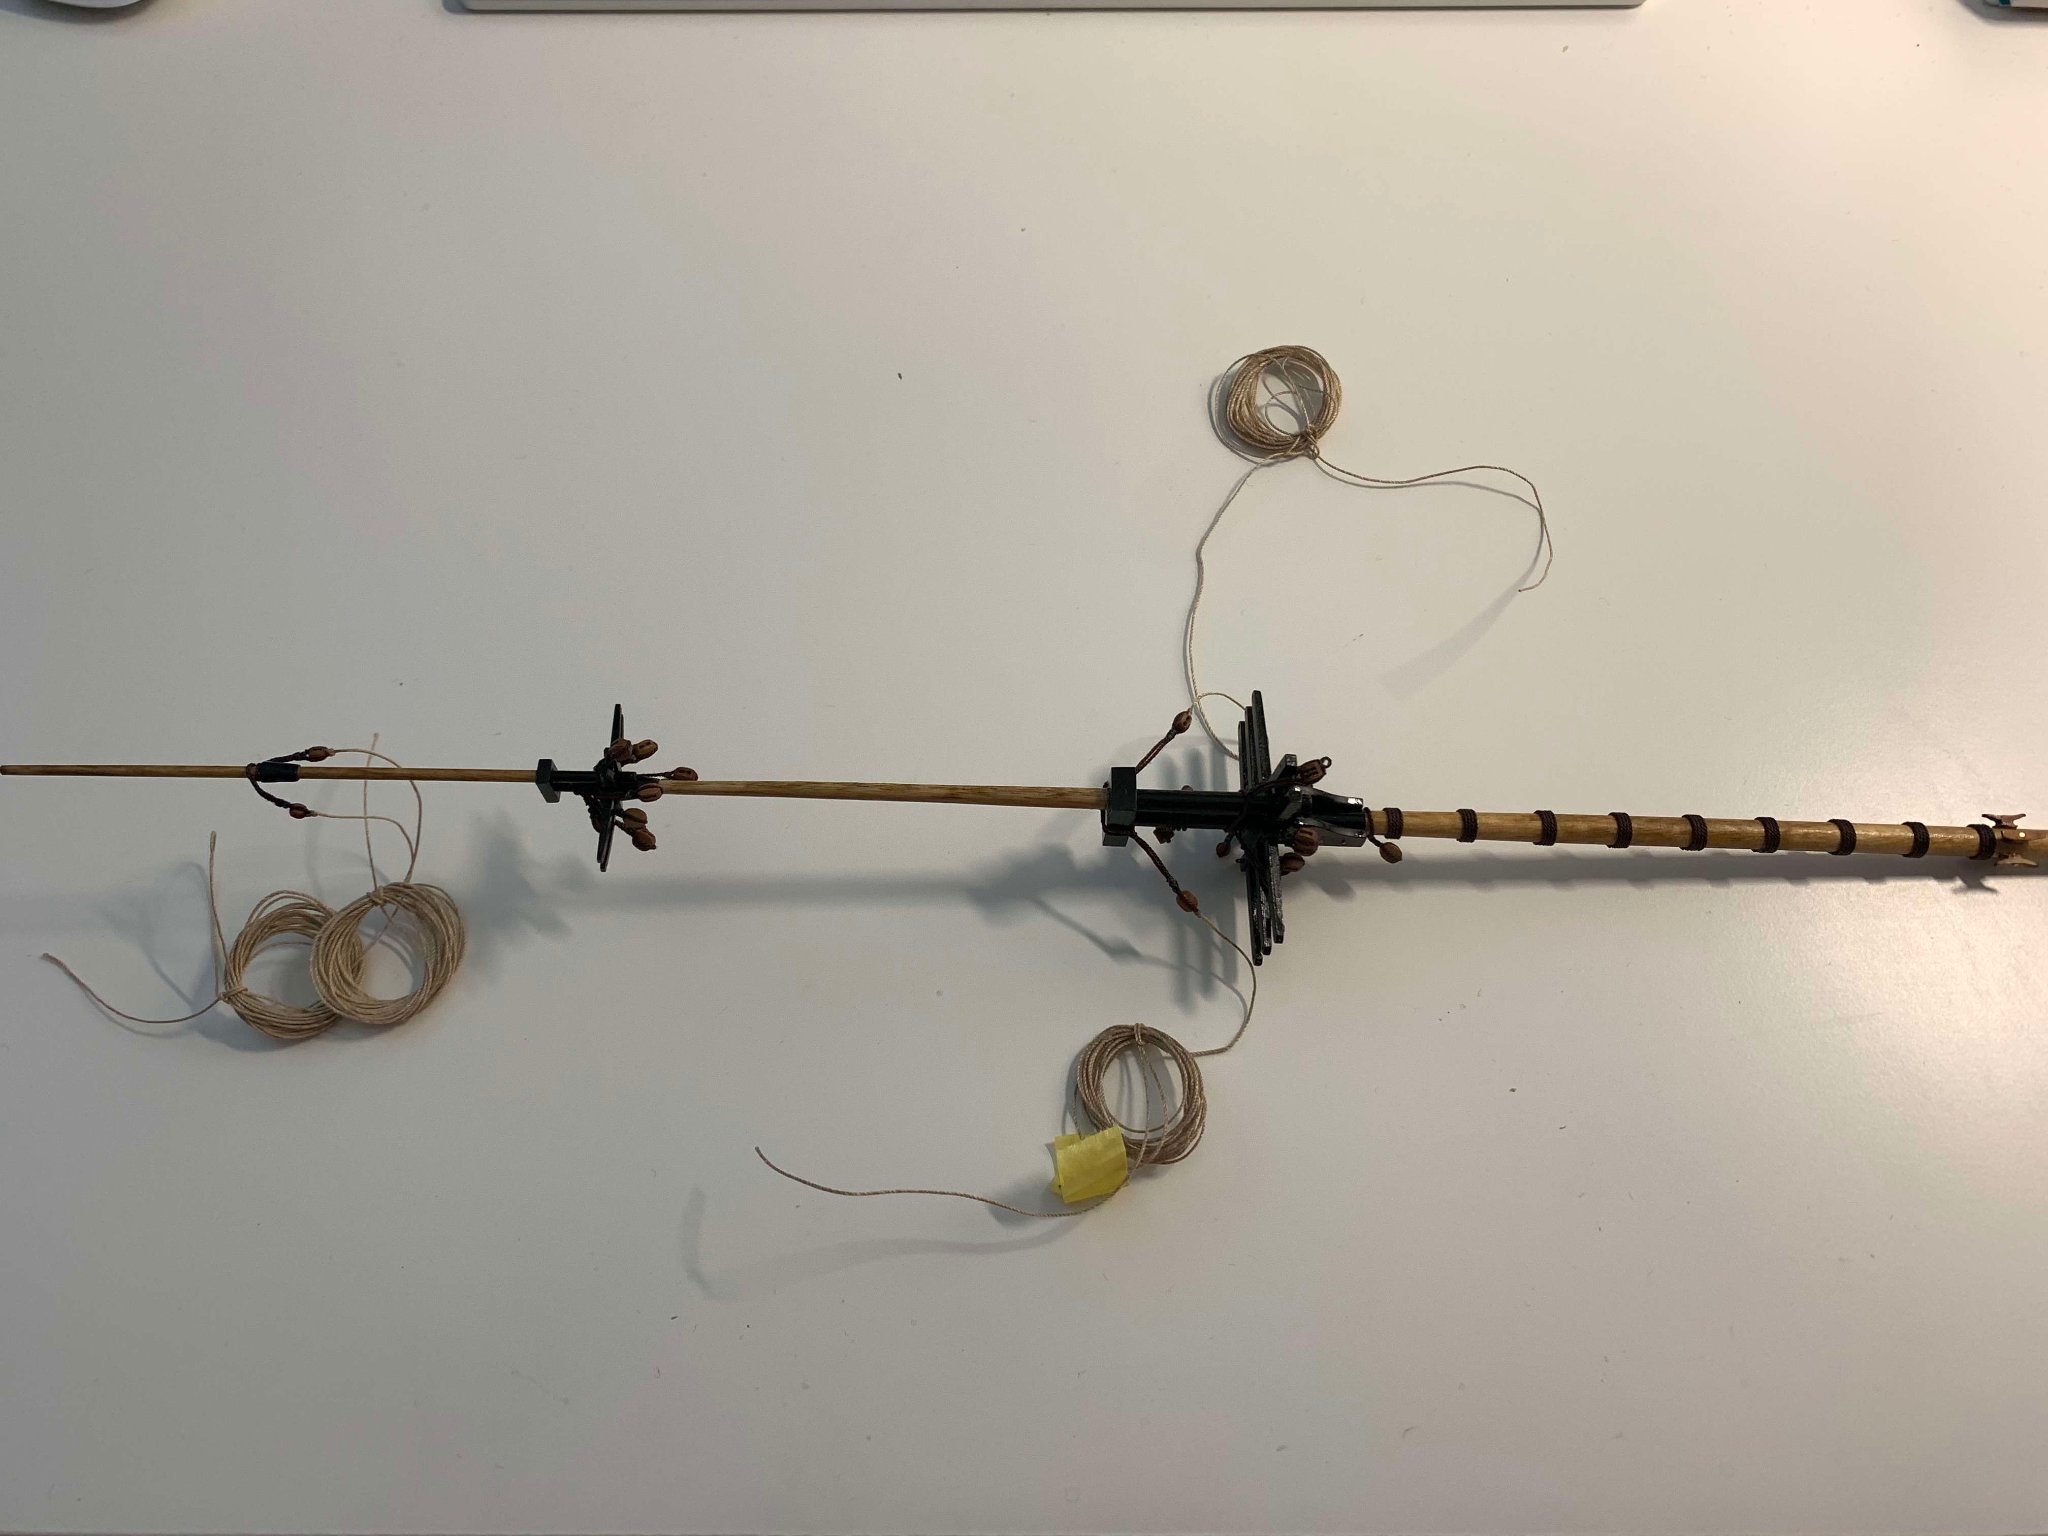
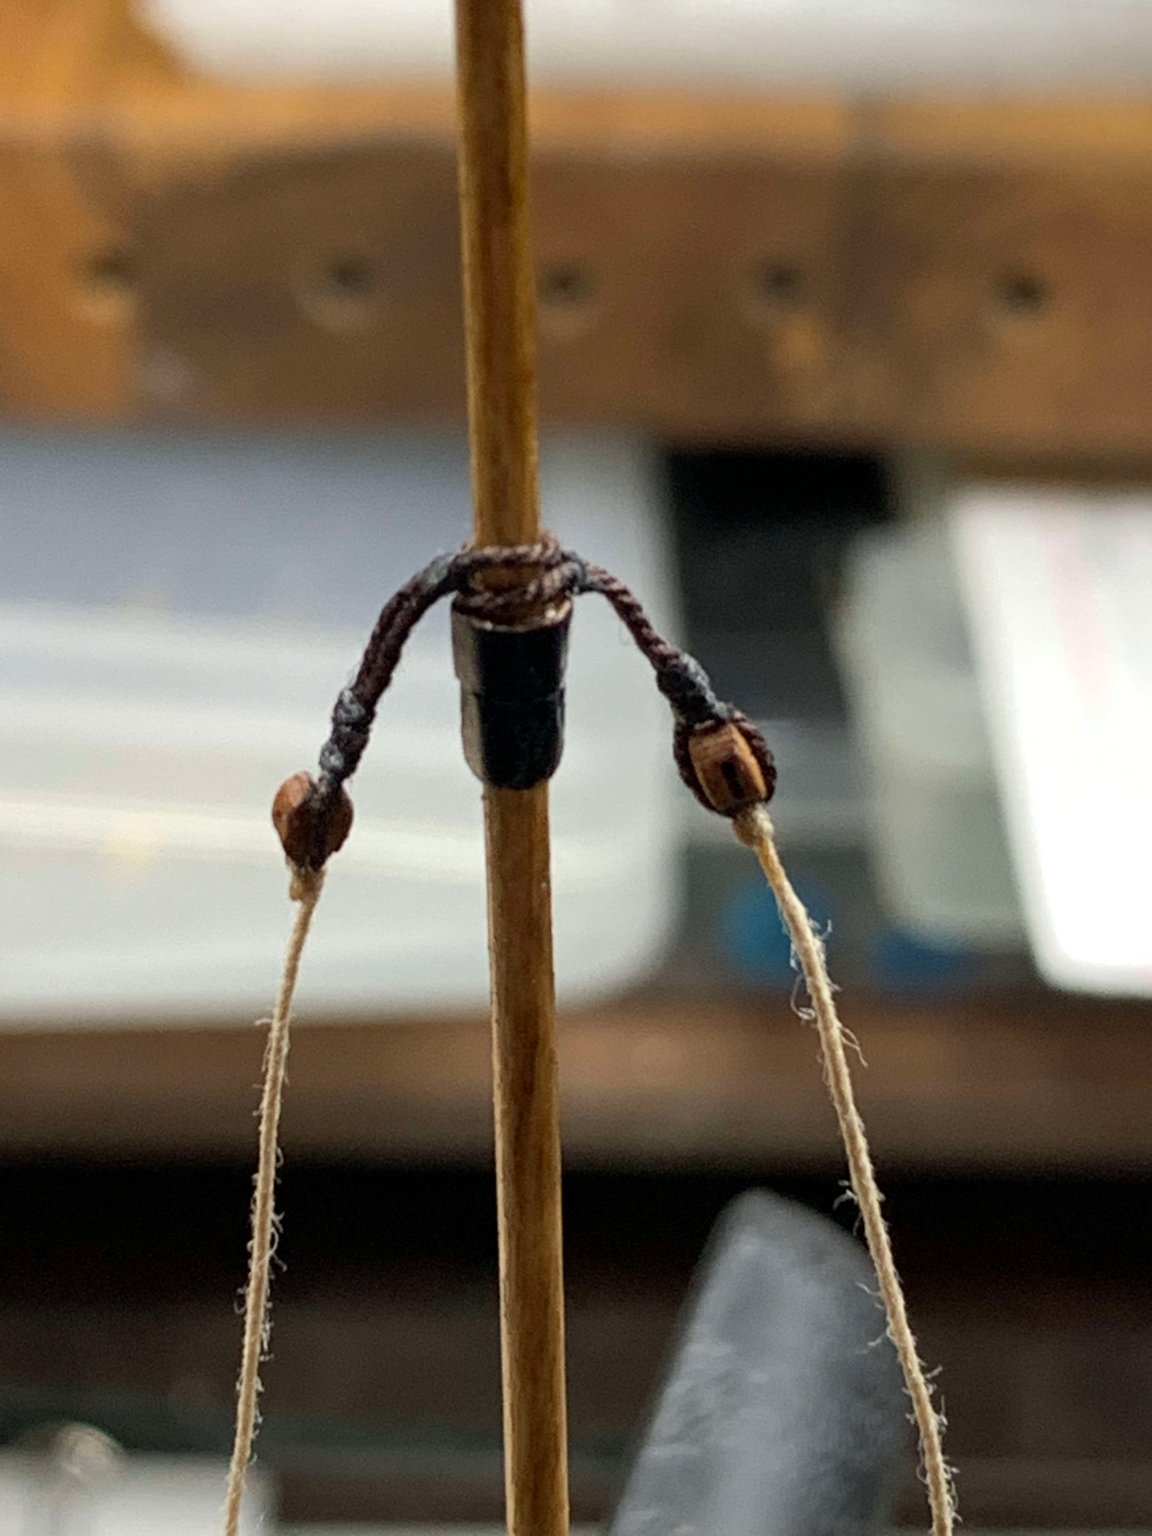
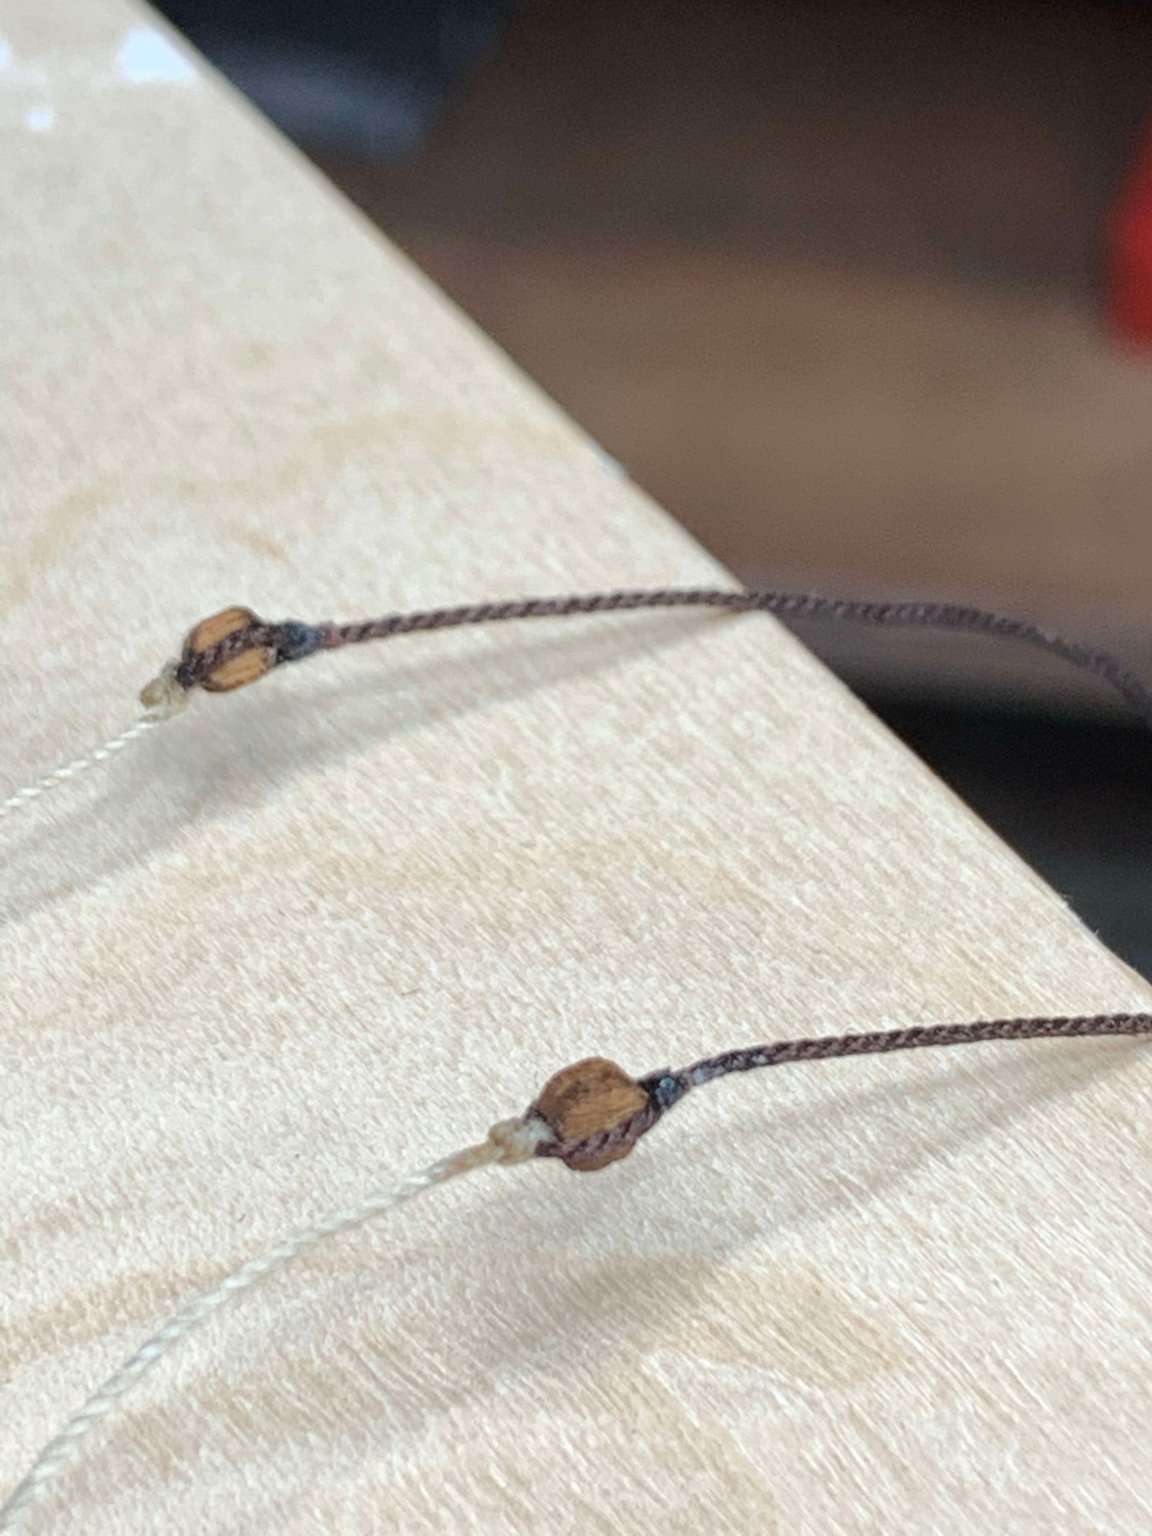
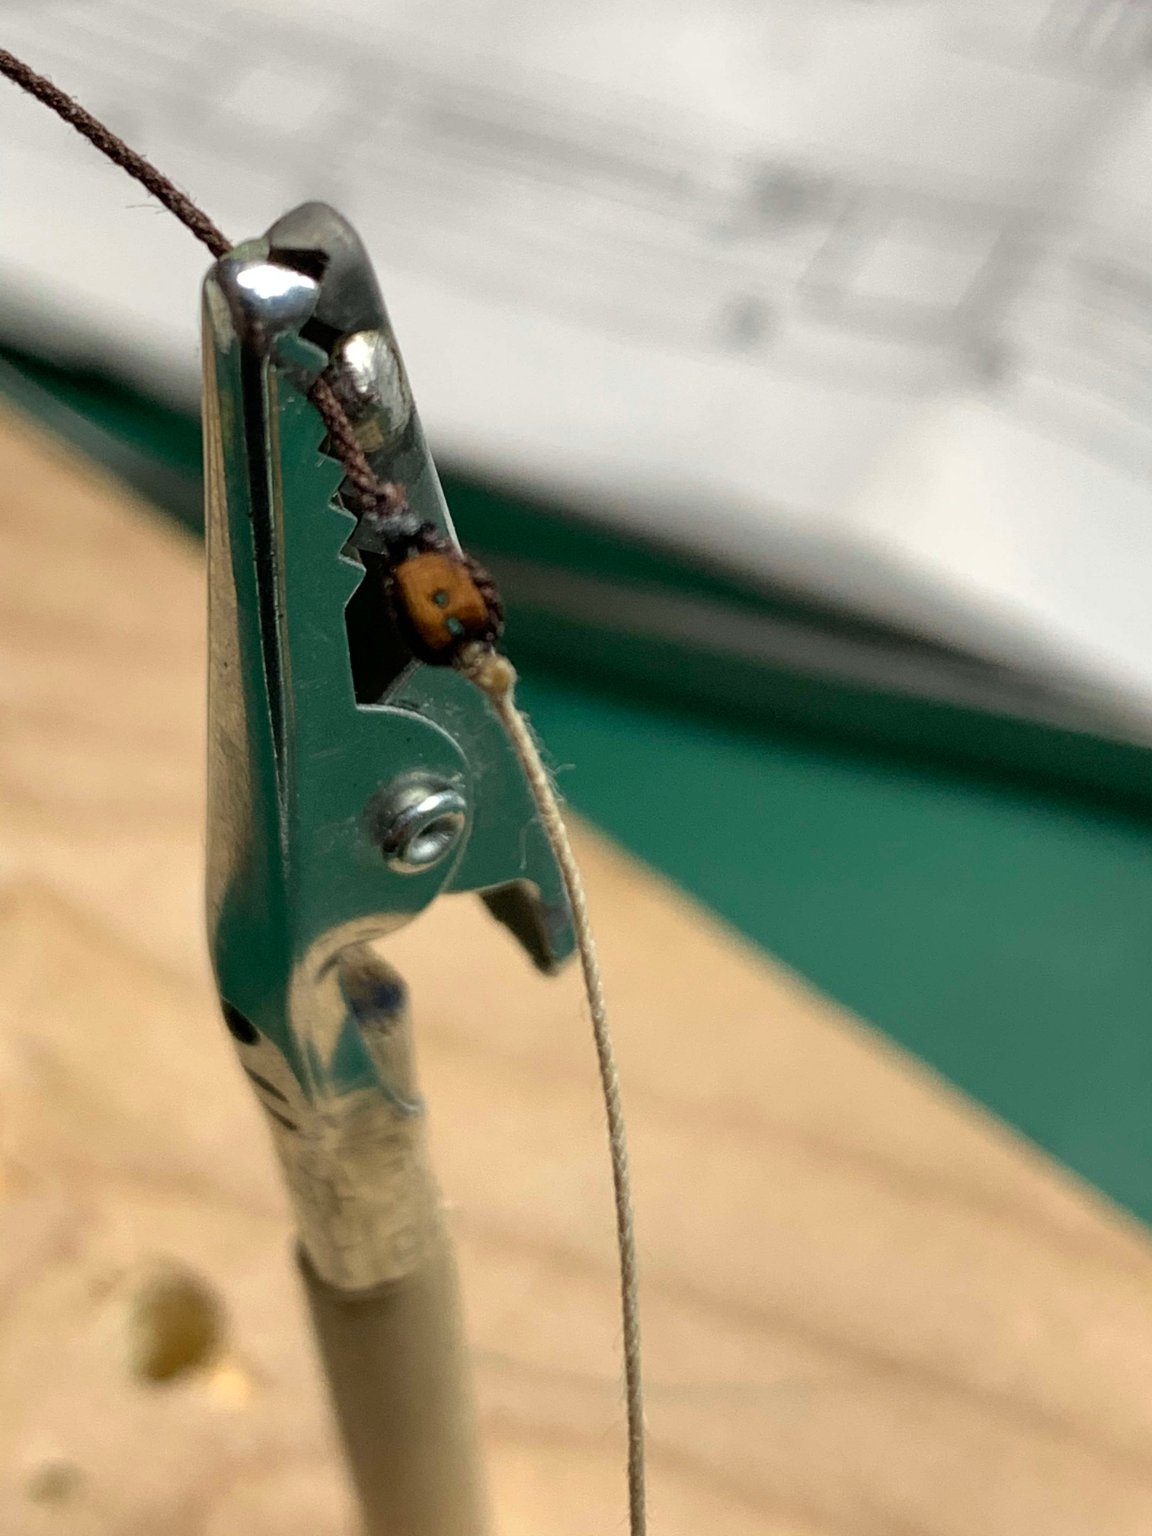
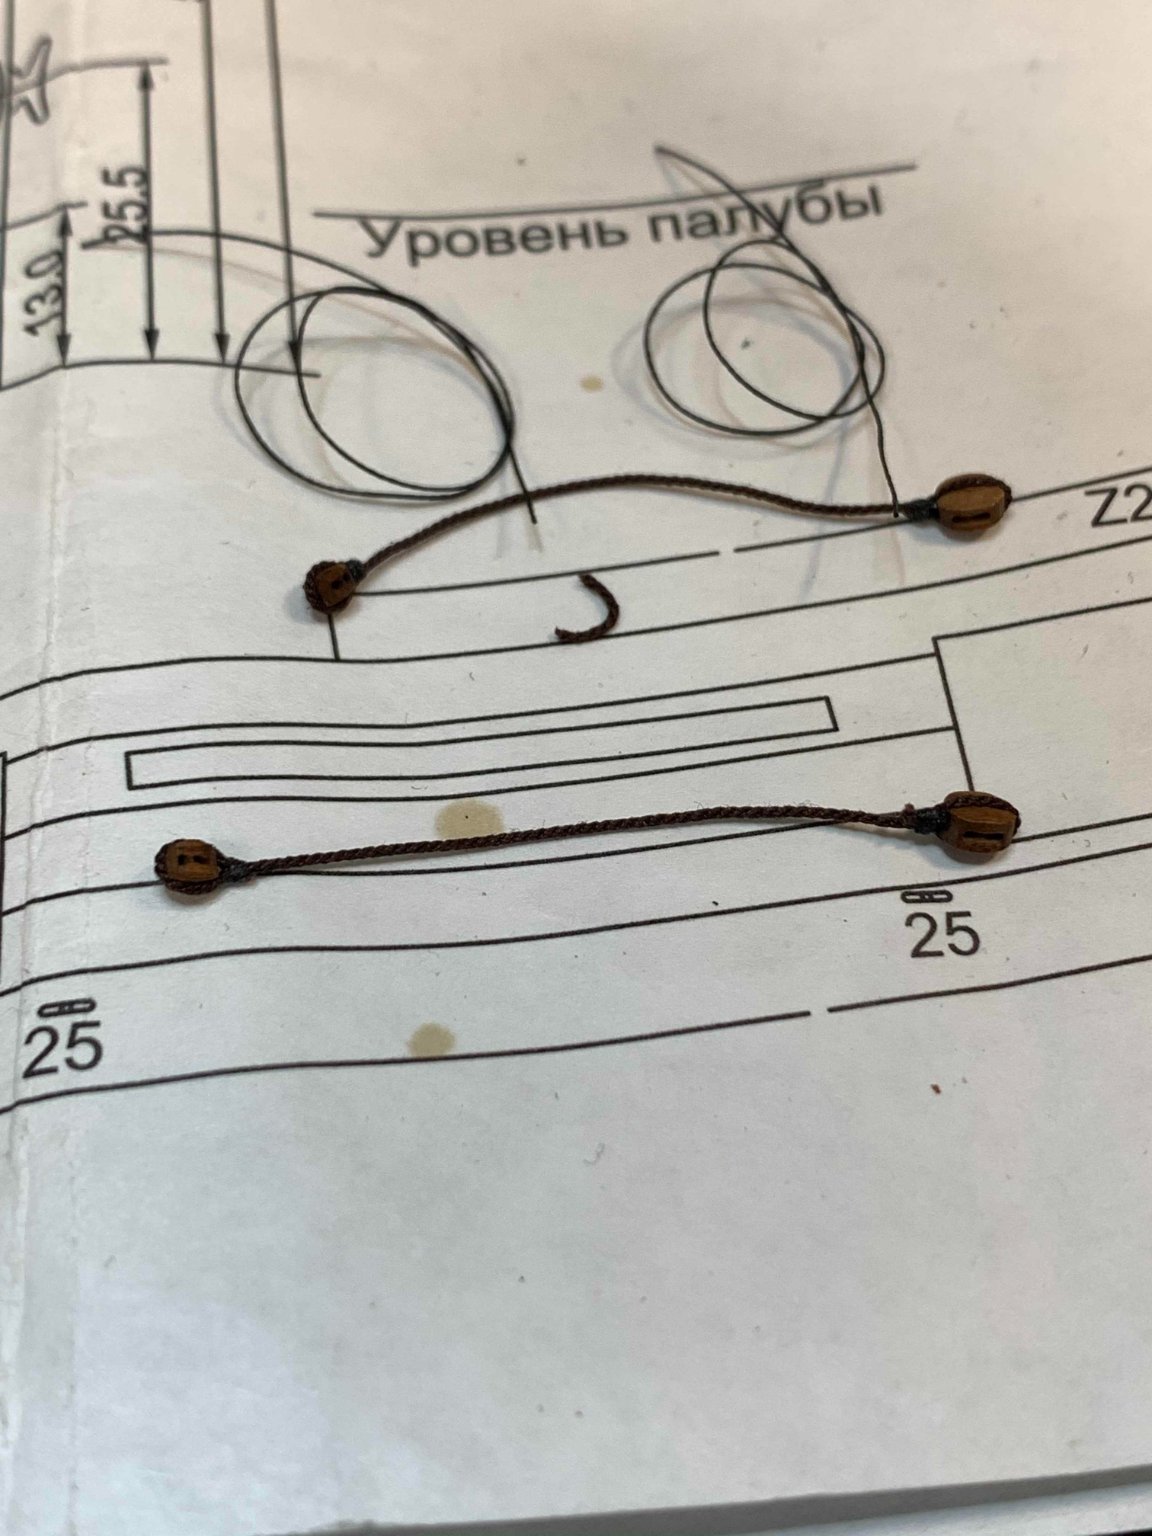
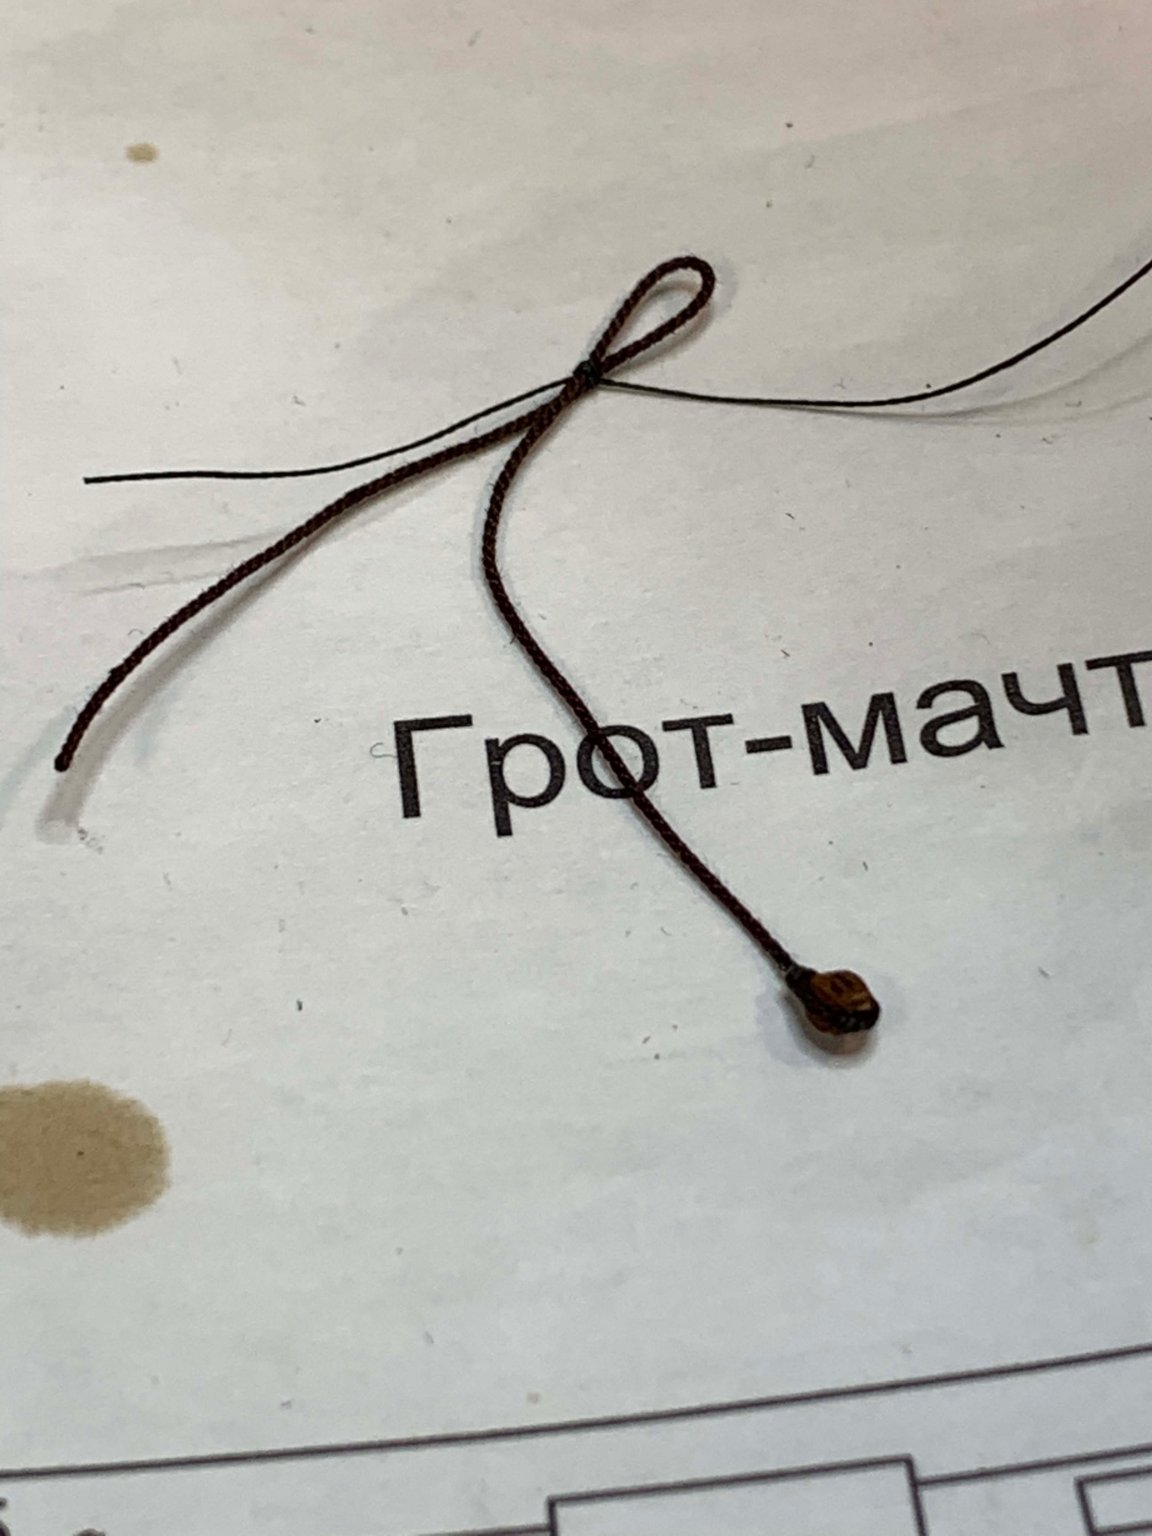
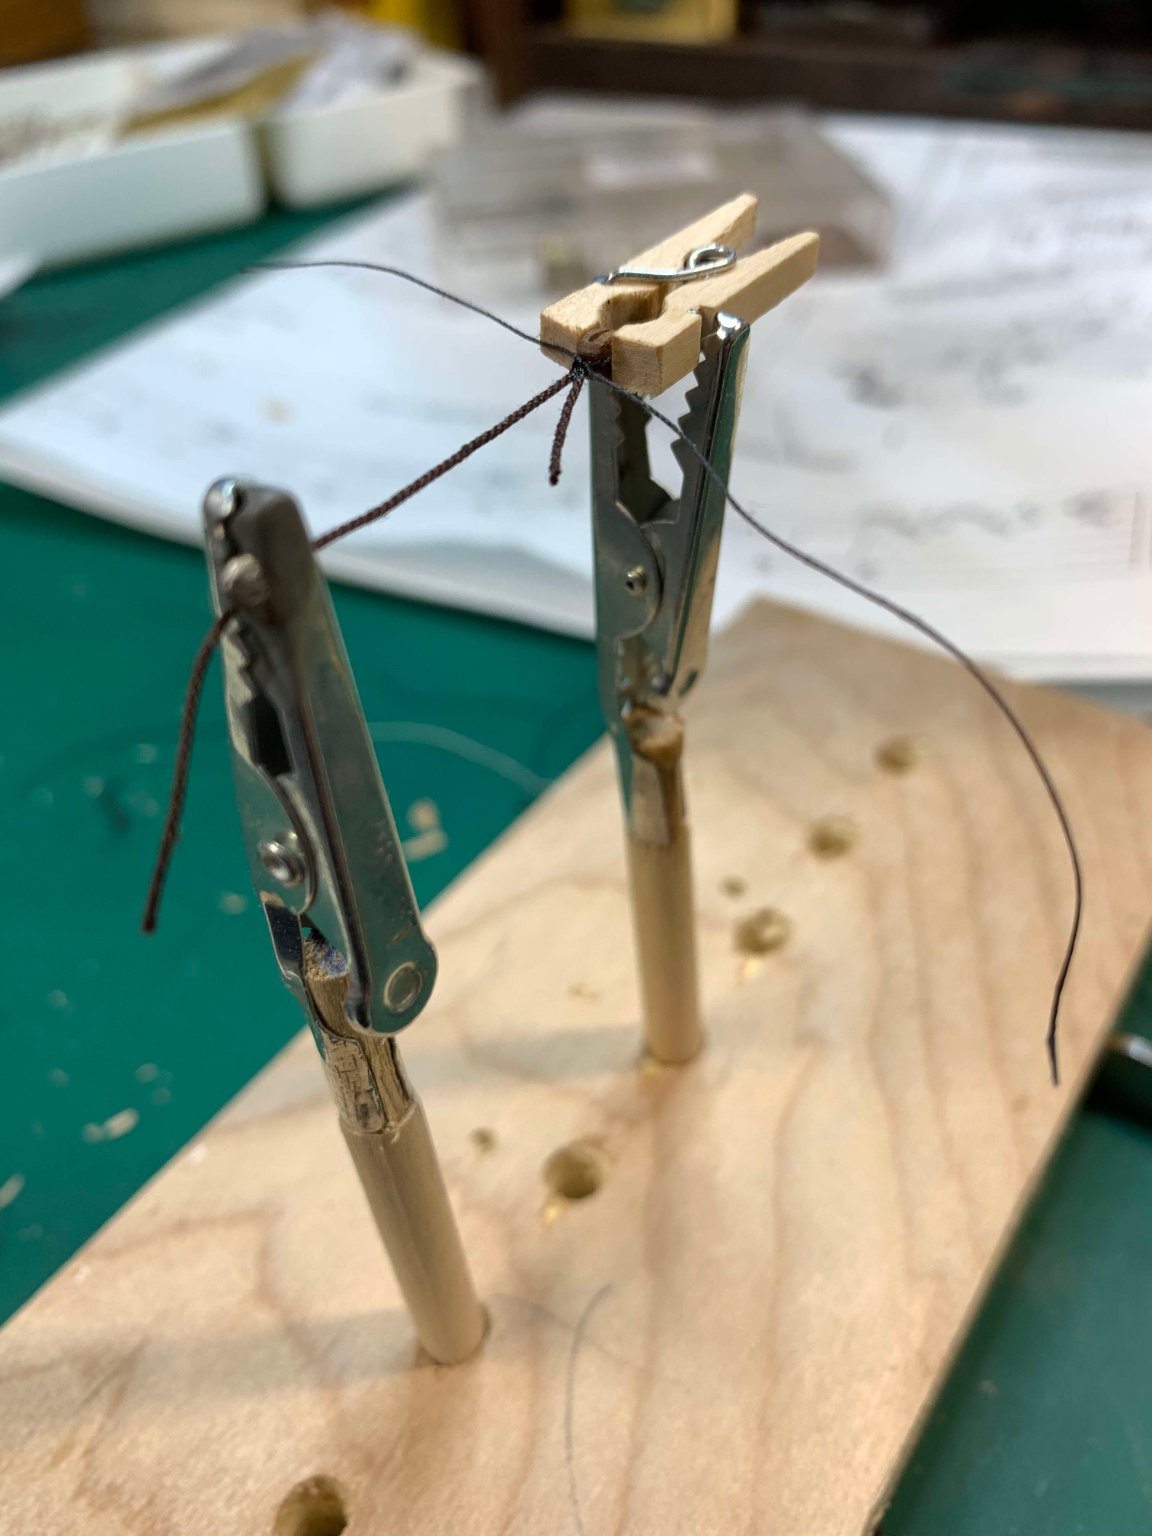
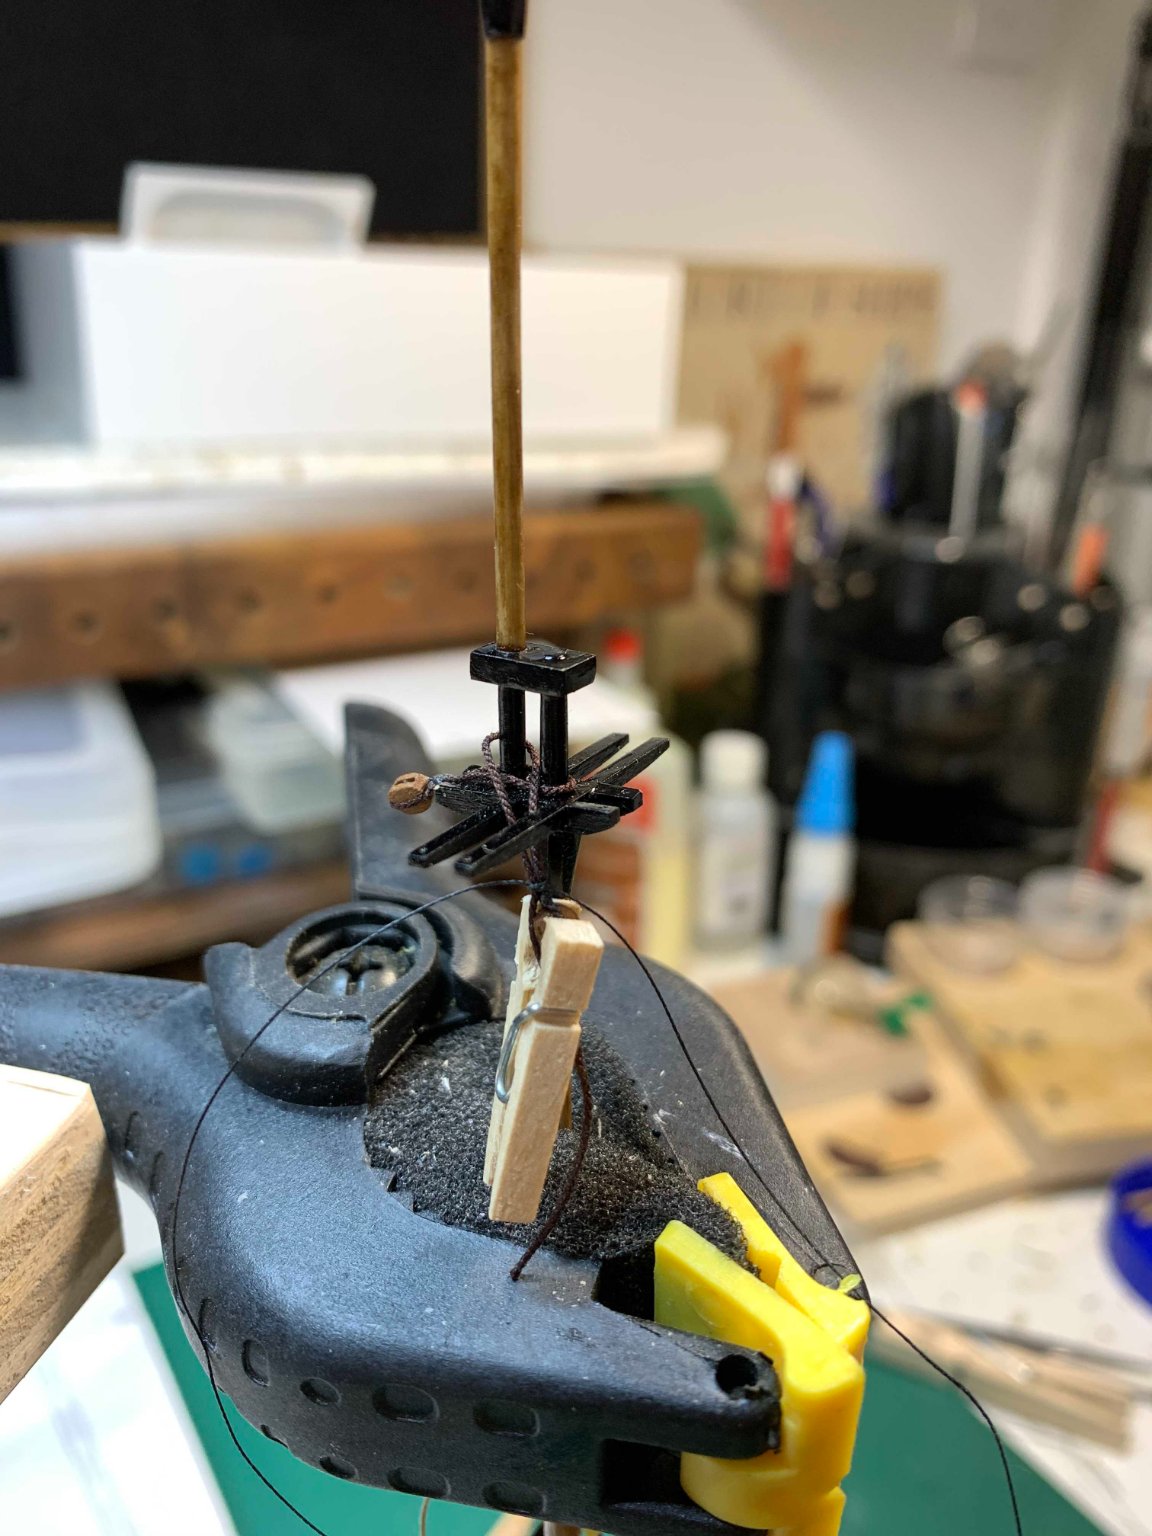
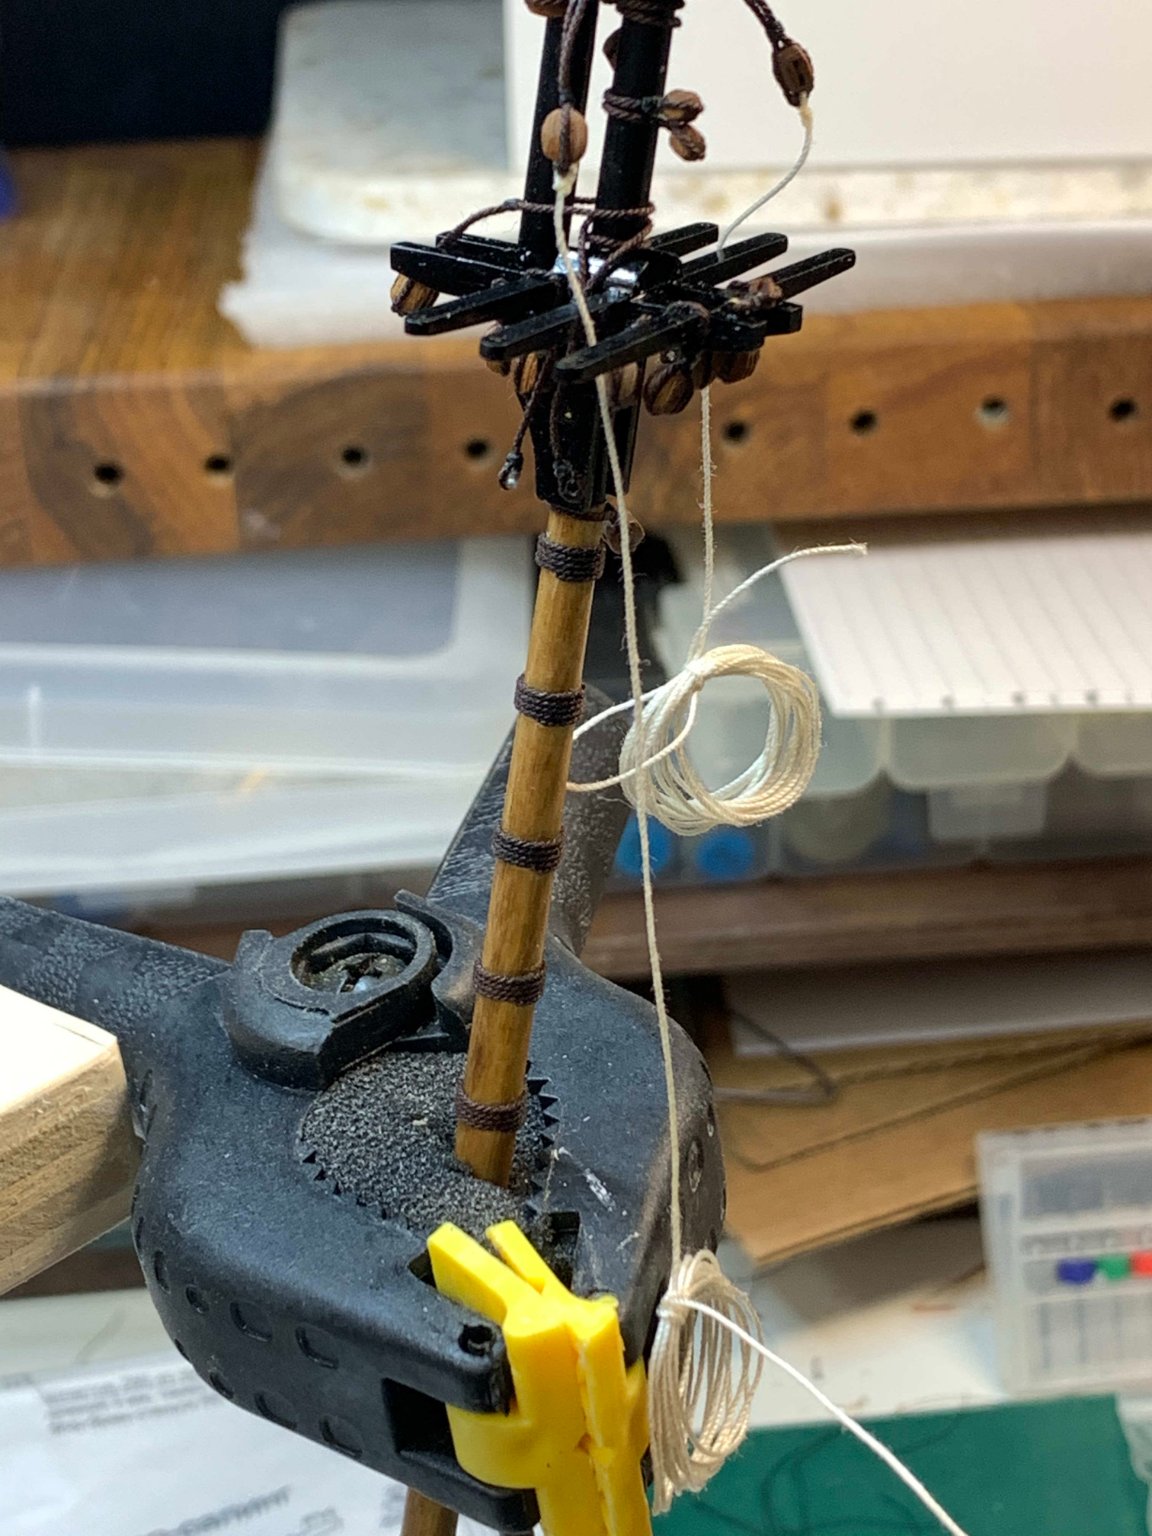
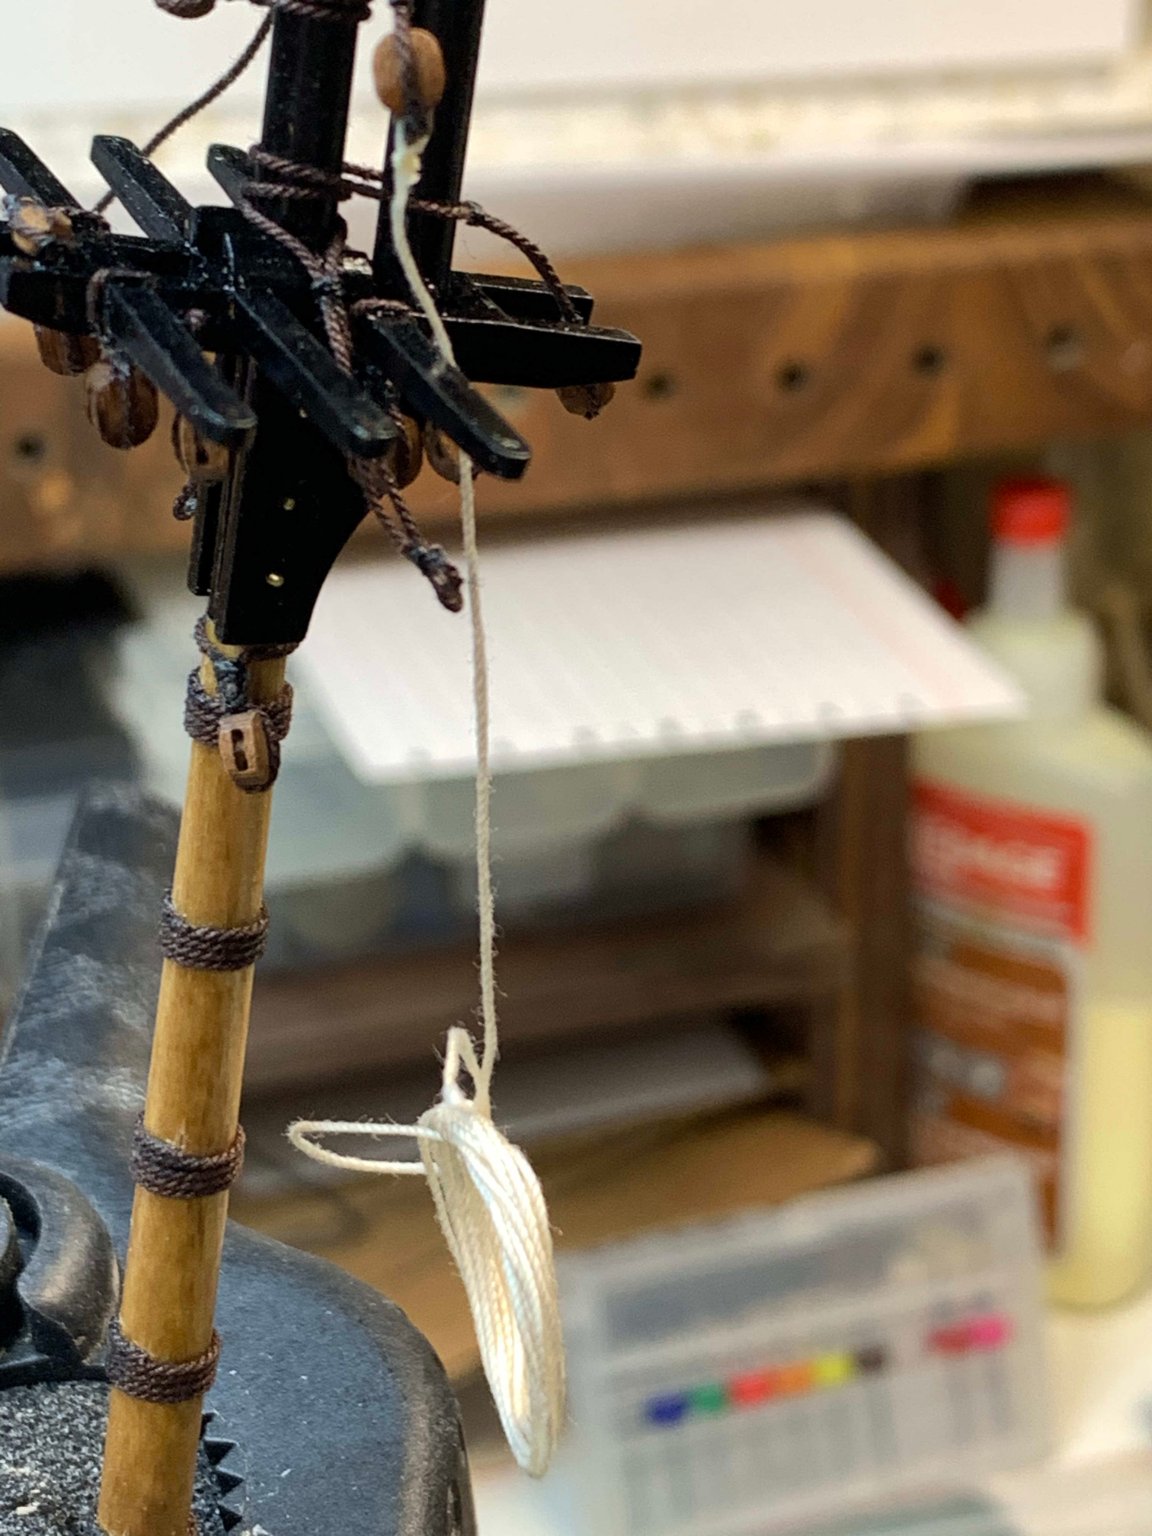
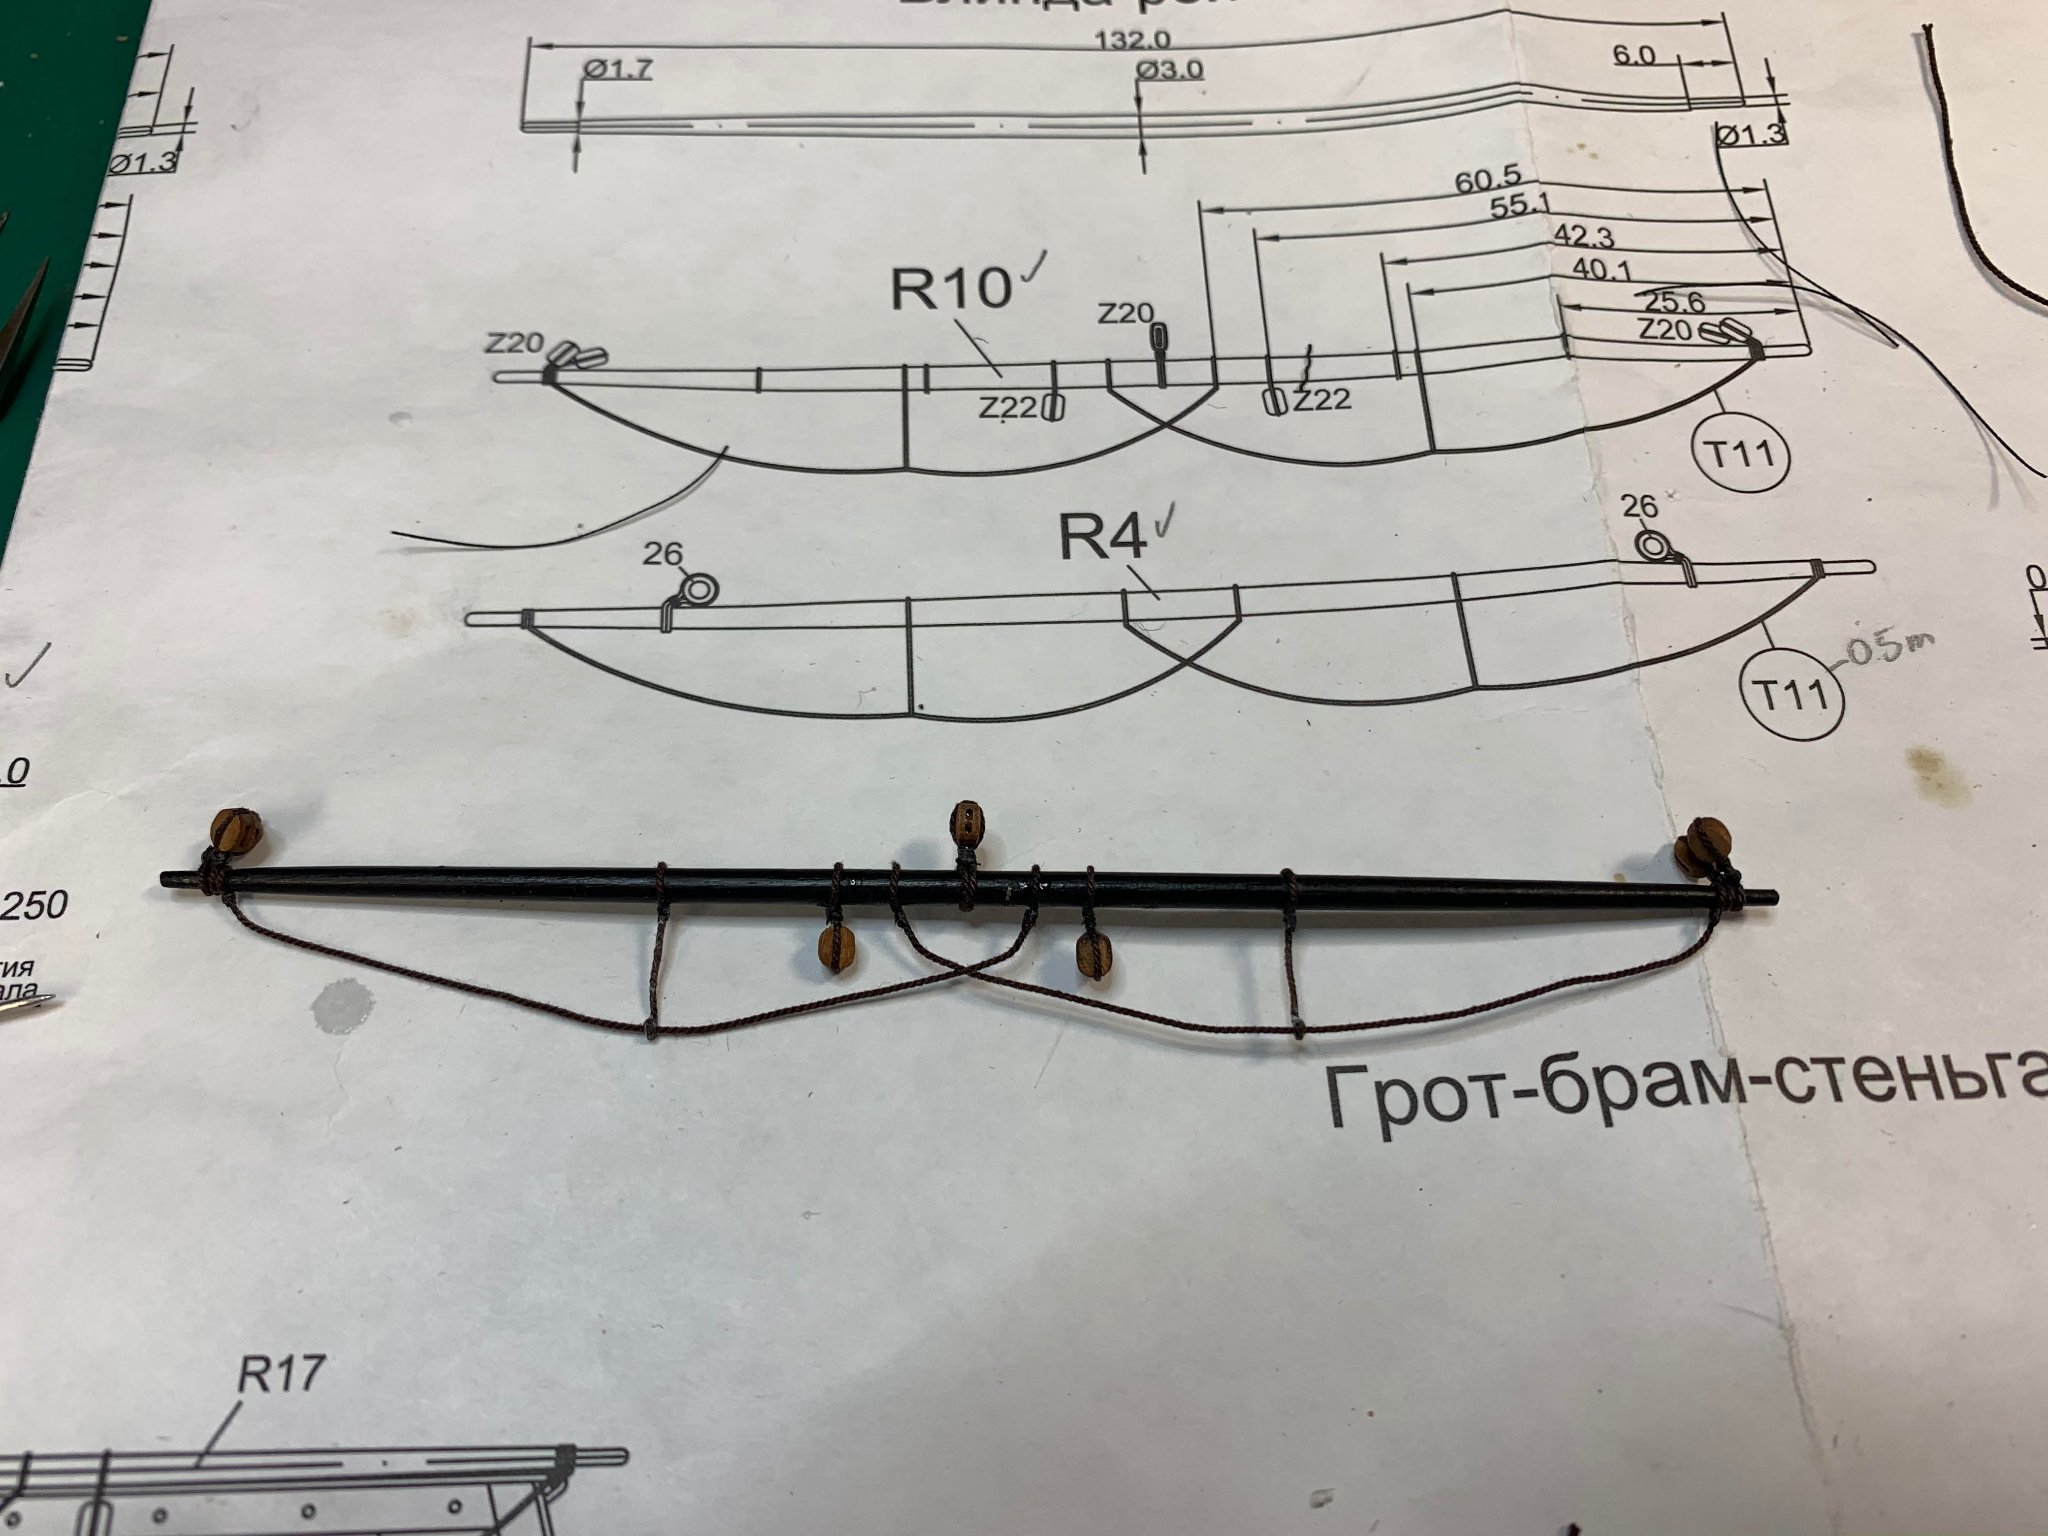
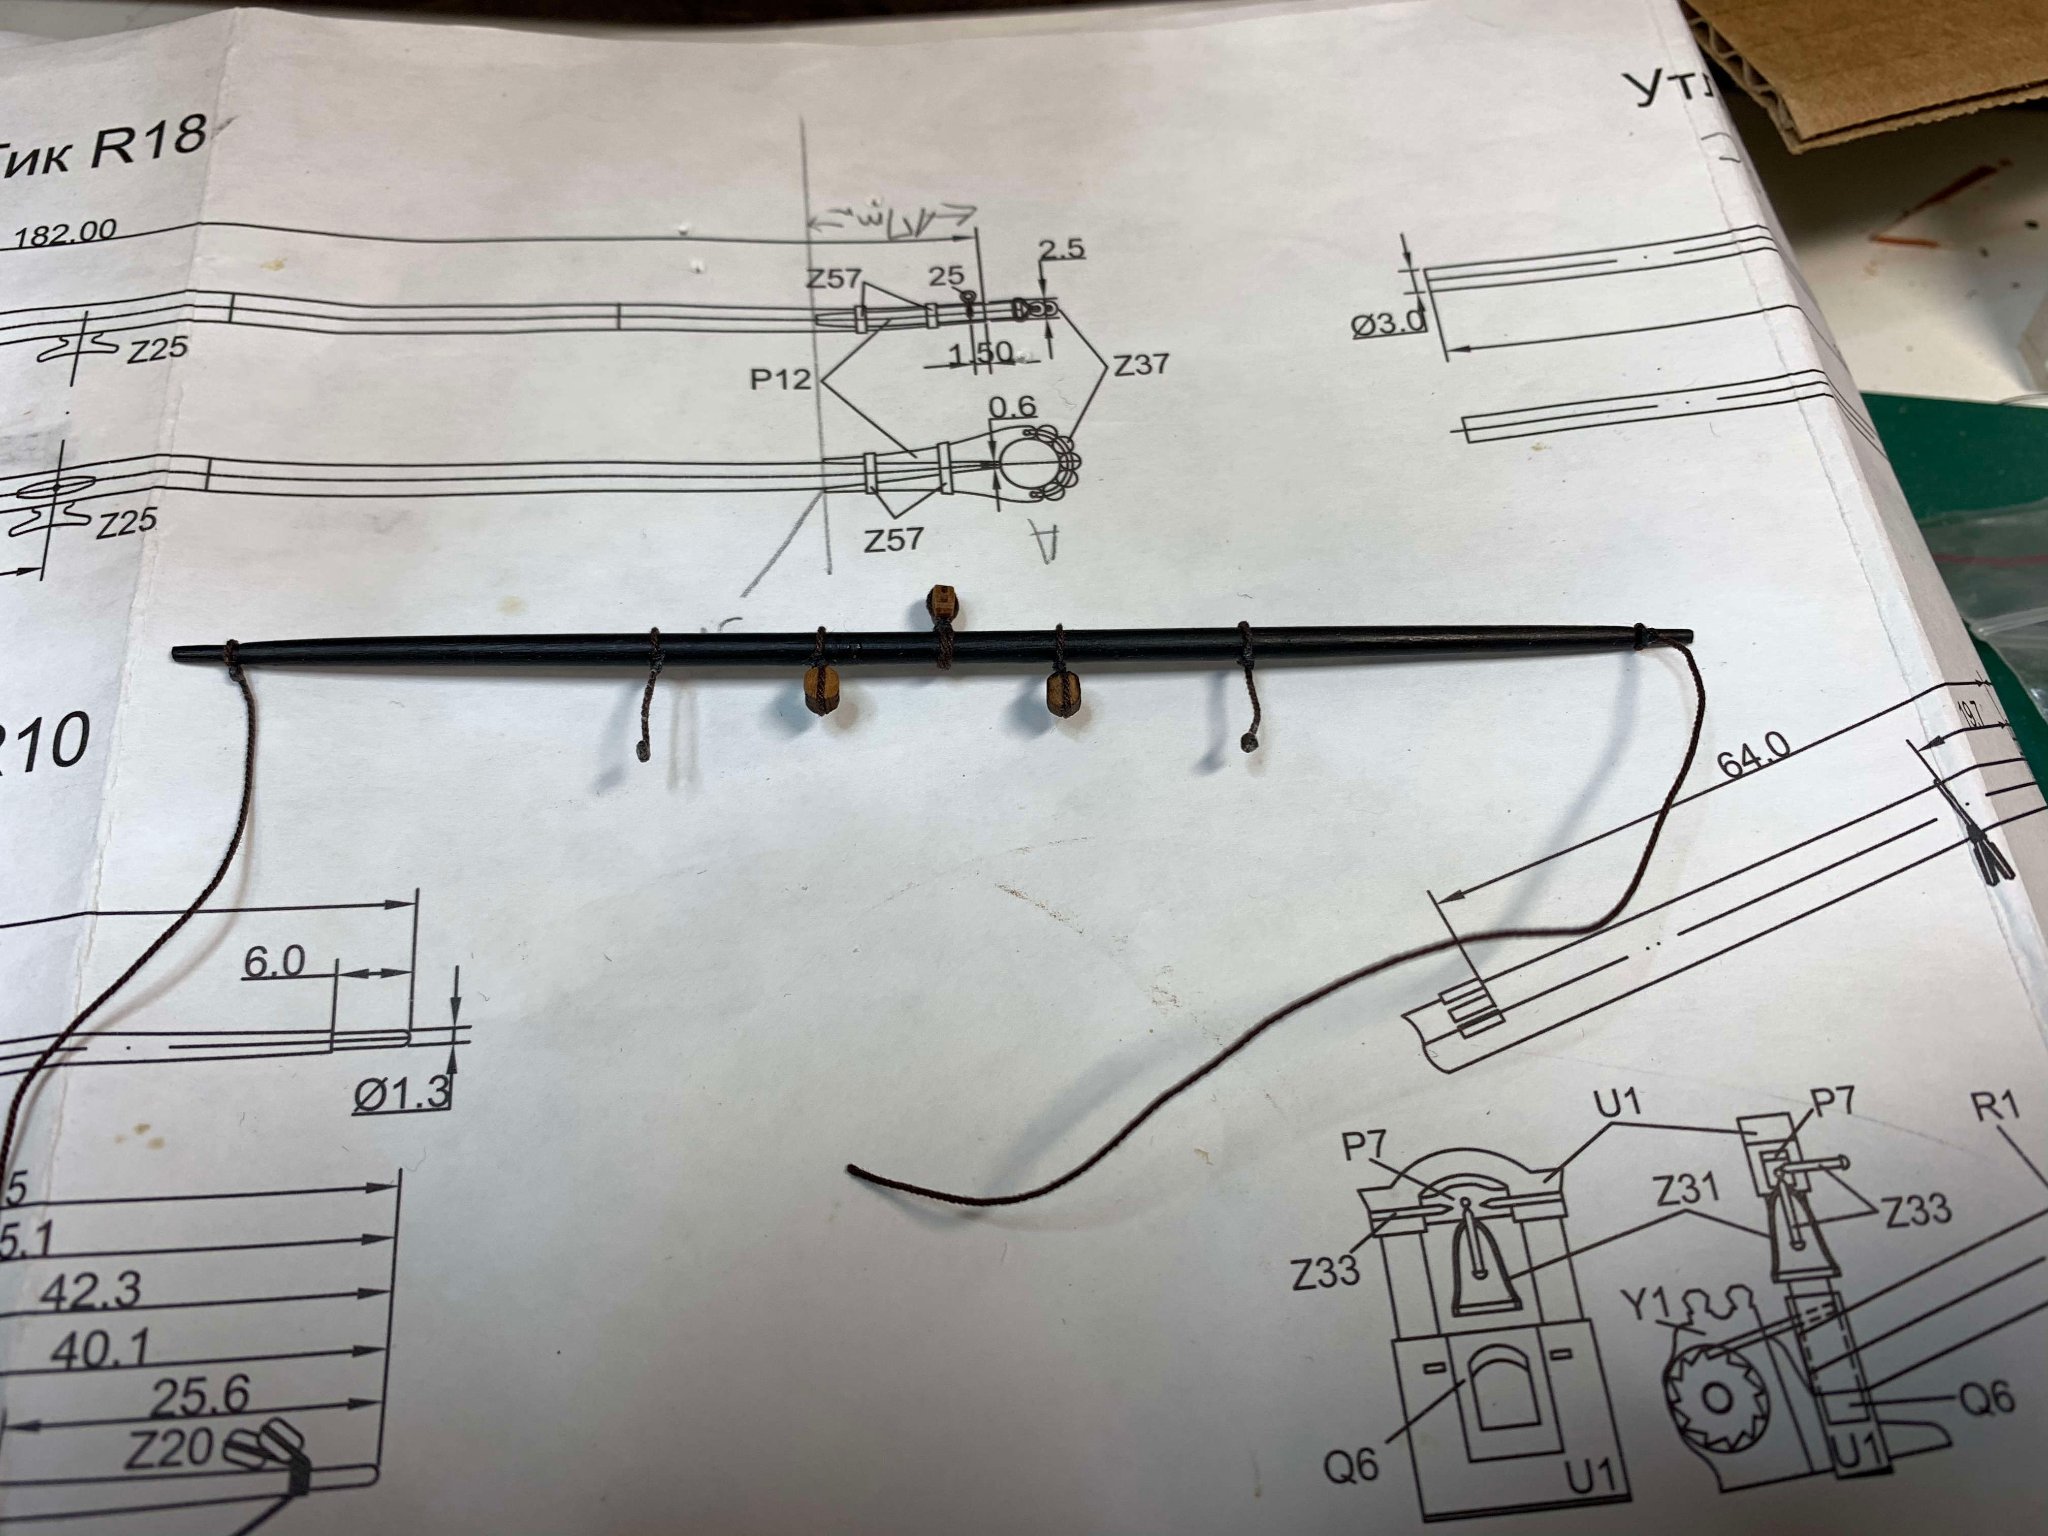
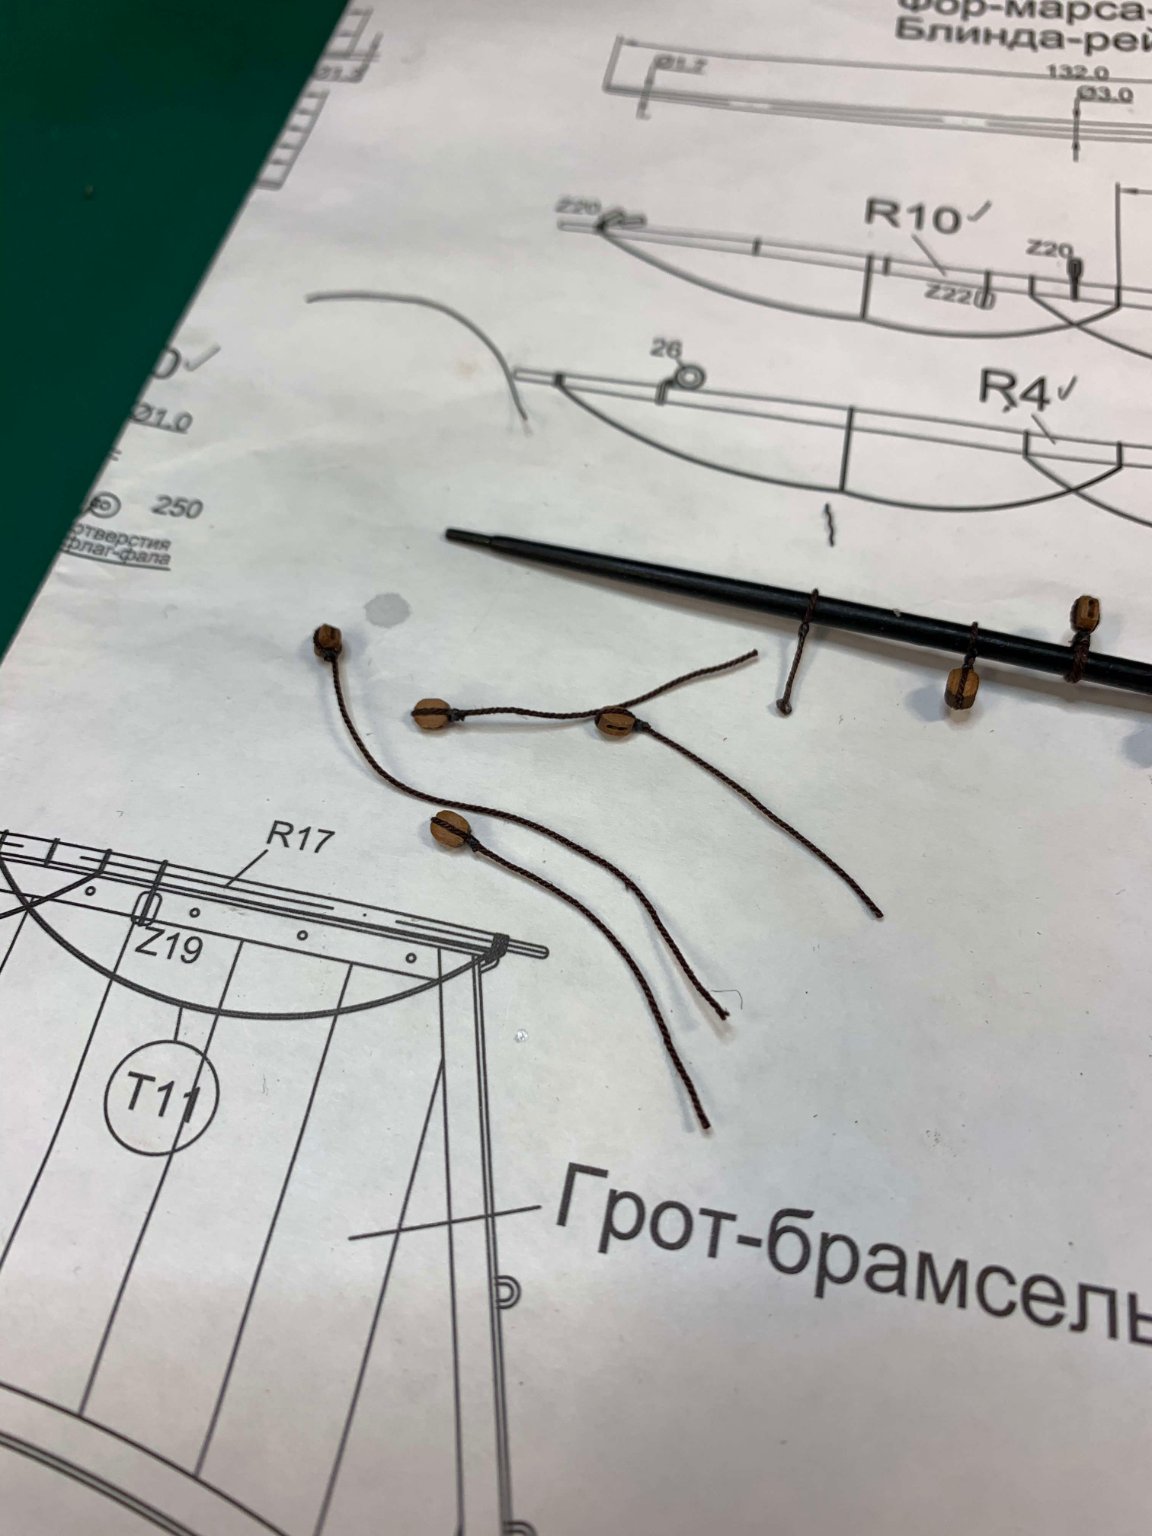
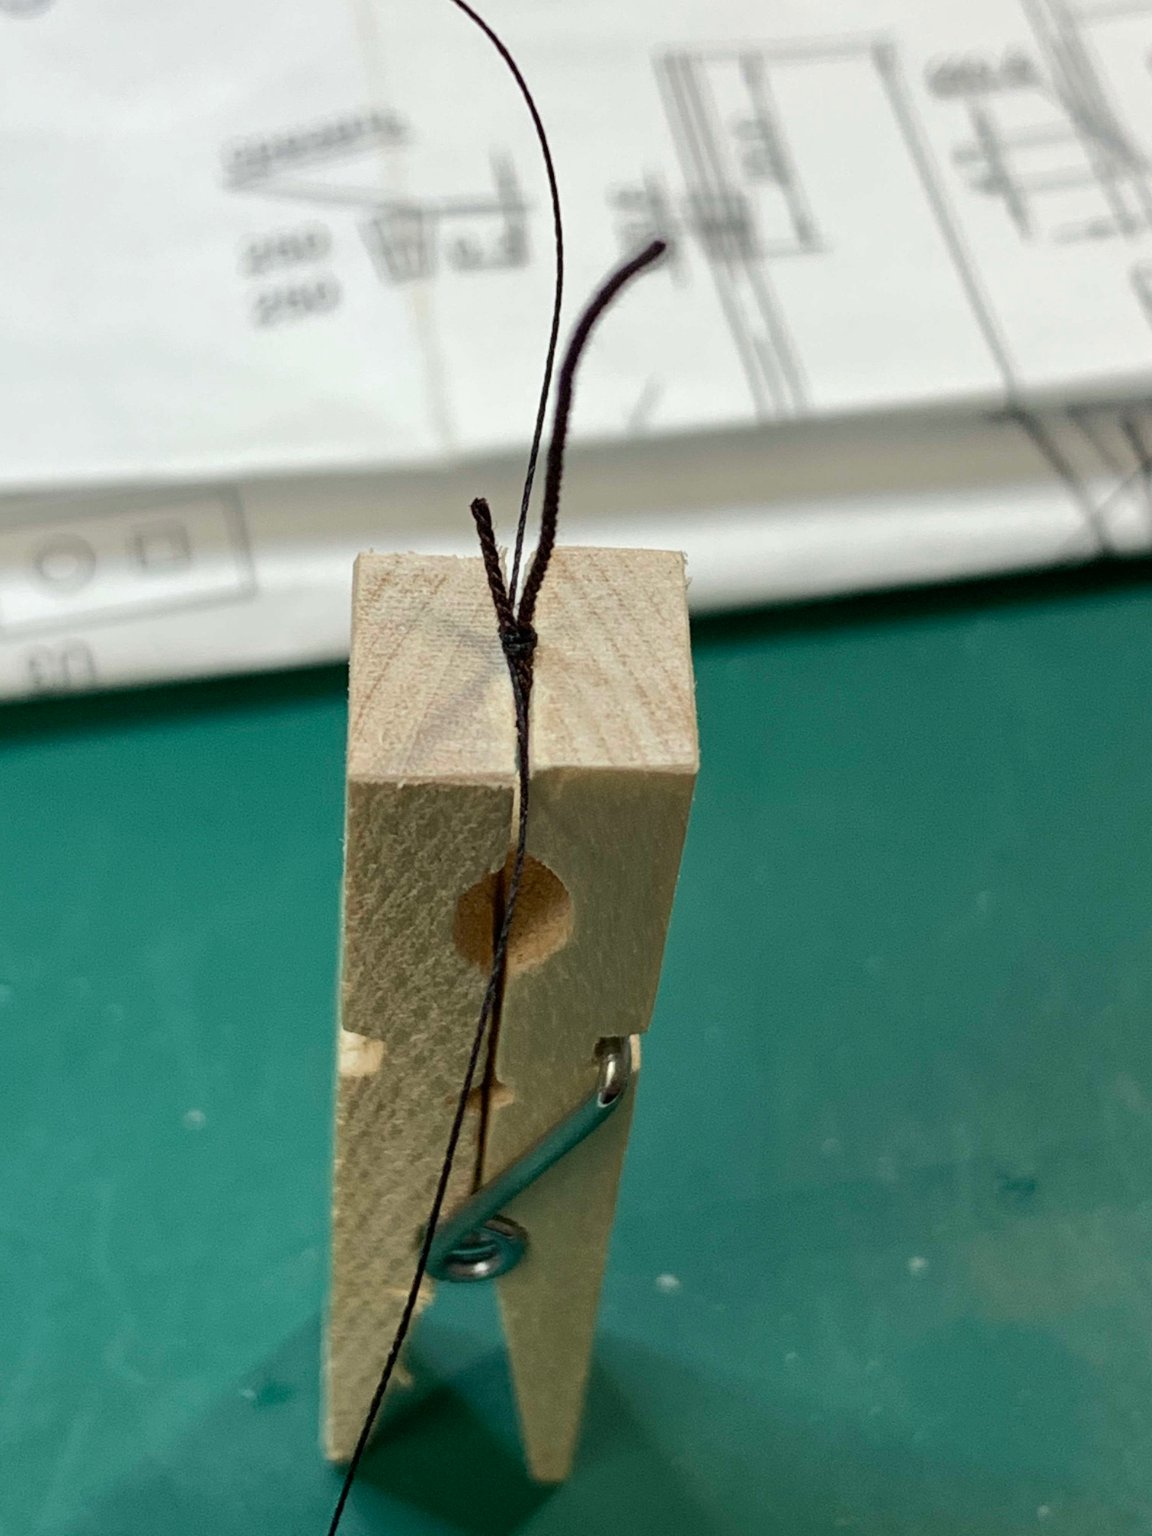
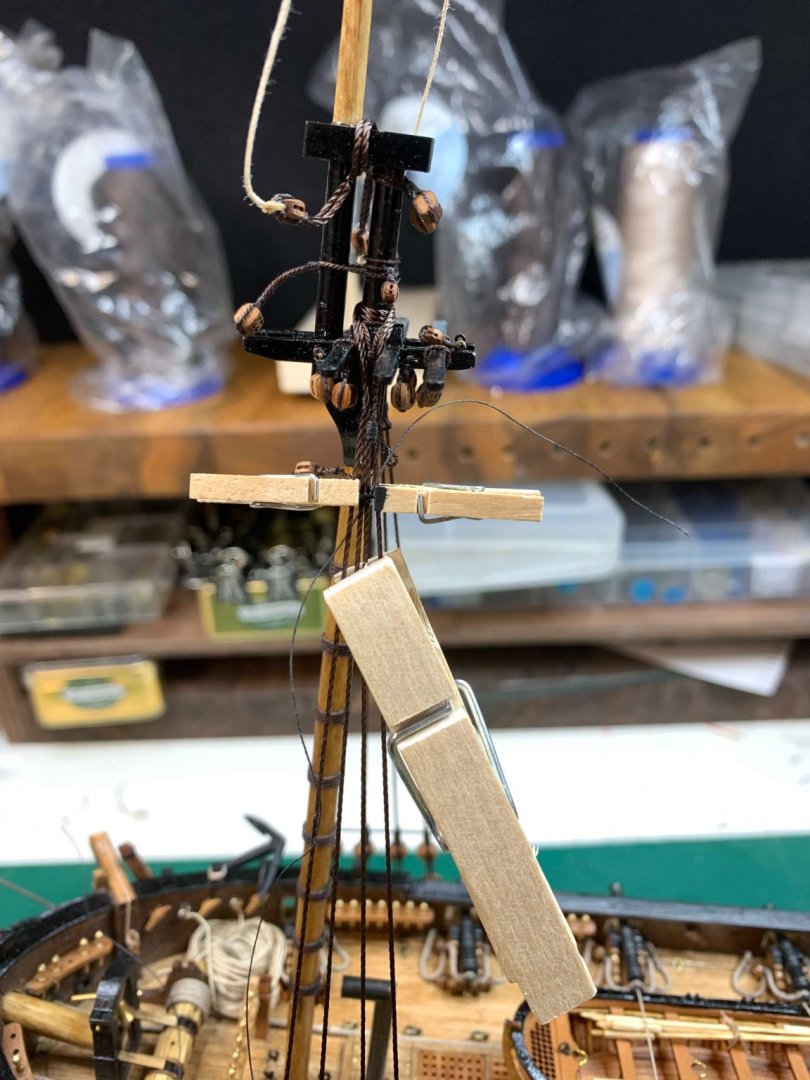
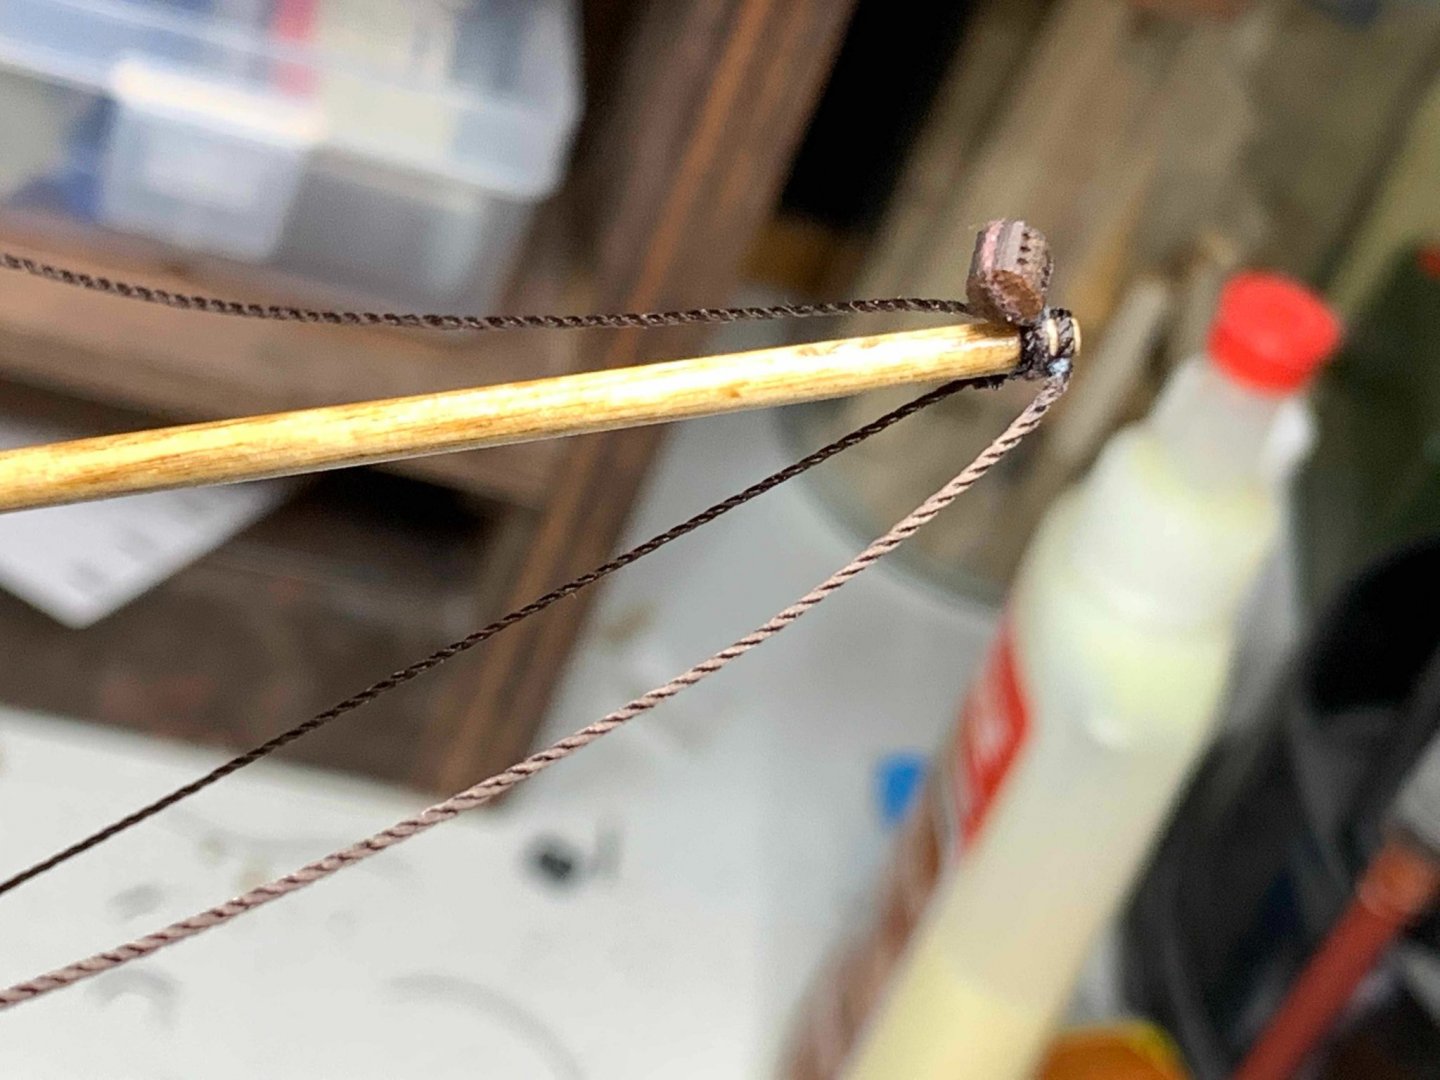
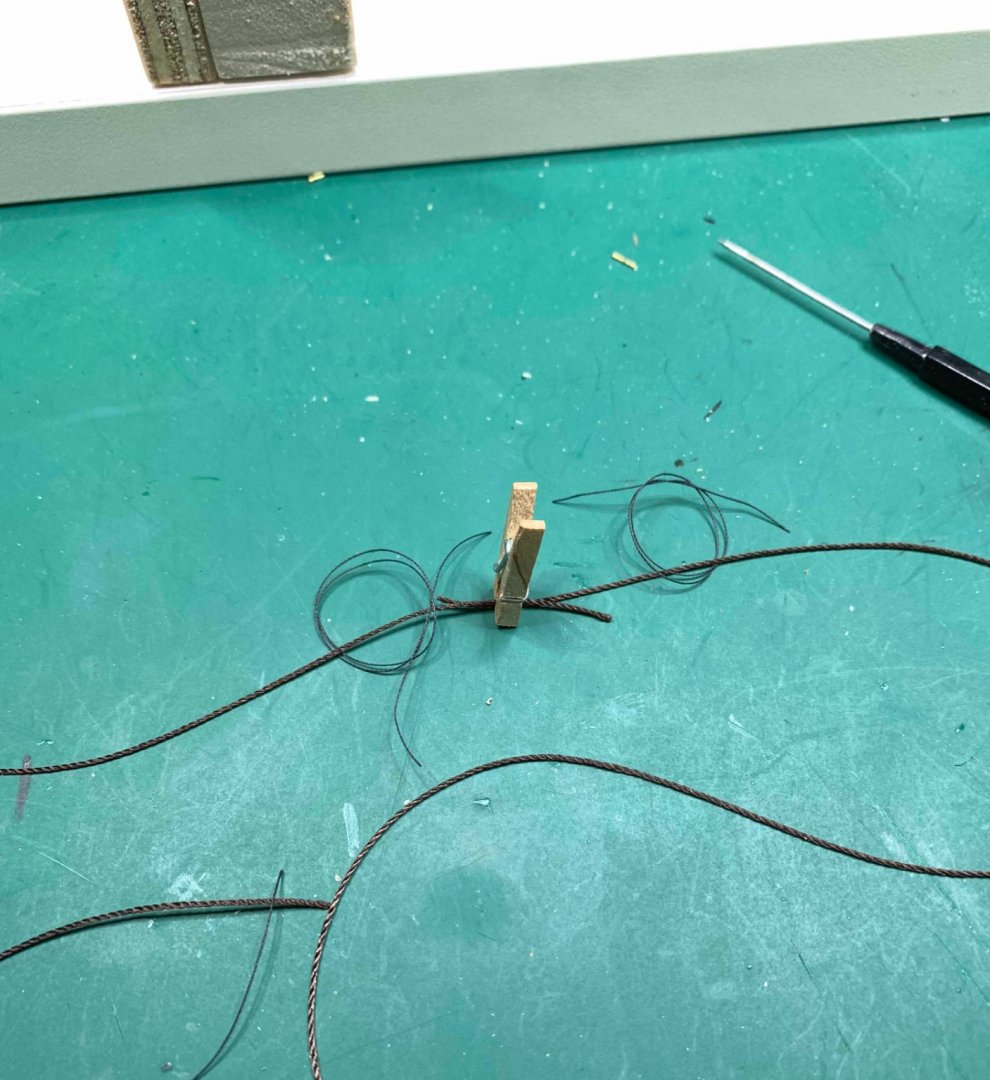
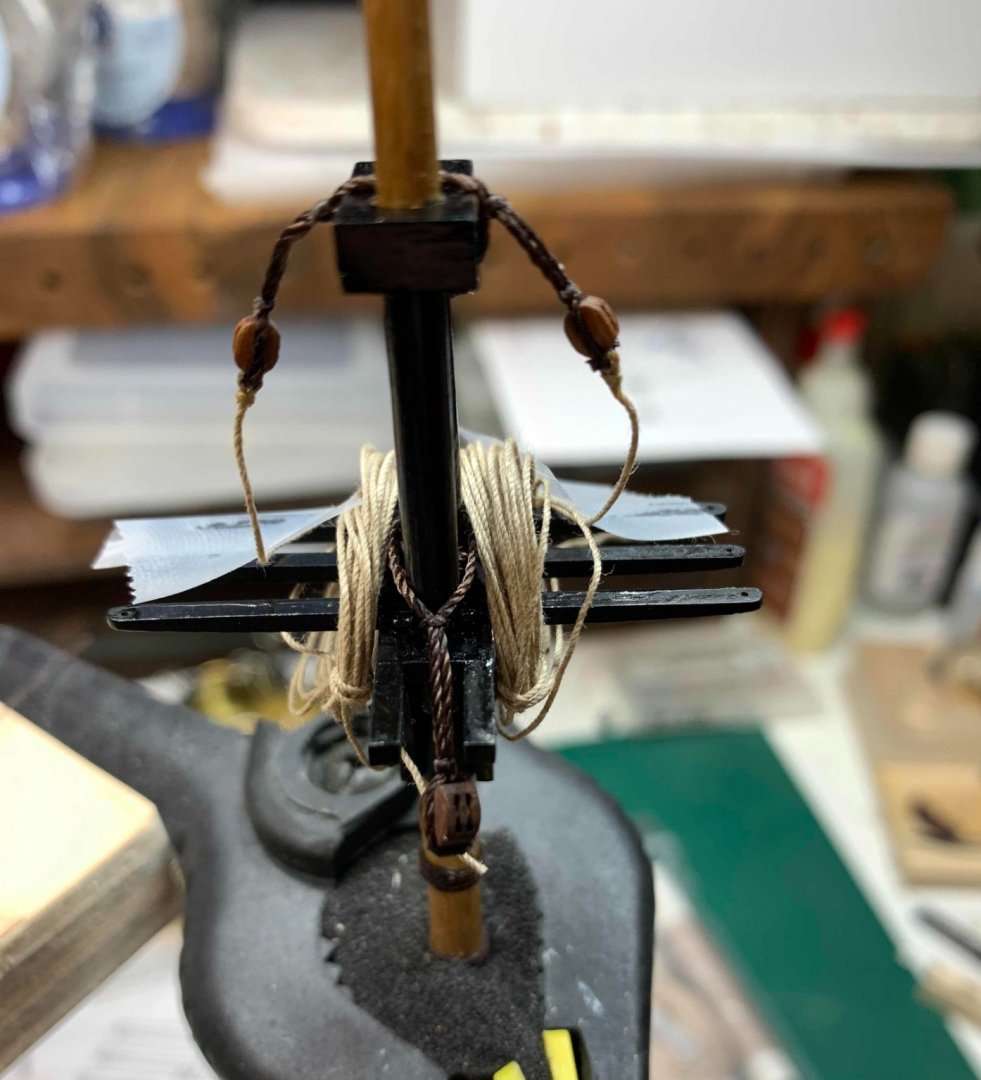
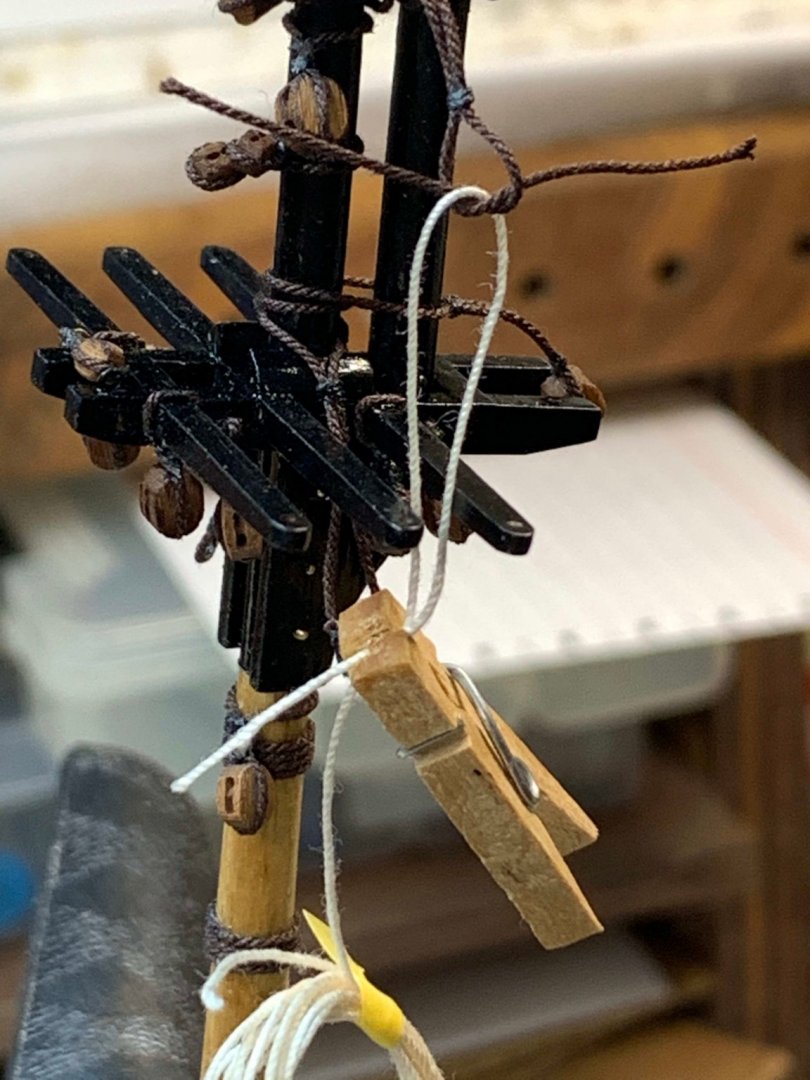
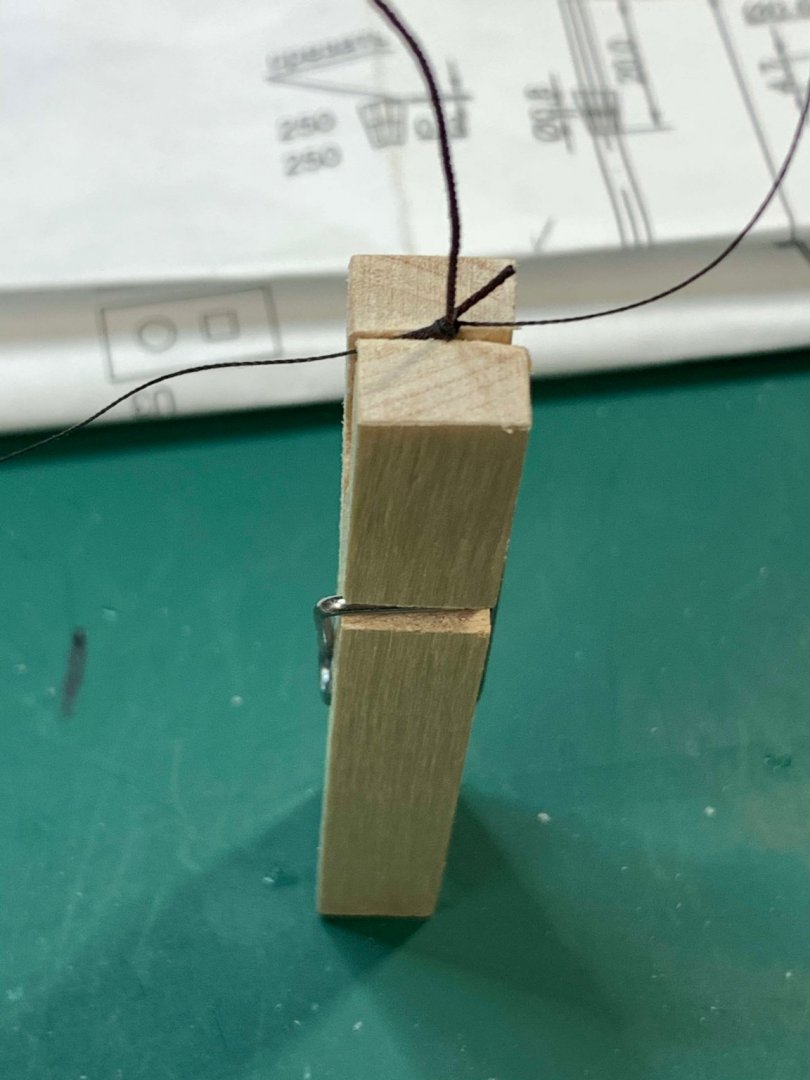
Winding pennants, two of each made even dough plan shows only one.. in making process.. Completed and two cloth pins used to stretch them a bit.. Here is set of pictures showing few other blocks... This time a big helper is holding mast to provide easier way to work on them... Not sure if i will leave these two "cream-coloured" ropes; the colour dont match a tan colour i am trying to use. Will see what i can do. Happy modelling..


-
No much available time so only few block have been attached to the mast.. Happy modelling..
-
Little helper's bigger brother... for tiny seizing work.. Manufacturing blocks ... at this stage they look look like, ah, forget it..... Foot rope installation has started... And the end result. I have to modify the shape of a foot rope a bit... Happy modelling..


- 275 replies
-
- 2
-
-
- phoenix
- master korabel
- (and 1 more)
-
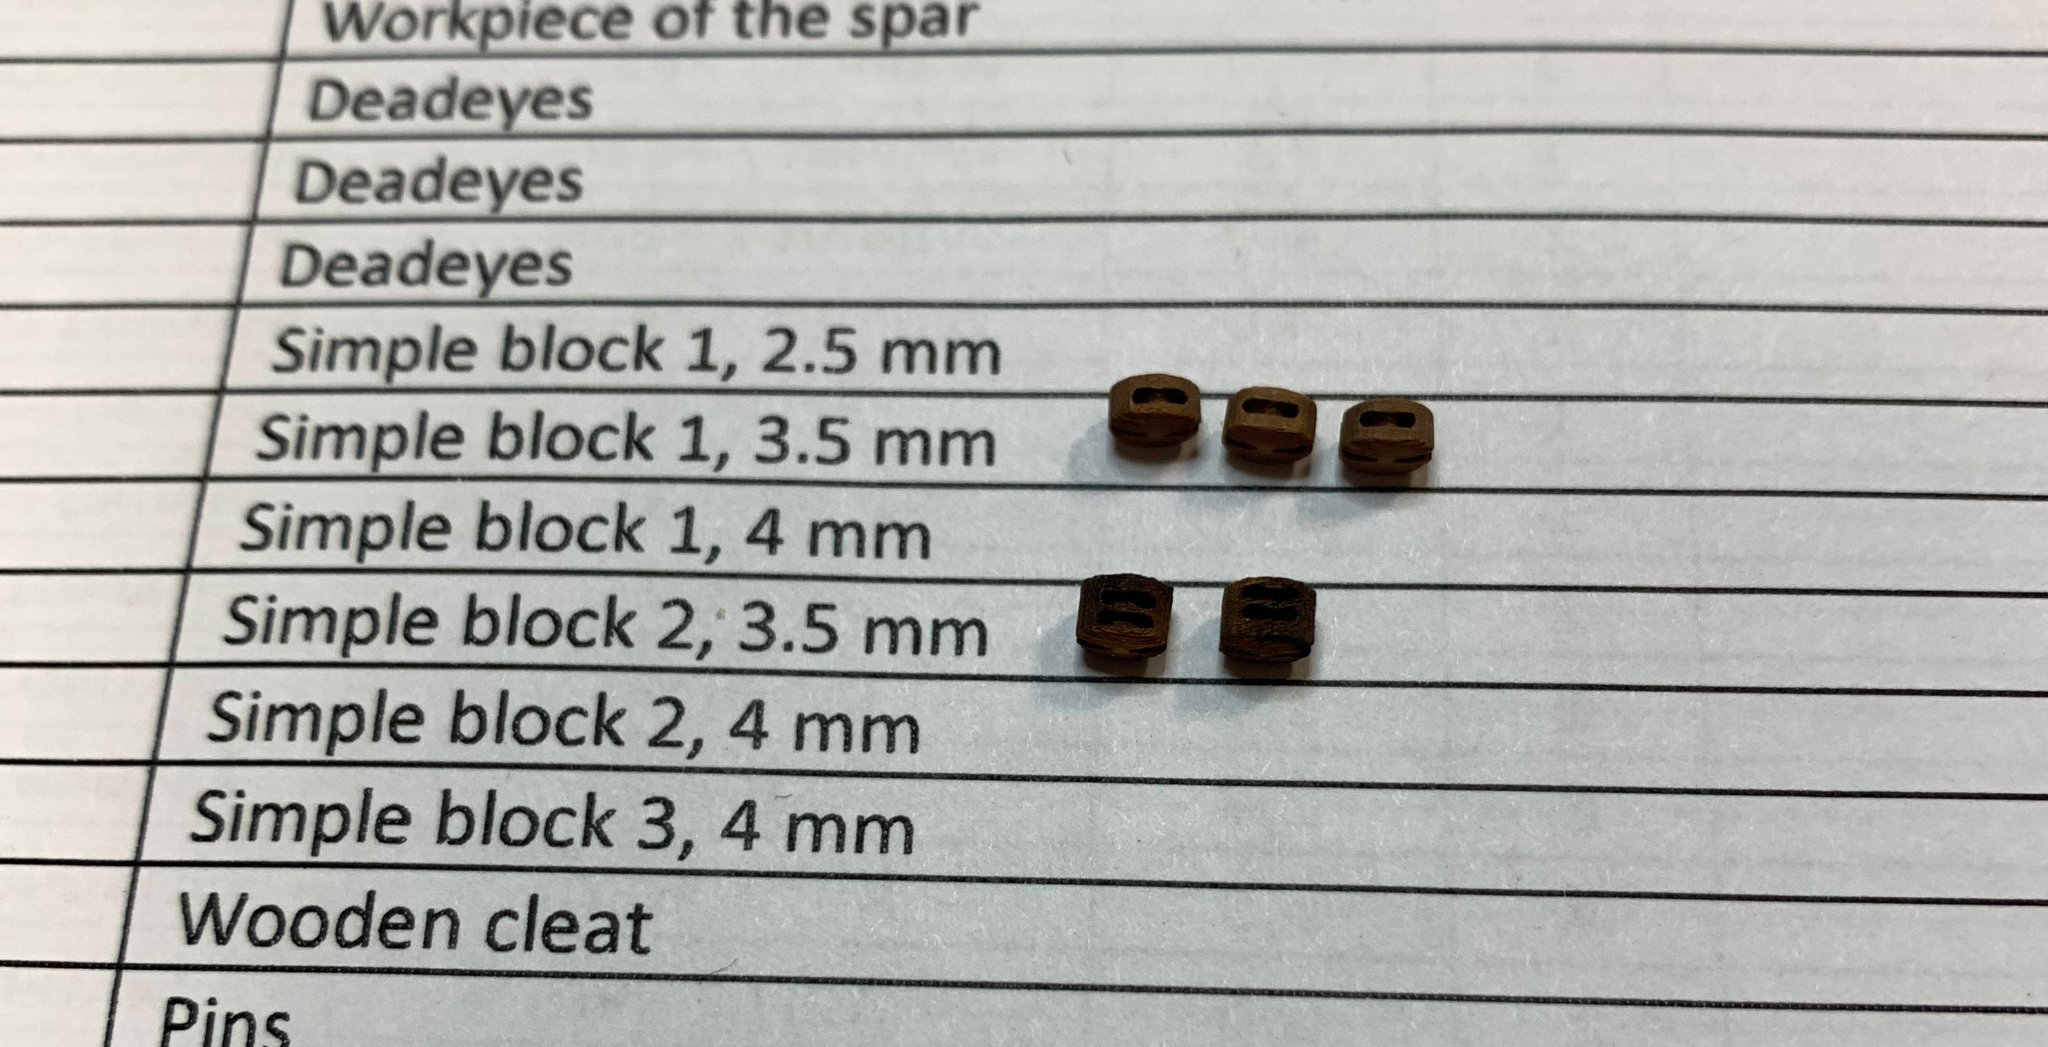
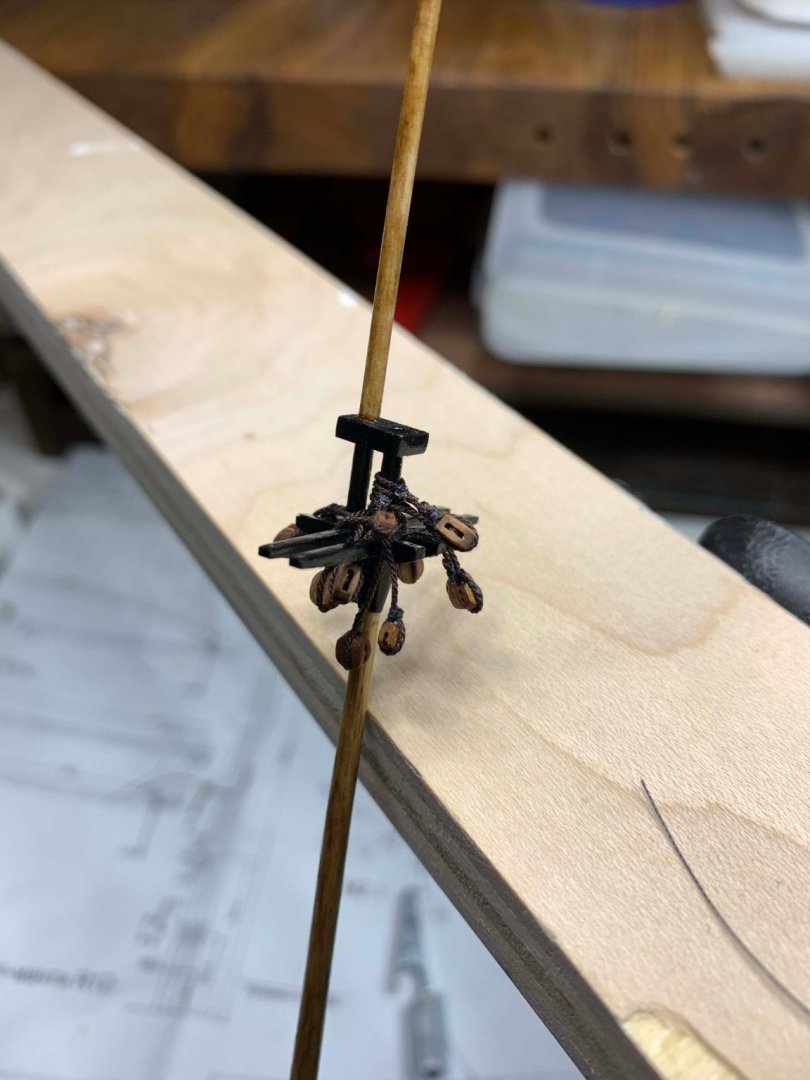
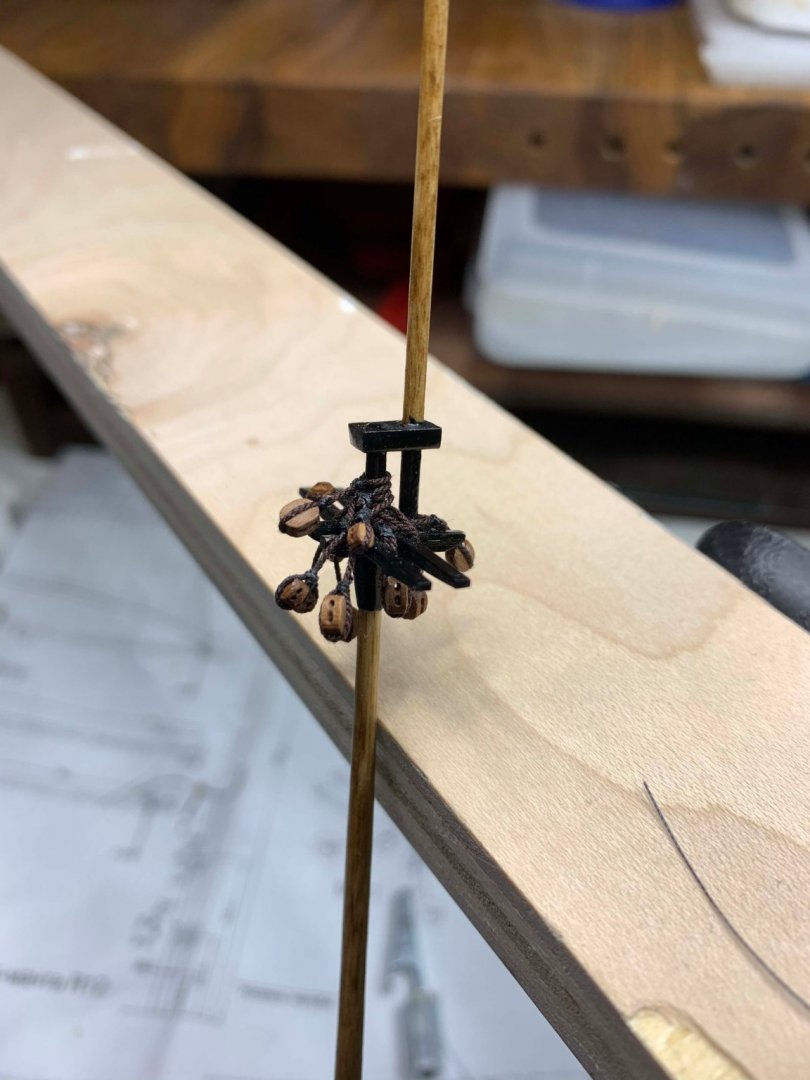
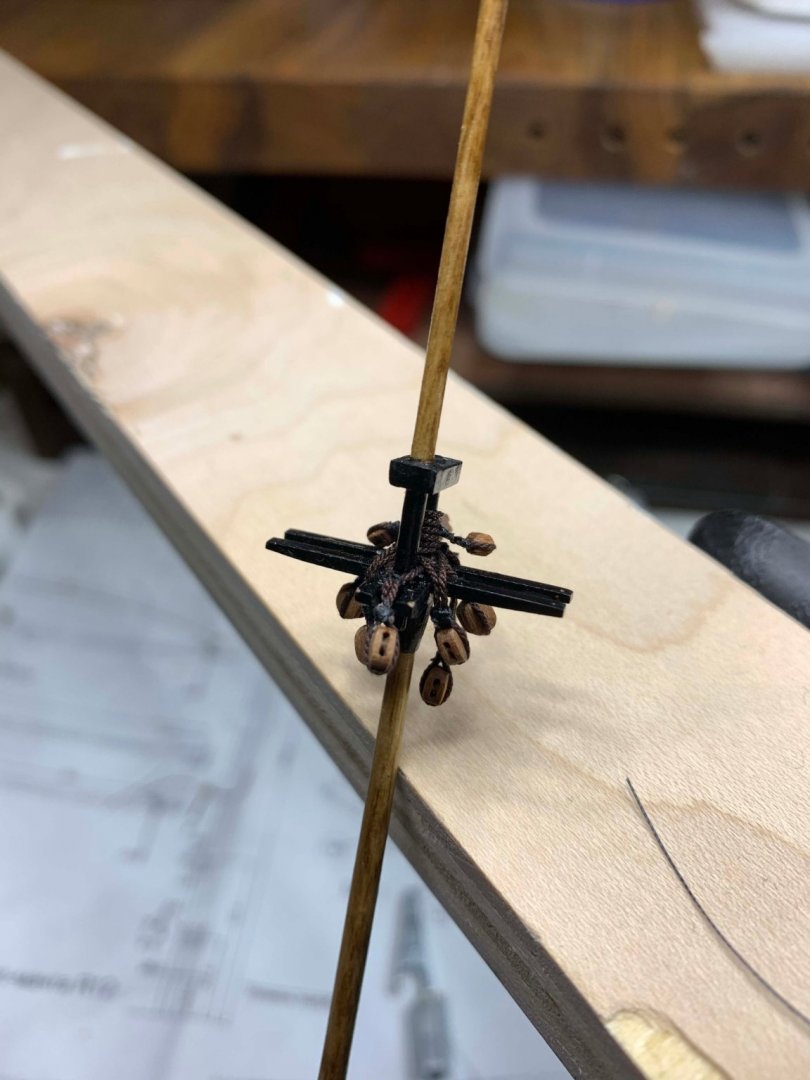
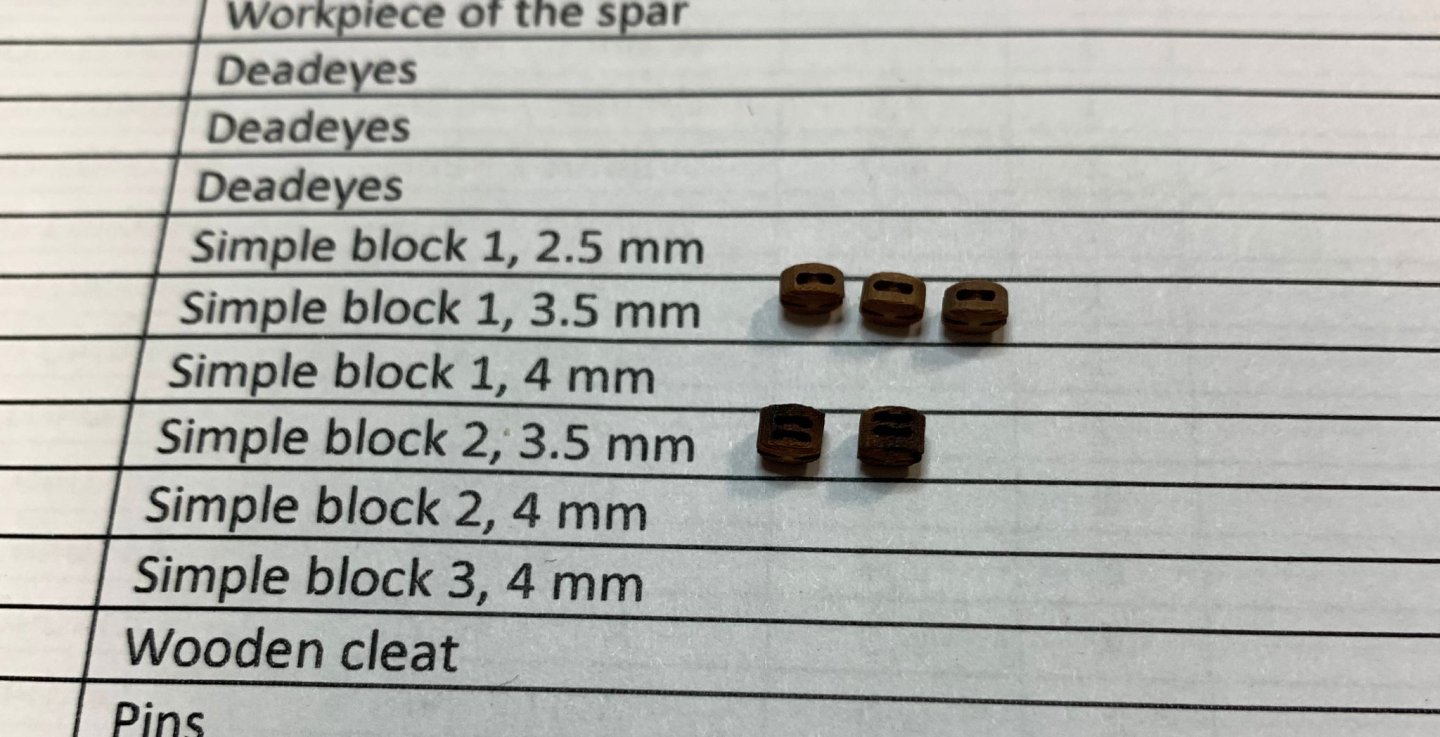
The work continues... Wanted to do a bit more complex knot but decided it might be a bit too bulky for a small, 3.5mm block... Happy modelling..


- 275 replies
-
- 2
-
-
- phoenix
- master korabel
- (and 1 more)
-
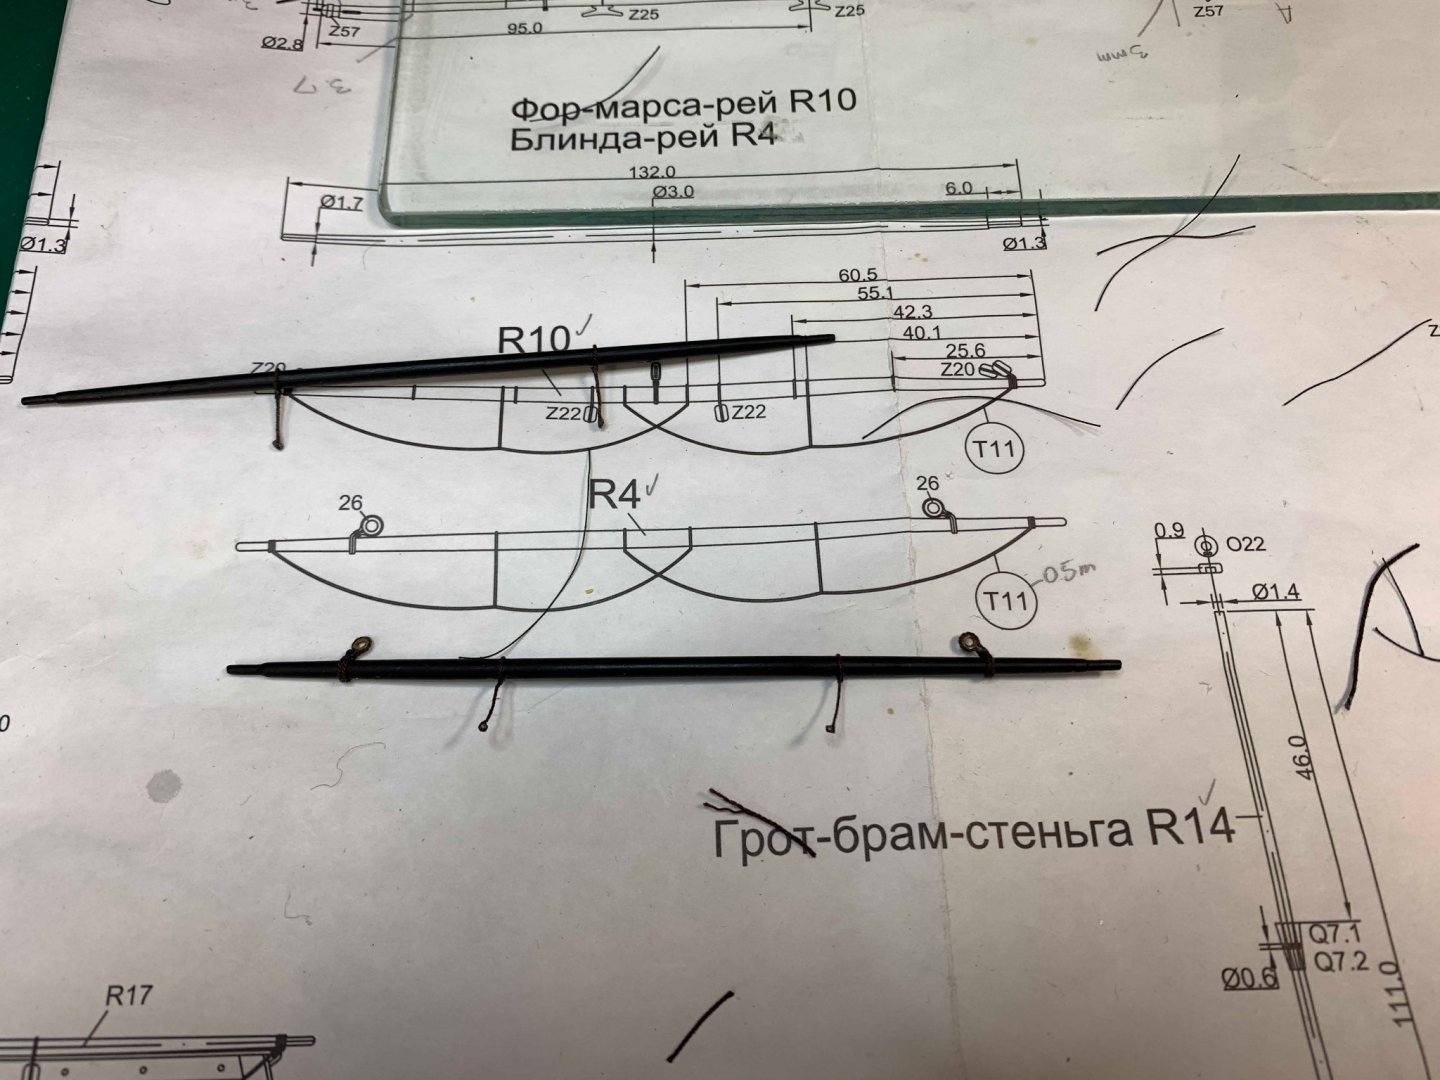
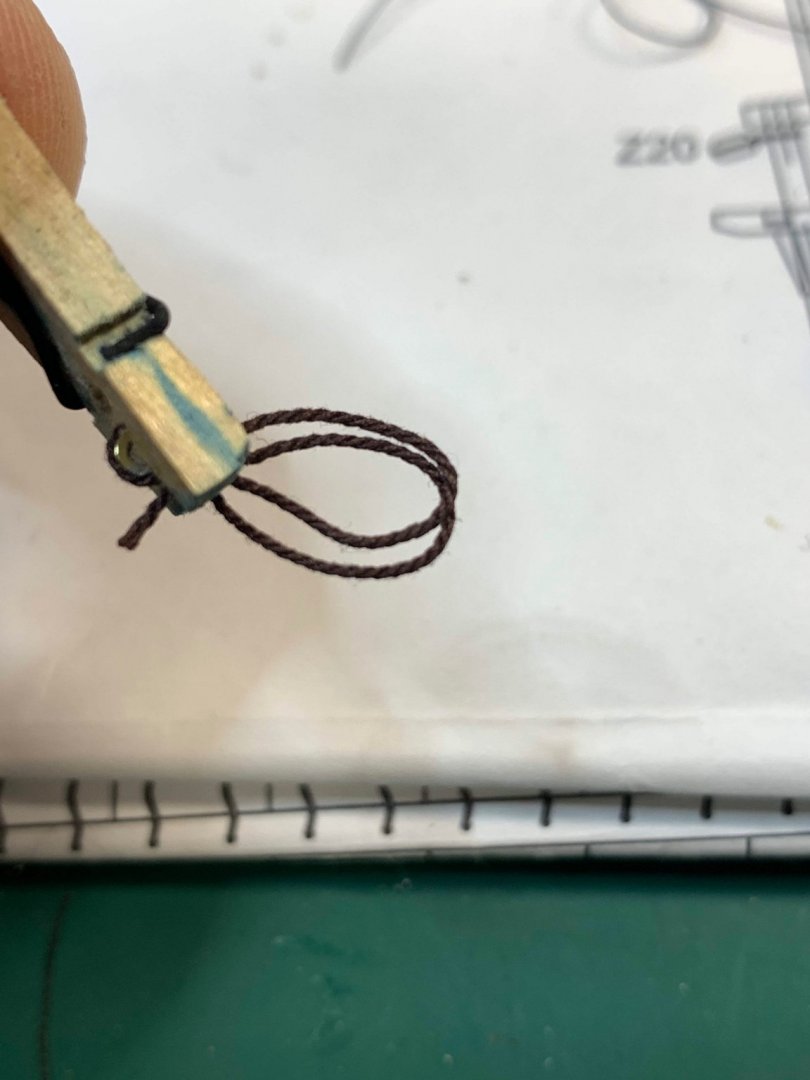
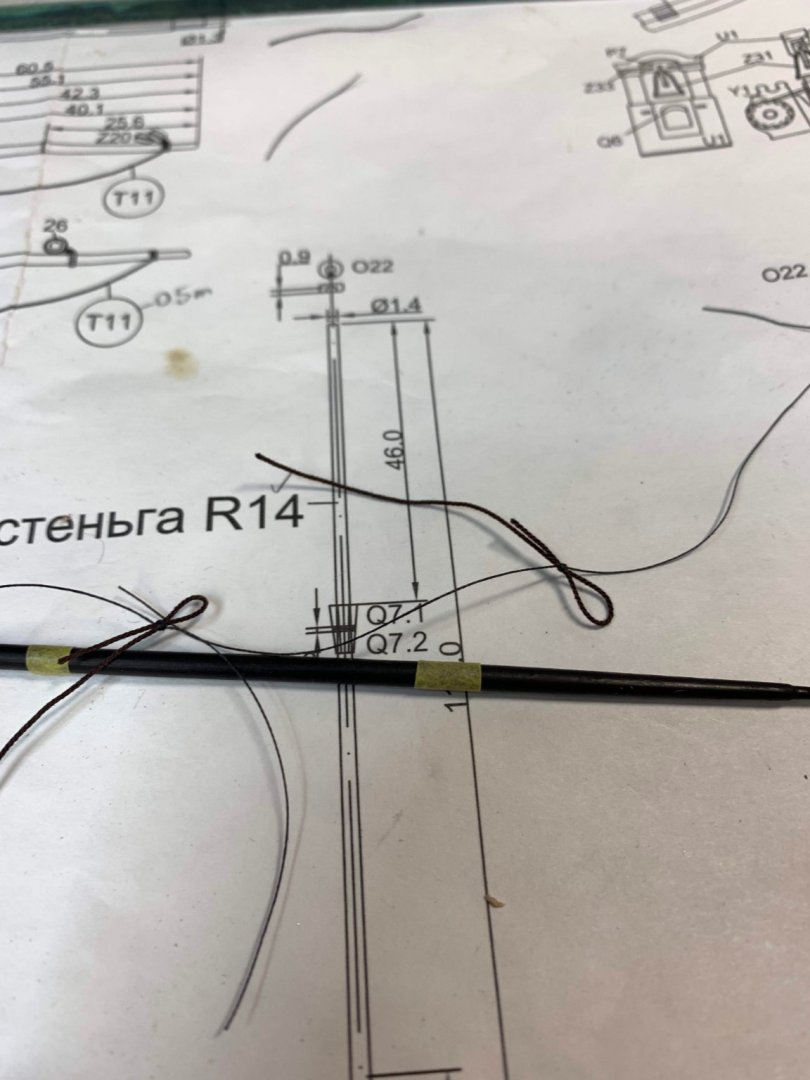
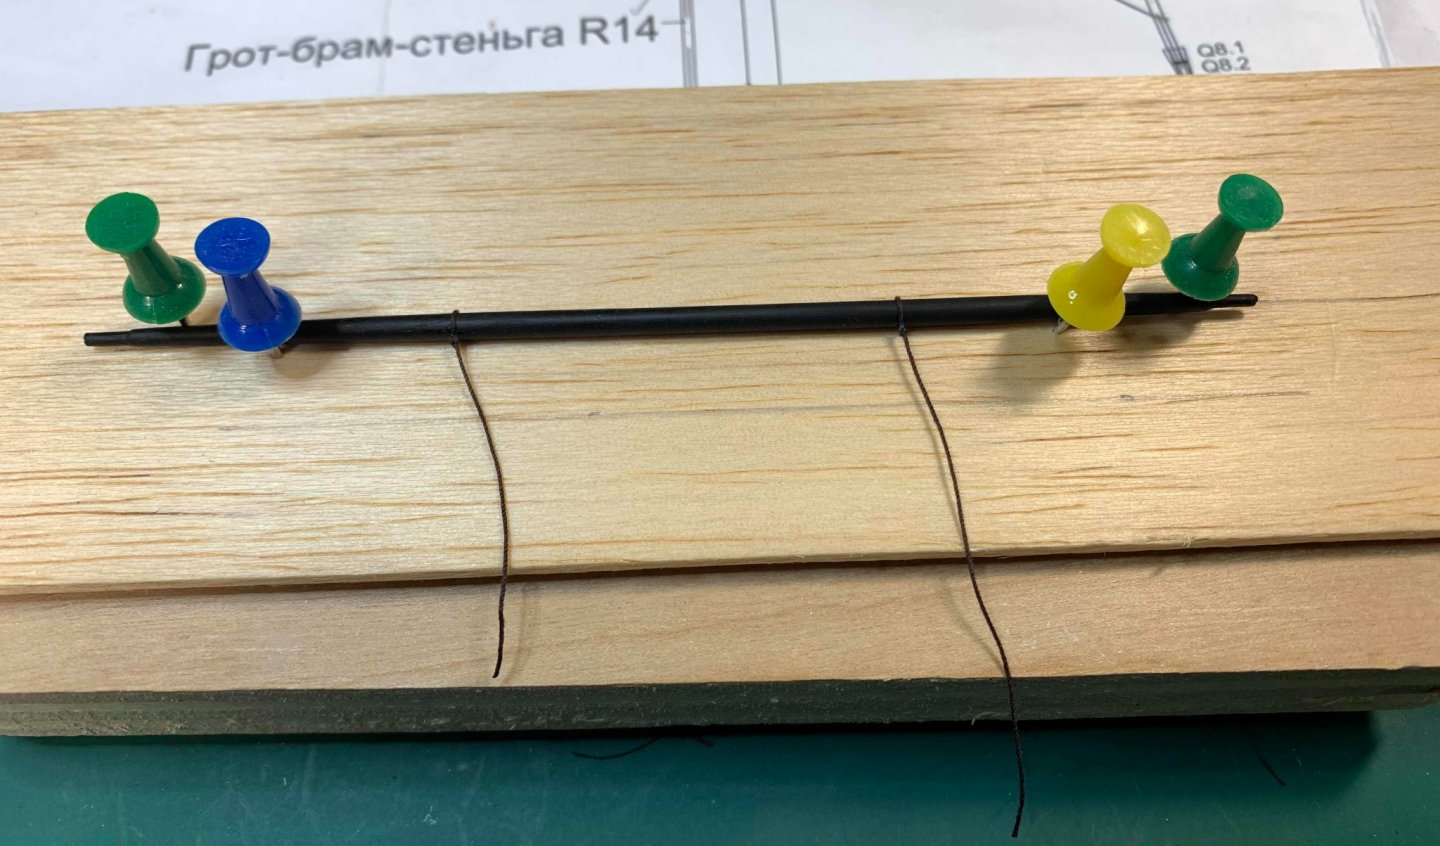
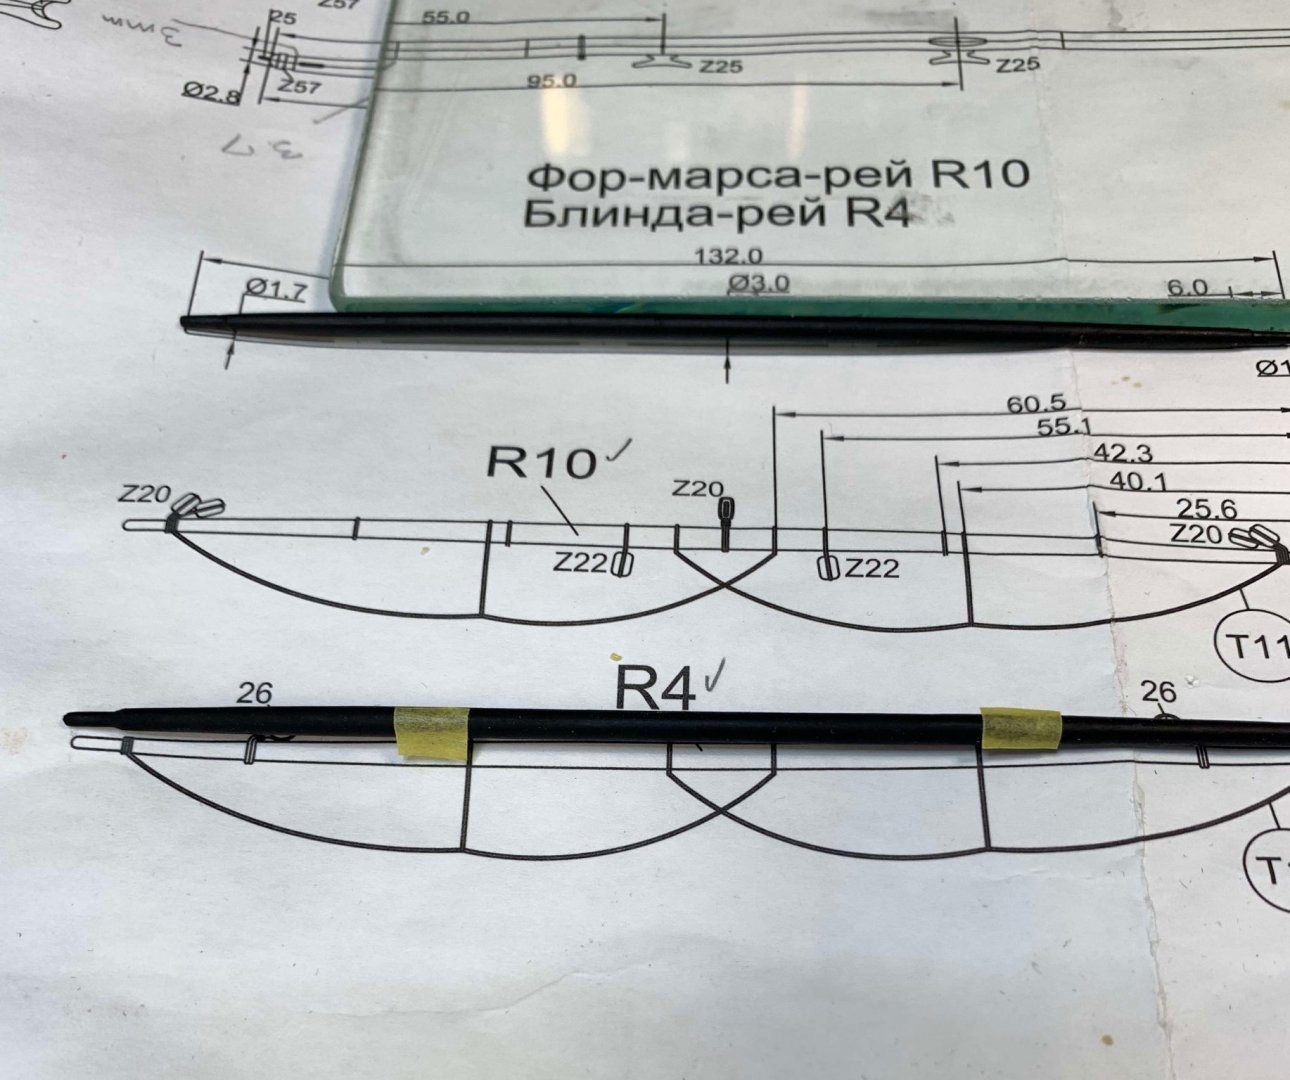
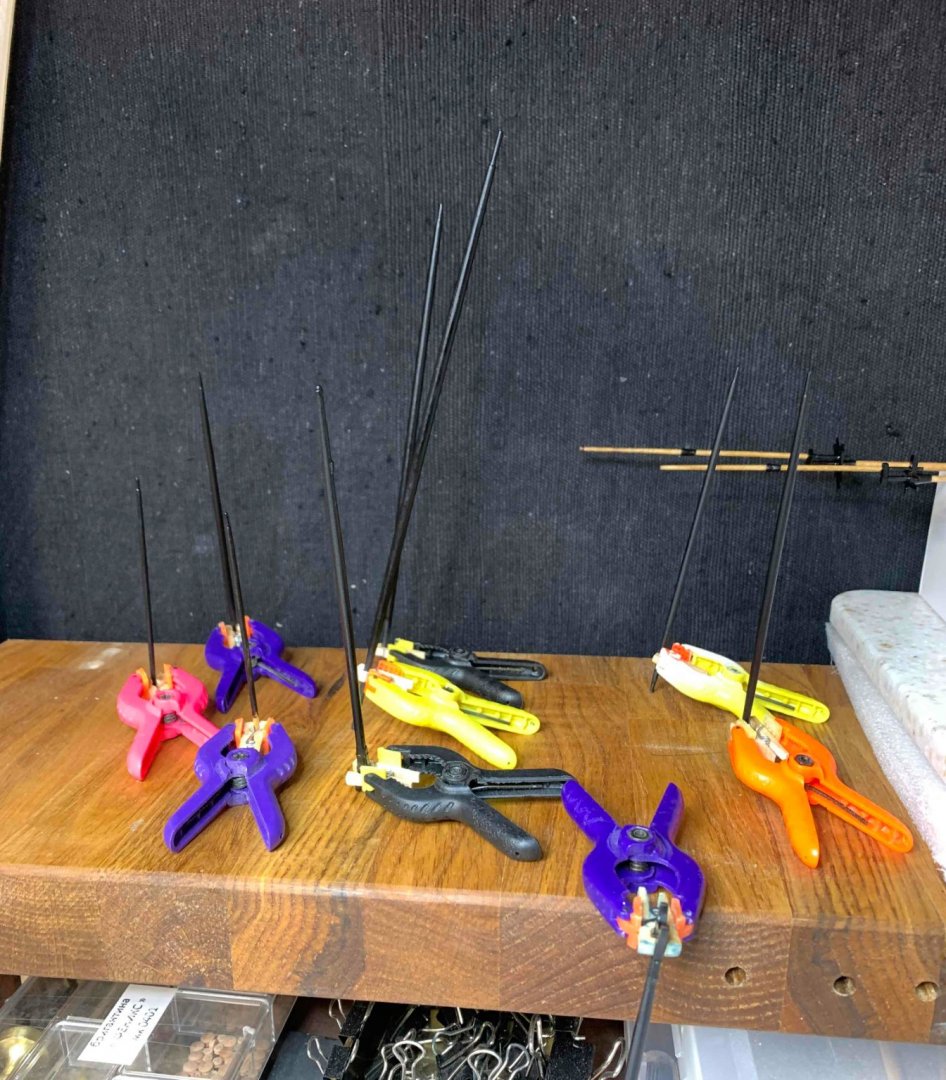
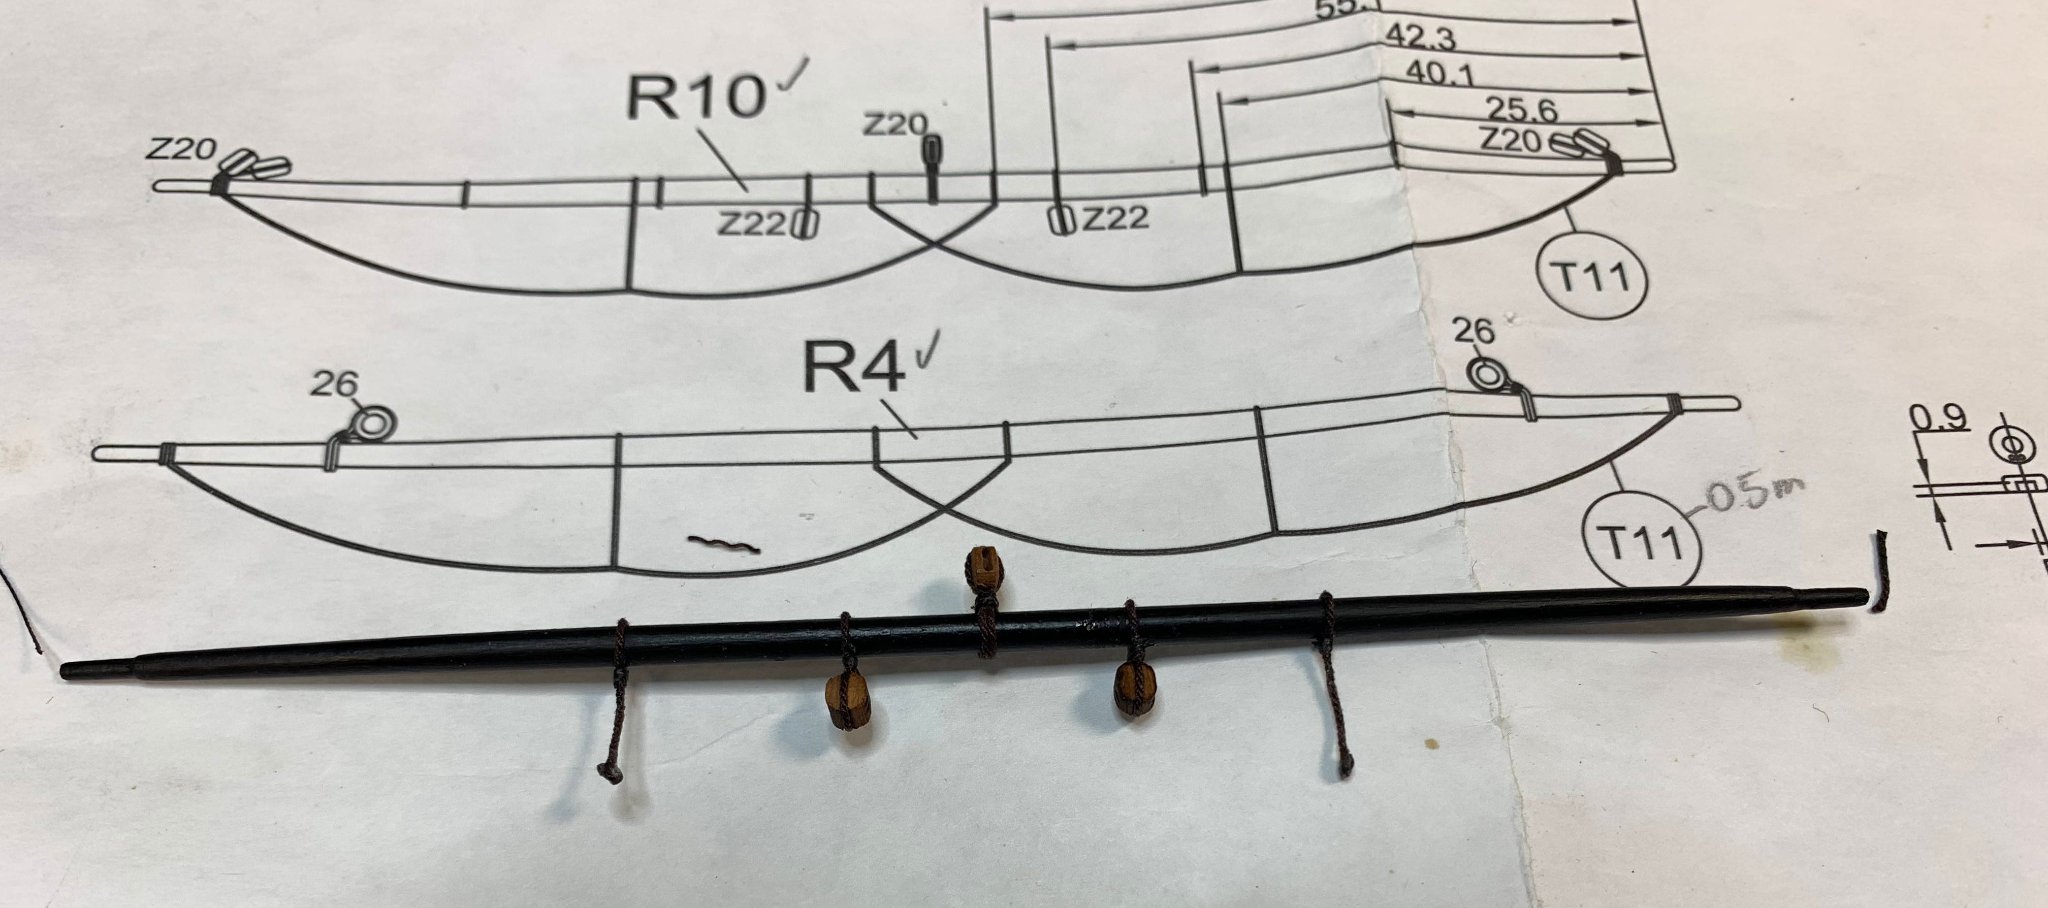
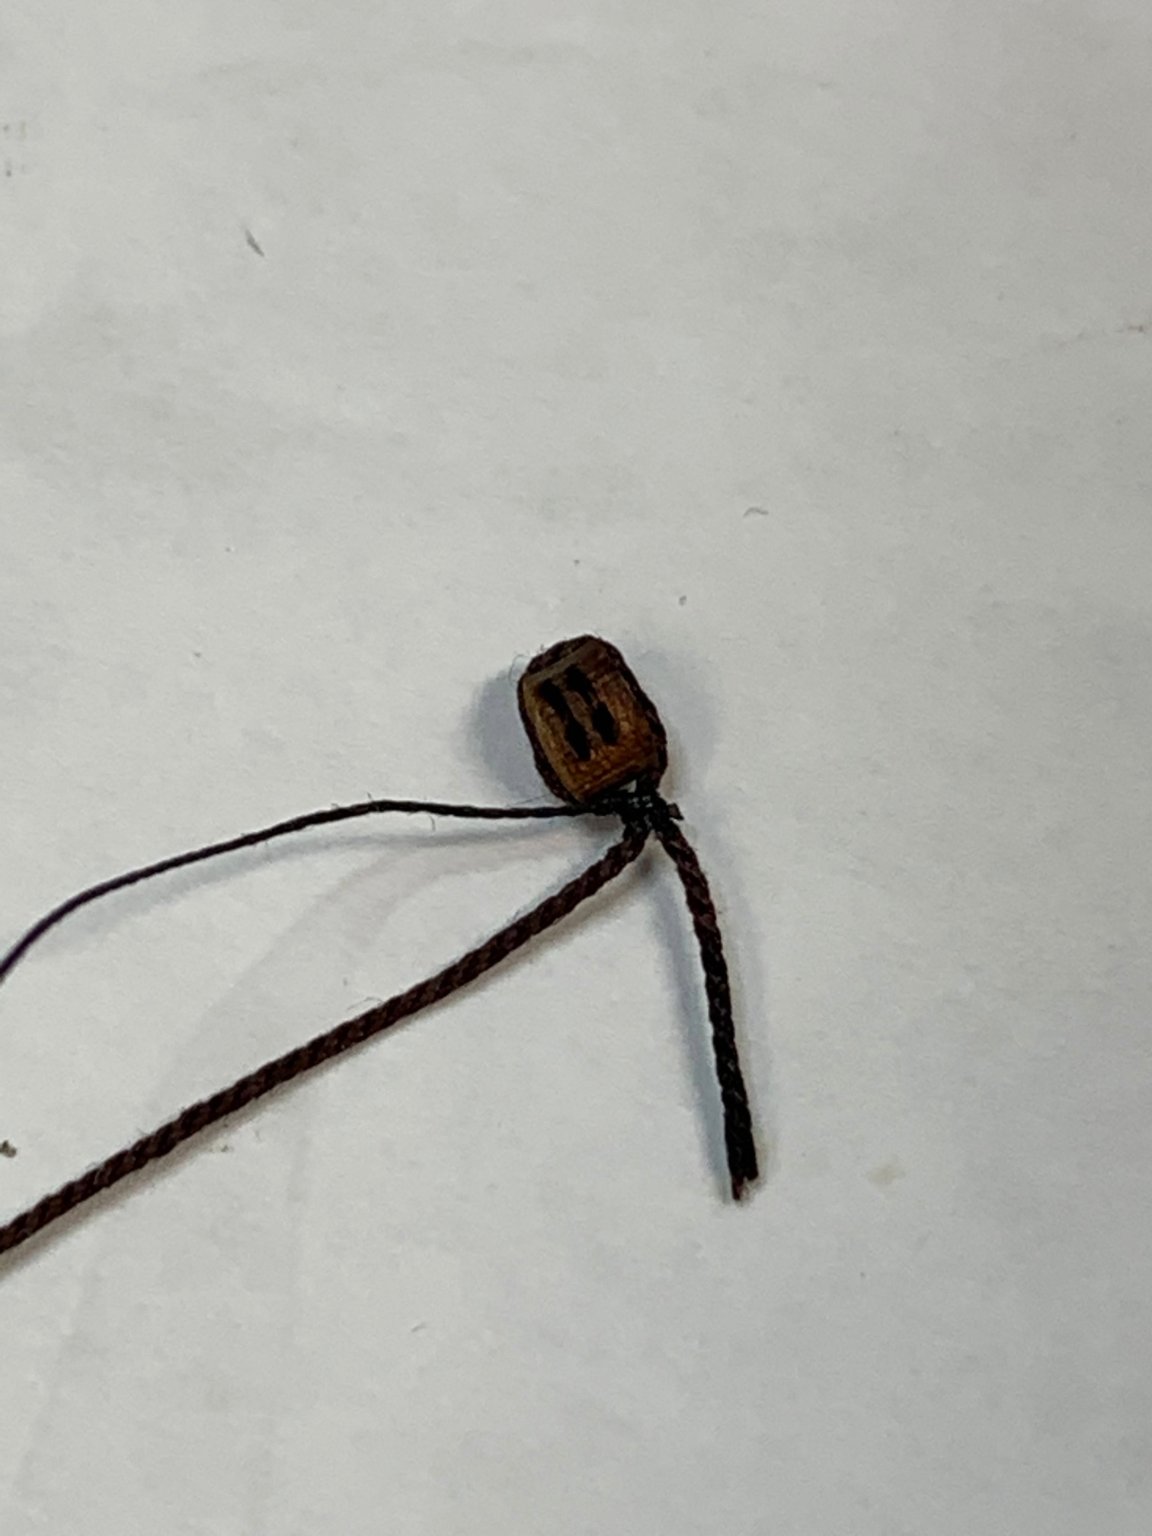
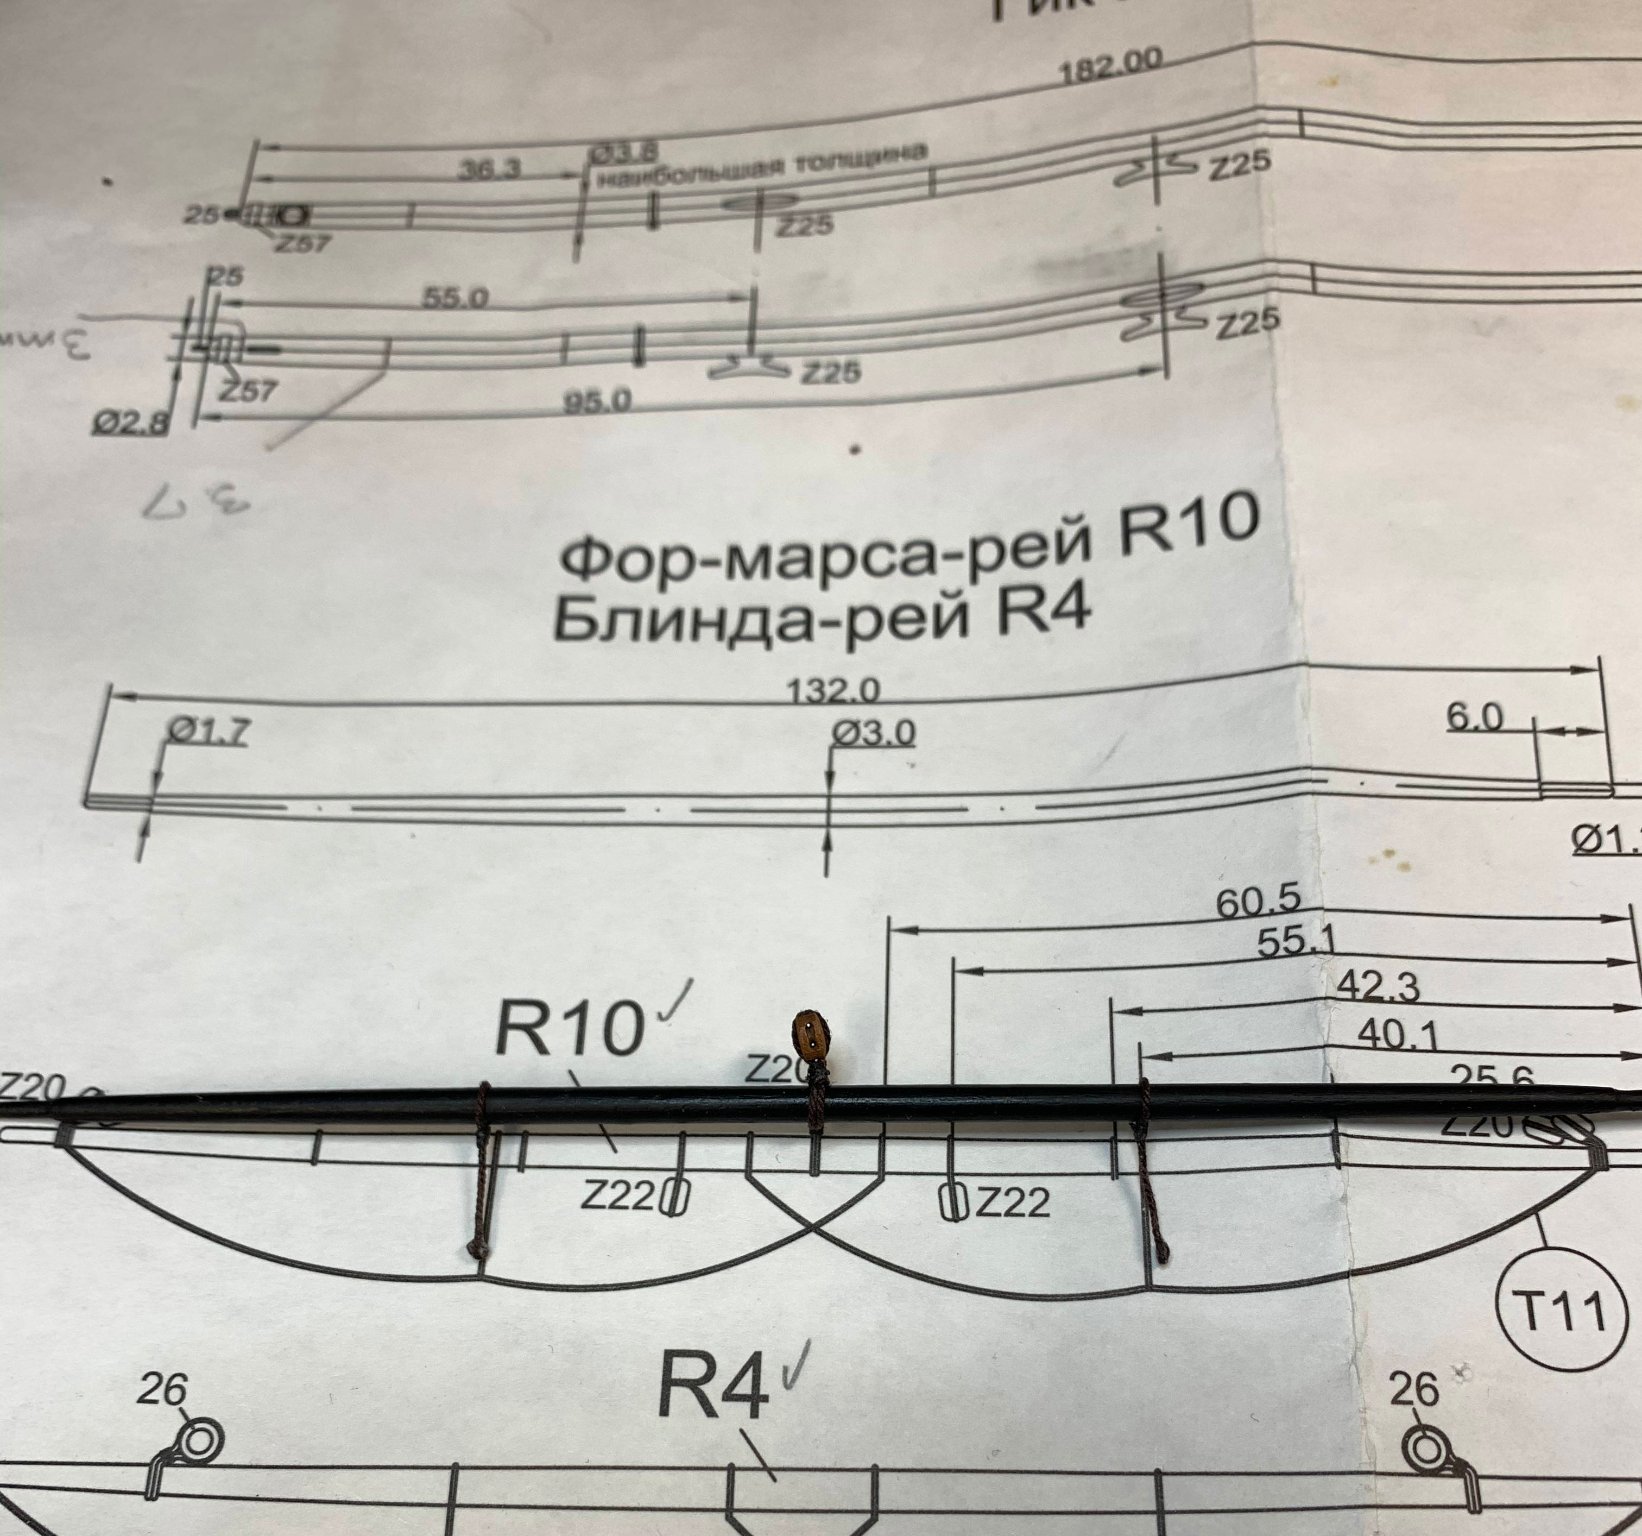
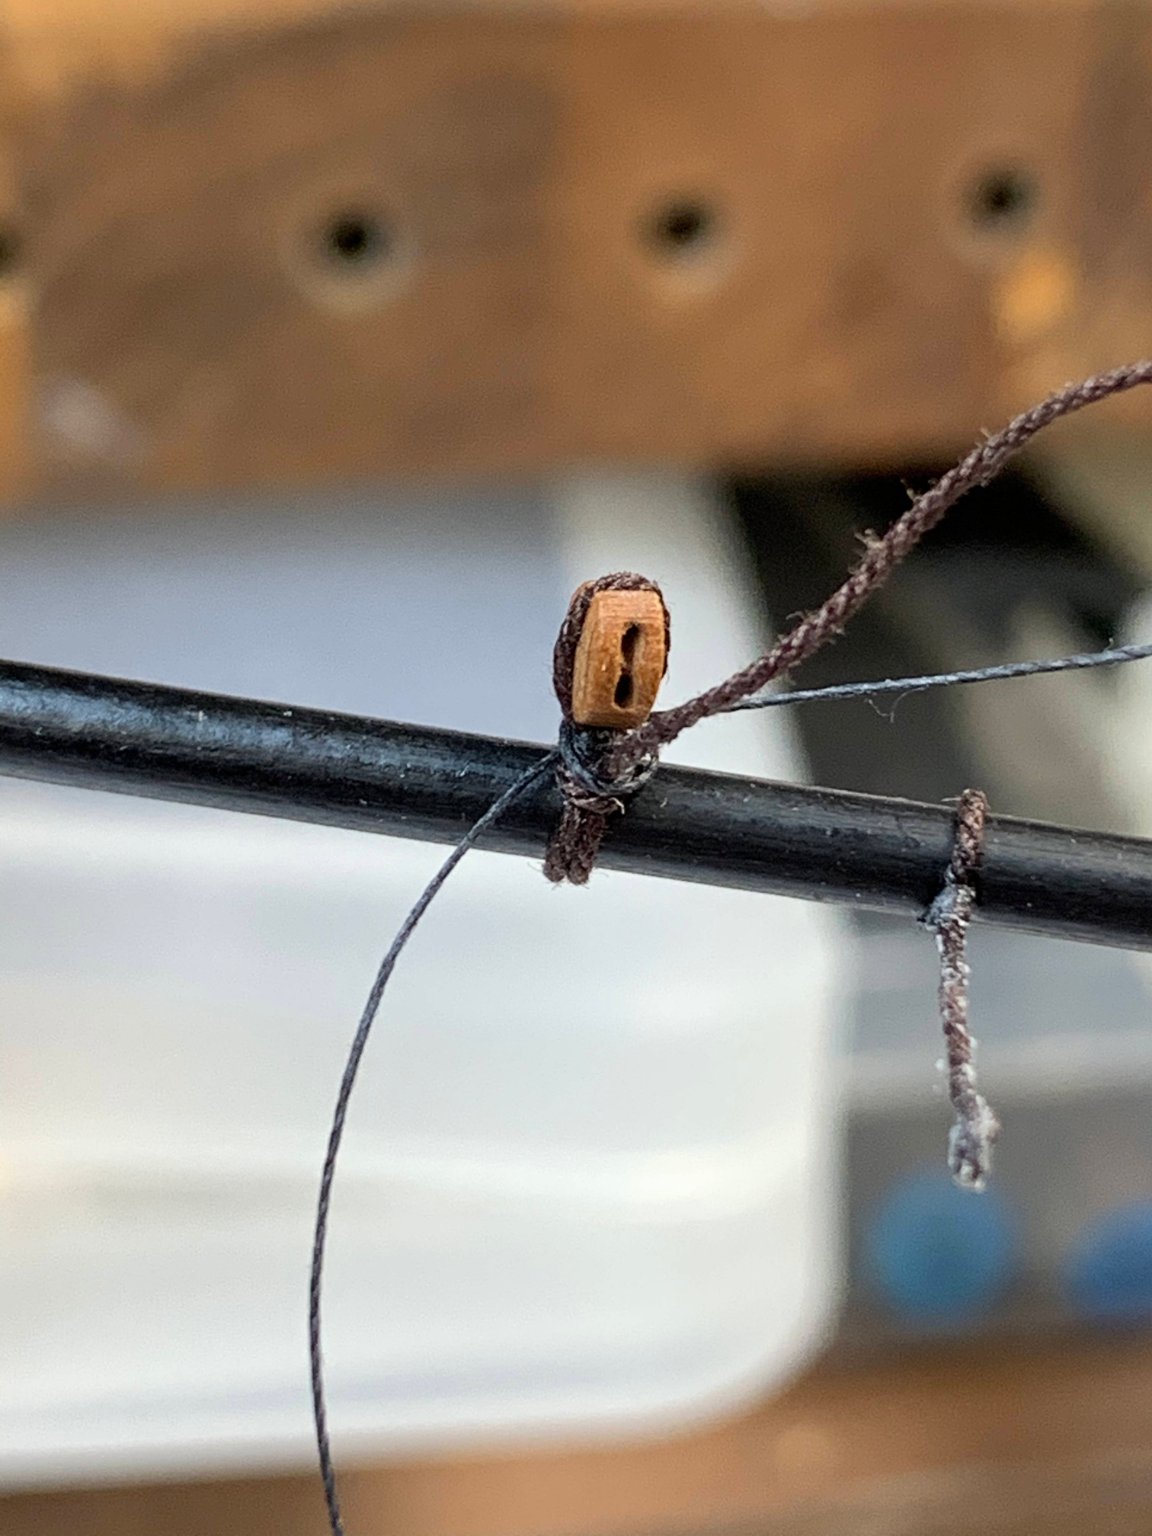
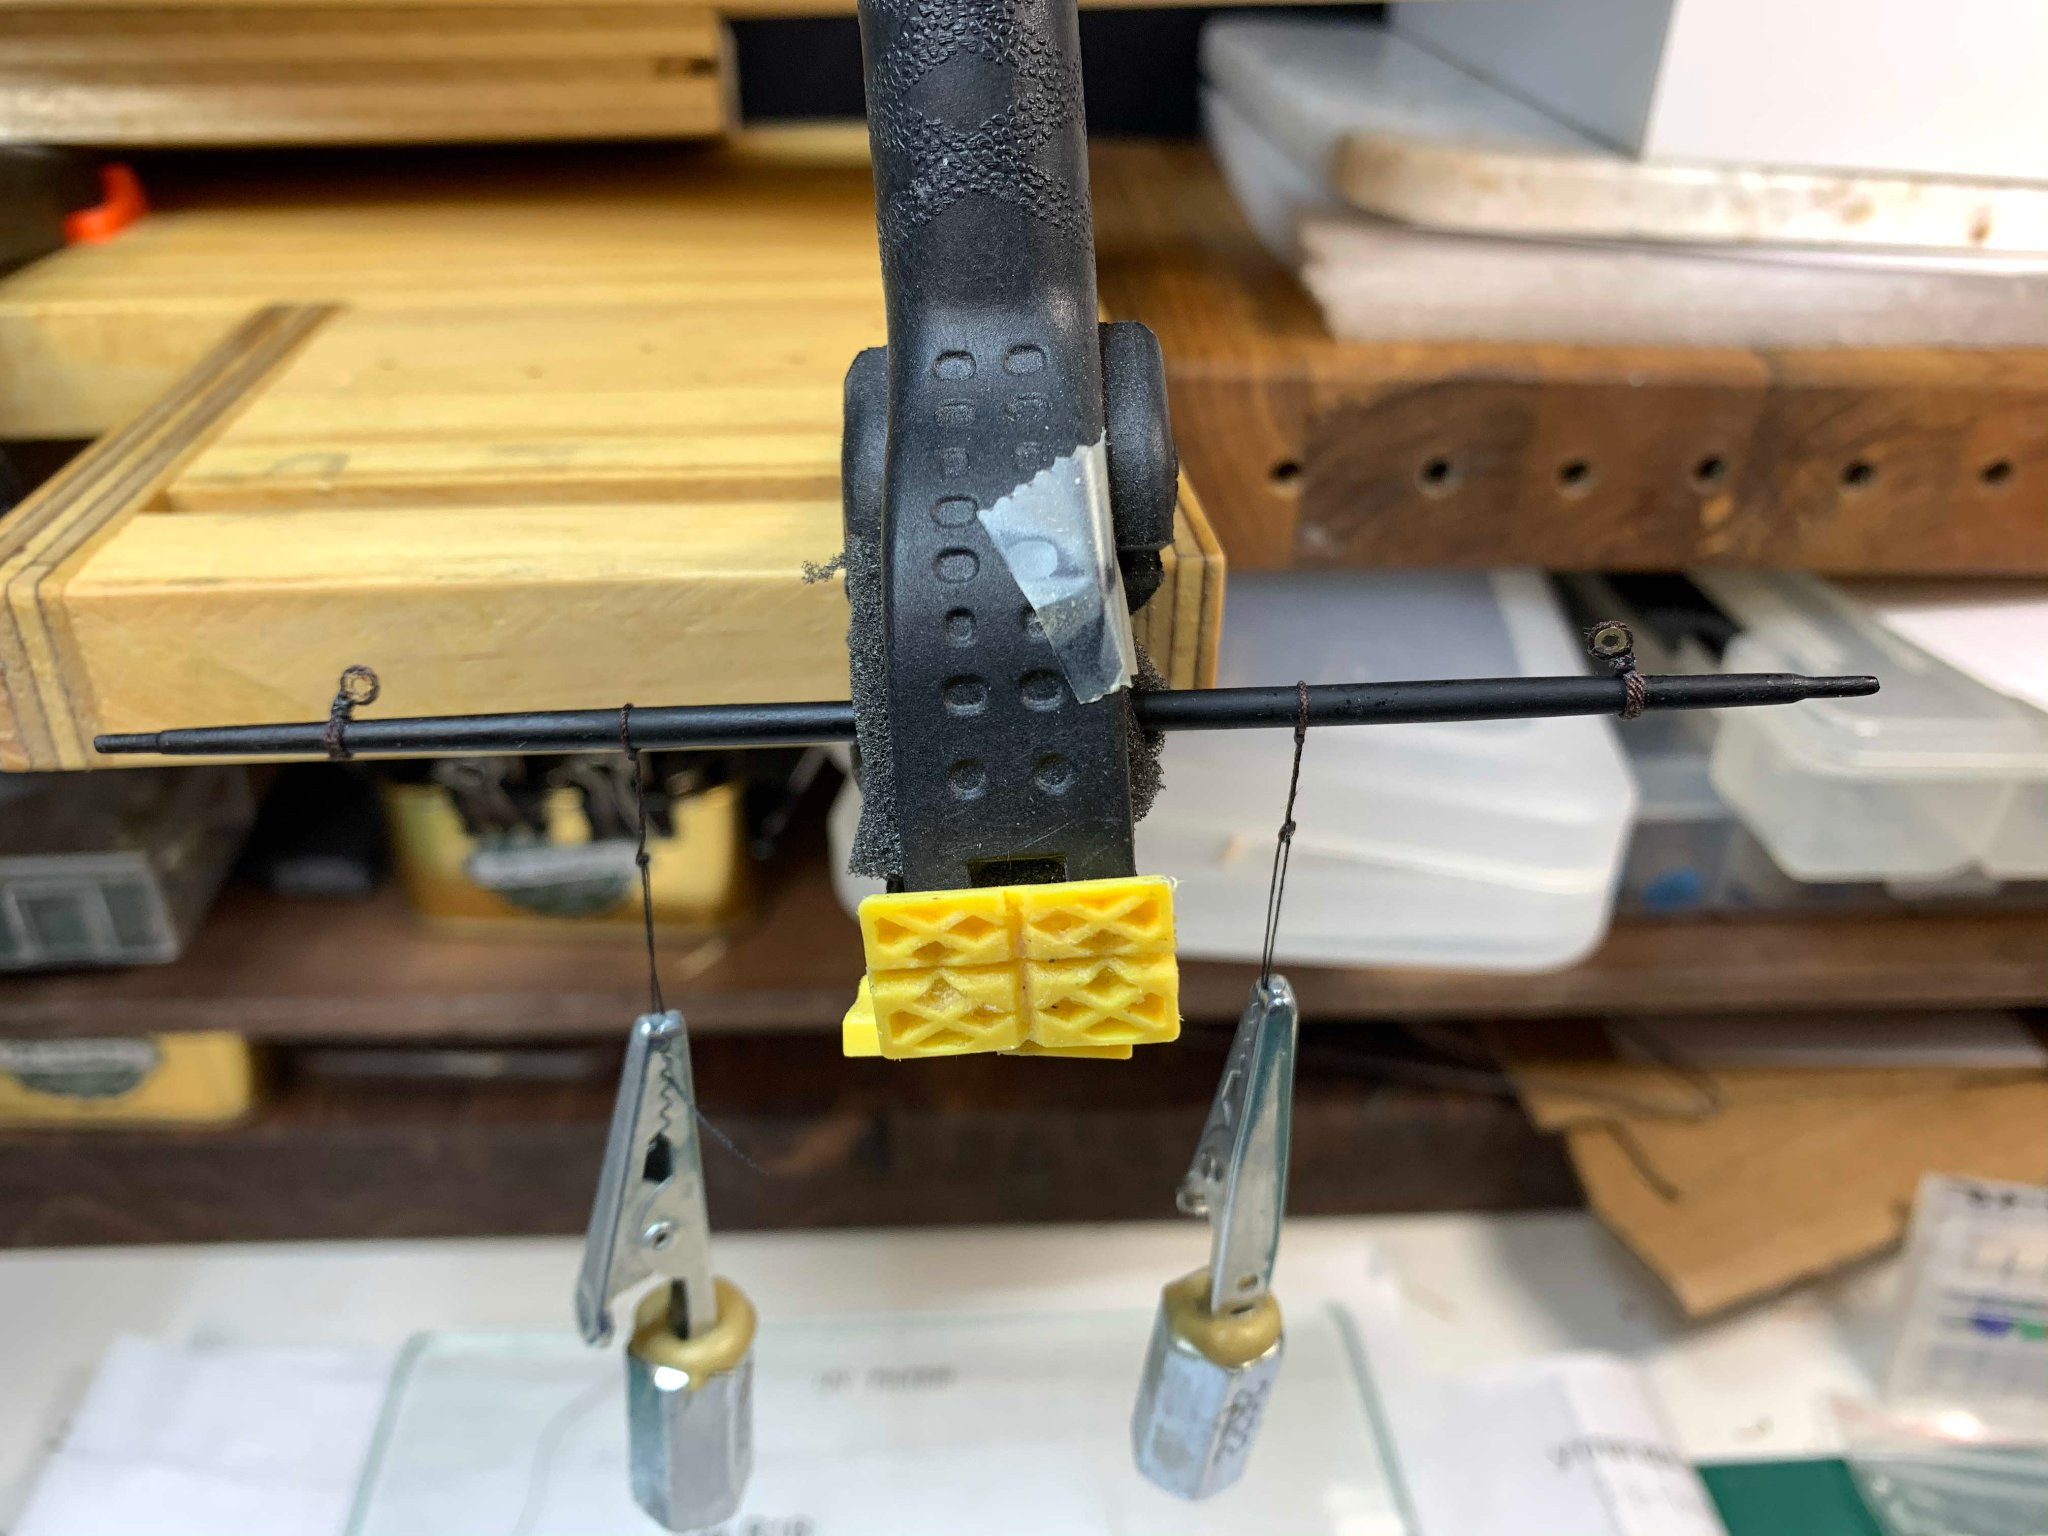
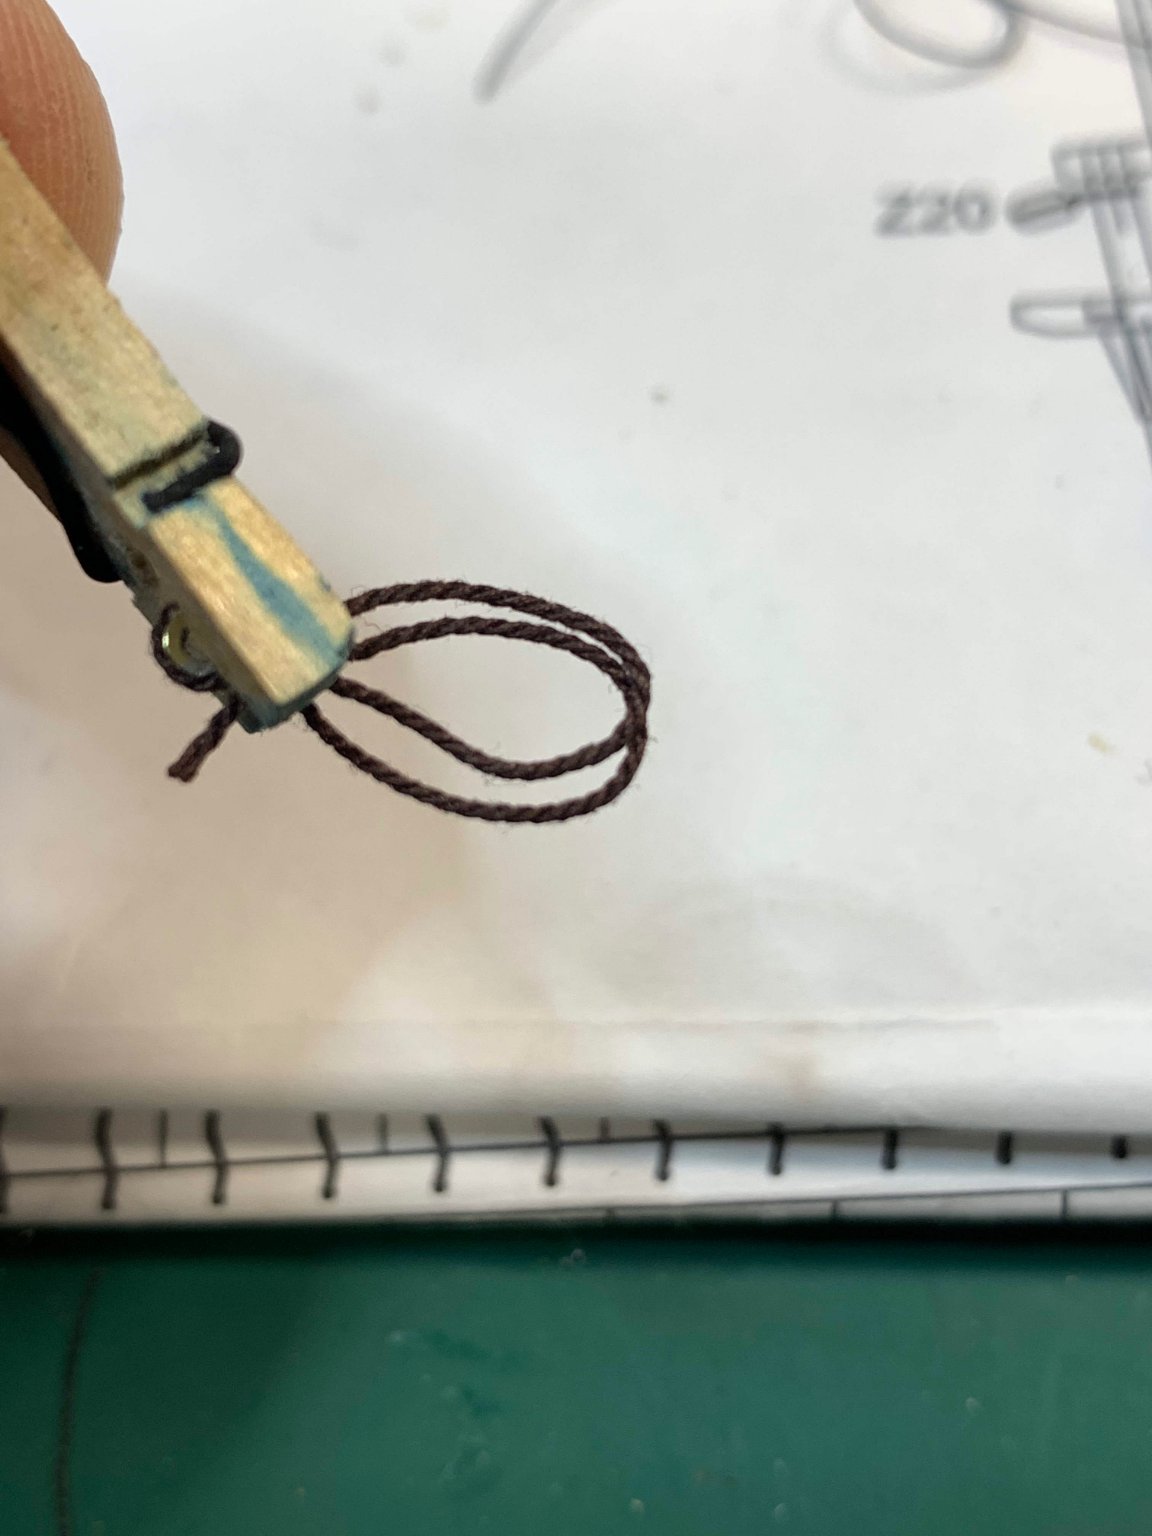
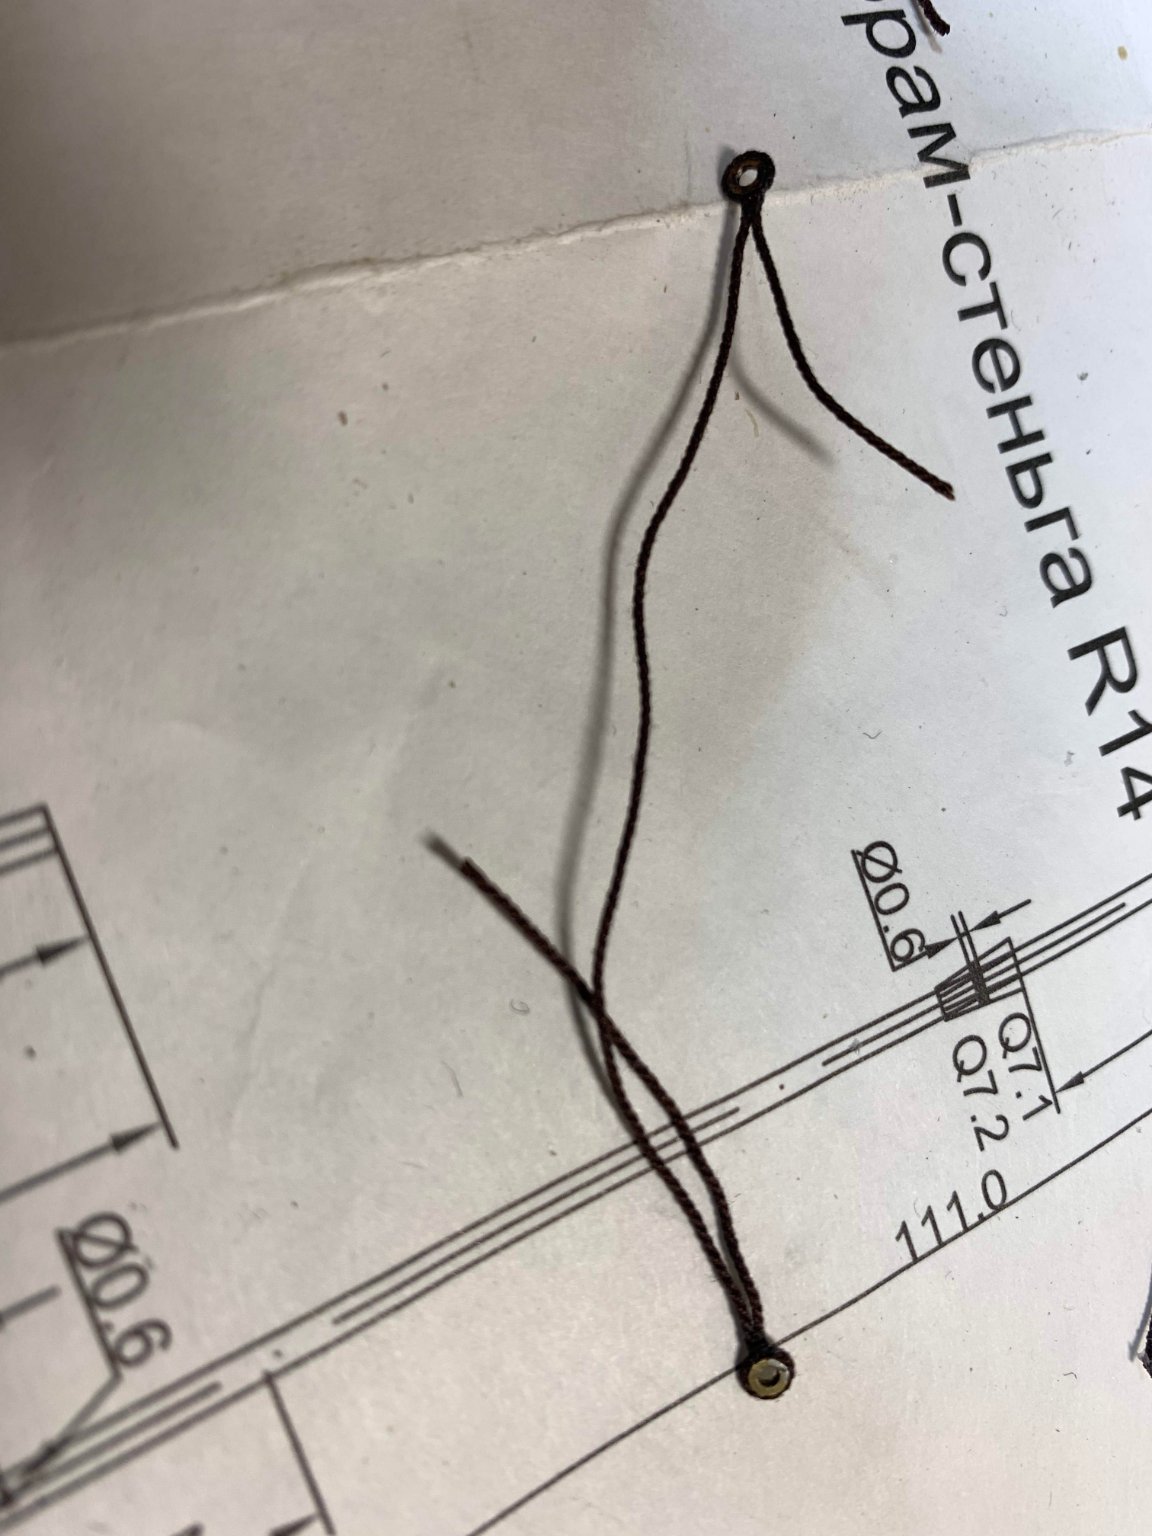
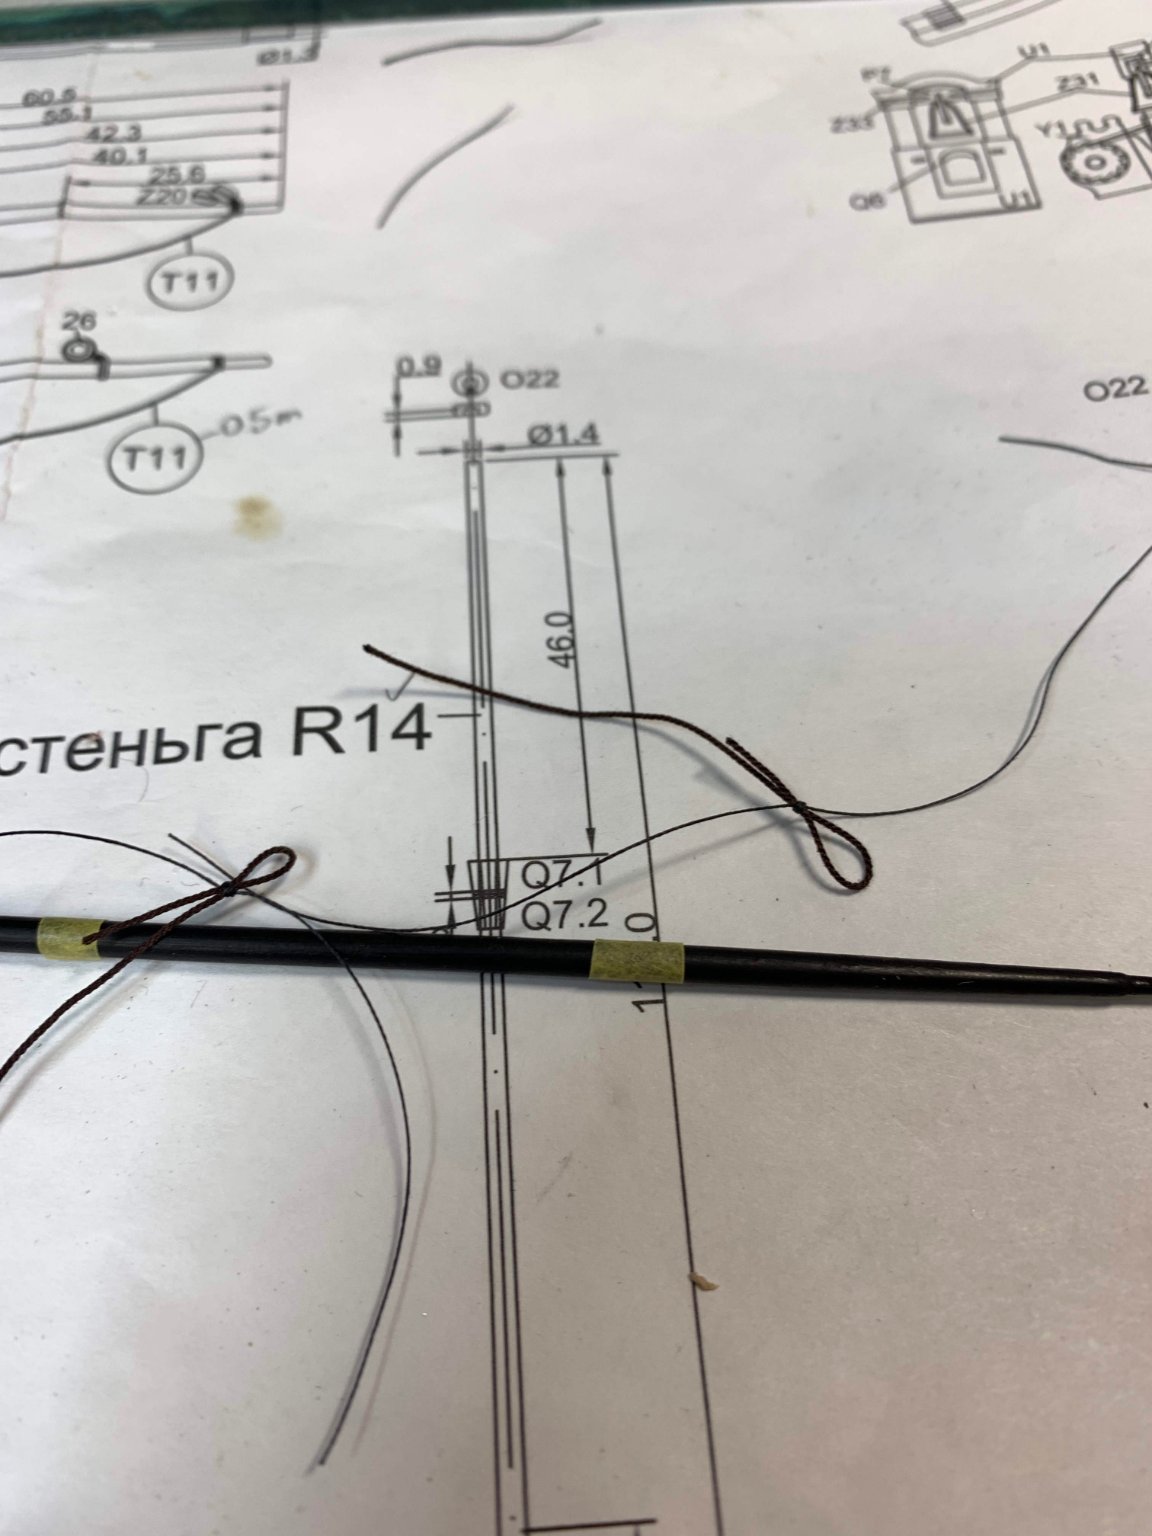
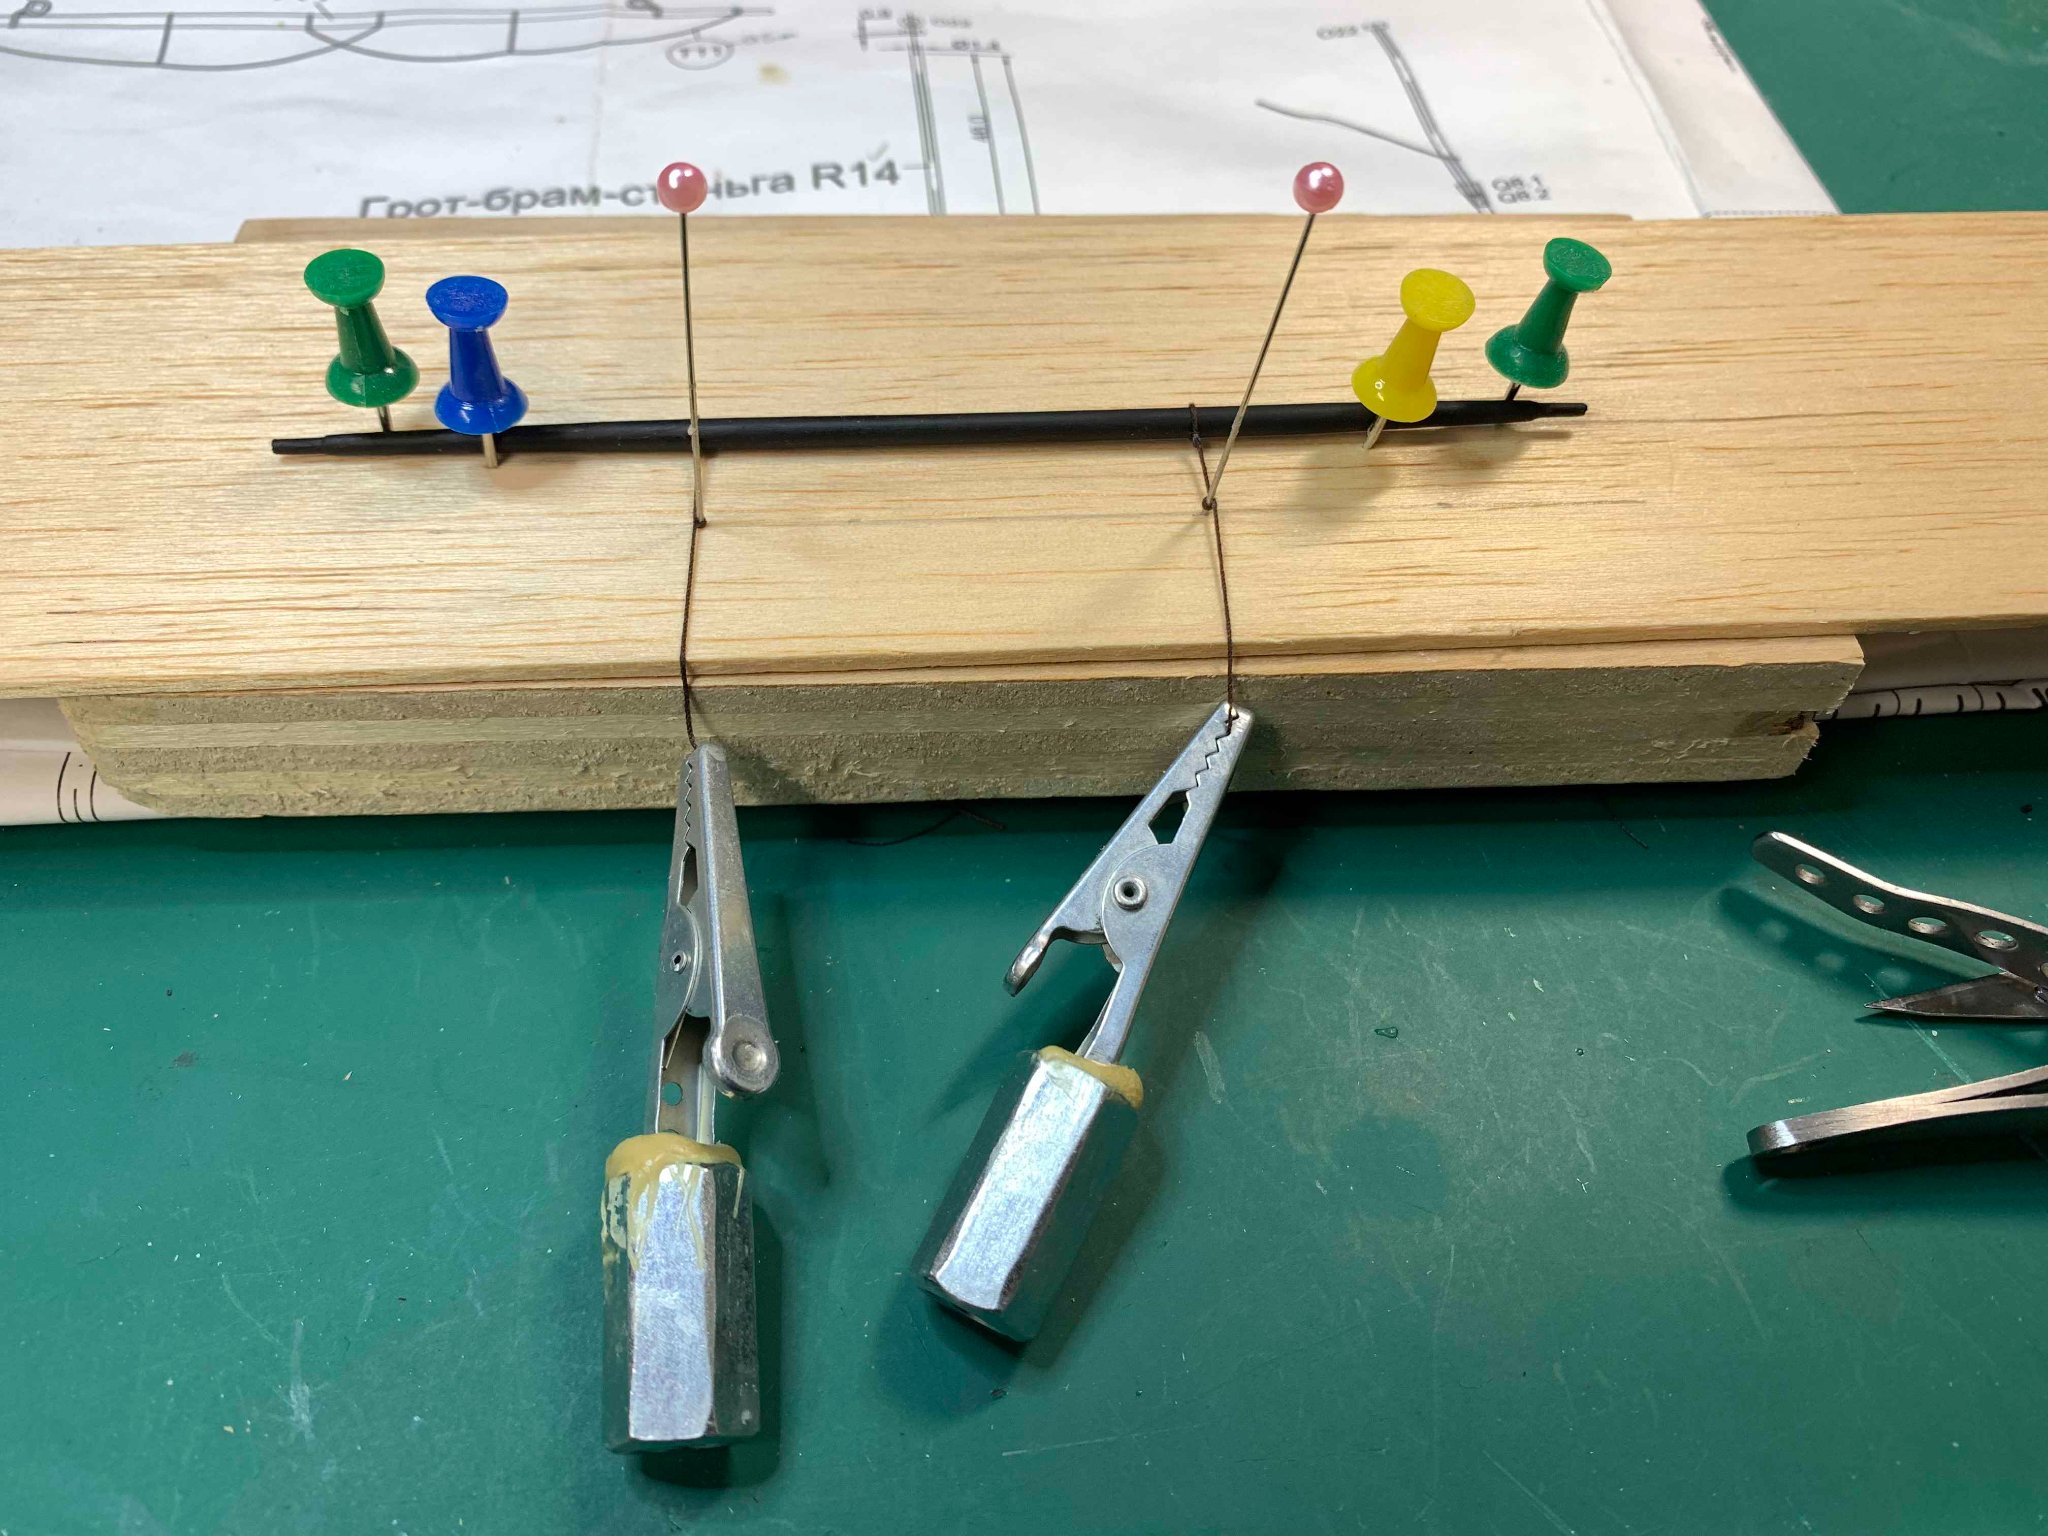
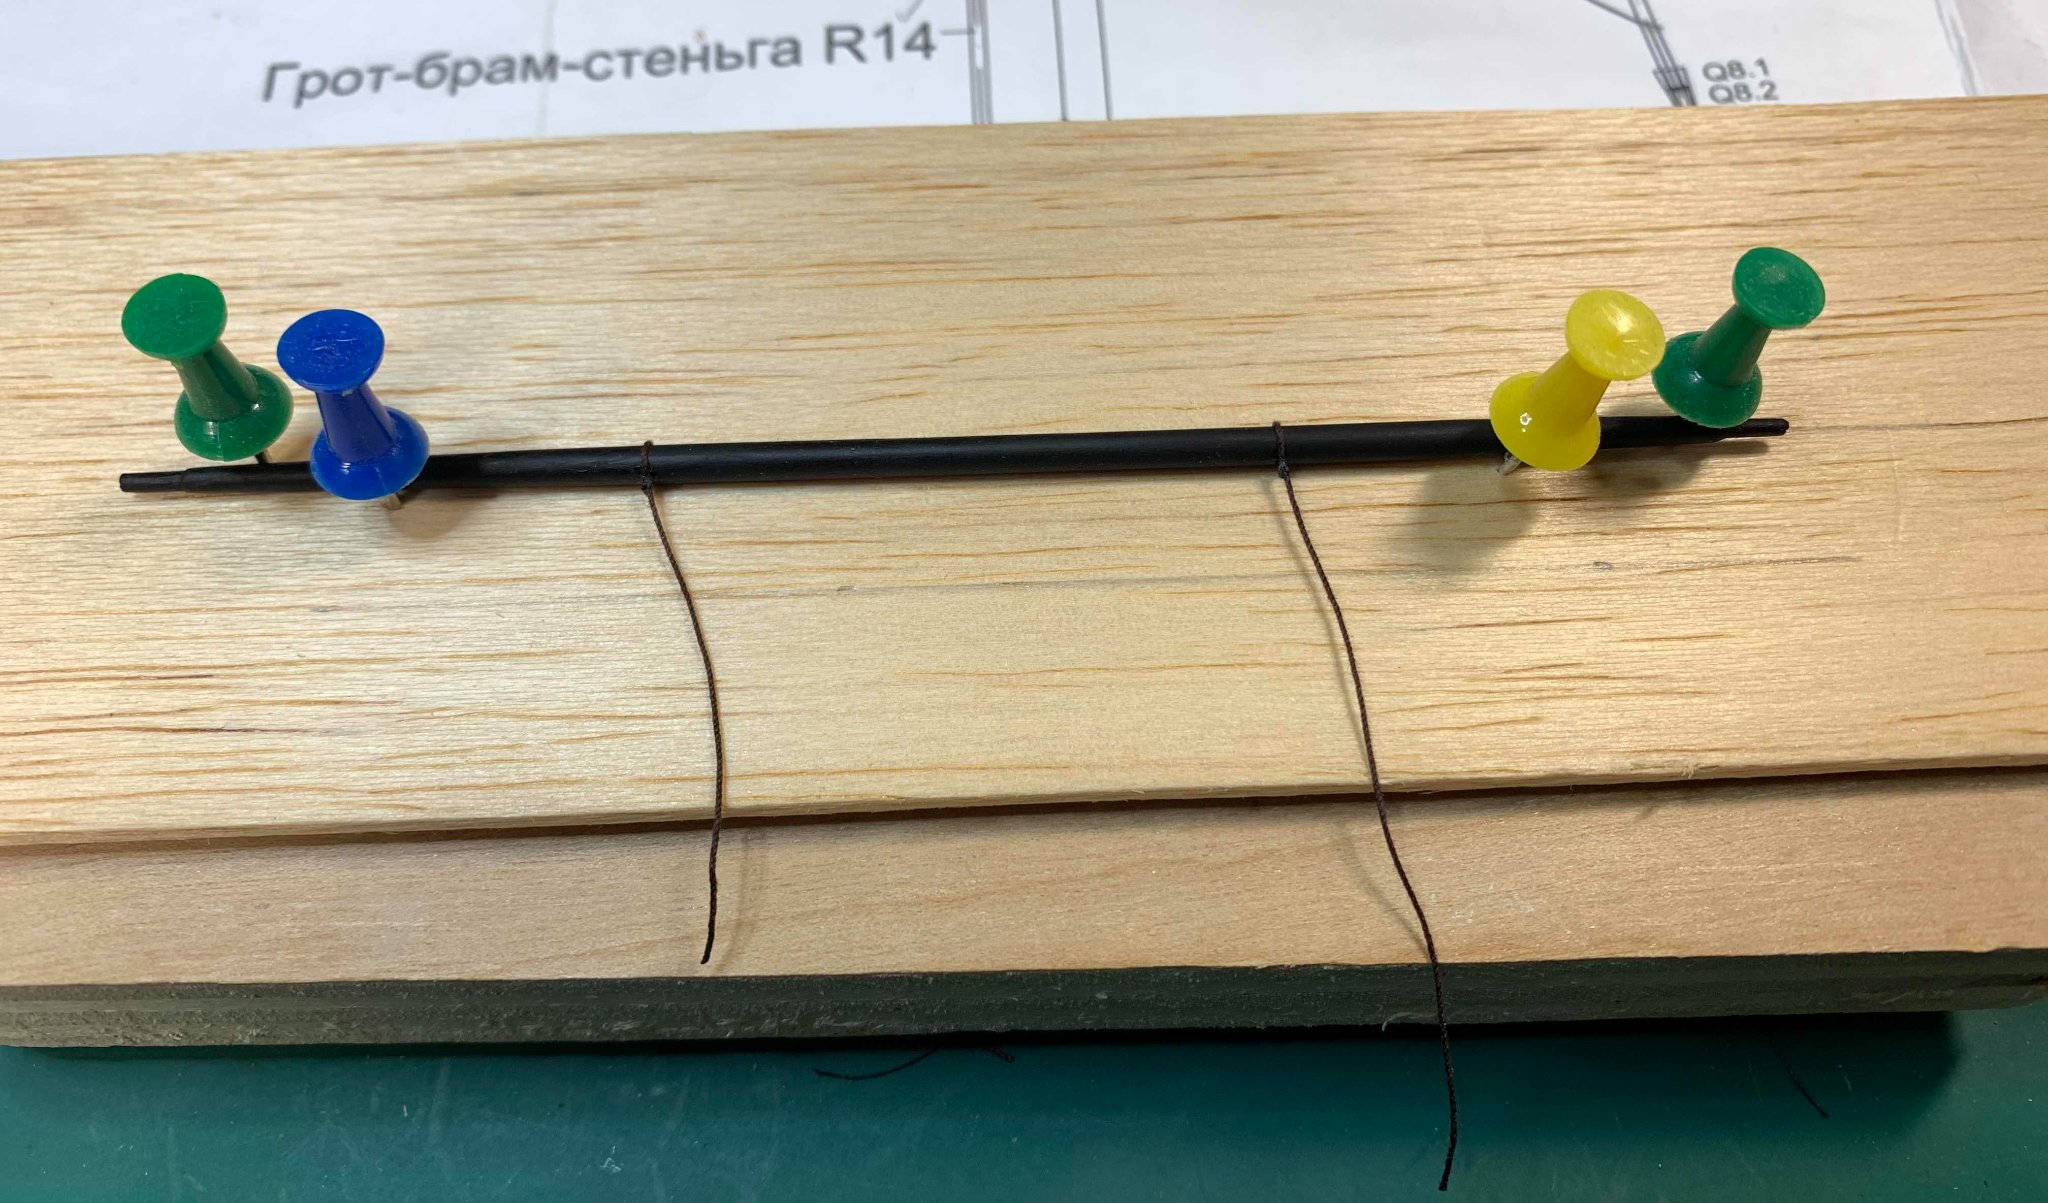
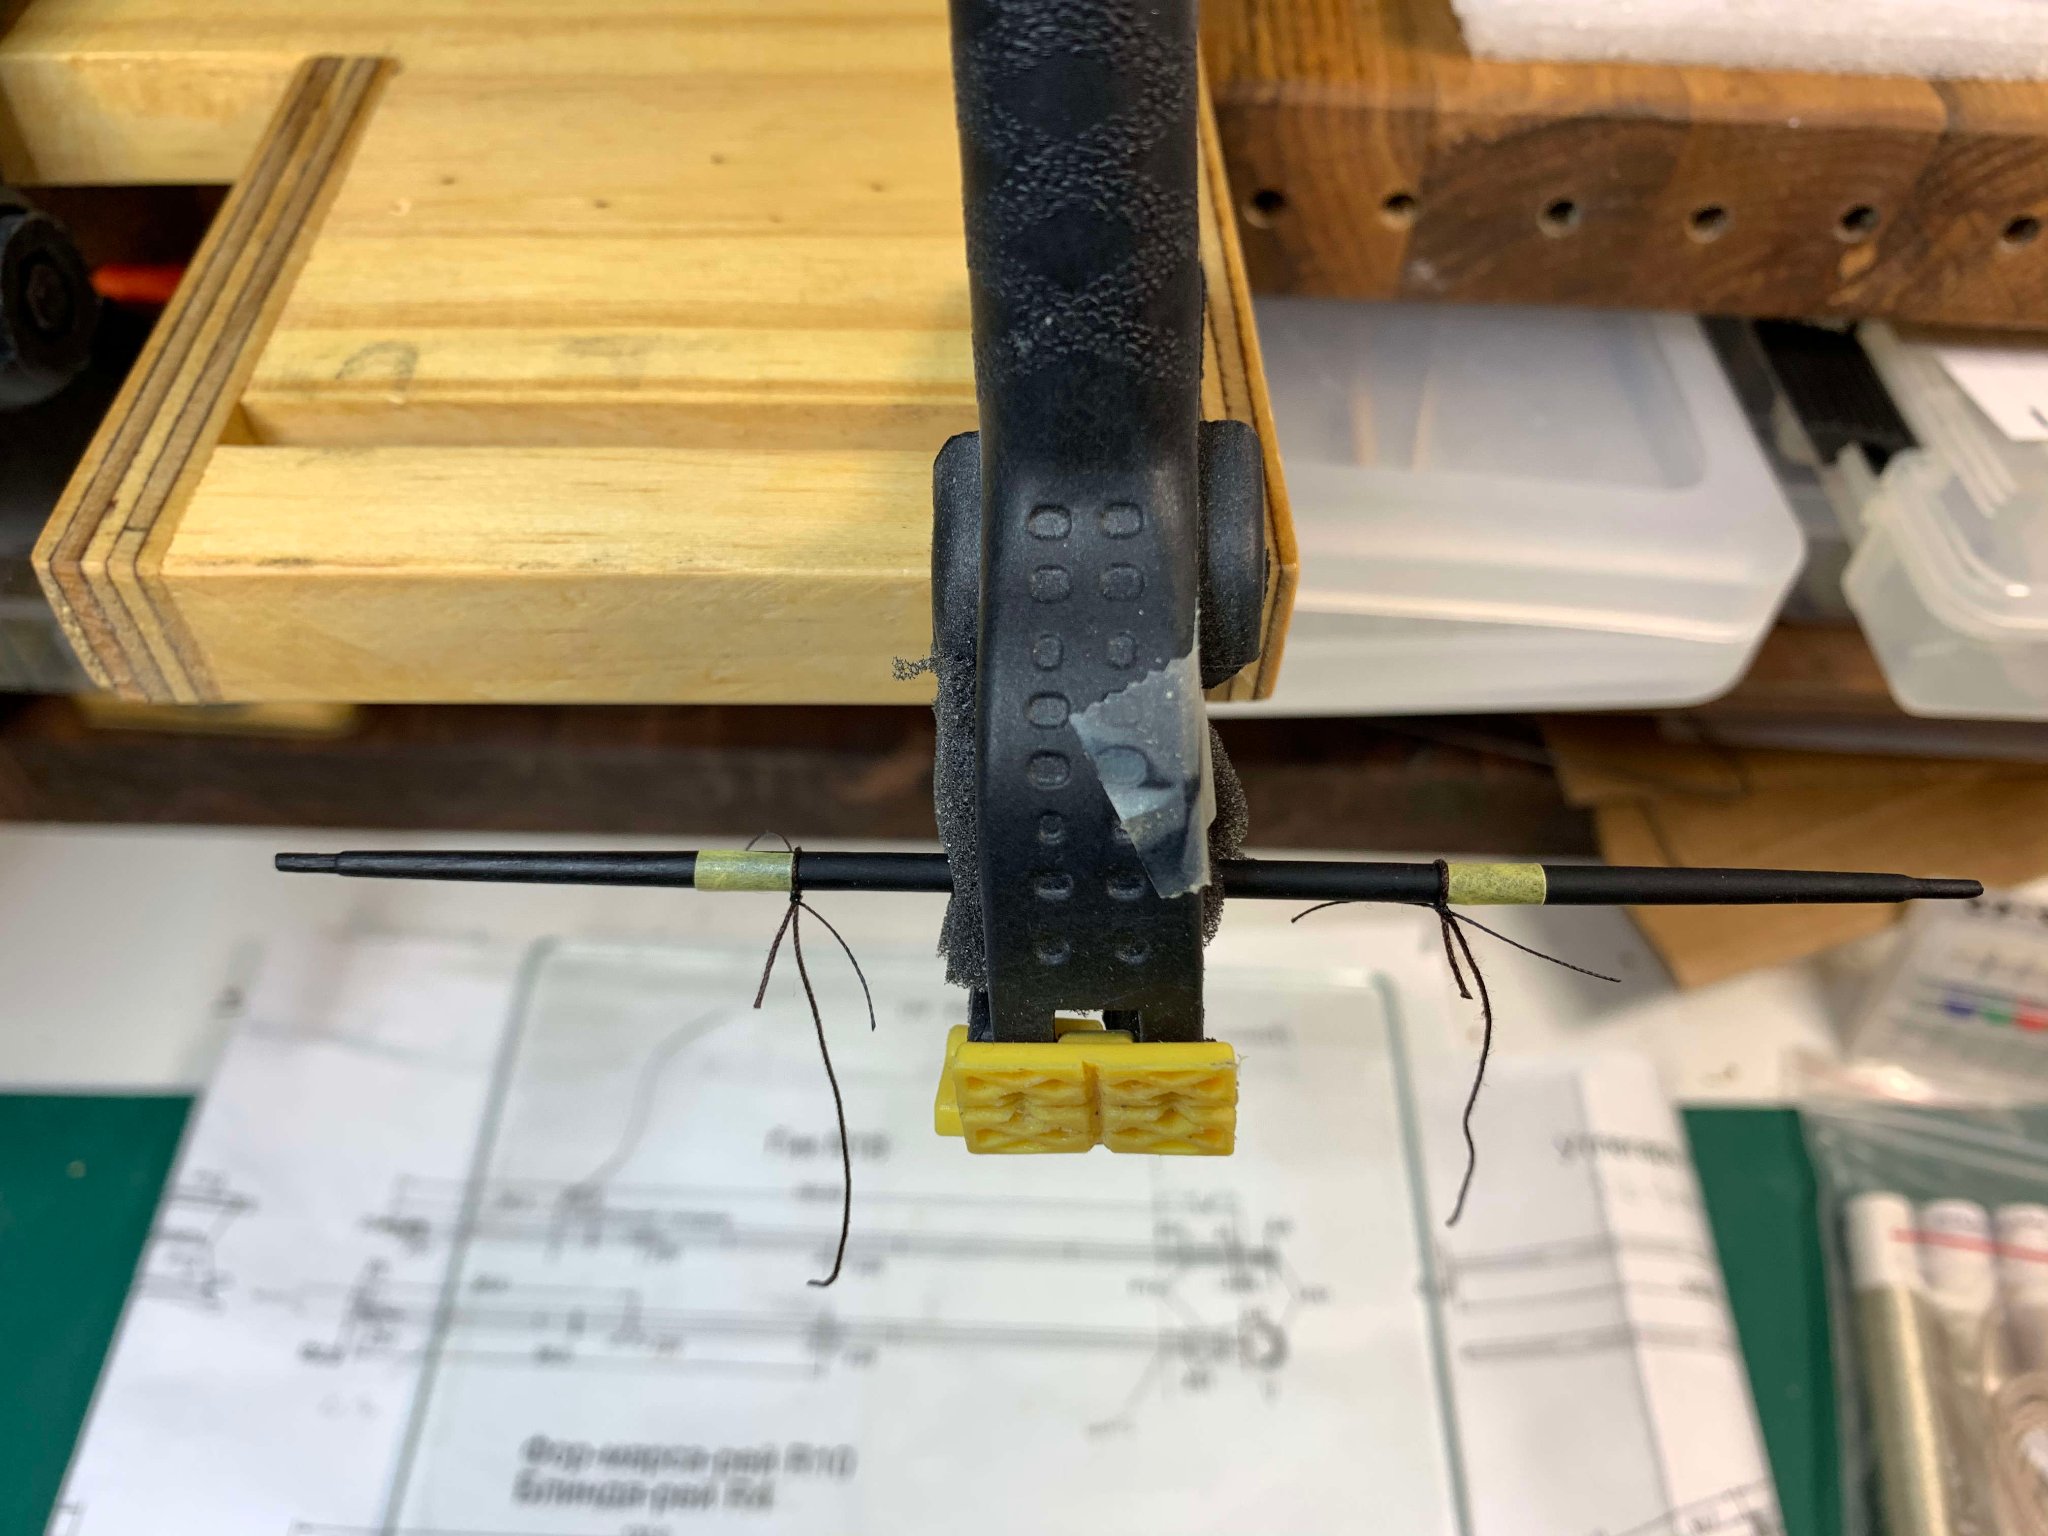
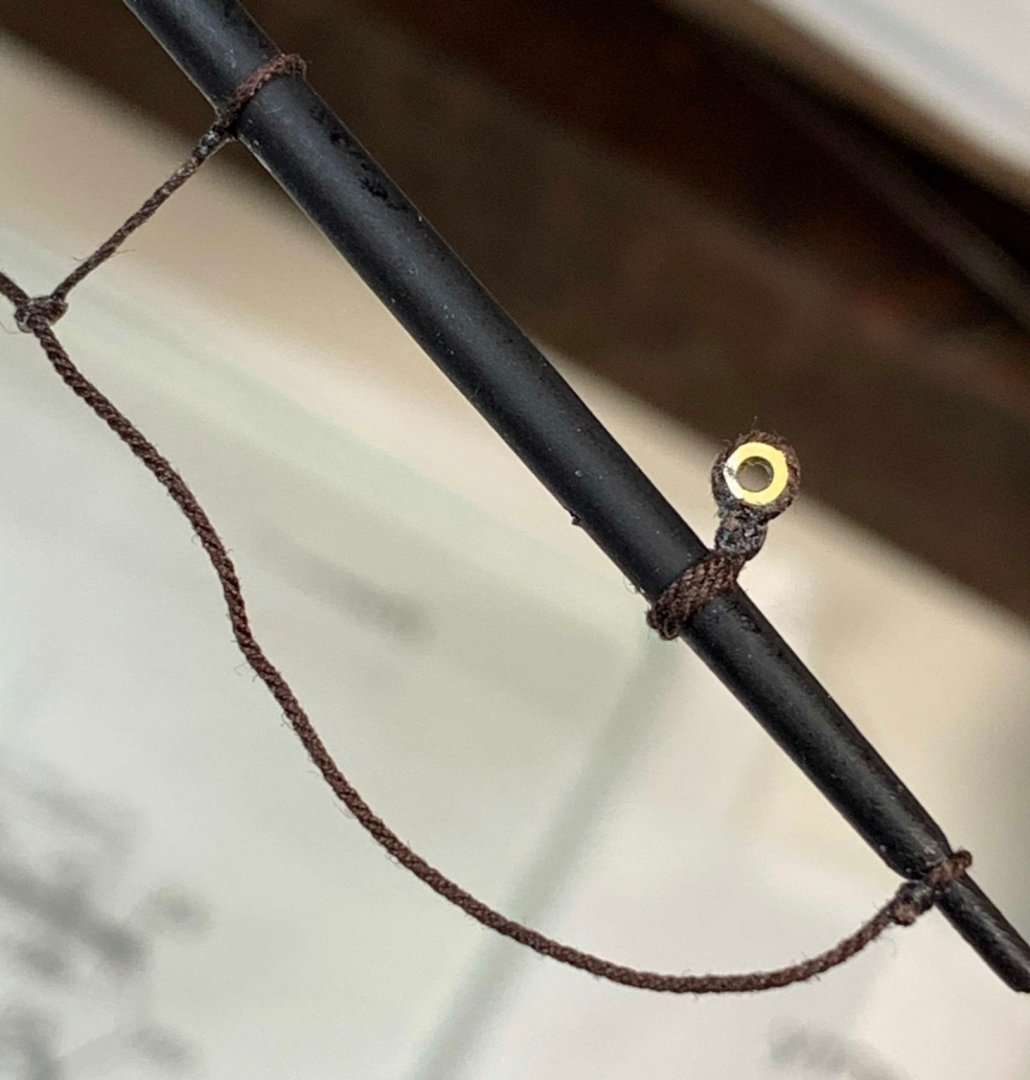
The work on yards has started by repainting them in flat black. The shines of the varnish i have applied was not quite appealing for me. I started to work on foot ropes... by marking the location of stirrups... The stirrups were in place and i will be making a loop for a foot rope to pass thru. For this i placed yard in a piece of balsa, fixed it with few pins and lay the stirrups... then attached small weight that will keep them straight.. while twisted around the pins... Pins have a bit of a wax in the area where i will drop CA glue to freeze the loops. Now let attach the ring to the yard. First the rope was put around a ring (rope is 0.4mm) and ring was seized. Then, two rope lines were looped like this... ... seized and attached on the yard. Lots of rope pooling (through the seizing) was done to keep the ring as close to the yard and at the same time, to seize all tight enough. The rope was arranged nicely (side by side), drop of CA glue was used to freeze the lines and loose rope pieces were cut off. So here is the end result.. Now the stirrups are left overnight to stretch a bit. Will see tomorrow if i need to run few layers of diluted white glue to make stirrups straight.. Happy modelling..