mark.bukovich
-
Posts
95 -
Joined
-
Last visited
-
 GrandpaPhil reacted to a post in a topic:
Chesapeake Bay Flattie by mark.bukovich - FINISHED - Midwest Products - 1:32
GrandpaPhil reacted to a post in a topic:
Chesapeake Bay Flattie by mark.bukovich - FINISHED - Midwest Products - 1:32
-
GrandpaPhil reacted to a post in a topic:
Chesapeake Bay Flattie by mark.bukovich - FINISHED - Midwest Products - 1:32
-
GrandpaPhil reacted to a post in a topic:
Chesapeake Bay Flattie by mark.bukovich - FINISHED - Midwest Products - 1:32
-
ccoyle reacted to a post in a topic:
Light Melonseed by mark.bukovich - 1:8 - SMALL - from design by Dave Gentry
-
Kenneth Powell reacted to a post in a topic:
Light Melonseed by mark.bukovich - 1:8 - SMALL - from design by Dave Gentry
-
yvesvidal reacted to a post in a topic:
Light Melonseed by mark.bukovich - 1:8 - SMALL - from design by Dave Gentry
-
John Fox III reacted to a post in a topic:
Light Melonseed by mark.bukovich - 1:8 - SMALL - from design by Dave Gentry
-
JacquesCousteau reacted to a post in a topic:
Light Melonseed by mark.bukovich - 1:8 - SMALL - from design by Dave Gentry
-
iMustBeCrazy reacted to a post in a topic:
Light Melonseed by mark.bukovich - 1:8 - SMALL - from design by Dave Gentry
-
gsdpic reacted to a post in a topic:
Light Melonseed by mark.bukovich - 1:8 - SMALL - from design by Dave Gentry
-
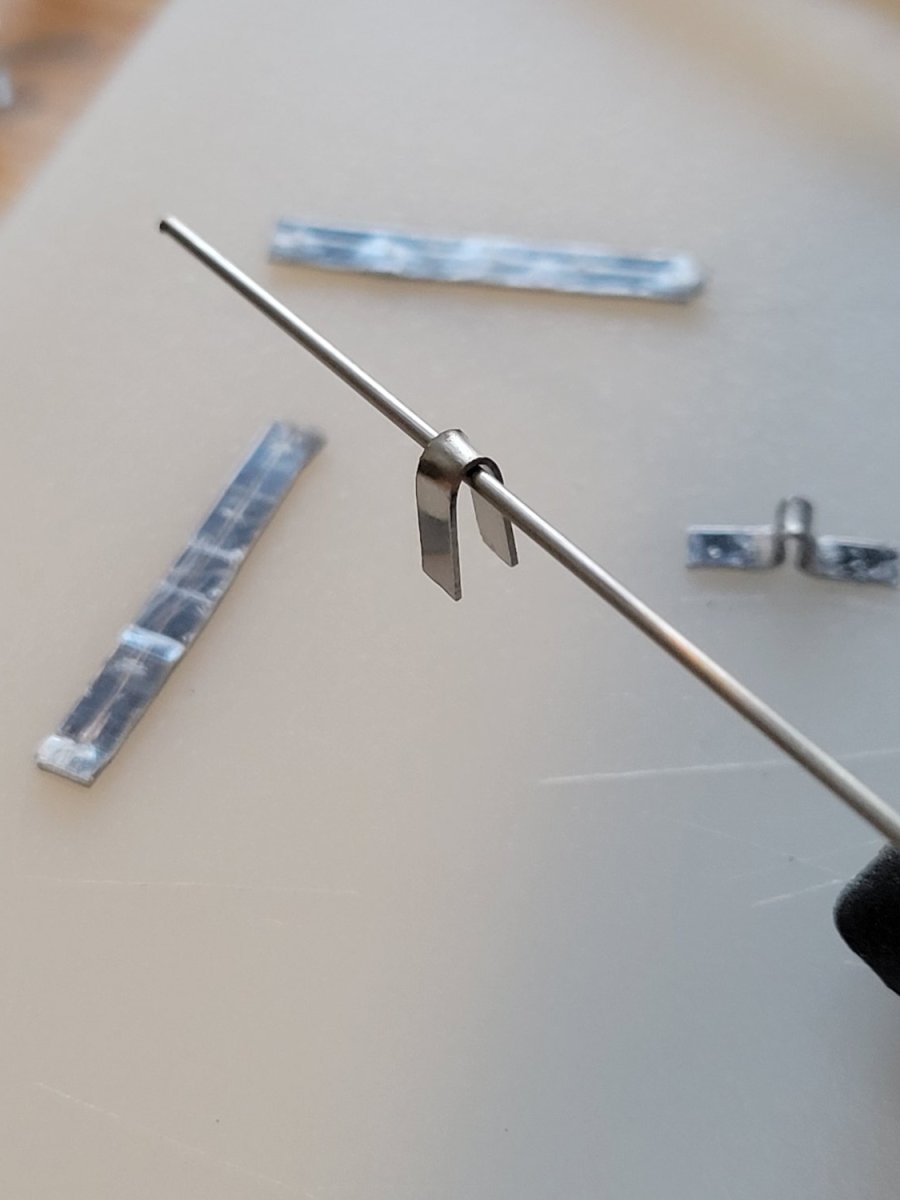
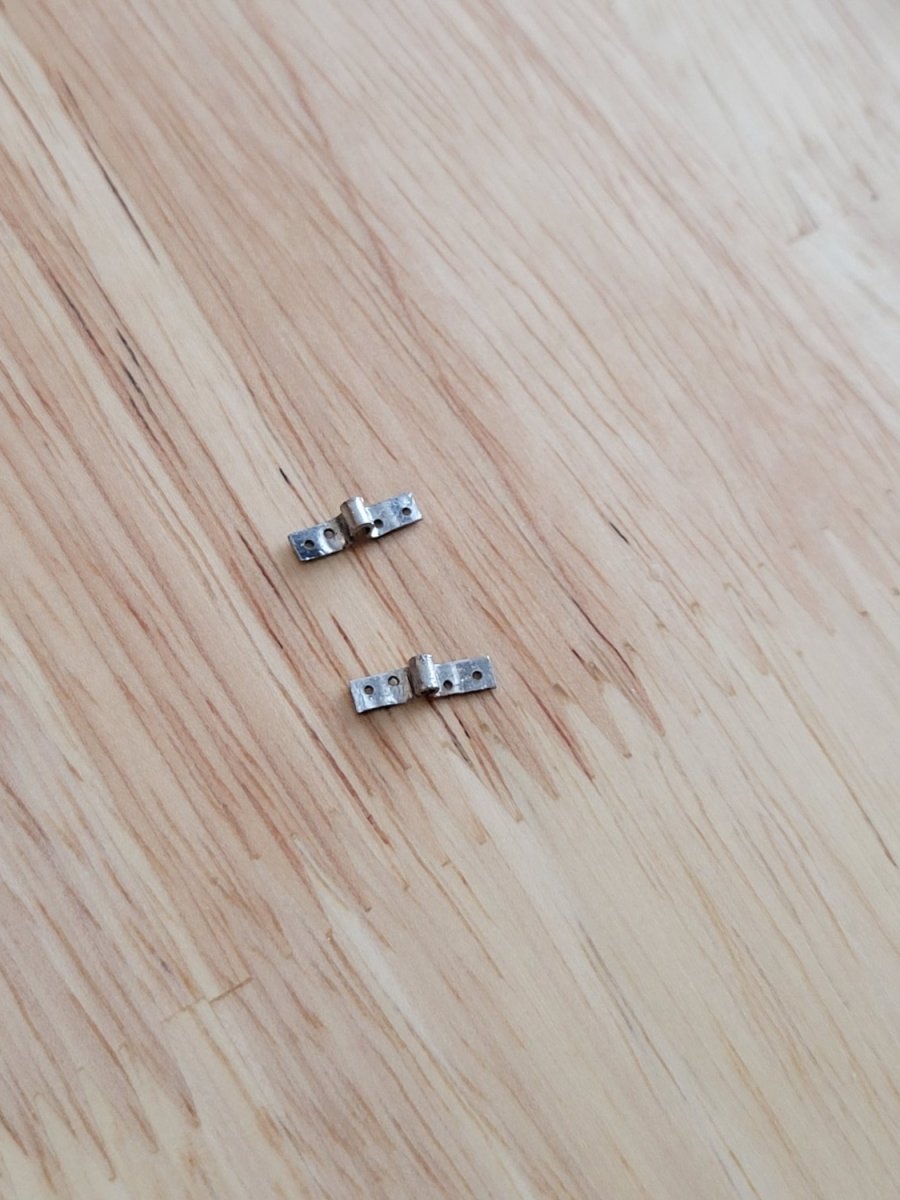
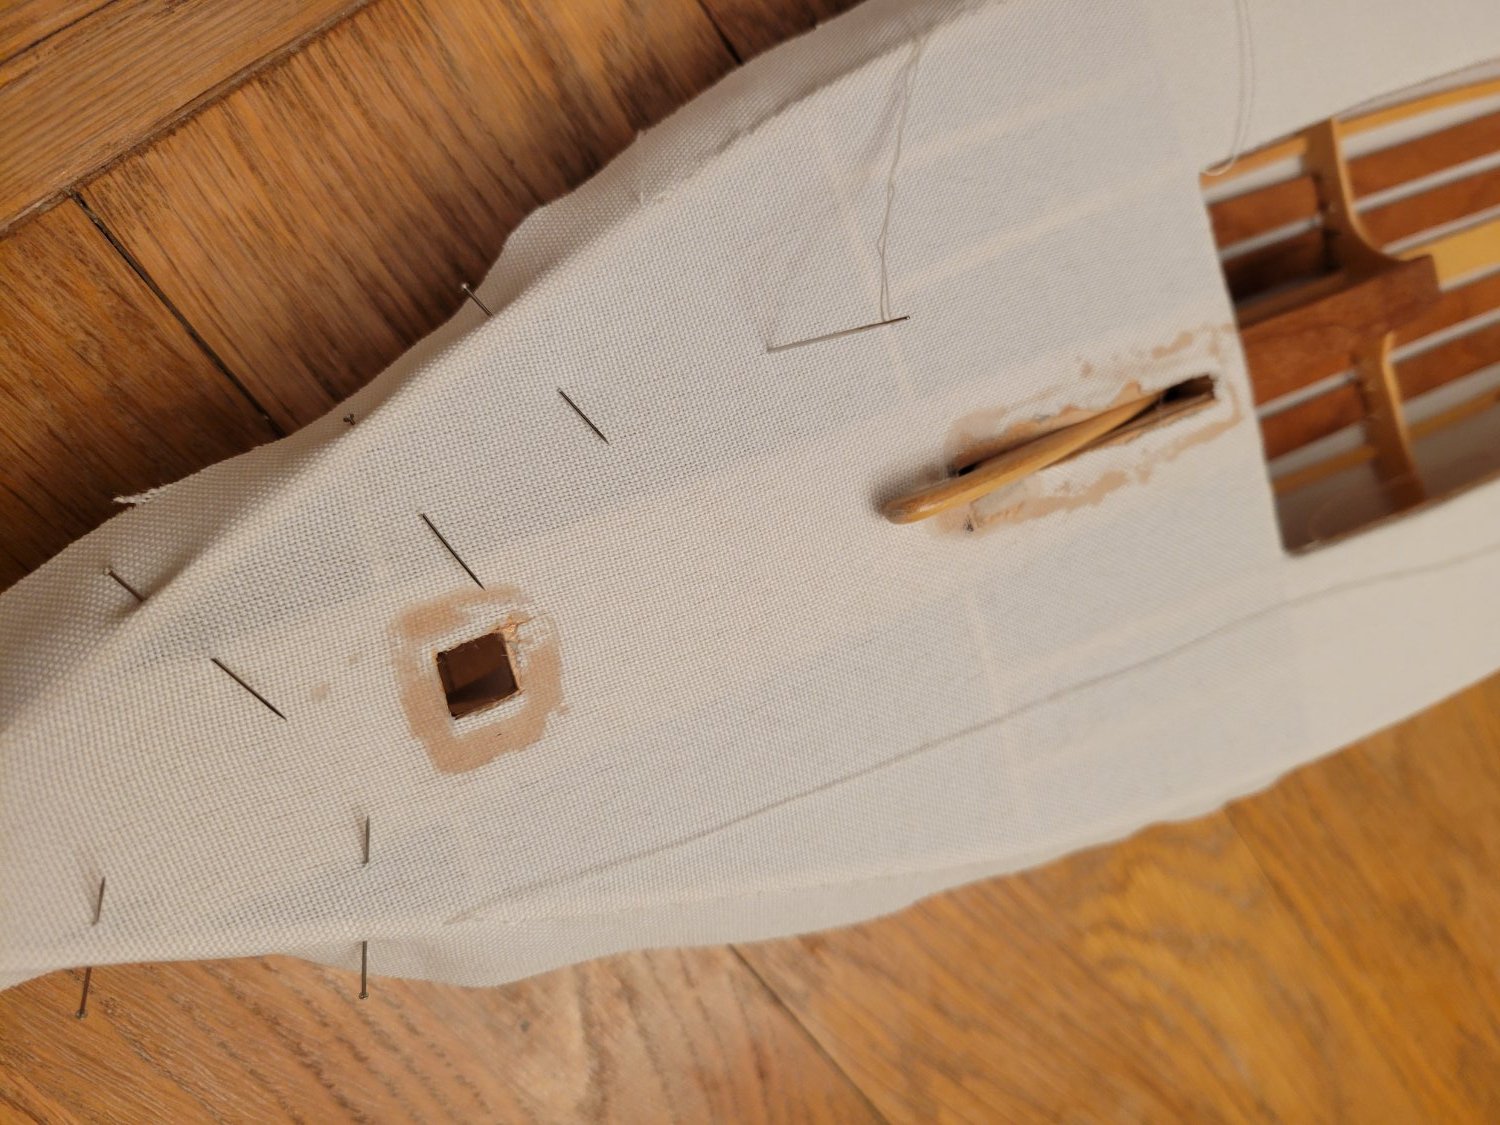
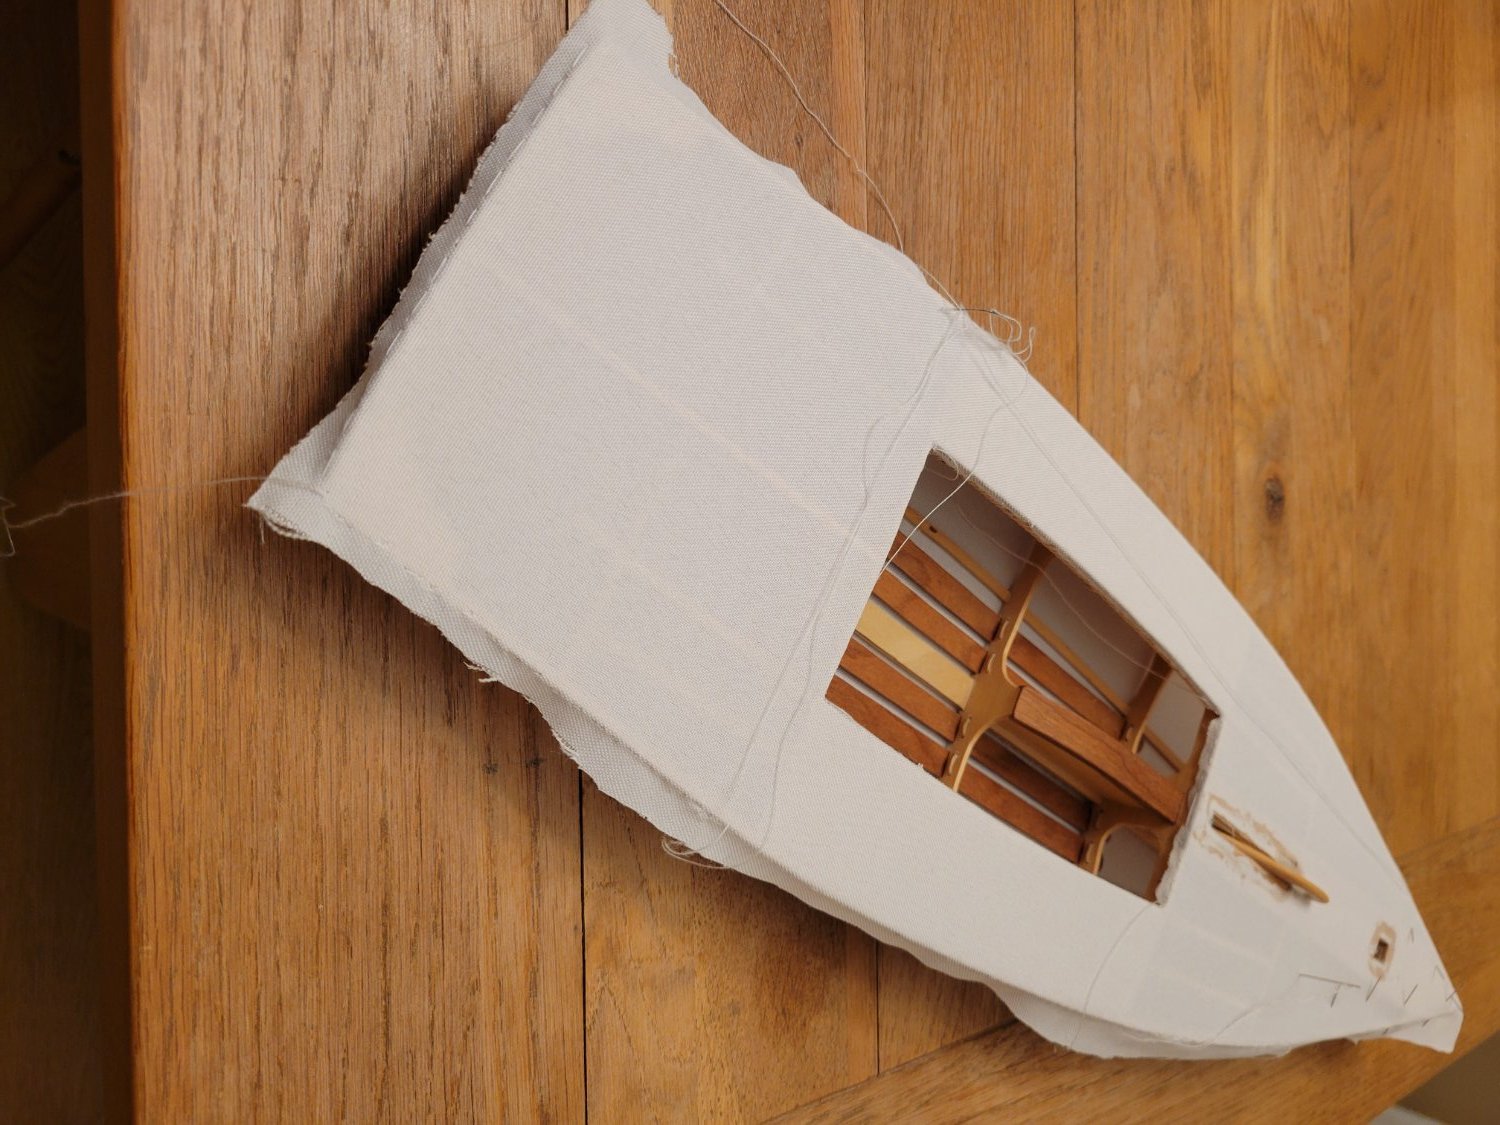
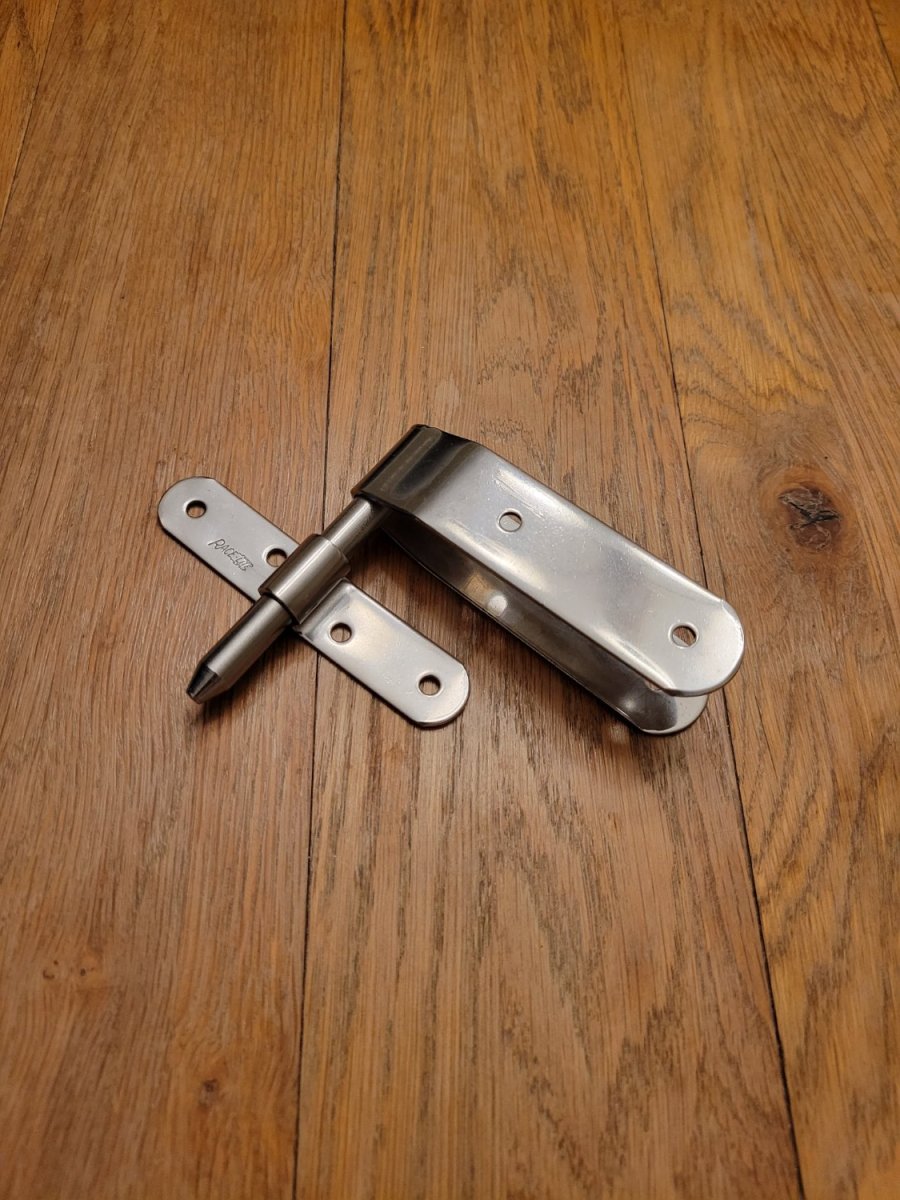
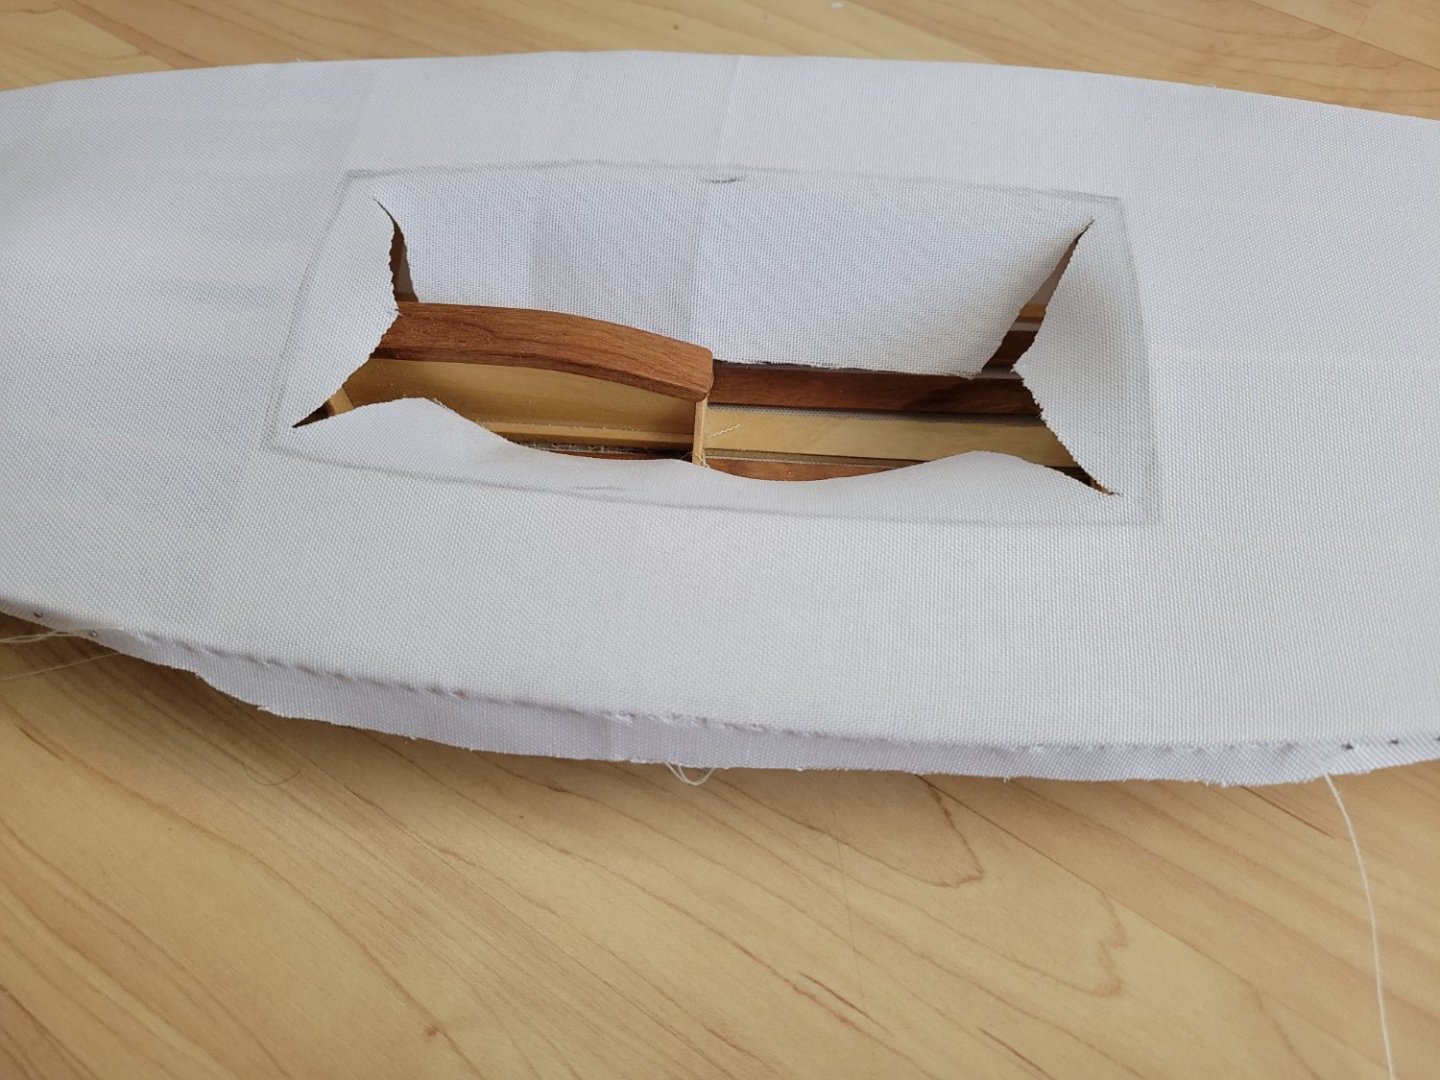
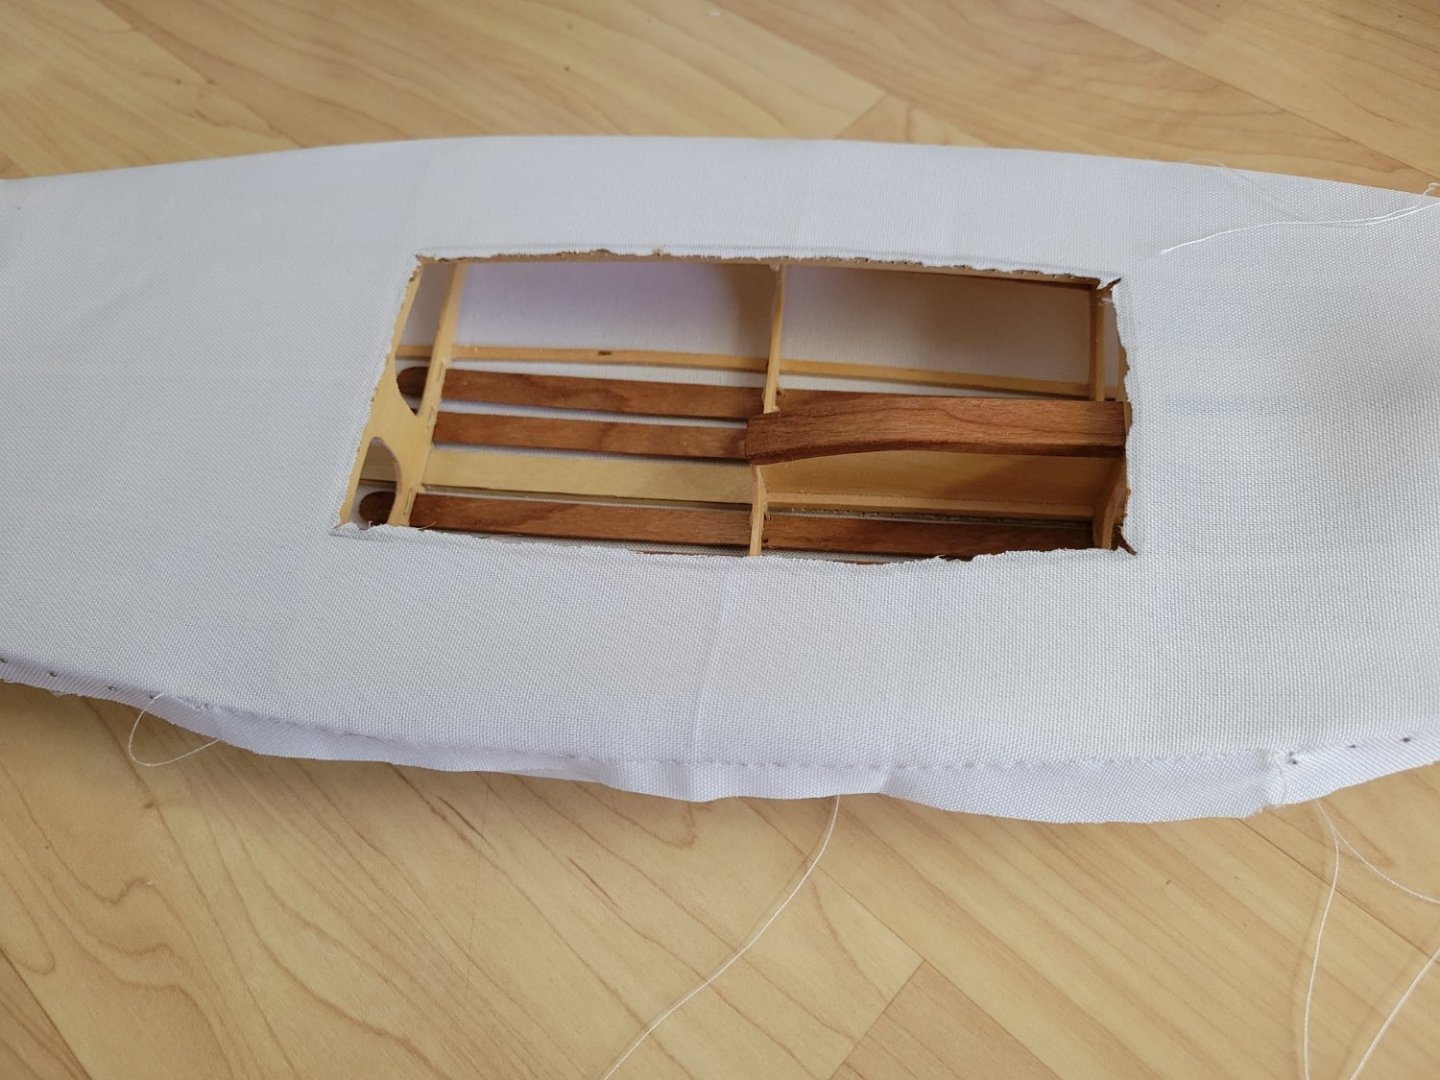
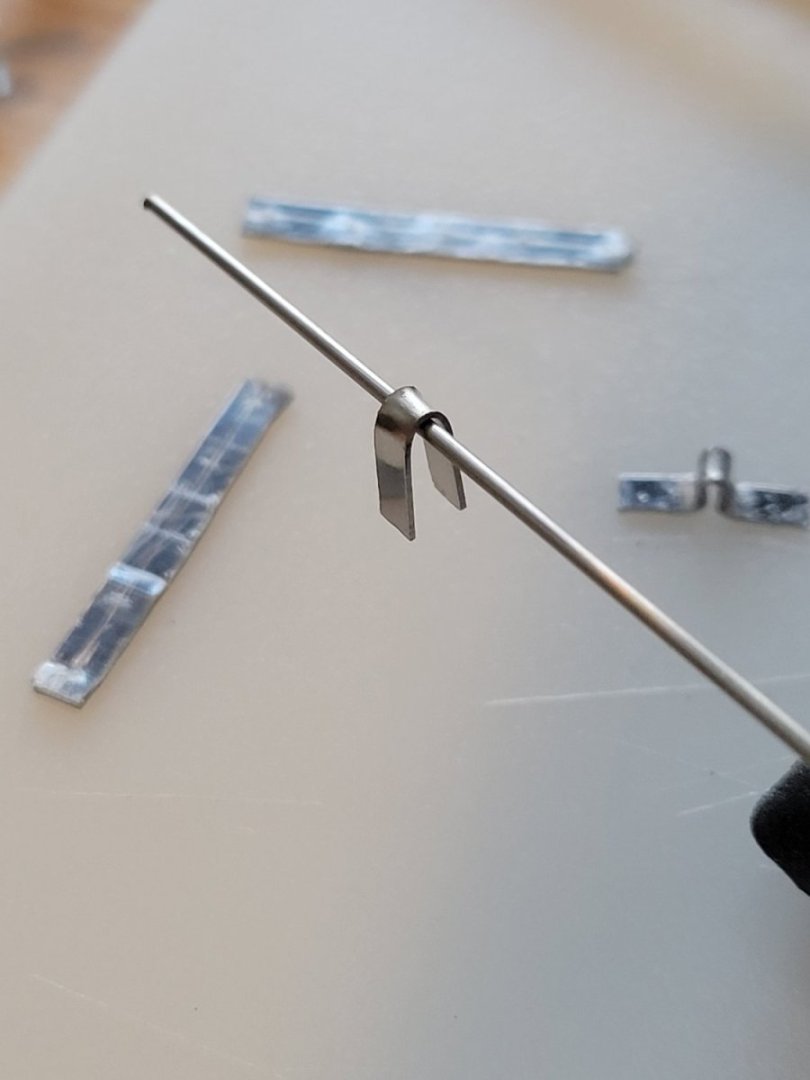
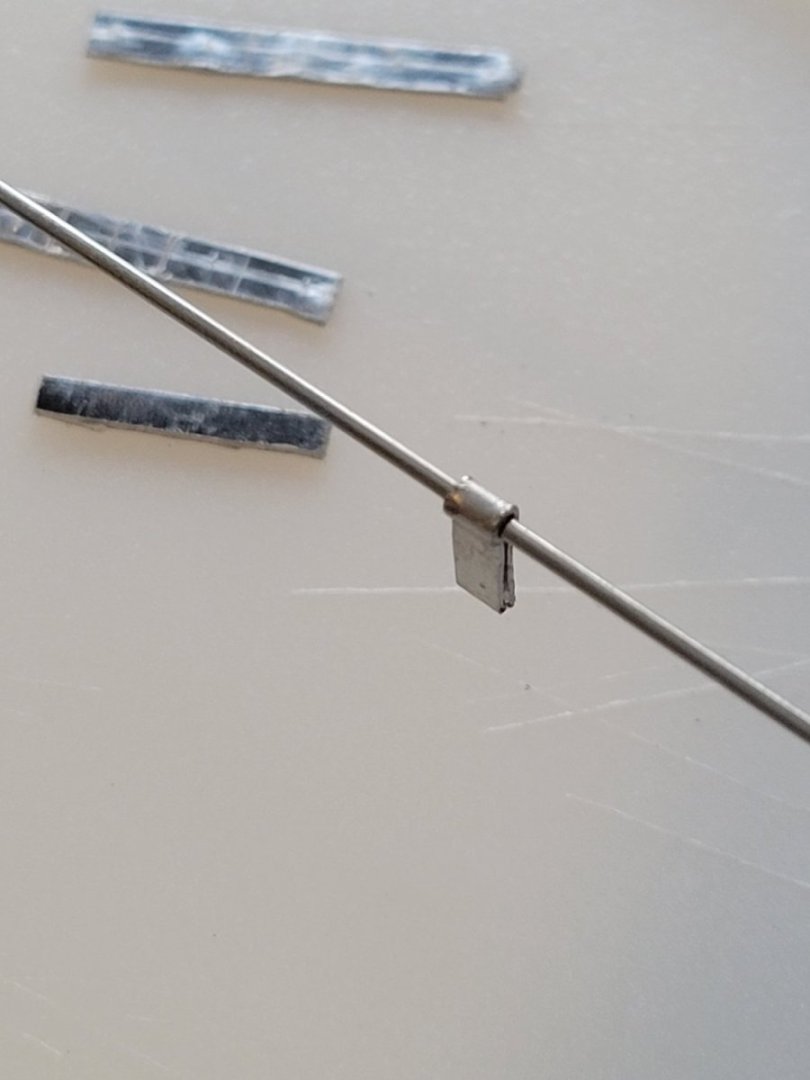
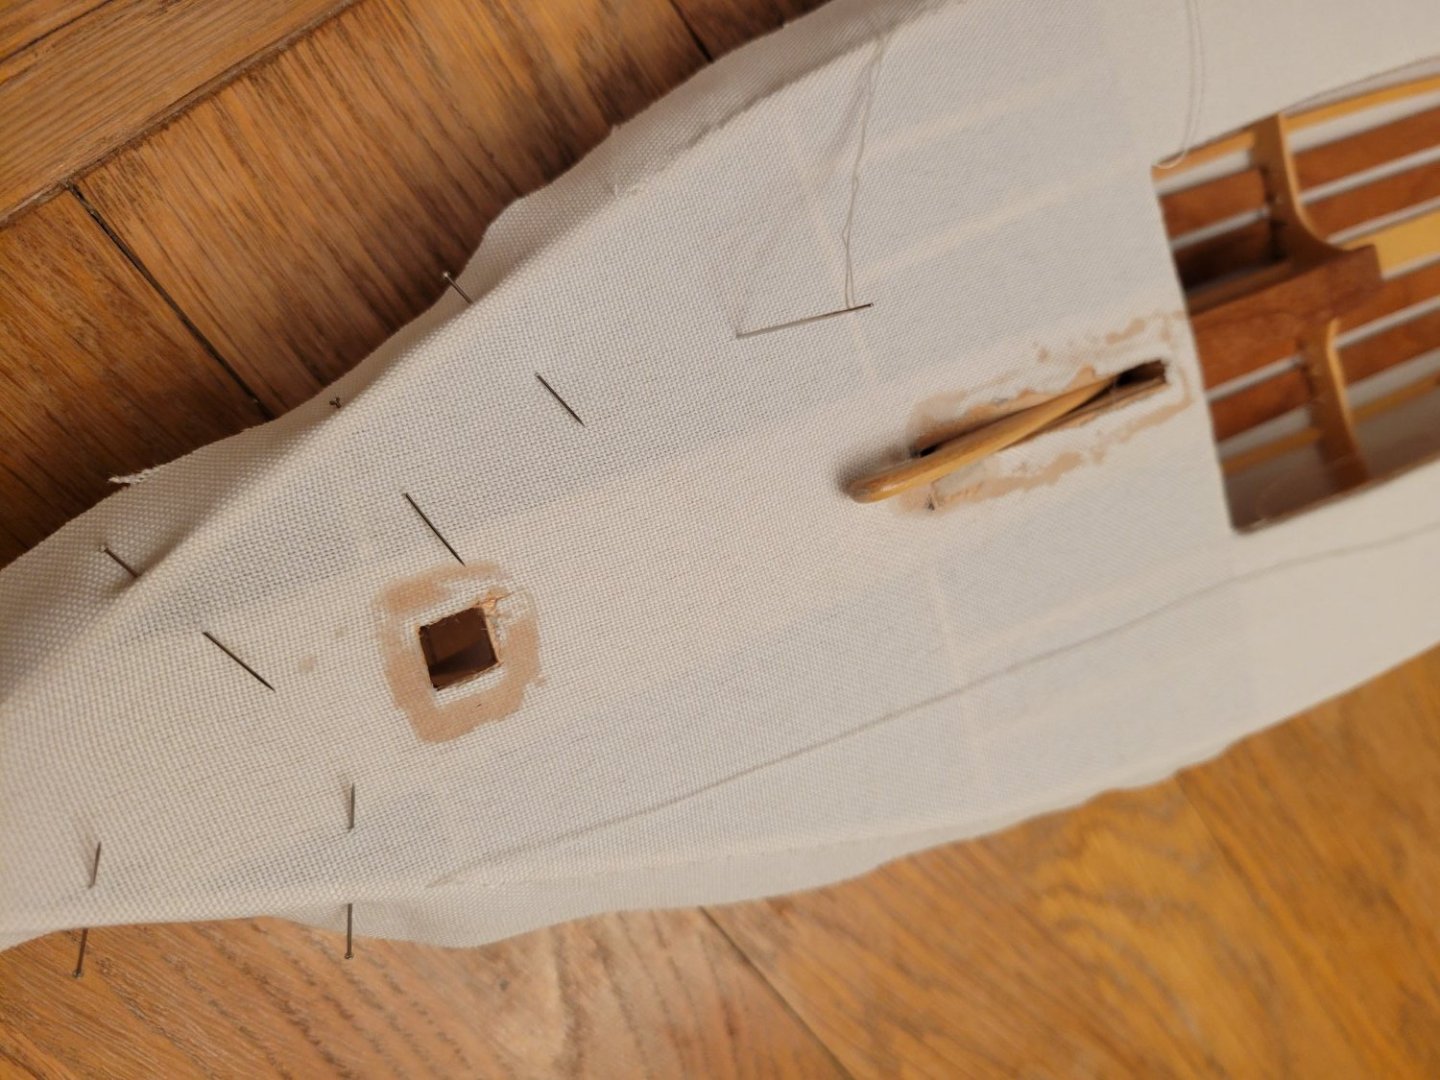
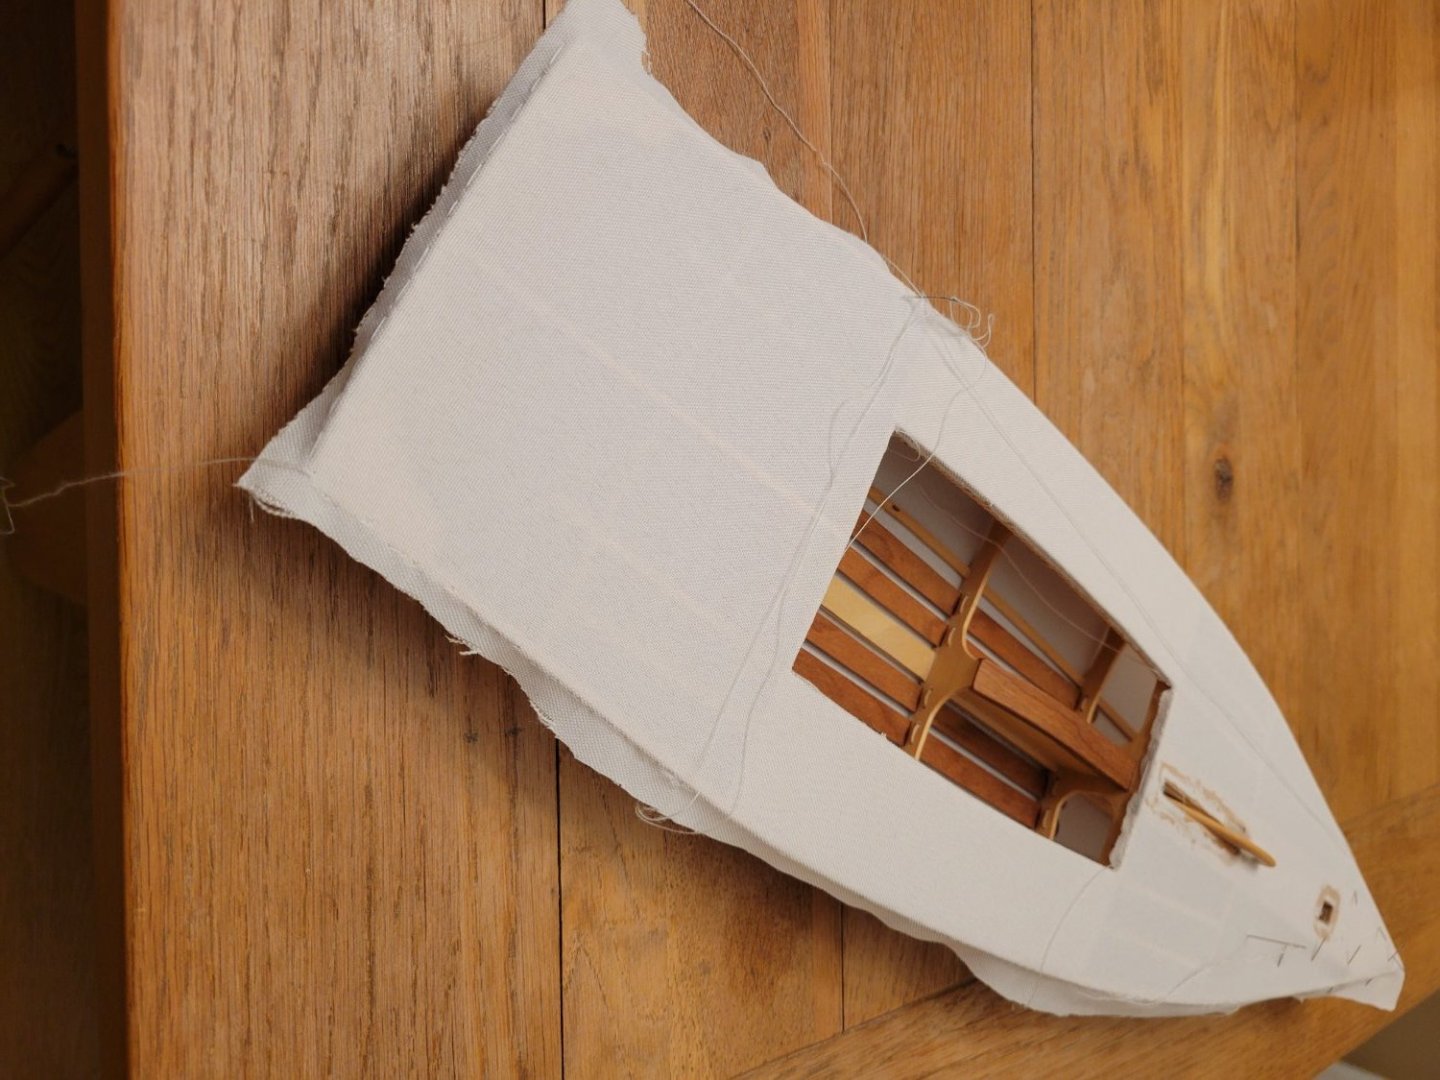
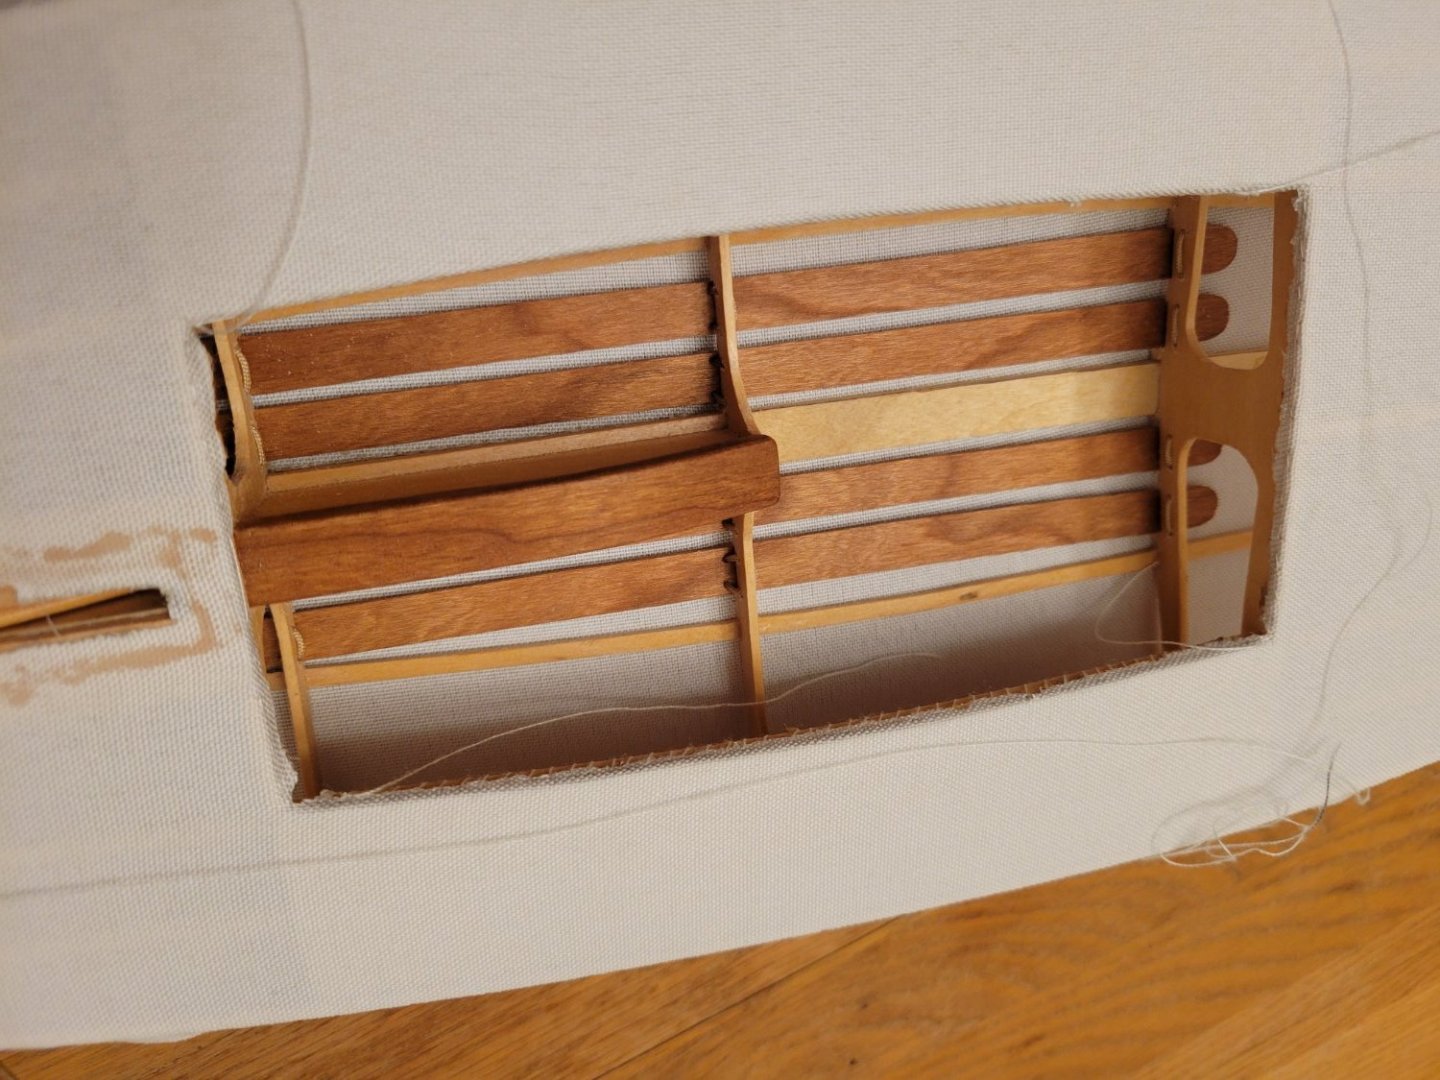
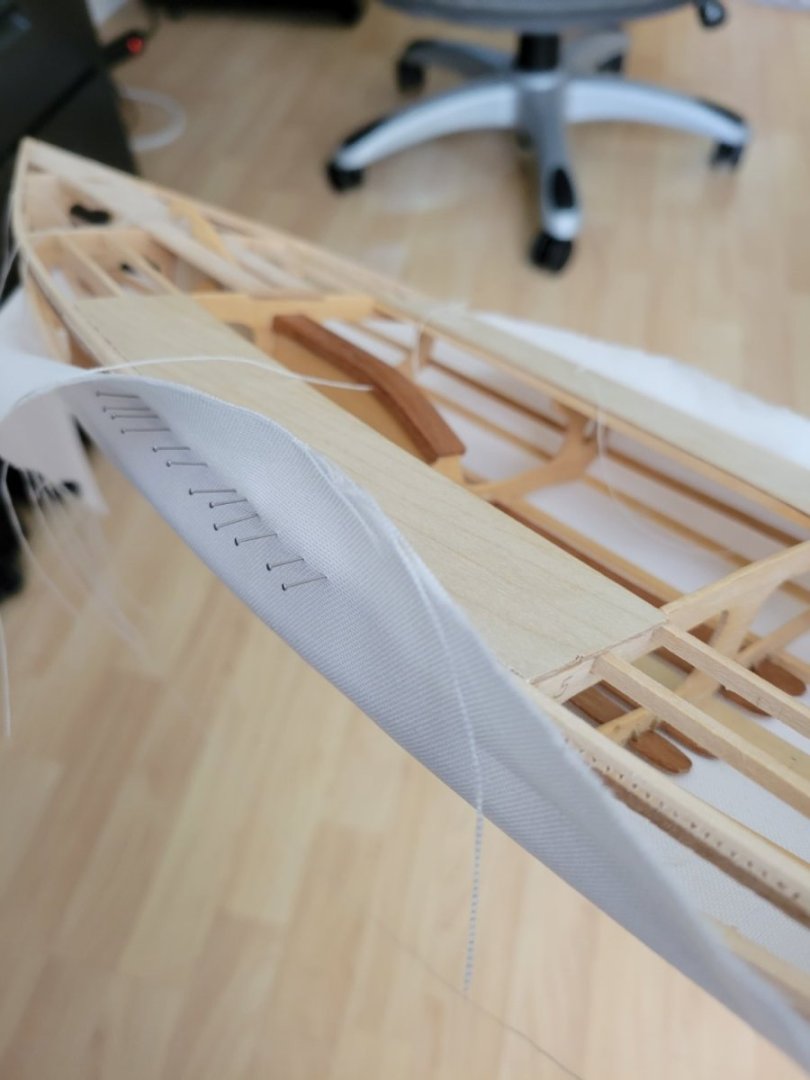
It has been a while since I updated this. Progress has been slow but significant. I fabricated the gudgeons (still need to finish the pintles). I used a stainless steel sheet and cut out appropriately sized rectangles using a coping saw. I then bent the pieces of steel sheet around the rod I will use for the pintles and then bent the "flaps" outward until flat. I then drilled holes in a pattern similar to the boat hardware I will use on the full-sized boat. I then used a dremel to round the corners and edges, and then hand-polished the result. Below you can see the gudgeons fastened to the finished transom (transom finished with acrylic clear coat and polished). I'm aiming to make them look like the Racelite Pintles and Gudgeons I will put on the full-sized boat: I have also begun to skin the deck. I started by cutting out a piece of fabric a bit bigger than the necessary size, and then pinned it to the gunwales. Starting from the middle, I sewed the fabric tightly to the existing hull fabric slightly past the seats. I cut the fabric in the cockpit, trimmed it, and sewed it to the deckbeams and frames. I then sewed the fabric all the way back and to the transom. For the centerboard opening and the mast partner, I cut out the necessary fabric and then glued it to the king plank with epoxy. As you can see, I'm almost done skinning the deck. Afterwards, I will trim the fabric, do some careful heat shrinking, and then paint the deck and hull.


-
It has been a while since my last post. Progress has been slow with various other priorities in my life. Since my last post, I have faired the mold, glued on the planks to the transom, and bent the garboard planks. I do have a question for @*Hans* Should the first planks be glued flush with the bottom of the keel? If not, is there a specific measurement on where the planks should be glued? Hopefully these pictures will help explain my question: This? Or this?
-
Congratulations Melissa! It looks awesome! Definitely a model to be proud of
- 84 replies
-
- 1
-
-
- Statenjacht
- Kolderstok
- (and 1 more)
-
mark.bukovich reacted to a post in a topic:
Statenjacht by Melissa T. - FINISHED - Kolderstok - Scale 1:50
-
mark.bukovich reacted to a post in a topic:
Statenjacht by Melissa T. - FINISHED - Kolderstok - Scale 1:50
-
mark.bukovich reacted to a post in a topic:
Statenjacht by Melissa T. - FINISHED - Kolderstok - Scale 1:50
-
mark.bukovich reacted to a post in a topic:
Speel-Jaght by mark.bukovich - Kolderstok - 1:50
-
Thanks @*Hans*! Those are great images! This is a very cool little vessel. I thought it would cool to build the model with an open door to the cabin where some things might be visible with the right lighting. I suppose the contents of the cabin could be different for each owner and each voyage. I wonder if passengers would sleep in hammocks or cots or maybe just rolls on the floor. Considering the scale, it might be more trouble than it's worth.
-
mark.bukovich reacted to a post in a topic:
Speel-Jaght by mark.bukovich - Kolderstok - 1:50
-
Thanks @*Hans*! By the way, do you know of any images or resources that could help me understand how the forward cabin would have been fitted out? I wonder if these Speel-Jaghts were more often used as daysailers or camp-cruisers (to use modern English terminology)
-
mark.bukovich reacted to a post in a topic:
Speel-Jaght by mark.bukovich - Kolderstok - 1:50
-
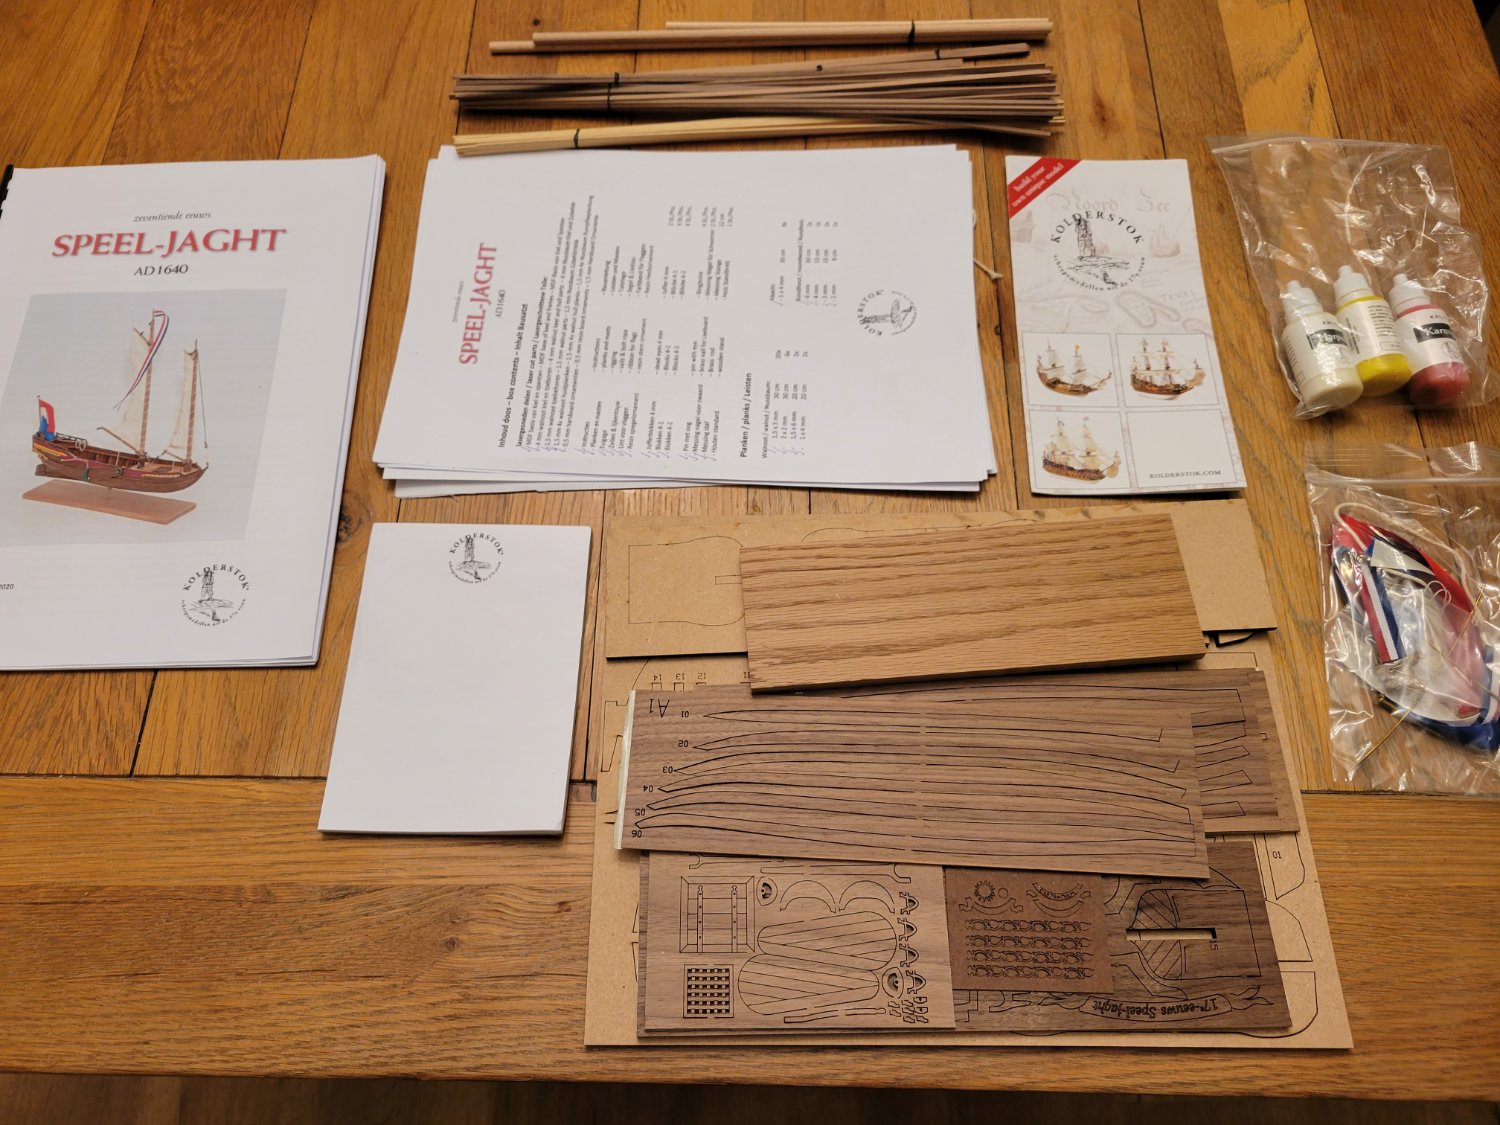
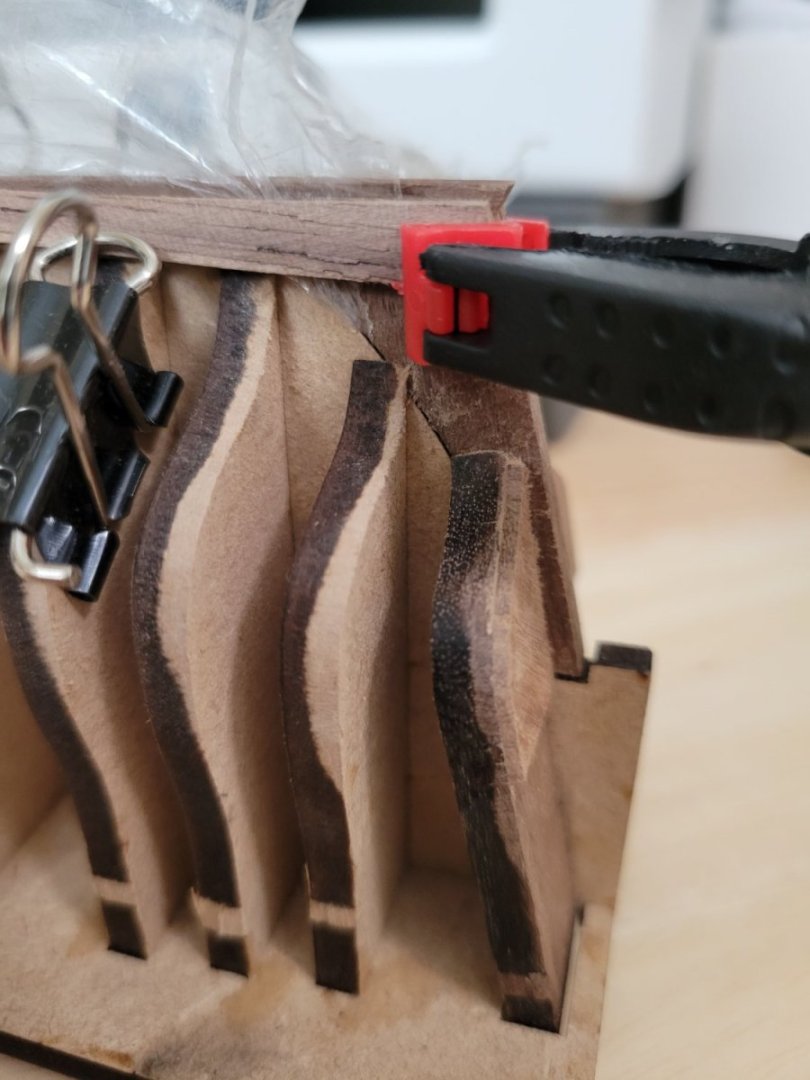
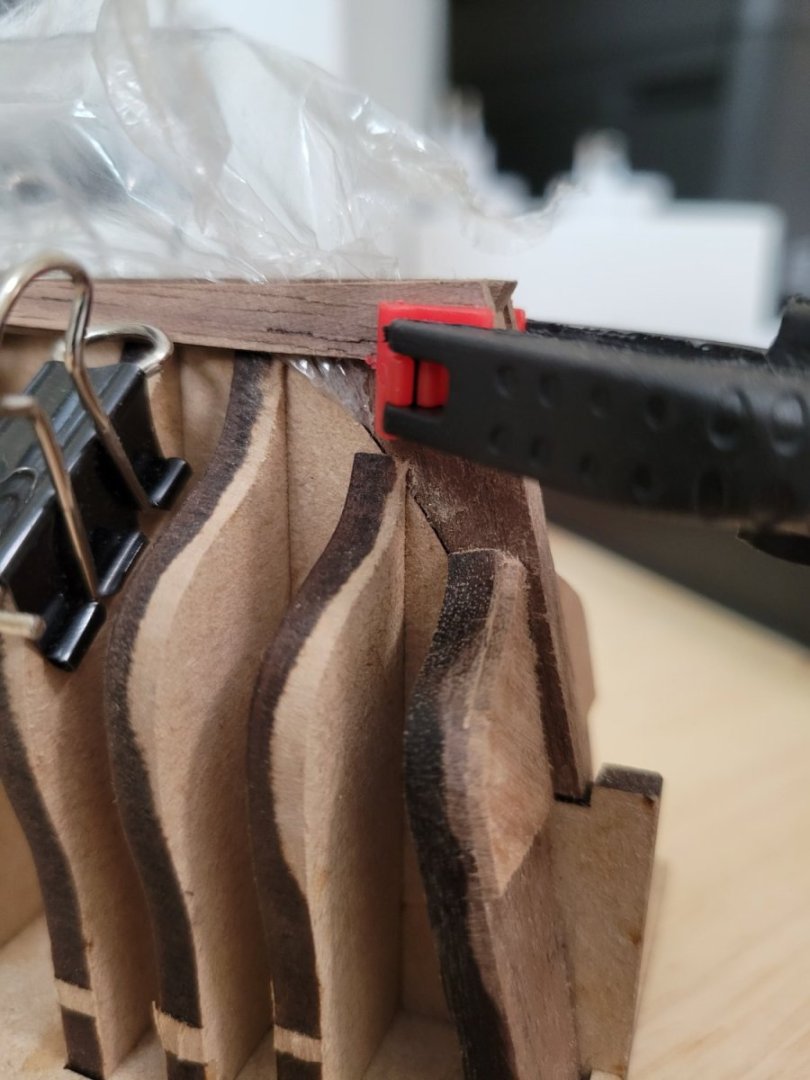
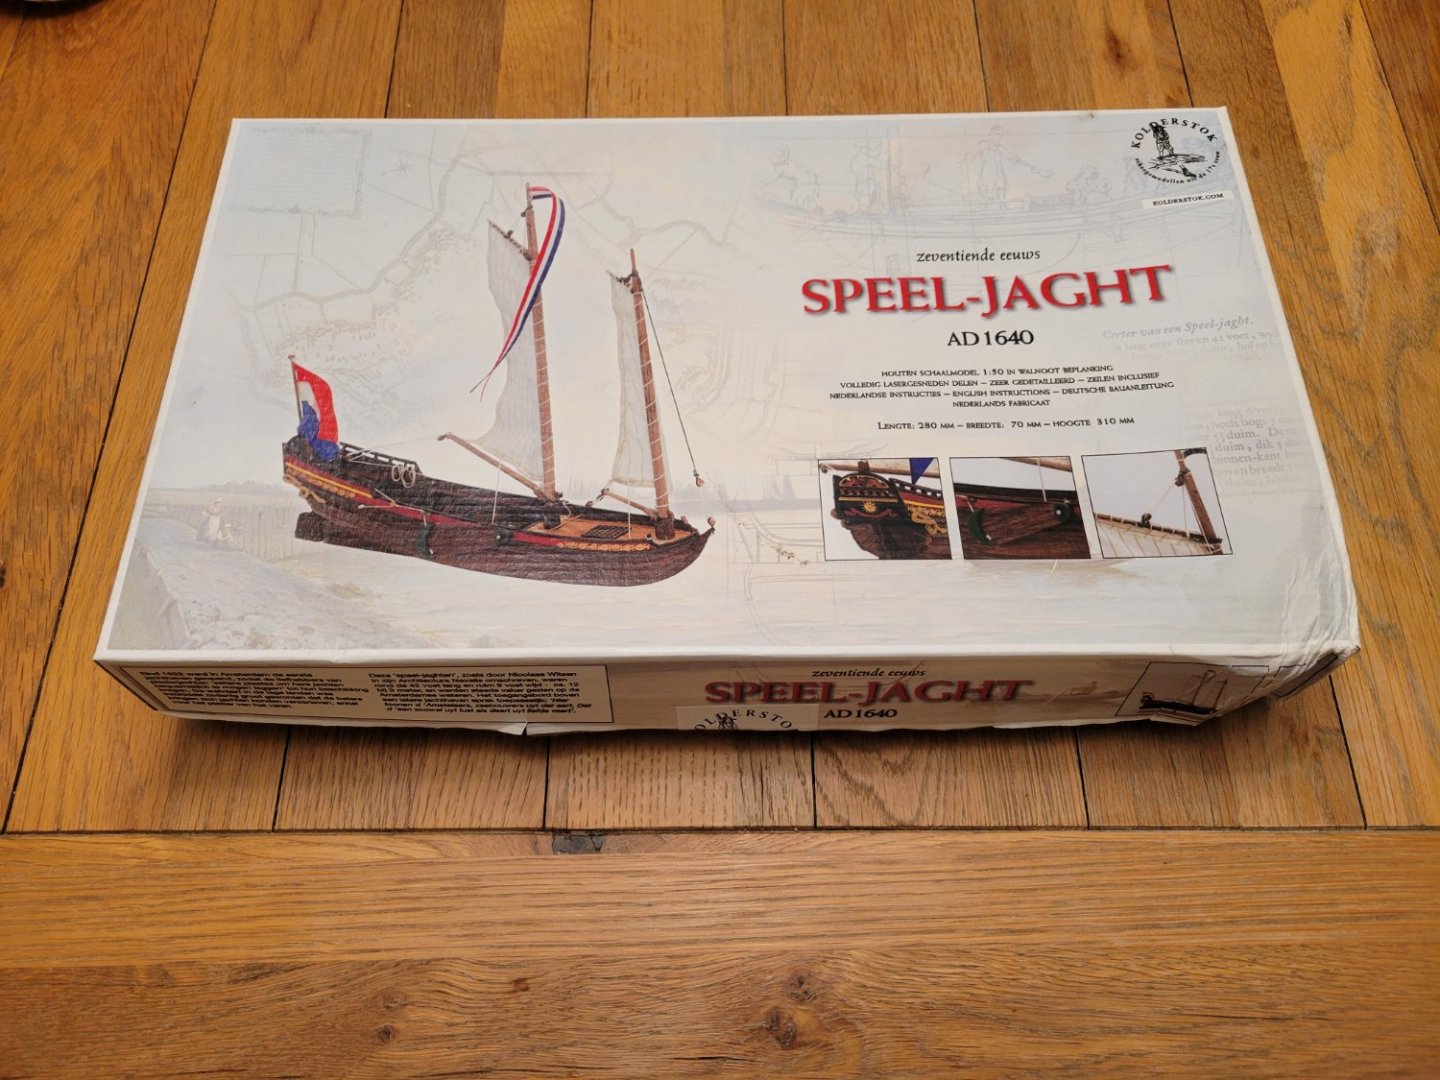
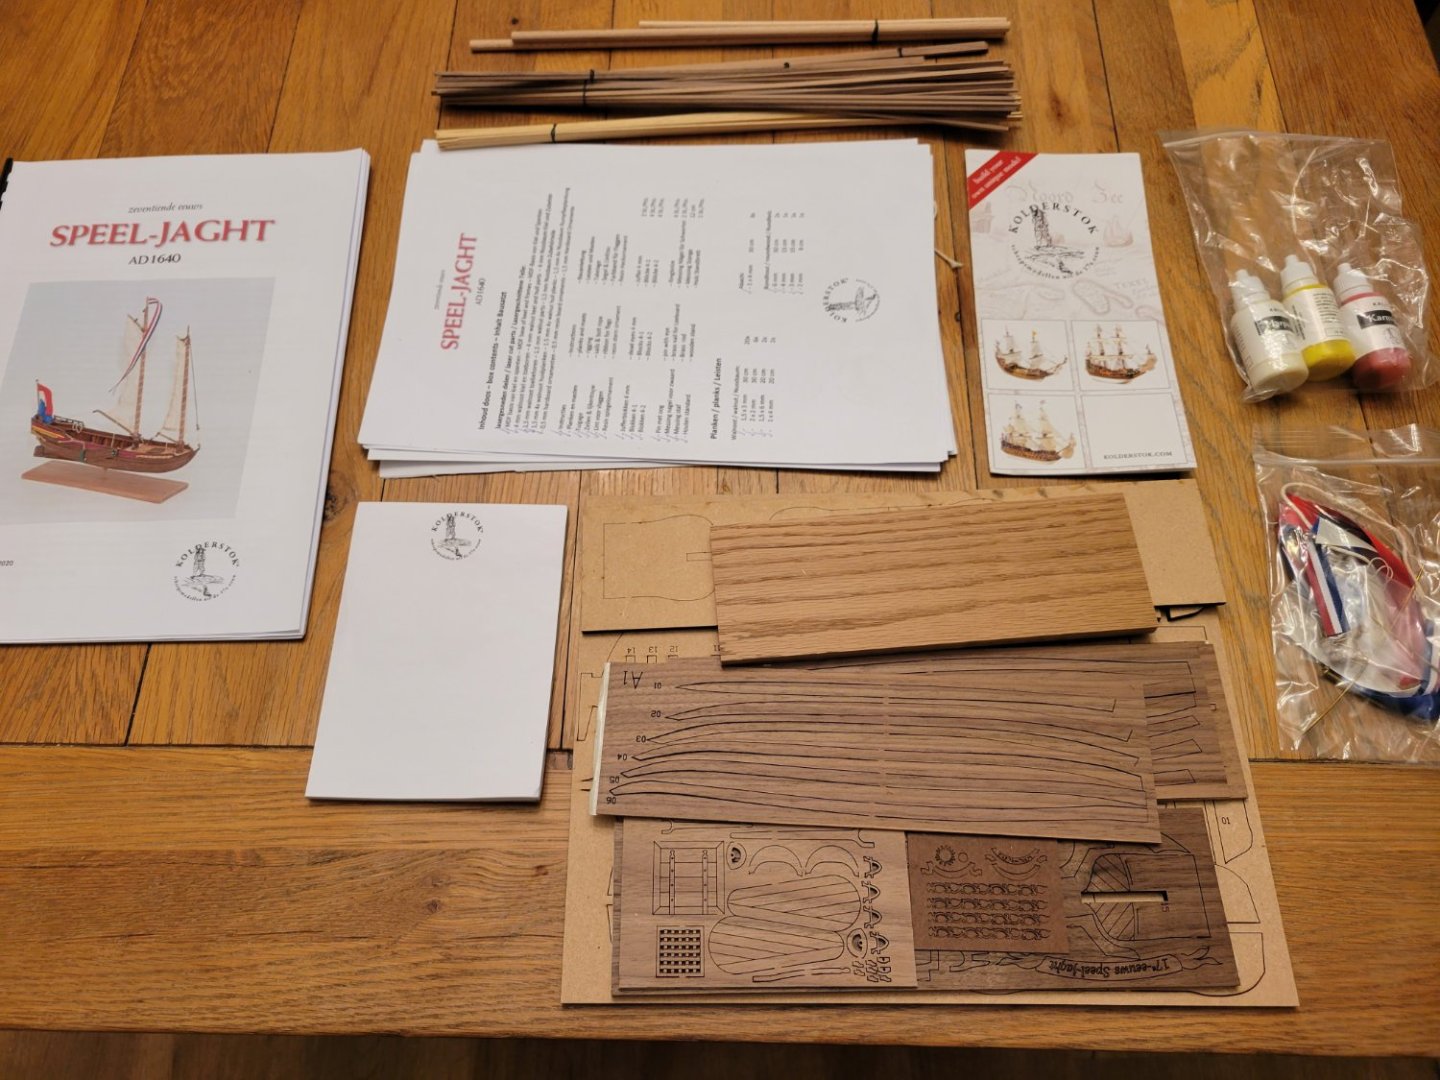
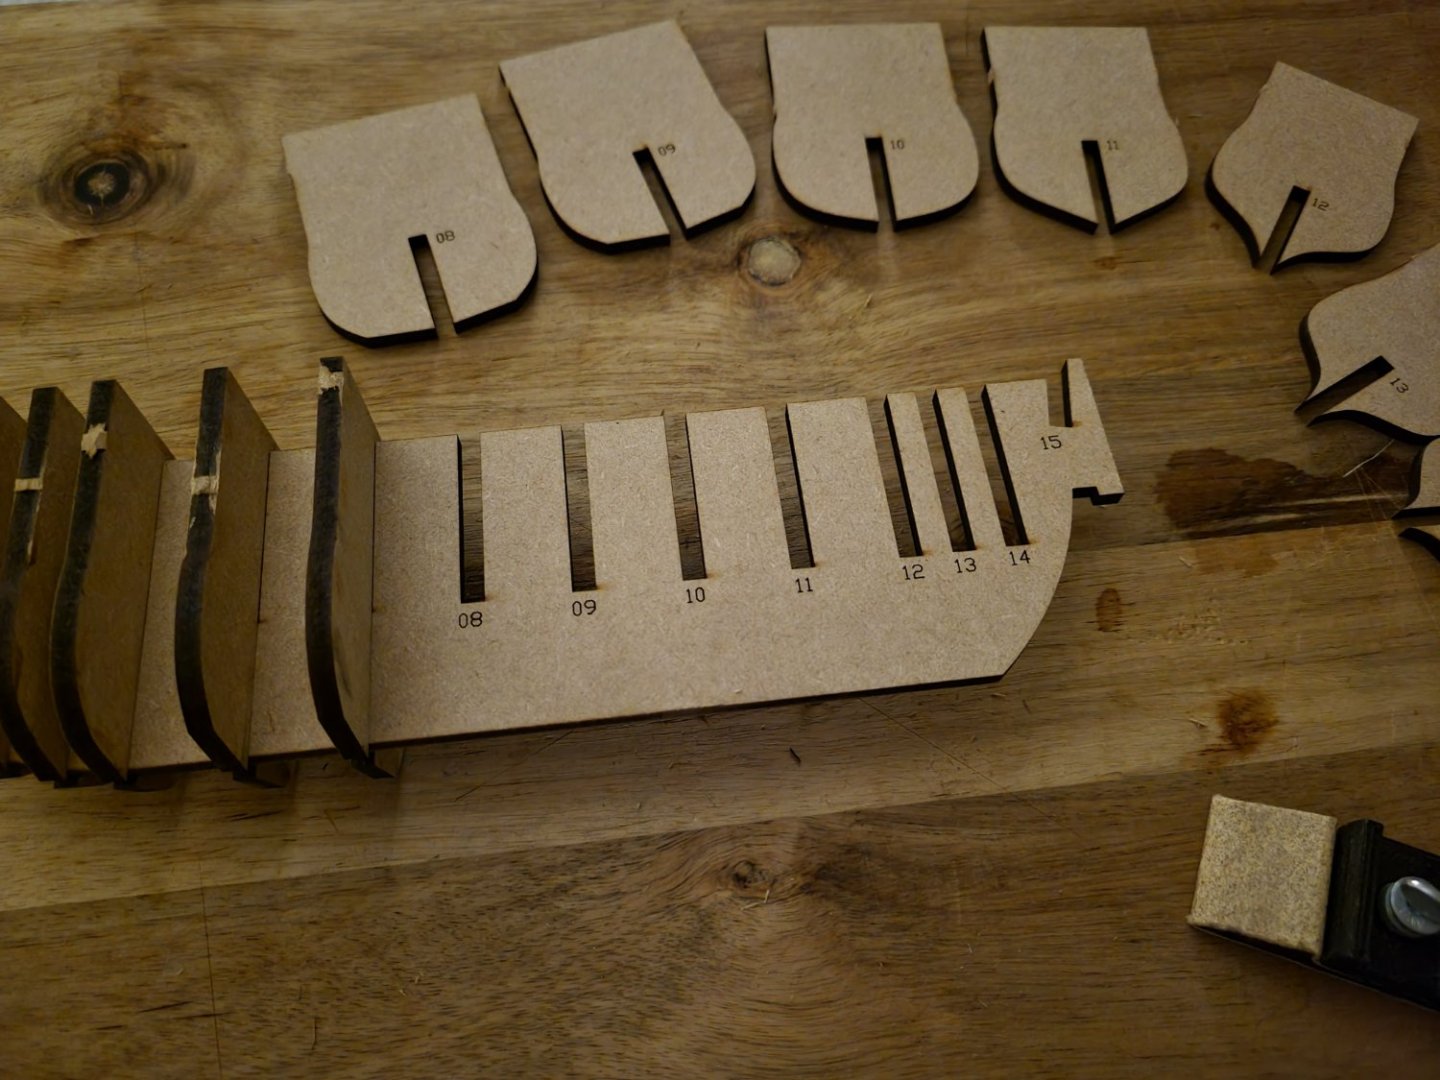
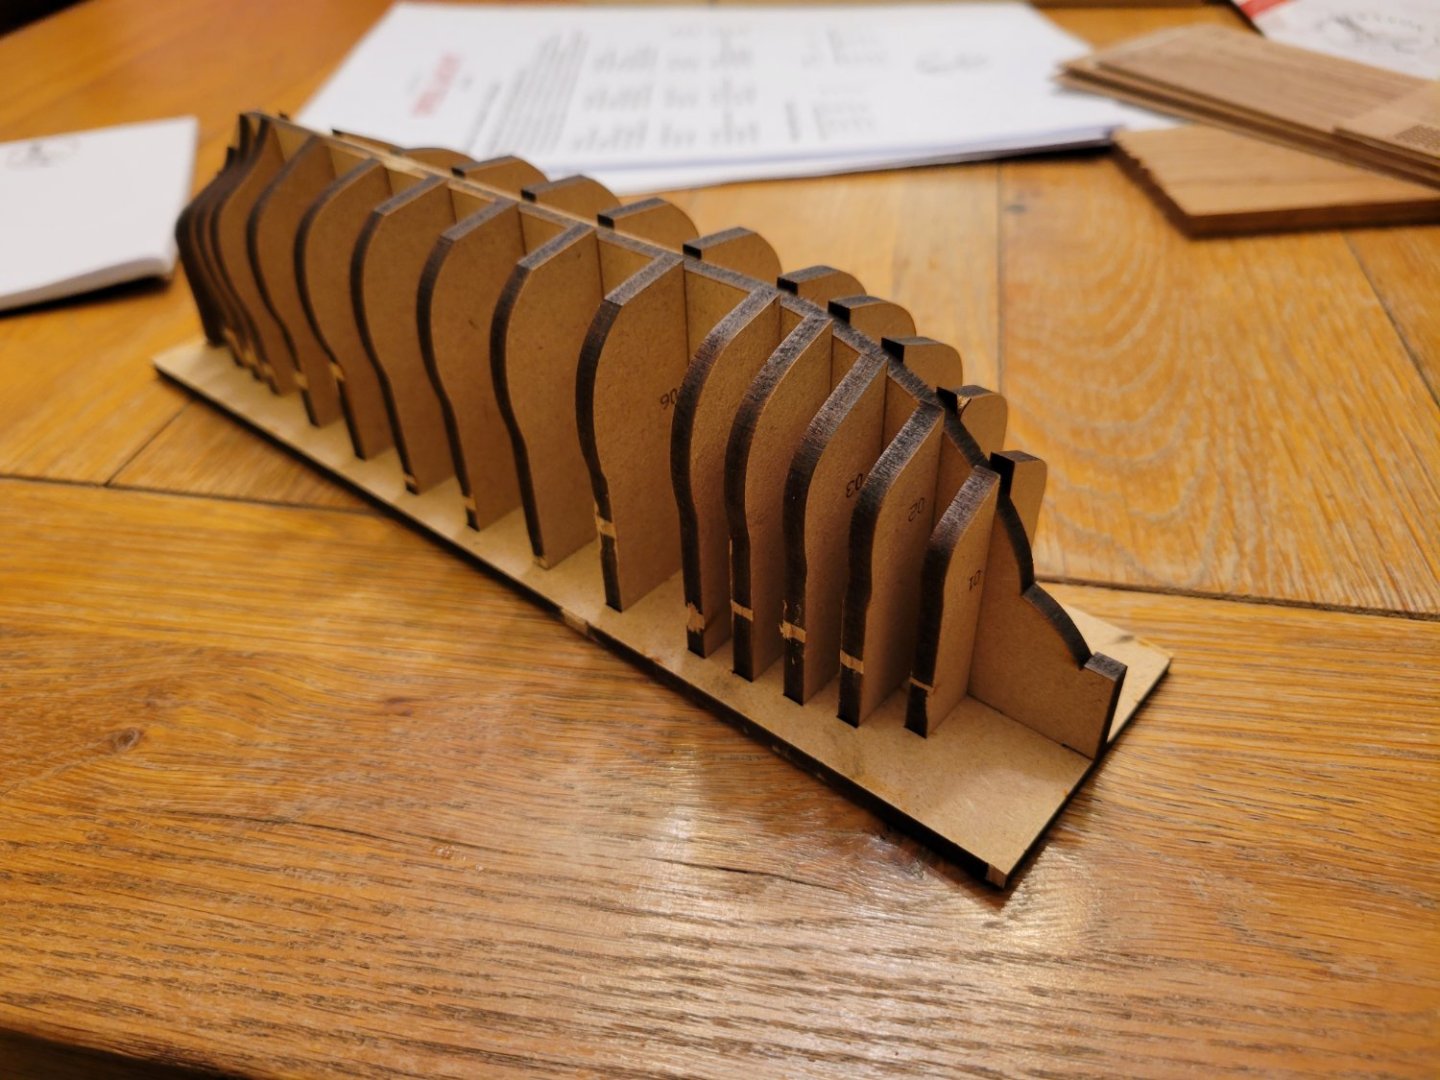
Speel-Jaght- Kolderstok Welcome to my build log for the Speel-Jaght, a 1:50 kit by Kolderstok. I am still working on my Melonseed project, but there are often waiting periods and breaks when it is nice to have another project to work on. I bought the Speel-Jaght kit from Kolderstok last year, and every time I see it on my shelf, I get excited. I finally caved-in to the excitement and started it! Here is the box shipped all the way from the Netherlands to the US: A little bit of damage to the box, but the internal contents were just fine. The contents include a manifest which confirms that all necessary components are in the box (in other words, someone actually audited the kit before shipping it. I think that says a lot about Kolderstok's quality control 👍 This kit uses an interesting construction method for the hull. In this kit, the false keel and bulkheads are not permanent like in many other kits. For the Speel-Jaght, the hull is built around the form created by the false keel and bulkheads and then removed completely. According to the instructions, this resembles a common construction method used during the historical period in which the Speel-Jaght was built and sailed. I can say confidently that this is a common method for building full-sized traditional wooden boats. I cut the pieces out and assembled the form. I feel like Kolderstok did a very good job with tolerances and making it very easy to know how to assemble (notice the numbers on both the frame and false keel). I should also mention that the points where the pieces need to be cut out seem to be located where the potentially rough cut/break will not affect the final product 👍 @*Hans* (I thought you might be interested in this 😁 )
-
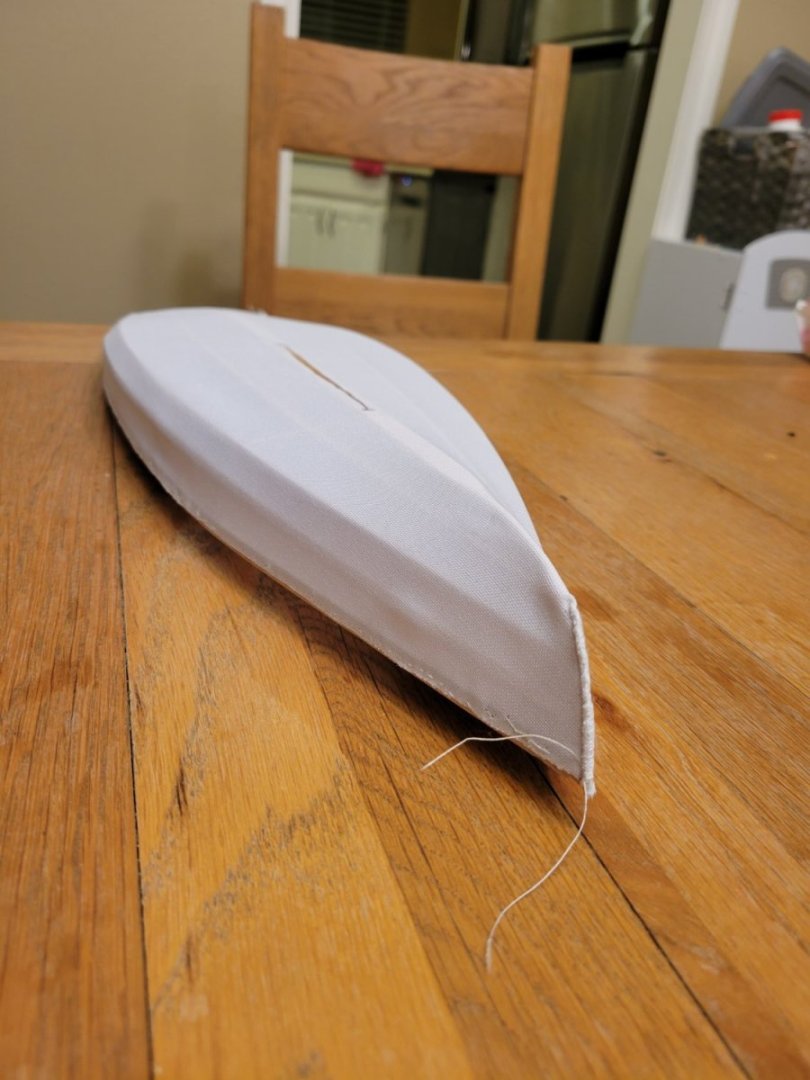
Thanks! I'm also planning to carefully apply heat to shrink the material and get more tension in the skin. Next steps are to sew the fabric to the transom and centerboard slot and attach the skeg and gudgeons.
-
mark.bukovich reacted to a post in a topic:
Light Melonseed by mark.bukovich - 1:8 - SMALL - from design by Dave Gentry
-
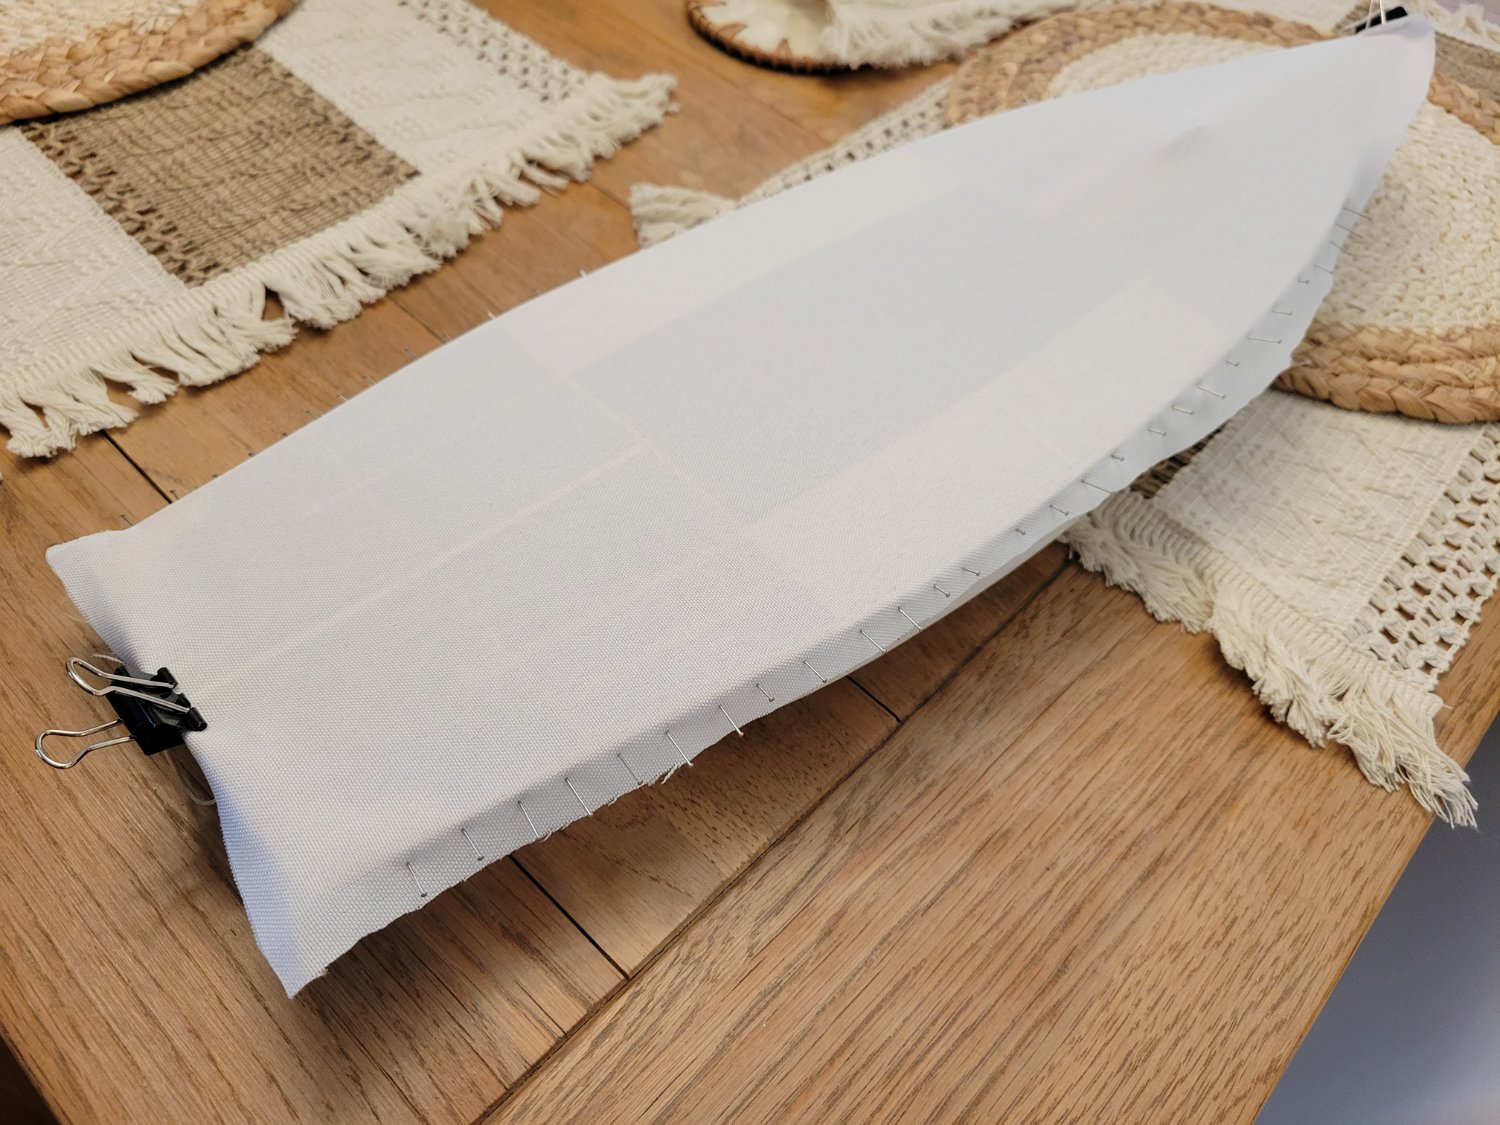
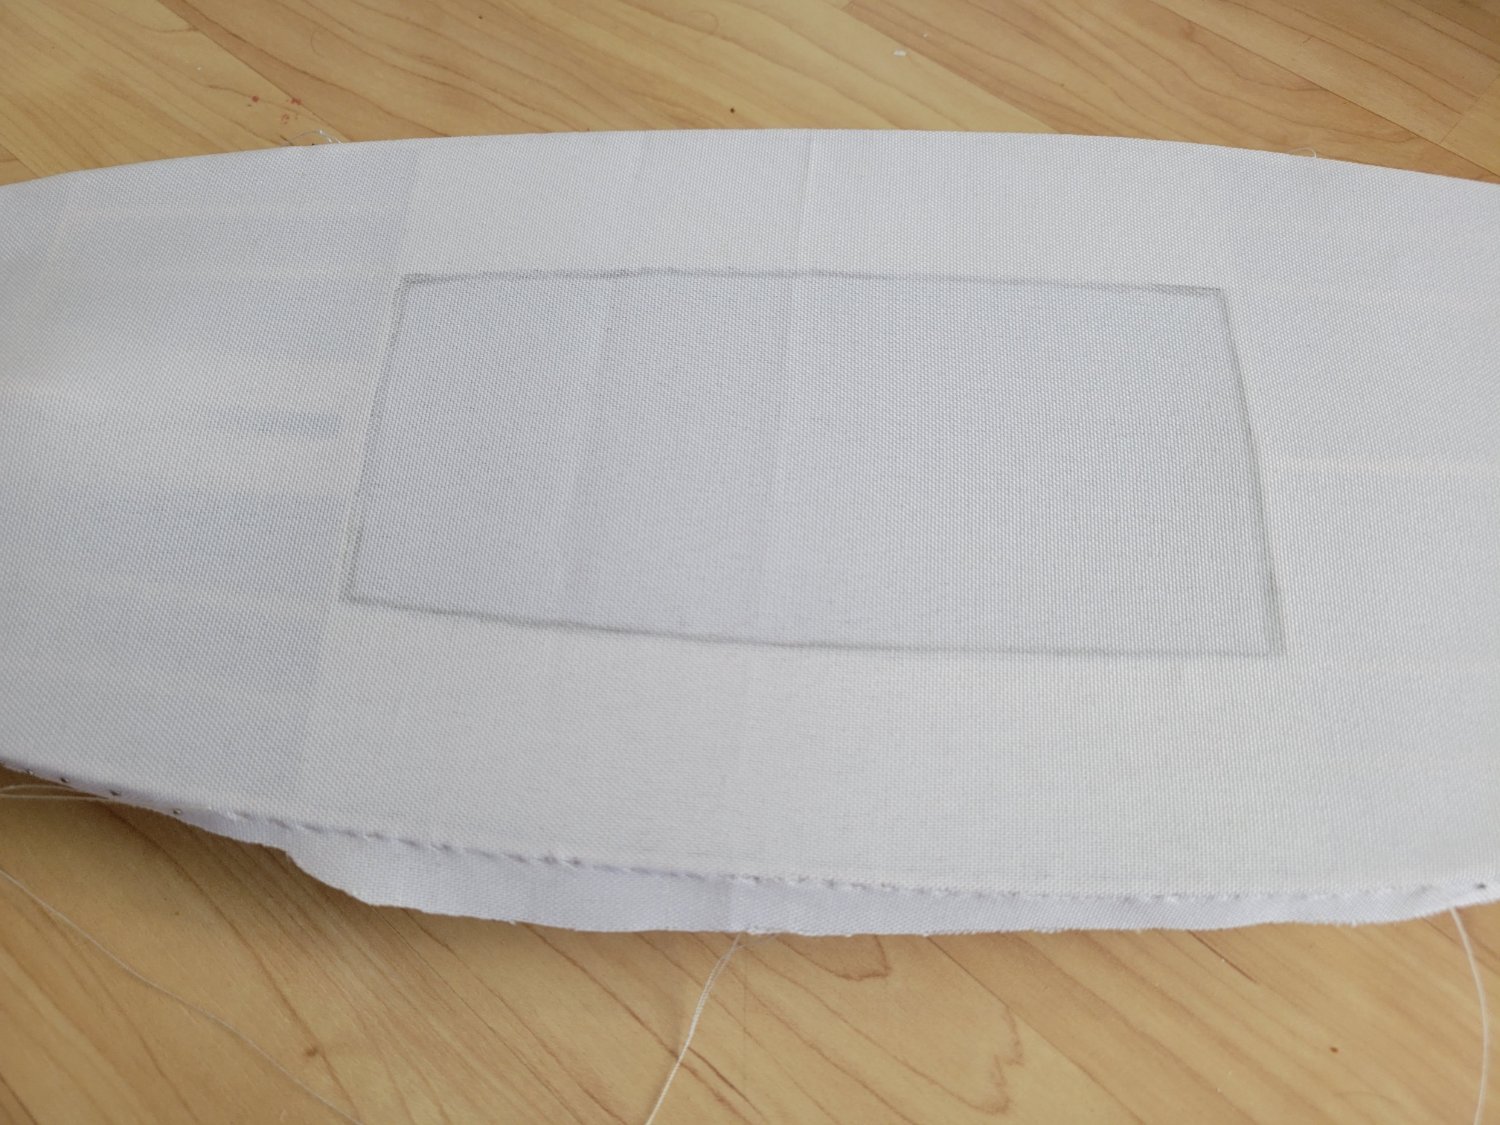
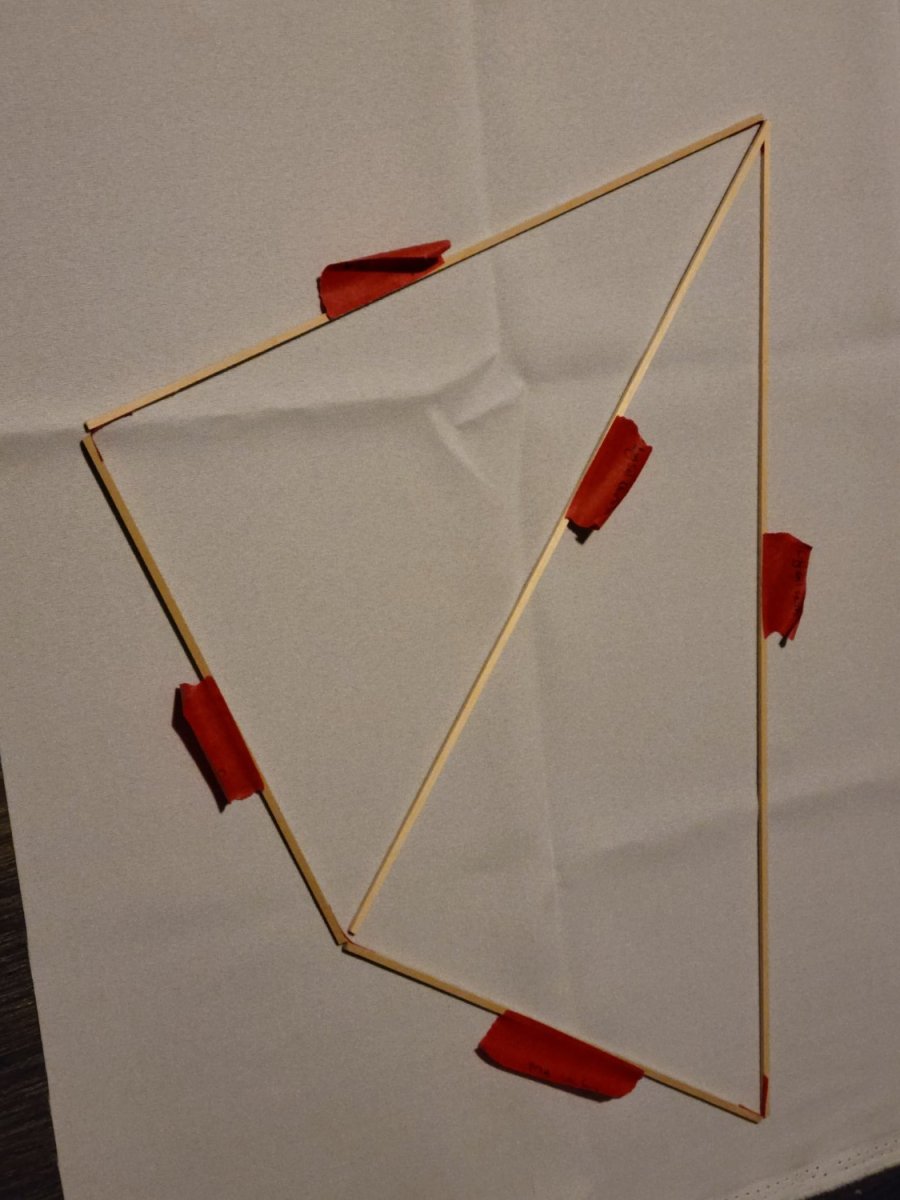
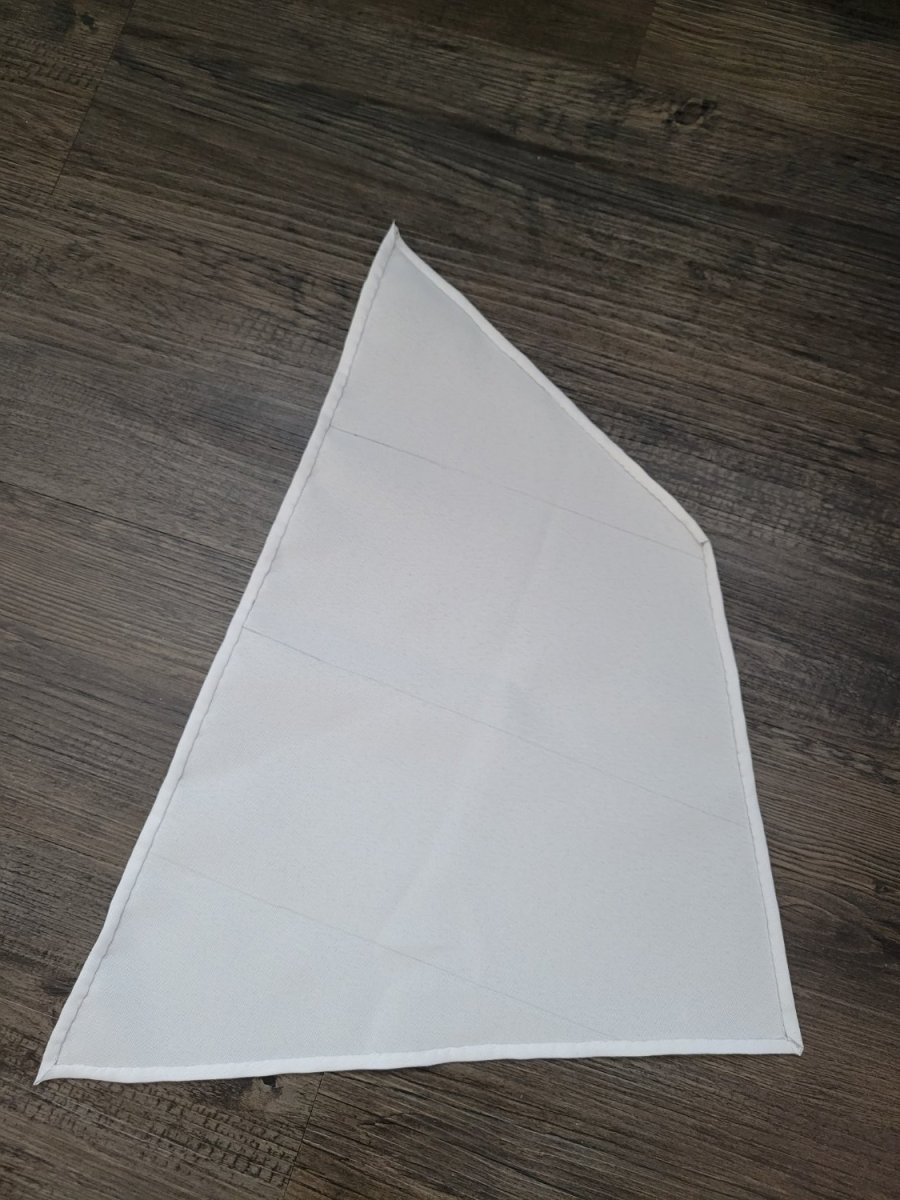
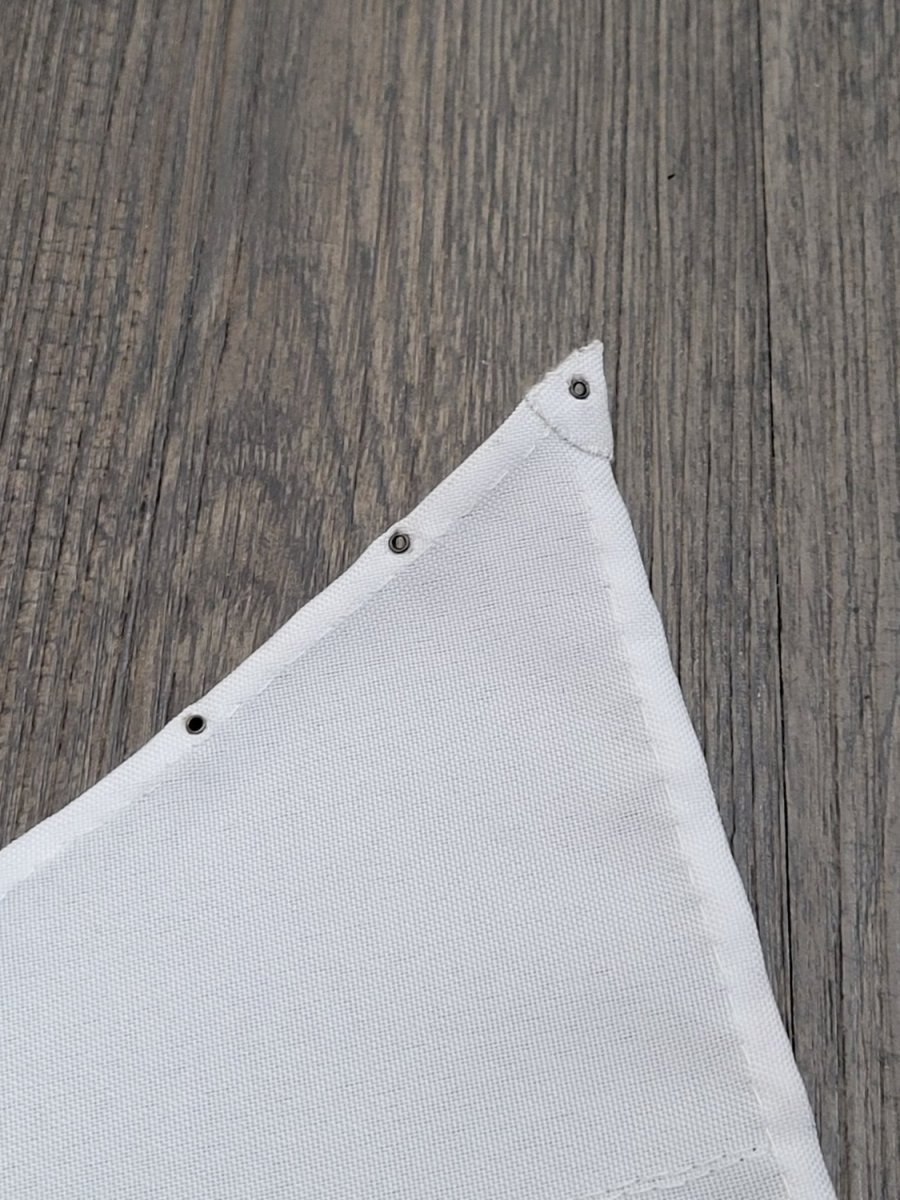
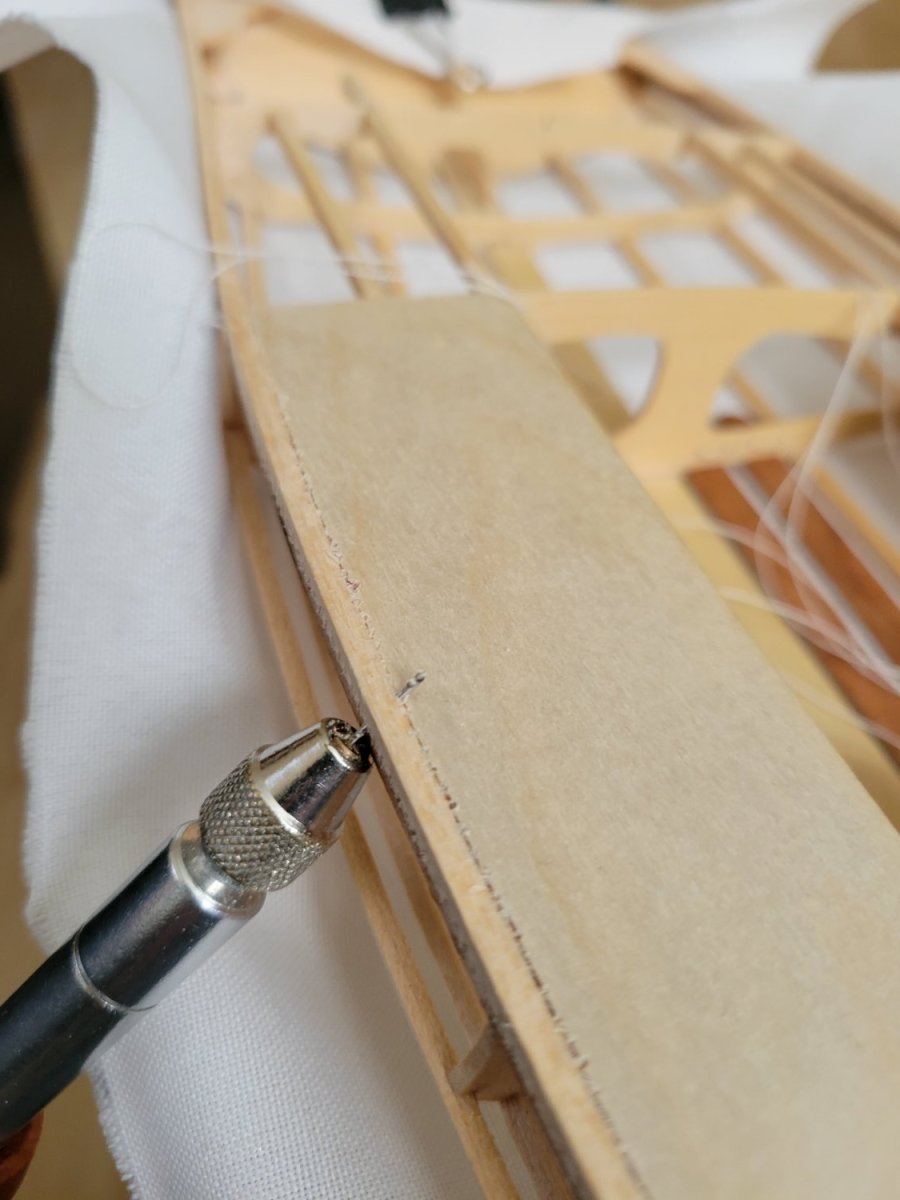
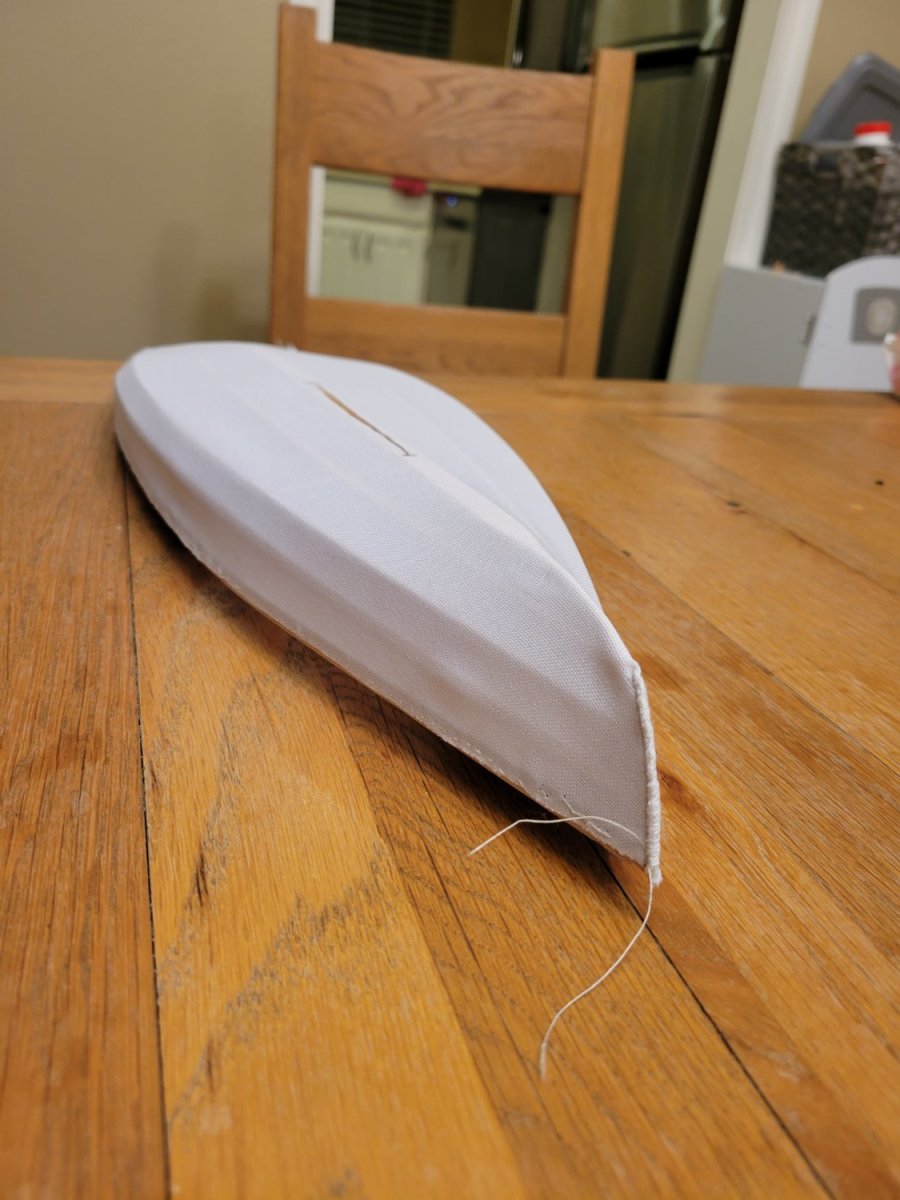
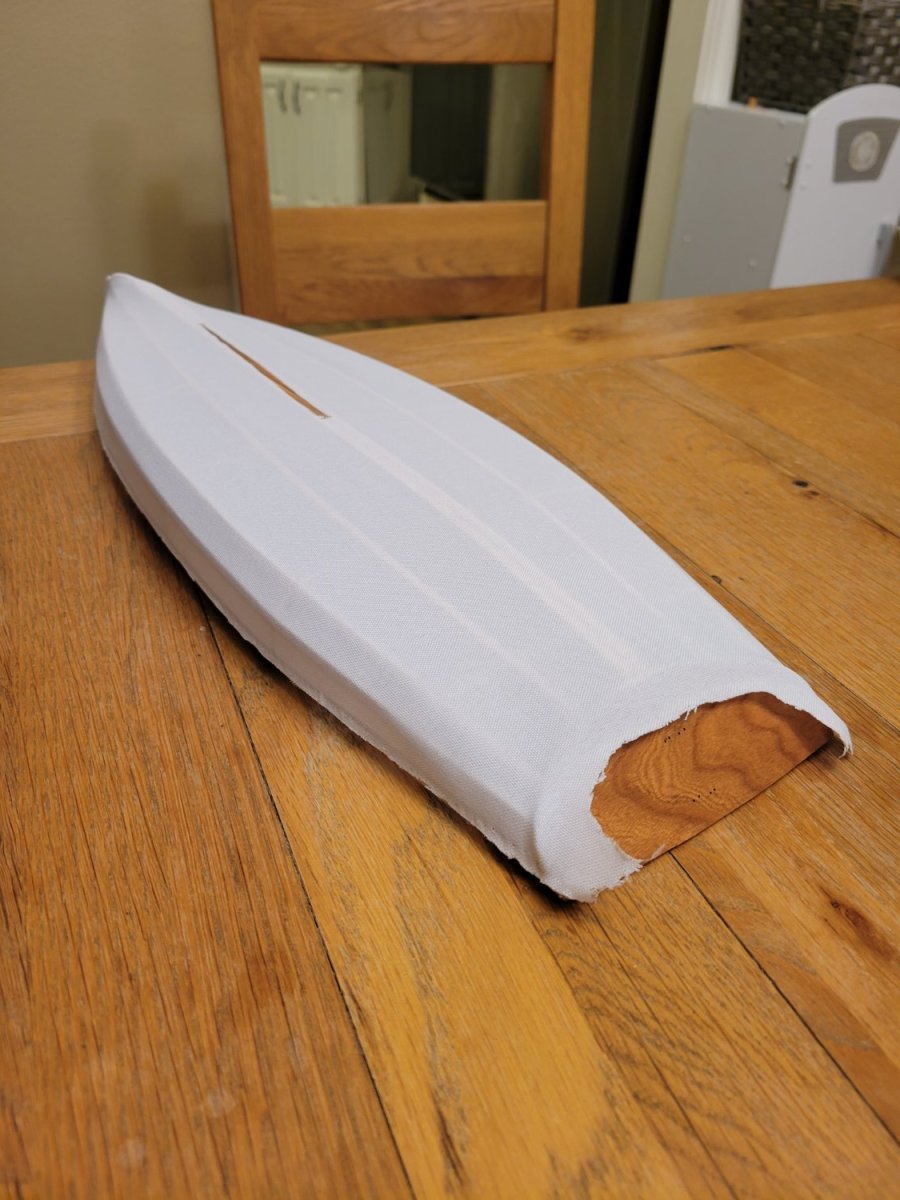
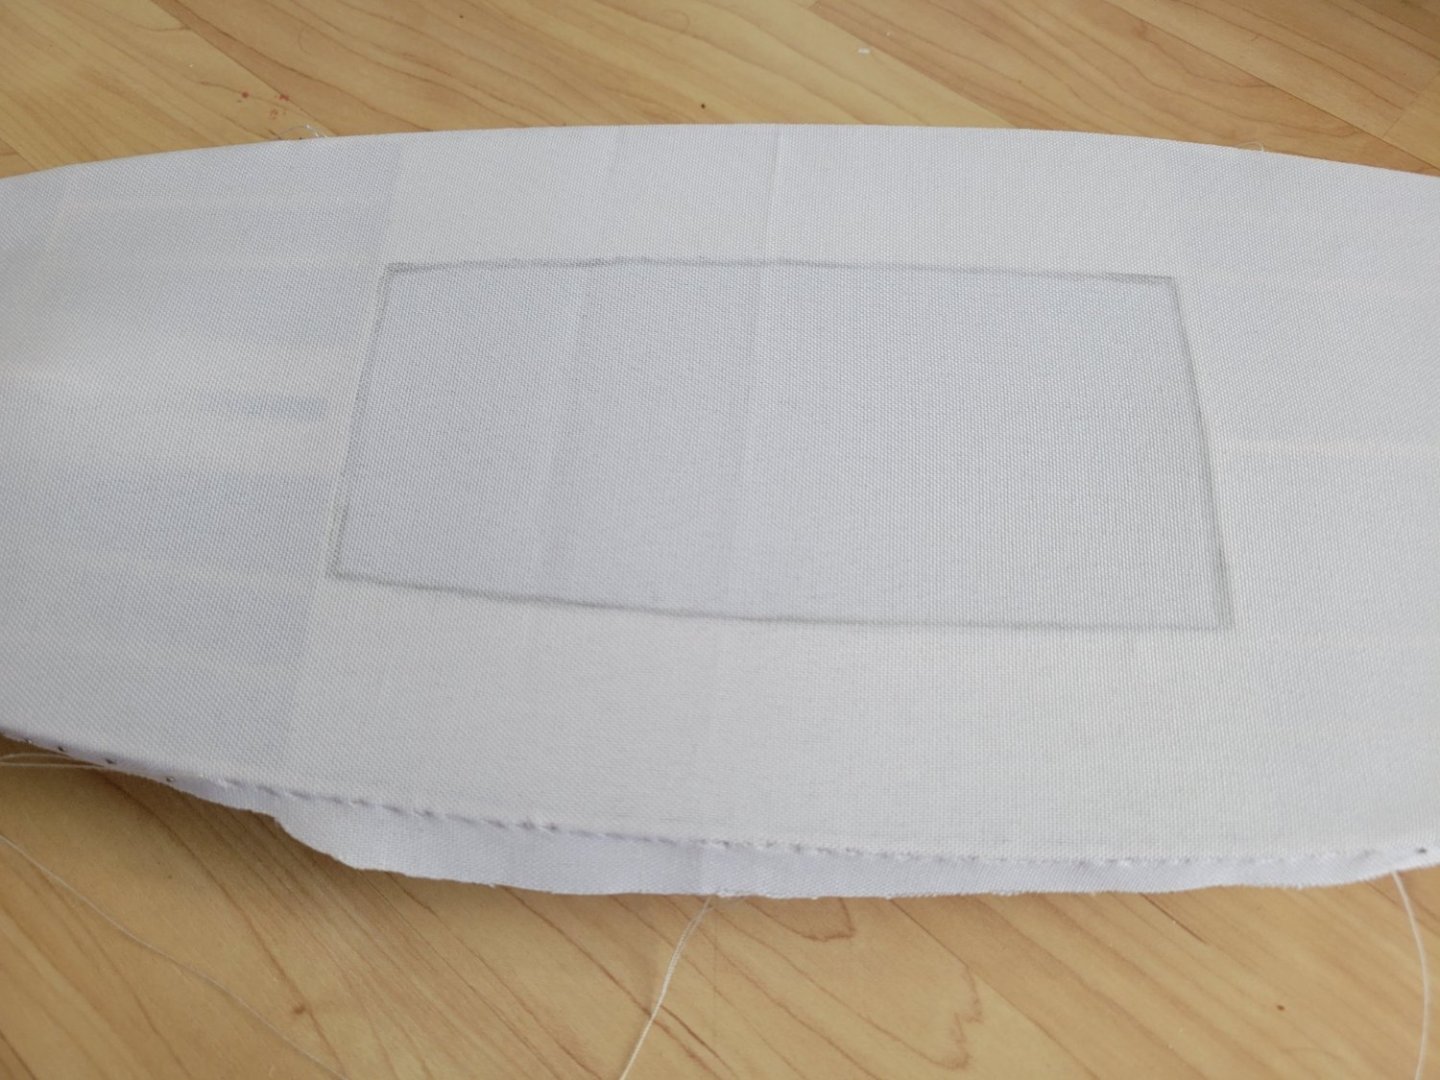
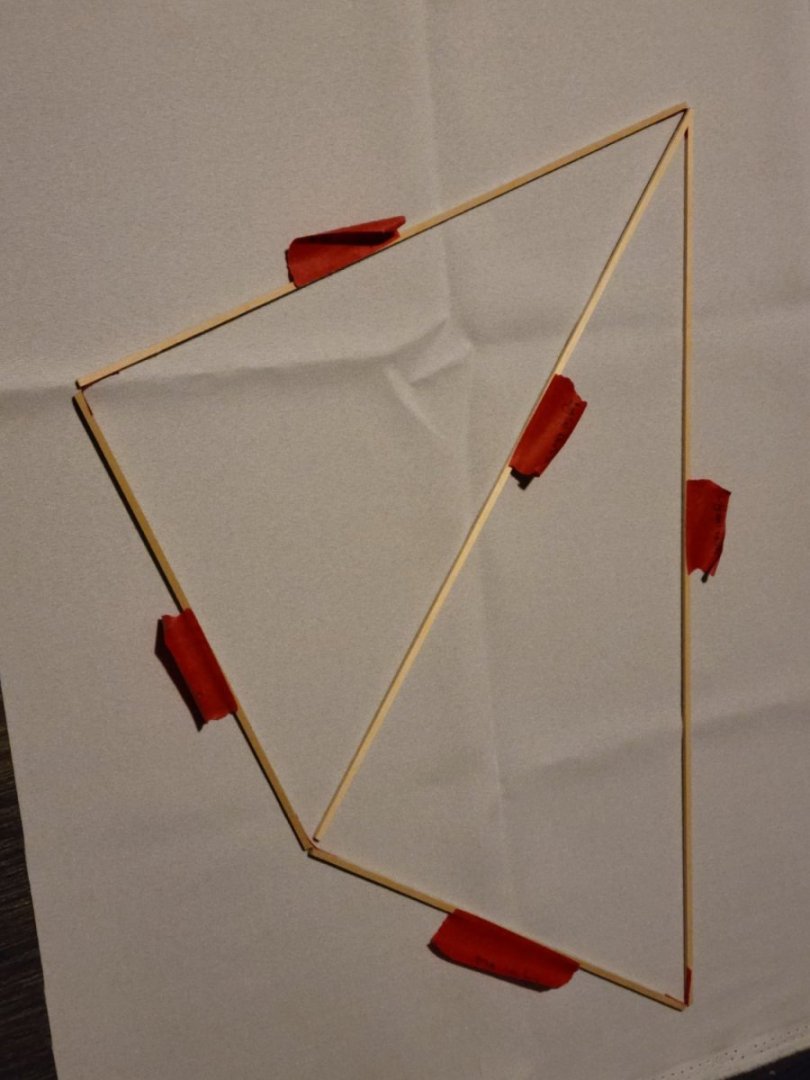
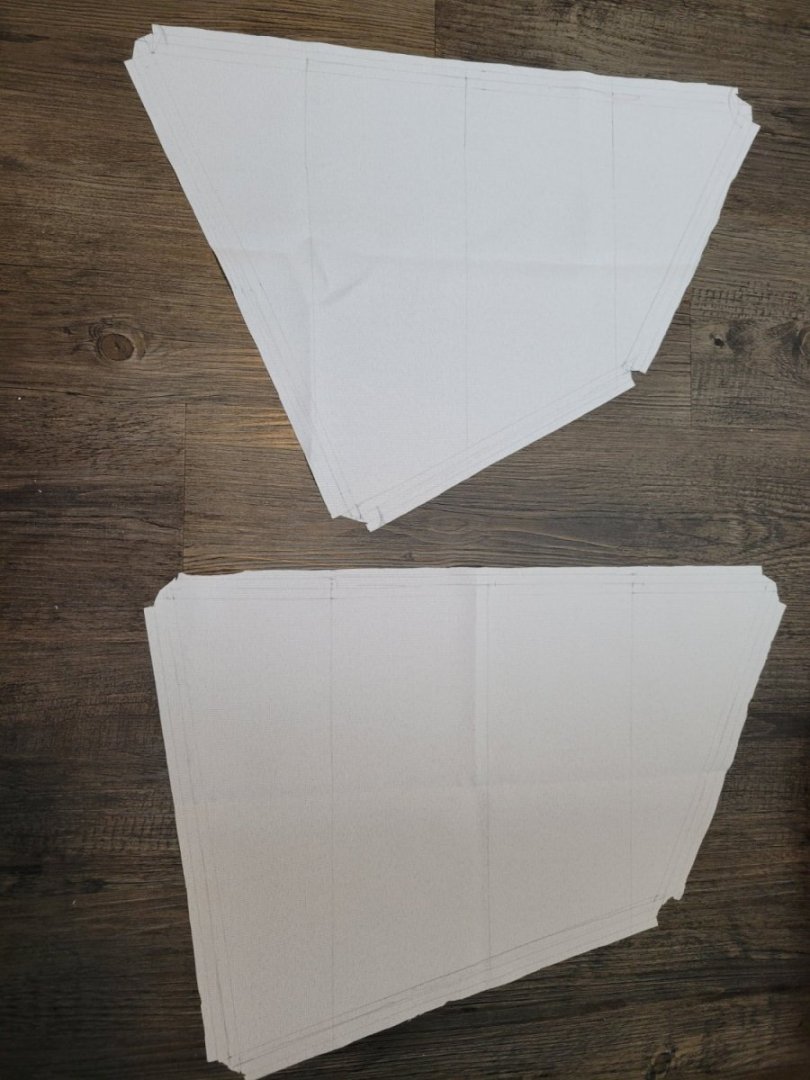
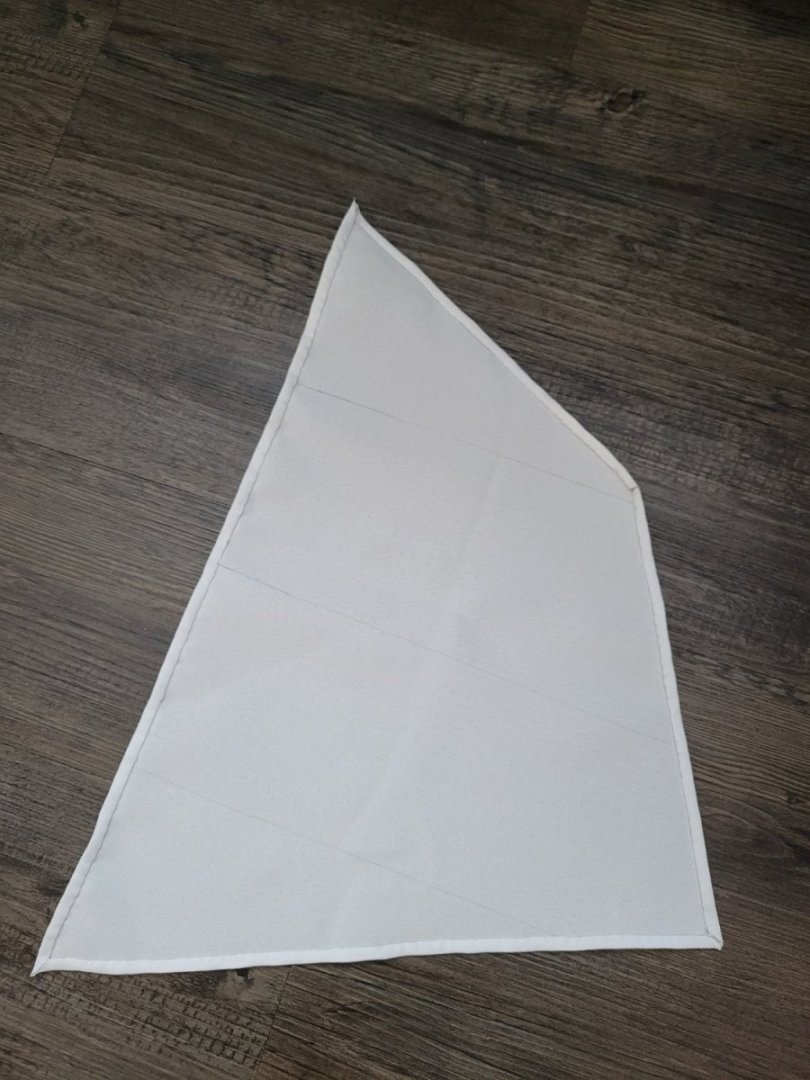
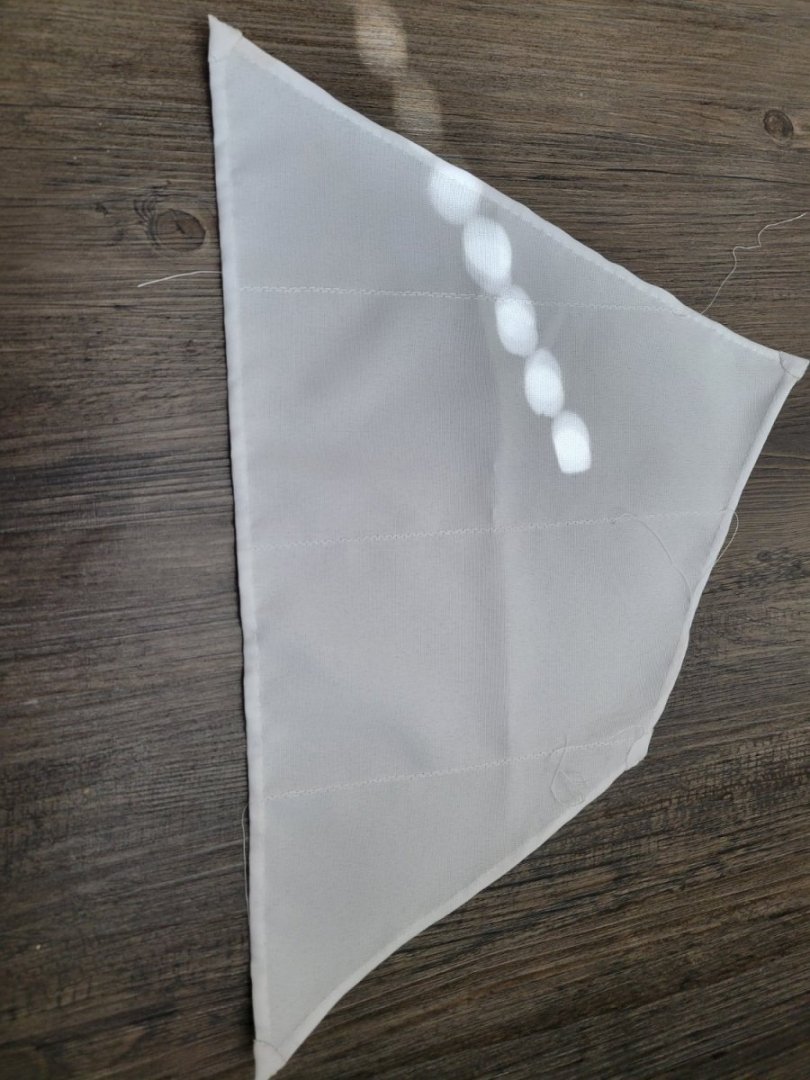
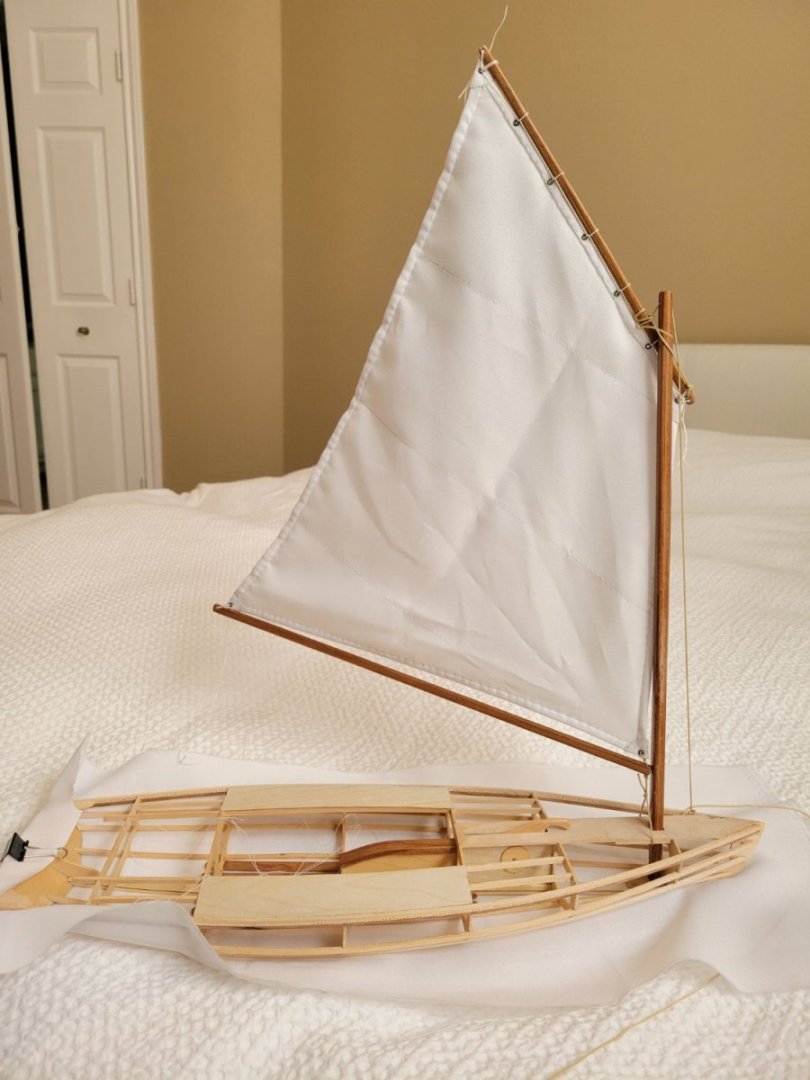
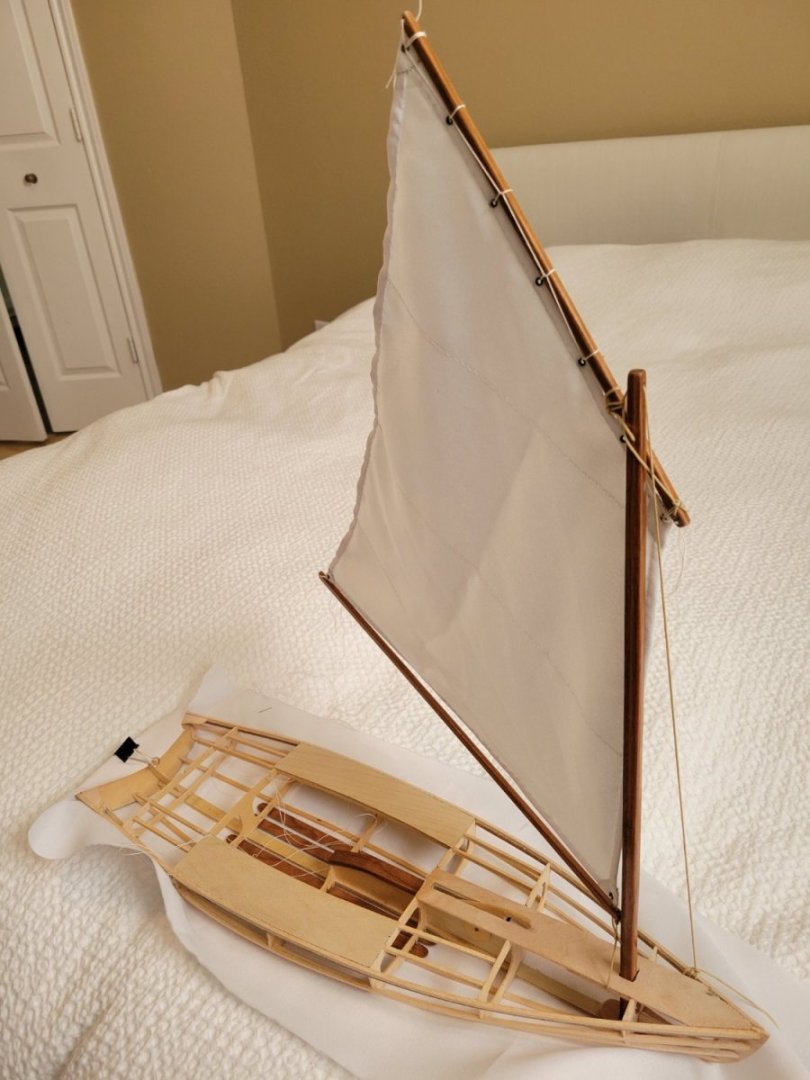
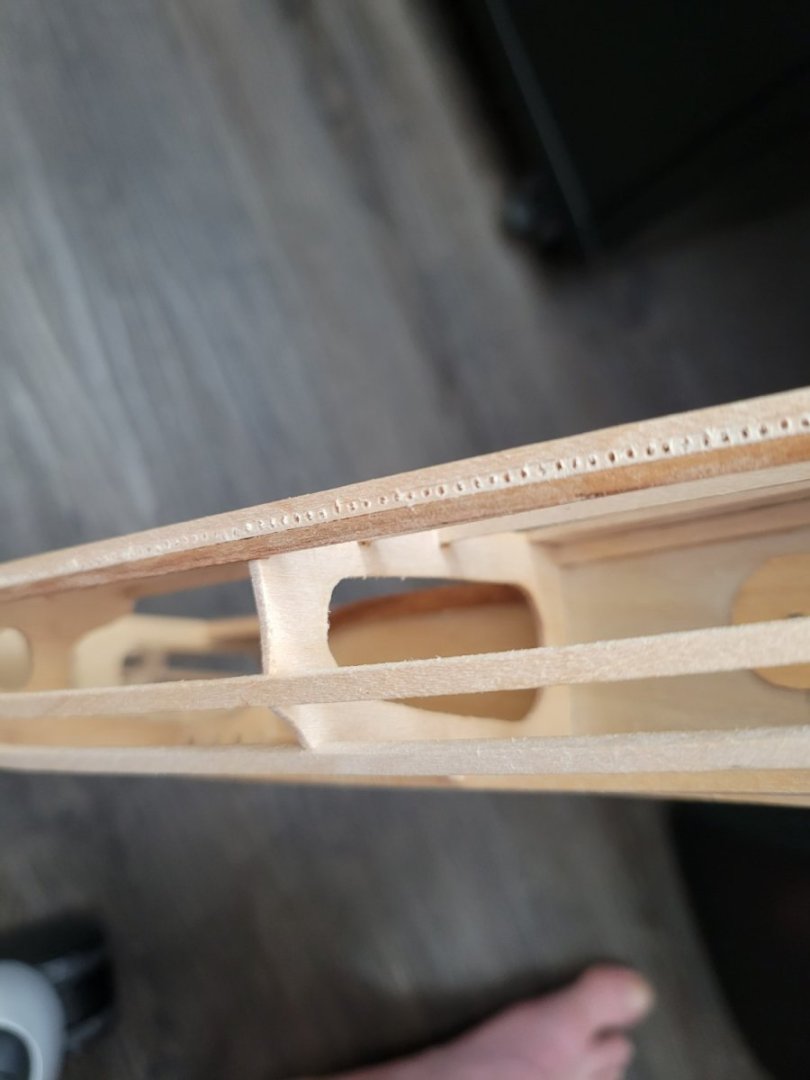
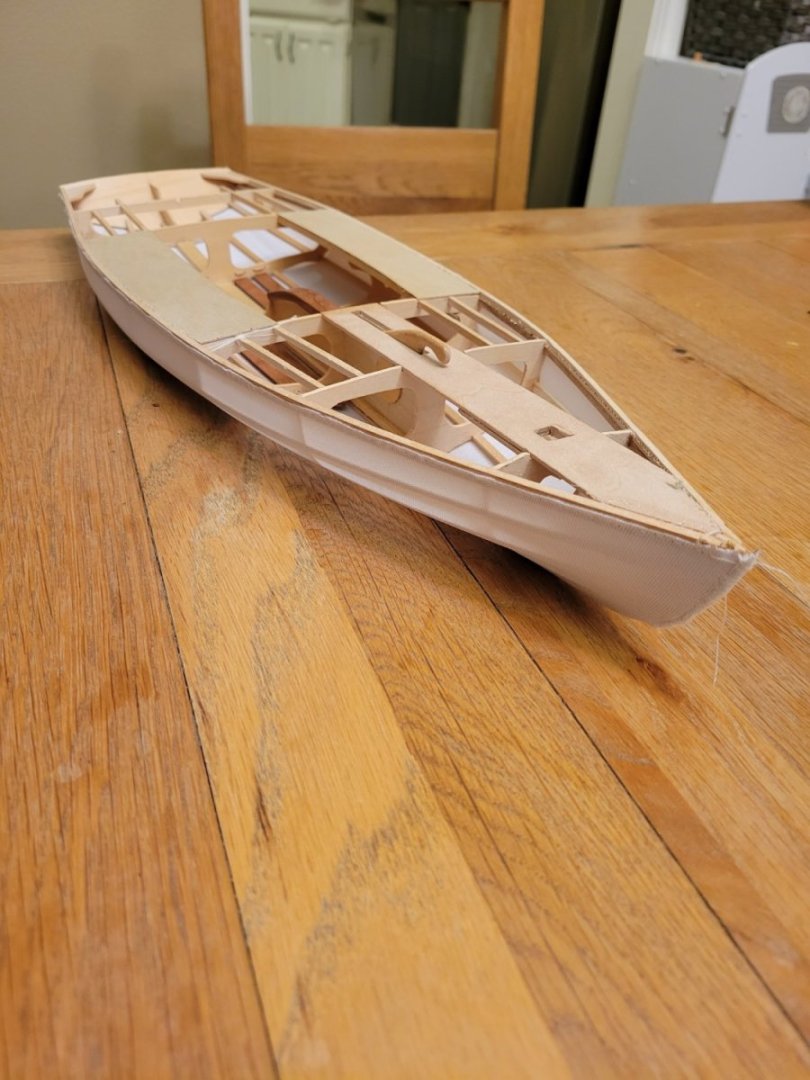
It has been a while since my last update. Things have been slow due to moving into a new house; however, there is still a decent amount to update. Sails and Rigging: I used a light polyester fabric as my sail material, and used to battens cut-to-length to measure the correct sail shape: I cut it out oversized for hemming (I actually made two sails of different dimensions, but chose to use the standing lug): Hemmed: Added reinforcing fabric to the corners: Added grommets: The sail is bent to the yard and boom, and temporarily hoisted. Later, there will a mainsheet, blocks, and cleats to complete the rigging: Sewing skin to the frame I drilled many small holes in the gunwales to sew the fabric to the frame: At the seats, I couldn't accurately thread the needle underneath the seat, so I drilled the holes at an angle like so: There is still more work to be done, but the large part of the hull is skinned:


-
It's looking great, Melissa! The more I see of your build, the more I want to buy this kit
- 84 replies
-
- 2
-
-
- Statenjacht
- Kolderstok
- (and 1 more)
-
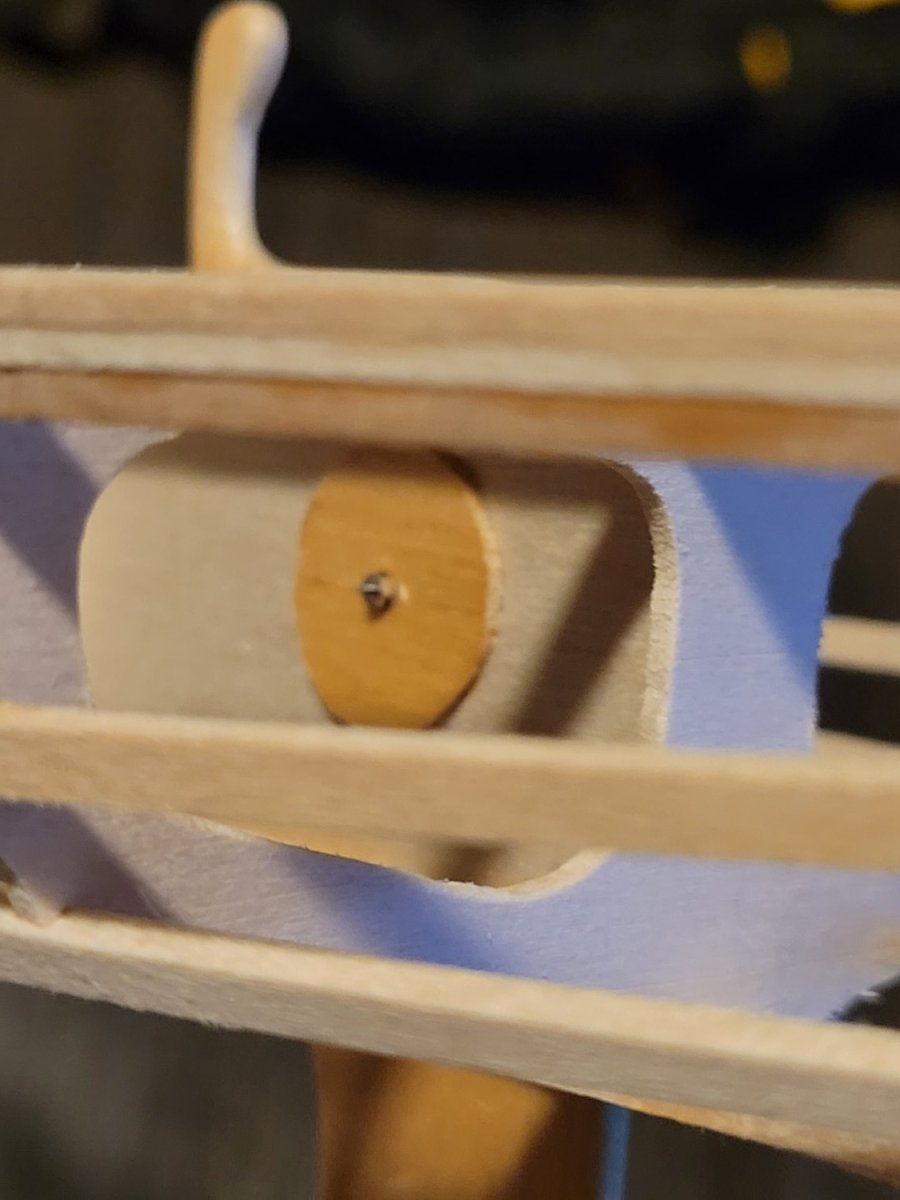
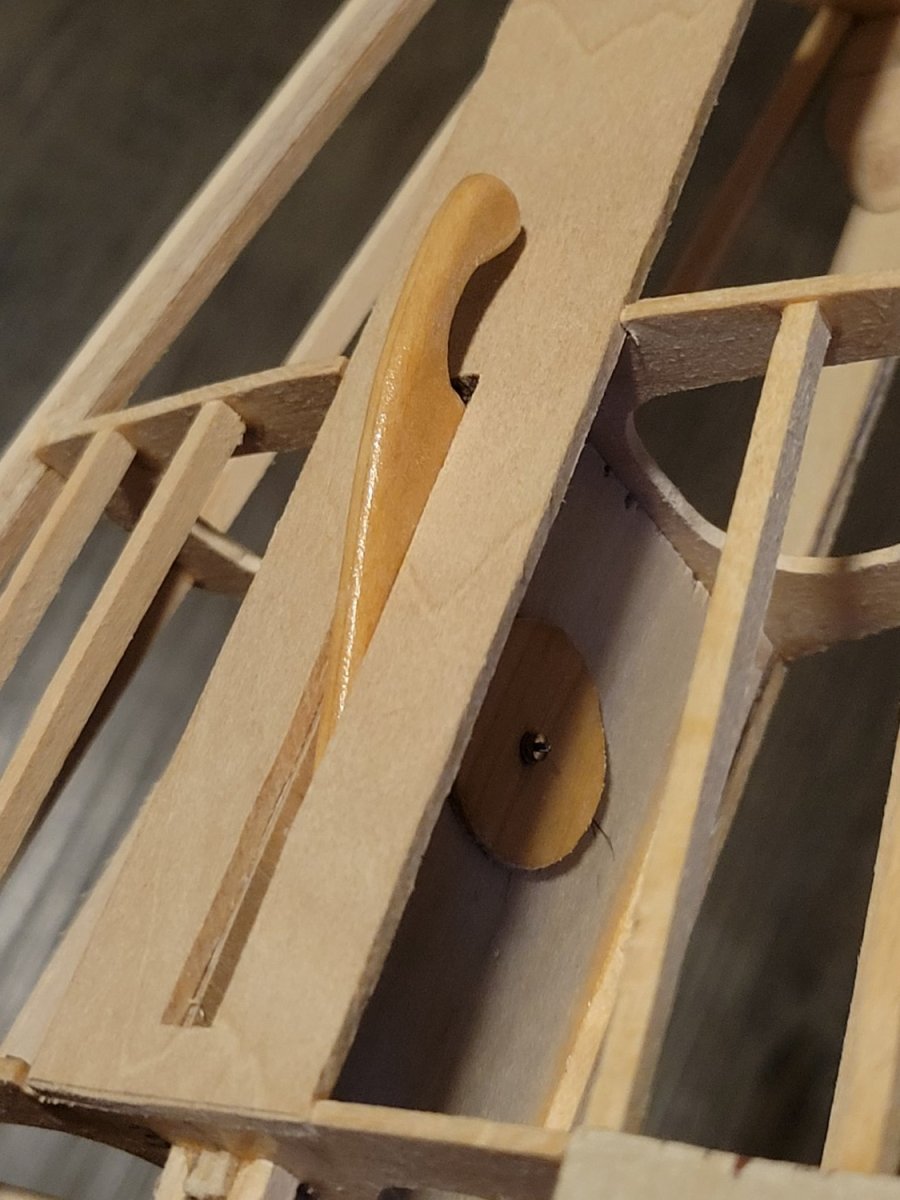
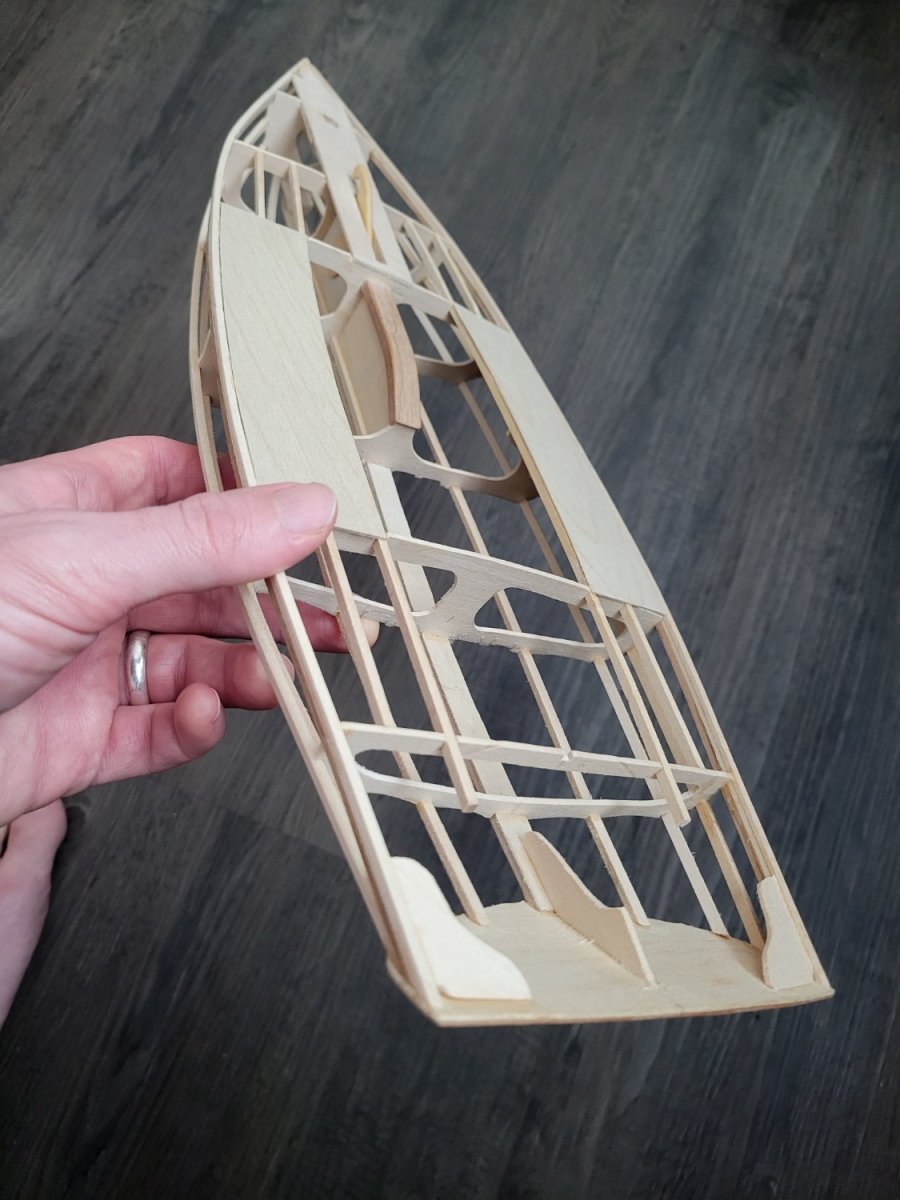
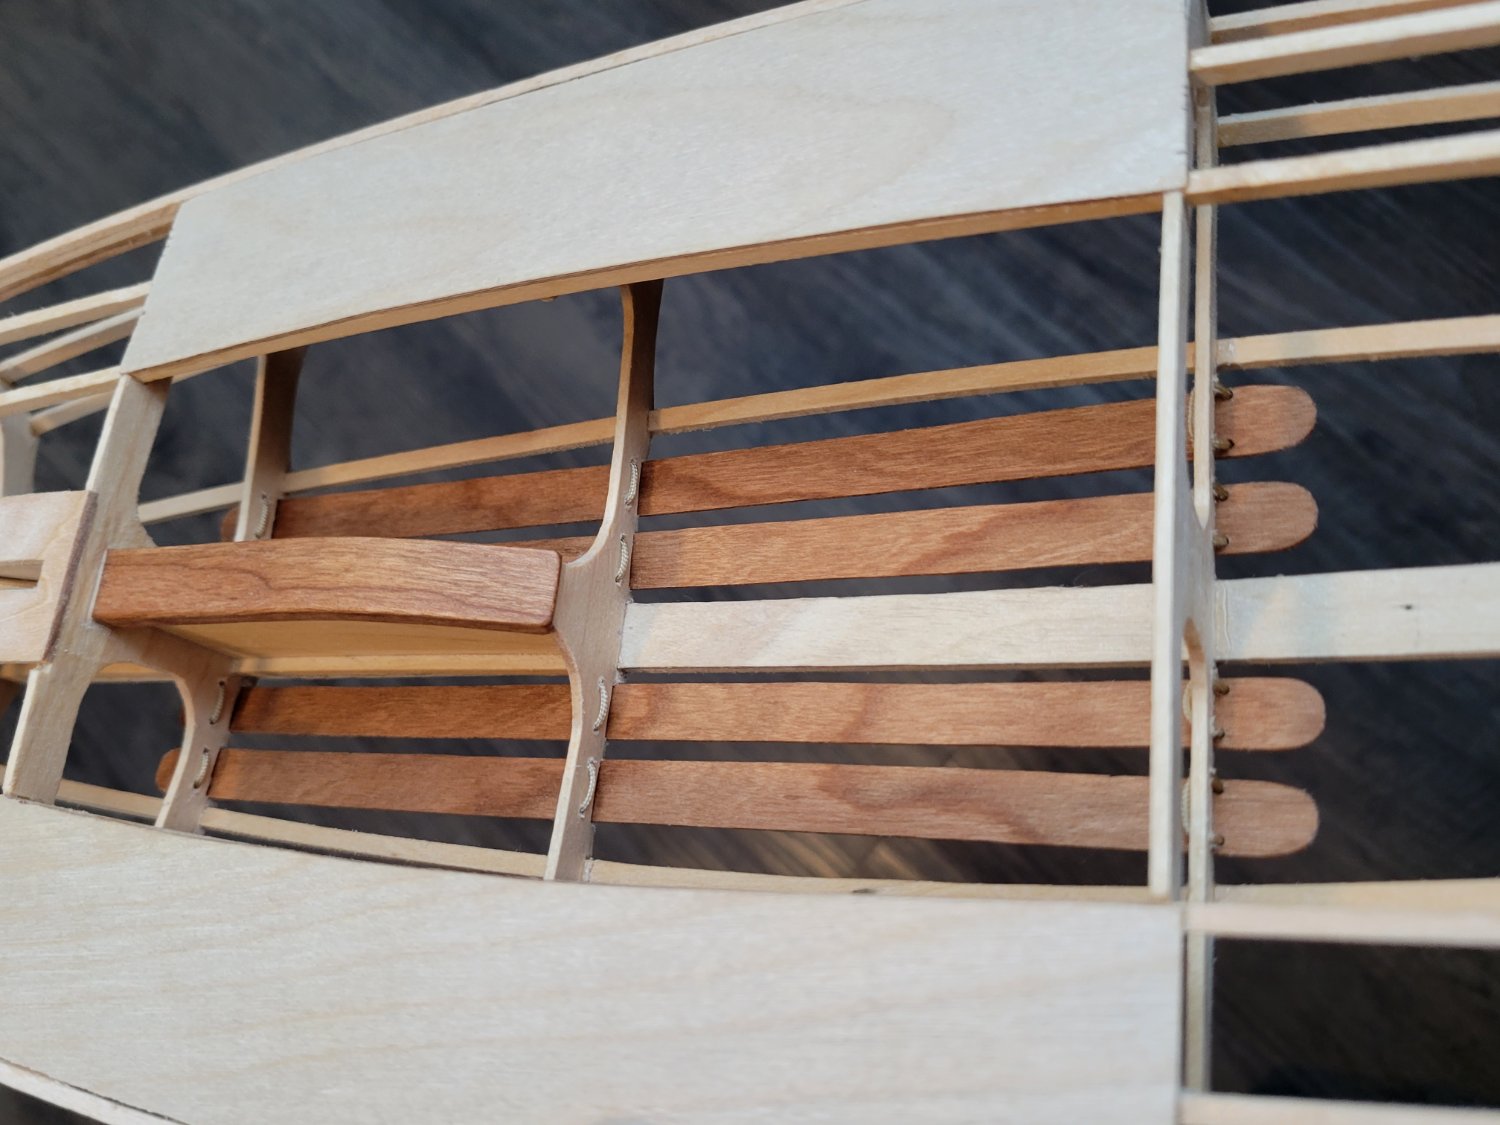
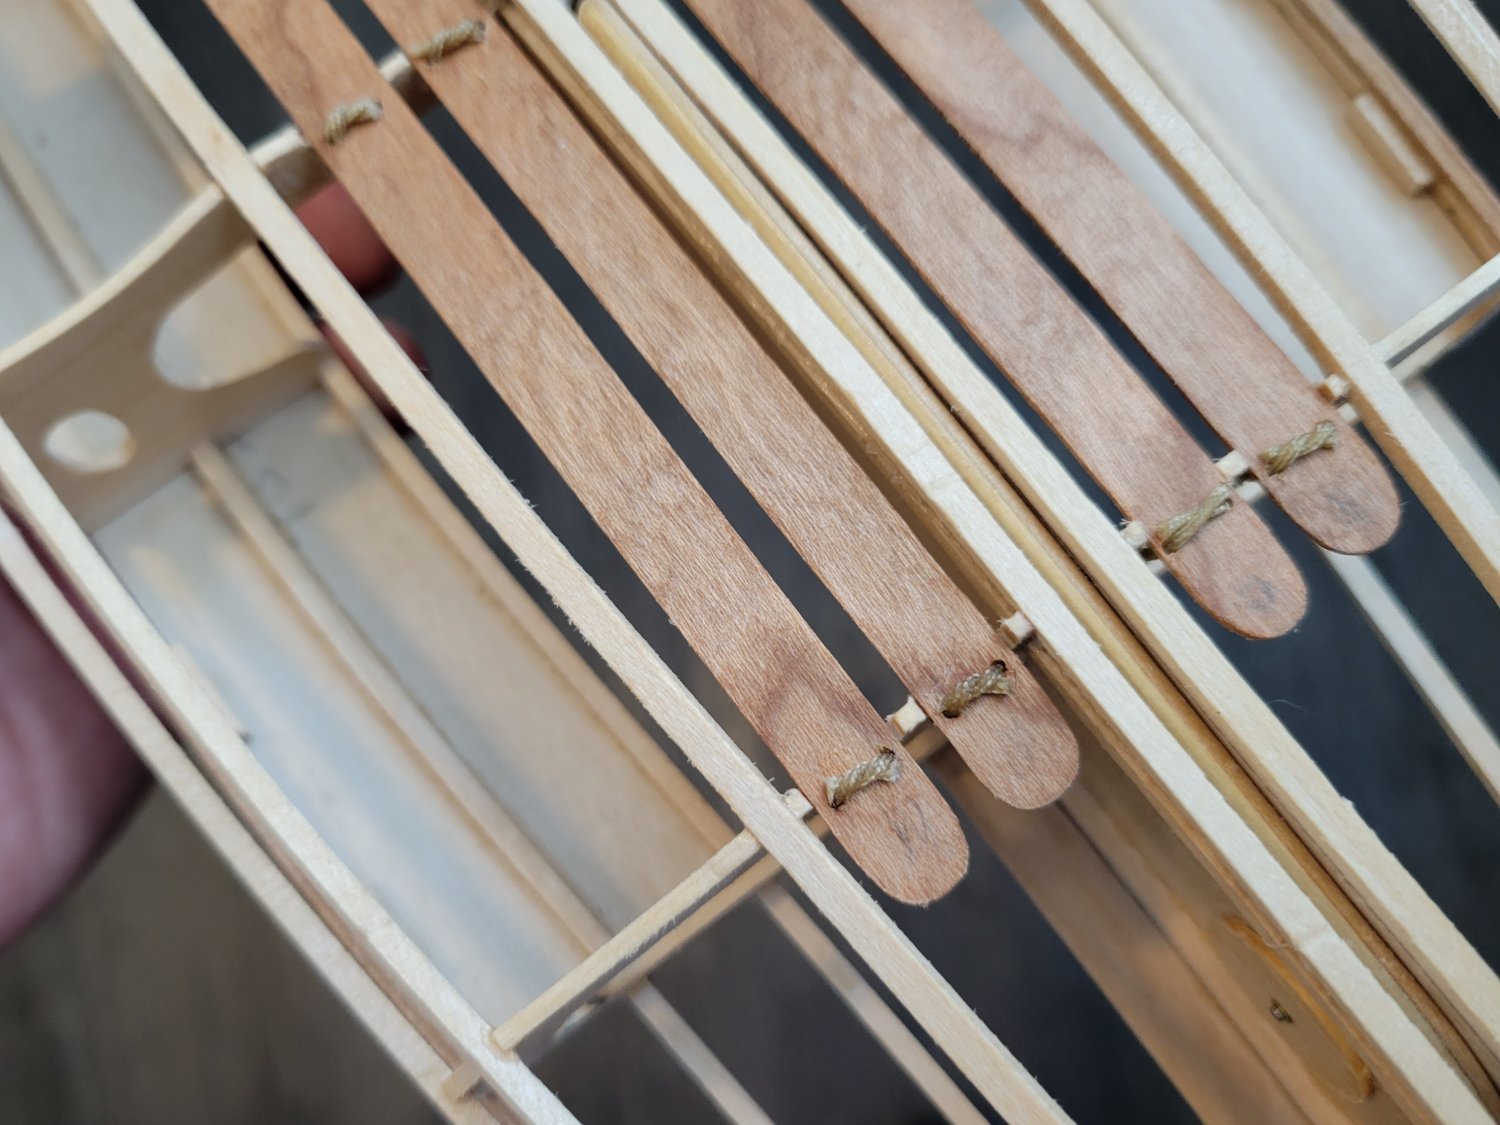
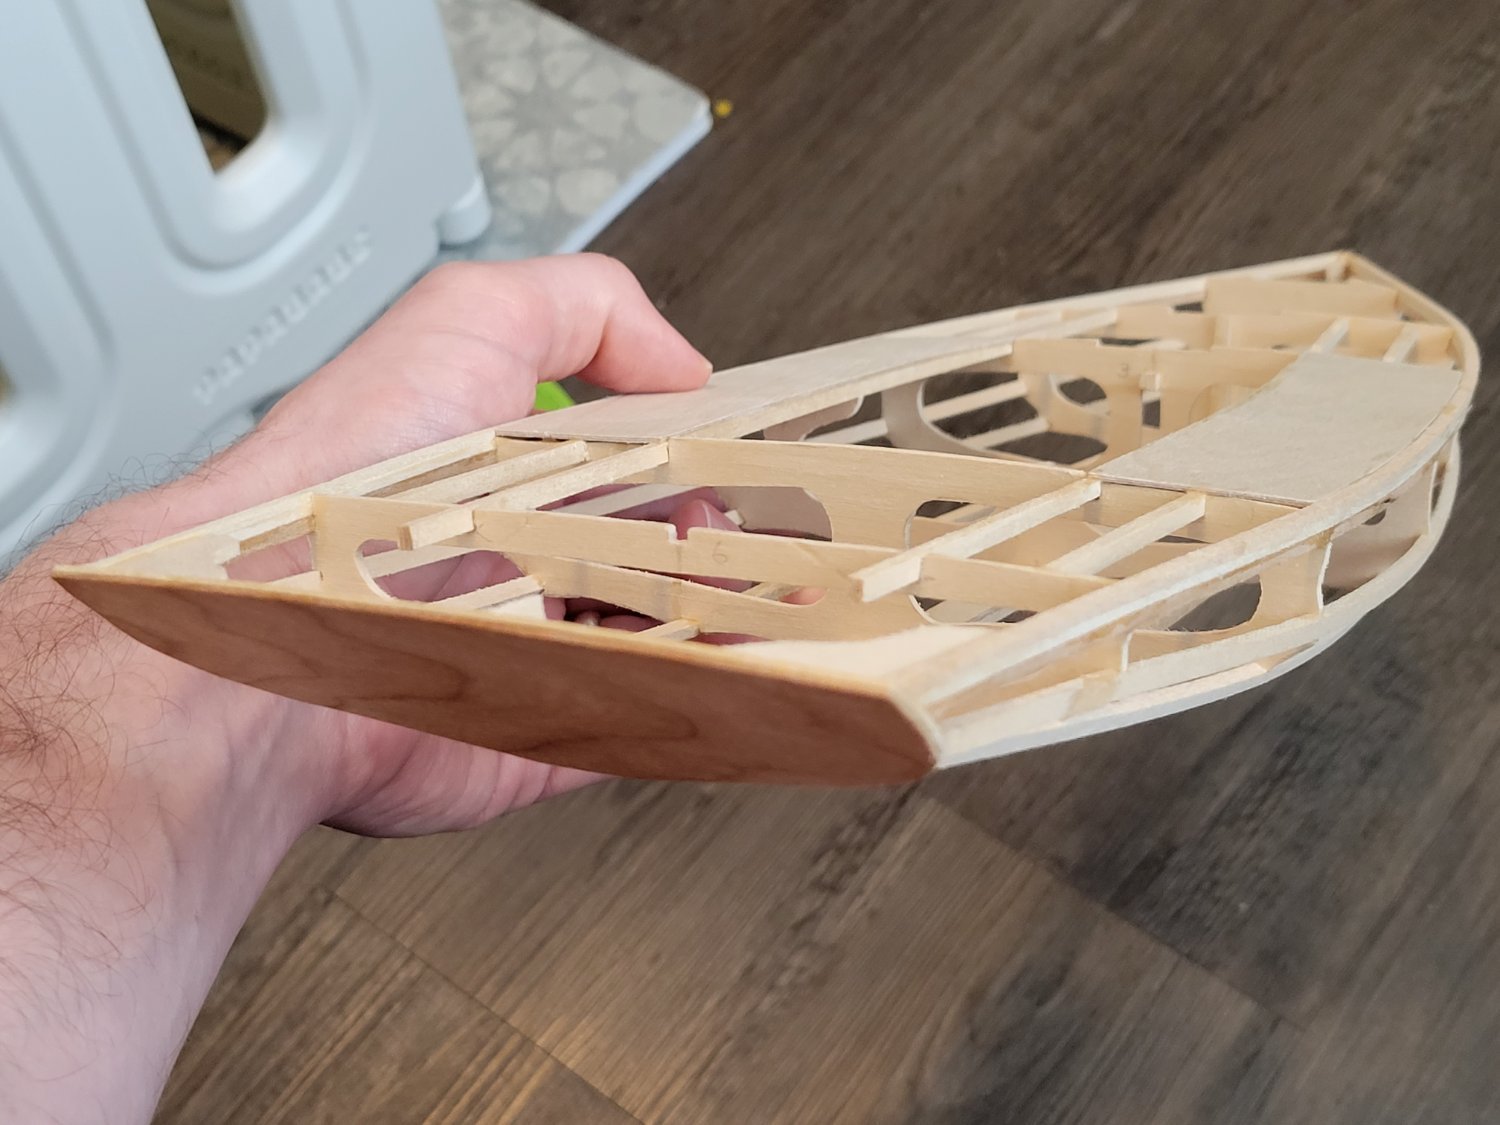
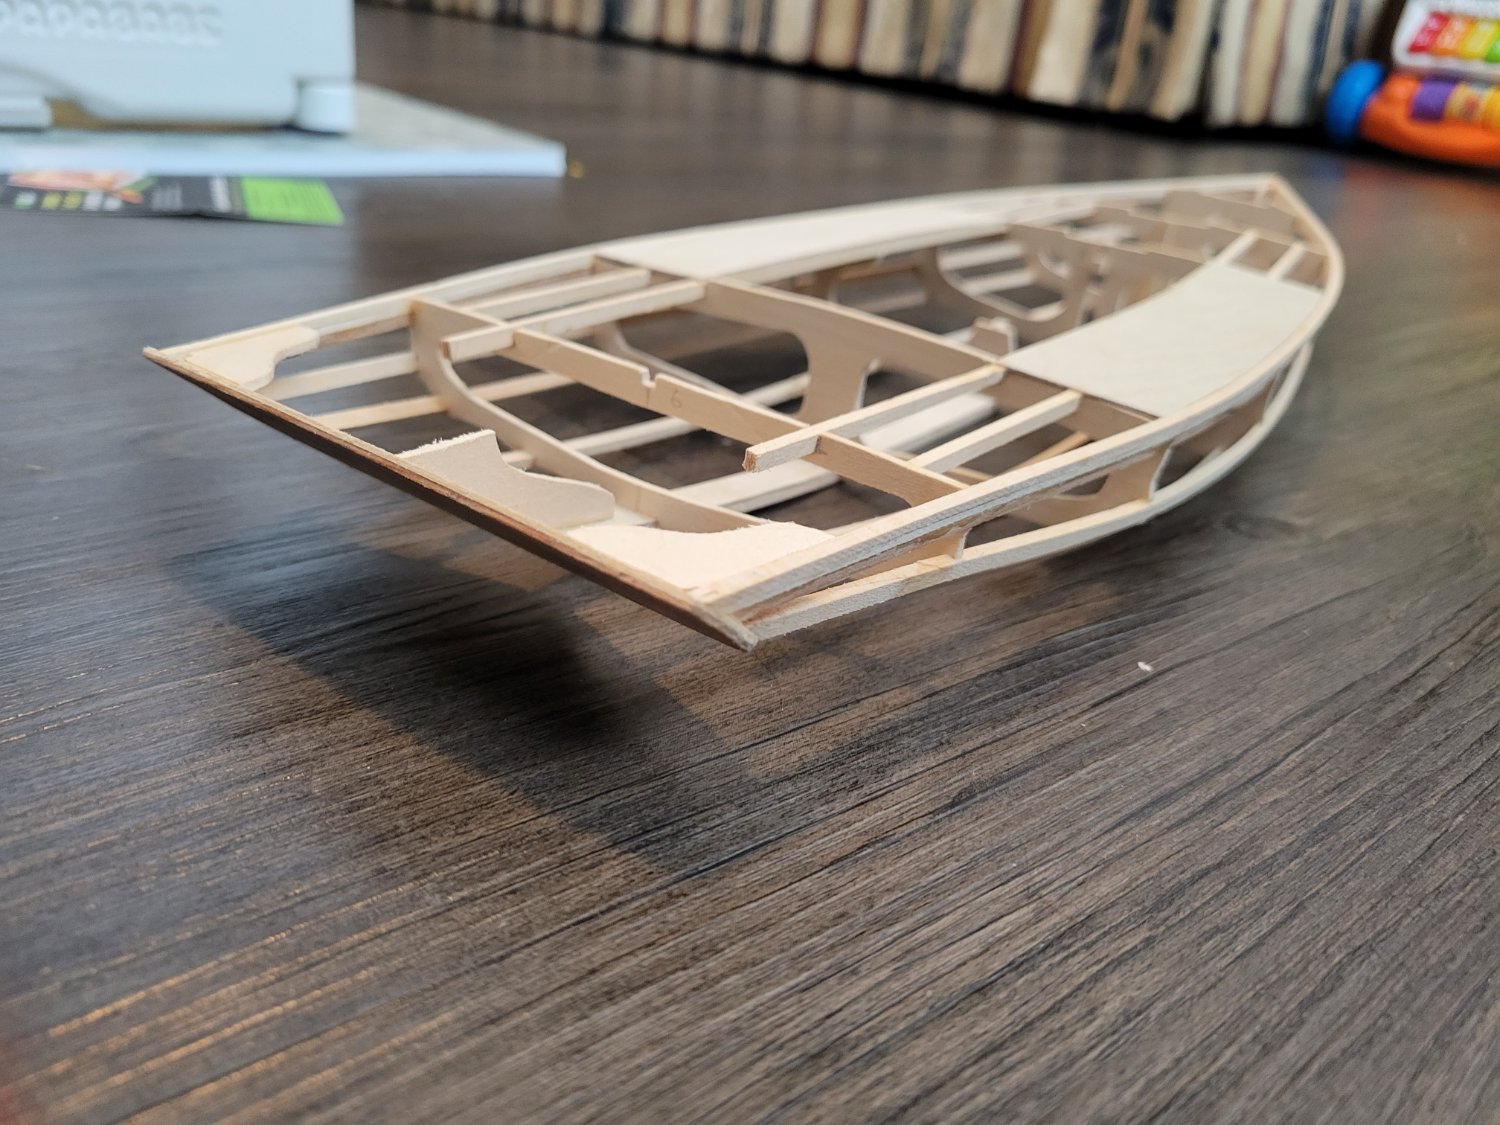
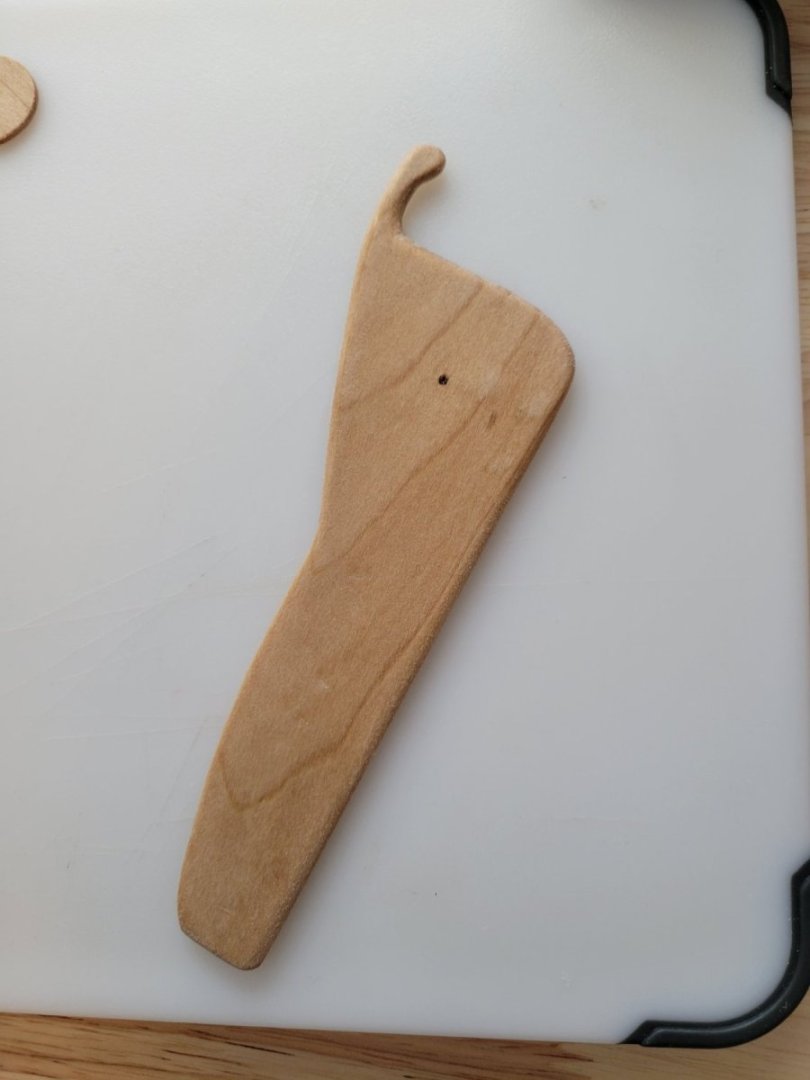
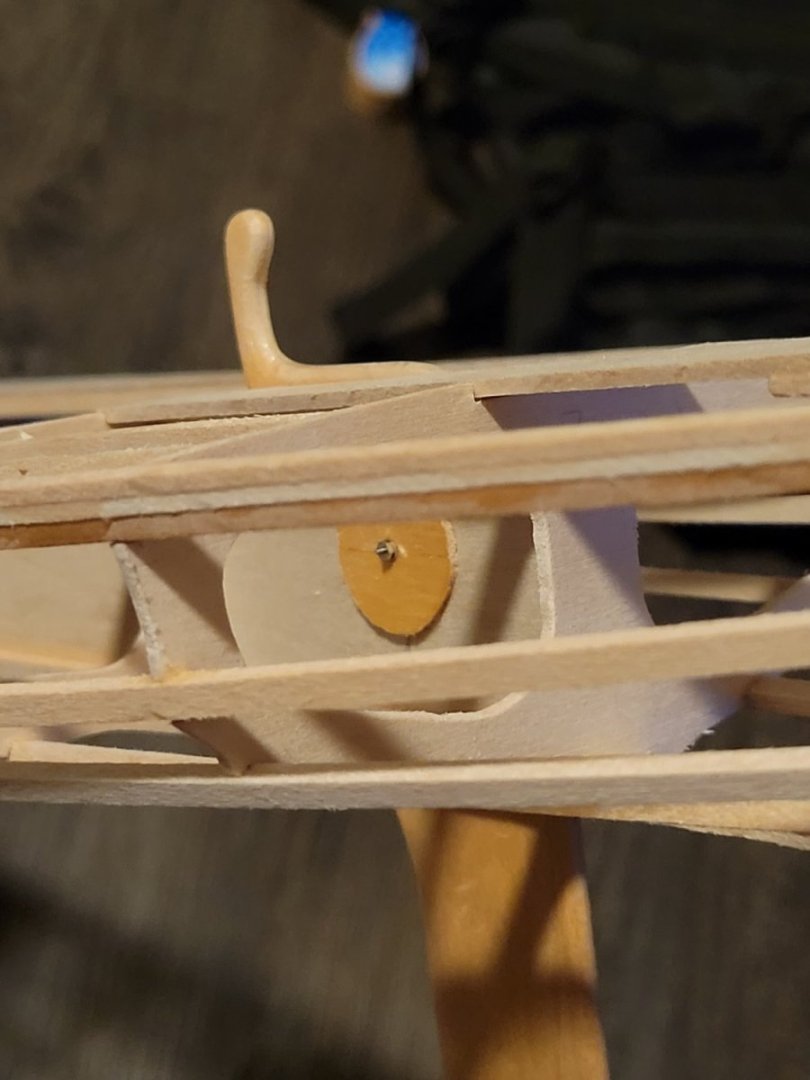
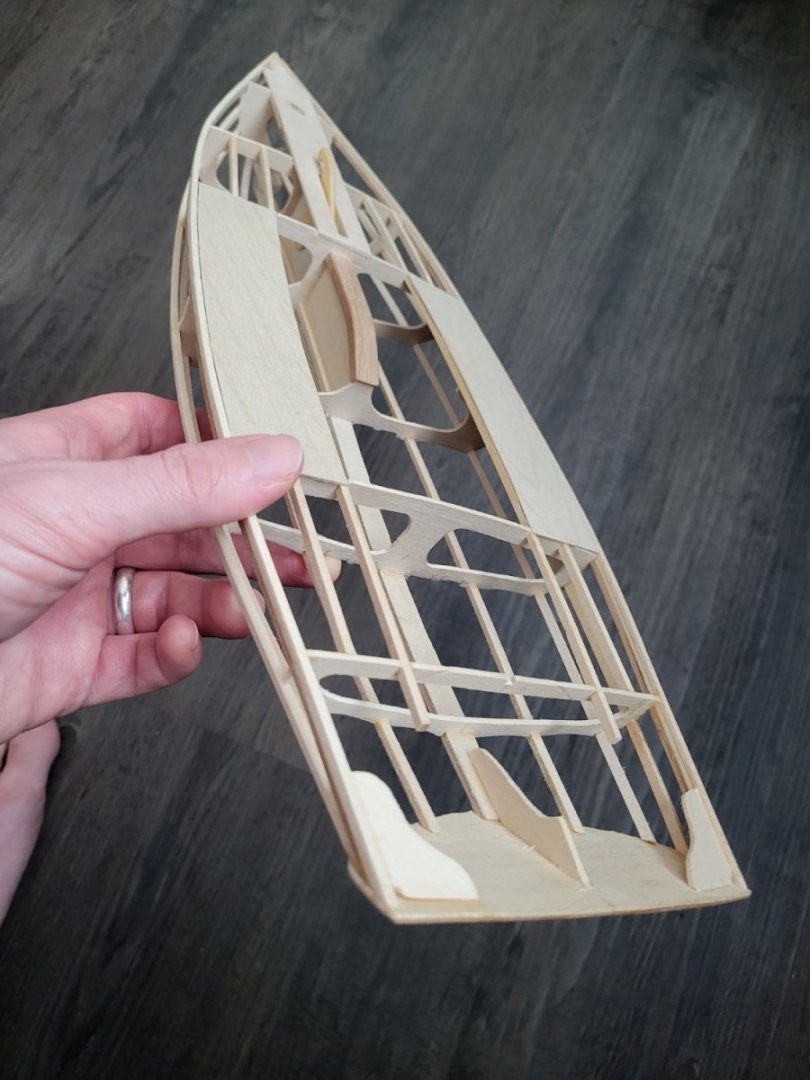
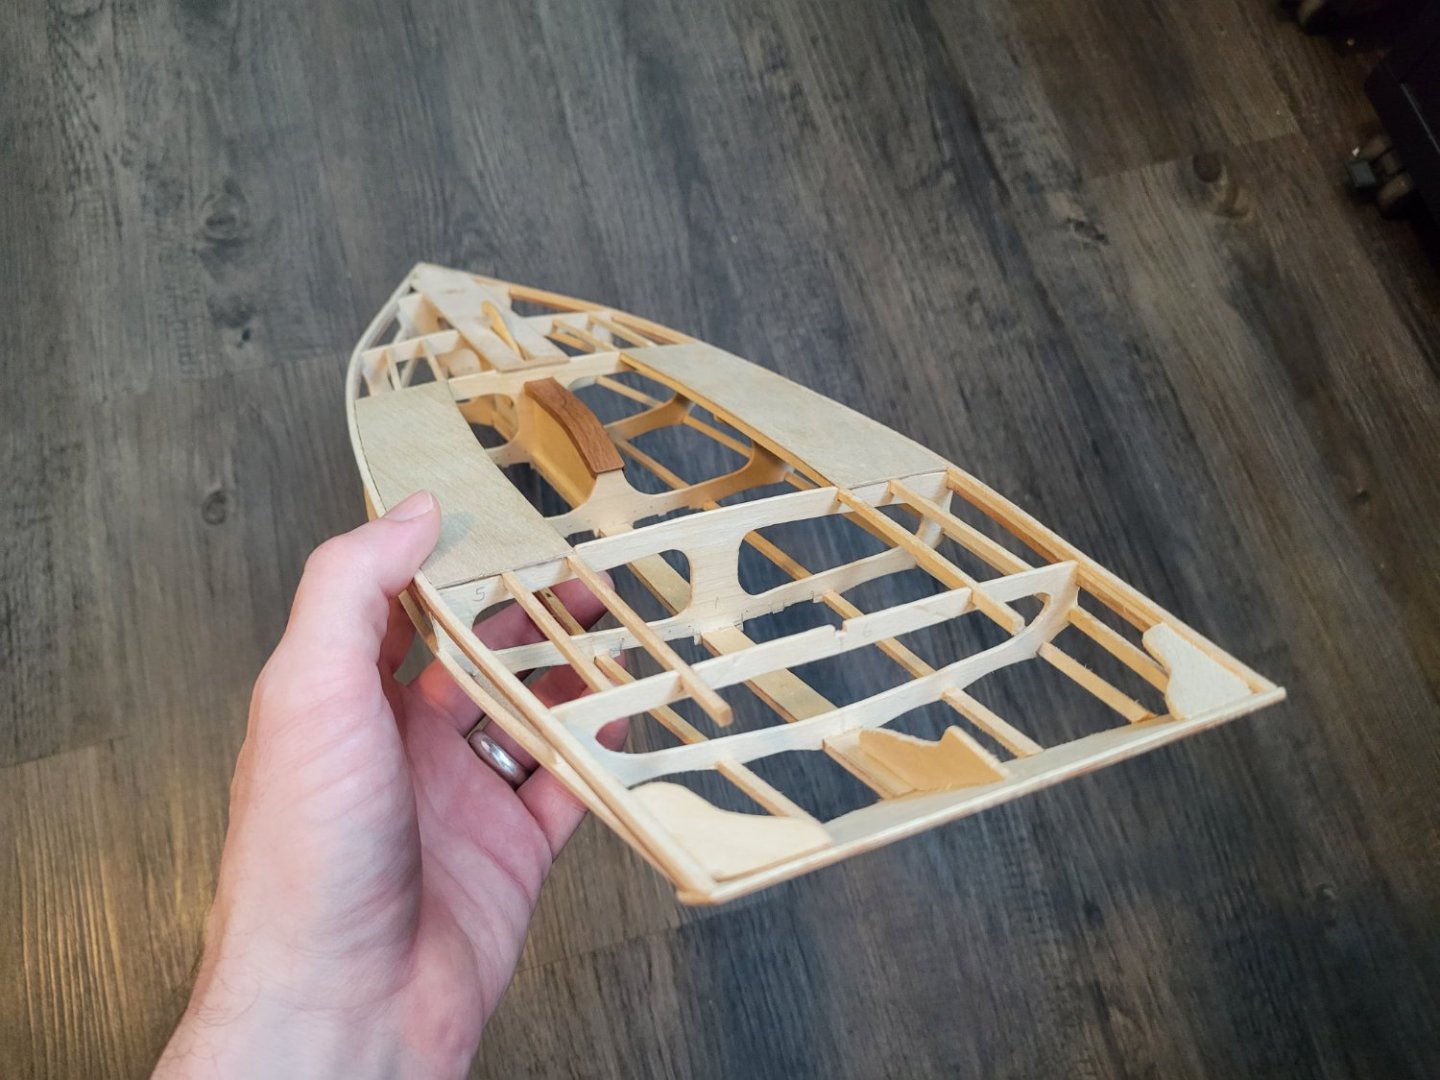
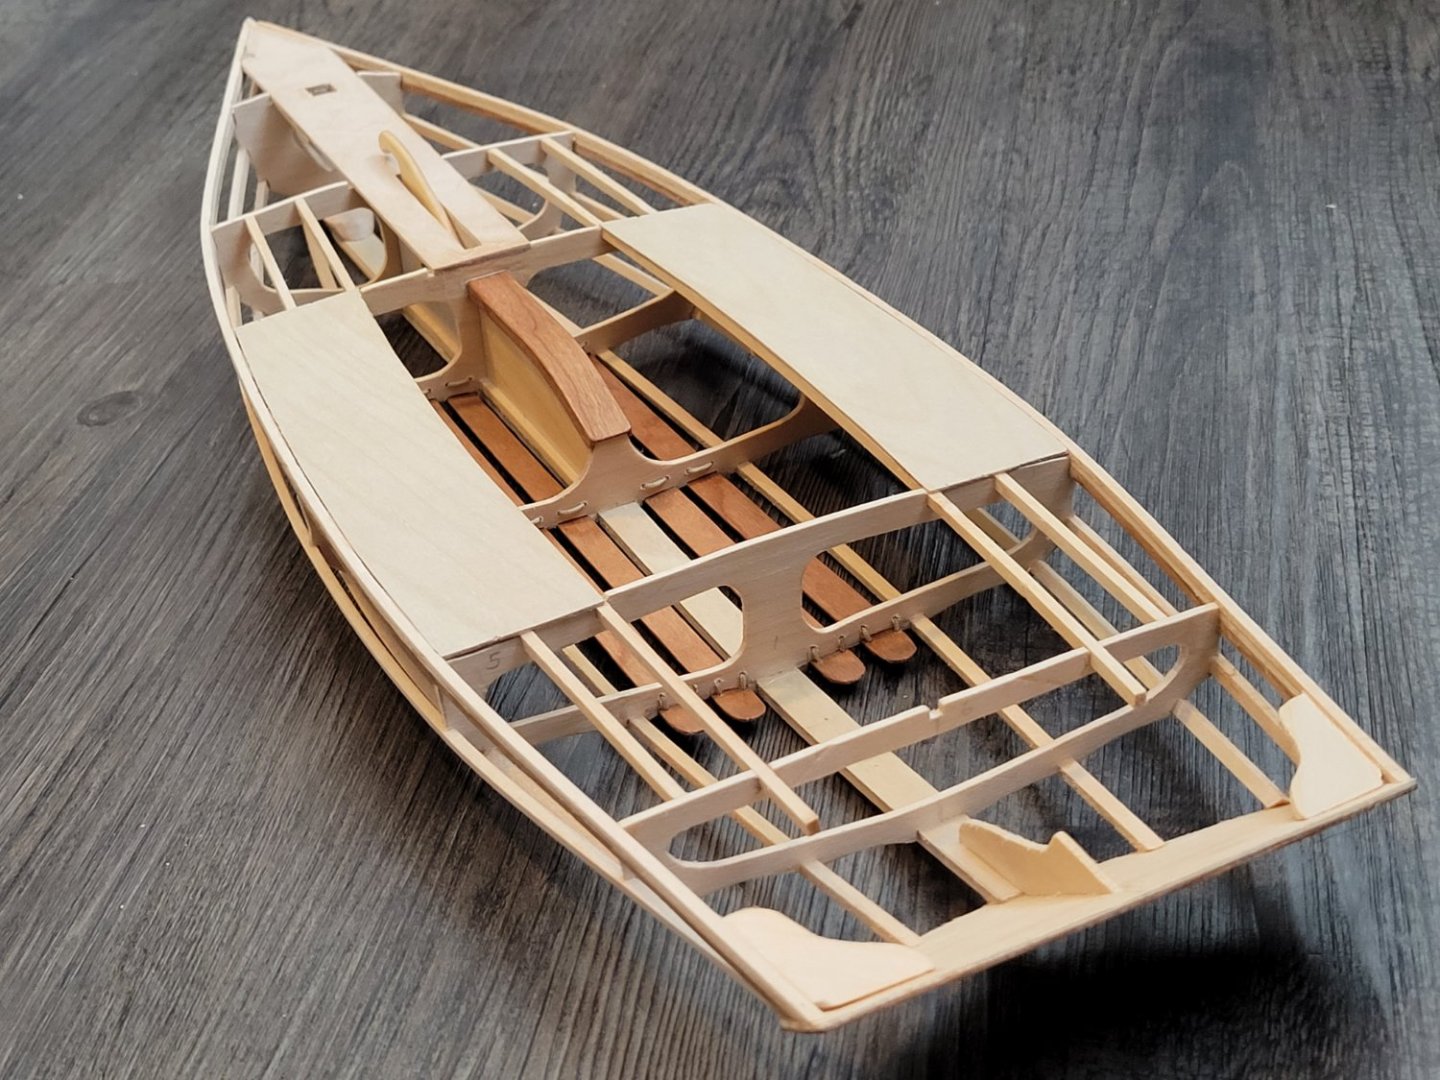
I decided to finish the frame where it will be visible with Danish Oil. I really like the effect, and I think it will look beautiful once the boat is skinned and painted. My next step is to skin the boat, but I need to decide how I want to attach the fabric to the gunwales. On the full-sized boat, I will use staples similar to how furniture is upholstered. However, to my knowledge, there is no staple suitable for this scale. The rub rails will cover up the interface between the fabric and gunwales, and I can see normal staples interfering with the fastening of the rub rails. I will probably use some kind of glue, but I need to decide which kind of glue. Since last post, there are some significant progress on the frame: Centerboard finished with Danish Oil and light coat of flat clear-coat Centerboard attached using a m0.8 bolt and nut. Centerboard cap attached Before-and-after applying Danish Oil. I feel like the pictures don't do justice to the Danish Oil. It looks more balanced in-person. Floorboards attached (cut from a 1/32" sheet of cherry) On the full-sized boat, these will be properly lashed, but at this scale, the knots are too thick and will press into the boat's skin. For the model I just did a simple overhand "knot" and used CA glue to secure it.


-
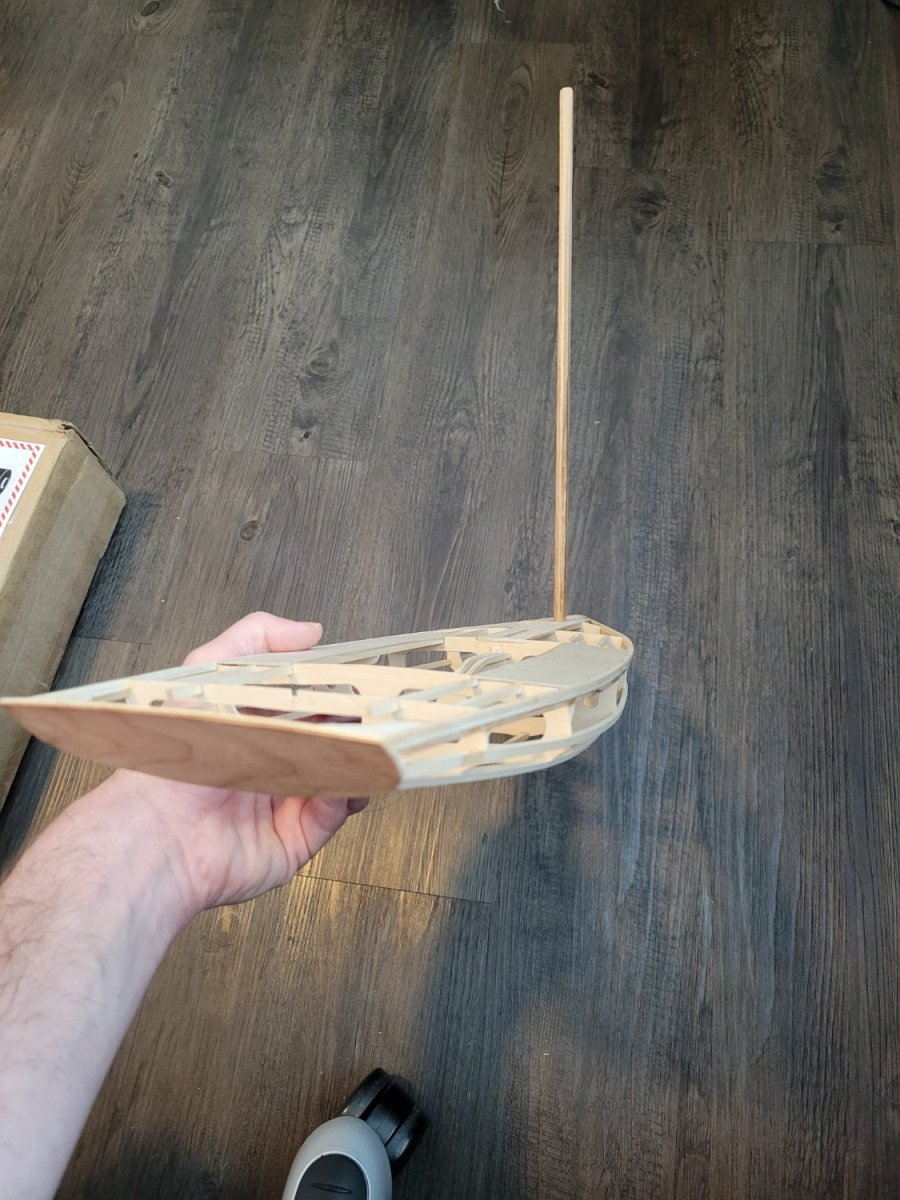
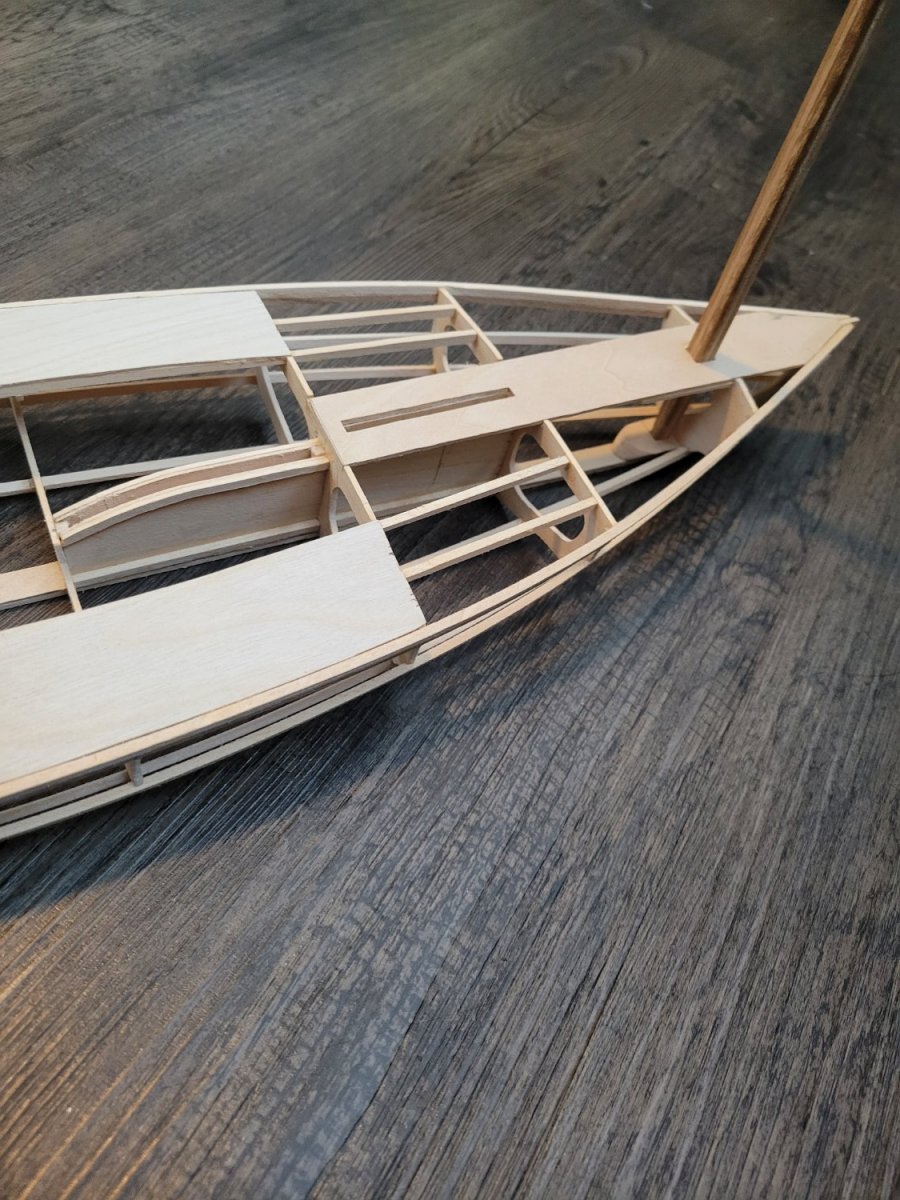
Update Centerboard case, mast step, and kingplank have all been added. Right now I'm thinking about whether I want to stain the basswood that will be visible in the finished product or leave it its natural color. I'm planning to paint the hull a light-blue and the deck white or cream (or something of that nature). If I do stain the Basswood, I want to do so before skinning the boat.


-
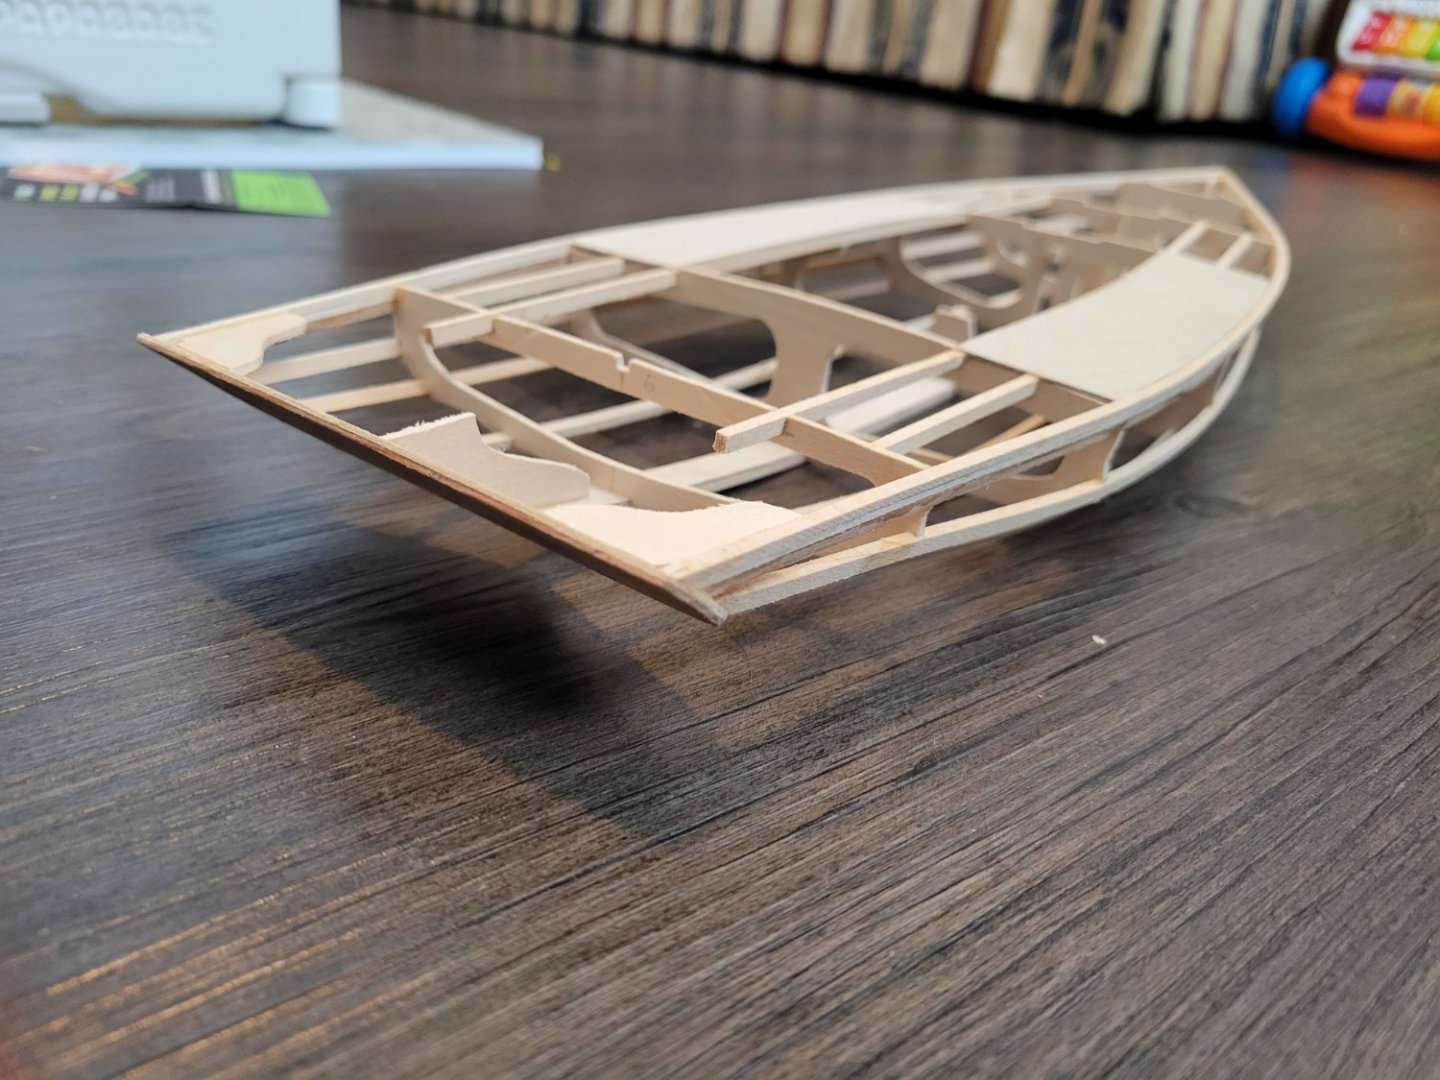
Thanks! I think this is a bit different from a typical scratch build in that it has a detailed build guide. It also introduces some unique challenges. For example, the frames are pretty difficult to cut out precisely at miniature because of the notches you have to accurately cut out (especially frame 1). Also the skinning will be an interesting departure from the typical solid hull or plank-on-bulkhead. If you do wind up building Dave's Light Melonseed as a model, and you are not doing so as practice for the full-size thing, I would recommend creating a "false keel" to hold the frames vertical and plum while you are attaching the chine logs like you would see on any typical model. Dave's method will work great for a full-size boat, but at miniature, I found it too easy to accidentally nudge the frames out of position. Good question 😆 Actually, when I'm sanding something, I almost always hold it under my desk over the trash can.
-
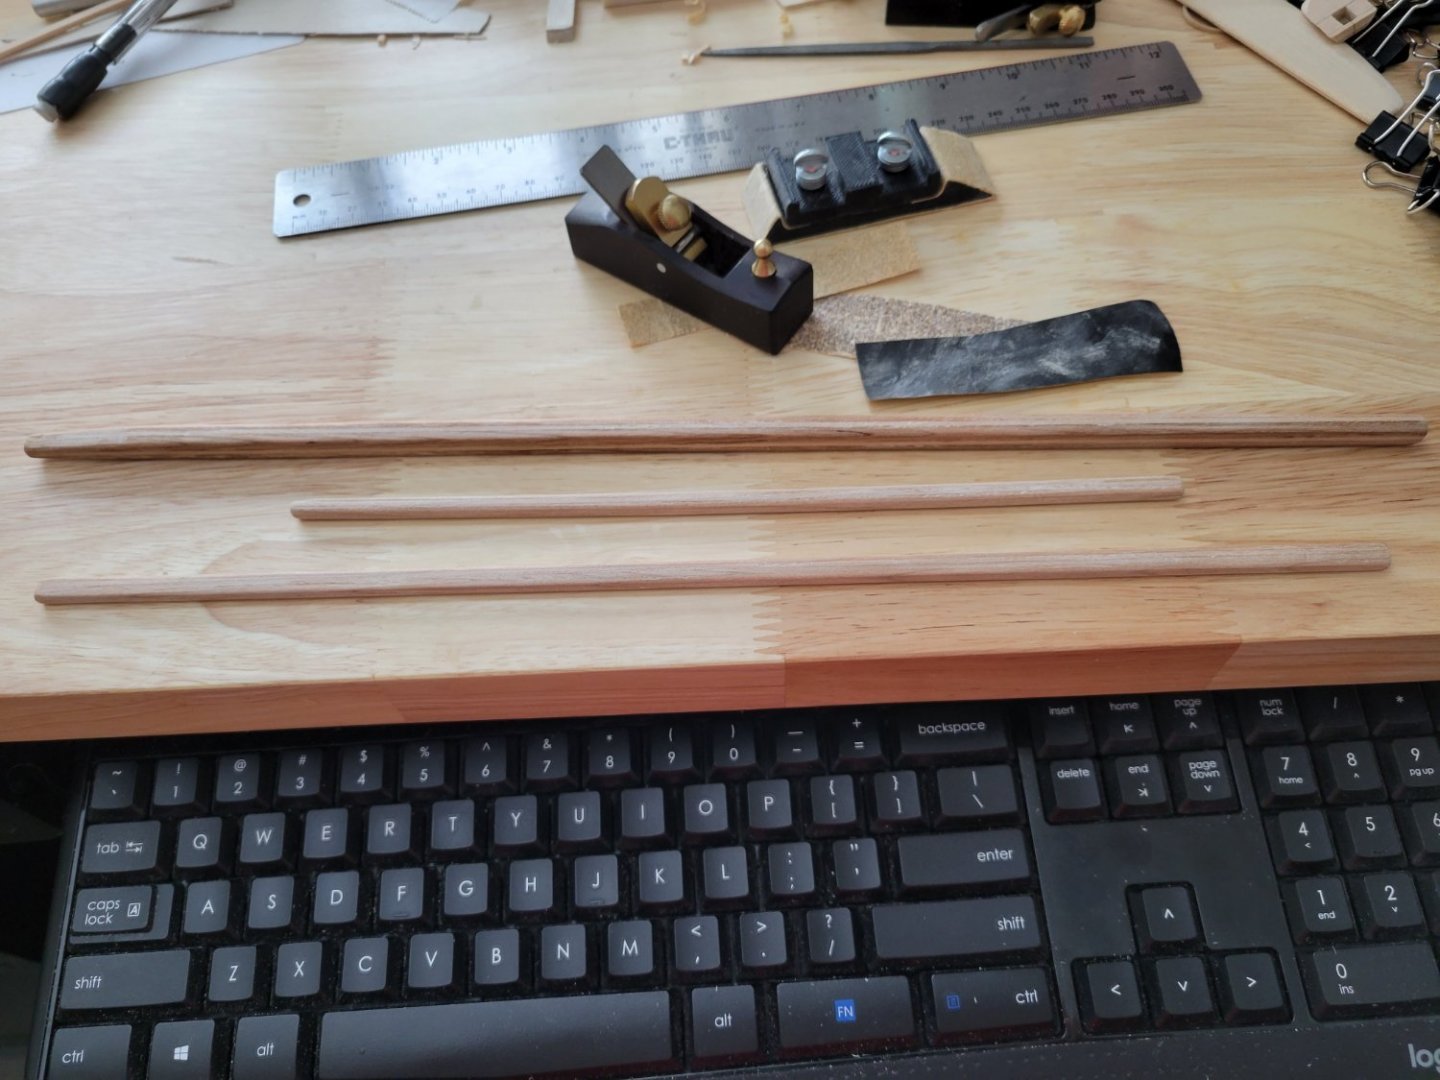
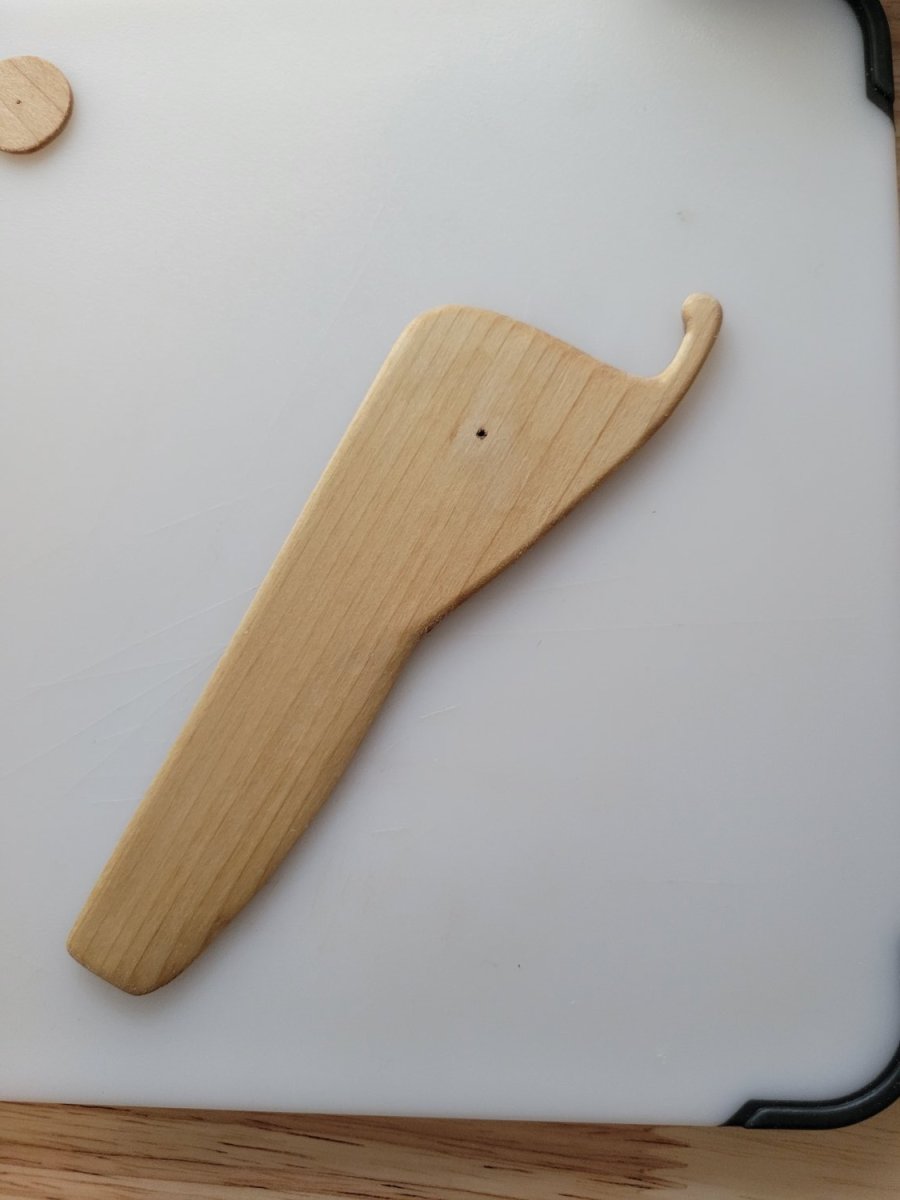
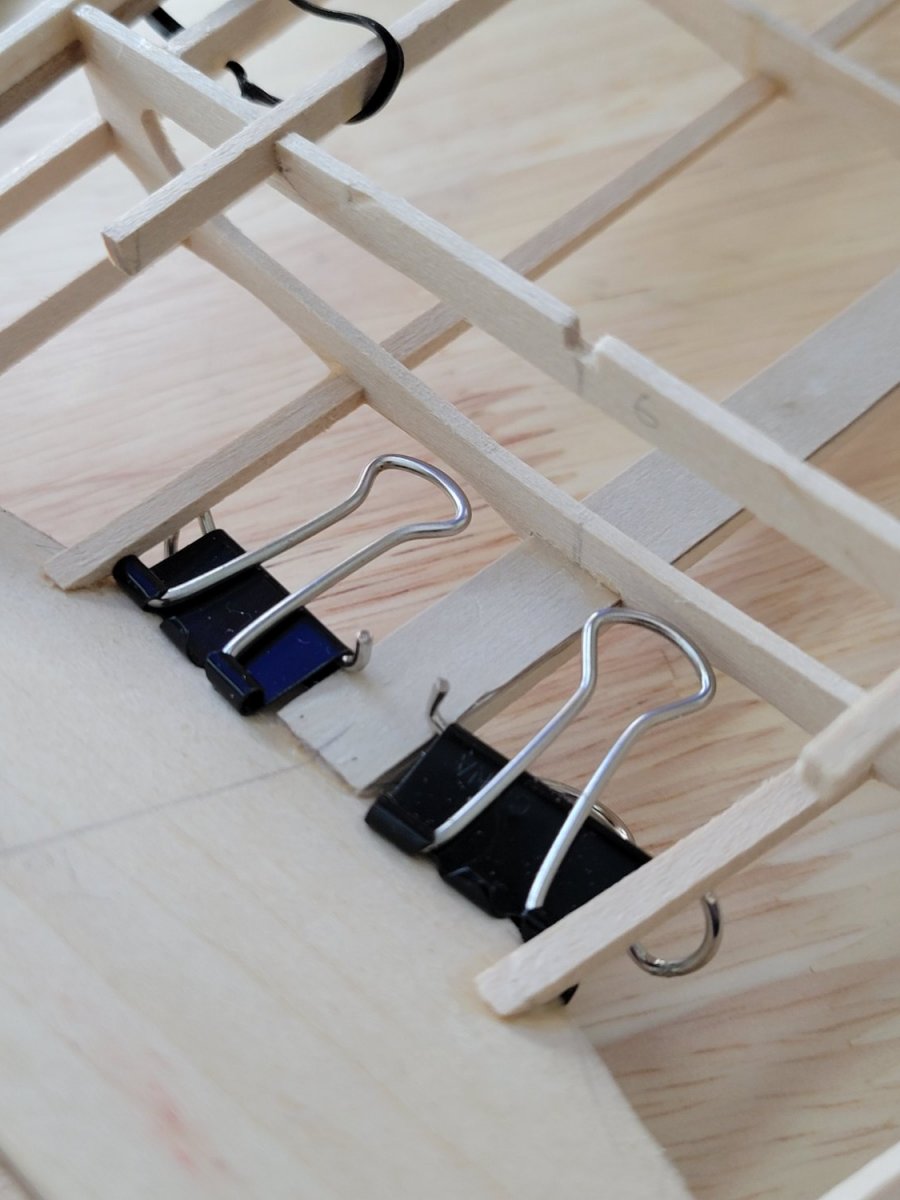
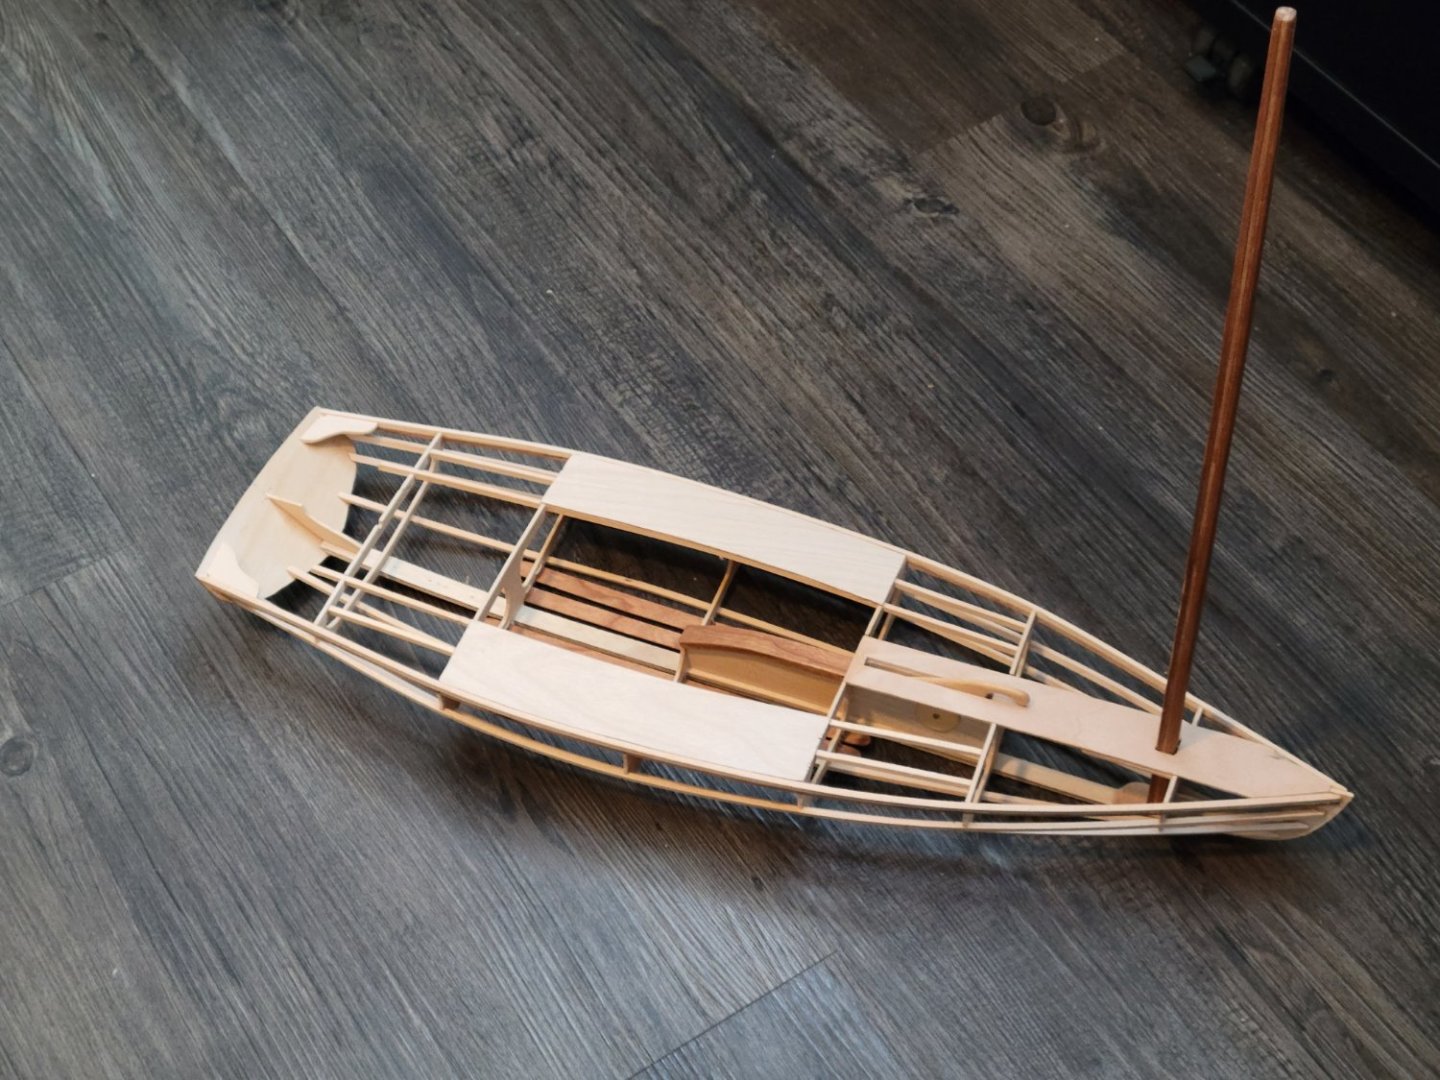
Update Transom and knees are attached, seats attached, and mast and spars are shaped. I am currently working on the centerboard case and will upload pictures of that soon. The transom has a significant angle, and it was challenging to keep it secured while the glue dried. In a full size boat, you can use screws, but this is too small for that. I mostly used pins from the inside, but I found a nifty use for binder clips to secure the transom to the keel. I laminated the transom from basswood and cherry. Since it will be visible from the stern, I wanted wood prettier than basswood visible. Mast and spars: Mast and spars are laminated, shaped, and sanded. I will varnish them after finalizing my plans for the rigging and drilling necessary holes. They have a rounded-rectangle cross-section. I found the mini plane from Lee Valley Tools to be very helpful in shaping the spars and other aspects of the project. (Pardon the messy desktop)