MORE HANDBOOKS ARE ON THEIR WAY! We will let you know when they get here.
×

pompey2
-
Posts
511 -
Joined
-
Last visited
Content Type
Profiles
Forums
Gallery
Events
Everything posted by pompey2
-
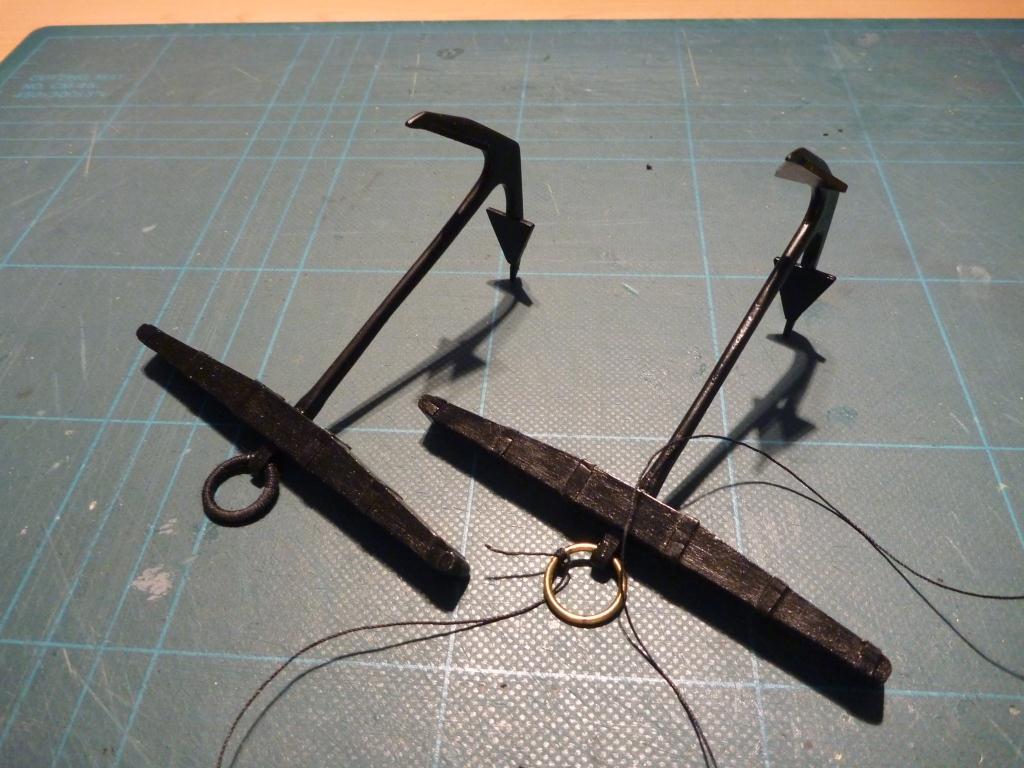
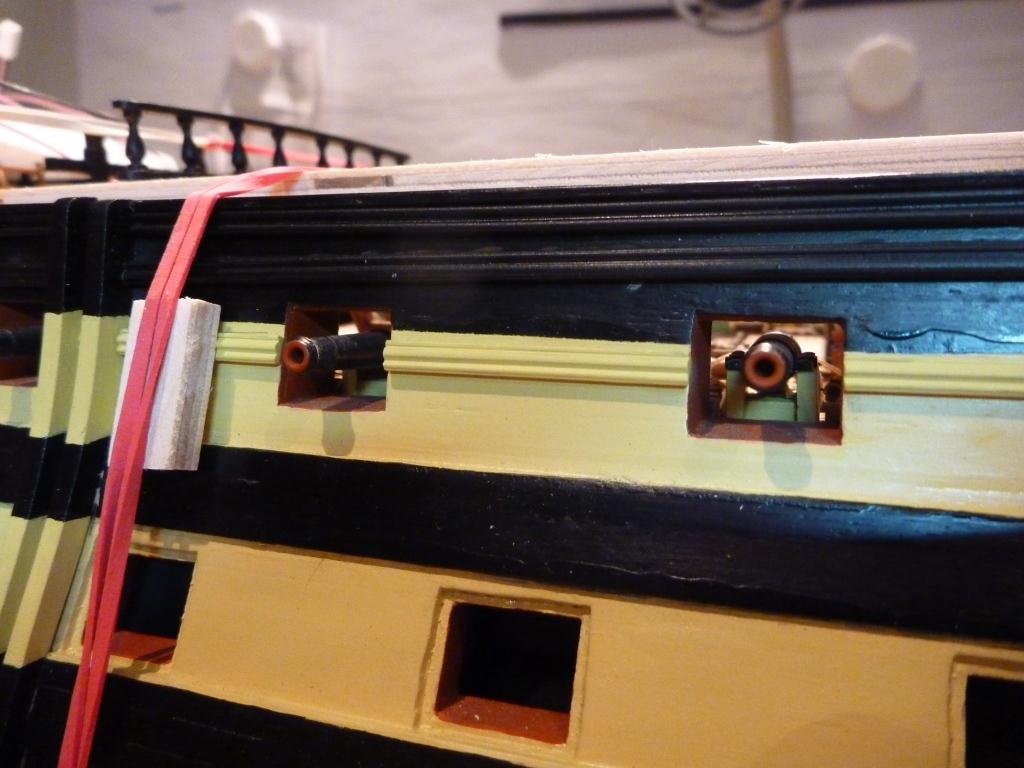
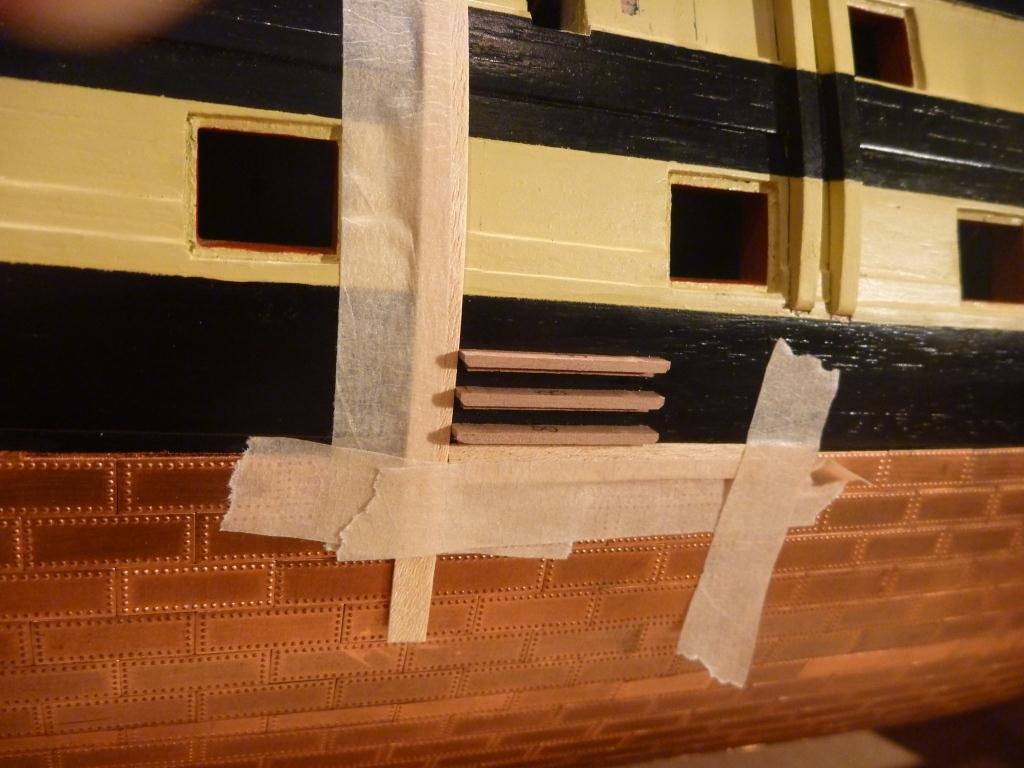
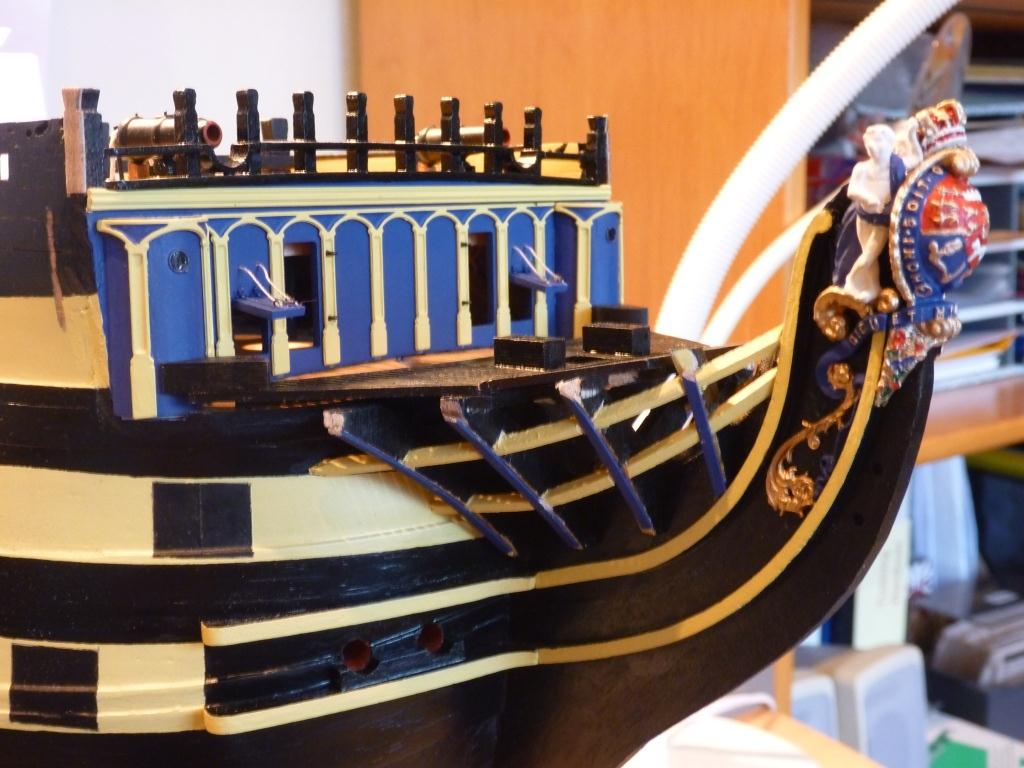
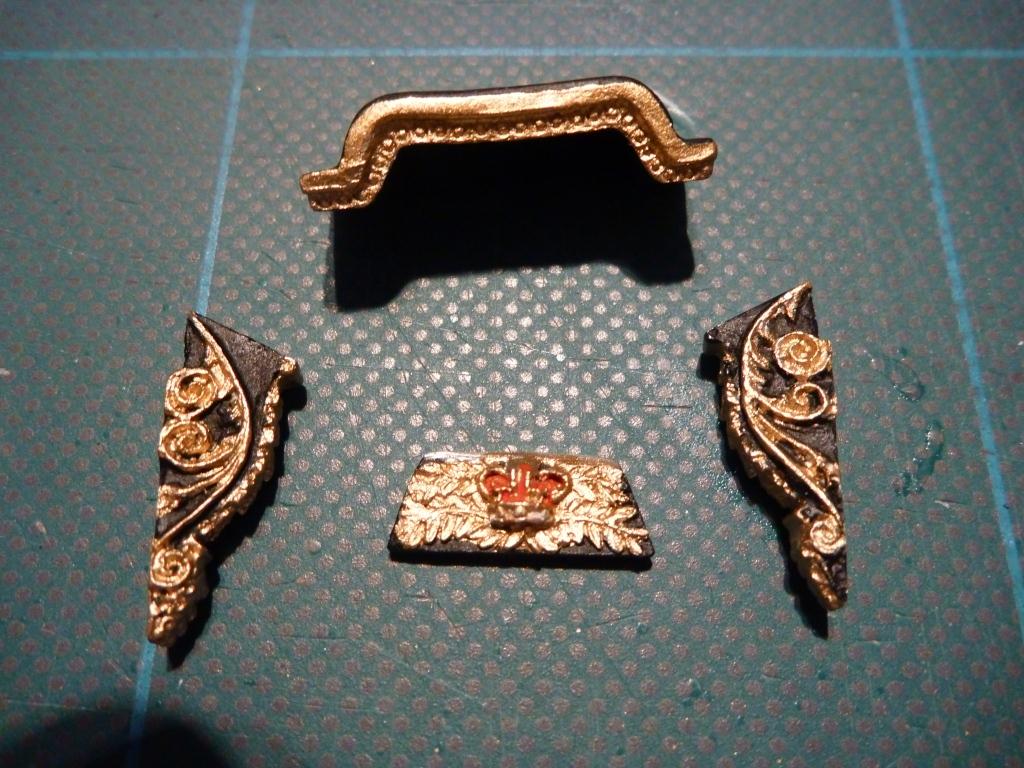
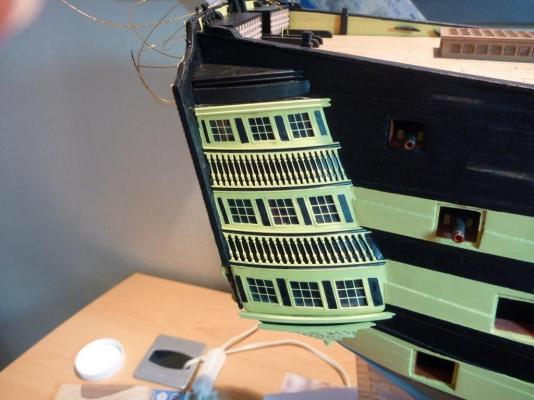
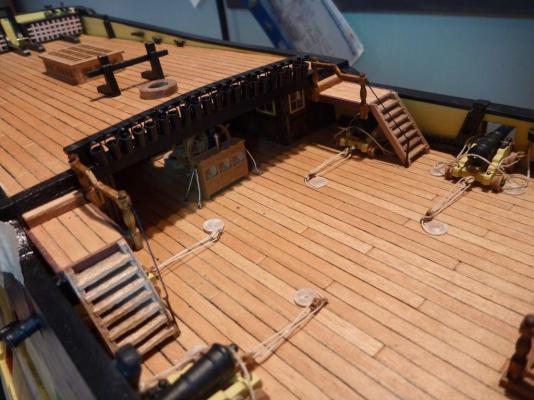
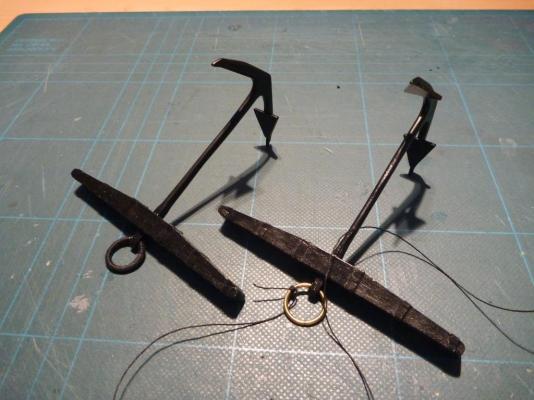
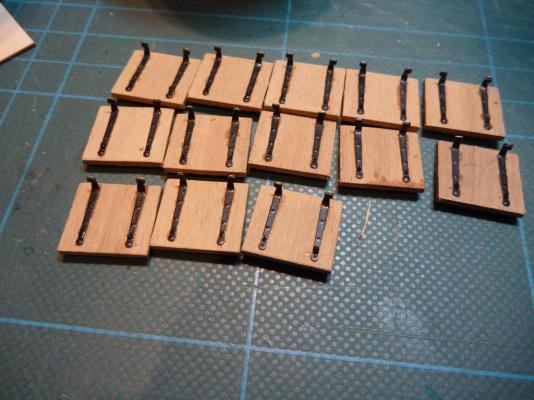
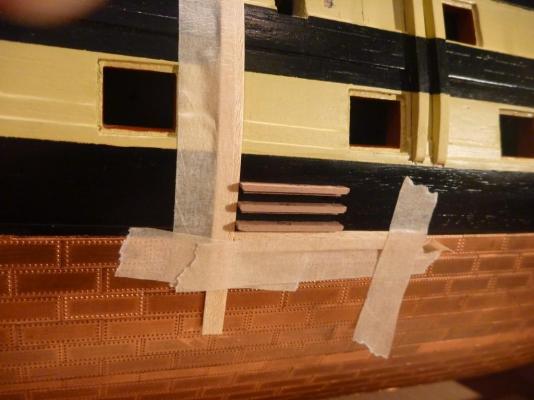
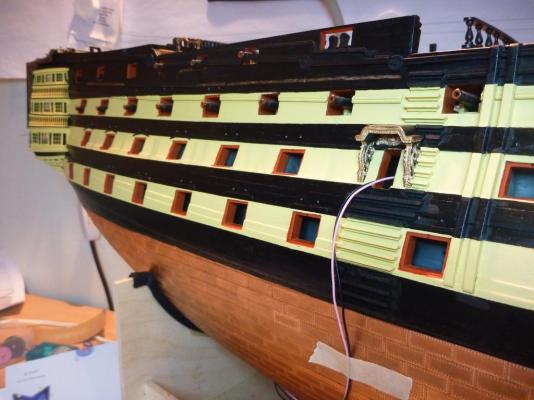
 Cats Heads made up ready for fitting (good fun these) Stbd Quarter Galleries done. Very tricky getting them shaped and kept in place whilst gluing. Details of Poop And of Quarterdeck A couple of the Anchors, before and after puddening Those gun ports seem to go on for ever. Attaching just one of many of the brass profiles. A great indicator of the kit quality I think. Starting to place the side steps. Rudder comming on Starbourd side details, steps, entry port, etc done. Gunport lids, false barrels and channels to go yet.
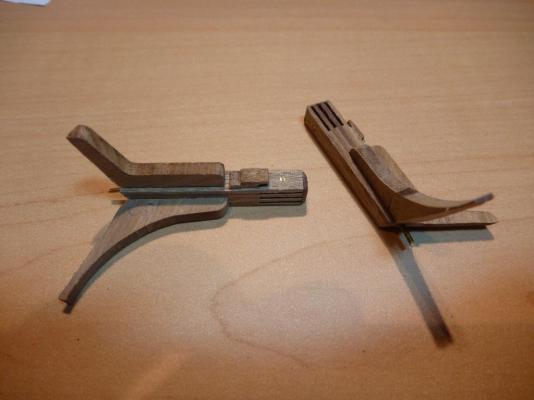


- 84 replies
-
- 2
-

-
- finished
- caldercraft
- (and 1 more)
-
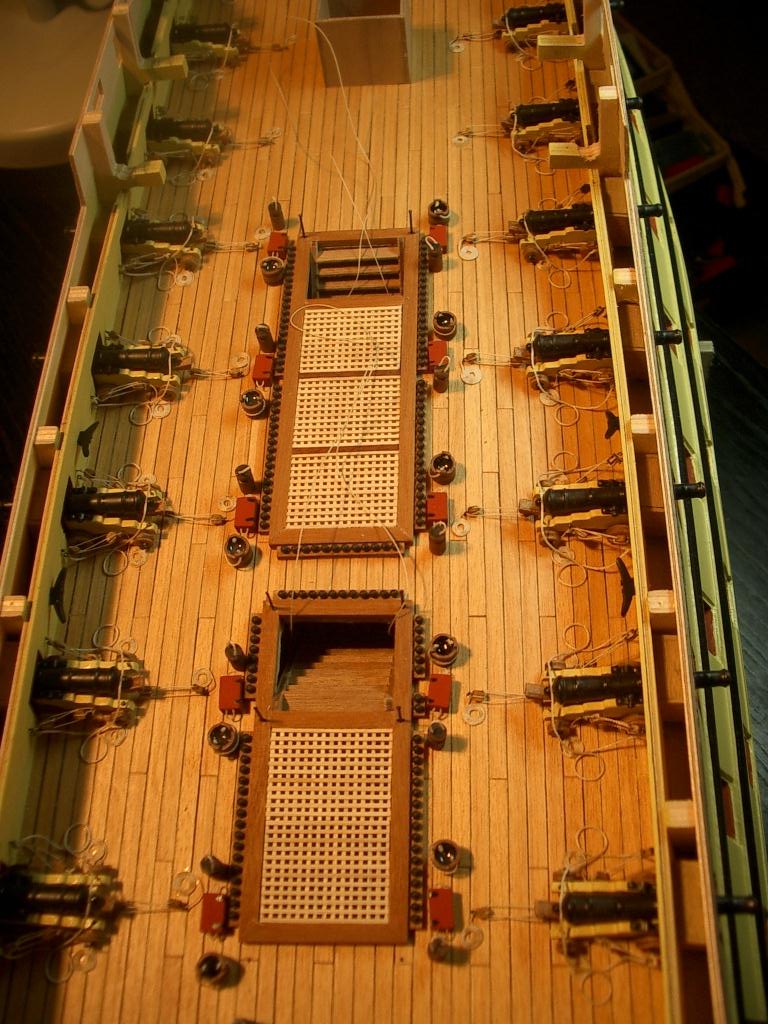
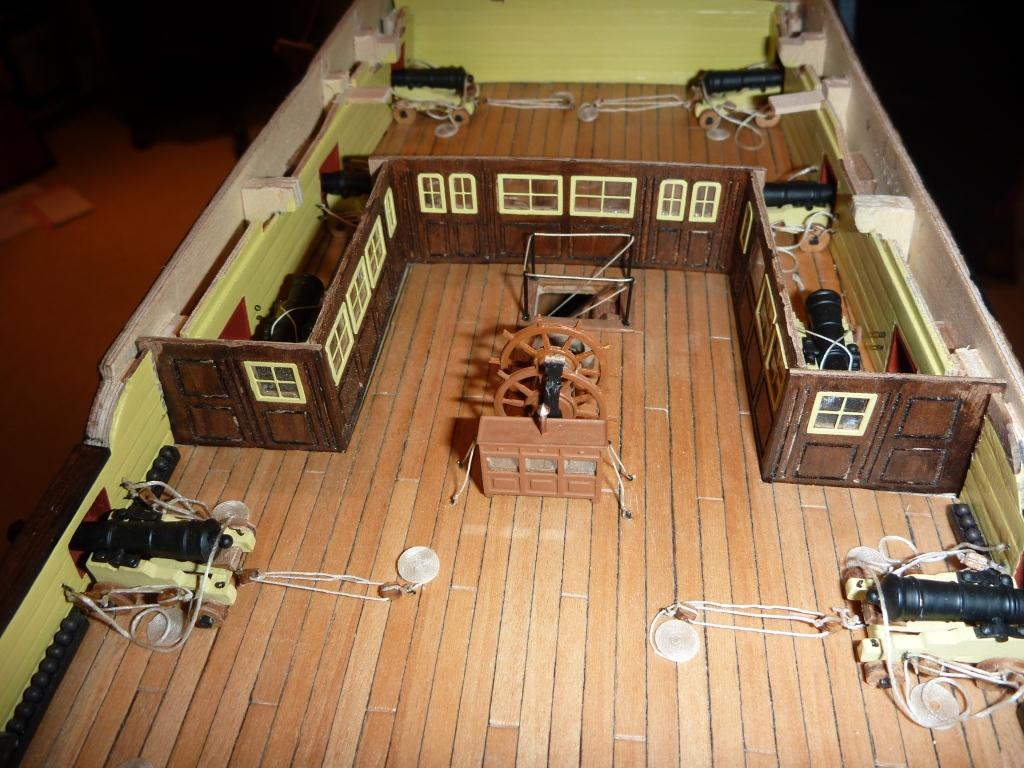
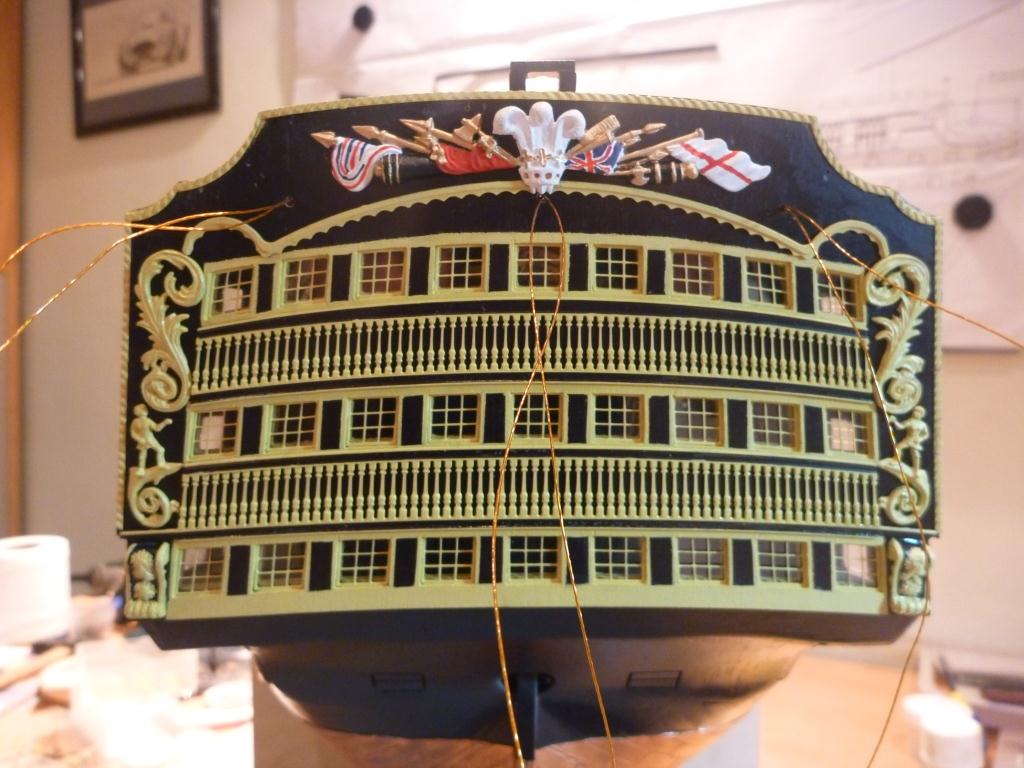
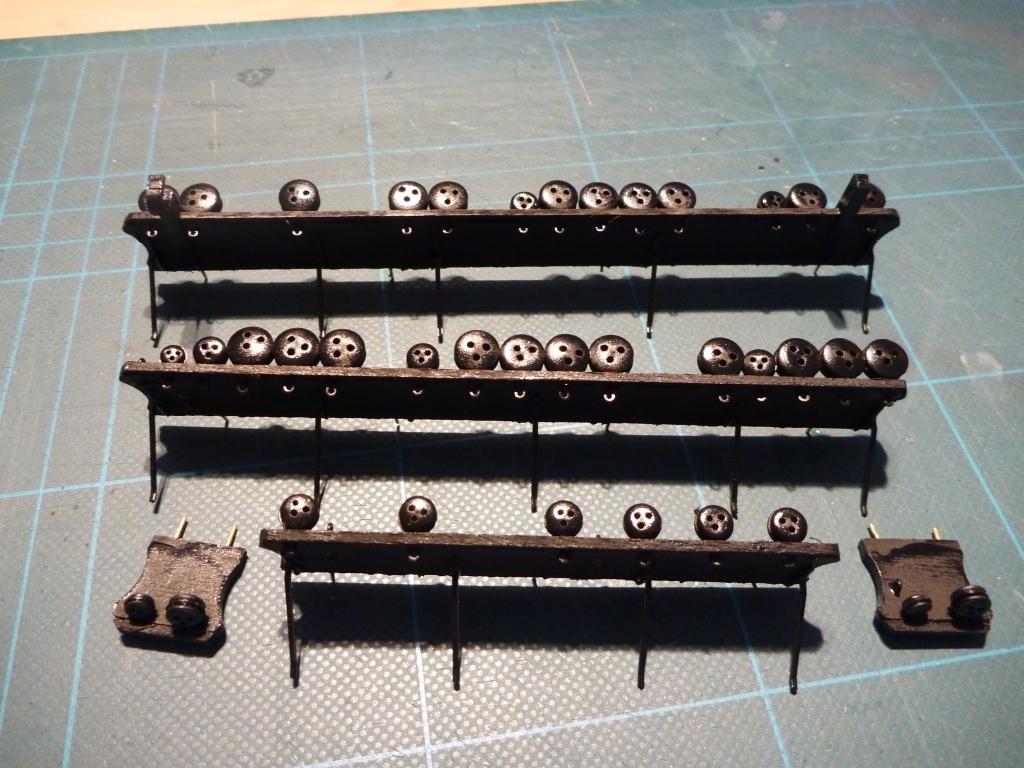
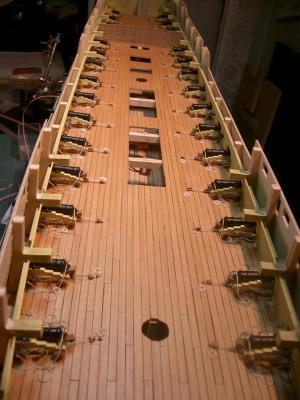
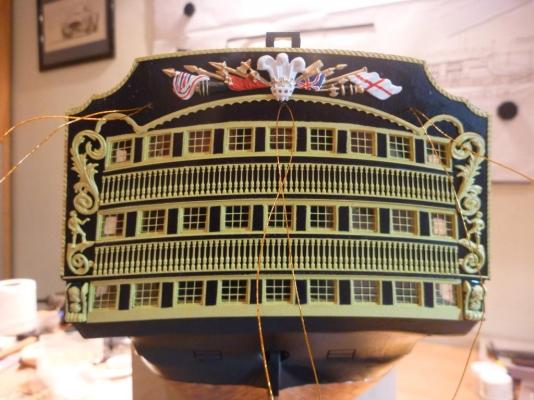
Hi All Thanks for the replies, happy to be back. A special Hi to Rob, I have been looking through your log, great reading. You sure are making a fine job of that model. Nice to catch up. So here is another batch of photos,, again all historic probably brings me up to date with the last time I posted. Enjoy. Nick Upper gun deck with guns now in place. Sorry about the big differences in photo quality, never was my strong point Details added to UGD including some gun adornments of my own (info from the restored actual Victory) Waist - Q Deck going into place- bits,companionways and skid beams etc added first. Now have Q Deck level planking done, internal bulkheads in place and painted, painting of the upper externals etc. Had to tape over the various deck cut out - have you noticed that if you ever drop something it ALWAYS drops through an empty cut out. And then holding a delicate model overhead and upside down is definately not the best proposal. Plenty of time now been put in on the sharp end. Beakhead Bulkhead & capping, Roundhouses, figurehead, grating et. nearing completion. Still some finishing to be done. The screens, binnacle, wheel prepared. Quarterdeck guns placed. Lots of detail work required on the stern but pleased with the results. Note wires left hanging that will eventually run to the three ships lanterns. I have part fabricated them in preparation, managed to find a thin wall brass tube the the wires will just run through. i won't fit till much later as the will be so so easy to damage (you can just see in happening) Channels being prepared with dead eyes etc. And the Entry port painting done. Next thing, lots of work on the sides, more photo's to follow.


- 84 replies
-
- 1
-
-
- finished
- caldercraft
- (and 1 more)
-
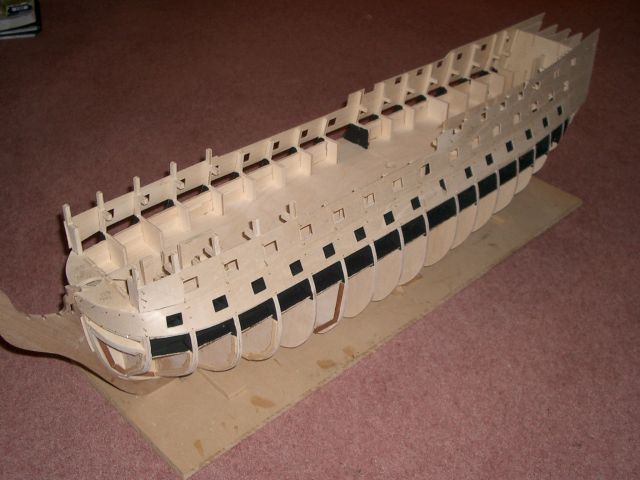
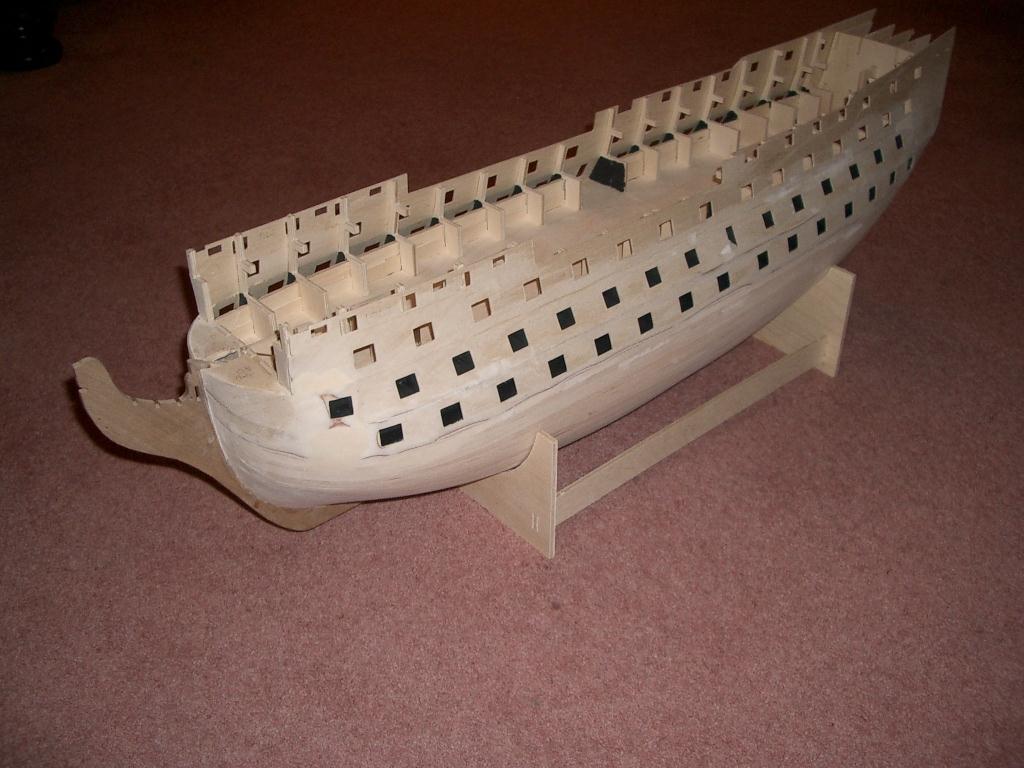
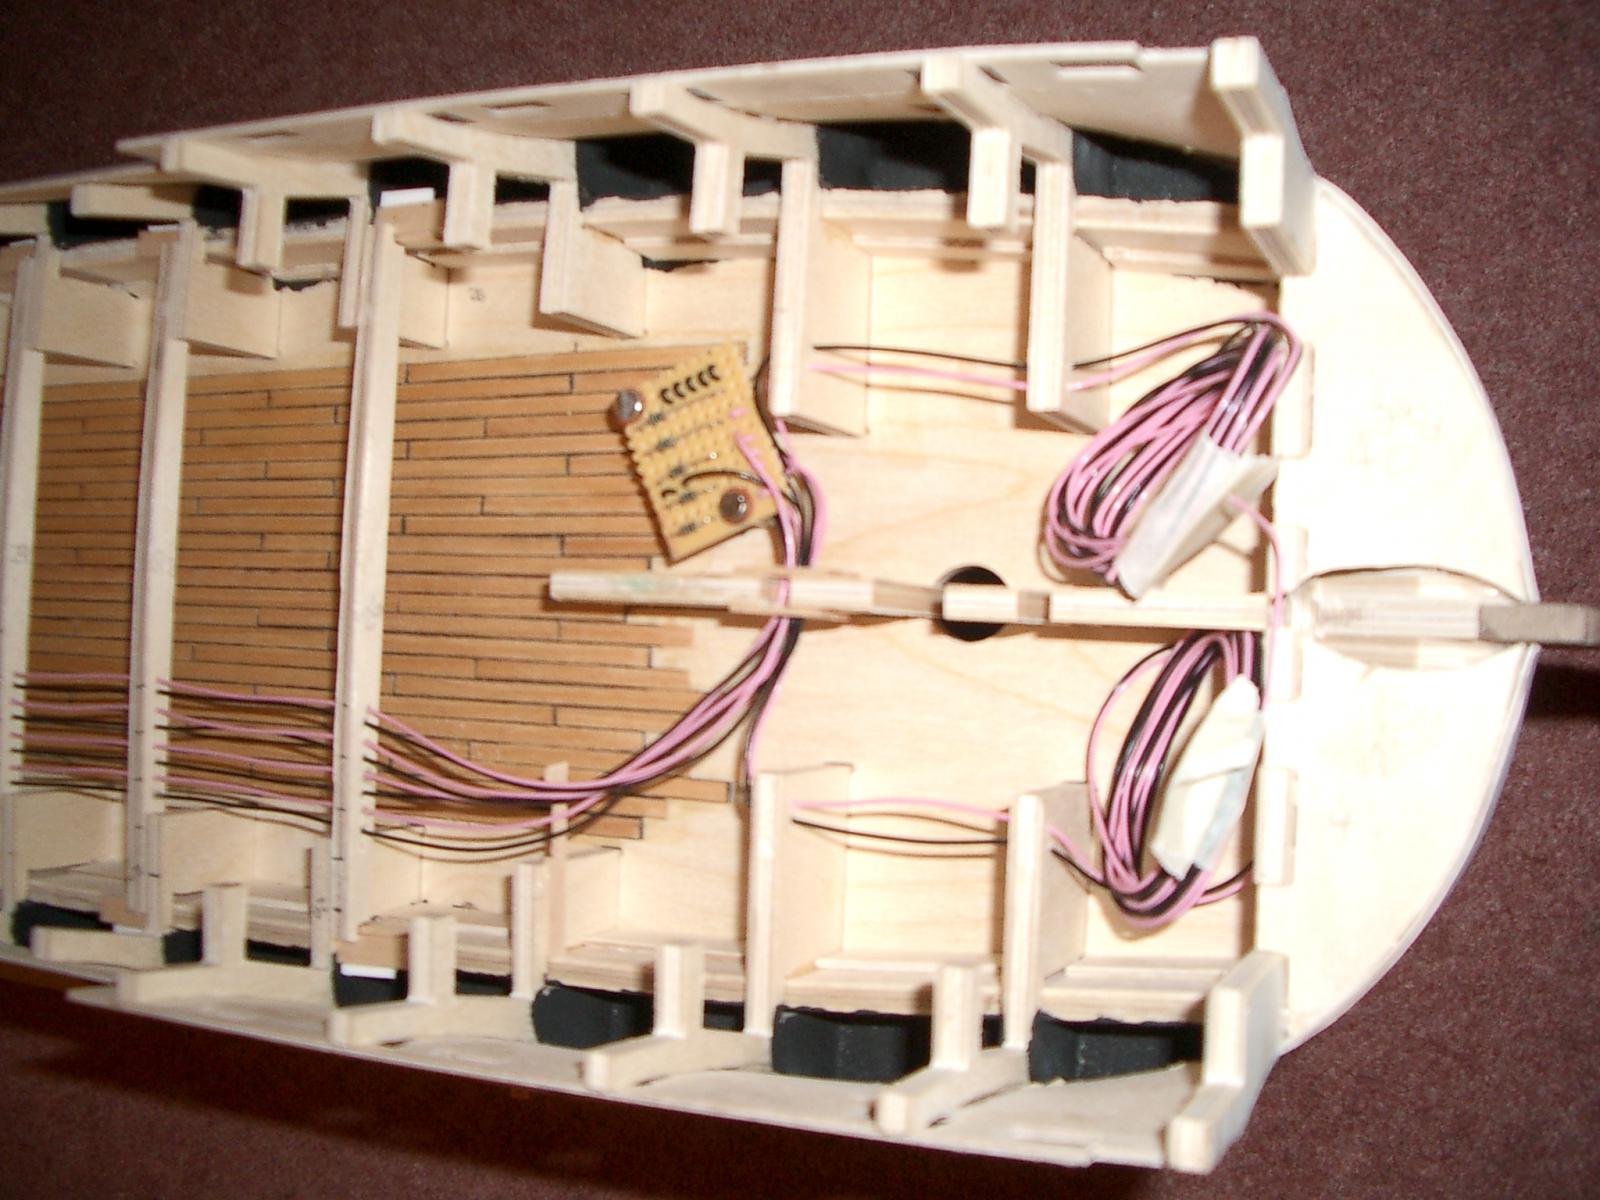
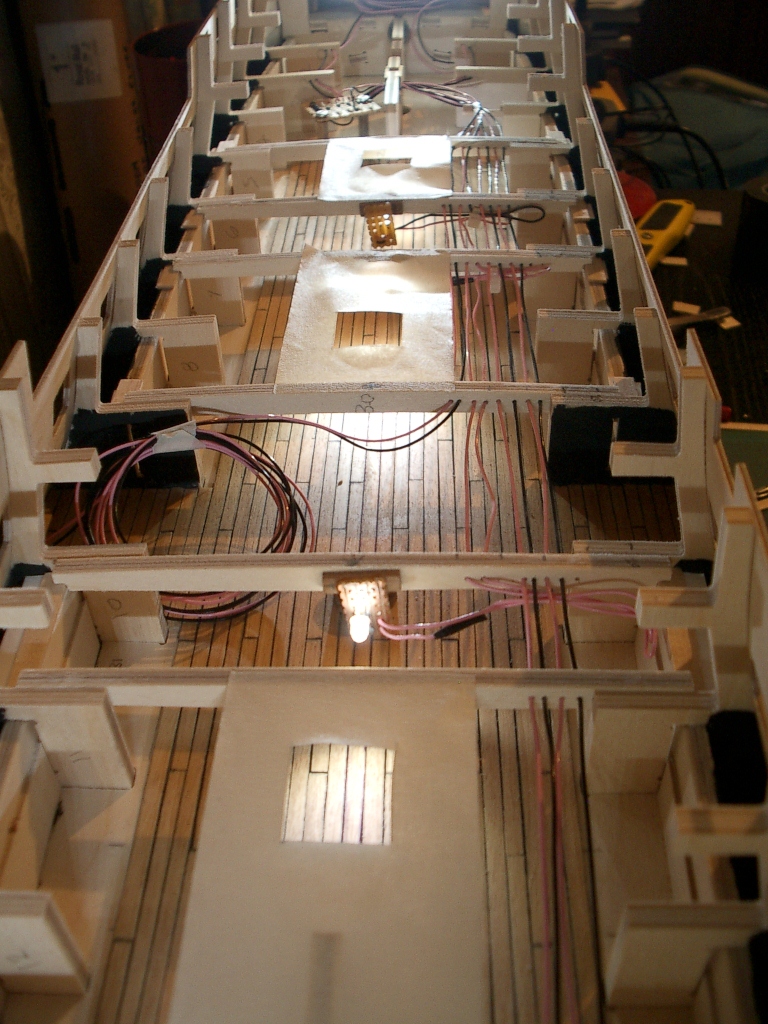
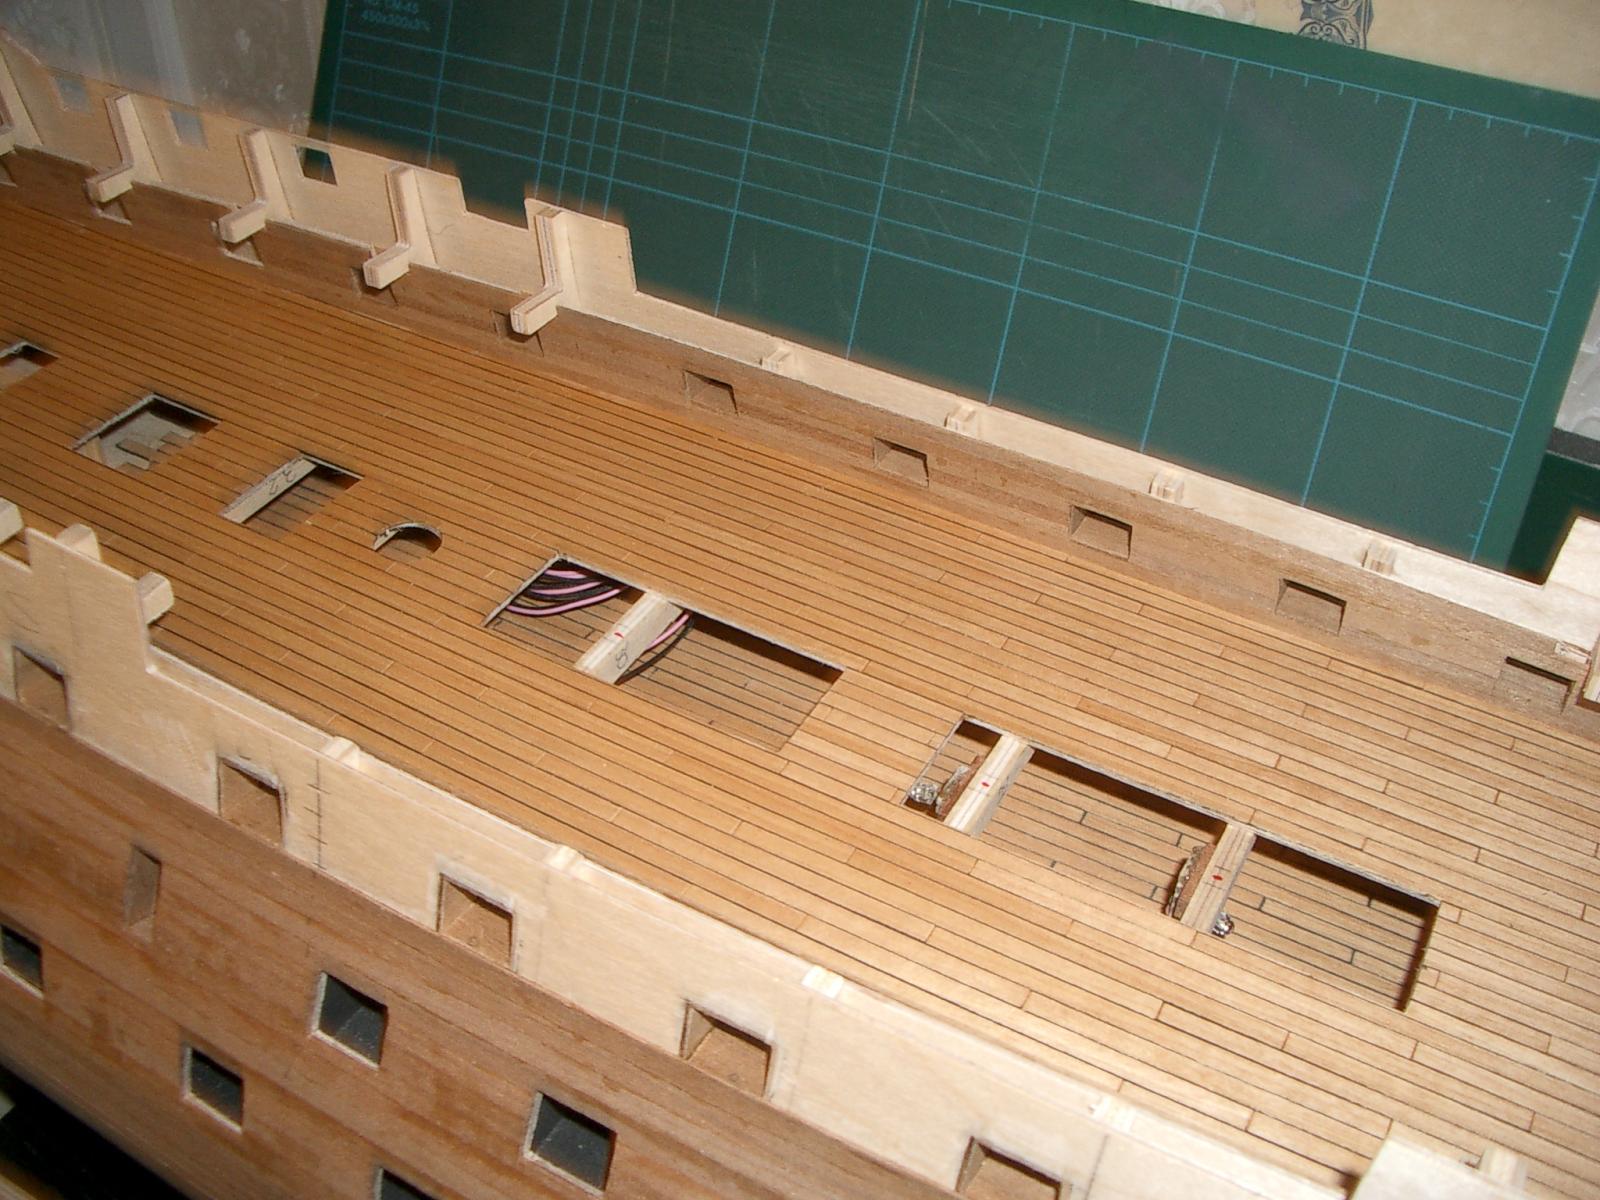
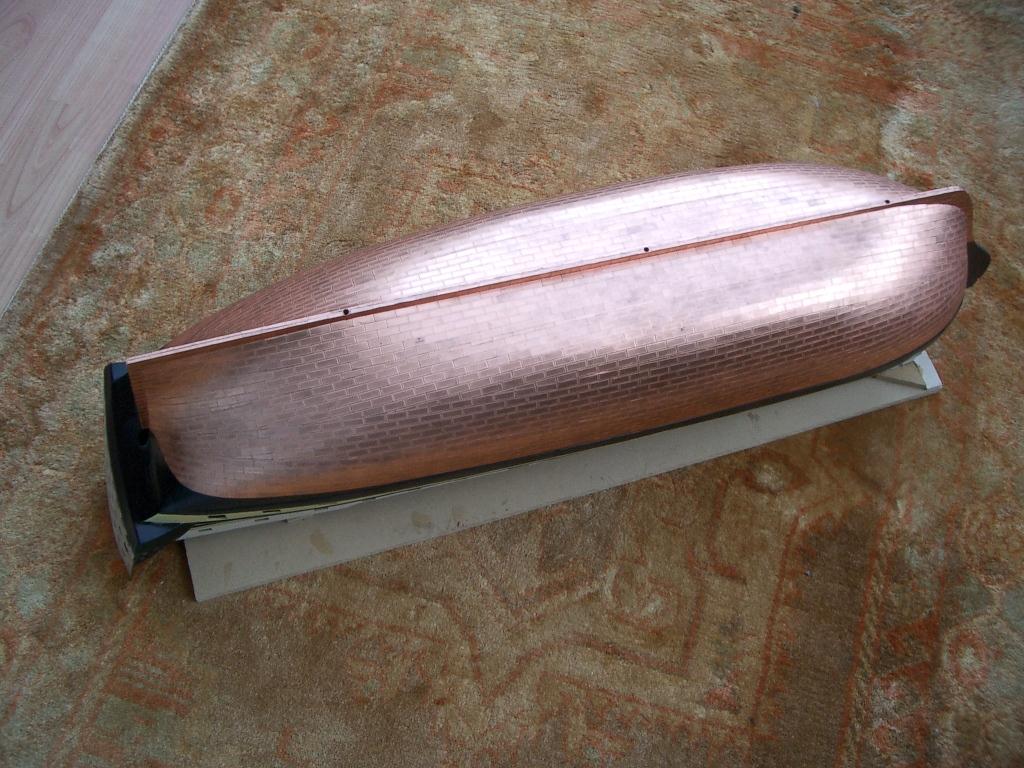
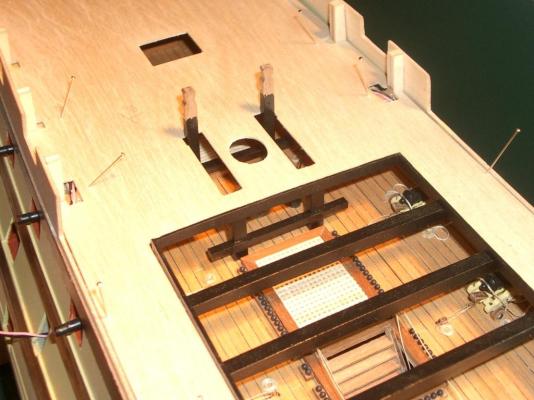
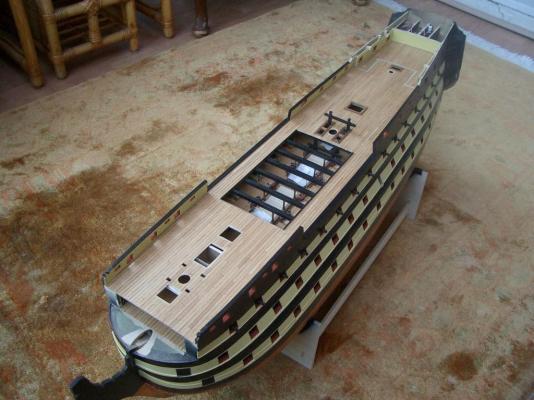
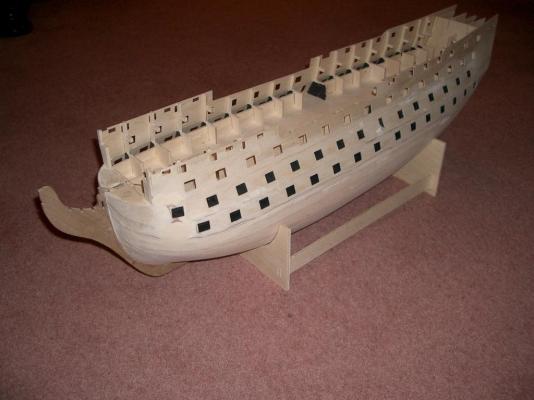
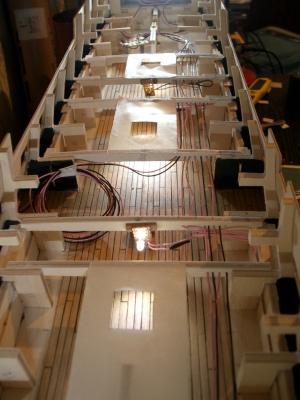
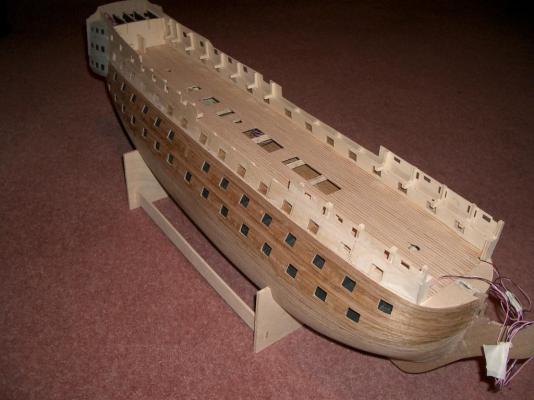
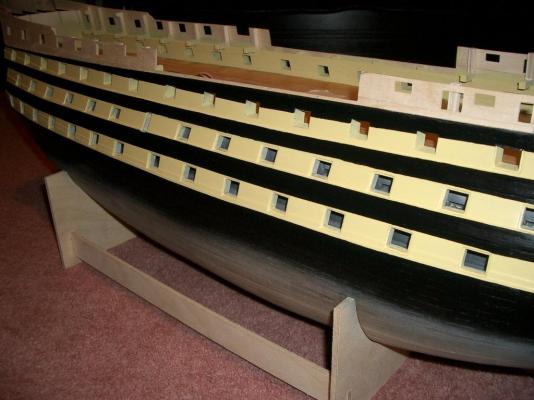
Bulkheads in place Then gunport patterns added First planking finished and shaped The model is rigged with led lighting internally and in the ships lanterns This is the control circuit board being buried in the bowels. I will run fine wires out to a small mains transformer. An early test that leds at the foot of stairwell are aligned correctly. The wells are simulated with masking tape. Second planking complete. Upper gun deck planked and internal bulkheads in place. Gun ports lined. Main painting now done. Copper plating coampleted. Example of on of the guns before rigging. That all makes it look very quick, believe me it wasn't. I will be slowing down greatly when I get up to date.


- 84 replies
-
- 1
-
-
- finished
- caldercraft
- (and 1 more)
-
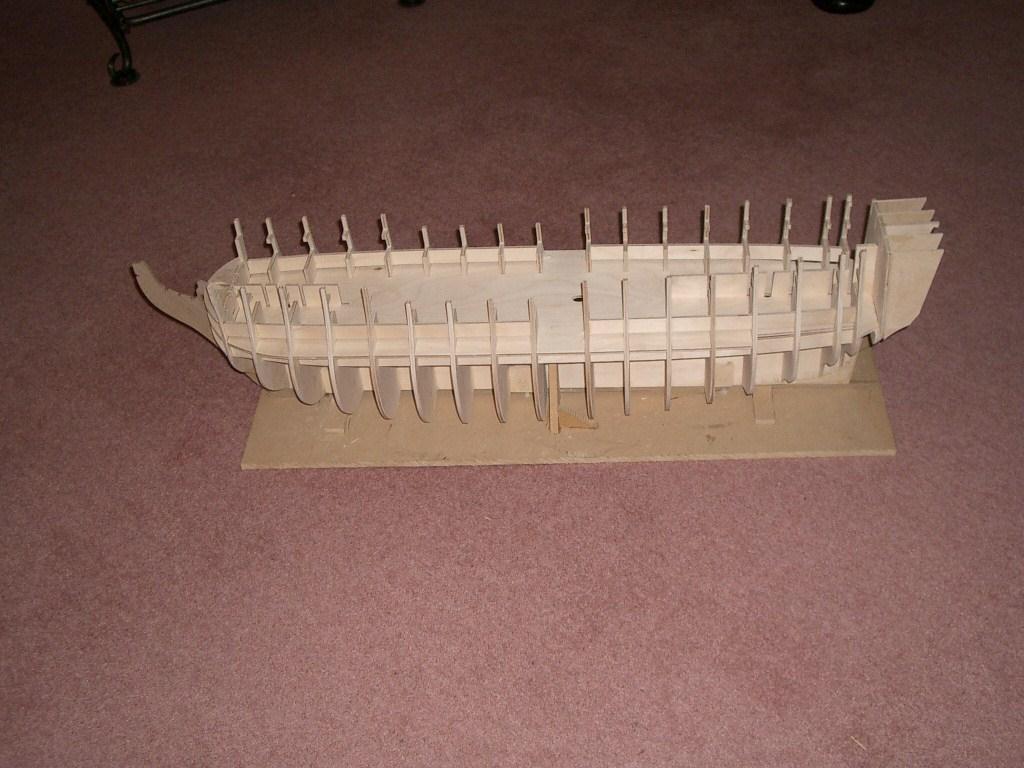
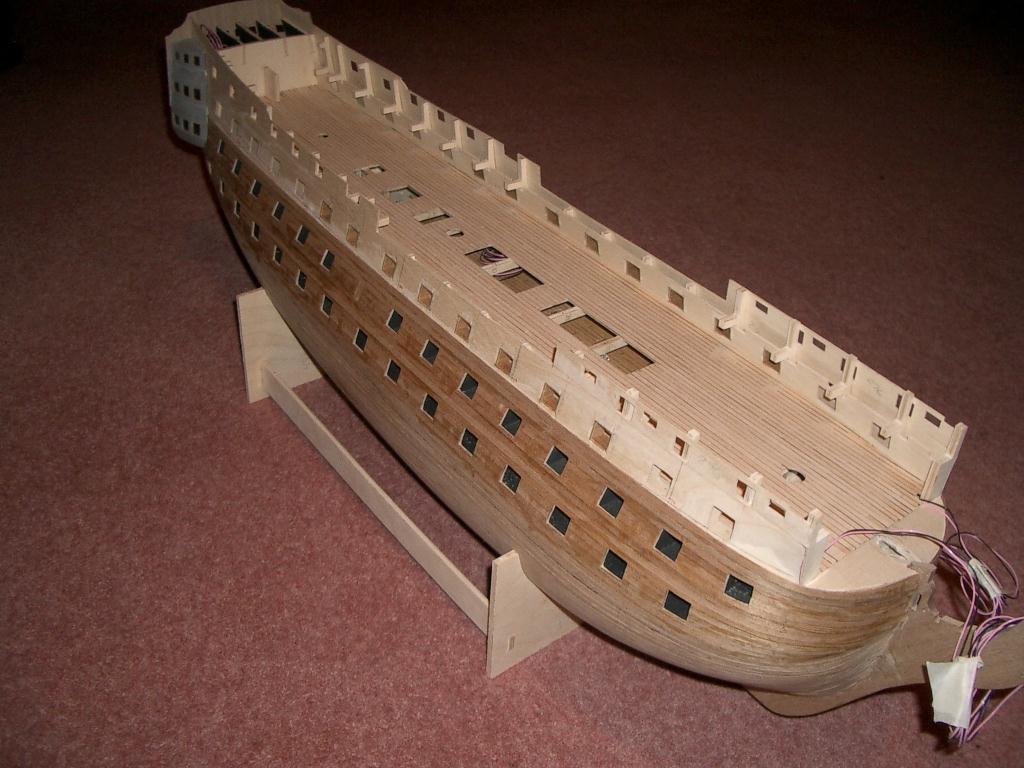
Hi All Well this gets the first thing done, raising a new topic. This was already a topic before site problems so now i need to dig out the photos and repost. Having the subject there will hopefully pressurise me to get that done. The model has been some years in build, the hull is pretty much all done. Masts built and kitted out, most yards and spars turned at least. Next big job is shipping the masts and getting to grips with miles of ratlines. I will select a few appropriate photos of previous progress and take it from there. POMPEY
- 84 replies
-
- 3
-
-
- finished
- caldercraft
- (and 1 more)