Srenner
-
Posts
220 -
Joined
-
Last visited
Content Type
Profiles
Forums
Gallery
Events
Everything posted by Srenner
-
Message me privately and we can discuss what you need
-
Yes... although its a bit of a hassle if you want customization... i have just done it for free in the end
-
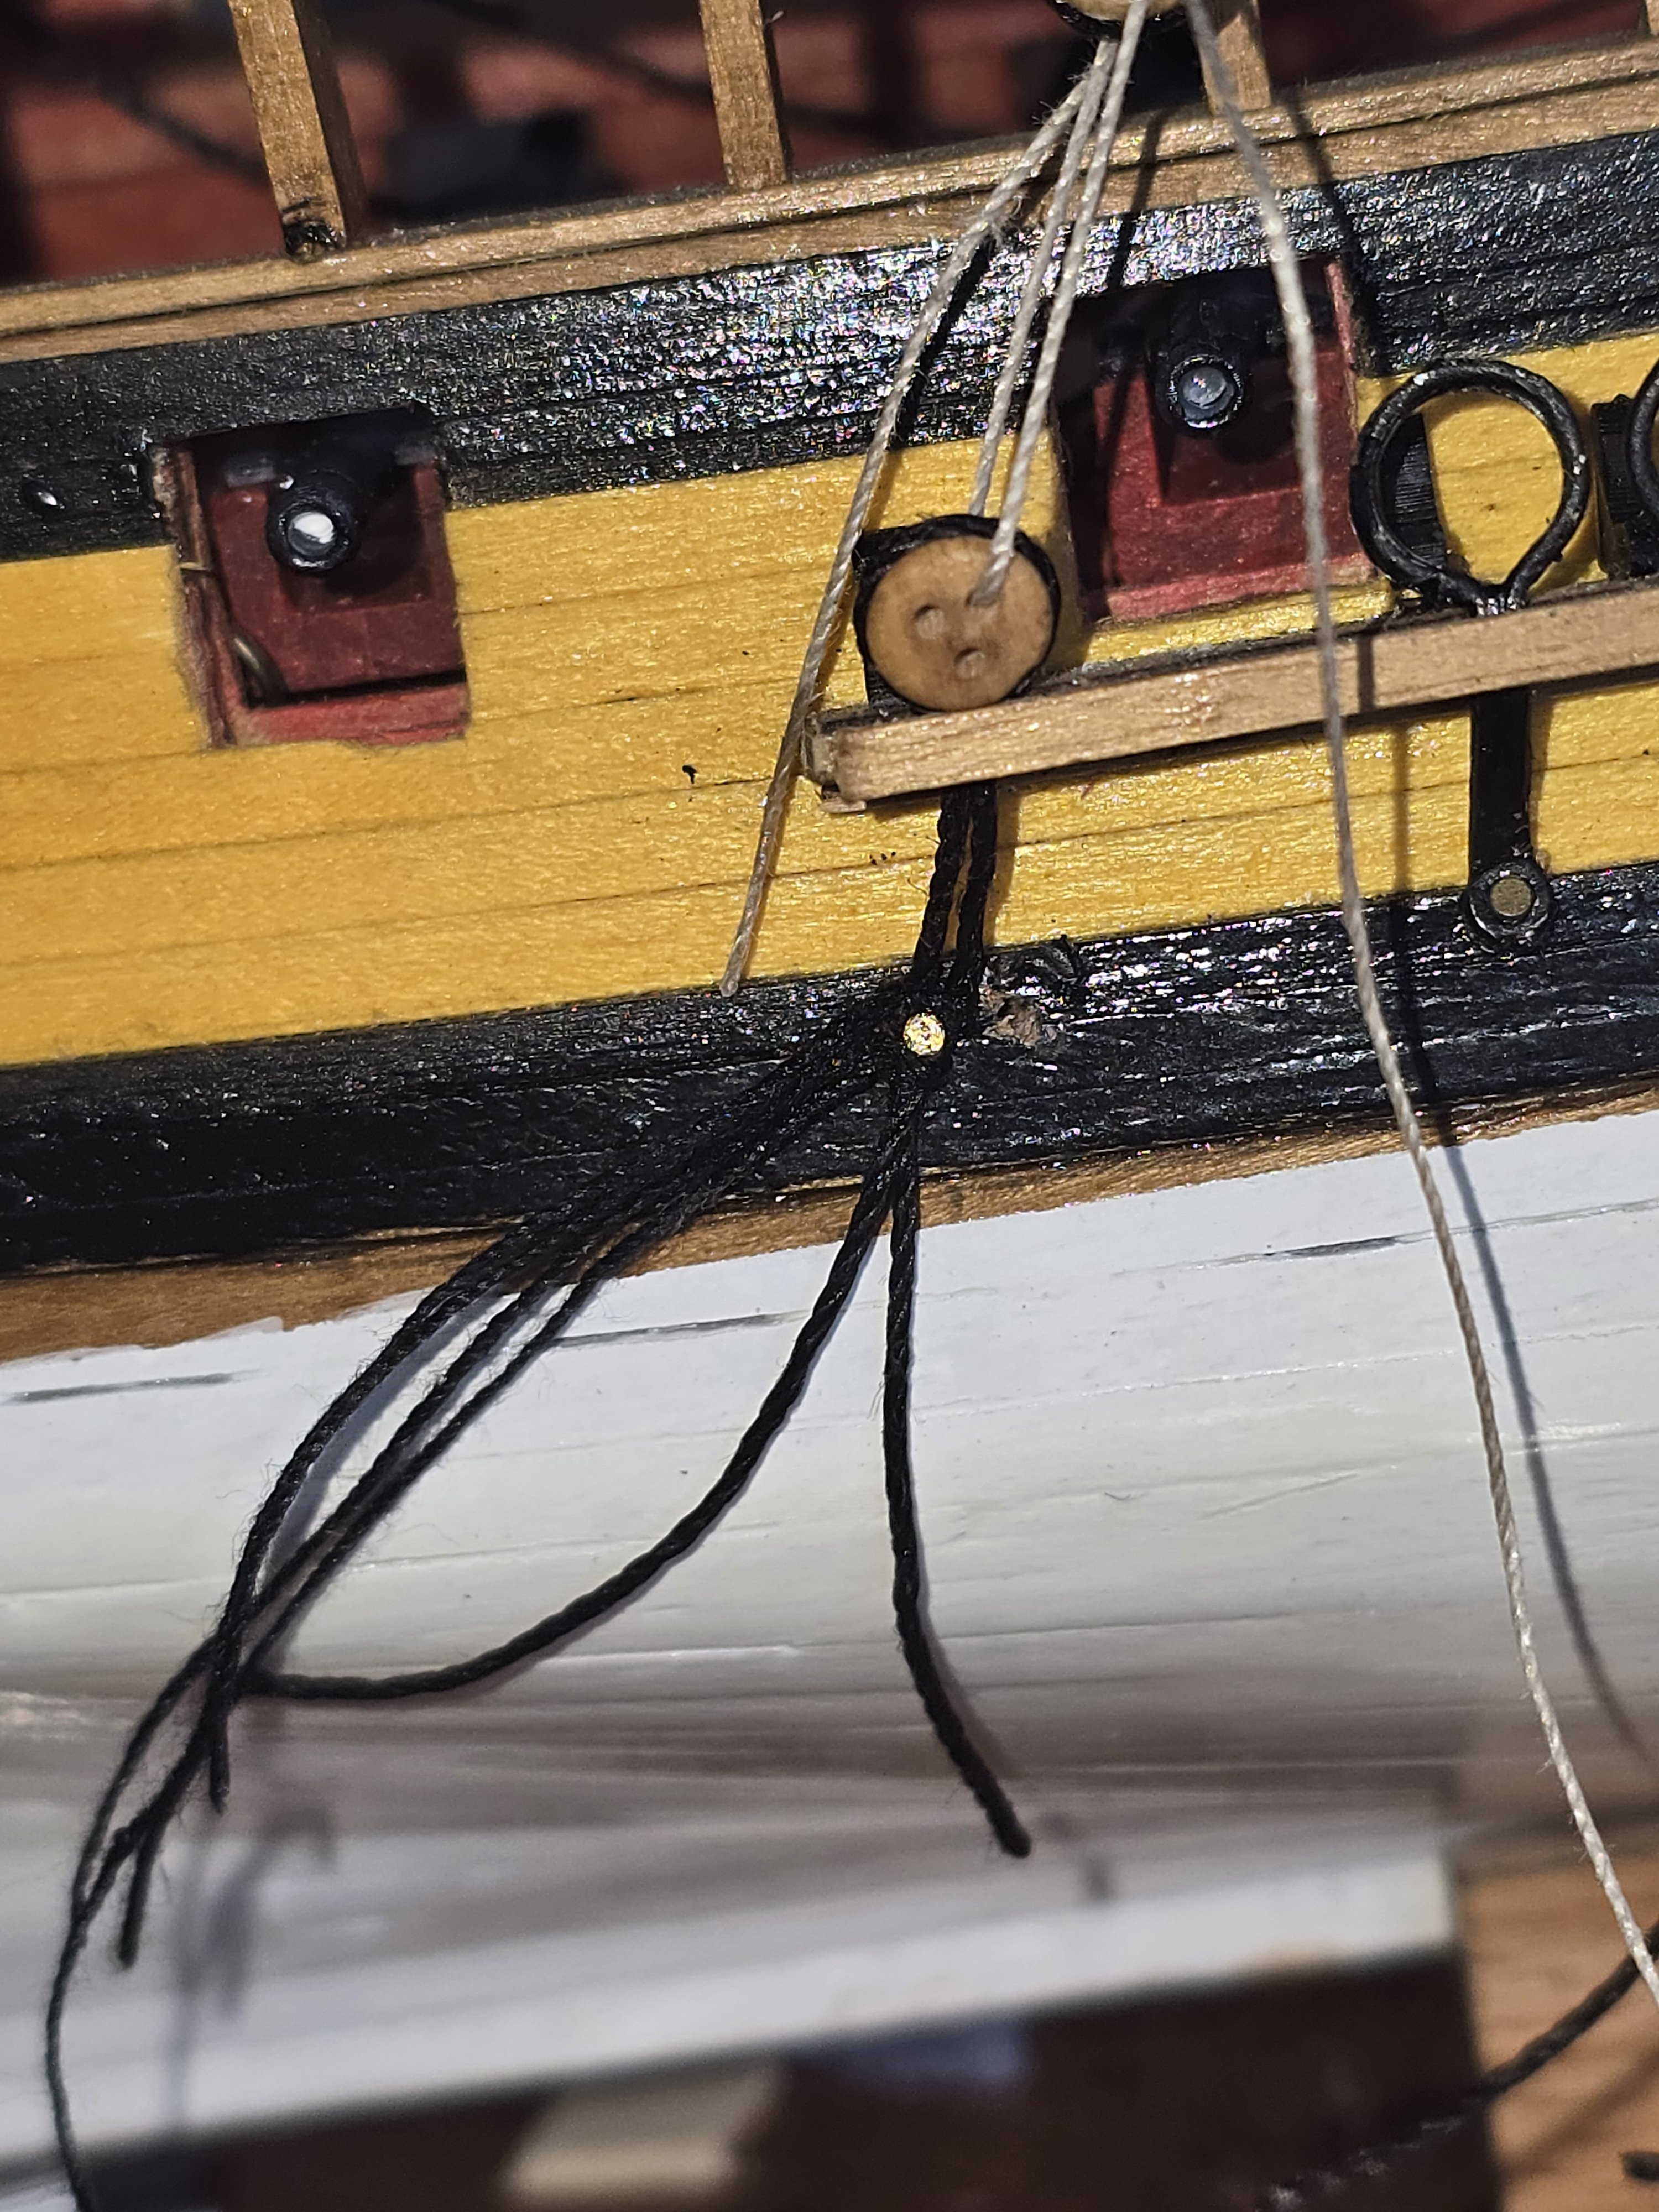
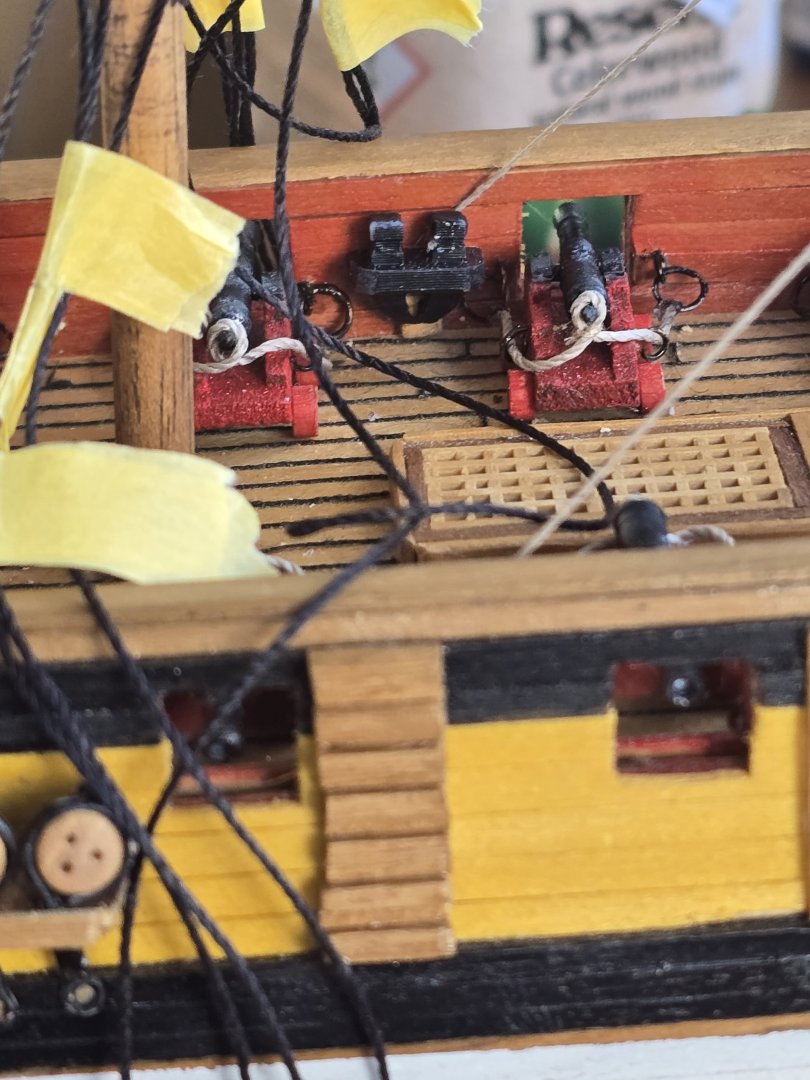
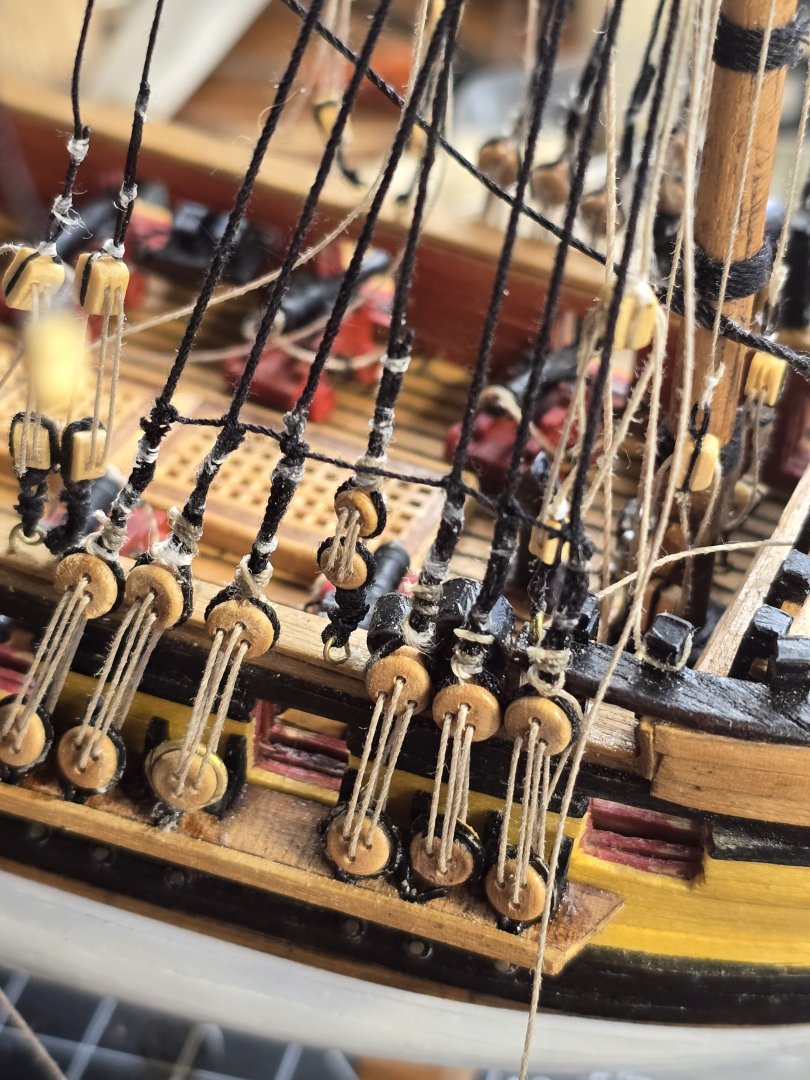
You made the same mistake i made.. the chain plates should angle to the angle of the shrouds not go straight up and down- but its done now so i guess go with it.
-
@Gregory @Jackson7 I have the mondfeld book and your right it says it was chain and goodwin book says it was made from flat iron and around 1720 changed to the chain link method and the is a table for the number of chain plates per rate. Cant work out where it says rope being used..?!?
-
@Jackson7 yes i agree with you... there was no iron on the chain plates so if i was making this again i would use rope for all the deadeye chain plates... they look much better than the kit supplied ones.
-
Shame... im happy to help print another version for you if your not happy with the planking your going to do. How are you going to bend the small window timber around... the back curves slightly in two directions?
-
I really like your quarter galleries... its good work you are doing there.
-
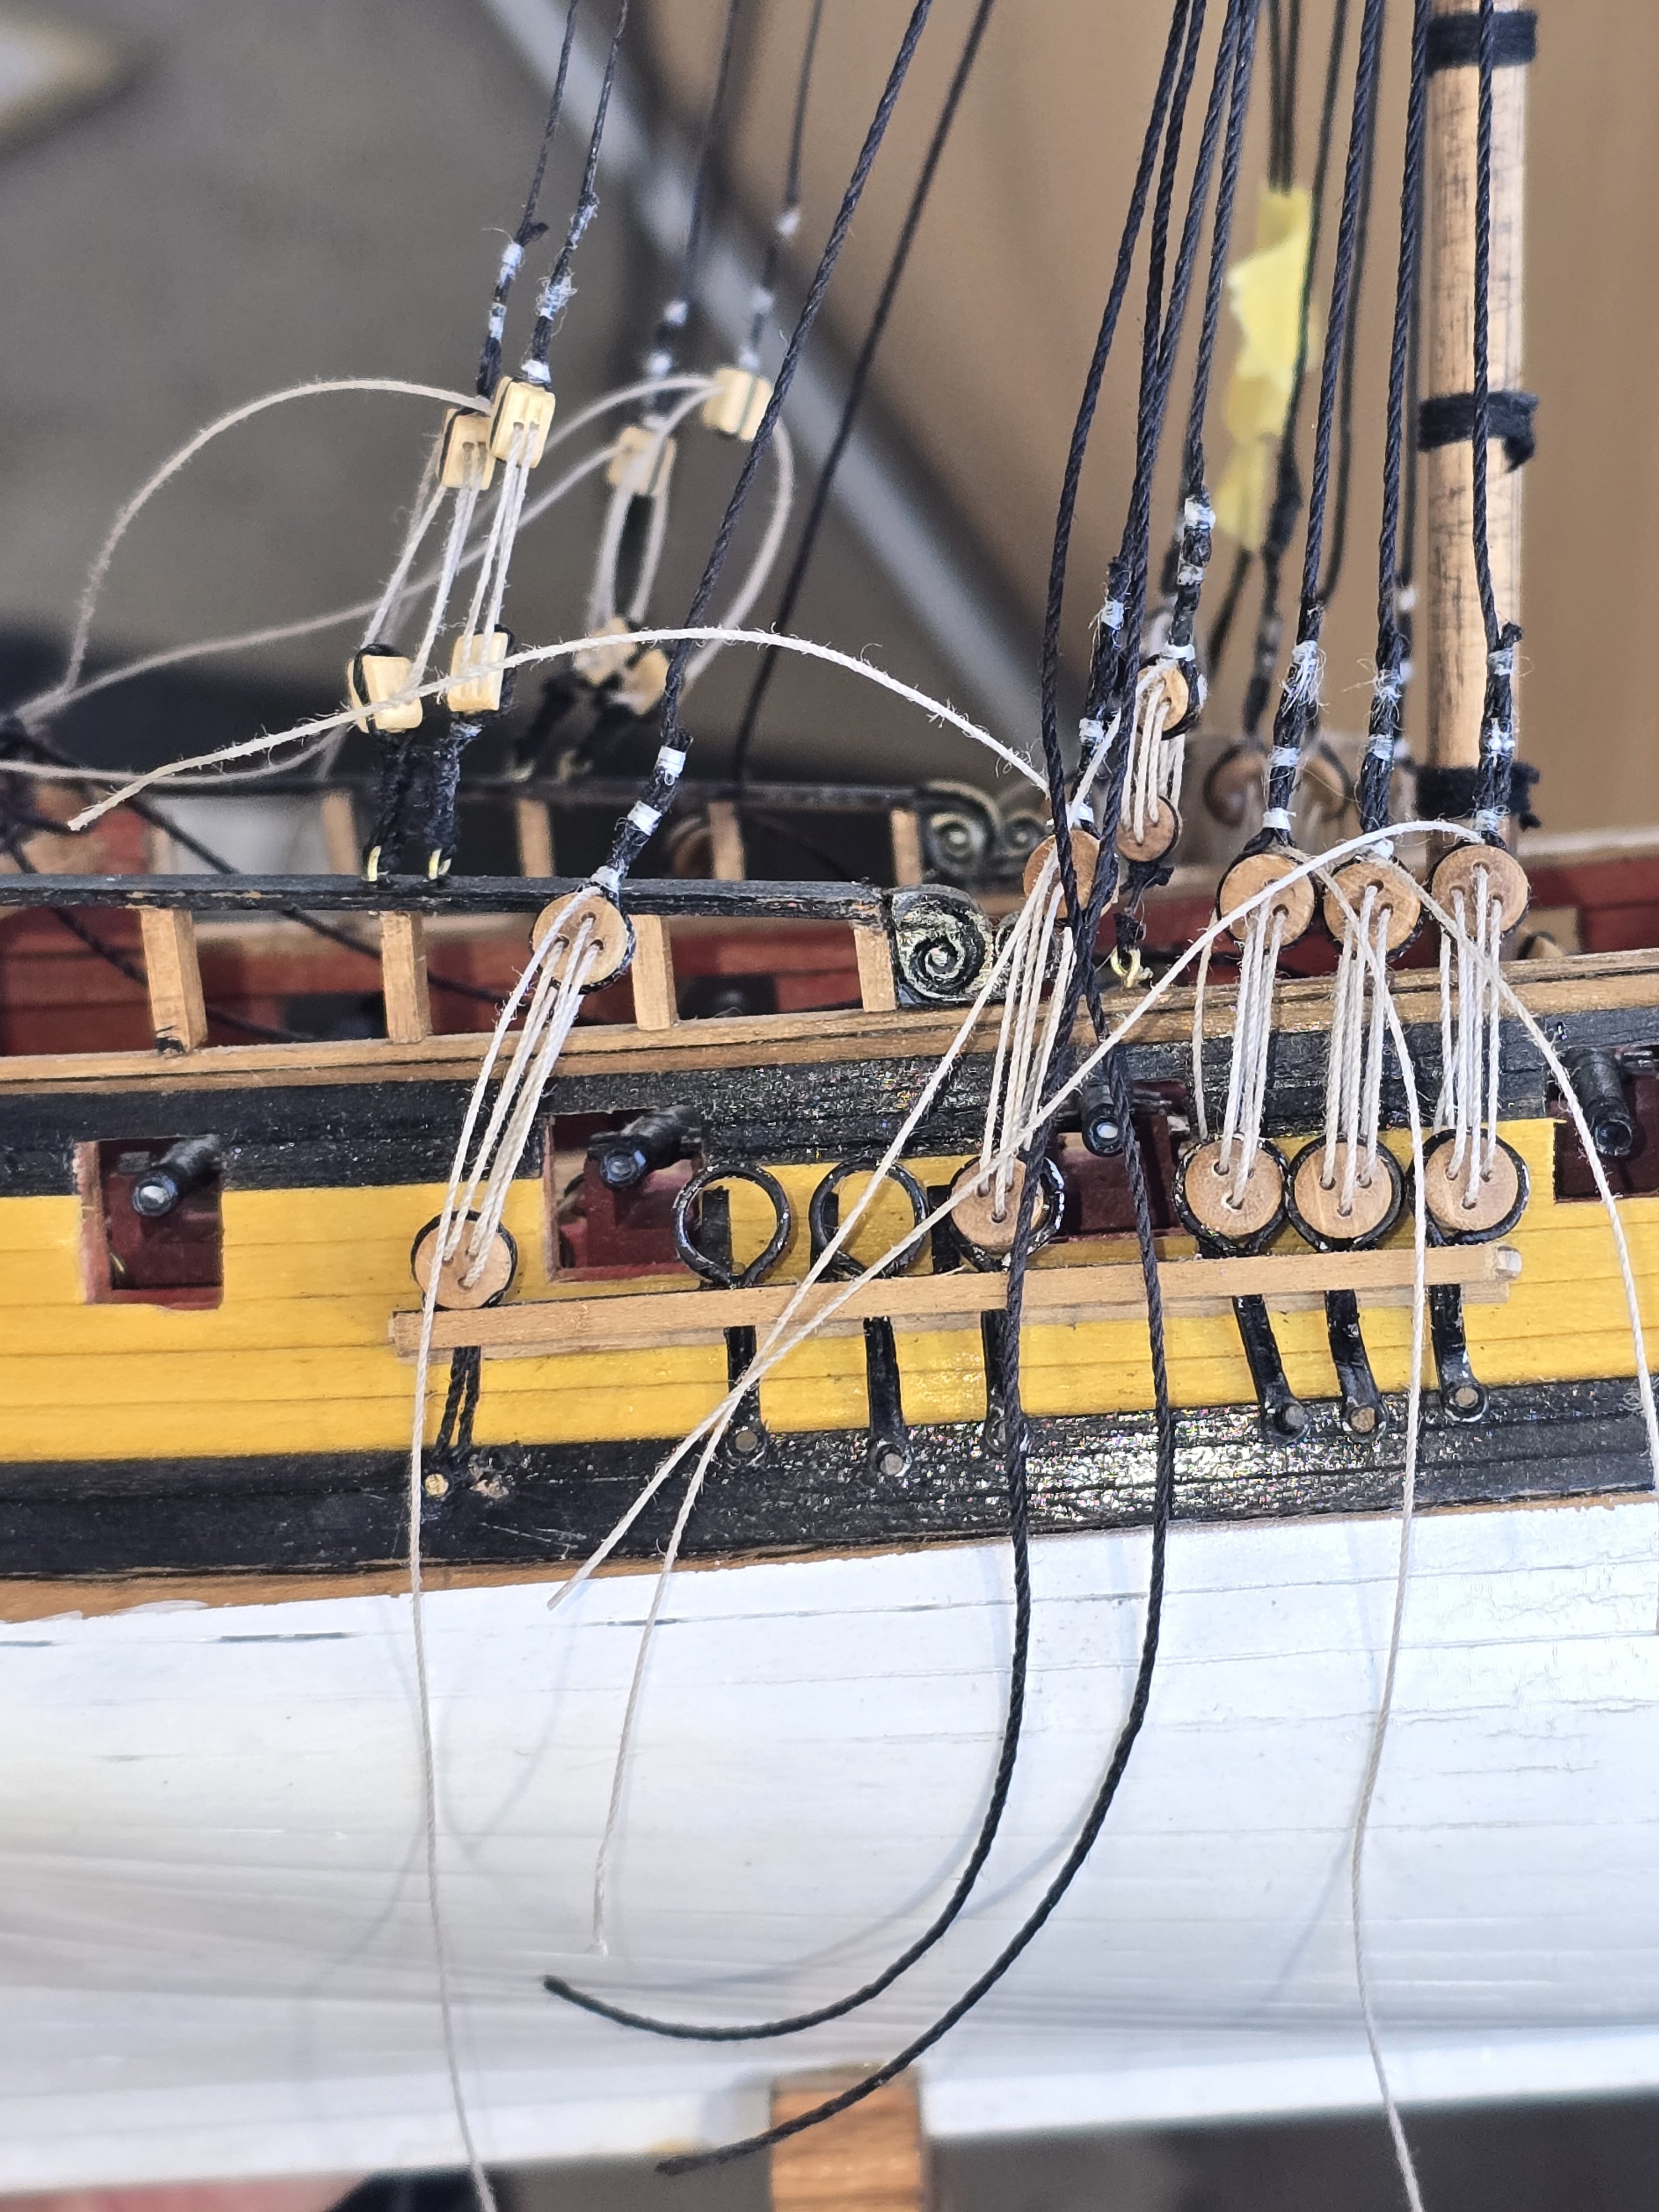
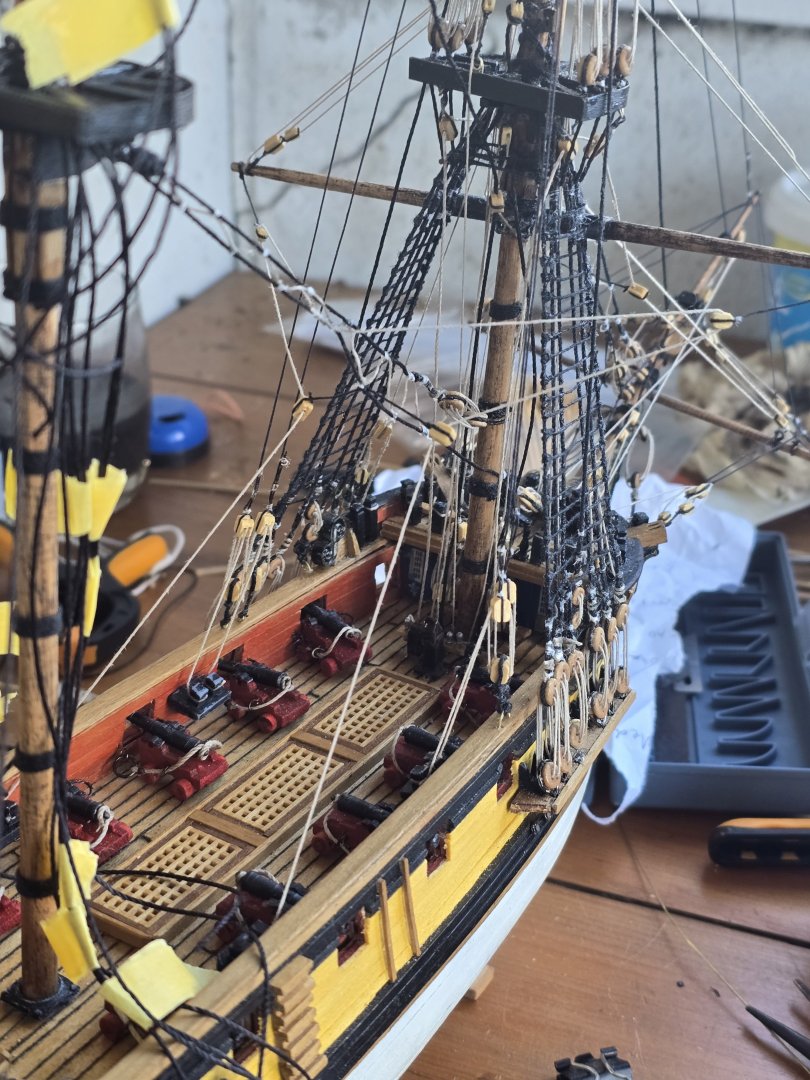
As ive gone along with build ive realised something about building model ships. If you dont like something there isnt anything on this ship that i cant take off redo and put back on. Case in point was the kit supplied chain plates.. which are metal for a start and not in keeping with 1720 but anyway it was the angle of the chain plate with the stay and so i decided to change it this morning... 15 minutes work and its much better than it was! Dont be afraid to change things with the kit... it will be ok!


-
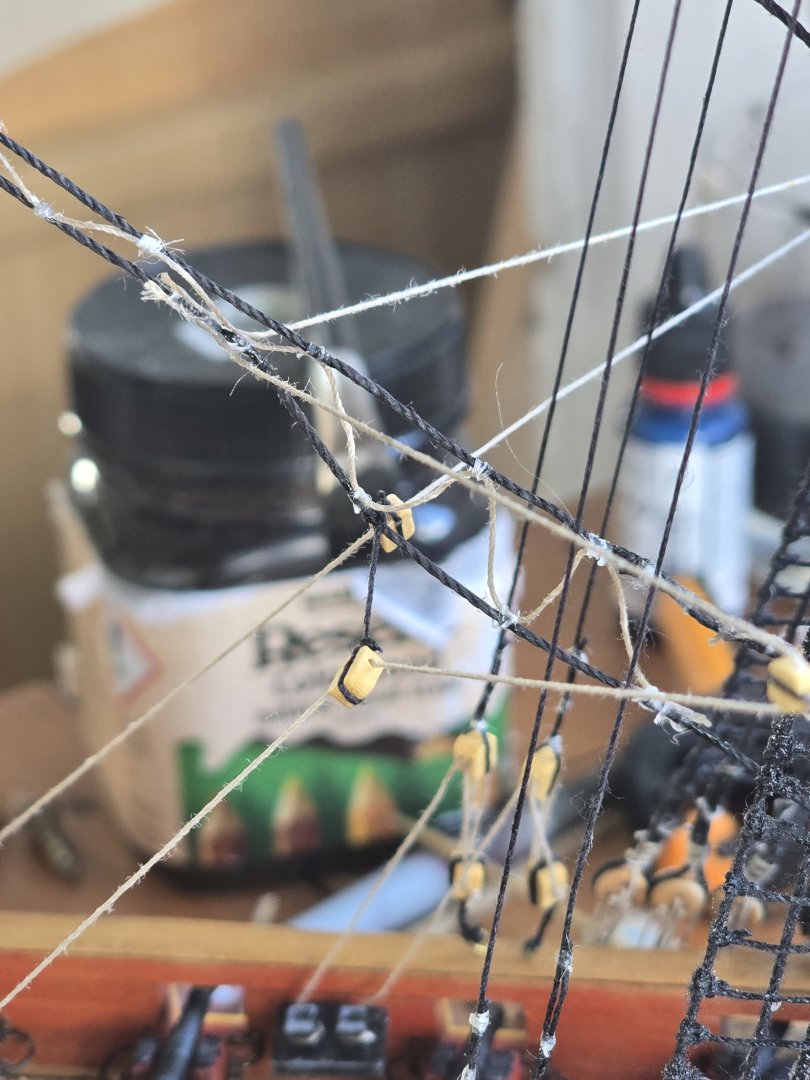
You know when you stuff up and snip the stay? And then you realise its really way to much work to re do all the pairs of stays on the main top? So ive bodged the stay and its a bit ugly but sometimes you just have to move on and get over it....
-
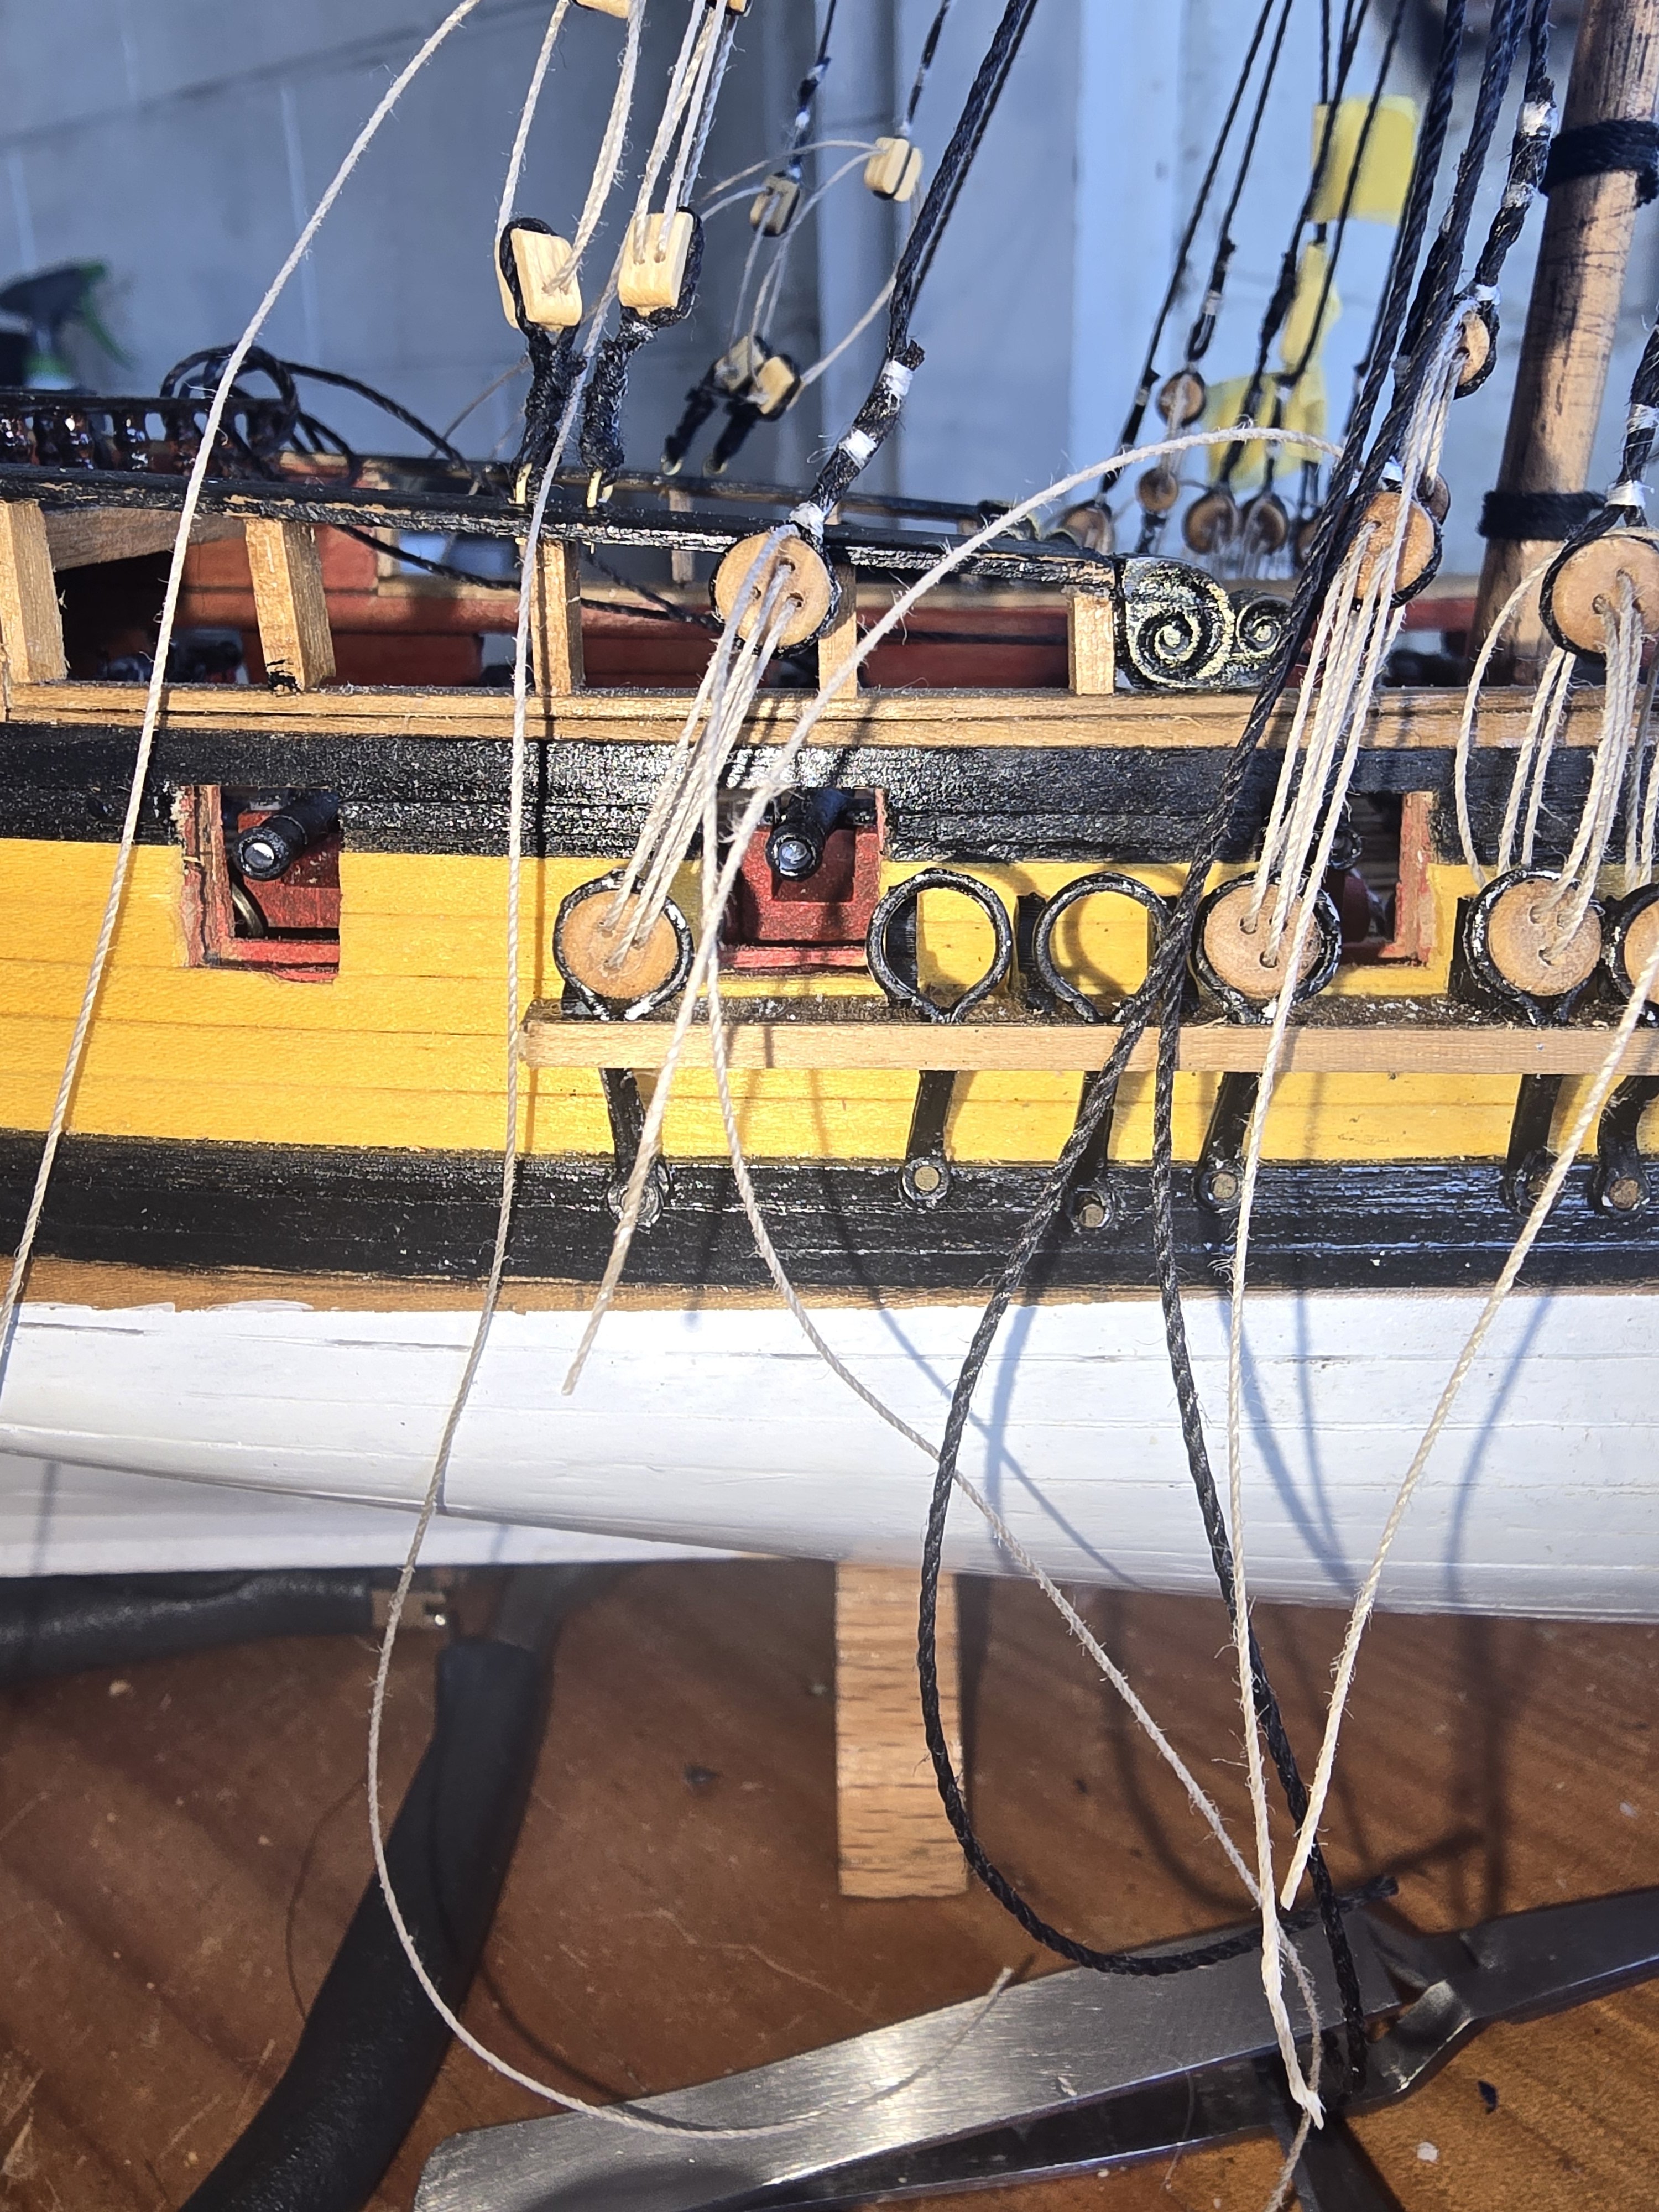
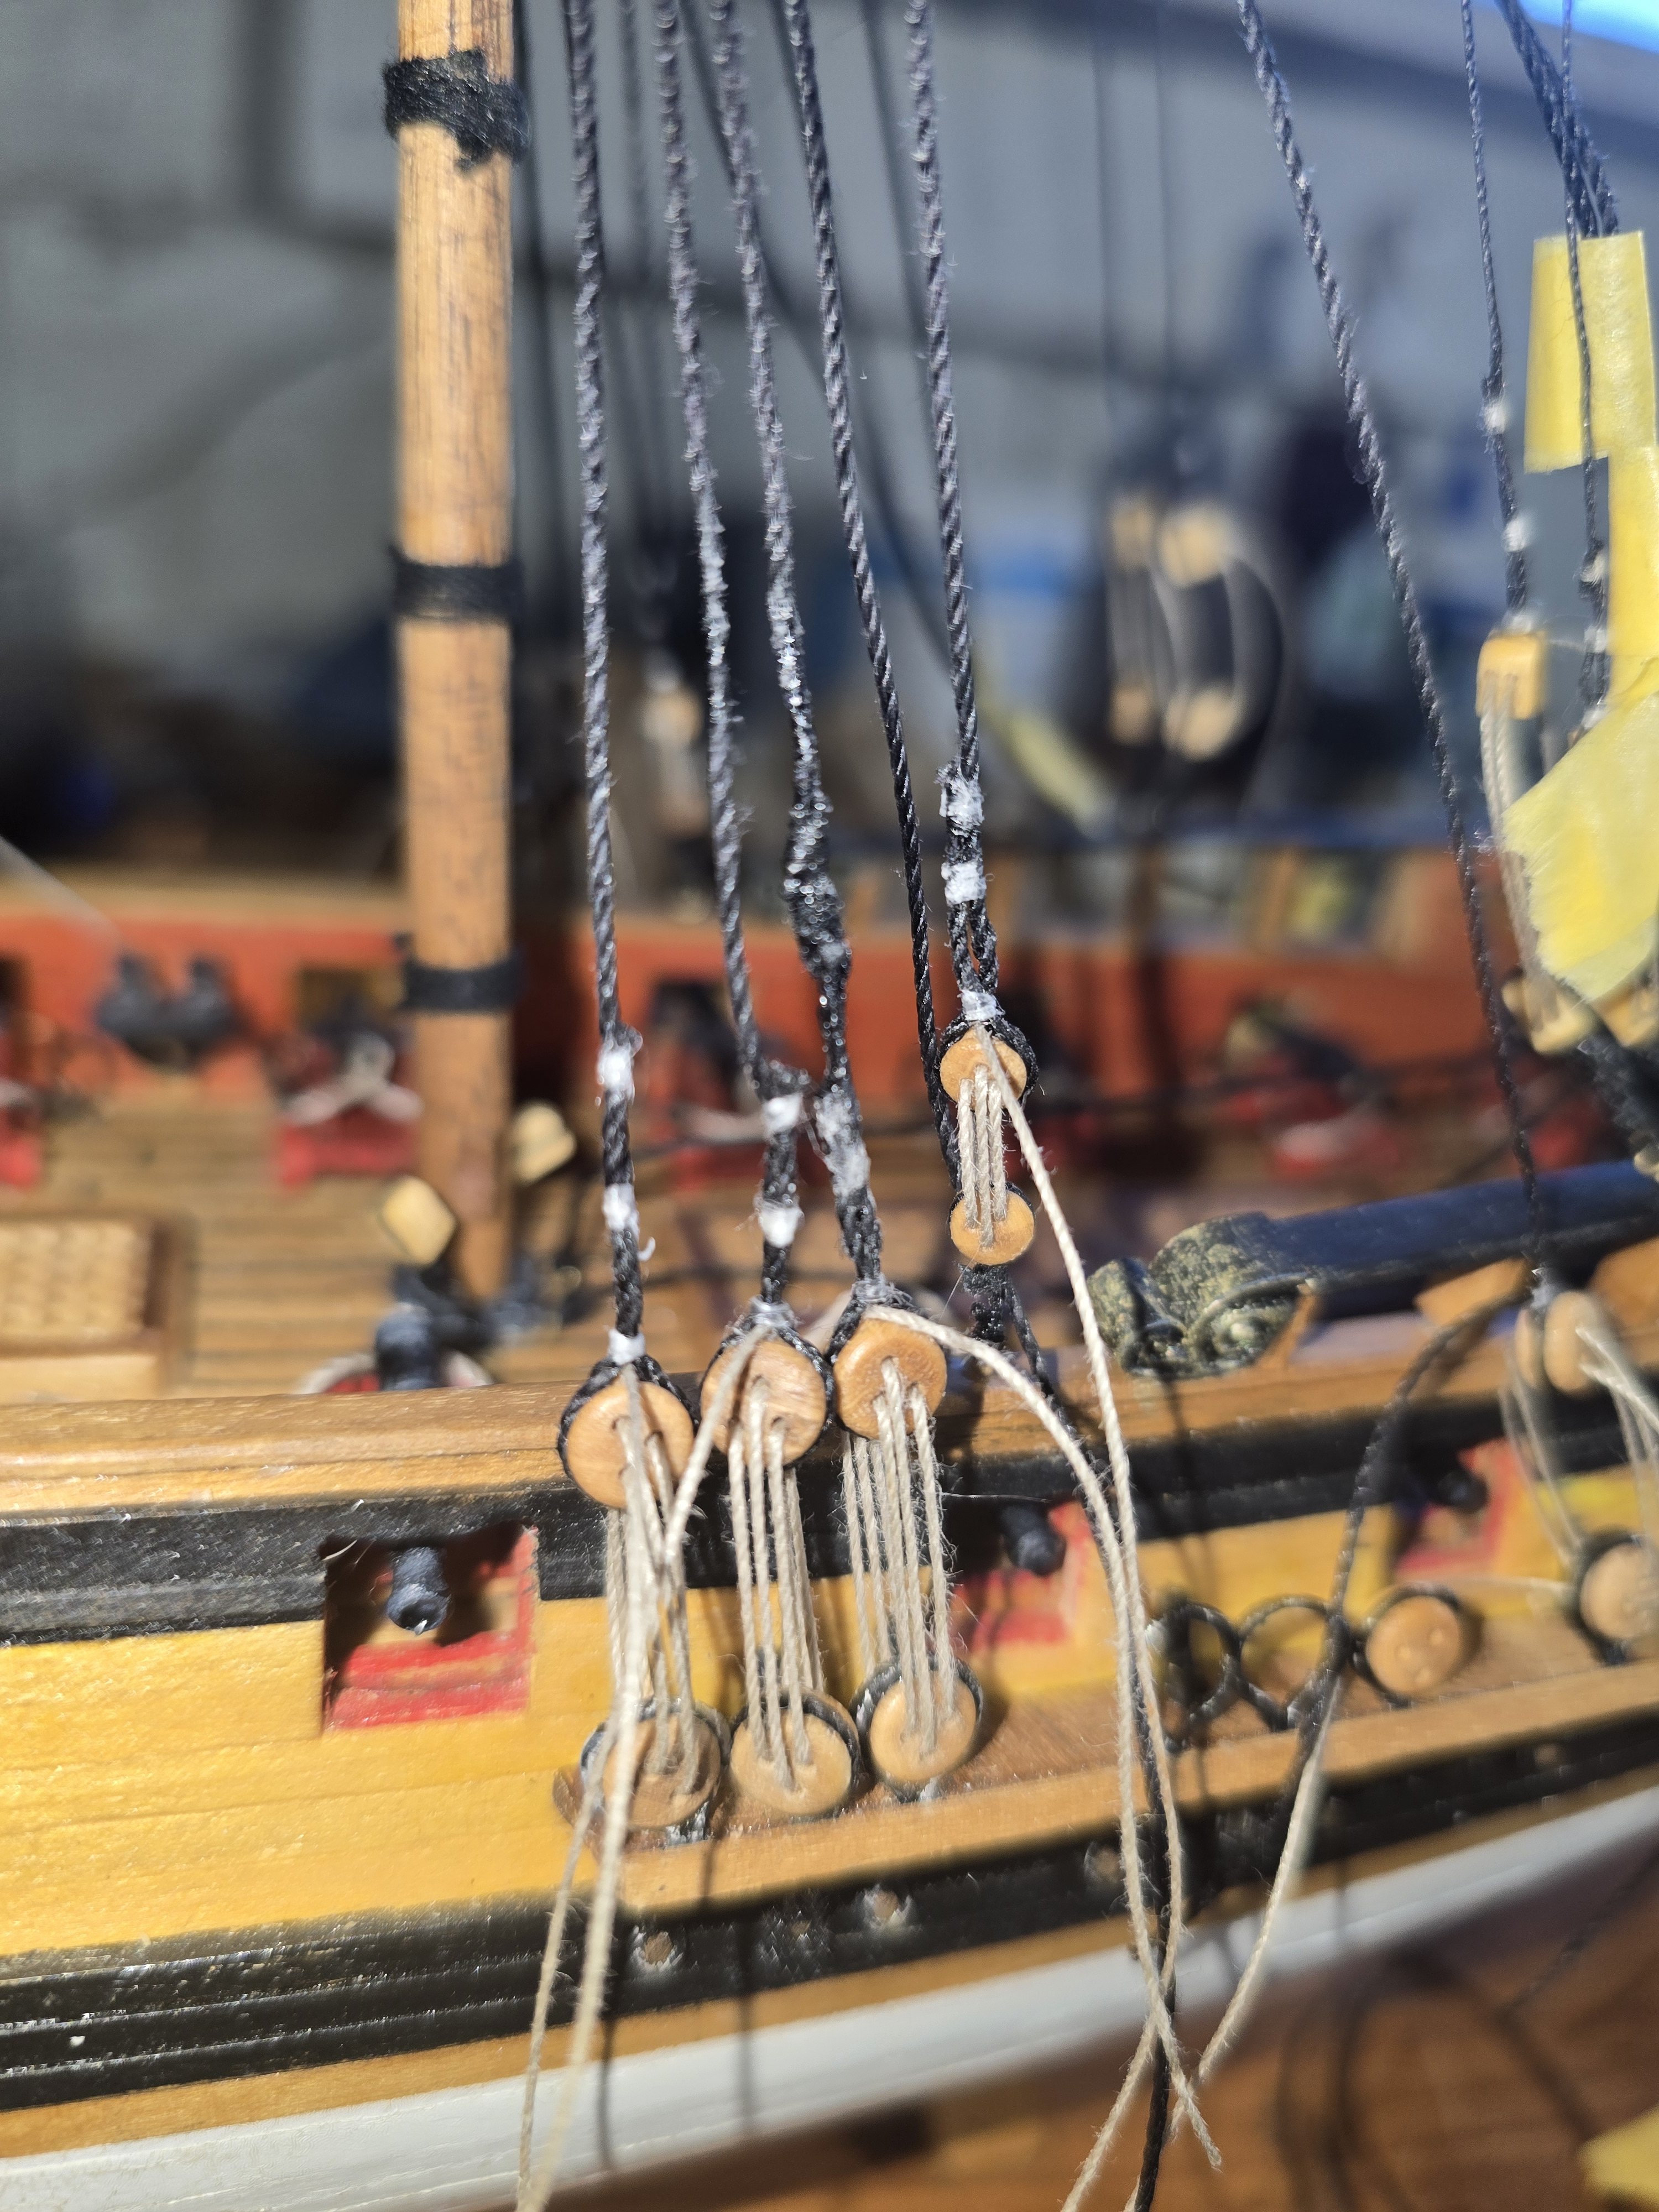
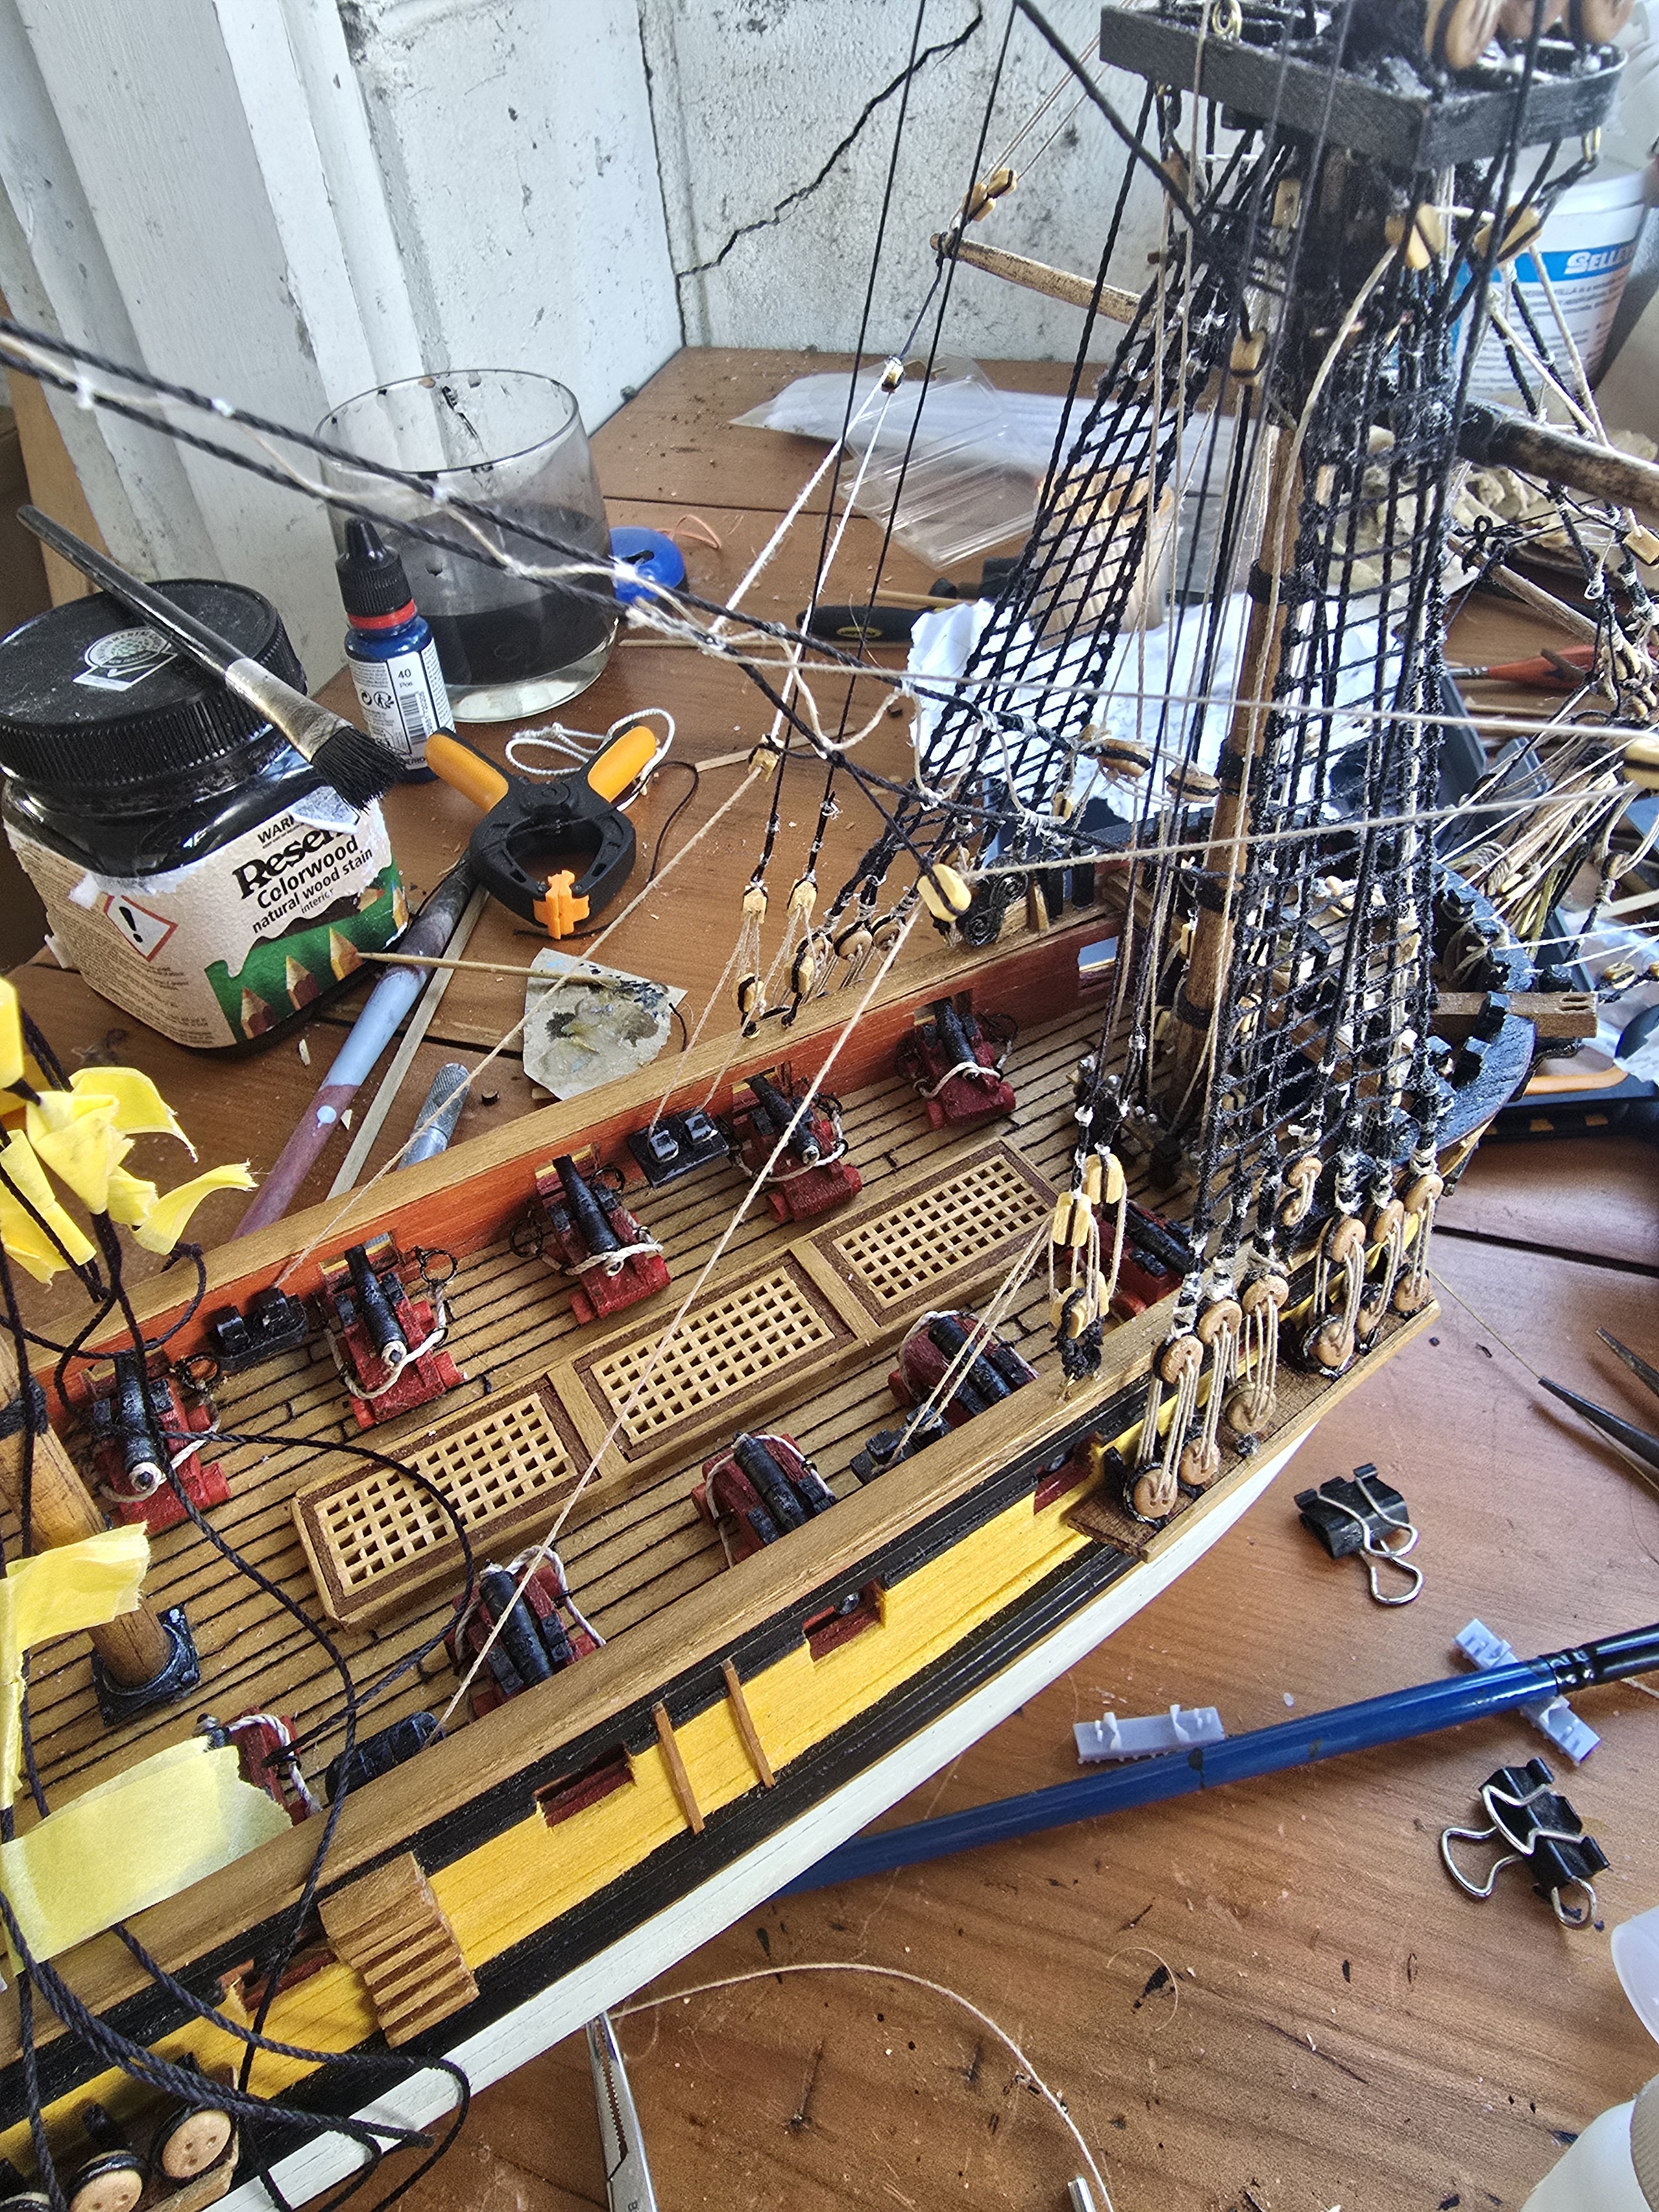
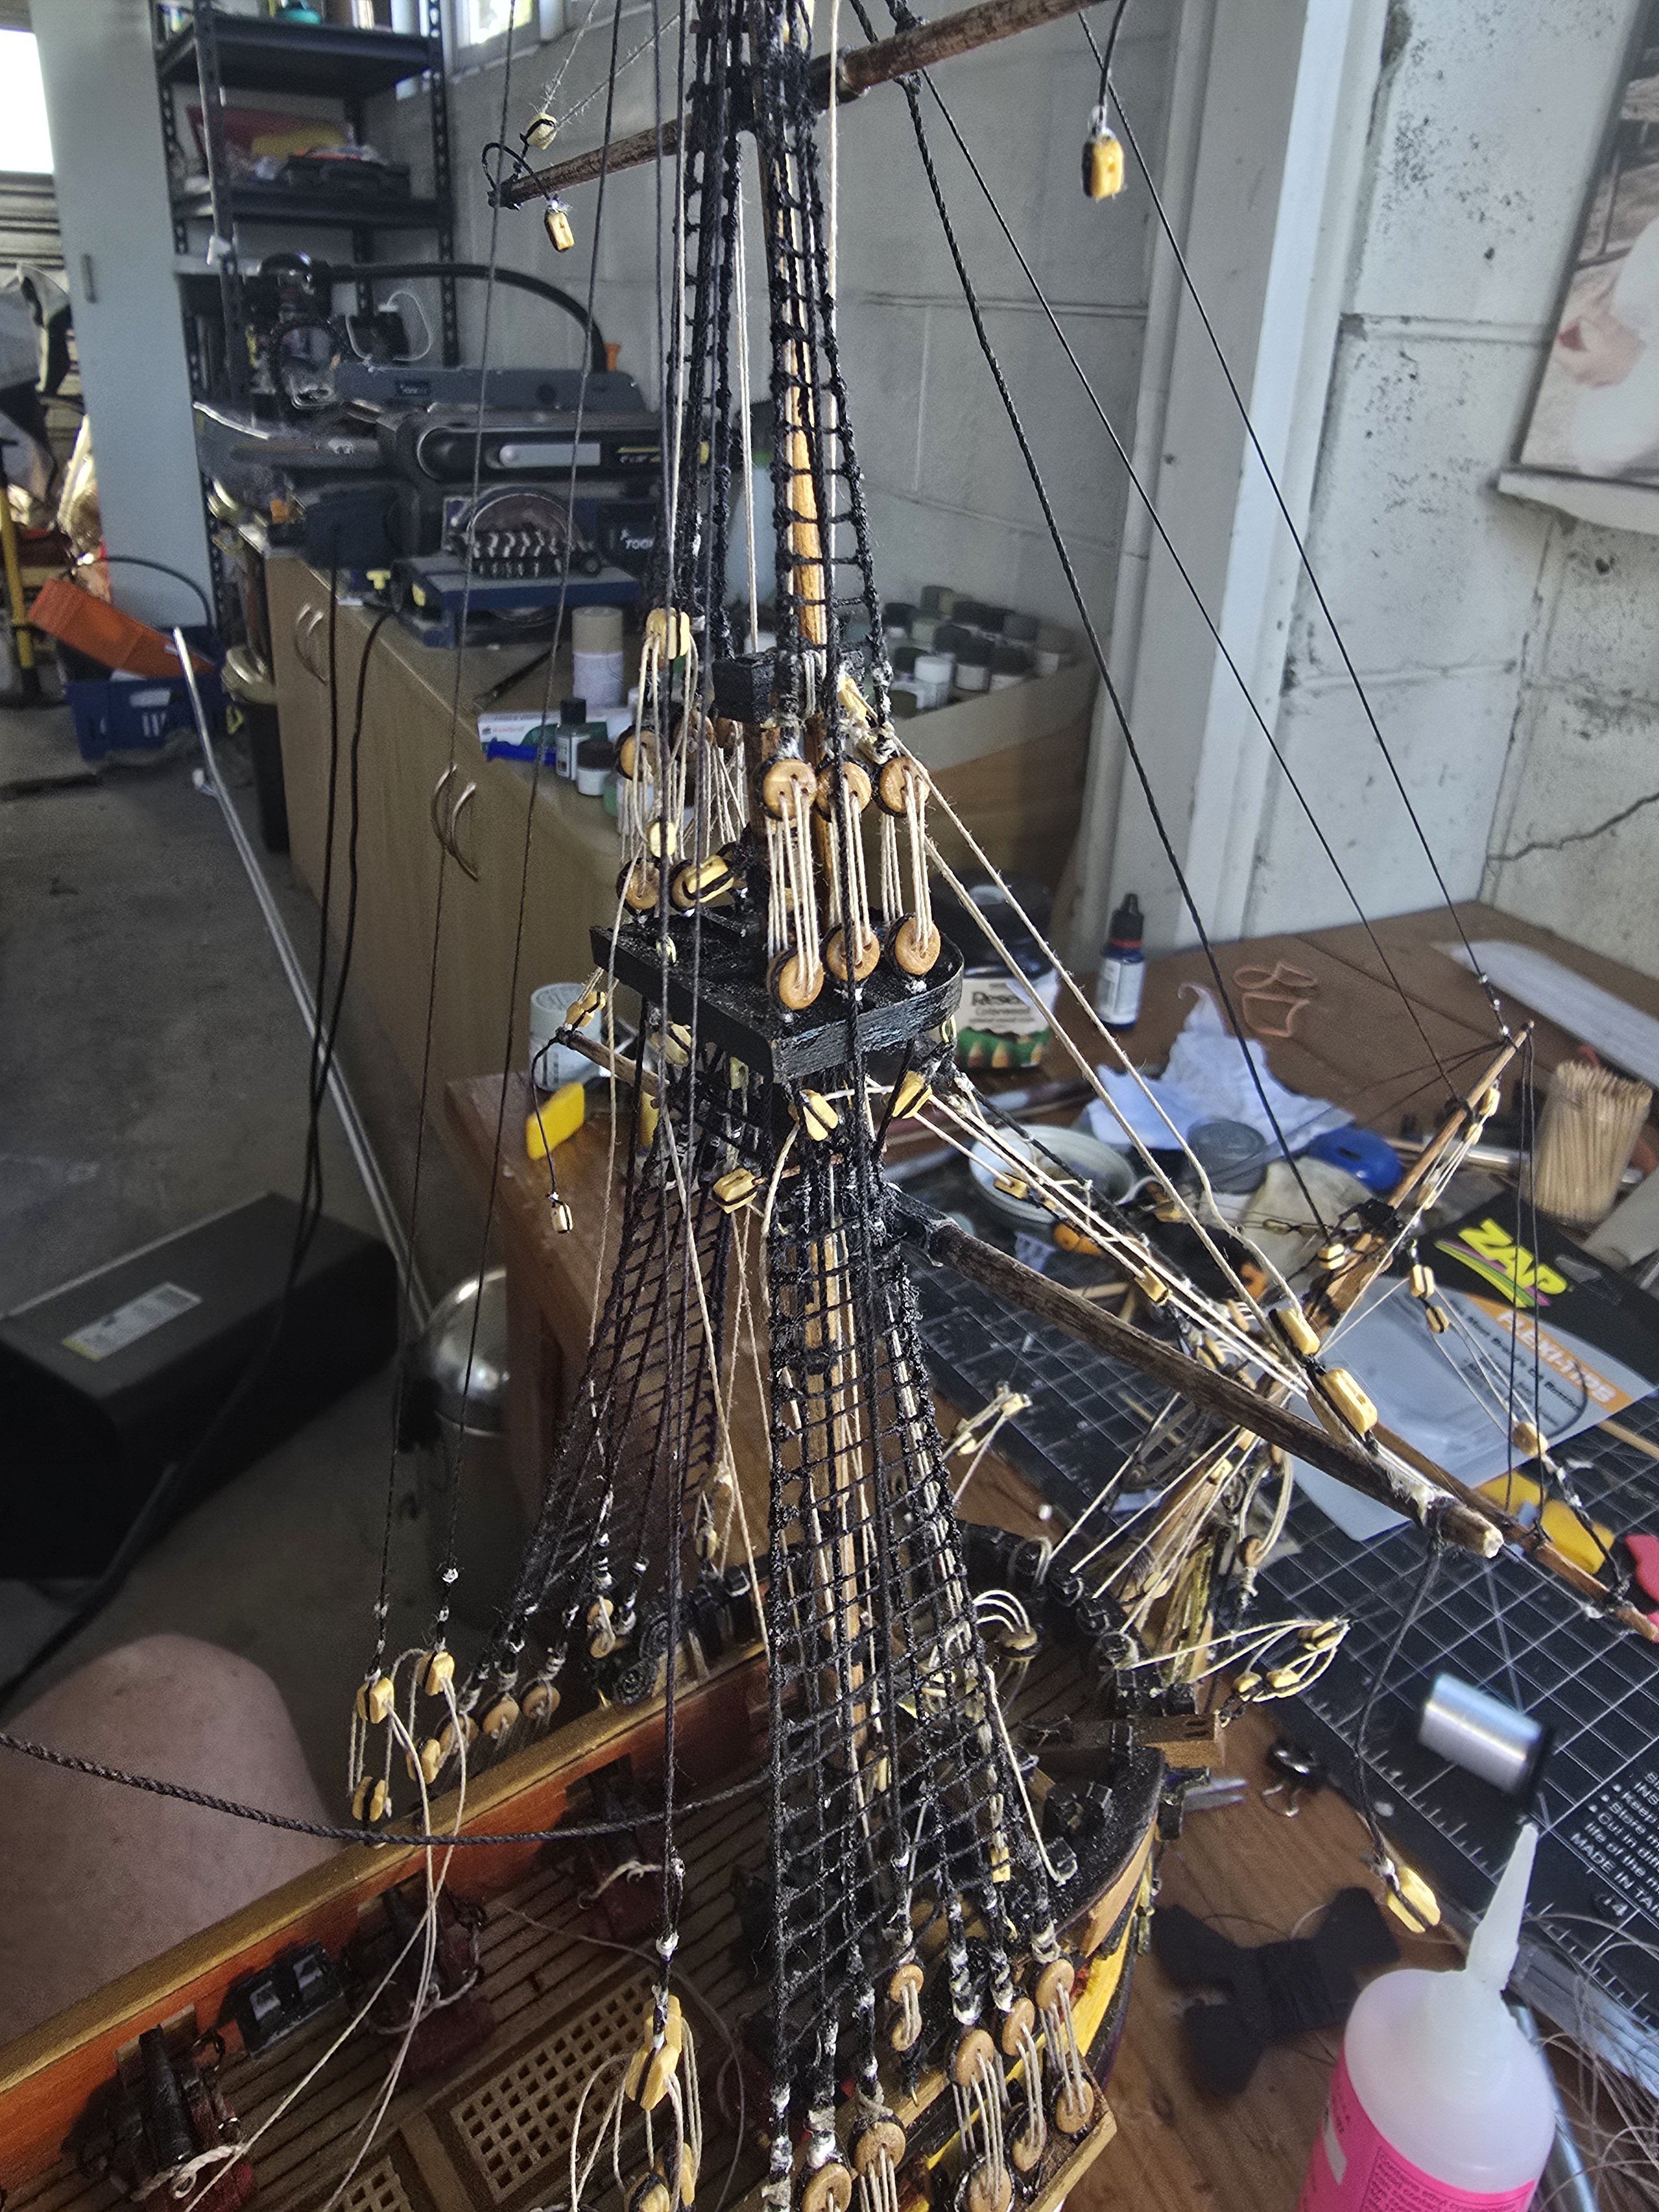
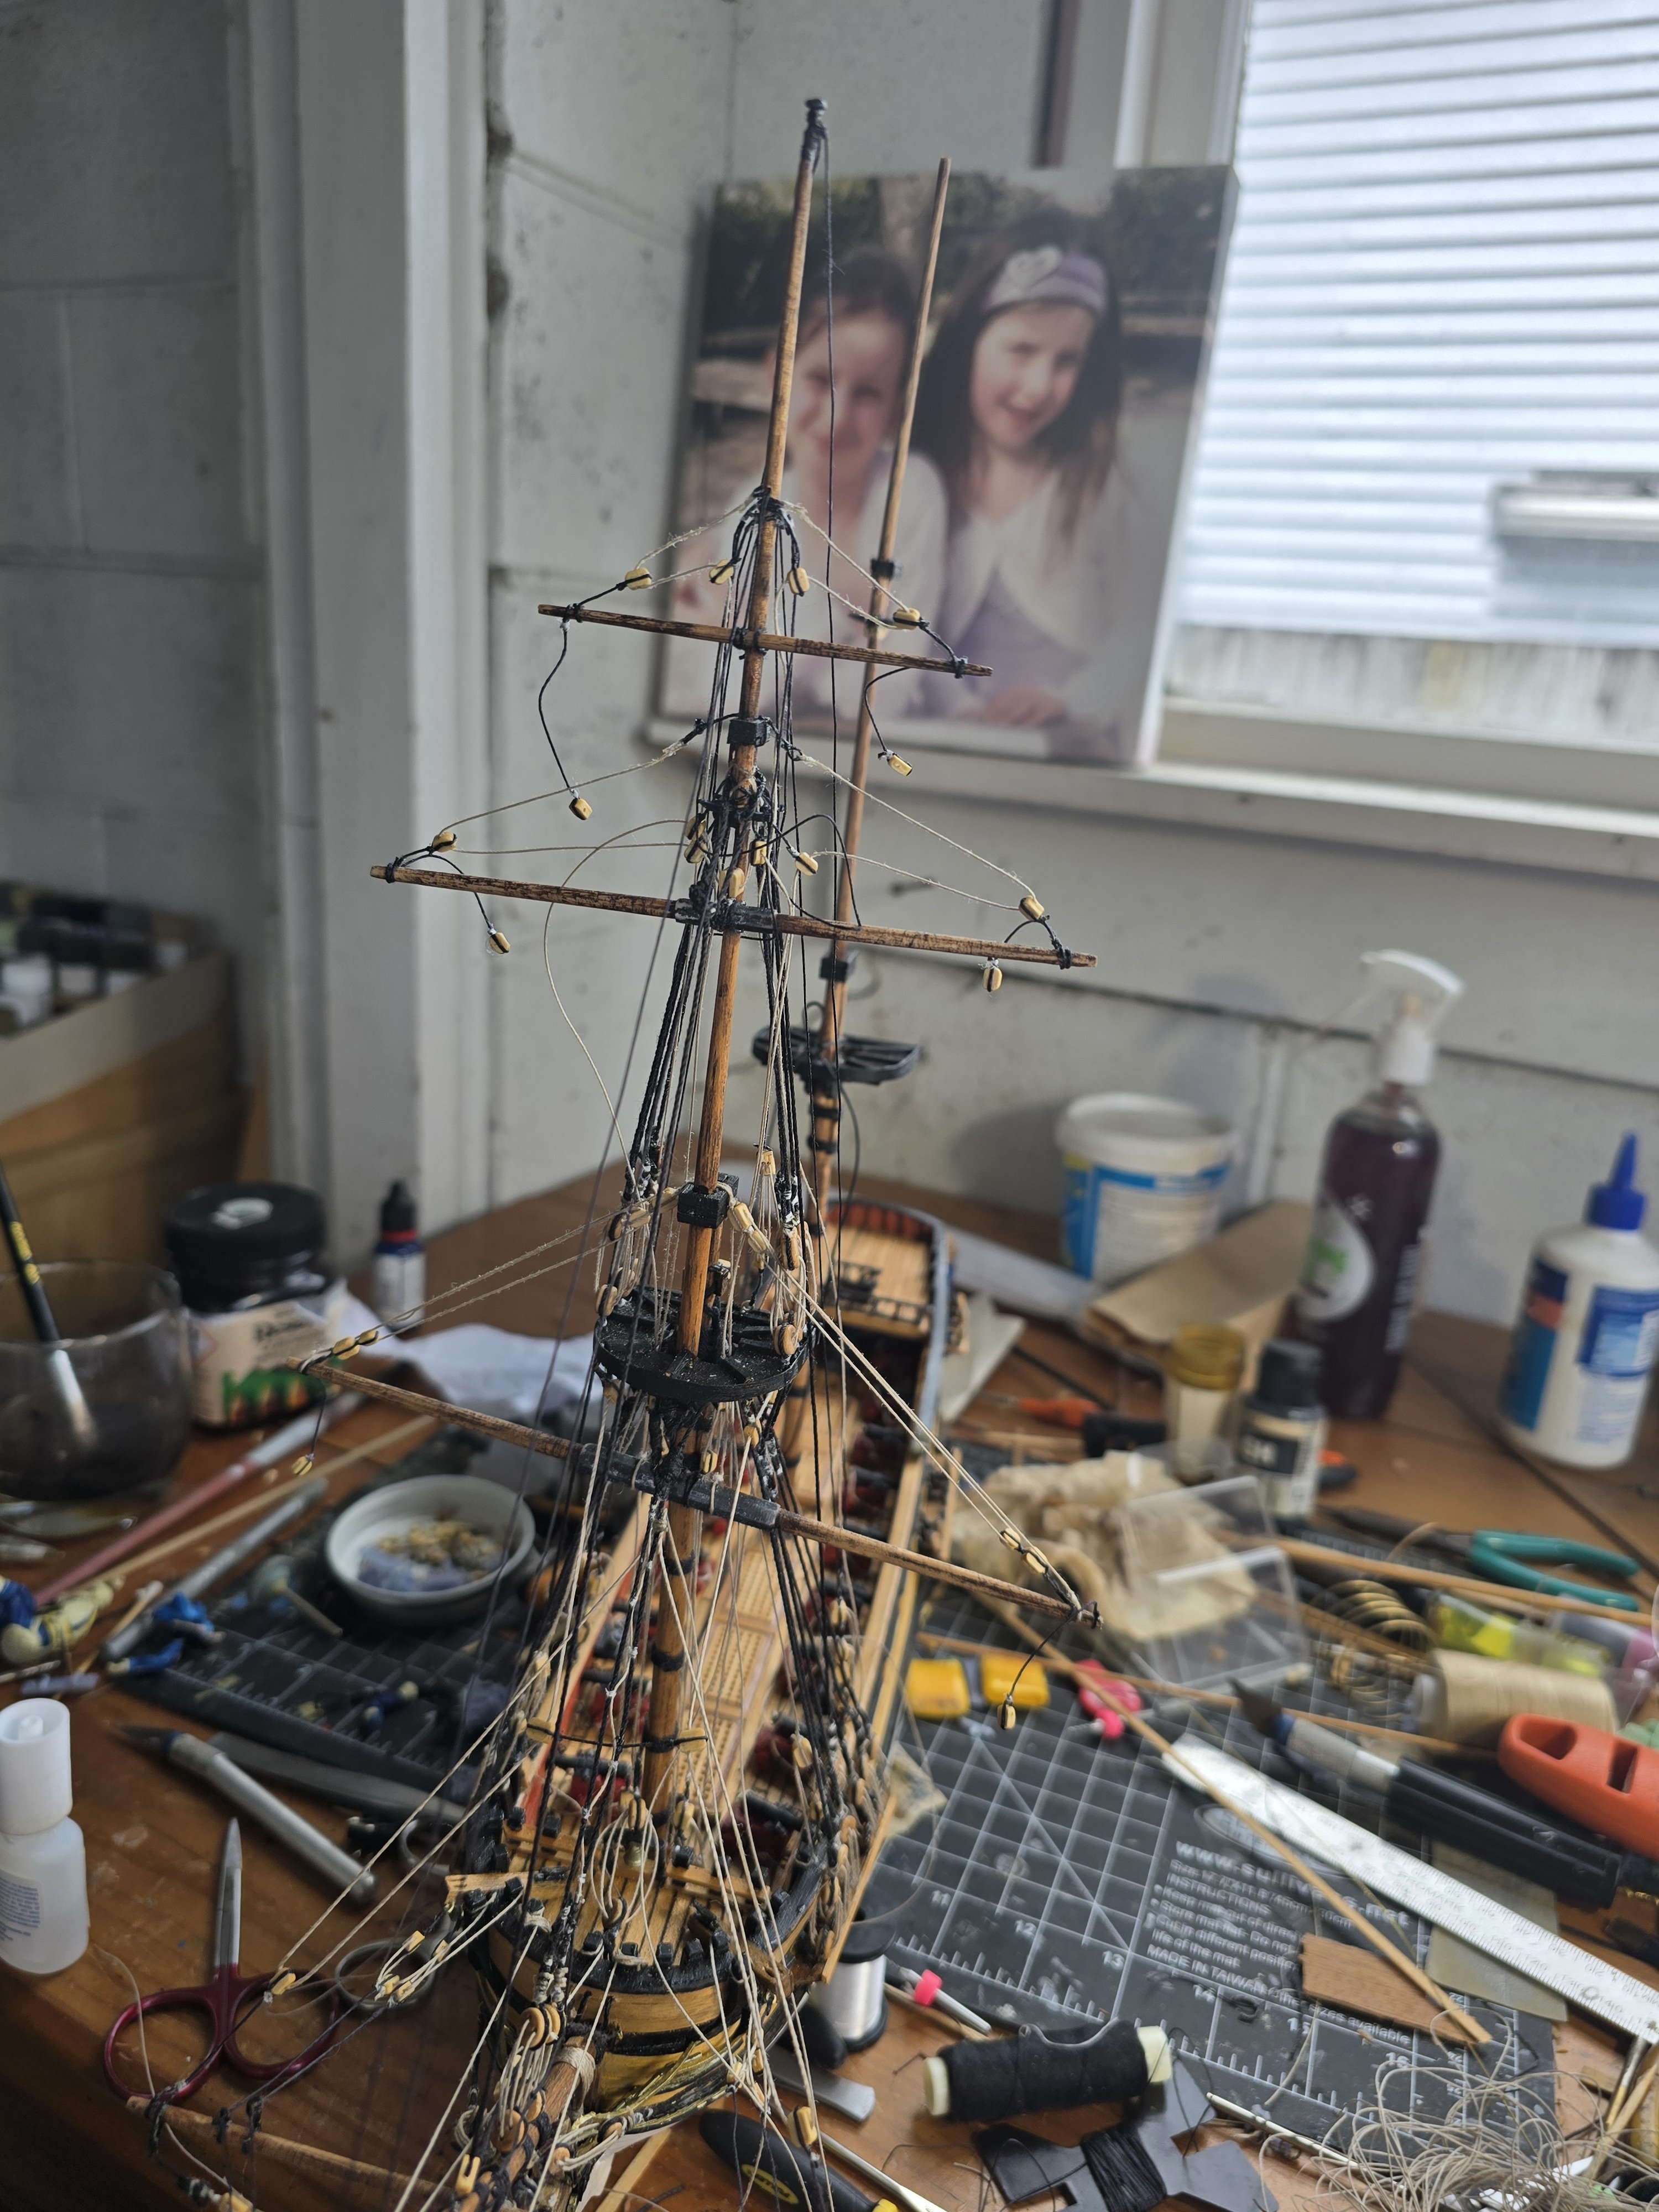
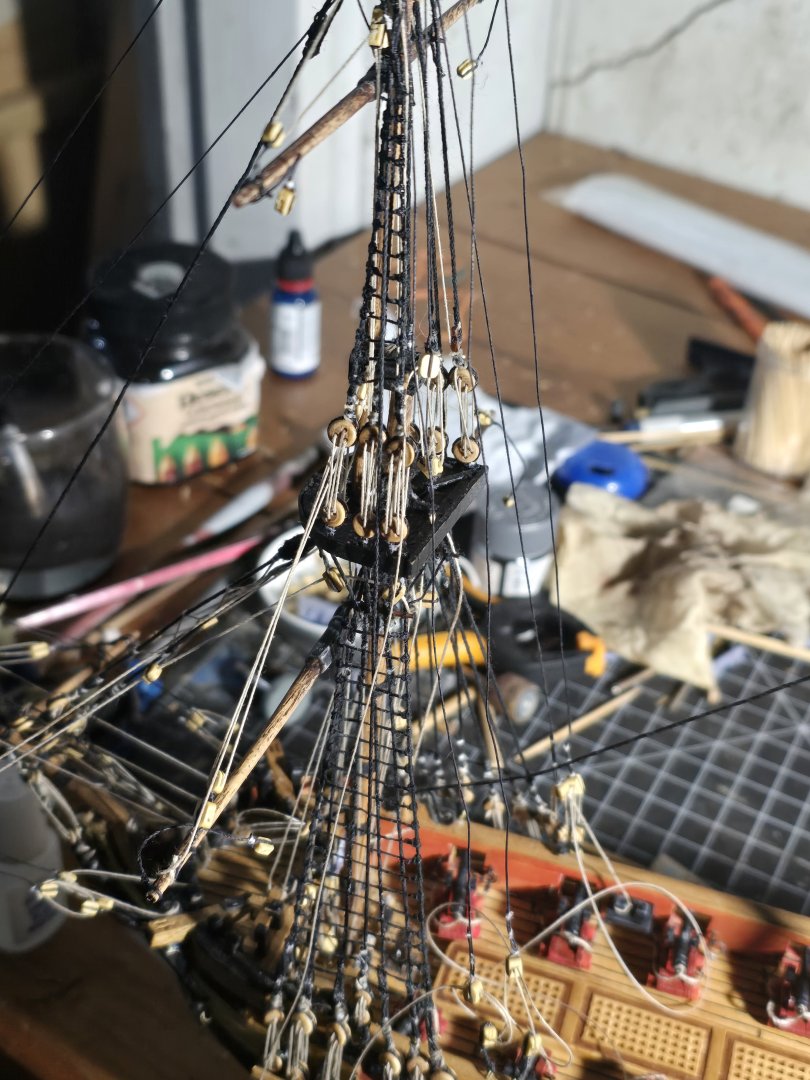
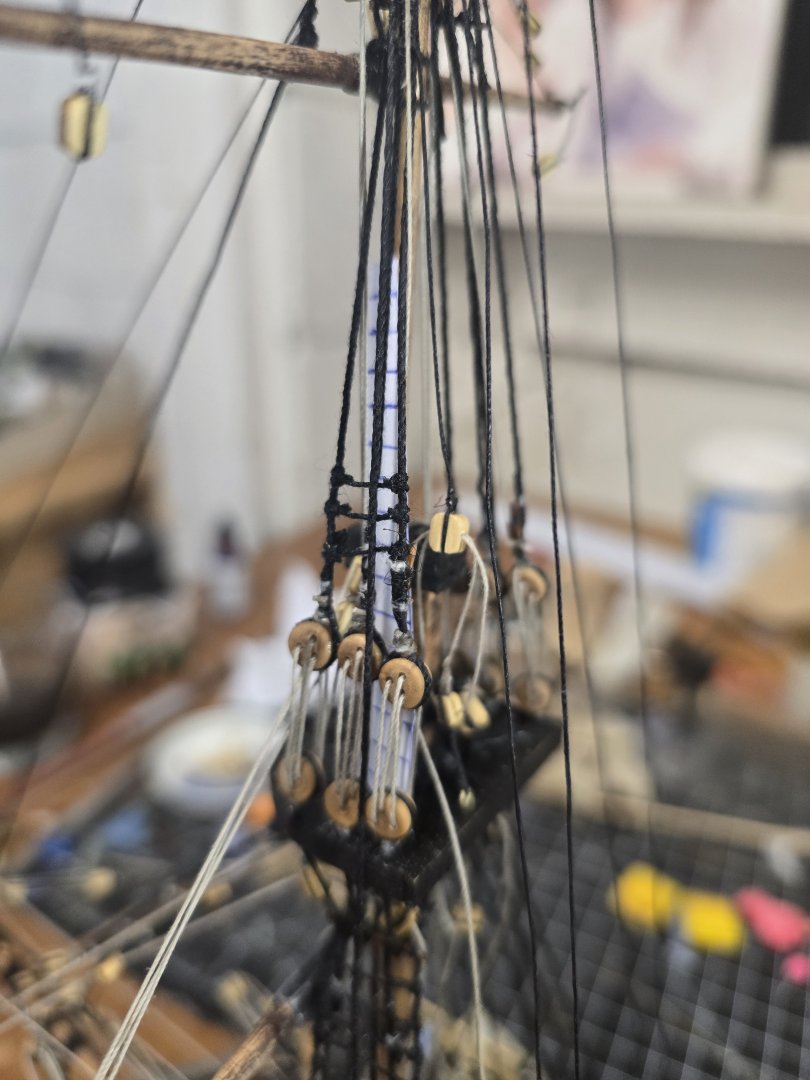
Slow progress over last couple of weeks... i have been ordering more blocks etc from cornwall model shop , excellent service from them by the way. And now back on doing all the deadeyes on the main mast which is time consuming.... its all time consuming.

-
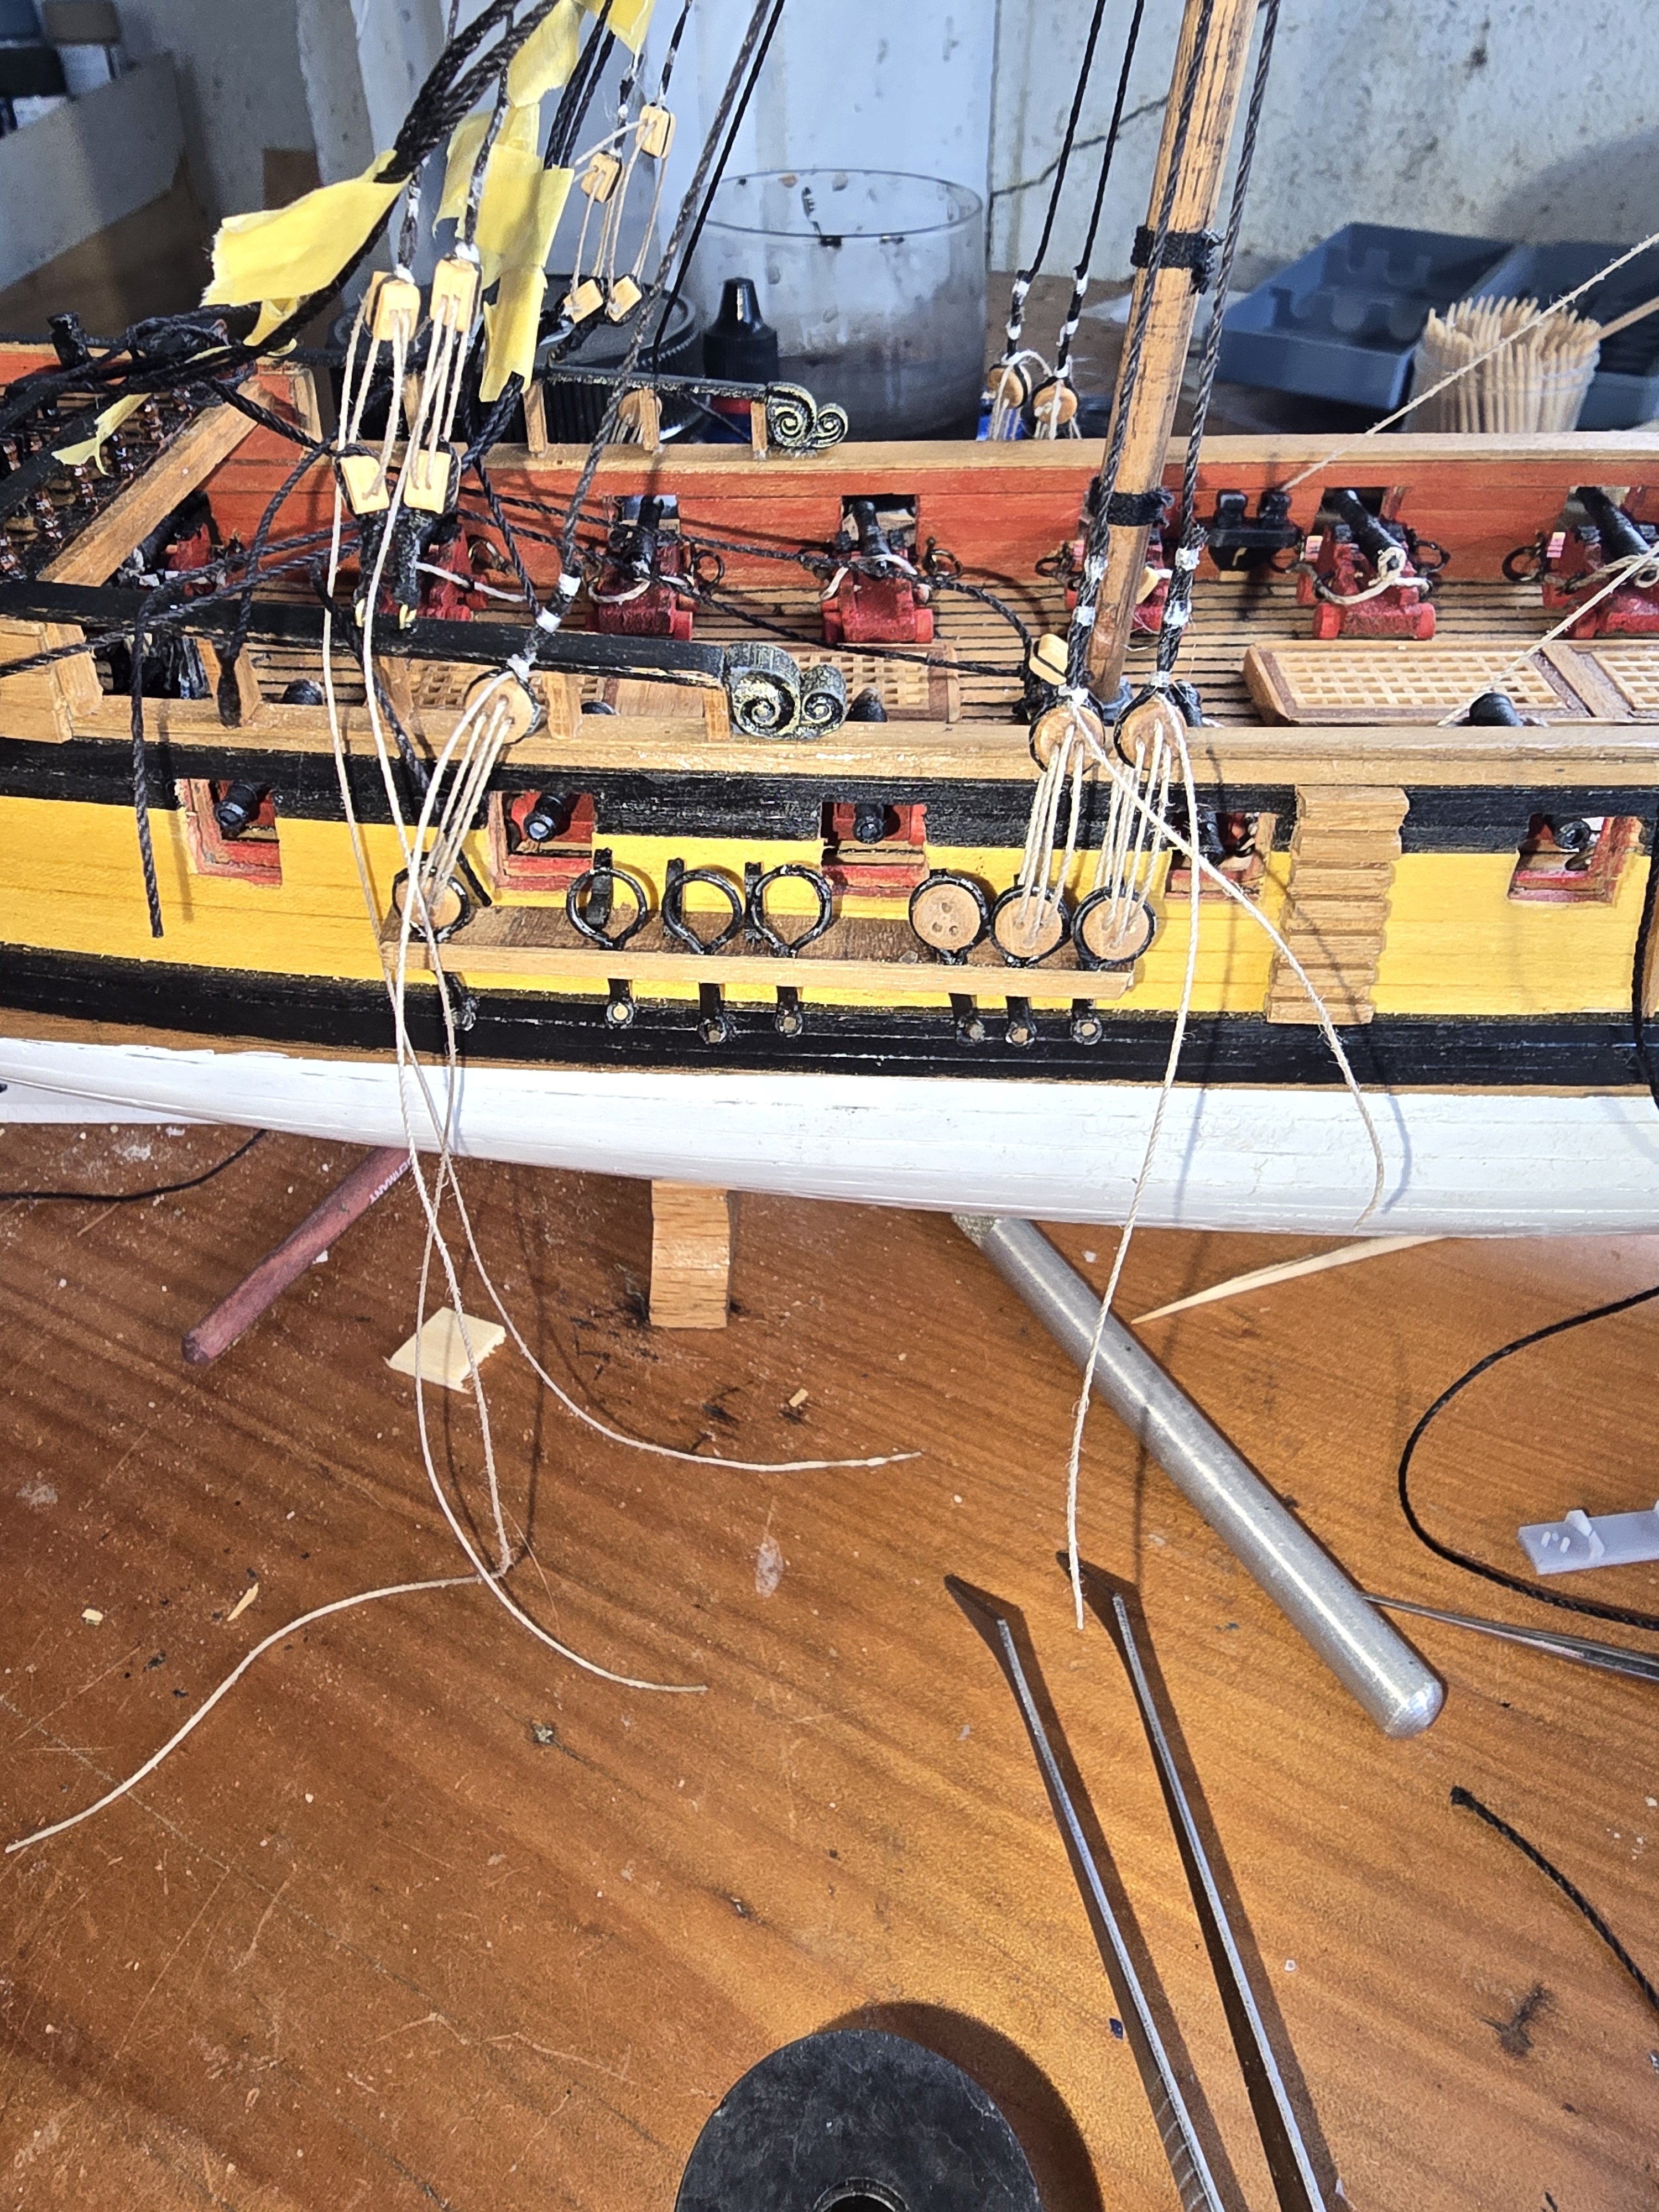
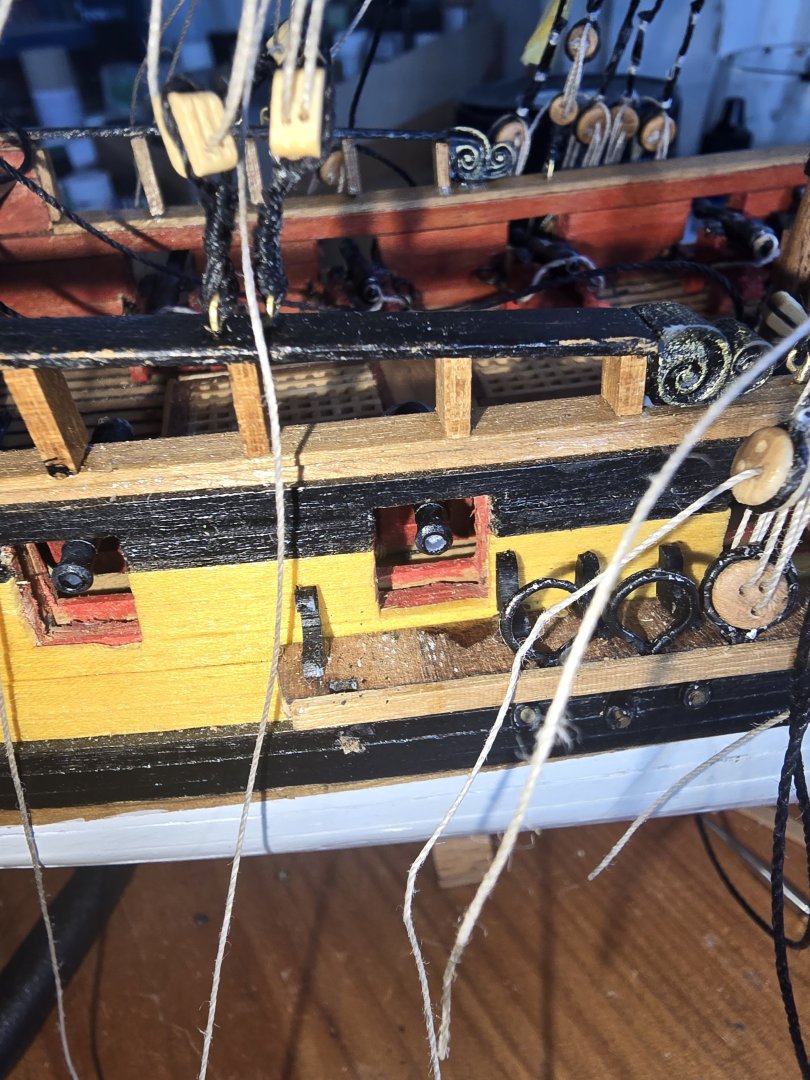
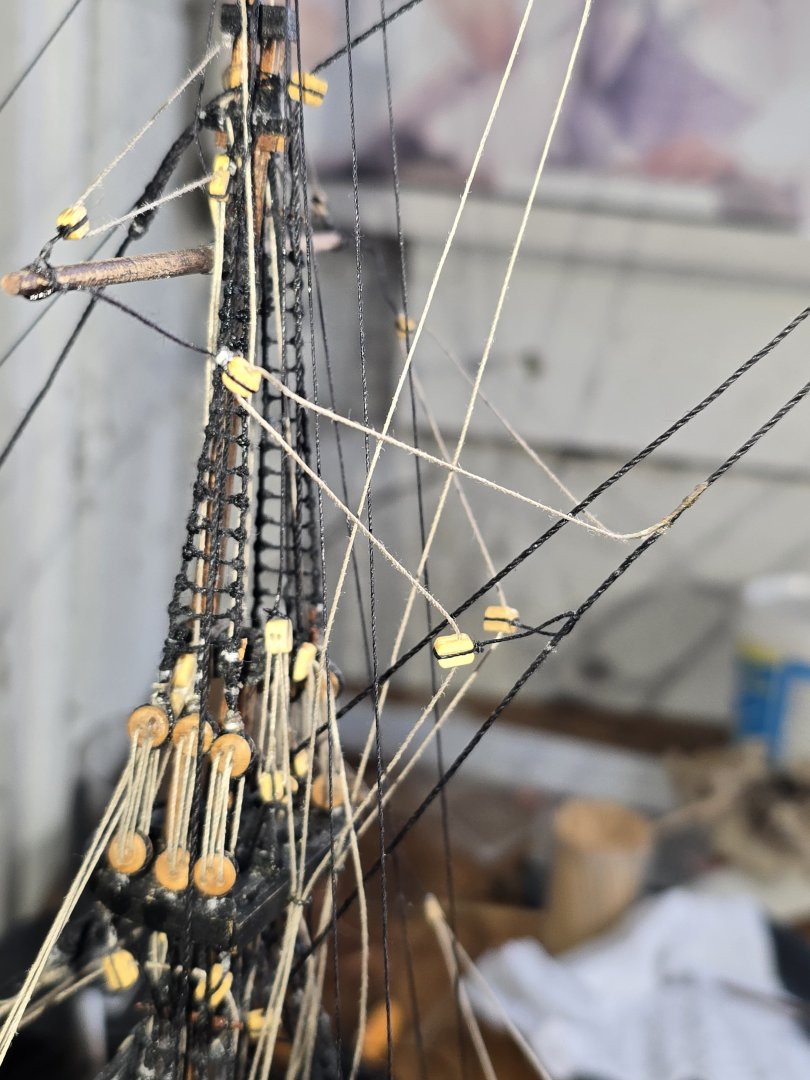
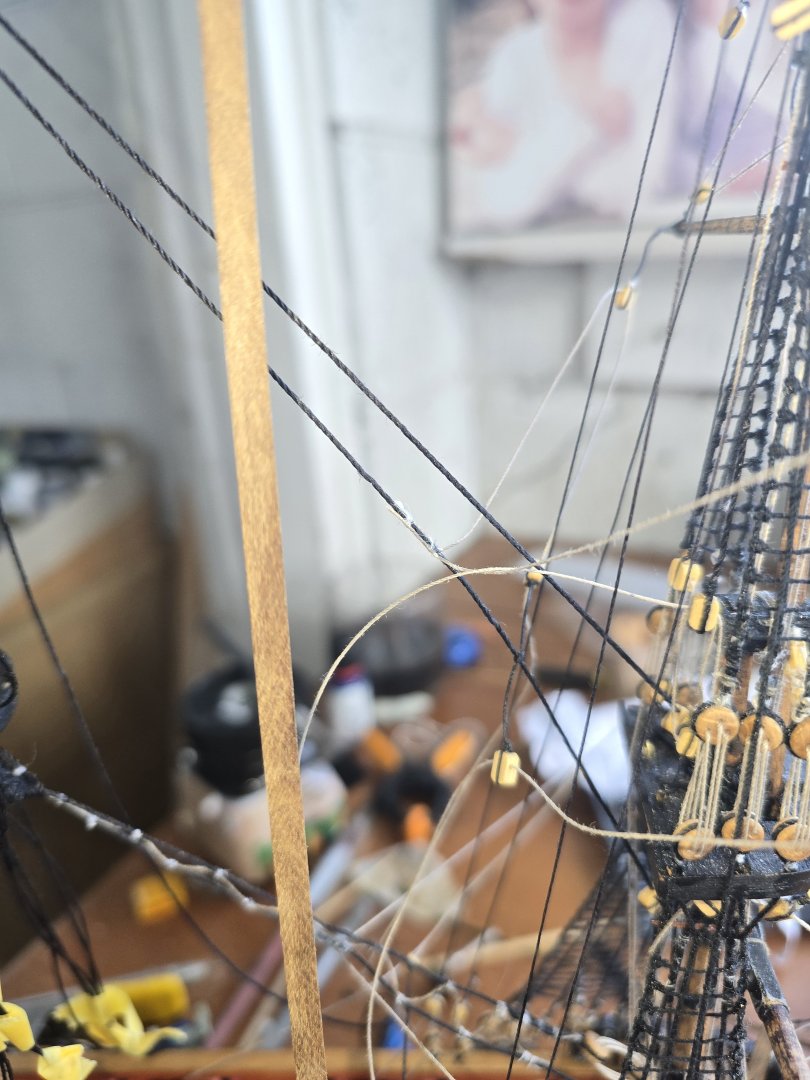
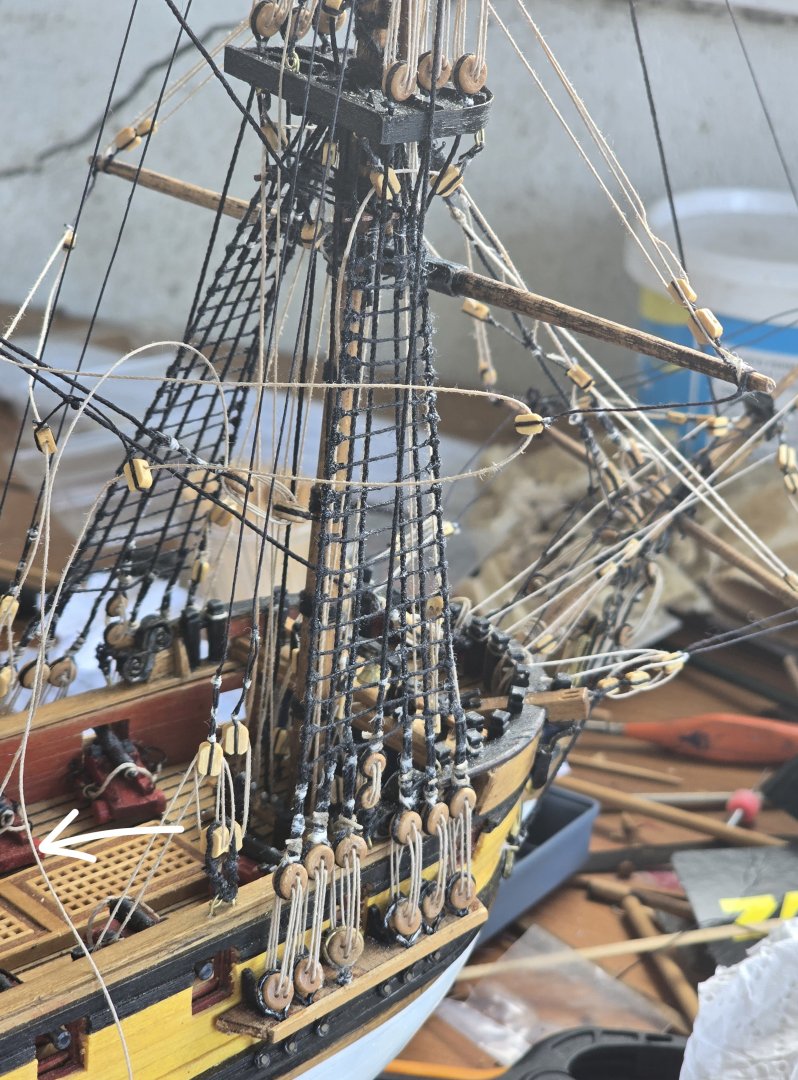
After much annoyance lining up where the braces attach to the stays i think i have it about right. The fore topsail and fore top gallant braces and rigged to kevel blocks in the bow. Im sure thats not their proper belaying positions but moving on. The only issue is there was a lot of slack in the main topmast preventer stay and the braces where pulling it into a weird shape so i yacked it tight and glued it at the block... now the slack is down the side of the mast and no way of tightening it... could i snip it right at the bottom and then just glue it back on with a small section cut off?


-
Im my push to get this blinking model finished you do work and then realise that it looks funny and the reality is i should have checked the position of the lashing before gluing it. If it had been only 1 centimeter out i would have left it but its quite a bit out... out comes the knife and trying to cut away the lashing and glue so that i can move it... sigh
-
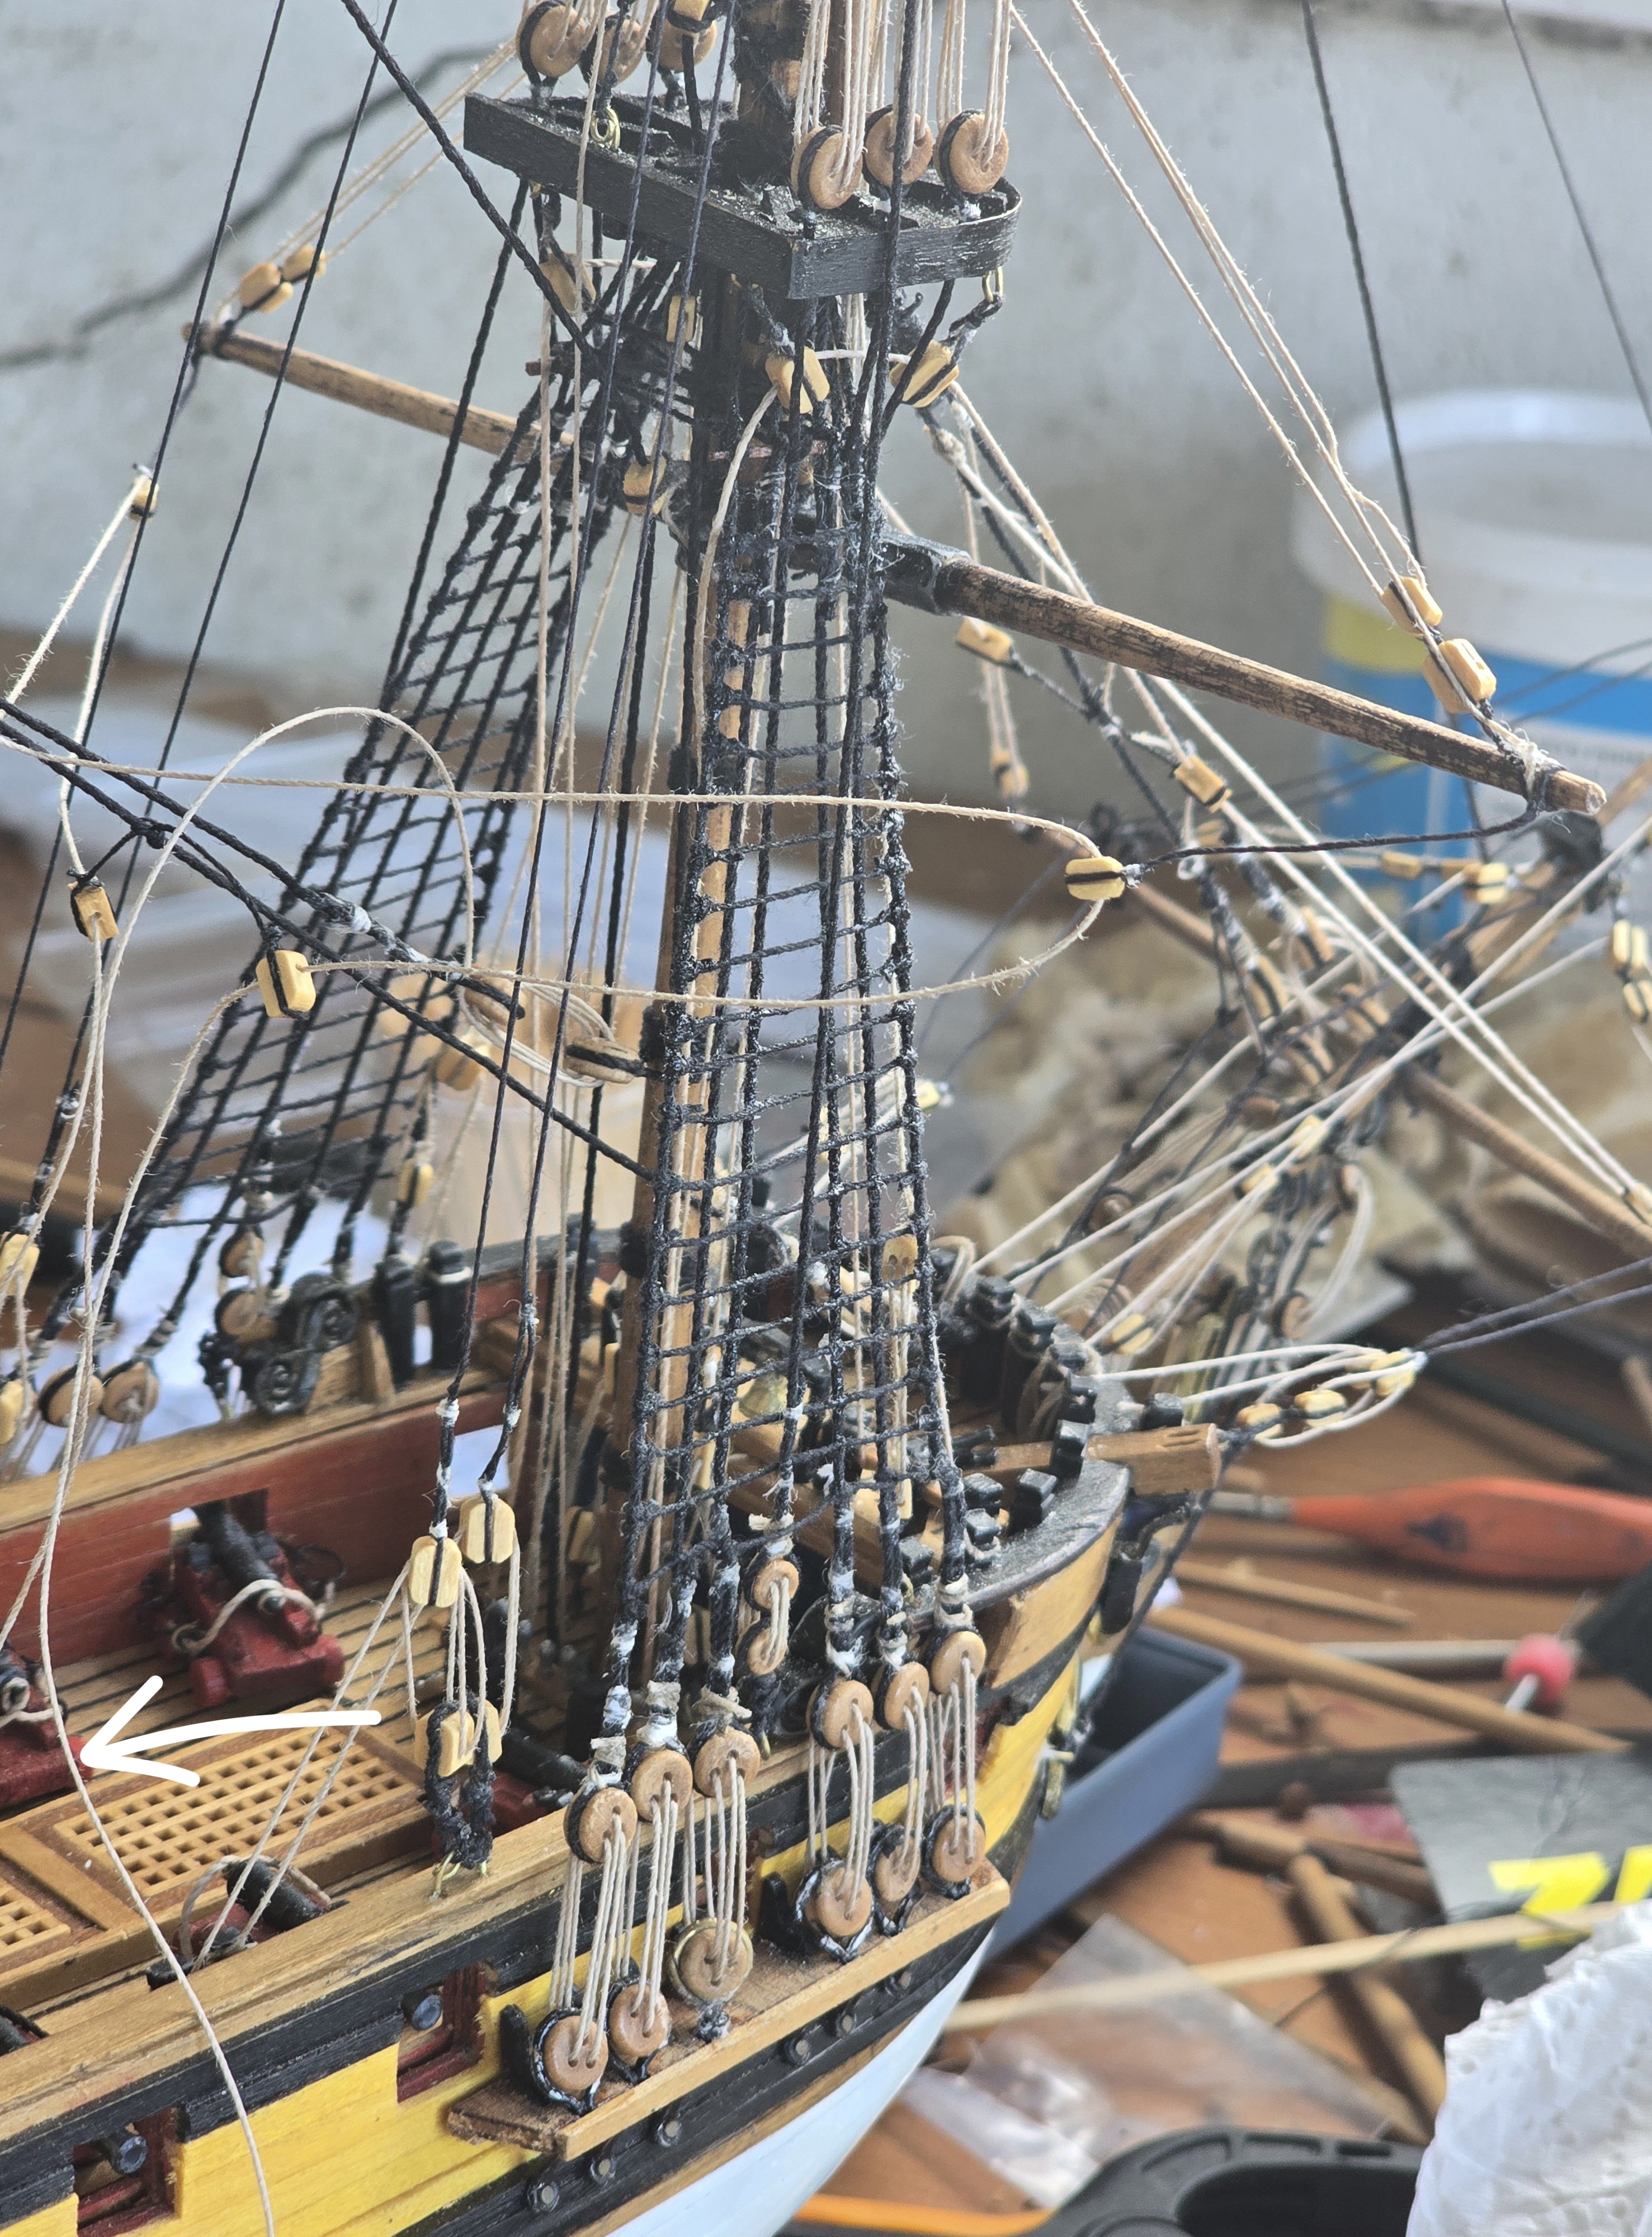
In the absence of reslly knowing where to belay the ropes.. i put them midships on kevel blocks near the deck. In one book they go forward to knight's heads on the forecastle but on this model that looks weird. Im going to do similar for the fore topsail braces but to a kevel block up nearer the bow and also the fore top gallant braces. Im prepared to make a few mistakes... it is my first effort at this type of rigging.


-
Hi.. another question for this model, where do you belay the rope for the fore yard brace to? I cant find a diagram in any book that says definitely where the rope belays in 1720.. its a bit vague.
-
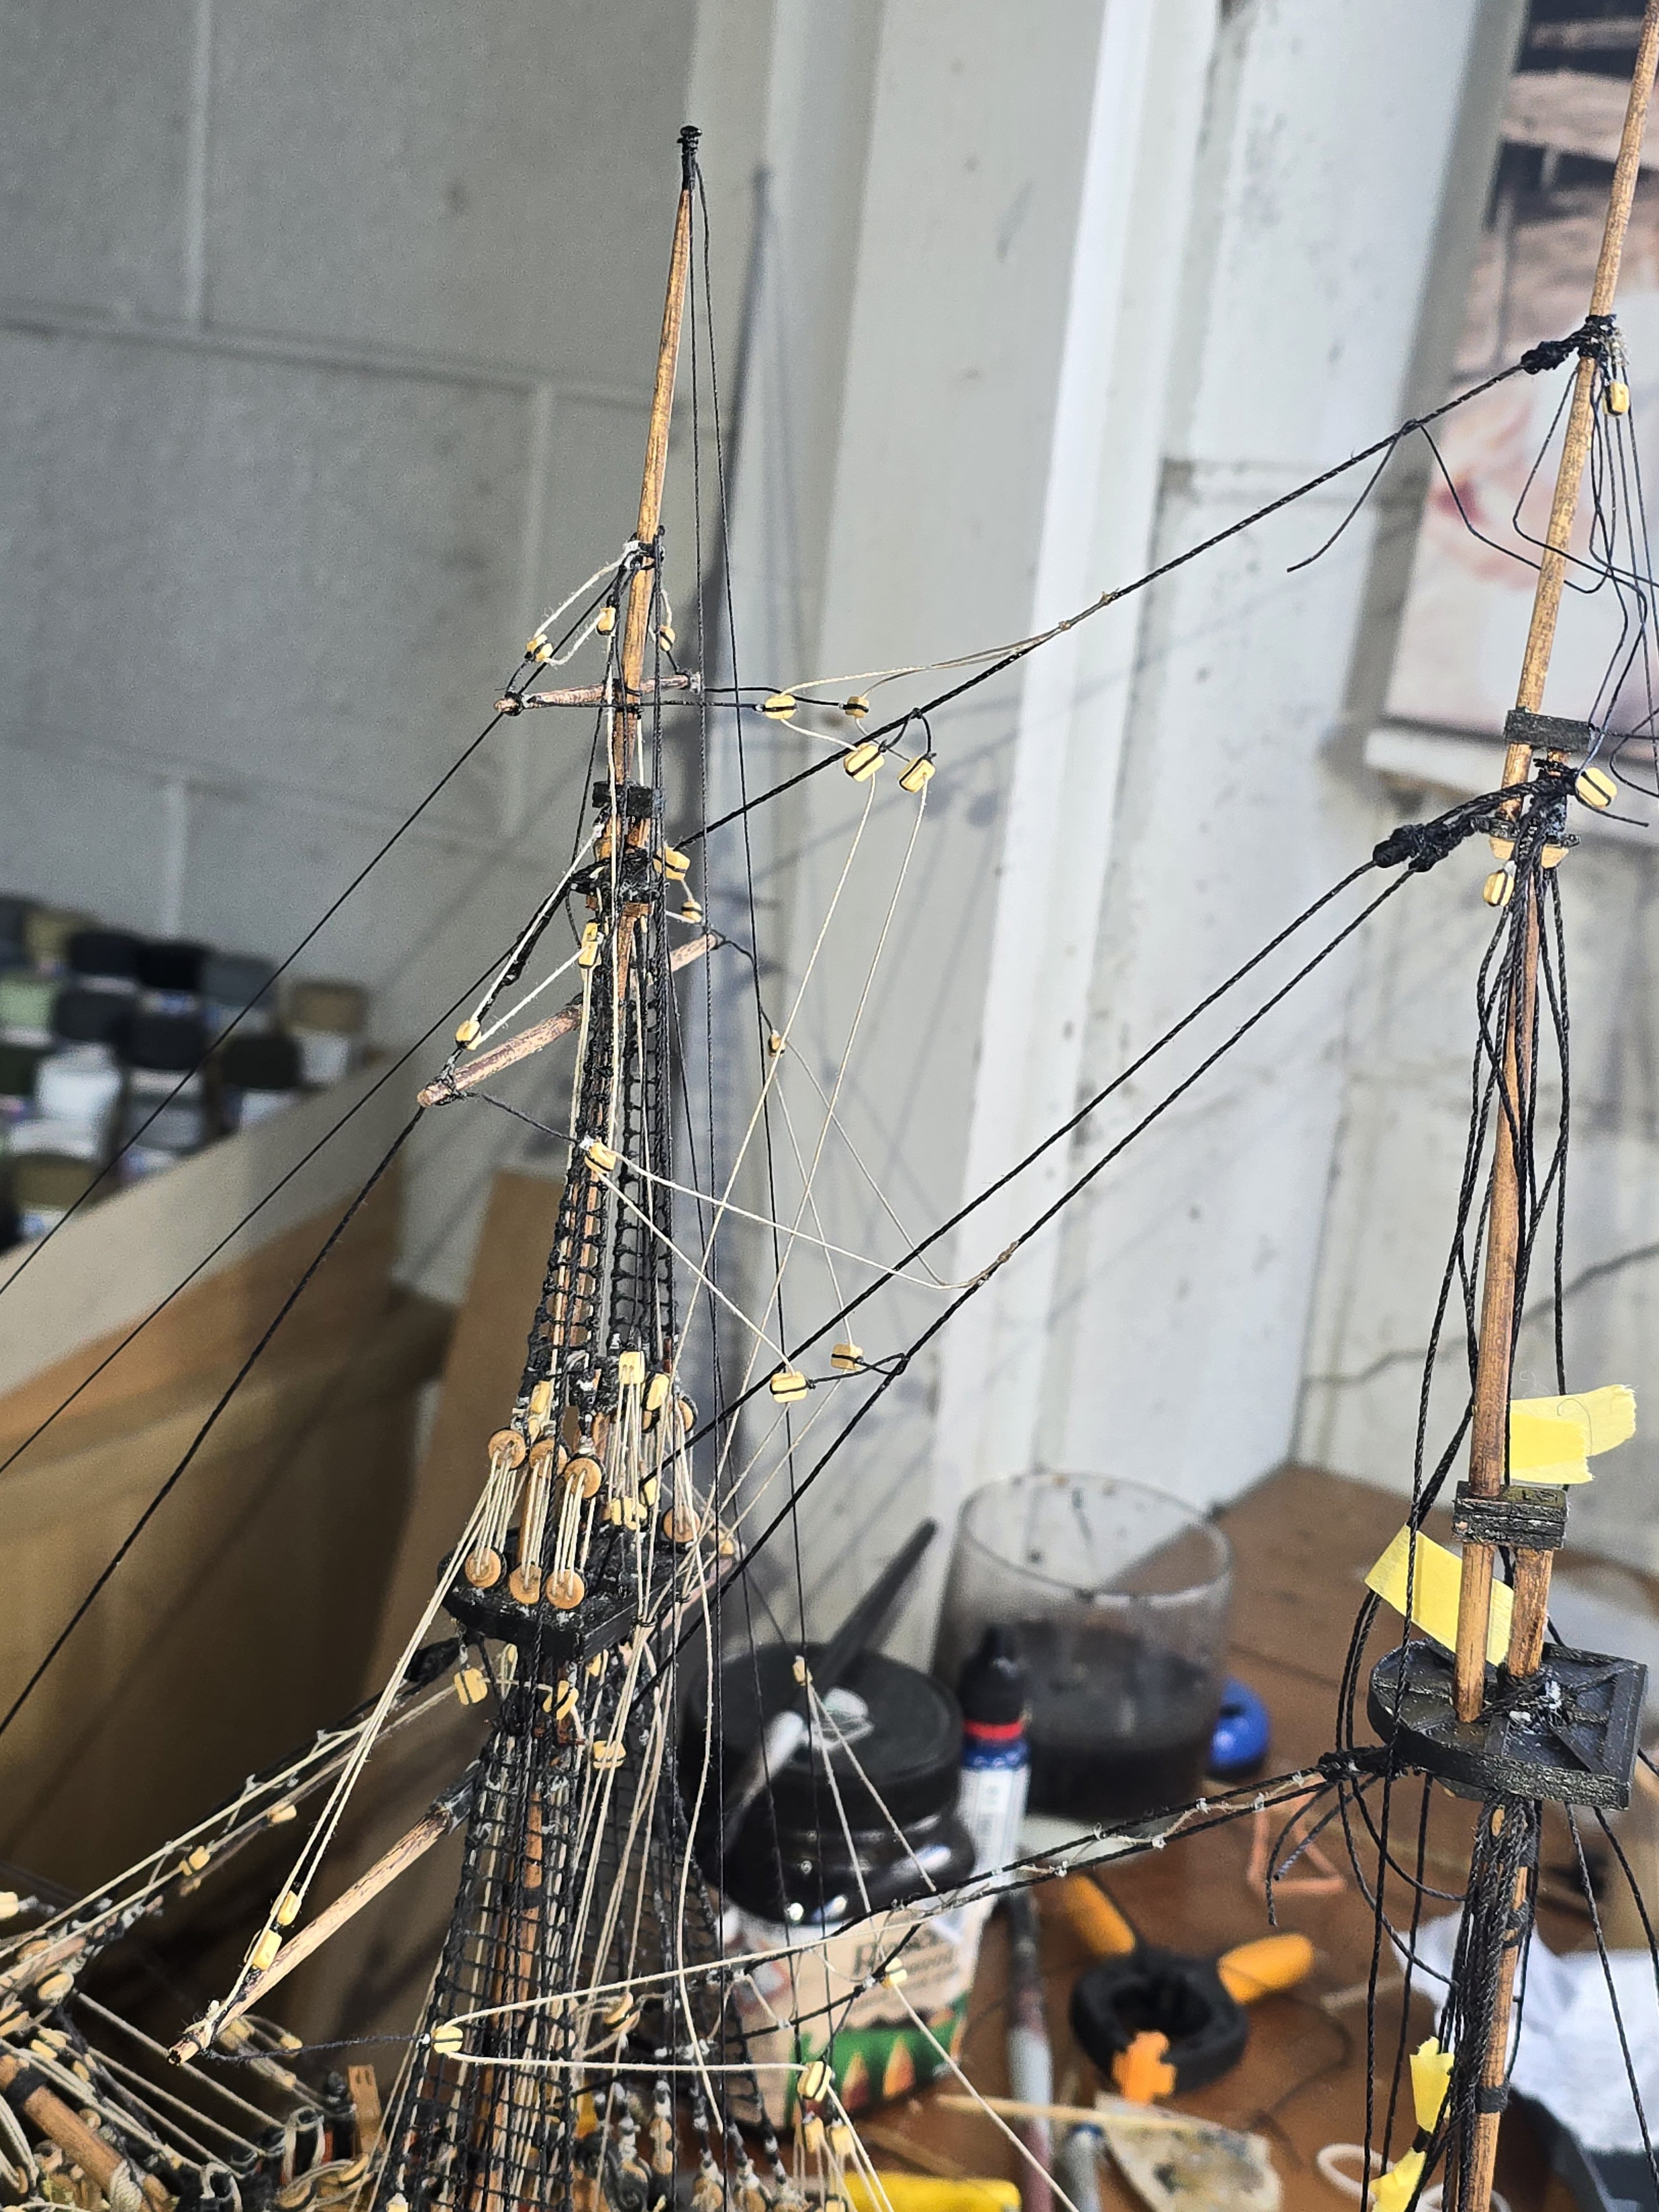
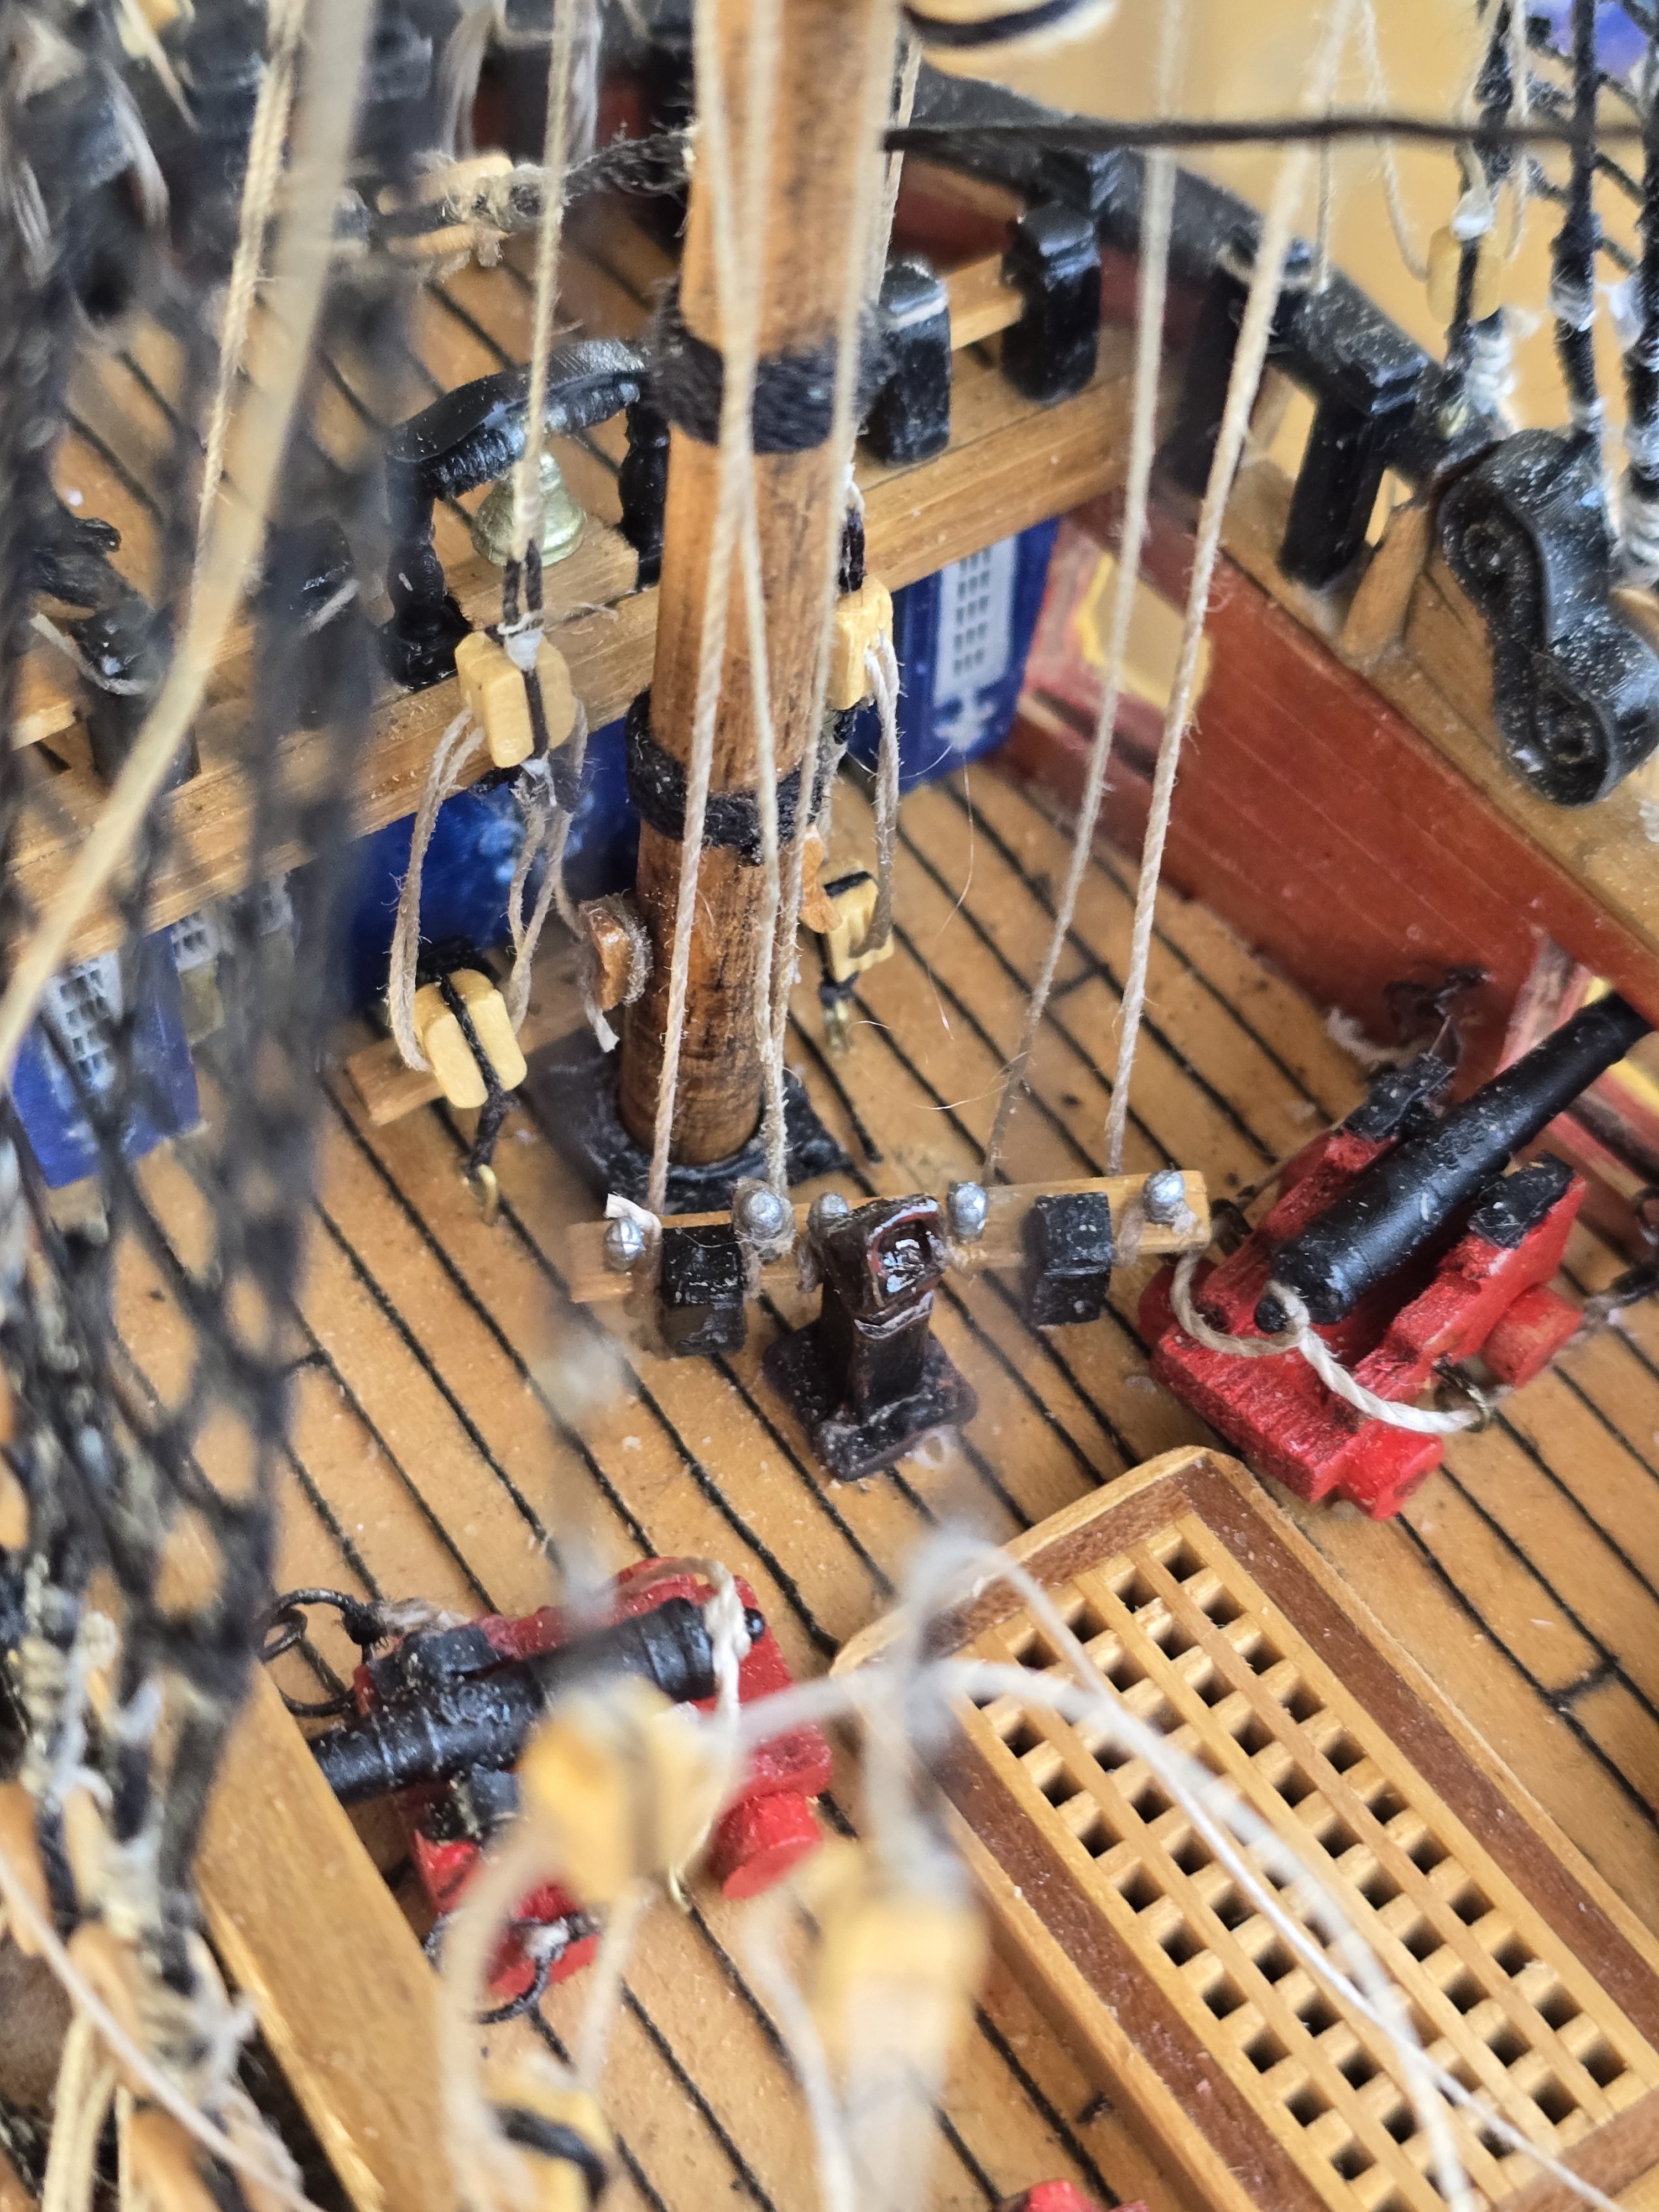
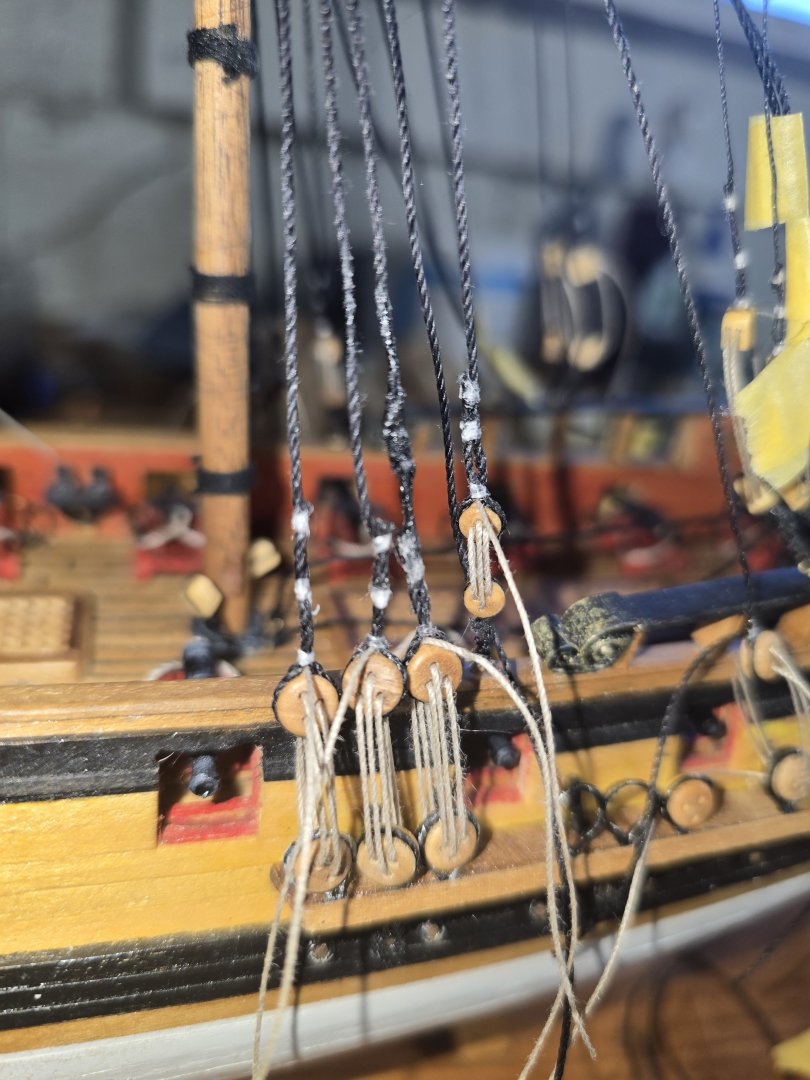
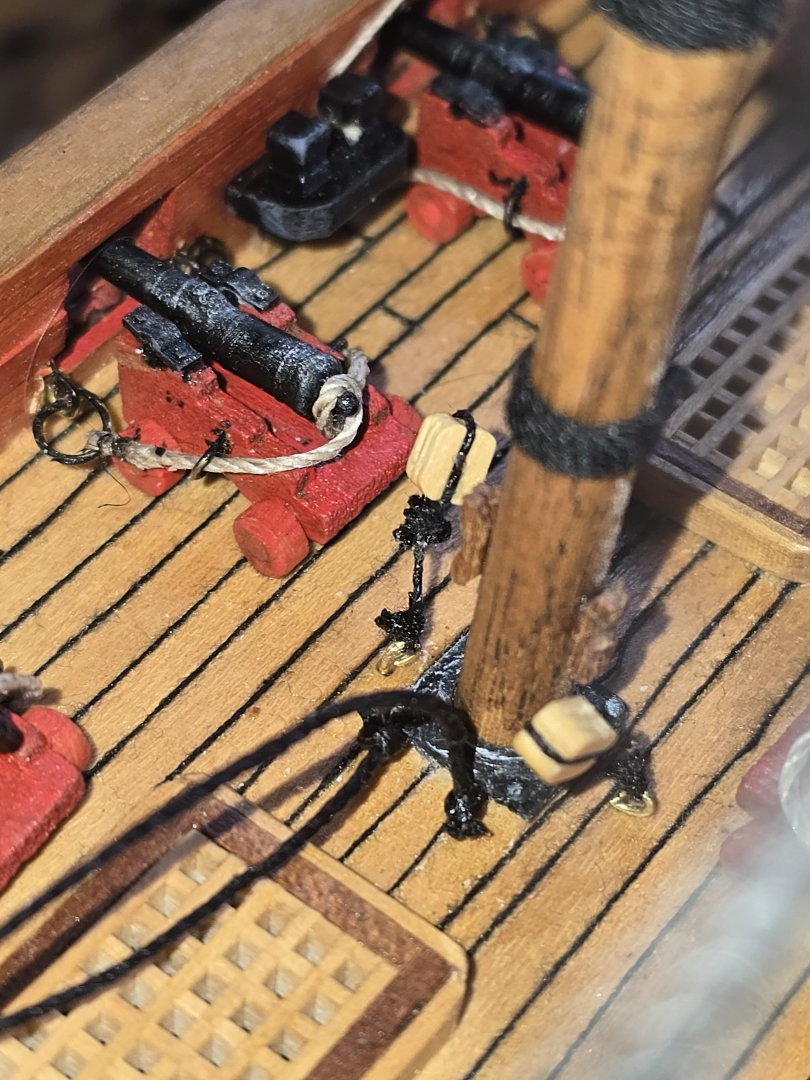
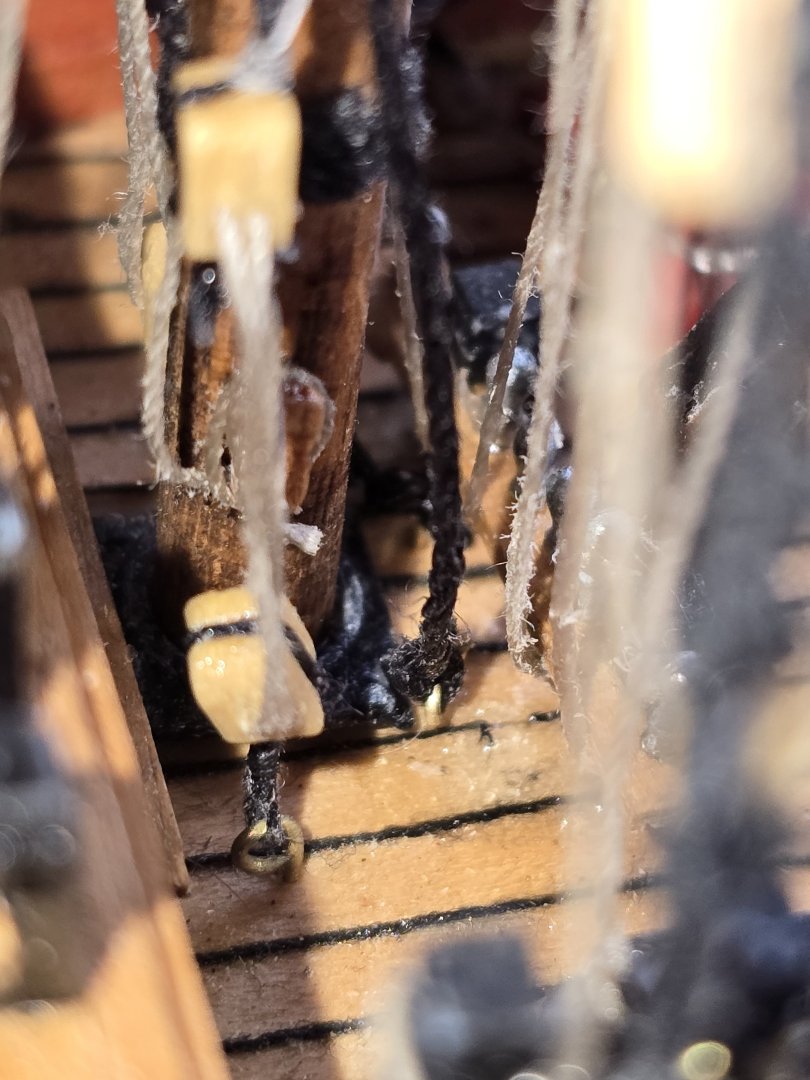
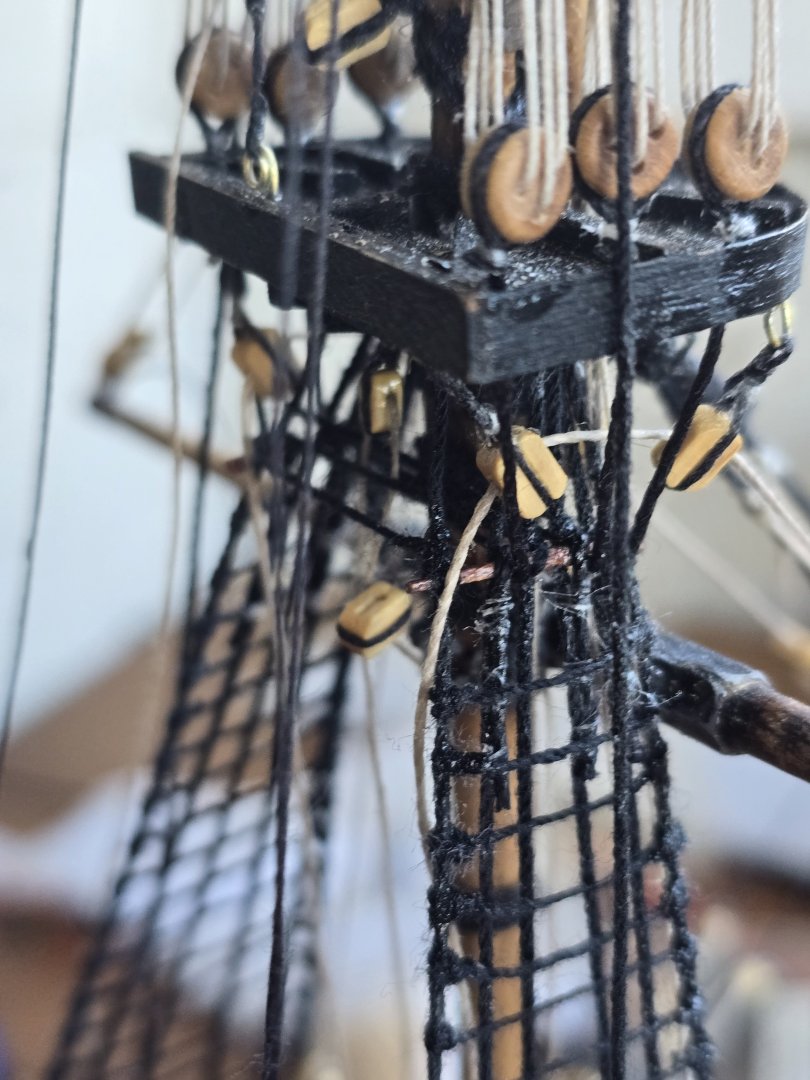
I fixed the main top mast stay and preventer stay... it wasnt easy i had to rip out the fore bitts and drill small holes for the two eye bolts and then thread the stays through the blocks and glue the bitts back on My heart rate was up though out this tricky bit as wasnt sure i could glue the bitt back on but its on.


-
Lees says both stays go to an eye bolt on the deck..suppose i can do that... its pretty crowded down at the base of the fore mast
-
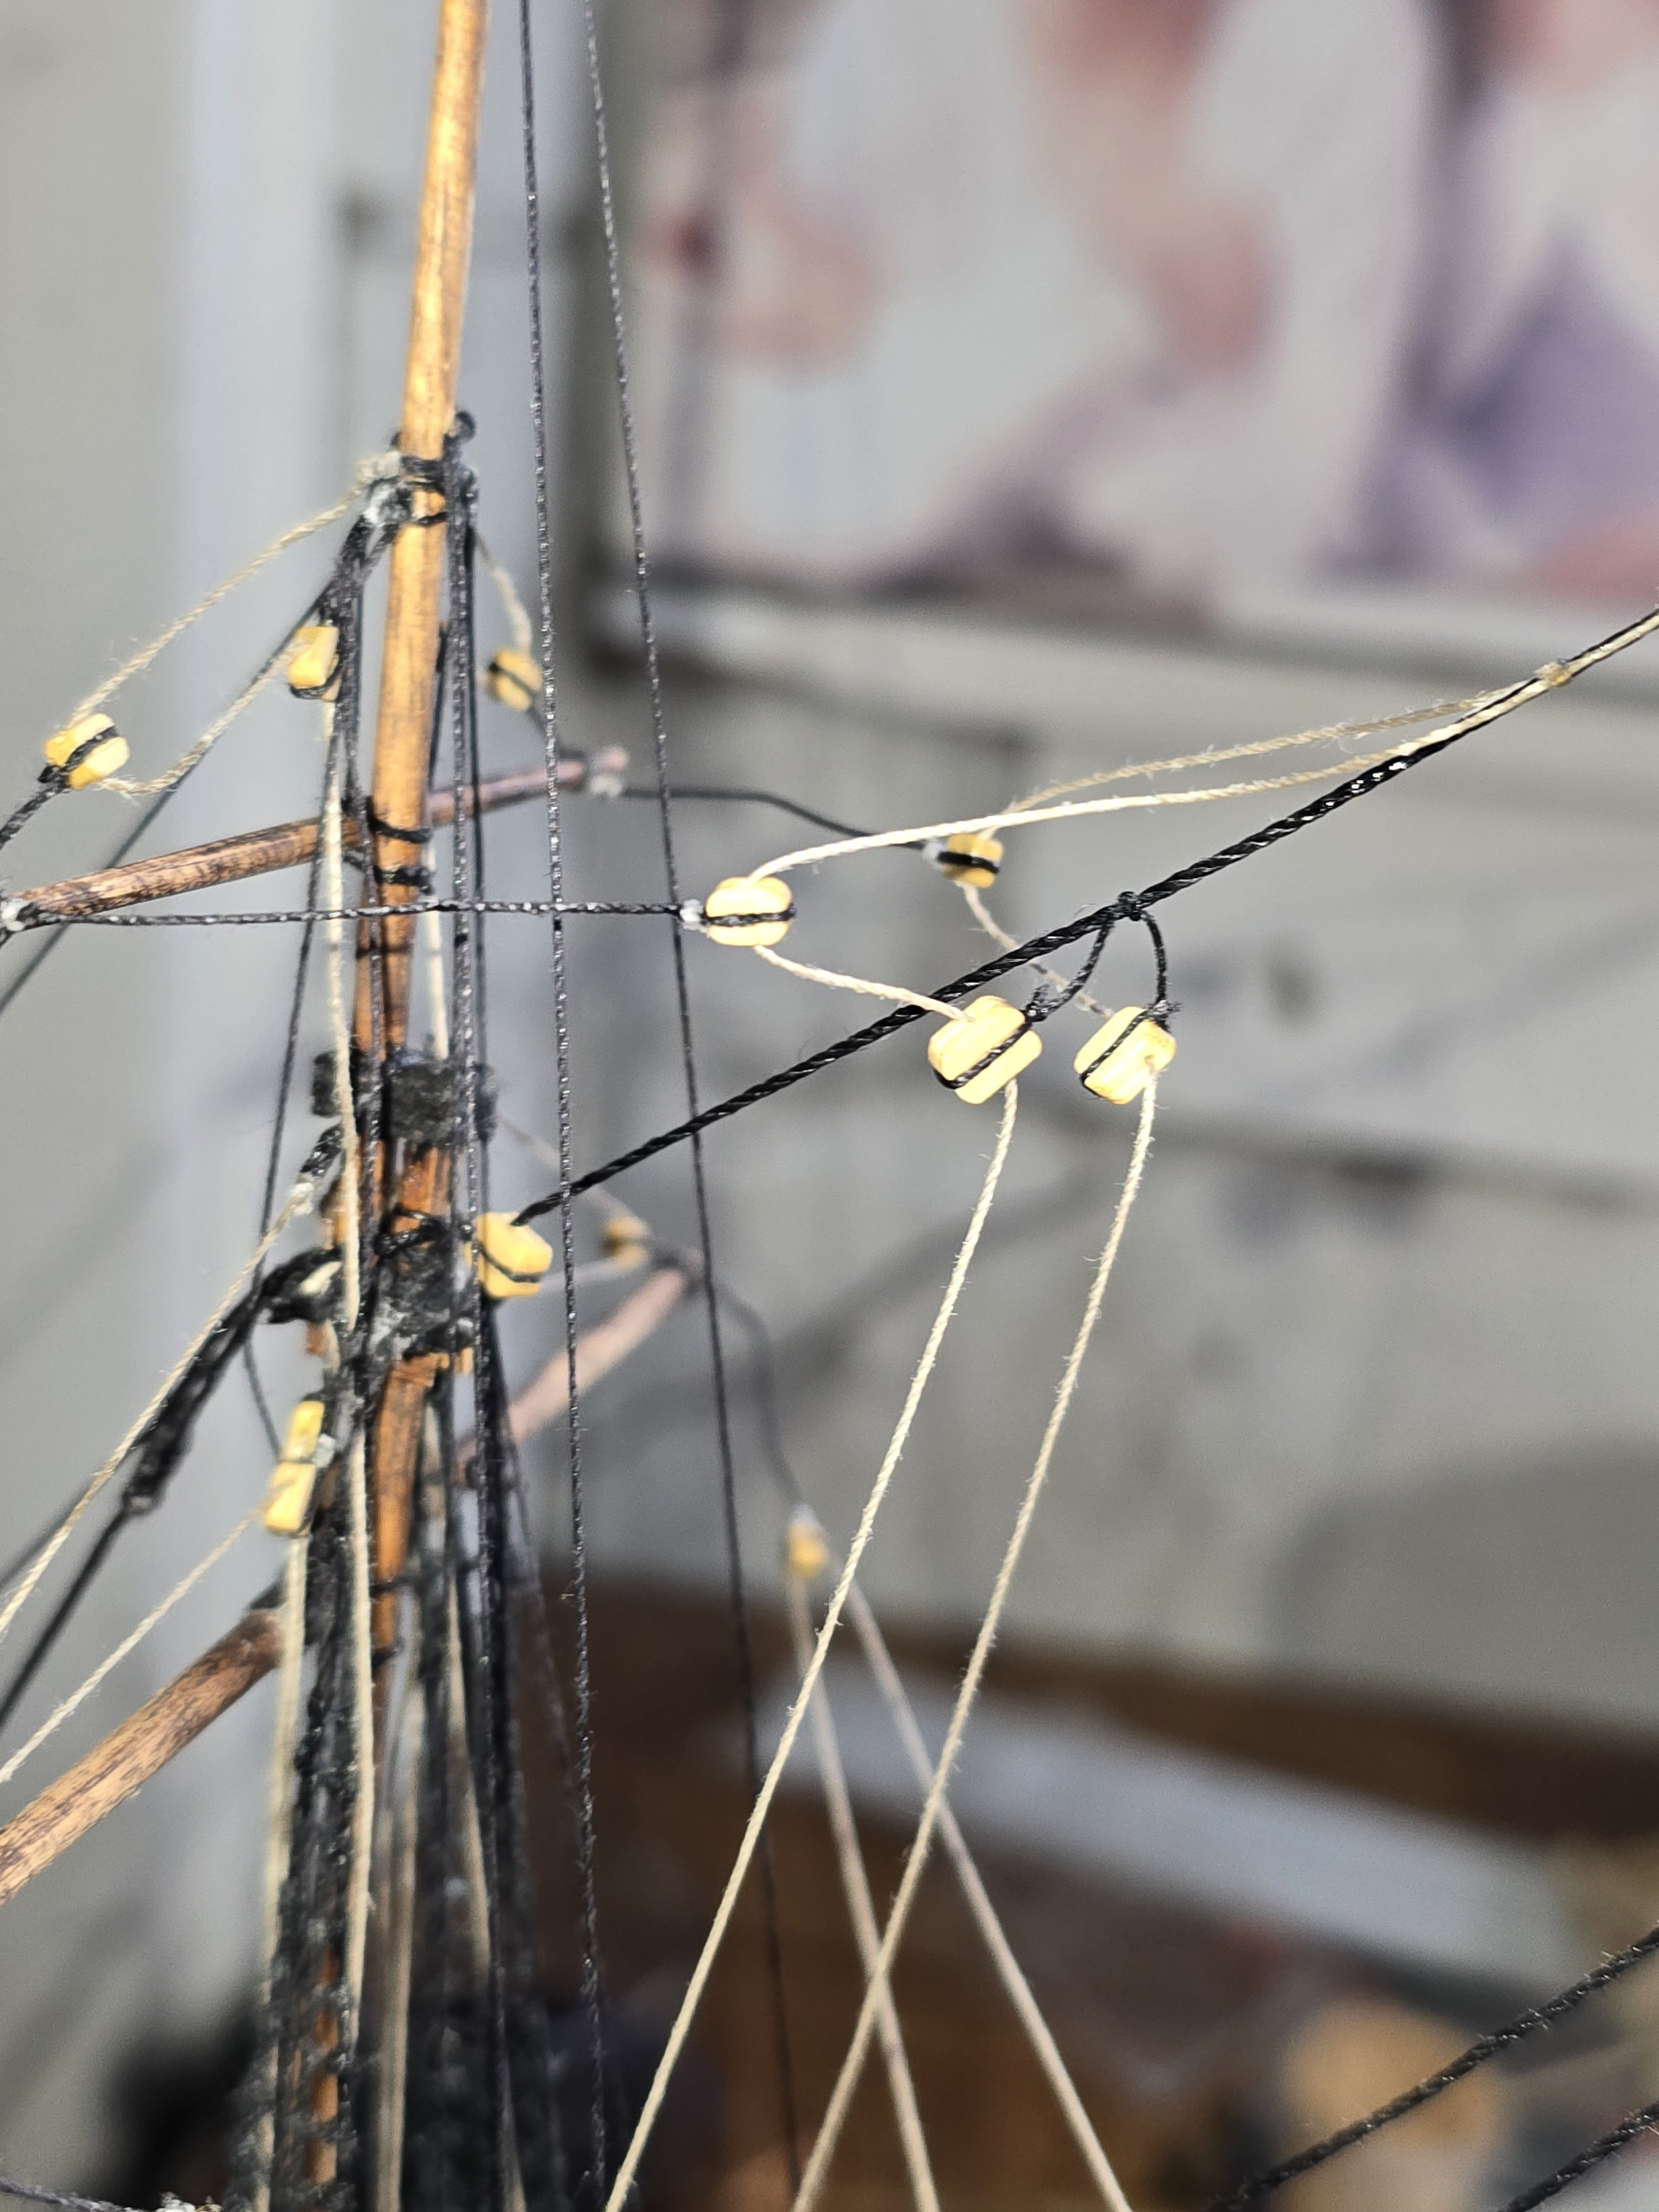
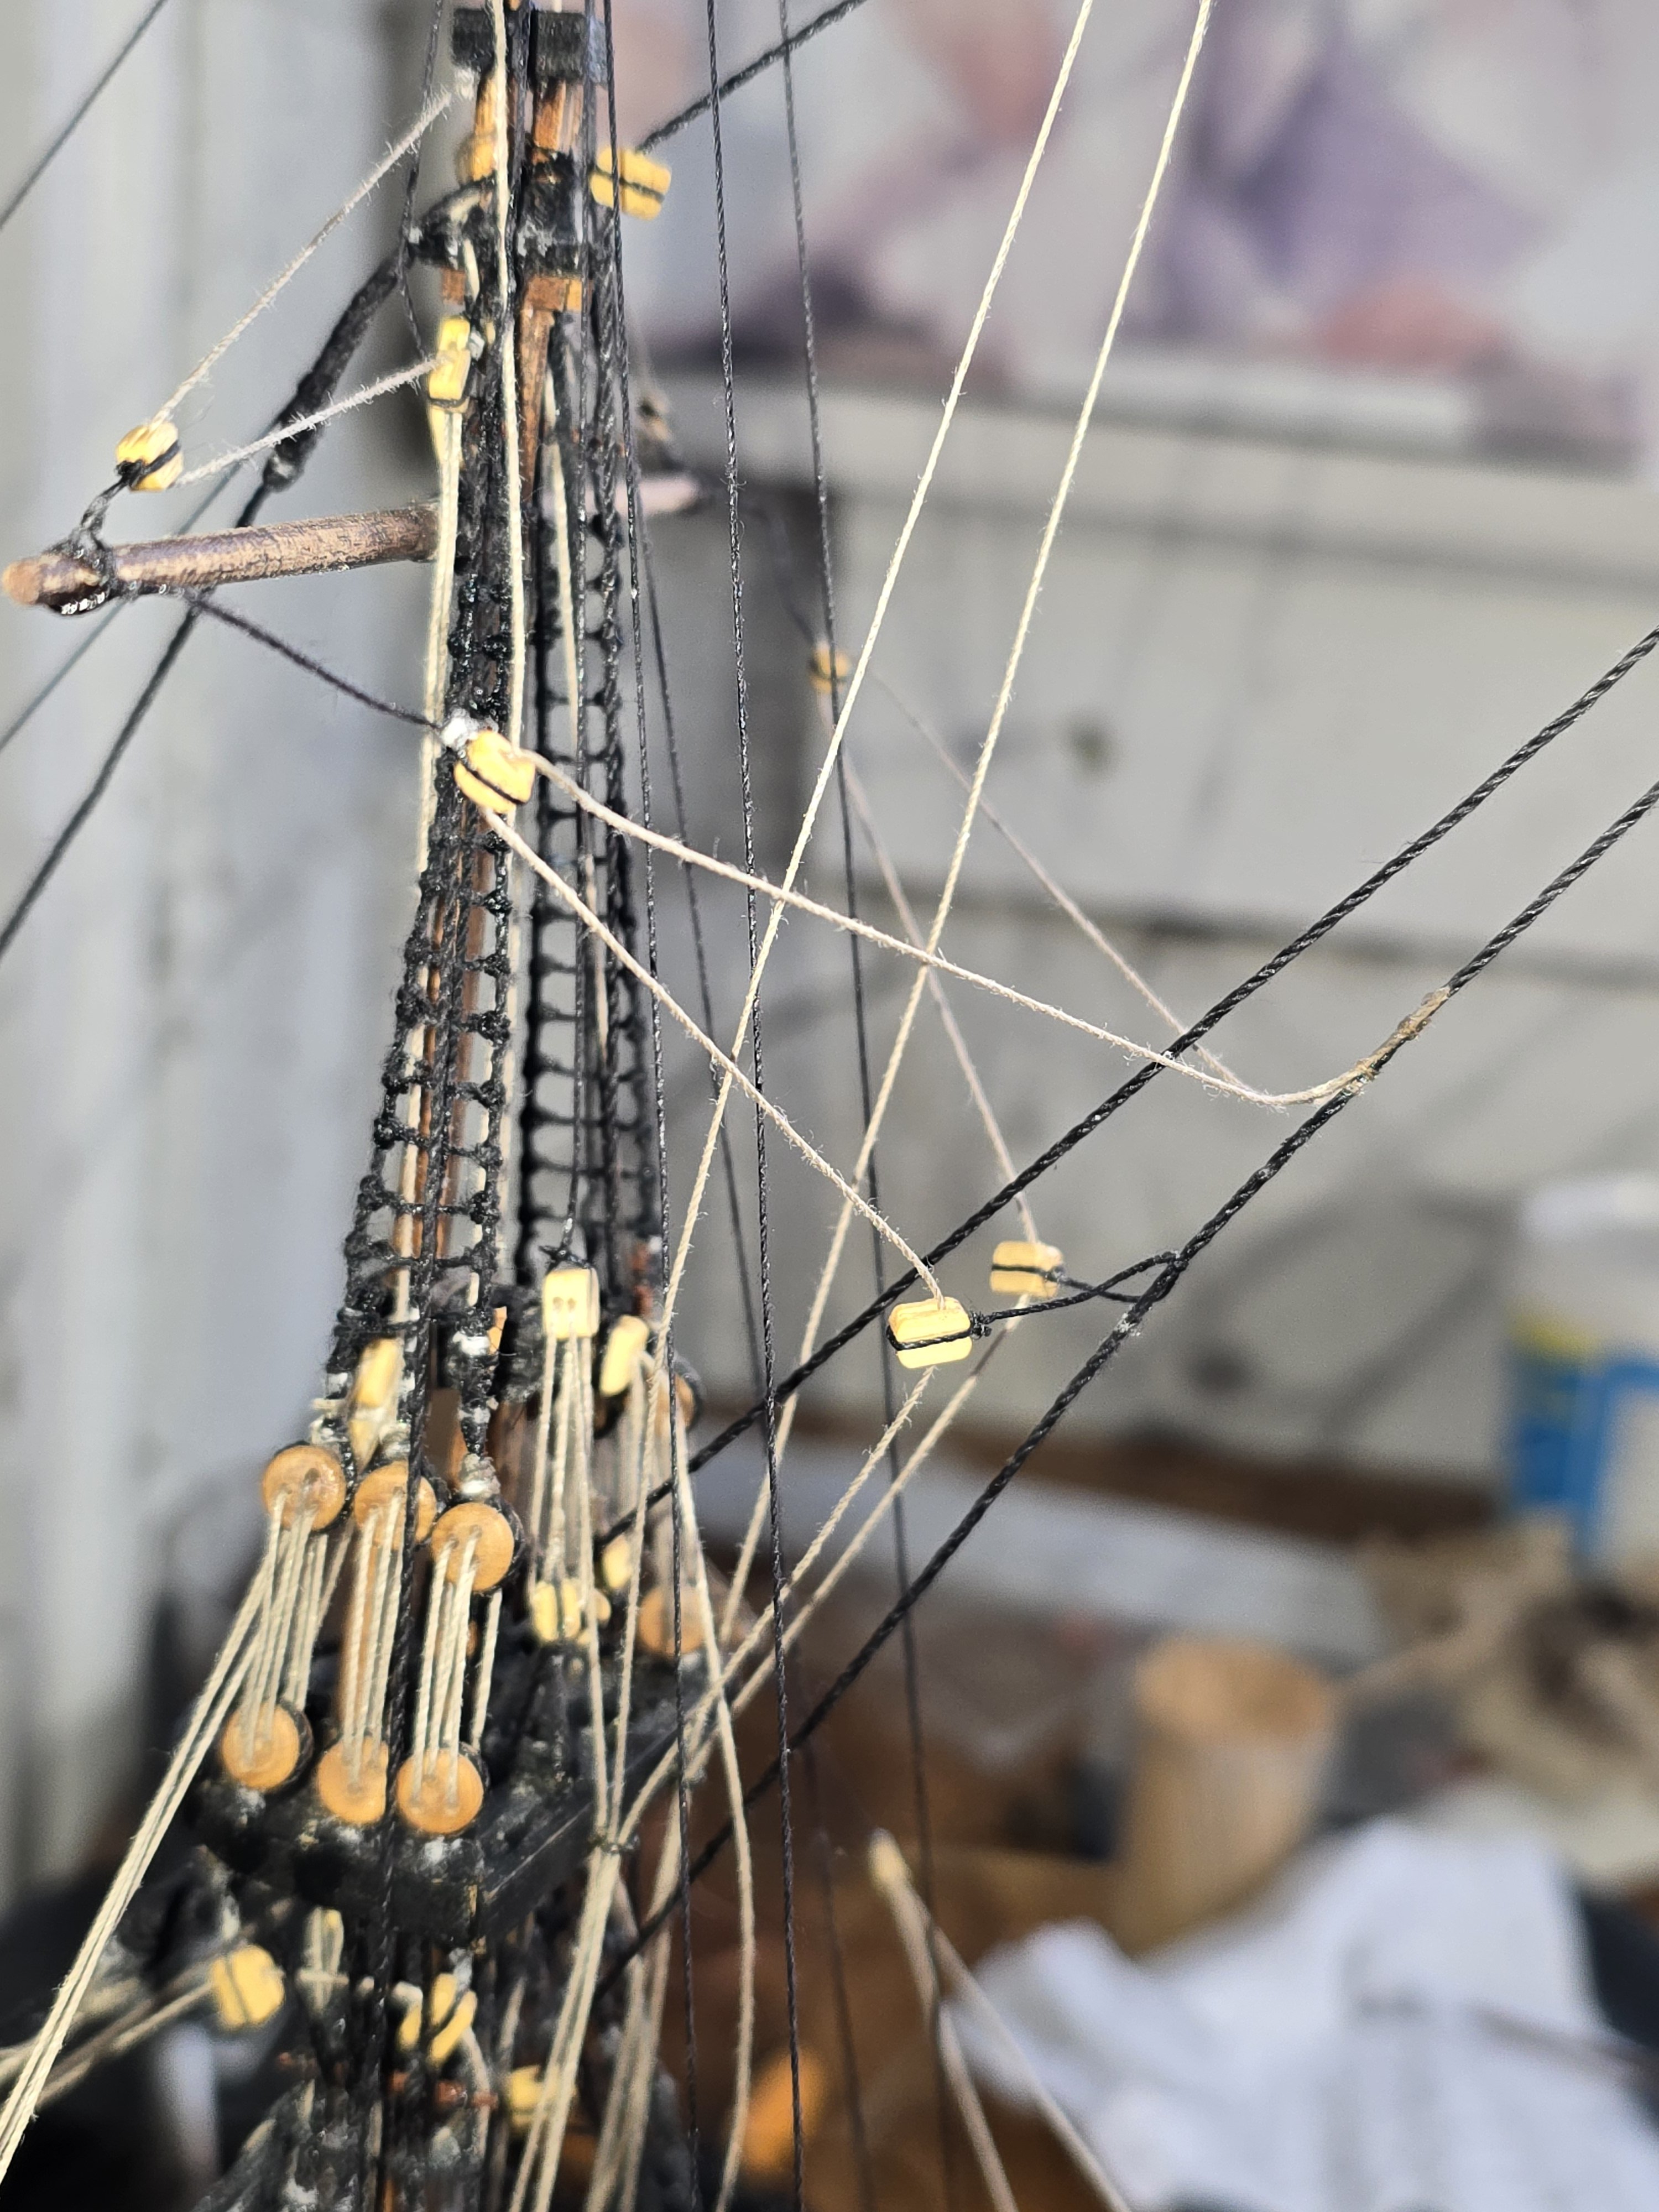
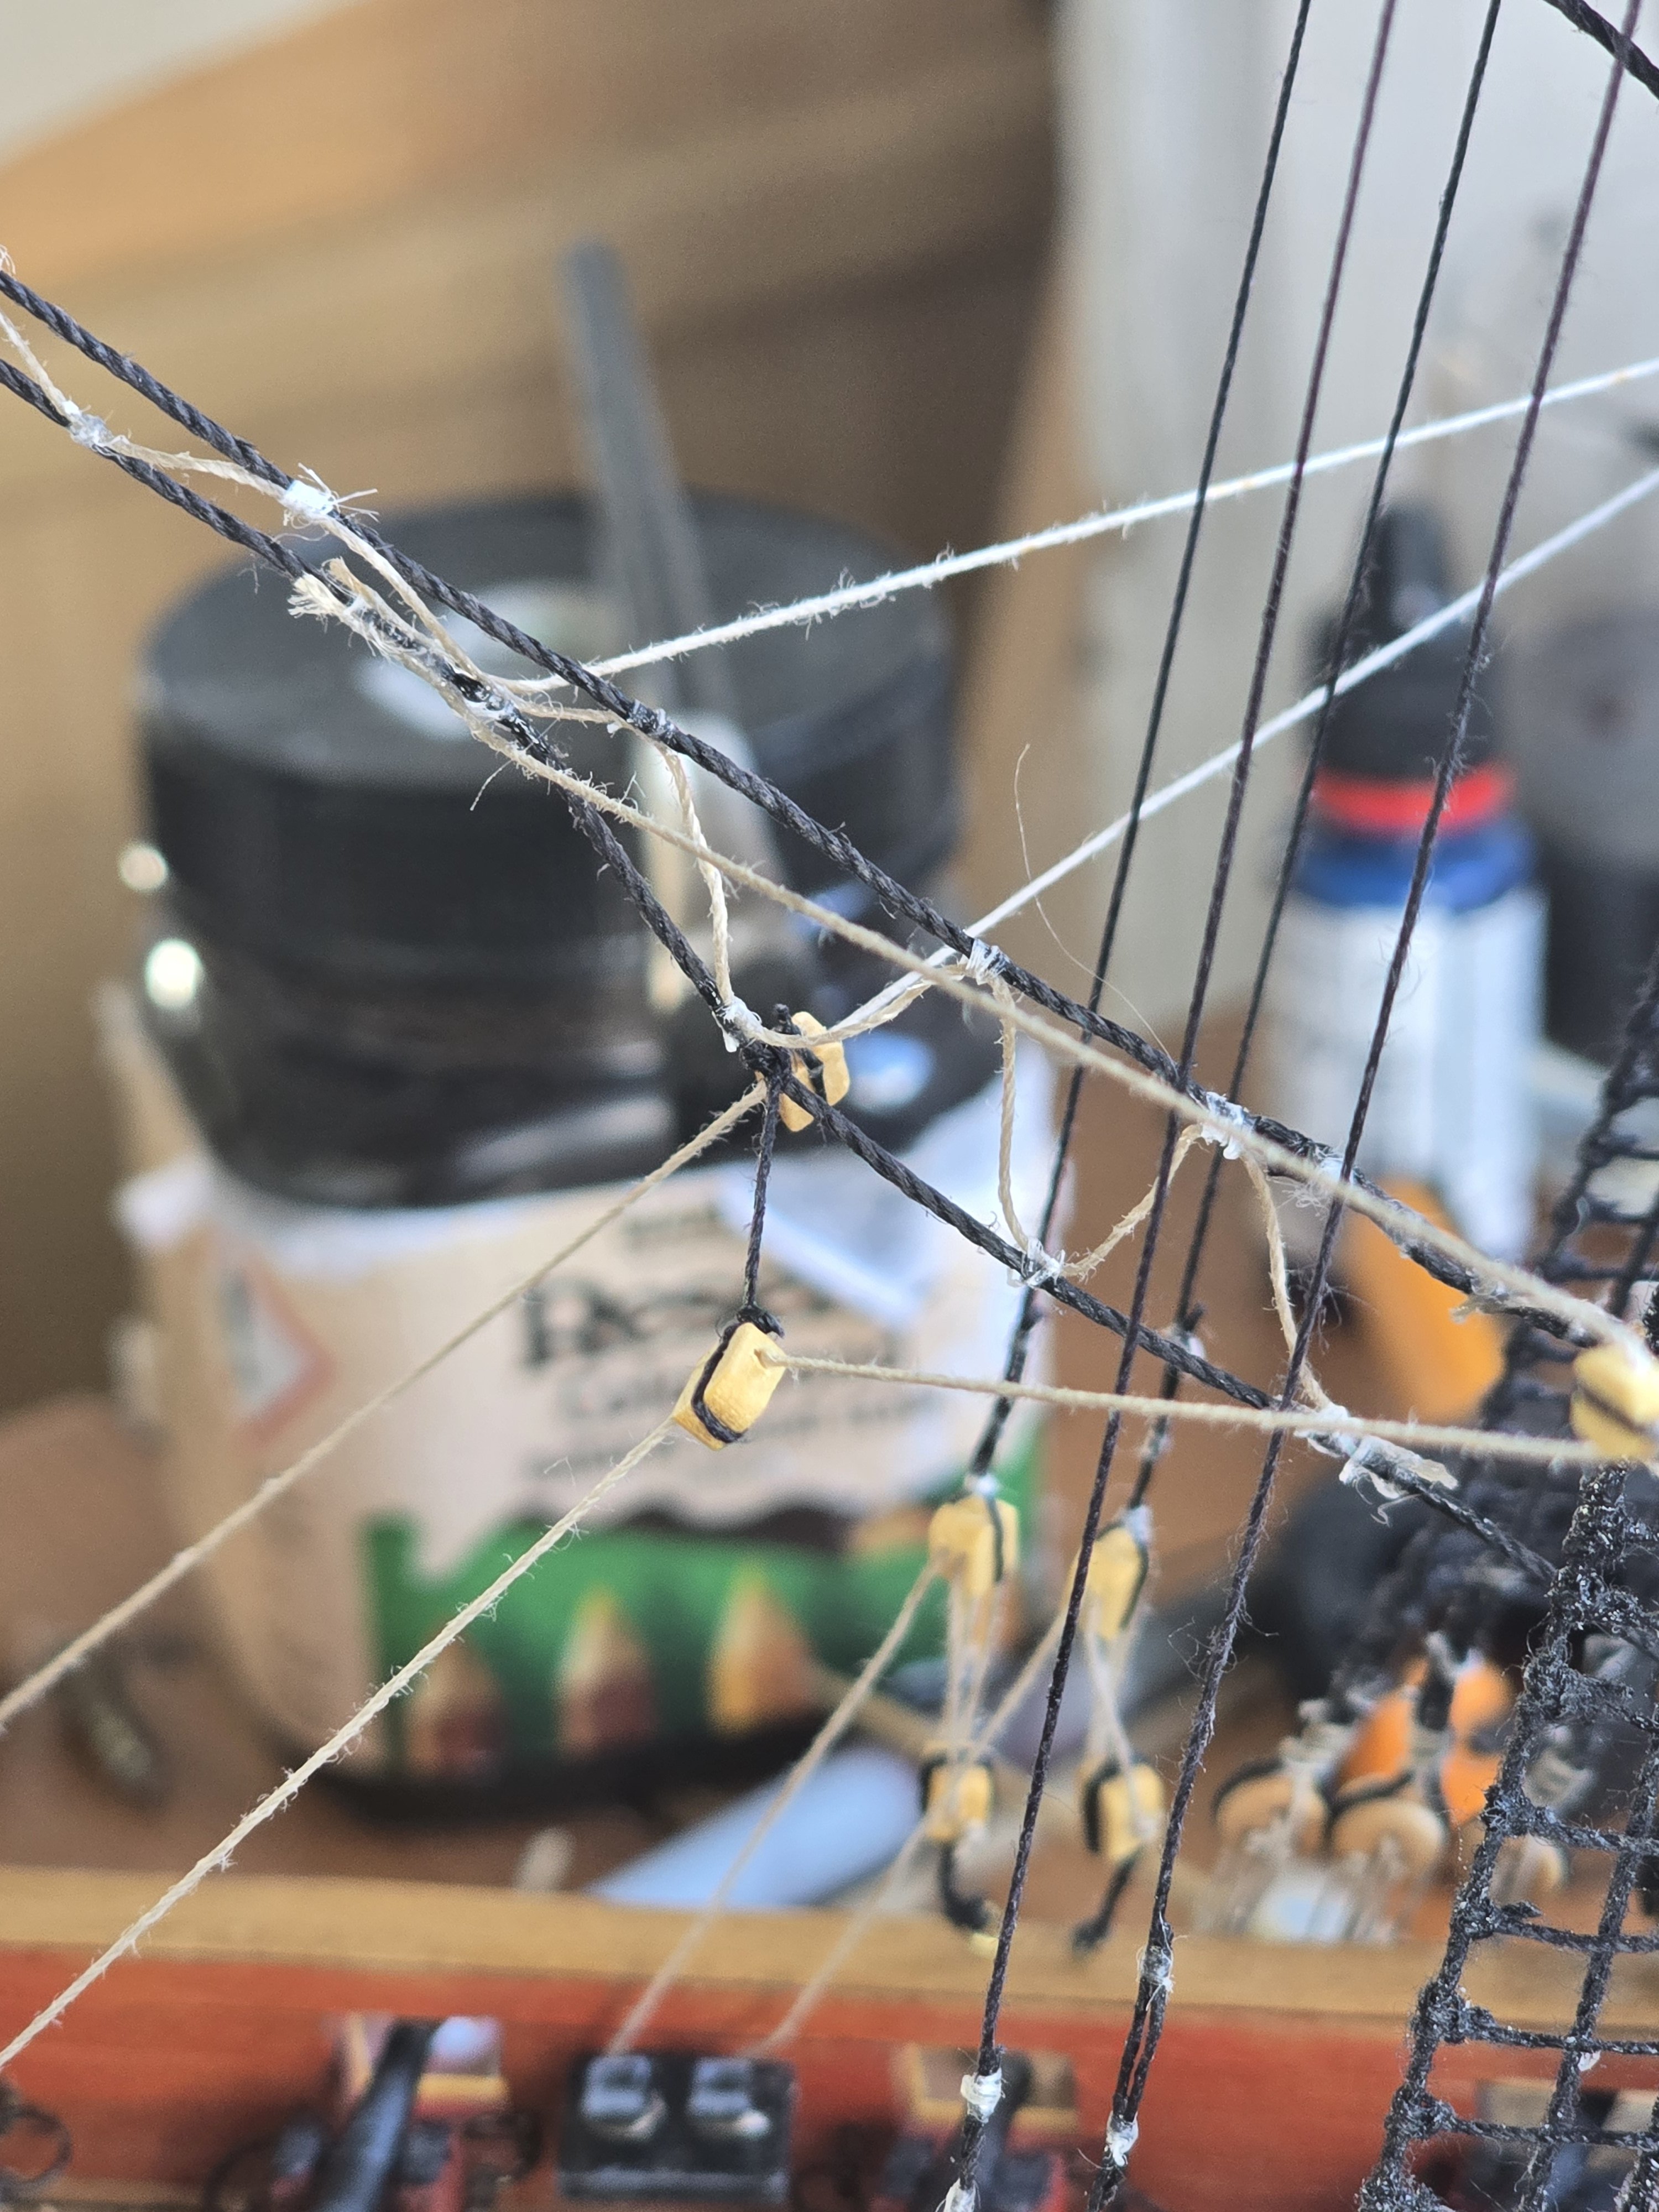
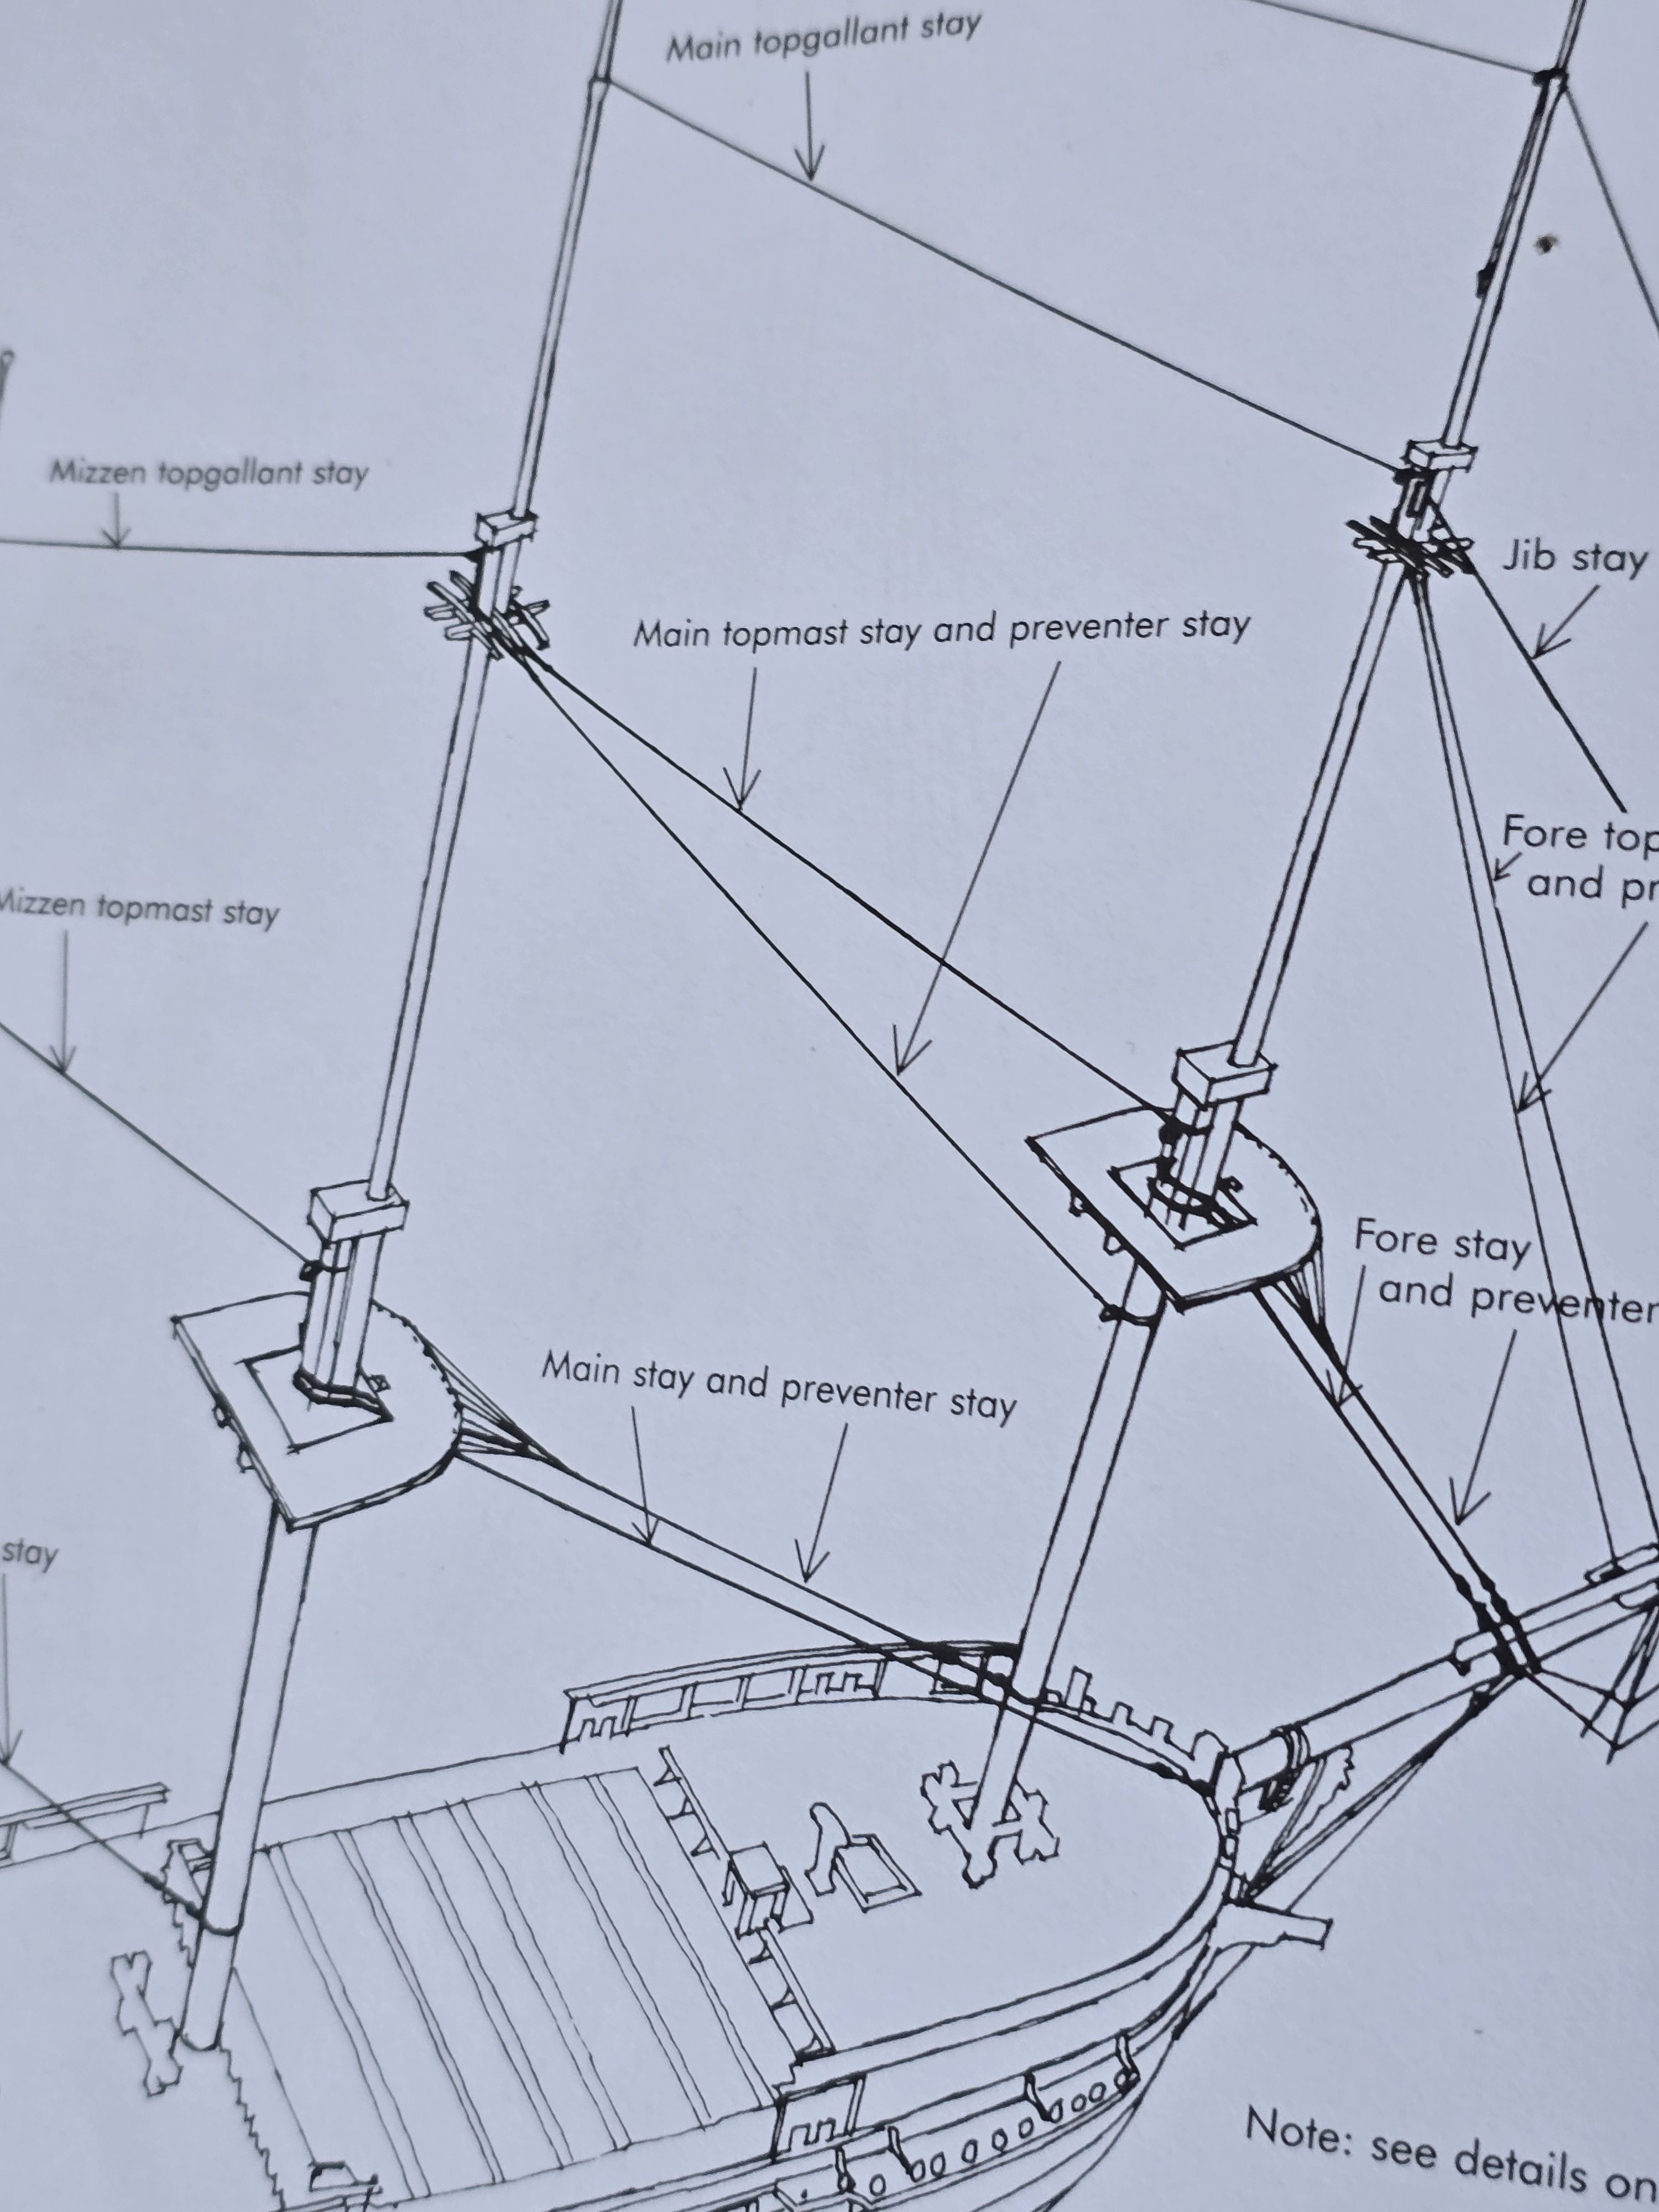
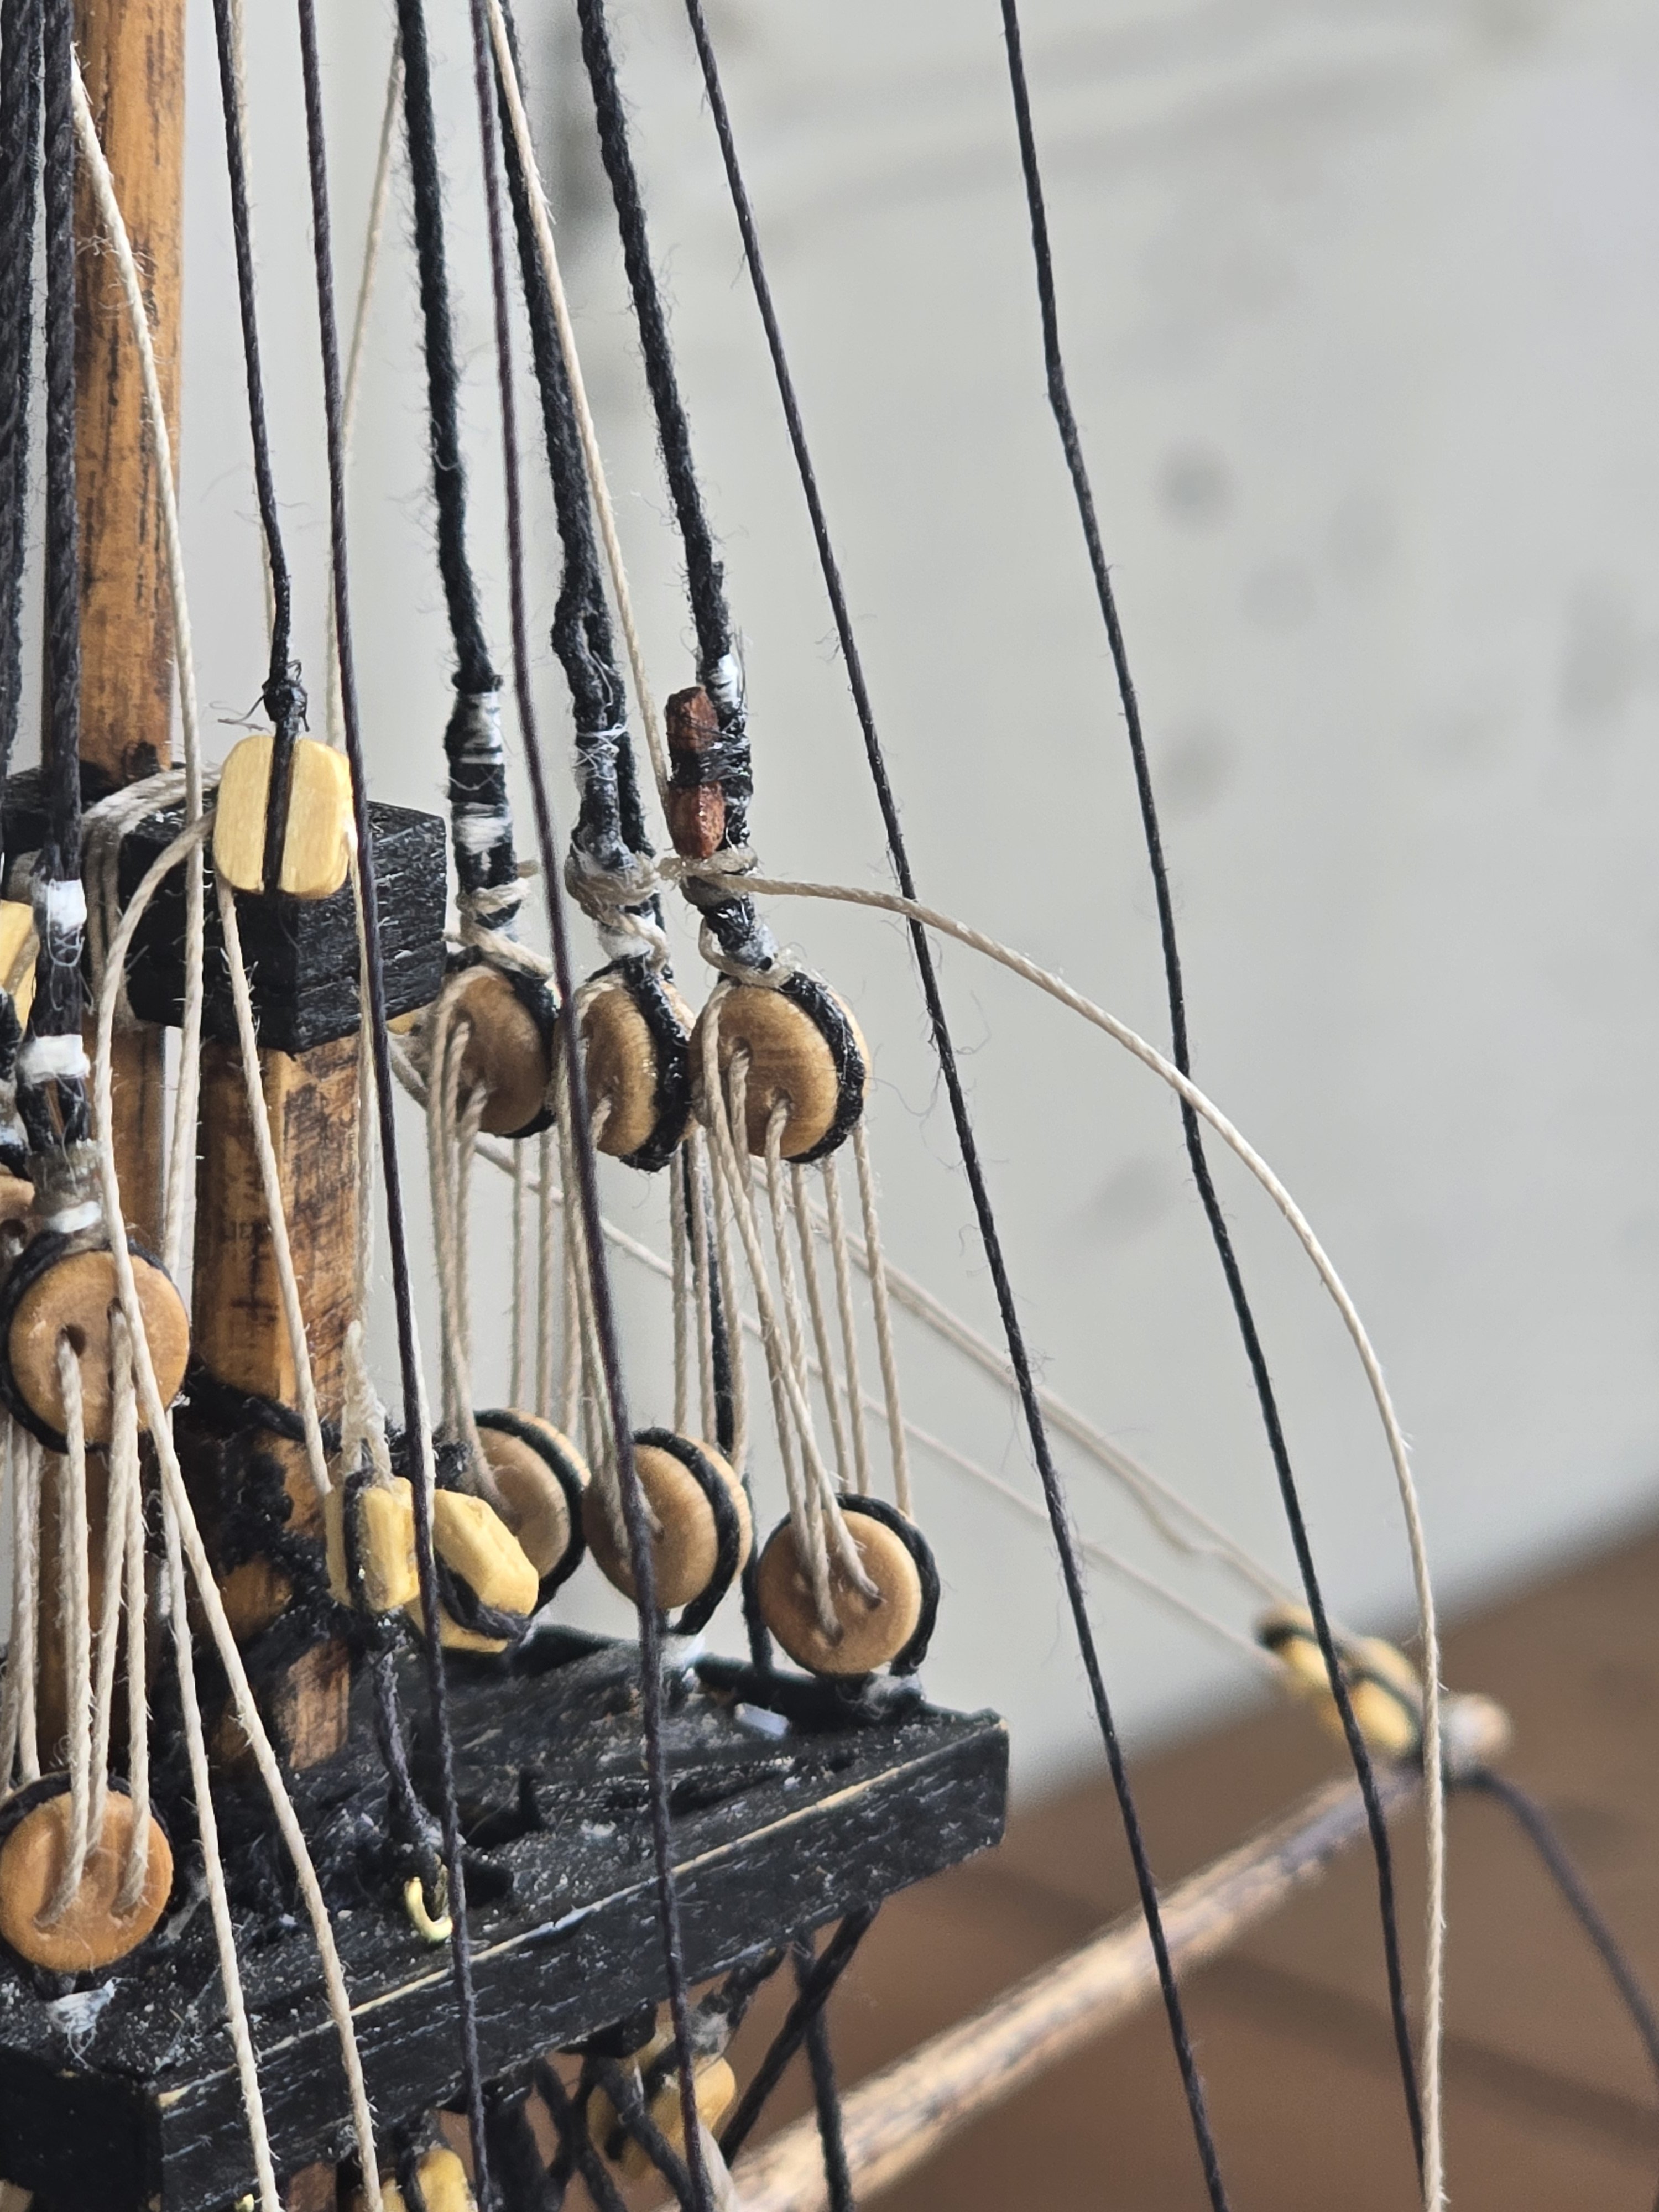
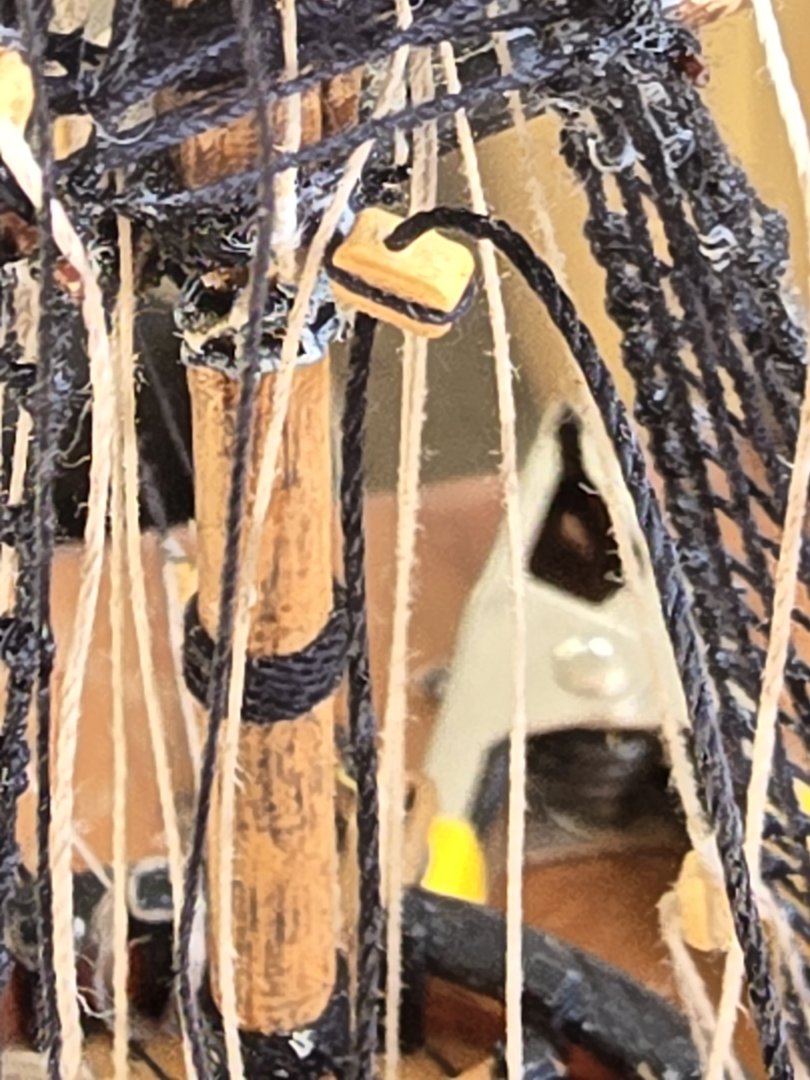
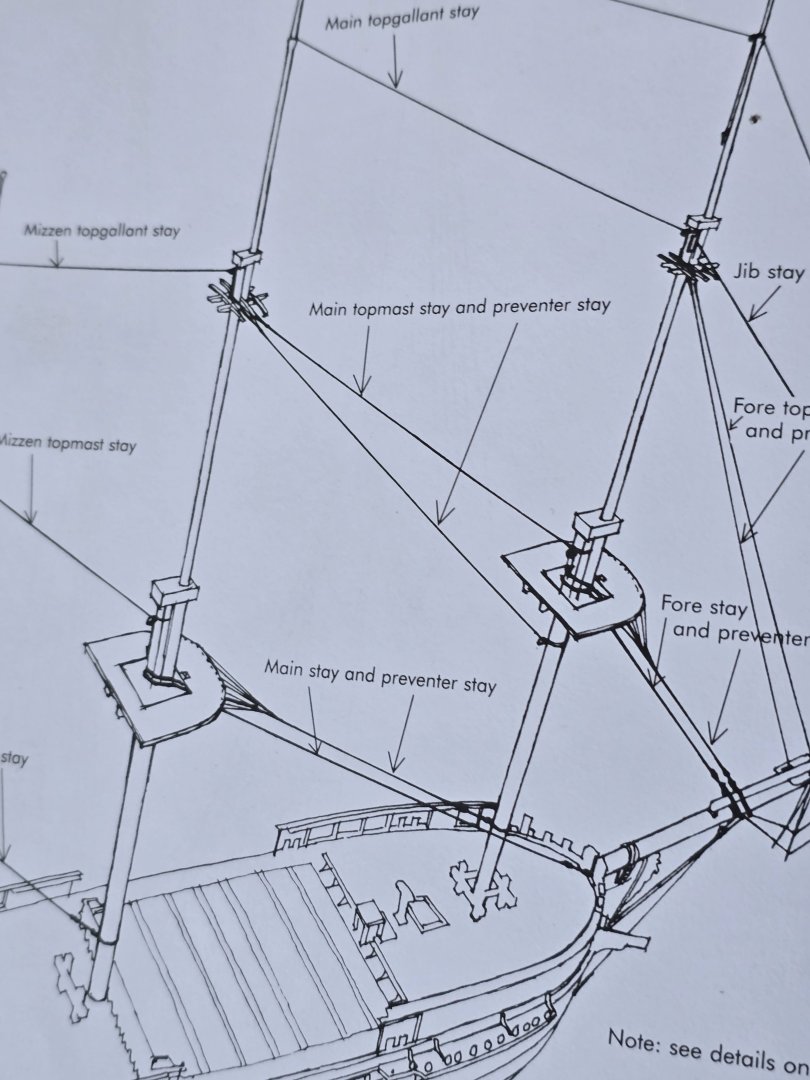
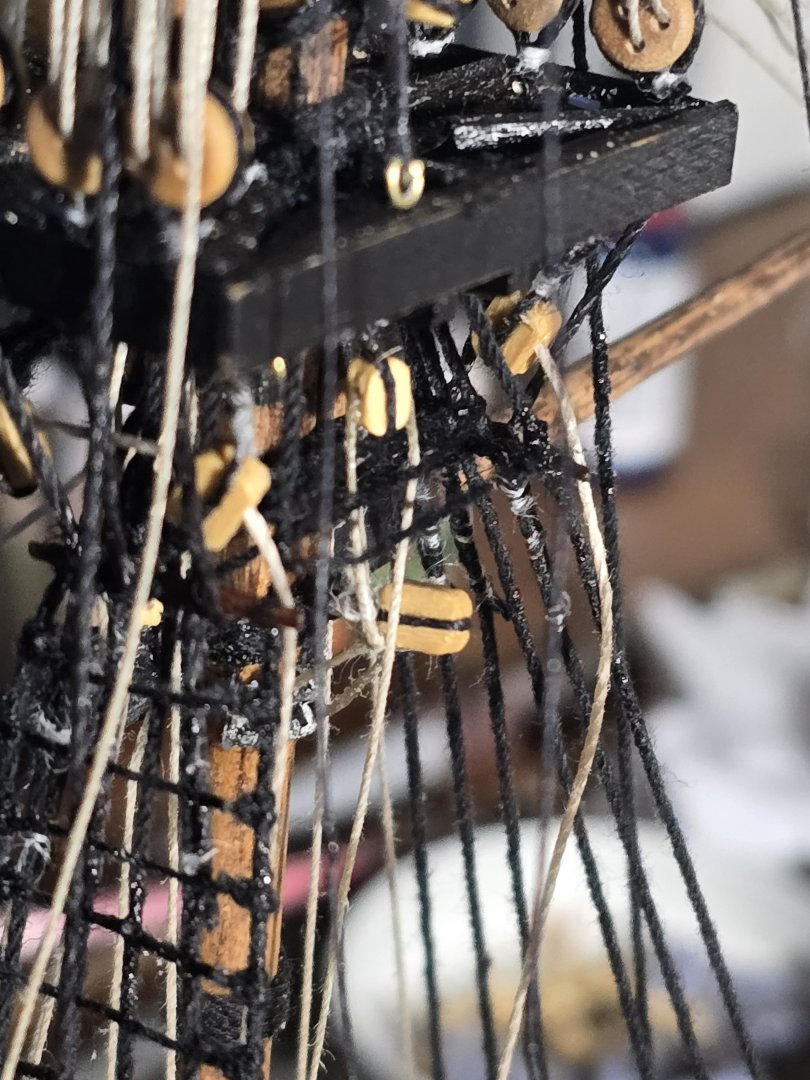
Im wondering about the positioning of this block just under the catharpins... according to the petersson book the main topmast preventer stay goes through this block and there is a main top mast stay as well? Ive looked in the lees book and it suggests a dead eye for the preventer upto 1719 while the stay is a block to the deck... Why is the order of the preventer and stay reversed ?

-
Hi Isaac Im stuart and live in Auckland. Still working on hms greyhound and can start to see the light at the end of the tunnel. Have worked on getting upto speed with 3d modelling on the computer and also 3d printing. Next purchase is a cnc machine so you might be helpful. Cheers
-
Its very difficulylt to get a good photo but i think im pretty much done on the foremast... only two masts to go. I also went on a digital detox this morning and deleted facebook and instagram.. i have to finish this darn model so that i can go onto something else...

-
Hello from Christchurch, New Zealand
Srenner replied to Tillsbury's topic in New member Introductions
I would start on here.. there is the 3d print forum on the front page you can post a question or people will offer to print stuff for you and post it. I did a few parts for people who are following my build log
-
Hello from Christchurch, New Zealand
Srenner replied to Tillsbury's topic in New member Introductions
Hi... im in Auckland and have been doing ship building and 3 d printing now for 2 years or so. My 3d printing skills have improved alot so happy to lend a hand when it comes time to start creating print files and printing things... Would be great to know other nz builders. Cheers Stuart -
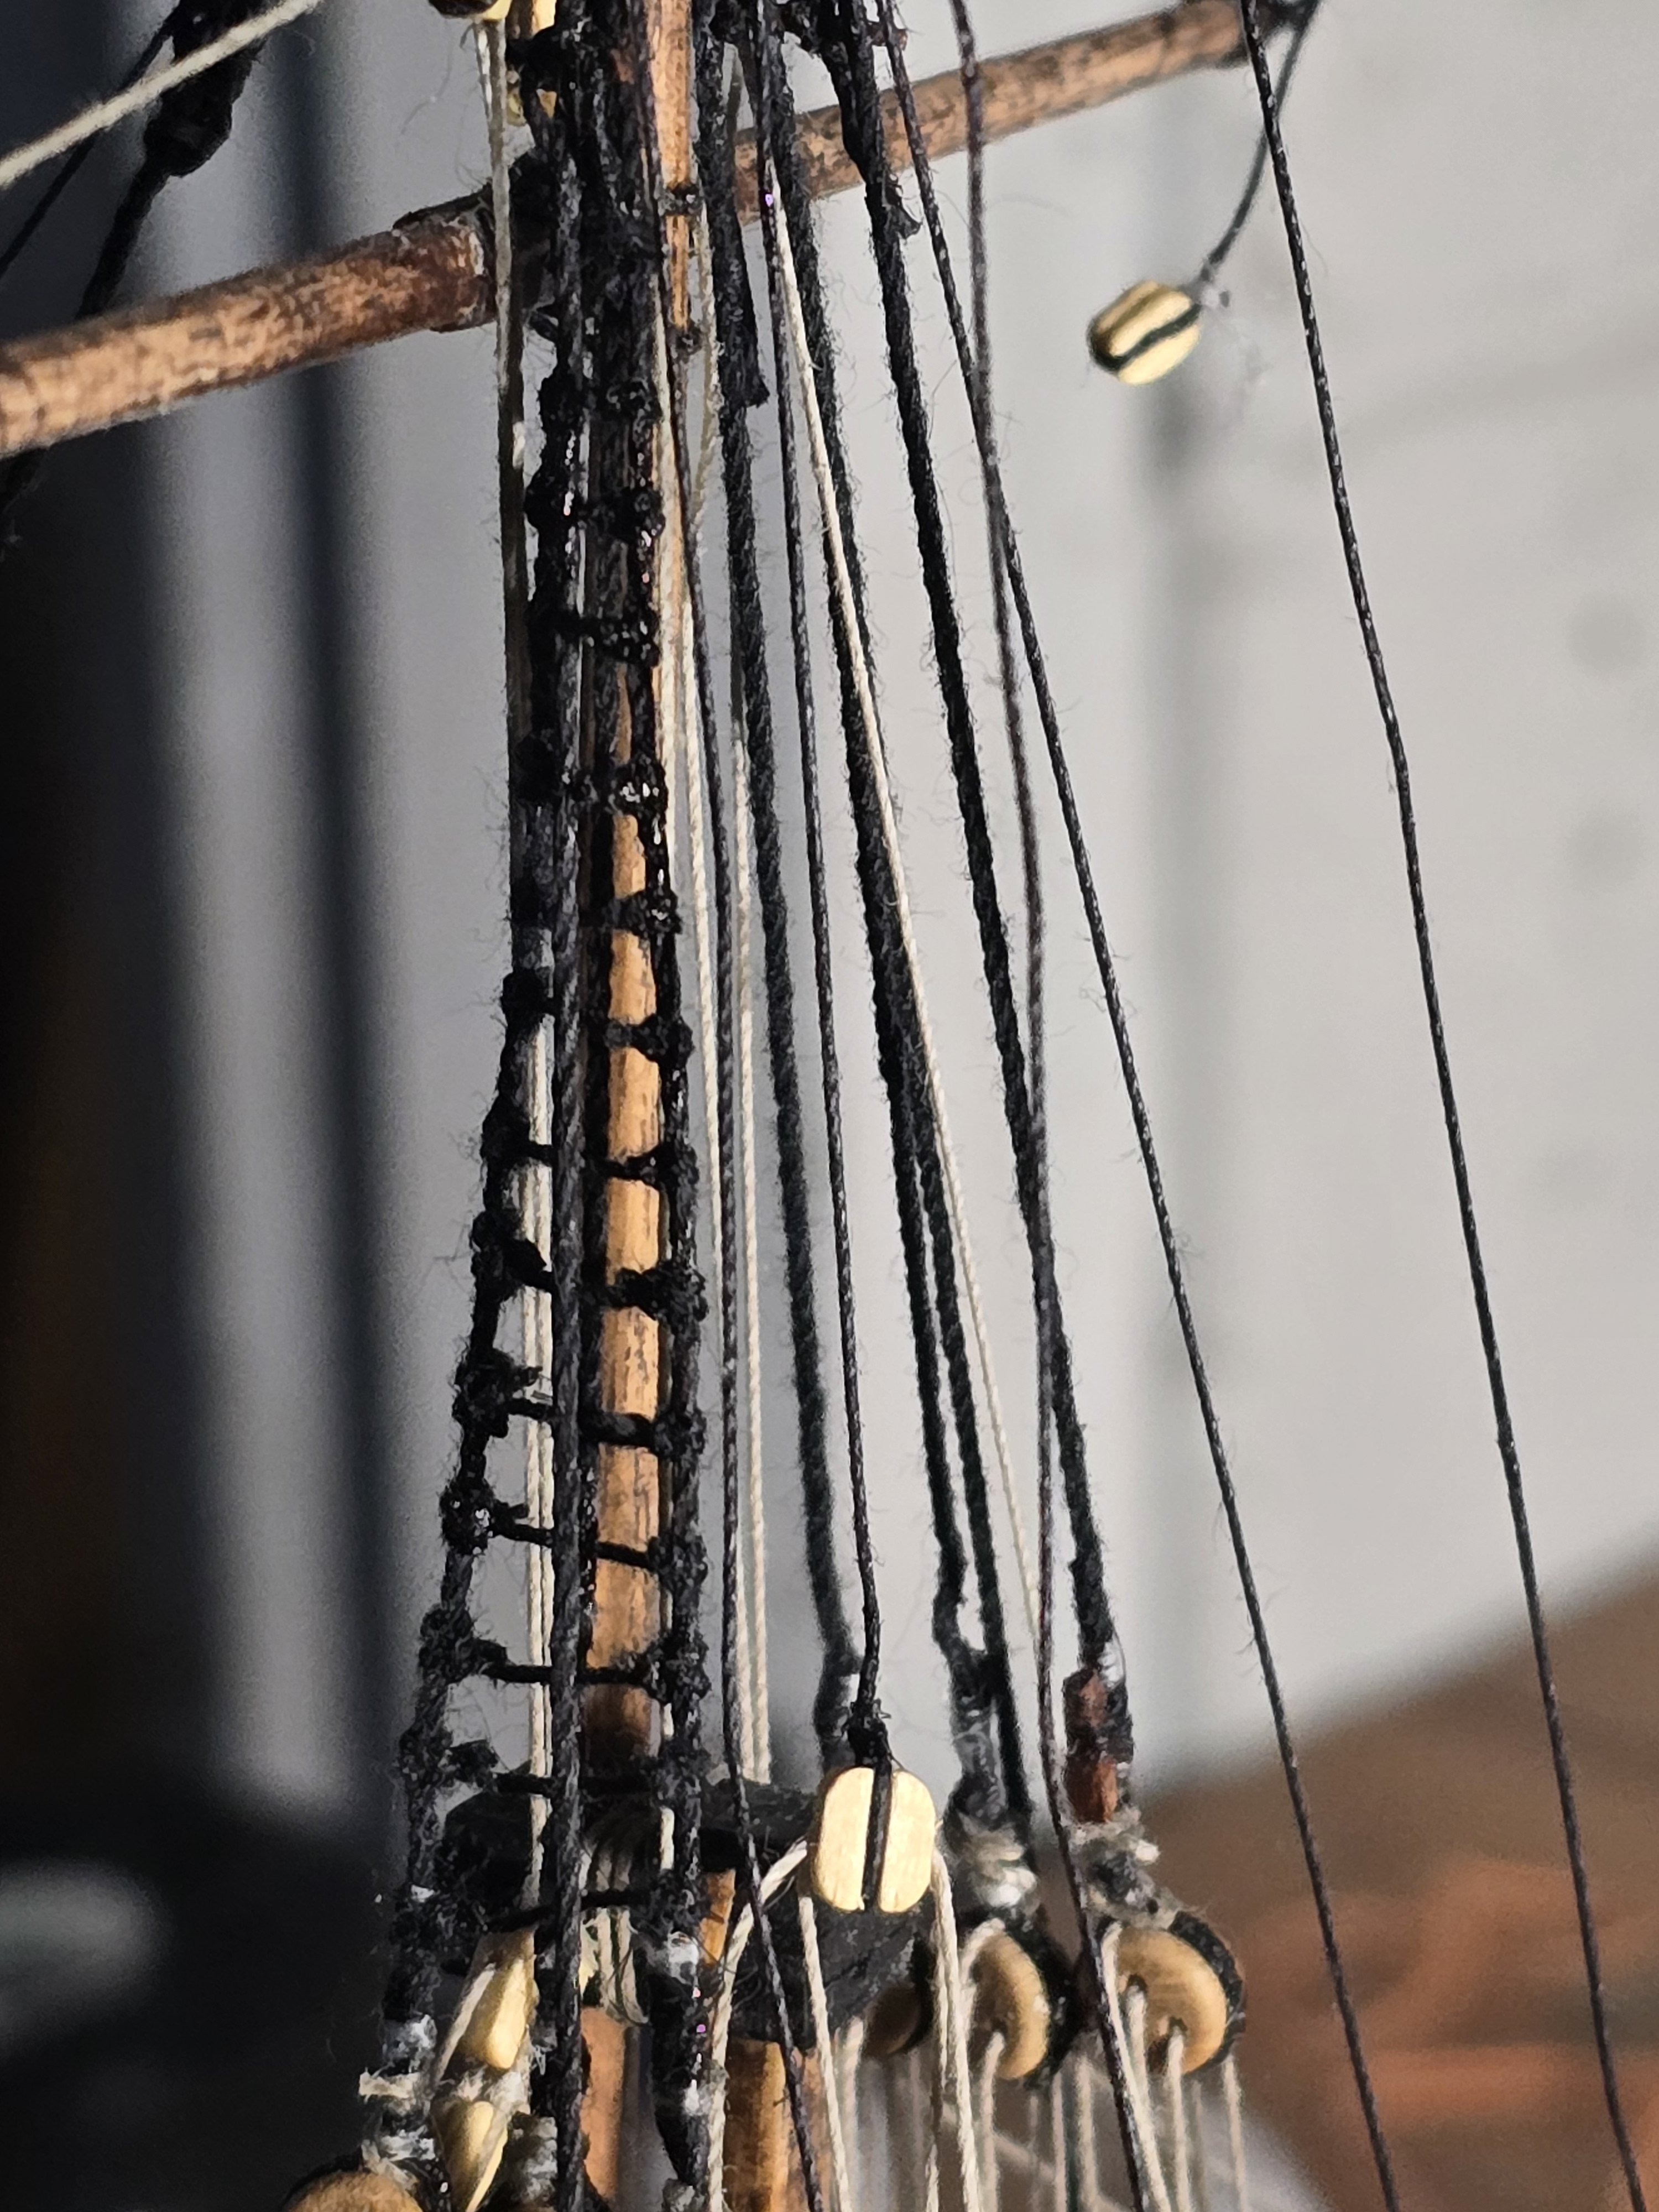
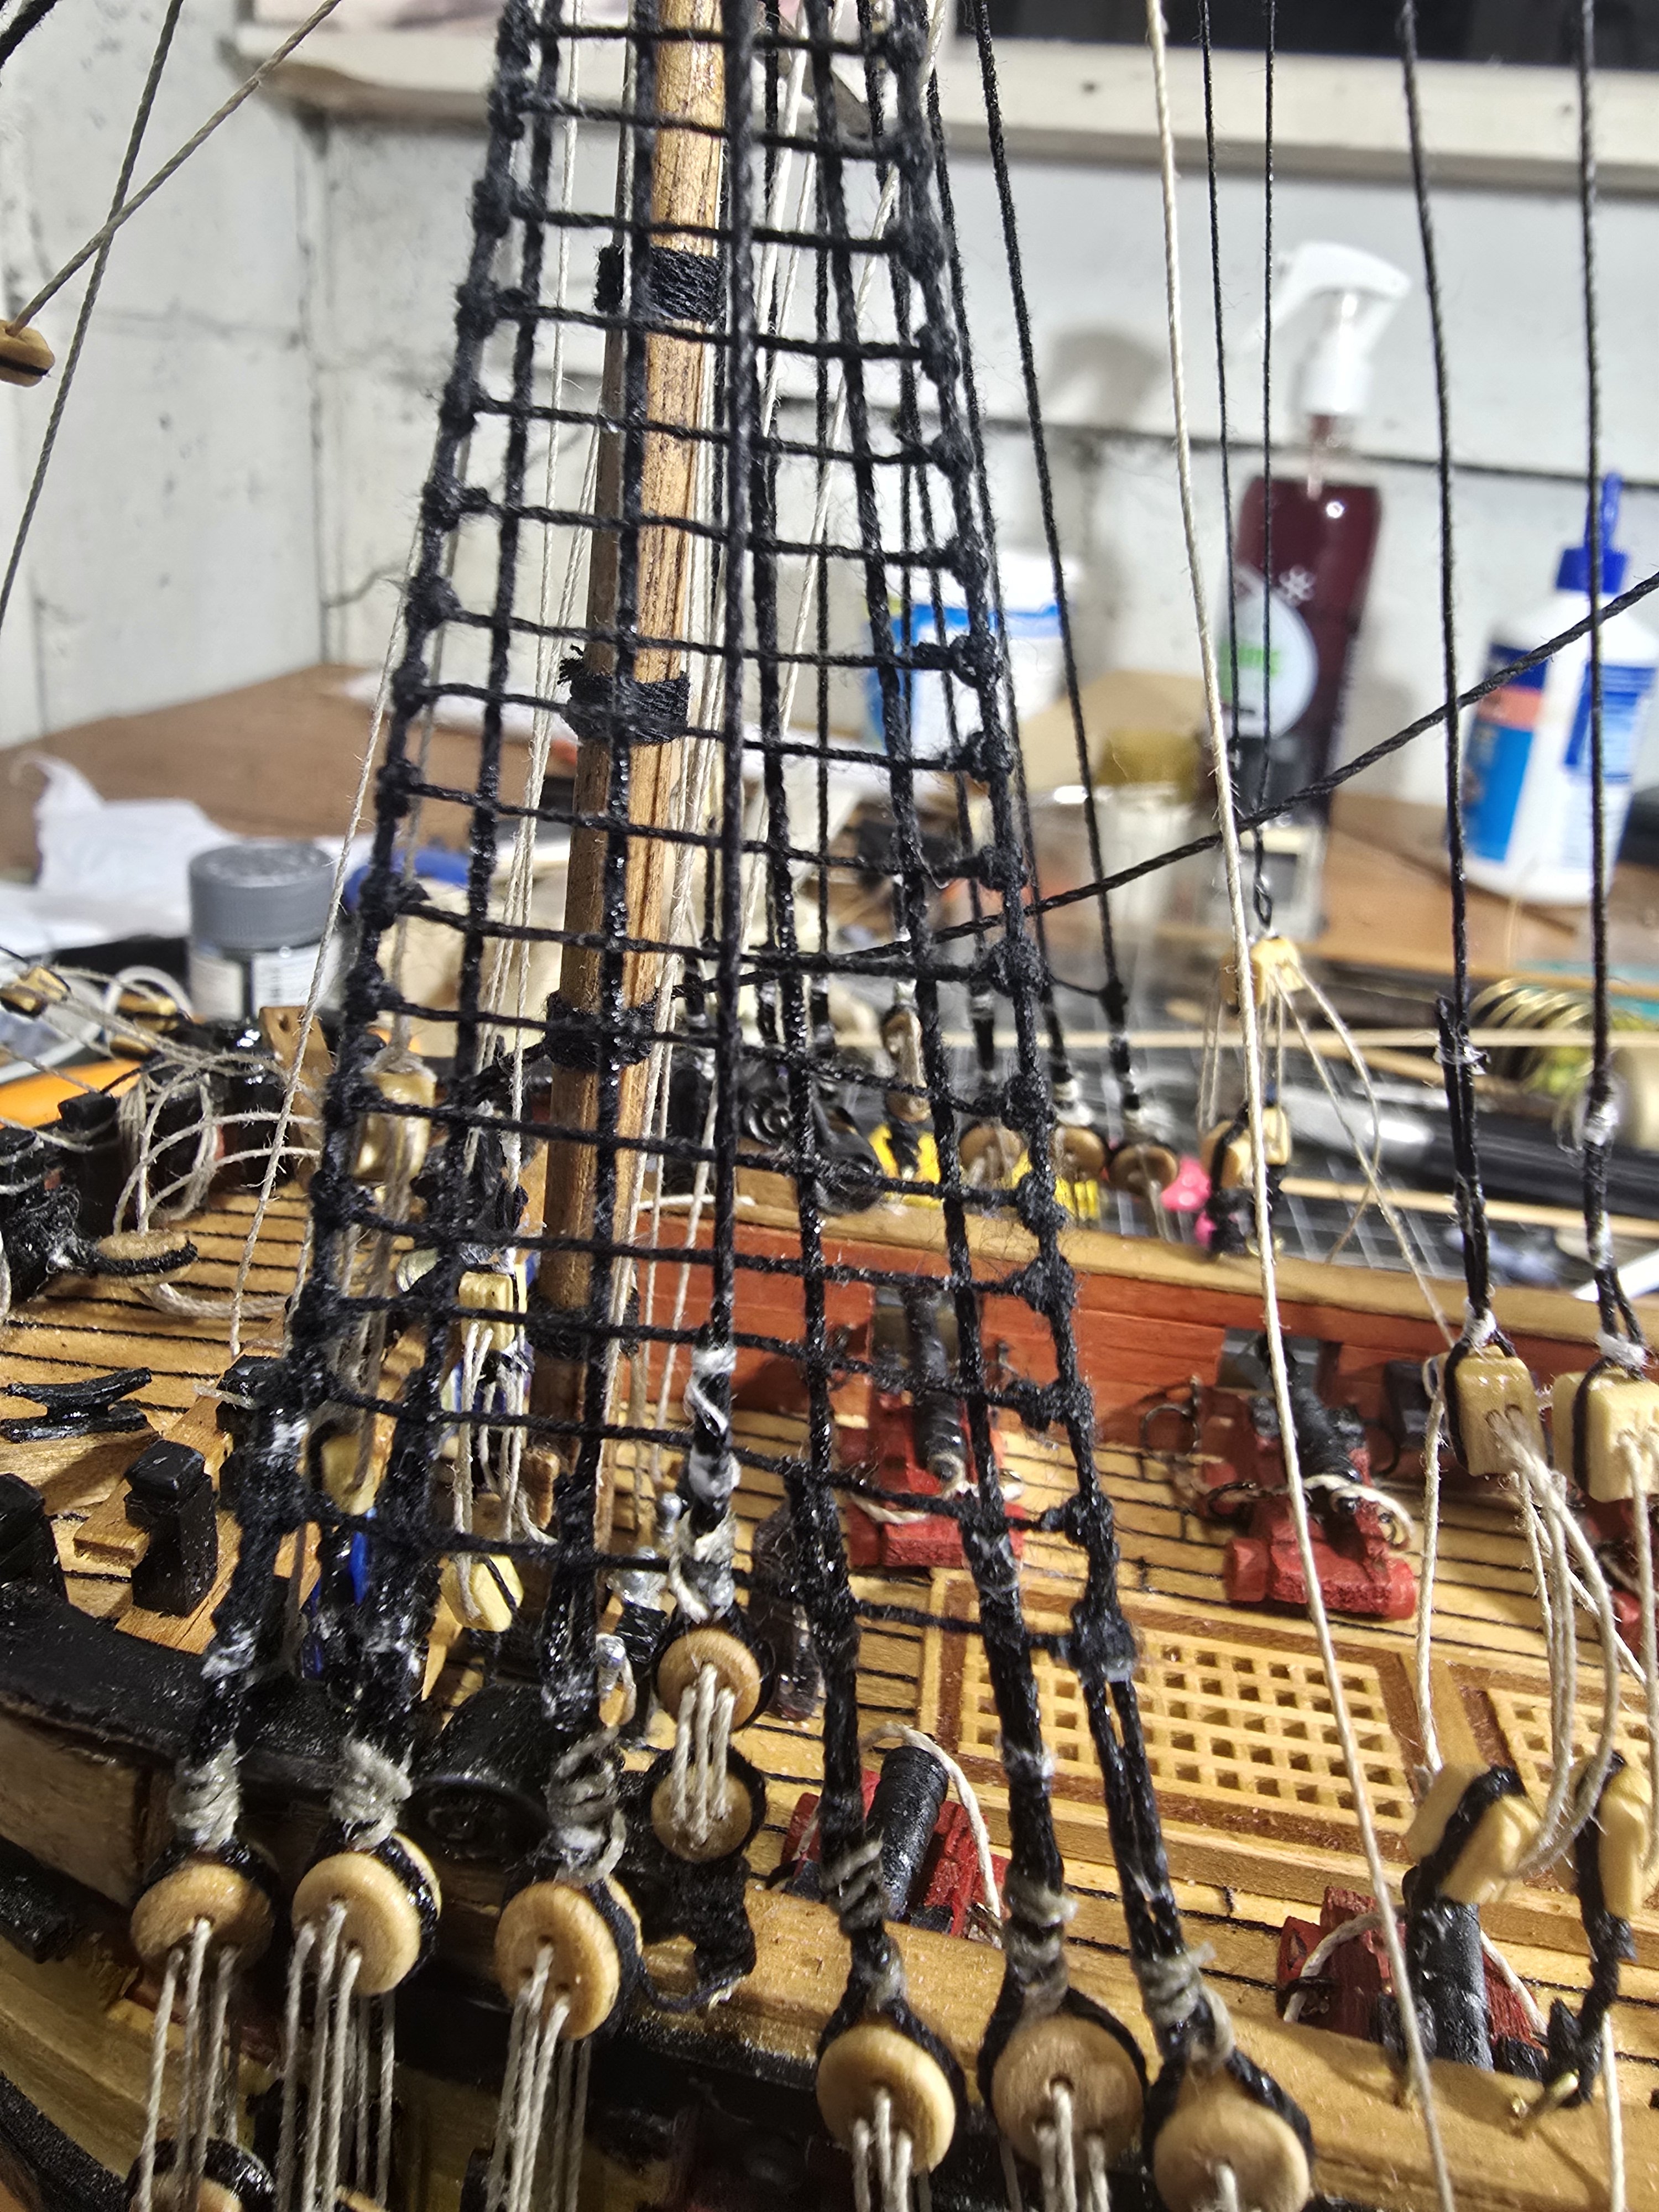
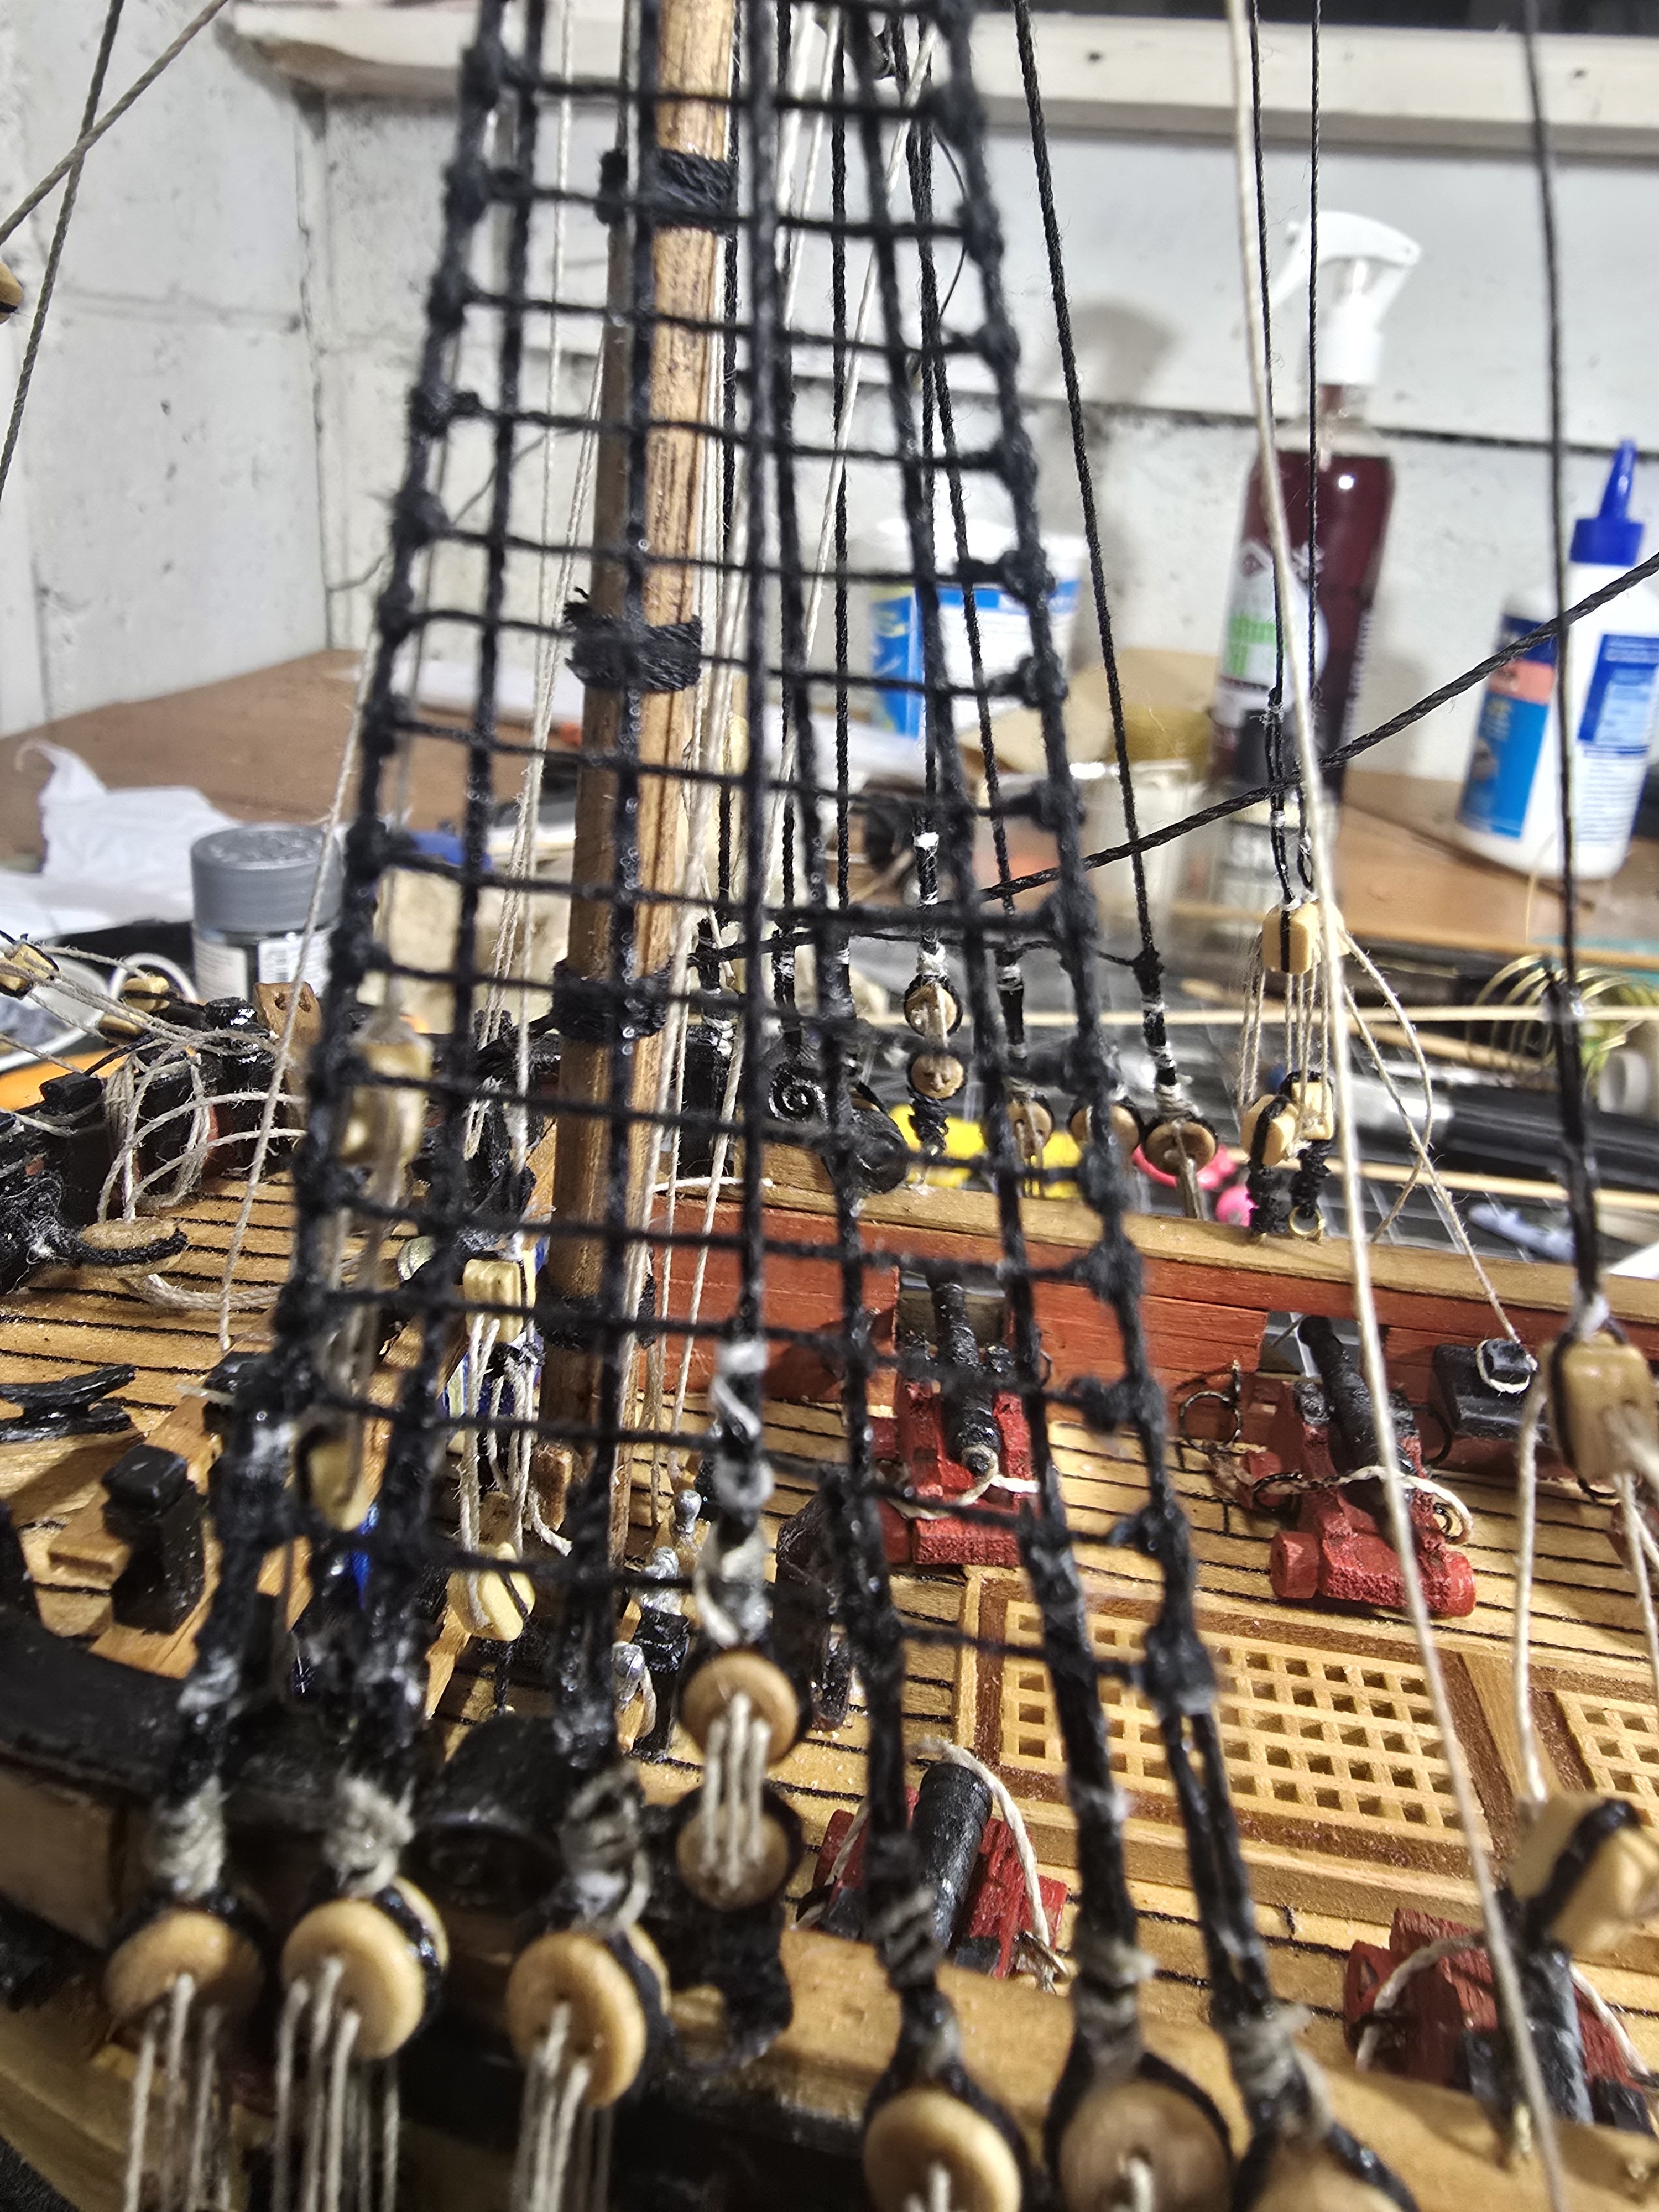
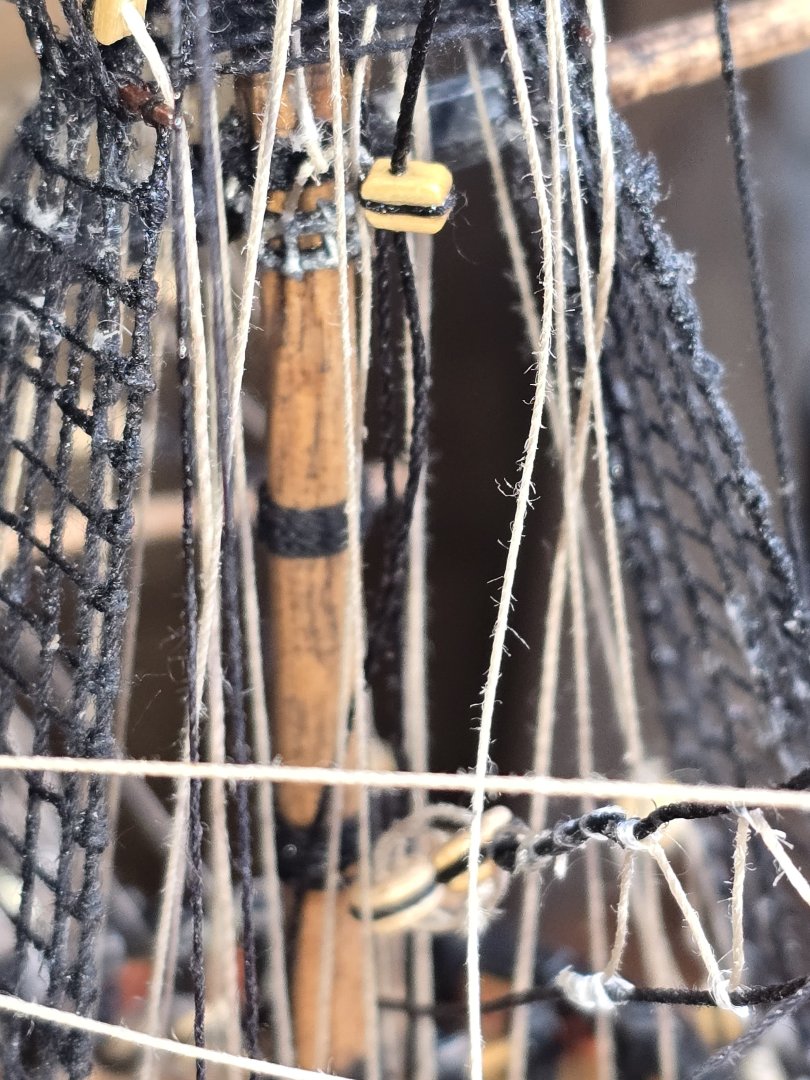
Ive done the port side ratlines using the method recommended for scales 1/100 which is not to tie each ratlone on each shroud but juat glue them on with ca. I seized one end of the ratline to the outmost shroud then using the guide reverse seized it to the other shroud and pulled it tight. I know some people like to have the ratlines sag in the middle but im happy with the straight look i achieved. I also added the foremast carpathians for the 1720 period which is seized to one shroud and zig zag across to the outmost shroud. Fiddly as buggery but i can see the light at the end of the tunnel for the foremast. Ratlines on the starboard side and then start seizing the shroud pairs onto the main mast.


-
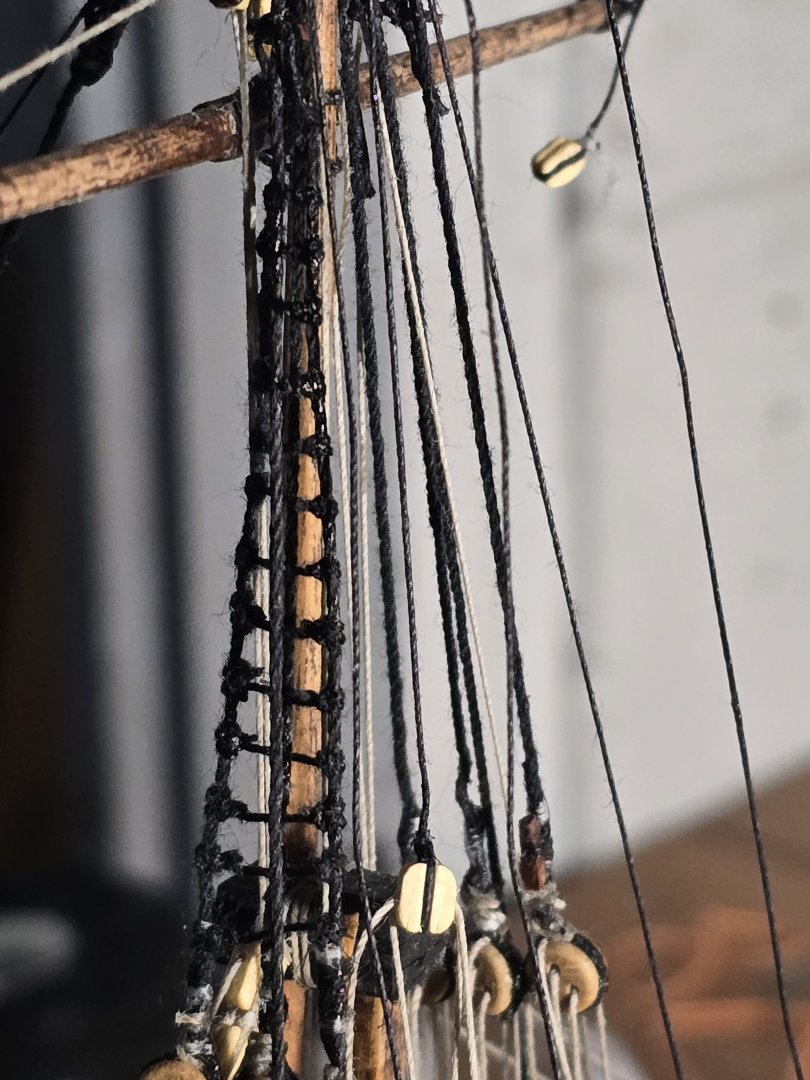
The first ratline
-
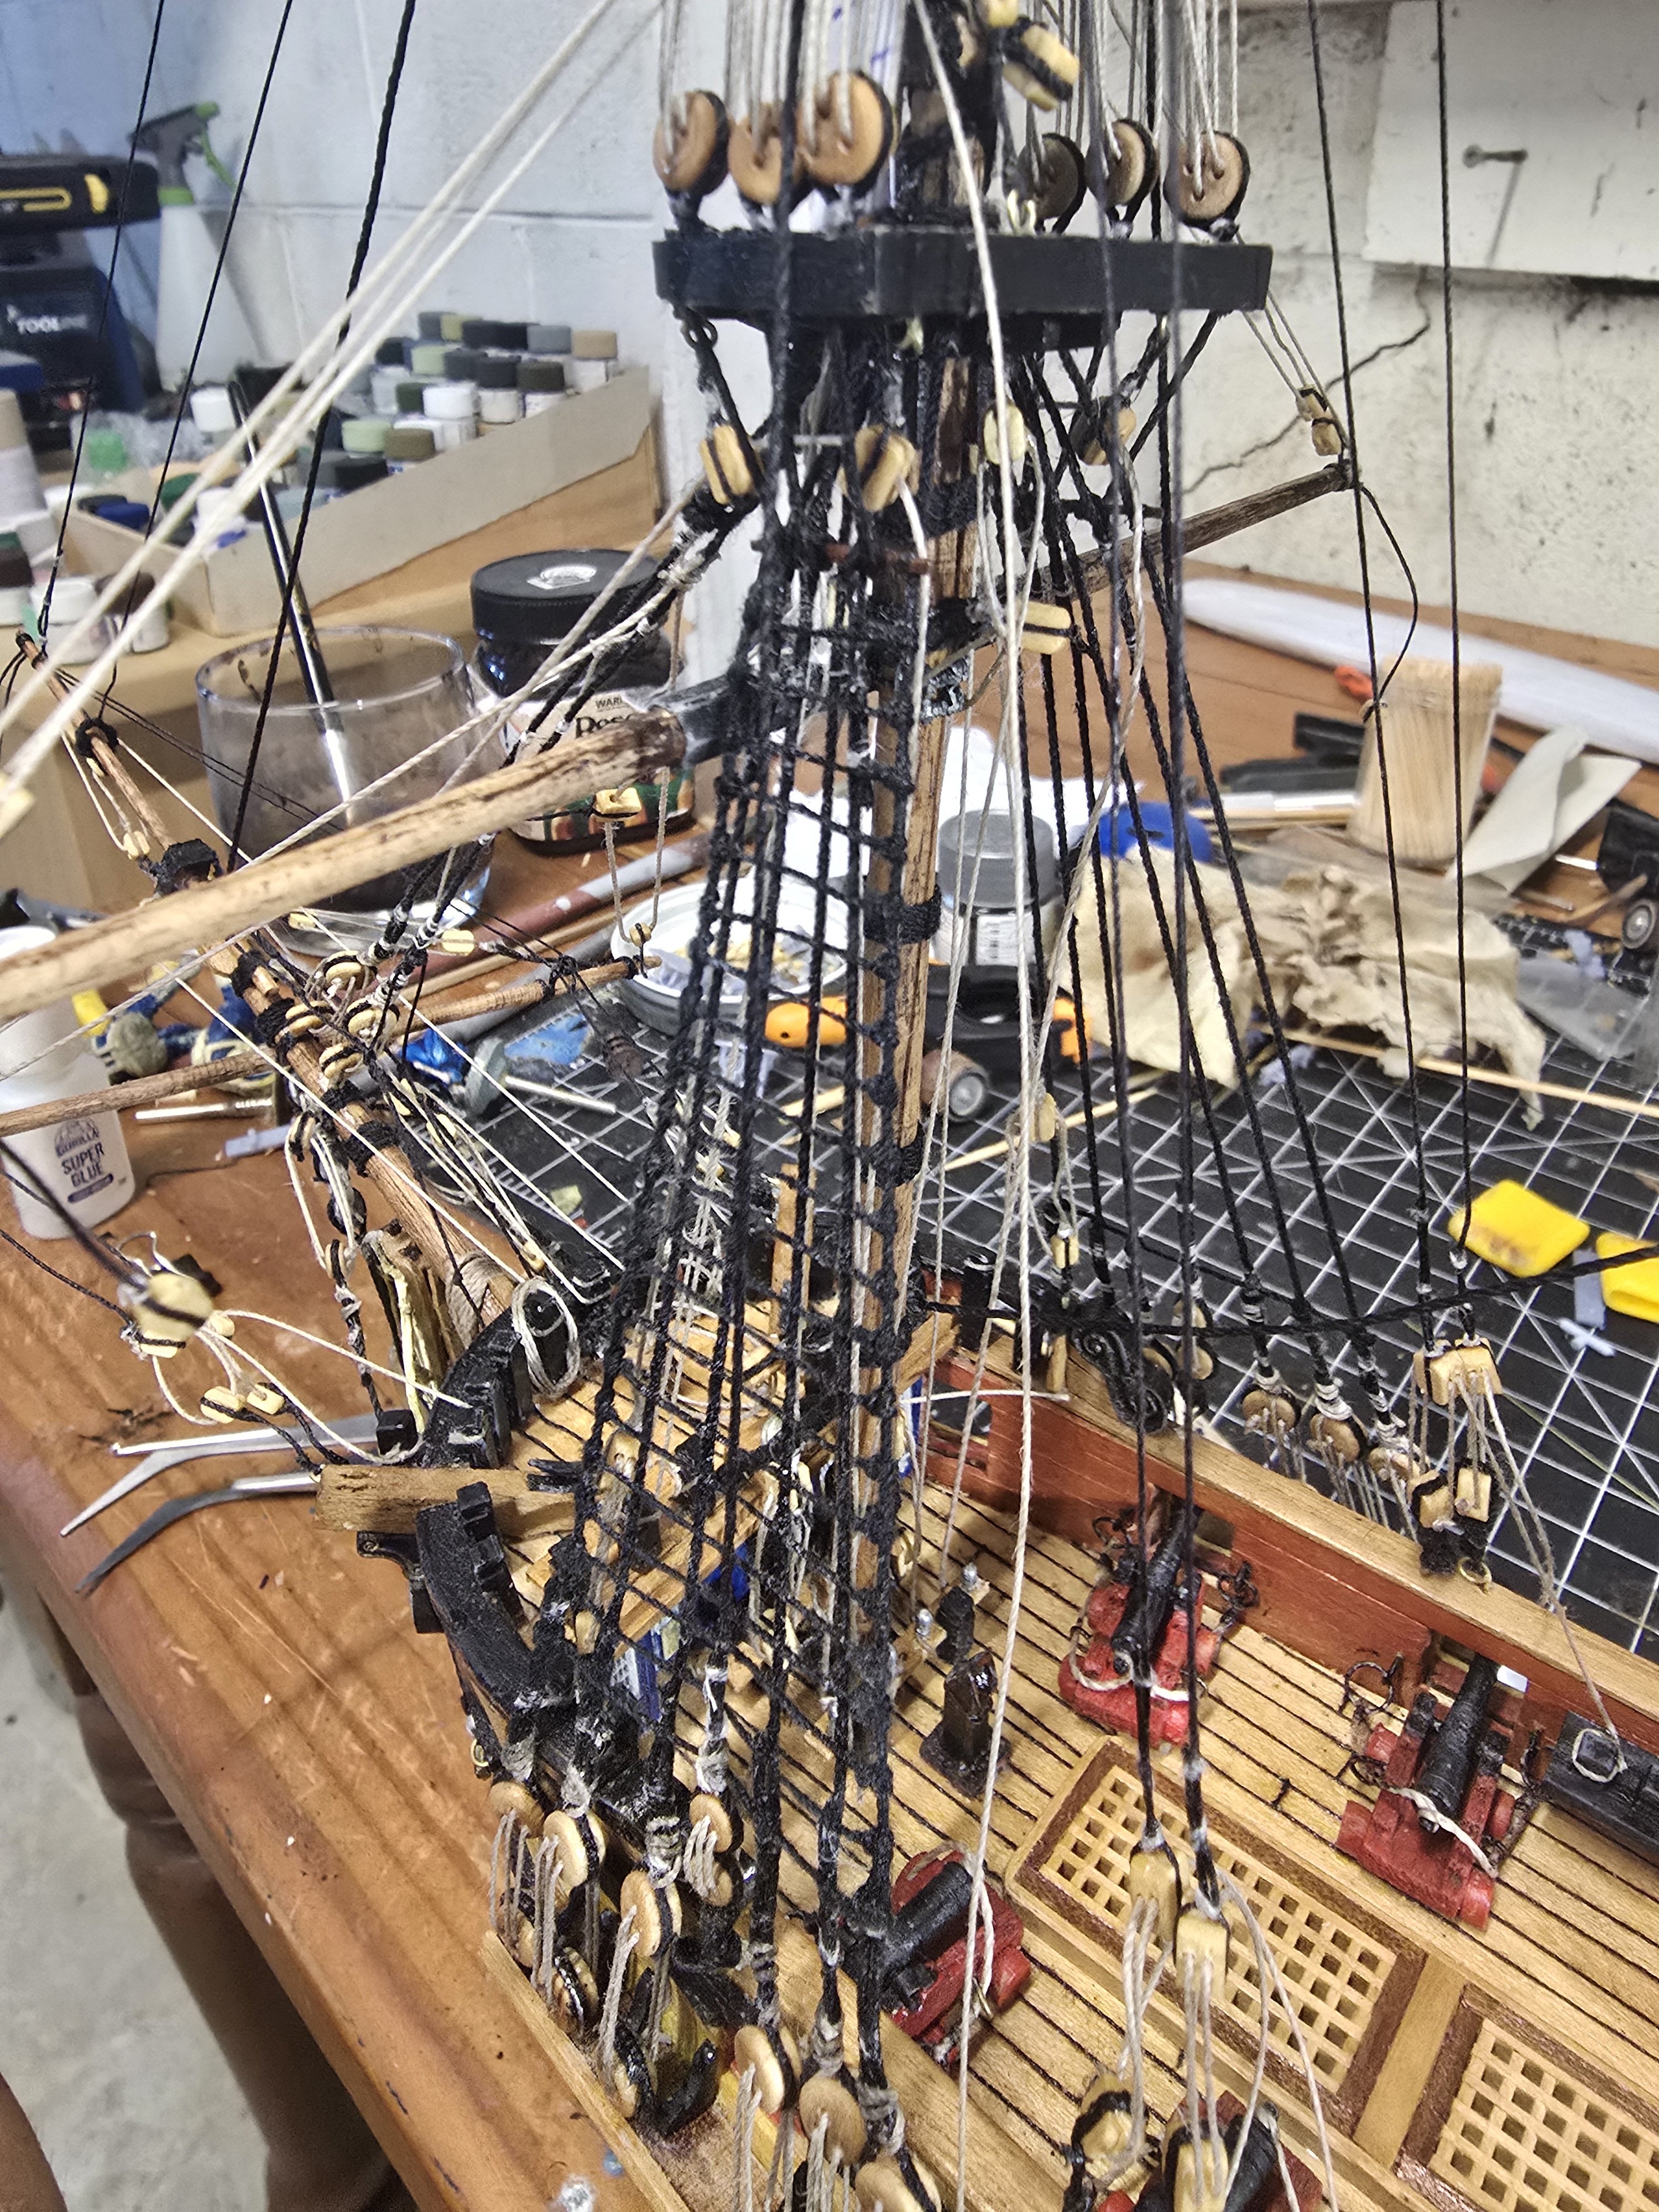
I managed to fix it by just cutting the binding cords and then ripping it off the block. But because it was too short i had to bind a extra bit on. It doesnt look that good but best i can do... im moving on as sooo much to do and loosing patience. I put on the fore top gallant yard, the top gallant lifts and belayed onto a shroud cleat... small and so cute Im basically done with the fore mast, except for the catharpins and all the rat lines... not sure what is going to easier doing them first or last


-
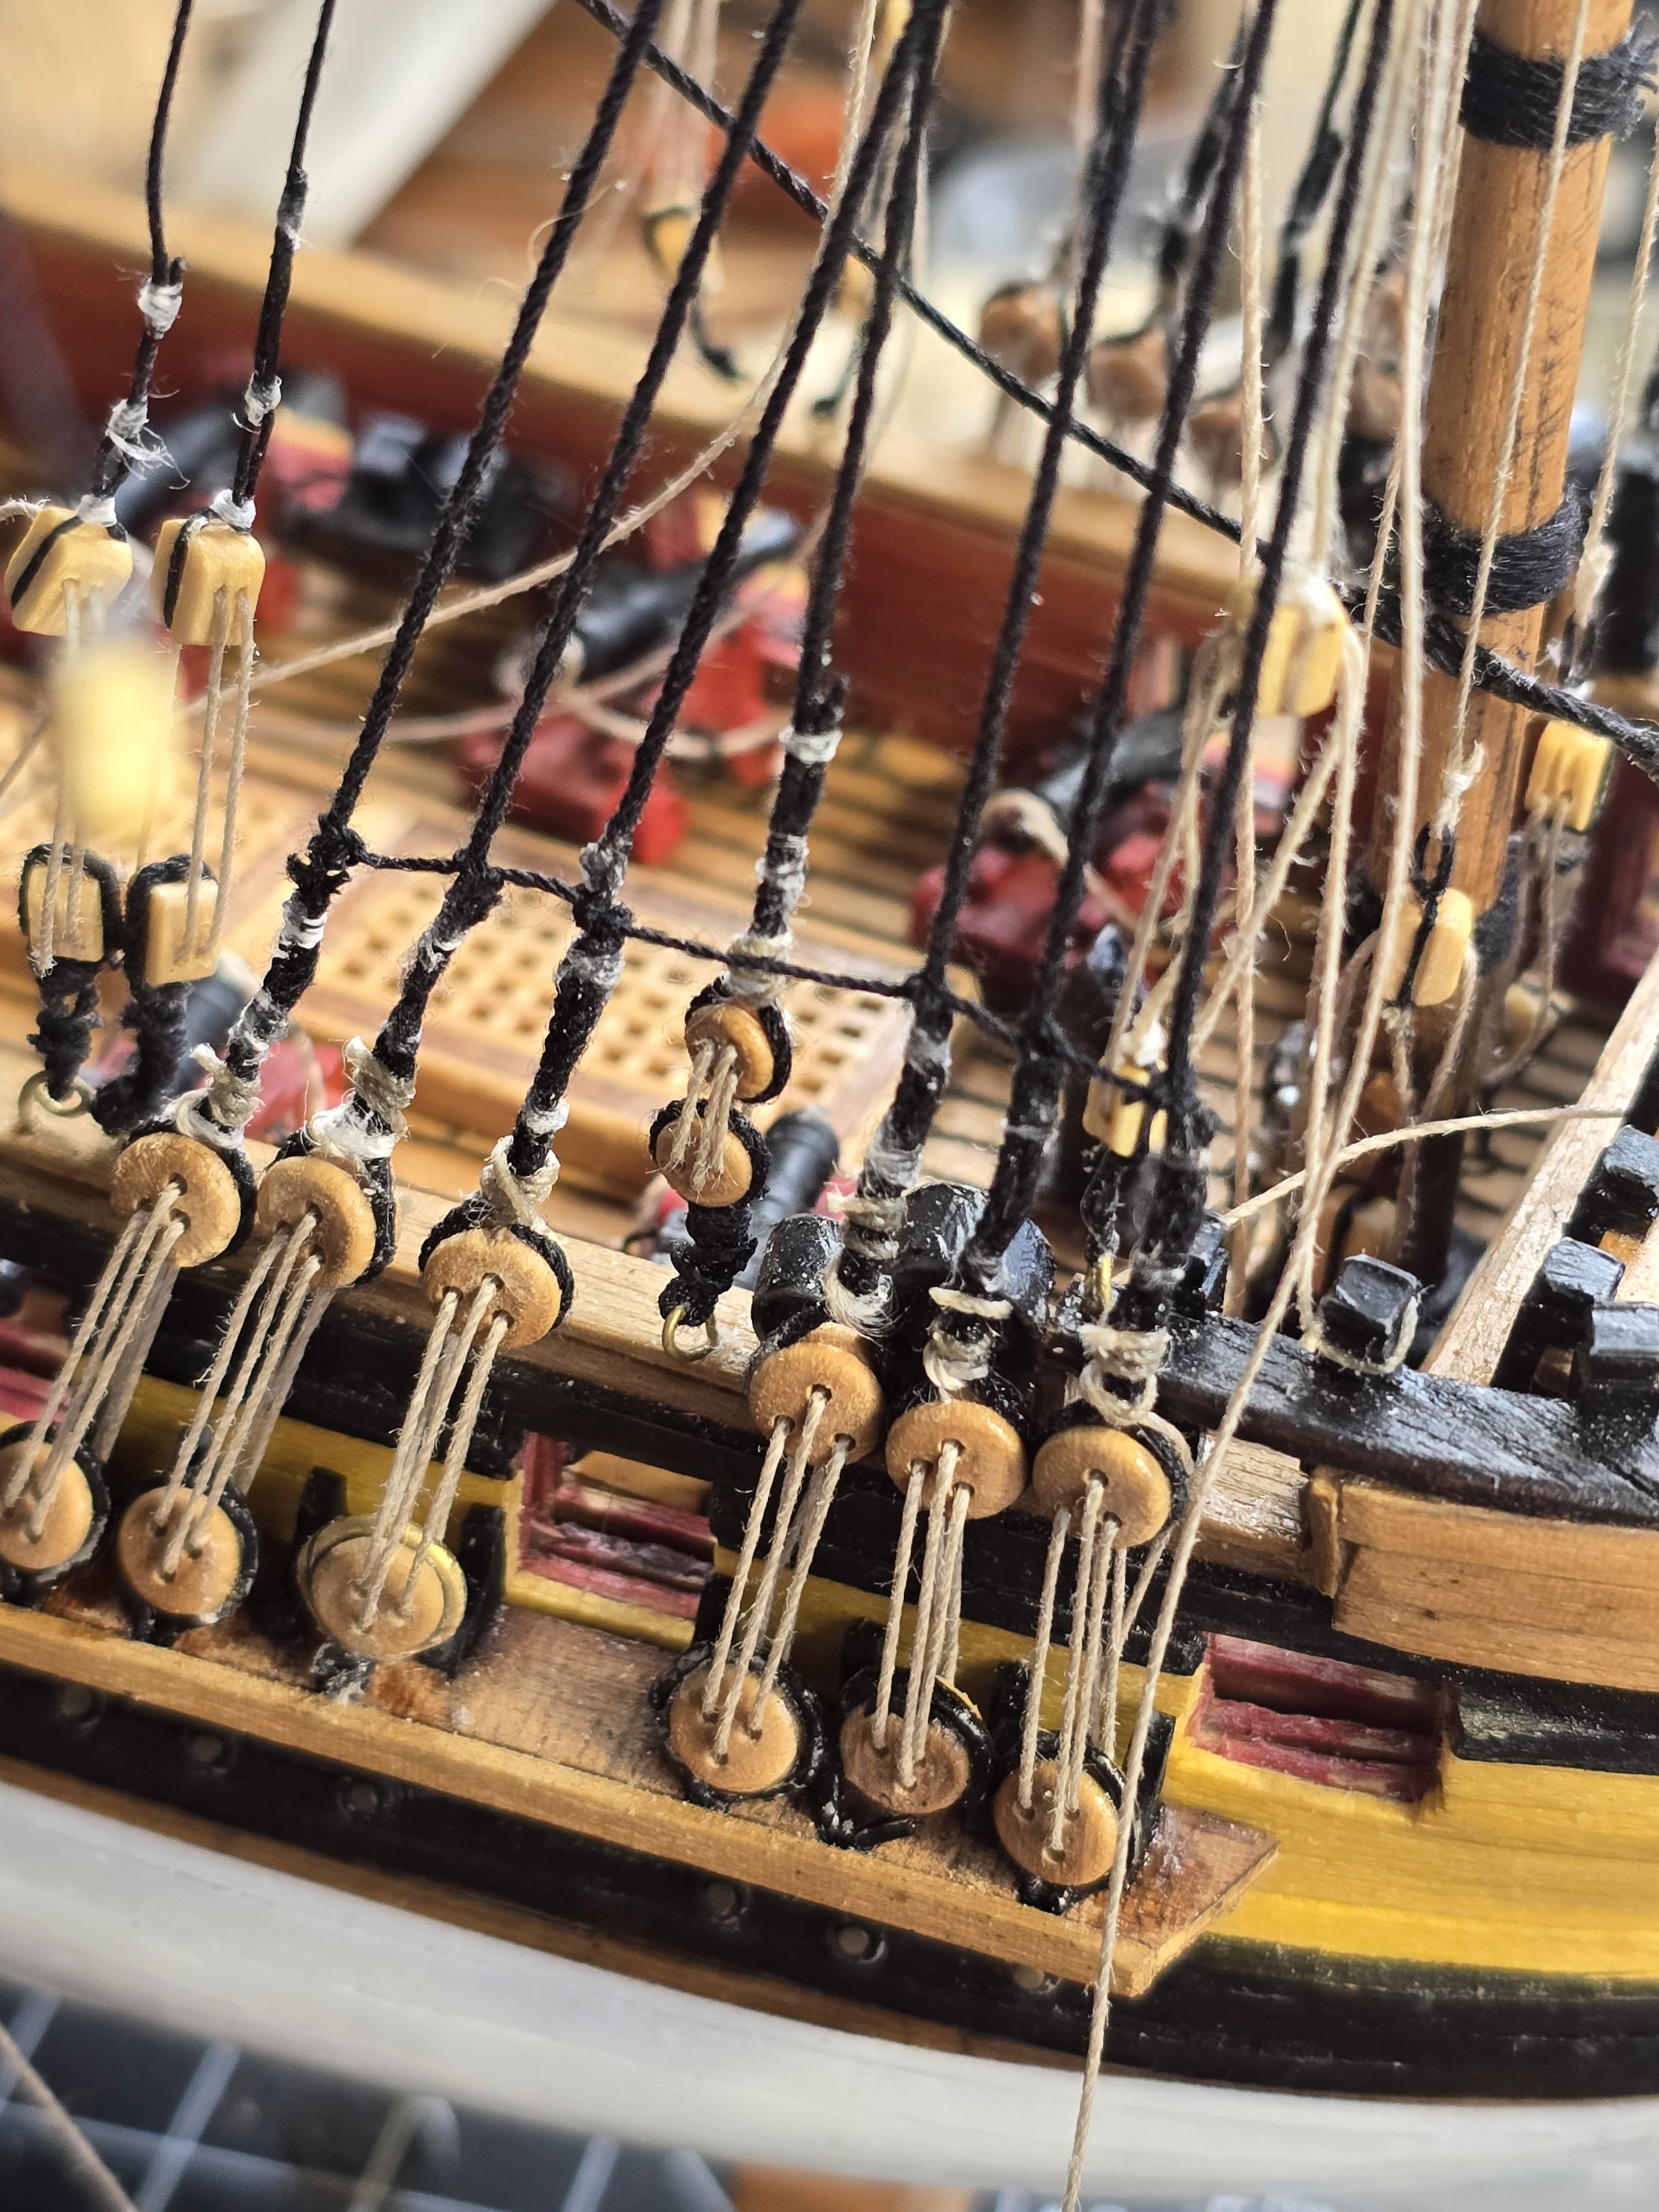
Um... help.. what do you do to fix this?all my shroud loops are on the mast. It looks aweful with one deadeye up so far out of line. I know i need to take it off but how do i do it as ive already cut the shroud to that size. Bloody hell!!