HOLIDAY DONATION DRIVE - SUPPORT MSW - DO YOUR PART TO KEEP THIS GREAT FORUM GOING! (Only 27 donations so far out of 49,000 members - C'mon guys!)
×


Srenner
-
Posts
220 -
Joined
-
Last visited
Content Type
Profiles
Forums
Gallery
Events
Everything posted by Srenner
-
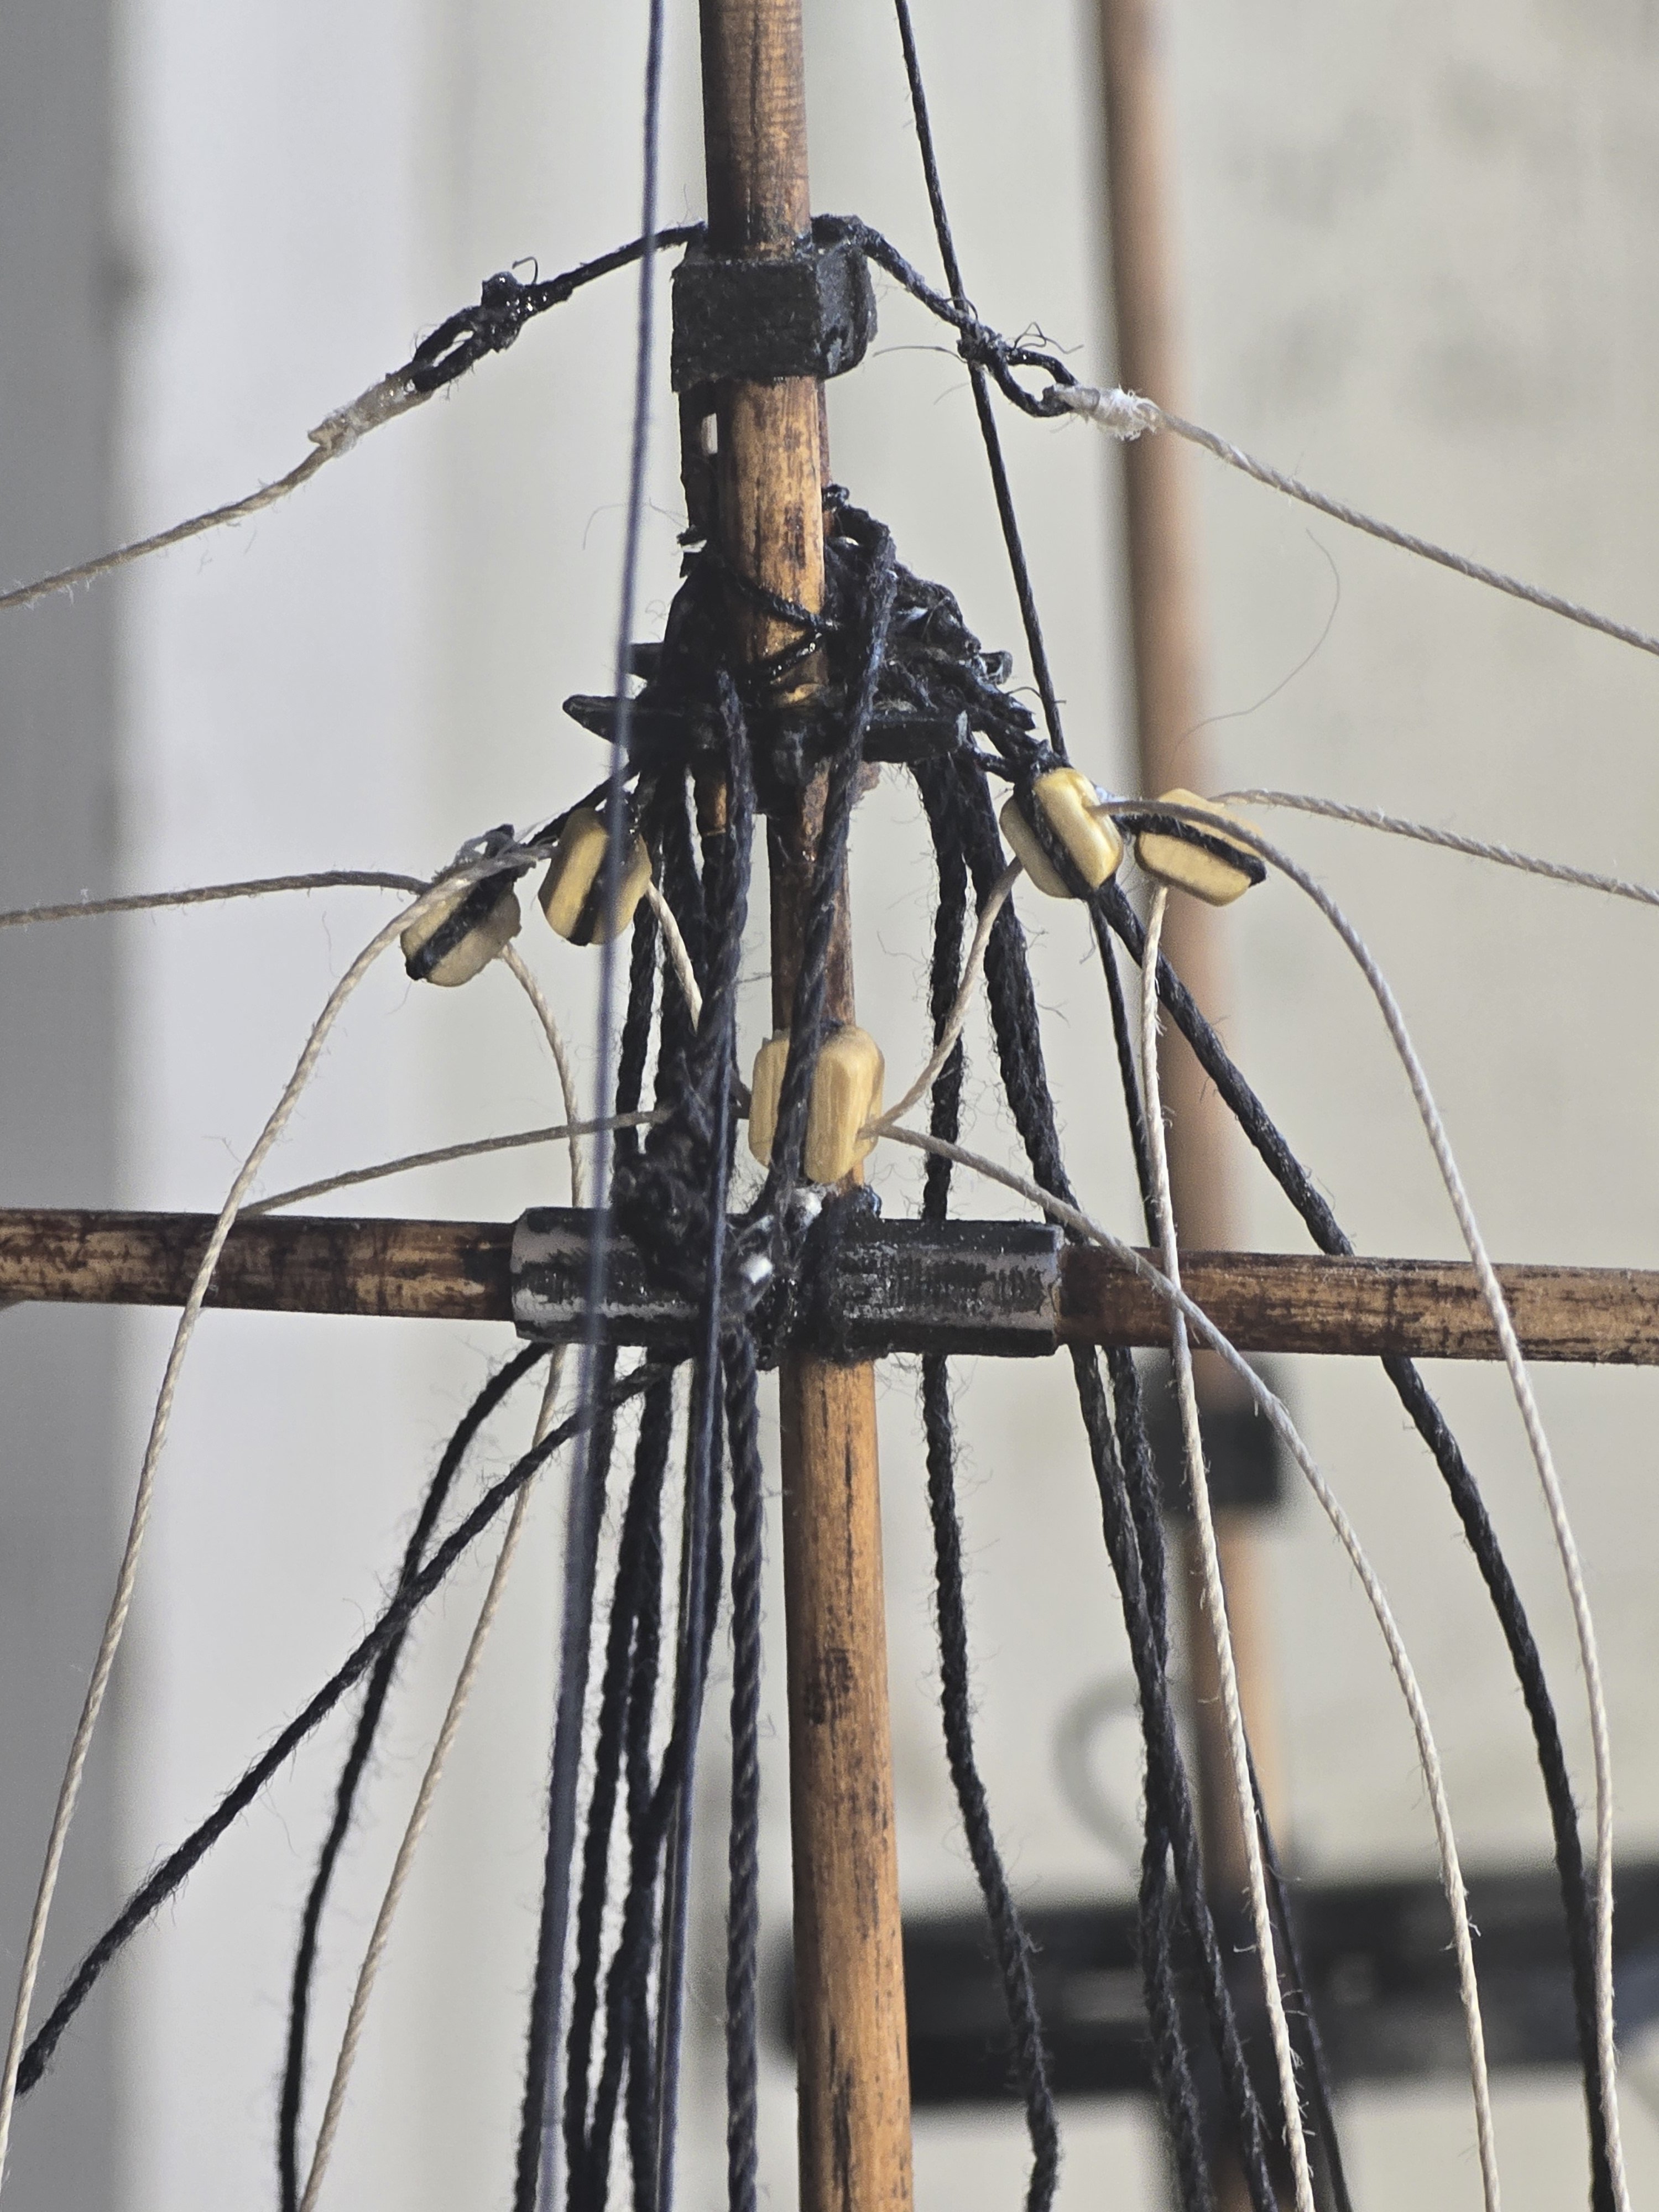
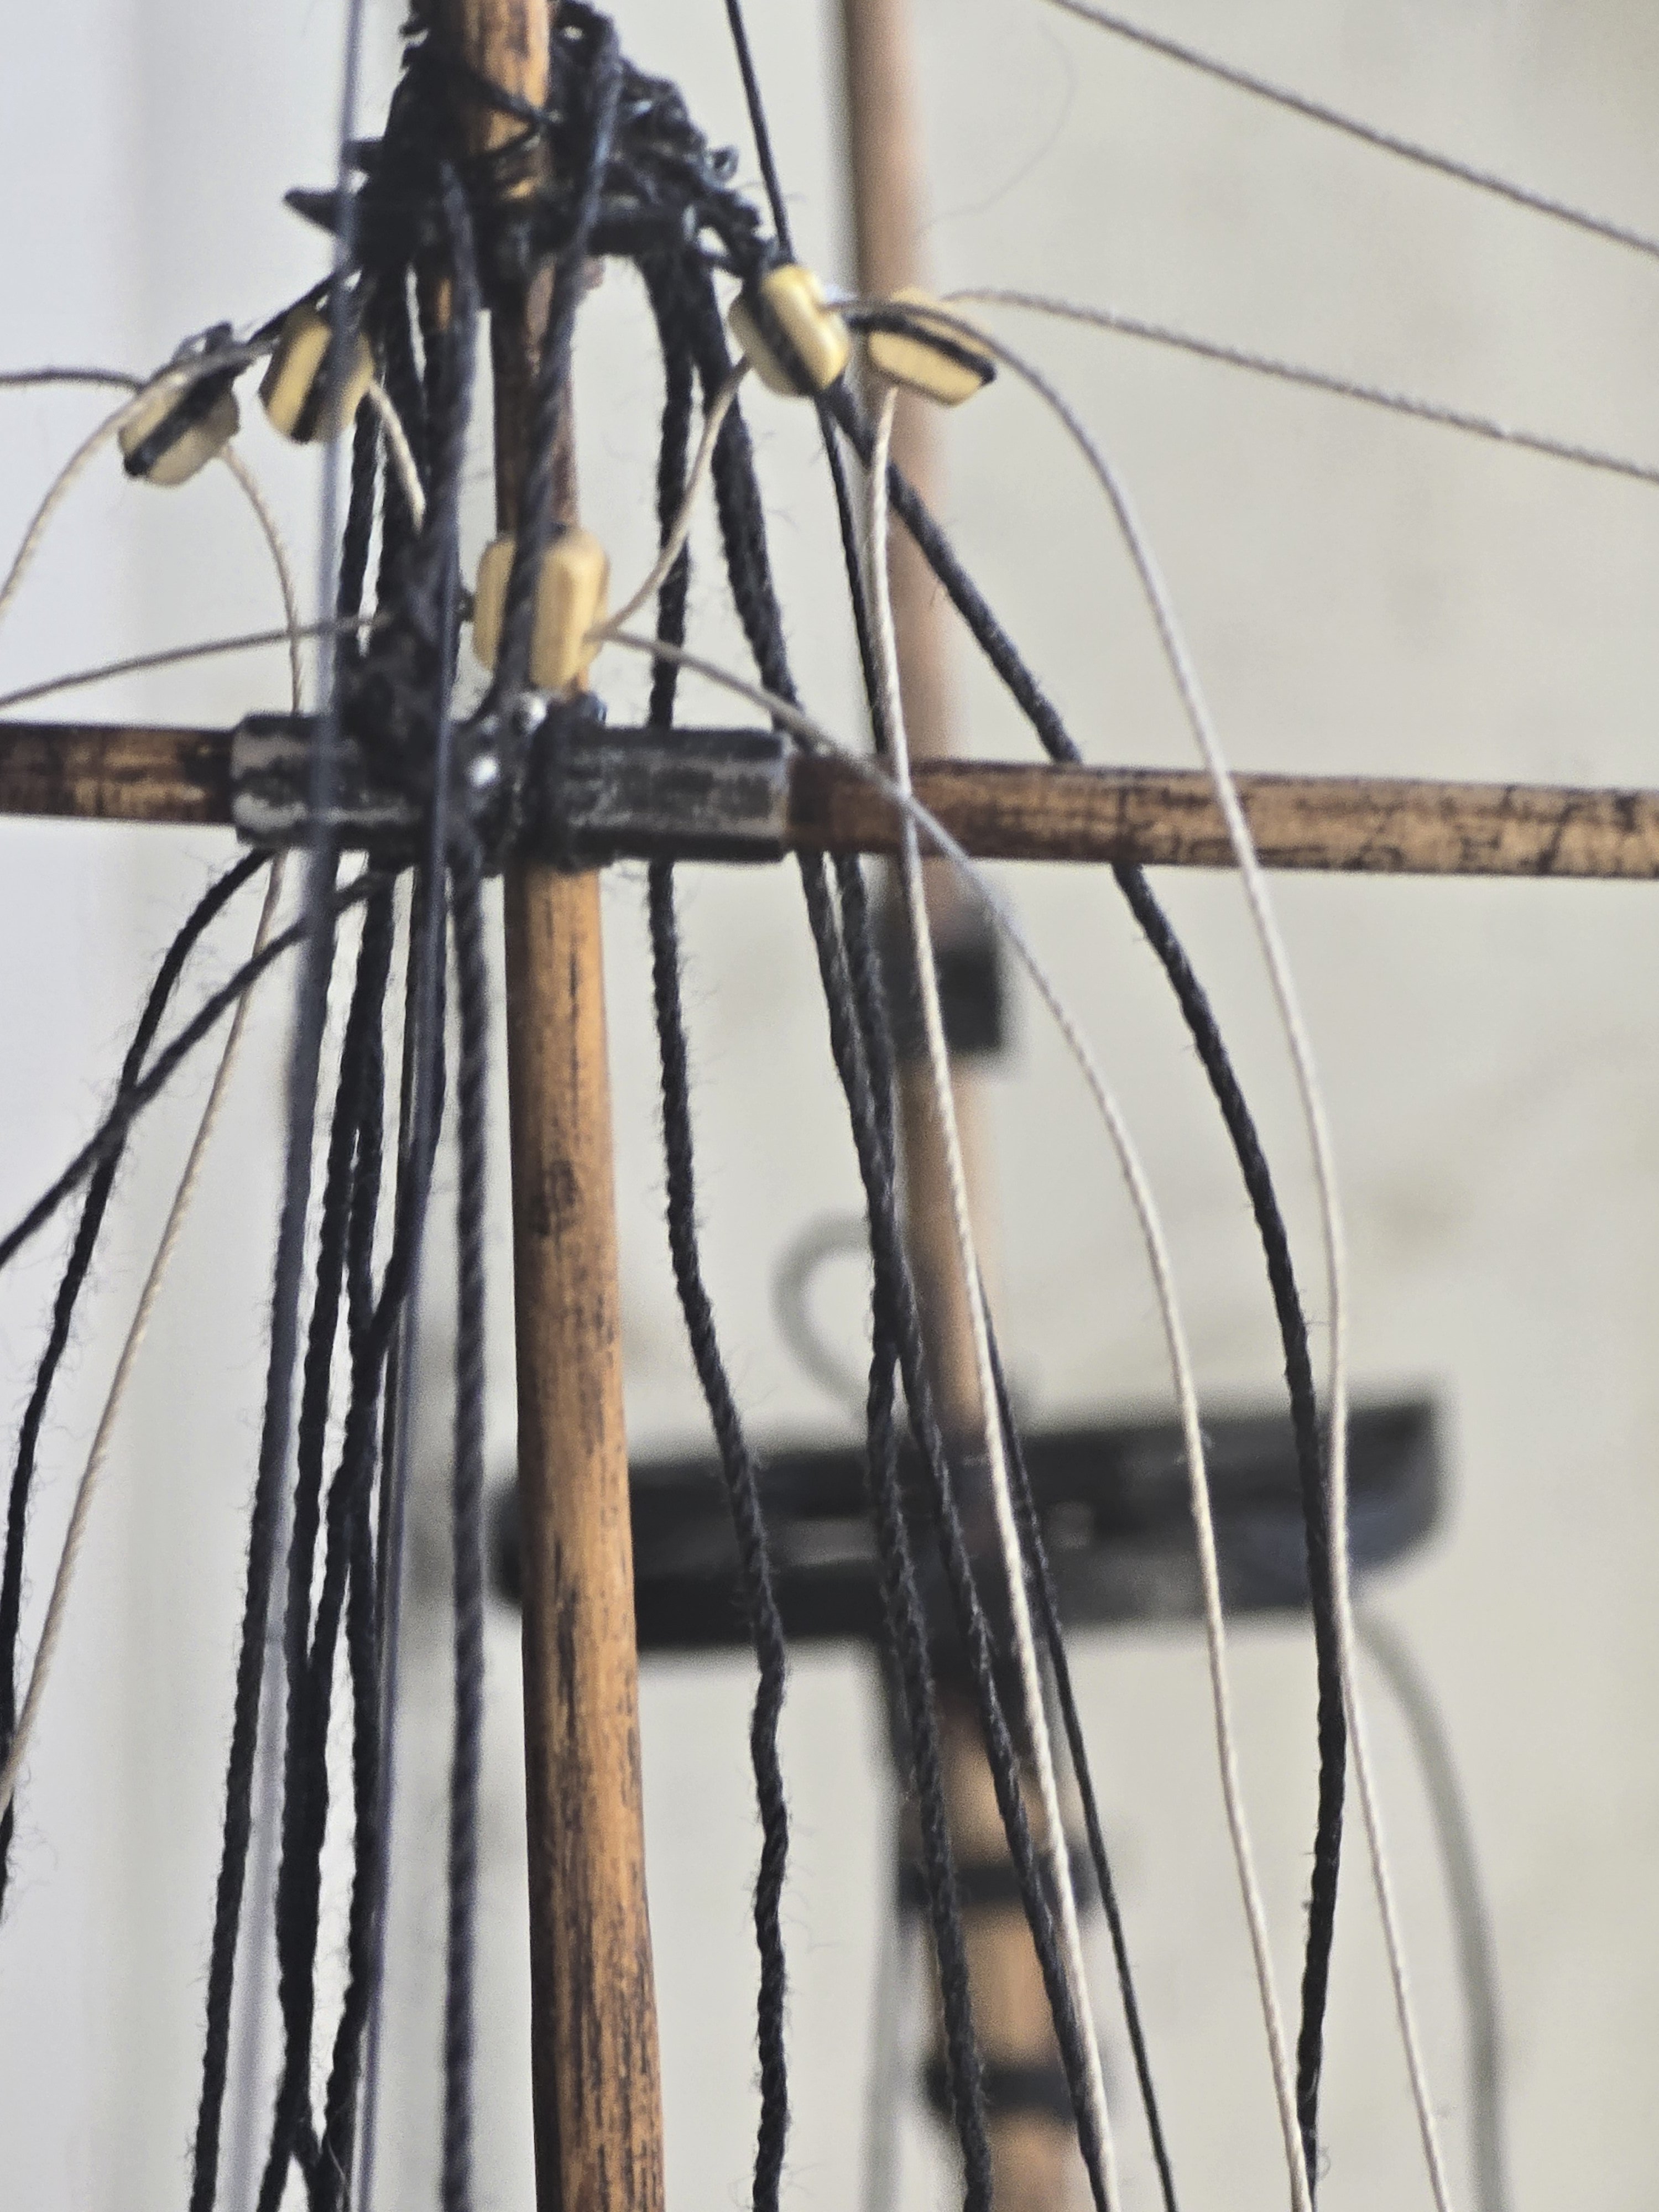
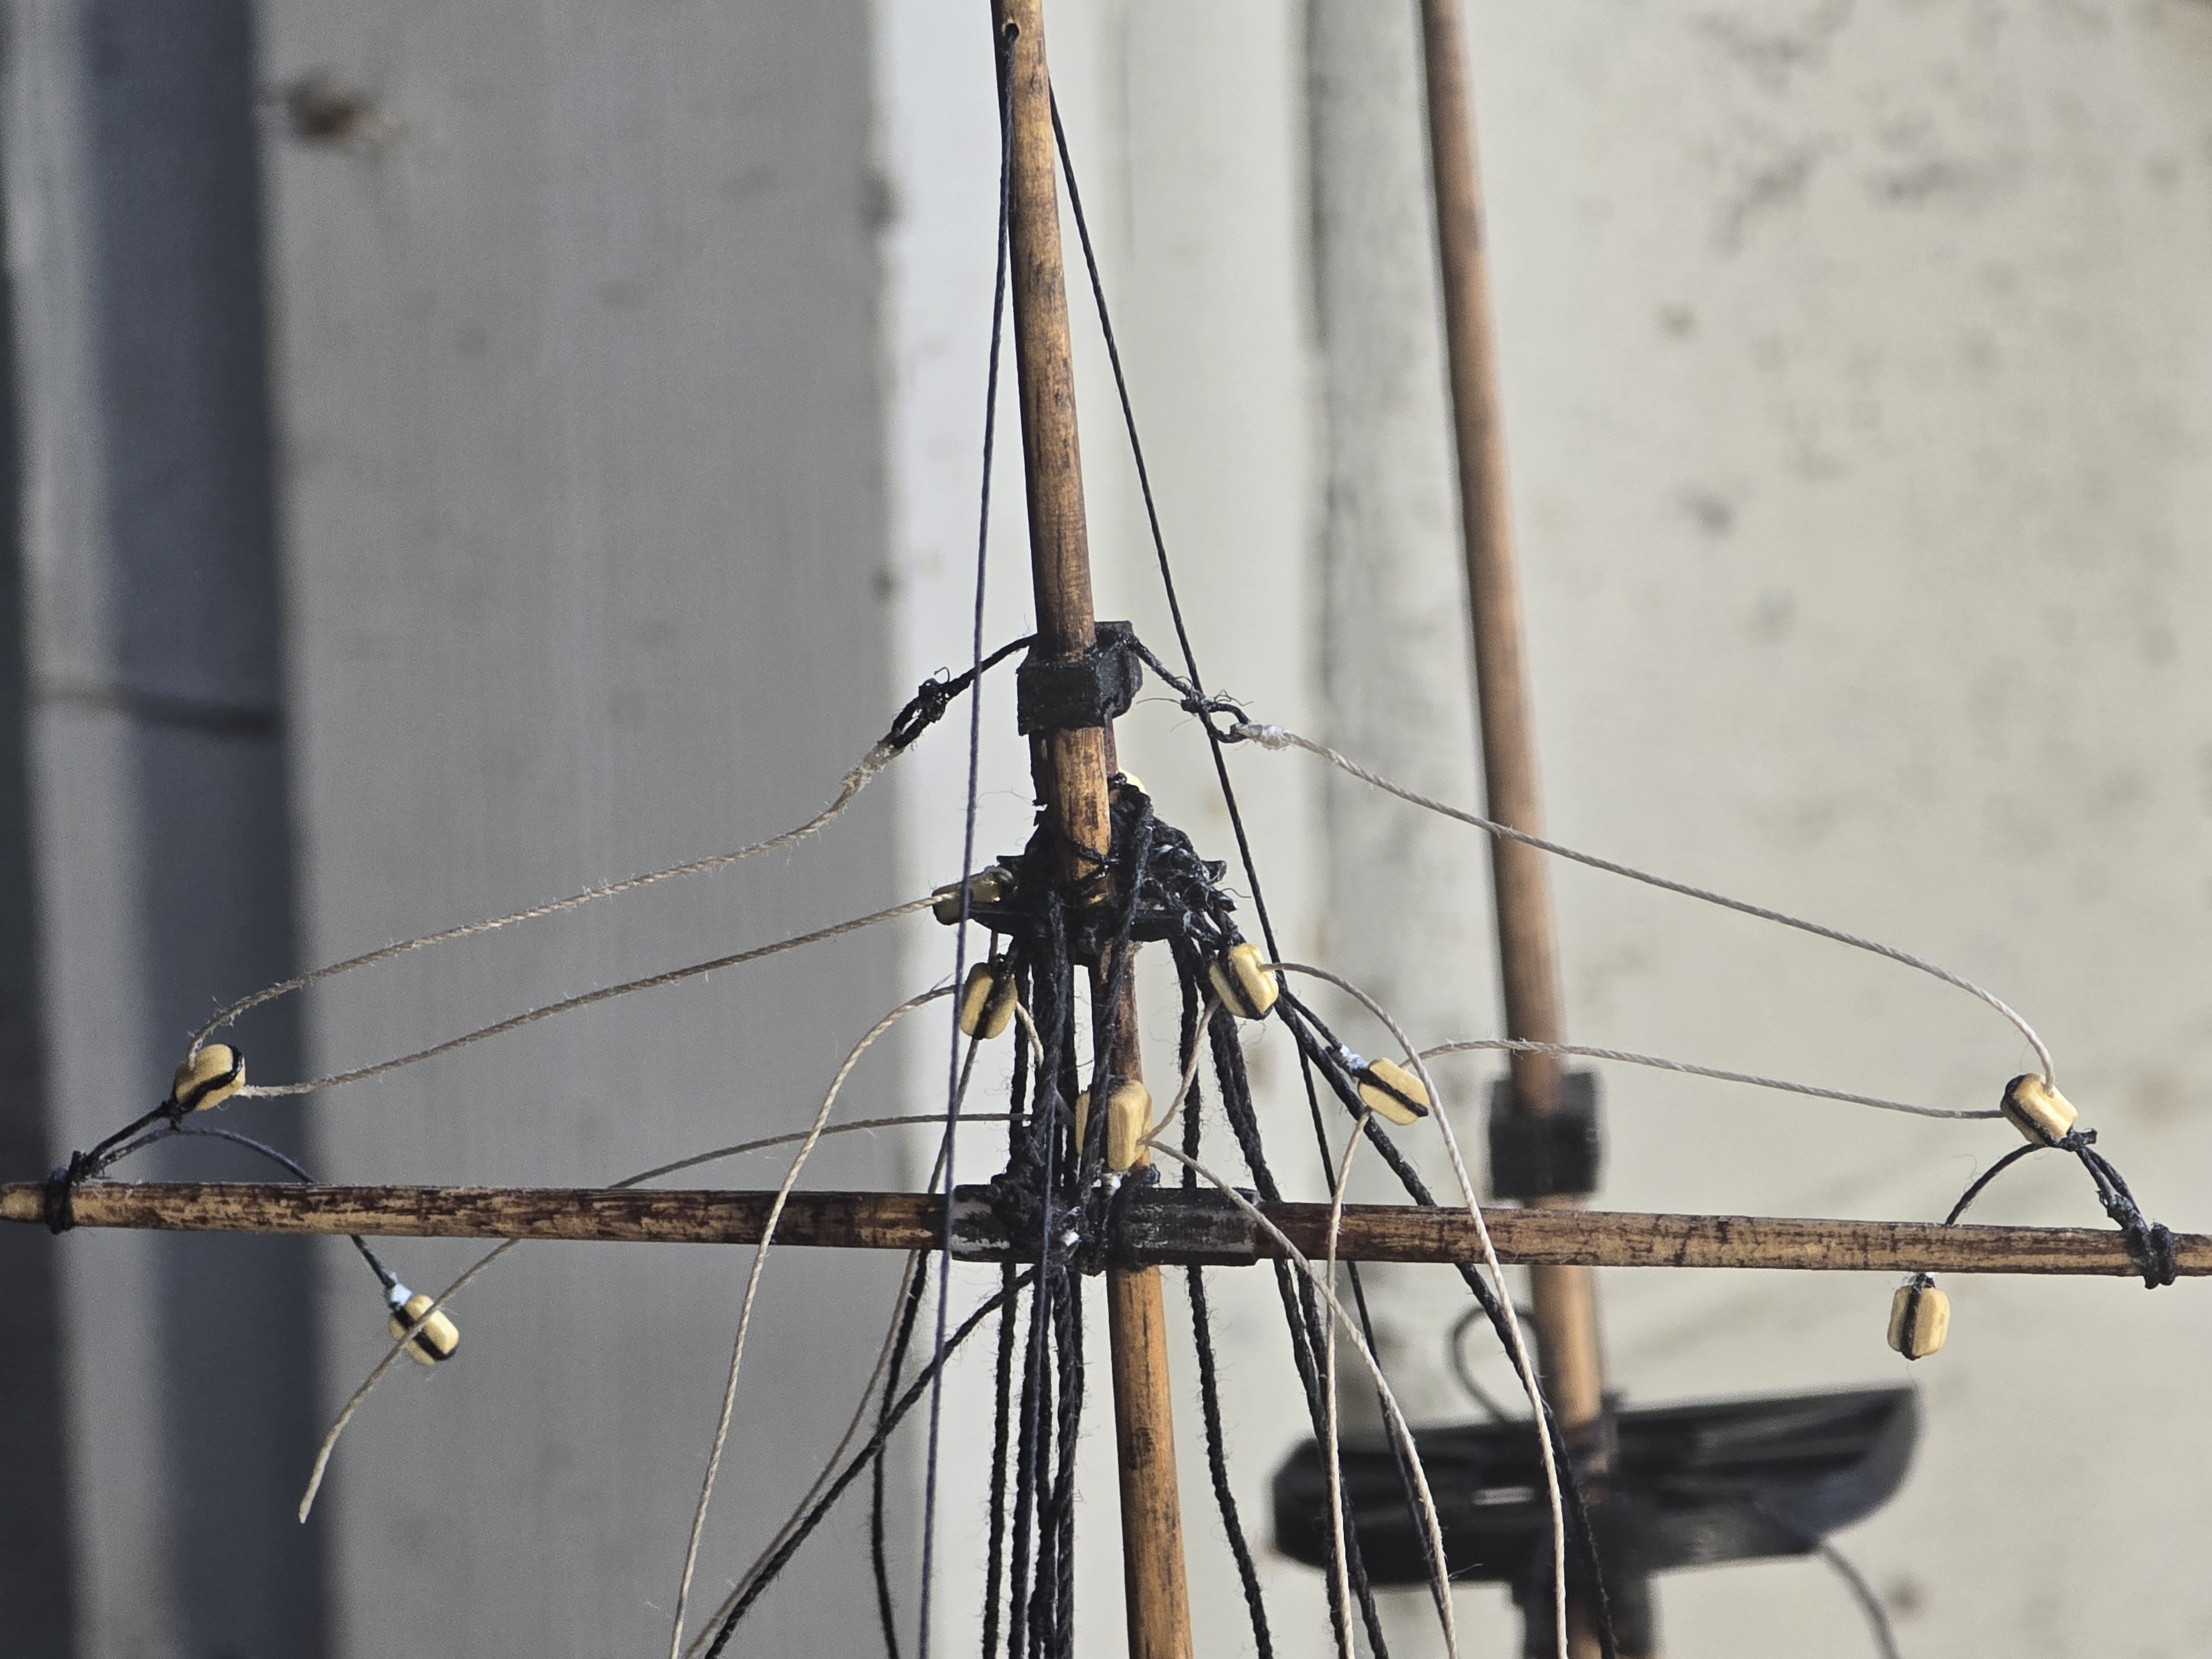
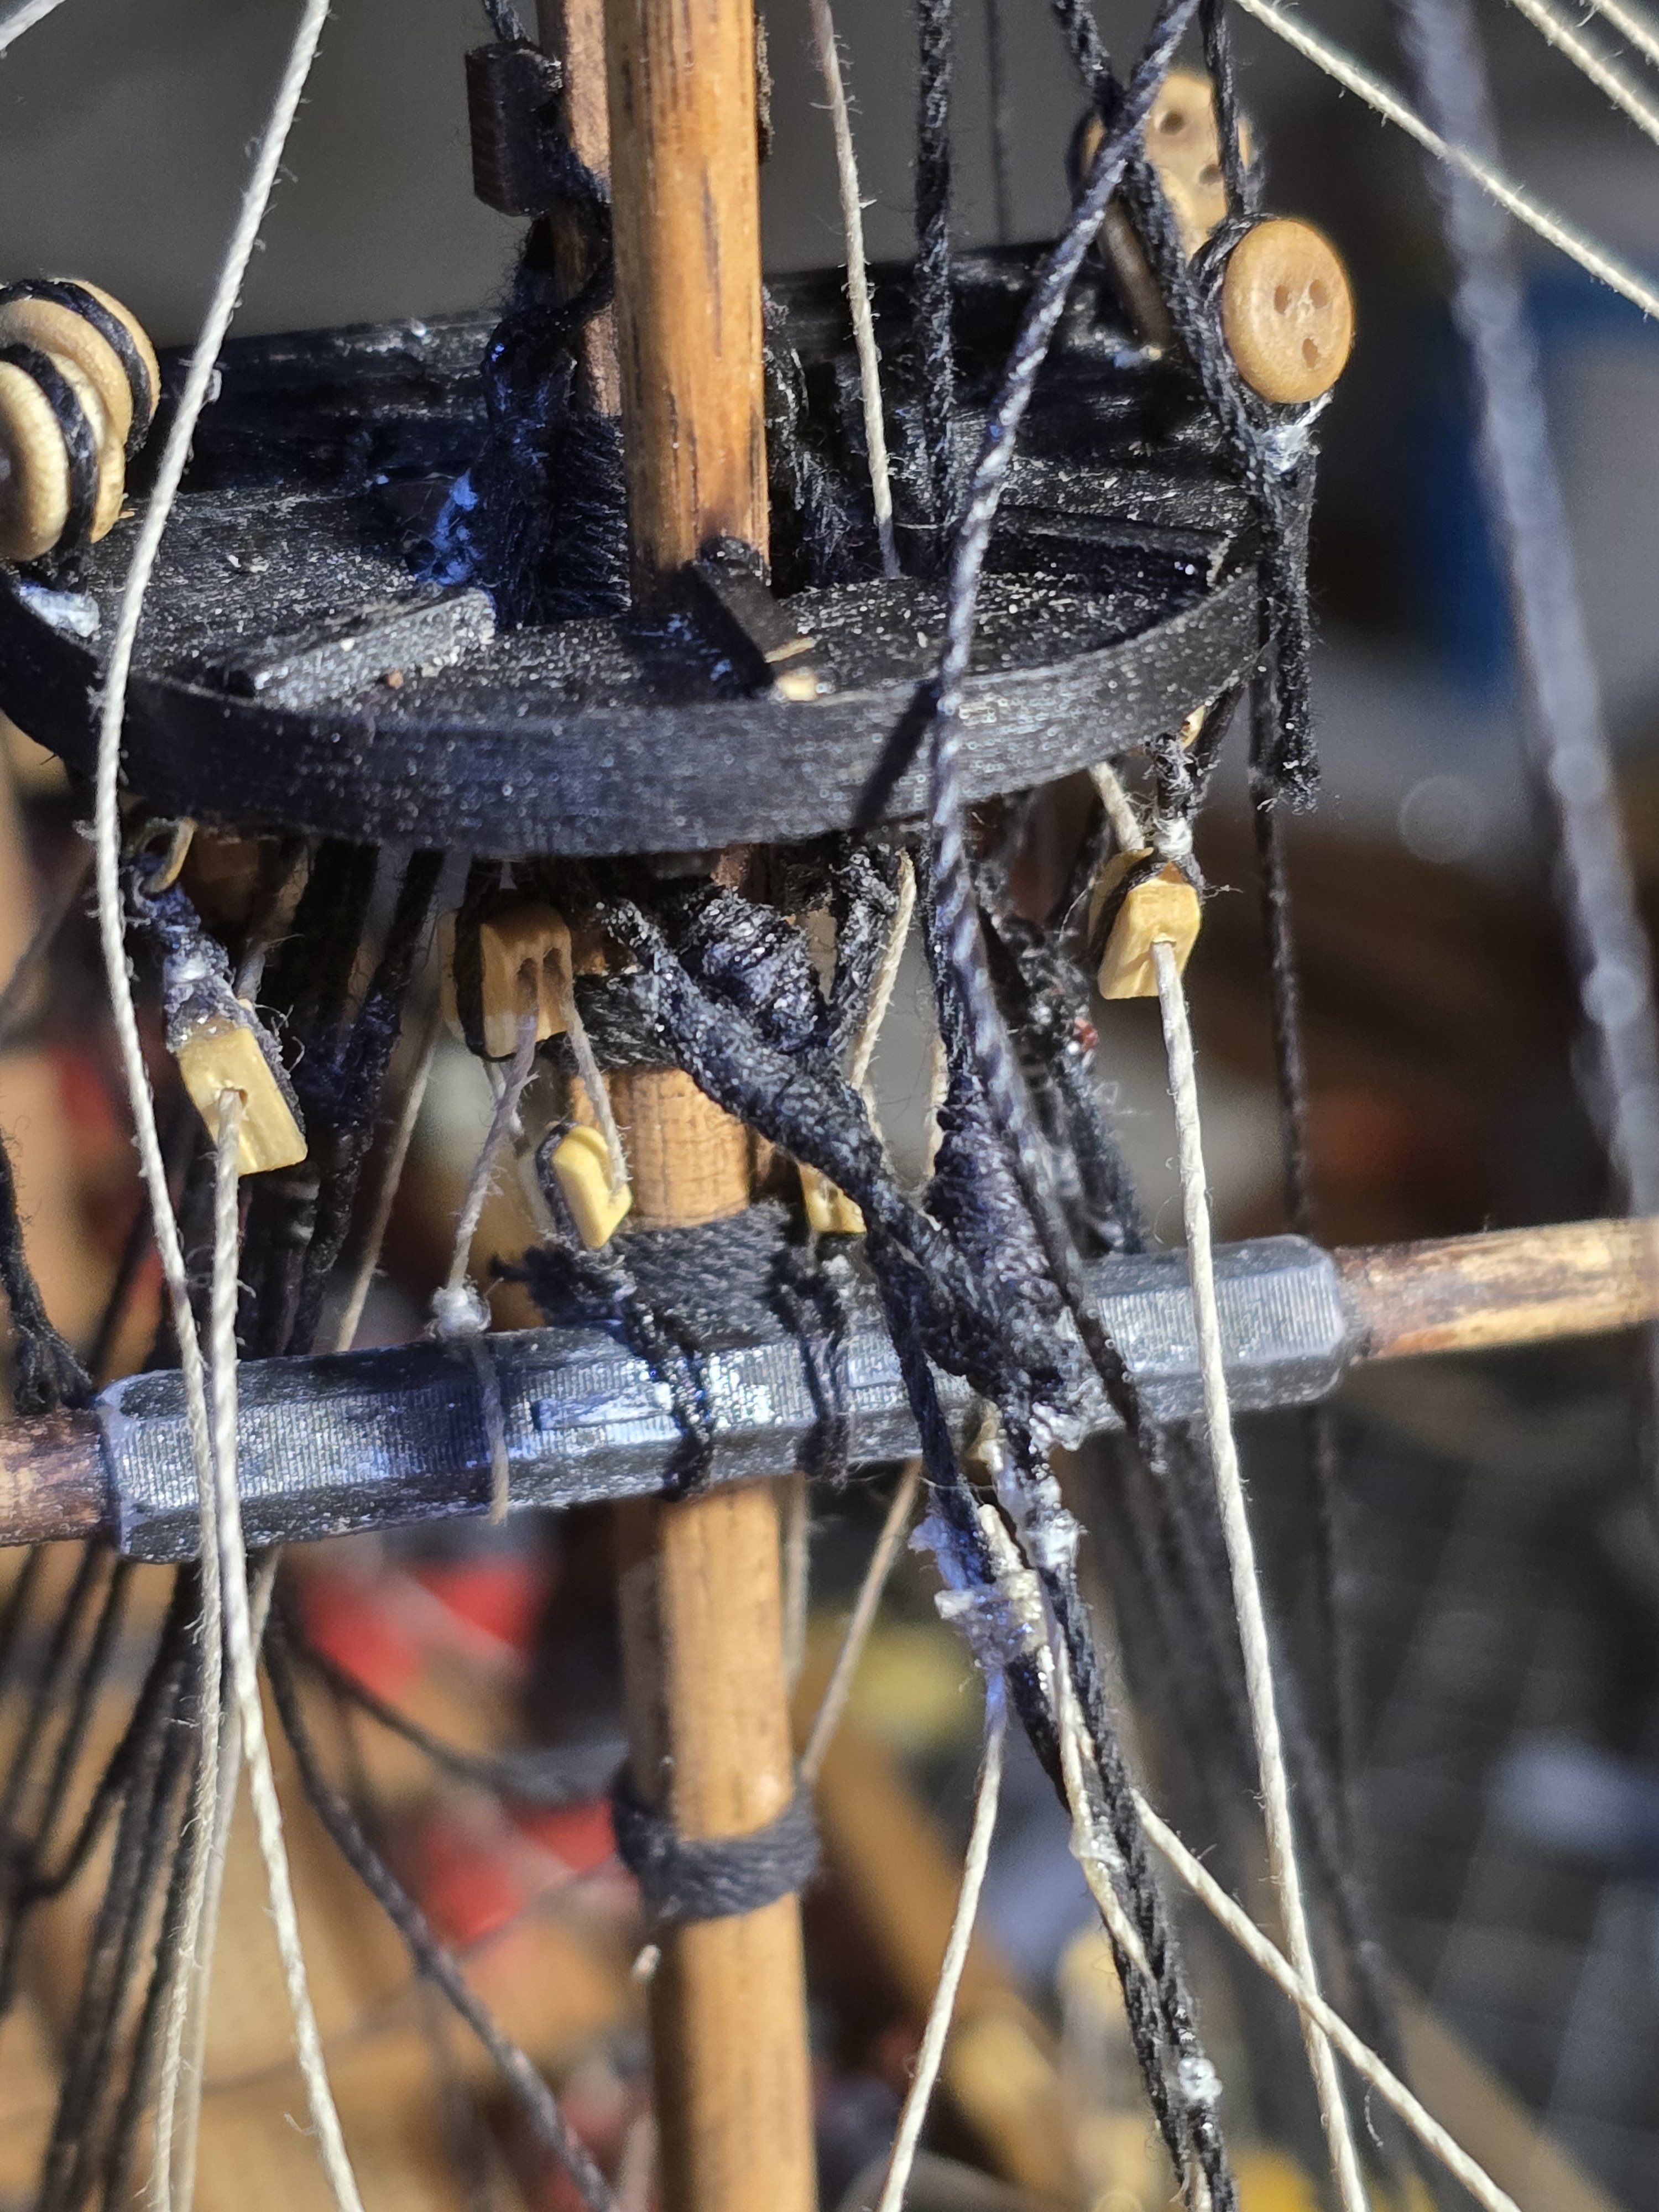
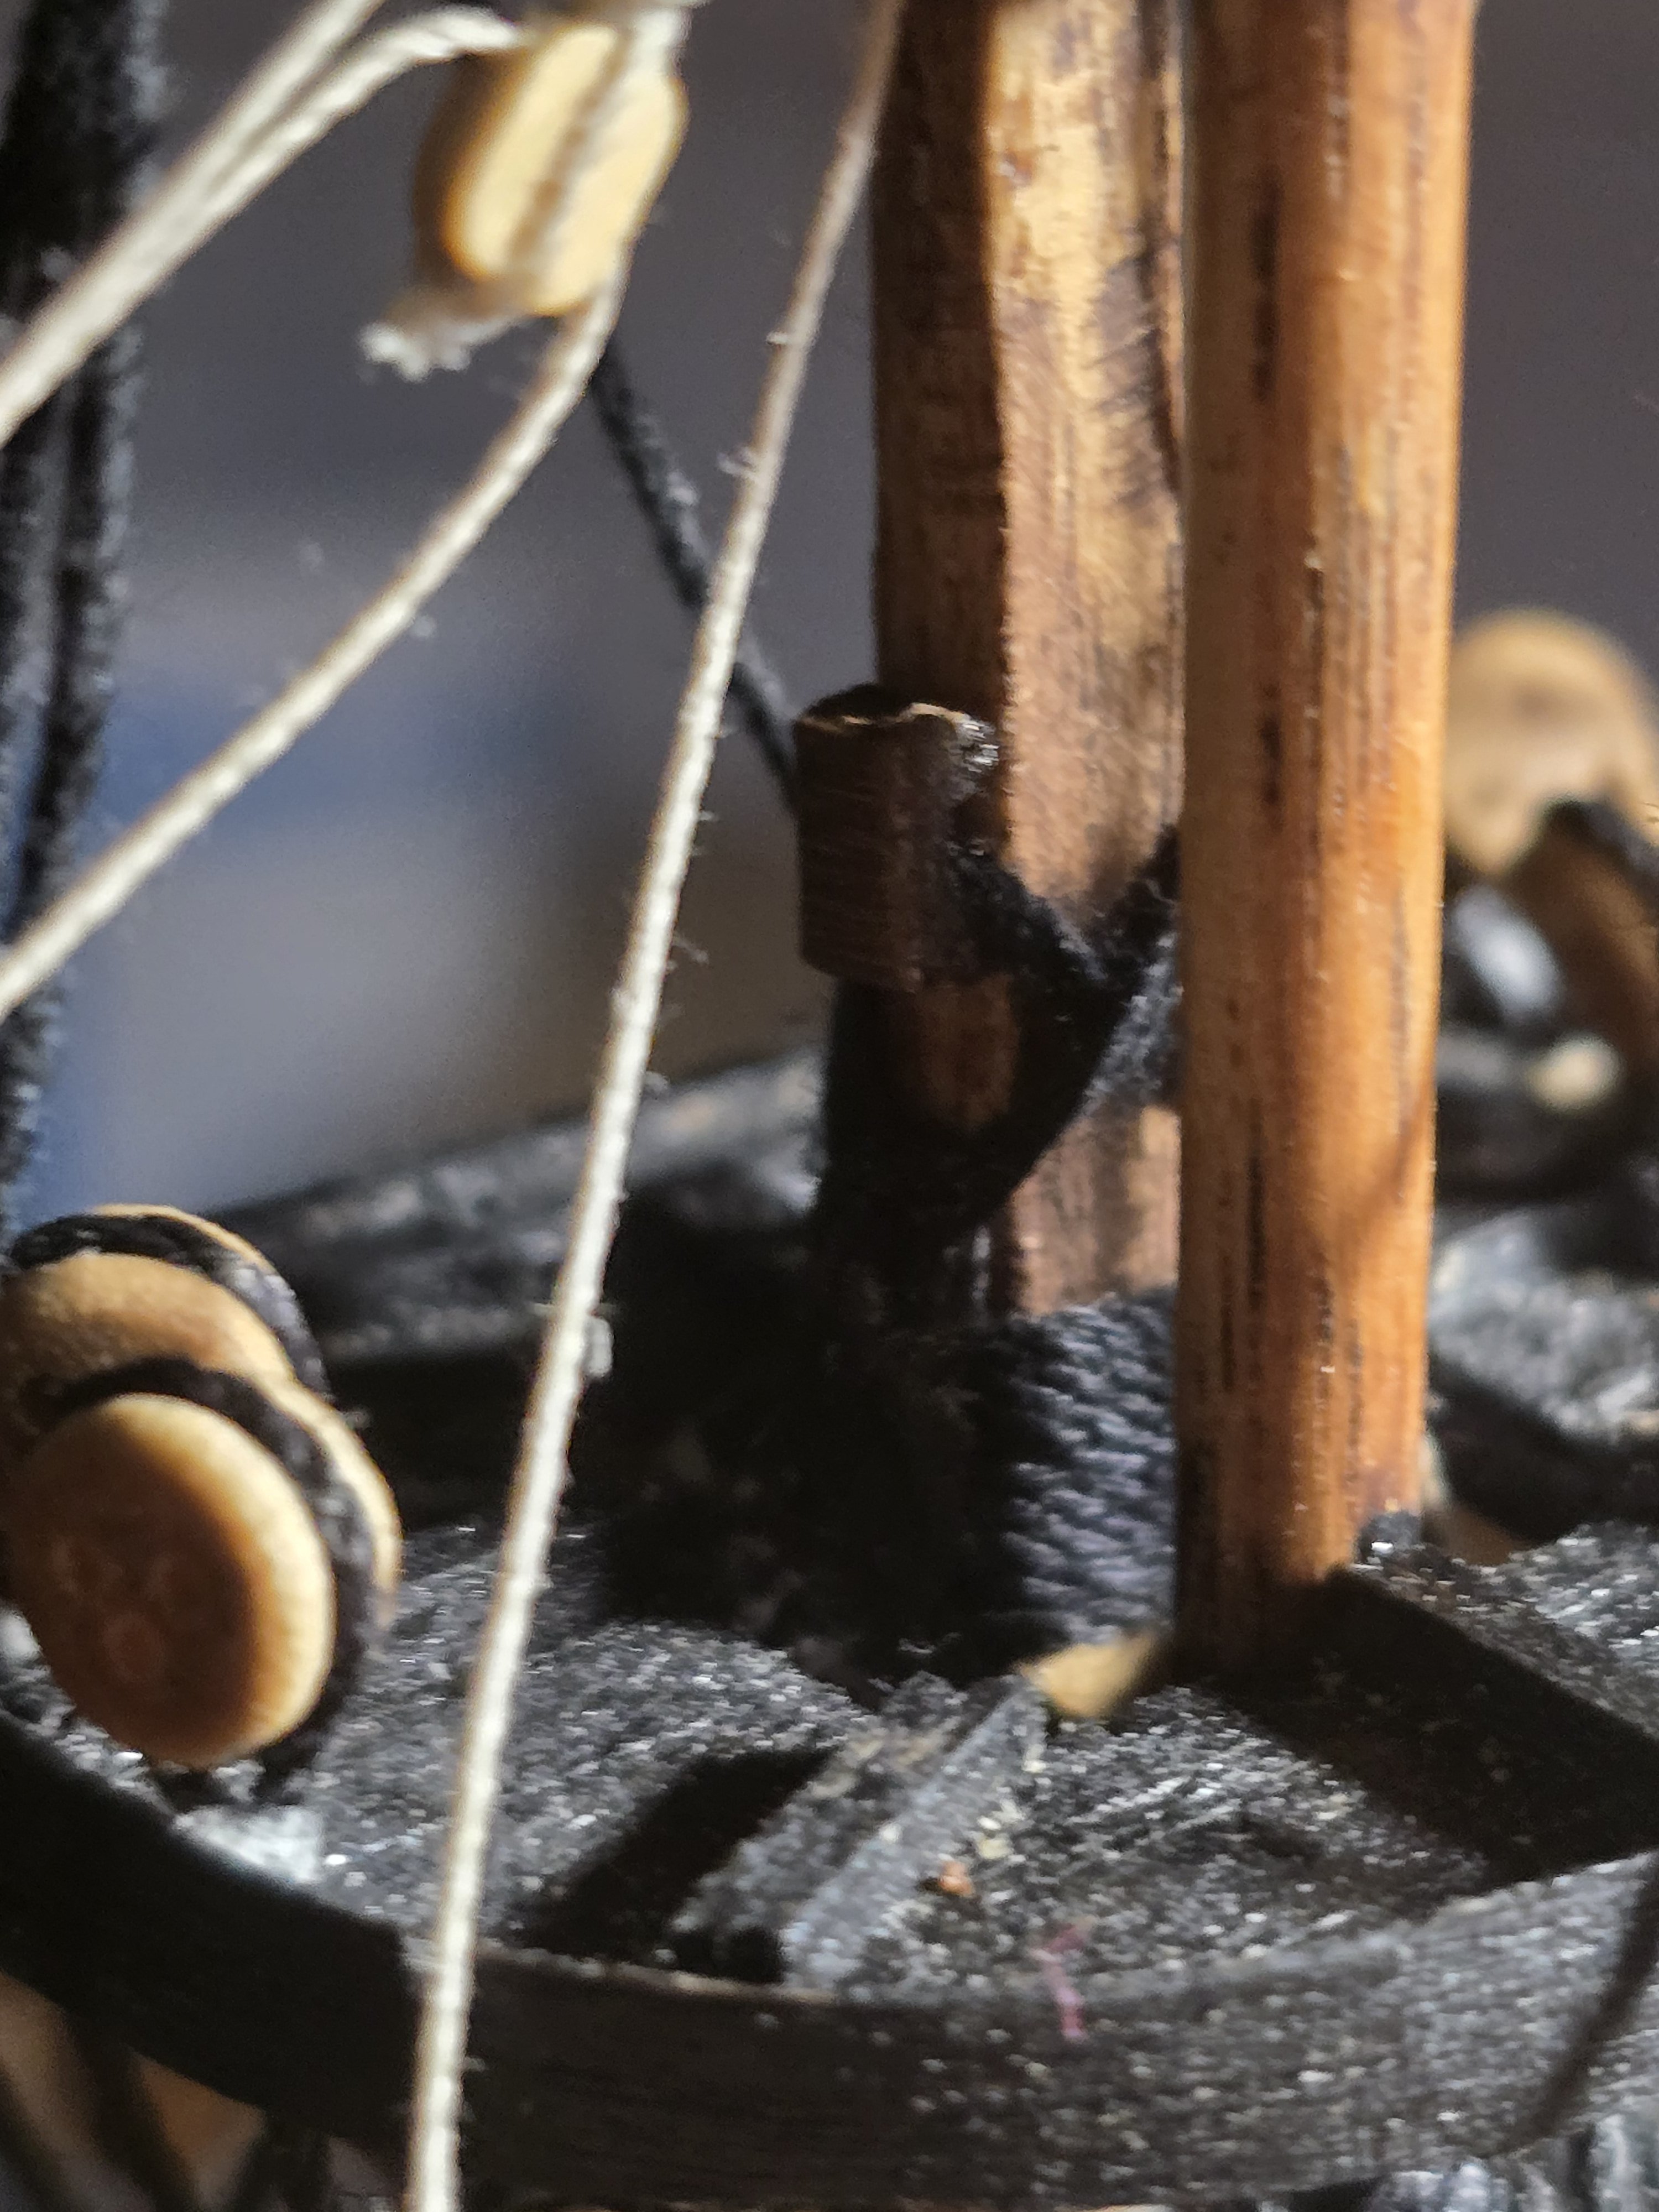
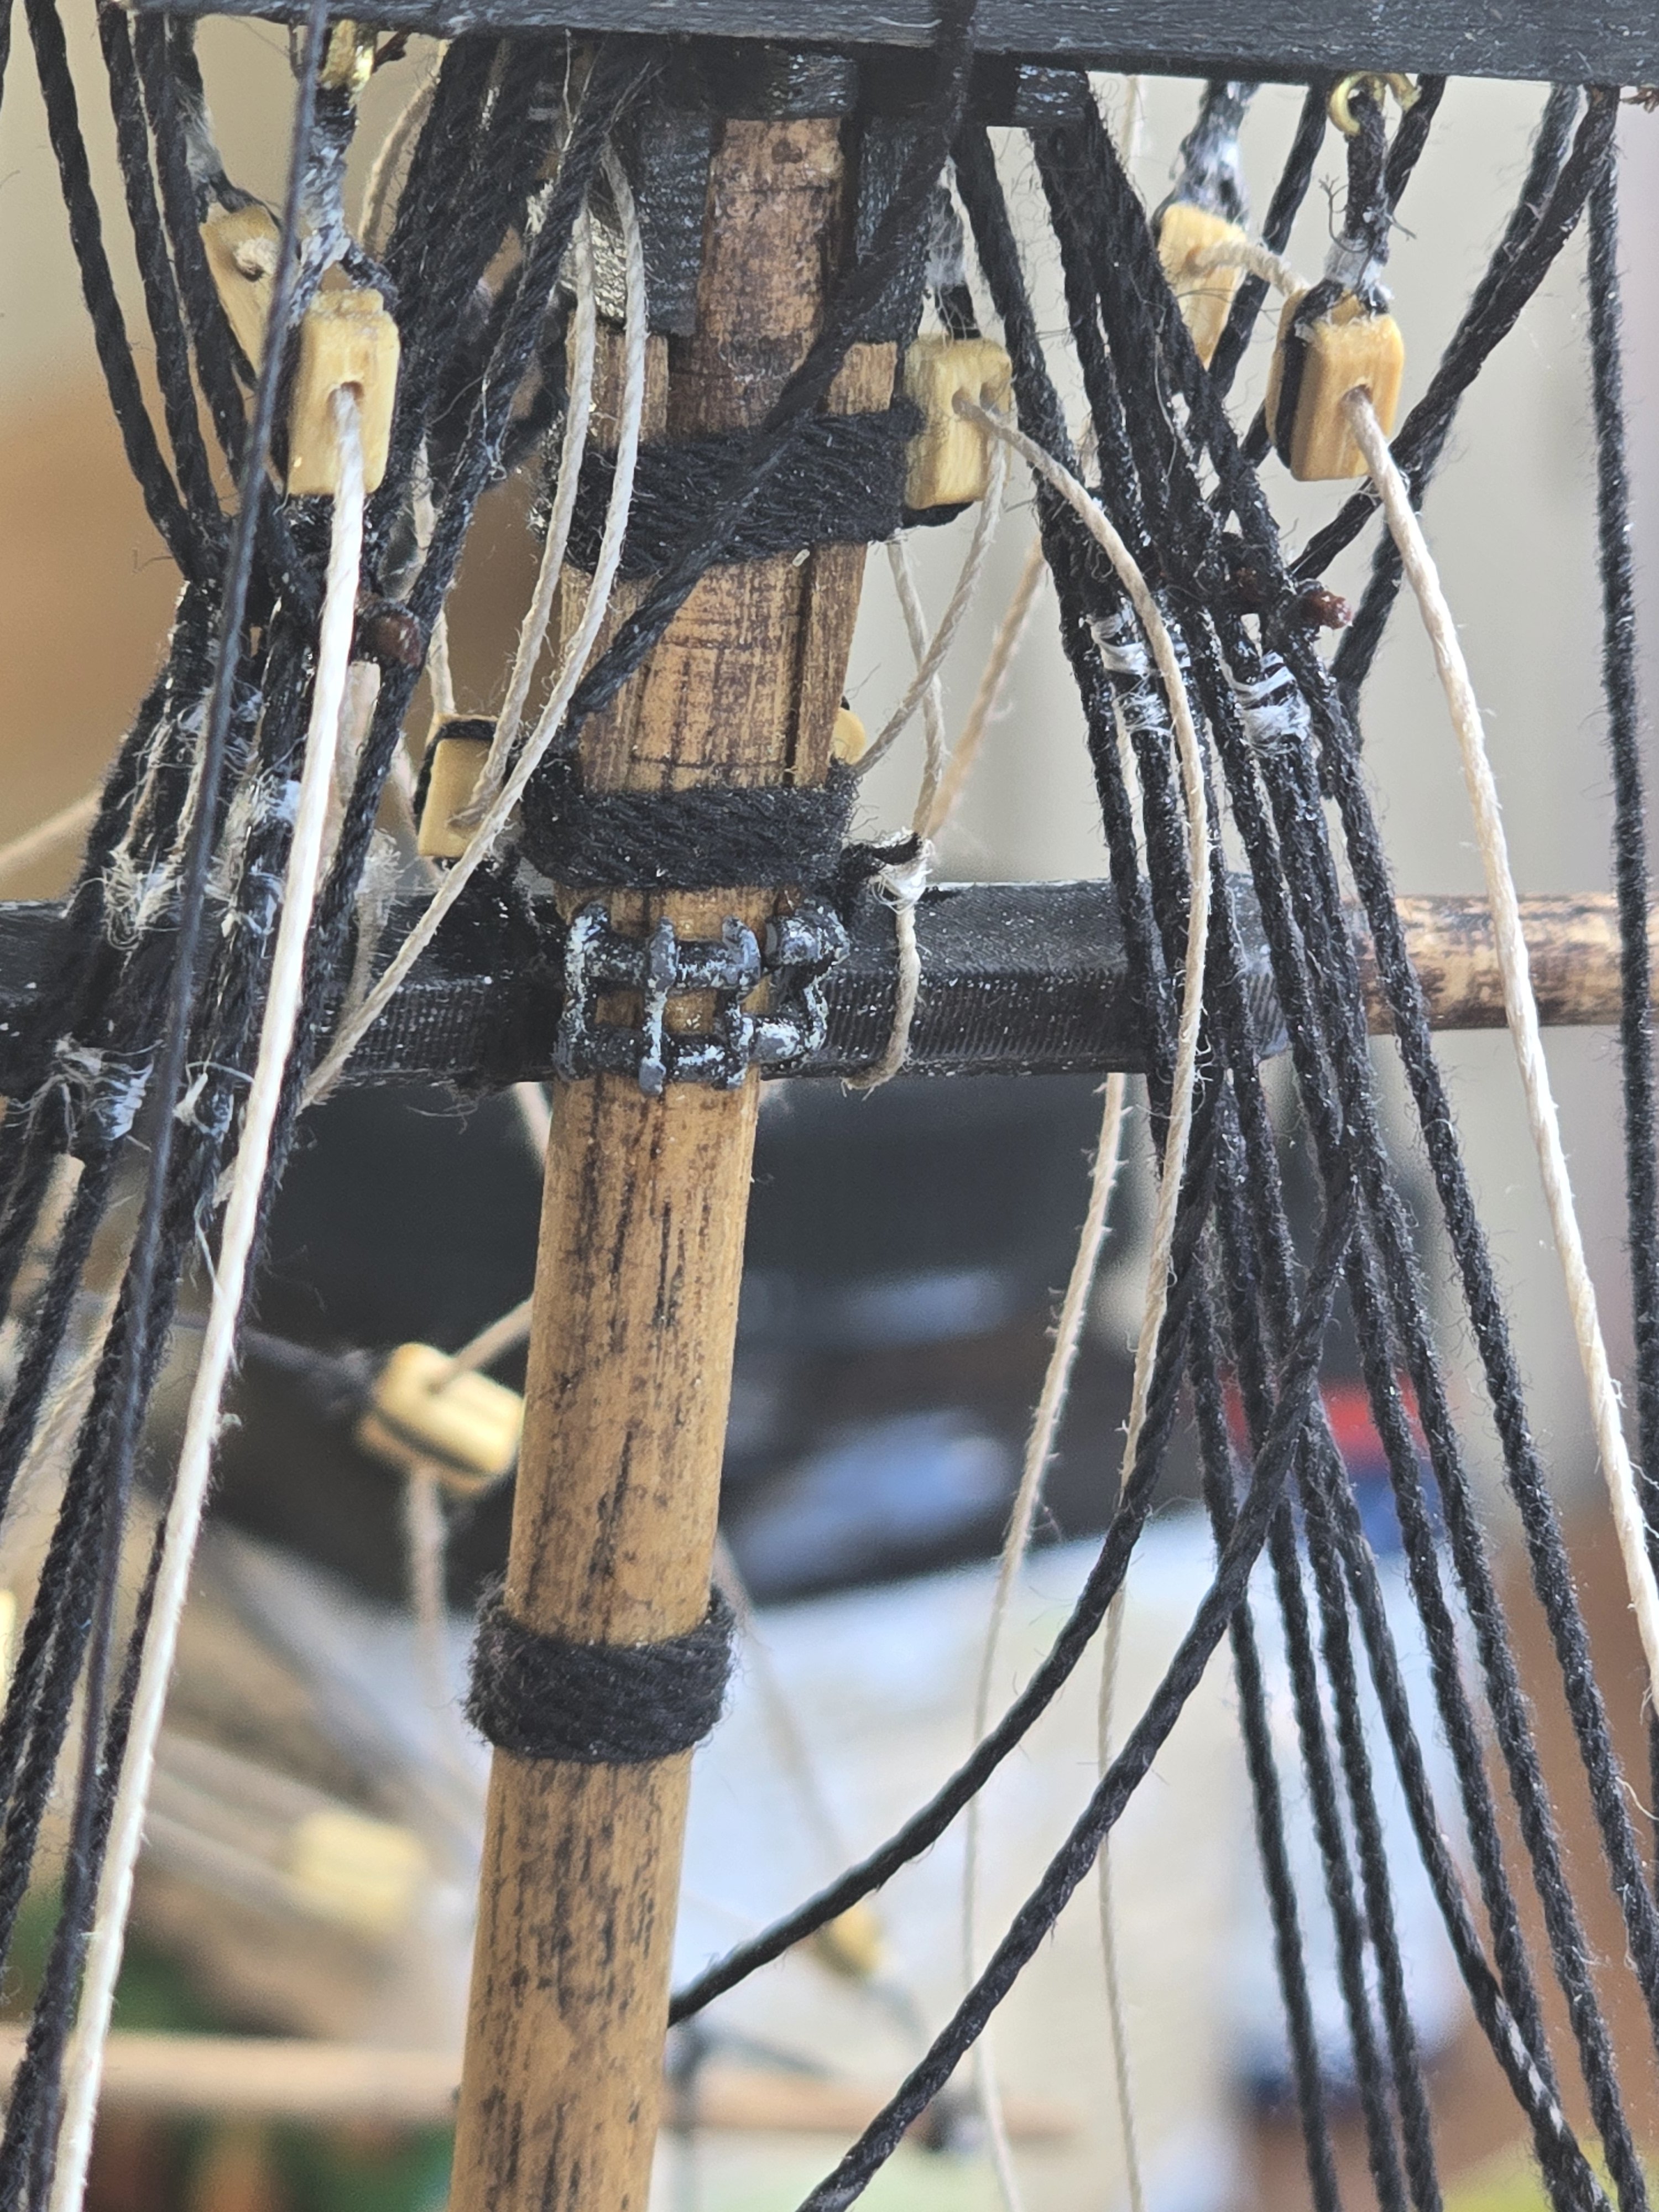
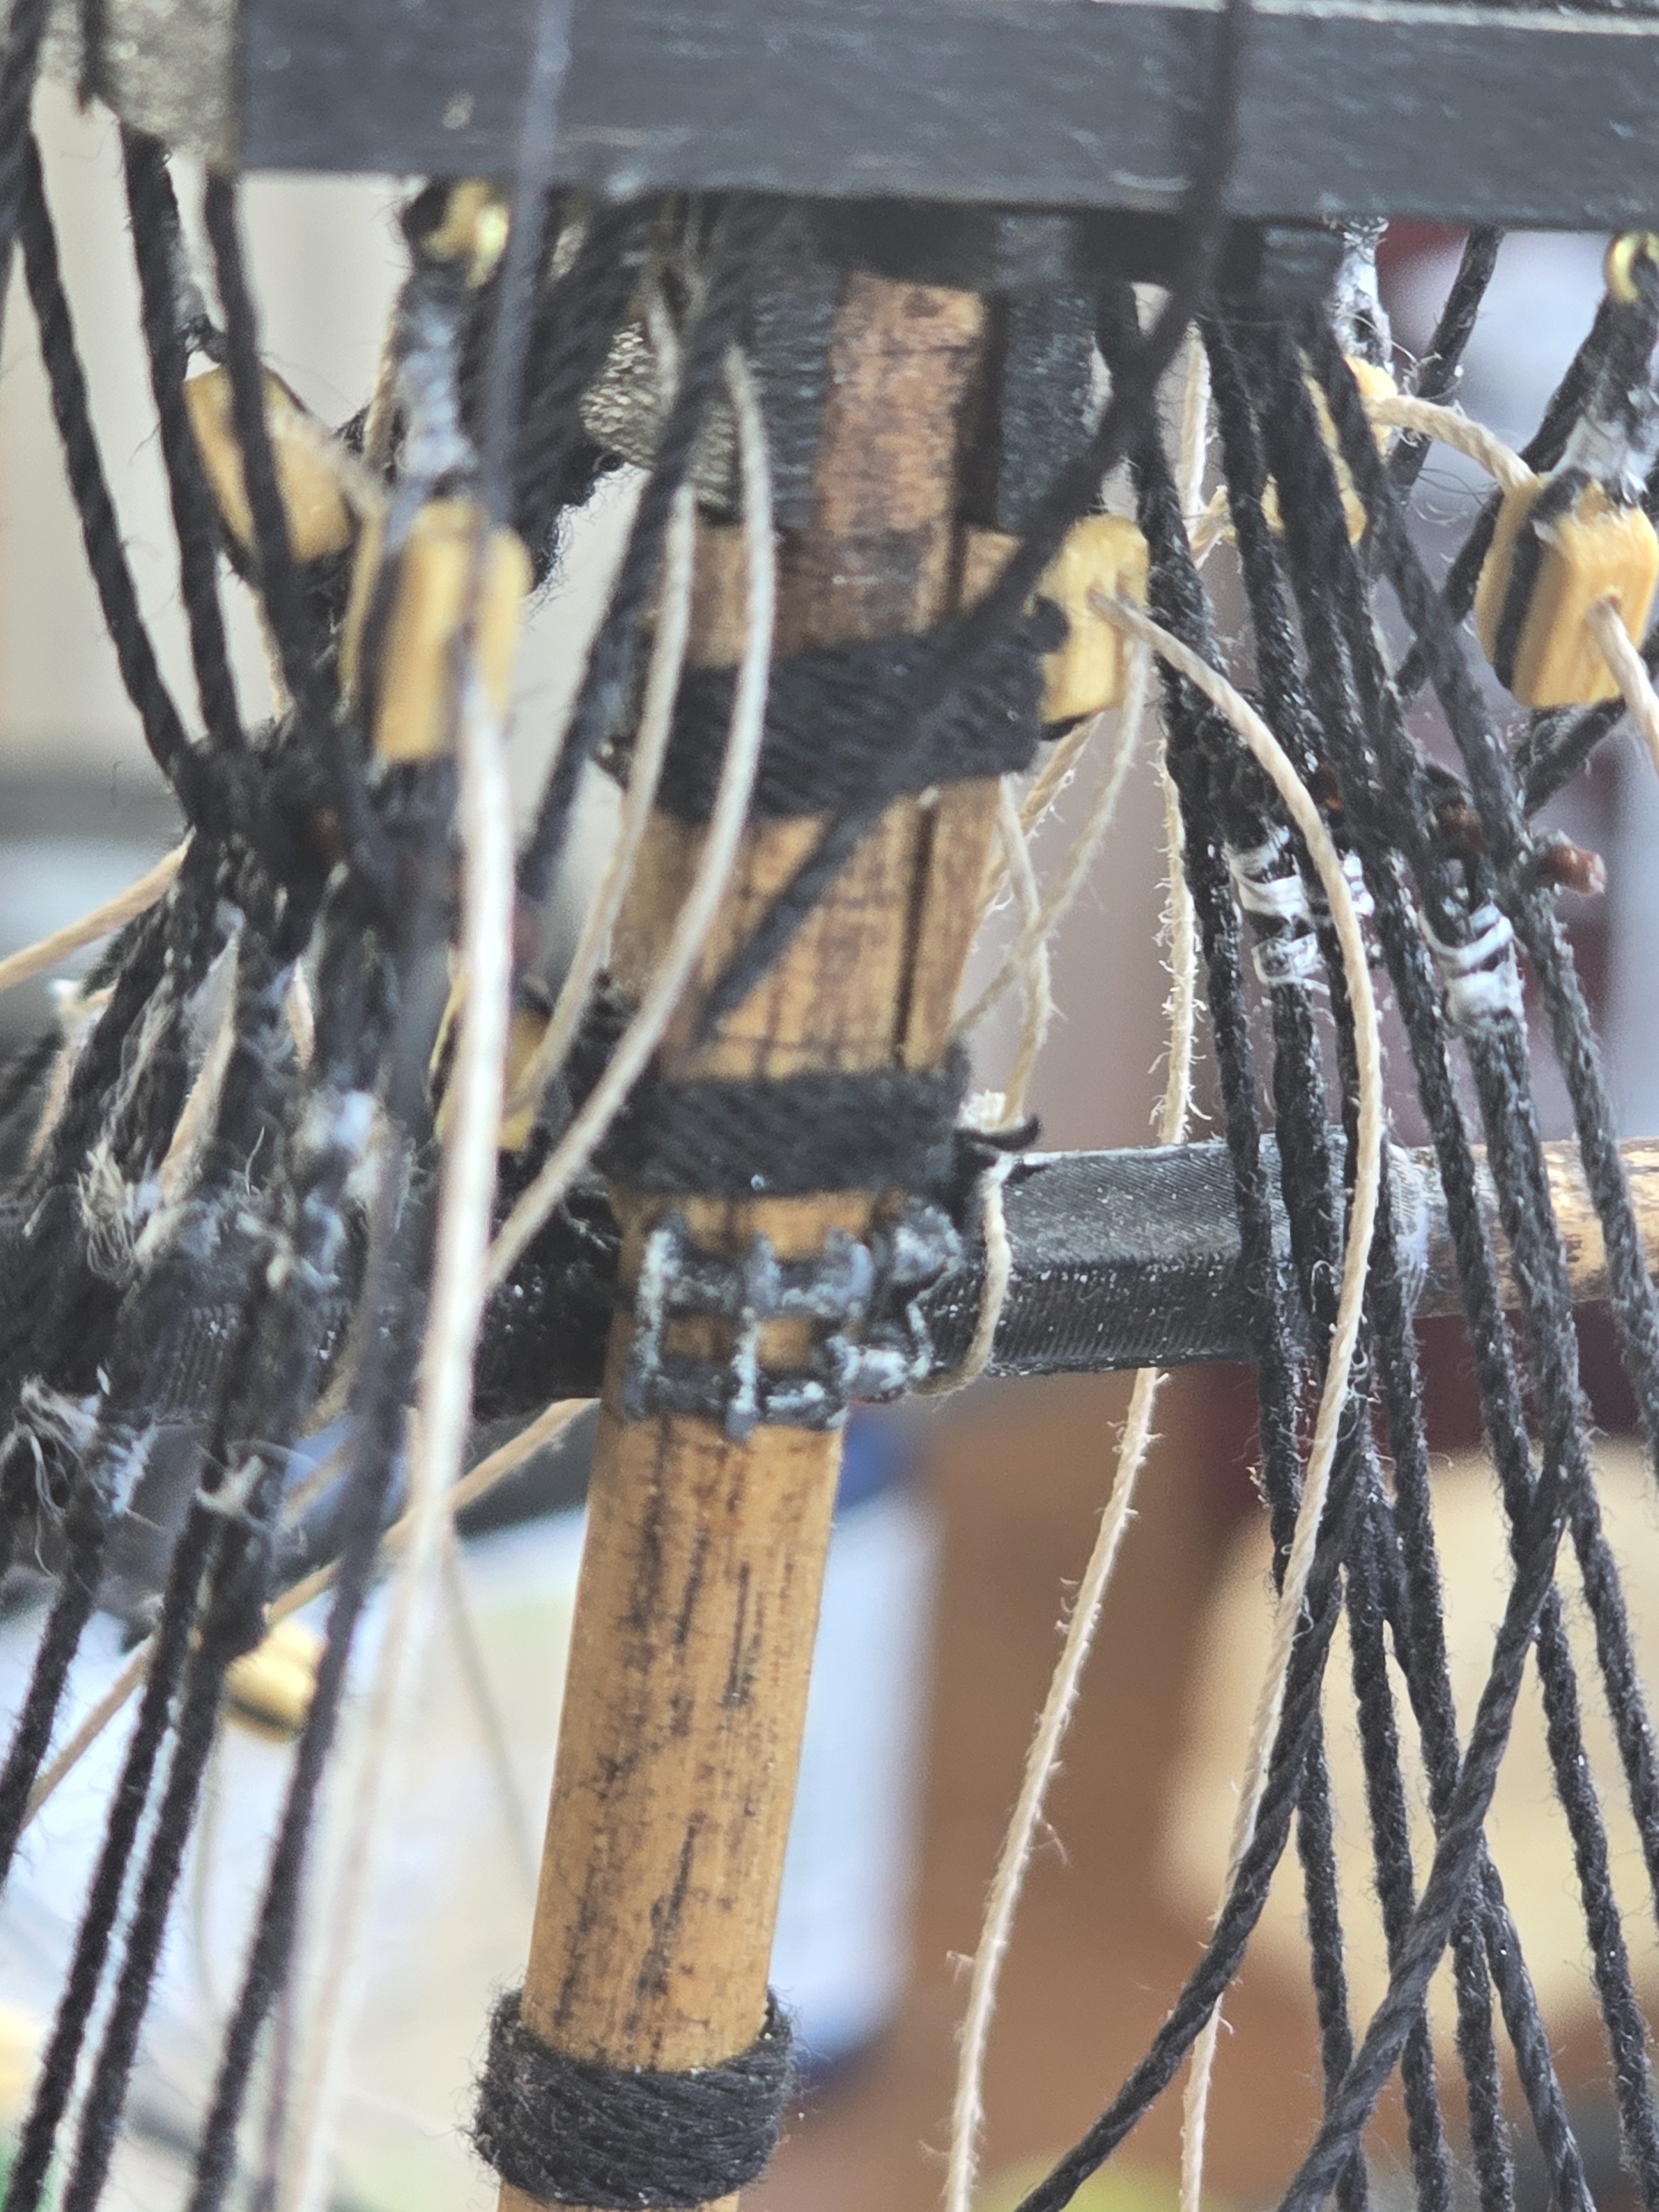
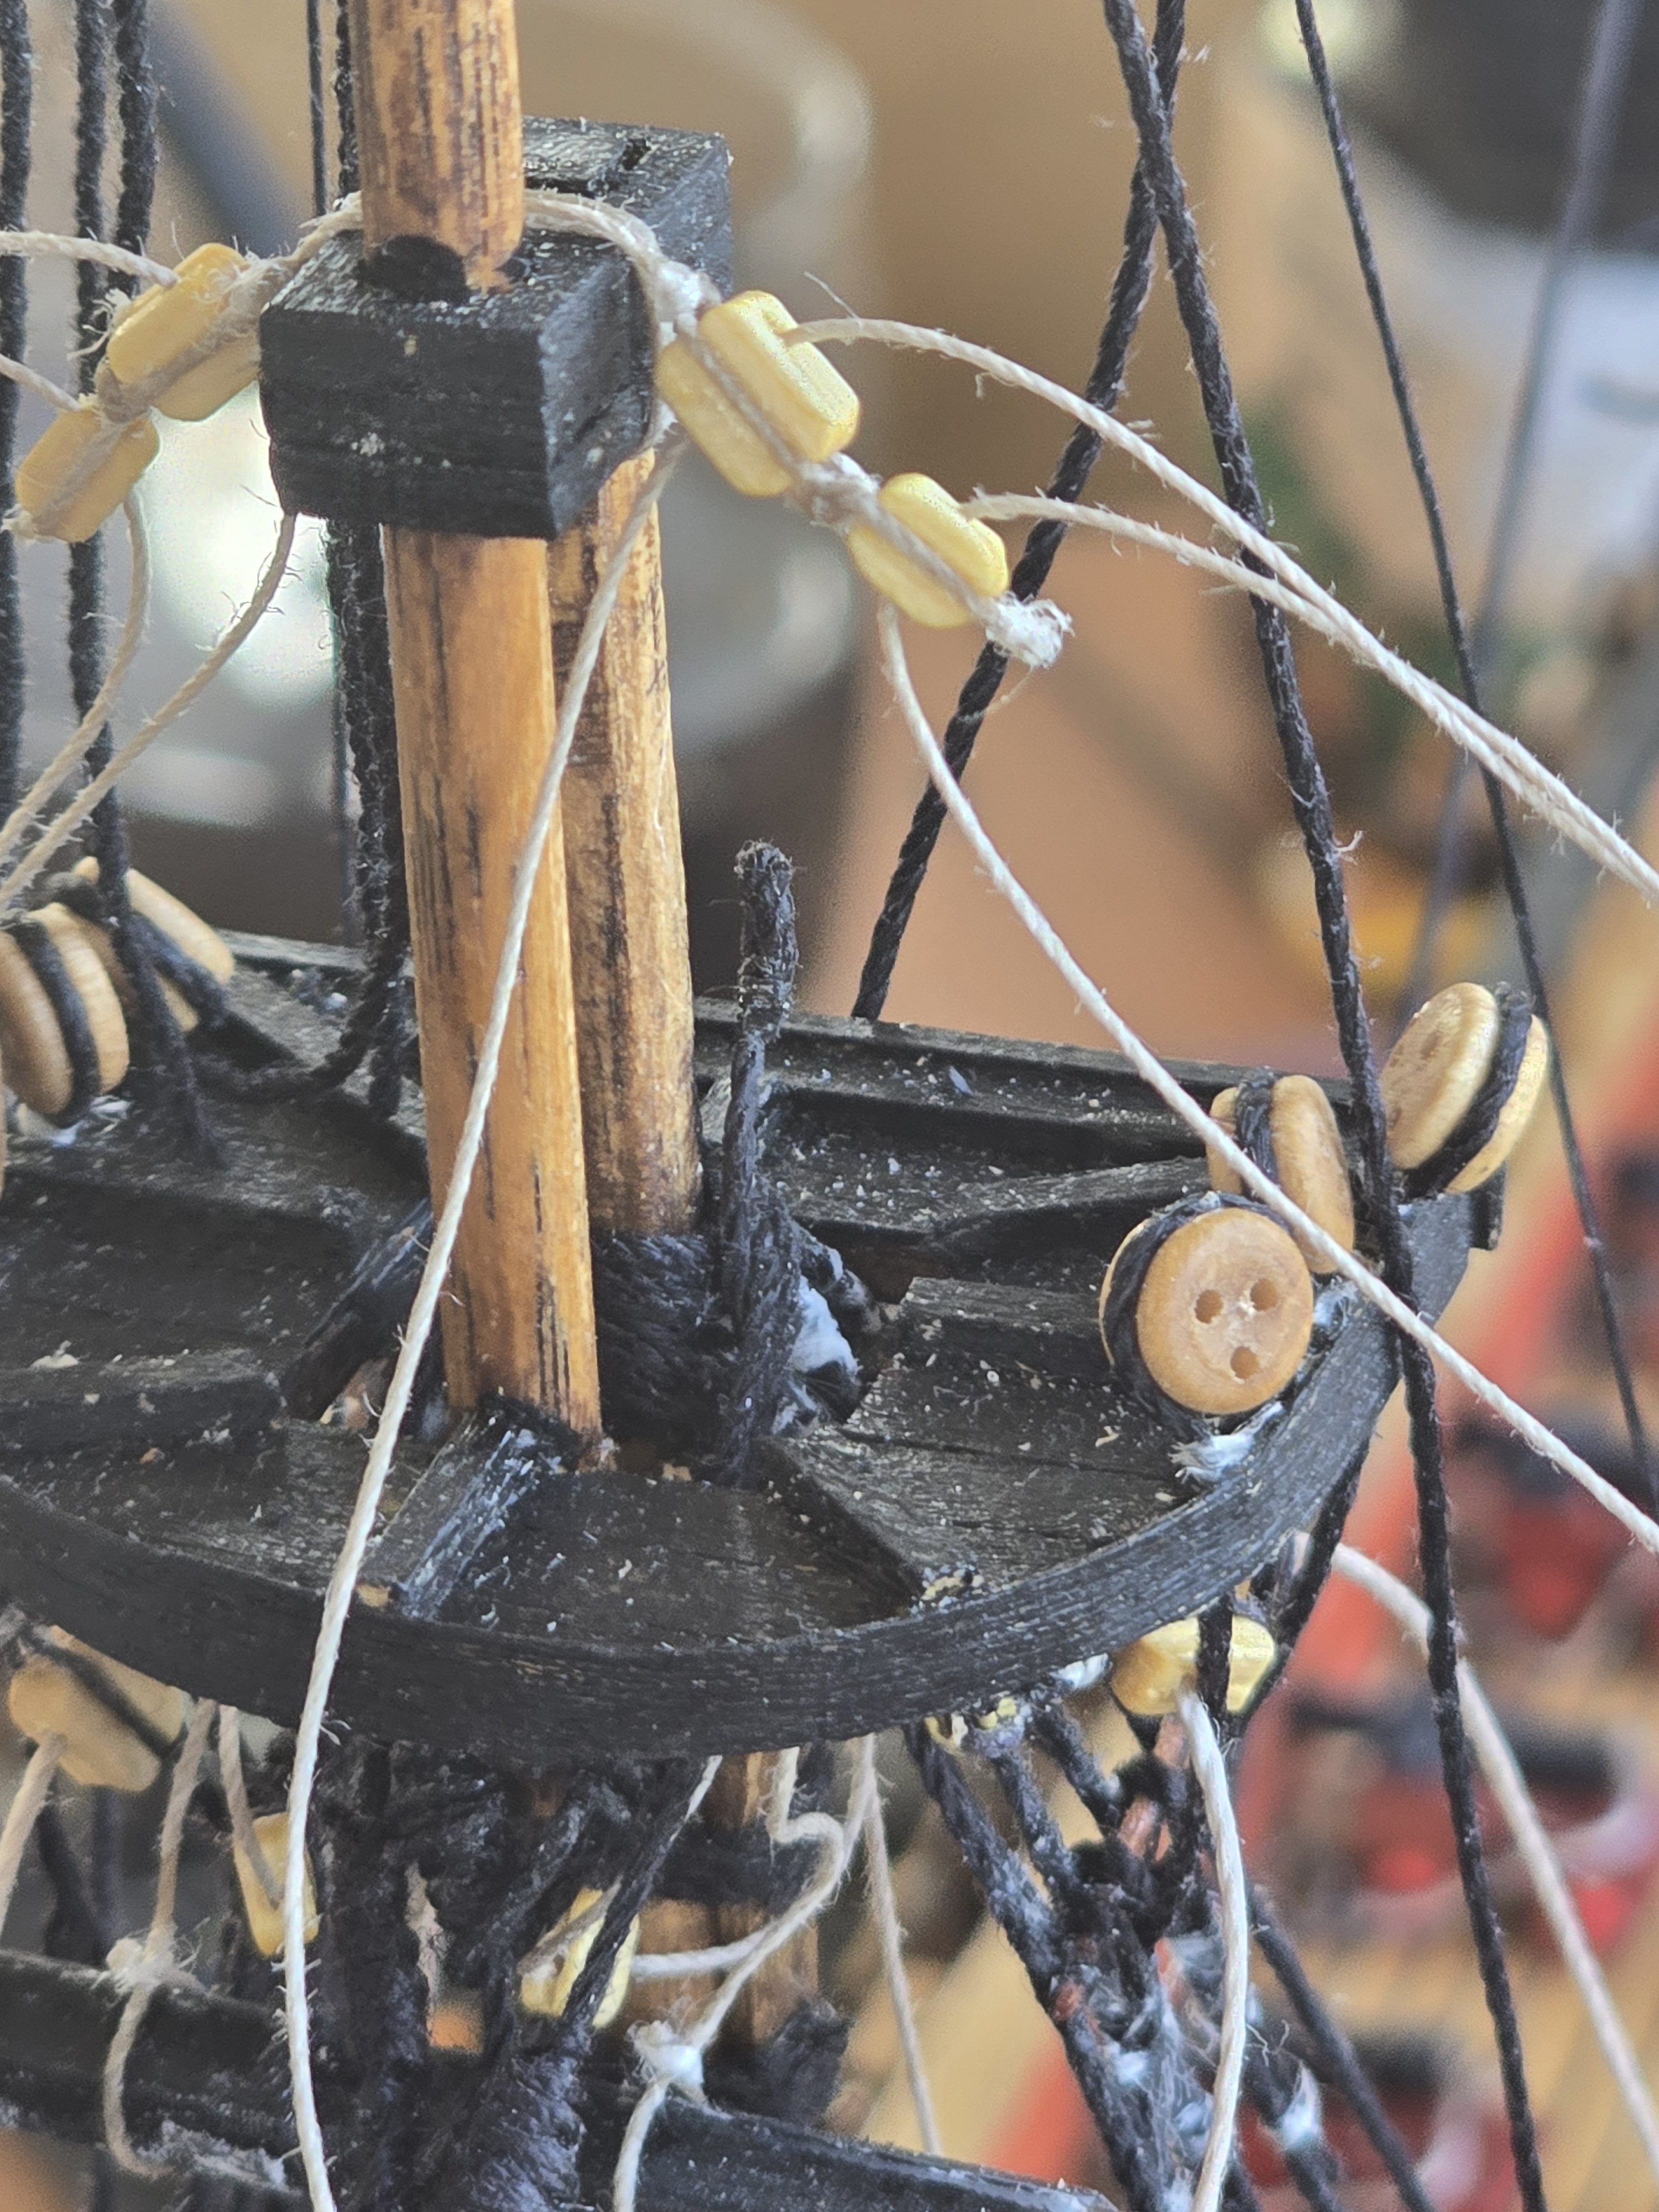
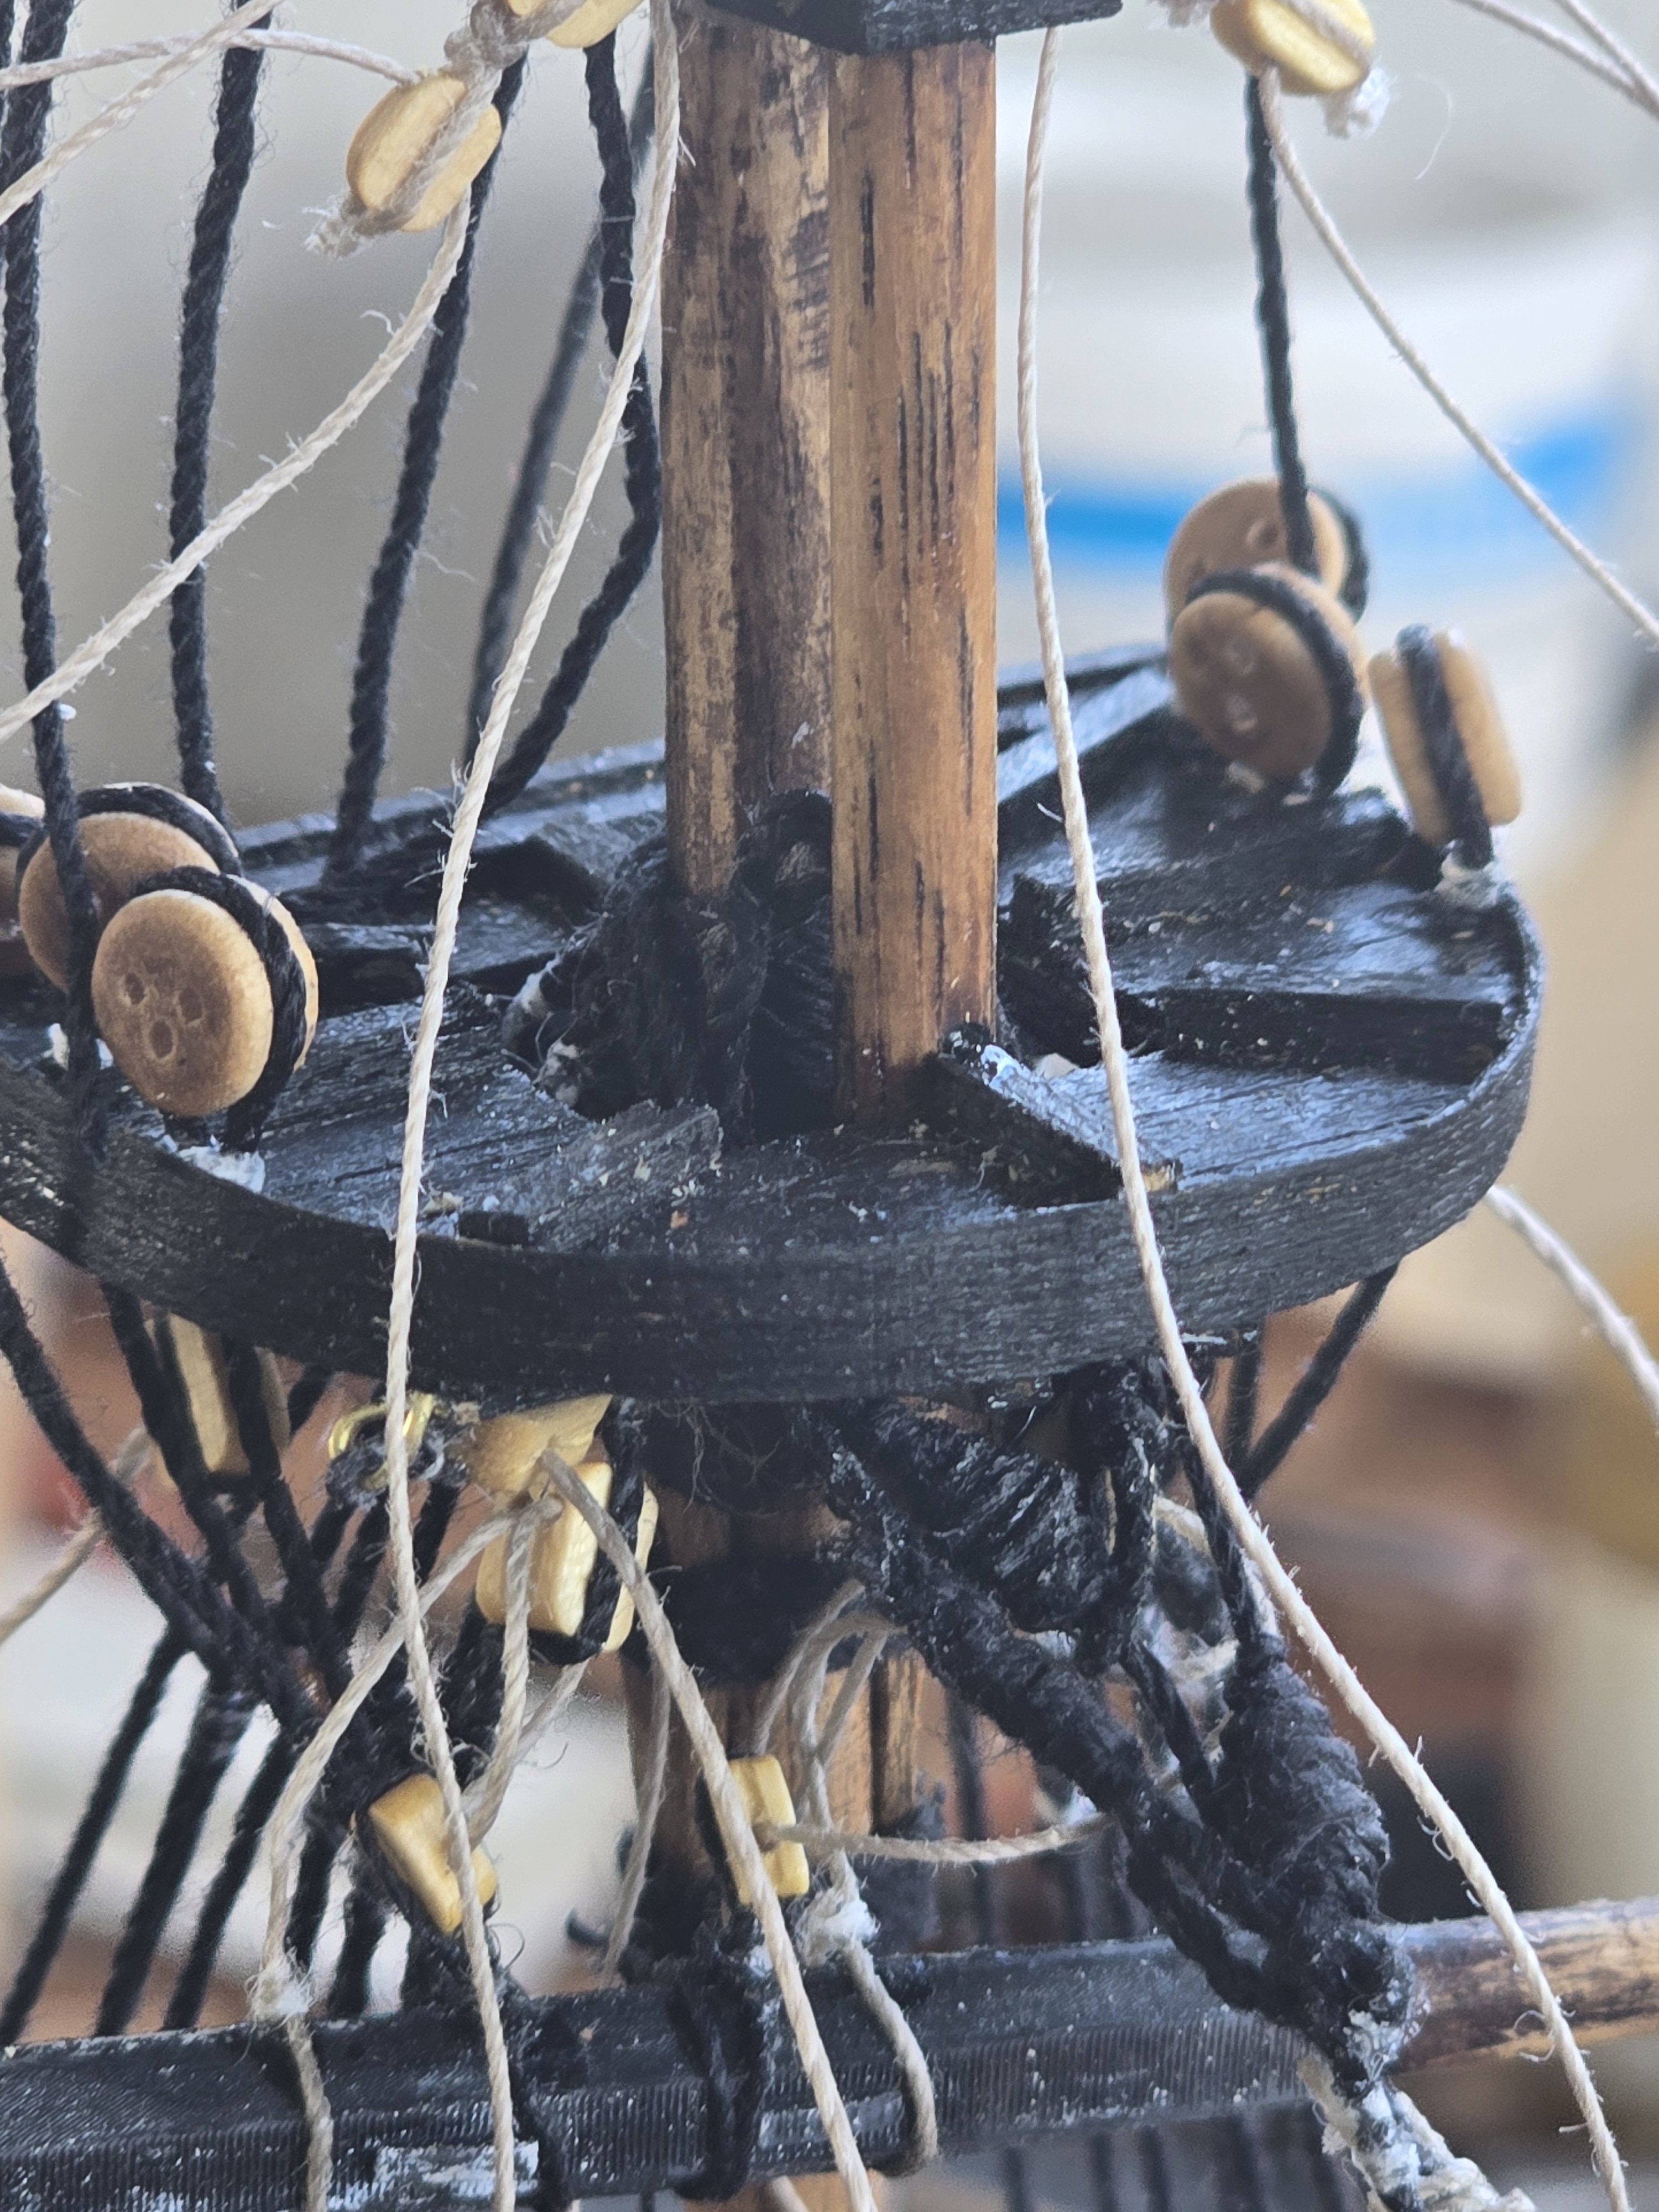
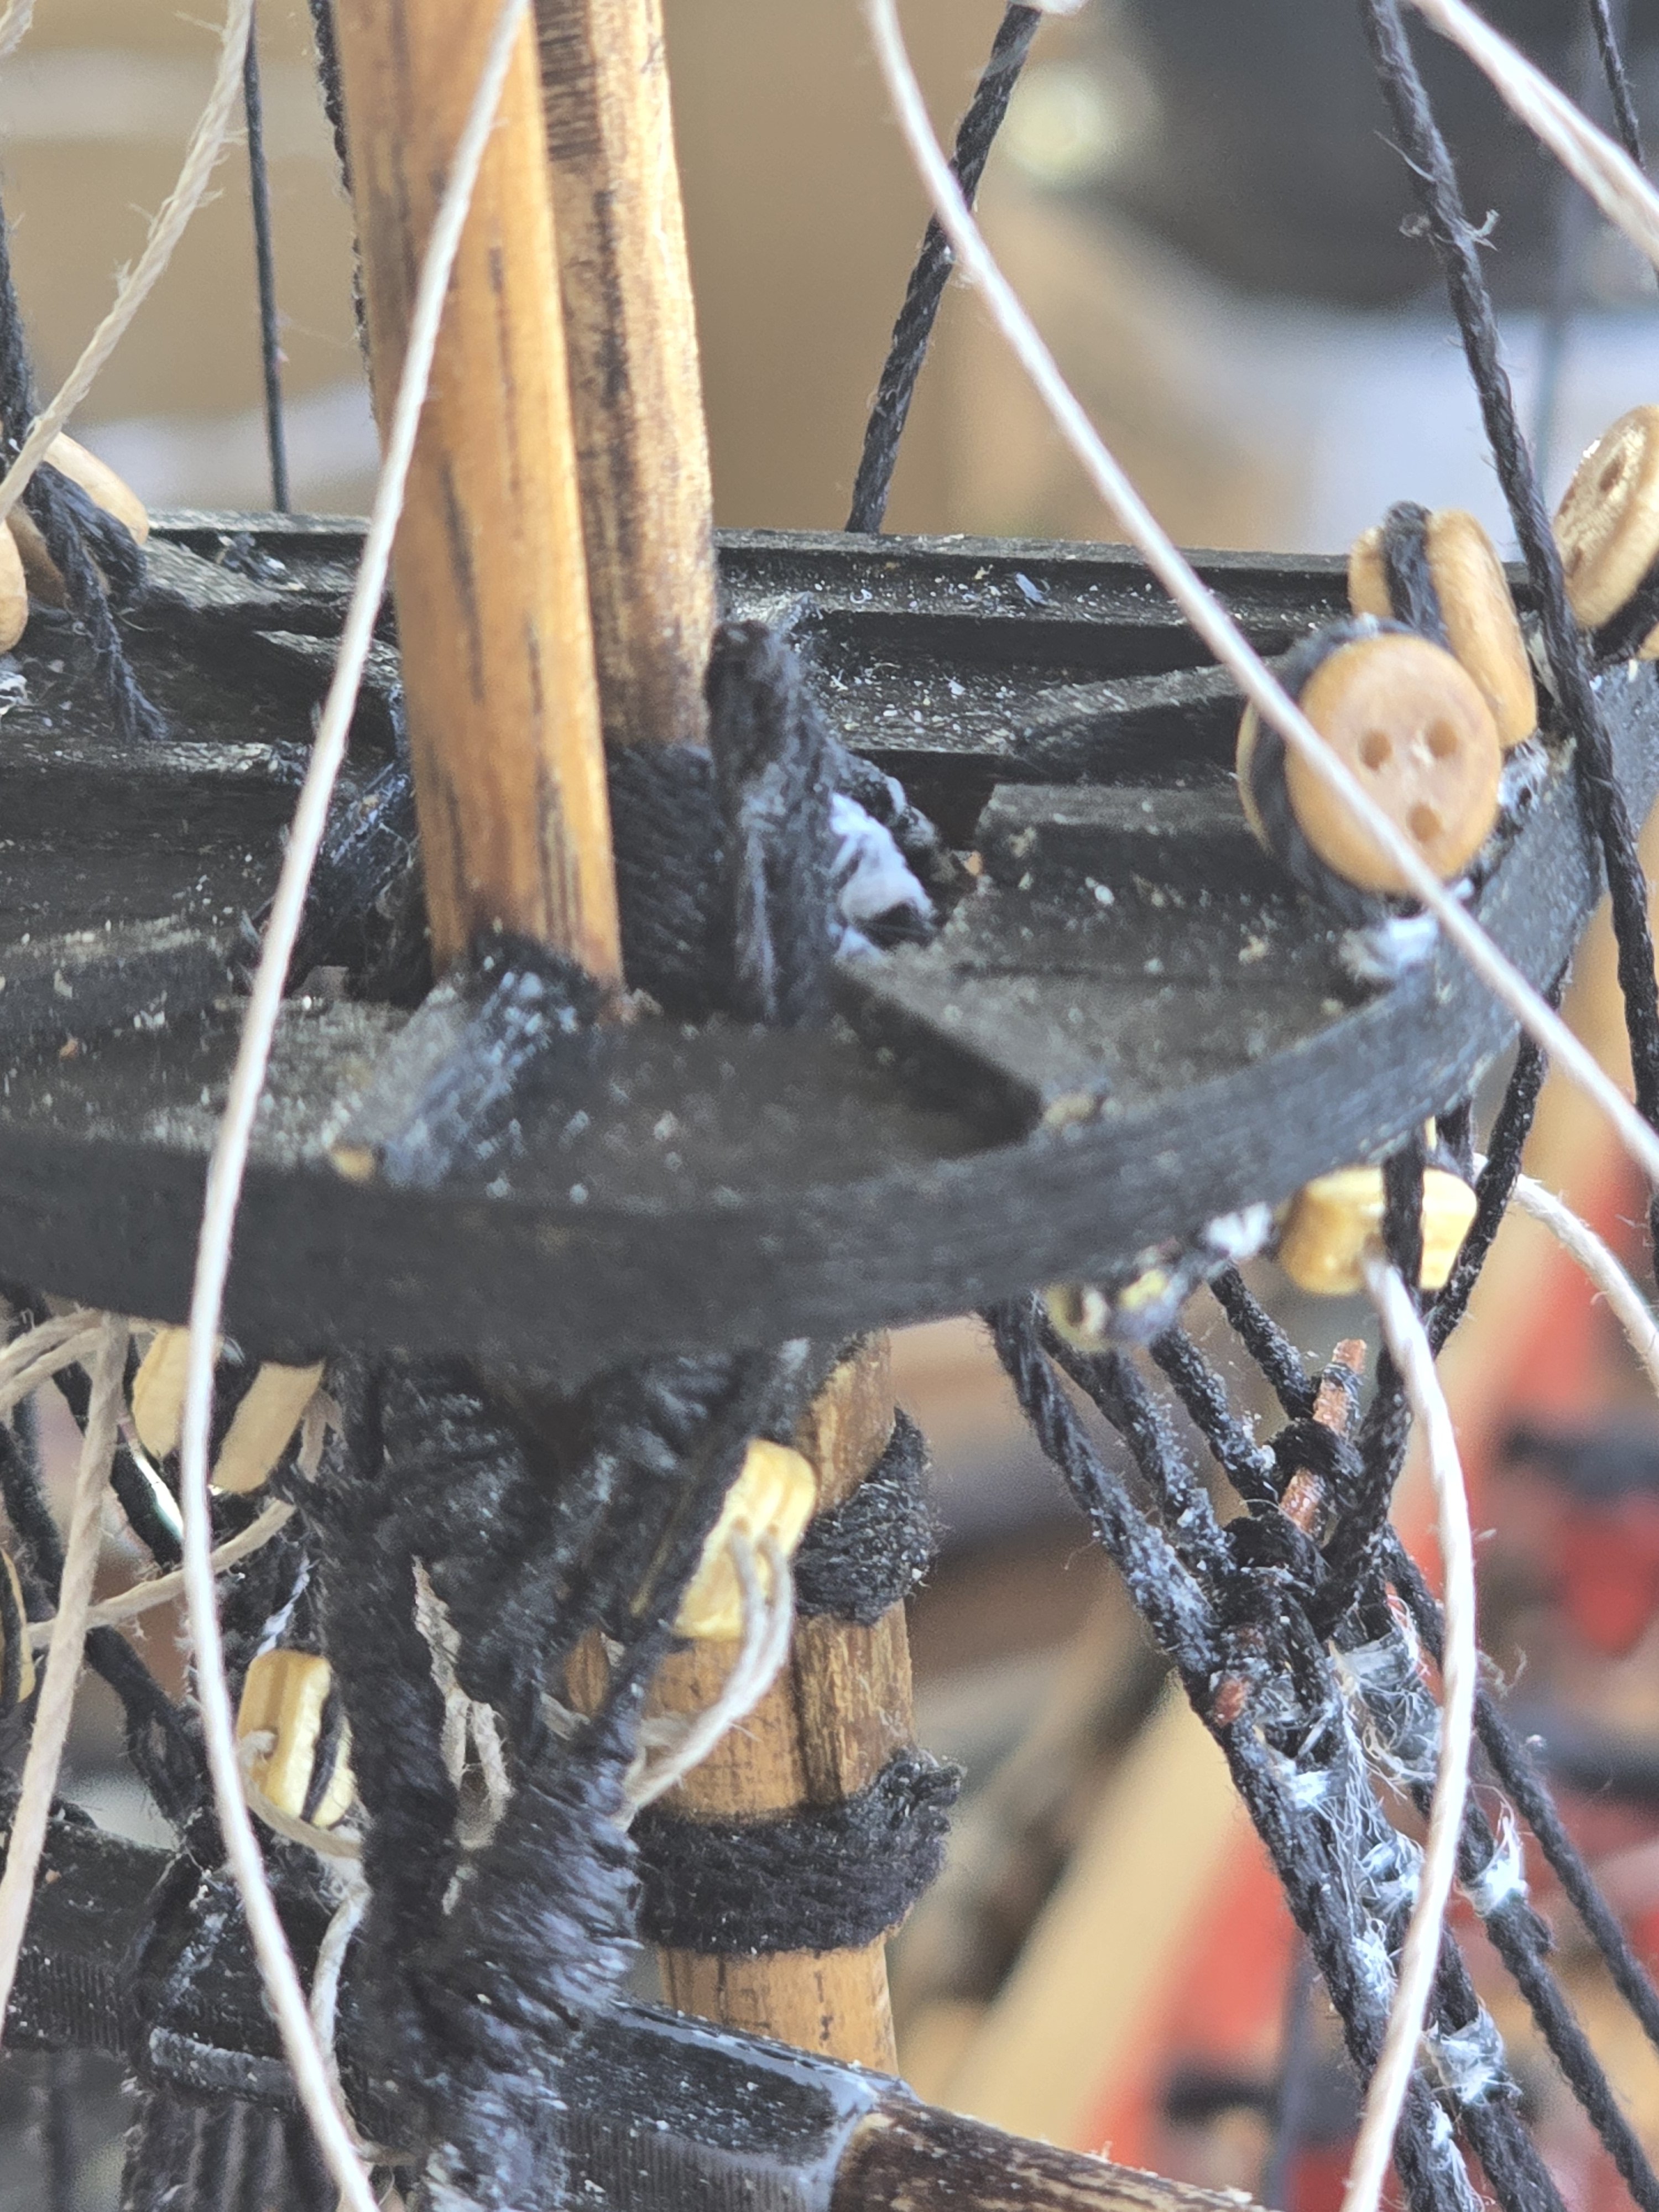
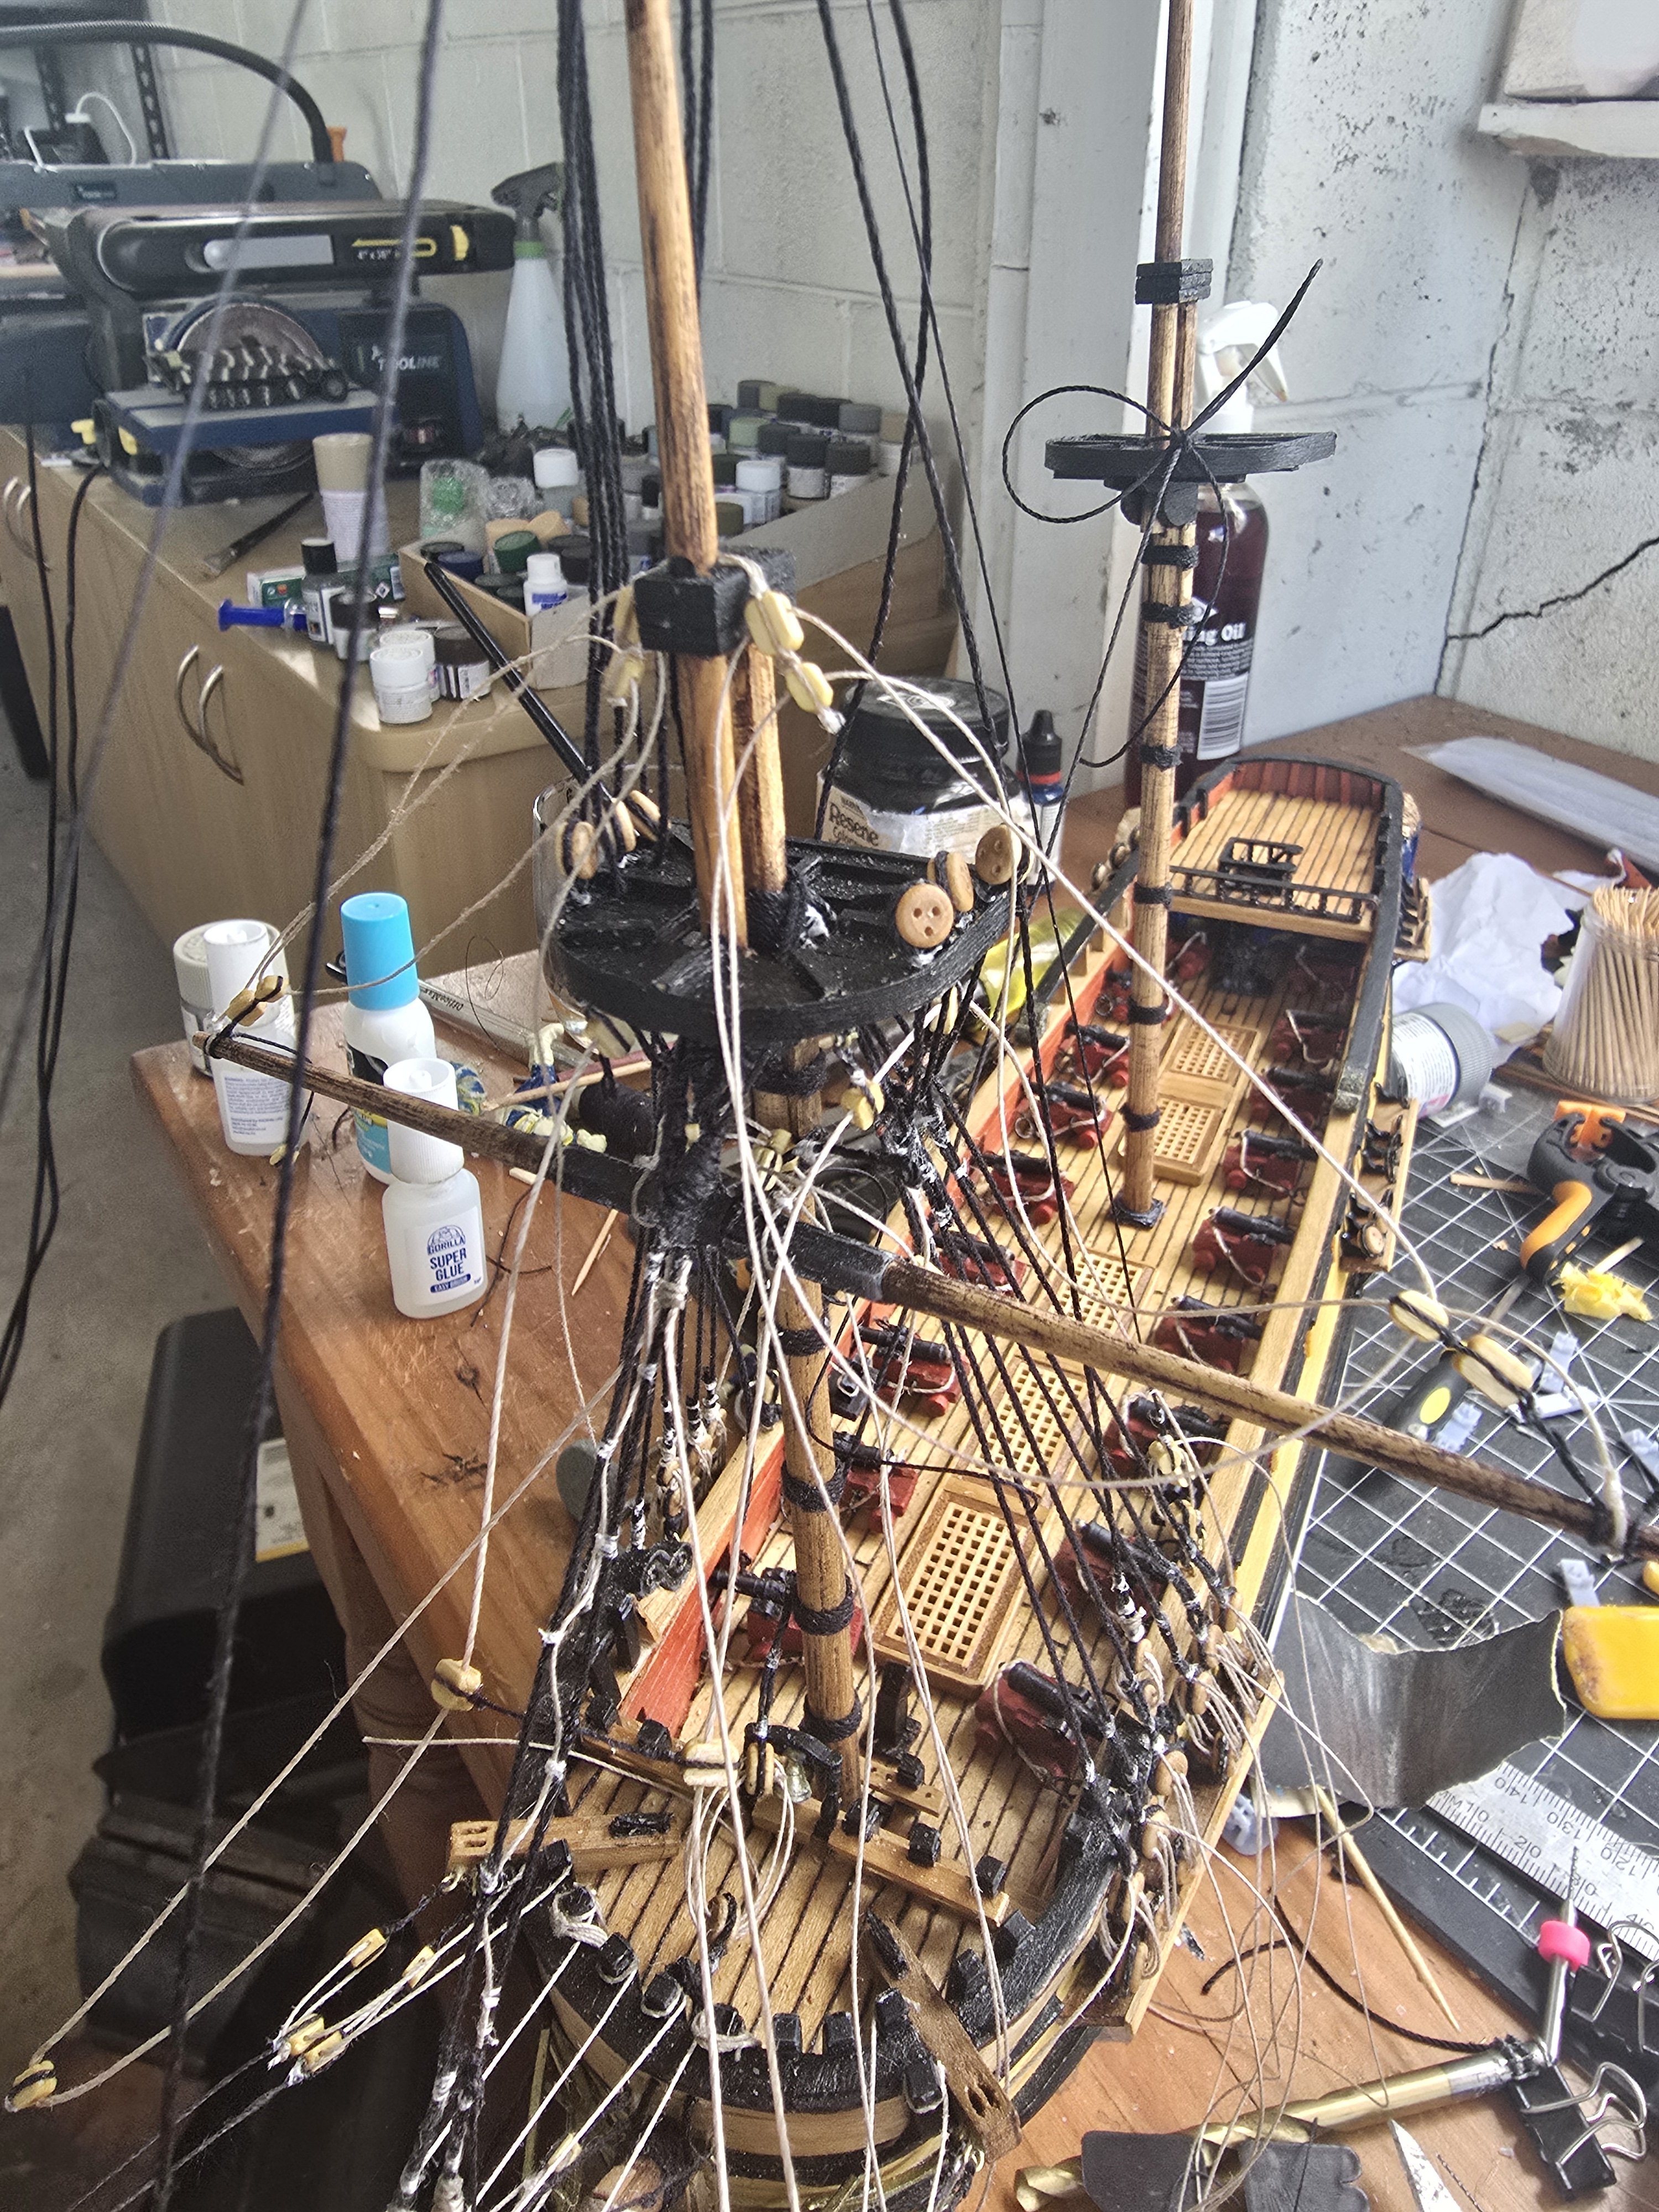
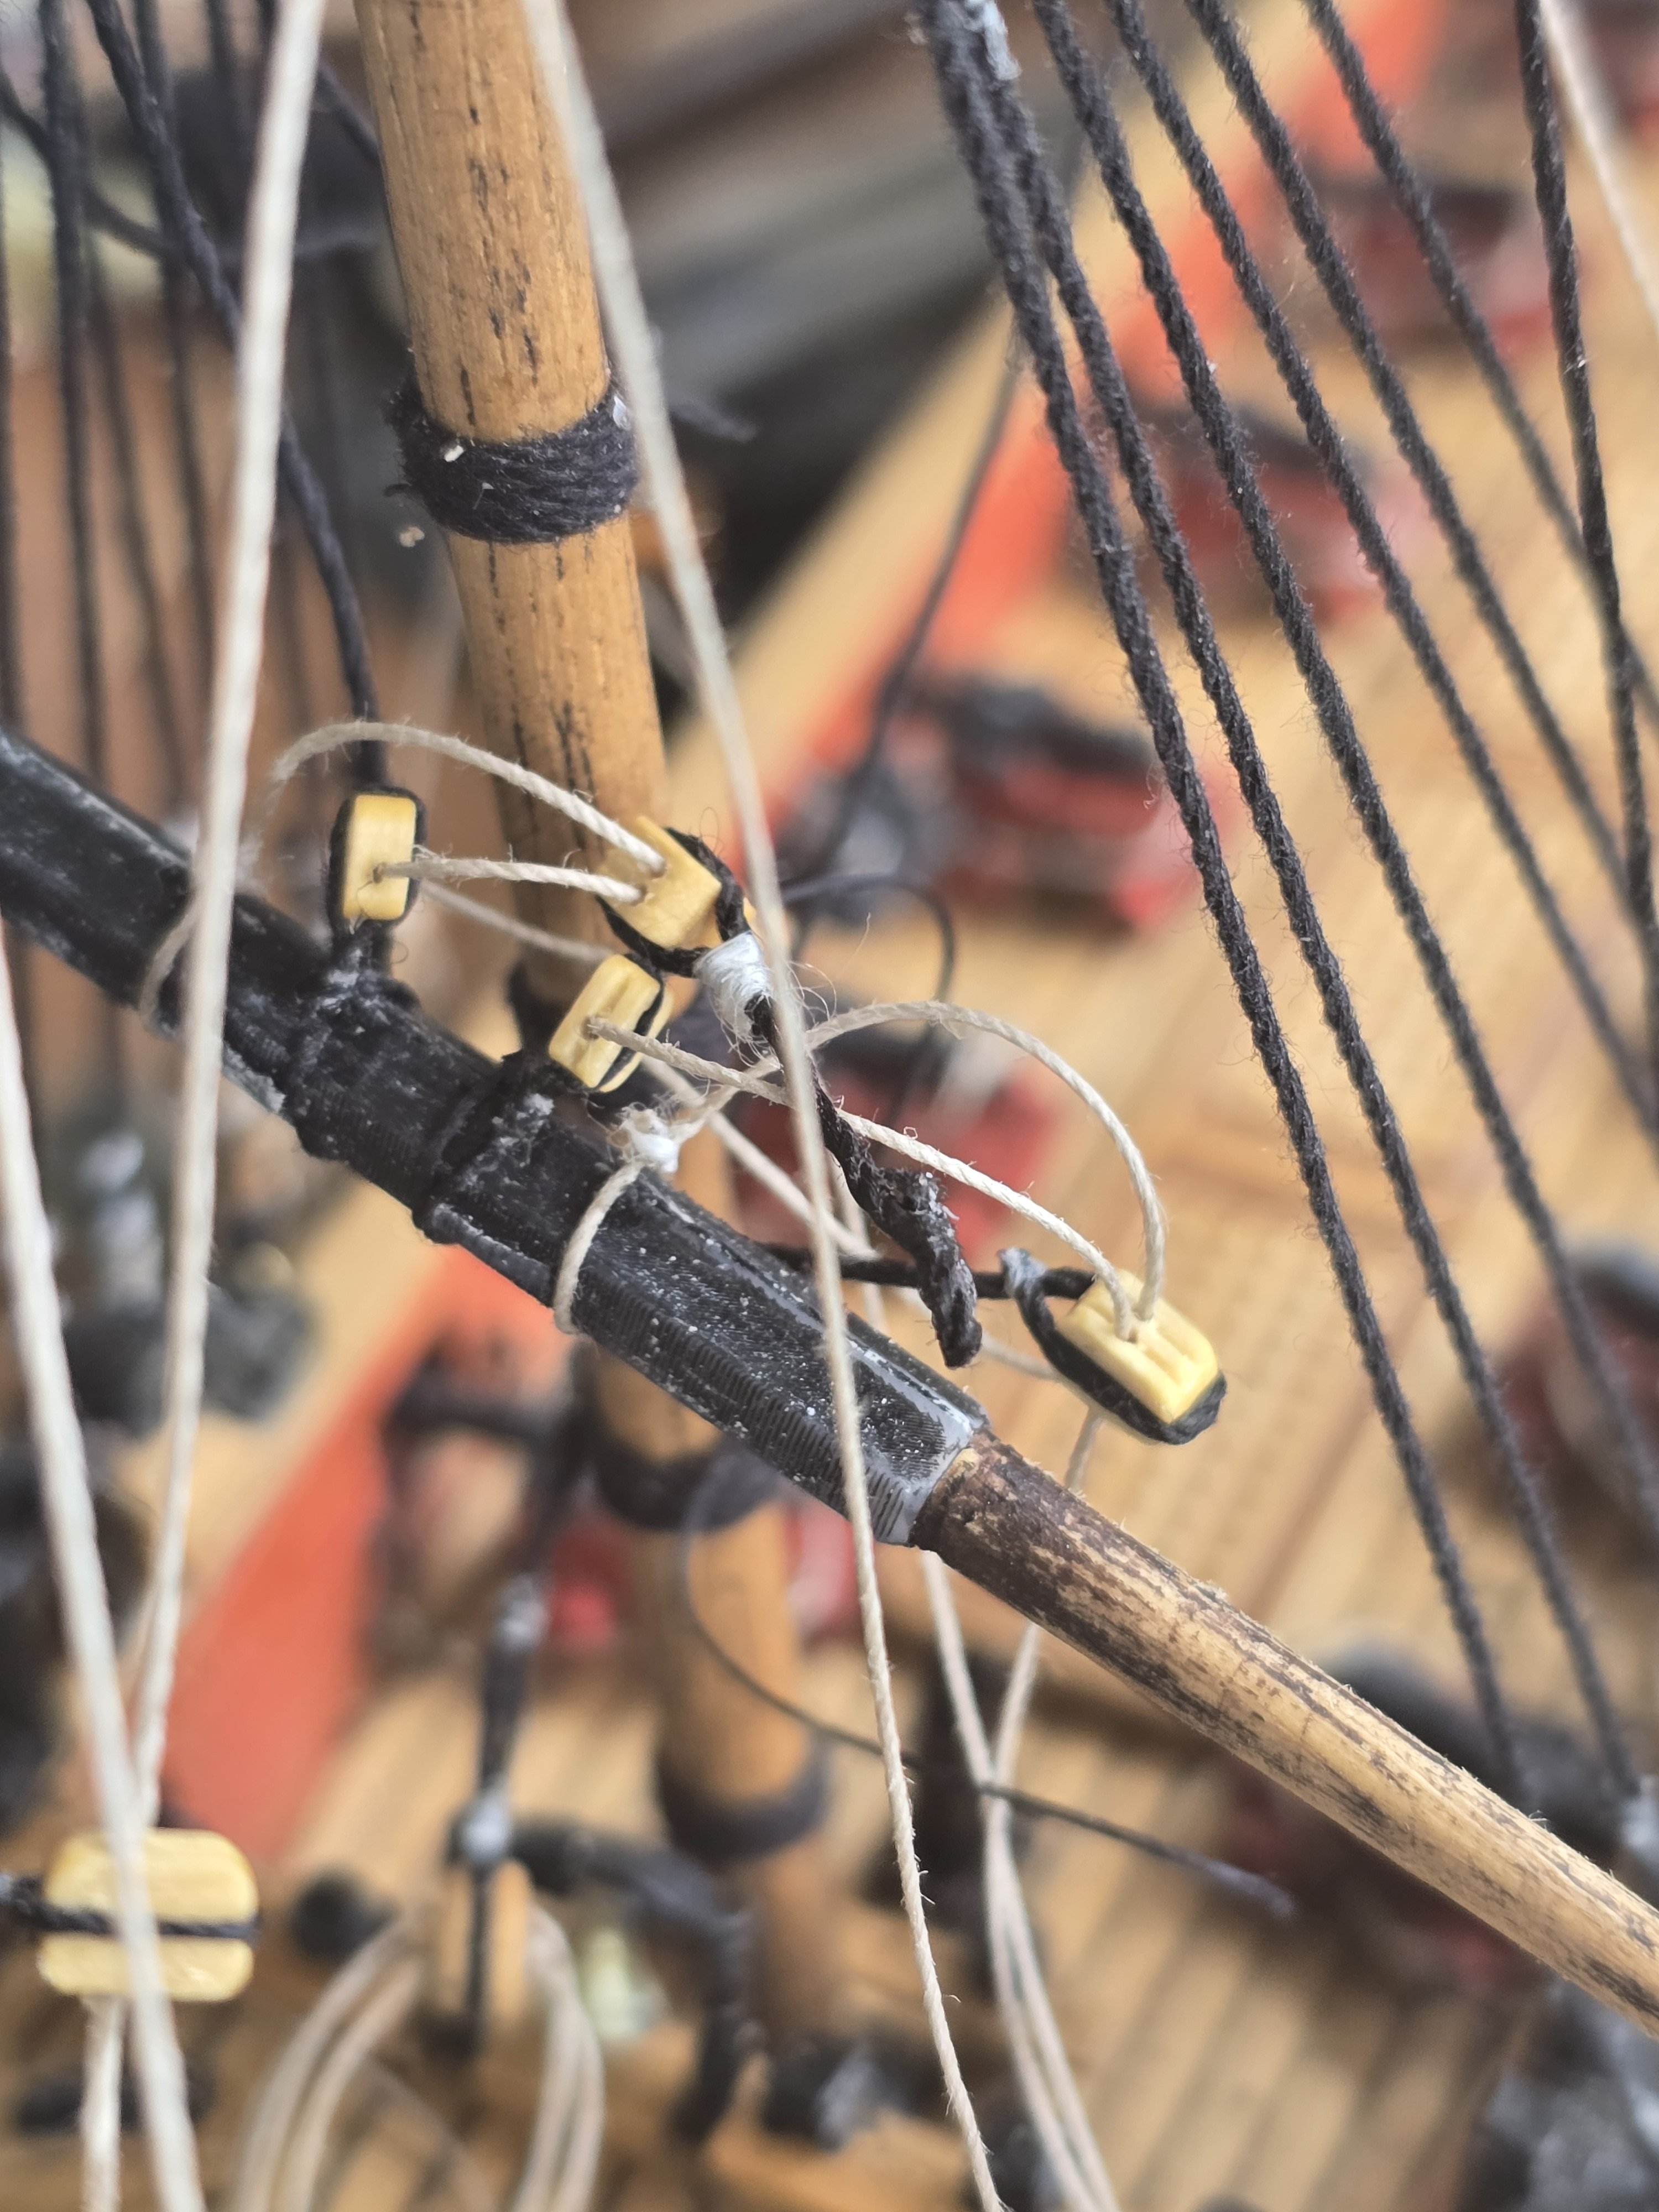
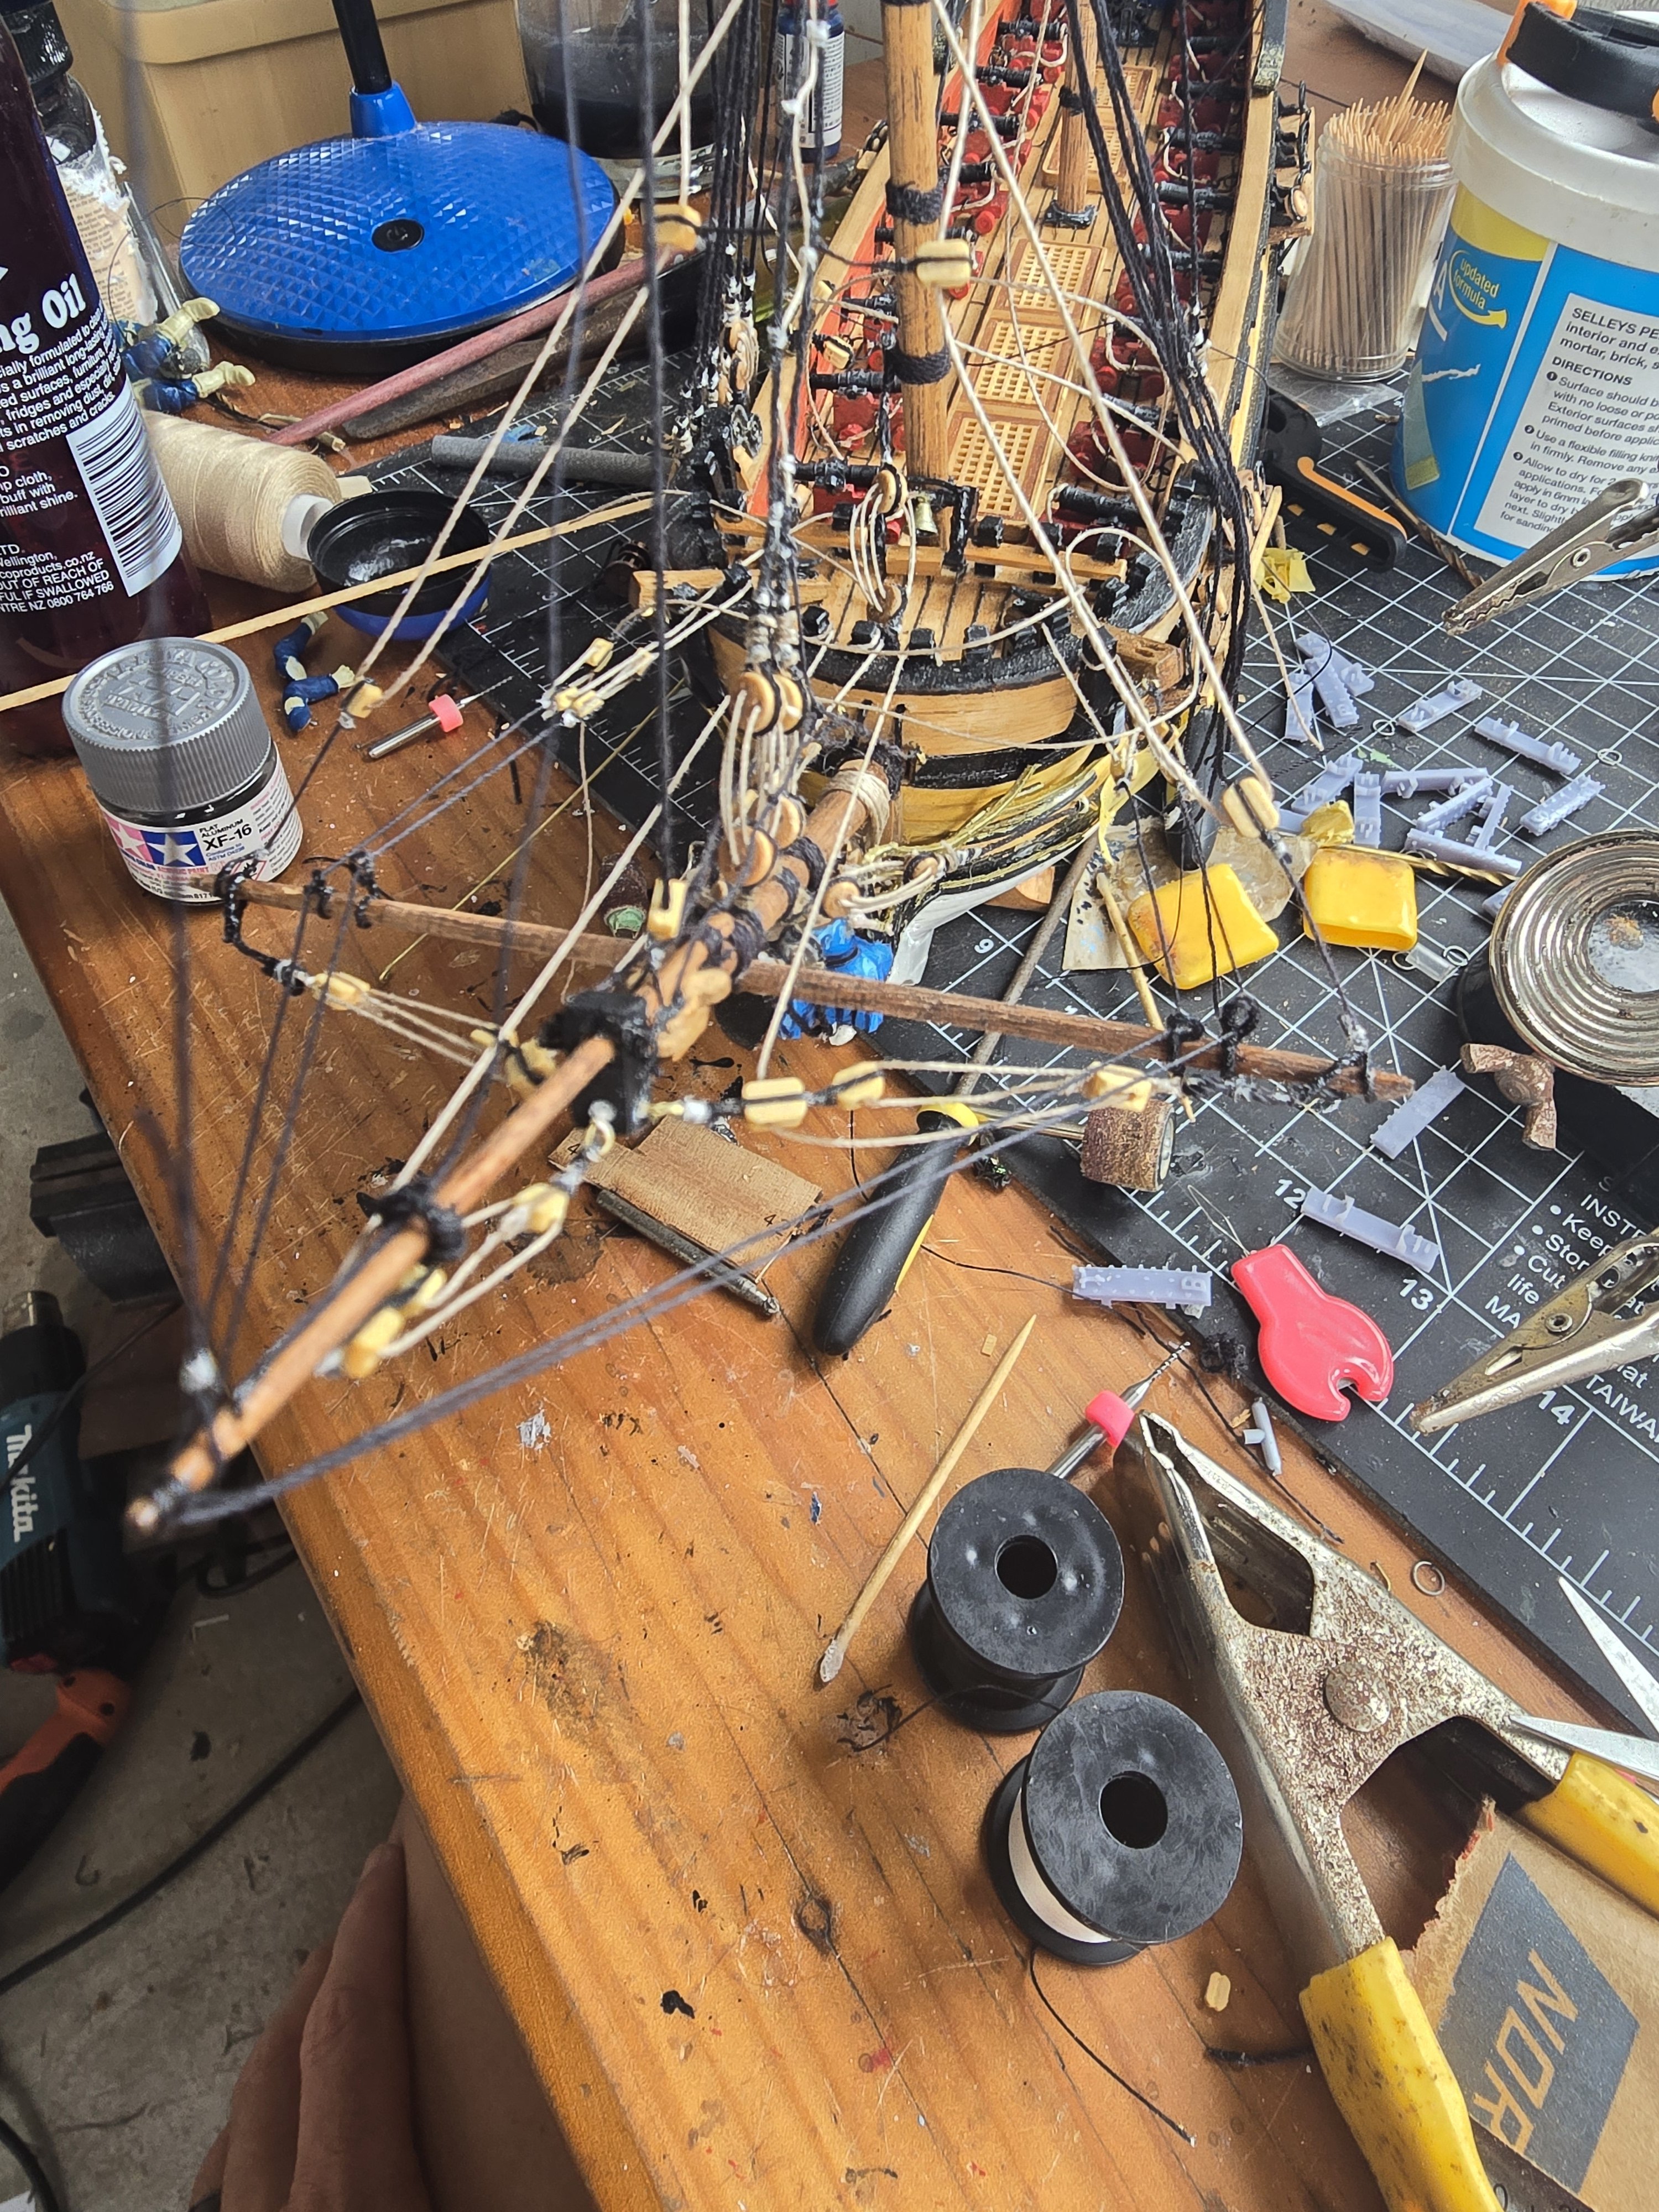
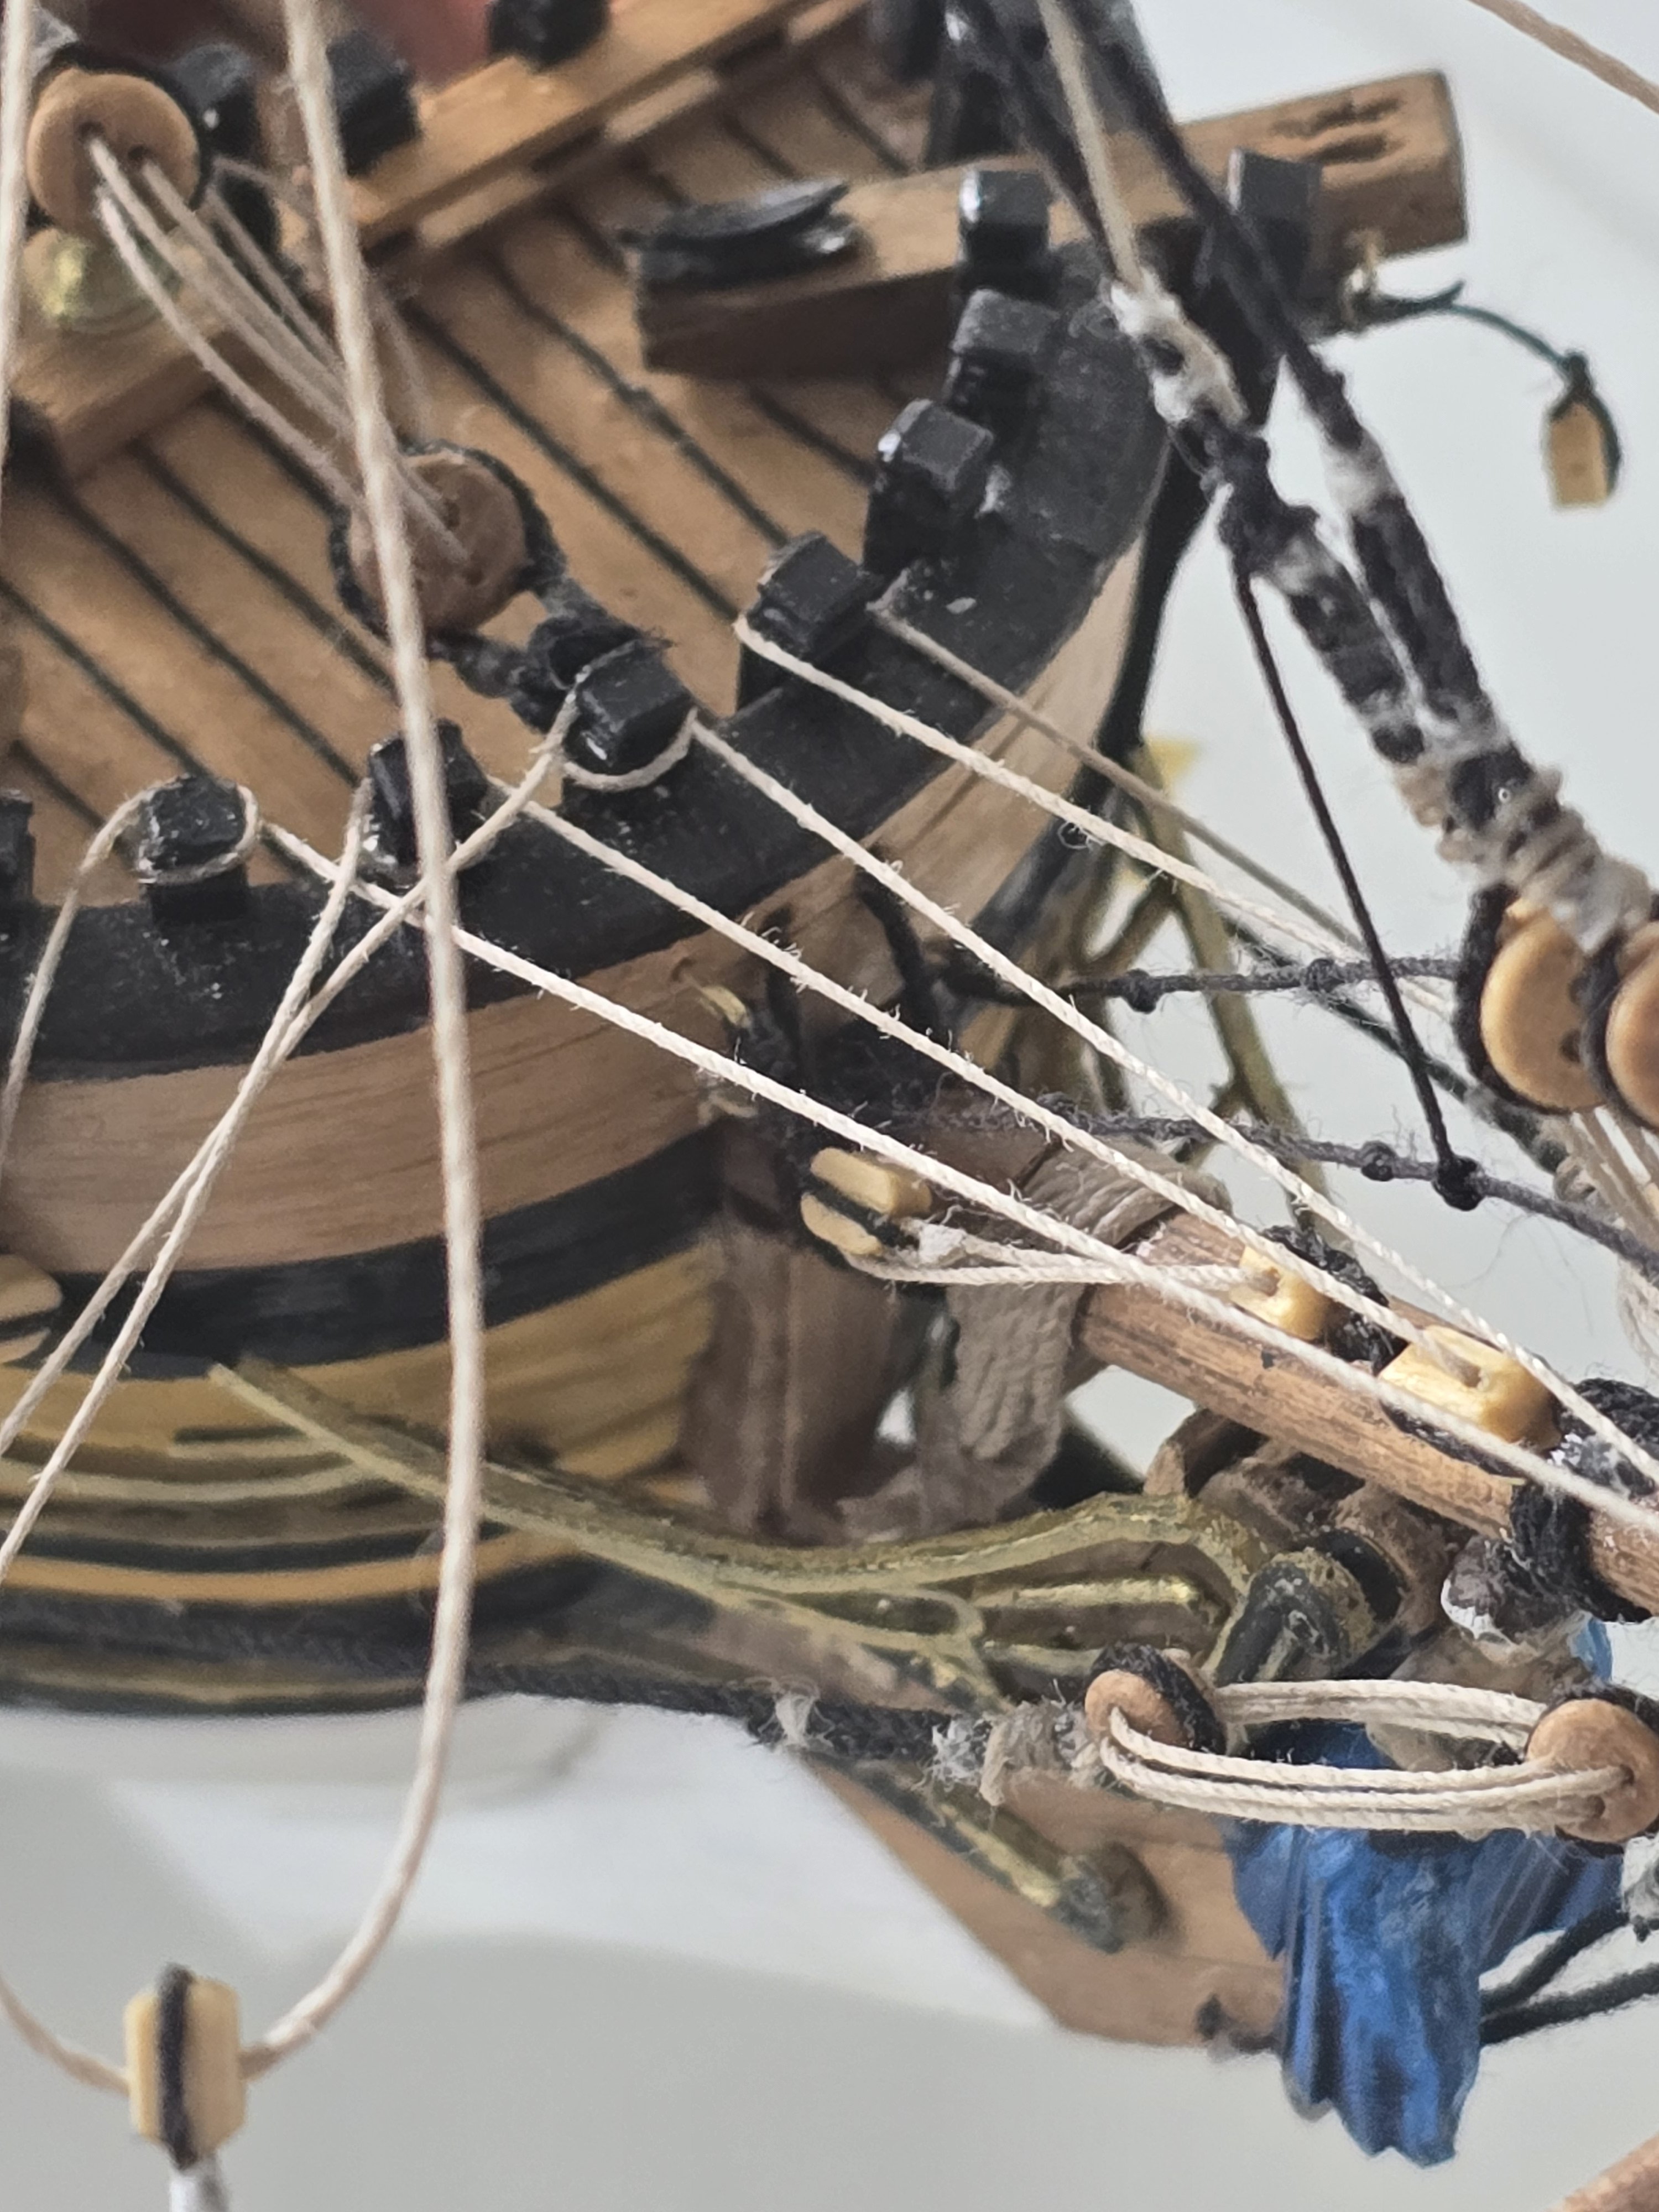
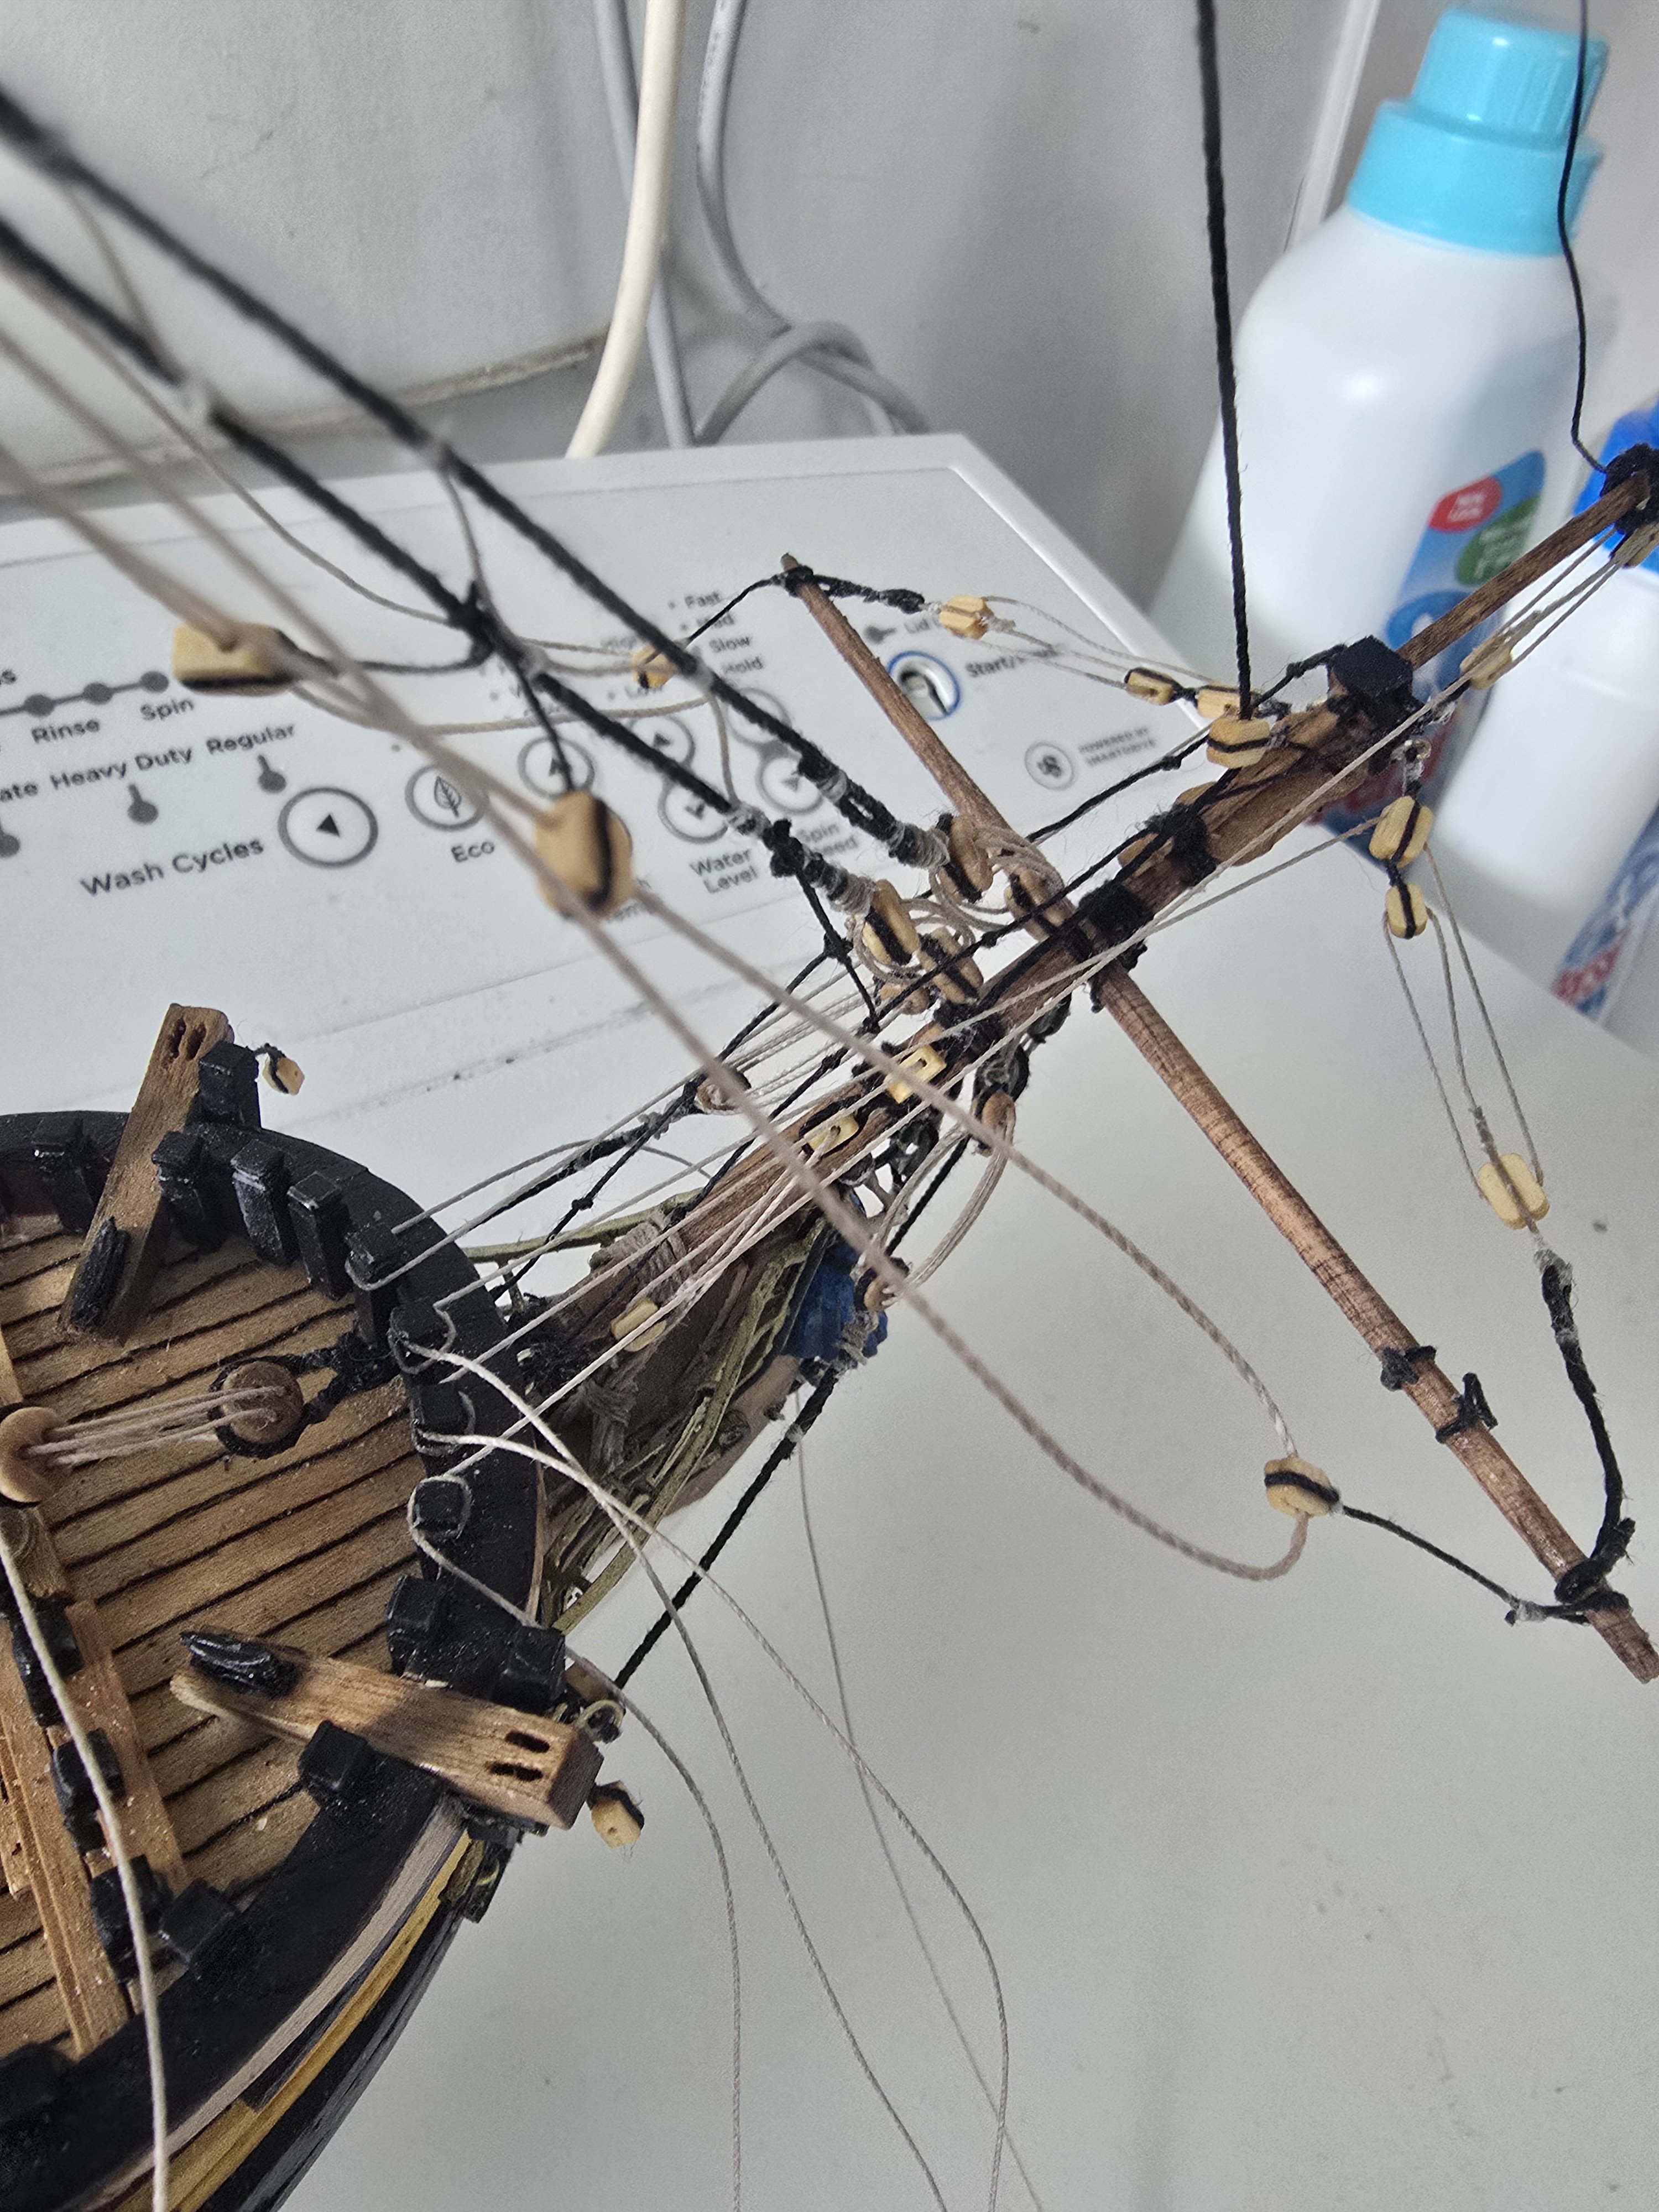
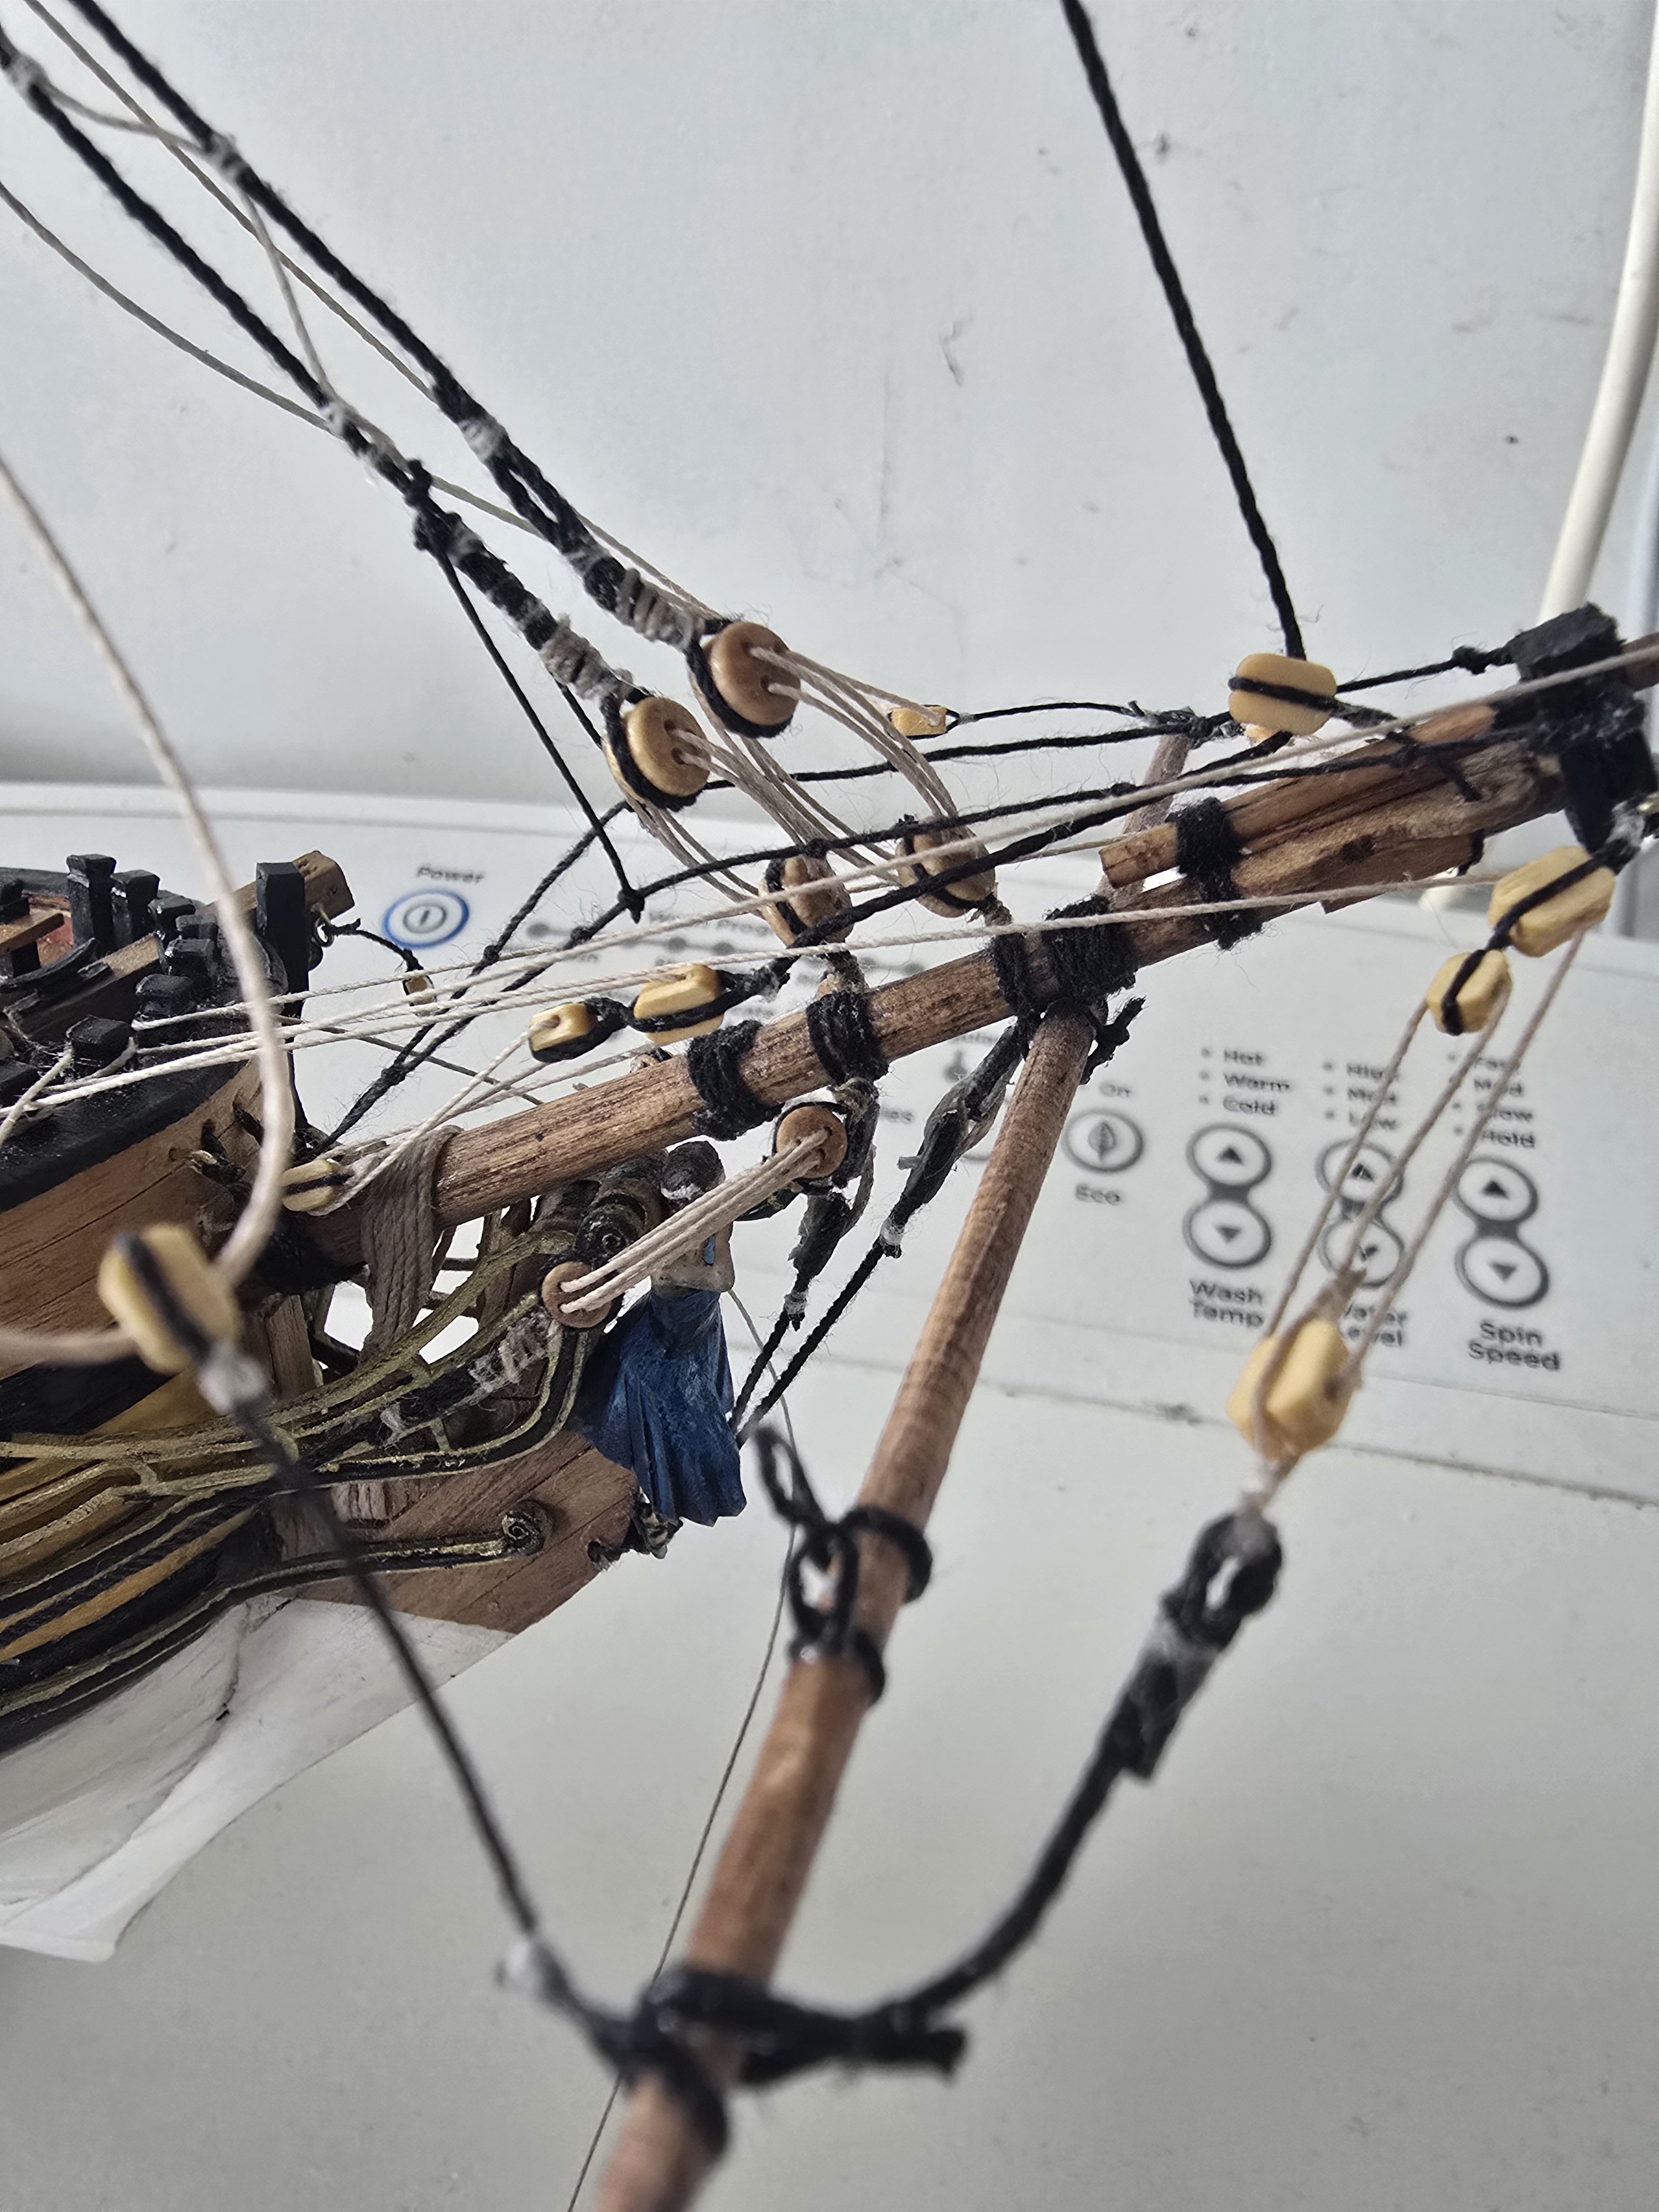
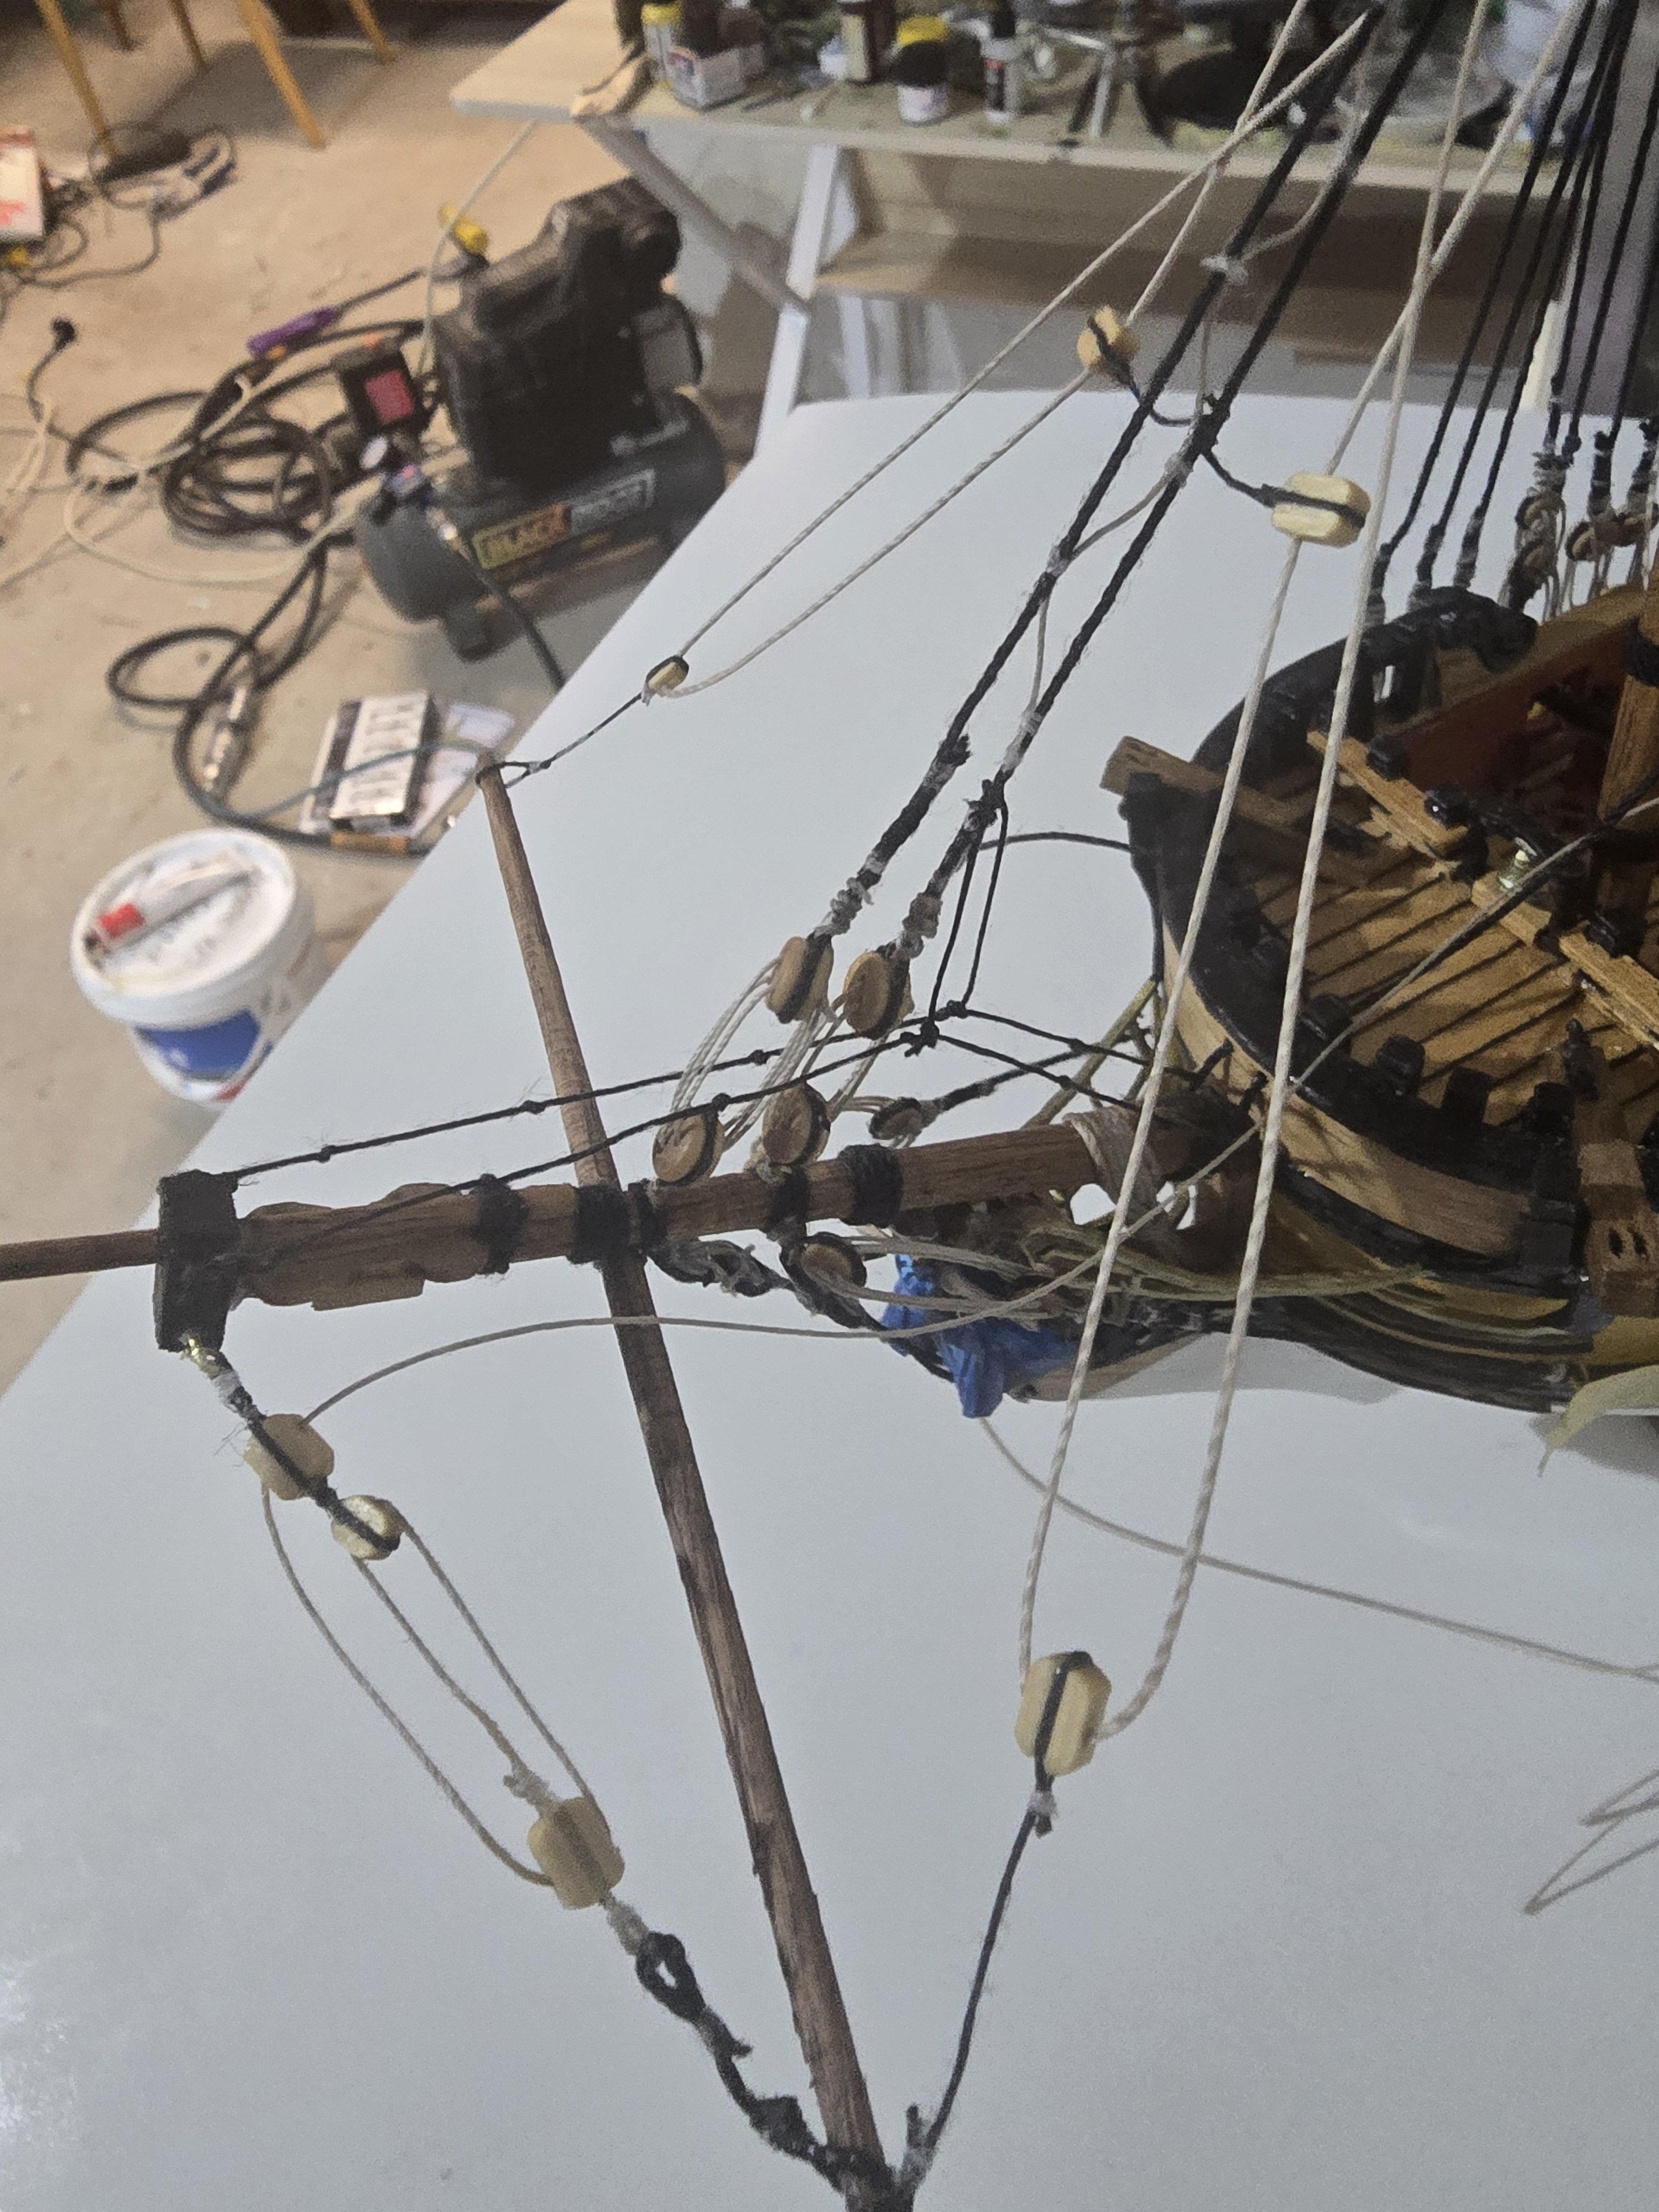
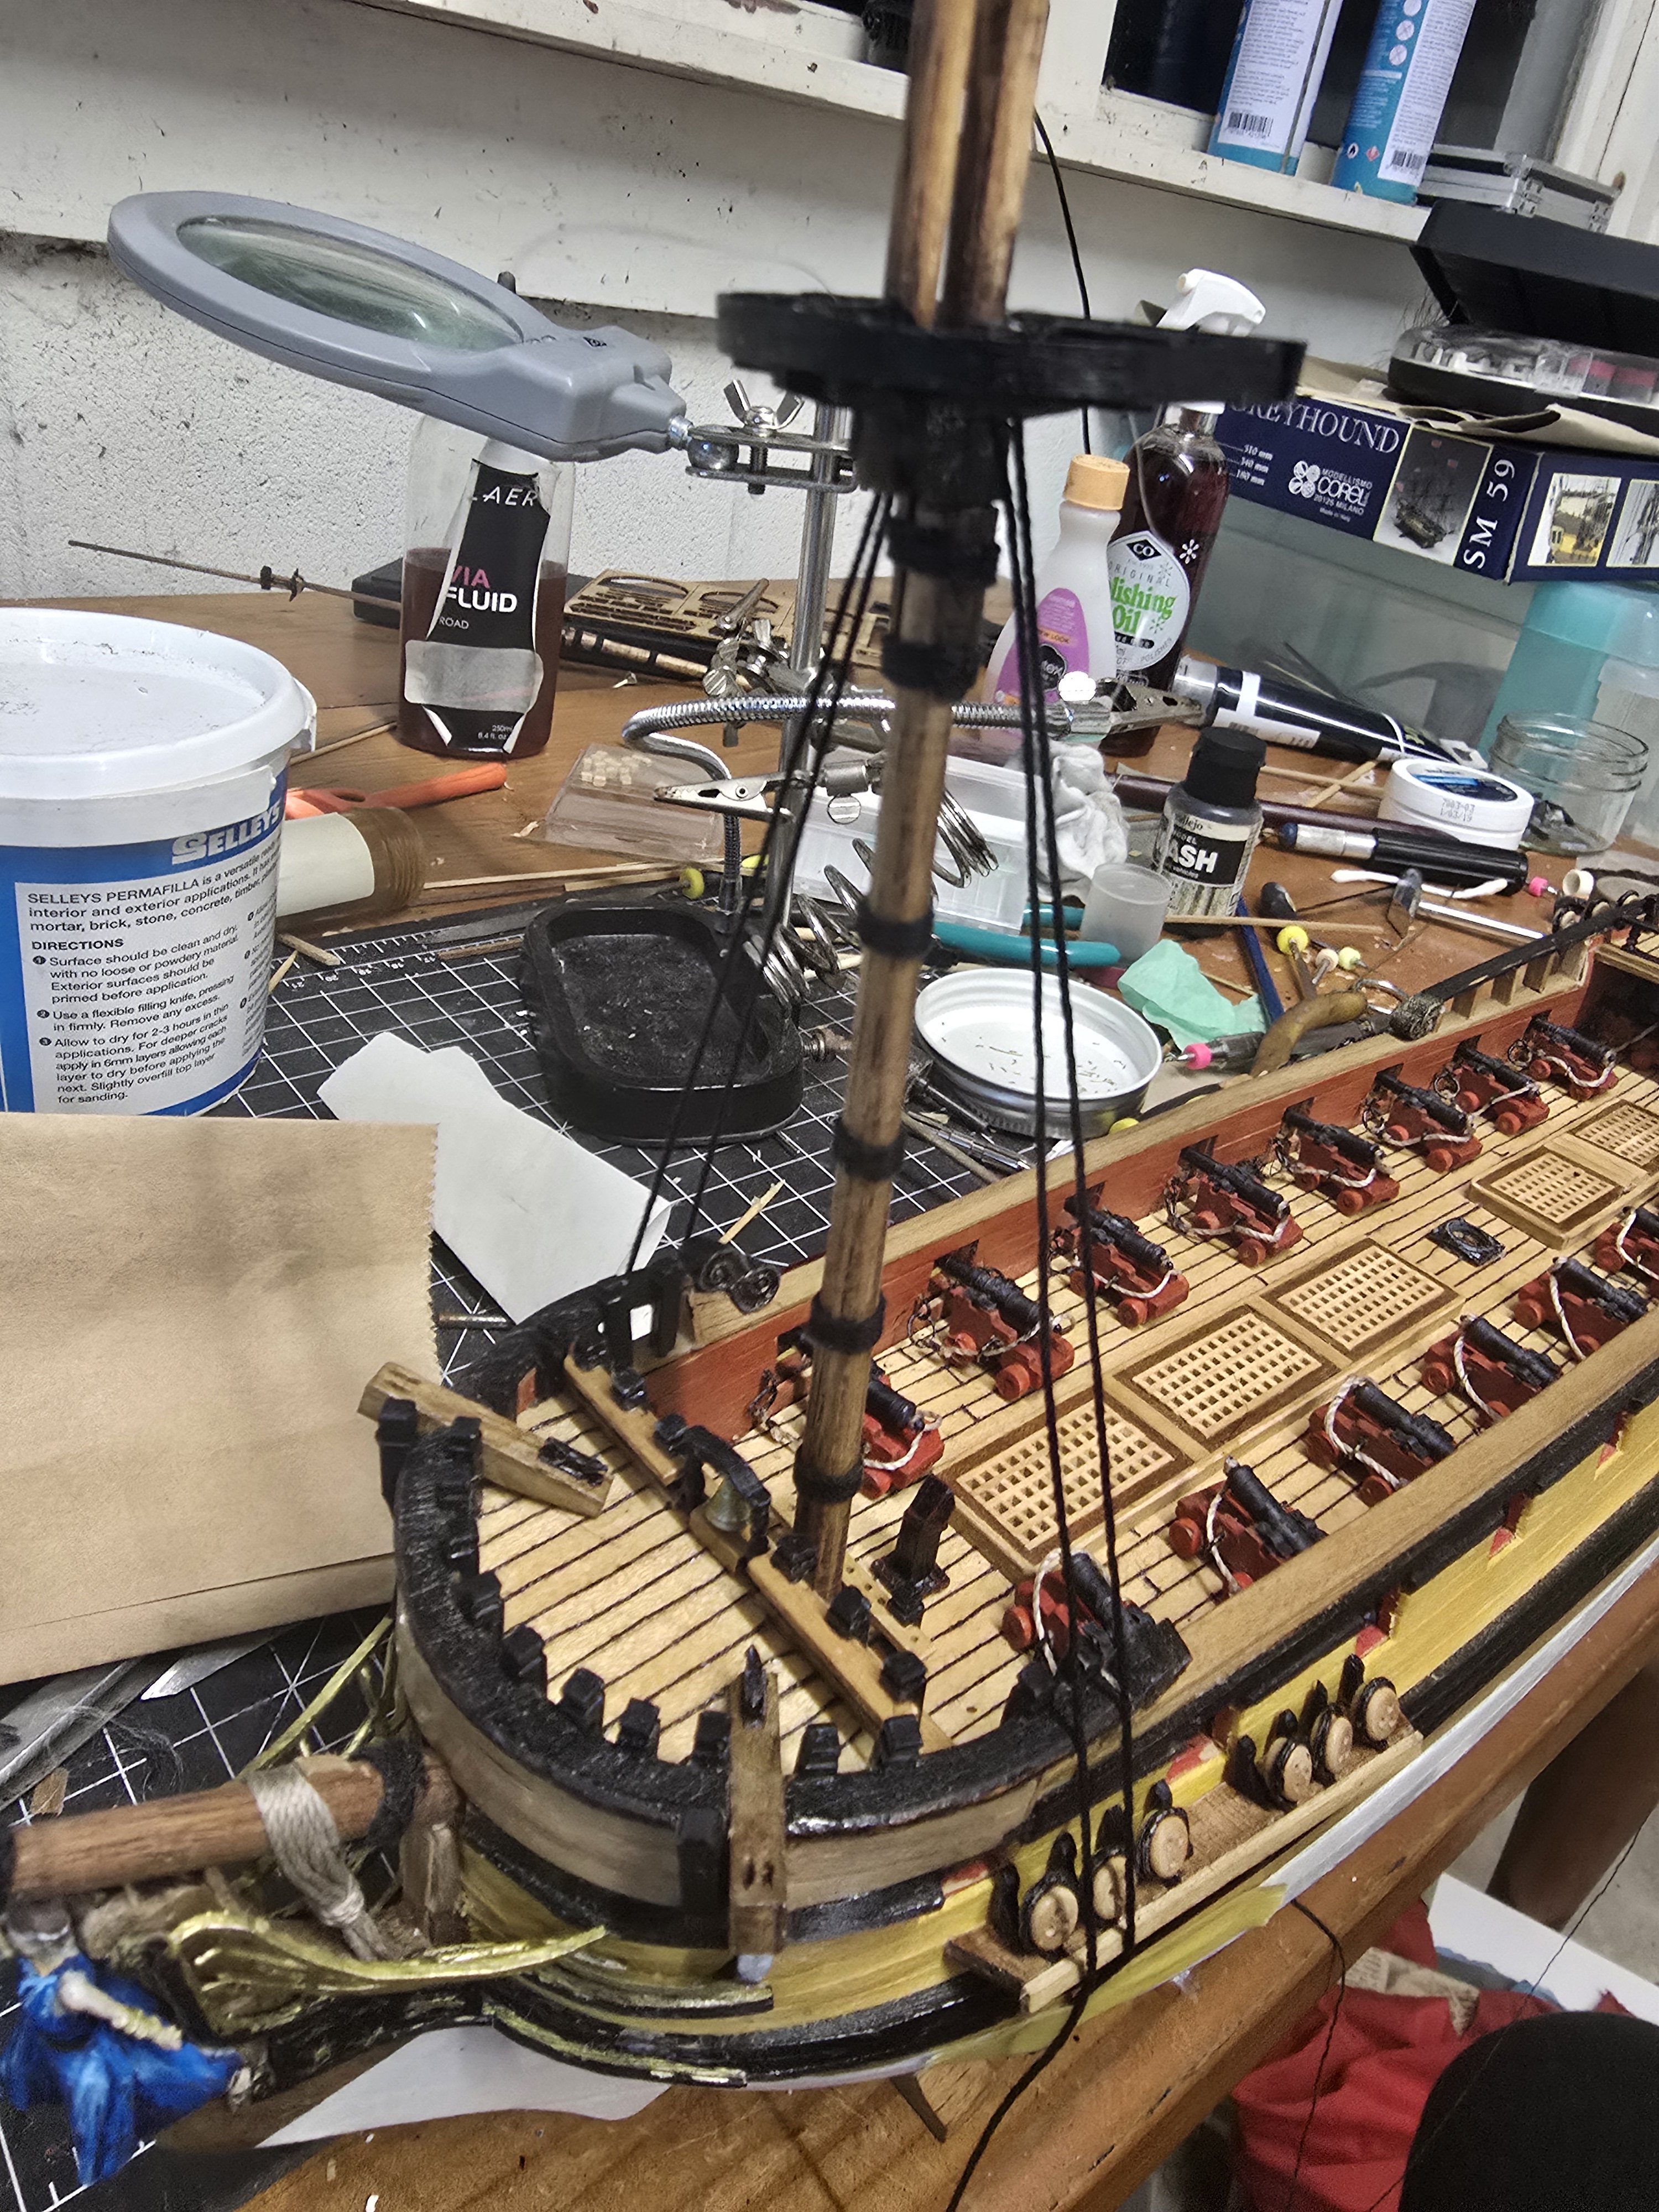
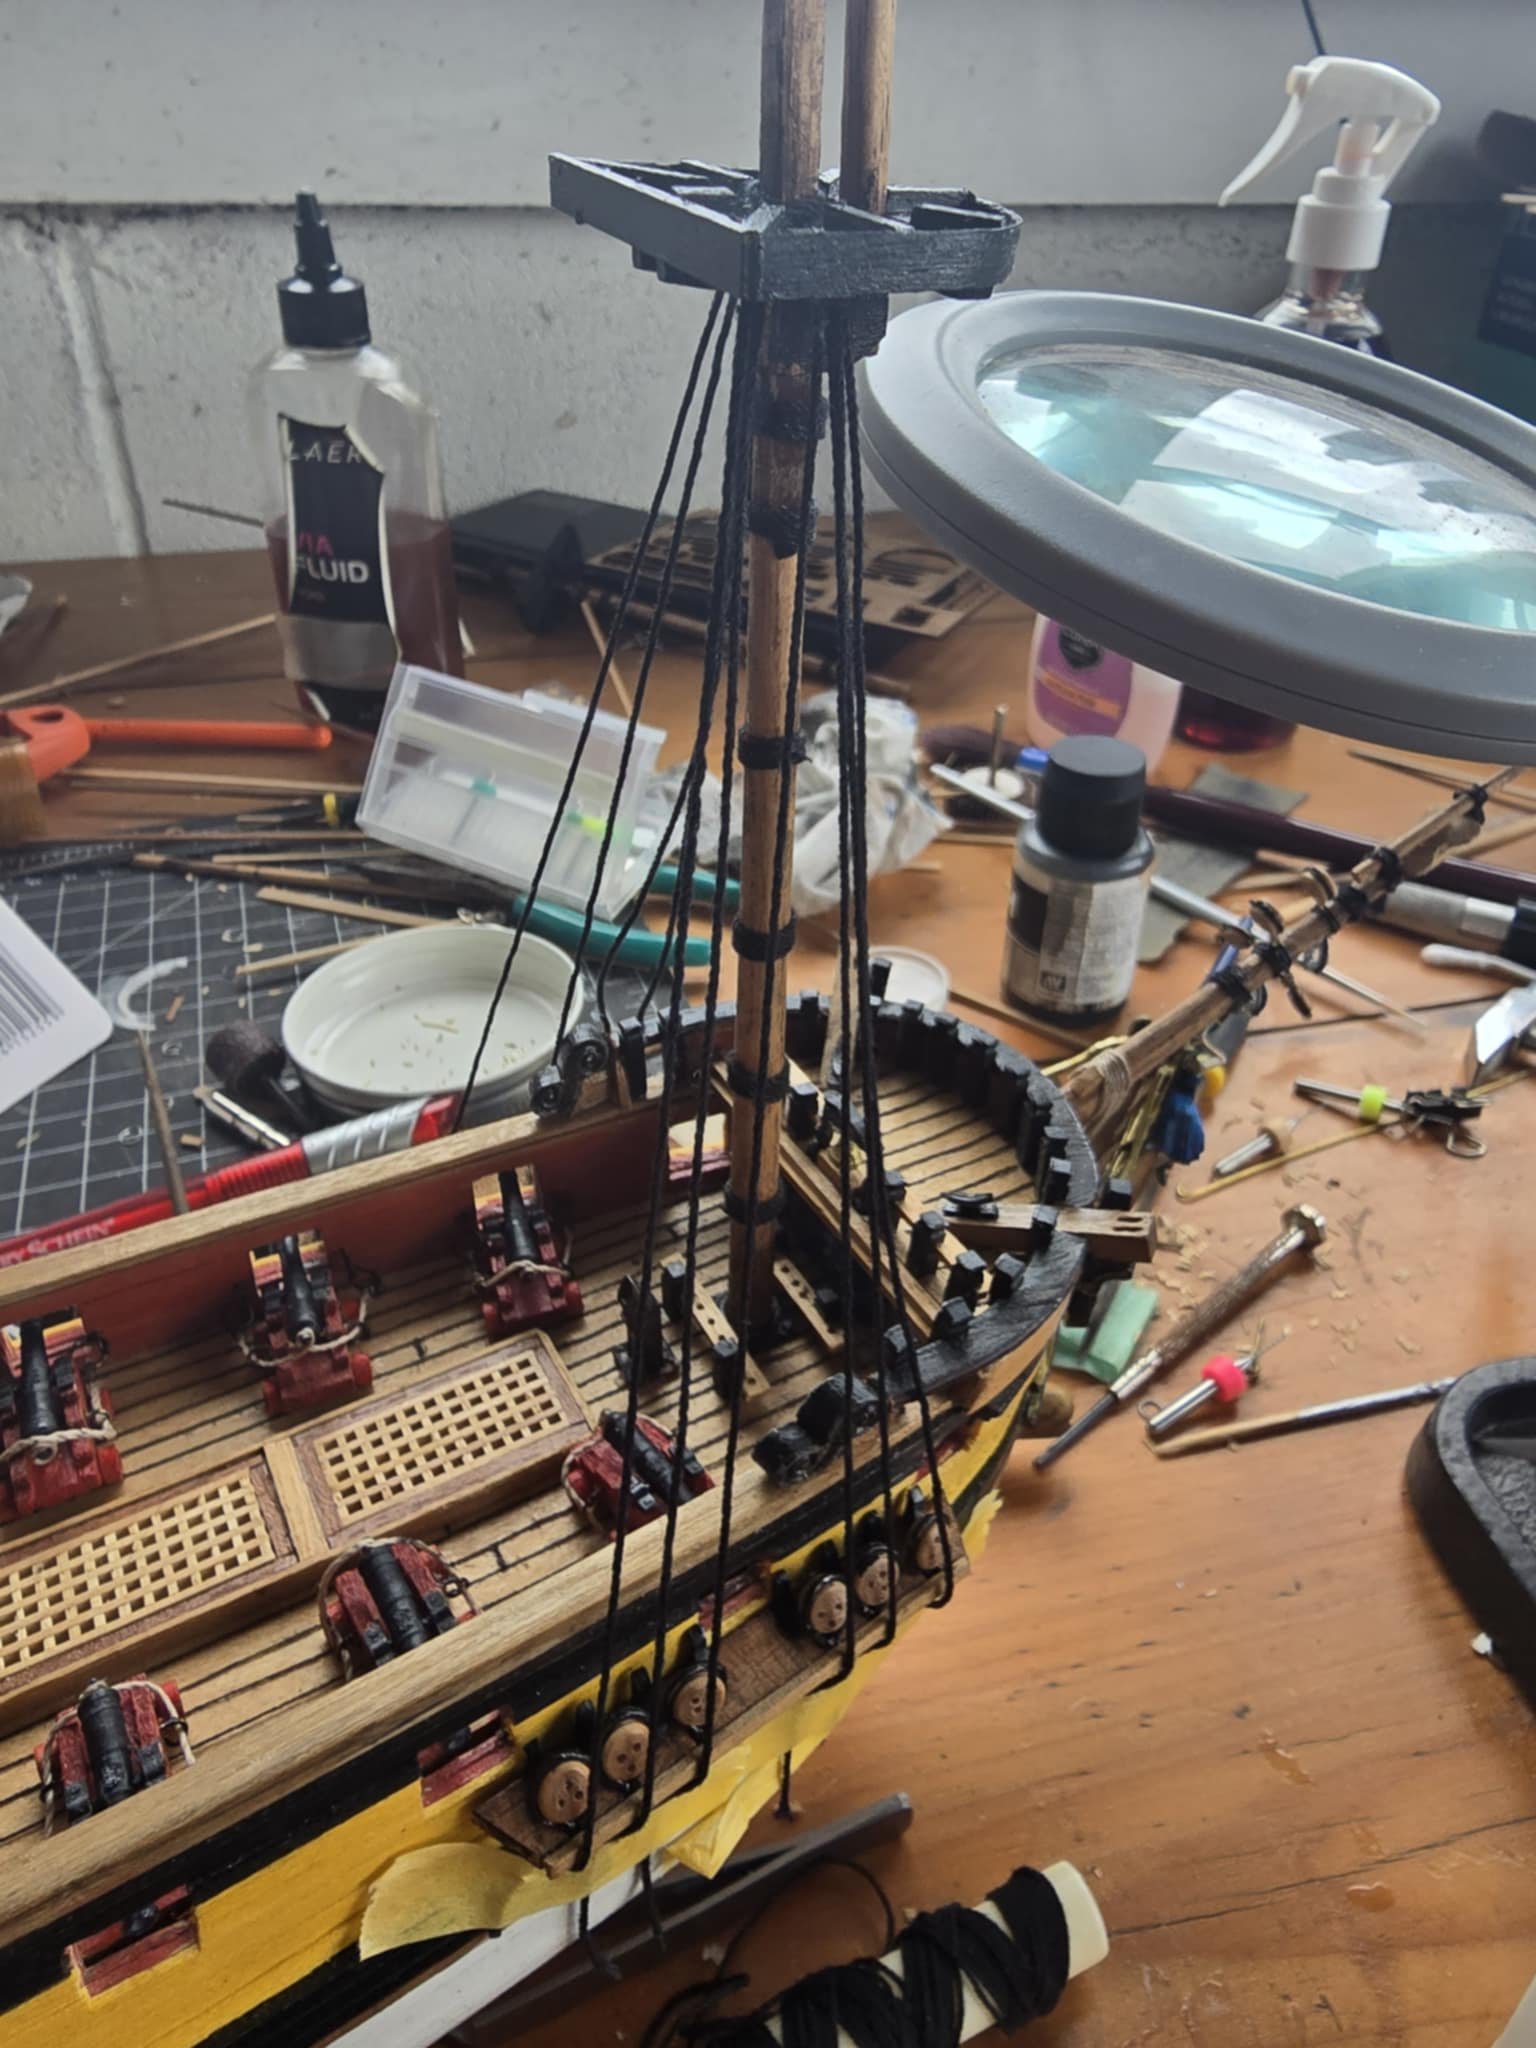
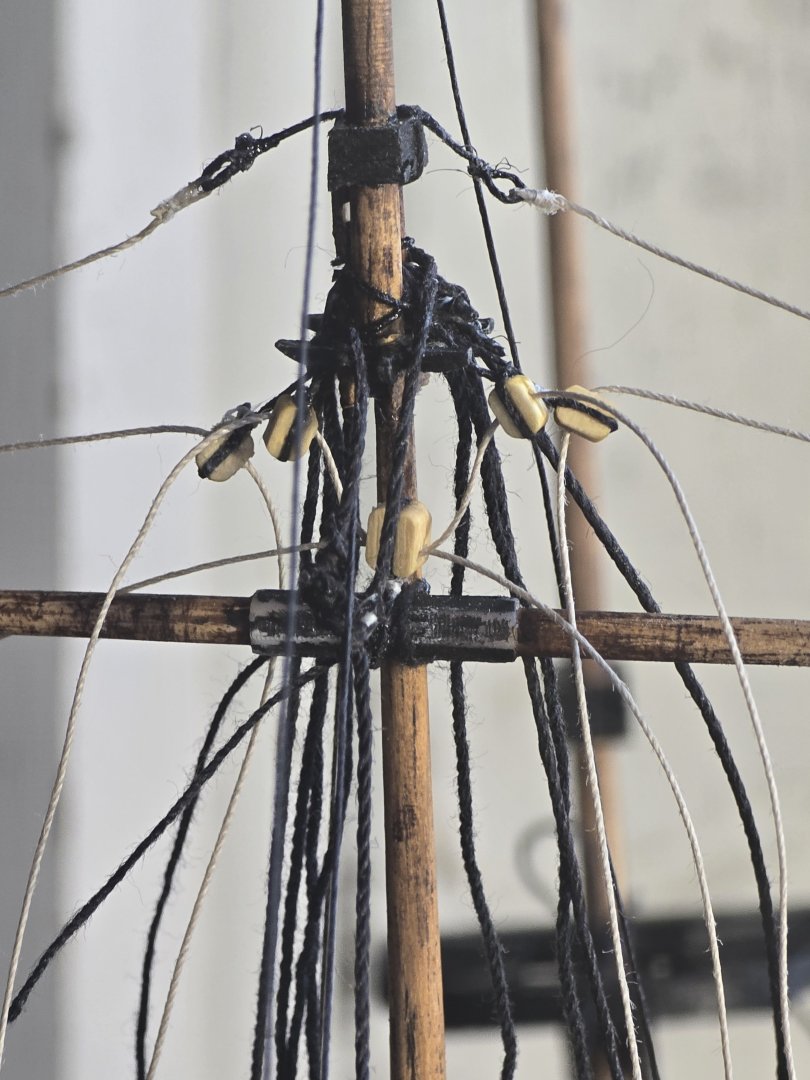
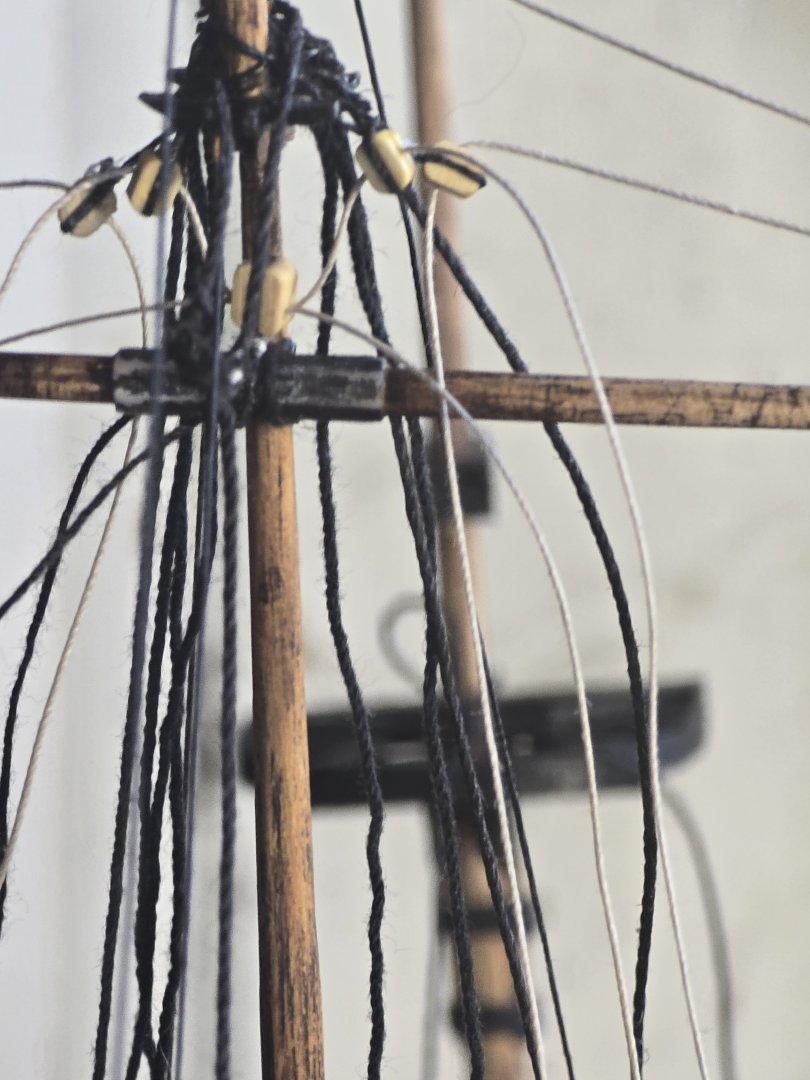
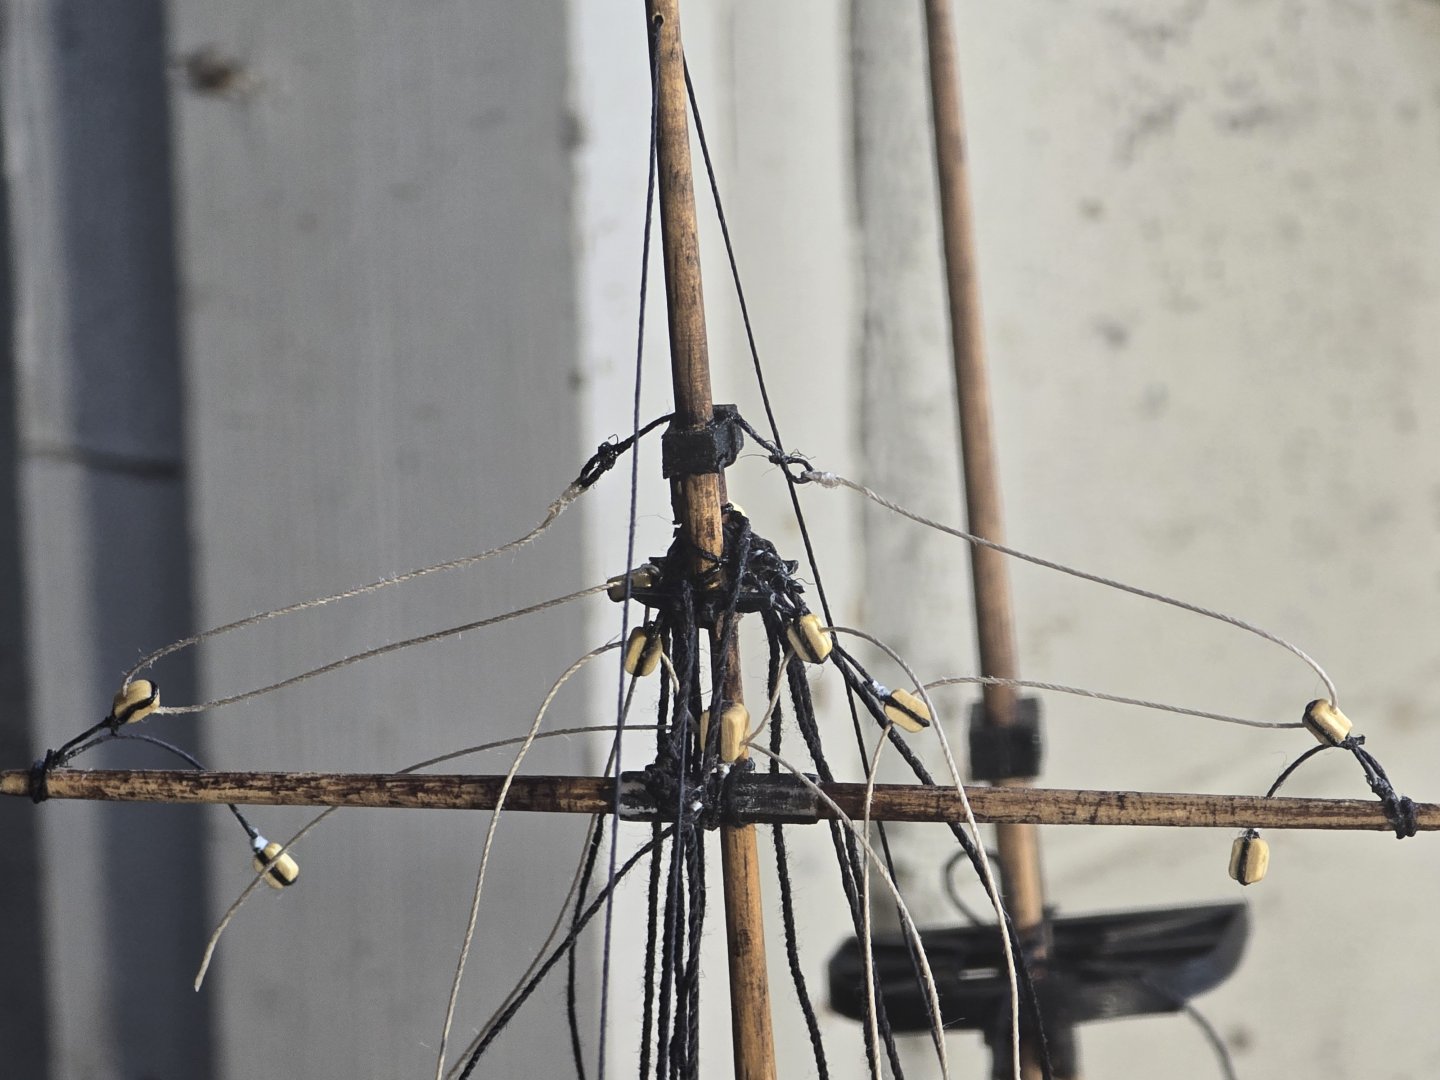
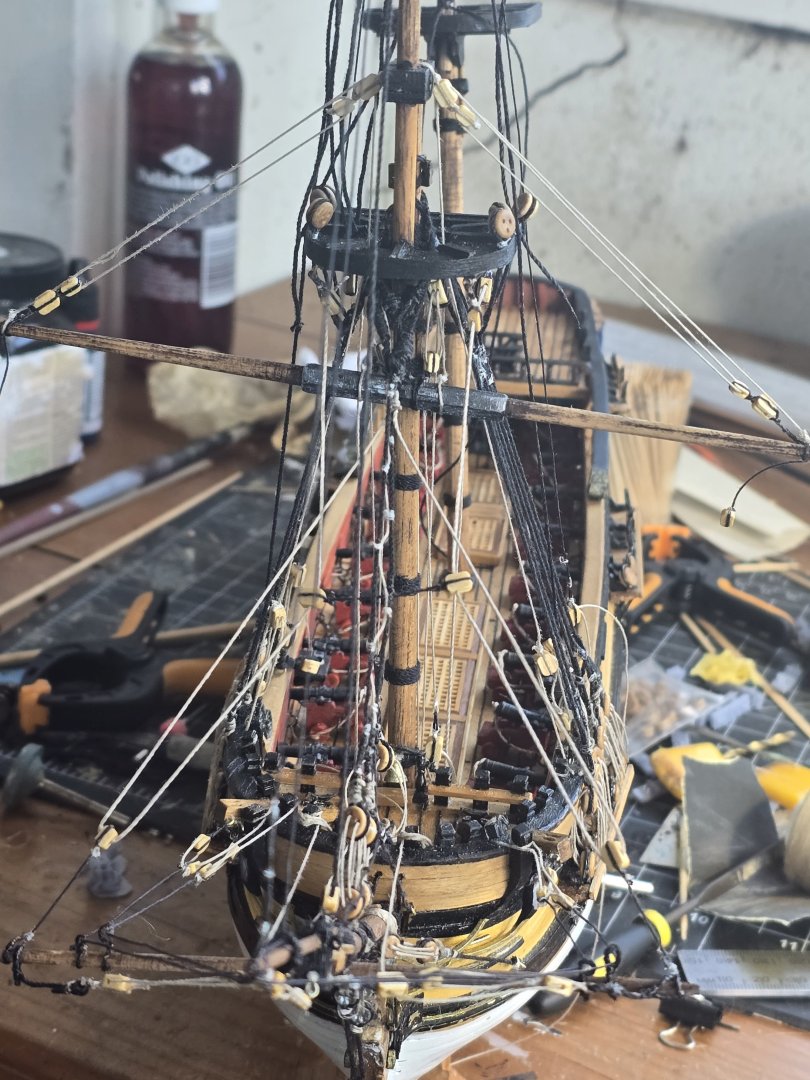
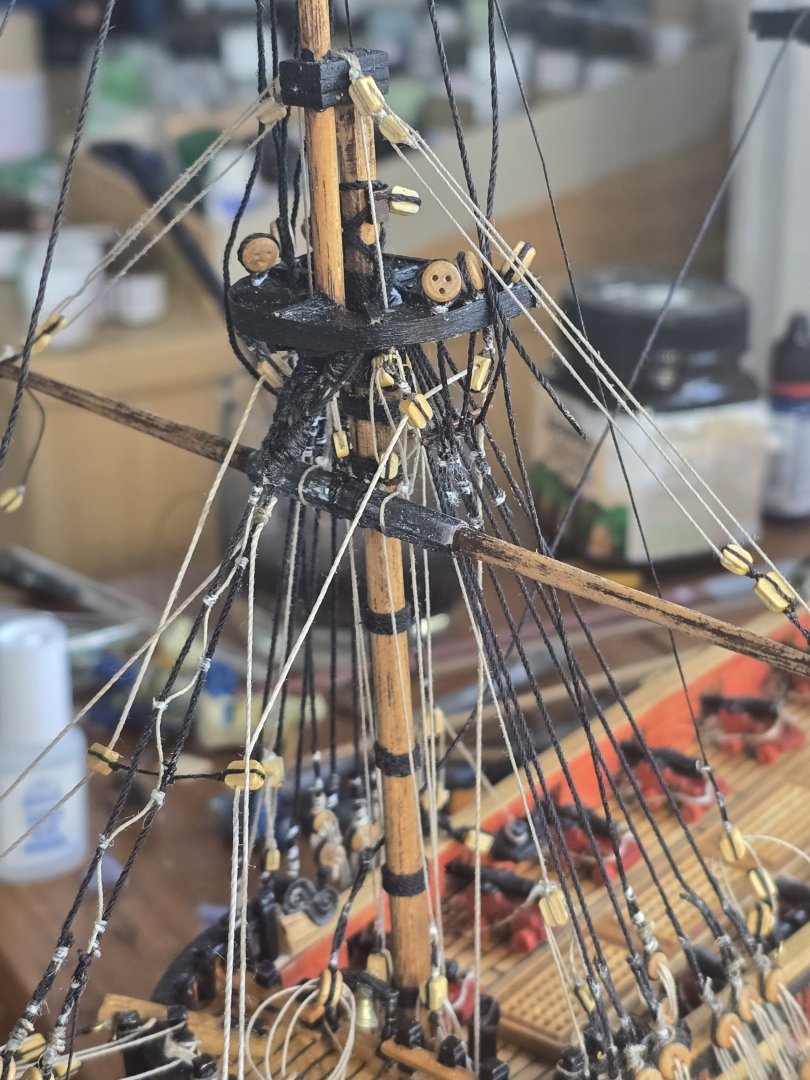
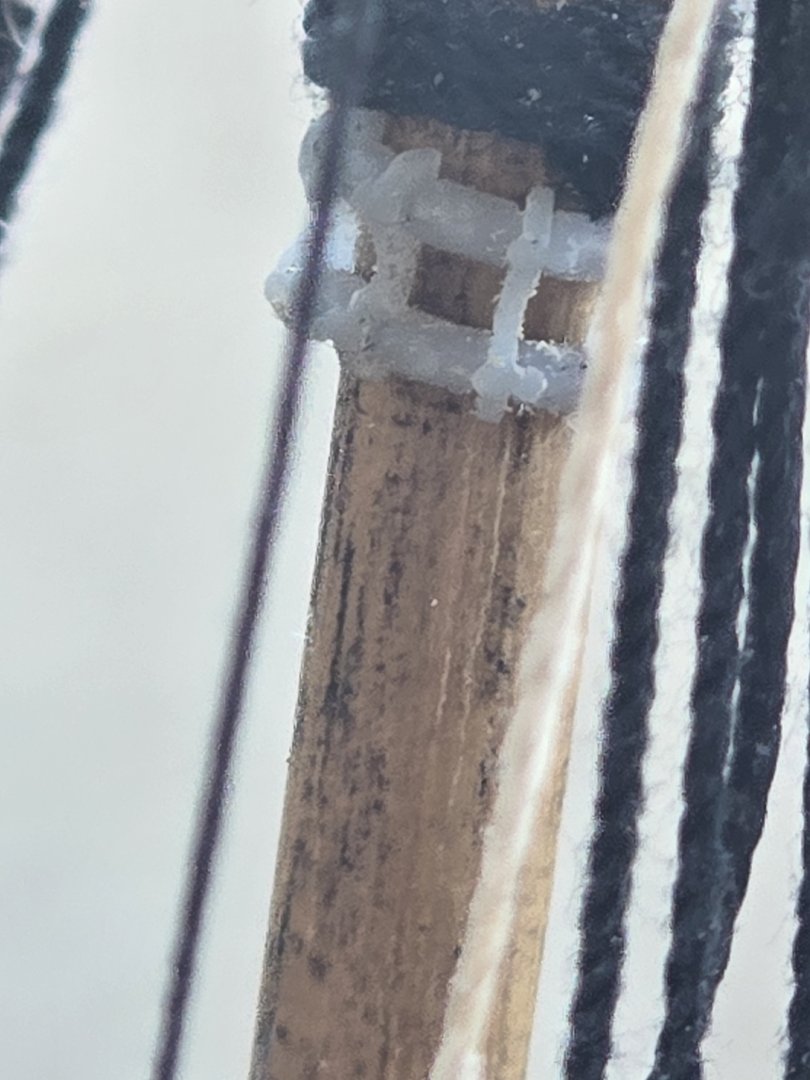
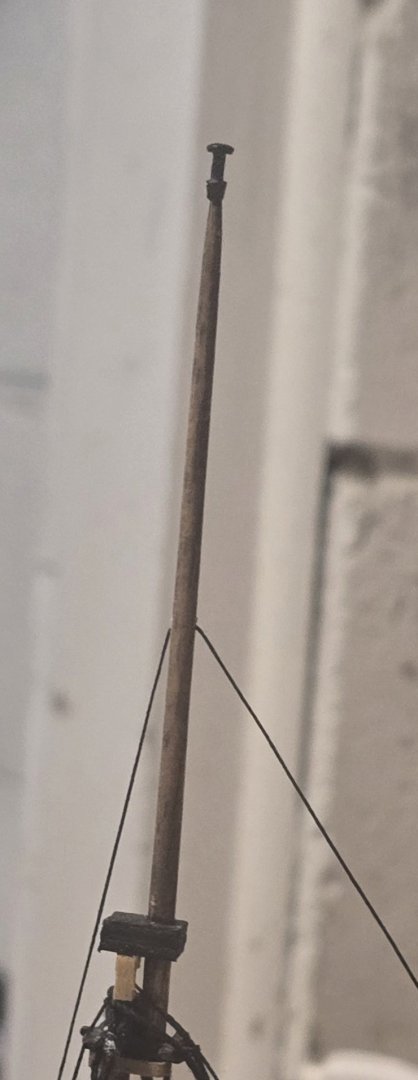
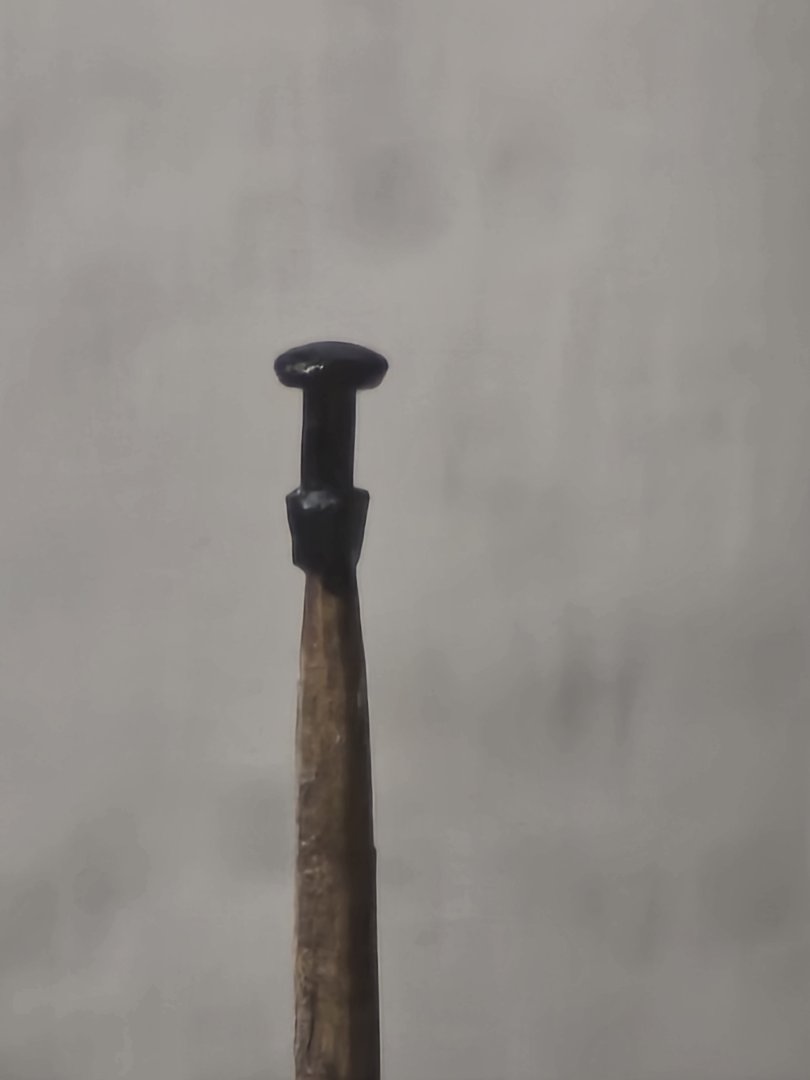
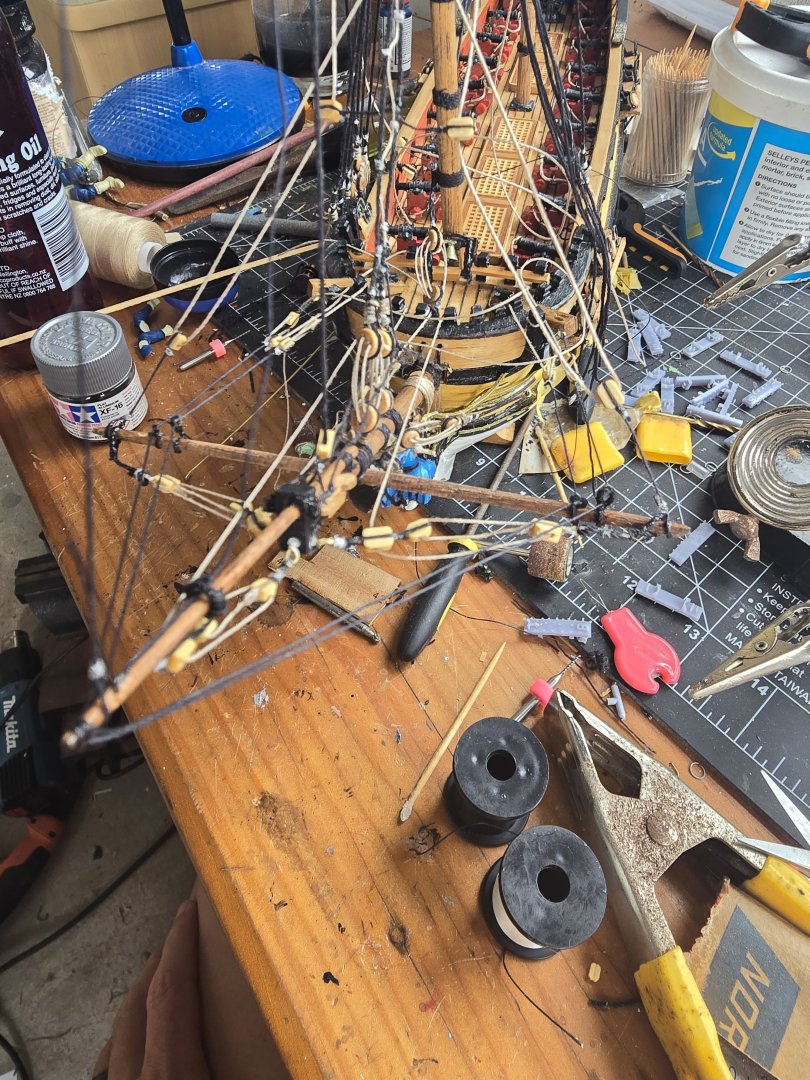
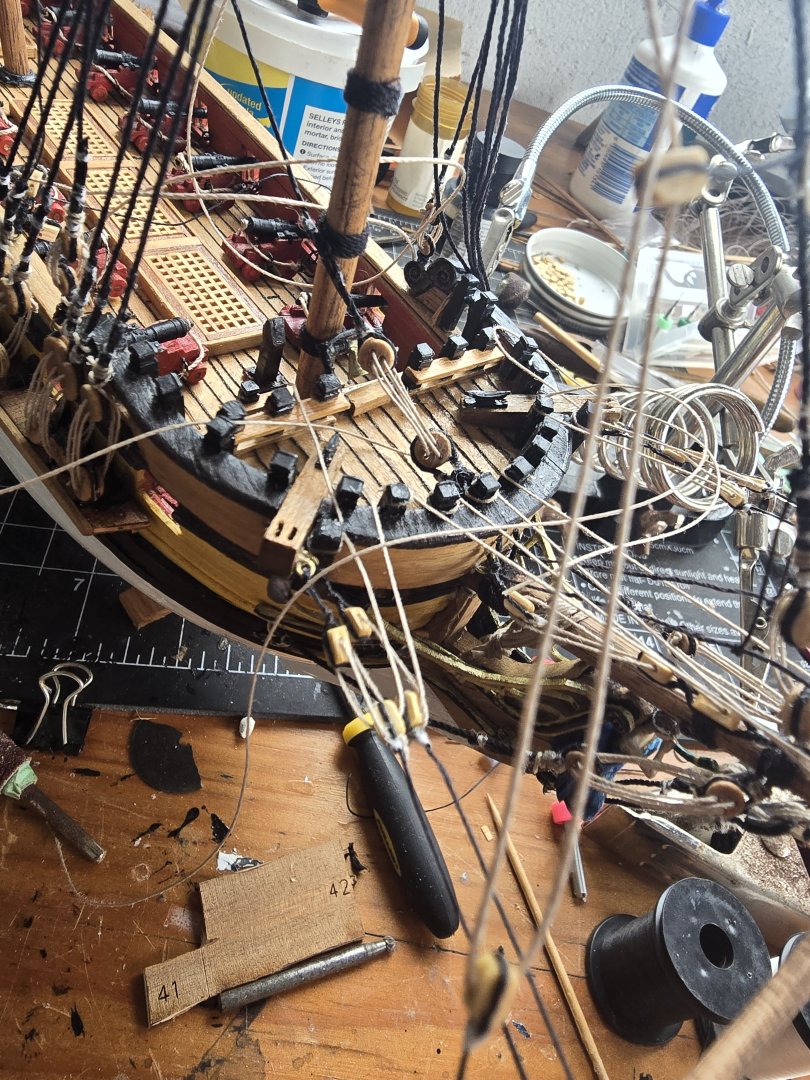
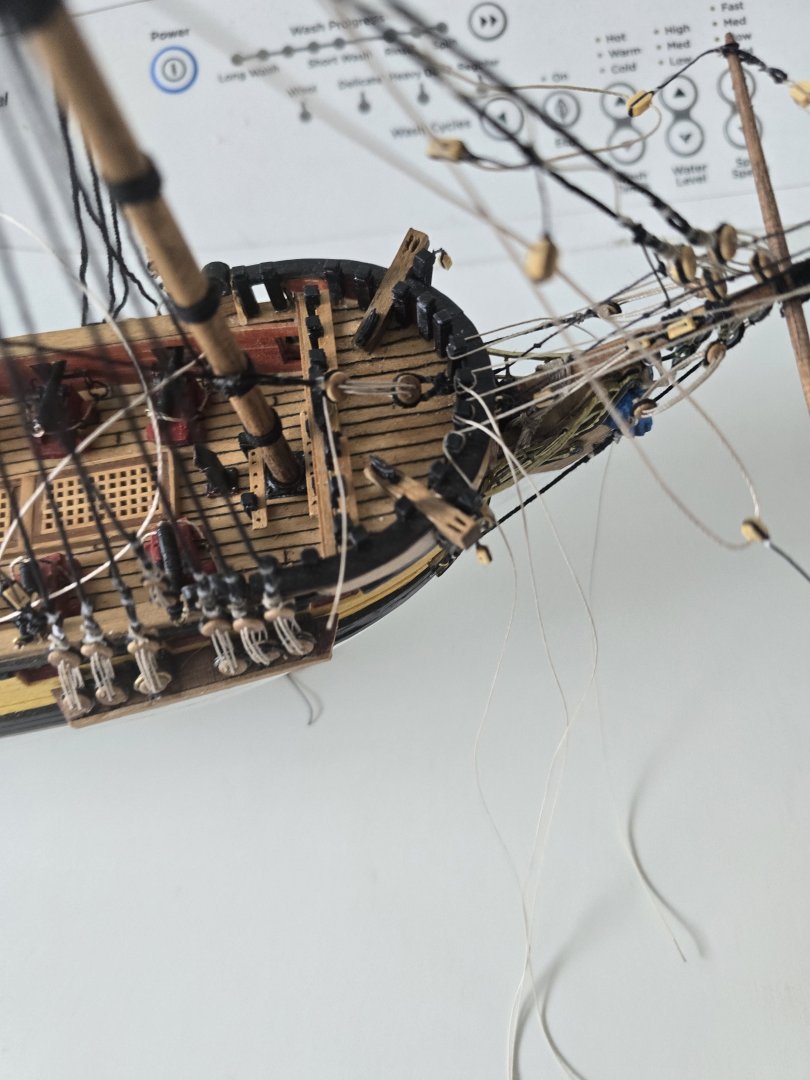
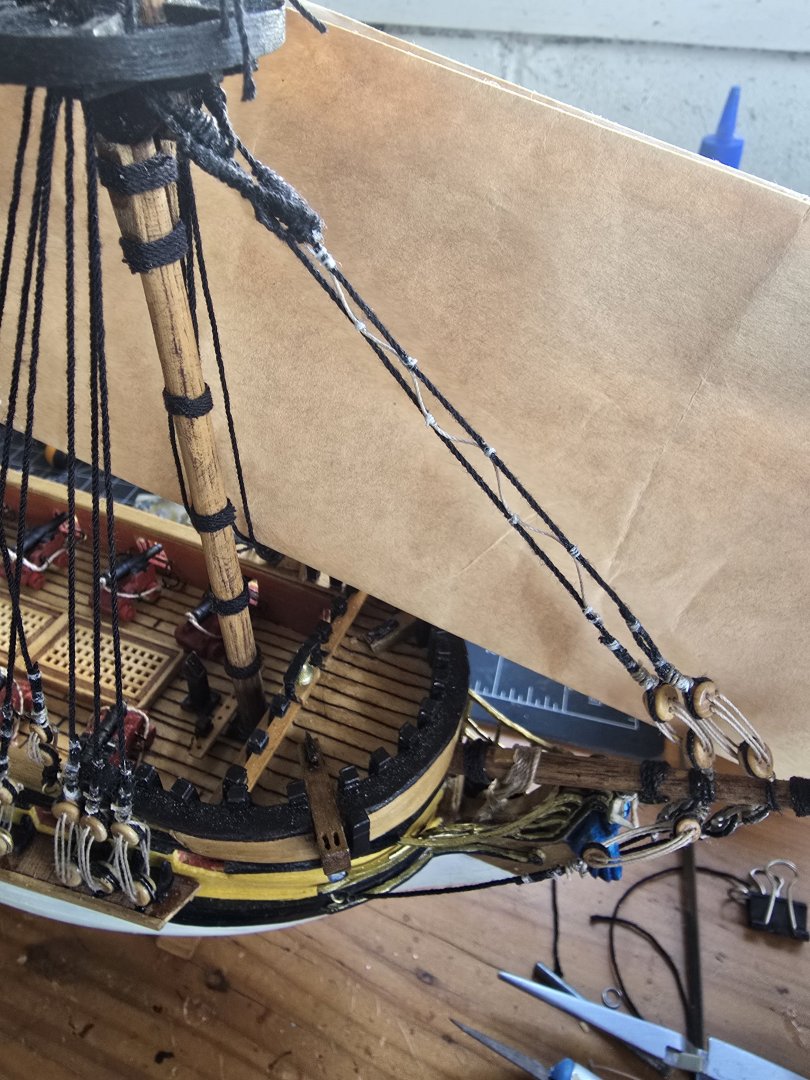
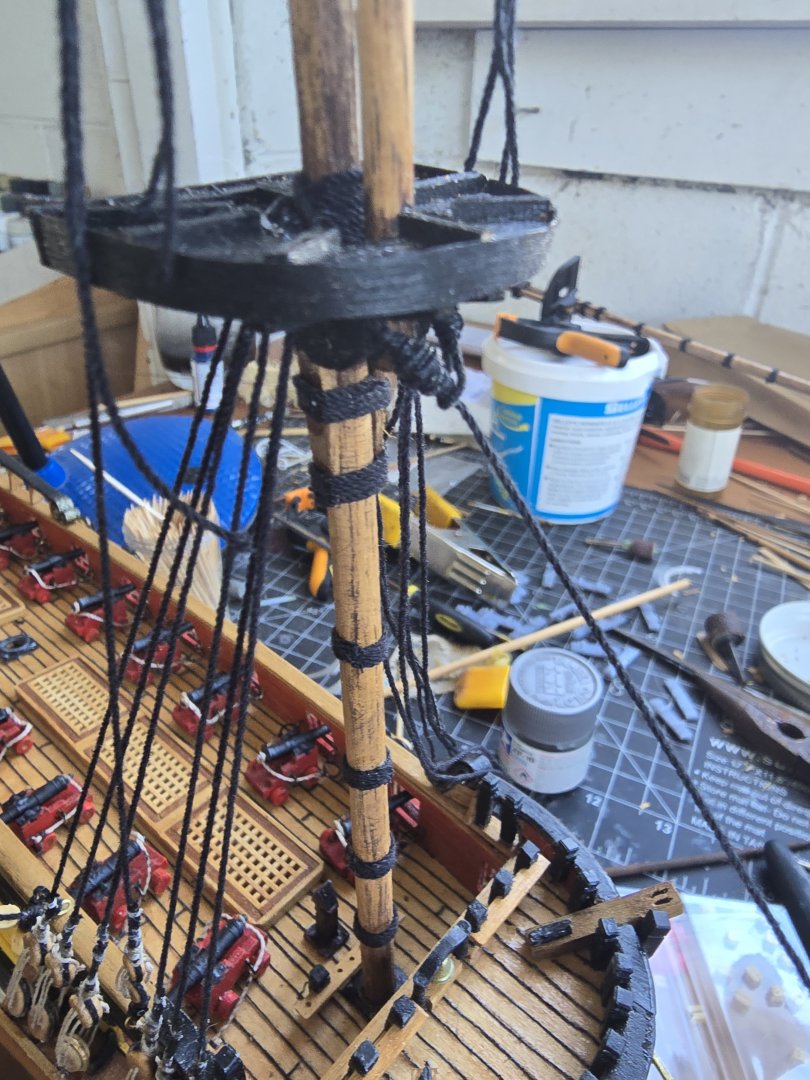
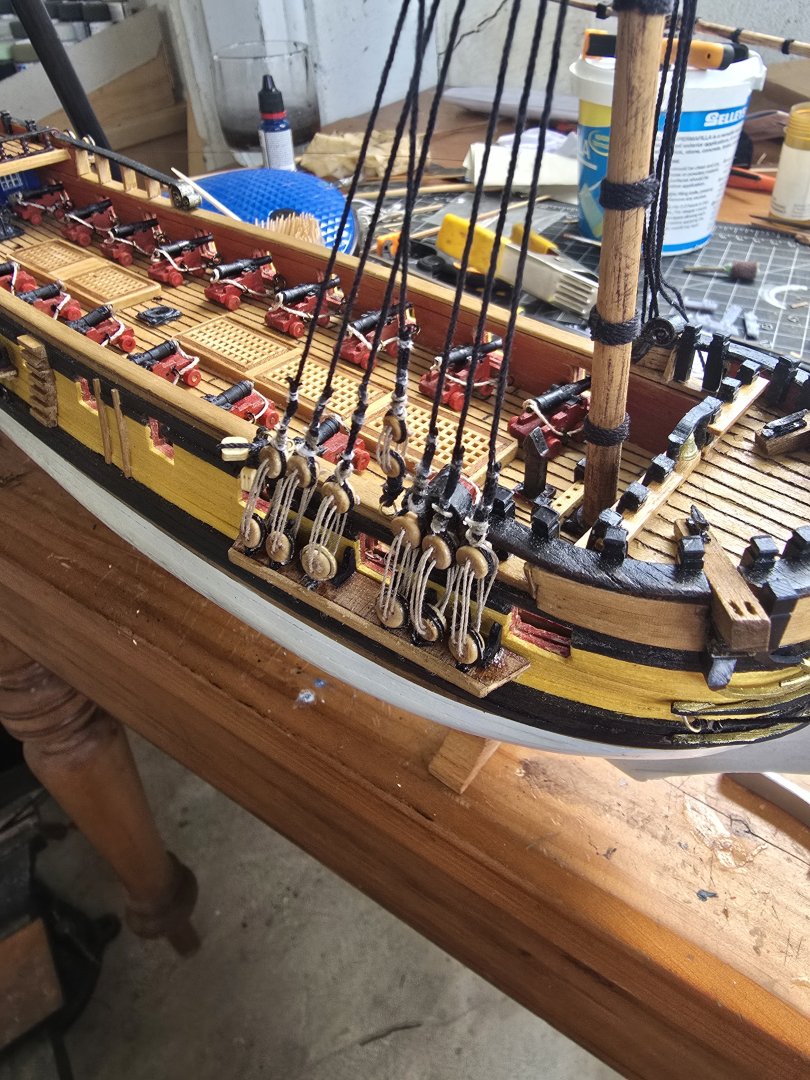
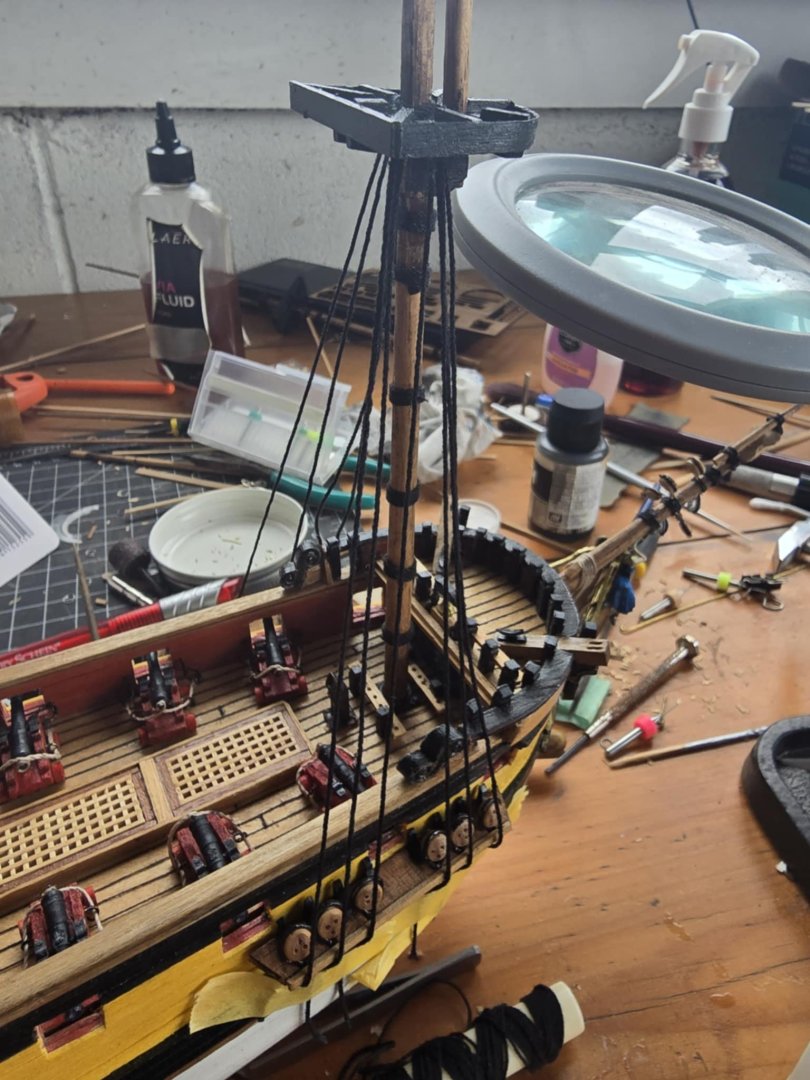
I hve rigged up the fore topsail tie and the fore topsail lift. Its getting lot of rope up there and a bit messt but i have all the inportant ropes in there. Cant imagine doing a sailing rig on 1/100 scale boat... too many ropes. I scaled the heaxagonal section and 3d printed that and stuck it on. Im going to put the final set of lifts on the top gallant after i have completed the topsail shrouds. Im hitting the wall a bit knowing that i have to repeat all of this again with the main and mizzen mast. It looks good but wow what alot of work to do it!!
-
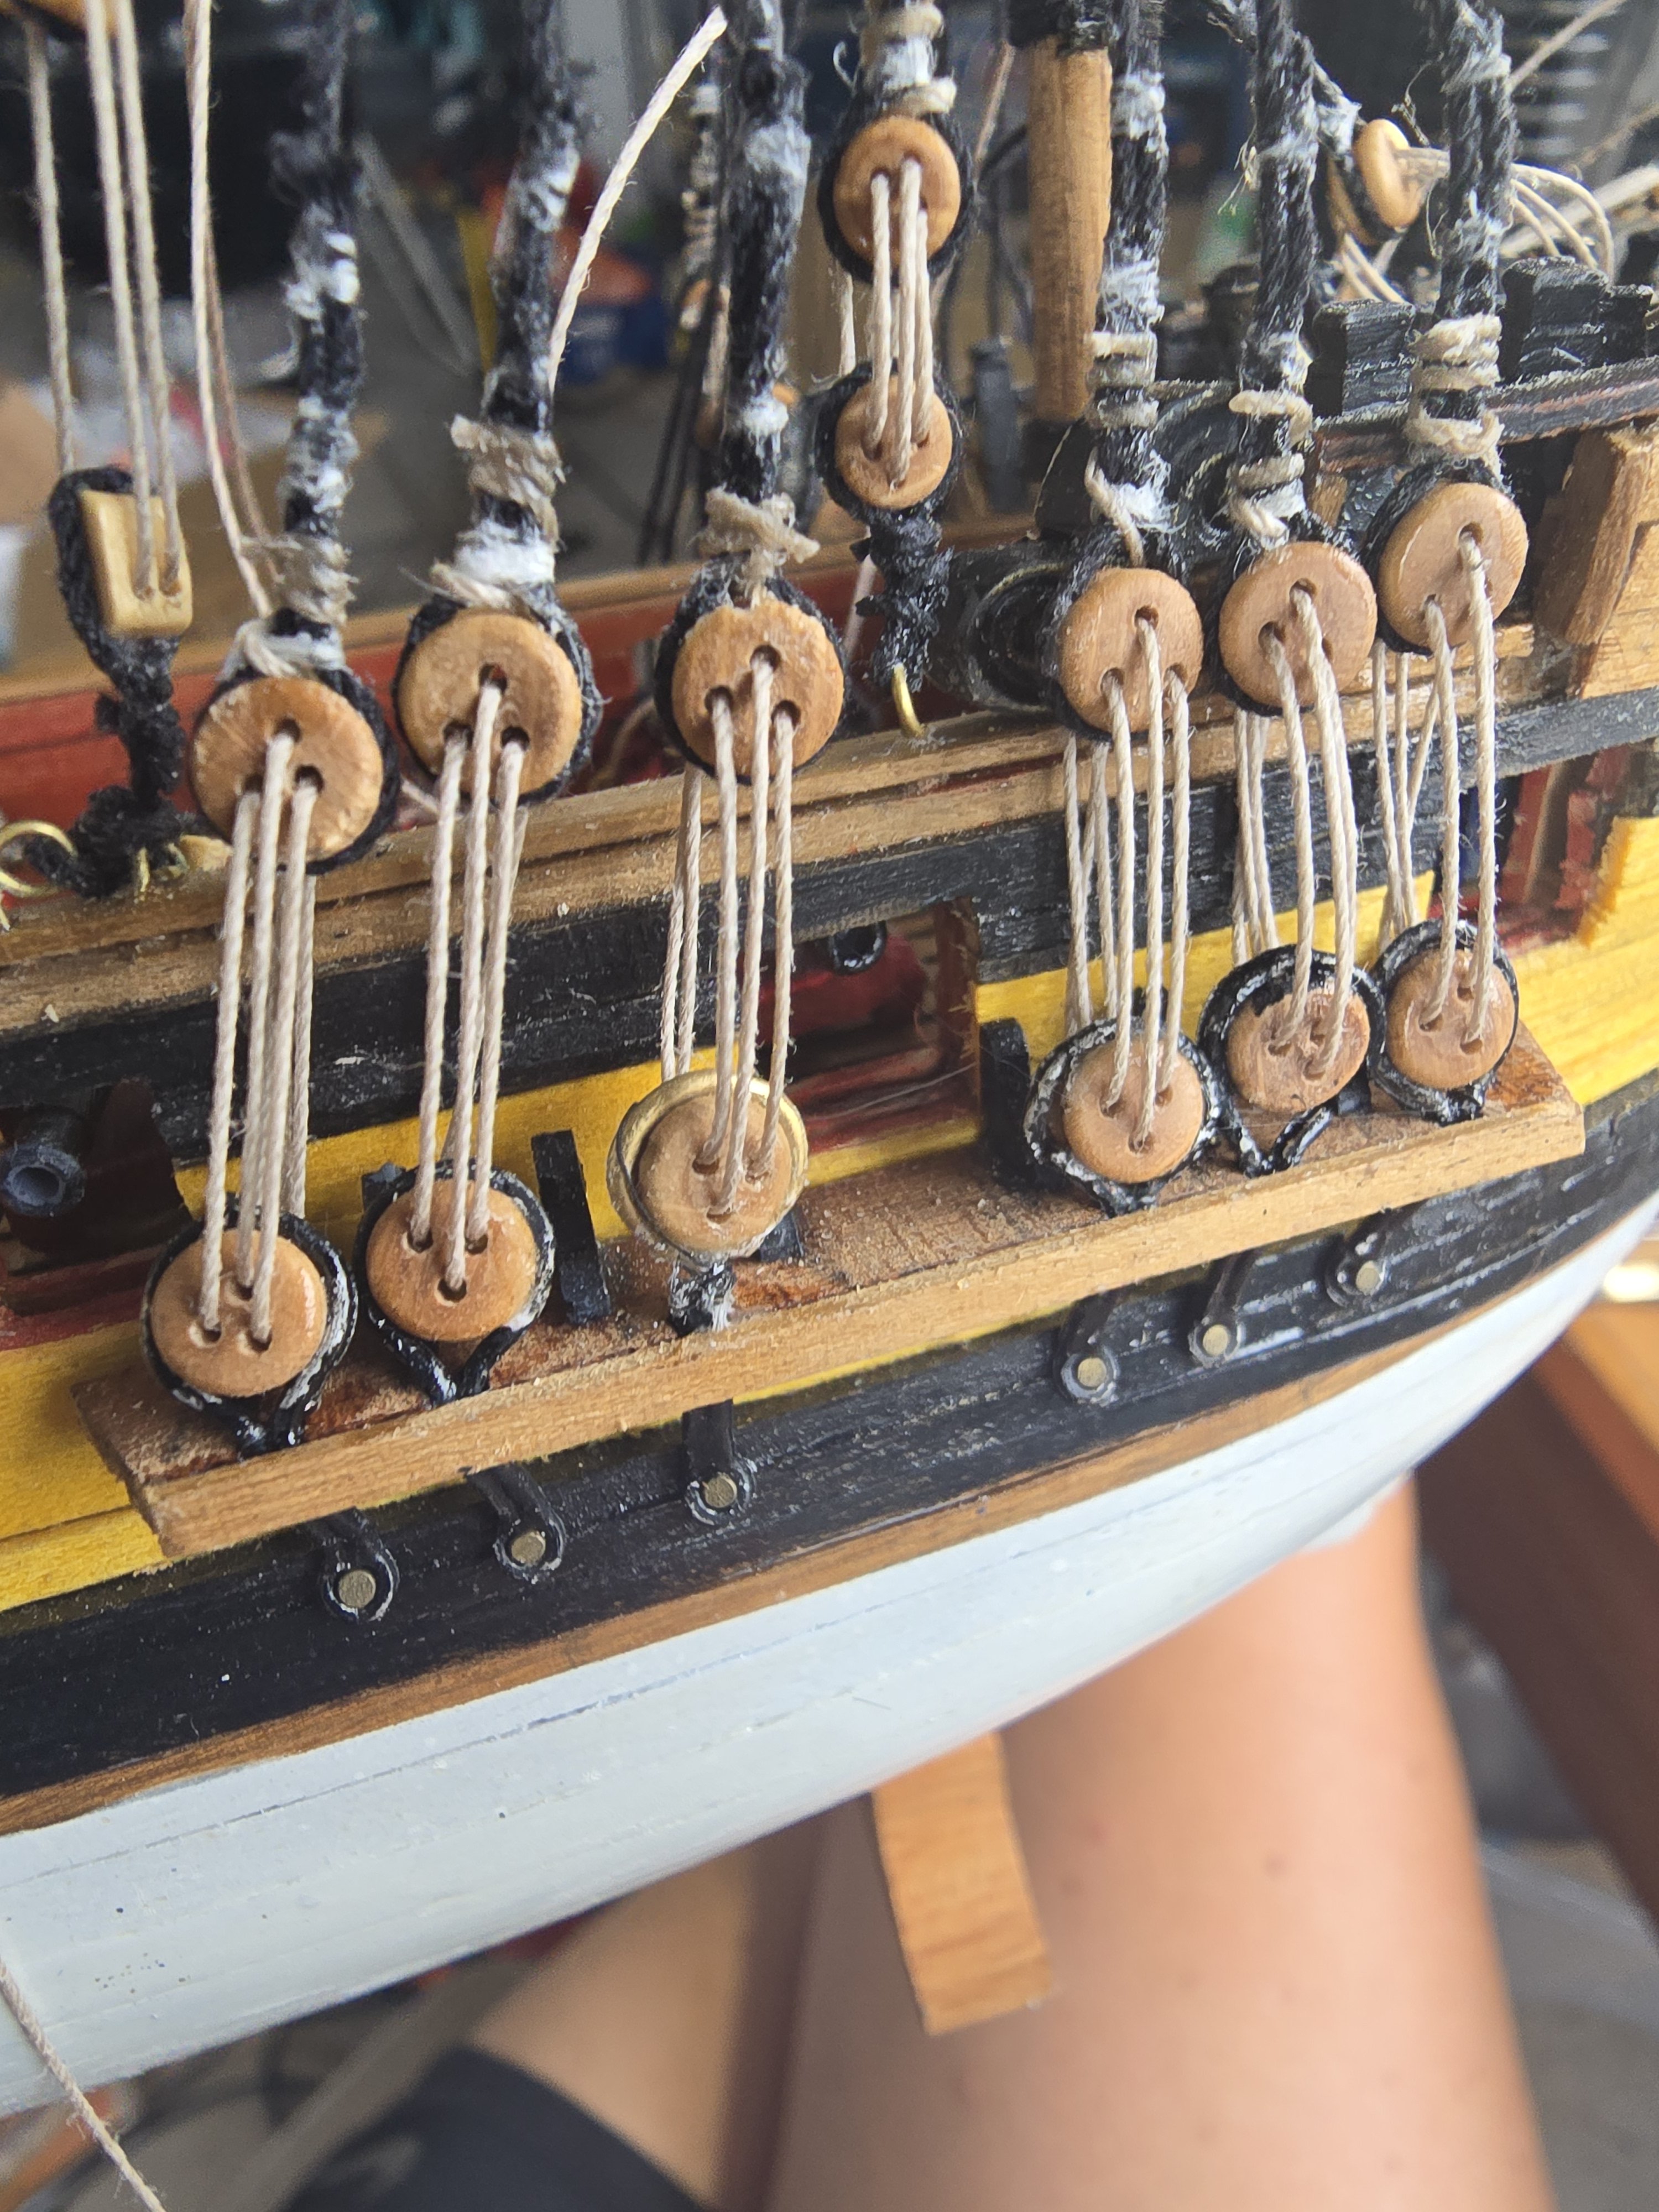
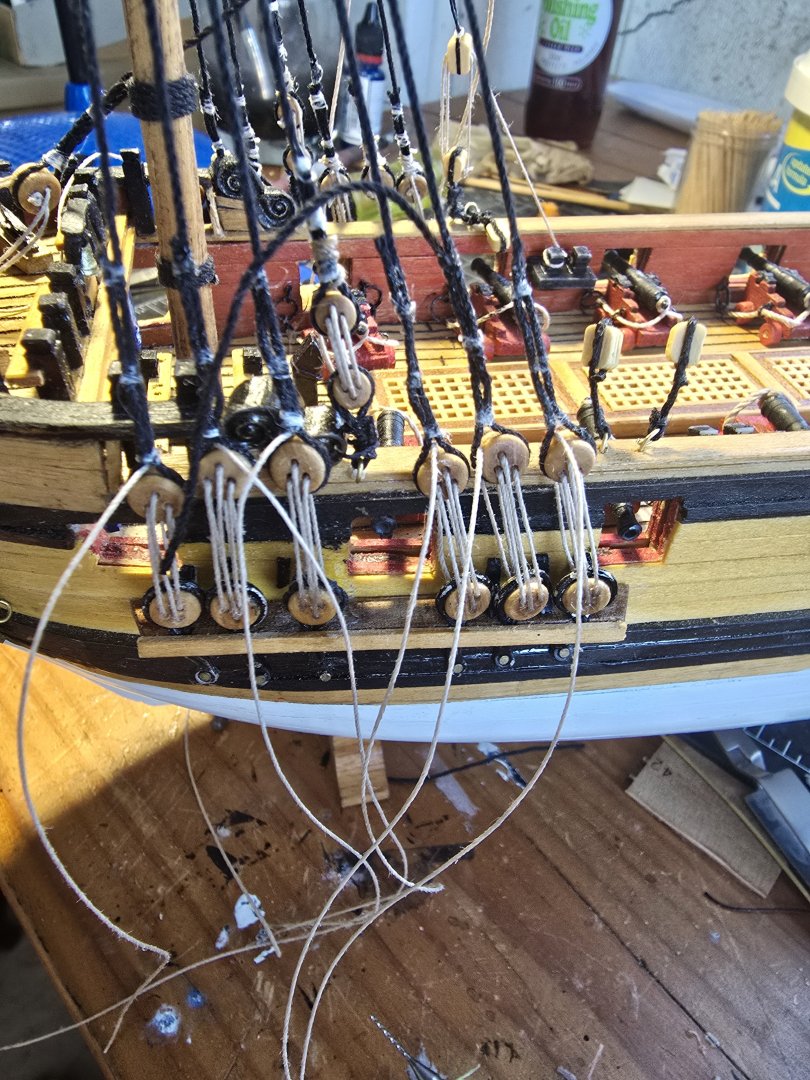
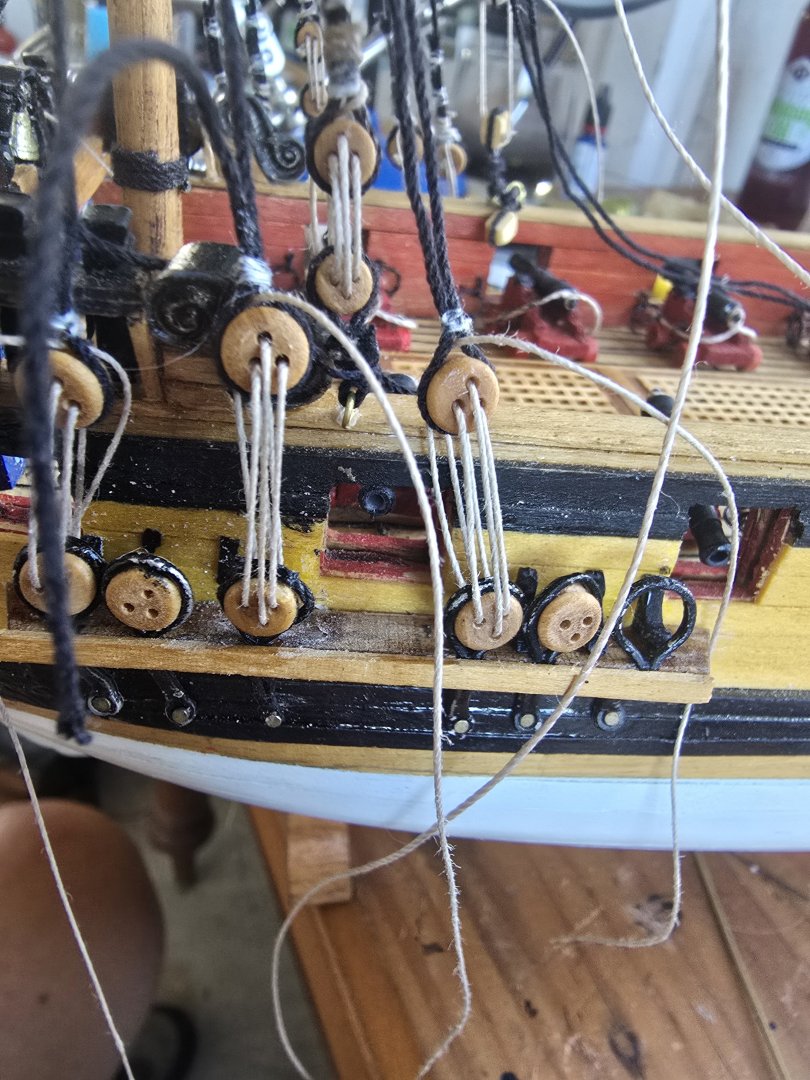
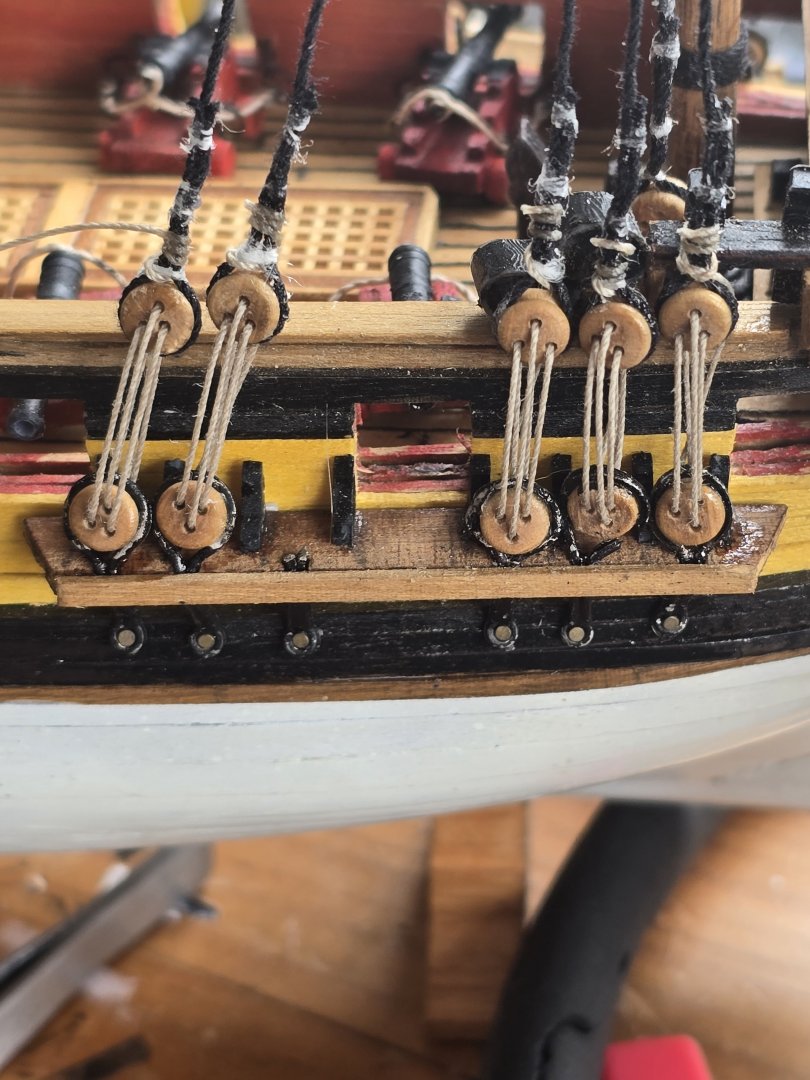
I might be doing this all wrong but ive tidied up alot of the line down at the fore bitts.. my belaying plan is not following any sort of accuracy, im playing with what the kit gave me in terms of instructions. The only thing i am doing is rigging the fore lift near to the edge of the ship on long blocks as per lees book but in the paterrson book it goes to a block on the fore channel. Once again if i had more space i could do that. I put the block on the rail instead. I will be putting coils of rope over each belaying pin so probably wont see them I didnt tie the truss pendent correctly but just glued the lines on approximately and also rigged the nave line and belayed it on the fore bitt.

-
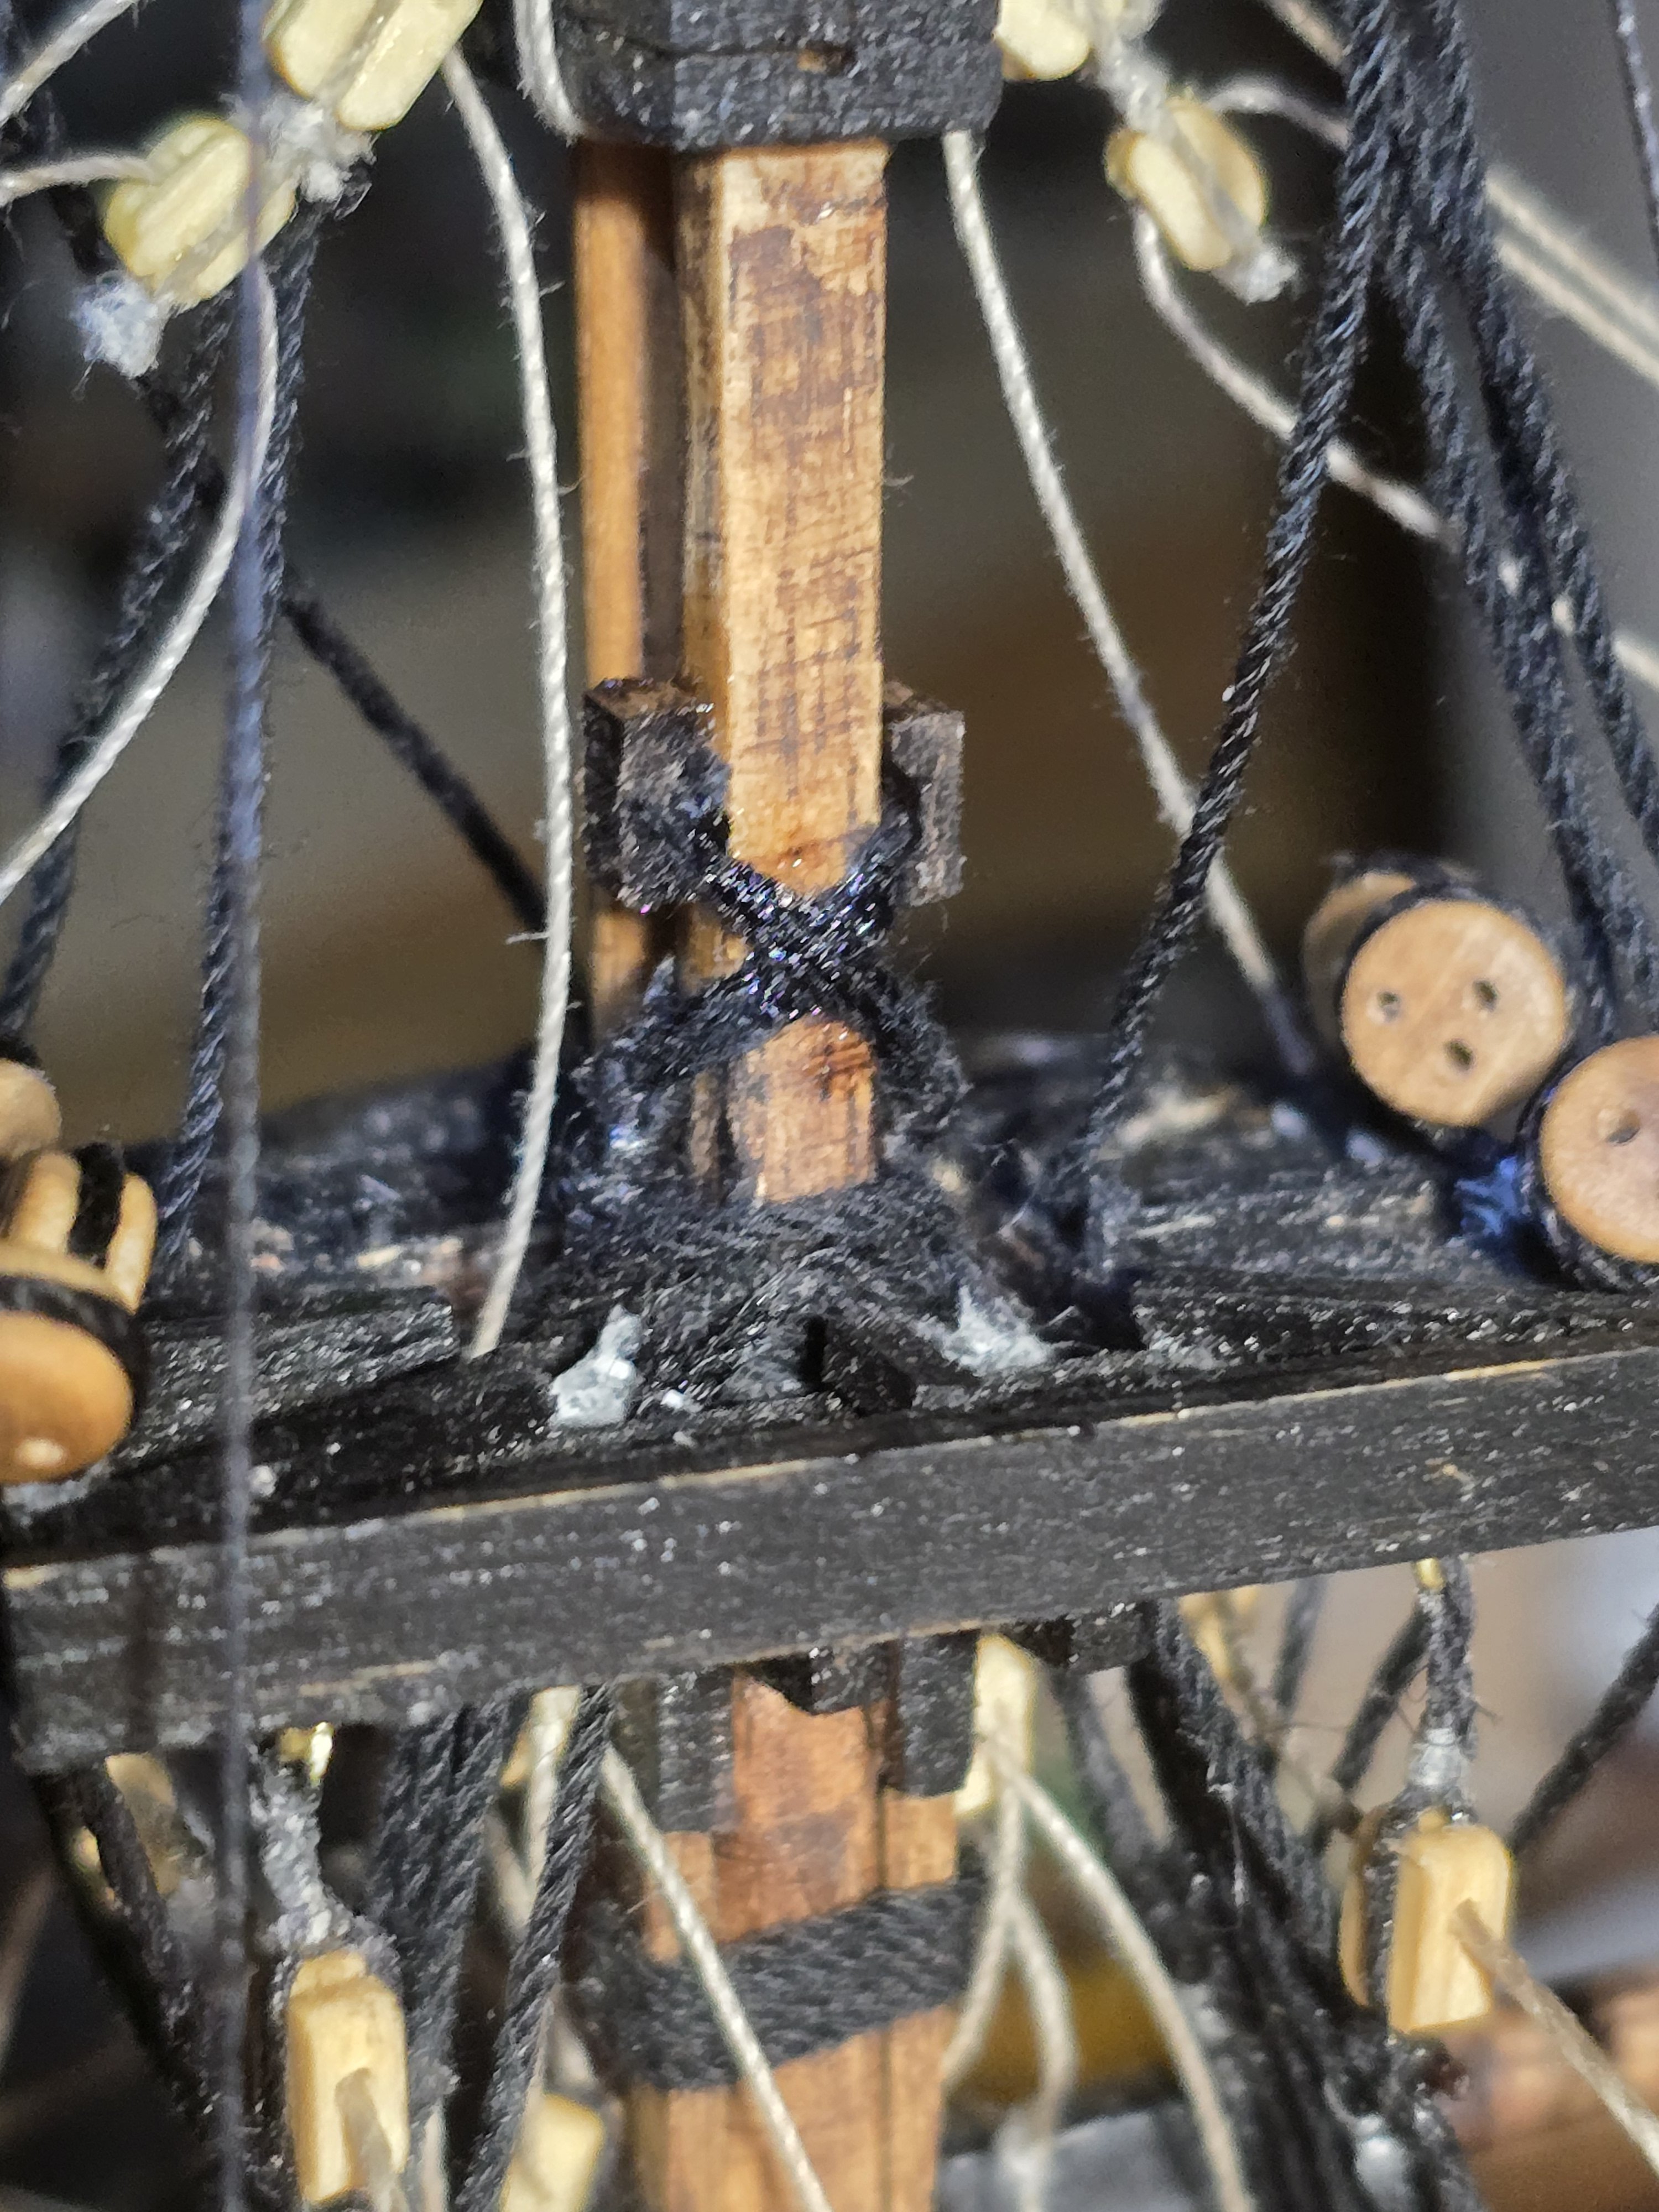
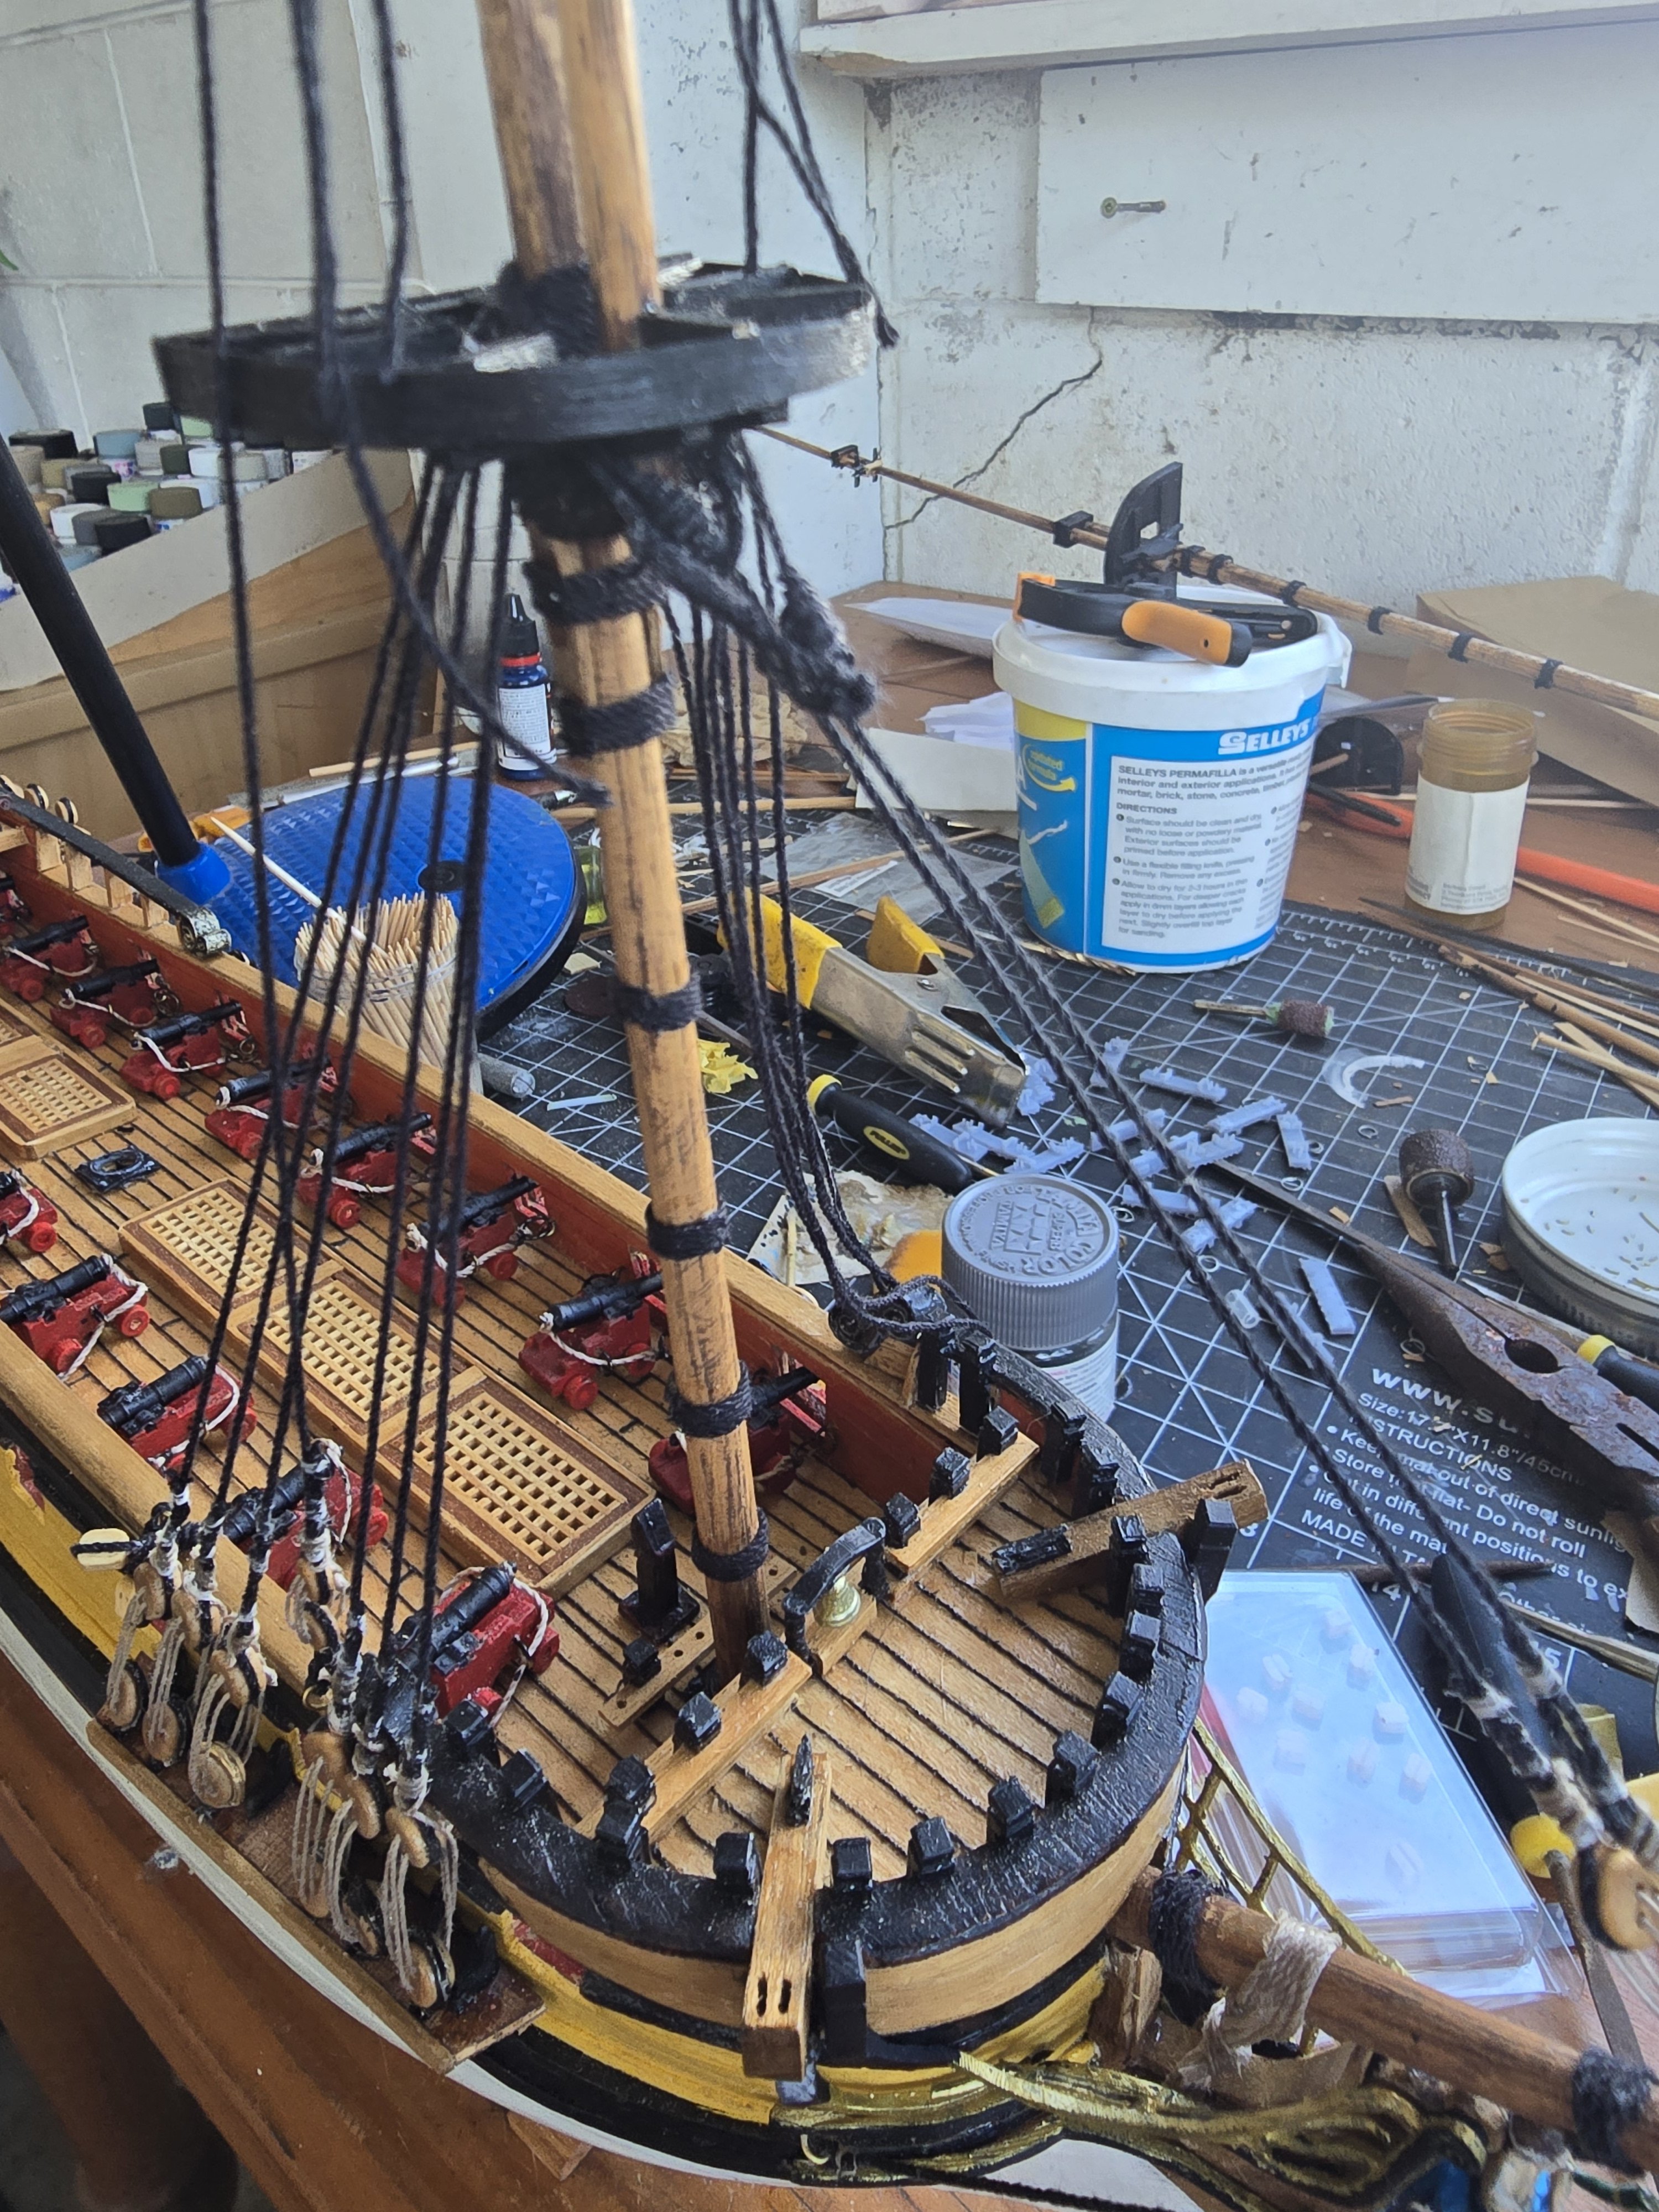
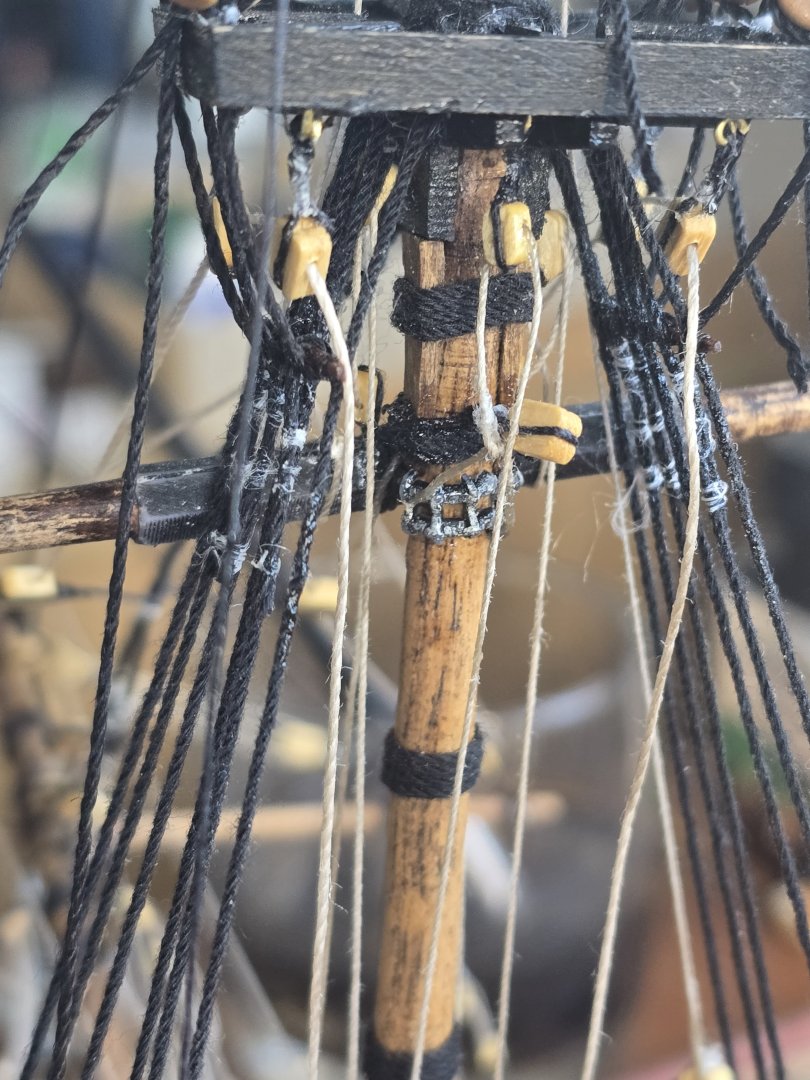
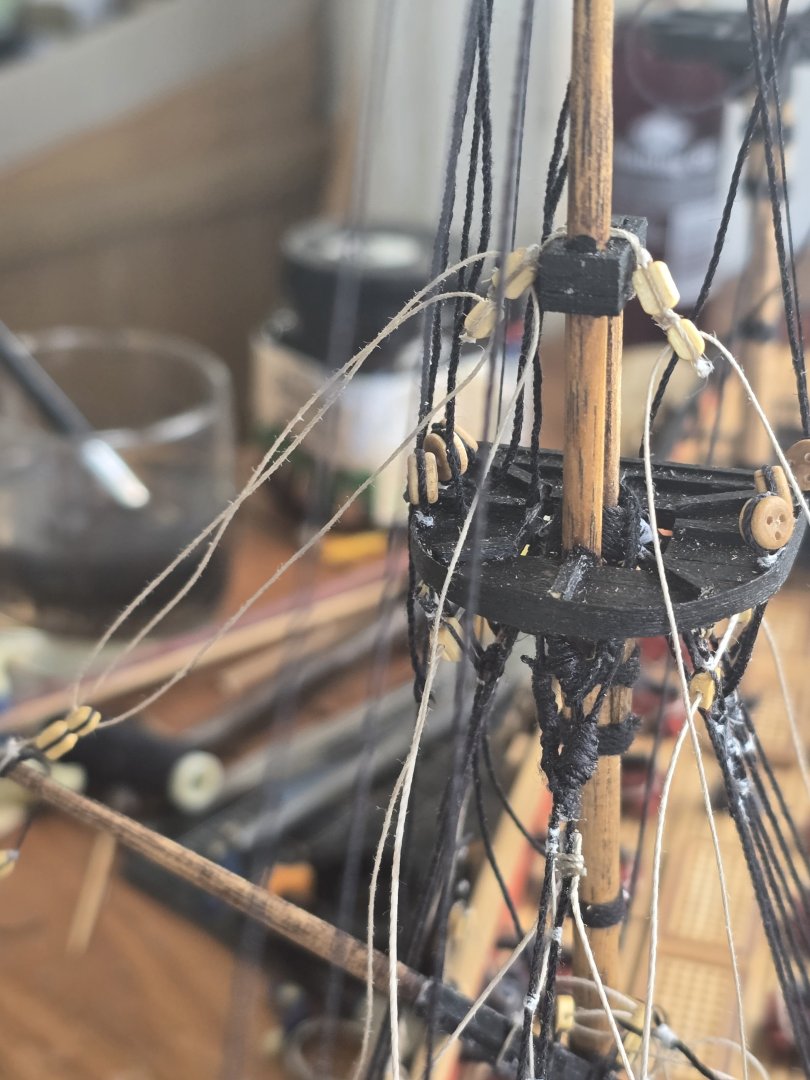
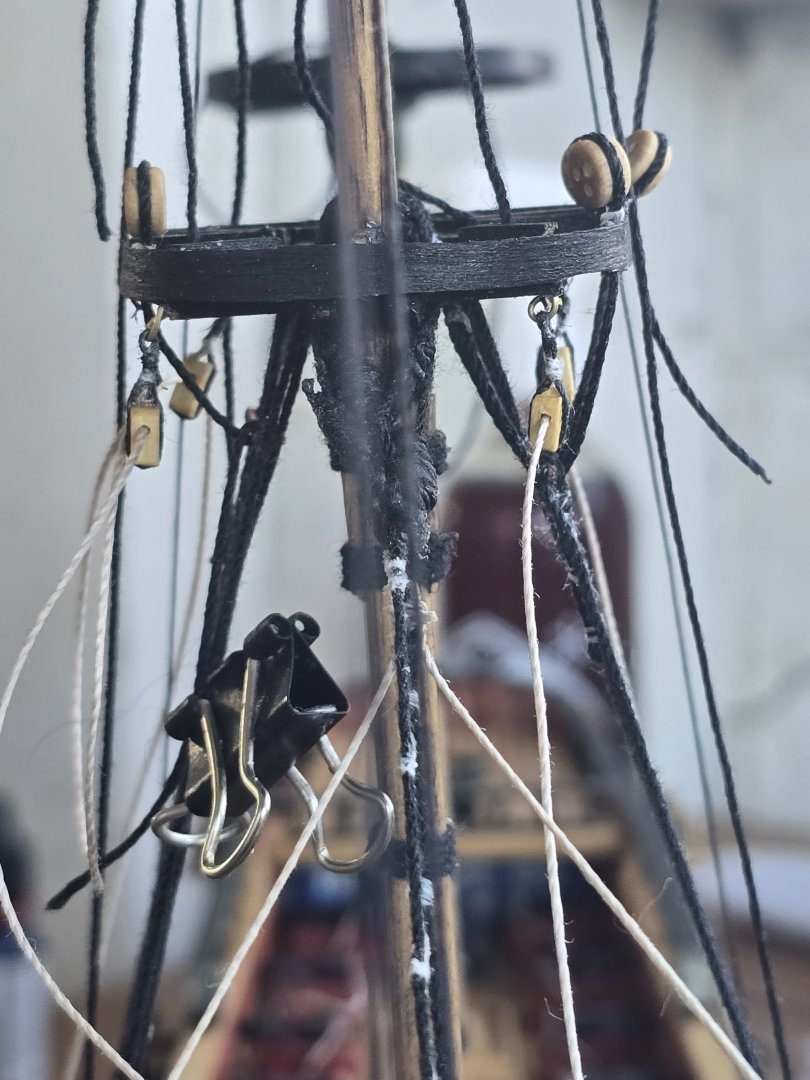
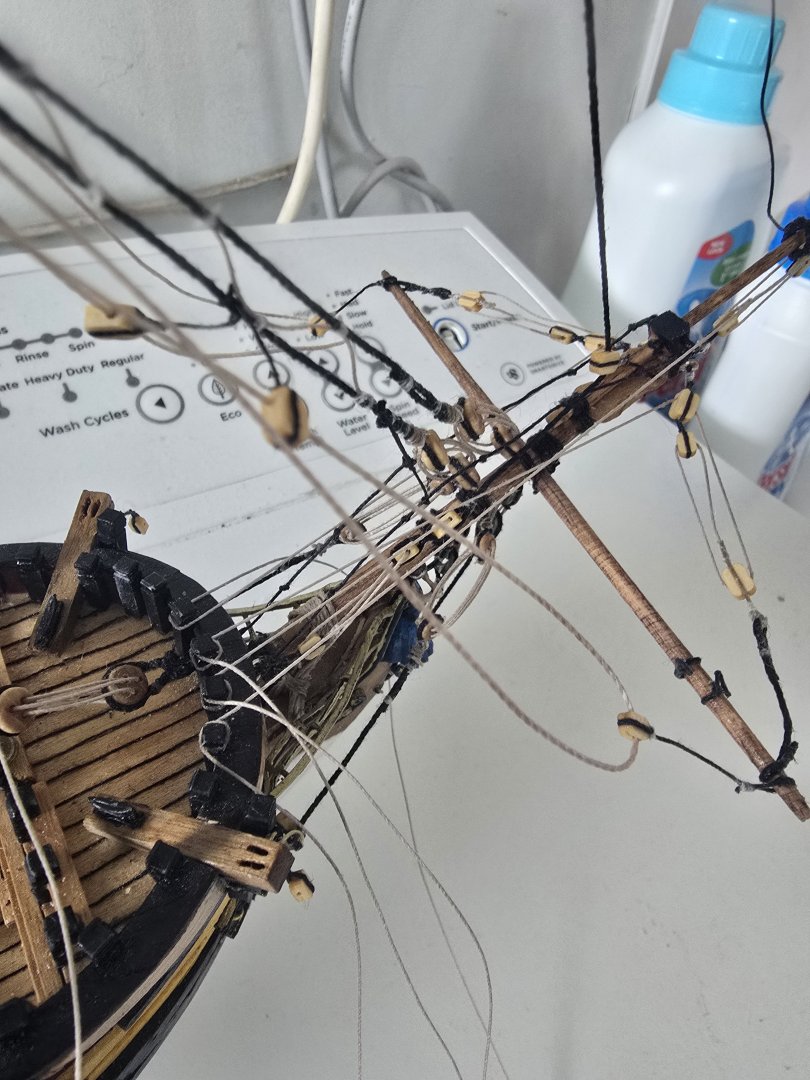
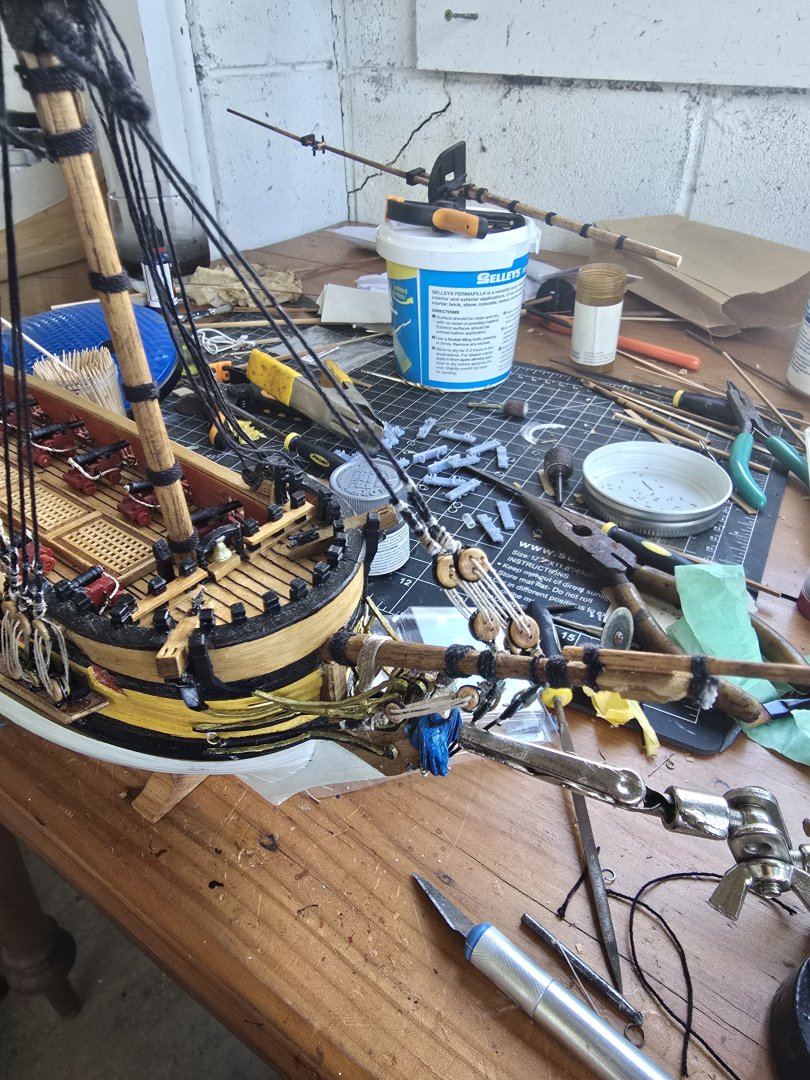
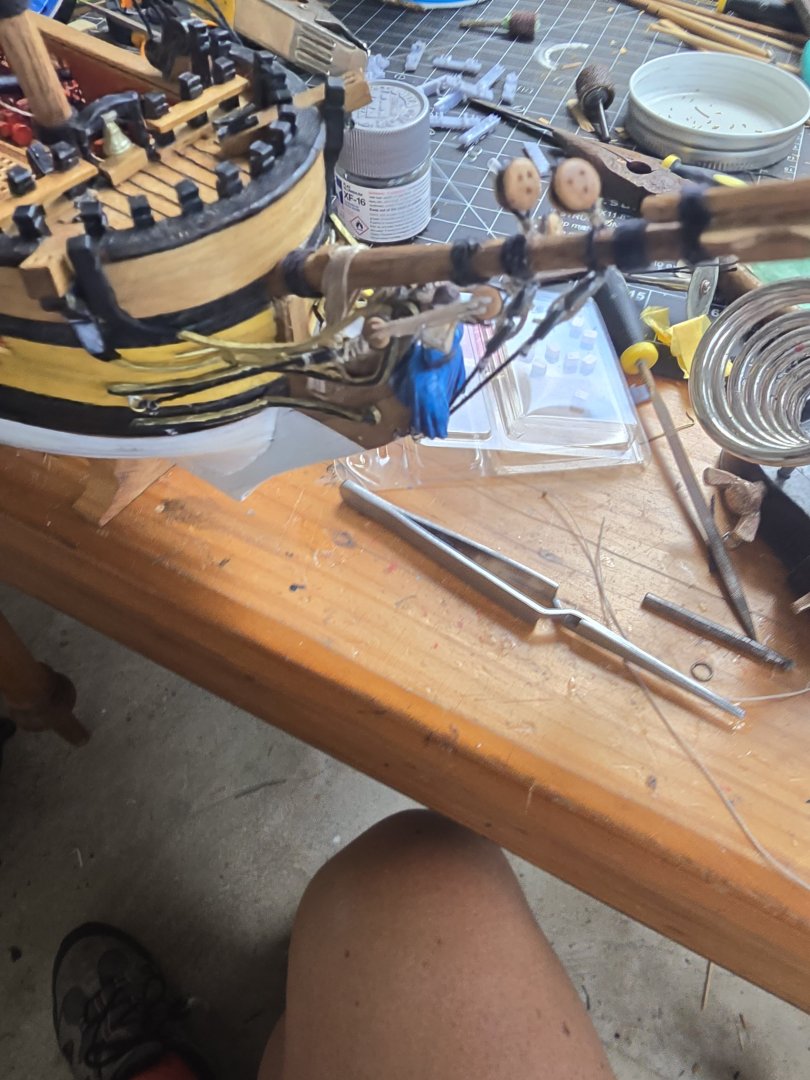
I managed to rig up the jeer blocks okay... very fiddly but hey this is rigging. They a little lopsided but im not going tk change it... its close enough for me today. Now i have the fore yard no i am going to start belay pinning down at the base of the mast... again quite a lot of tricky stuff to wind around the belaying pins down there.. might have to cheat and just spot glue it and then put a coil of rope over the rope.


-
3D printing material question
Srenner replied to CPDDET's topic in CAD and 3D Modelling/Drafting Plans with Software
I have found the phrozen 8k resin to be the highest detail and pretty strong due to the number of "nano particles" in it. But it is brittle and dont think it would like machining post print. -
I may be doing this all wrong but its getting pretty congested around the fore top area so i rigged the jeer blocks onto the spar before i rigged it up and then poked the stirrups up under the for stay and then im going to stap them to the mast afterwards. The parrel is so small and delicate i basically just stuck it on for the look. It isnt going any job with holding up the spar. And i had a bit of a mistake with the lift blocks but i have followed the 1719 pattern according to lees book


-
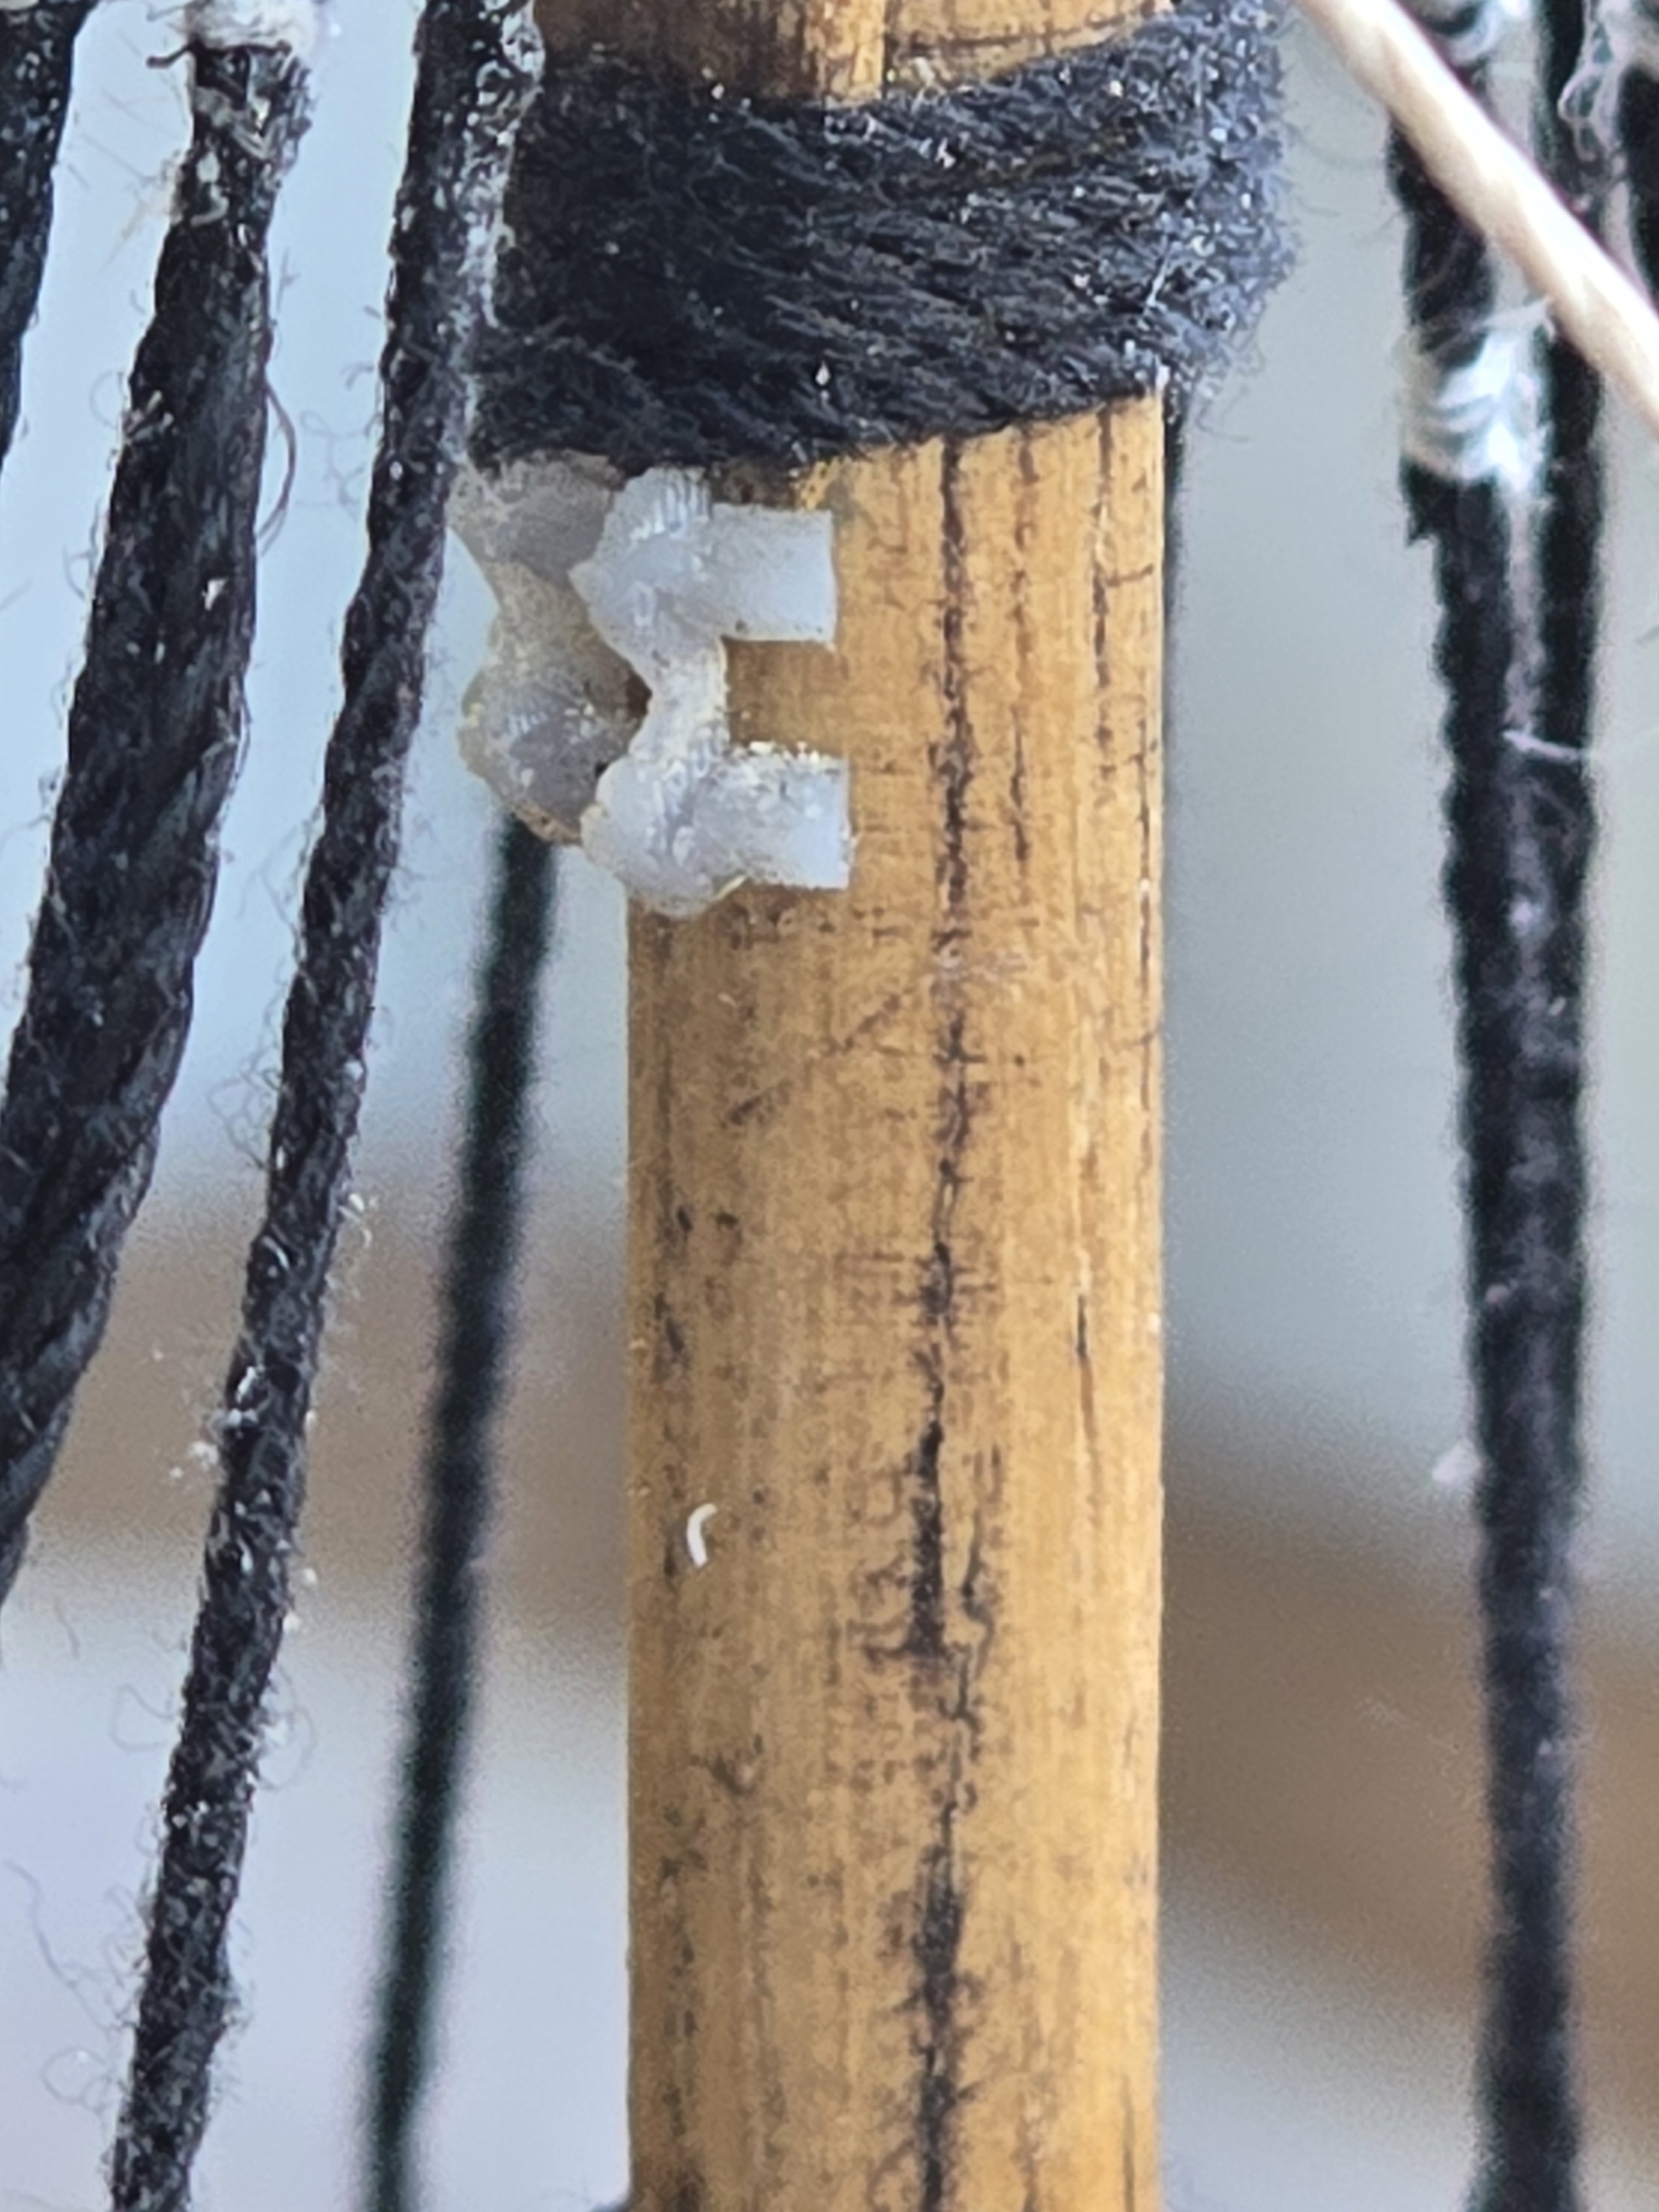
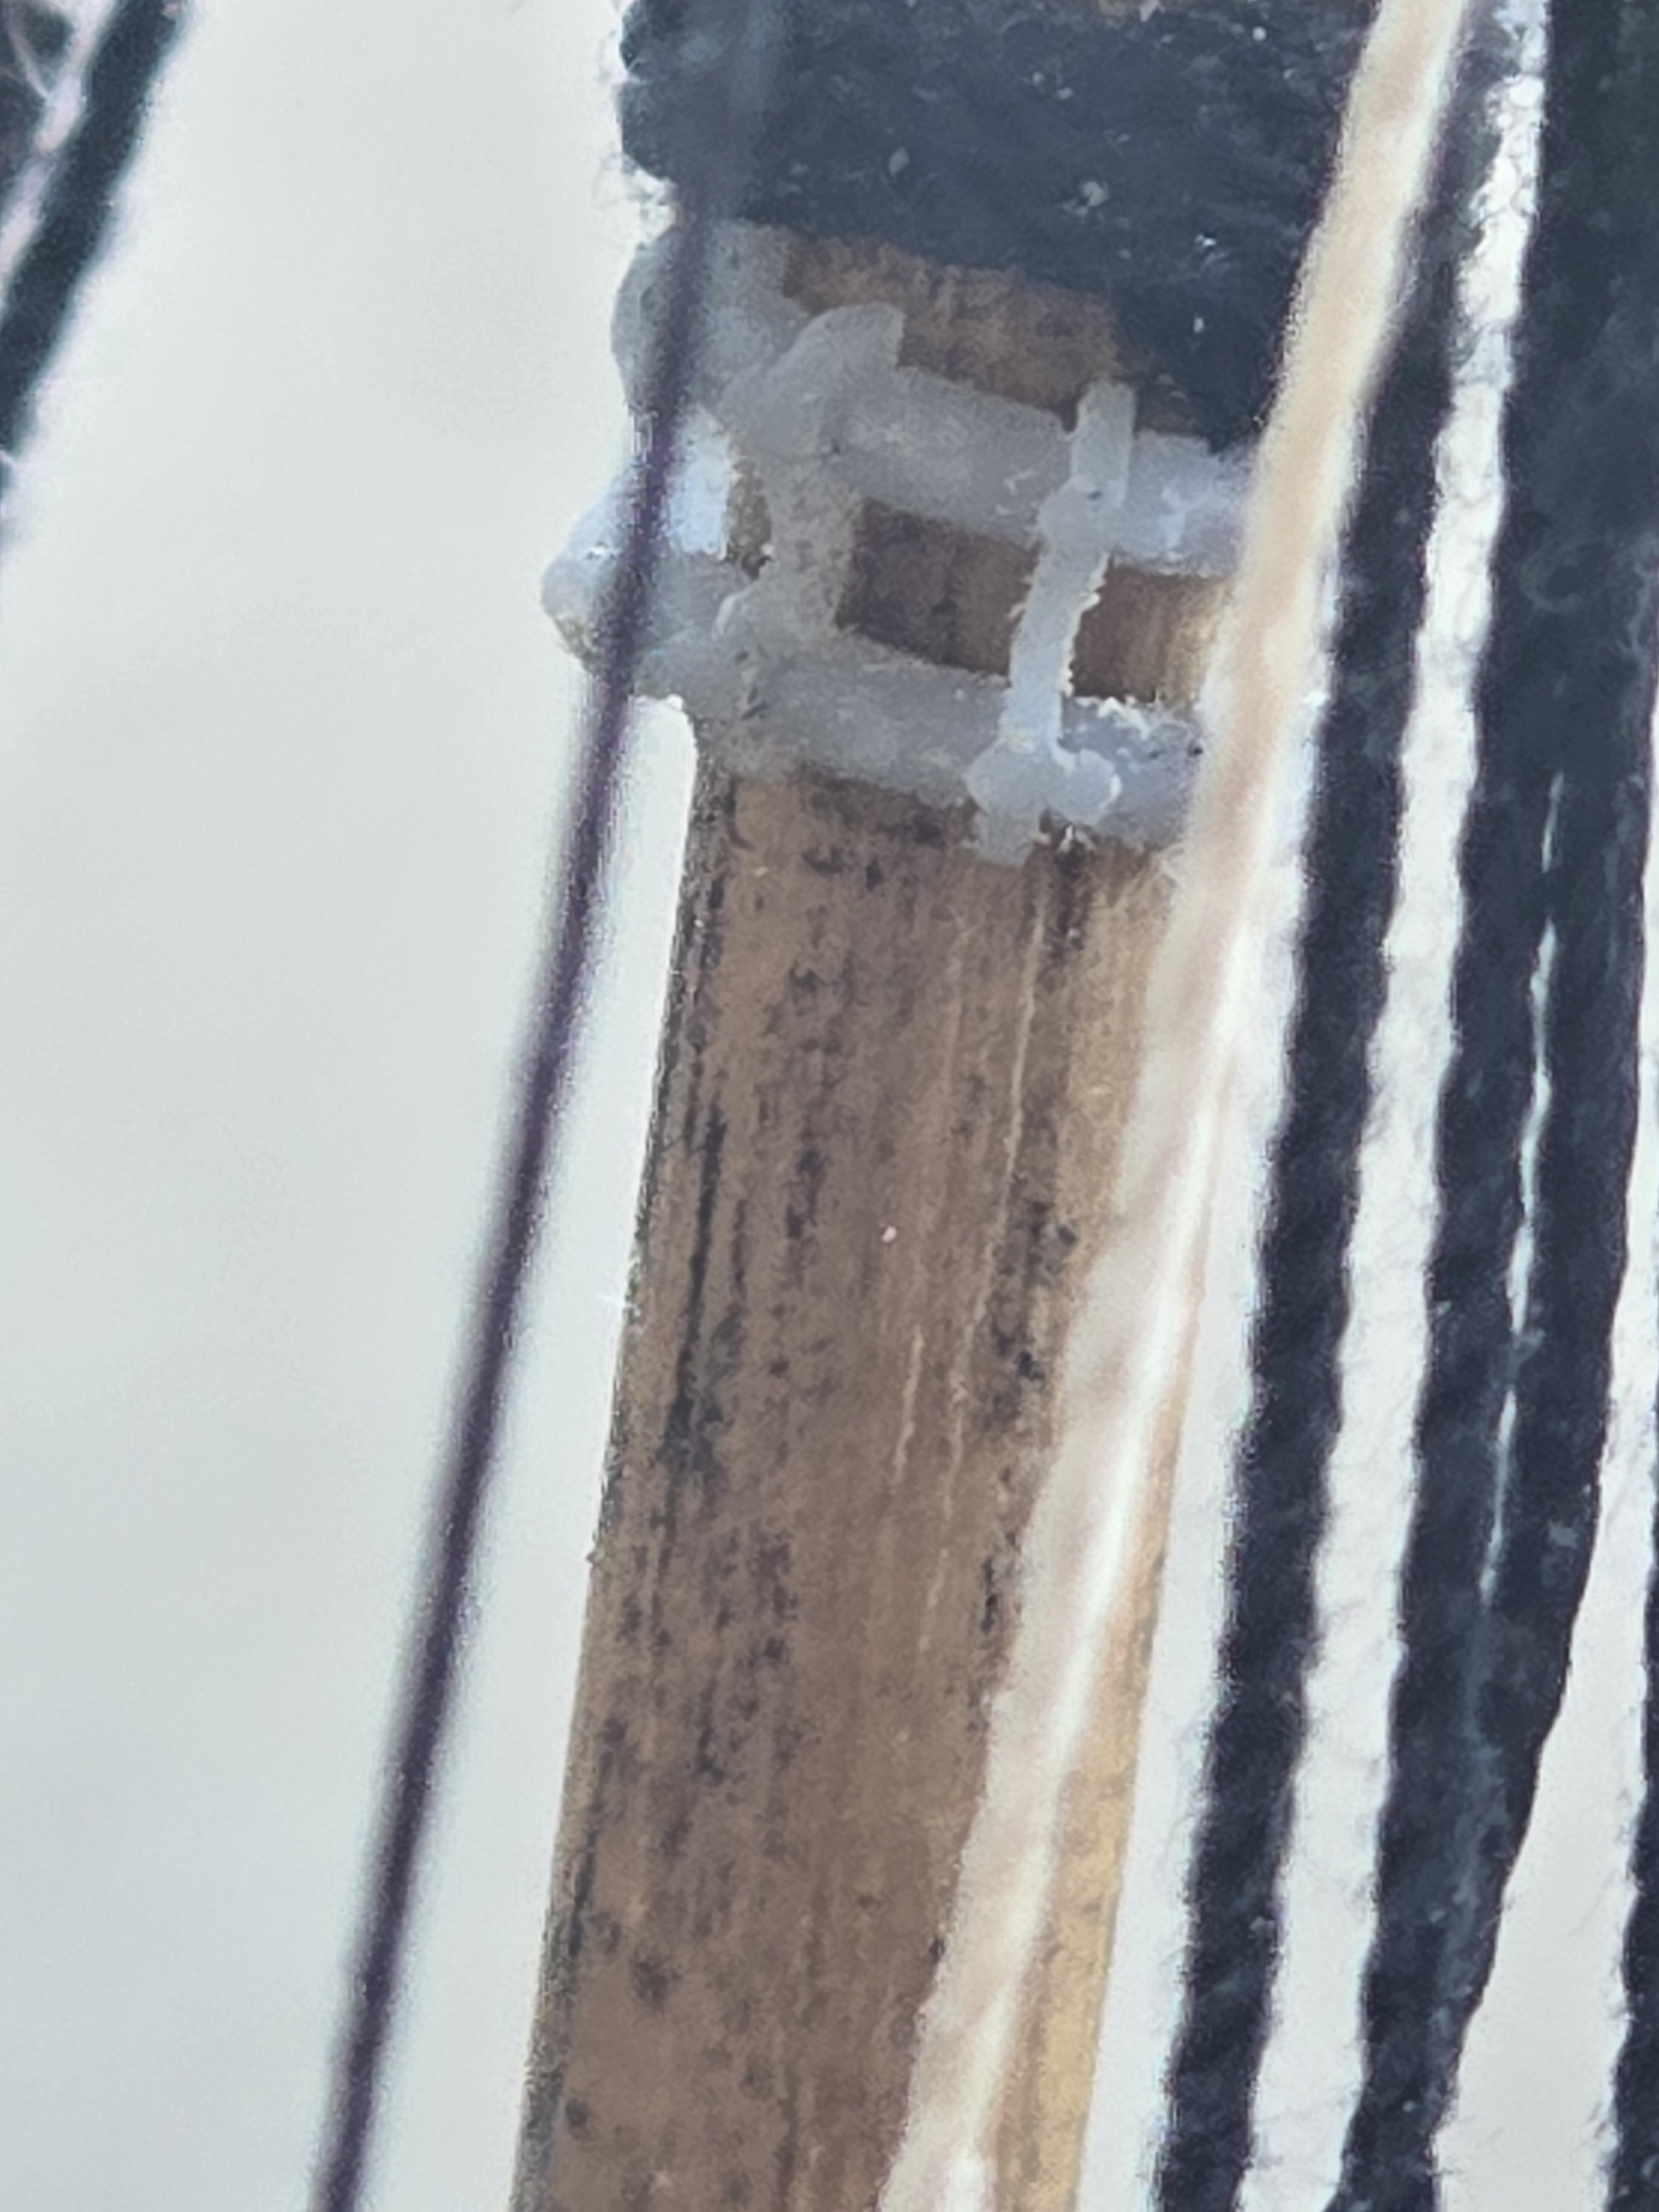
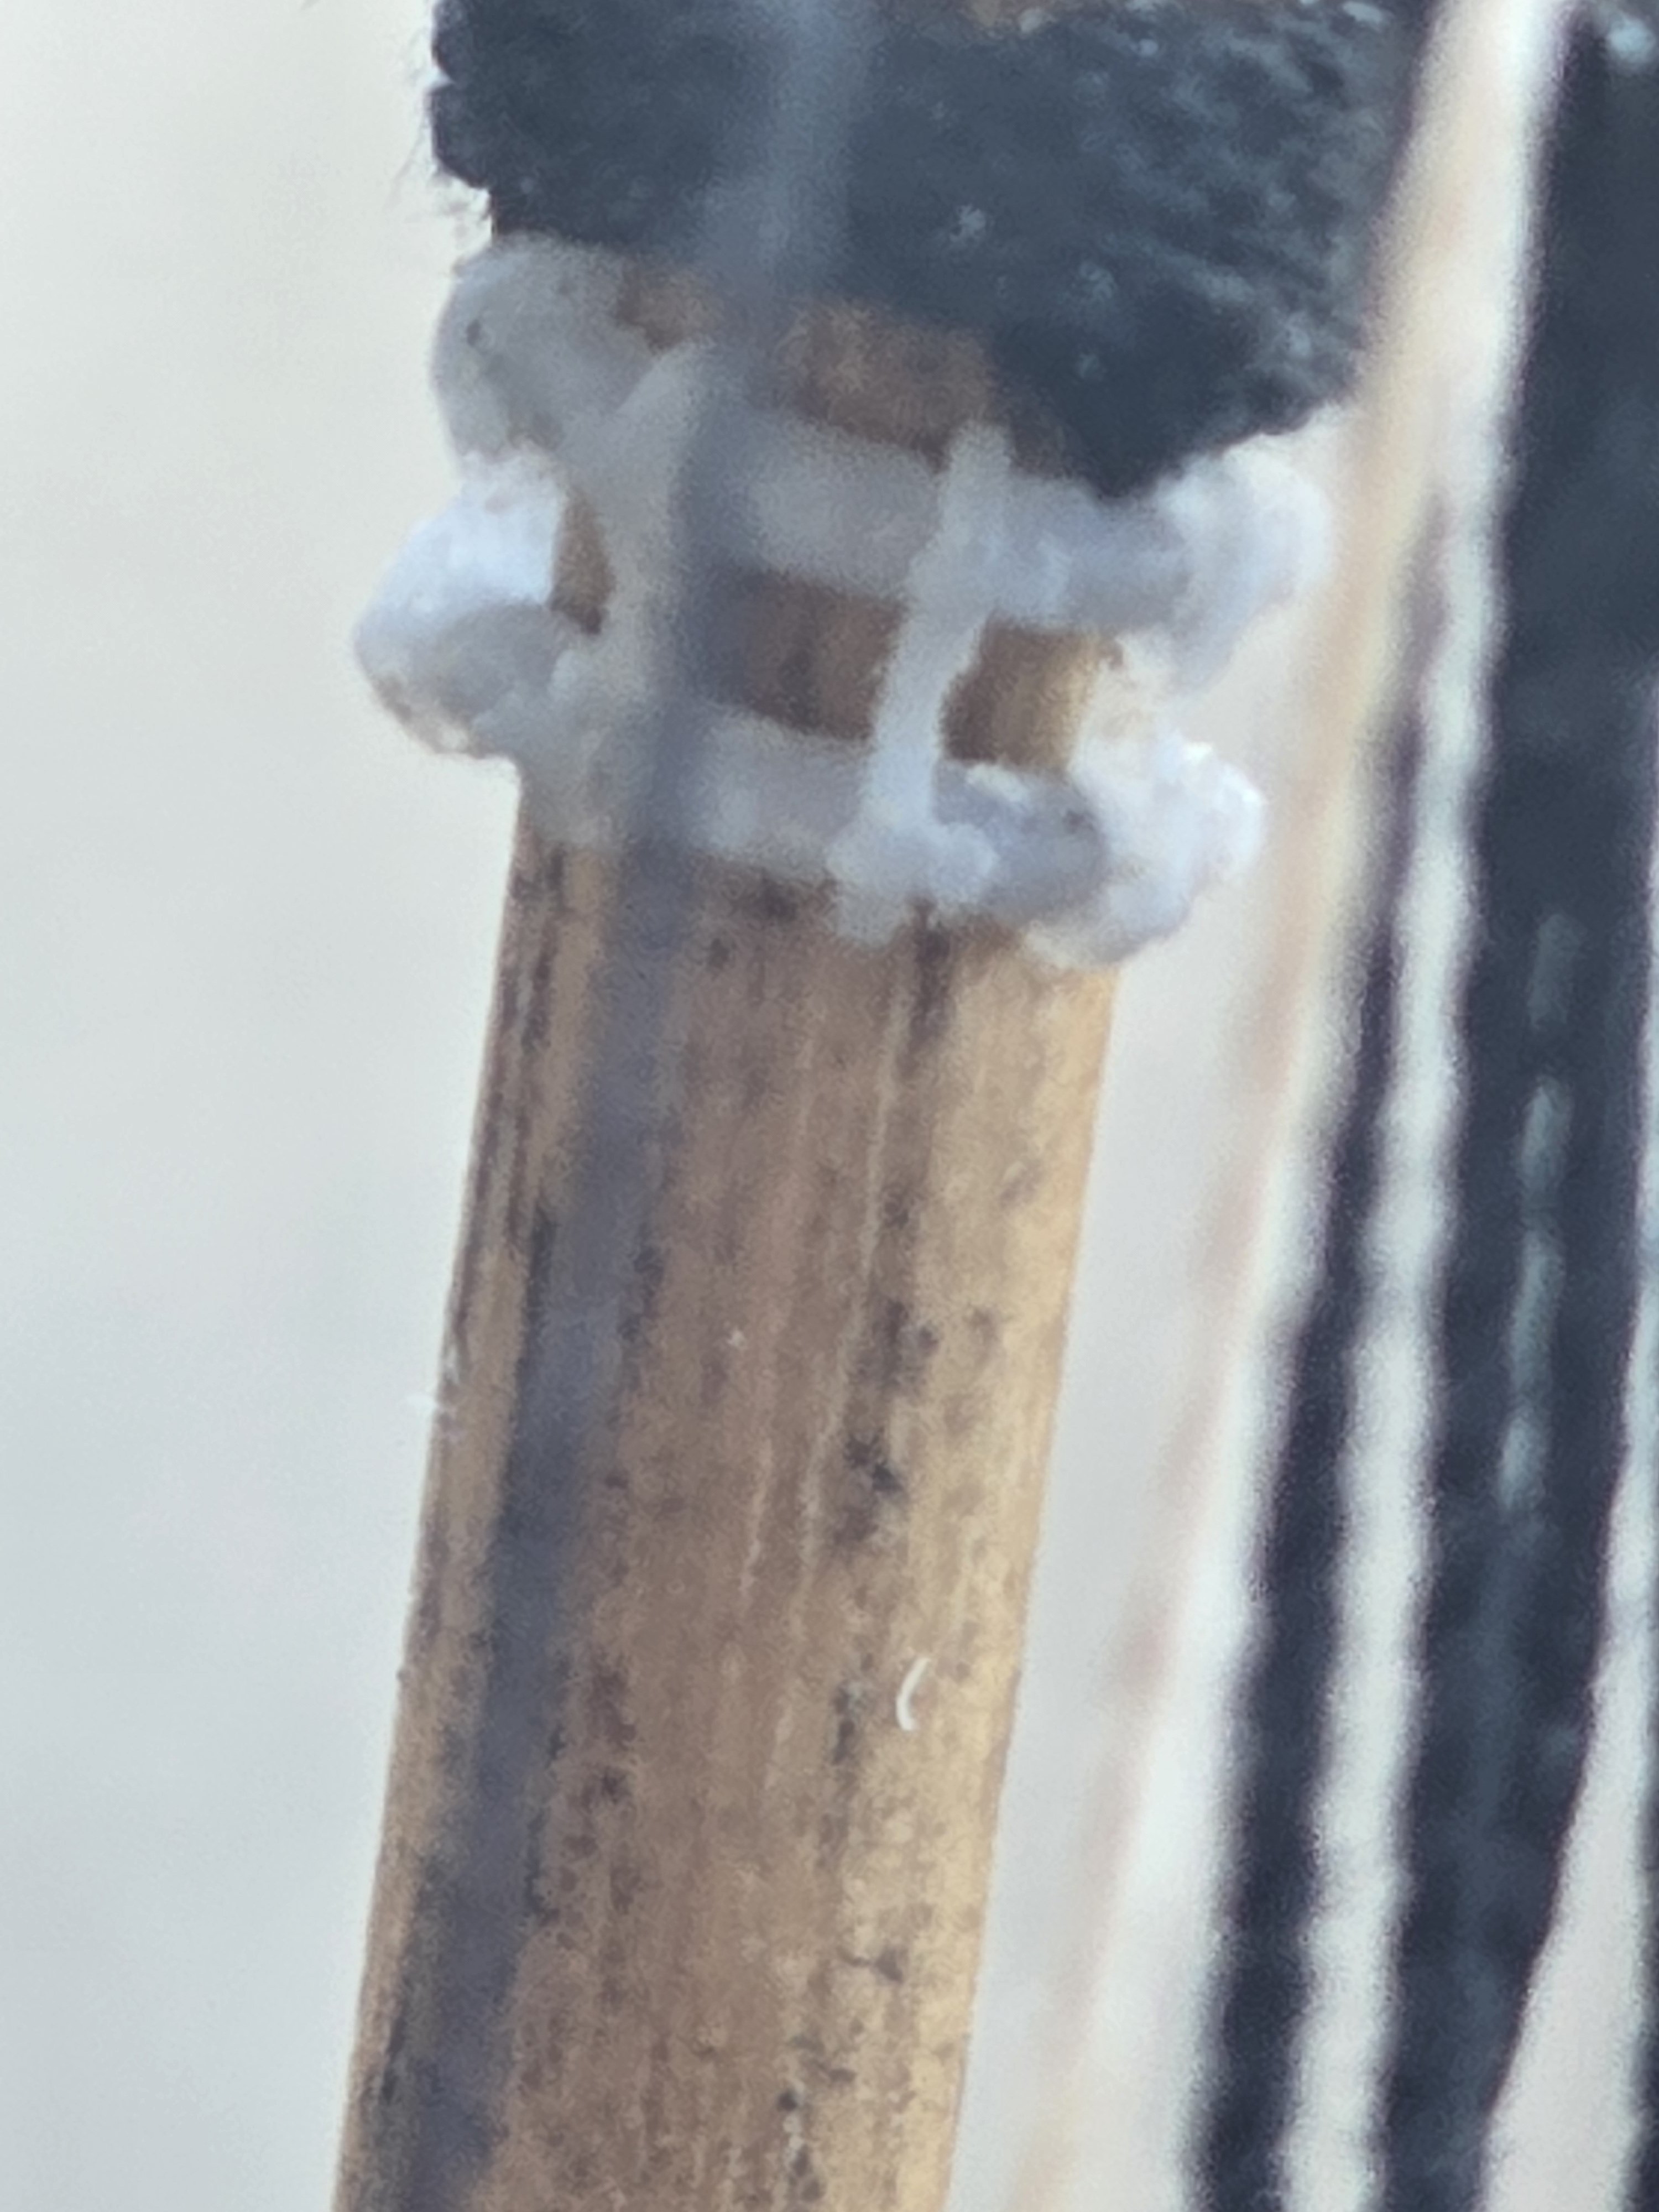
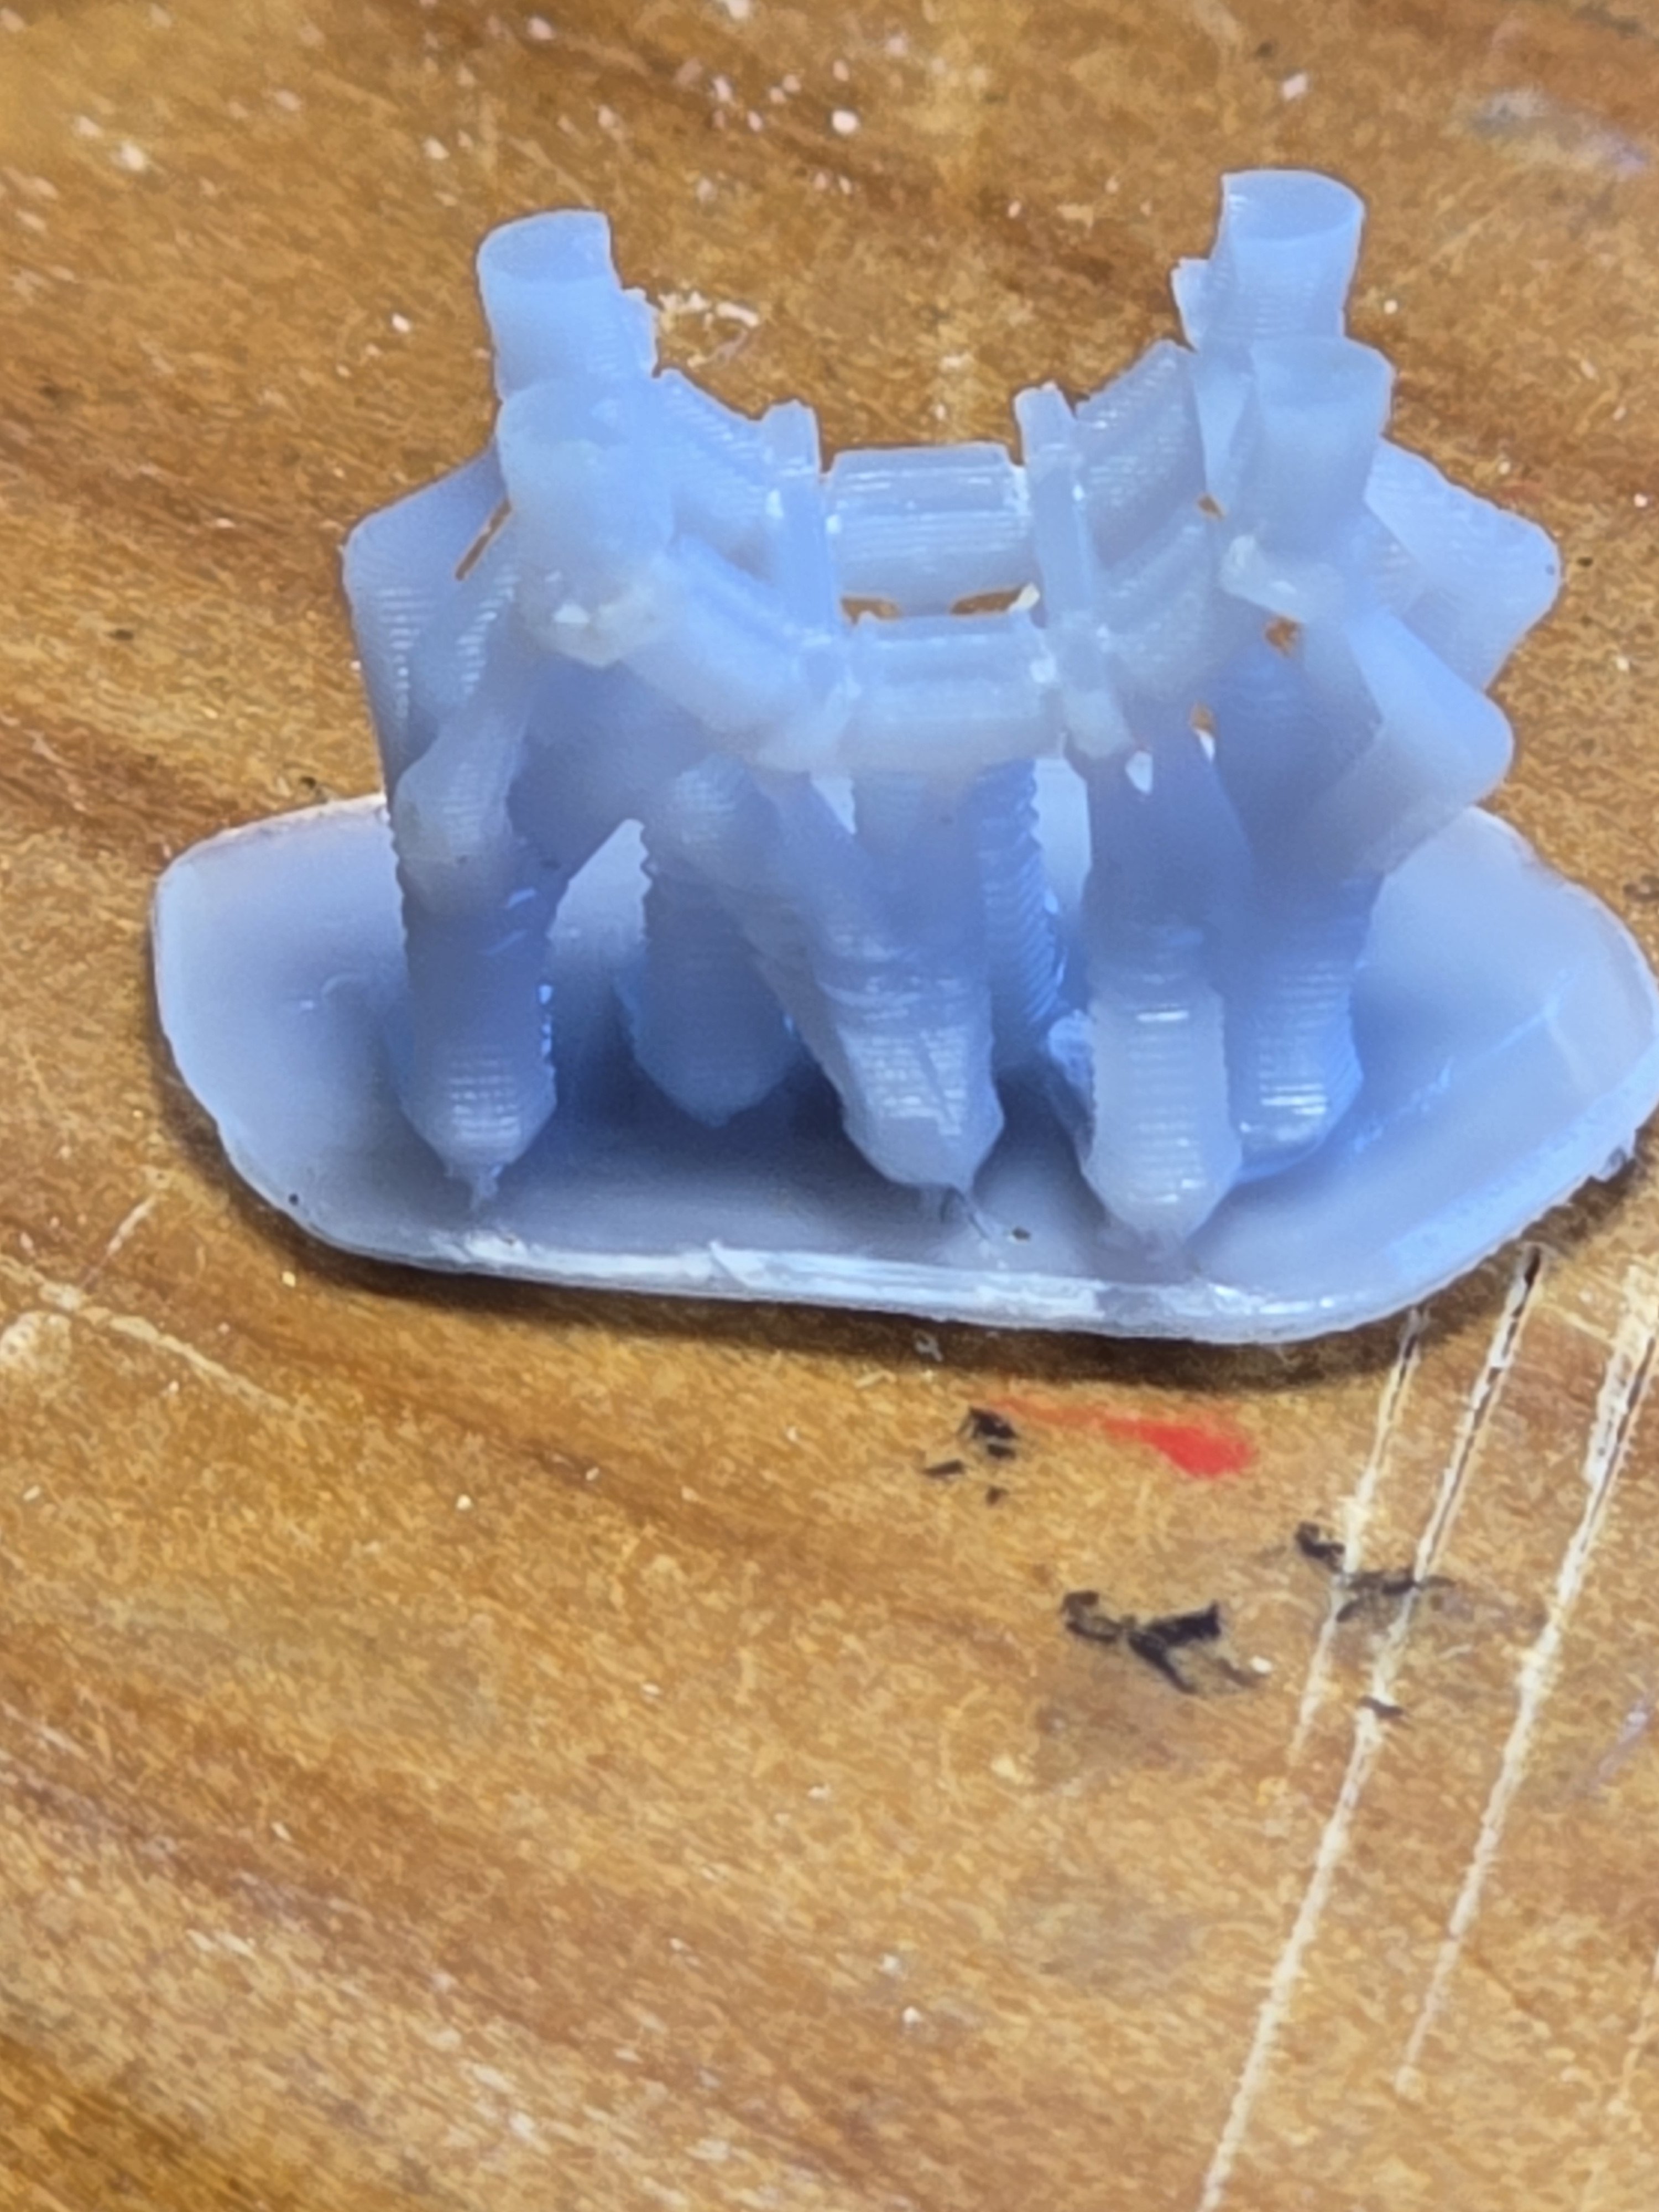
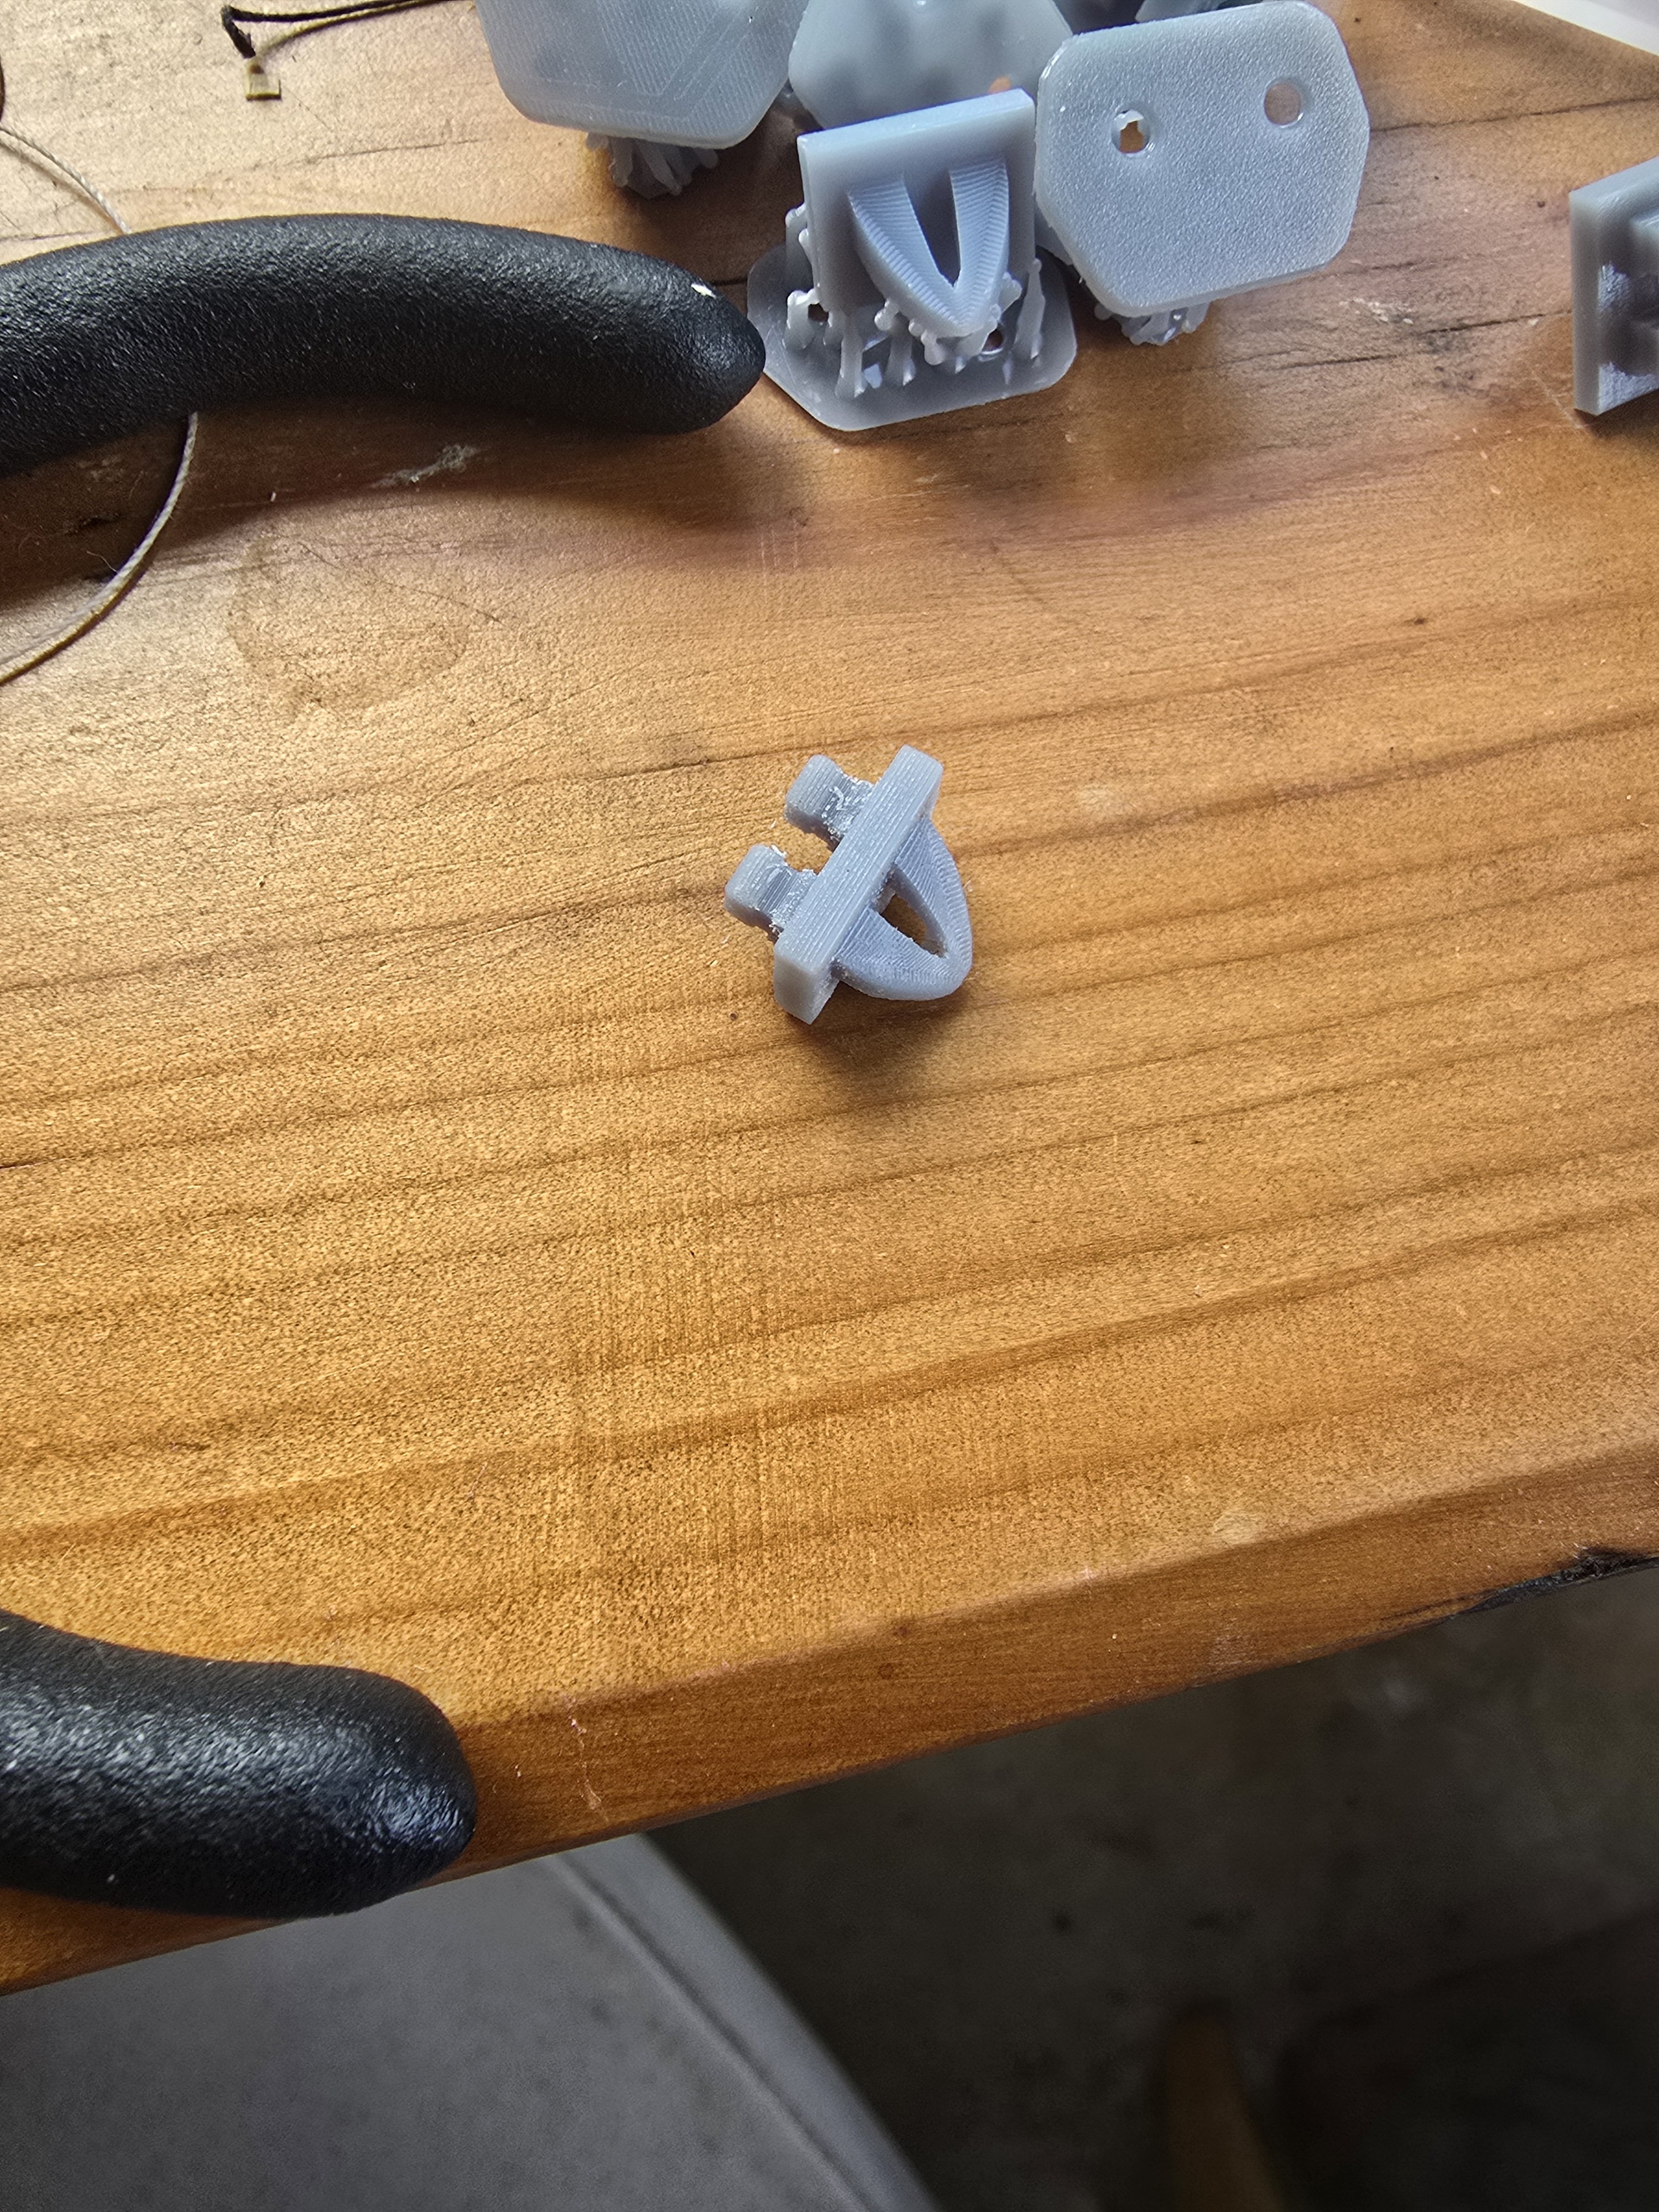
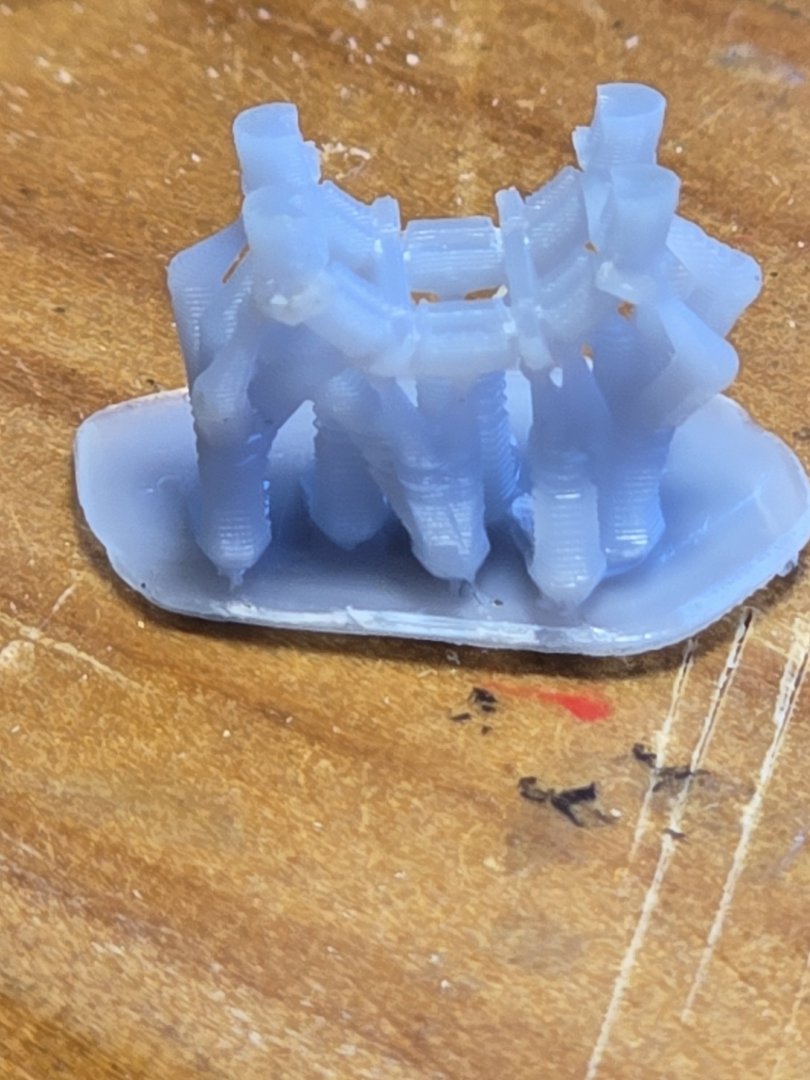
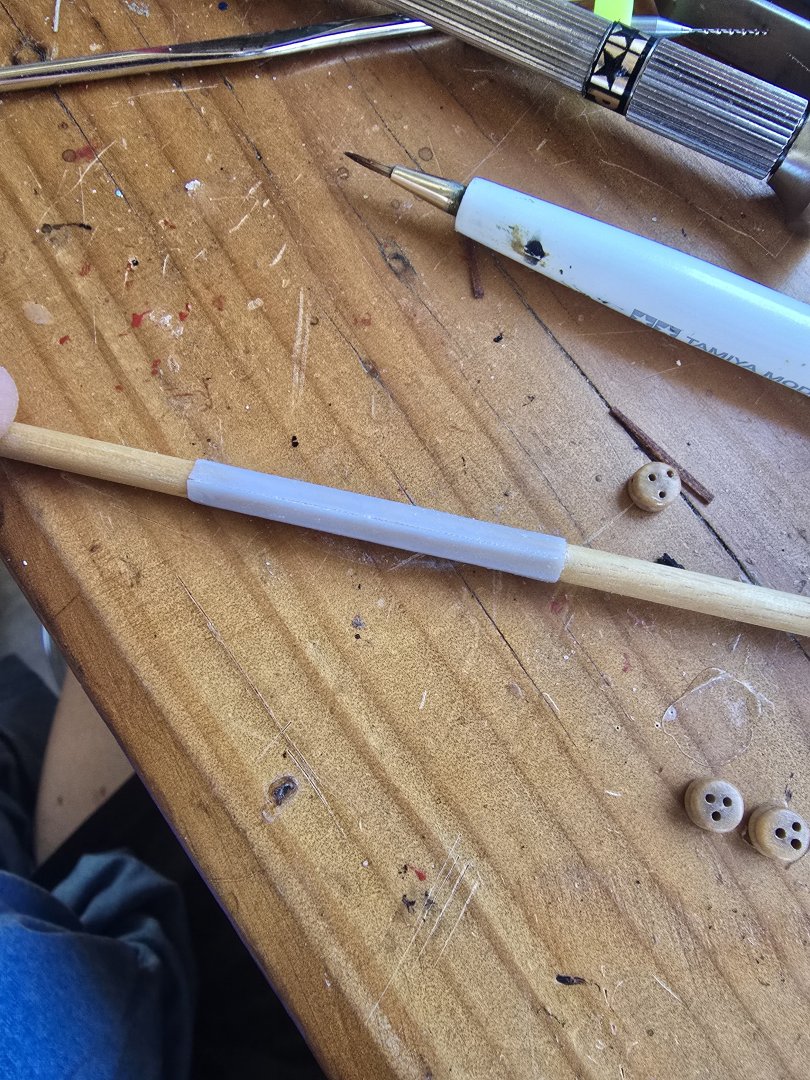
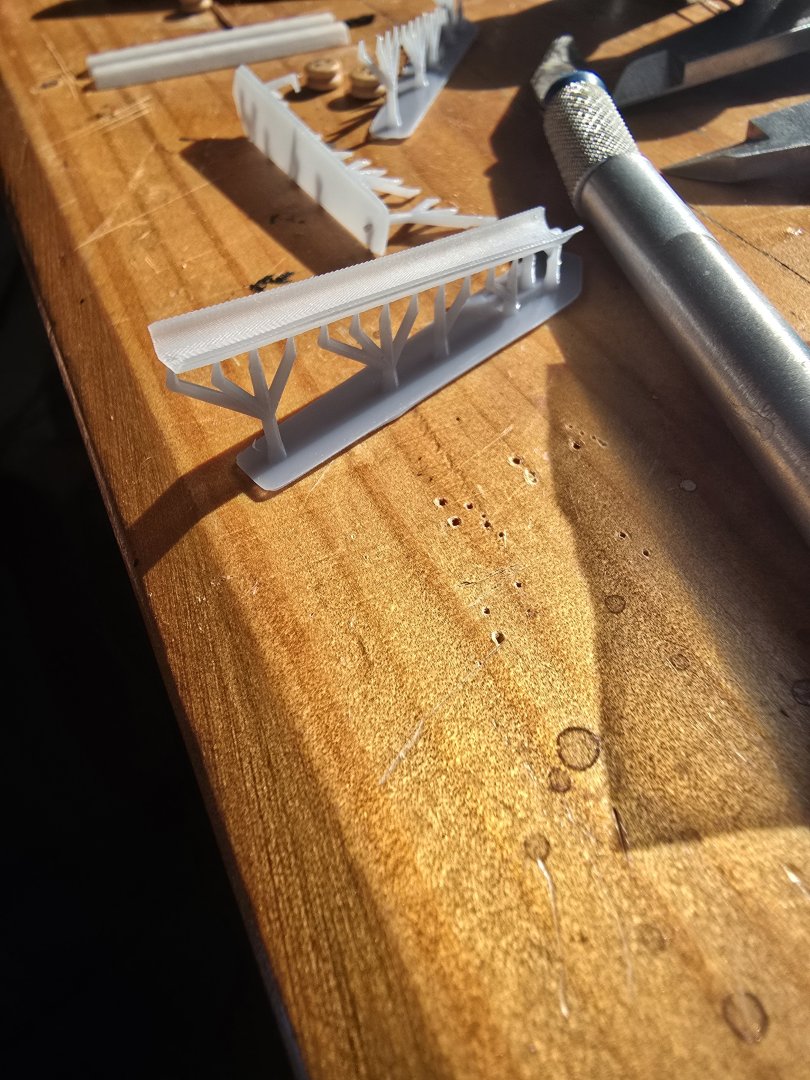
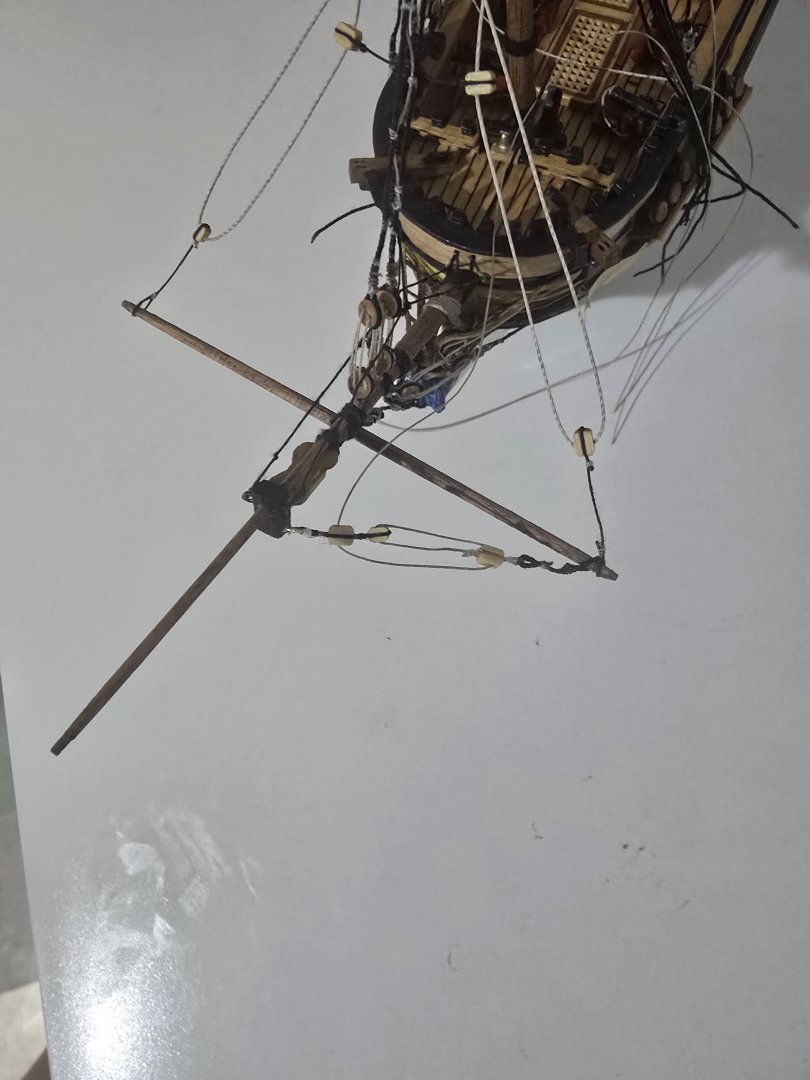
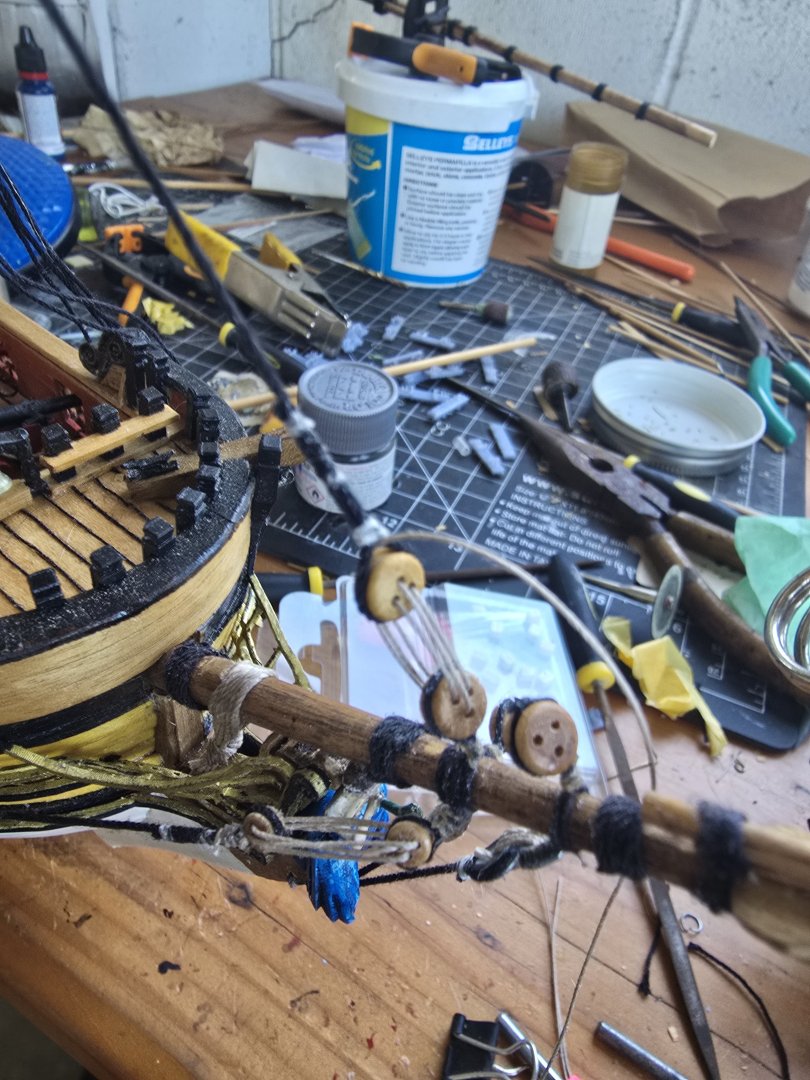
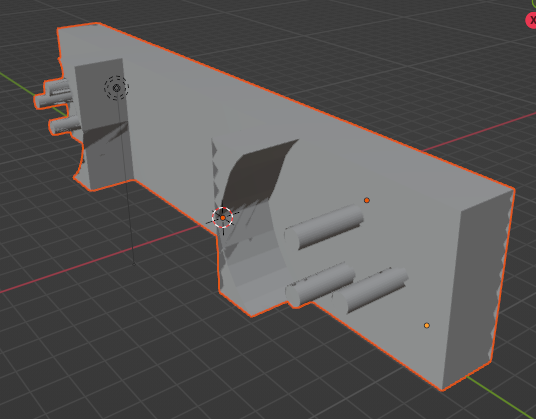
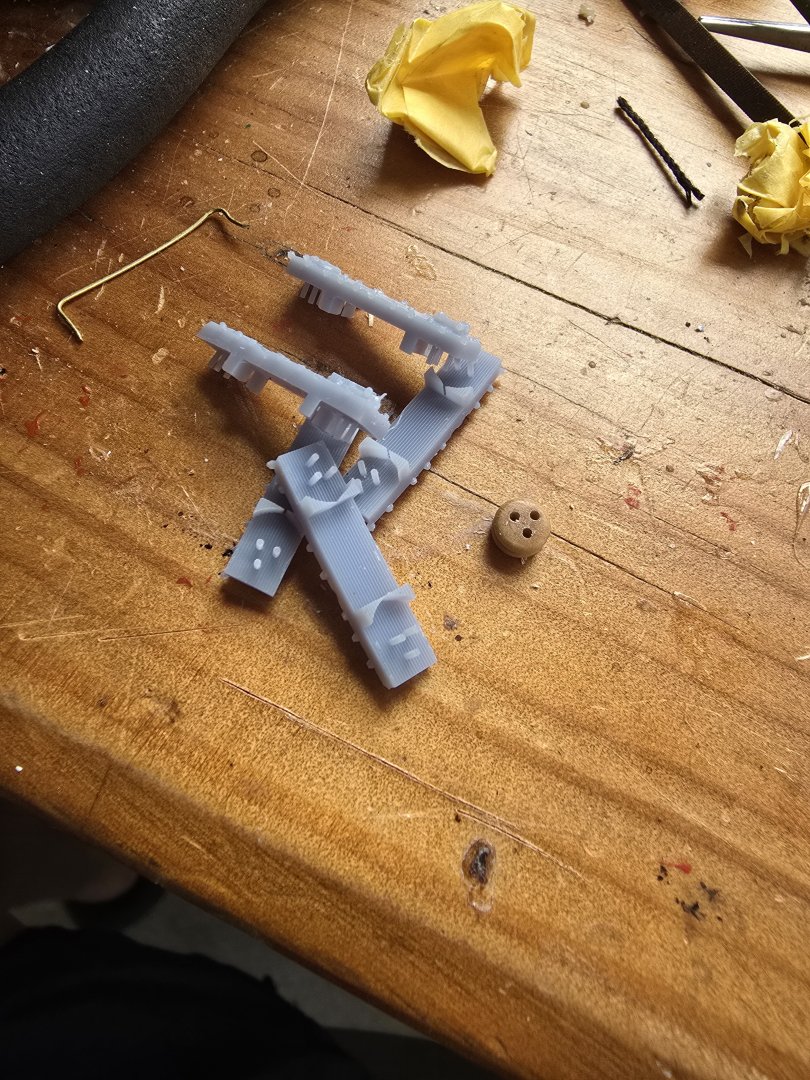
Working at 1/100 scale there was no way i was going to make realistic parrals for 1720 rigging with wood so i once again turned to the 3d printer. Ive gone it.. they very delicate to take the supports out of and i broke 5 just to make one so print off heaps of clones. But i have realised it doesnt end in a parral, the trucks dont have a end parral! So back to the printer again. I must say i love that it takes about 10 minutes per print these days with the rapid resin. 1720 it was indeterminate if the yards were left on place or lowered so thats why the parrals are needed.


-
Hi Keith- im up to rigging the truss pendants... where is toni's tutorial found? On this website?
-
This is what happens when you try and do things at 9pm at night, tired and cant be arsed getting it right... pull it off and start again!
-
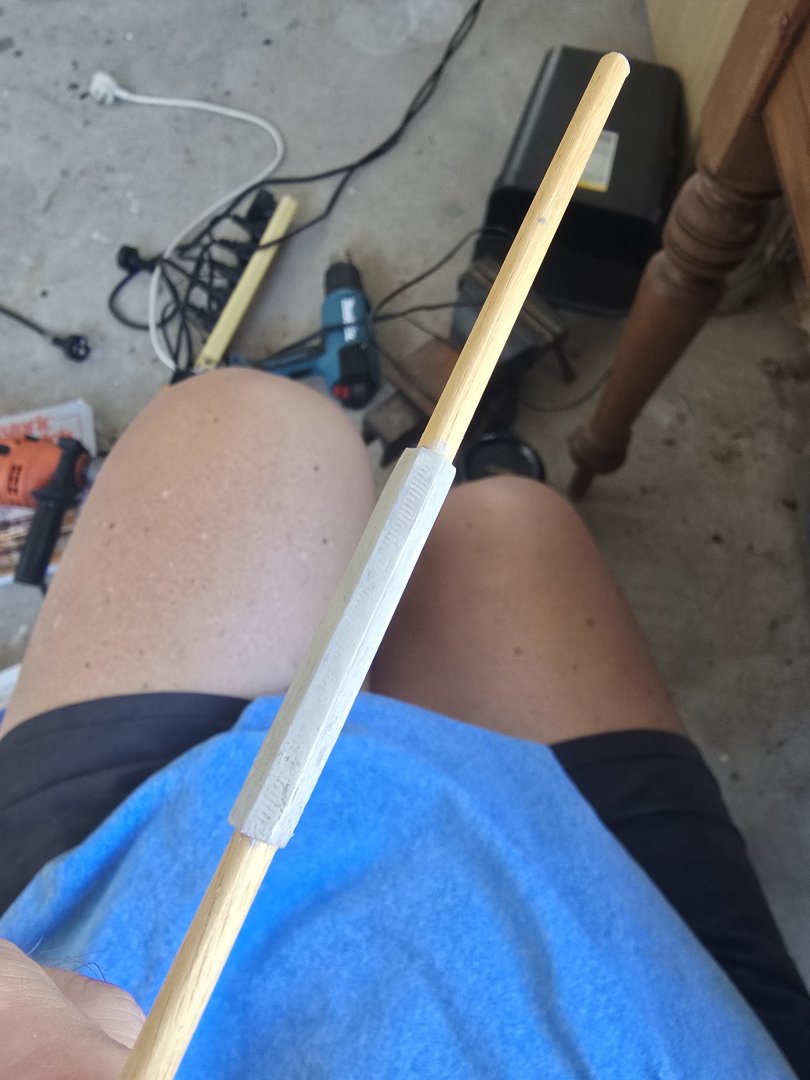
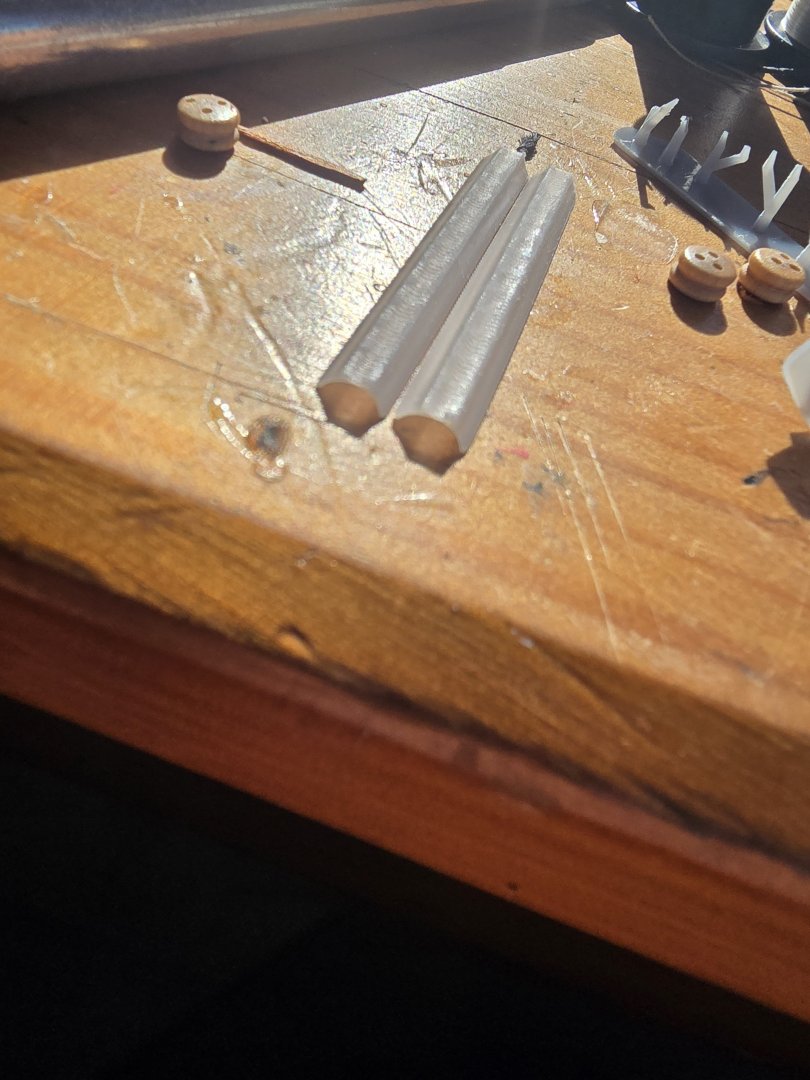
What i do love about model making with ships is that there is many ways of making something with different materials, different manufacturing techniques both additive and subtractive and there isnt a right answer. In making a yard i could have turned the wood and shave a hexagonal central region. I could have left it round. Ive experiemented with making two hexagonal parts on the 3d printer which sheath the 4mm dowel to create a hexagonal centre piece. The hard part of this is paint to colour match or maybe i paint it black.. if its black it tends to hide the detail so im trying for a wood match this time... if it looks dumb i will paint it black and white or grey dry brush to bring out the hex shape.
-
You can go into too much detail. I didnt turn my top gallant masts but i did add a "stump" pole using the 3d printer.. think they look pretty cool on the foremast at least
-
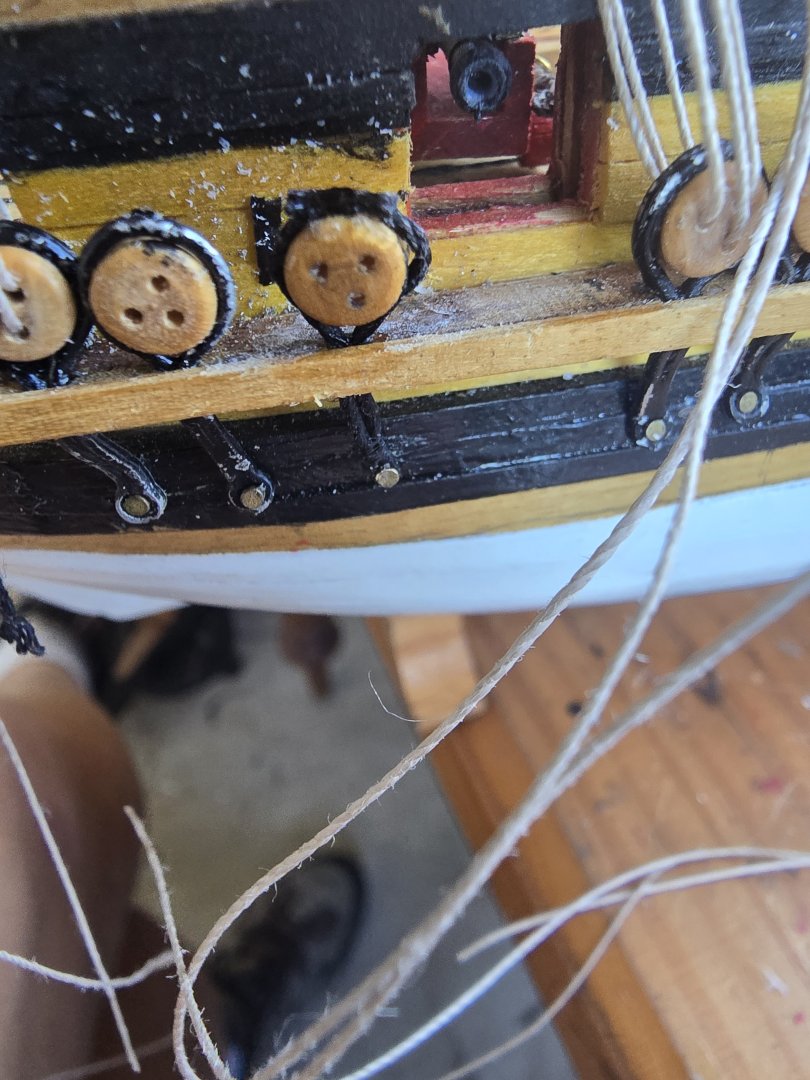
Ive fixed the broken chain plate with a piece of rope.. much more 1720! To be honest if your considering this kit maybe just go with the rope... it looks so much neater. And now... what colour do you paint a white metal belaying pin??!? Again rubbish with a capital rub.
-
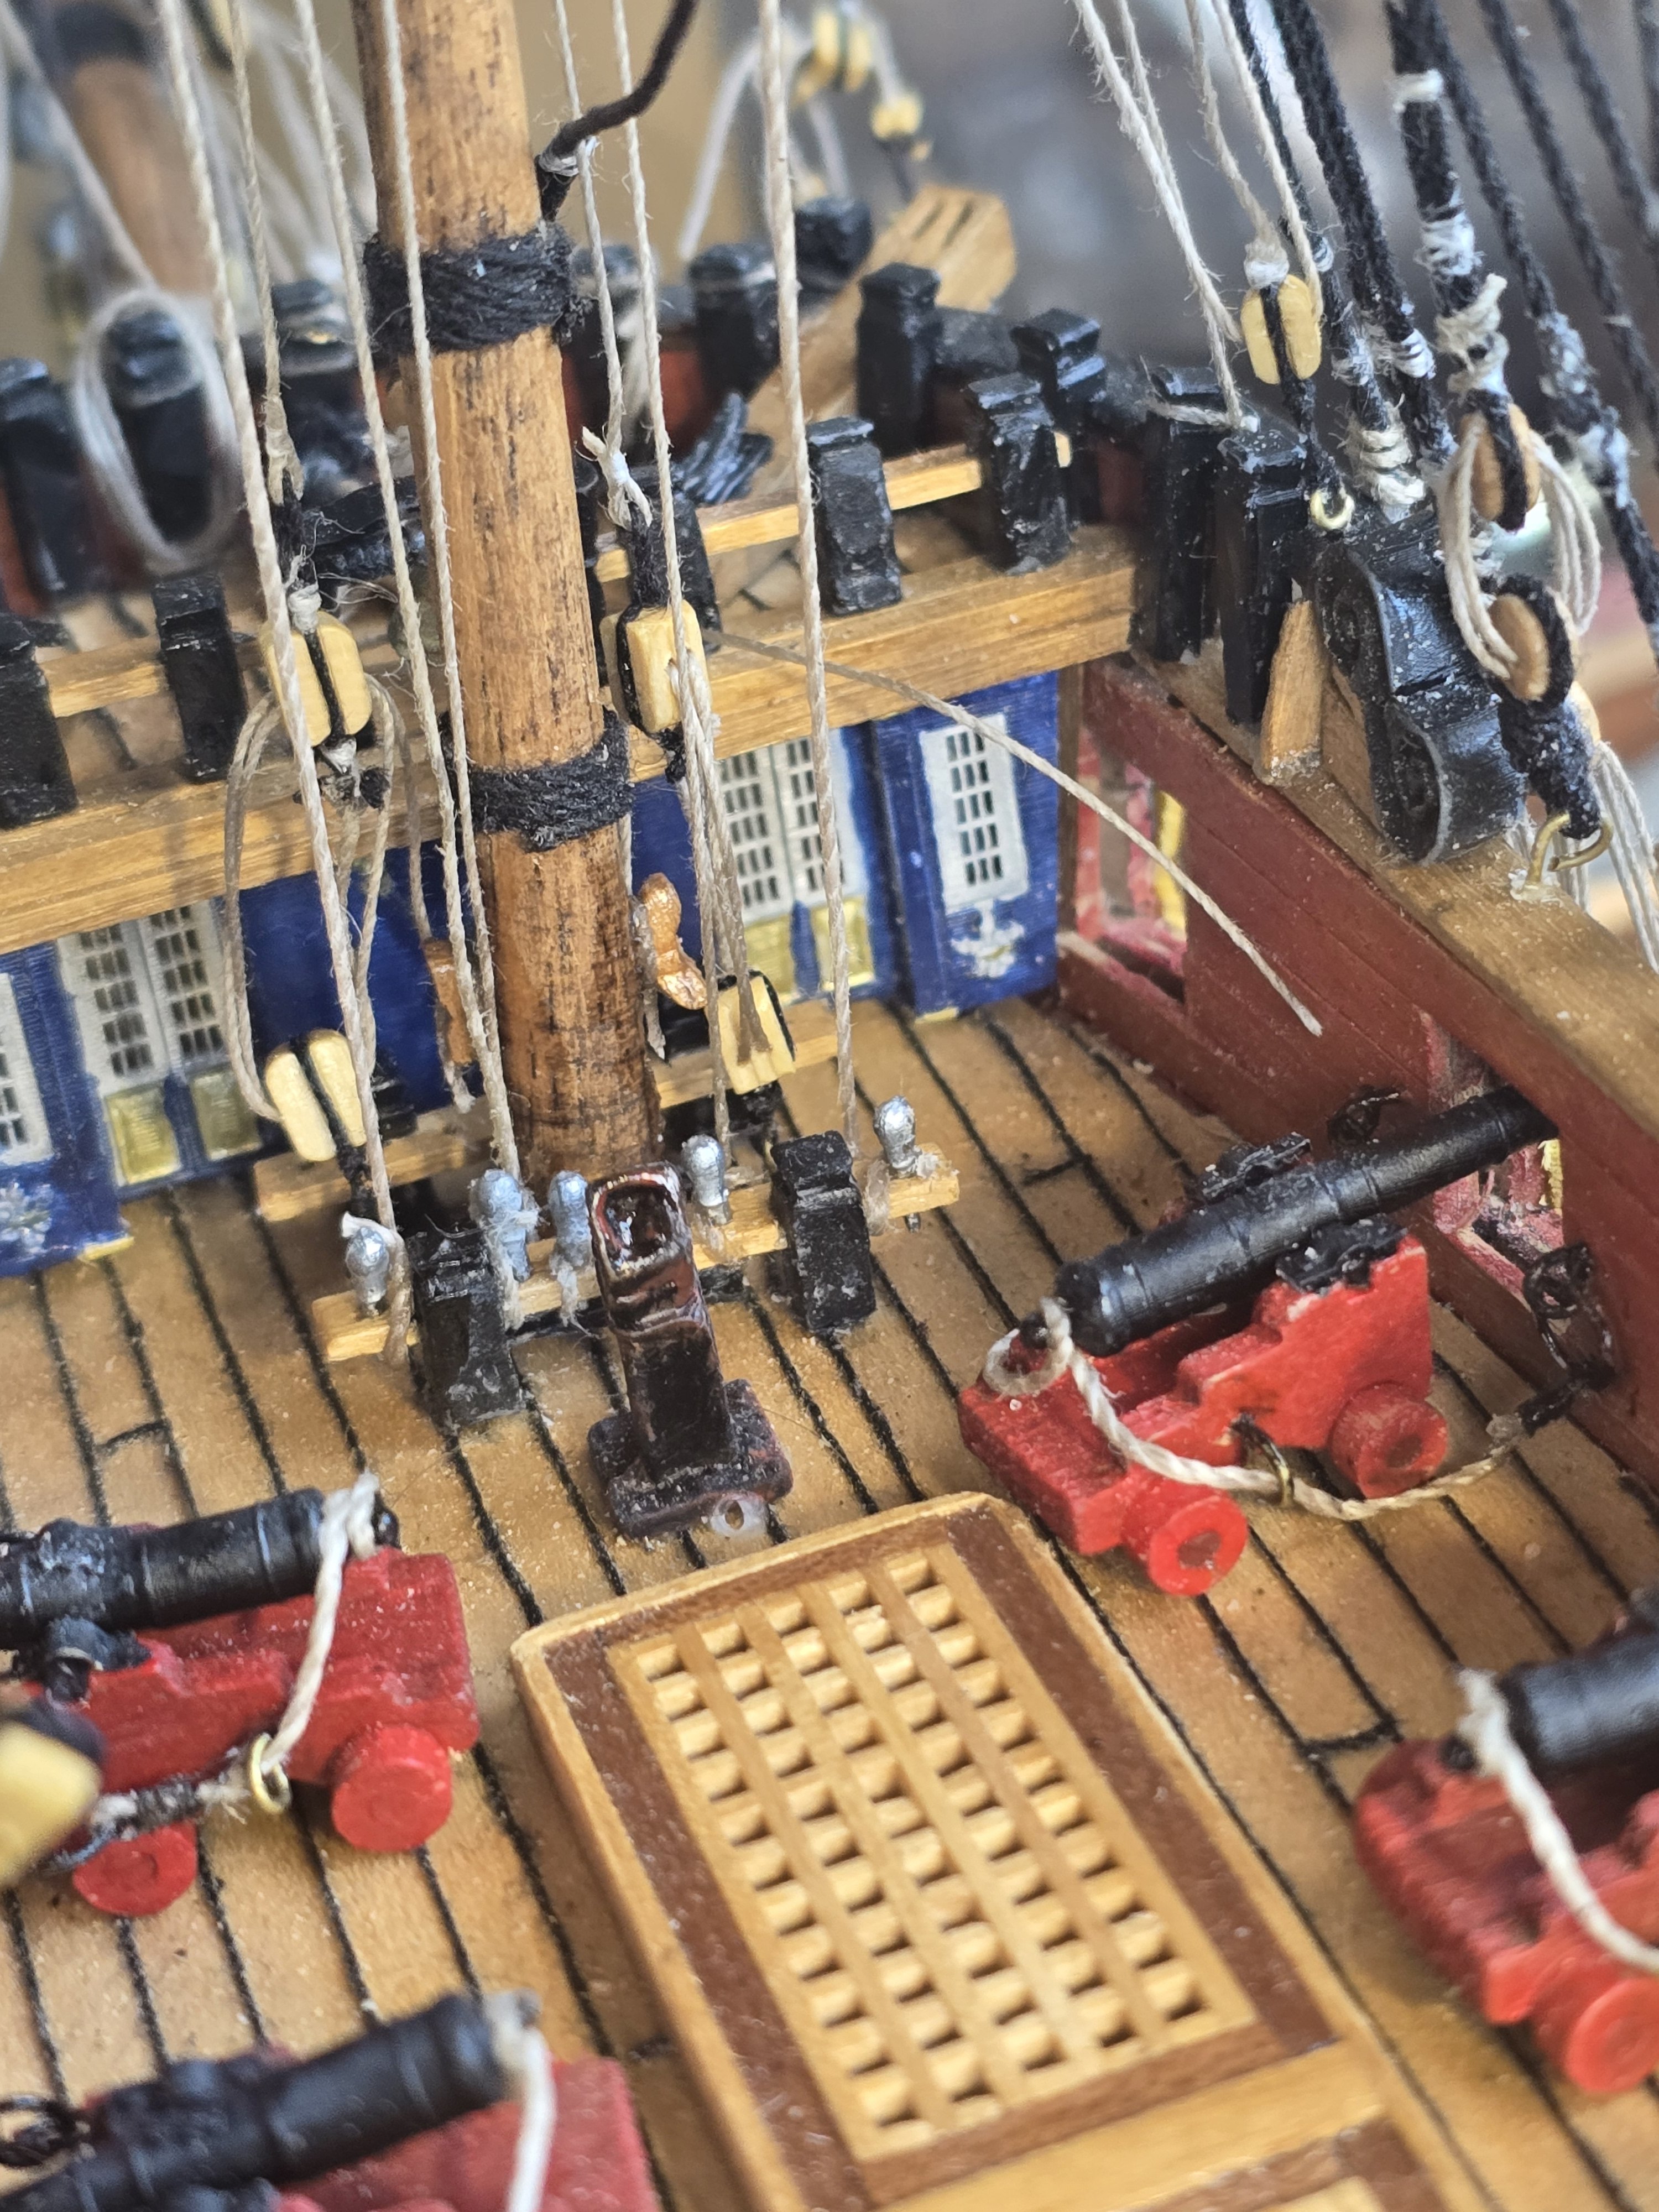
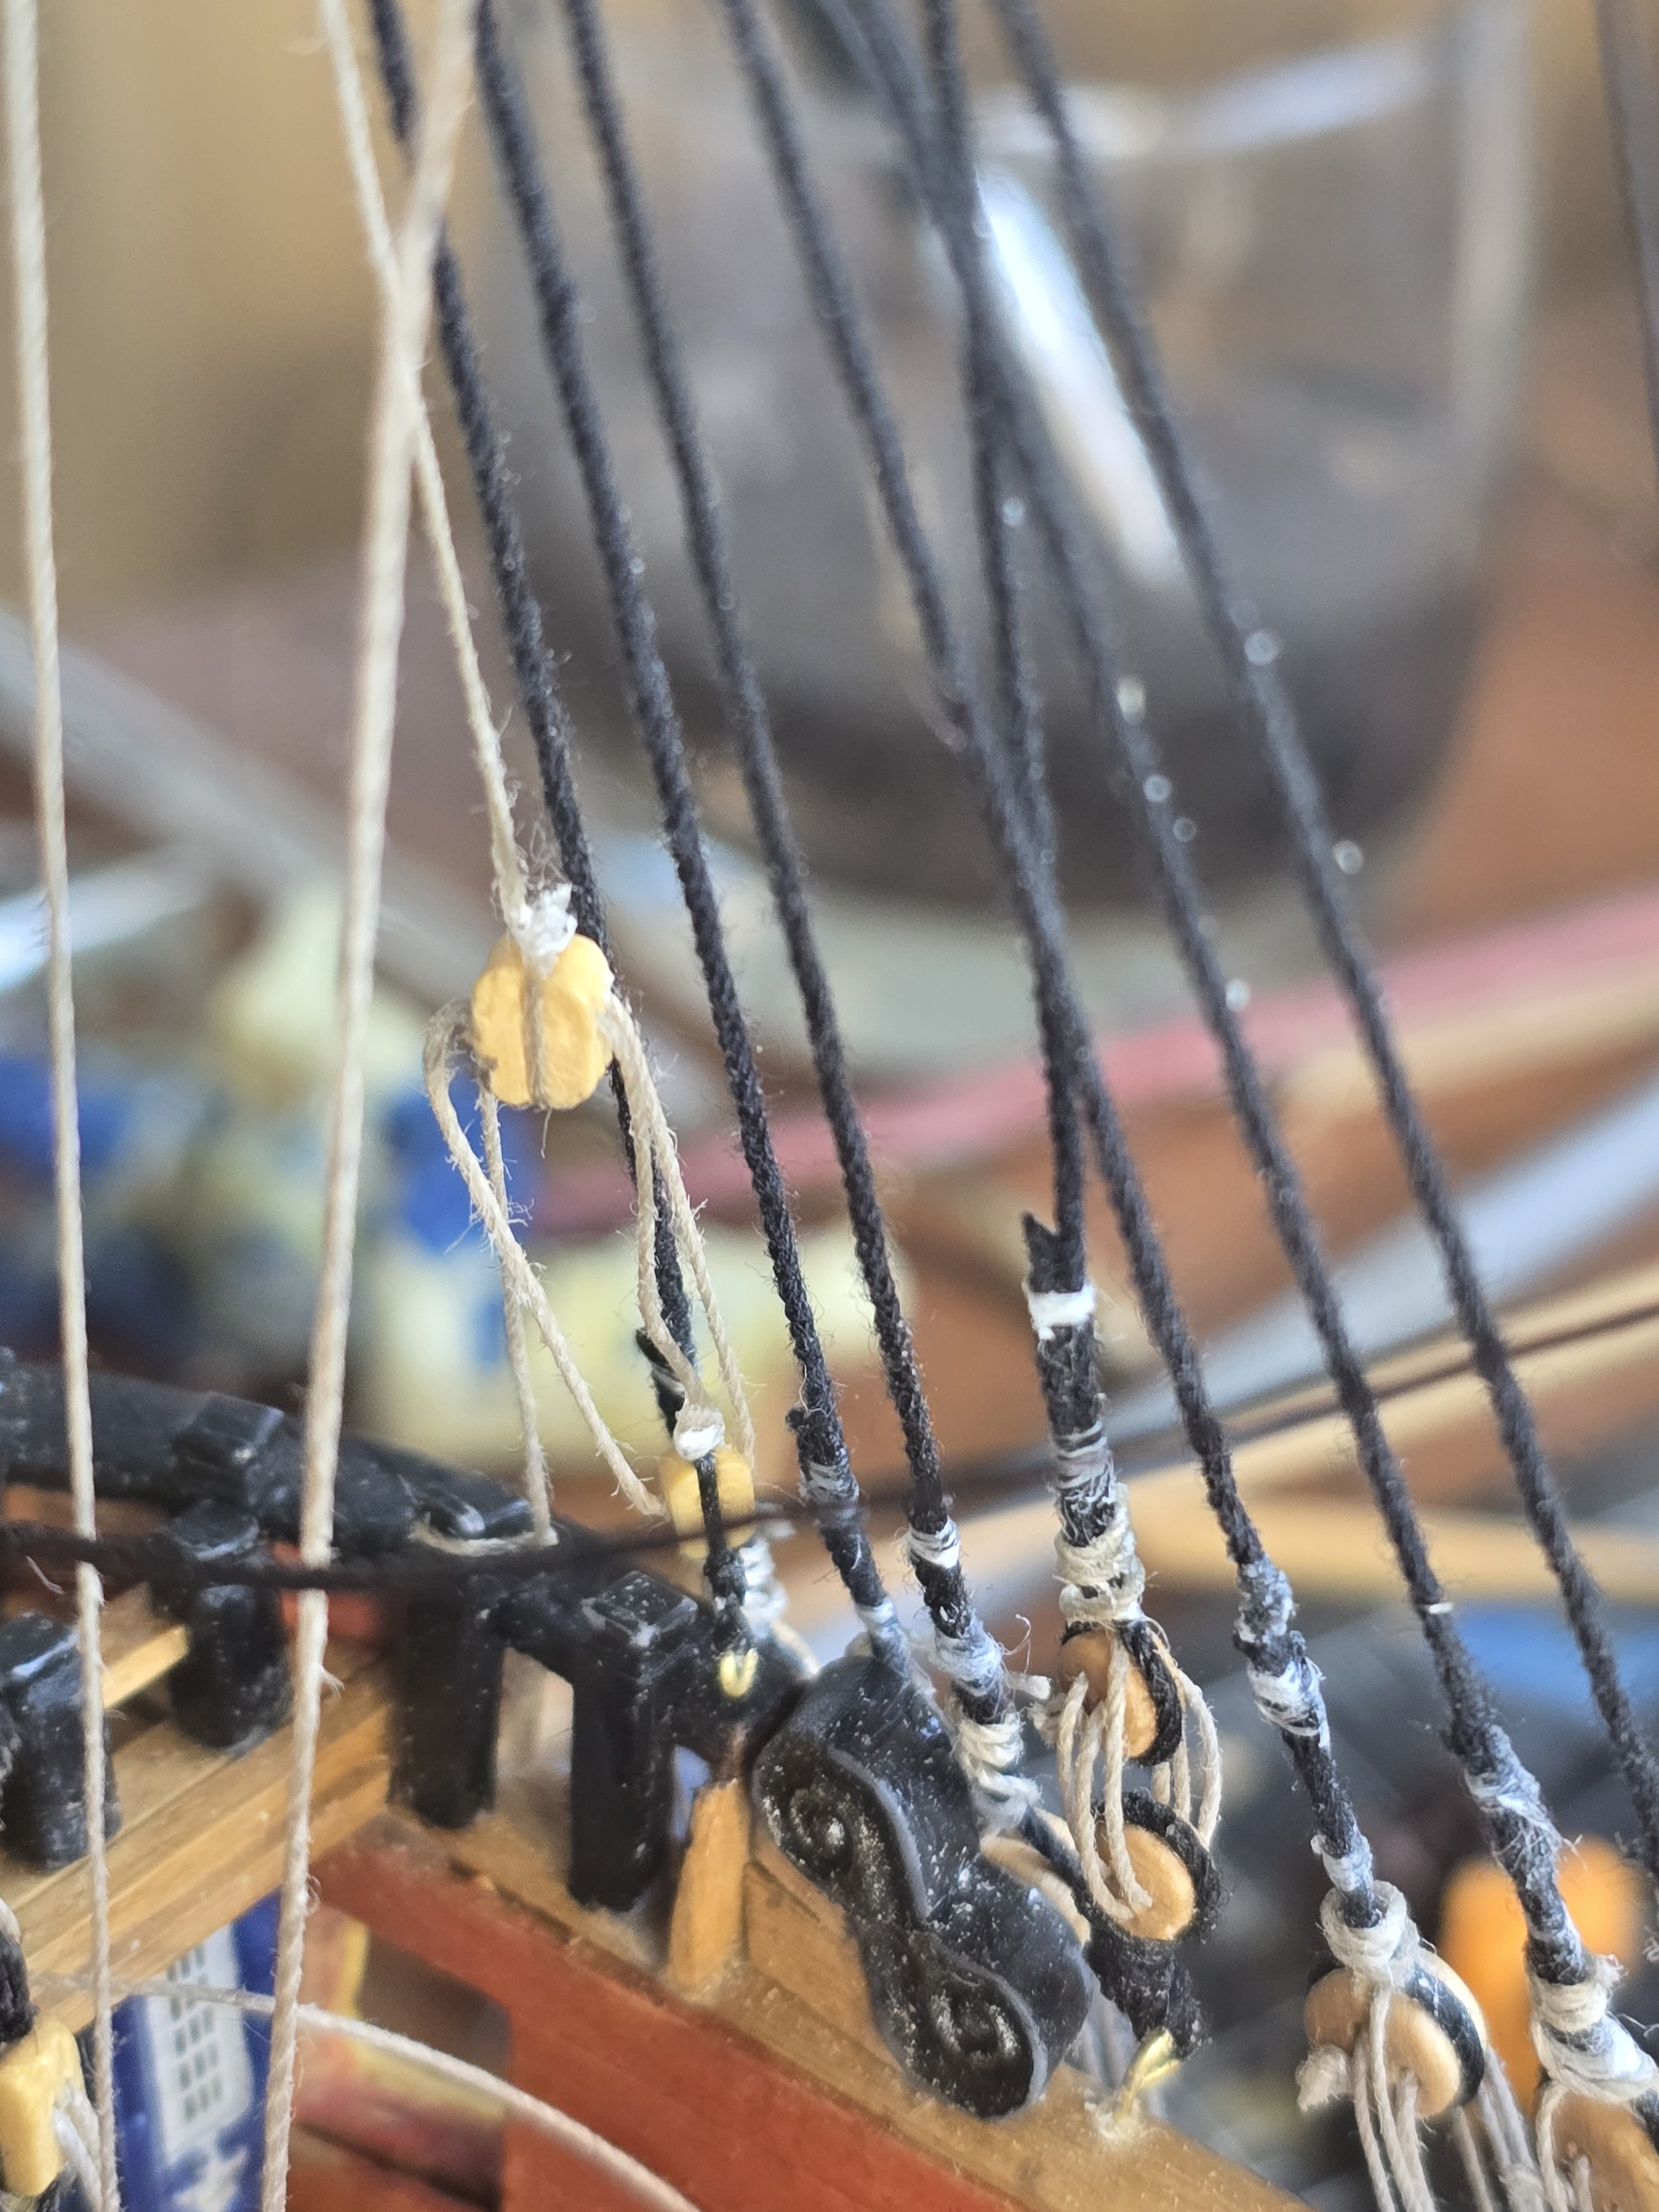
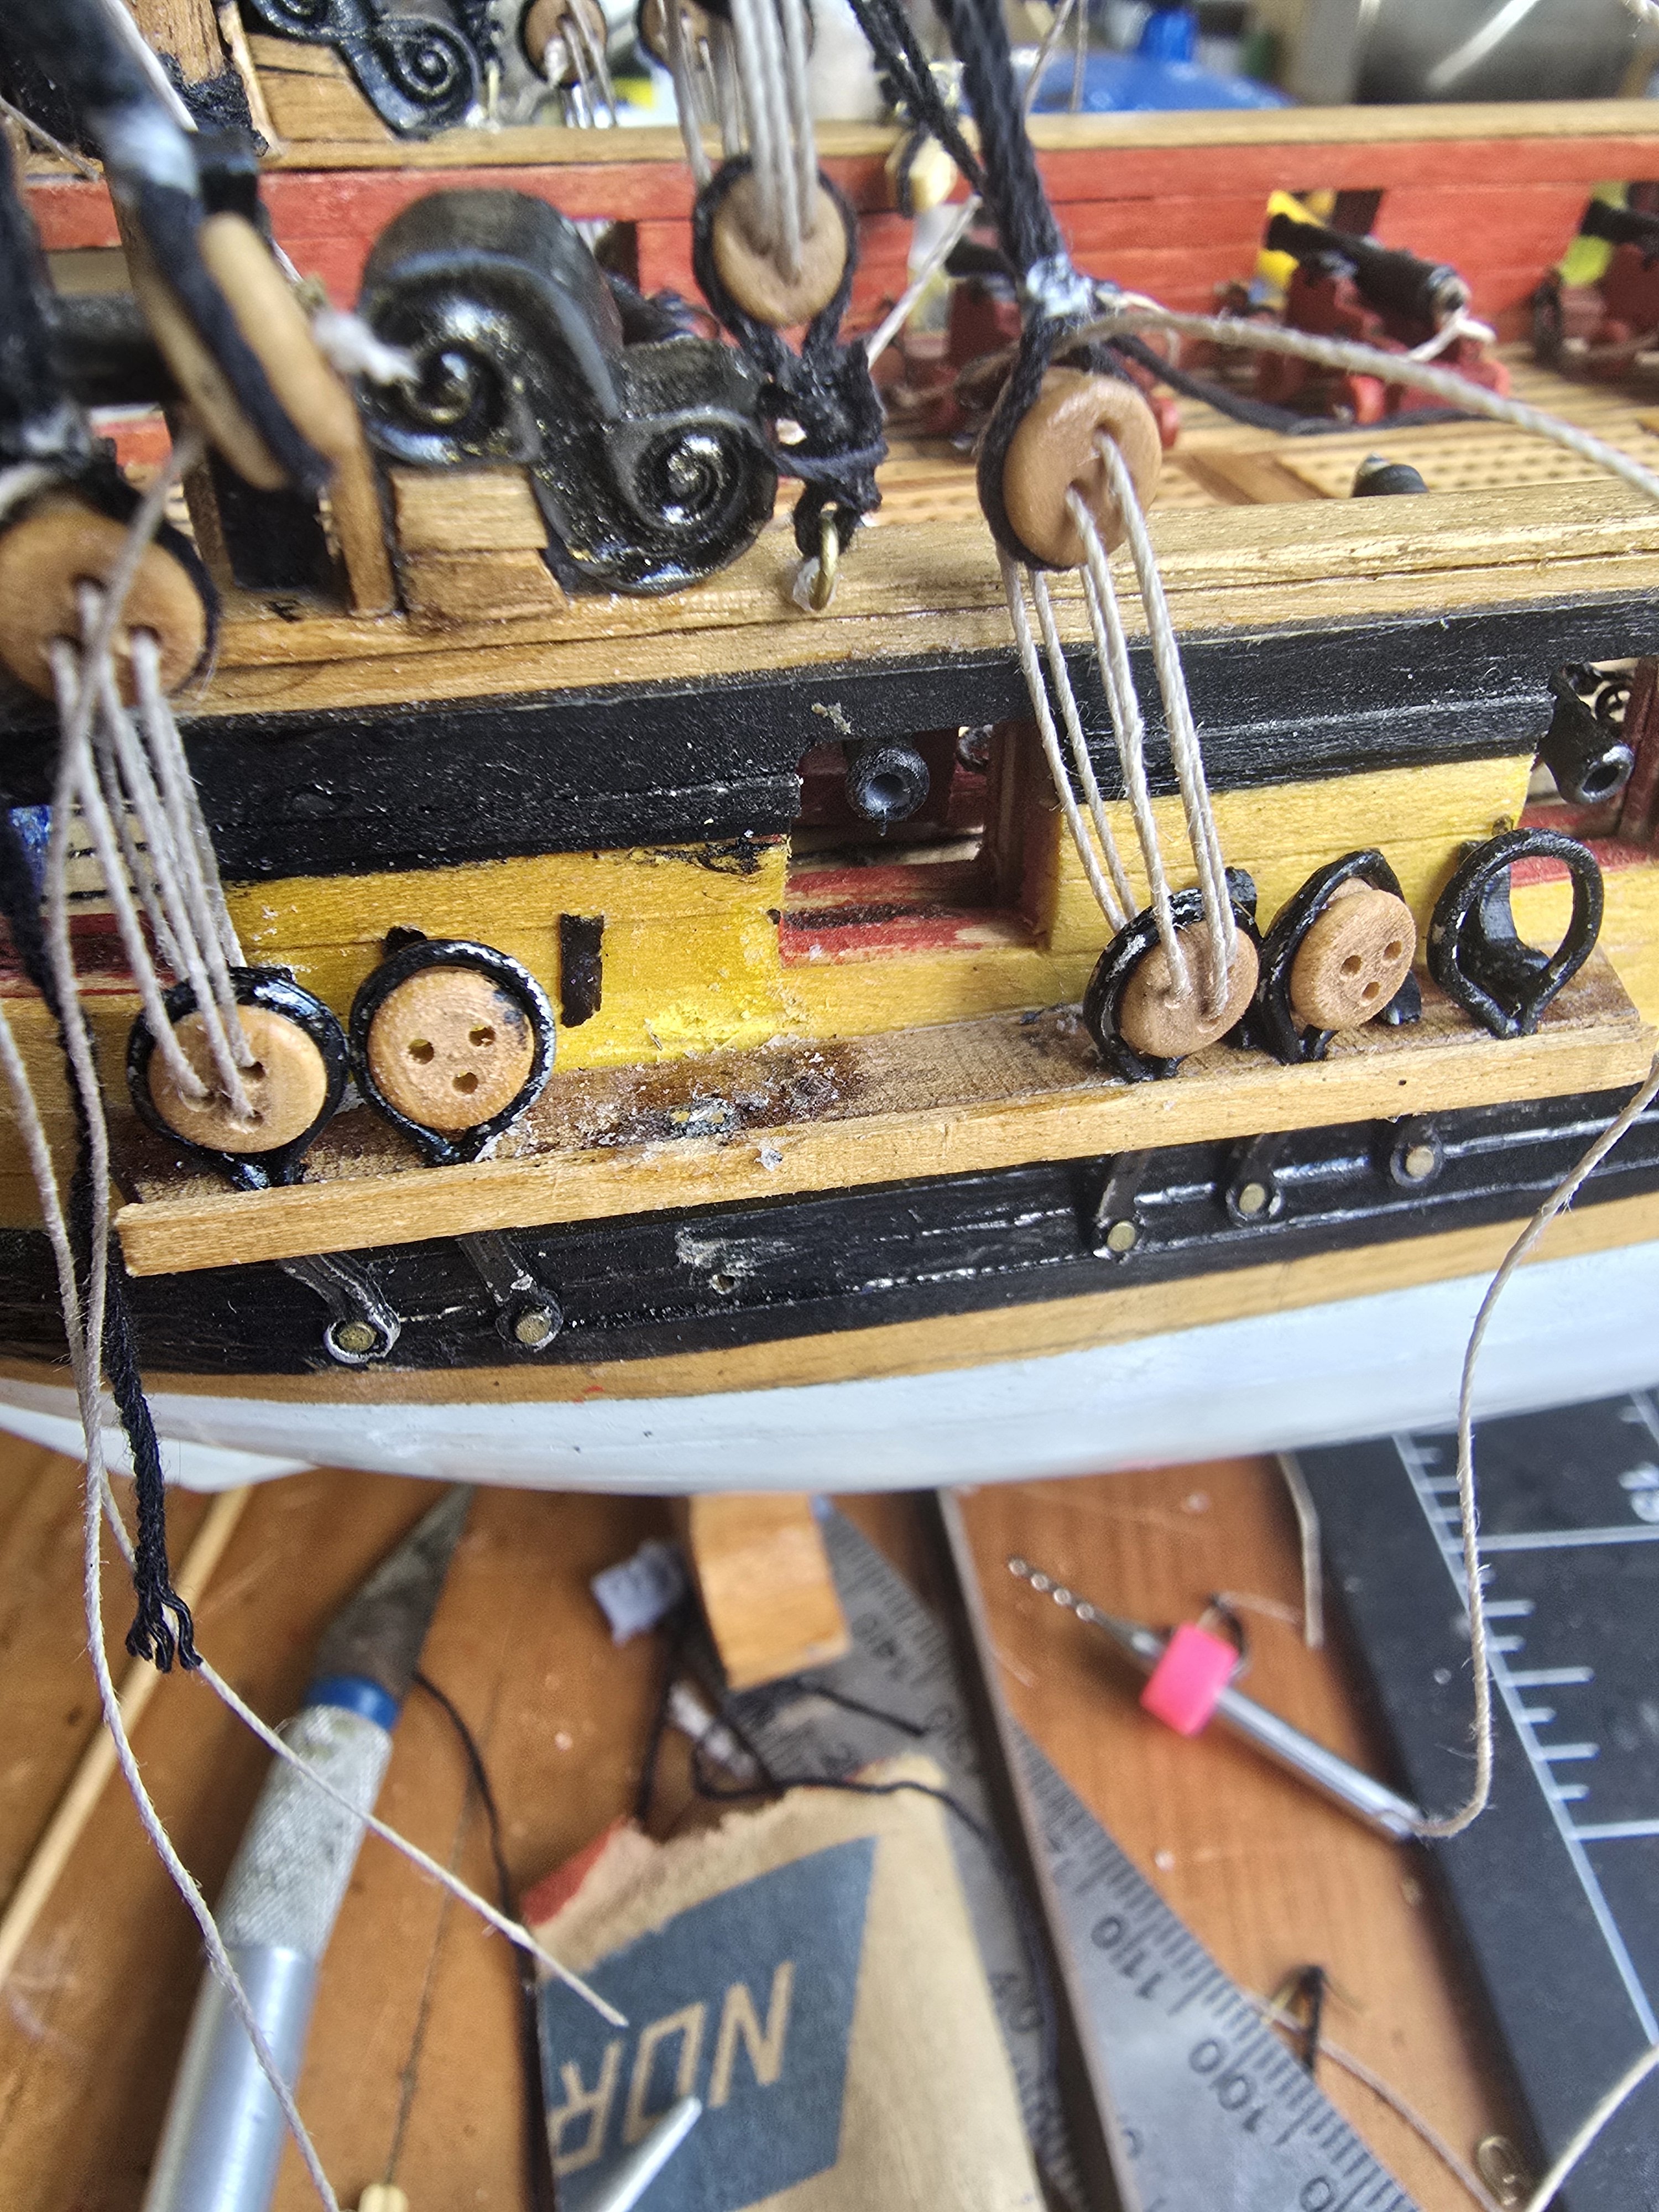
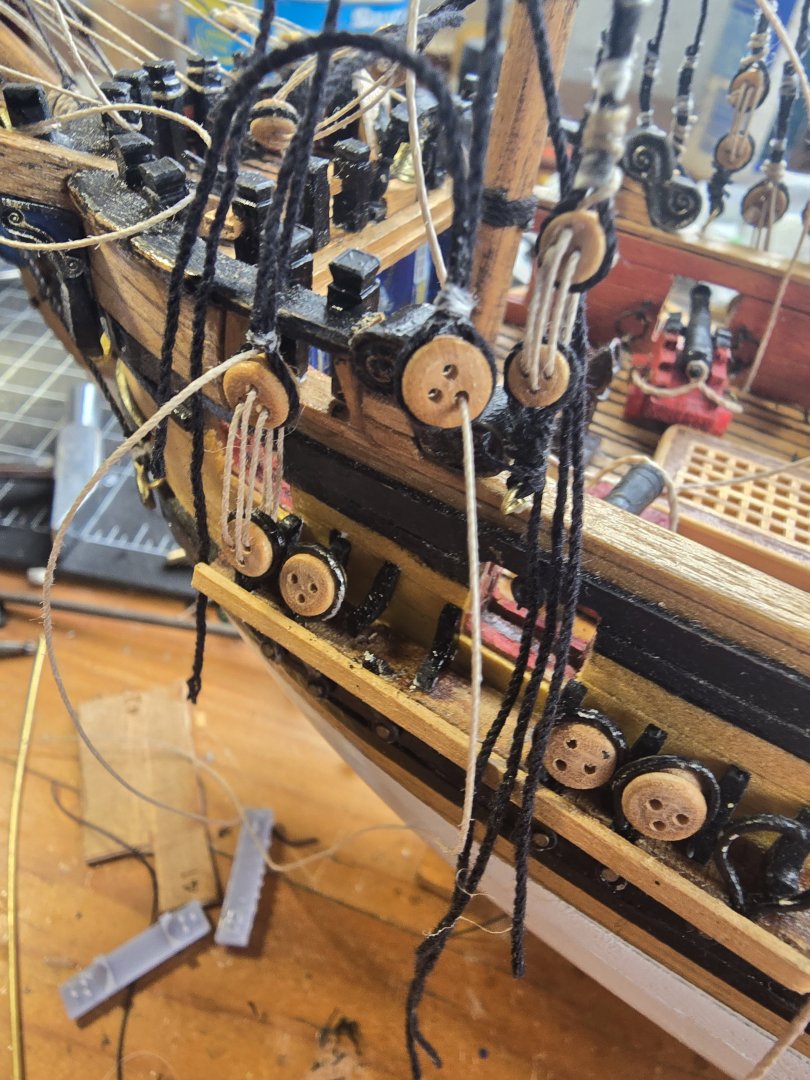
While im sorting out the mess with the dead eyes i tried out my new tool, a drawing pad by Huion. It takes a bit of time to adjust to it but i was starting to get better towards the end. Ive made some kevel blocks for the ship and they look okay. Im just going to paint them black and stick them on.

.png.1ce1ae8d97779147fb6a981f862a5709.png)
-
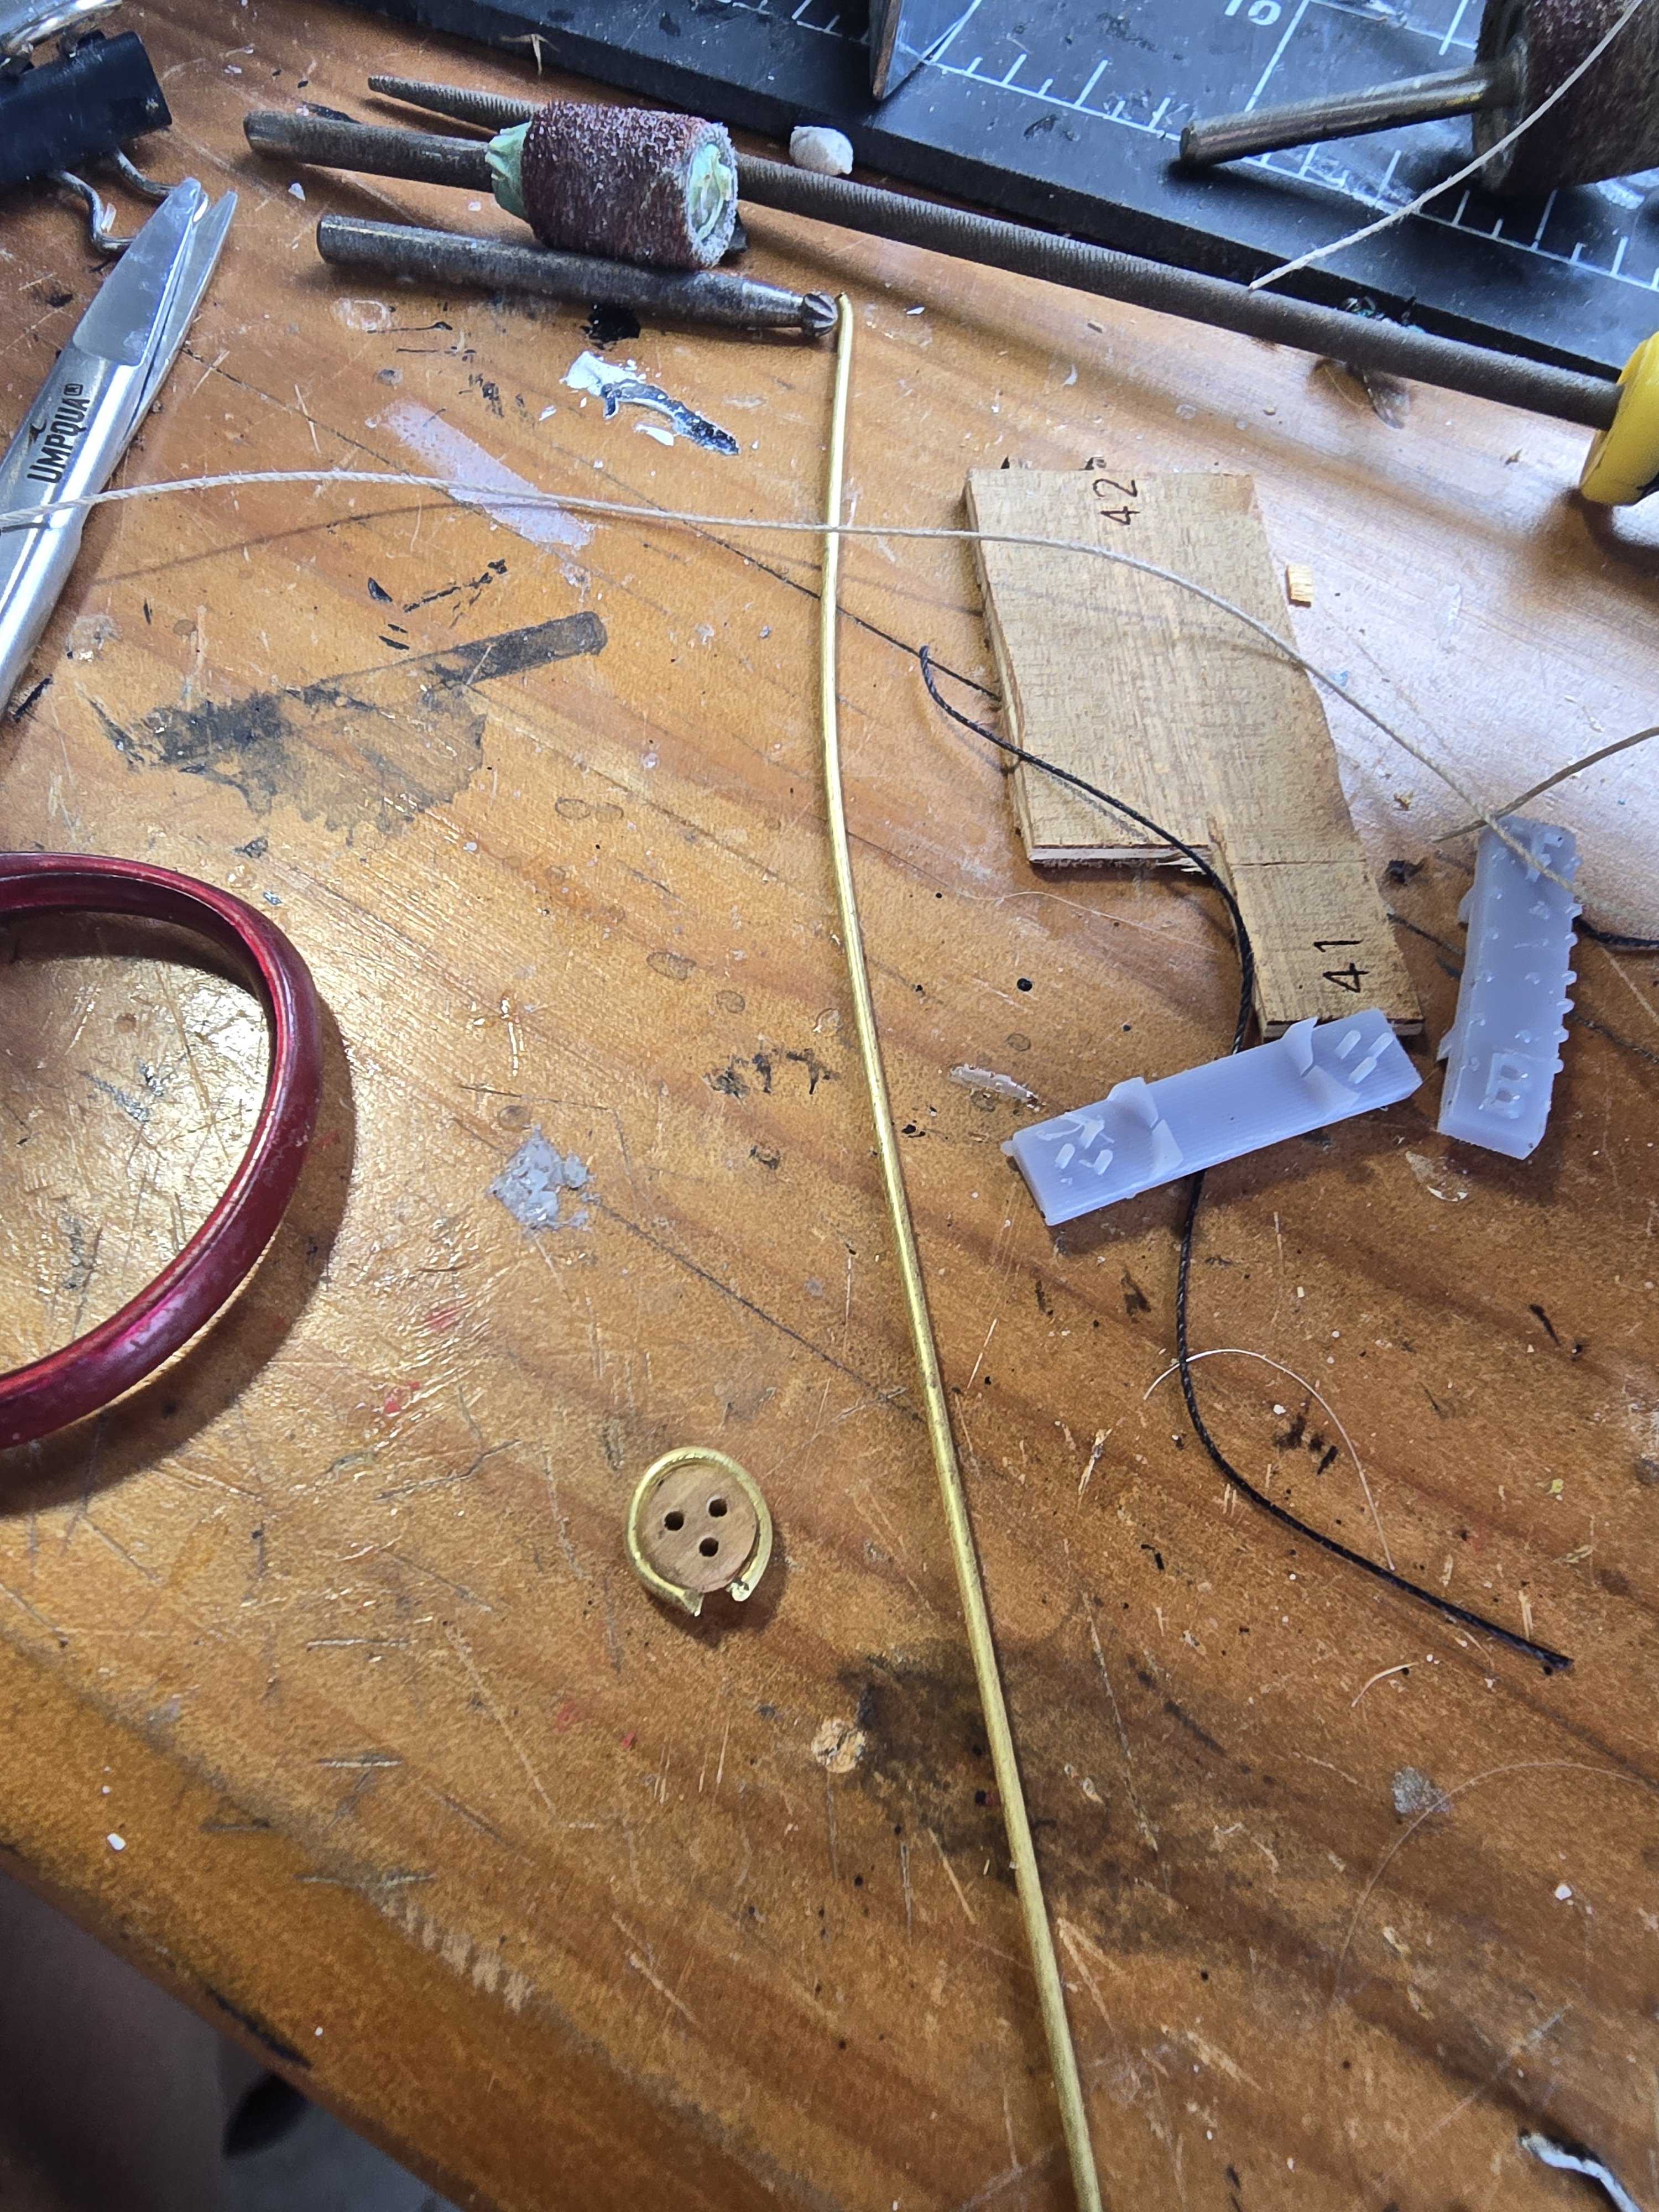
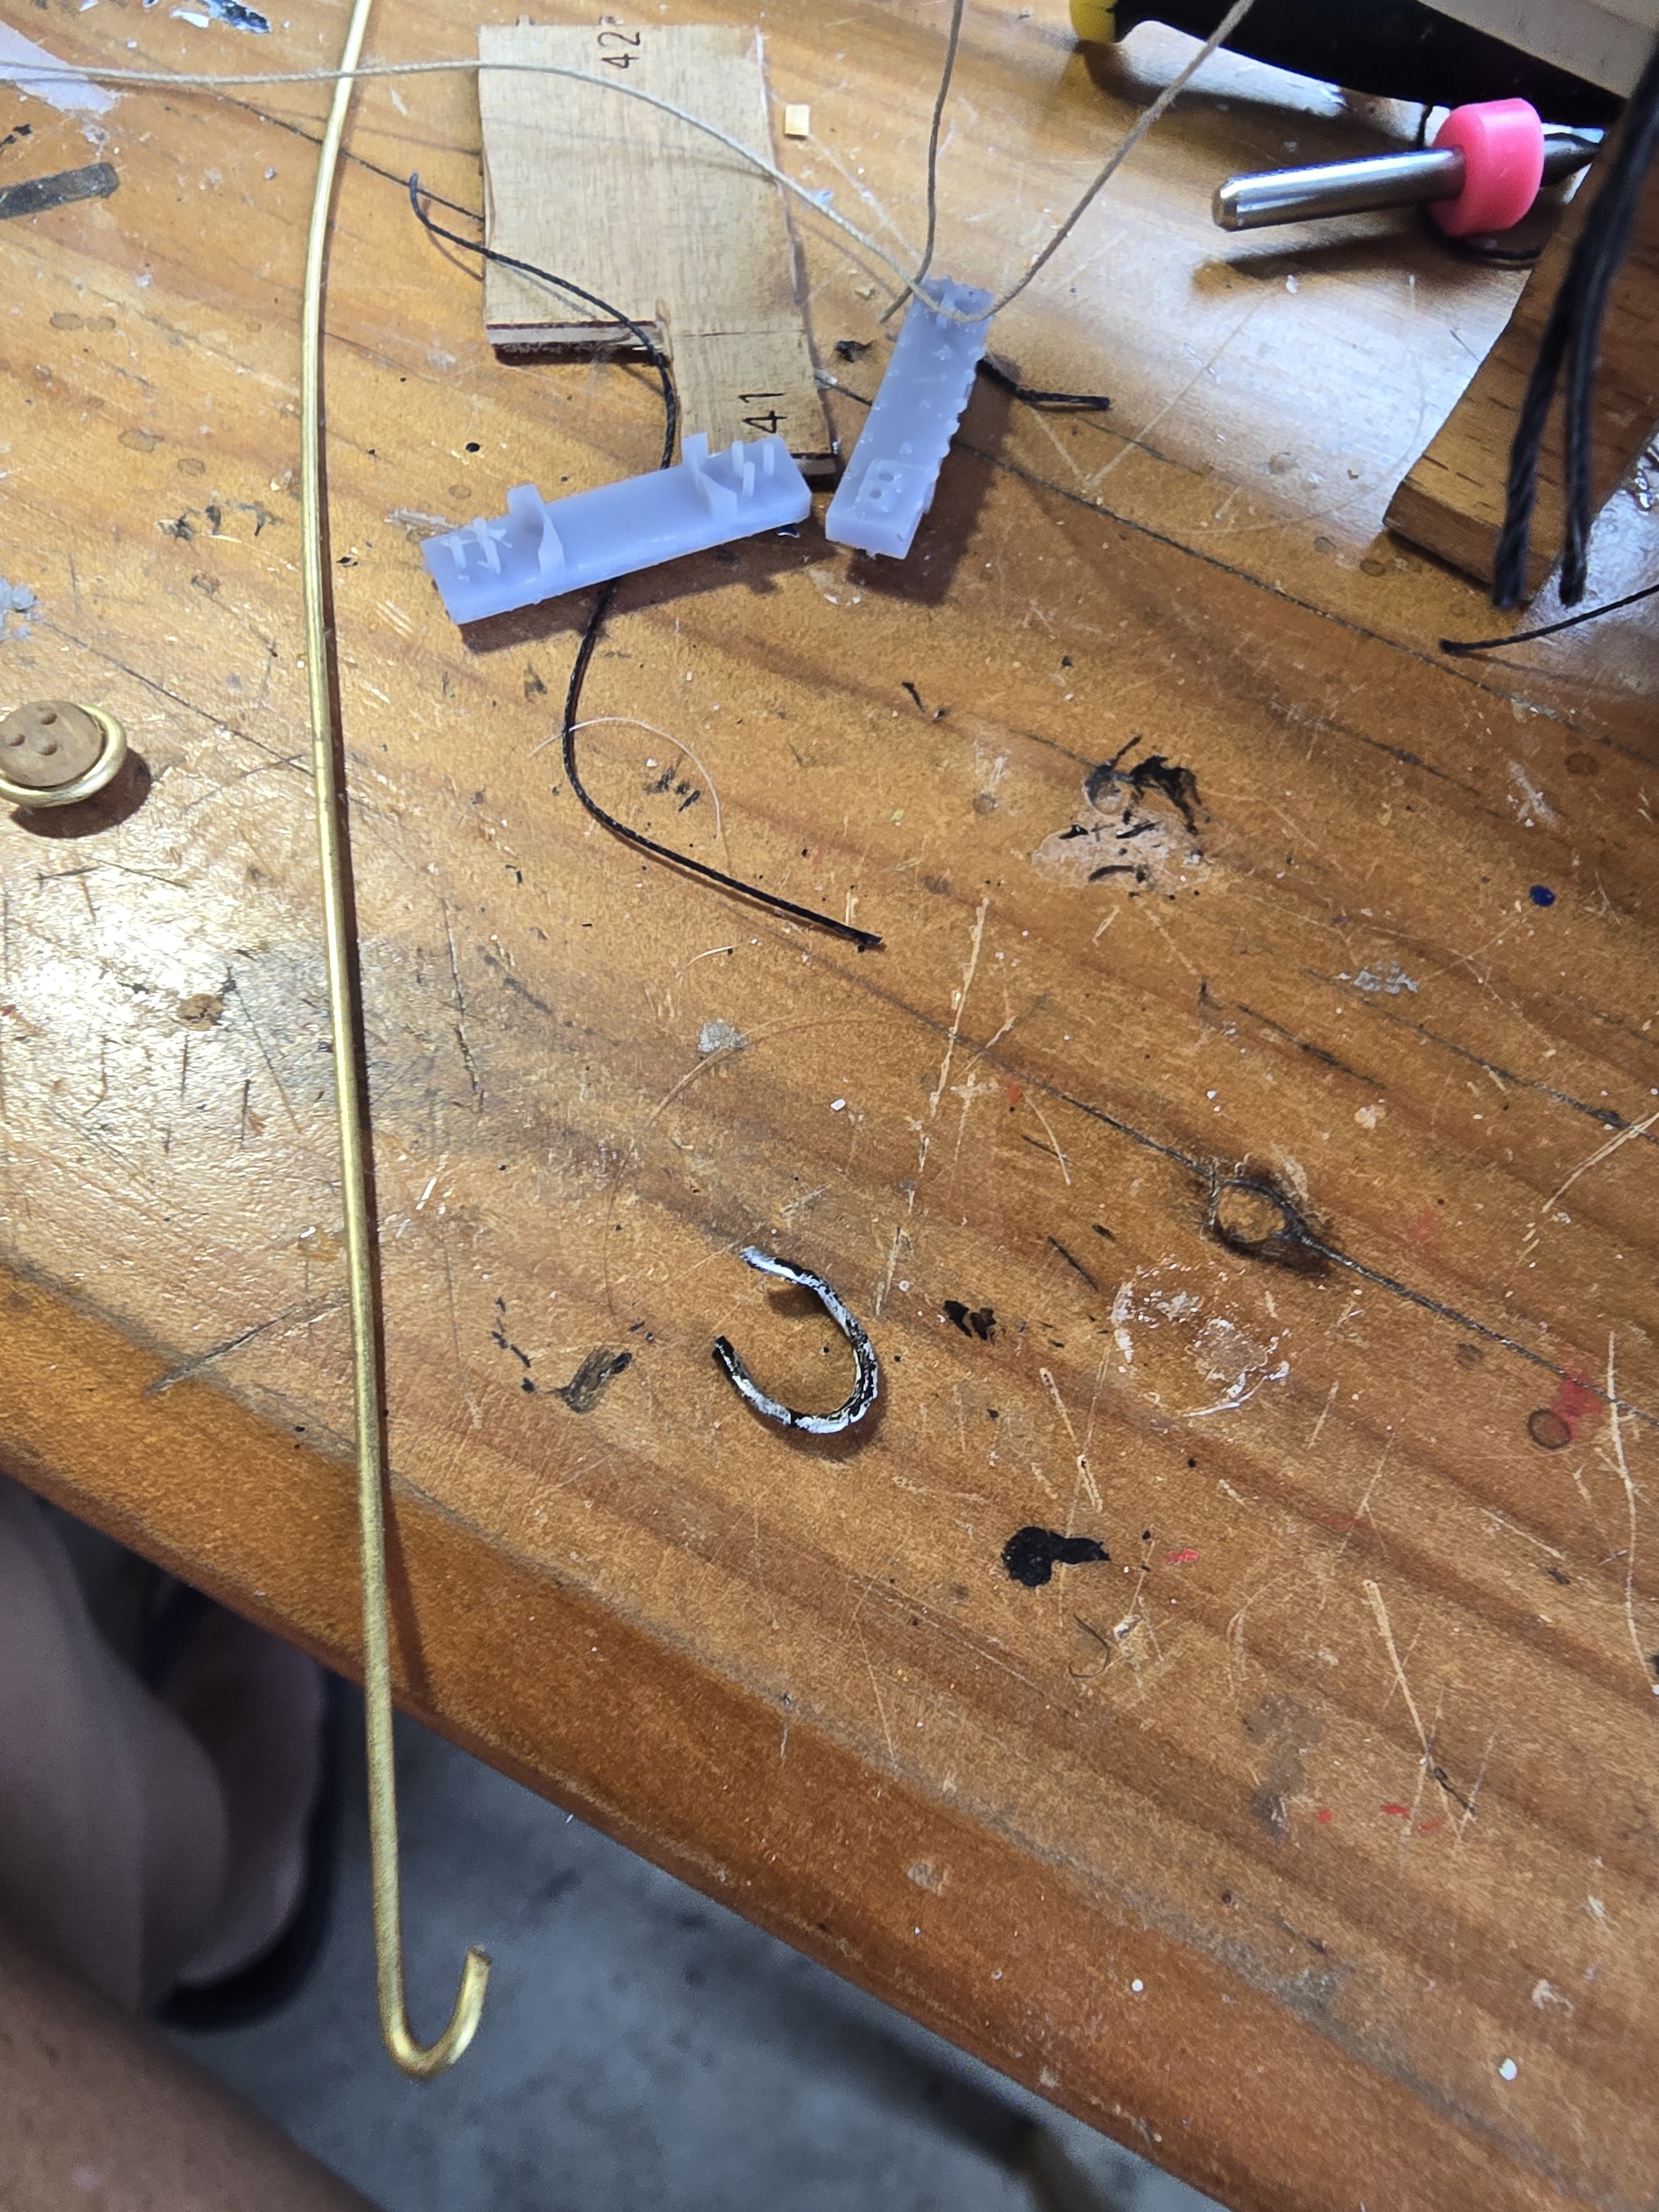
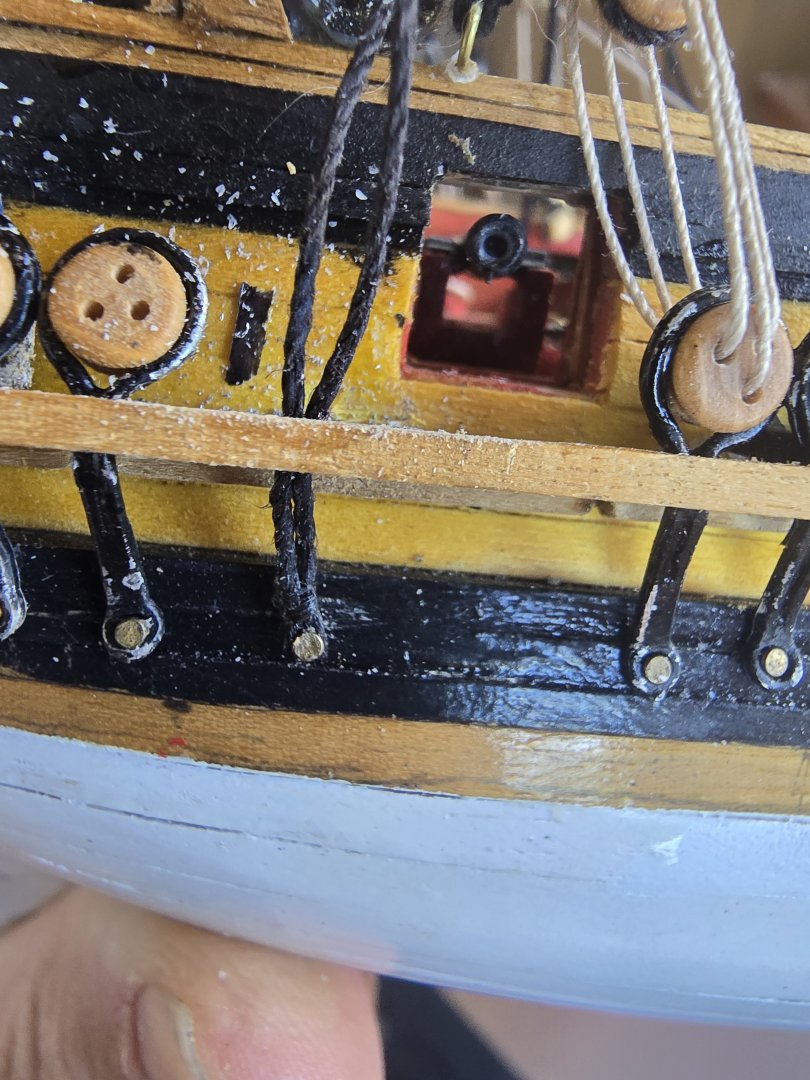
My fix for the broken chain plate hasnt worked.. the glue keeps breaking when i try and rig up the deadeye. Im thinking if i can drill it out and and use a piece of rope around the dead eye and through the hole in the channel and then use a panel pin to hold it down? Its a pain the butt.

-
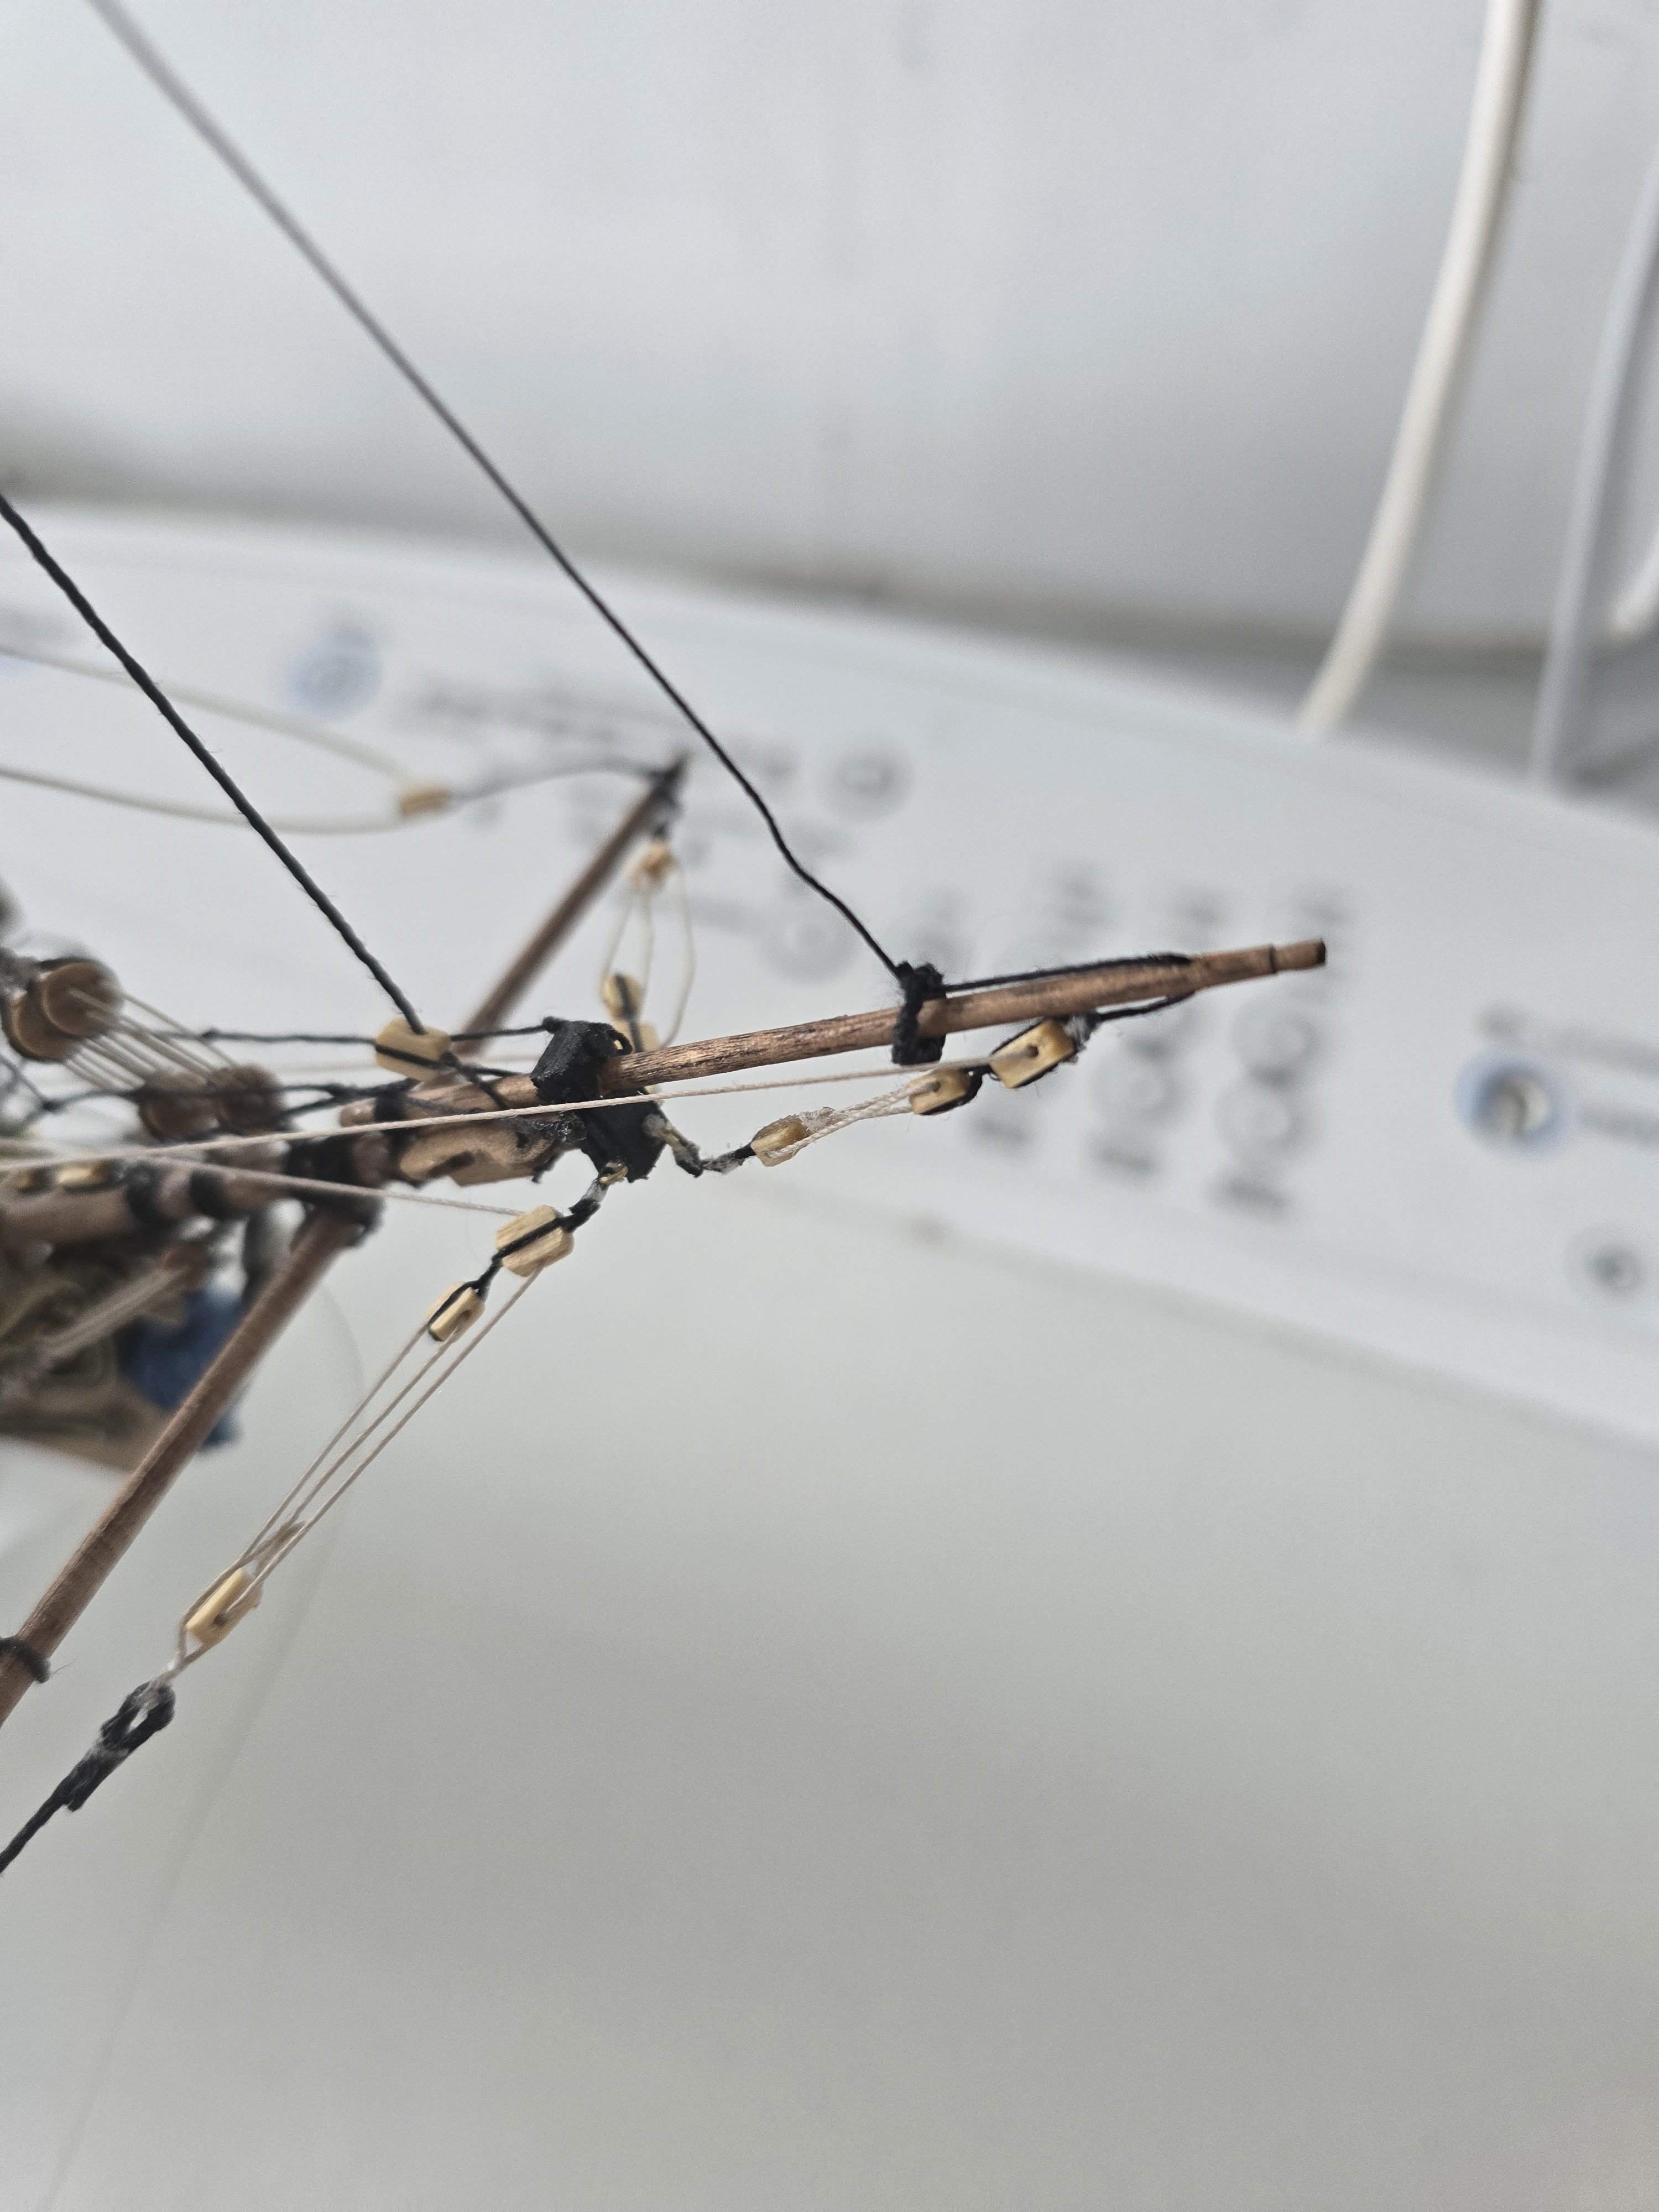
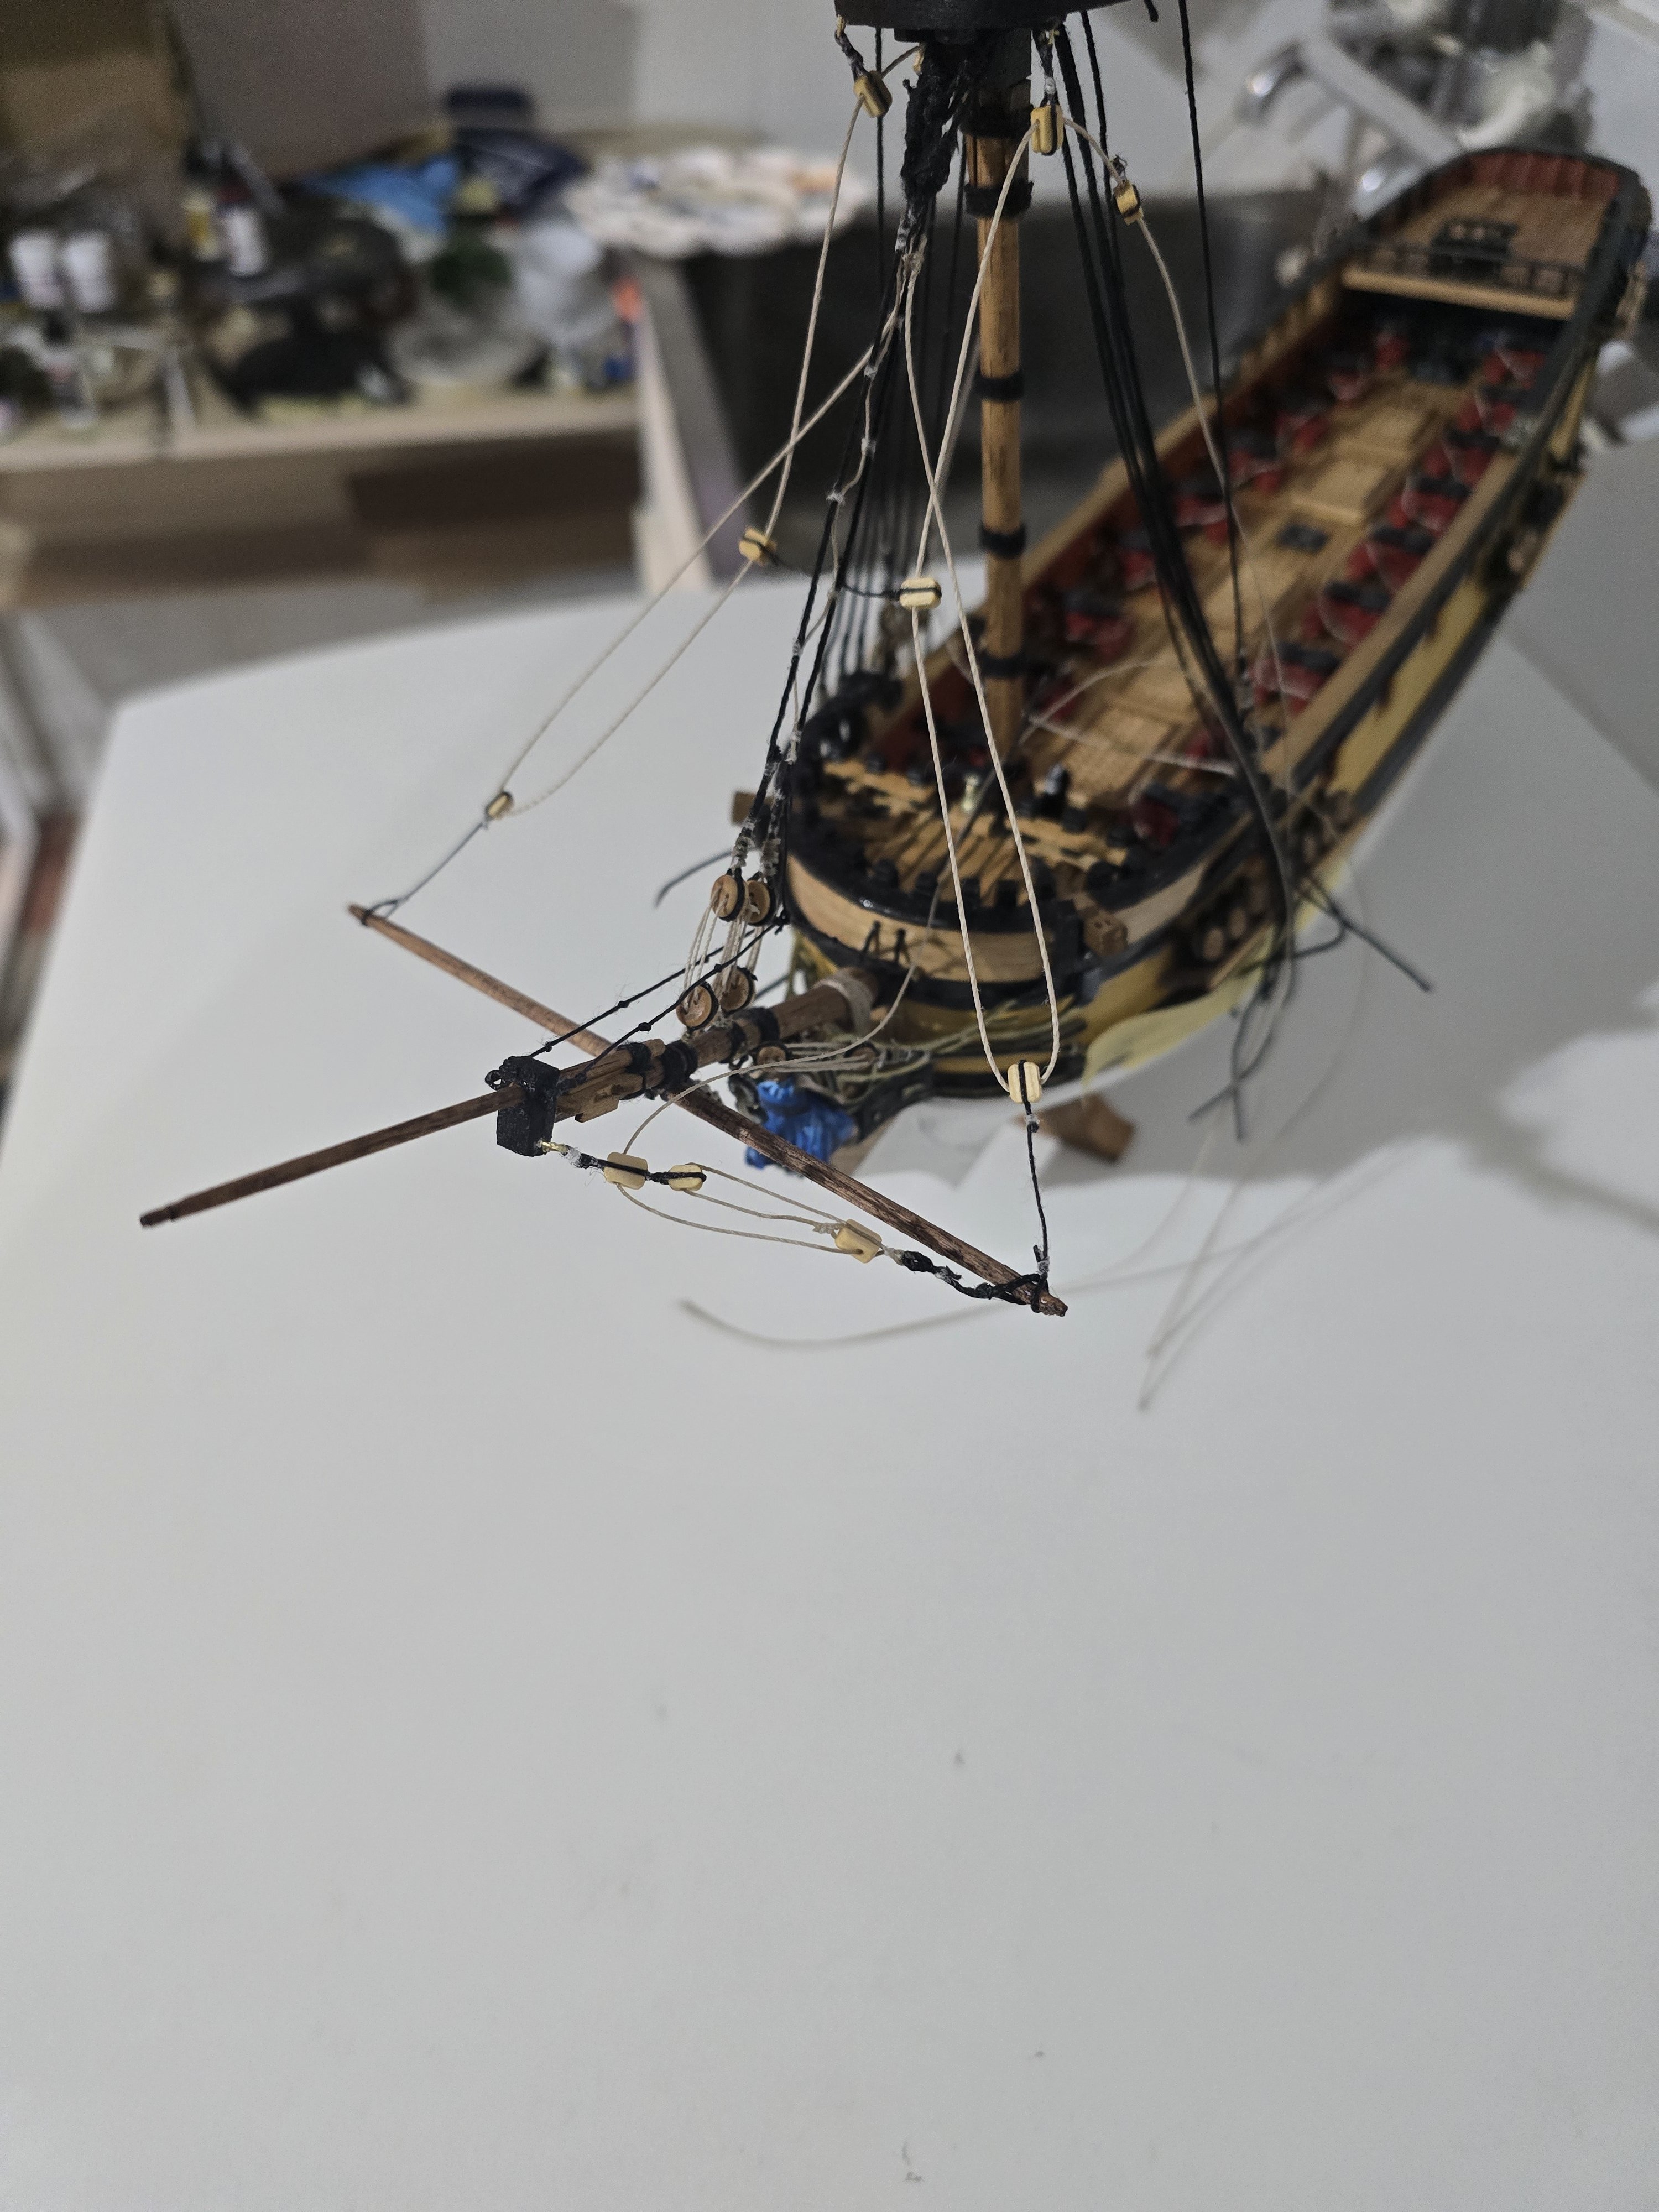
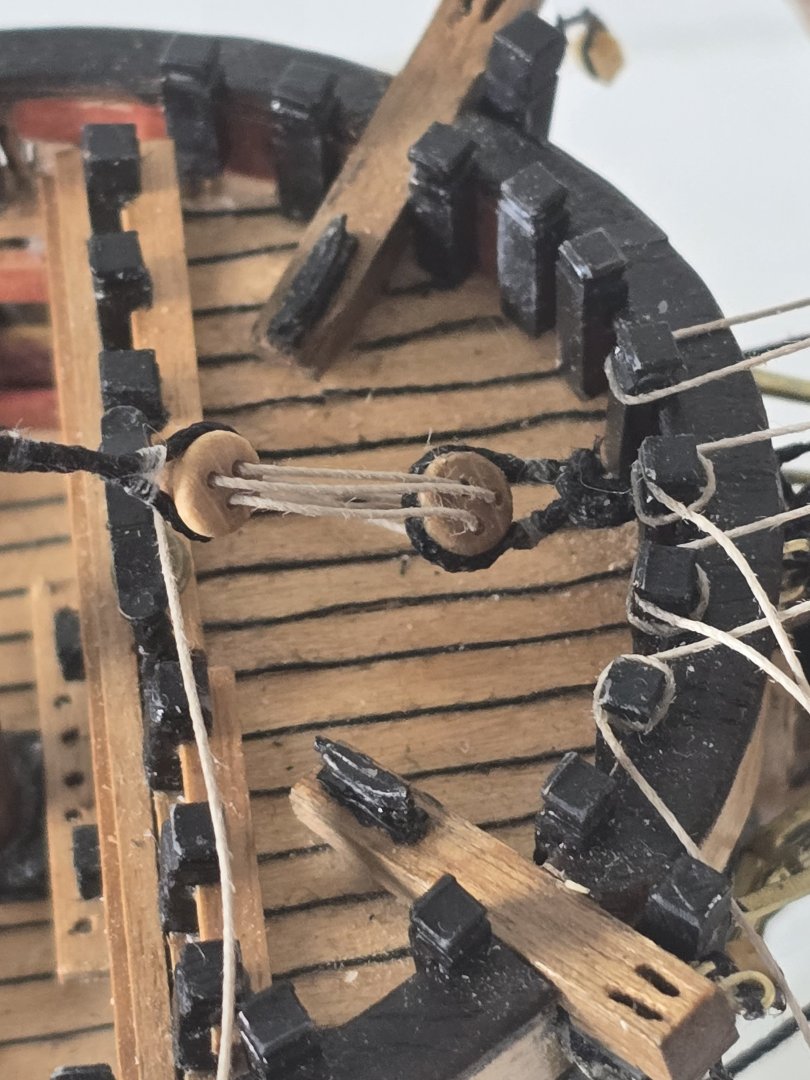
And i did the spirit yard guide ropes this morning
-
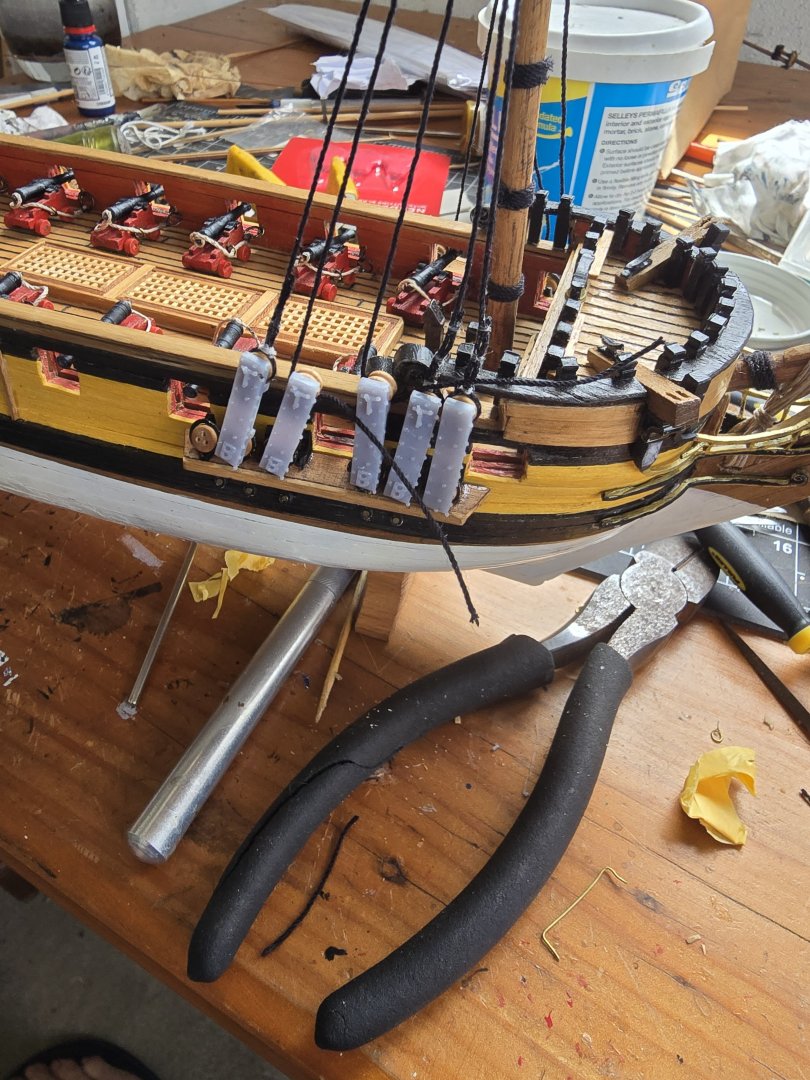
Did i tell you the white metal chain plates that come with the kit are rubbish? If i had my time again which i wont i would either 3d print them from strong plastic or make my own with rope as it 1719 and iron wasnt used for chain plates yet. I broken my second one rigging up the foremast. My fix for this as i nailed the chain plates down, is to bend some 1mm brass wire around the deadeye and then super glue it onto the broken stump of the plate and wind black fishing fly fishing silk around the base with more super glue. Dont use the kit ones unless your very careful!!


-
So i am improving the rigging quite bit up front... some parts are from the lees book for 1719 establishment but others are because of the kit and the pieces given to me. She is coming together nicely... people are right when the rigging goes on she looks great.


-
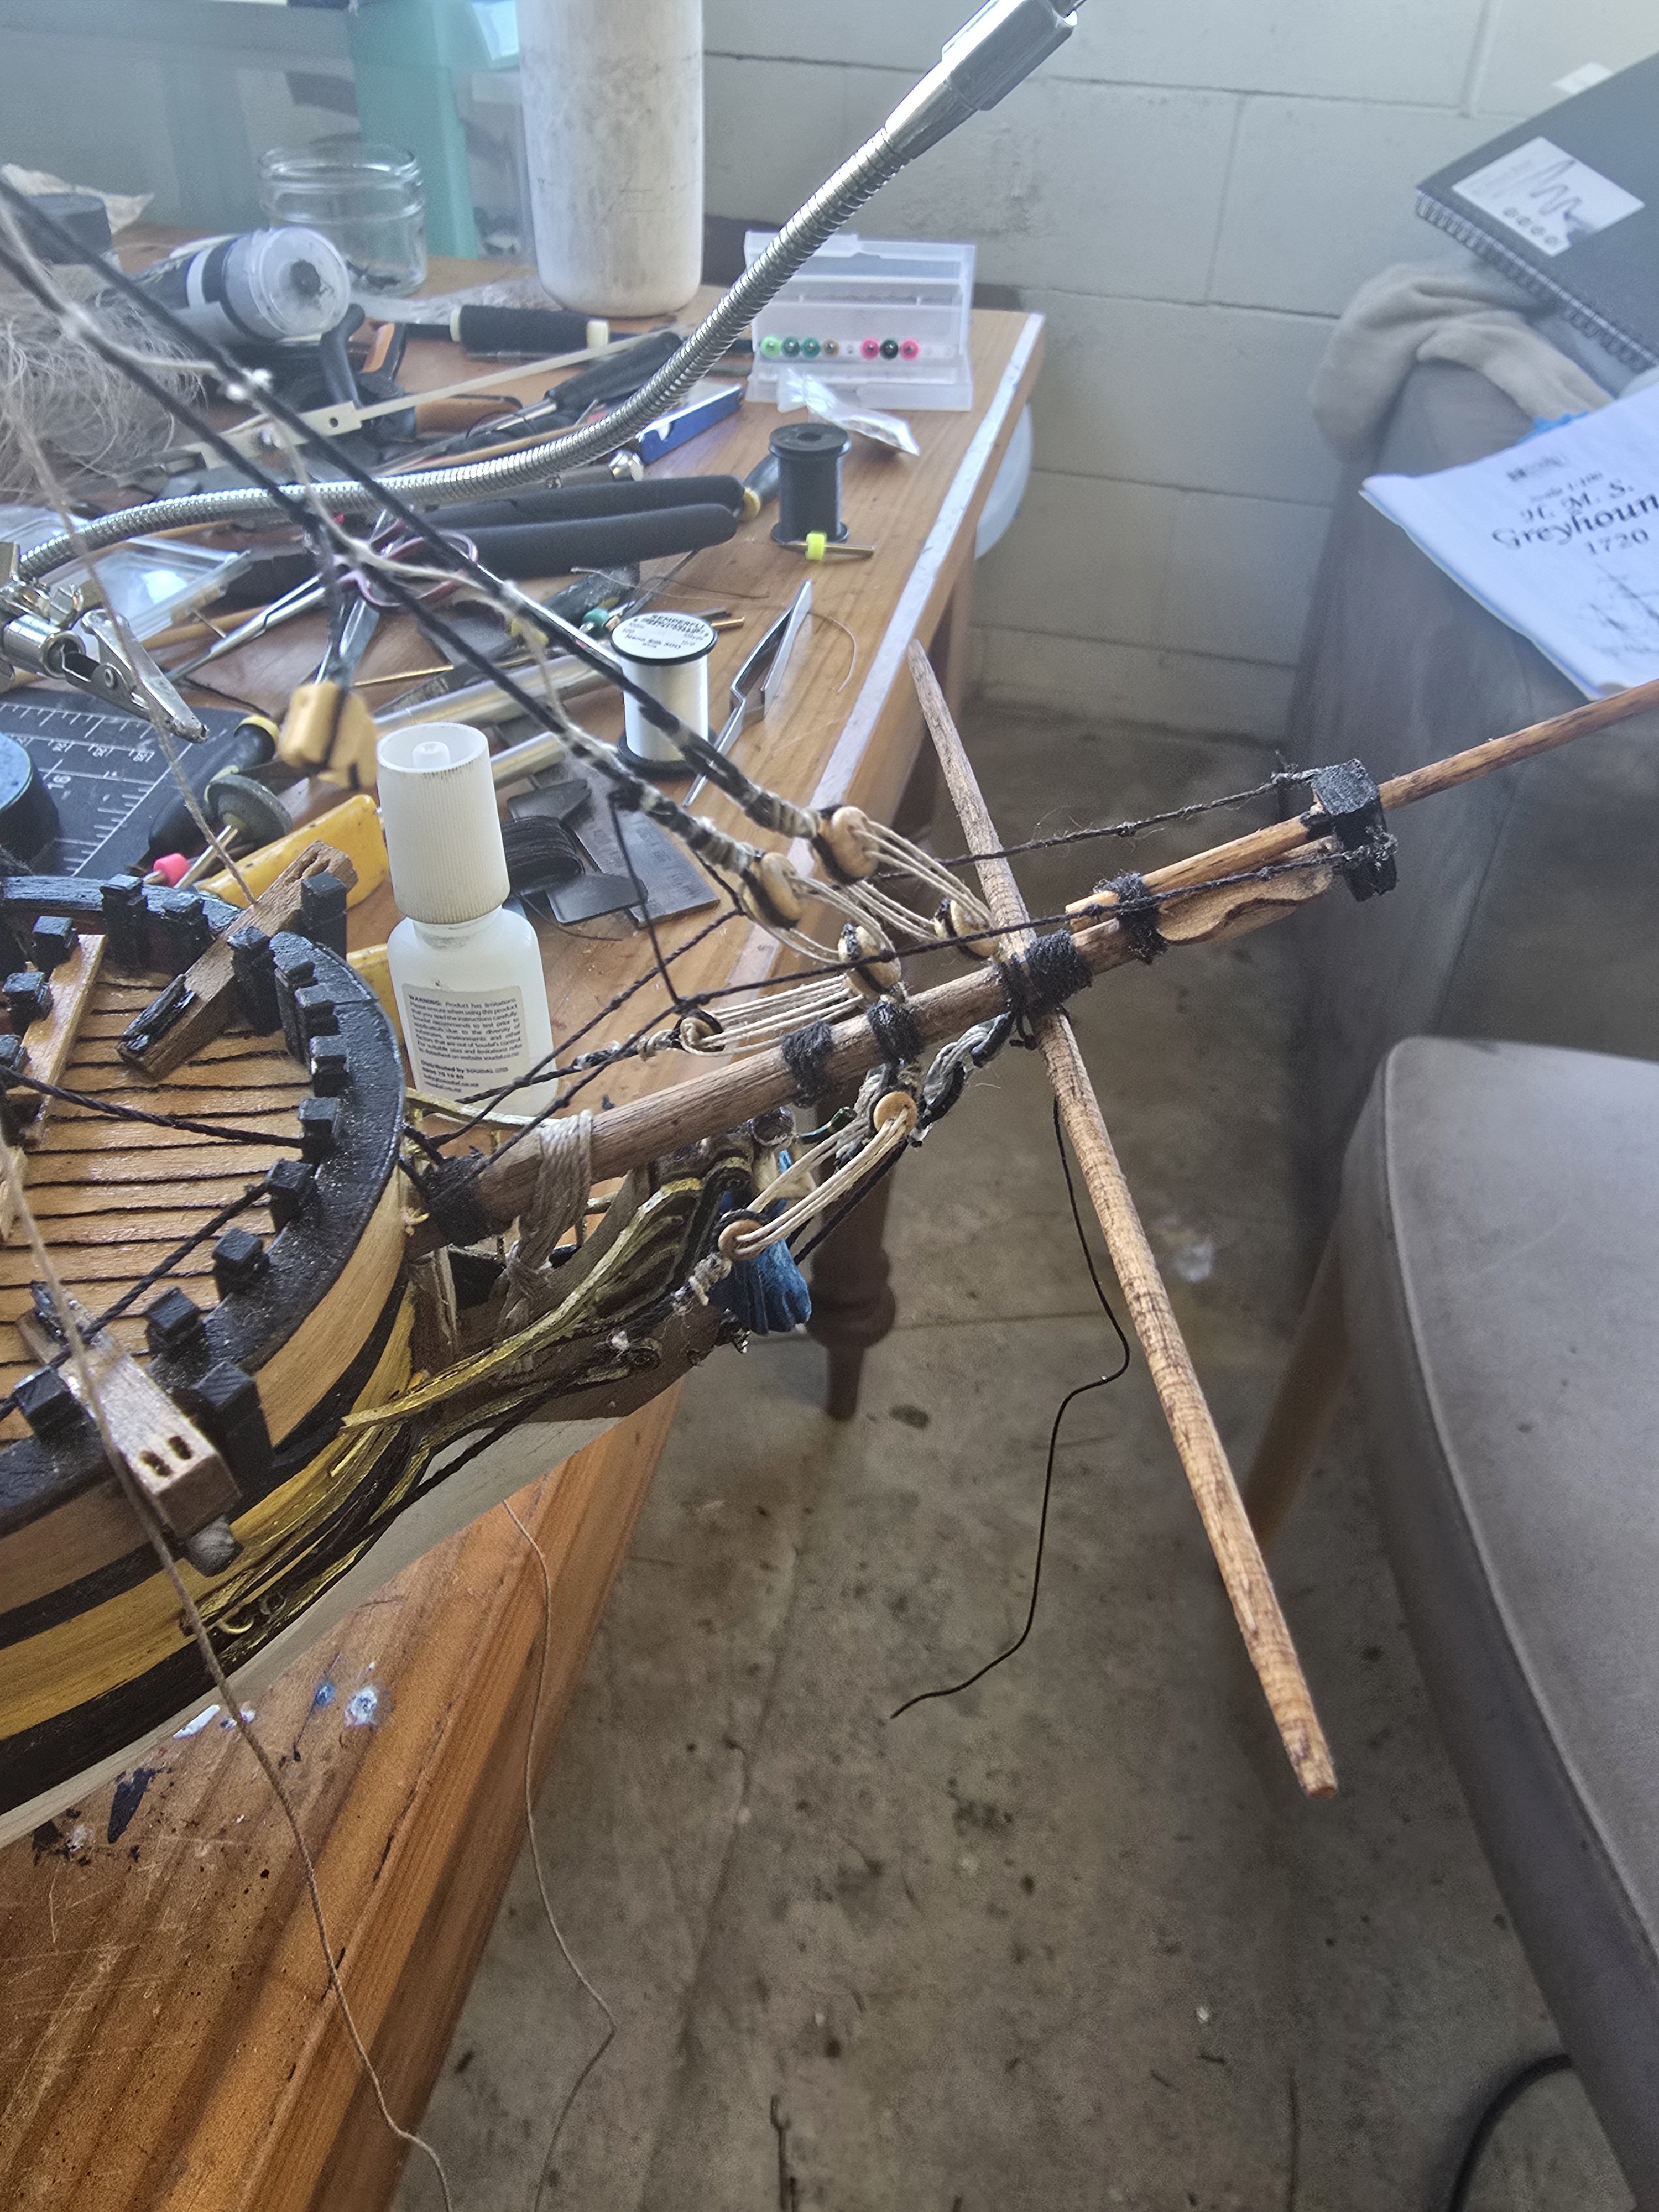
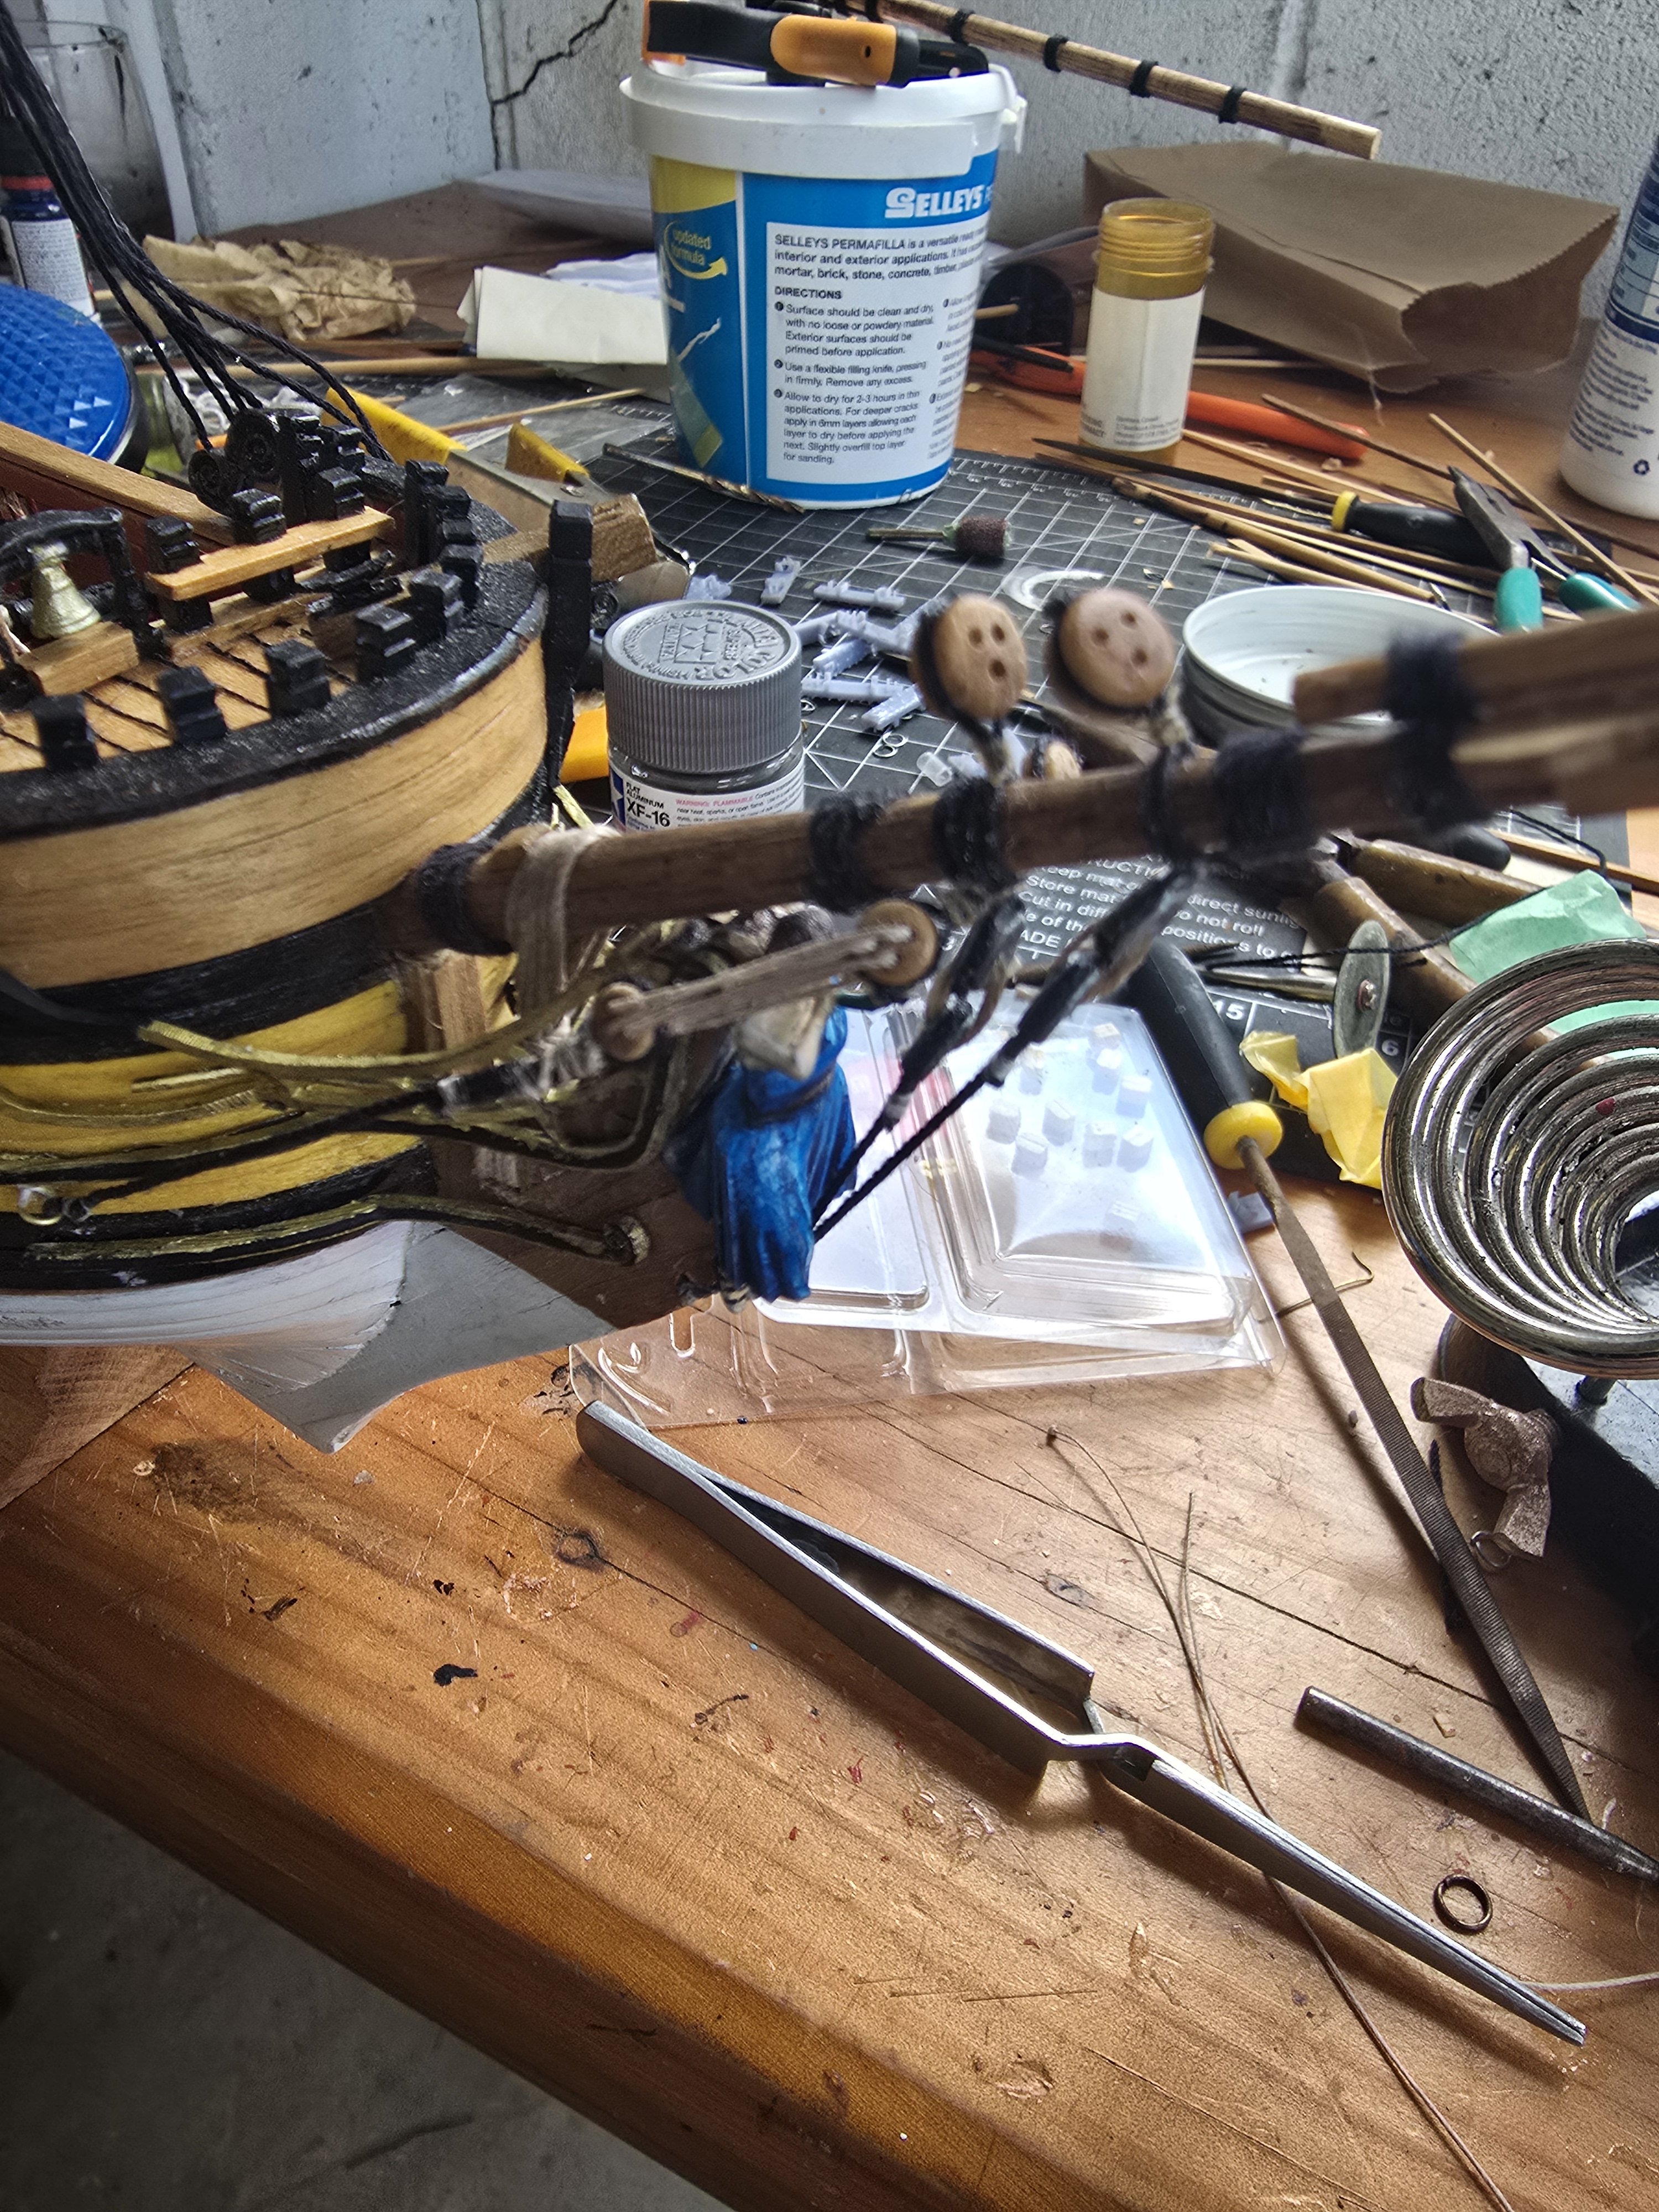
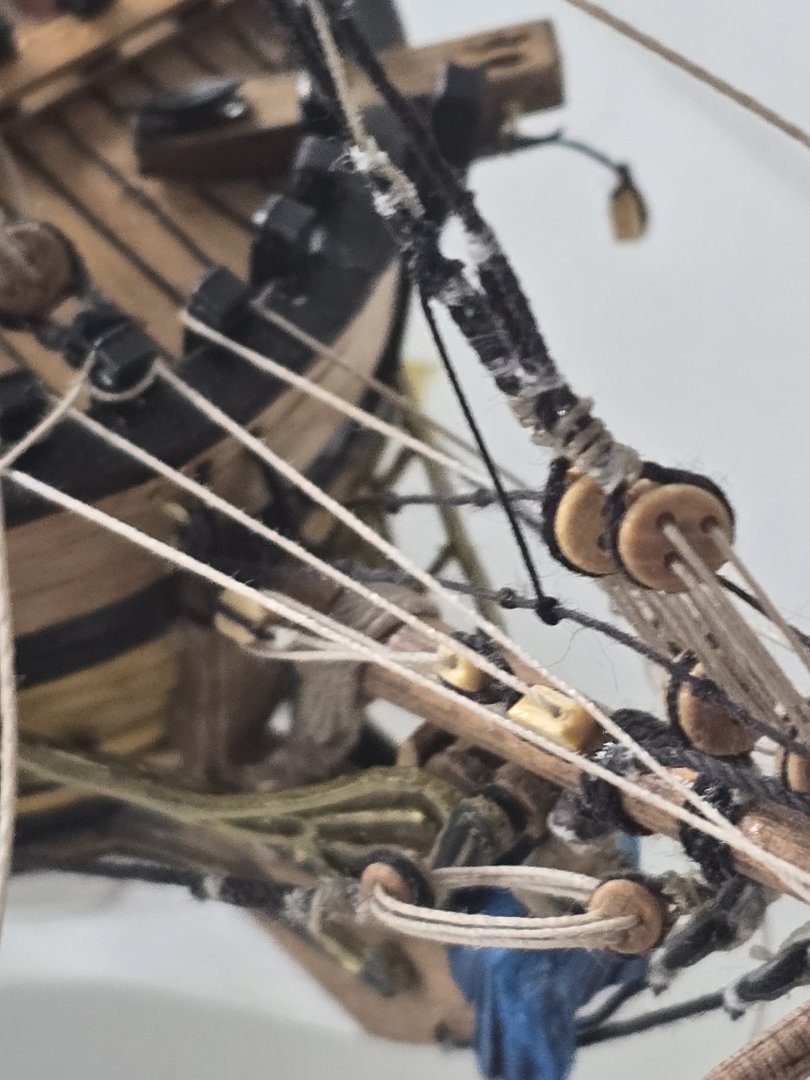
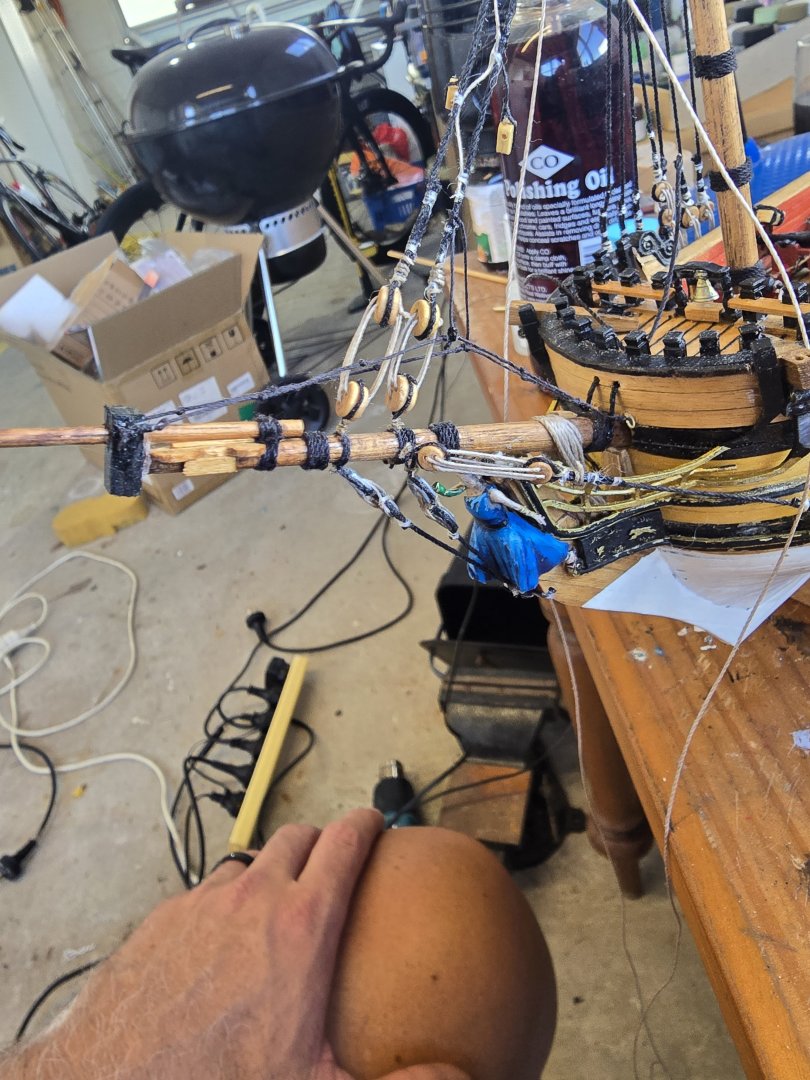
I love rigging ships! But it is fiddly work. Been working on the spirit sail yard area and taking direction from lee's book for 1720 following as much as i can. Decision point coming up.. unclear if grethound had a outer topmast preventer stay and if that had a block and tackle the same as the inner stay after passing the bees. Quite proud of the horses.


-
Its been an epic couple of sessions on the rigging and im loving it but the arms get tired holding them up and trying to get very fine motor skills out of them. Fore stay and preventer stay has gone in and i did try and worm and snake them... first effort but im reasonably happy with the result. Its a bit of a worry as it was tricky and a lot of work had gone into the stays anyway. I know there should be hearts instead of deadeyes on the fore stays but the kit came with bugger all hearts so deadeyes it is.


-
Bobstay and preventer bobstay in.. working now on starboard bowspit shroud

-
Doh... just as i finished gluing it all on the starboard forecast shrouds and took picture.. can see the dead eye is upside down! The perfectionist in me wants to fix it but the realist goes just move on... so much more work to do.
-
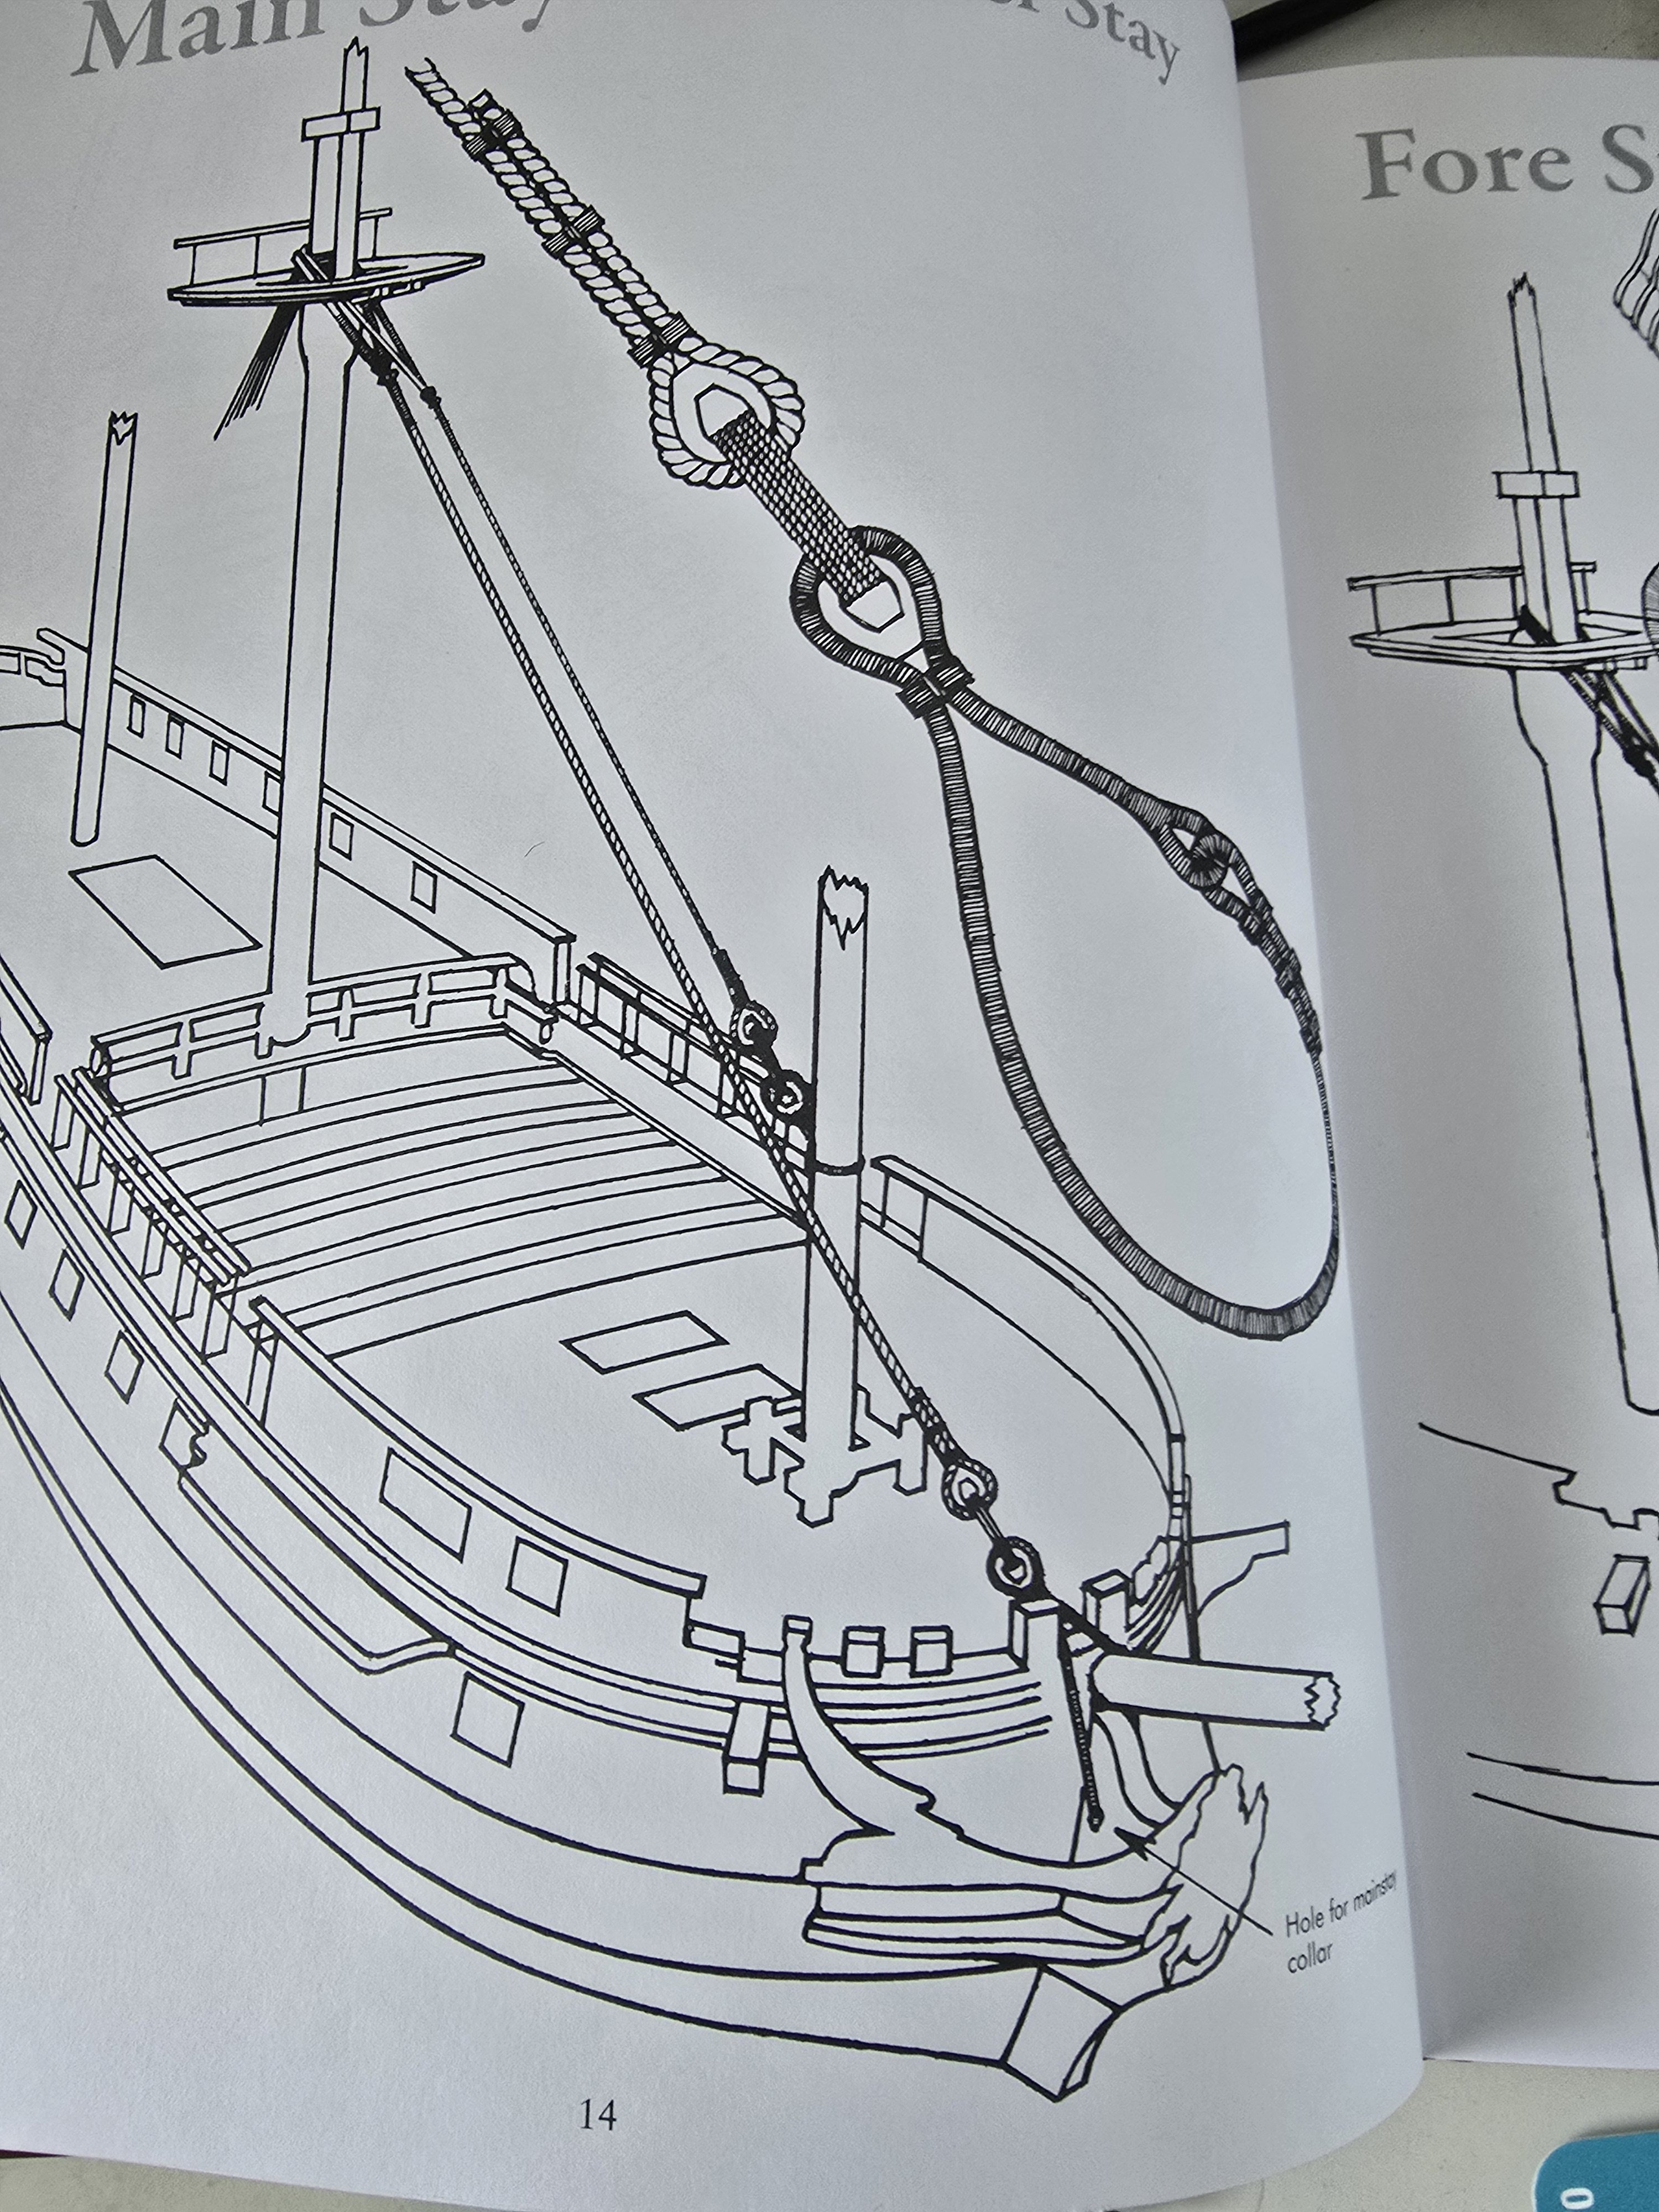
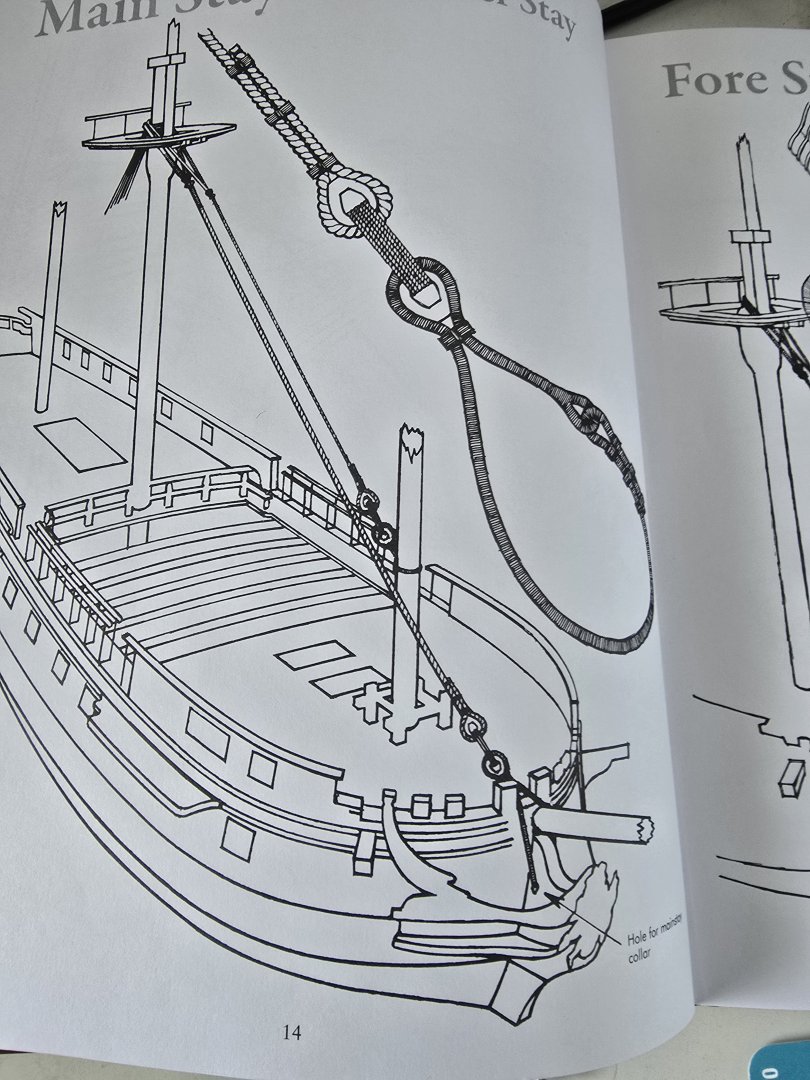
Starting to rig the foremast shrouds and decided to print some deadeye templates with the correct spacing to help. it only took 3 proto types but I think I am getting there. I have started on the starboard shrounds first, then go onto the fore stay and the main stay next. Question, which side should the main stay pass the foremast by convention? on this picture its the right hand side - is that correct?
-
Finally after 4 months of waiting the rigging book i wanted arrived and on to the final chapter... rigging this bastard. Im happy with the general layout of things now so hopefully this will progress reasonably fast.

-
Ratline thread recommendations 1/75 scale
Srenner replied to John AA's topic in Masting, rigging and sails
There is also fly tying threads 2/0 is roughly 0.12mm have to use the dernier to estimate the diameter and it comes in colour's and waxed options -
I bought some beginner books from Amazon about square rigging and ship modelling from the recommended list on this very site. So while they coming i did refer to the frank martini book ship modelling simplified and started to rig up the fore stays in pairs and taping them down first. But have also realized using the rigging for English boats book that this model does not have enough shroud deadeyes in the channels to be accurate. In the Lee's book it says seven deadeyes in the fore mast shrouds which makes sense being six plus one preventer shroud. So decision time do I rip the channels off and try and bodge a new channels or go with the kit? Also suspecting the kit provided blocks, deadeyes and rope all not to scale so makes it difficult to progress with more accuracy. I'm comfortable progressing knowing that the kit will be a good beginners guide and not get hung up on the technical accuracy. There are many skills still to gain so everything a learning.

-
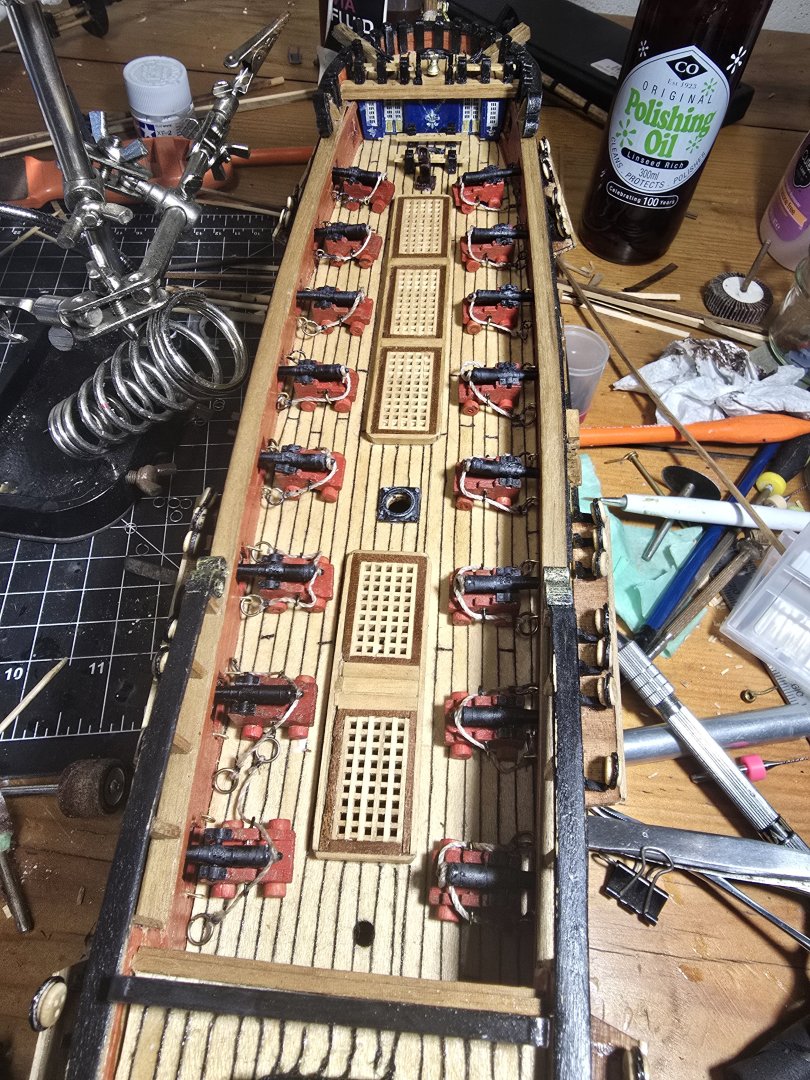
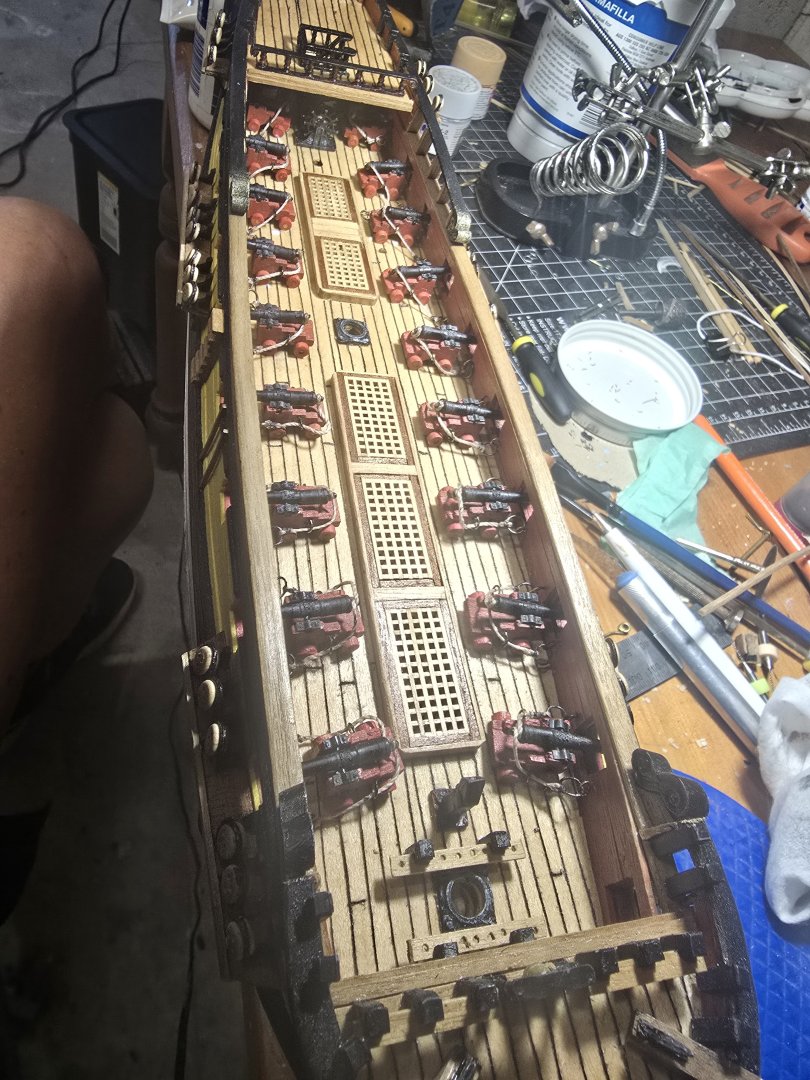
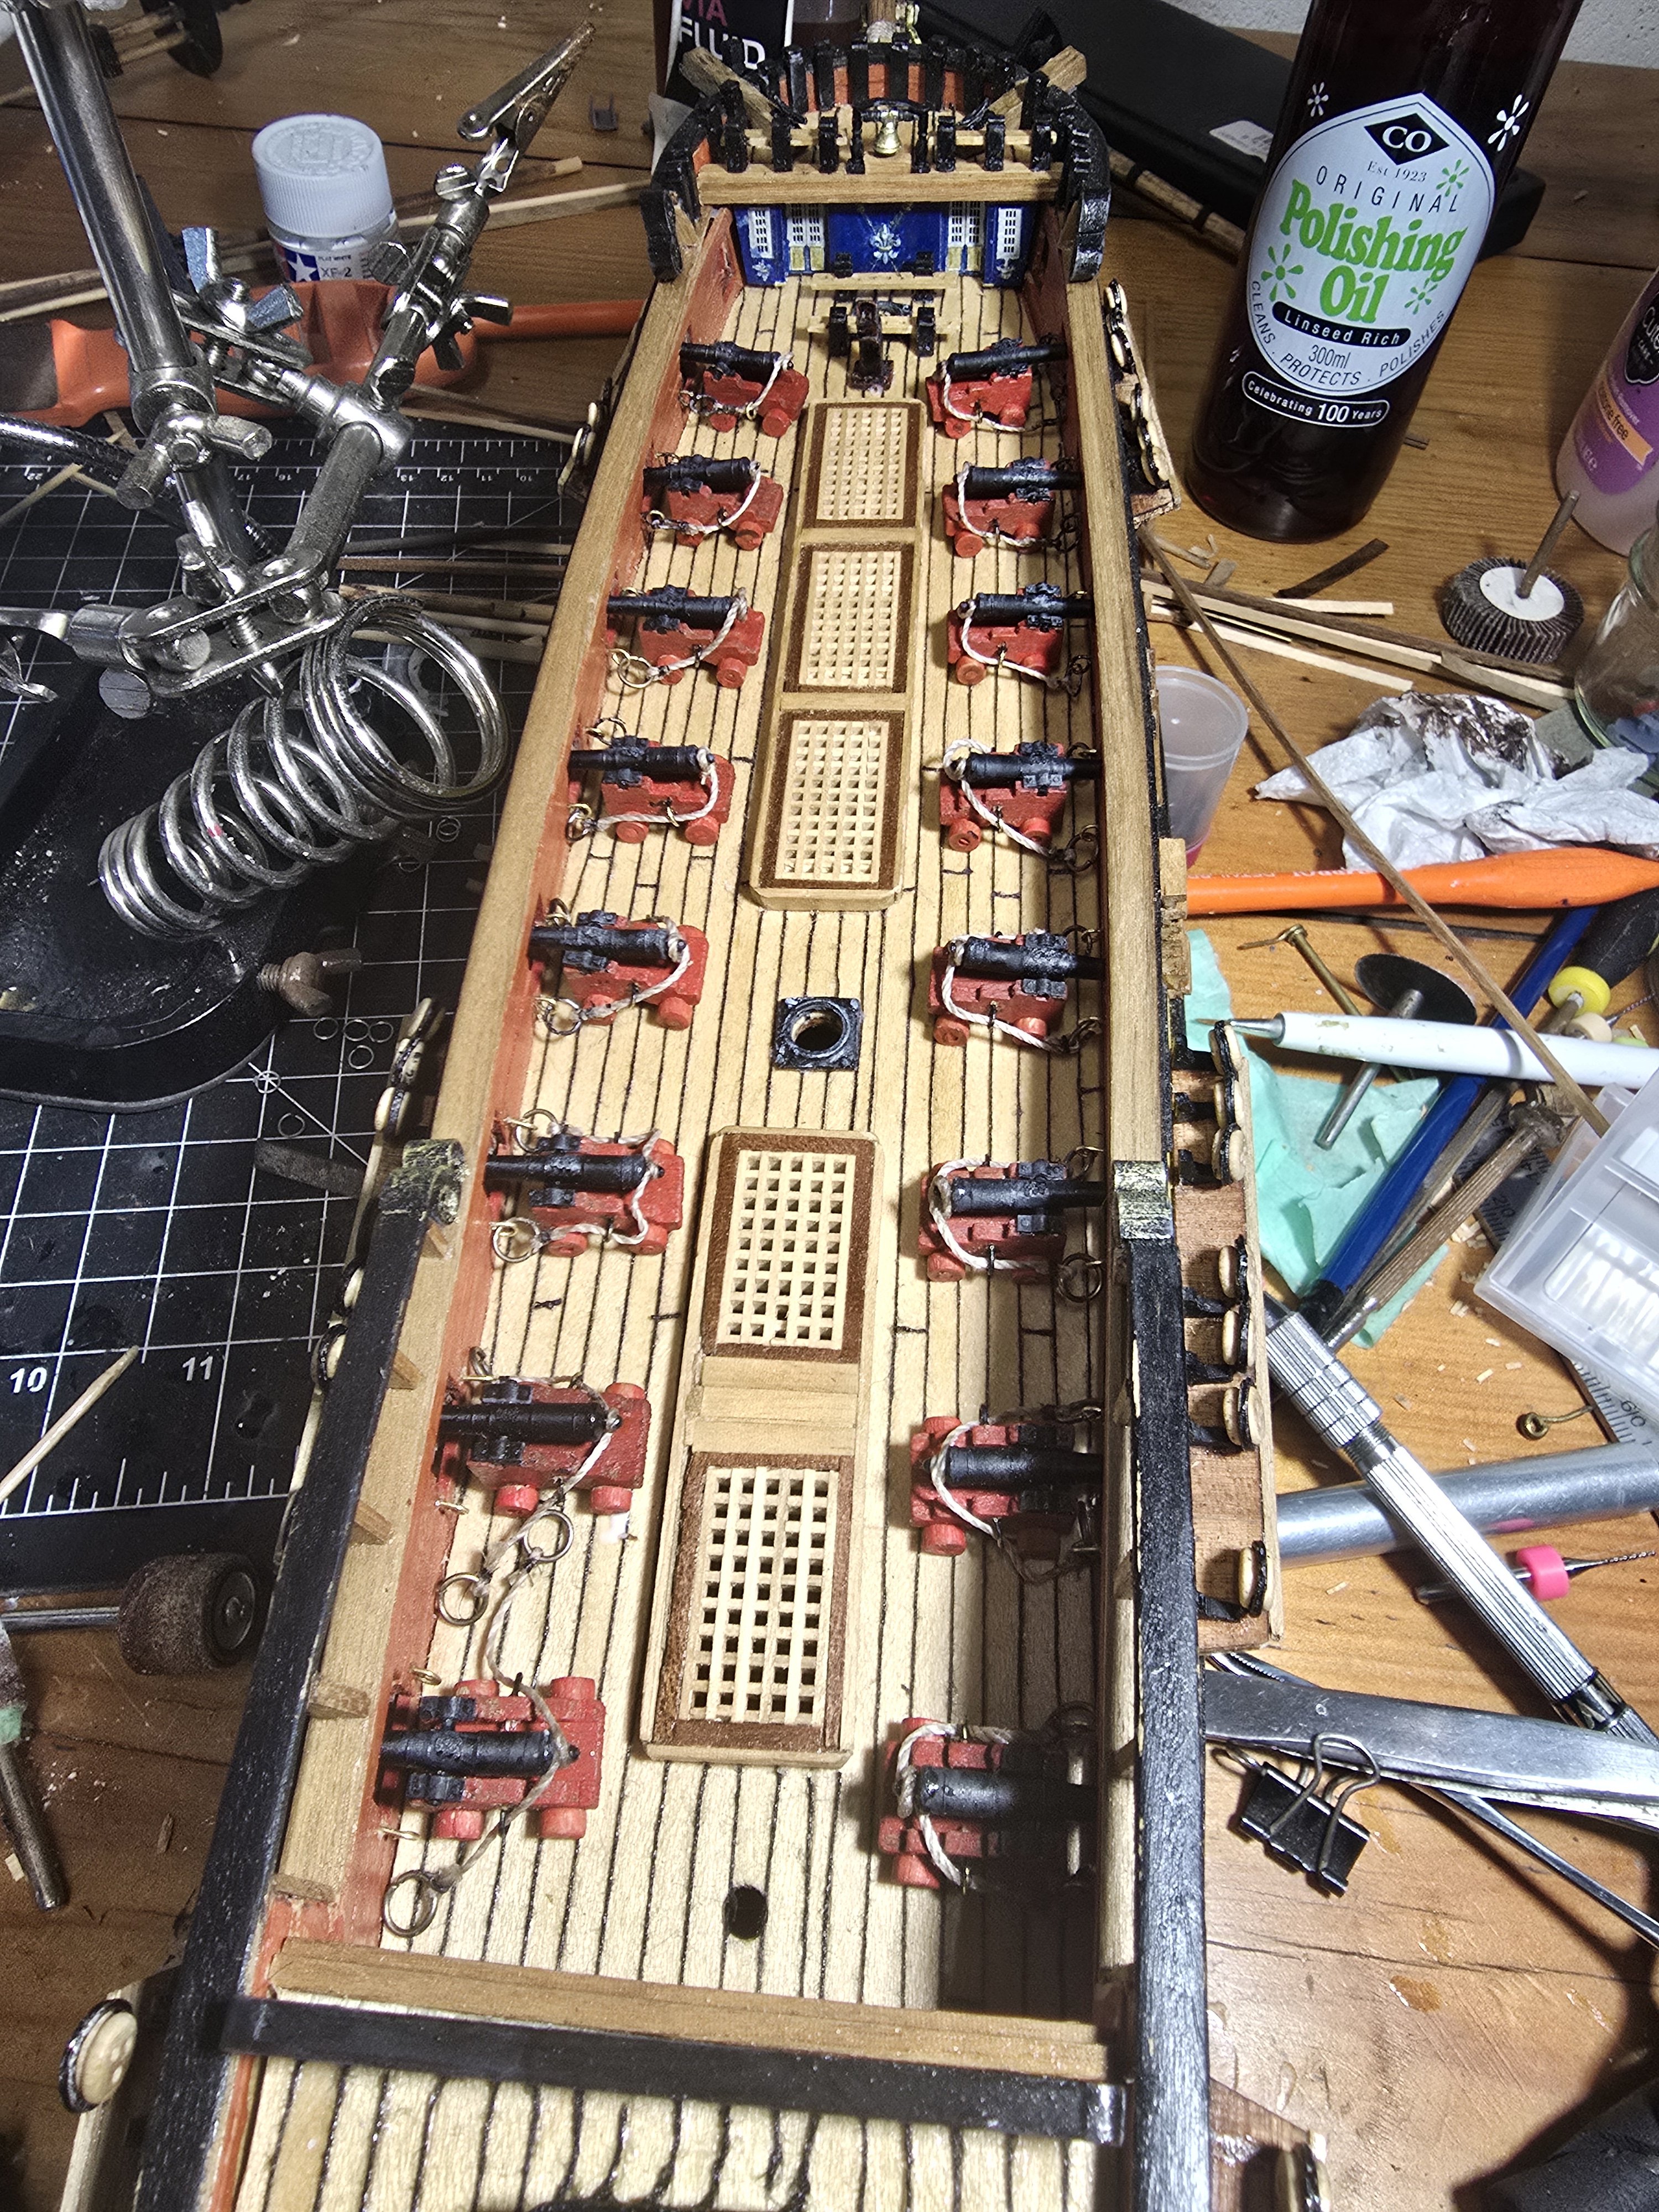
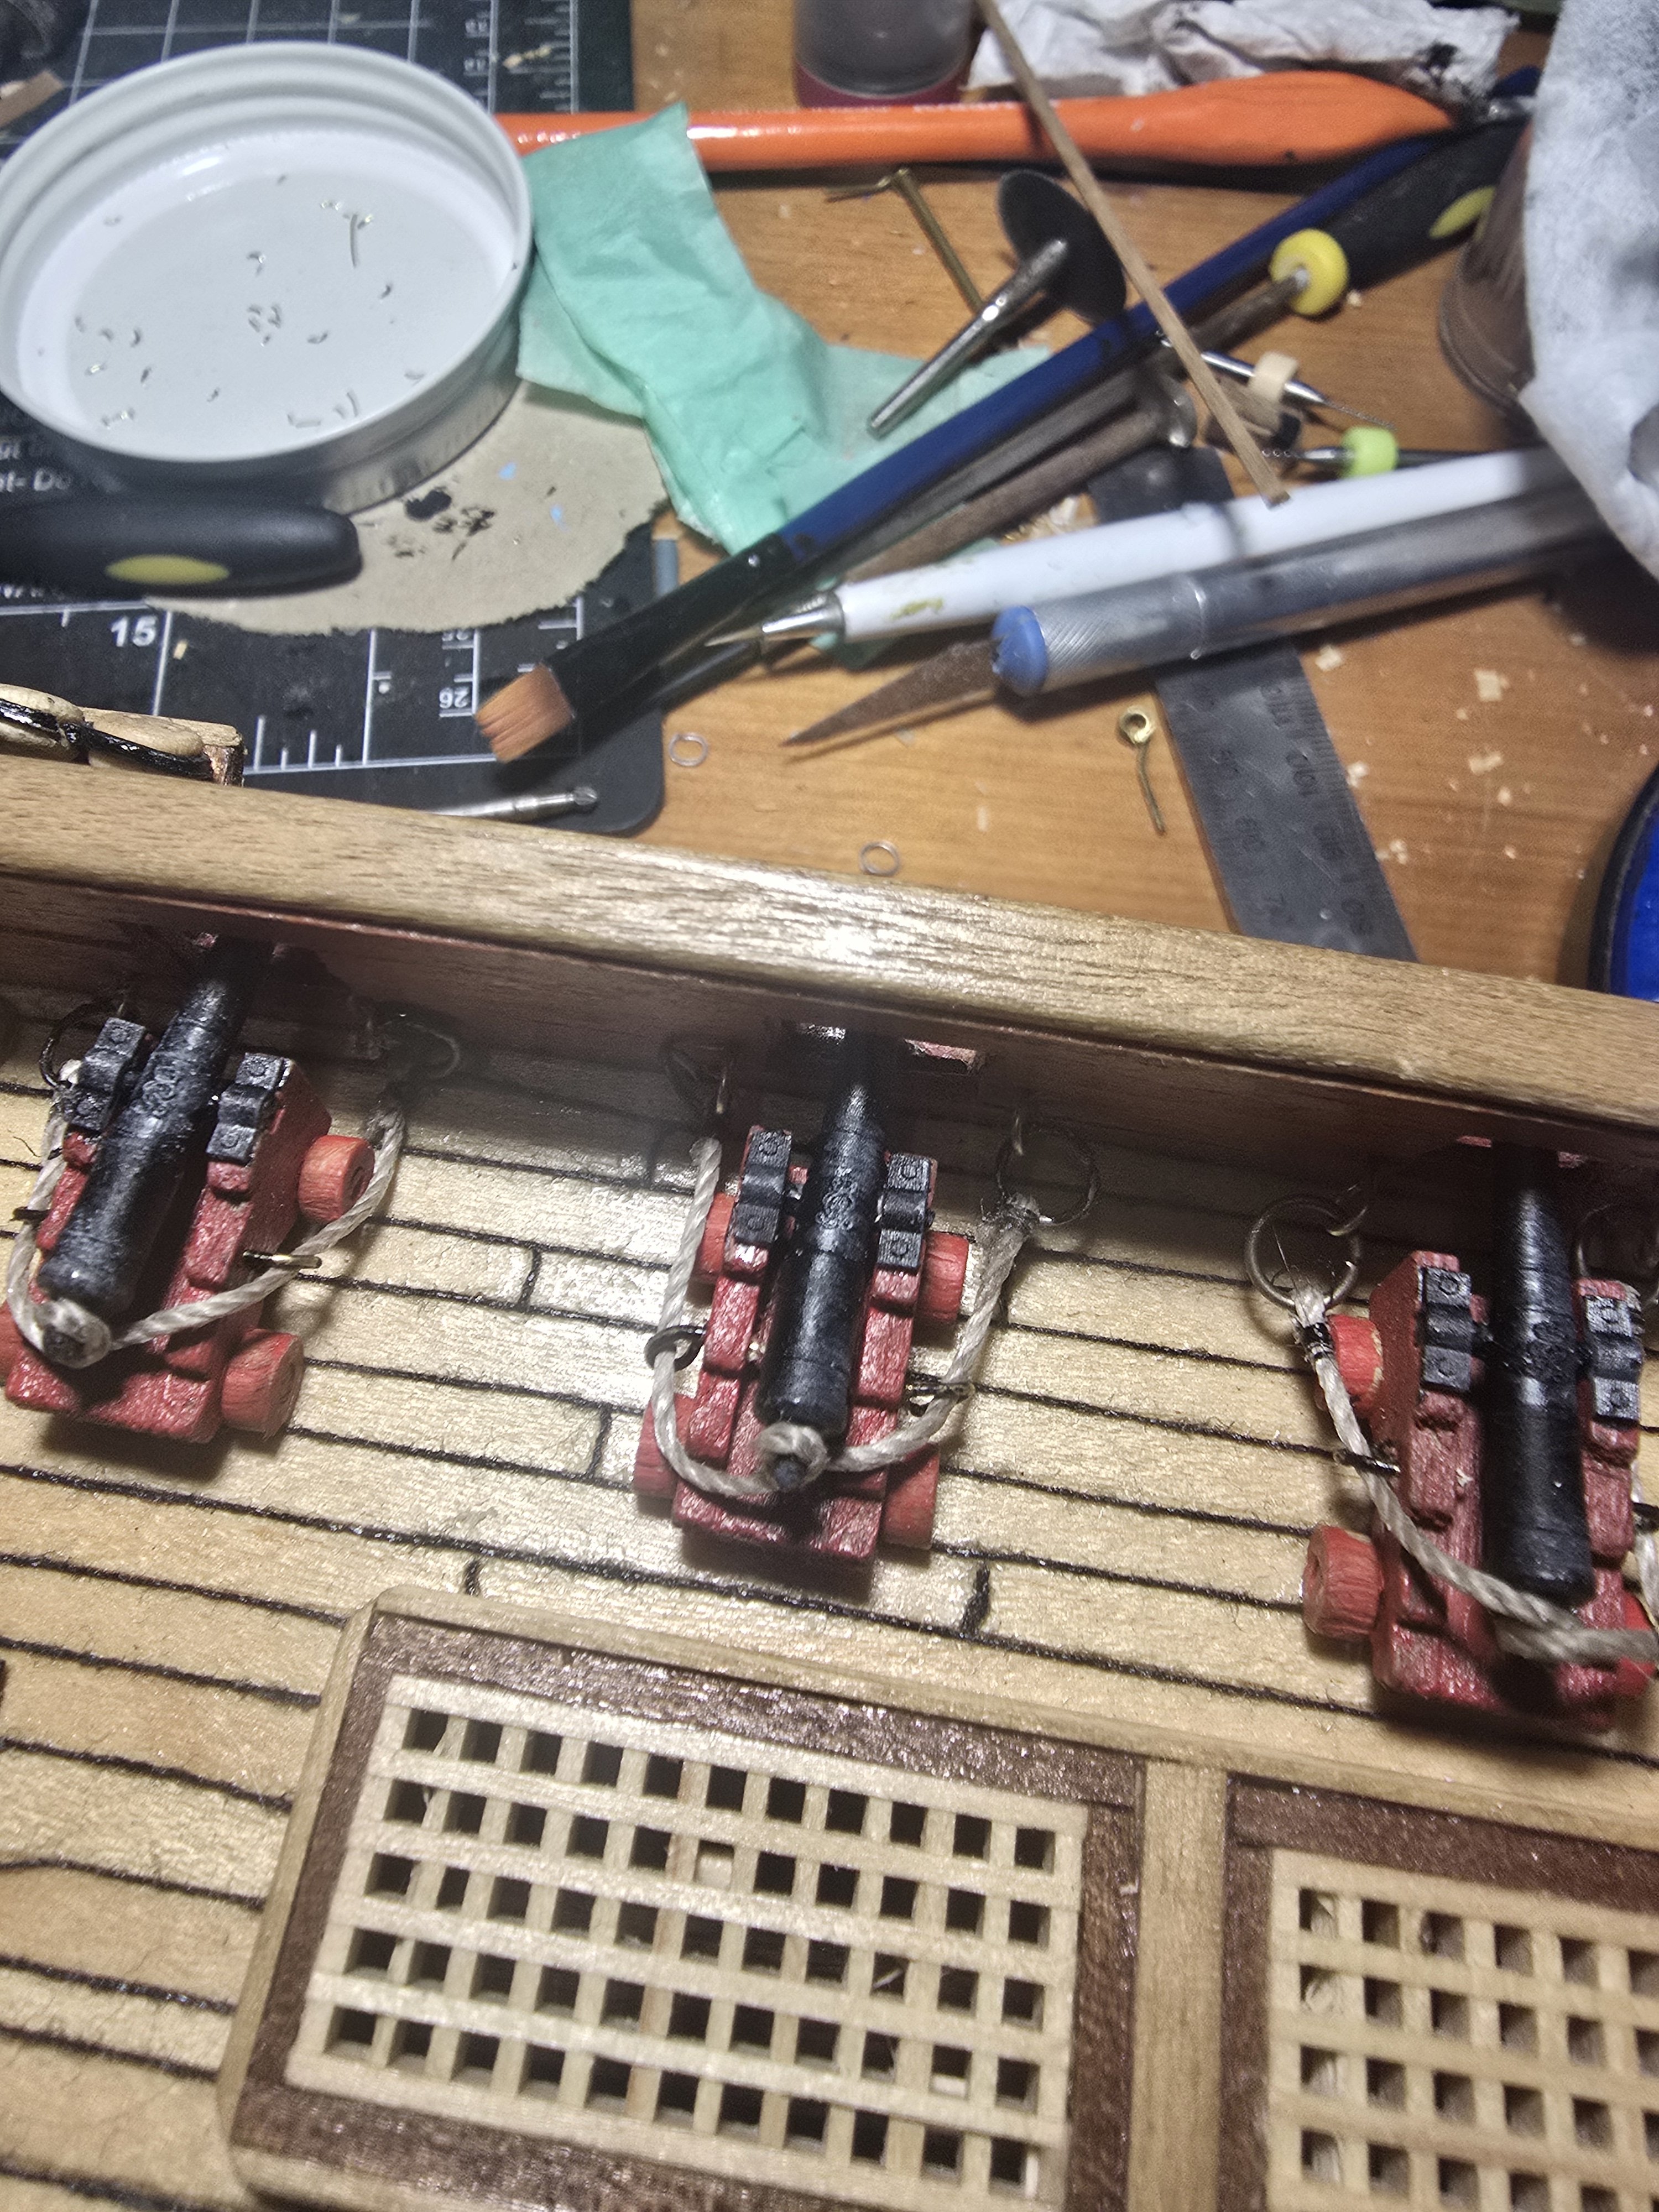
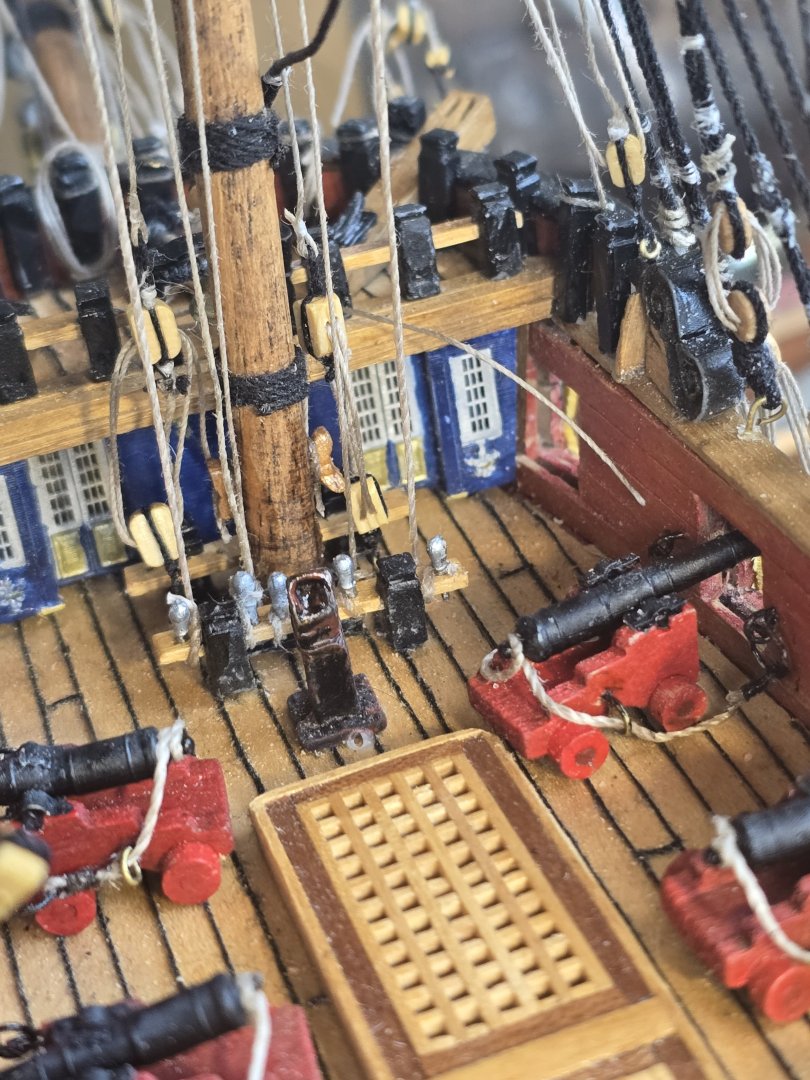
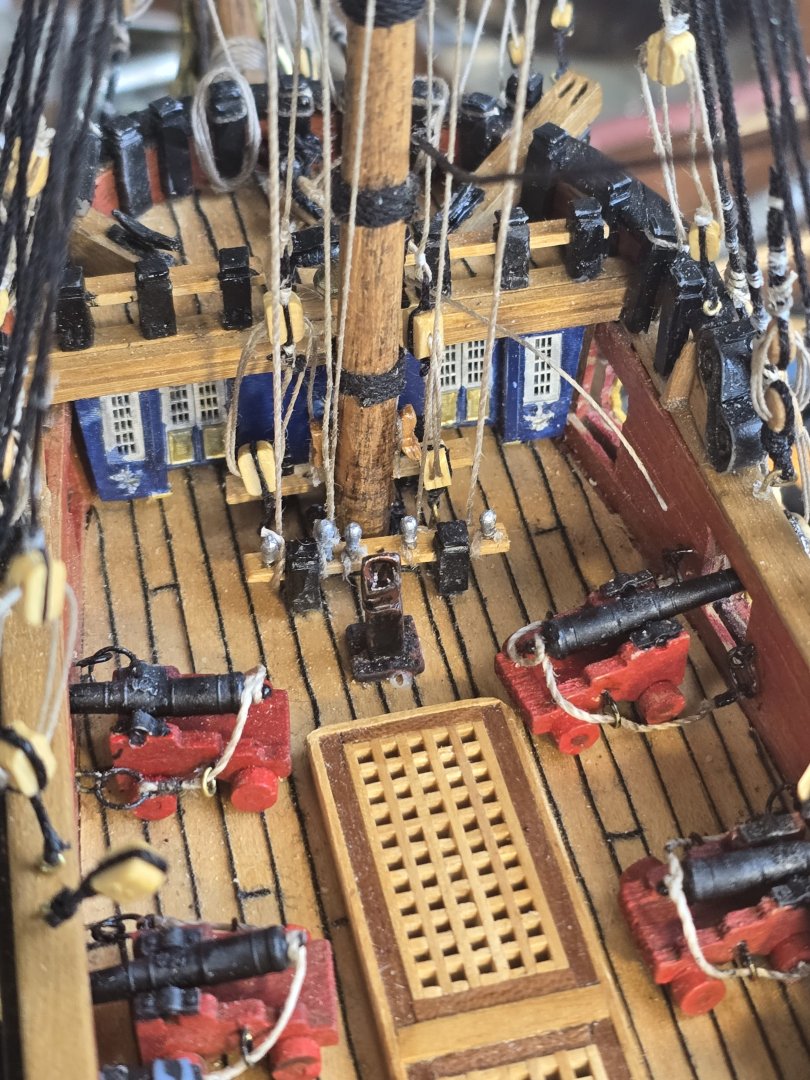
Finally finished the gun deck. Getting the hooks and loops into the side of the ship very difficult and tested my eye sight and skills with twizzers and pliers.