HOLIDAY DONATION DRIVE - SUPPORT MSW - DO YOUR PART TO KEEP THIS GREAT FORUM GOING! (Only 27 donations so far out of 49,000 members - C'mon guys!)
×


Srenner
-
Posts
220 -
Joined
-
Last visited
Content Type
Profiles
Forums
Gallery
Events
Everything posted by Srenner
-
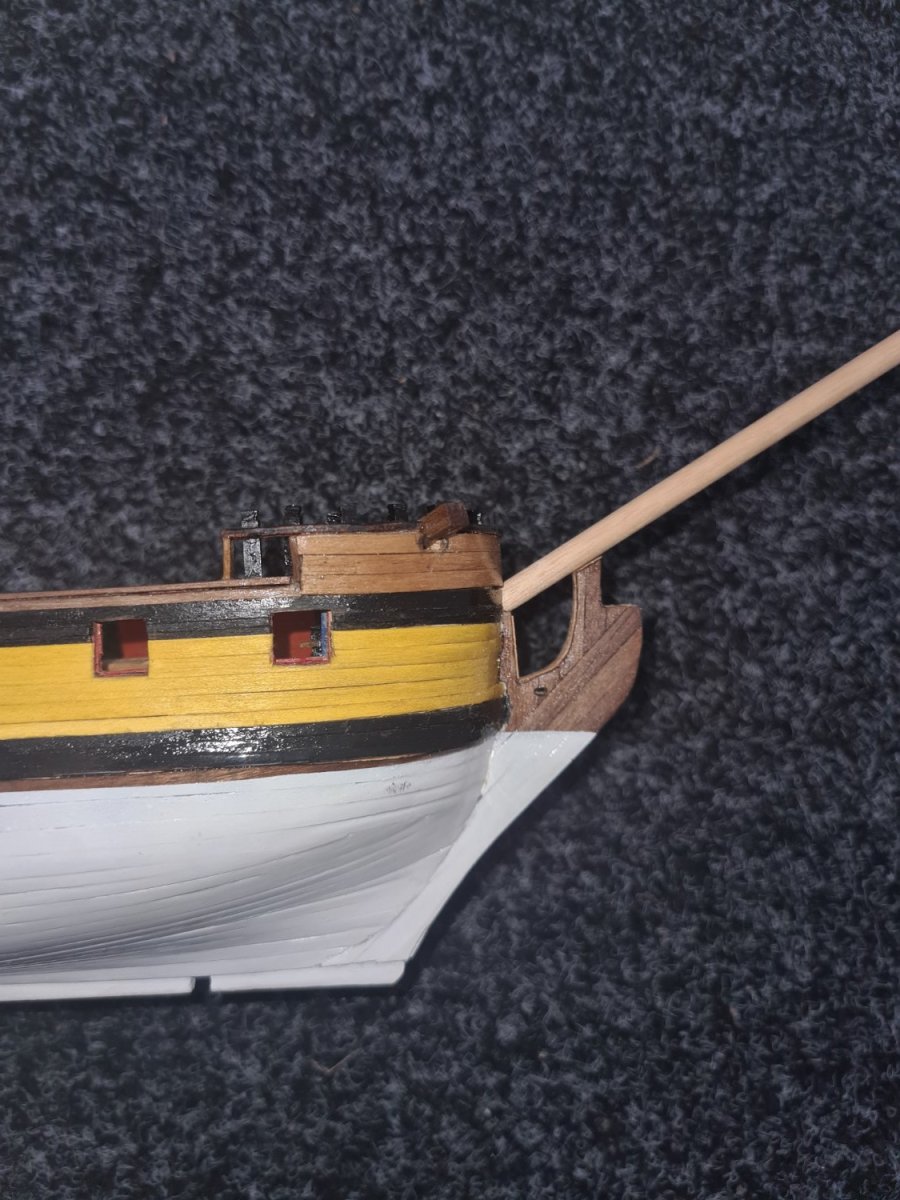
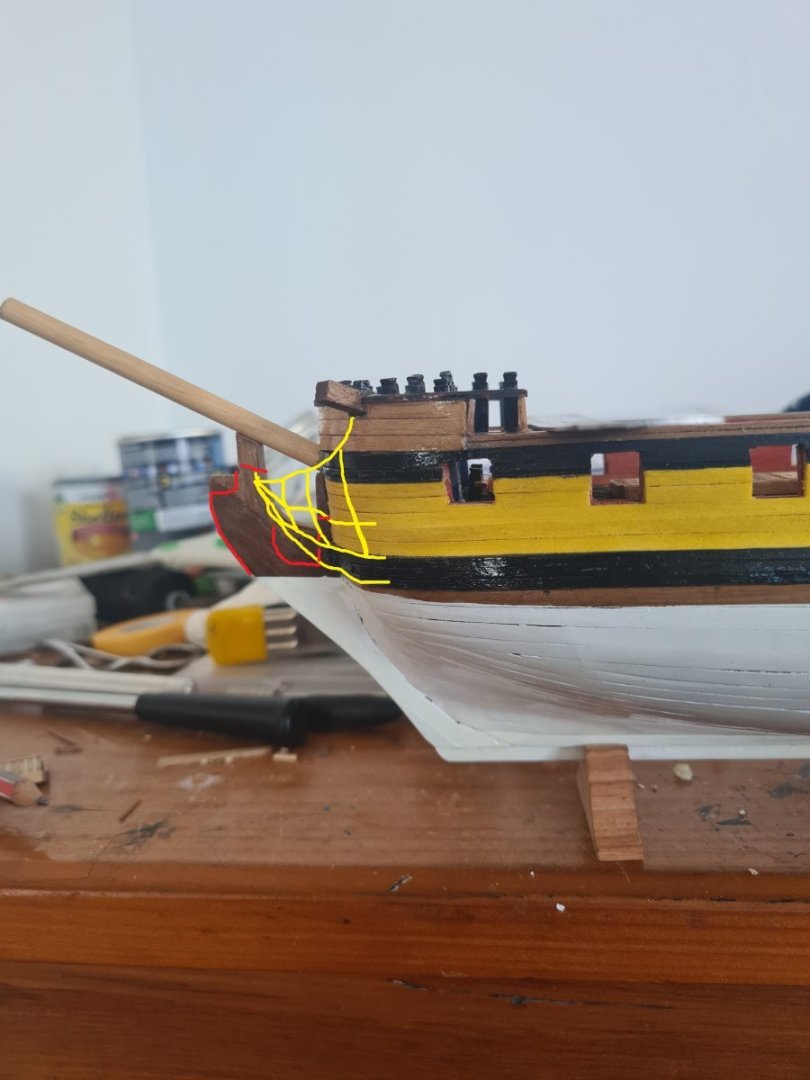
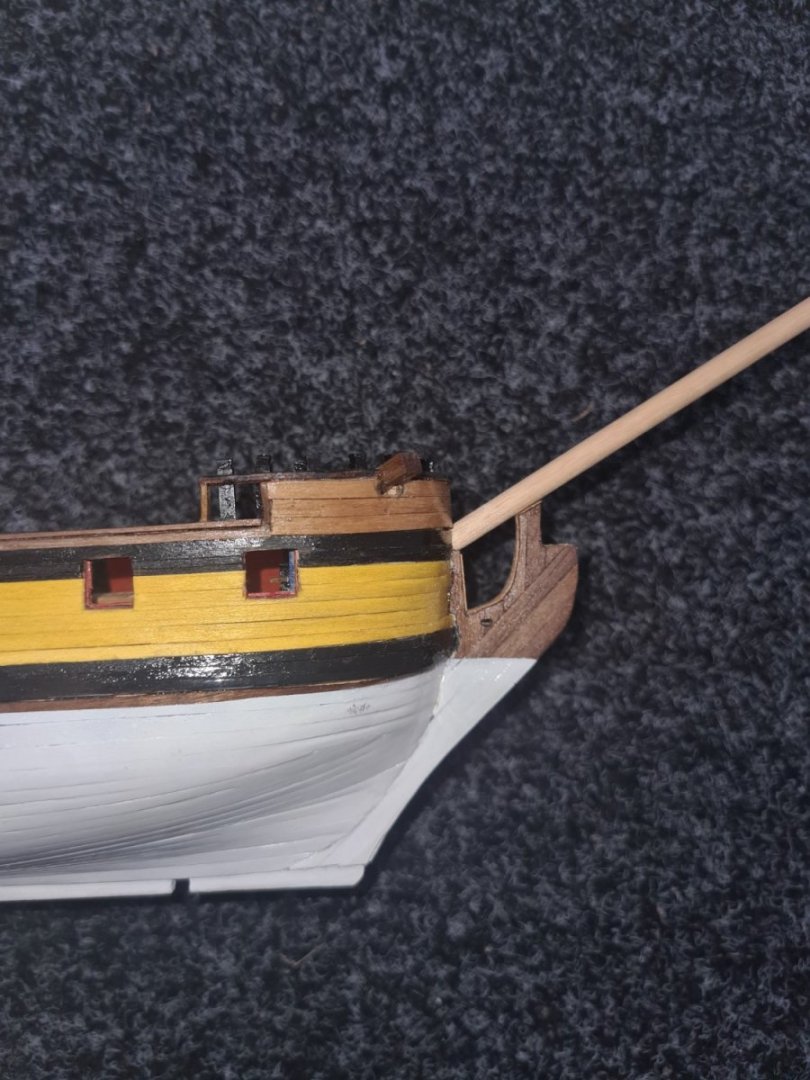
Been looking at other models of 1720 and notice that the kit keel piece is very high compared with the bowsprit and the waterline on the provided plans. I think there should be a gap between the bottom of the bowsprit and the top of where the head timber joins the keel and the figurehead. Should I cut it down to create that gap?
-
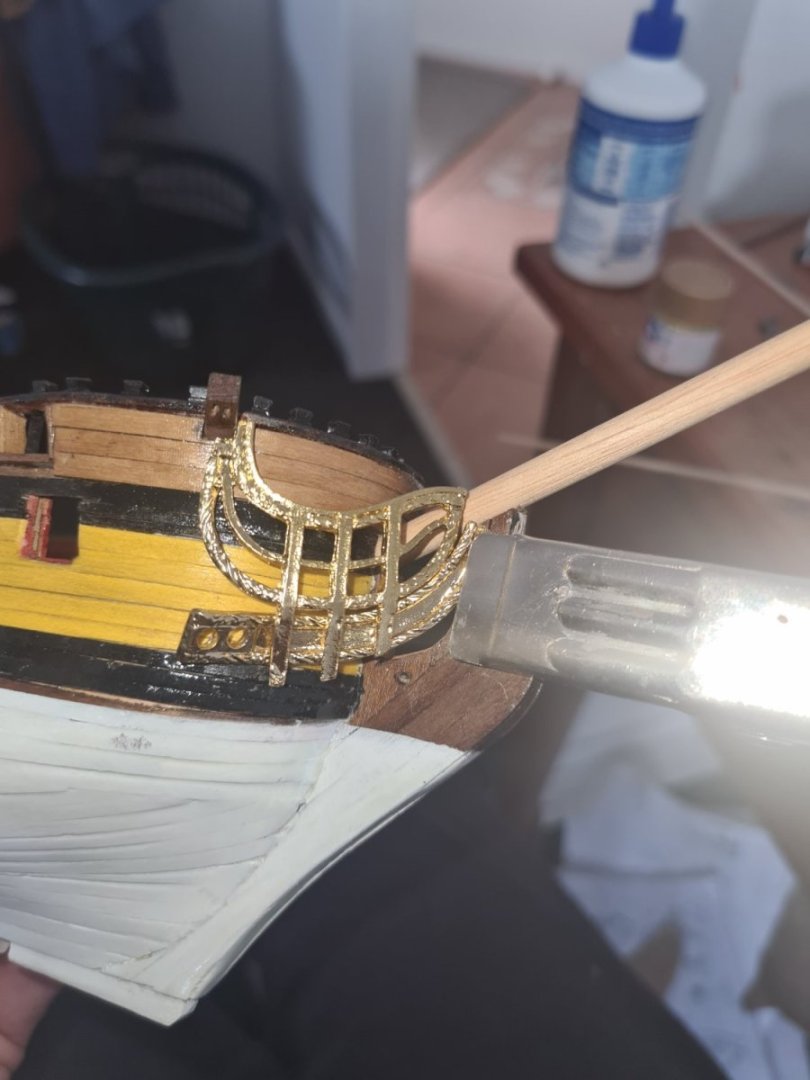
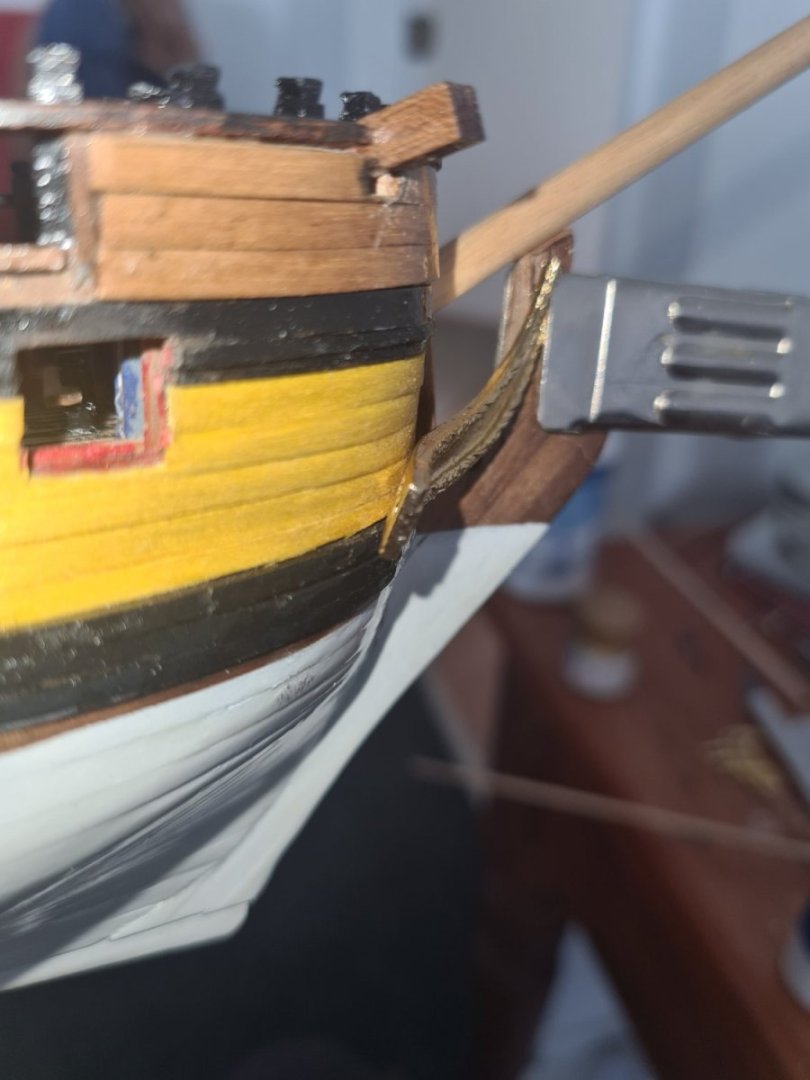
Hi... I throw my hands up with the parts that come with this kit... the head rail by my first fit is about 5mm shorter than required and the knee of the head is twisted. I know the bowsprit angle should be 32 or 36 degrees to the keel for 1719. So I need the head rail to go from the cathead to the head then some middle tails . Looks like another print job...

-
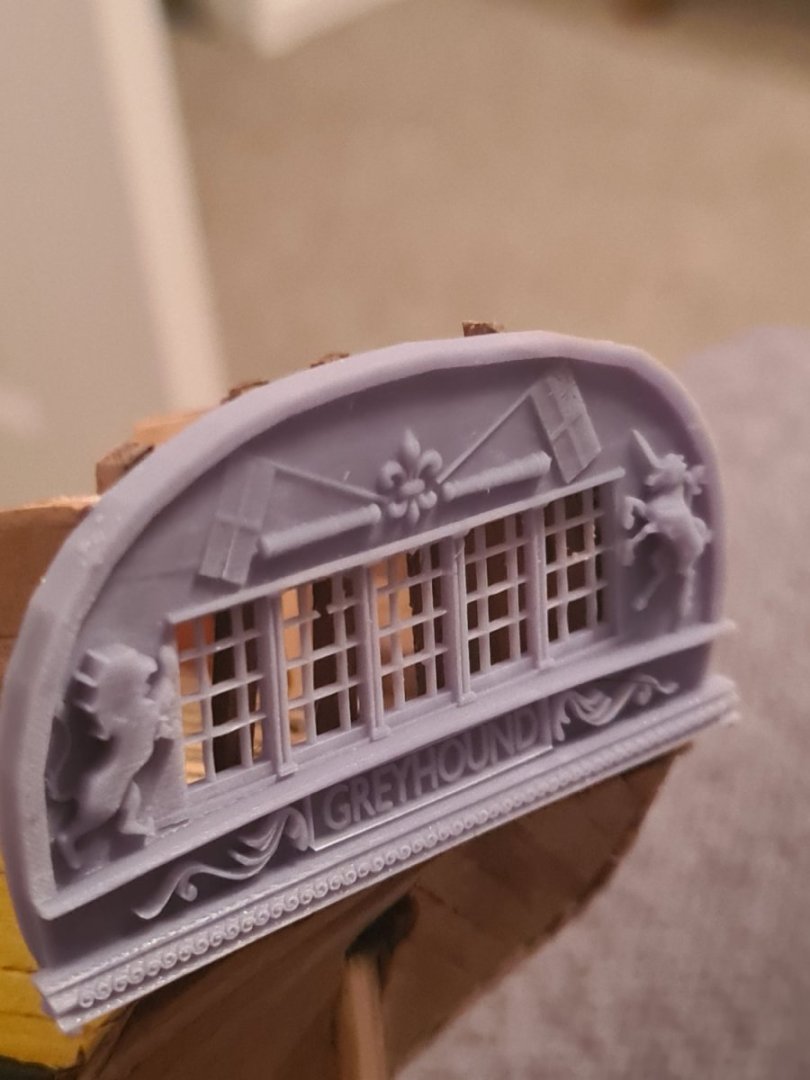
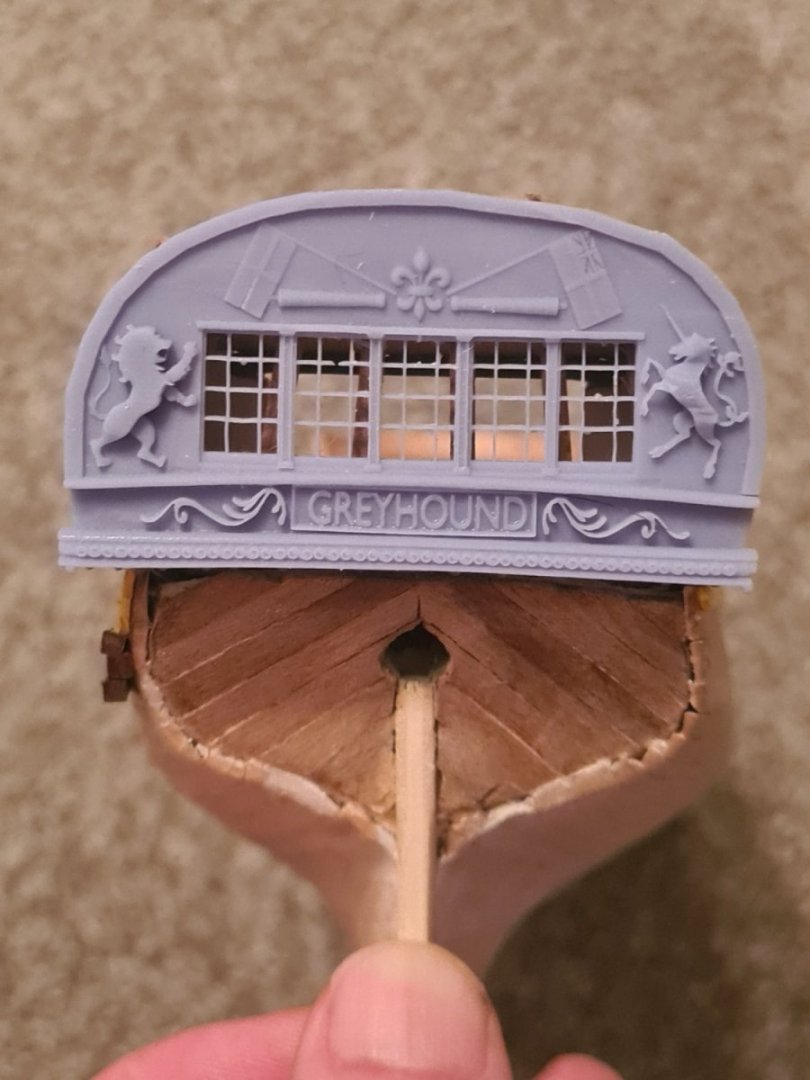
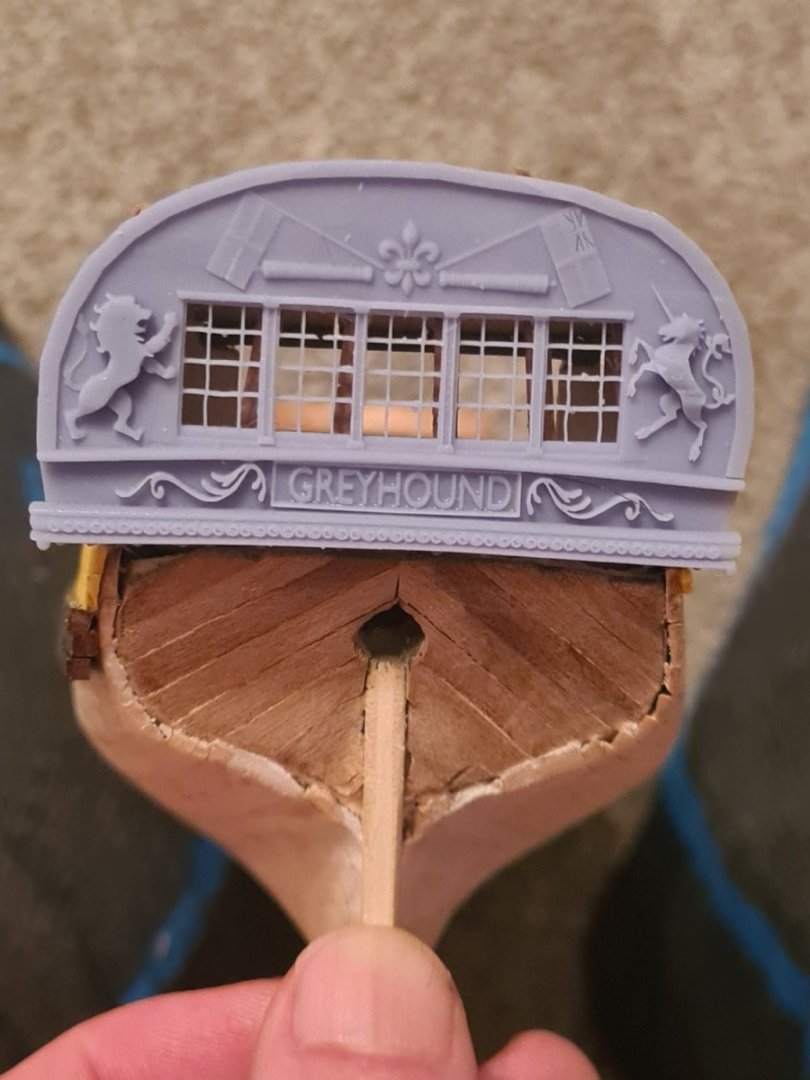
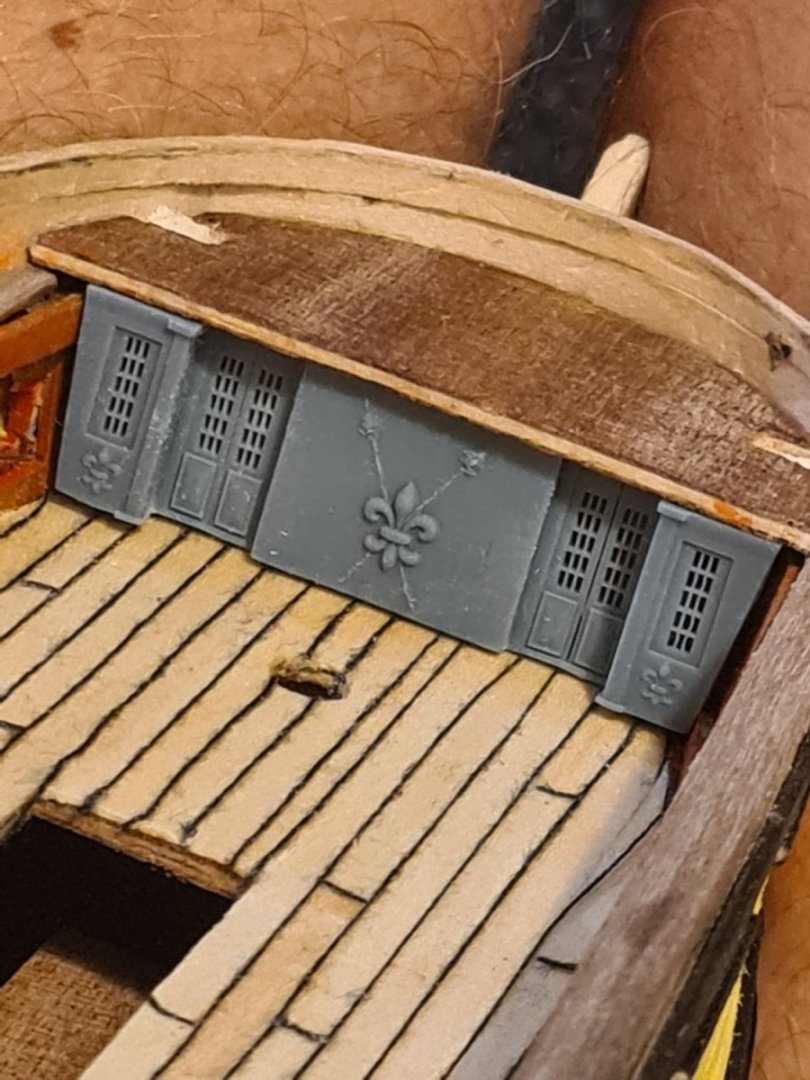
After months of prep and working on my blender mesh deformation skills I have finished the quarter cabin. Showed my work against the kit supplied one. I want to mix the 3d resin plastic with wood as much as possible so that you get the crisp lines and details mixed with some wood grain. The roof was a little tricky but just fiddly but not too difficult. I've also finished all the forecastle knights heads and railings.

-
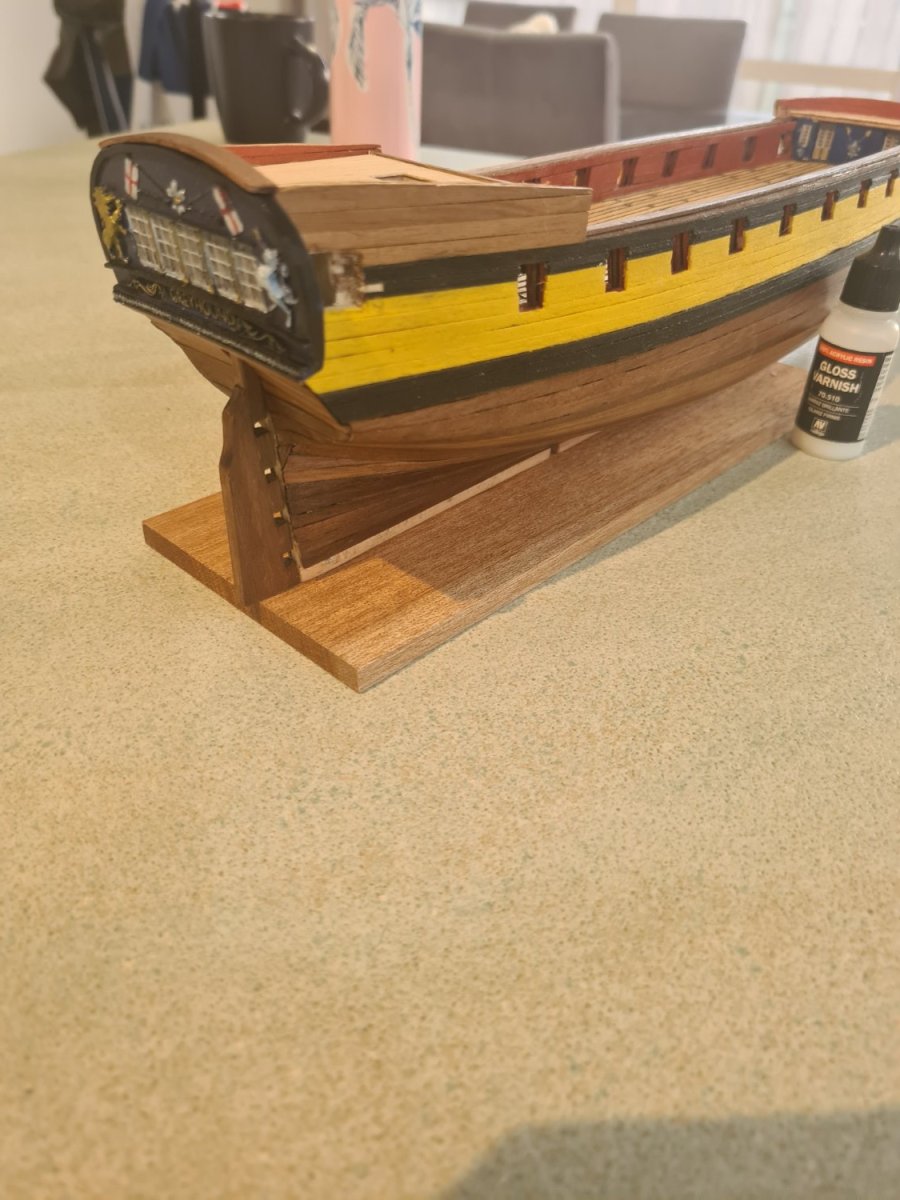
I have been struggling to find time to get back to blender and keep going on all the pieces that need updating. And I had a big print fail with the knightsheads. So I replaced the film and am experimenting with the ptfe lubricant so that the prints release of the fep film in the printer vat. Anyway I did paint the model with the white and a touch of black in flat colour But then got a rush of I don't know what and put a ultra gloss coat over the top. I was kind of thinking that will keep the dust off the sides!! But it just looks like it's so wet now like it's been dunked I'm water. Yes I could probably sand it off- should I?


-
I contemplated getting a person I know print it out on a 12k printer as the 4k lacks a bit of resolution but I need to learn and if I'm super unhappy with results then that's plan B
-
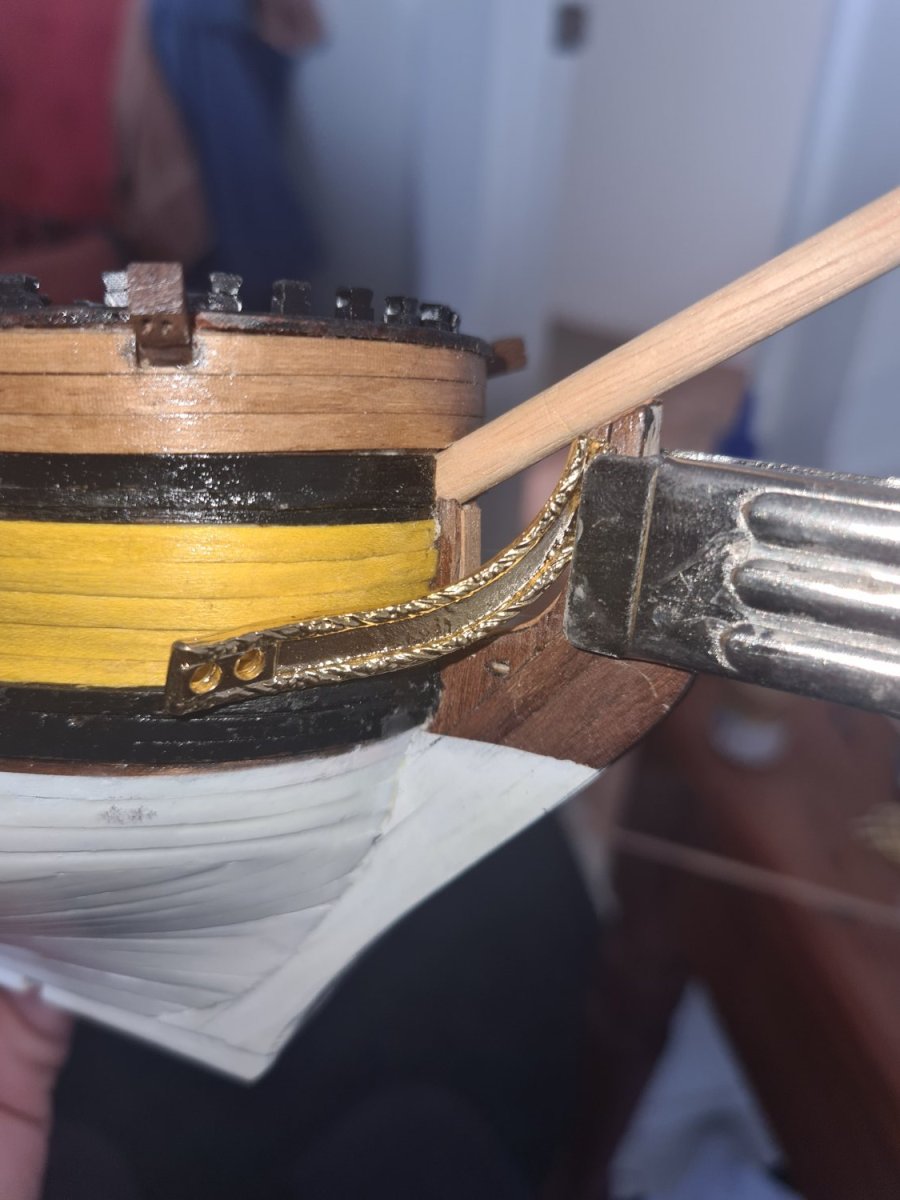
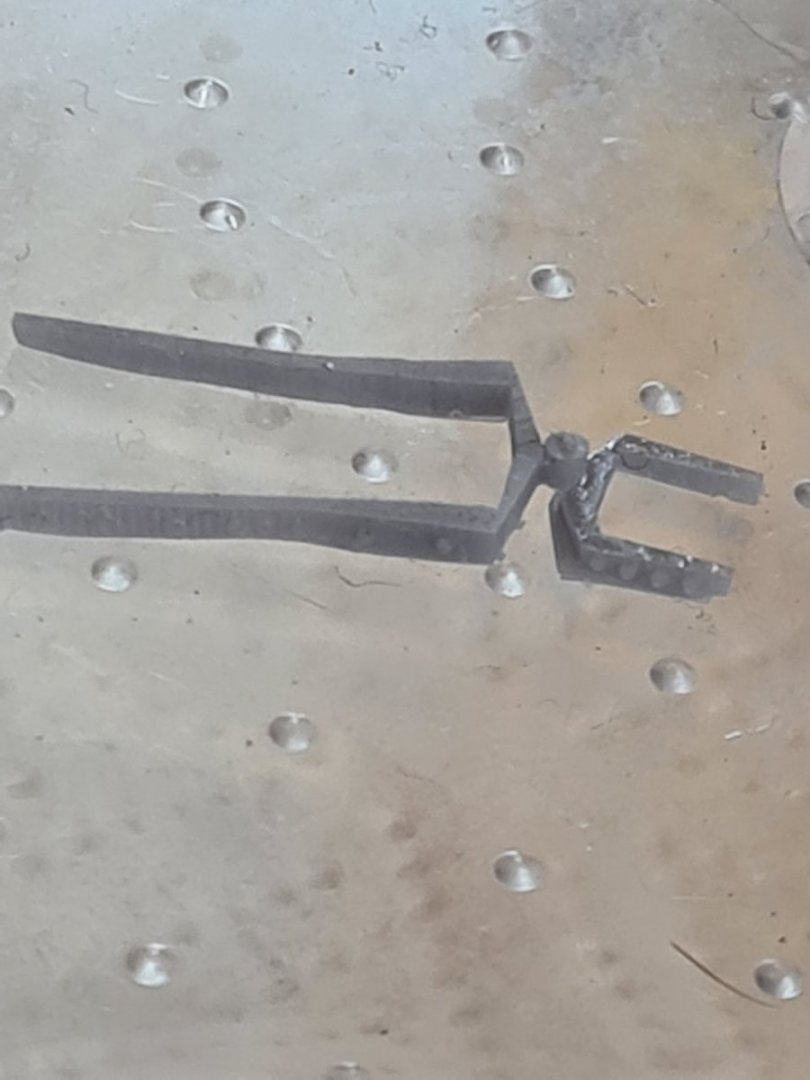
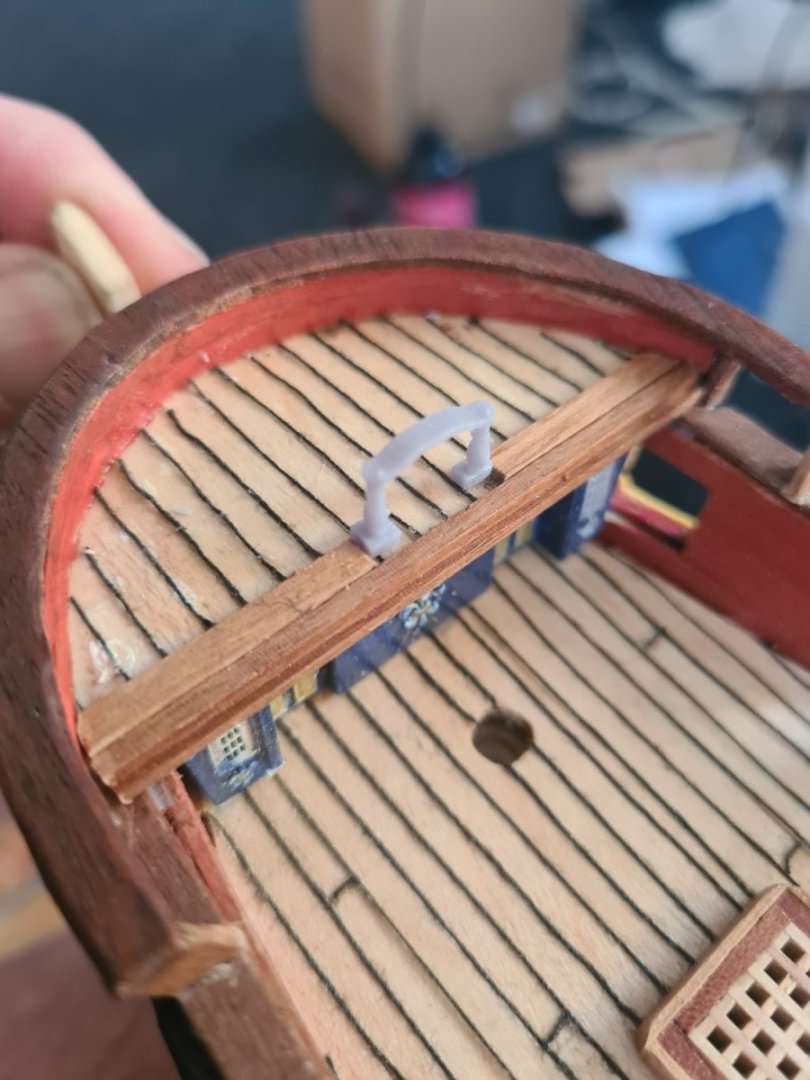
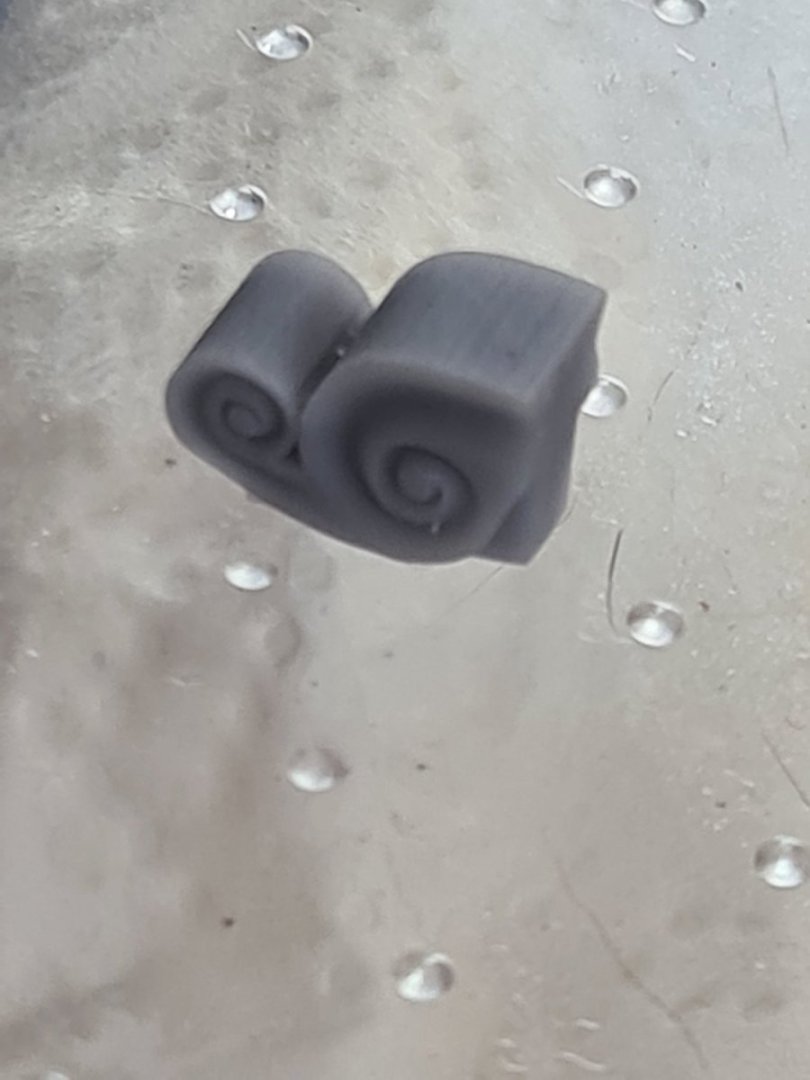
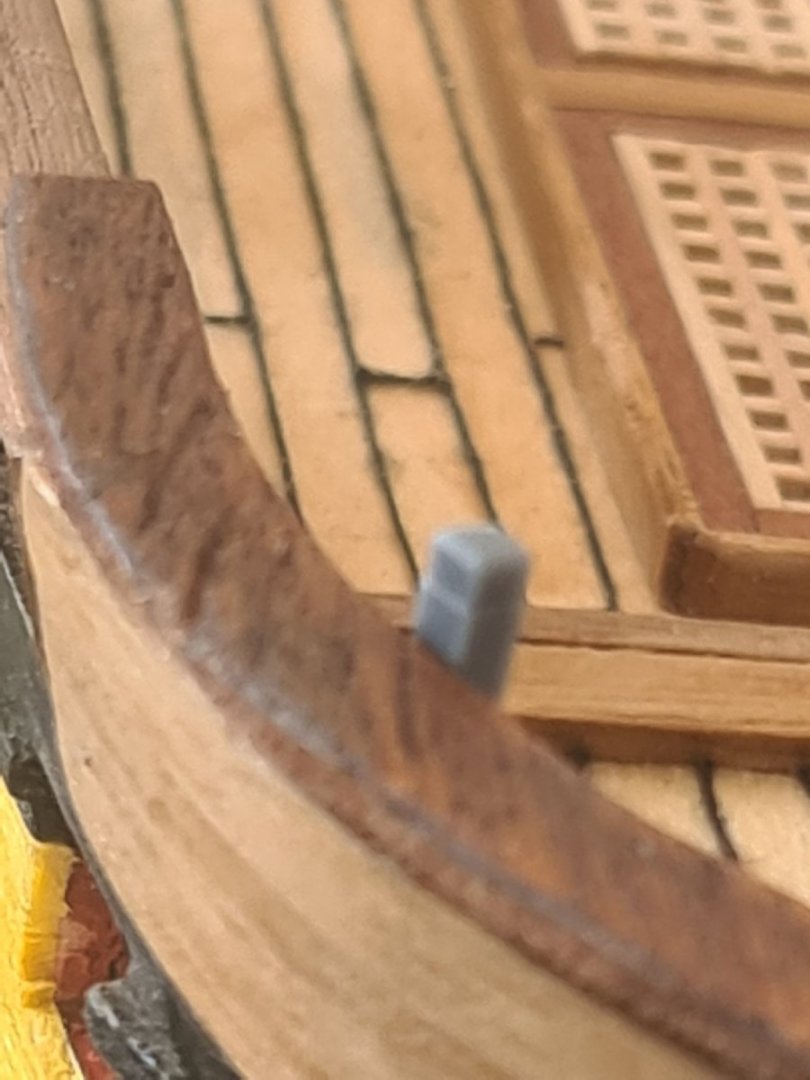
Proud face.. the pintle and brace I made in 1/100 scale very tiny print. came out in two pieces... I will paint them black and that will bring out the nut details on the flat. The only problem with it each brace will have to be blended separately to fit the hull. Each pintle is the same so just need to print 5 good ones.

-
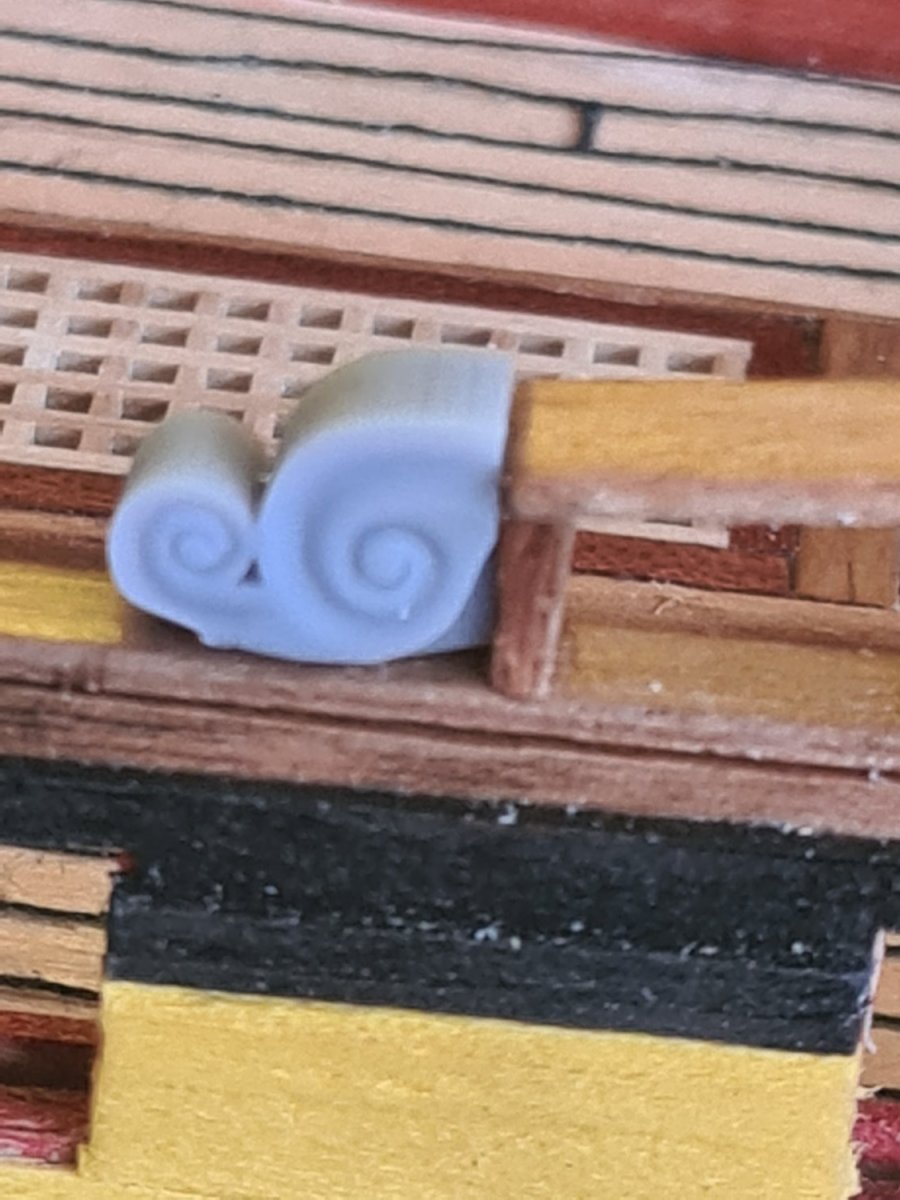
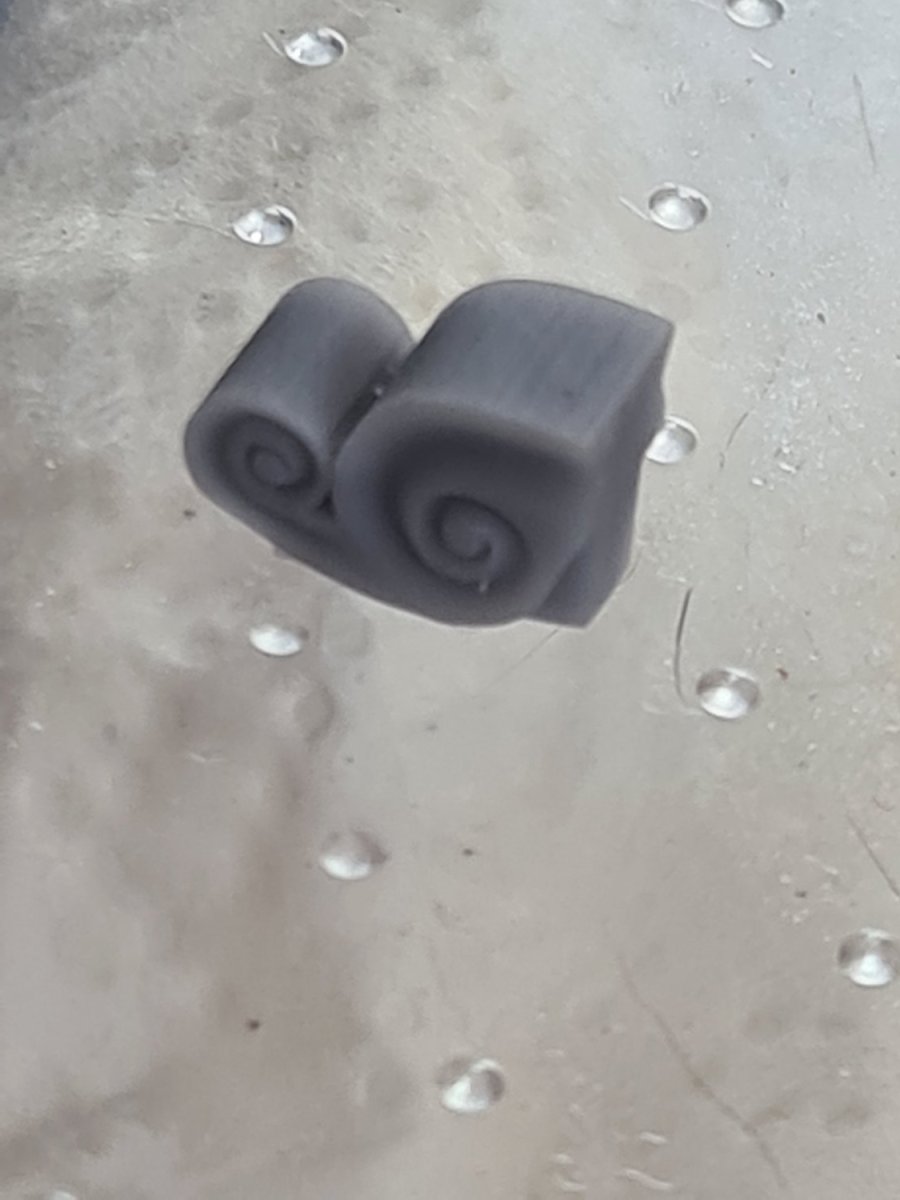
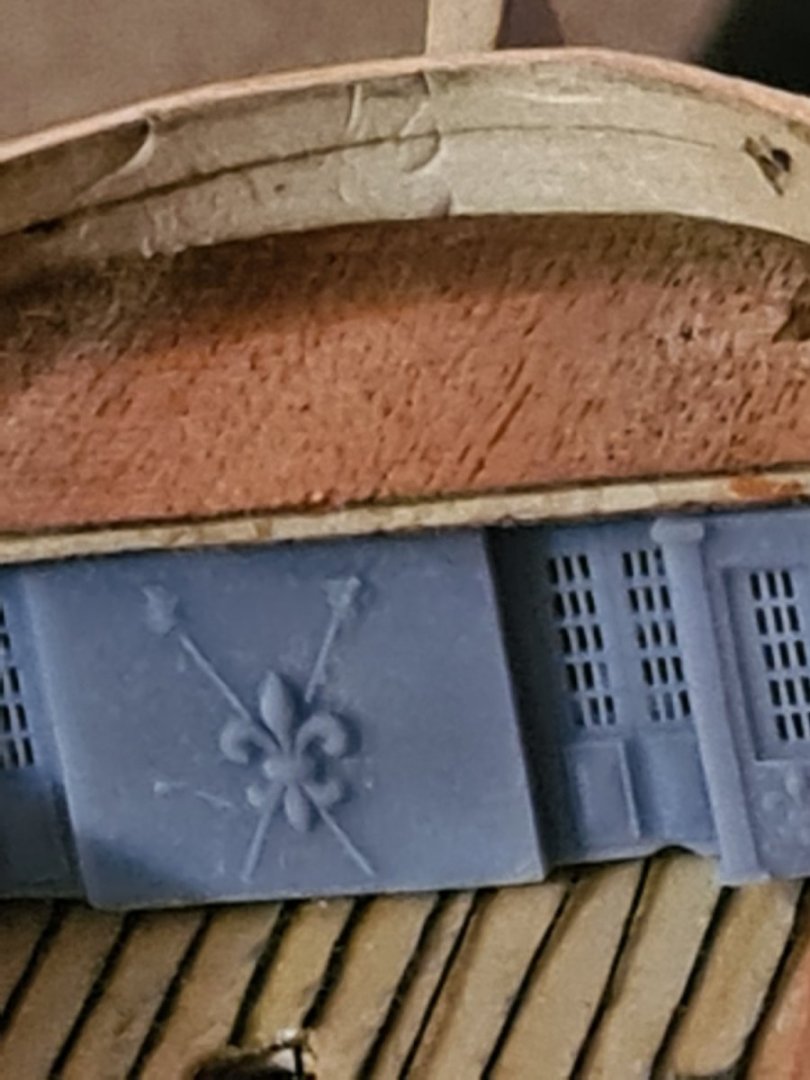
To be honest... the 3d printing is taking a long time and lots of failures. However when you get it right it produces amazing results eleven in1/100 scale. There is no way you could carve these volutes in the accuracy you get from a 3d print. The knightsheads are okay but a bit rounded on one edge... I can probably fix that by printing them flat on to the forming table. I will try that next print. Does anyone know can you get glass encrusted thread or some sort of file approx 0.6mm that you can thread through and clean out the cleats?

-
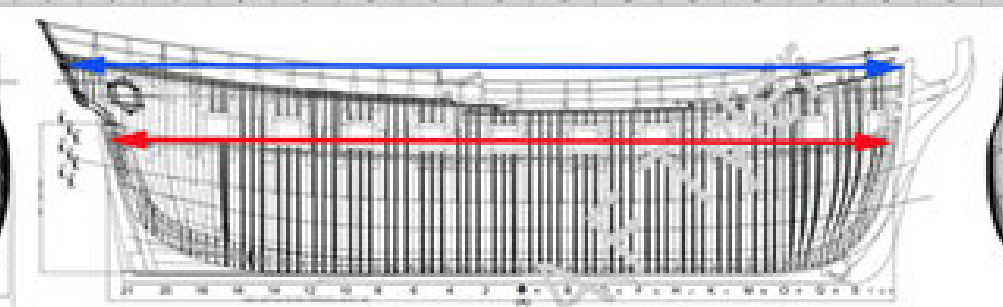
God this is confusing... its the red arrow distance below right?
-
Just a question... gun deck length being 32m on the Greyhound 1720.. is that the distance from the cabins under the forecastle deck to the stern cabins door? To scale that should be 320mm or am I missing something?
-
No your absolutely right...
-
I don't get the scale of this model. 1/100 probably means that some things are very small. But that means they look dumb at this level and the detailing is too small to see. As example the 2mm x2mm knights heads. The instructions look bigger more like 3mm x3mm . Do I go with the scale feature or what looks good on the model?


-
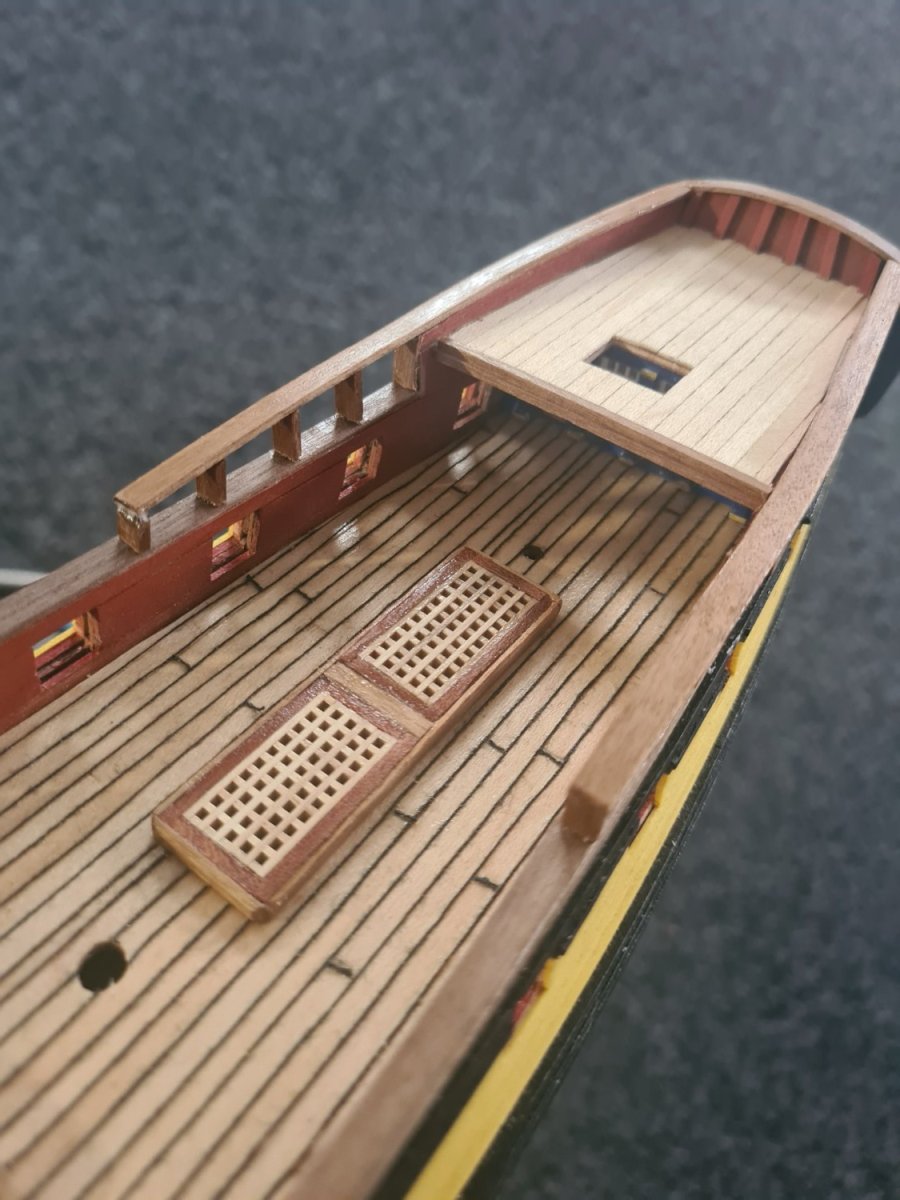
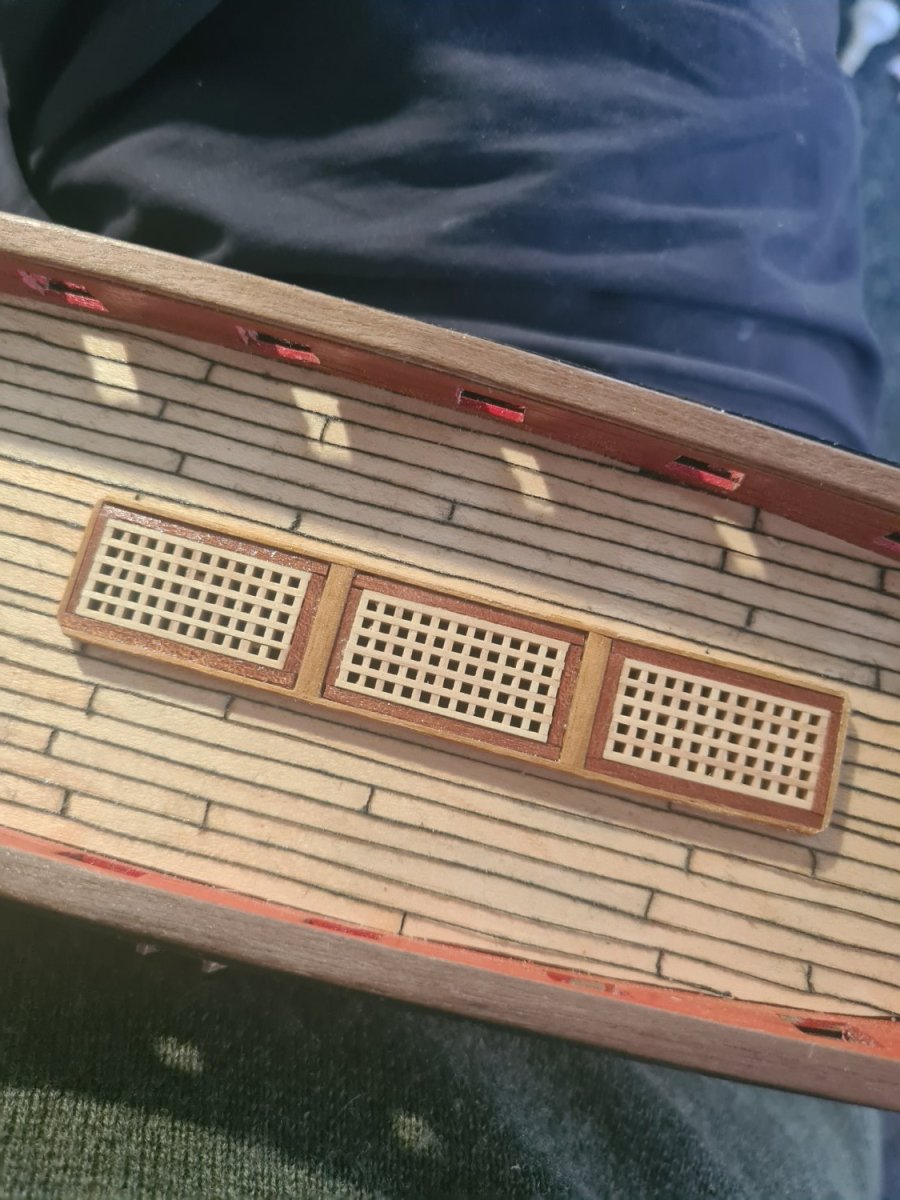
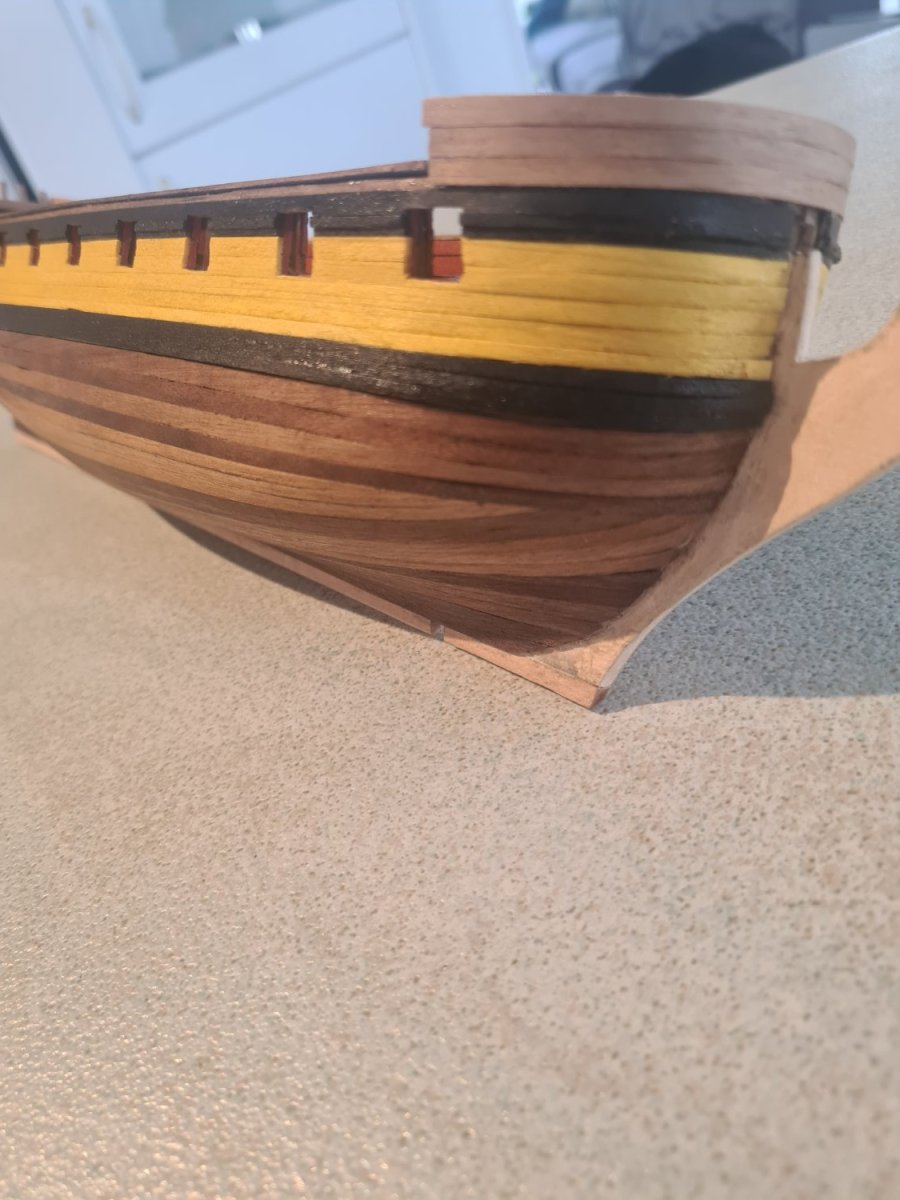
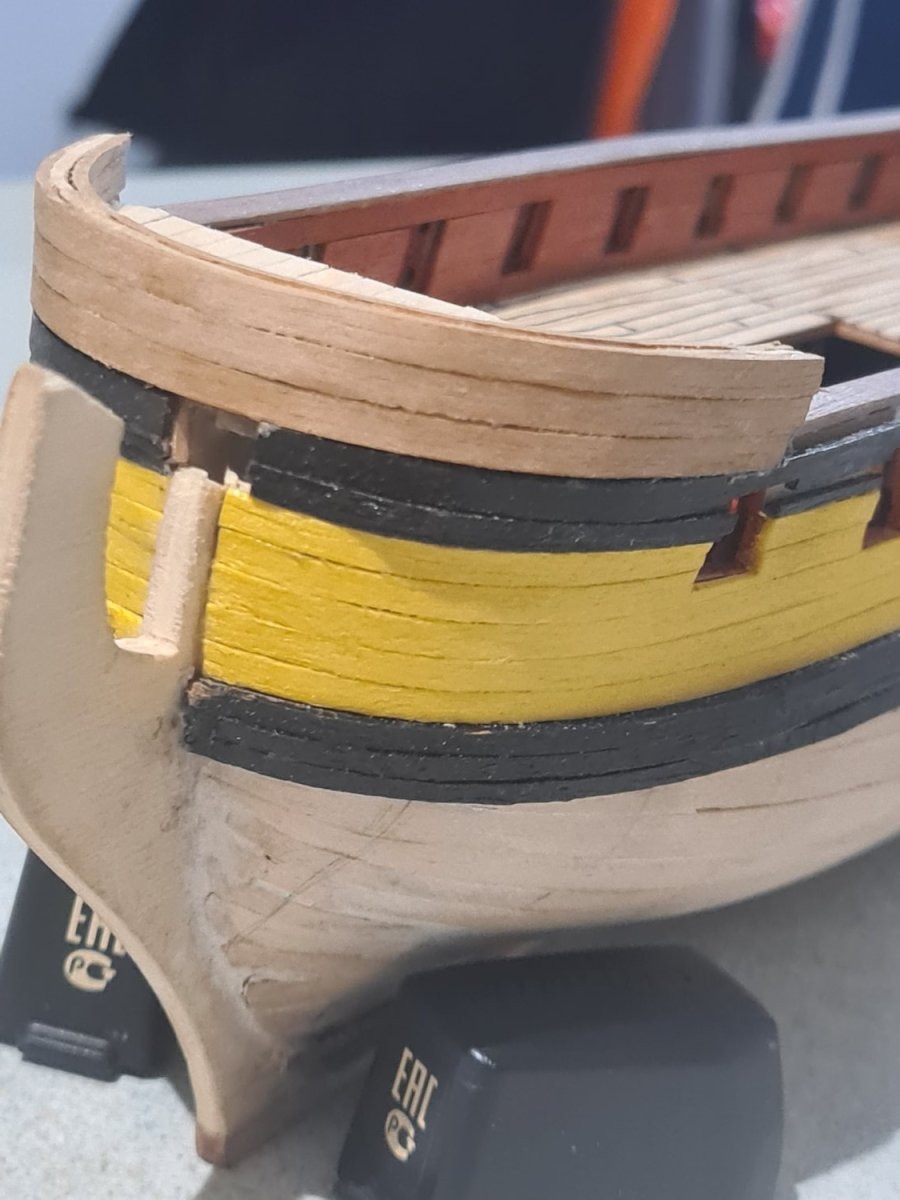
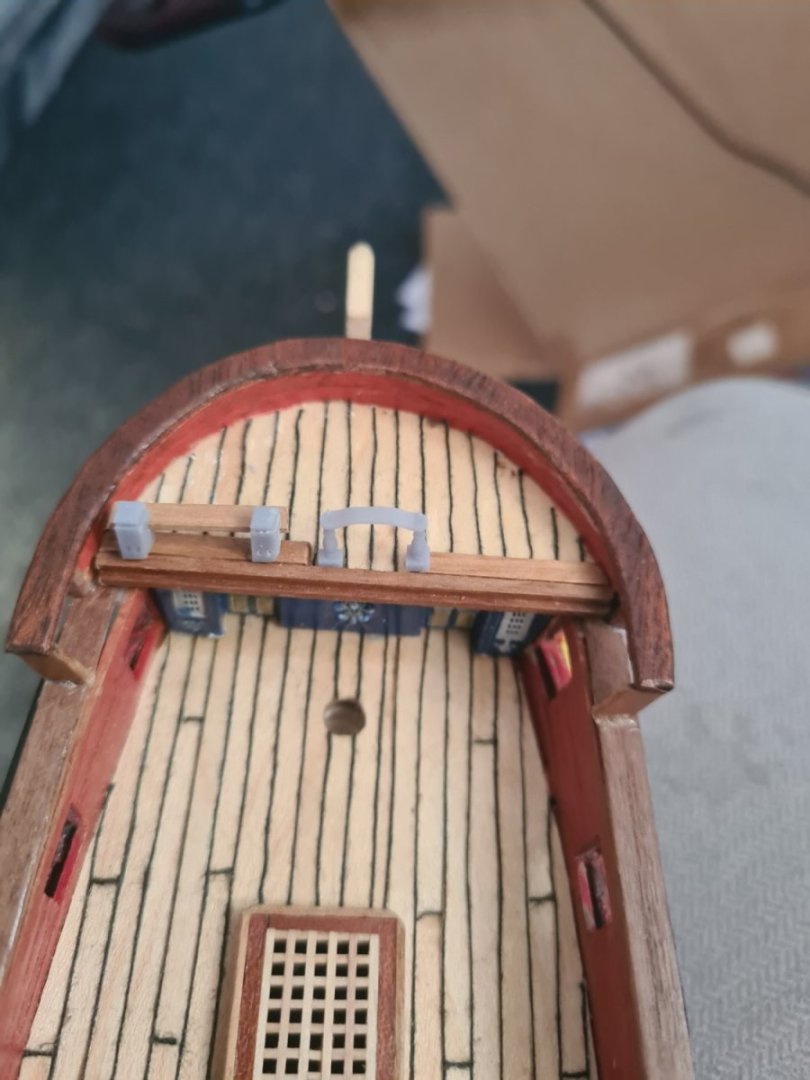
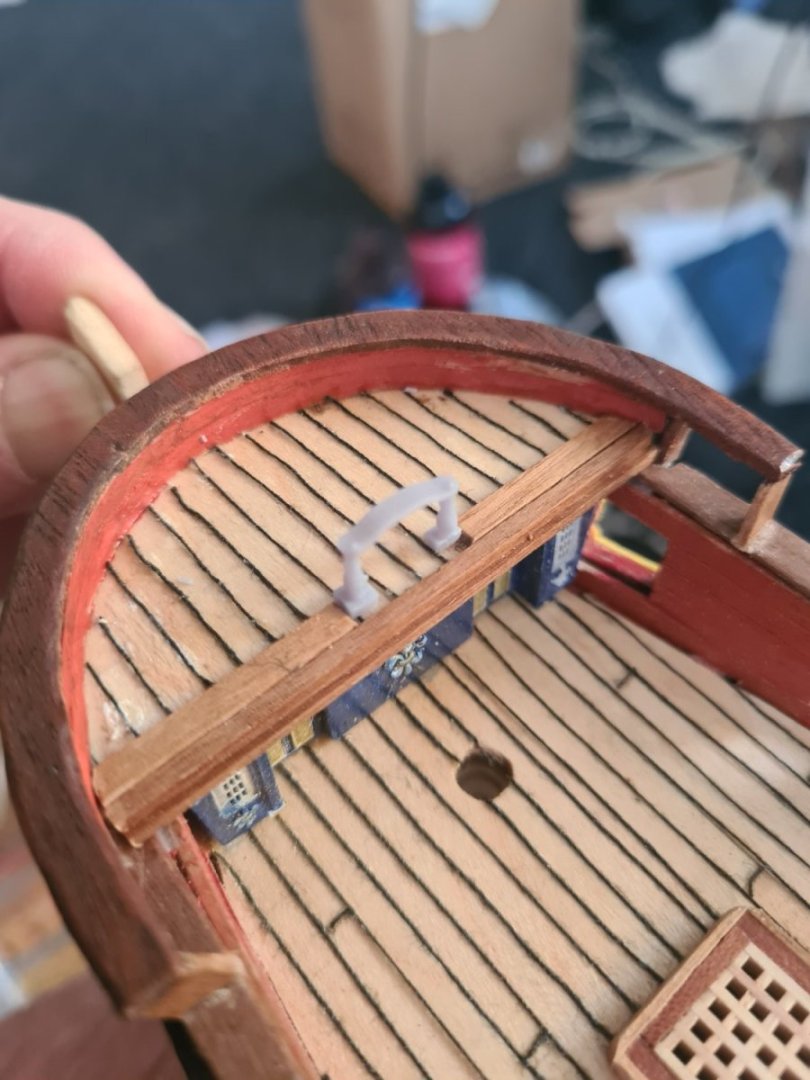
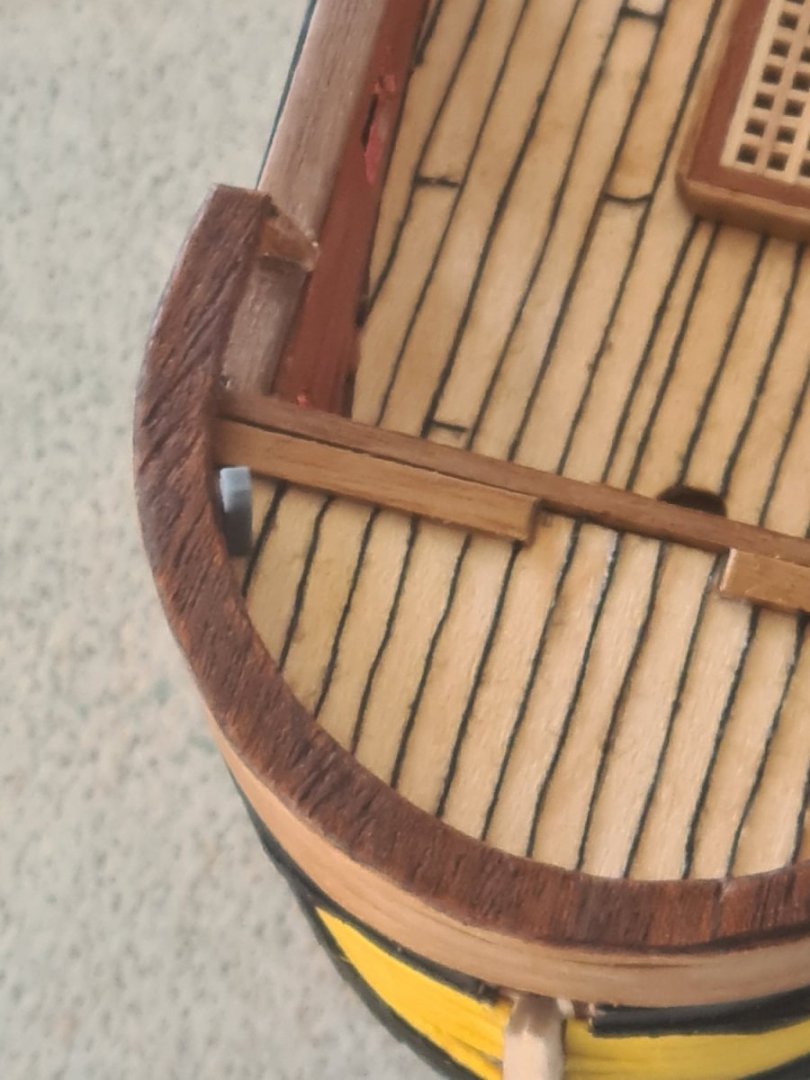
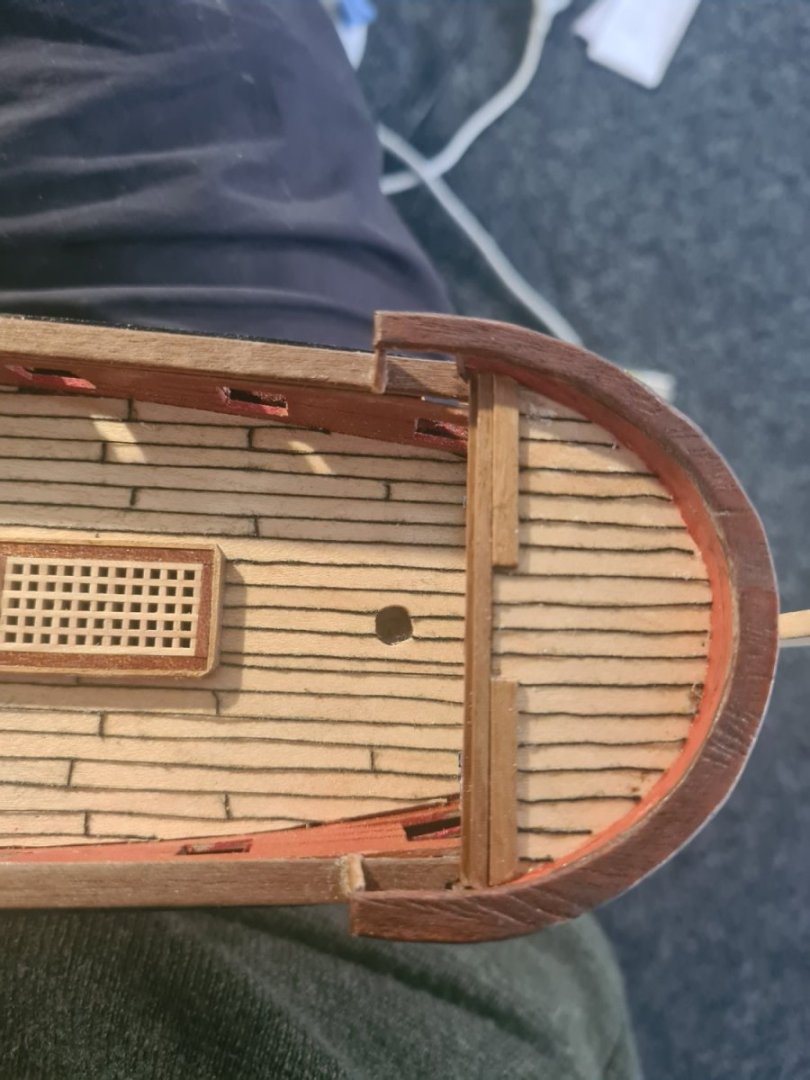
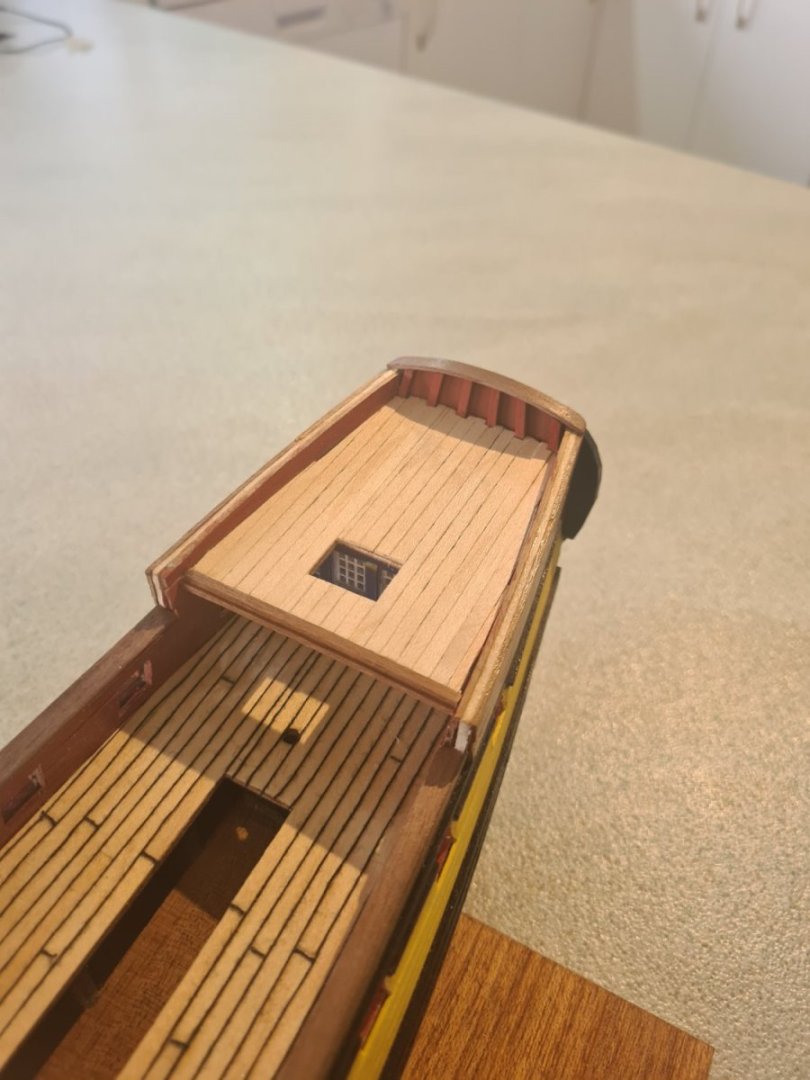
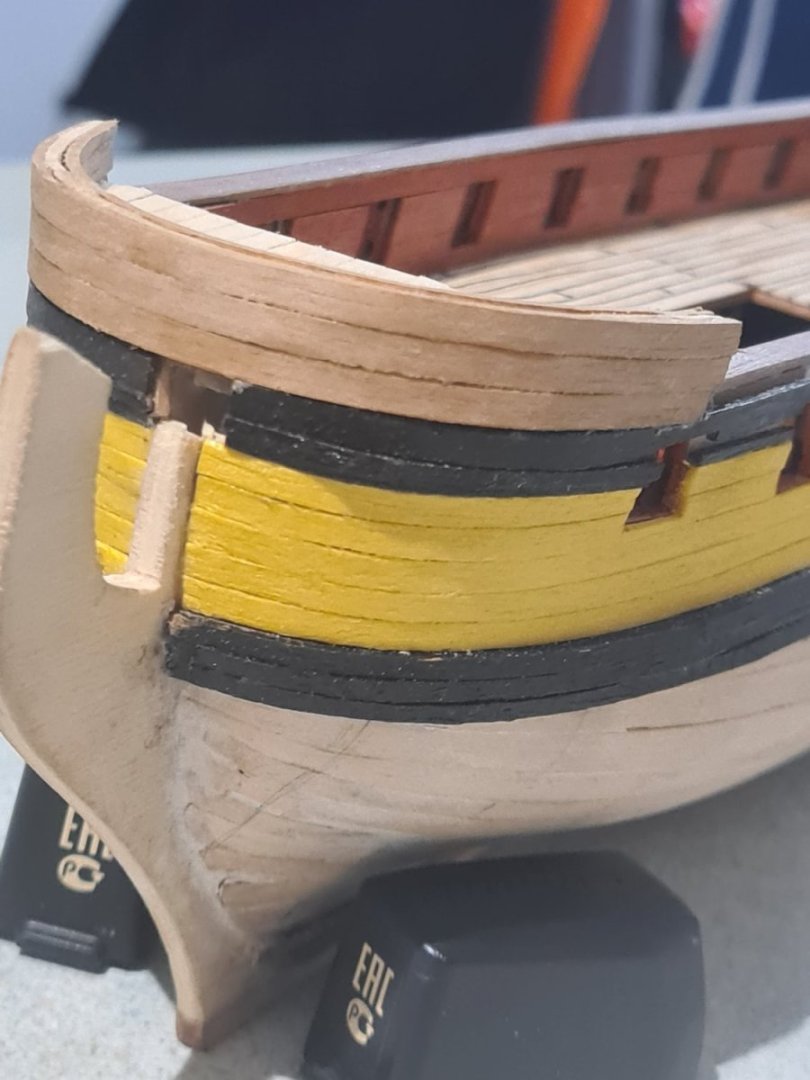
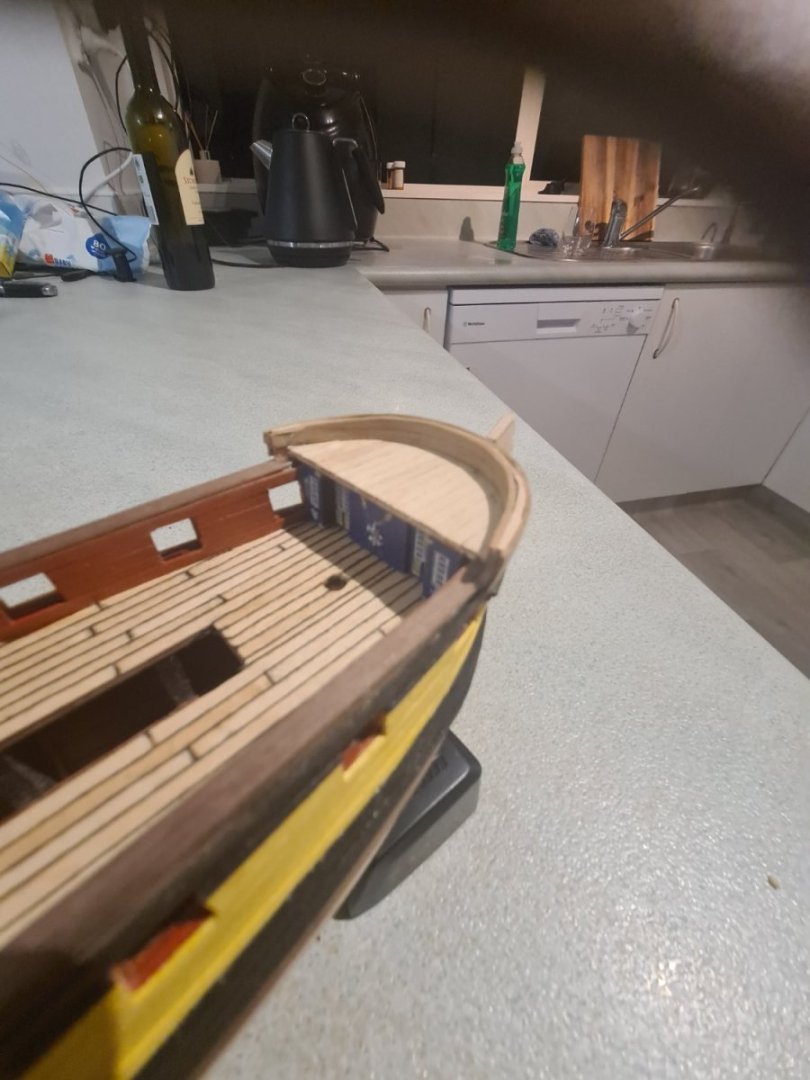
While I have been procrastinating about jumping back on blender and doing a heap of different designs like the knights heads, the quarter galleries, a ships bell housing etc I have been having fun with the hatch covers. But word of warning, the kit only provides just enough precut pieces for the grid and I has reduced to piecing last grid by using all the off cuts and sticking them in to the pattern. The forecastle rail is cut from a flat sheet of mahogany as edge bending 5mm x 1mm walnut into a semi circle was too much. I used black wash to darken the red colour back to more like walnut. All surfaces have had 4 coats of denatured shellac so it looks pretty waxy. The aft deck rails I edge bent some walnut 5x1 by using the clamp, wet with brush and iron technique. It took 3 times before there was enough bend but they are flat and not cracked which is good. I am going to go back to blender now and do those knights heads... 1750 style. The thumb and finger top which is correct at 1720 I think will look dumb in 1/100 scale and also difficult to print. I'm going to add some vertical volutes at the end of the rails printed 3d plastic and painted black.


-
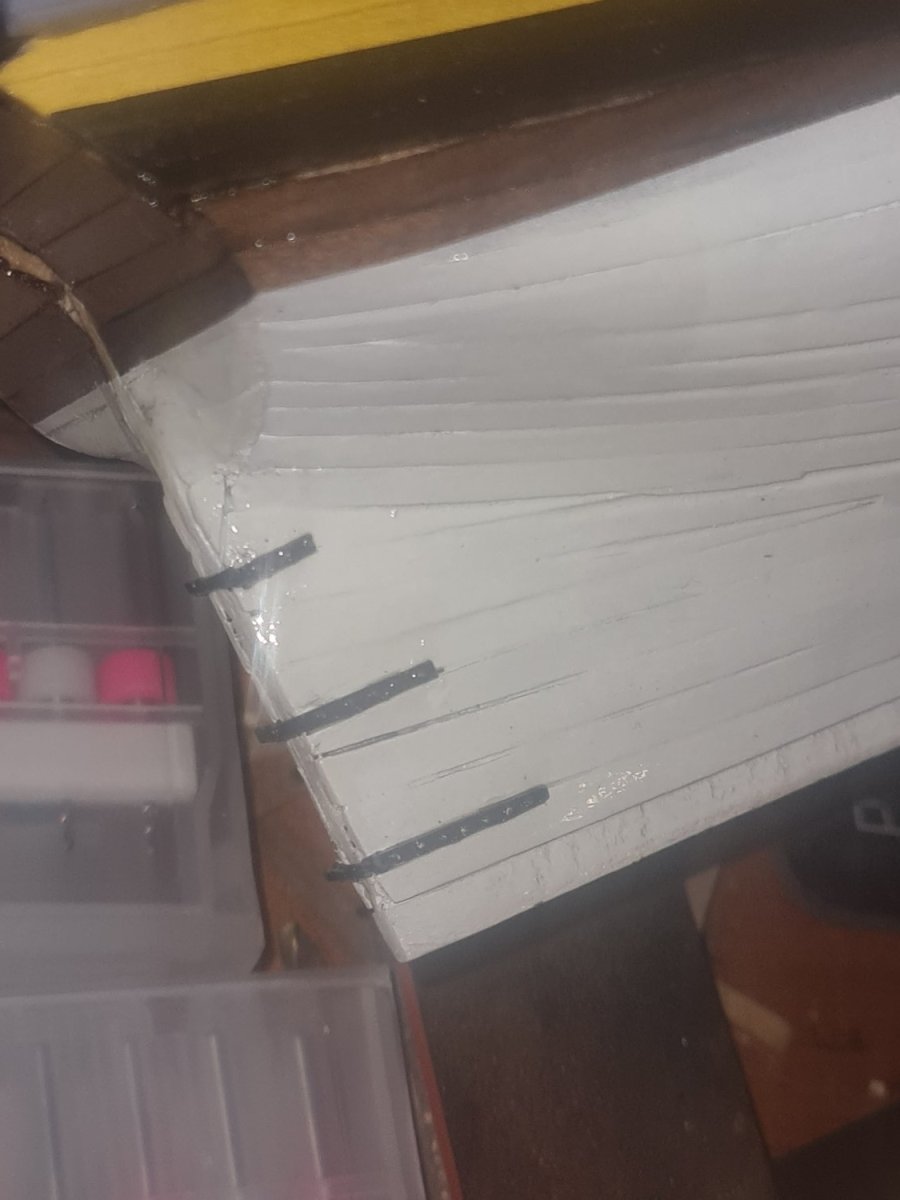
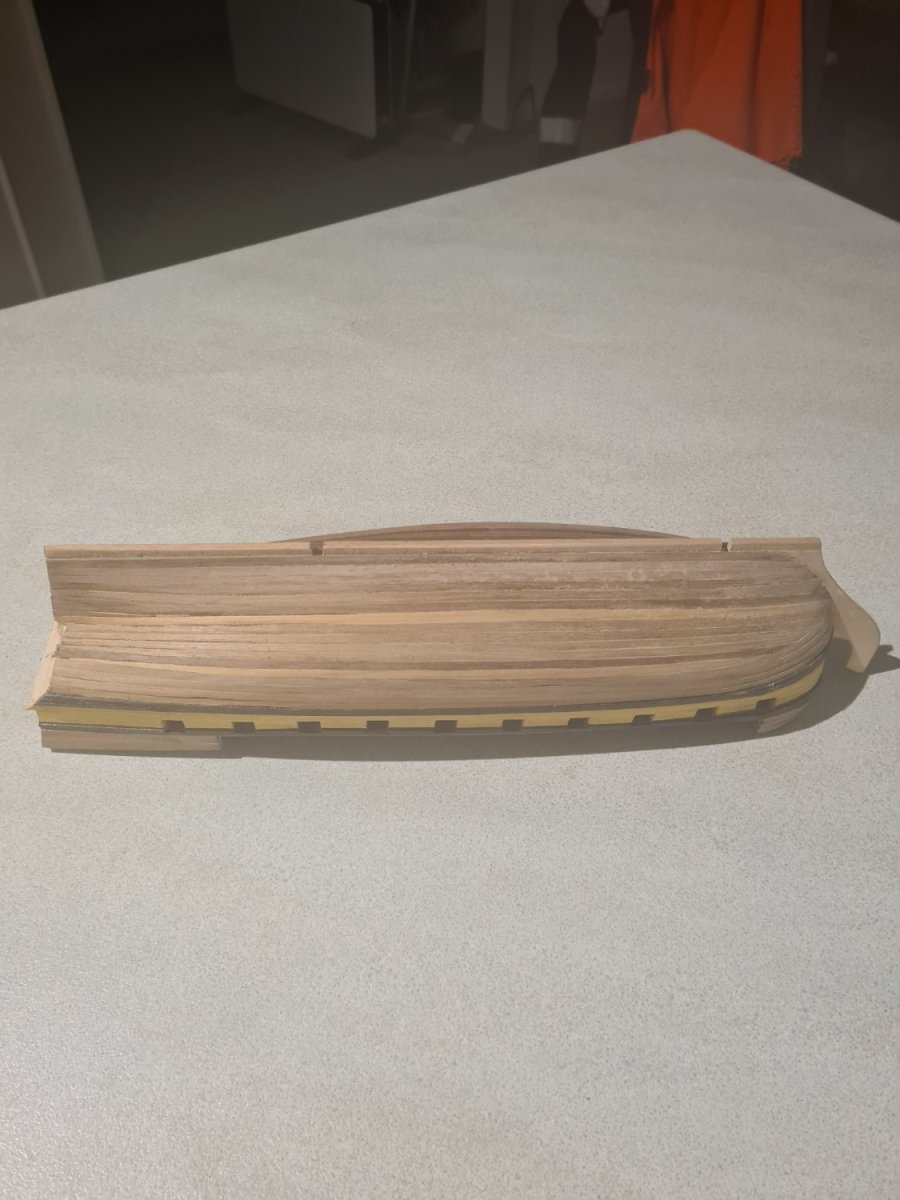
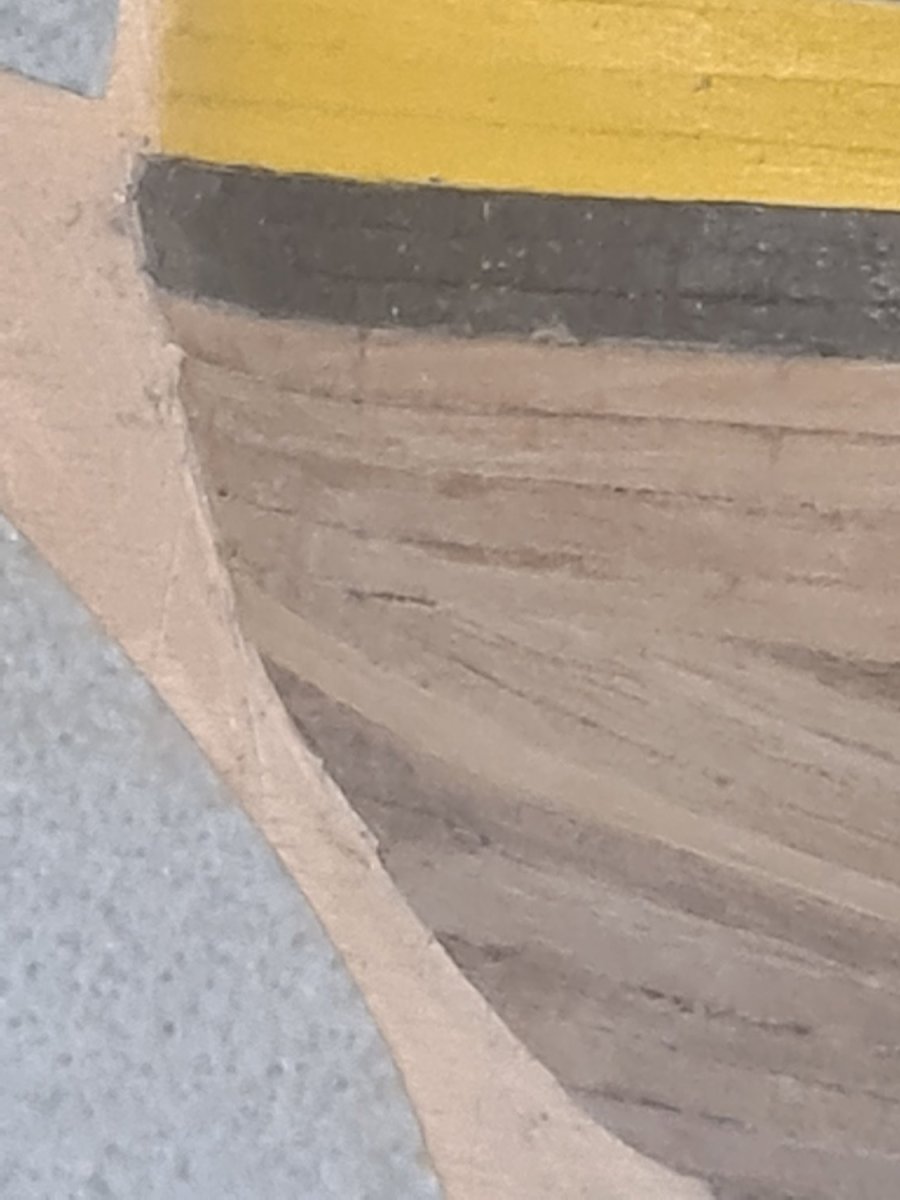
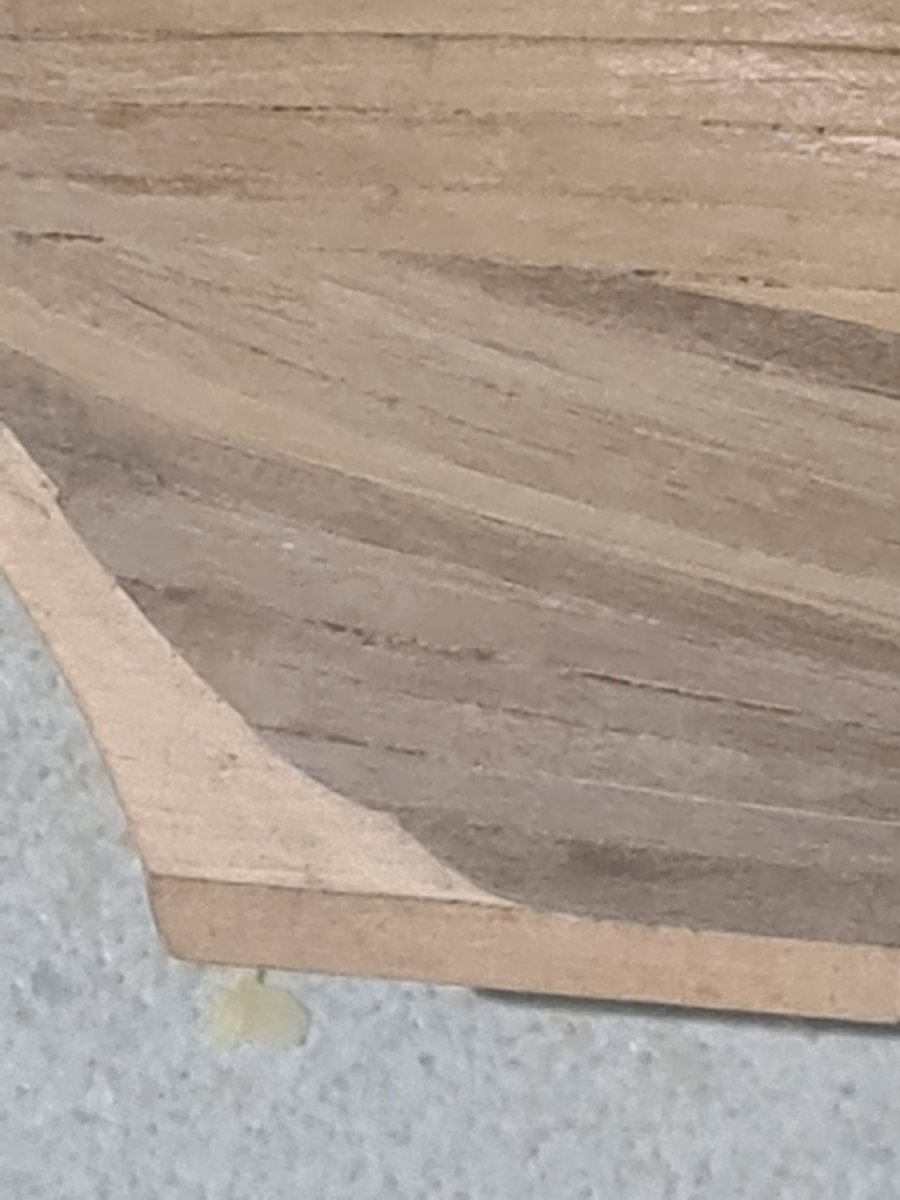
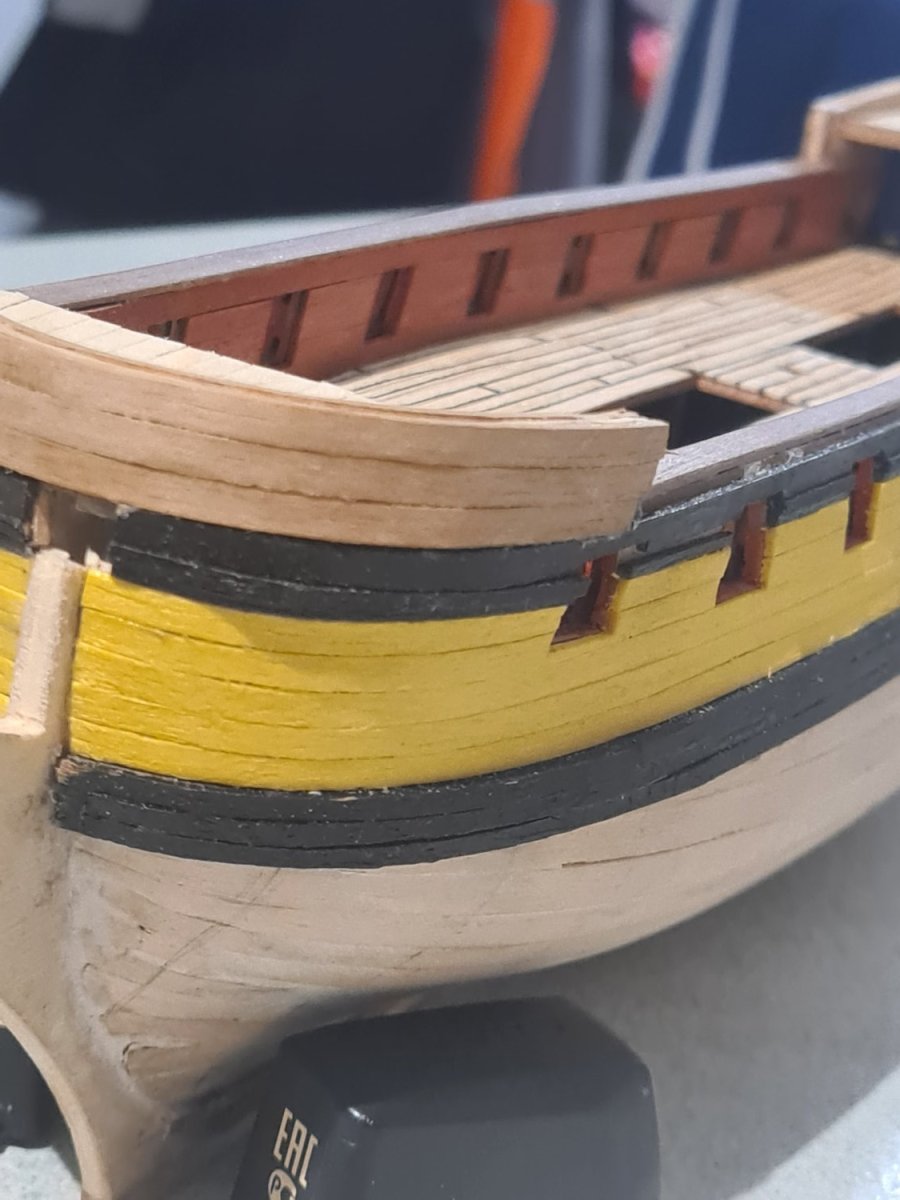
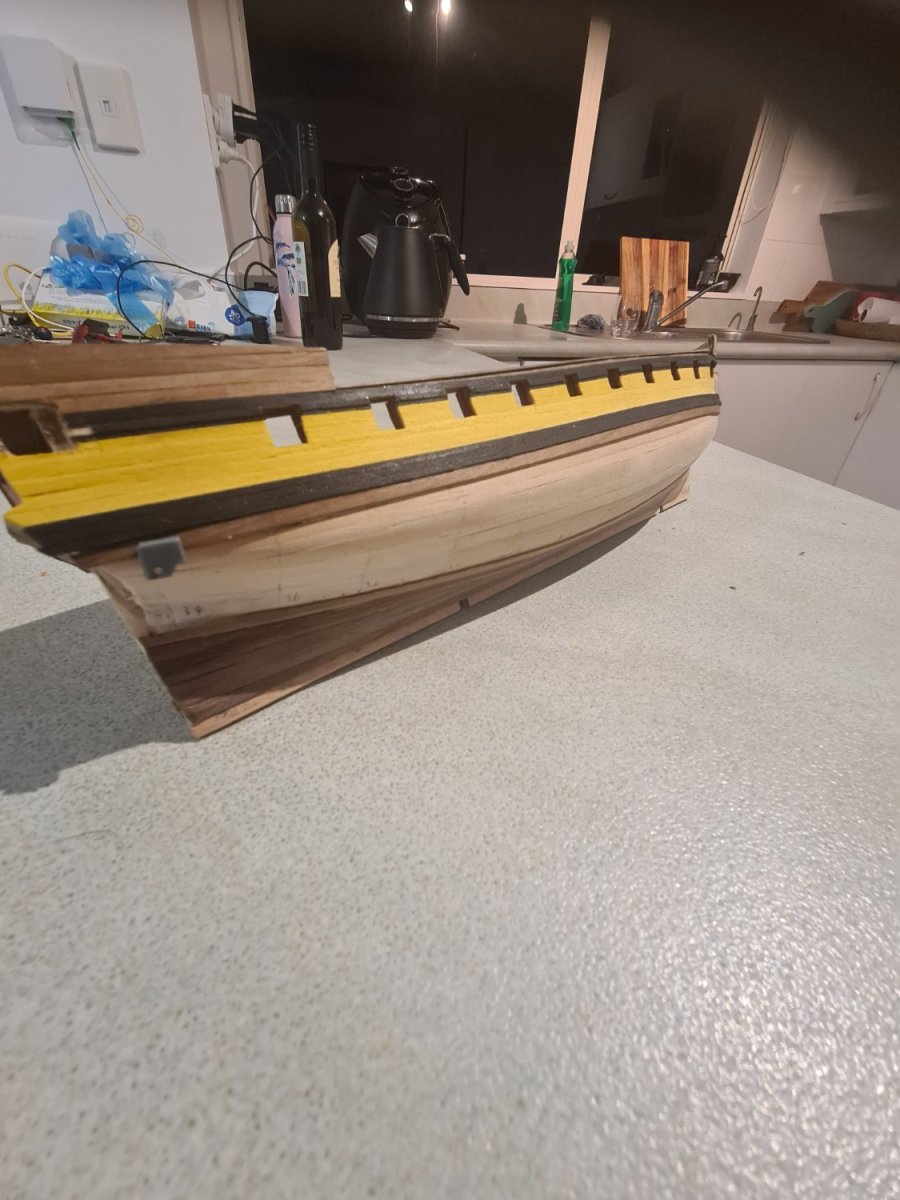
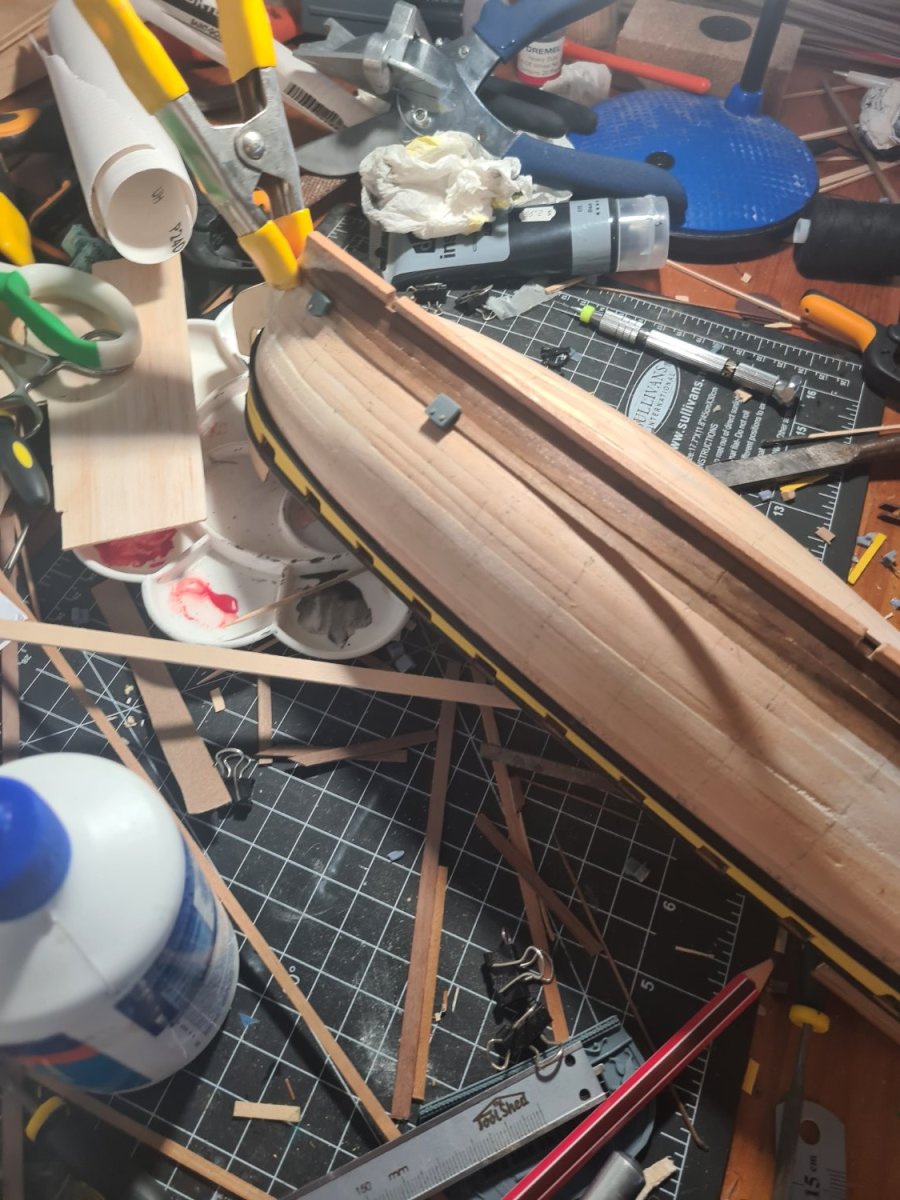
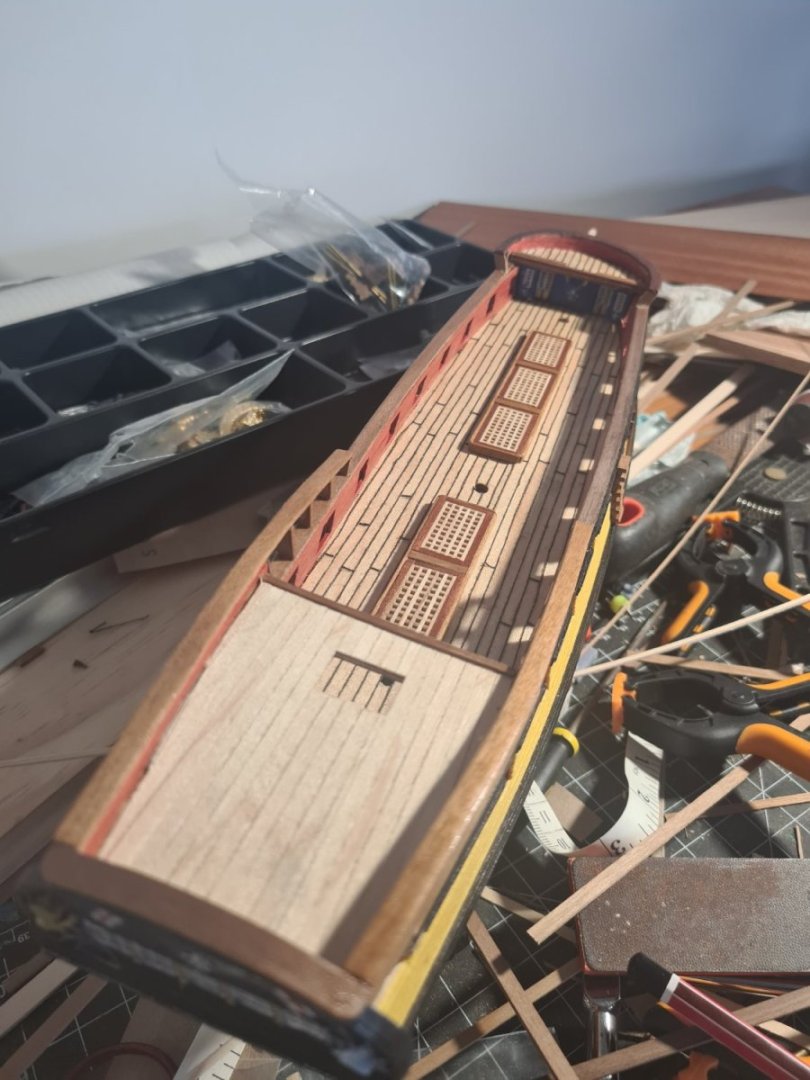
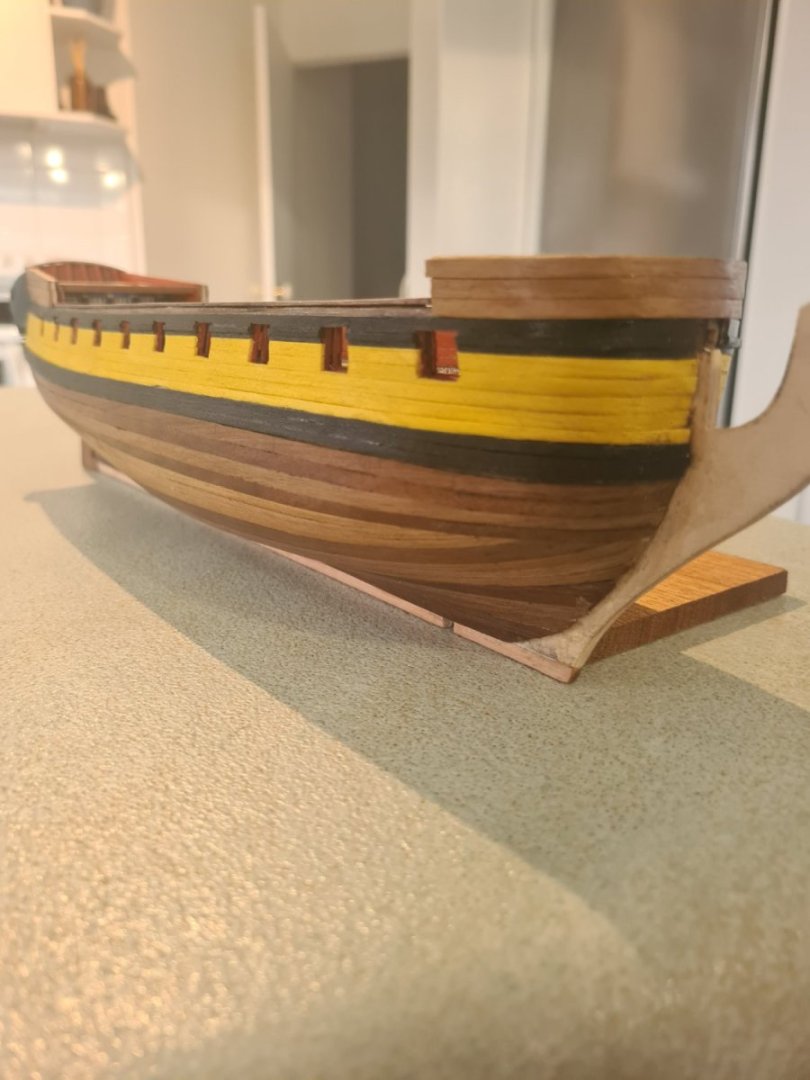
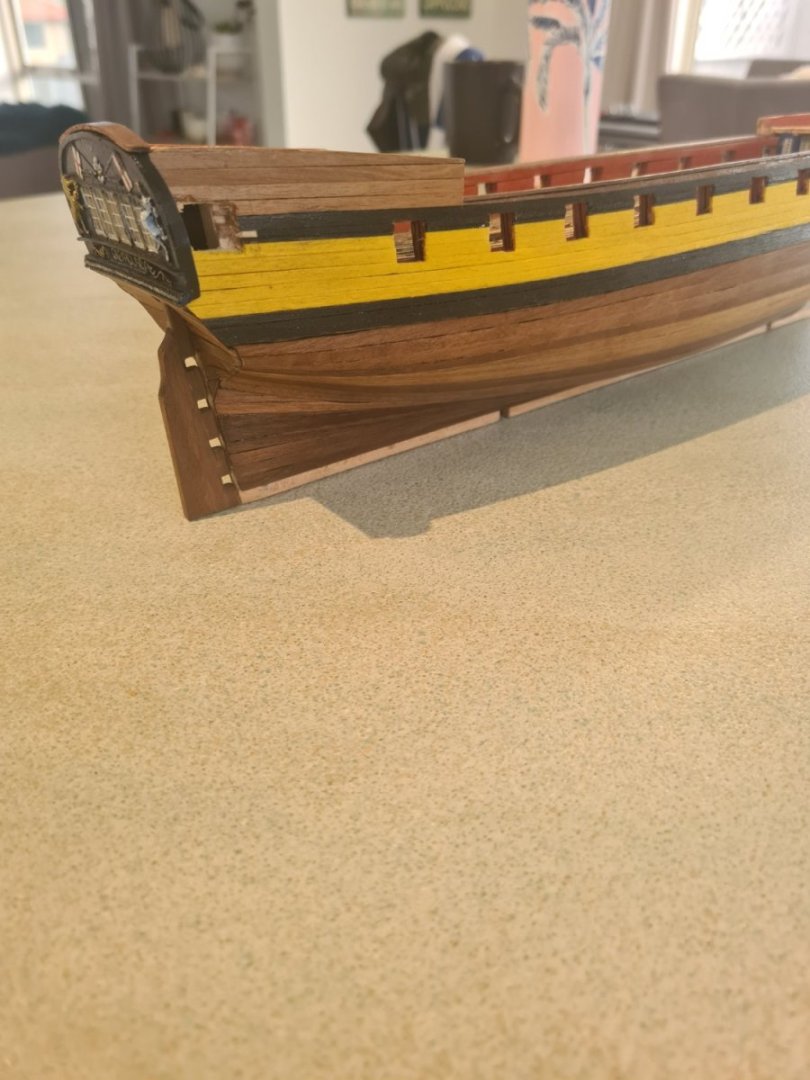
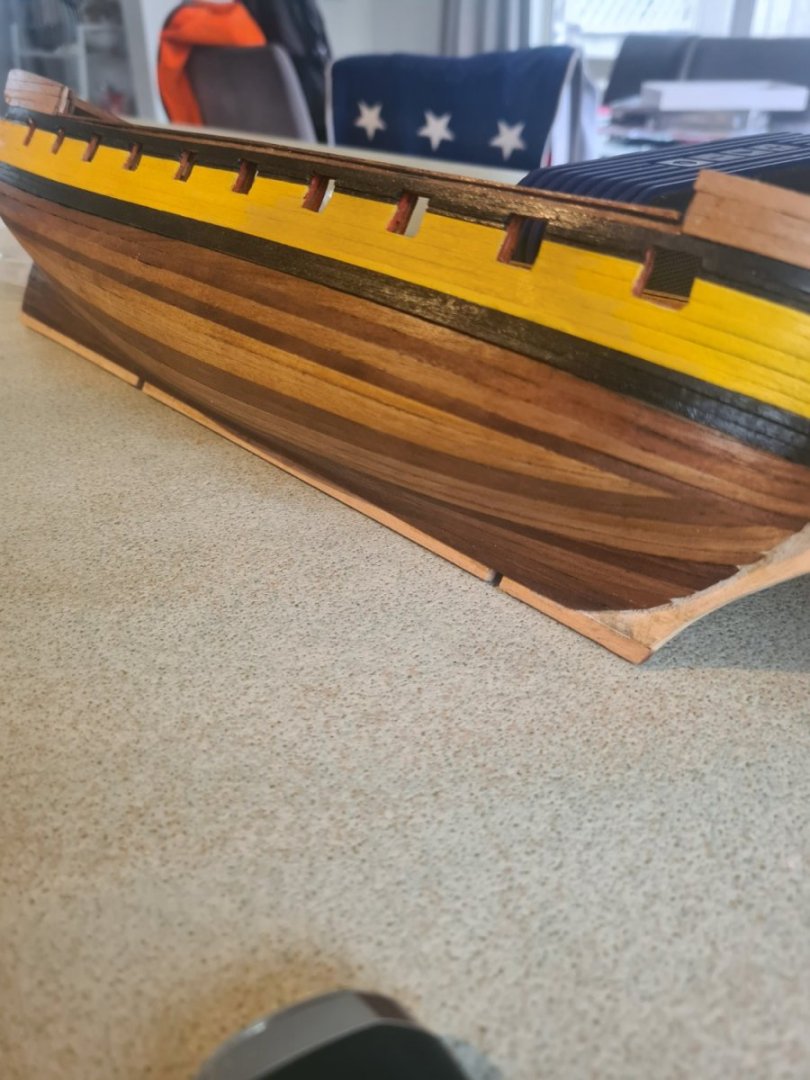
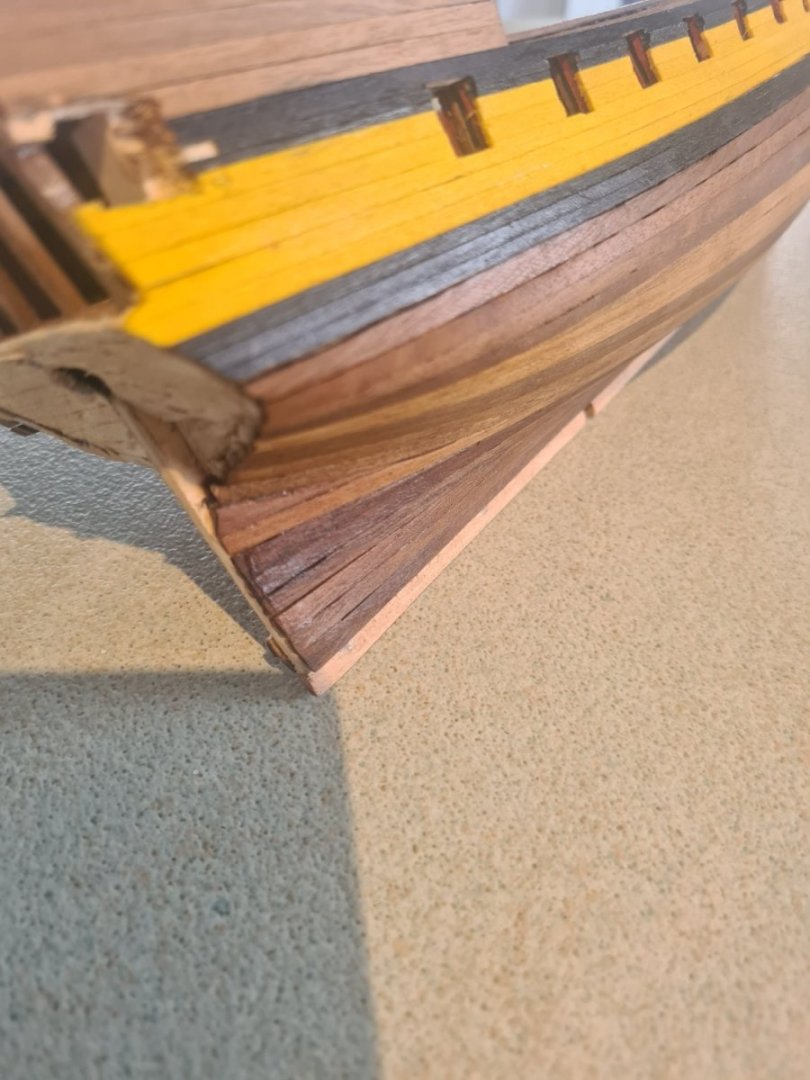
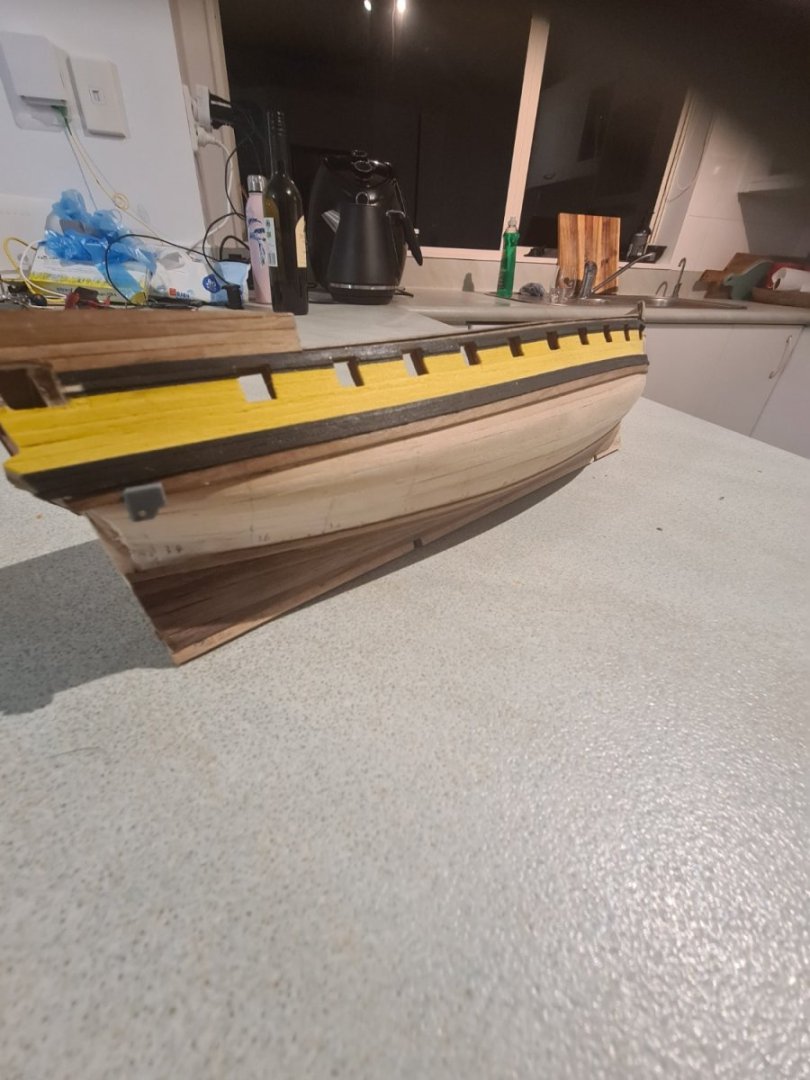
Finally the double planking is finished and I had some problems with the stern. Next model I will twist the double planking up at the stern like real modellers do.... i was following the drawings in the kit but in this case don't. I really like the shellac finish on the walnut so can't decide if this should be painted or not... might just keep going for a while and make a decision before rigging. I'm moving onto the rest of the rails and I'm going to make 3d printed knights heads as the ones in the kit are rubbish. And still need to do the quarter galleries. Also photoing your model is really quite hard... need to learn more zbout getting good photos

-
Double planking finished on the Greyhound with the walnut 4x1mm strips. And sanding well underway One question those little holes between the strips what's the best way to fill them for paint finish? I've been collecting the sanding dust and can mix with pva for filler or just use small pieces of plaster potentially or small pieces of walnut? What's the best tried and true method of fixing up these?


-
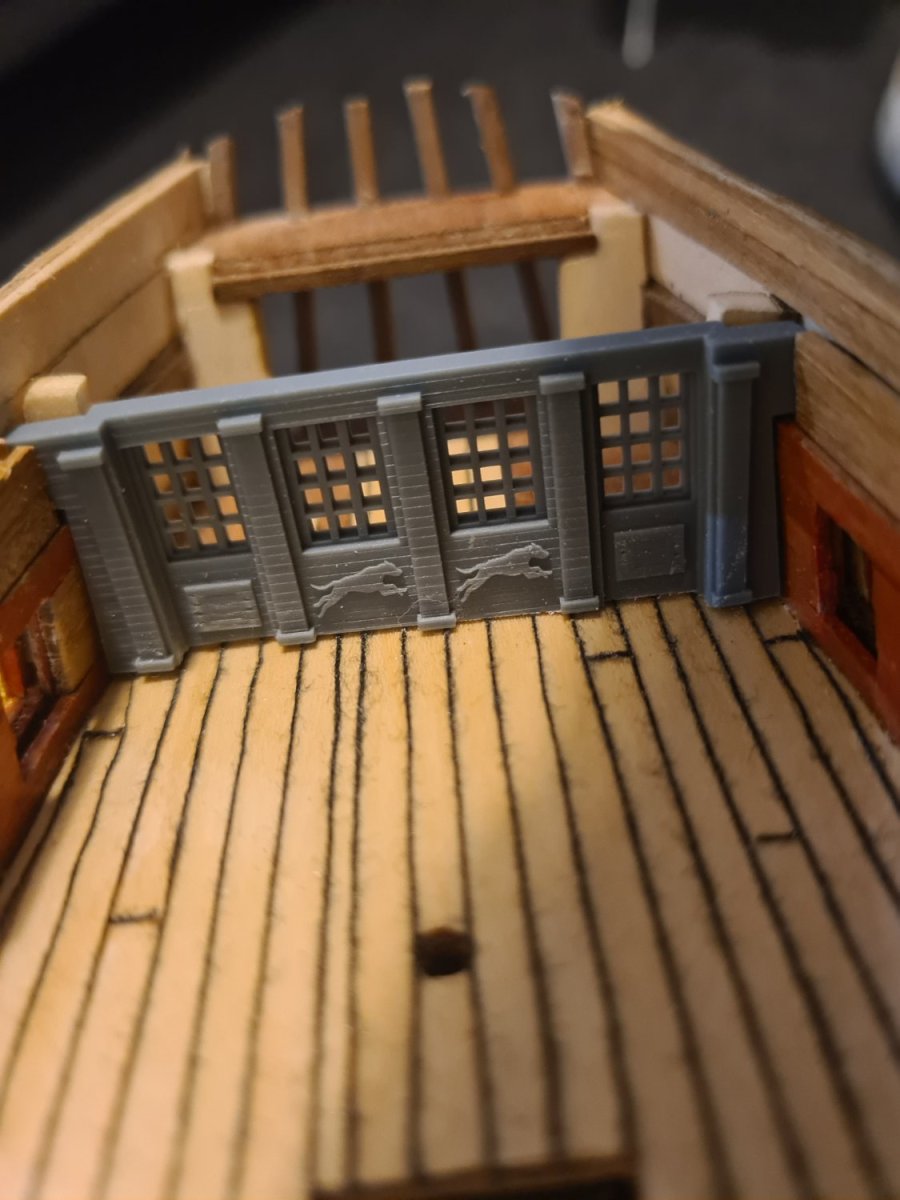
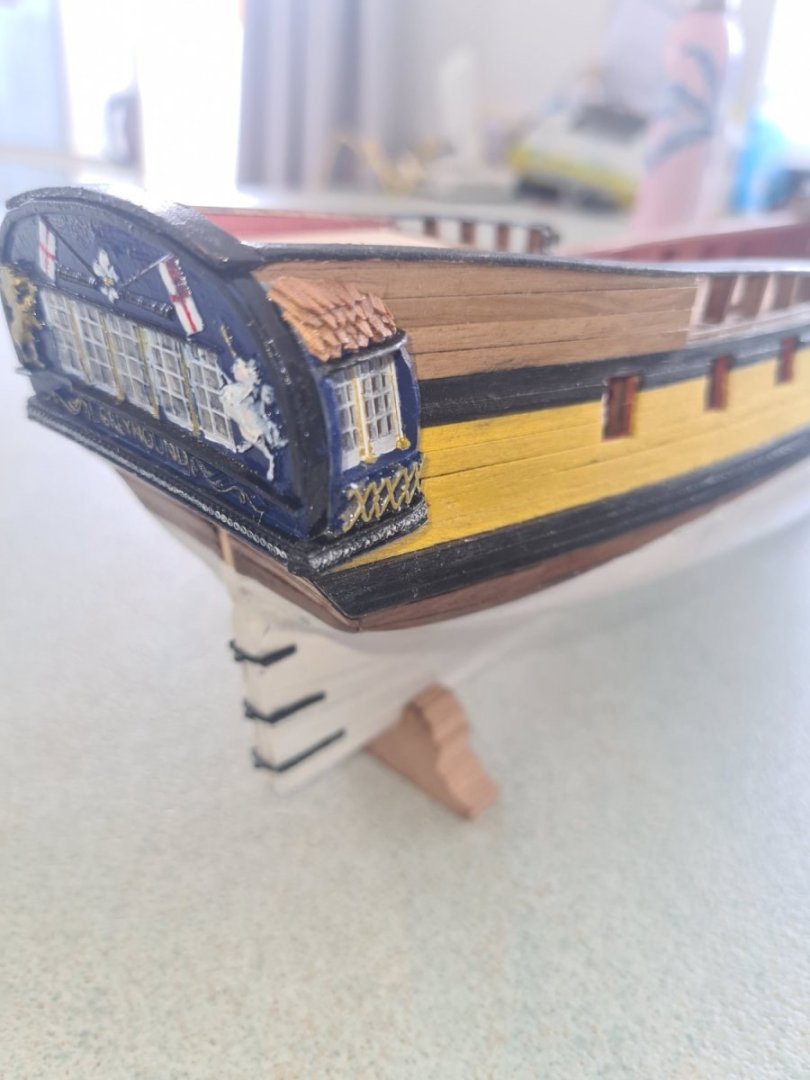
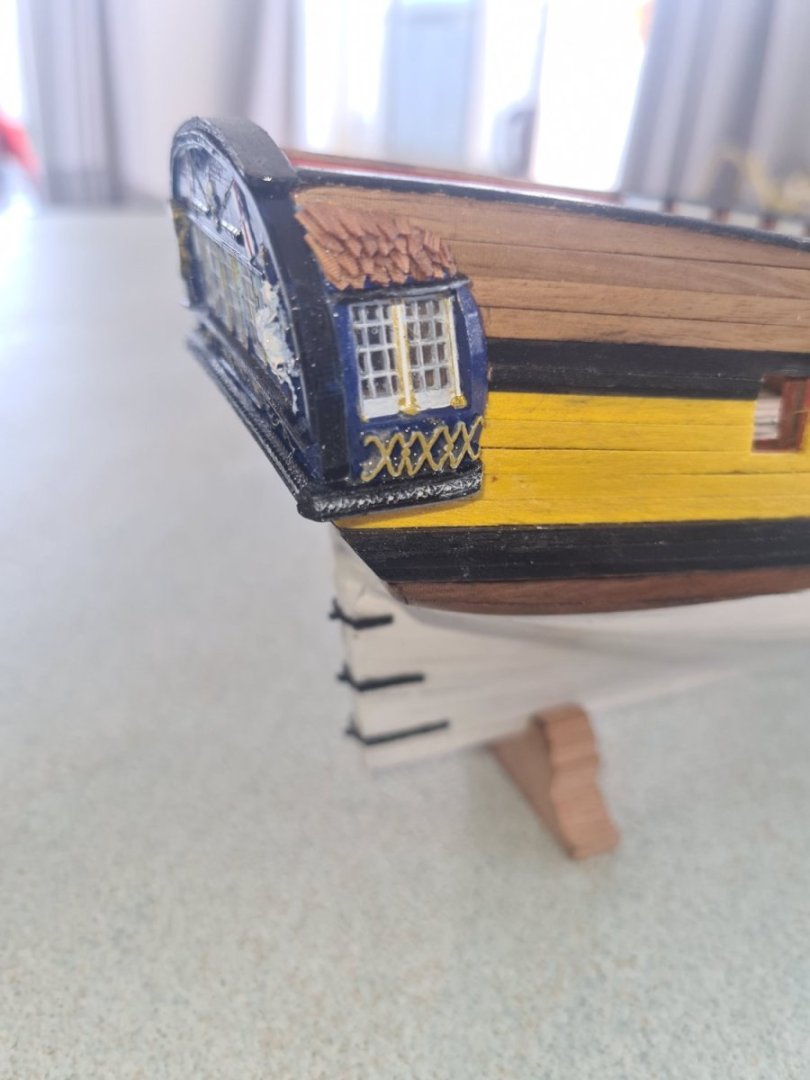
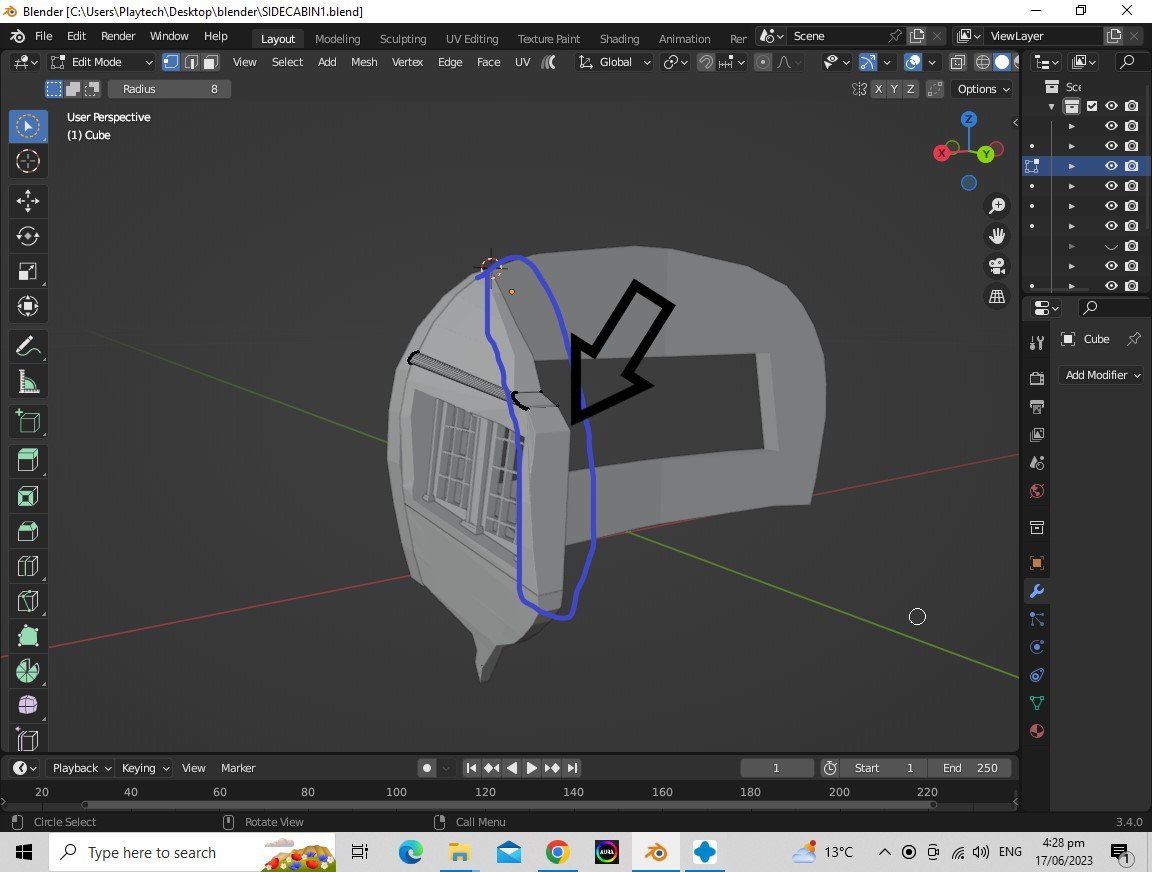
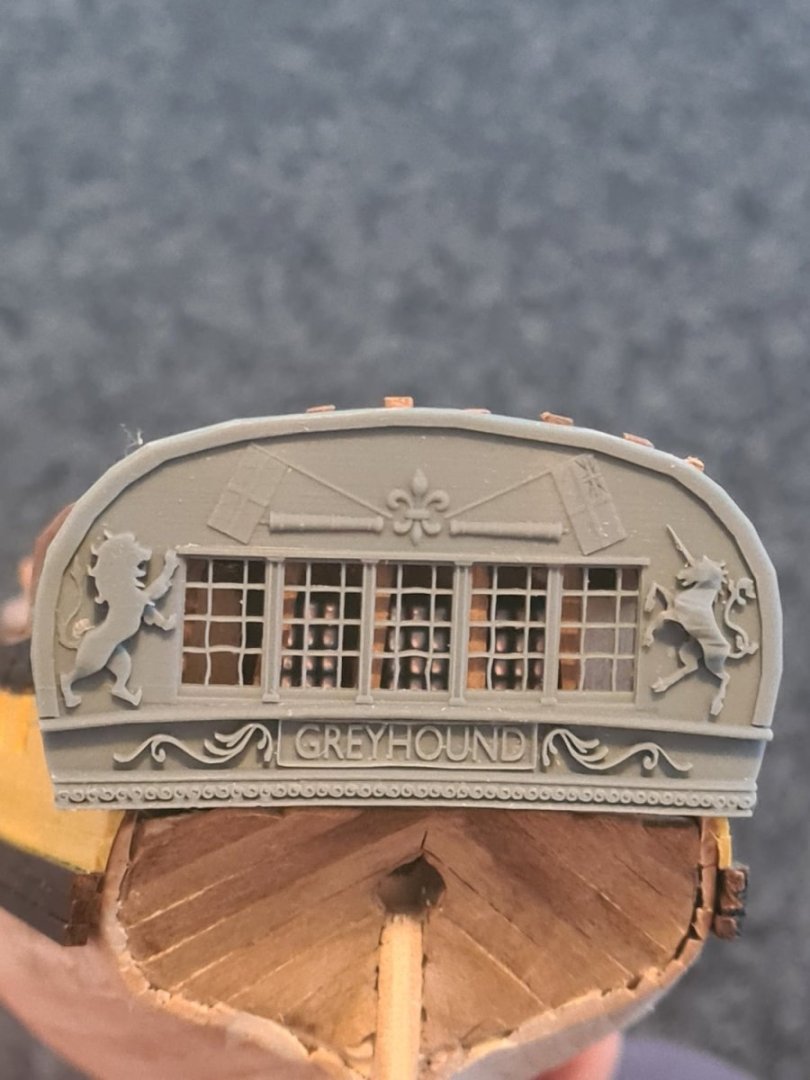
So the lights slope backwards and the pillars as well taking the same line as the stern... but not sure about the curve back comment. It could be more pronounced on my model... mine is quite tapered. I am thinking I will finish this mark two version and print it off and see how it looks otherwise it's quite a bit of rework to modify the curves again. It's a very complicated compound shape- partially a sector from a cylinder inclined and rotated but to add further curvature will be interesting to do in blender. And getting the trims to modify onto the shape also problem. Also will keep it as a quarter gallery as the kit piece is one not a badge so while it may or may not be historically accurate im just doing some kit bashing to selected parts of it.
-
Been making progress on quarter galleries part 2... much happier with the overall solid and shape plus the details. 3/4 finished now
.png.3a89c024f19a3c240a6069bd787ee30c.png)
-
Thanks that's perfect... I just realized I will need to start again as the windows are not recessed but seem to be more stuck on the surface of the curve from the stern and that embossed stars pattern I can replicated between some decorative beading plus potential to put some wooden slats on the top as well.
-
On the subject of quarter galleries... are they supposed to be keyed into the side of the hull or can it have some decoration on the front panel like some cherubs, scrollwork etc?
-
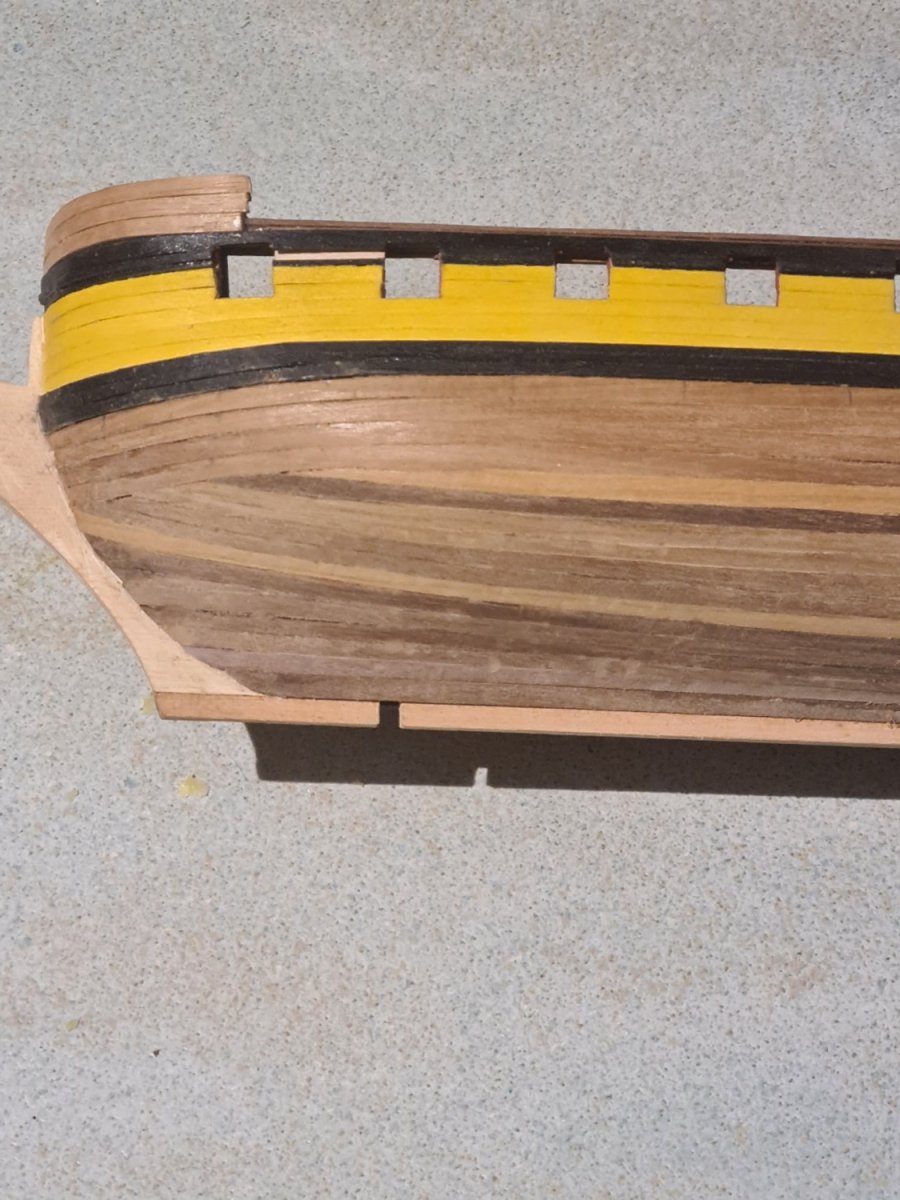
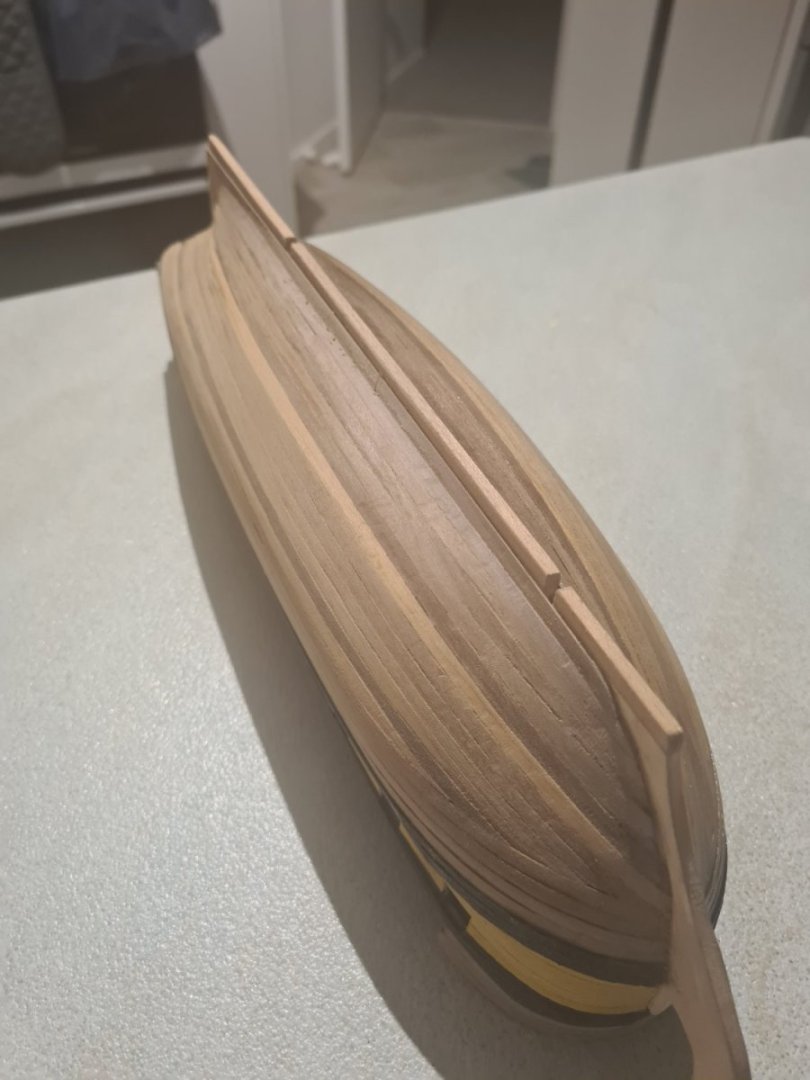
Finished the second planking on one side... moving to the other side. Question: what is the normal whiteish color for under the waterline for royal navy 1700's . Acrylic paint number

-
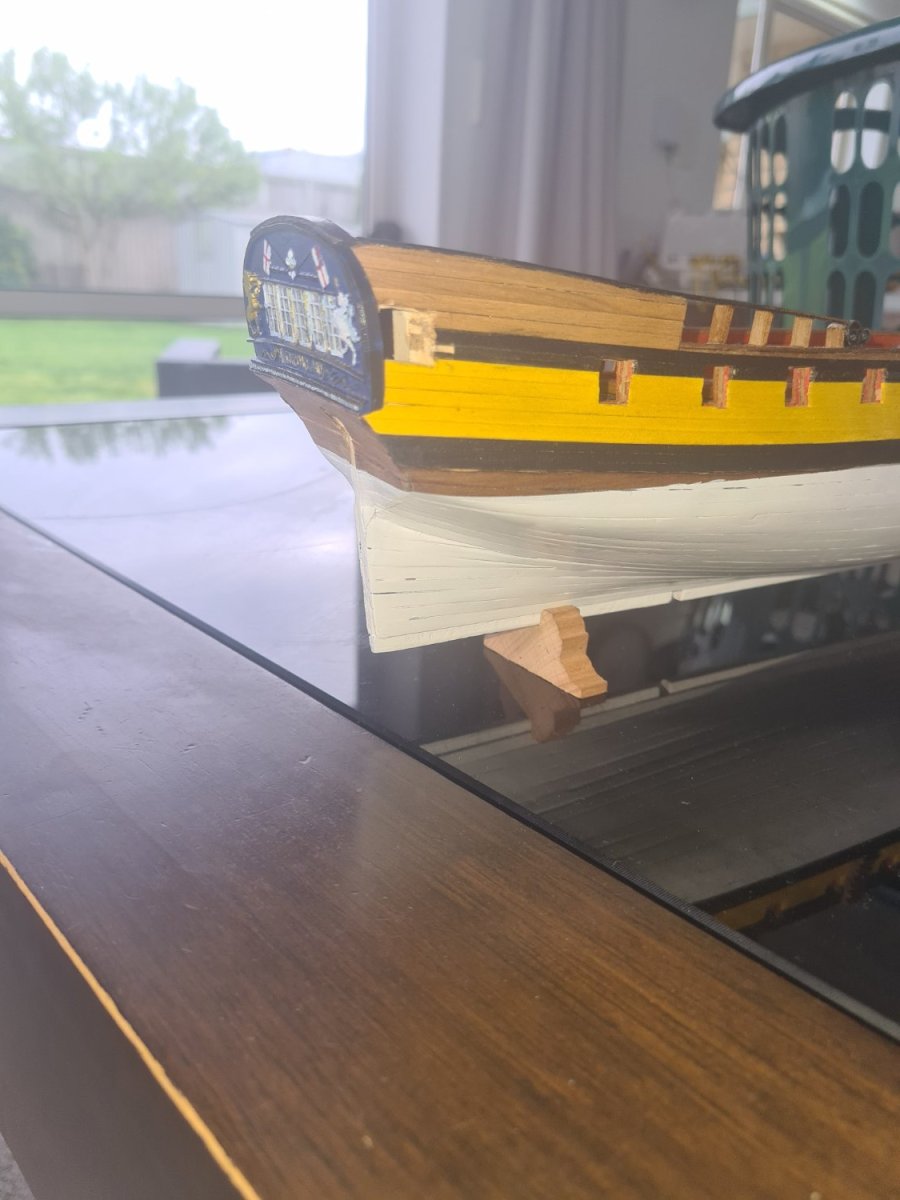
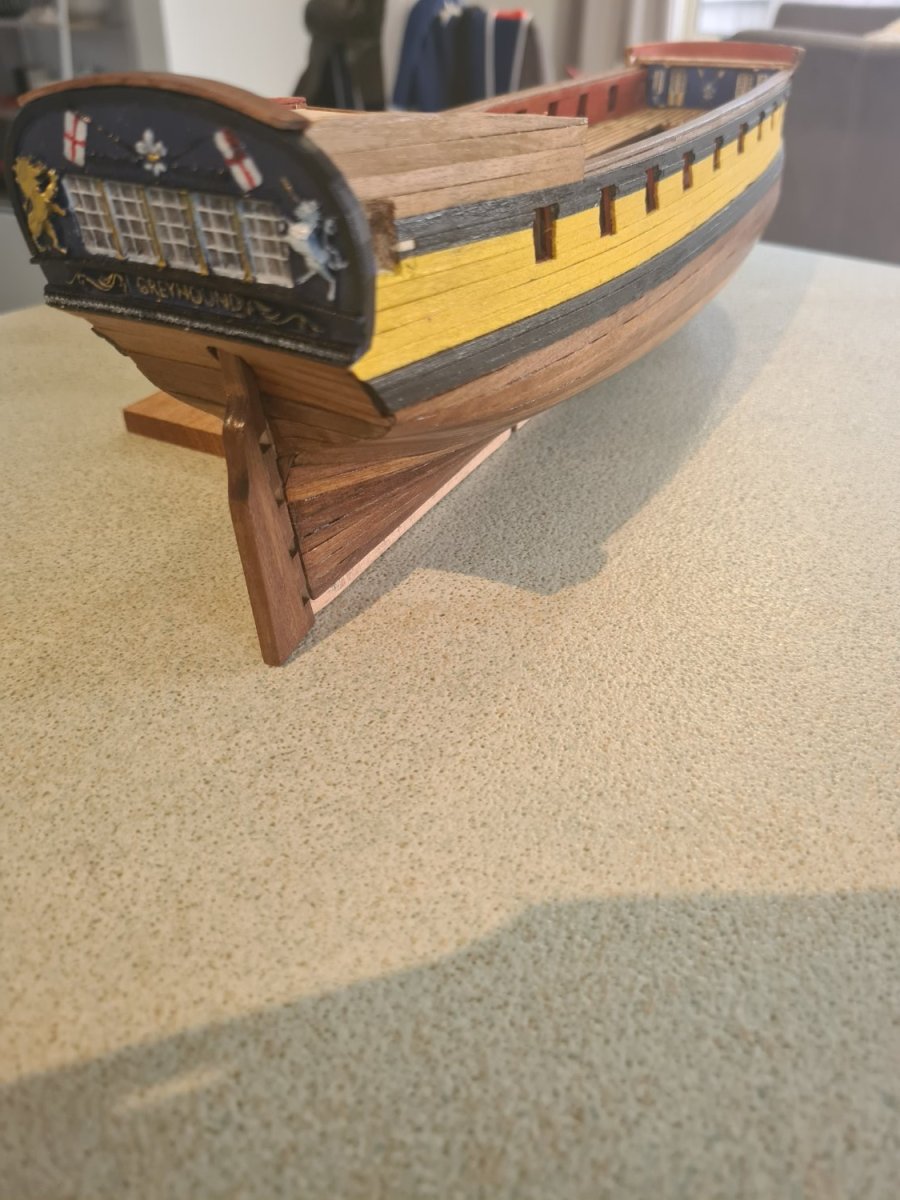
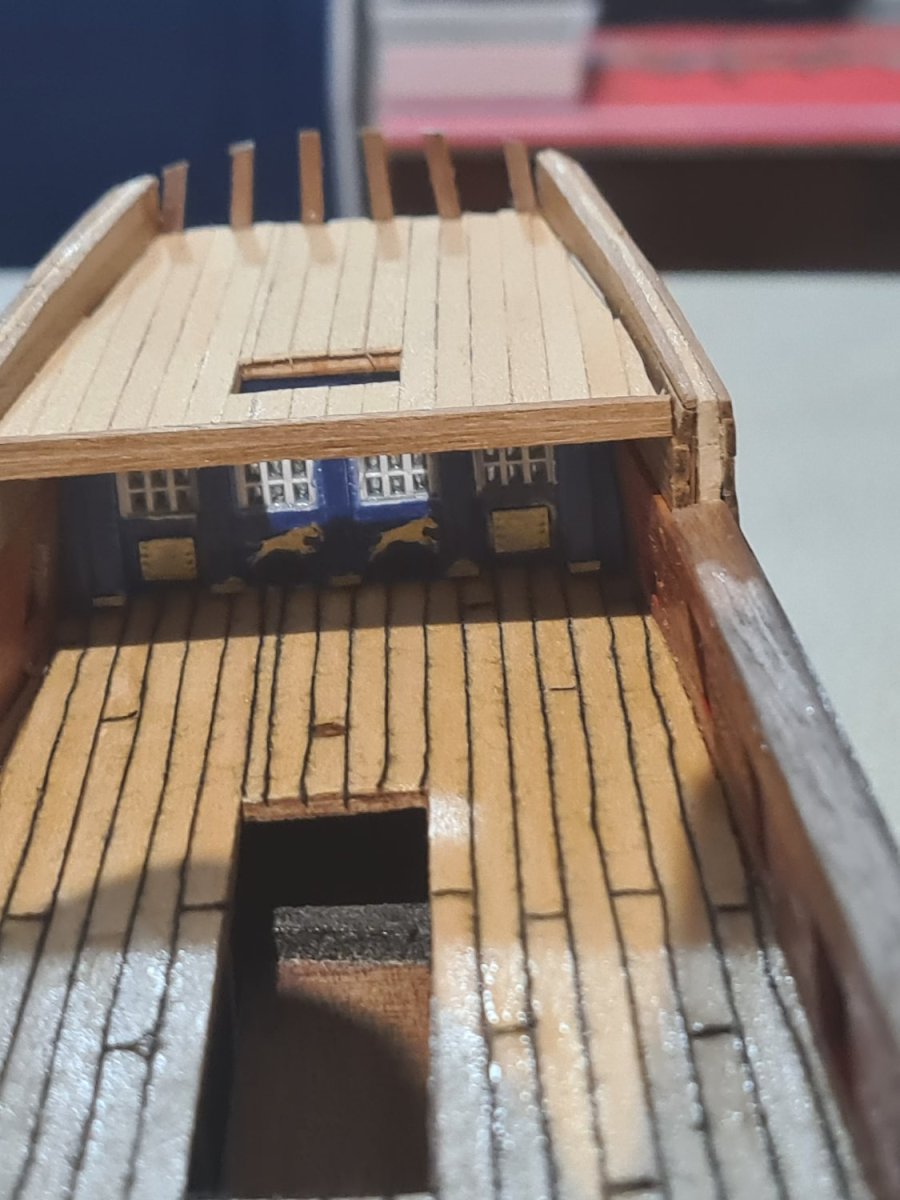
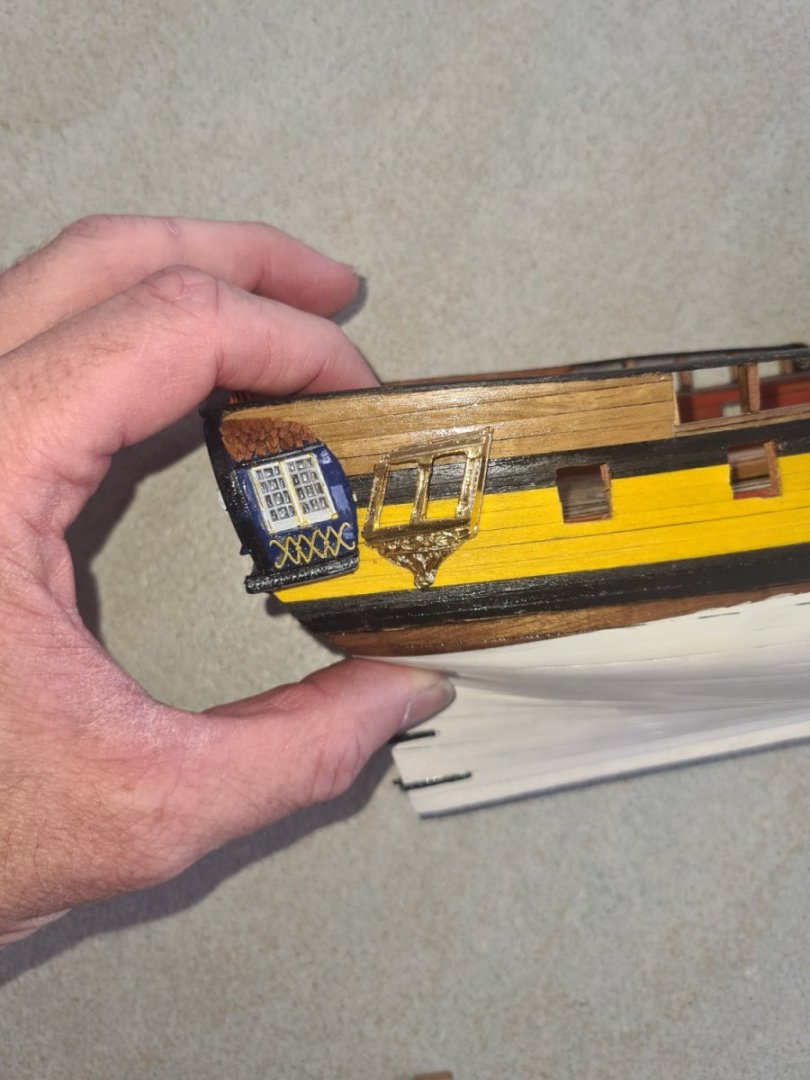
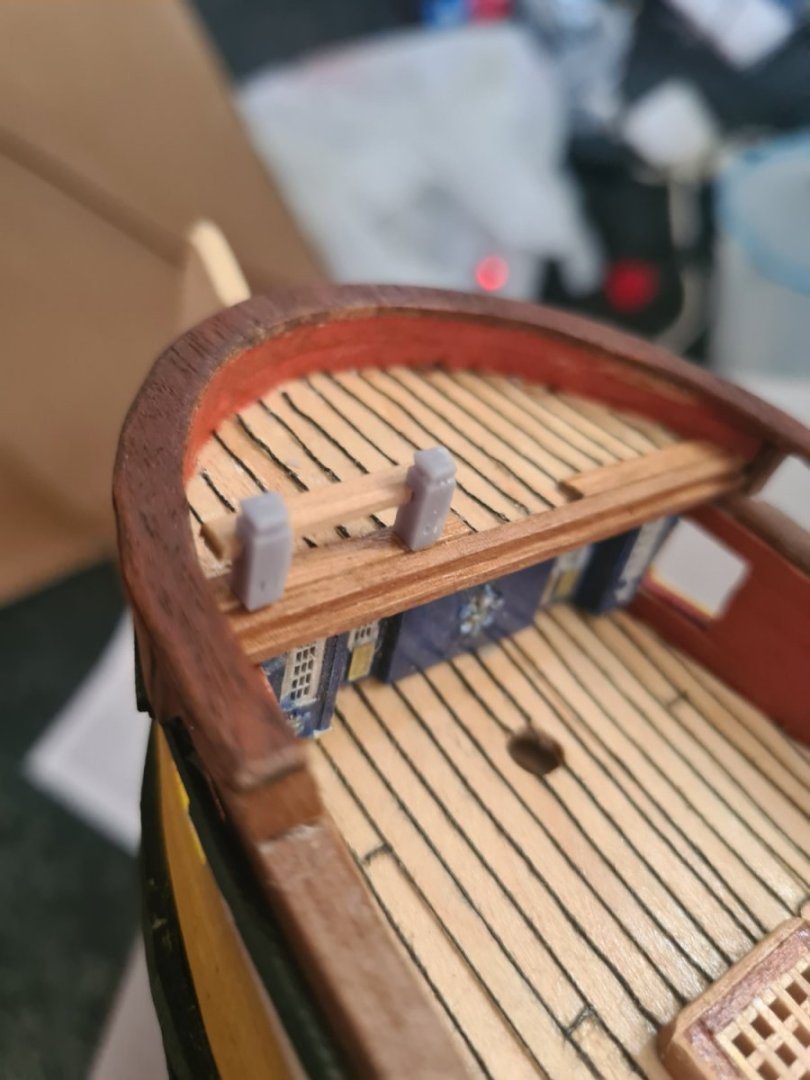
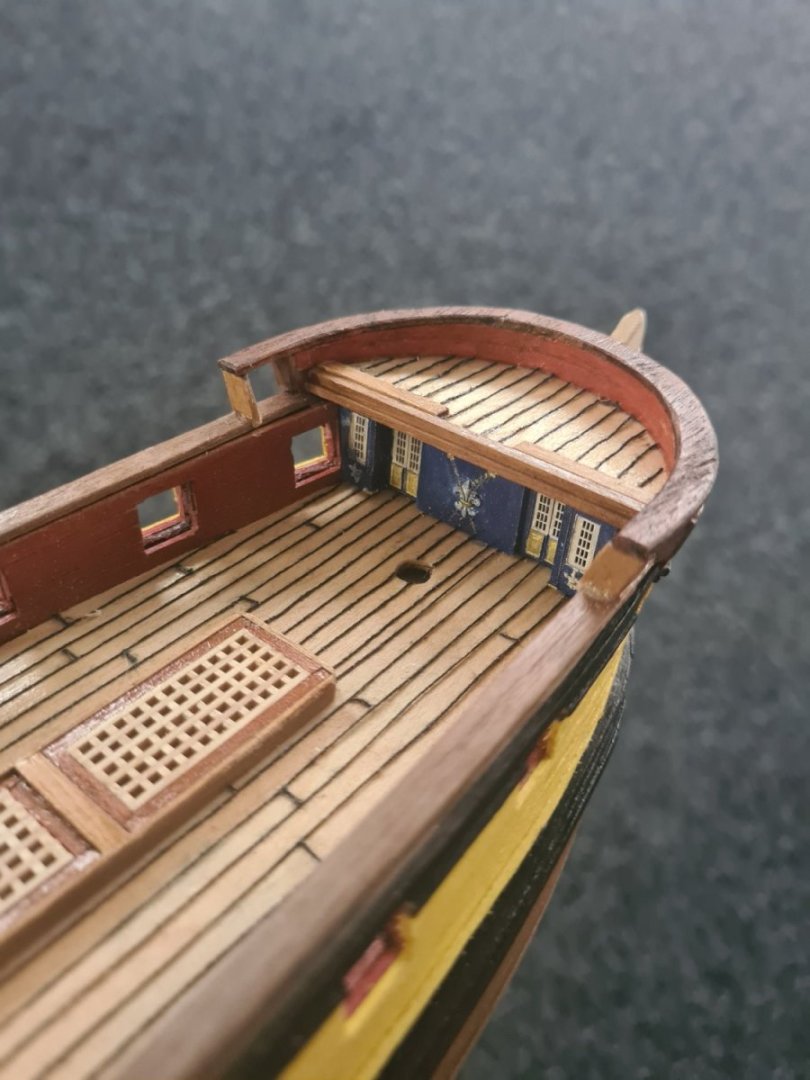
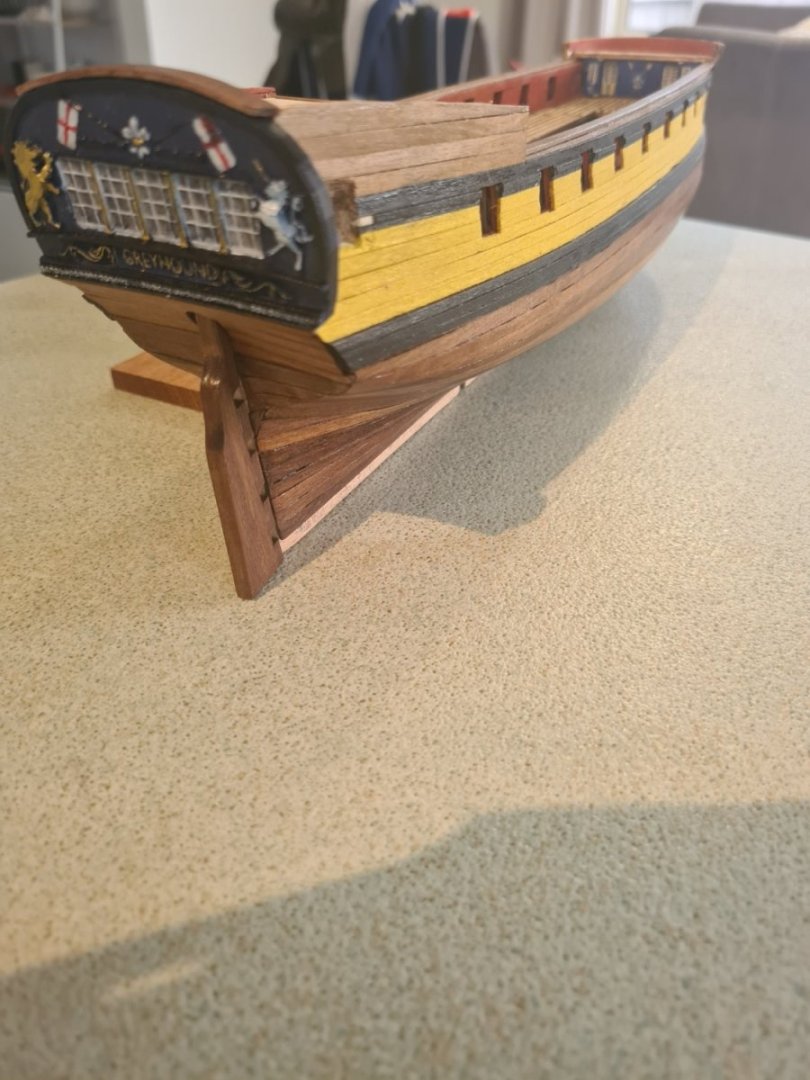
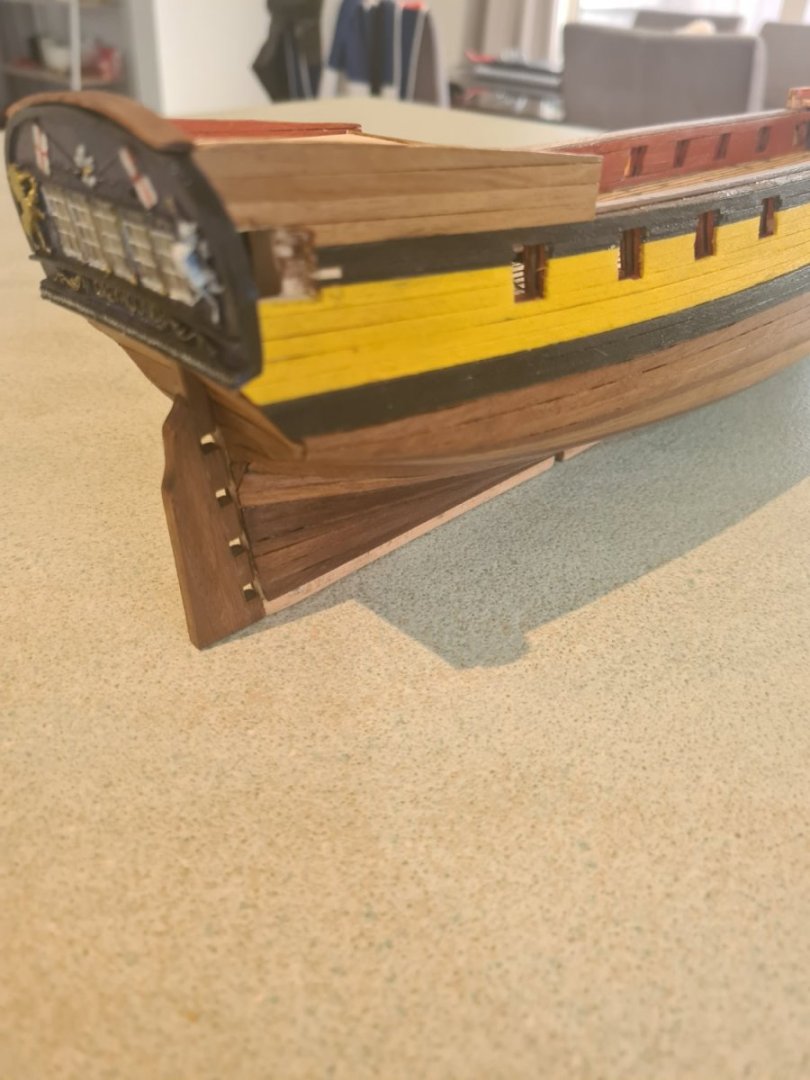
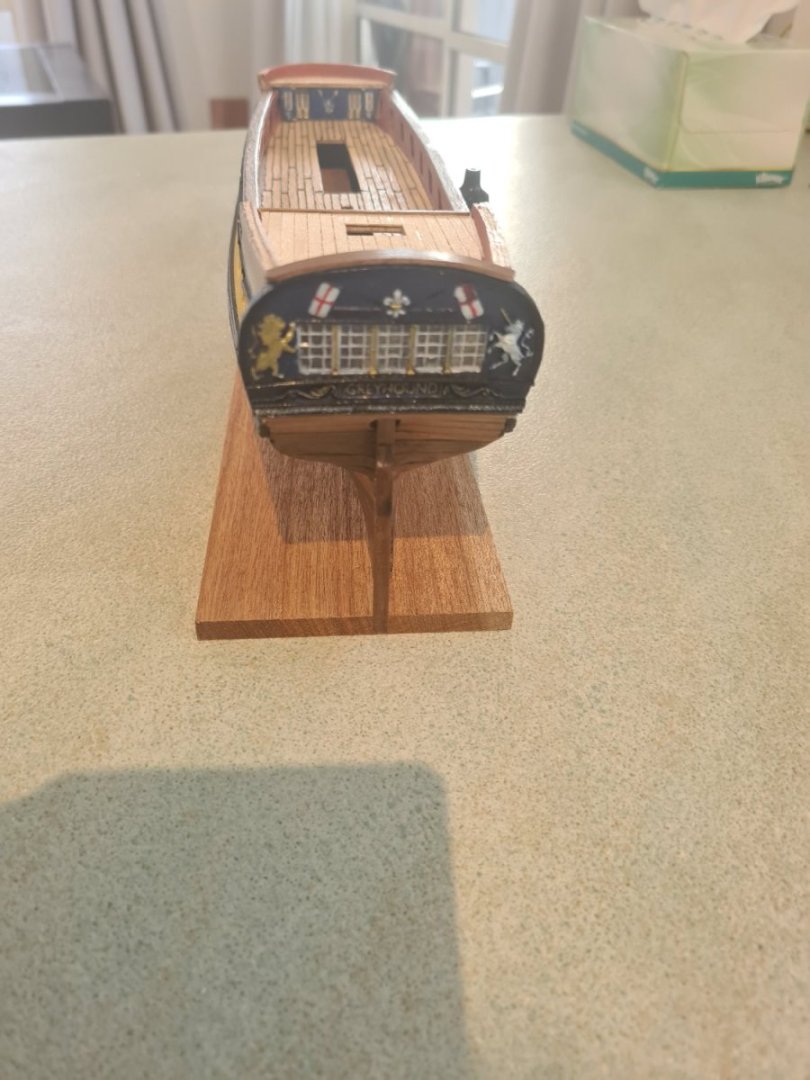
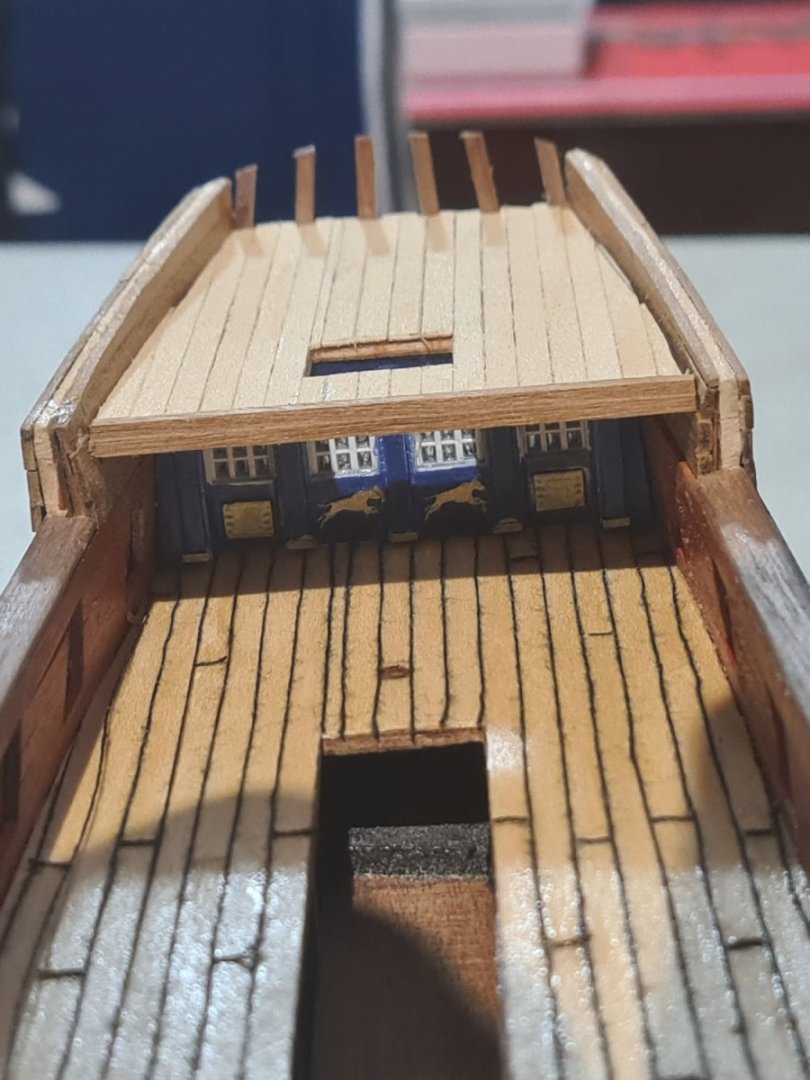
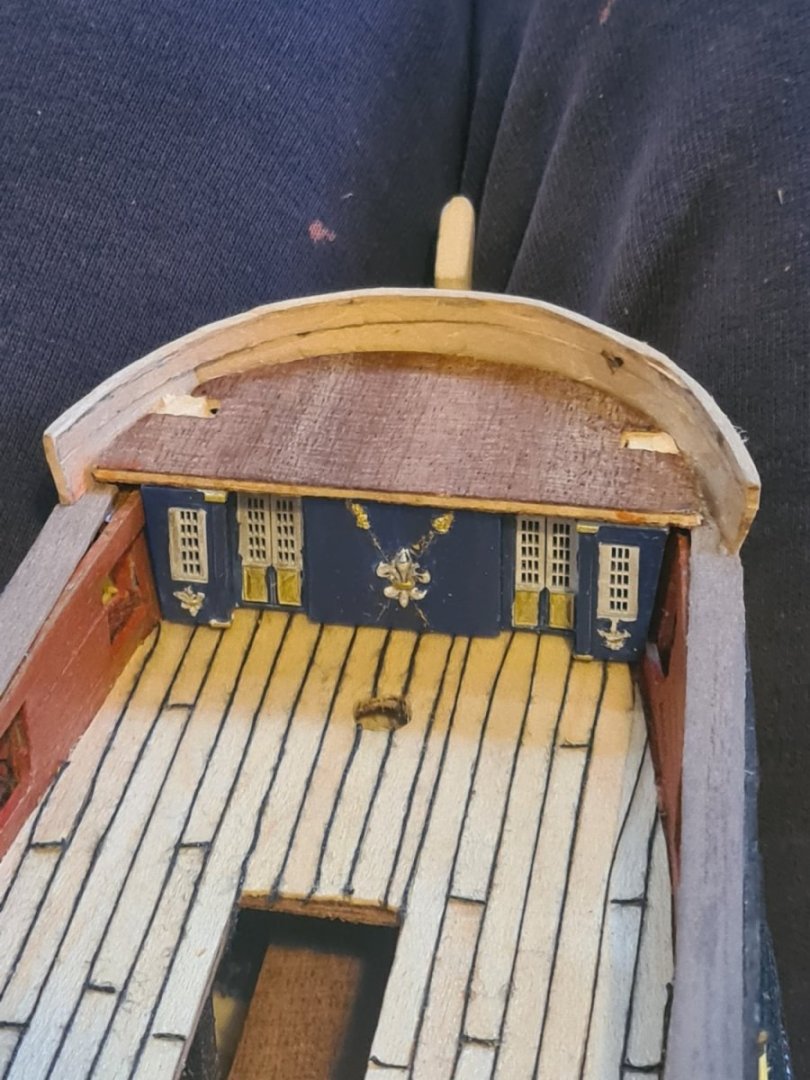
Wet and cold weekend here in Auckland perfect modelling weather. After all the printing and working on blender its been nice to get back to some wood and just using my hands to craft. And made a lot of progress. Firstly painted the cabins at both ends with blue, white and gold. Filled in the glass with micro Kristal and gave it some weathering with black wash to bring out the details. Then moved into the rails on the quarterdeck and the foredeck. Included is the tricky bend of six pieces of 3x1mm walnut around a half circle but in the end the wet paint brush and hot iron did a superb job of bending that wood around. A next have to edge bend a 5x1mm rail... not sure if that will work or I will have to cut it into peices. The quarter deck rail will be three pieces that cover the stern piece of printing I did. Waiting for paint on that before getting it in there. Finally the second planking is well underway... the extreme cold today around 10 degrees was not setting the pva very fast so I was giving it a blast with the heat gun to get it to go off. Switched to CA for the last plank before bed tonight. All in all a good days work in the model


-
Hi... I've been printing in 4k and at scale 1/100 alot of the features you can add in solid works or blender won't print out or will be so tiny the human eye can't see it properly let alone paint it. The smallest feature you can see and paint is about 200 micron which is 5 layers of 4k or 10 layers of 12k. Also holes or penetrations tend to close up under a certain size because of the resin even with washing in ipa. I printed a few pins with a 700 micron hole and closed up with the phrazon 8k resin I was using last week. Just keep that in mind at 1/180 scale everything very small or print it out of scale to accommodate. Like you I am very keen to keep pushing with the resin printer for things like surface wood finish etc as you can print out things no one can carve out by hand.
-
Wow I stepped up to the expensive resin phrozen aqua 8k grey and the print quality is amazing! Also bumped the temperature upto 40 degrees as it's pretty viscous. Normal layer exposure time 1.4 seconds and bottom layer 15 seconds. It's straight onto painting now for these. I am going to fill the windows with the micro Kristal clear. im working on some vertical volutes for the railing in blender with wood pattern as a detail plus the stern will be printed in the fancy resin. And I can progress with the second planking in 1x4mm walnut.


-
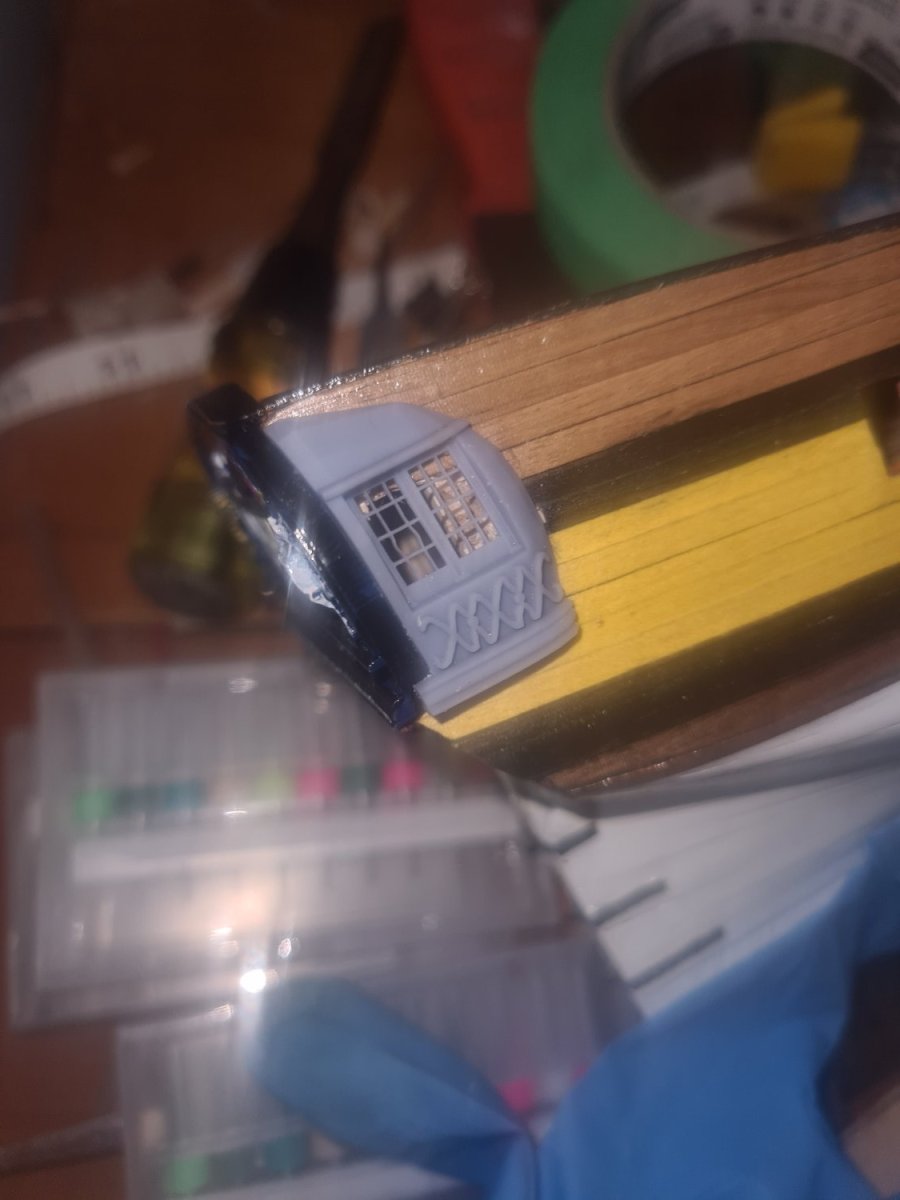
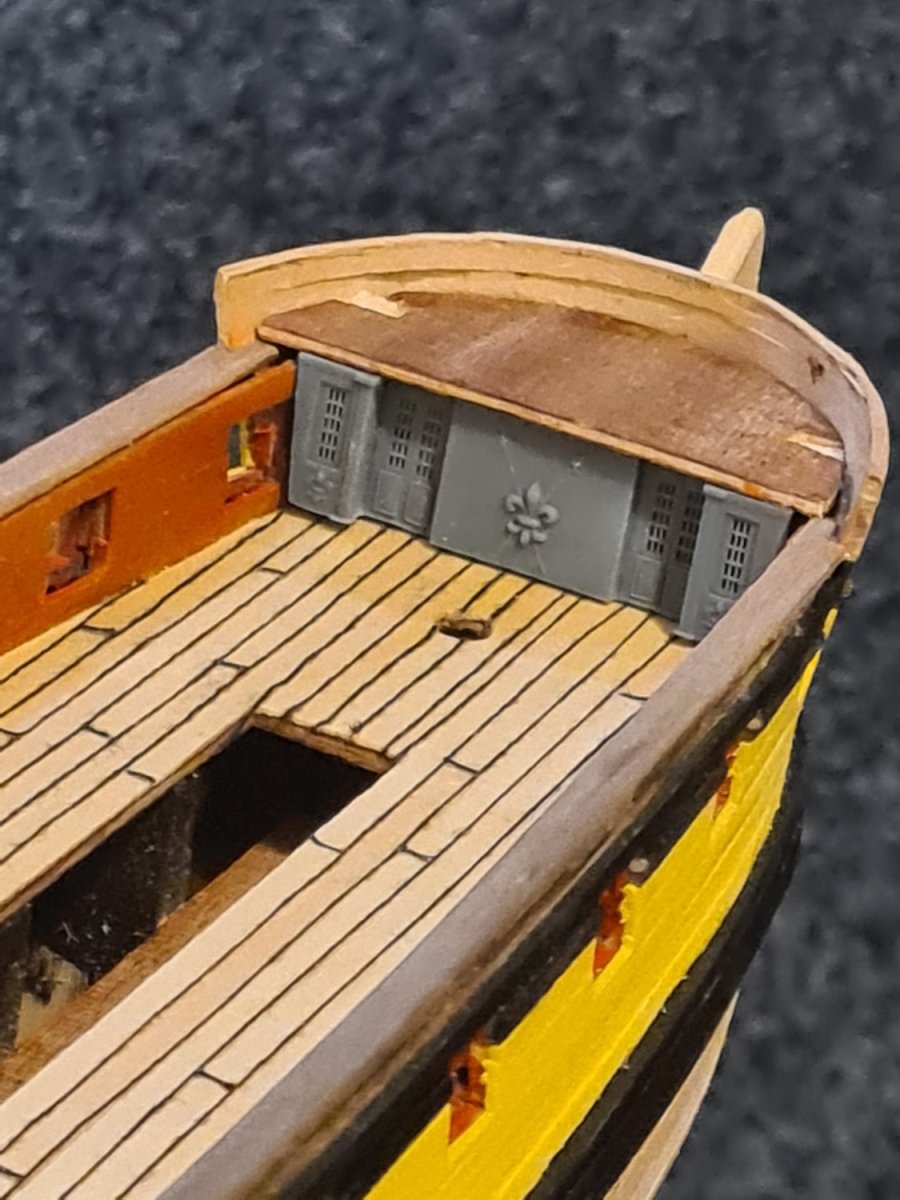
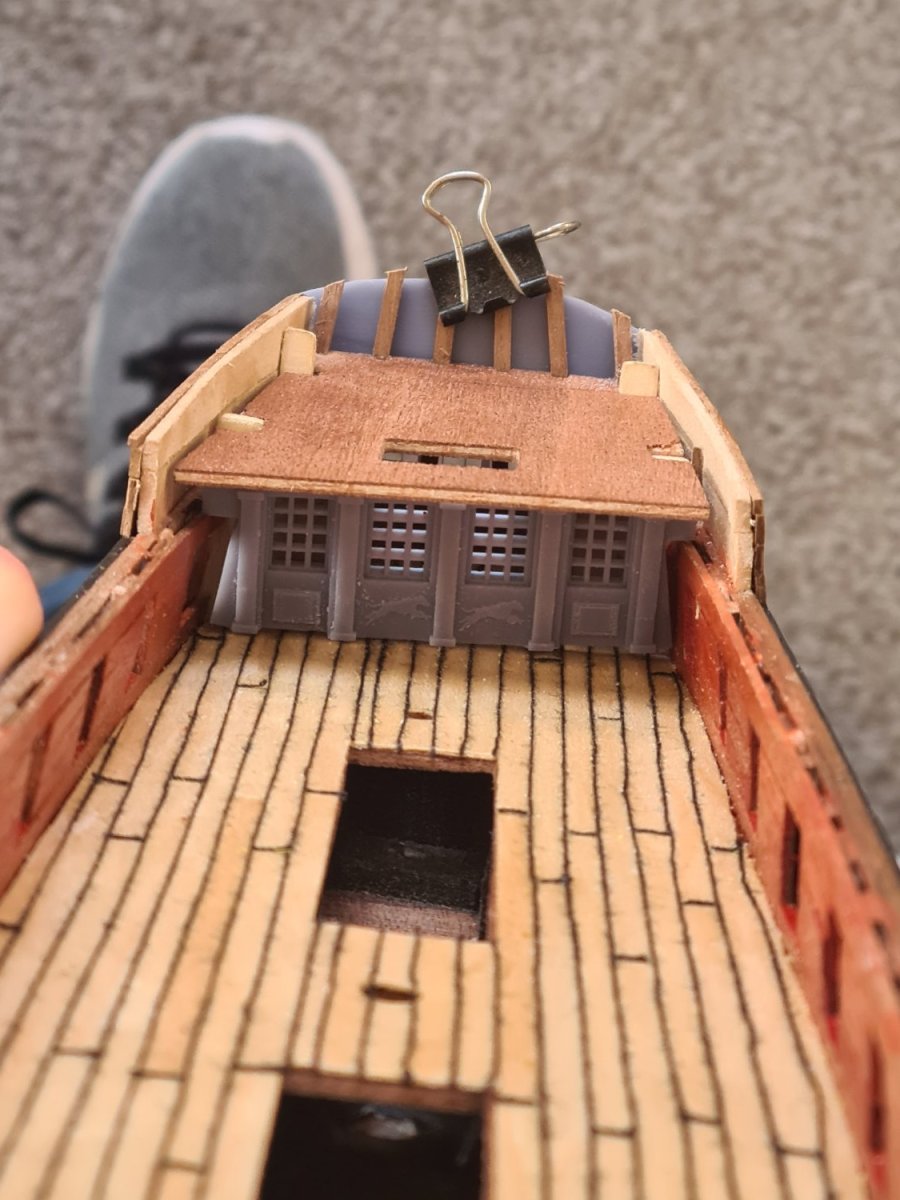
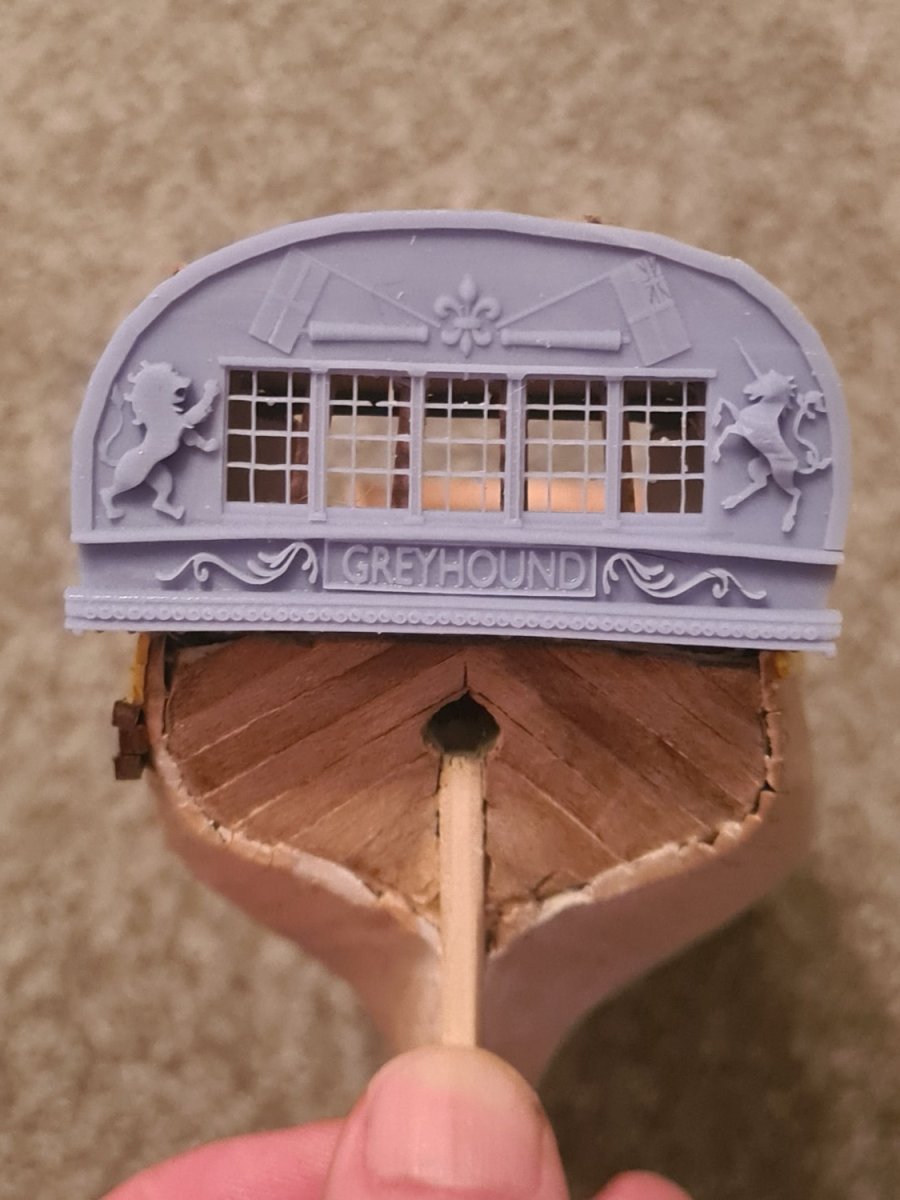
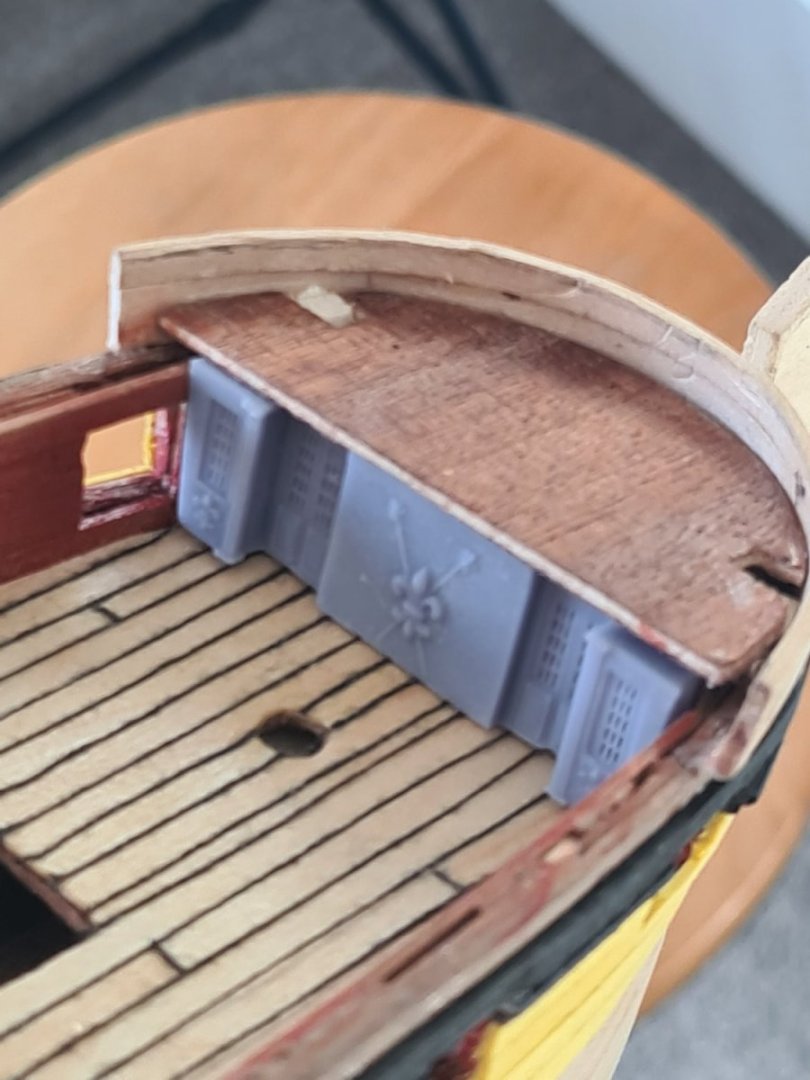
The quarterdeck cabin facade is 90% complete, I just need to size it a bit better before I go to paint on that. And the foredeck cabin facade is better but I need to round it a little bit so that it fits the deck properly. I worked out I can print them together on the same build plate at the same time which saves some time in the printing. To be honest I want to get back to doing some wood now.. i have had enough with the plastic at the moment.

-
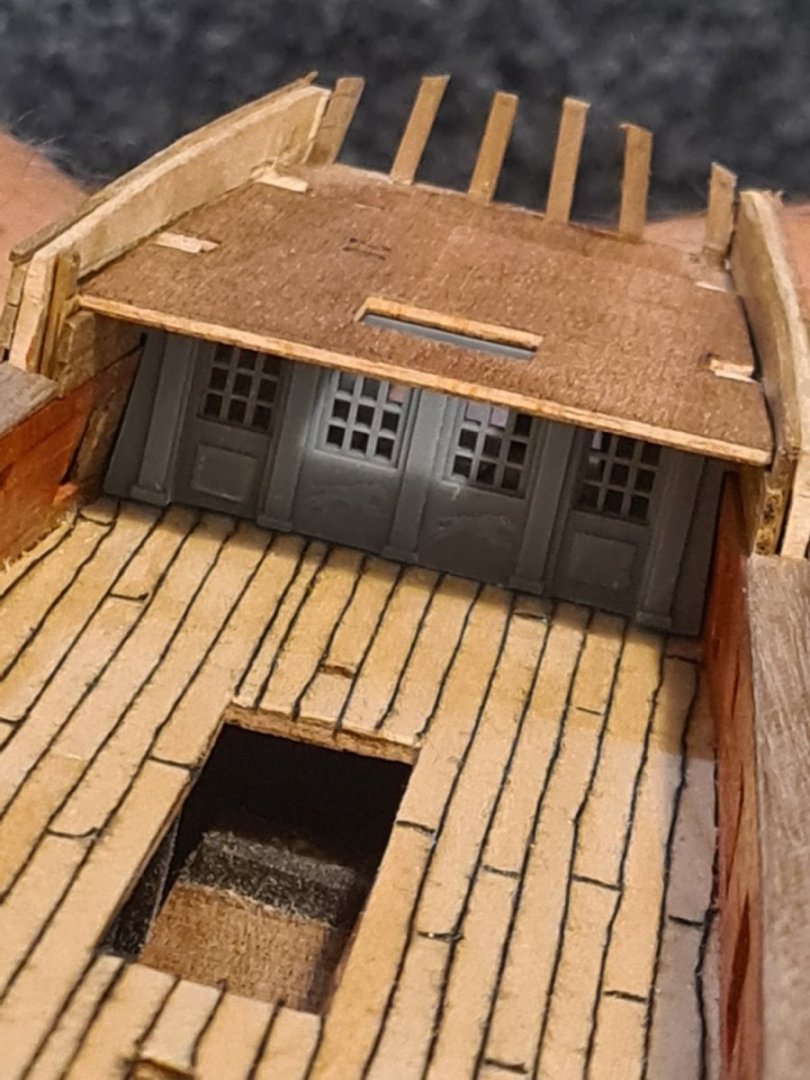
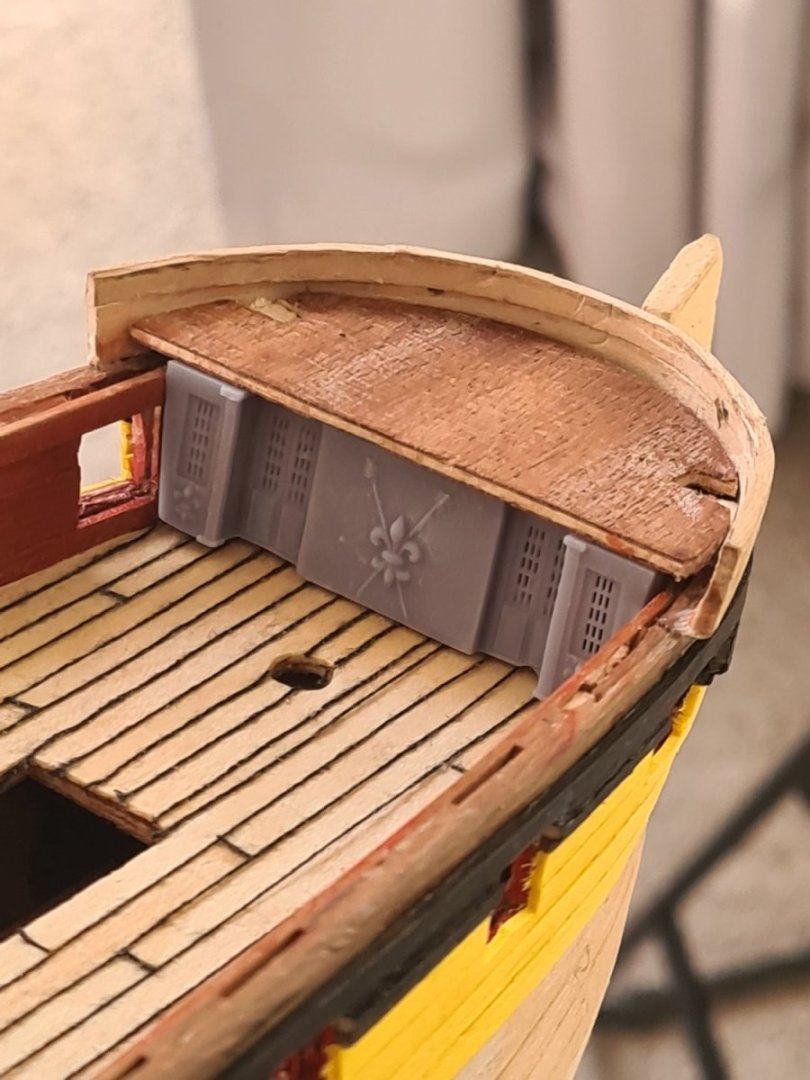
I've been working on the forecast cabin which will be tucked under the forecastle deck. Again the blender skills make it a long process but this time I made a dense mesh and cut out the windows using a boolean modifier... it seems to make better stl files back to chitubox ready for print. The design is based on the 1710 design in the Goodwin book plus a few decorative elements added because I can... The final one will be the captains cabin facade on the main deck at the stern. Im hoping that one will be quicker.
.png.7d865c3955422199888789ea07247f08.png)
-
I'm done... I've learned alot but there gets a point where you've done alot of detail and need to move on. I'm getting onto the forecastle area now. I've ordered some 8k resin for the final prints and these prints I can practice some painting.