


Paul Salomone
-
Posts
188 -
Joined
-
Last visited
Content Type
Profiles
Forums
Gallery
Events
Posts posted by Paul Salomone
-
-
Good morning to you all,

Hello Joe, Grant and Sjors; thanks for looking in and your everlasting support.
I had some spare time to do some more work, so here goes:
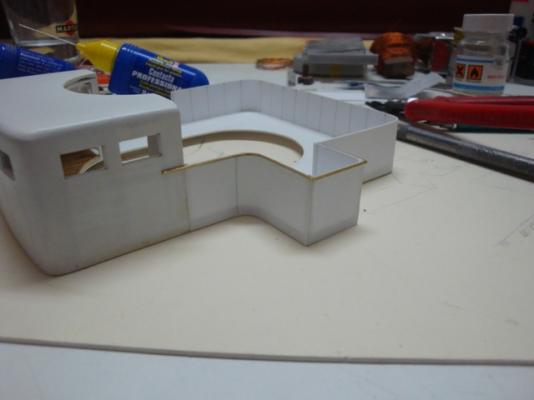
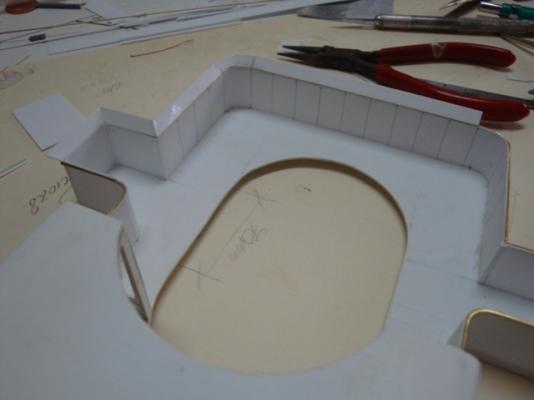
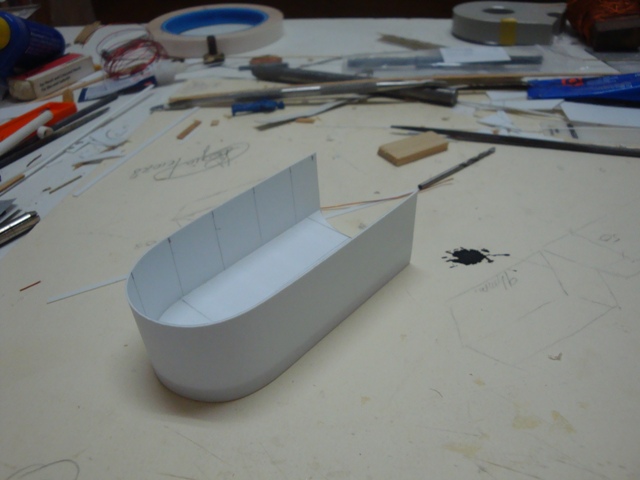
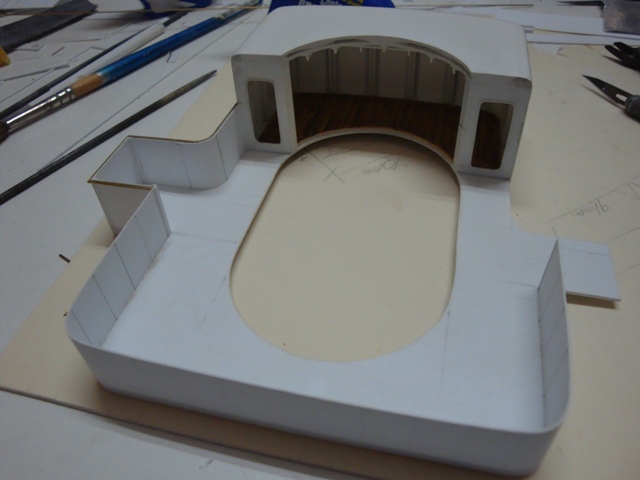
Obtaining the correct information is very difficult. Only on Monday evening I managed to get the correct information regarding the correct number and position of the observation platform support struts. Didn't have much to correct, and added more struts to get the correct number. But this is only the beginning, as the real detail is in the pipework that runs along the platform - especially the rain water drain lines and the communication lines.
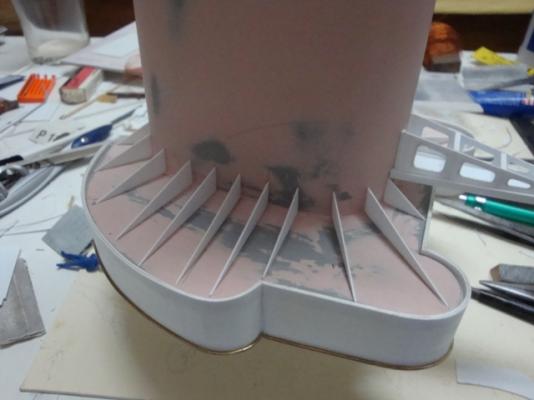
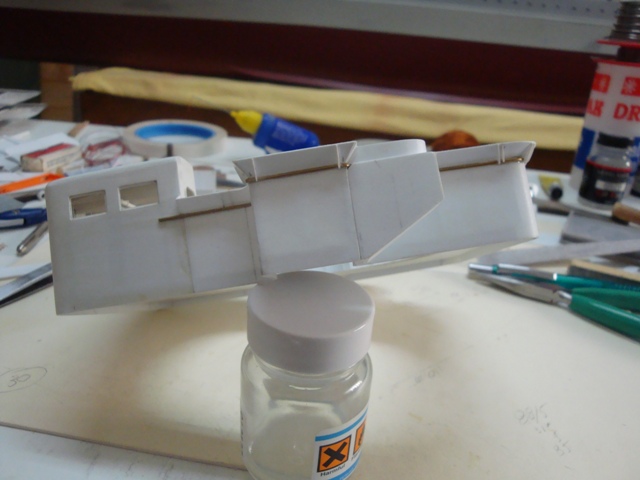
A view from the rear, showing the correct position and number of struts involved.

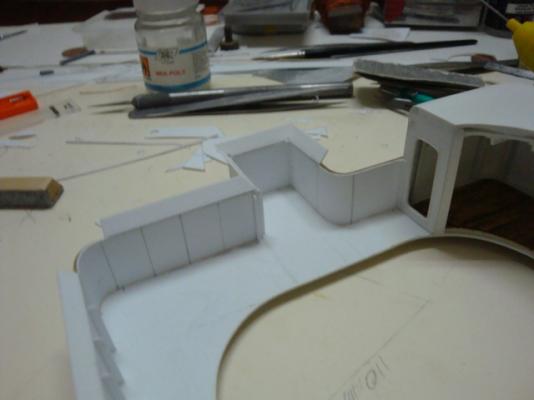
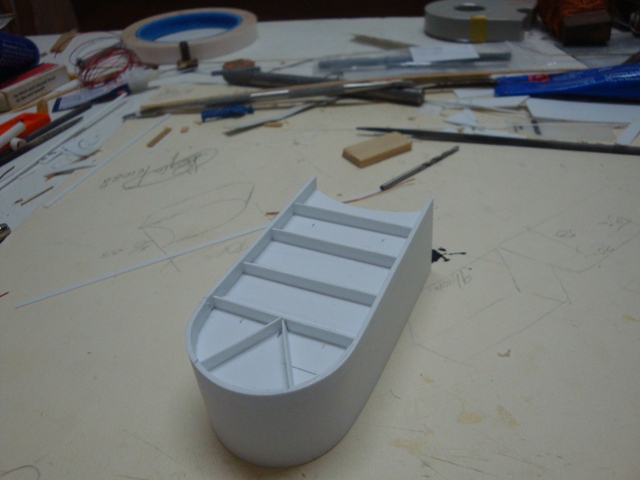
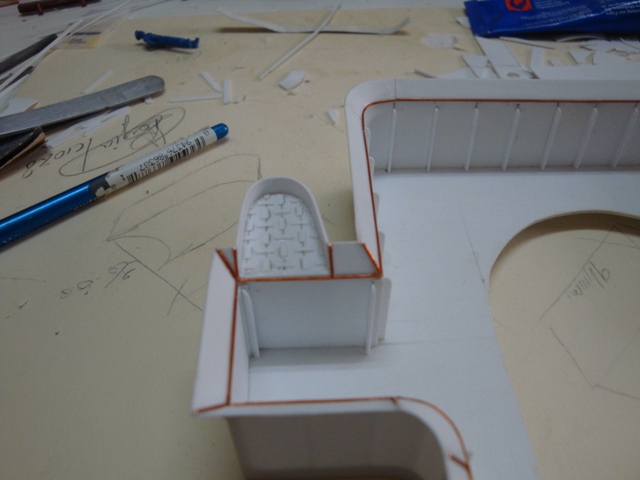
Starting off with the wind breaker shields, for the observation platform. Just one note on this. I am just fitting in the pieces, for the time being. When all the perimeter is fitted in, then I shall trim the shields down to the correct size and linear. For the time being, one shall see a lot of pieces fixed at random and not linear or equal.

A view from the front.
Progressing along the port side.
A view of the progress so far.

Shall post more pictures next Monday.
- Piet, Kevin and popeye the sailor
-
 3
3
-
Hello Daniel,
Beautiful - just beautiful.
-
-
Hello Yambo,
Thanks for looking in. Sorry to hear about your heart condition. But yes, after the surgical treatment, you feel much better and younger as well. My uncle, at the age of 72 underwent a quintuple by-pass heart operation. Now he is better then me.
So don't worry Yambo, think positive and look towards a brighter future.
-
Hello Kevin,
Yes right on - the admiral shall keep himself warm. Mind you the bridge was also equipped with central heating as well, and it makes sense, as the temperatures in the north Atlantic, especially during the winter period were sub-zero. I cannot imagine anyone stationed at his post in those conditions.
-
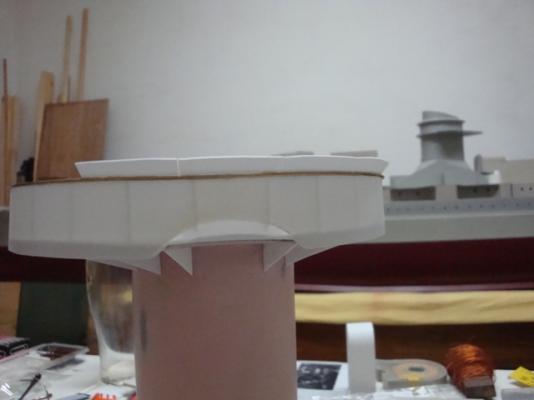
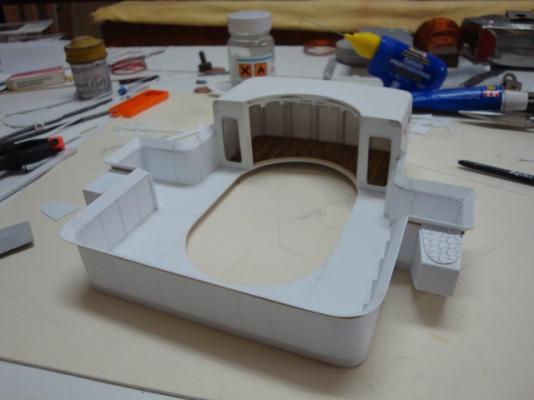
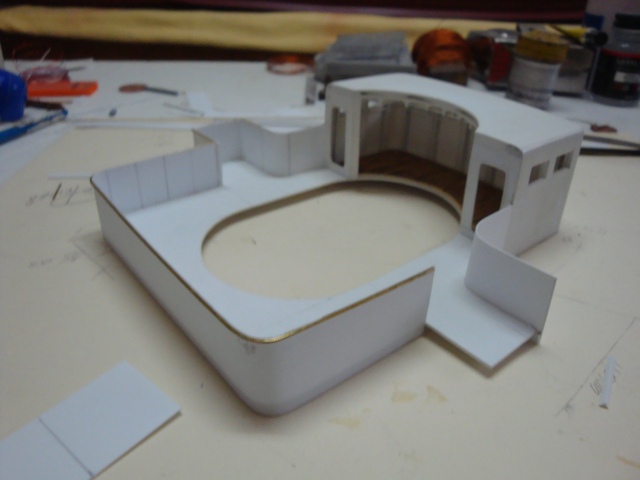
Good morning to you all,

Yesterday I was able to dedicate some time to work on the admiral's bridge.
Here goes:
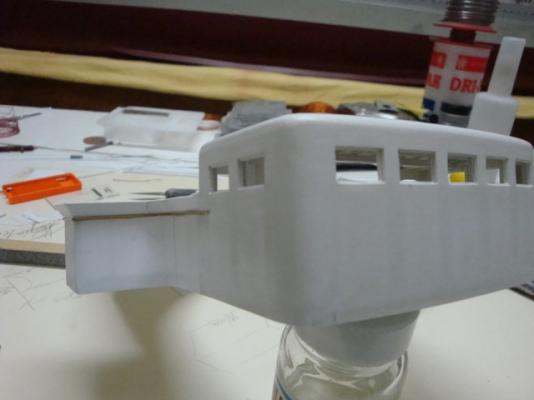
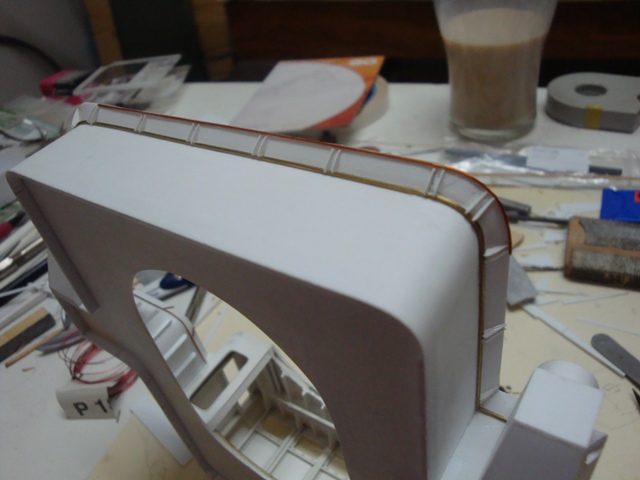
Finishing off the lining for the wind breakers.
The lining at the front side of the bridge.

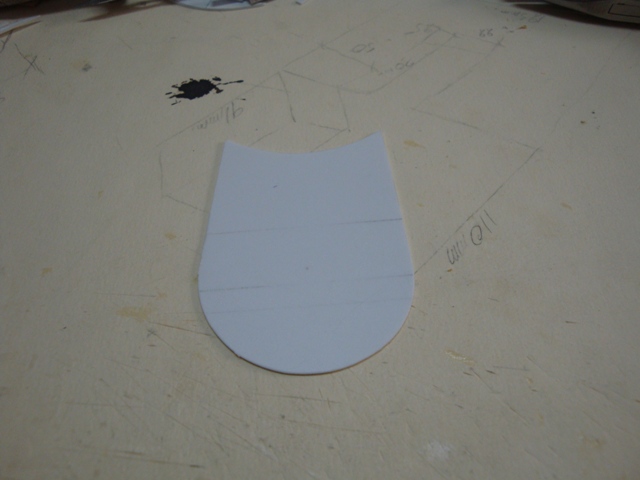
The planking for the observation balcony, literally soaked in satin clear varnish. This shall enable a thick coat and possibility of sanding down when dry, without the worry of touching off the wood again.

A view of the support struts on the underside of the searchlight platform.
The top foremast support structure, fitted in place.
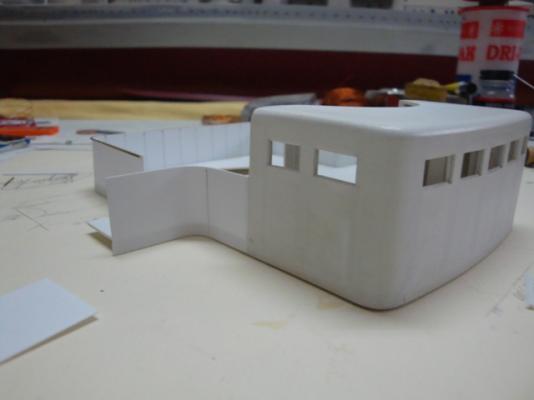
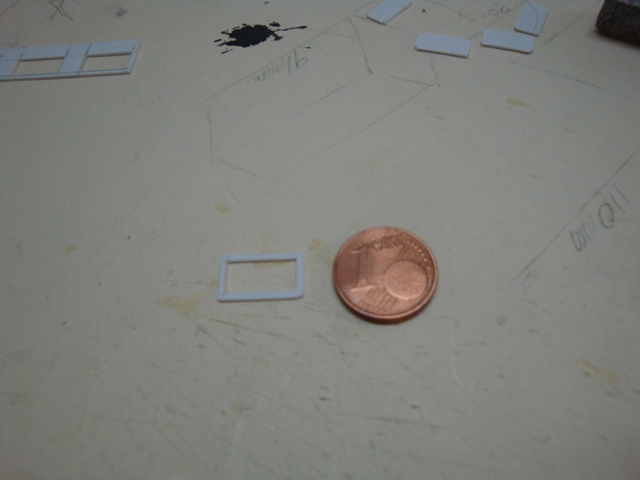
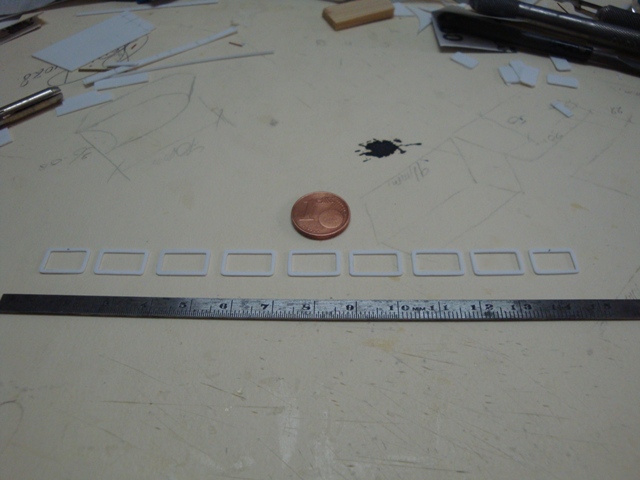
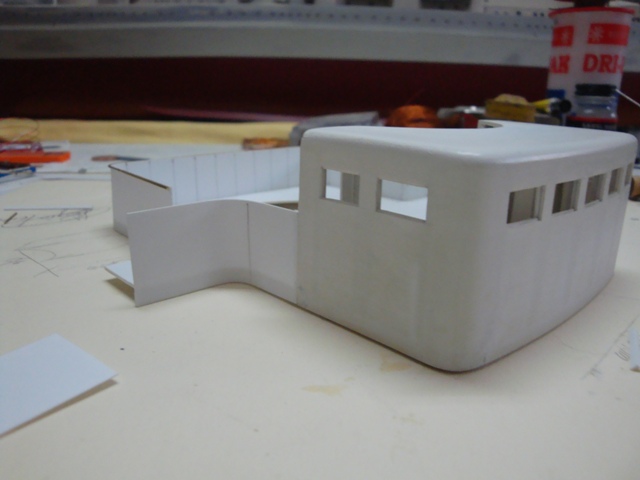
Starting off with the frames required for the admiral's bridge front panel.

The first window frame ready.
The full set ready for the fitting process.
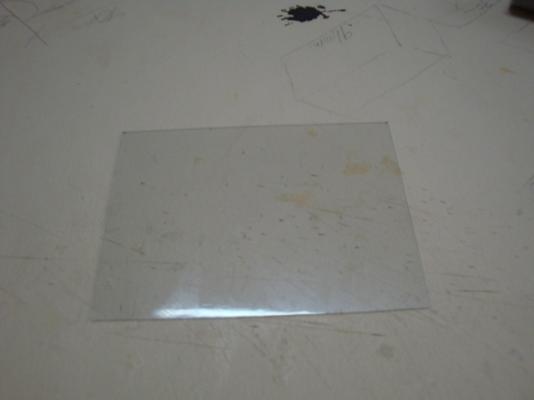
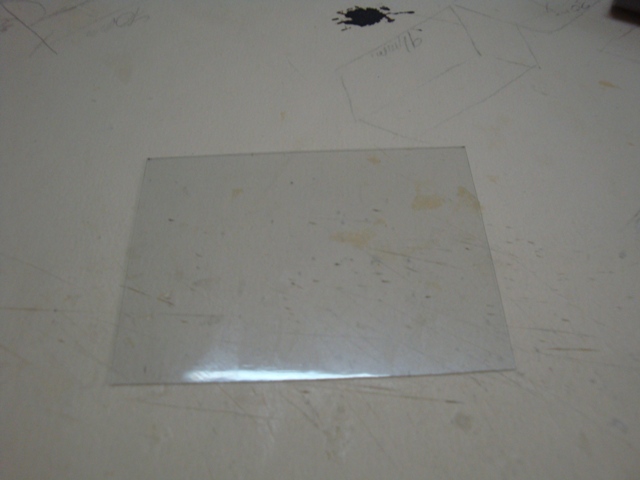
The clear plastic sheet to be used for the viewing windows.
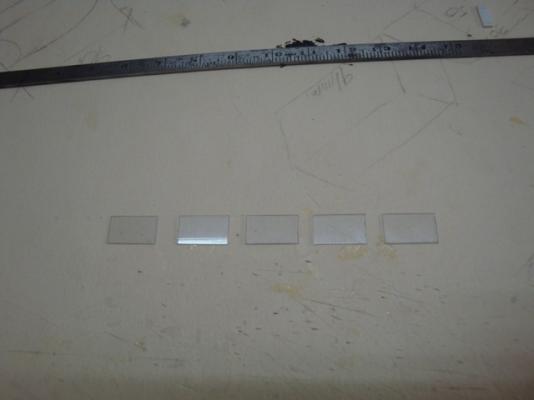
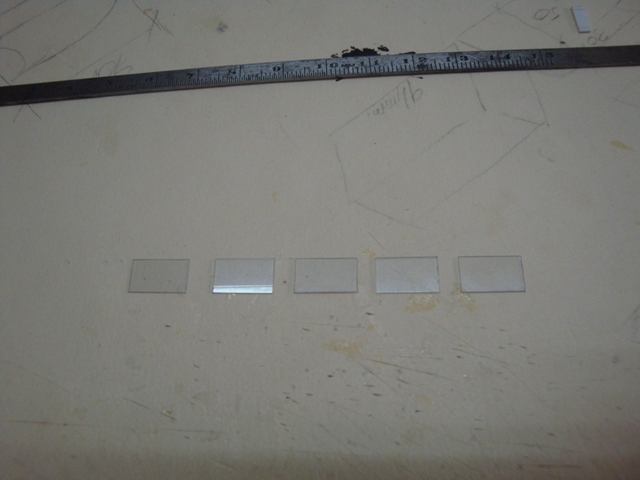
The first set of five panes cut to size.
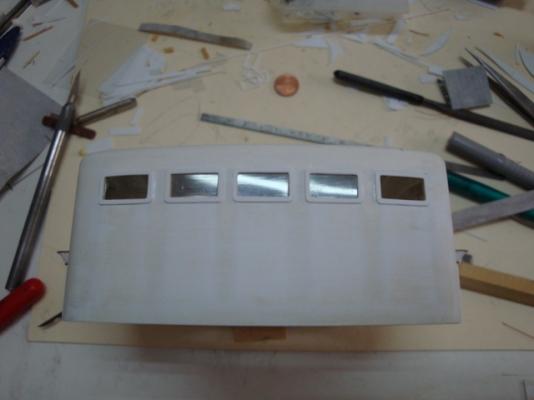
The panes fitted in place.

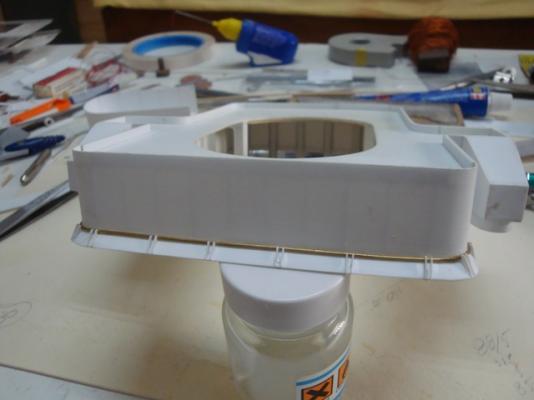
A guide liner is used to make sure that the frames are fitted in correctly and straight.

The front frames fitted in place.
A side elevational view.

Shall try to post more pics next Thursday.
-
Hello Kevin, Joe and Brian,
WOW - You guys sure lack patience. I am planning to have the tower ready by Christmas, together with all the details and foremast. By March I shall have the forward superstructure ready fro sure, just in time for our annual scale model exhibition.
The problem is that every piece must be constructed. For example - each of the twin 105mm calibre anti-aircraft mounting, shall engulf over 900 parts. The ship was equipped with 7 of these mountings, so that means 7 x 900 parts to scratch build, assemble and finish according to the colour codes required. Those alone would require from 5 to six months of hard work, let alone the rest of the ship.
Not to worry my friends - I shall launch this ship off the slipway in three to four years time. Meanwhile, I shall try to keep you guys happy by posting once or twice every week.
-
Hello Sherry
Happy Anniversary, and lots of joy.


-
Good morning all,
Hello Kevin, Joe, Daniel, Grant and Pat - Thanks for looking in. Your support is great.
Yesterday, being the 1st of may and Workers Day, was a public holiday, so I put some of the free time to good use, and continued some work on the Admiral's bridge. Unfortunately, I only spent five hours, as to keep the boss happy, I promised her to go out for dinner in the evening.

Here goes.
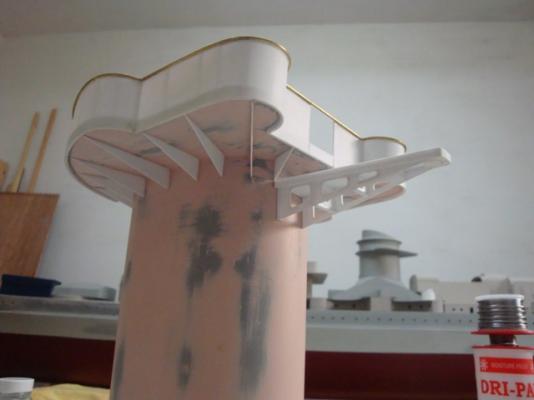
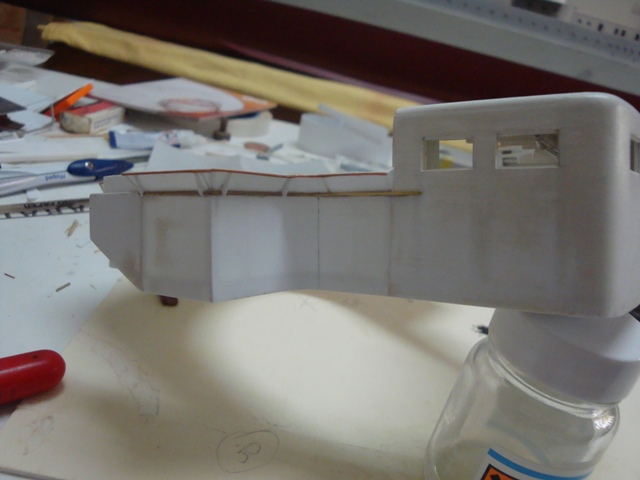
A view of the side mounted hinge arms for the wind breaker fenders.

A view of the rear part .
Fitting in the top liner.

The platform for the searchlight post, located just on top of the Admiral's bridge.
The searchlight platform, placed on the Bridge, for correctness sake.
An elevational view, giving a clear indication of how the front searchlight was mounted.
Shall be posting more pics next Monday.
I wish you all a fine weekend. Take care.
-
Good morning all,
Hello Brian - Research is enjoyable when the information required can be obtained. In some cases, it can really be frustrating, especially when one would like to detail the interior of certain areas. Sometimes information can be really difficult to obtain. But - yes - I have to agree with you, that at the end, the effort done is rewarding.
Not much progress done last weekend, as I had to tune to woodwork again to construct a new showcase for my fire arms collection, as this is getting bigger and bigger by the day.
Here goes.
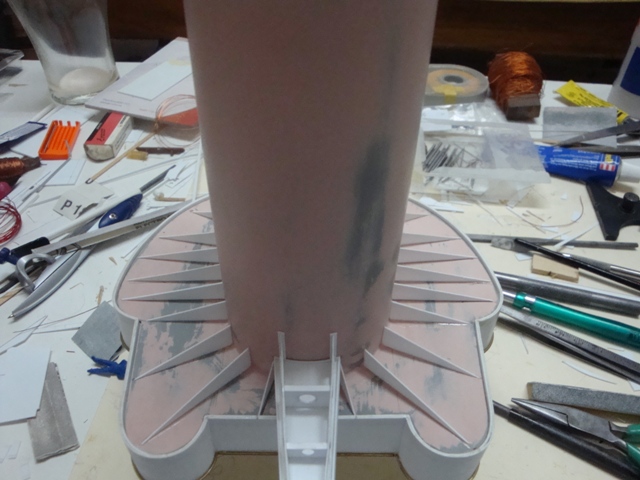
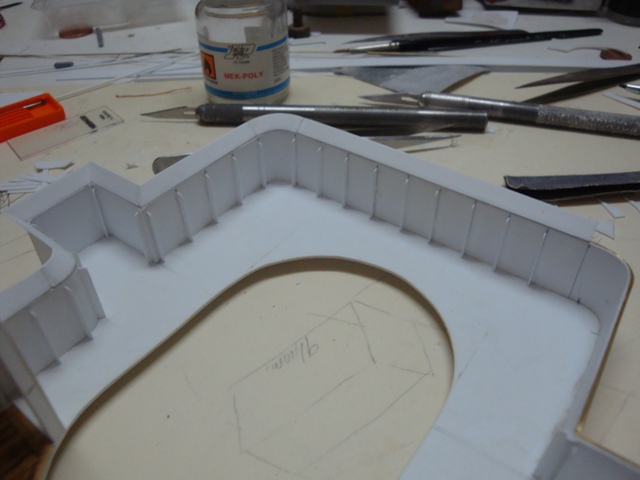
A clear picture showing the range finder platform, located just under the admiral's bridge.
The construction of the platform, well under way.

The underside of the platform, showing the reinforcing members.
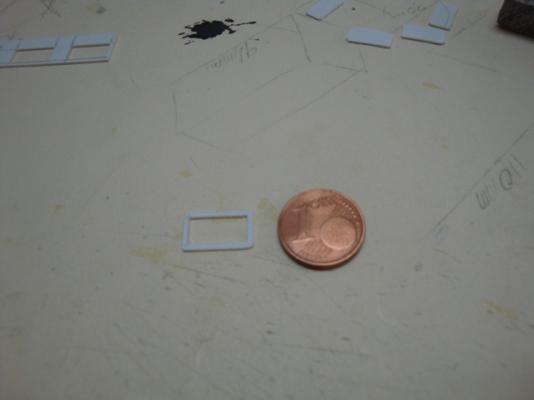
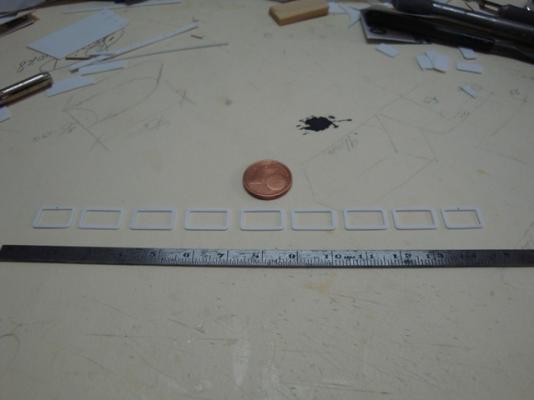
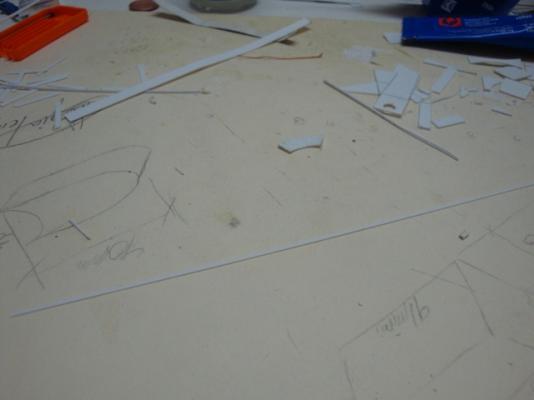
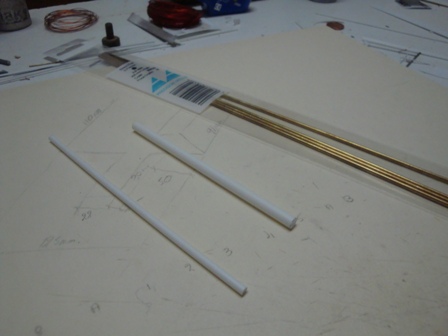
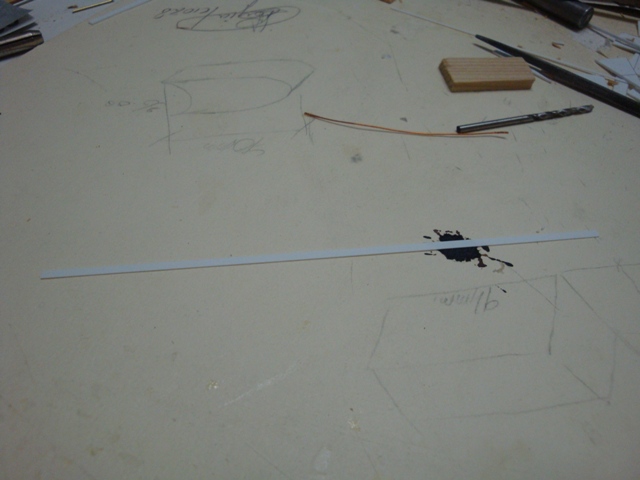
An Evergreen strip, to be used for the hinge arms for the admiral's bridge platform wind breaker fenders.
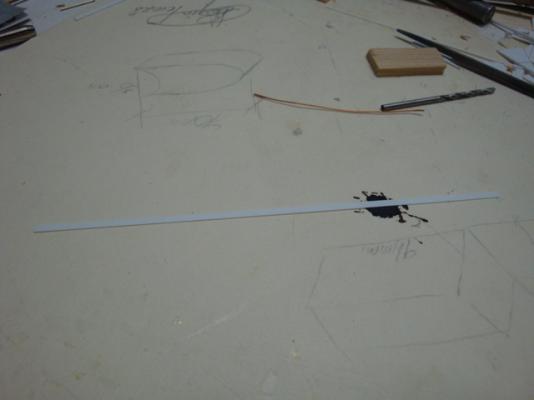
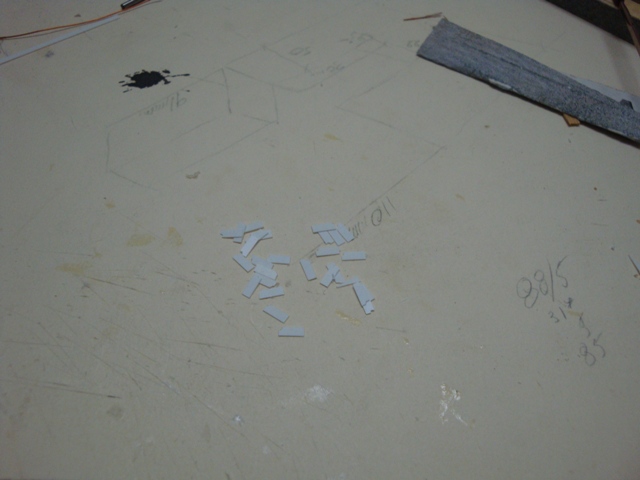
The pieces cut to size.
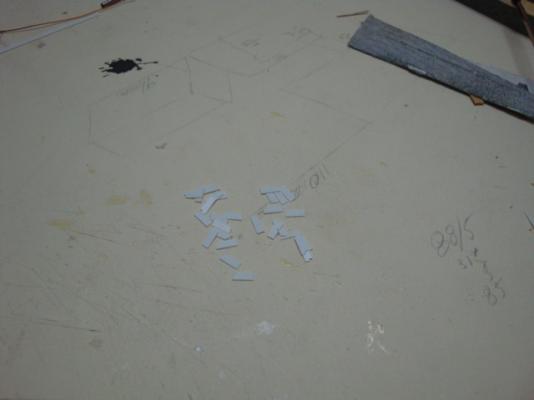
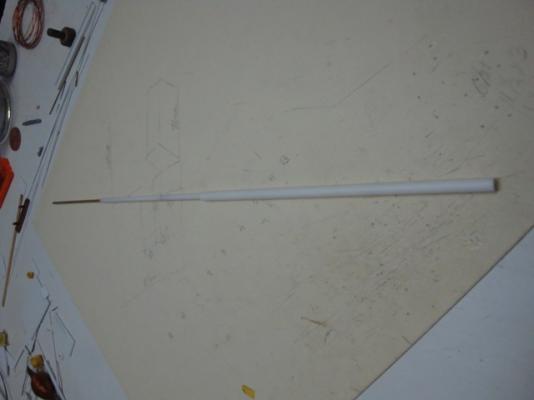
The hinge arms being fitted.
Another view of the hinge arms.

Wednesday is a public holiday, so I will try to carry out some more work on the Scharnhorst.
-
Hello Anja and Larry, thanks for looking in, and for the kind compliments.
Hello Bruce,
 Thanks for your visit - I have a set of the late McGregor plans, which re very detailed, but I use only as a base information. The true research is found in numerous books, For example I have some 46 books related to the Scharnhorst, + the new 3D Kagero Book. Other source of information is the internet, especially when it come to rare photos and pictures. Sometimes I make contact with some persons who also supply me with fresh information, especially the internal detailing, which is not found in books.
All in all - research is the most important thing and a very big headache.
-
Good morning all,
Thanks for looking in and for the encouragement.
Ben - Thanks for the compliment. I had to go back to my old geometry and technical drawings to make a full development of the rounded edges.
-
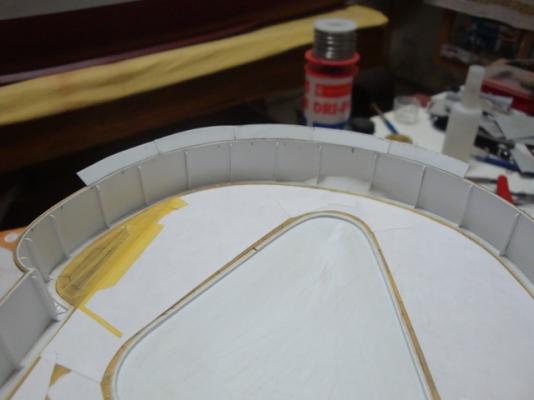
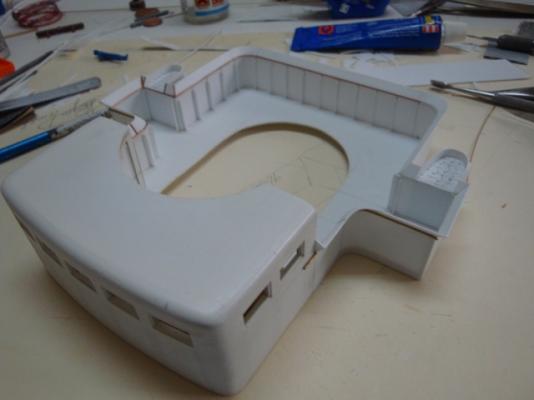
Hello all,
Thank you all for looking in. it's nice to see that I have all these friends on this forum.
More updates on the Admiral's bridge,
Here goes:
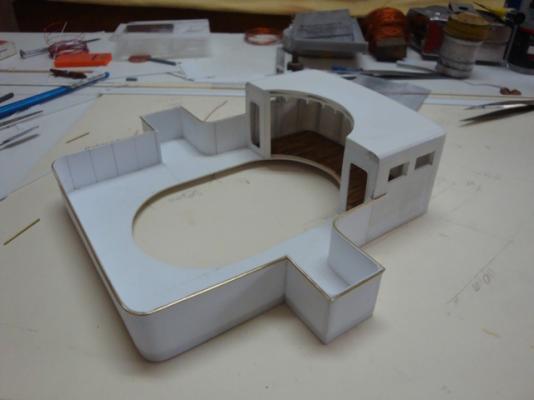
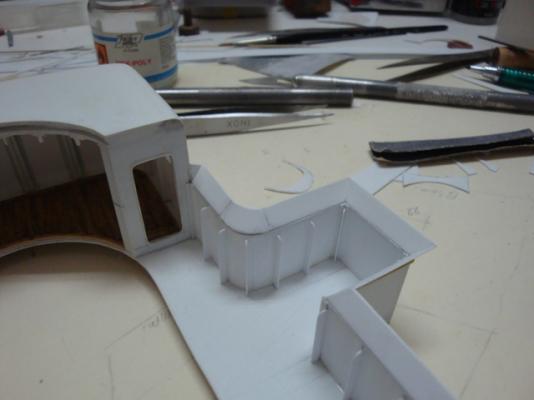
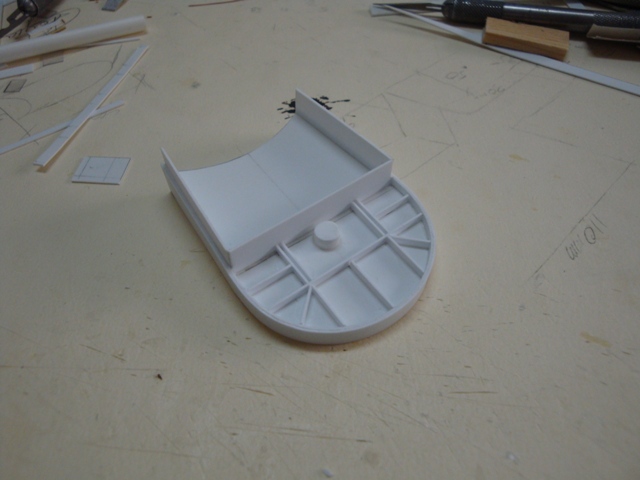
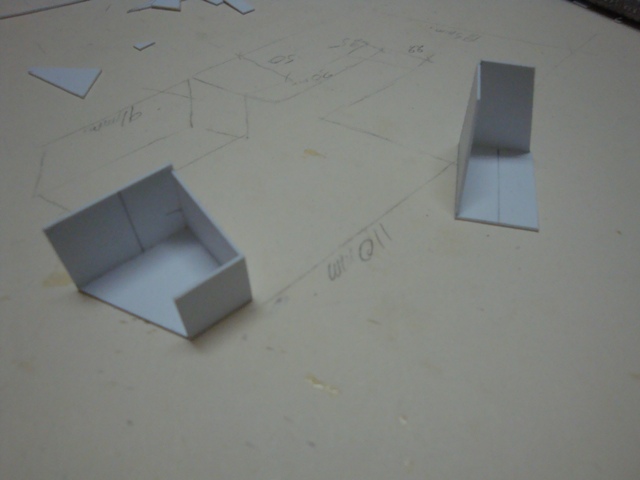
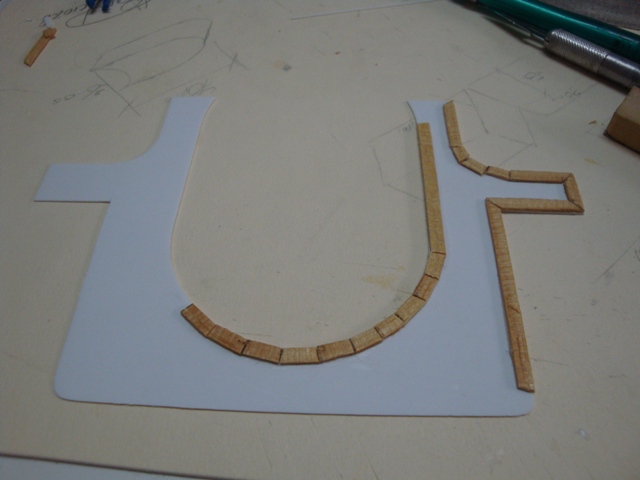
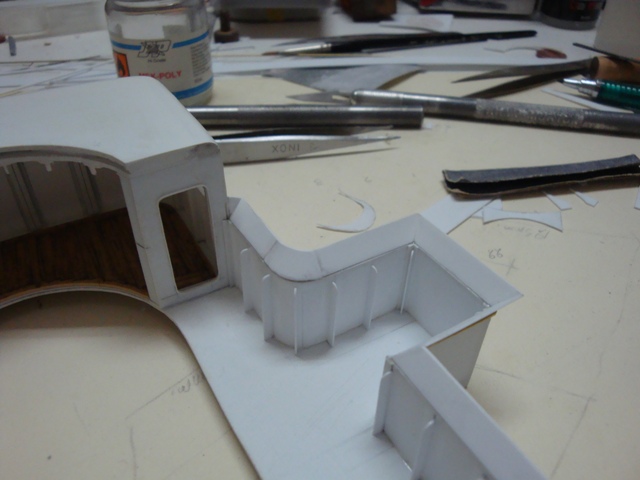
The two structural bases required for the construction of the flagman's platform.

Fitting in the wind shields.
Fitting in the brass liner.
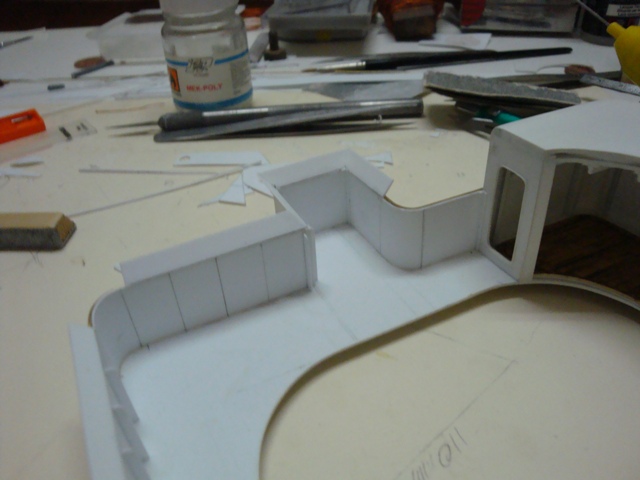
A shot showing clearly the flagman's platform.
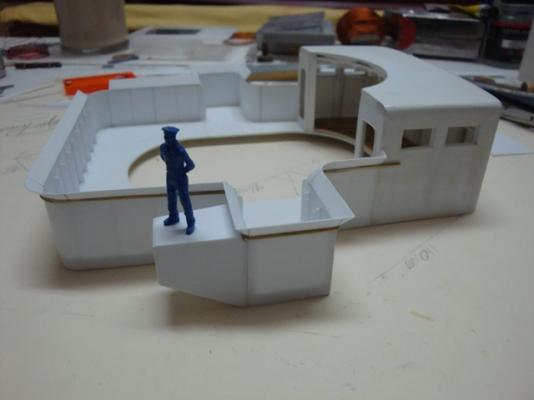
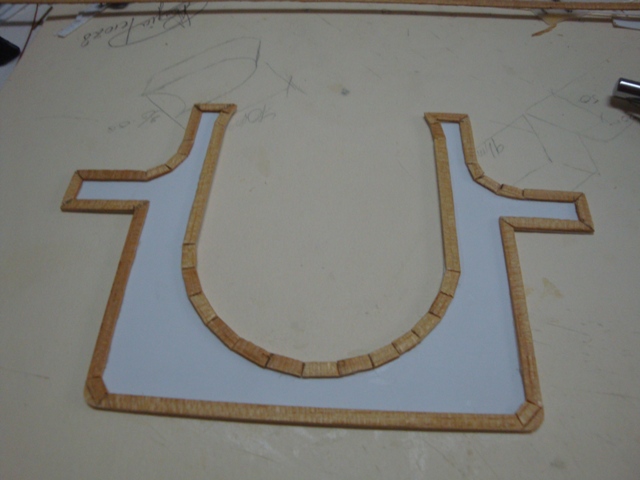
A view from the rear.
The second platform, nearing completion.
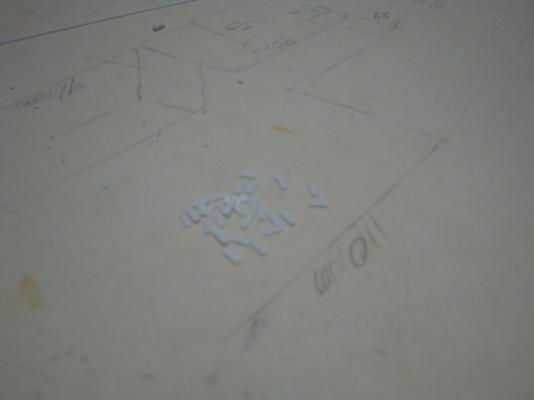
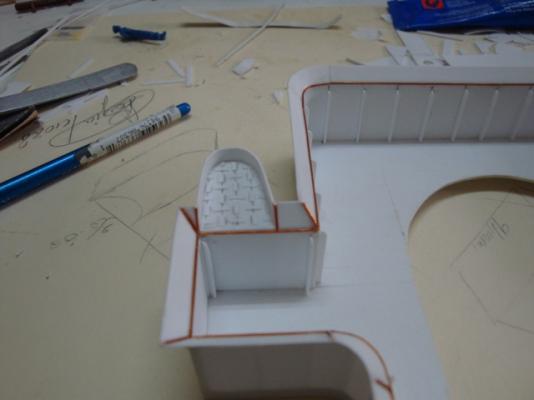
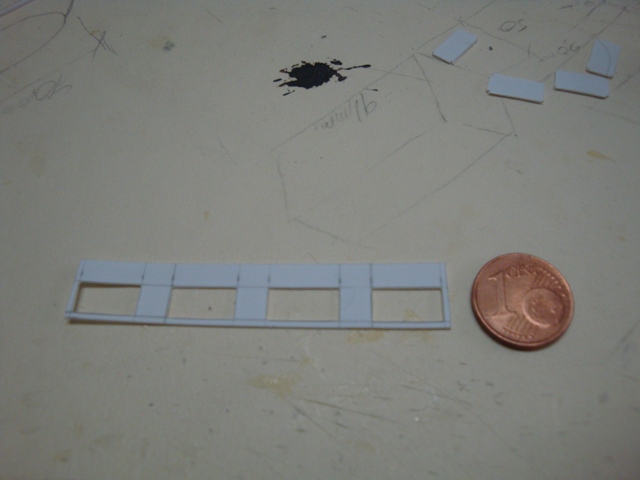
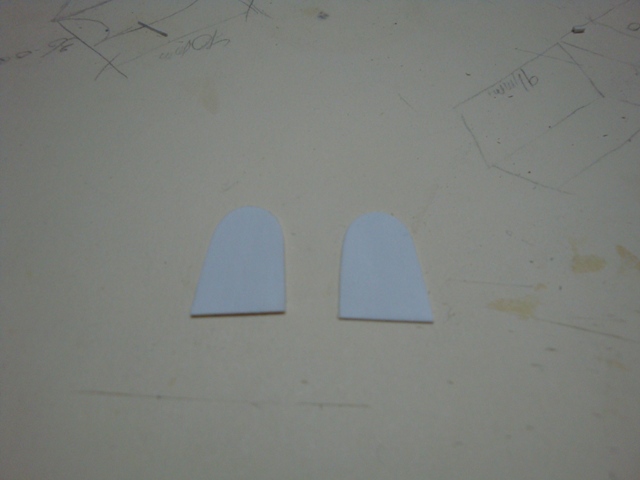
The Evergreen styrene strip, required for the making of the non slip flooring, required for the flagman's platform.
The pieces ready cut for use.
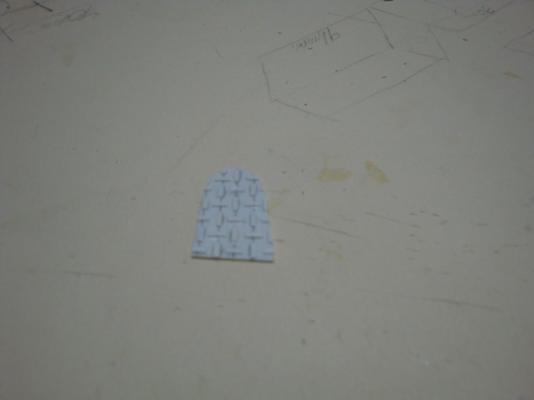
The two nonslip floor plates, ready for the next step.

The first floor plate ready for fitting in place.
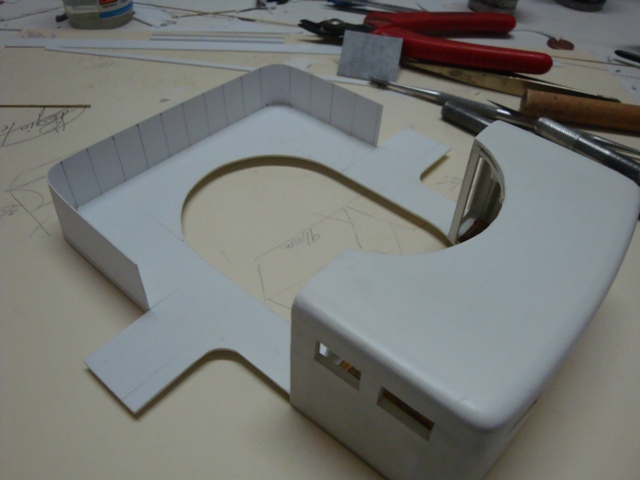
A view from the rear, showing clearly the non slip floor plate and the second platform in place.
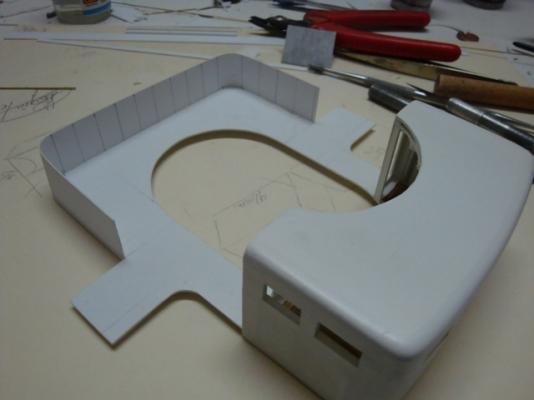
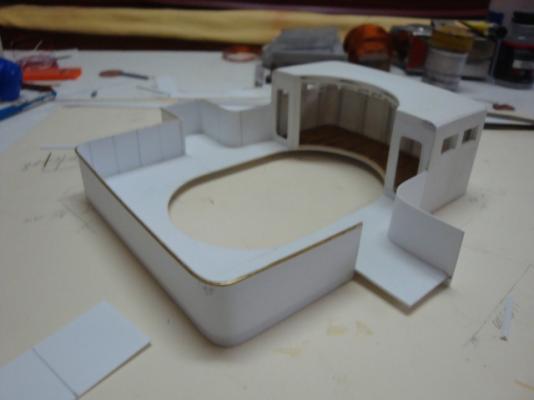
A generic view.
A close look, revealing the detail required for the wind fenders.

A view from the front.
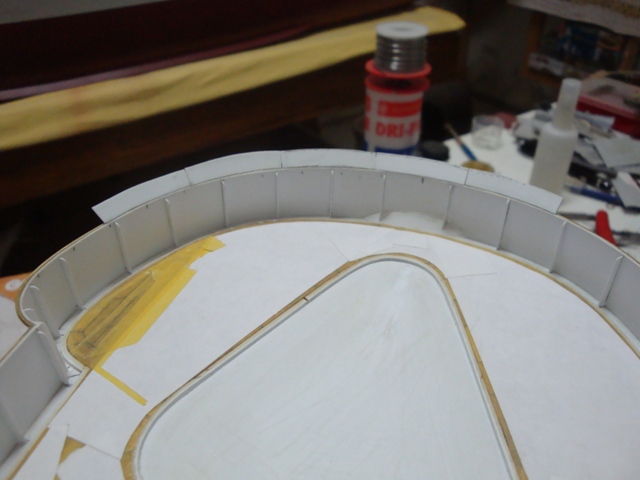
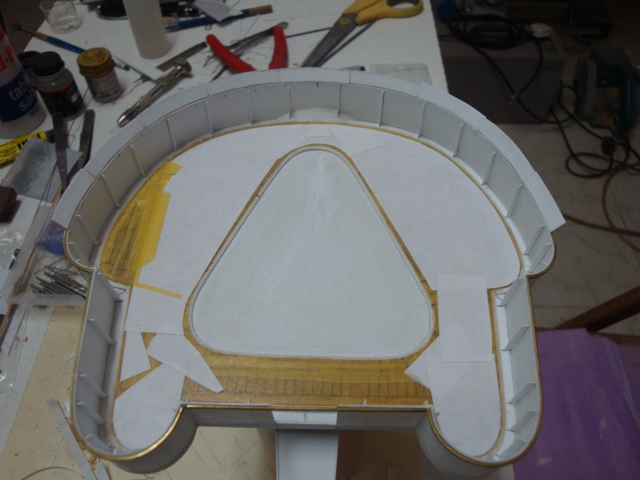
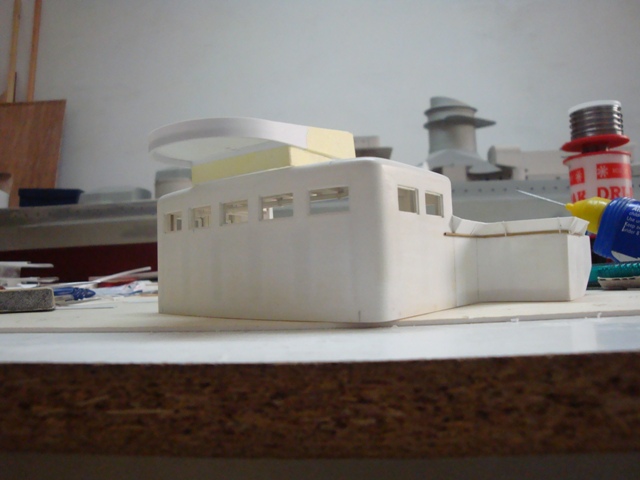
Commencing the planking for the balcony deck.

The ring is ready to accommodate the internal planking.

Shall be able to post more updates next Monday.
- Gimo, popeye the sailor and WackoWolf
-
3
-
-
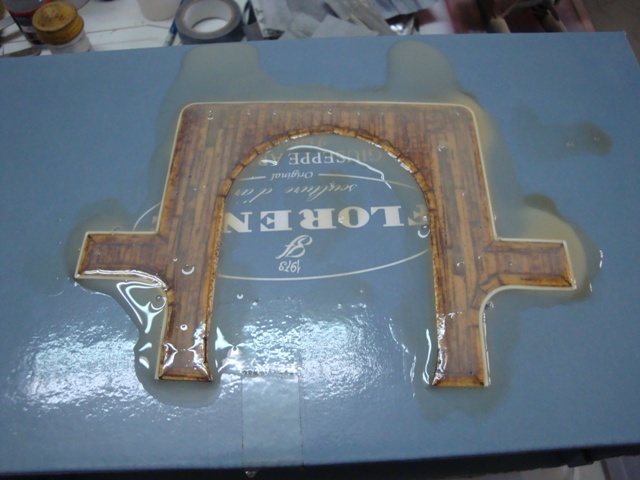
Hello Daniel,
Wow, Now that is what I call mixed medium - resin and wood.
Very nice casting indeed. I shall experiment with that type of work in the near future, as the twin 105mm calibre anti-aircraft guns for the Scharnhorst, shall consist of 900 pieces each, and I have 7 mountings to do. So I have to do a bit of mass production to be able to do all the parts required.
-
Good morning to you all fine friends,
Many thanks for looking in and for the kind comments.
Hi Kevin - The Evergreen products are expensive here as well, but they work wonders, and very workable.
-
Hello to you fine mariner friends,

Thanks for looking in and your kind comments.
Hi Brian, Although, the main structure is made from cardboard, all the other pieces are made from Evergreen styrene sheets, 0.5mm and 1mm thickness. This eases the finish technique. Working with mixed medium is fun. On this build, I am using cardboard, styrene, pvc, copper, brass, aluminium, spring steel and resin plus wood - and it really works.
see you all next Thursday.
-
Hello Sherry,
I am very sorry to hear that your brother is ill. Will remember him in my prayers. The sun rises every morning, even in winter - so lets keep our hopes and look forward for the best.
-
Hello Sherry,
This is the first time that I am browsing your log.
Very good workmanship indeed. The assembly looks very neat and linear. You certainly have a way with wood.
I shall follow this log.
-
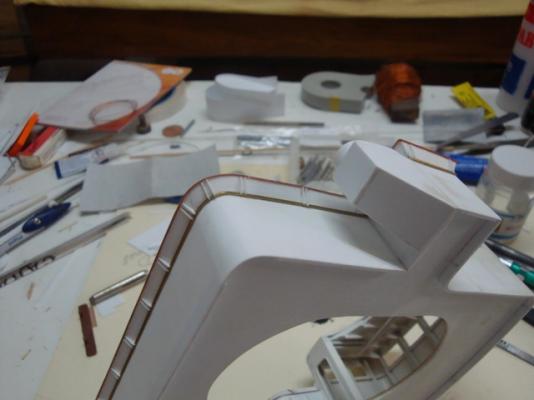
Good morning all,
Finally back to the normal life of posting again.
Some pictures related to the progress of the construction of the Admiral's bridge balcony.
Here goes.
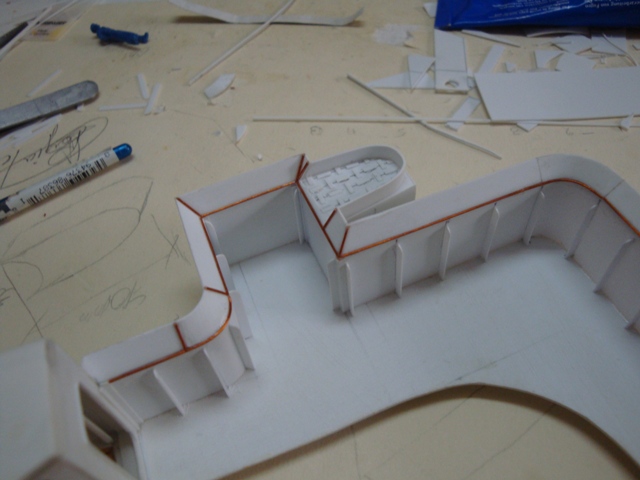
The balcony parapet wall in progress.
Closing up the port side.

A view from the outer side, showing the brass wire beading.
A view from the rear, showing the brass wire beading.
Closing off the rest of the parapet wall.
Finishing off the brass wire beading.
A view from the inside- note the marking lines for the stiffener struts.
The support stiffener struts in progress.

The works on the starboard side.
Shall be able to post more pictures by next Thursday.
- Piet and popeye the sailor
-
2
-
Good morning all,
Hello Brian and Sjors - I have started the U-boats quite some while ago, and halted the projects, so that I can dedicate my time to finish the Scharnhorst. But as soon as the Scharnhorst project is wrapped up; I shall create a build log for the German U-boats. So keep a watch out.
Hello Kevin - I heeded your advise and created a profile photo.
Hello Popeye - Thanks for looking in.
-
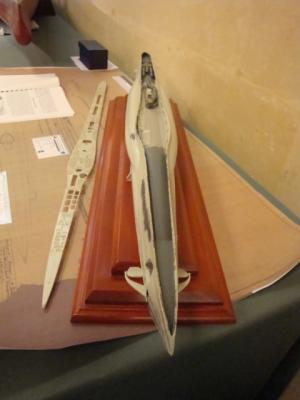
Good morning all, He He - I am back
Had a very good weekend of modelling as it, was our annual scale model exhibition weekend. The venue was the Malta Maritime Museum, so you can imagine the amount of people and tourists that visited our show.
Some pictures of the progress made during the show and a few shots of the exhibition.
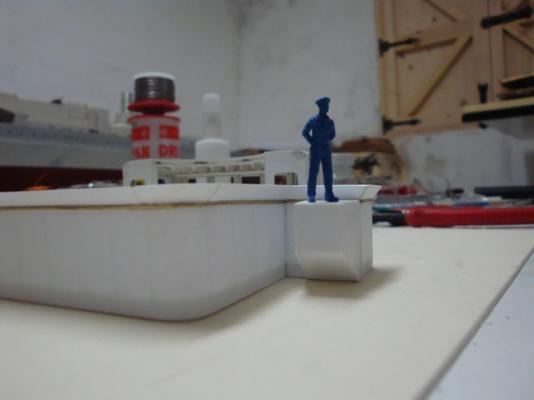
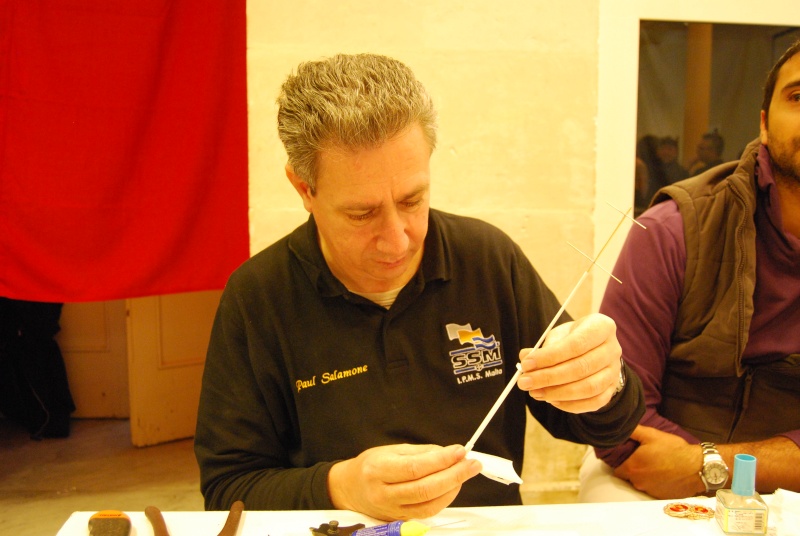
Now - who is this fellow working hard?

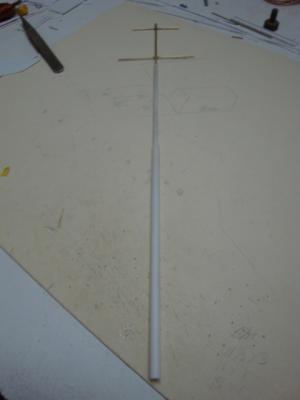
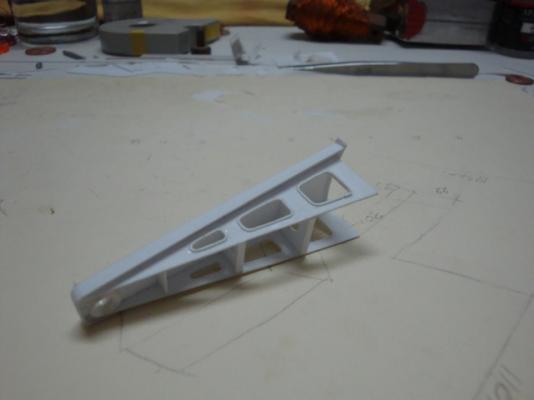
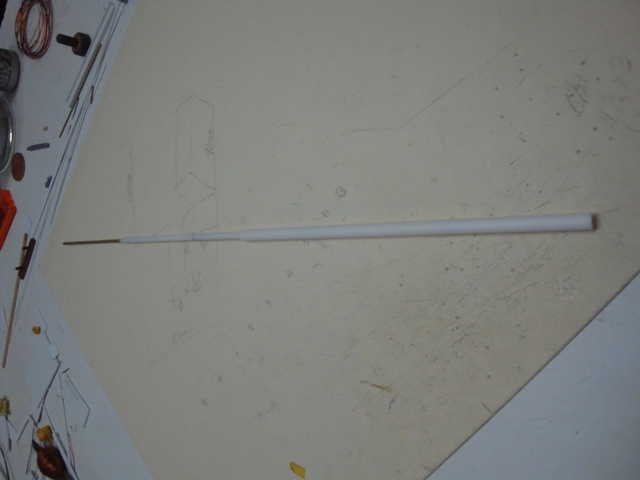
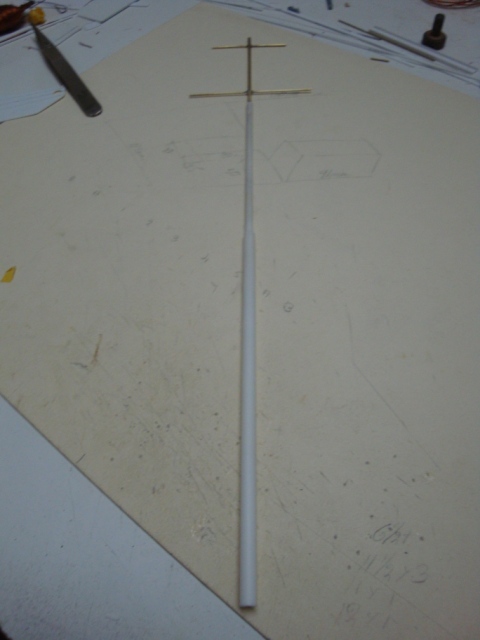
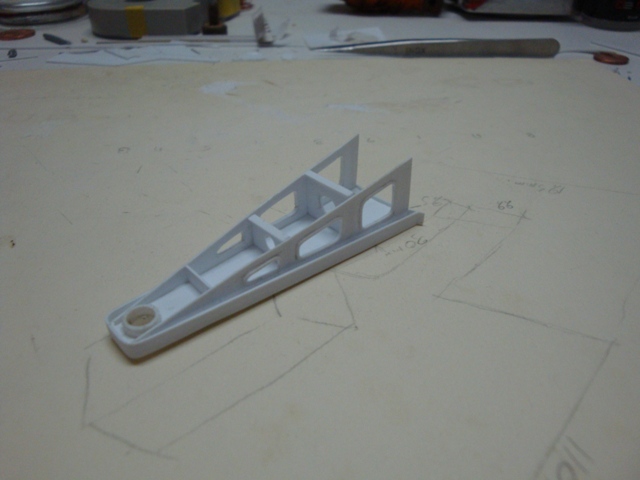
The pieces required for the ship's foremast
The mast assembled
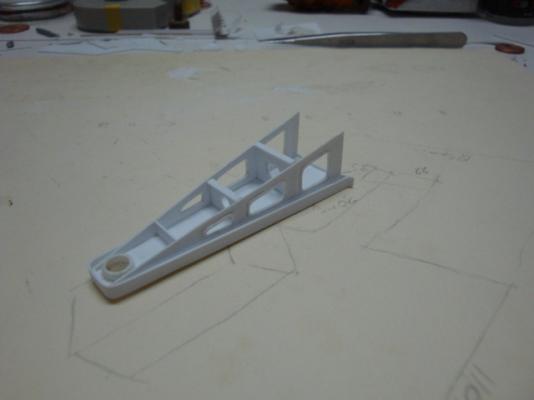
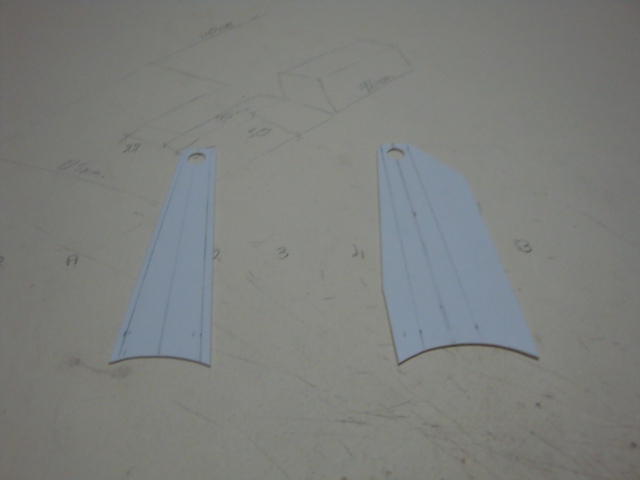
The main pieces required for the lower and upper mast bracketing structures.

The foremast ready for finishing.
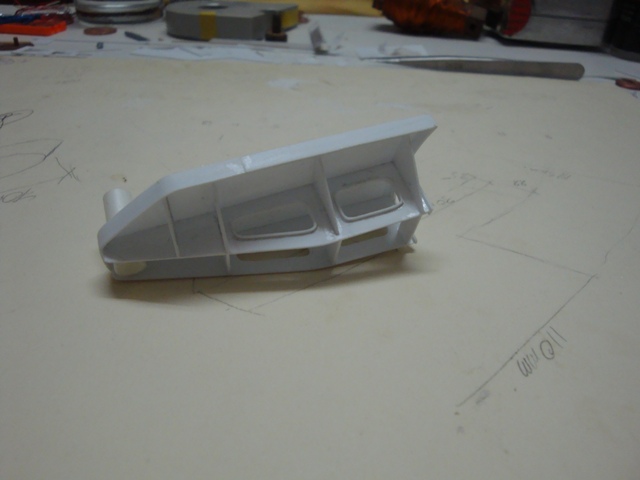
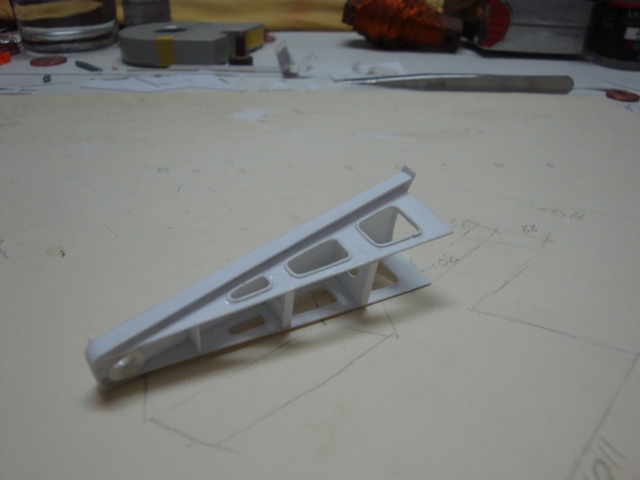
A view of the lower bracket structure.
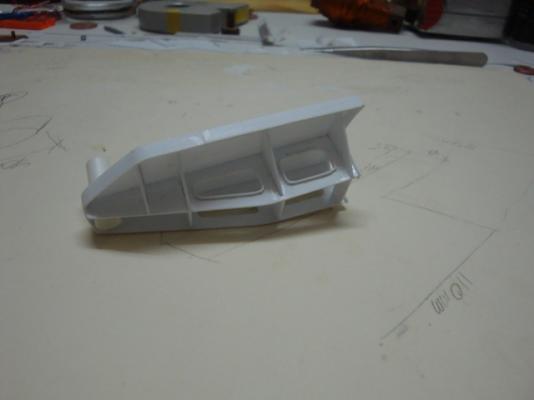
A view from the underside.

A general view.
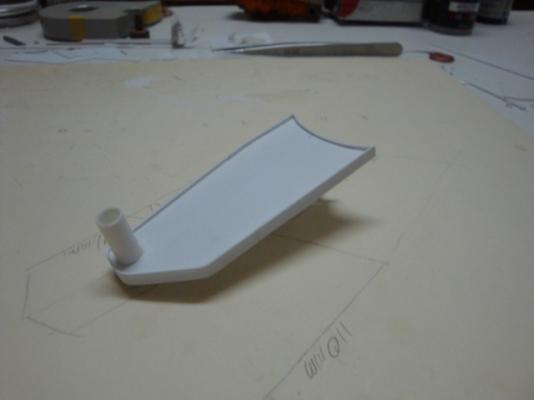
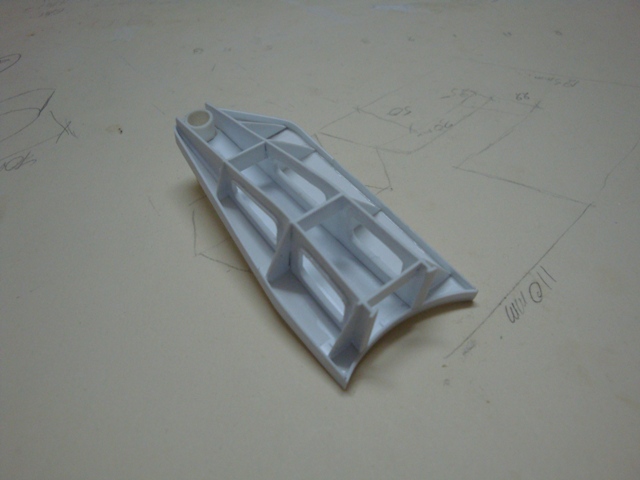
A view of the underside of the top bracketing structure.
An elevational view.
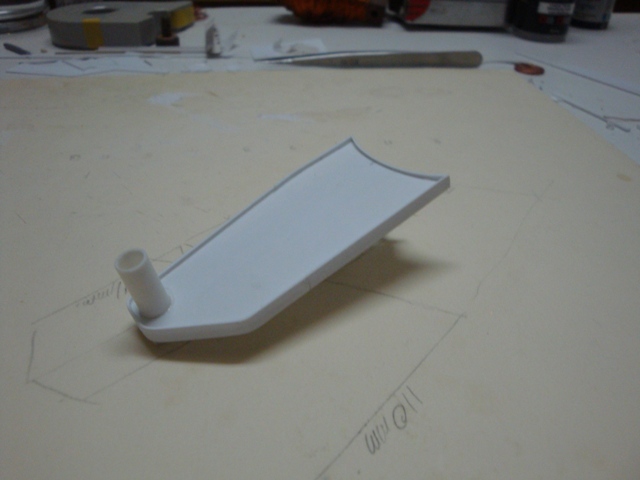
The foremast assembly temporarily fitted to check correctness.

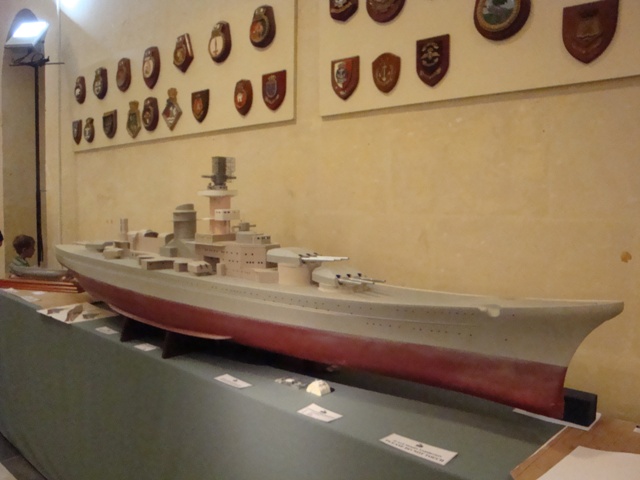
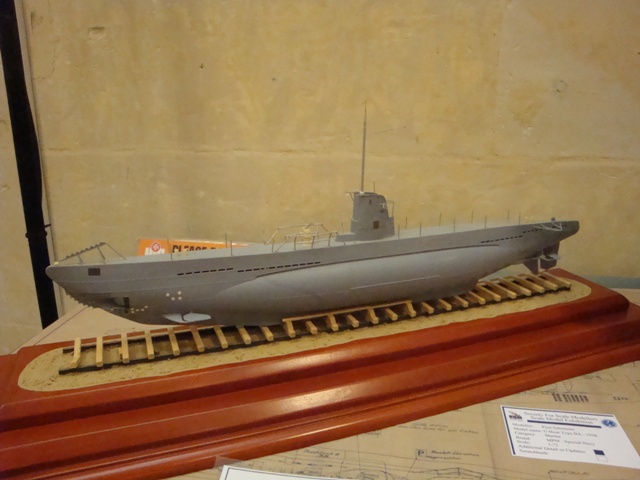
The Scharnhorst, set up for the exhibition.

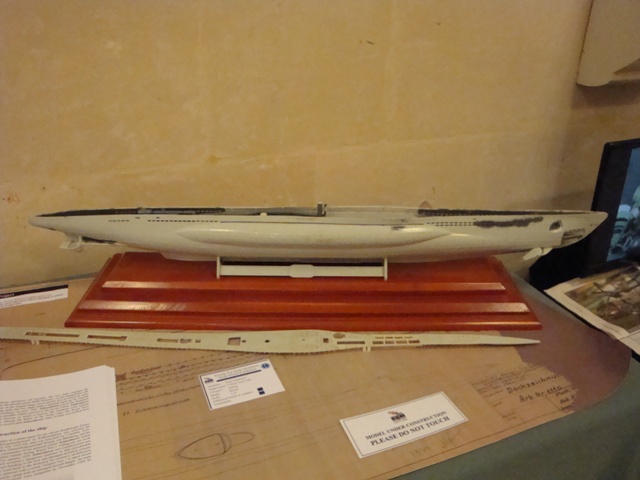
My 1:72nd scale "Revell" kit of the German U-boat type VIIc, under construction.

A view of the hull and deck - fully scratchbuilt.
My 1:72nd scale "Special Hobby" kit of the German U-boat type IIa, under construction.

Shall post more pics next week.
-
-
Good morning to you all fine ship modellers,
Today, I am posting some progress pictures related to the work carried out during the weekend.
Here goes.
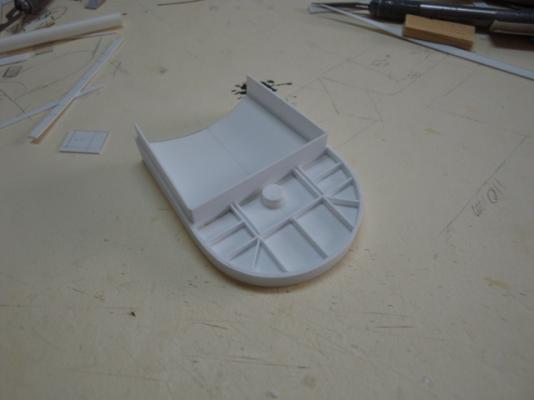
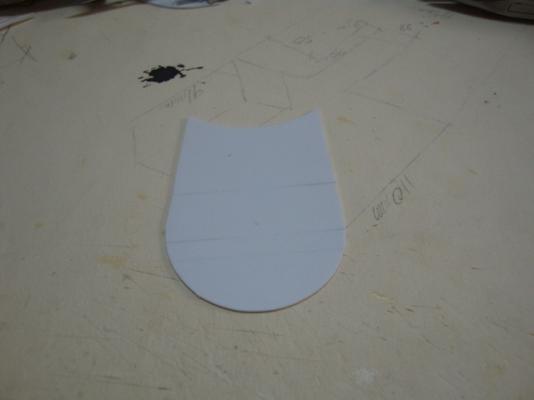
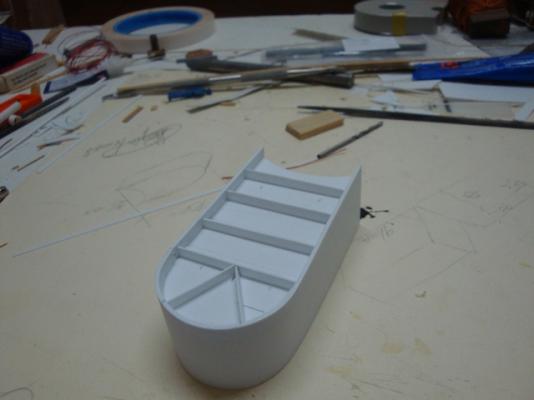
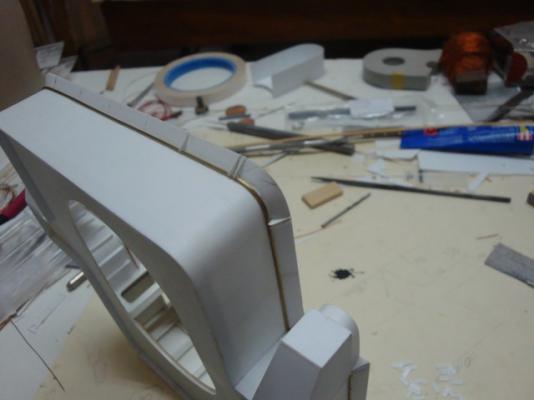
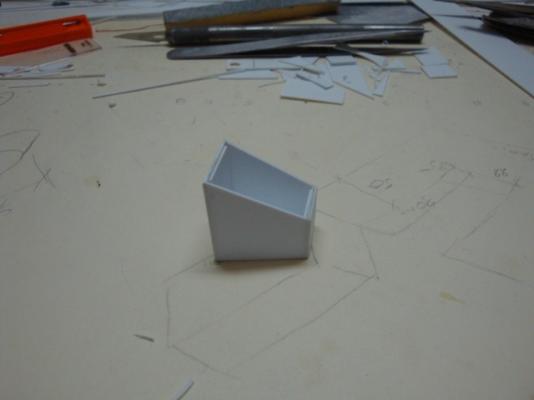
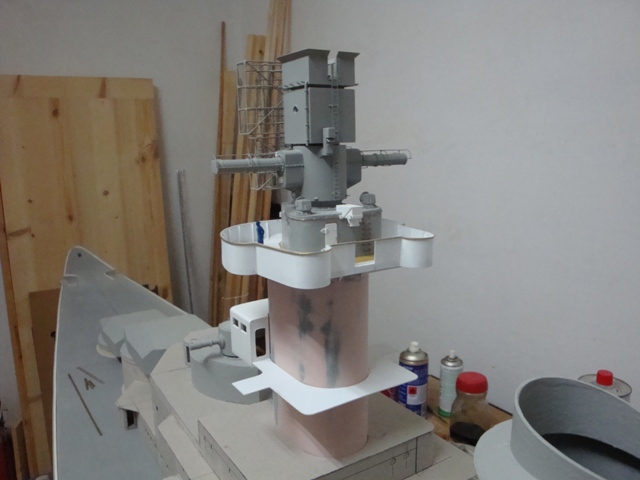
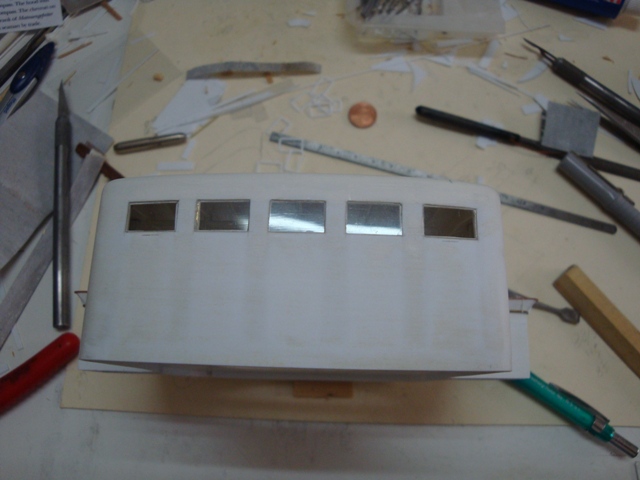
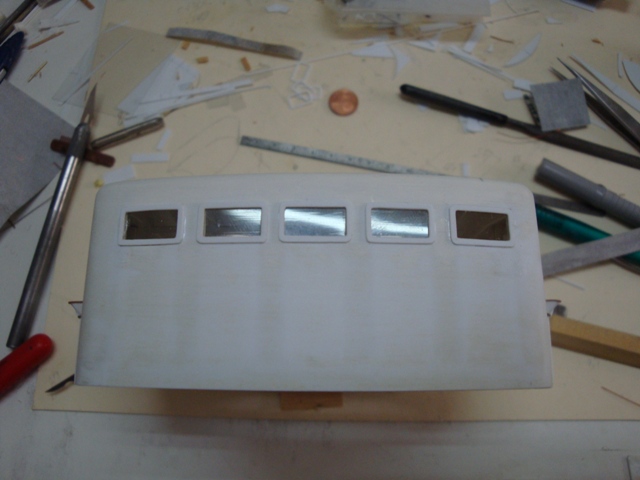
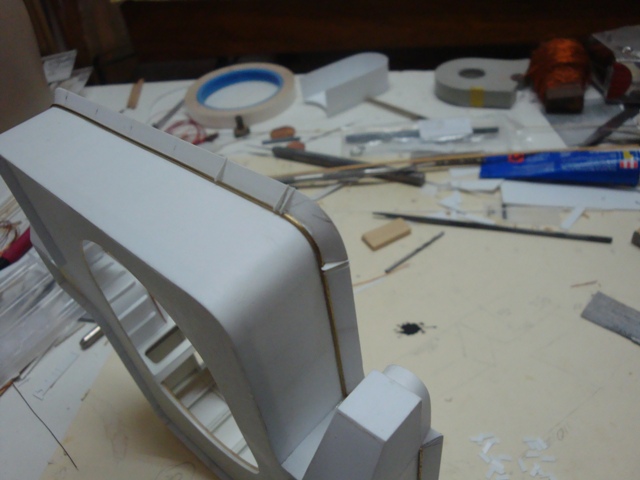
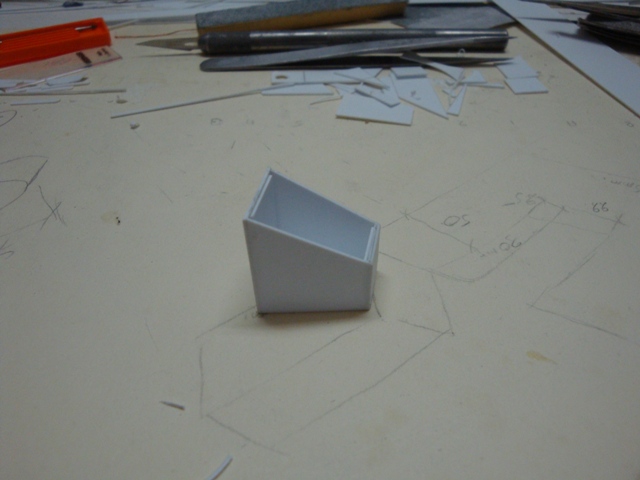
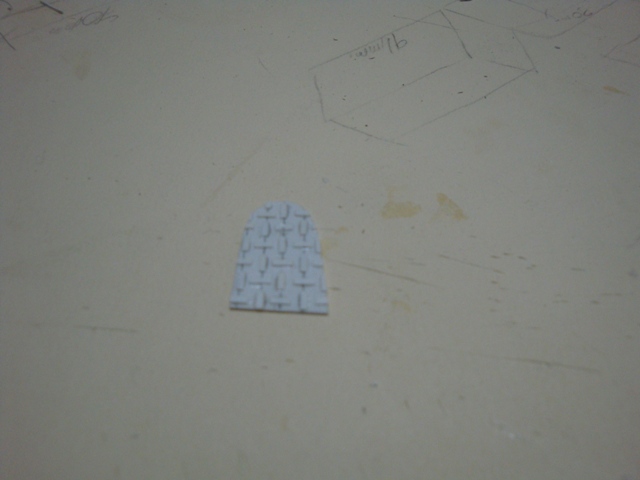
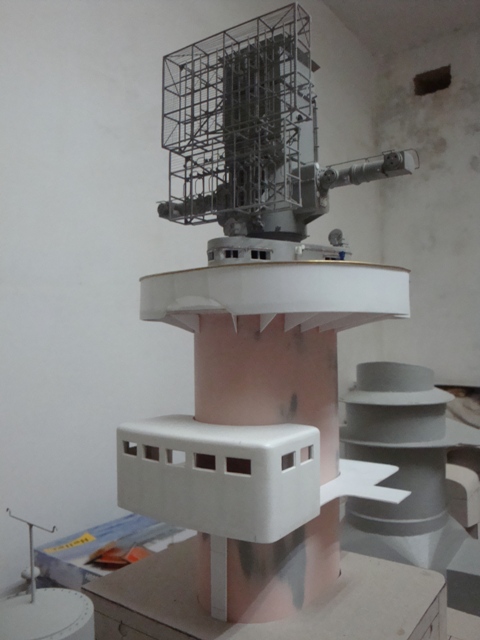
The armoured observation post is temporarily fitted in place, just for a snap shot. Note the masking used to mask the balcony planking.

A close view from the rear, revealing the ribs.
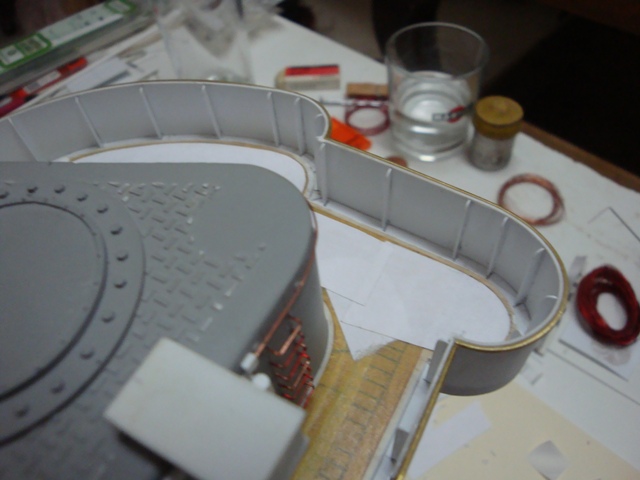
A view from the front.
A view from the underside.

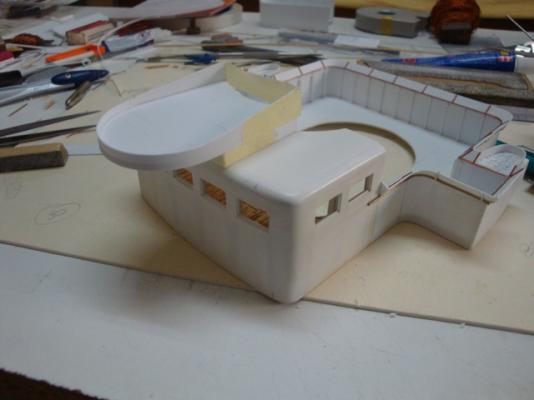
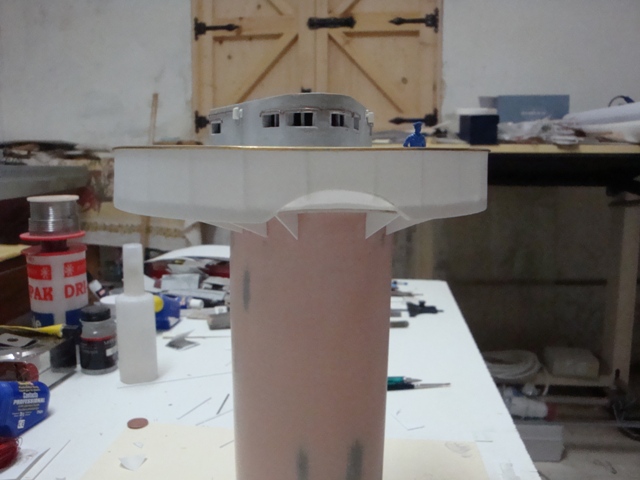
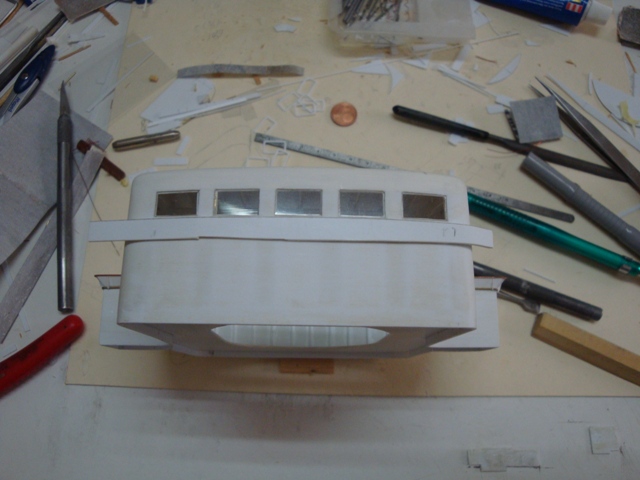
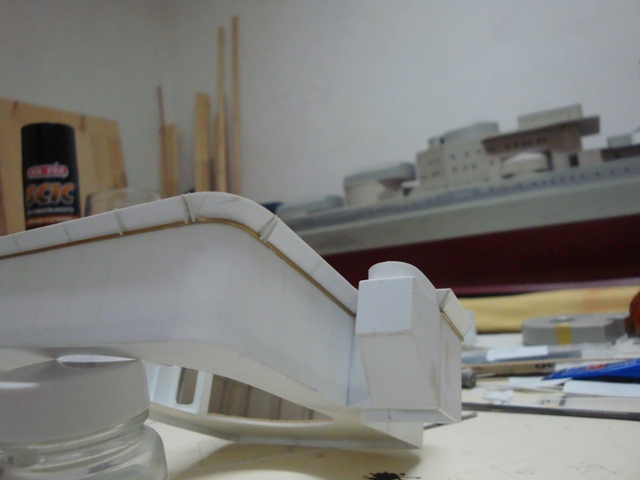
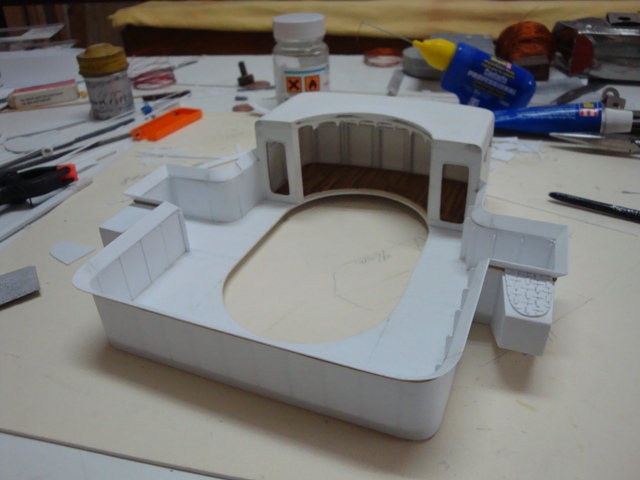
A snapshot with the radar installation in place.
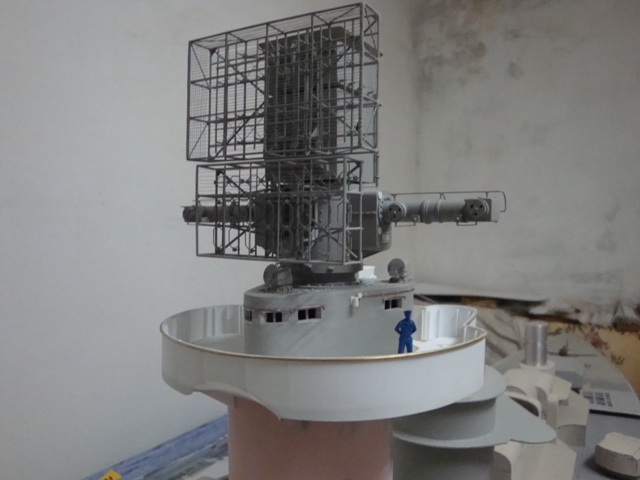
A snapshot, with the admiral's bridge in place as well.

A front elevational view.
A view from the rear.
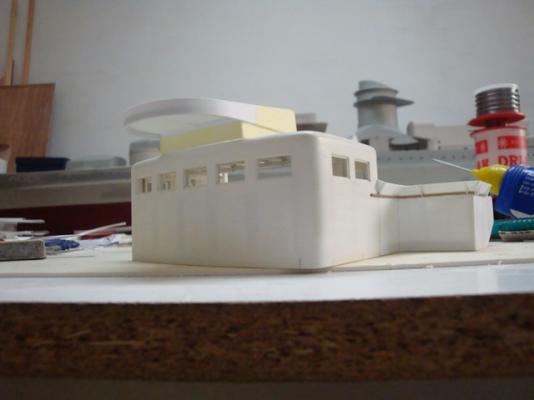
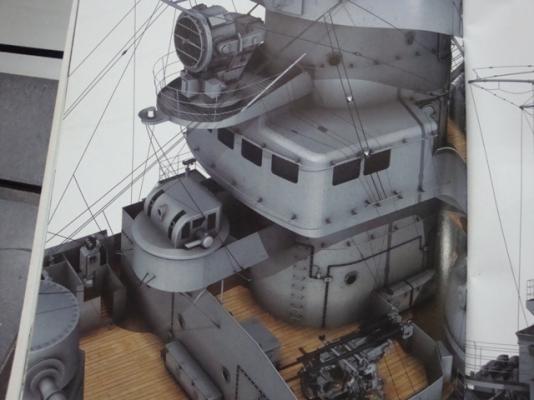
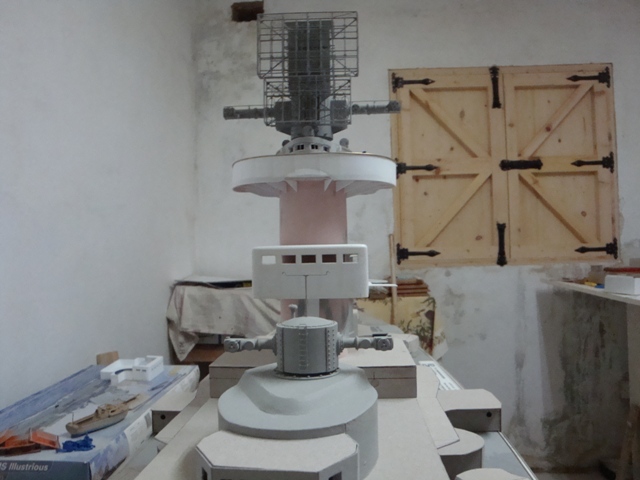
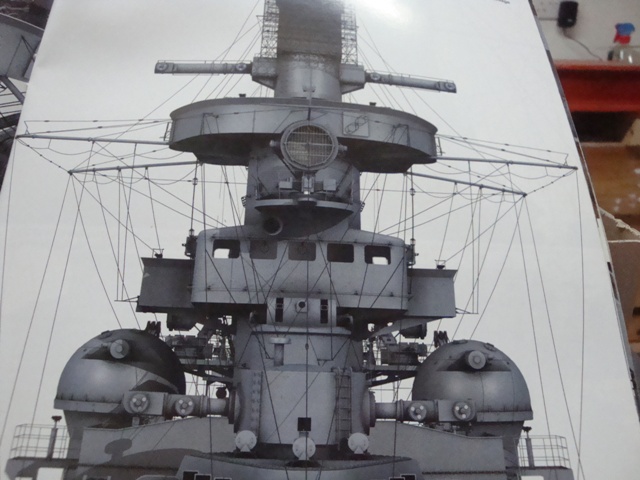
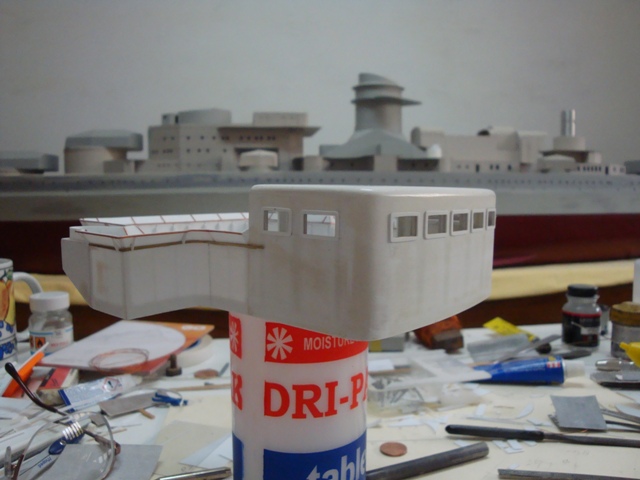
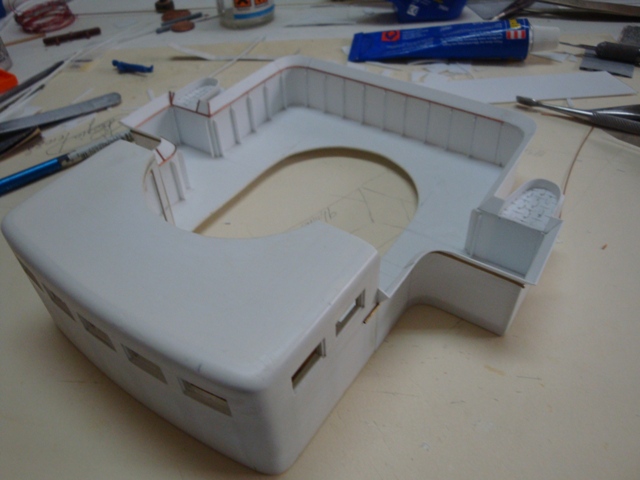
Next in line is the search light installation post. (AJ-Press)
A mean look of the tower from the front (AJ-Press)
Shall post more pictures next week, as next weekend is Easter. Sorry guys no modelling - just Easter Eggs.


Prins Willem 1650 by Michiel - 1:50 - POB Zeeland ship from own plans
in - Build logs for subjects built 1501 - 1750
Posted
Hello Michiel,
I just stumbled upon your build log - wow very impressive, especially the lighting system - I use that type of lights for my 1;35th scale bunker models. I am very fond of the famous Atlantic Wall, and have built some scale model bunkers.
I shall follow this log from now on.