-
Posts
60 -
Joined
-
Last visited
Recent Profile Visitors
The recent visitors block is disabled and is not being shown to other users.
-
 Scott Crouse reacted to a post in a topic:
Norwegian Sailing Pram by DonBMichigan - Model Shipways - 1:12
-
 Scott Crouse reacted to a post in a topic:
Norwegian Sailing Pram by DonBMichigan - Model Shipways - 1:12
-
 DonBMichigan reacted to a post in a topic:
Lowell Grand Banks Dory by MBerg - FINISHED - Model Shipways - 1:24 - First Build
-
 DonBMichigan reacted to a post in a topic:
HMB Endeavour by shipaholic - FINISHED - Eaglemoss - 1/51
-
 Keith Black reacted to a post in a topic:
Norwegian Sailing Pram by DonBMichigan - Model Shipways - 1:12
-
 JacquesCousteau reacted to a post in a topic:
Norwegian Sailing Pram by DonBMichigan - Model Shipways - 1:12
-
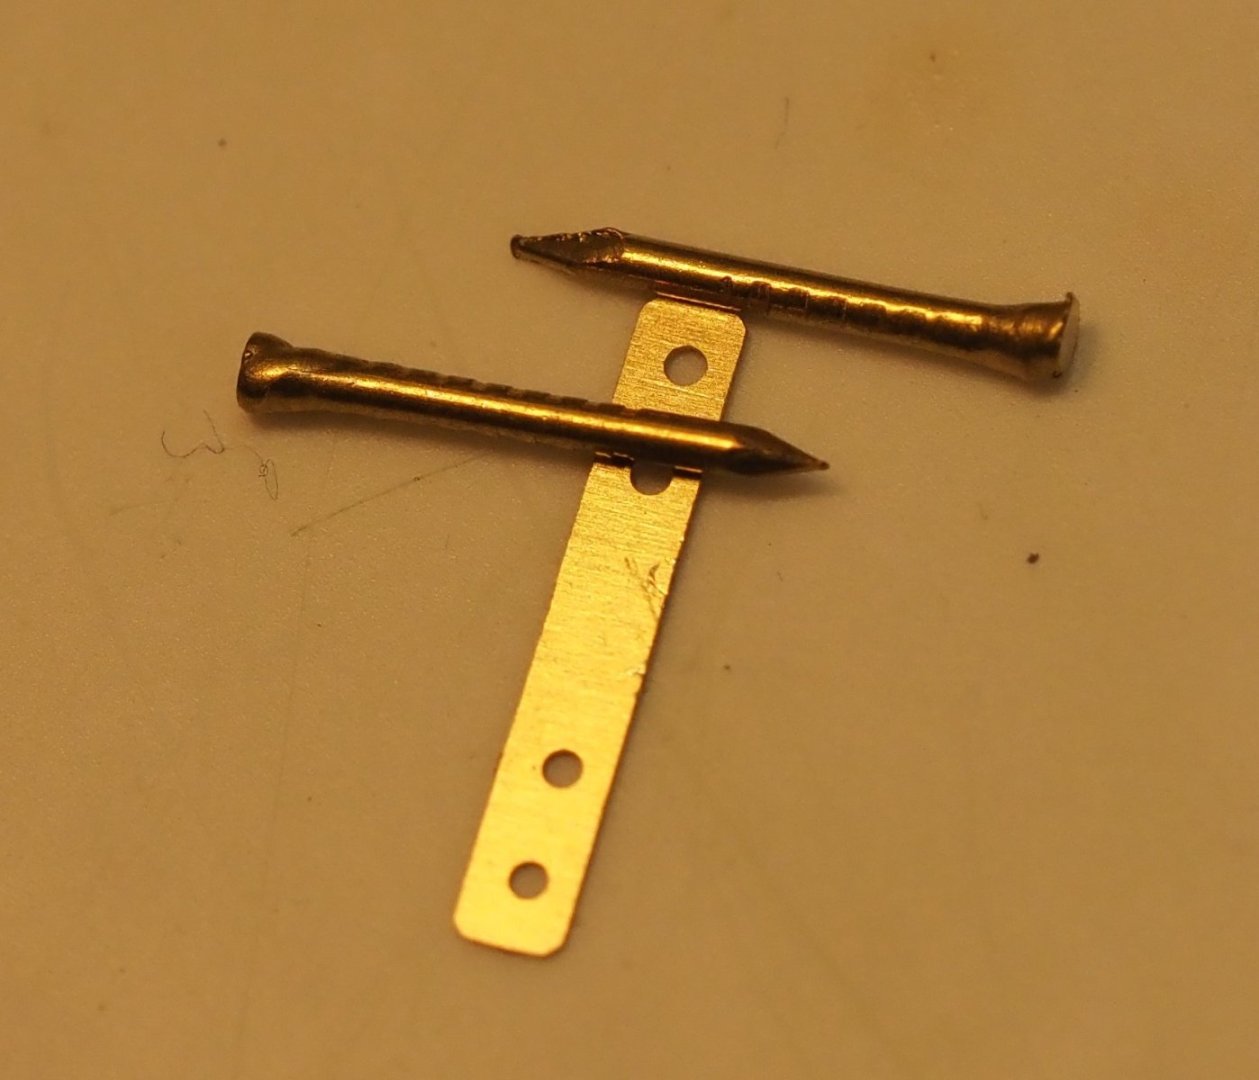
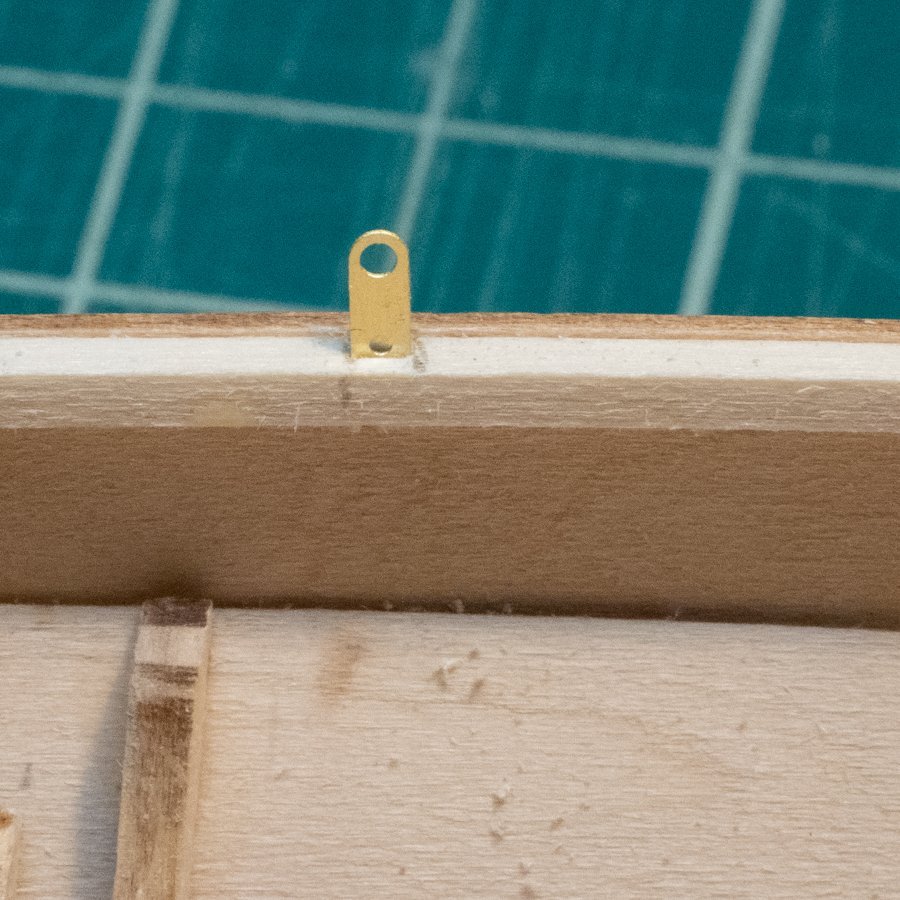
I've been slowly returning to the pram after a long inactive period. I am in the brass fittings phase of the build, and I'm finding that the given nails are too big. They don't fit in any holes in the photoetched pieces. I have noticed this in some build logs - people cutting off the heads of the nails and gluing them, some people making their own "heads" out of wire, etc. and some models whose nail "heads" seem too big for the pieces they are securing. Some models appear fine, though, and I'm guessing that those models came with a size that works, or the modeler made something else to work there instead. Am I missing something basic, or are these nails just too big? I don't mind contacting Model Expo about some new ones. They only list 1/32" nails, which I presume the Pram kit nails are supposed to be, but the average width of the nails I have is over 1/32", more like 3/64". Thoughts?
-
 DonBMichigan reacted to a post in a topic:
Ship in trouble by Ab Hoving - FINISHED
-
 DonBMichigan reacted to a post in a topic:
Sea of Galilee boat by Bryan Woods - FINISHED - SE Miller - 1:20
-
 mtaylor reacted to a post in a topic:
Focus Stacking
-
 DocRob reacted to a post in a topic:
Focus Stacking
-

Focus Stacking
DonBMichigan replied to Dennis P Finegan's topic in Photographing your work. How to do this.
I have a few Olympus cameras, and have tried a number of different methods of focus bracketing: in-camera; using a tripod and rail; moving the focus ring manually and taking multiple shots; and using the Olympus Capture software to move the focus at each shot with the camera on a tripod. You can also just use the touch screen and tap along the image of the model from front to back and let the camera focus on each point. I have had difficultly getting in-camera focus stacking on my E-M1 mark II to work - with some effort, I've gotten OK results, but it's finicky IMO. I really enjoy doing macro photography and seeing how close up I can get, but I've not really tried hard to get amazing photos on the model pics I've posted here. I've used Zerene Stacker or Photoshop to stack. I've found the former to work very well, but if you already have Photoshop, it's usually good enough. -
 DonBMichigan reacted to a post in a topic:
Roman Quadrireme Galley by Ian_Grant - 1/32 Scale - RADIO
-
 Glen McGuire reacted to a post in a topic:
Muscongus Bay Lobster Smack by Bryan Woods - FINISHED - Model Shipways - 1:24
-
 Bryan Woods reacted to a post in a topic:
Muscongus Bay Lobster Smack by Bryan Woods - FINISHED - Model Shipways - 1:24
-
 robert952 reacted to a post in a topic:
Muscongus Bay Lobster Smack by Bryan Woods - FINISHED - Model Shipways - 1:24
-
 robert952 reacted to a post in a topic:
Muscongus Bay Lobster Smack by Bryan Woods - FINISHED - Model Shipways - 1:24
-
I am still following this, you're doing a great job! I am really looking forward to getting back to the pram, then the smack (I'm moving to a new house, and selling my house, and I am surprised how time-consuming it all is). Your guides will be my guide for sure.
- 49 replies
-
- muscongus bay lobster smack
- Model Shipways
- (and 2 more)
-
 DonBMichigan reacted to a post in a topic:
Muscongus Bay Lobster Smack by Bryan Woods - FINISHED - Model Shipways - 1:24
-
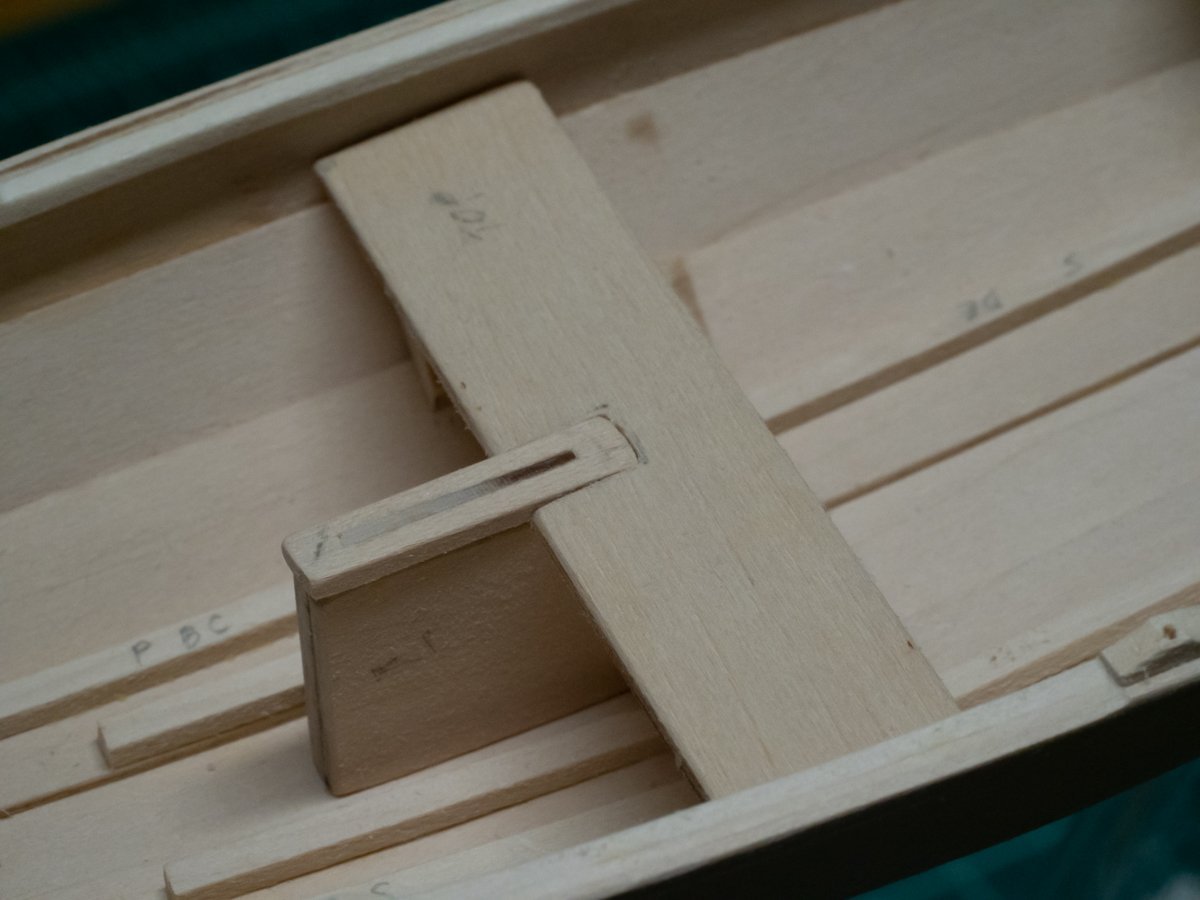
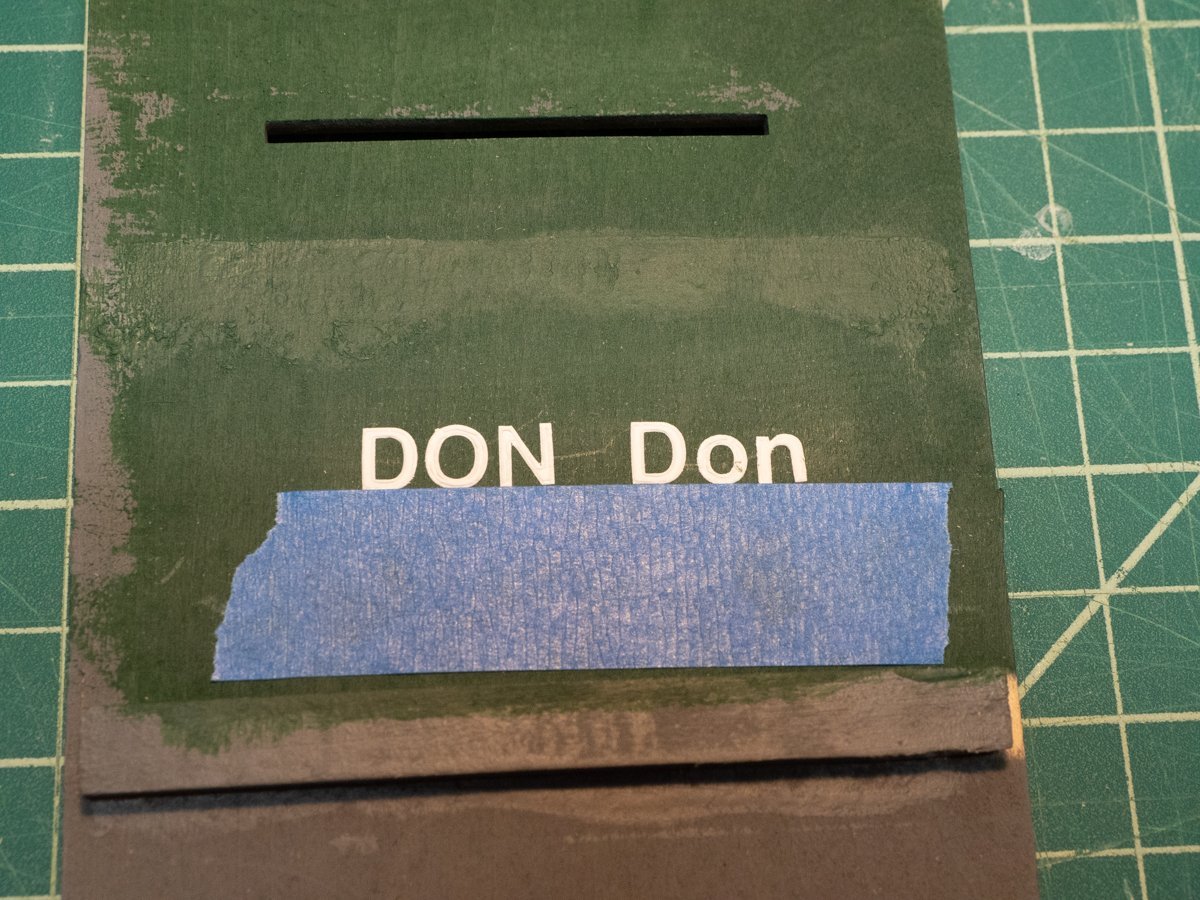
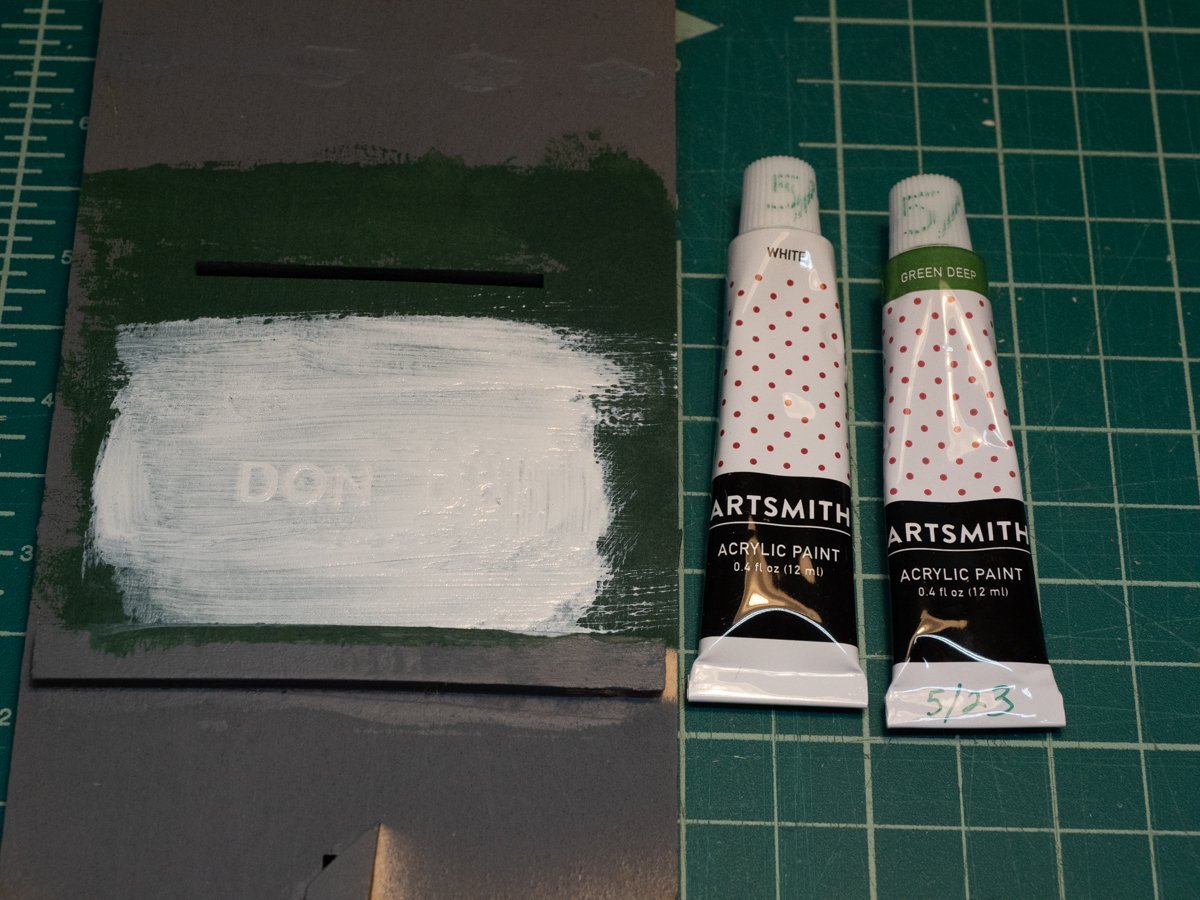
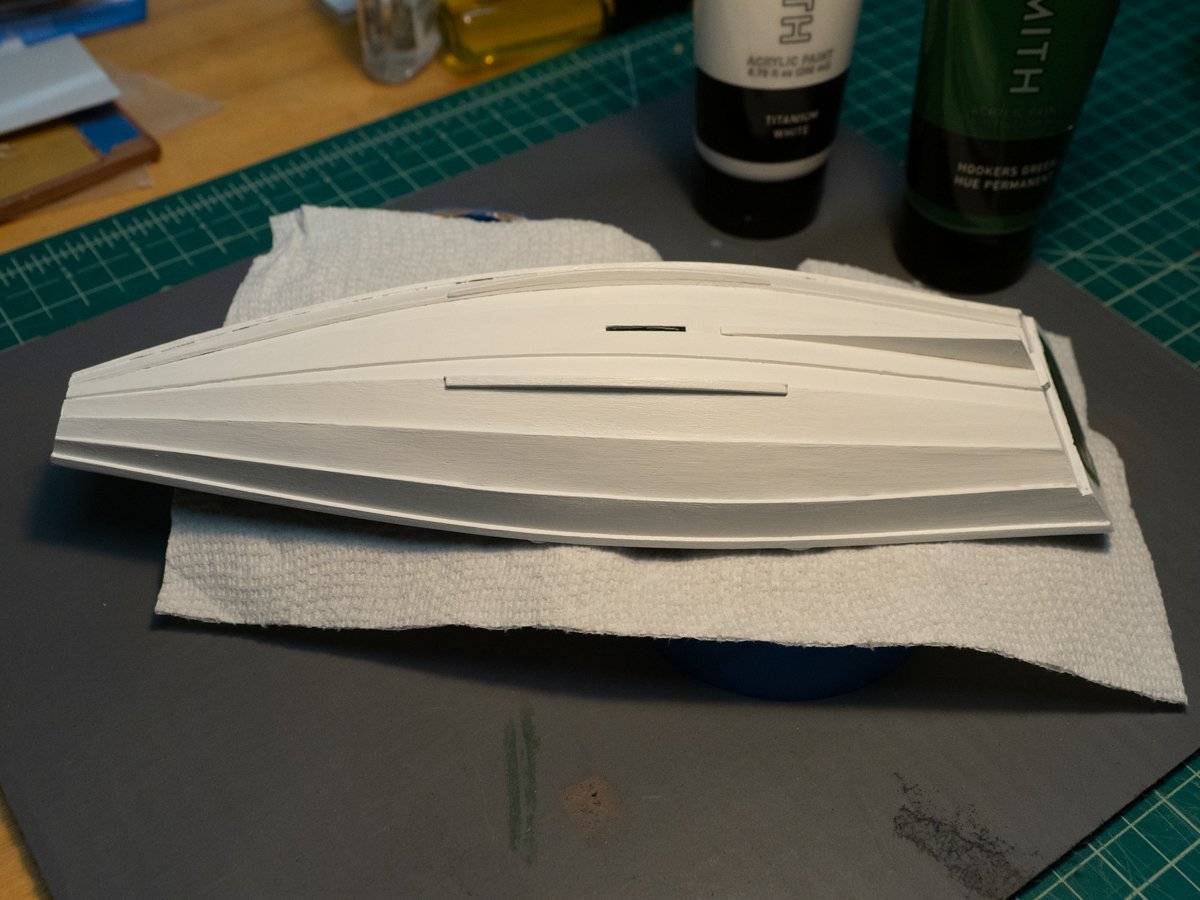
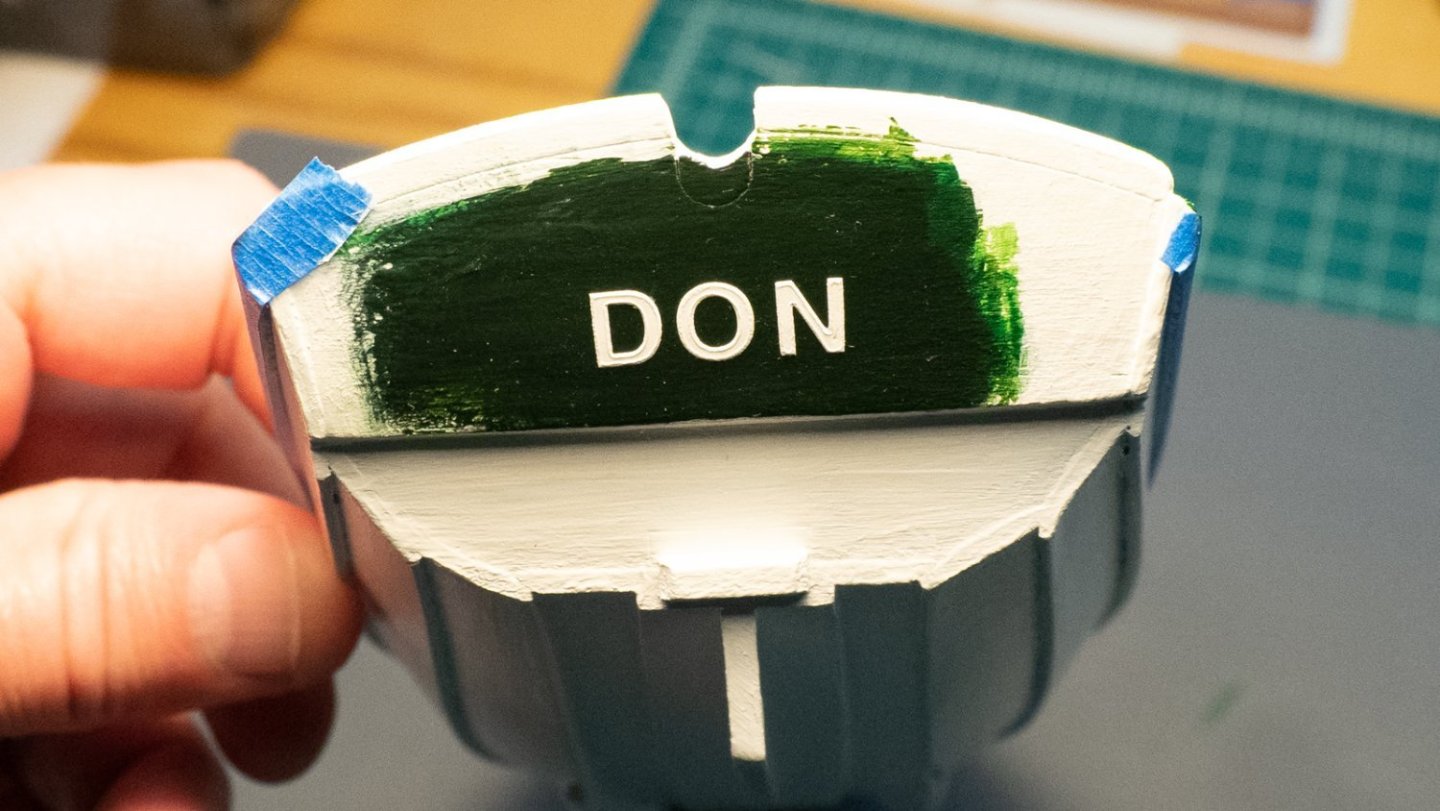
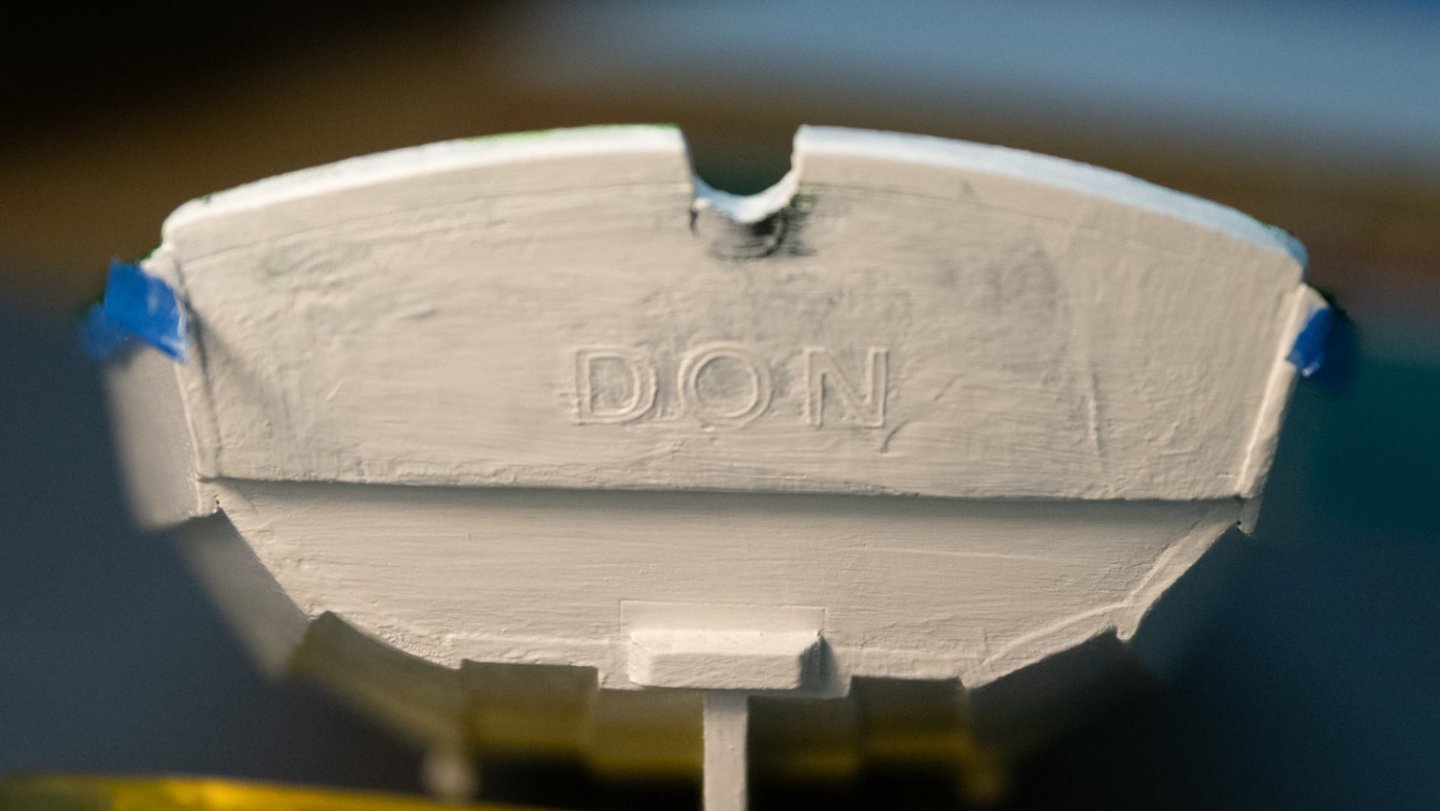
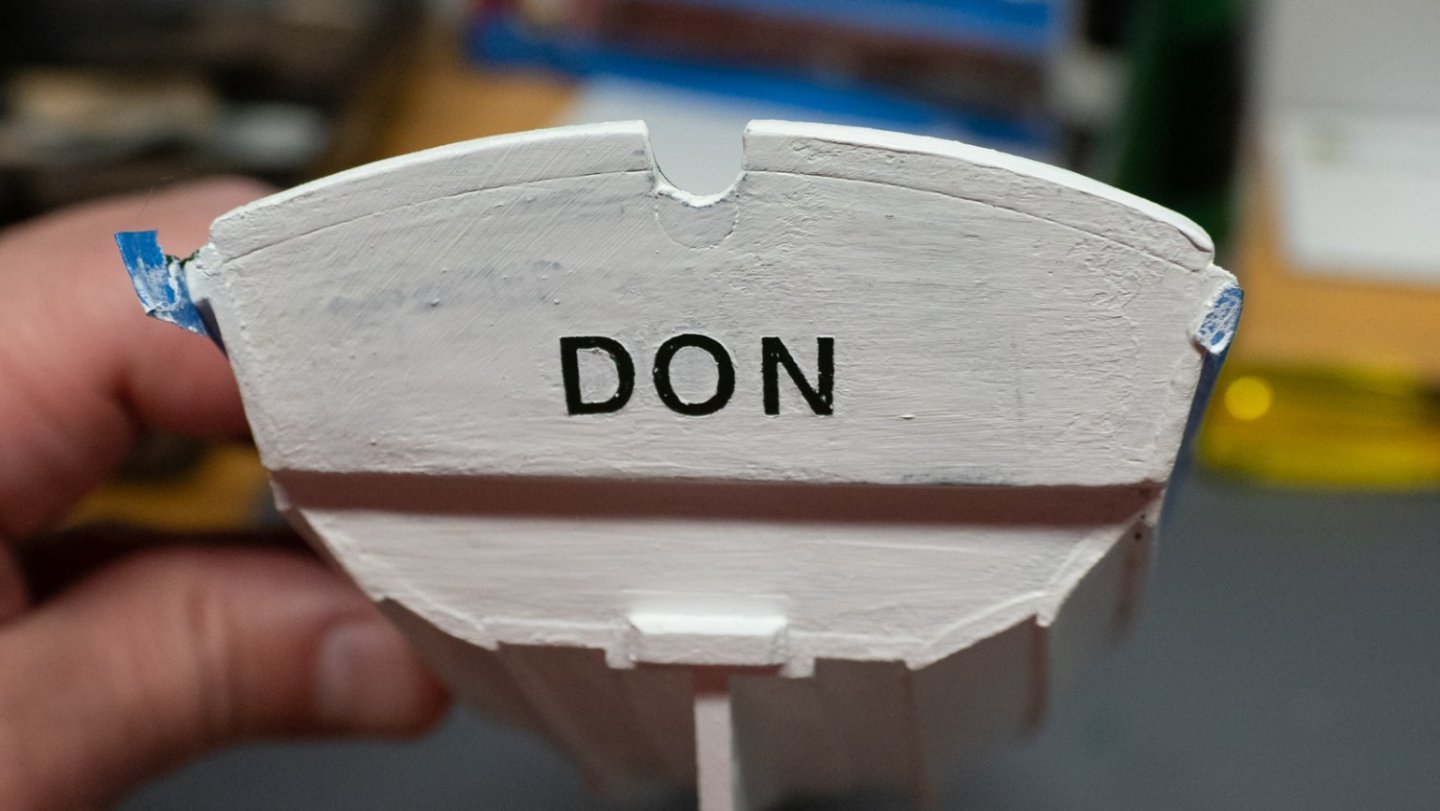
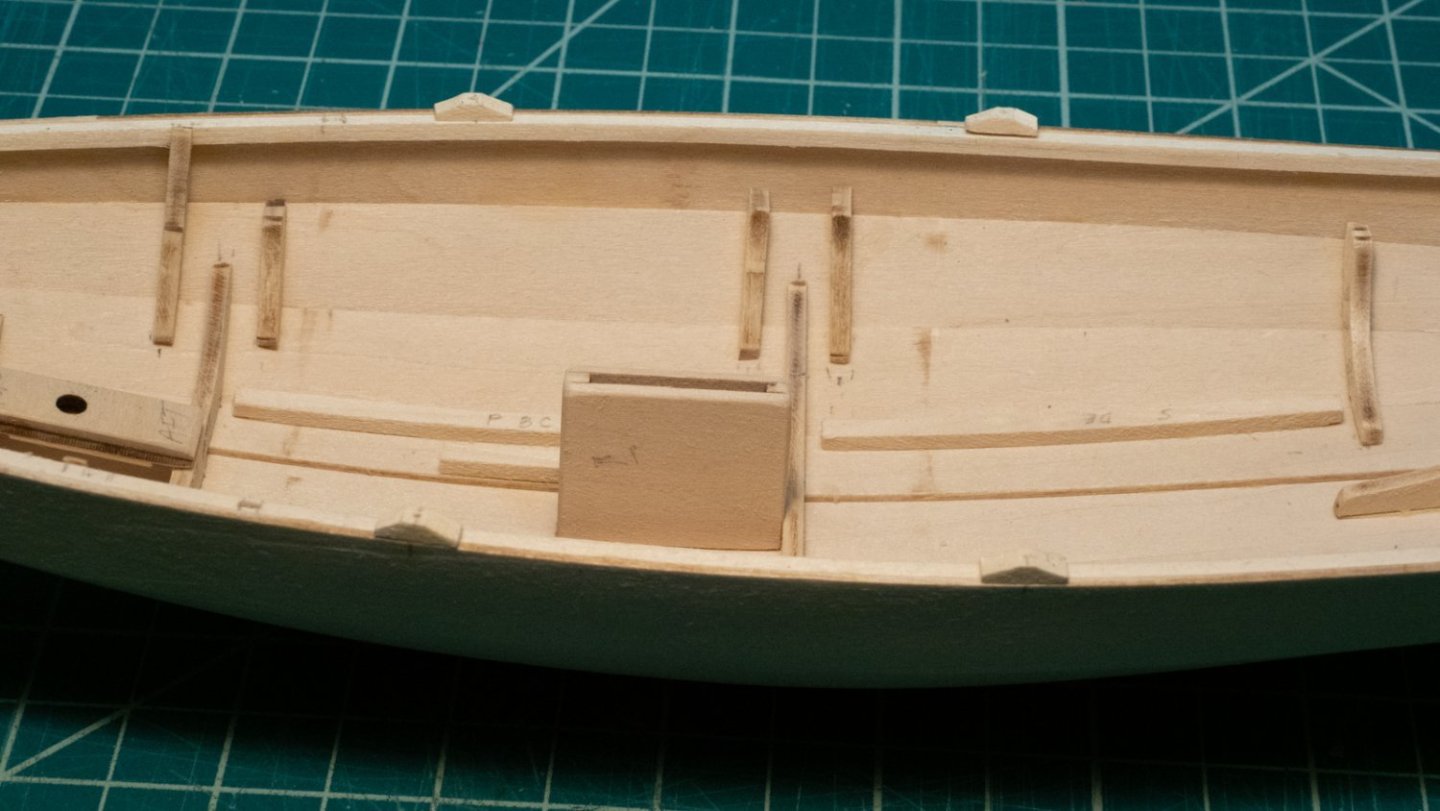
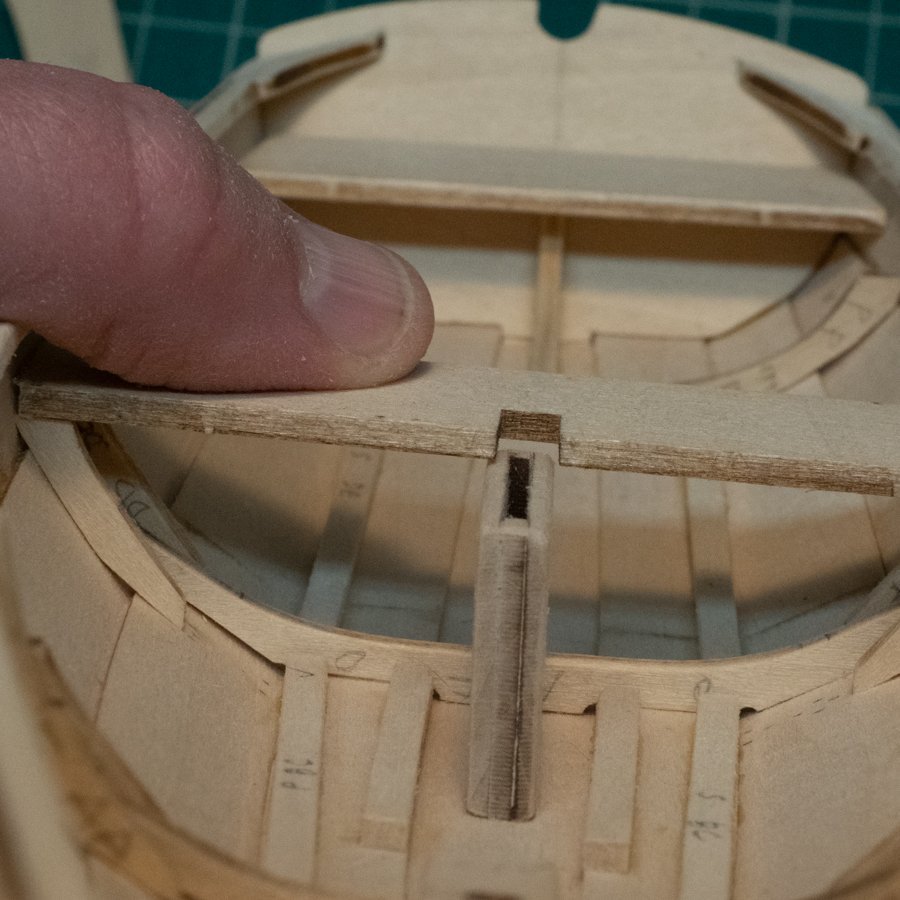
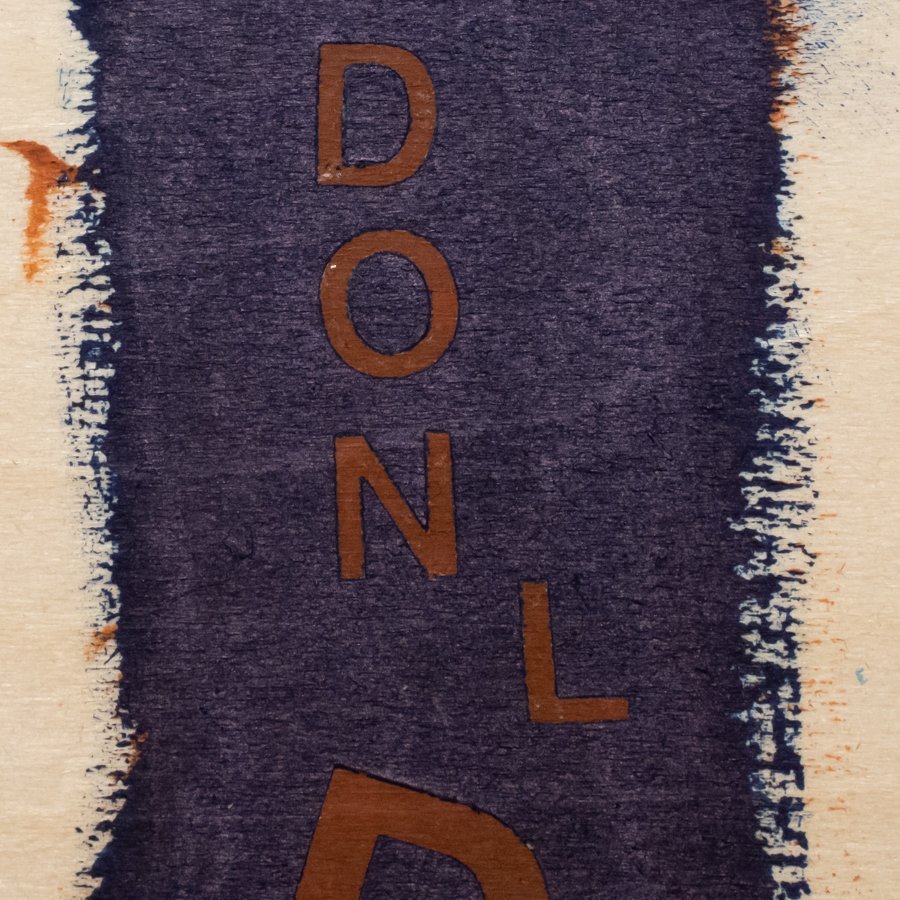
I've done a lot of small painting sessions with the pram over the last few weeks, and also continued to try the "lettering" method I read about somewhere else on this site (and I can't find it or I'd give the author credit). Before painting, I worked on the thwarts, leveling them off, and dealing with the height mismatch of the middle thwart and the dagger board case/dagger board. I am "owning" the mismatch, and carved out the right amount from the thwart to fit around the top of the dagger board, and it looks good enough. As for the painting, I'm using white and green paint I bought at JoAnn Fabric rather than what came with the kit. I used several coats of the white on the outside; something about the white paint makes it a little harder to spread than the green. The green seems to go on more smoothly. It's as if the white paint softens the previous coat when I apply it, because if I'm not really careful, the paint turns gooey and is harder to brush on. This might be my technique, the cheap paint, the brush I'm using, or my inexperience, or all of the above. 😀 As for the lettering, I wanted to try a technique where a base color was painted, some letter decals were placed on top of that, then another color was painted over the whole section of the pram. Once the top color is solid, the decals are removed with the sharp point of a hobby knife, and the base color is revealed. The following pictures show that: This is practice on a scrap piece of wood. I put on several coats of green, then put on the white letter stickers. Several layers of white paint went on after that. Once enough white paint was added, I removed the stickers. The paint stuck to the edges of the stickers, so the lift wasn't clean in a lot of spots. This looks pretty good, but not great, and since it's such an easy technique, I really wanted it to work, so I went ahead and did it on the pram, even though I didn't like the results of a few tests. I painted the outside white, and added some green on the stern. You can see I didn't really plan this out, for two reasons: I added way too much green, and I put the letters right in the middle, and they will be partially covered by the rudder. A way-too-large field of green as a base for the letters... Painting over the letters, and the rest of the stern, with white paint. After removing the stickers, still some of the rough edges are there. This technique might work better with an airbrush or different paints, I don't know. I'm going to leave this as is, and continue assembling the pram. I will probably wish I had moved the letters over to one side, and would do so if I tried this again. Life is going to interfere with much further progress in the near future - the summer has brought me a lot of new tasks, including moving to a new house next month. The tiller is next, and then some of the metal work.
-
Current steps: Priming and painting. I expect painting to take a while, as I'm planning to paint the outside white and the inside green. I have been trying some new paint, and I expect the white to take several coats at least based on my tests. I am also continuing trials with lettering, which are mostly promising but I'm still having some issues that I think I can fix in (what I hope will be) my final test round before applying the technique to the stern transom. The nice weather outside is going to cut into modeling time at this point - I am getting out of my basement and house and working on some yard projects, including replacing some rotting wood trim. So - all of these add up to some extended time on the model steps. Be back in a while!
-
 DonBMichigan reacted to a post in a topic:
Norwegian Sailing Pram by DonBMichigan - Model Shipways - 1:12
-
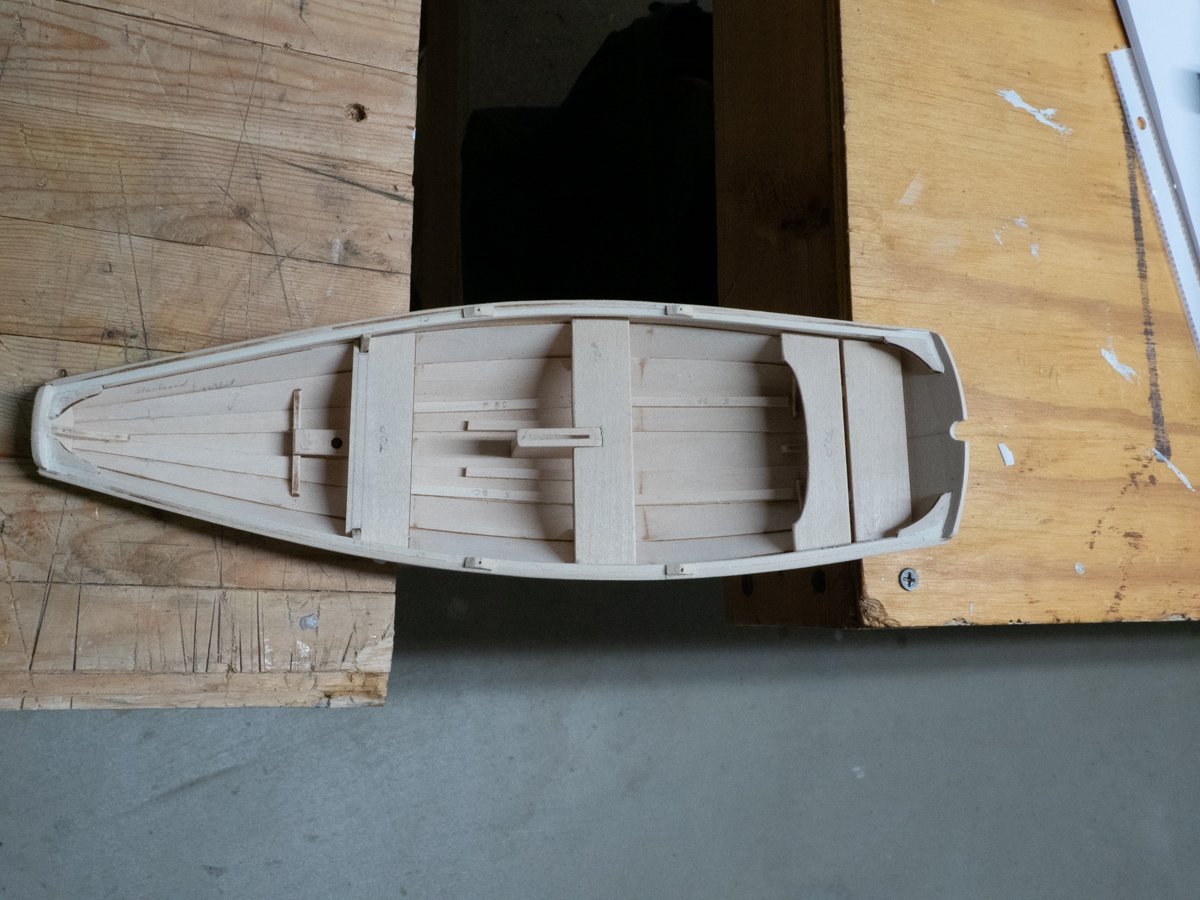
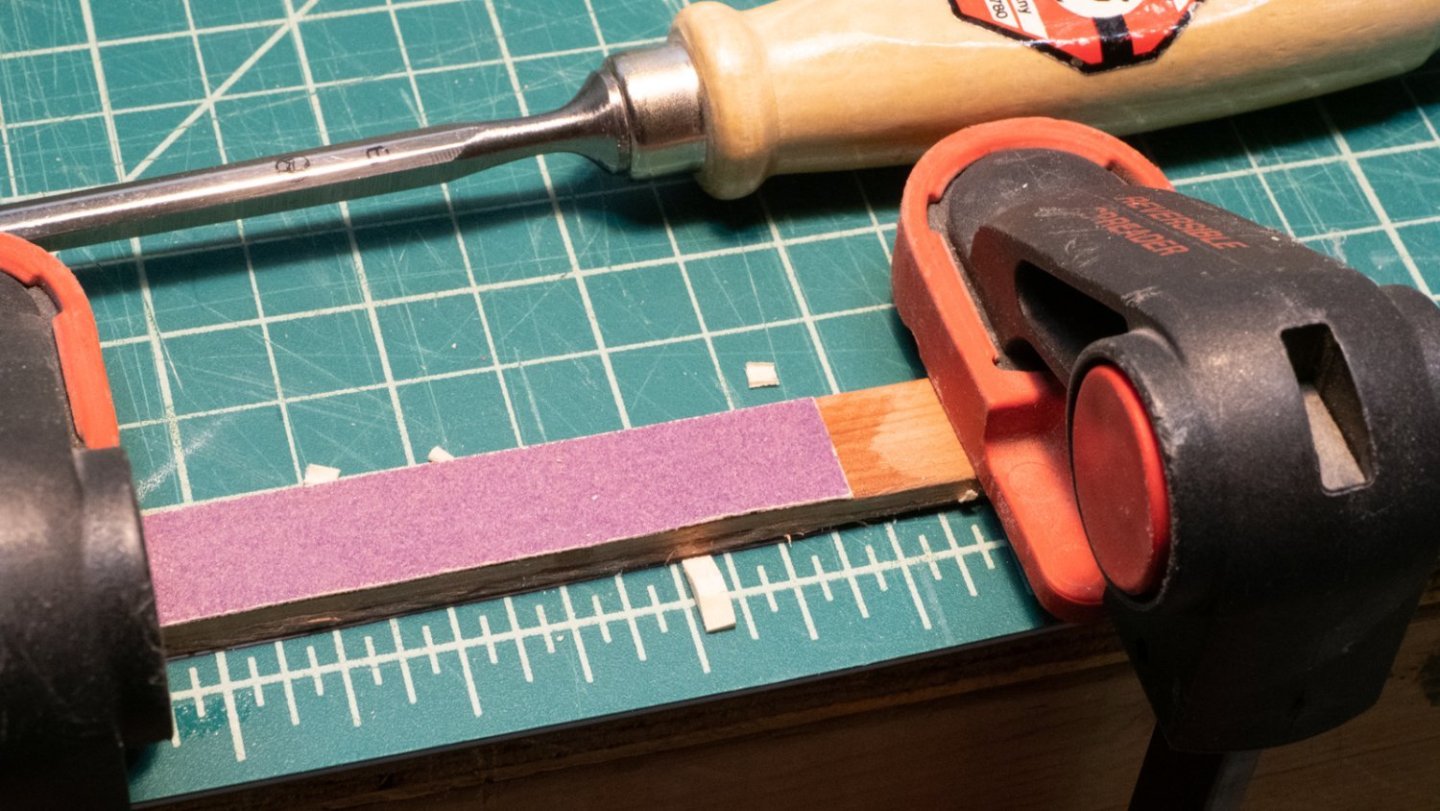
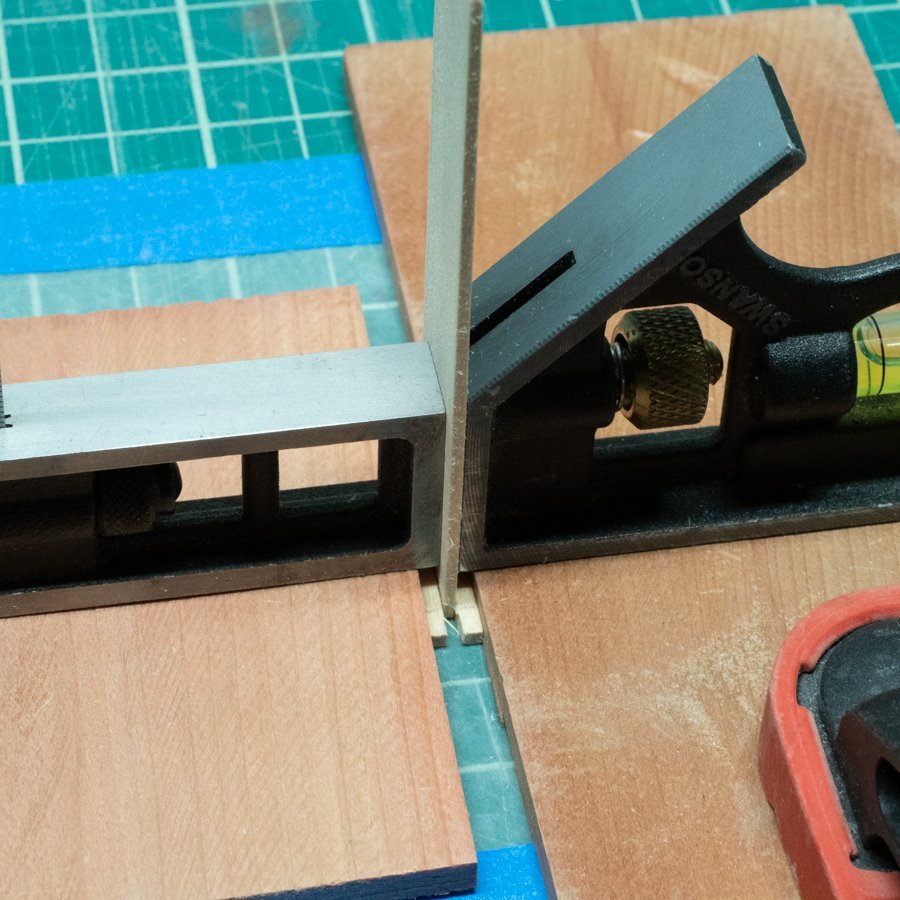
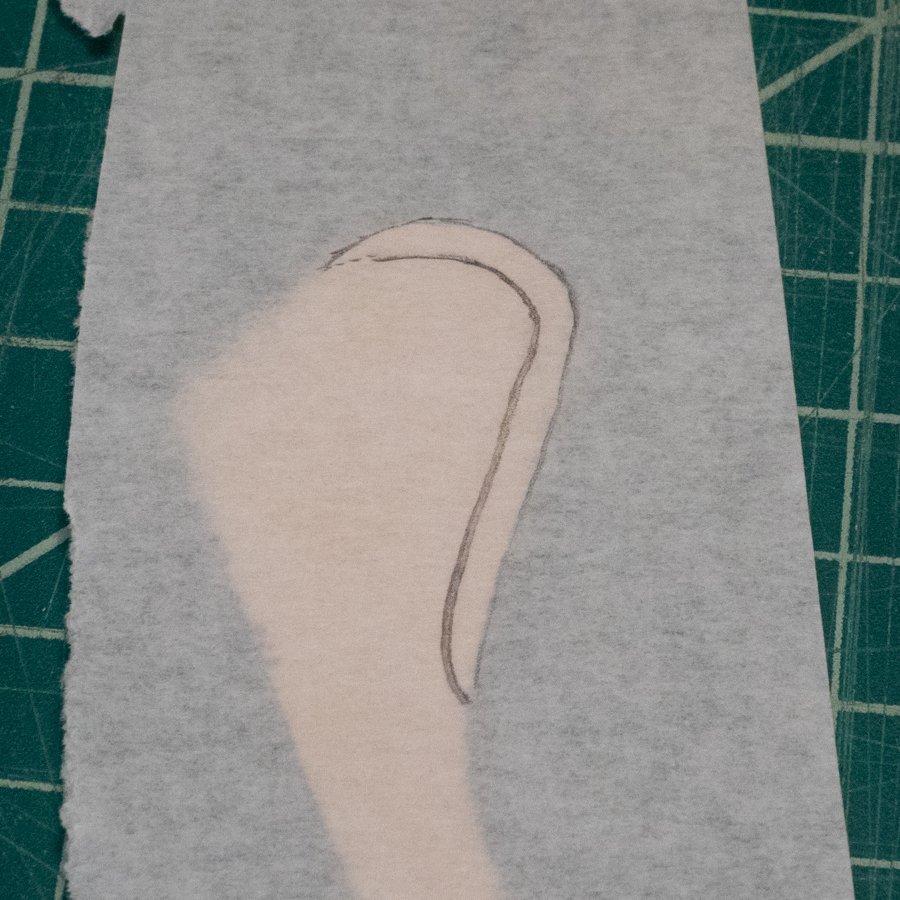
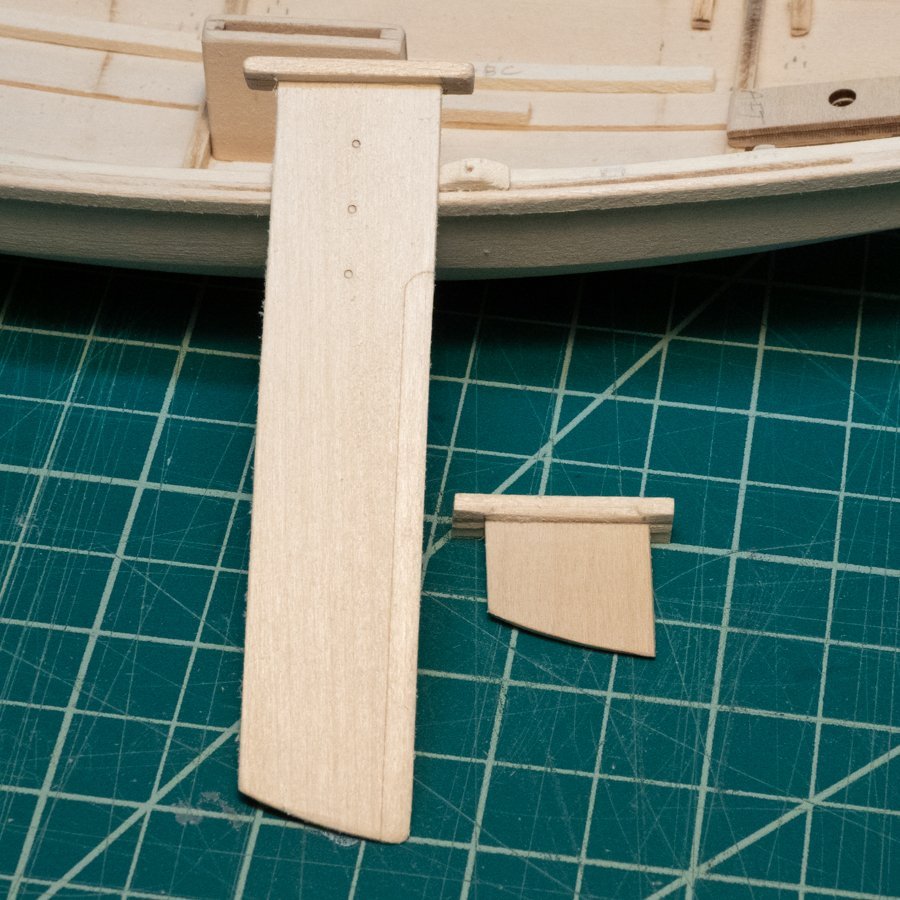
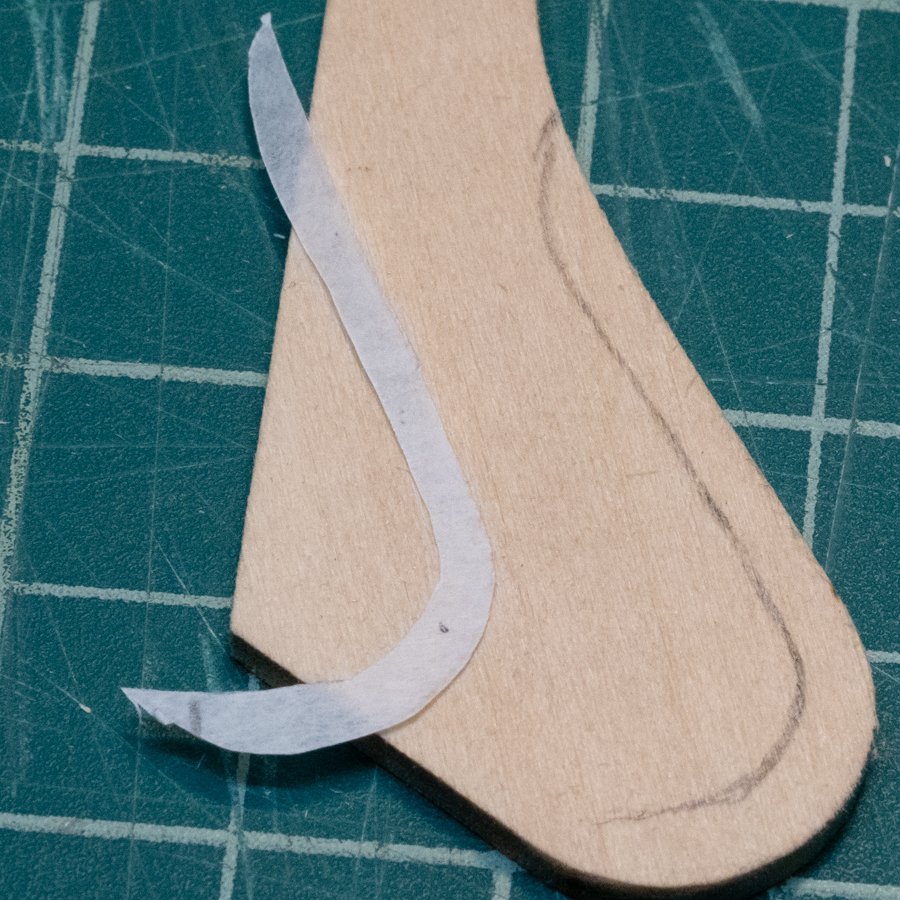
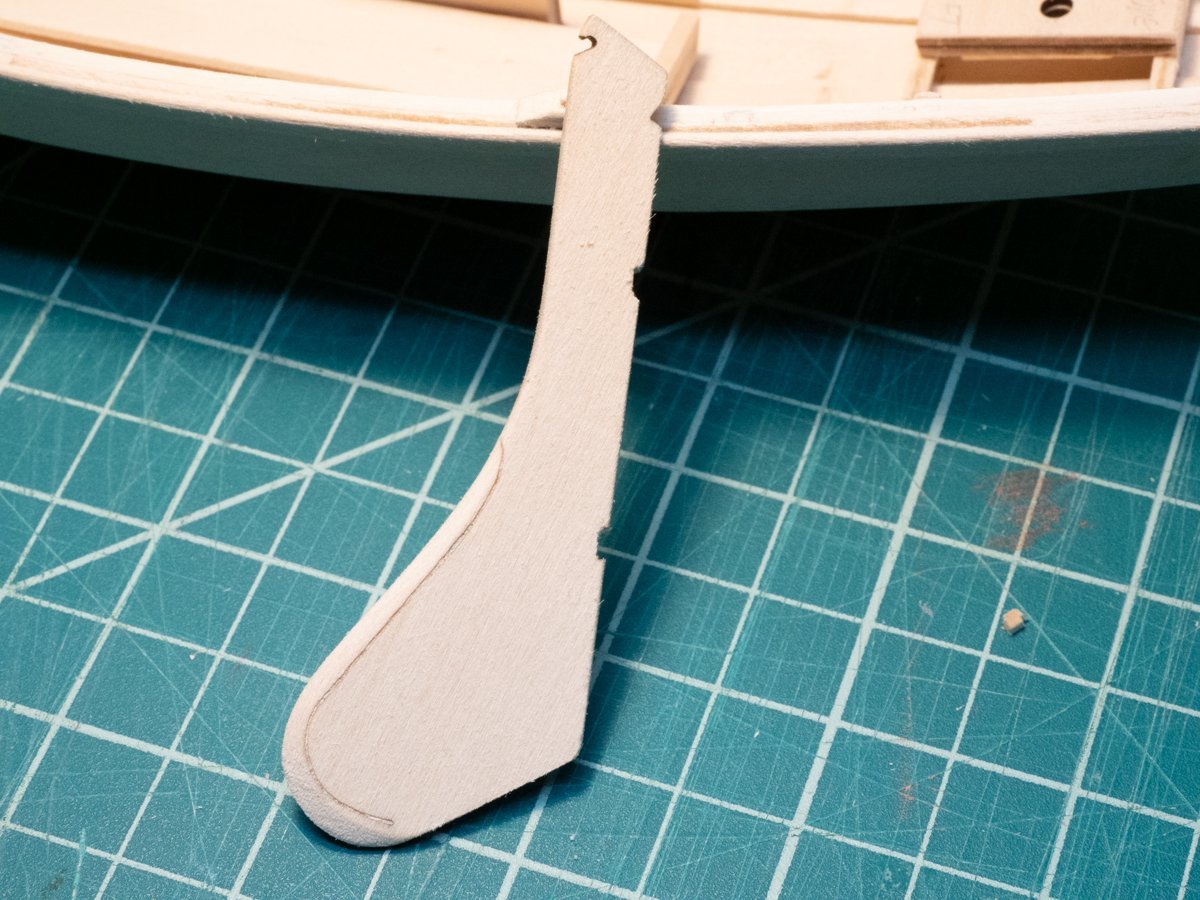
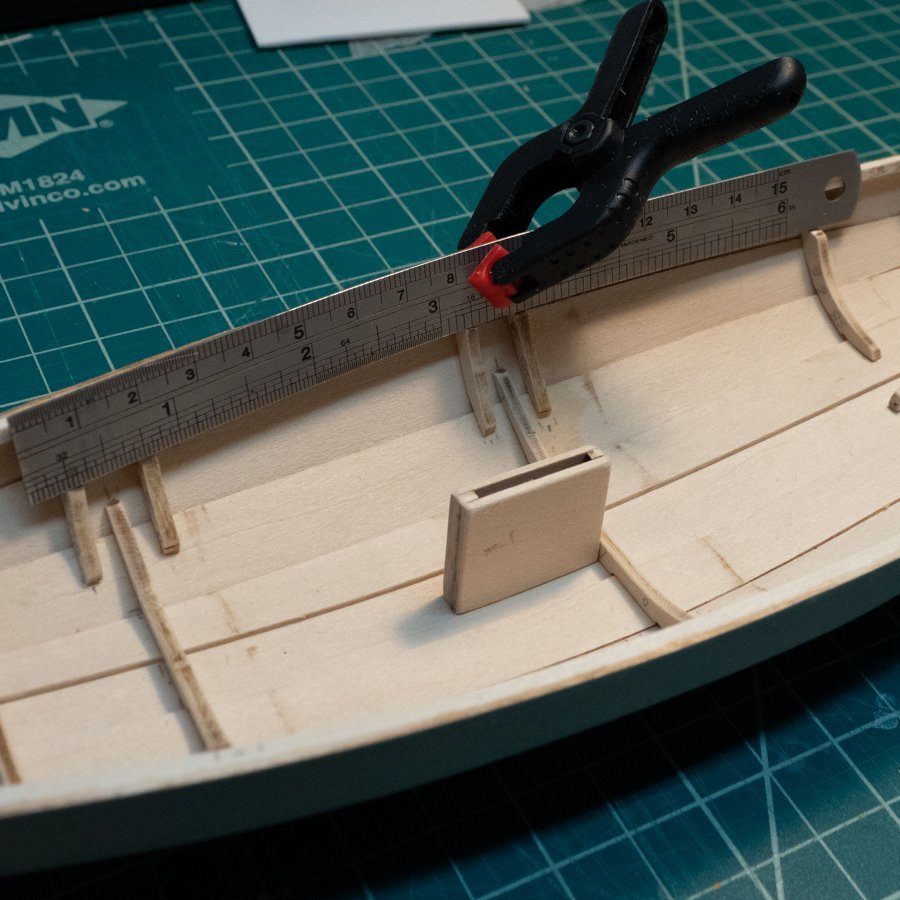
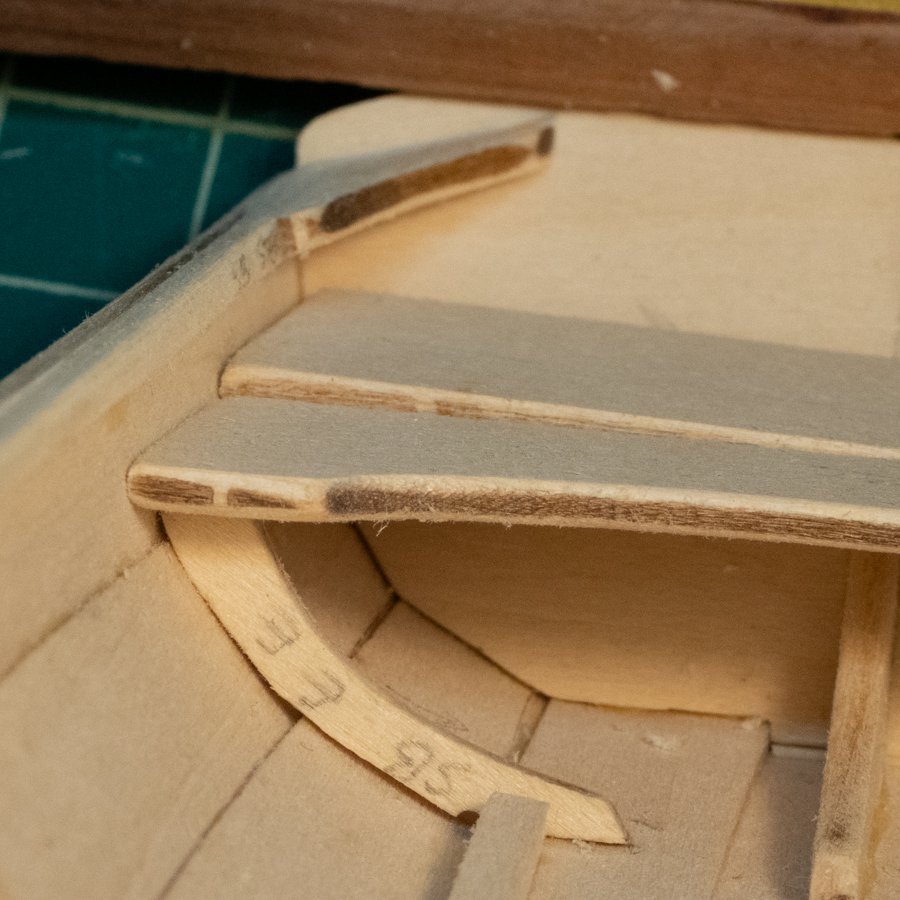
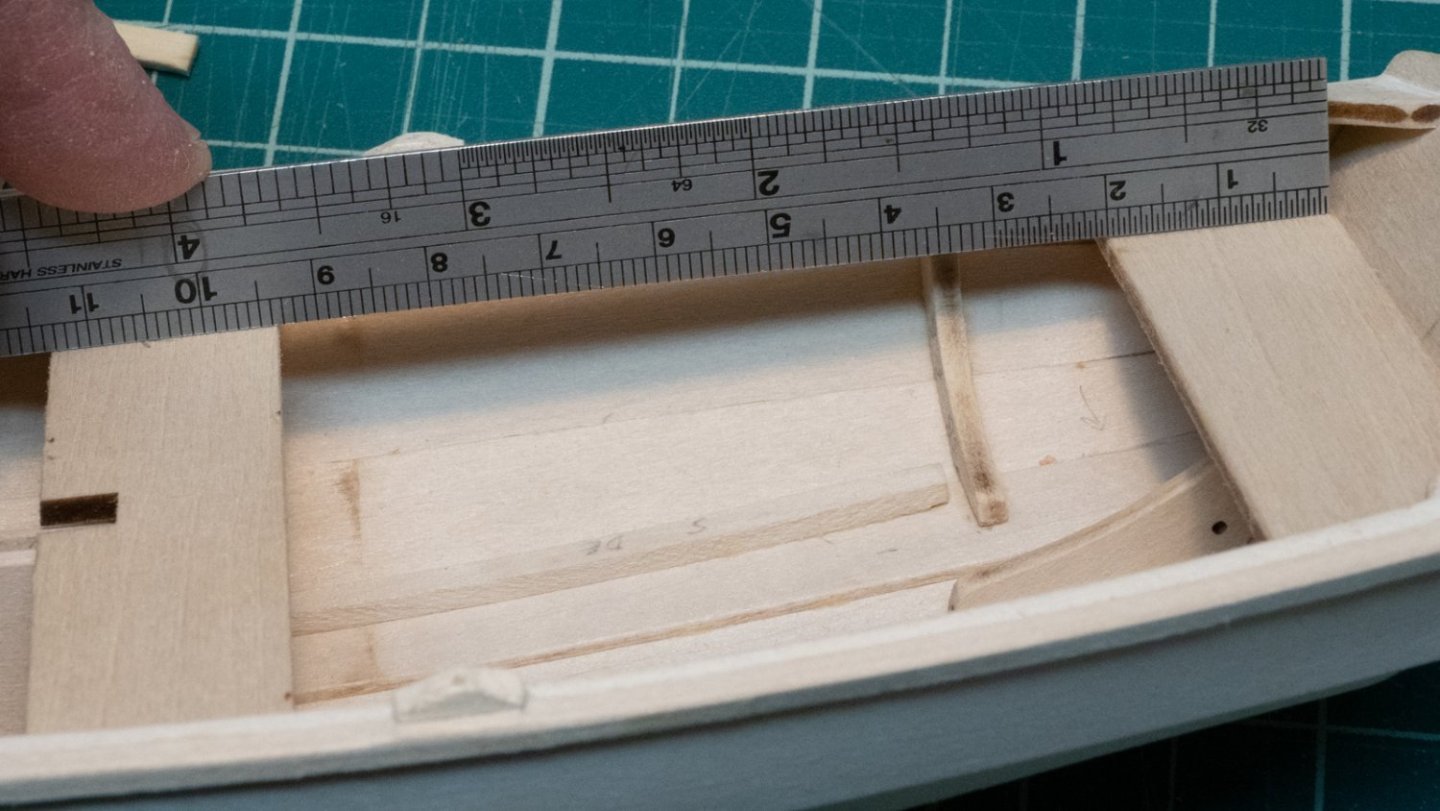
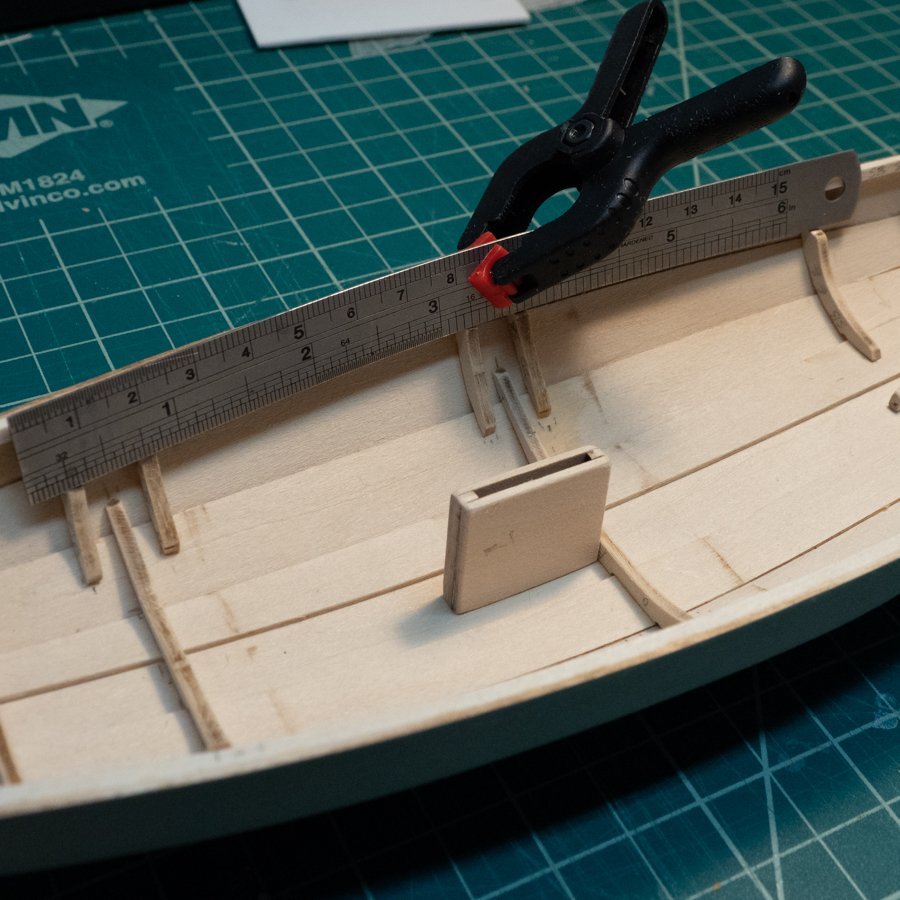
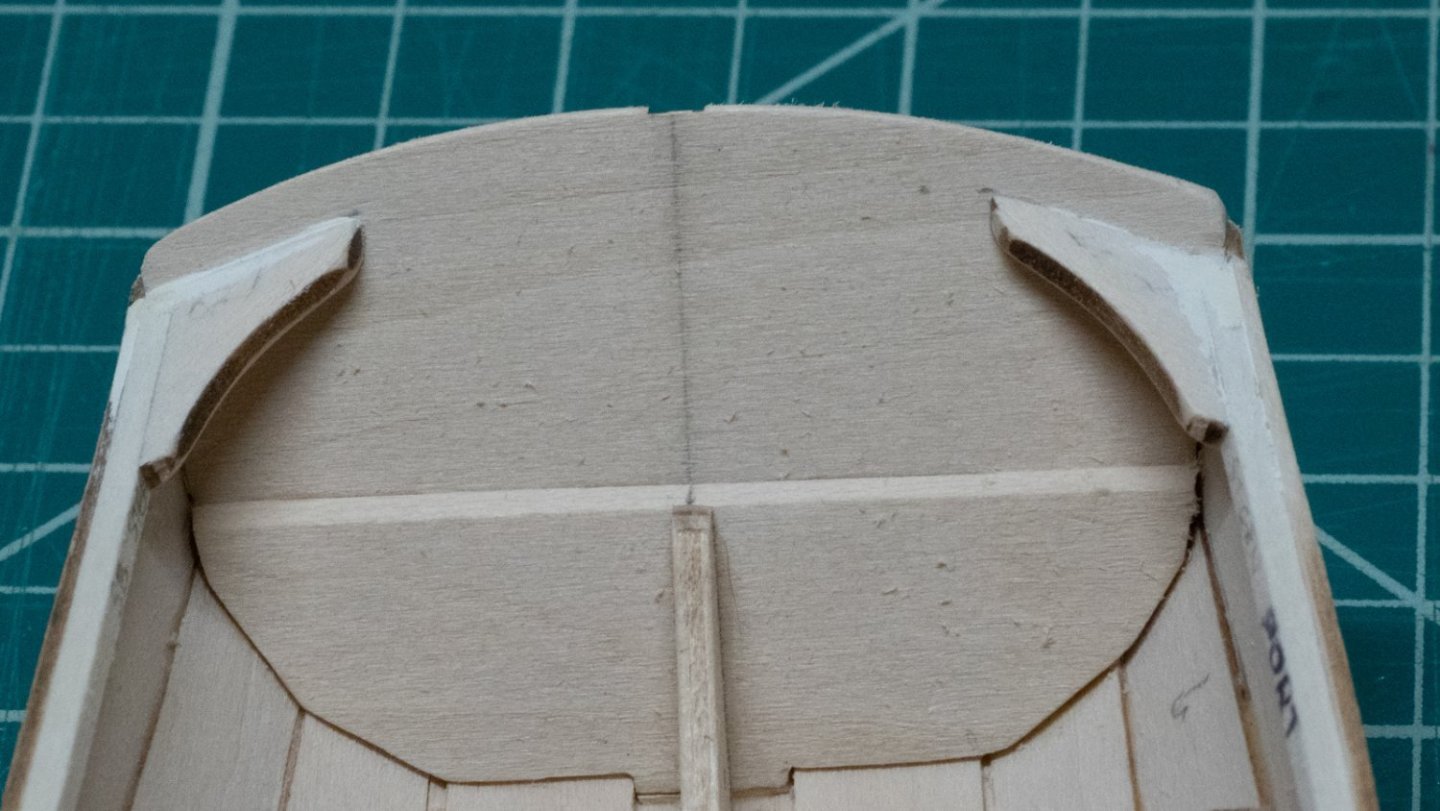
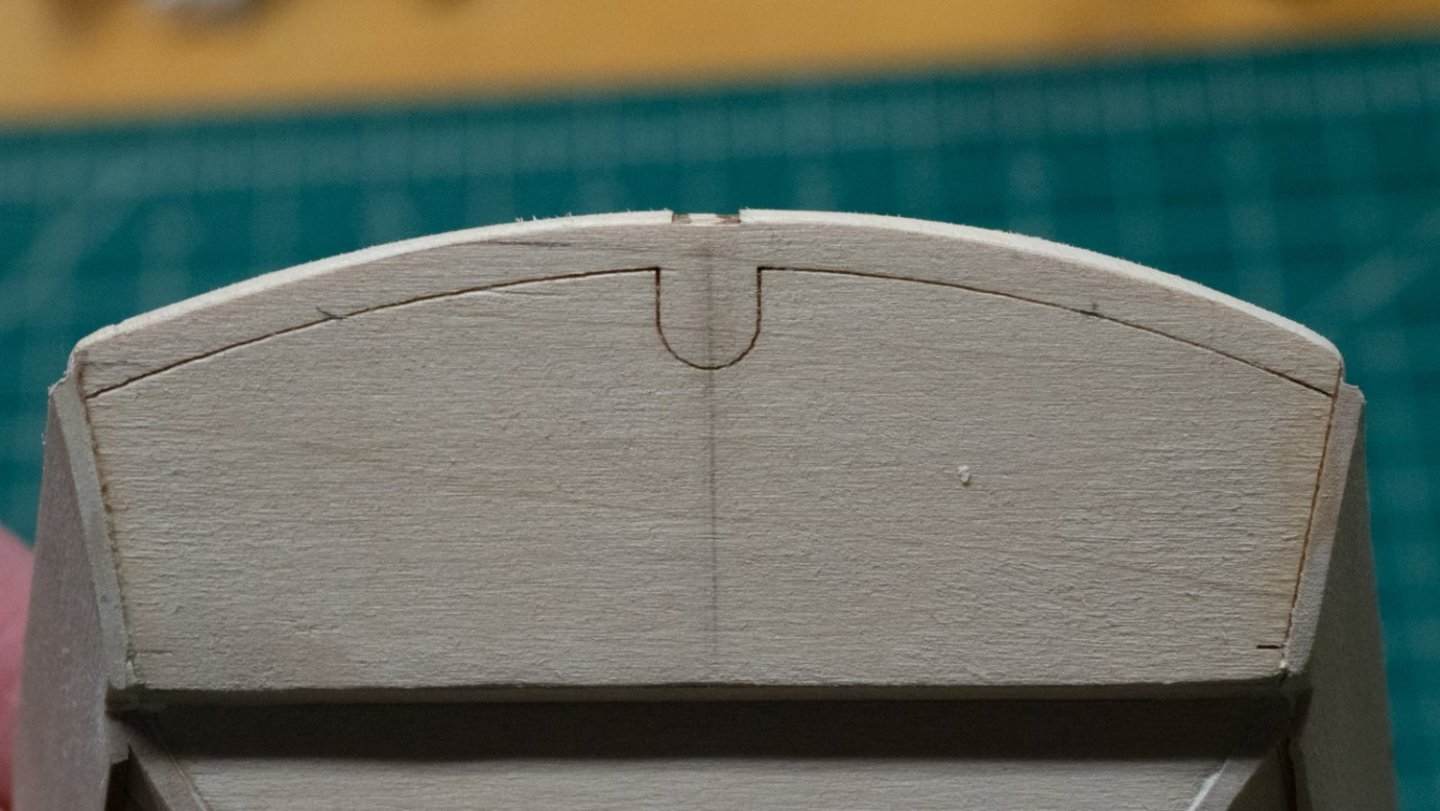
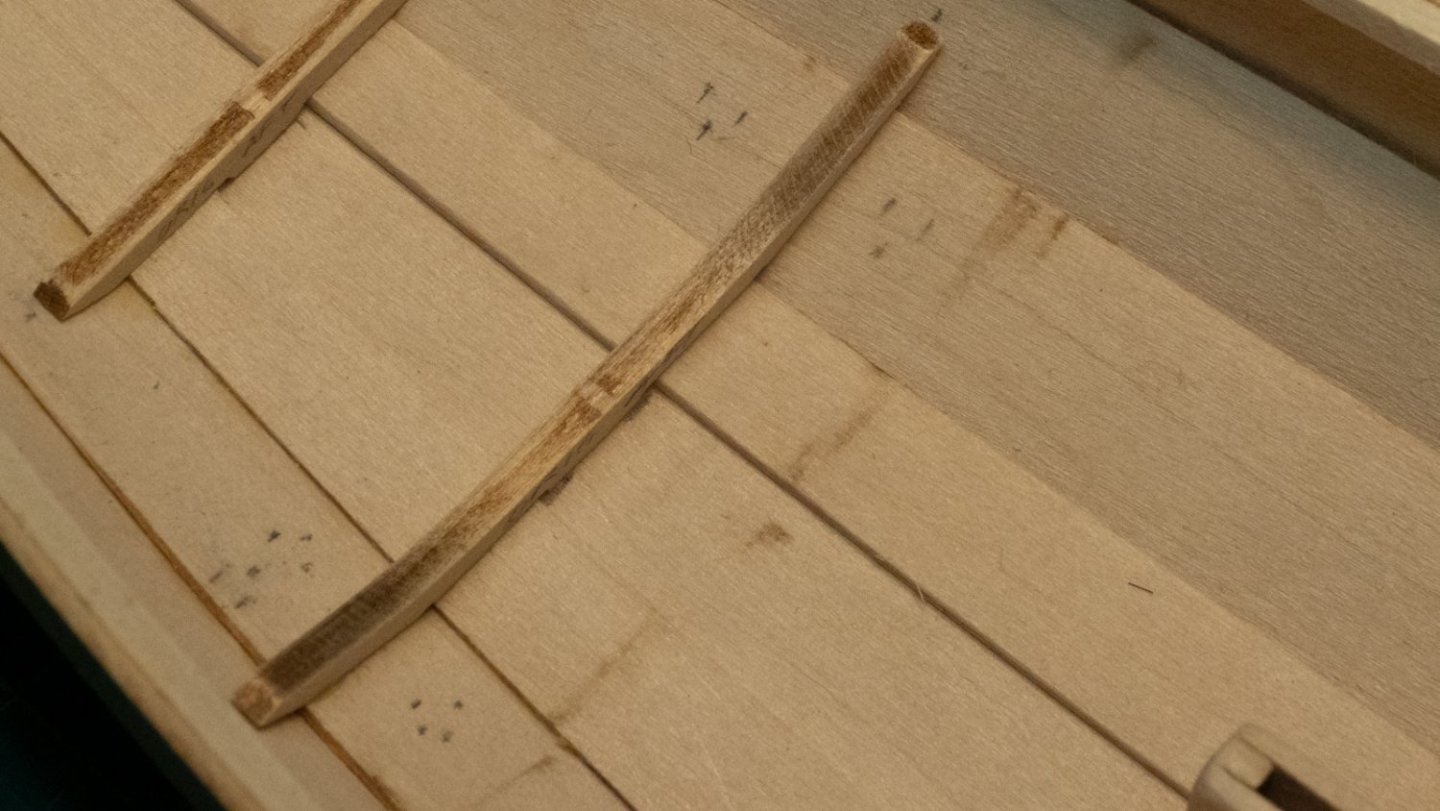
This week's update: Based on a warning from some other build logs, I checked the width of the chain plates before making the slots for them, and used the piece itself as a guide for how long to make the slot. I didn't have the small saw blade shown in the instructions, so used the pin vise drill to take out as much material as I could, and cleared out the rest with the tip of a #11 blade. For the rowlock pads, I didn't look closely enough at the instructions, which show them being shaped by a chisel while still attached to a longer piece of stock, which may have given me better results. I used a small piece of wood as a stop and a chisel to shape them after I had already cut them out. There are four rowlock pads, the instructions mention the fore two, but all the pictures have four. I placed them roughly where I thought they should go based on the pictures. Rub rails - these went on pretty easily. Gluing the top pieces to the dagger board. I tried to get the best 90 degree angle I could. I made the dagger board and the "lid" mentioned in the instructions. I tried to put some finger grips onto the lid piece after gluing it all together, and found it a struggle - I wasn't happy with what I ended up with. If I were to do this model again, I'd file/sand the finger grips into the pieces before gluing. It would have been a lot easier. As it is, I left the dagger board alone. To transfer the curve on one side of the rudder to the other, I used tracing paper, cut it out, and drew the curve on the other side. Sanding and filing was straightforward. The instructions say something about creating a notch between the two marks, but on the lower side of the rudder, there were three marks. After doing quite a bit of looking at other build logs, I made some rectangular notches. Most pictures of don't bring much detail. One of my "rectangular" notches is a little off, now that I look at this picture, so I will revisit it. In a previous update, I shared my approach to getting all the seats to be straight across/level with each other, and wondered whether this would be a good approach. As shown in this image from my last post, I used a flexible ruler as a guide to make them all level with one another. So was it a good approach? Yes and No, but closer to No. Two issues have arisen after taking this approach: The positions of the seats are ALSO dependent on the positions of other elements of the boat, such as the dagger board case The "level-ness" of the seats from port to starboard are also a consideration. For #1: The middle seat is perfectly aligned with the stern-most one - but the whole seat is too high to fit around the dagger board case. For #2: Port to starboard "level-ness" not quite there... I had tried to line things up when I first glued in the fore-most and aft-most frames, but still missed by a little. Neither of these are unfixable problems, I have some adjustments to make, then put on the midships thwart knees. Then - painting. I have spent some time on and off trying a painting technique to produce some basic lettering on the stern of my pram, based on an idea I found on this site. I have had mixed success so far, but it's promising. I'll post more in the future about it, regardless of whether it works out or not. Below is a fairly successful attempt.
-
 DonBMichigan reacted to a post in a topic:
Norwegian Sailing Pram by DonBMichigan - Model Shipways - 1:12
-
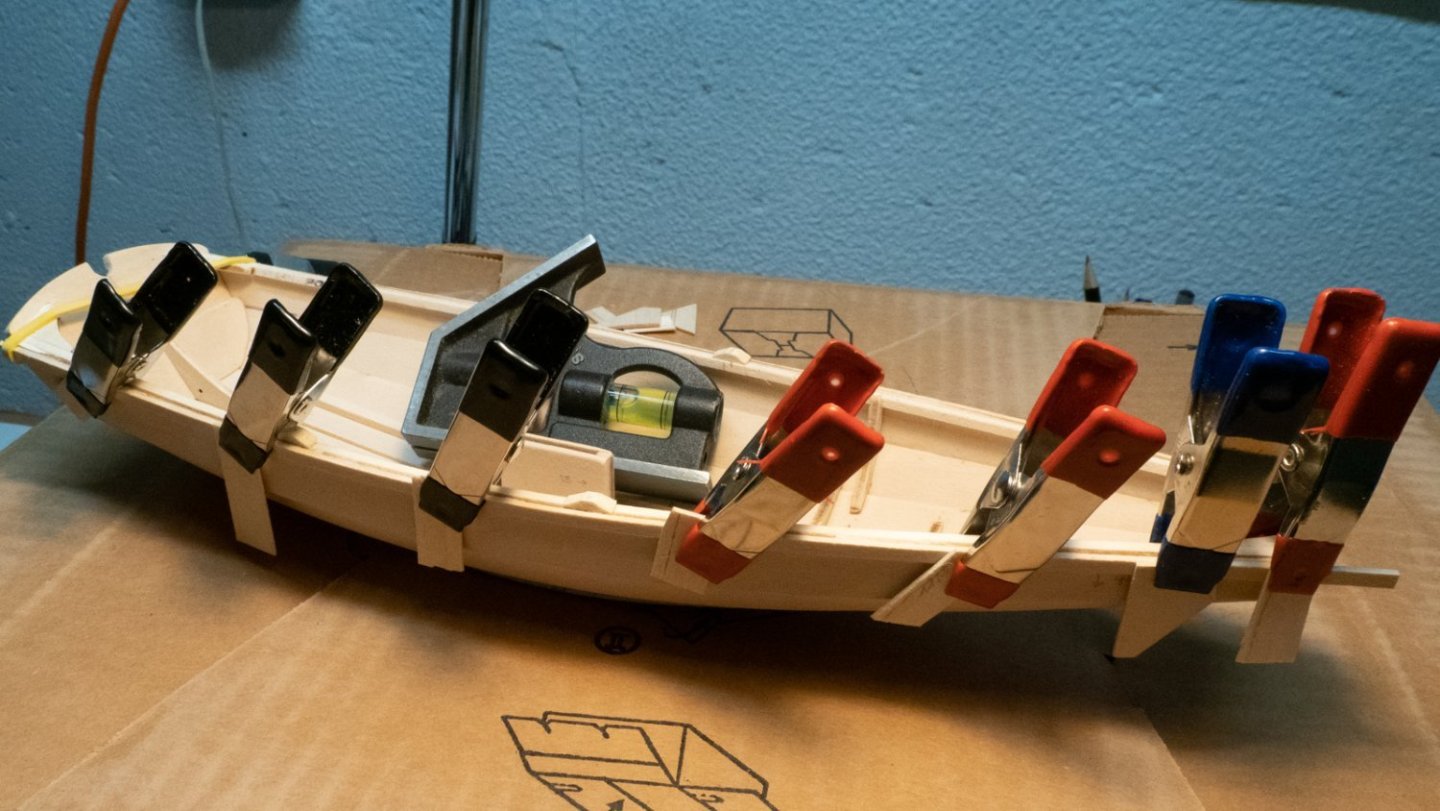
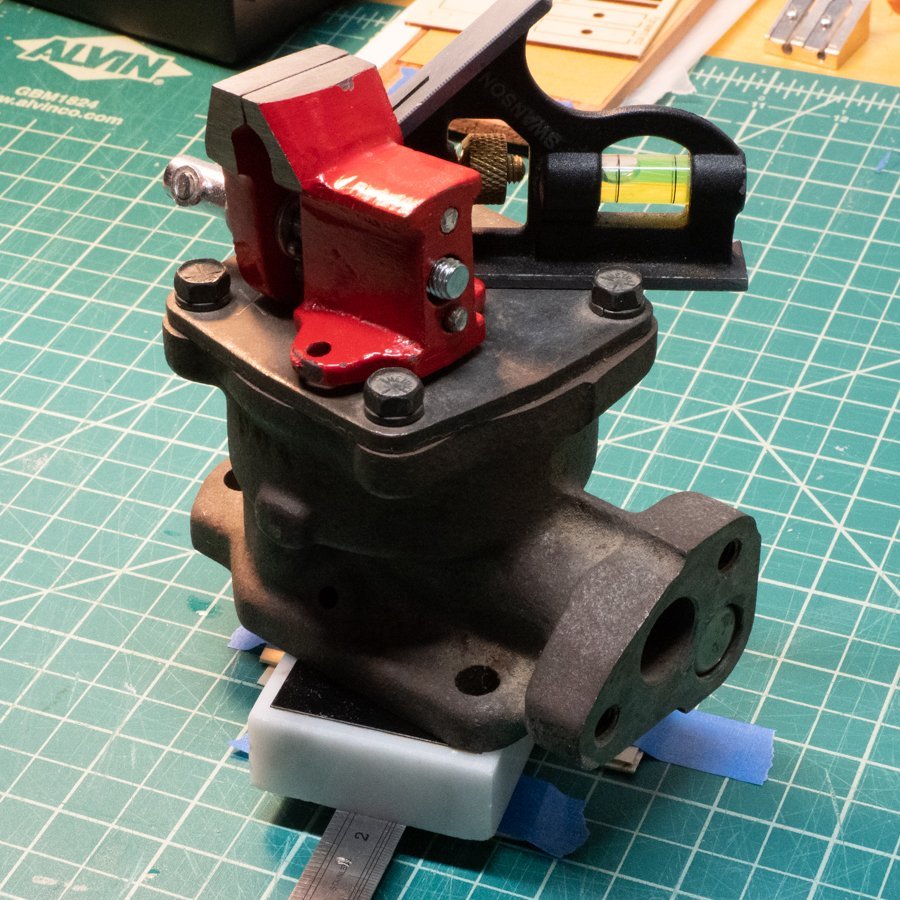
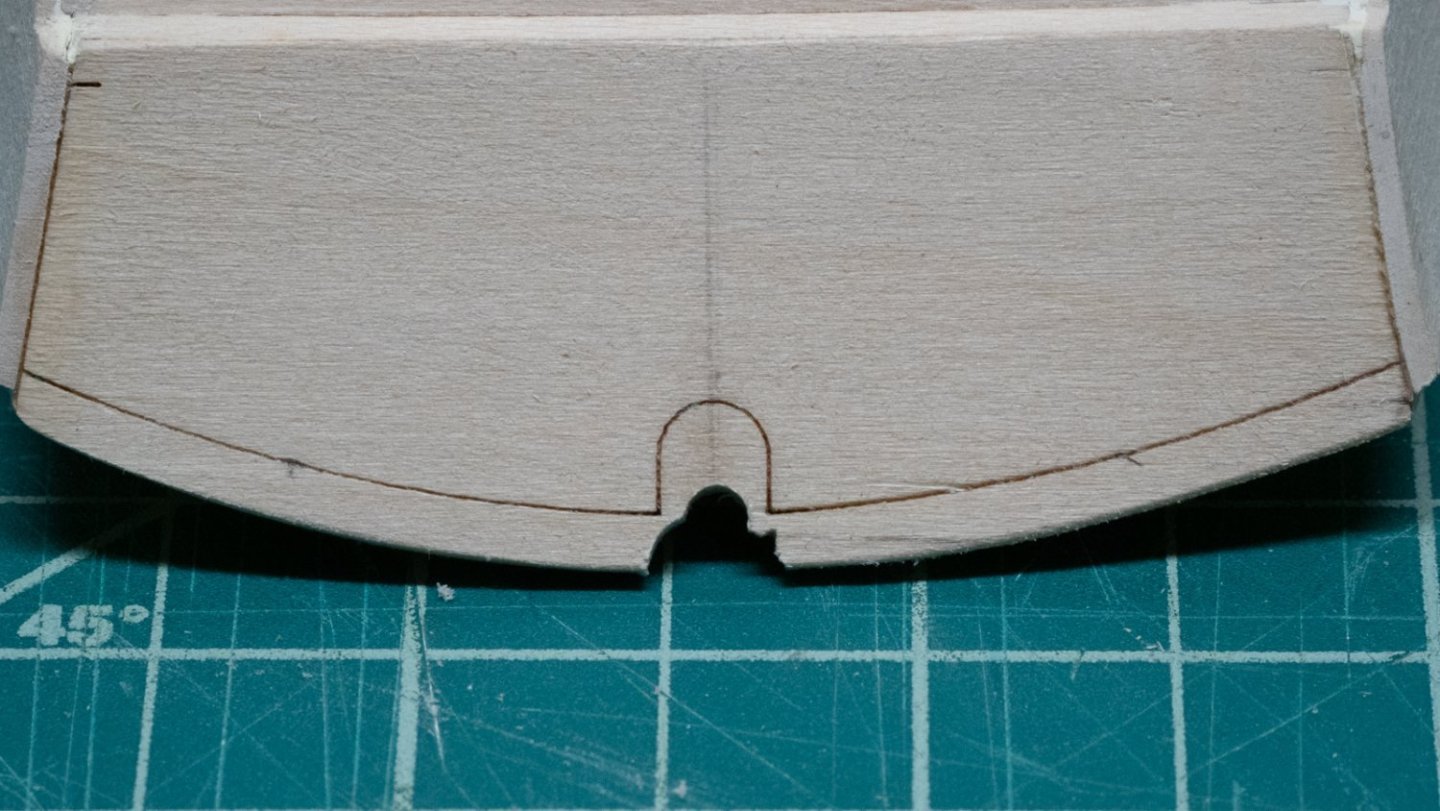
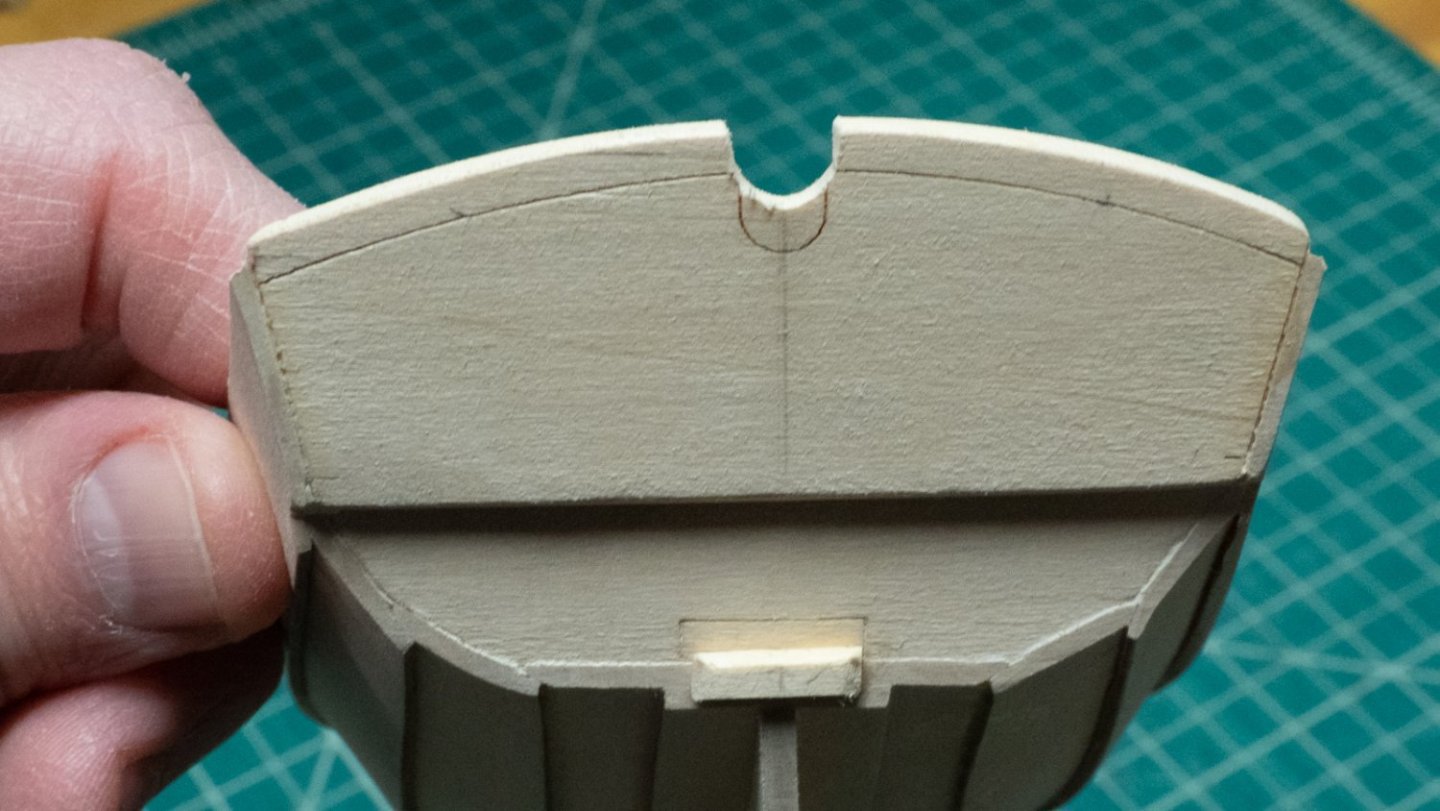
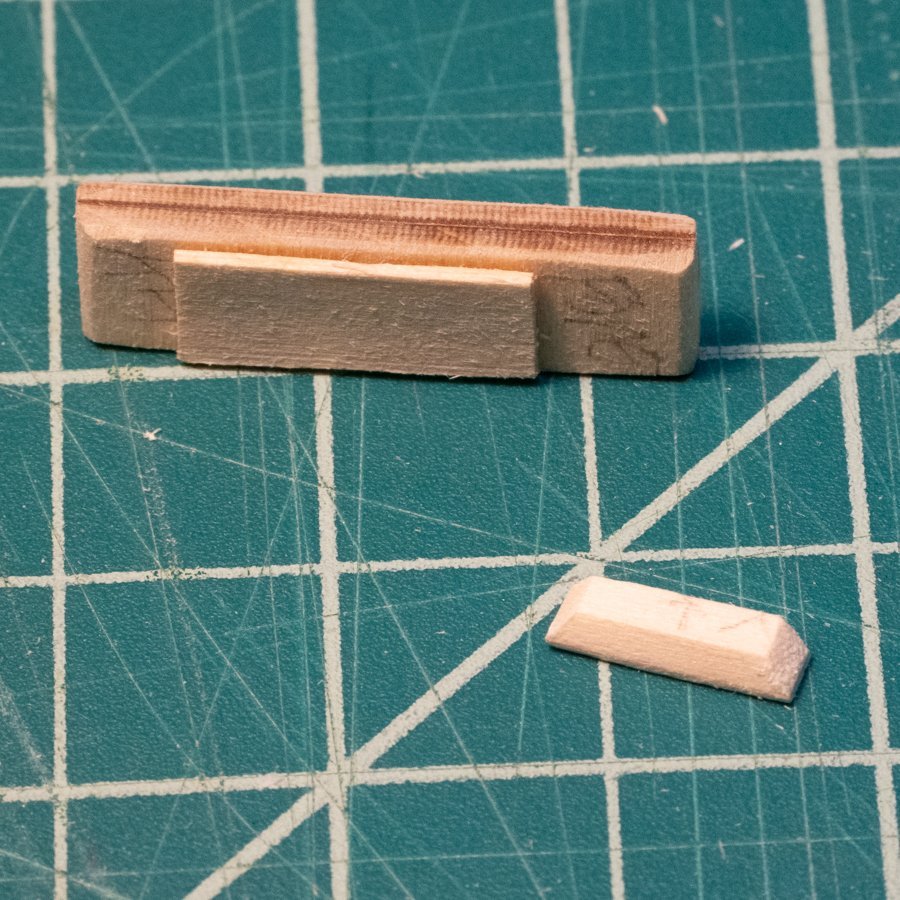
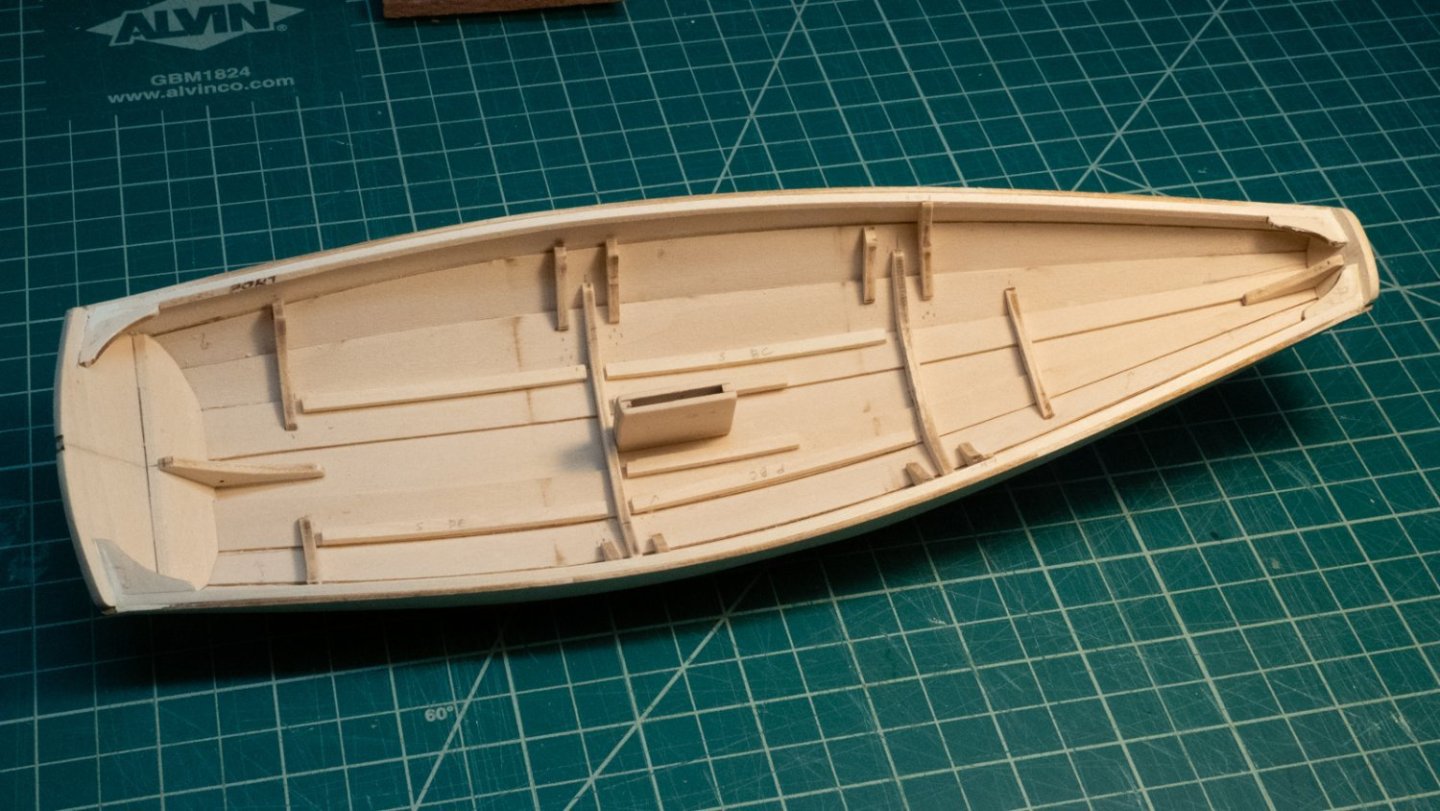
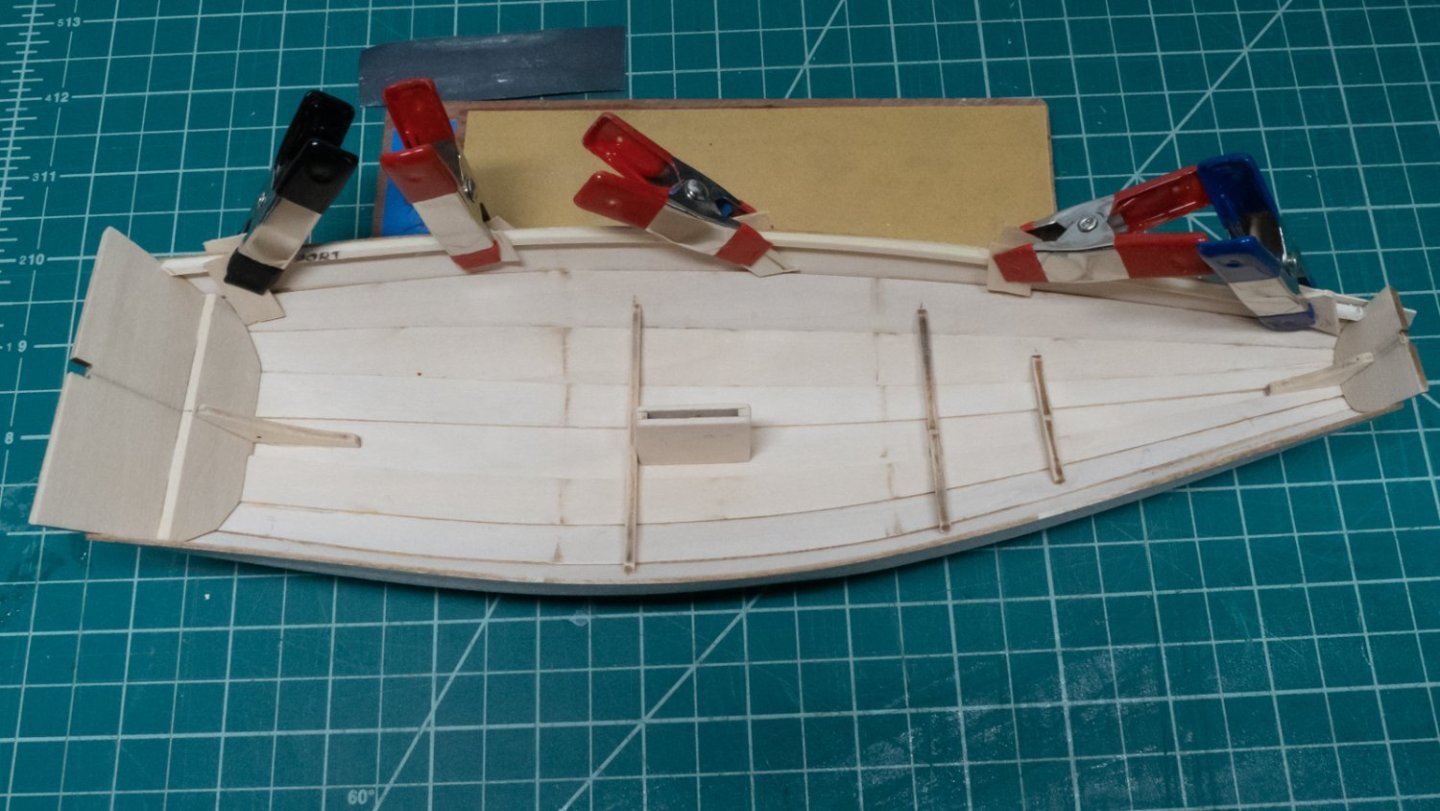
Back after a few weeks of diversions... Nothing new or ground-breaking in these last steps. In order to make sure the seat frames were going to line up with the seats on them, and to make them straight from fore to aft, I clipped a flexible ruler across the tops of the aft-most and fore-most frames. I then snugged each subsequent frame up against the ruler so the seats will line up. I hope this works out like I think it will. For the cleats, I tried to bend them after soaking them in hot water - they really didn't want to bend, see the pile of stuff I used to try to bend them. I tried again, still no luck. I decided to just hold them down while gluing them, which worked well enough. I marked the stern and bow transoms to trim the excess of both. I used a cheap compass as a marking tool, running the point along the marked line. I used an xacto saw blade to cut some of the excess, then a sanding stick for the rest. I didn't have the right size of file for the notch in the stern transom (although 3/8" noted in the instructions seems awfully big), so I used sandpaper around a paint brush handle. I managed to snap off a tiny piece of material, but managed to sand it so it doesn't look bad. It's better than it looks in the picture. The rudder gudgeon pad and the mast step were pretty straightforward - I glued an extra piece under the two provided pieces to create the "stop" mentioned in the instructions. As others noted, the instructions indicate that only one of these pieces has a hole, when both do. So far, so good.
-
This is really nice - my favorite Dory so far.
- 39 replies
-
- Lowell Grand Banks Dory
- Model Shipways
-
(and 1 more)
Tagged with:
-
 DonBMichigan reacted to a post in a topic:
Norwegian Sailing Pram by Bryan Woods - FINISHED - Model Shipways - 1:12
-
 DonBMichigan reacted to a post in a topic:
Norwegian Sailing Pram by Bryan Woods - FINISHED - Model Shipways - 1:12
-
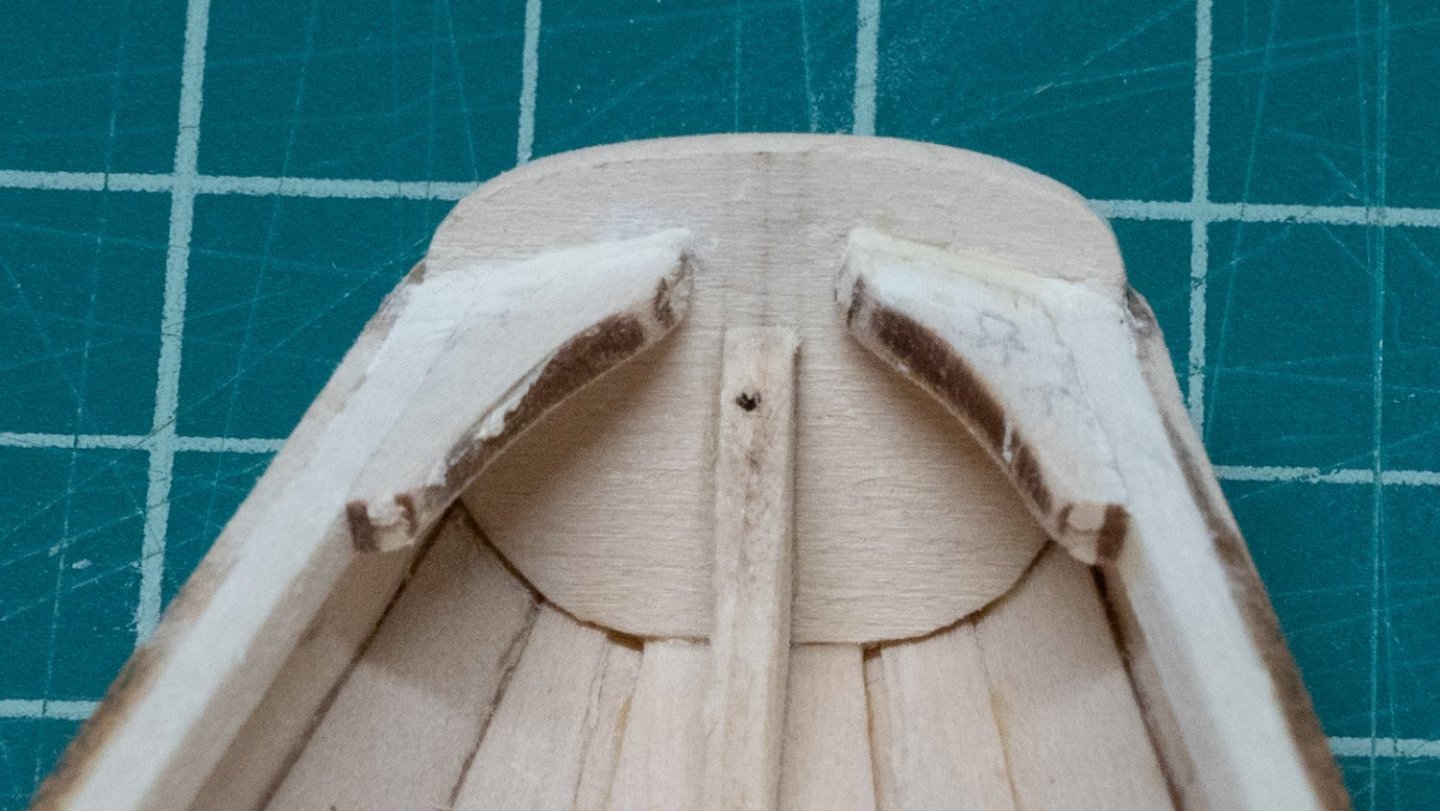
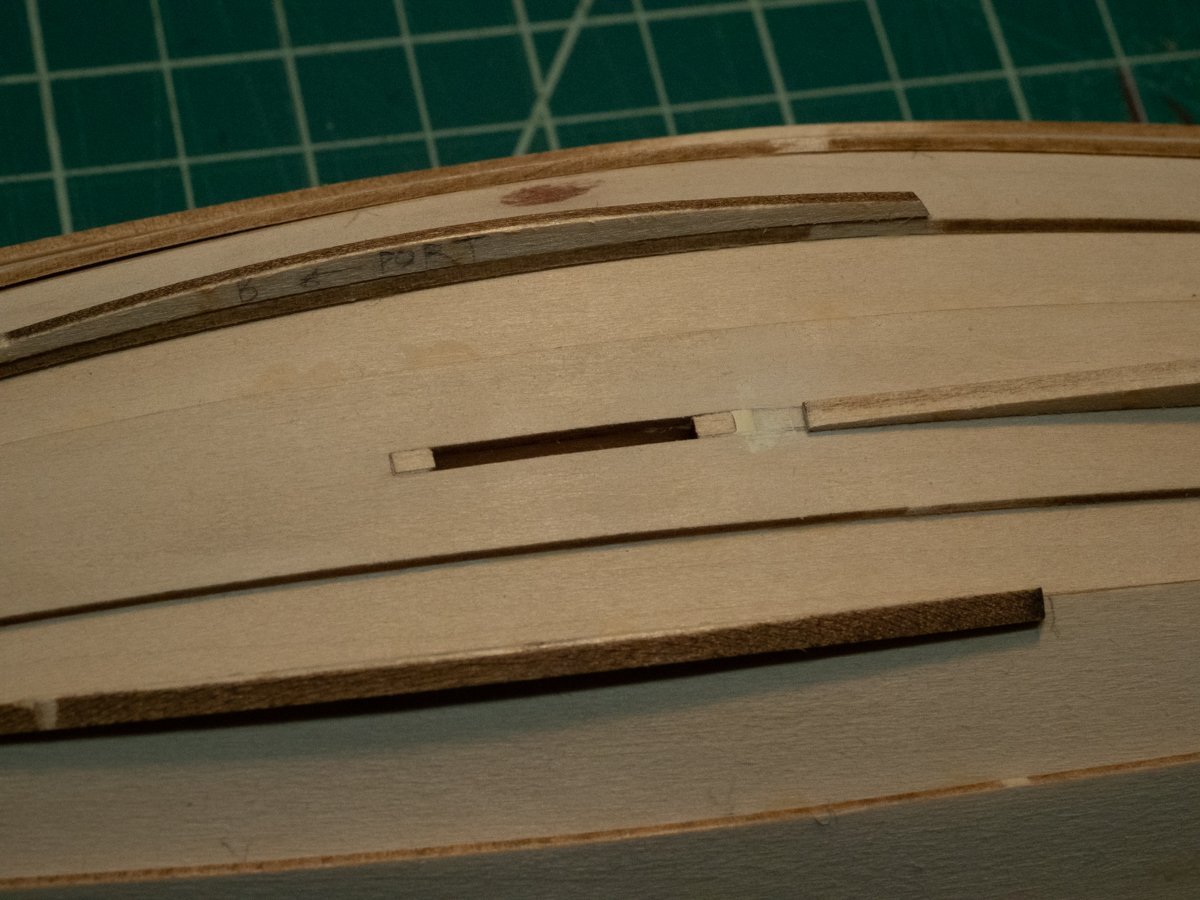
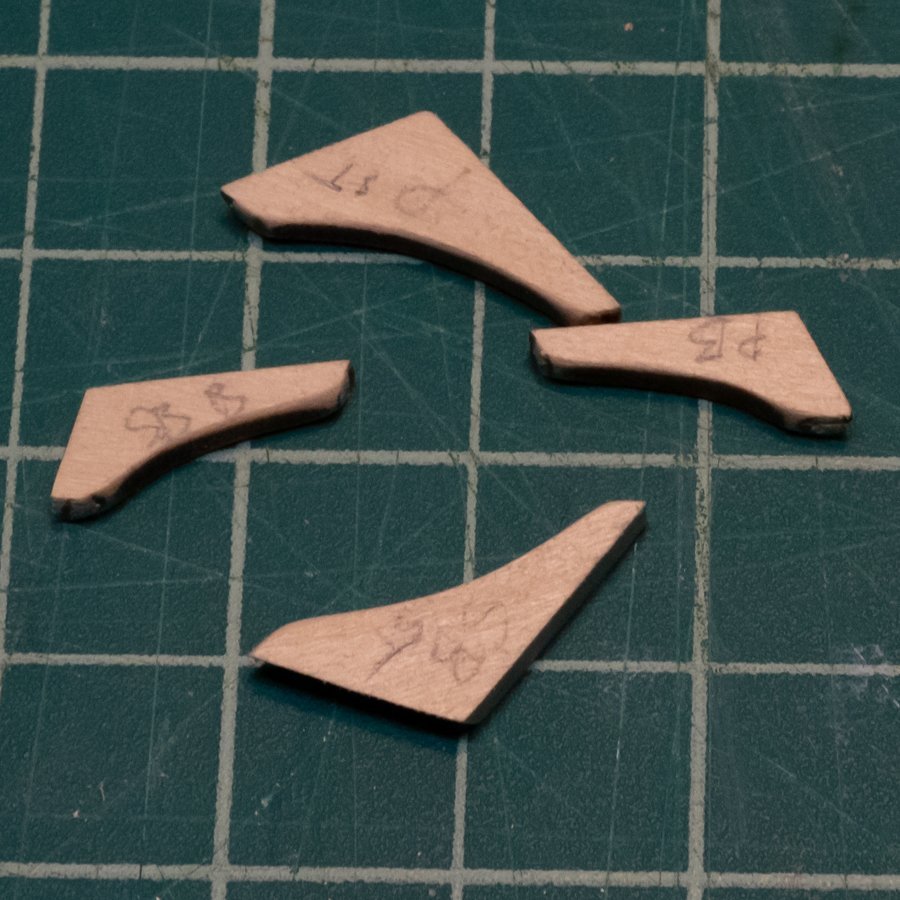
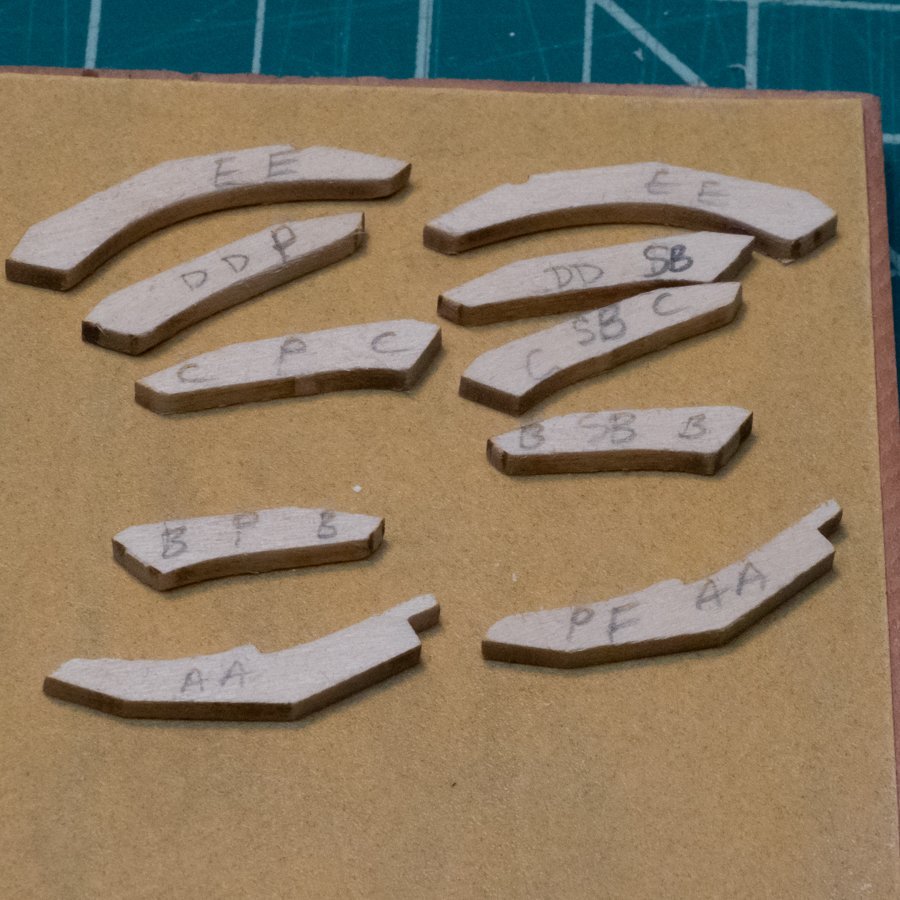
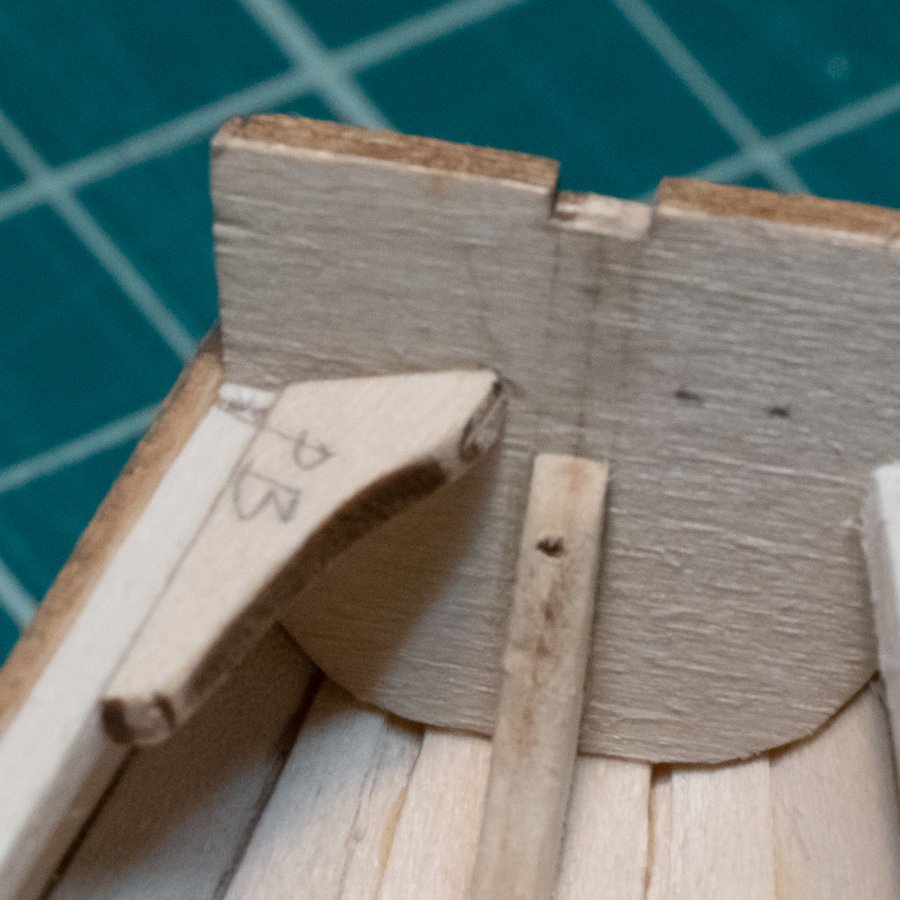
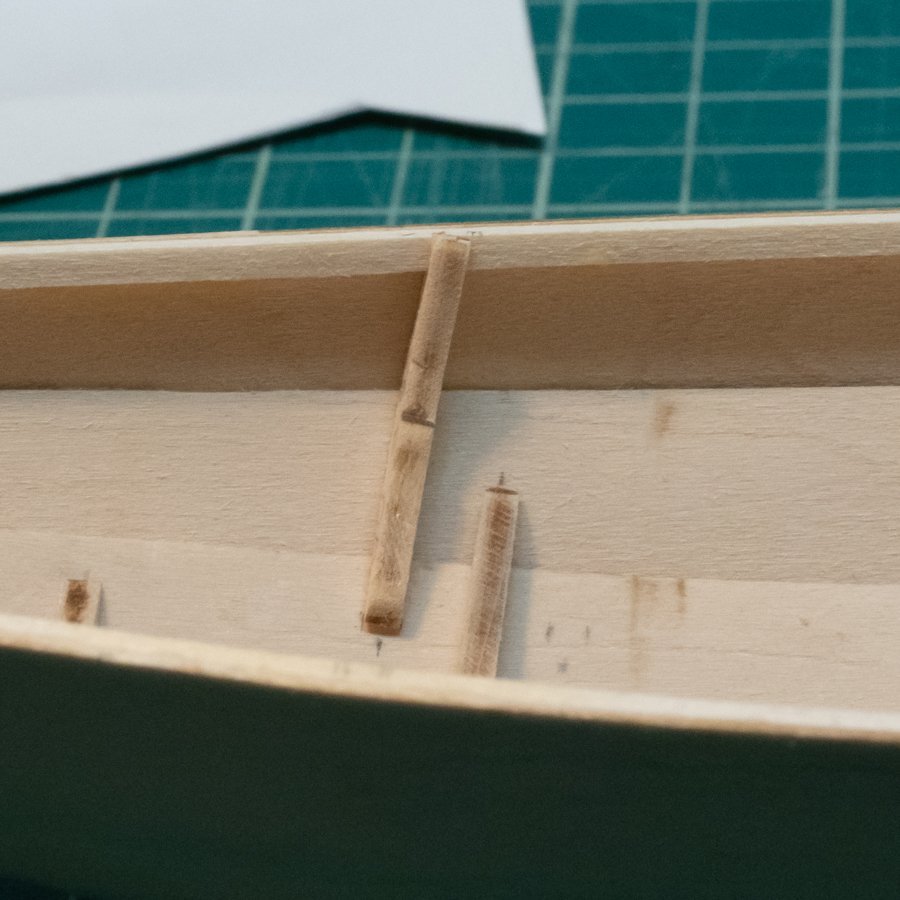
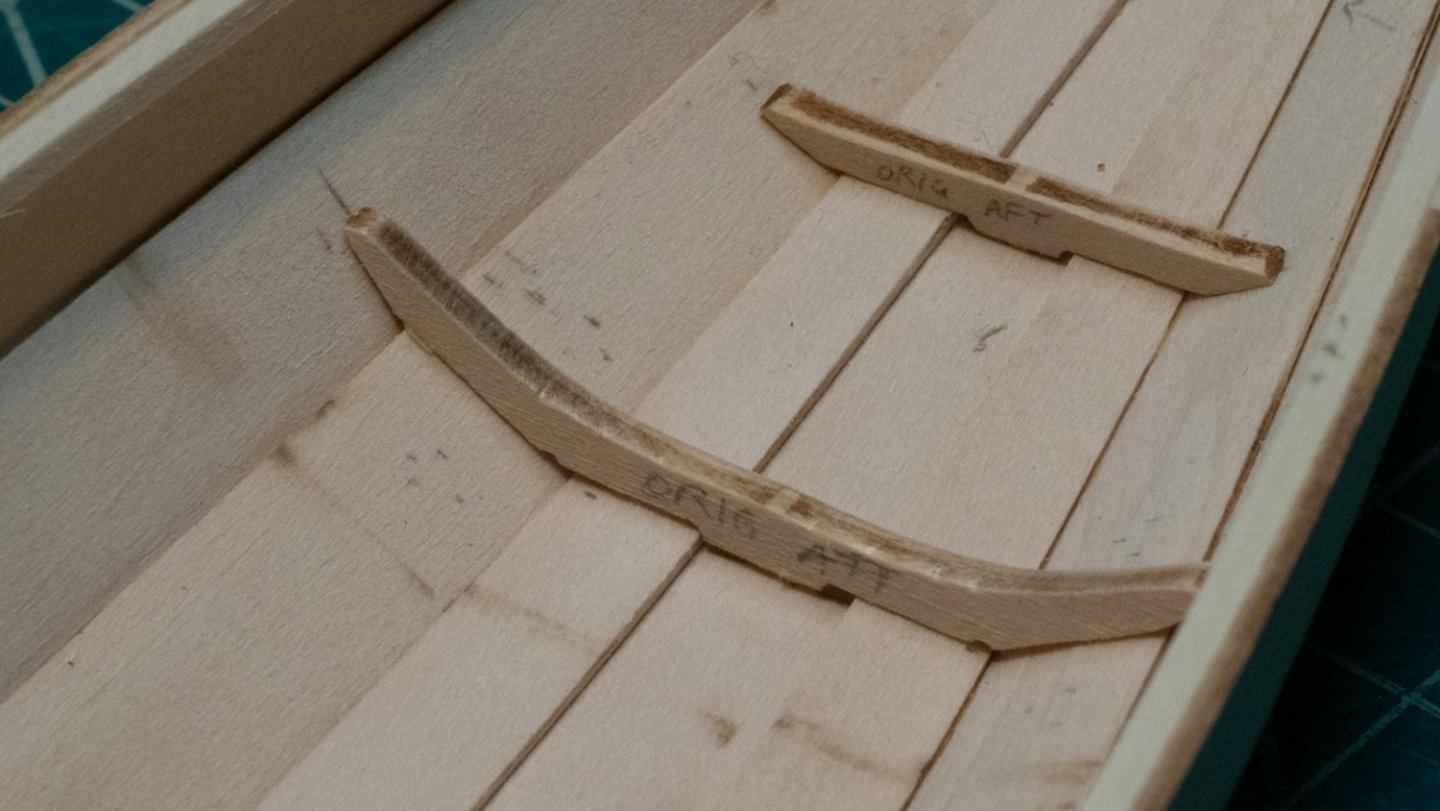
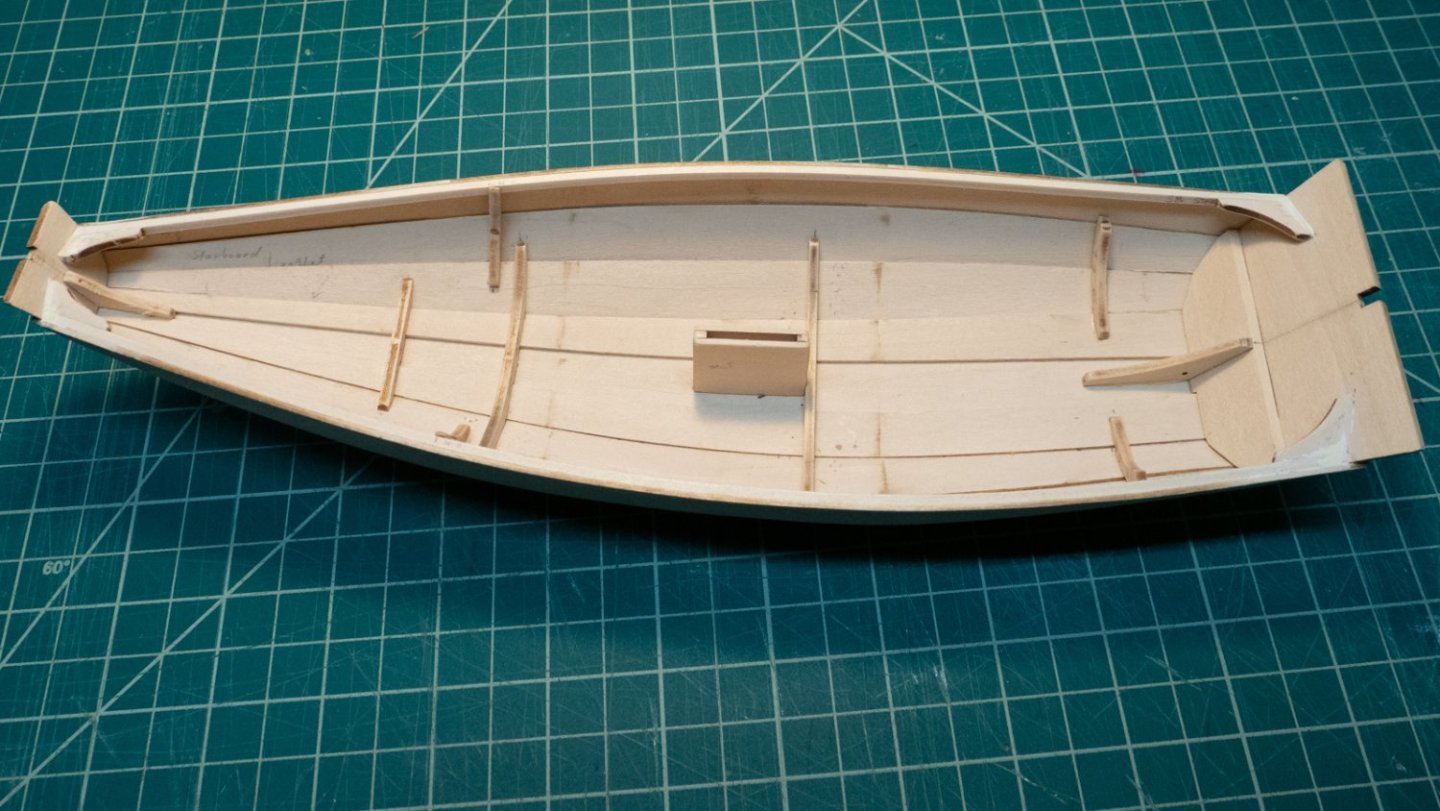
This week's update: I bent and glued the inwales on both sides. There were a few tiny gaps at the bow that needed some filler. I wish I had thought of bending them on the outside like @MajorChaos did here. I filled the gap in the keel plank aft of the dagger board case and sanded/filed it down. I cut out the stern and bow quarter knees, and sanded them so they fit on their respective transoms and inwales. I didn't feel like gluing yet, so I removed all the seat and thwart frames, and sanded the char off. A few days later, I was in the mood to glue, and attached the bow and stern quarter knees. I needed a tiny bit of filler here, and filled it in when the glue was dry. Next, I started shaping the "A" thwart frames. I wanted them to sit parallel to the nearby frame, so I sanded them that way. Using the paper guides, I made some dots to help line up the frames when gluing - two dots for the sides, and a dot for the middle. Some frames got more than one set of marks. After gluing them, keeping them parallel to the bottom frame, I realized how far off "vertical" the bottom frame was, and how following its lines, the "A" frames were also way off vertical. I removed the bottom frame and thwart frames by carefully putting some water on them, and reshaped the bottom frame so it would fit vertically this time. I glued it, then reshaped the "A" thwart frames to be parallel, and glued those. They look much better. Following some other build logs, and observing how others were fitting the thwart frames, was helpful in deciding the next steps. The seats need to be straight across from fore to aft, and you can't just glue the thwart frames arbitrarily and expect that to work. I first thought I would glue A and B, then find the "level" on those, and transfer that straight to the stern. After looking at things with the A frames in, I thought it would be easier if I put in the E frames (at the stern) next, then use the line between A and E frames to define the "plane" for the thwarts. I glued the first E frame in, and noticed it was not perpendicular to the stern knee, so I took it off before the glue dried. I sanded and glued the other one, making sure it was perpendicular. Then back to the first one after it dried. They are very close to perpendicular, not perfect, but close enough. A lot of ungluing, regluing, and filling this week, two steps forward and one step back, but that's OK - I didn't have any major problems that weren't easily solved. Due to work and other commitments, I probably won't make progress next week on this. When I do get back to things, it will resume with fitting and gluing the B, C, and D thwart frames.
-
@MajorChaos you've given me a good heads-up here. I am working through the steps you've just completed, and have wondered how to ensure that everything is sitting properly. I like the idea of prepping the thwarts (or copies of them) and using them as guides. I had considered putting some blue tape or paper or something where I think the thwarts should sit, and then using that as a guide for shaping and gluing. It looks from many pictures I can find that if you put a straightedge from fore to aft on top of the thwarts, they will all line up. If that's the case (and I'm not positive), starting with one and then working aft might be a good approach. Do the A/B thwart first, then the C/D thwart, using the A/B thwart as the guide.
- 72 replies
-
- Norwegian Sailing Pram
- Model Shipways
-
(and 1 more)
Tagged with:
-
Looking good! I like the text you add to your photos. I'm following...
- 23 replies
-
- Norwegian Sailing Pram
- Model Shipways
-
(and 1 more)
Tagged with:
-
Oh, you're bending! Good idea, and so obvious now that I've seen it. I wish I had seen your log before I did mine... 😀
- 72 replies
-
- Norwegian Sailing Pram
- Model Shipways
-
(and 1 more)
Tagged with:
About us
Modelshipworld - Advancing Ship Modeling through Research
SSL Secured
Your security is important for us so this Website is SSL-Secured
NRG Mailing Address
Nautical Research Guild
237 South Lincoln Street
Westmont IL, 60559-1917
Model Ship World ® and the MSW logo are Registered Trademarks, and belong to the Nautical Research Guild (United States Patent and Trademark Office: No. 6,929,264 & No. 6,929,274, registered Dec. 20, 2022)
Helpful Links
About the NRG
If you enjoy building ship models that are historically accurate as well as beautiful, then The Nautical Research Guild (NRG) is just right for you.
The Guild is a non-profit educational organization whose mission is to “Advance Ship Modeling Through Research”. We provide support to our members in their efforts to raise the quality of their model ships.
The Nautical Research Guild has published our world-renowned quarterly magazine, The Nautical Research Journal, since 1955. The pages of the Journal are full of articles by accomplished ship modelers who show you how they create those exquisite details on their models, and by maritime historians who show you the correct details to build. The Journal is available in both print and digital editions. Go to the NRG web site (www.thenrg.org) to download a complimentary digital copy of the Journal. The NRG also publishes plan sets, books and compilations of back issues of the Journal and the former Ships in Scale and Model Ship Builder magazines.


