DONATION DRIVE - SUPPORT MSW - DO YOUR PART TO KEEP THIS GREAT FORUM GOING! (91 donations so far out of 49,000 members - C'mon guys!)
×


Bryan Woods
-
Posts
555 -
Joined
-
Last visited


-
 Bryan Woods reacted to a post in a topic:
USCG Harriet Lane by Knocklouder - Model Shipways - 1:144 (1/12 inch = 1 foot)
Bryan Woods reacted to a post in a topic:
USCG Harriet Lane by Knocklouder - Model Shipways - 1:144 (1/12 inch = 1 foot)
-
Bryan Woods reacted to a post in a topic:
NRG Capstan Project by JacquesCousteau - 1:32
-
Bryan Woods reacted to a post in a topic:
NRG Capstan Project by JacquesCousteau - 1:32
-
Bryan Woods reacted to a post in a topic:
NRG Capstan Project by JacquesCousteau - 1:32
-
Bryan Woods reacted to a post in a topic:
NRG Capstan Project by JacquesCousteau - 1:32
-
Bryan Woods reacted to a post in a topic:
HMS Pegasus 1776 by Knocklouder - FINISHED - Amati/Victory Models - 1:64
-
Canute reacted to a post in a topic:
Fischkutter by Bryan Woods - Laser Creation World - 1:35
-
yvesvidal reacted to a post in a topic:
Fischkutter by Bryan Woods - Laser Creation World - 1:35
-
 Ian_Grant reacted to a post in a topic:
Fischkutter by Bryan Woods - Laser Creation World - 1:35
Ian_Grant reacted to a post in a topic:
Fischkutter by Bryan Woods - Laser Creation World - 1:35
-
JacquesCousteau reacted to a post in a topic:
Fischkutter by Bryan Woods - Laser Creation World - 1:35
-
ccoyle reacted to a post in a topic:
Fischkutter by Bryan Woods - Laser Creation World - 1:35
-
Knocklouder reacted to a post in a topic:
Fischkutter by Bryan Woods - Laser Creation World - 1:35
-
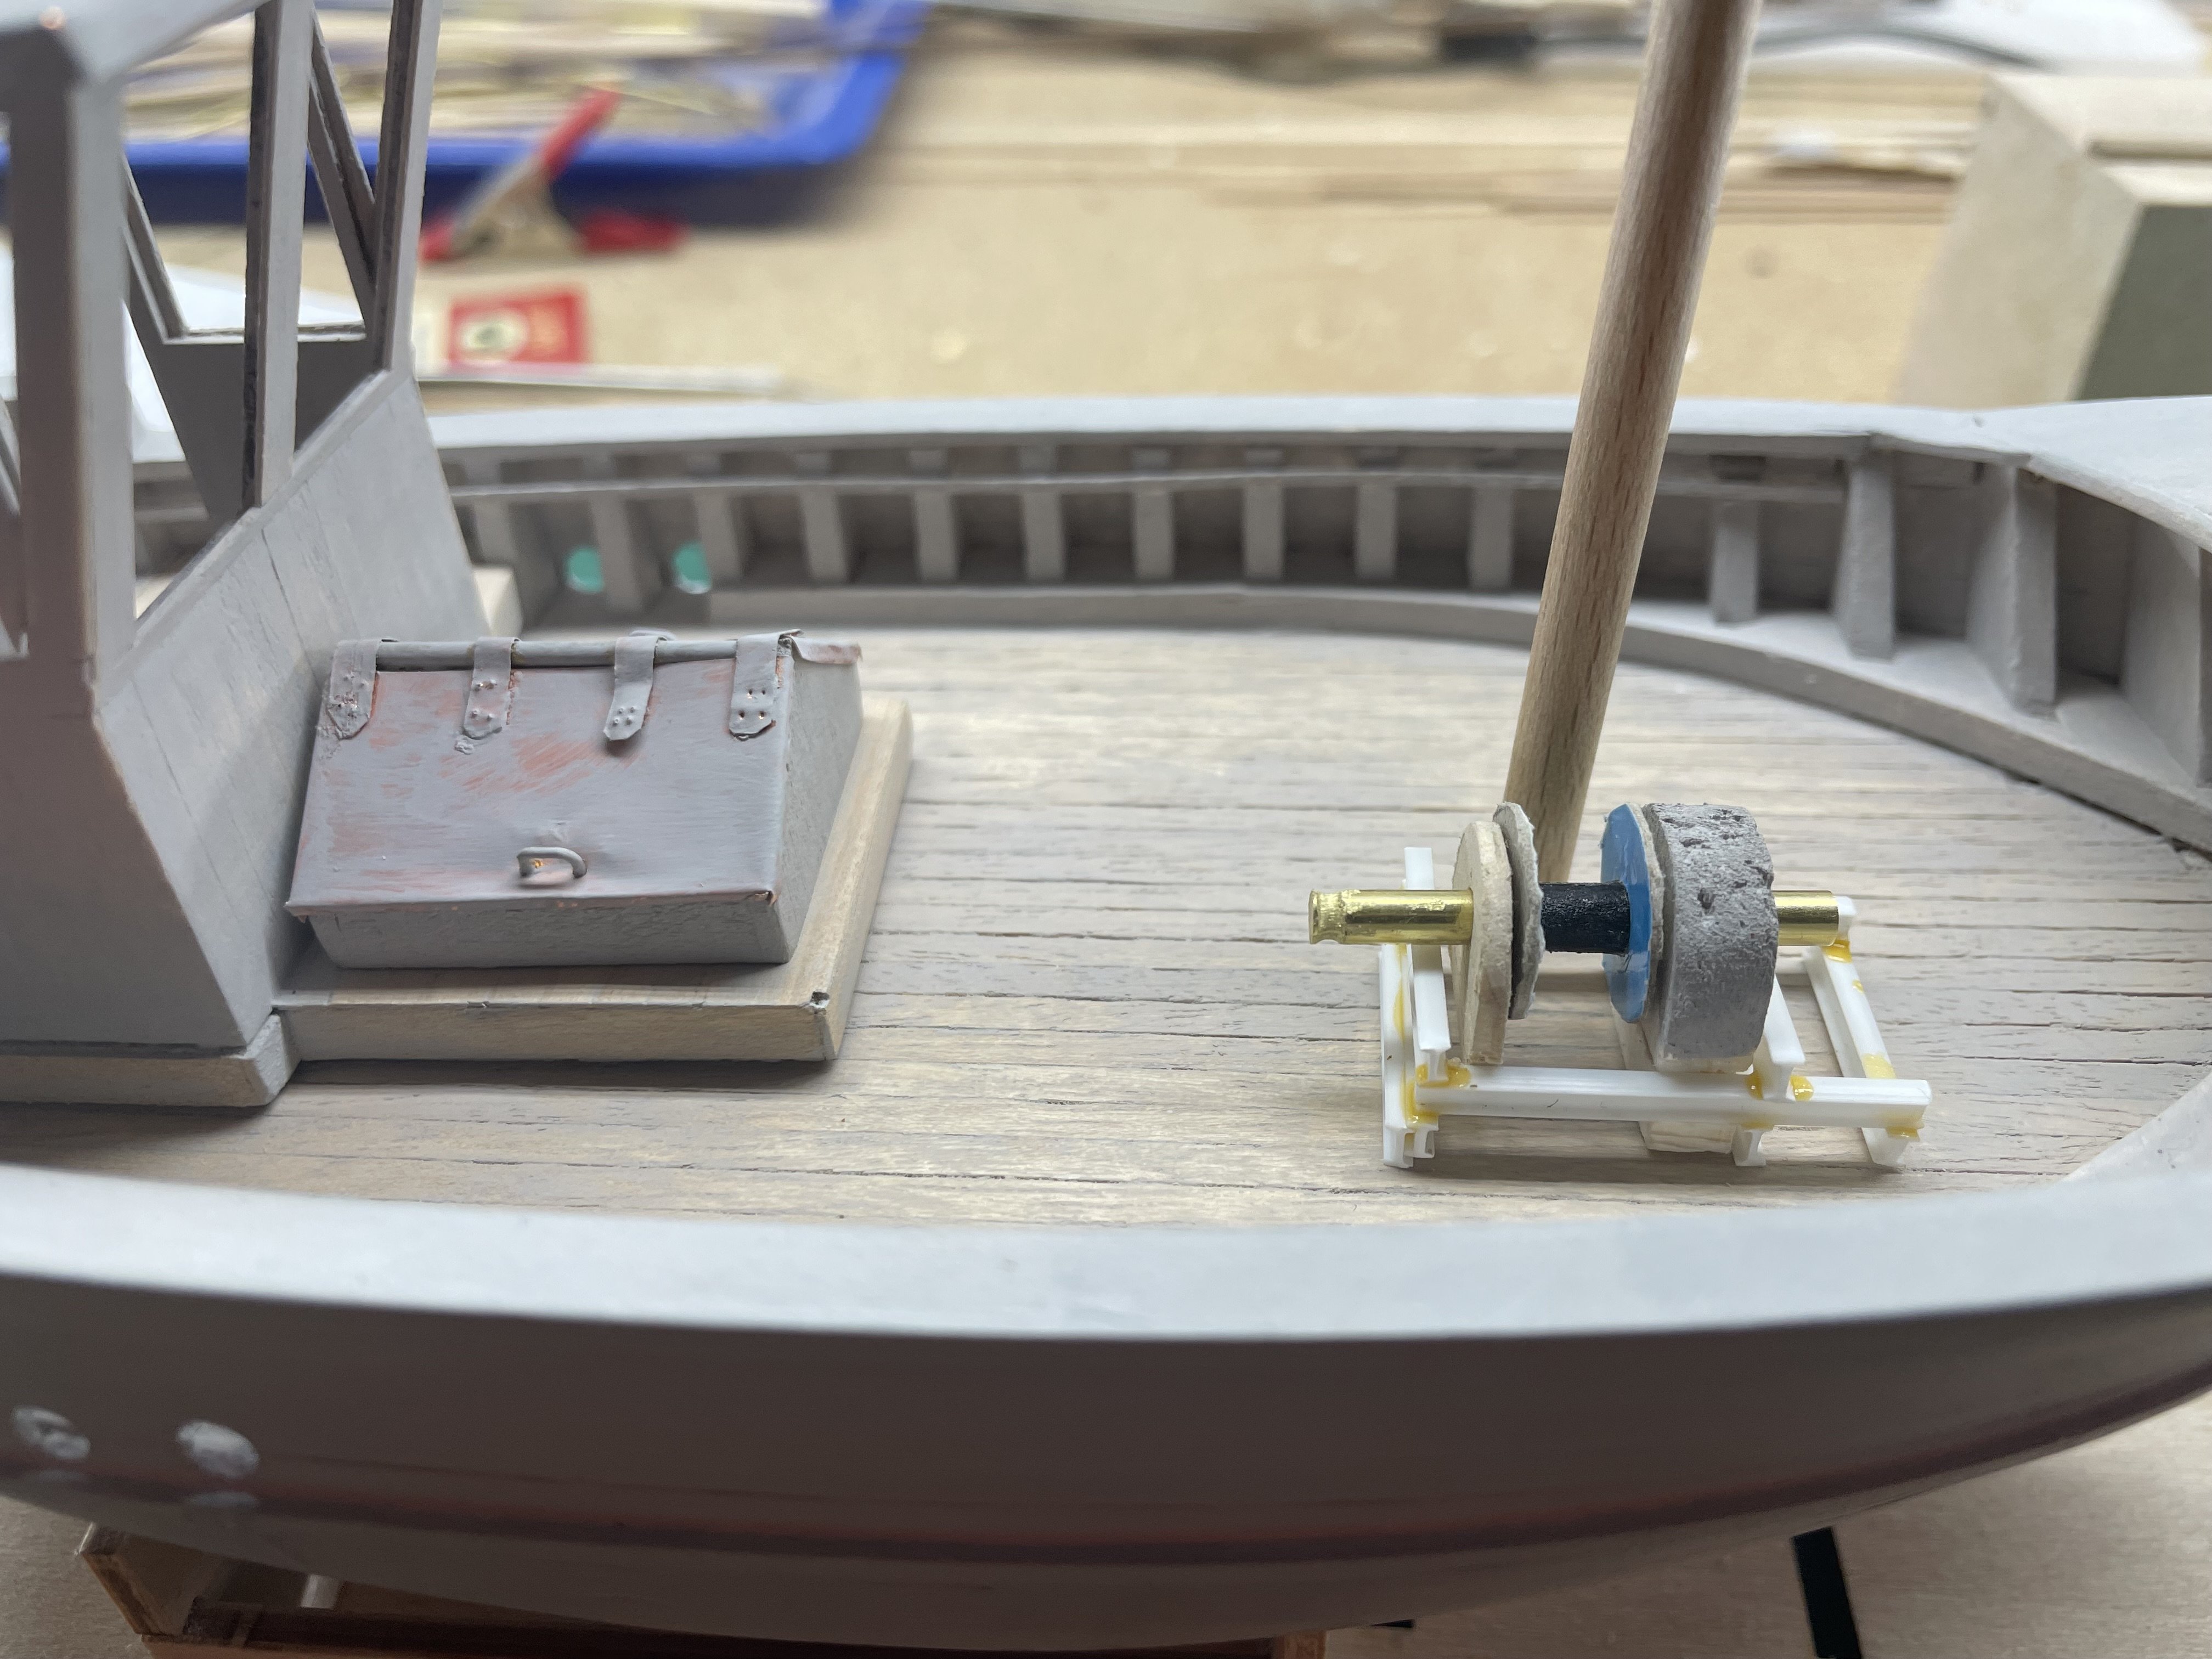
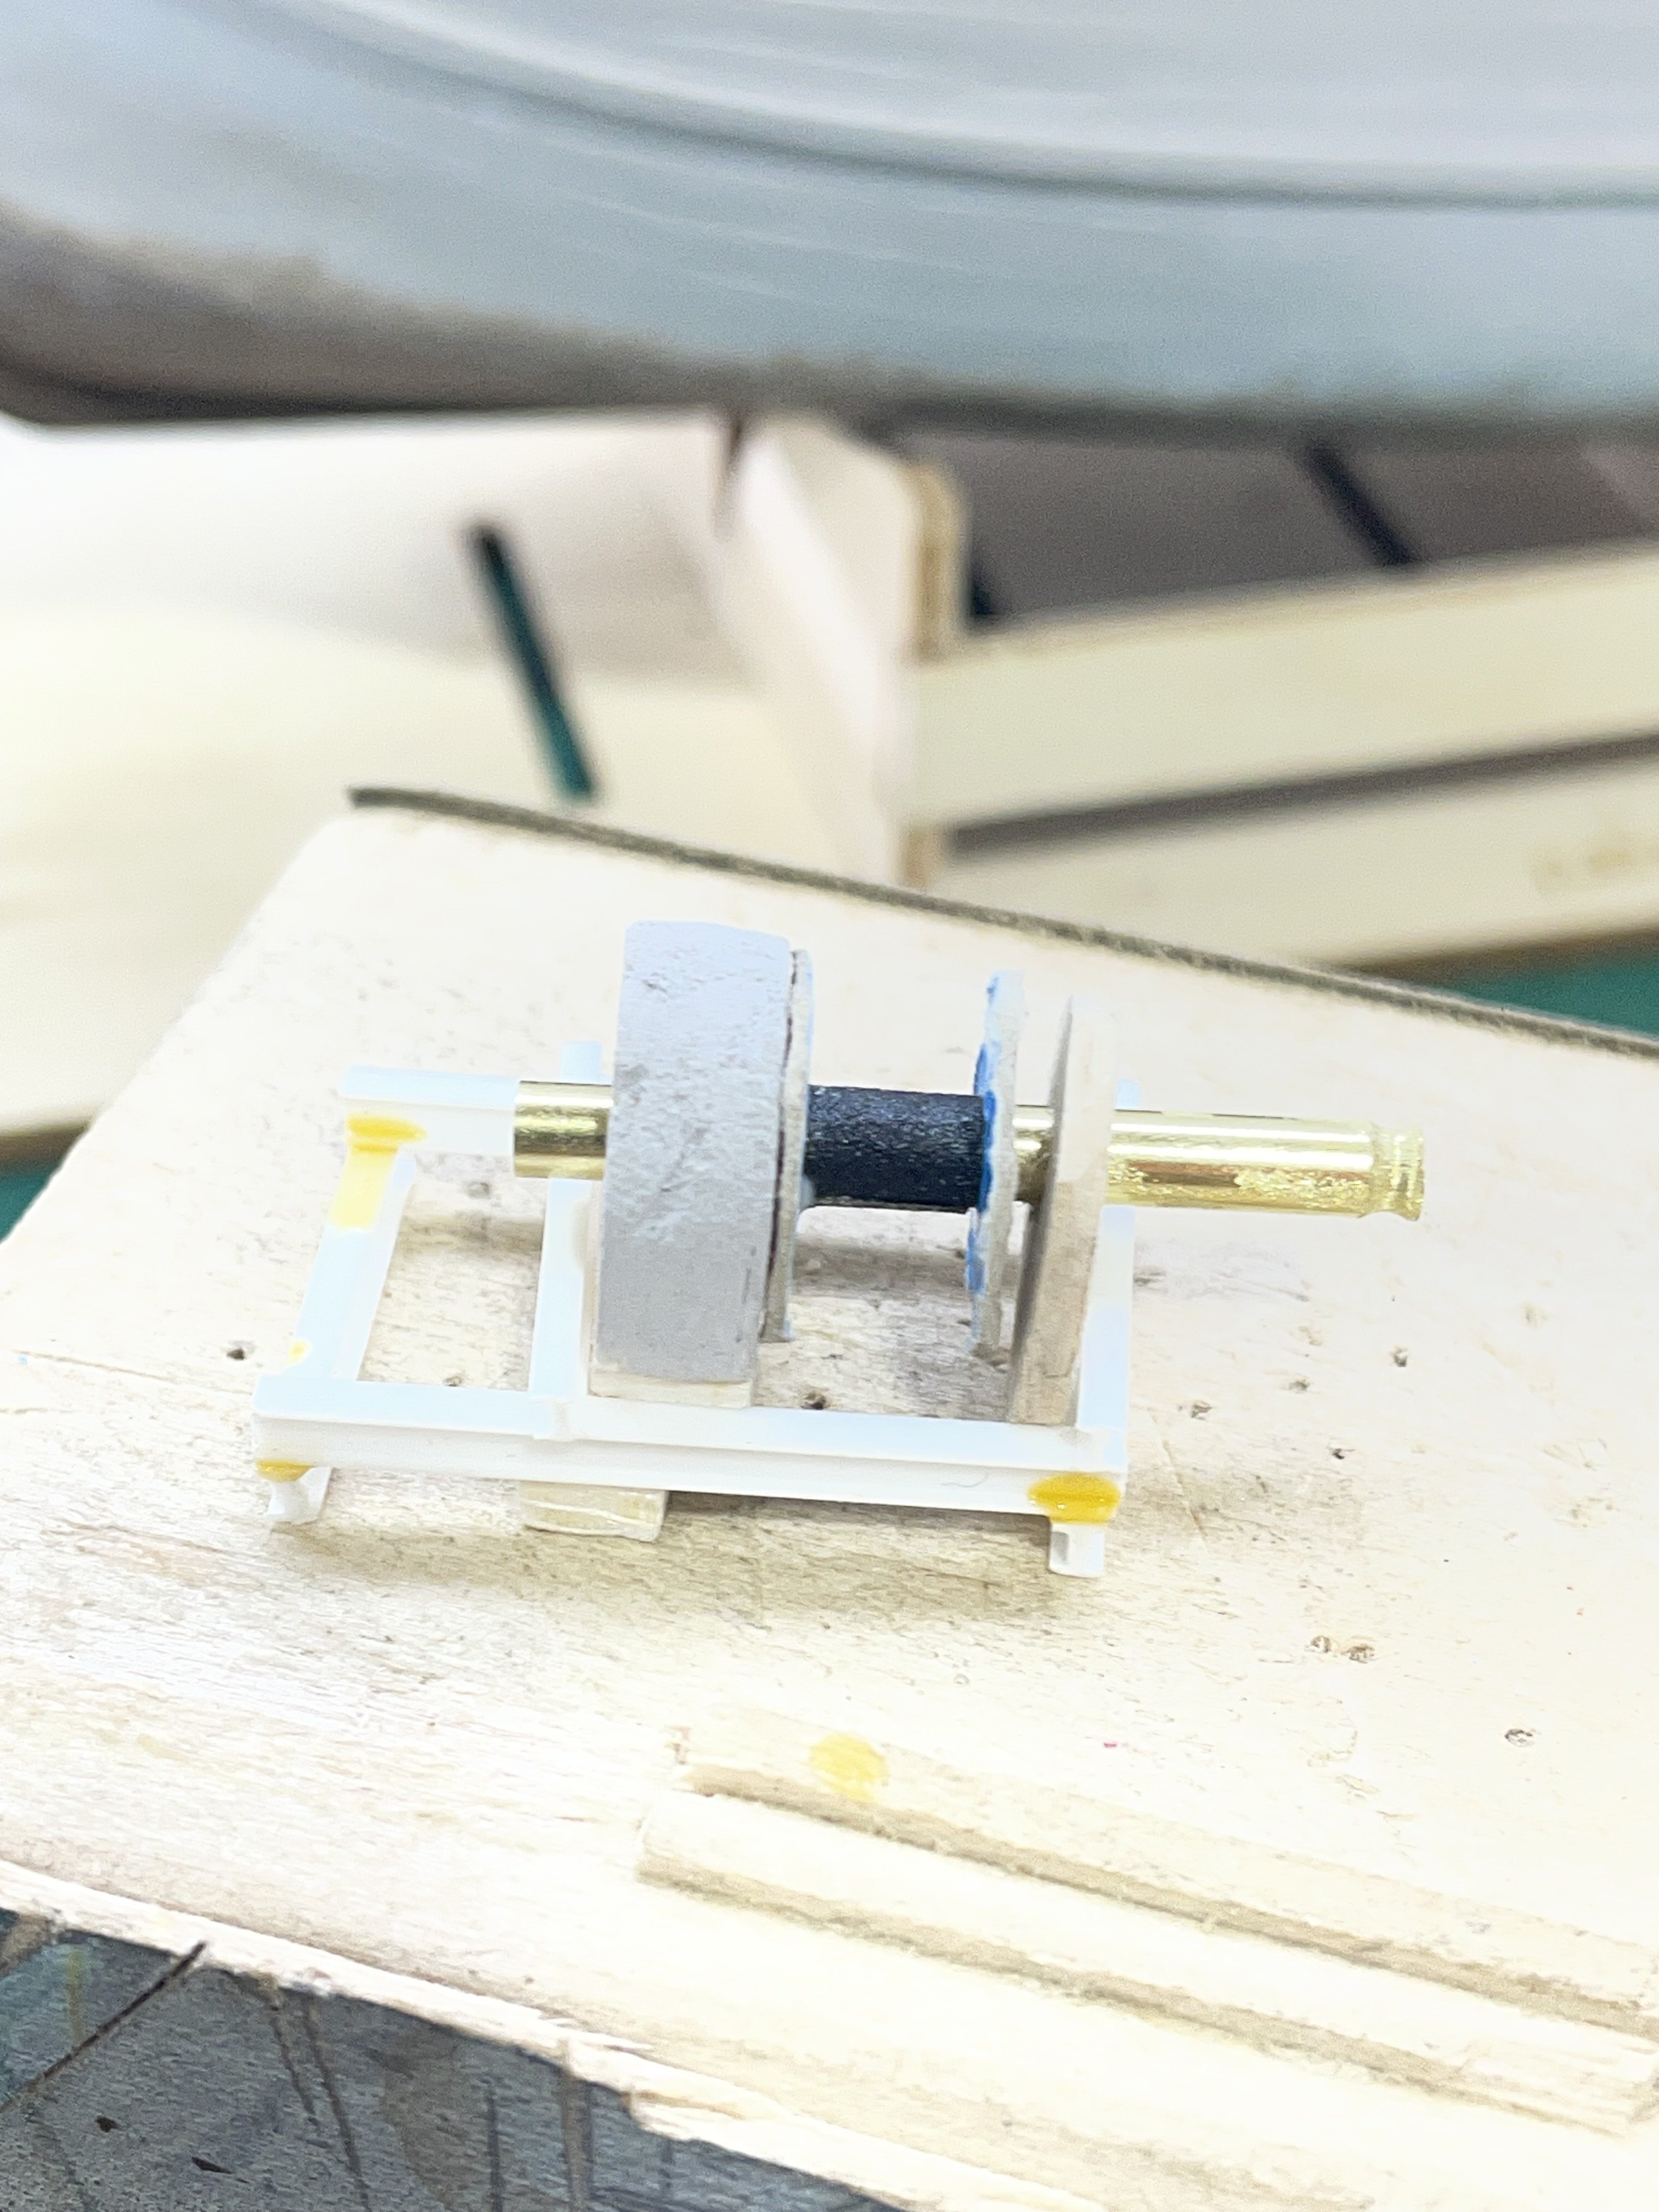
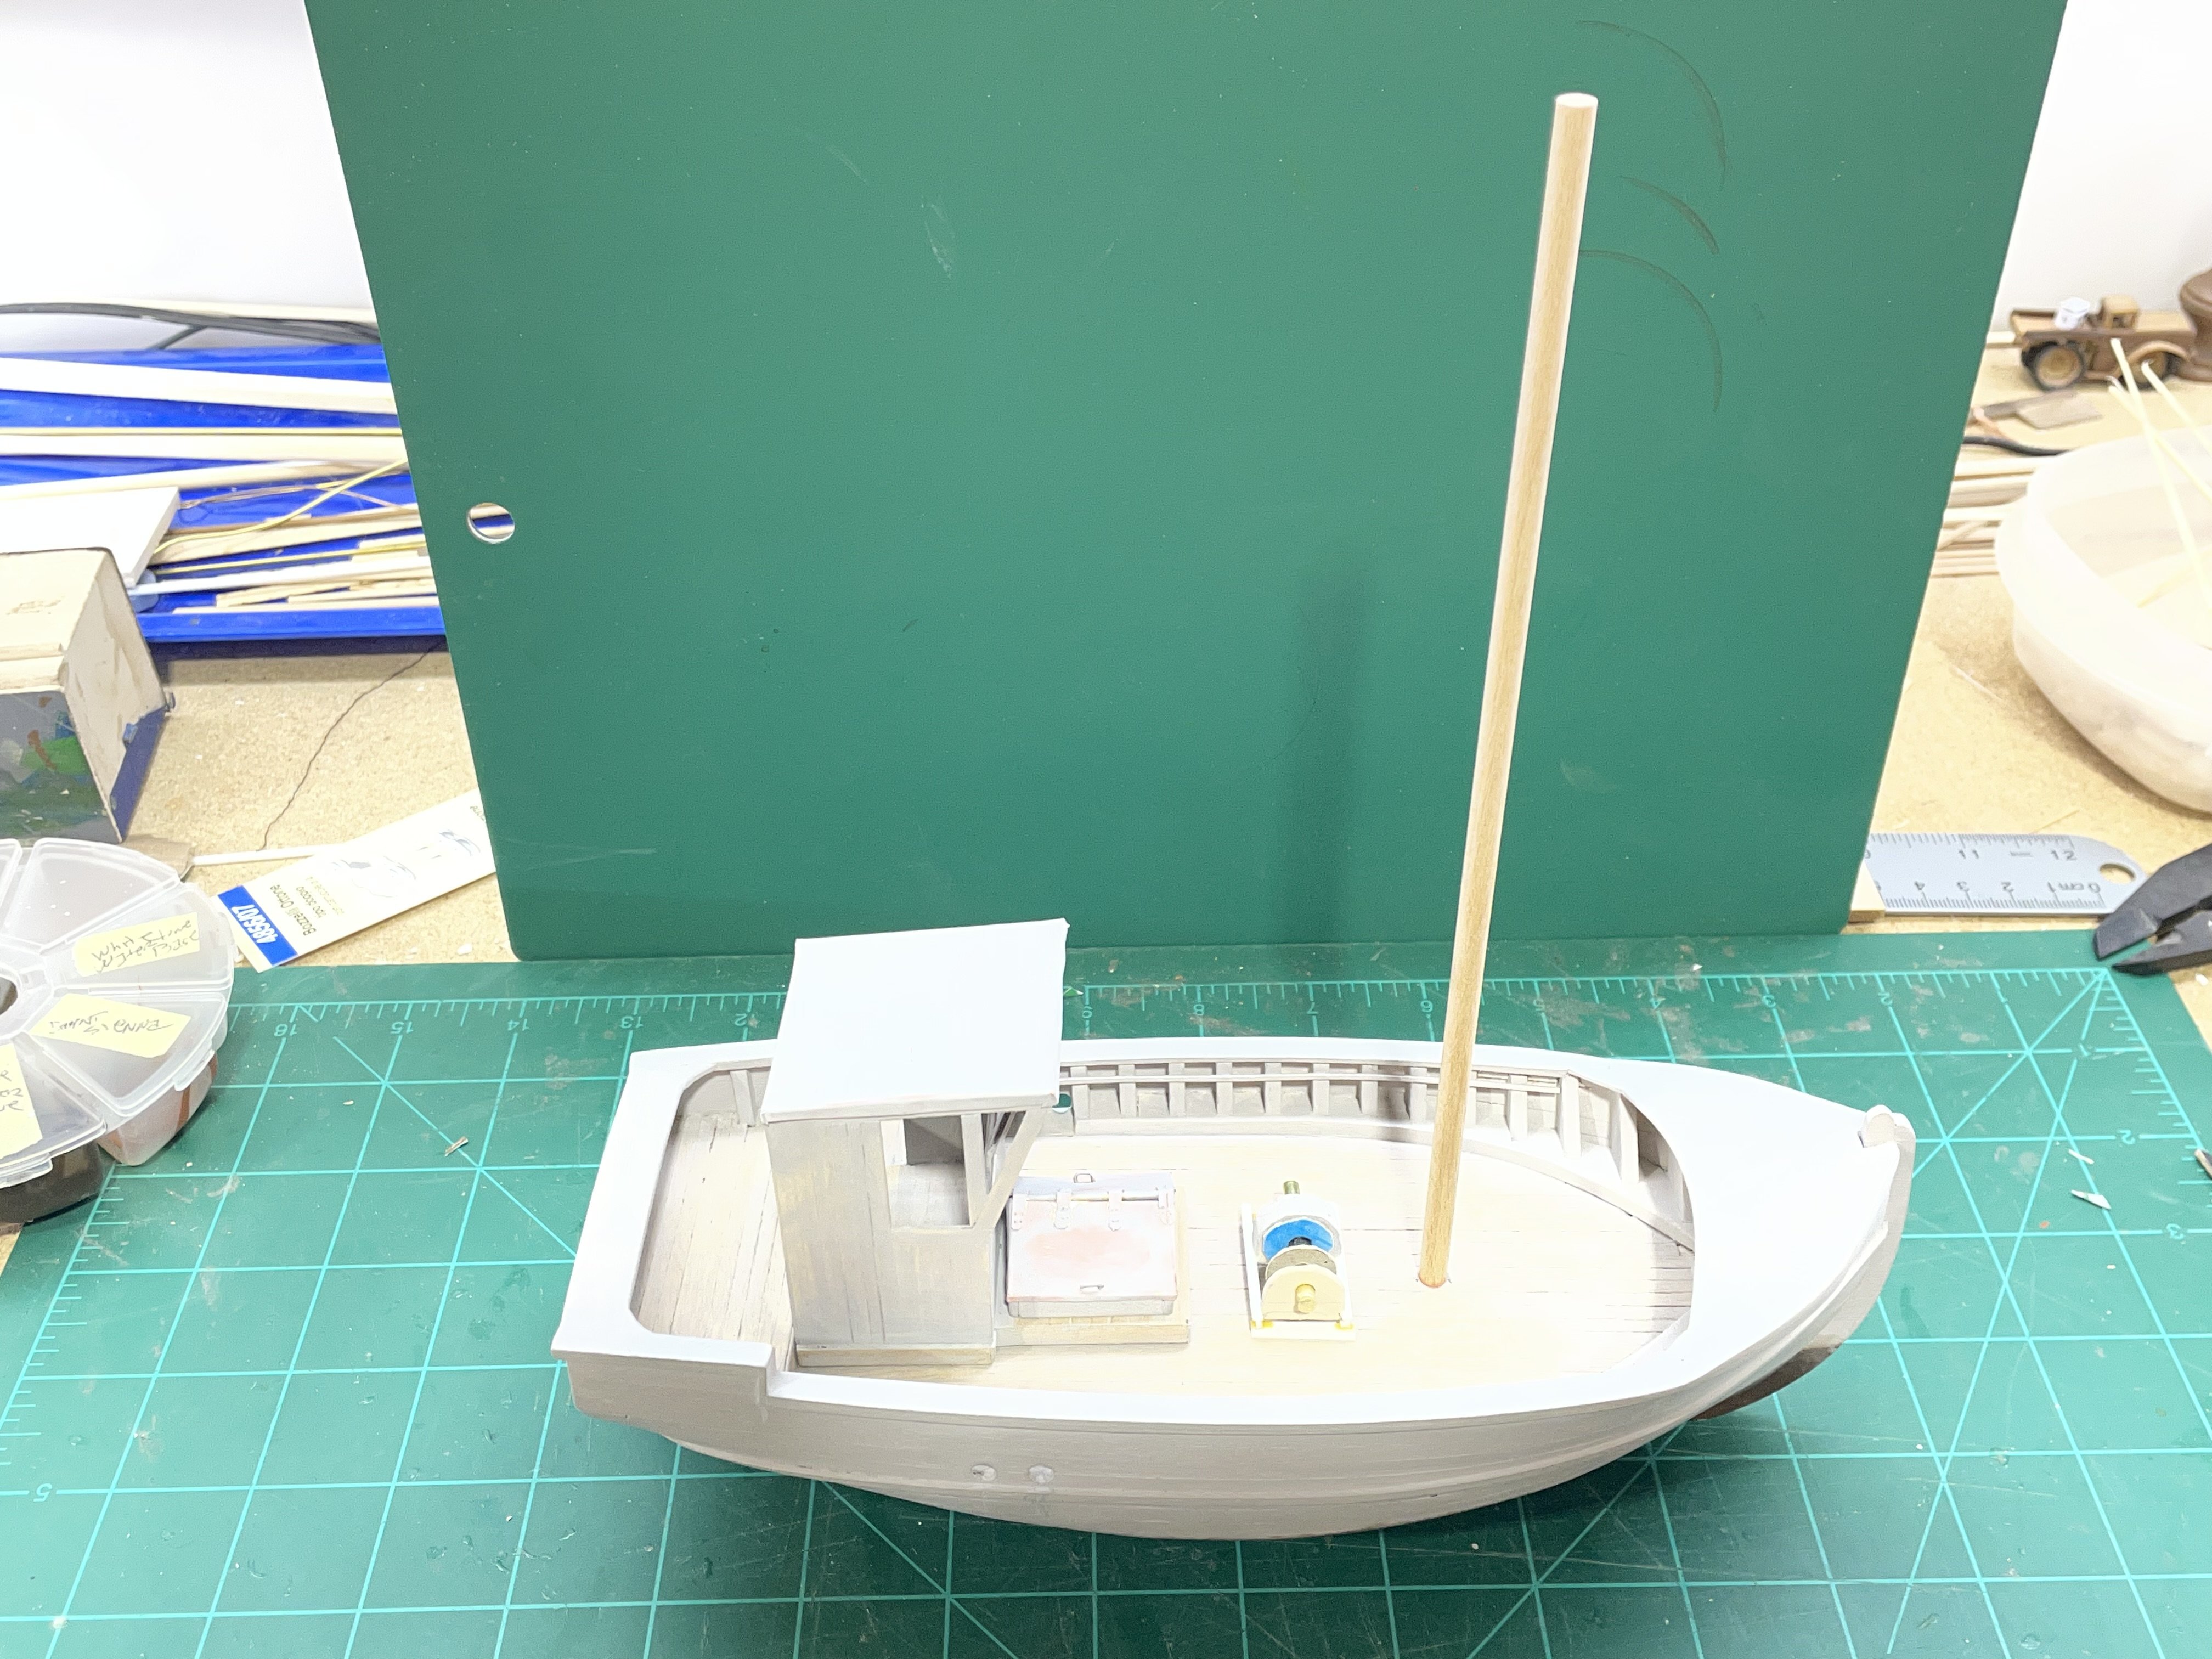
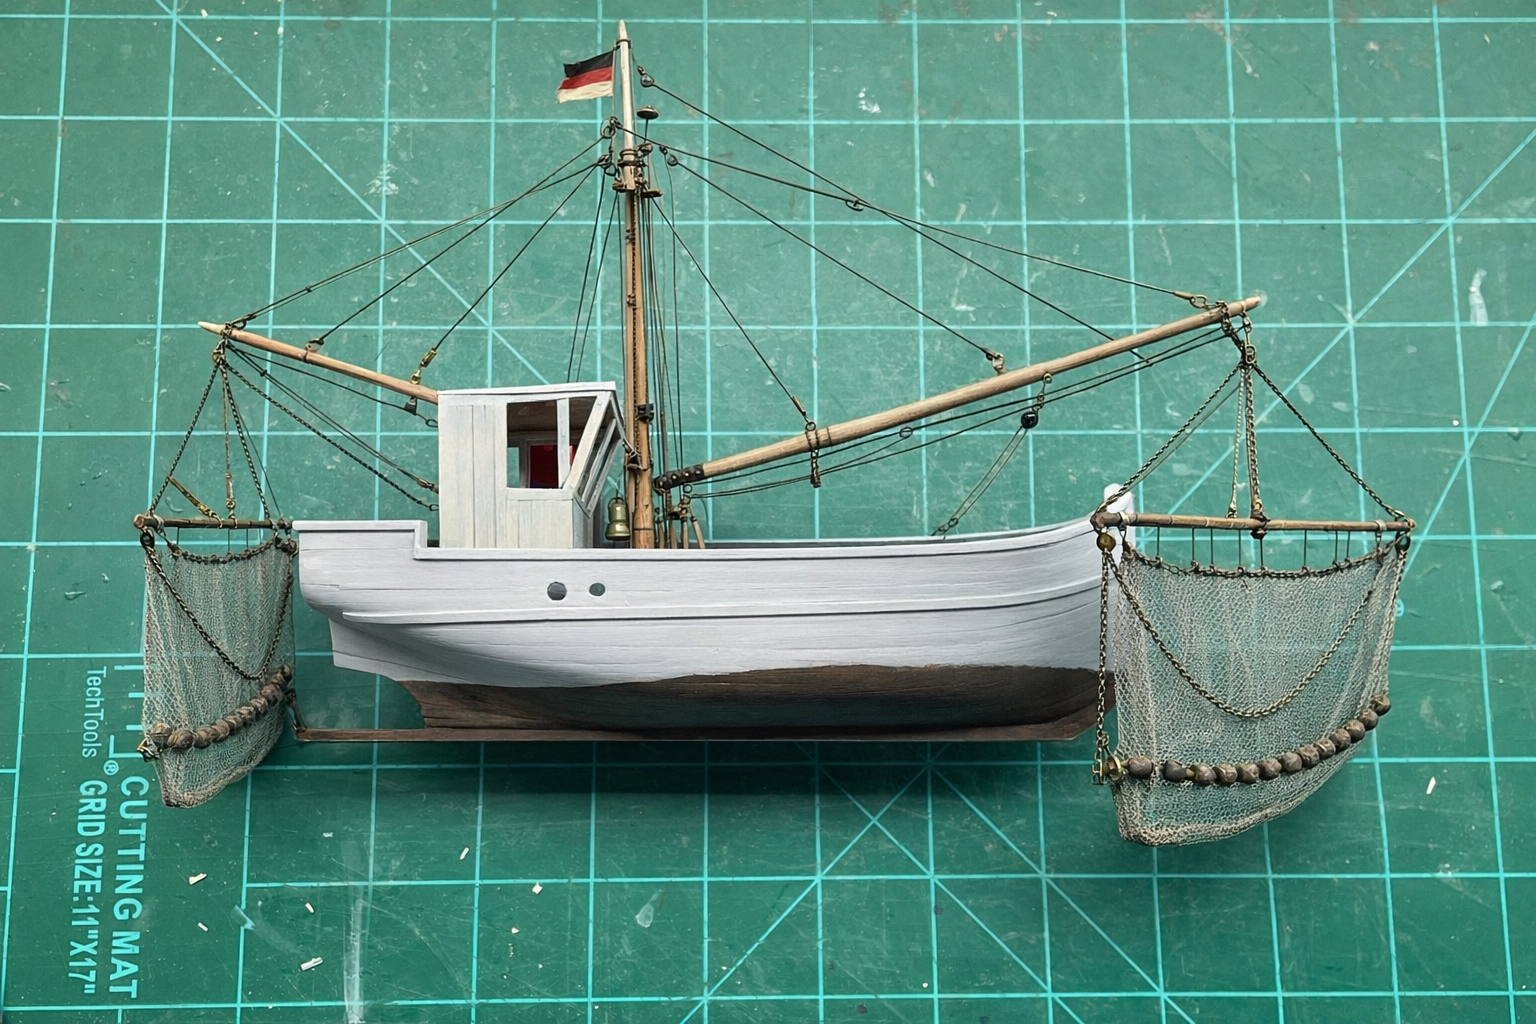
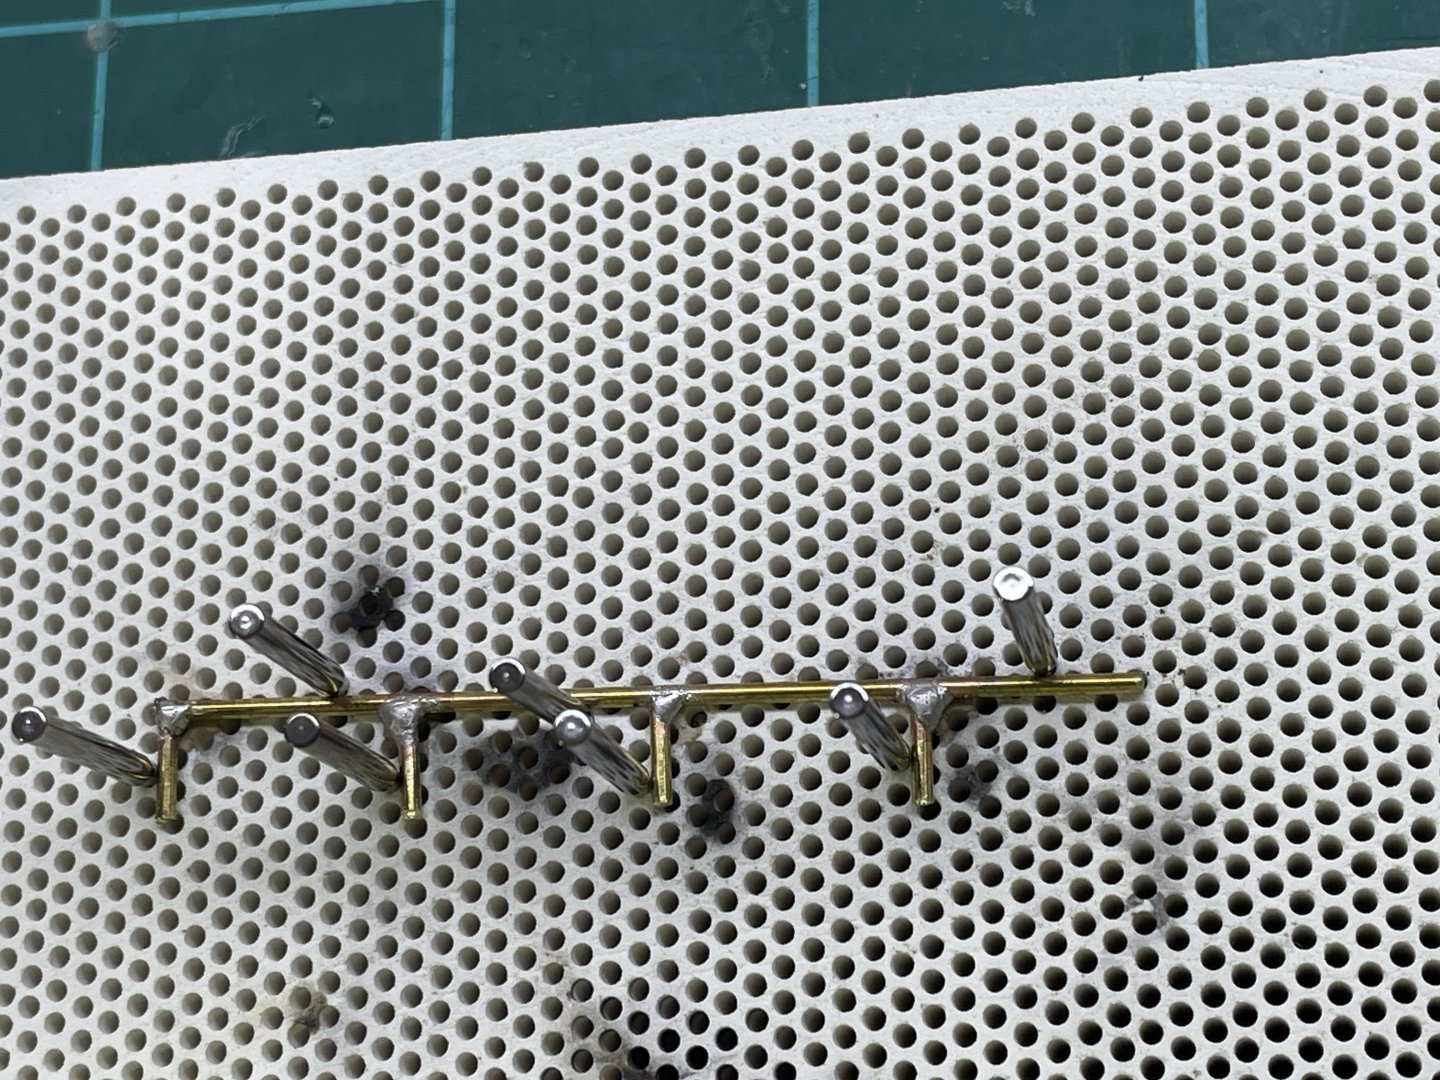
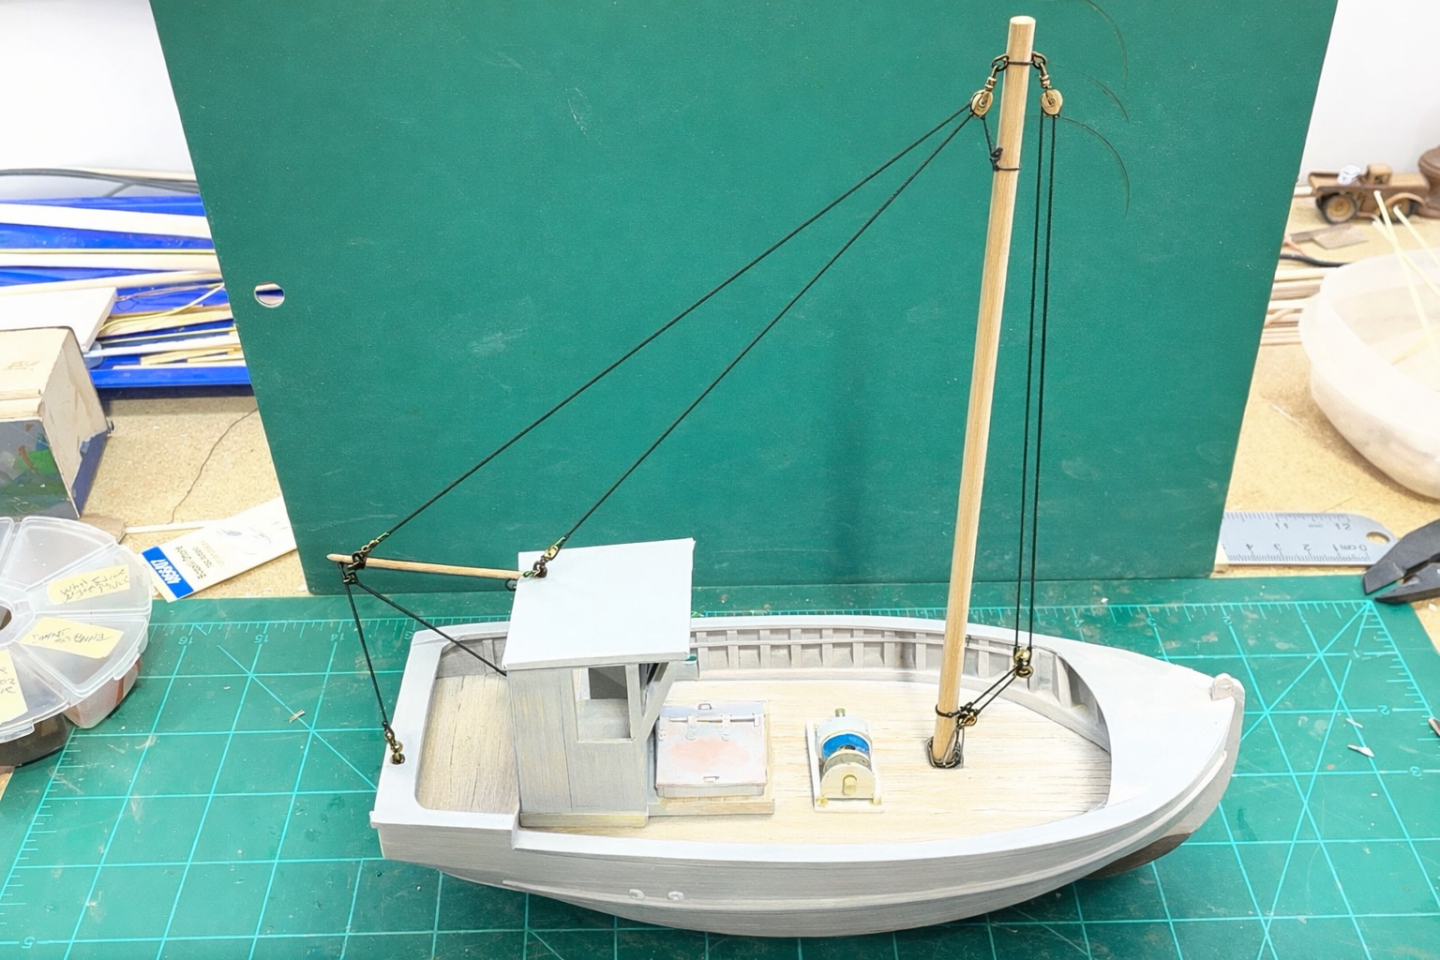
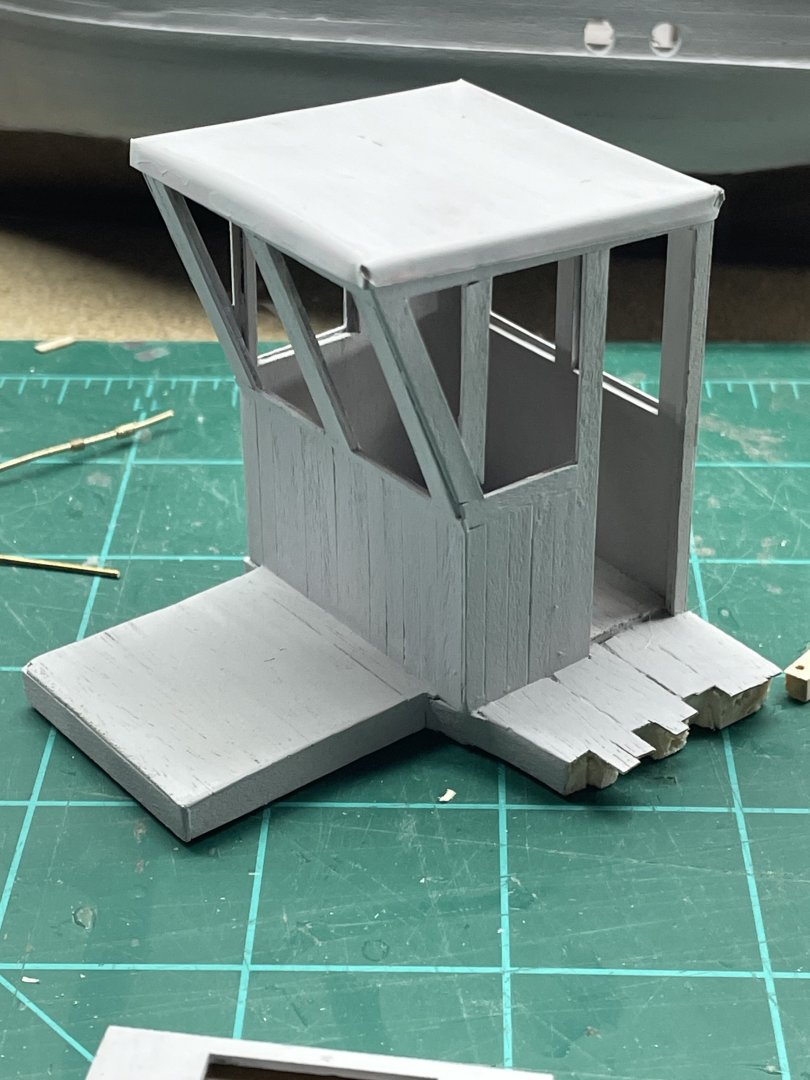
 I thought I’d better get the wheel house done. If I don’t I’ll try to make more stuff to cram inside it, while I procrastinate on the rest of the build. Here’s my winch, built by my imagination. Next I’ve got to decide what the mast rigging is going to look like. I’m thinking one boom off to the starboard side. I also need to build a hatch somewhere.


- 35 replies
-
- 6
-
-
-
- Fischkutter
- Laser Creation World
- (and 1 more)
-
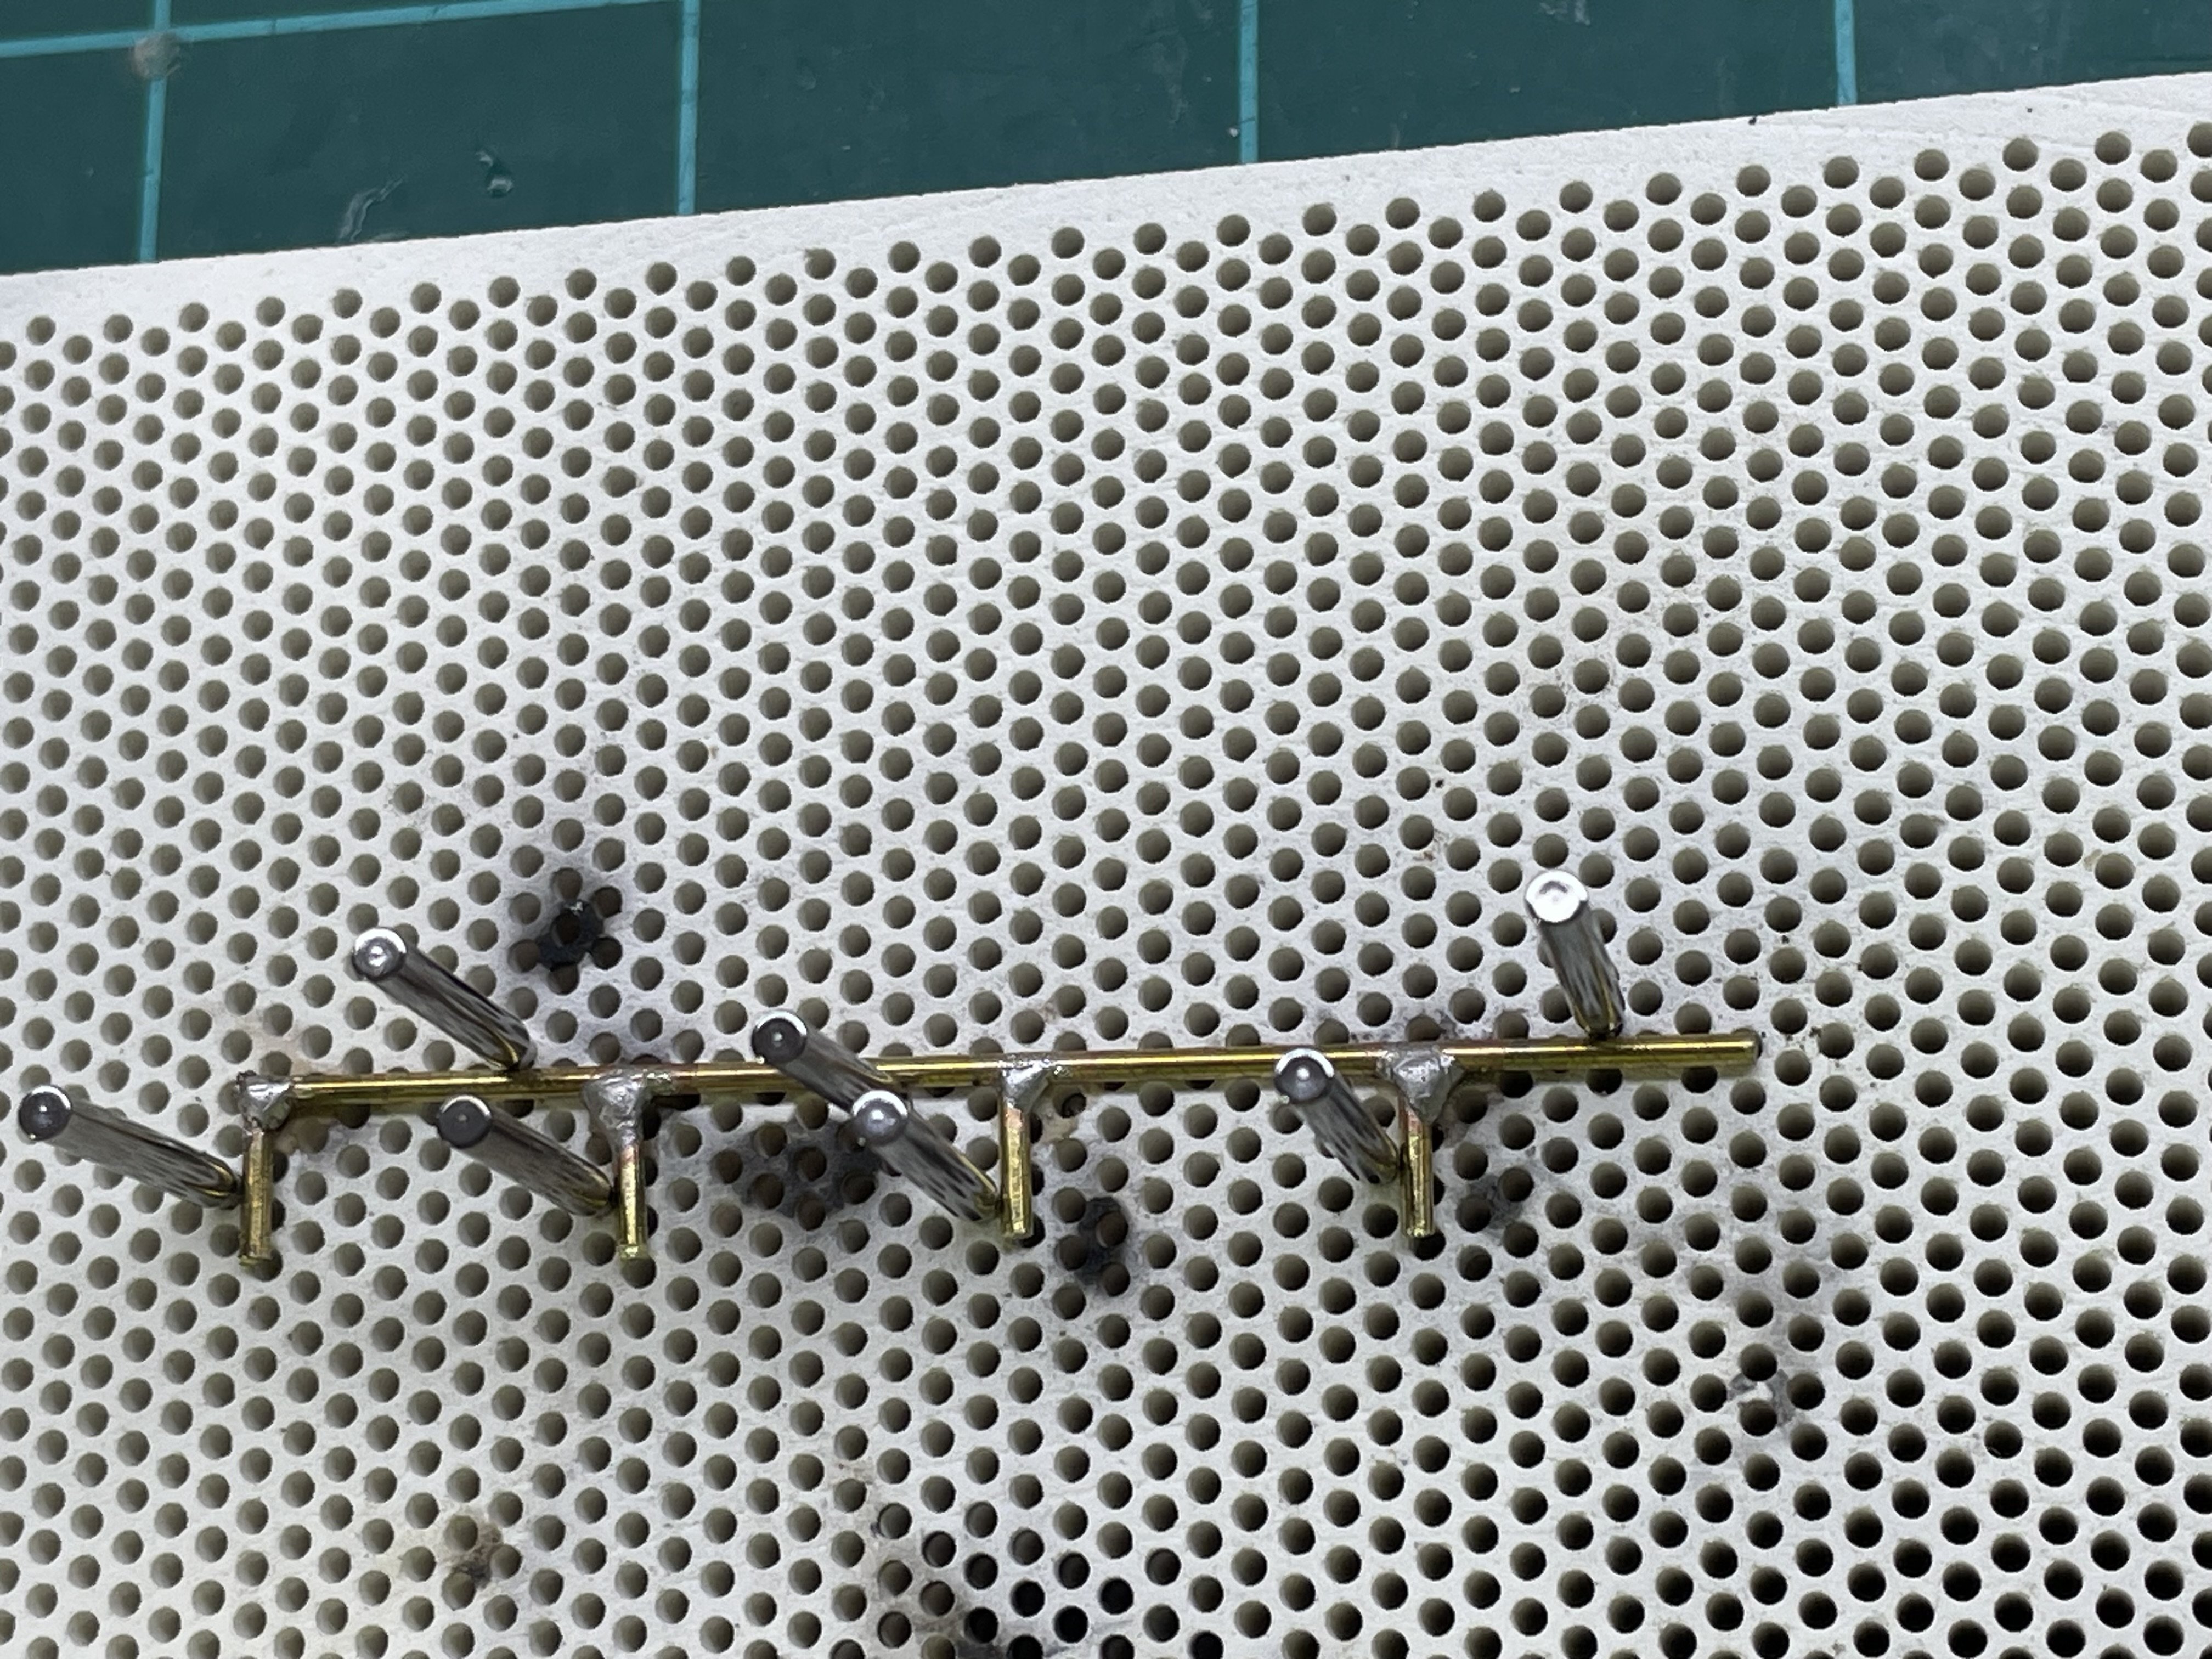
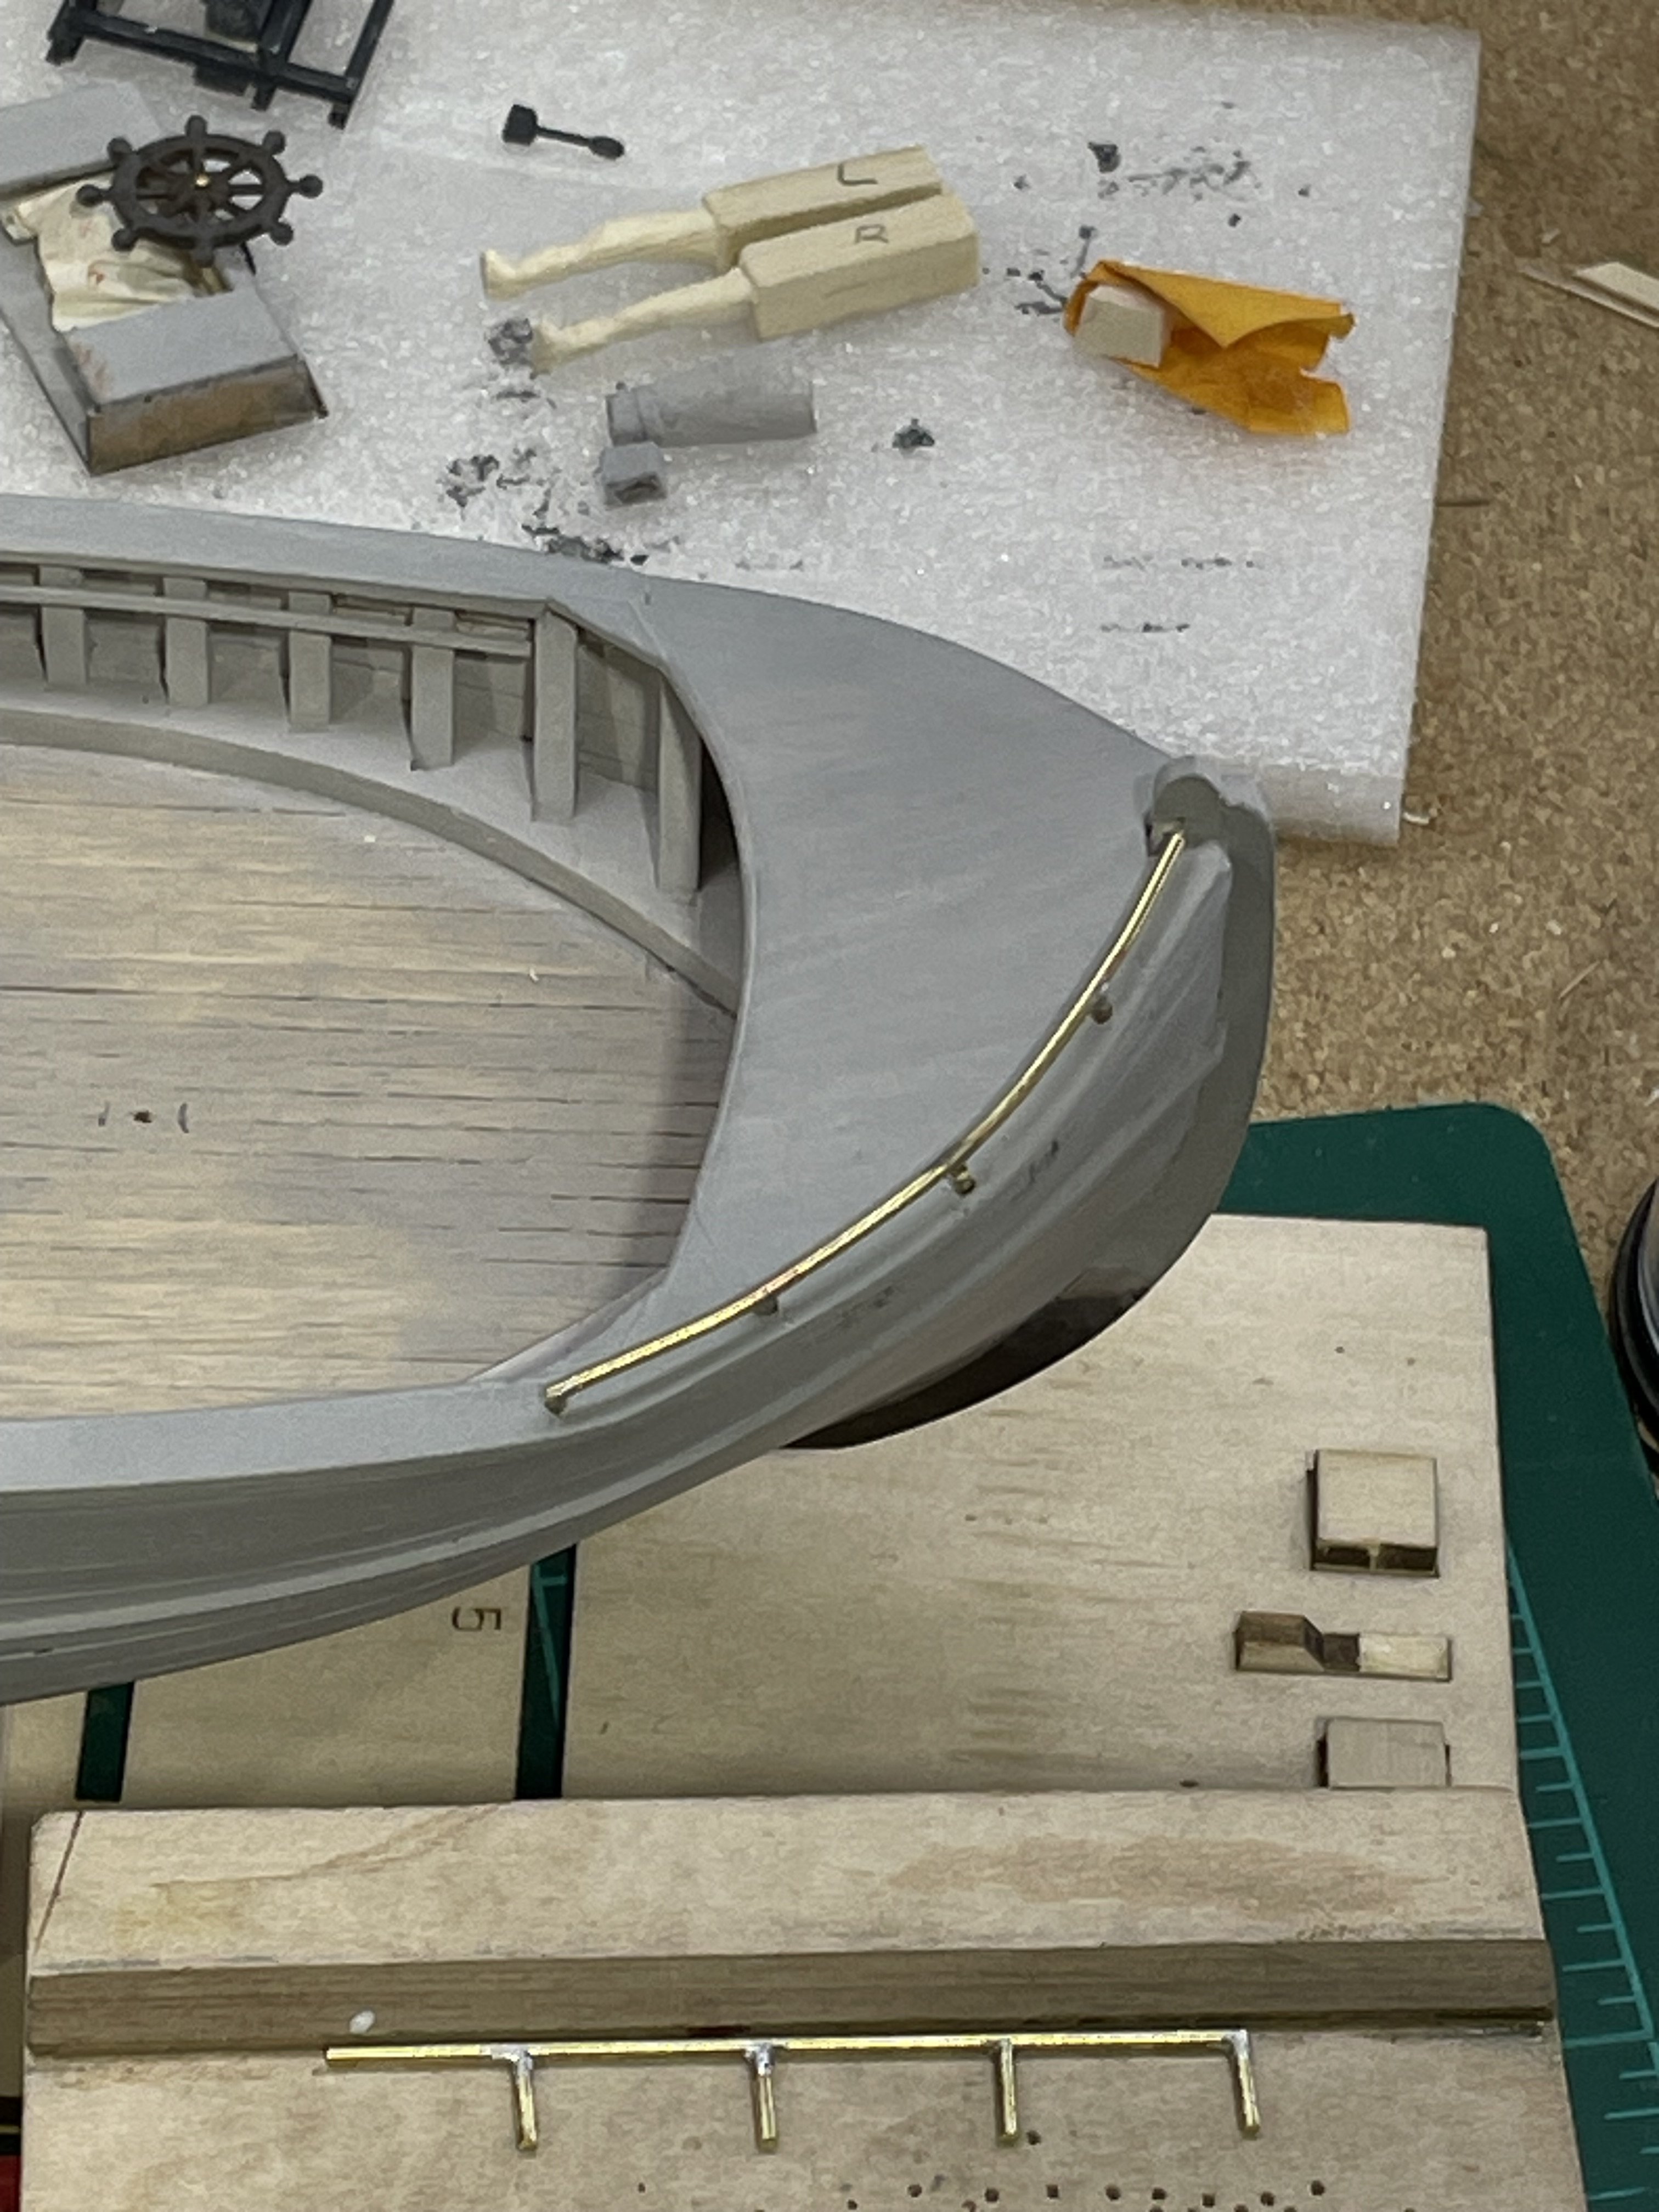
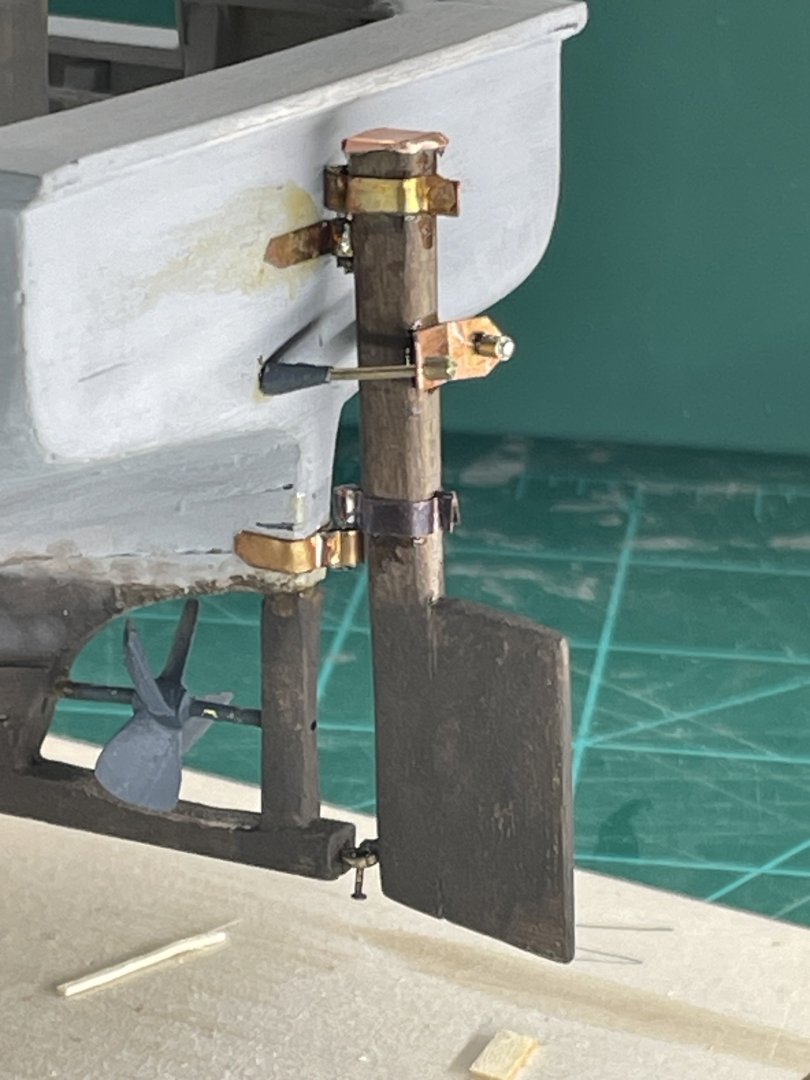
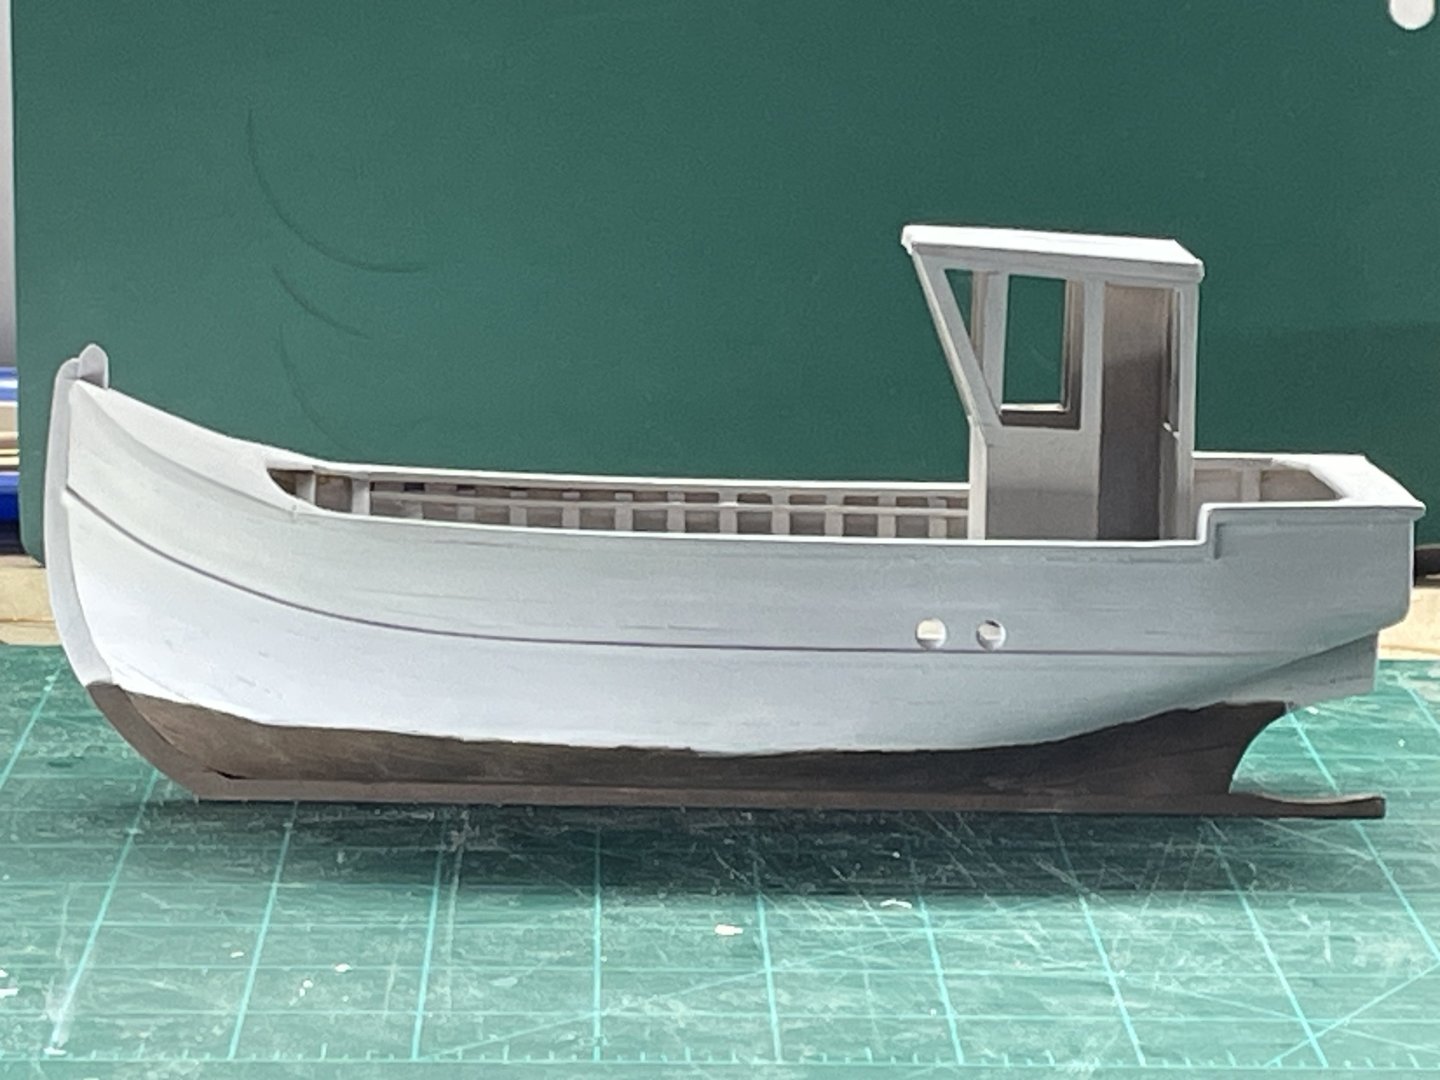
Quick update. It only took a second to get a few coats on the rudder. I’m still waiting to go to town to get some paint to do the deck. I thought maybe I could build a small rail on the bow. It seems useful, but I did no research on it. I just got some soldering paste and it made things much better in this department. i just had to lay it out and run a small kitchen torch over it for less than a second. I was leary about bending and drilling but courage came pretty quick. That one went pretty good. One post broke off when I tried to tweak it. I’ll just hit it with CA later. After that one when on the first time, I’m going to humble myself before I do the port side. I don’t want to get over confident and mess that side up:-)


- 35 replies
-
- 5
-
-
- Fischkutter
- Laser Creation World
- (and 1 more)
-
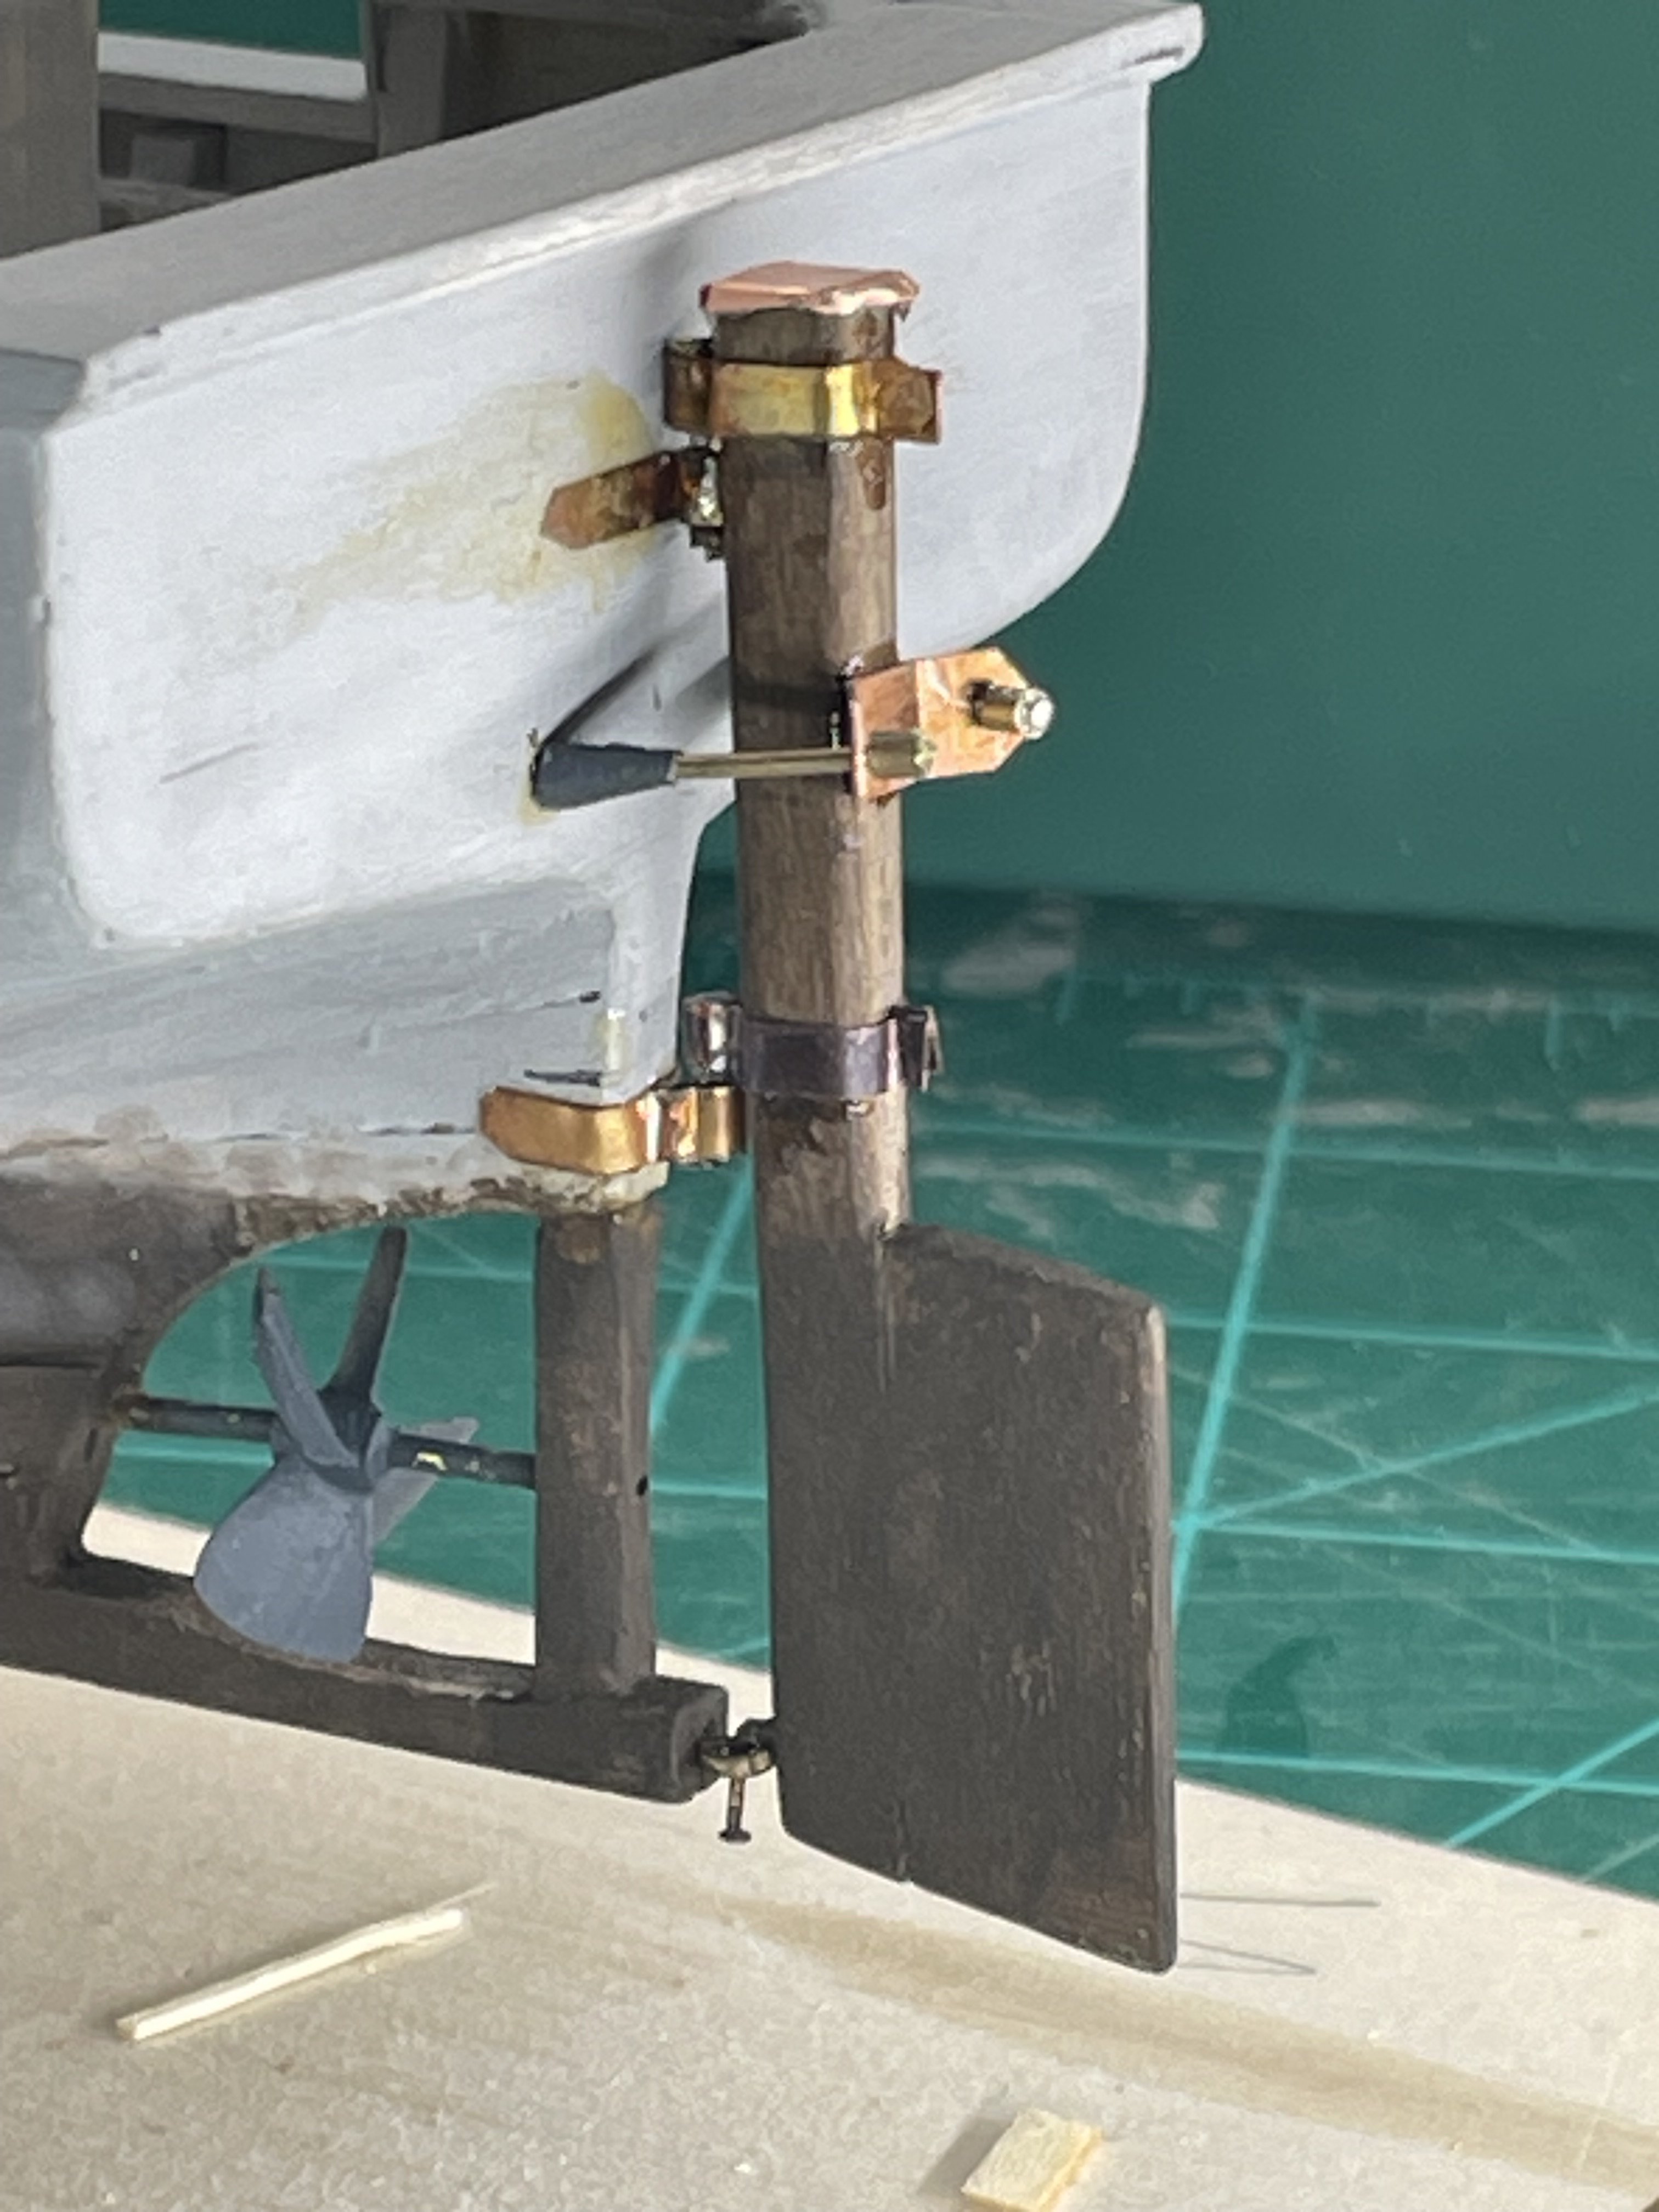
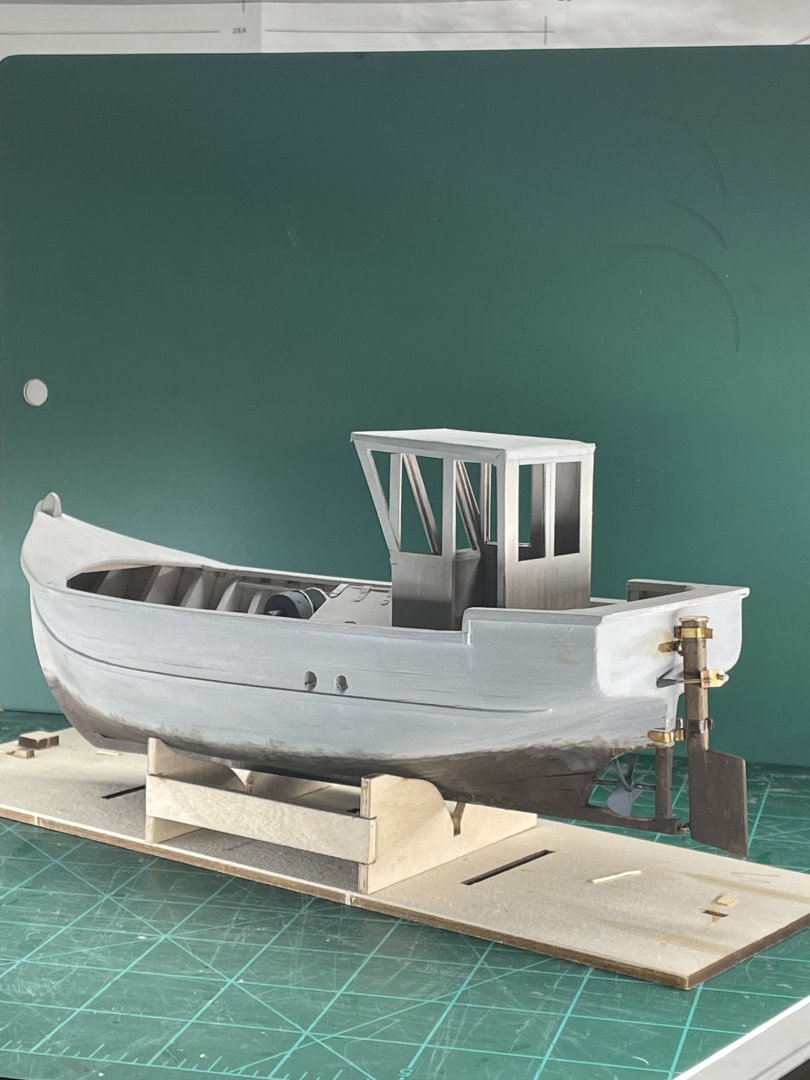
I finished the rudder and got it installed.This morning I’m going to get it painted. I need to pick up some paint to work on the deck area. Maybe that can happen sometime next year:-)
- 35 replies
-
- 9
-
-
- Fischkutter
- Laser Creation World
- (and 1 more)
-
Thanks Ferrus, I may put the hatch on the port side.
- 35 replies
-
- 2
-
-
- Fischkutter
- Laser Creation World
- (and 1 more)
-
Thanks Trevor, I not the best at research. Scratch building probably isn’t going to be my thing unless someone is telling me what to do:-) If I can just do something simple using one boom on the starboard side to utilize my winch I built. Of course I’ll probably be inventing it with a mind of this century and with very little knowledge of what I’m trying to to accomplish:-) I’ve got to scale the mast, I think it to tall. I’m hoping this arrangement.is going to be workable.

- 35 replies
-
- 4
-
-
- Fischkutter
- Laser Creation World
- (and 1 more)
-
Thanks Trevor, I thought it should be scaled down quite a bit. Pictures and information on a small boat in the late 1940’s are pretty hard to find, especially when I don’t know enough to know what to look for:-)
- 35 replies
-
- 1
-
-
- Fischkutter
- Laser Creation World
- (and 1 more)
-
Thanks for responding guys, Yeah I knew it was too good to be true:-). Even me with little knowledge could see something was up:-)
- 35 replies
-
- 3
-
-
- Fischkutter
- Laser Creation World
- (and 1 more)
-
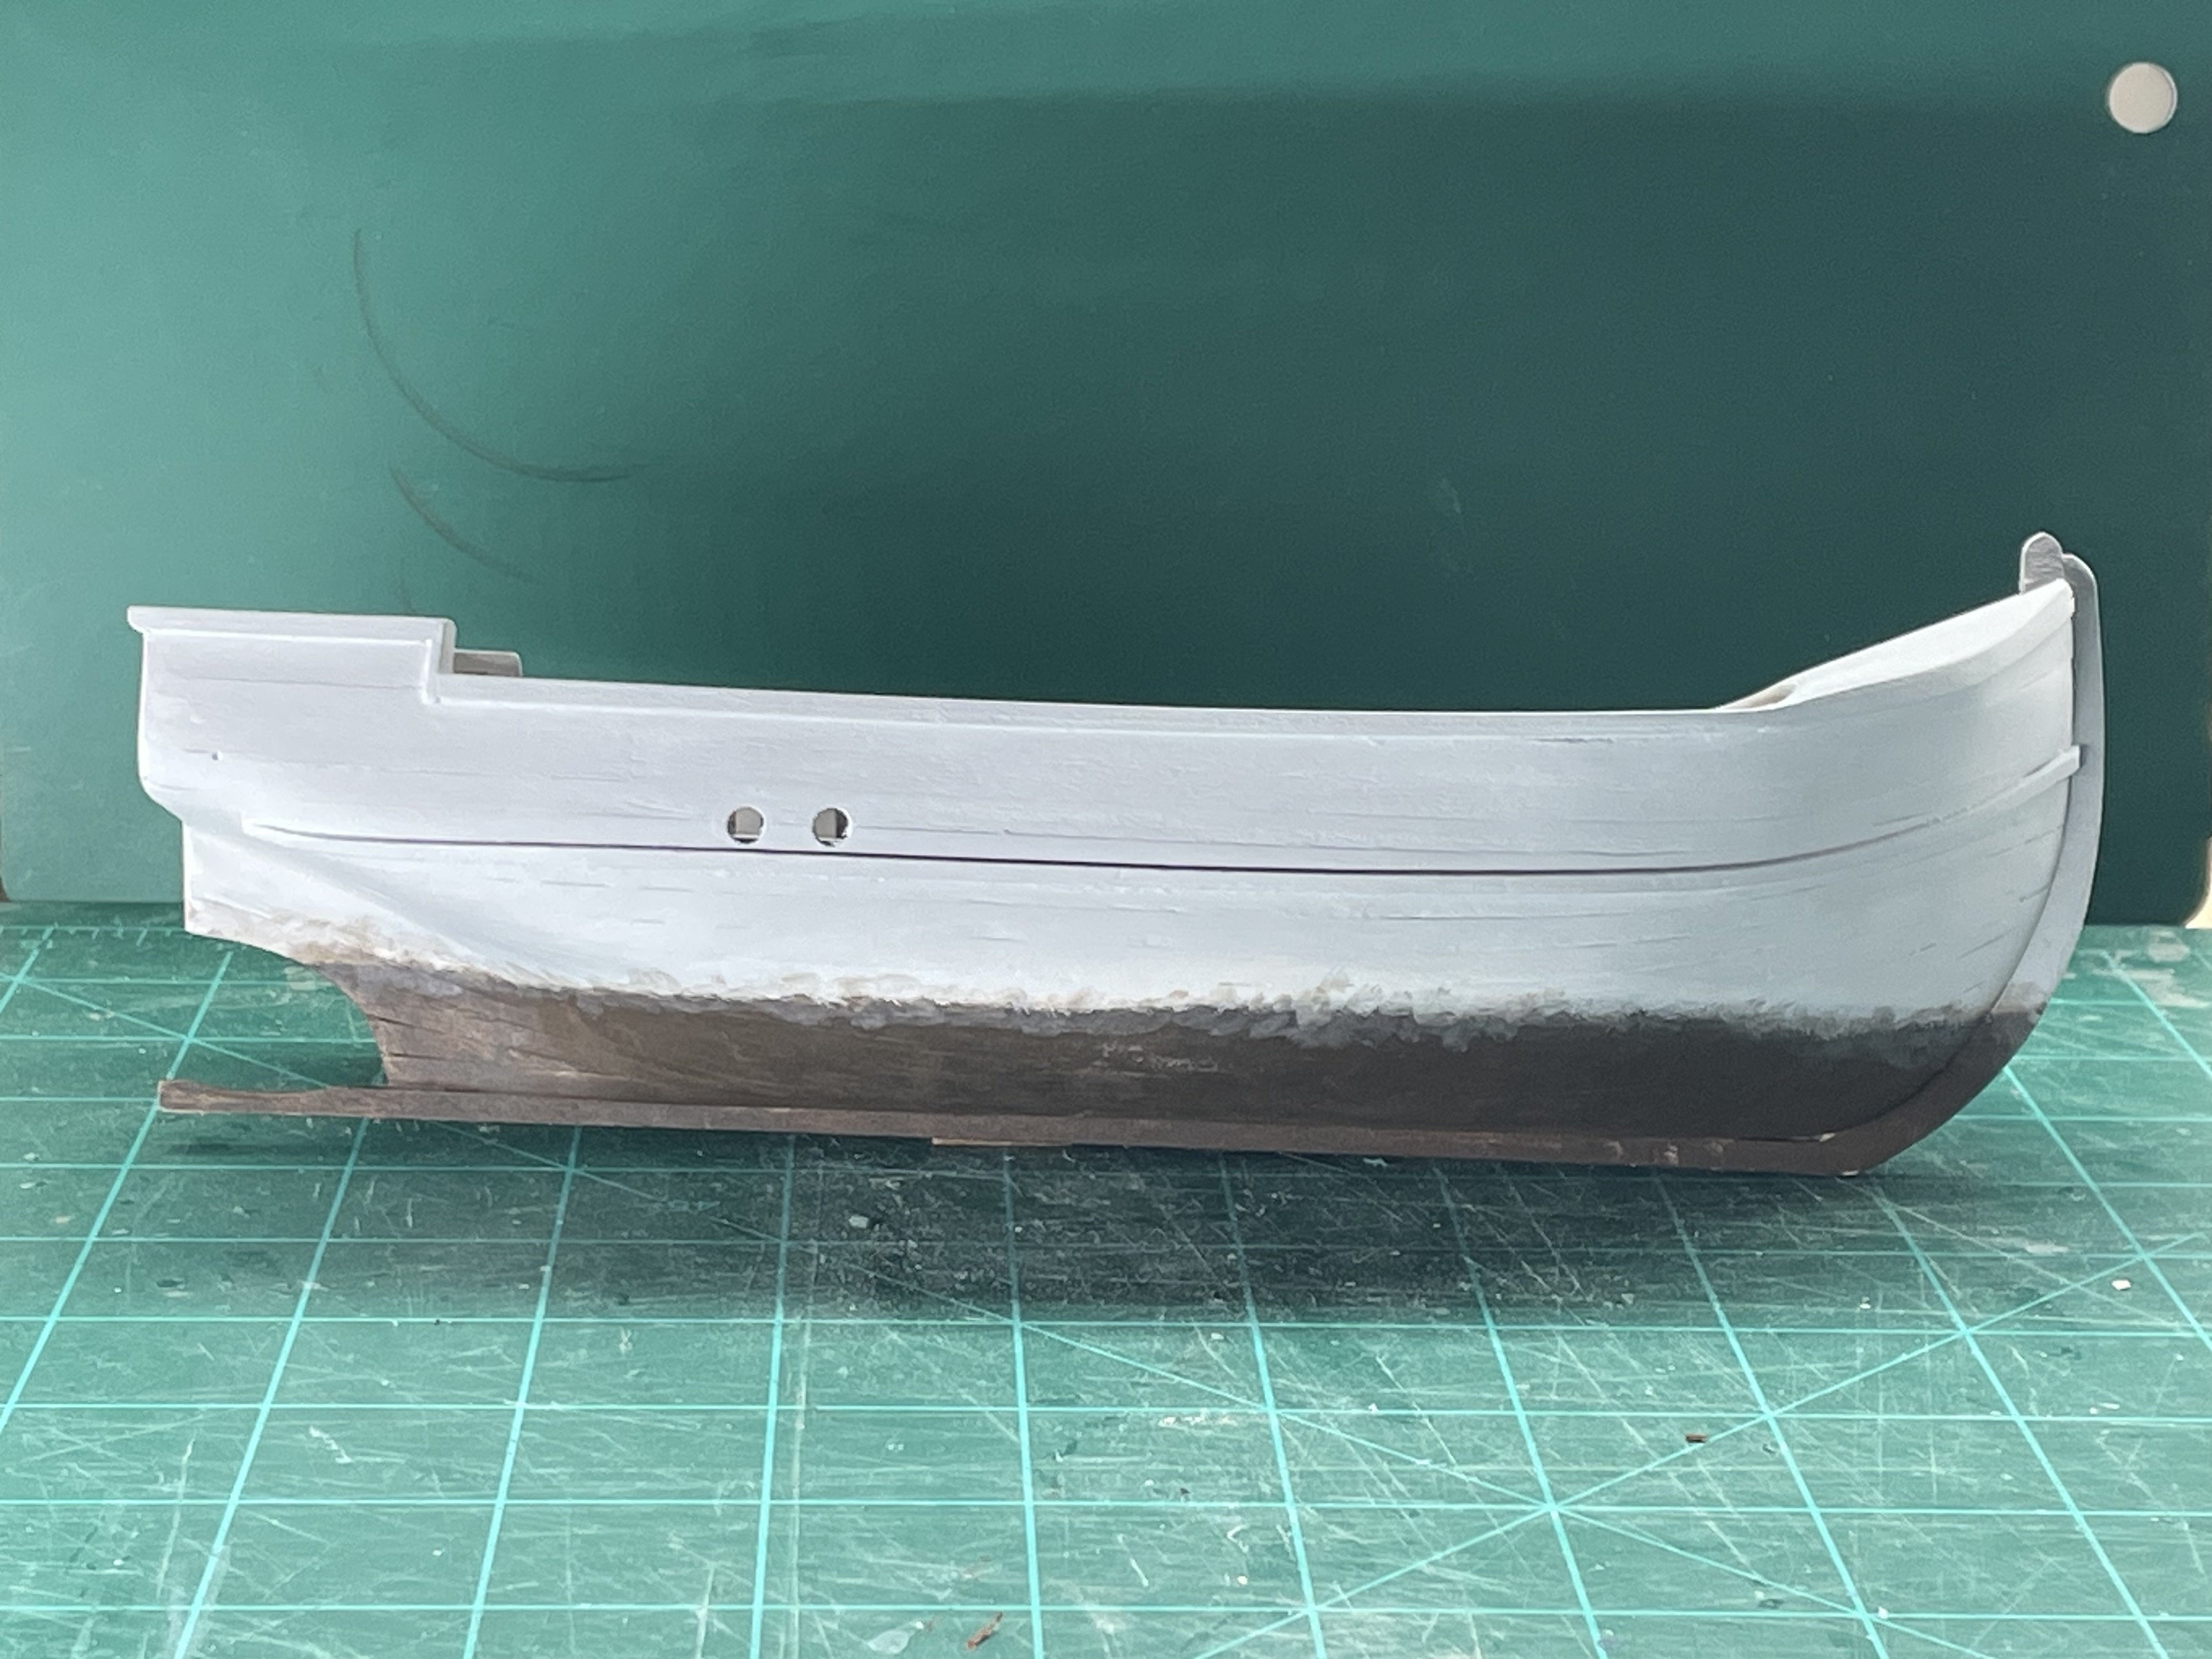
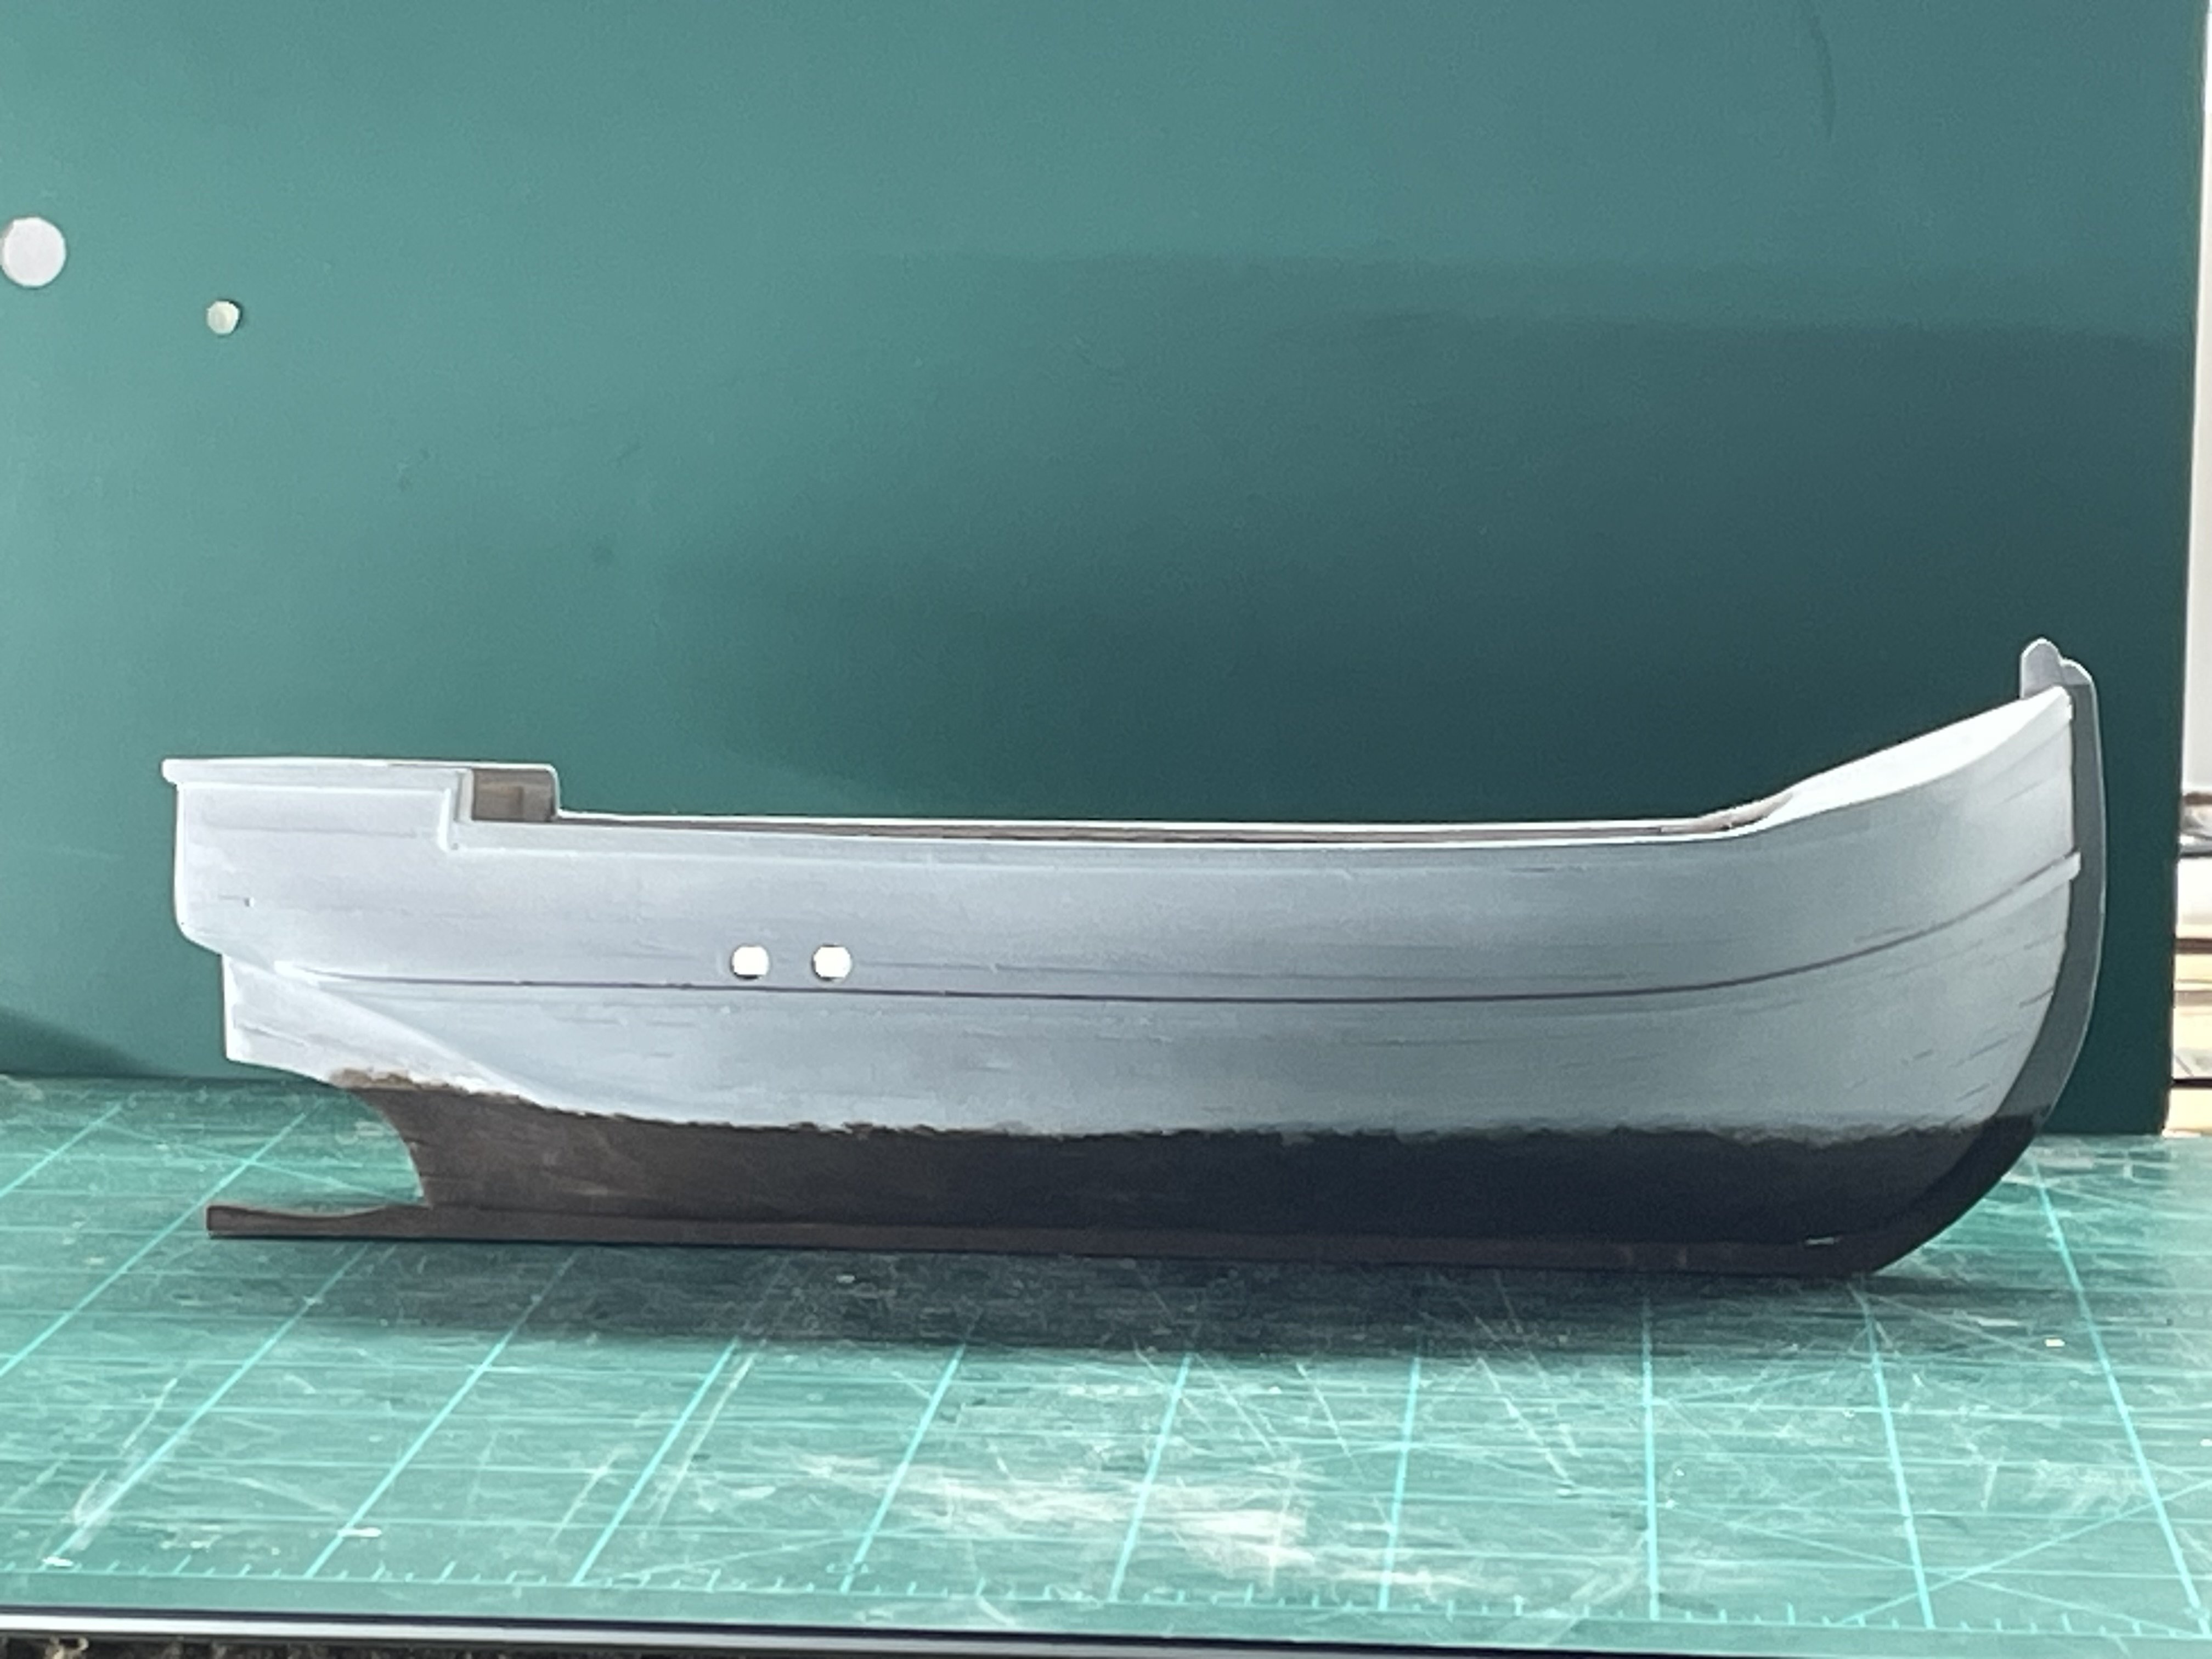
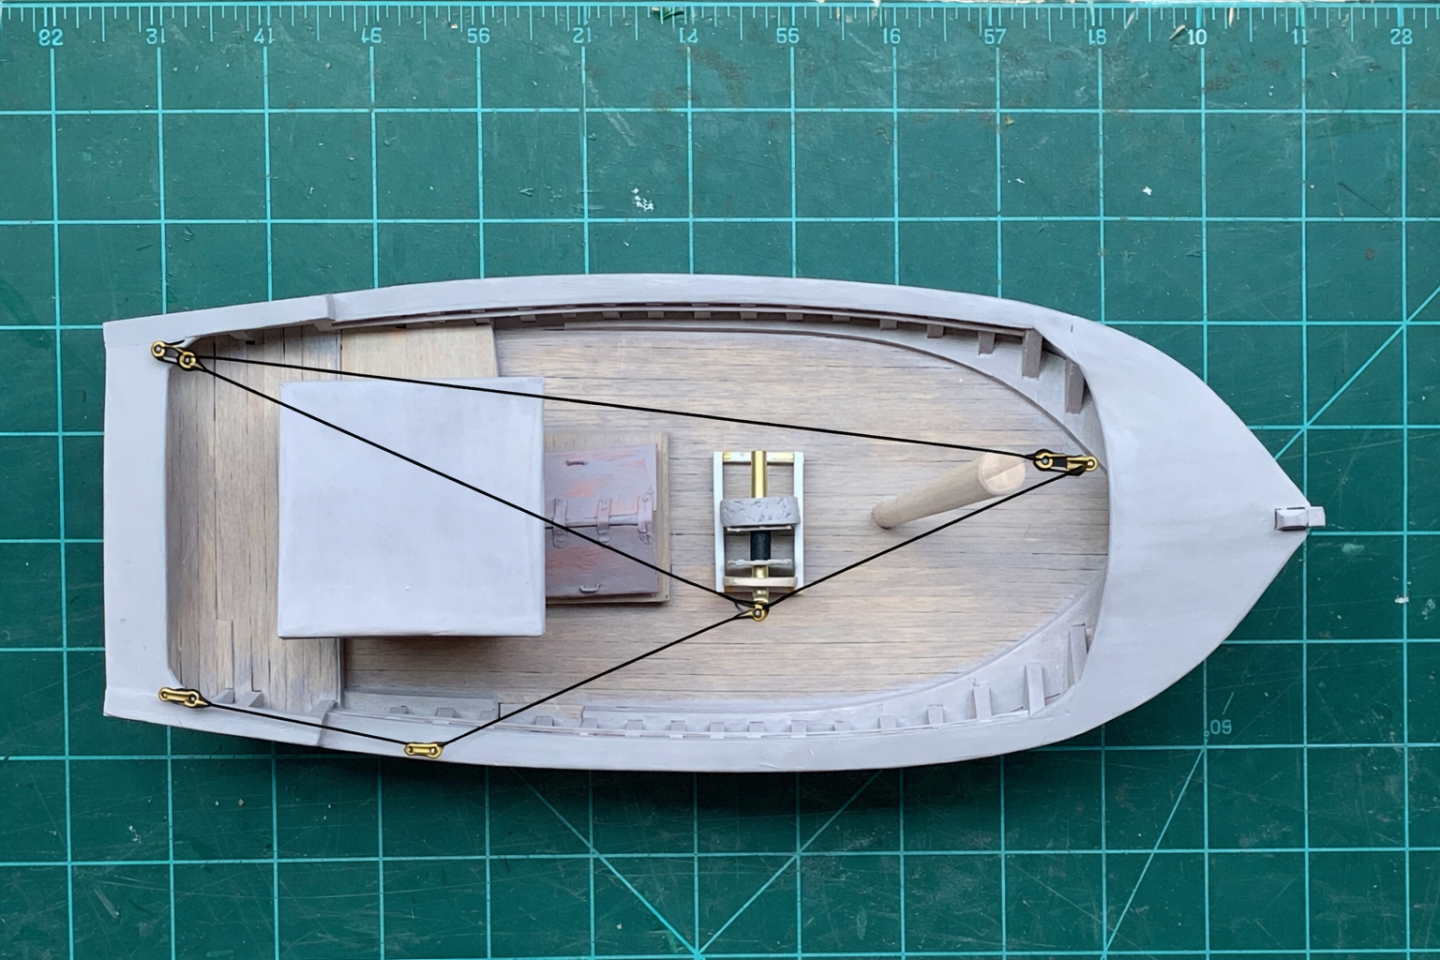
I’ve been trying to stay focused on the weathering. Since I have no knowledge I’ve been dependent on AI. It’s told me the colors and the recipes to mix them. Also the brush type and stroke. Most of them I also have ask what they are and how to do them. I hope it’s getting it’s info from a good source:-) It always says to set back at arms length, and if you can’t tell you did anything then you’ve done good. I kinda like to see things happen:-) While I’m waiting for more motivation in that area I turned to the deck. AI gave me some good ideas on constructing a winch. Here’s a before and after the salt streaks and waterline grime. Here’s the winch that I’ve just started. The last phone update makes my work light to bright for the camera. Here’s a shot I took for AI to show me the rigging. This is what it came up with. When I had questions on the things I didn’t understand I tried another view That just made me start wondering:-) When I first got started, before I had the engine house on I asked about the rigging for a shrimp boat. Bottom line, it give me answers and maybe if they are wrong some of you will speak up and steer me right:-) I need to add, it’s an enjoyable build that I can’t see the end yet:-)


- 35 replies
-
- 4
-
-
- Fischkutter
- Laser Creation World
- (and 1 more)
-
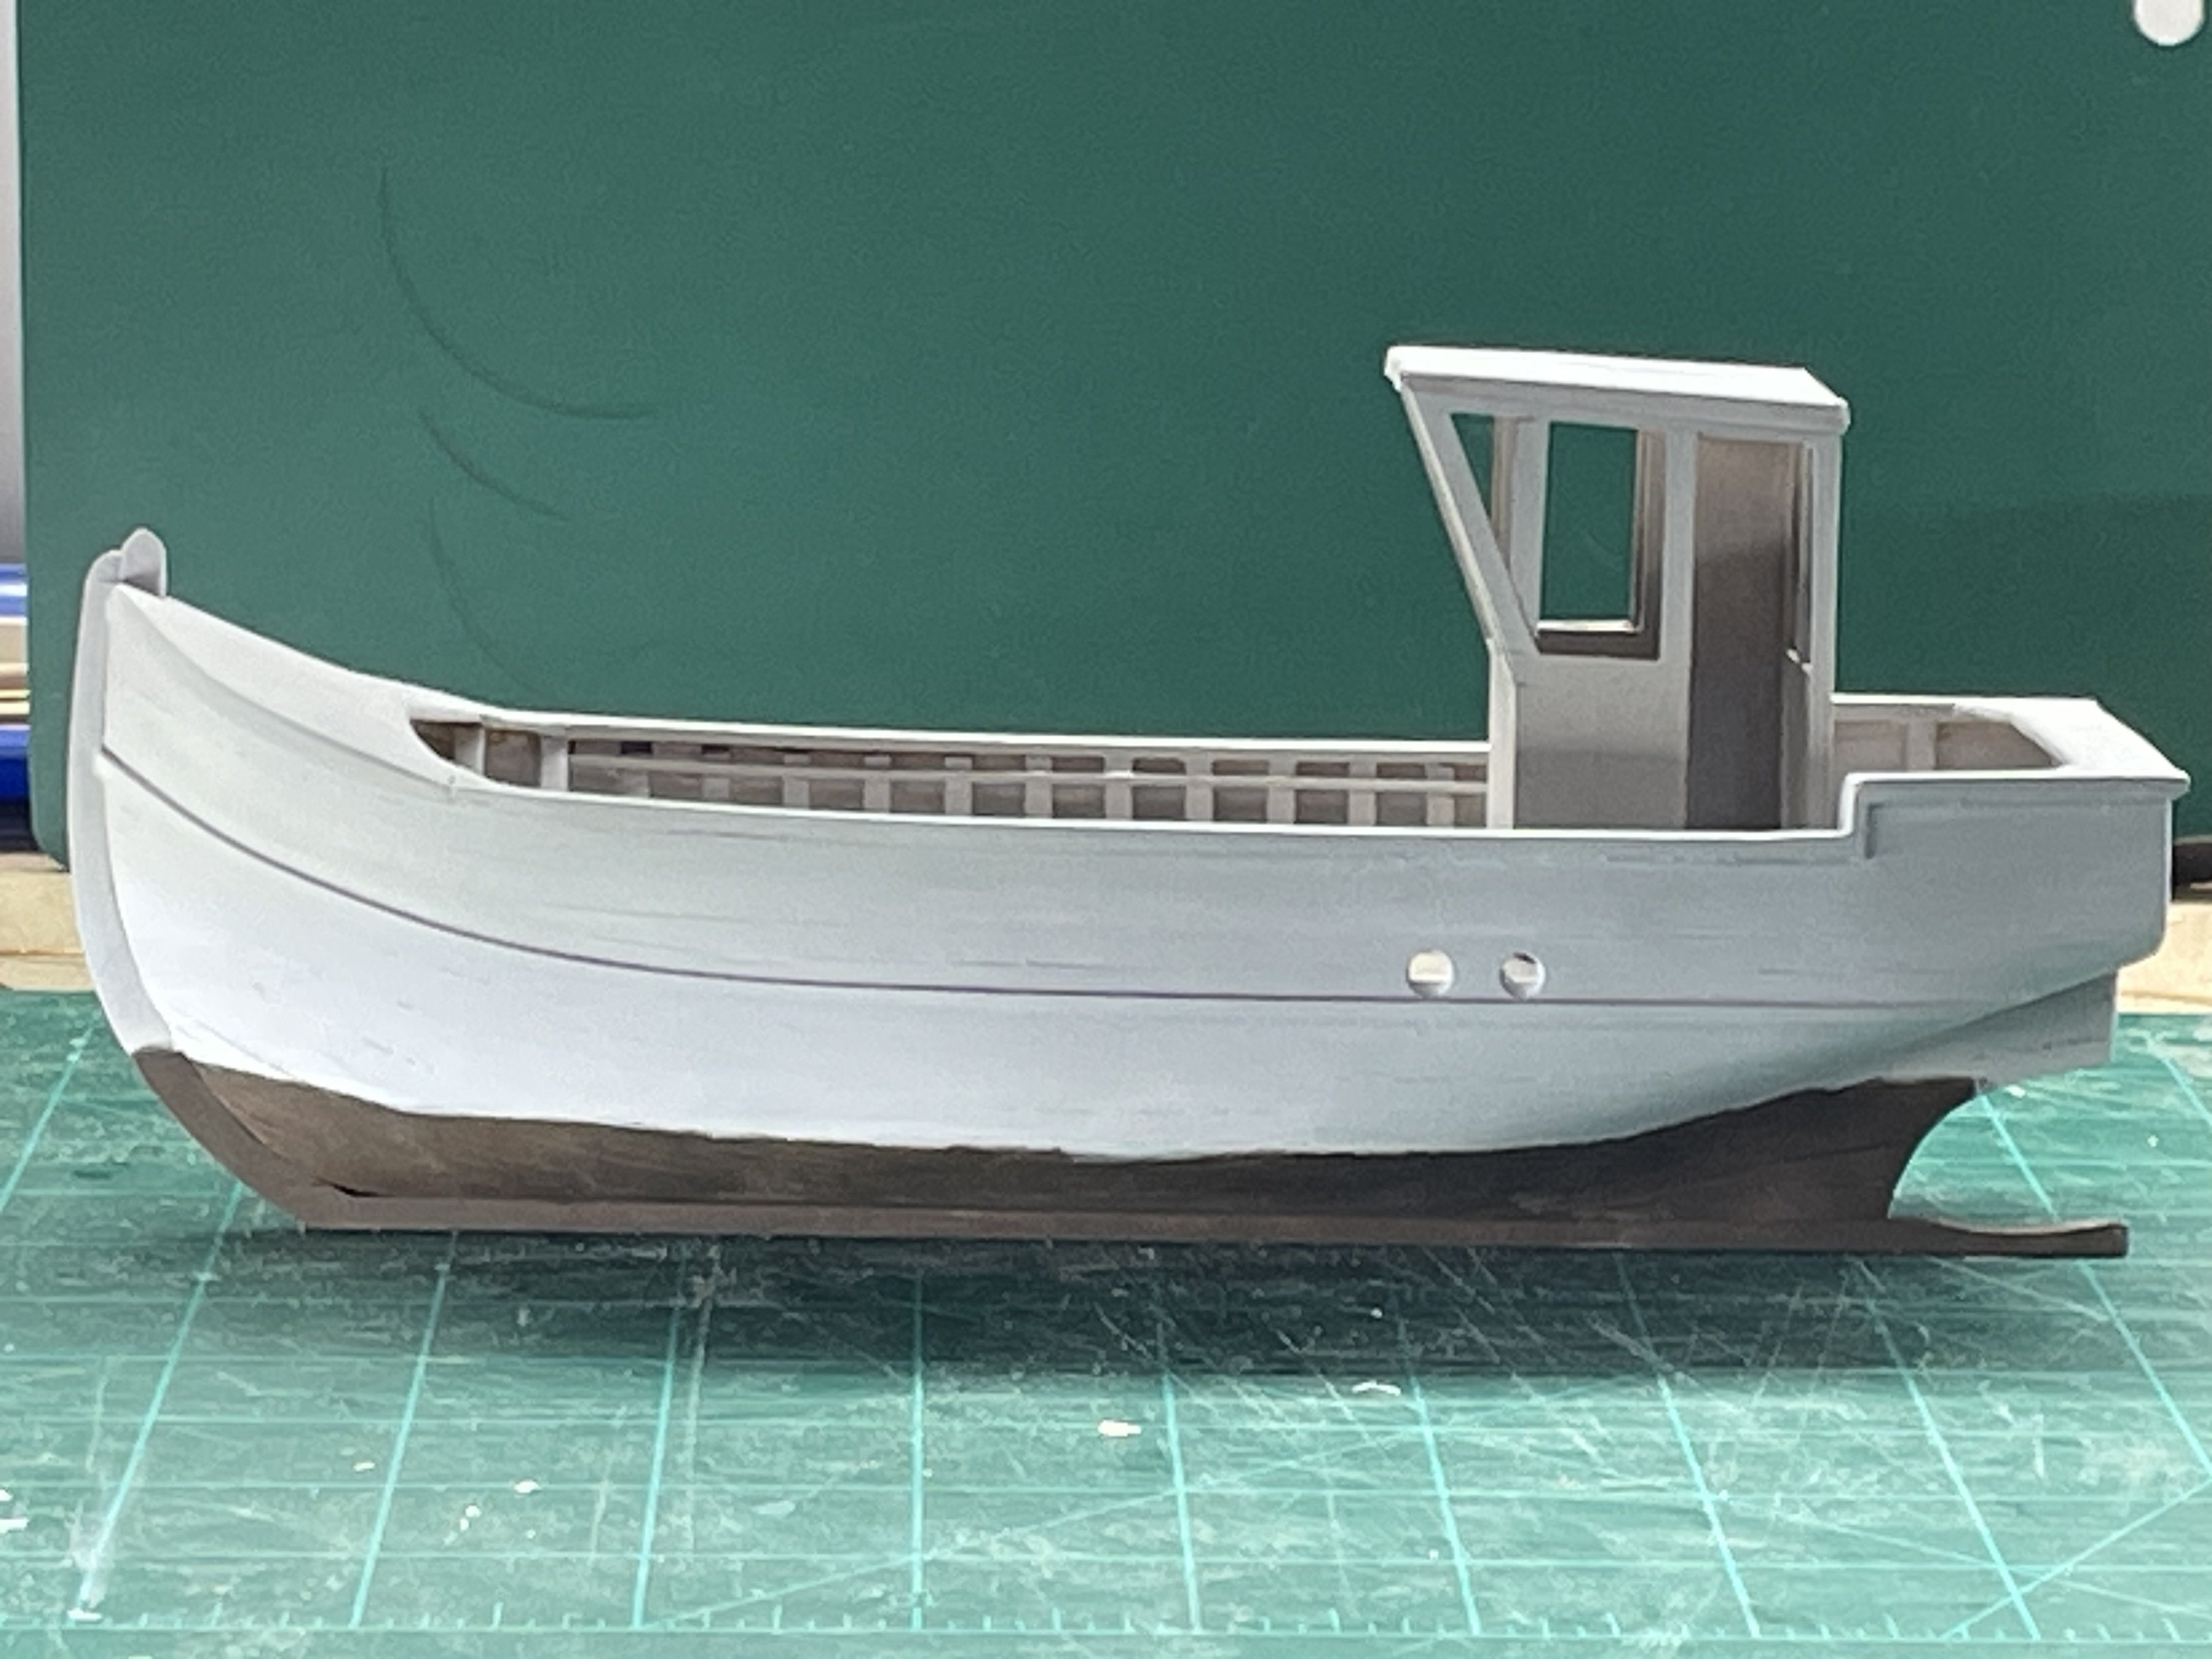
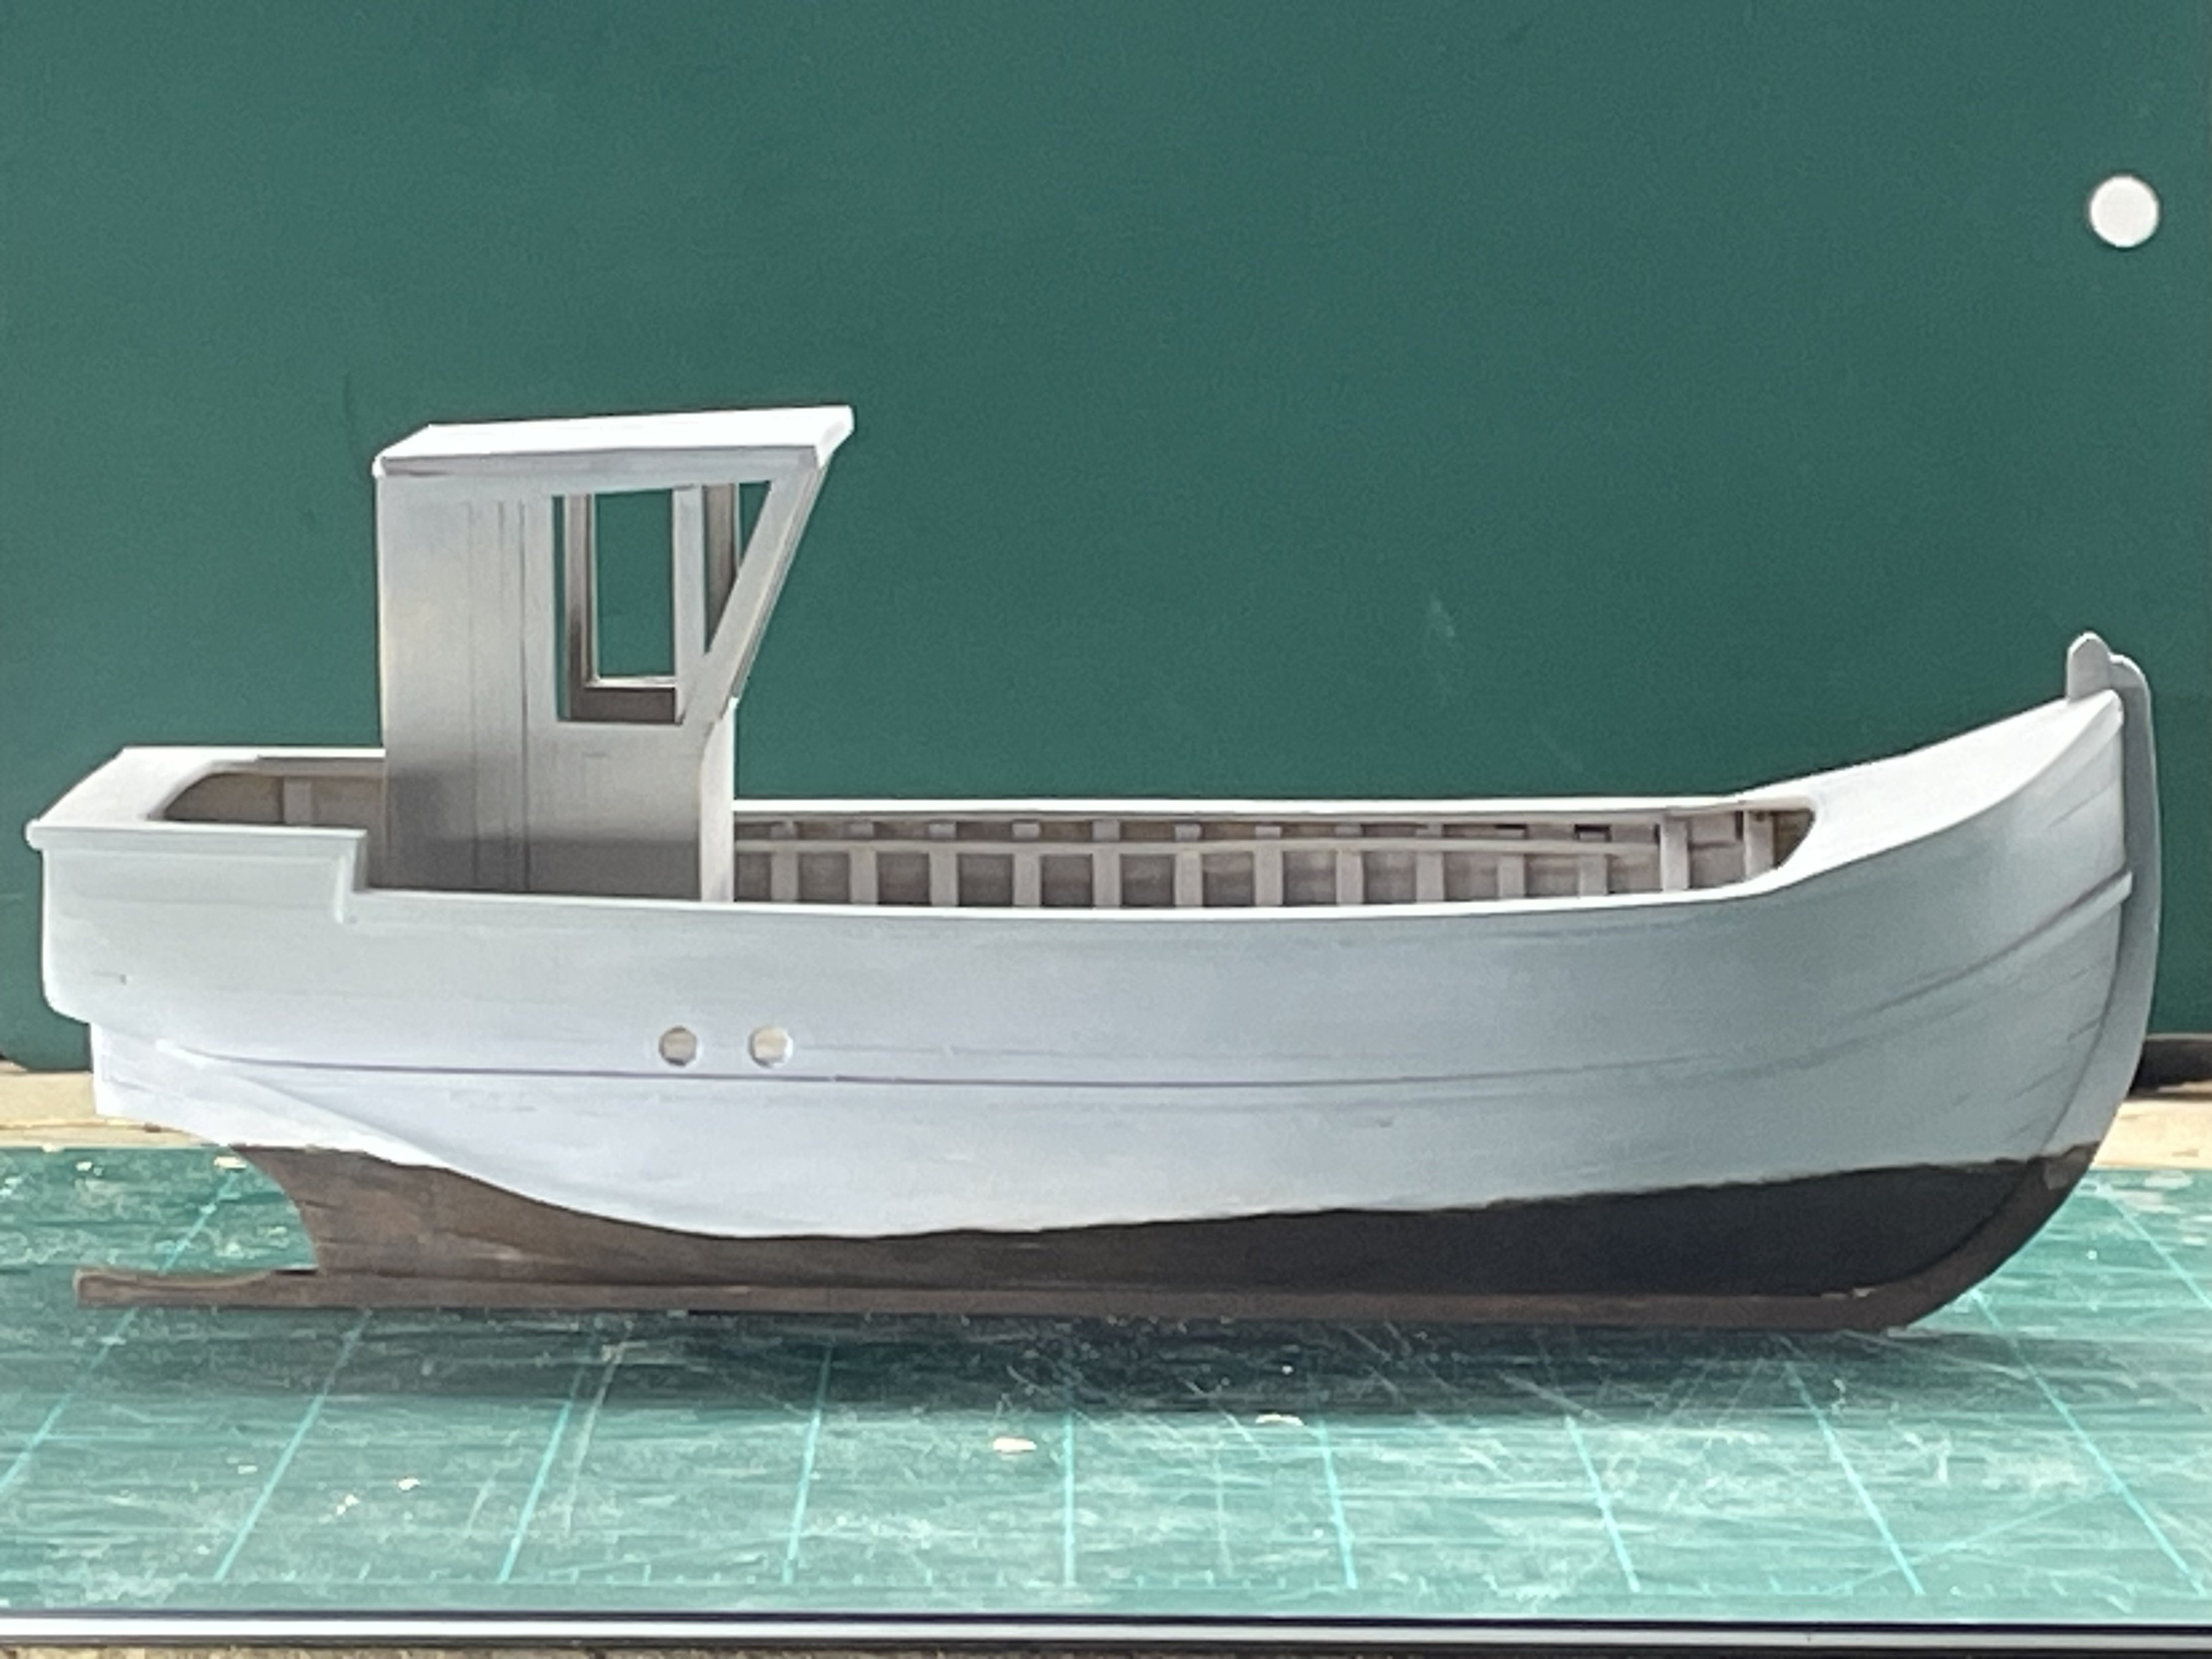
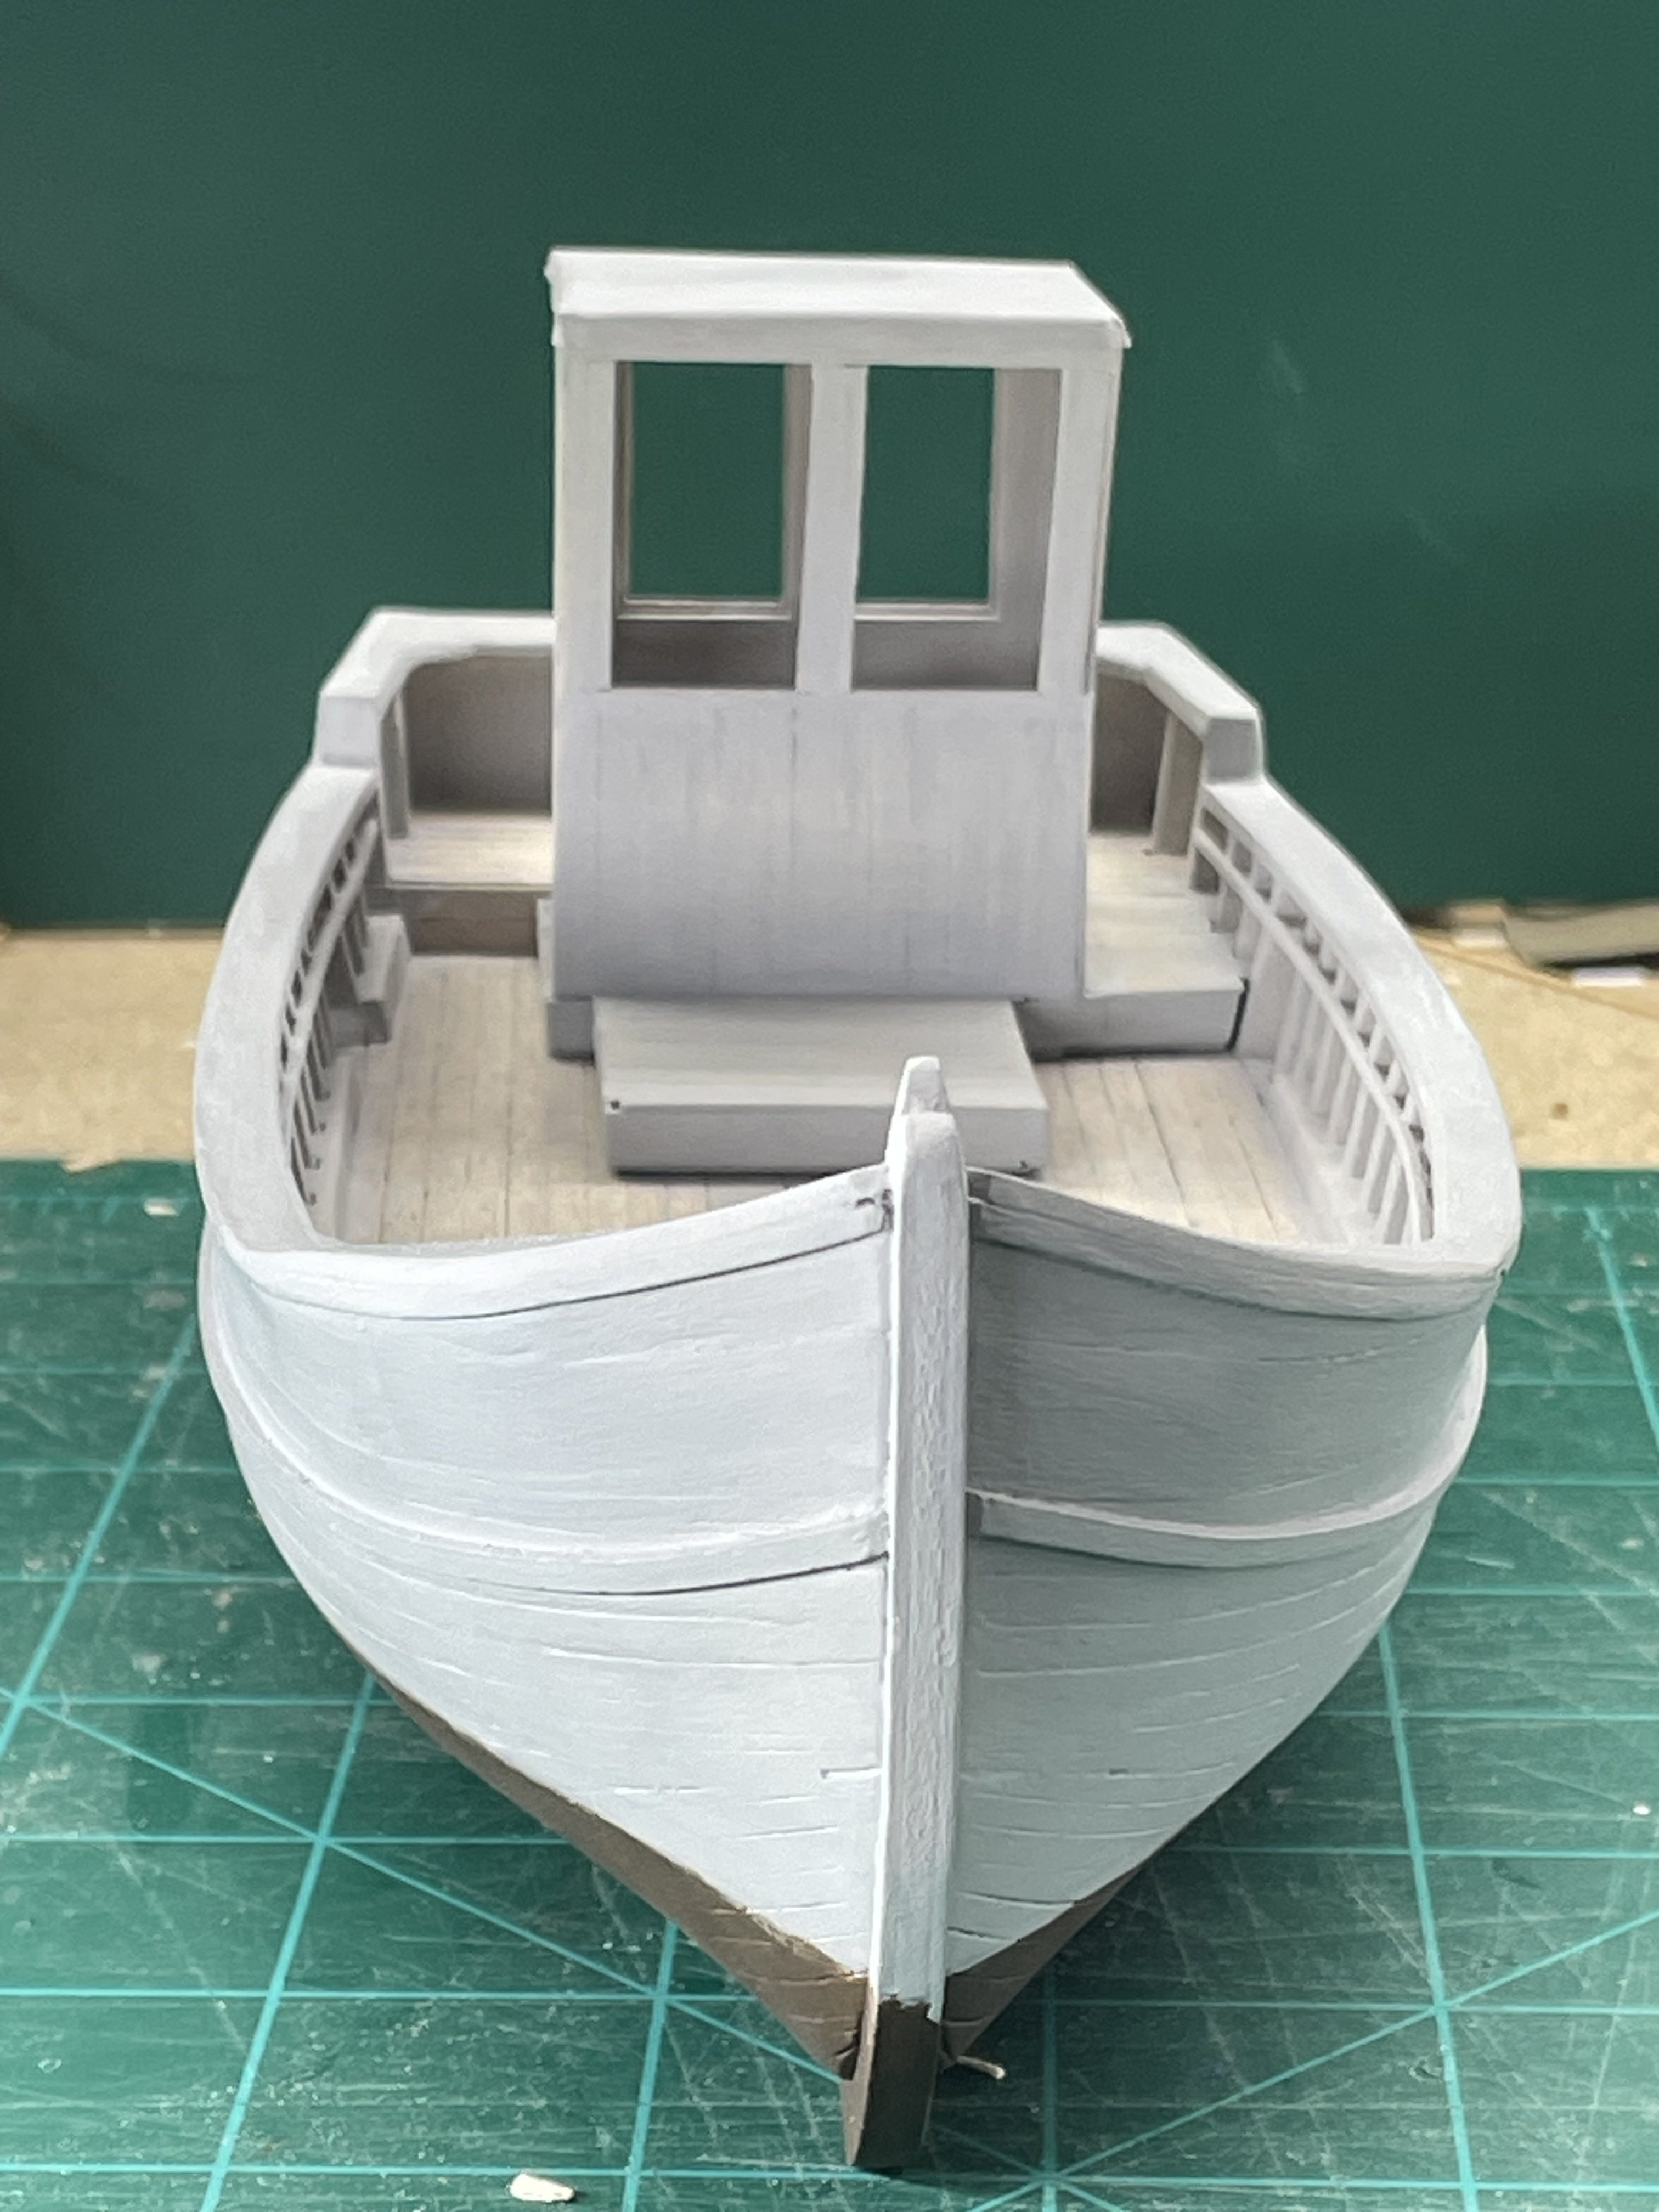
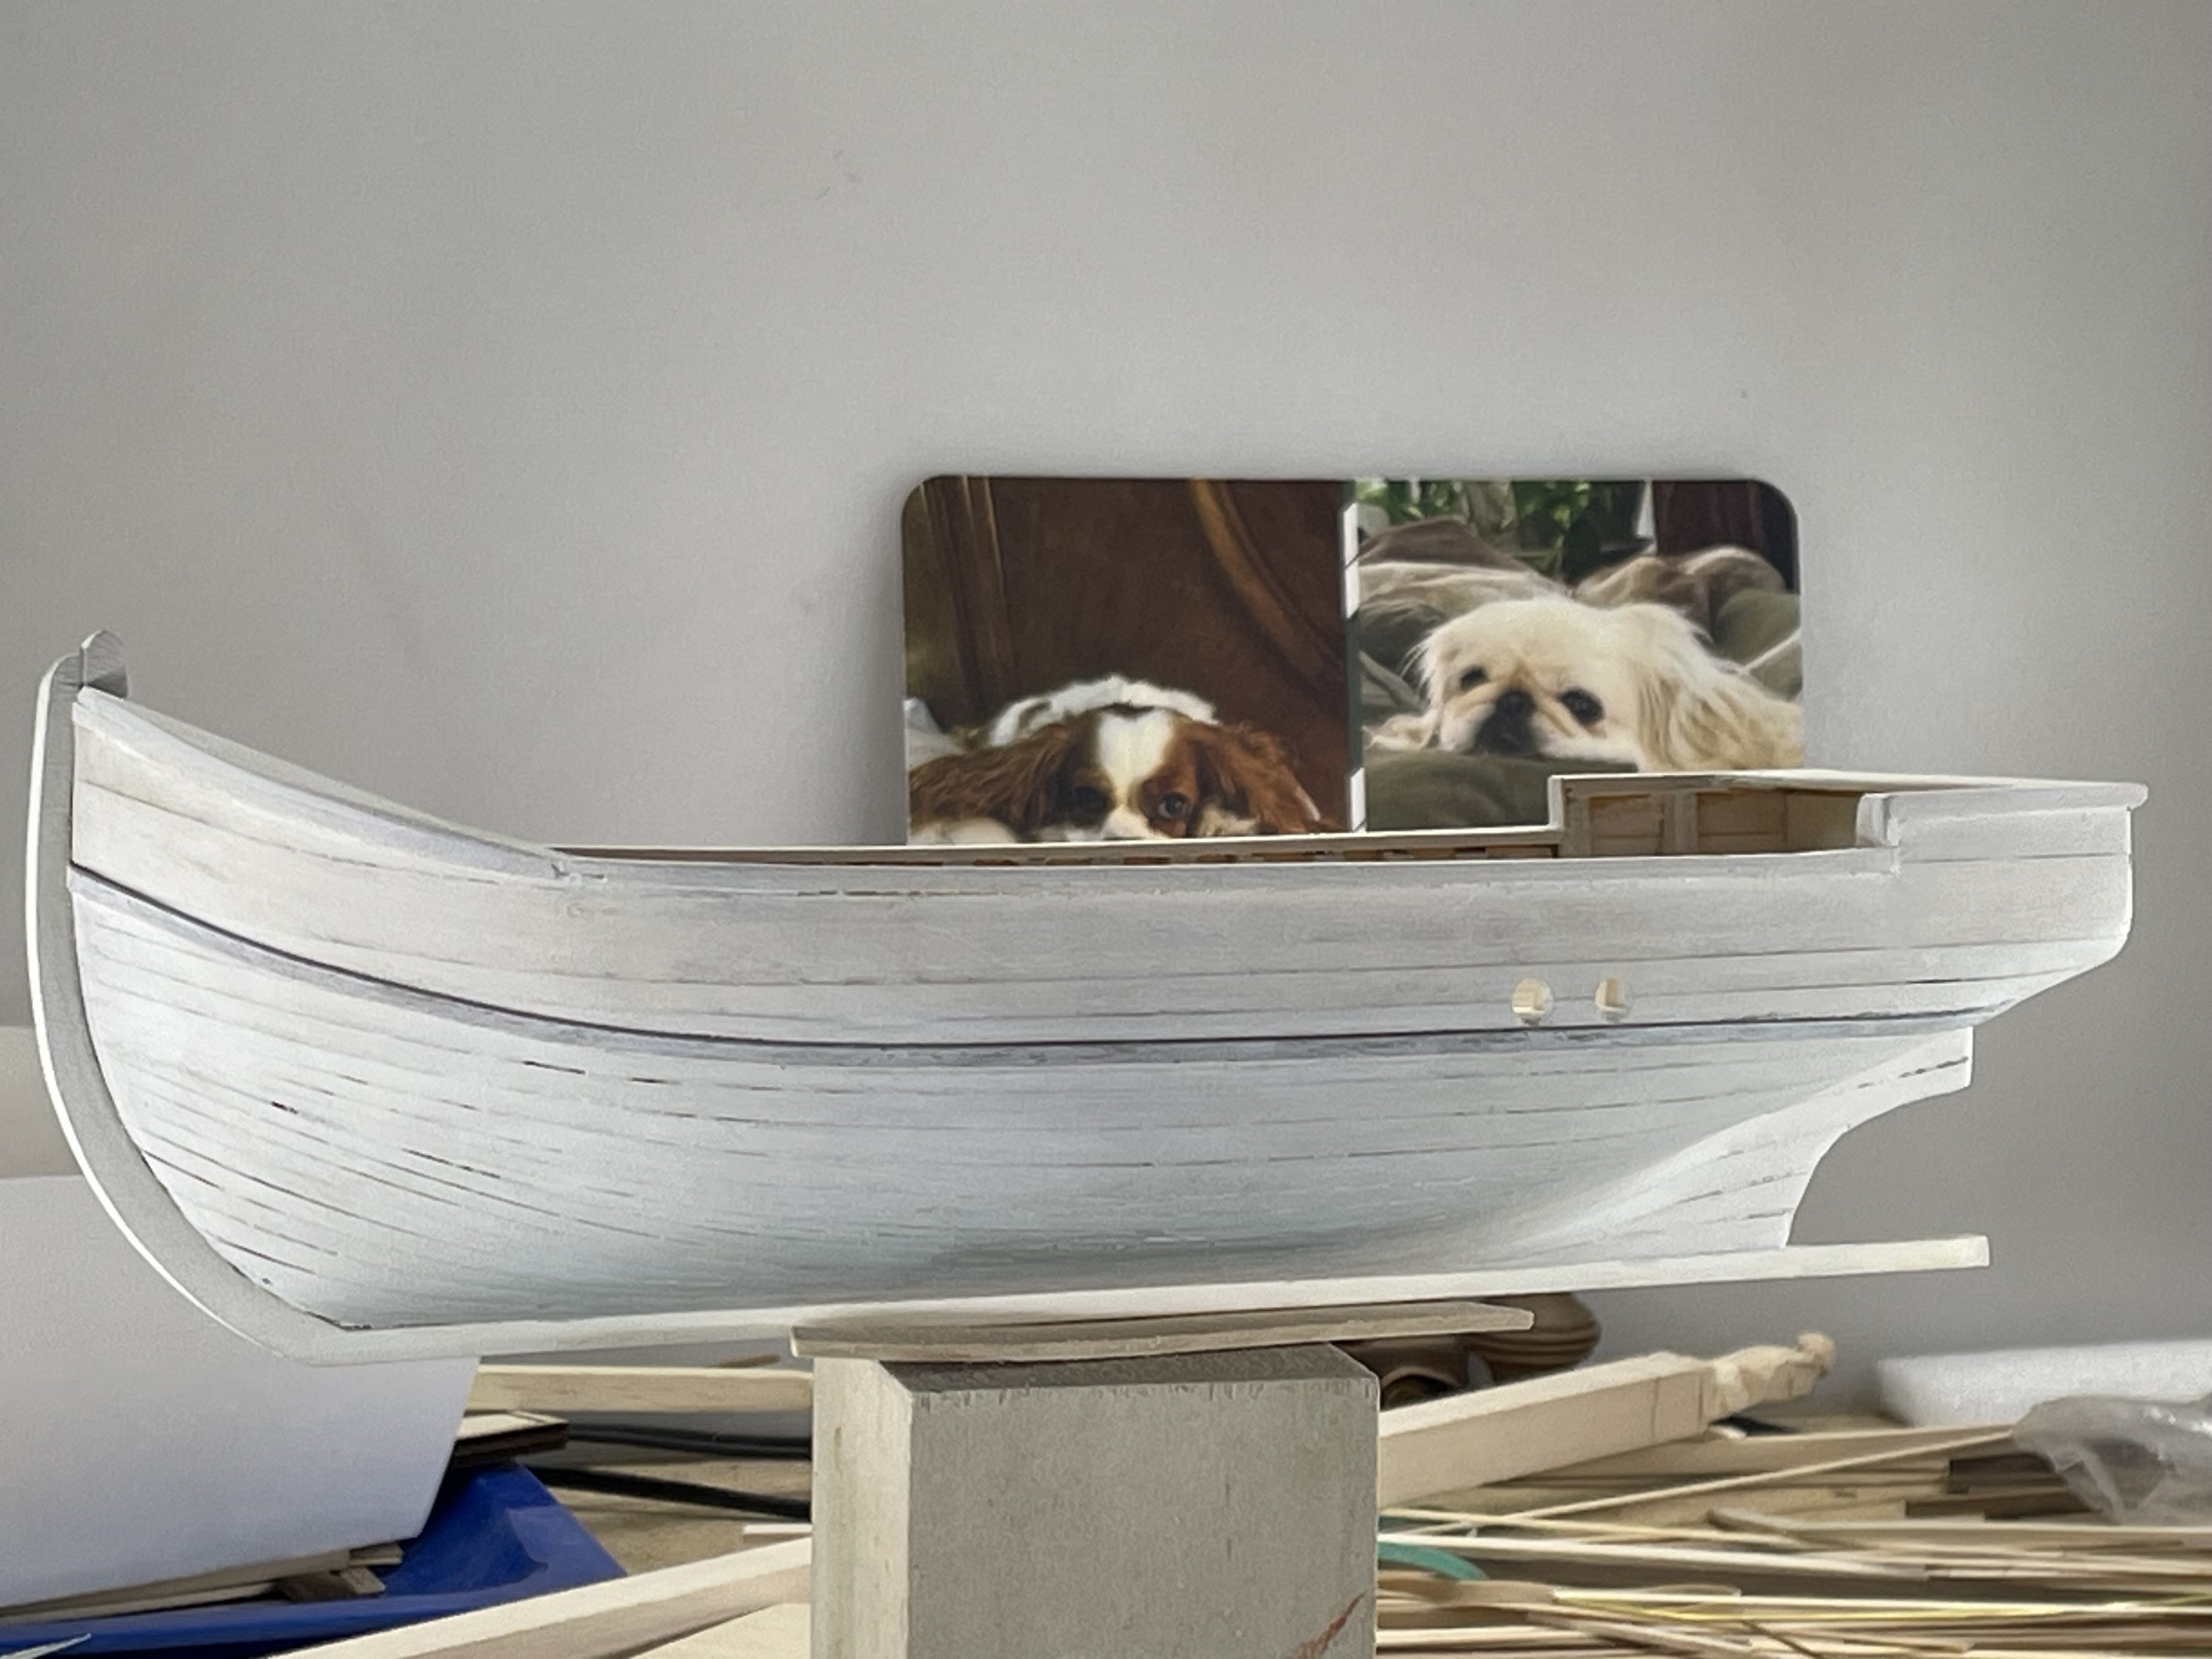
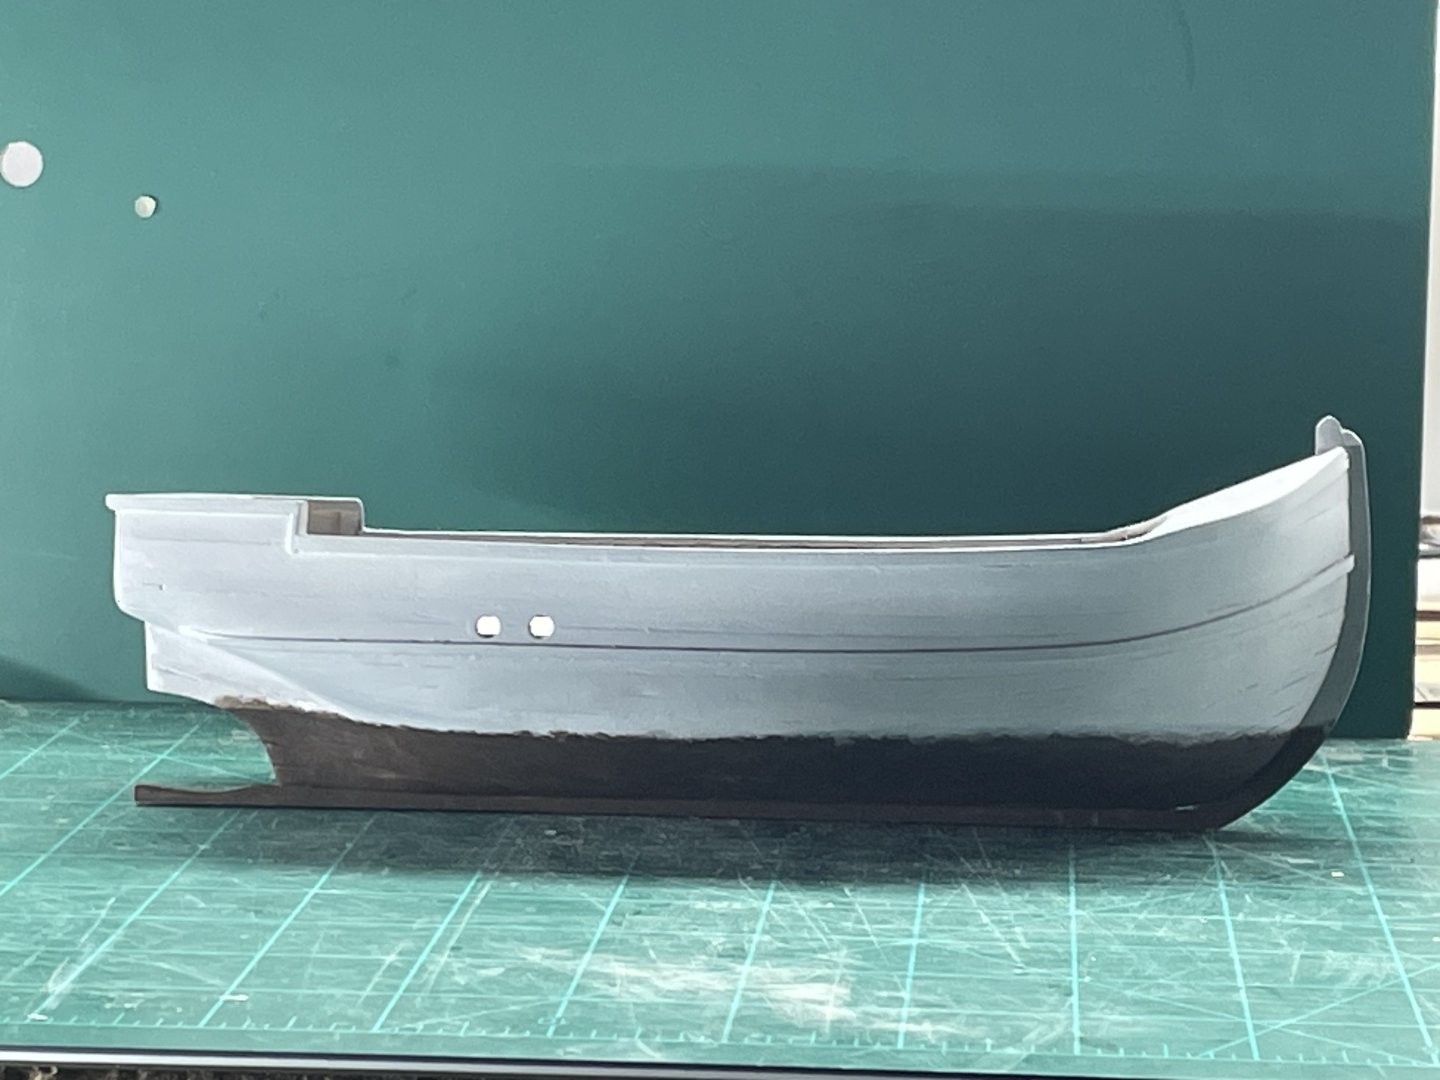
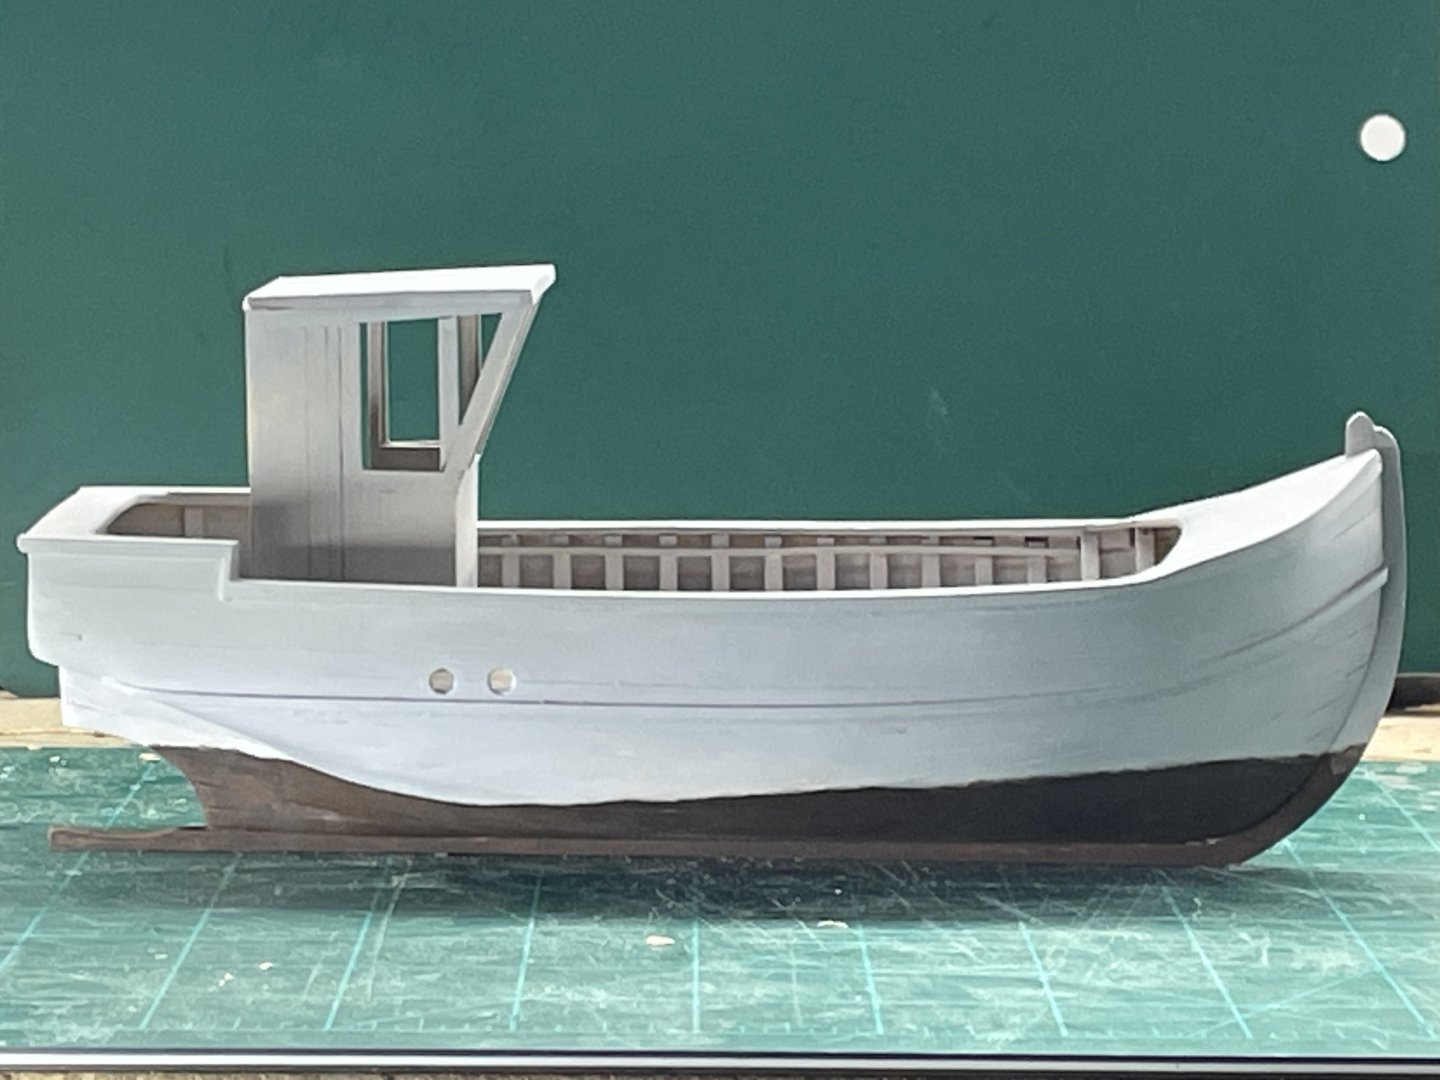
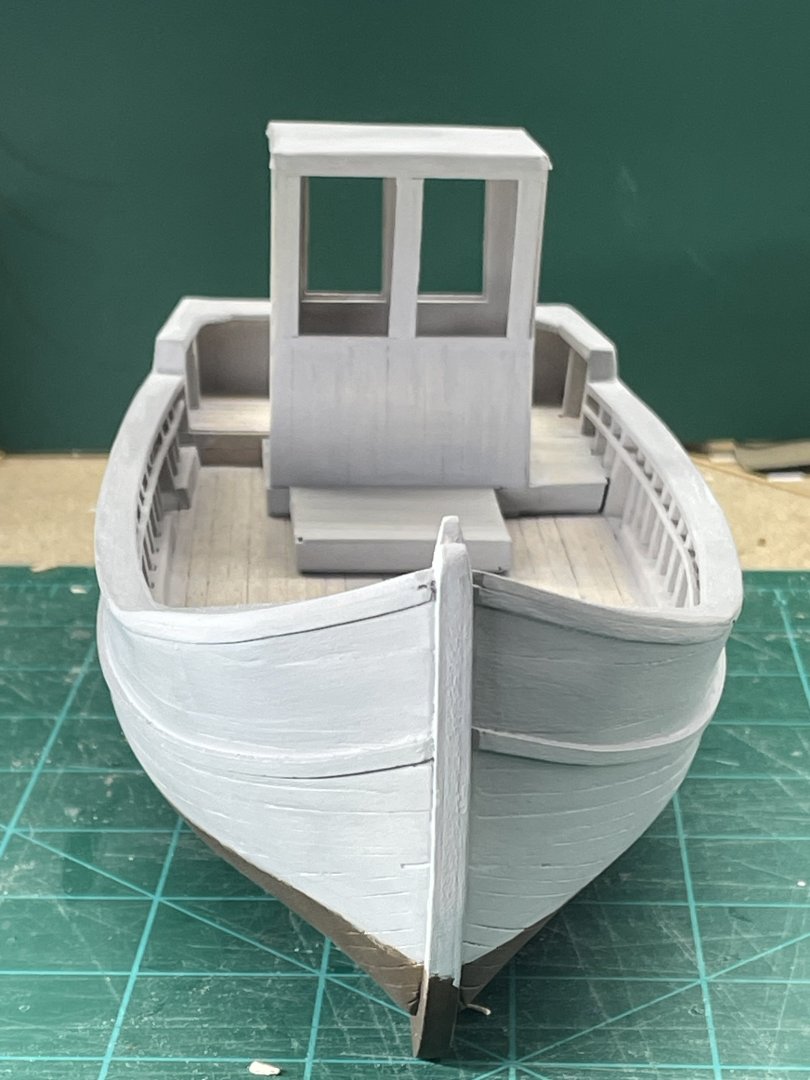
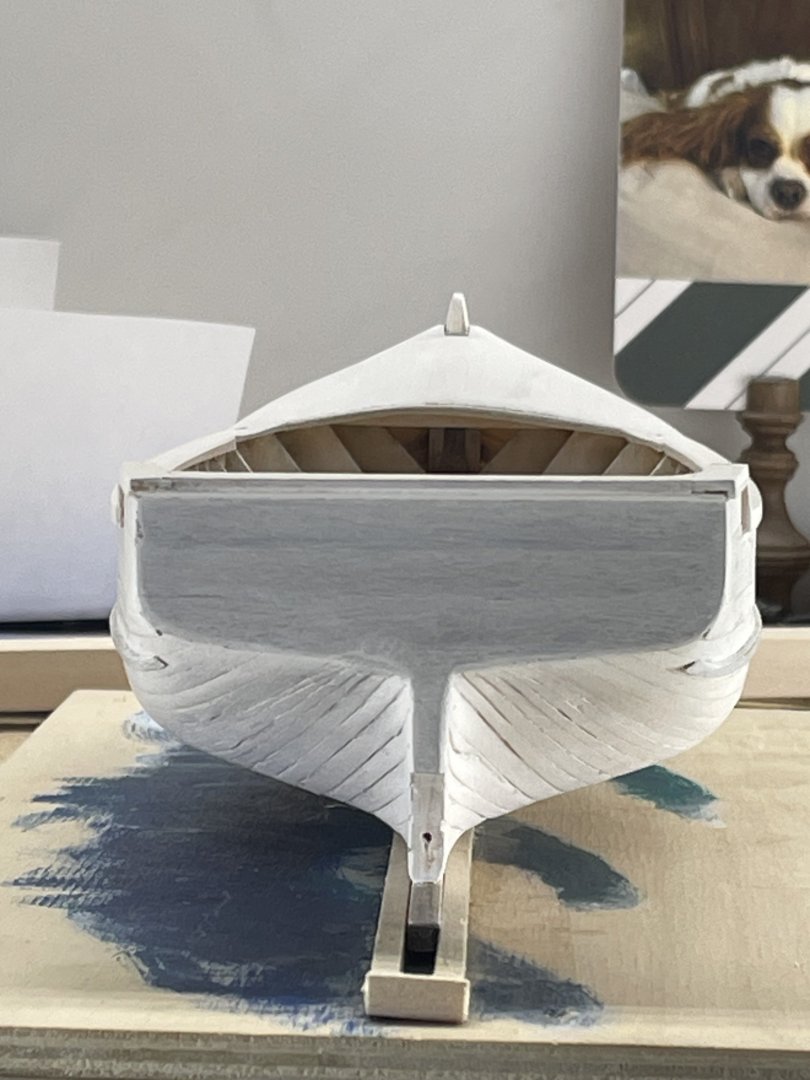
I’ve got the base coat on. After taking these photos I see I need to adjust the waterline on the starboard side a little. The wheel house hasn’t been glued on. I need to do quite a bit more work on it. Now the weathering needs to start. I’ve decided to shoot for a post war boat located in the North Sea.
- 35 replies
-
- 4
-
-
- Fischkutter
- Laser Creation World
- (and 1 more)
-
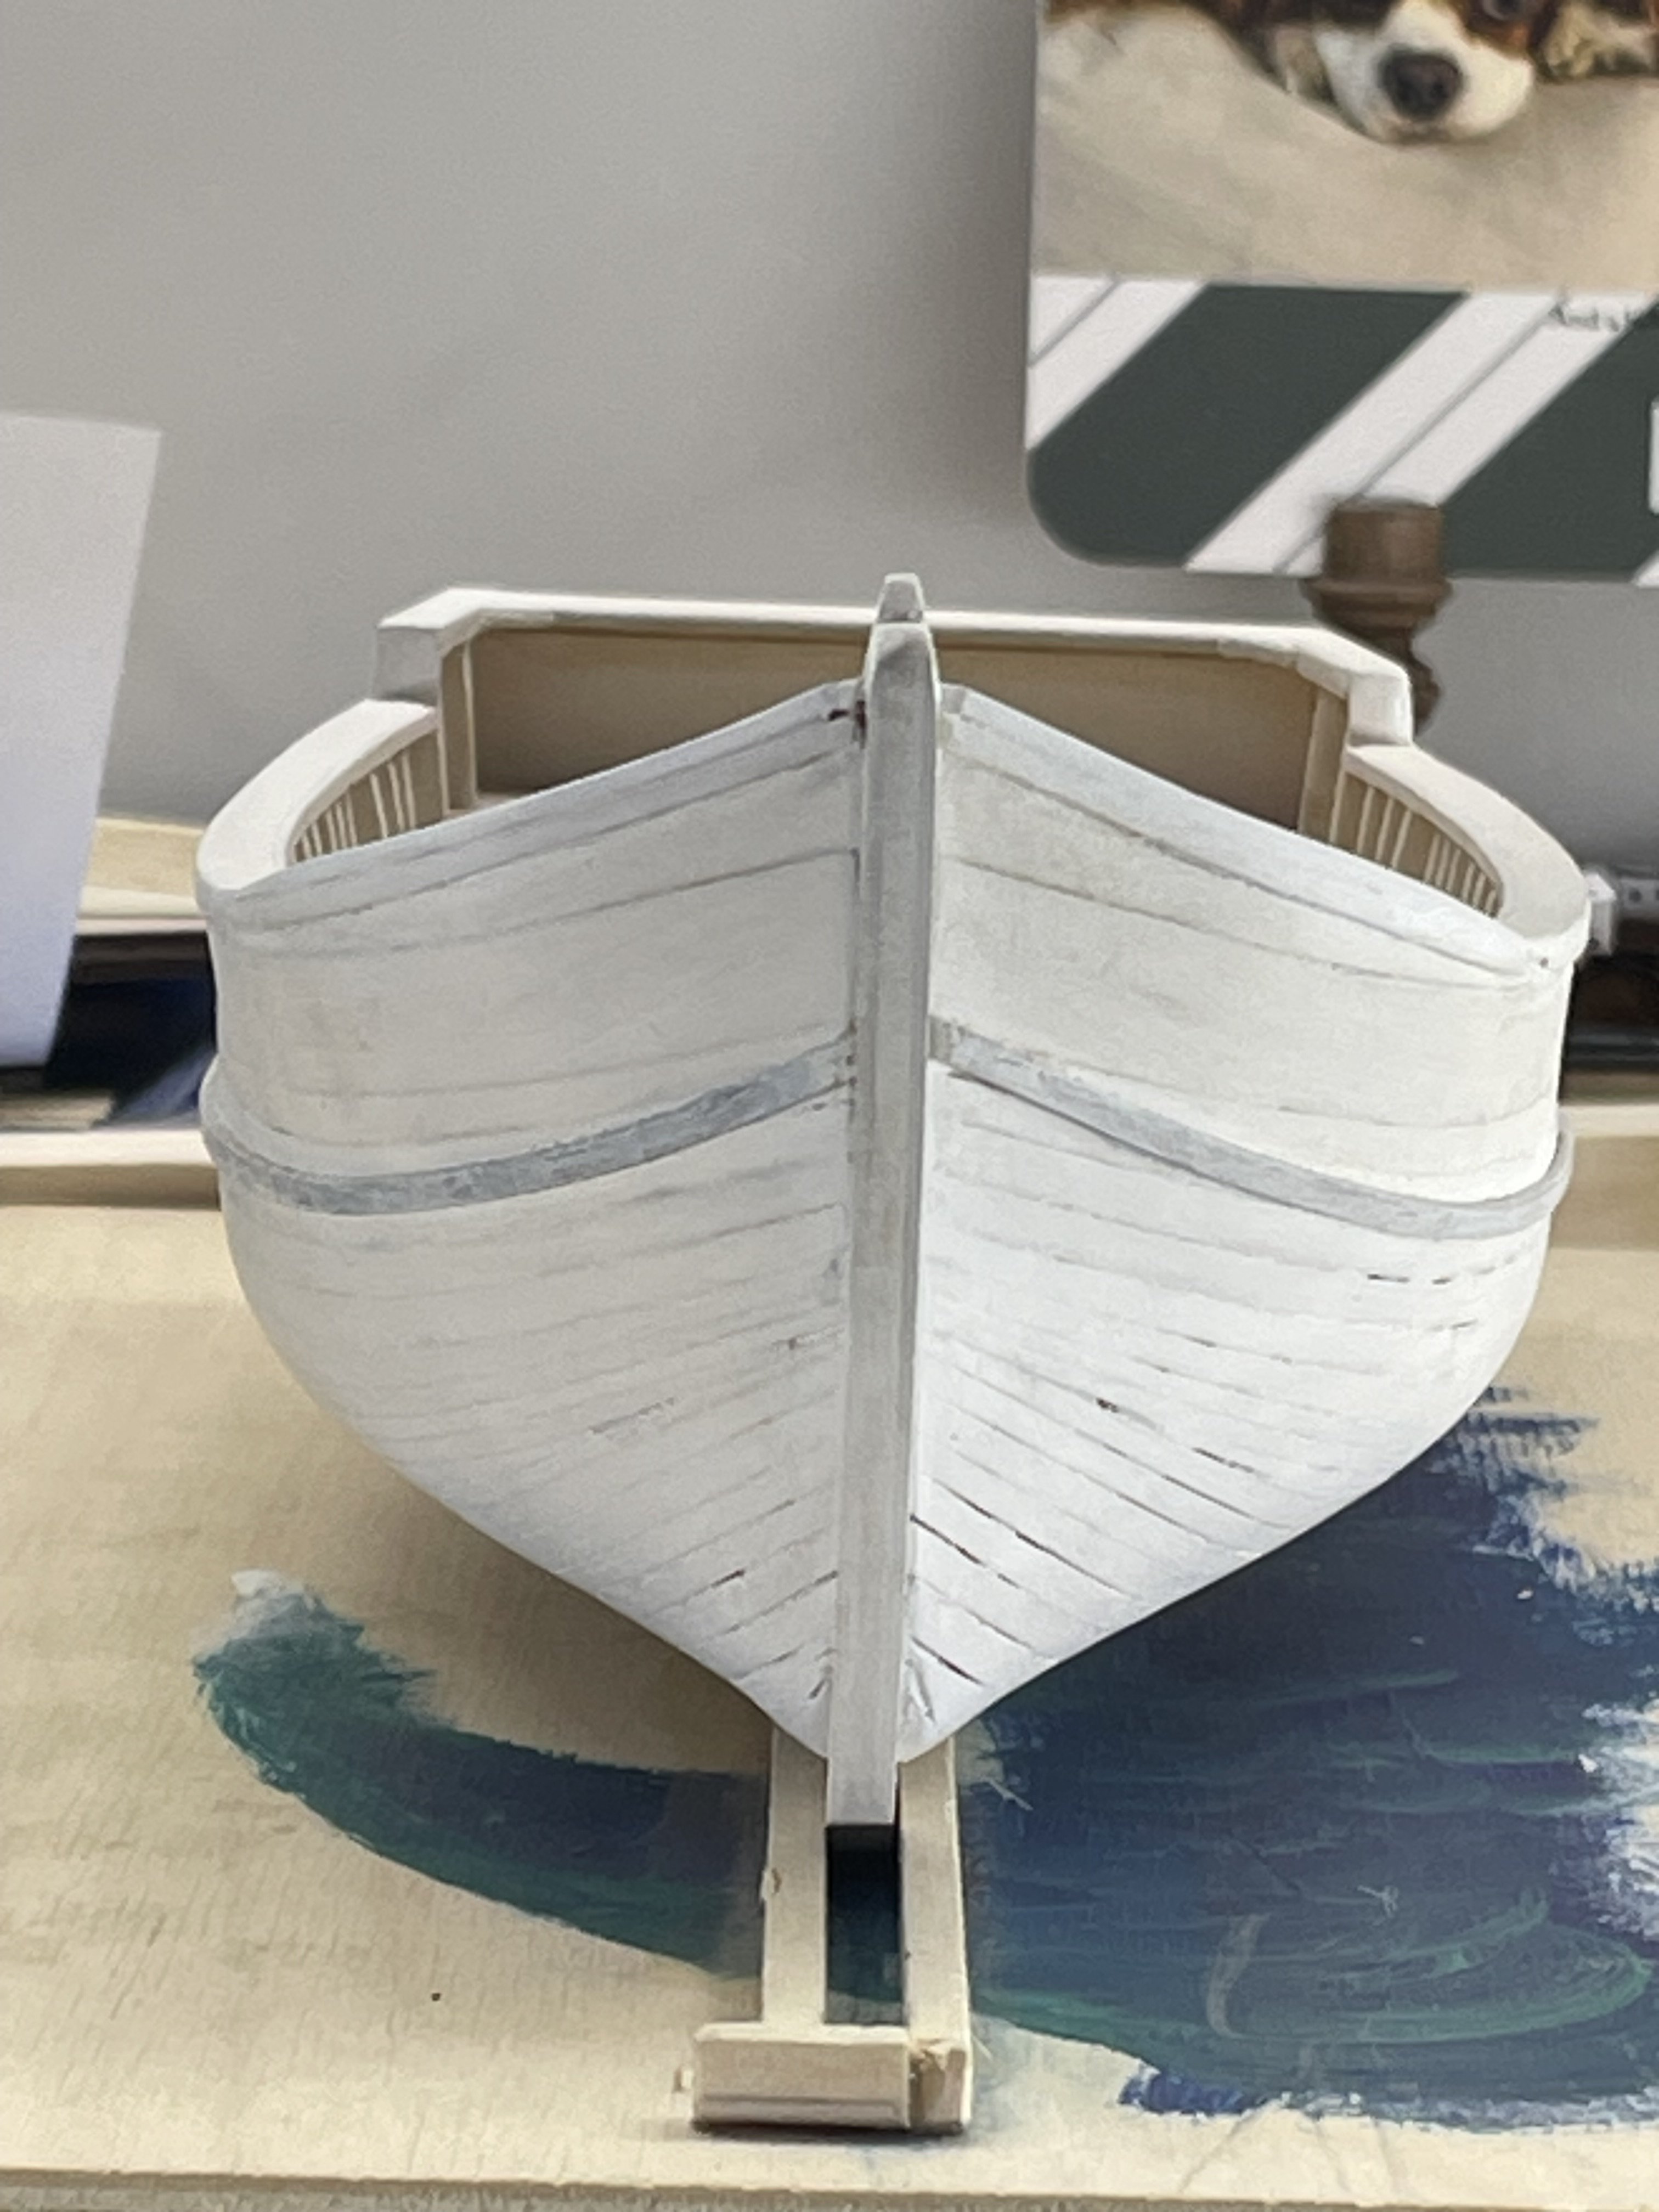
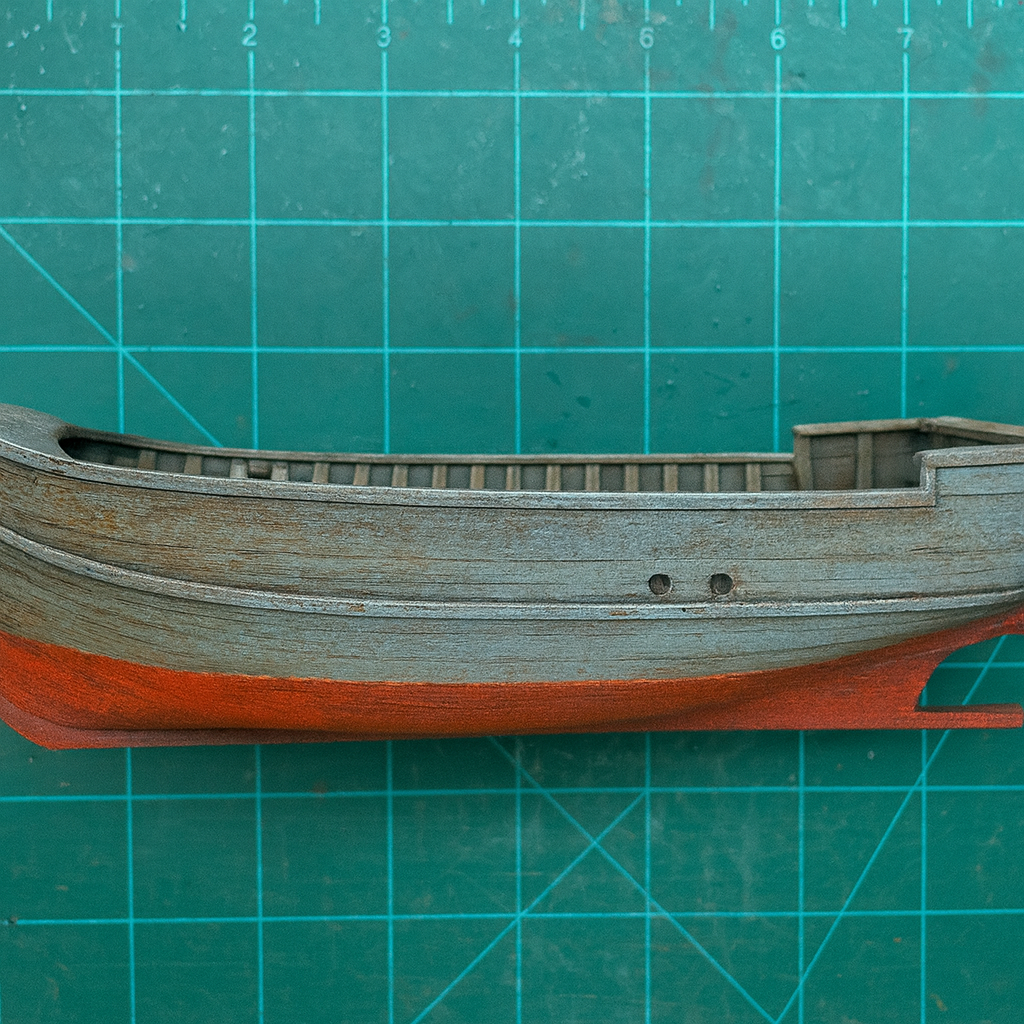
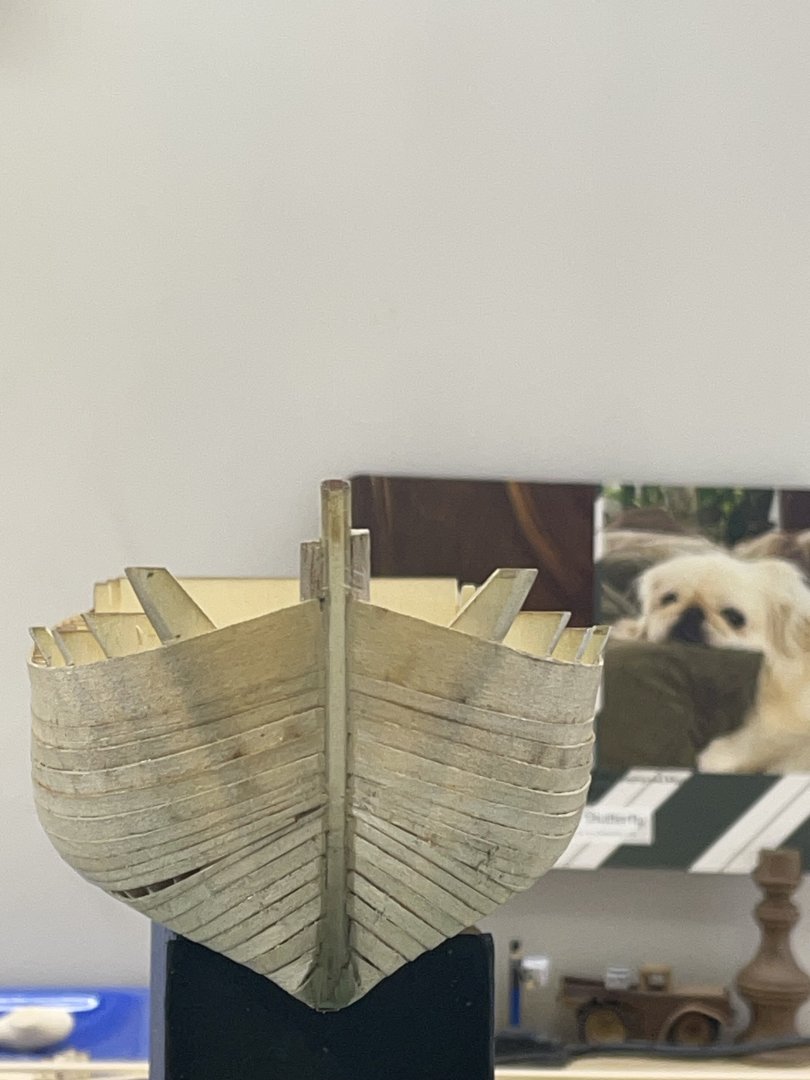
I got the wales and keel installed. I painted a thin coat of white on the hull, while I was thinking of how I needed to go about starting to weather this boat. I thought I would just see how much AI could help…… Here’s what it said it should look like:-) Here’s the deck. AI is so smart! It can even figure the water line on your boat even when you float it vertically:-) It’s really got my expectations high.


- 35 replies
-
- 8
-
-
- Fischkutter
- Laser Creation World
- (and 1 more)
-
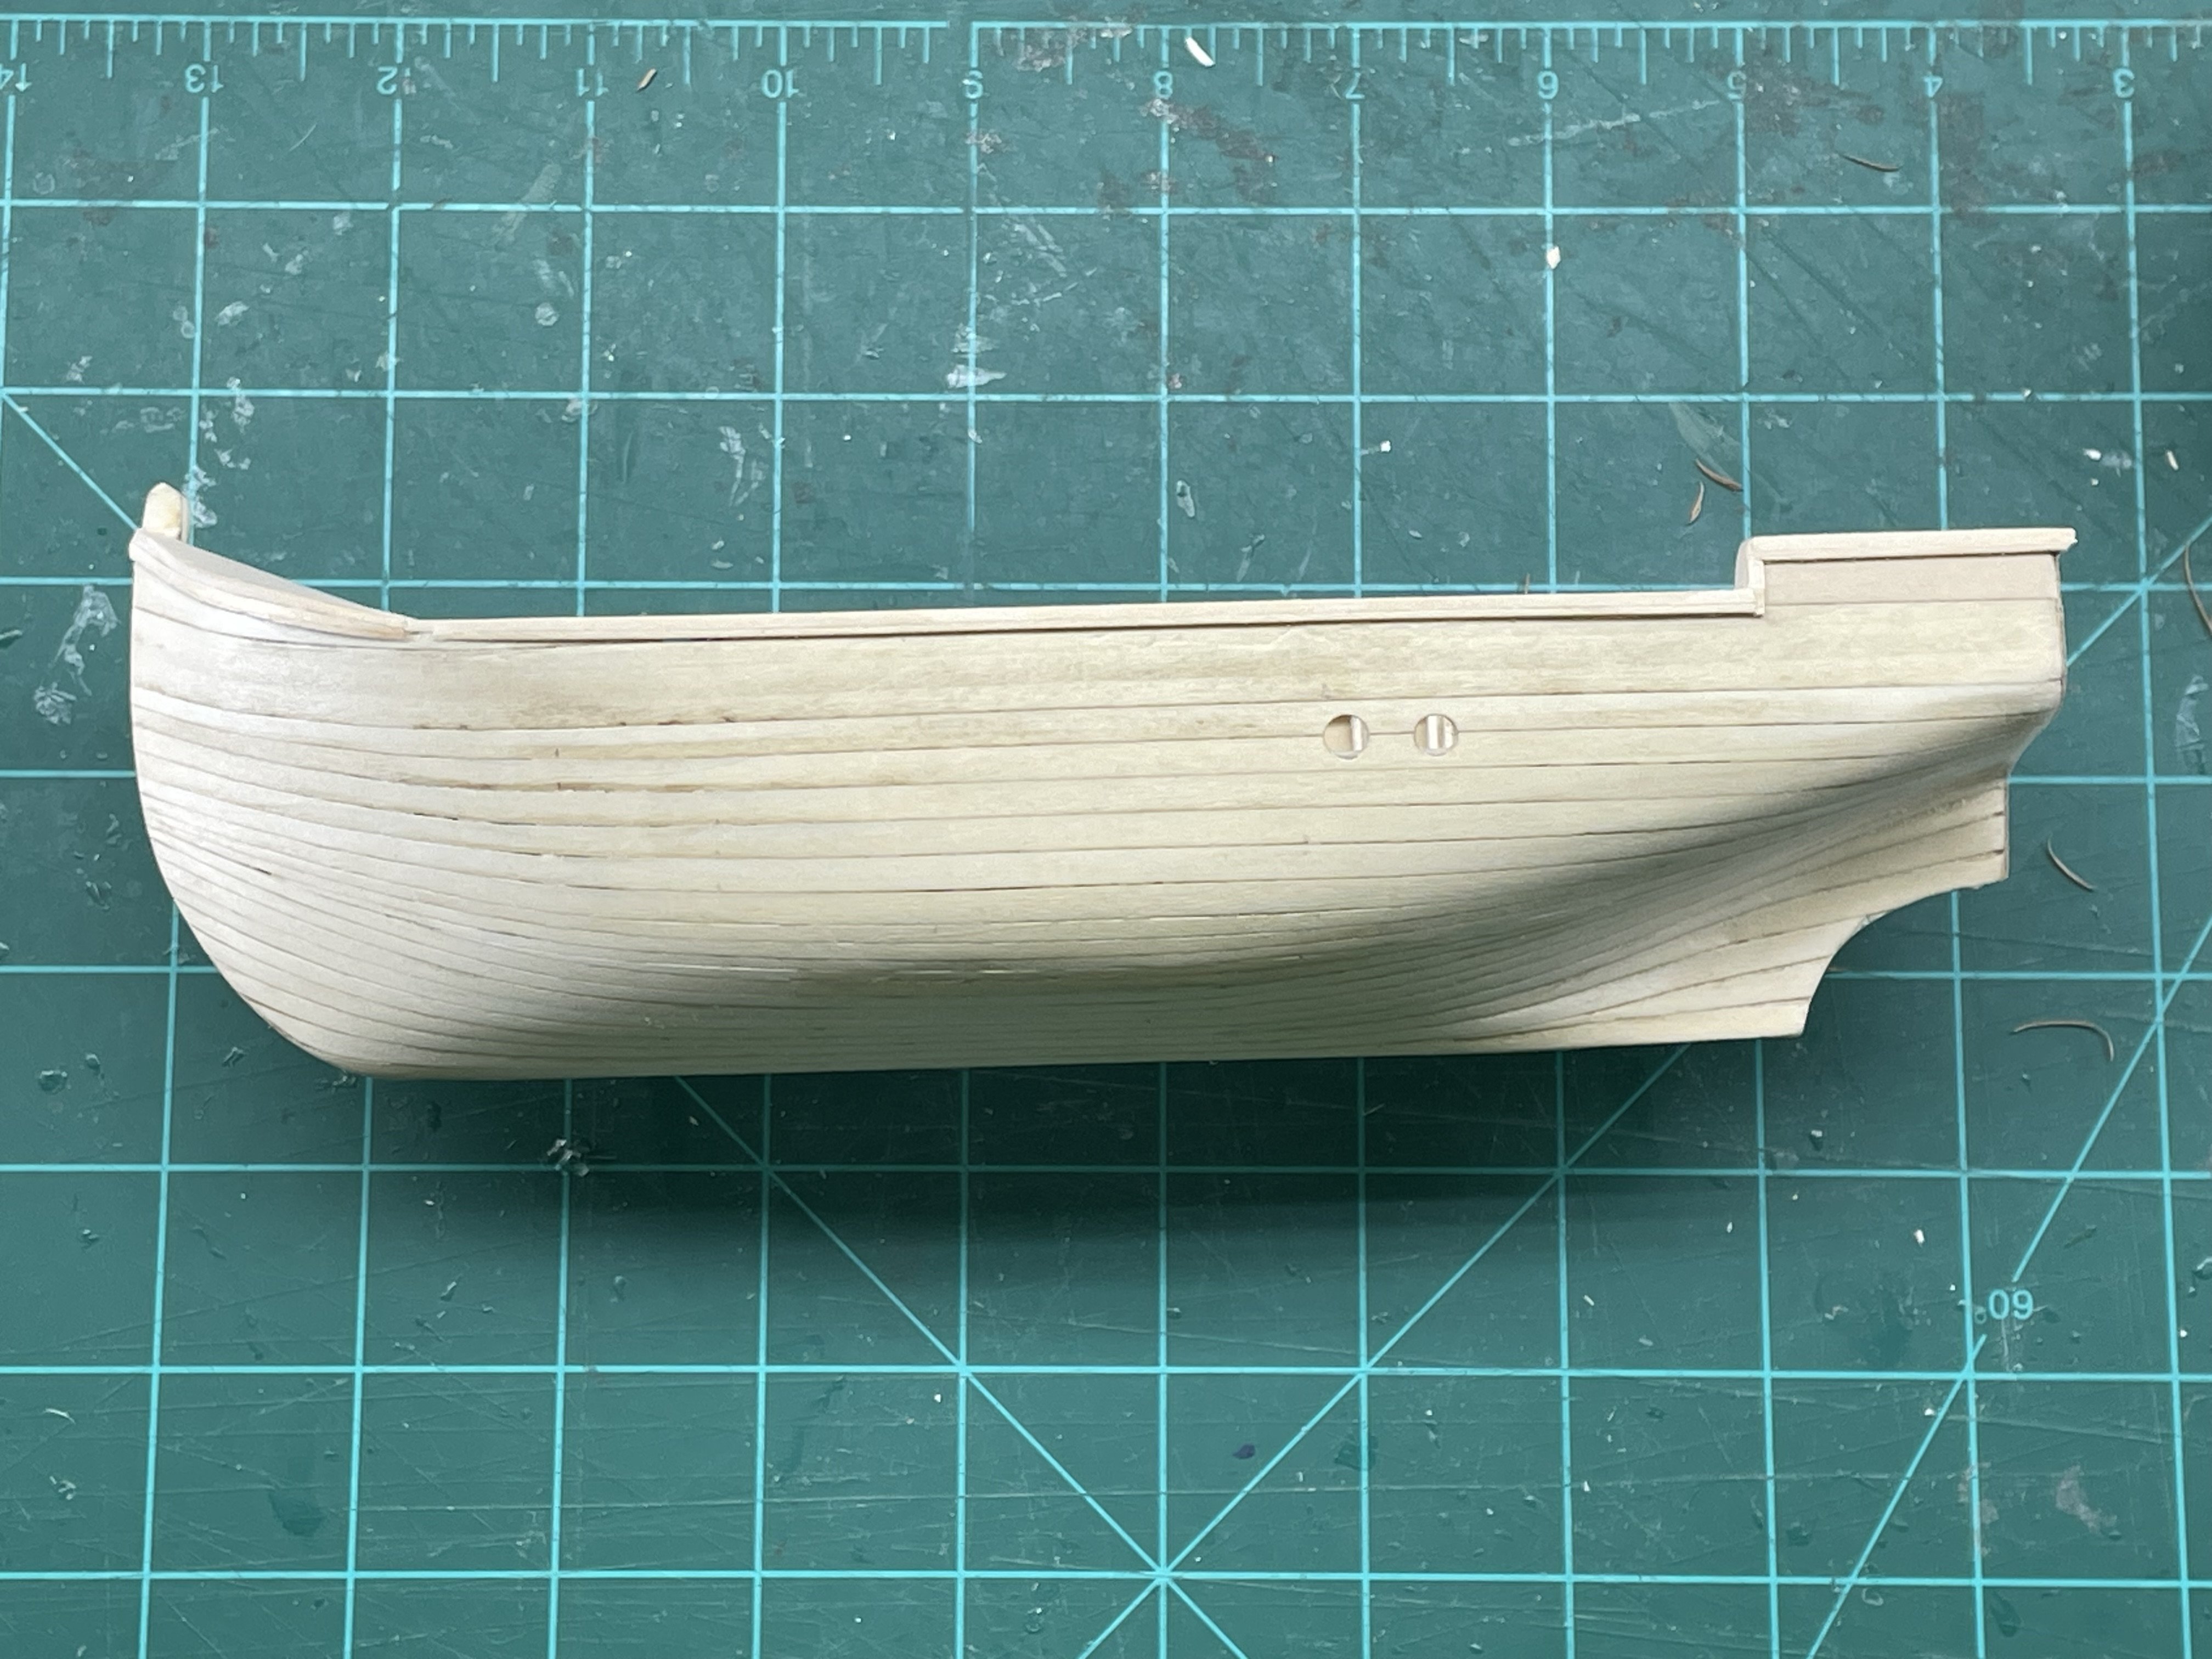
The bow is covered and the top rail is on. Next the wales, then the false keel.
- 35 replies
-
- 4
-
-
- Fischkutter
- Laser Creation World
- (and 1 more)
-
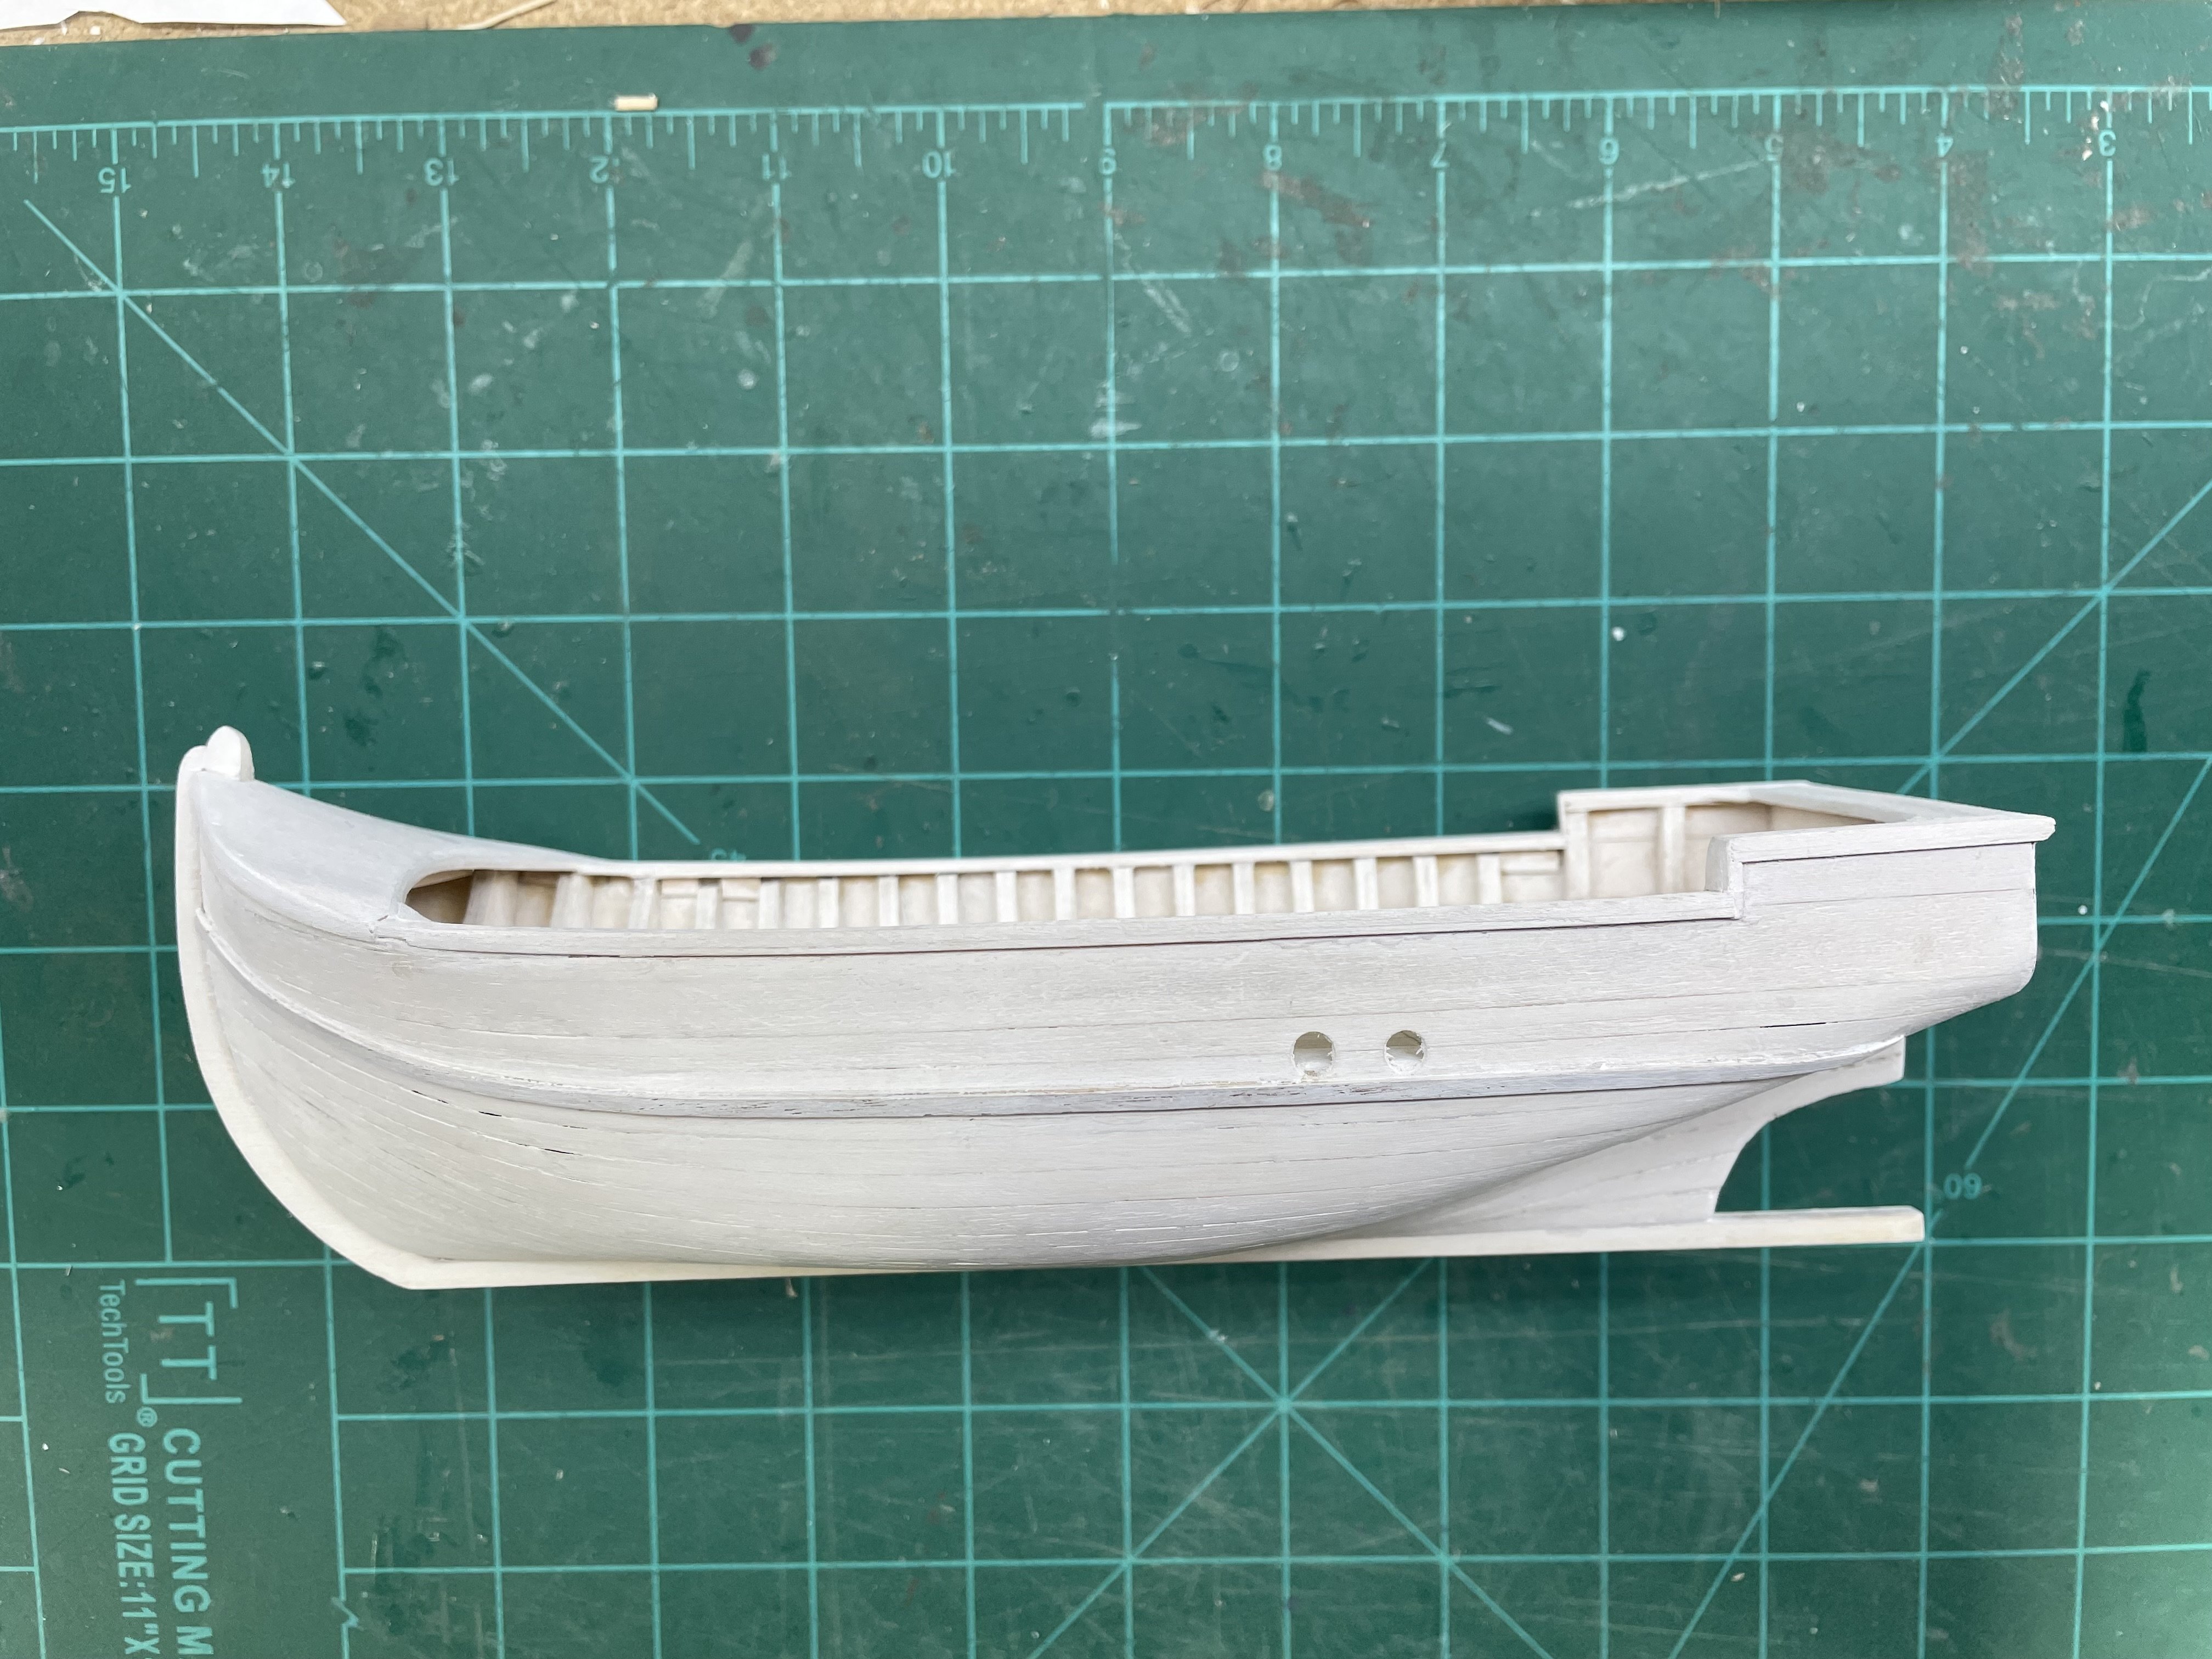
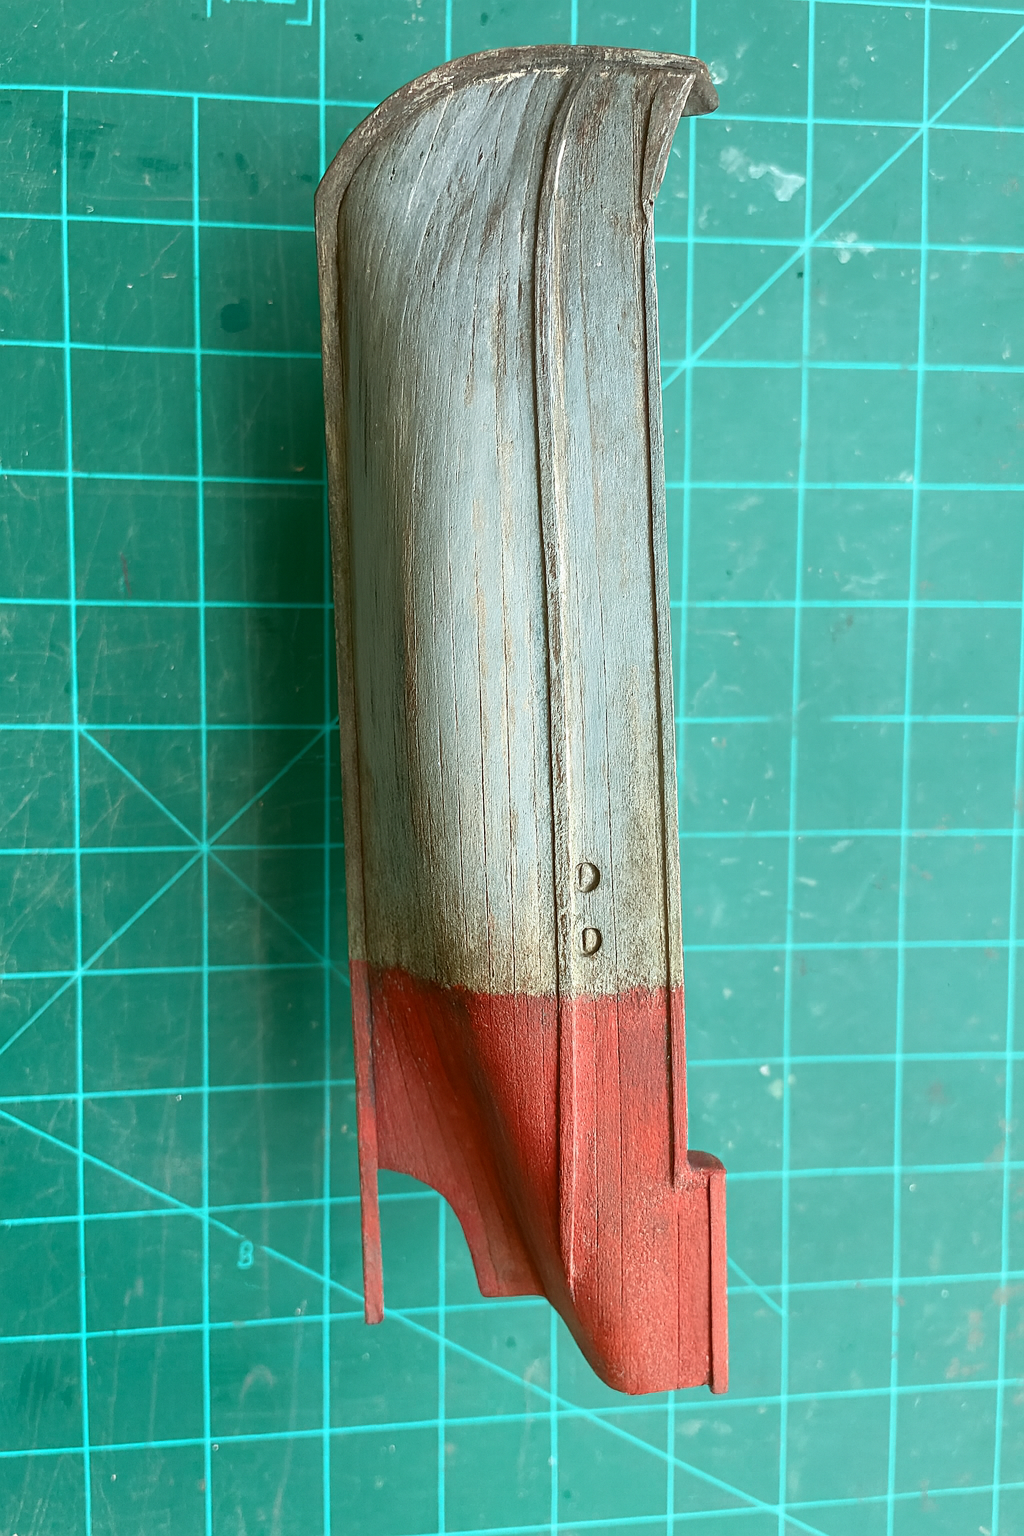
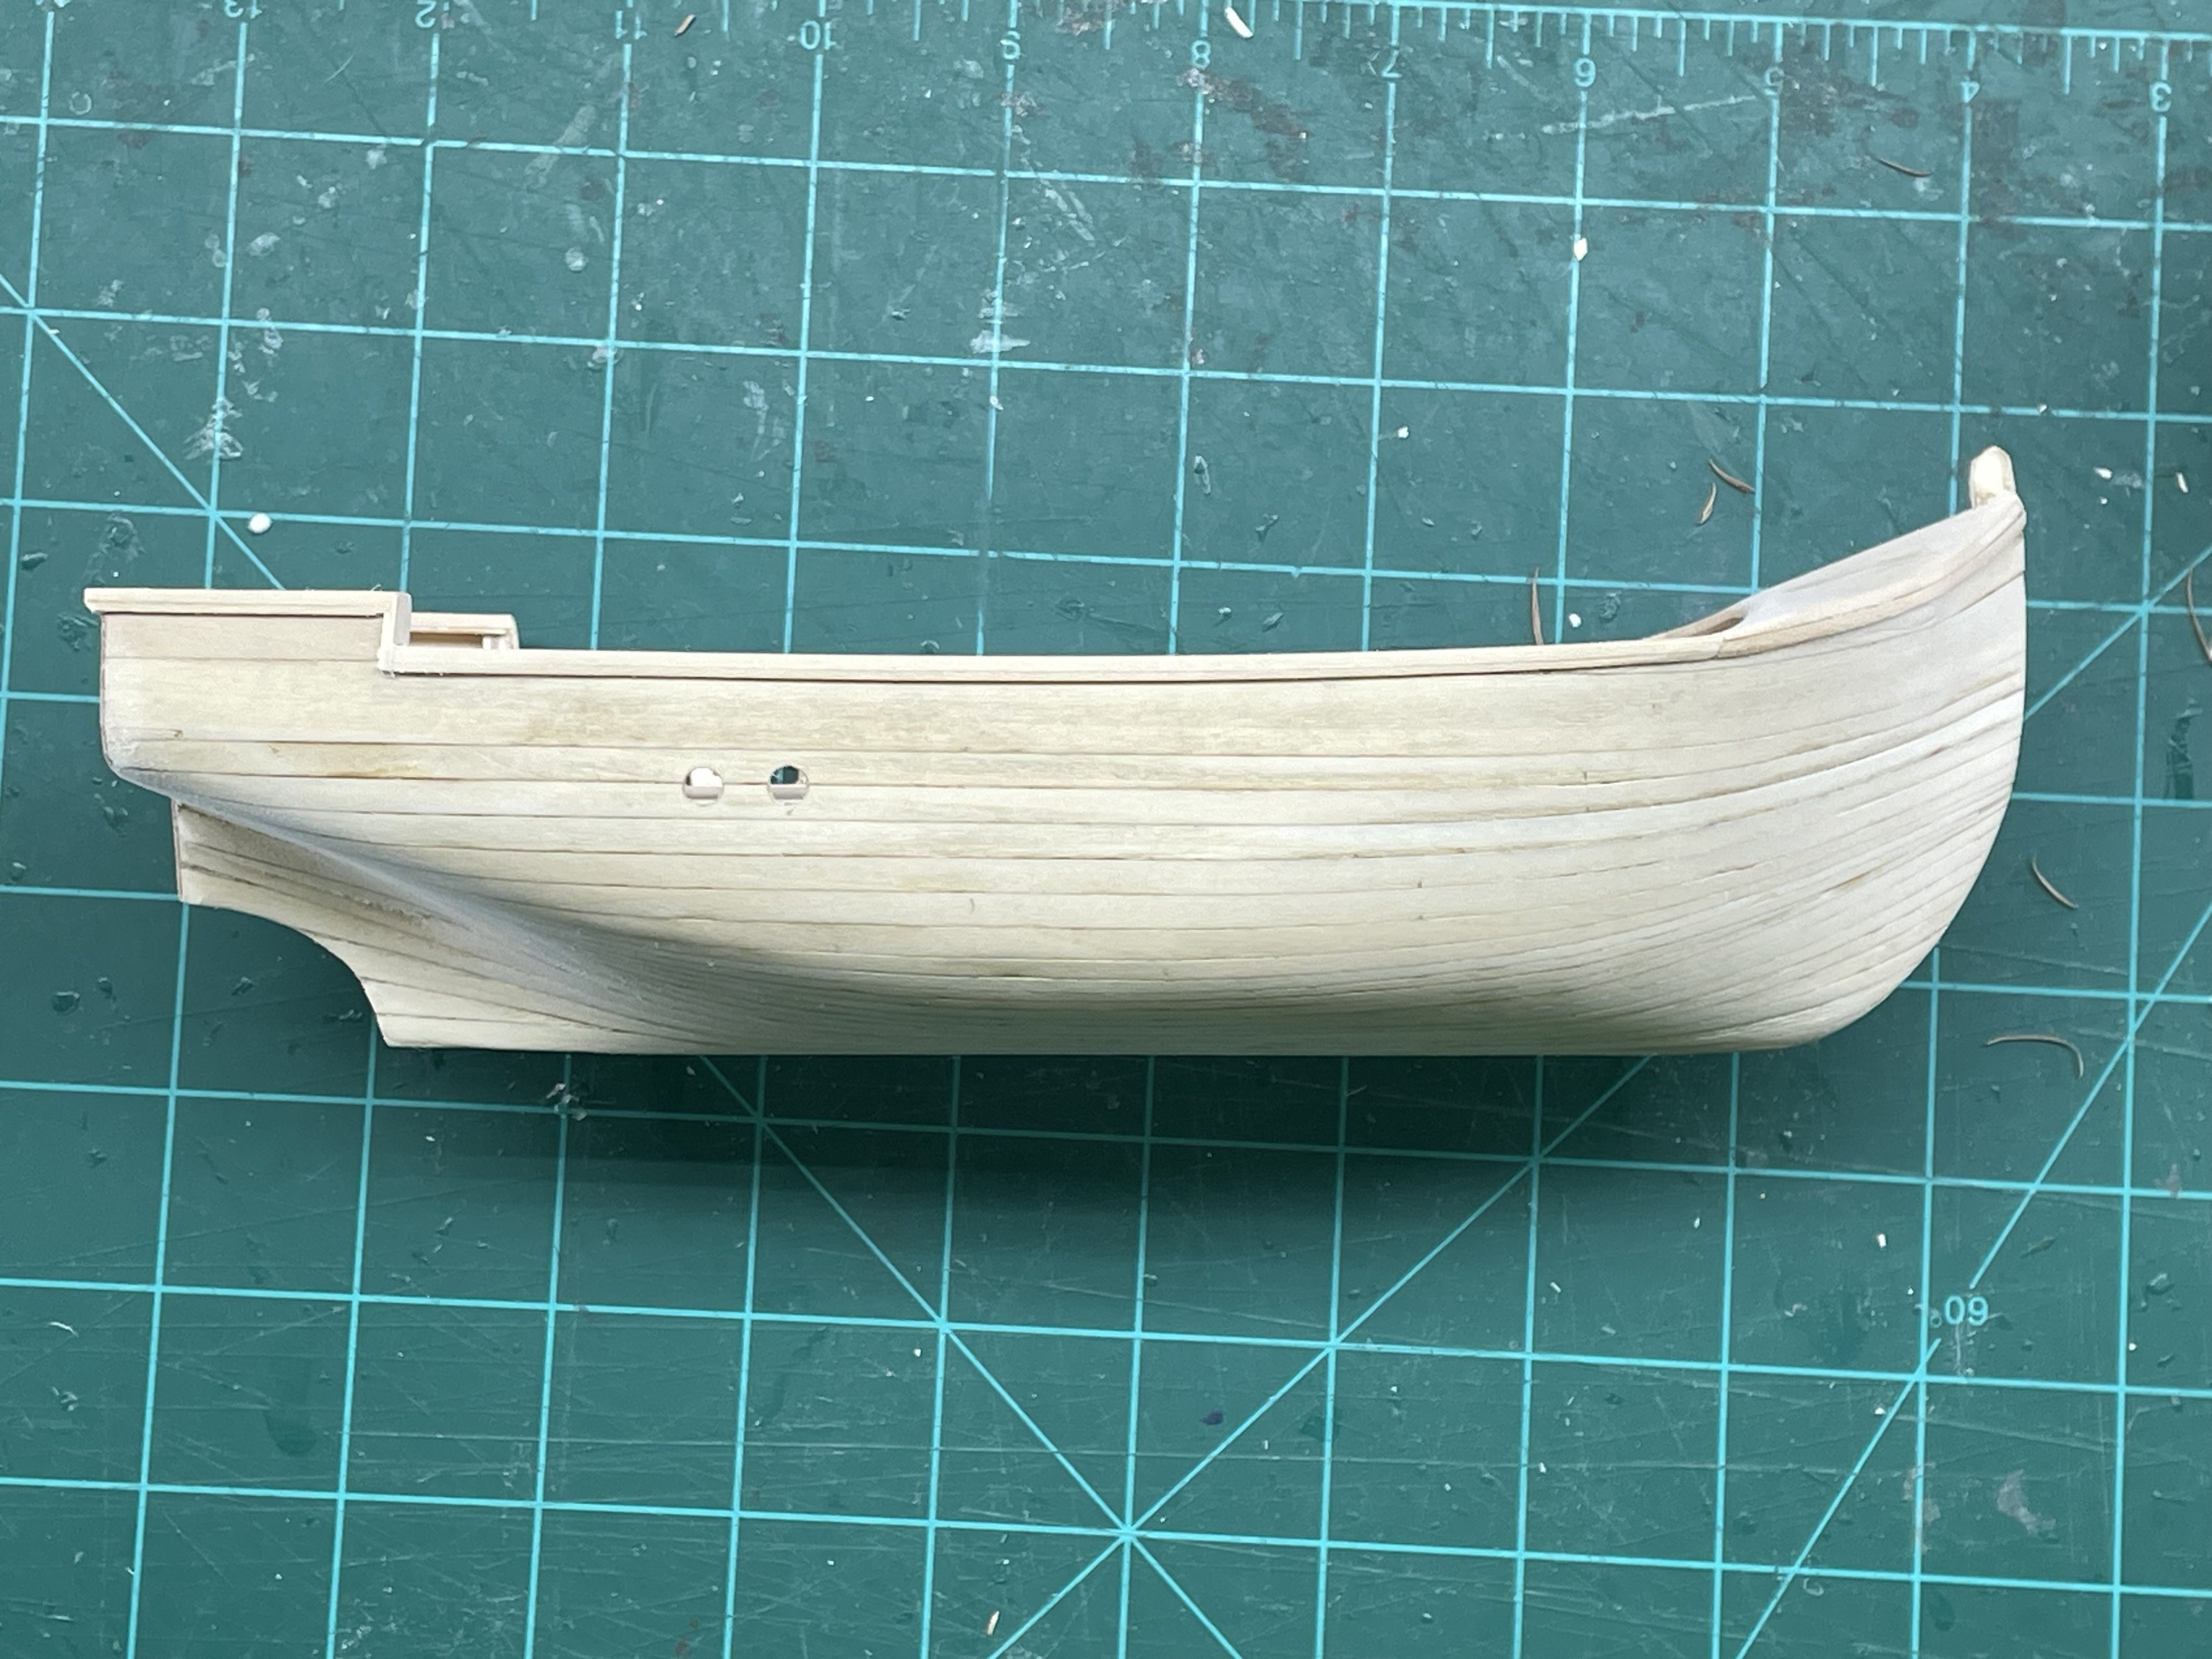
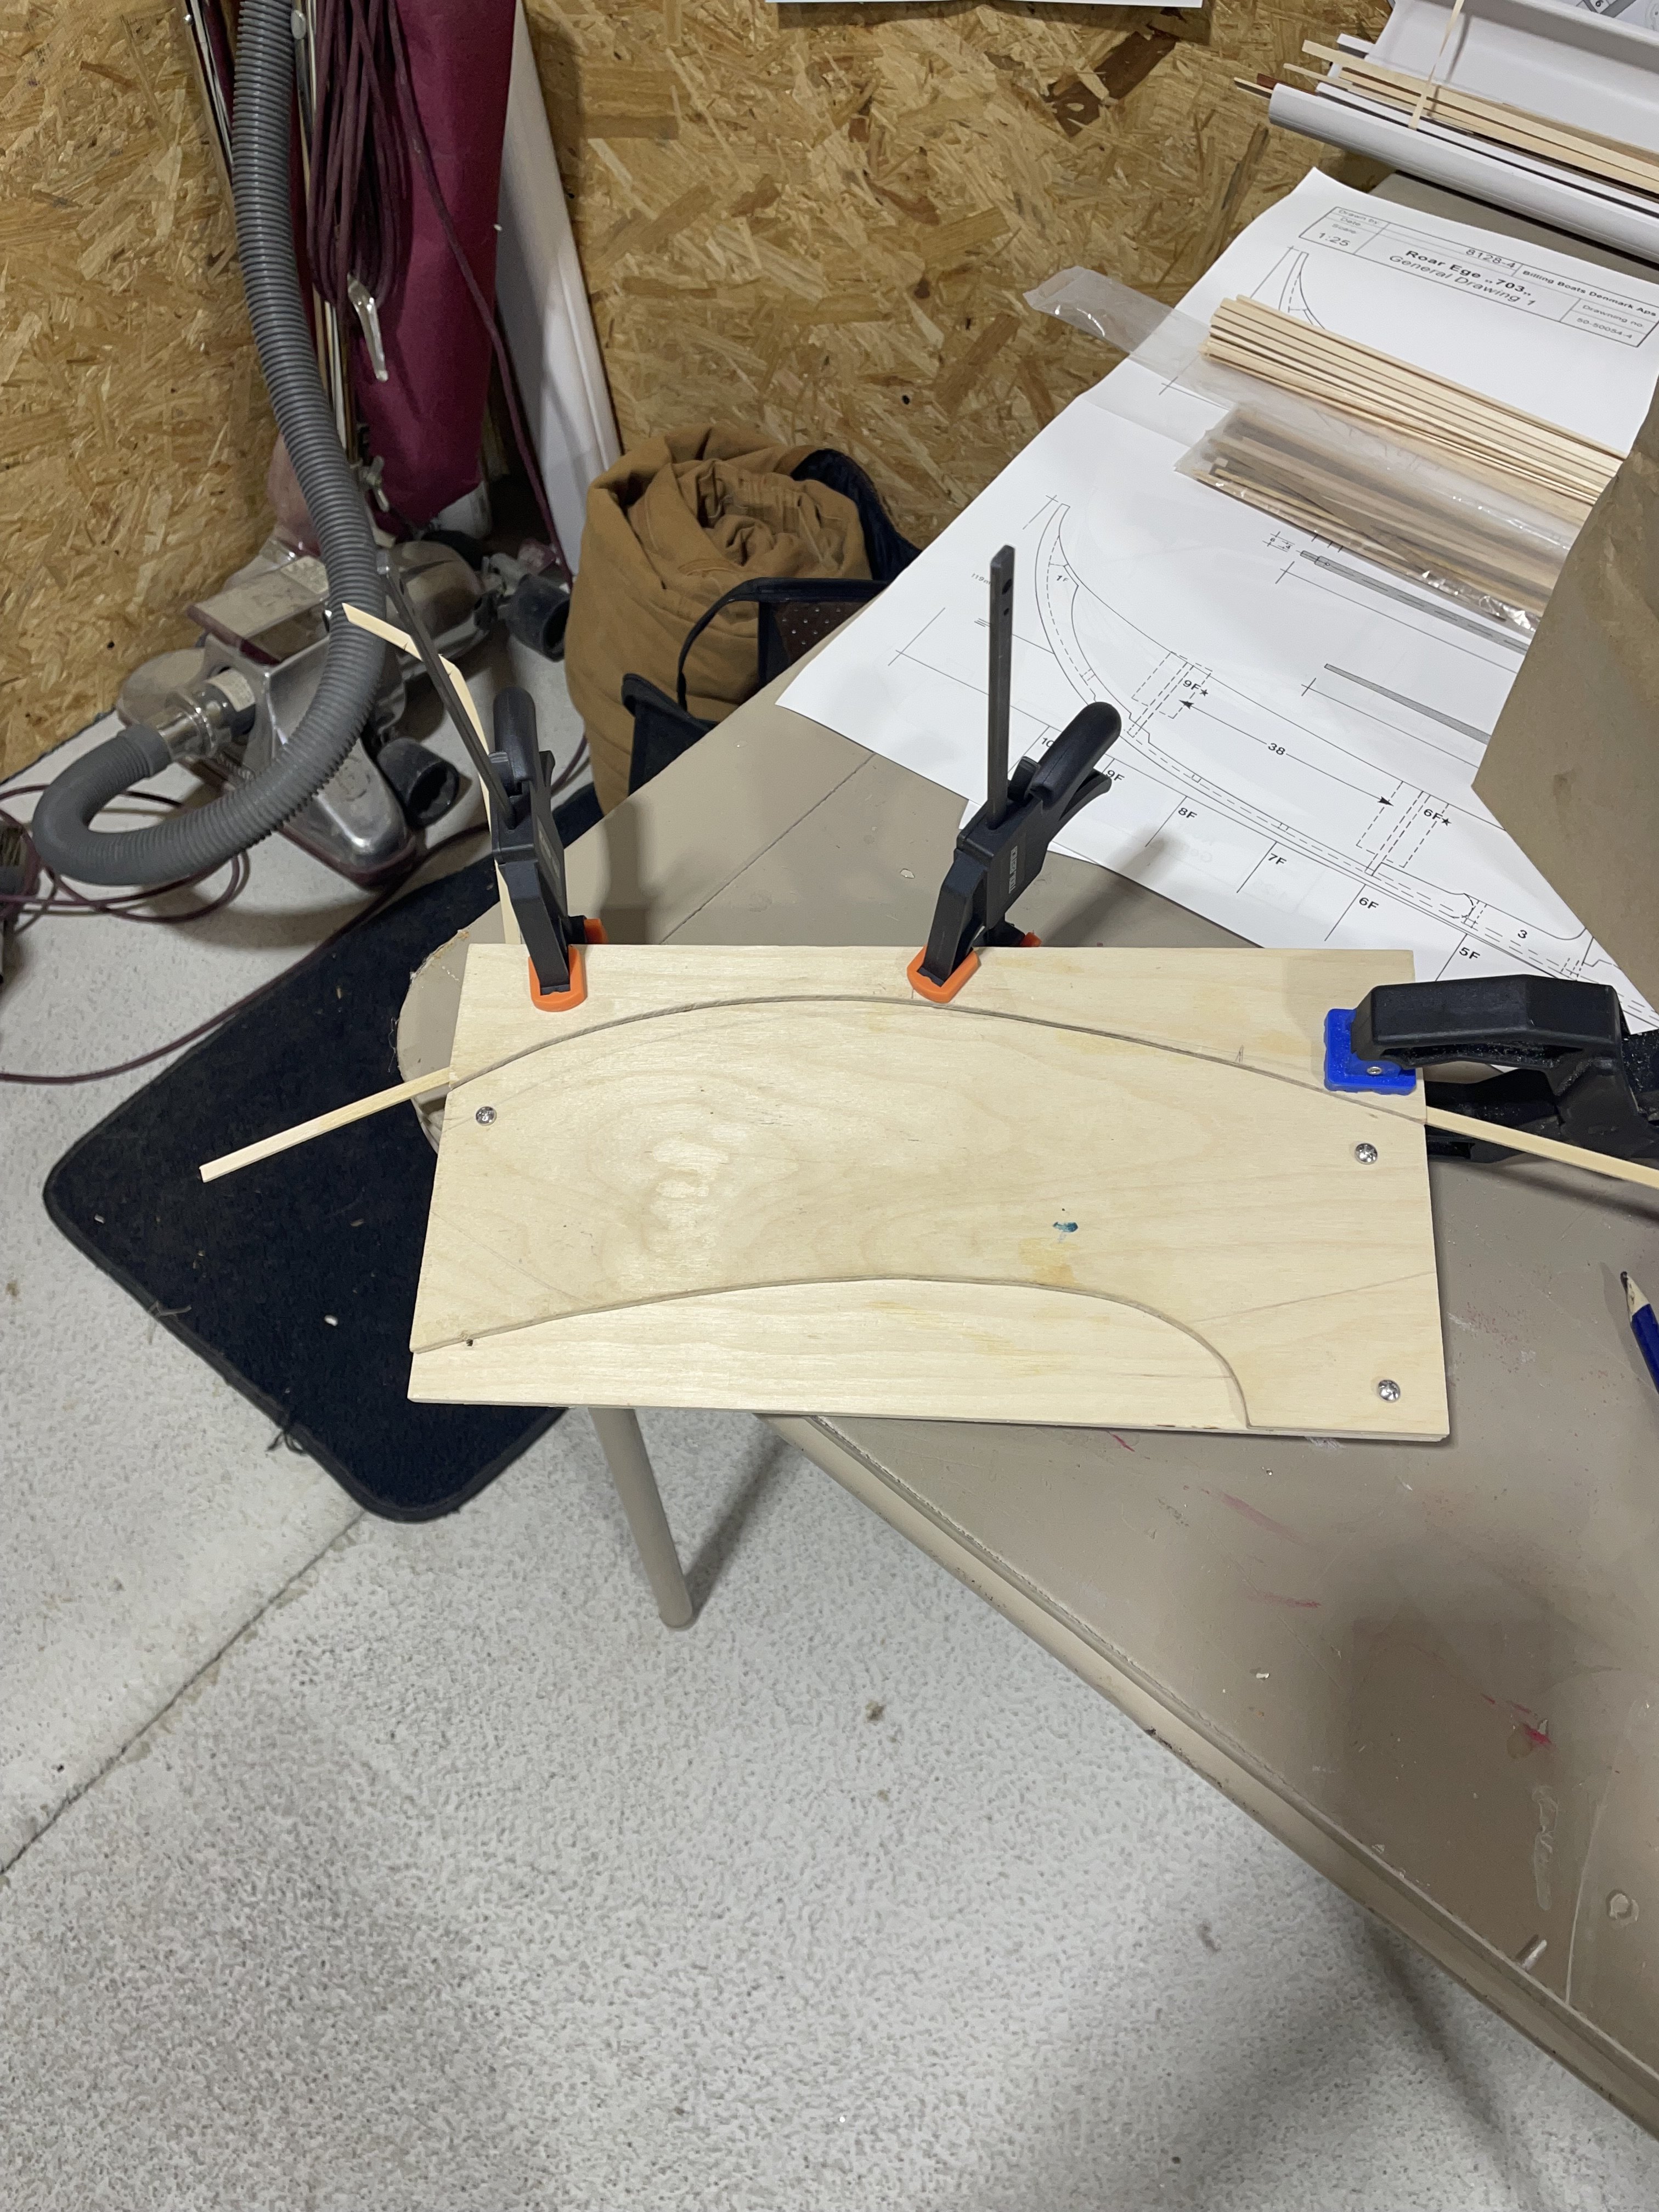
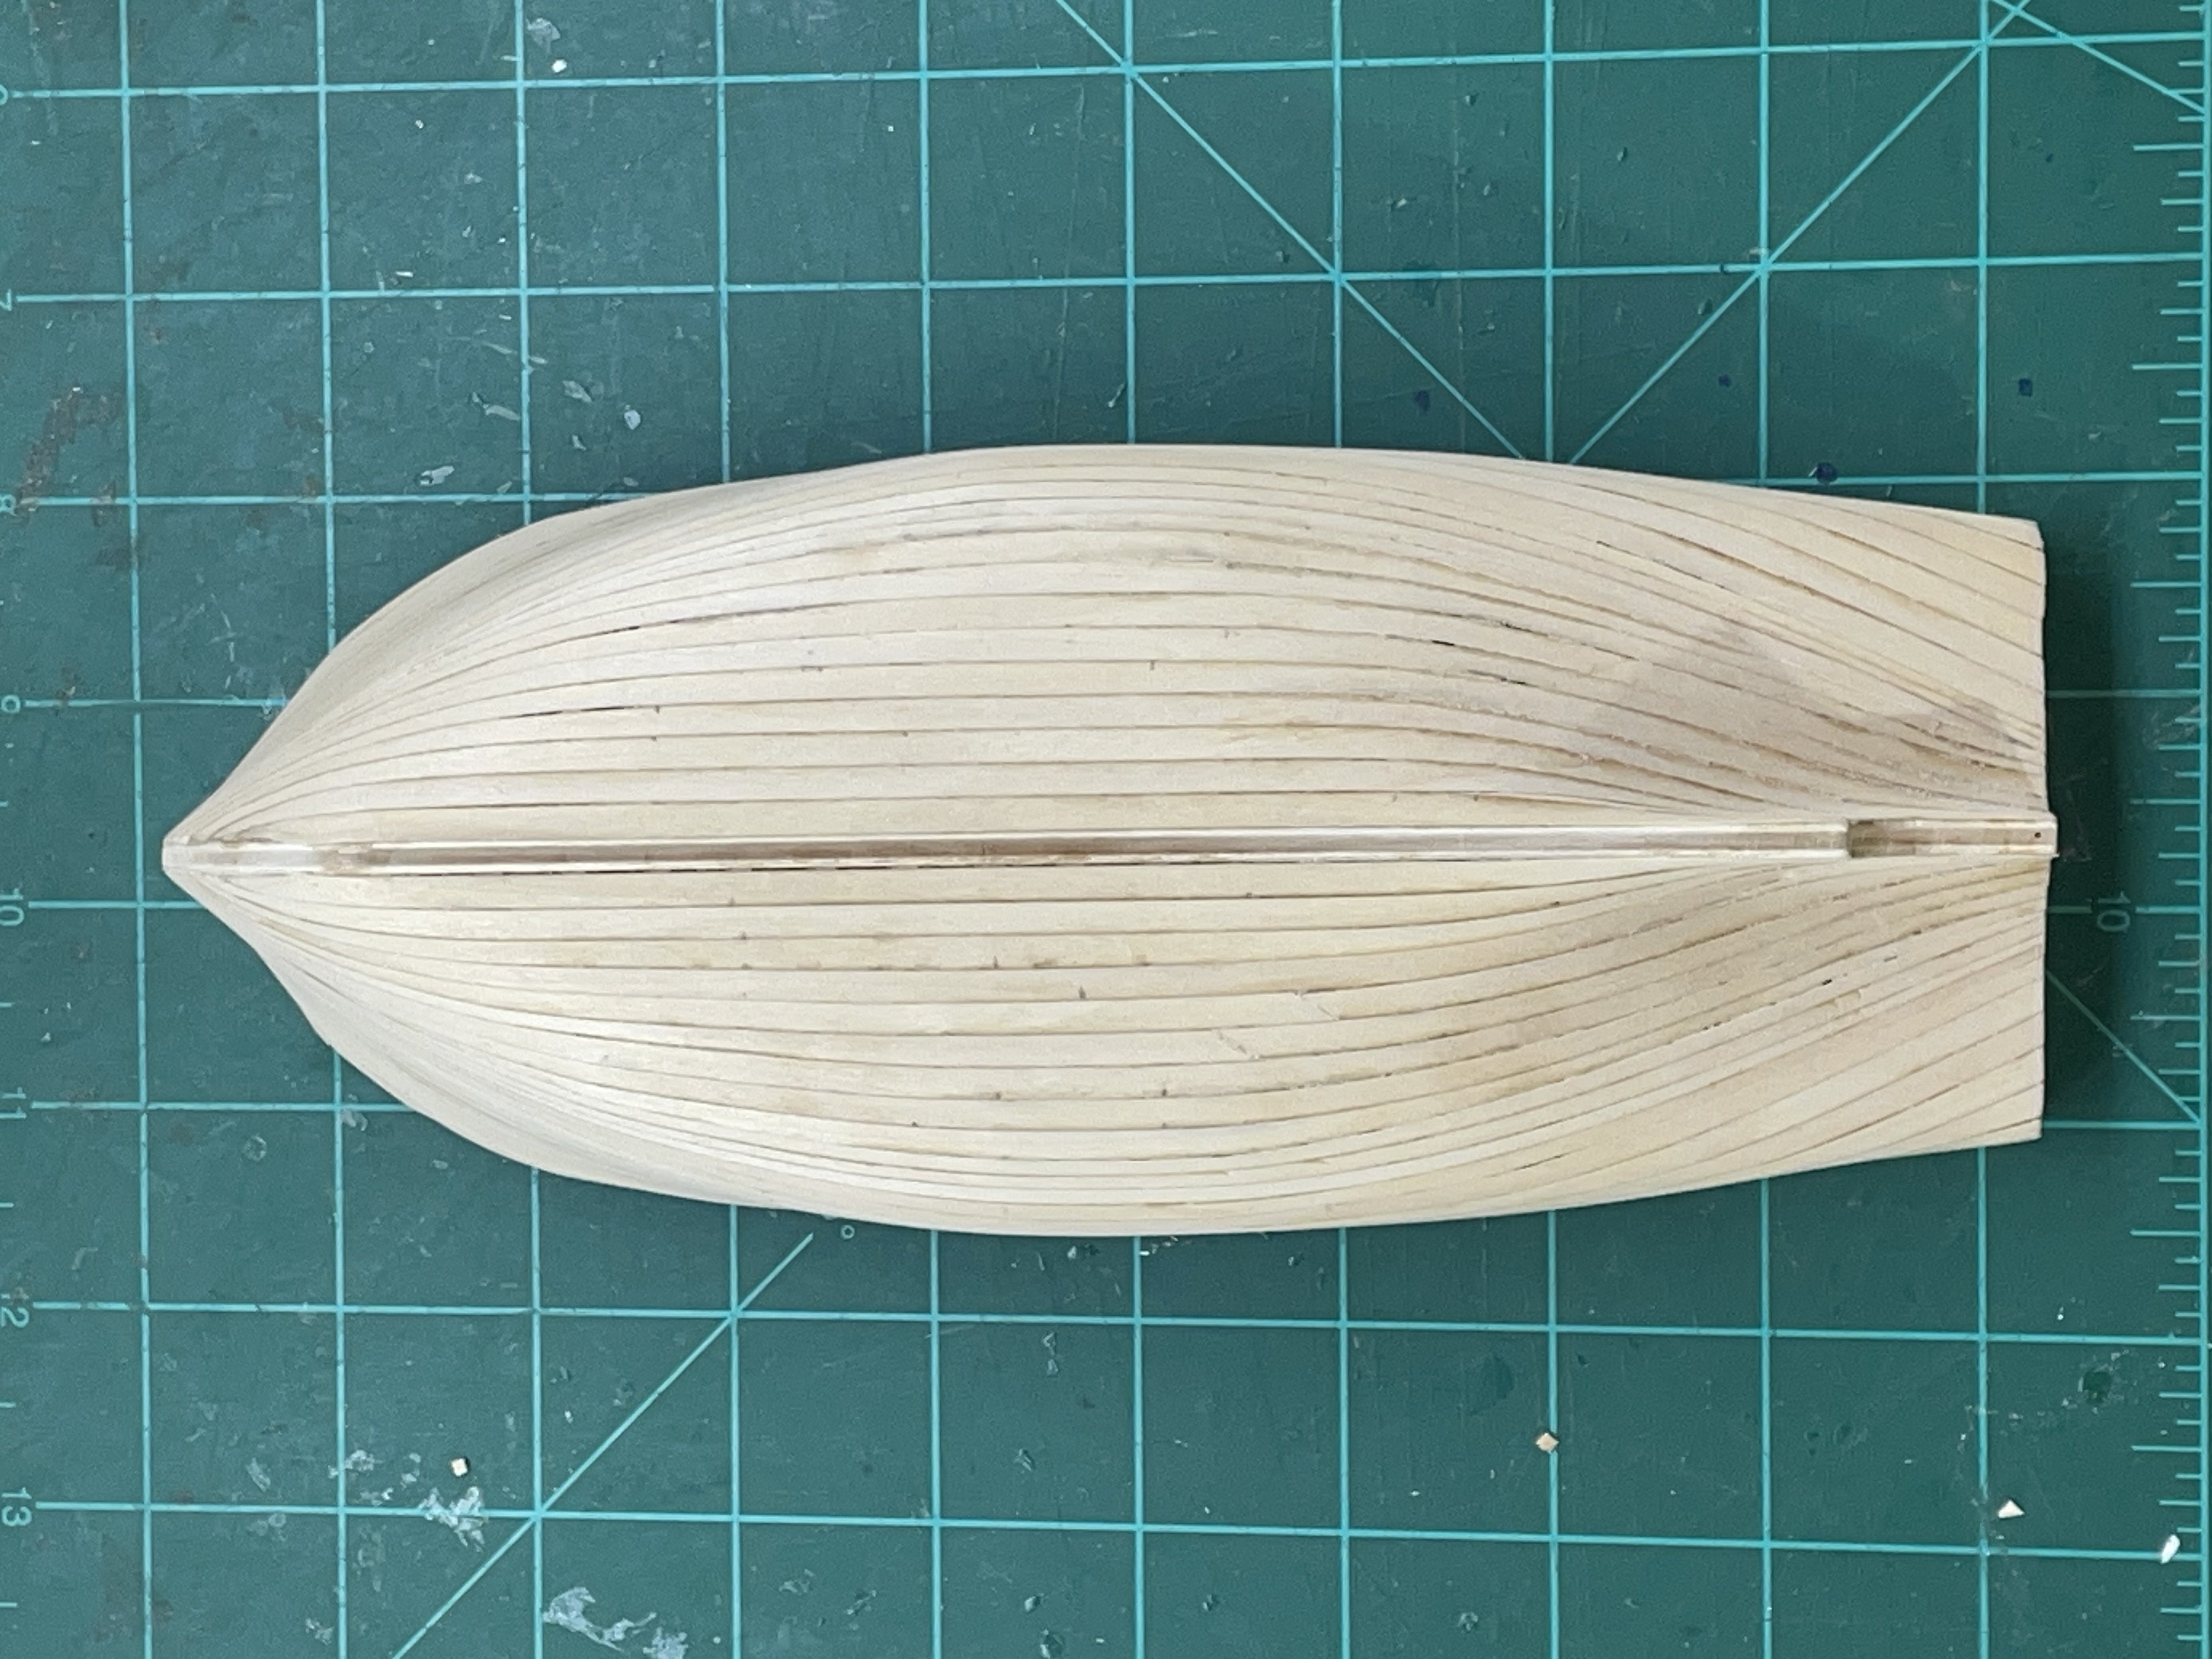
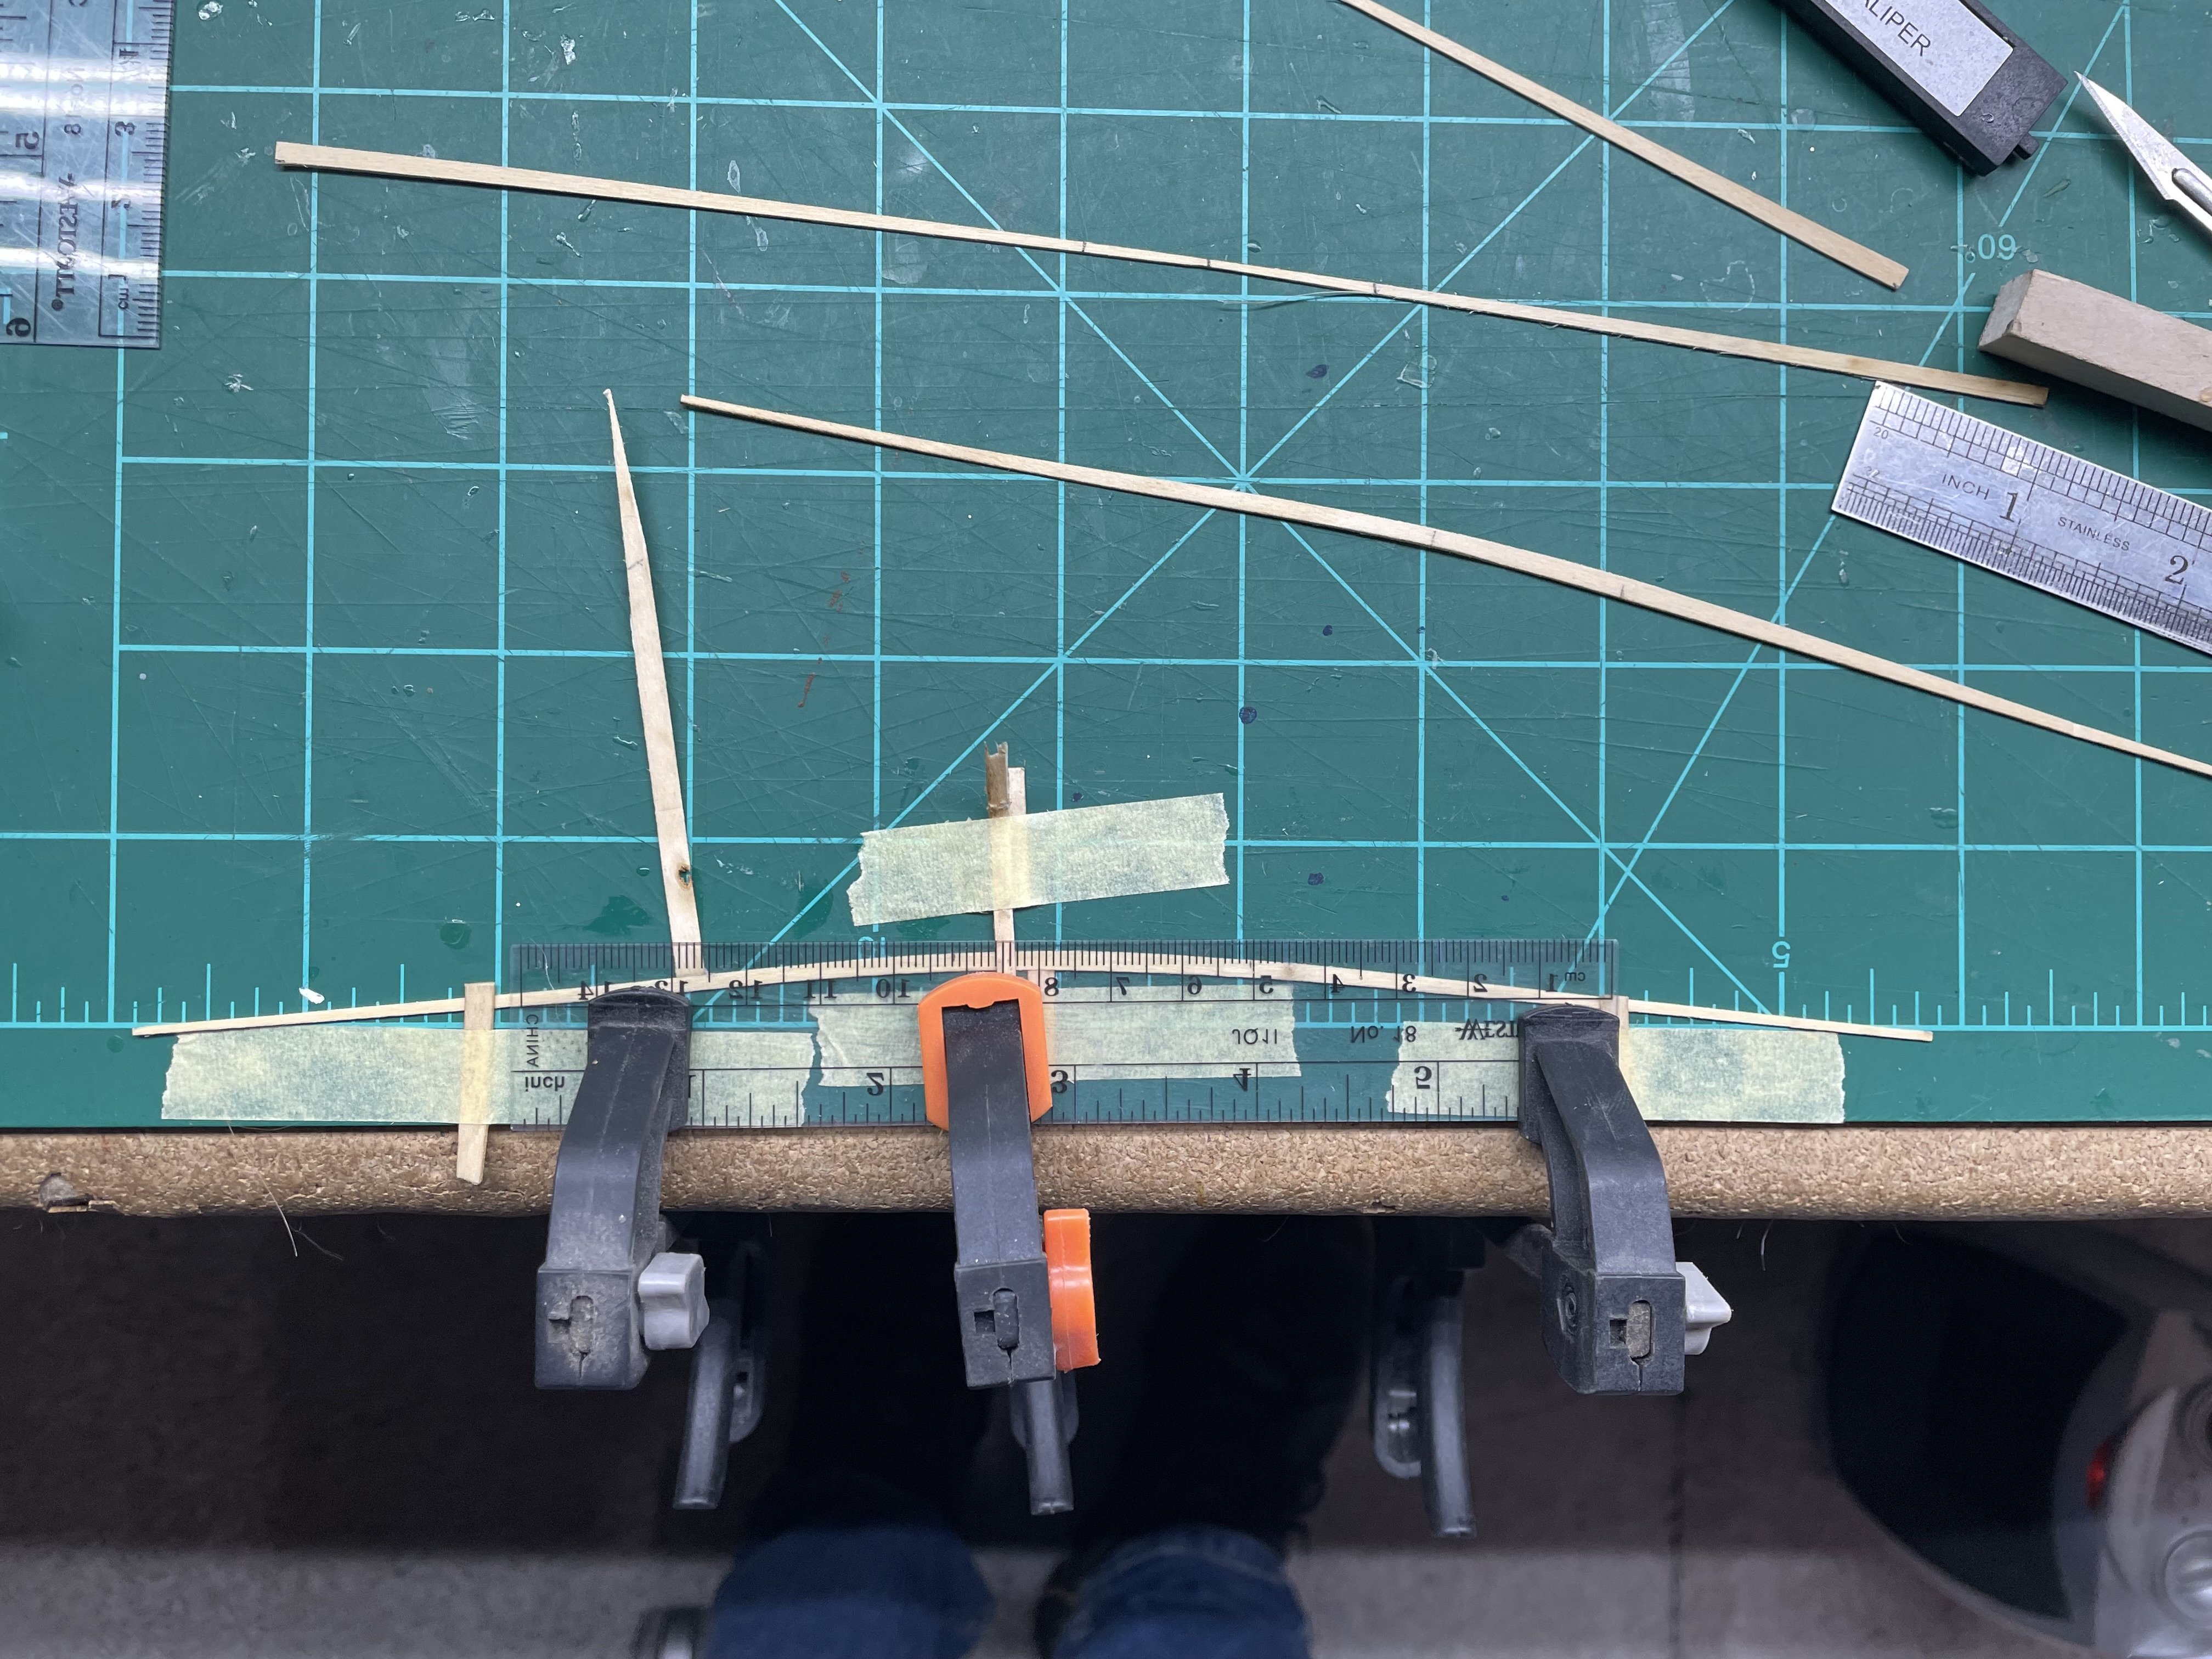
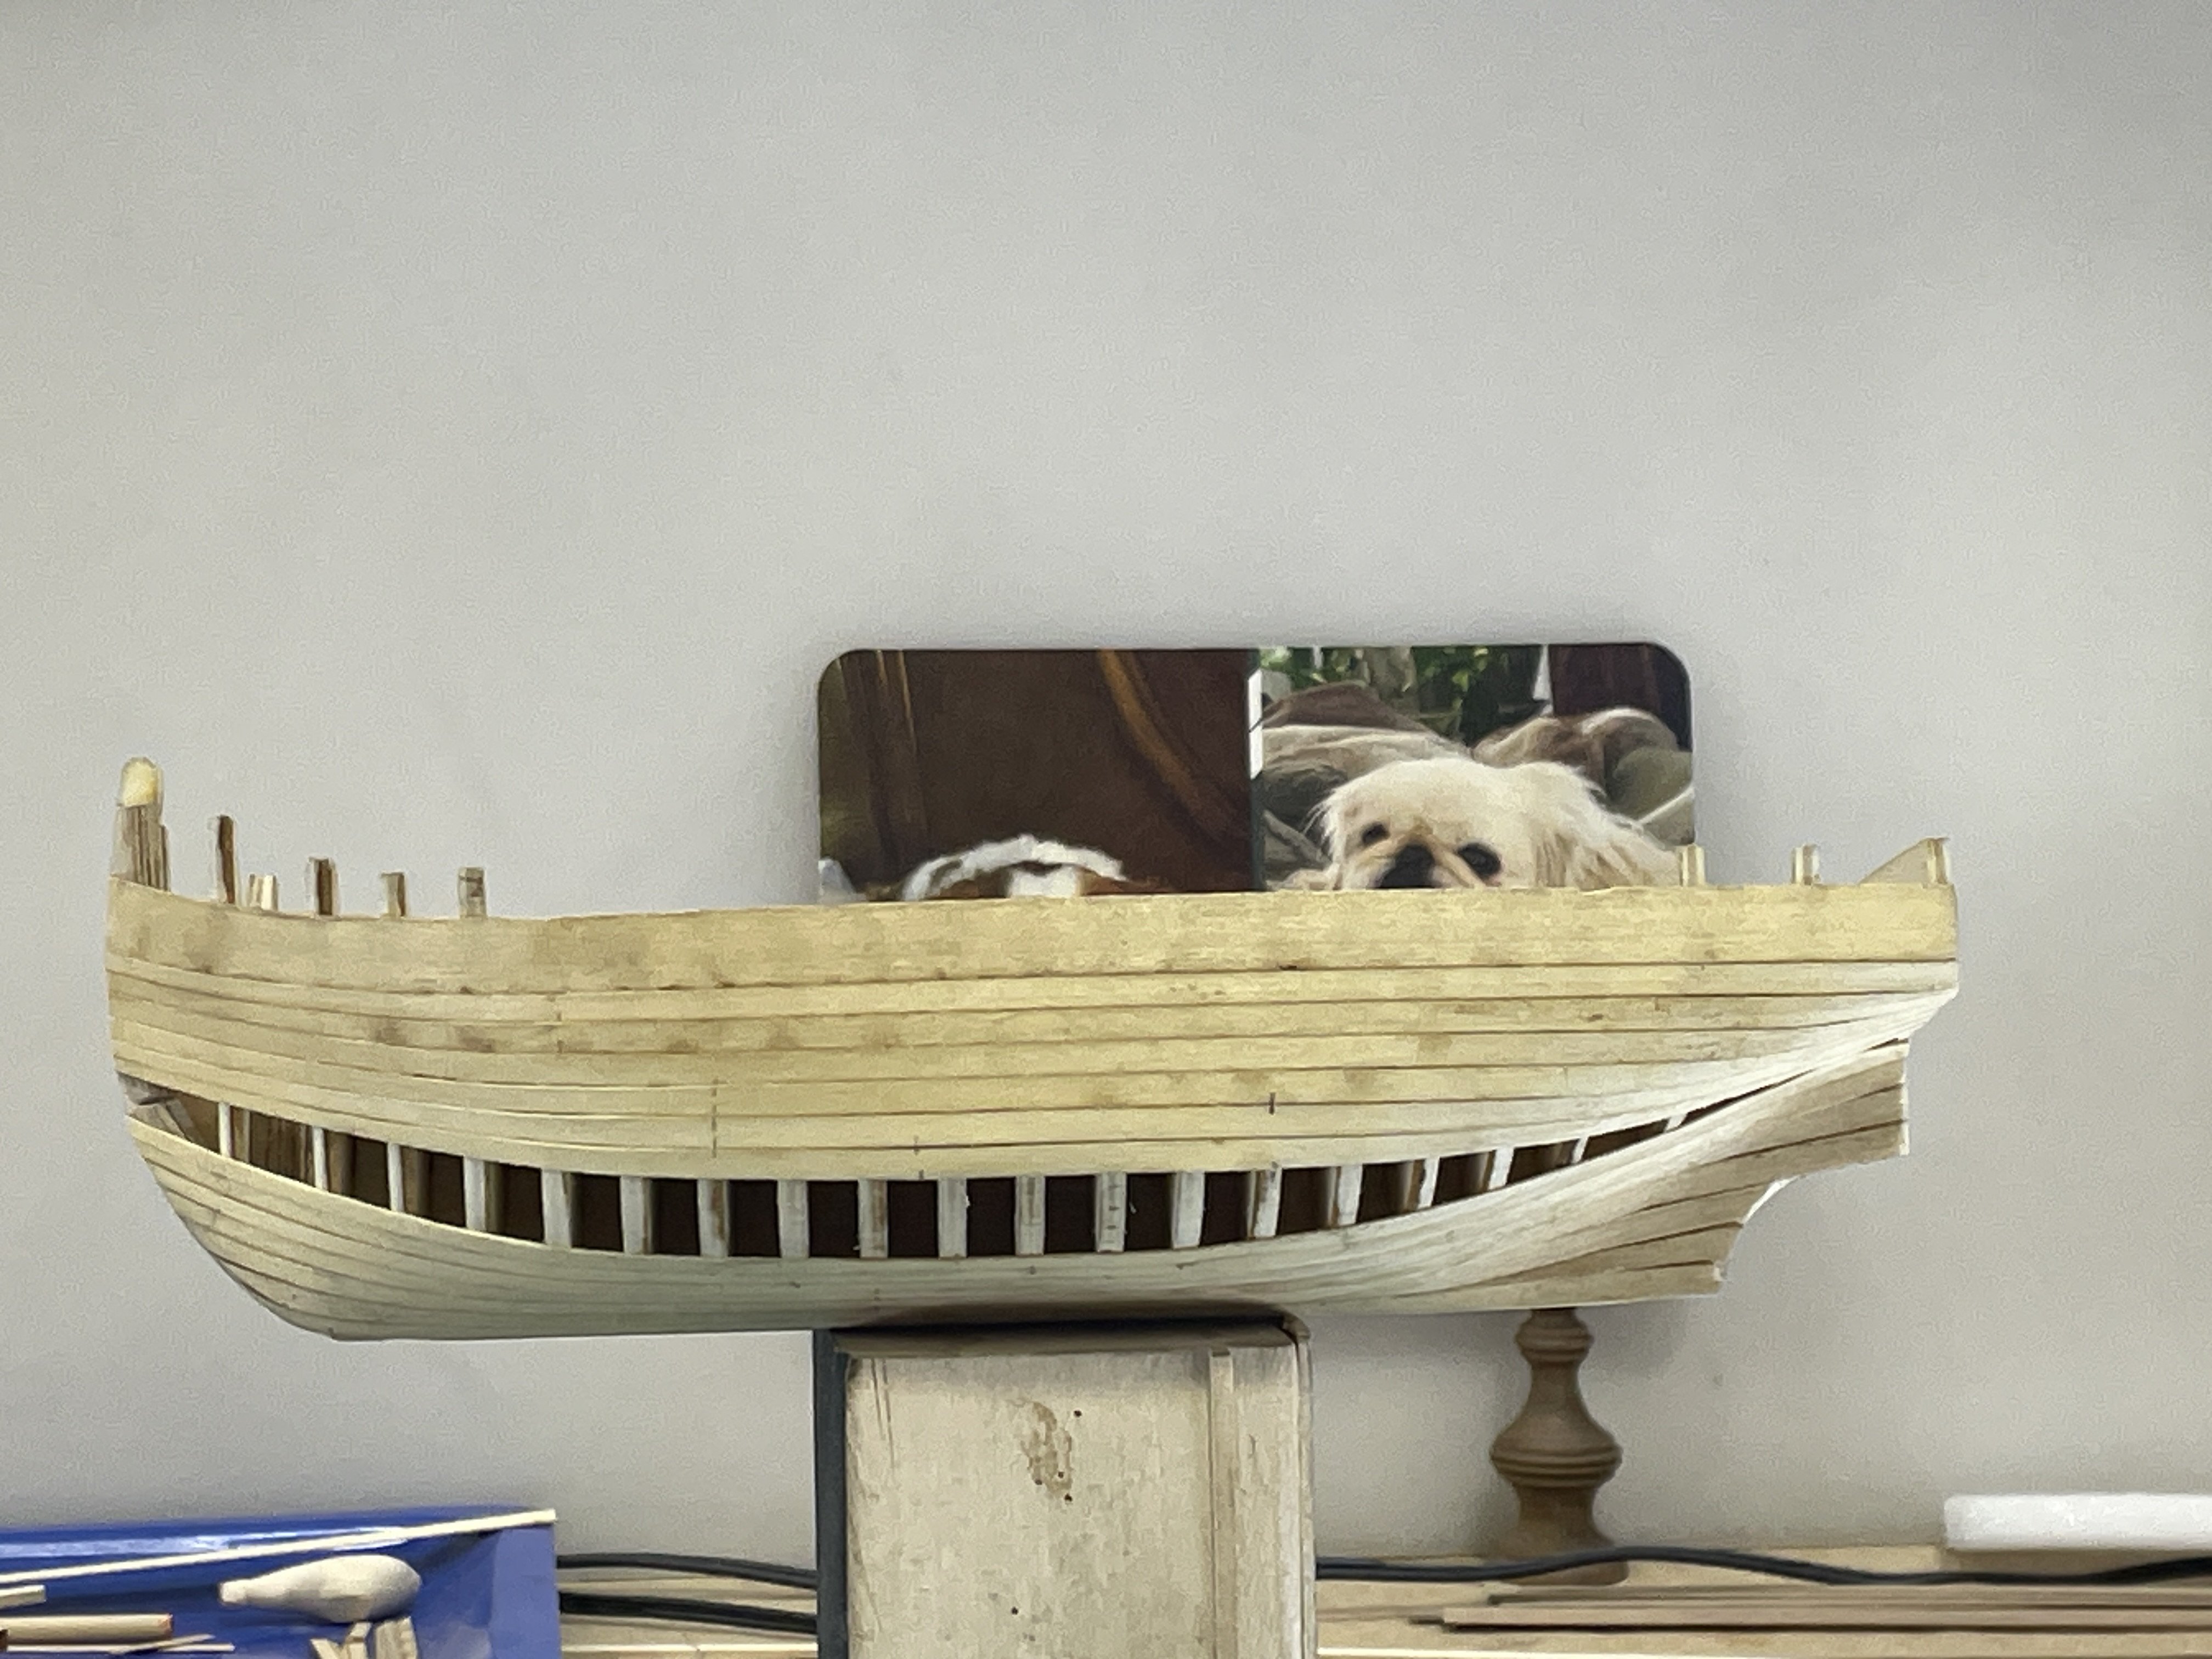
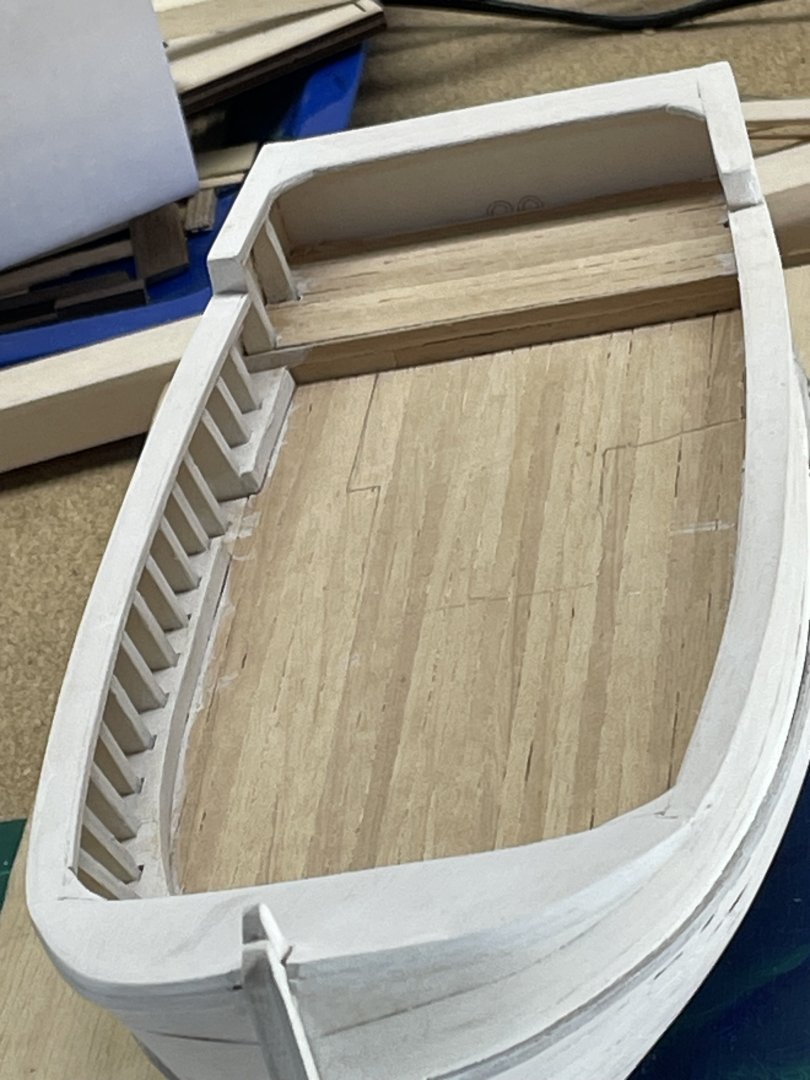
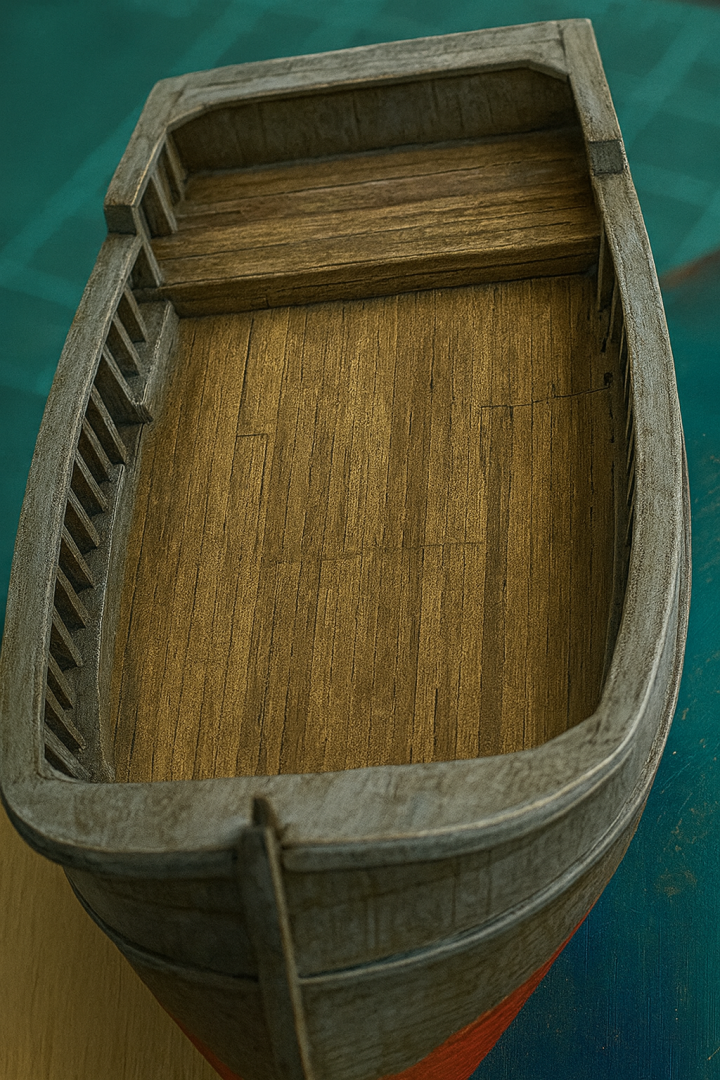
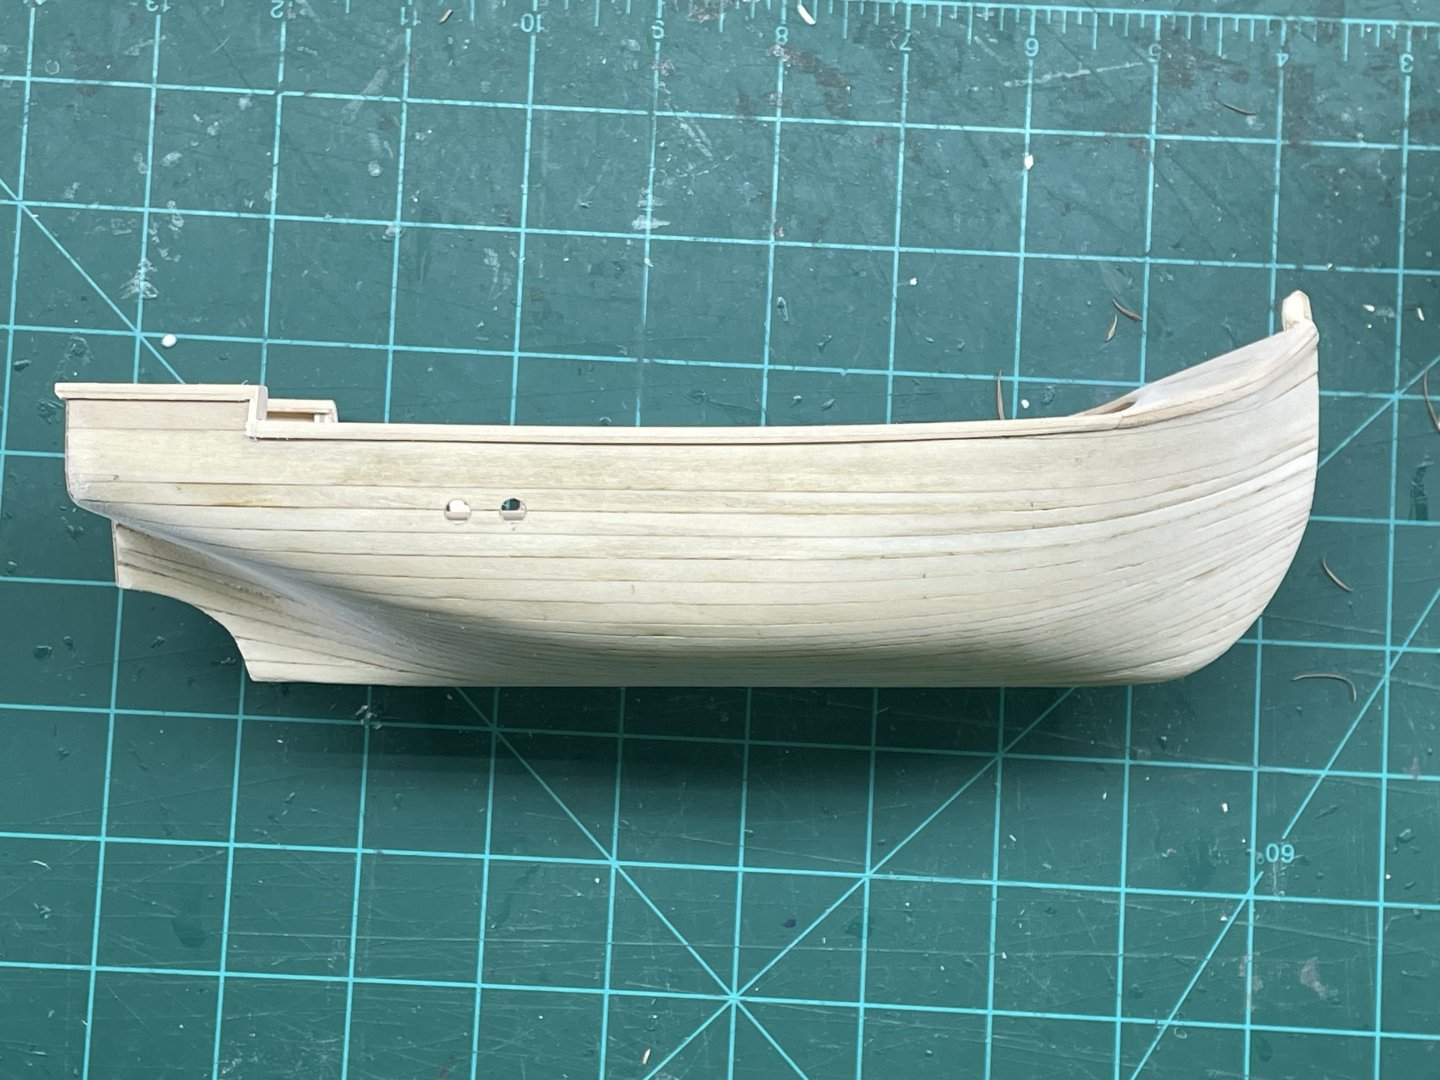
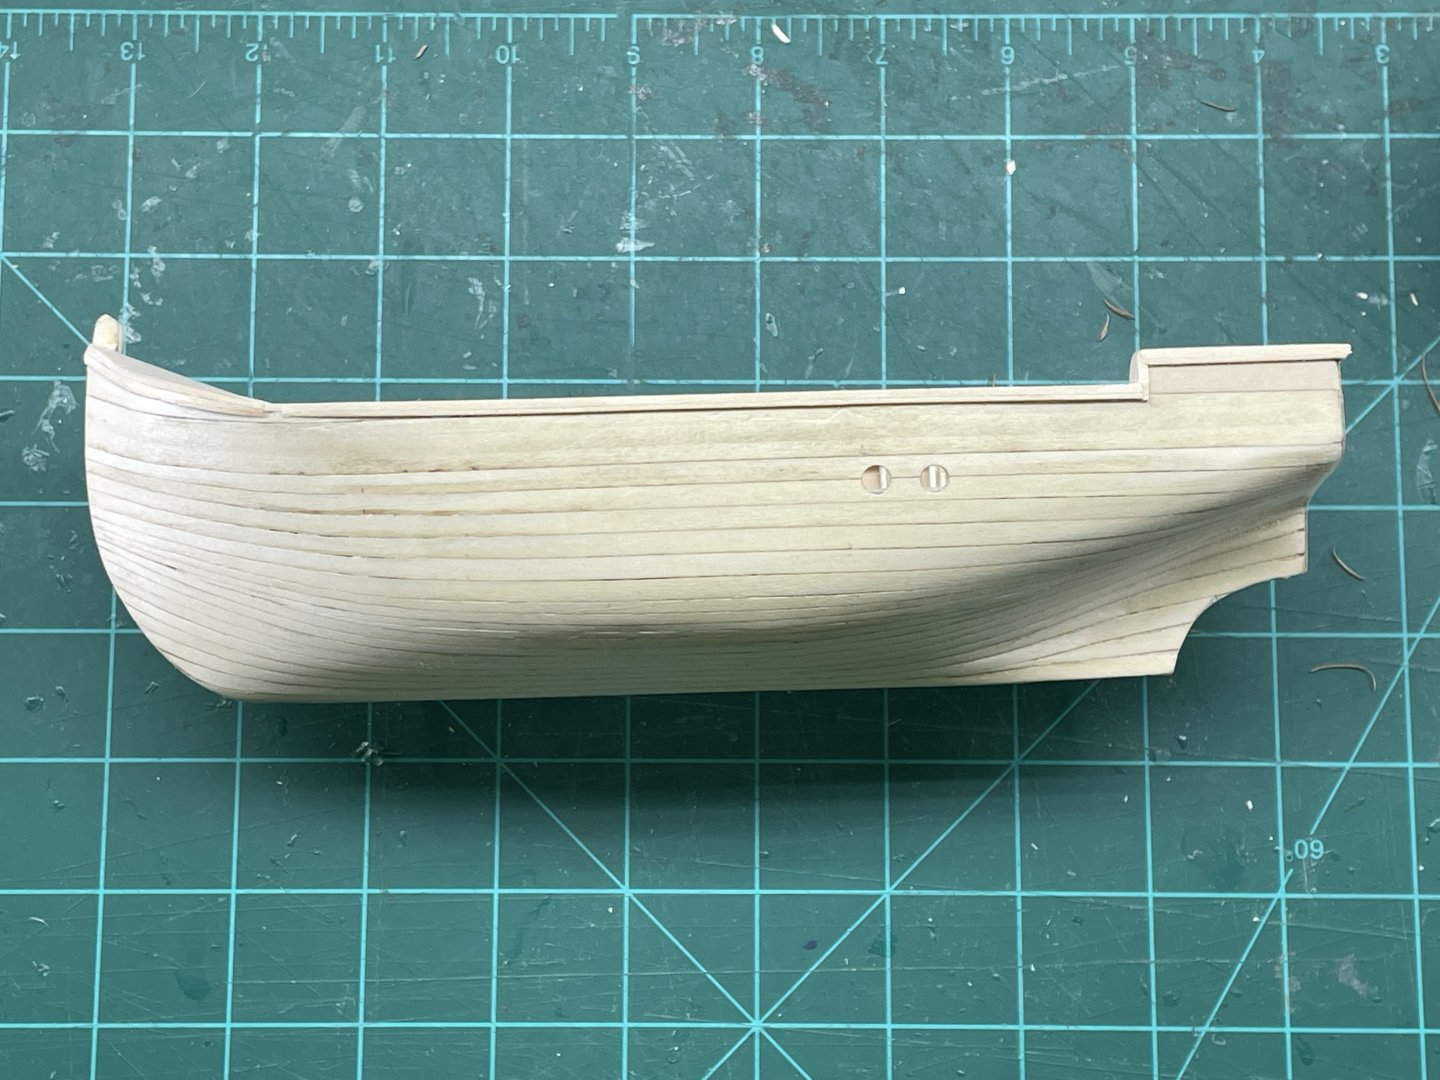
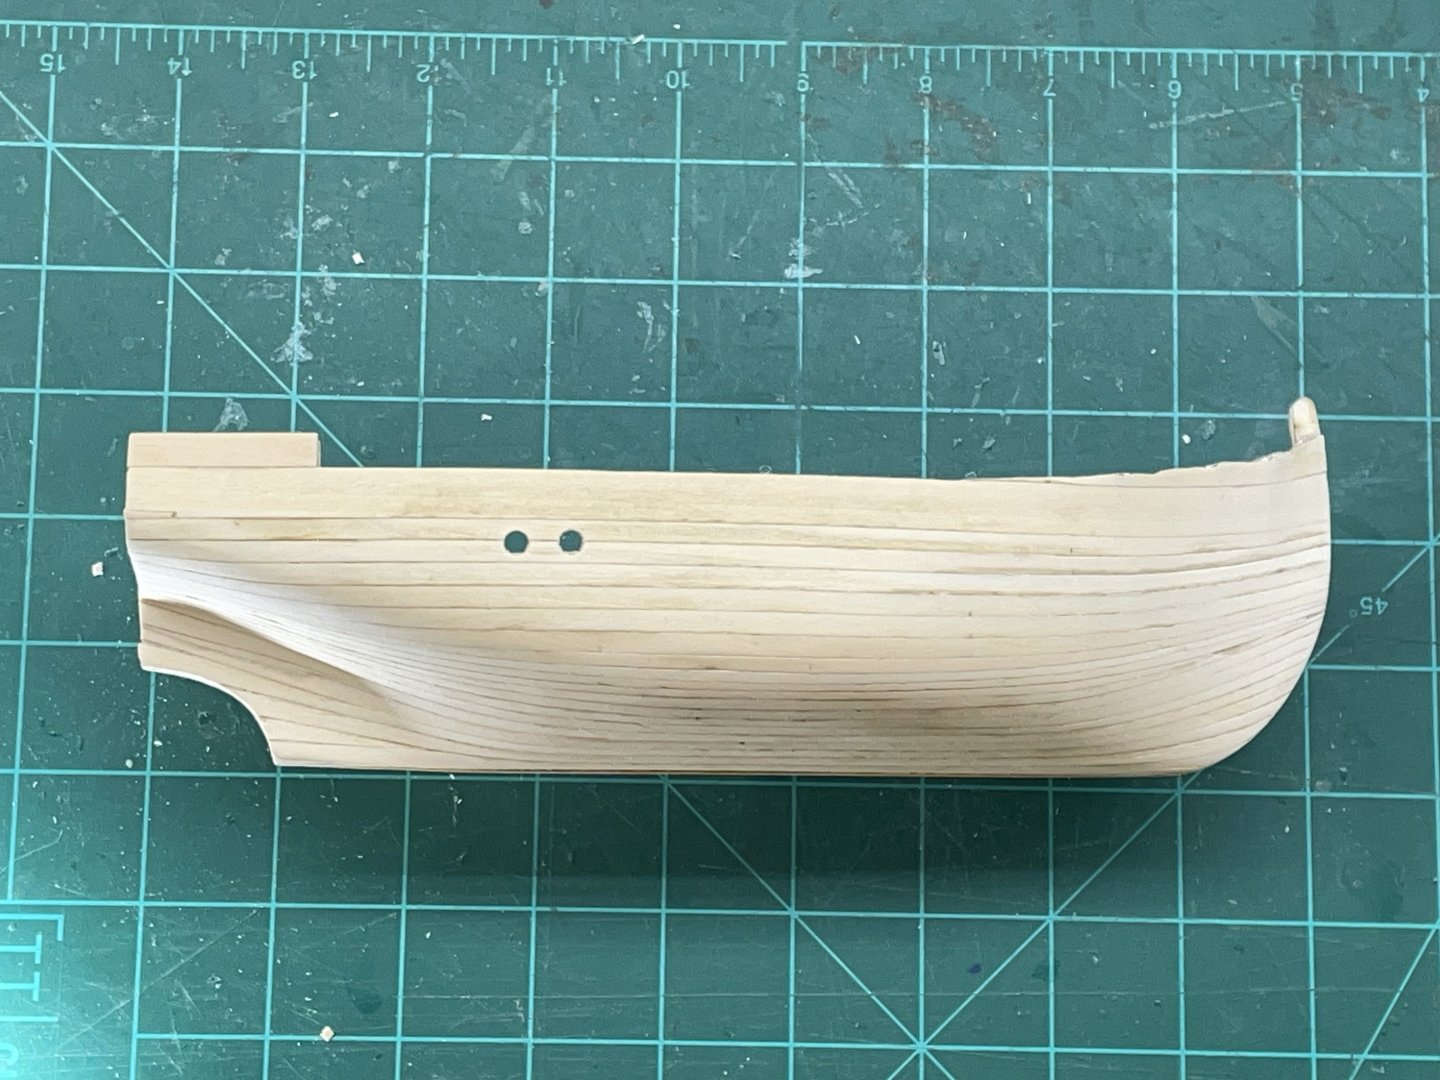
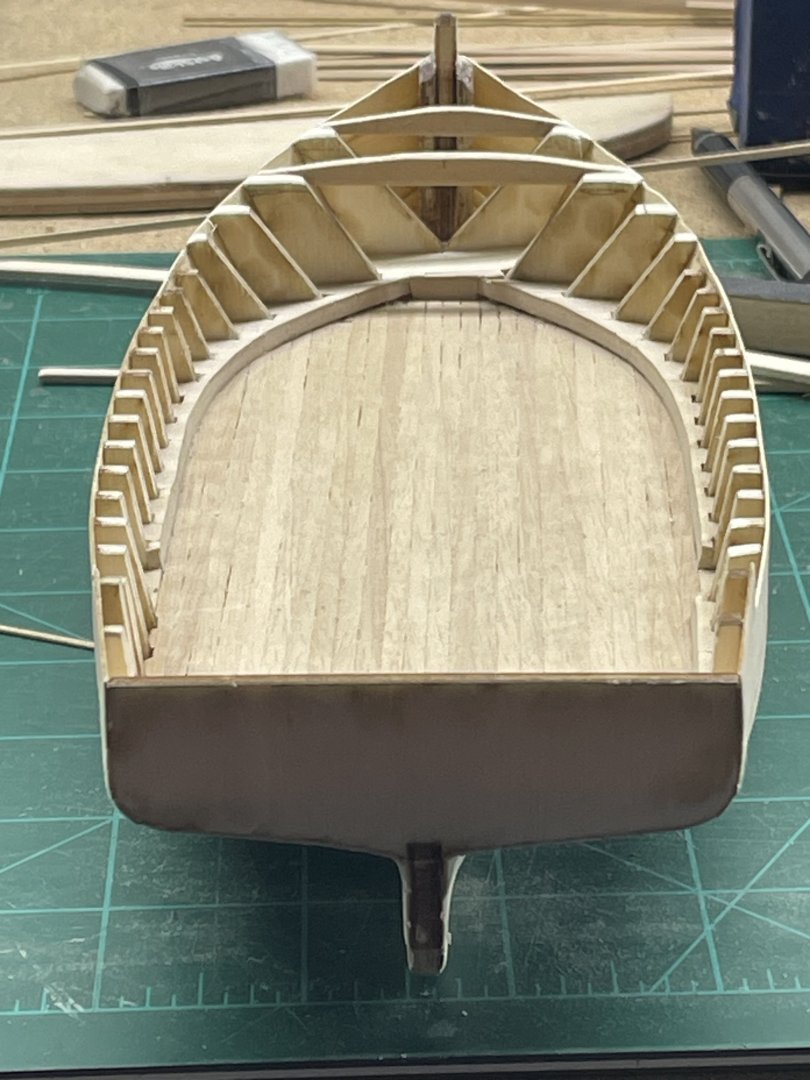
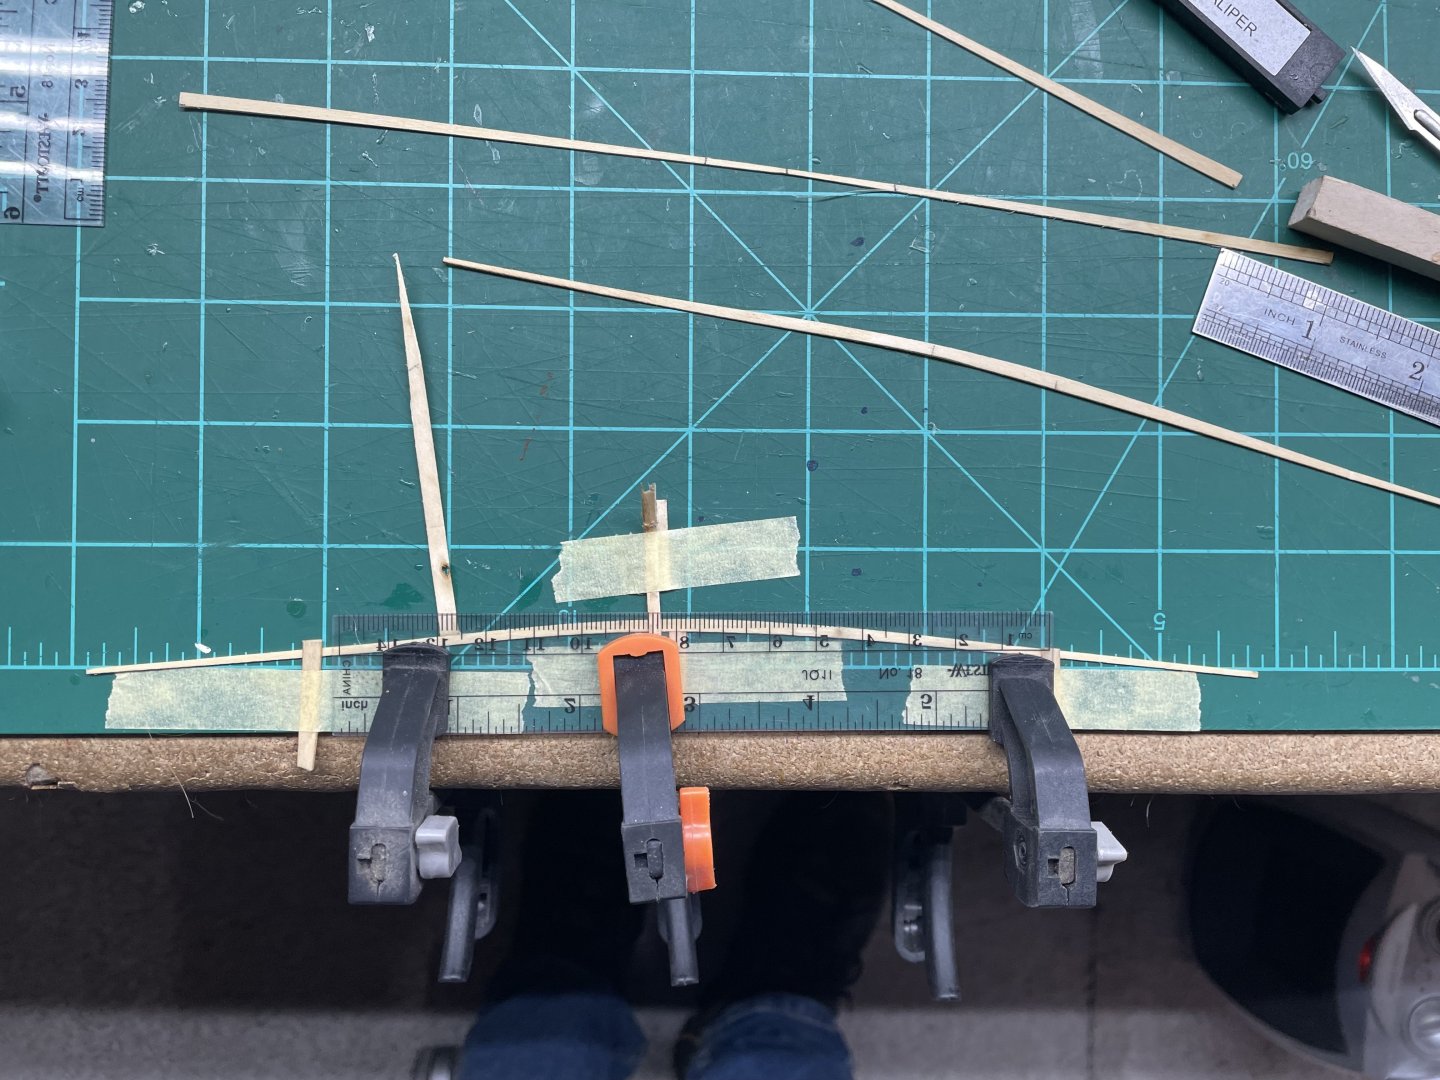
I got the hull sanded. The thin planks prevented me from sanding it all the way smooth. Since my original idea was to look weathered, I’m not going to use any wood filler. Hopefully no holes will appear. I worked on a toe board just to add some detail. This build is turning out to be more of a scratch build than a kit build. I’ve used all the material except for the pilot’s cabin. I have to purchase some wood to cover the bow. No top rail even shown. I’m trying to bend a piece to fit, the results are unknown. Here’s my jig I’m bending with. Here’s some shots of the up to date hull. The kit came with a 3D printed rudder but I’m not sure it fits this hull. Since I have no knowledge of these things. It makes the build much slower than if I had a plan to do as it says. Now another question. The rudder. I’m hoping one of these types exists on a boat like this. comments and advice are extremely welcome:-) thank you!


- 35 replies
-
- 5
-
-
- Fischkutter
- Laser Creation World
- (and 1 more)
-
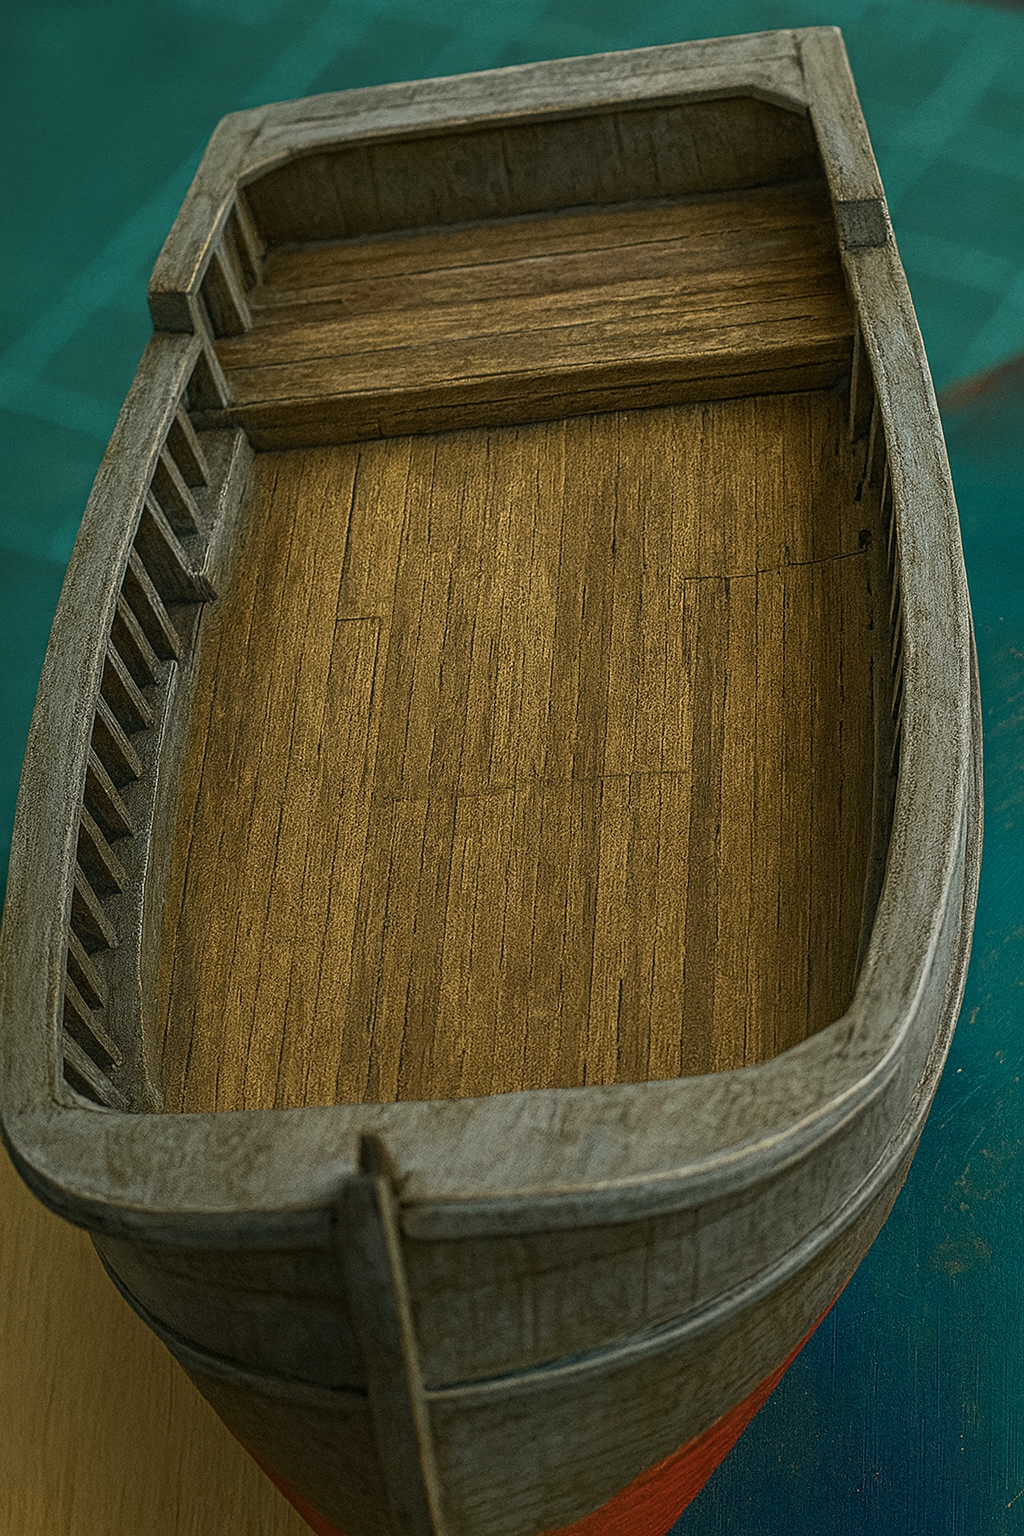
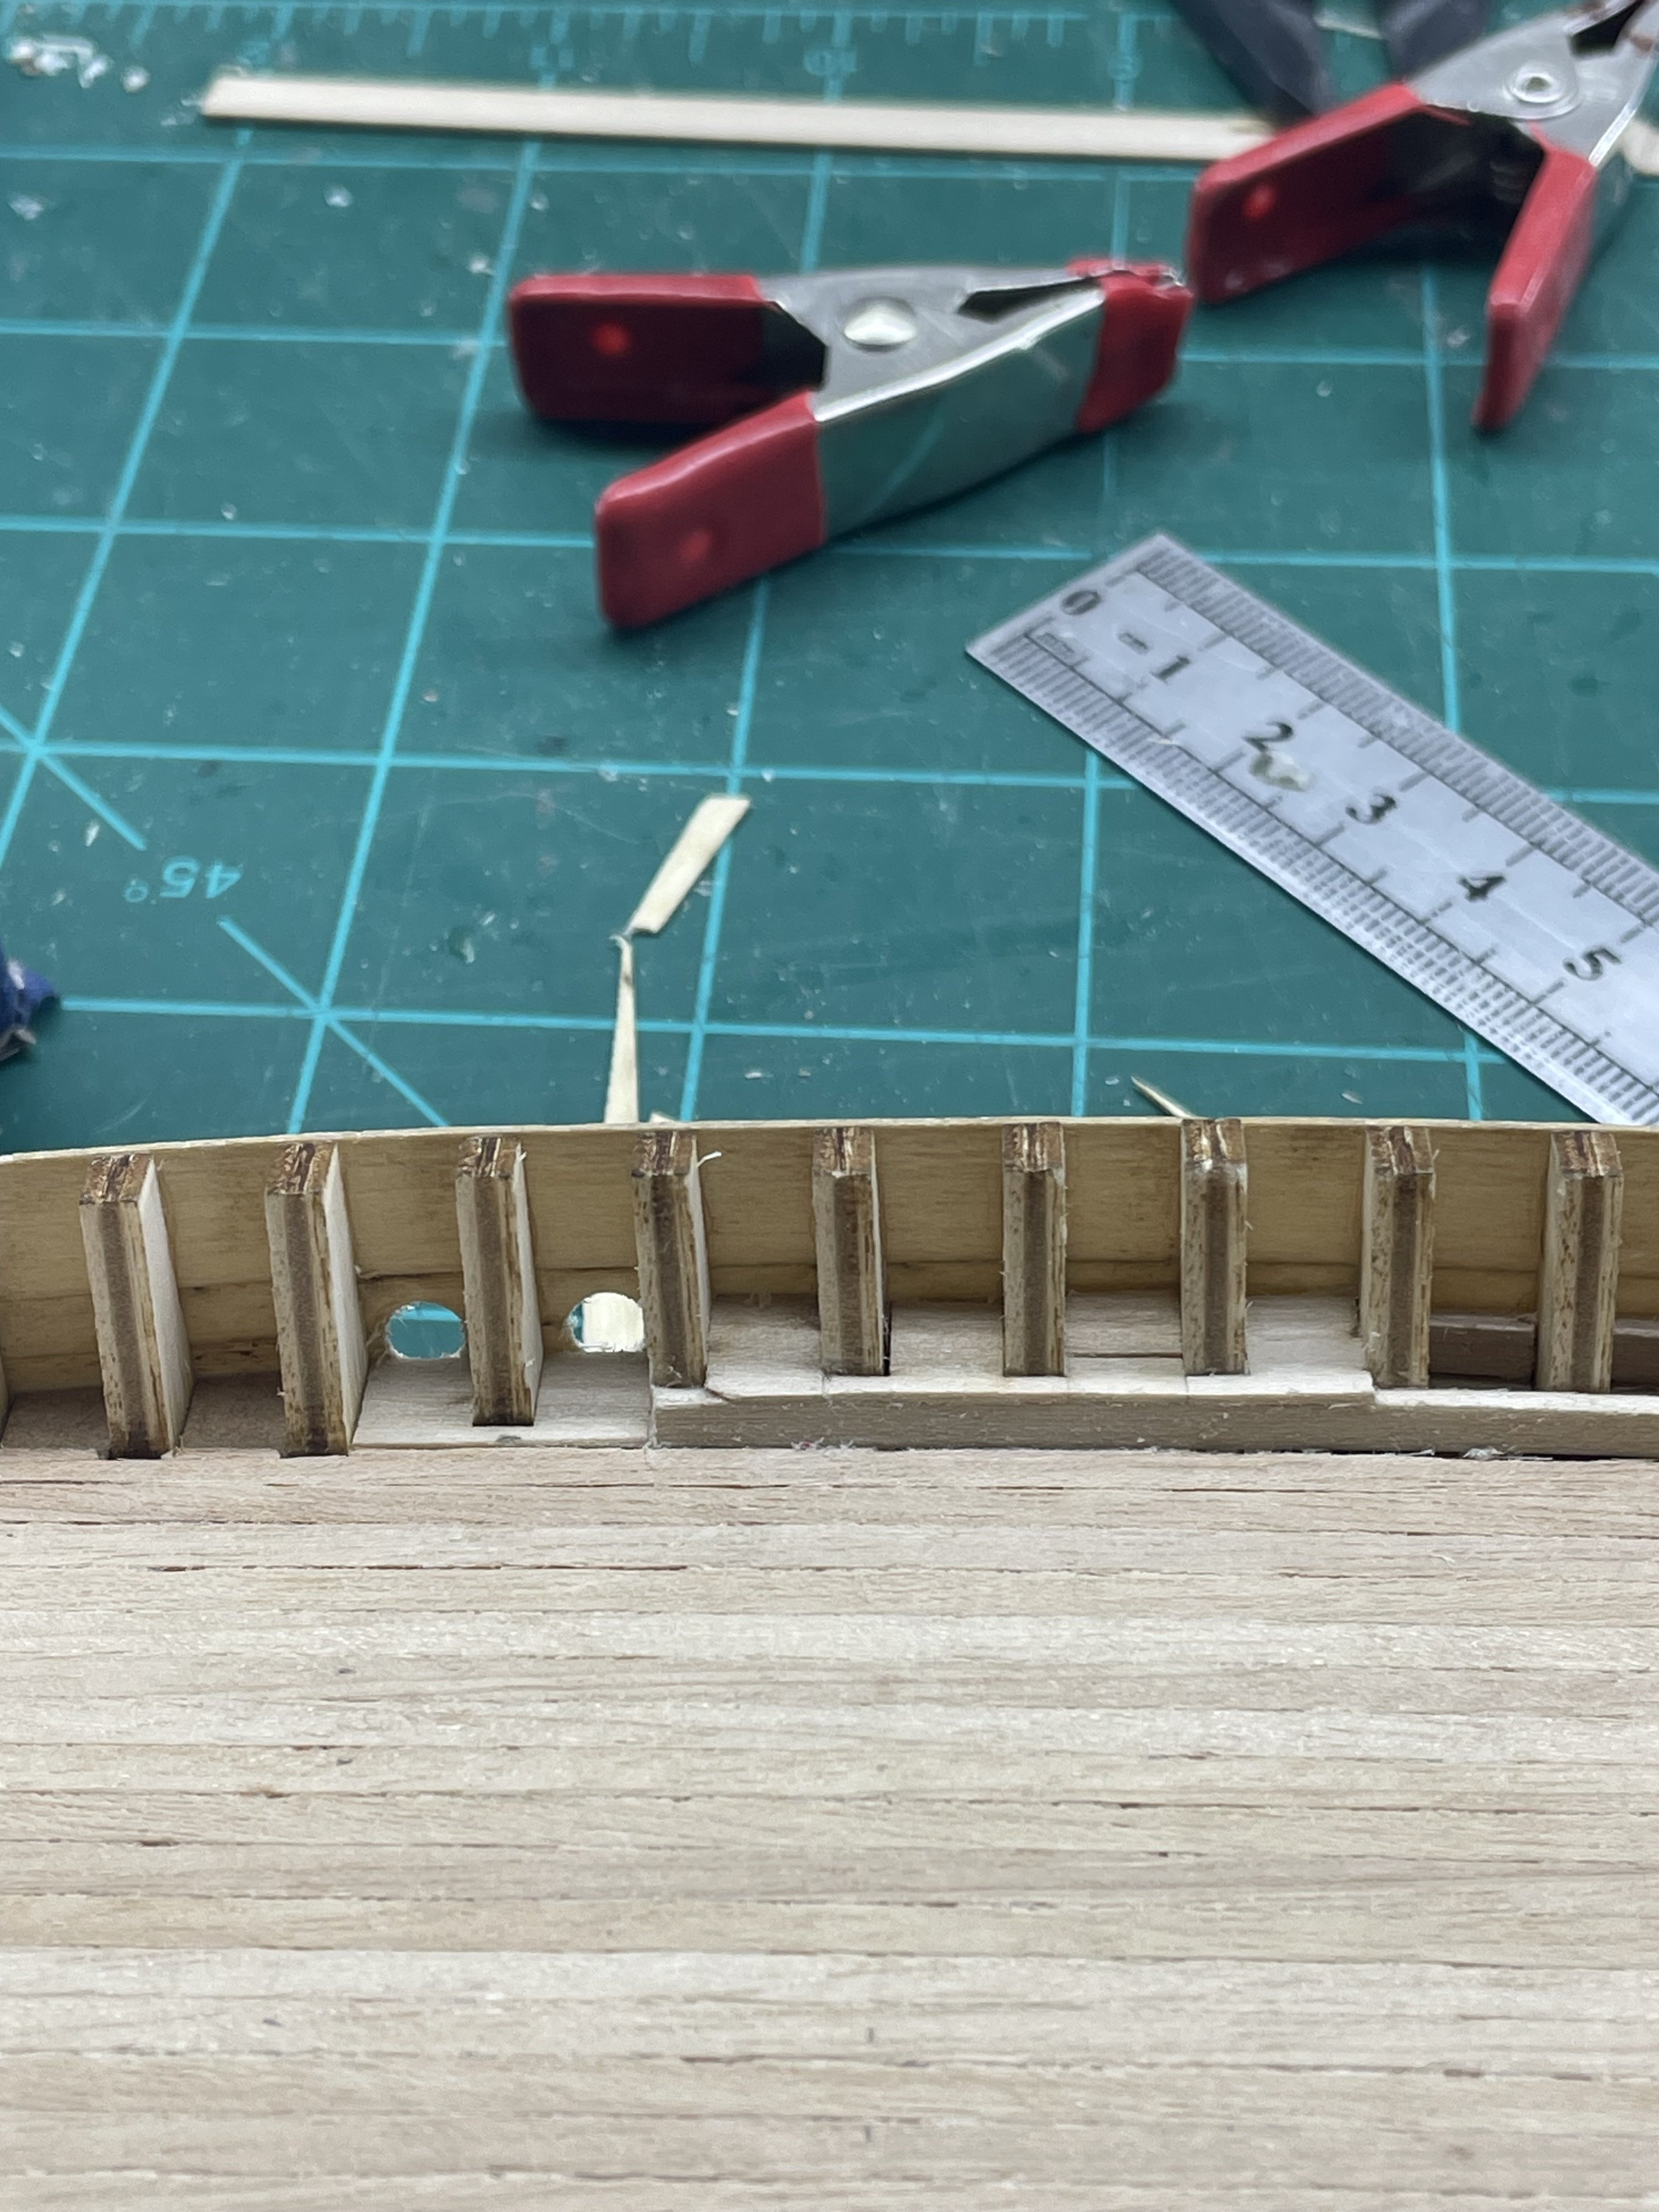
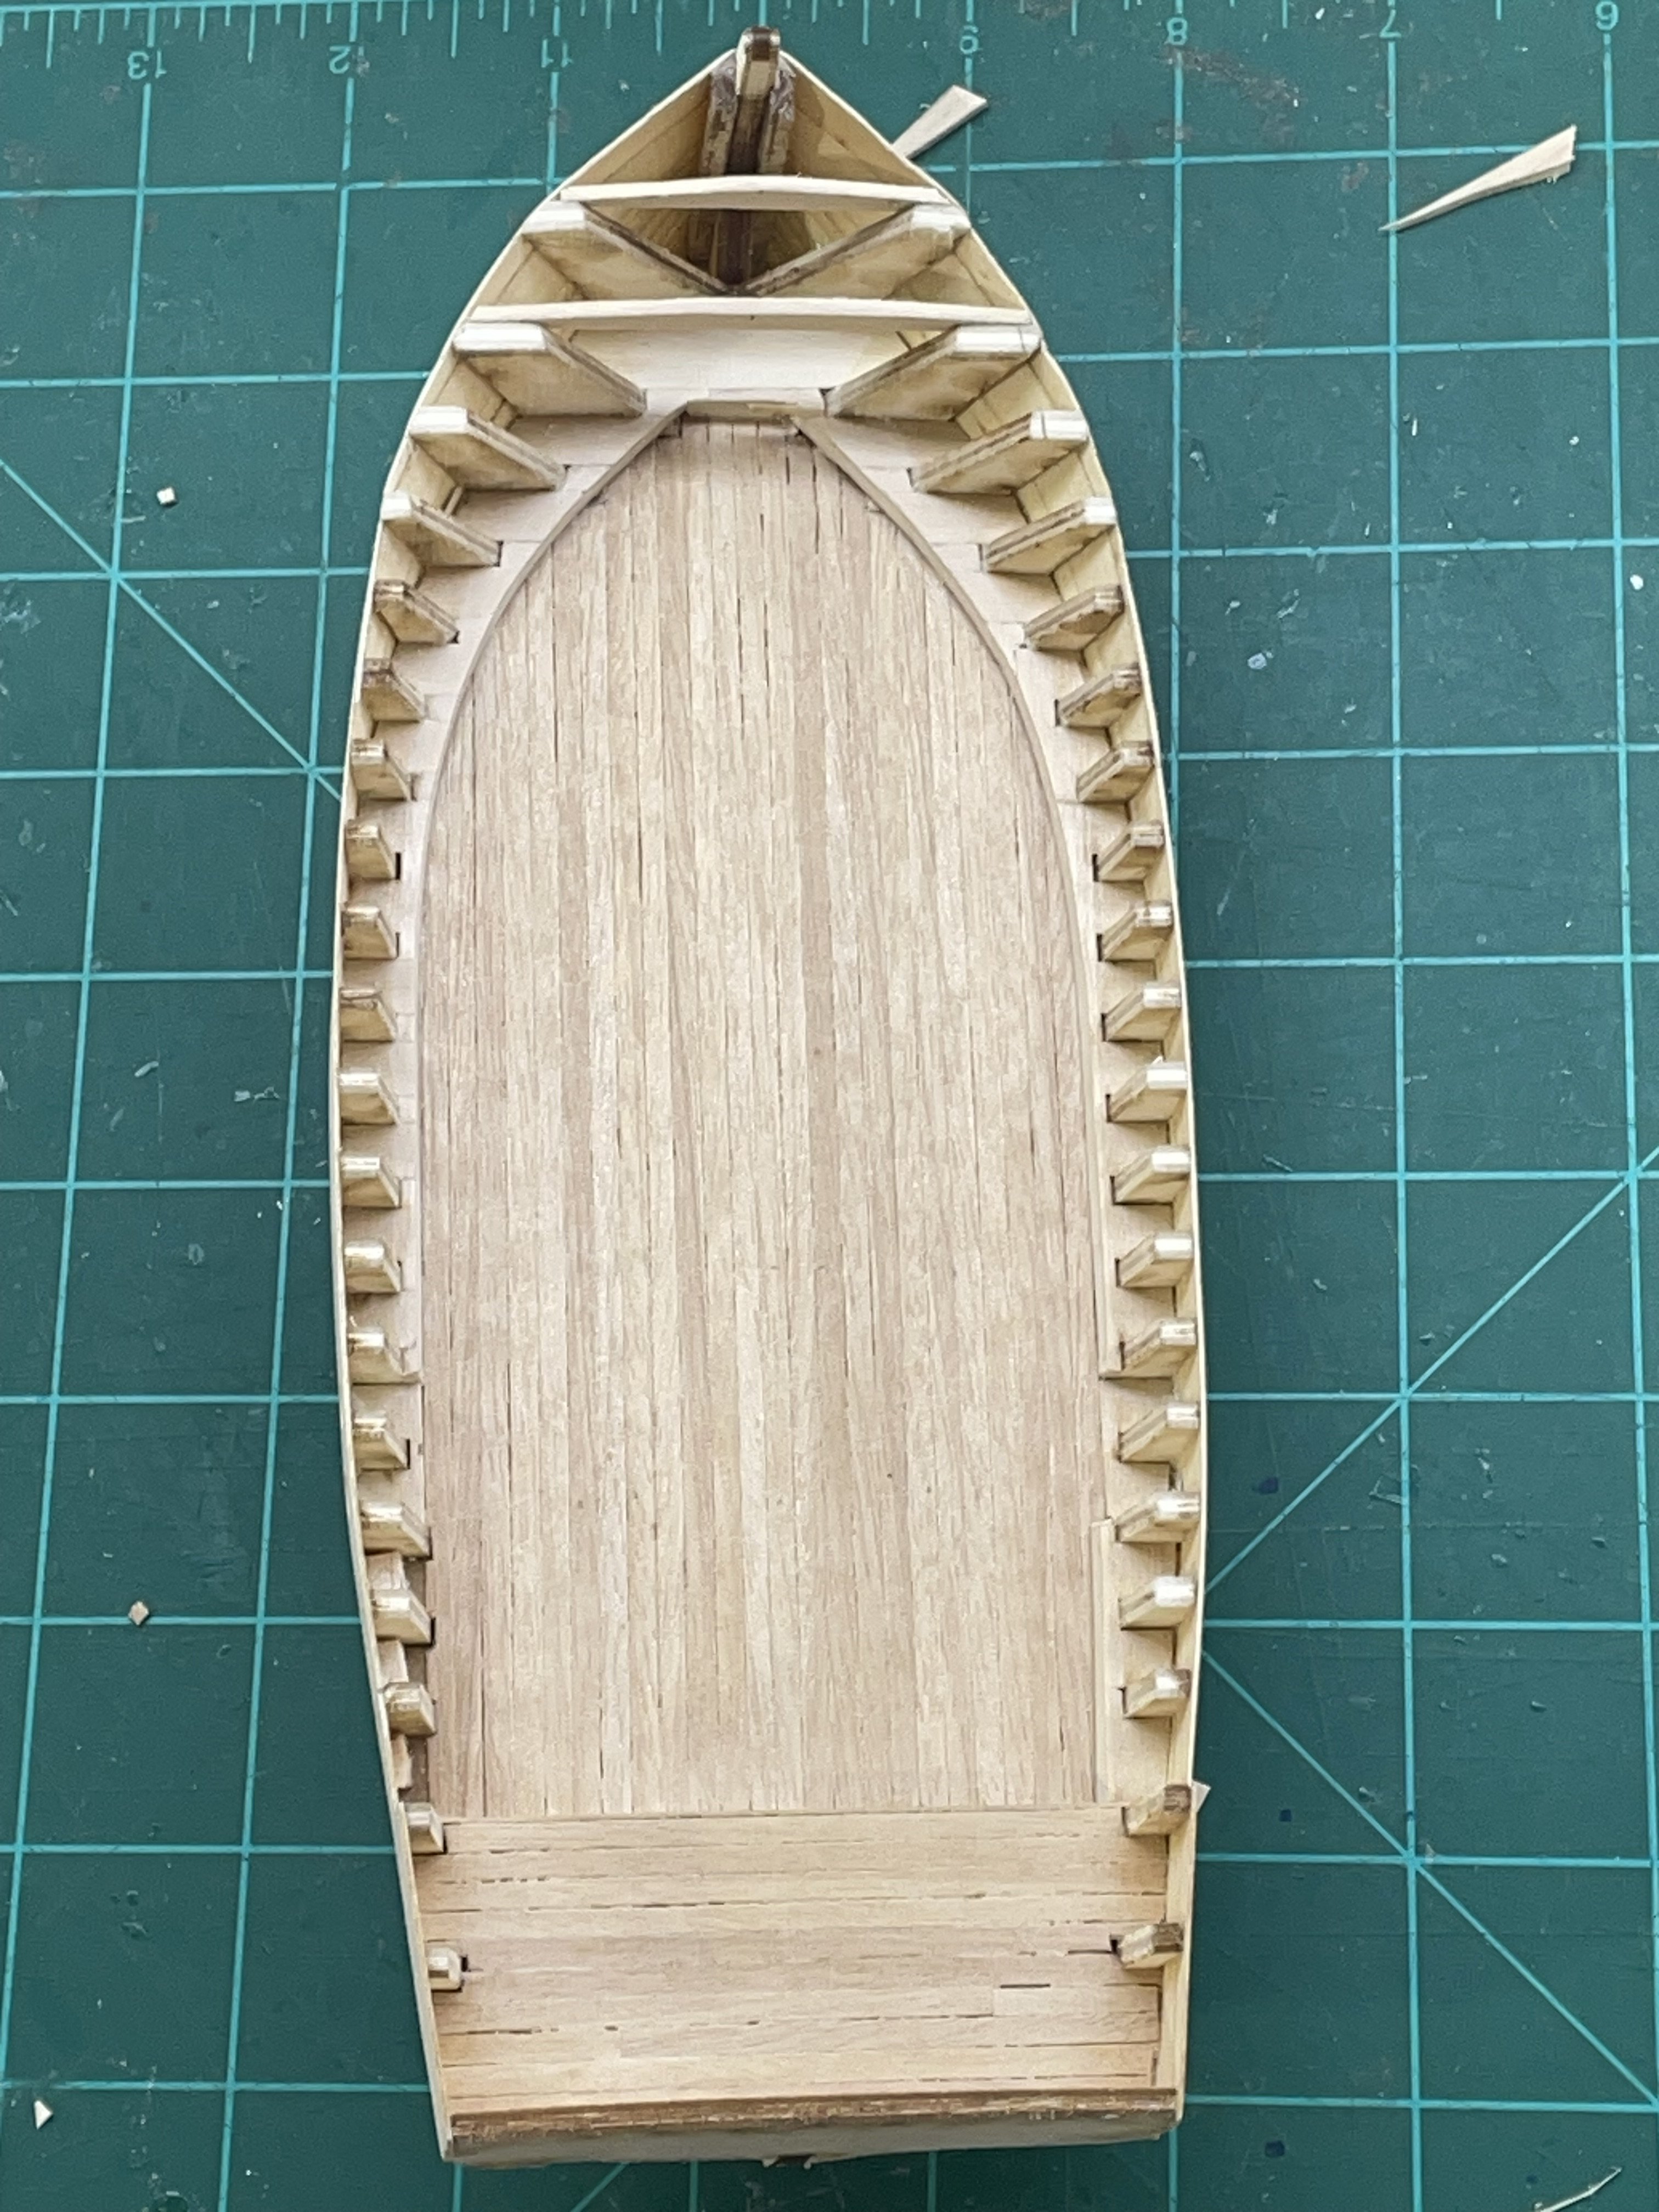
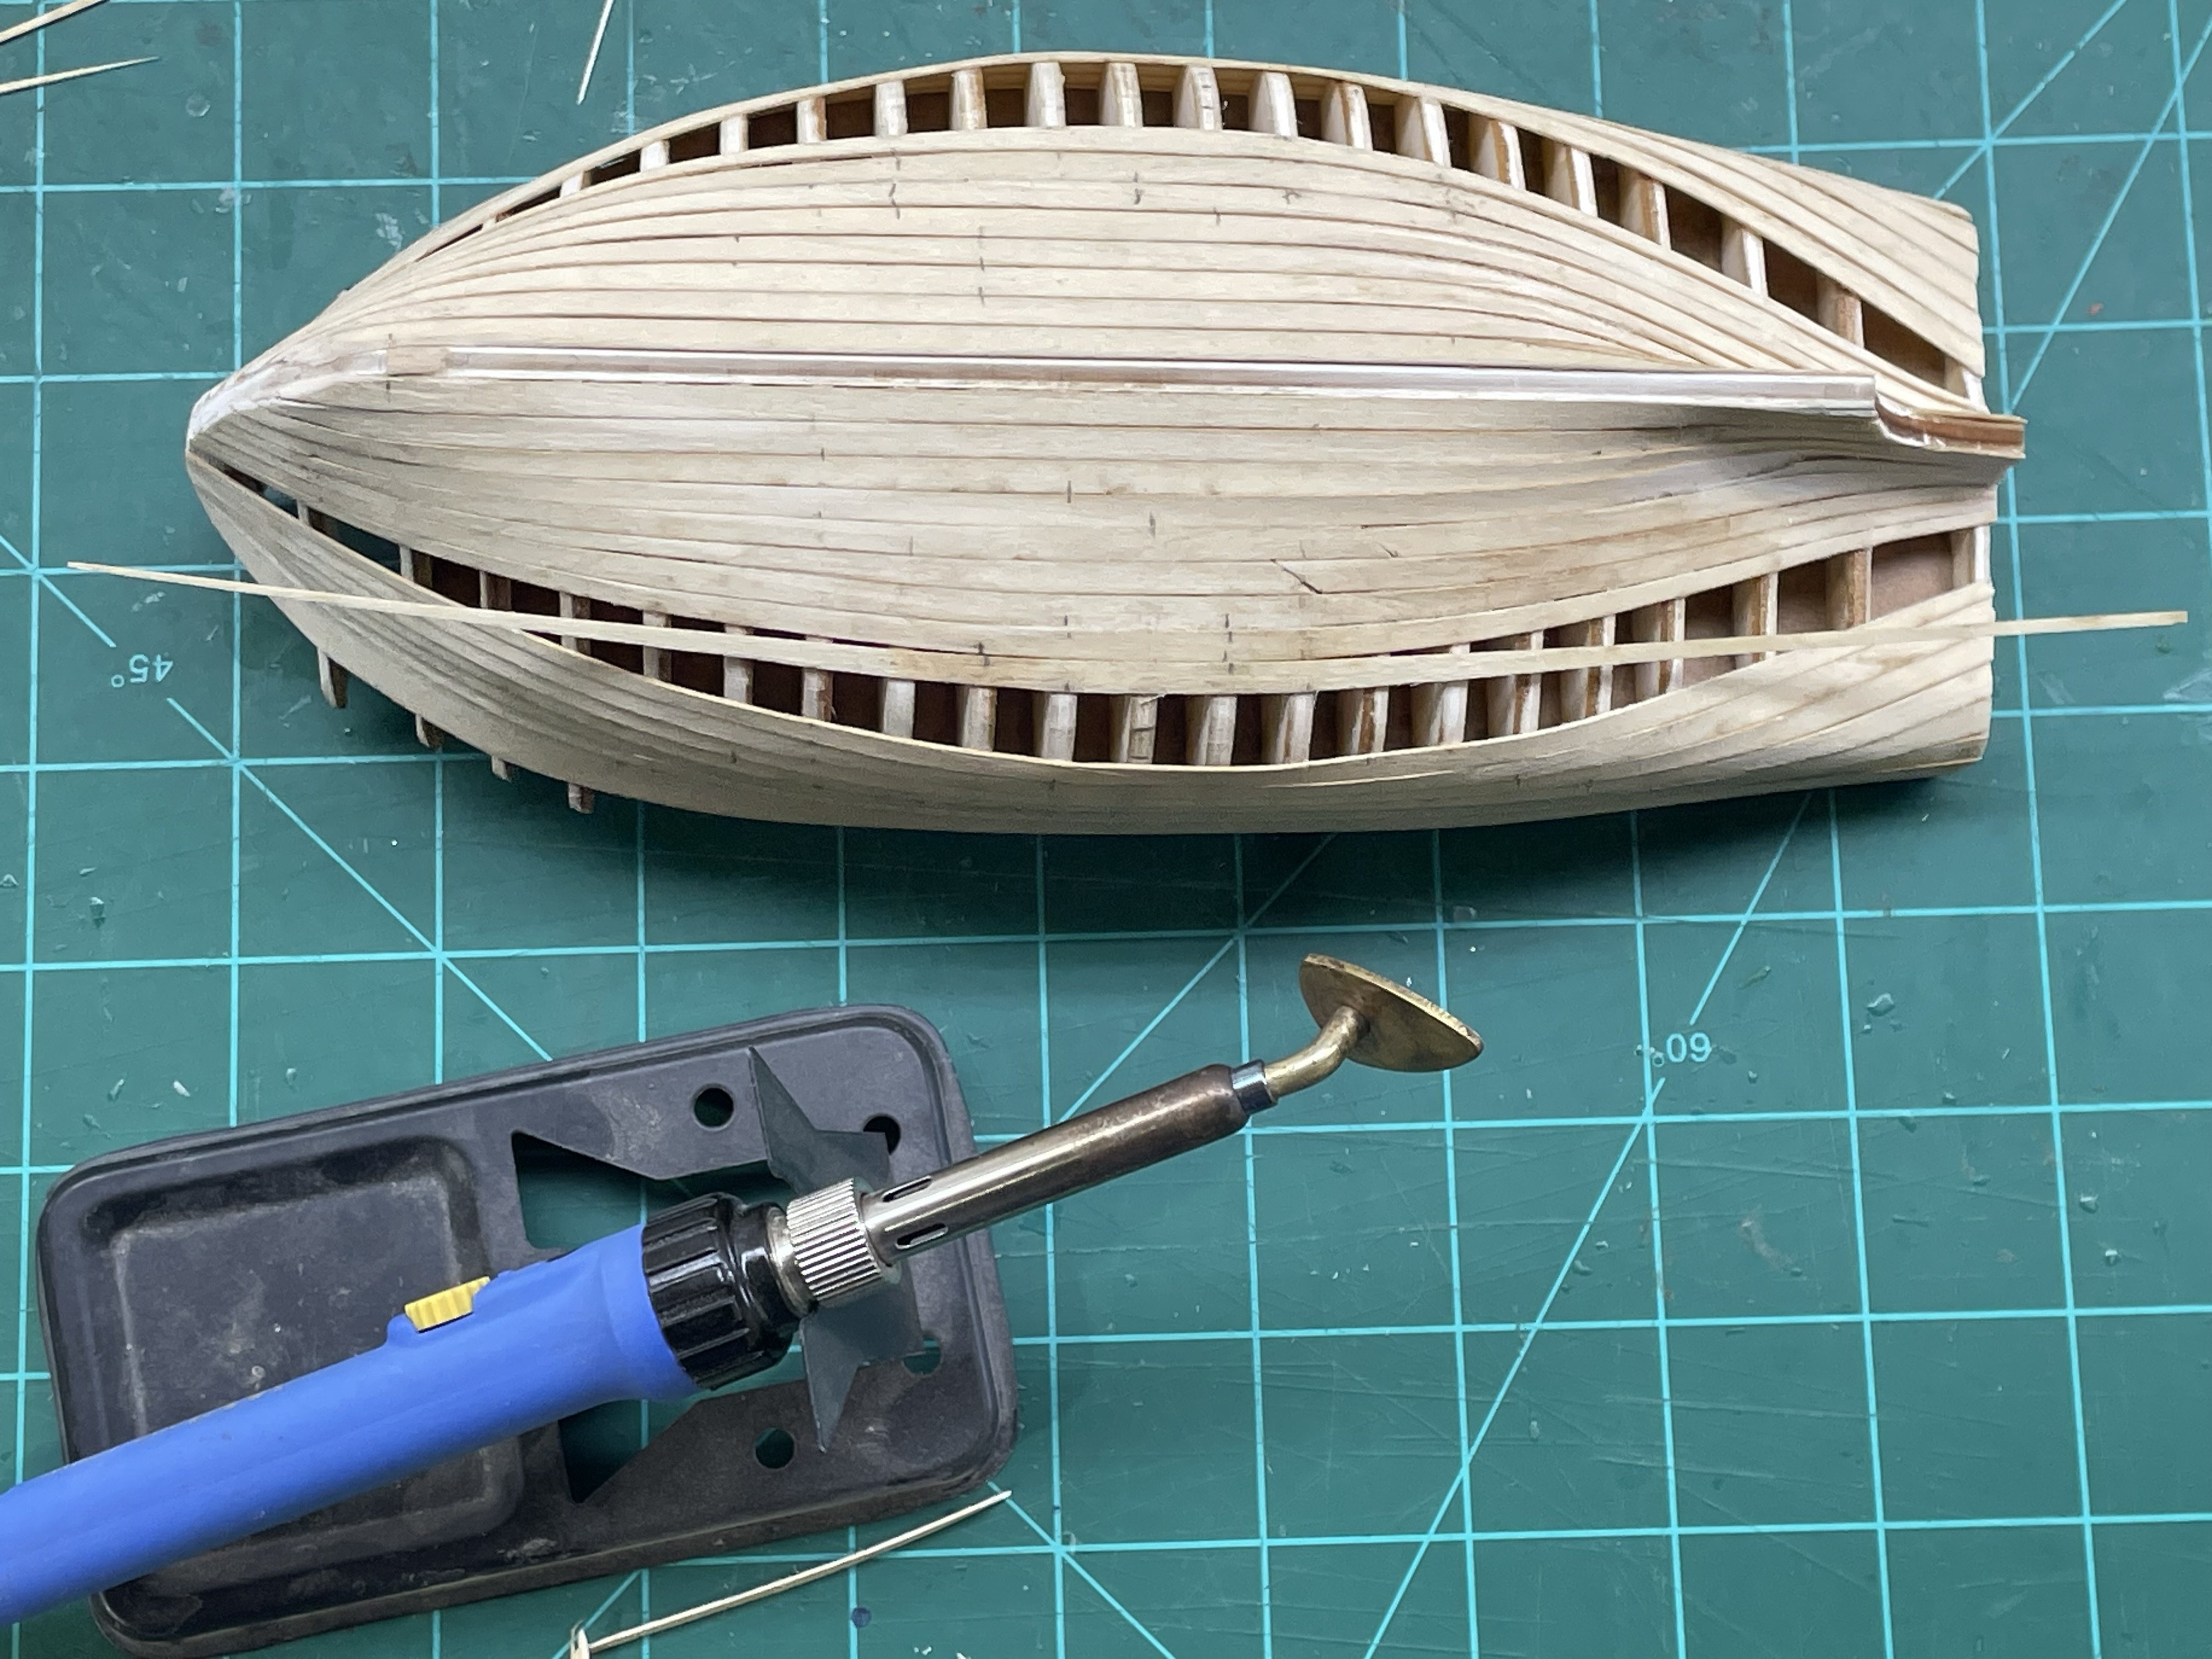
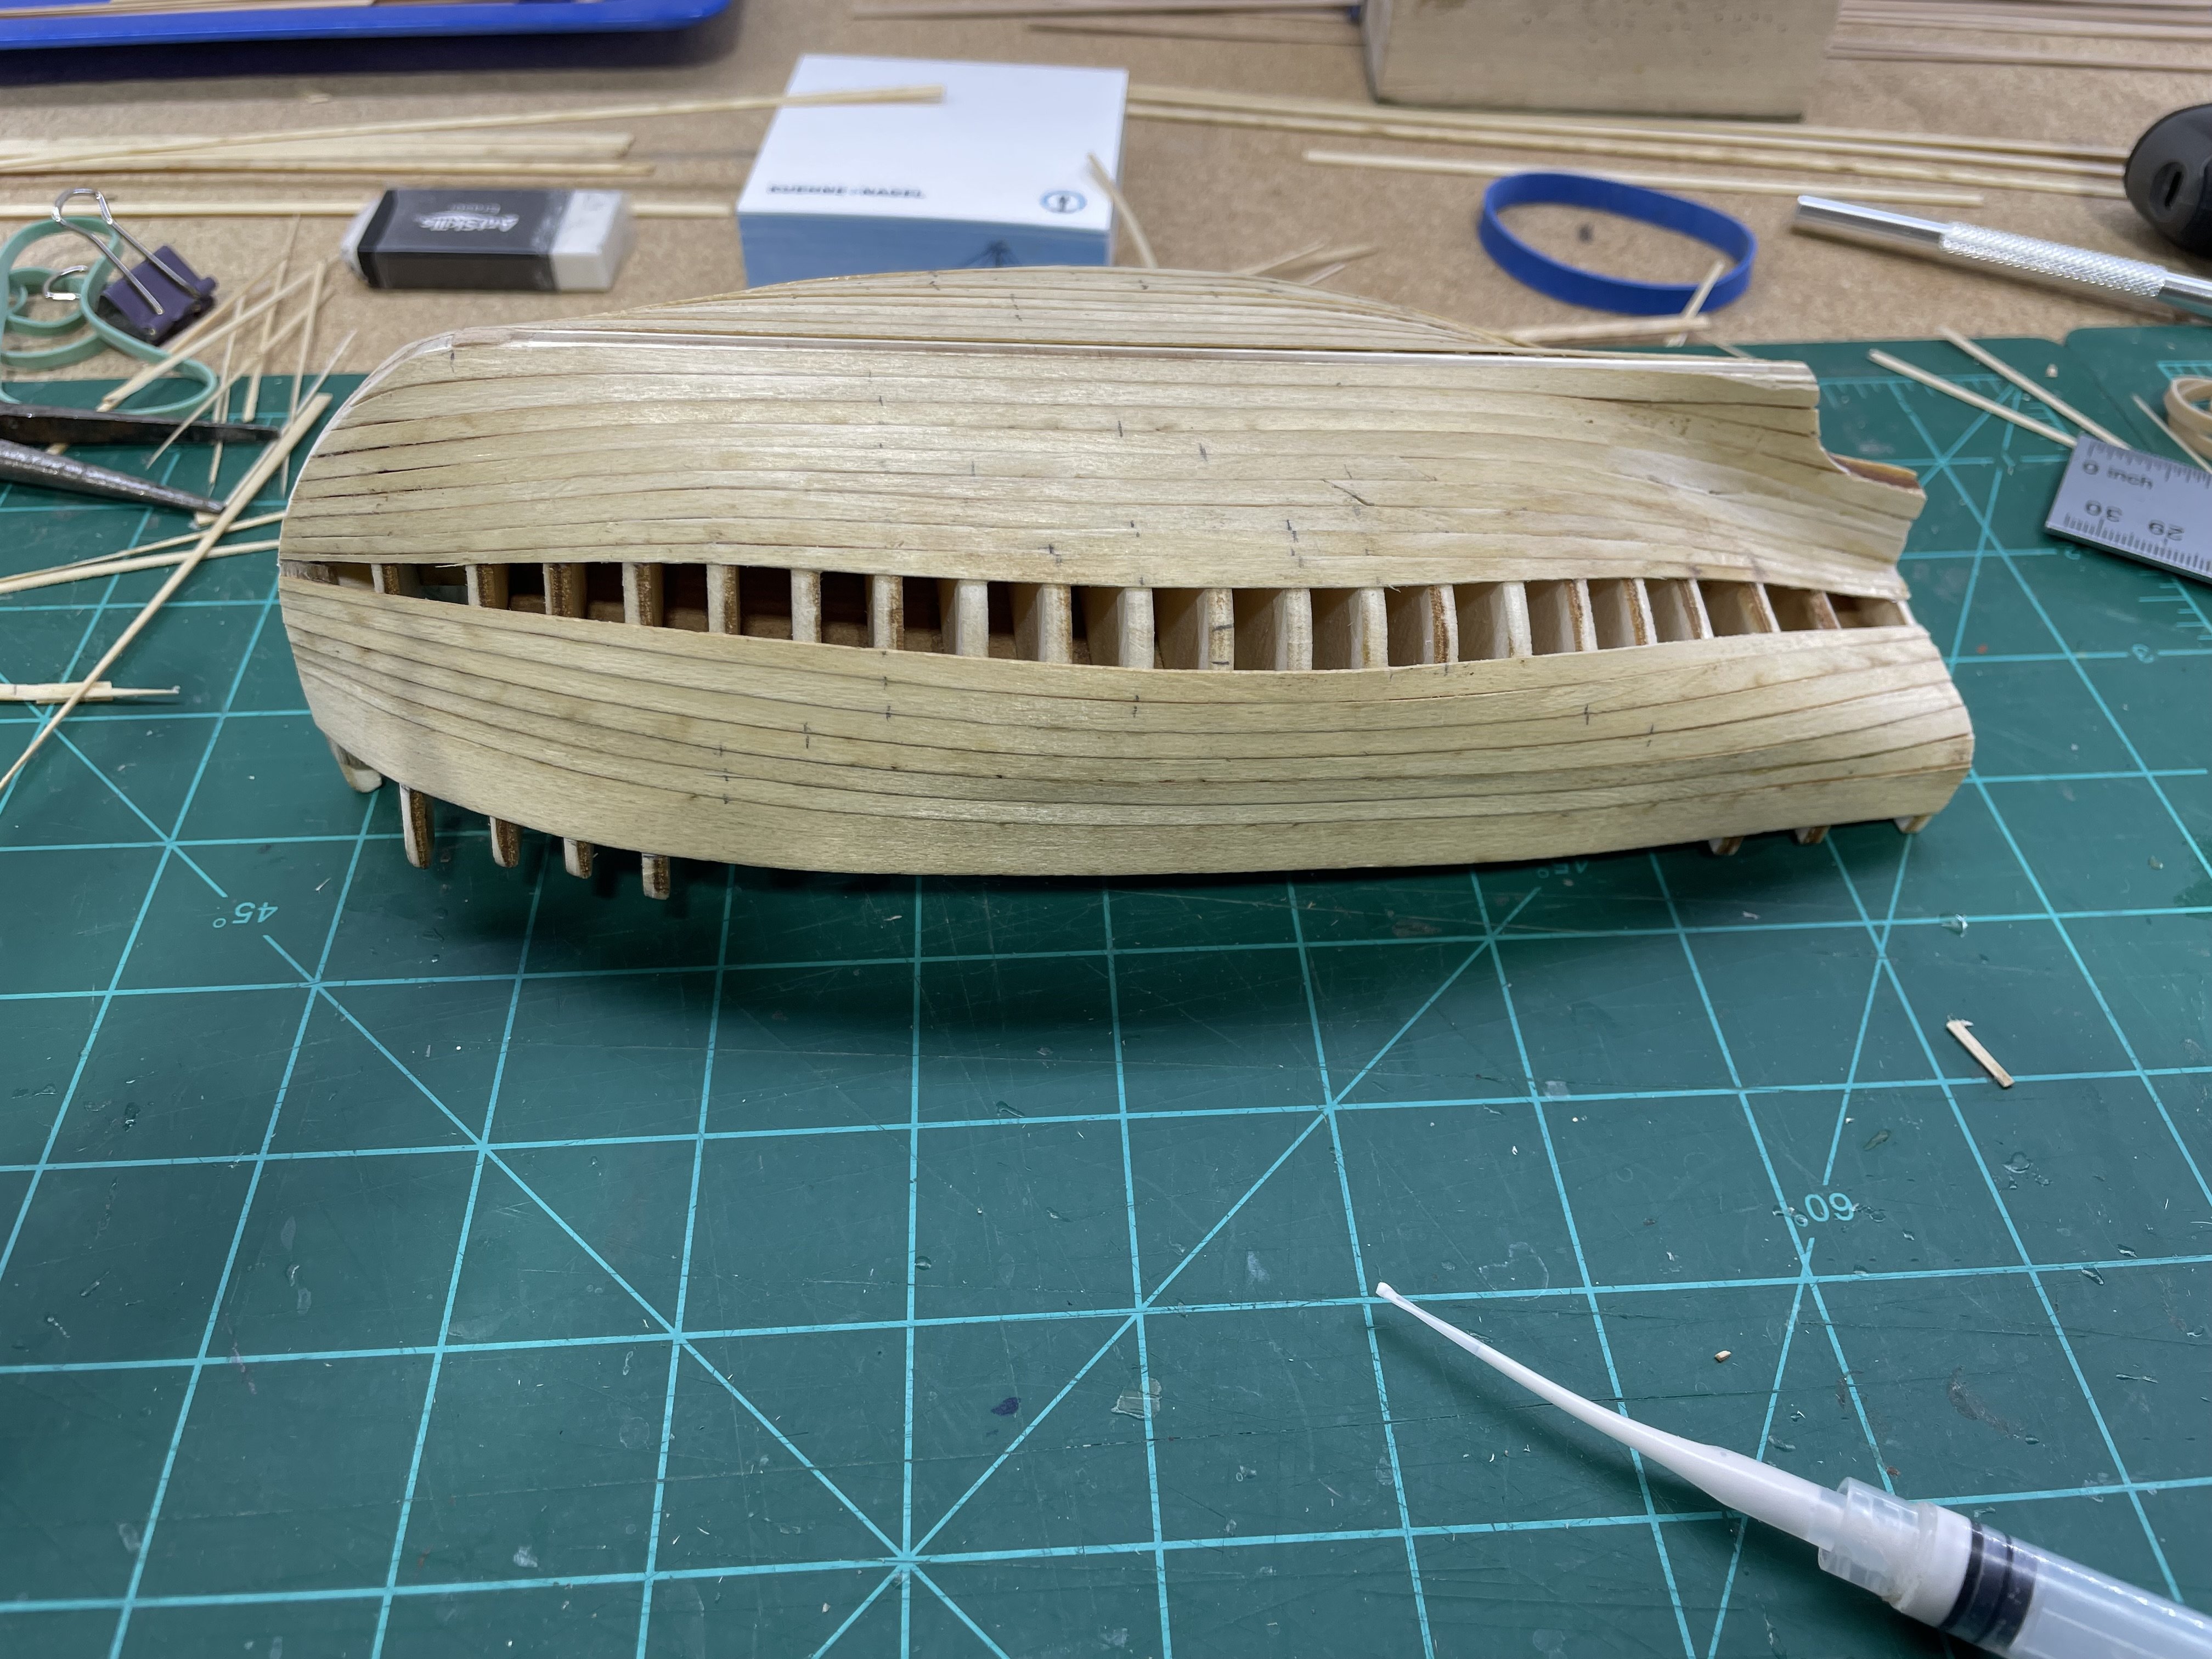
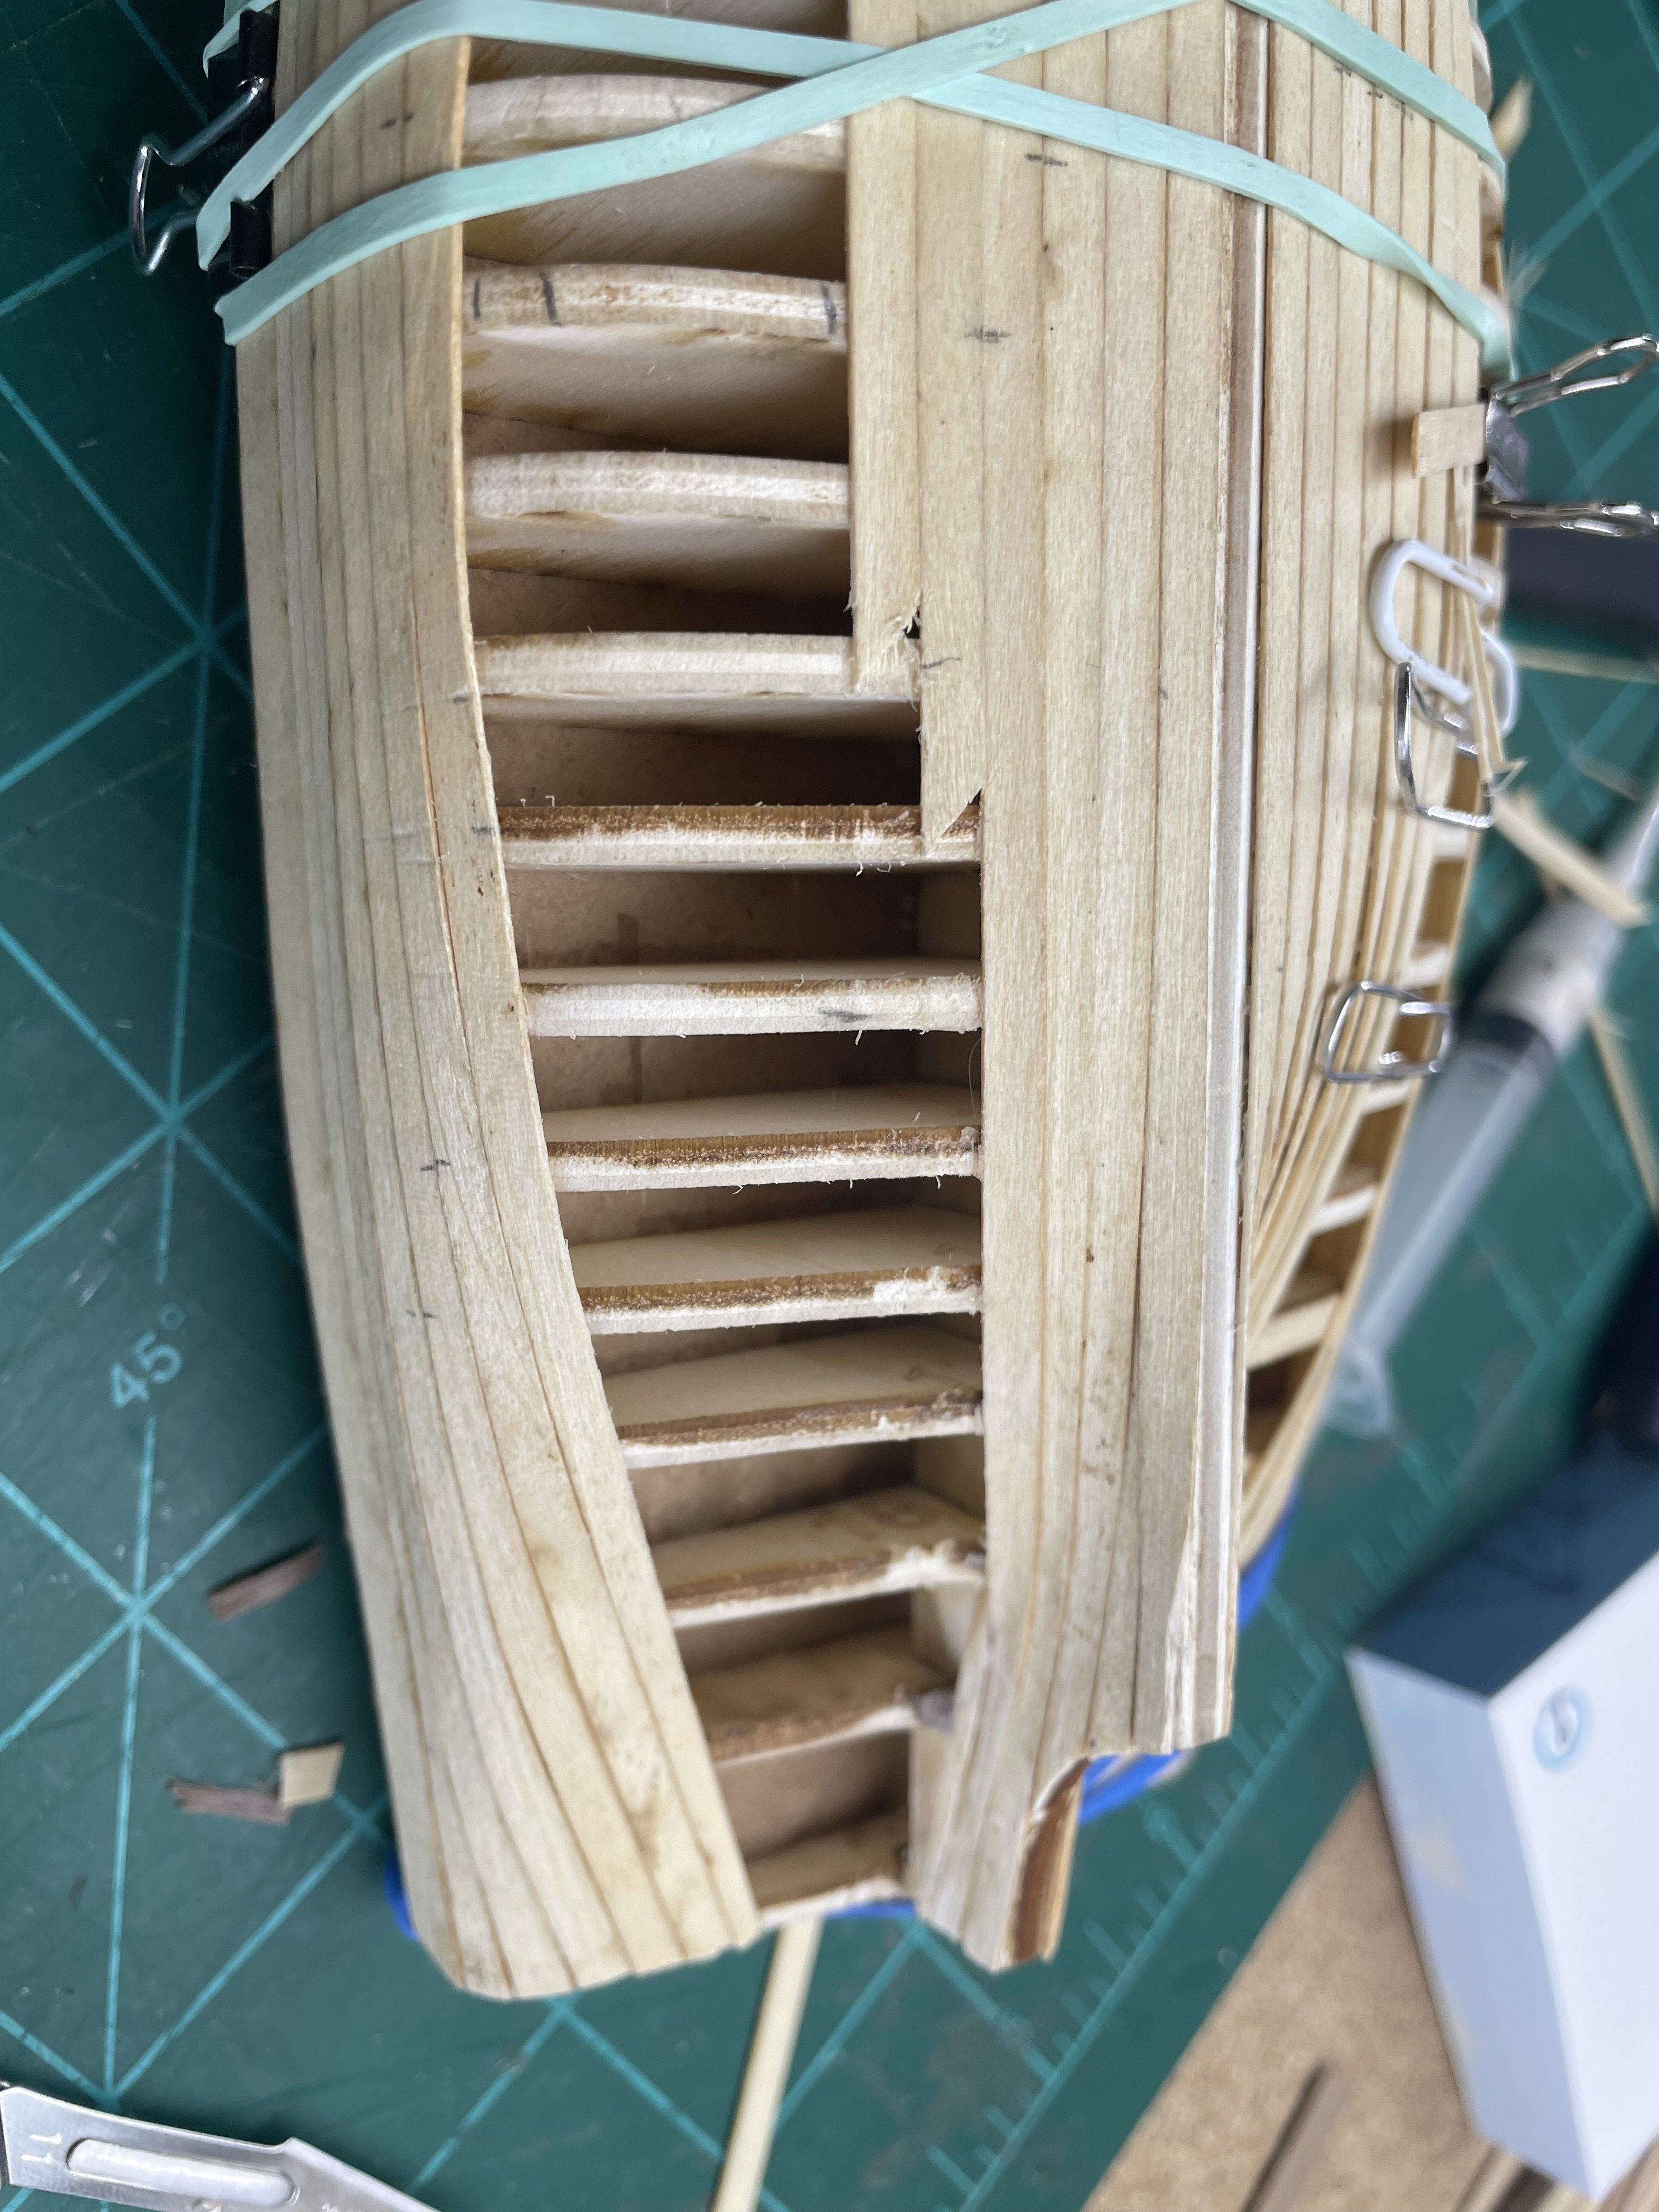
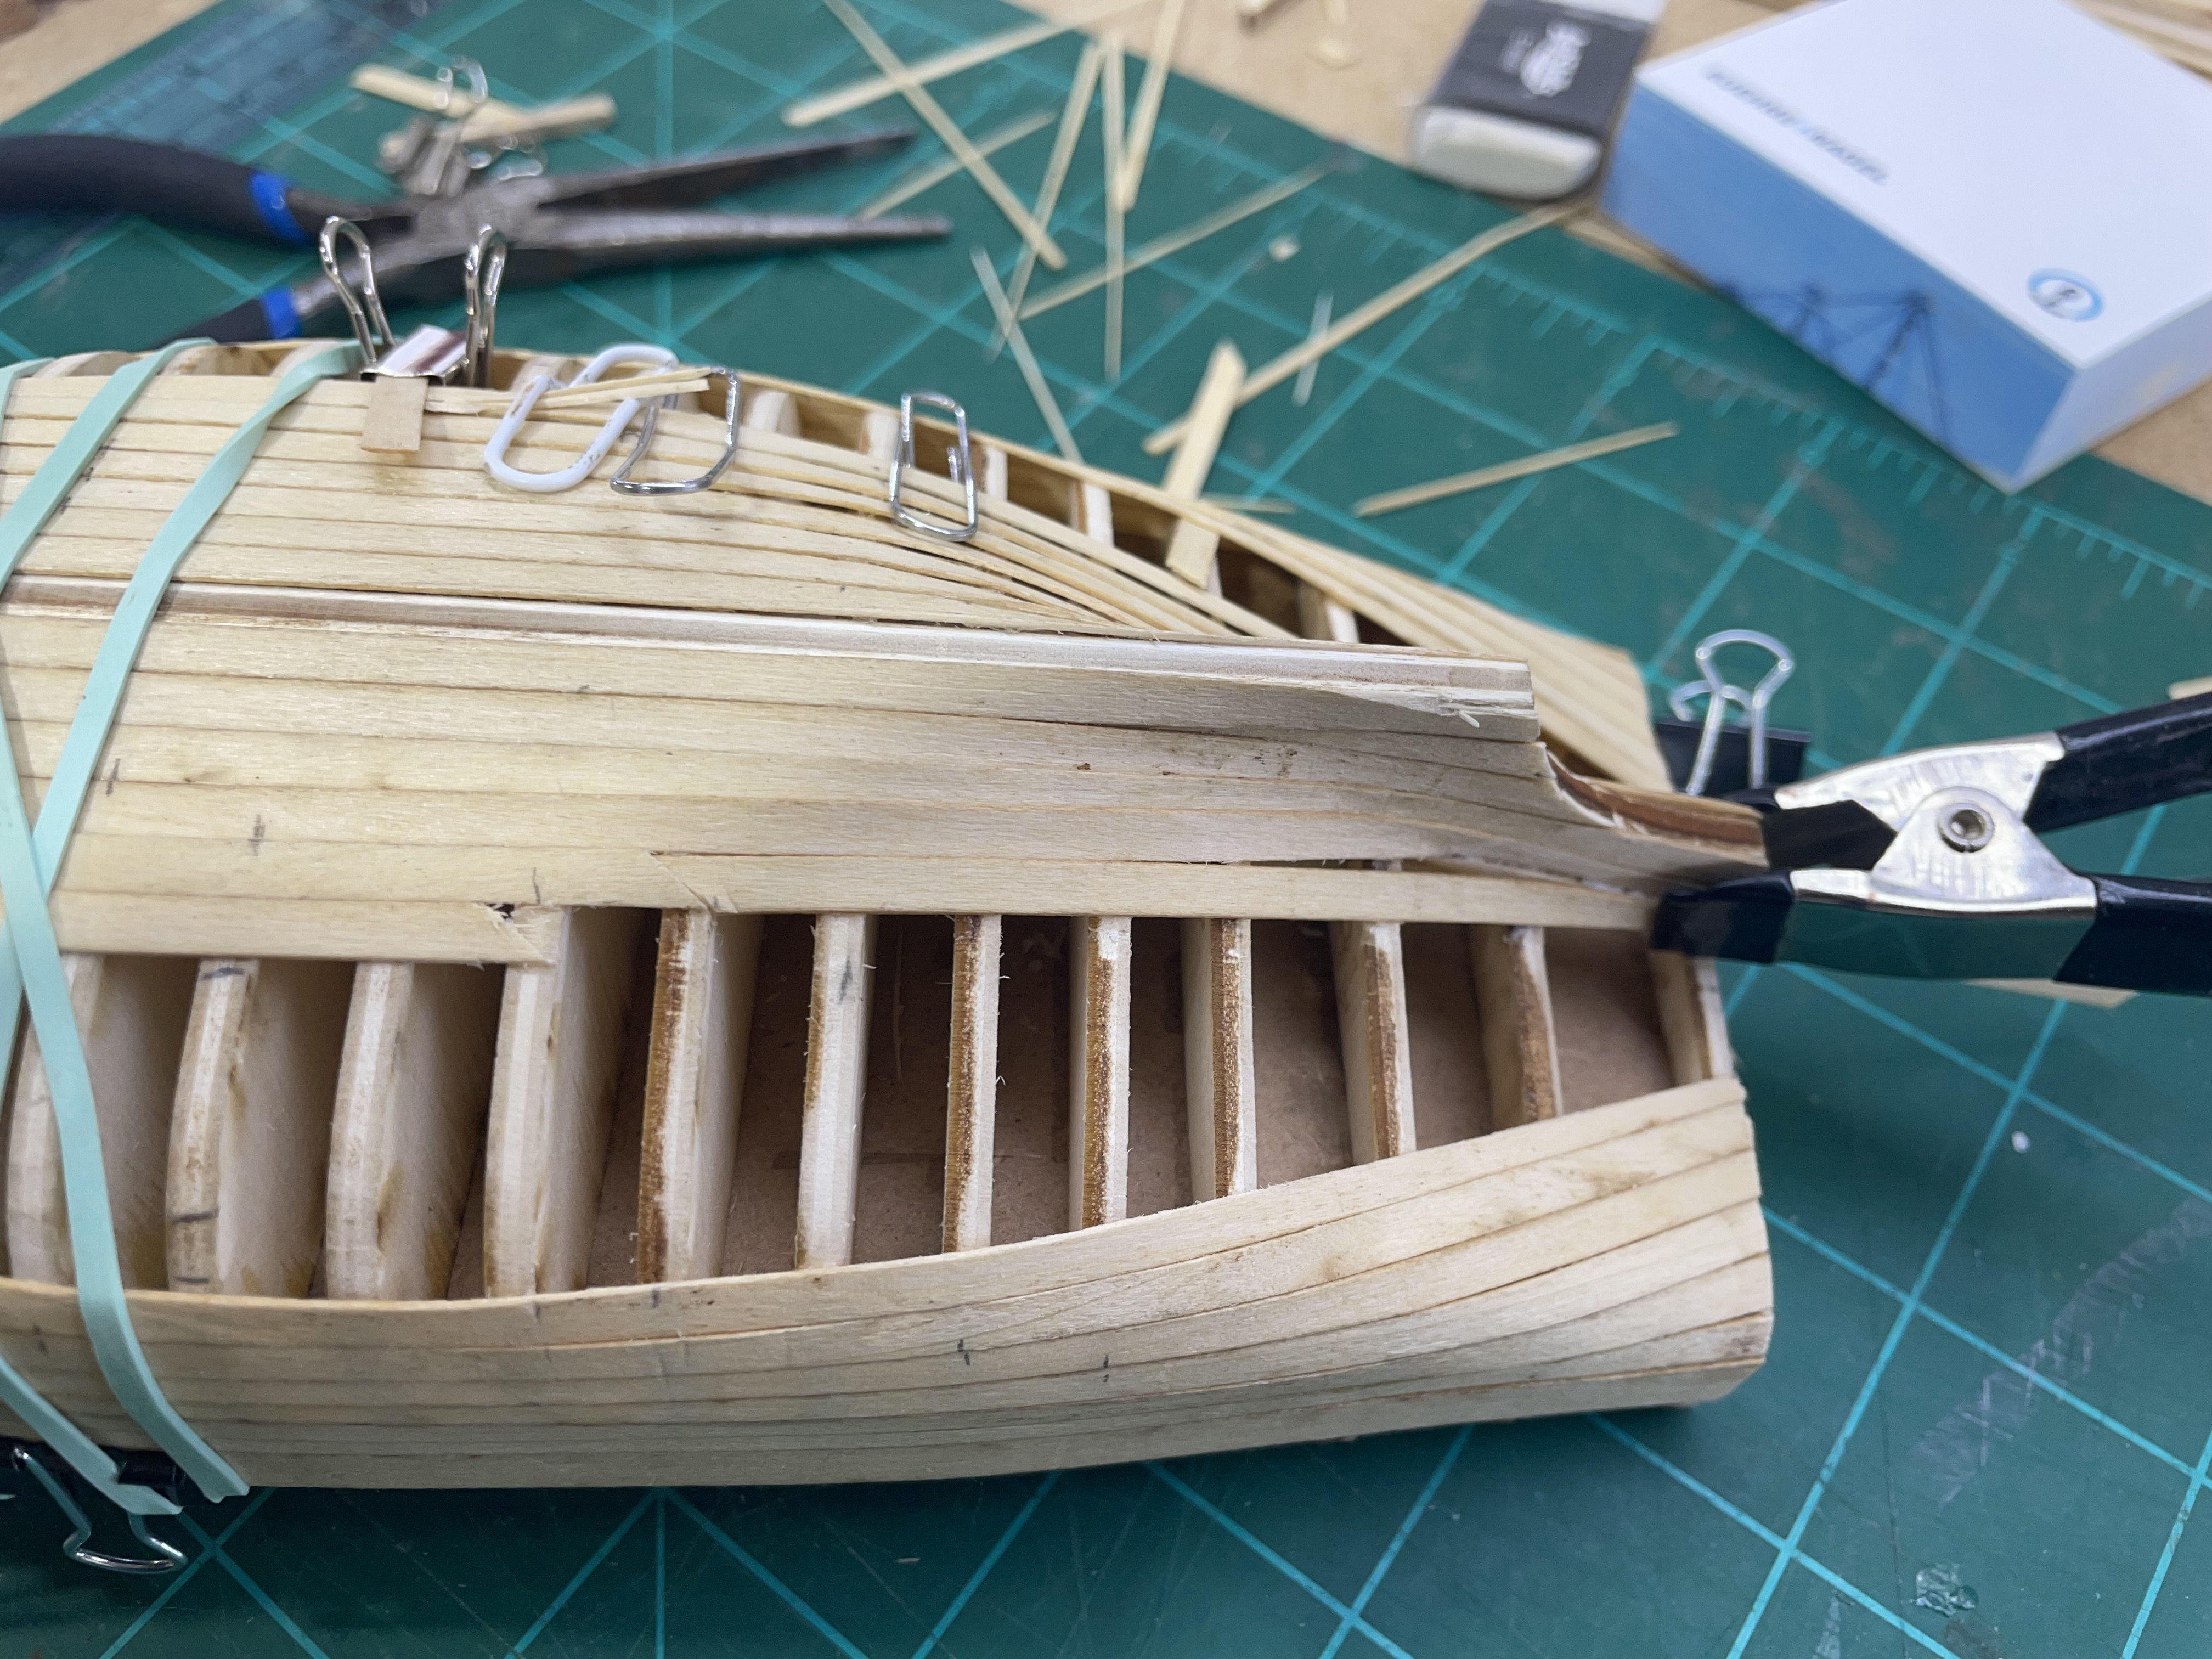
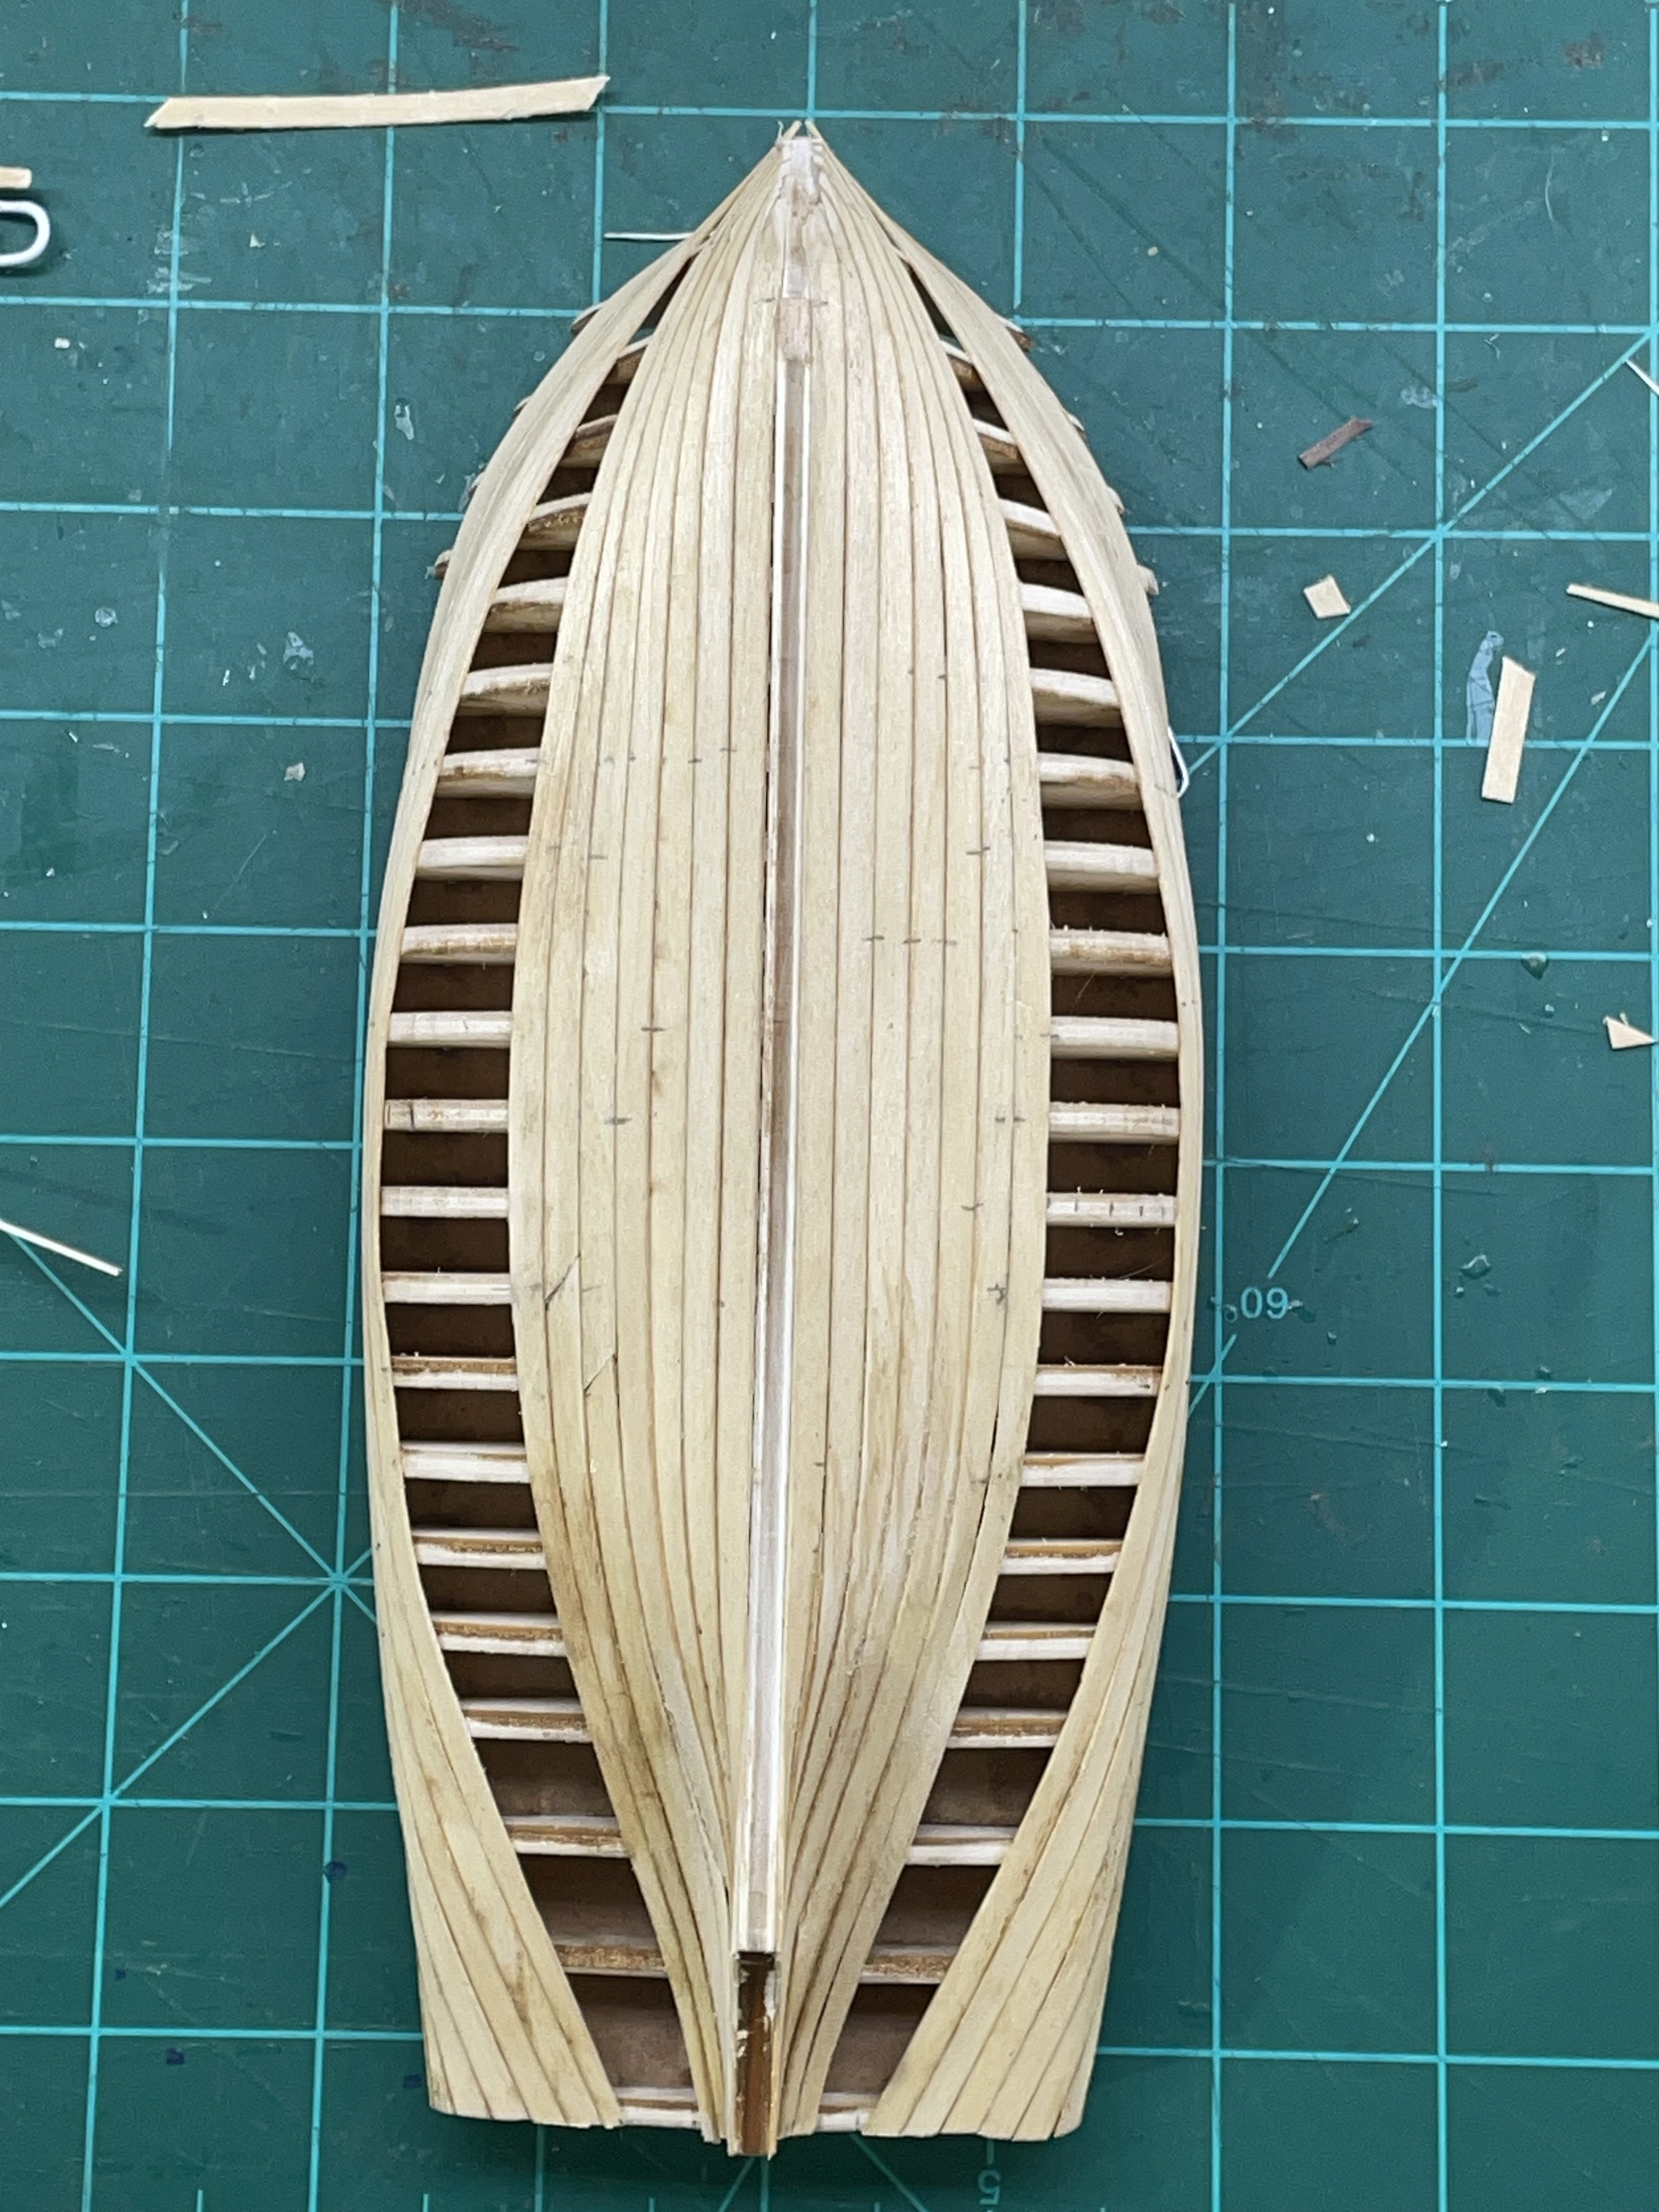
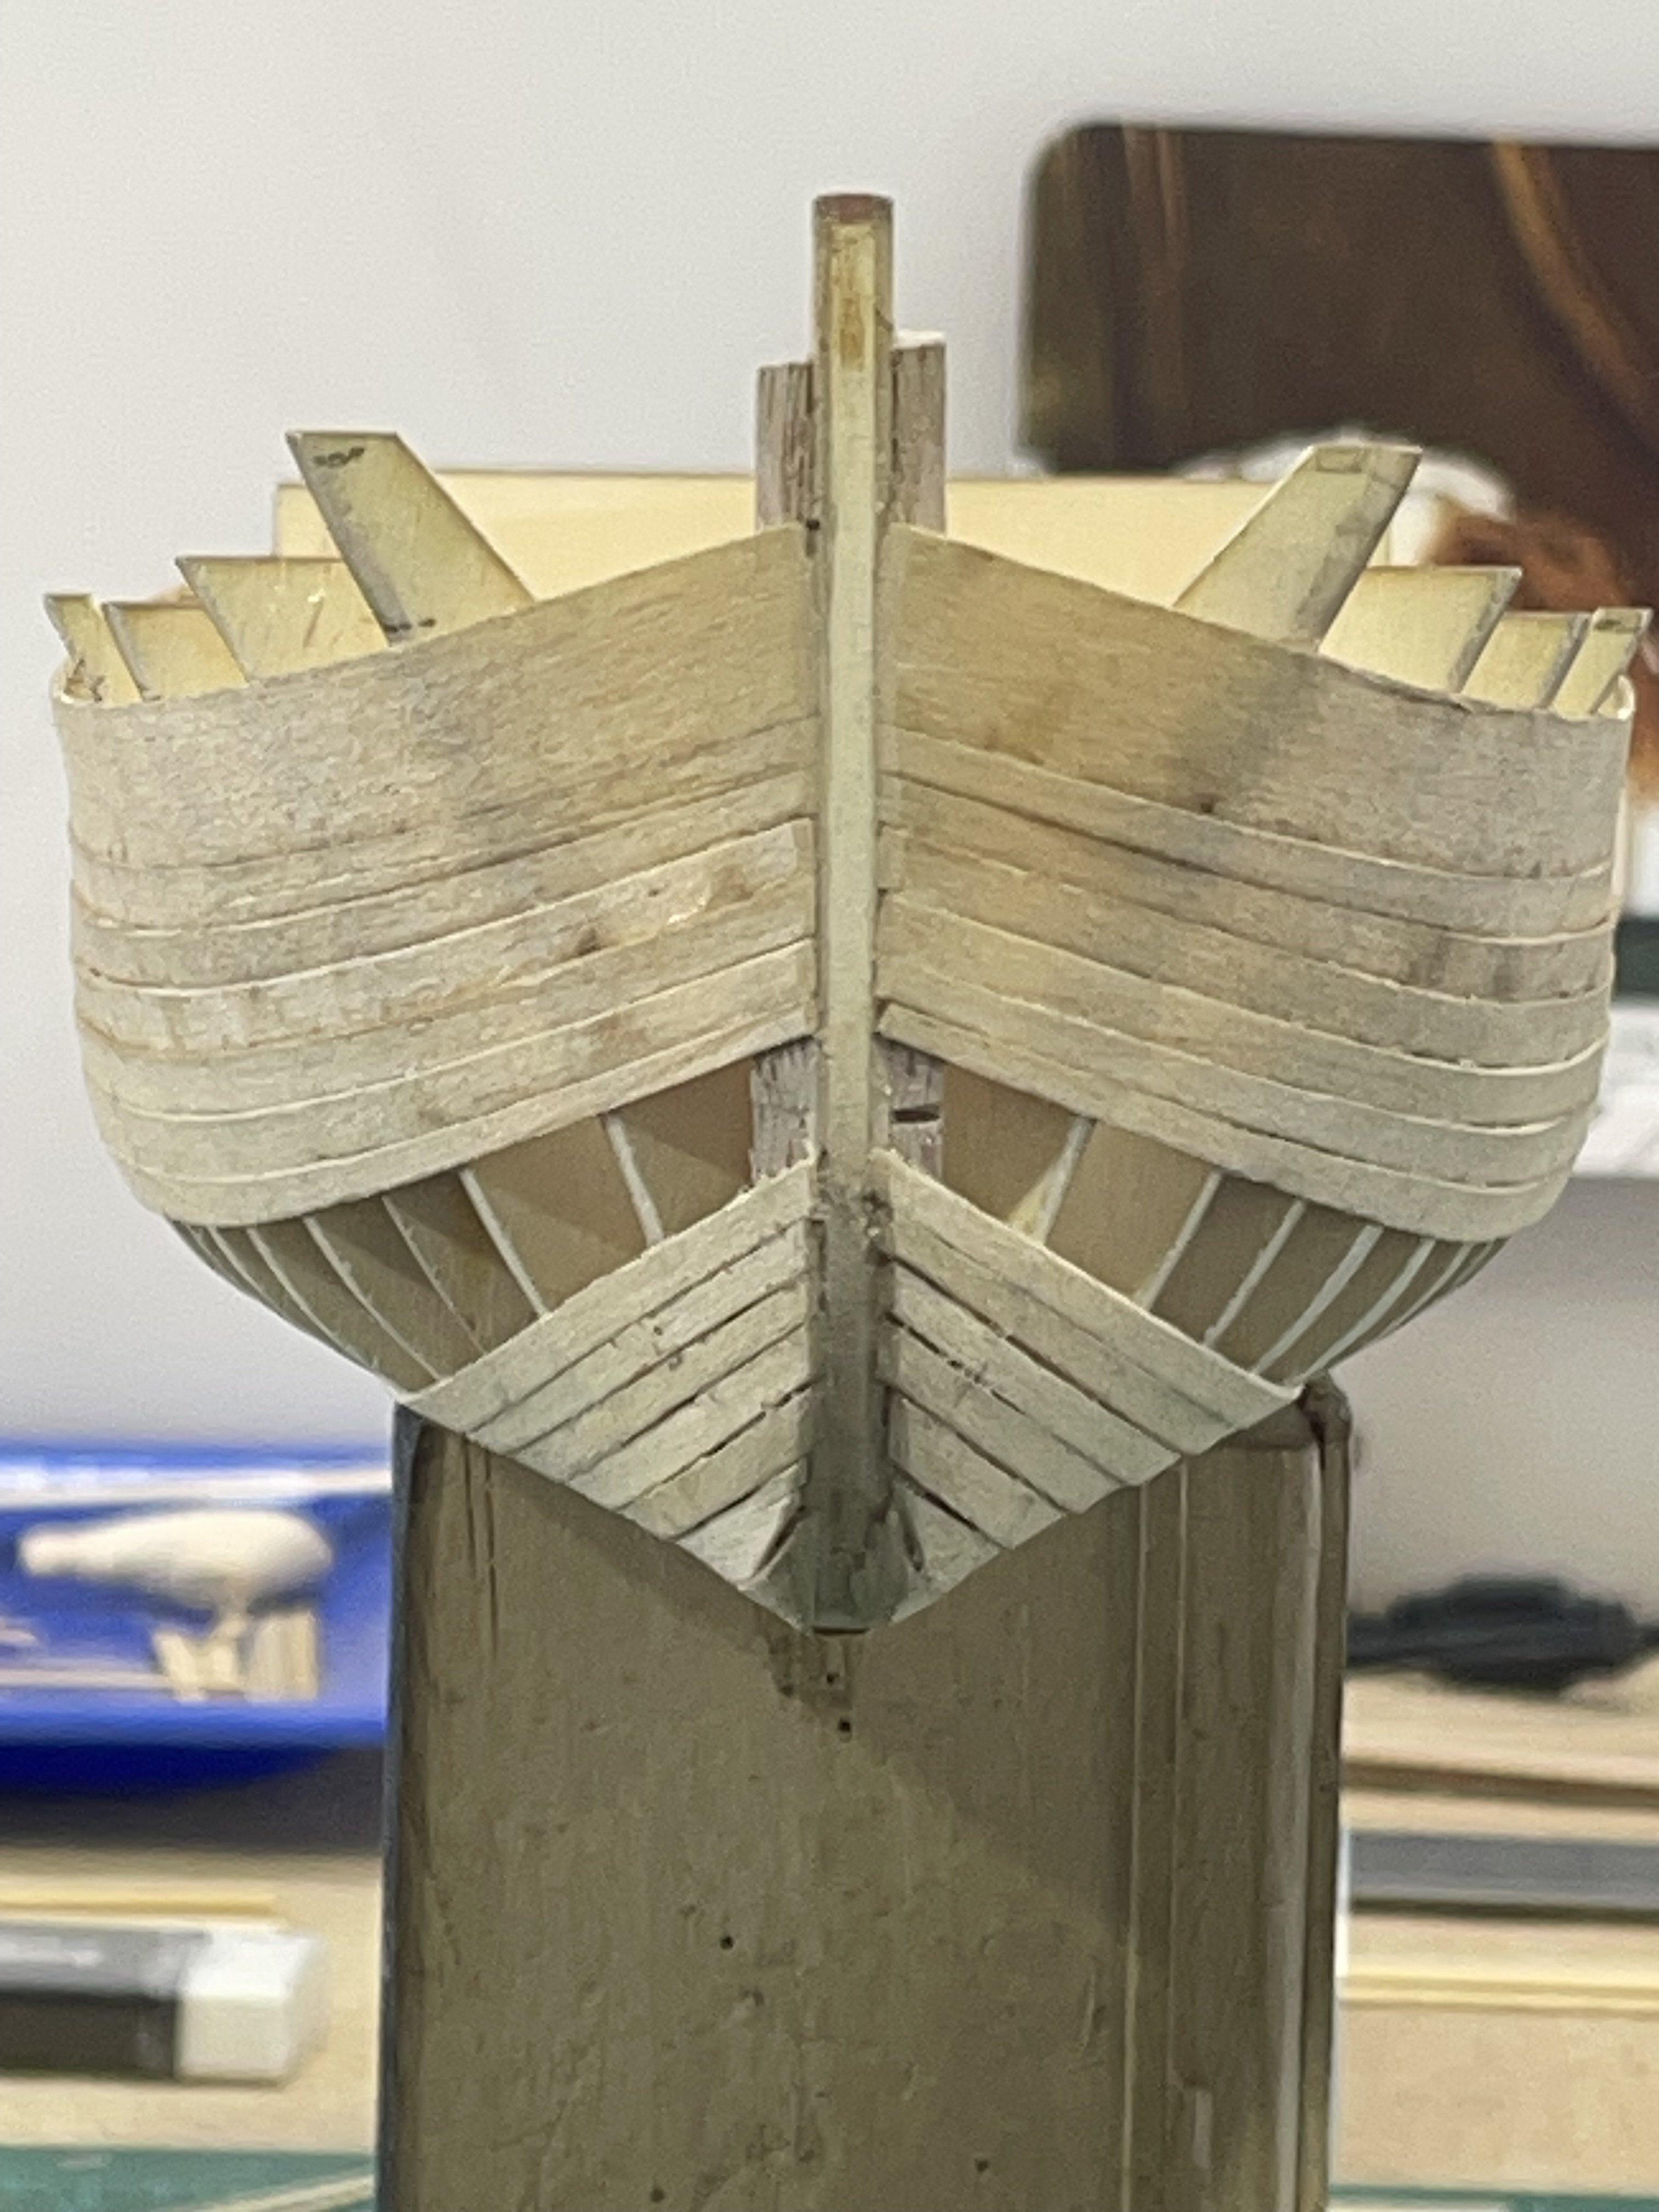
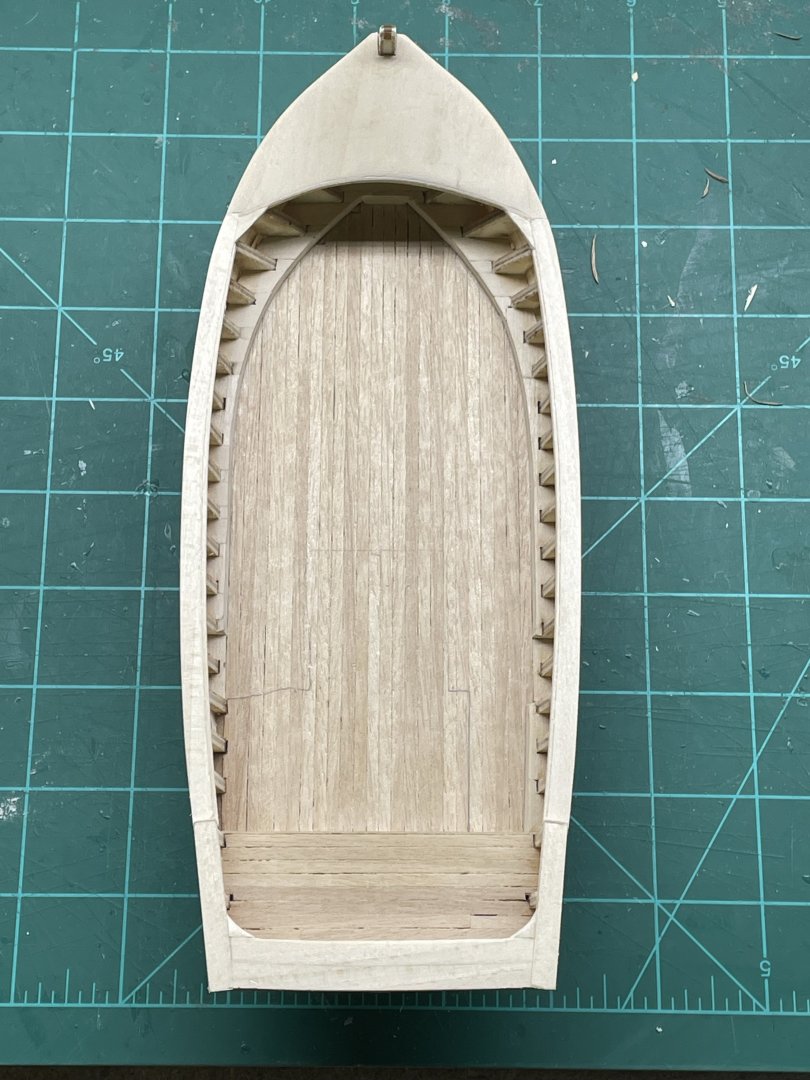
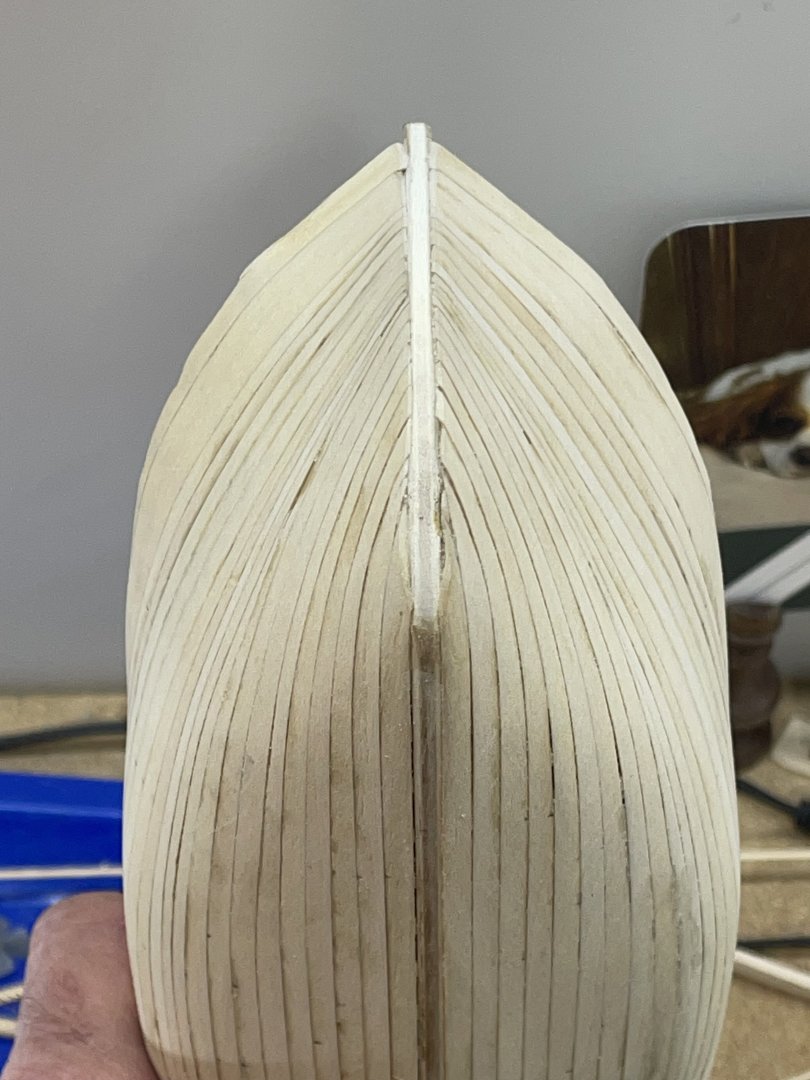
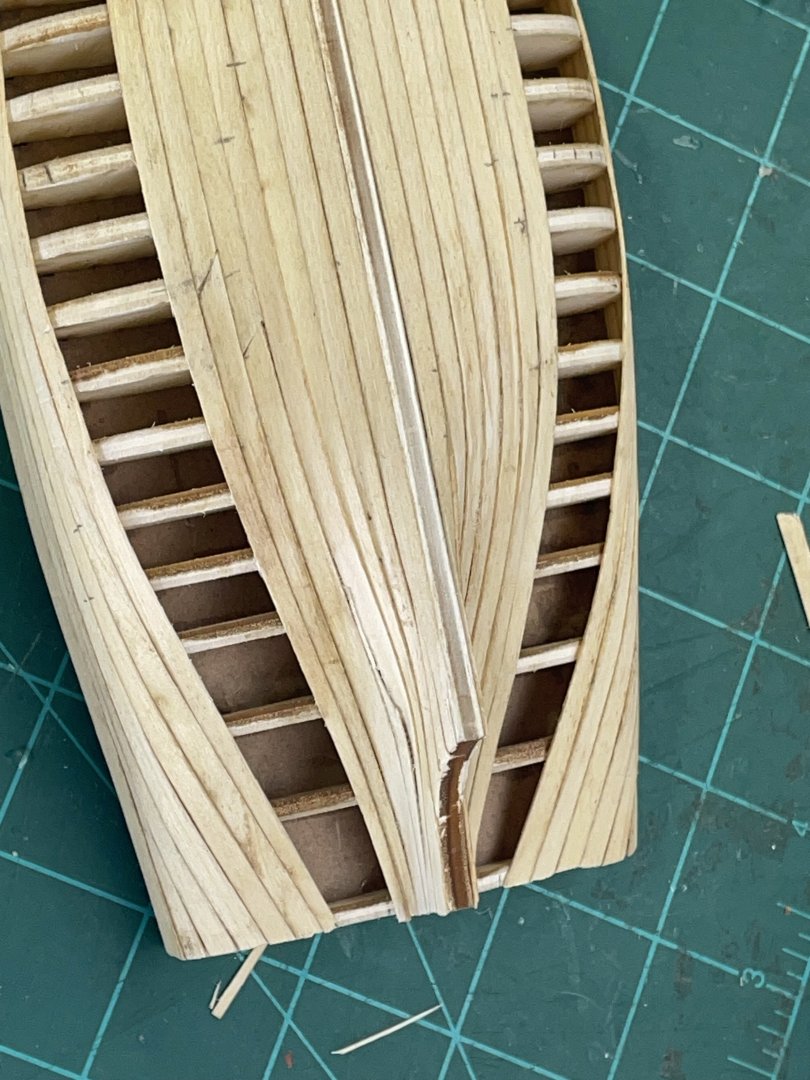
As planking continued, I realized I should have been paying closer attention to the stern and not just the bow. I started tapering both ends and made a simple jig to edge bend the fragile planks. Clamping wasn’t even an option. I glued about 4 bulkheads at a time while applying heat. It went as easy as using CA. I’m down to just one space to fill. It’s 3mm wide. I’m going to fit two small strips in so it doesn’t edge up on me so bad. Next I’ll sand it down a bit, put the false keel on. I’m thinking I’m going to put a toe board around the inside.


- 35 replies
-
- 5
-
-
- Fischkutter
- Laser Creation World
- (and 1 more)
-
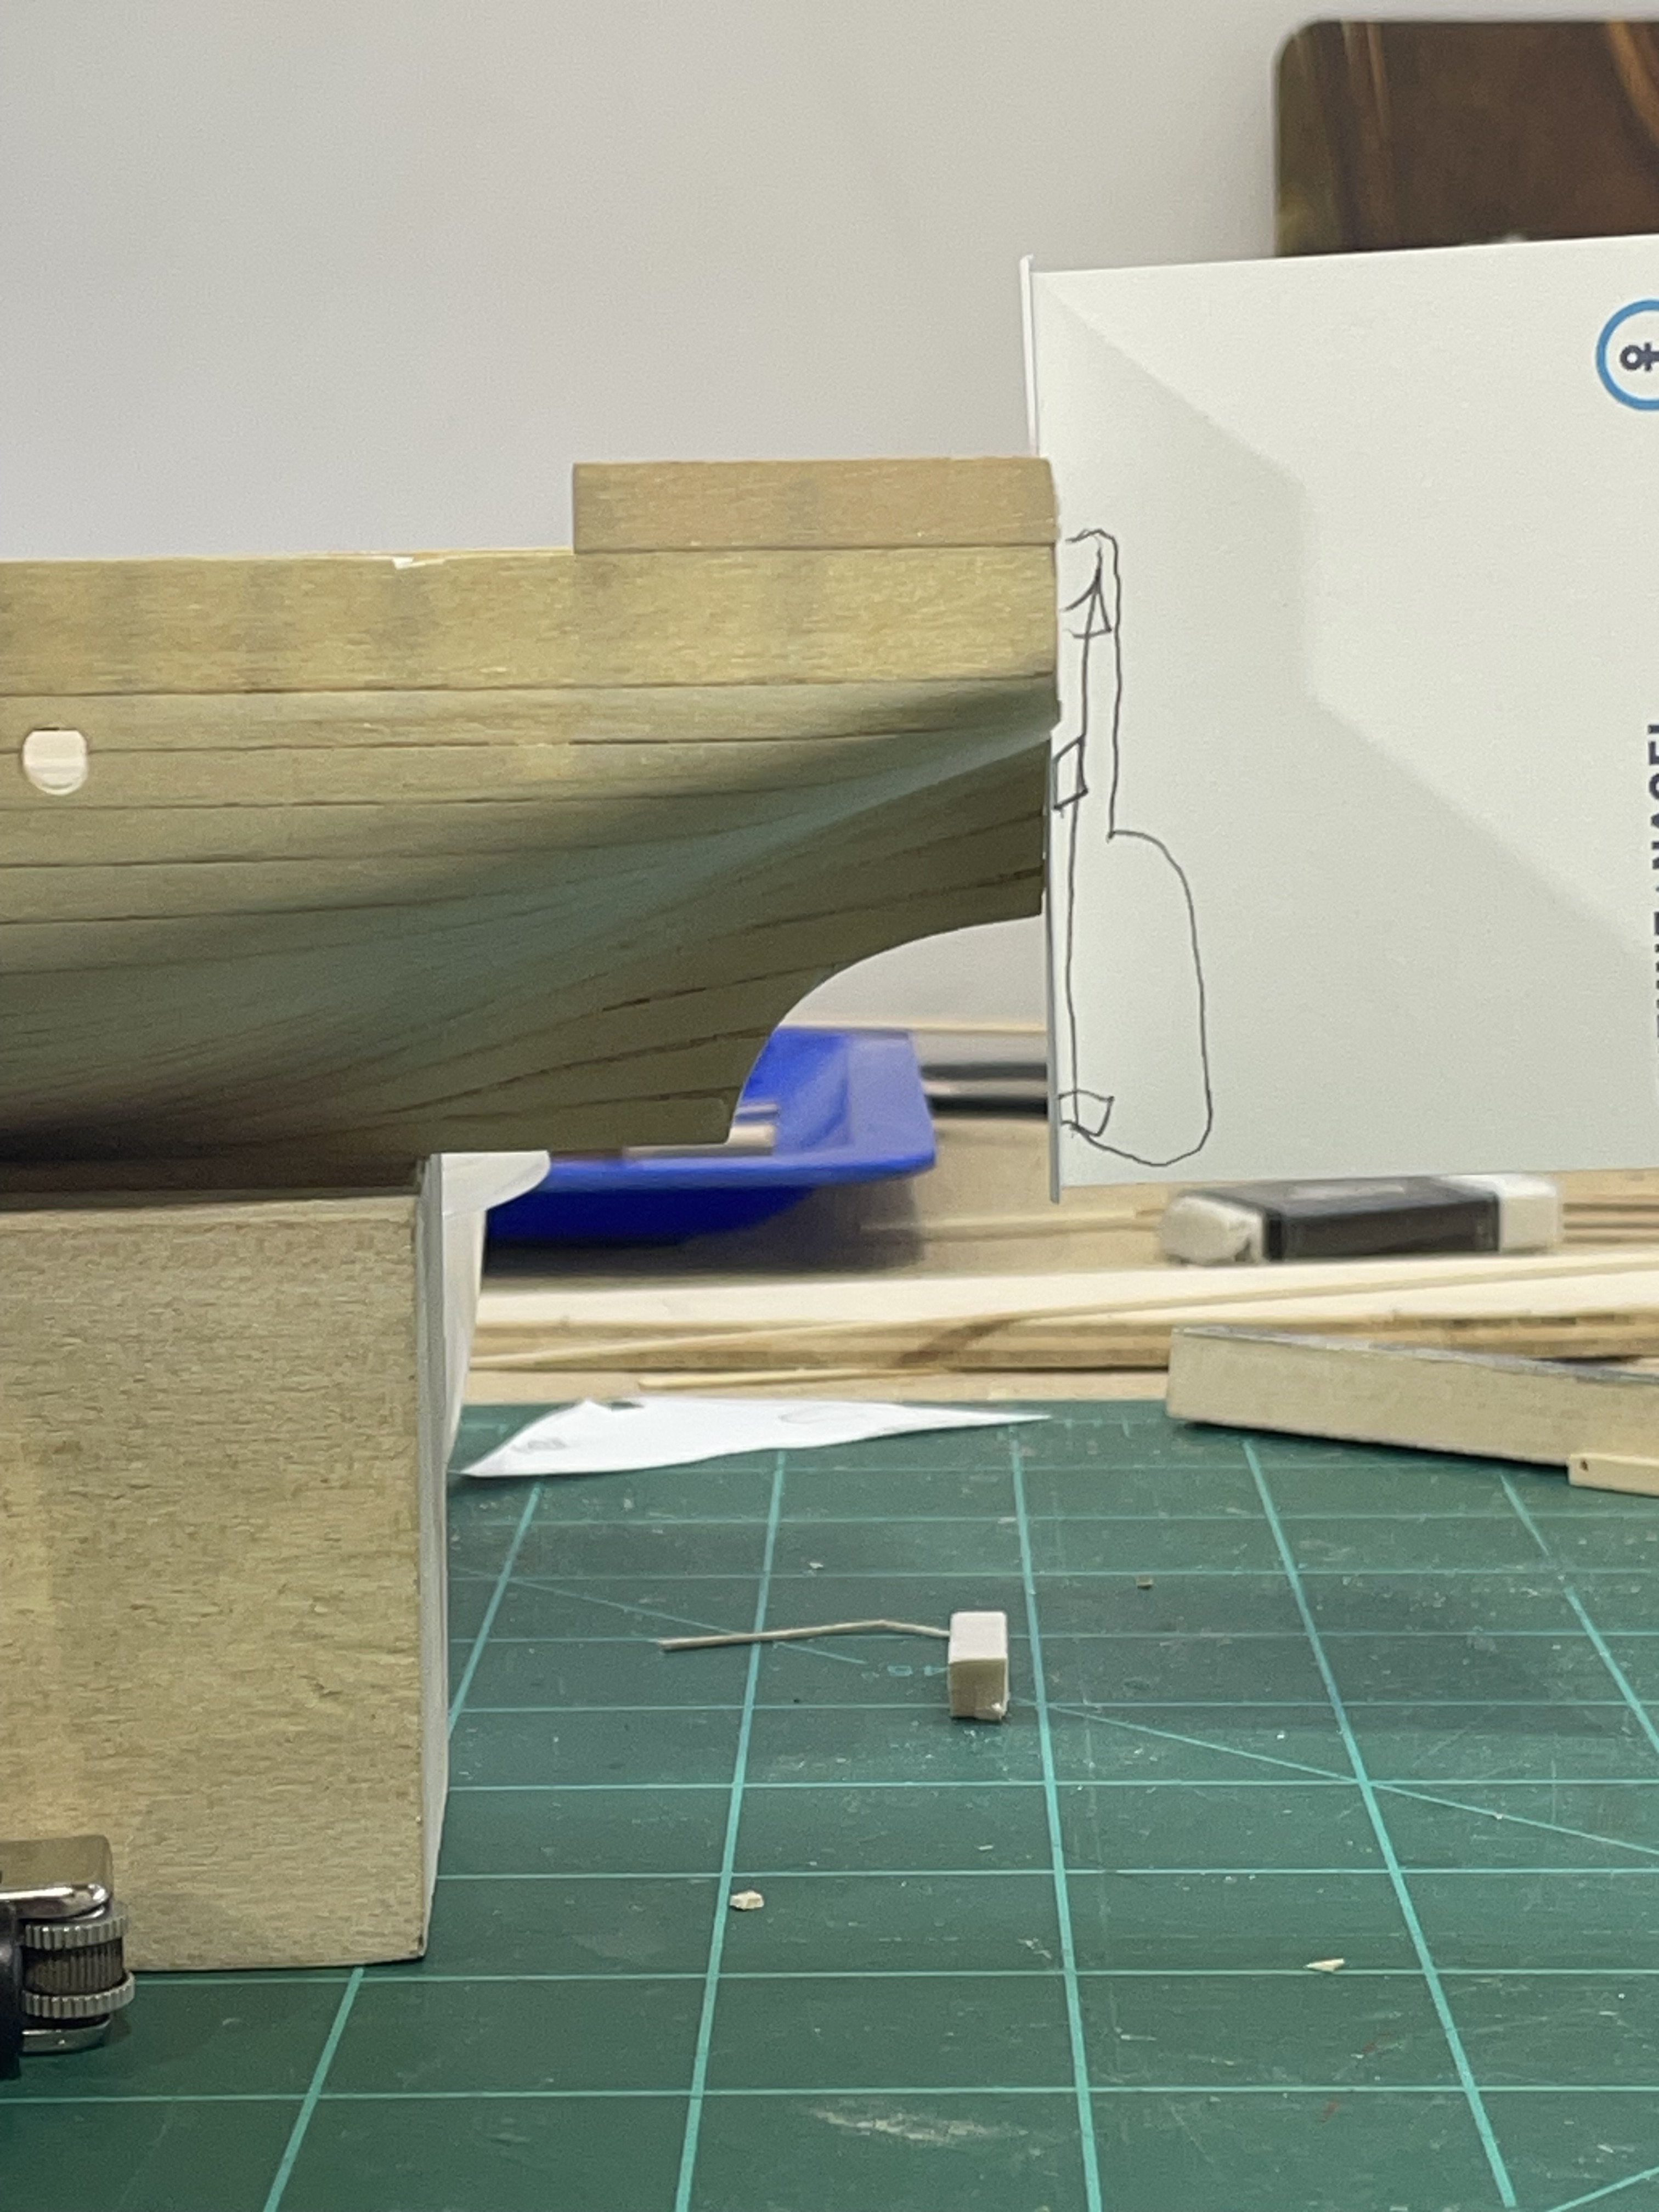
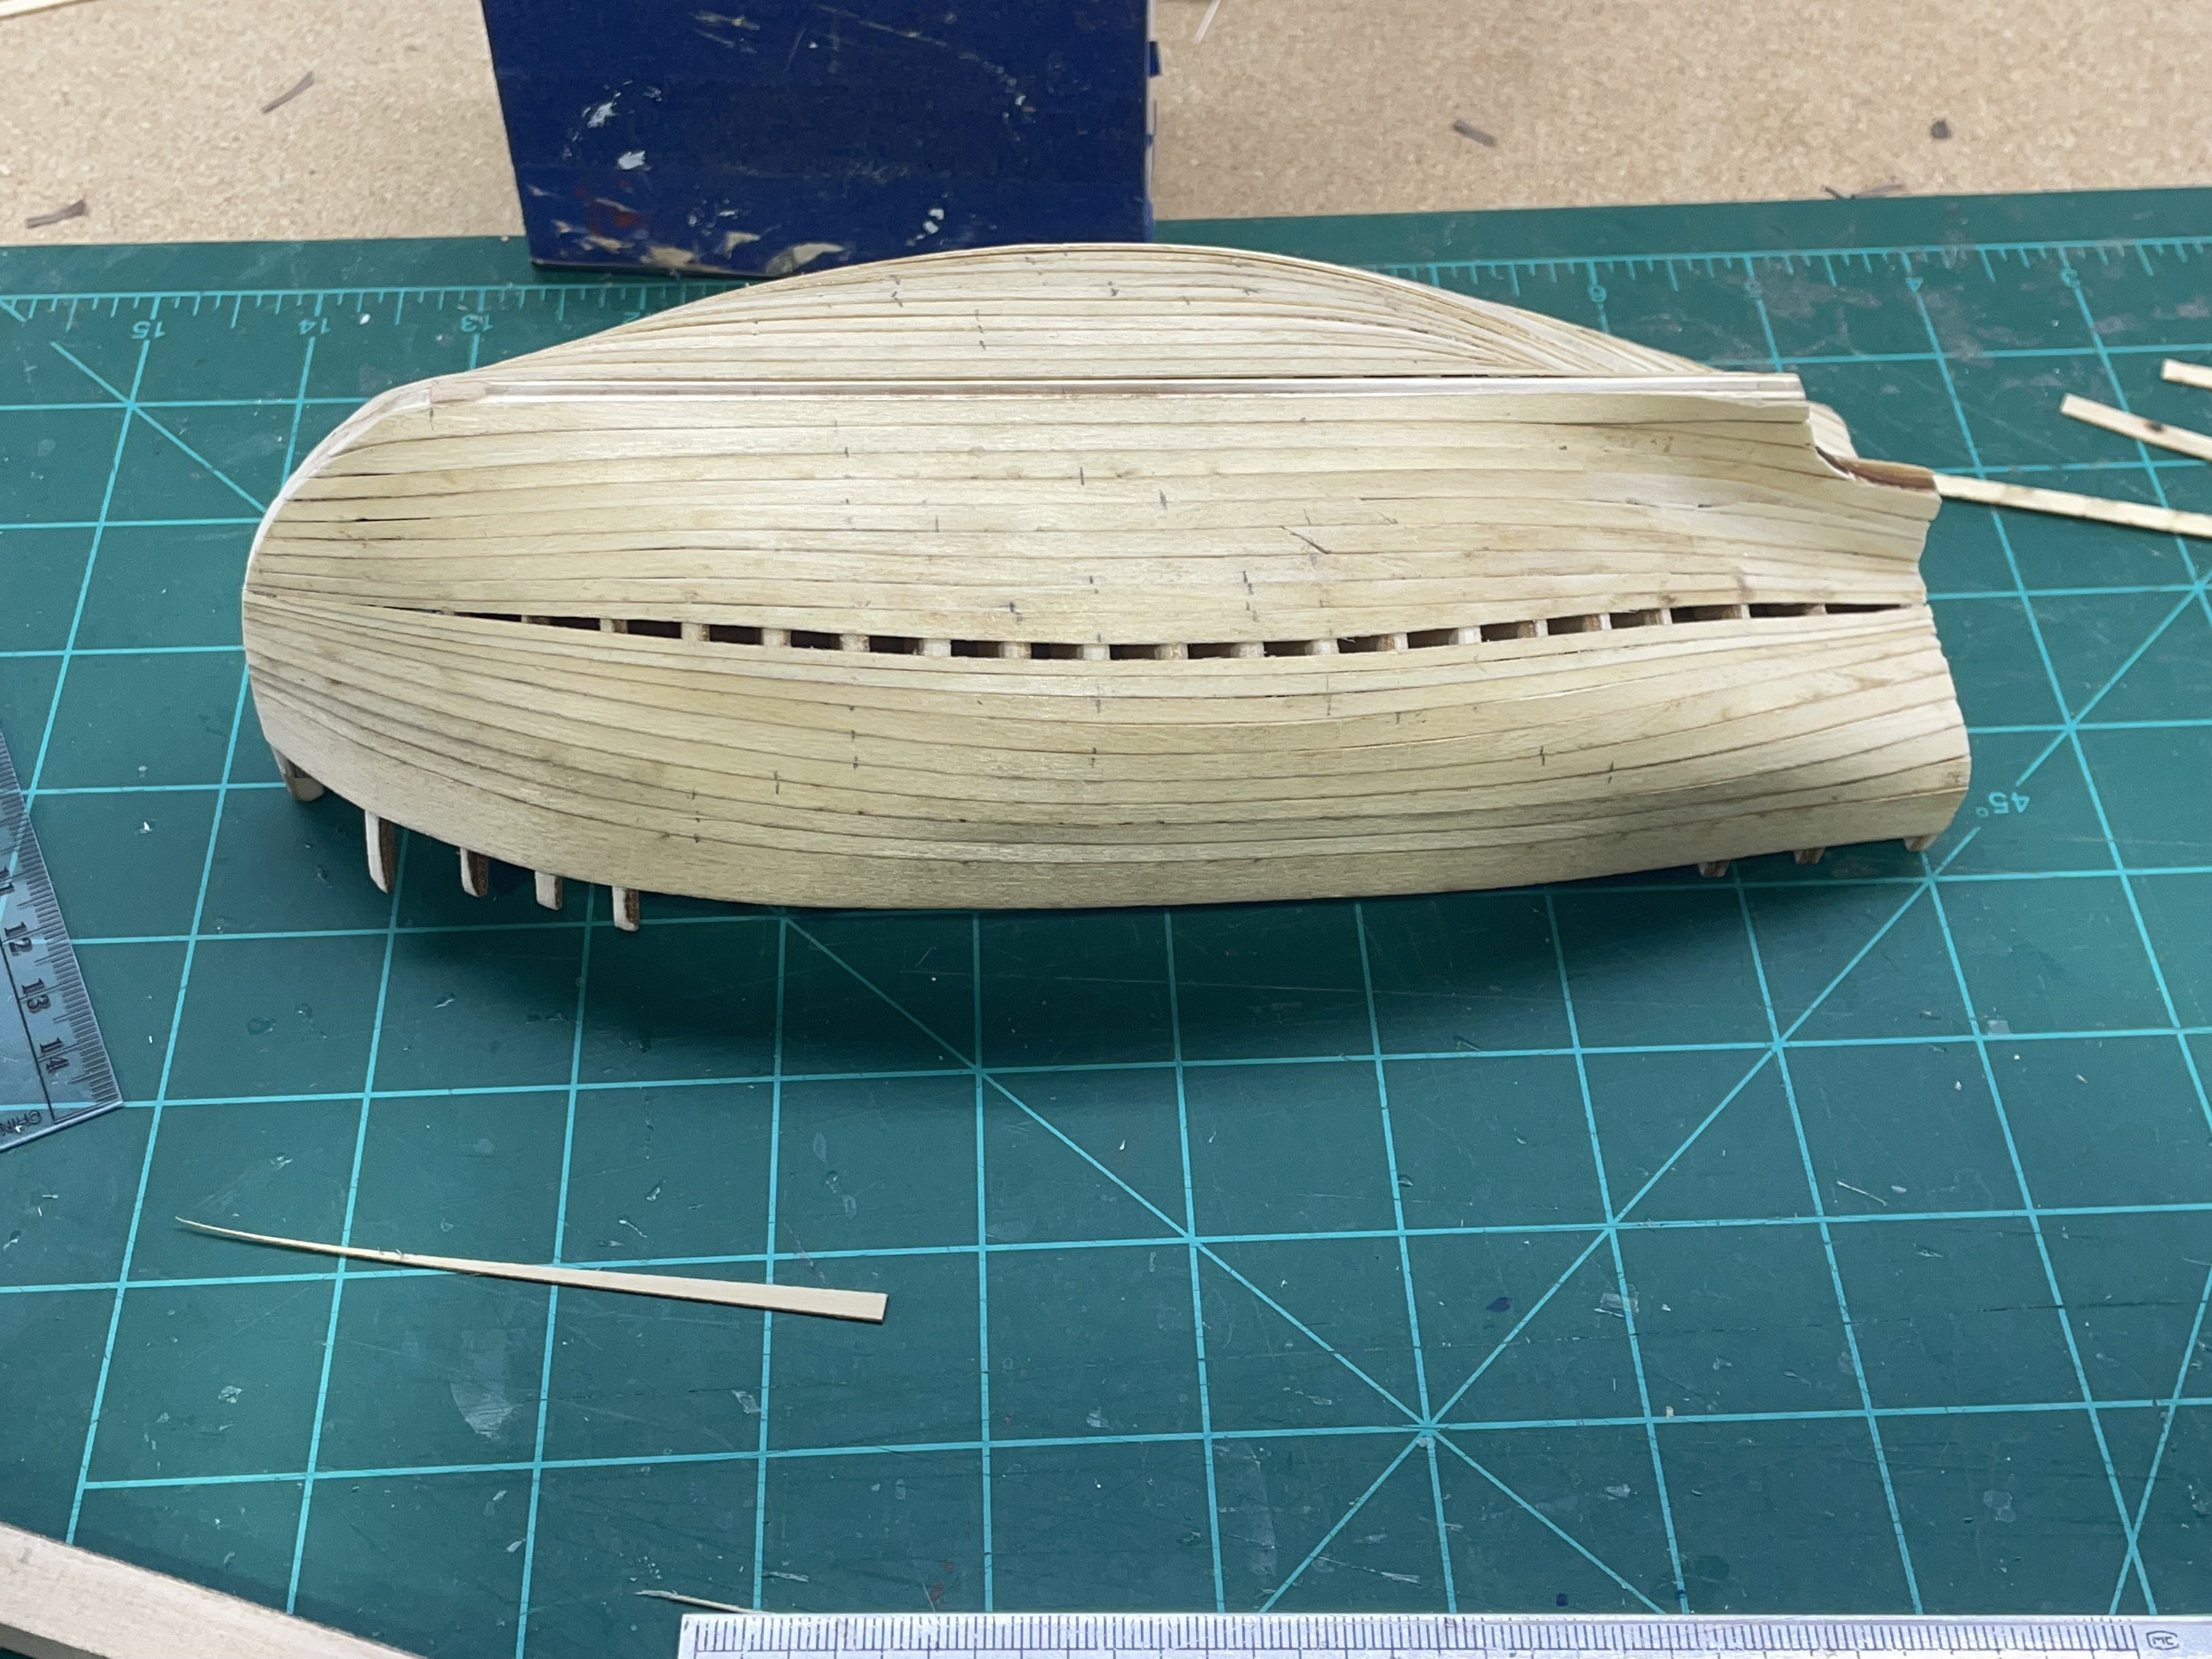
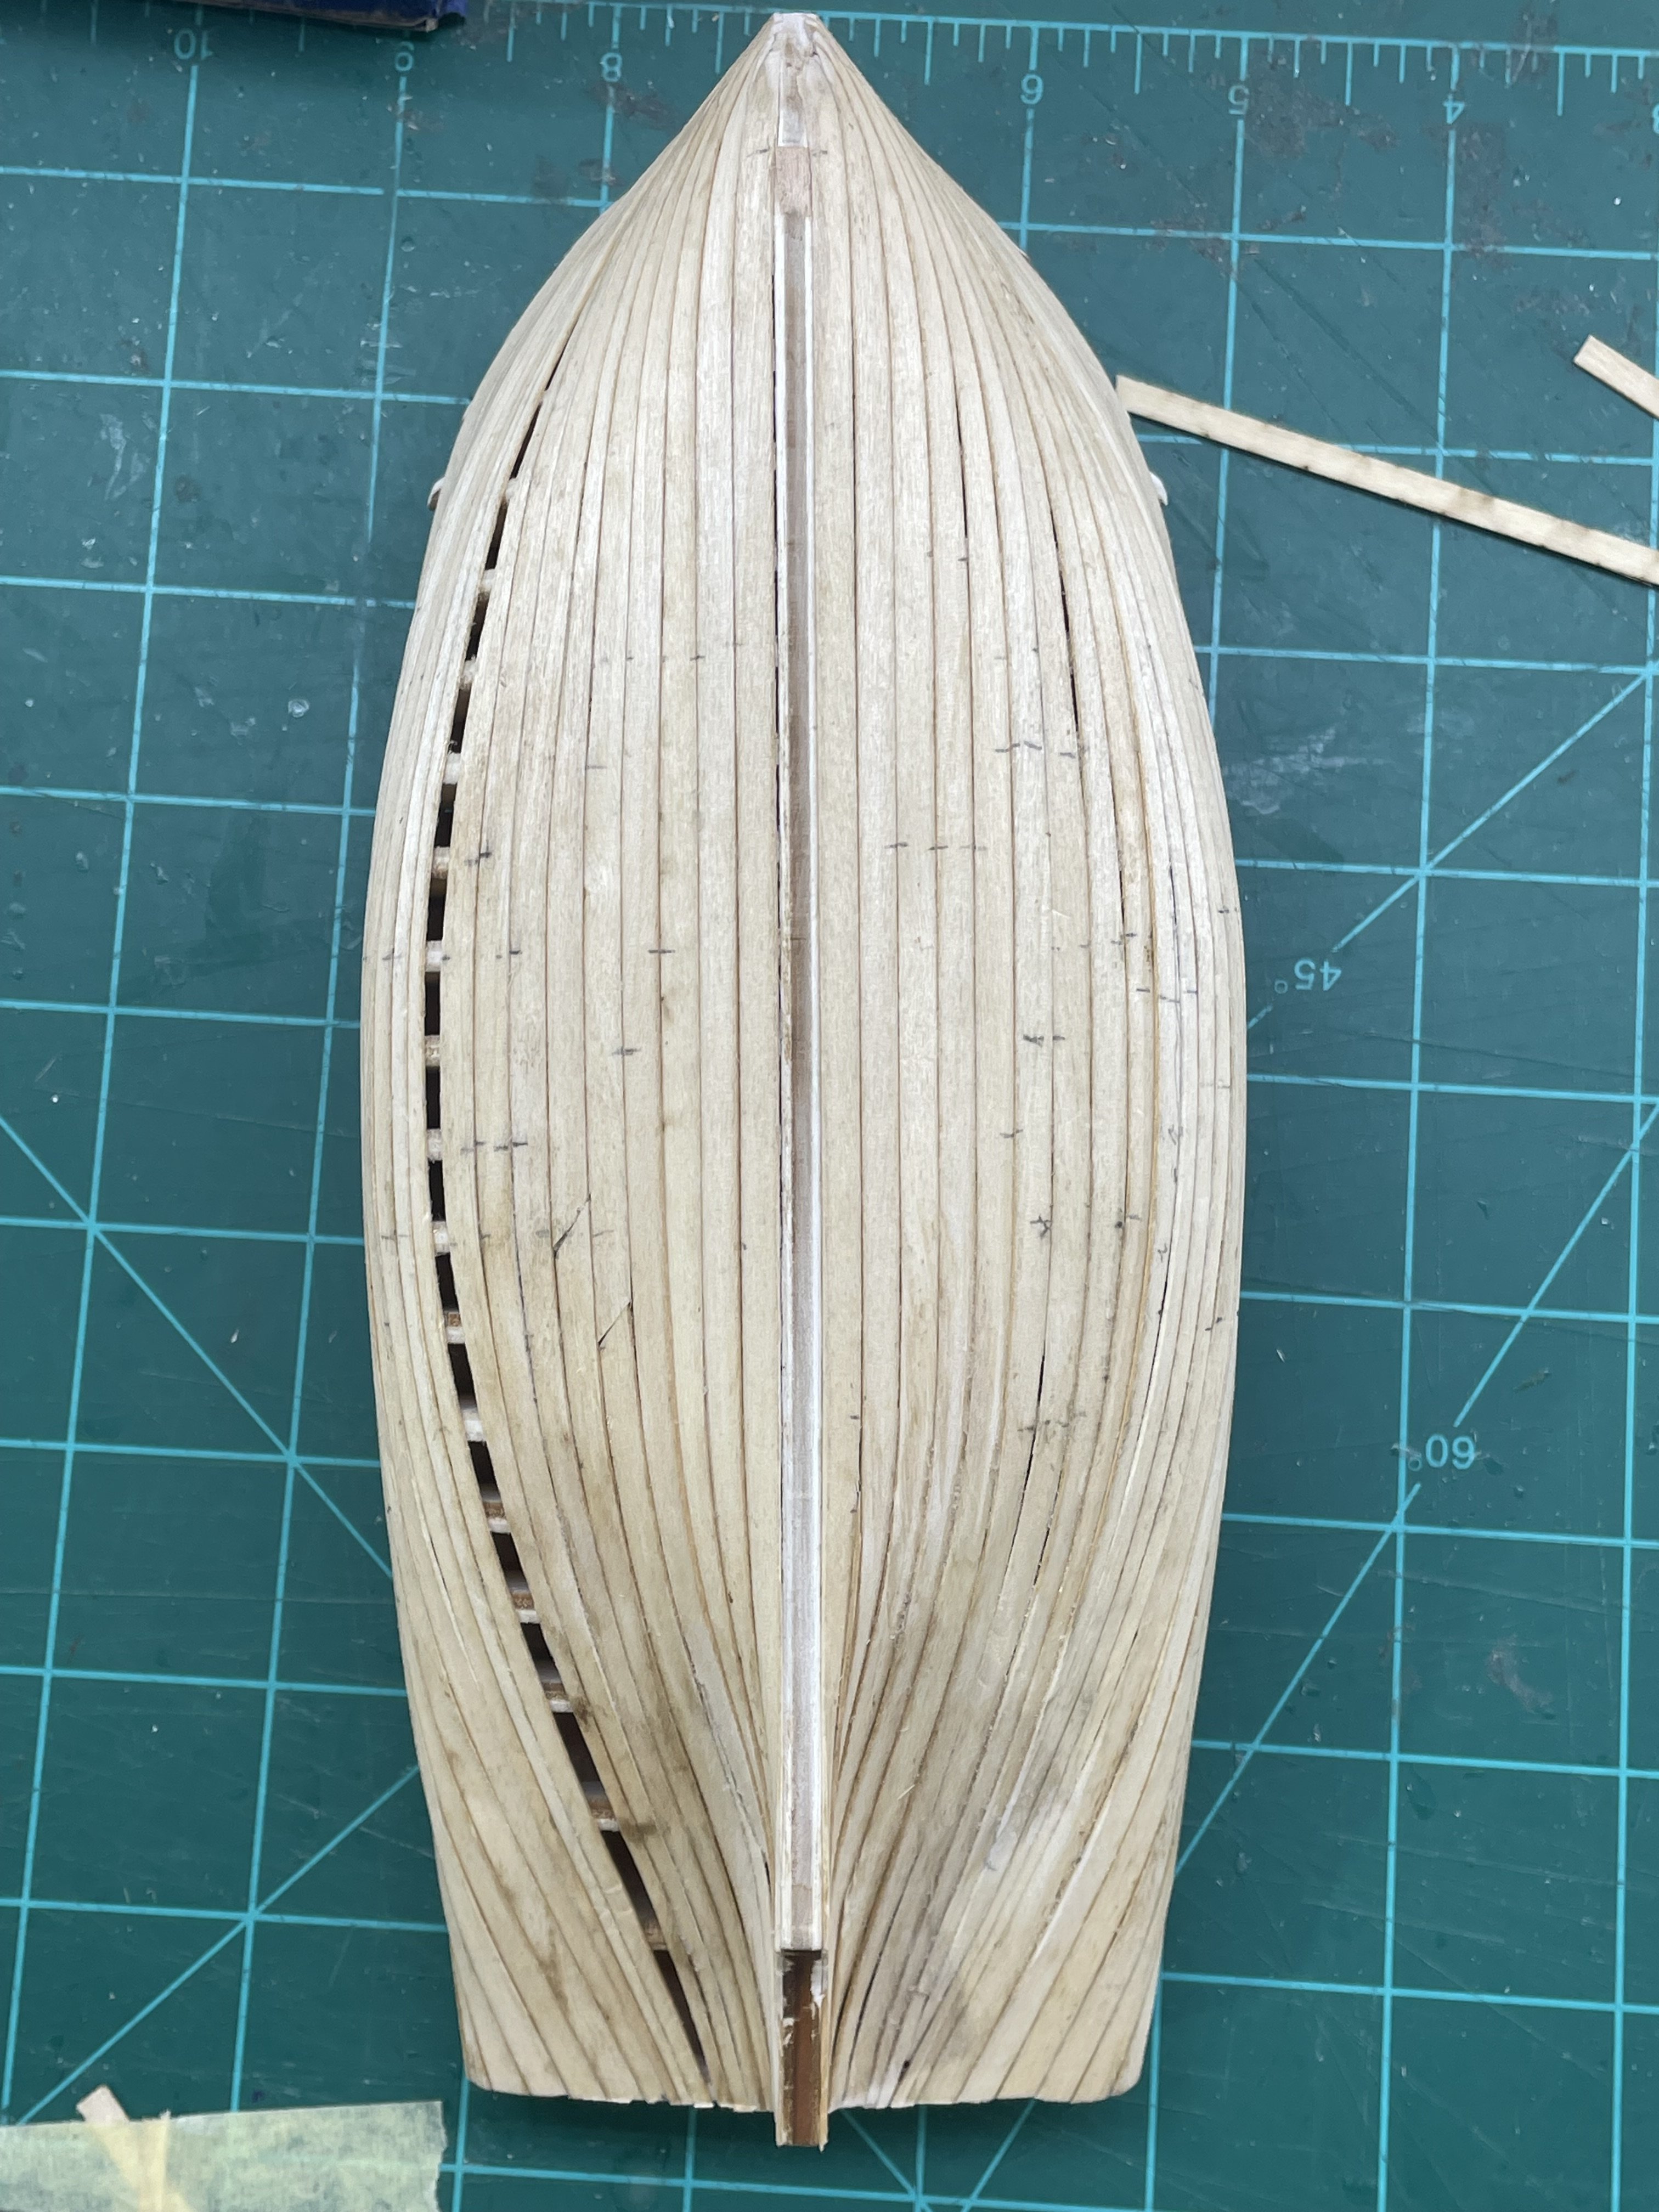
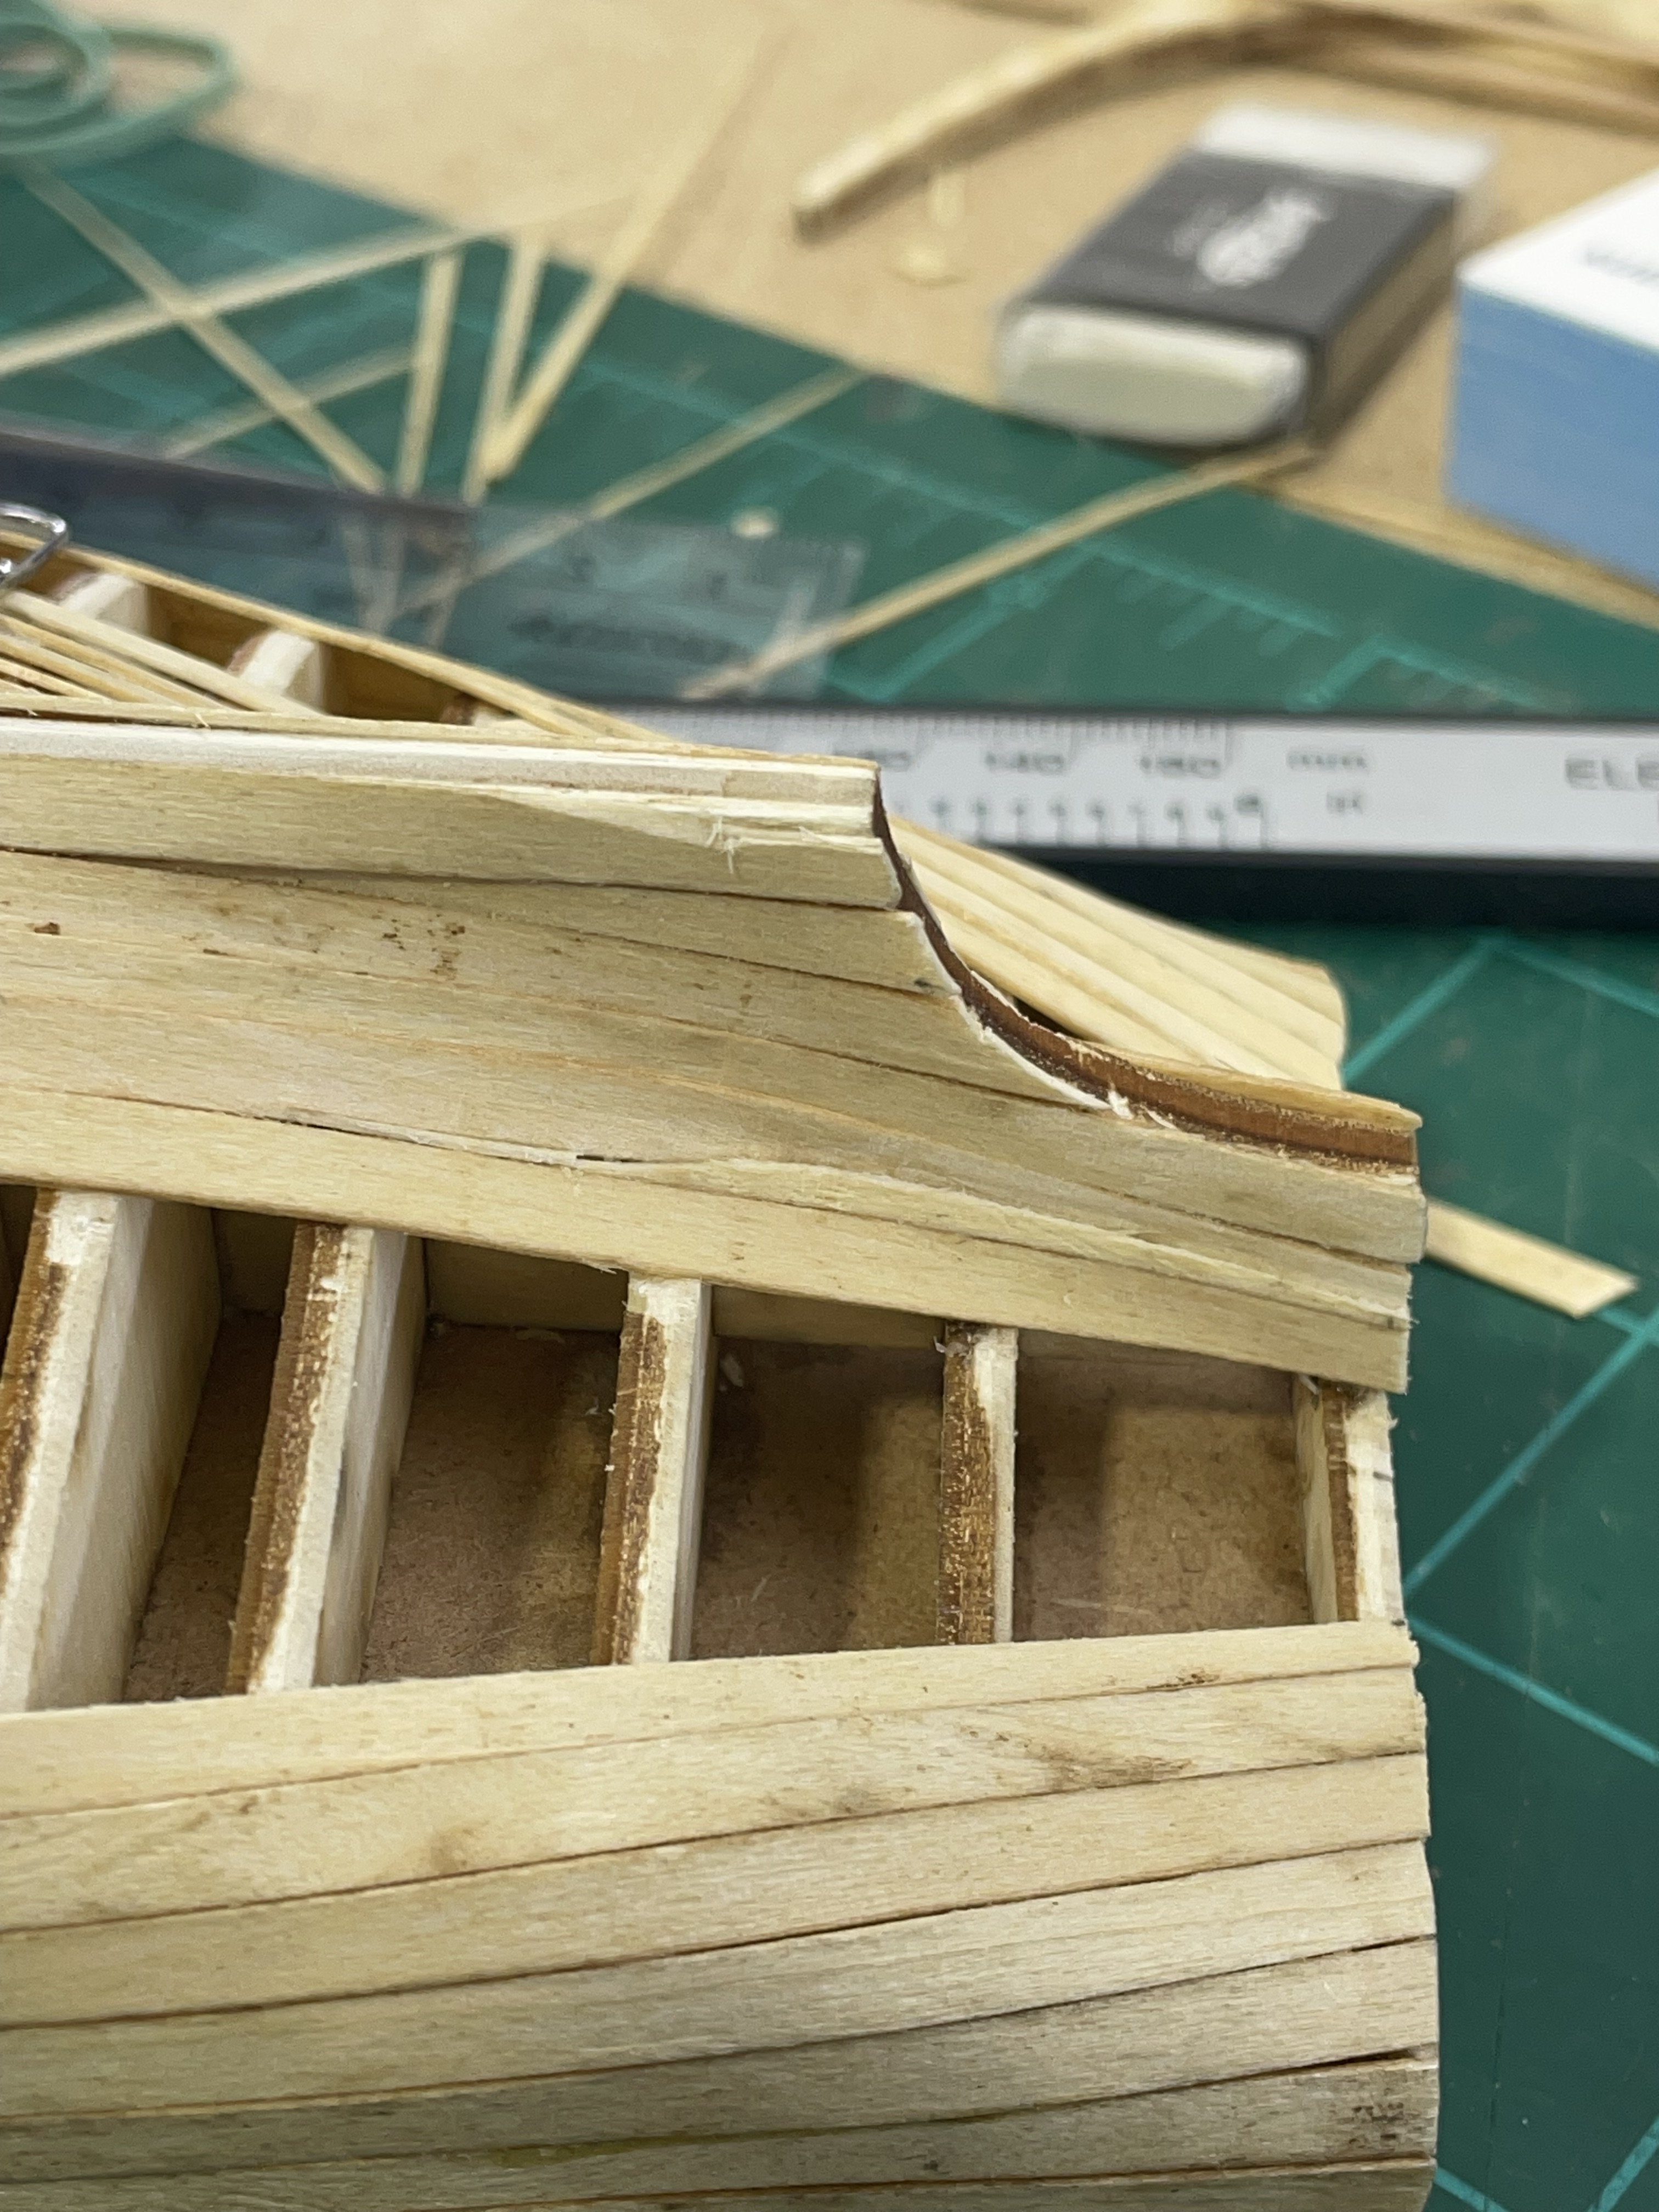
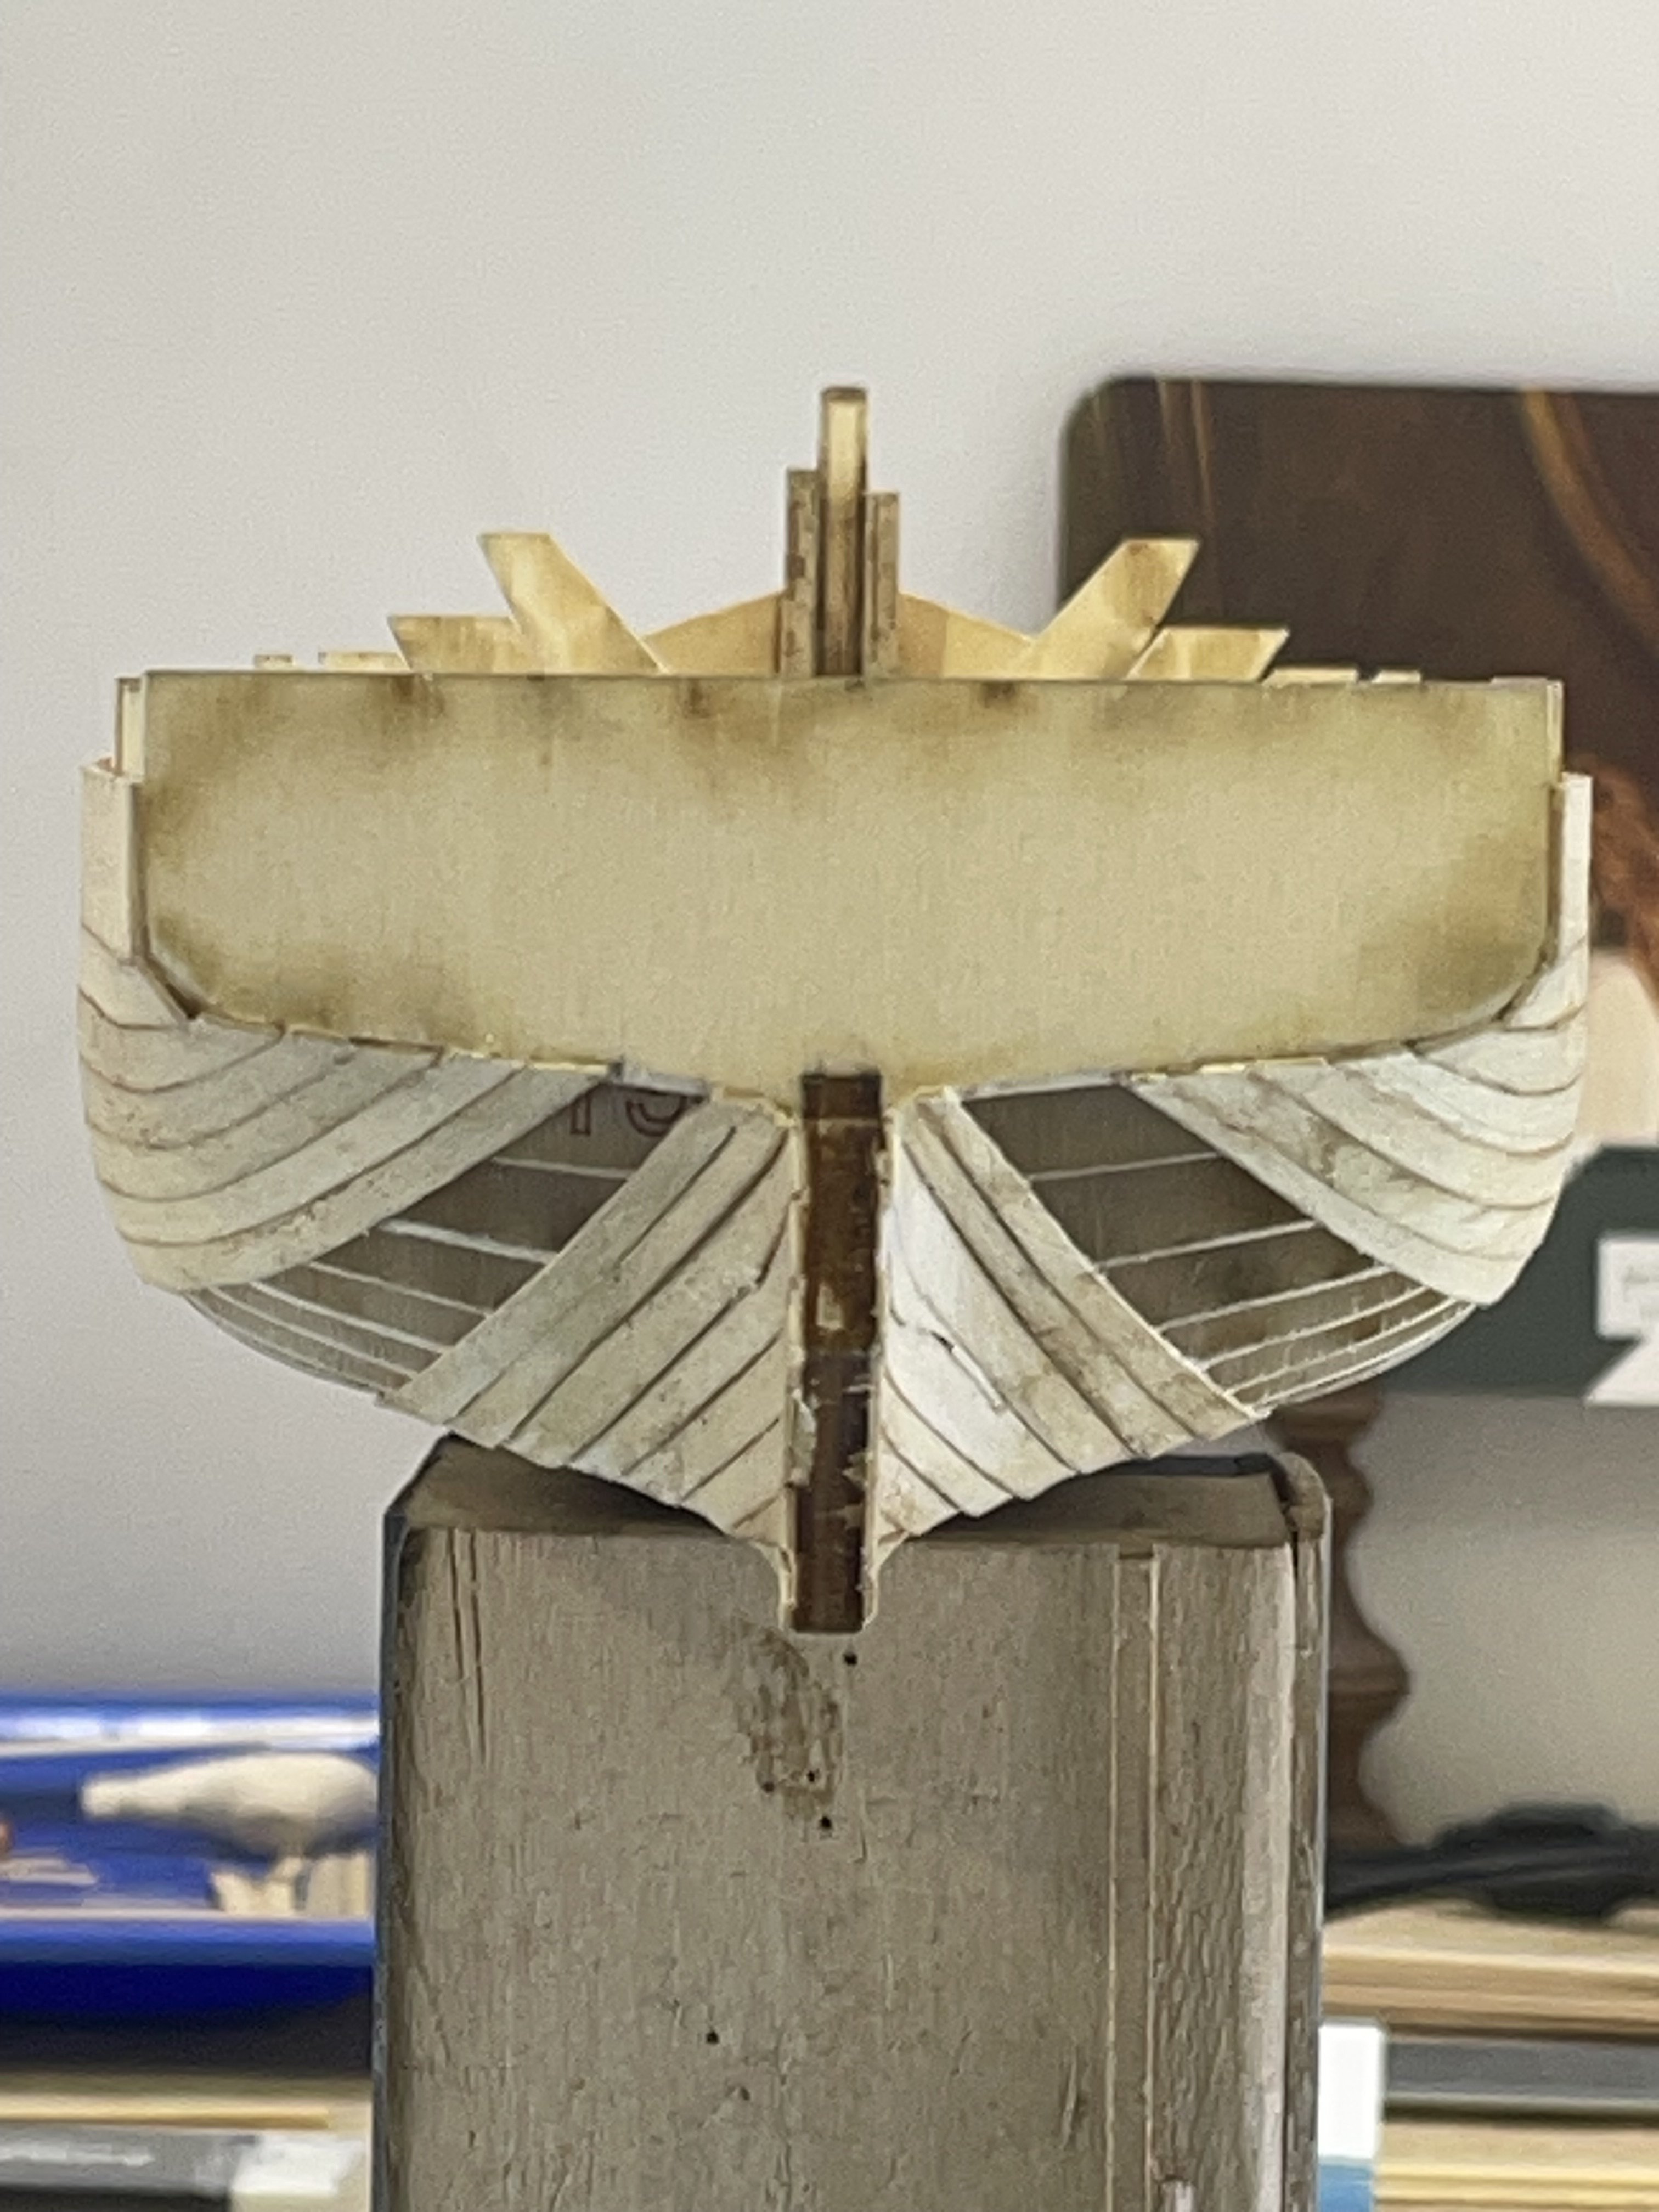
Last week I had a major distraction and I when to the Fischkutter to try to keep my mind off of it. Well, days later I was looking it over and saw my mind wasn’t on Fischkutter. I cut two planks off at the stern where I had clamped the plank on the deadwood too far up. In the YouTube video they don’t plank the deadwood so the last few bulkheads just right angles with the spine. I would have glued some wood on these if I noticed it earlier before I faired the hull. This still left a sunken spot. I just filled it the best I could with a splitter and called it unique:-) I’m down to just 4 planks on either side. They aren’t being as cooperative as the first. I’ve been using PVA and after shaping them to fit the hull. I just been mainly using rubber bands while it sets up. The last two planks I could only glue 2-4 bulkheads at a time without raising an edge of the plank. Above is the area of repair. Here where I’m at.


- 35 replies
-
- 8
-
-
- Fischkutter
- Laser Creation World
- (and 1 more)