HOLIDAY DONATION DRIVE - SUPPORT MSW - DO YOUR PART TO KEEP THIS GREAT FORUM GOING! (Only 27 donations so far out of 49,000 members - C'mon guys!)
×

MajorChaos
-
Posts
301 -
Joined
-
Last visited
Content Type
Profiles
Forums
Gallery
Events
Everything posted by MajorChaos
-
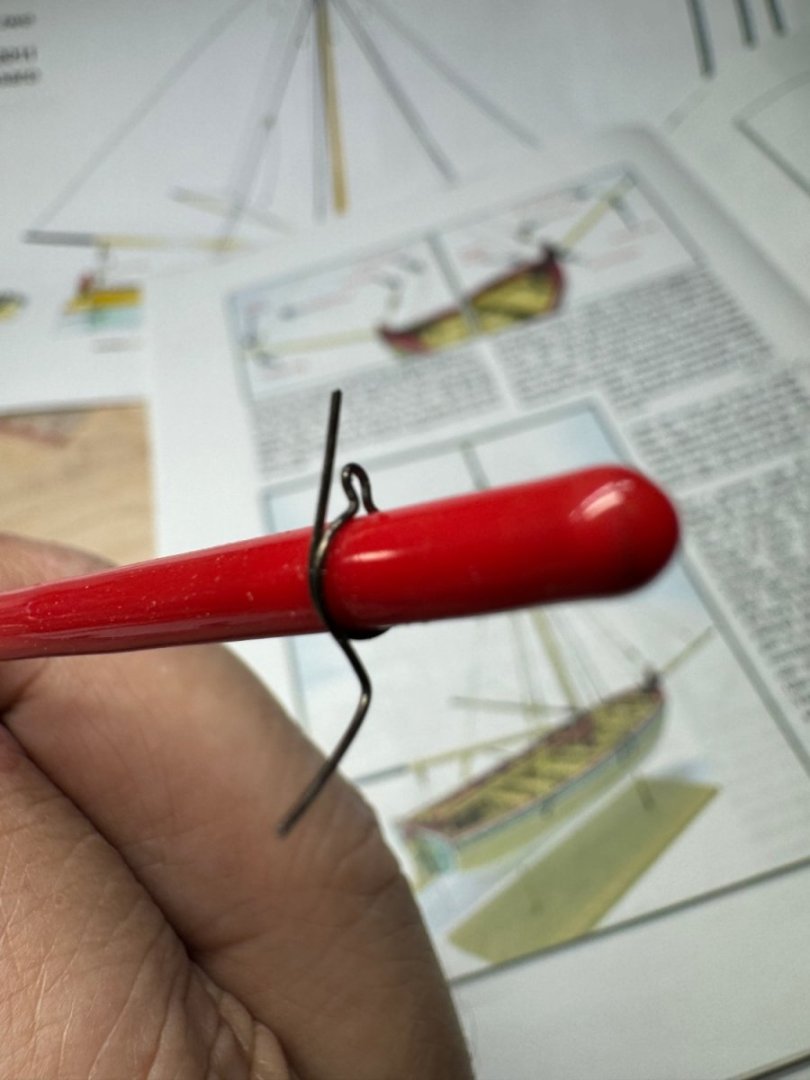
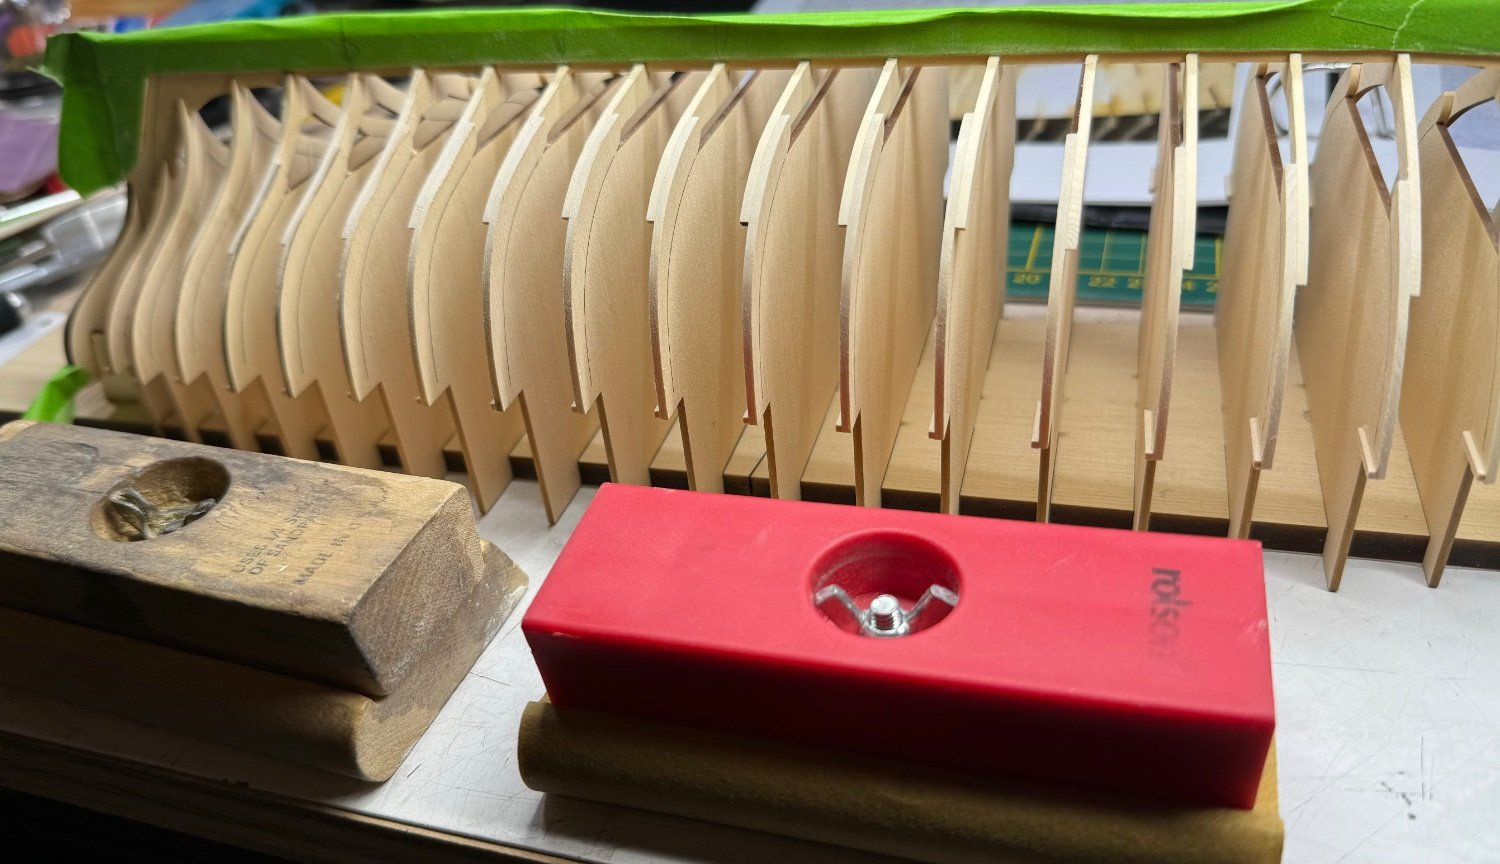
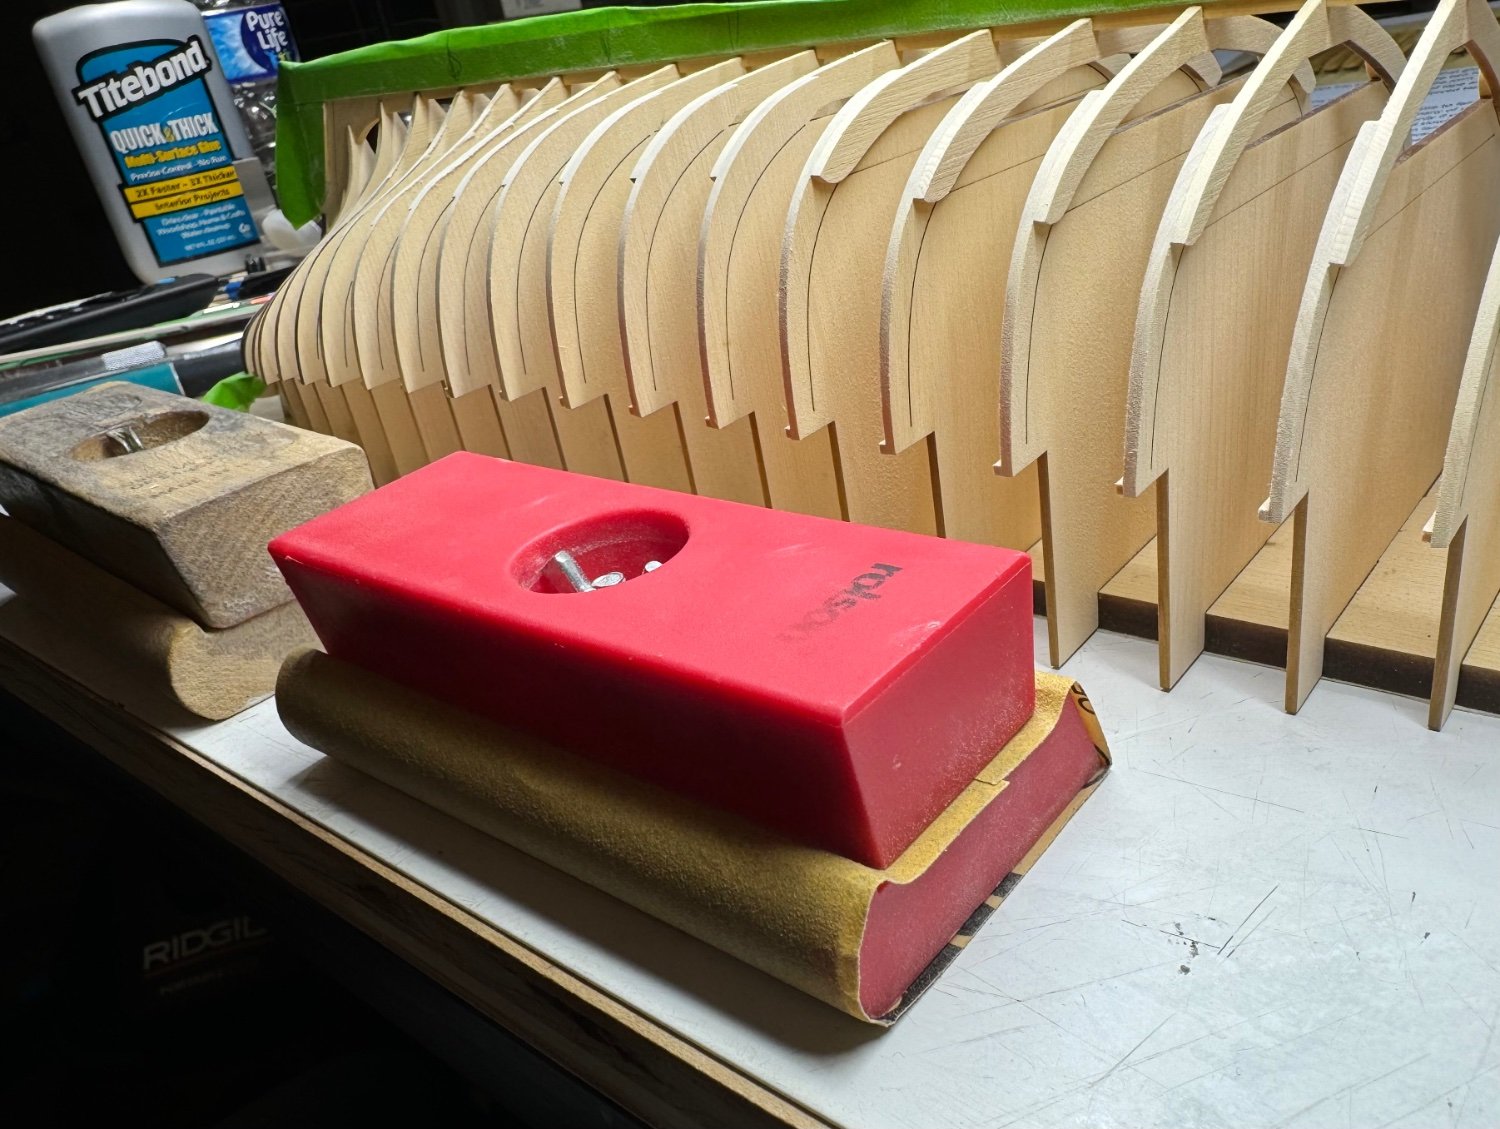
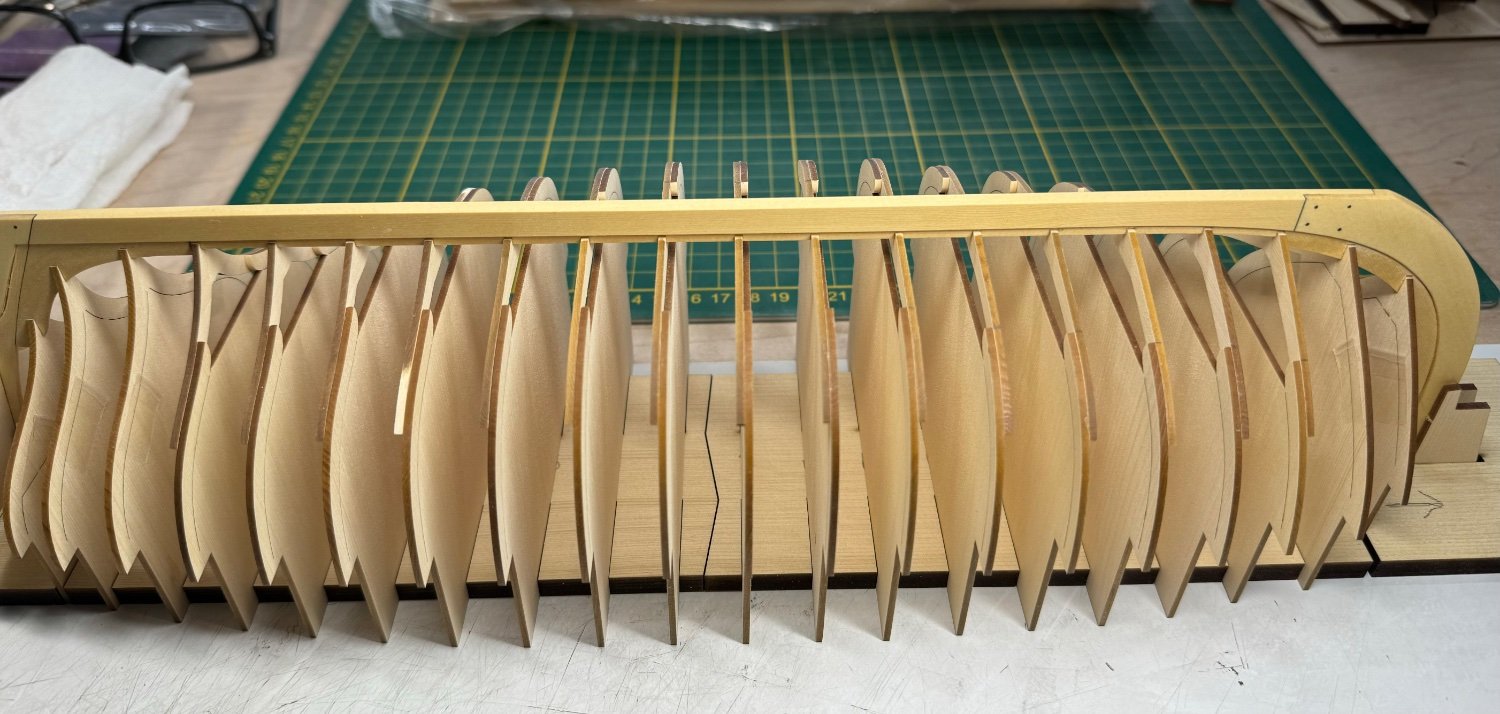
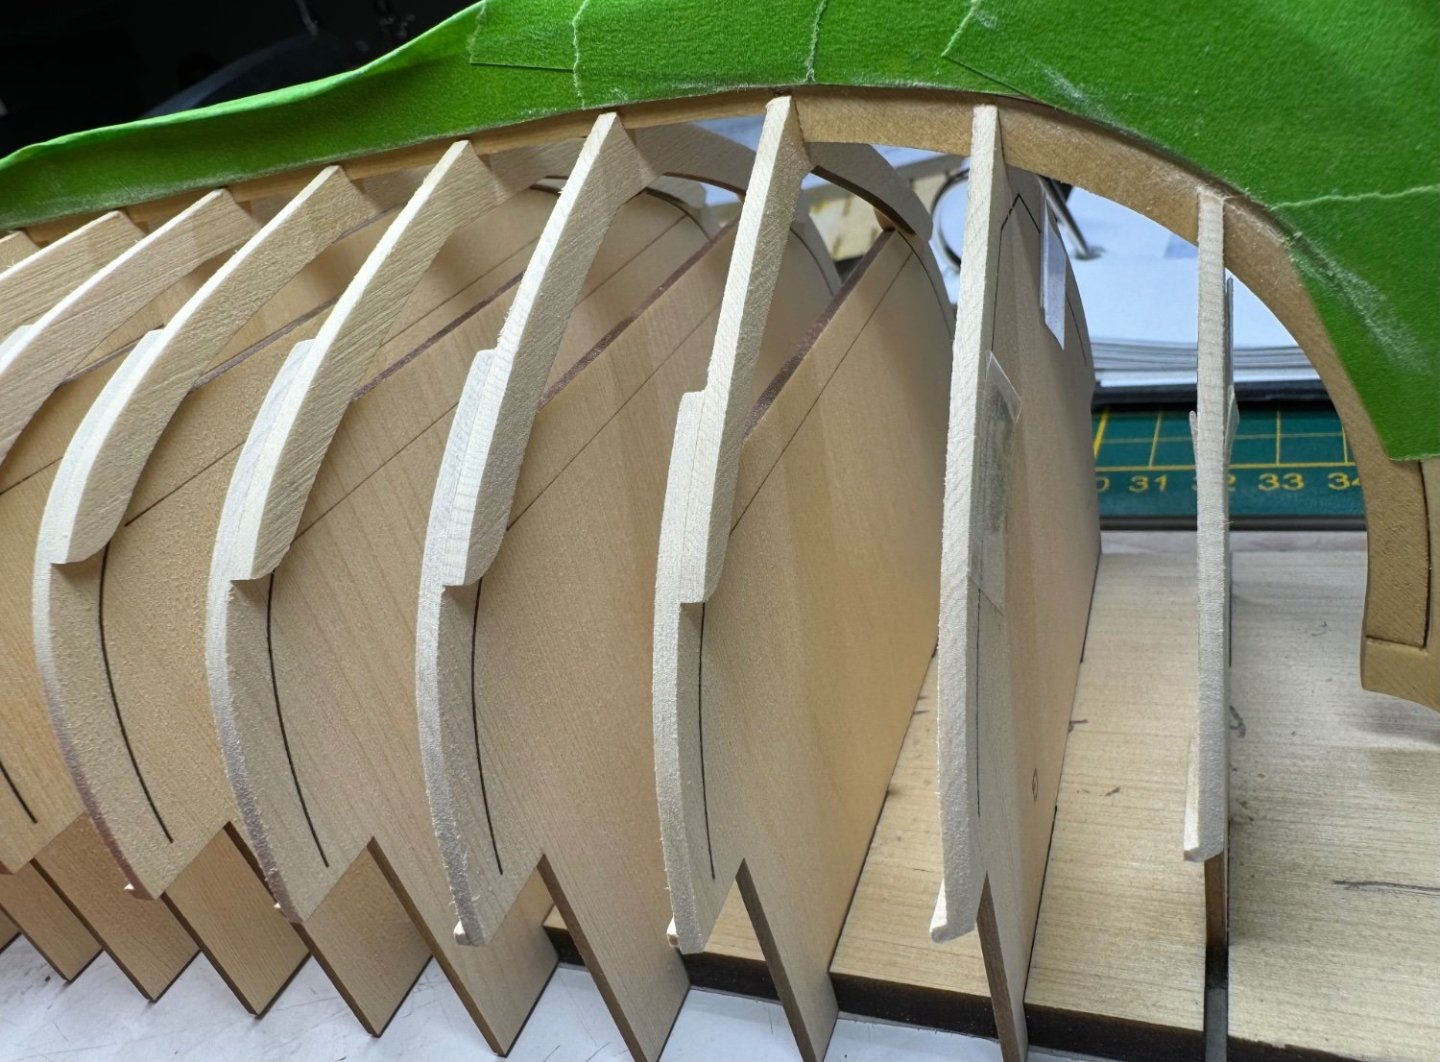
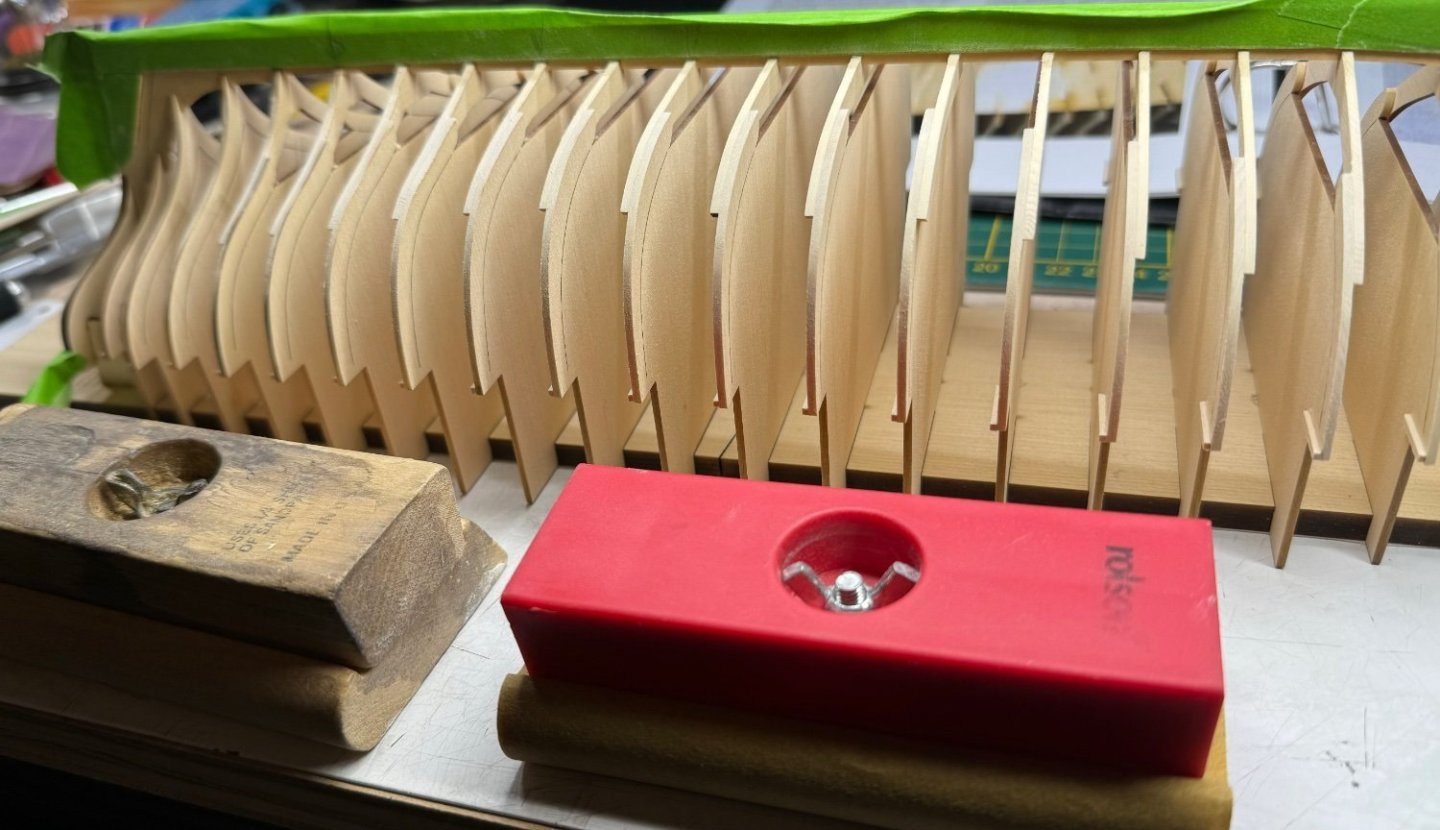
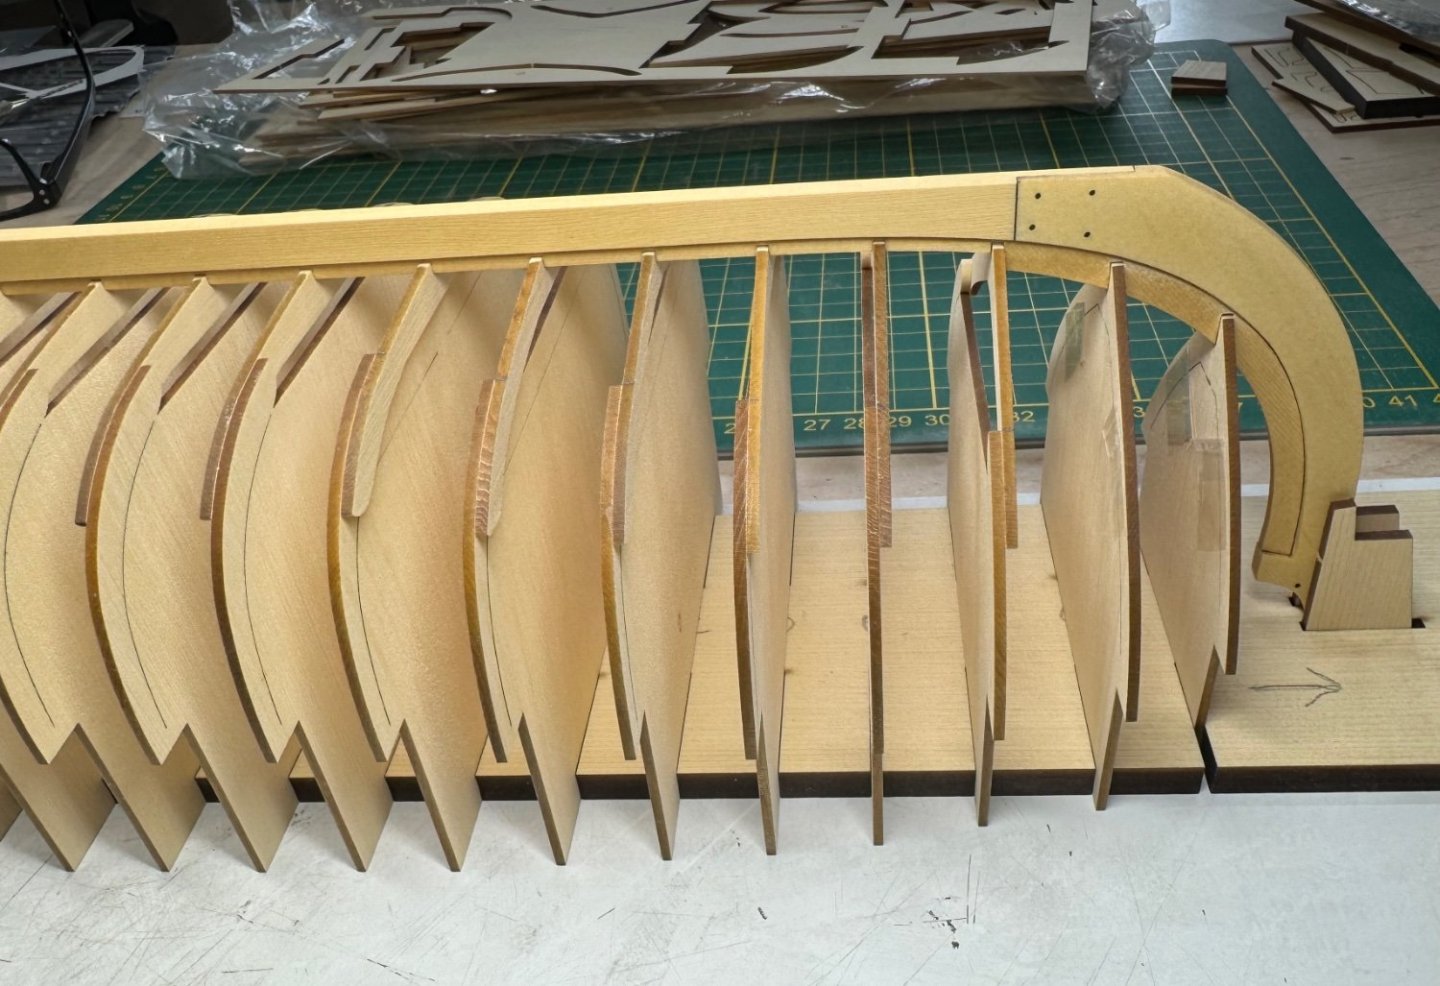
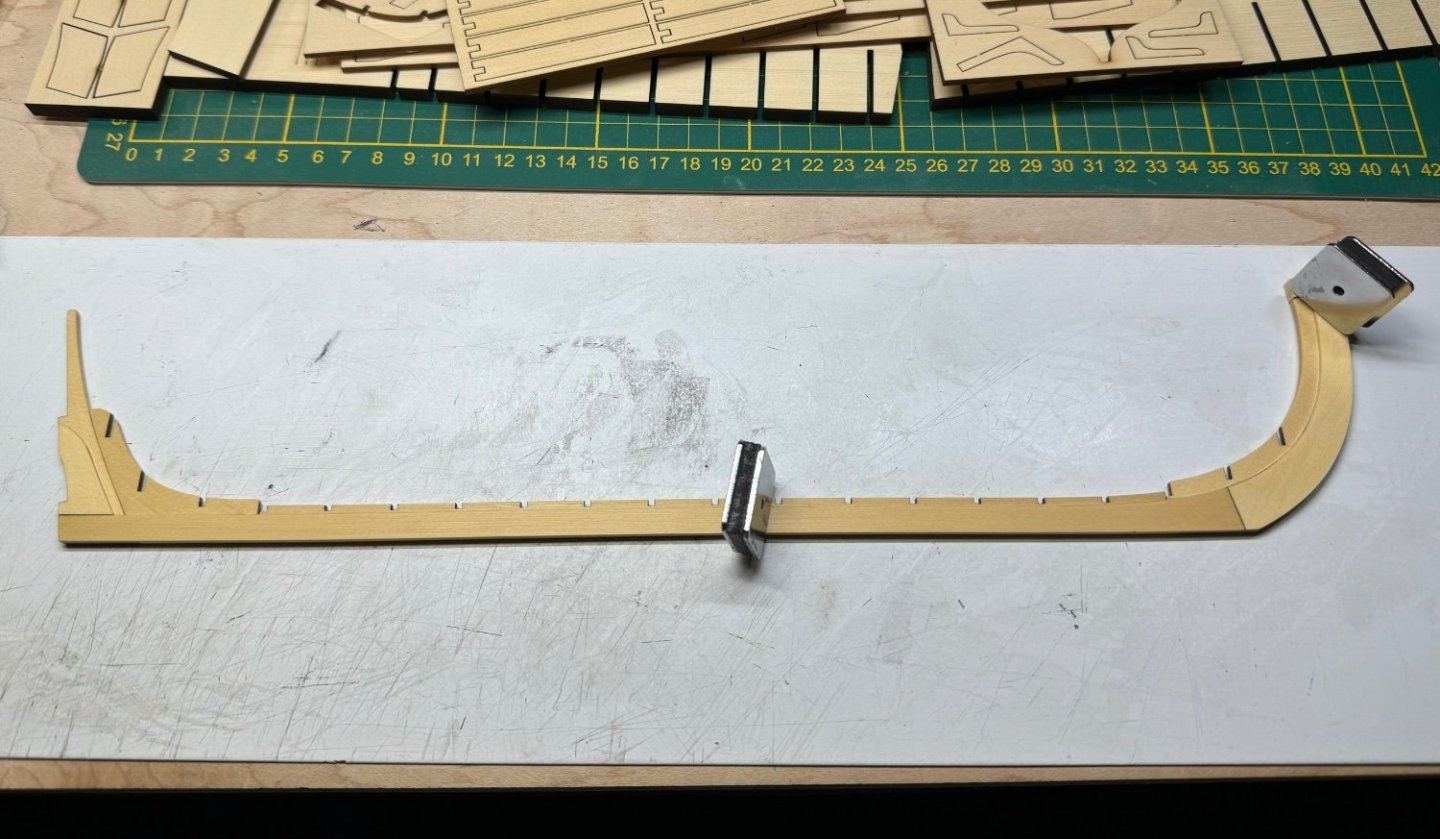
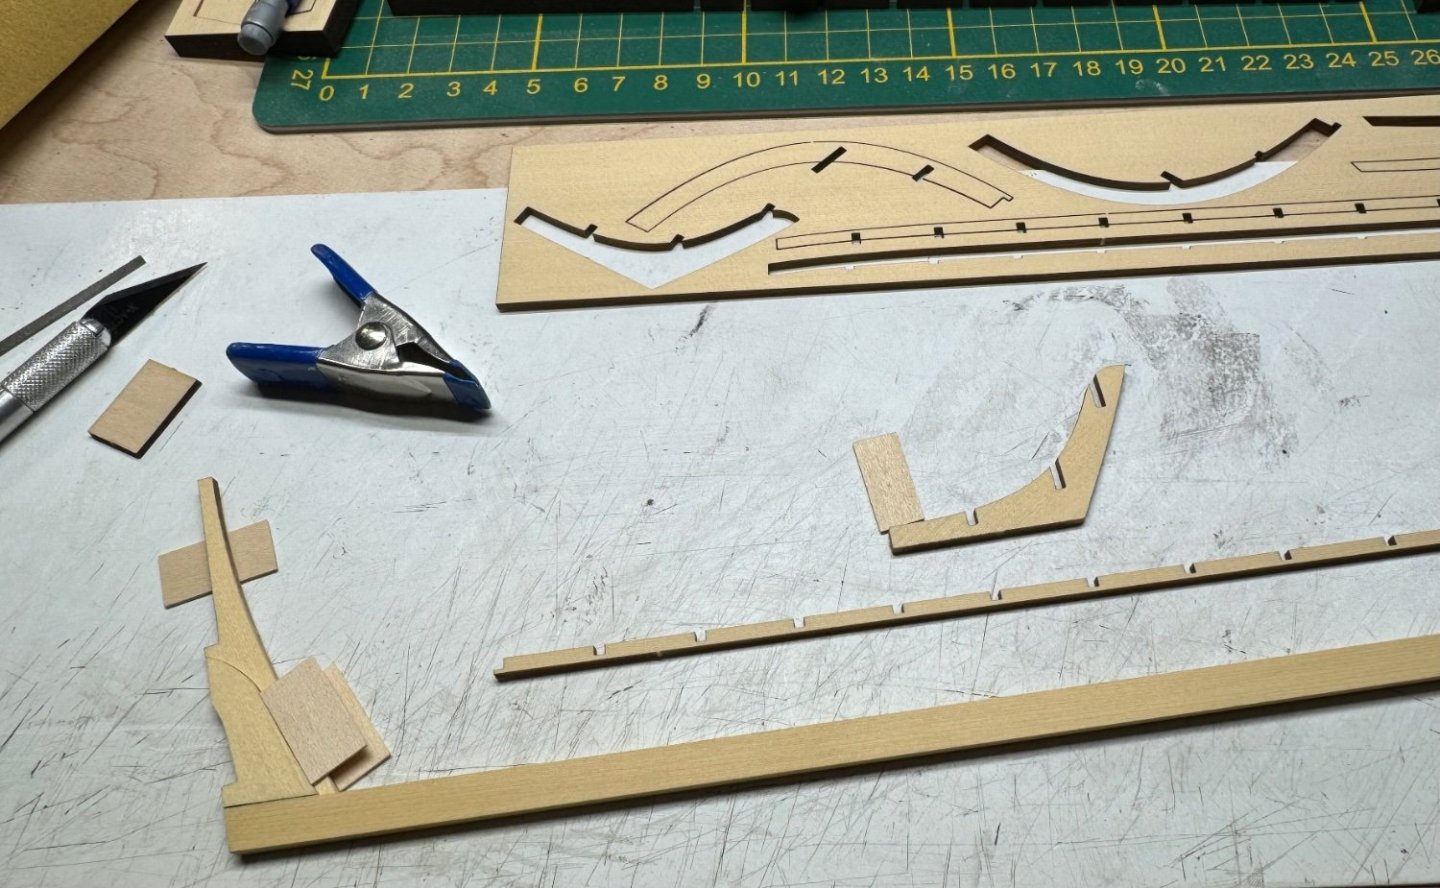
Thank you for the likes and follows of this build. I think the cedar is hard on tools and sand paper. The sand paper seams to dull quickly. I’ve not noticed this with other woods, at least the other common woods in Model Shipways kits and OcCre kits. I’ve been swapping paper often. Sanding sticks were useless after just a few passes they were loaded up and dulled. Wild. Side by side is the new red sanding block and the other block I’ve had for 30 years that has seen better days. It was used for other not intended purposes. The red one is stable make out of firm plastics, I think it shipped from the UK. It’s a great tool, it’s helped make many great sanding events. I don’t think I could do without it now. I’ve tried other methods and it just don’t. I’m doing my best to take my time. I’m in no rush, but I get excited about seeing stuff finished. It’s not a race. I’m reminding myself. A bit of the fairing in progress. I had to secure a few of the frames that didn’t hold with a small amount of glue in spots. If I’m looking at it right it will mostly be under the floor and not seen. I’m going for fully planked. Maybe a version 2 as a cut away, which sounds like a great idea.

-
Welcome! I’ve been peaking at your log from time to time I hope your doing well.
-
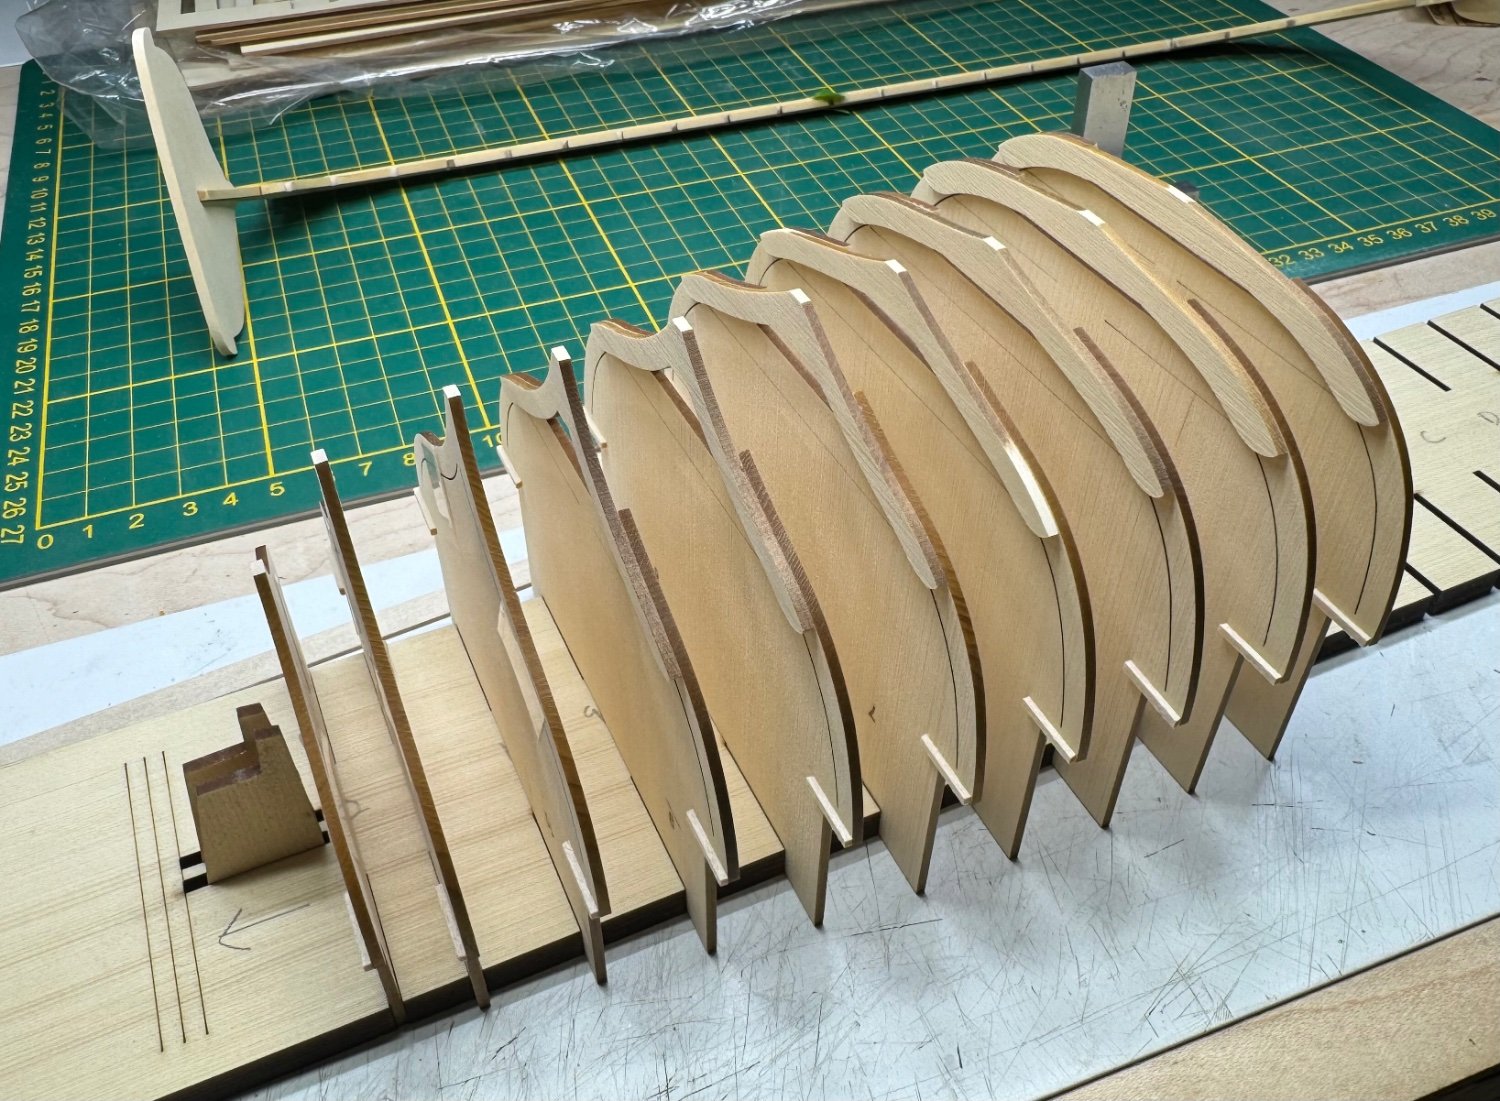
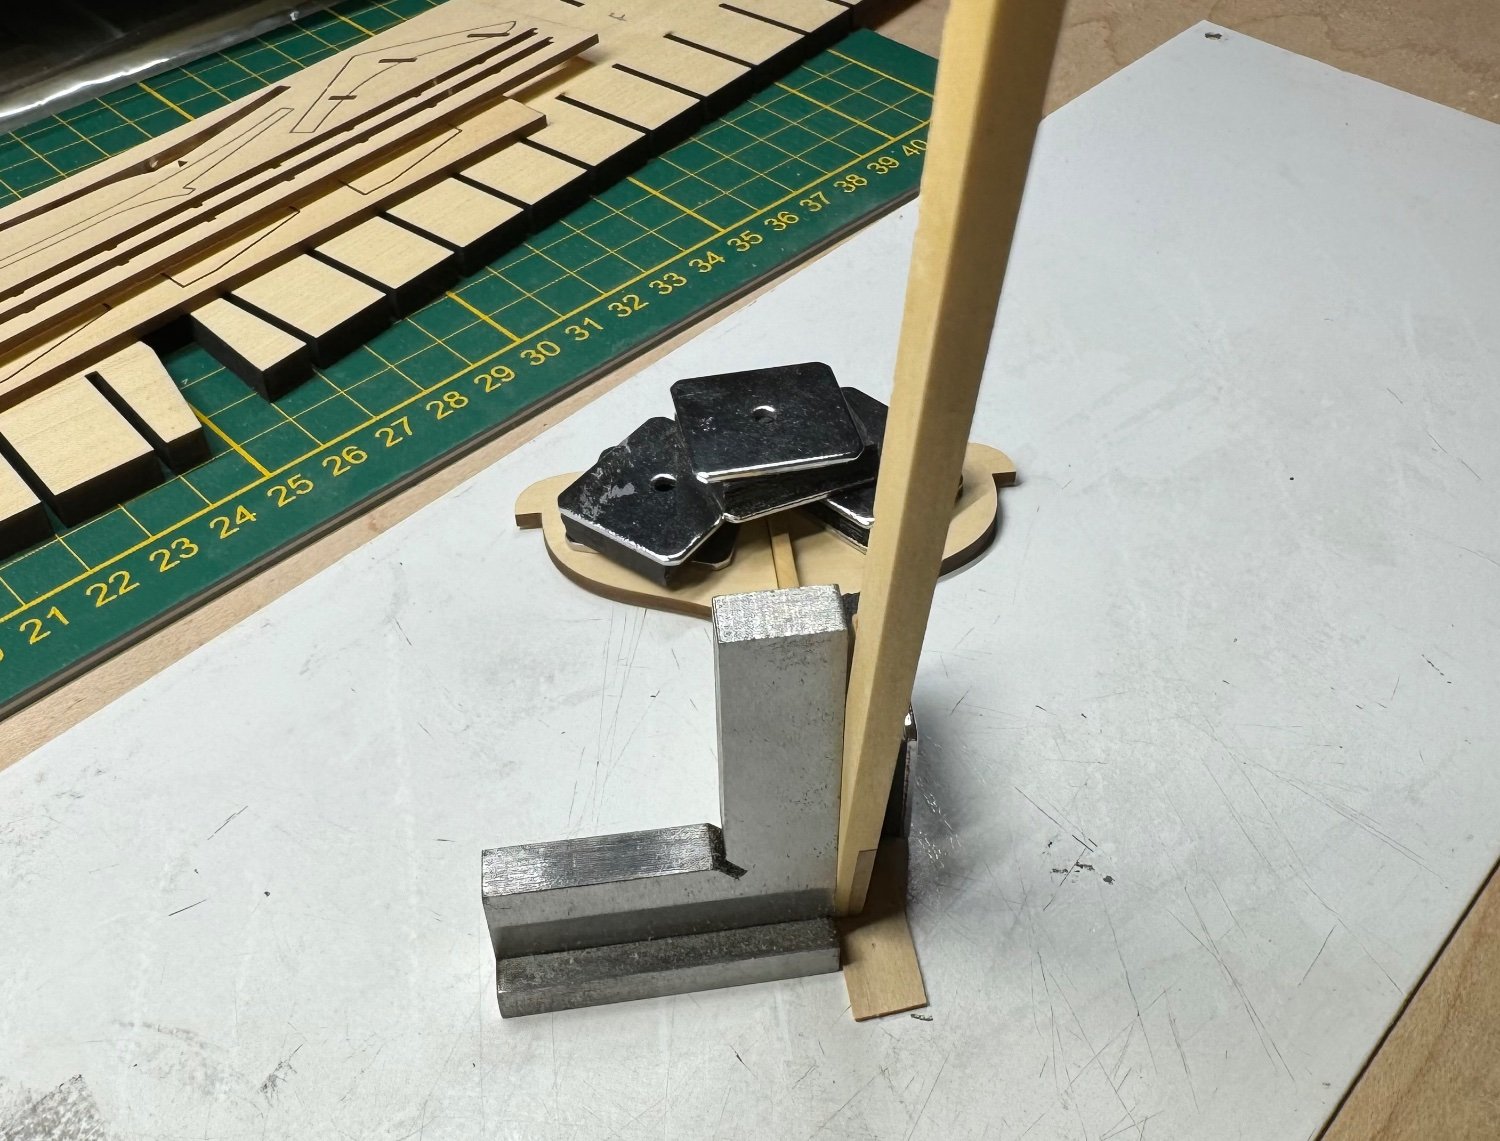
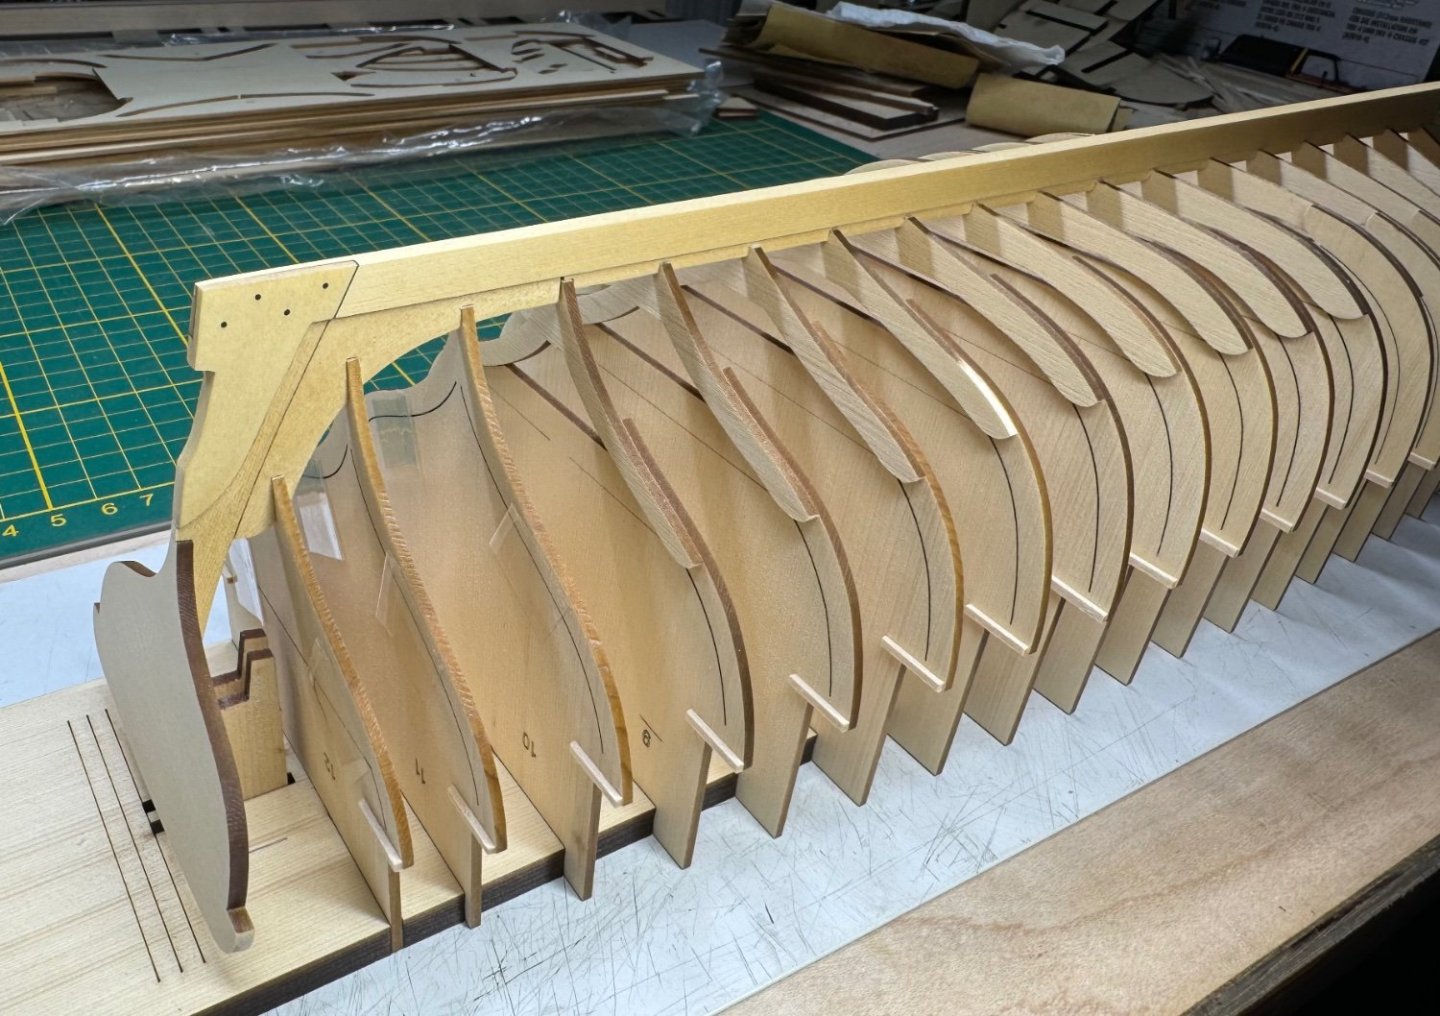
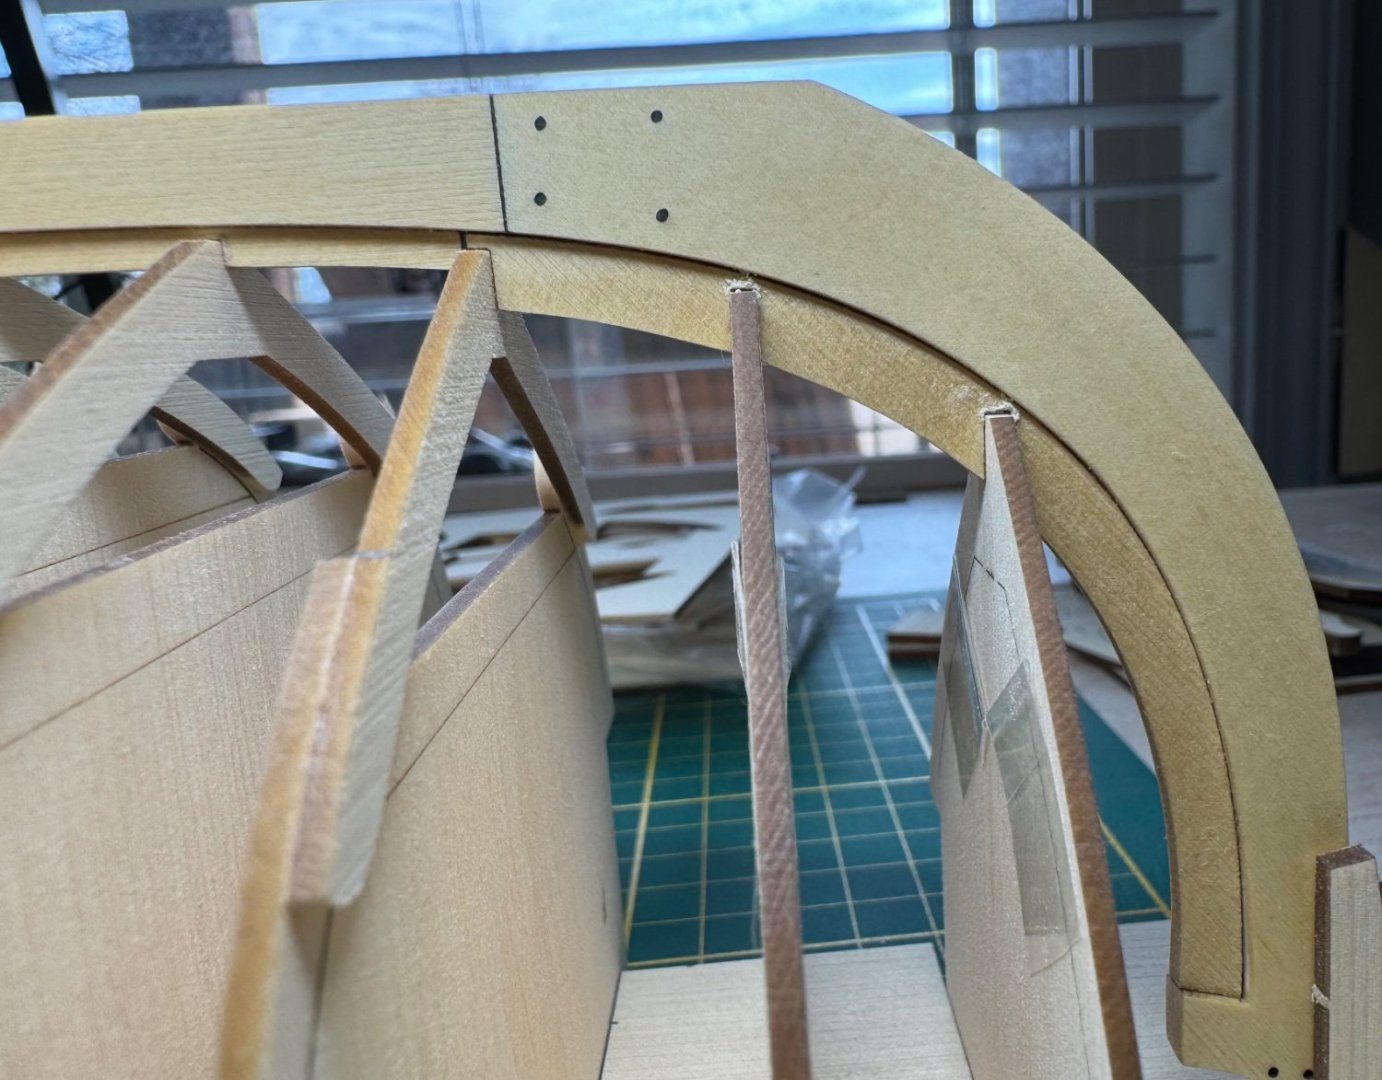
I did add the side support to all frames. I bought a bundle of random sticks a while back to have scrap to pick from. With the grain vertical the edges could snap easy. I’m going slow, I’ve been at it all day. I finally figured out I can glue 2 or 3 frames at a time, I had in my head to glue all 10 at the same time. So far everything feels and looks like it should. I used my old fairing stick to line up the frames. Once the glue sets it’s time to flip it and stabilized it for fairing.

-
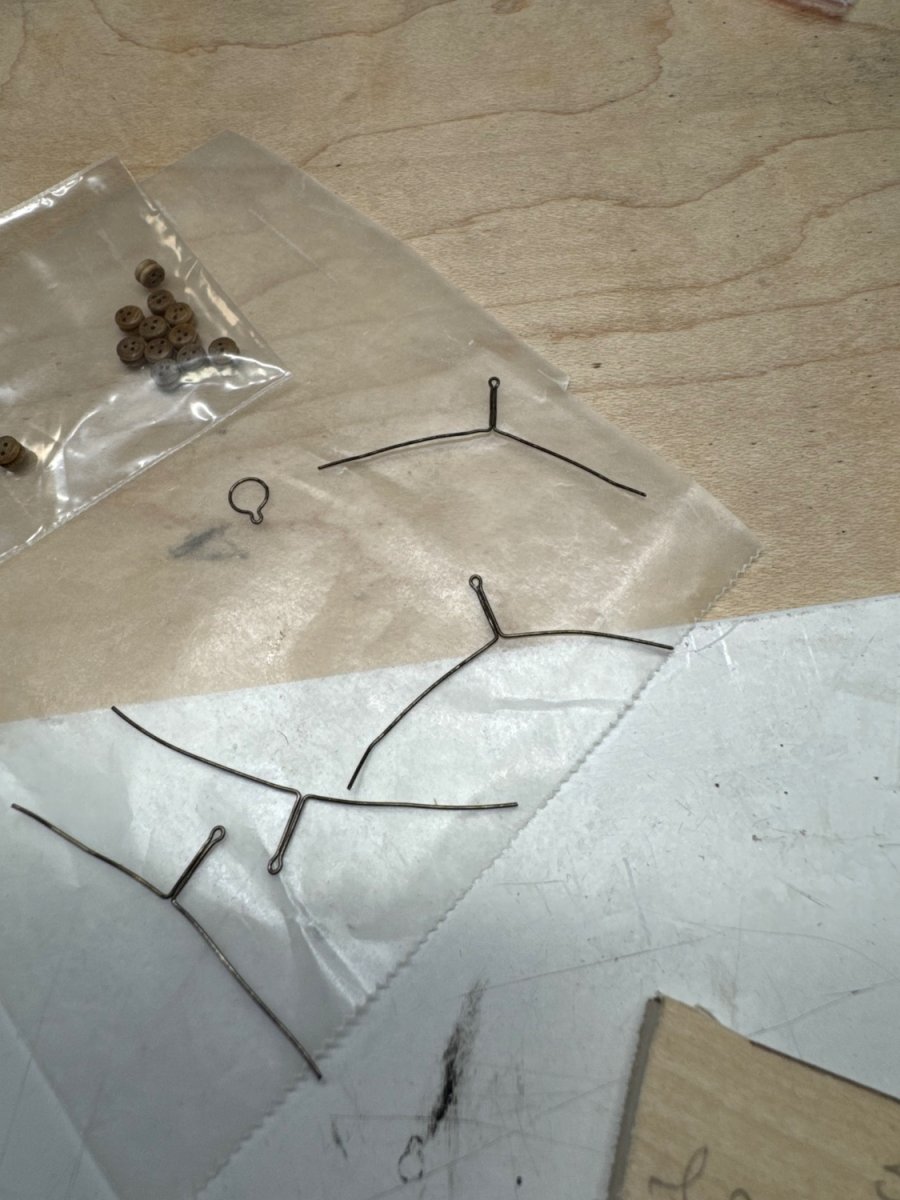
Those turnbuckles look great. The ones in the kit didn’t survive my attempts. Those look sturdy!
- 88 replies
-
- 1
-

-
- Muscongus Bay Lobster Smack
- Finished
- (and 1 more)
-
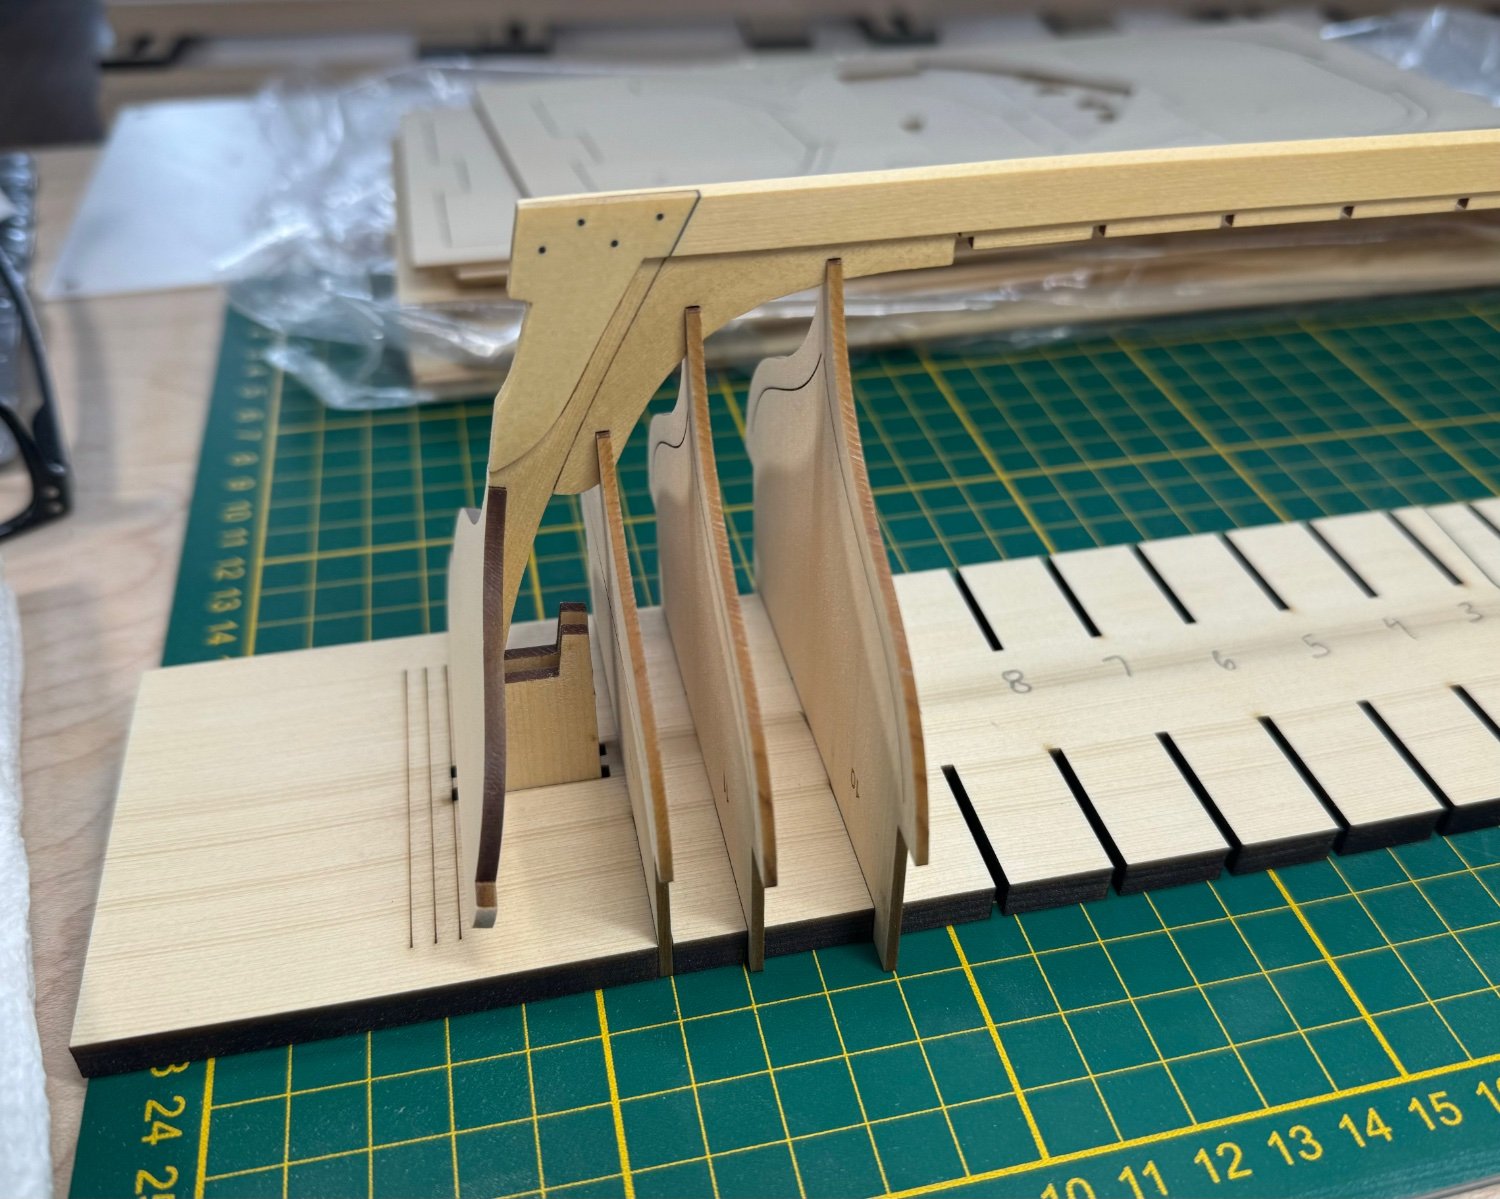
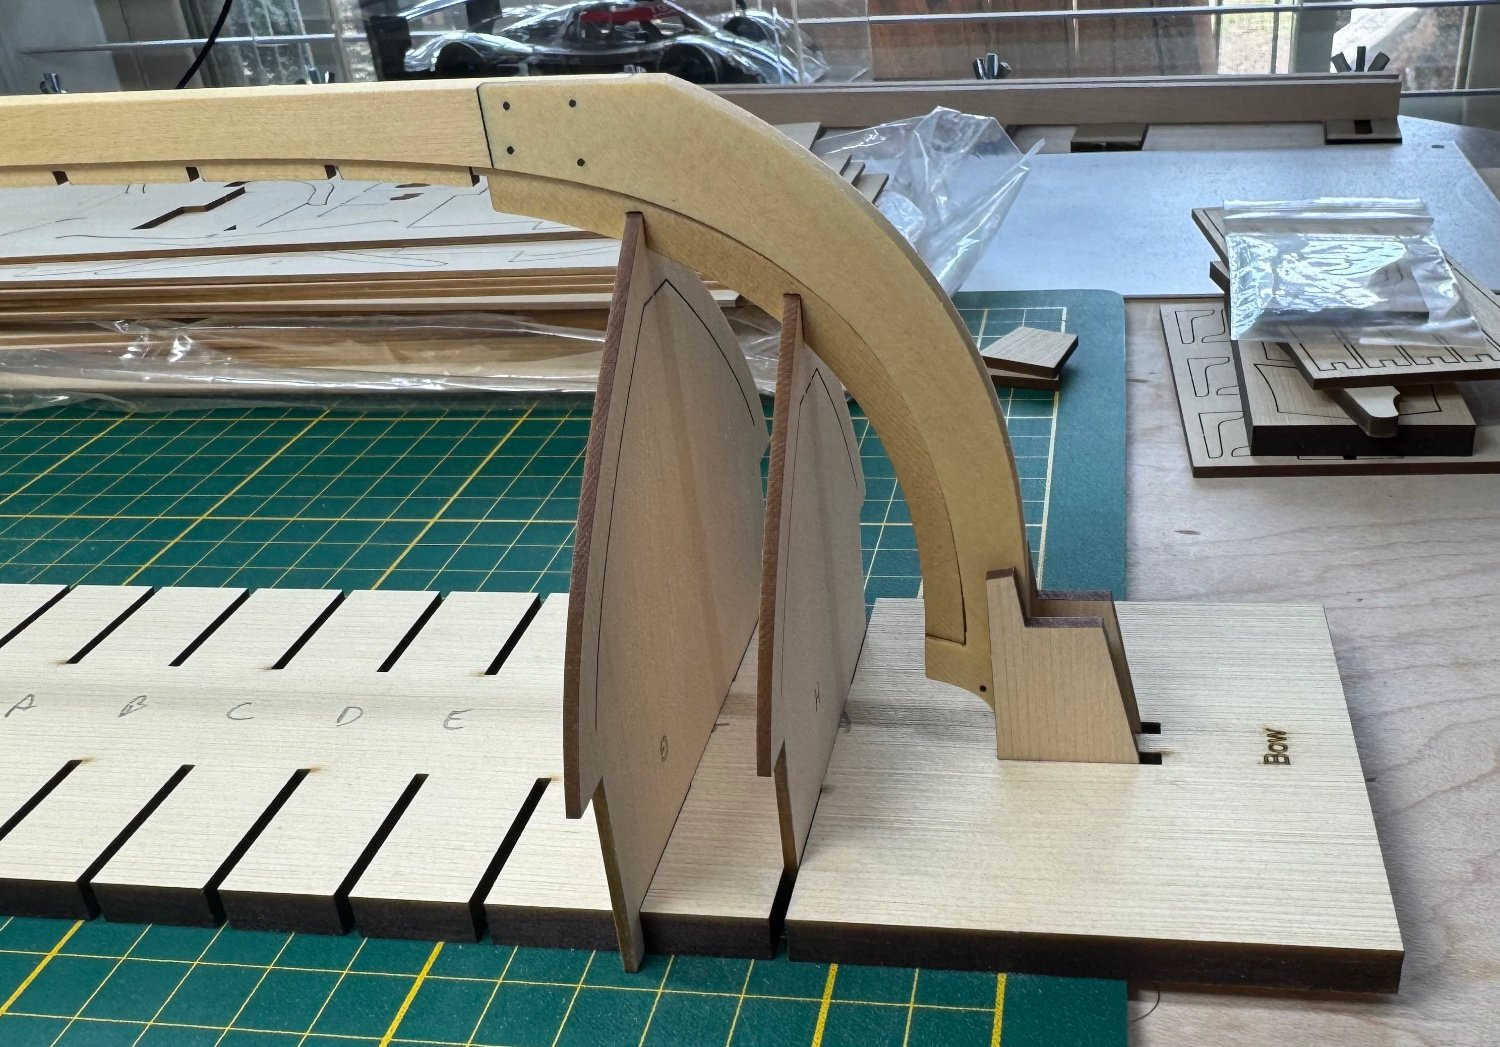
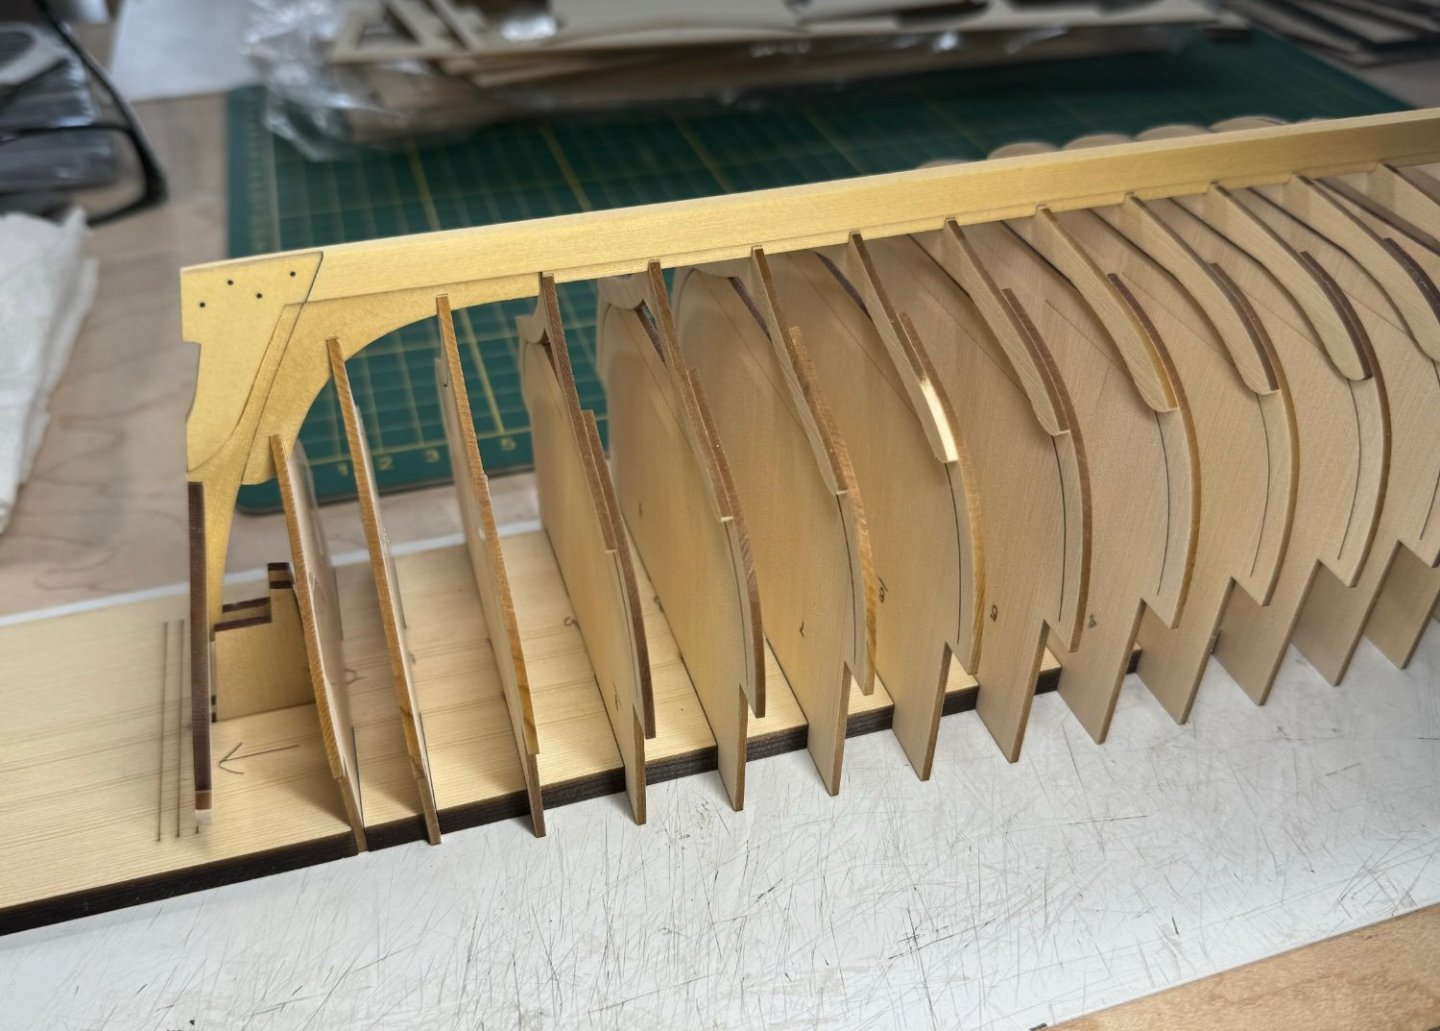
Almost ready to glue the frames to the keel. Not sure how to glue so much at the same time and keep it aligned. The Titebond Quick & Thick, is thick and quick. It’s almost CA but I don’t get my fingers stuck if I touch it. The frames slide side to side ever so slightly. I almost made an issue on frame 6, figured it out quick enough I got it unglued before it set. I’ll likely sit here and stare at it until it clicks what to do to get it aligned and glued. I’m also trying to decide if I should tape the 2 part frames. I see the cut difference on the one piece frames so the support piece might not be needed.


-
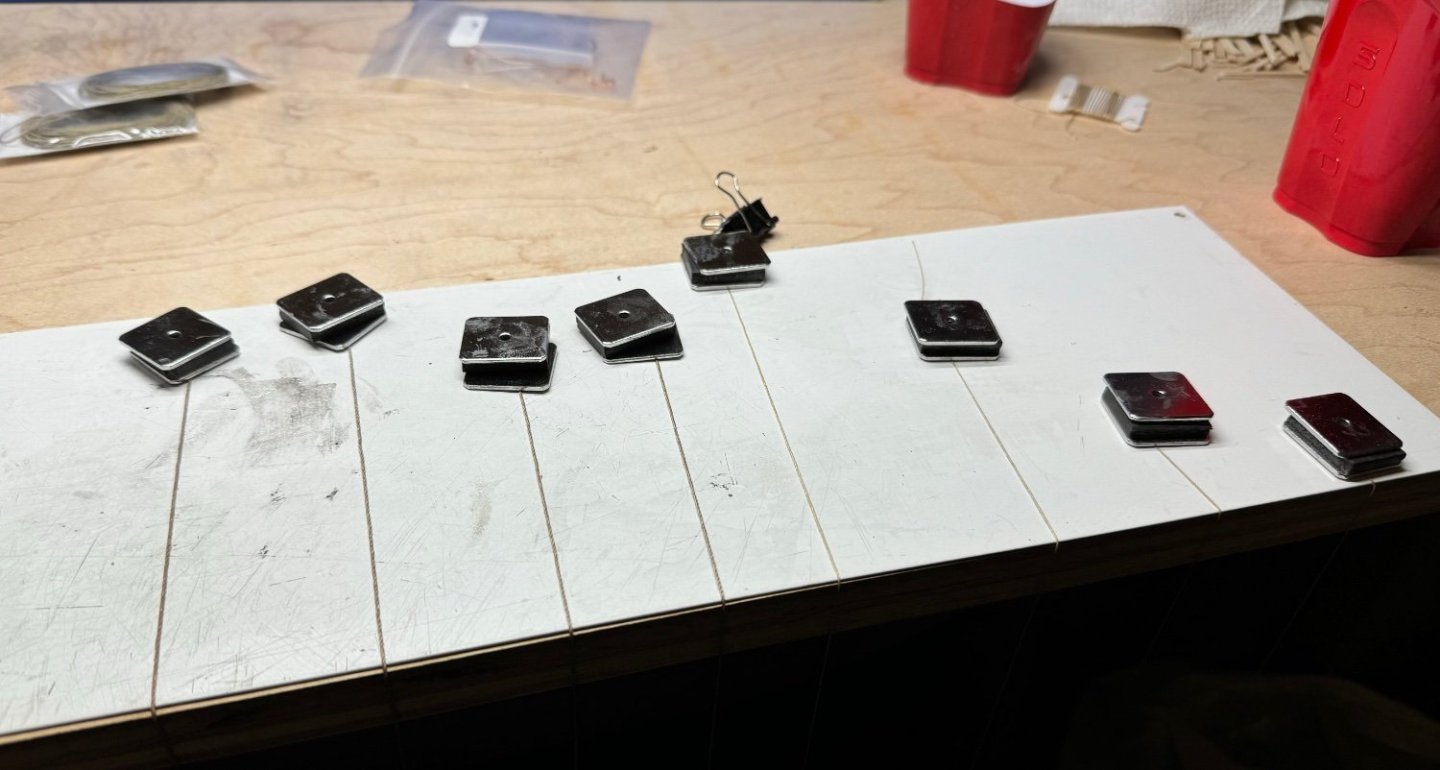
Magnets and this metal board work great. That’s about 90 deg angle as I can get. Now I need to make sure not to accidentally rip it off the board. Now I need to slow down and read again. The sanded cedar makes the hobby room smell great!

-
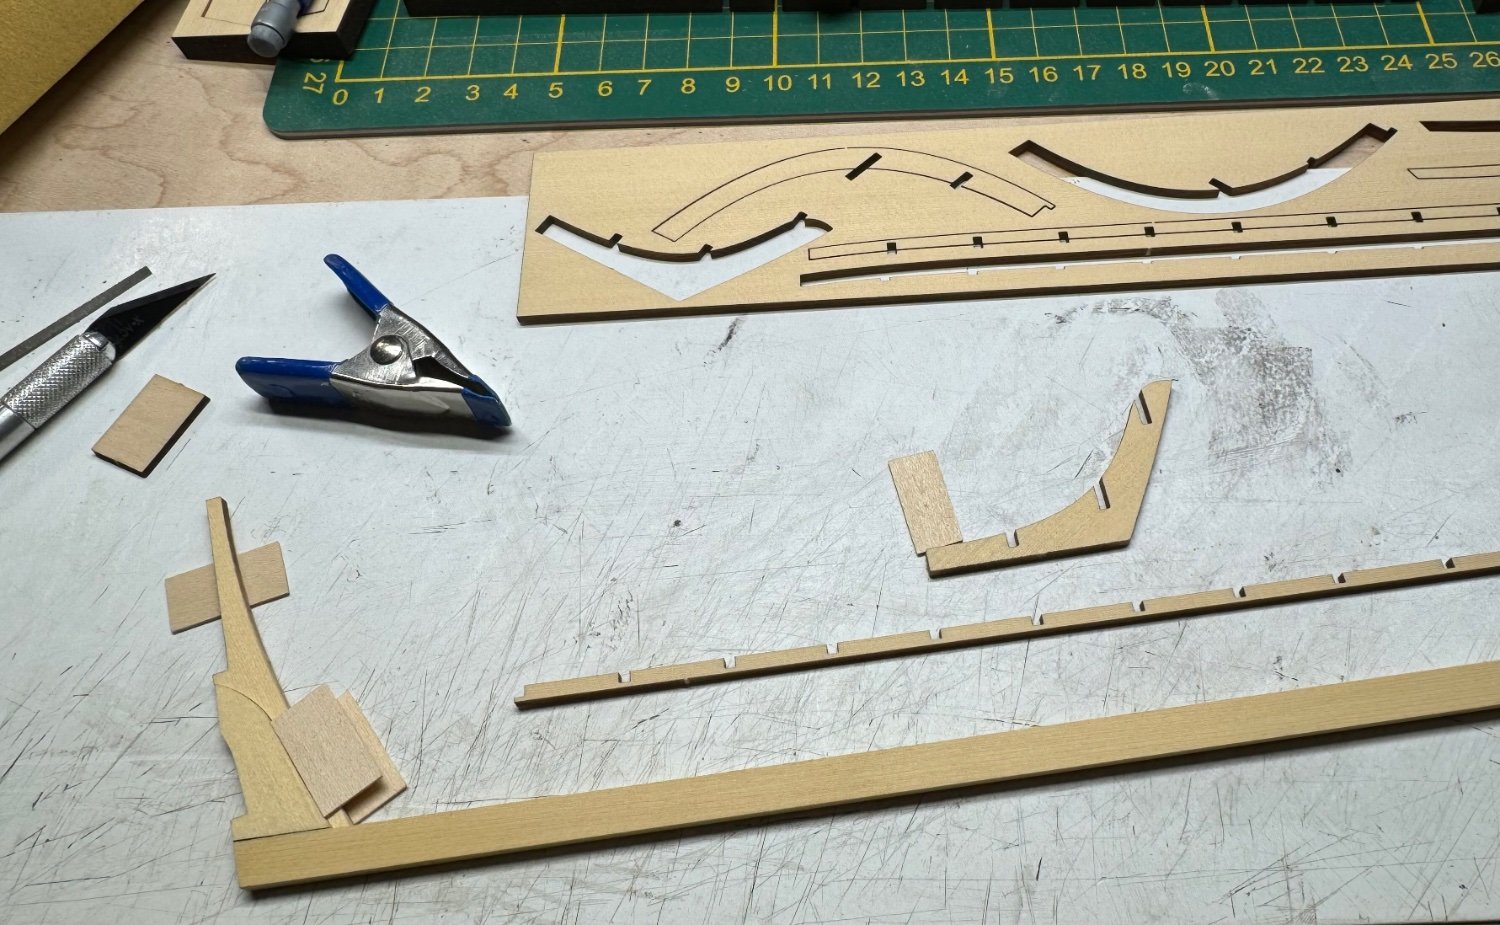
Char is relentless. It wants to stay in view. It looks like it’s gone but shows up when coated with WOP. Extra sanding here and there and it’s gone. My middle notched piece was shorter than the space, I left the gap, well as I look, in the middle, both sides have a small extra gap. I thought I tucked it forward. Guess not. So far so good.
-
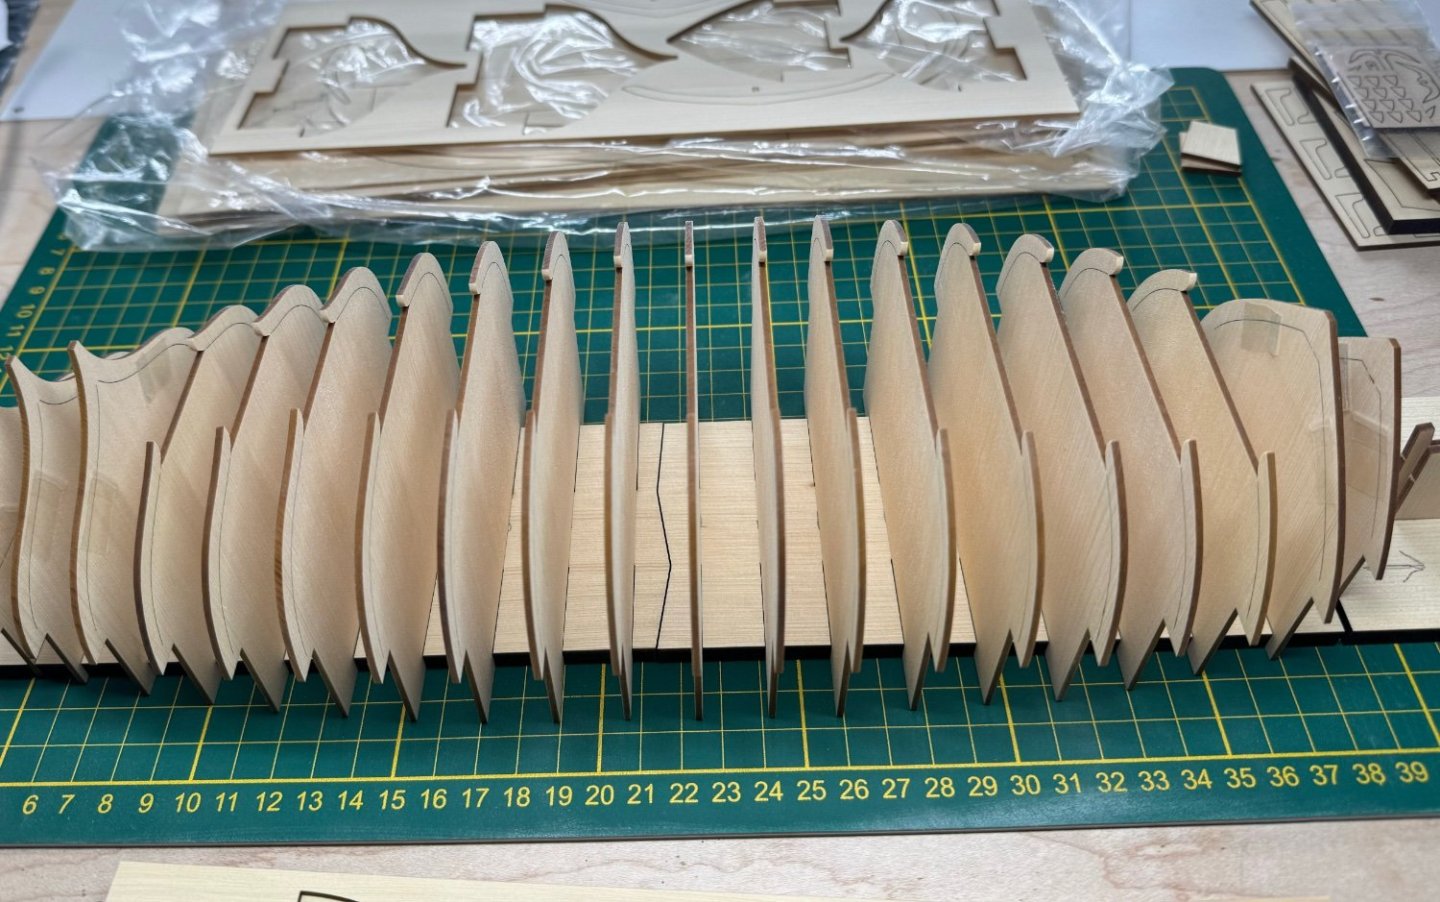
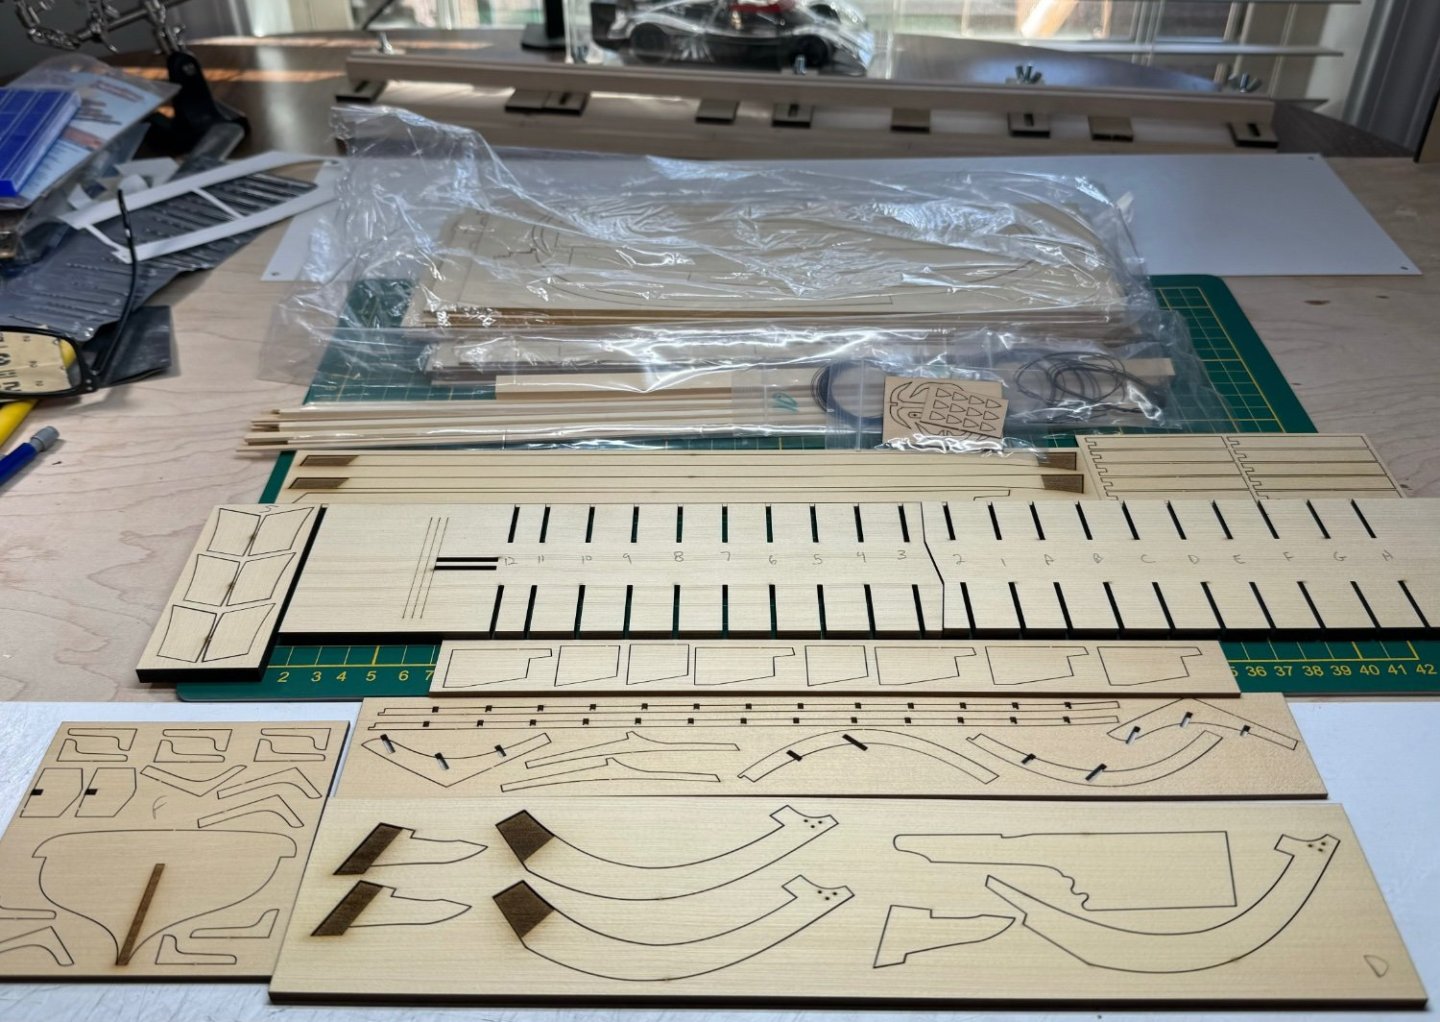
I had been eyeing this boat for some time. I finally bought a kit a few weeks ago. There are many great build logs, I don’t plan to bring anything new to the project, I’ve seen many outstanding examples of fantastic craftsmanship. It’s an honor to build such a wonderful kit. I hope I can build it in a way it deserves, I will certainly try. I’ve had it all out of the box 4 or 5 times, it smells so good. This time when I got it out I kept going. Thank you in advance to anyone following, liking, or commenting. I tend to not be chatty in my responses, but I’m grateful for comments, tips, and encouragement. I printed out the sections a while back and have been reading them and marking notes to remember to do certain things. In an effort to not muck it up. So far, so good. Pictures I take and post are milestones for me and the build. I try to show the progression of the work, so someday I can look back and see how bad I was at this lol. I have my moments of a perfect fit, then I have to paint, paint is not a strong suit, yet. Wake up, let’s get started….
-
Thank you. Some of it was fun lol.
- 40 replies
-
- 1
-
-
- Model Shipways
- Muscongus Bay Lobster Smack
- (and 1 more)
-
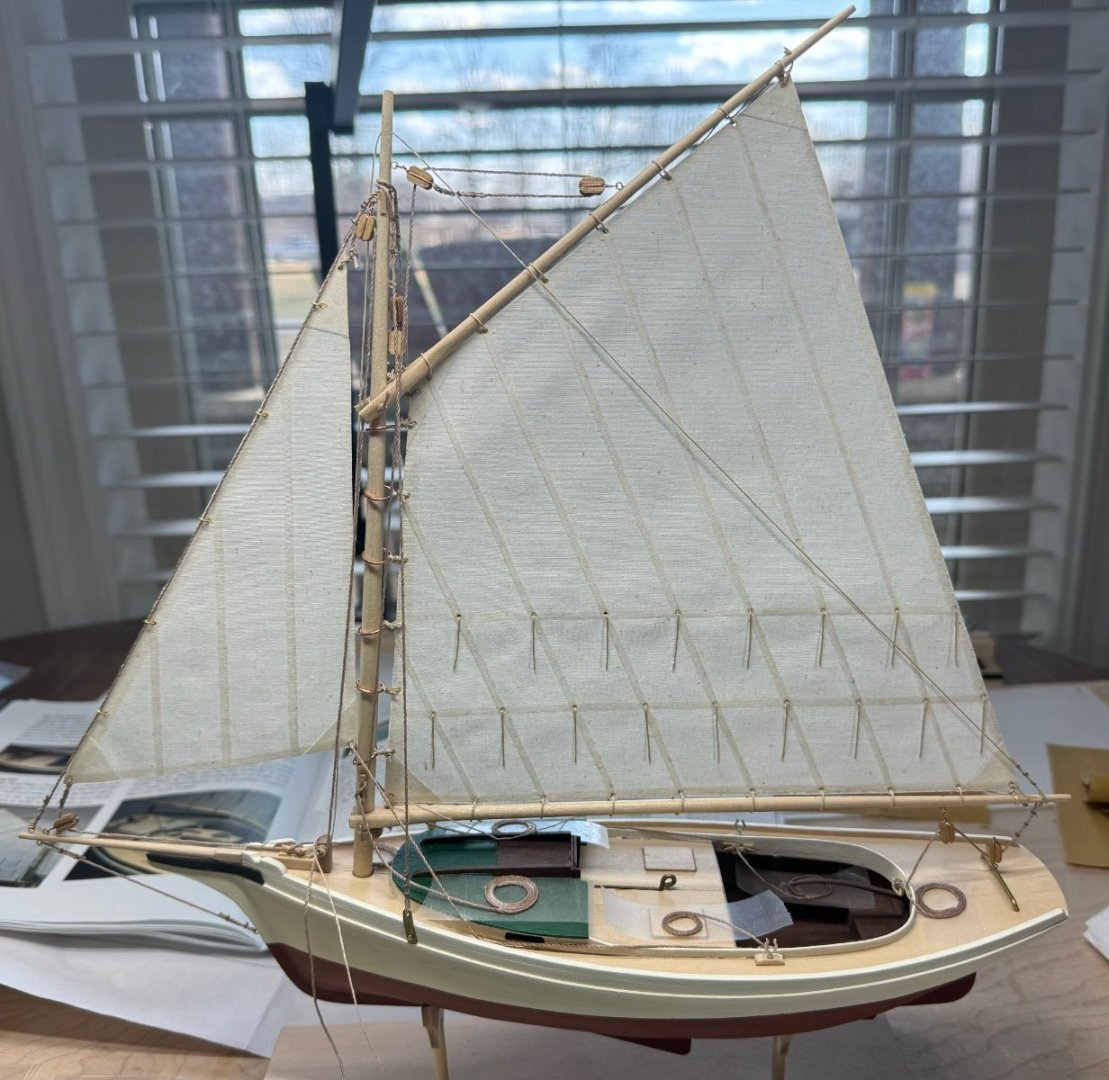
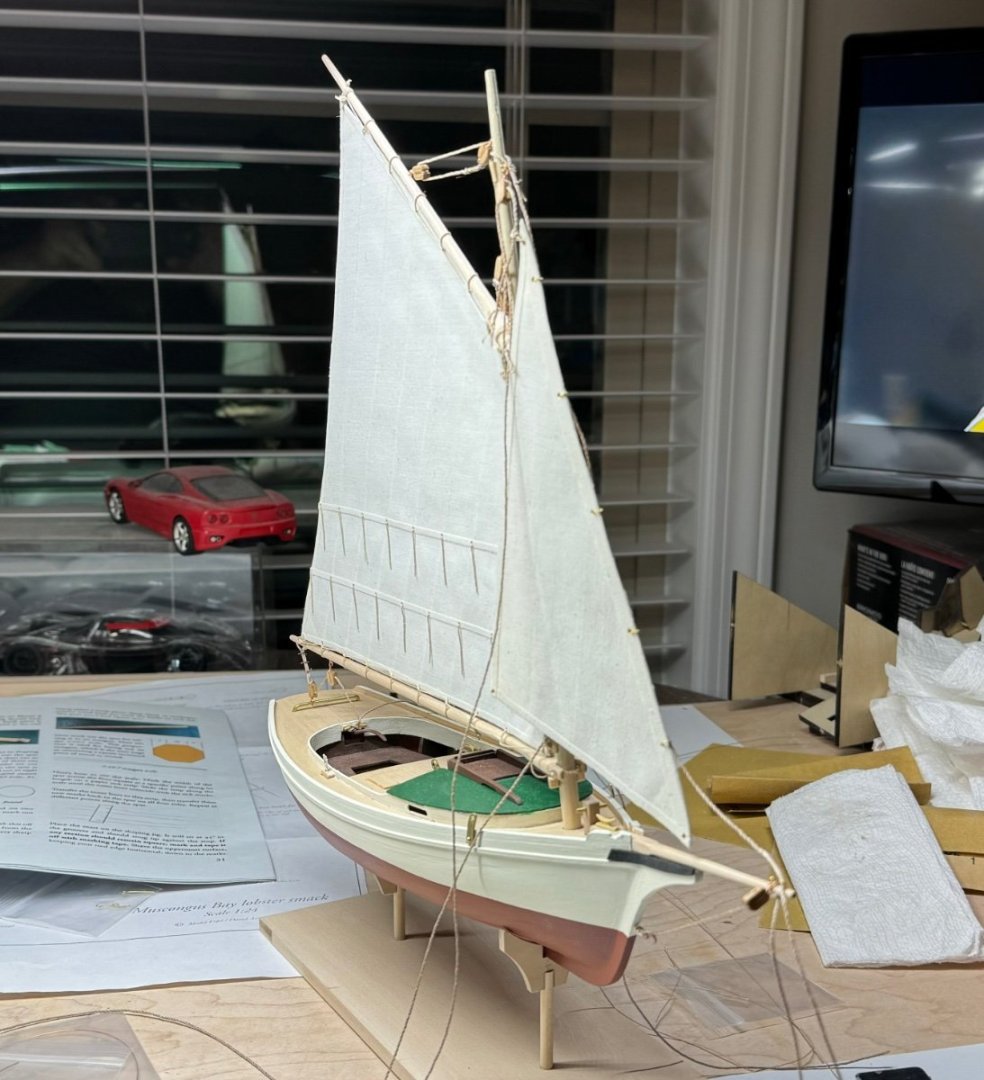
I’m going to call this one finished. It served its purpose, learning skills needed for other projects. The instructions left me frustrated at many turns, no other project so far has been this frustrating. The Dory and the Pram were a joy to build. This fella was a chore. But I did not want to leave it unfinished. If you read this far and you are building this boat as a new builder, other projects are more enjoyable, don’t give up! Maybe this one is to teach patience. I have many projects to pick from for next. The Medway longboat is not pictured.

- 40 replies
-
- 7
-
-
- Model Shipways
- Muscongus Bay Lobster Smack
- (and 1 more)
-
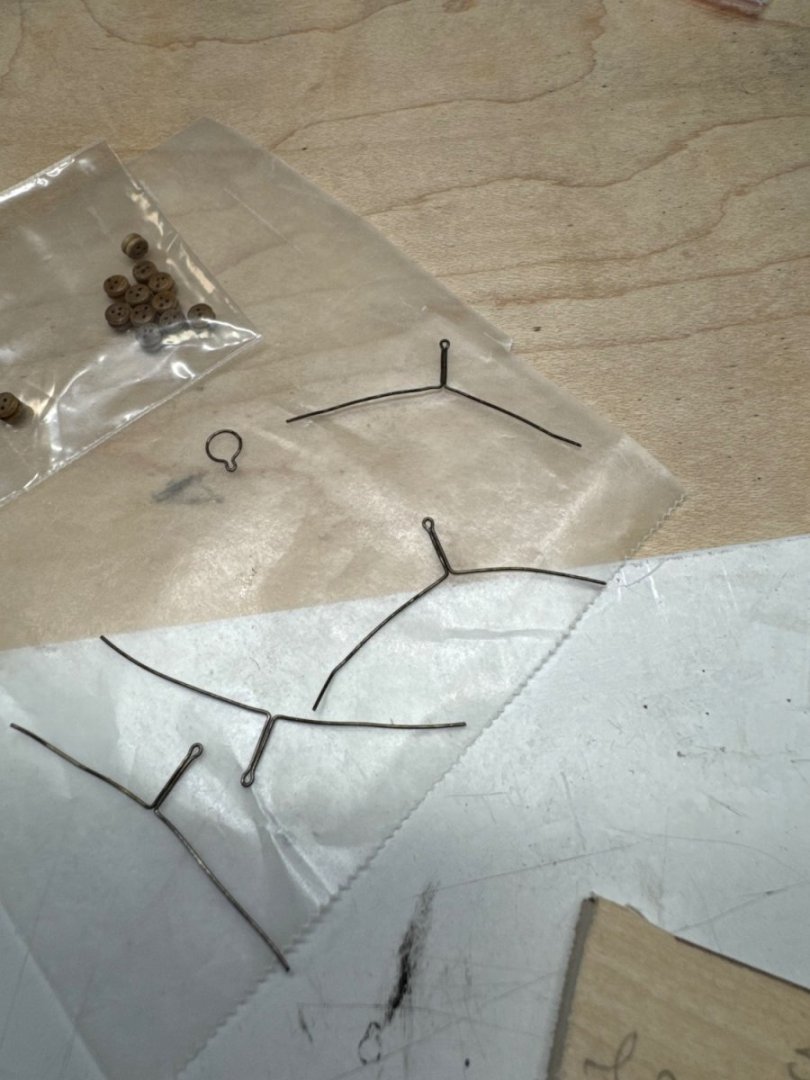
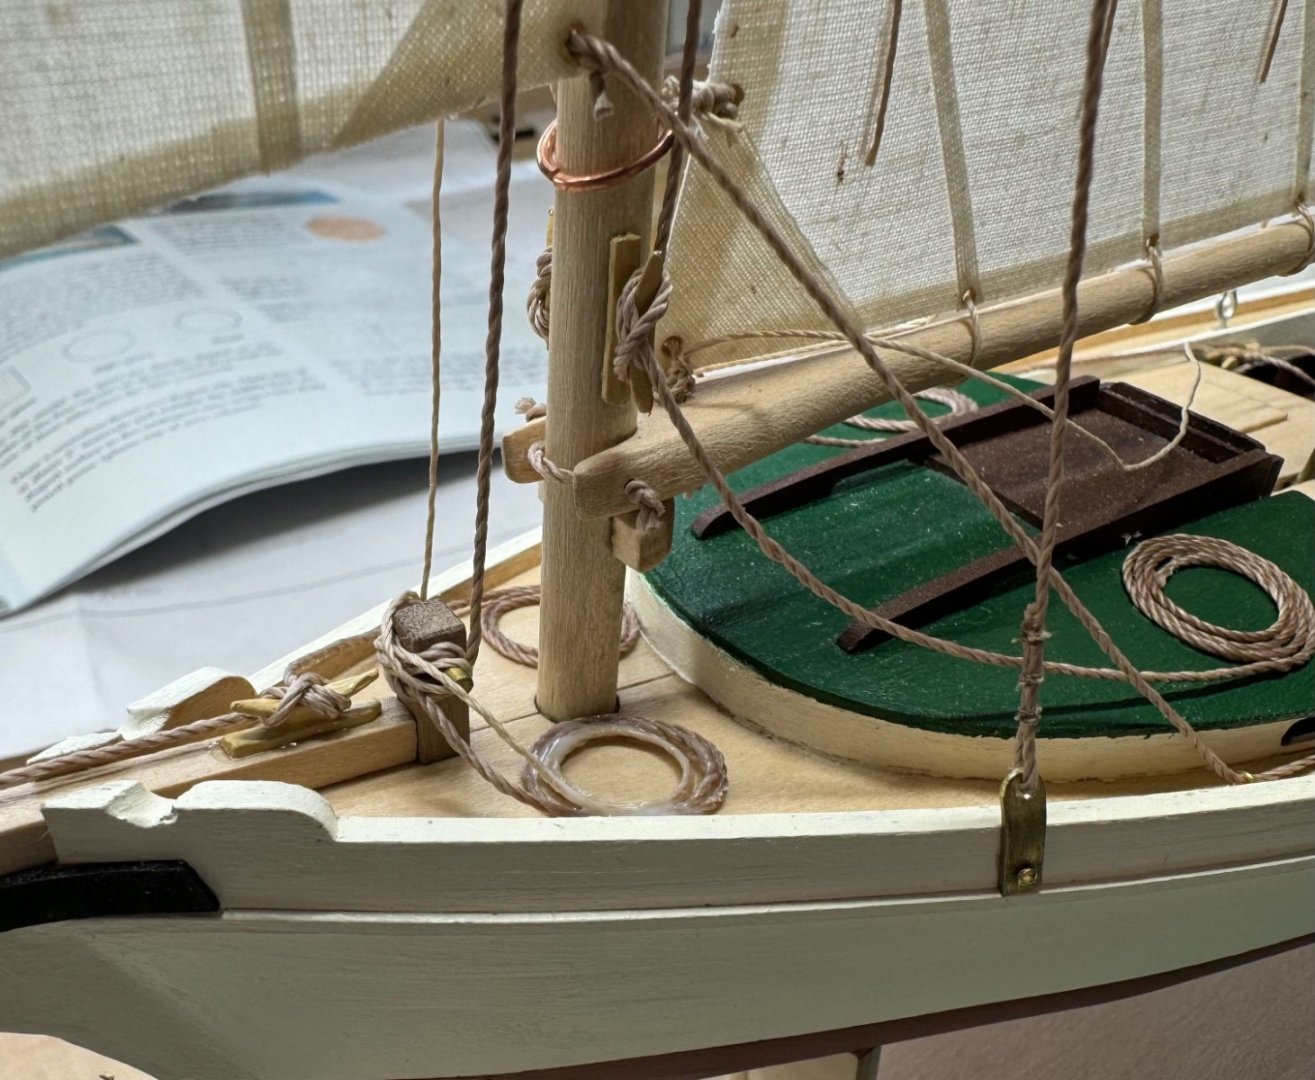
I broke every turnbuckle. lol. They are not durable. I guess I’ll wing it. I had to make more finished rope, I’ve used almost all of it in the kit. Bobstay, back stays, jib sail, jib sheet, and the topping lift is all that’s left.
- 40 replies
-
- 6
-
-
- Model Shipways
- Muscongus Bay Lobster Smack
- (and 1 more)
-
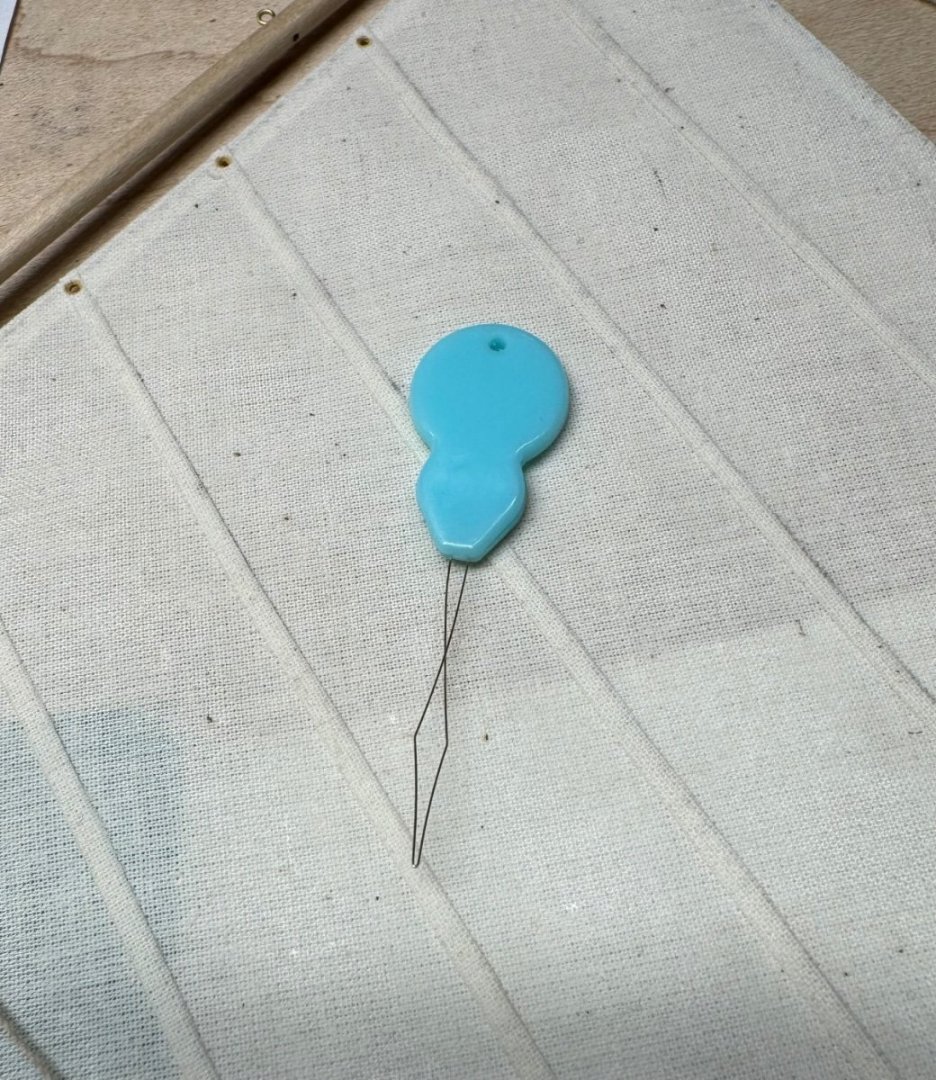
16,000 pictures on my phone, if I don’t post pictures here when I get them I might not find them again lol. It’s getting closer to finished. A pack of threaders was worth it, it makes easy work of threading multiple times in the same hole.
- 40 replies
-
- 6
-
-
- Model Shipways
- Muscongus Bay Lobster Smack
- (and 1 more)
-
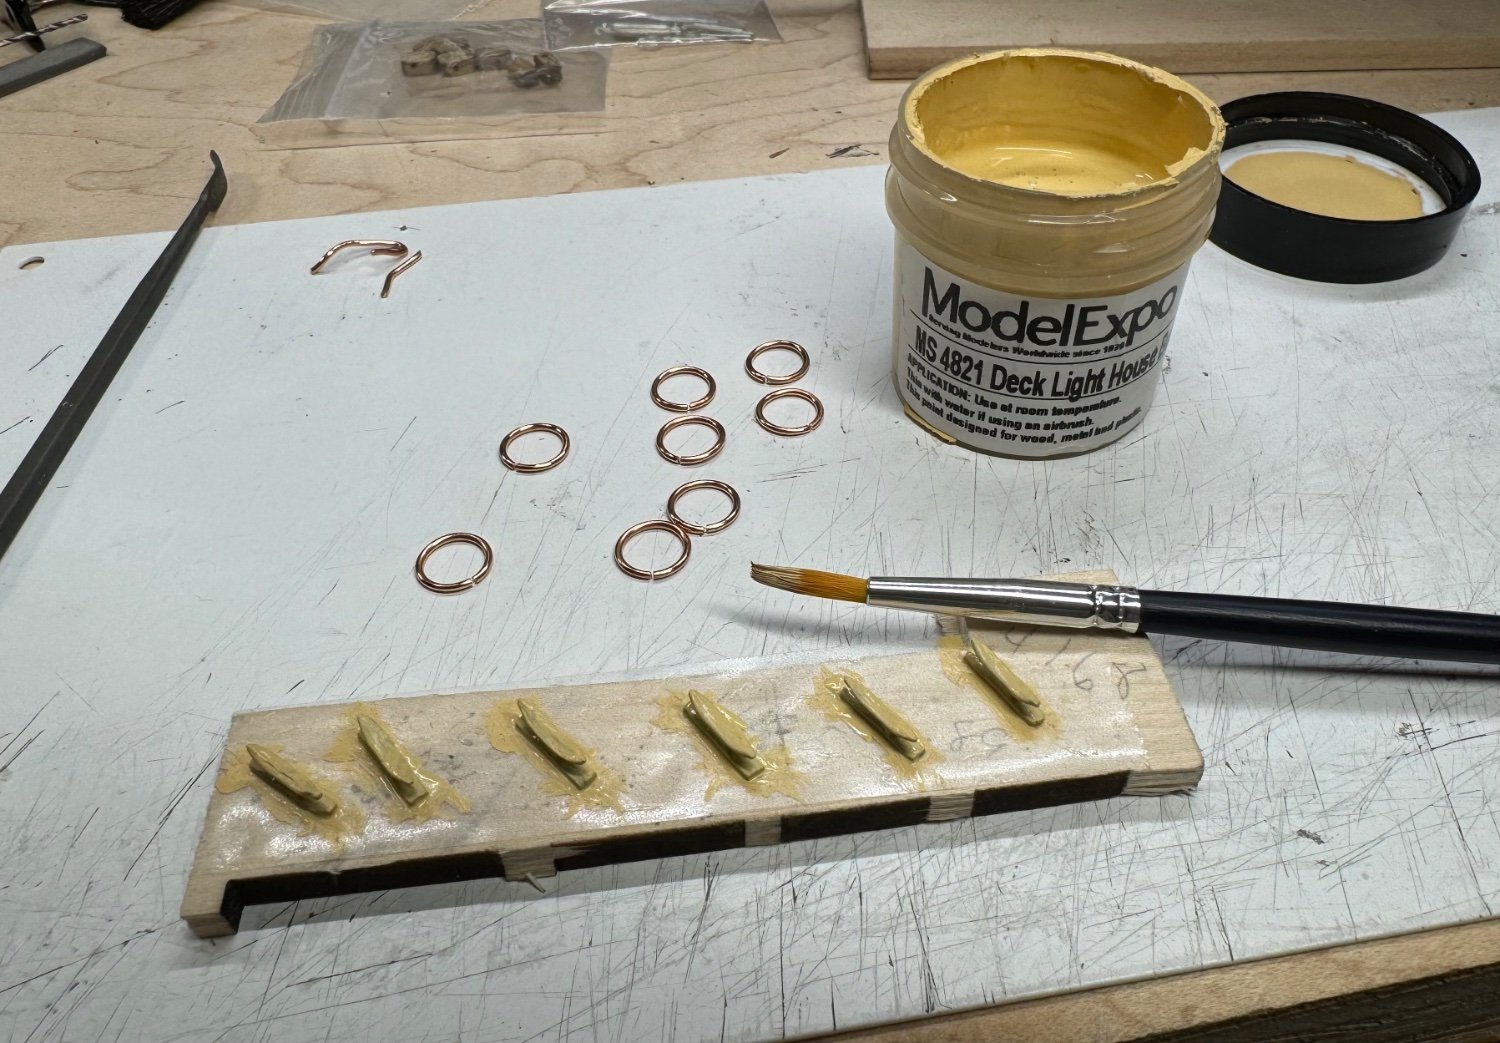
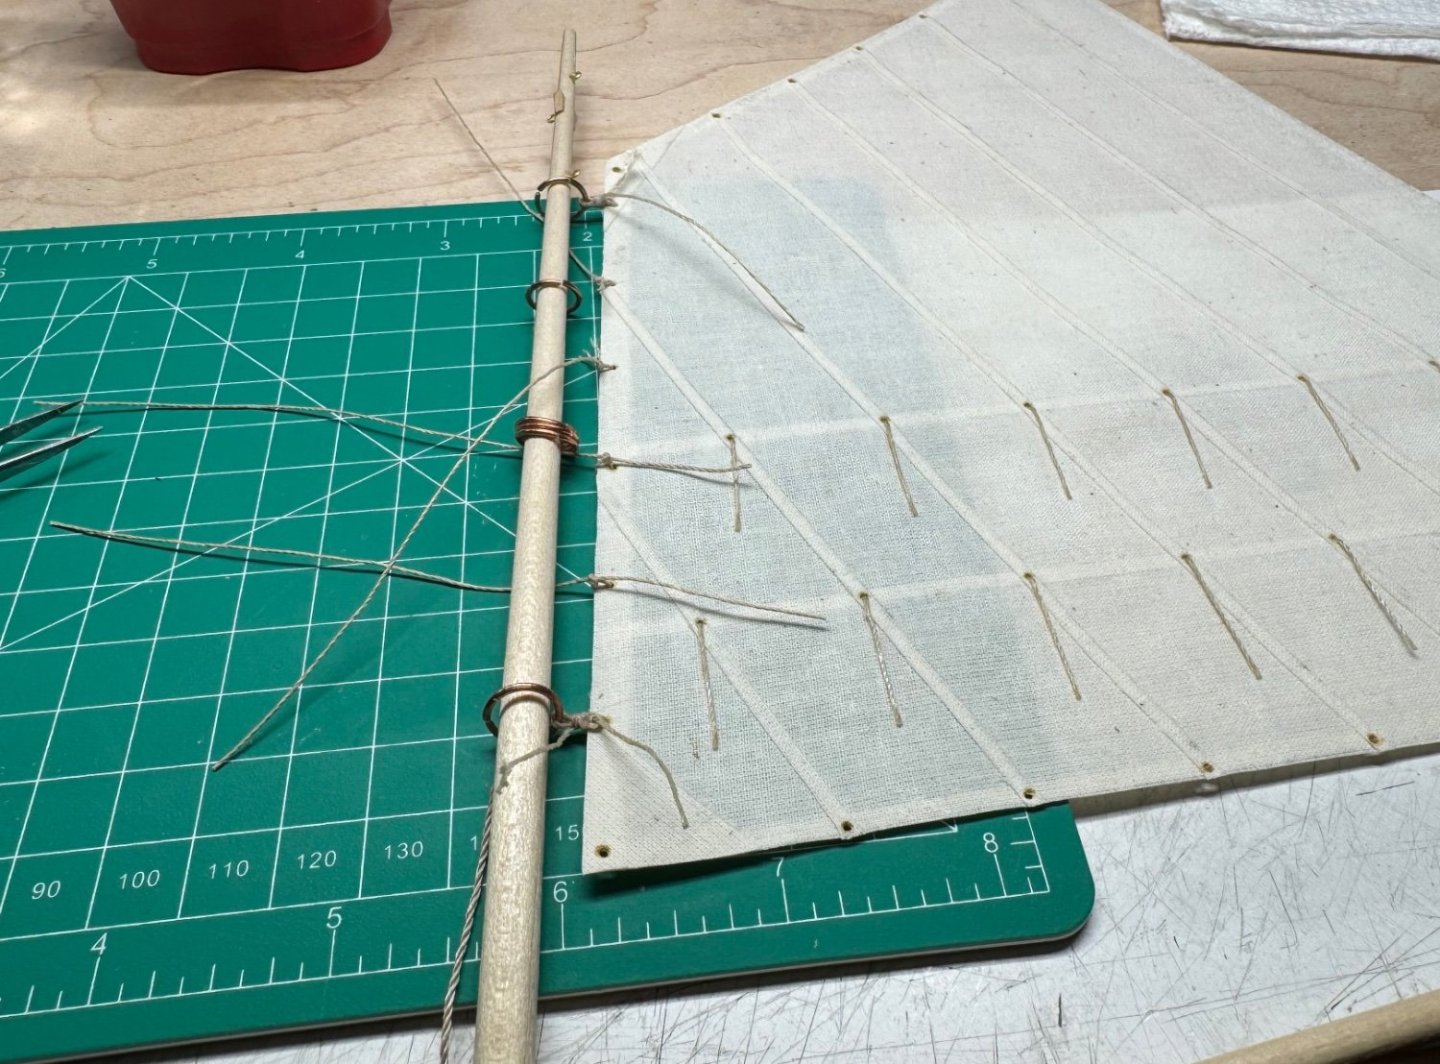
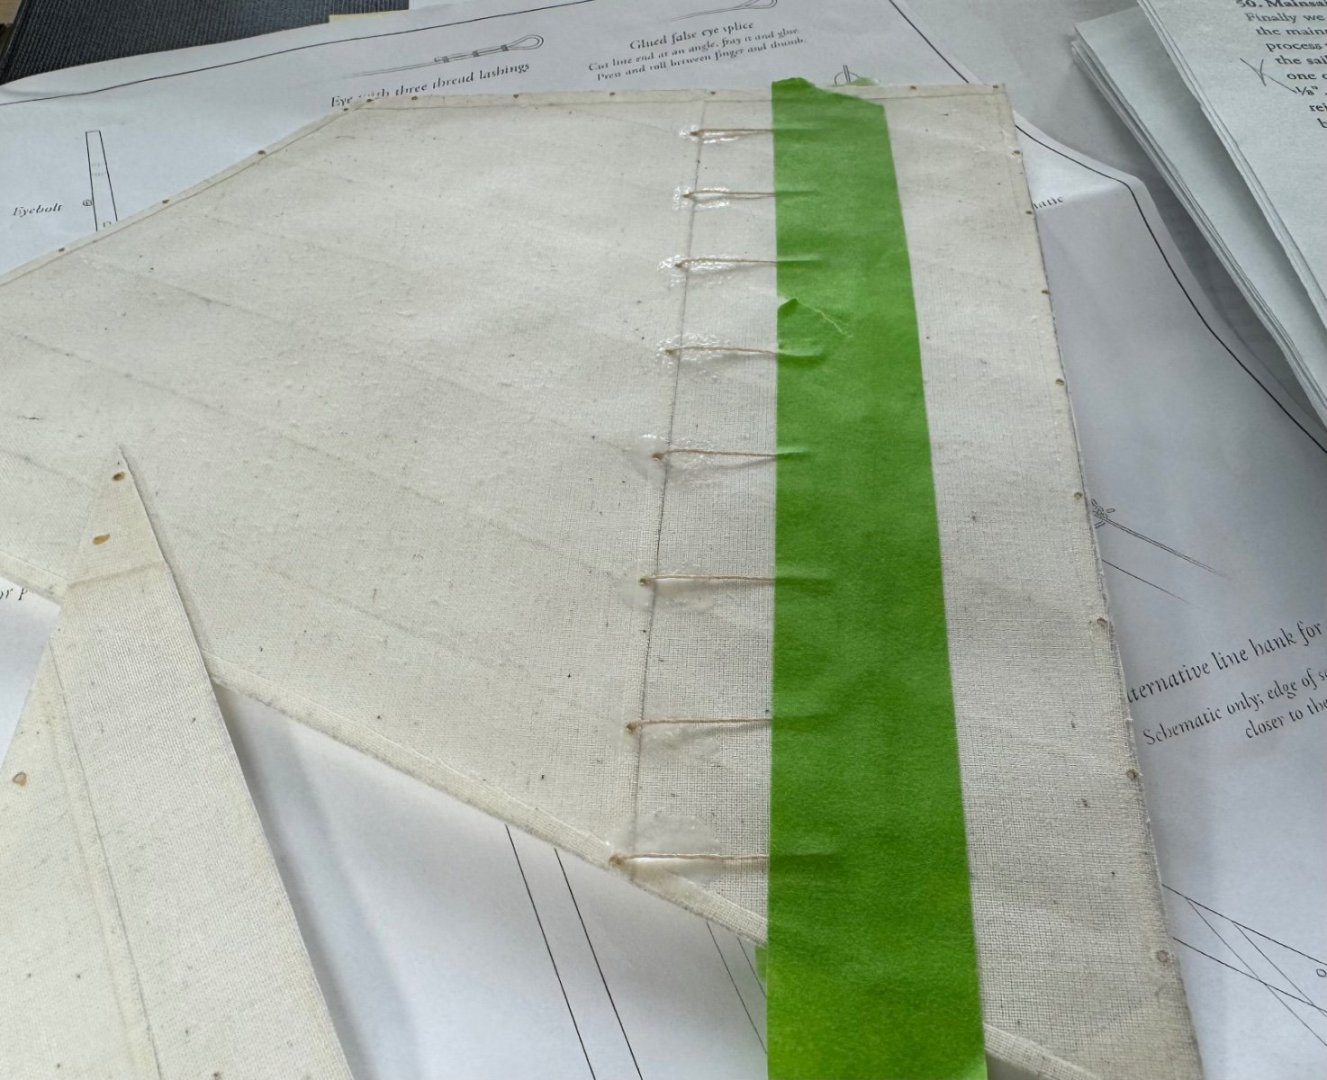
A 1mm hole punch and a hammer worked great. A #55 bit is .050” and the 1mm cuts a bit big, 1.2mm could have worked also. A dab of deck light house buff to seal the hole up. A 2” cut of rope to make the reef on both sides, hoping this turns out like I want when the glue cures/drys.
- 40 replies
-
- 4
-
-
- Model Shipways
- Muscongus Bay Lobster Smack
- (and 1 more)
-
The Medway has been unpacked and repacked 4 times now. I’m studying rigging, and ropes. Knots and such.
- 40 replies
-
- 1
-
-
- Model Shipways
- Muscongus Bay Lobster Smack
- (and 1 more)
-
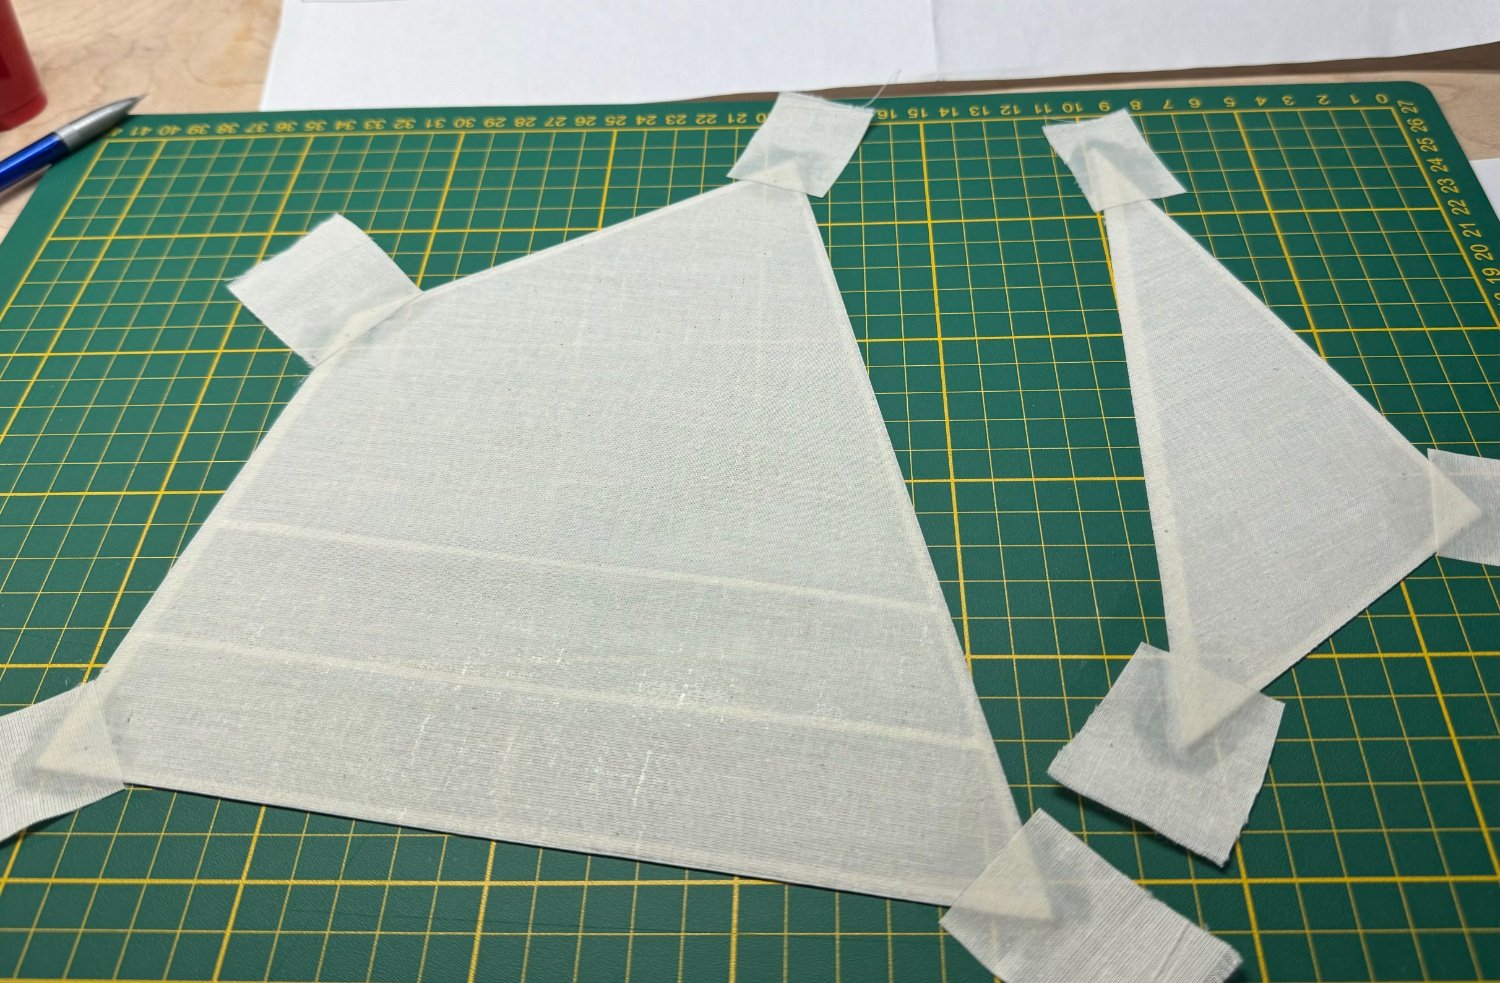
@SiriusVoyager Excellent point. I figured all Elmers white glue was the same. School Glue must have more water content already, then adding more makes it cure/dry slower. I'm only using white glue for sails and strings. Its ok that it takes time to dry, it makes me slow down. I keep doing this like its a race, and I'm not racing anyone. I do get excited about getting stuff done and have little patience. I bought some leather hole punches to cut the small holes in the sails. Drilling with a drill bit doesn't make a nice hole, or at least I can't get a nice hole this way. I have all the rigging rope prepped, stiffened with white glue, I like they way this looks. It makes them look taught on the ship when placed. They don't droop much. I used the nylon included with the kit. I bought some really nice Syren rope, but I'm not sure how to treat it. I've looked everywhere I know to see if I should white glue this good stuff too. I saw where someone said not to use bees wax, which I've never tried to use yet. I'm waiting for the hole punches and some replacement metal bits to continue. I'm clearly avoiding the rigging, I've had 2 other kits open fighting the urge to start another ship....... Medway Longboat 1742 in a box, it smells so good too.
- 40 replies
-
- 6
-
-
- Model Shipways
- Muscongus Bay Lobster Smack
- (and 1 more)
-
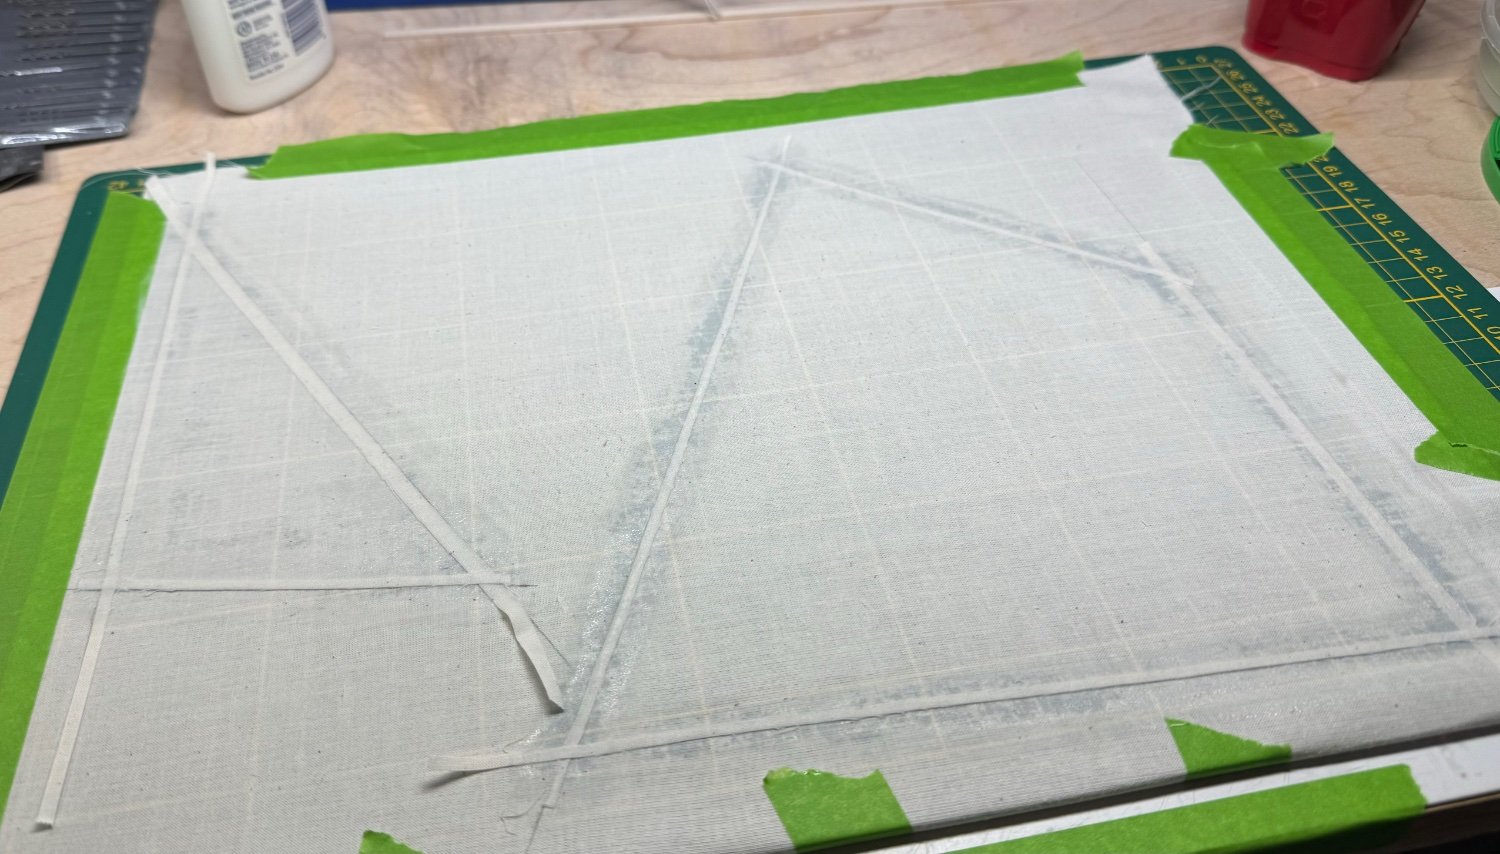
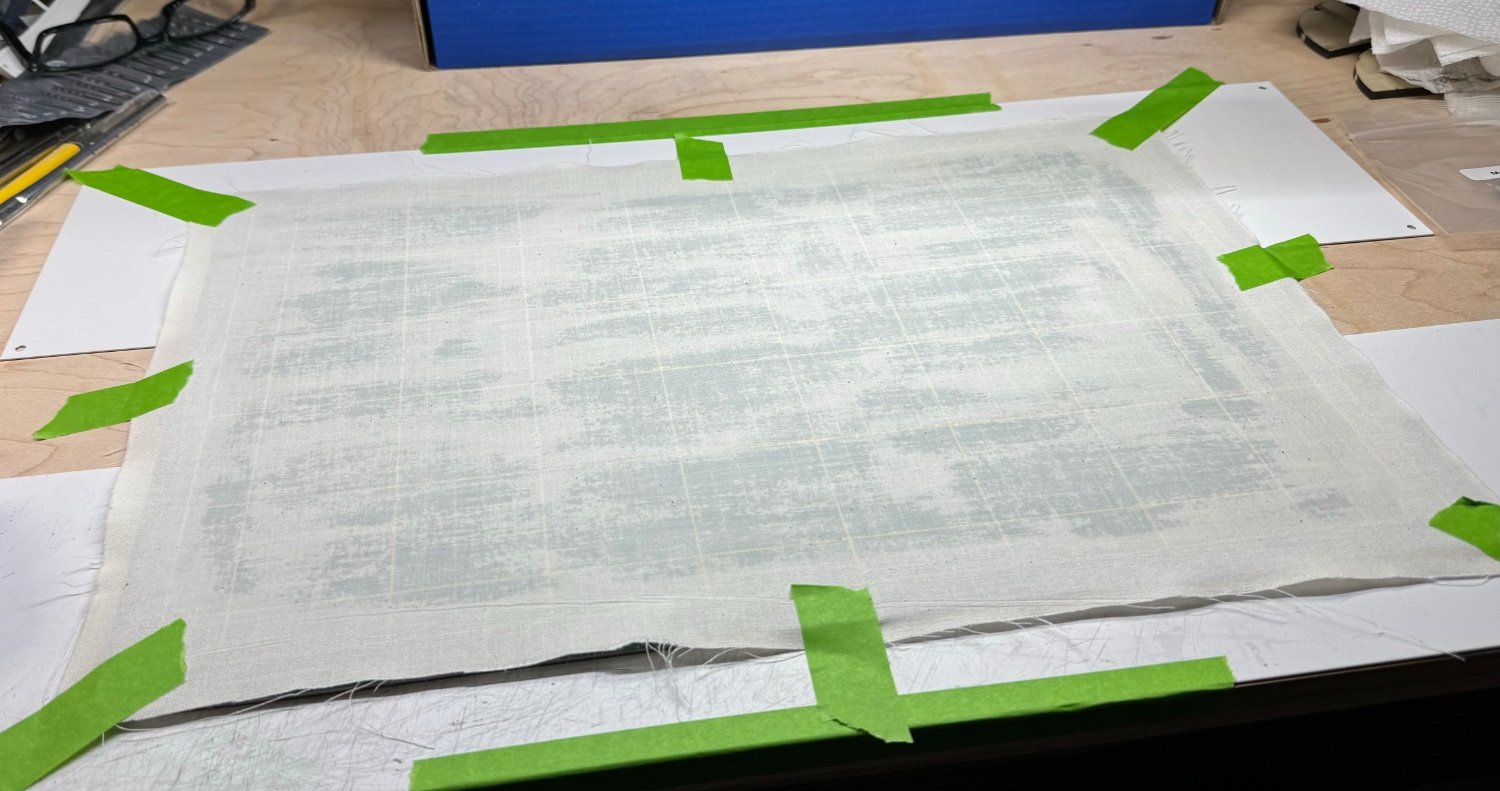
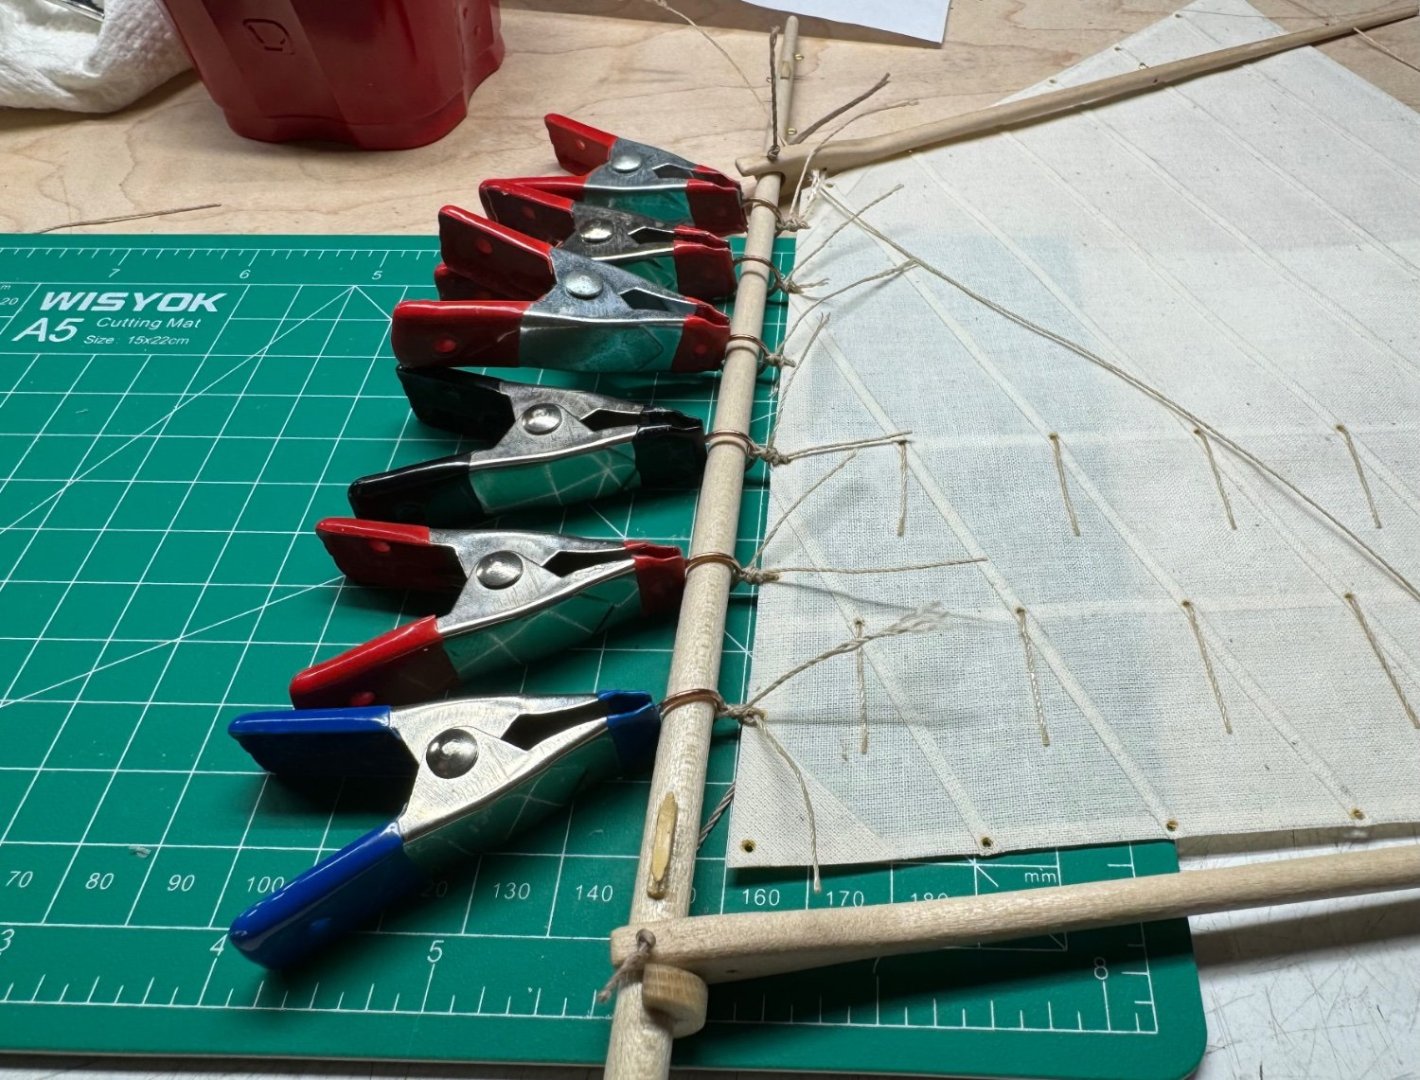
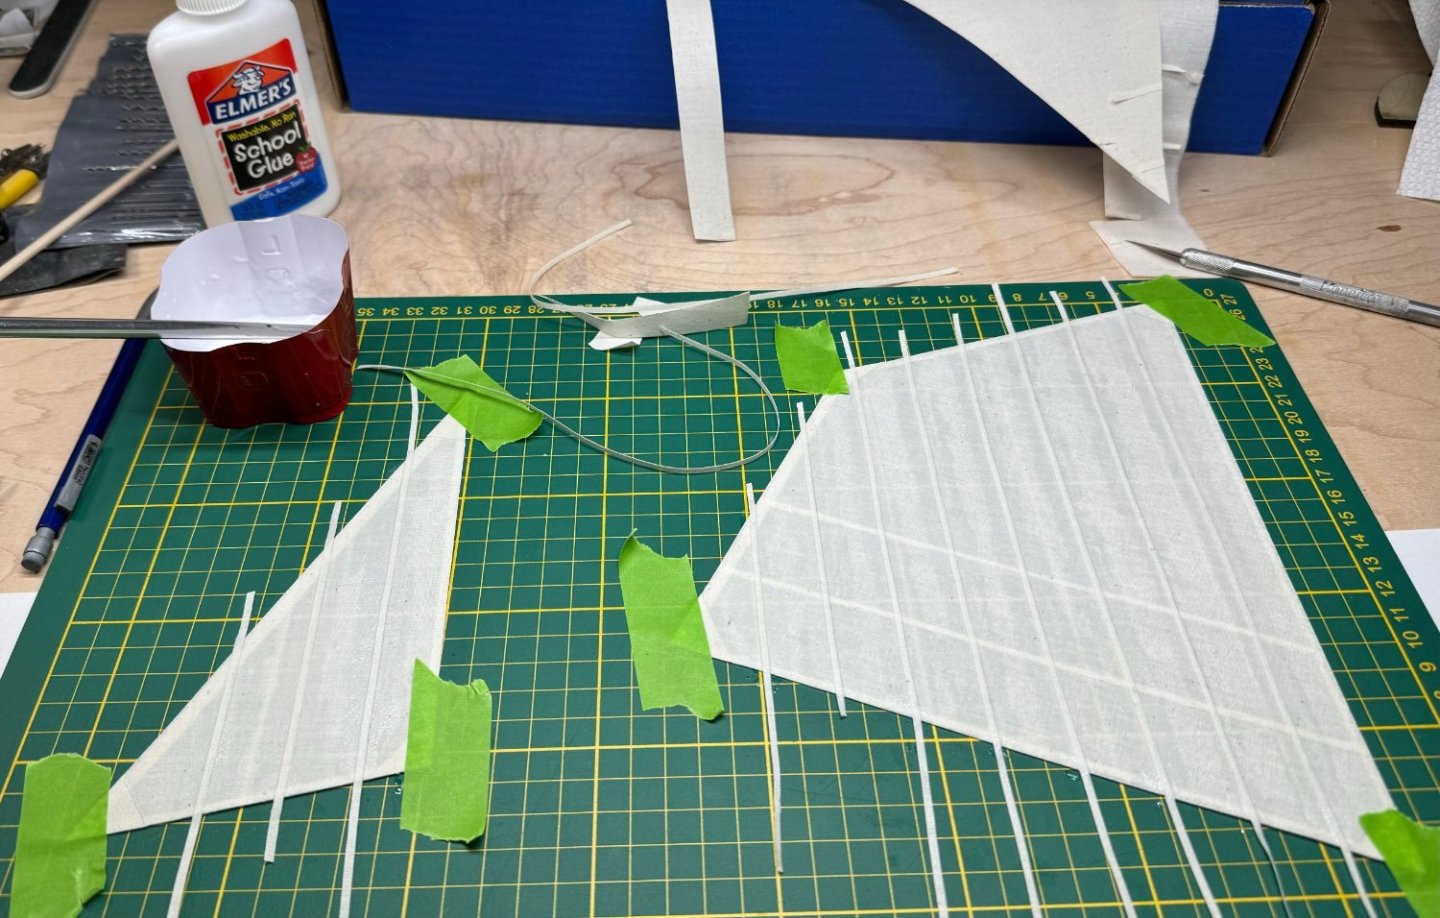
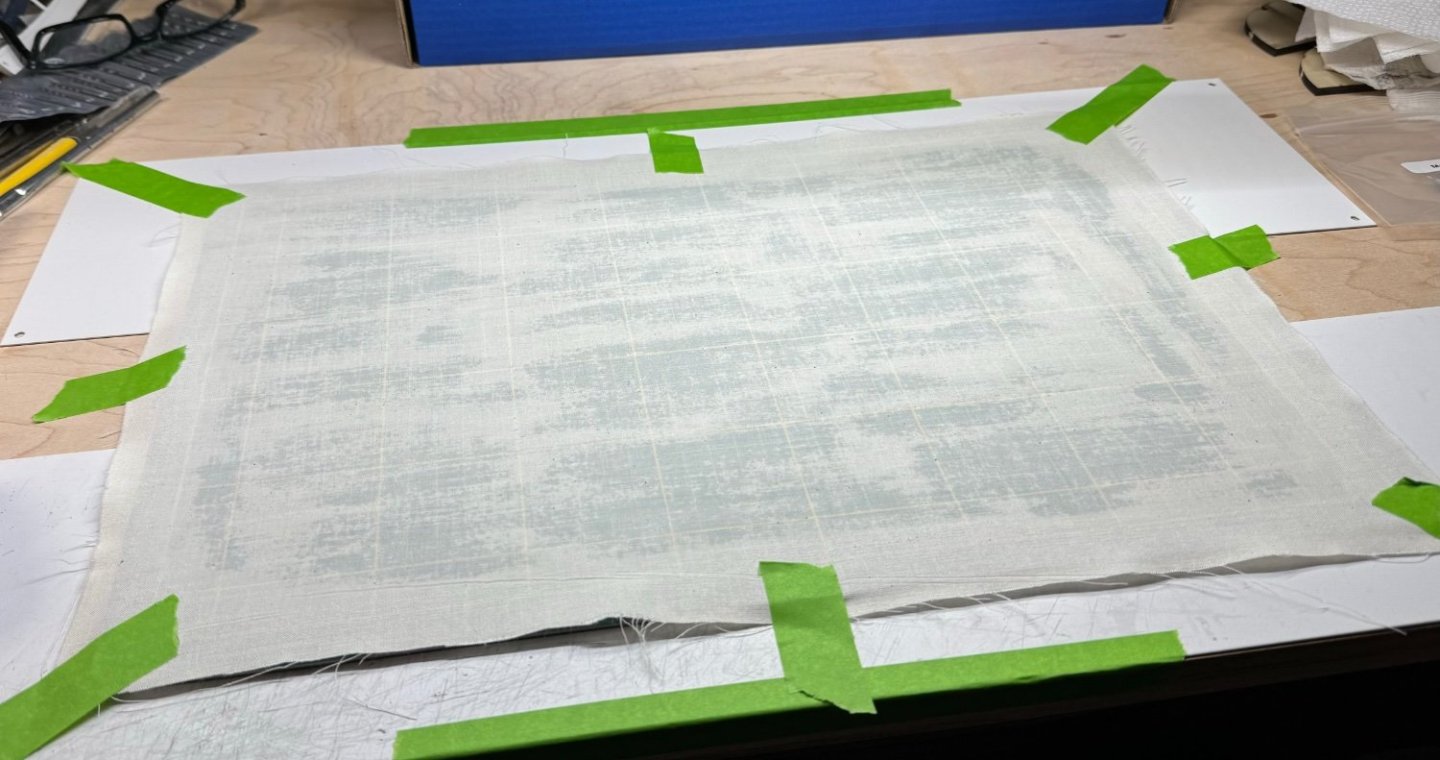
Diluted white glue, yes. I tried a hairdryer, it didn’t seem to do much. It certainly wasn’t quick at all. The matt is cold so it was harder to warm up. I tried low heat and hot. To keep the sail material stable I stopped, it shrinks at different temps, and I had no good way to keep the temp the same across the sail. I need a break from time to time anyways, watching tv and glue dry isn’t all that bad. Now I’m waiting for strings to dry lol.
- 40 replies
-
- 4
-
-
- Model Shipways
- Muscongus Bay Lobster Smack
- (and 1 more)
-
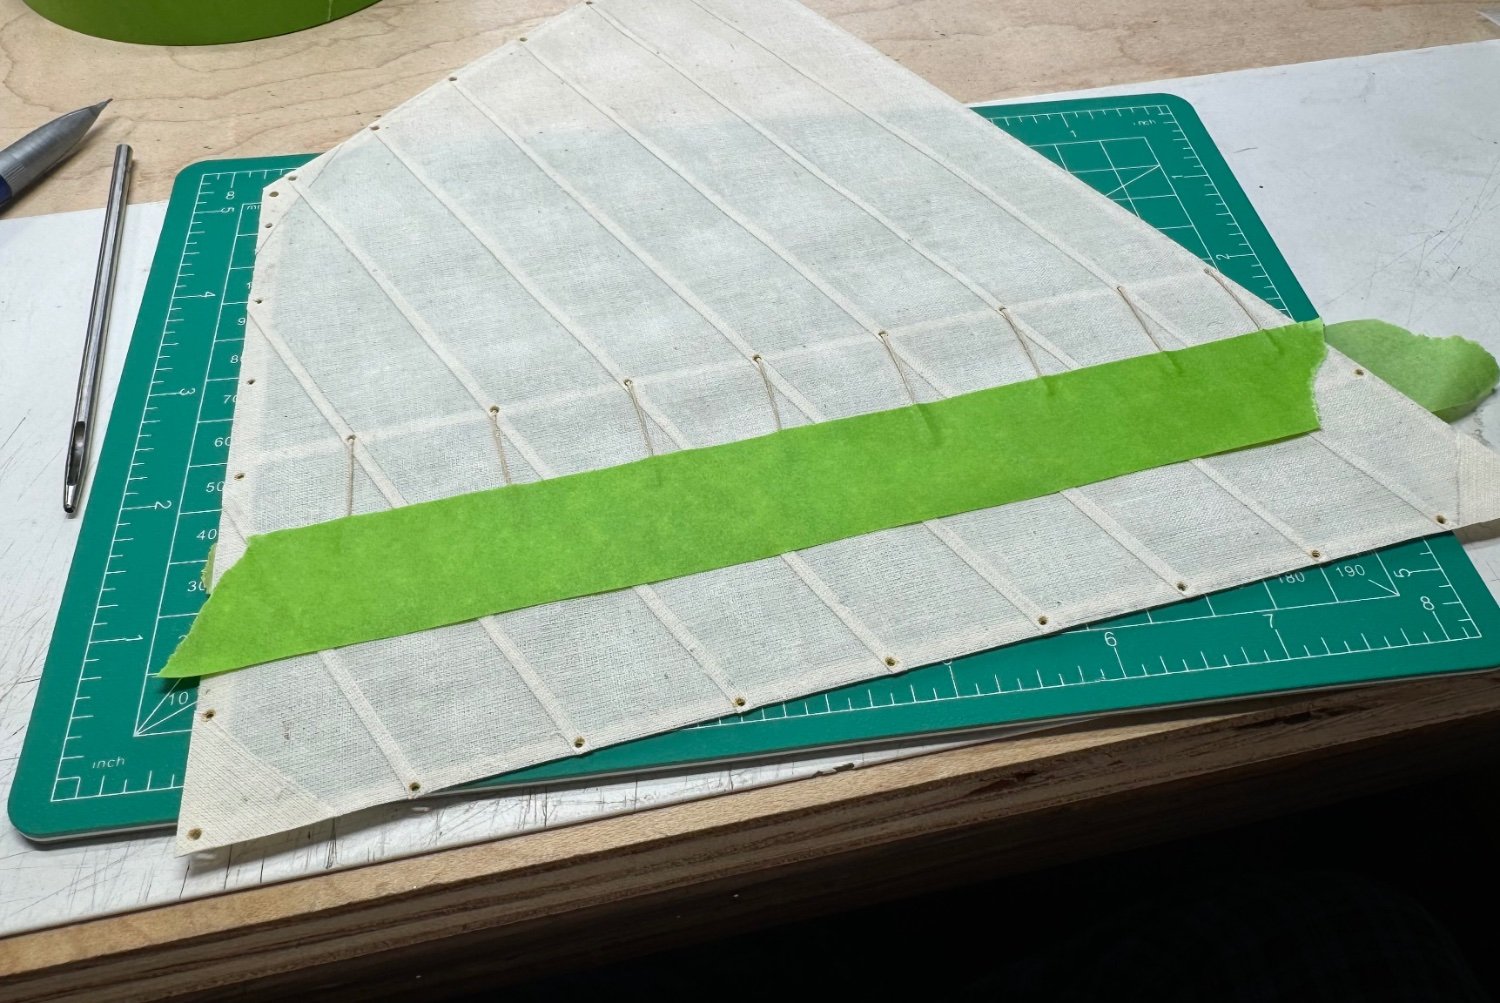
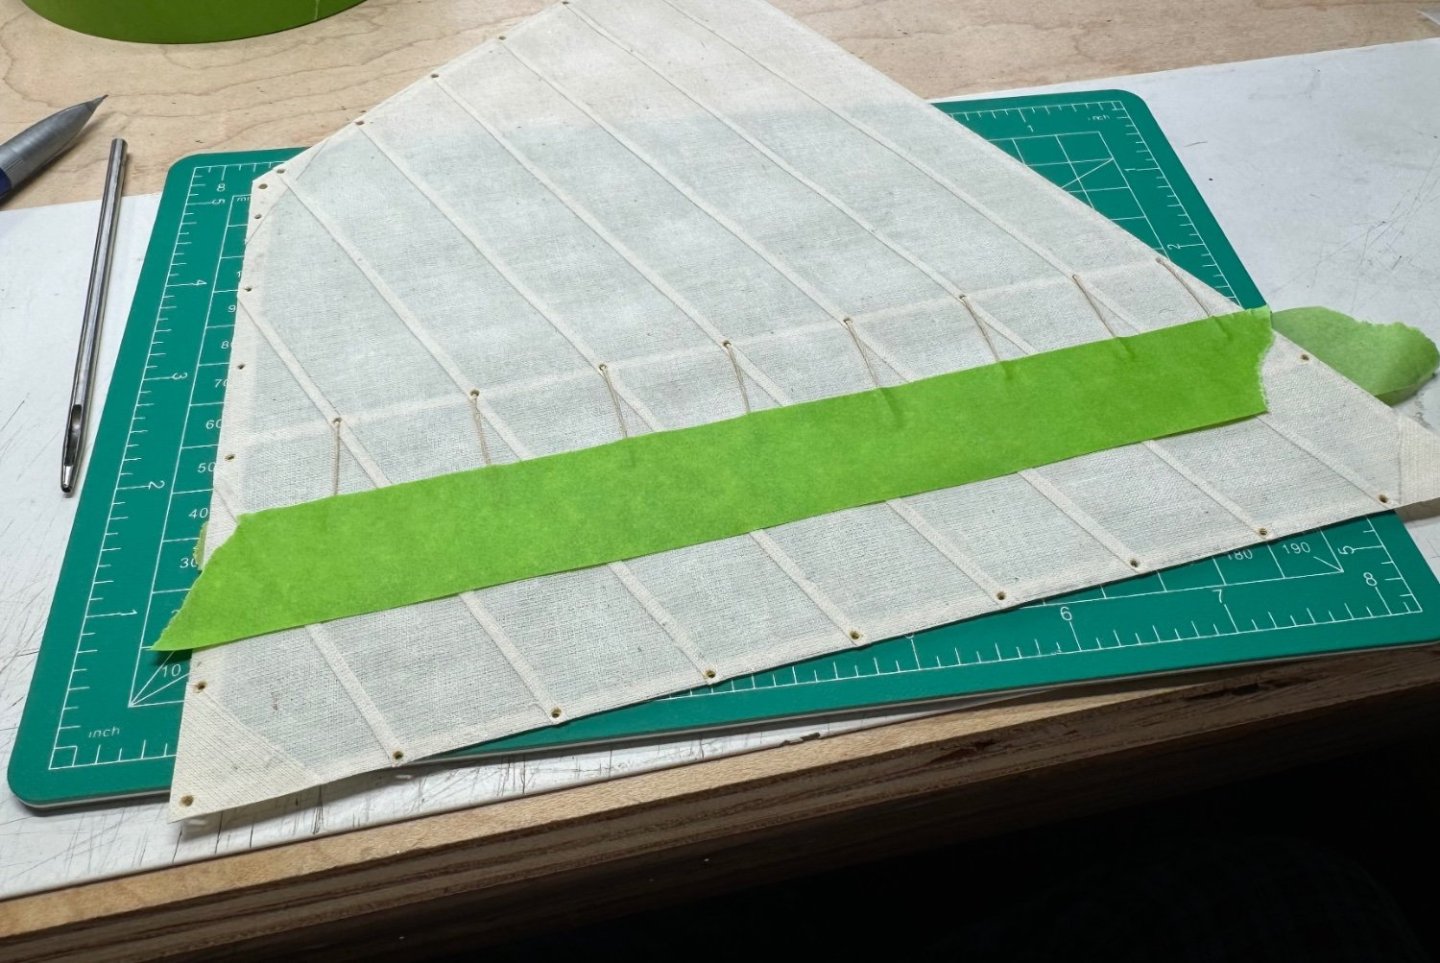
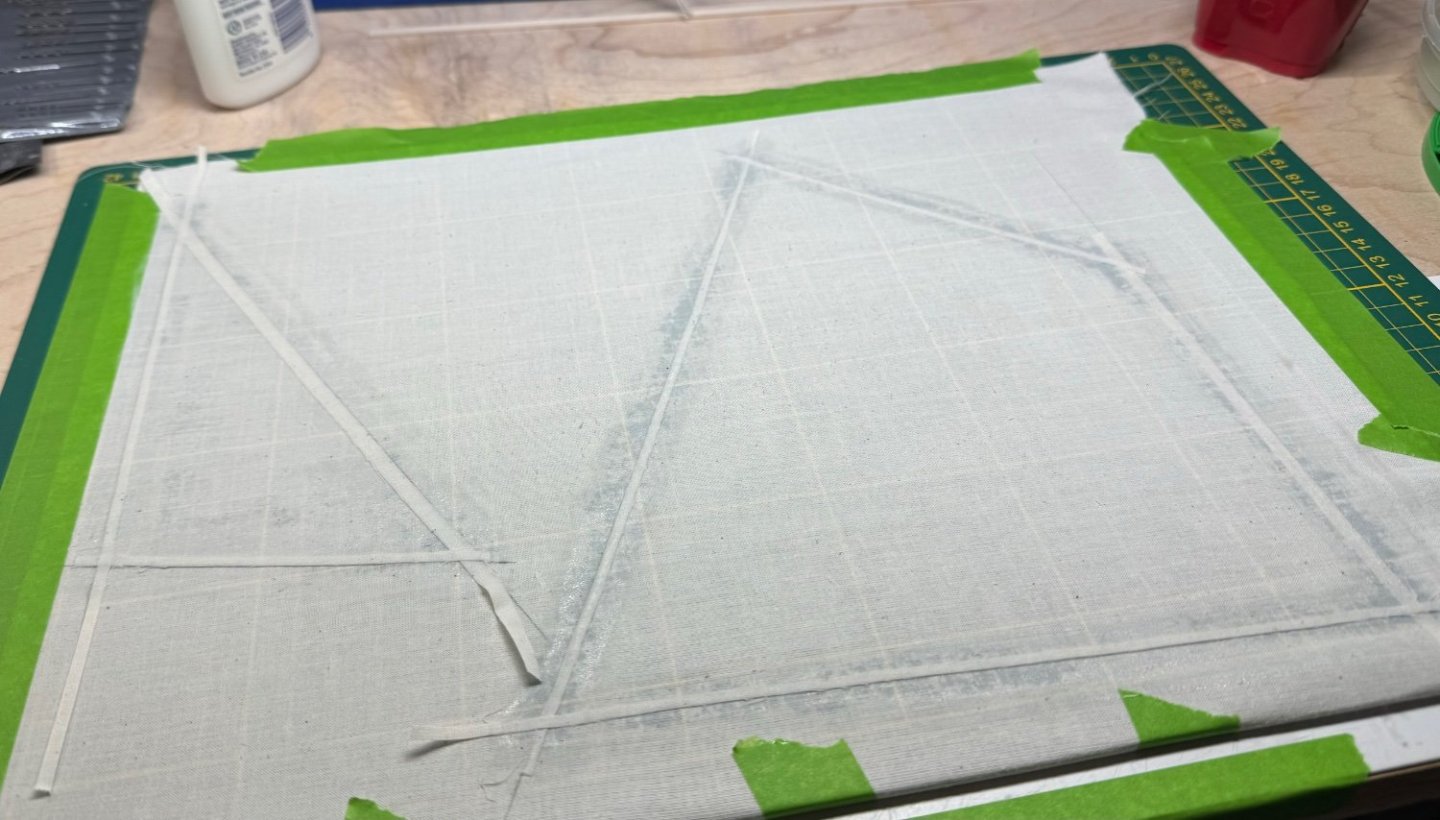
Waiting for sail glue to dry is brutal. I’ve found ways to decrease build time with Titebond quick and thick, and some 5 min epoxy. Waiting for white glue to dry/cure is brutal. Measure 3 times mark once. Seams should have been 3/4 inch spacing. I miscalculated and made it 7/8 or so. I added the seams to my calculation, I didn’t notice the seam was 3/4 front edge to front edge. Every ship has a math error on it. It’s like my trade mark. 🤣. Only sharp eyes will see it anyways.

- 40 replies
-
- 4
-
-
- Model Shipways
- Muscongus Bay Lobster Smack
- (and 1 more)
-
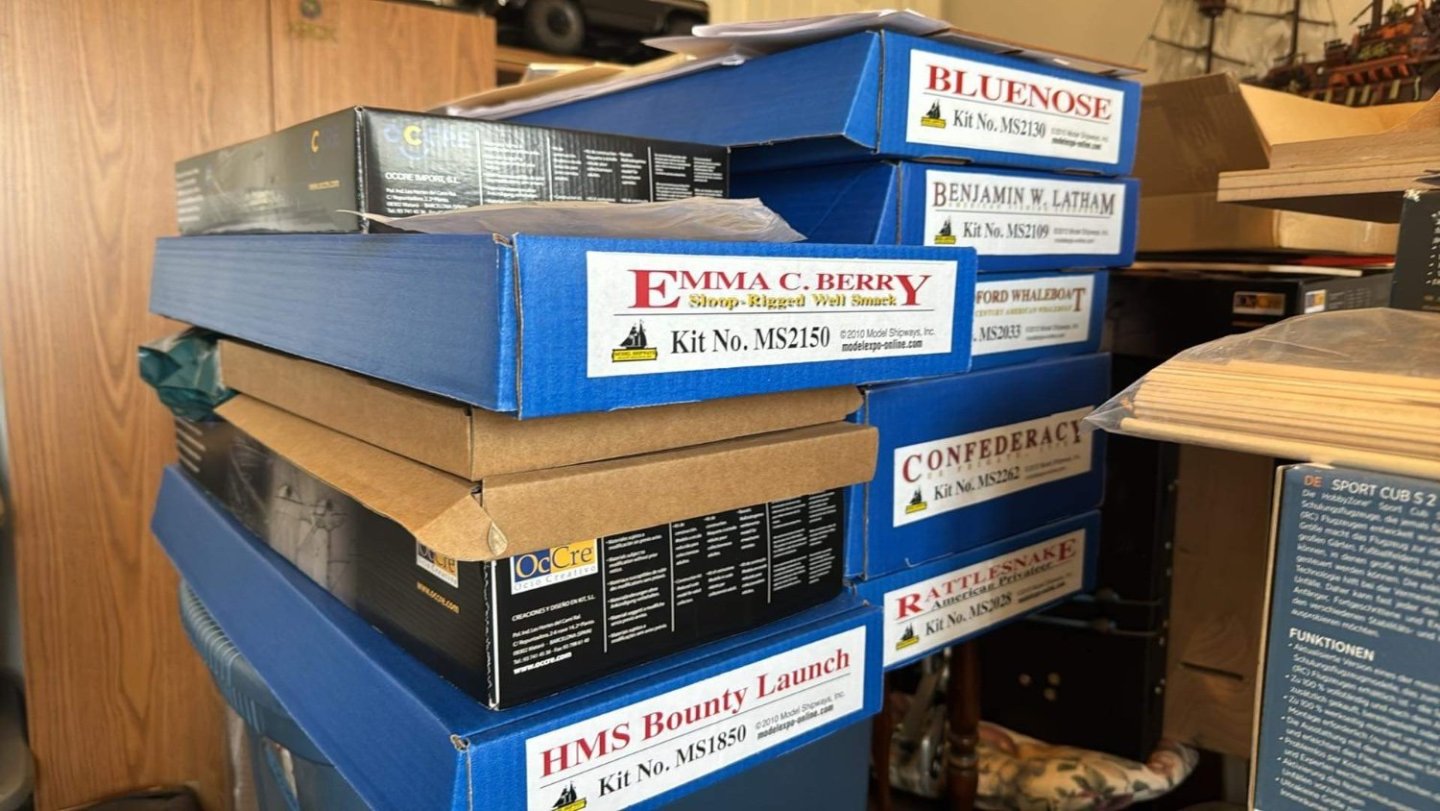
I’ll just do the entire sheet in one stop. It will be dry by morning I hope. I’ve got a large pile of ships I could start next. Wrapping this one up is important. Then the longboat. The scale rope order arrived today, I got enough for the Bluenose too.
- 40 replies
-
- 6
-
-
- Model Shipways
- Muscongus Bay Lobster Smack
- (and 1 more)
-
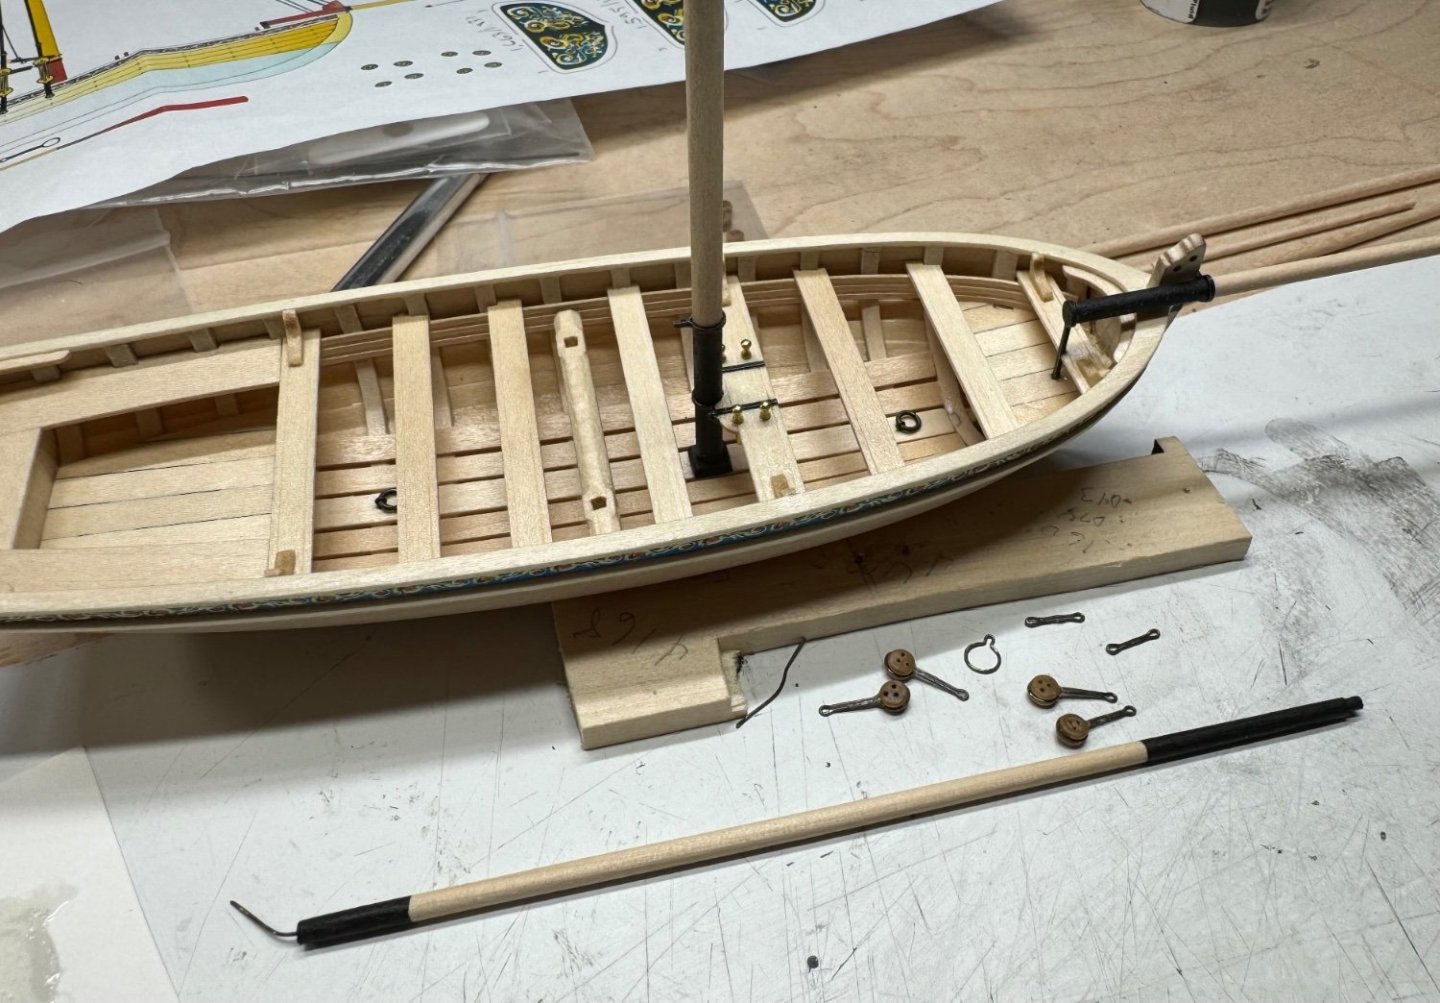
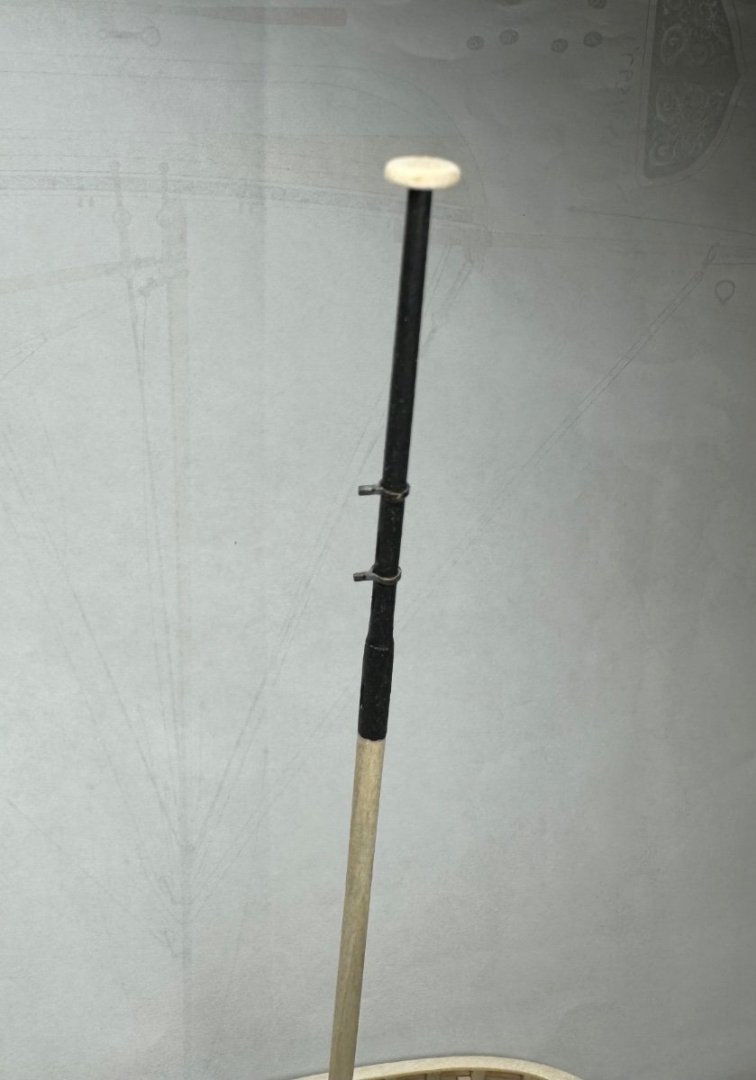
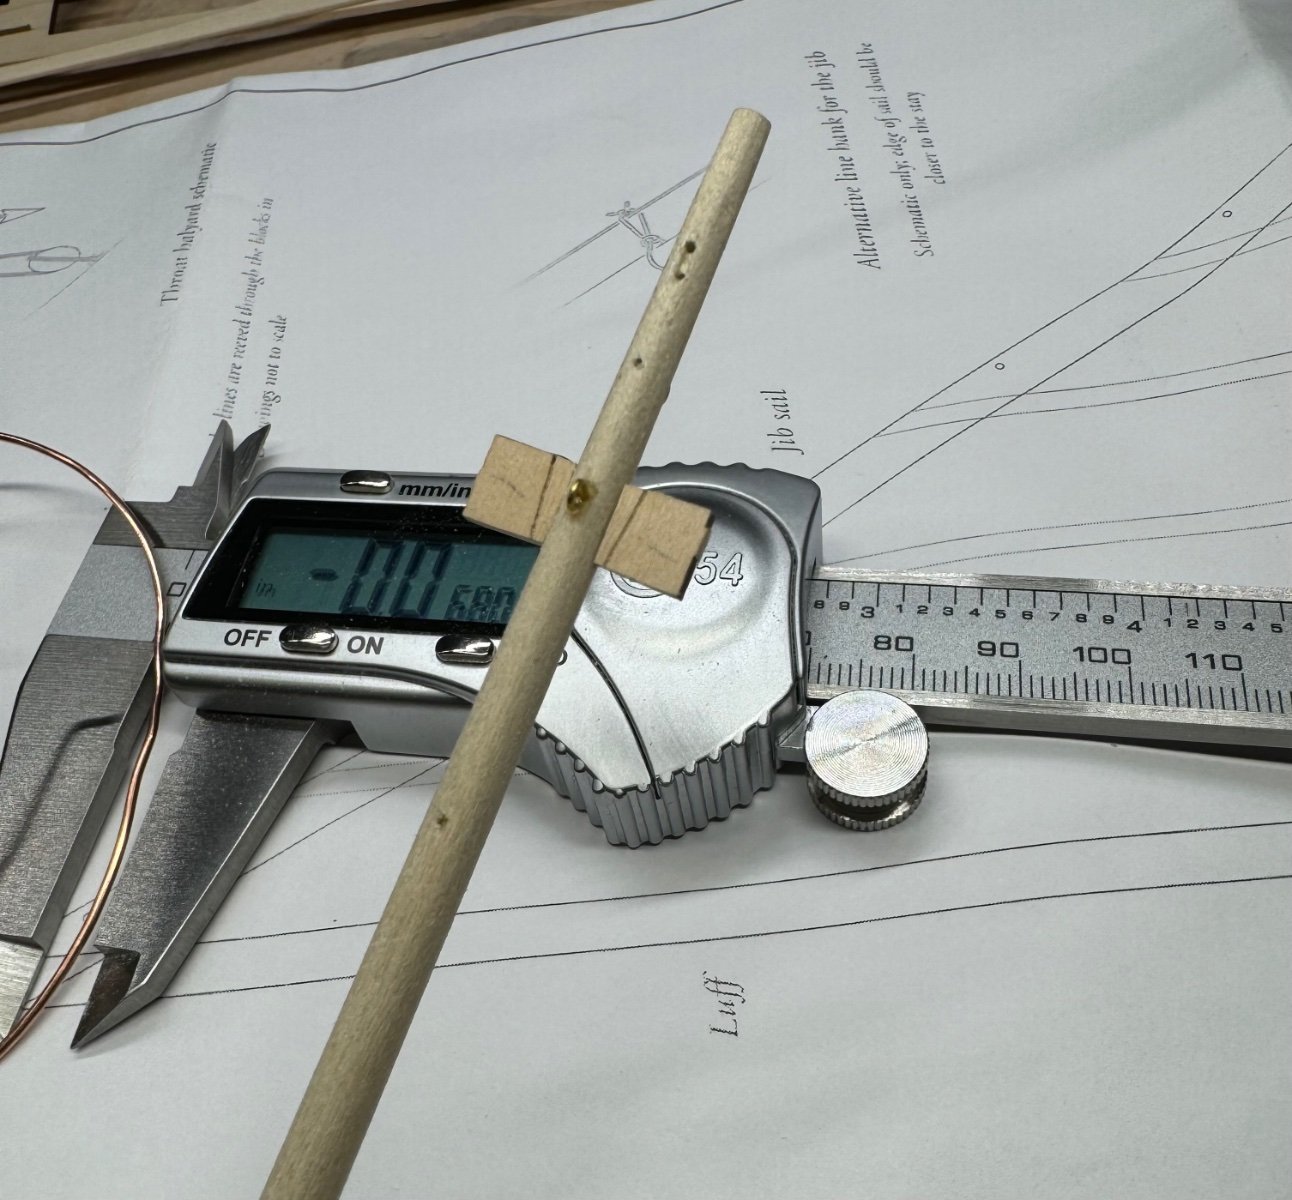
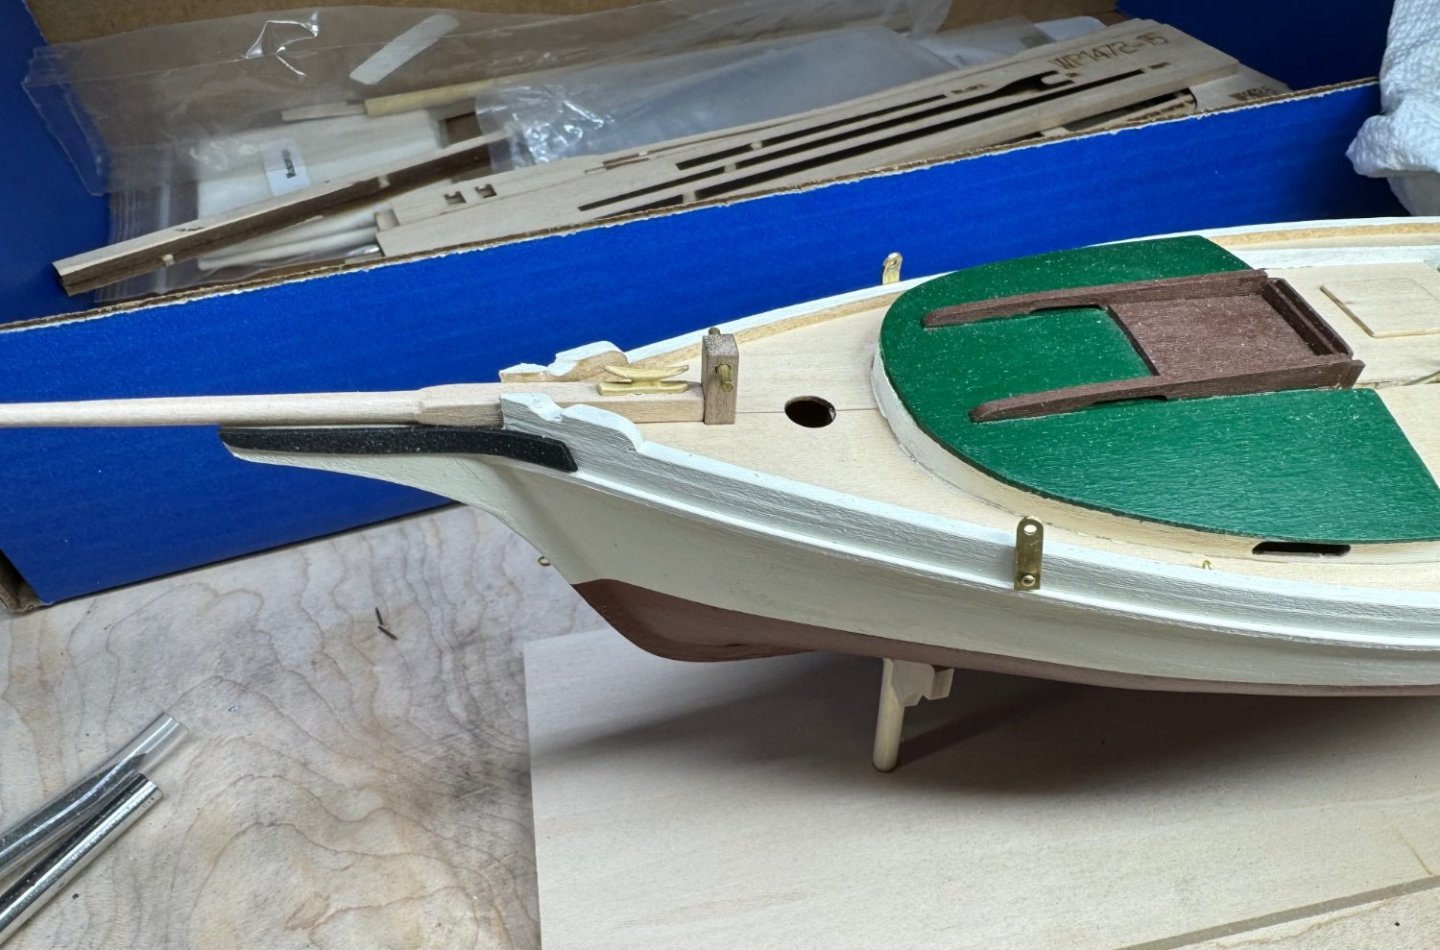
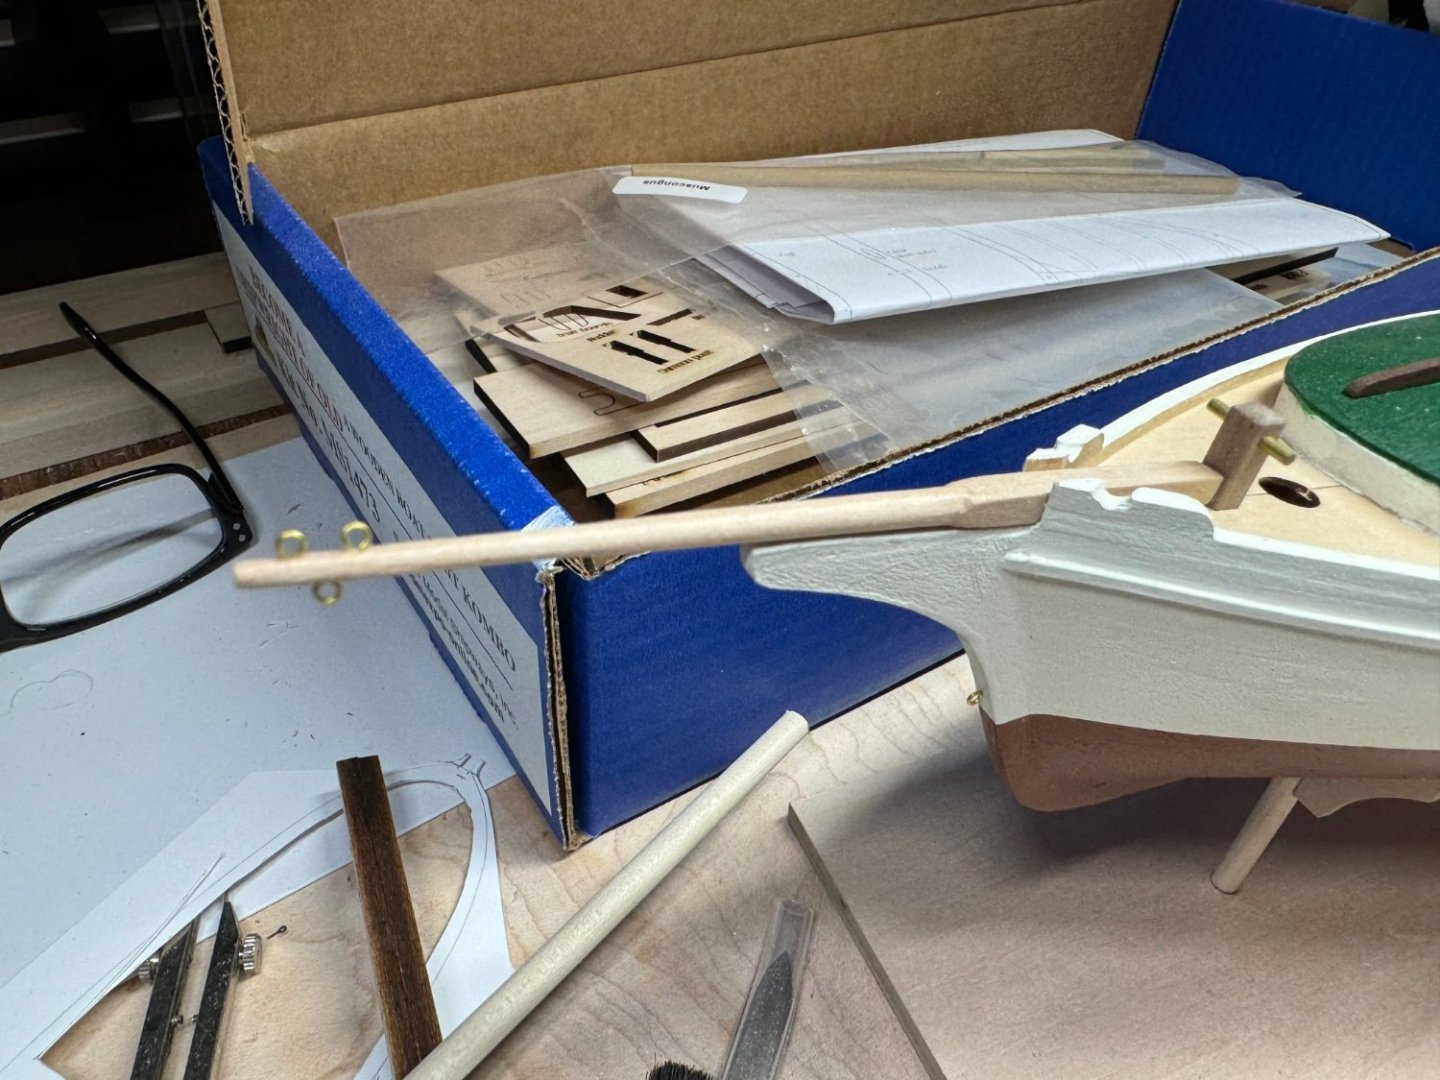
Step 40 Fairleads done Step 41 Trail Boards done Step 43 Chainplates done Step 44 Cleats done, turnbuckles has one bad forming, getting a replacement soon hopefully. Step 45 Mast, made out of a dowel rod. Biggest take way is the 7:10:7 method to make stuff round, one of the shining learnings building this Smack. Step 46 Mast fittings. Done. Put the mast hoops on after installing the cleats, 🙄. Step 47 Boom. Done. Step 48 Gaff. Done. Step 49 Stropping blocks, done. Ready for step 50, making sails.


- 40 replies
-
- 5
-
-
- Model Shipways
- Muscongus Bay Lobster Smack
- (and 1 more)
-
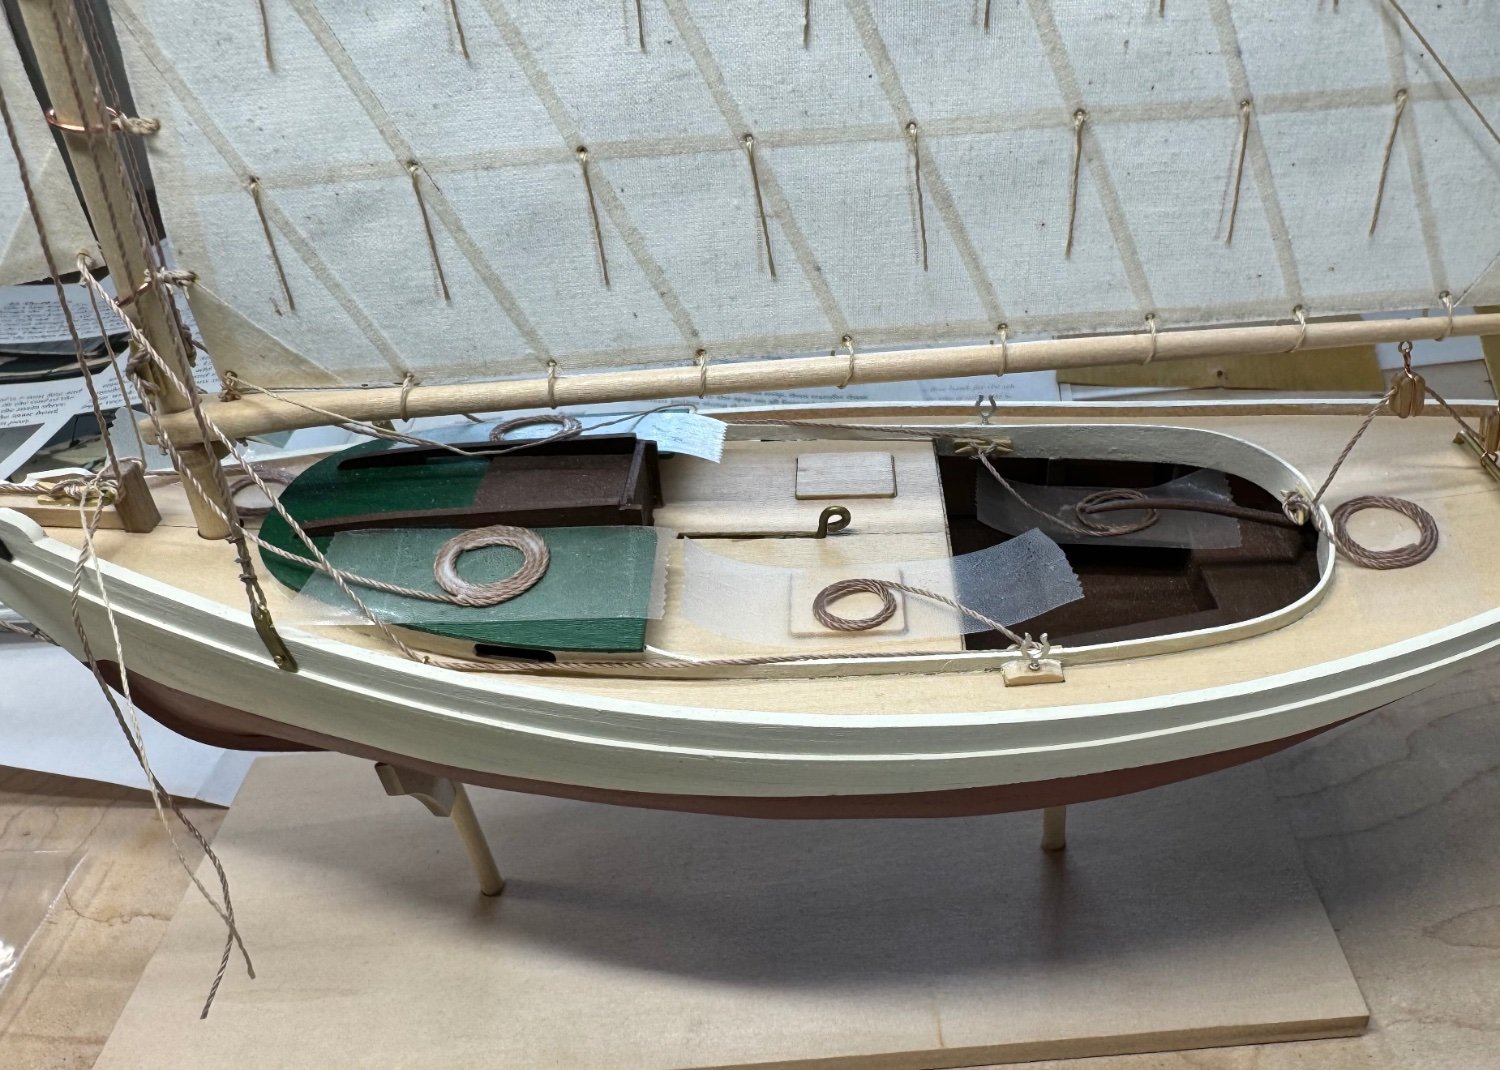
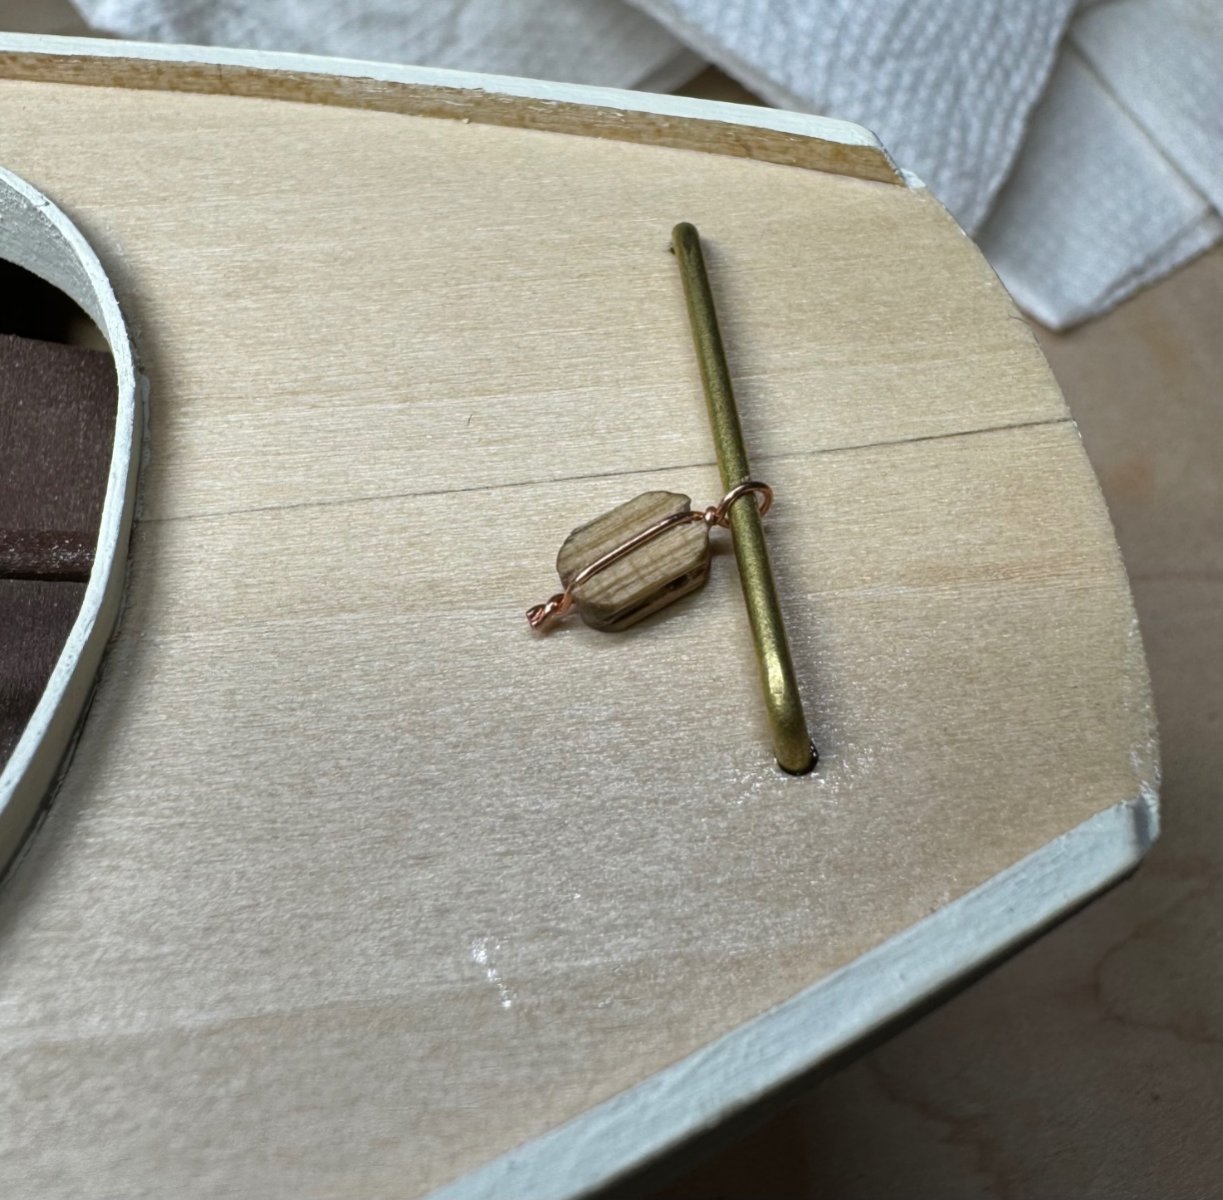
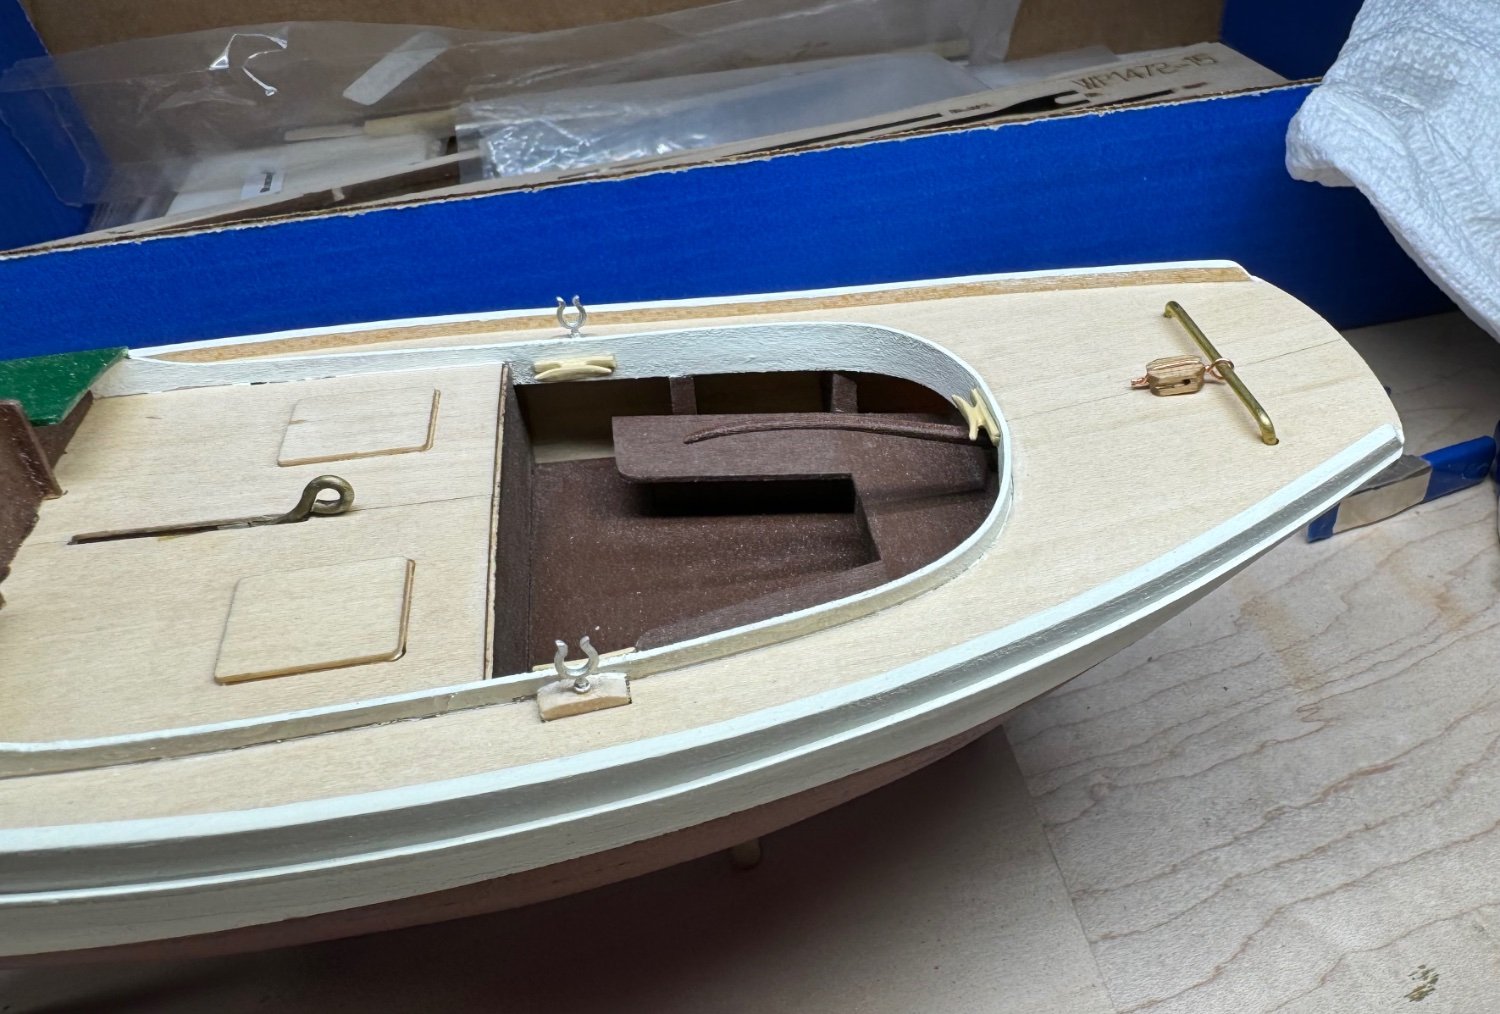
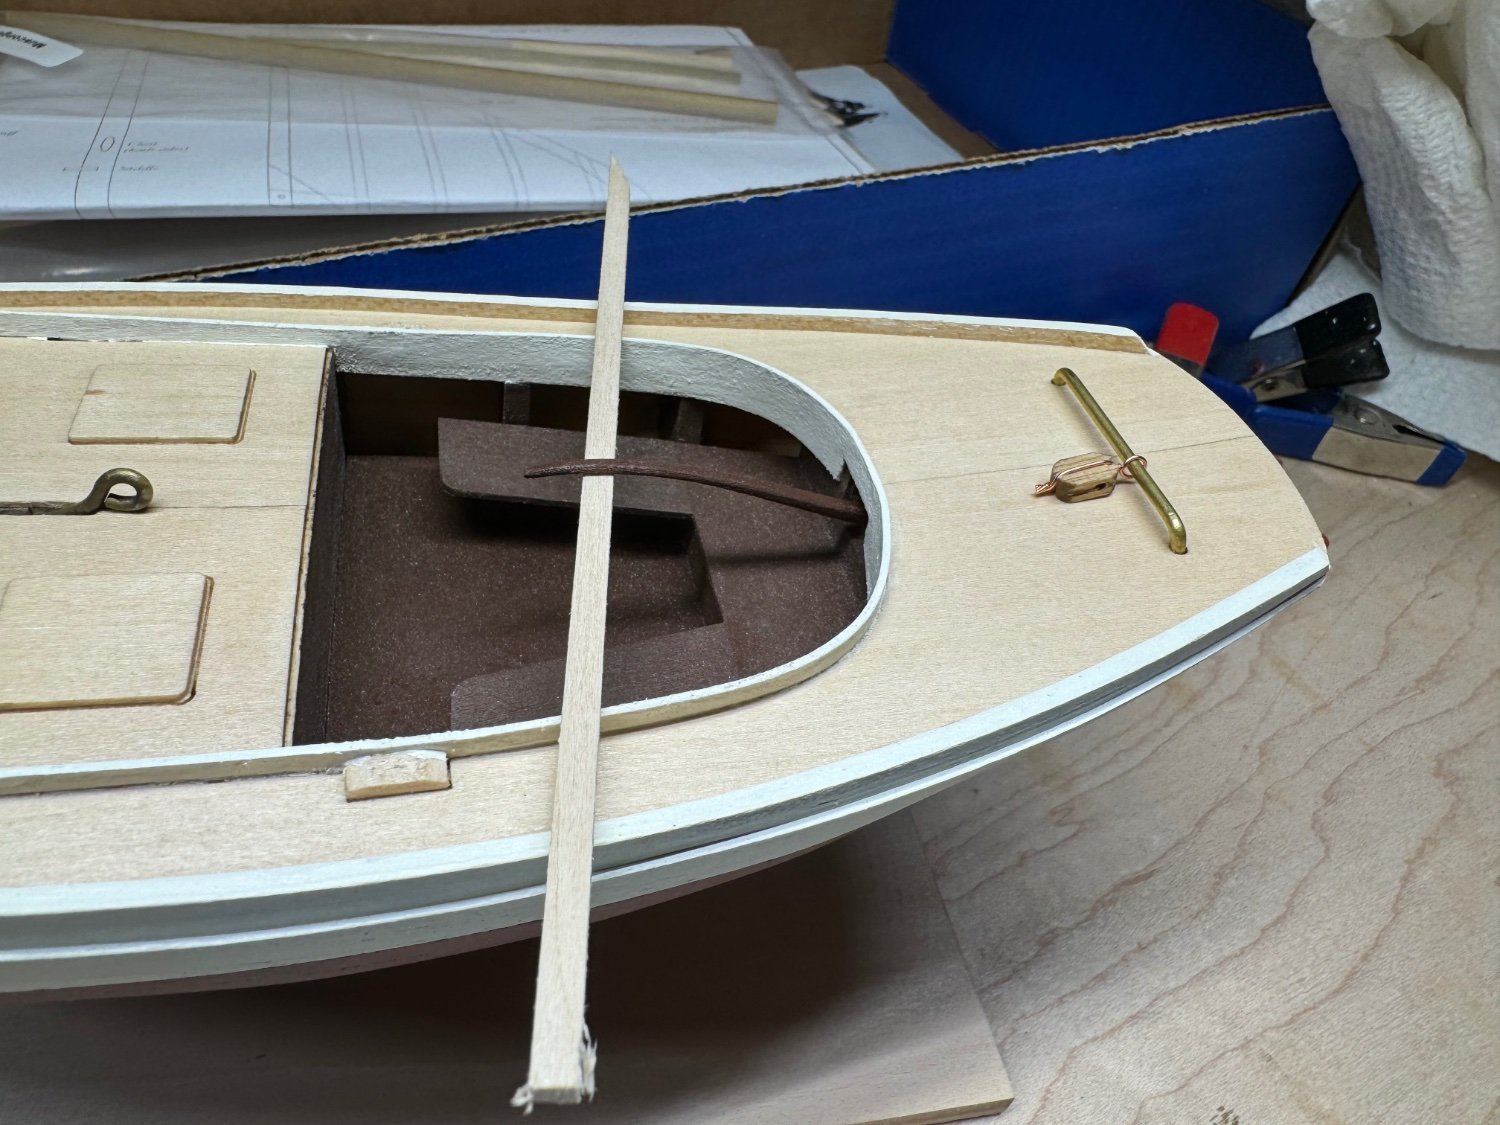
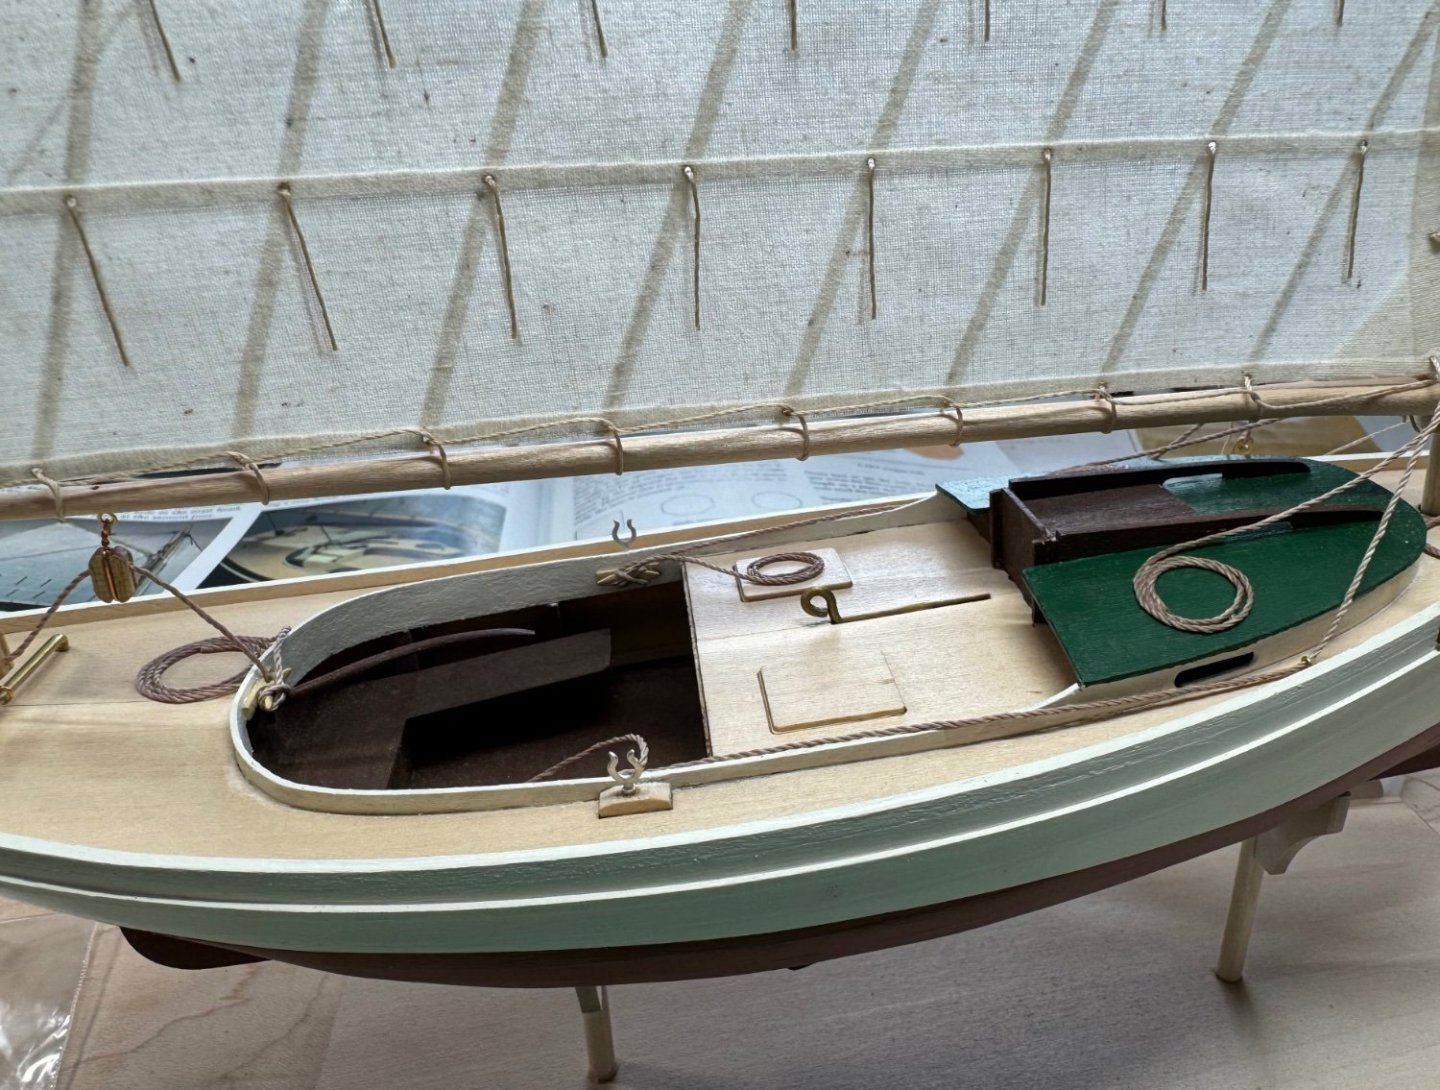
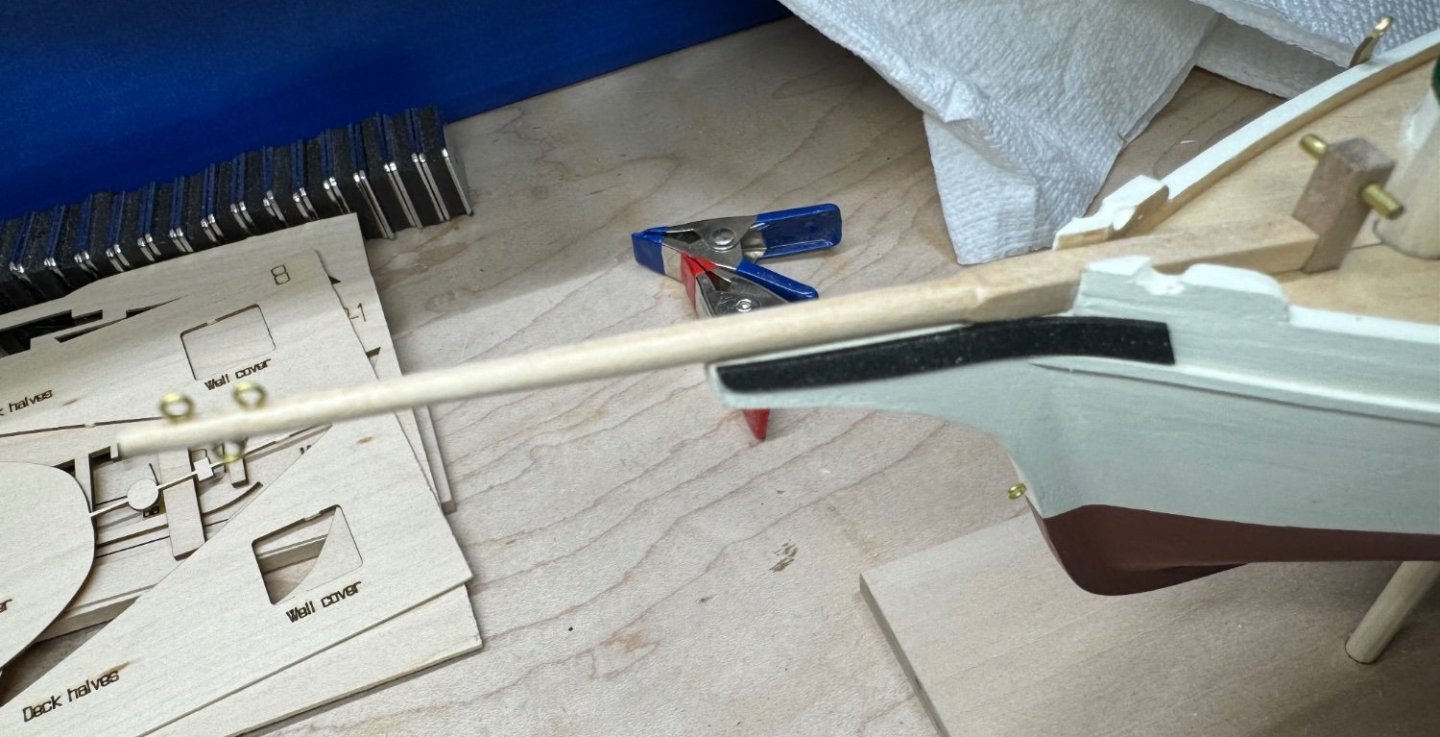
Welcome back to the Smack build. Step 37 Bobstay eyebolt placed. Step 38 Traveler made and mounted. Made and added the block, after a few attempts with the soft copper, I’m used to stainless steel safety wire. Copper is much softer. Step 39 The tiller is painted and test placed. Once it drys, epoxy in place is next. The instructions call out a 5/8 block. A thick piece of scrap is right at 5/8 off the seats where the block would sit. Step 42 The bowsprit has been finished for some time. It is placed but not glued down. I had stopped on this one too, just before the rigging. This has not been my favorite project, but I’m giving it my best. I want to learn rigging, and get better at it. I looked at my Pram today with all tan rigging and it just didn’t ‘look right’, now that I understand running rigging and standing rigging.

- 40 replies
-
- 9
-
-
- Model Shipways
- Muscongus Bay Lobster Smack
- (and 1 more)
-
Thanks Knocklouder. 2017 5.0. Roush Stage 3, with a supercharger. 695 RWHP. Loads of fun. Pretty quick too. Allegedly into the 150's. I've spent most weekends on boats, when the weather breaks I need to get out doing sunshine stuff. Rope is on order, nice really good rope.
-
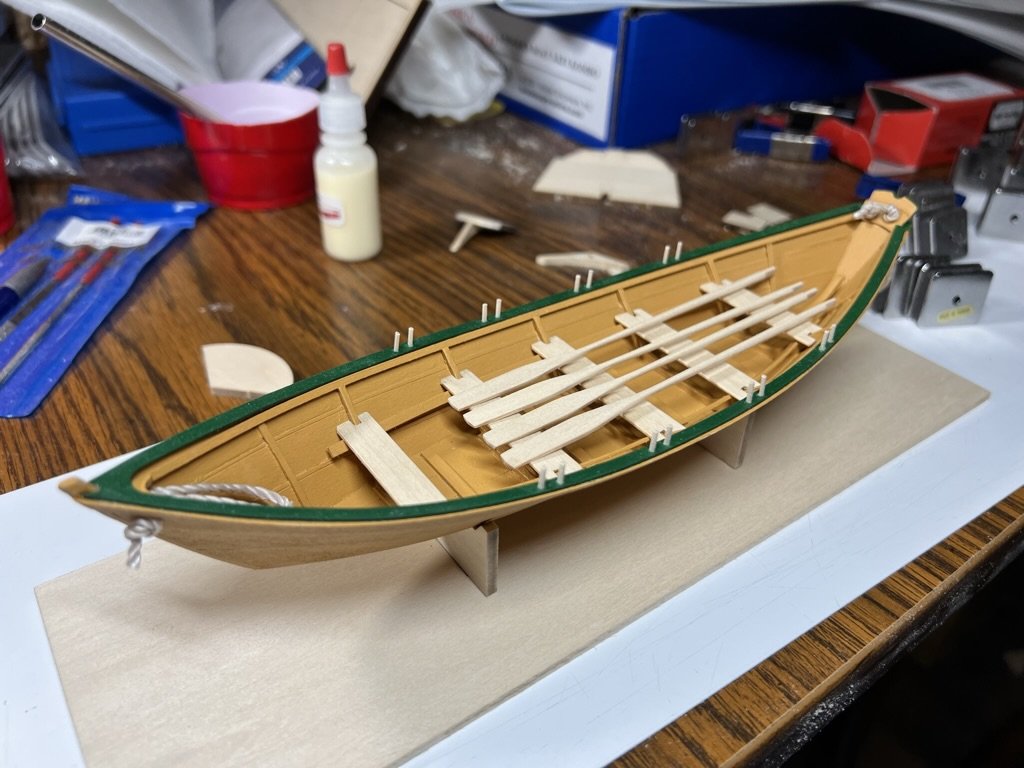
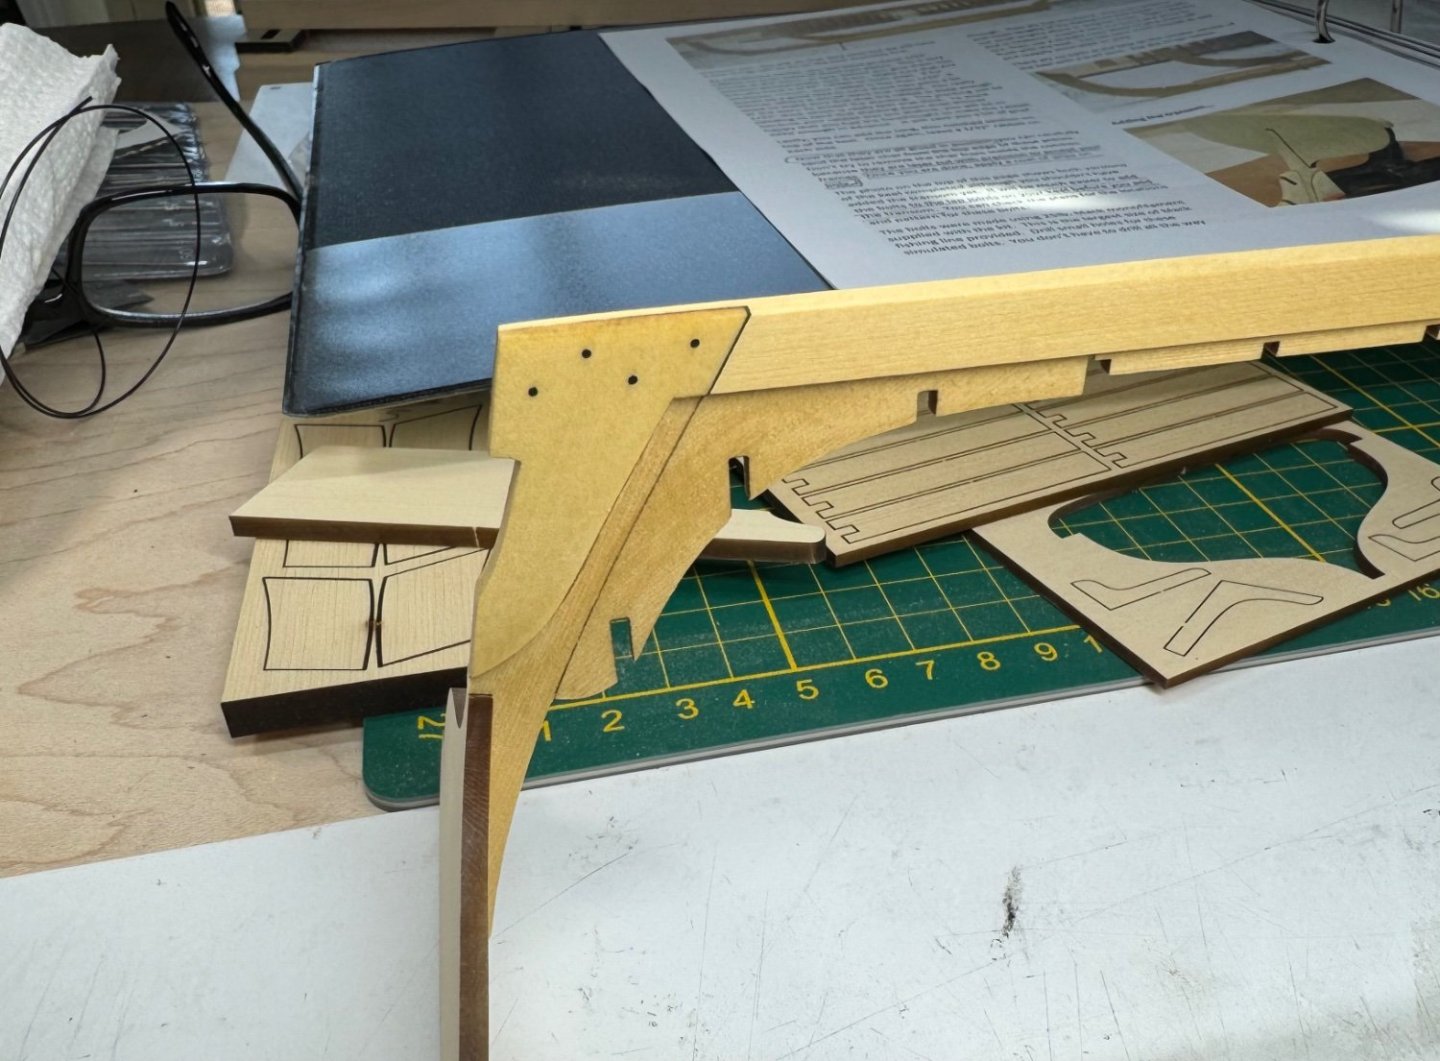
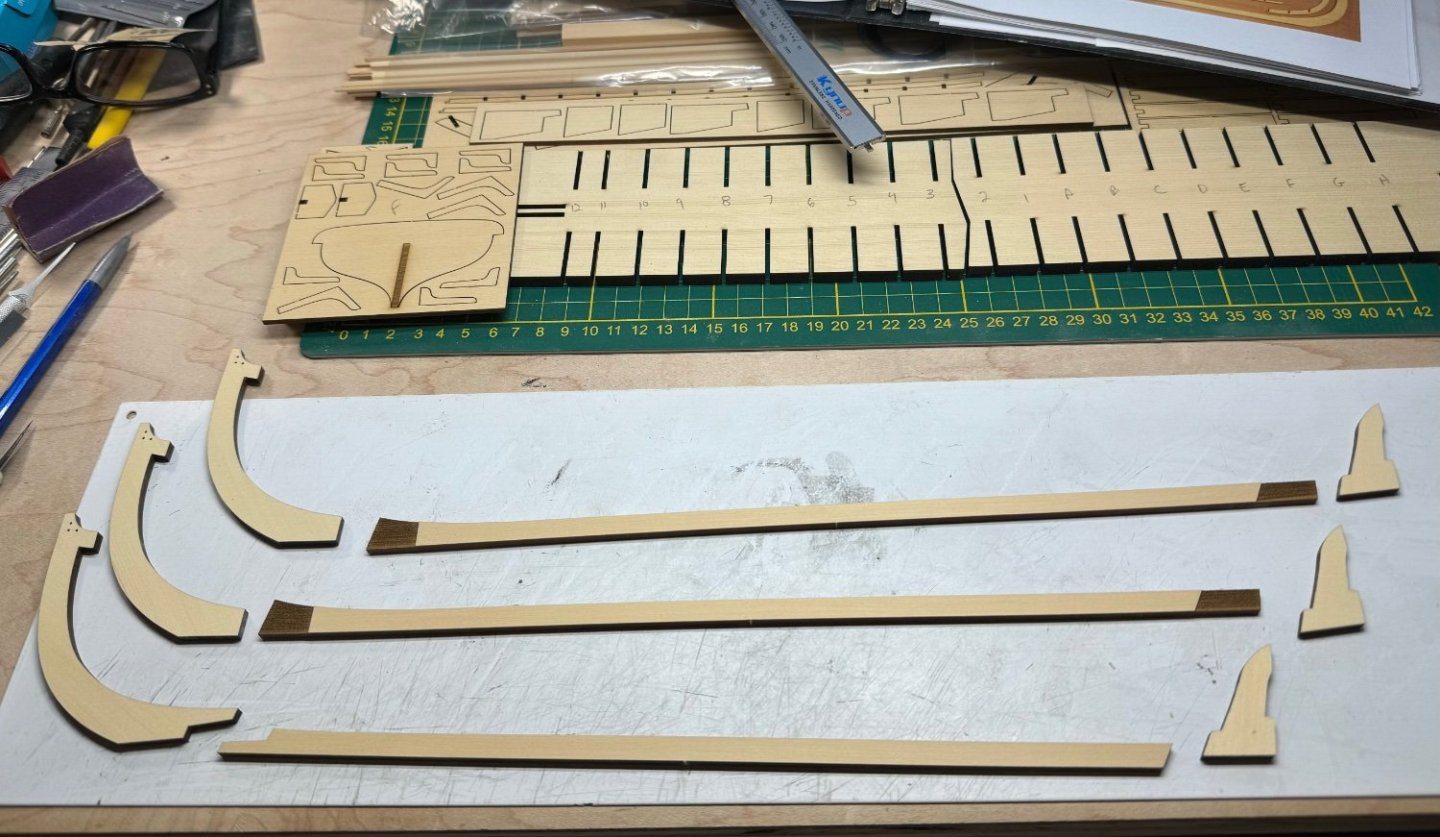
The rope with the kit is awful. I’m debating on getting better rope. I don’t want to stall finishing but tan rope in the kit is awful, the black running line looks terrible. Glueing the chainplates in place and all of the mechanical work is done. Rigging is all that’s left. I got a new building board…. I think it’s too big for the longboat 🤣. I’ve got enough red in my life, that’s why I didn’t do any red on the longboat.

-
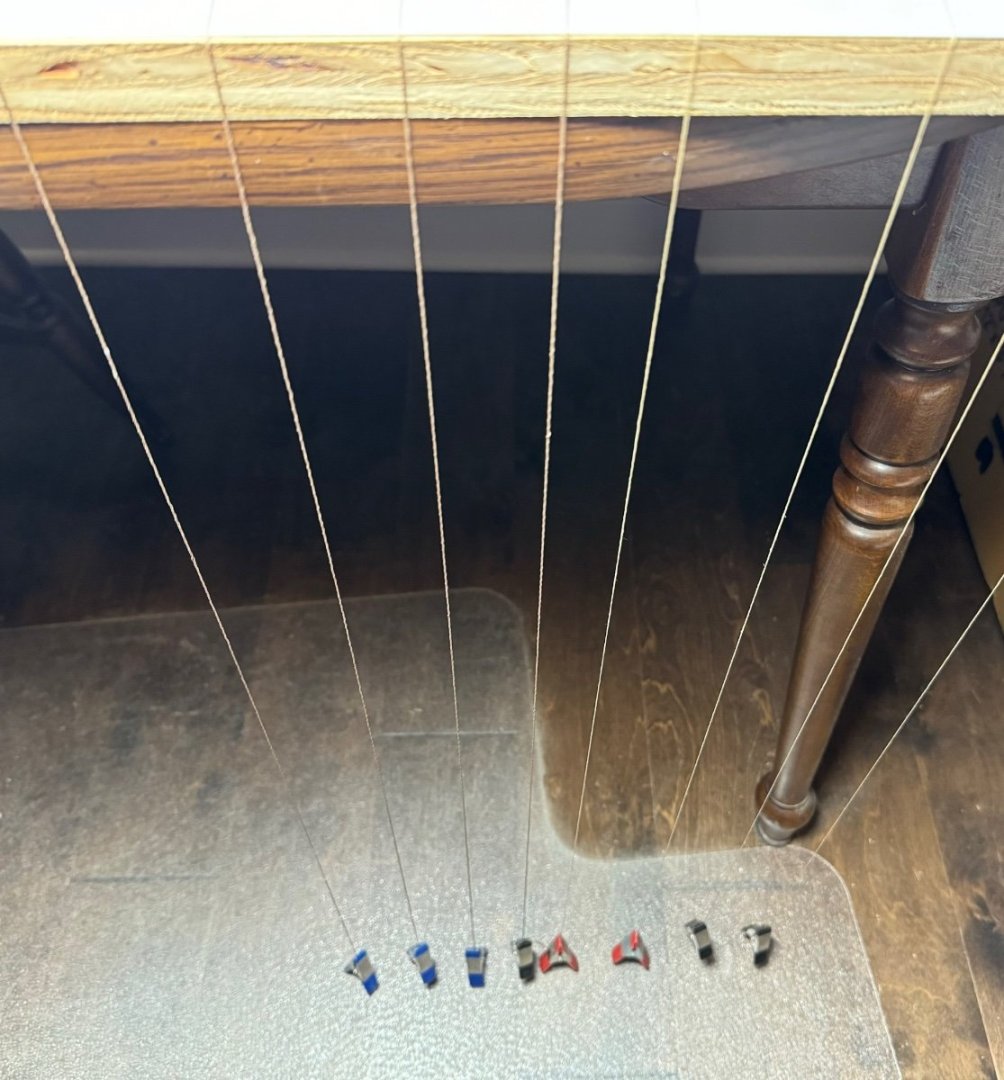
Building up the metal work is going well and it’s fun to do. I tried to use CA to bond the metal, but it wouldn’t bond. I used some quik-cure 5 min epoxy and it worked great. The last step was entertaining to locate on the floor. The angle looks good, it’s hard to measure. Chainplates and iron work took a few tries to get it right. 1 dead eye is MIA, it hit the floor and left the area. I zipped right past the oarlocks. Hopefully adding them now won’t be too bad.