HOLIDAY DONATION DRIVE - SUPPORT MSW - DO YOUR PART TO KEEP THIS GREAT FORUM GOING! (Only 36 donations so far out of 49,000 members - C'mon guys!)
×

MajorChaos
-
Posts
301 -
Joined
-
Last visited
Content Type
Profiles
Forums
Gallery
Events
Everything posted by MajorChaos
-
Amazing work. The detail is off the charts. I had saved your build log long ago to use as a reference, if I needed it. I did not get to the end of the build to realize you hadn’t finished. Looking at your work makes me see what it should look like, I wish I had your talent and skill.
-
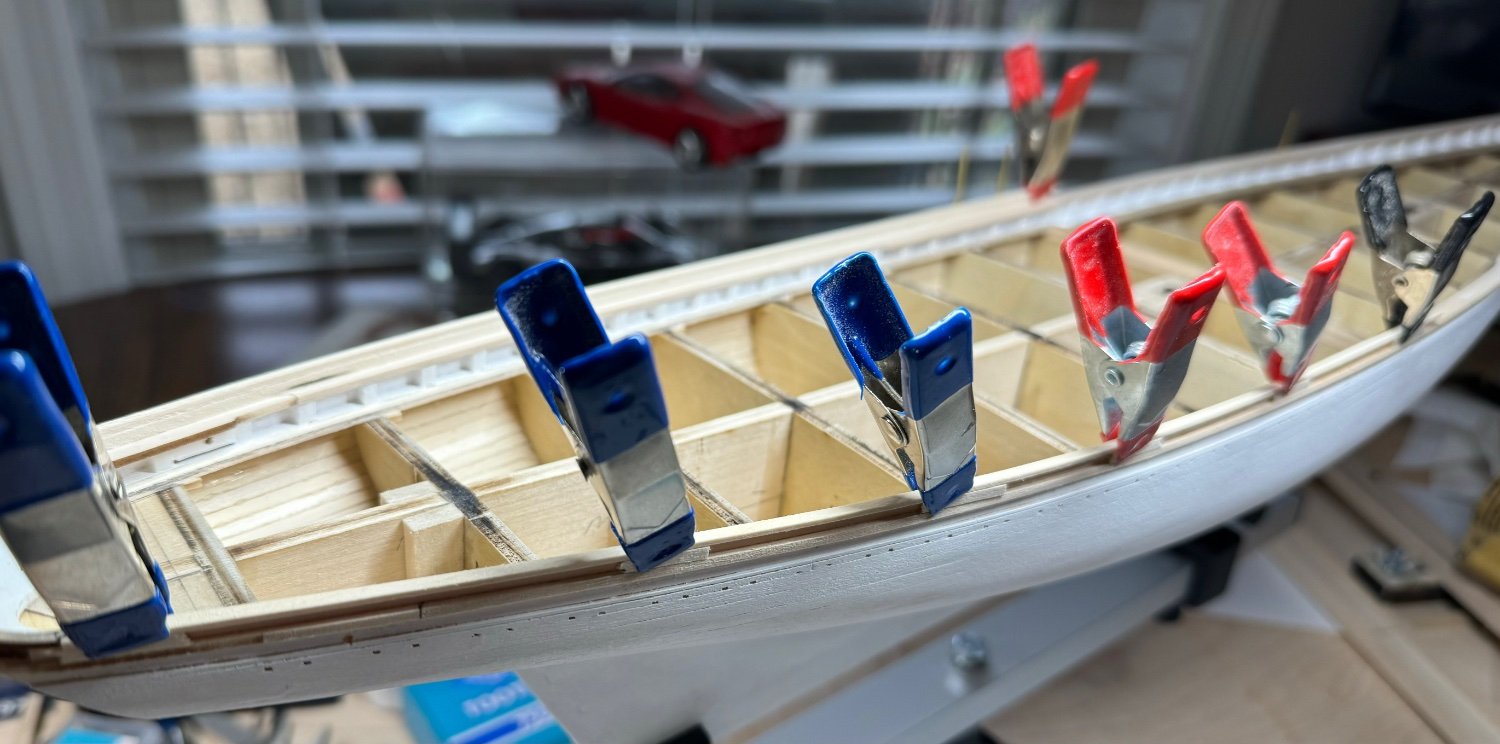
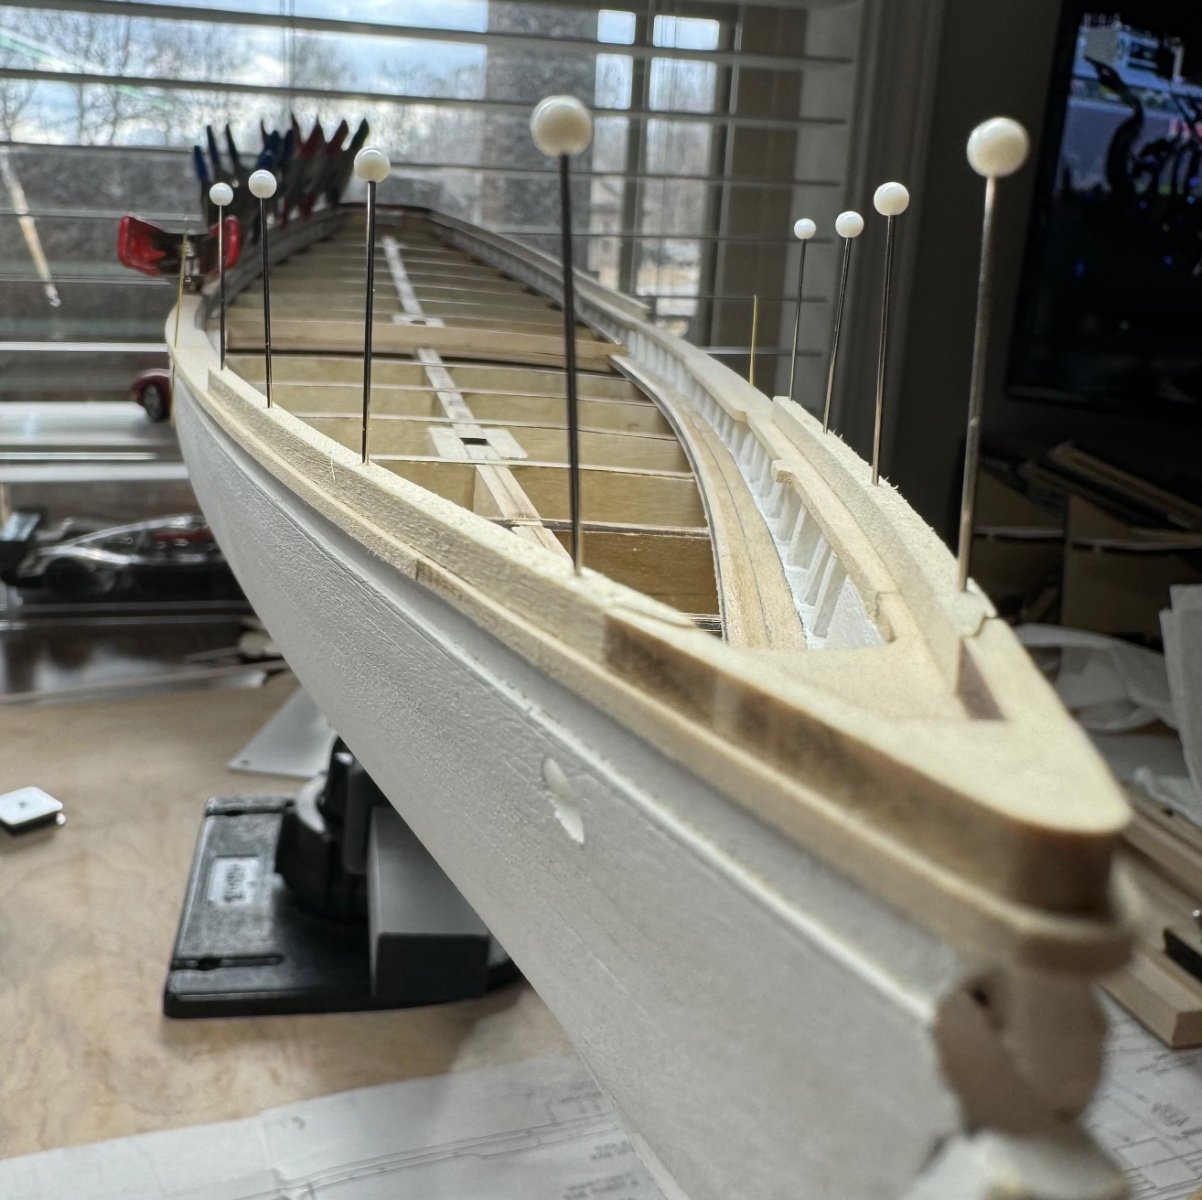
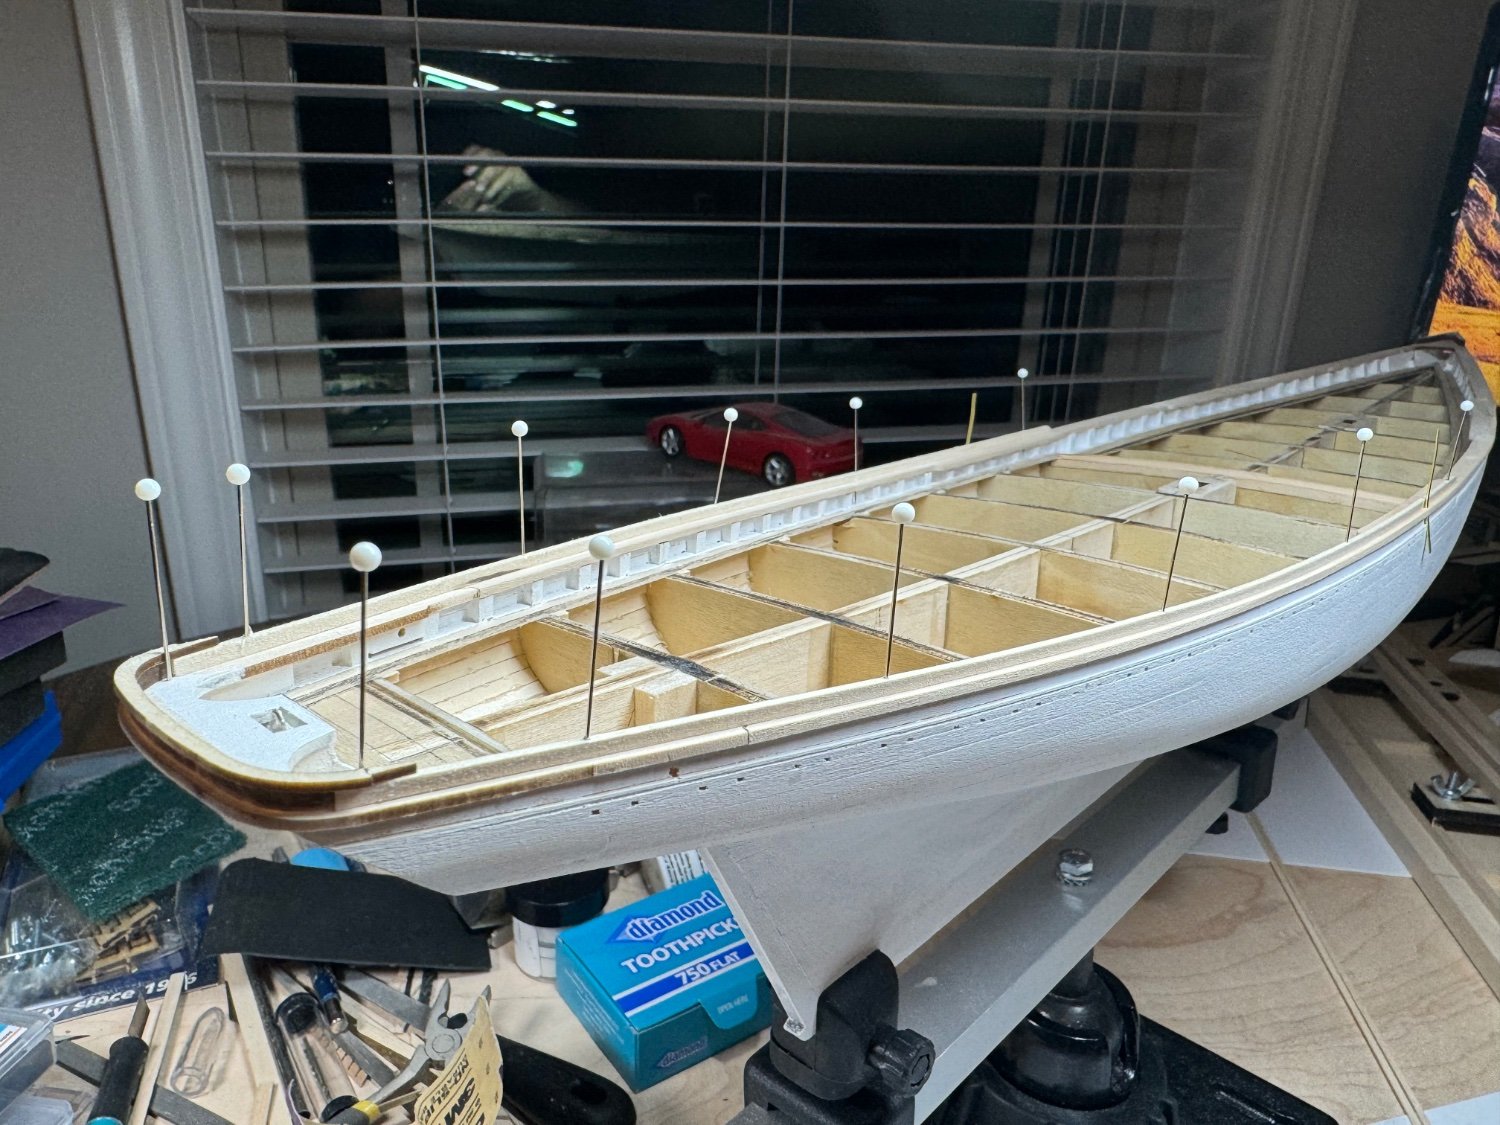
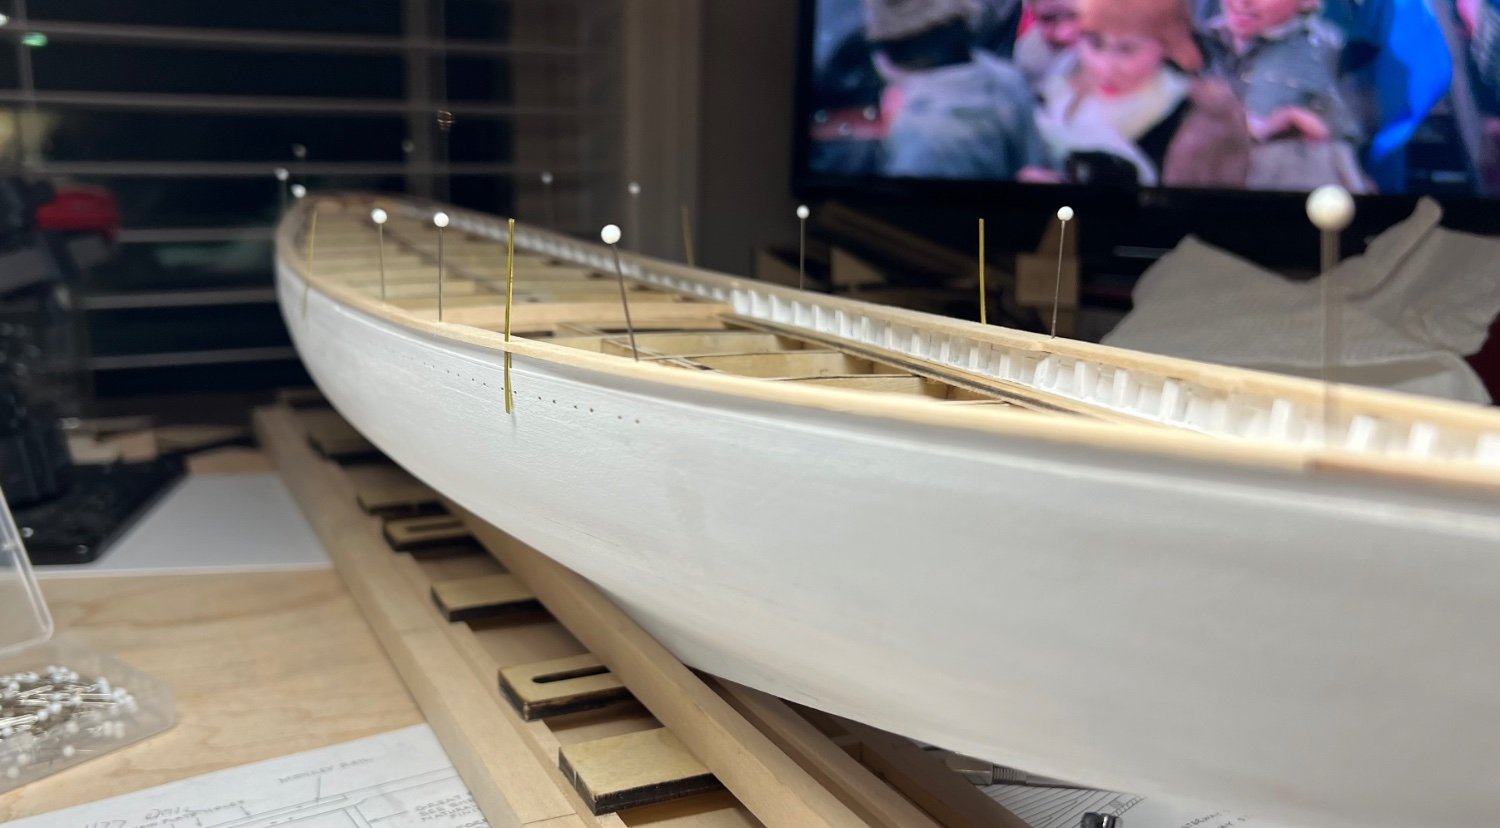
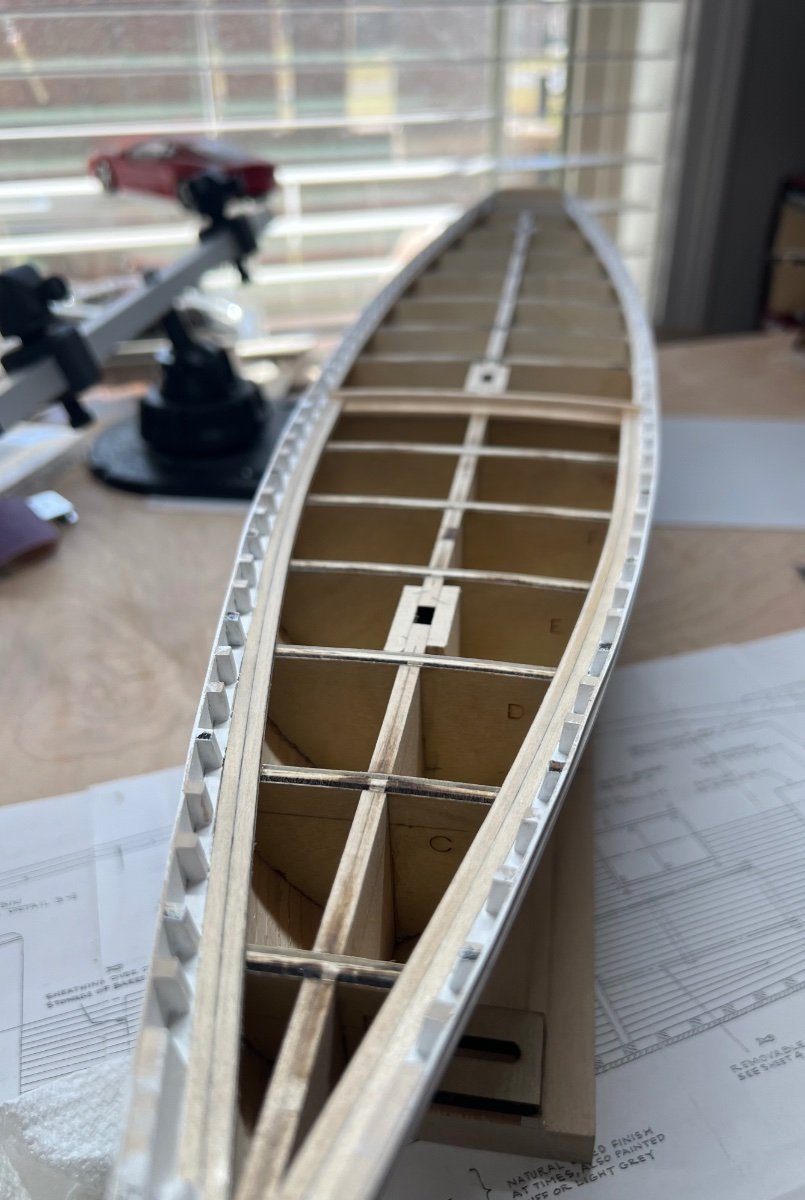
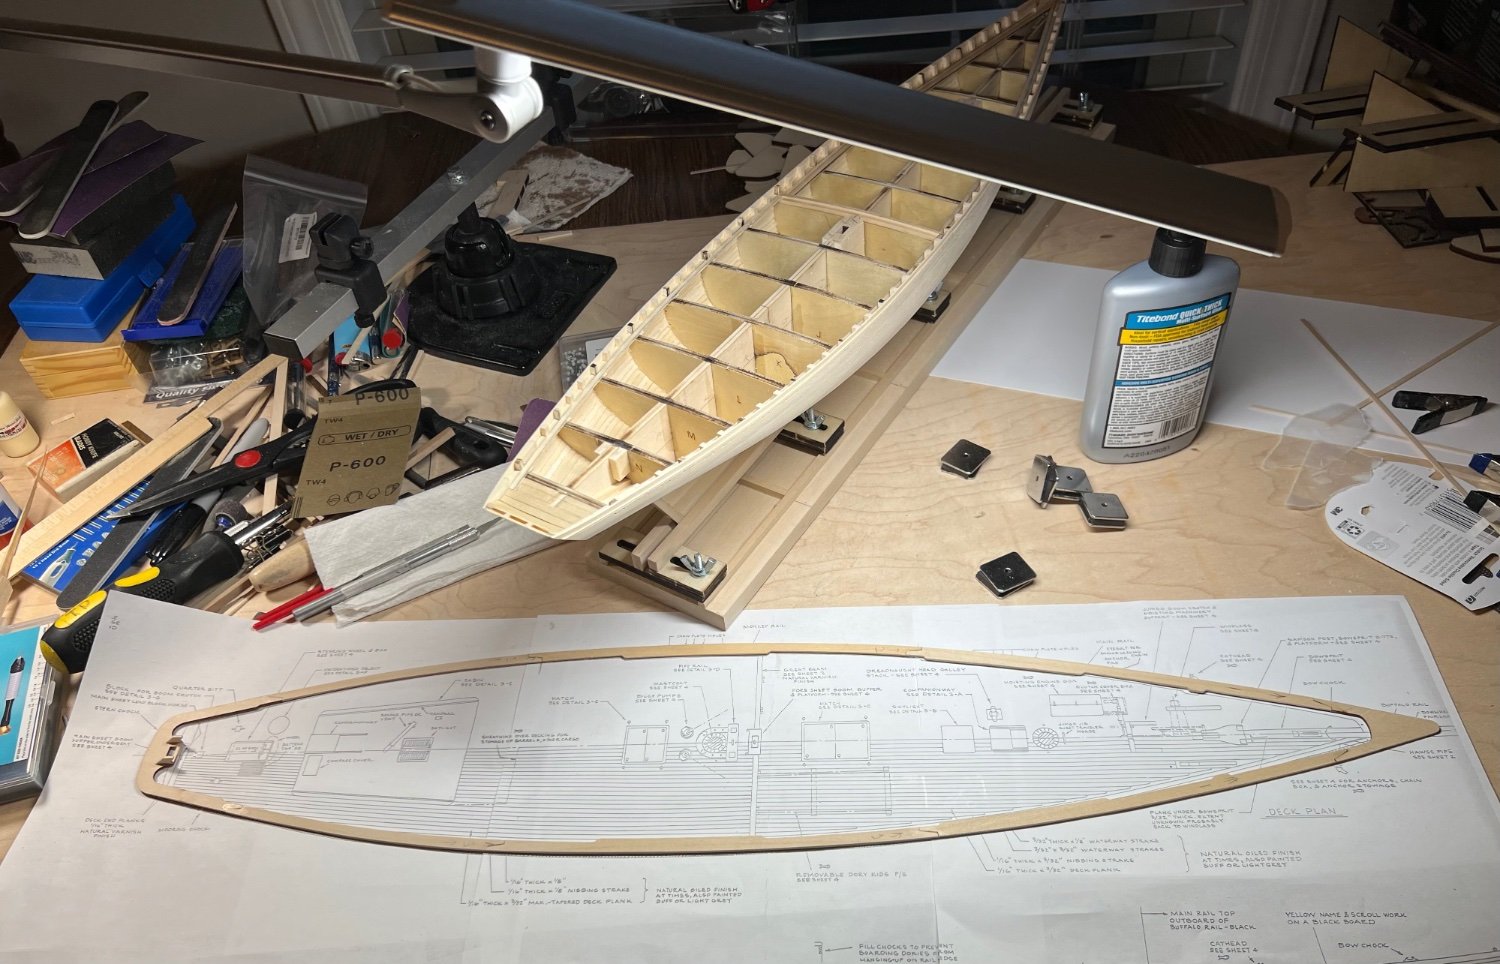
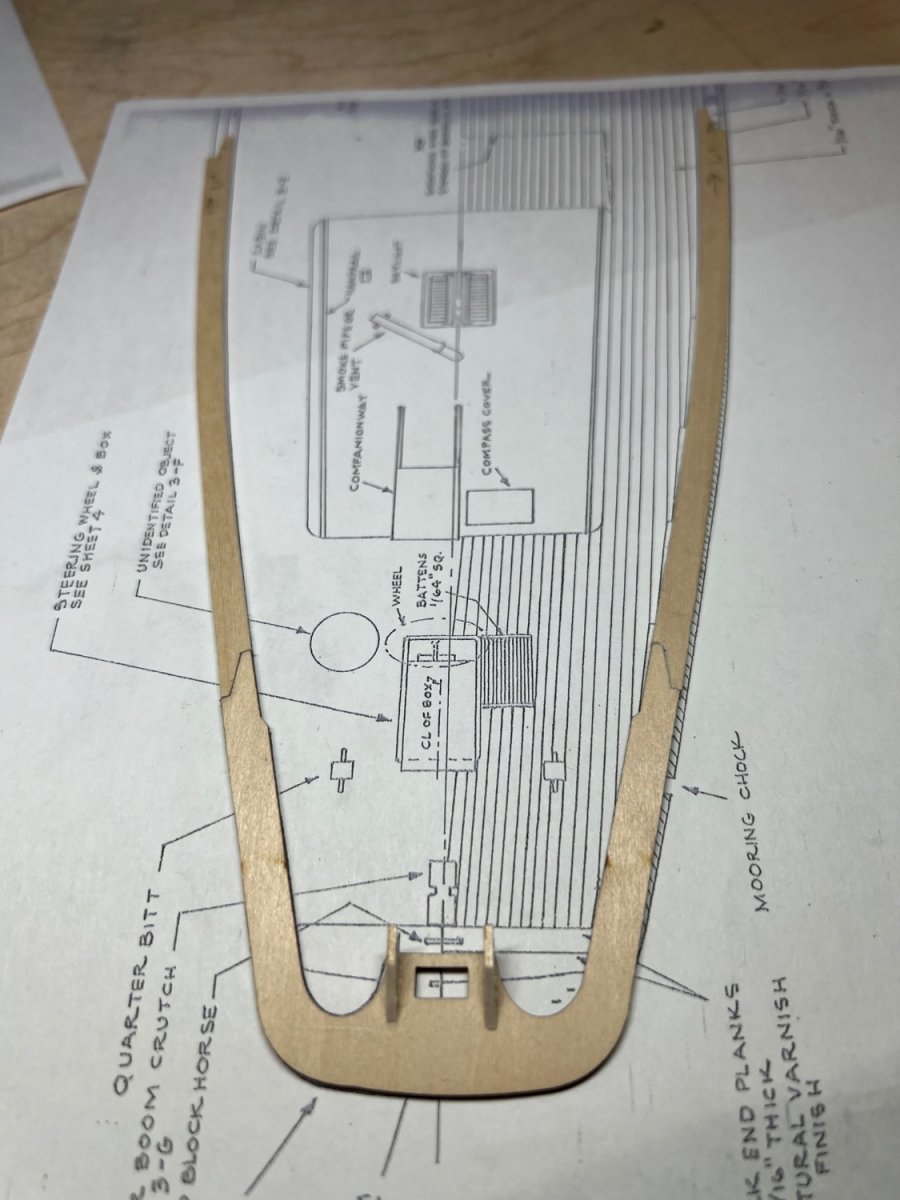
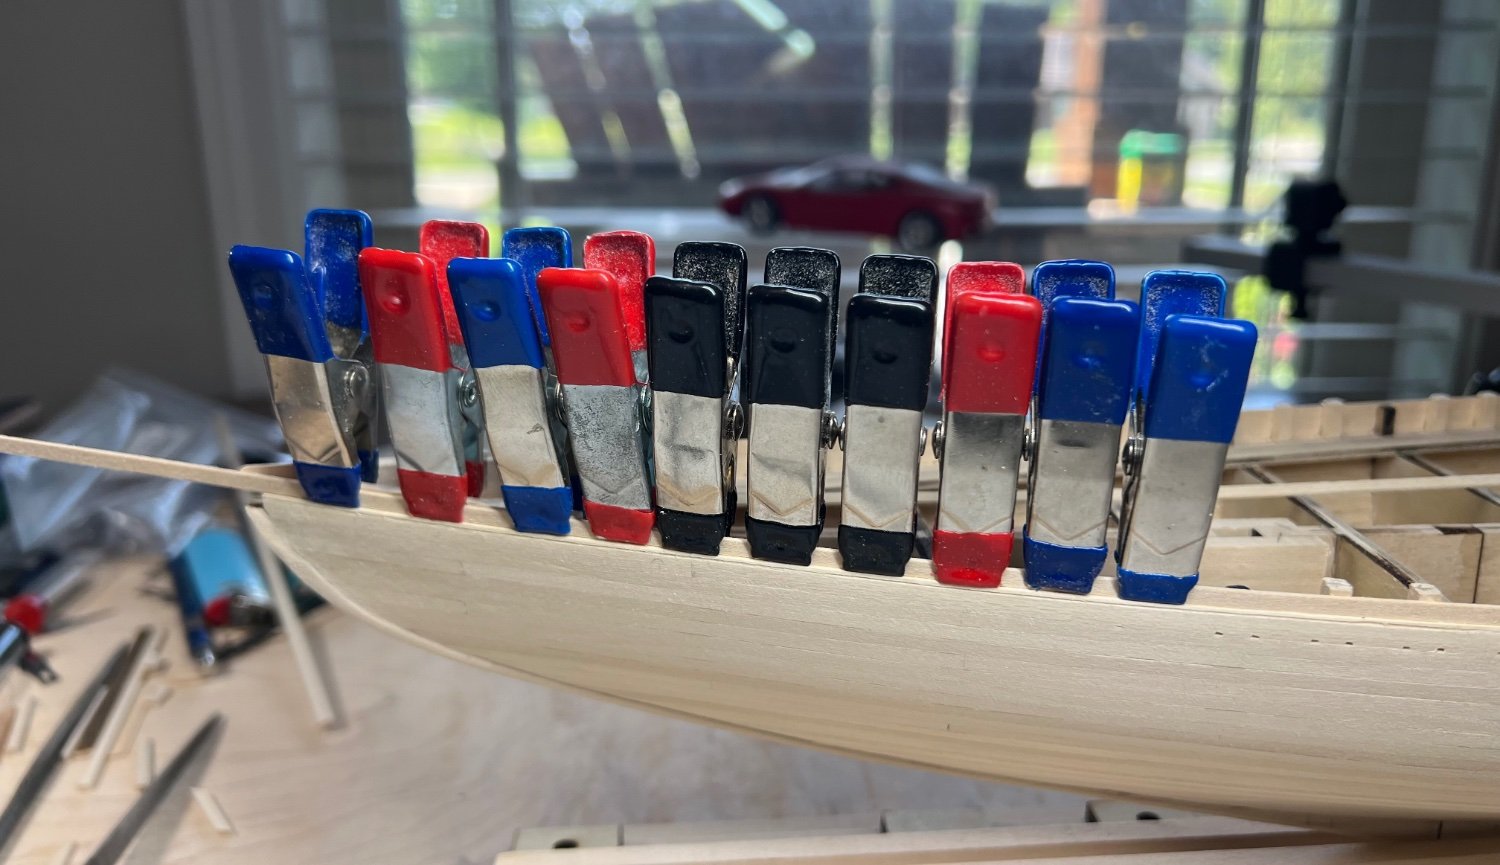
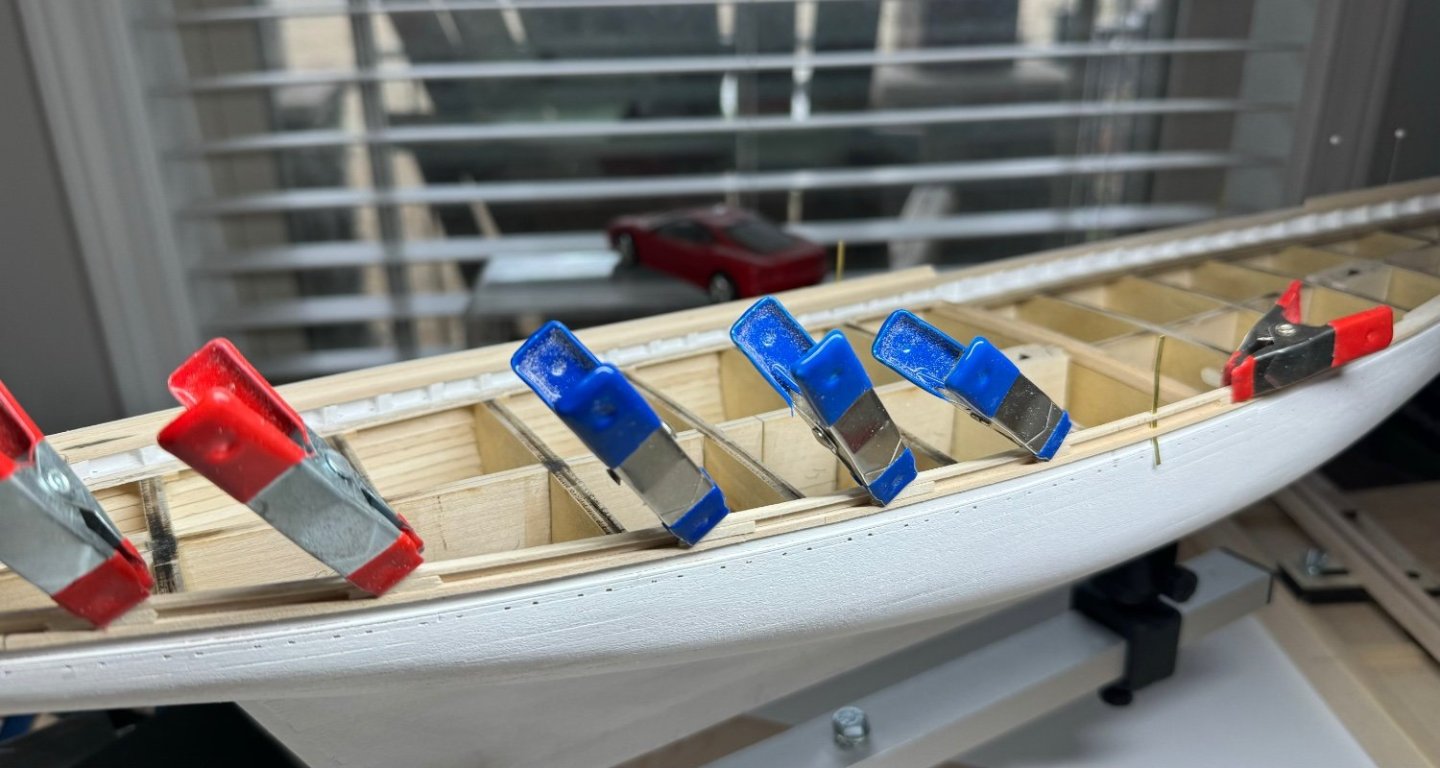
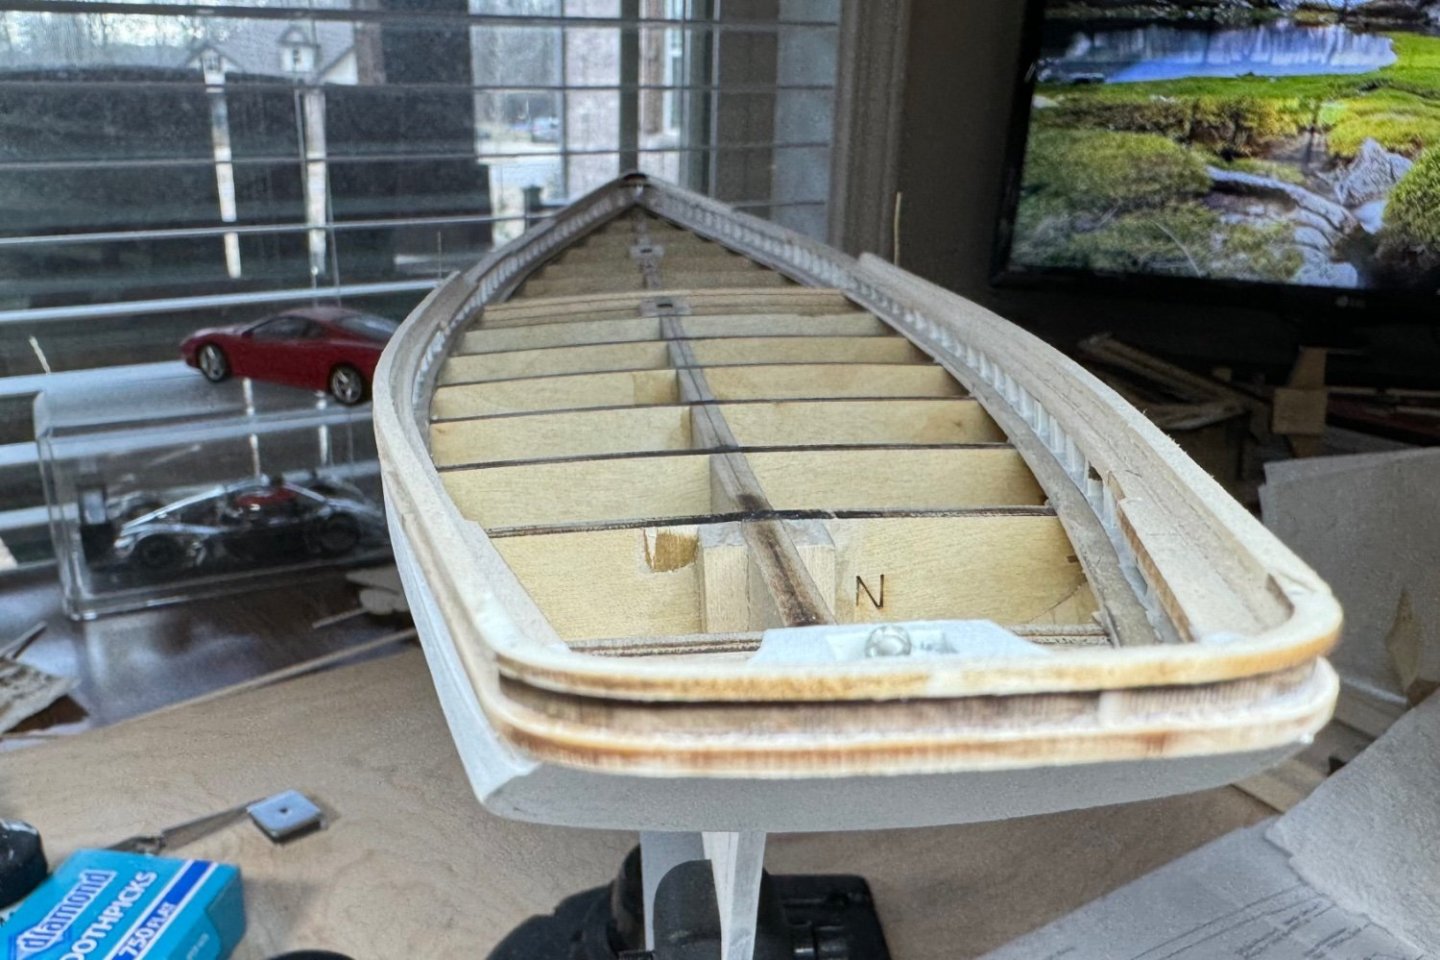
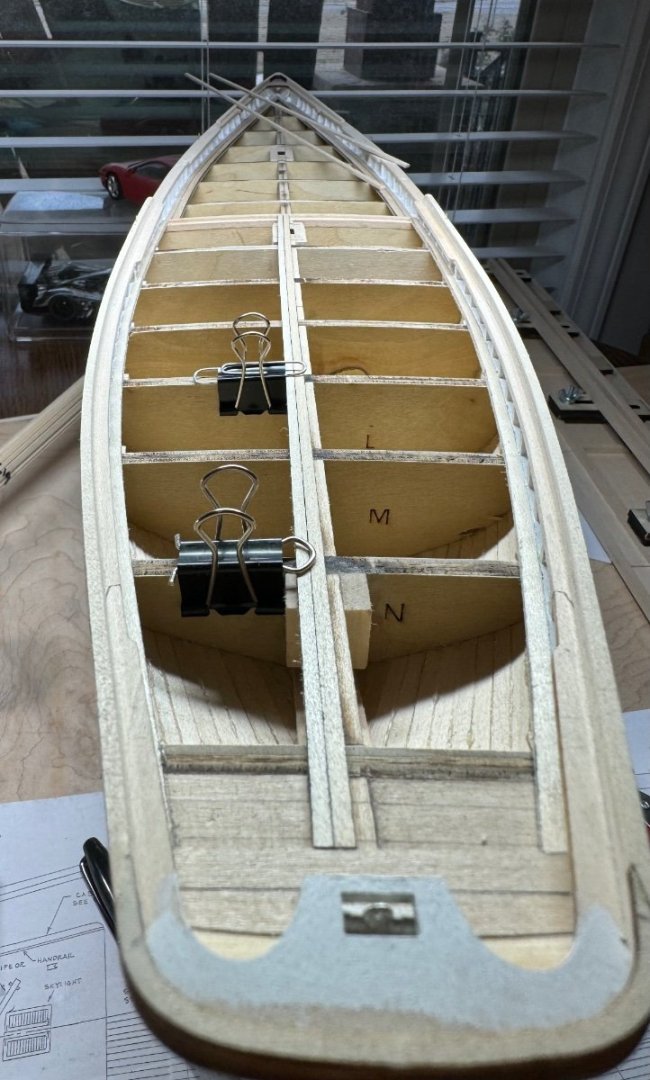
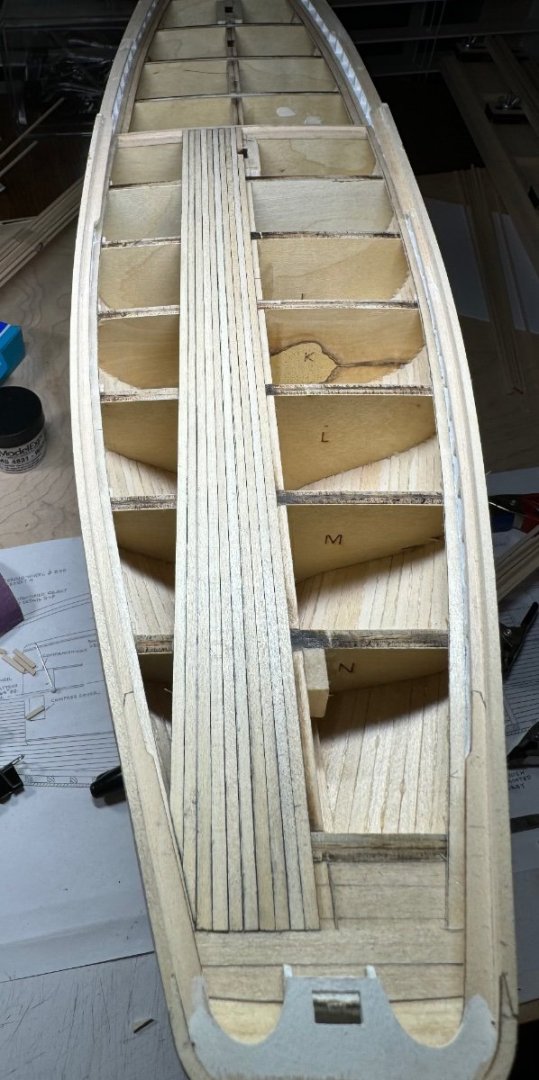
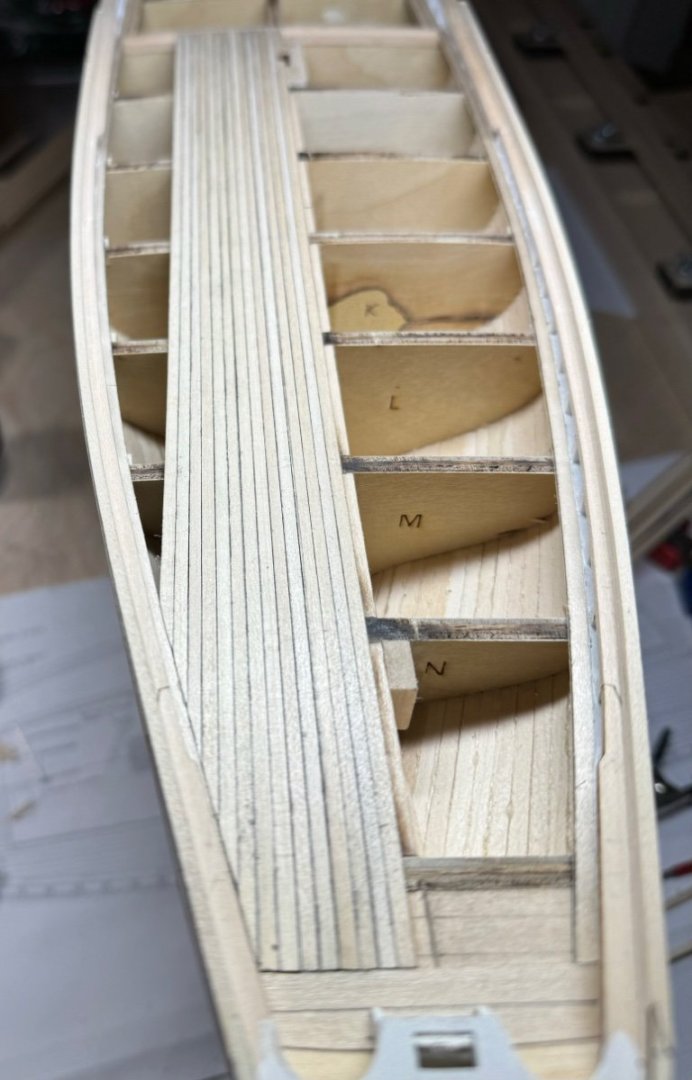
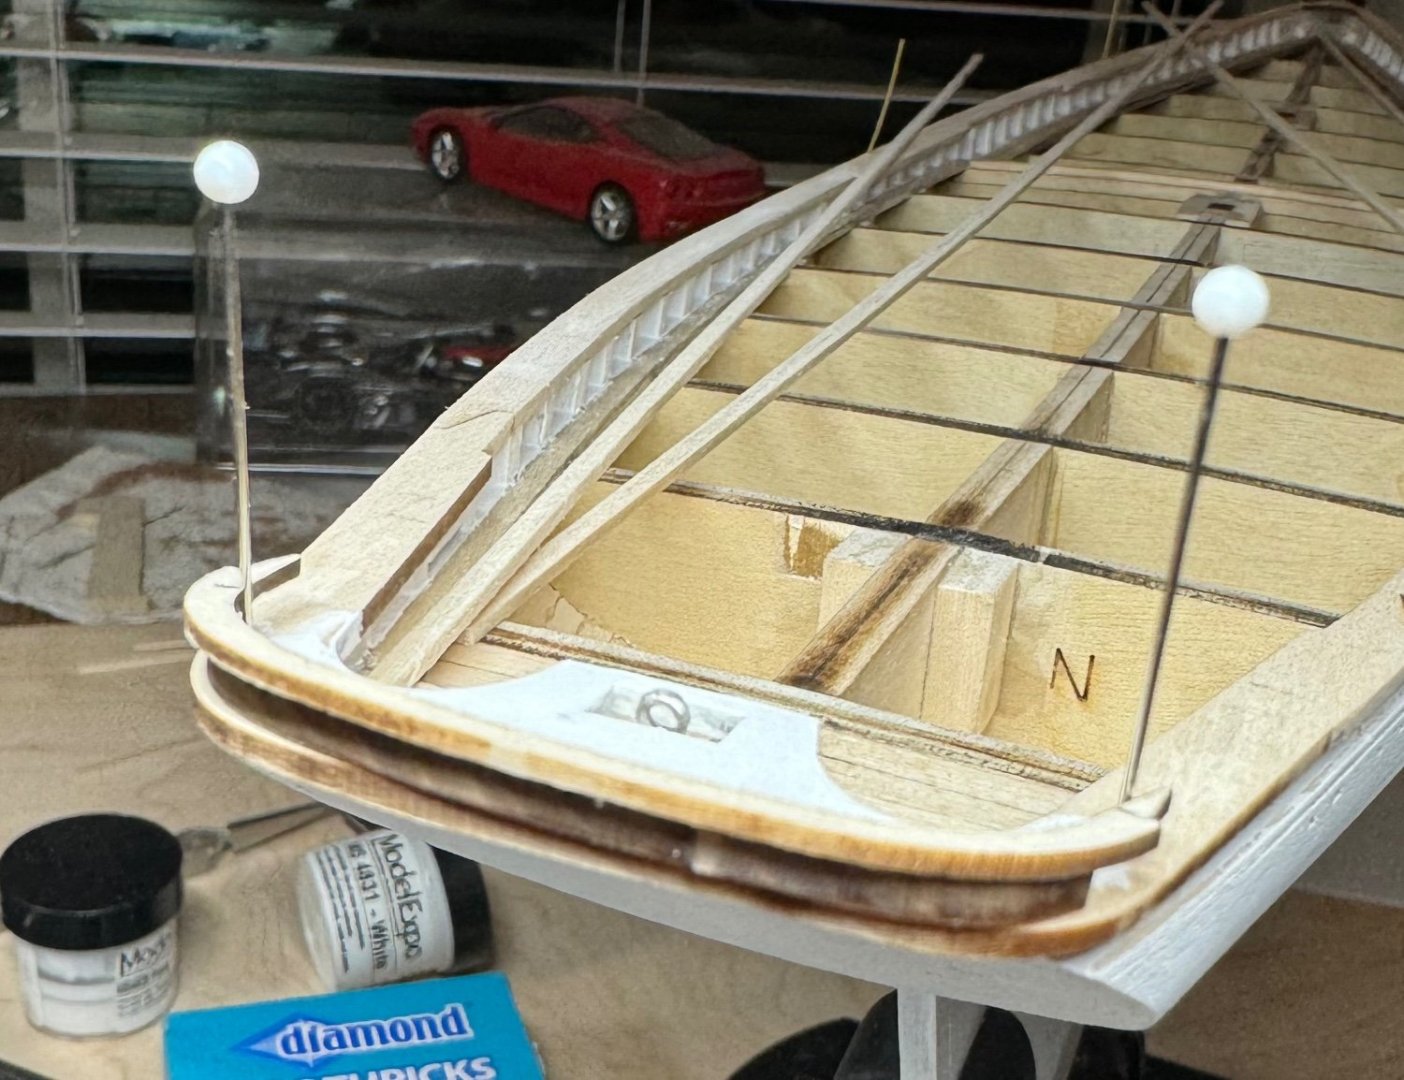
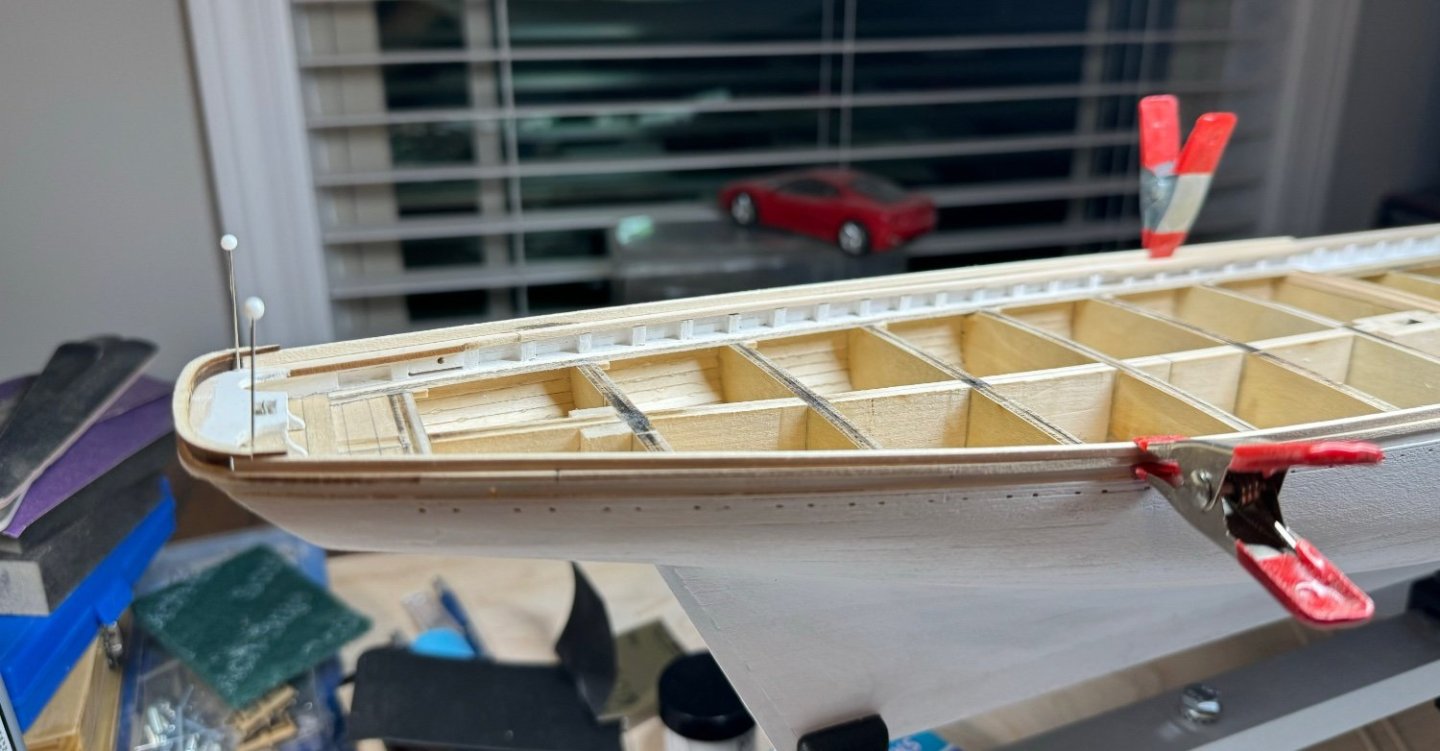
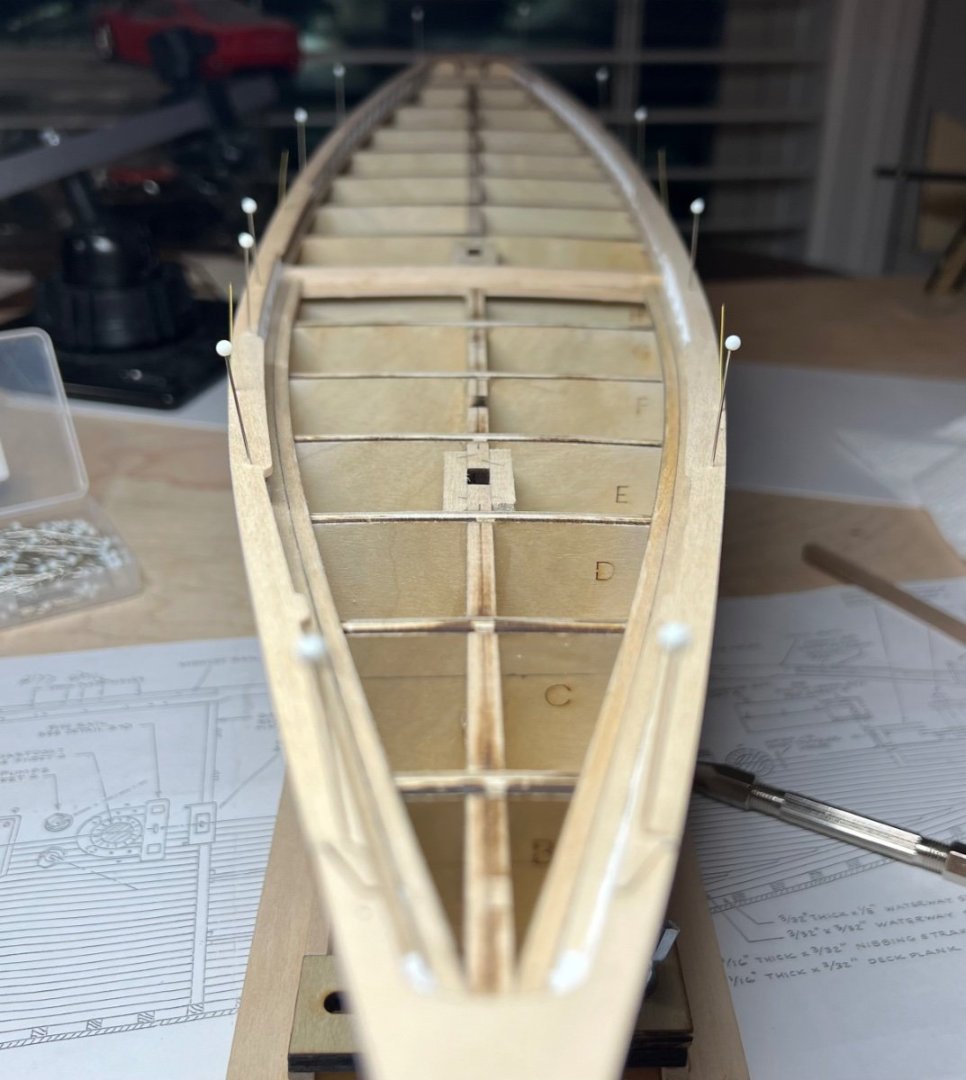
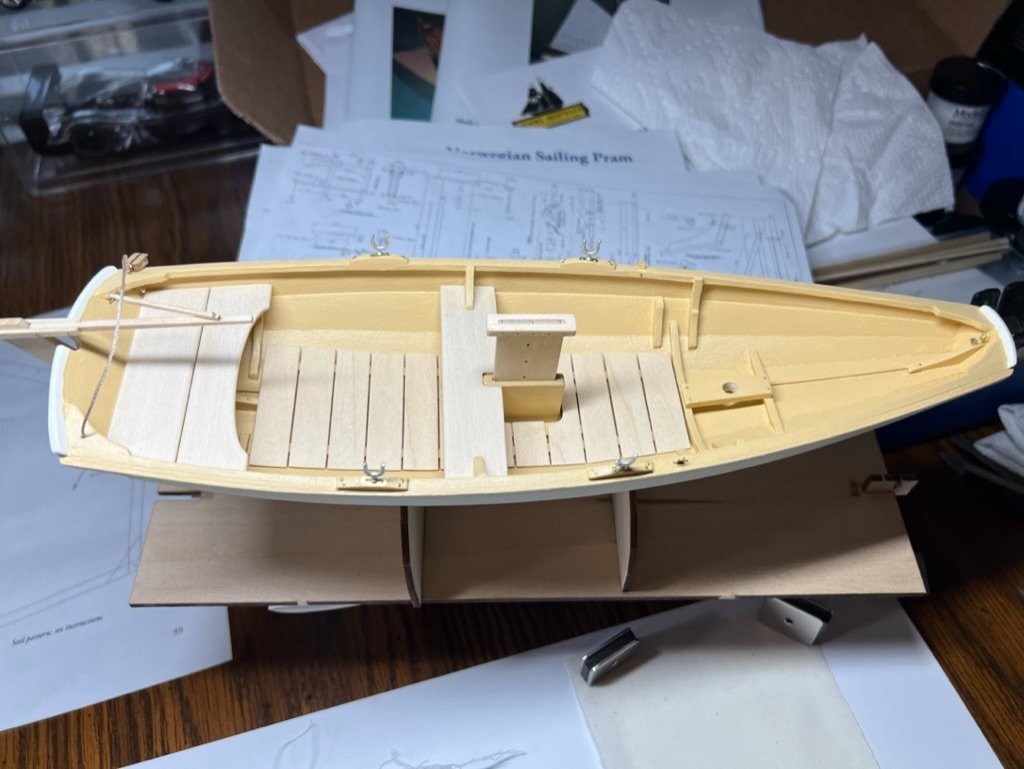
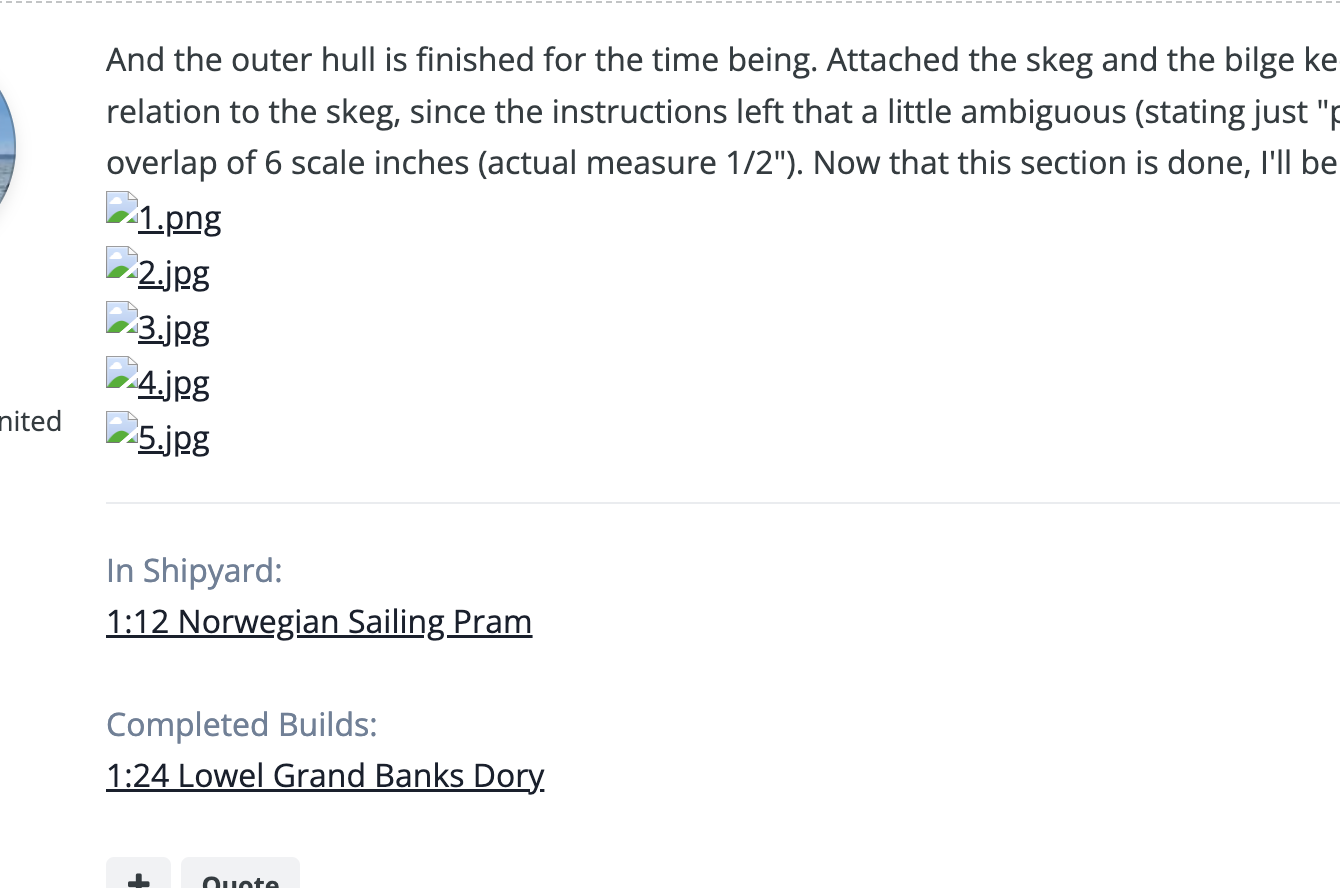
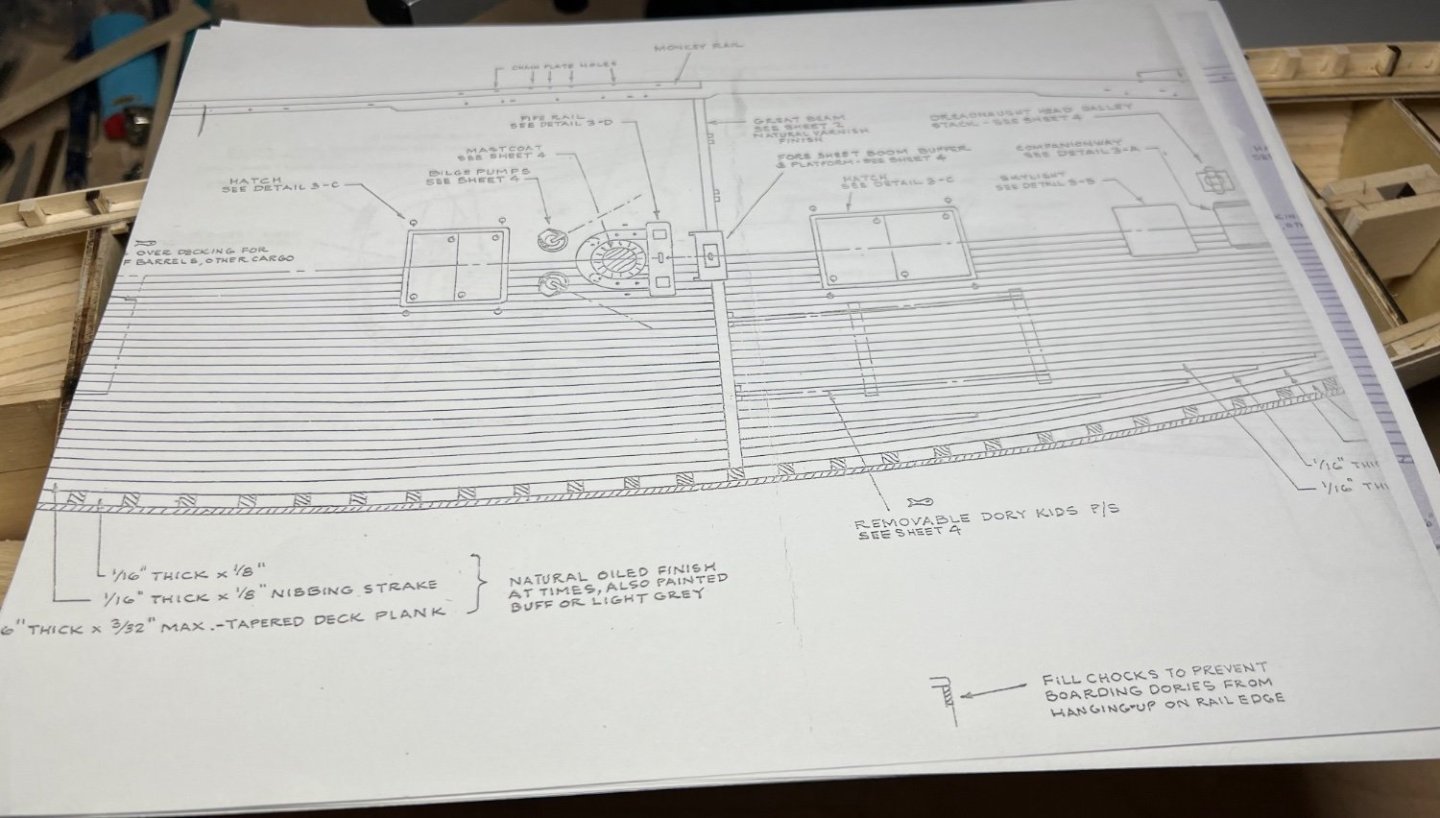
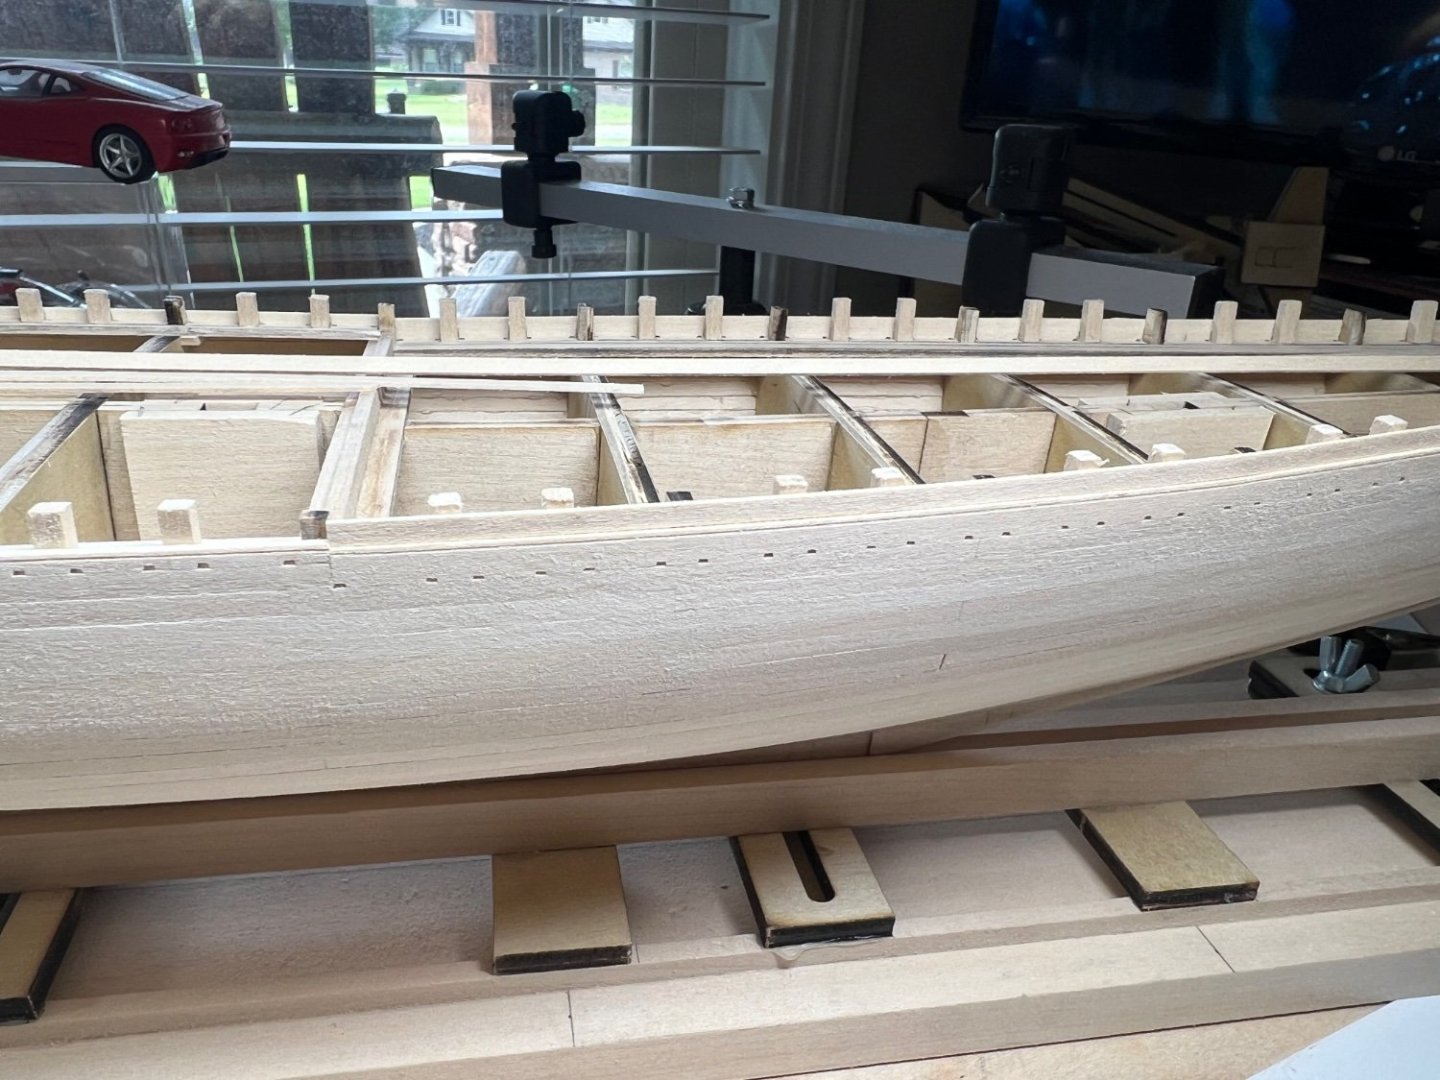
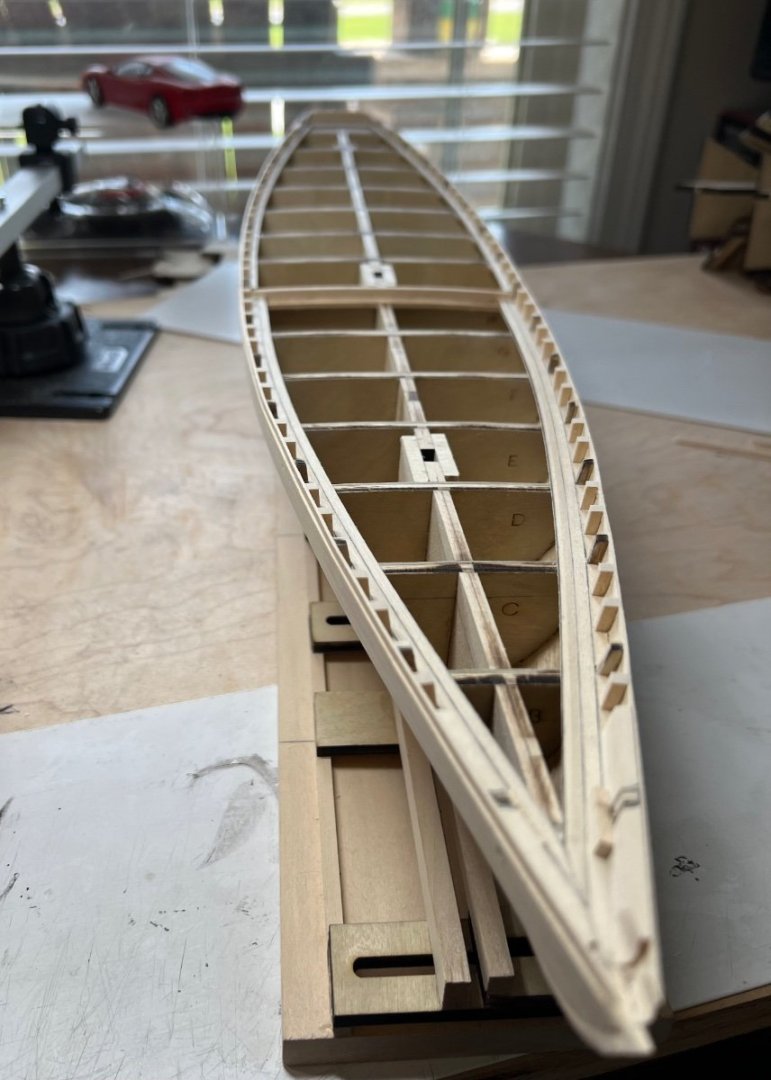
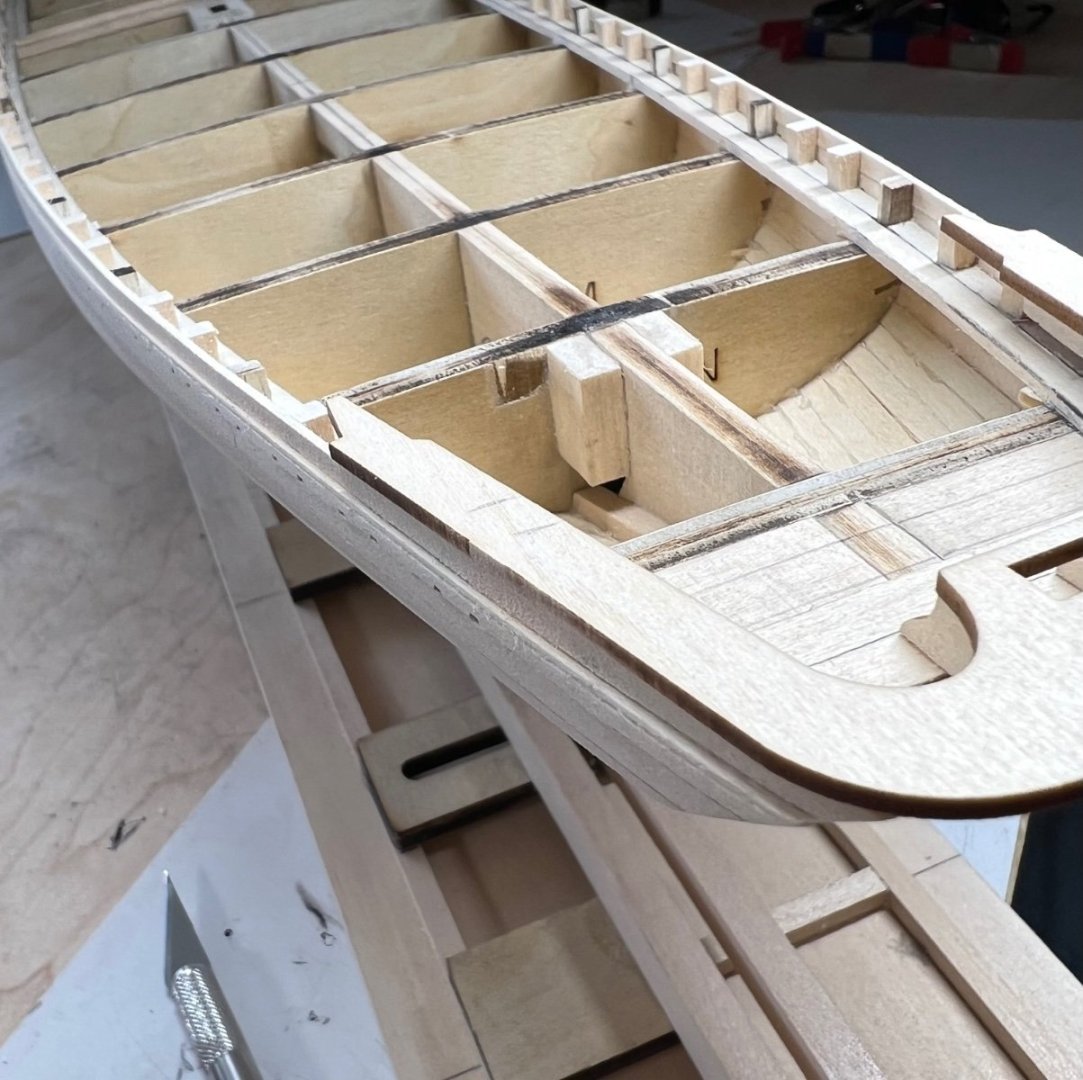
Main rail wood work complete. Monkey rail done. Buffalo rail done. Chain plate slots made. Joints cleaned, light sanding to the main rail bits. Decking in progress. Deviation from the decking plans was taken, it would look nice tapered and with nibbing, another day I couldn’t ‘see’ how I would do it well. Extra effort early on to place the bulkheads height paid off during planking. It all laid down nice so far. I’ve got by some hard parts in my mind. I’ve worried over the deck furniture for 2 decades, that’s next after decking. Well maybe some of the main rail details before the deck gets cluttered.


-
Picture are loading up black, then might work after I edit them. Strange. Gluing monkey rail bits down and forming the rail to hold the shape. Work is so relentless, I got a few hours in tonight.

-
Yep, it’s on the list, I transitioned to the Bluenose because I was ready for it. I almost have to much I don’t know which to work on lol. I’ll get back to this one soon enough. Follow the build to see when that happens!
-
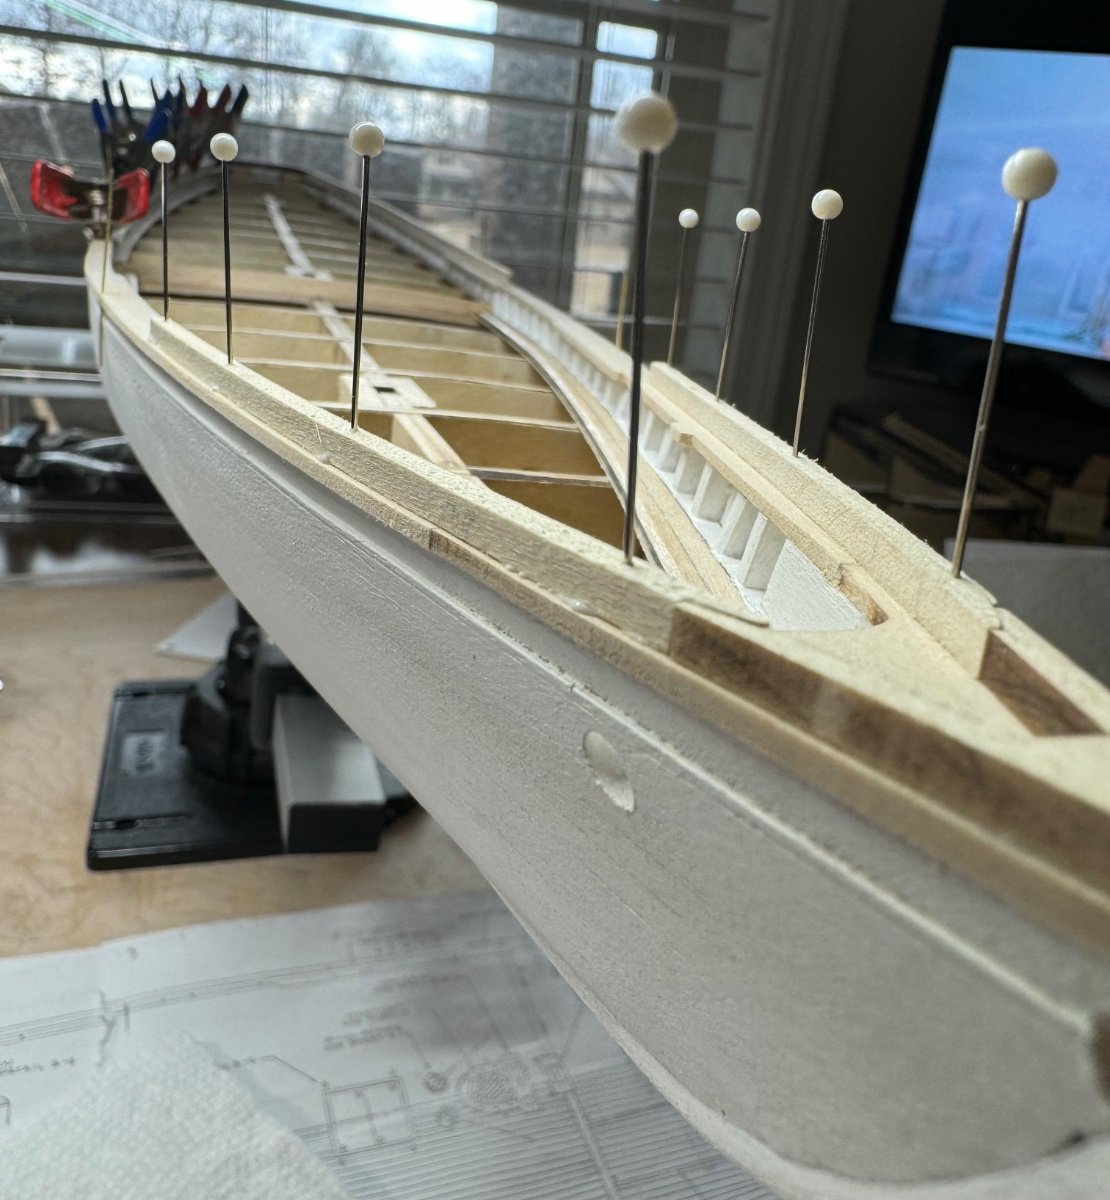
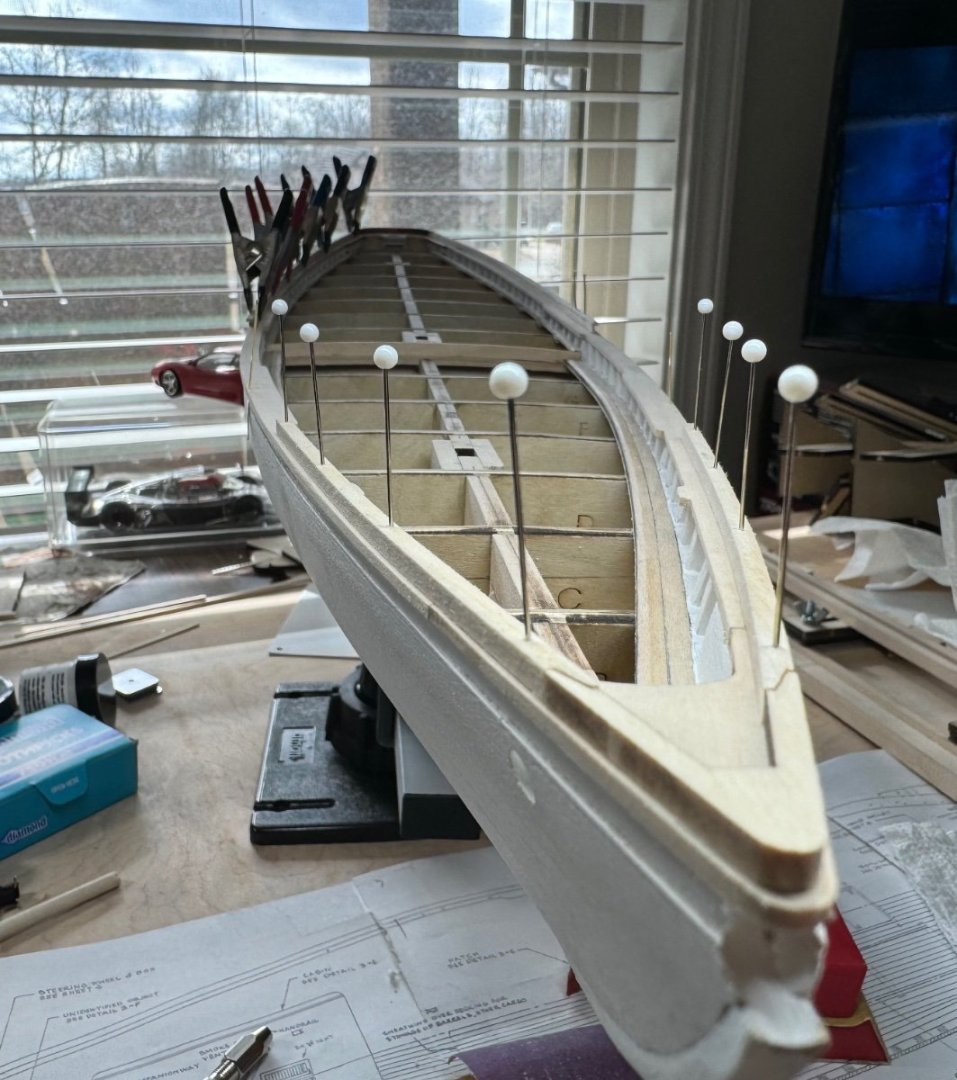
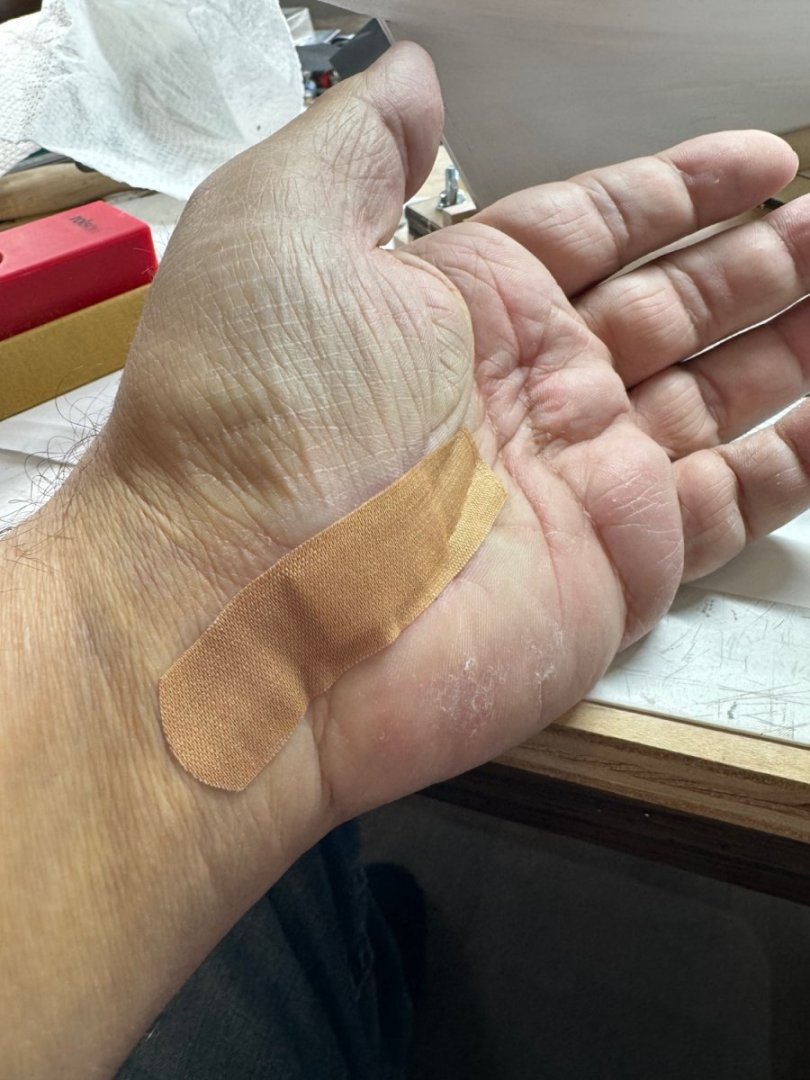
ha! Straight pins in pre drilled holes. I got this part now. The best news is my hand doesn’t hurt nor going numb.

-
The buffalo and monkey rail are harder to work than they look. It’s very hard to secure and hold these parts in place. Small victory’s.


-
Main Sheet Boom buffer work. I’m getting ready to glue the main rail down and start working on the monkey rail and buffalo rail. 🤞🏻 A bit of delay for production in just about anything, carpel tunnel release surgery last Monday. My hand no longer goes numb like it did, test driving the hand today to see how it’s turned out. Hand and elbow release was performed. Painting the hull weeks ago was rough, my hand was going totally numb. While I was recovering I bough 2 more ships to build, MS Confederacy and the Occre Beagle. I commited myself to completing the 4 I have in work before I start yet another, at least this is the plan…. lol. I’ve got many many months of building if not years with the list of kits.
-
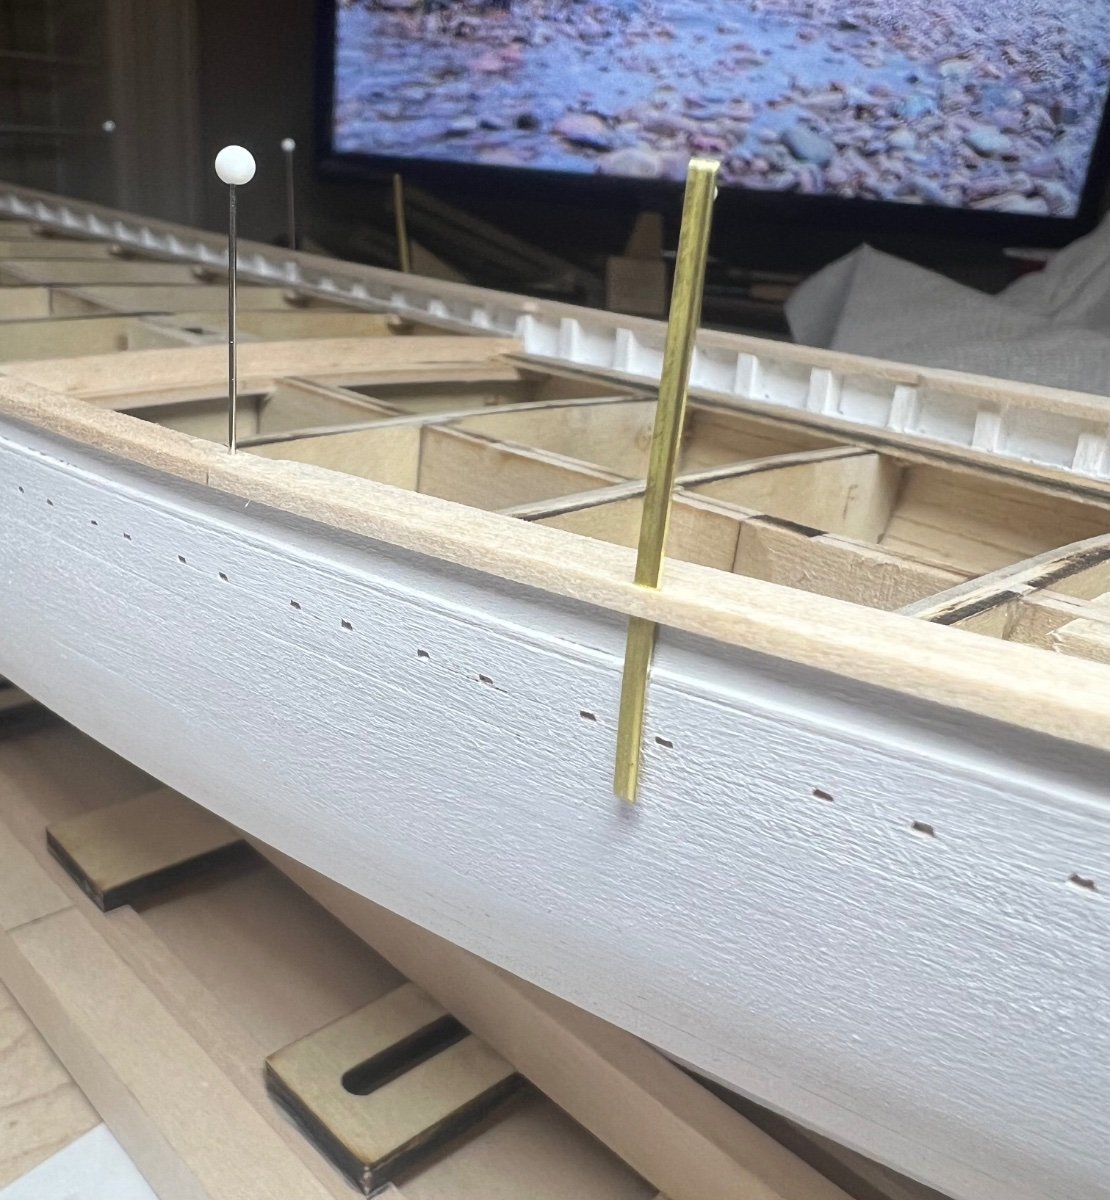
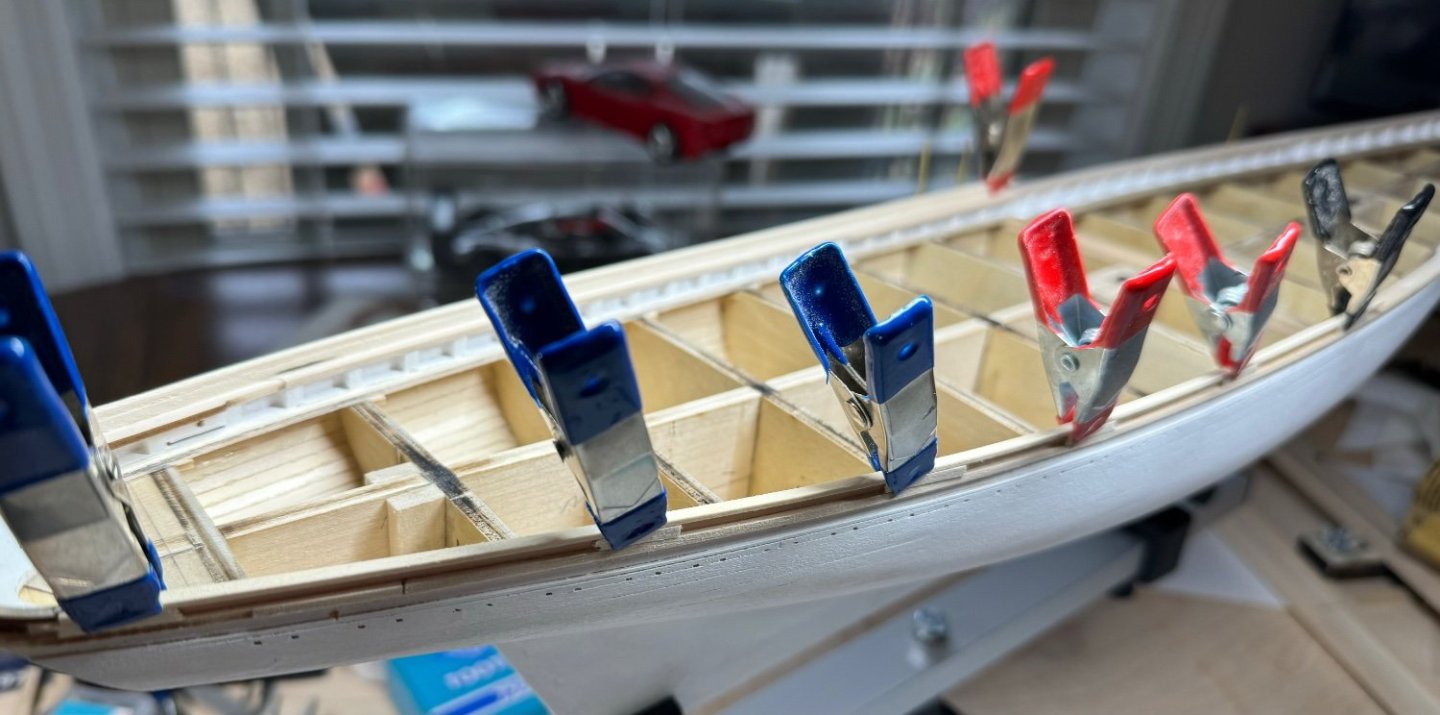
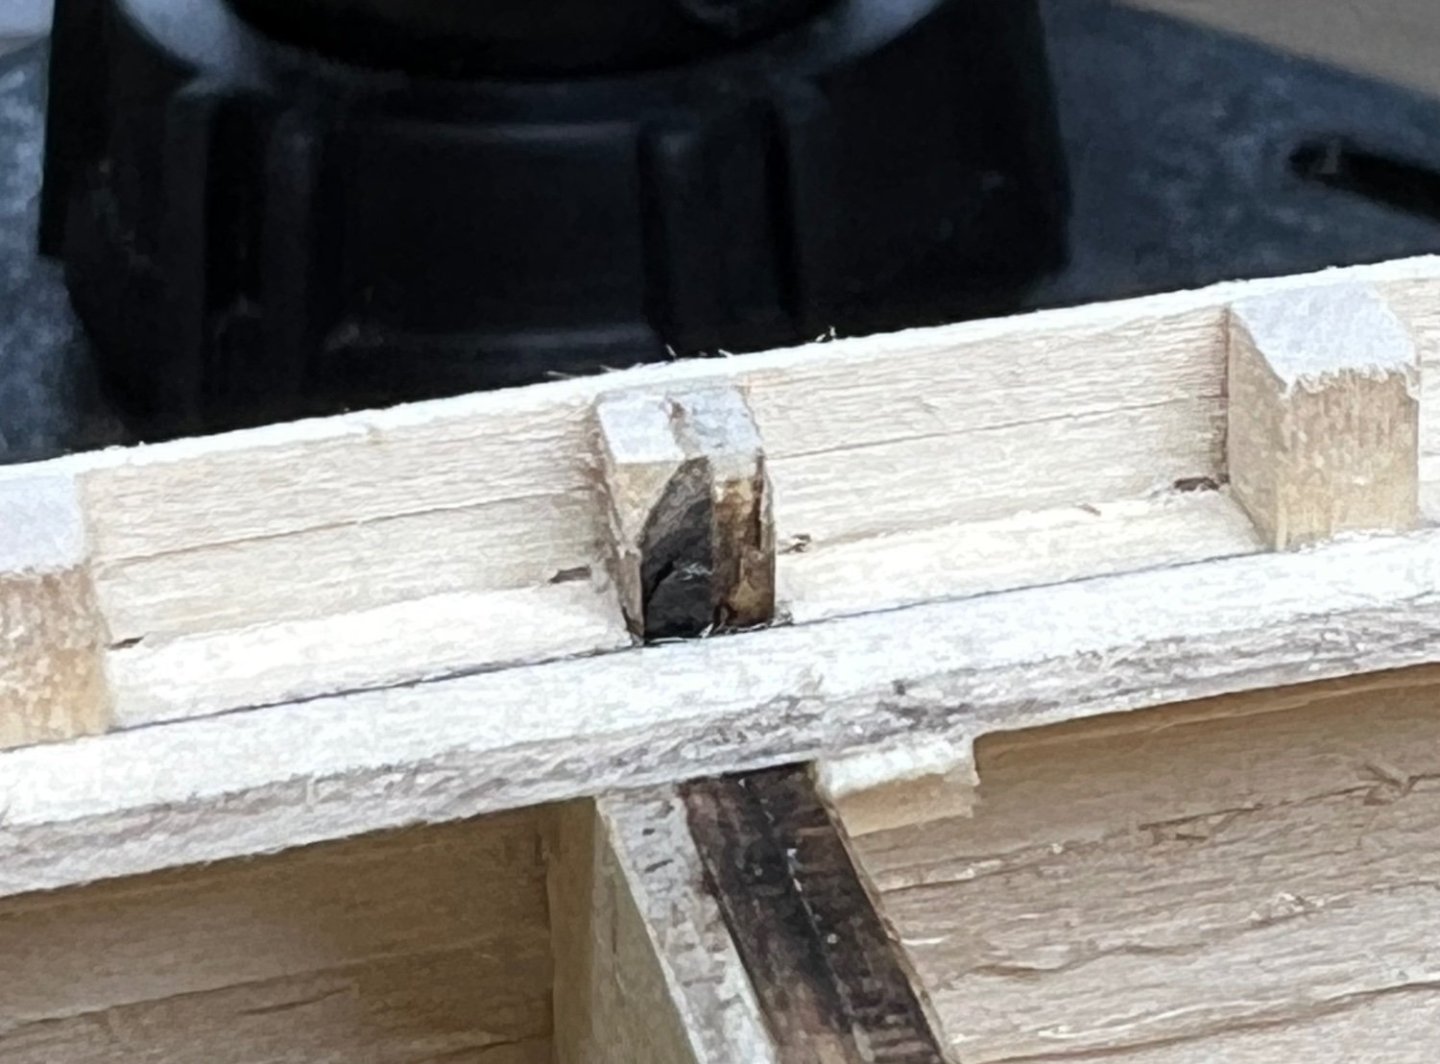
The instructions say to use pins to hold the main rail, trying that with scrap parts the wood would split. I held the rail in place and drilled a #74 hole with a pin drill. The pins go in snug. I might wet the wood in this position so it might form and stay. Thanks for the tip Hamilton, I think the main rail will build out ok before the decking. I’m trying to watch the plans and future steps to be sure stuff will fit. The chain plate slots worked great with a #77 drill bit and a sharp #11 to cut out the centers. As long as I don’t get paint in them, they will work out lol. I hope. @GGibson where can I get micro size reamers. I’ve bought every small file type I can find. I have like 8-10 sets of small files now haha.


-
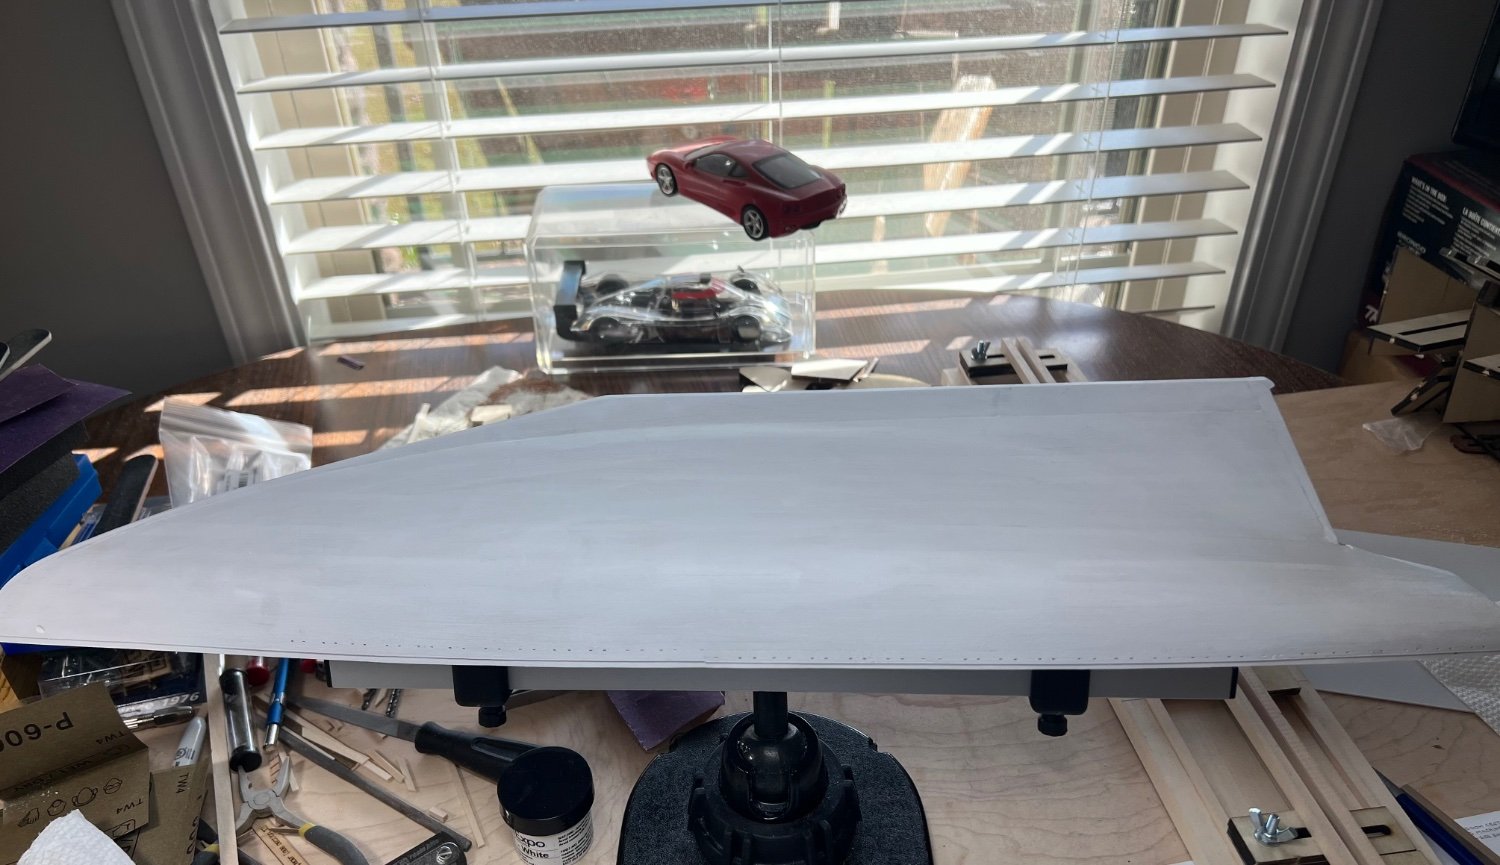
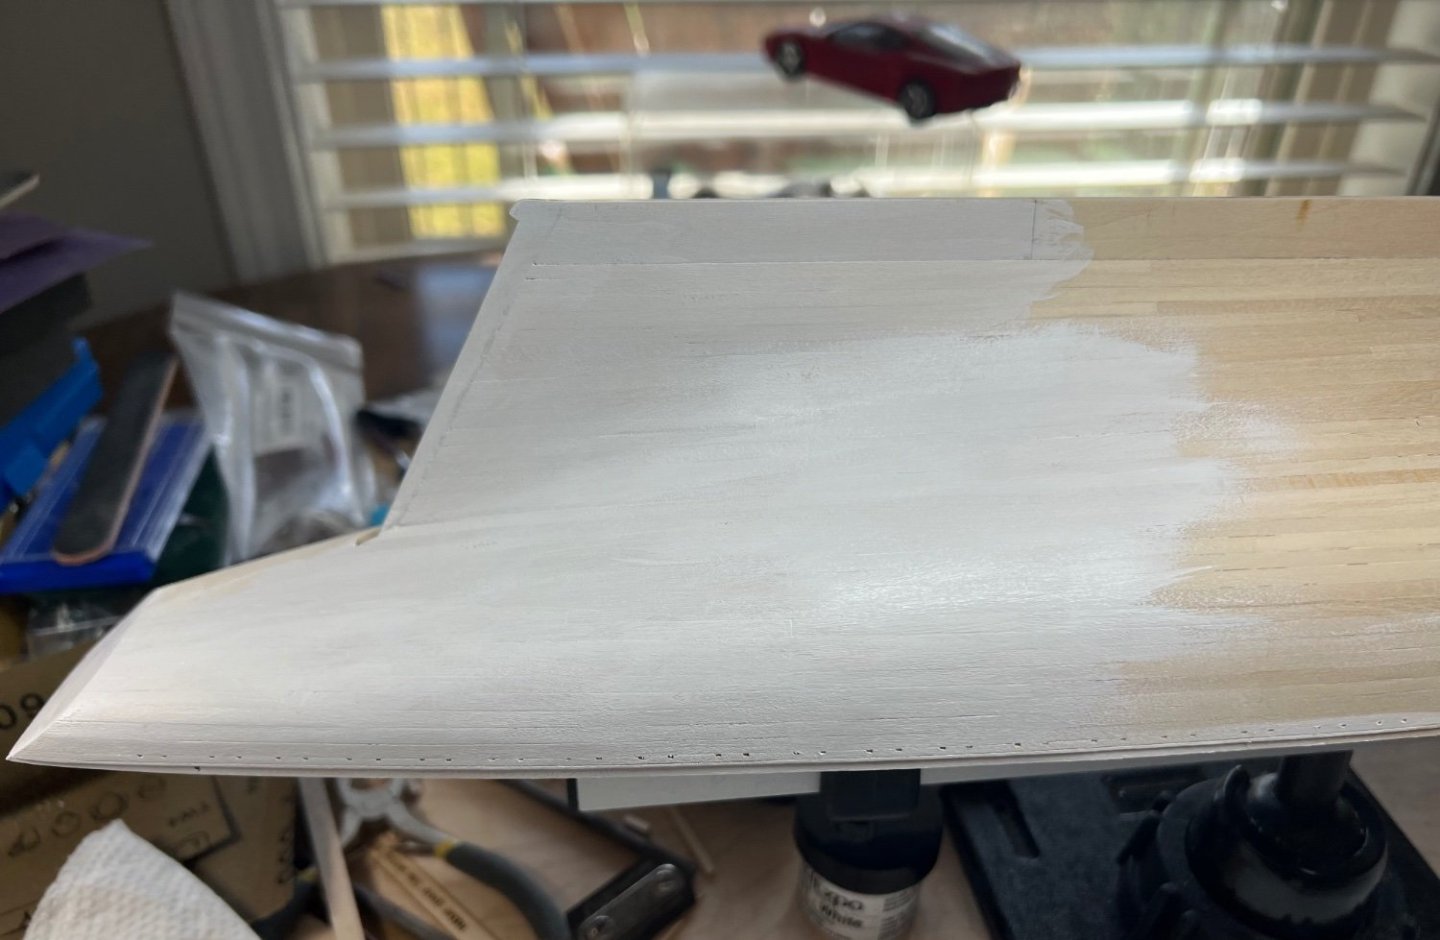
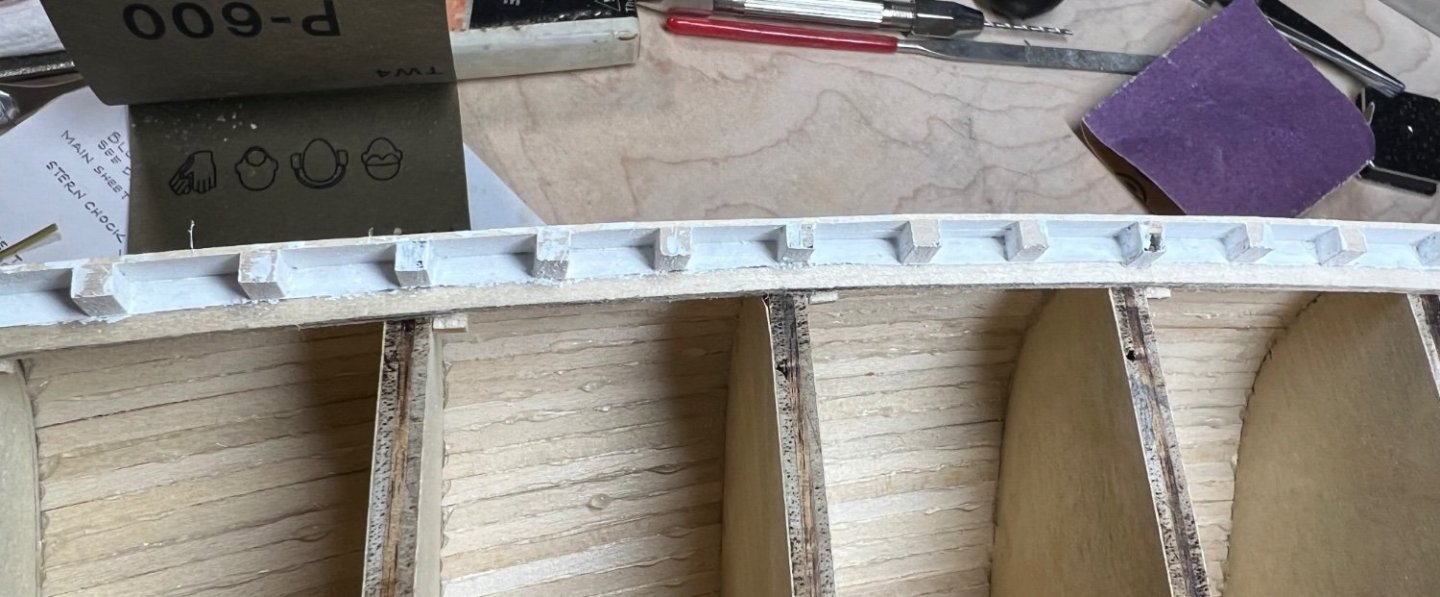
Stanchions with 2 coats of white. No idea how to paint and keep the scuppers clear. They are so small. The outside is the most important I think. One light coat of primer on the outside. If it sands up nicely, it could get colors next. I’m still debating finishing the top rail and attaching it filling in the deck planking next. Progress is progress.


-
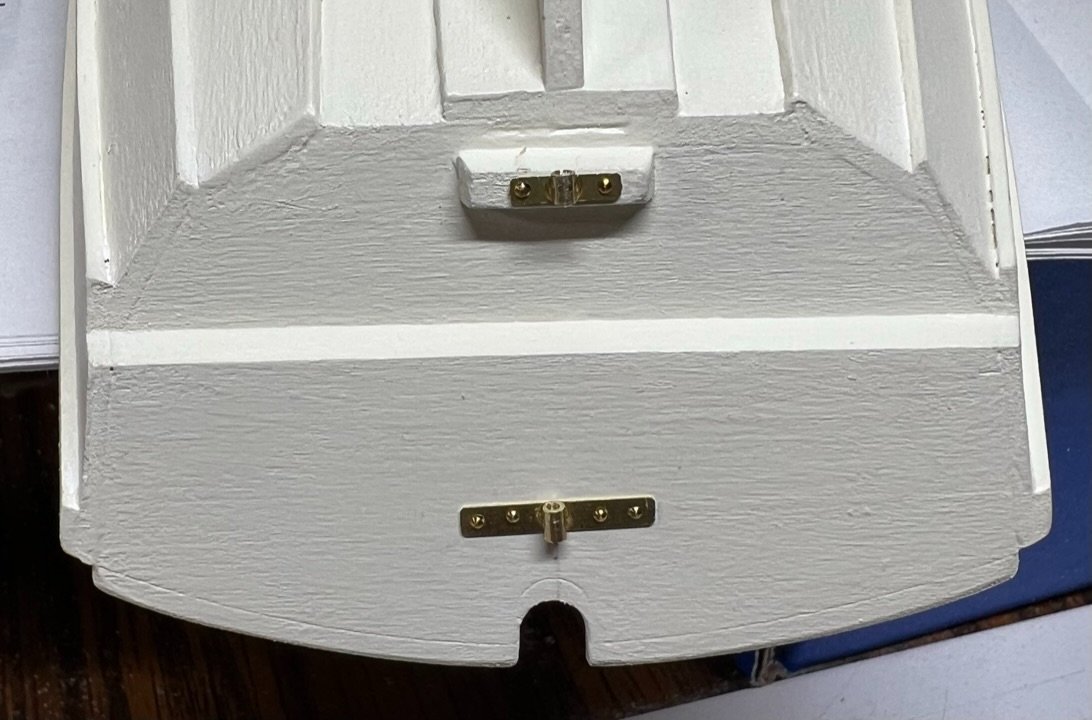
I did mention I’m not a great painter. I tried to use good masking line tape and thought I burnished it down good, but it bled under a lot. The lack of updates is because of my left hand not acting right. Painting this quarter section was all I could do. My fingers were going numb. I tried to give my hands a rest for the last few weeks thinking it would recover. Not getting better. It’s going to be a long haul to get this finished if my hands are doing this. Going to get some testing done this Friday. Ugh.
-
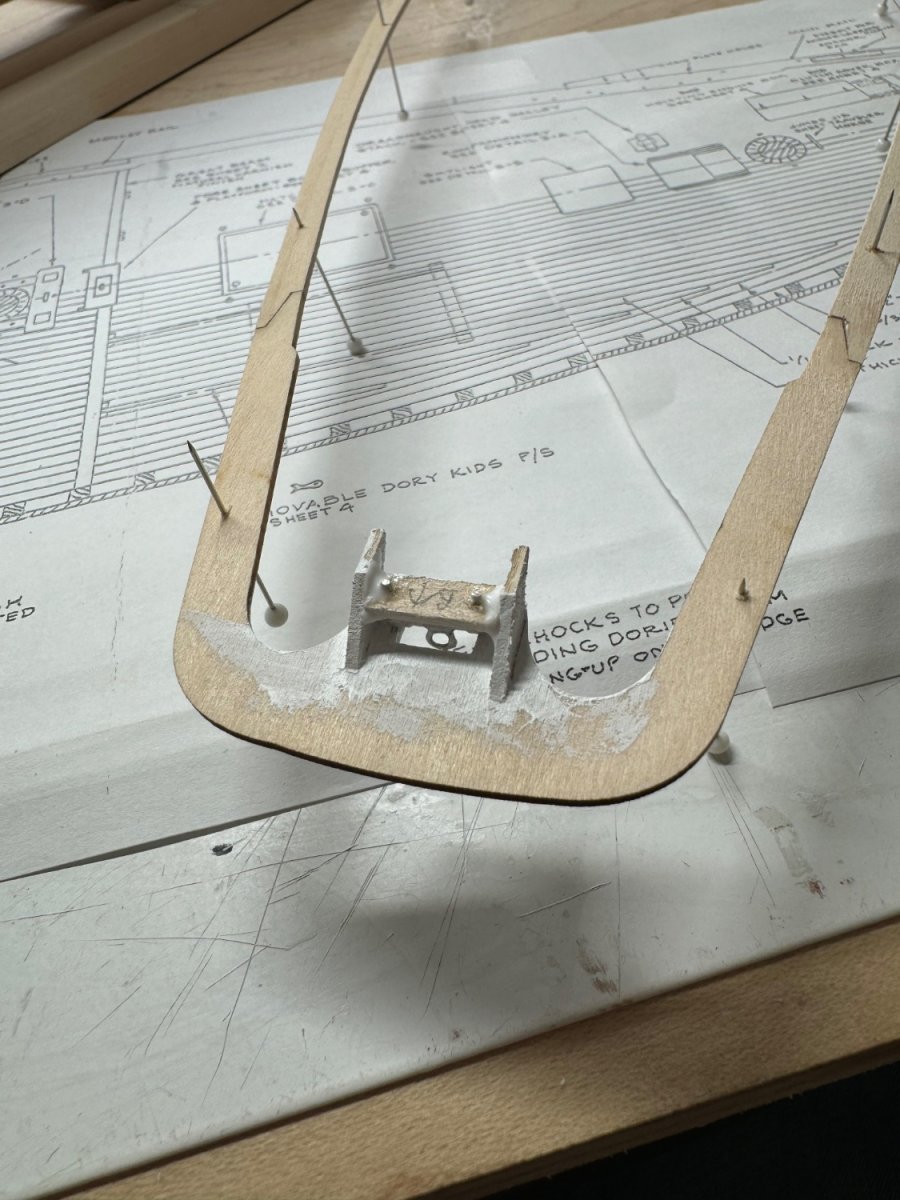
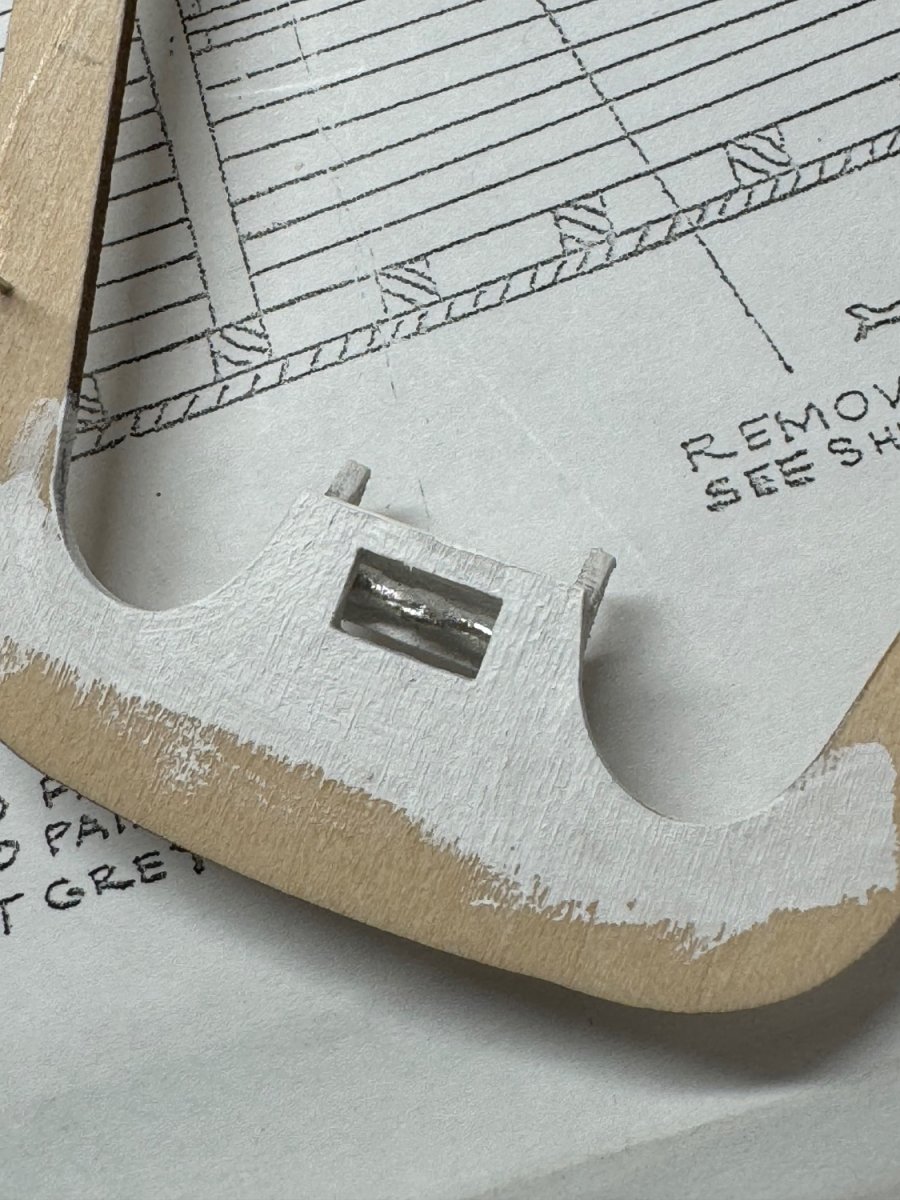
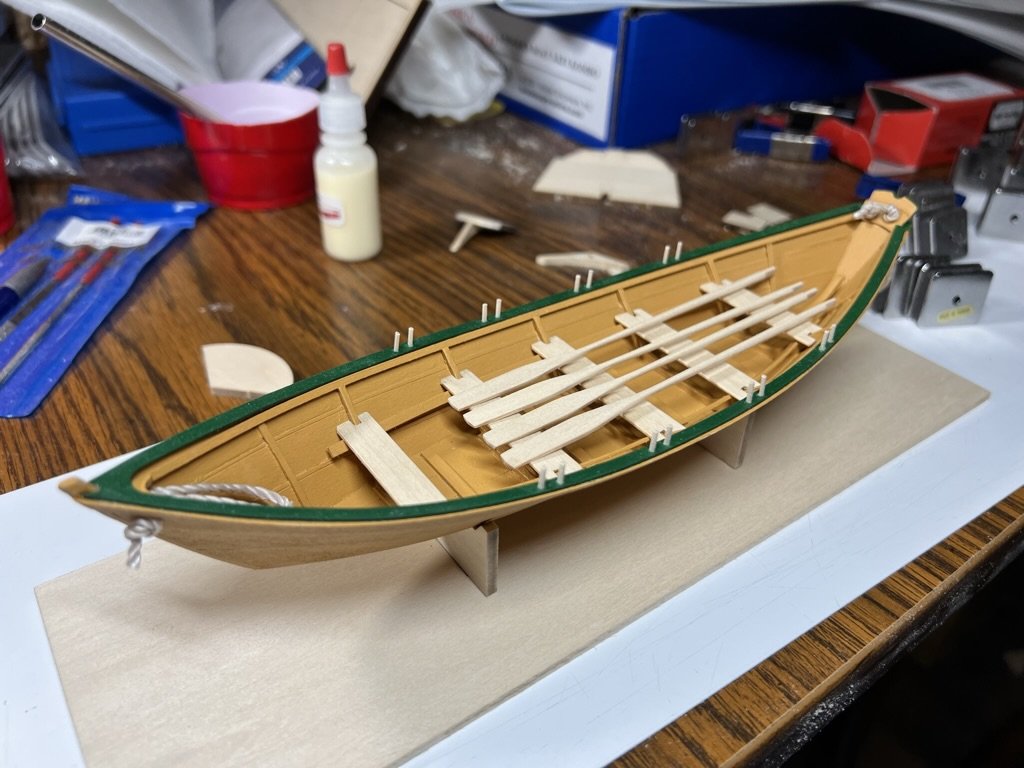
Here is a good shot of how high the rudder fits, you'll have more trouble building the arm than you will worrying about if it will clear the transom haha. Its very fragile to fabricate.
-
Shape the rear transom where it looks good and has good lines. Not a soul will know if its off. Yours is looking great!
-
Last post had no pictures for me. Just labels. And I want to see! lol.
-
I think I used the line as a guide, not so much trimmed to the line. The top and bottom part of the transom assy was tricky for me. It worked out, but it wasn’t to the plans or lines. All of my pictures are in my build log linked below. I just did the best I could. It looked great when painted lol.
-
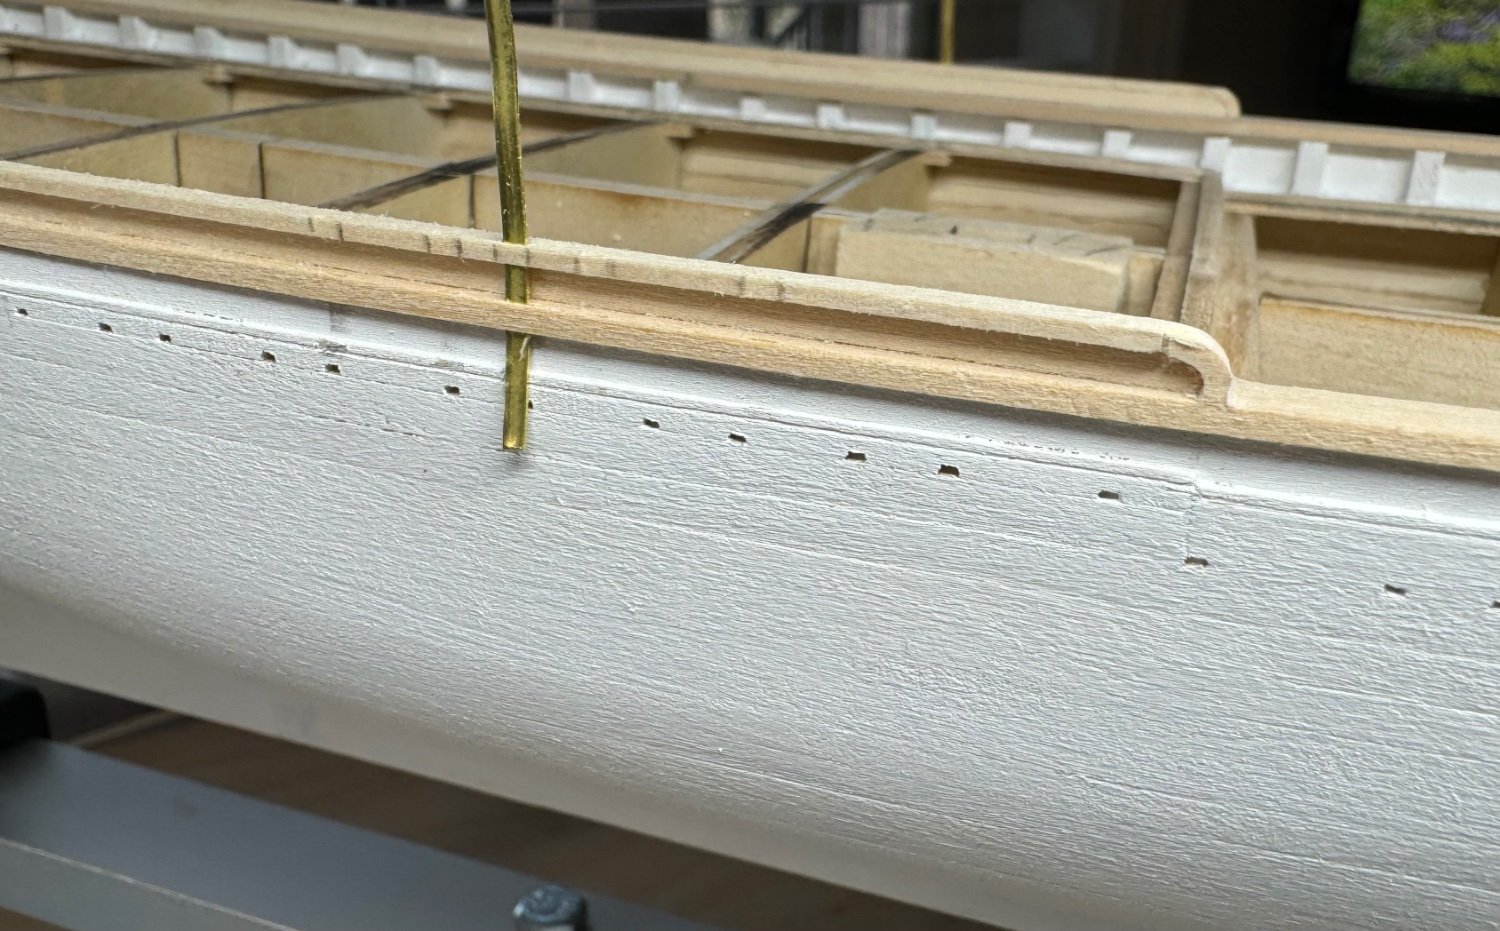
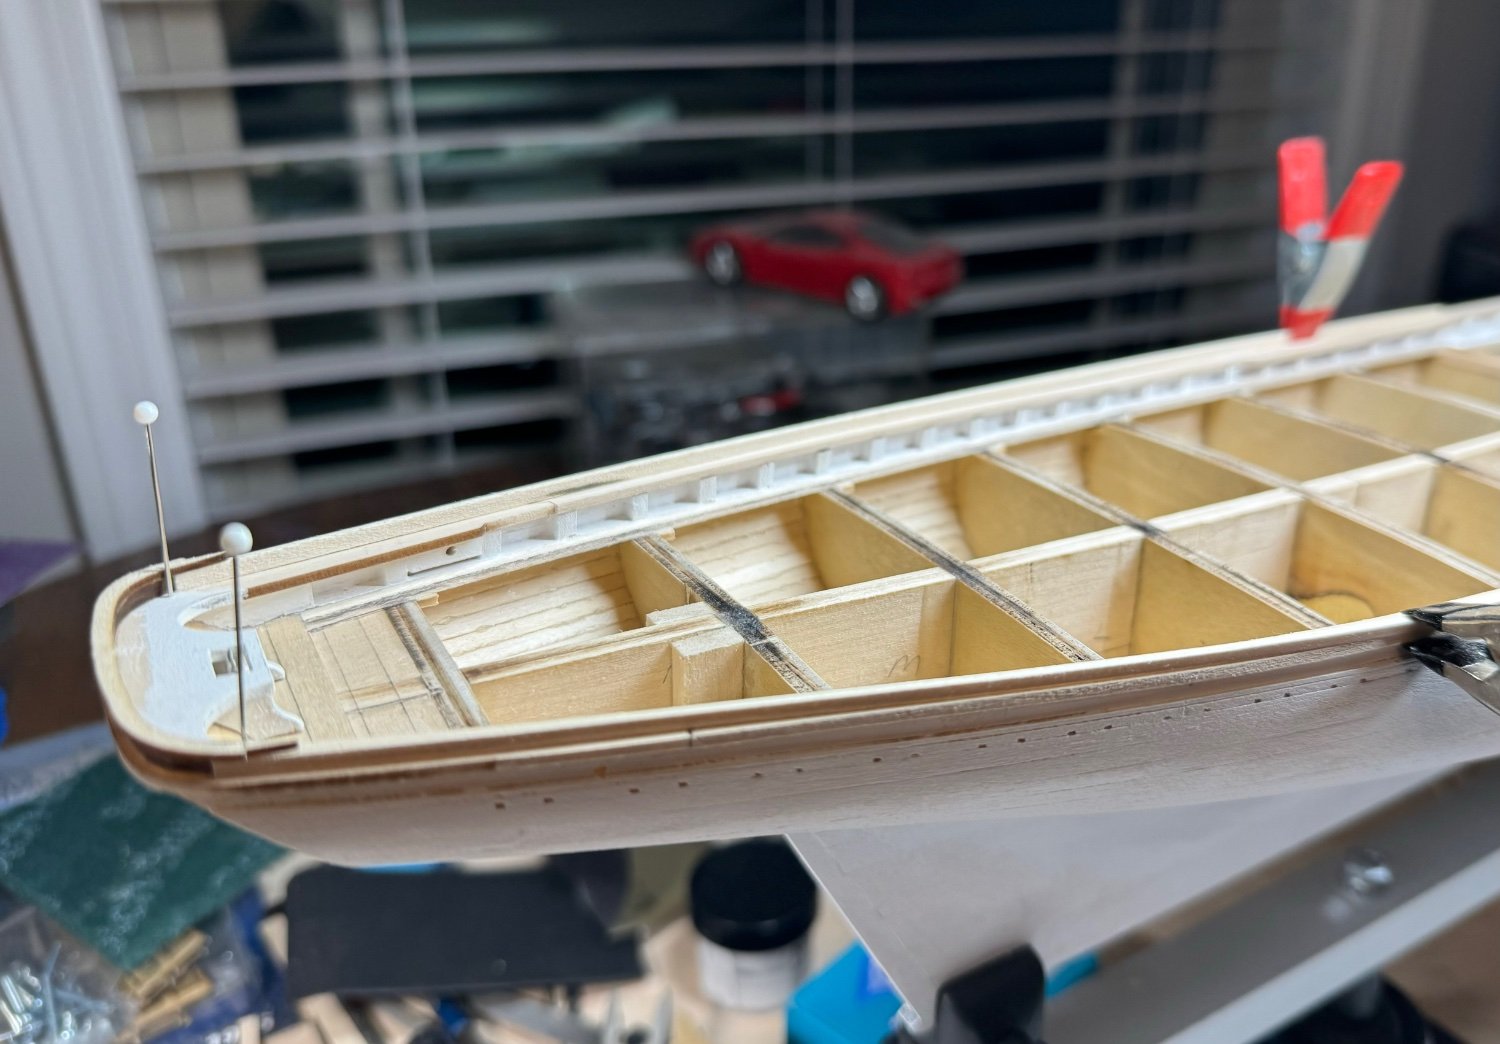
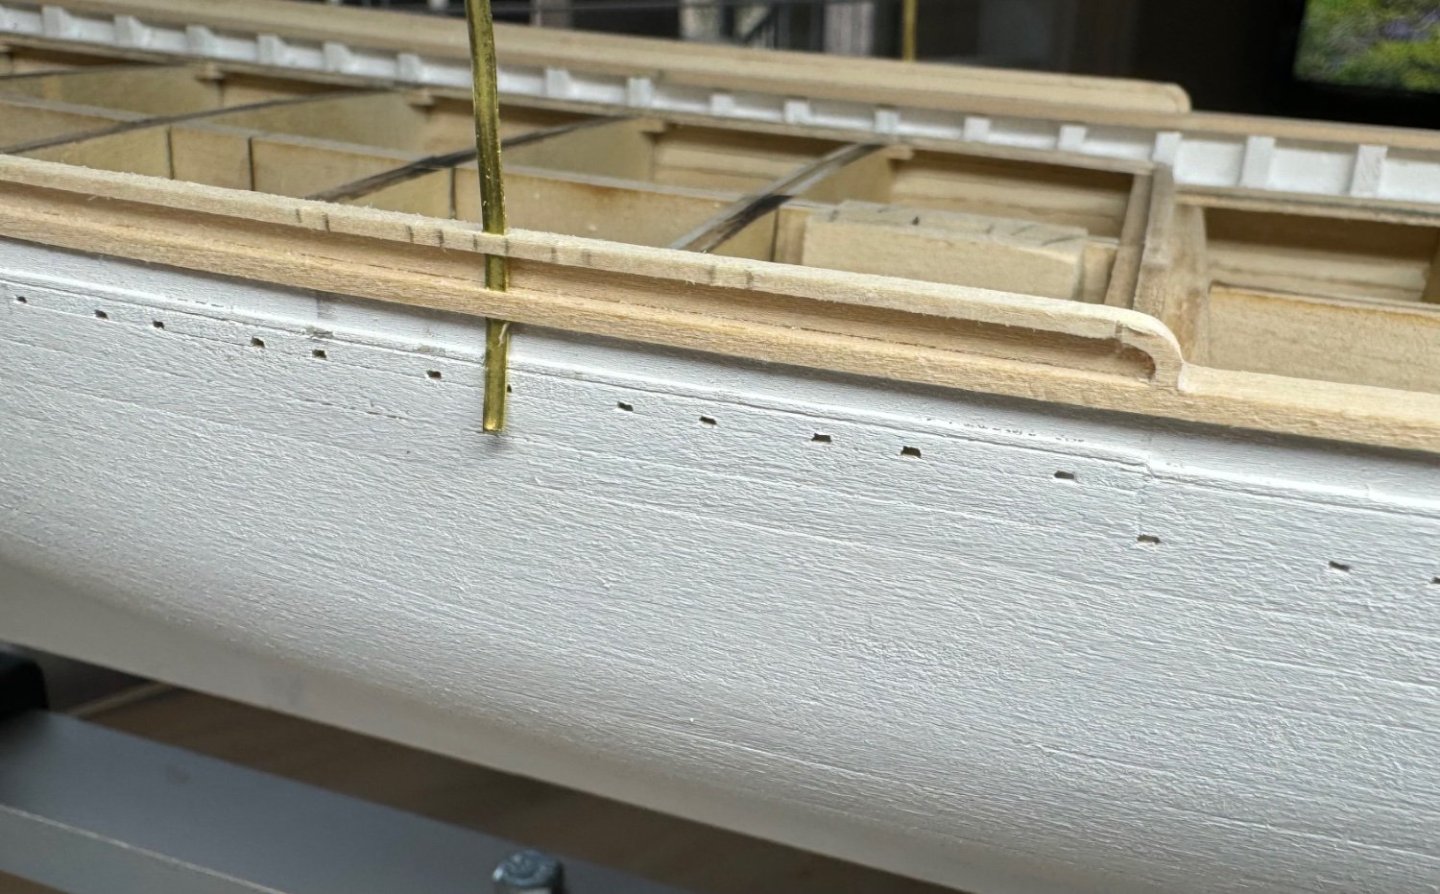
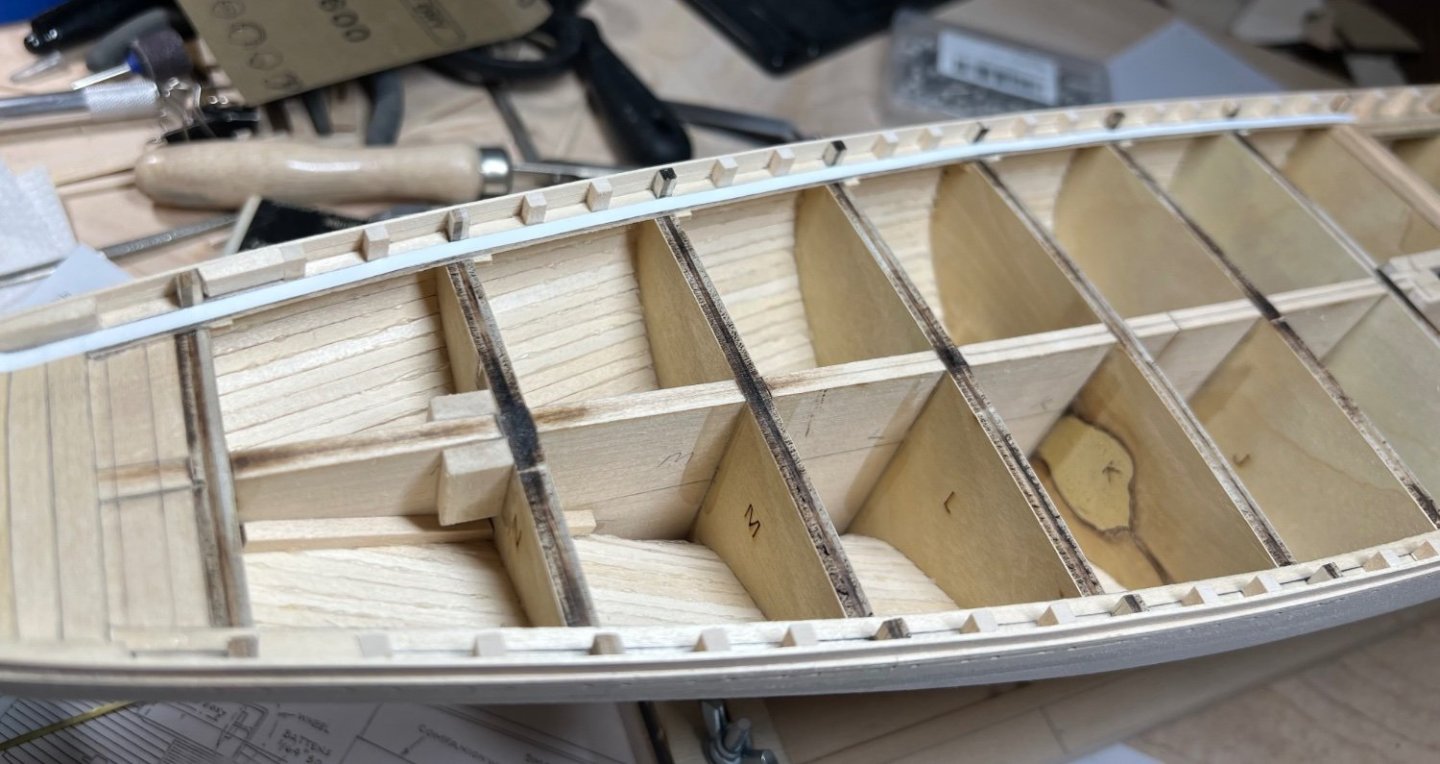
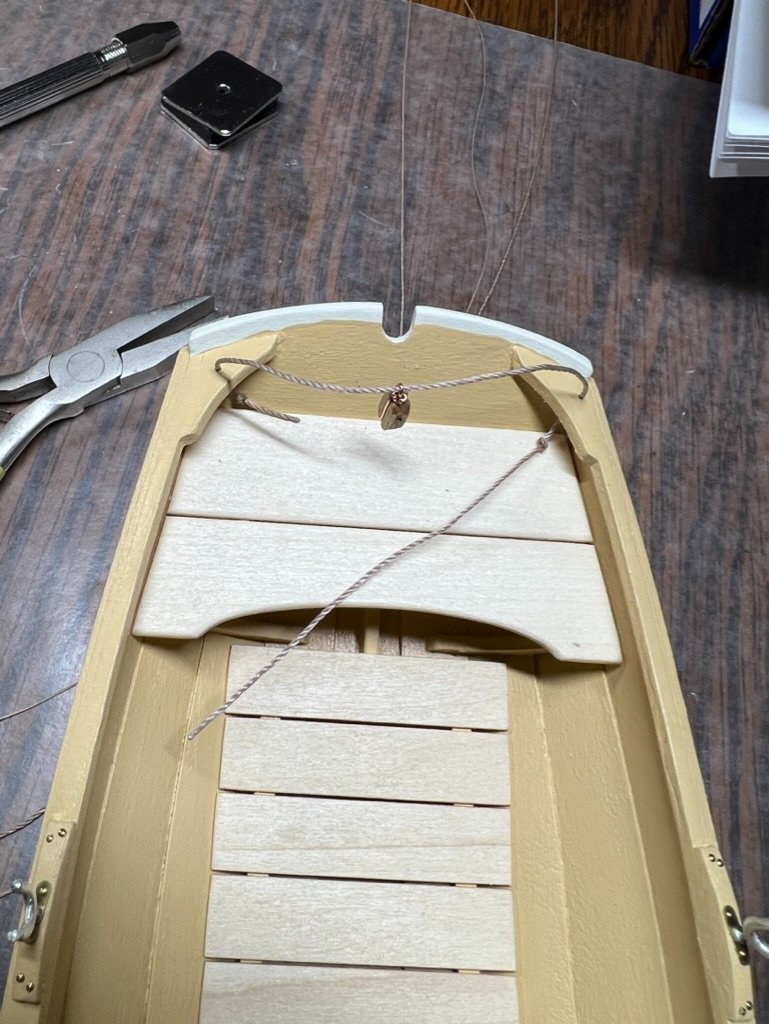
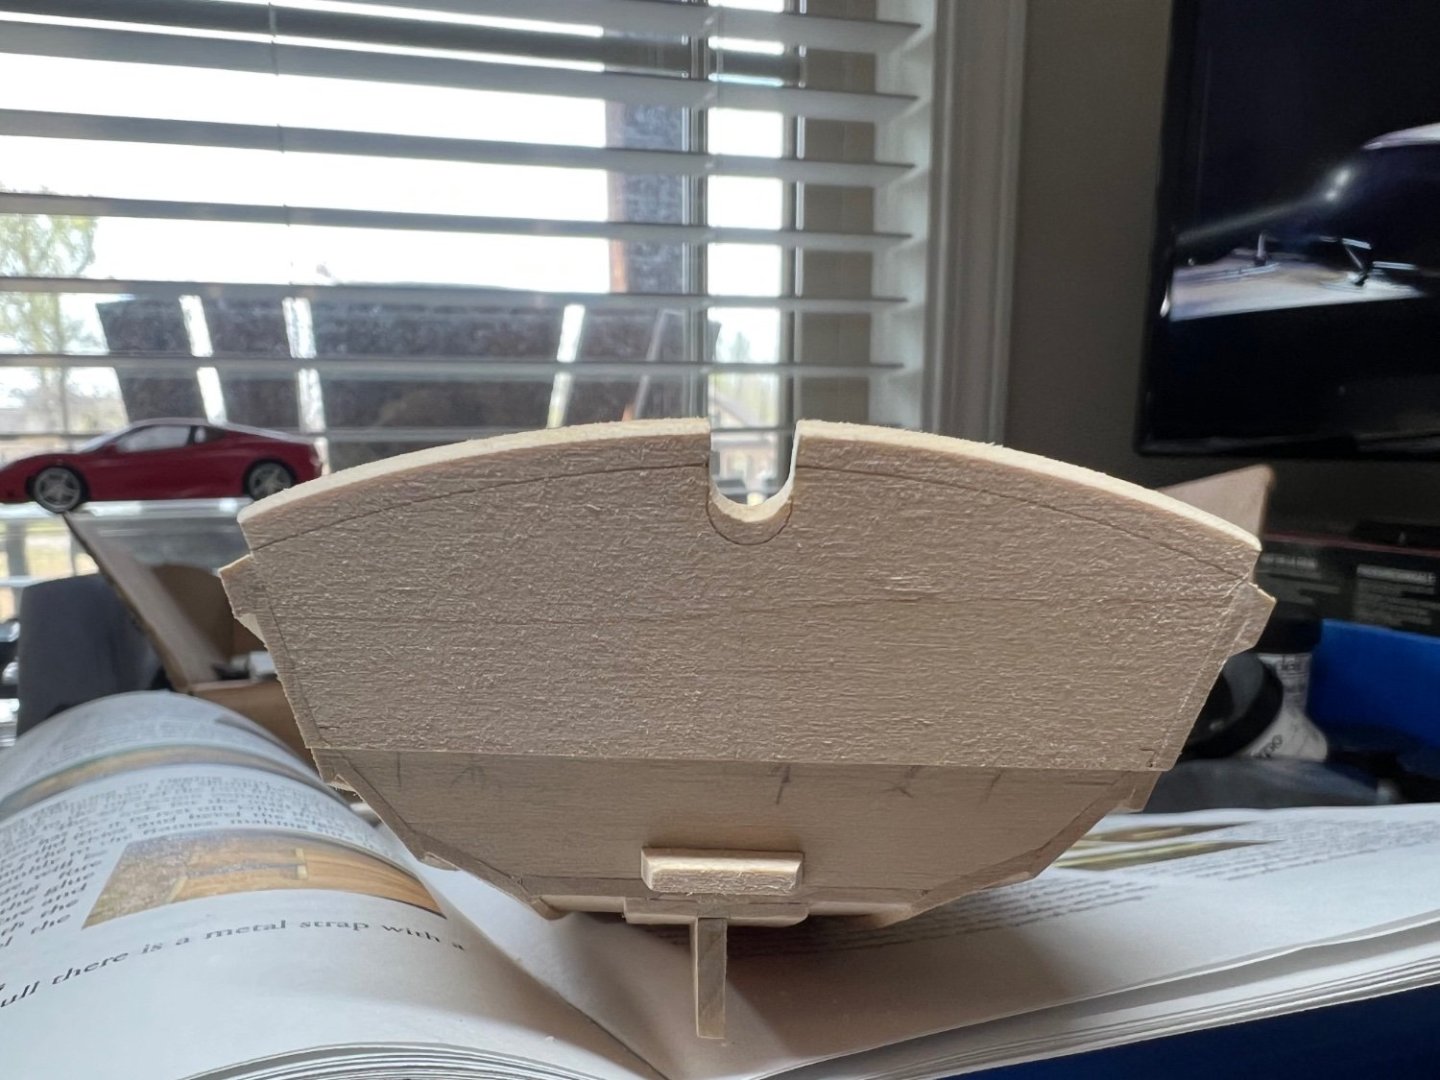
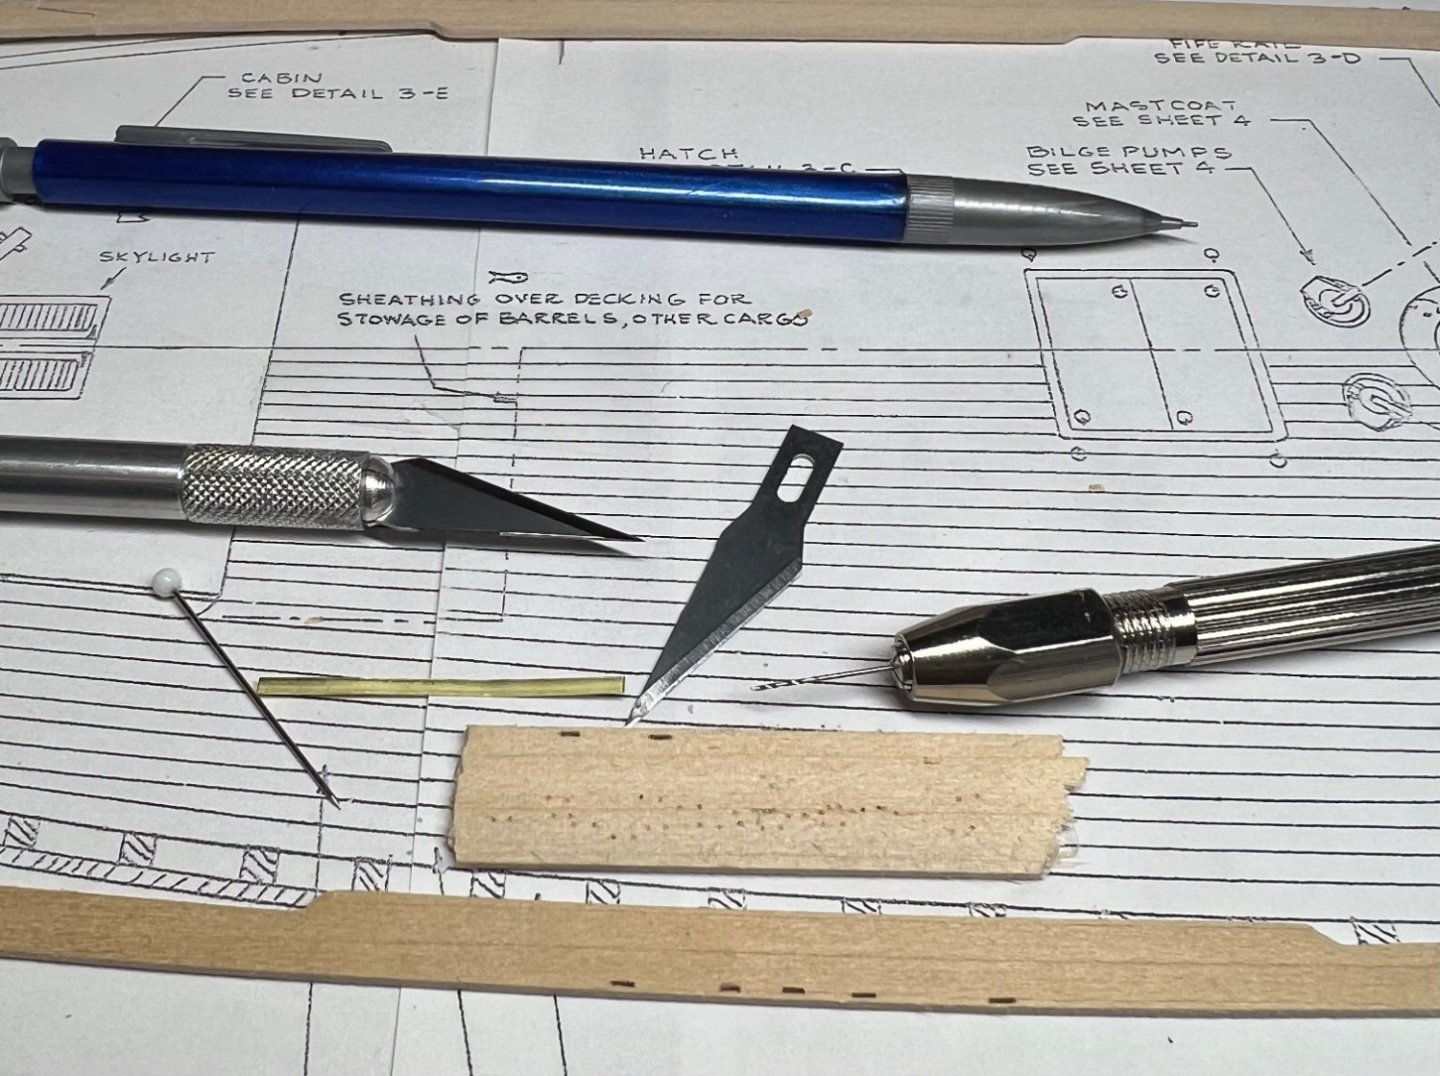
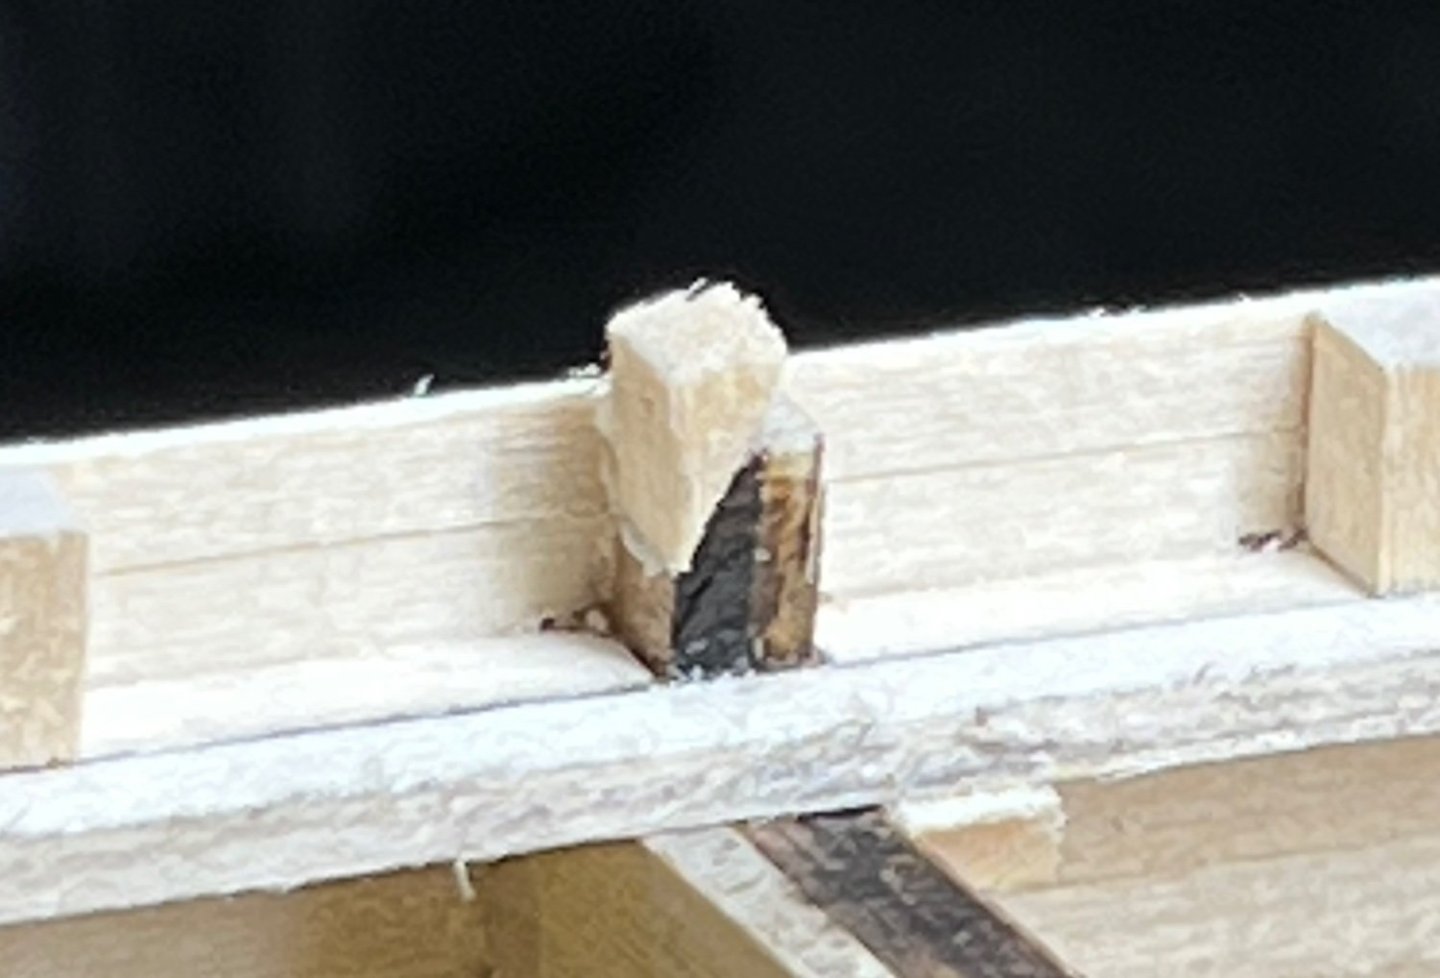
Chain plate holes. Not sure why the are not called slots. A pencil to mark the location. A straight pin to make a guide for the small drill bit. A hole on either end. A sharp #11 blade to carve out the middle on each side of the hole top and bottom. It worked out well. I didn’t use the straight pin to make a guide hole on the first batch. I broke out the edge on one hole and had to fix it. I did good enough fixing it I can’t find which one it was lol. It was still 2 hours of work. Slow and steady, worth a picture. I’m stalling getting the paint started…..
-
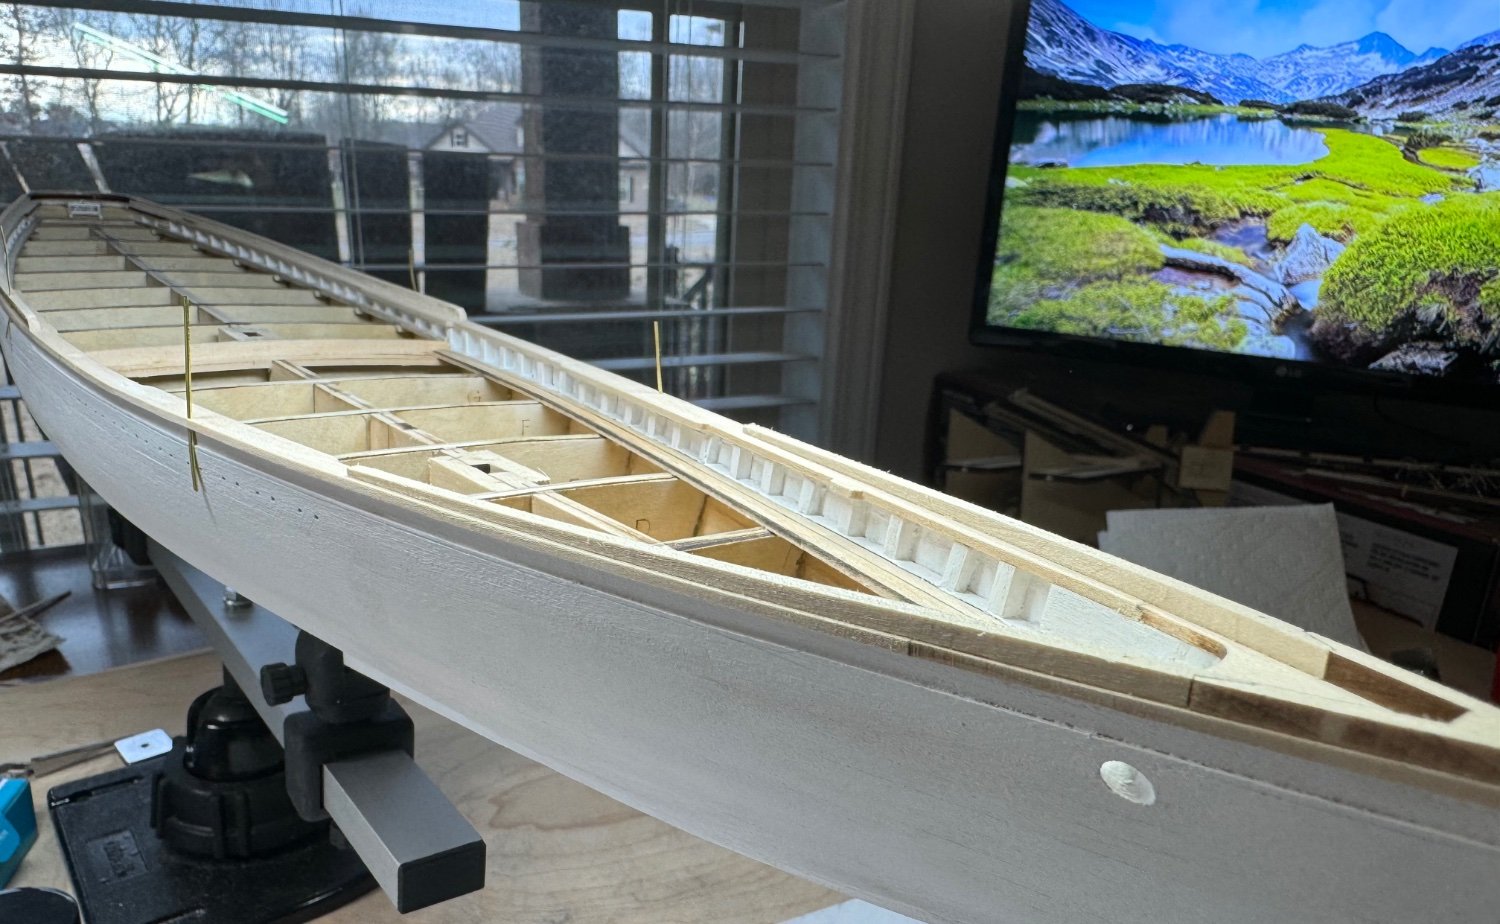
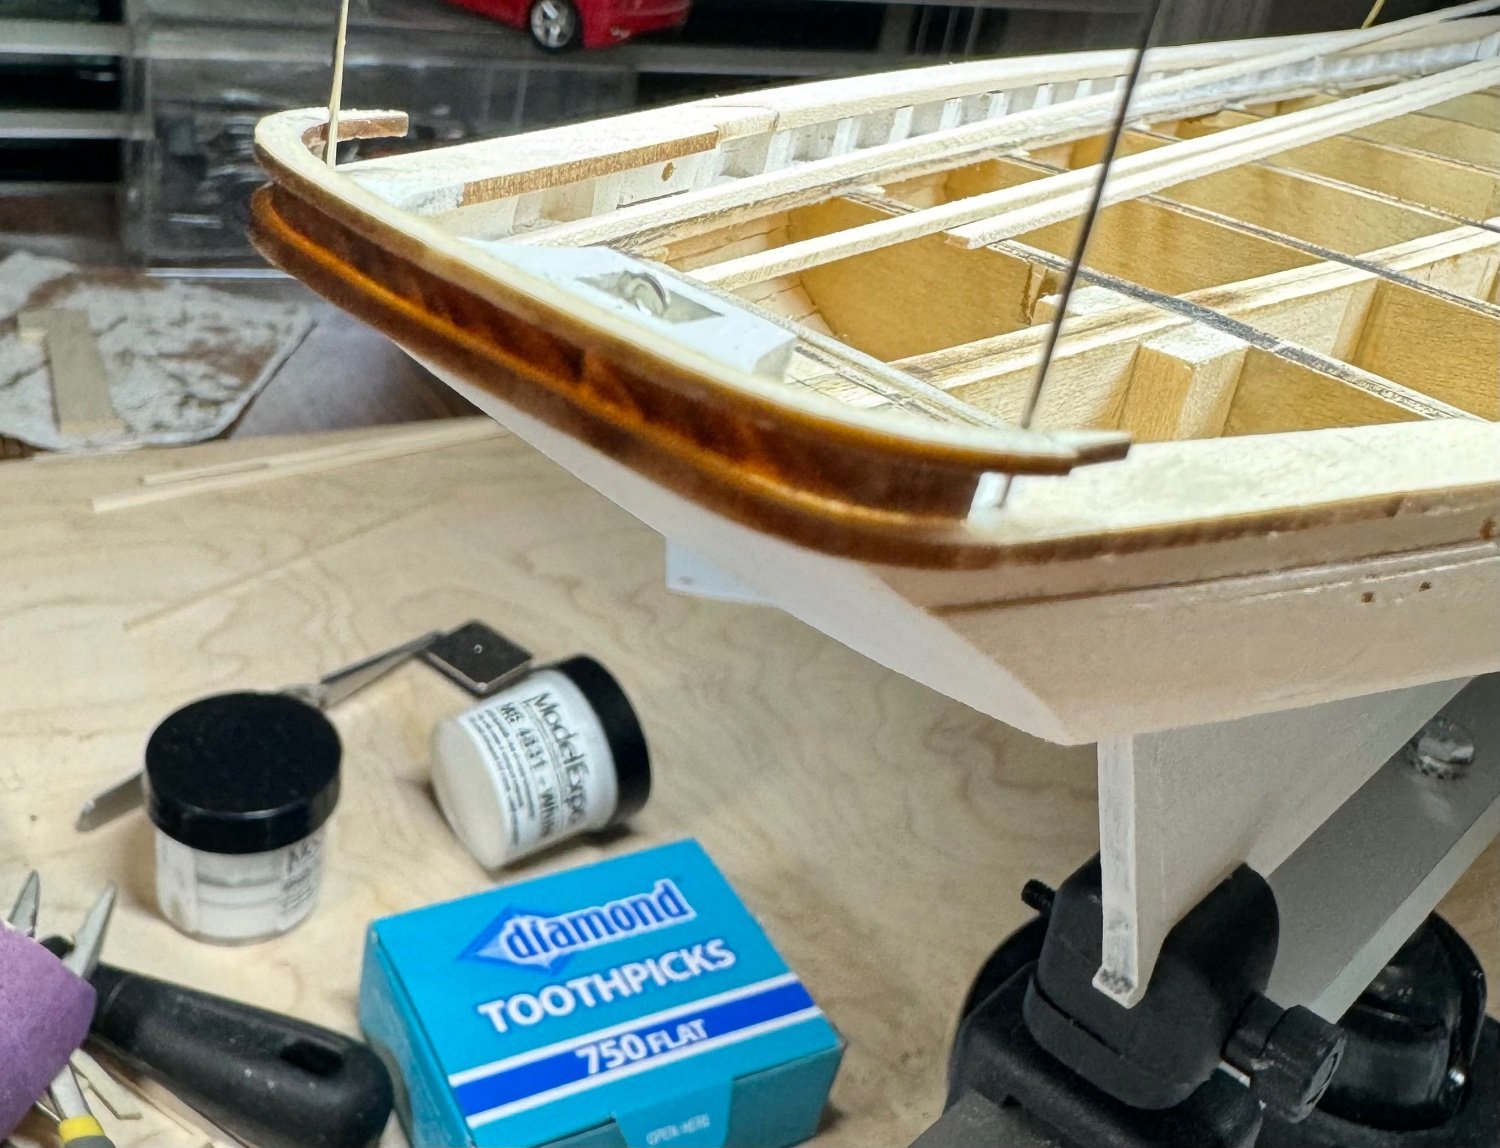
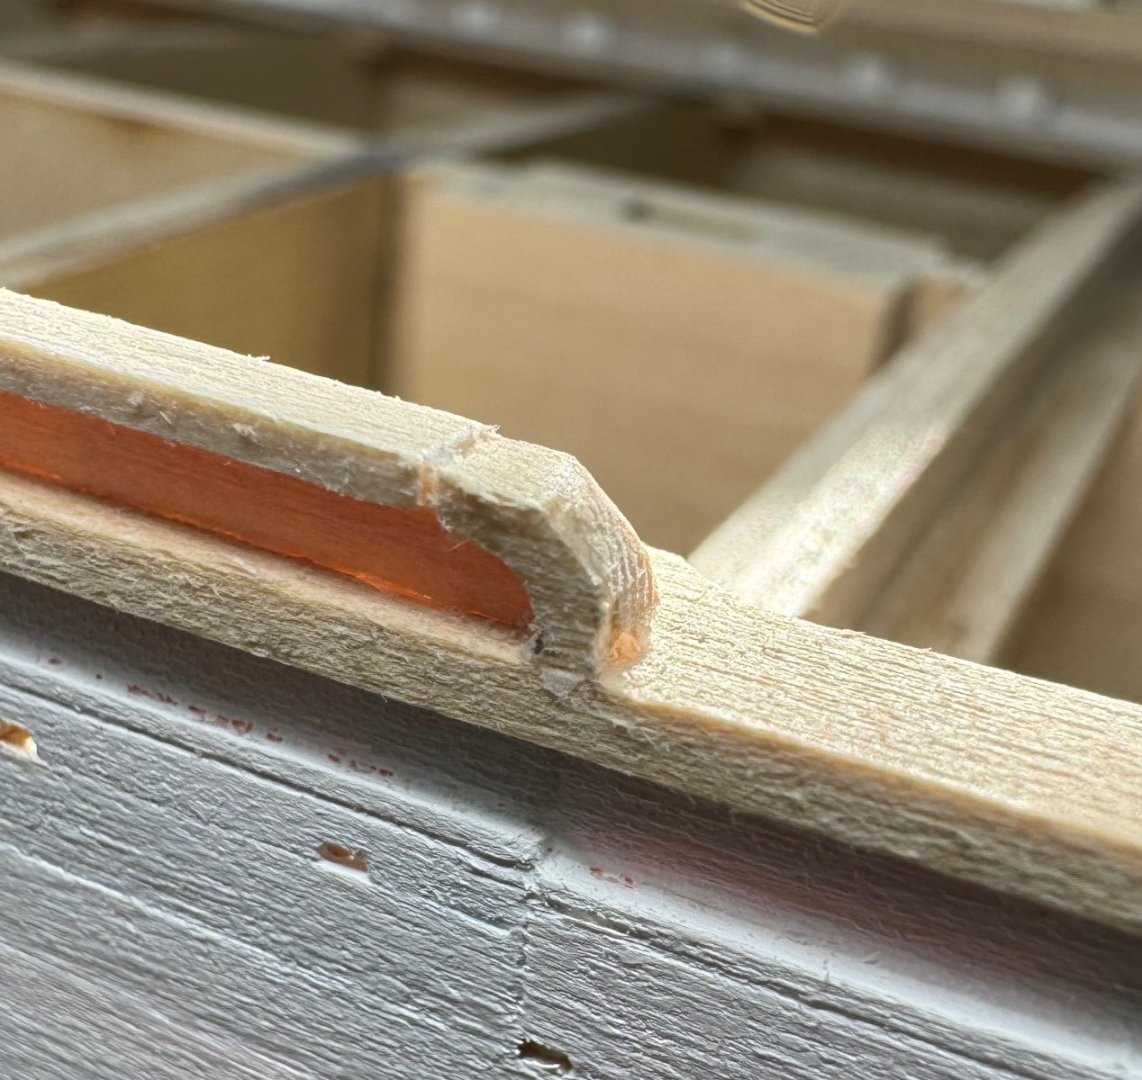
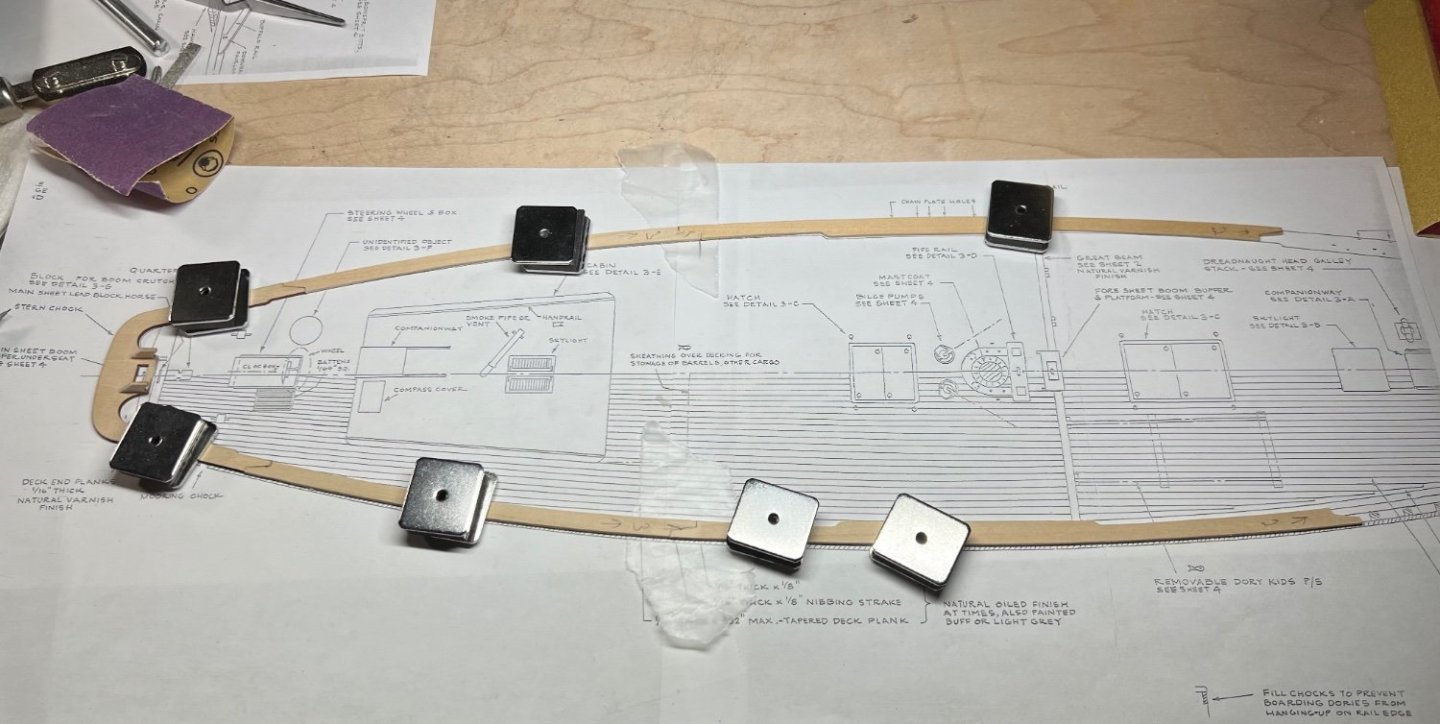
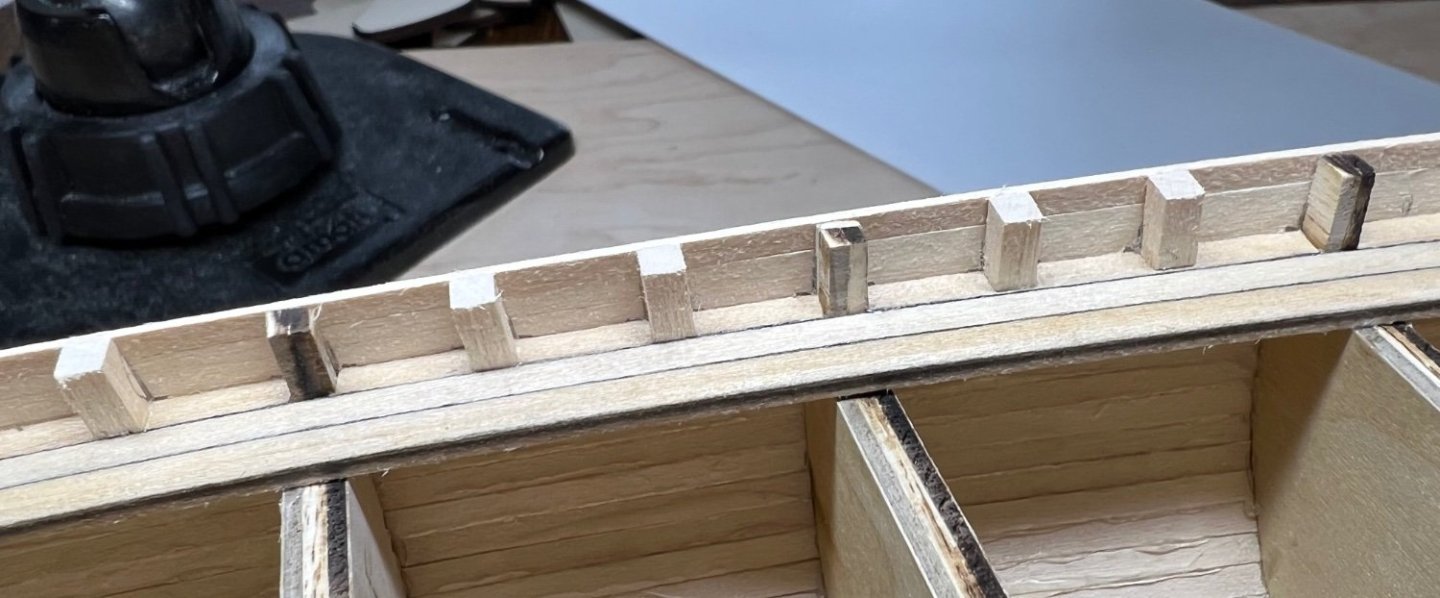
The main rail is together. The plans are fun if you don’t pay very close attention. I thought both sides were the same on the top view. The right side is a lower elevation. The main rail doesn’t match up. It just happened to work out. The main rail is trimmed and sanded smooth and finished for painting. I practiced cutting slots for the brass straps. They are so close to the edge. Not much room for errors. It looks like it will be good to do before installing the rail. If I’m reading the plans right the brass straps go thru the main rail and monkey rail. That’s going to be fun to line up. I also worked on cleaning up the fuzz off the hull so I can paint. I can do some good stuff with wood. I’m not a great painter. I guess I’ll get some practice.

-
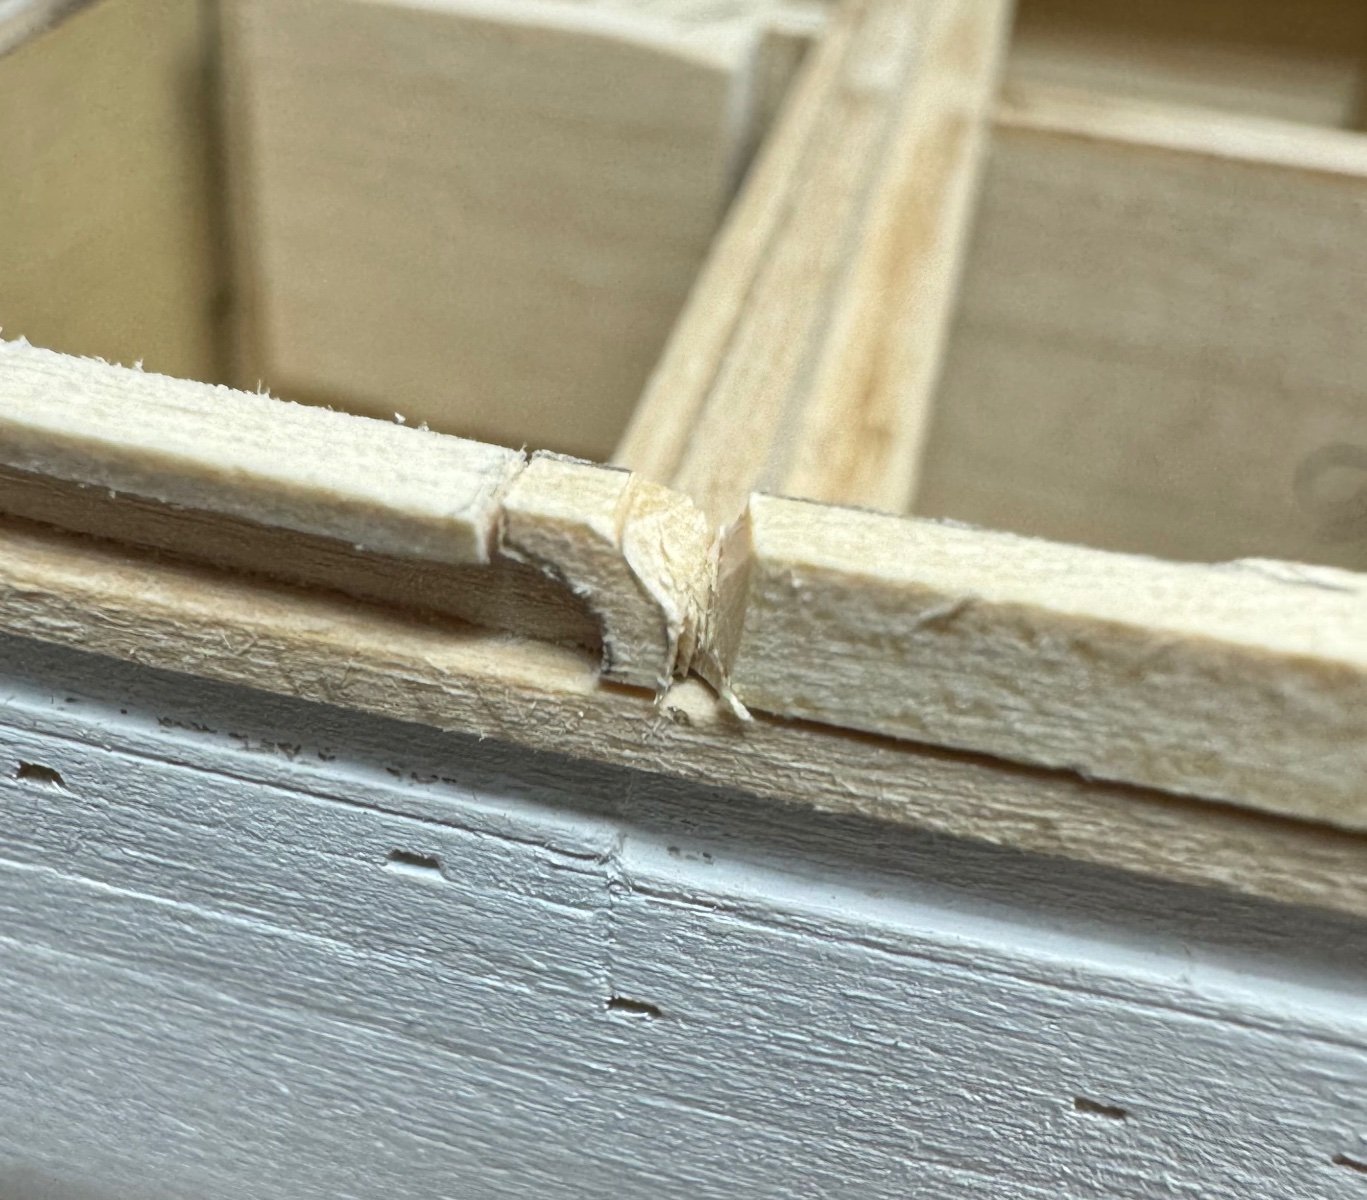
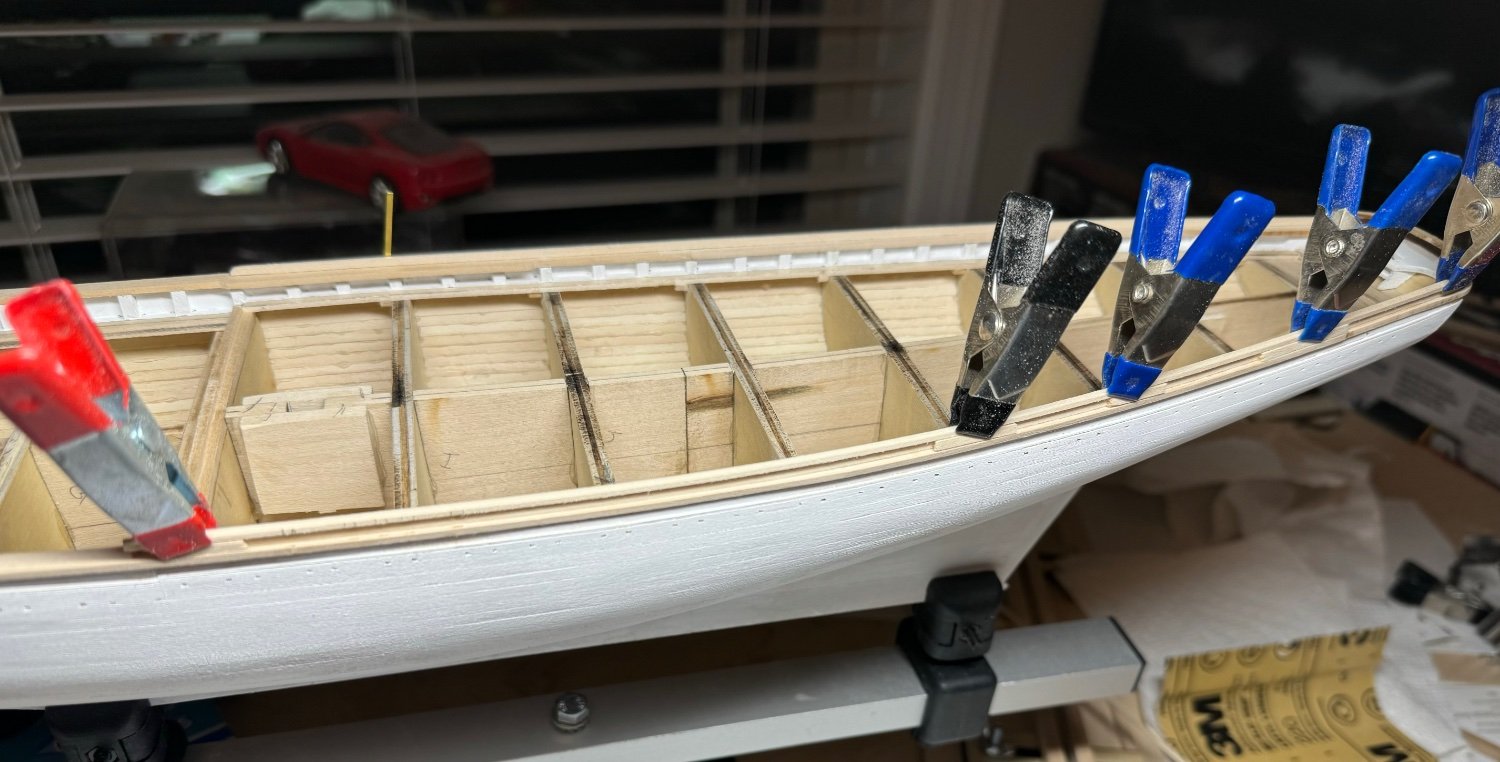
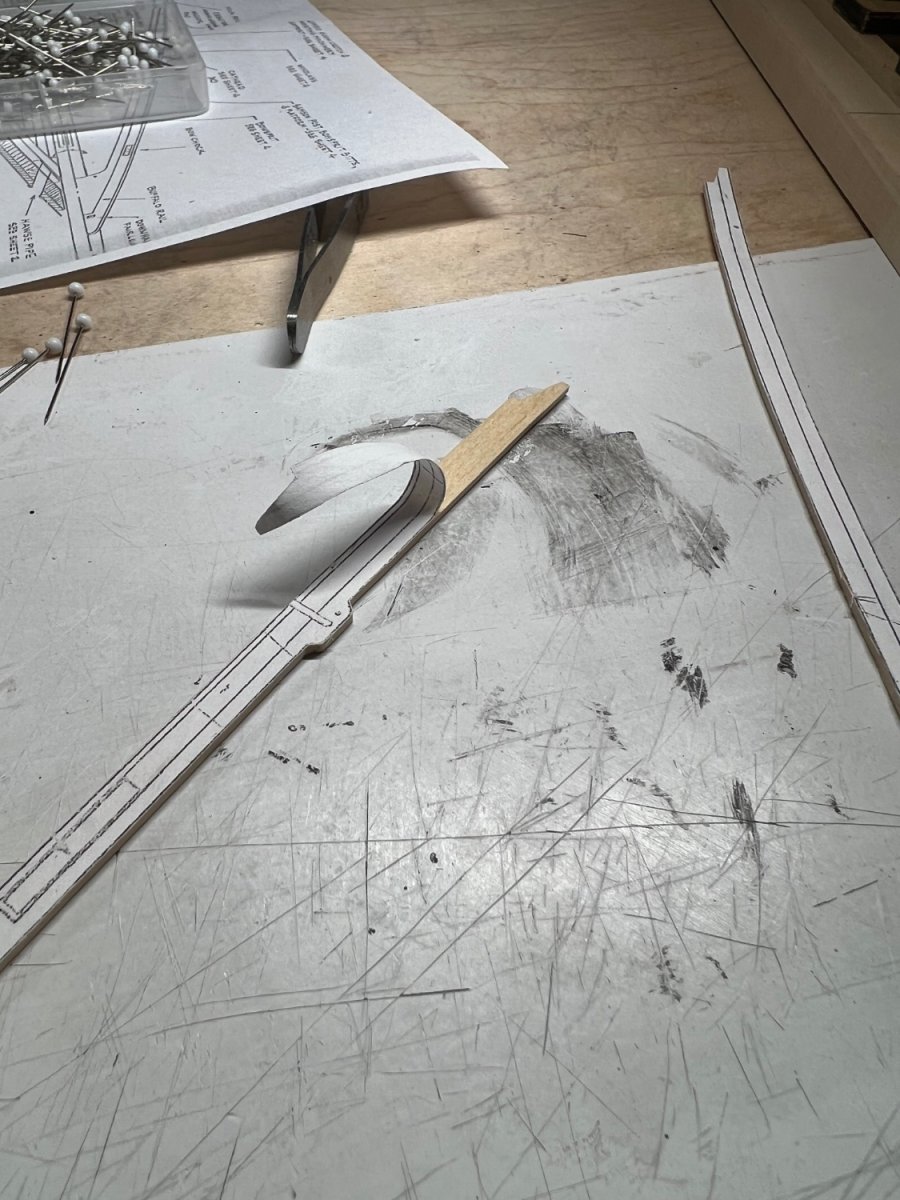
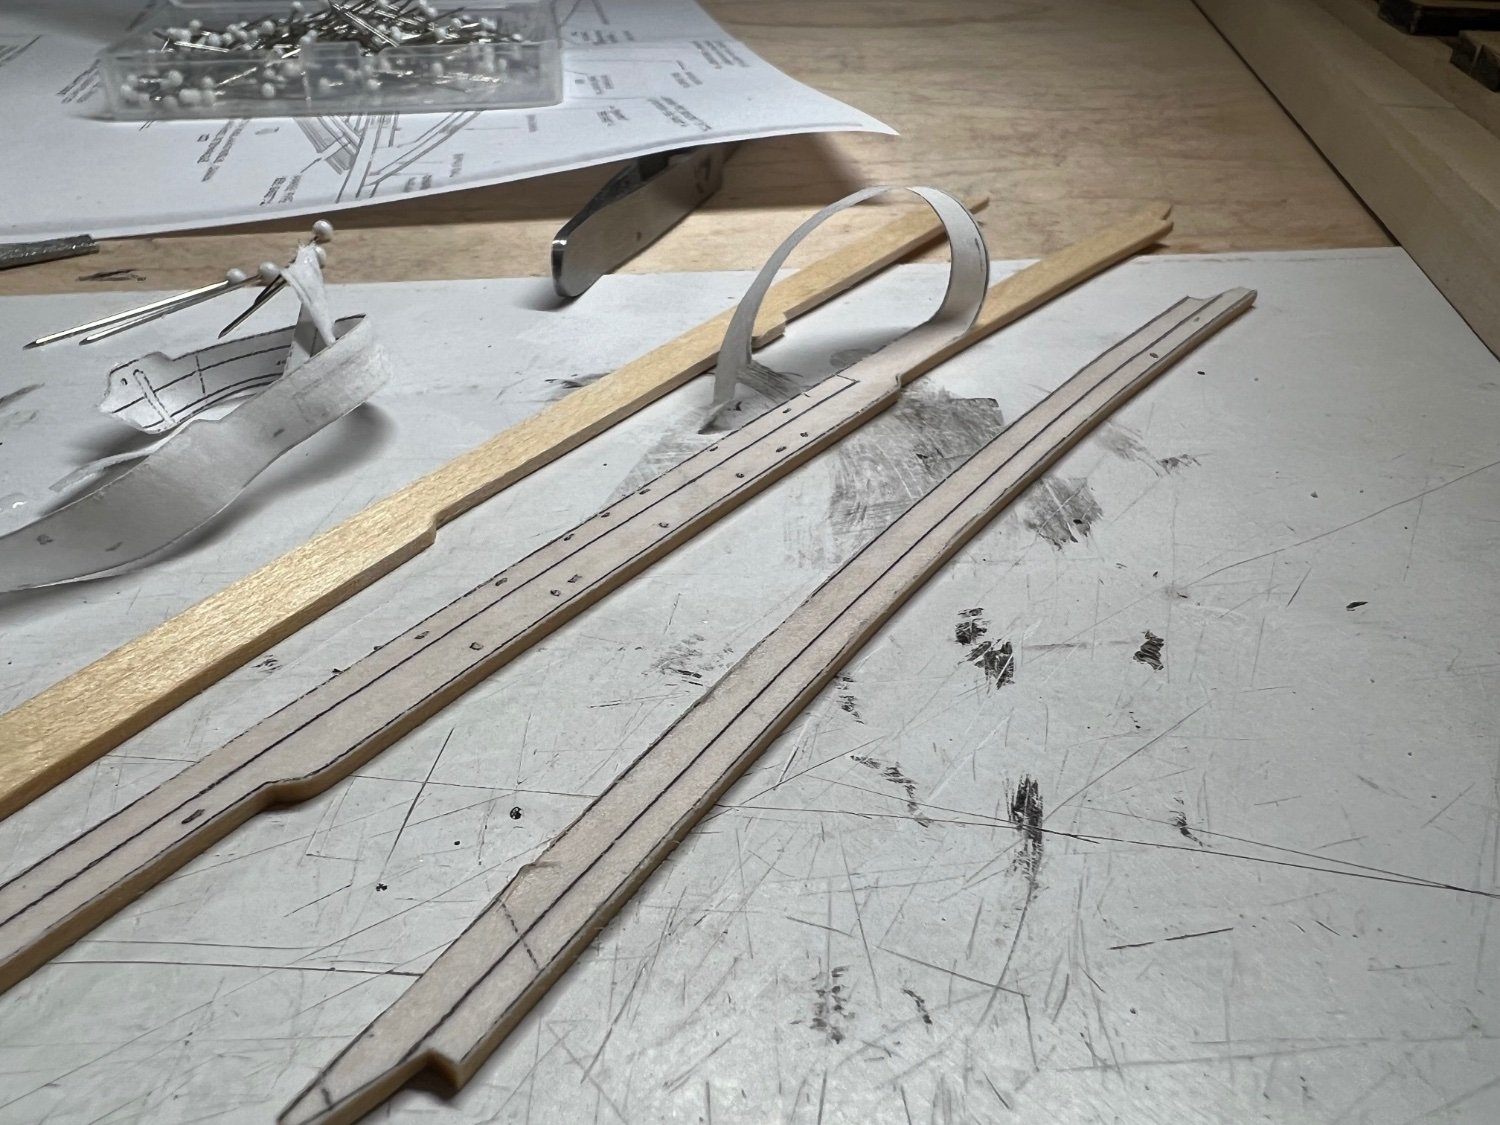
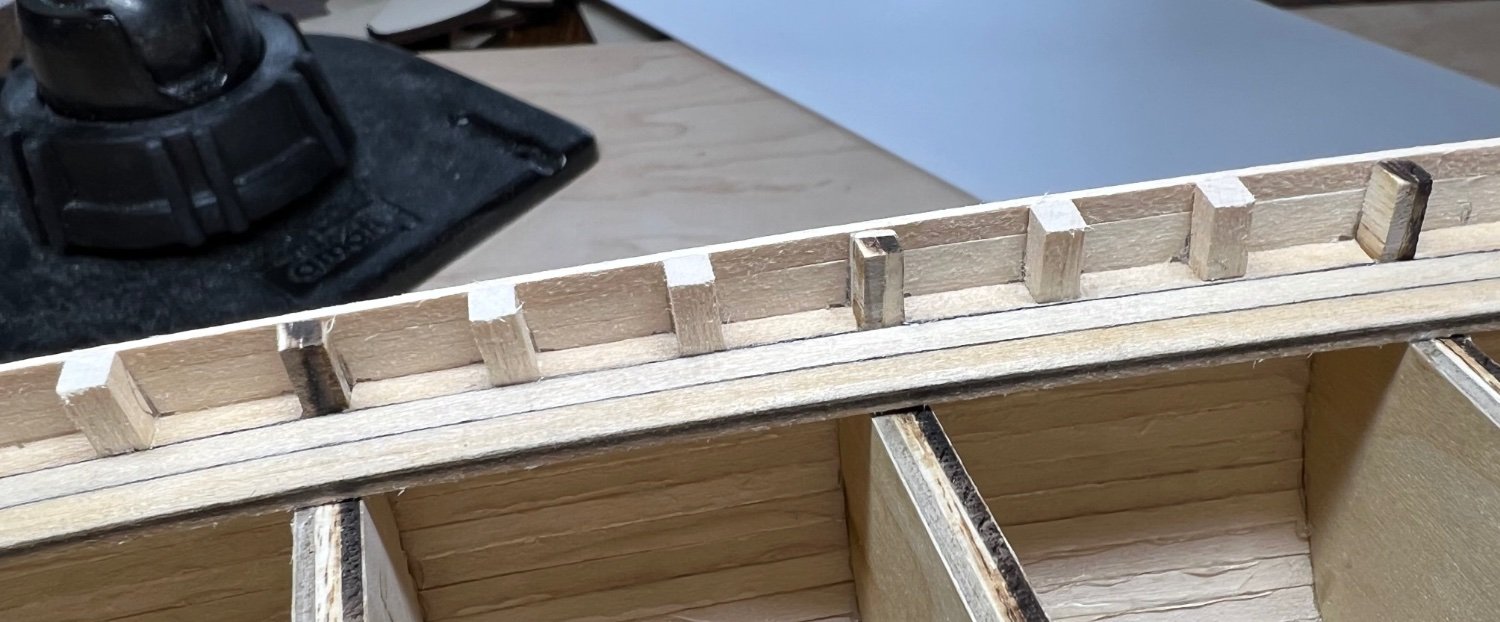
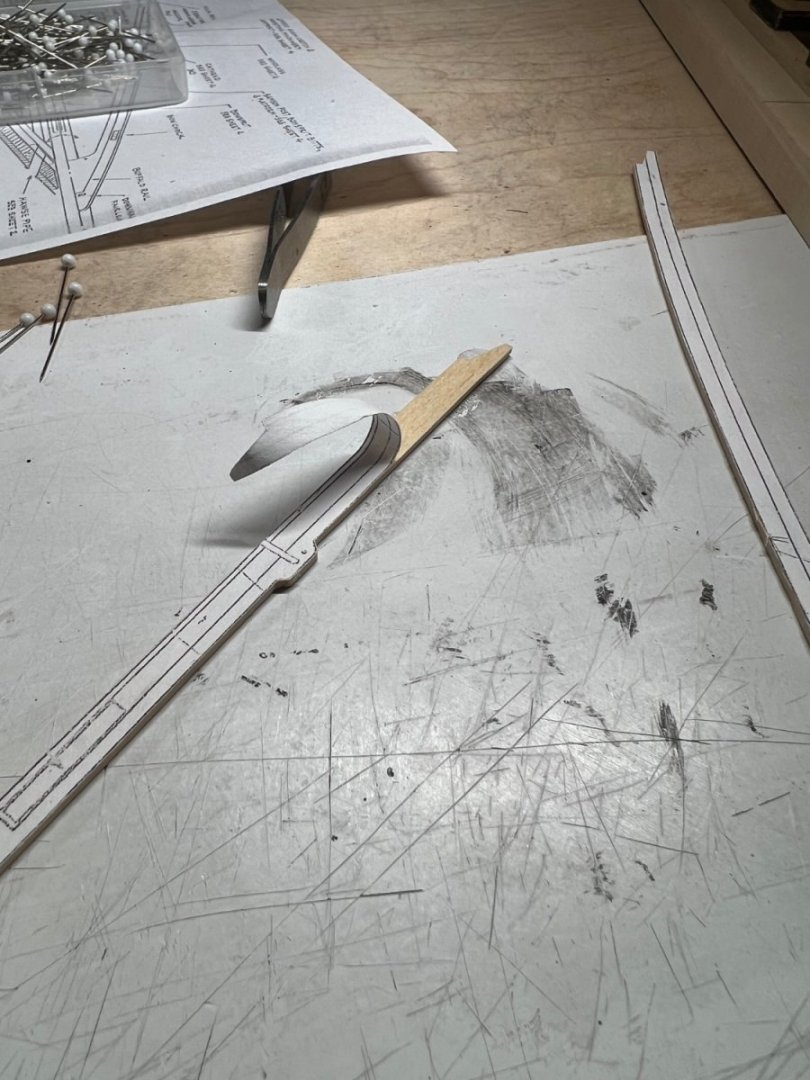
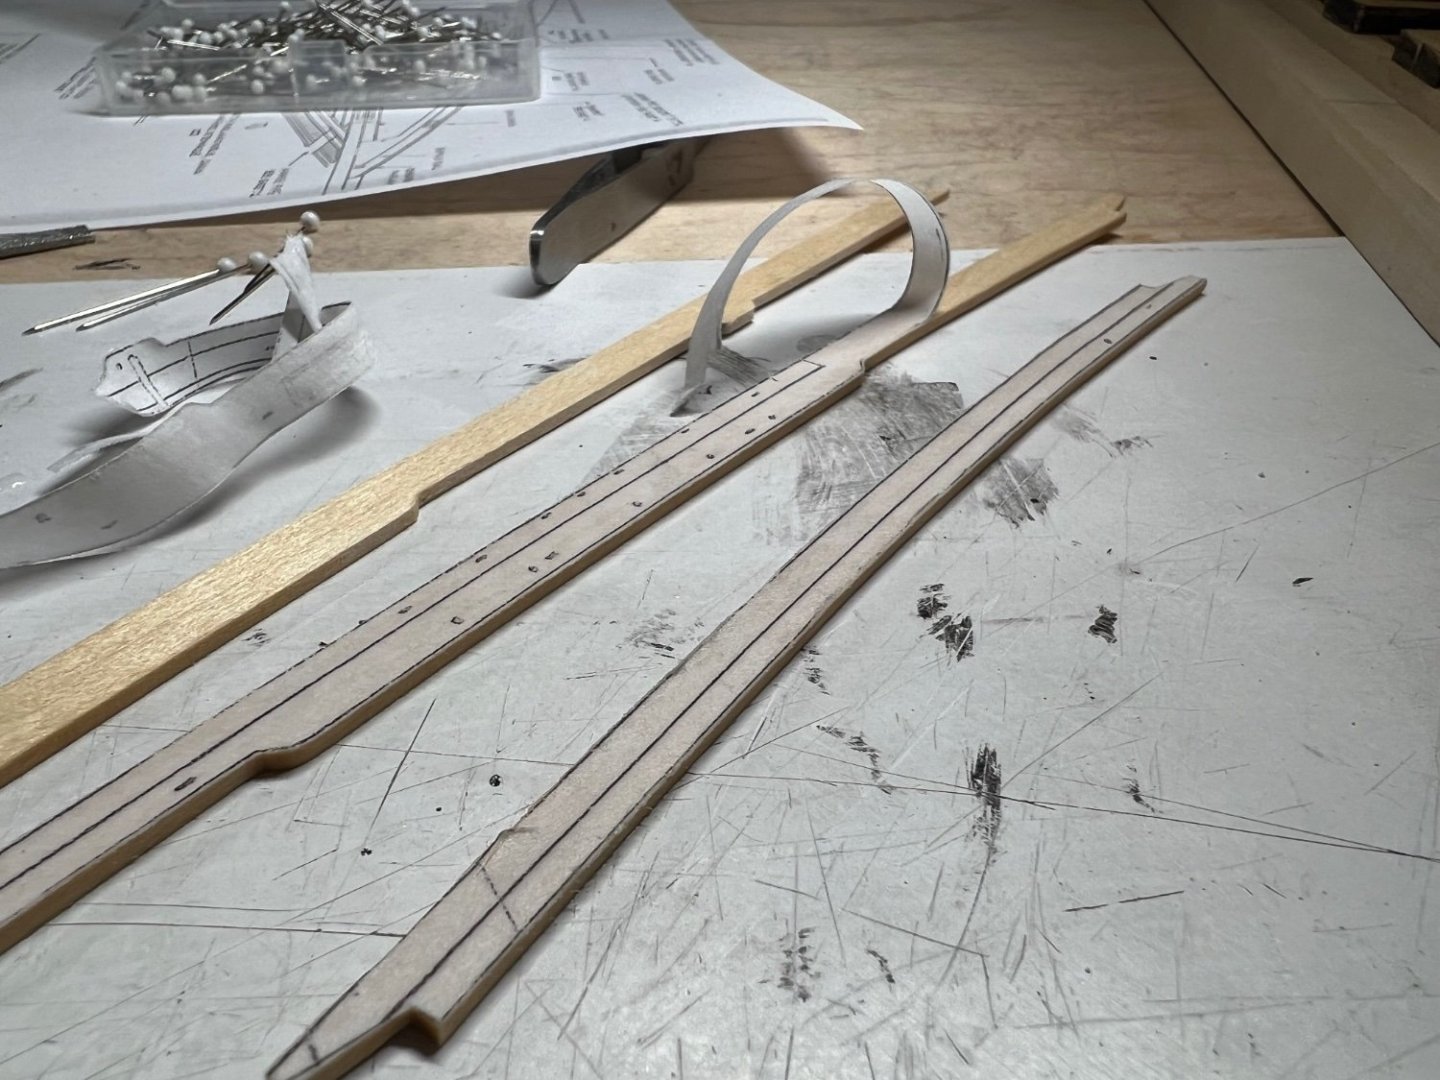
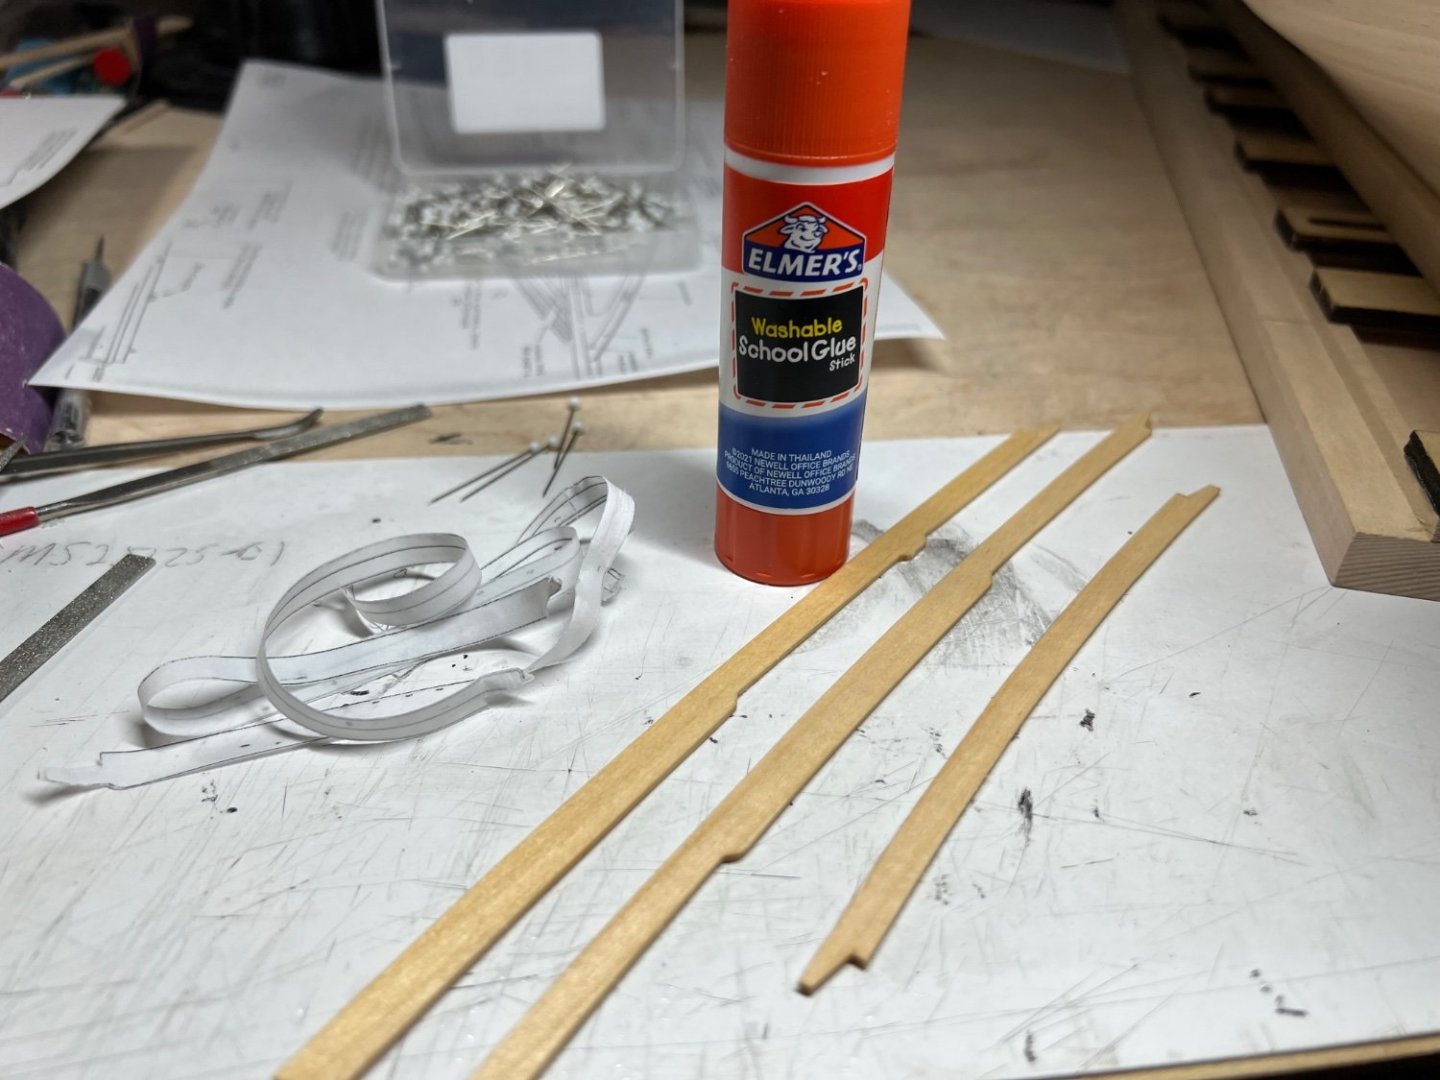
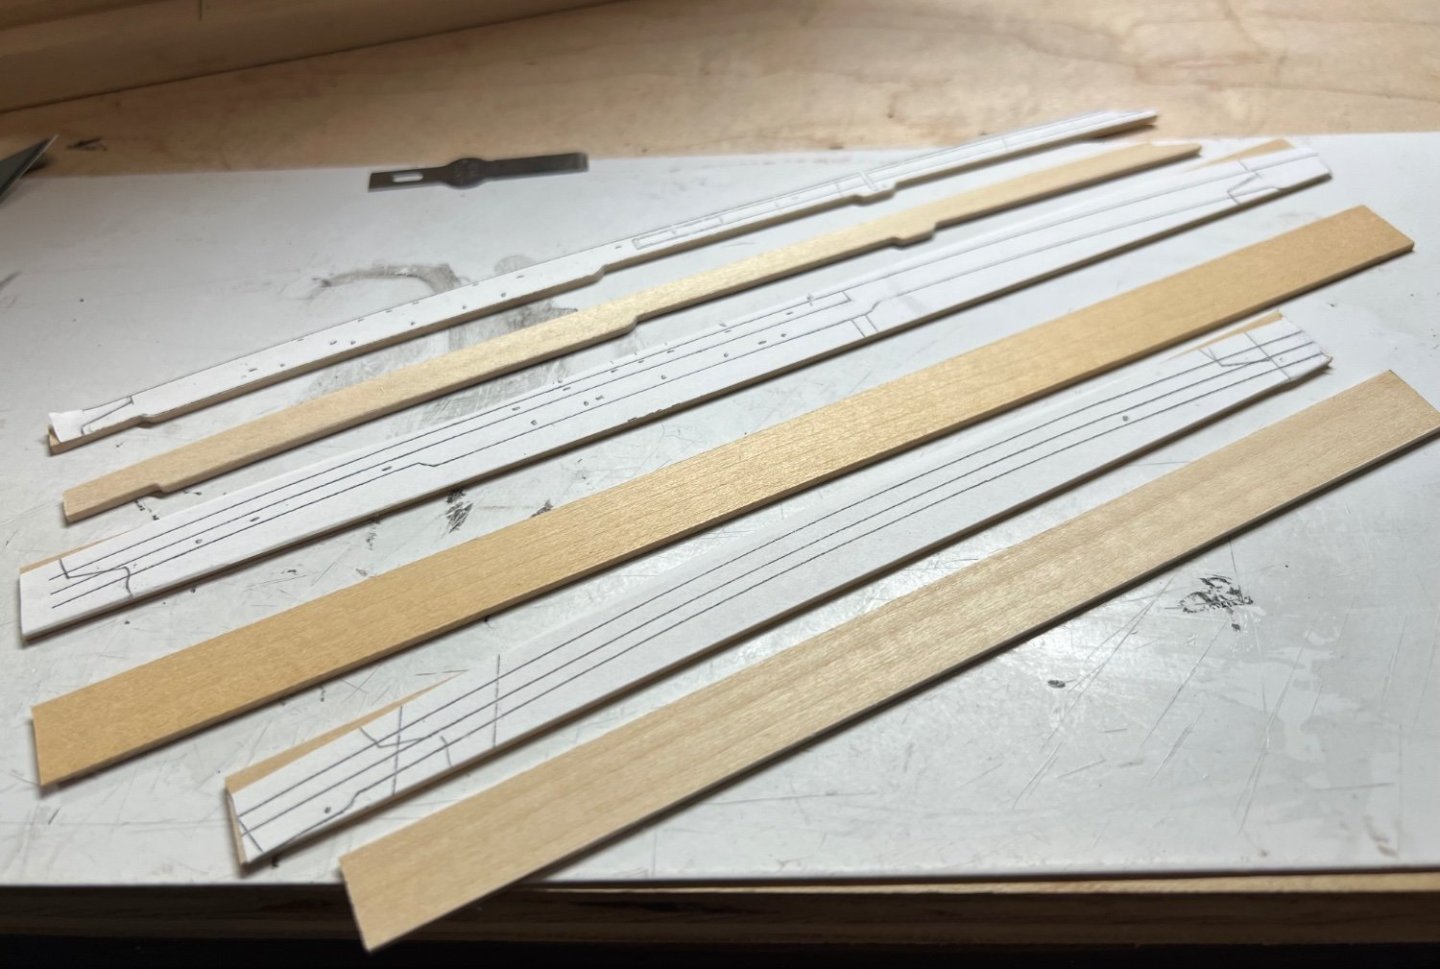
The glue stick process worked out better than I expected. Getting the glue wet made it release the paper very easy. With a damp cloth/paper towel I cleaned the glue off the rail. Dried the parts and made sure they were marked so I didn’t lose track of them. I’m hoping a well formed main rail might hide some imperfections in the curve of the hull. it’s hard resisting pulling off the board to see if it fits while the glue drys! Accuracy of the joints is very forgiving. They line up well even when the cuts are a hot mess. It’s somewhat easy to file/sand them as needed to make a tighter joint. Working alignment rear to front seems most forgiving. The aft section has a specific location. The front laser cut part can vary a bit without much fuss, I think. At least that’s the plan. Onward!
-
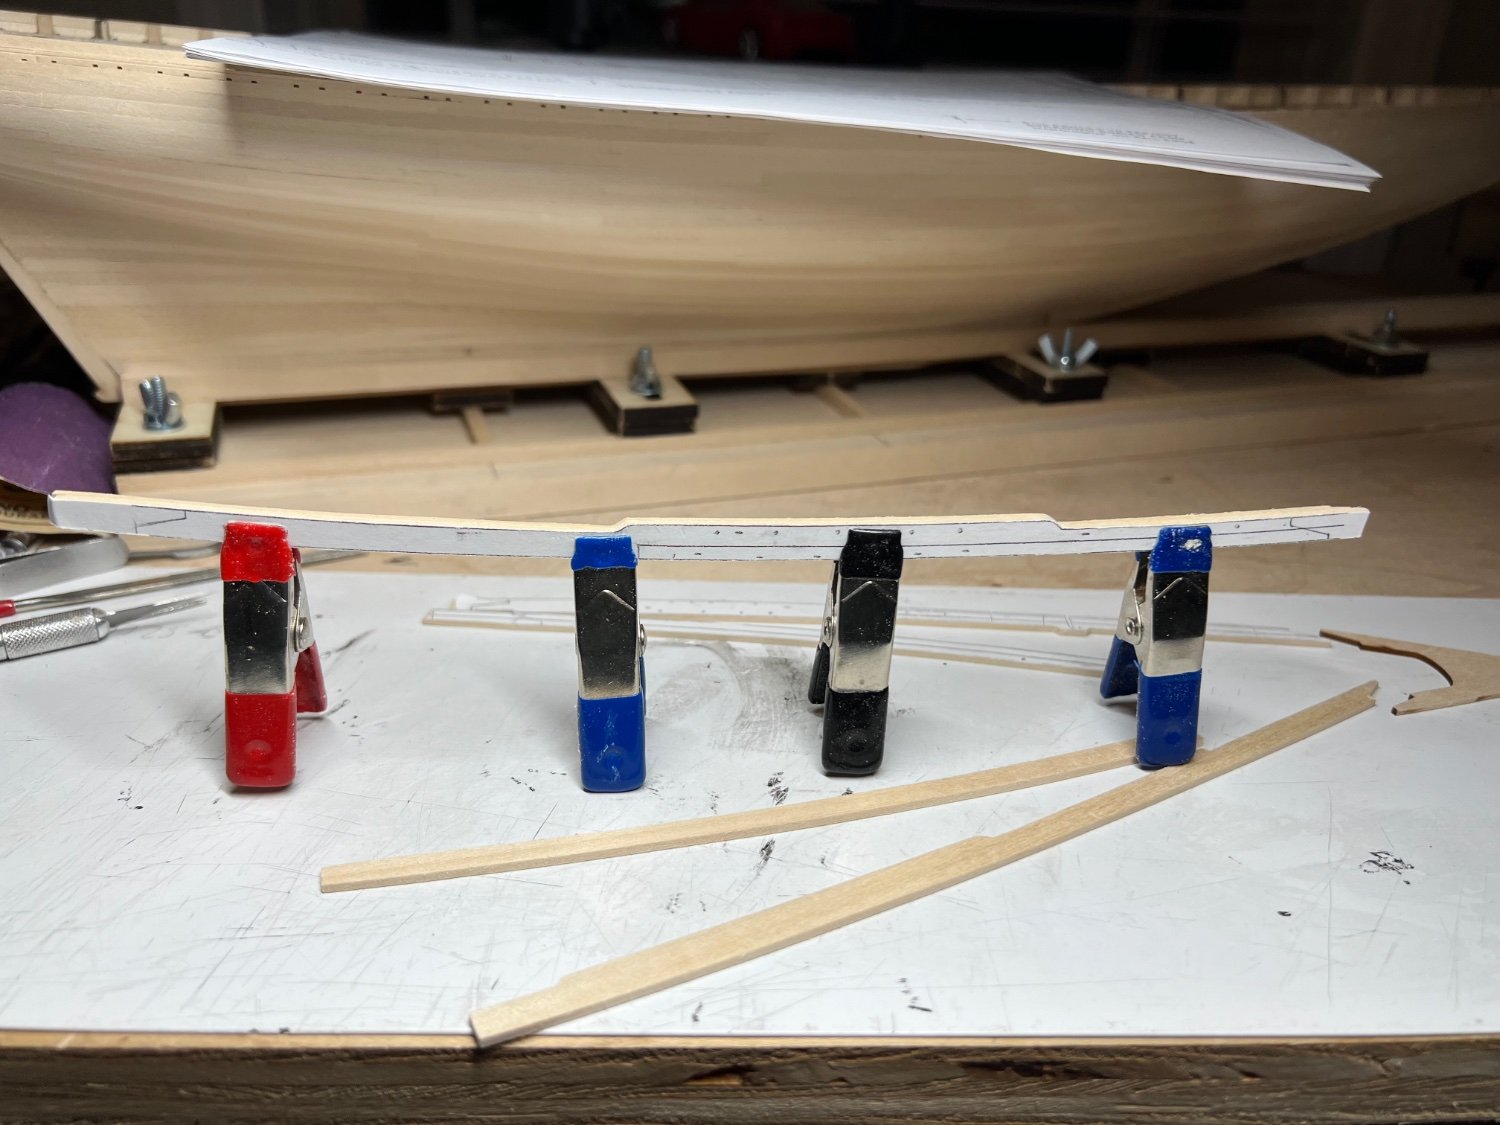
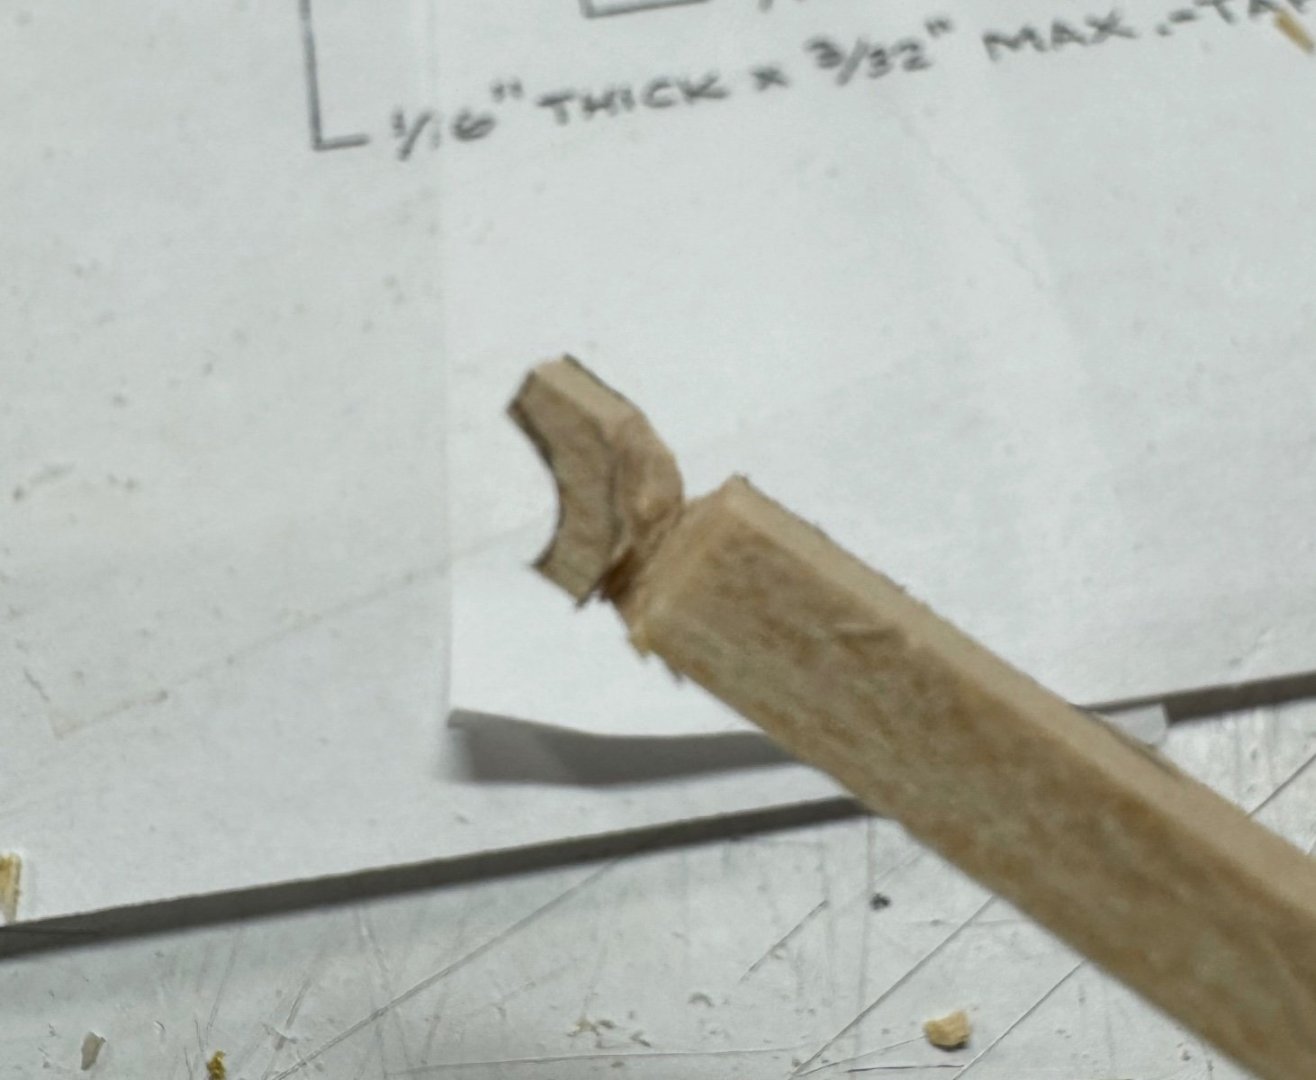
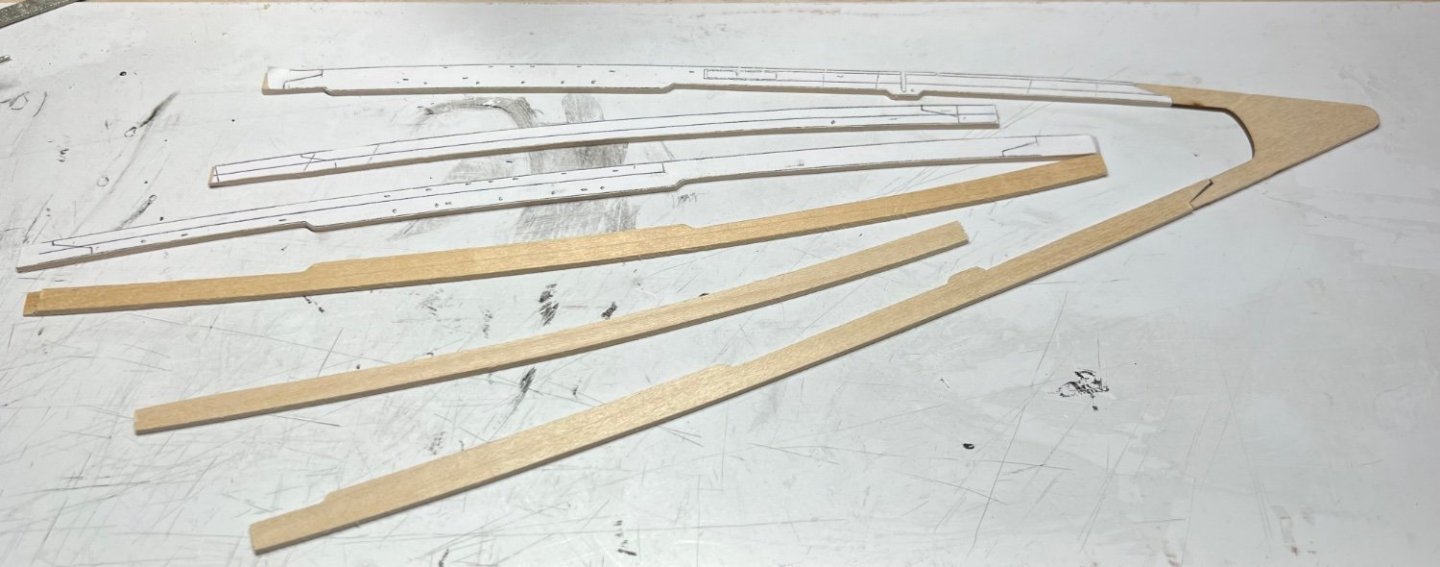
I made the main rail parts by glueing the sheets to the plank. The clamped 2 planks together. With a new #11 blade careful carved thru the plank almost the shape of the rail. Leaving a bit to sand and shape. Sanded anc shaped the rail parts 2 at a time clamped together. It worked well. Careful not to slip the clamping. It turned out better than I expected. Not sure I can get the paper off, but after making the joints that’s next lol.

-
That wasn’t so bad, I don’t know what I was worried about. still joints to make. I can’t believe this is still stage 1. I guess was to build the main rail first, but as much as I handled the hull planking, that didn’t seem like a great idea.
-
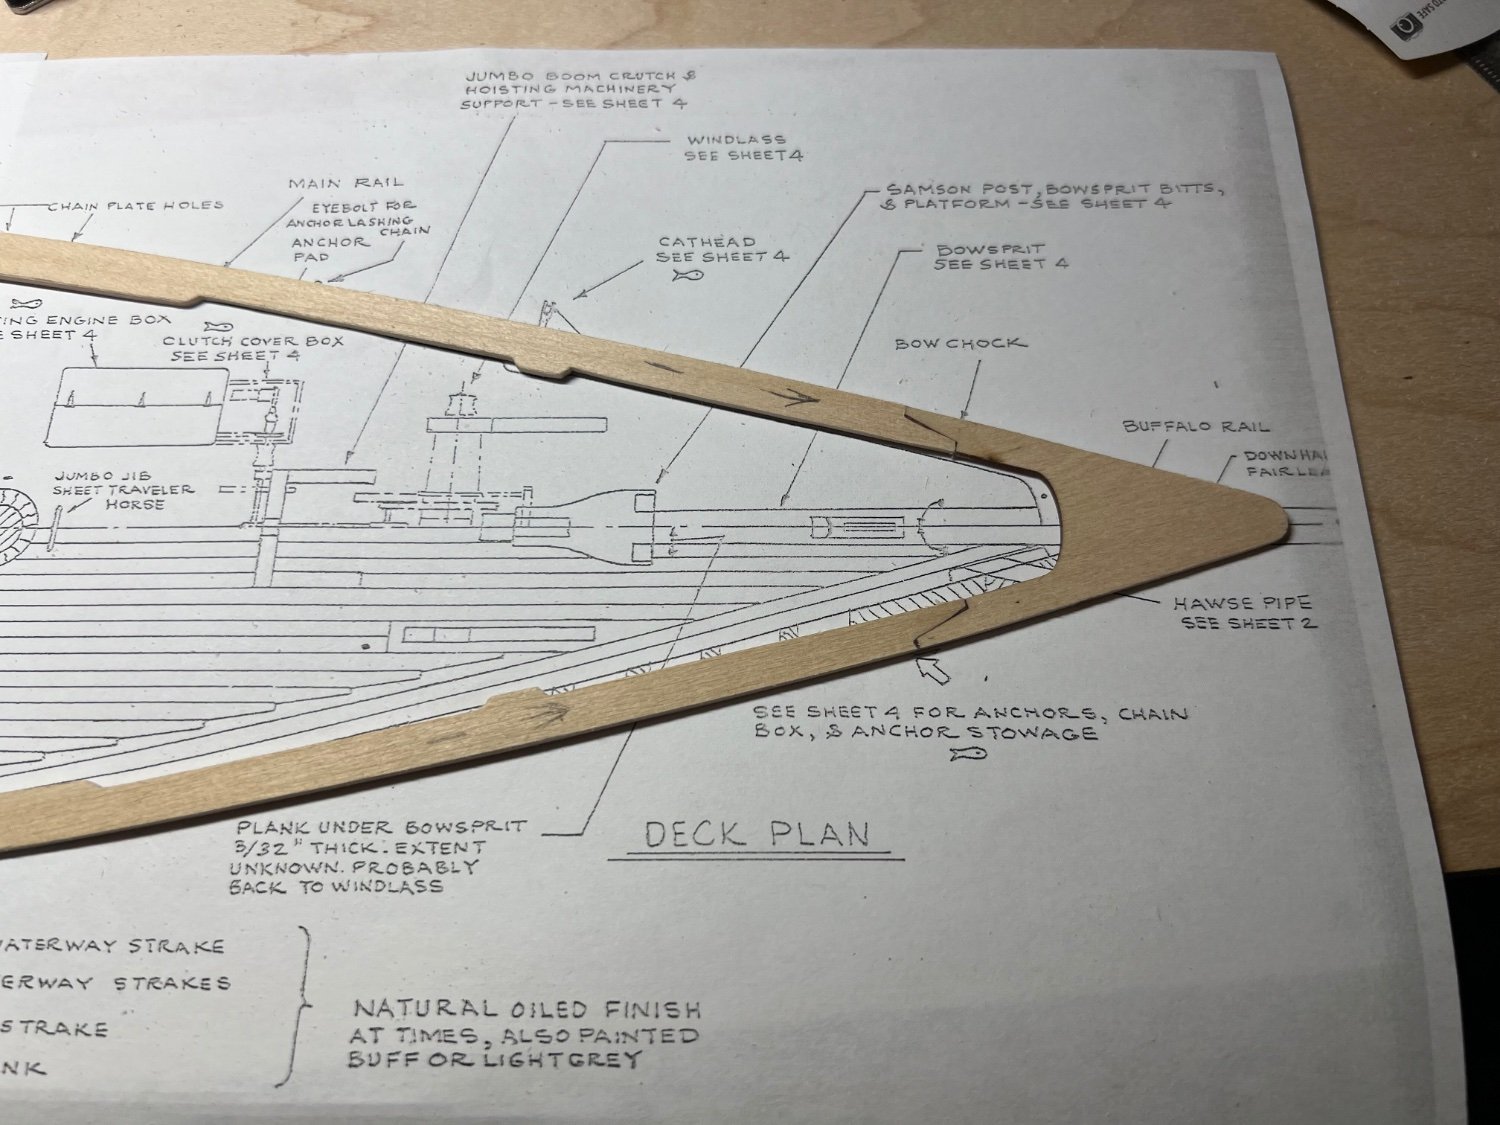
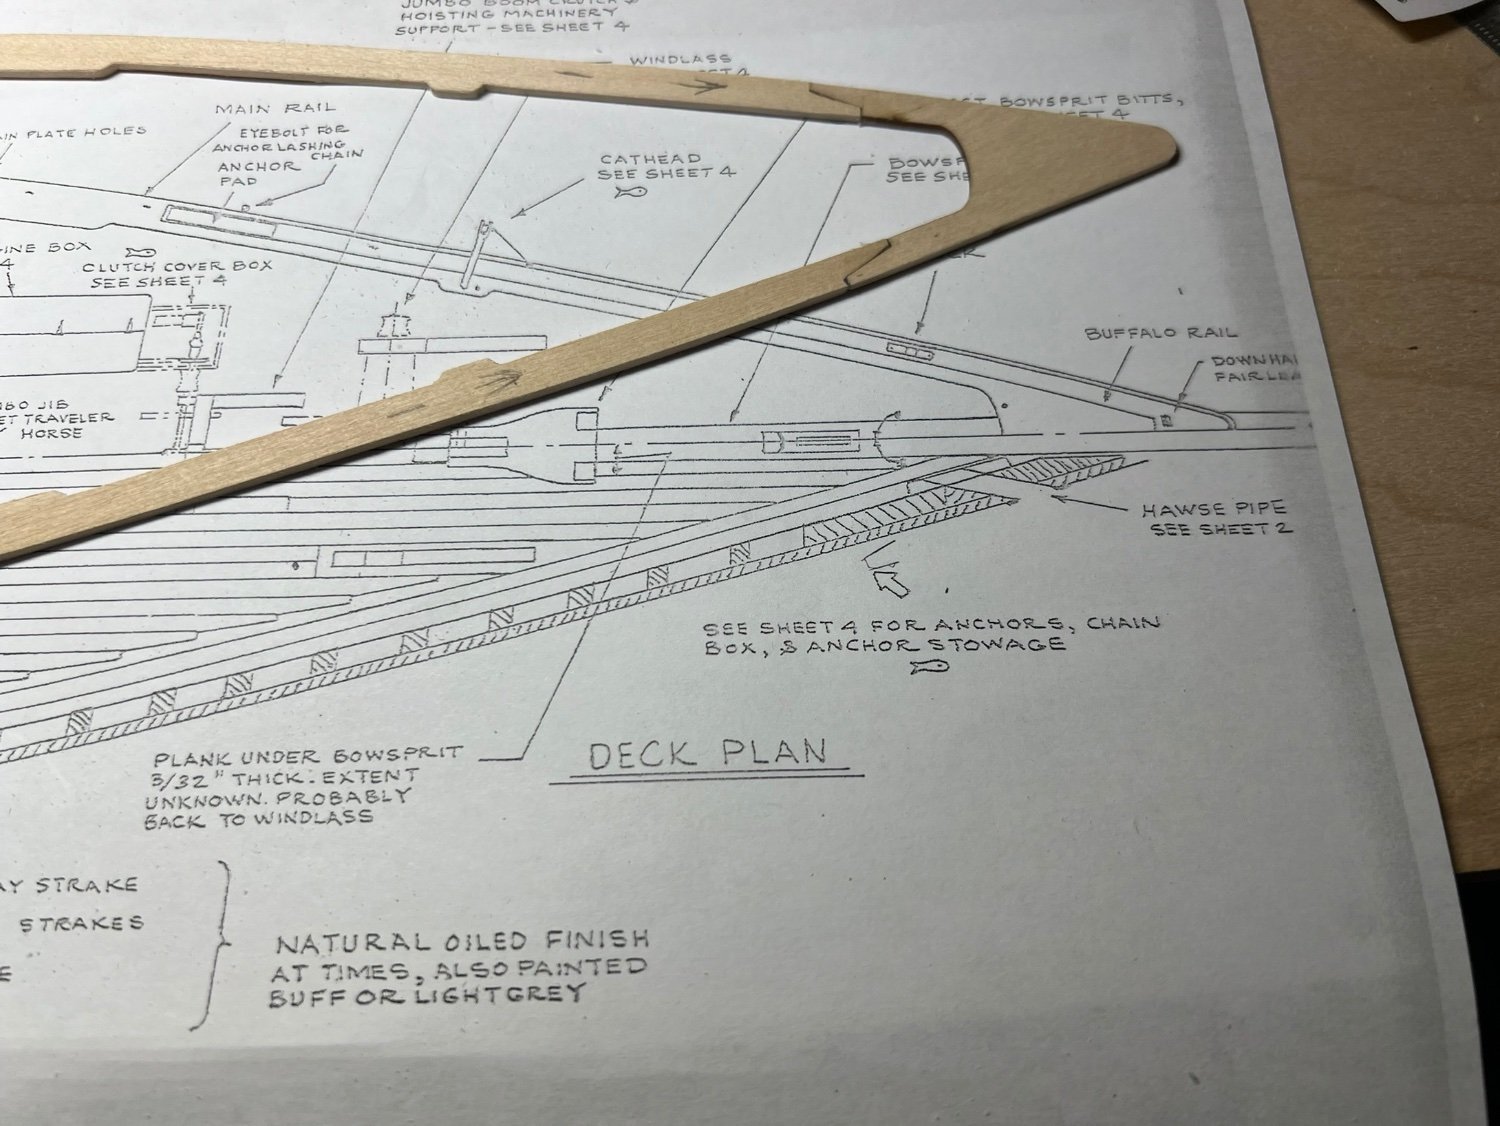
The main rail production has commenced. I discovered I can/could make it a bit wider if needed. 2 of 6 parts are made. It’s not laser cut that’s for sure. Copies of the plans and a glue stick is what I came up with to transfer one side, then copy a mirror image. Both sides are the same, and well if not, only one side is in the plans. So one can only assume it’s a mirror image.
-
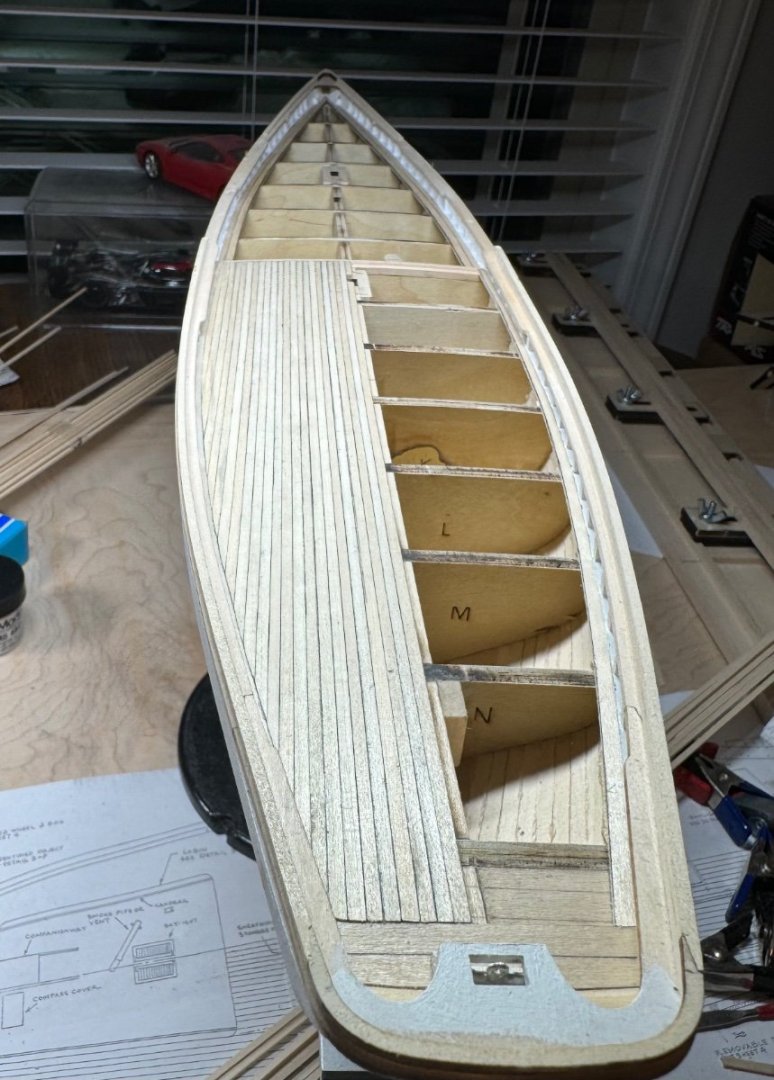
Progress is progress. The repair is complete. I sealed the deck planking with clear satin. Can’t really tell. I am stalling working on the mail rail. I can’t yet picture it completed so my mind is stuck. The wood stays fuzzier than I want. I want to solve that, not sure what to do except fuss over every piece with finer sanding paper. 220 was not fine enough.
-
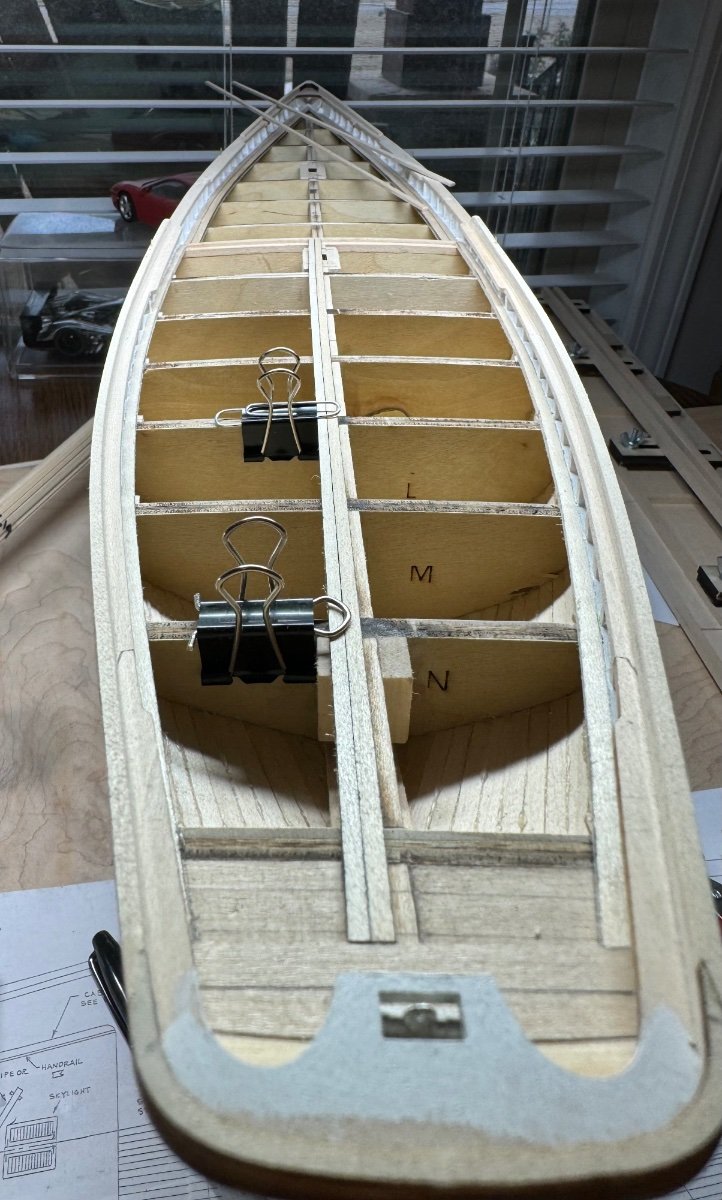
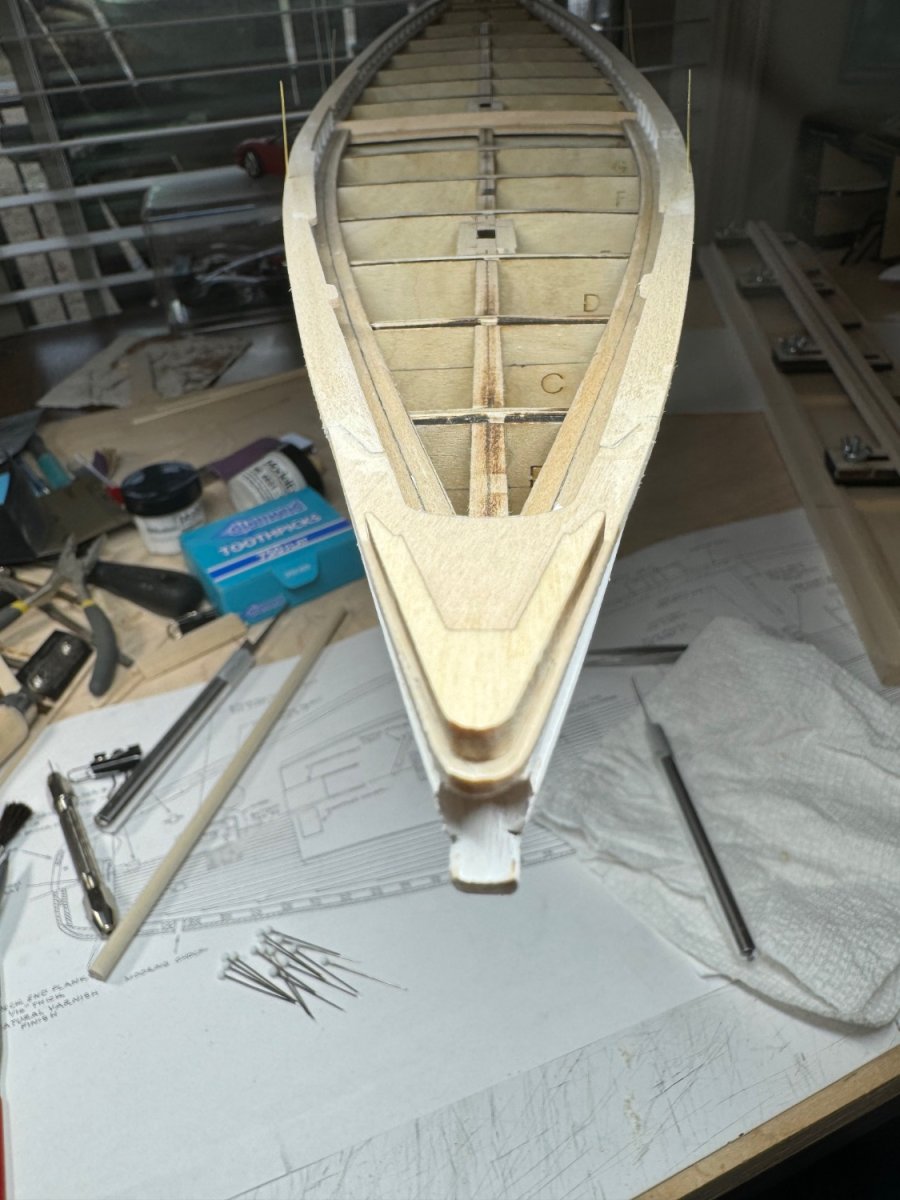
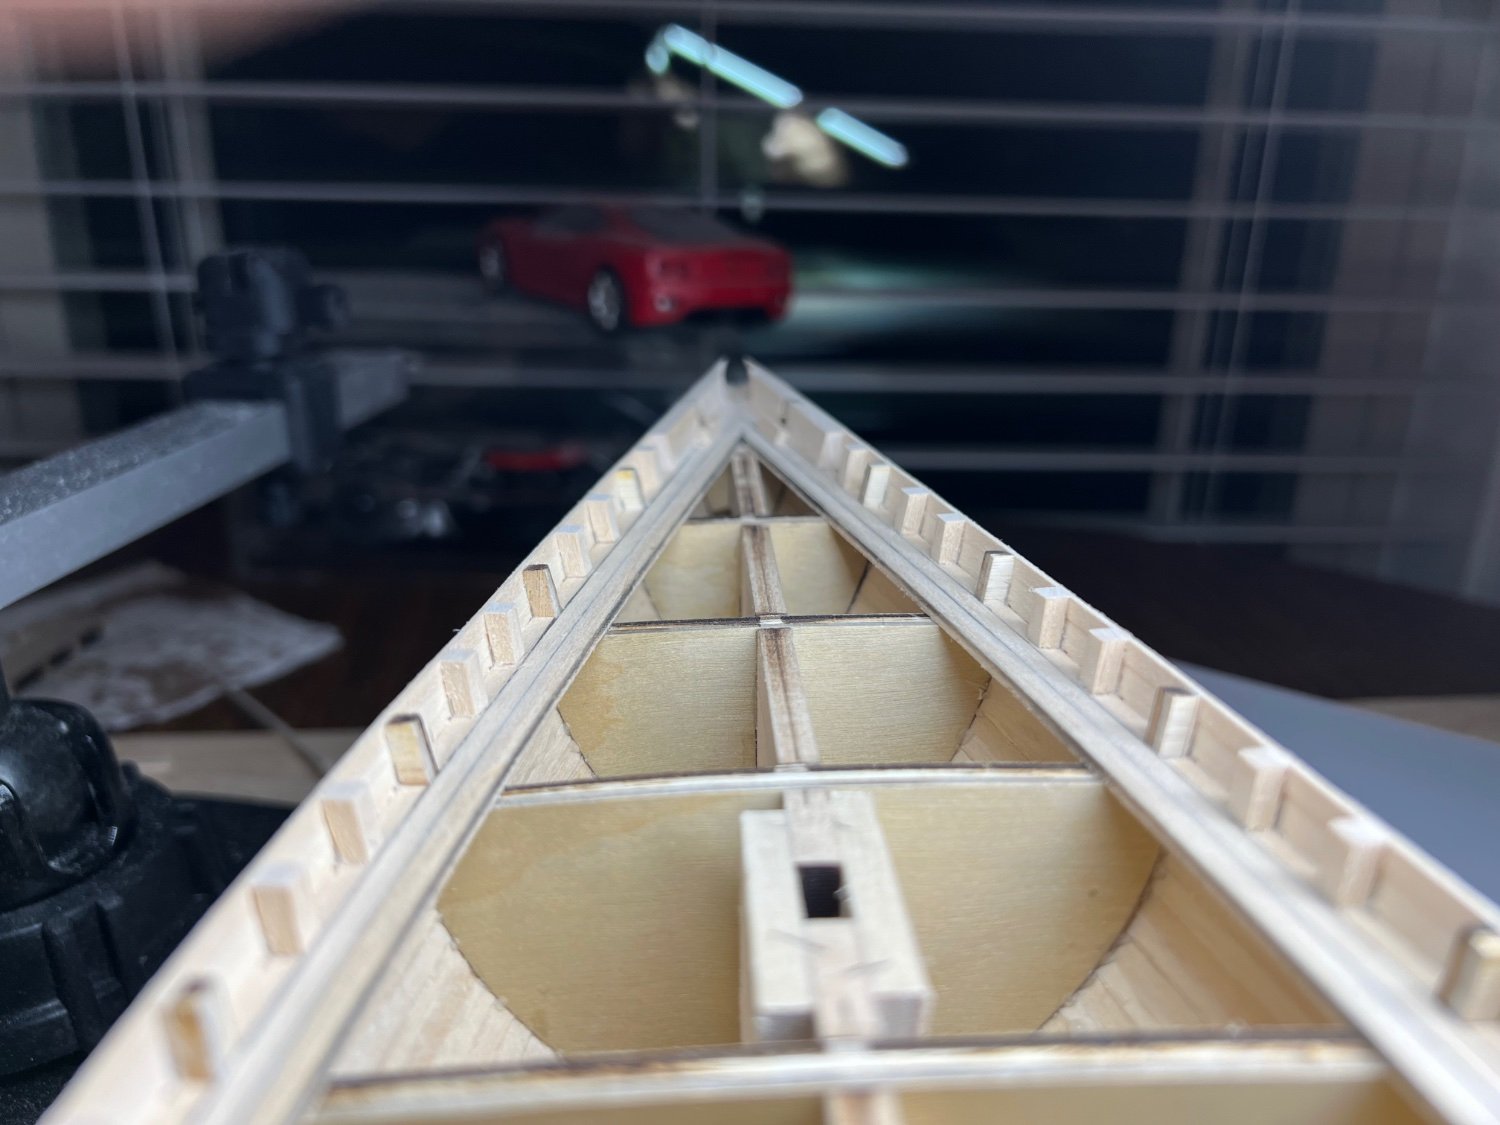
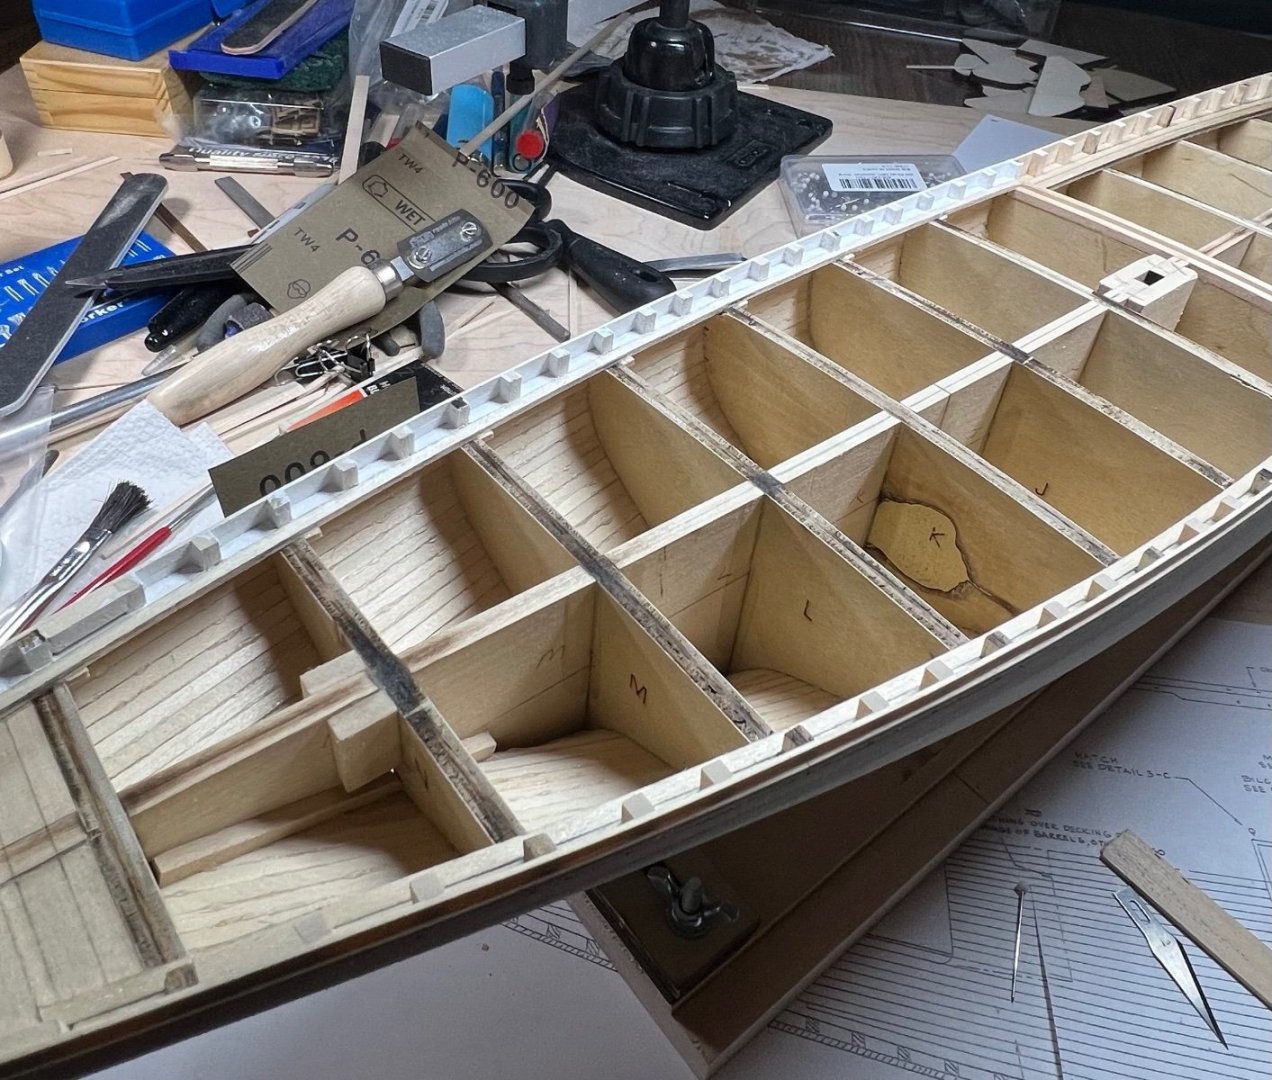
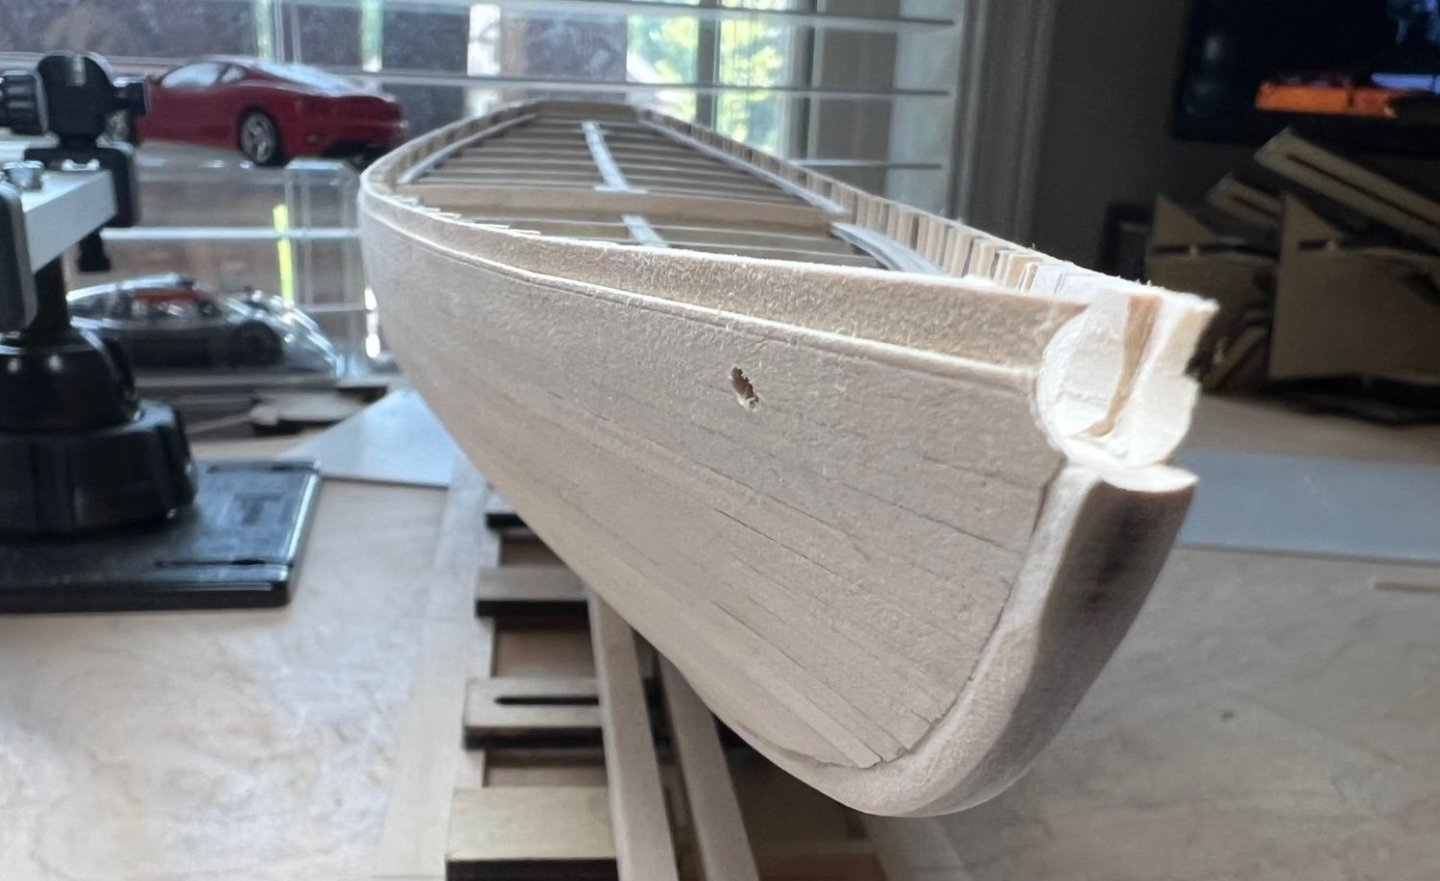
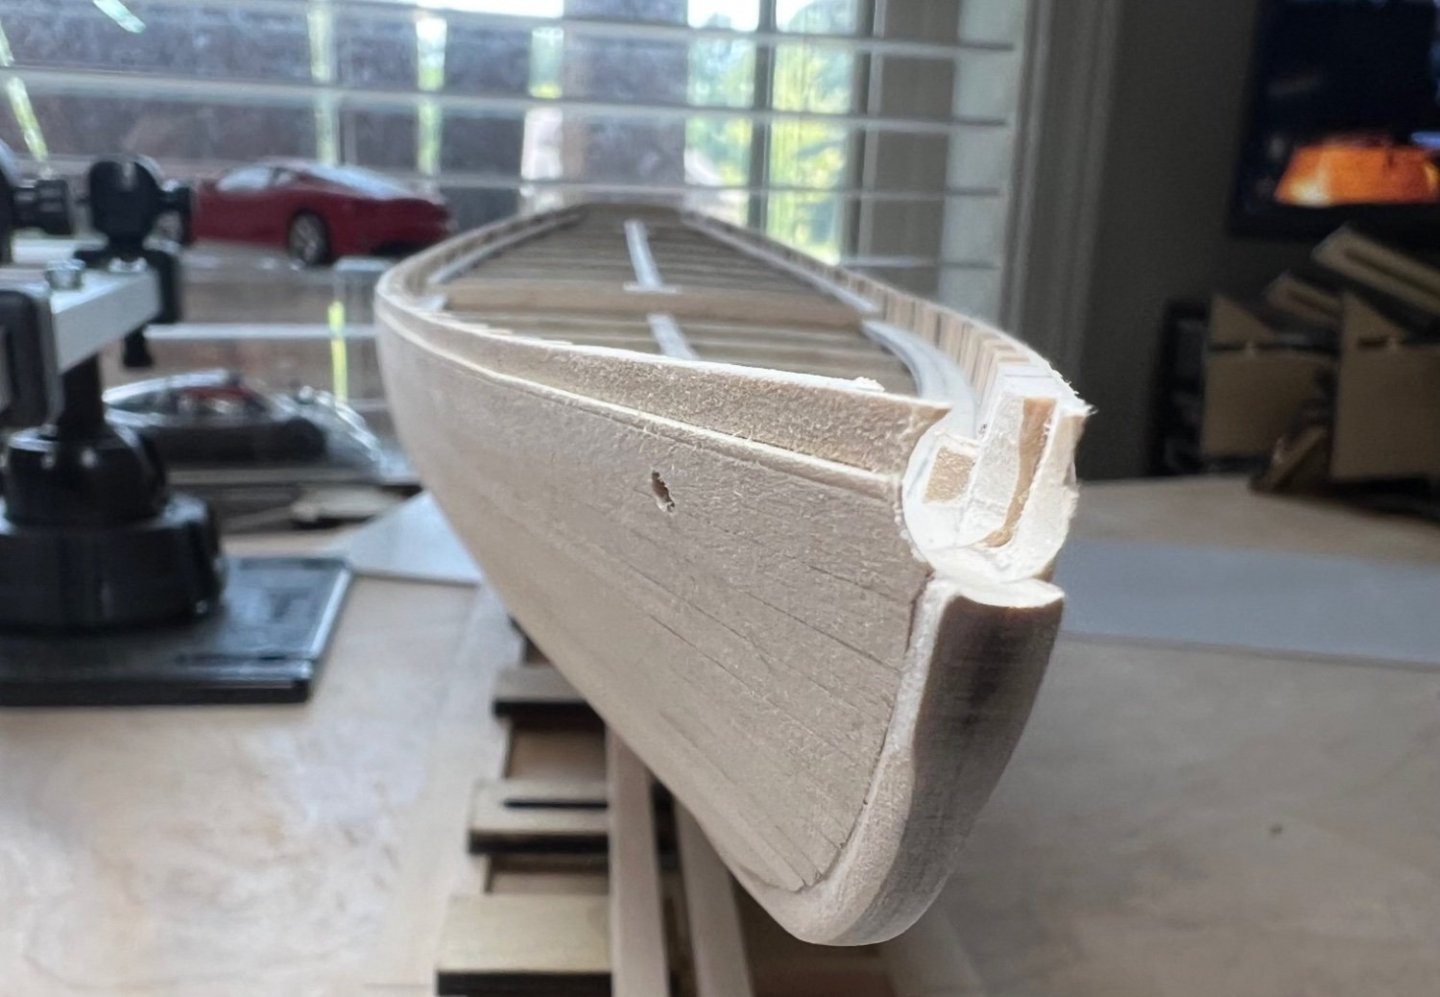
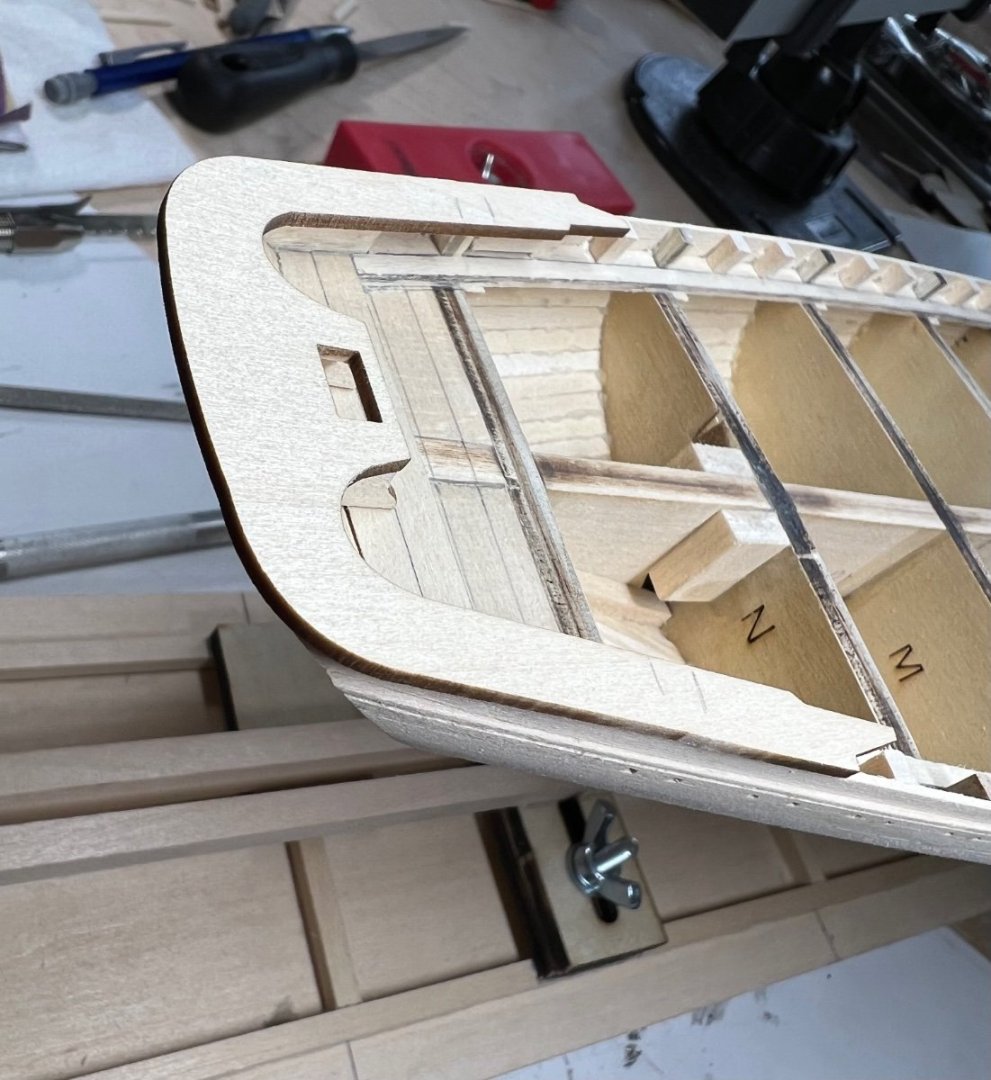
I’m repairing one of them I just noticed. I don’t know how I would have achieved the angles on the bow. The stanchions are at a good angle with the flow of the hull. The bow flows out, the stern flows in.

-
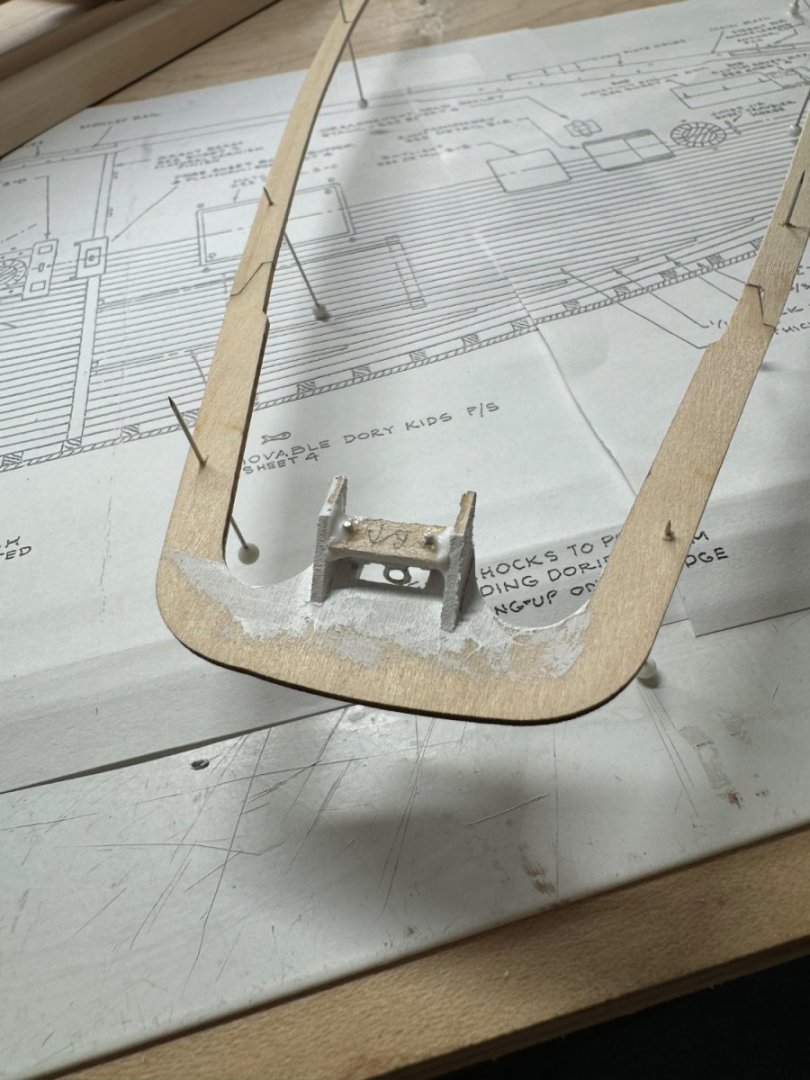
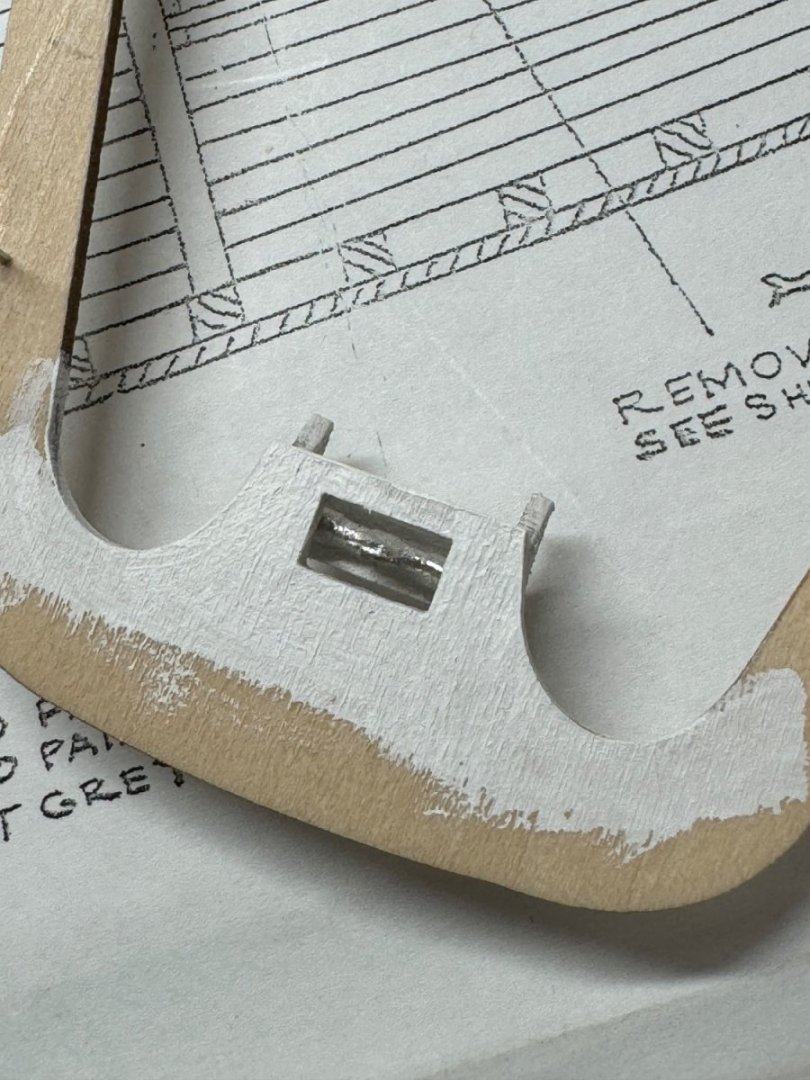
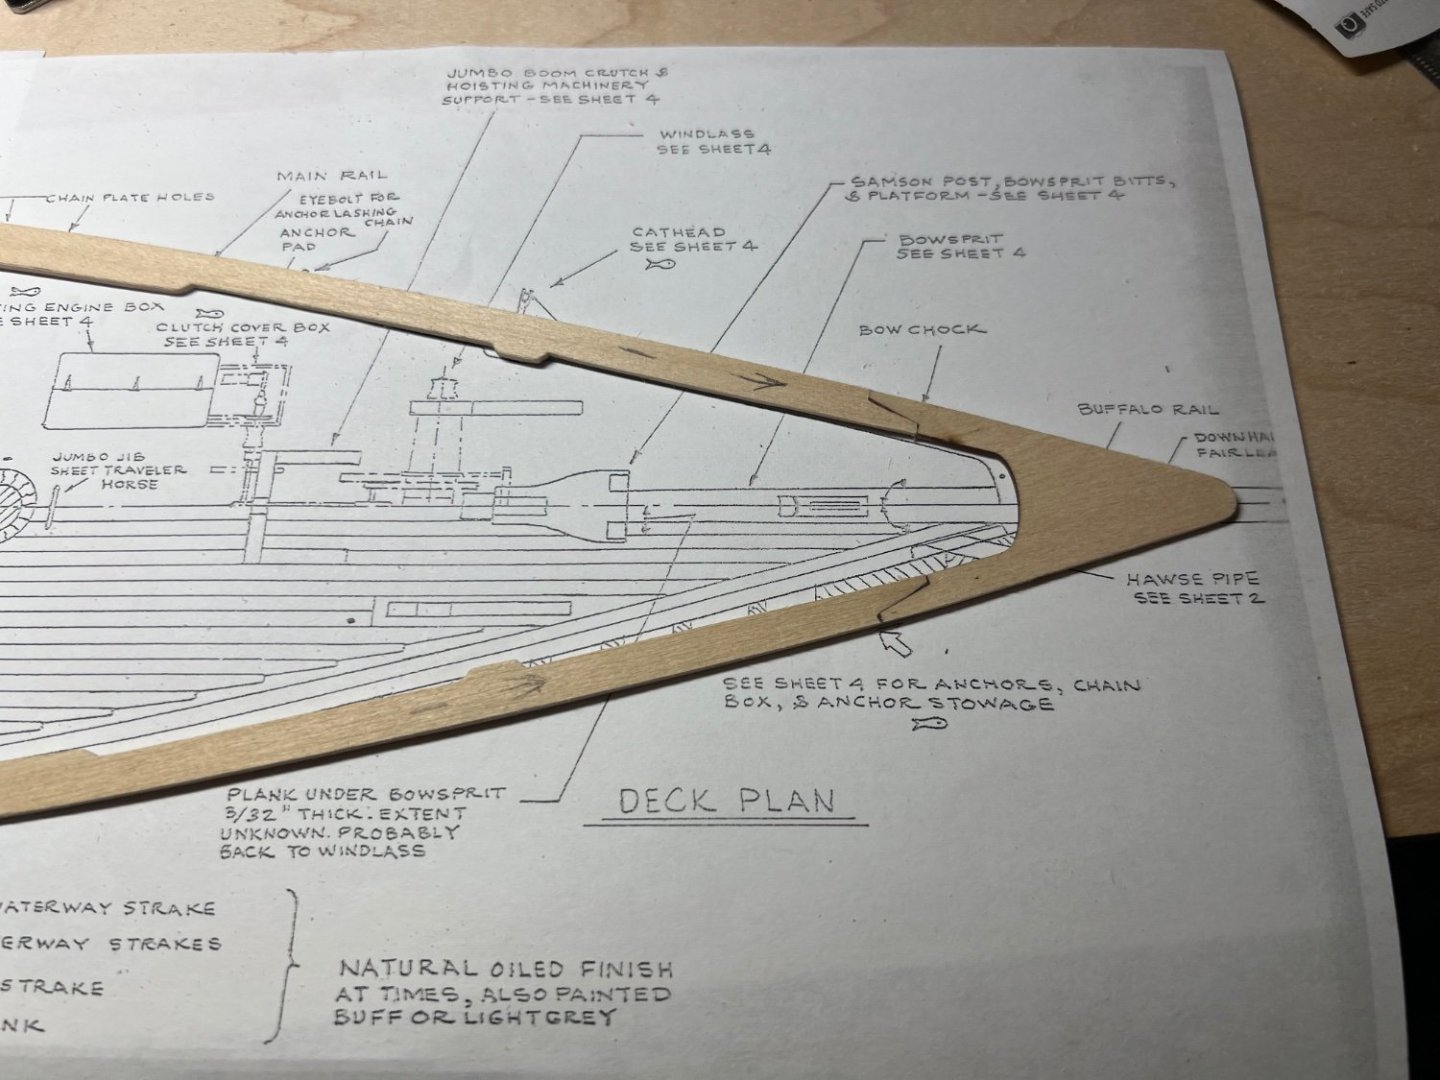
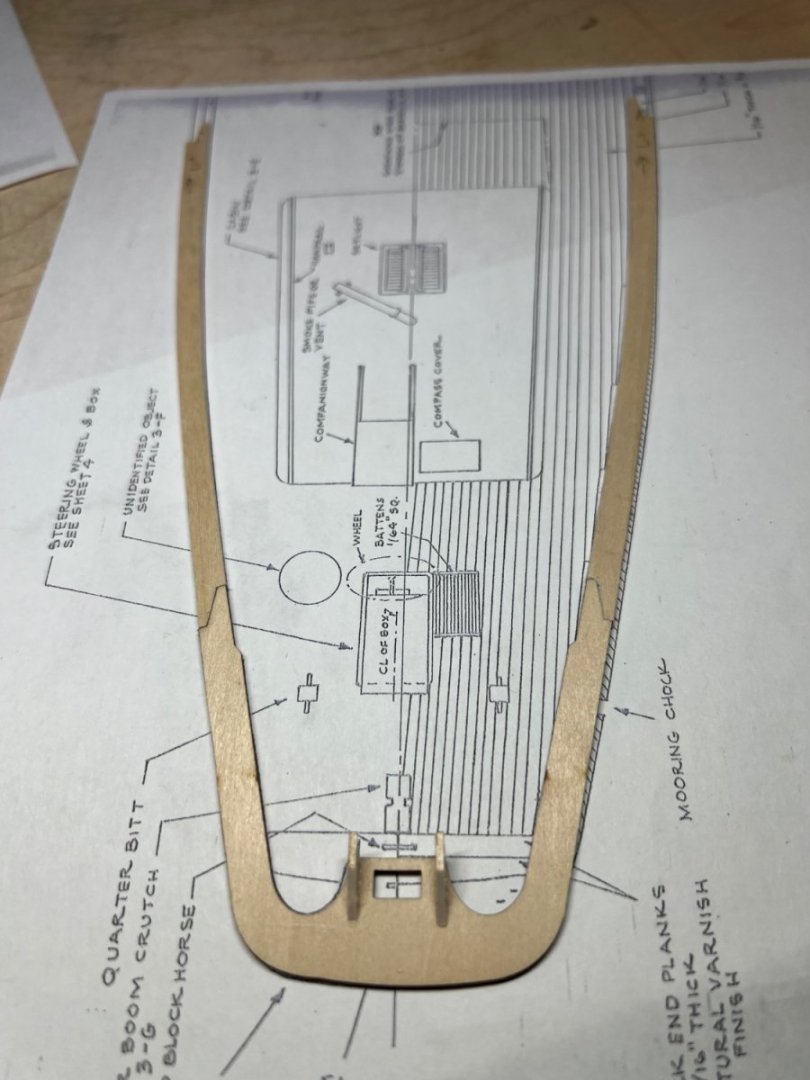
It looks like I have worked my way to the main rail construction. I’ve fretted about this for at least 15 years. I’ve passed the point I stopped at years ago. The transom area requires accuracy to the plans within 1/64 inch or better. I’m off about 1/64. While poorly presented the instructions and plans provide every clue to be successful, skipping or not minding just one note will build to an error. Many of the notes make more since when you get to further stages. I missed a couple of things in detail I wish I had done. Please find my version of the nose area. The bow spirit exit isn’t drawn great that I could find. My work looks like a few of the drawings.

-
@Jack-in-the-Blue You are correct, I can’t find it in the states. I can’t find exactly that but we have some good options here. As long as I can seal the grain it should paint up good. Thank you for the suggestion!
-
@Jack-in-the-Blue Would you mind sharing the product name or link or brand. I’m not seeing exactly what you said you use. Please and thank you.