HOLIDAY DONATION DRIVE - SUPPORT MSW - DO YOUR PART TO KEEP THIS GREAT FORUM GOING! (Only 36 donations so far out of 49,000 members - C'mon guys!)
×

MajorChaos
-
Posts
301 -
Joined
-
Last visited
Content Type
Profiles
Forums
Gallery
Events
Everything posted by MajorChaos
-
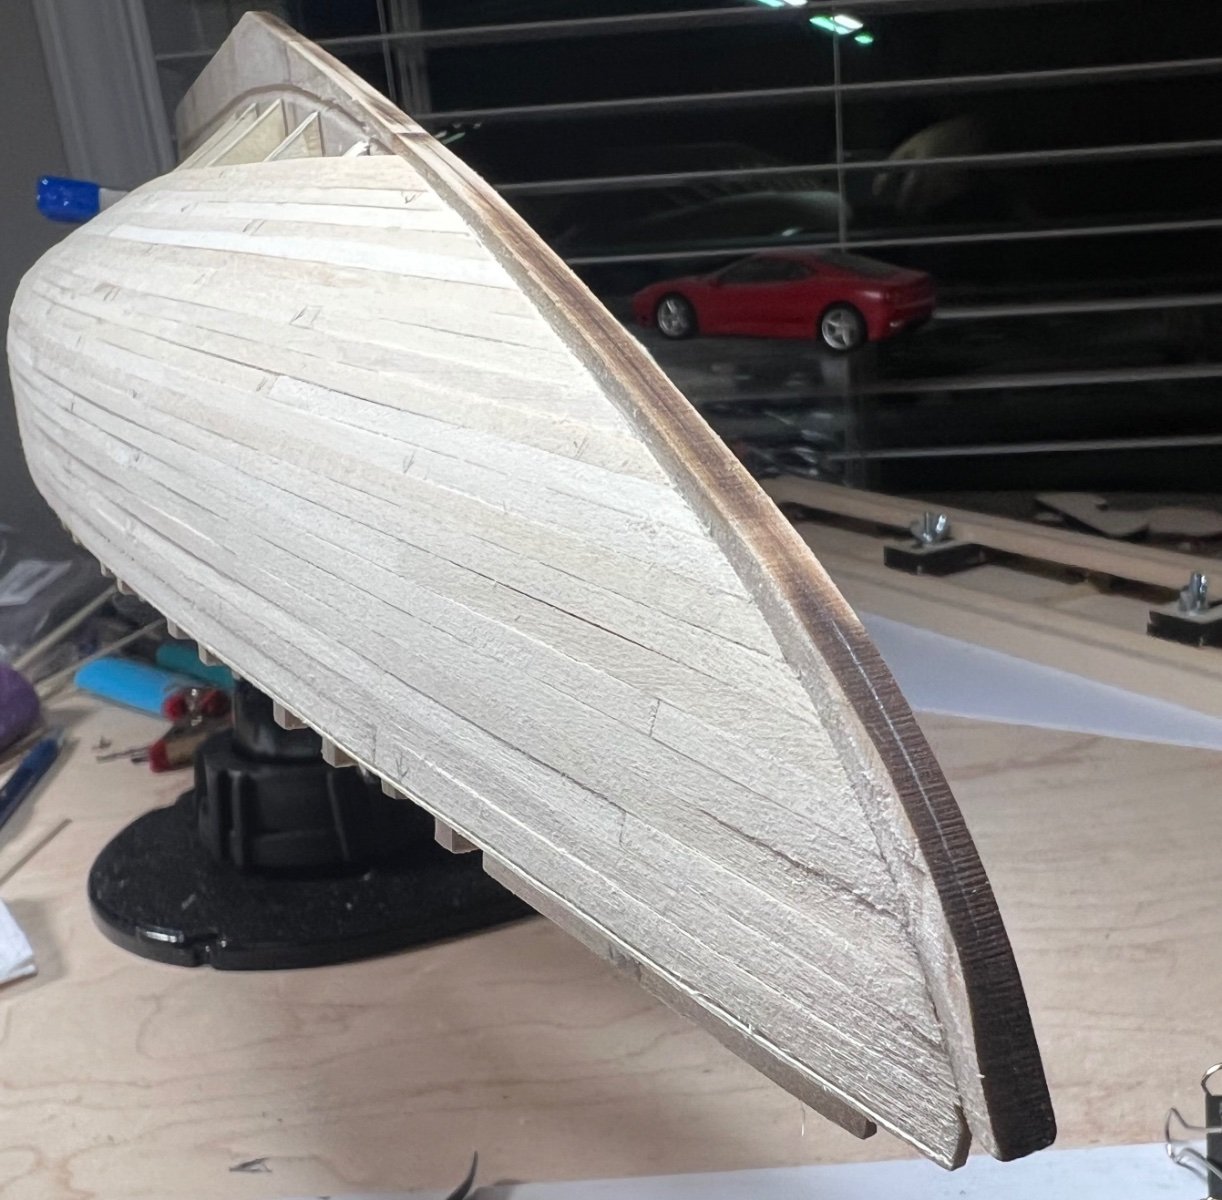
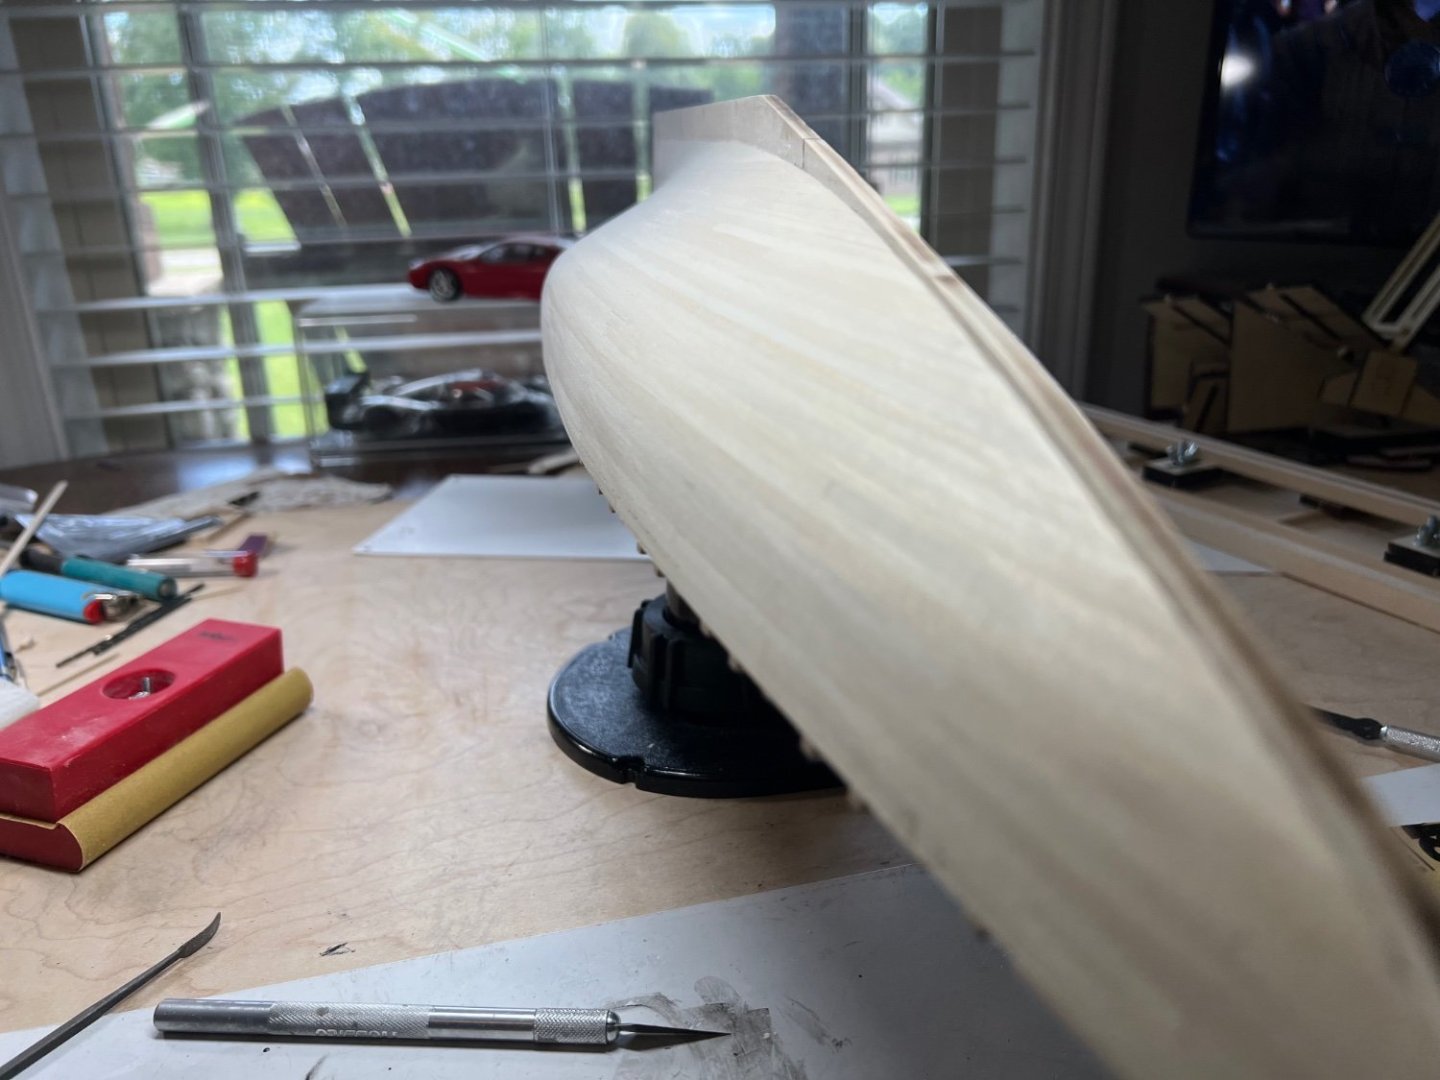
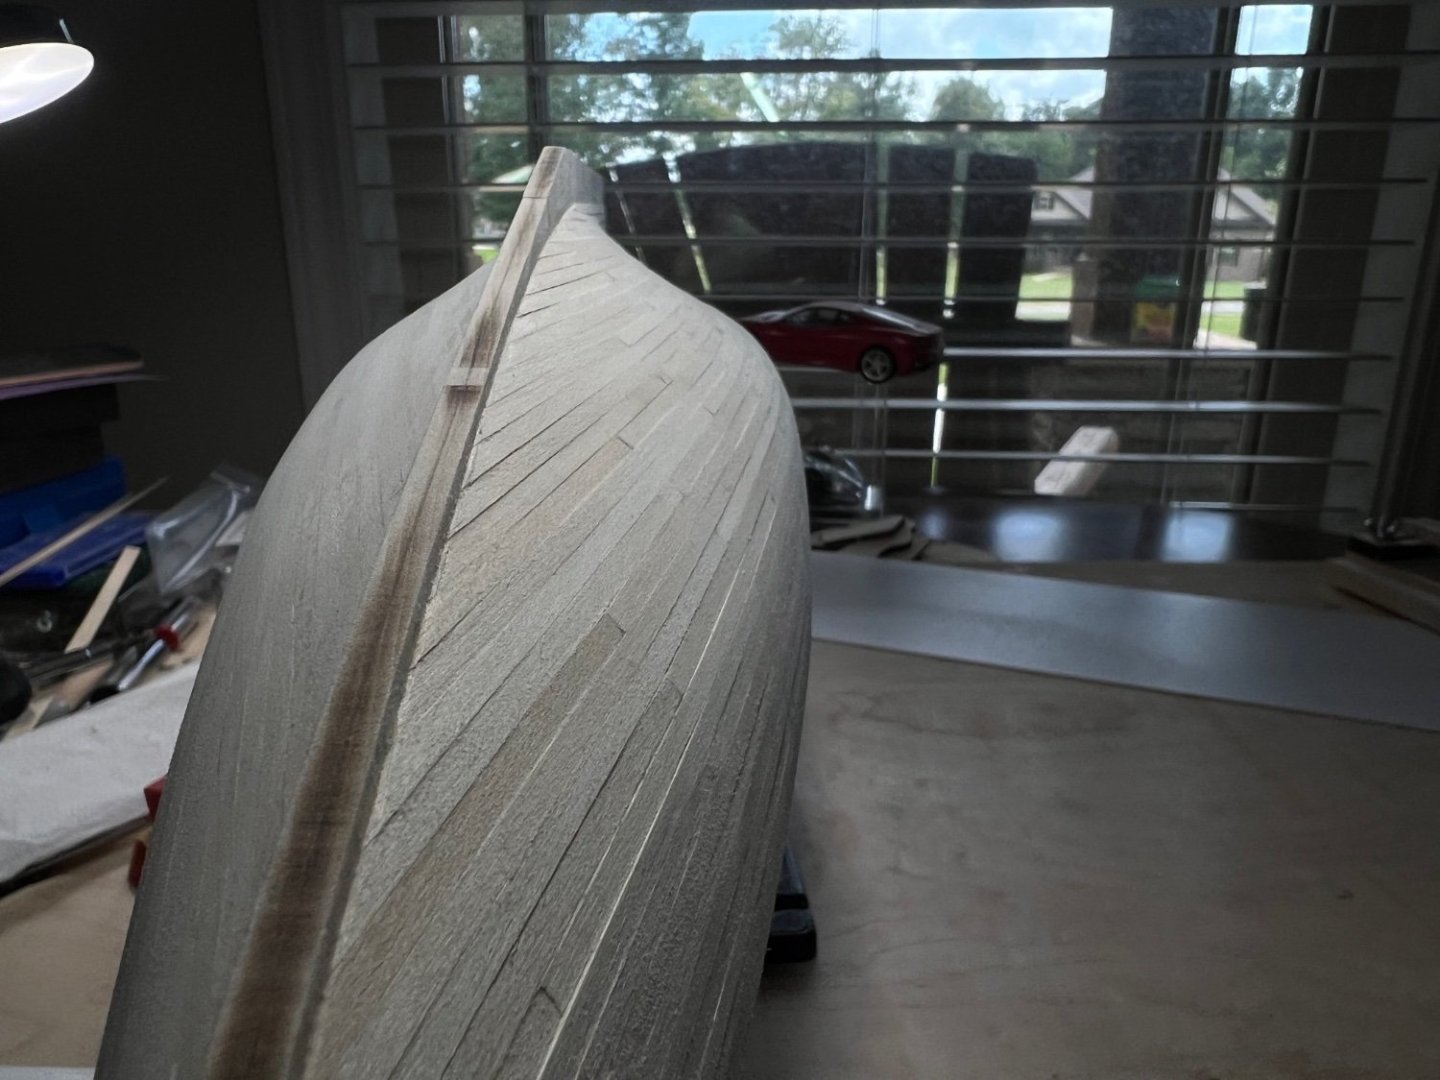
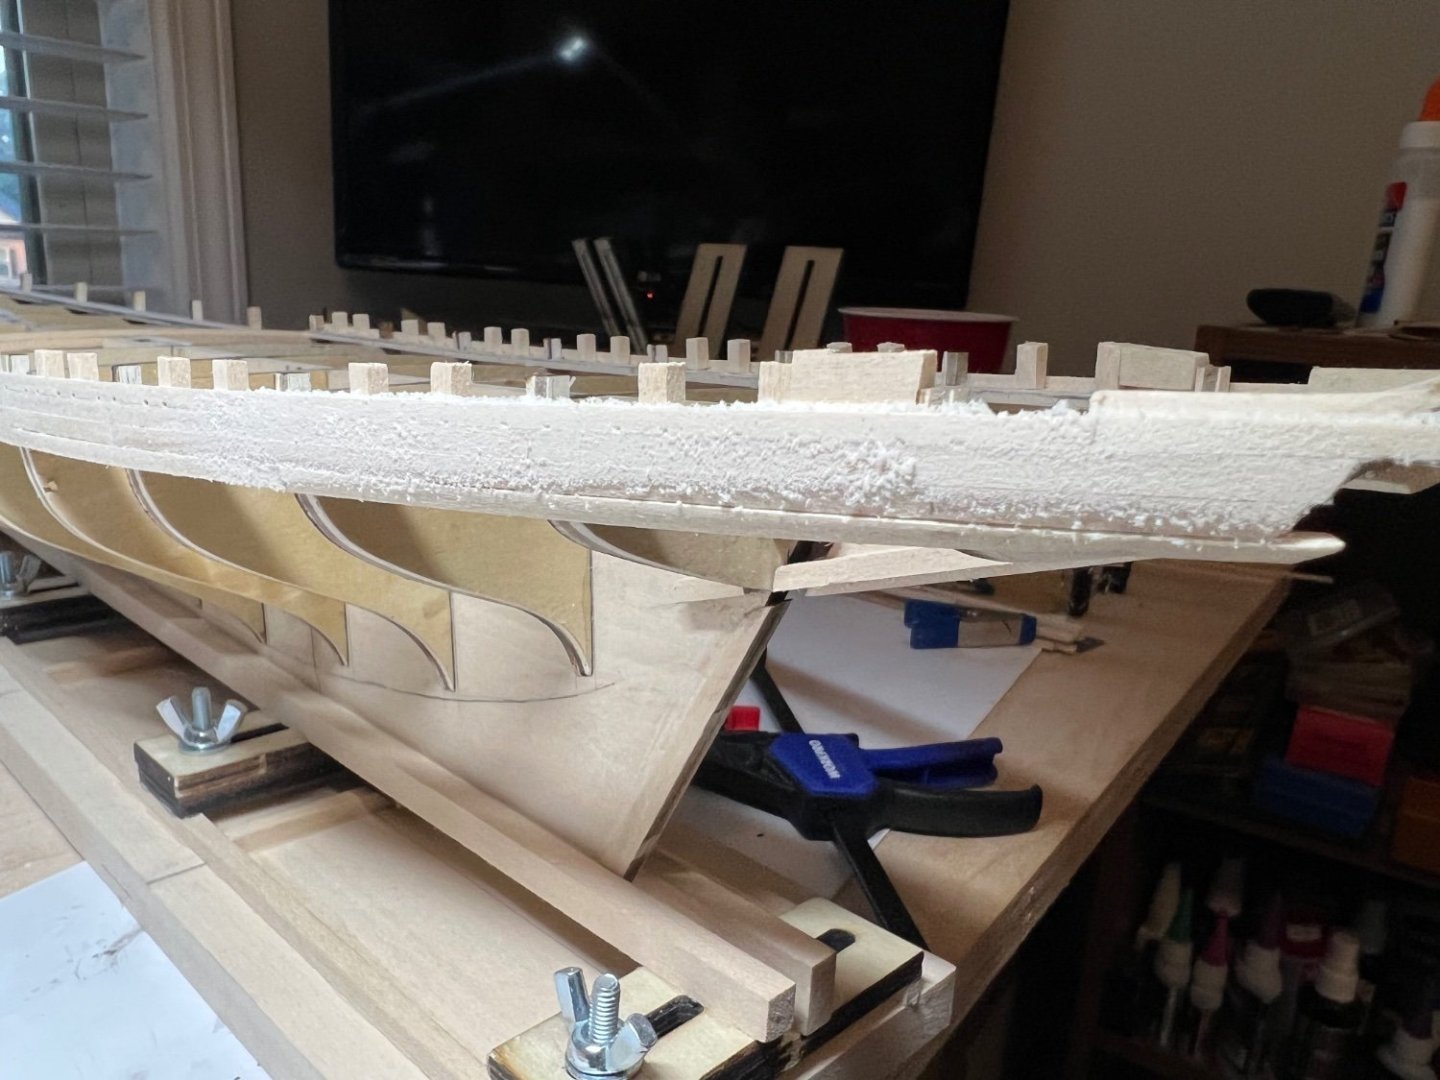
One side sanded. The very dumbest thing I’ve said to myself, “It’s ok I can sand that out later.” A few of the pieces I worked better. A few I left, and it sure is a pain. This wood density is different for many pieces, they sand different because some are soft and some are hard. The wood being different sizes and hardest makes this more challenging. I need to learn how to seal the grain so I can get it painted as best I can. After I make more dust. A small shop vac was a great purchase!
-
Thank you. The slow extra effort is working out.
-
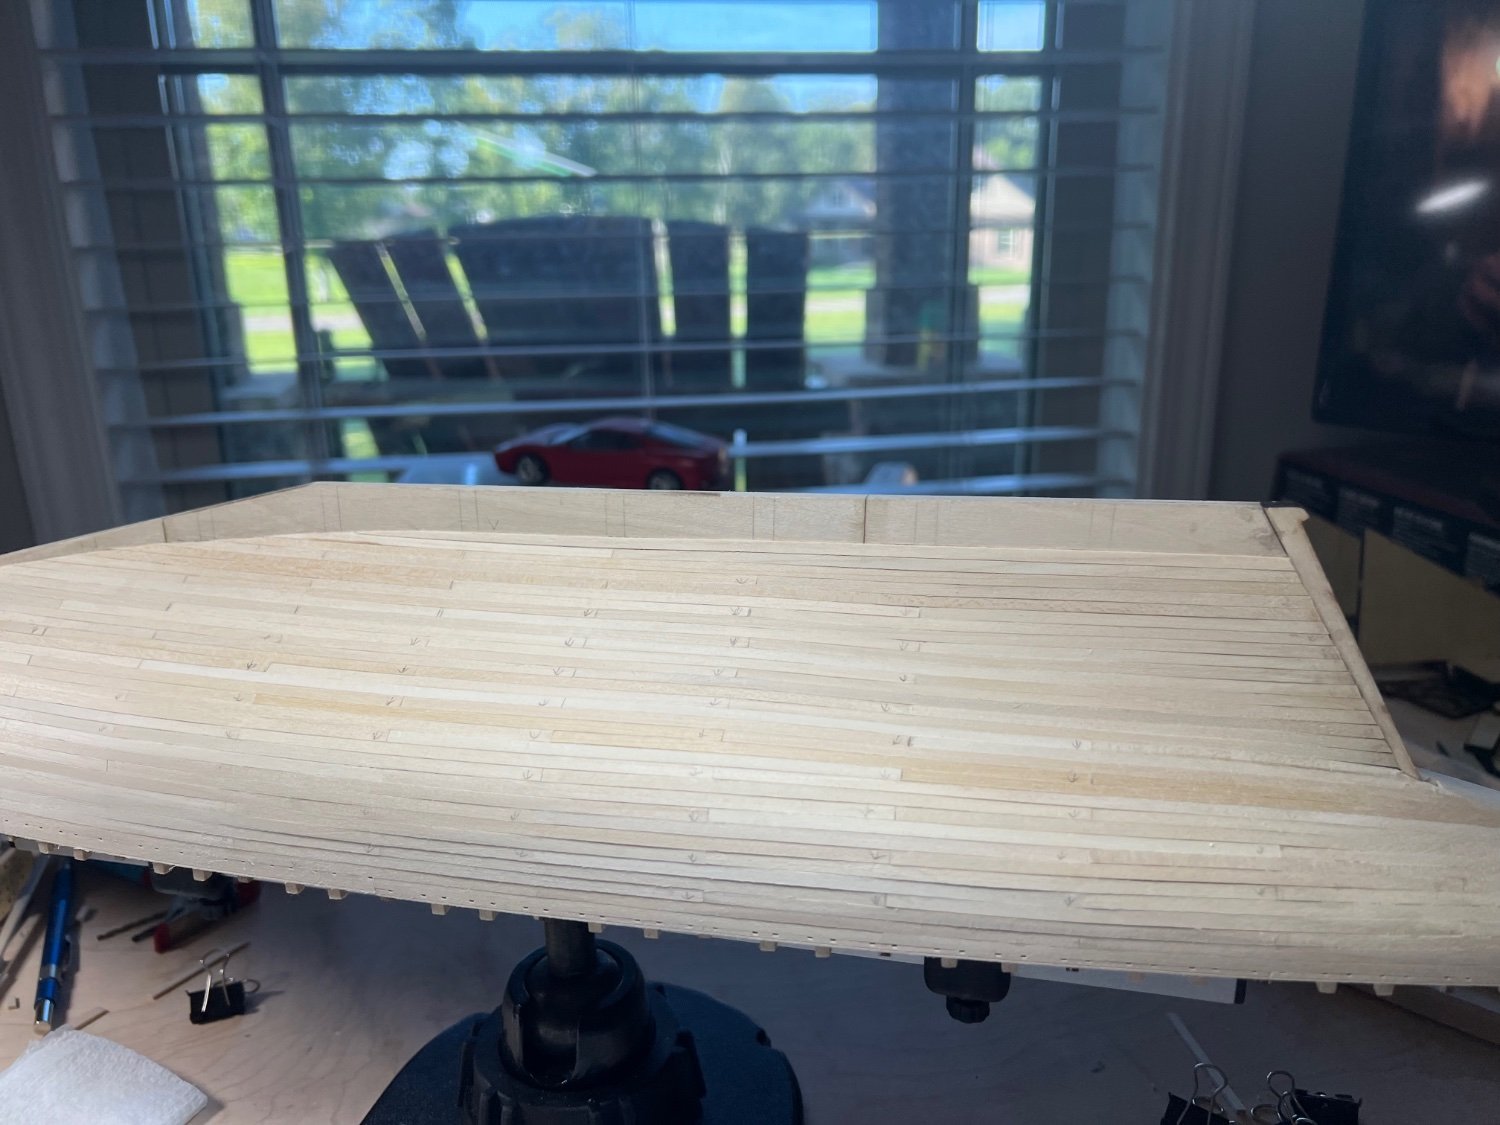
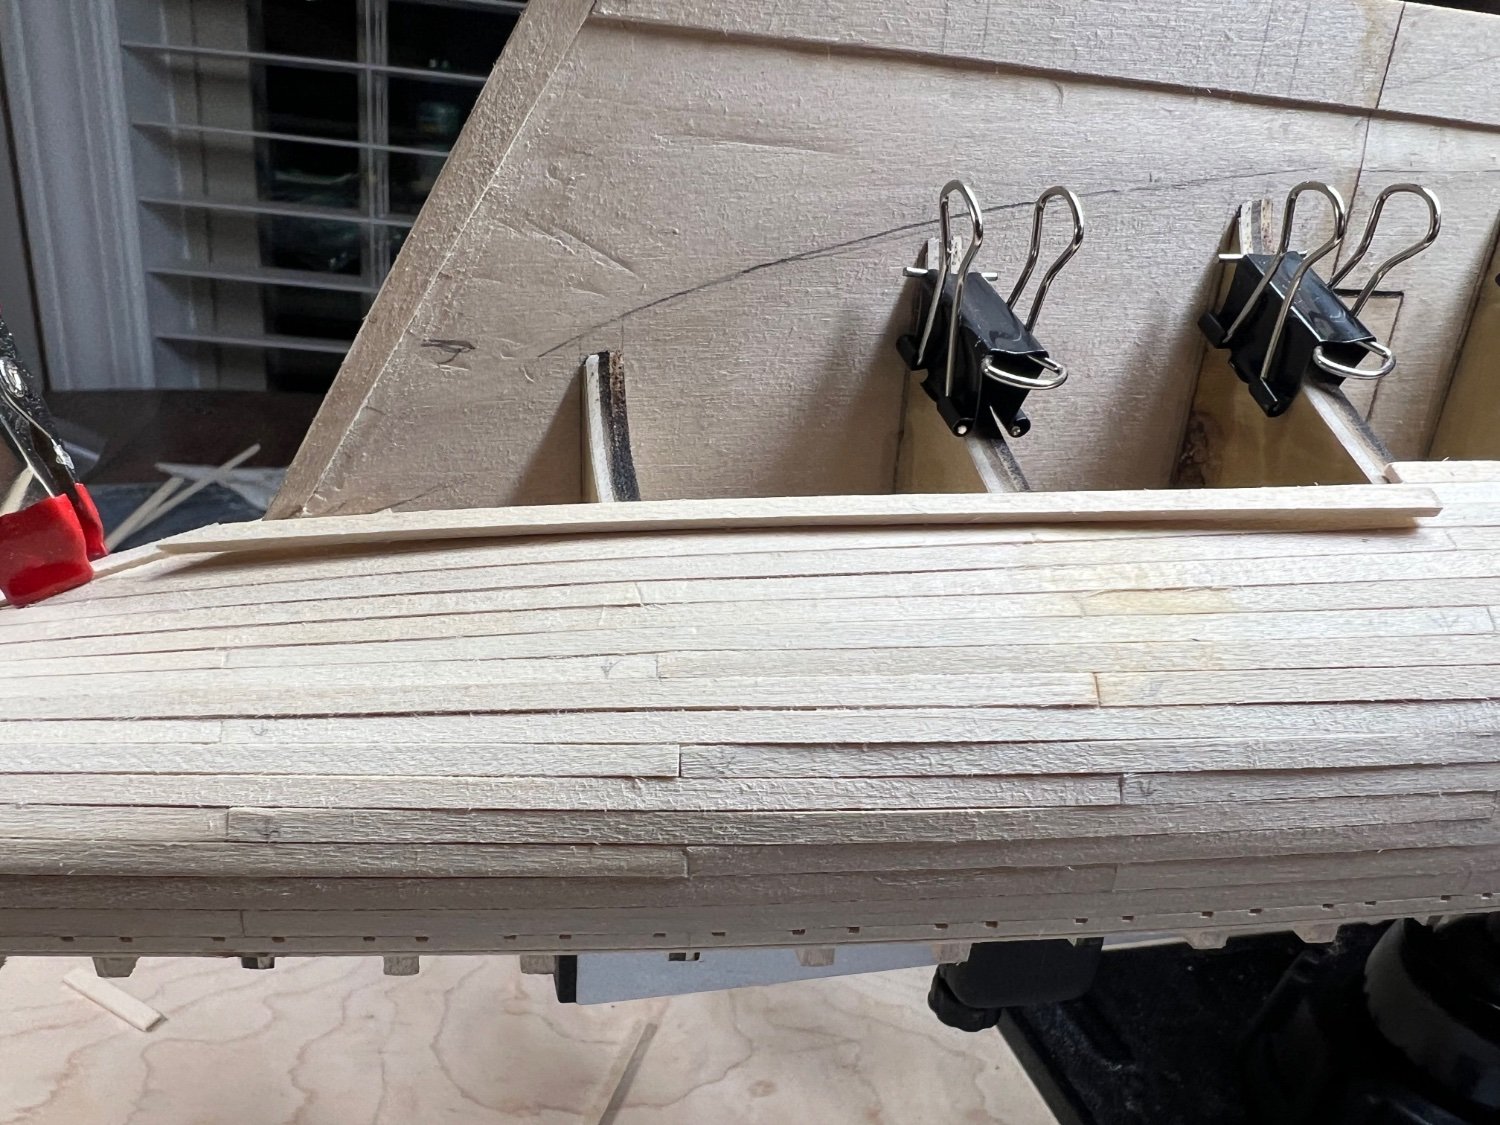
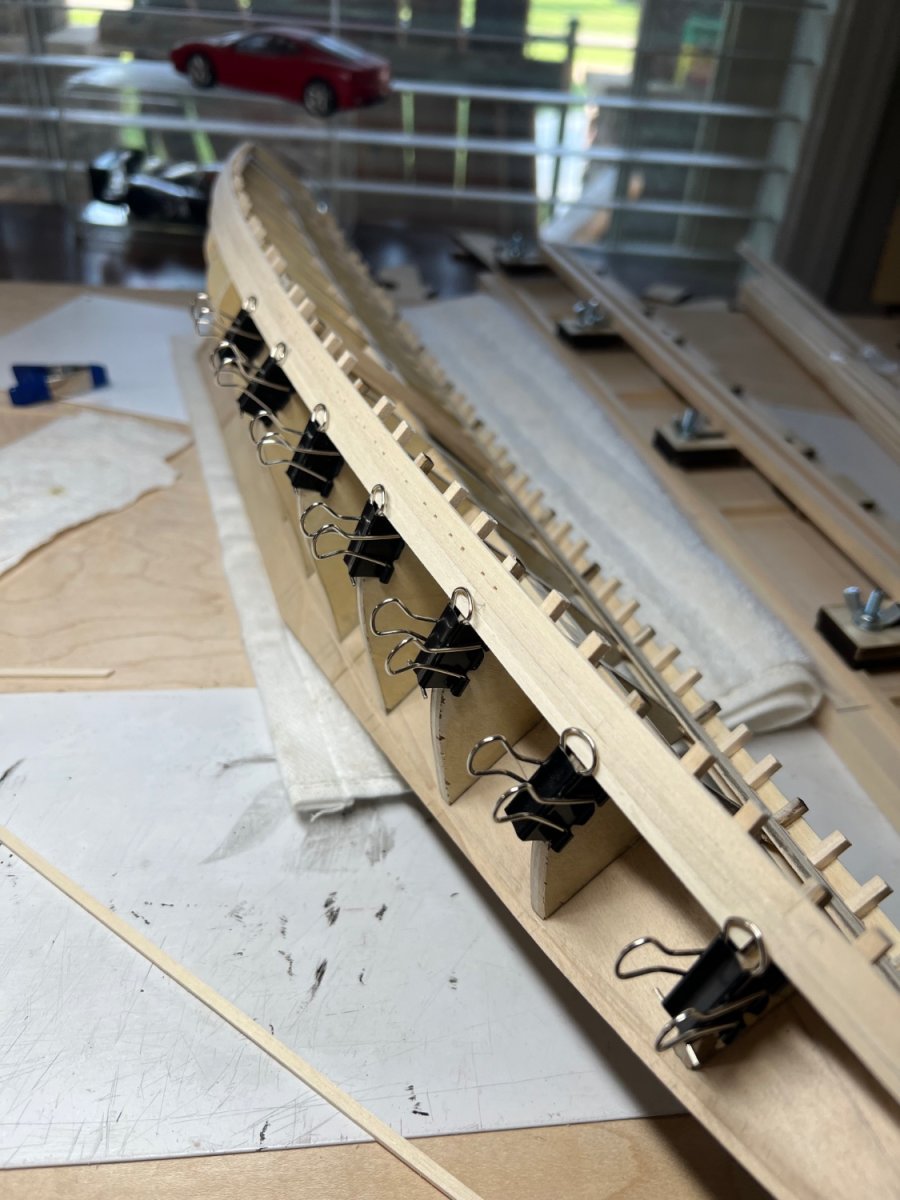
One may look upon this and see no mess with the glue. The trick is the type of glue. It has glue all over it lol. It dries clear so it makes for a very clean finish. I estimate at least 40 hours planking. Every piece is glued and fitted on all four edges. I wish I would have seen the plank depth issues earlier, but they should sand out and might need a bit of filler in a few spots. It’s far from perfect but I’m pleased with how it looks so far.


-
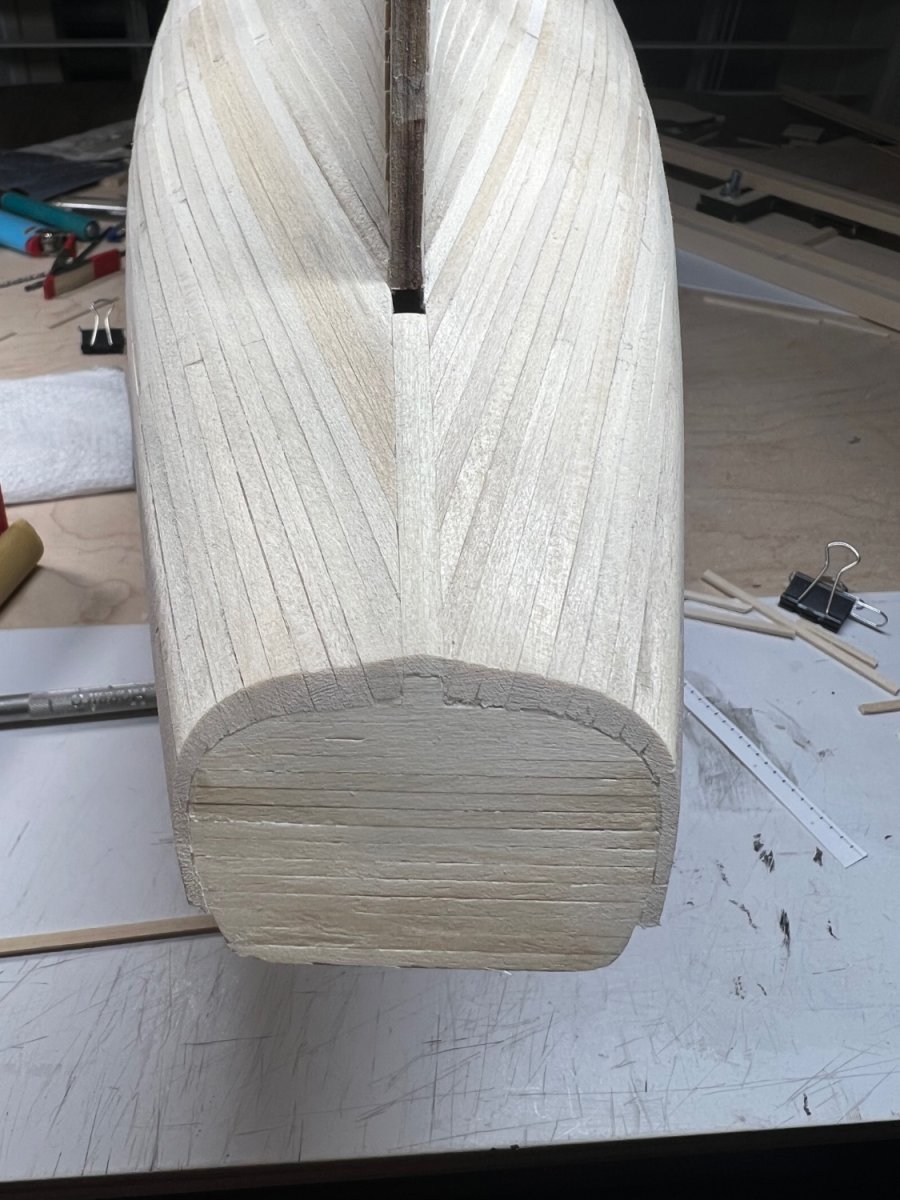
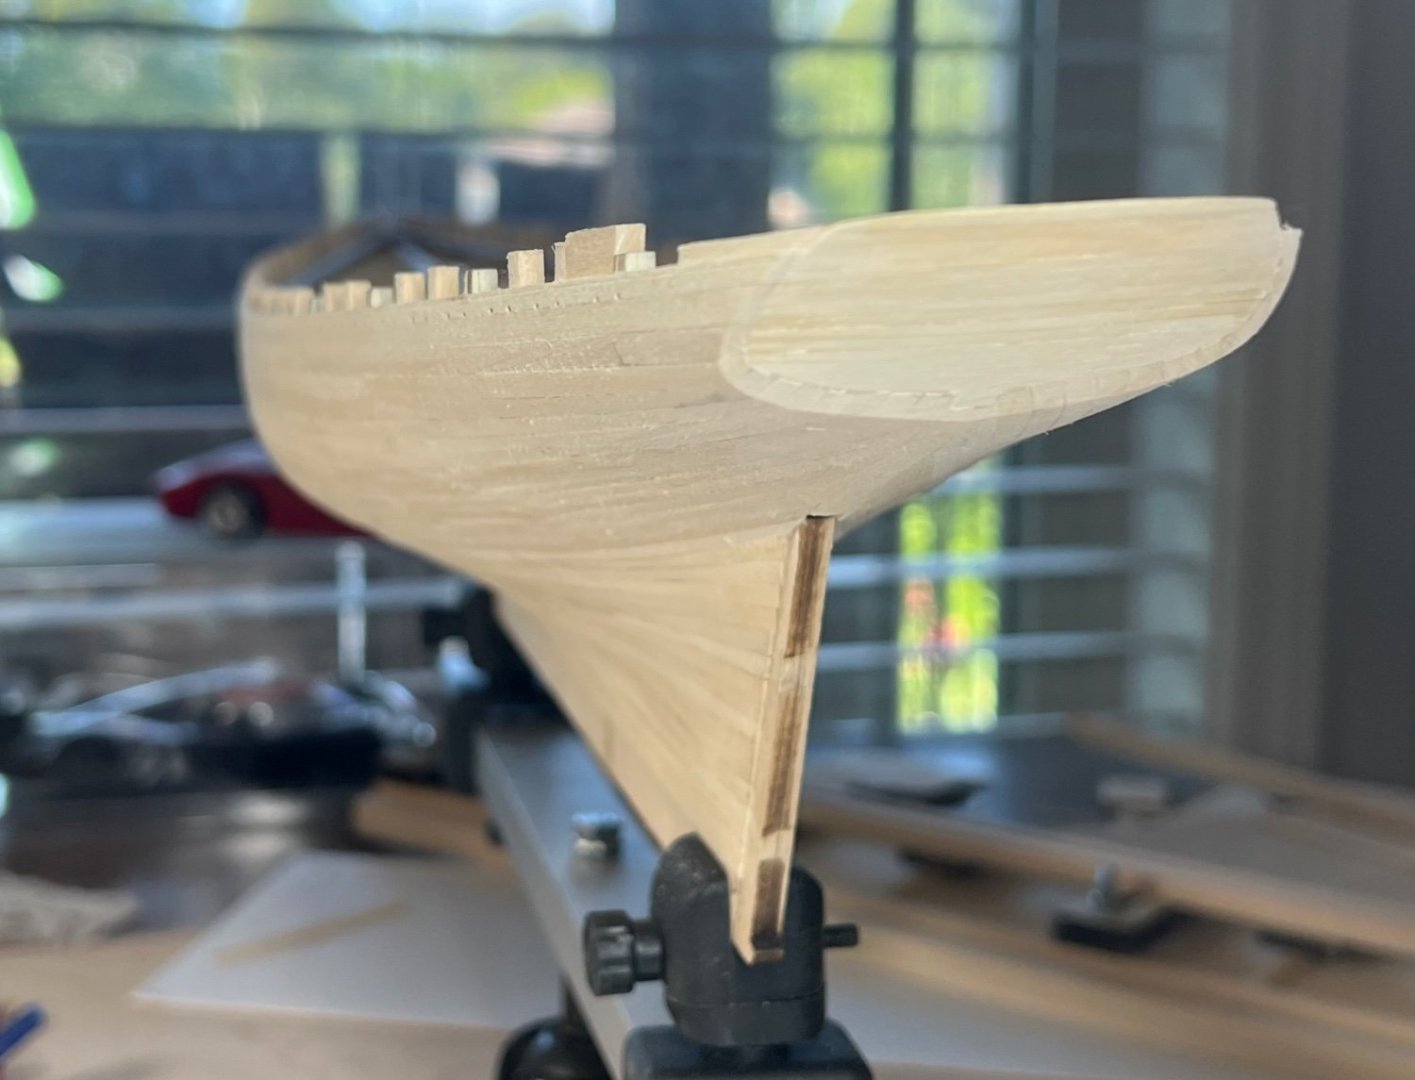
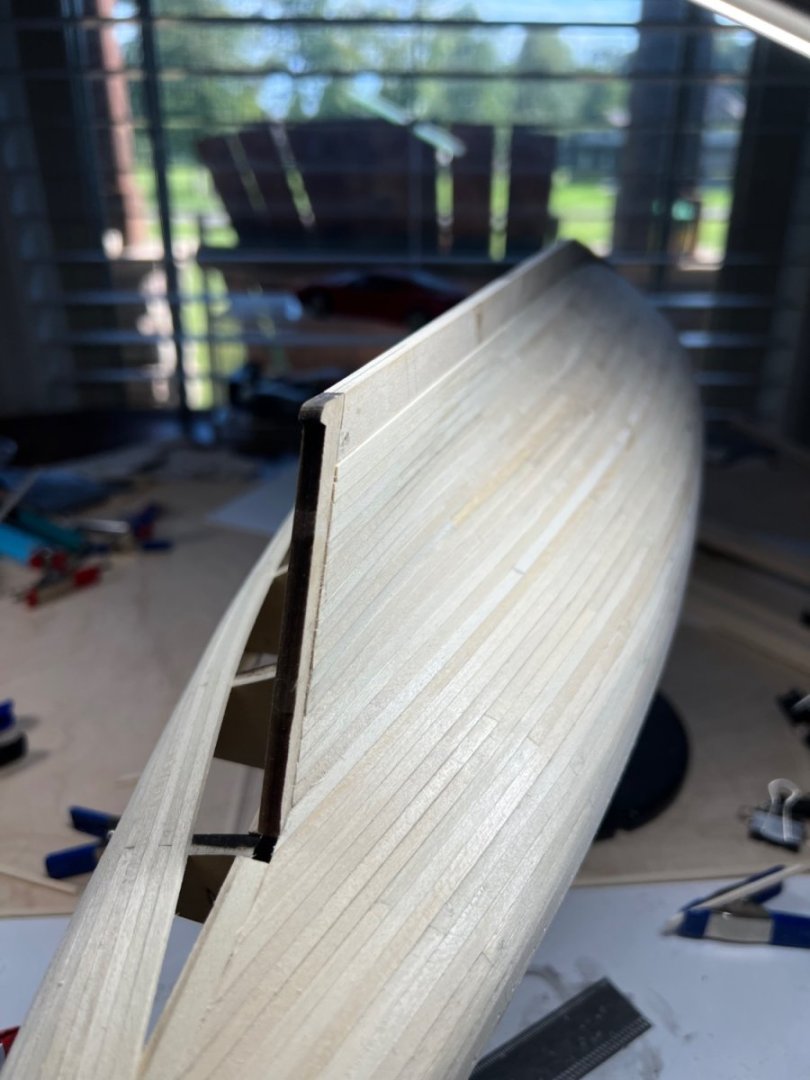
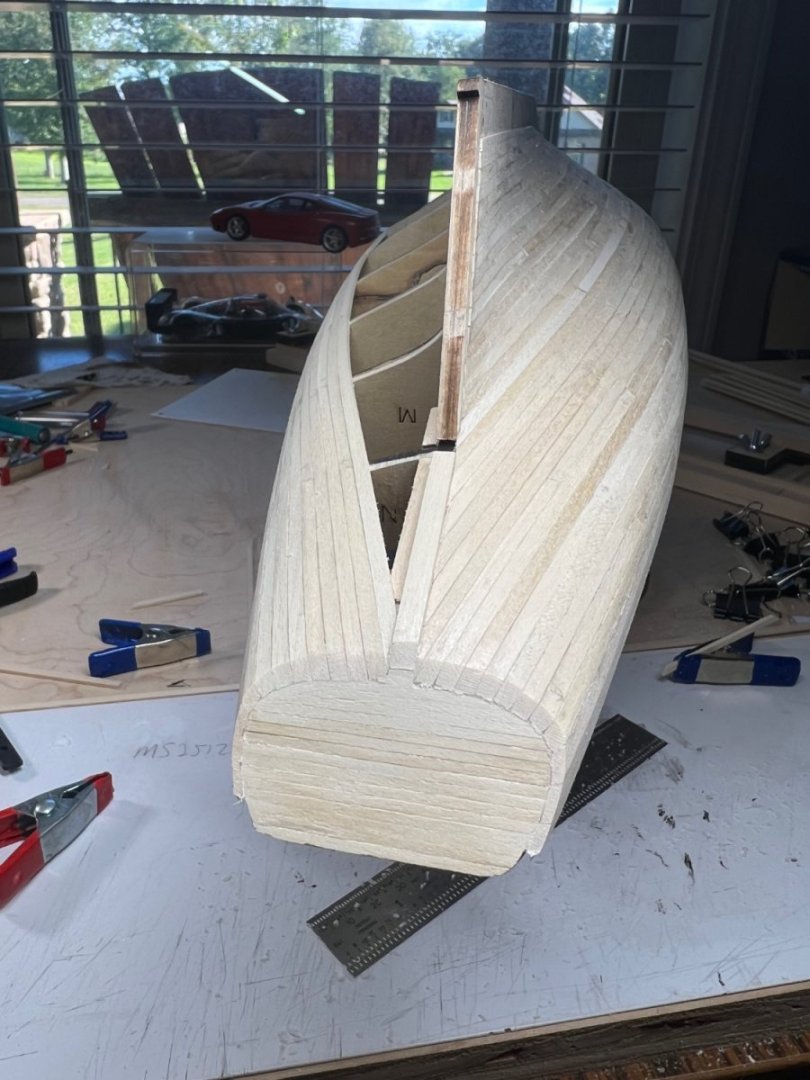
Three-four more rows left. The stern and the transom look great. A lot of planning to make the main rail fit. 🤞🏻


-
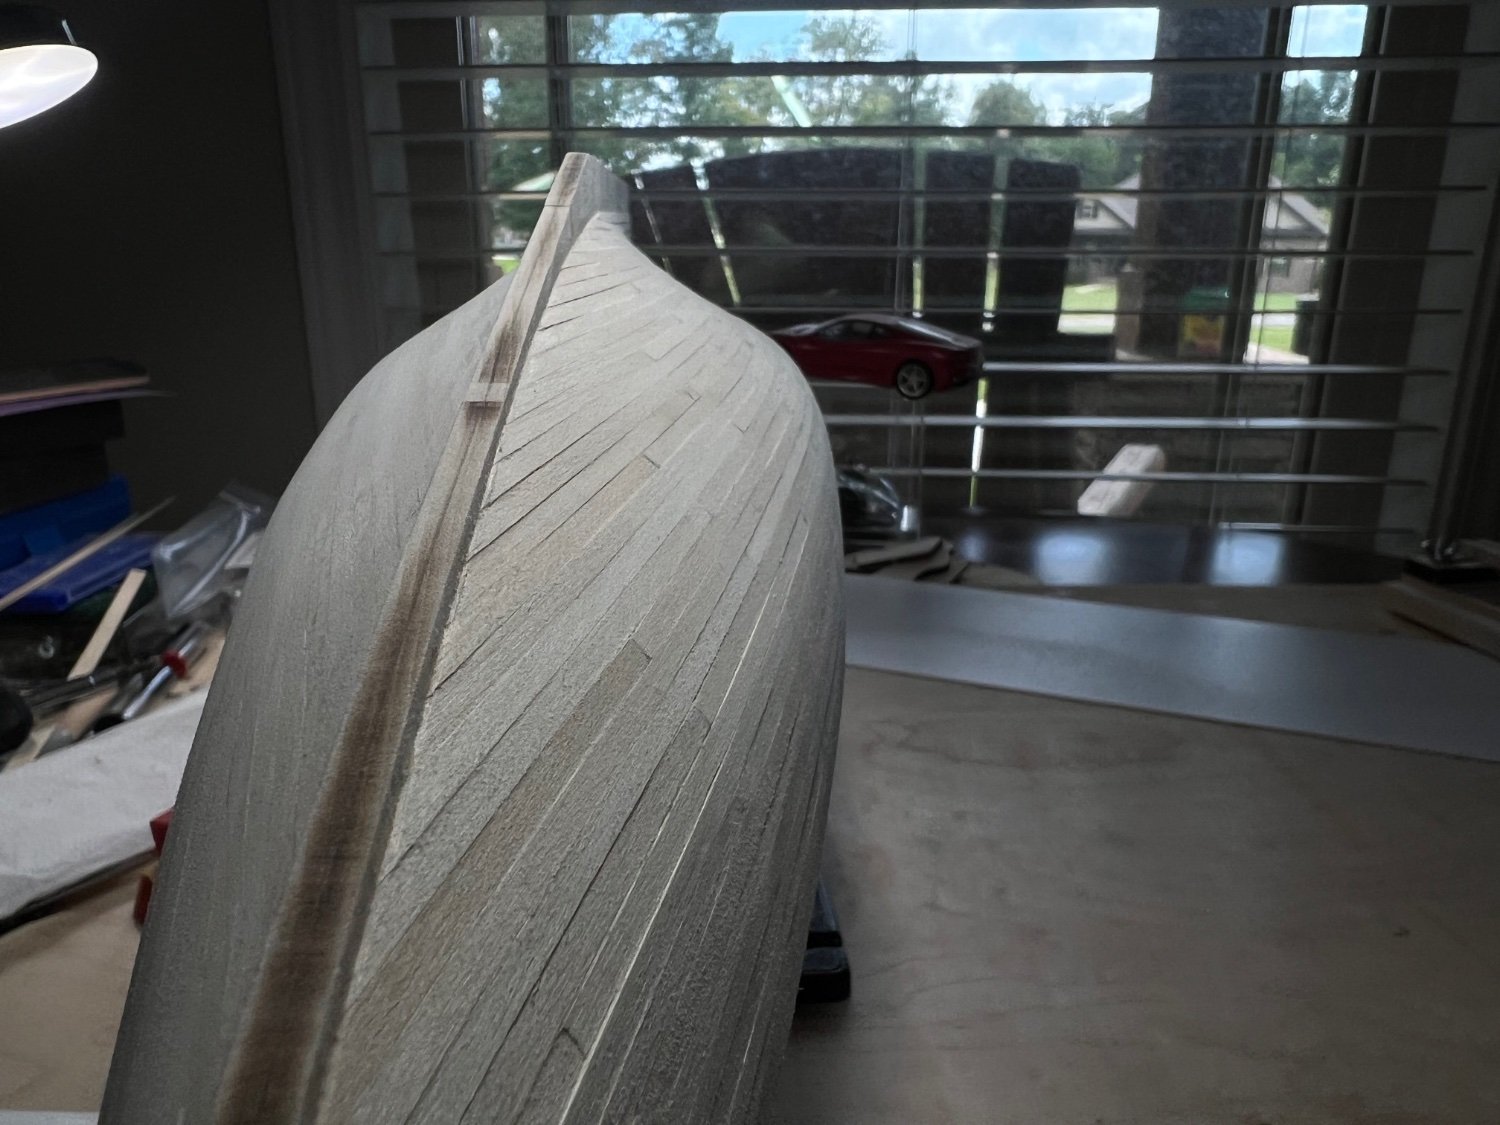
The stern is looking good so far. The sales/completed model for pictures, aft keel picture always drove me crazy looking at the wavy lines and poor finish, I always figured I could do that good or better.
-
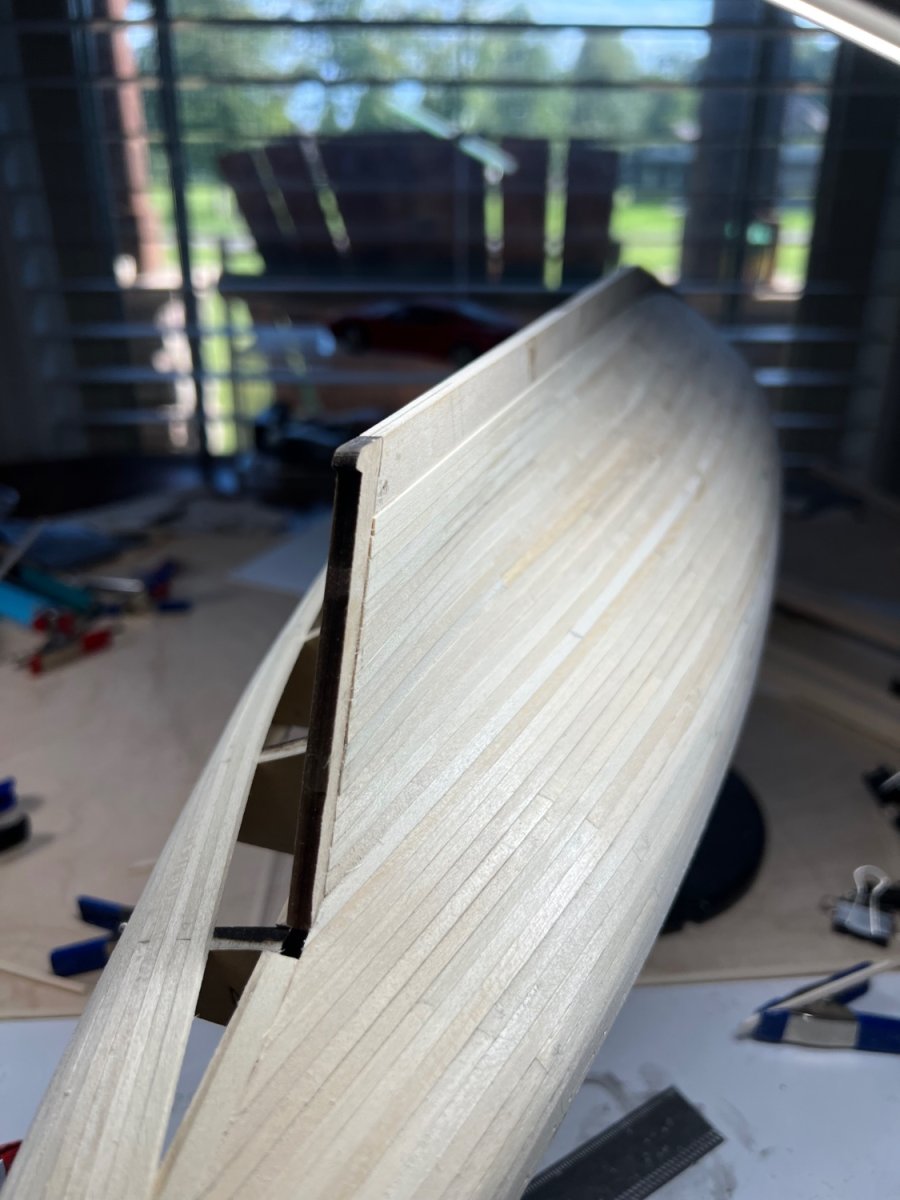
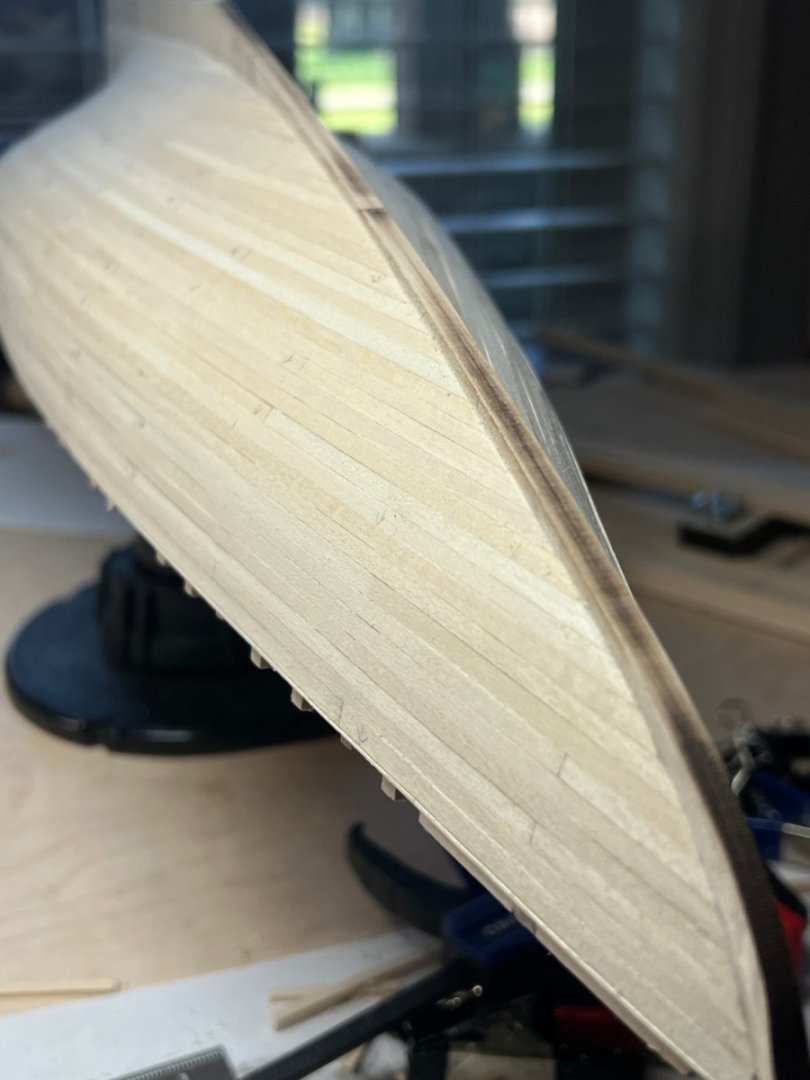
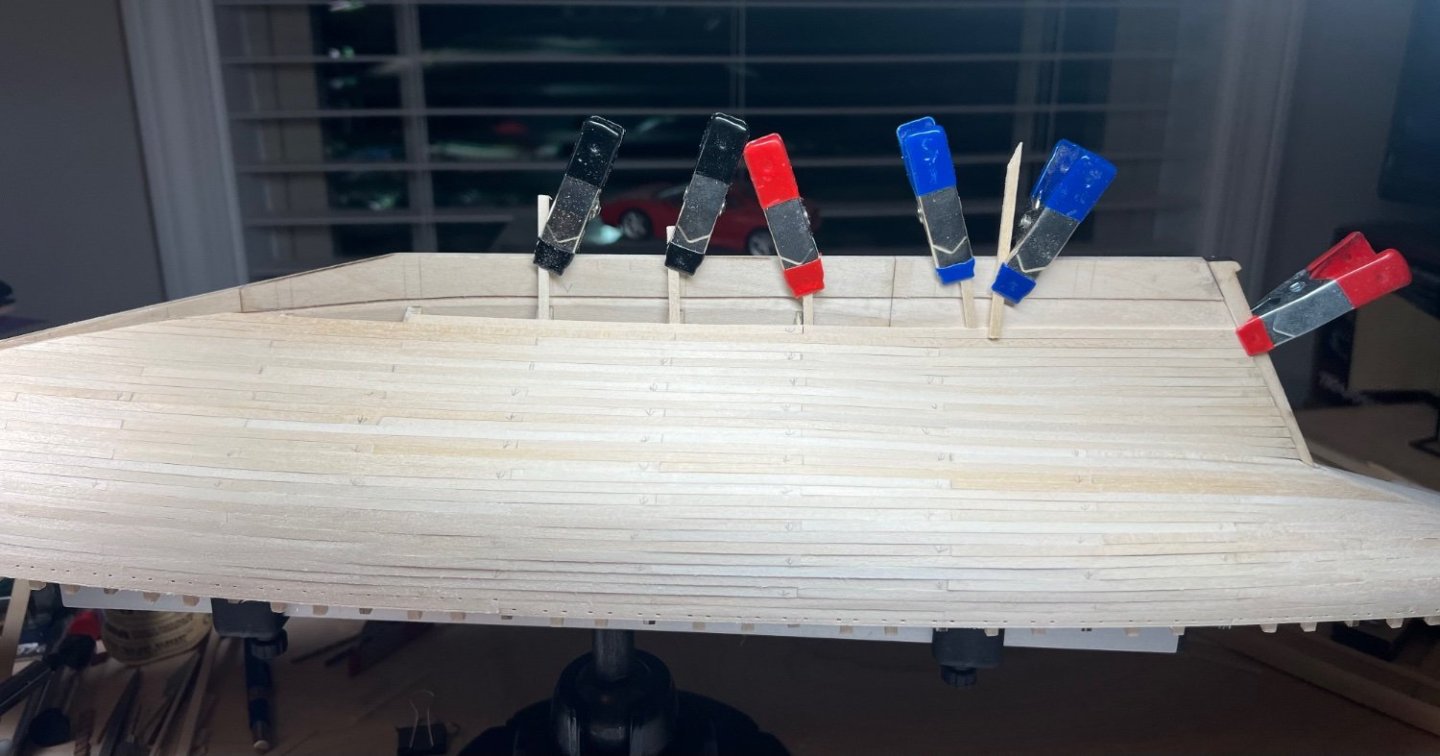
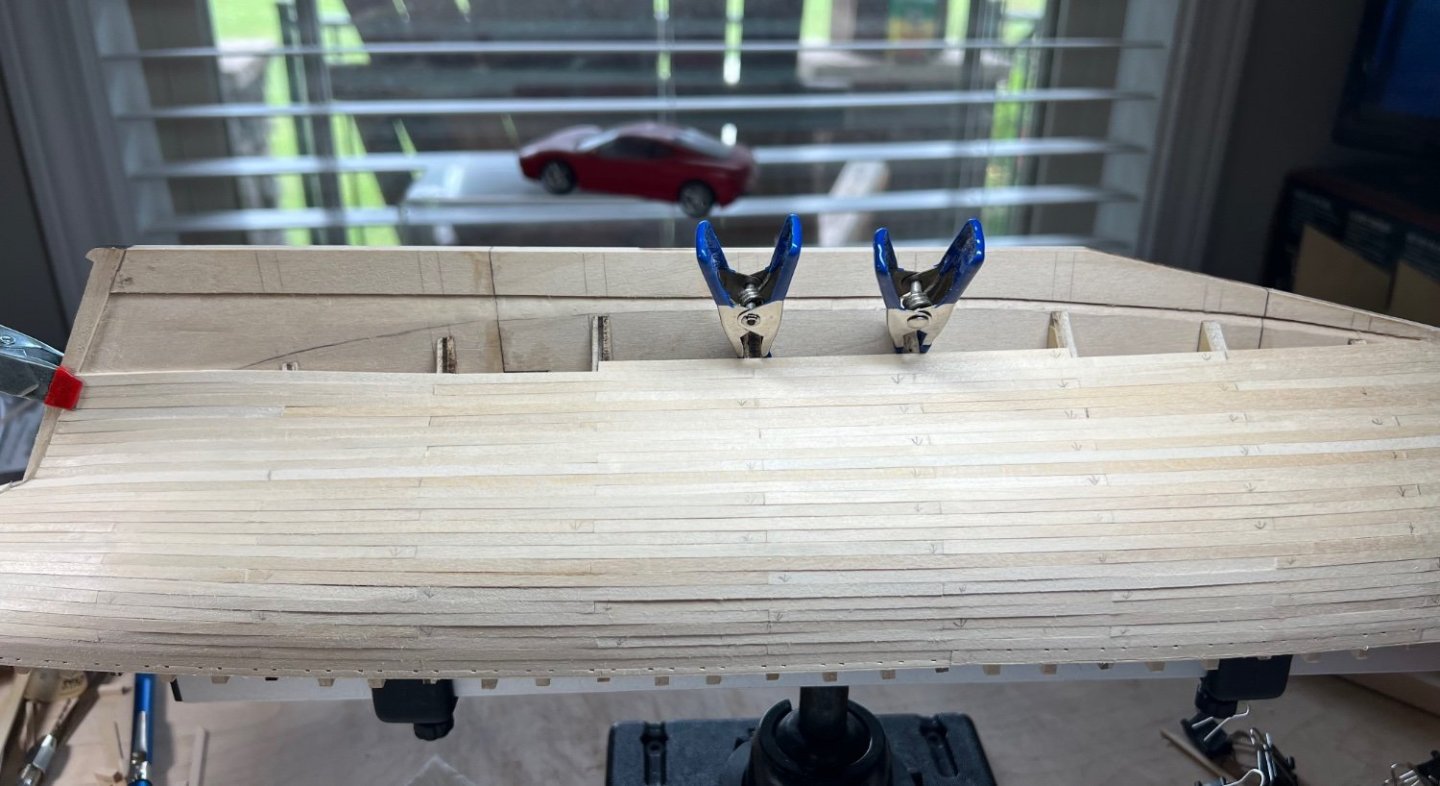
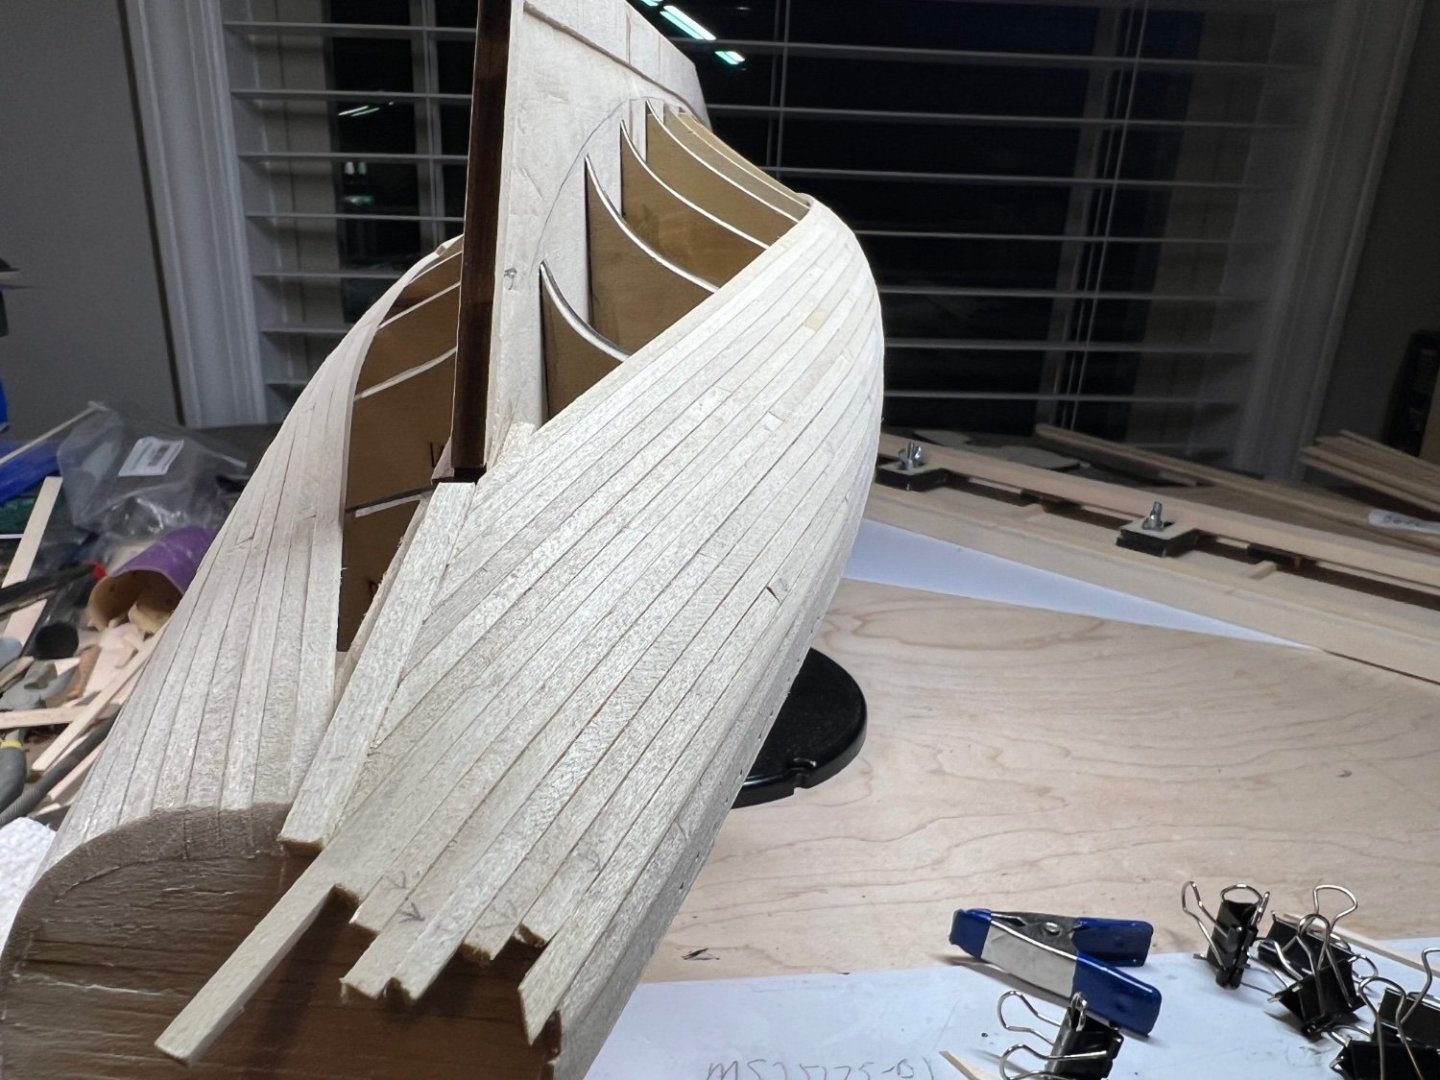
Port side planking complete. 3/16 and 1/4 planks didn’t seem to work out as well as keeping on with 1/8. The belt lines worked out to 1/16 or less of adjustment. I didn’t mark the belts, I kept some what of an eye on it. I made a tick strip to check the last 1.5 inches of planking.
-
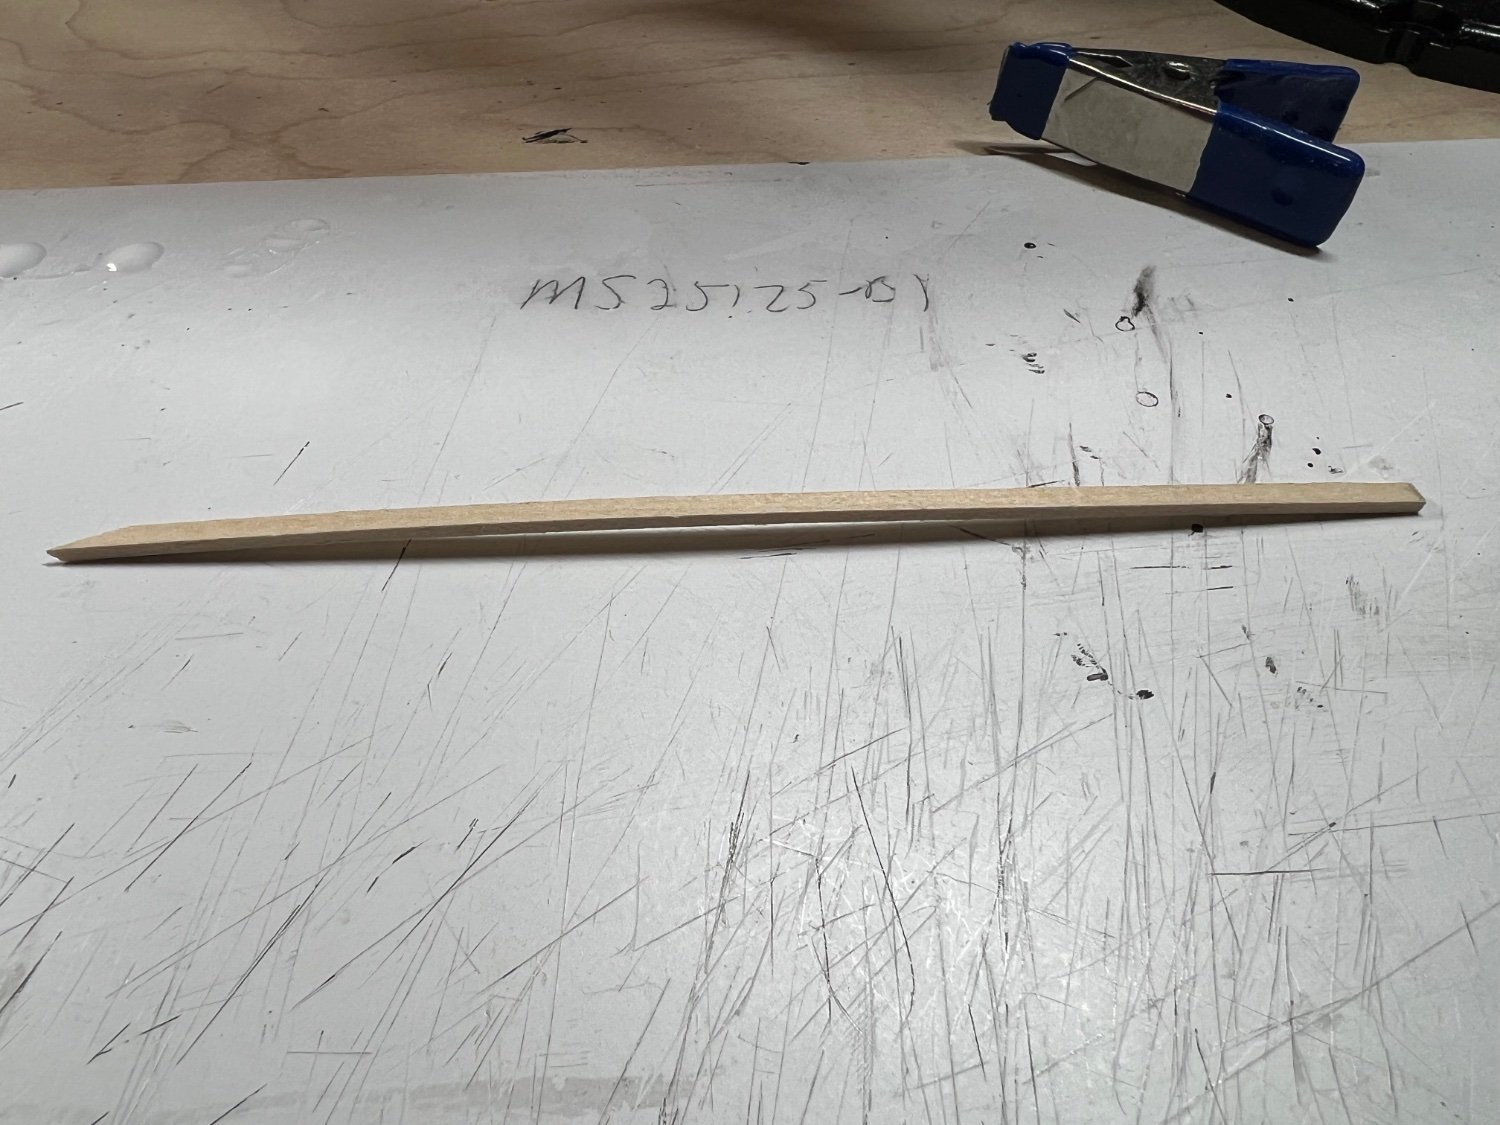
🤣. Thanks for reading! Yes, beveled the edges. I cheated thought, I only sand one side, it makes it longer but after final sanding you can’t tell. The transom area gave me some trouble, I rounded the inside of the planks on the tight curves to get them to lay down good. Each plank is flat sanded on each edge to remove the tool marks. The flat block sander is great for this. When I trial fit if it needs beveling I sand it again on the edge to get the bevel where needed til the joint tightens up. Each plank I get better and better at it. As I get closer to finished the fit is better. For the first few rows I didn’t see that I placed them poorly. The next ship planking should be even better. I try to produce a fit that won’t need filler. My Dutchman is a hot mess, but it’s supposed to look rough so I certainly did so lol.
-
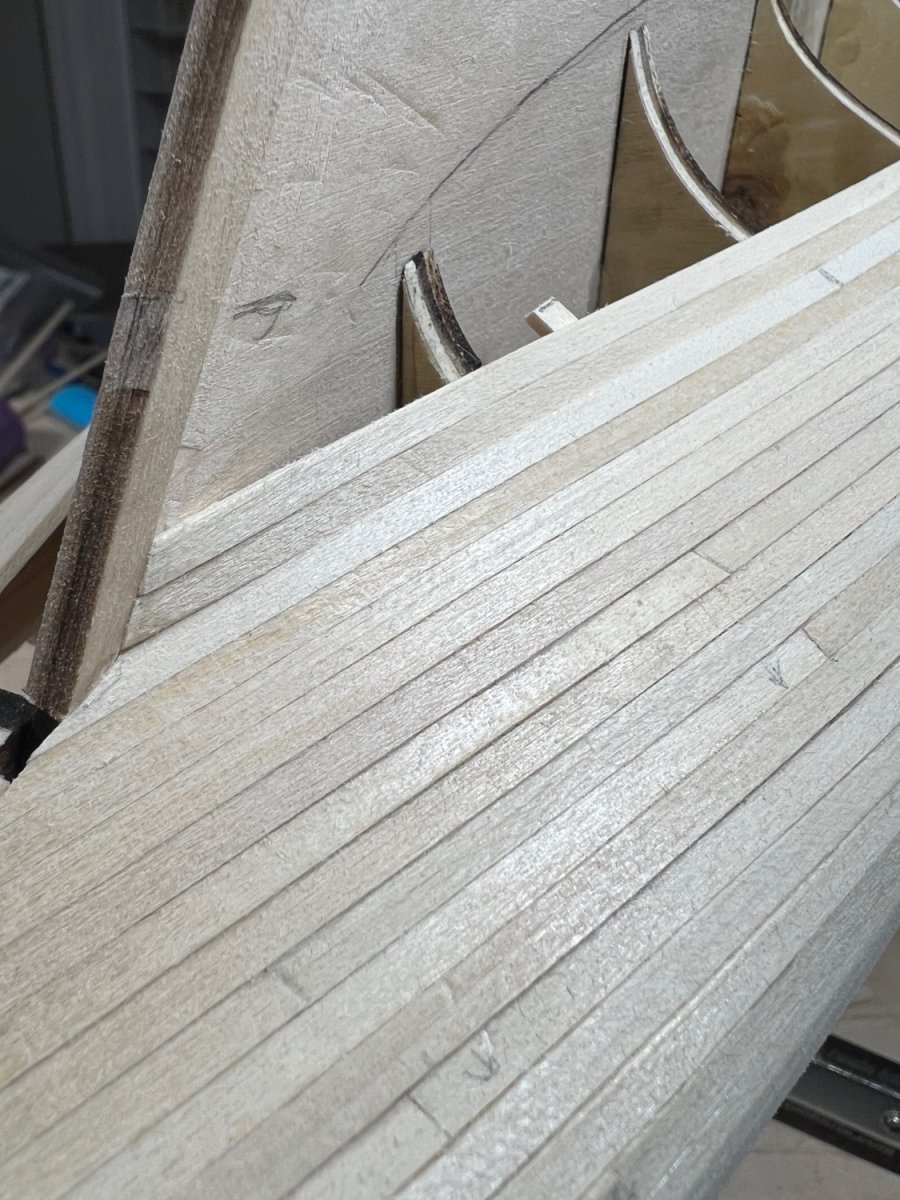
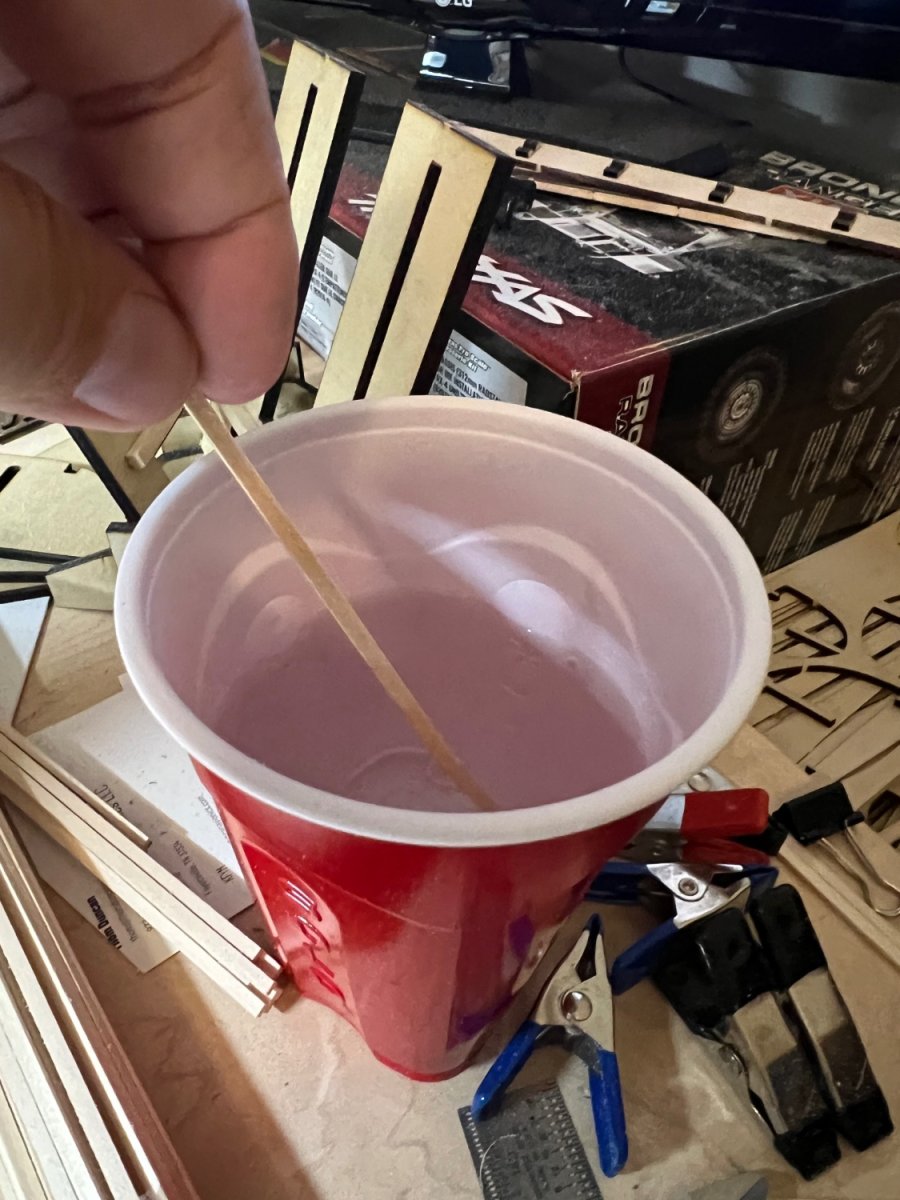
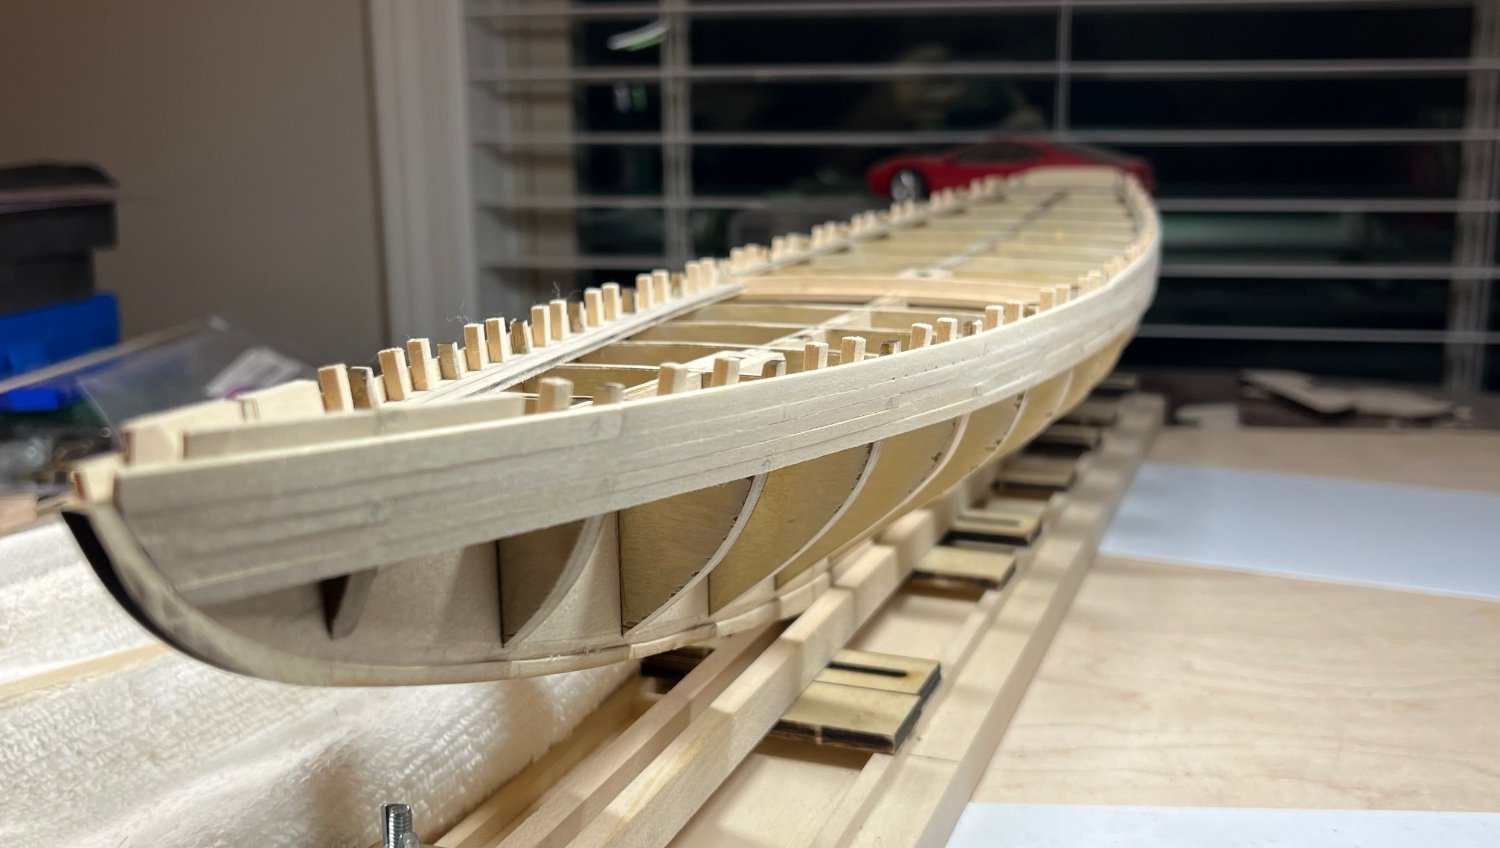
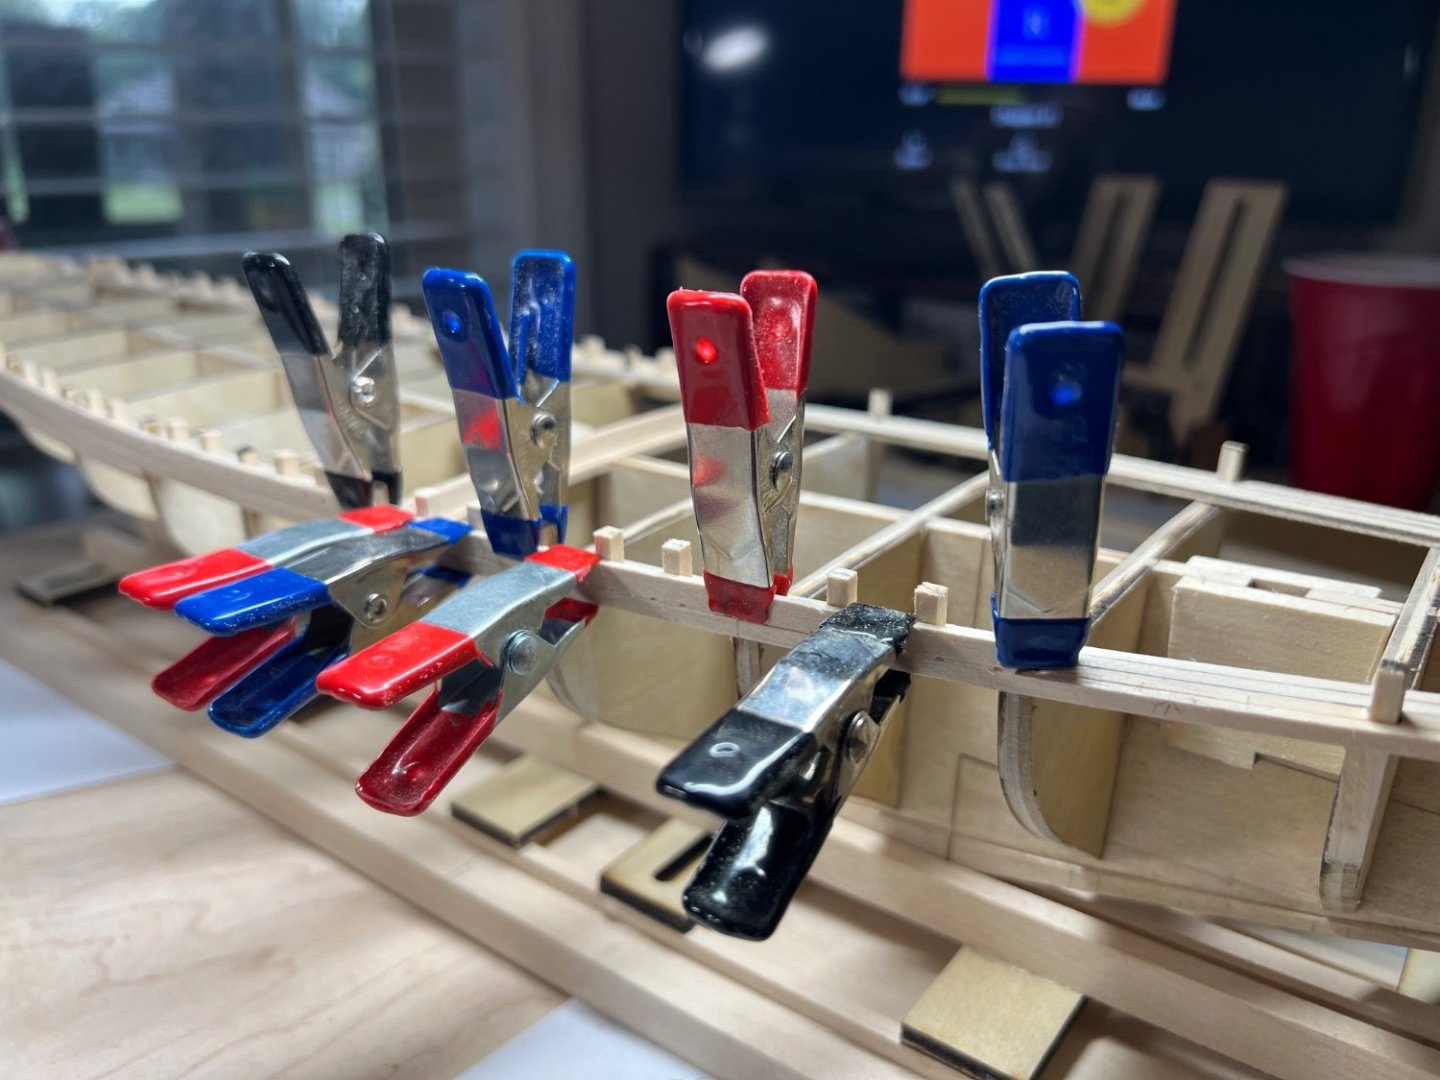
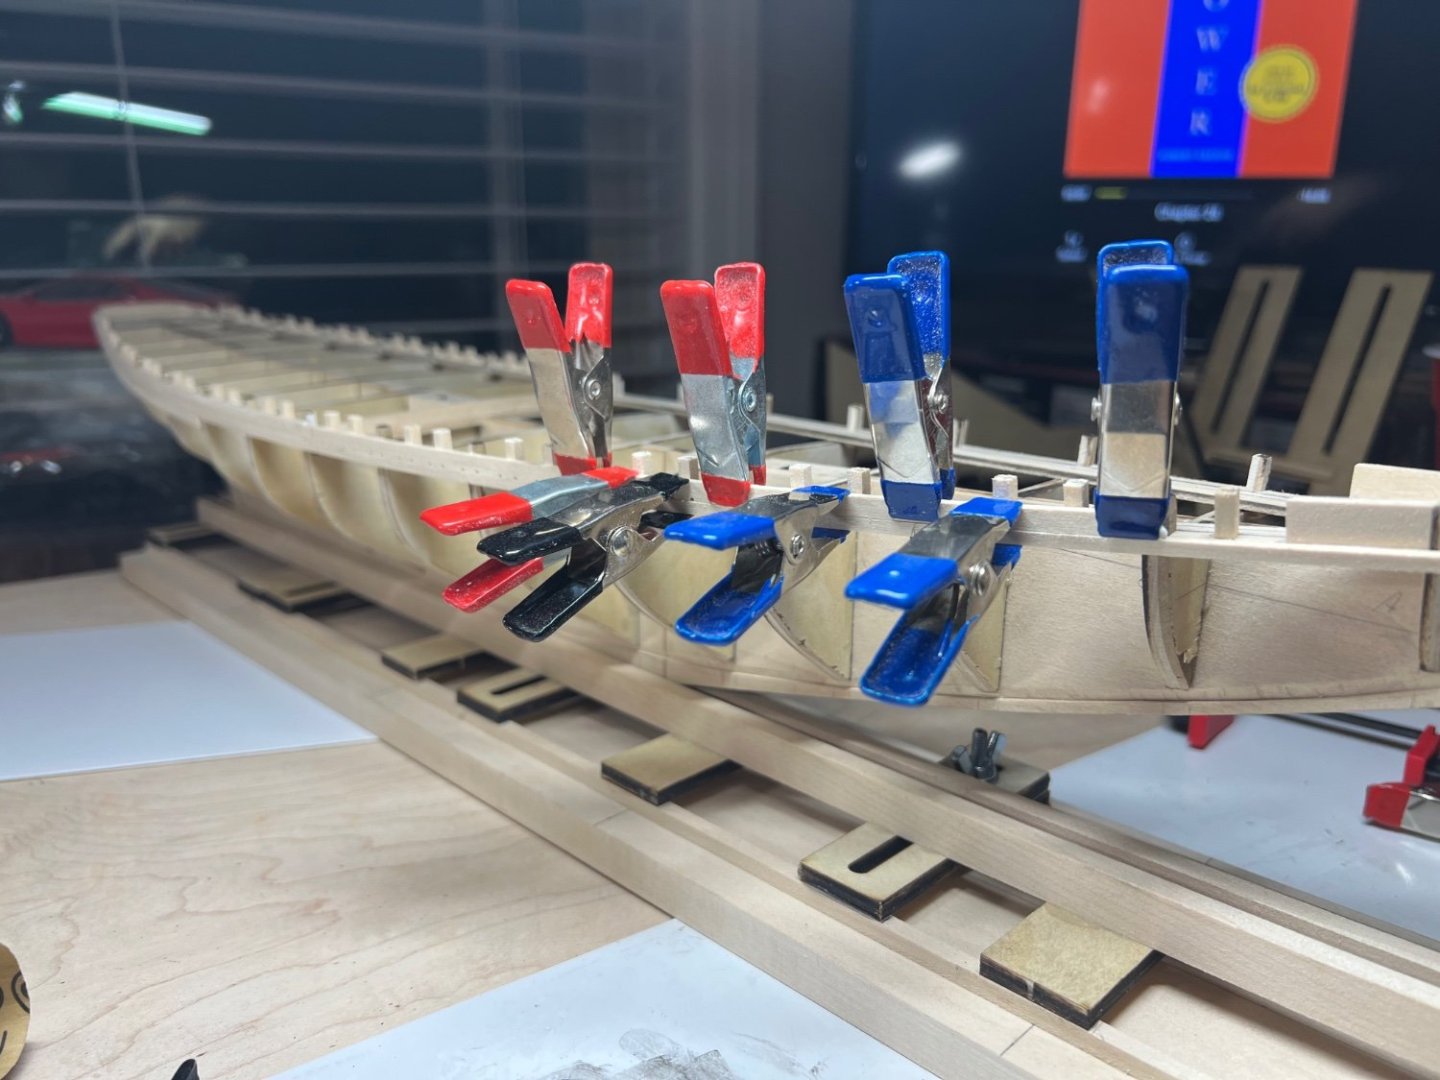
I’m randomly capable of seamless joints. I like pictures in logs it really tells the story best. Each plank is generally fitted. If it takes a bend, it gets soaked in the cup for a few seconds. The wood fibers can the be broken by gently twisting or bending to get the flexible. Once it has a bit of flex it gets held in place, then dried with the hair dryer on low. I use a #17 1/4 in blade as a spatula with the glue and cleaning the excess from the joints when placed. I like to have very little to no glue overrun so it don’t have to clean it off later. The last 5 or 6 rows I’m really getting into the grove. My first rows I can see I didn’t get the planks placed well in and out. The next ship that planks like this will be much much better. I faired the hull at least 6 times. I kept going over it after not looking at it for a few days and saw more to sand off. Some of the pictures you can see I added material to bring it out. I’m glad I did that, so far it’s working out nicely. The instructions and the plans give great tips to achieve a good hull. It’s certainly not clear unless it’s been done before. As I progress some of the tips make more since. Too many words, here are the pictures lol. IMG_9070.mov


-
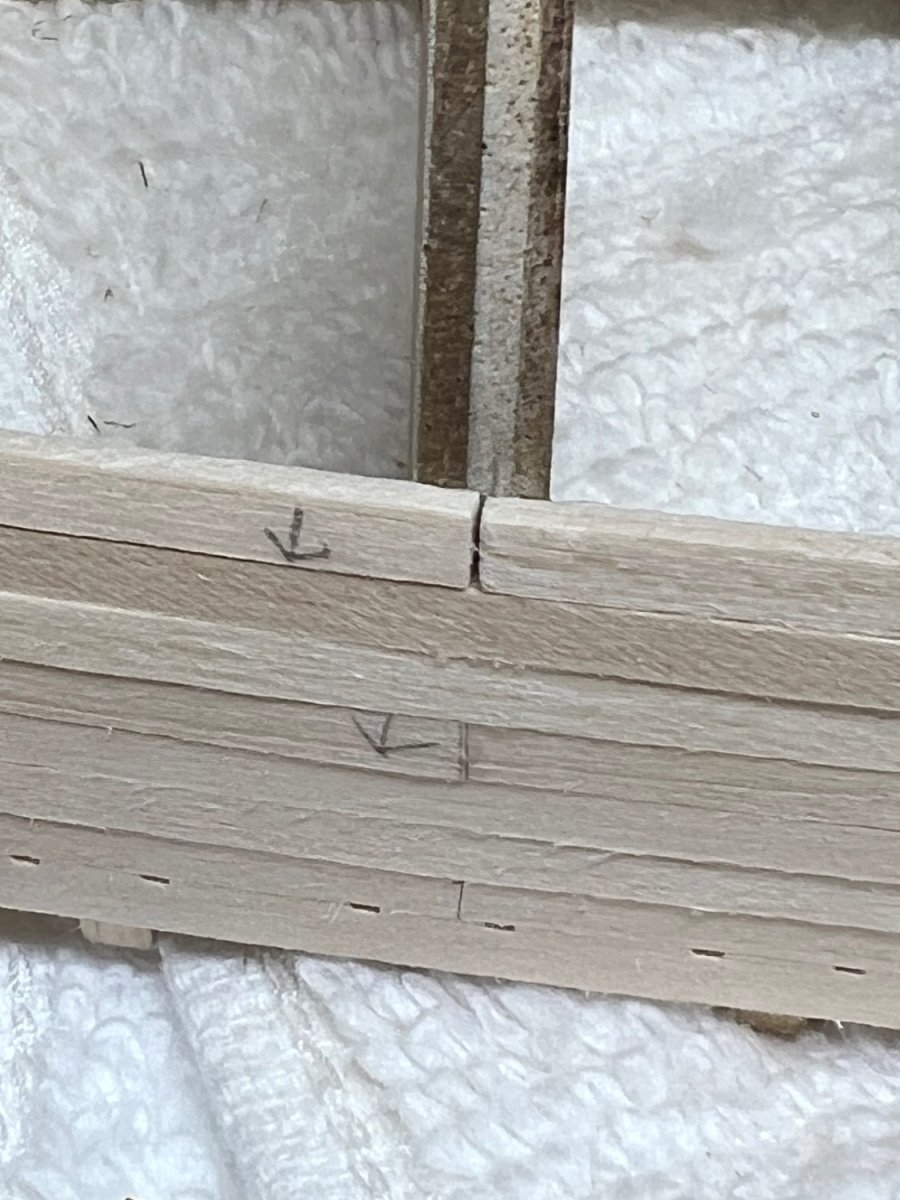
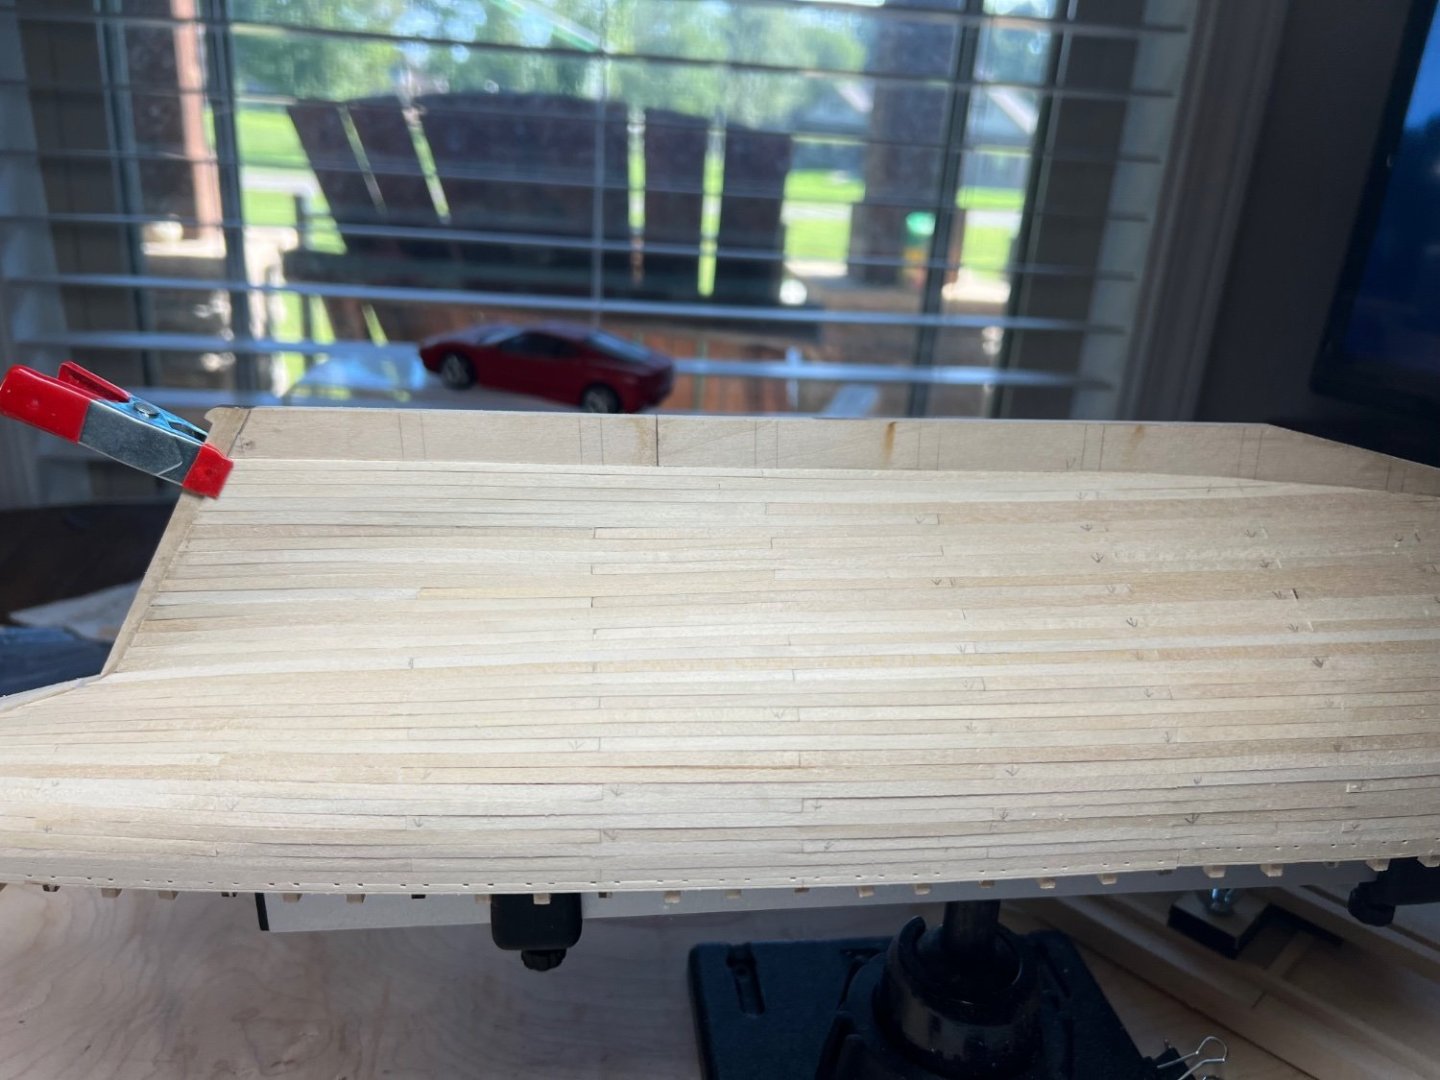
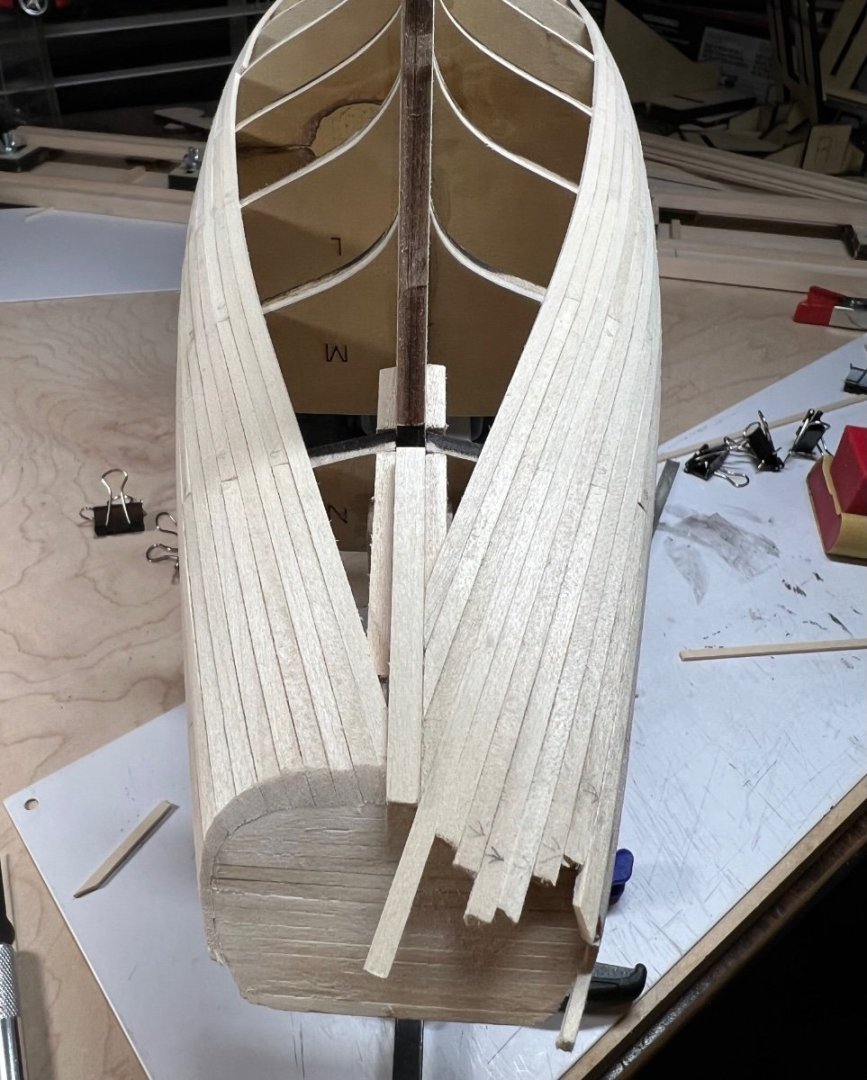
Anyone bored of micro updates? I’m getting better at this the closer I get to the bottom. I see some things I missed keeping the planking following the lines. The dips are pretty deep. The light shining down doesn’t make it look good, but it does help to see when planks are not lined up. I think I have at least 20 hours into the planking. At least 20 hours to go. Some of the last planks go from 1/8 wide to 3/16 wide and the bottom (garboard plank I think) is 1/4 wide. I’m missing some details on the plans and picking up on others. I don’t like wordy posts, does any one read all this? Lol
-
A good sanding block and 120 grit or 150 grit paper would be good. Years ago I bought a wood version of the block below, I found a good one just like it plastic. It has flats spots and round edges to make sanding and fairing easier. Use no slip back 3M 1/4 sheet. On my Dutchman I sanded over the nails, they smoothed out nice enough. The sand paper took down the high spots in the nails nicely. I used 120 or 150 I don't recall which. Just watch what your sanding so you don't go to far. The 2mm planking for OcCre was a challenge to get down good on the Dutchman. I had a few sharp bends like you did and the boards cracked. I left them. You can't really tell after its painted. The 2mm planks are forgiving and allow alot of room, or at least more than normal amounts of sanding to make it look good. It doesn't have to be perfect, it just has to be. You got this. (A small shop vac would be great for all the dust you need to make. 🙂 ) https://www.amazon.com/gp/product/B00HDDBCC2/ref=ppx_yo_dt_b_search_asin_image?ie=UTF8&th=1
-
I did notice it was a bit higher. I have an adjustable office chair so I may be able to raise it some. I'm working on a table on a sheet of 3/4 wood with the stand, so its getting tall for sure. It was very workable so far. Its better then the towel I was using.
-
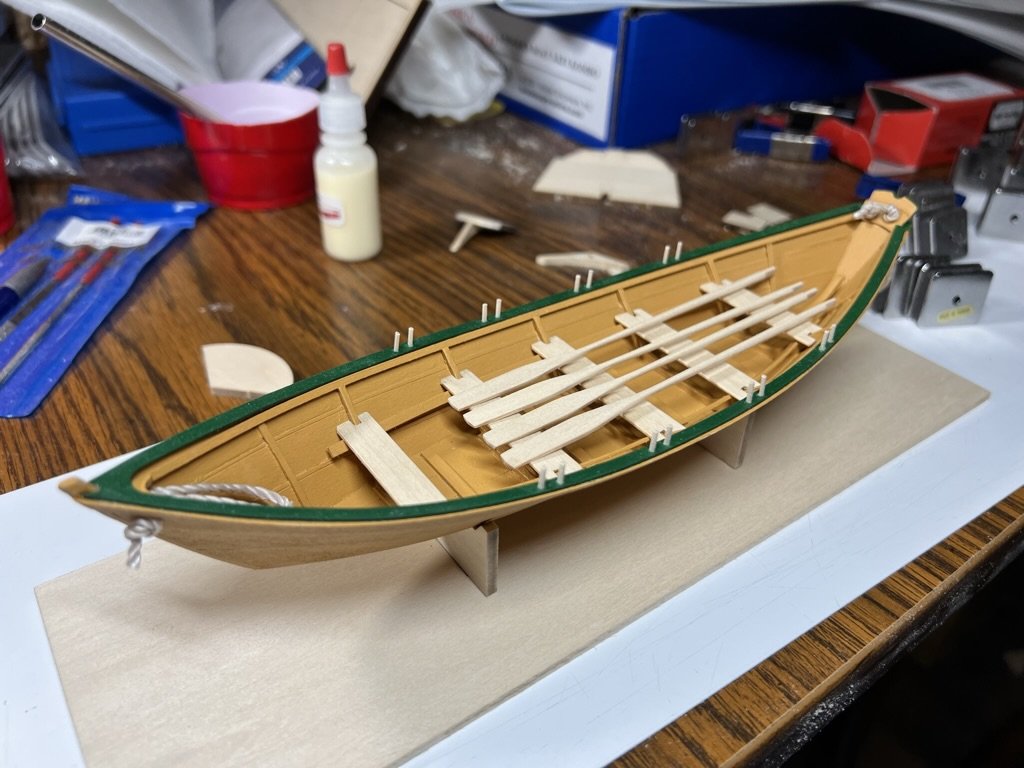
I lost patience waiting for stuff to dry after fitted on my Dory I started using a hair dryer on low. It speeds up the process and you can sand and trim a bit more before gluing. Yours is looking great!

-
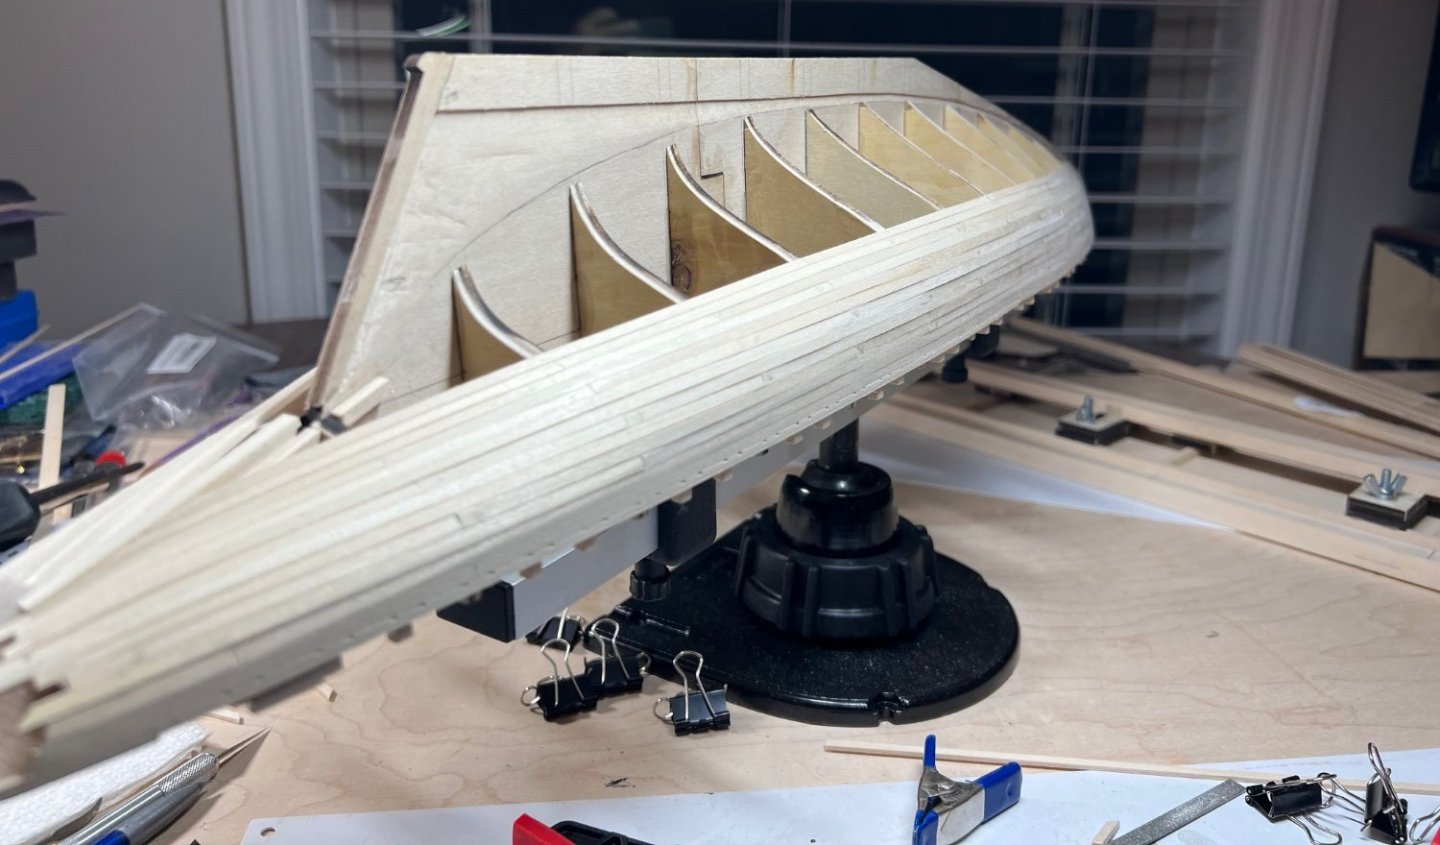
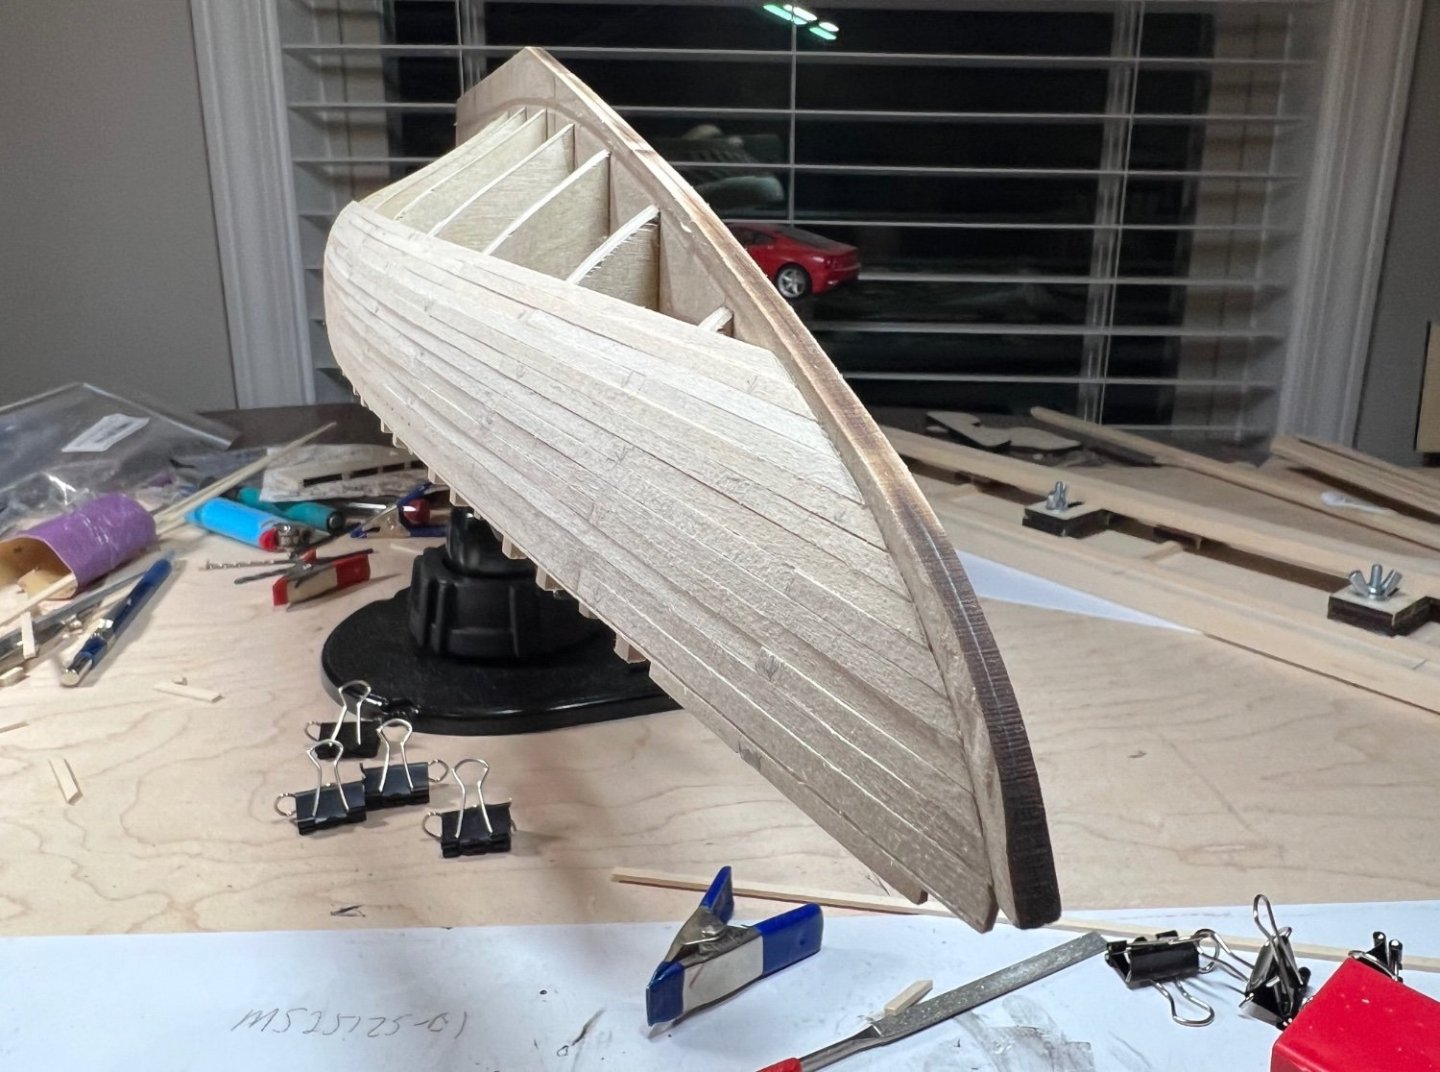
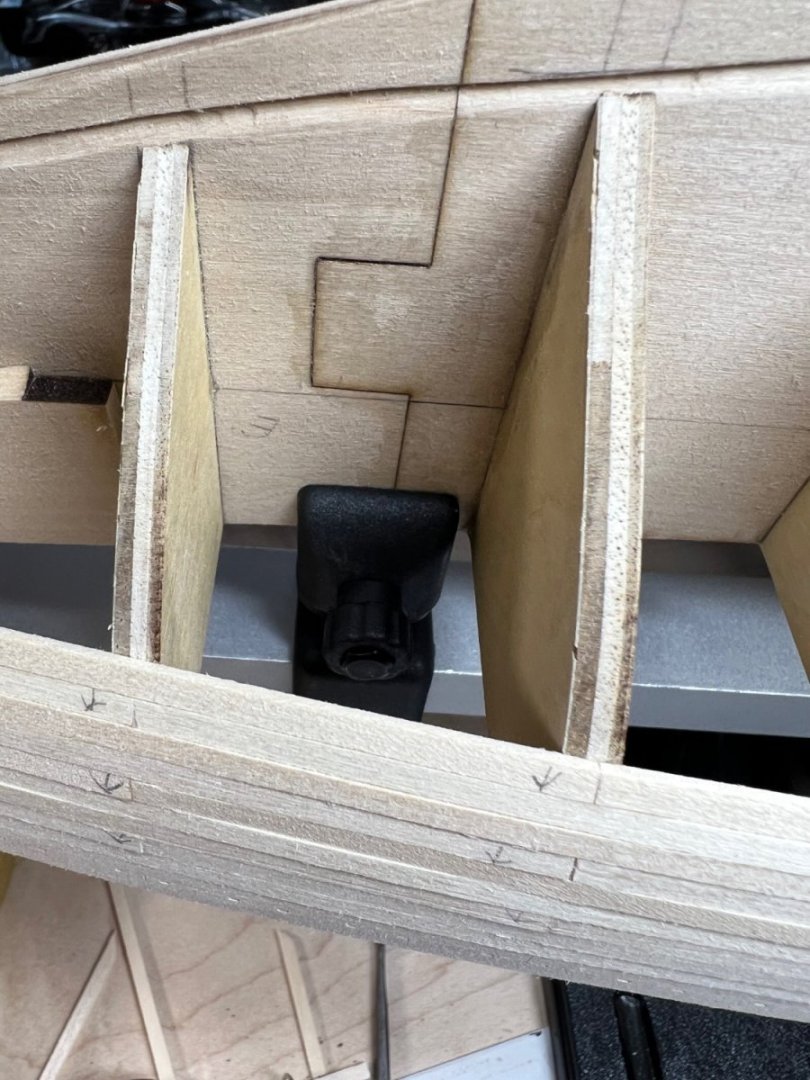
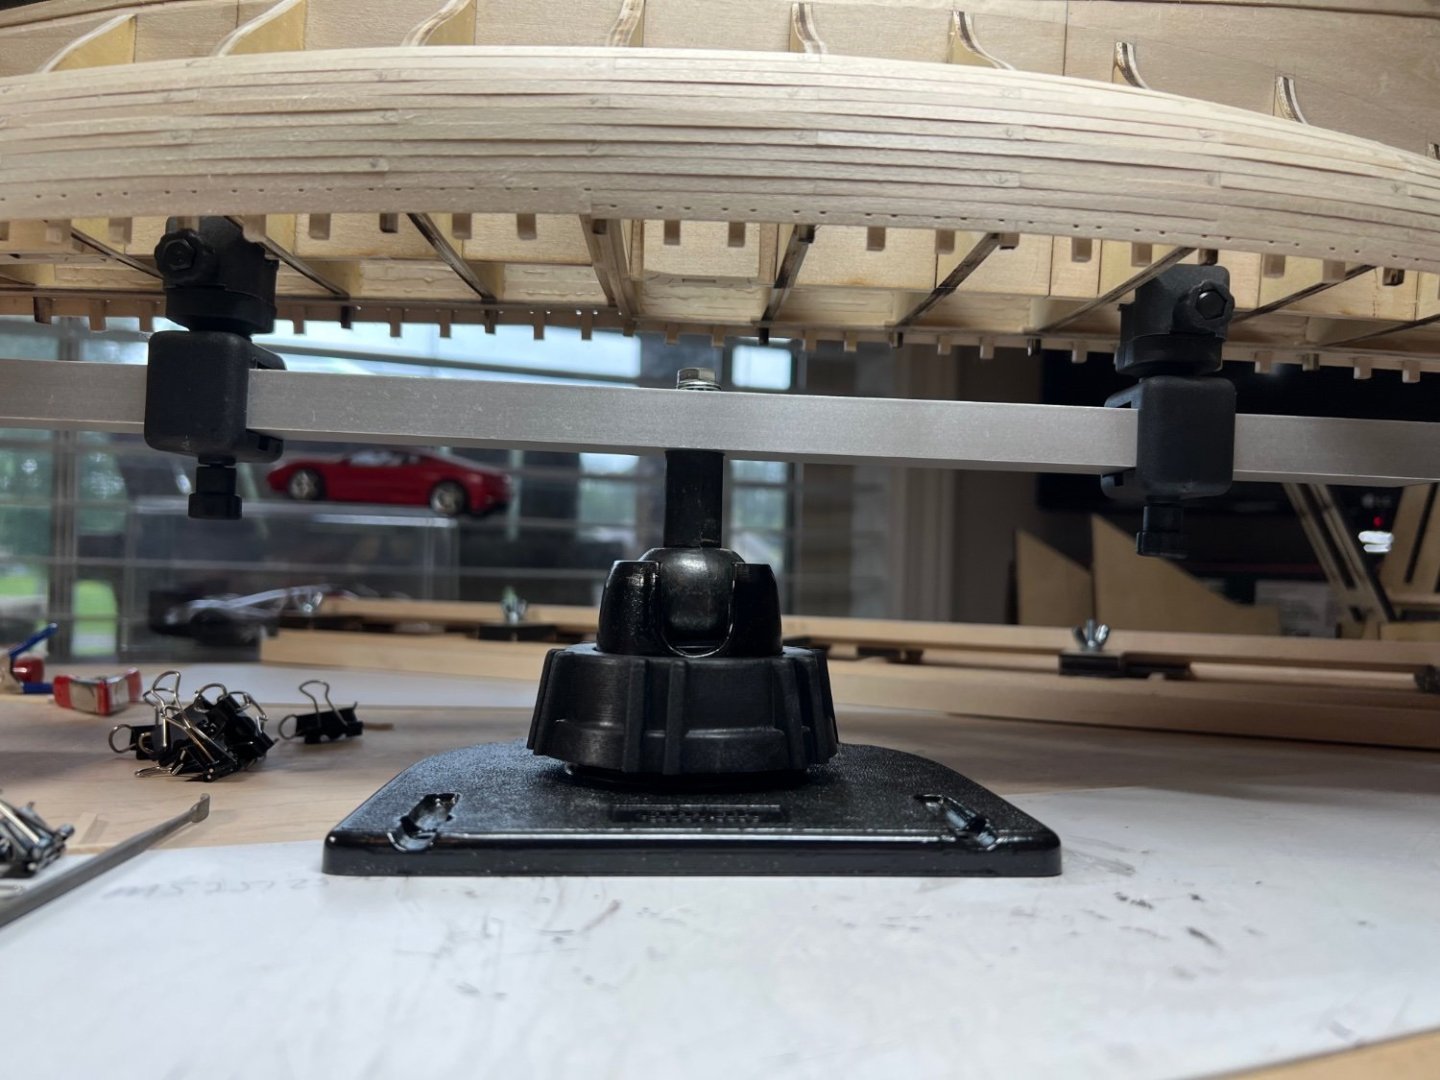
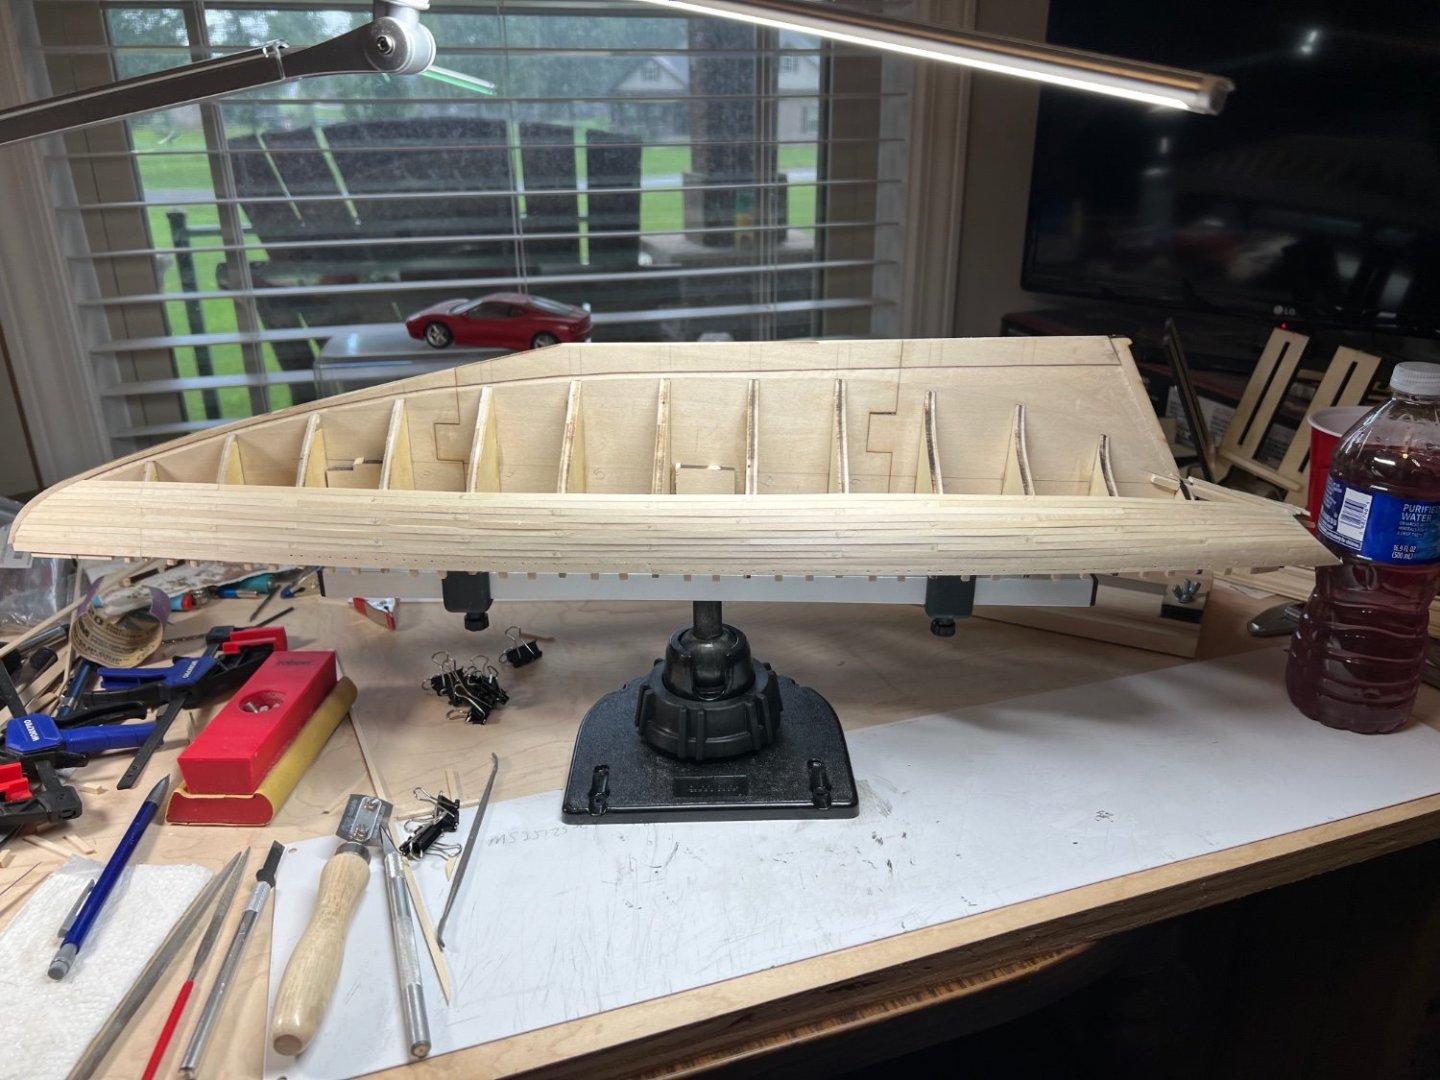
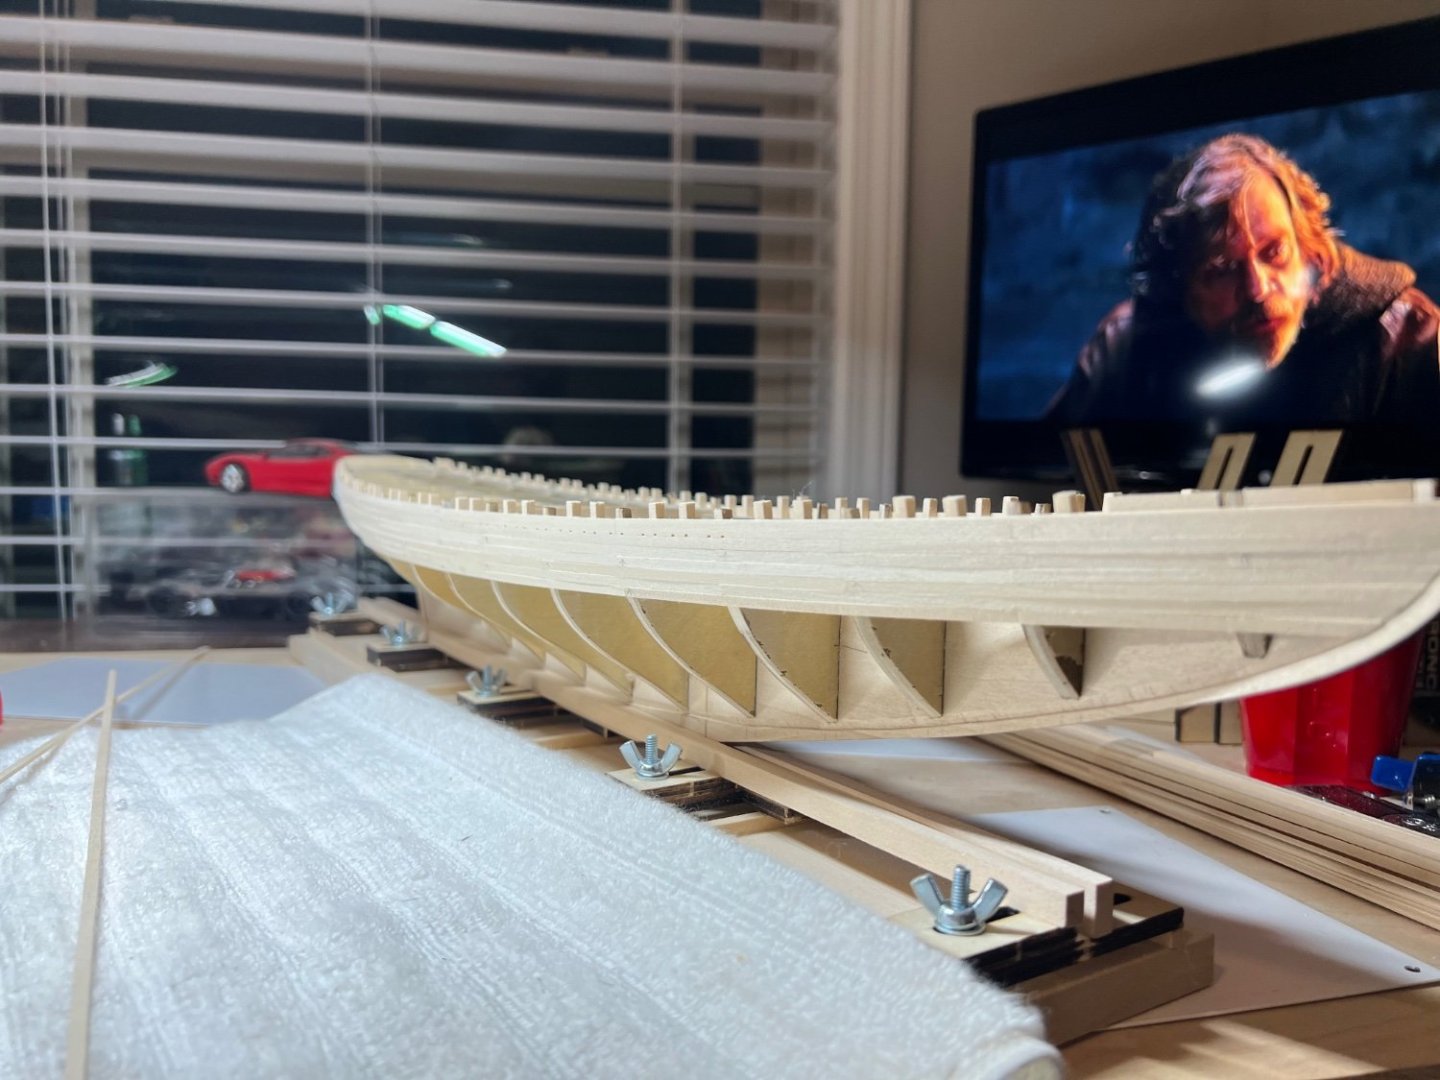
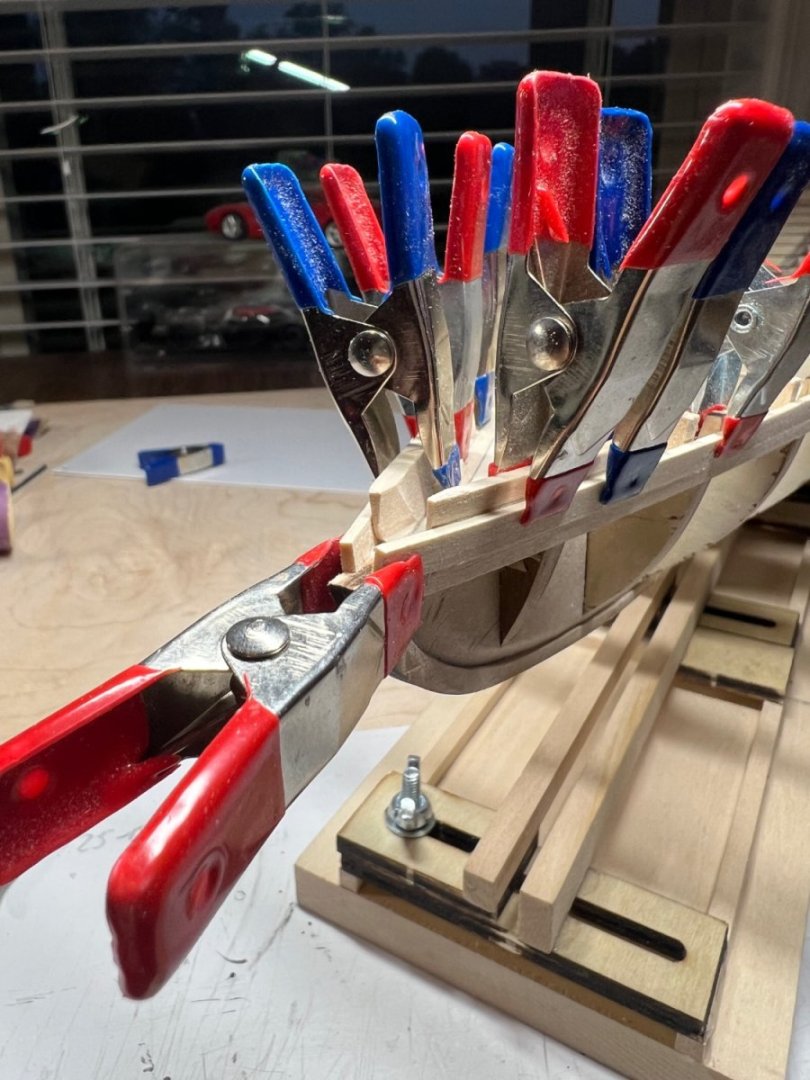
Now it’s getting real. All I’ve done is mount it. It folds over. It had a heavy base, it’s not falling over. It’s stable enough to push against. It could use a rubber foot to keep it from sliding to easy. Something I learned today. Building a ship, any ship, any complexity, it will be unique to the person building it. No two ships will be identical. I see all kinds of mistakes in mine. I’ve looked at almost every Bluenose build log. I tried to find my old build log or any pictures, they are gone, I have no archive. This Bluenose will be as good as I can make it for my current skill level. My goal is to finish. It doesn’t have to be perfect, it just has to be.
-
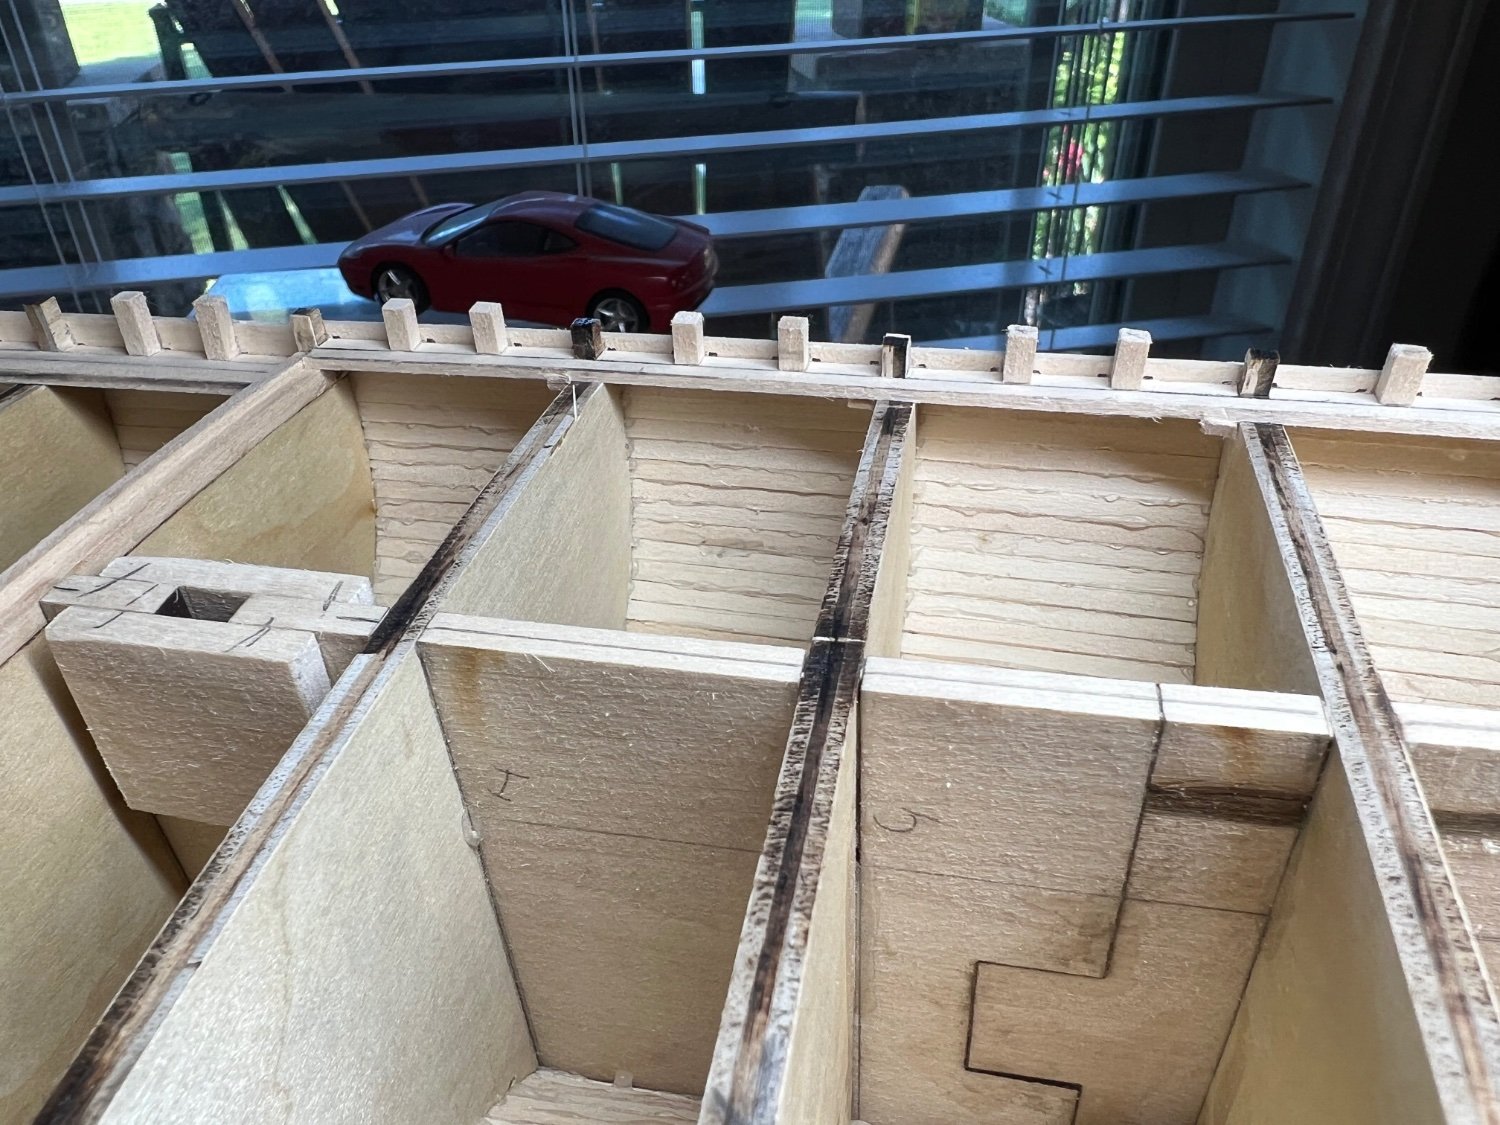
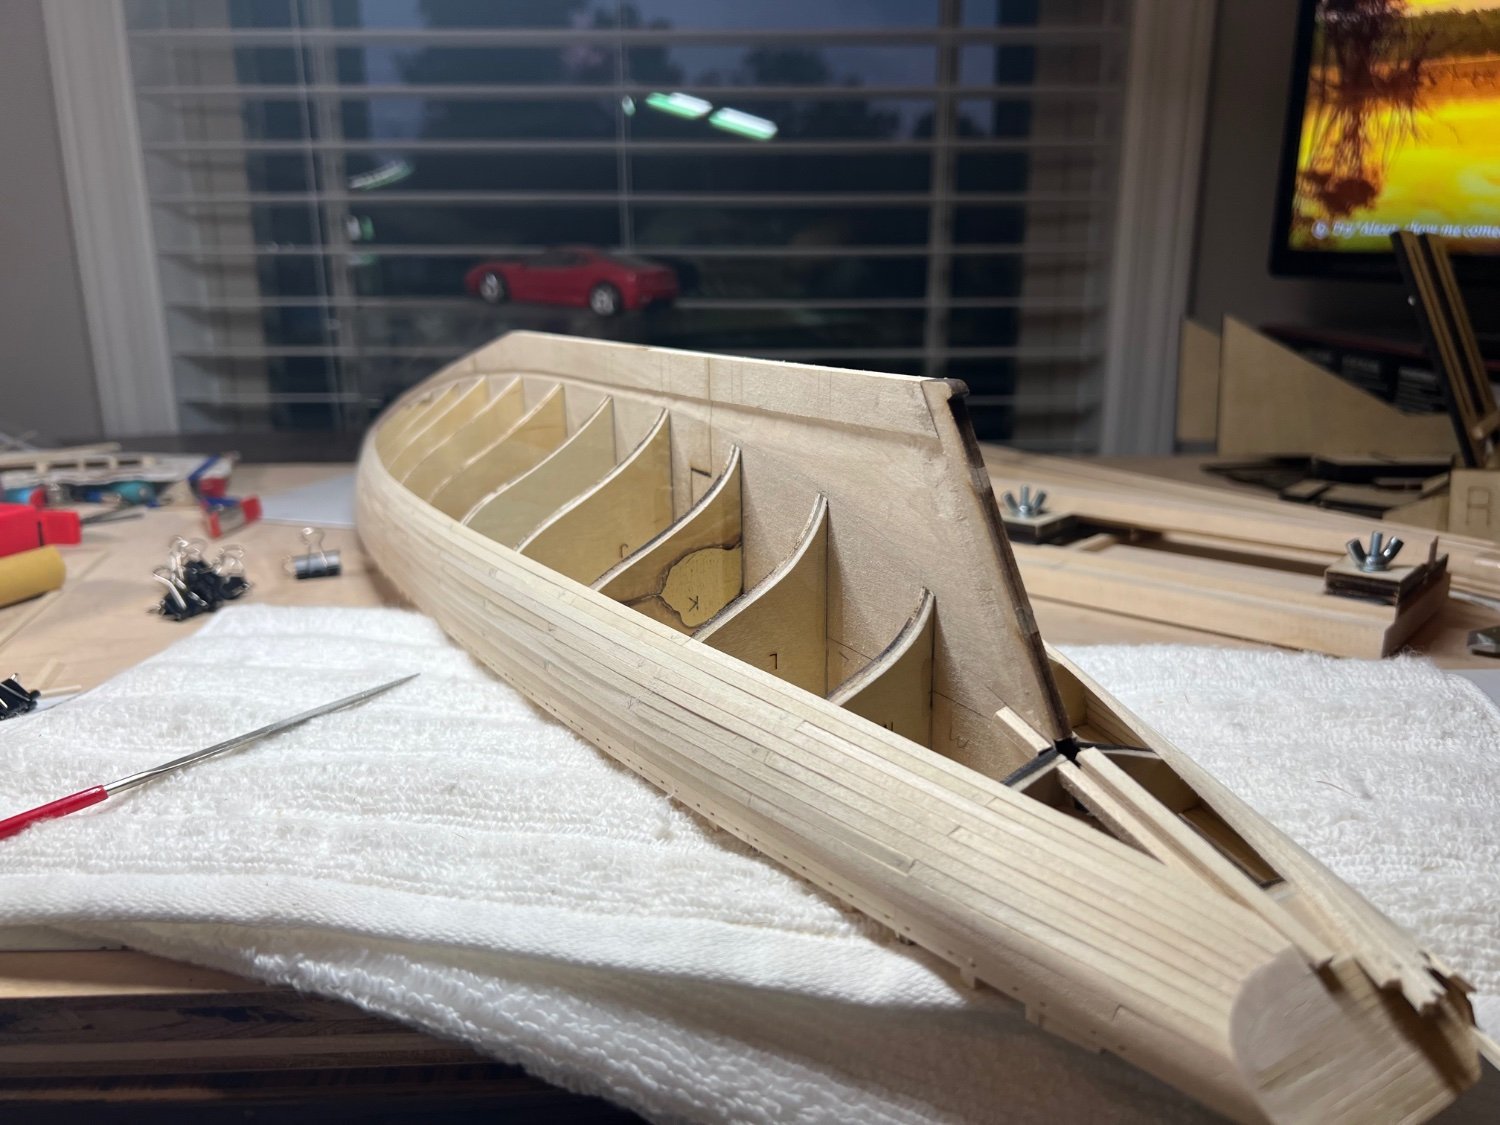
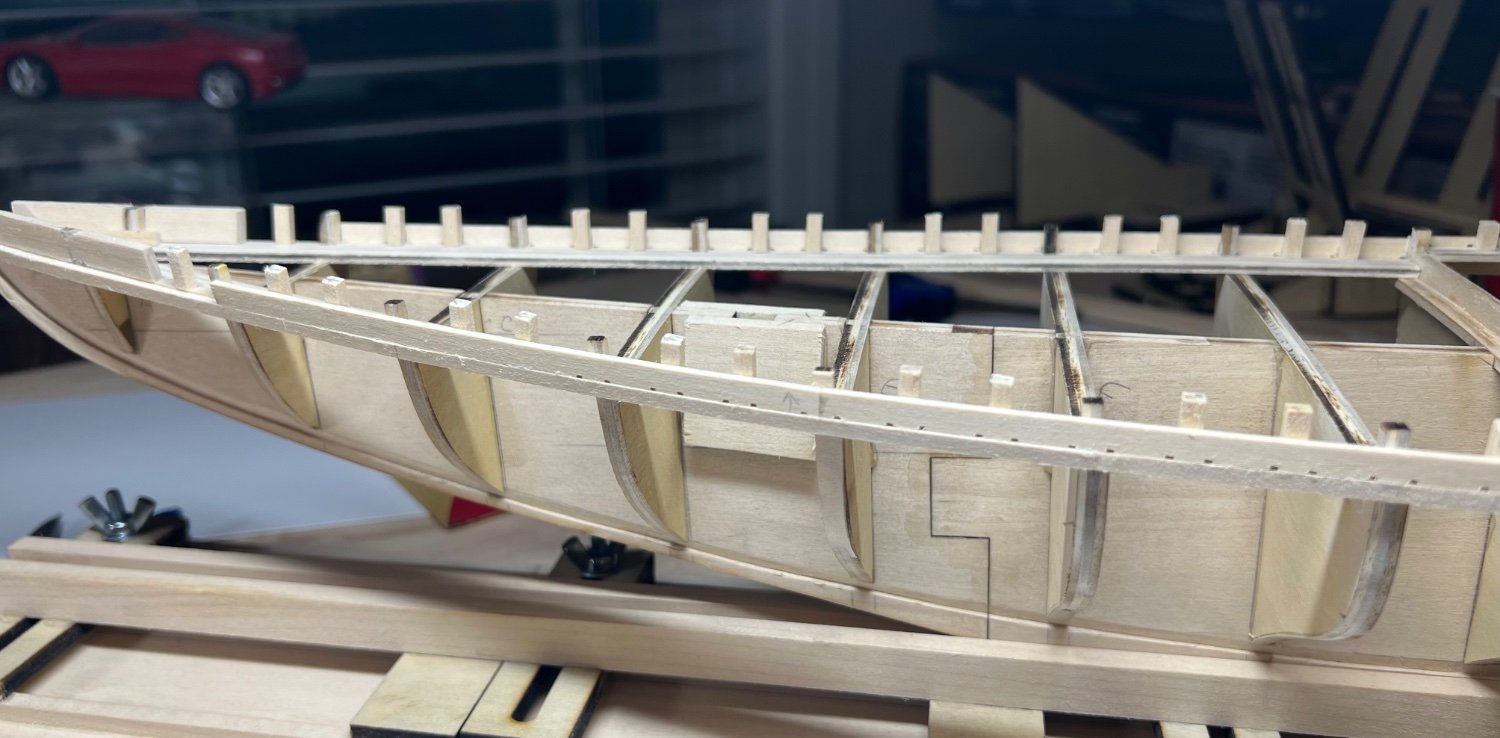
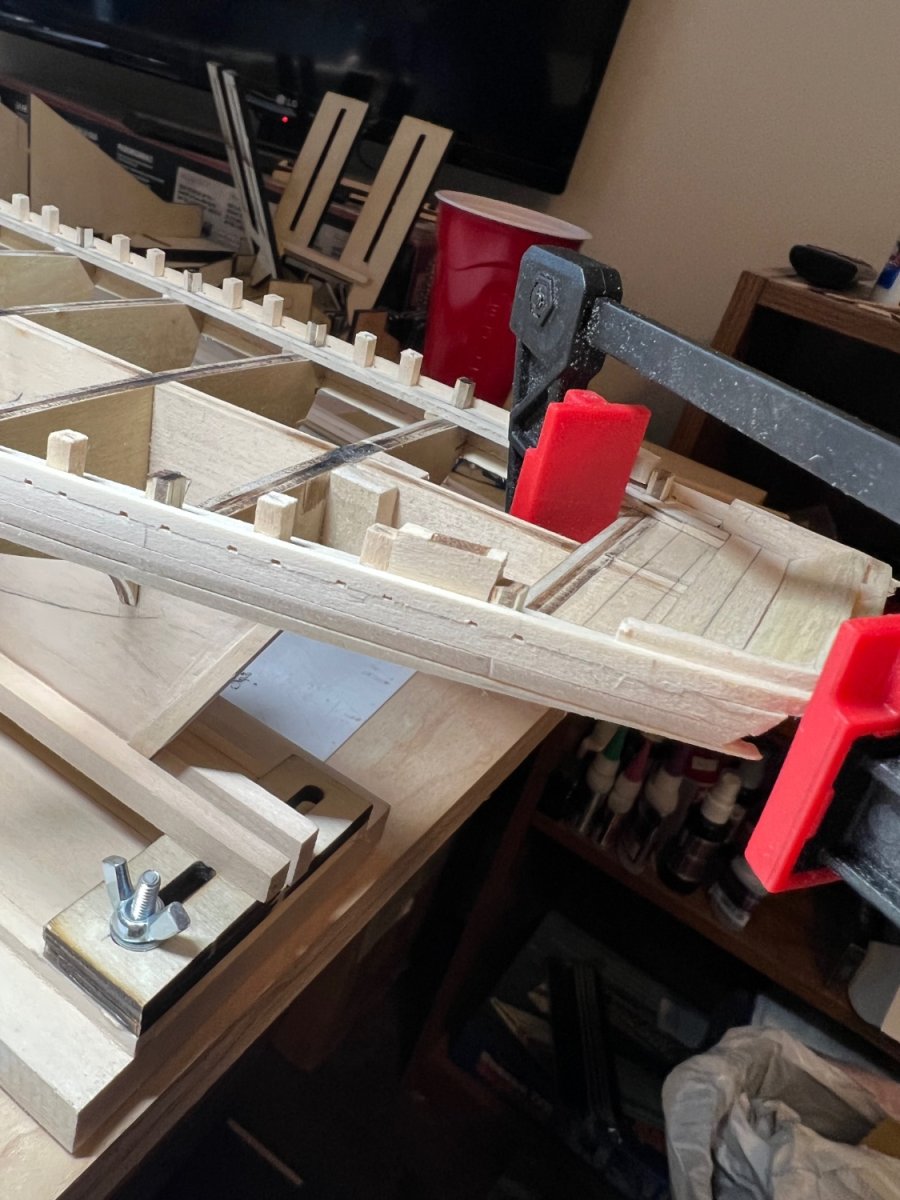
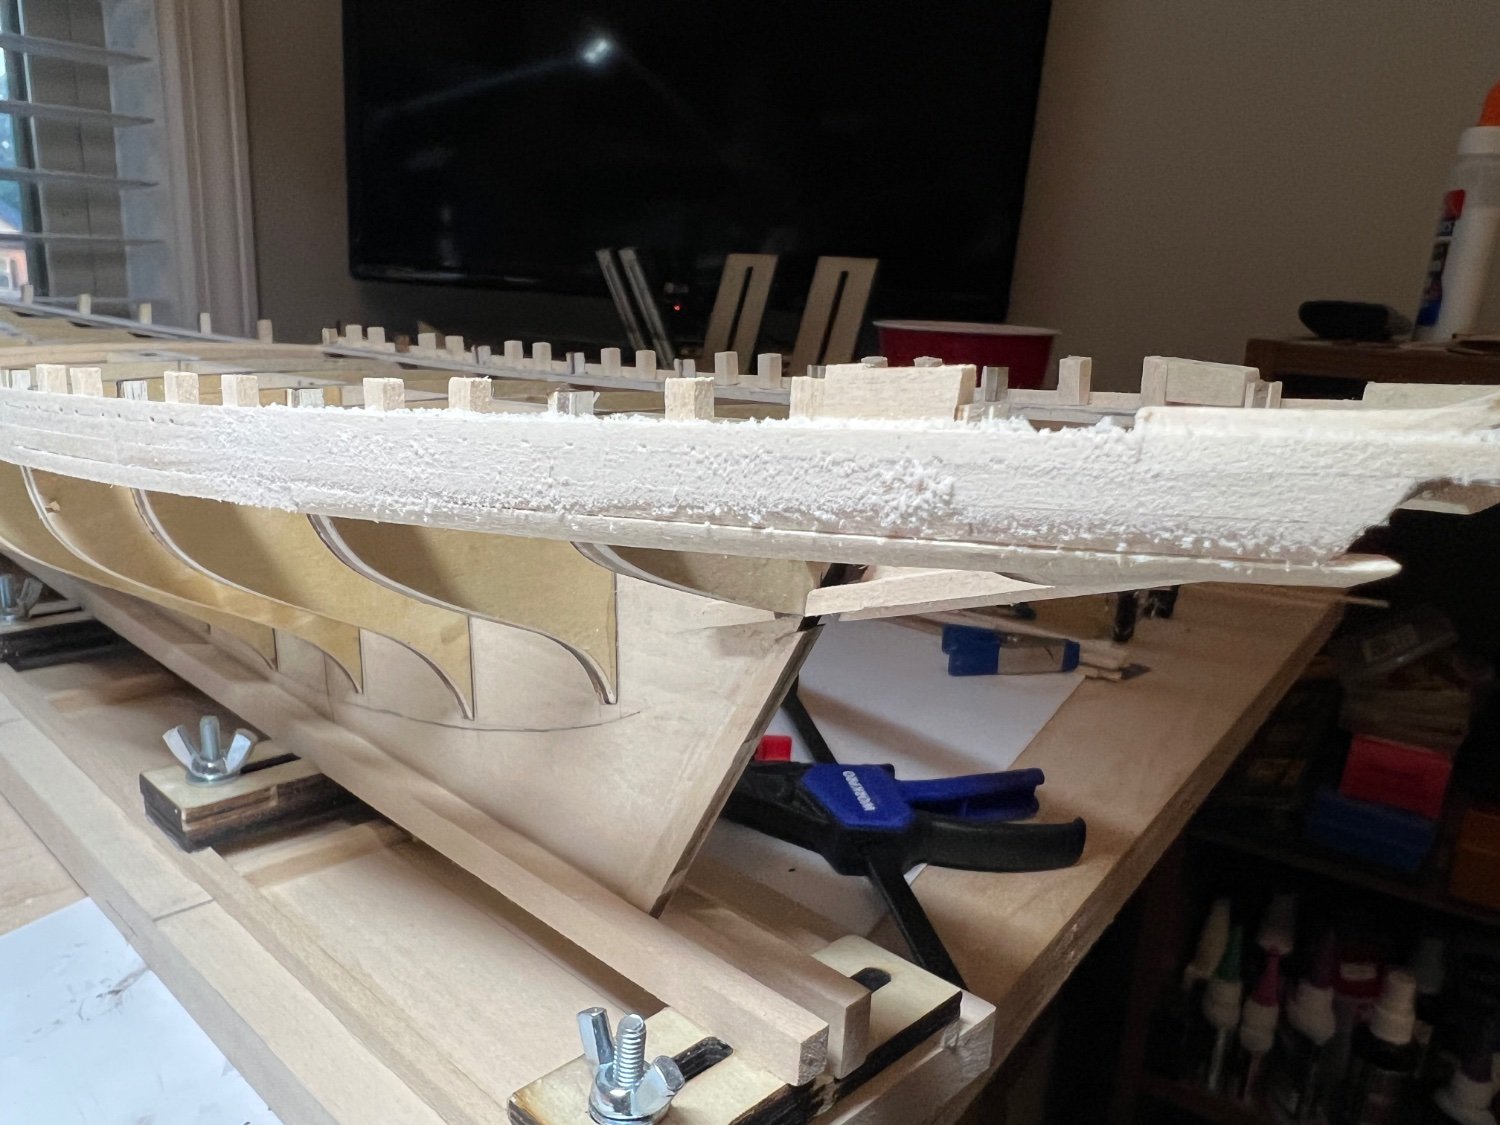
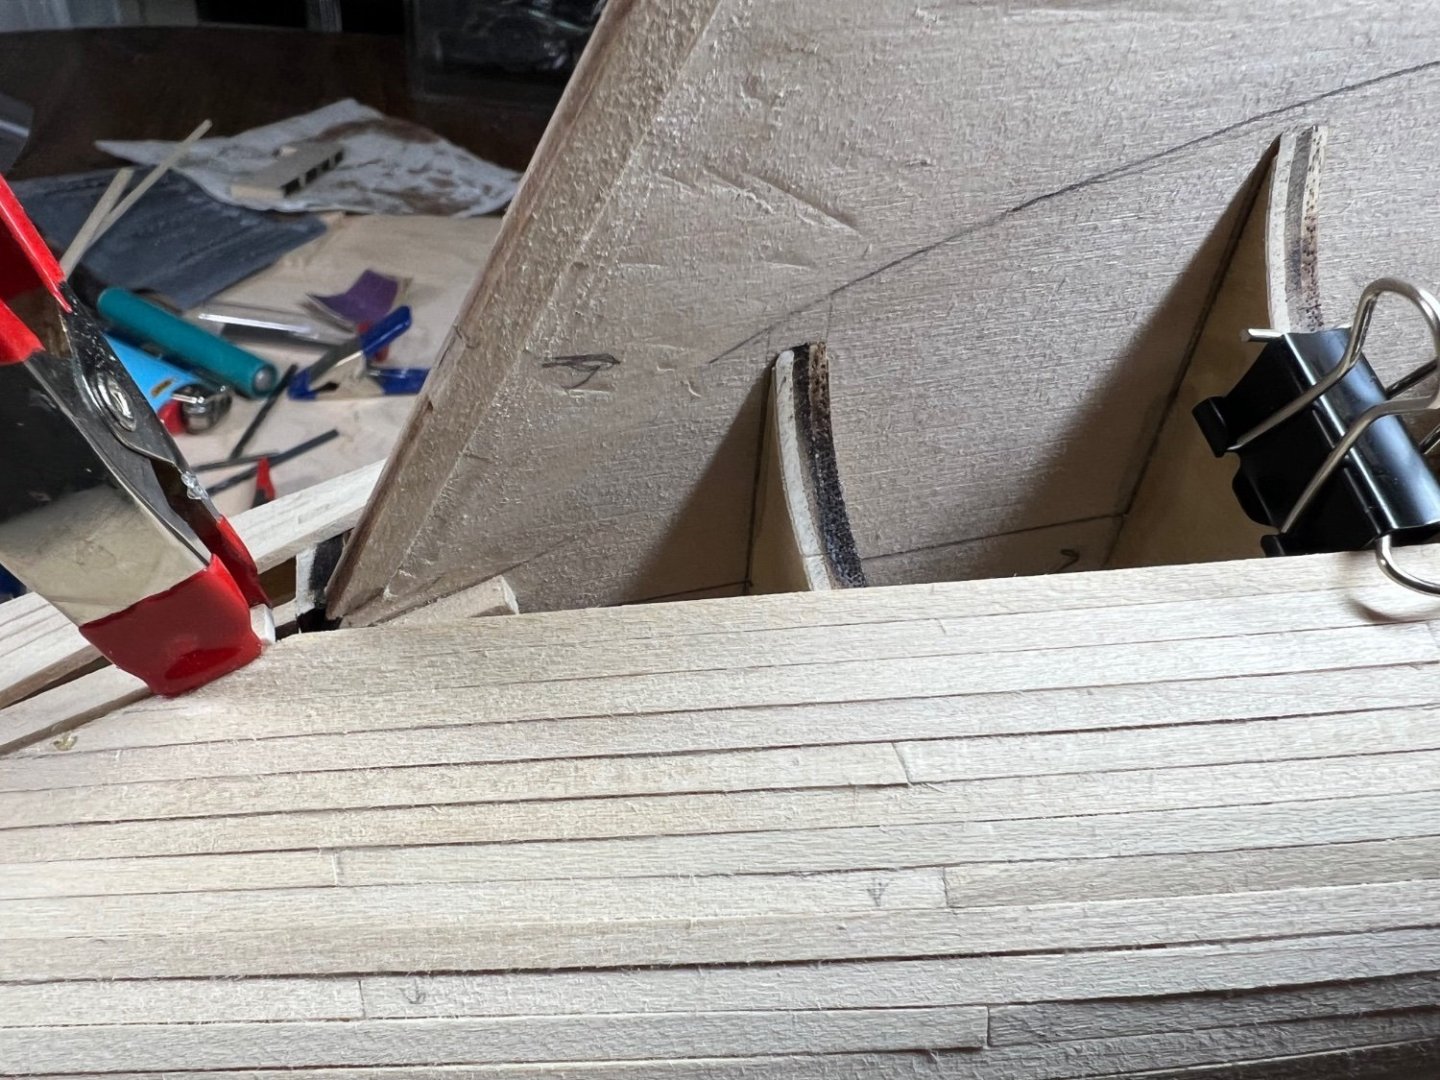
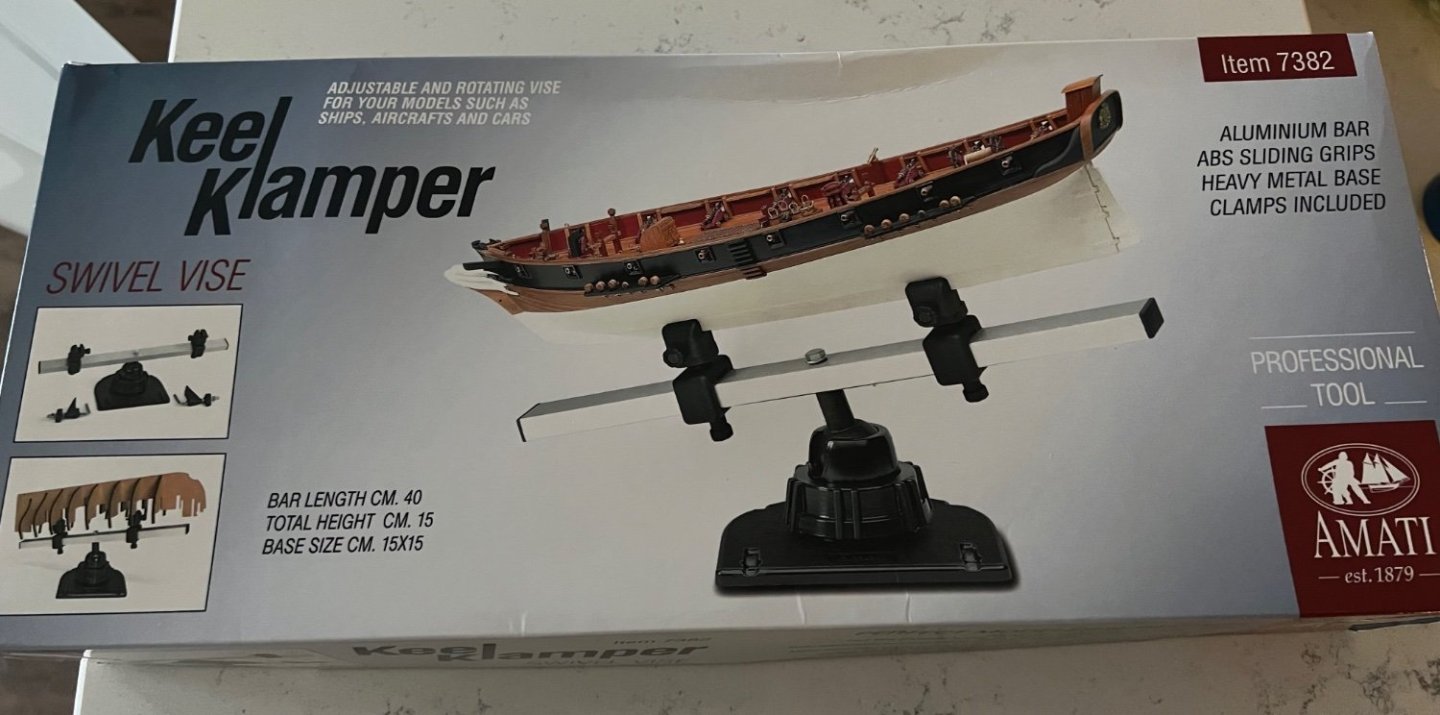
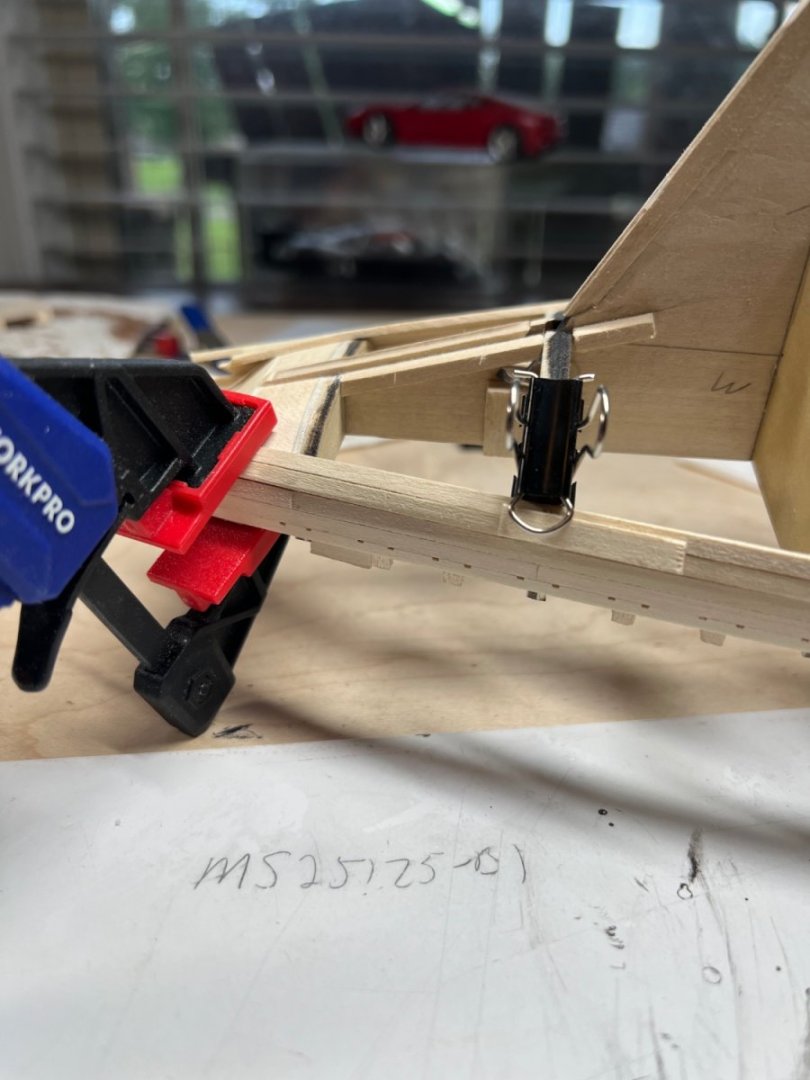
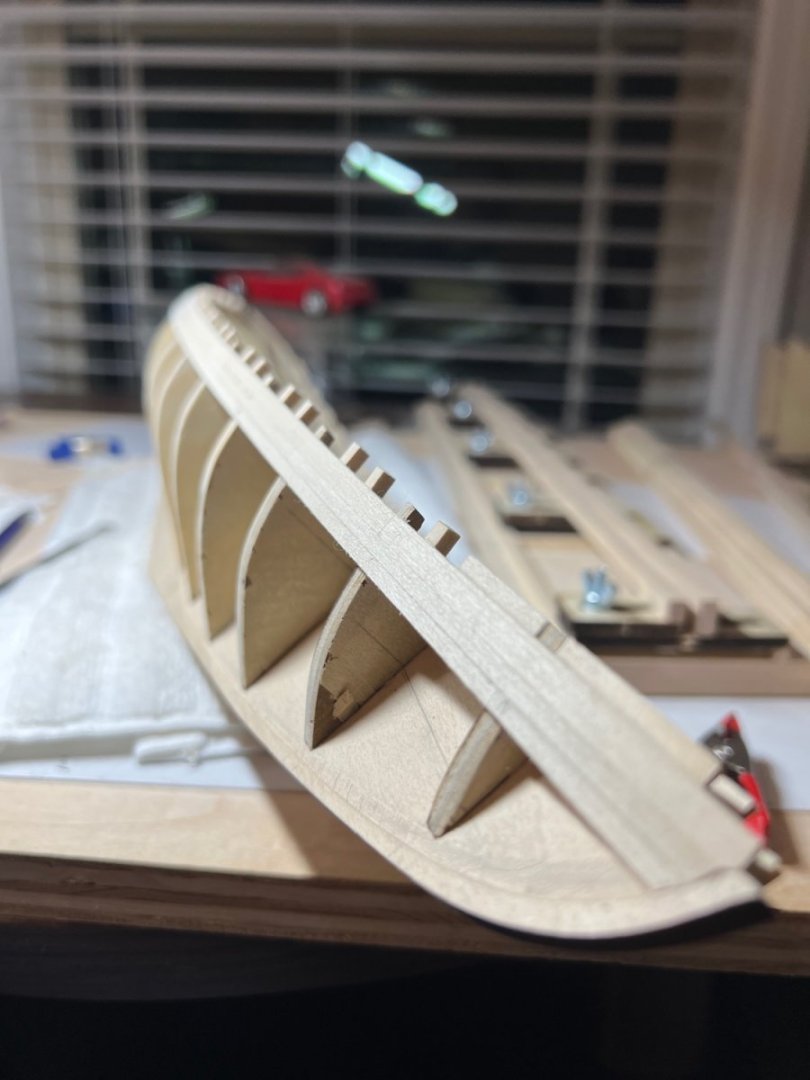
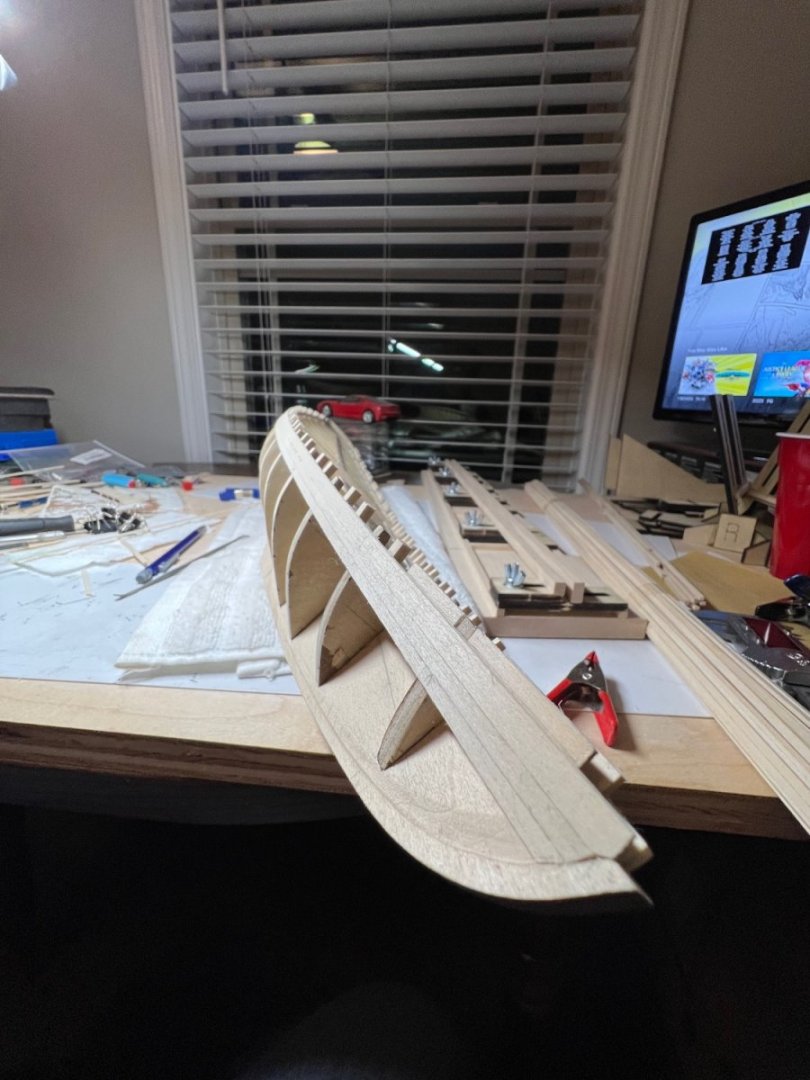
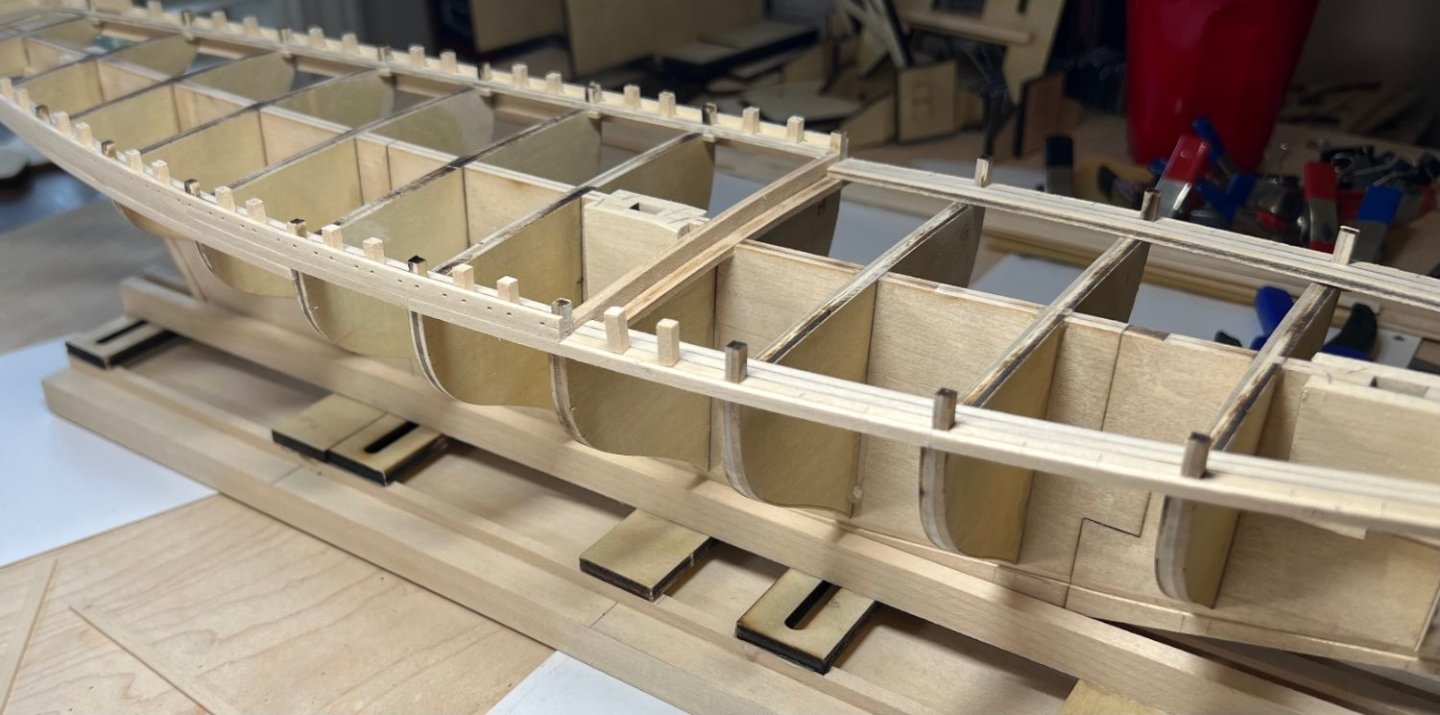
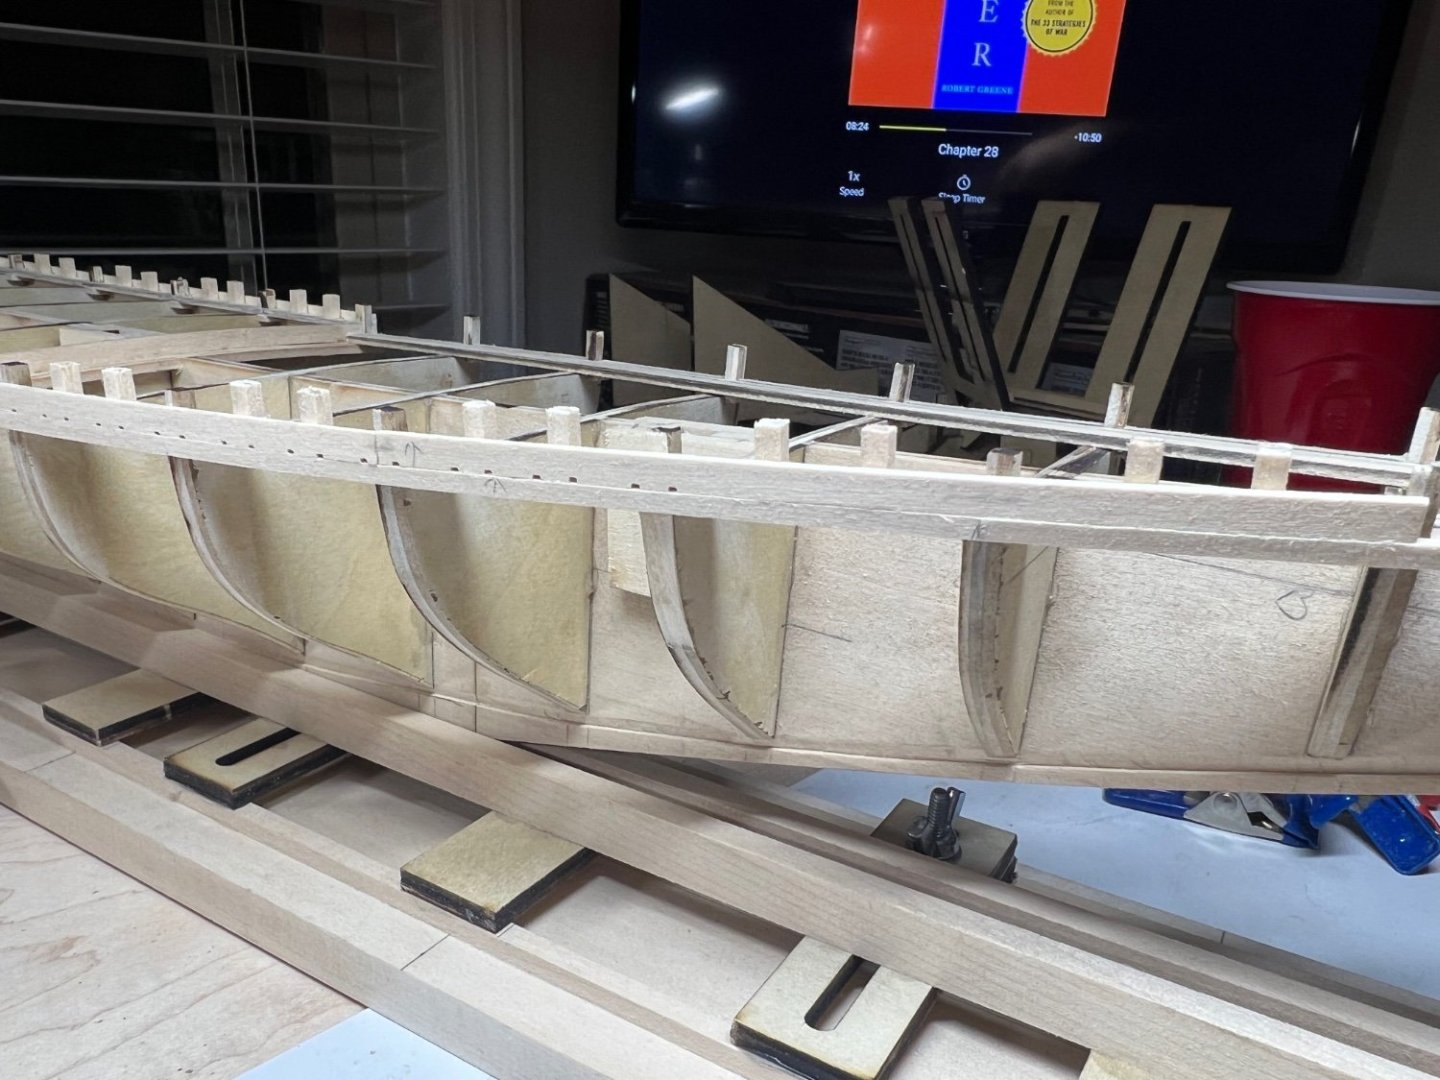
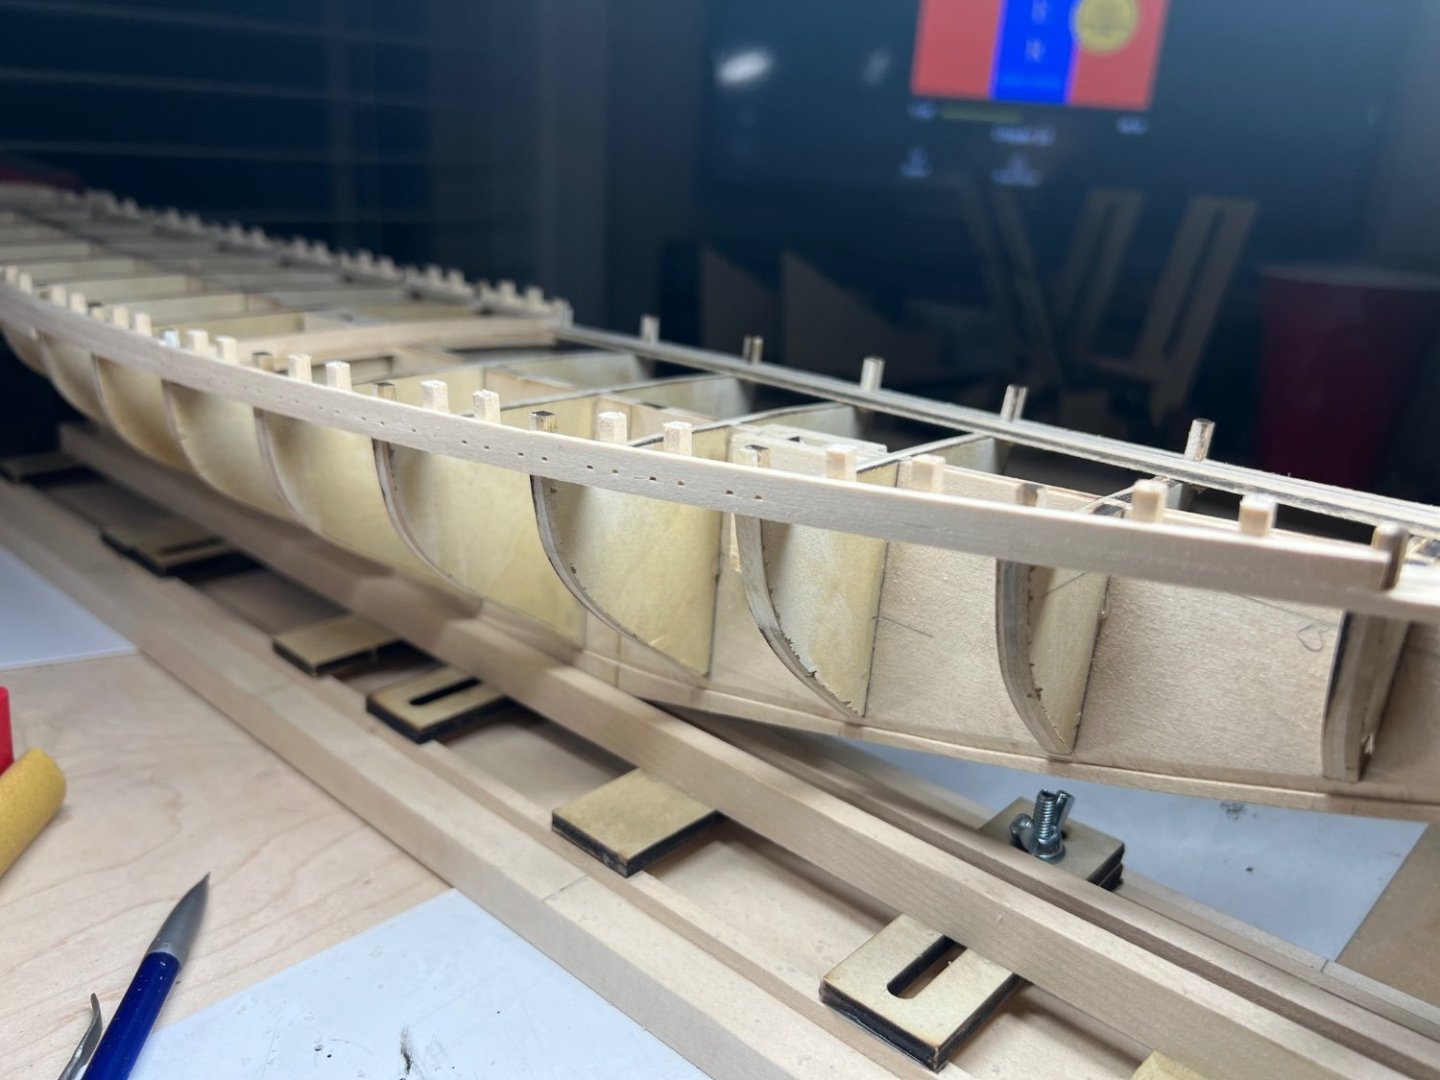
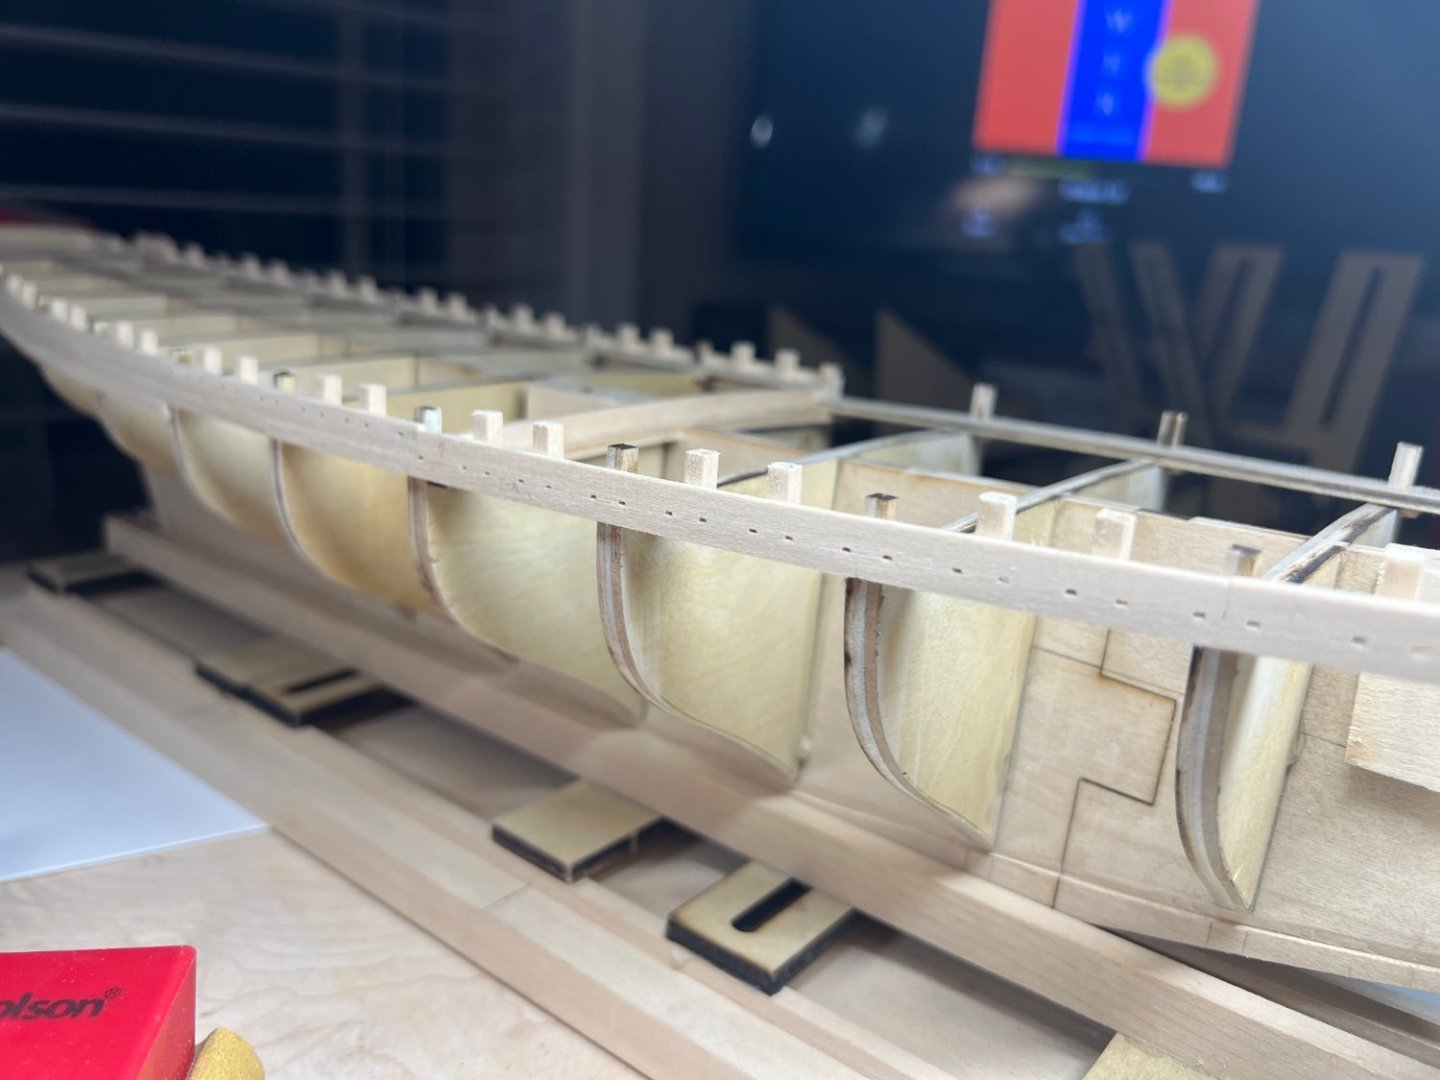
Thank you. It’s humpy bumpy but should sand out good. Every piece is a slightly different size, drives me crazy. The ends of some runs flattened out and didn’t curve. I did 4 bulk head or 3 openings per piece. (Edit, it supposed to be 5 bulkheads and 4 openings. Gasp, way to late now.) Amati Keel Klamper Swivel Vise for Ship Builders, from Micro Mark. Almost all of the others looked unusable or a challenge to keep stable. It’s delivered, I’m at work. I’m the boss so I can’t leave yet lol.
-
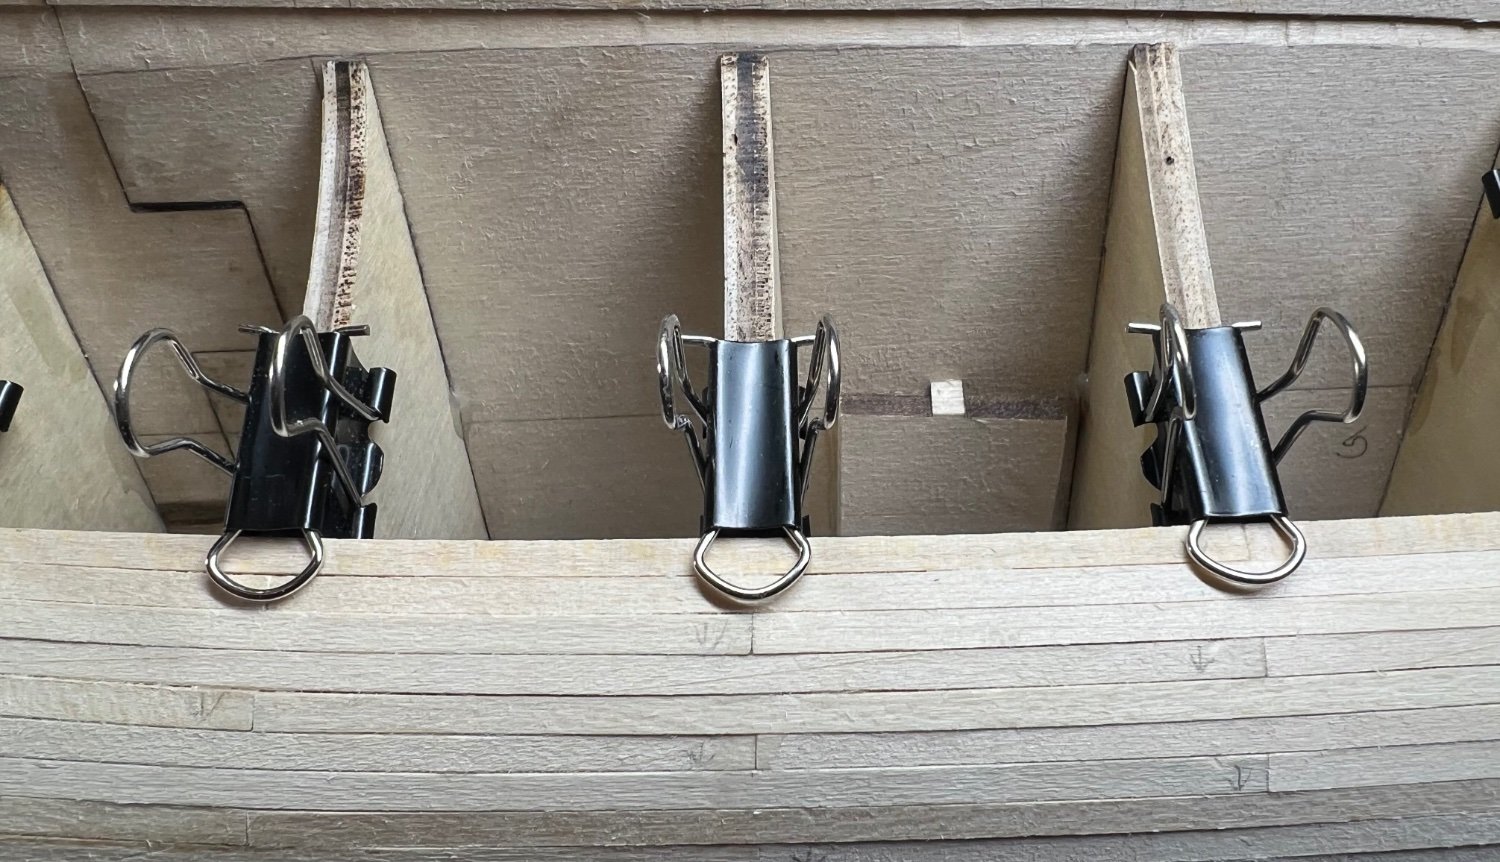
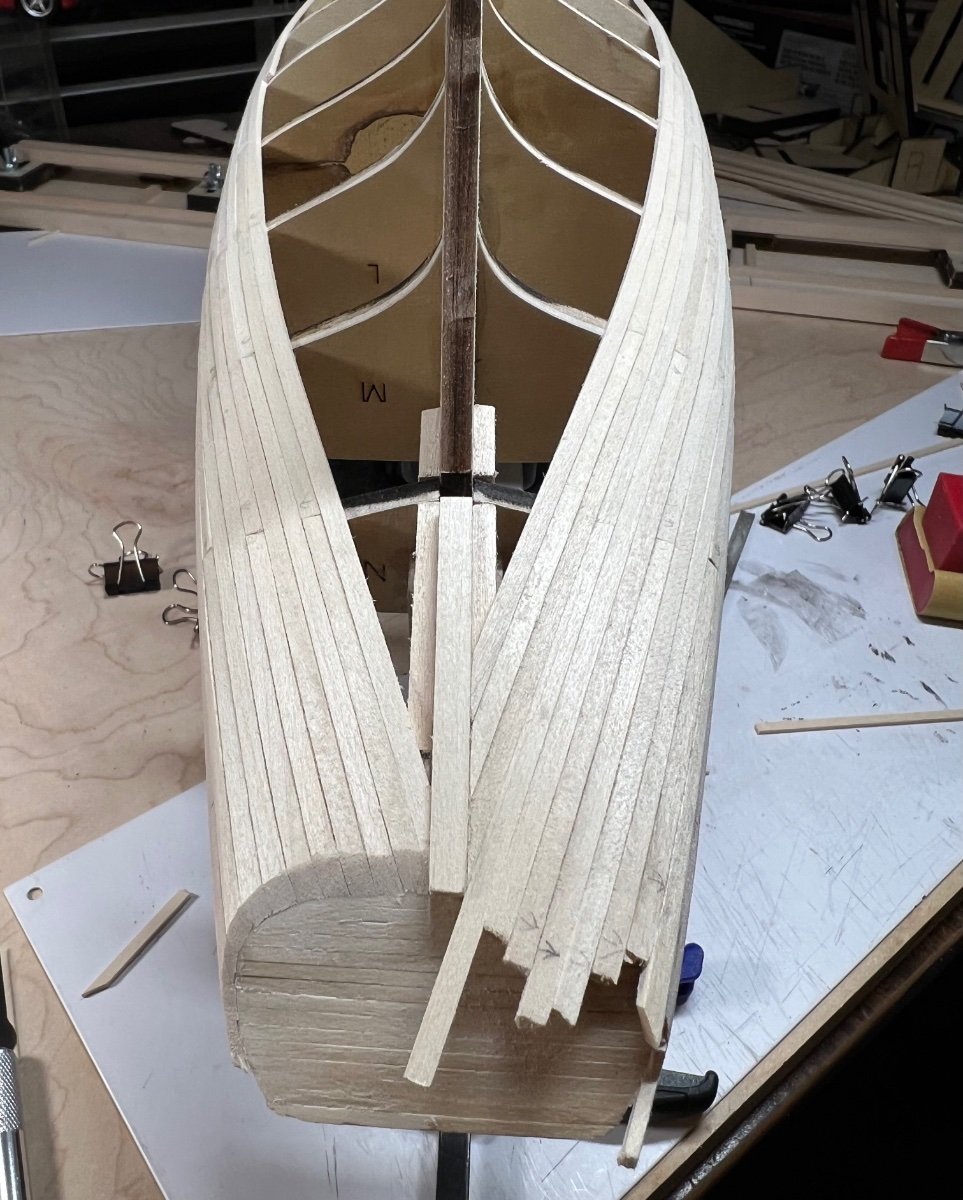
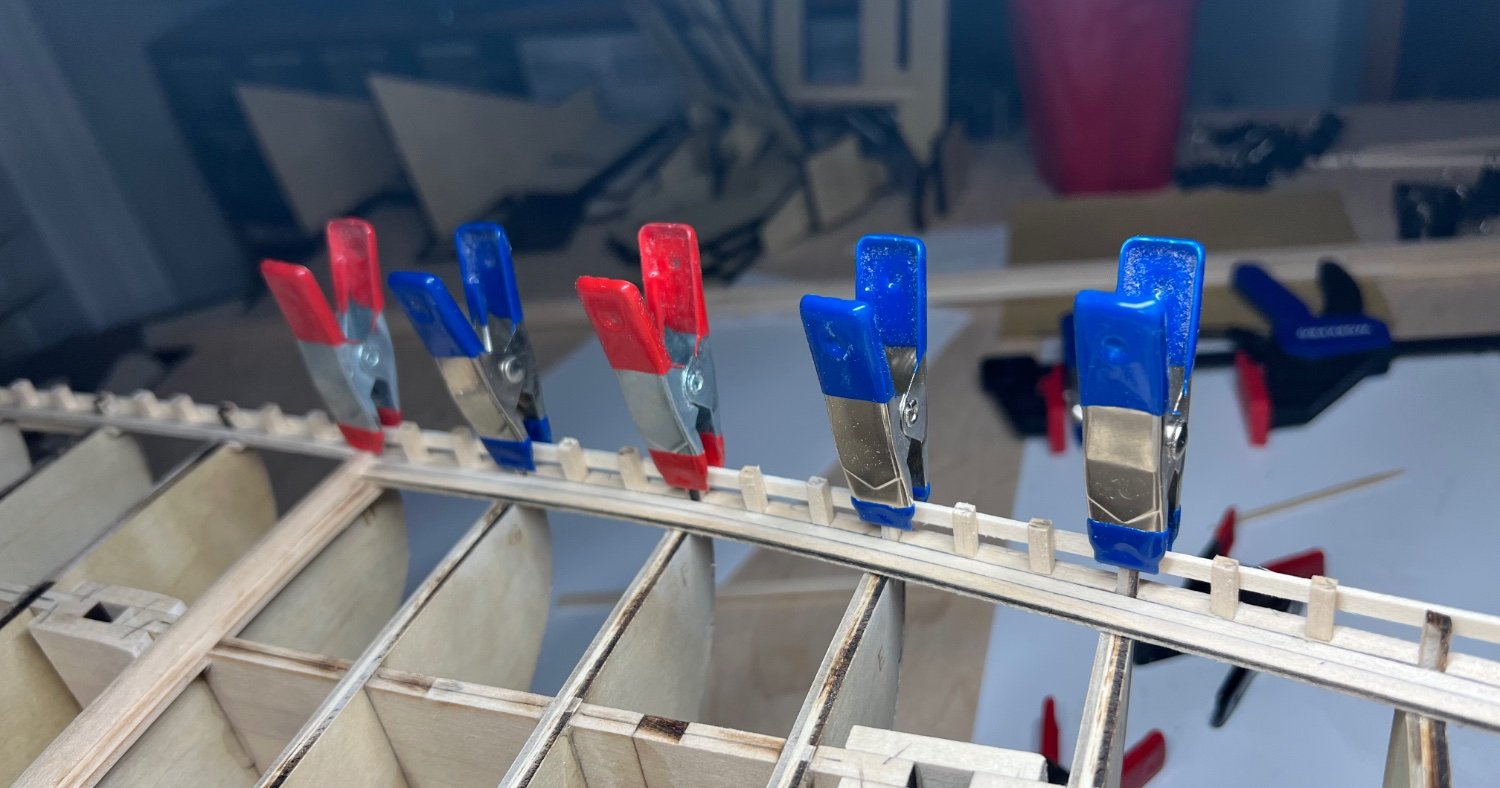
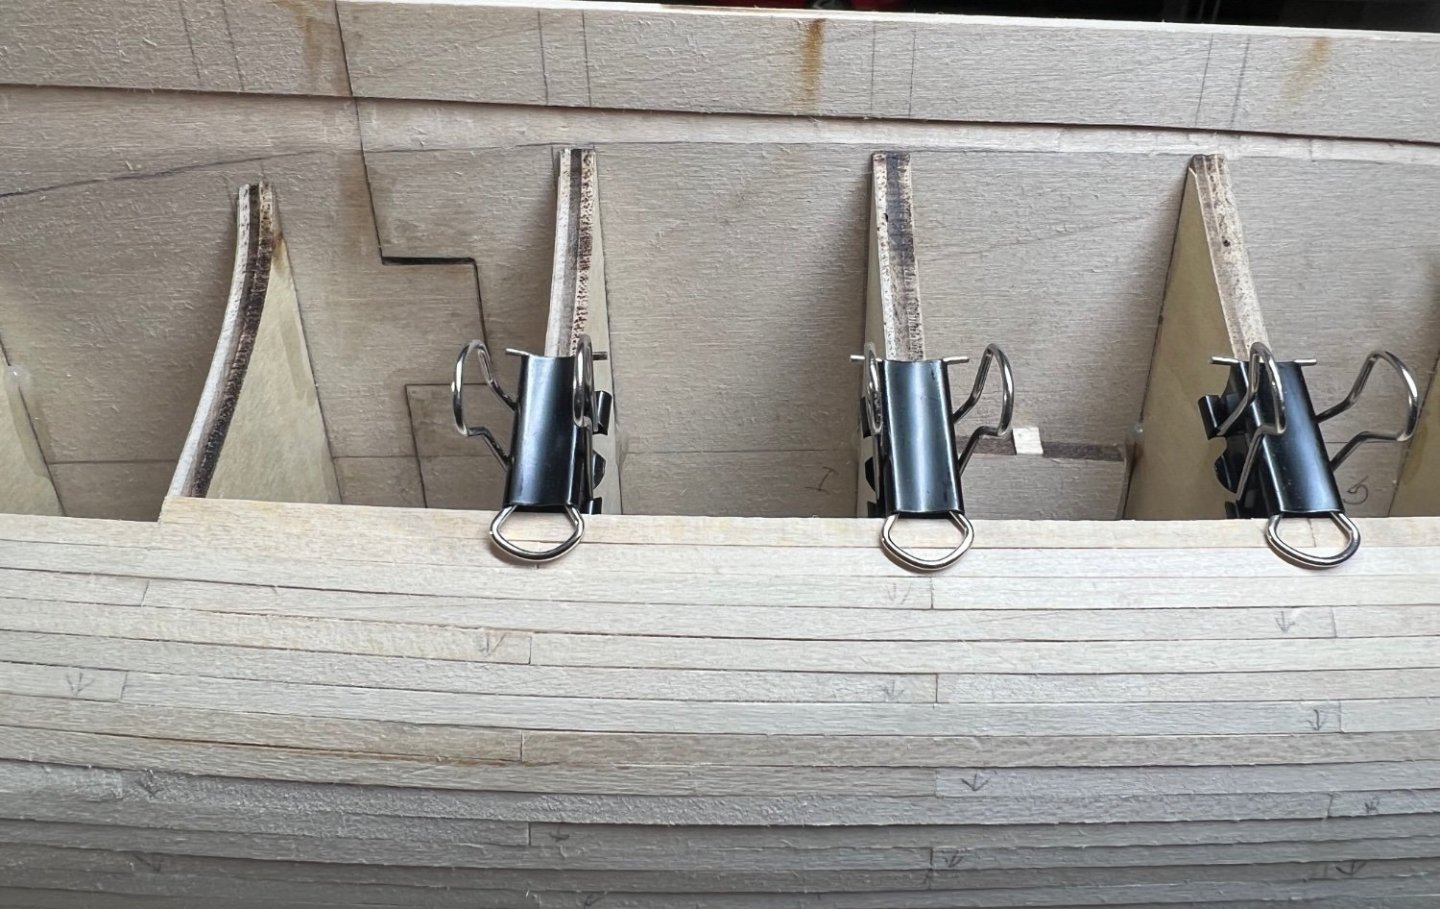
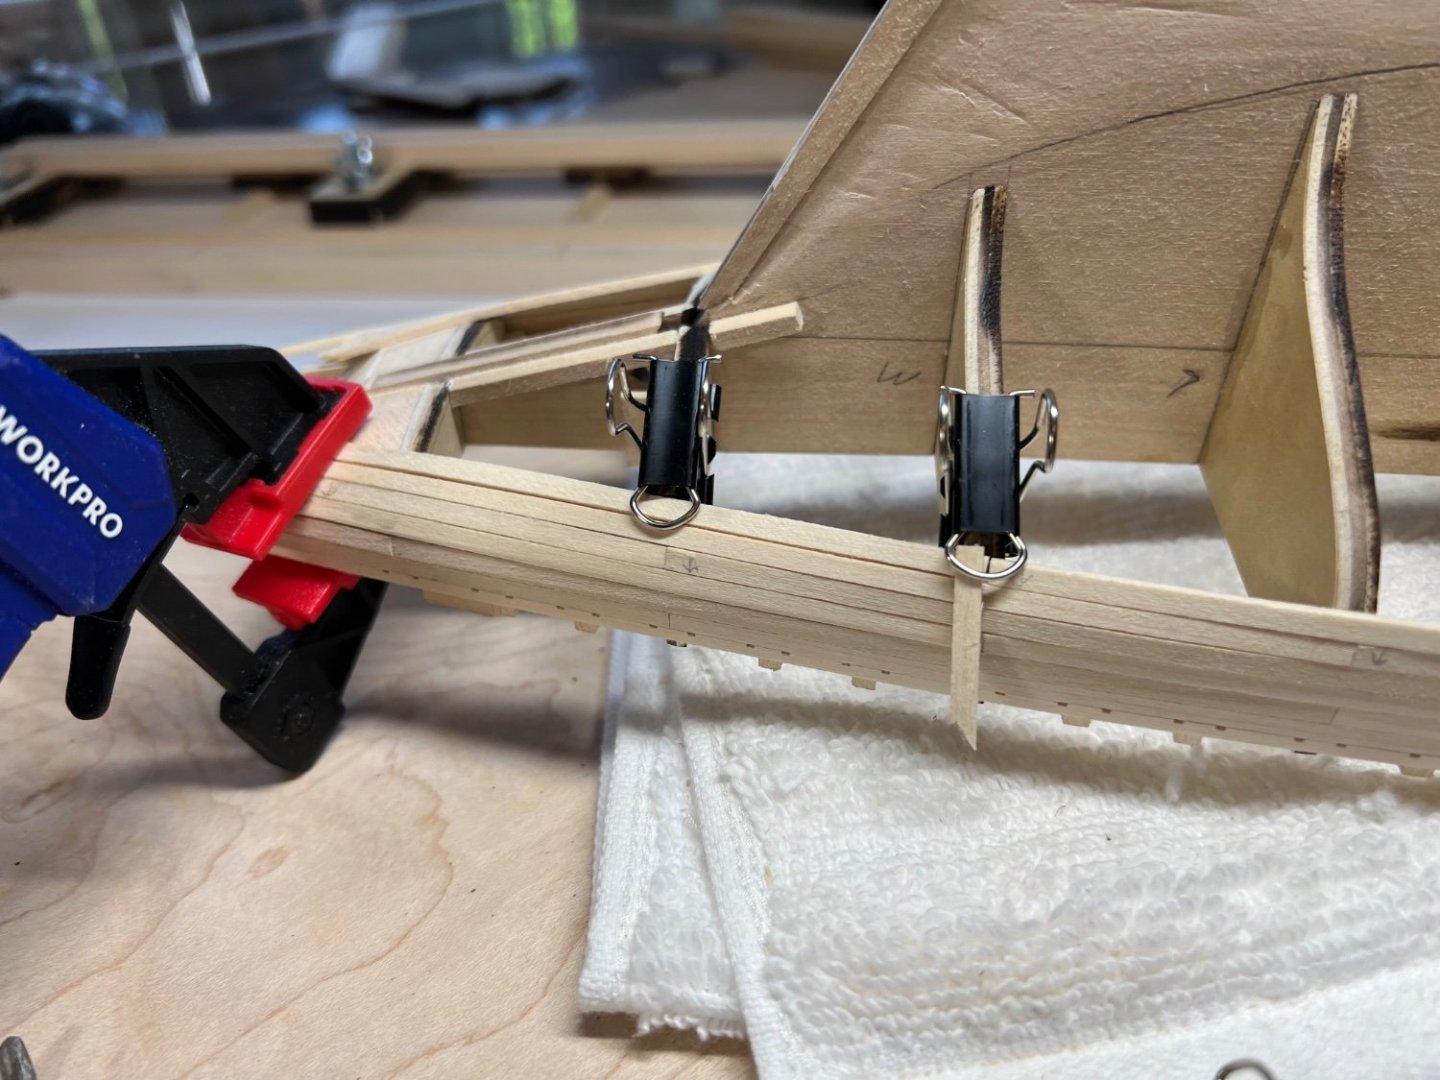
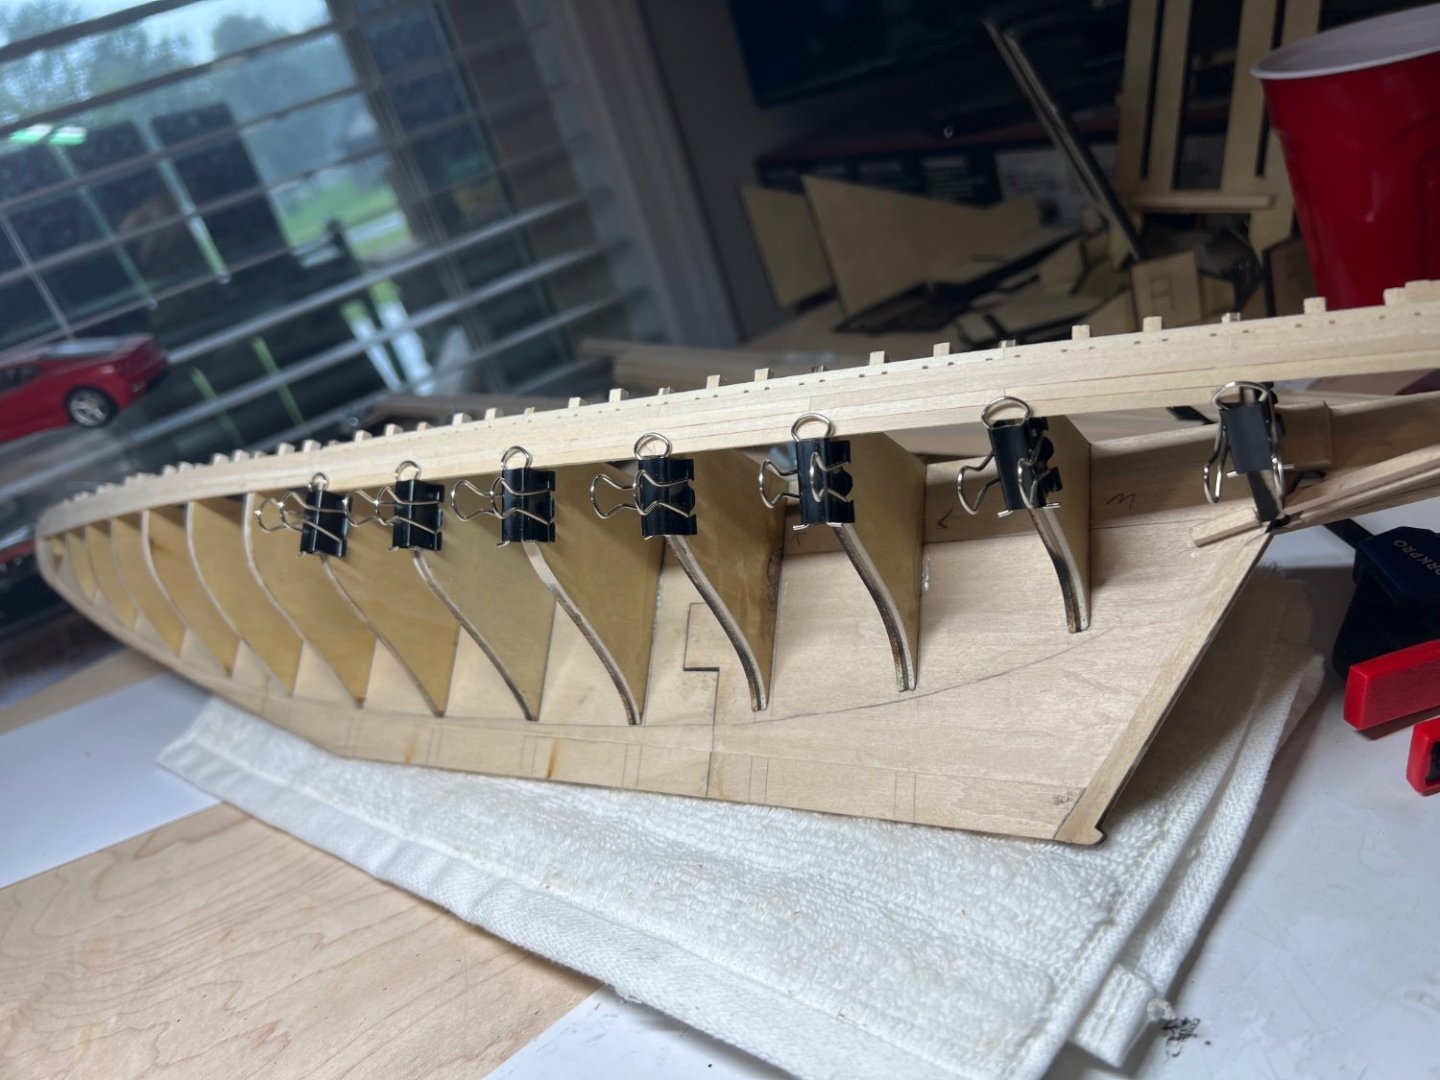
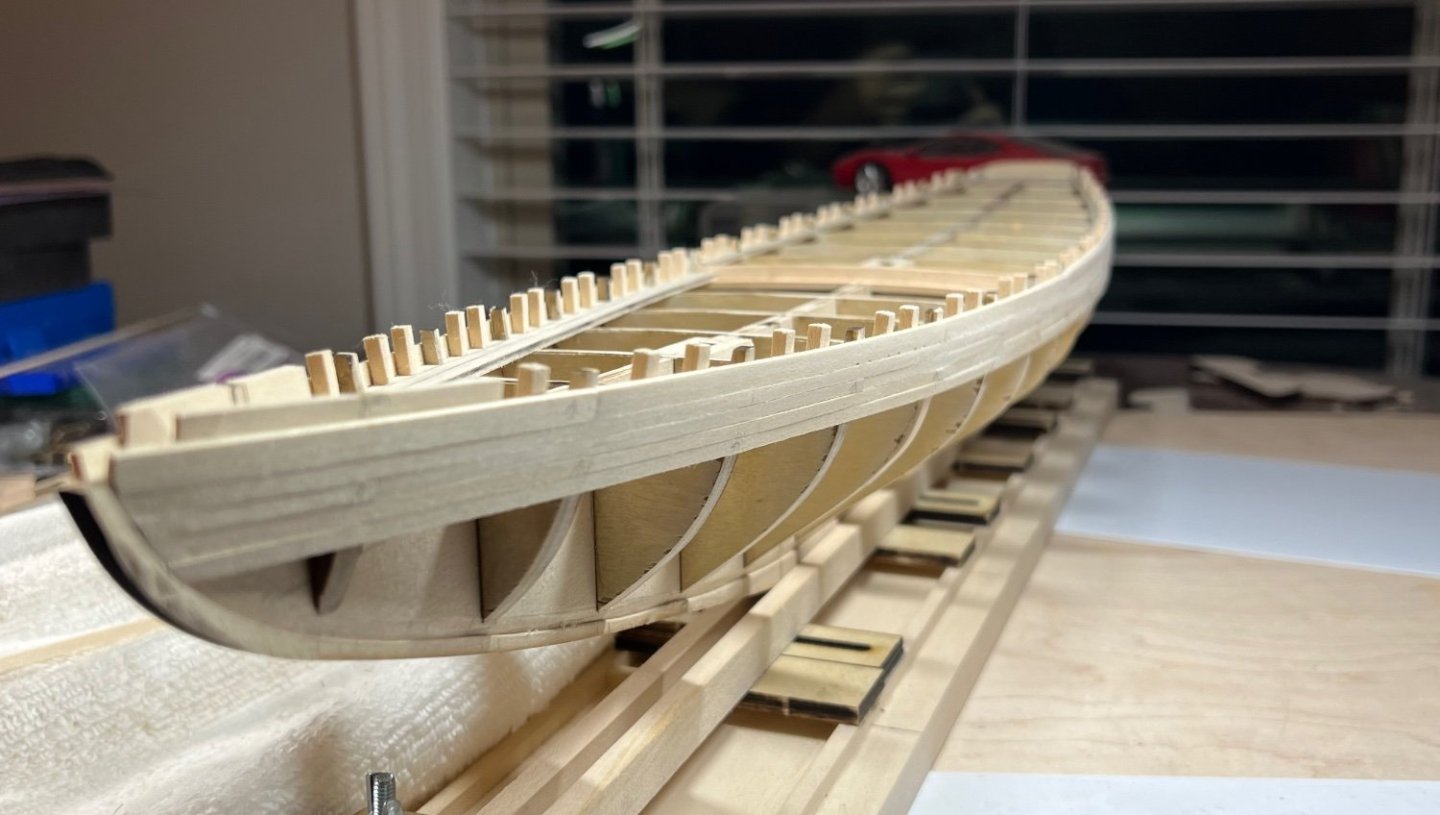
I’ve been at this much of yesterday and most of today. So far an estimate 90 pieces - sized, cut, trimmed, sanded, soaked if needed, dried if needed, glued and held in place. The glue drys quick enough. I’ve got a planking holder vise coming tomorrow so holding this should be easier. 🤞🏻.


-
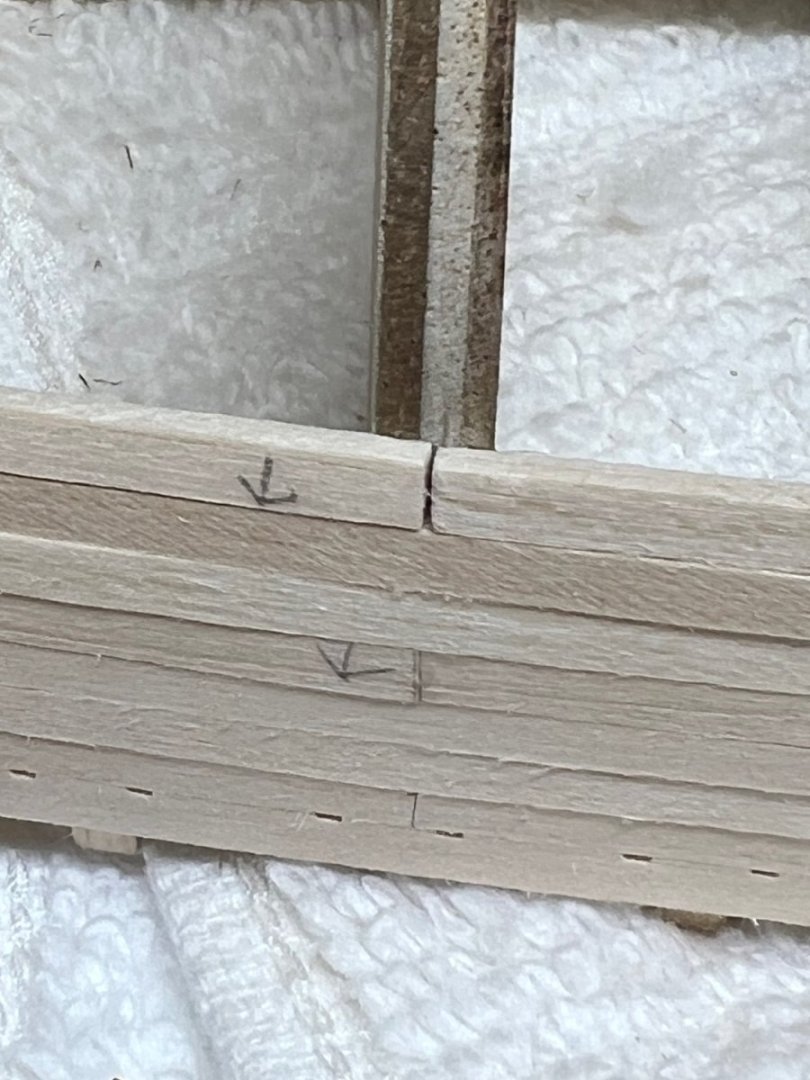
Mind the gap….. it would have been a great fit too. I expect soon this will be the least of my worries lol.
-
Thank you! Slowly working on the rest of it.
-
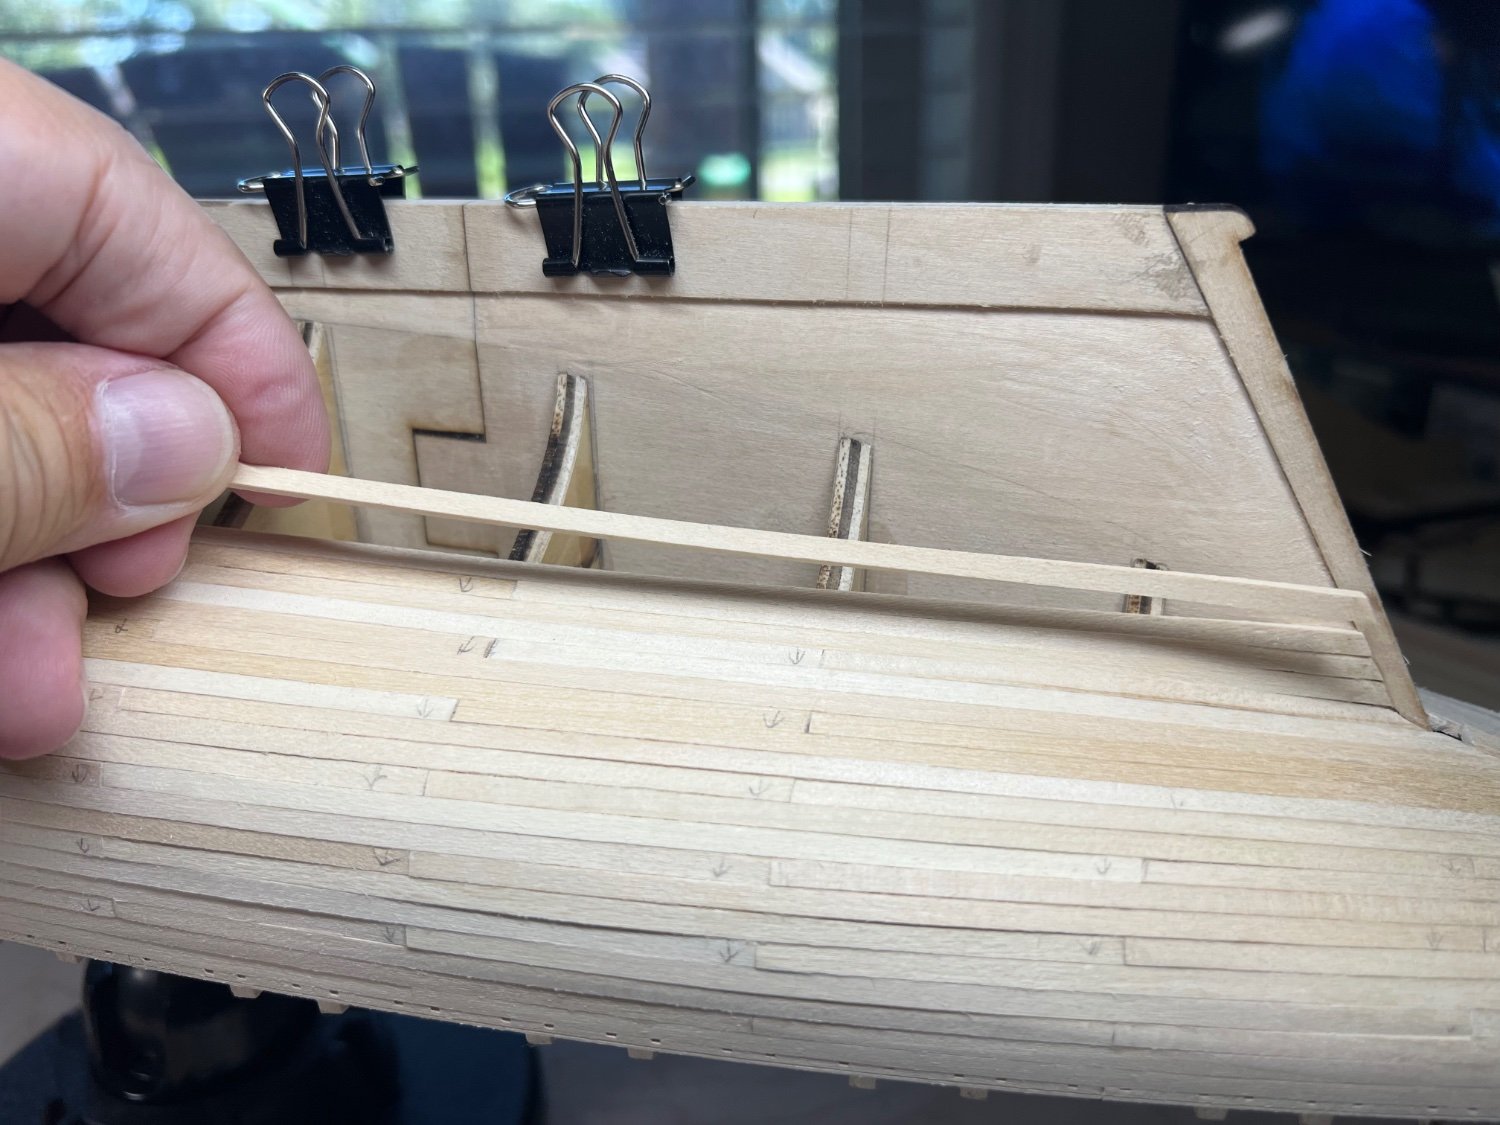
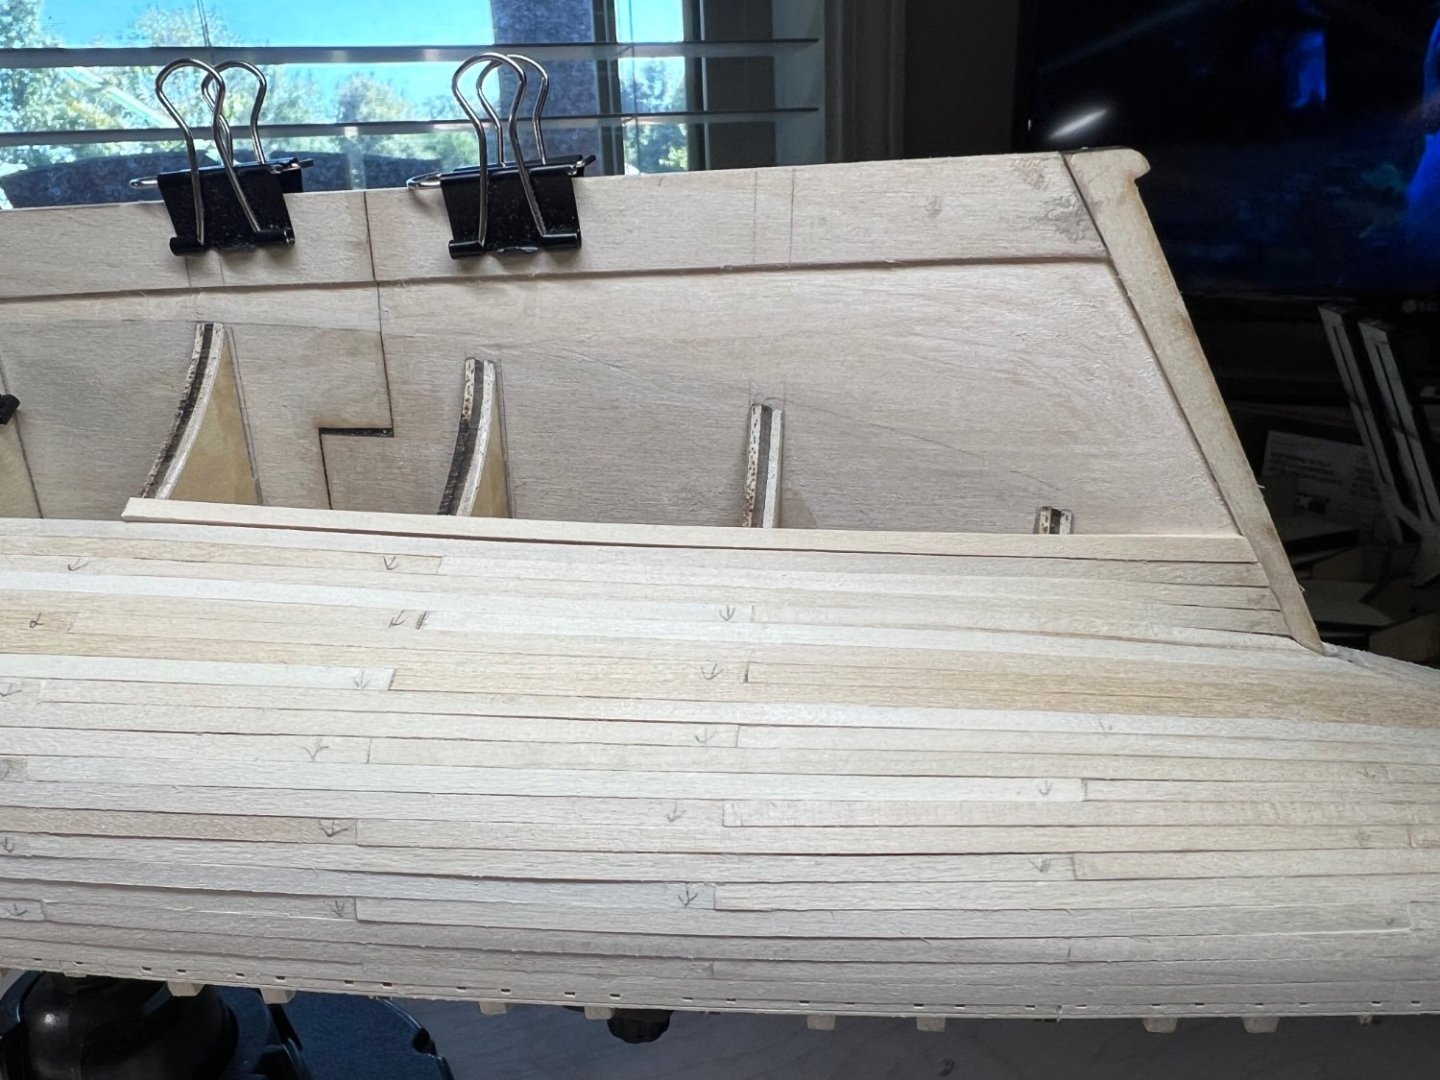
I wasn’t sure how it make the cove, so I skipped it. The waist doesn’t fit and finish like I hoped, all I can do is make it work. Planking is going well. Nothing appears to be out of place. Currently I do not know which metal pieces go where. Or what some of them even are. I’ve no idea how to make the letters on the sides and transom. I have not decided if I want to build deck pieces and plank around them, or plank the deck and build the stuff on top. Something on top will need paint or stain soon ish, before I get the top/main rail in place. I’ve not worked out how I’m cutting out the mail rail parts yet. One board at a time.

-
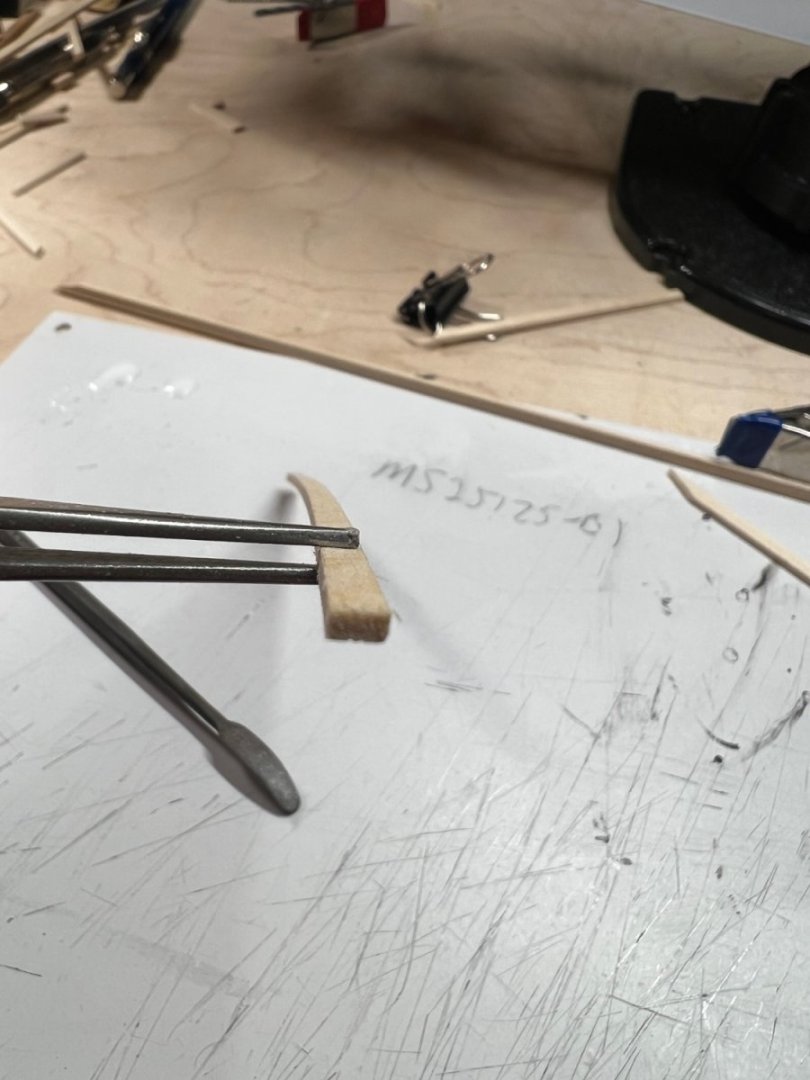
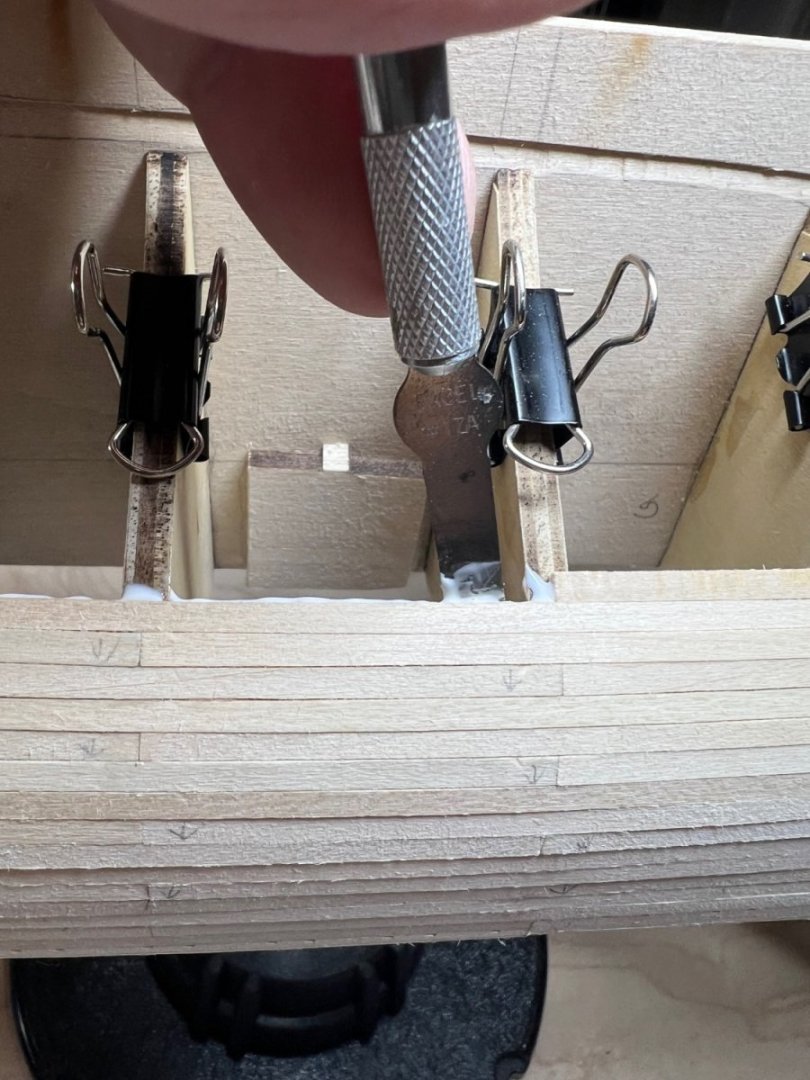
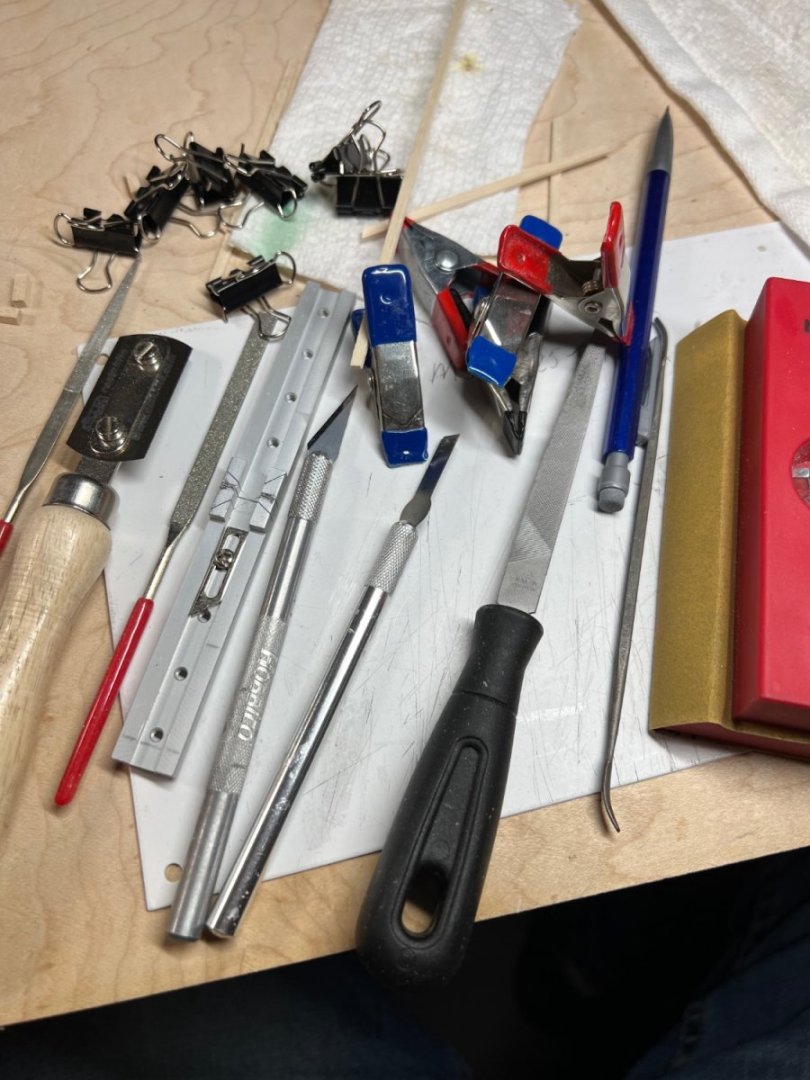
Planking the sides. Slow and steady. Cutting fitting sanding and trimming to make sure each piece fits and the rows stay stable. A shot of the common tools I’m using. I’ve got sets and set sn of files but these diamond files 150 and 220 grit are the ones I grab the most. The riff files set I have is fantastic for all kinds of detail work. The jig and saw blades with handle are great for getting many pieces cut quickly and accurately. I have to relearn patience constantly, I keep thinking about farther steps and other ships I have in boxes ready to build.
-
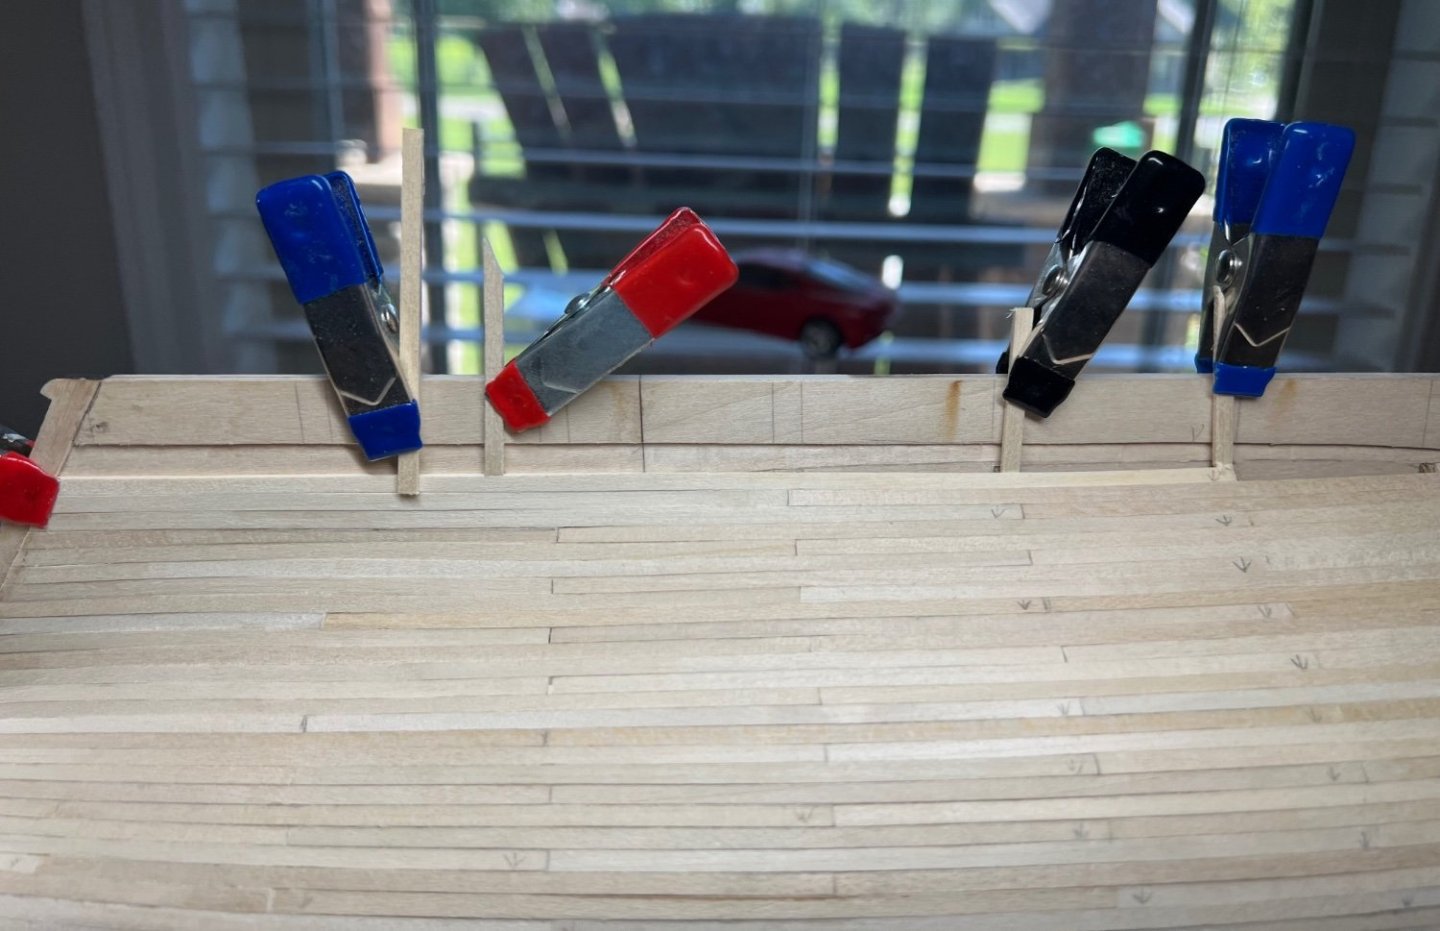
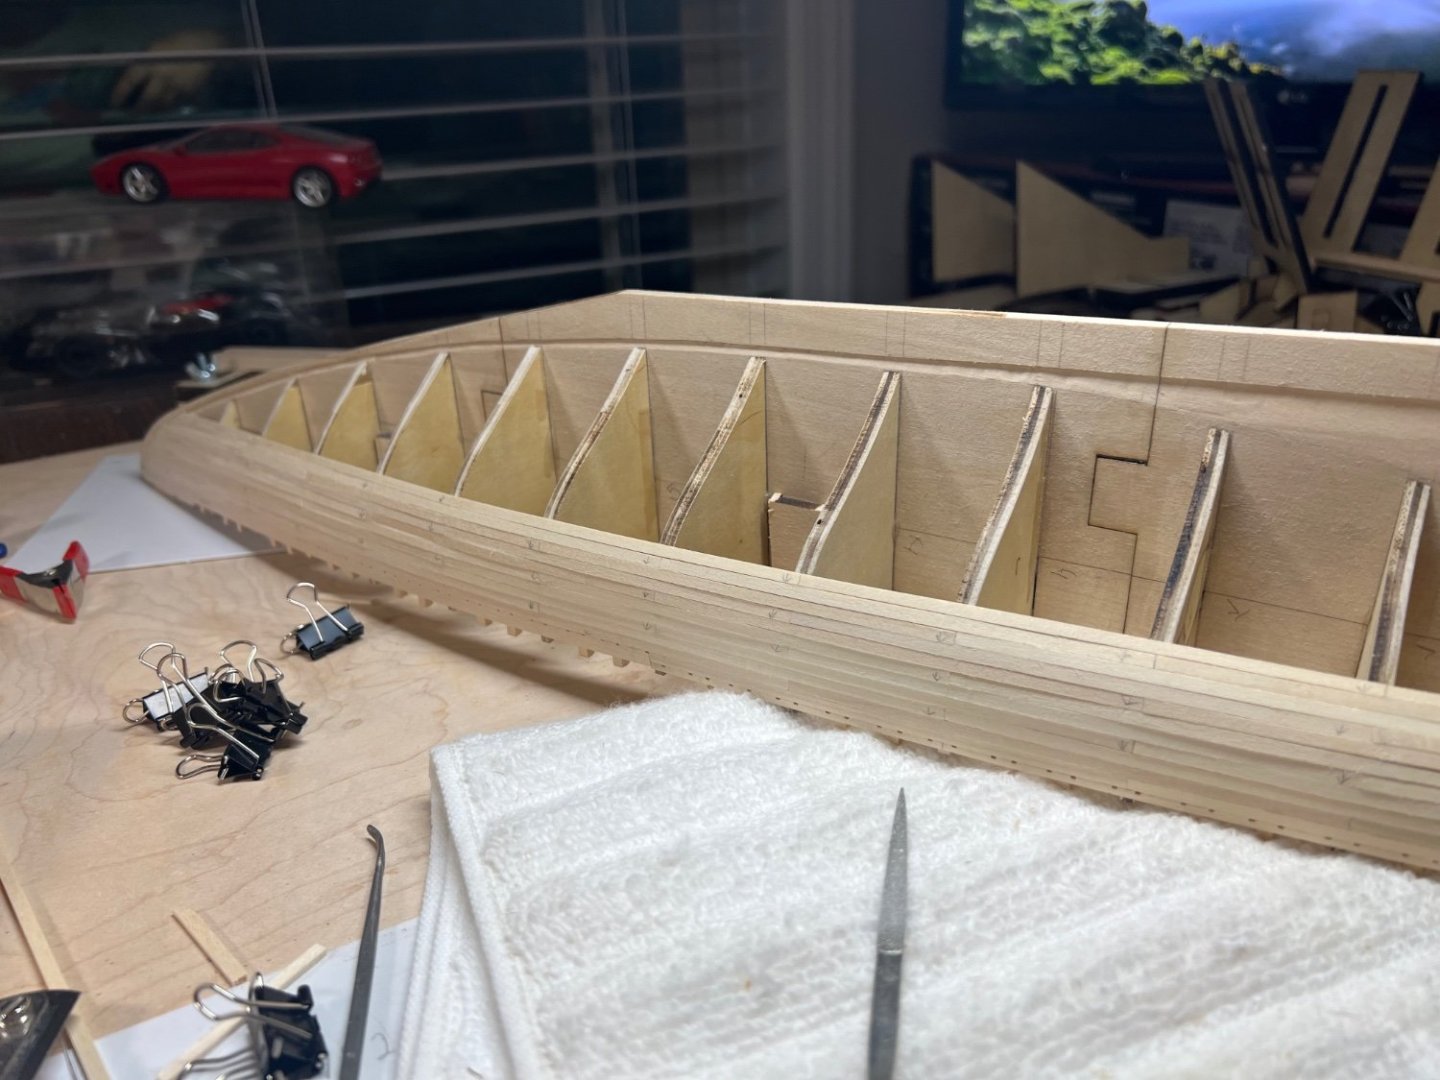
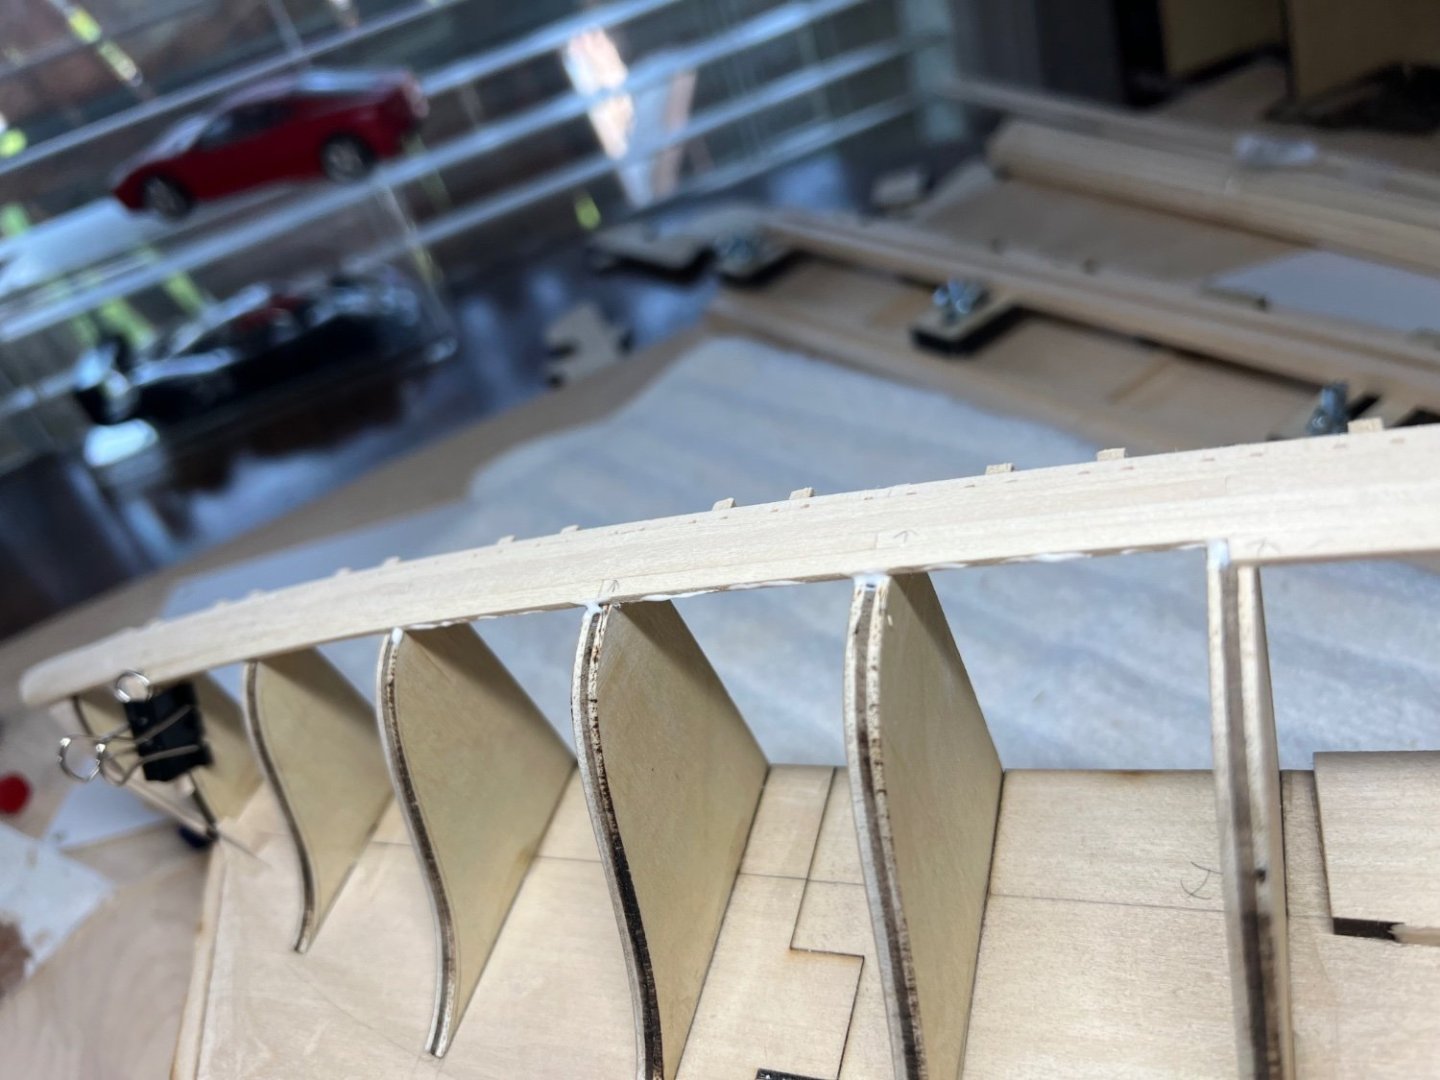
Fake stanchions are done.


-
Slow and steady. I find if I don’t want to at the moment I shouldn’t. I make a mess if I’m not into it. After sanding the planks in place they fair nicely. If your reading this trying to find answers to your questions, you were right, some of us are winging it and got it close lol. Reading ahead my not be enough to miss a detail. I may have to call this the Bluenose 3. Others with a sharp eye will notice a few oddities. Who needs plans lol.
-
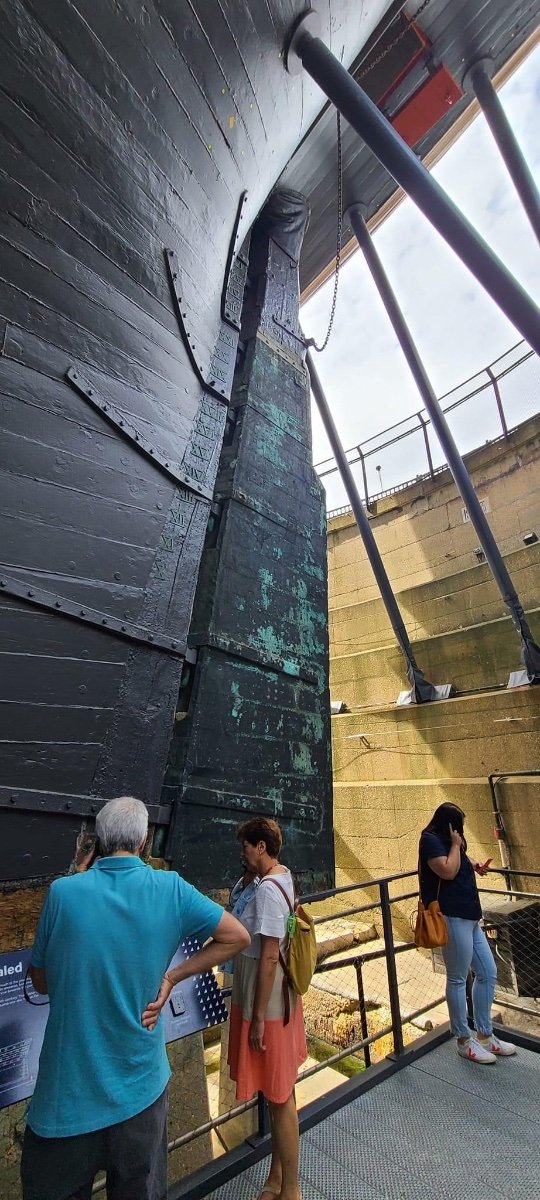
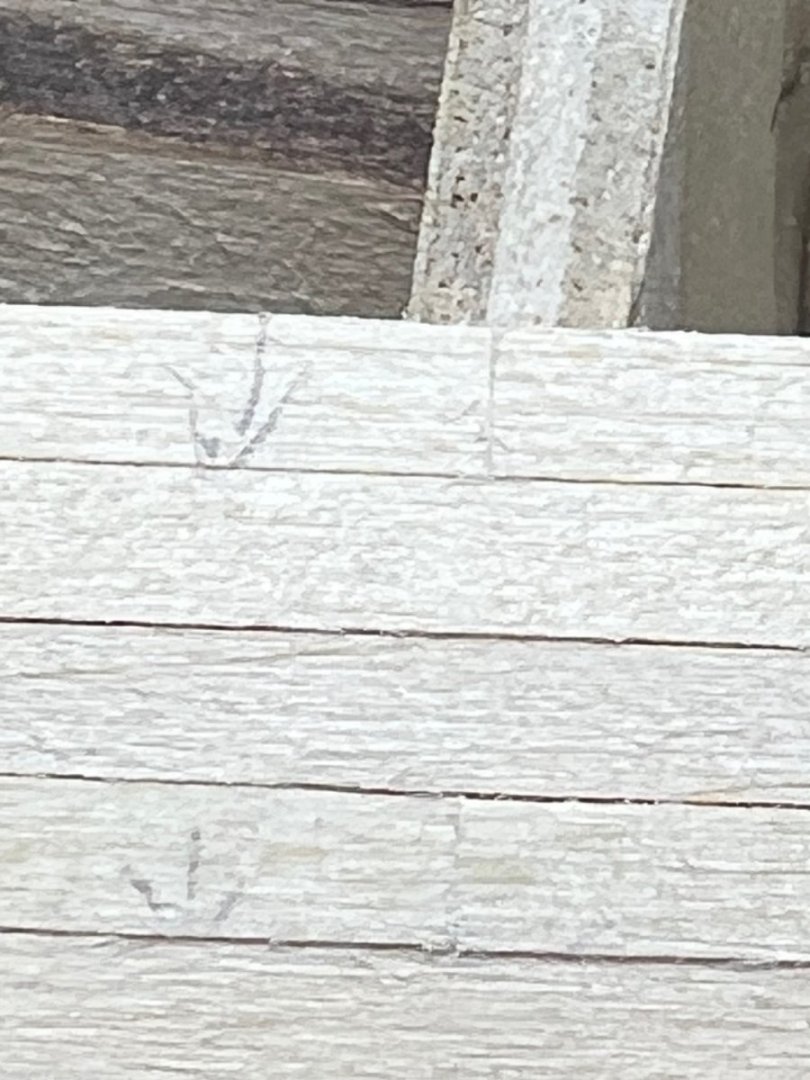
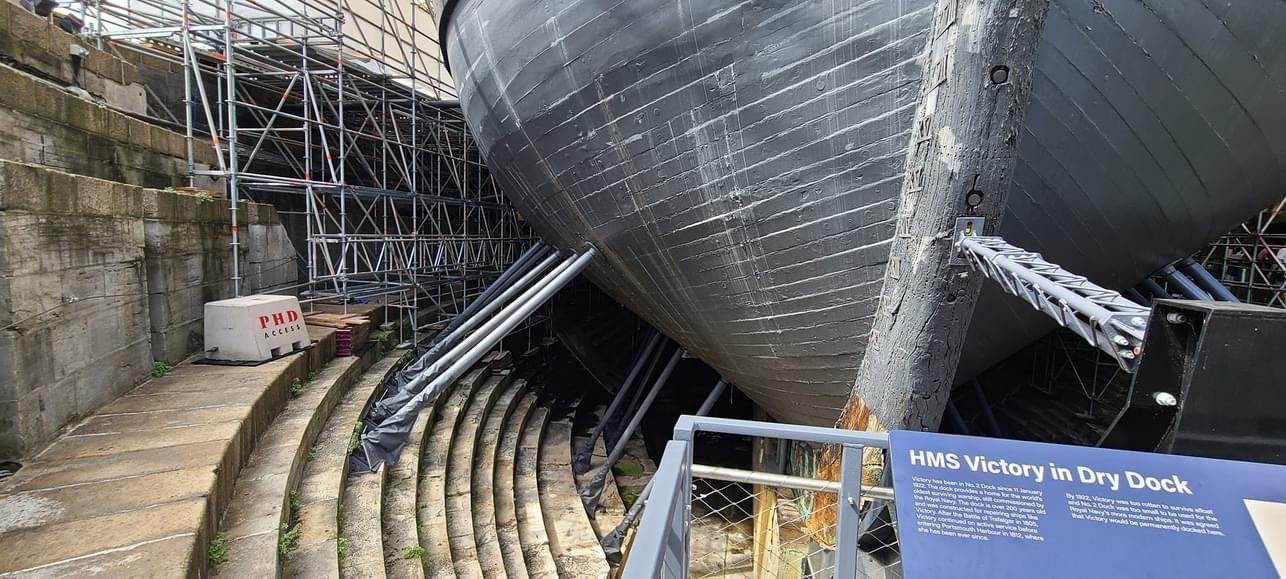
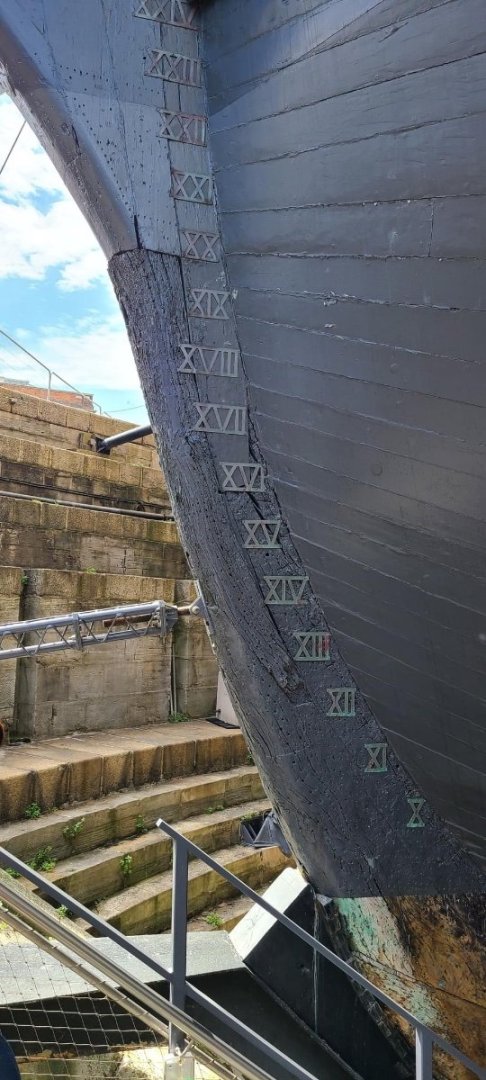
When I worry about perfection I just look at the real ship planking I decide I’m doing ok. The wood has different dimensions from piece to piece and from end to end on the same piece. Perfection is almost impossible. I want to go visit some of the ships some day, my work is way to busy, it’s hard to take time off.


-
2023 Donations drive
MajorChaos replied to James H's topic in Using the MSW forum - **NO MODELING CONTENT IN THIS SUB-FORUM**
This site has been great. I donated enough I hope the % needle moves some. Thanks for the great work around here. I'm new to the place but it feels almost like home.