

greenskin
-
Posts
31 -
Joined
-
Last visited
Content Type
Profiles
Forums
Gallery
Events
Posts posted by greenskin
-
-
Thank you @Thunder for the advice - I'll give it a try. The bendy plastic, the scale - if you want to make the rigging as accurate as possible, Le Superbe is very challenging model in its own way. I can't wait to be pass the shrouds stage. I'd like to start working on yards and sails already :).
Your model is very beautiful. I hope to finish mine before autumn.
-
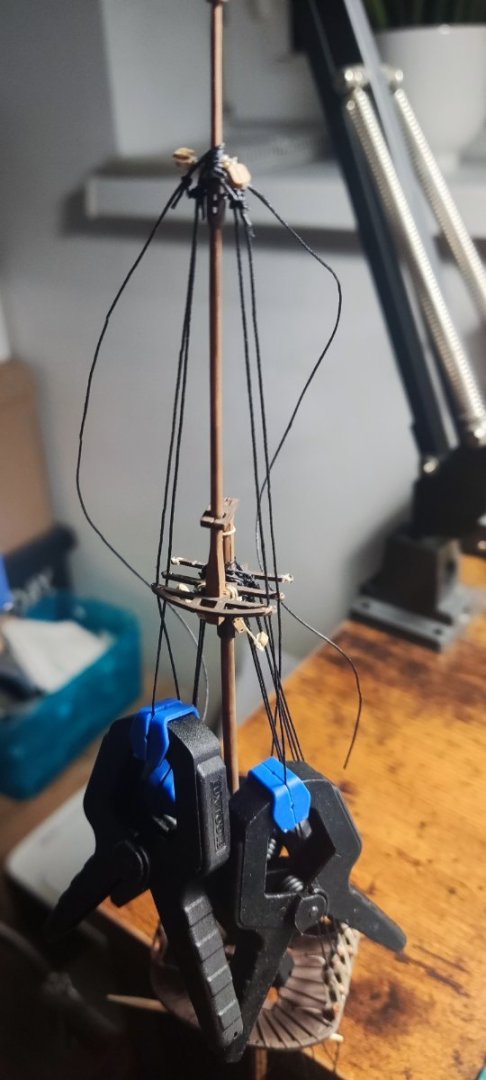
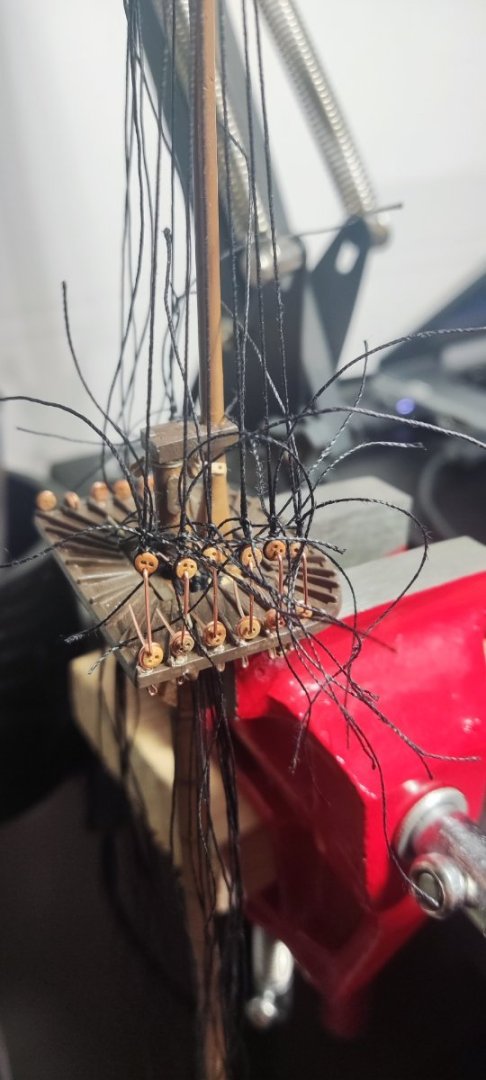
Shrouds are finished. I couldn't level the deadeyes. The plastic masts are too bendy, I lack the experience and the scale didn't make it any easier. But hey - it's my first ship model, so I'm very excited about the general outcome.
I also started working on ratlines. The clove hitch appeared to be much easier than it seemed to be, thanks to RJ Scaleships & Repllicas, who put on YouTube fantastic tutorial:


-
Thank you @Dr PR for your detailed answer. You helped me a lot 🙂. Weights you gave me will help me choose japanese paper with proper thickness. Also, good hint with reducing translucency by painting the paper.
Regards
Piotr
-
Hi @Dr PR
I'm trying to find equivalent to silkspan in Poland, but I can't (probably it's not a directly translatable term). Can you provide more details on it? What is the grammage of it? We have something similar here, which is a parchment paper for sandwiches, but in my view it's too translucent.
I'm looking for a good material for sails in my Superbe (1/150 scale). Any ideas?
-
Thank you for your post, @Dr PR! I've been struggling to understand the foremast standing rigging for quite a while and now I think I finally got it. May I ask you for similar post about jib, flying jib and sprit sails running rigging? I'm trying to figure it out for my Le Superbe and I find your instructions VERY clear.
Fantastic build and a beautiful model.
Piotr
-
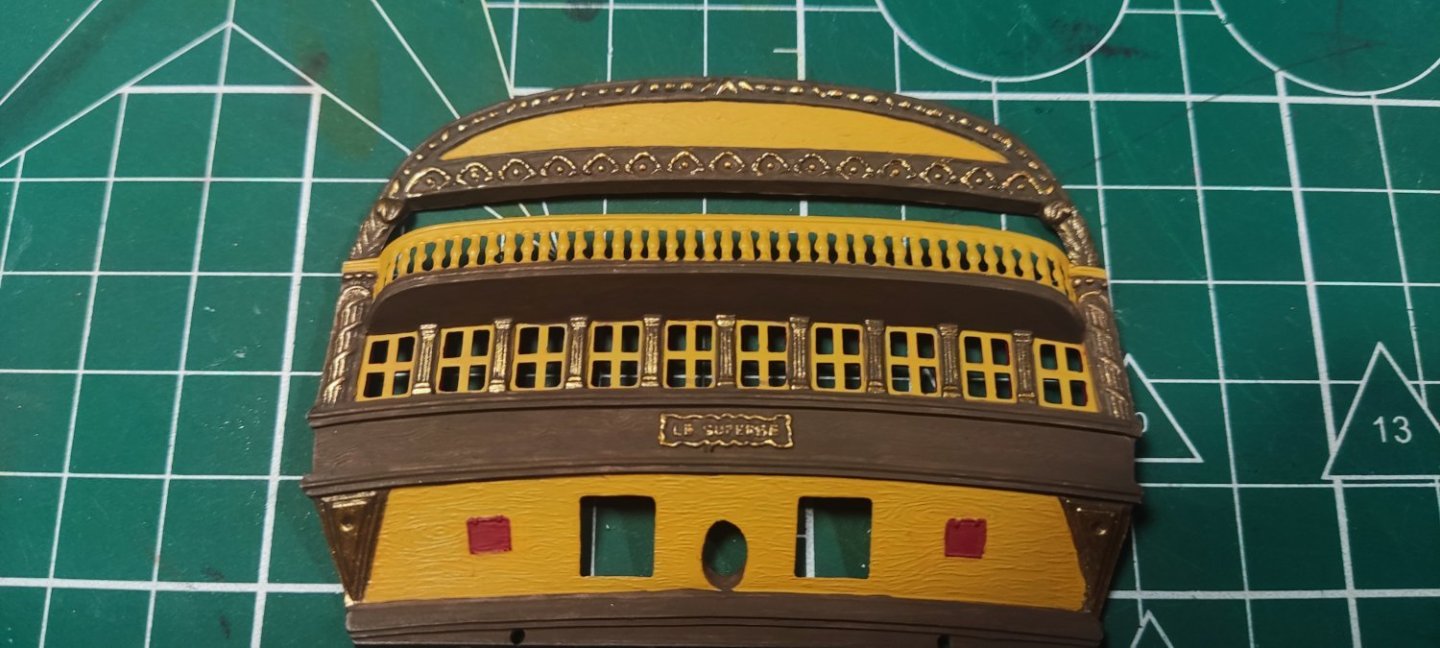
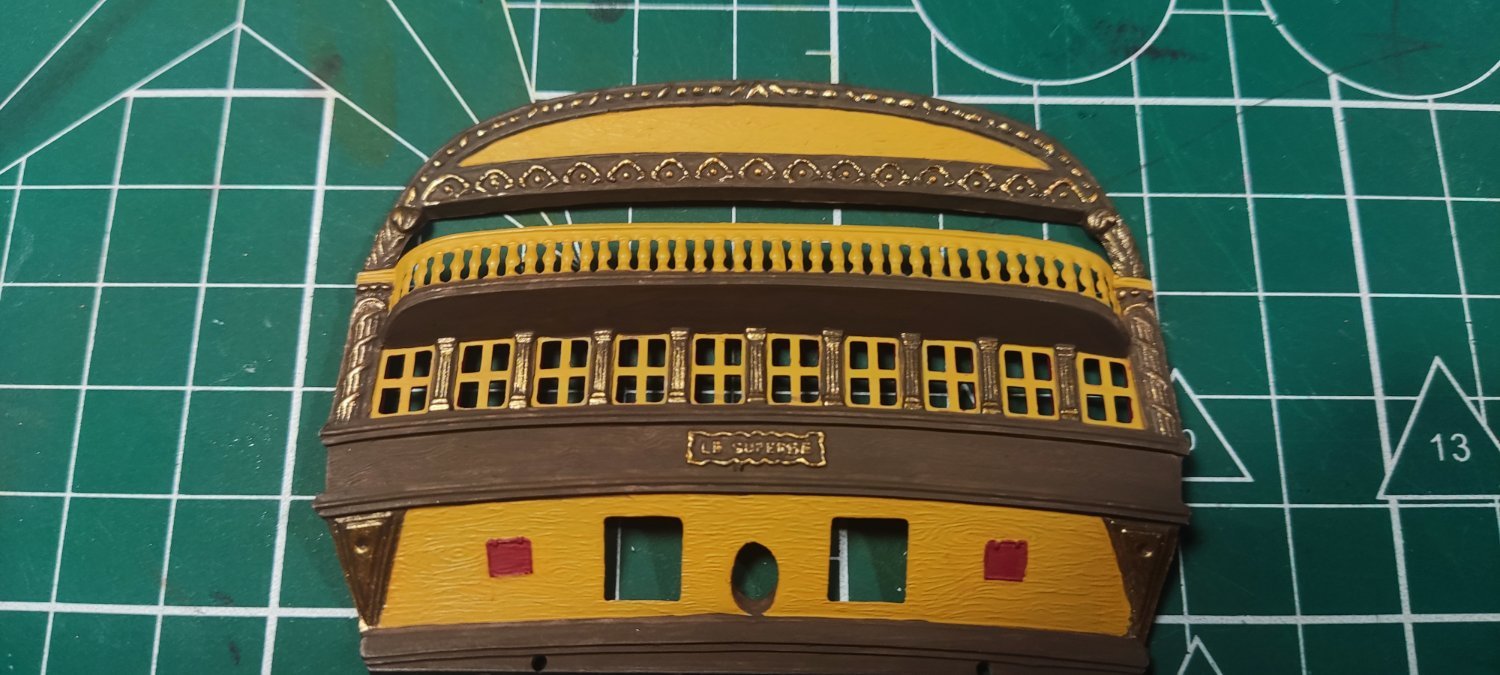
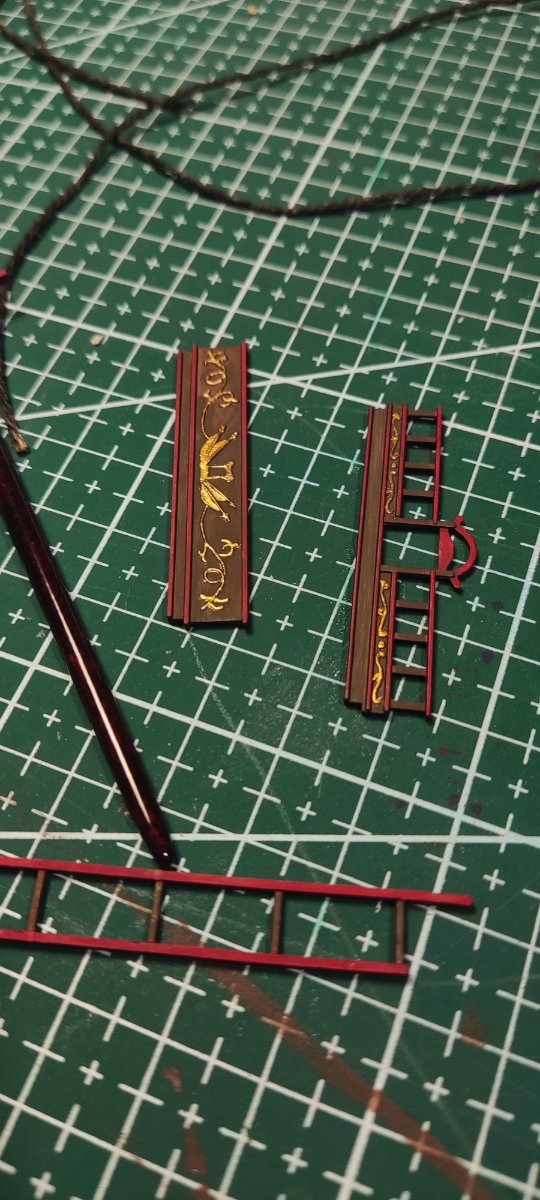
I failed to make photos of the base, so remembered about it when painting plate with ship name.
Here it is painted black:

Here it is drybrushed with Tiny Tin:
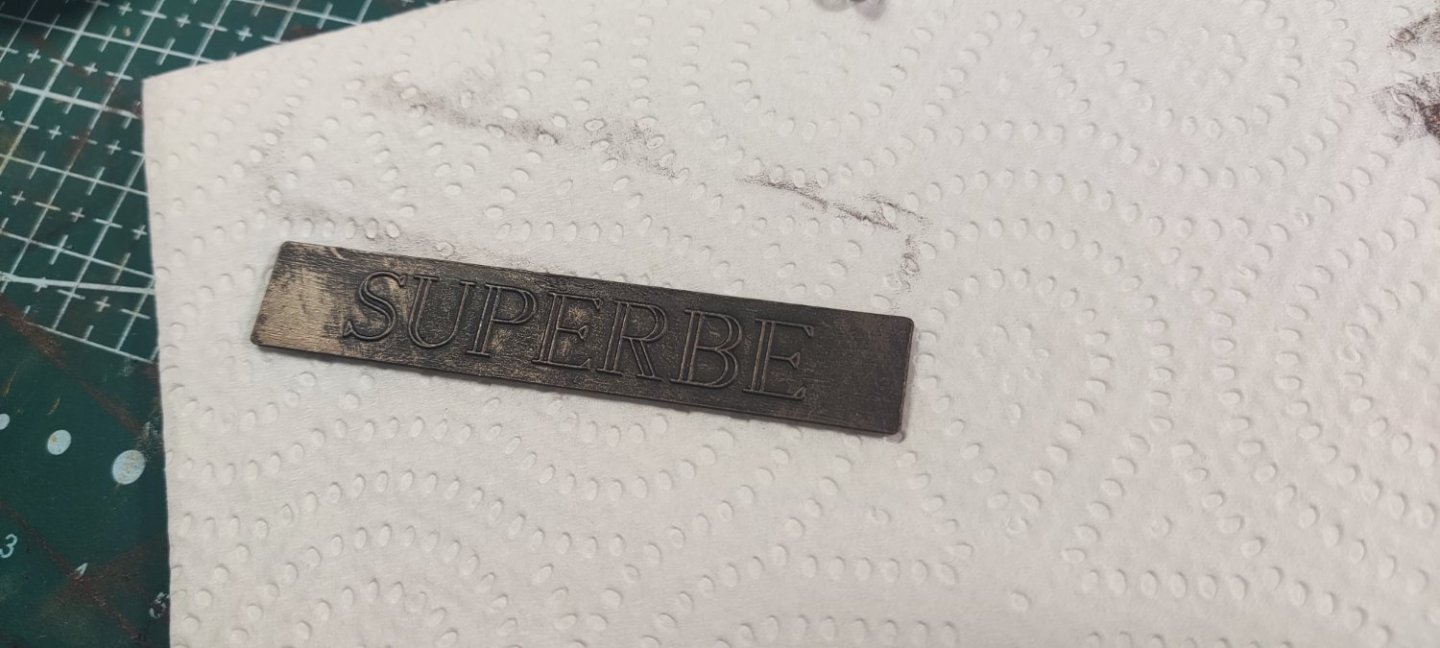
Drybrushed with gold:
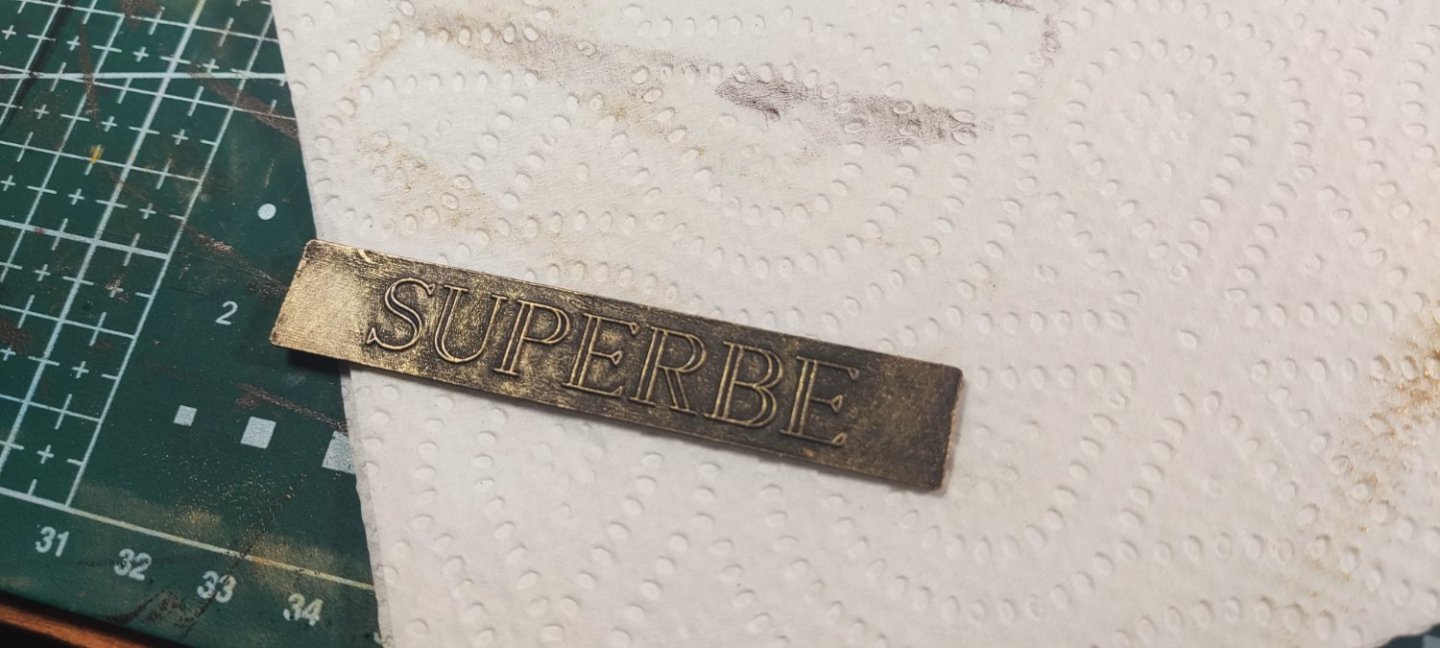
I emphasized letters with additional gold paint and covered it all with satin varnish:

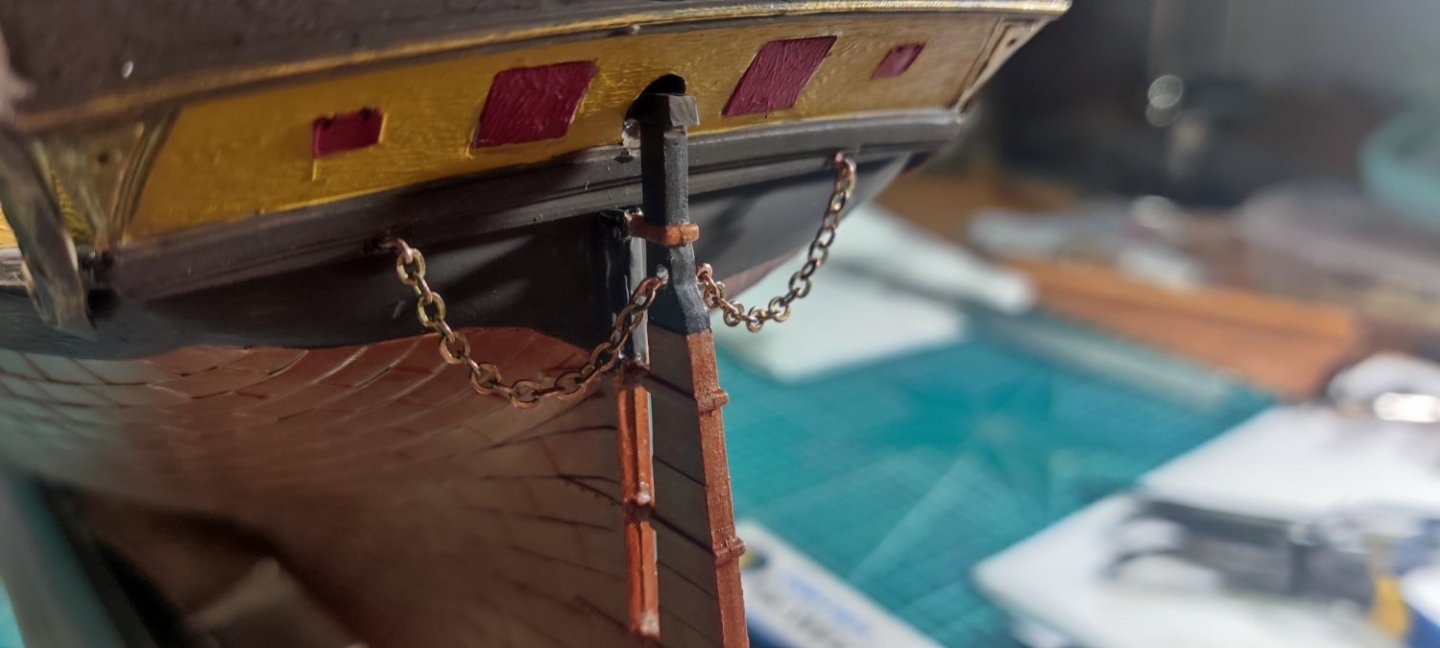
The chain is in place. It required a bit of tinkering, but turned ot ok:
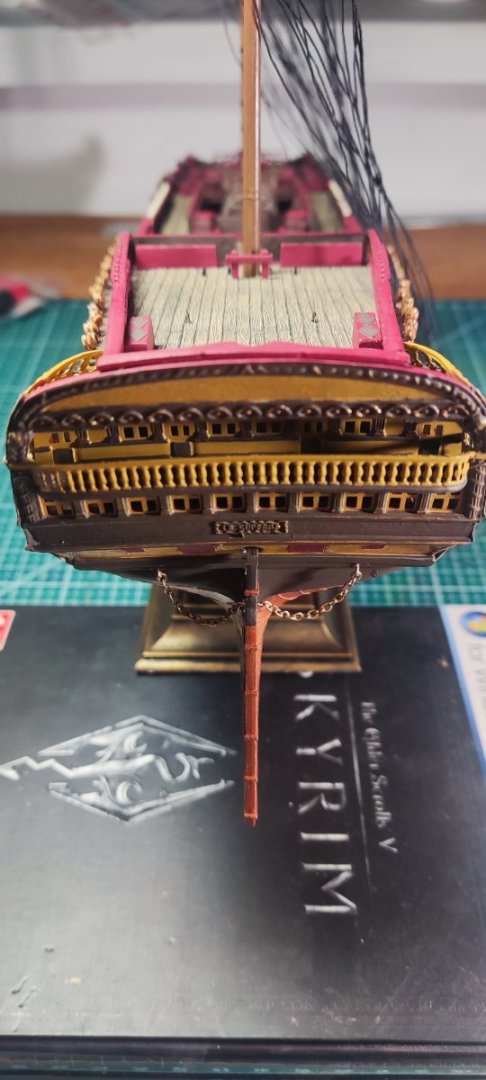
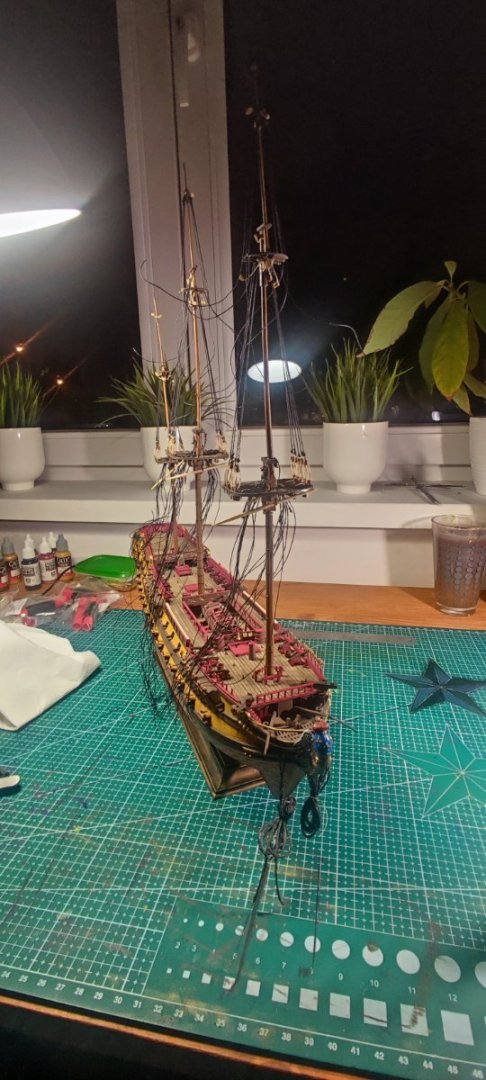
And the masts are mounted!

- ccoyle, GrandpaPhil and Henke
-
 3
3
-
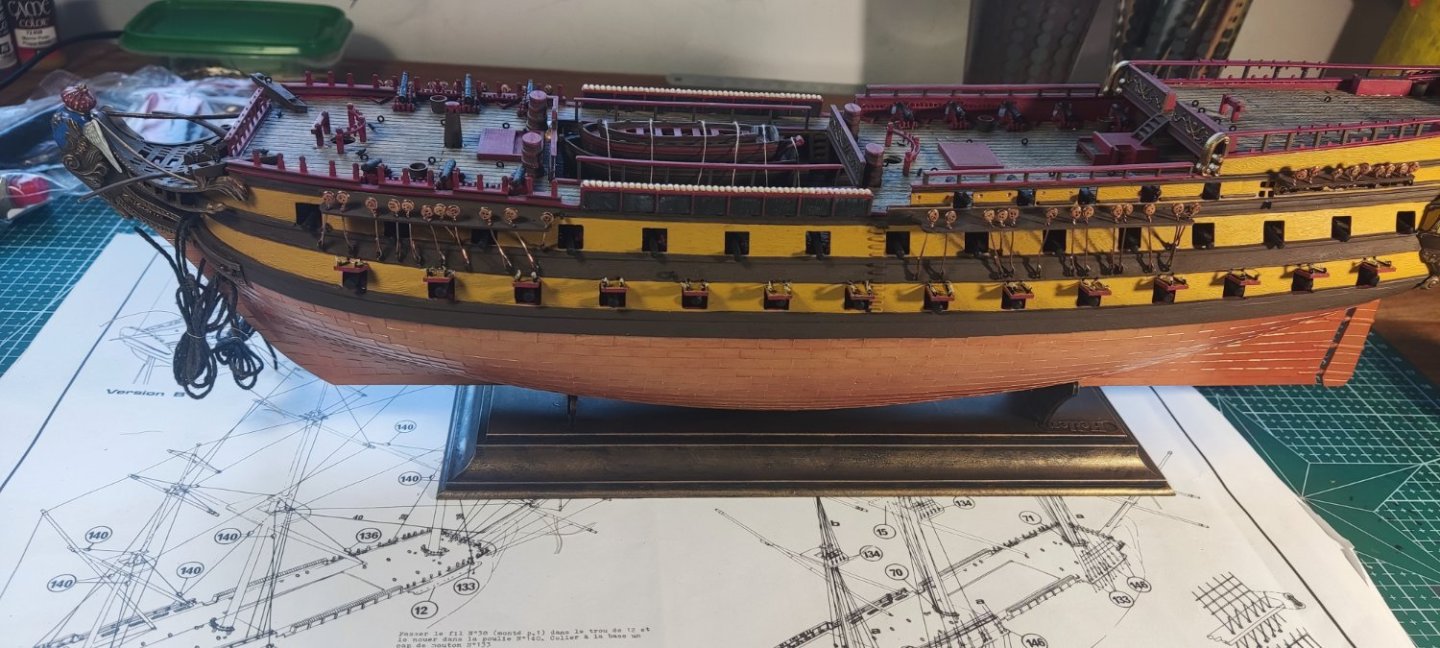
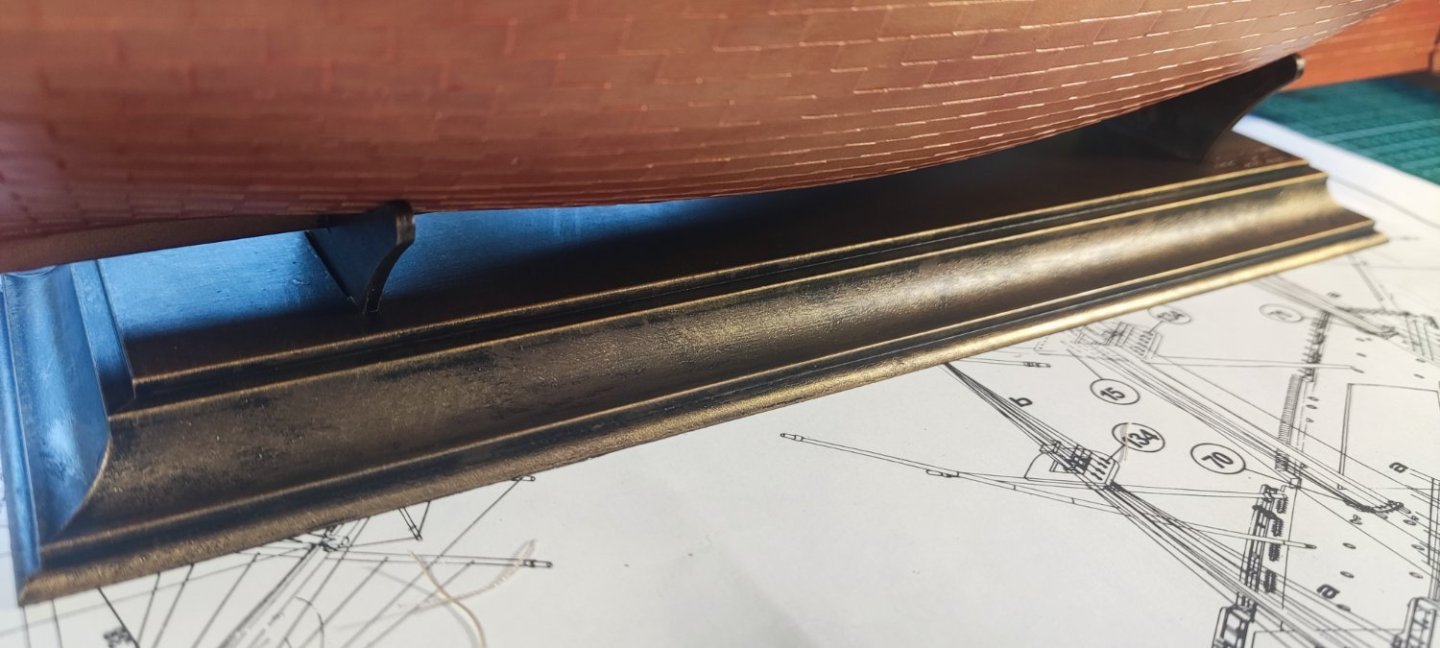
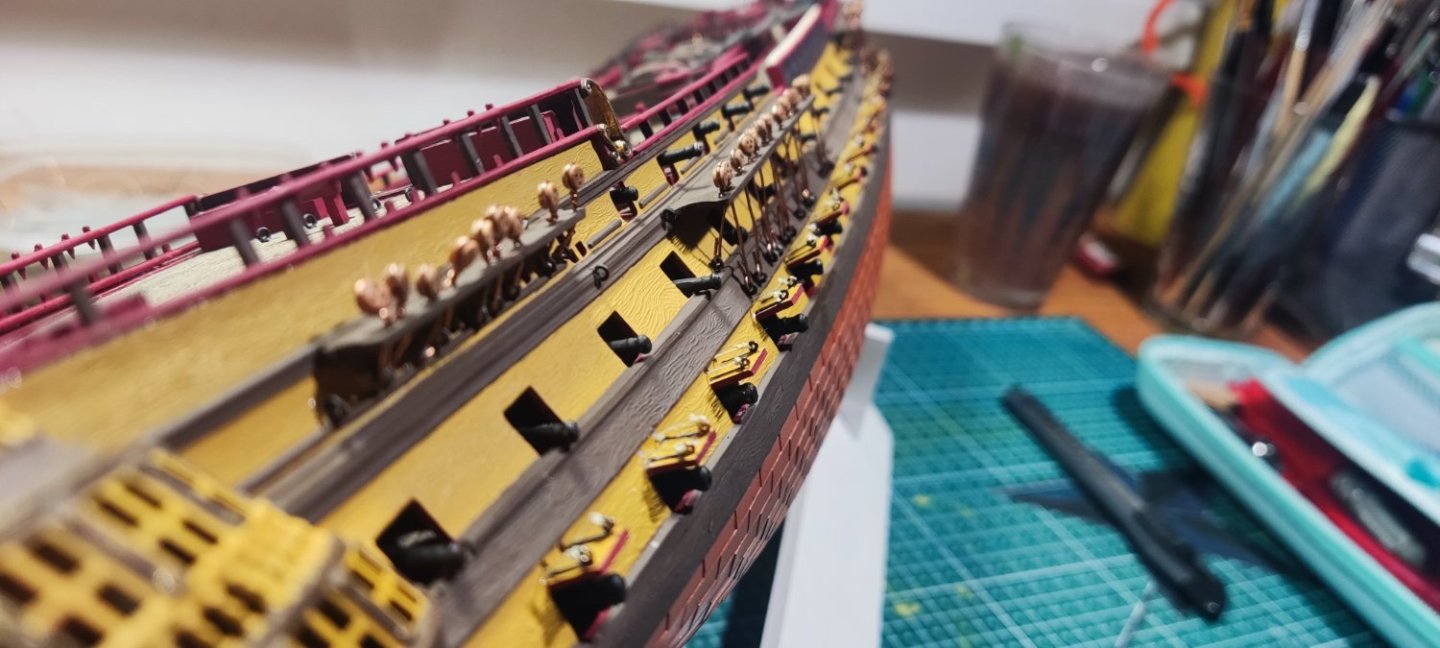
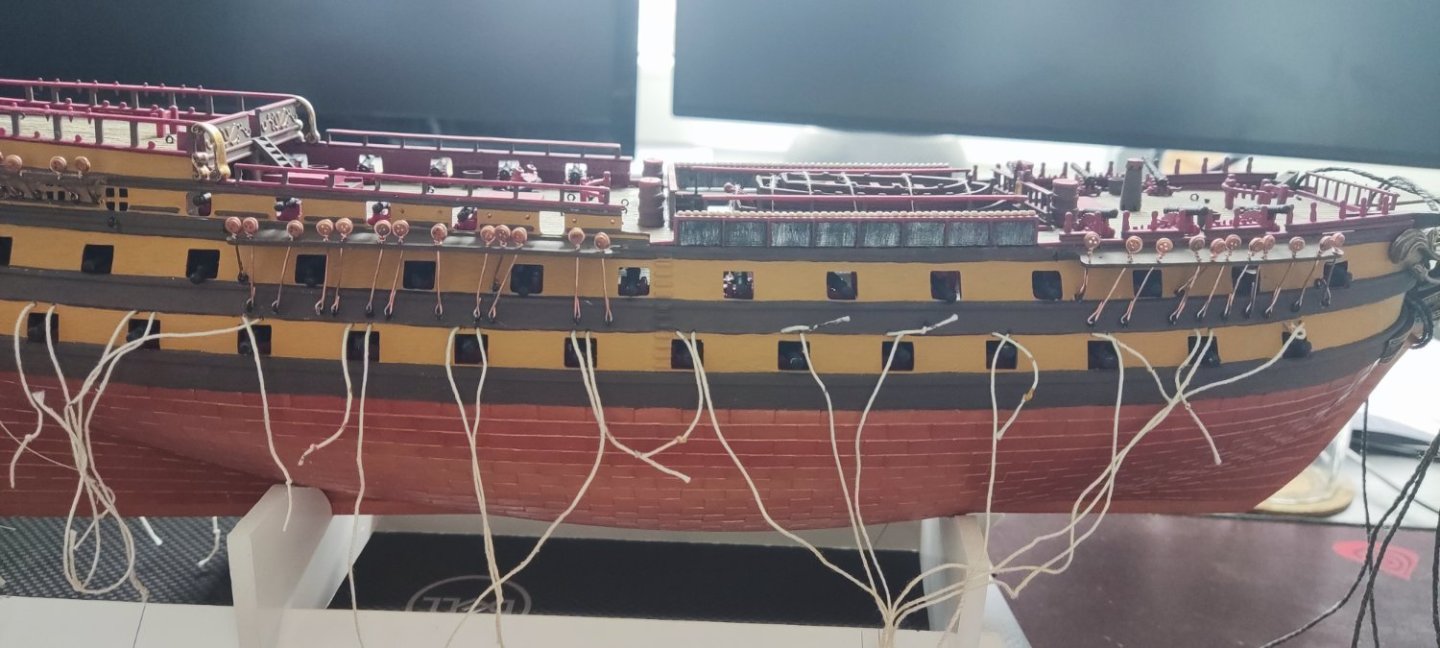
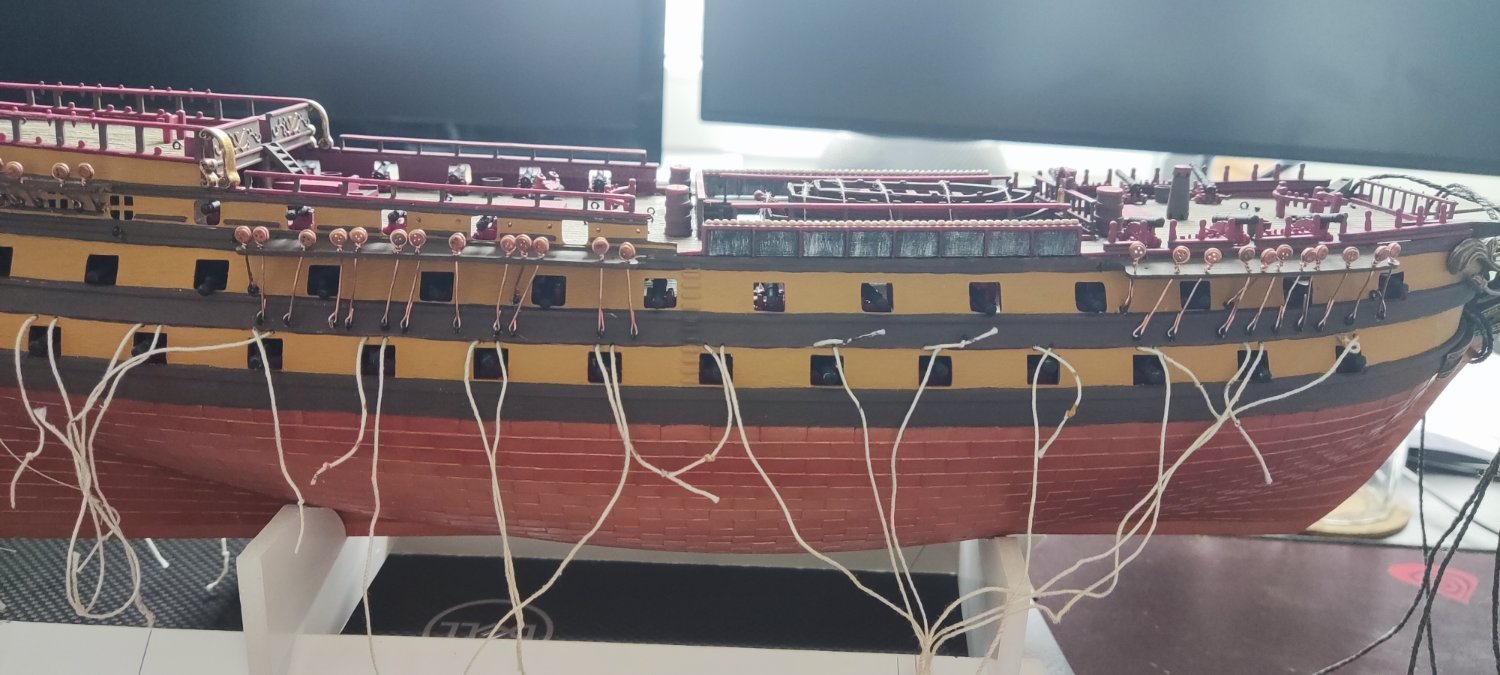
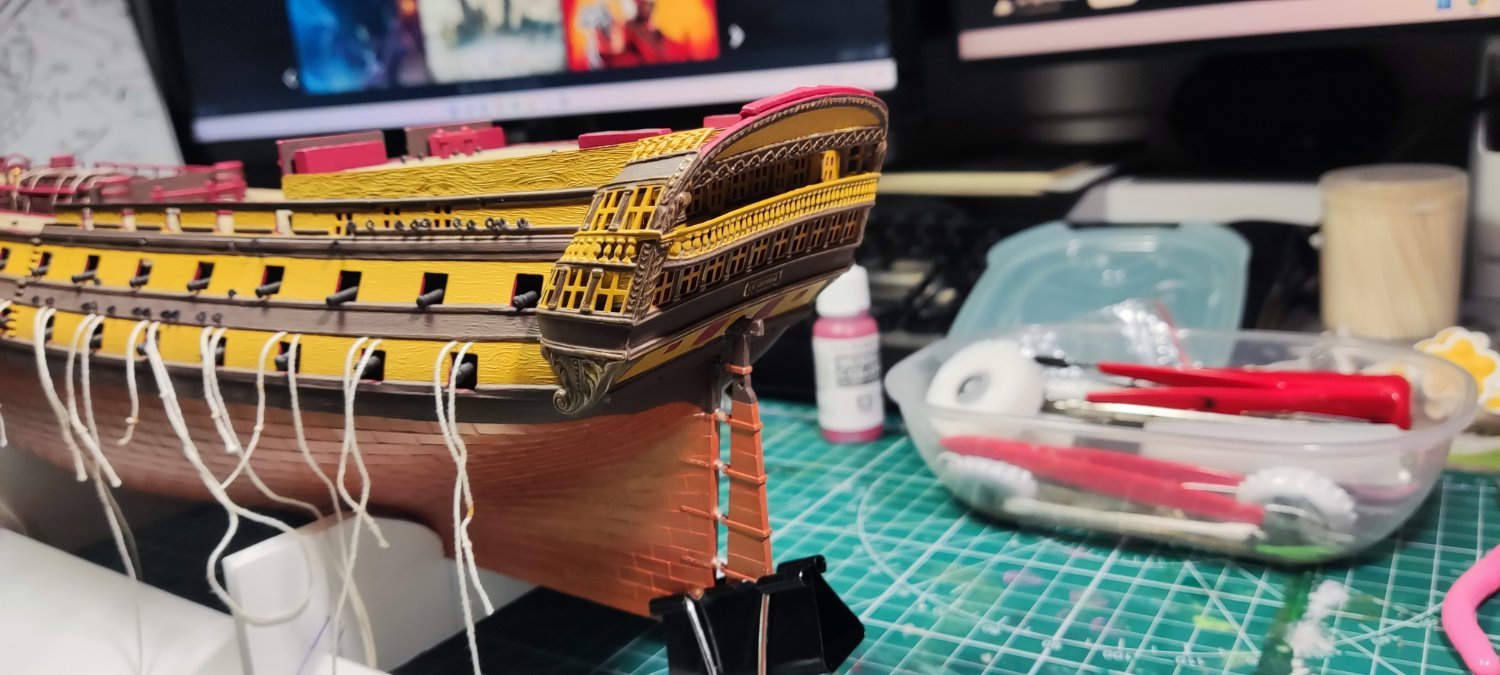
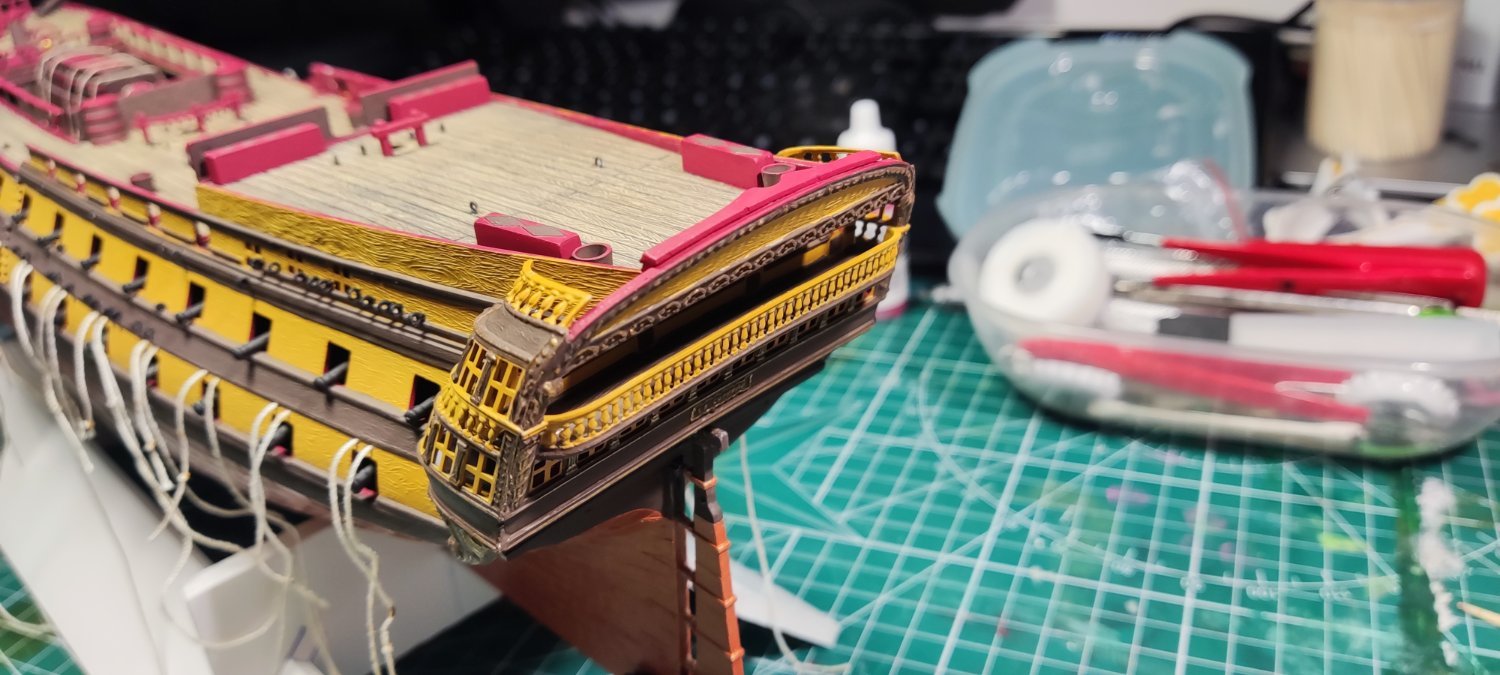
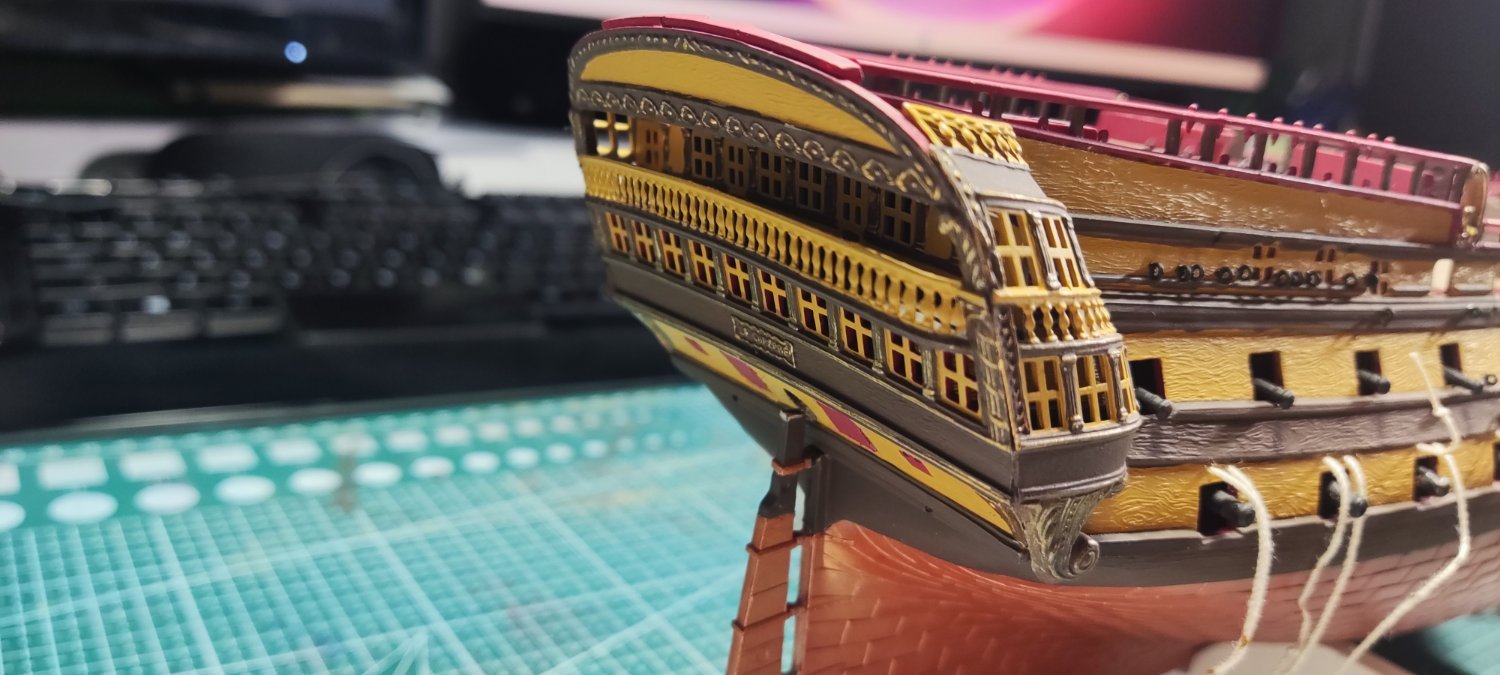
The port side is finished. I thought it would be harder, but actually turned out ok (at least to my standards).
The time seemed right to mount the hull on the stand. Apologies for not posting images from the painting process - I failed to make them. I wanted to have a brassy look of it. I painted entire stand black, than drybrushed it with Vallejo Tinny Tin. Then, I made a light drybrush with Vallejo Glorious Gold. Last step was to cover it with satin varnish to get some additional smooth shininess. Turned out pretty neat 🙂.
Next step: masts 😨
-
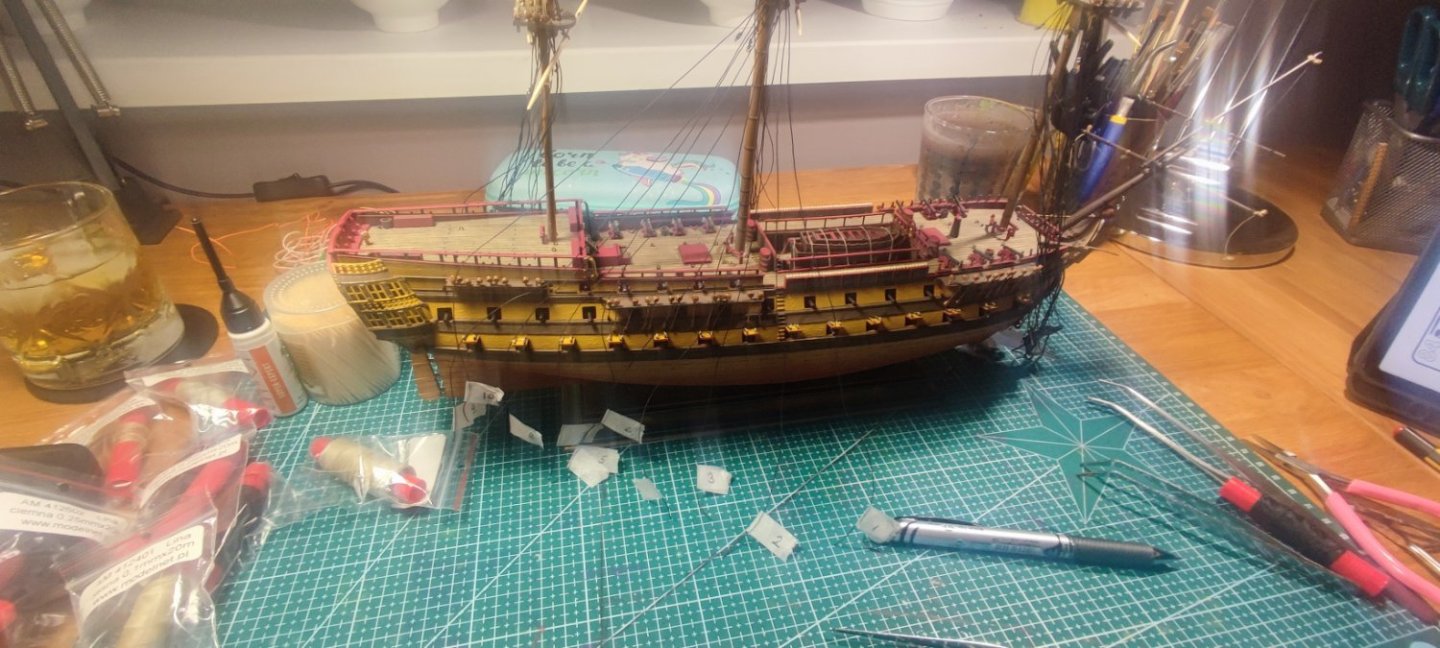
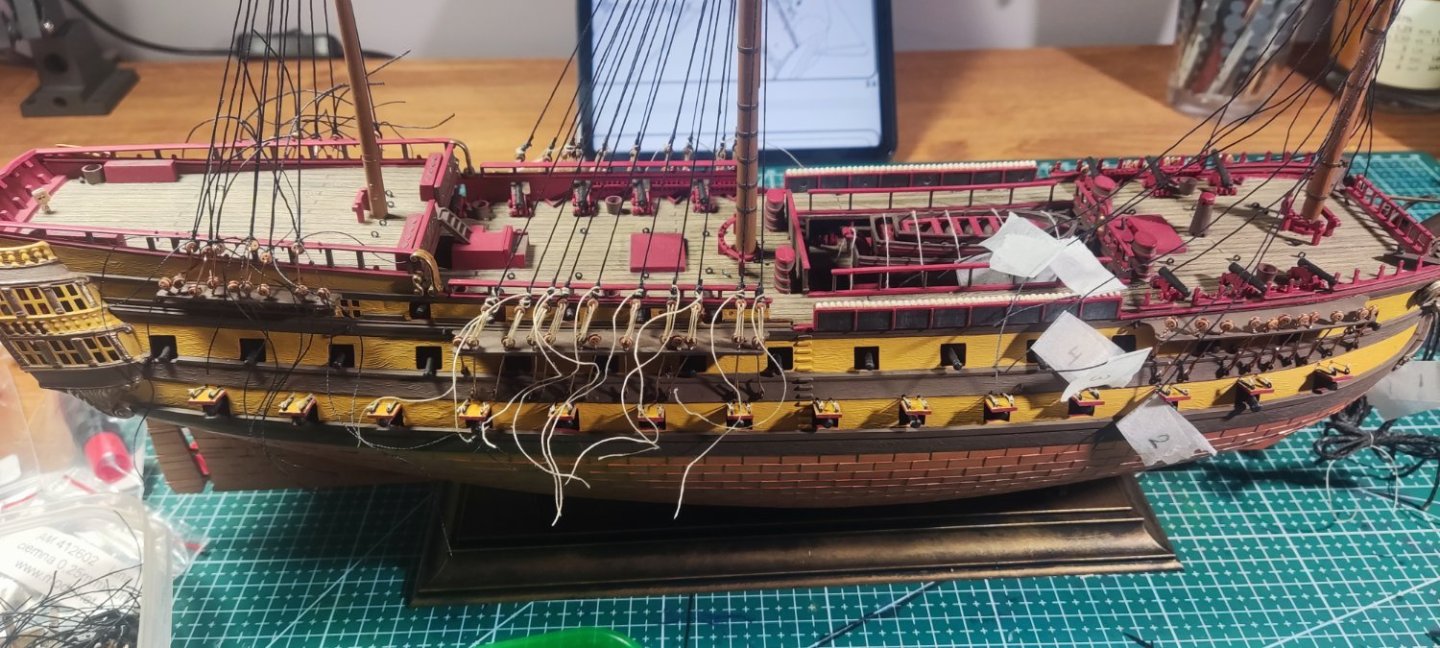
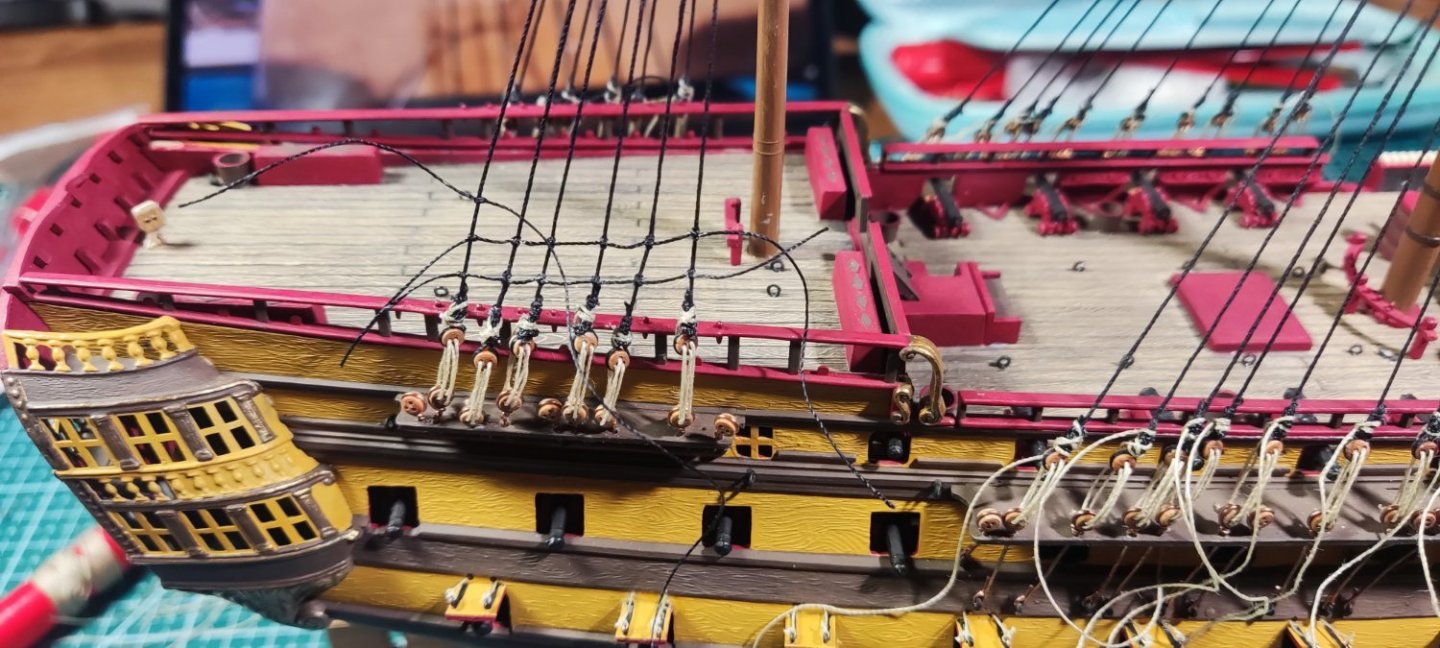
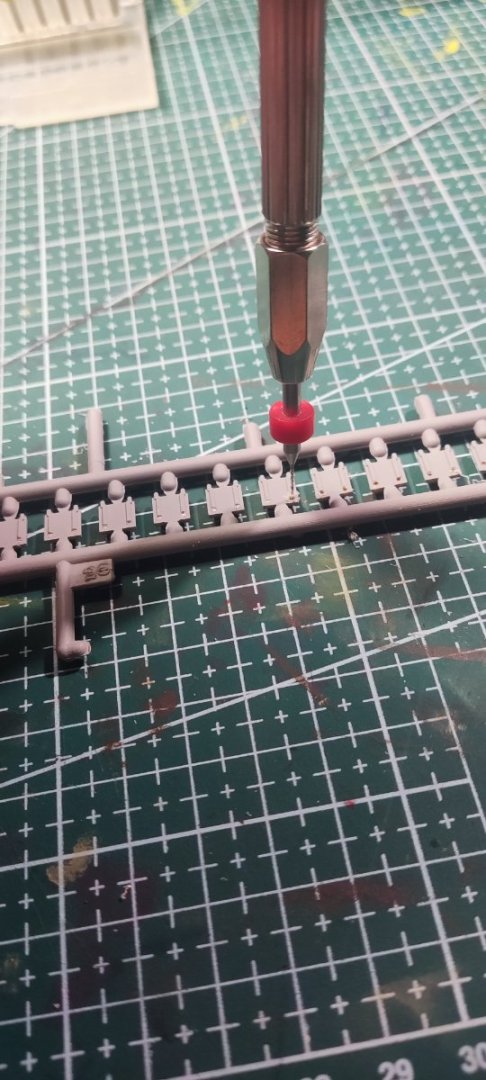
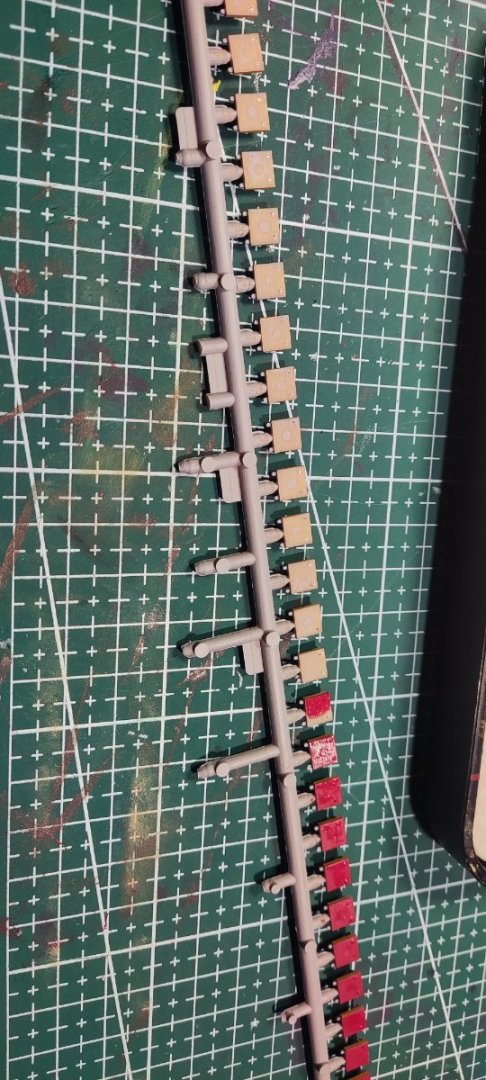
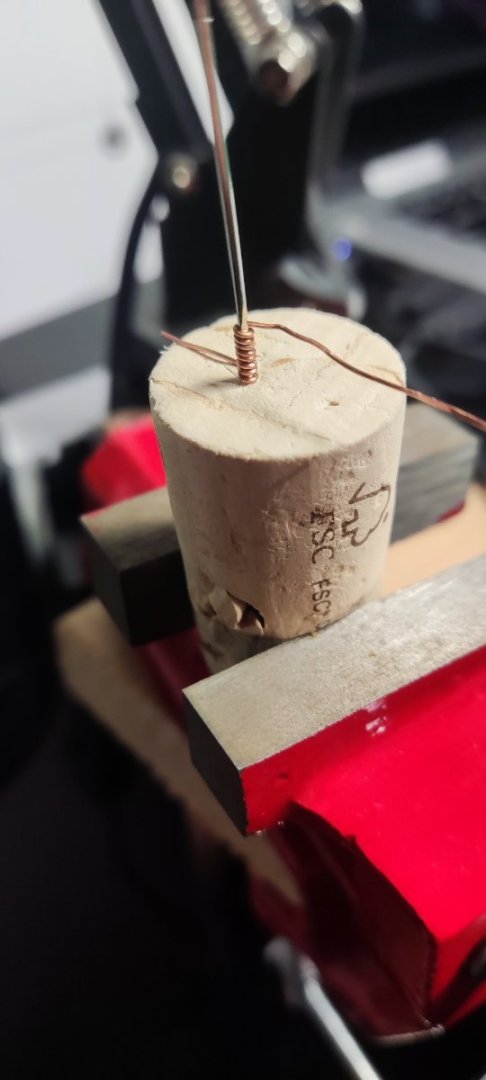
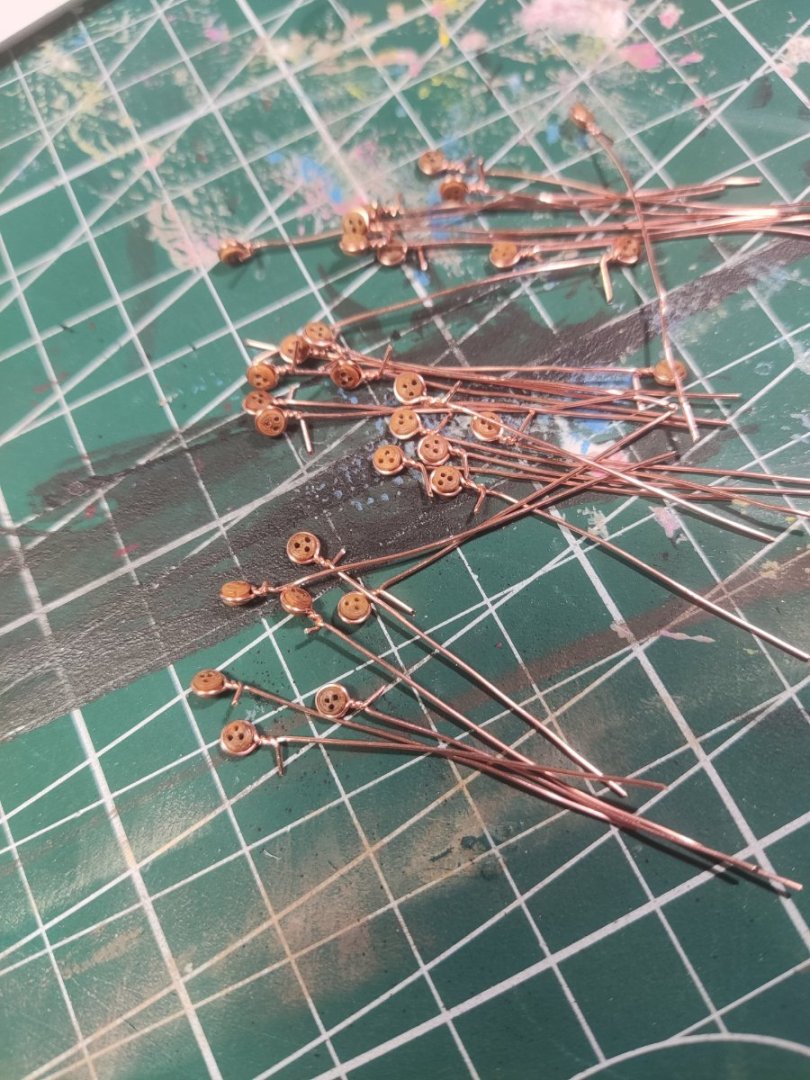
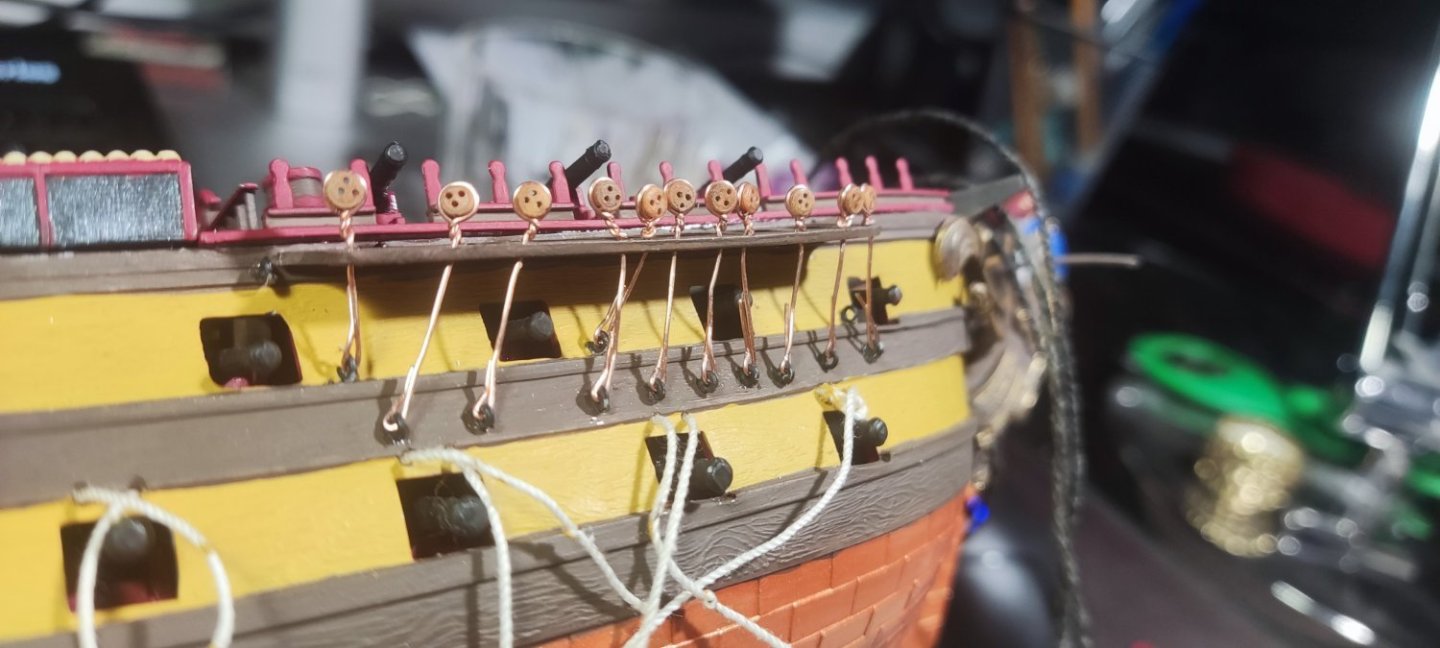
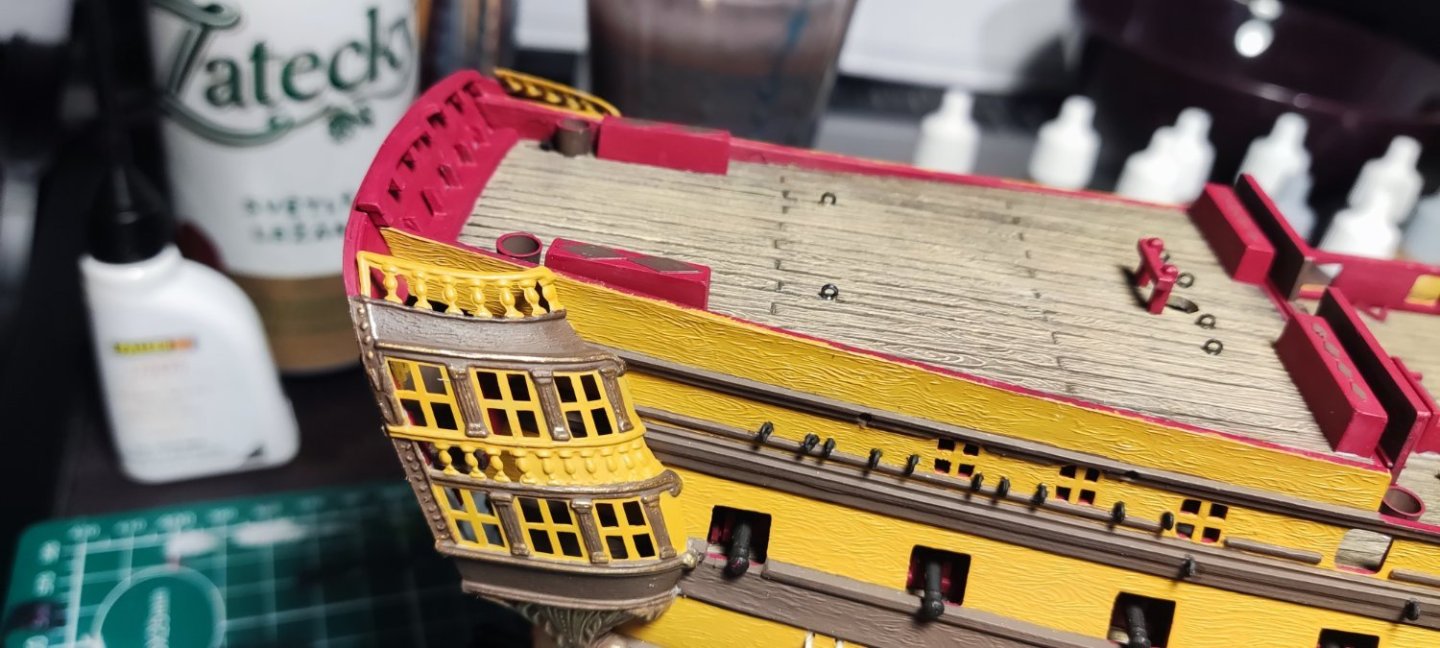
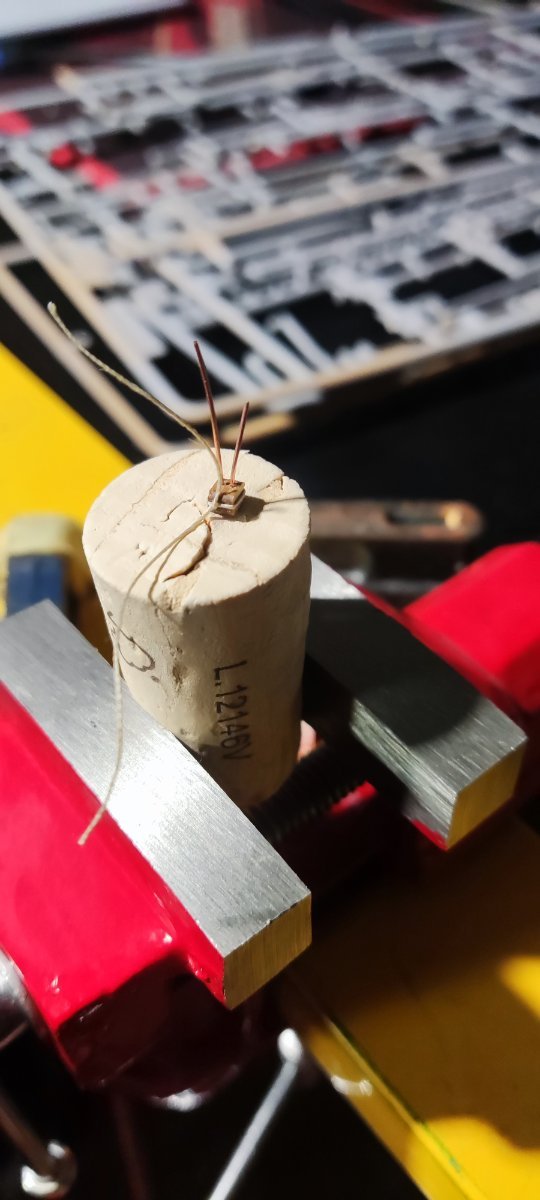
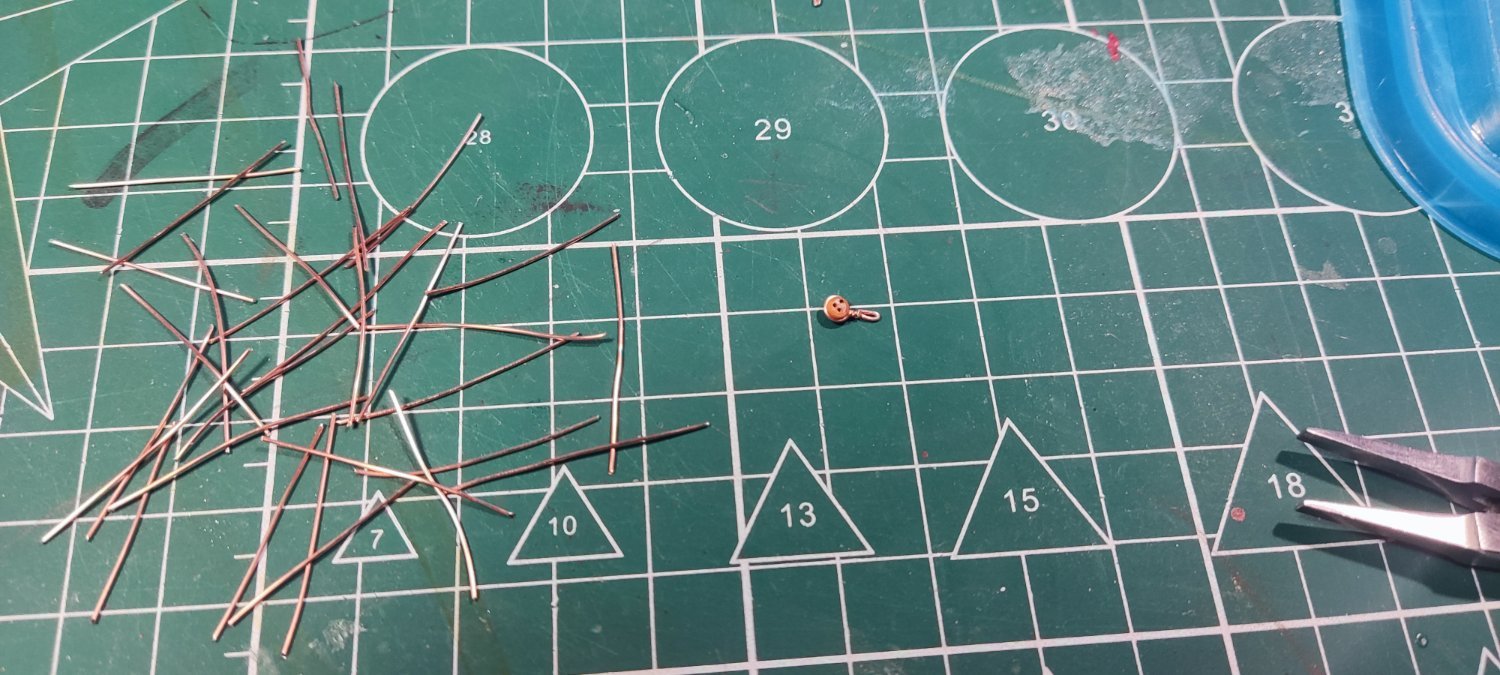
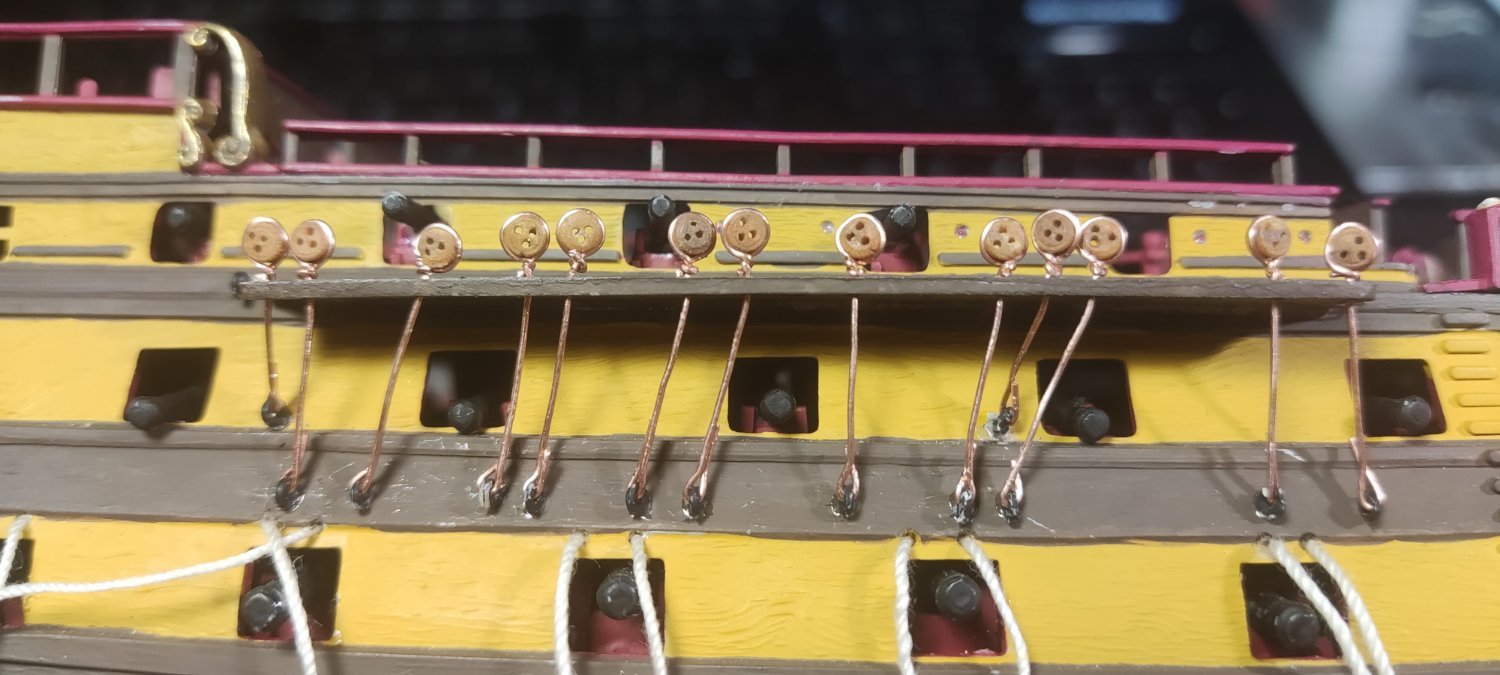
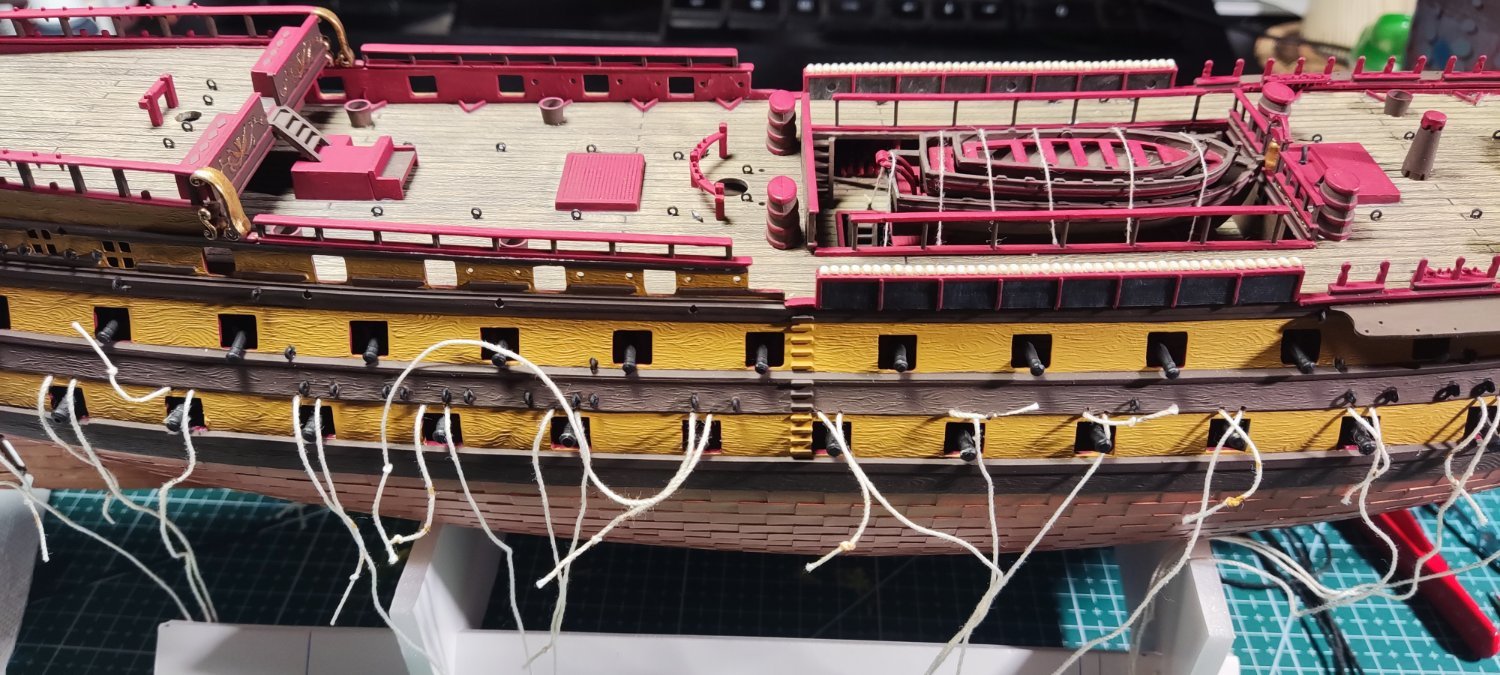
Family affairs made me keep away from the desk for a long time, but I finally found some time to tinker. Currently working on gun ports. I had to convert them a bit, as Heller didn't assume having lifting ropes in final build. I've made eye bolts from 0.5 mm copper wire taken from old alarm cable.
For now, I gave starboard side finished. And I decided to change ropes in the gun ports to thinner ones.
I still can't decide whether I want to finish everything I can before mounting the masts or if I'm simply scared of it 😉.
In the meantime, I'm trying to continue research. Running rigging of jib and flying jib is a mystery for me. Any advice?
Regards,
Piotr


- Henke, ccoyle and GrandpaPhil
-
3
-
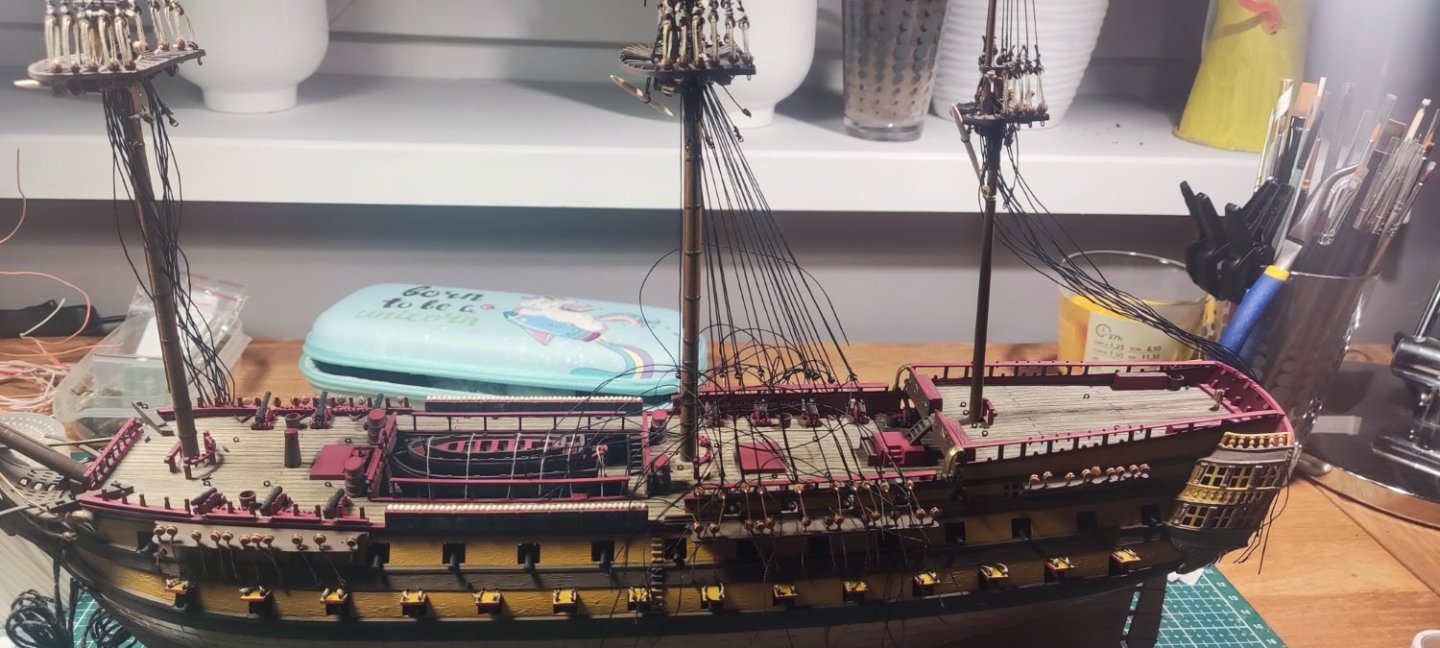
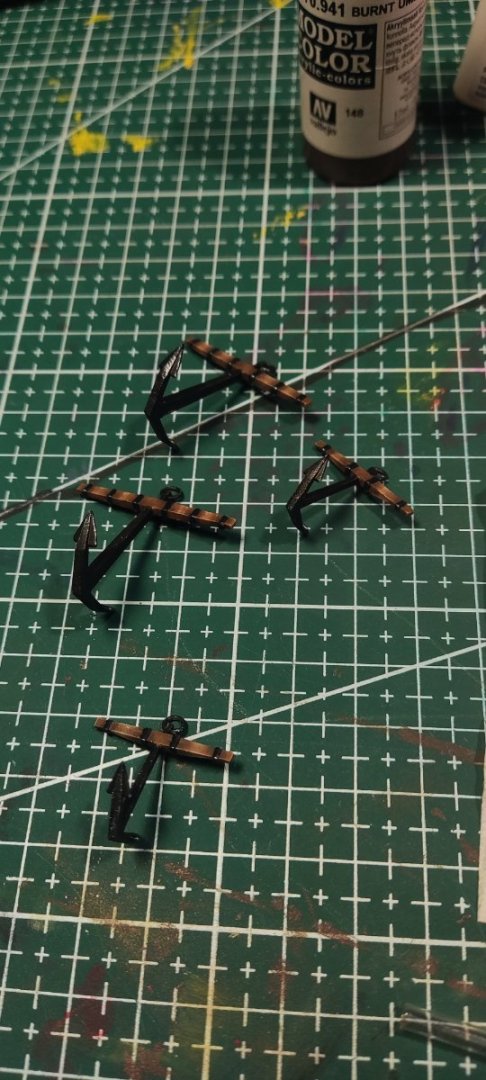
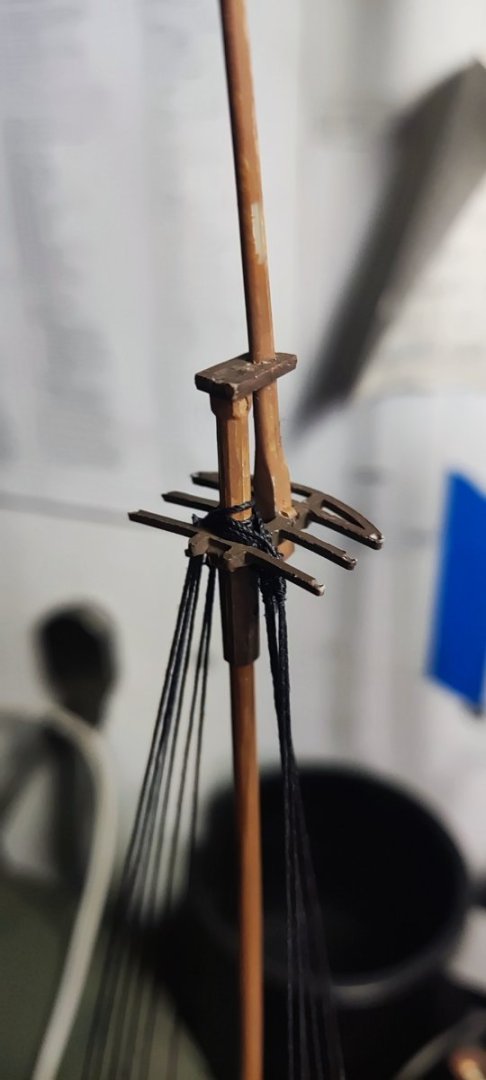
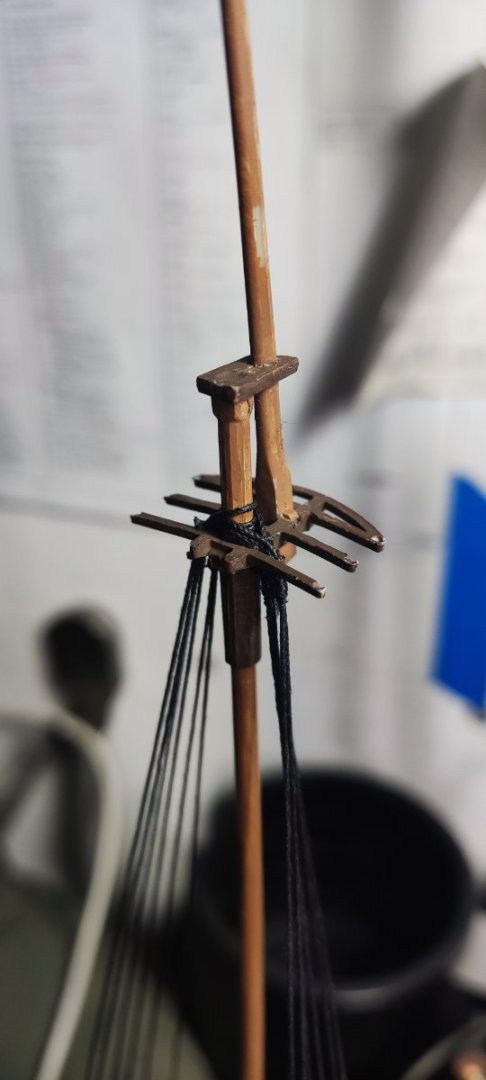
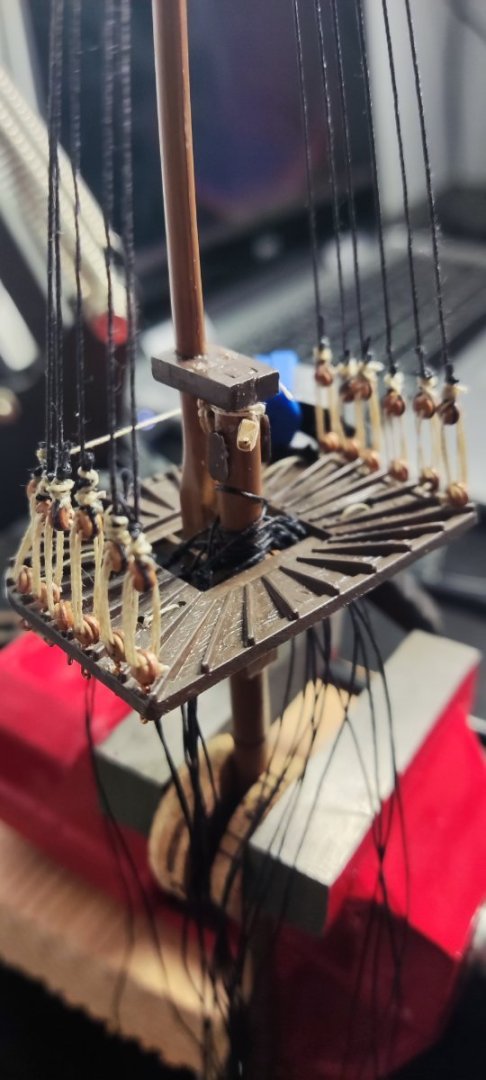
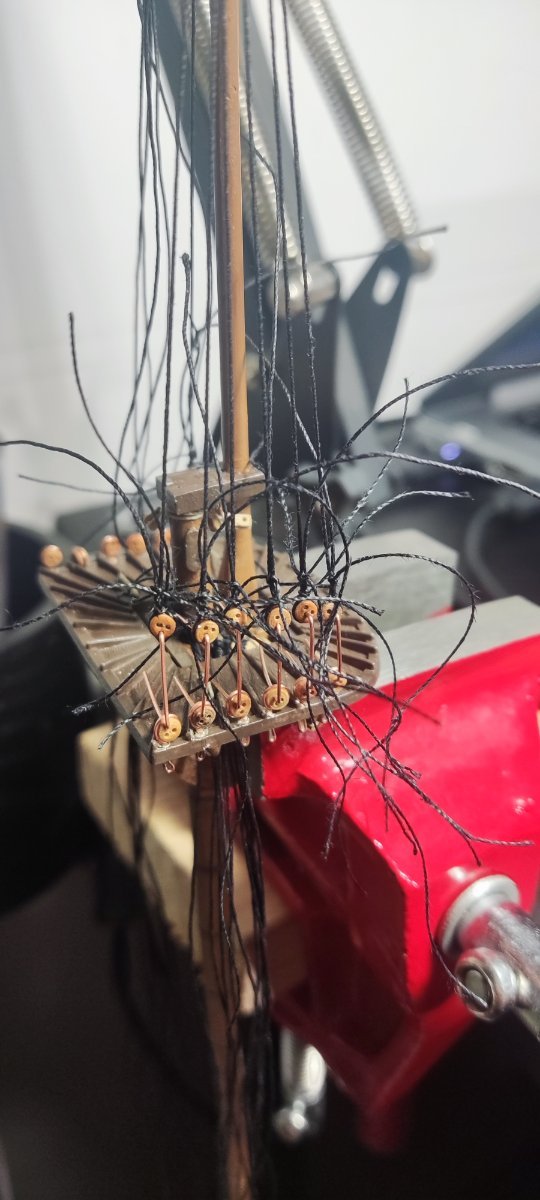
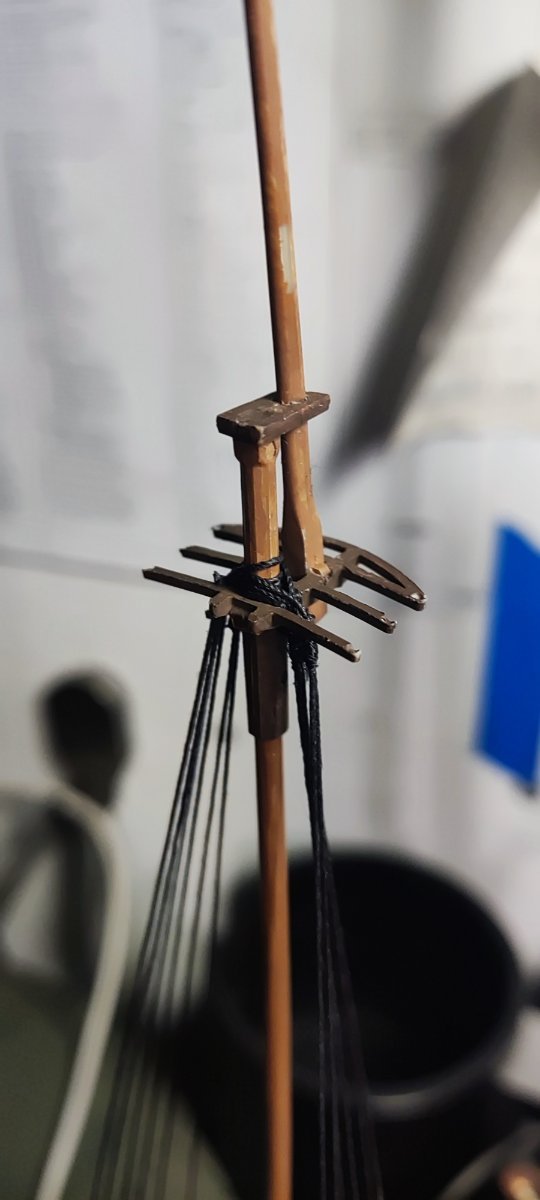
Back to work with masts. Currently rigging the shrouds on topgallant.
In the meantime, I finished the anchors.
- GrandpaPhil and Henke
-
2
-
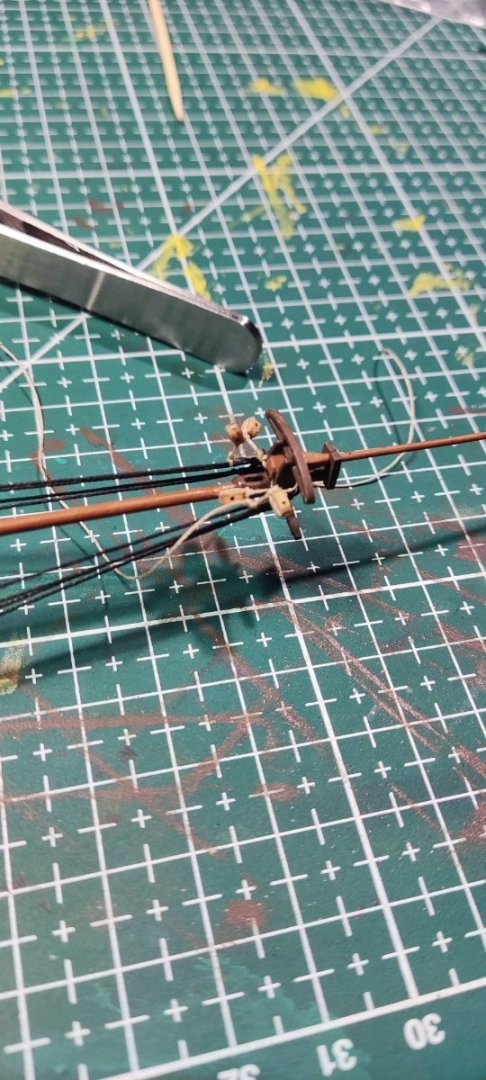
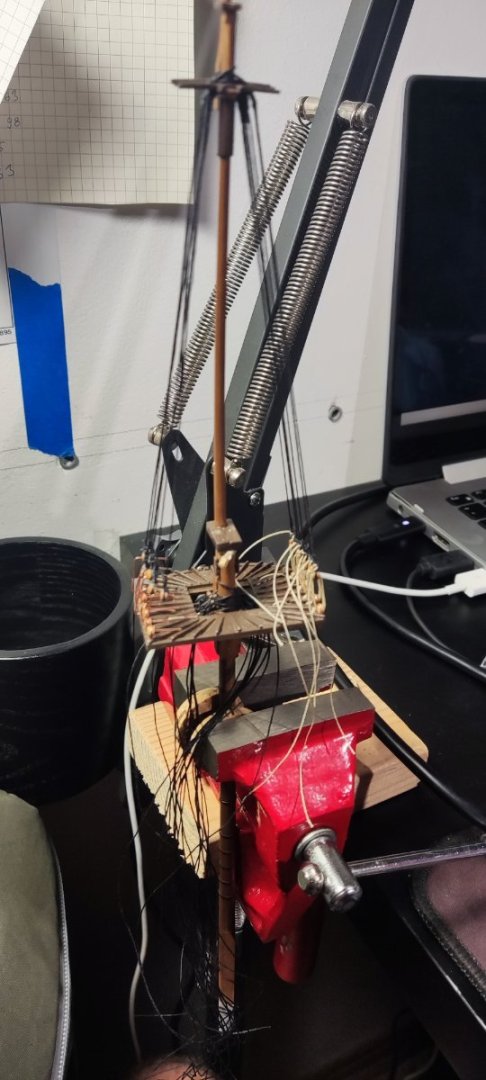
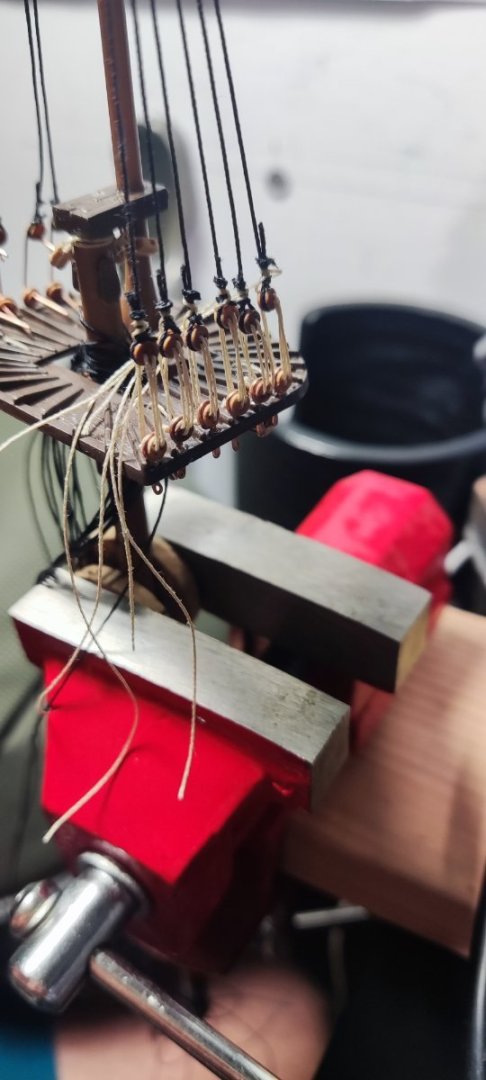
Working on footropes...

- GrandpaPhil and shipman
-
2
-
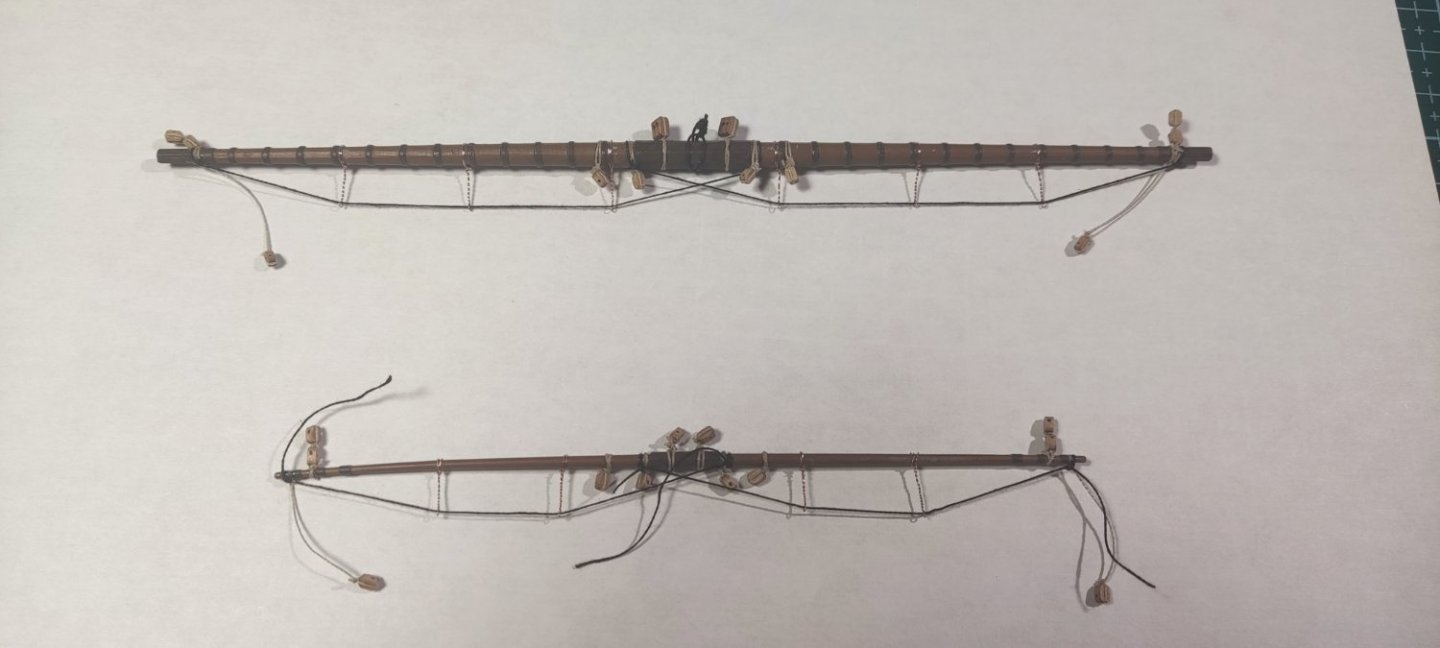
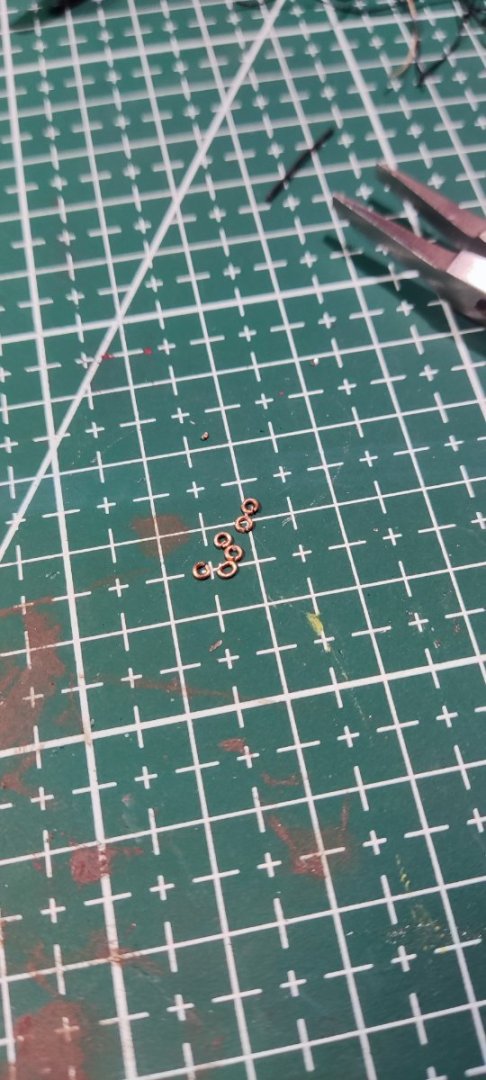
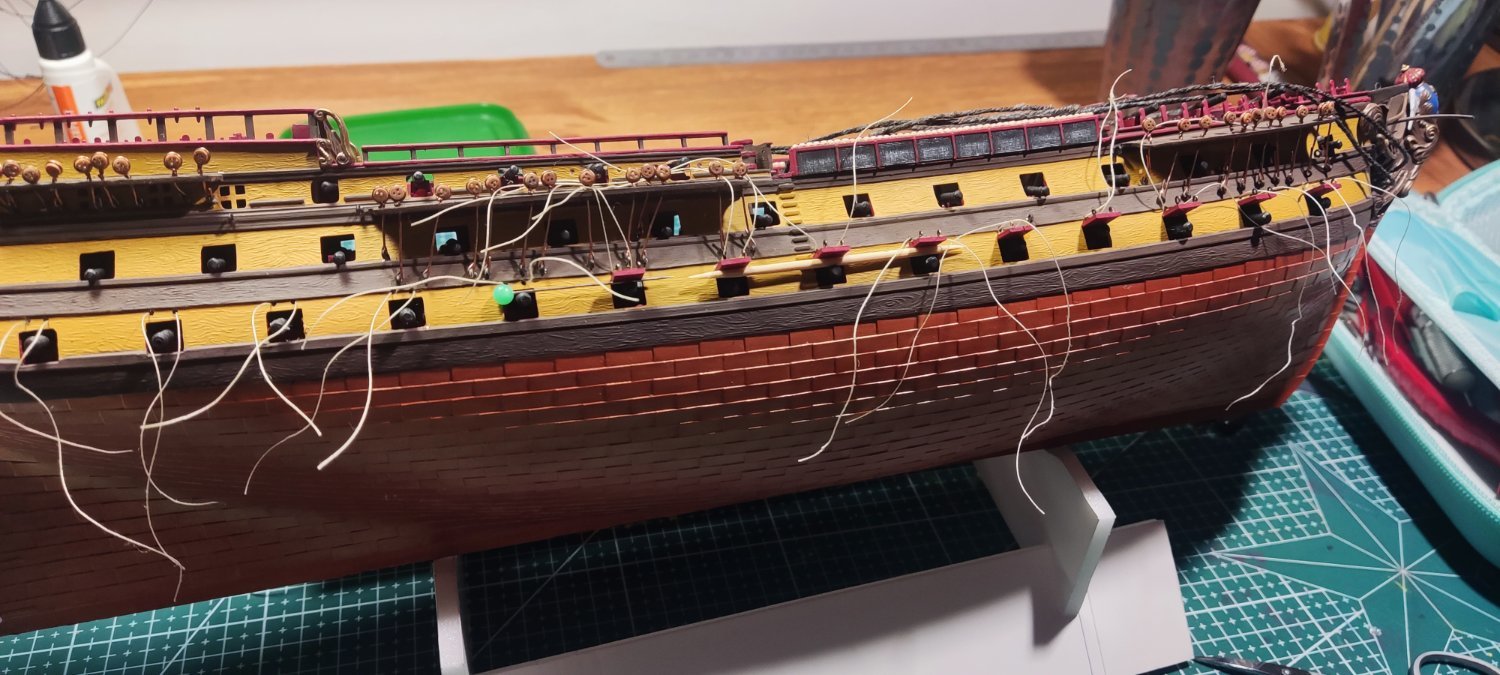
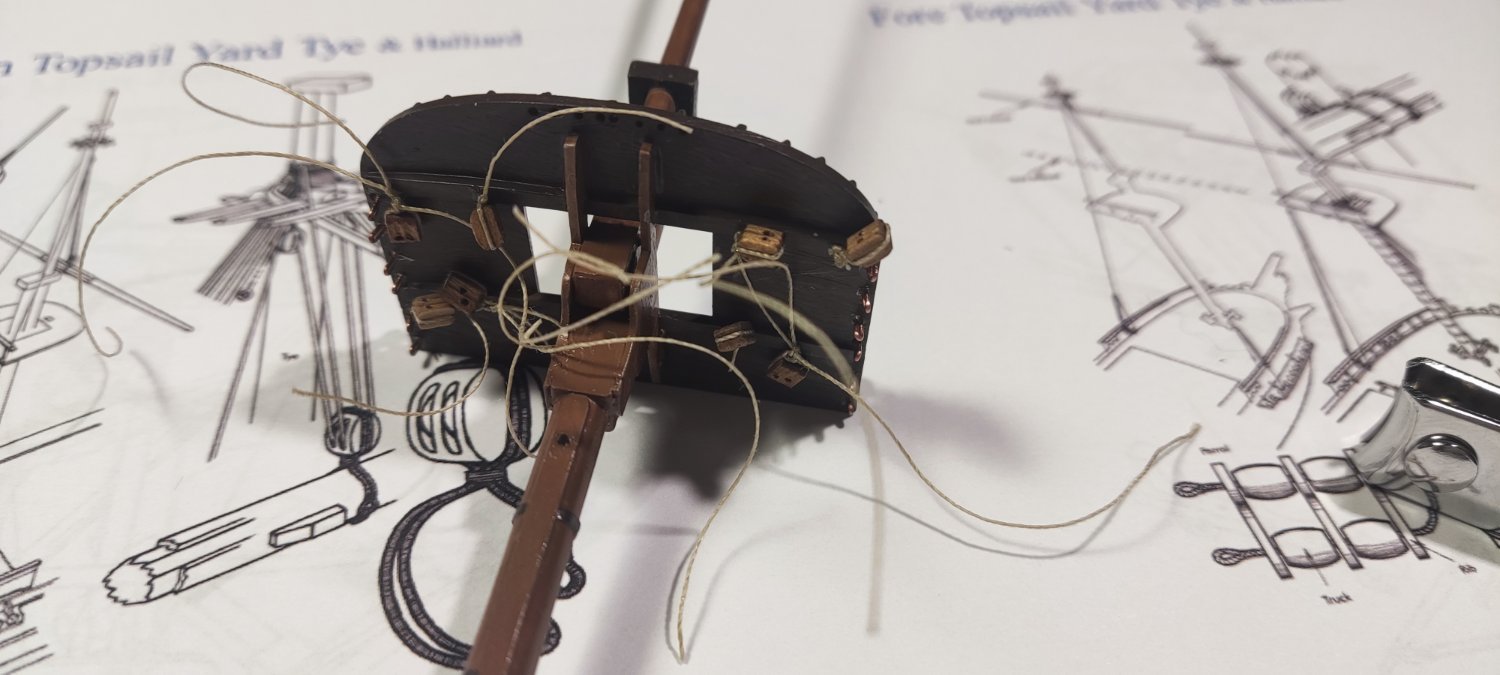
I'm slowly pushing forward. Seems not much, but I made all the blocks and Burton pendants on all three masts and on all yards from mizzen mast and main mast. I'll post photo of all of them once I finish blocks on all yards for the fore mast. And add foot ropes on all yards (although I have no idea yet on how to accomplish that in this scale 😂).
As always, bunch of photos:
-
Thanks for the appreciation! I never thought anyone would follow my advice. Great to see it working for someone else!
Keep up the good work - this kit, although challenging sometimes, is really fun to build. At least for me. I wasn't brave enough to make rope work on the cannons, I'm looking forward to seeing how your Le Superbe turns out.
-
Plastic is bendy indeed, but resin is no good either. I have some experience with painting resin cast minis and can assure you that yards with this thickness cast in resin will brake in first 5 minutes after taking out of the box.
If they invested in better plastic, I think it would be greater improvement.
-
-
Yup, it's sad, that in this price range there are only two of them and they are clones. It's my first attempt of assembling model of a ship, so I don't have comparison, but I love it. It gives me a lot of fun. Unfortunately, I don't have conditions to build a wooden kit, so I take what's out there with gratitude. I think that my next project will be Cutty Sark from Revell and then HMS Victory from Heller. As with my current build (Le Superbe), I plan to make the rigging and sails on the Cutty Sark more detailed, than the manufacturer designed.
-
Hi Henrik,
Thanks for your kind words.
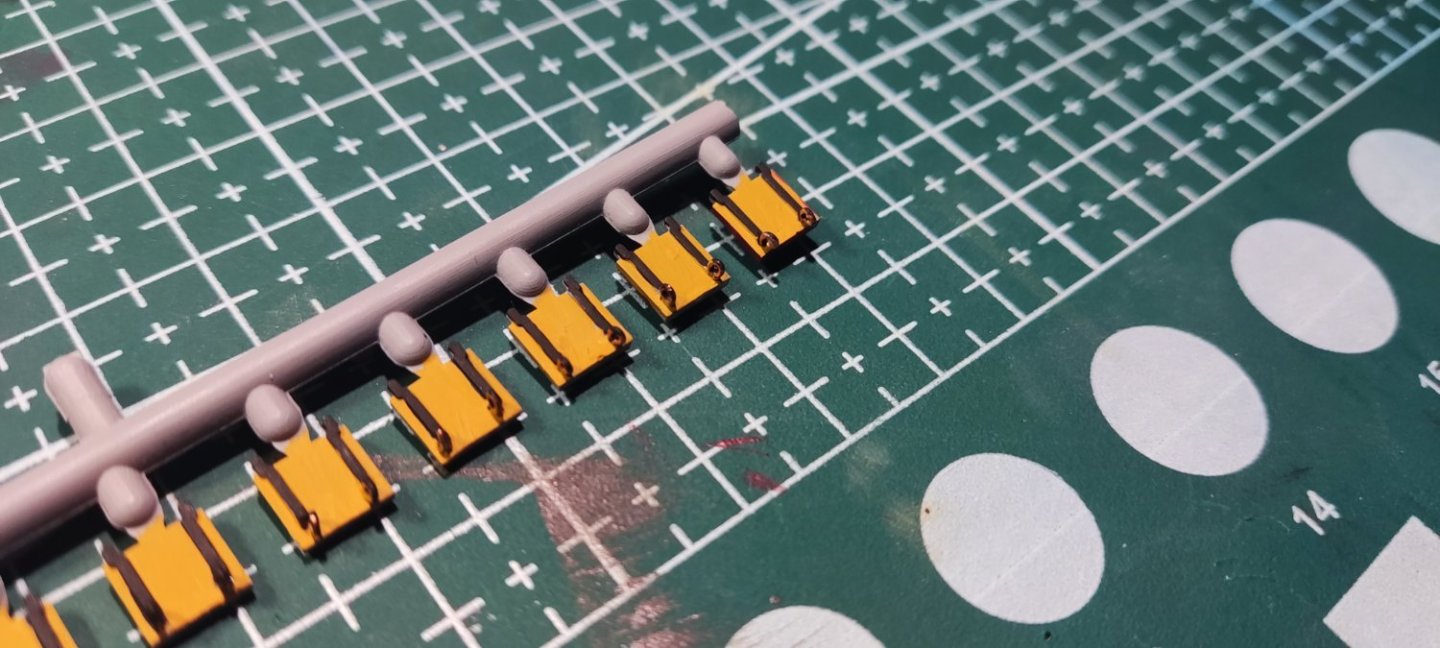
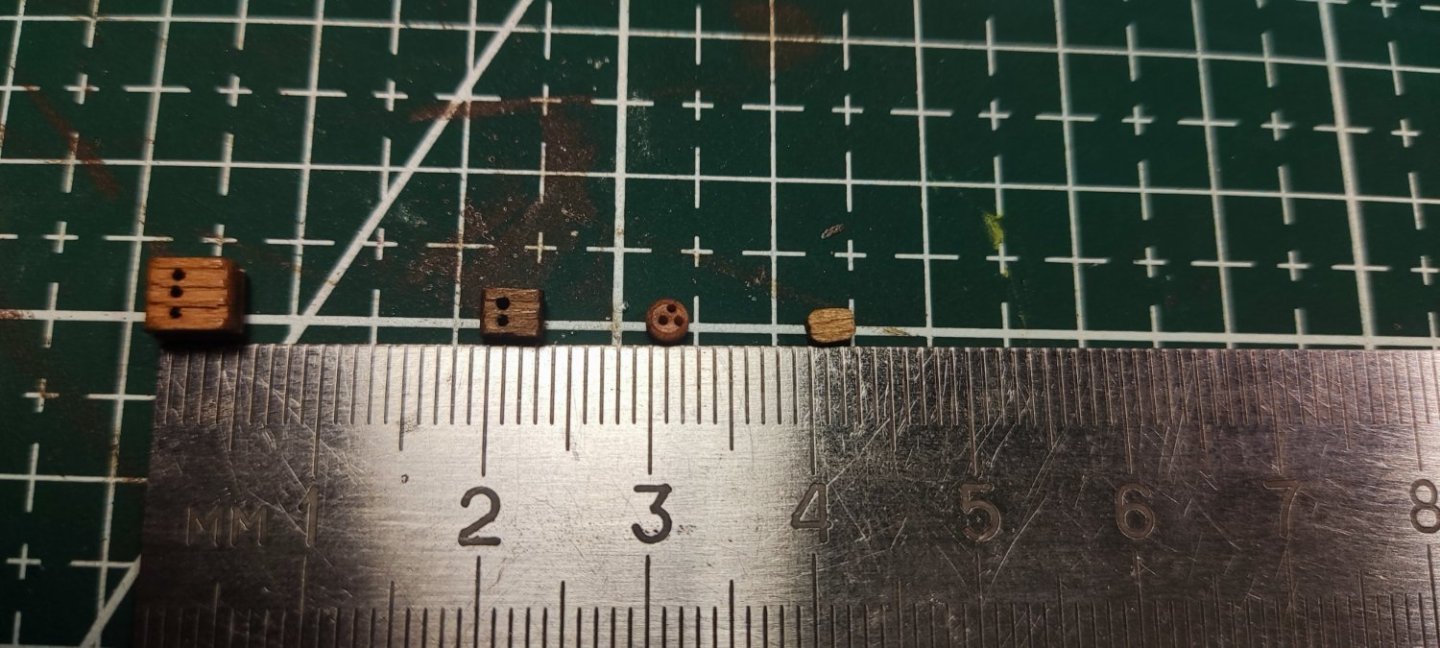
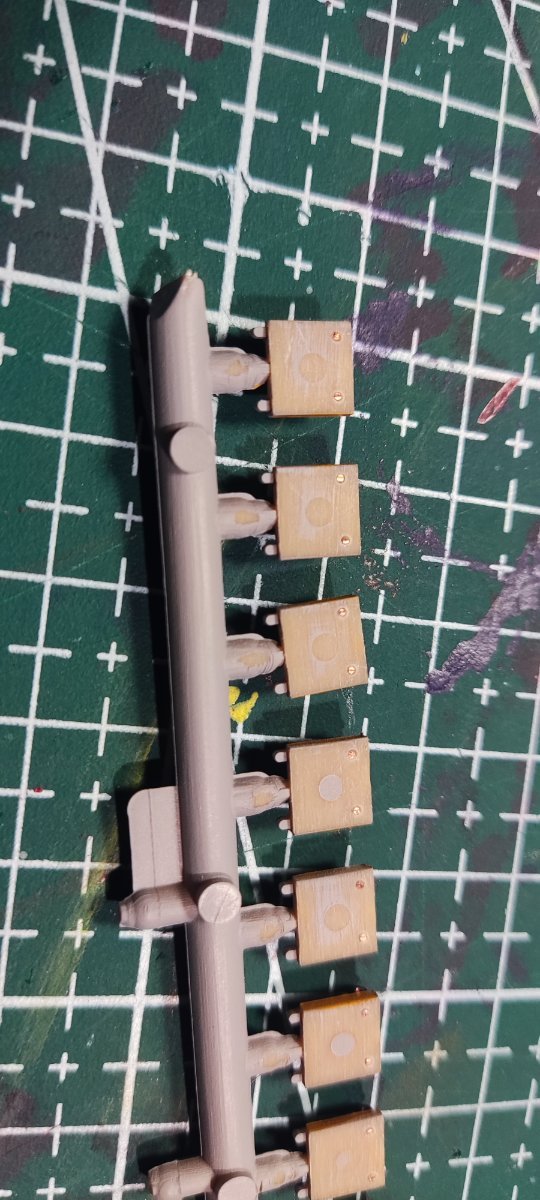
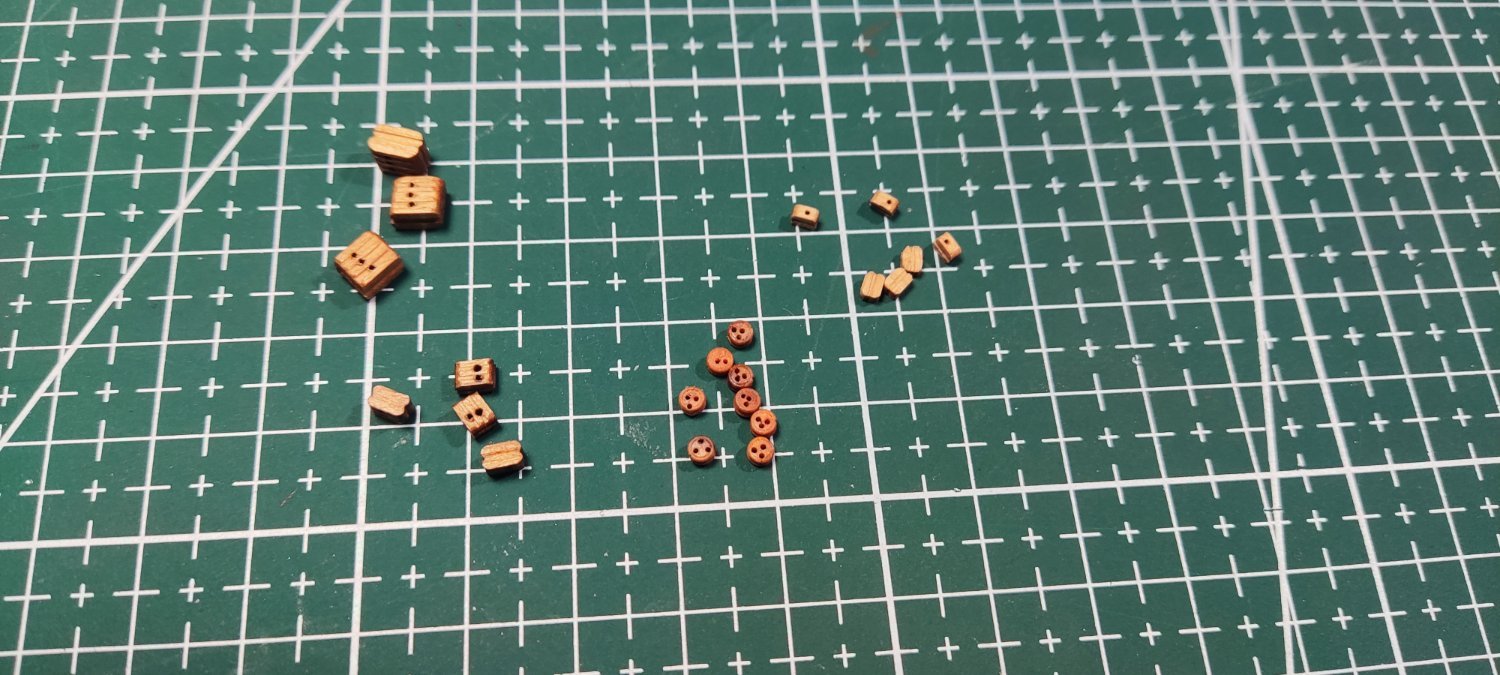
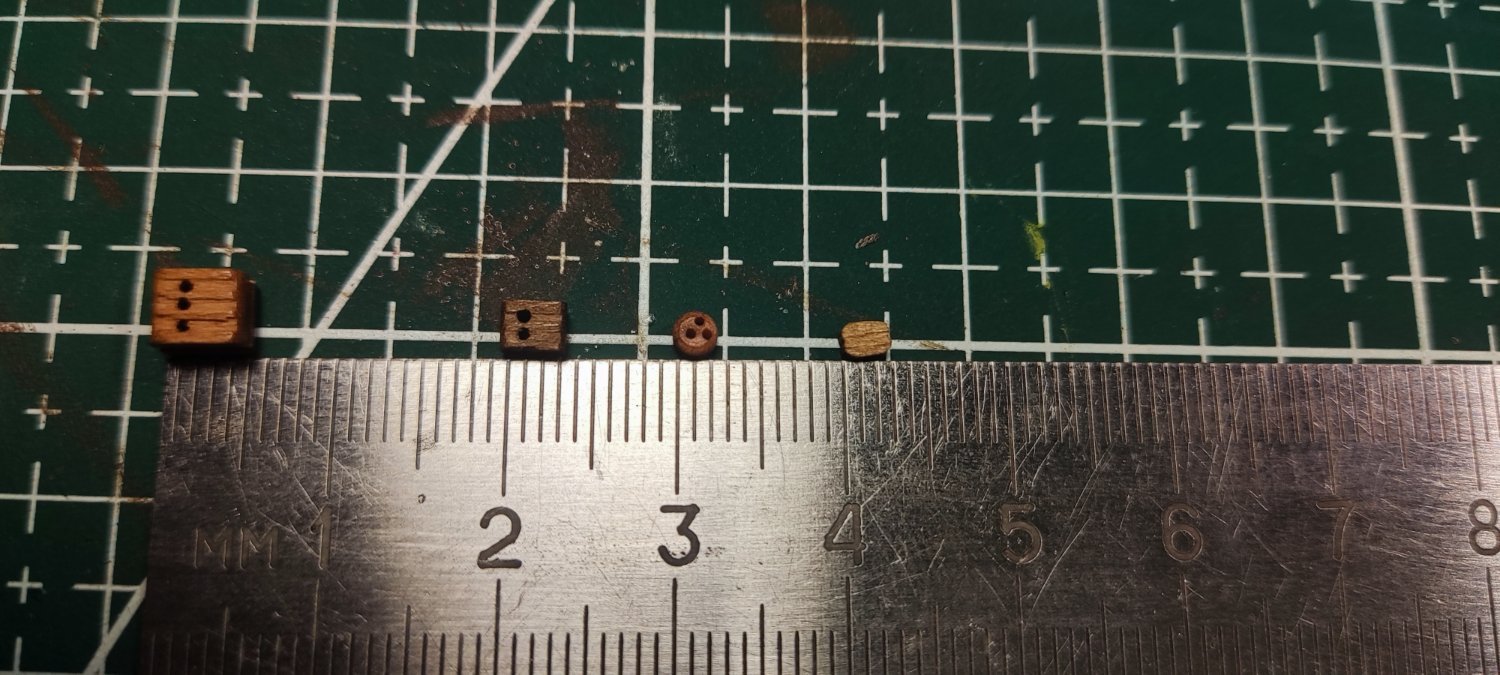
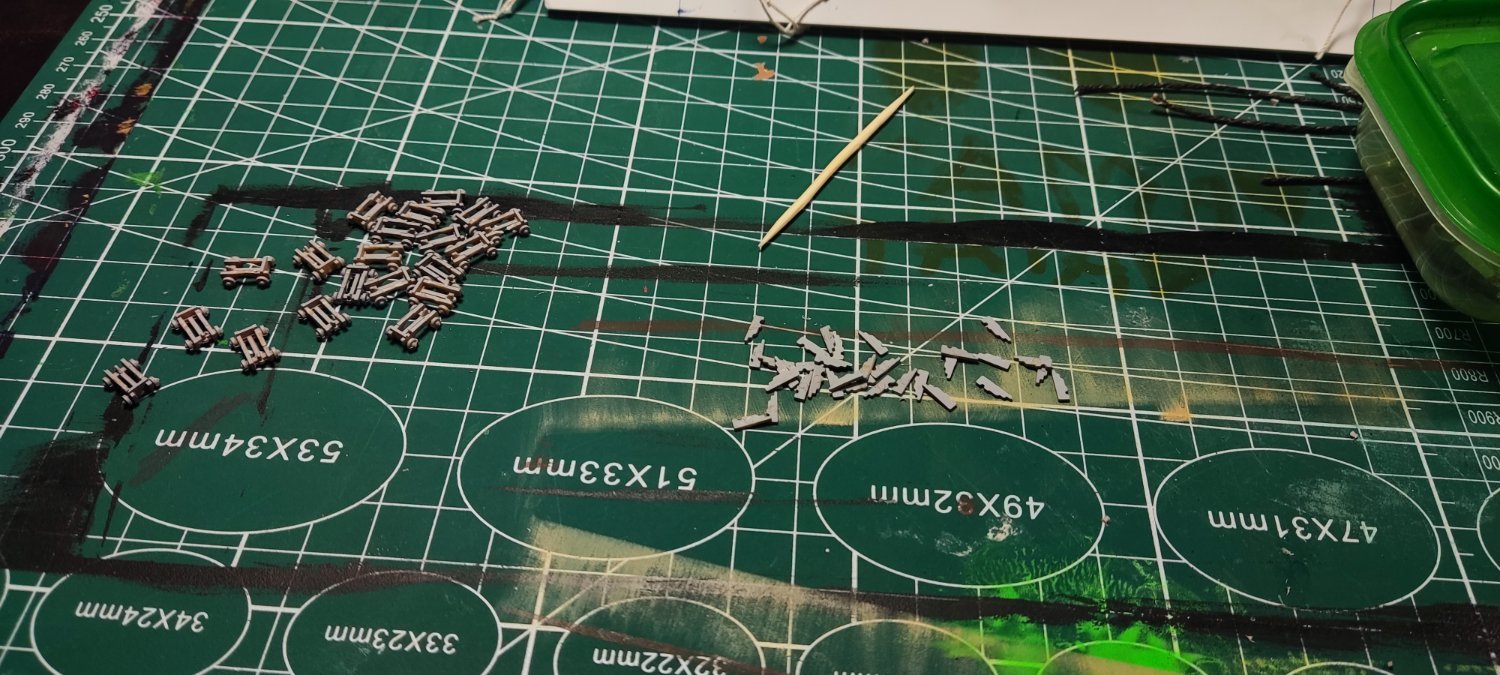
I found deadeyes and blocks from Amati in my local hobby store and decided to use them, even if they will be out of scale. (Although, when I measured plastic deadeyes provided by Heller in the kit, it appeared that they have similar size) All dimensions enlisted below are from producer, but in fact they are 1mm bigger, so keep that in mind. Holes are perfect for 0.25mm ropes.
Deadeyes 2mm AM 404902
Blocks 1 hole 2mm AM 407002
Blocks 2 holes 4mm AM 408004
Blocks 3 holes 5mm AM 408305A
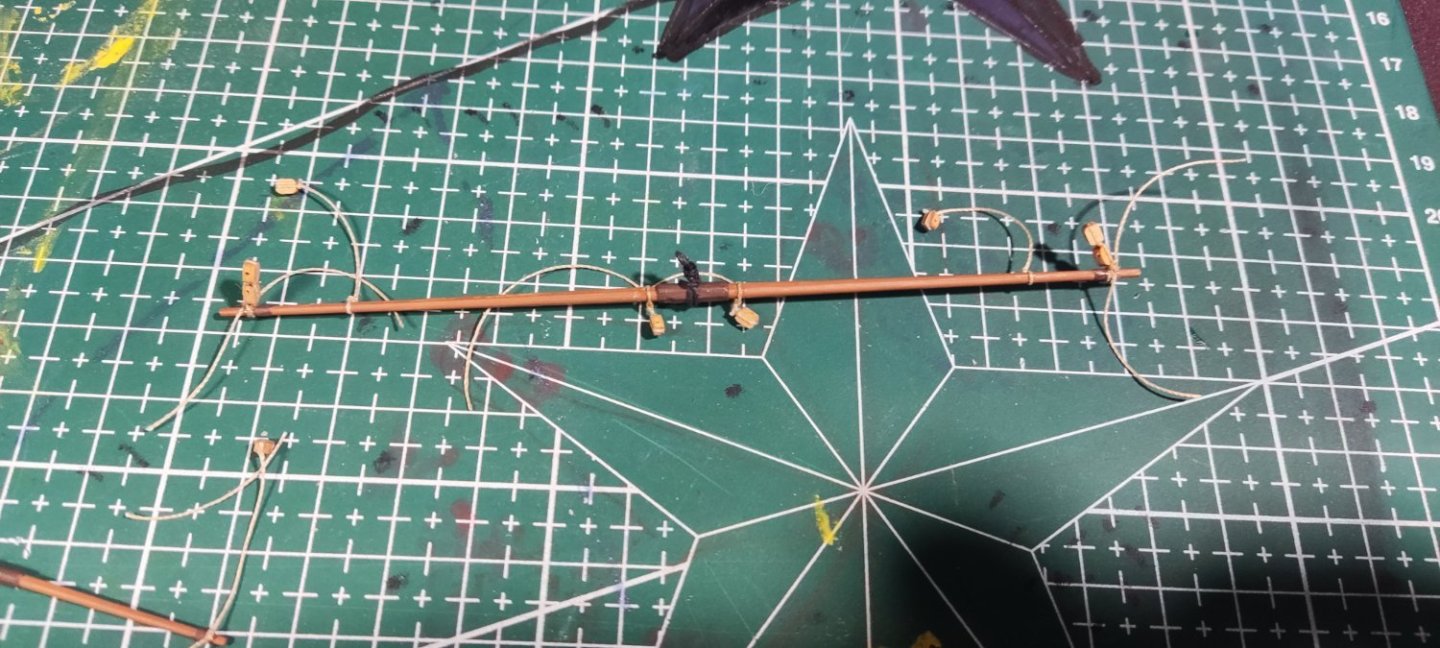
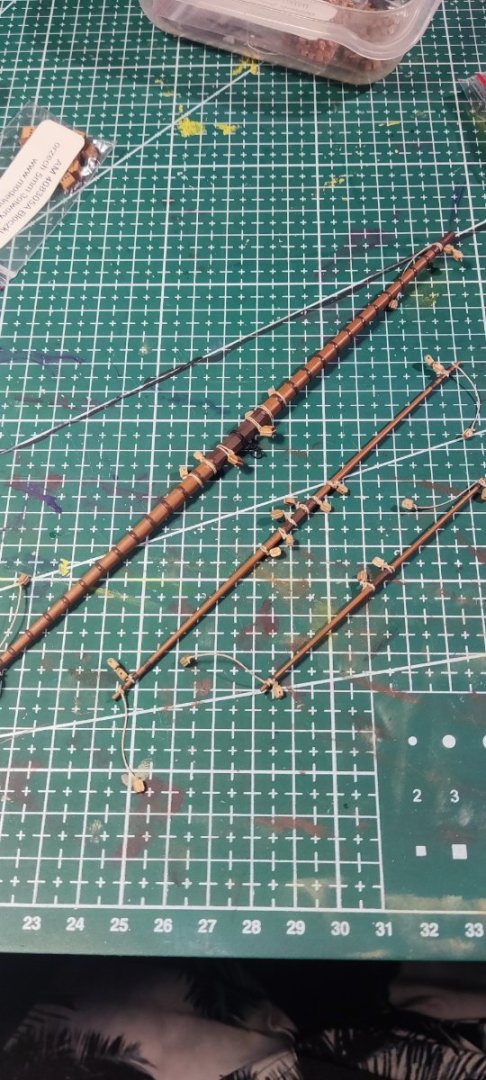
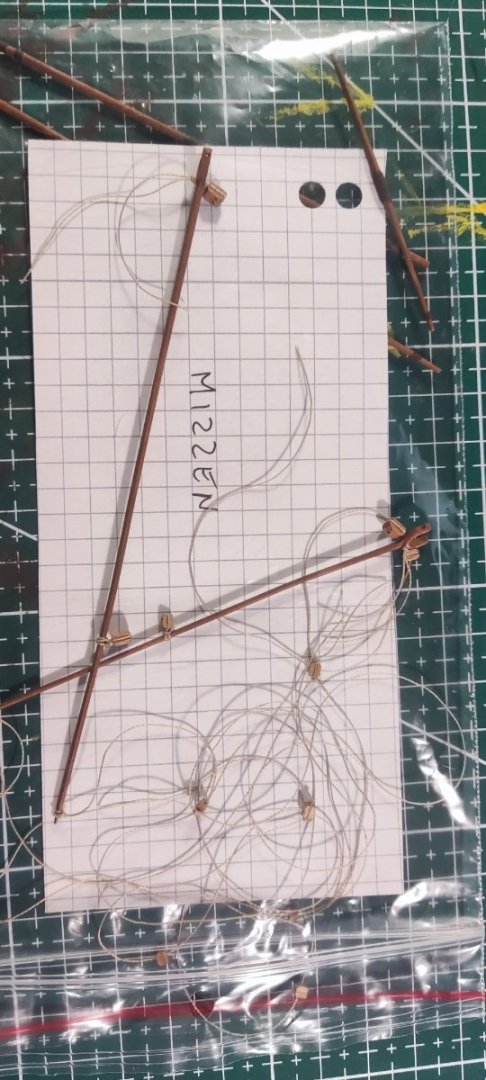
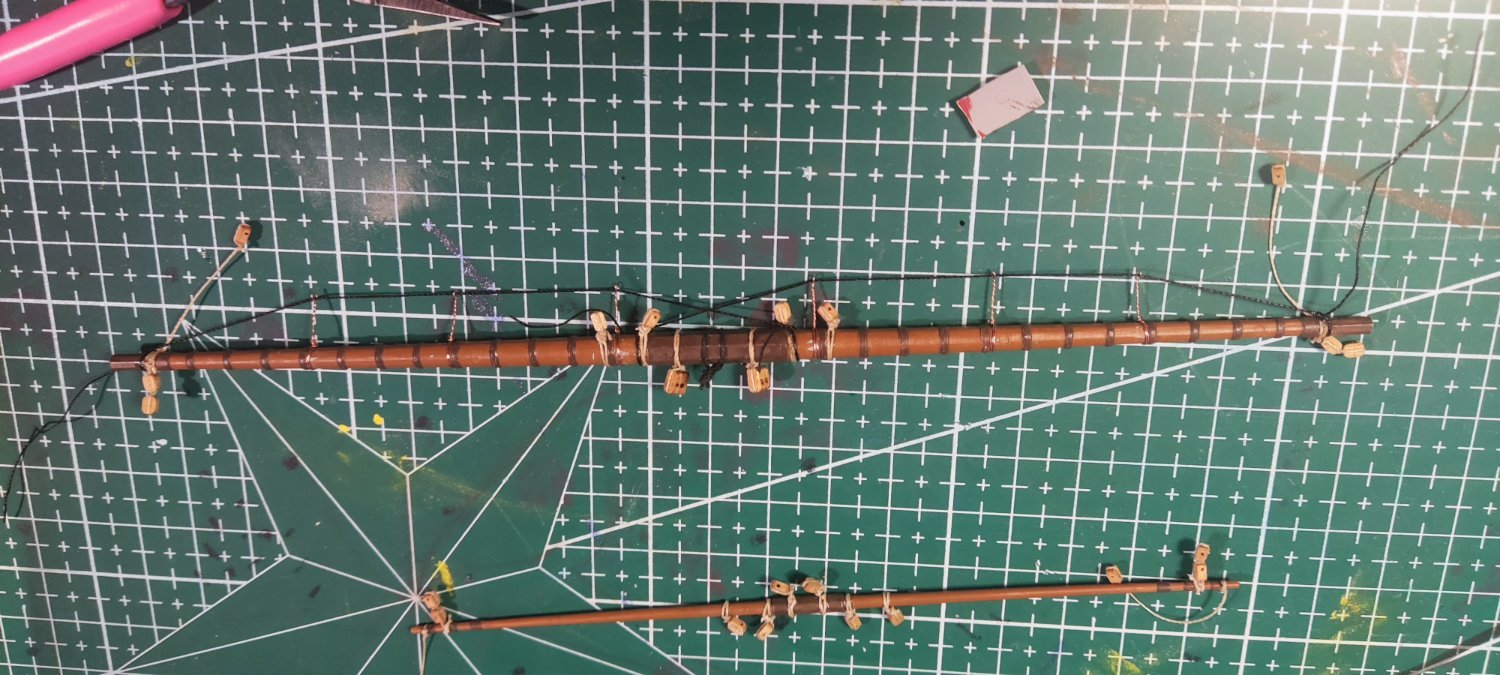
Below you can find photos of them. I also added photo of boom and gaff prepared and awaiting to be fit on mizzen mast. These blocks are a bit bigger than the yards, but it doesn't bother me much and I think it will stress out detailing of the rigging. I call it a "modellers choice".
I hope that helps.

- shipman, Henke and GrandpaPhil
-
3
-
Hi Admiral Beez,
I know the frustration - I'm about to fix masts on my Le Superbe soon and noticed the same thing.
-
Hi guys,
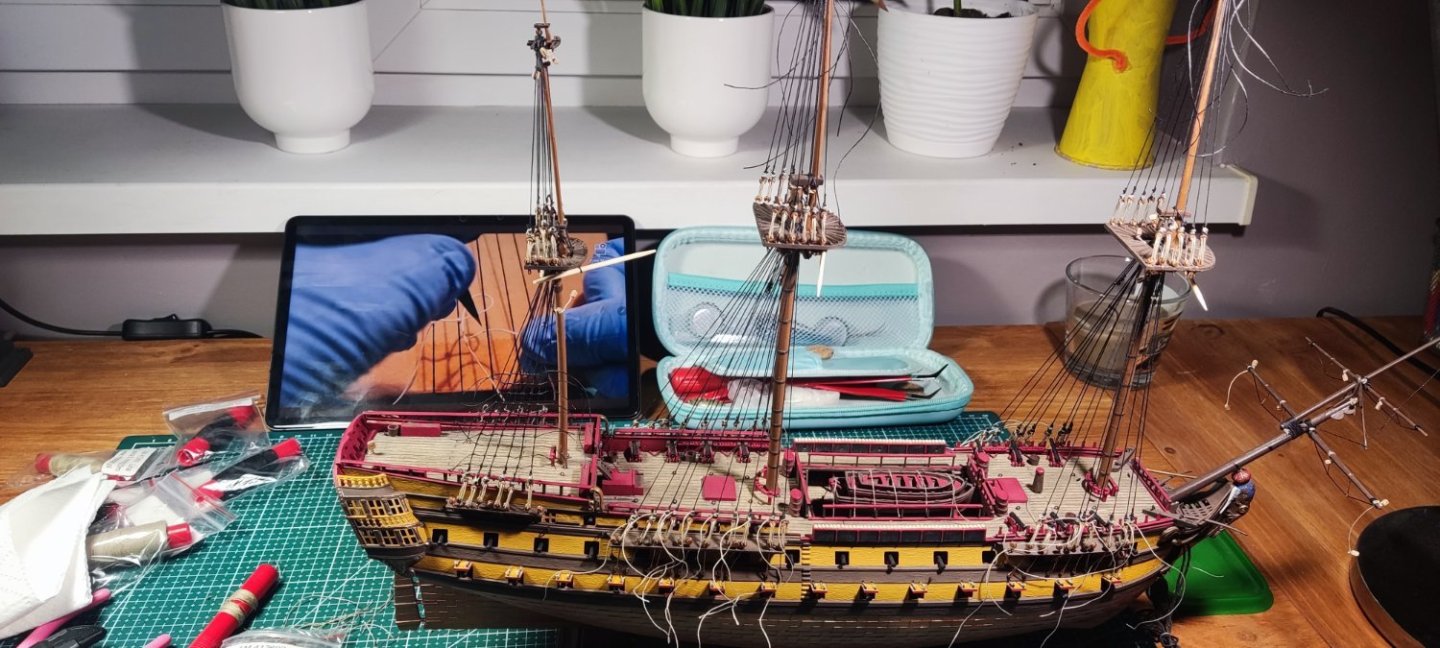
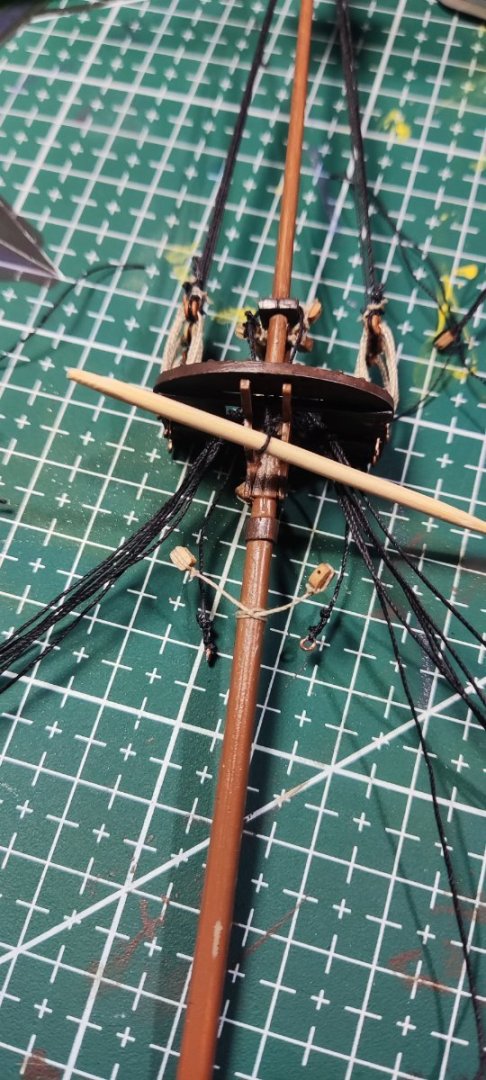
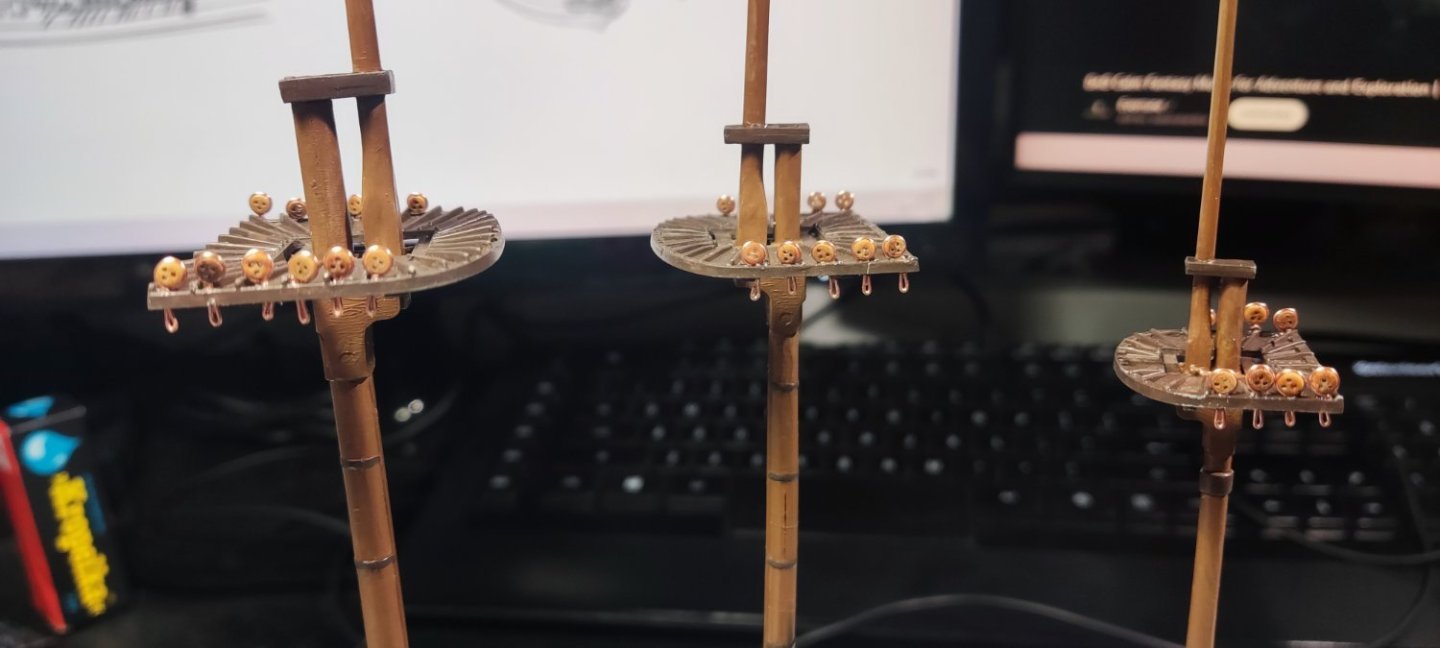
I had a longer break from modelling because of vacation. I used this free time to study books about rigging. Now, back from my vacation, I begun working on yards and topmasts shrouds.
Plastic is very bendy, so I try to mount as many parts on masts as I can before gluing them to the hull.
It's not 100% ideal, but I'm totally satisfied with the result.
Let me know what you think.


- GrandpaPhil, shipman and Henke
-
3
-
Thank you Henrik for your reply. I'm very happy that you like the model. I also think that fixing the masts as much as I can before mounting them will be a good idea. I'm going through the documentation and forum to figure out the details, so it will probably be long before I post any photos here.
-
Thank you Henrik for your kind words.
I will also follow your advice on the fitting of the masts - went to a hardware store and bought some washers for the screws and will try to figure something out with them.
My books came! I'm planning to study them thoroughly during my vacation and start working on rigging in October.
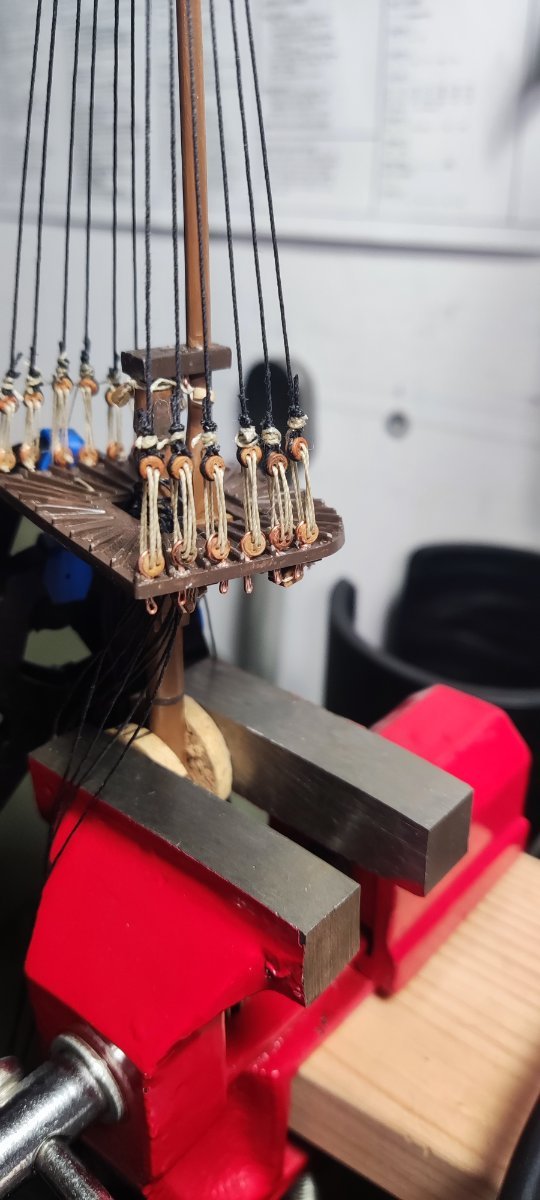
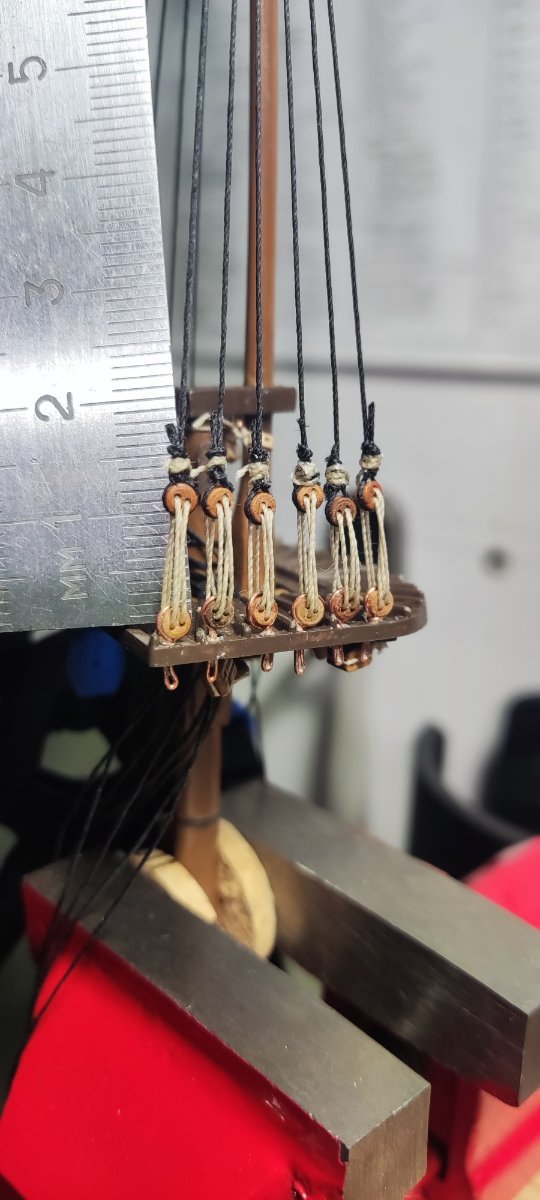
I can also say that I officially hate deadeyes. Mounting them ona plastic model is pain in the butt. I figured that it will be best if I do as much of rigging work on masts as I can before mounting them on a model. So I started with deadeyes for topmasts shrouds. You can see the final effect on picture below (I have to repaint crow's nest after fighting with deadeyes).
Do you think it would be wise to mount yards and blocks on unmounted masts as well? Or should I glue the masts and then start playing with yards, blocks and rigging?

- GrandpaPhil, shipman and Henke
-
3
-
Hah, she definitely is!
-
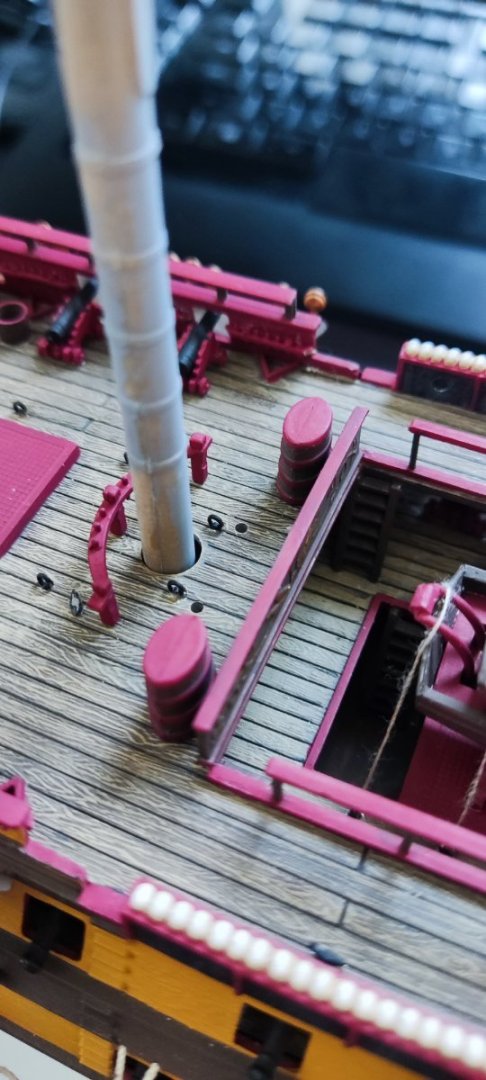
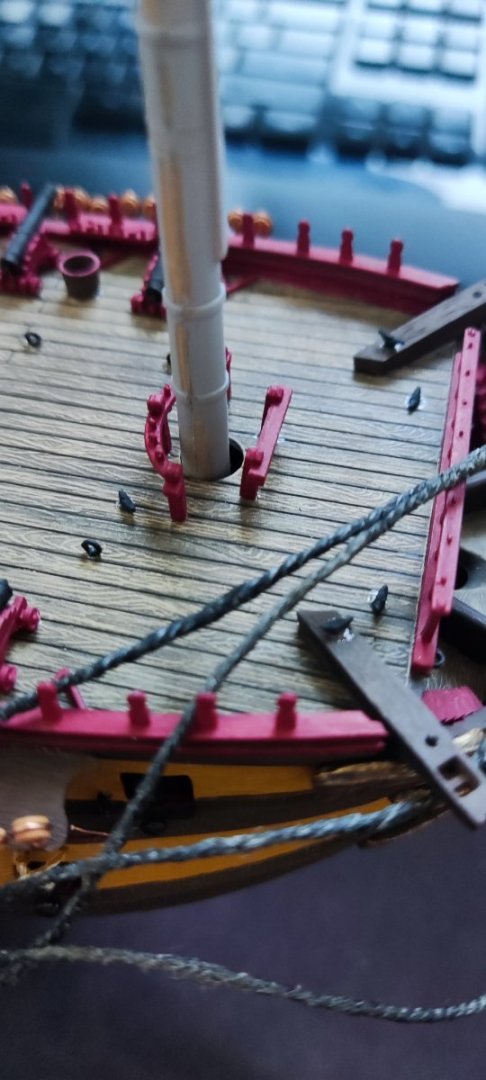
Hi,
don't worry, I didn't give up on assembling the model. I ordered the "Period Ships Rigging" book by Lenart Petersson and trying to learn as much as I can before the book arrives. I don't want to make rigging following the instructions from Heller, but would like to try to go beyond that.
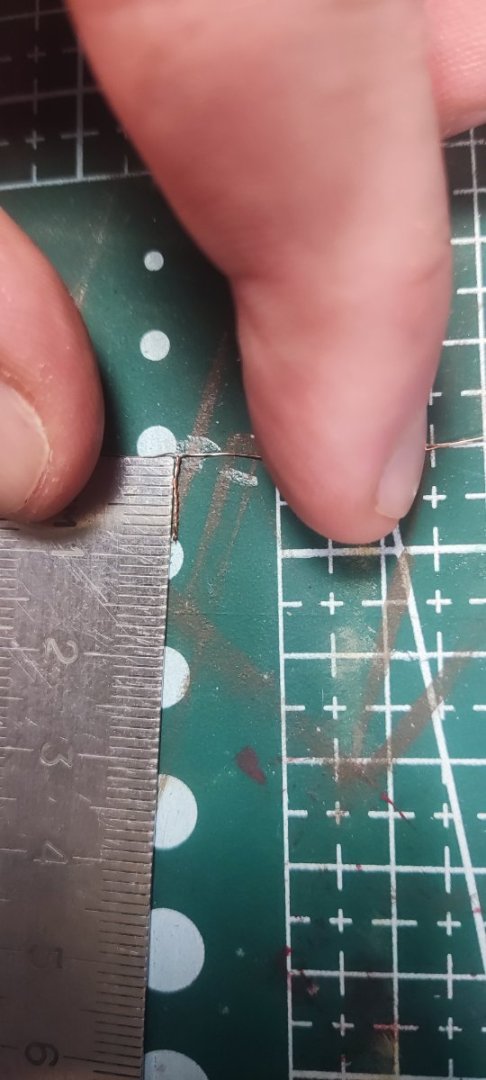
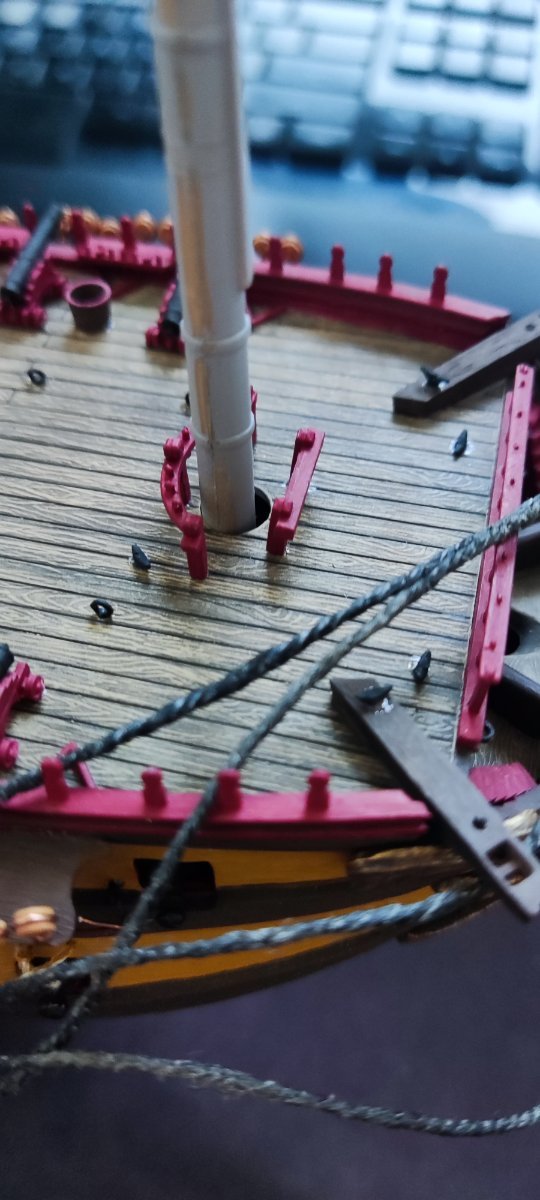
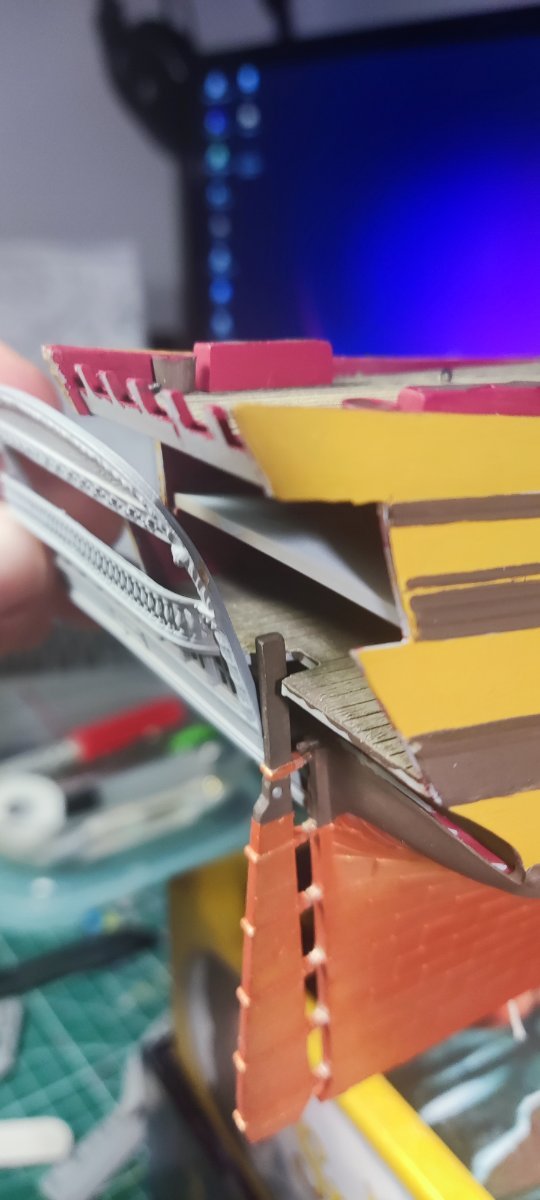
I started assembly of masts, but stumbled upon a following problem: holes in the deck for the fore mast and main mast are too big (see pictures)!
Is there anyone who assembled this kit and/or is able to help me with some advice?
Another question I have is: do you know if there is somewhere a full build log of the fantastic model made by Mr Blue Ensign? I tried to Google for it, but the only things I found are some loose posts/photos and shortened version of it on this forum. All old links targeting the original log are dead. I'd really like to take a look at some of the details to make my build as best as it can be.
I don't want to mess this kit up - my wife already told me that it goes to the living room :).
- GrandpaPhil and shipman
-
2
-
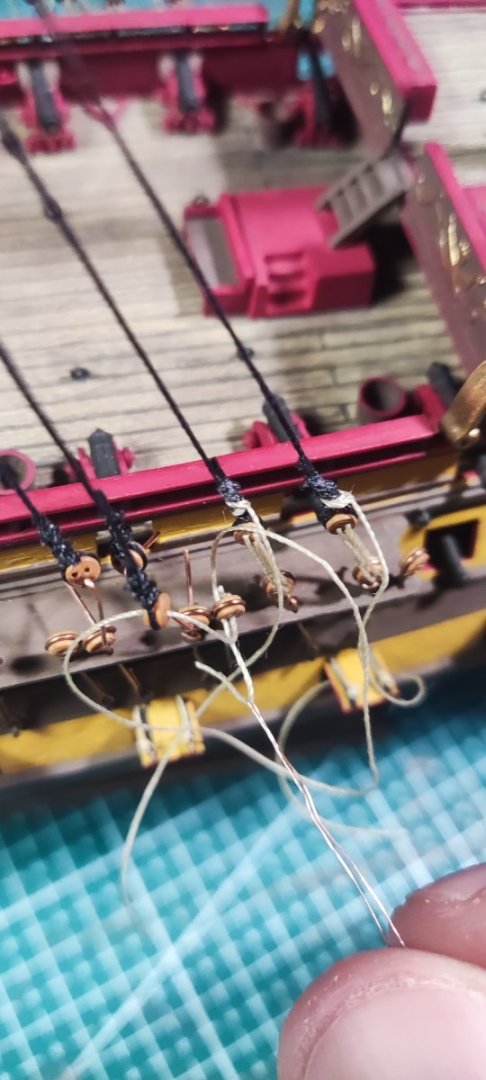
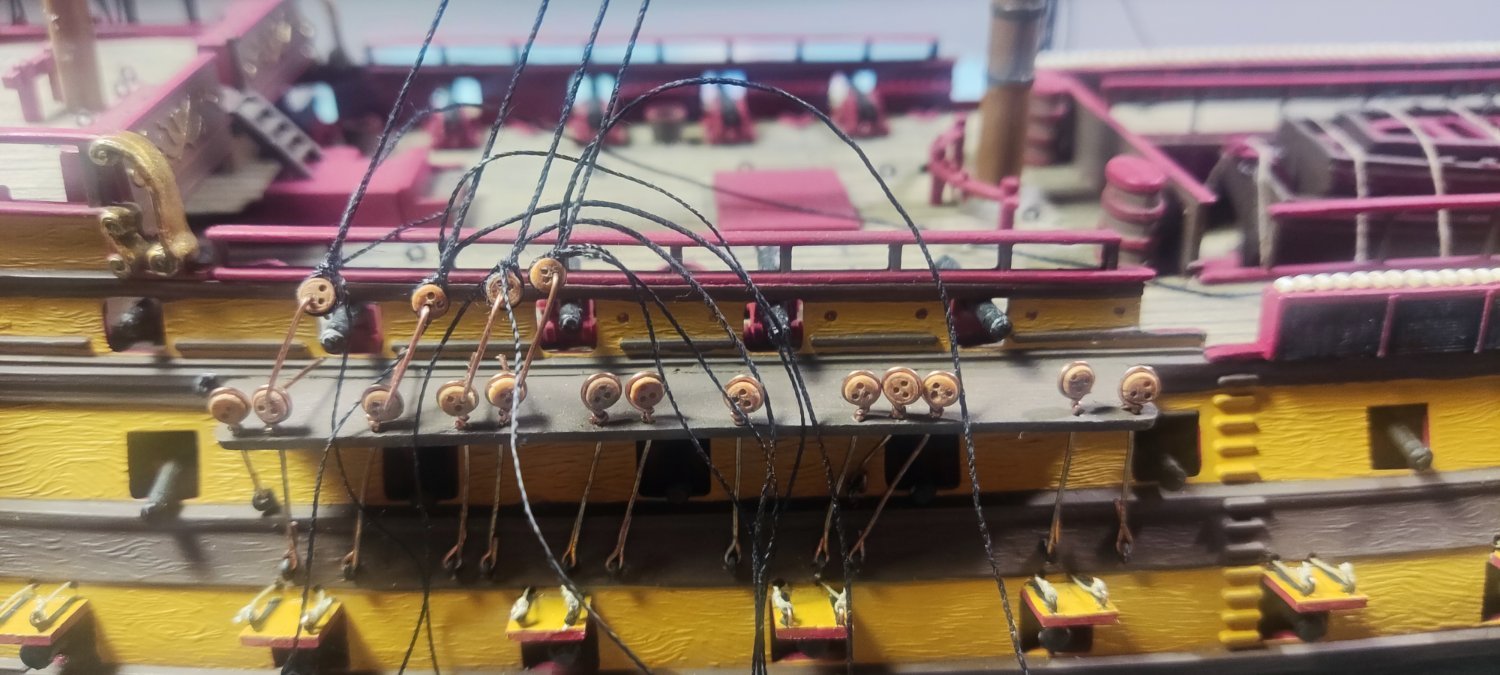
Hello fellow modellers, short update.
I bought a telephone cable, stripped it from it's latex cover and used it as chain plates (is it correct wording?). Deadeyes were bought in the modellers store (2mm size, but in practice they have 3 mm in diameter).
Not the prettiest, but definitely the best I can do in this scale and in my humble opinion not bad for a first timer.
Please let me know what you guys think.

- Henke, ccoyle, GrandpaPhil and 1 other
-
4
-
Hi Henrik,
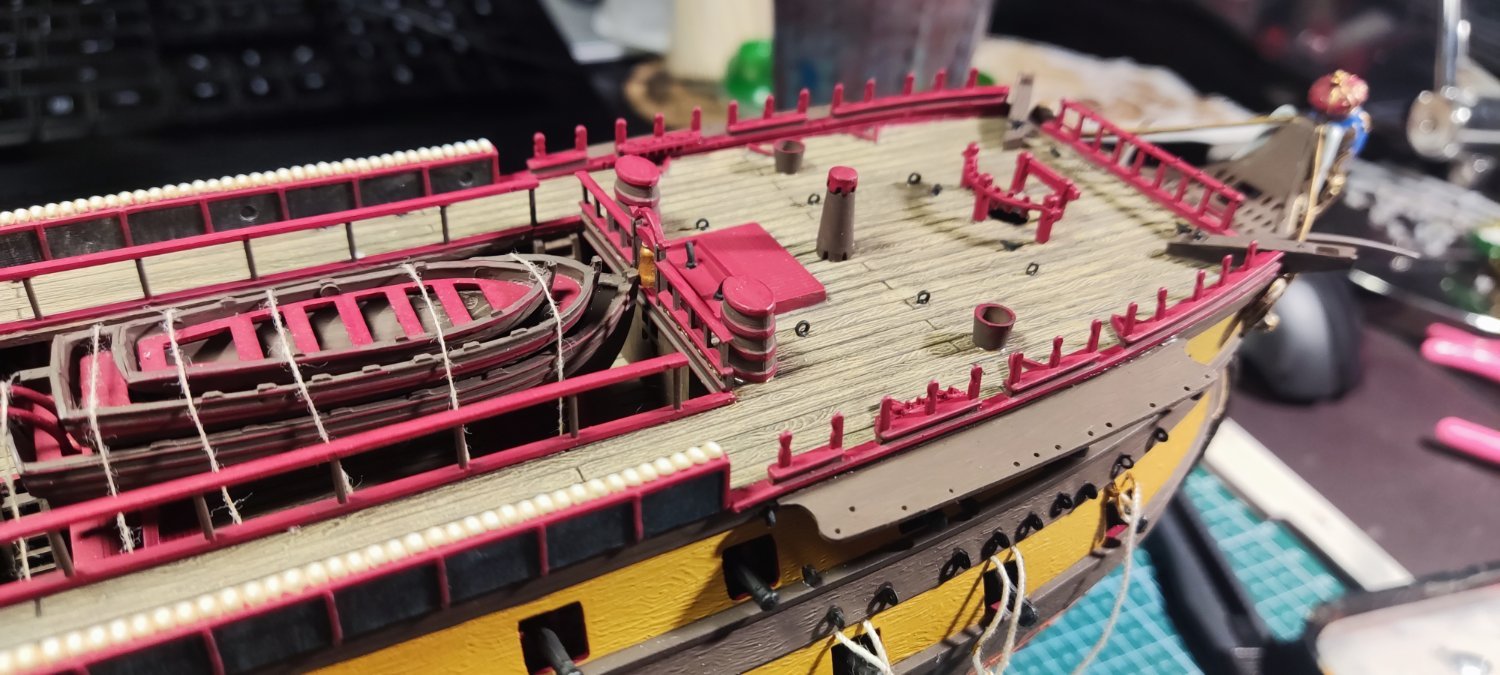
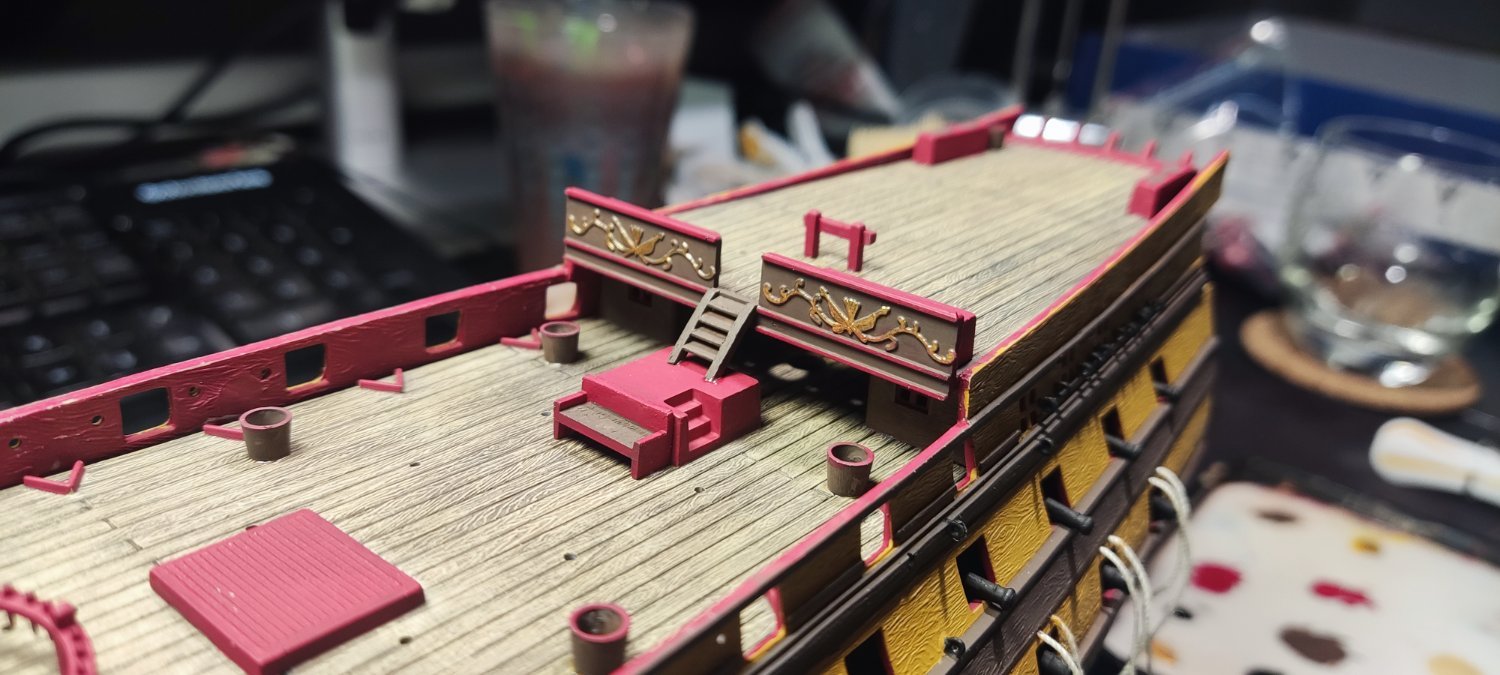
Apologies for not answering to your post - for some reason I didn't receive notification about your reply. And thank you for complimenting my painting 🙂. Here's my approach to the subject.
I use Vallejo paints only. Knowing that you'll be able to check the colors by the paint name. I basecoated the deck with Leather Brown. Next, I do a heavy dry brush with Beige Brown, paying attention to not spill the paint into crevices. Then I do a lighter dry brush with Iraqi Sand. After that, the most important step is to dilute black paint havily to consistency of ink and place the paint into the crevices between planks. Before the black paint dries, I wipe it off gently with my finger. Using finger has two effects. One: I remove excess paint from the crevices between planks. Two: I smudge the black paint over that planks. The key is to make it sloppy and uneven. The final touch is to perform gentle drybrush with Iraqi Sand after filling all crevices between planks with black paint.
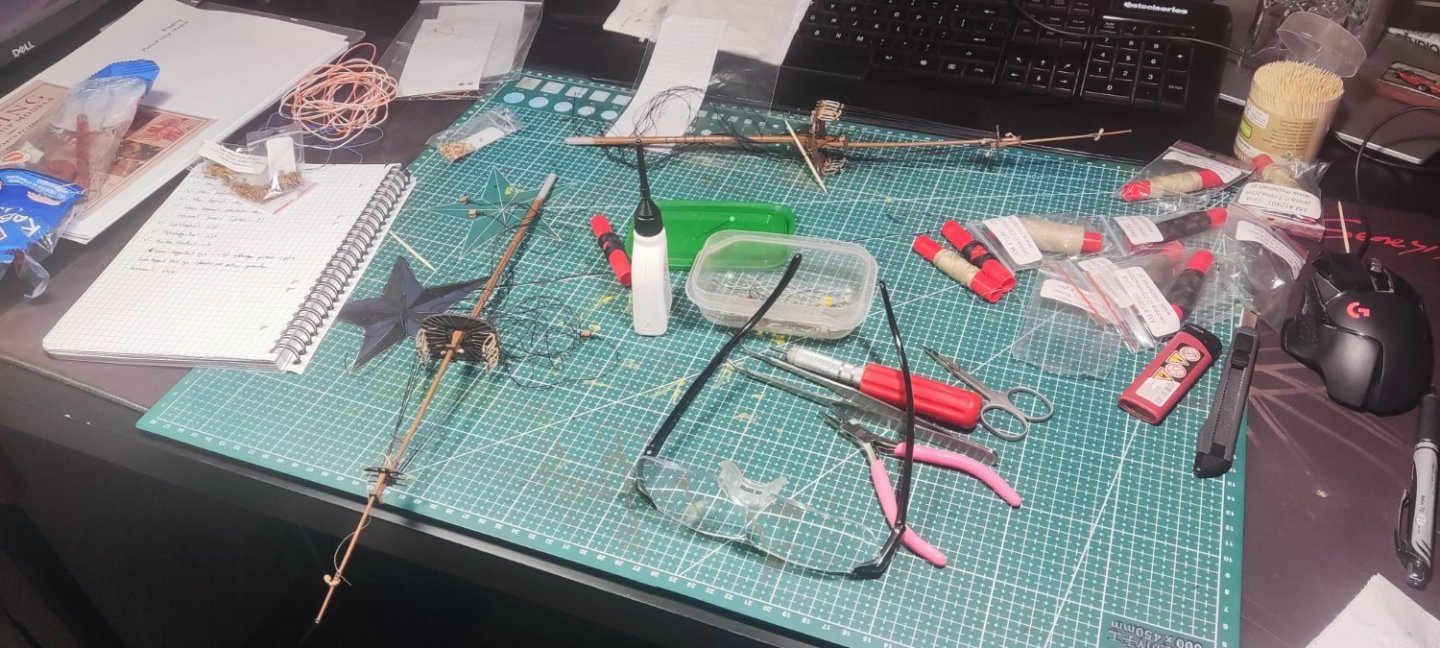
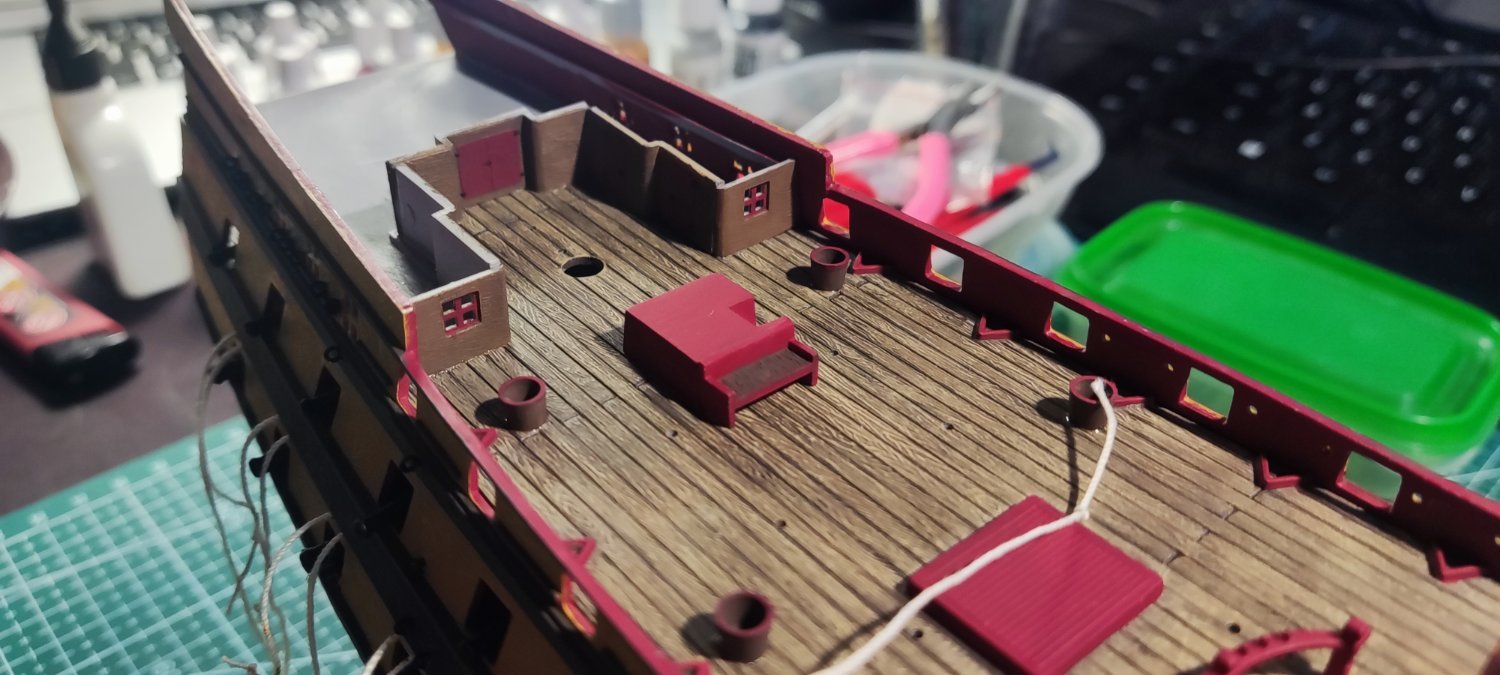
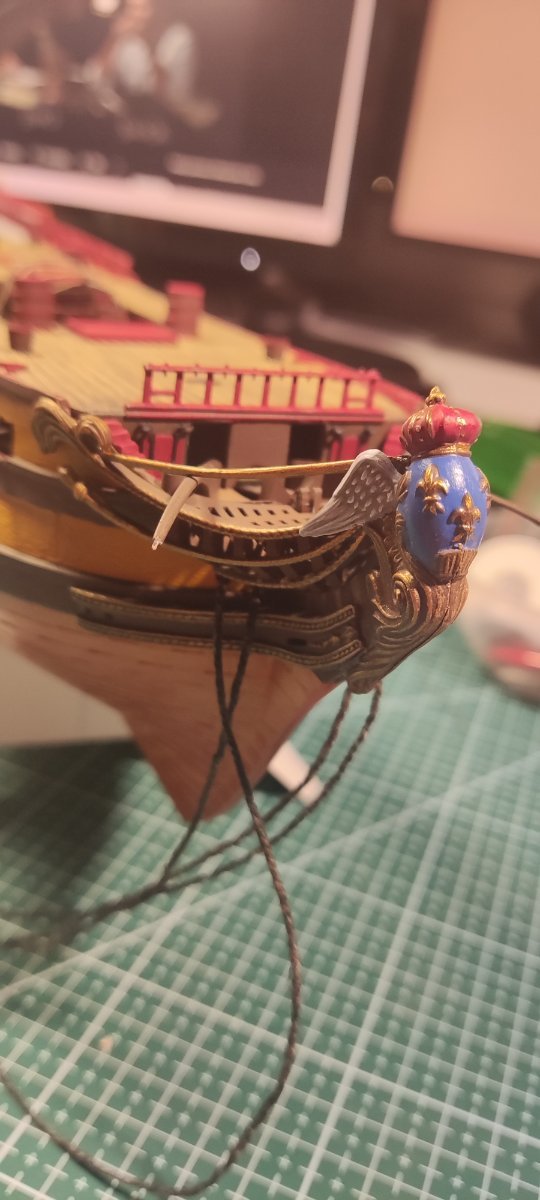
Also, I apologize for not posting any updates for so long. That doesn't mean I wasn't busy - on the contrary. Here are some photos to prove it.
There is one mistake that I made - I followed original instructions too blindly and glued the rudder (is it correct word?) before gluing the aft transom. I had to deal with that and modify the rudder, as I didn't want to cut it off.


- Barbossa, Henke and GrandpaPhil
-
3


HMS Indefatigable 1794 by Kevin - Vanguard Models - 1:64 - Feb 2023
in - Kit build logs for subjects built from 1751 - 1800
Posted
I'm sorry for your loss. I had to put my dog to sleep once. He was my only friend, standing by my side for 13 years, helping me endure my mental problems and giving me light in dark times, so I know what you feel.
They are not just dogs. They are family members and missing them hurts like hell.
I wish you strength in this dire time.
Piotr