AlfredoCampos
-
Posts
32 -
Joined
-
Last visited
-
 AlfredoCampos reacted to a post in a topic:
Bounty Boat by Stormaple - OcCre - 1:24
AlfredoCampos reacted to a post in a topic:
Bounty Boat by Stormaple - OcCre - 1:24
-
vvvjames reacted to a post in a topic:
Bounty Boat by Stormaple - OcCre - 1:24
-
 Yep, in my build i planked fully, but people pointed out that specifically launches weren't planked that way.
- 12 replies
-
- 1
-
-
- OcCre
- Bounty Boat
- (and 1 more)
-
AlfredoCampos reacted to a post in a topic:
Bounty Boat by Stormaple - OcCre - 1:24
-
aaronc reacted to a post in a topic:
Albatros by AlfredoCampos - OcCre - 1:100 - weathered
-
AlfredoCampos reacted to a post in a topic:
marking water line
-
AlfredoCampos reacted to a post in a topic:
Albatros by AlfredoCampos - OcCre - 1:100 - weathered
-
 vvvjames reacted to a post in a topic:
Albatros by AlfredoCampos - OcCre - 1:100 - weathered
vvvjames reacted to a post in a topic:
Albatros by AlfredoCampos - OcCre - 1:100 - weathered
-
Hi James. I fixed by cutting a very small dent in the area, it was enough for the plank to lay flat where the two sides of the dent join. The result, together with a following drop plank (actually a stealer, as I didnt measure the drop plank right), was pretty decent. Regarding Xmas, yes, as last year This year I'll buy a decent metal primer in spray and a few paints and pigments for weathering. I already have what I need for rust effects (anchors, rudder hinges, etc) but still need stuff for the hull (dampness, grime, salt, algae...).
- 10 replies
-
- 1
-
-
- Albatros
- weathering
- (and 1 more)
-
vvvjames reacted to a post in a topic:
Albatros by AlfredoCampos - OcCre - 1:100 - weathered
-
Second planking finished, sanded and rewashed in sappelli. Think it looks pretty decent. Some defects are still noticeable, but not too much, and most will be hidden when I weather the hull. I decided to plank with 10 cm strips instead of whole ones, tappering each as needed. Drop planks and stealers are noticeable. The drop planks fit rather nicely, but not perfectly. Two stealers on each side. Unfortunately, when drilling the rudder hole I bumped the drill into the keel and did a small dent. I'll now go forward with the rubbing strakes after weathering the outter bulwarks. The hull weathering will have to wait for Christmas and the present I like to gift myself: a little breach into my financial constraints In the meantime, I realized i did the waterchannels with 2*3 strips instead of 2*4. So now I'm missing a 2*3 strip for the rubbing strakes and an extra 2*4 which I'll have to sand to proper height. That will teach me - I hope - to properly read the parts list... Thank you!


- 10 replies
-
- 1
-
-
- Albatros
- weathering
- (and 1 more)
-
Keith Black reacted to a post in a topic:
Albatros by vvvjames - FINISHED - OcCre - 1:100 - First Build
-
 vvvjames reacted to a post in a topic:
Albatros by vvvjames - FINISHED - OcCre - 1:100 - First Build
vvvjames reacted to a post in a topic:
Albatros by vvvjames - FINISHED - OcCre - 1:100 - First Build
-
Russ2025 reacted to a post in a topic:
Albatros by vvvjames - FINISHED - OcCre - 1:100 - First Build
-
GrandpaPhil reacted to a post in a topic:
Albatros by vvvjames - FINISHED - OcCre - 1:100 - First Build
-
GrandpaPhil reacted to a post in a topic:
Albatros by vvvjames - FINISHED - OcCre - 1:100 - First Build
-
vvvjames reacted to a post in a topic:
Albatros by AlfredoCampos - OcCre - 1:100 - weathered
-
Occre's instructions, at least for the Albatros and the Bounty Launch, are an absolute mess lacking much needed detail! Eager to see your final result and that post
-
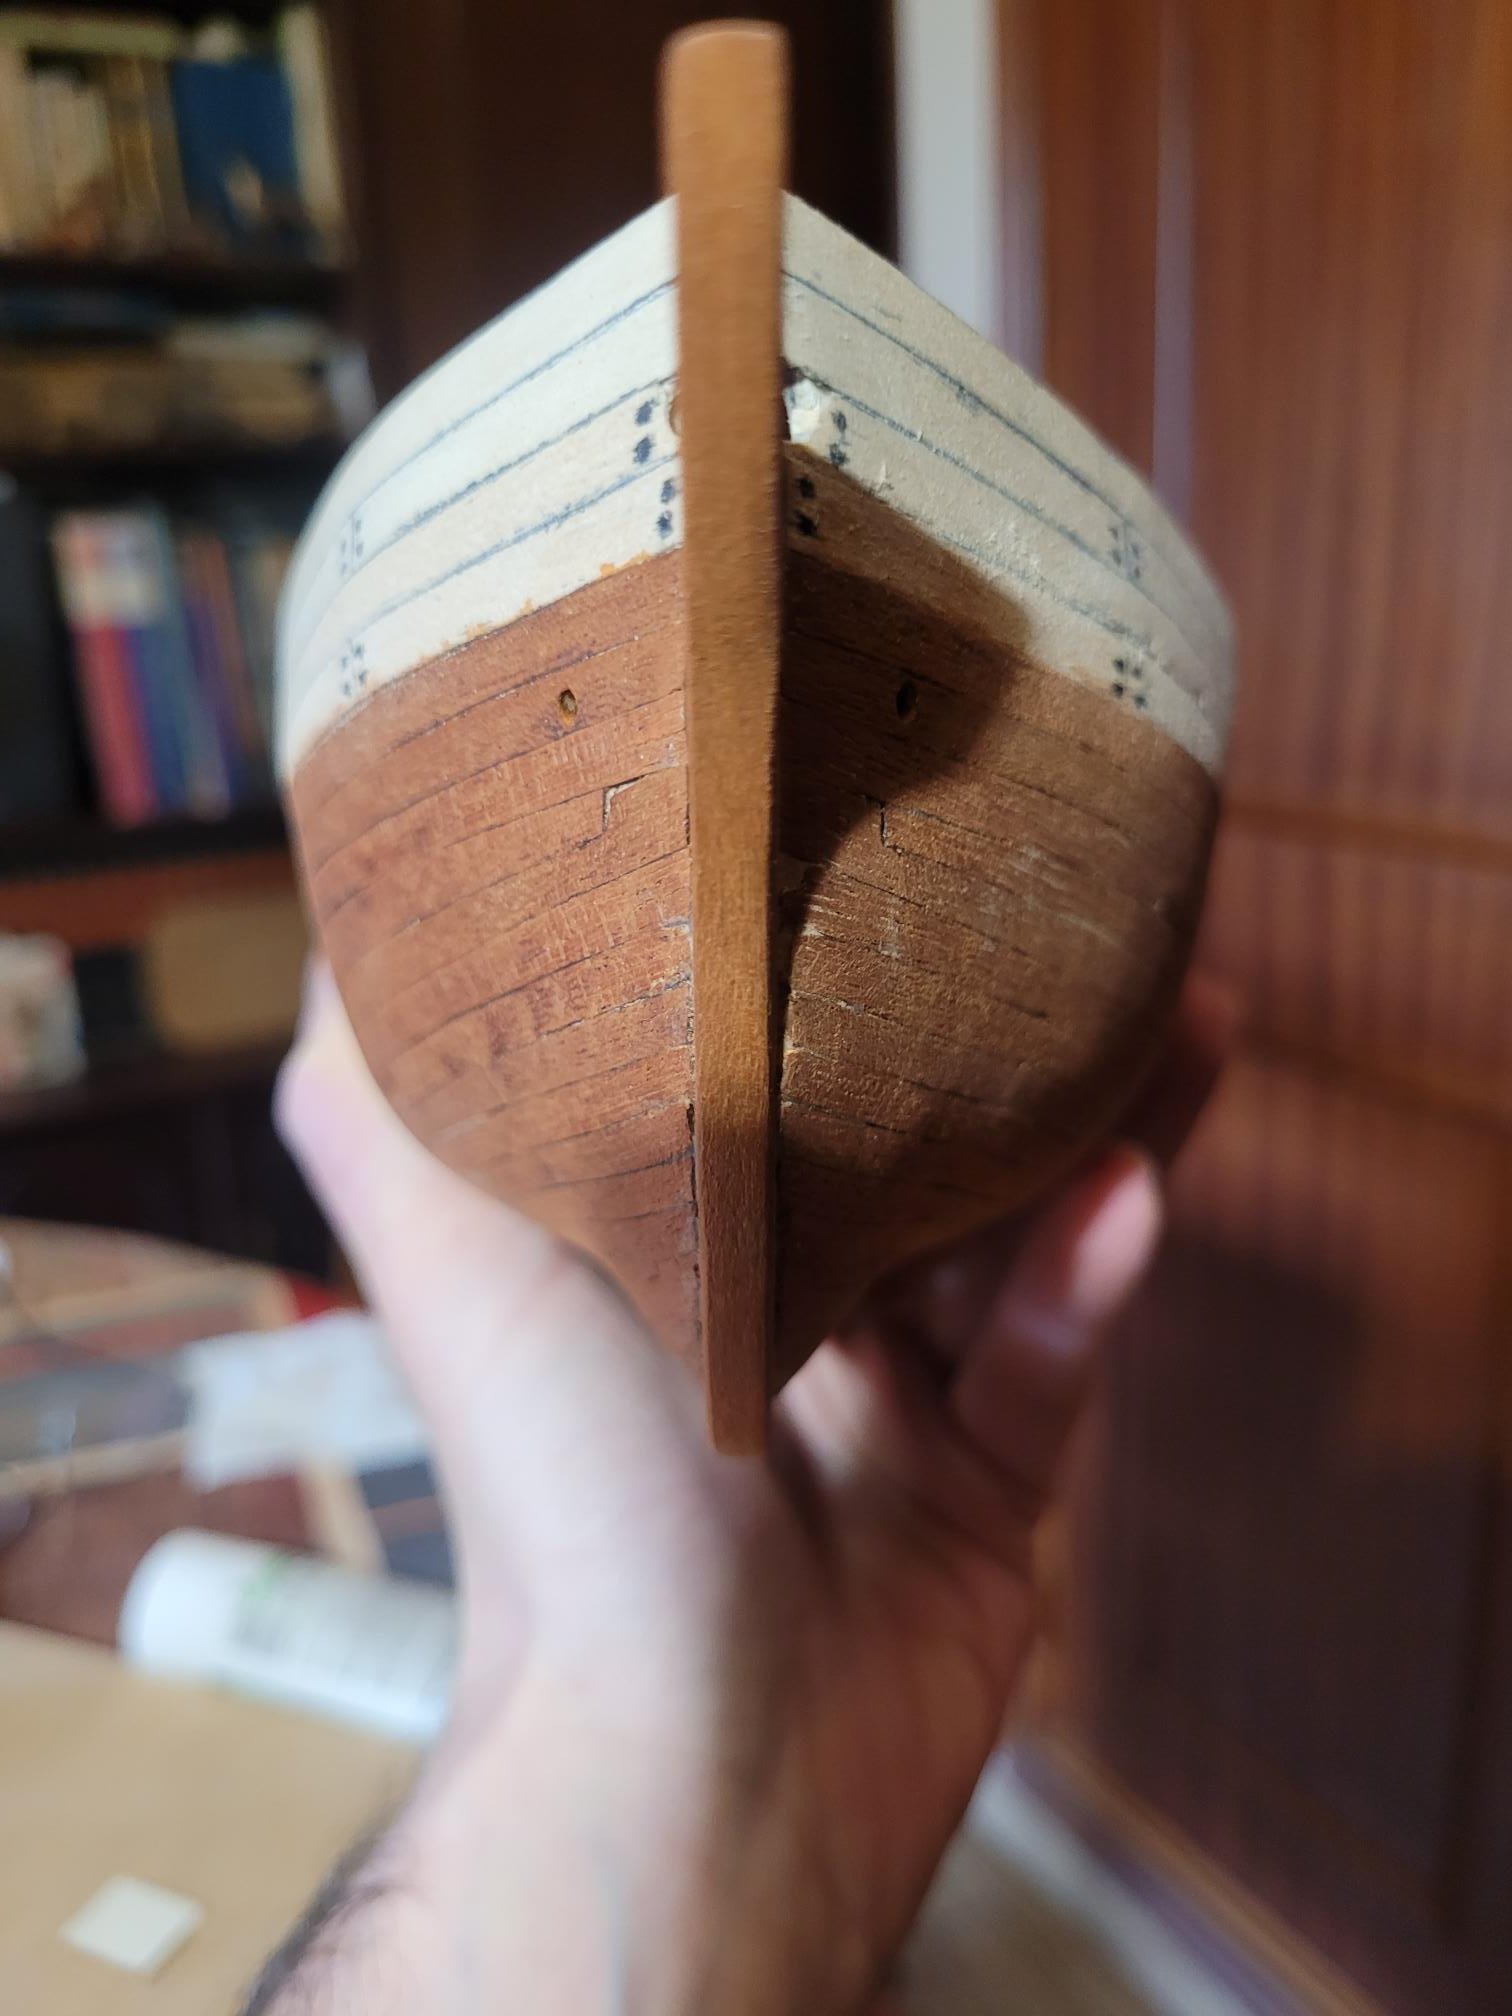
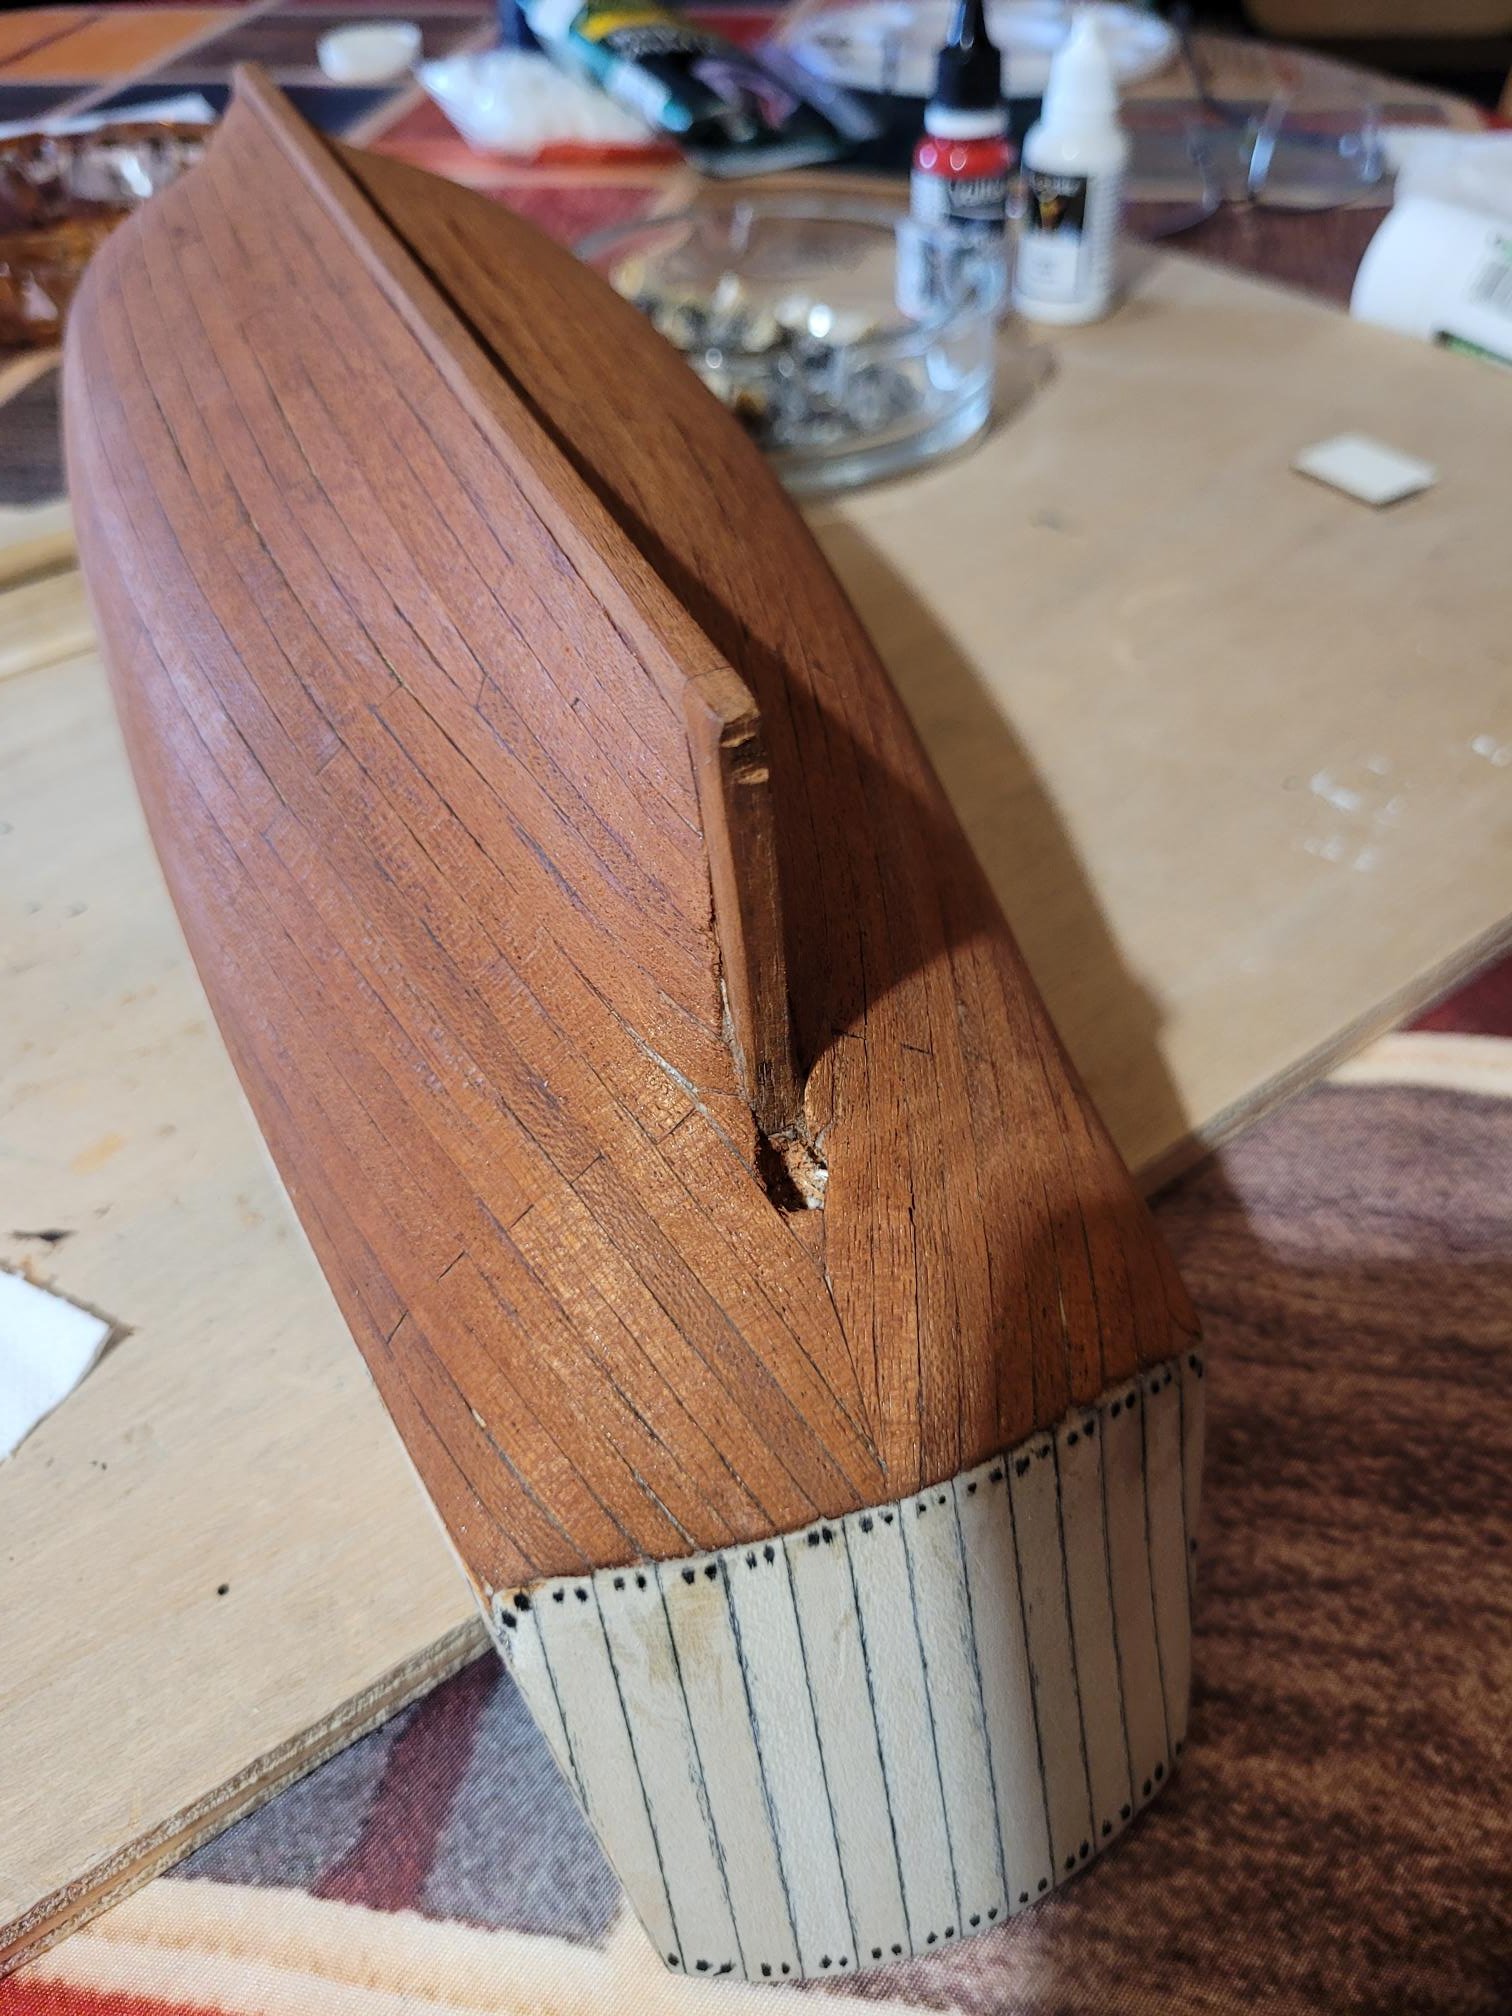
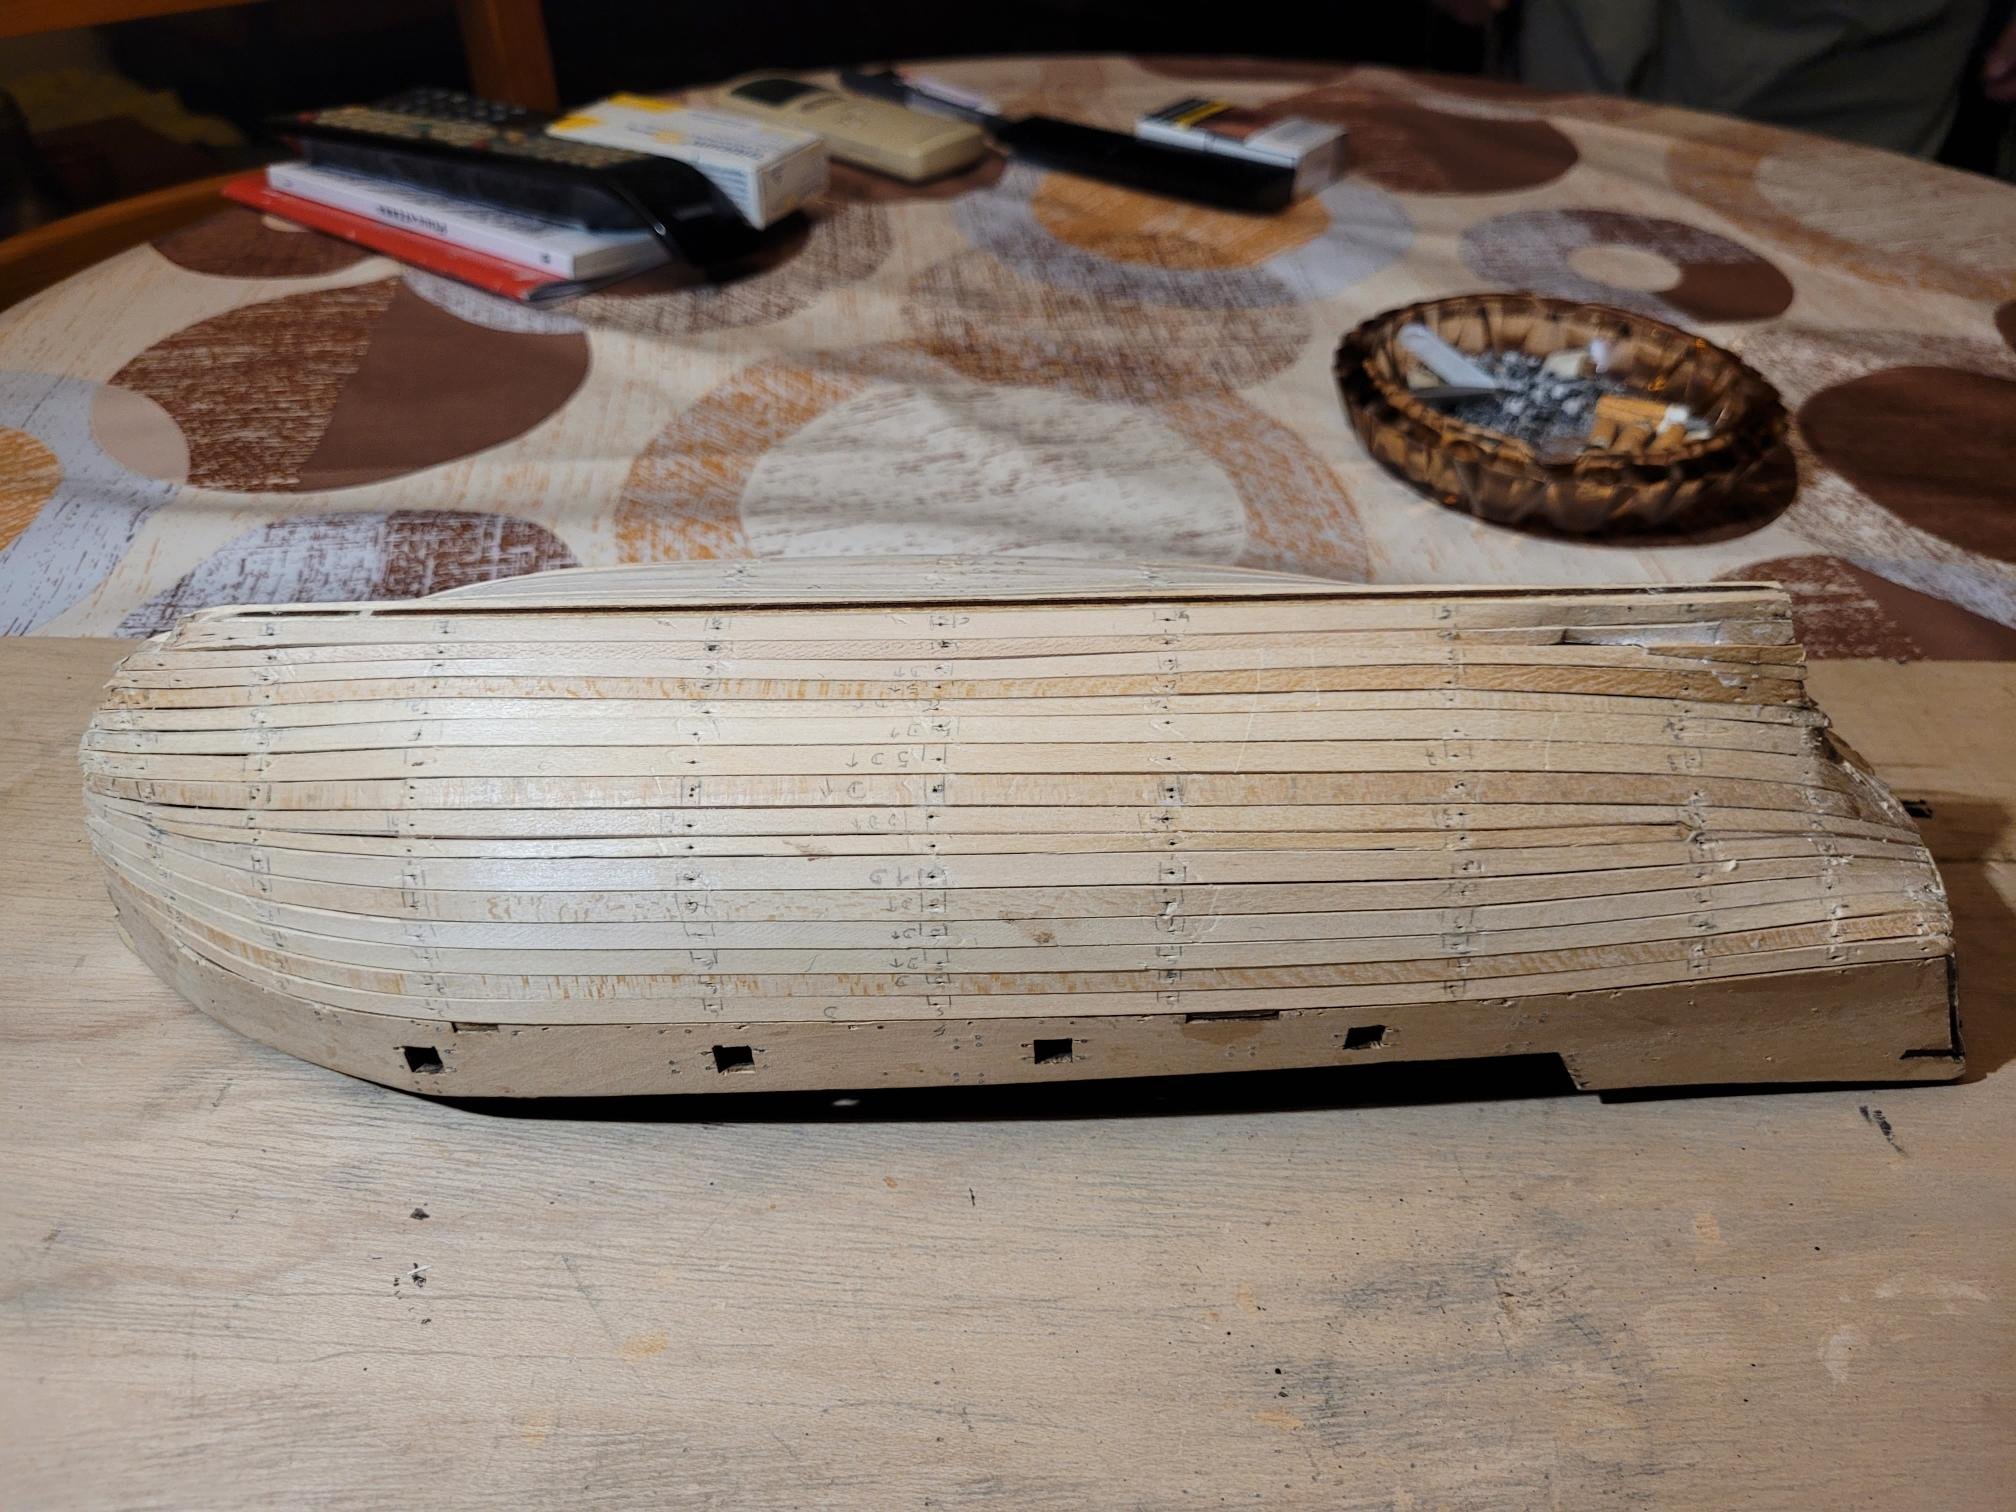
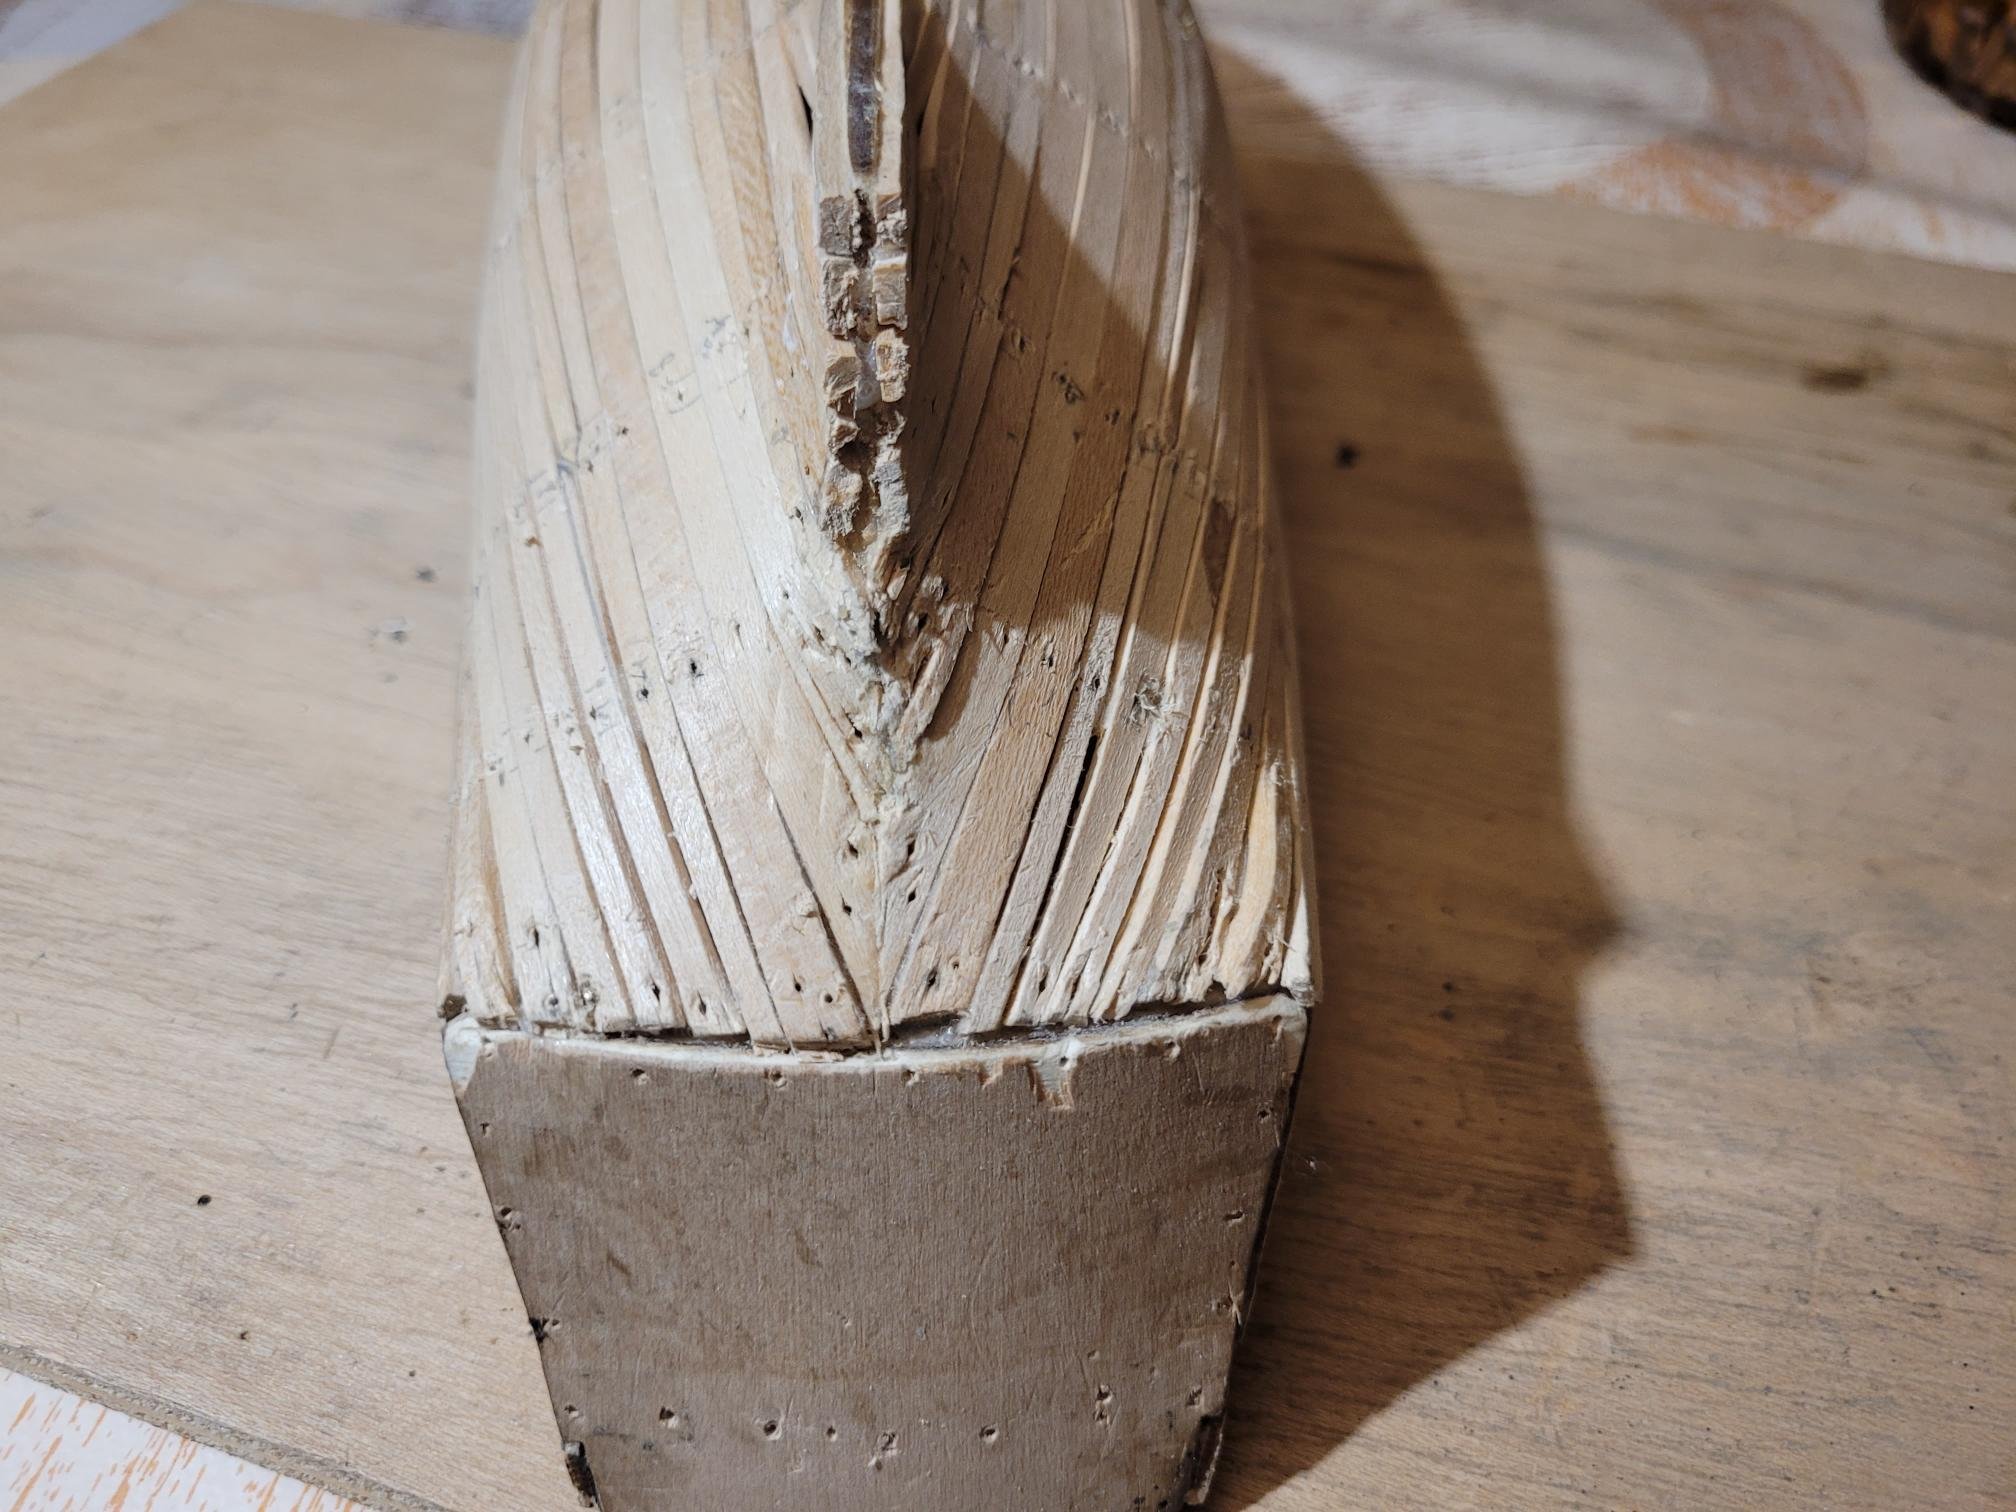
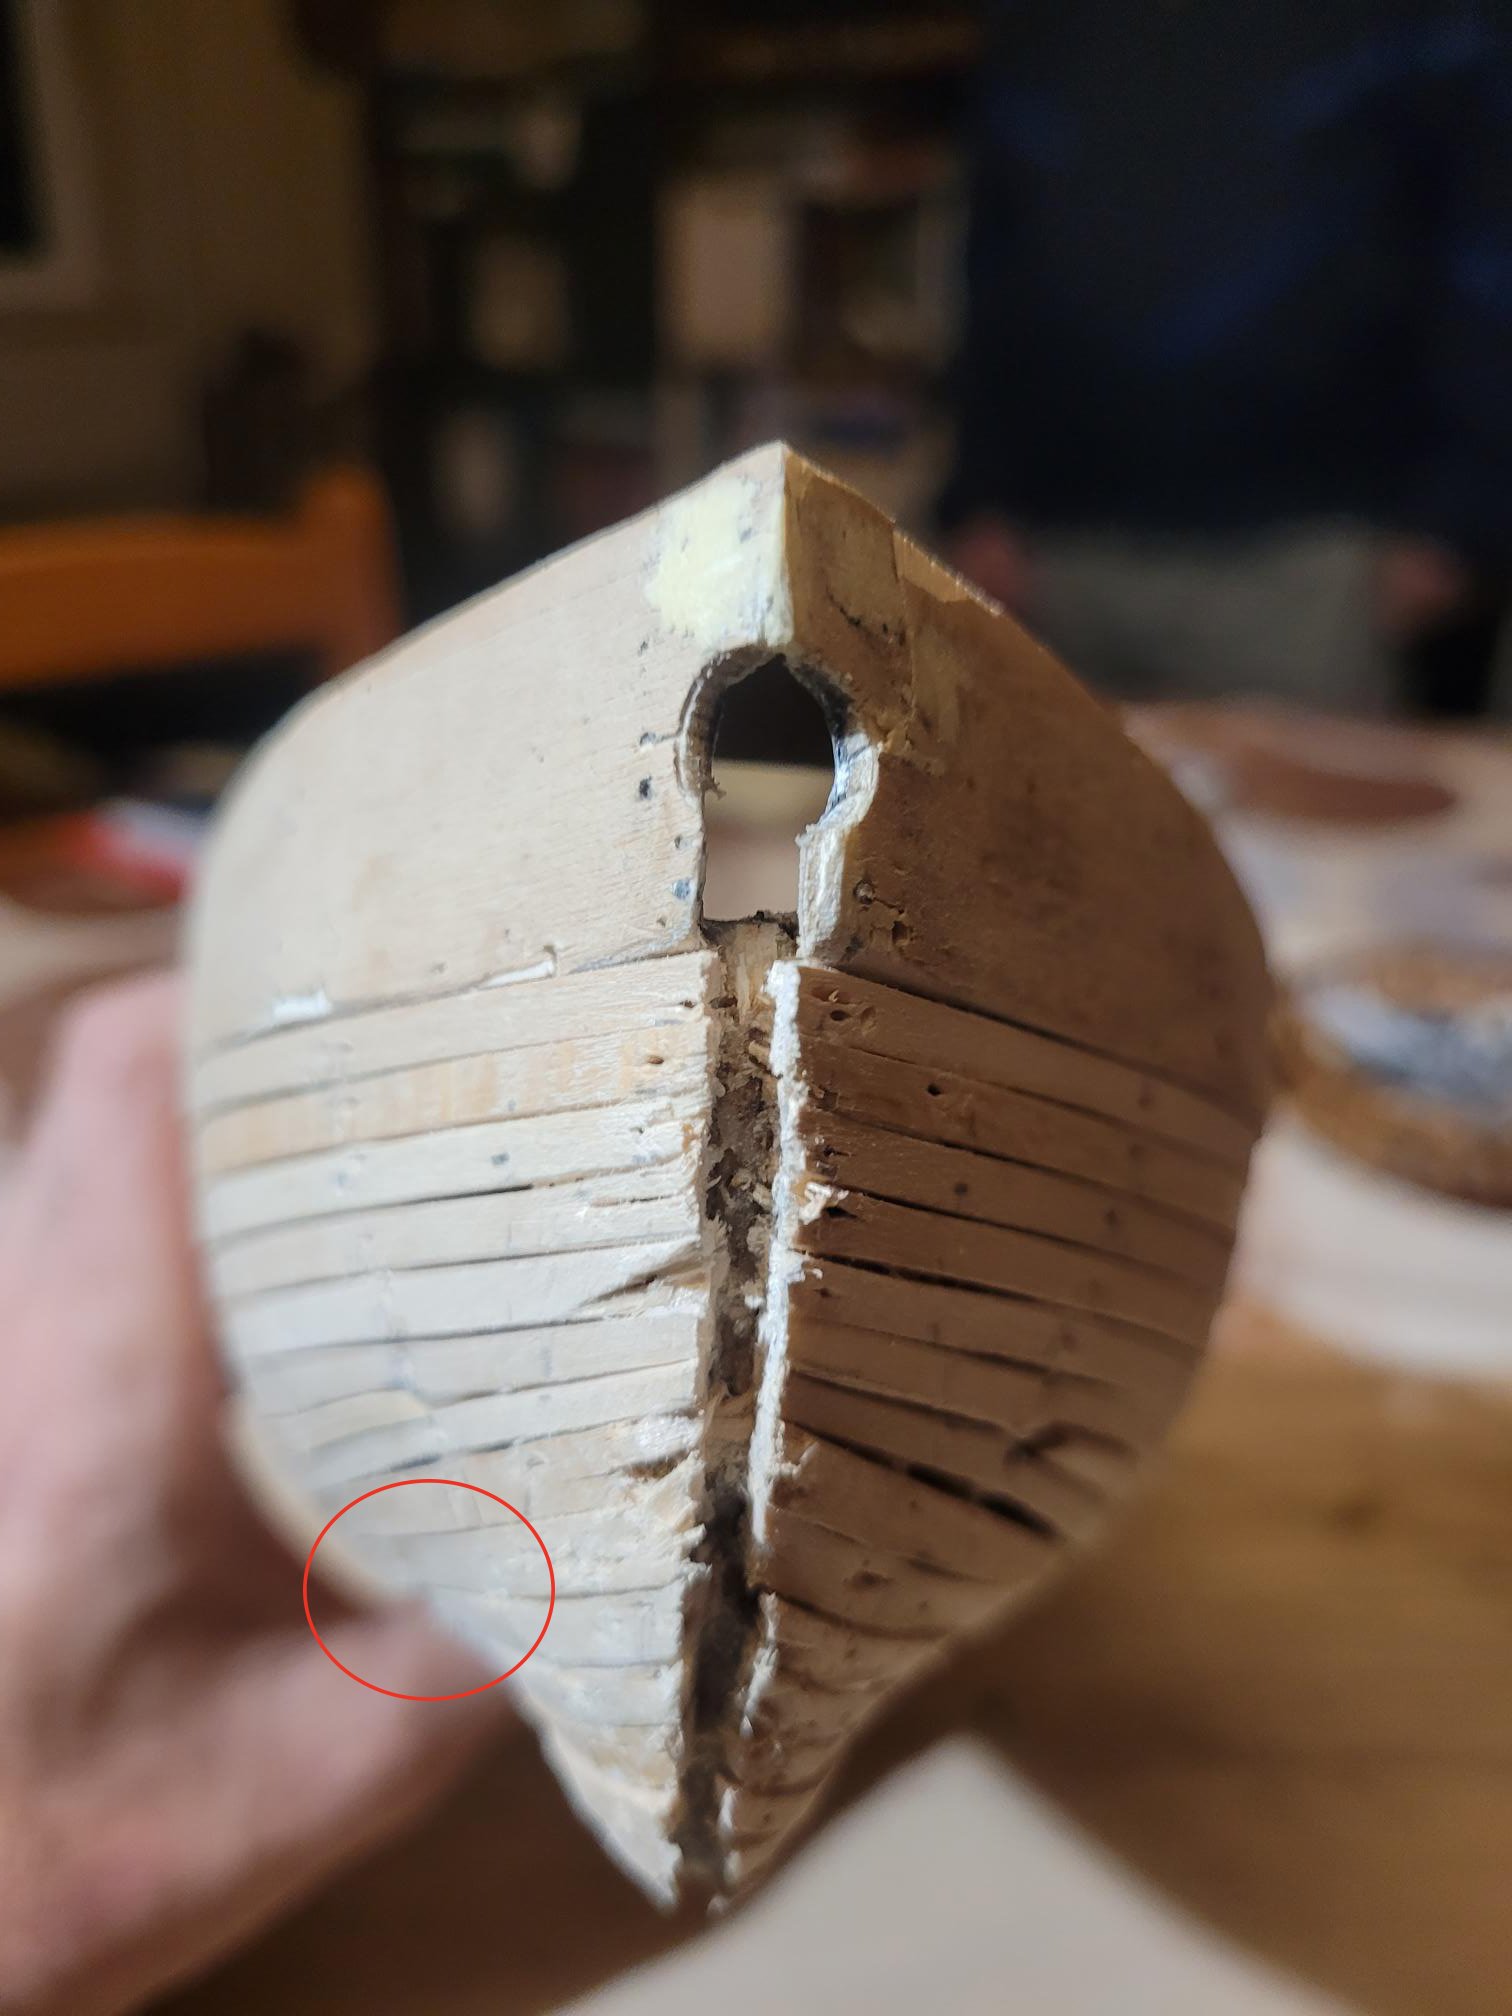
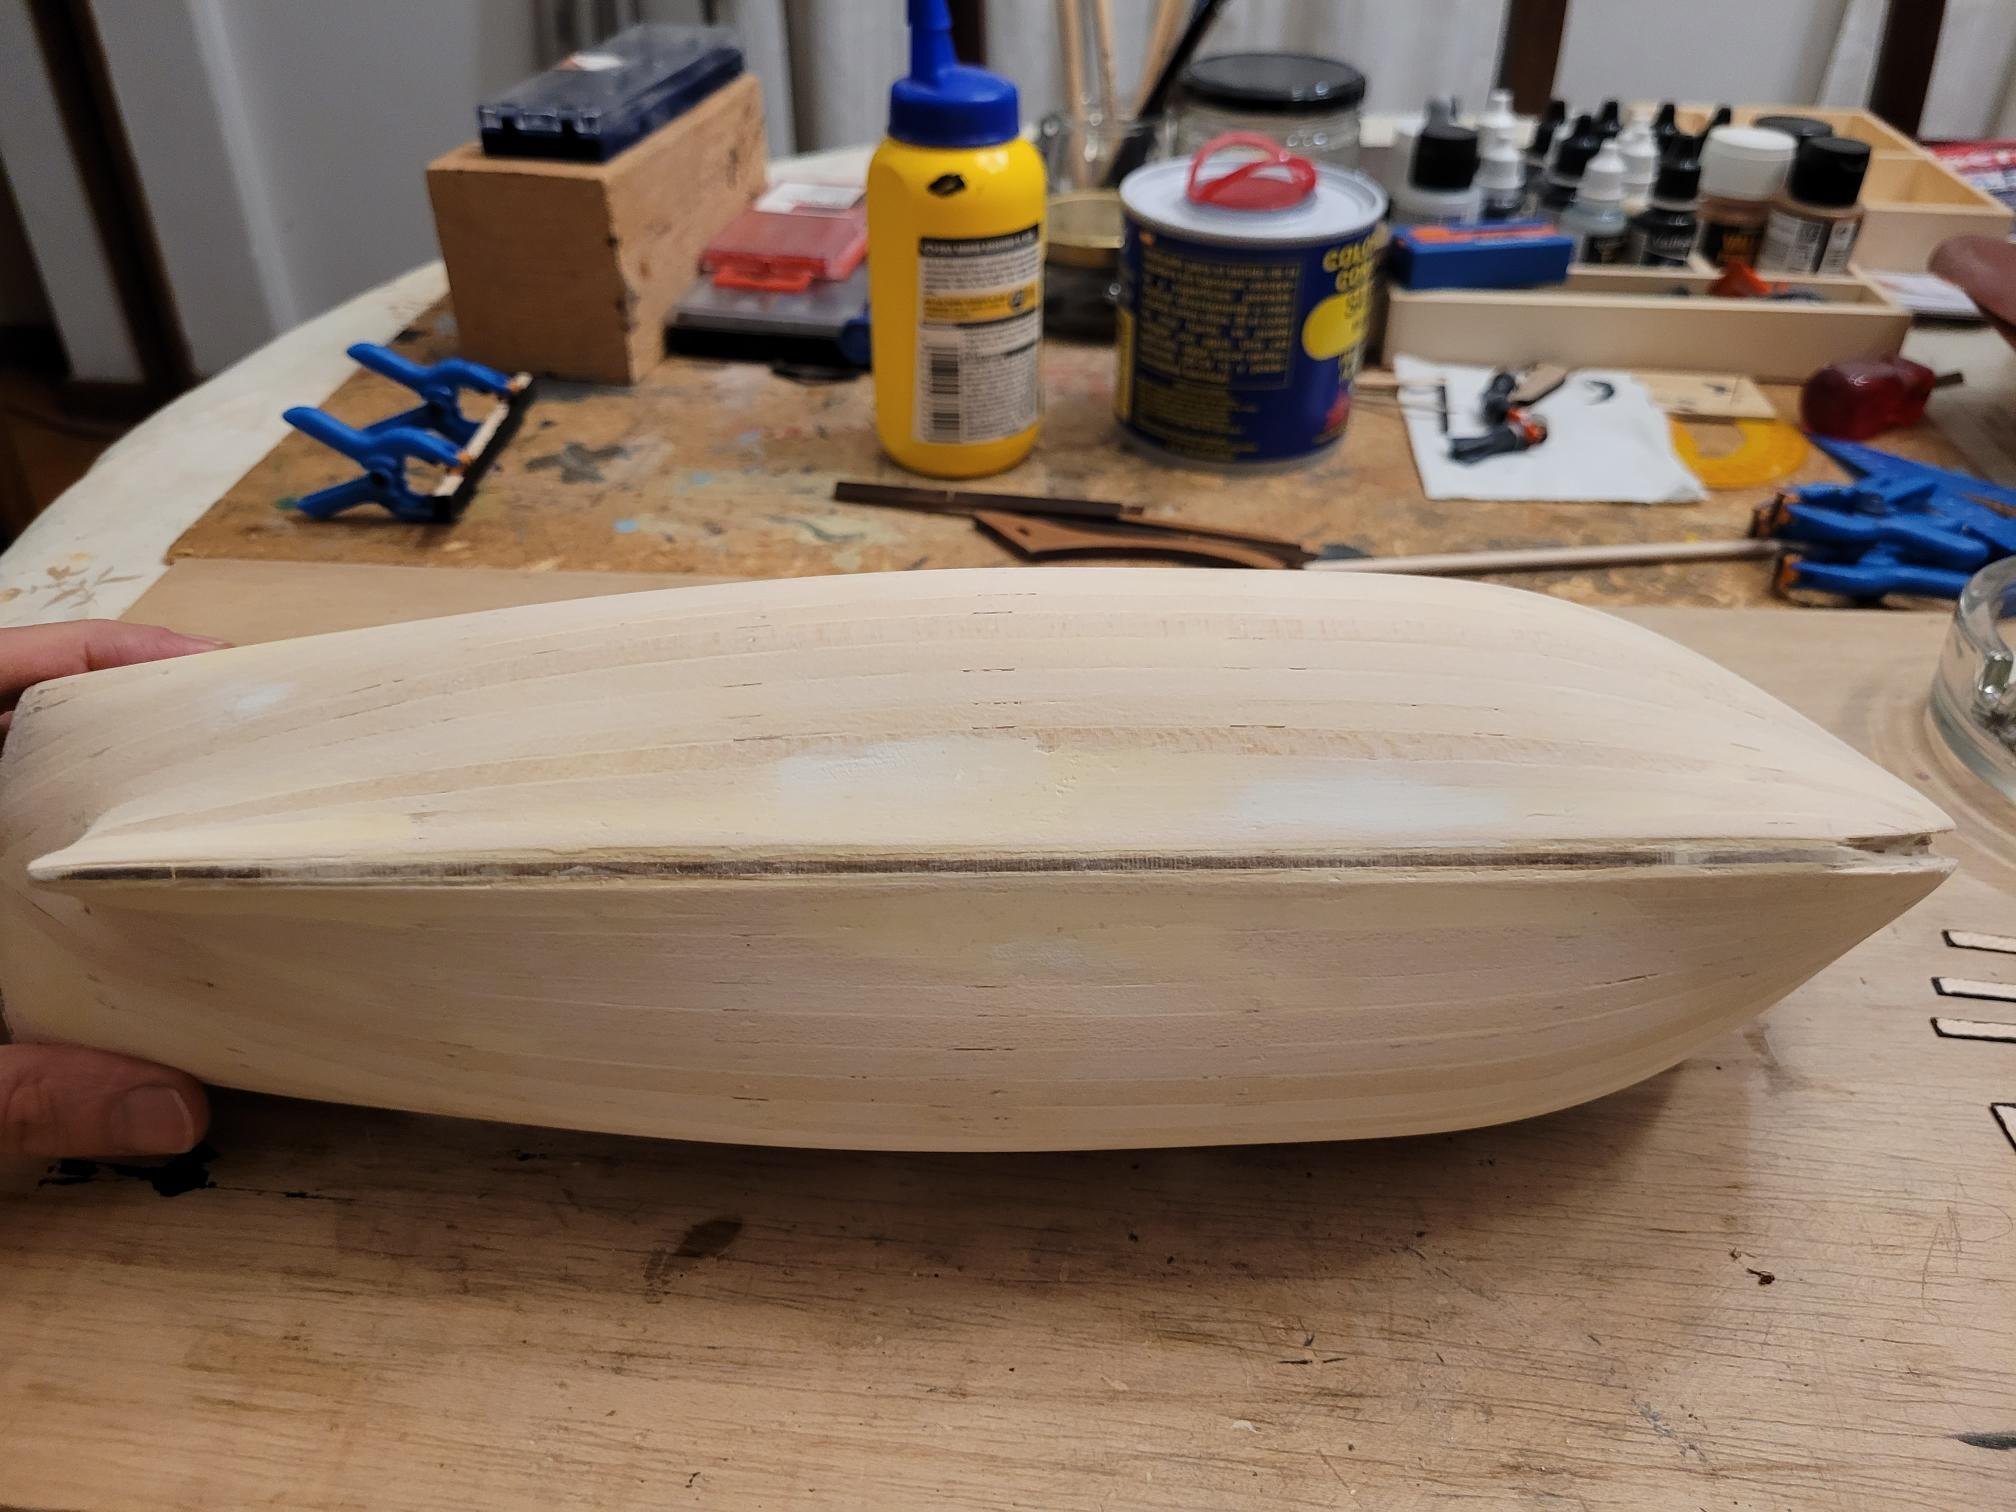
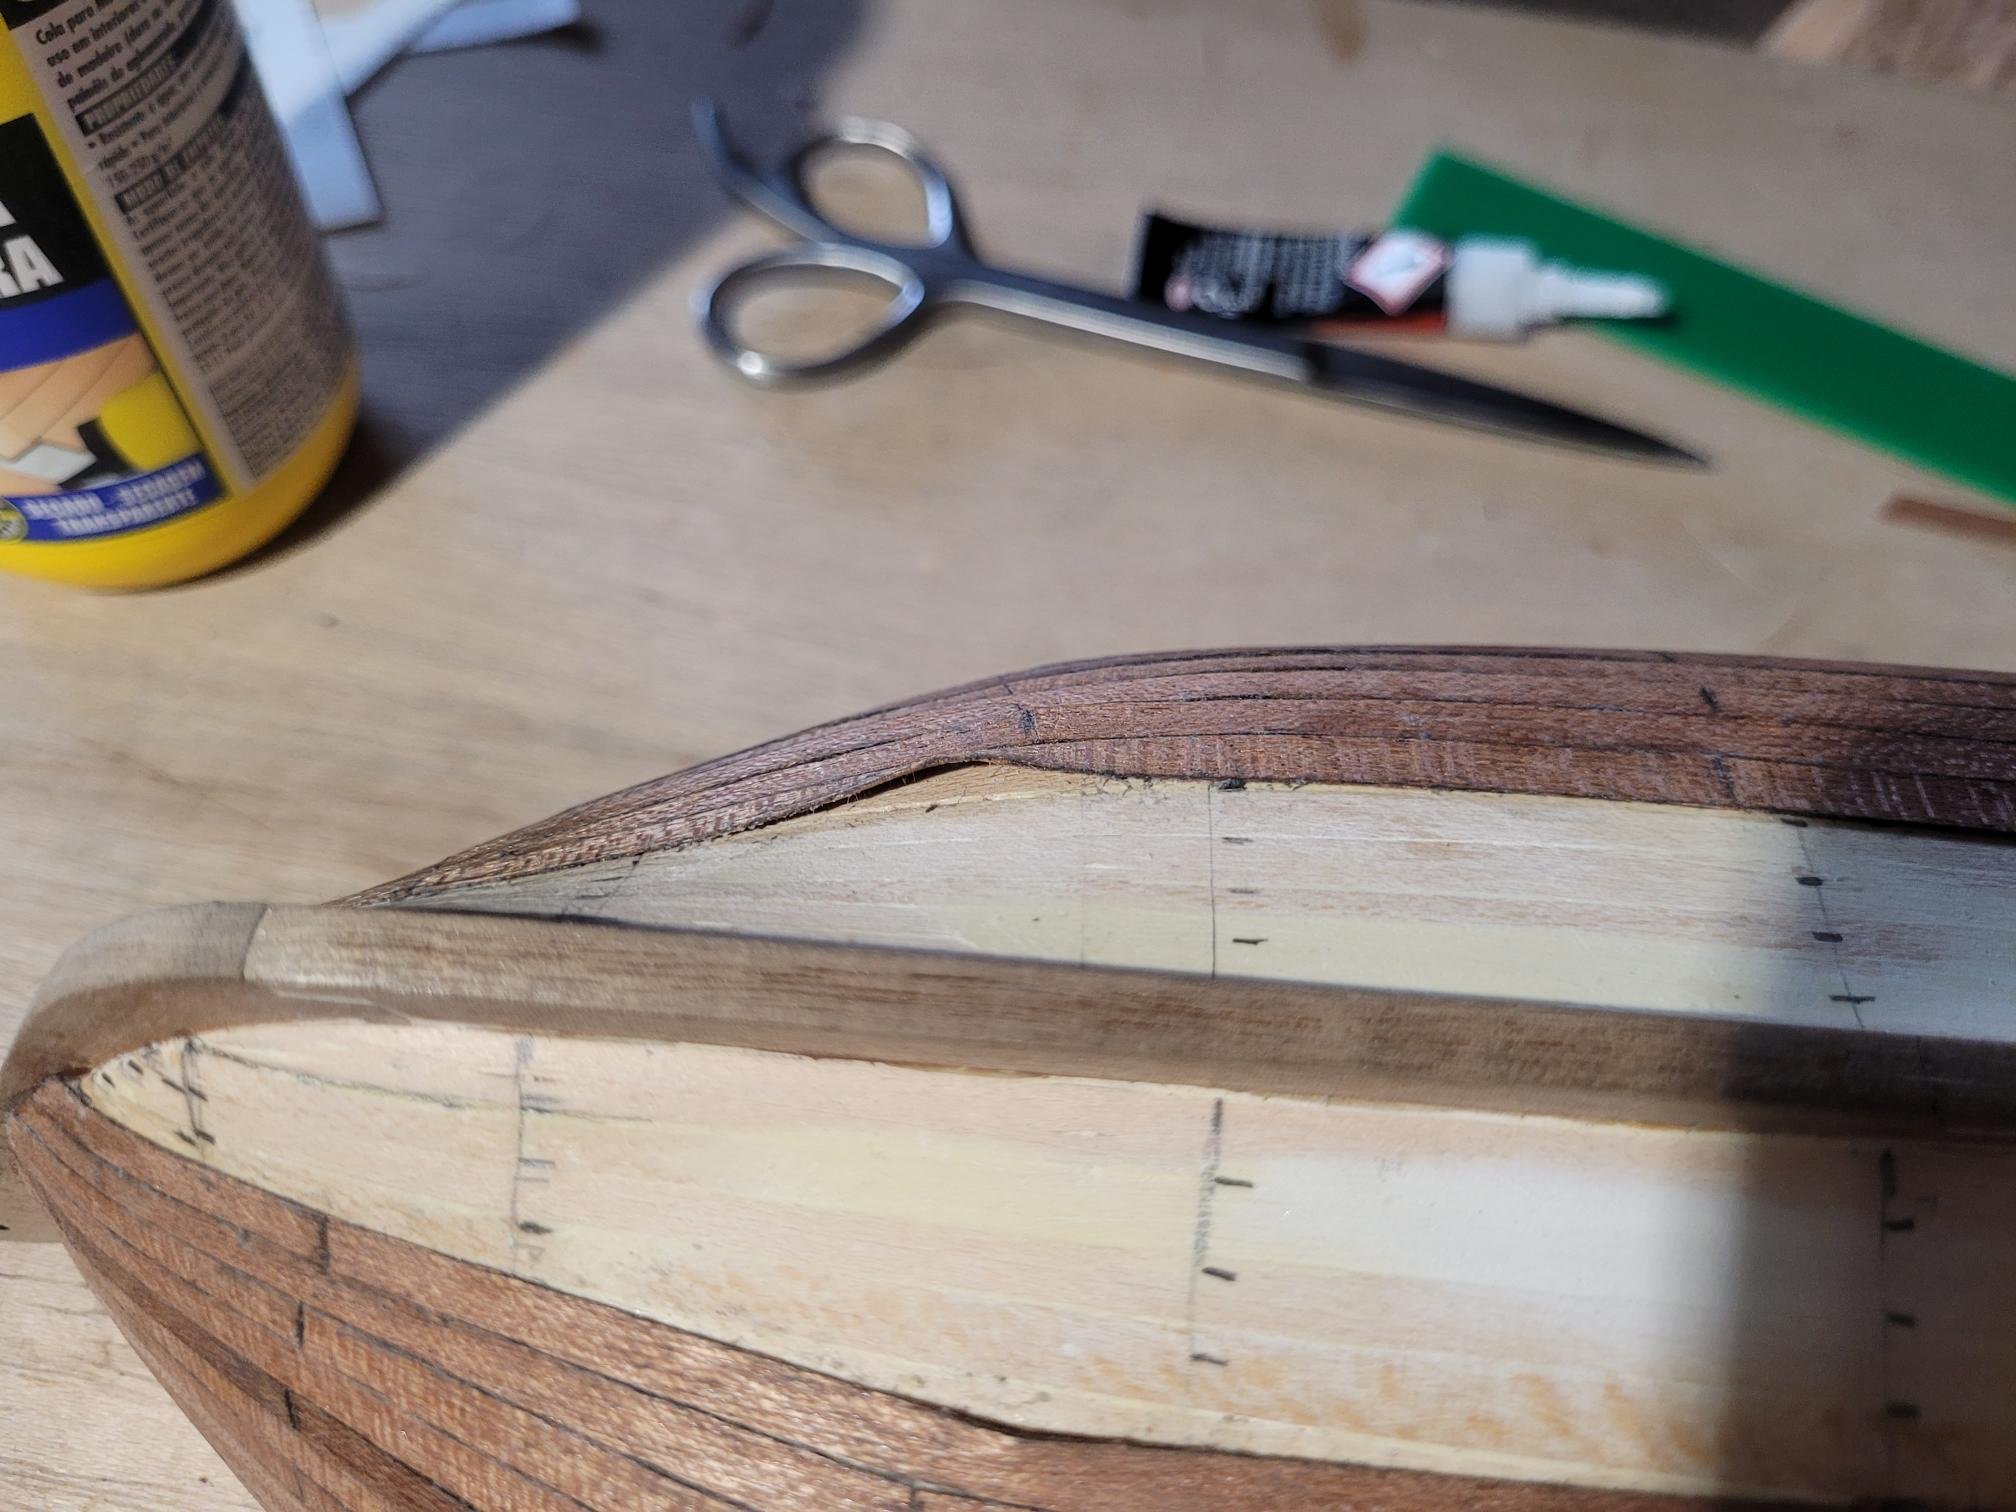
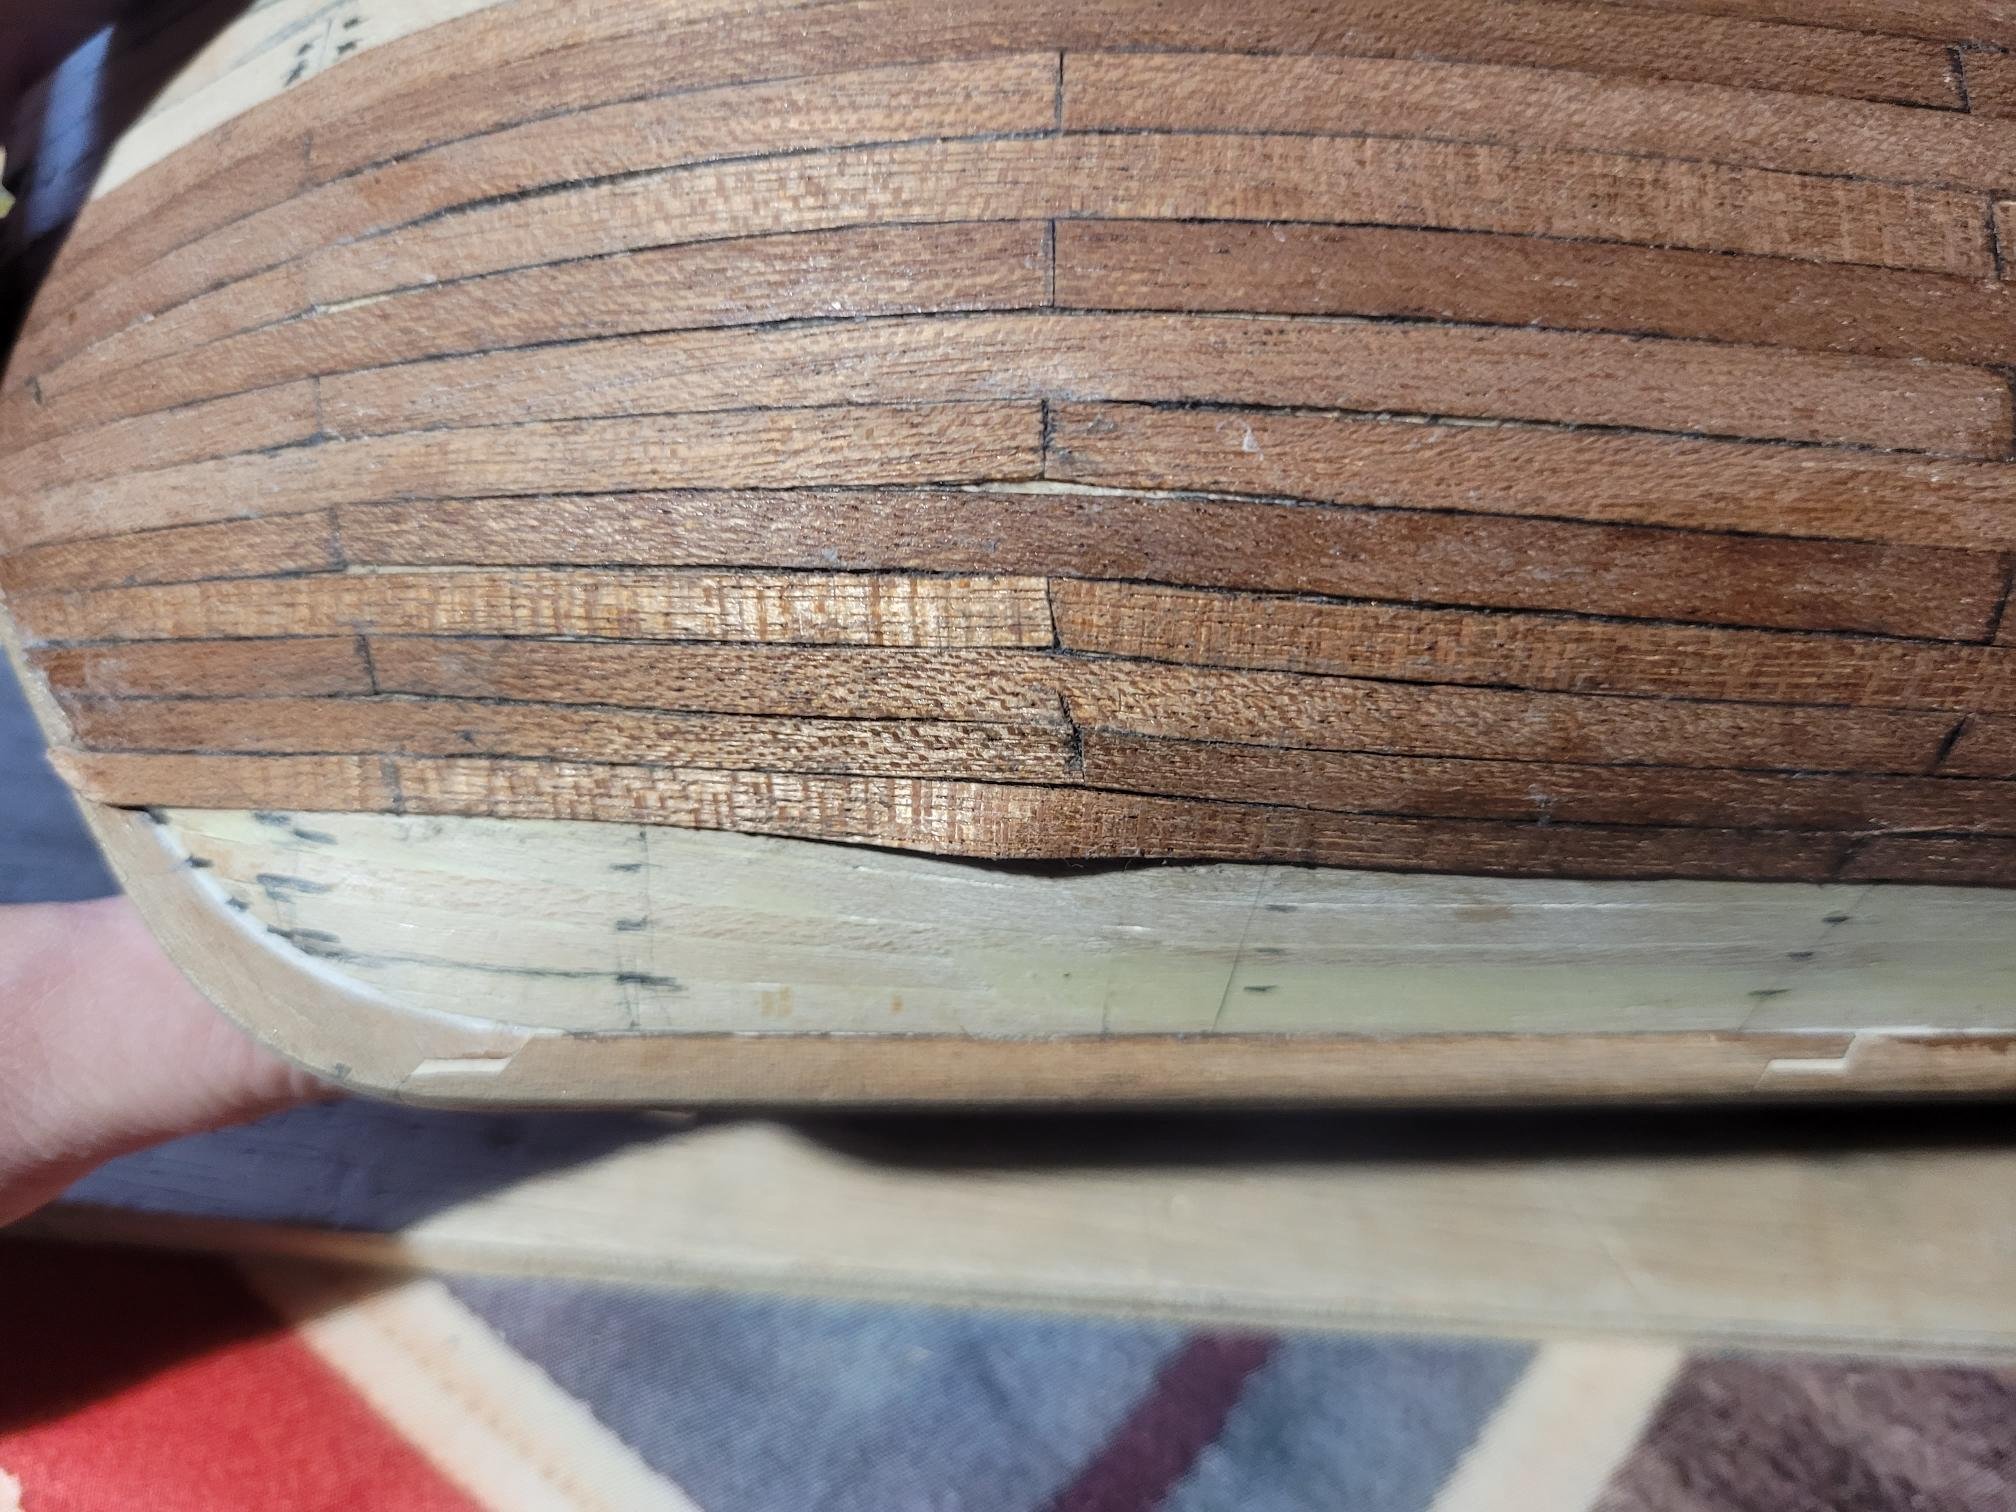
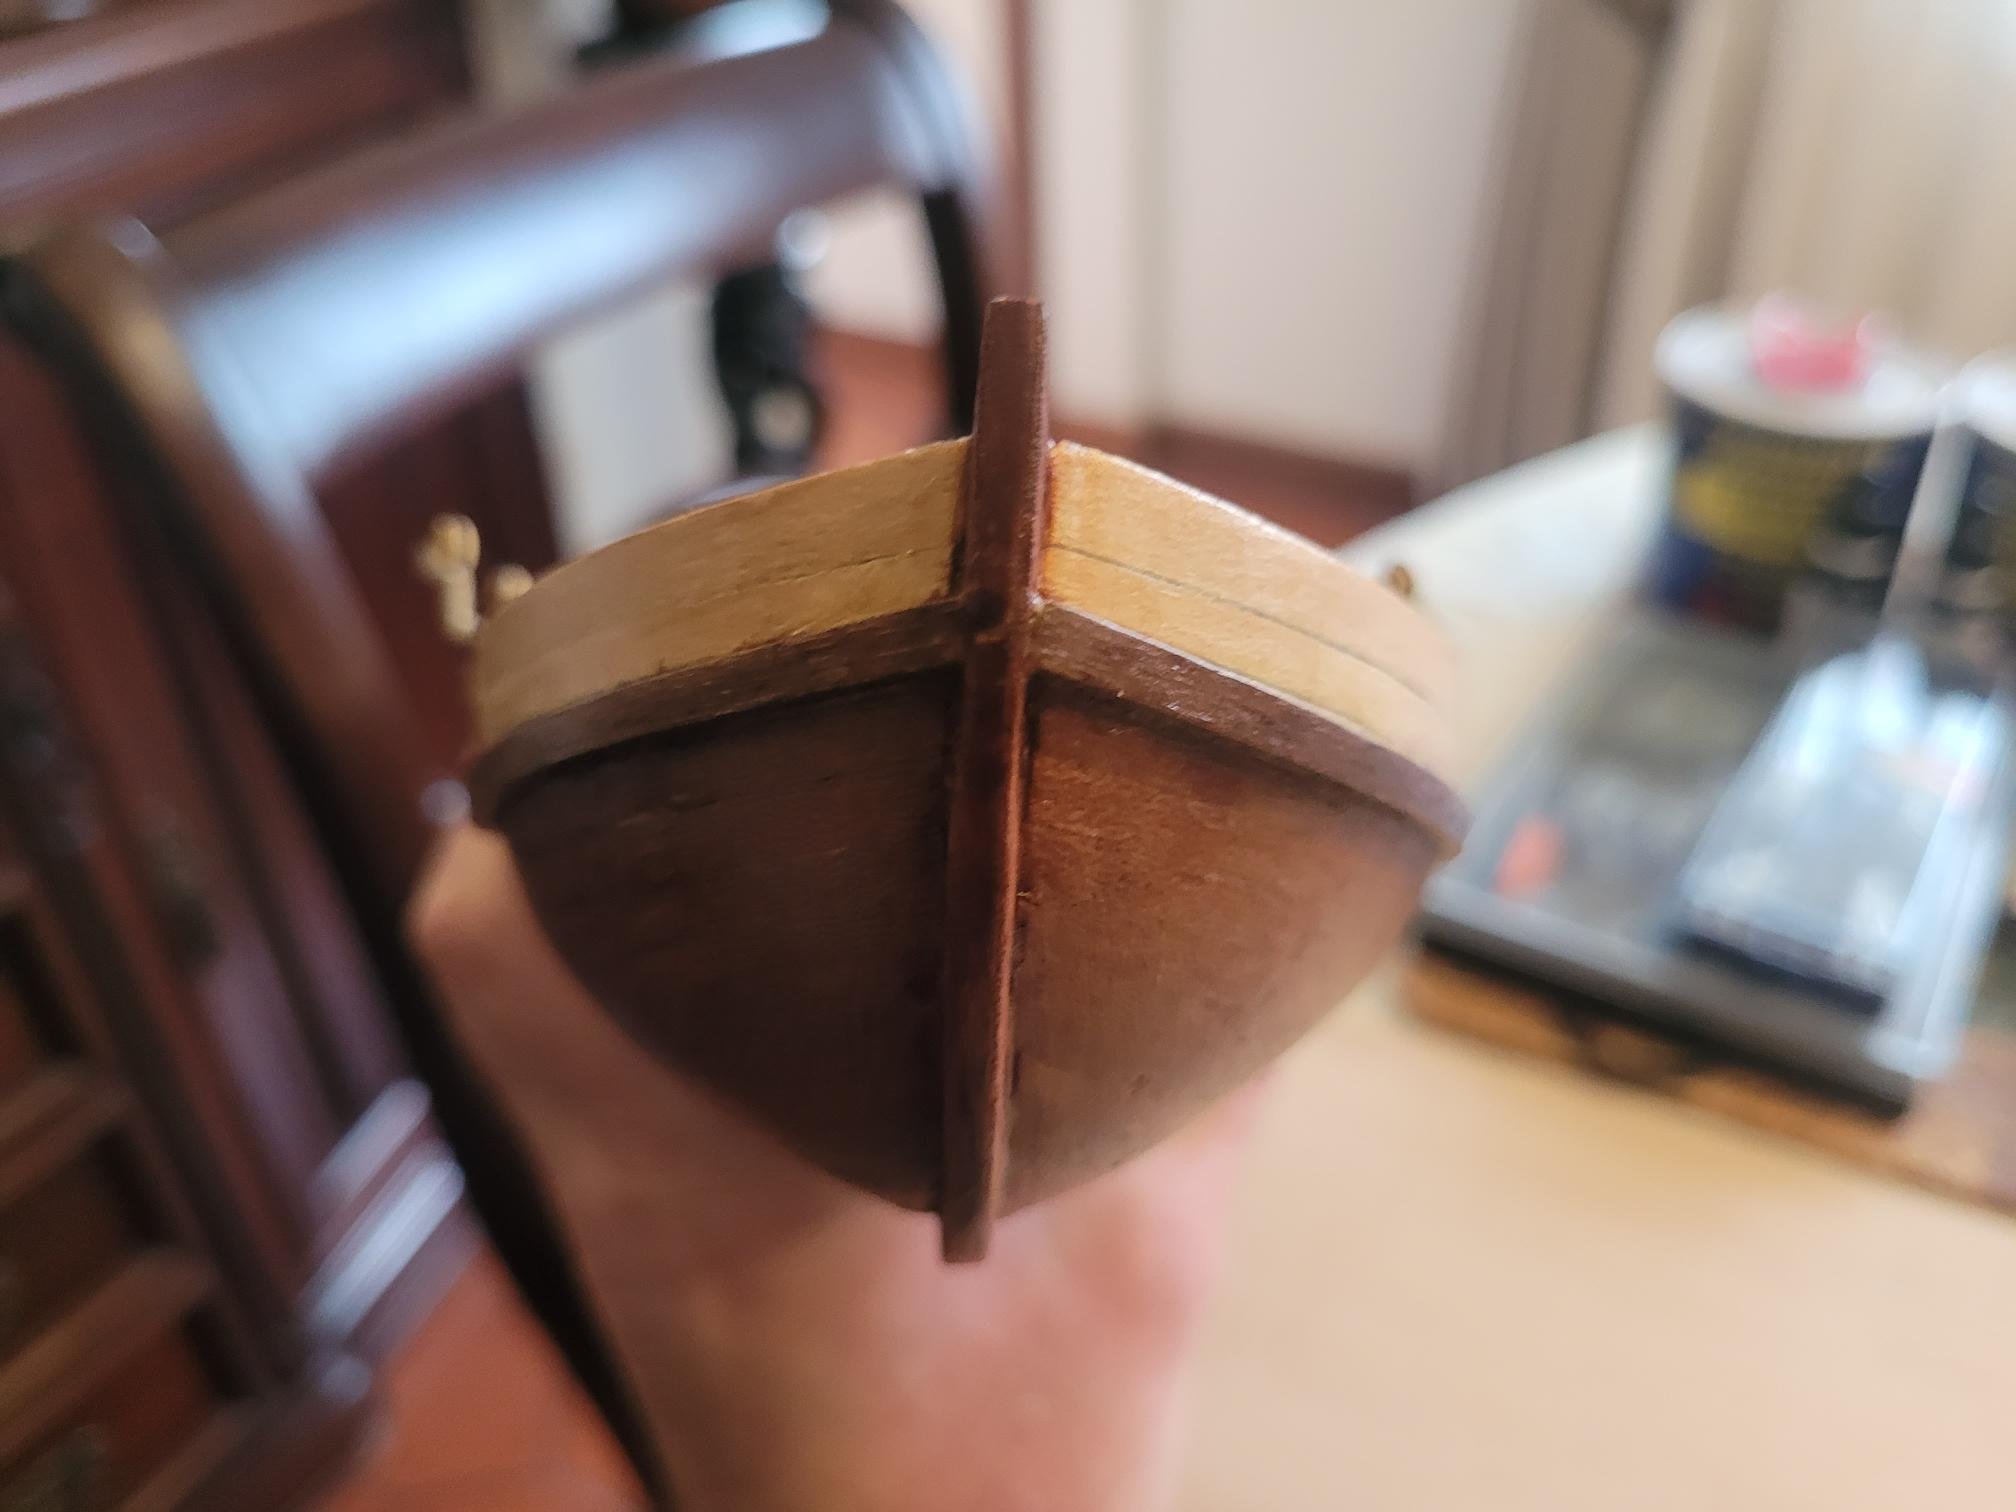
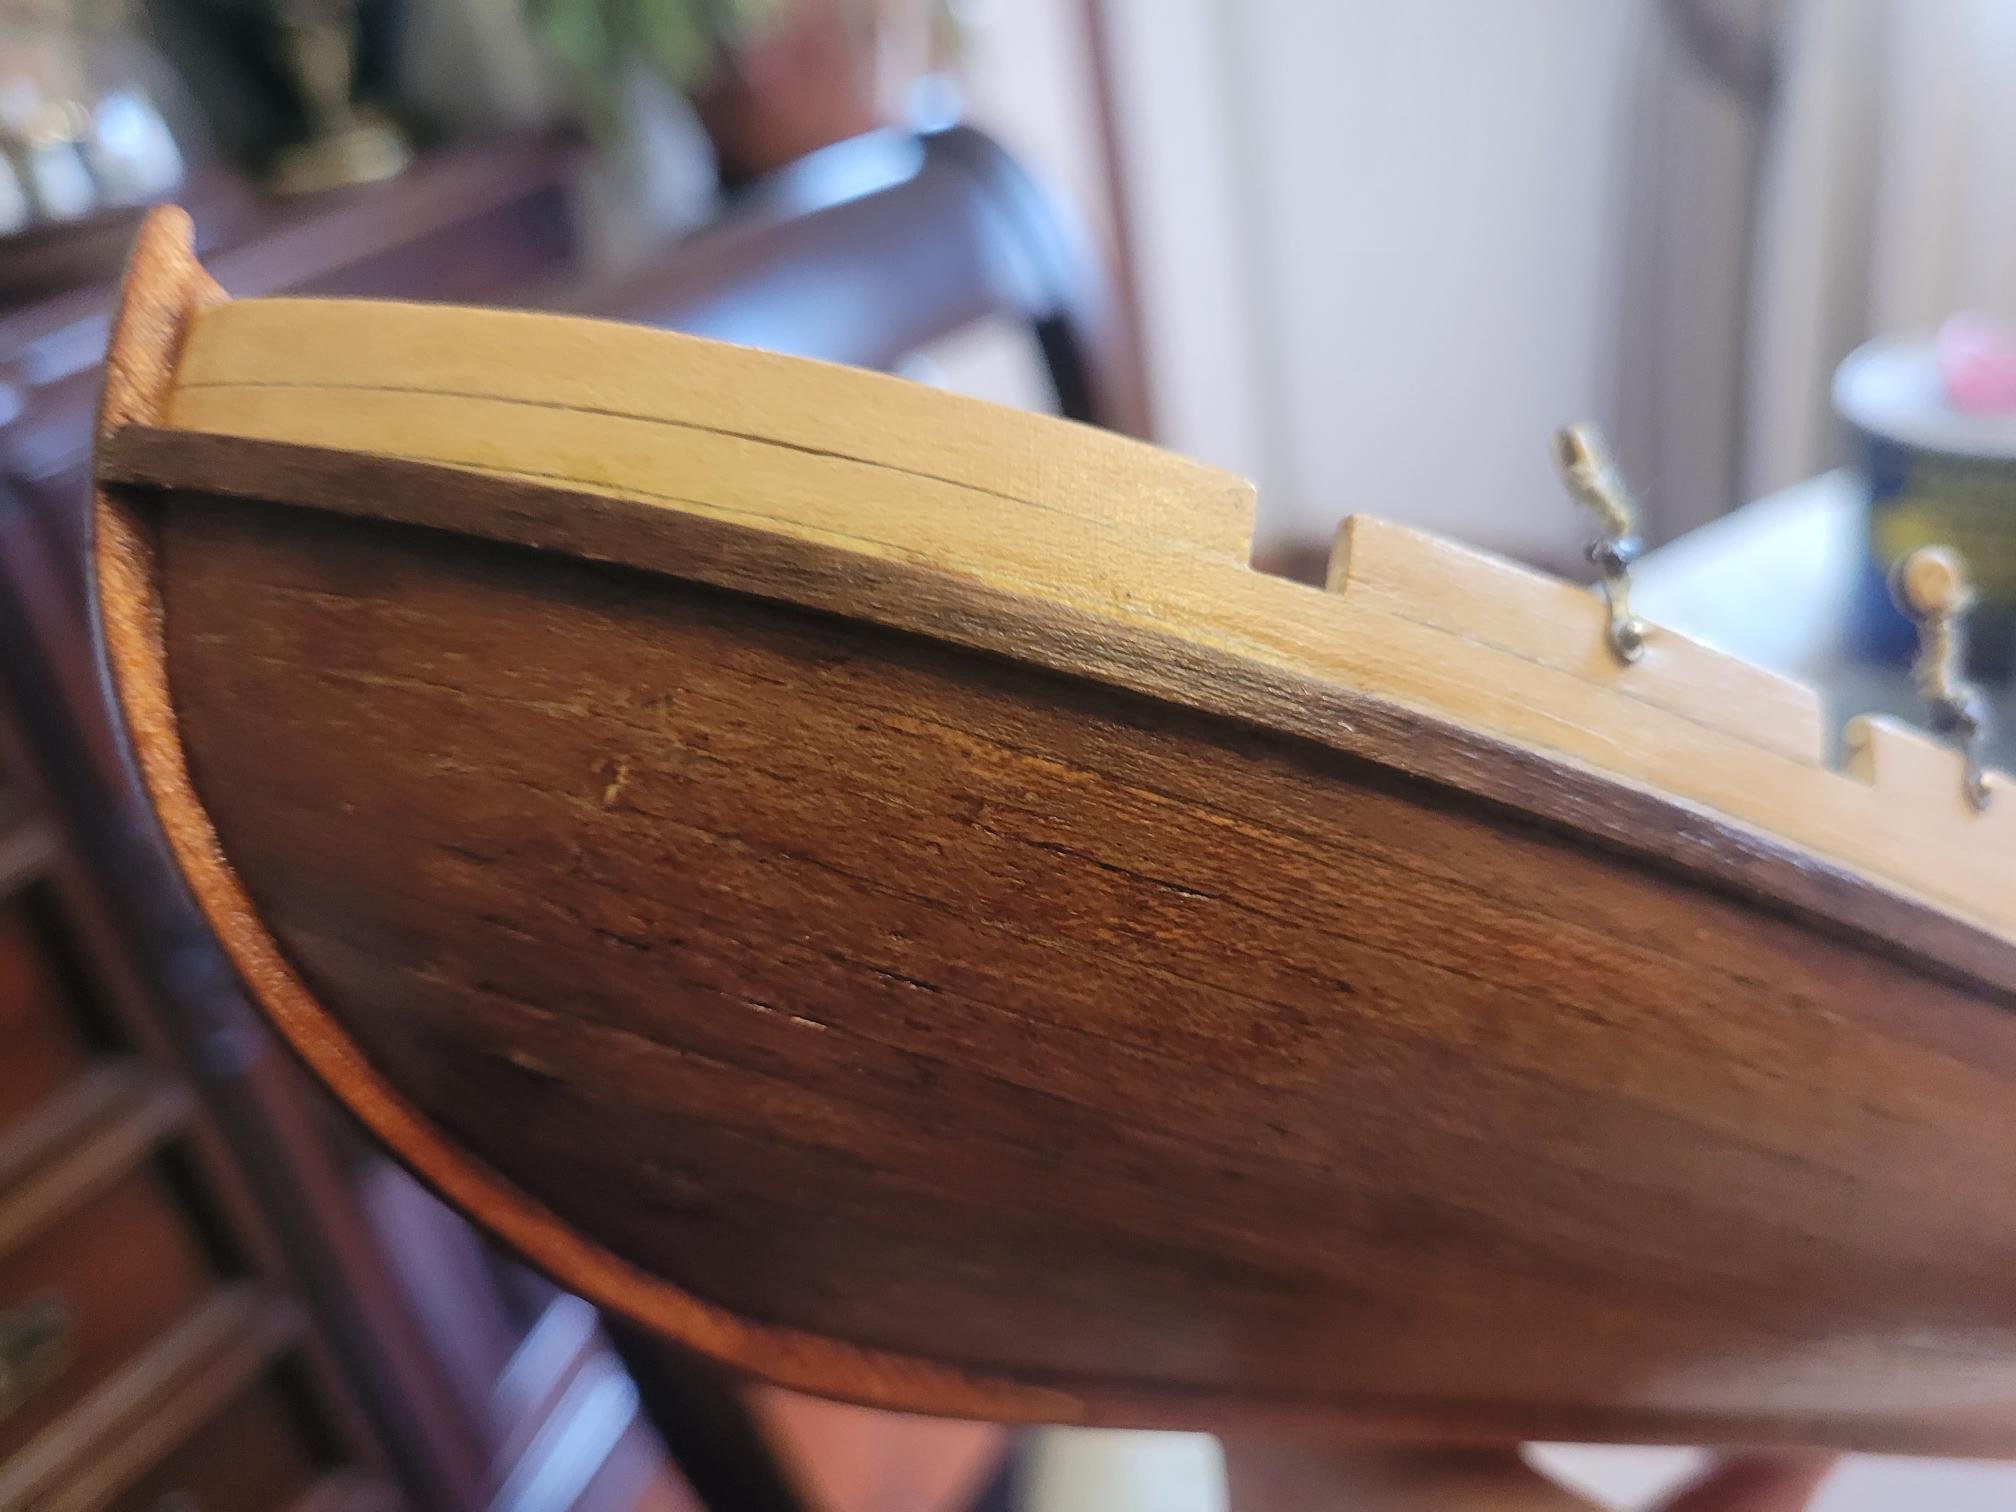
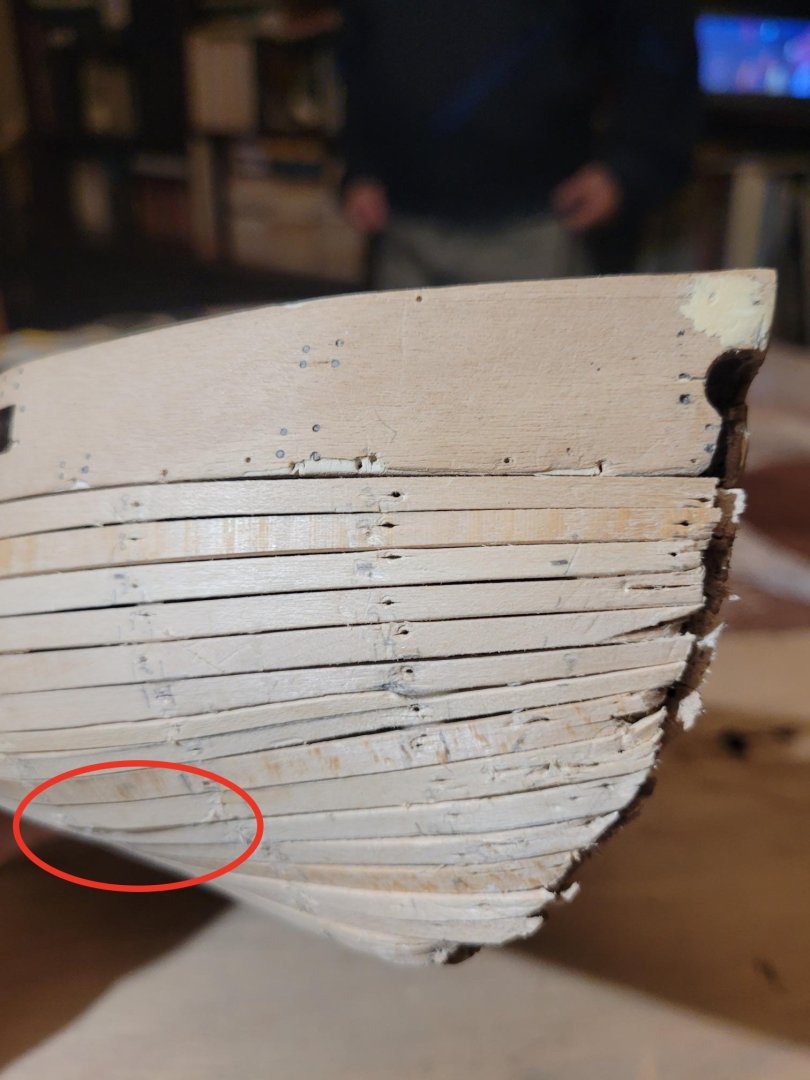
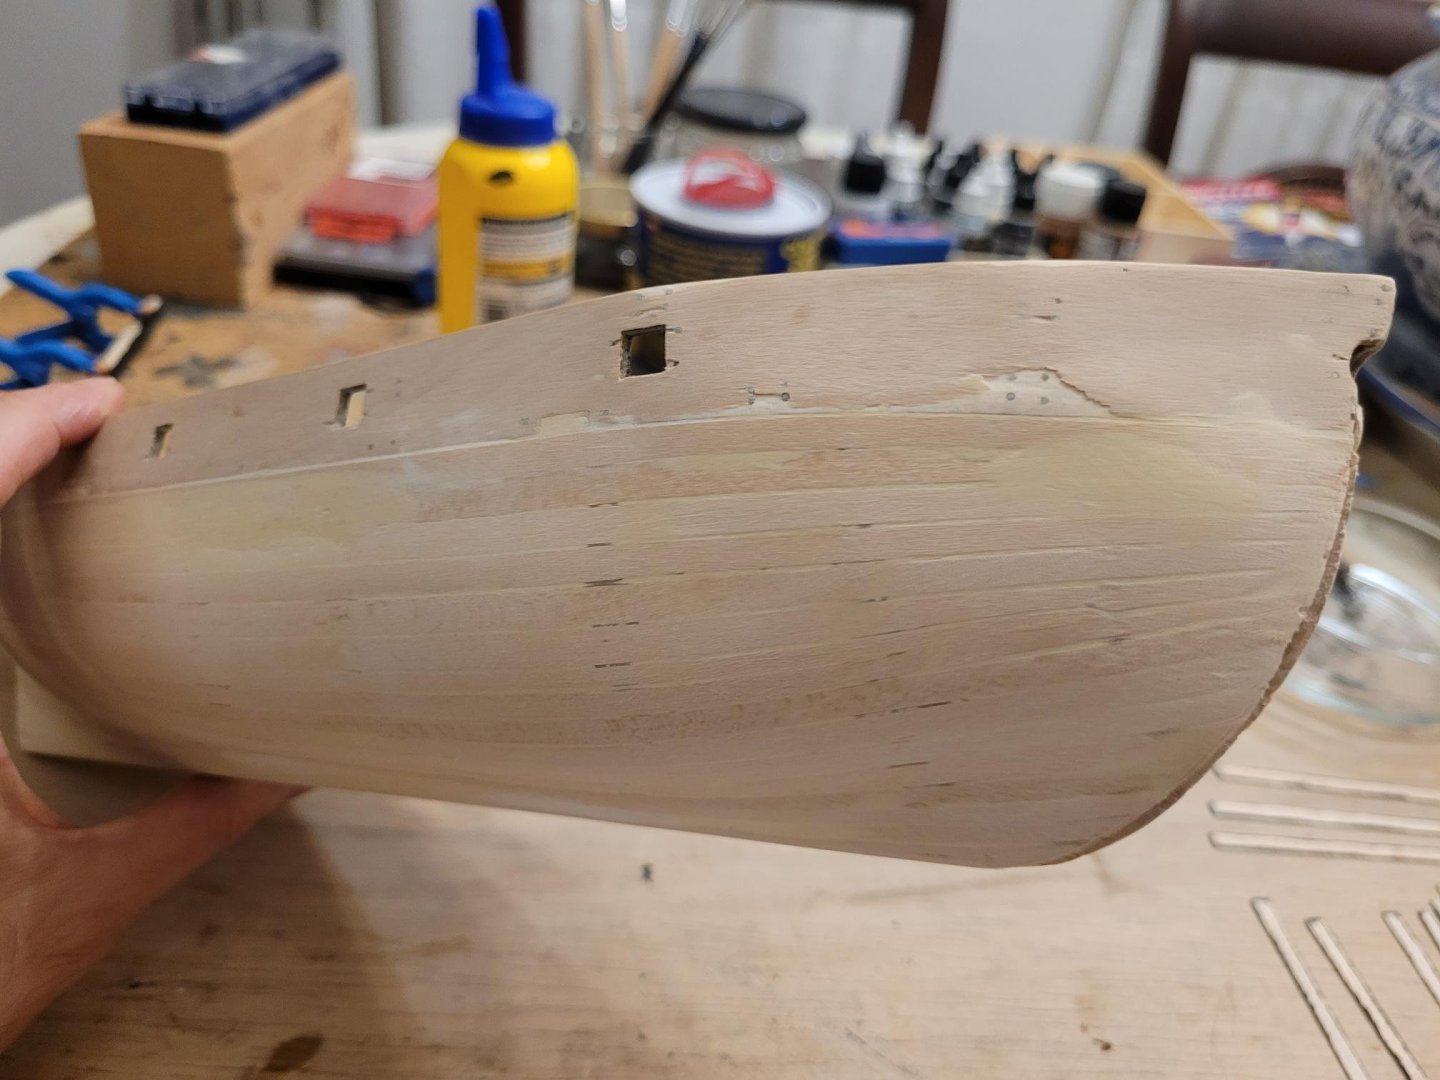
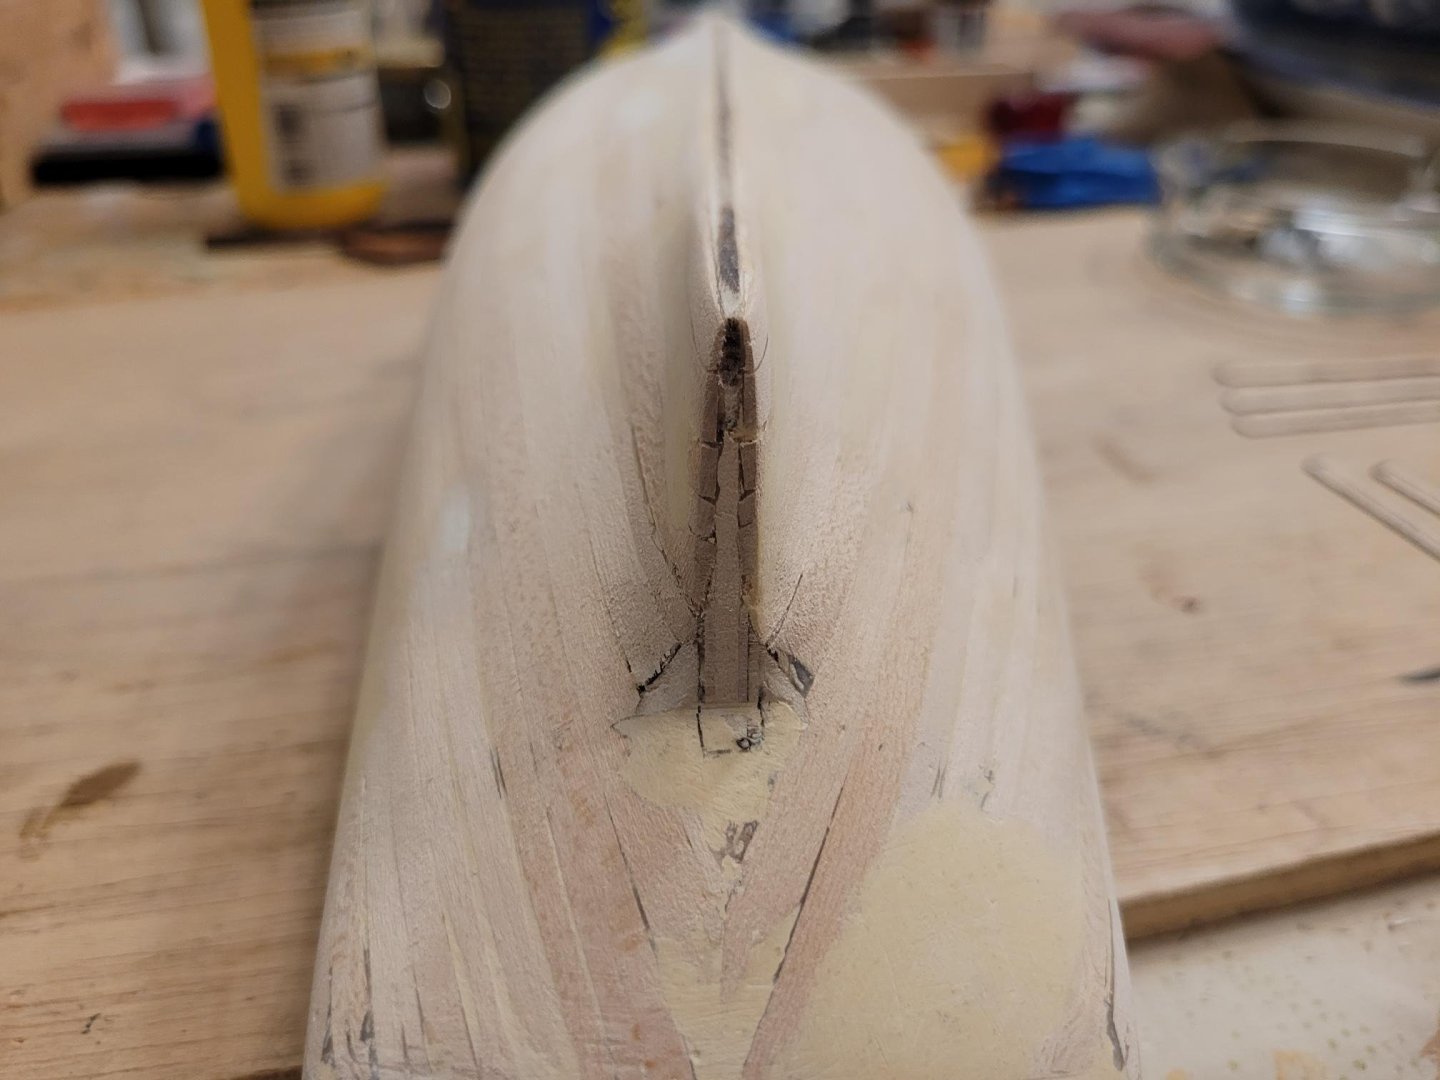
Some pictures of the first and second planking and problems found. As noted earlier, I discard Occre's instructions on planking as it is not realistic and, instead, use the traditional method tappering planks to have the the same number of planks in the stern, middle and bow. At the bow, I needed a drop plank in the first planking and two in the second. First, two pictures of the whole ship's first planking and its stern. As can be seen, I still struggle with getting exact measures, although it can be perfectly solved with filling and sanding. The two following pictures show the bow in more detail. In red circle, an area which I believe may be influencing a problem I'll show ahead, which may come from excessive bevelling of two bulkheads in that area. The hull's first planking after filling and sanding. Surely not perfect, but very smooth it seems. At least the mess in the bow and stern were solved. Finally, two pictures of the second planking at the bow, where planks clinked: something which also happened in my previous (and first) model. I'm really not sure why this happens, first in my bounty launch and now again. I used a planking batten to divide the hull in two, did all the measures at each bulkhead, tapper accordingly and still... Nothing that cant be solved (as I'll show in another post) but it sure is frustating. I get the feeling, as said with the previous pictures, that I may be bevelling the bulkheads in that area too much, causing an indentation in the hull, what do you experts think? Should I use more than one batten to help with measures? Thank you!


- 10 replies
-
- 2
-
-
- Albatros
- weathering
- (and 1 more)
-
Hey James, I'm really sorry I missed your log before! Love your work, quite a perfeccionist, looks beautiful In my Albatros I had already decided to rig the carronades. And like you, I am very disapointed with the model's door and stair, and I'll follow your idea for the stair and adapt (instead of making from scratch) the door. Cheers!
-
AlfredoCampos reacted to a post in a topic:
Albatros by AlfredoCampos - OcCre - 1:100 - weathered
-
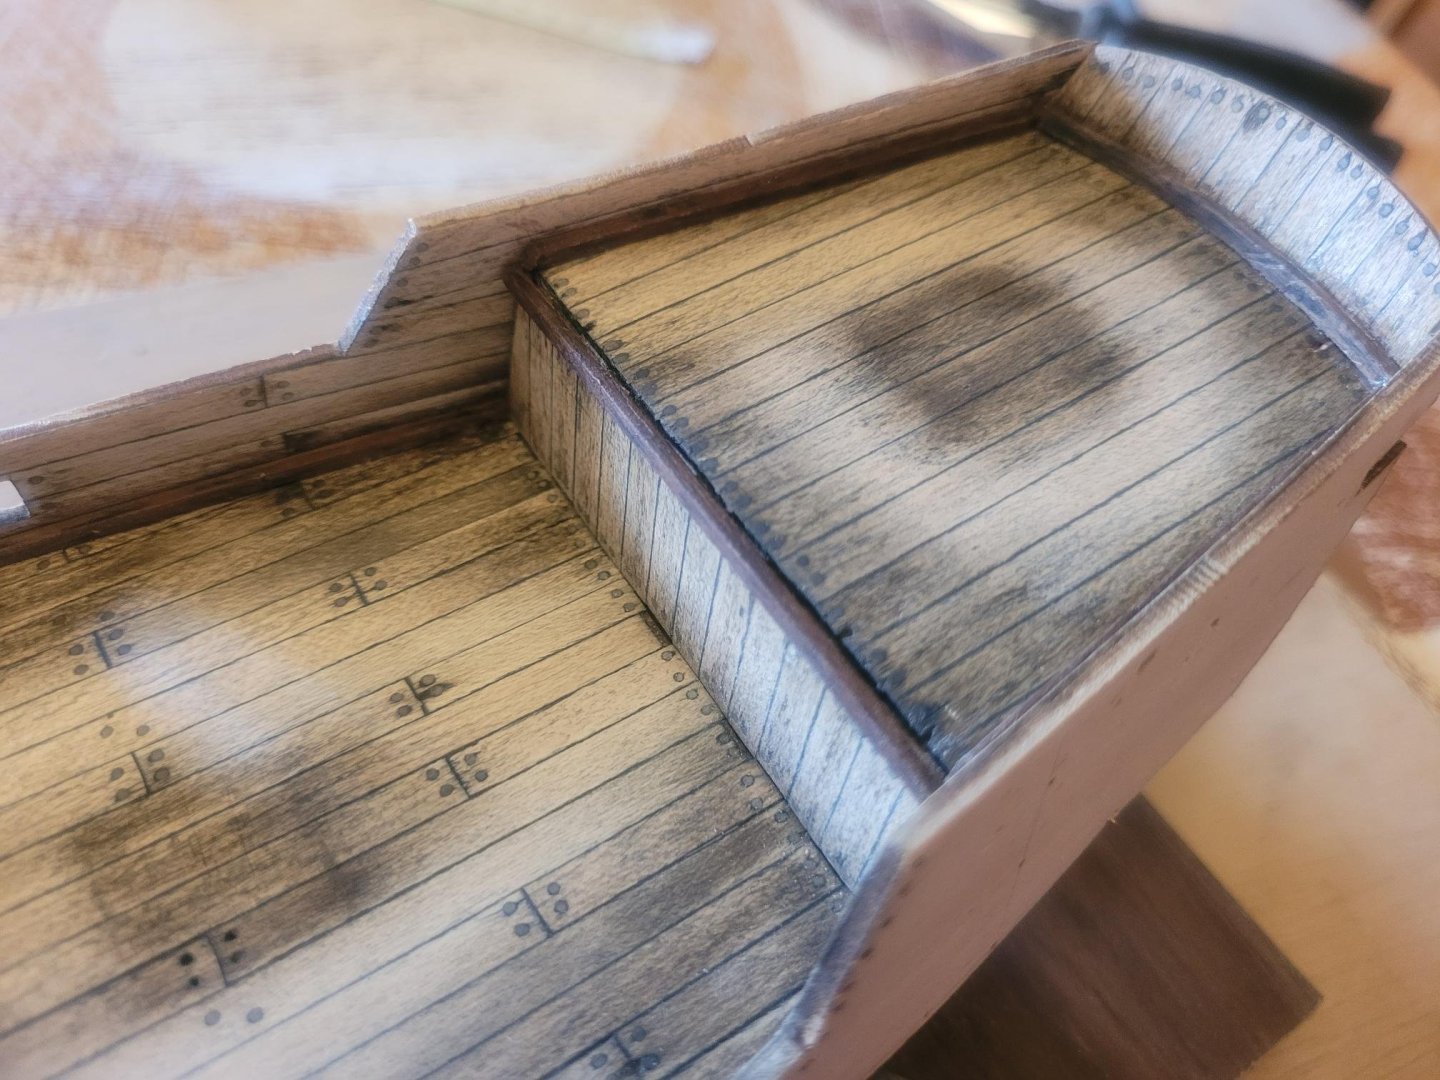
Well, this has been a long time without publishing. To those interested, I'm very sorry. I haven't been idle, though, and will publish some pictures on the work done: weathering the deck and inner "deck walls" (don't know how its called), first and second planking. Nowadays making and weathering all the deck structures. Hull weathering will be done after christmas, when i will gift myself some stuff. Bellow, three pictures of the weathered deck. All planks had their sides painted and "nails" were made from toothpicks. The darker areas are where deck structures will be fit, leaving some dark areas around them. The lighter areas are obviously those more tread upon. I probably overweathered, may still clear it a bit more after fitting all the structures. It can be seen that I had some trouble curving the "deck walls". Where the curve would be more steep, it bent instead of curving, but its partially solved already and will ahead be more hidden.


- 10 replies
-
- 3
-
-
- Albatros
- weathering
- (and 1 more)
-
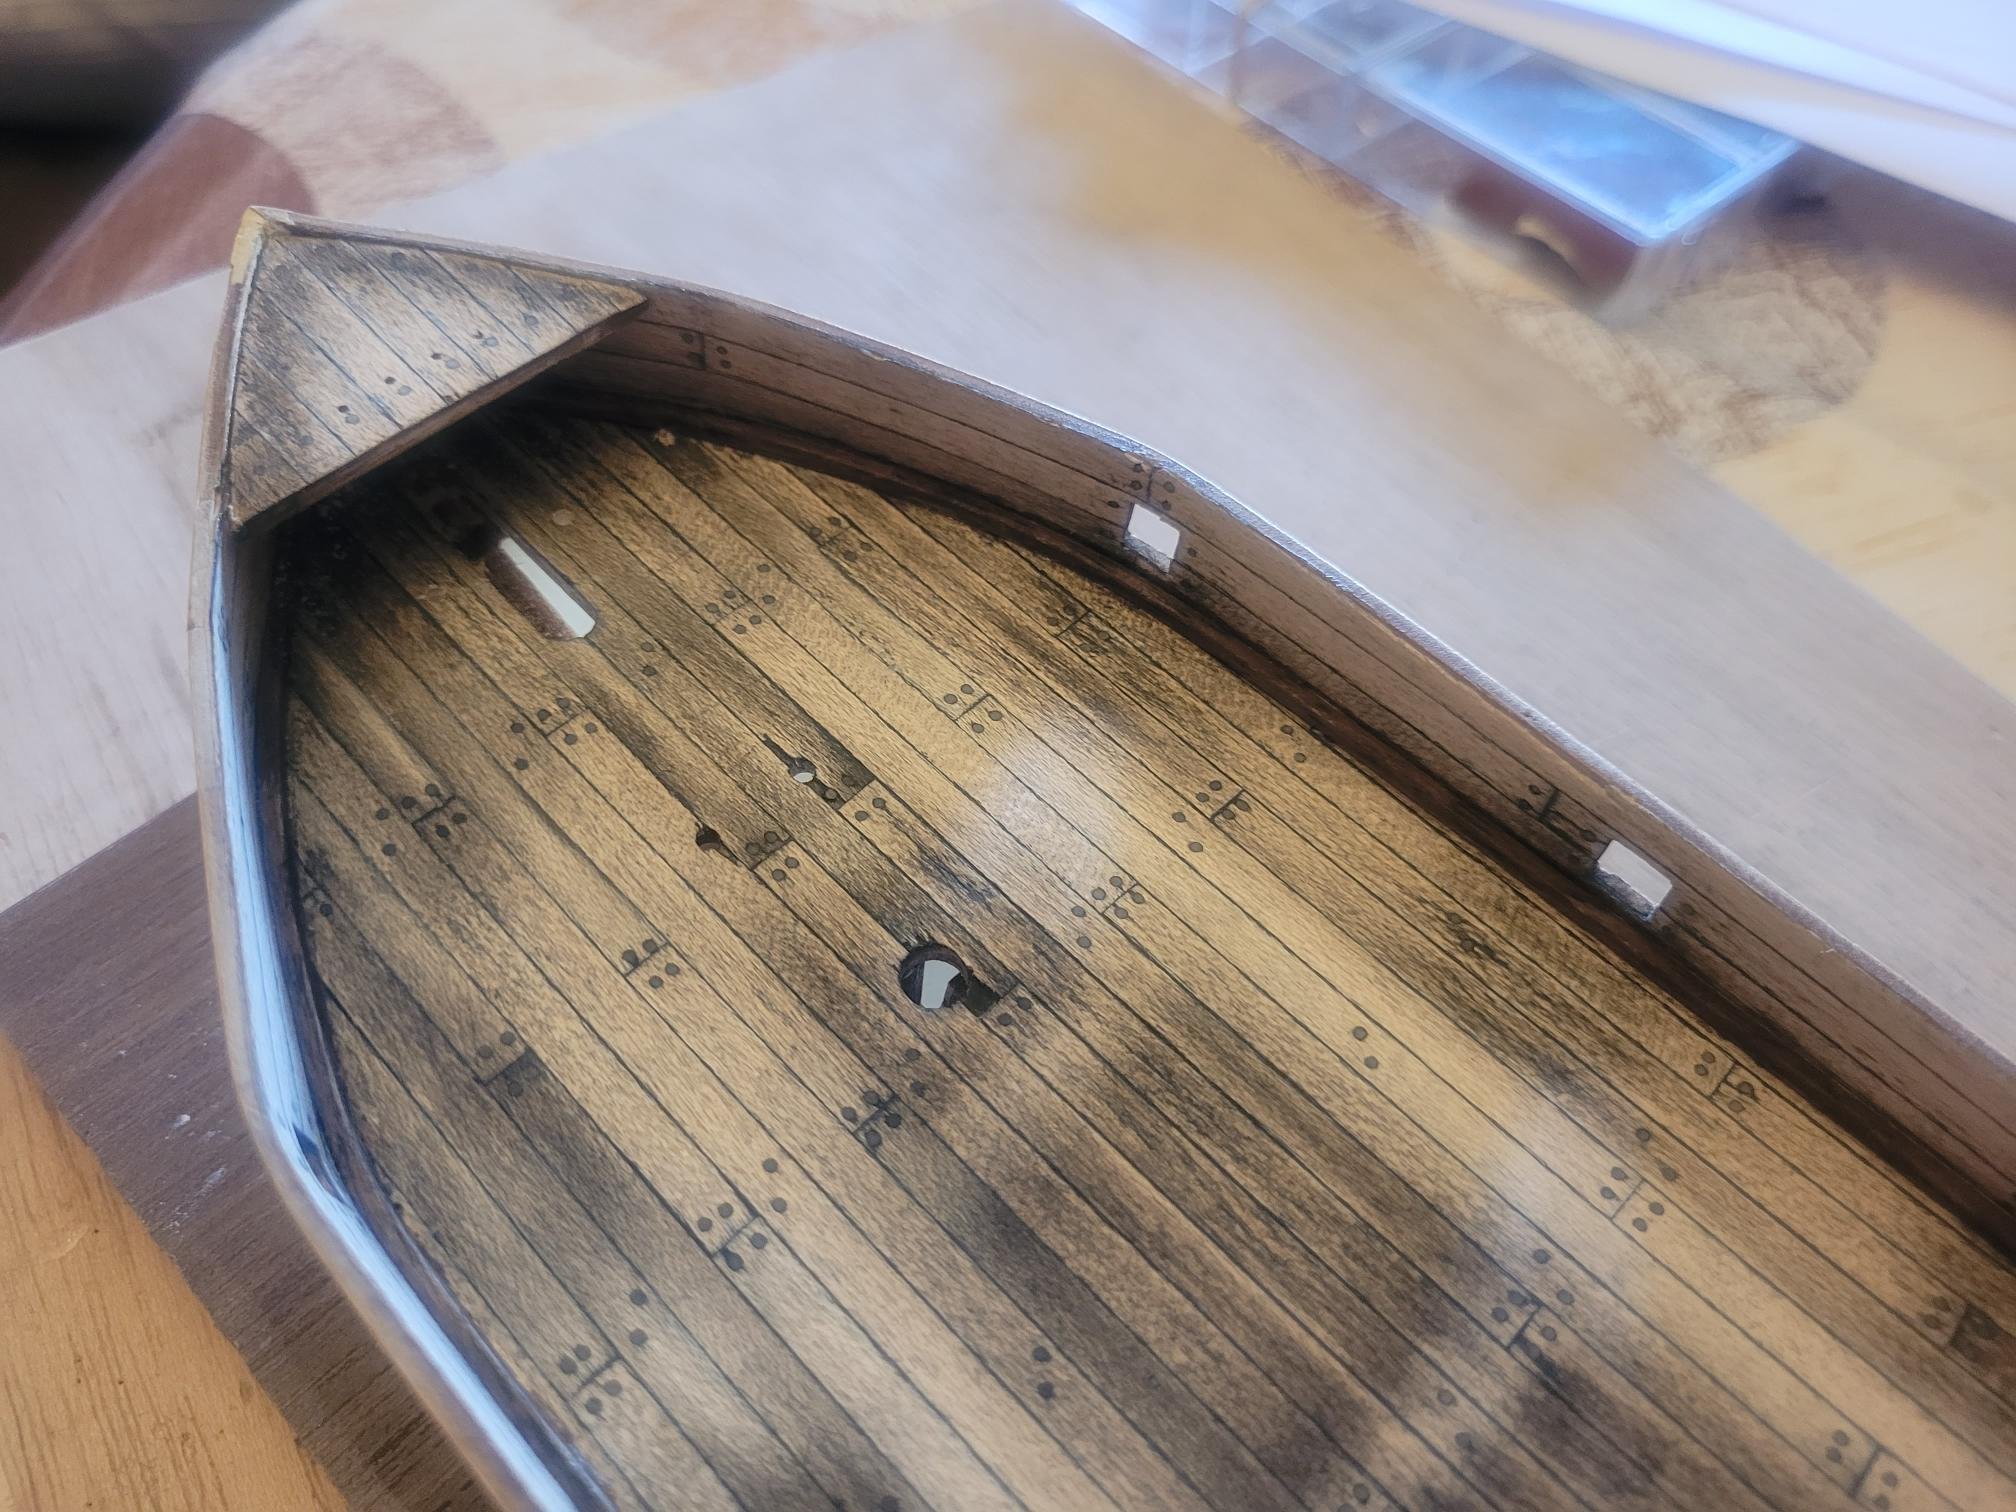
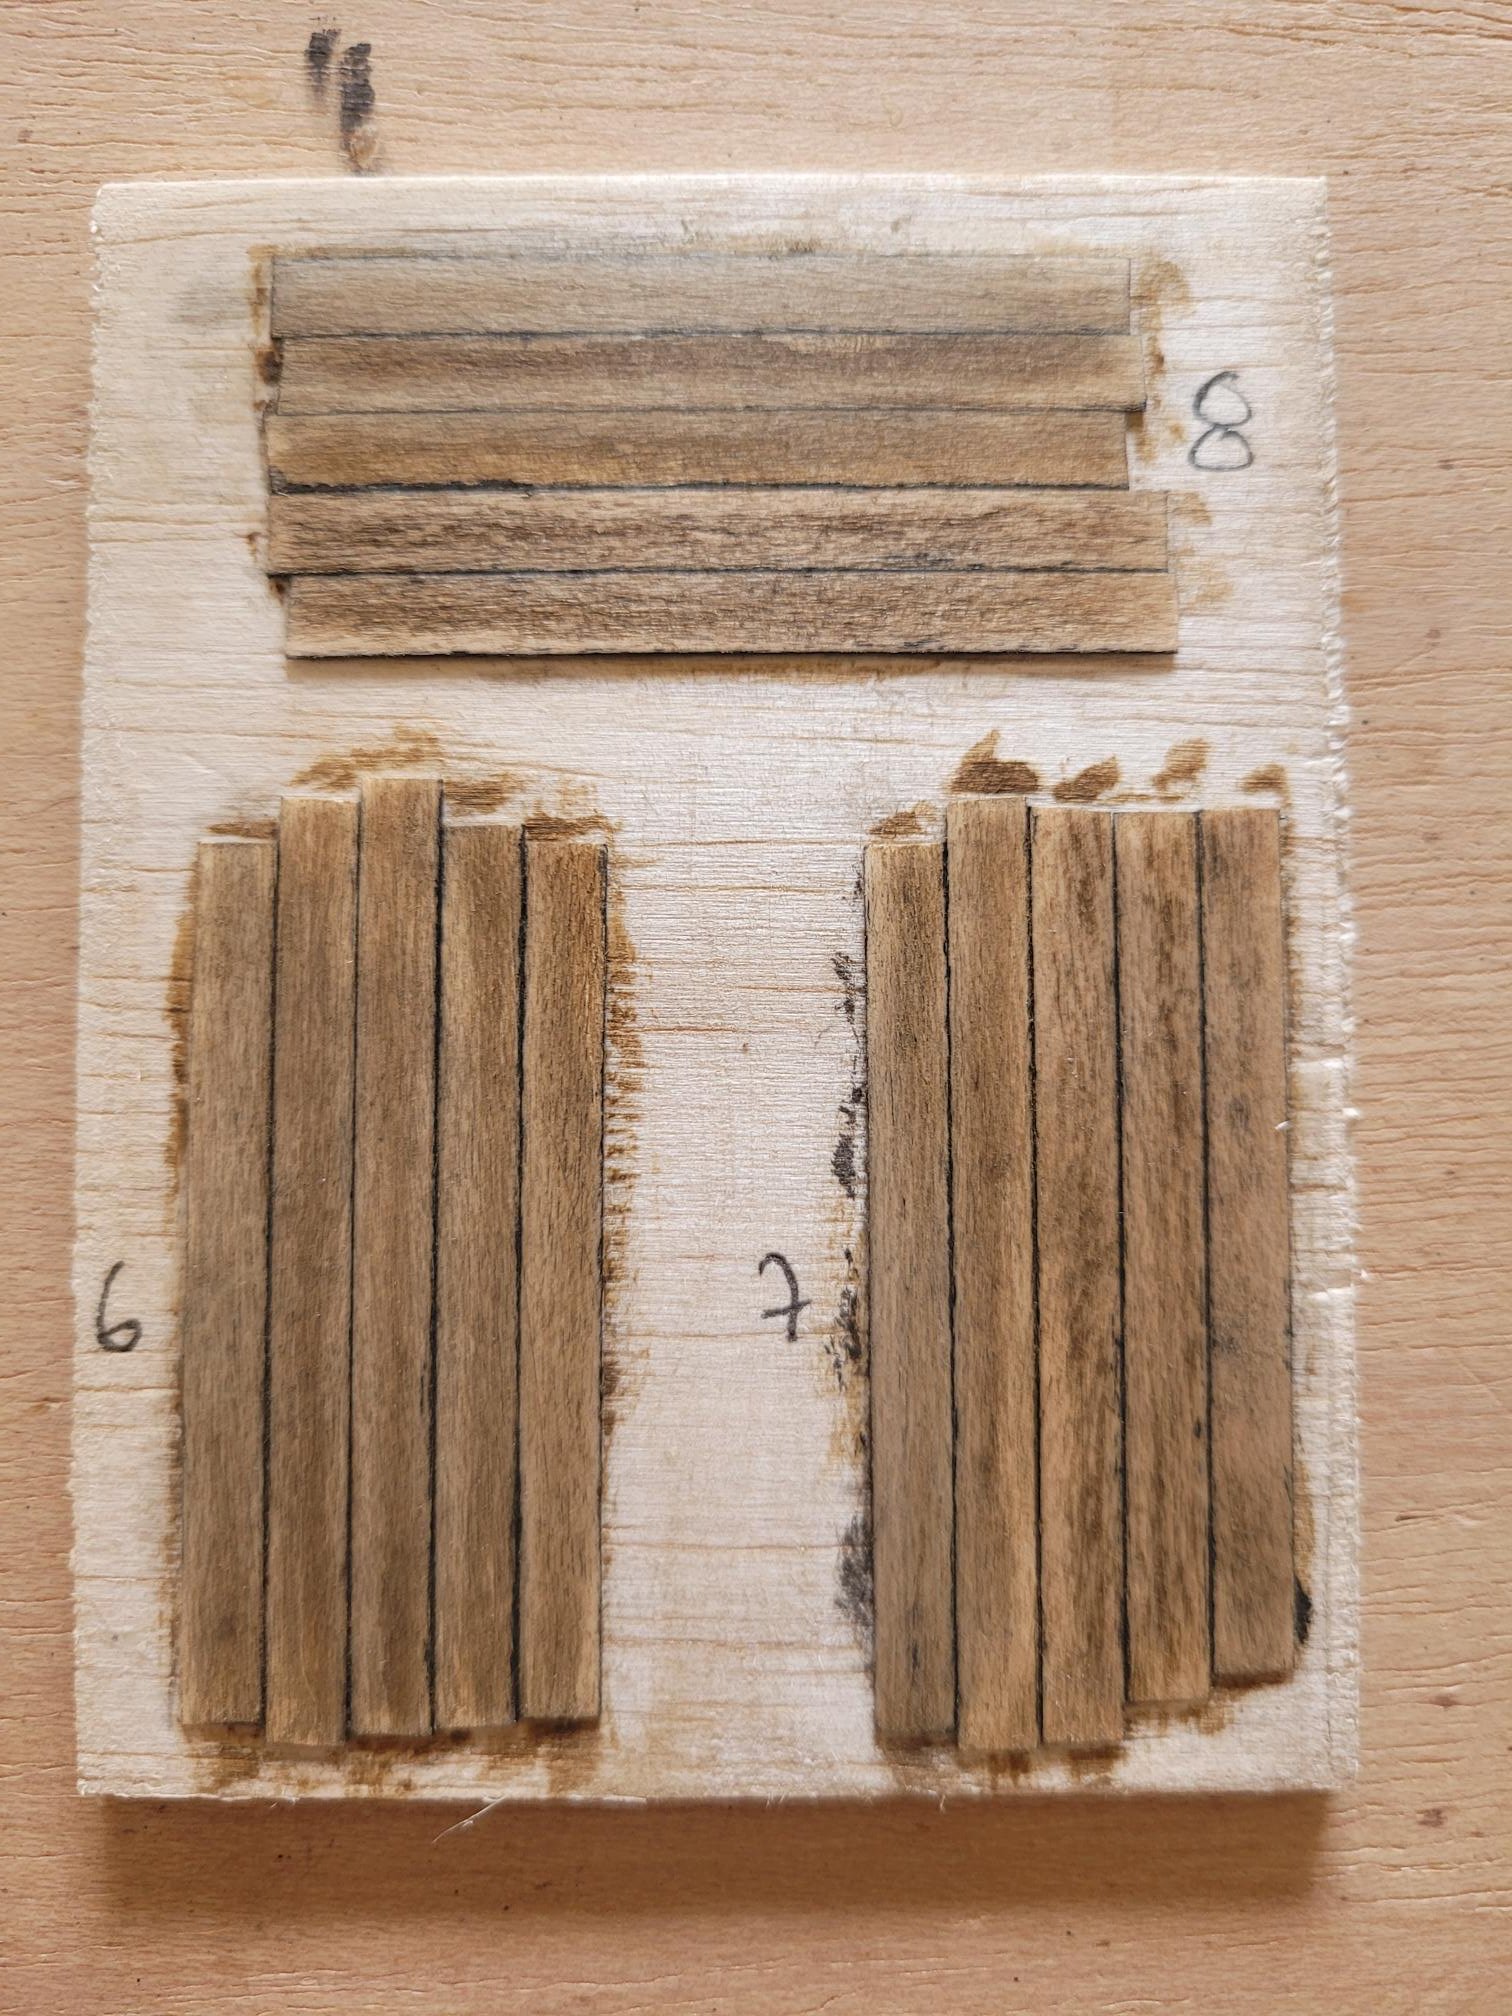
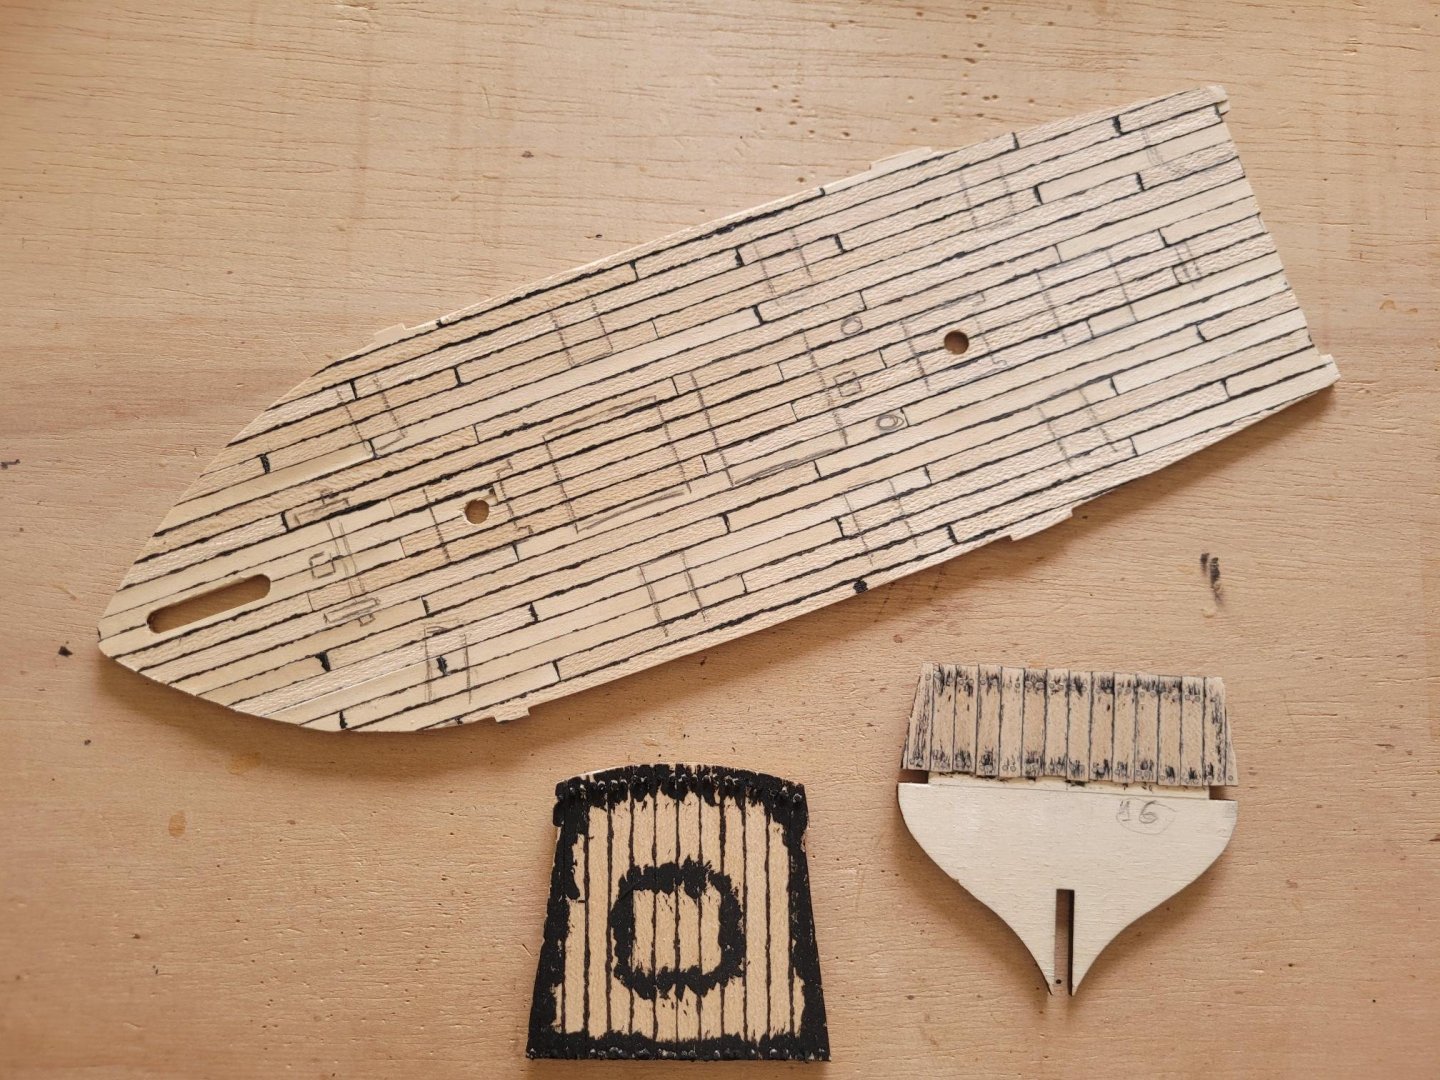
Well hello again. While not in here, in facebook (https://www.facebook.com/groups/520157015499544/permalink/1841930423322190/) this discussion on techniques generated quite an interesting discussion, not so much on techniques but on to weather or not to weather. I'll spare you the details, but essentially I've decided to do 3 more tests, trying different aspects of that discussion. 6) Just a wash of 1:3 judean bitumen and a wash of indian ink solution (1 drop for 4 ml). This tries to simulate weathering on a well kept ship, with no signs of humidity. 7) A previous sparce dashing of black painting and, after sanding, number 6 again. This tries to simulate weathering on a less kept ship, where humidity will be applied but sparingly, only in recesses and by the waterways. 😎 Number 6, but using 1:3 and 1:2 bitumen washed. Tries to simulate replacement of planks but didn't go very well. -- In all cases plank sides were painted black instead of simply penciled. All taken into account, I've decided to basically combine 7 and 8: - use black paint on the edges of planks - use black paint on specific places, recesses and by waterways - use a wash of 1:2 bitumen and reapply on some planks here and there, followed the 1d:4ml indian ink wash In the picture you can see the deck already planked and etched with furniture places (for which I used a print of the 1:1 upper view in transparent paper. This will guide the sanding in more and less weathered places, that is, those more tread on. Also the "upper" deck, already nailed with toothpics and with black paint applied. And finally the upperdeck wall, nailed, painted and already sanded, ready for the washes. Thank you!

- 10 replies
-
- 1
-
-
- Albatros
- weathering
- (and 1 more)
-
AlfredoCampos reacted to a post in a topic:
Albatros by AlfredoCampos - OcCre - 1:100 - weathered
-
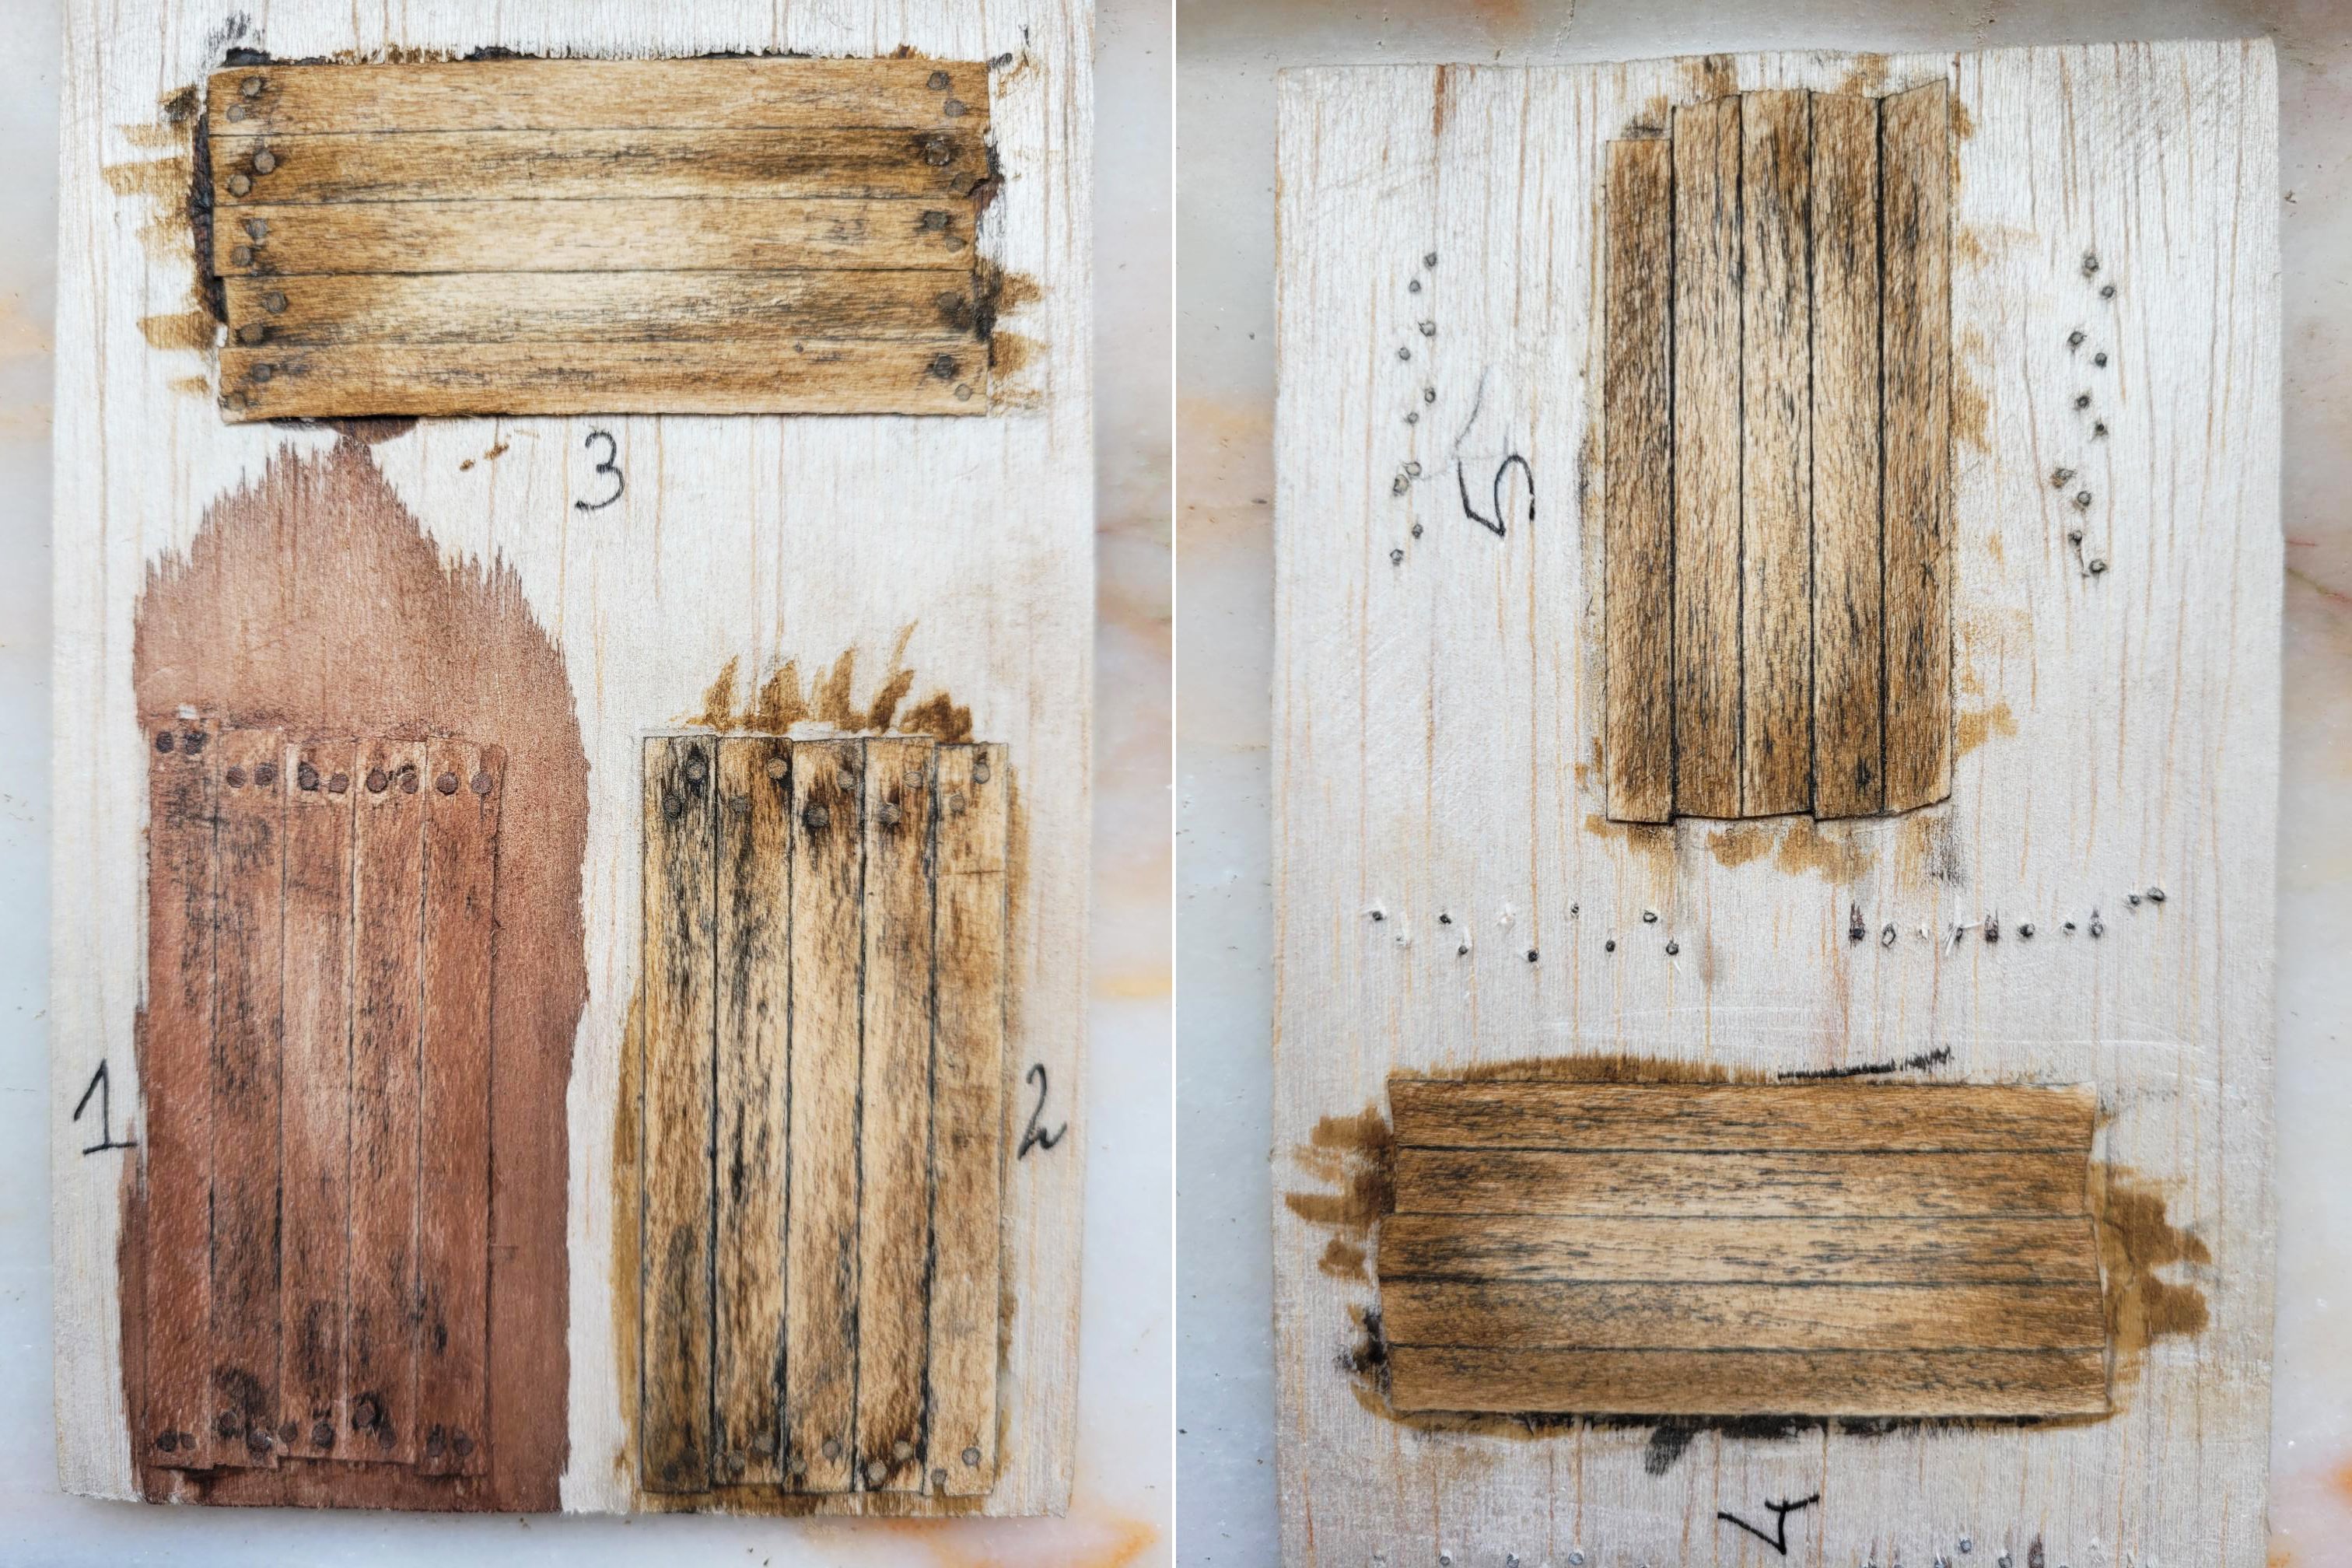
Here I present you with the result of five weathering techniques. Or, to be more specific, variations of 2 or 3 techniques. Techniques: 1) Plank sides penciled, dashes of black paint and sanding, wash of walnut in a 1:2 ratio. 2) Plank sides painted black, wash of judean bitumen (1:4) and sanding, wash of indian ink with alcohol and sanding (4 drops per 4 ml, unintended mess up). 3) Planks glued with bitumen colored glue, dashes of black paint and sanding, wash of judean bitumen (1:4) and sanding, wash of indian ink with alcohol and sanding (again with the wrong proportion). Second wash of 1:4 bitumen. 4) Plank sides painted black, dashes of black paint and sanding, wash of judean bitumen (1:3) and sanding 5) Plank sides painted black, dashes of black paint and sanding, wash of judean bitumen (1:3) and sanding, wash of indian ink with alcohol and sanding (1 drop per 4 ml). Note: all were more sanded, particularly in the middle, as all weathered parts will have different amounts of sanding according to use. My opinion: 1) Hate it. Period. 2 and 3) I very much like the plank sides painted black in 2, more effective as caulking simulation than pencil or colored glue. On the other hand, the second bitumen wash (in comparison with 4 and 5) made it a bit too yellowish. Also, the mistake in indian ink proportions messed up the result. 4) Increasing bitumen wash proportion to 1:3 and applying only once gives a less yellowish look than 3, which look better to my eye, but maybe a bit orange. I also like the result of black paint dashing and sanding as simulating humidity. 5) Now with the proper proportion of indian ink wash, I think it gives a nice result in highlighting caulking and humidity, and also in toning down the orange in 4. Maybe a bit too dark, I may dilute the indian ink even more. So, now I'm inclined to go for either 4 or 5. Would love to hear your opinions!

- 10 replies
-
- 3
-
-
- Albatros
- weathering
- (and 1 more)
-
The Albatros by Occre will be my second ship, after the Bounty Launch also by Occre. In the Bounty - a great learning experience - I decided I wouldn't follow planking instructions and would do a proper "full plank from stern to bow" planking. For the Albatros, the challenge I'm going for is weathering. I realize it's subject to debate, some people love the effects, others consider models shouldn't be weathered. Personally, I like it. Have researched a few techniques, the next post will be about some tests.
- 10 replies
-
- 2
-
-
- Albatros
- weathering
- (and 1 more)
-
After doing the Bounty Launch as my first model, I'm starting the Albatros now. I very much like your planking pattern and your use of braces for ensuring hull structure. On my model I'll try some weathering techniques. Will keep following your log!
-
AlfredoCampos reacted to a post in a topic:
Albatros by WizardOfOs - OcCre - 1:100
-
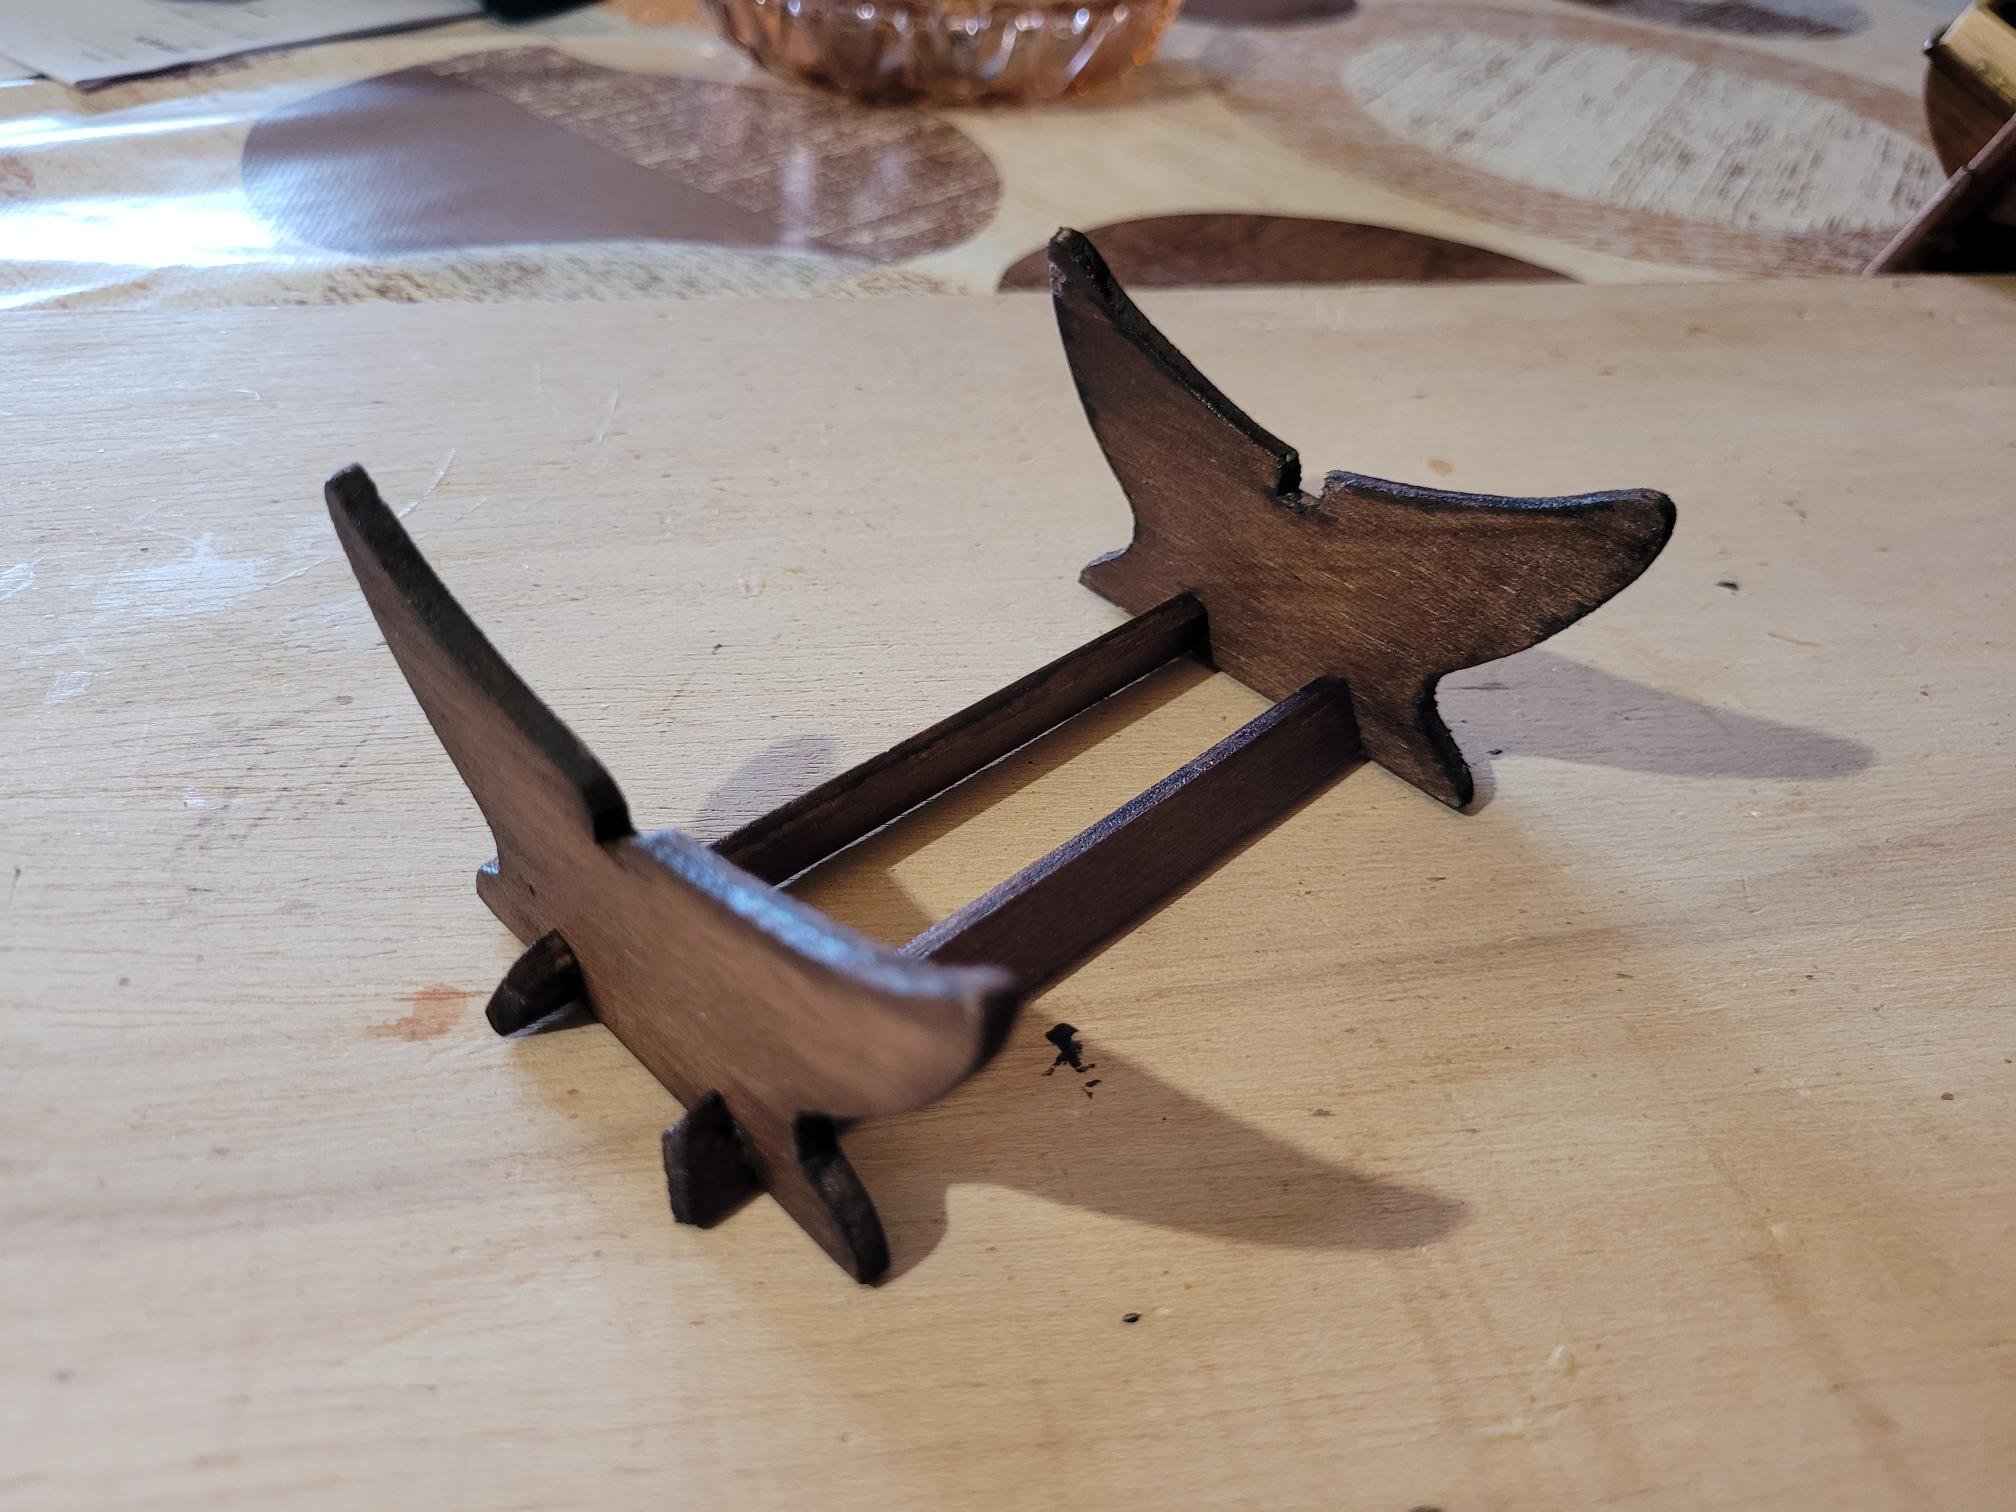
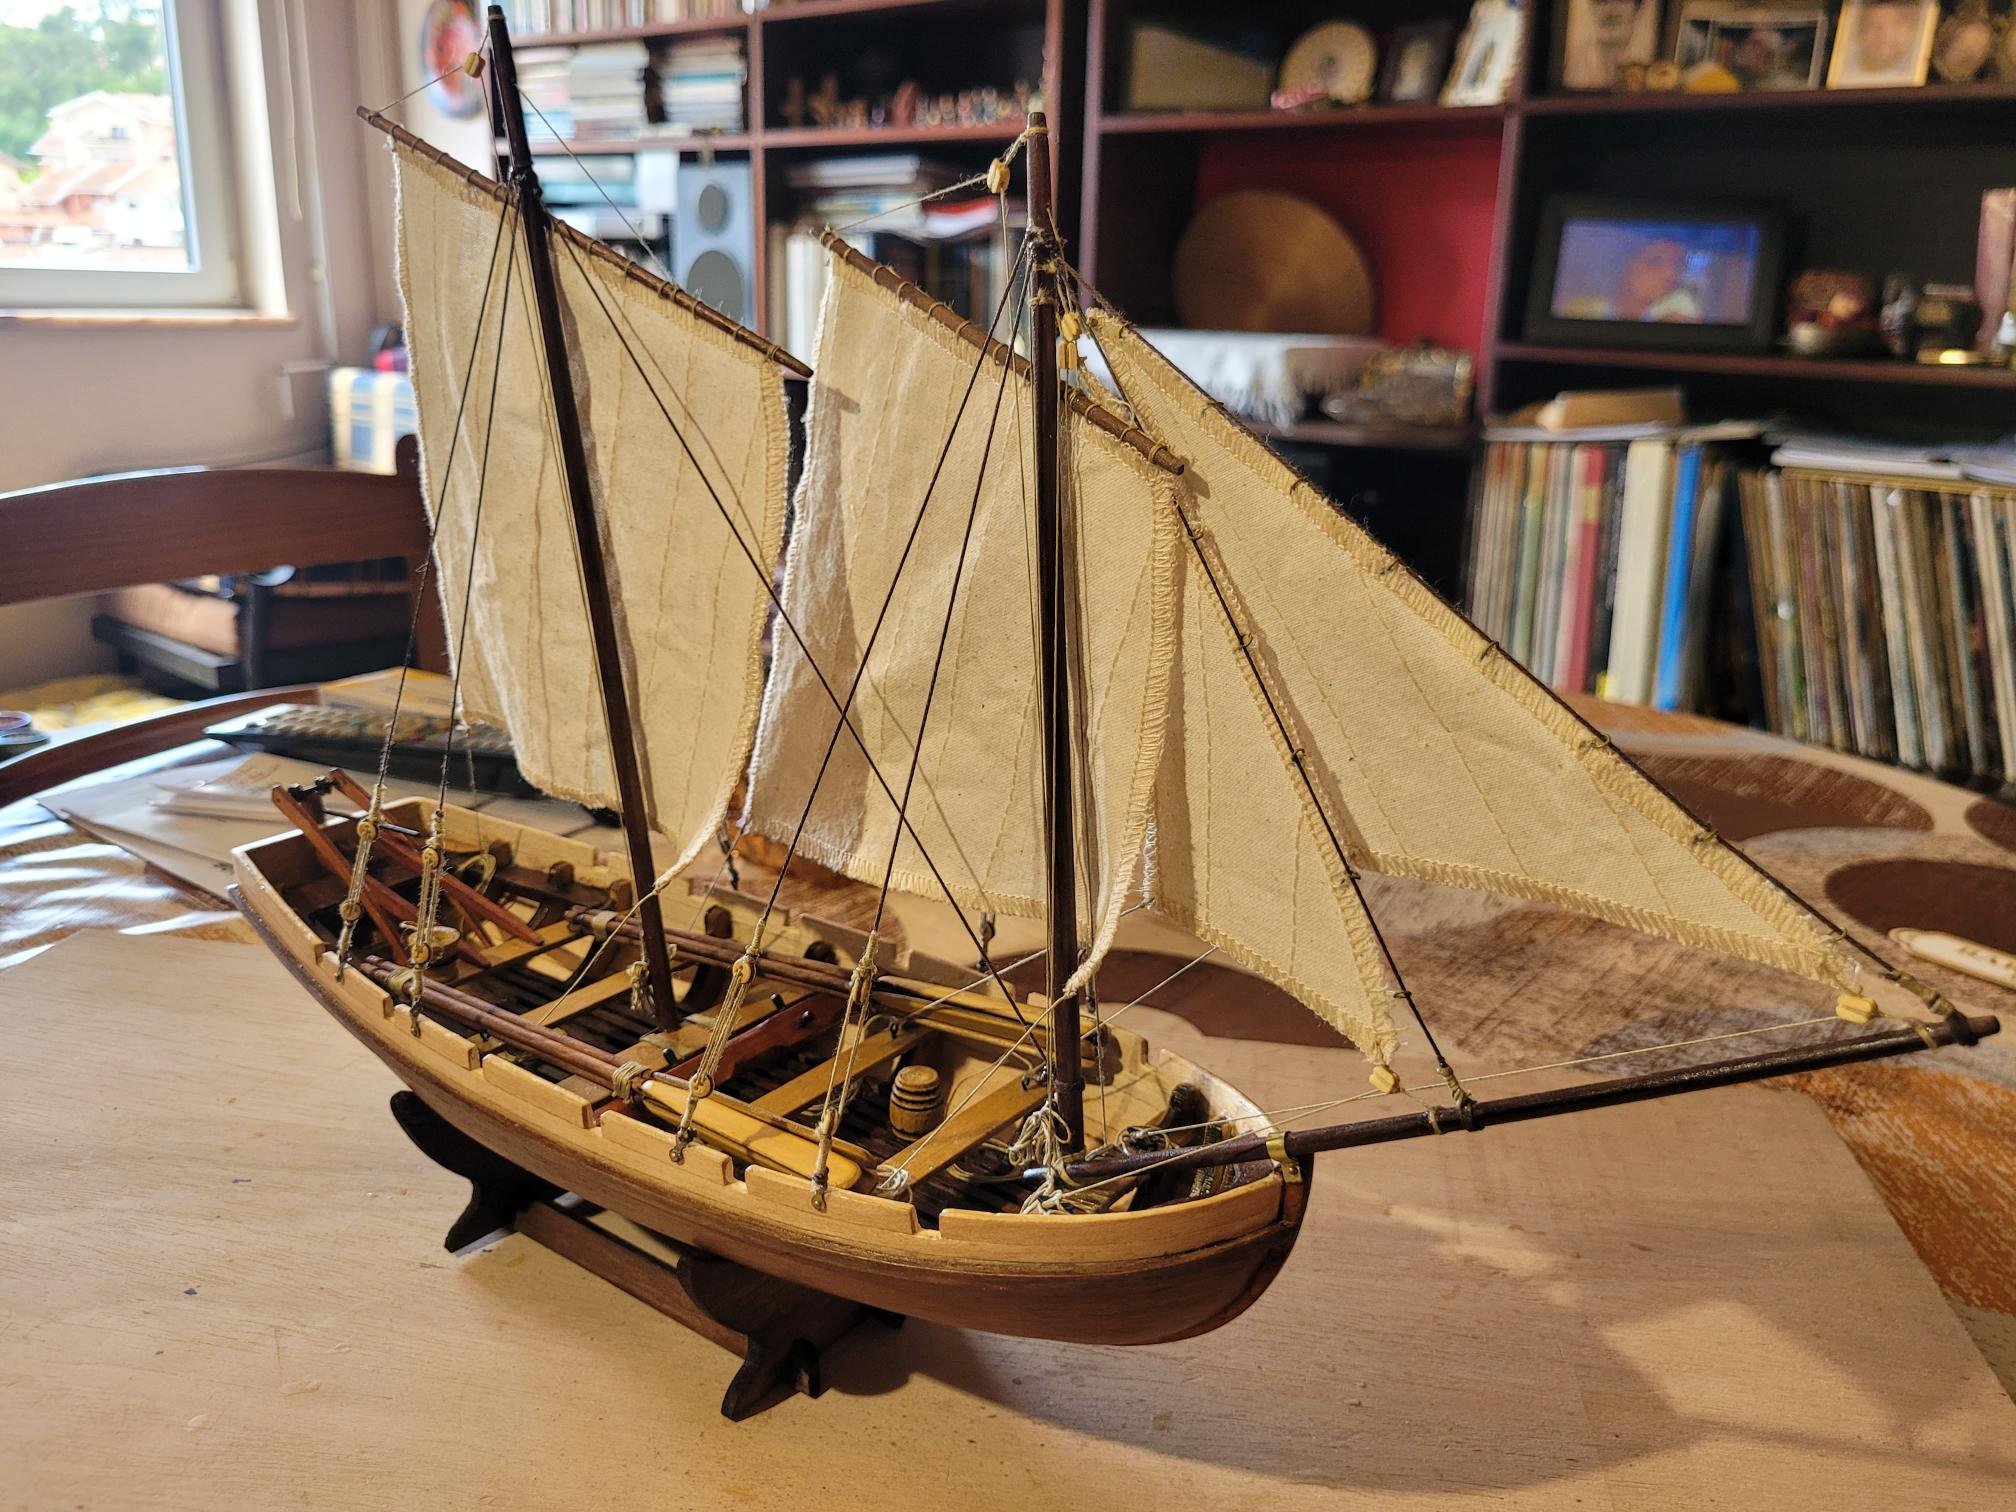
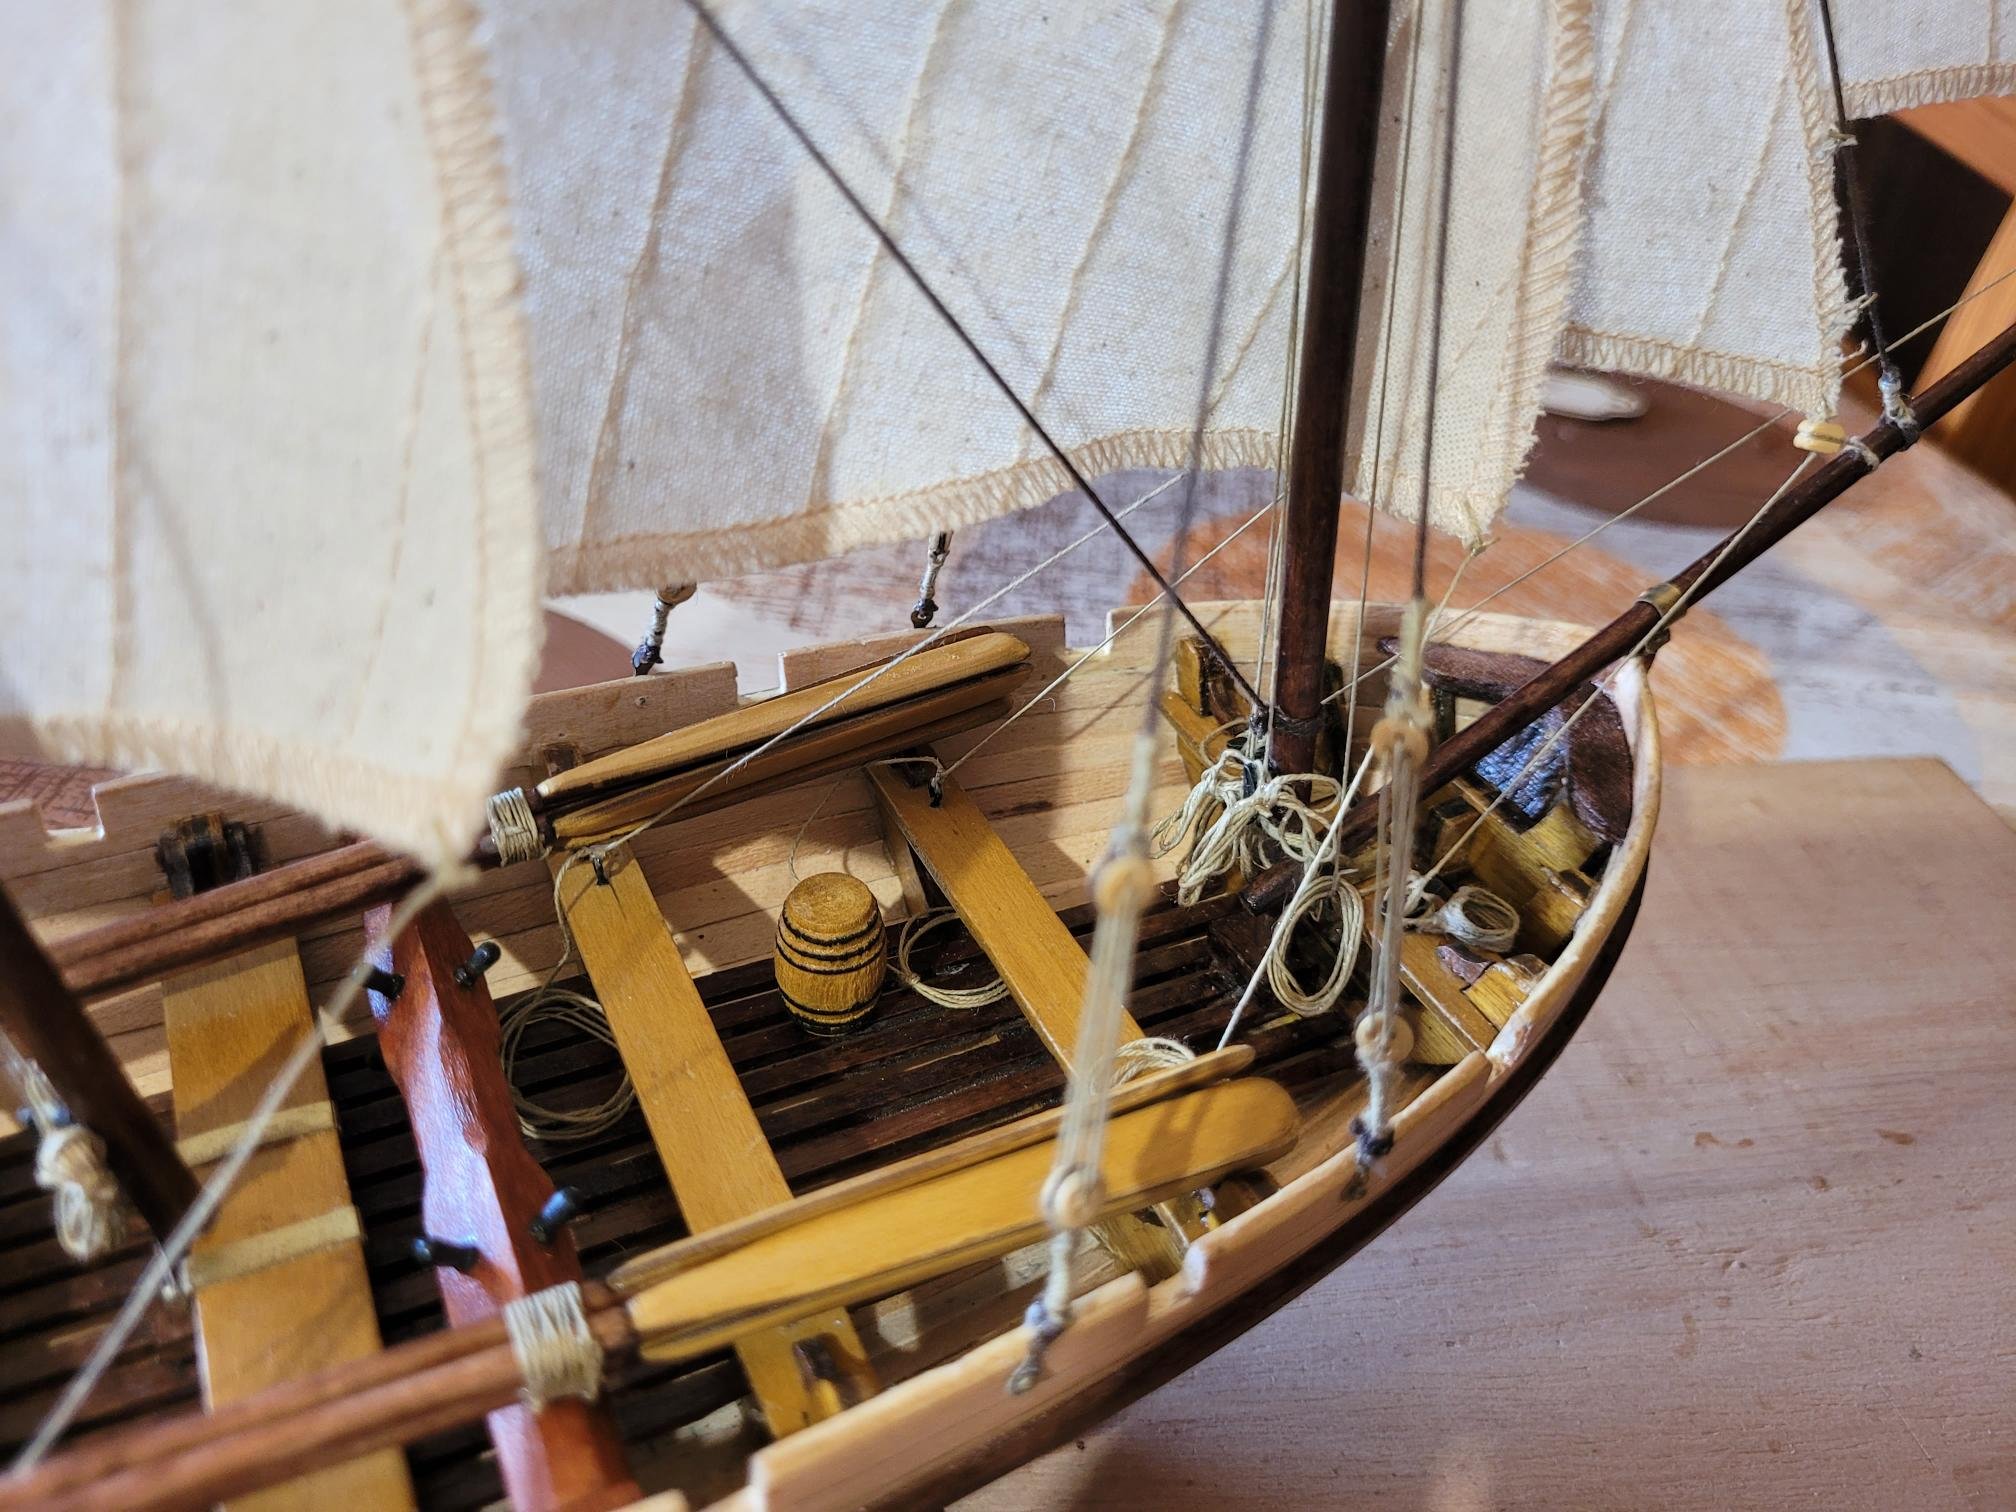
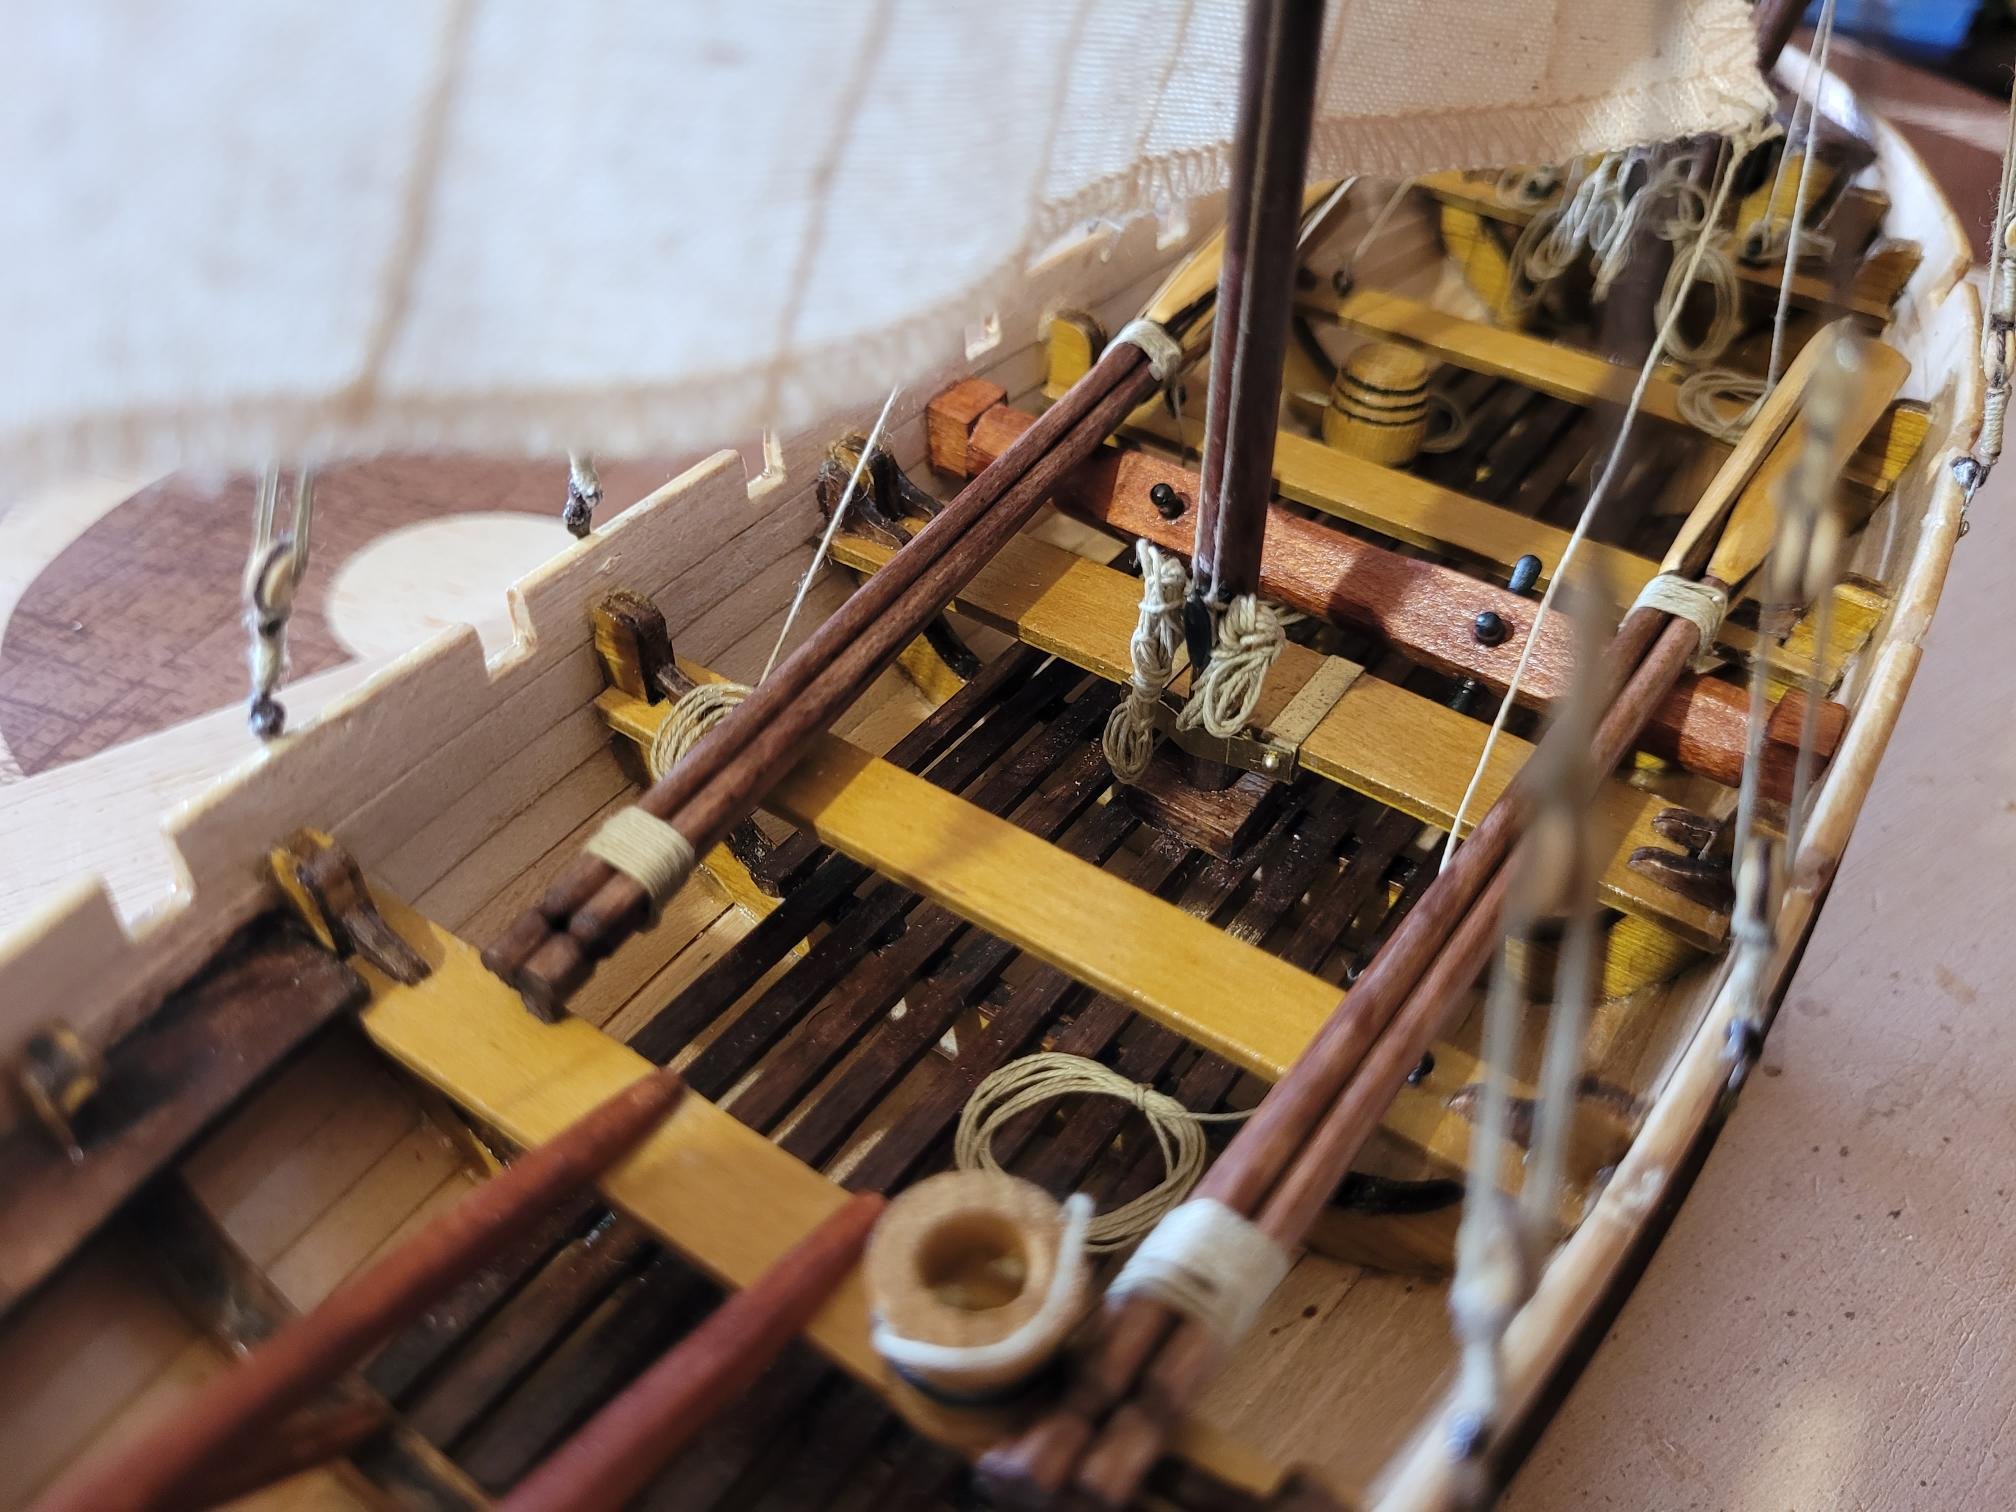
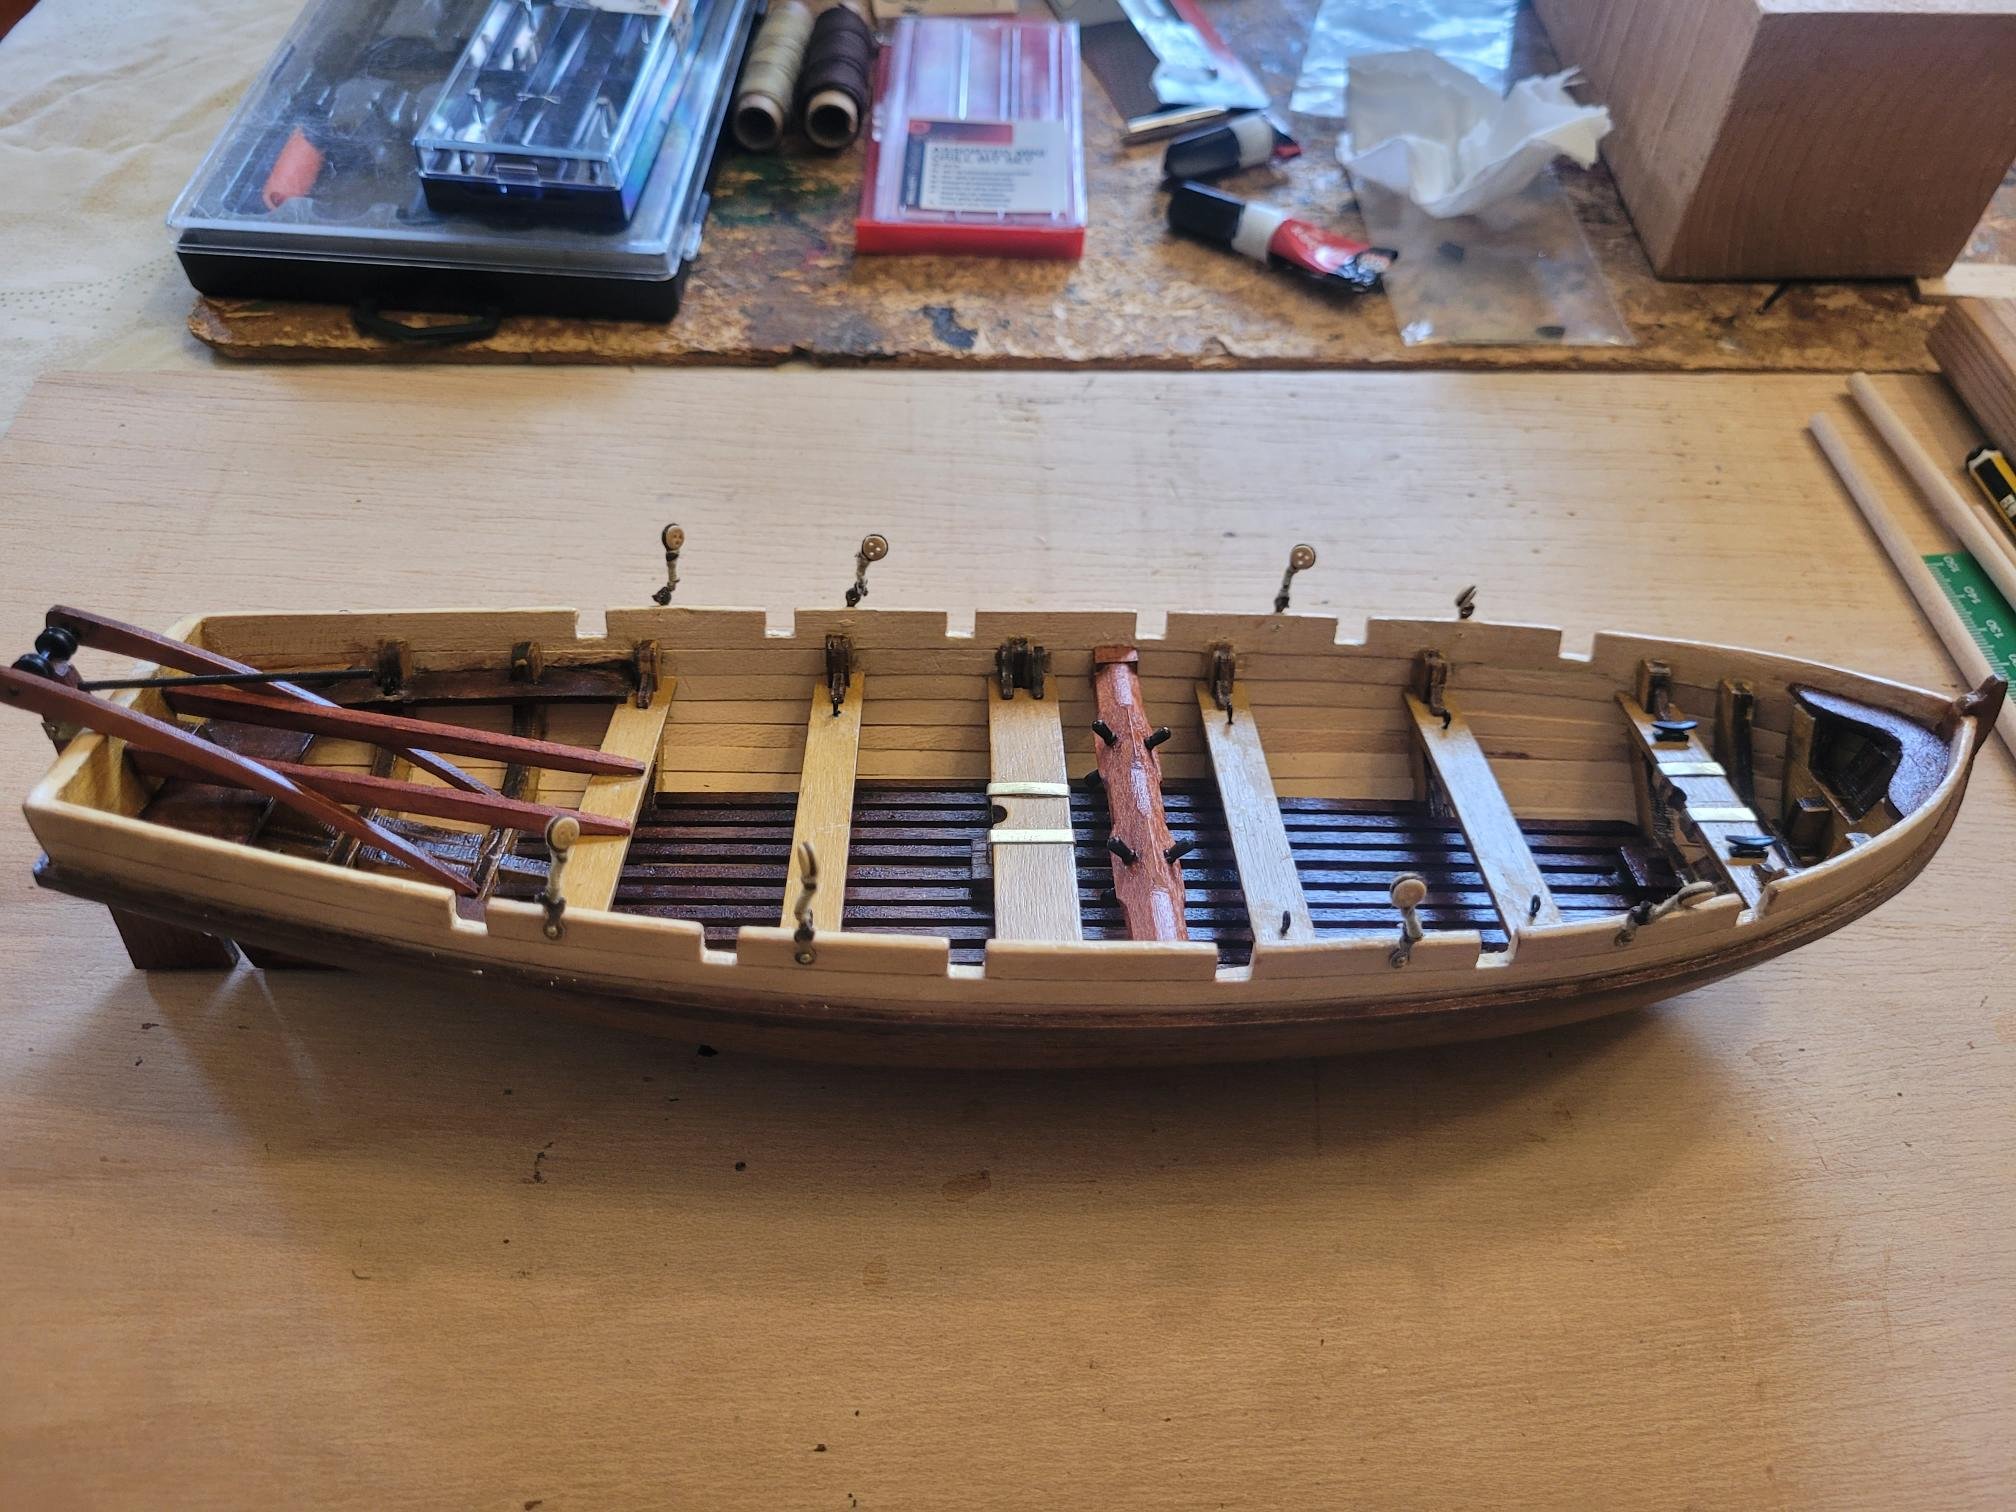
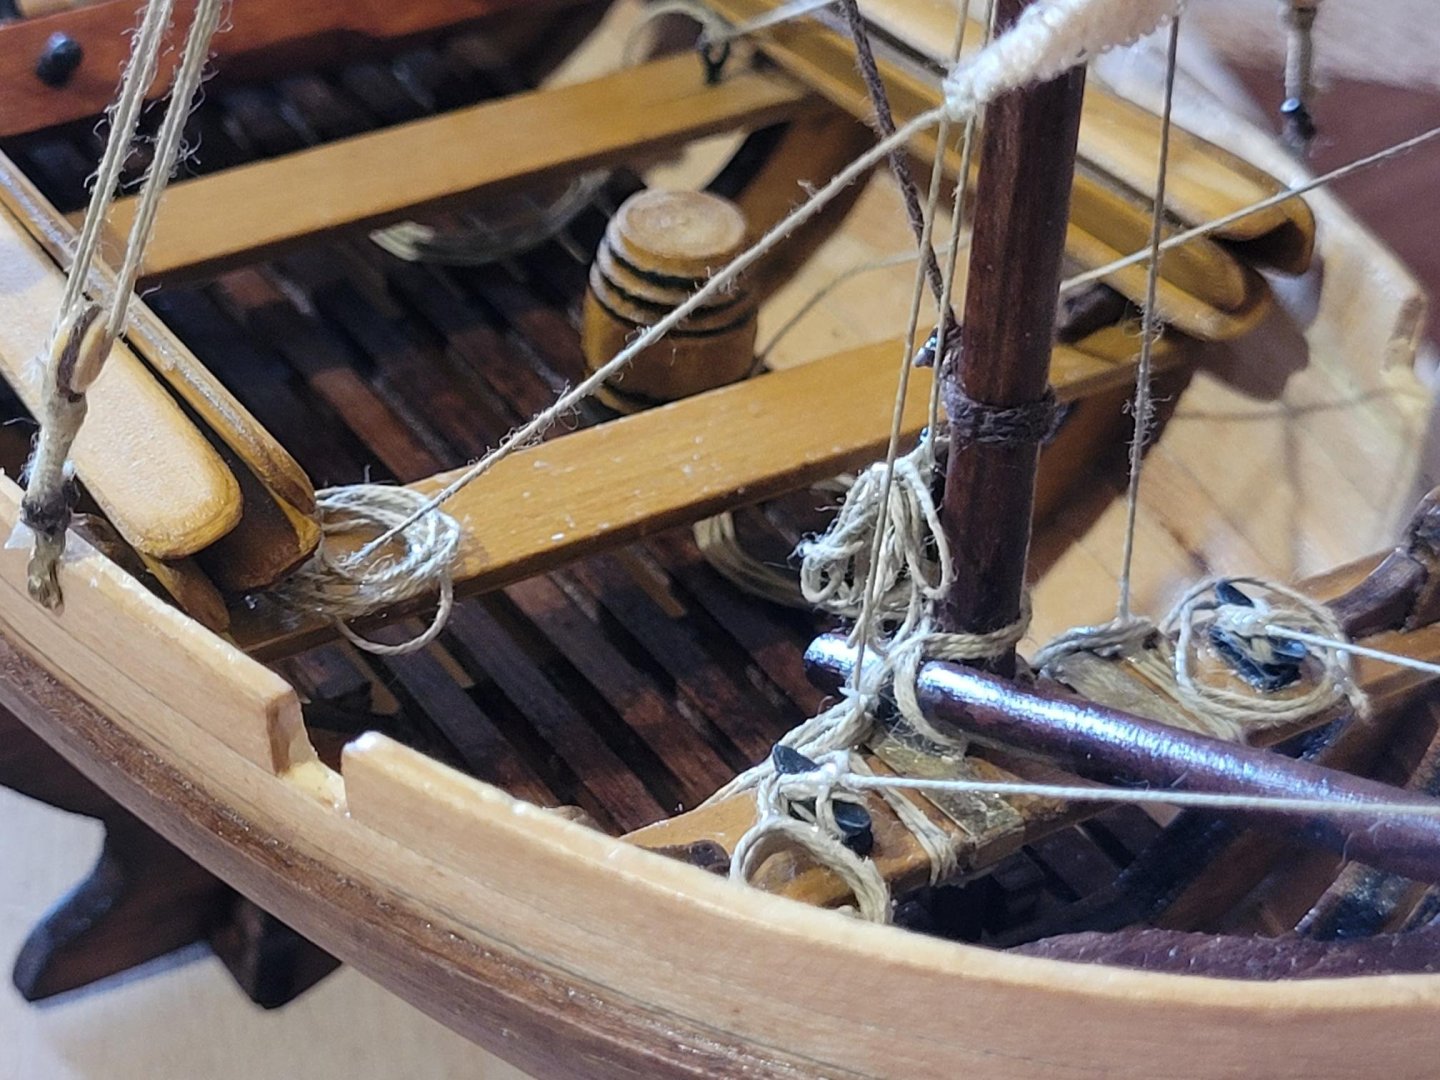
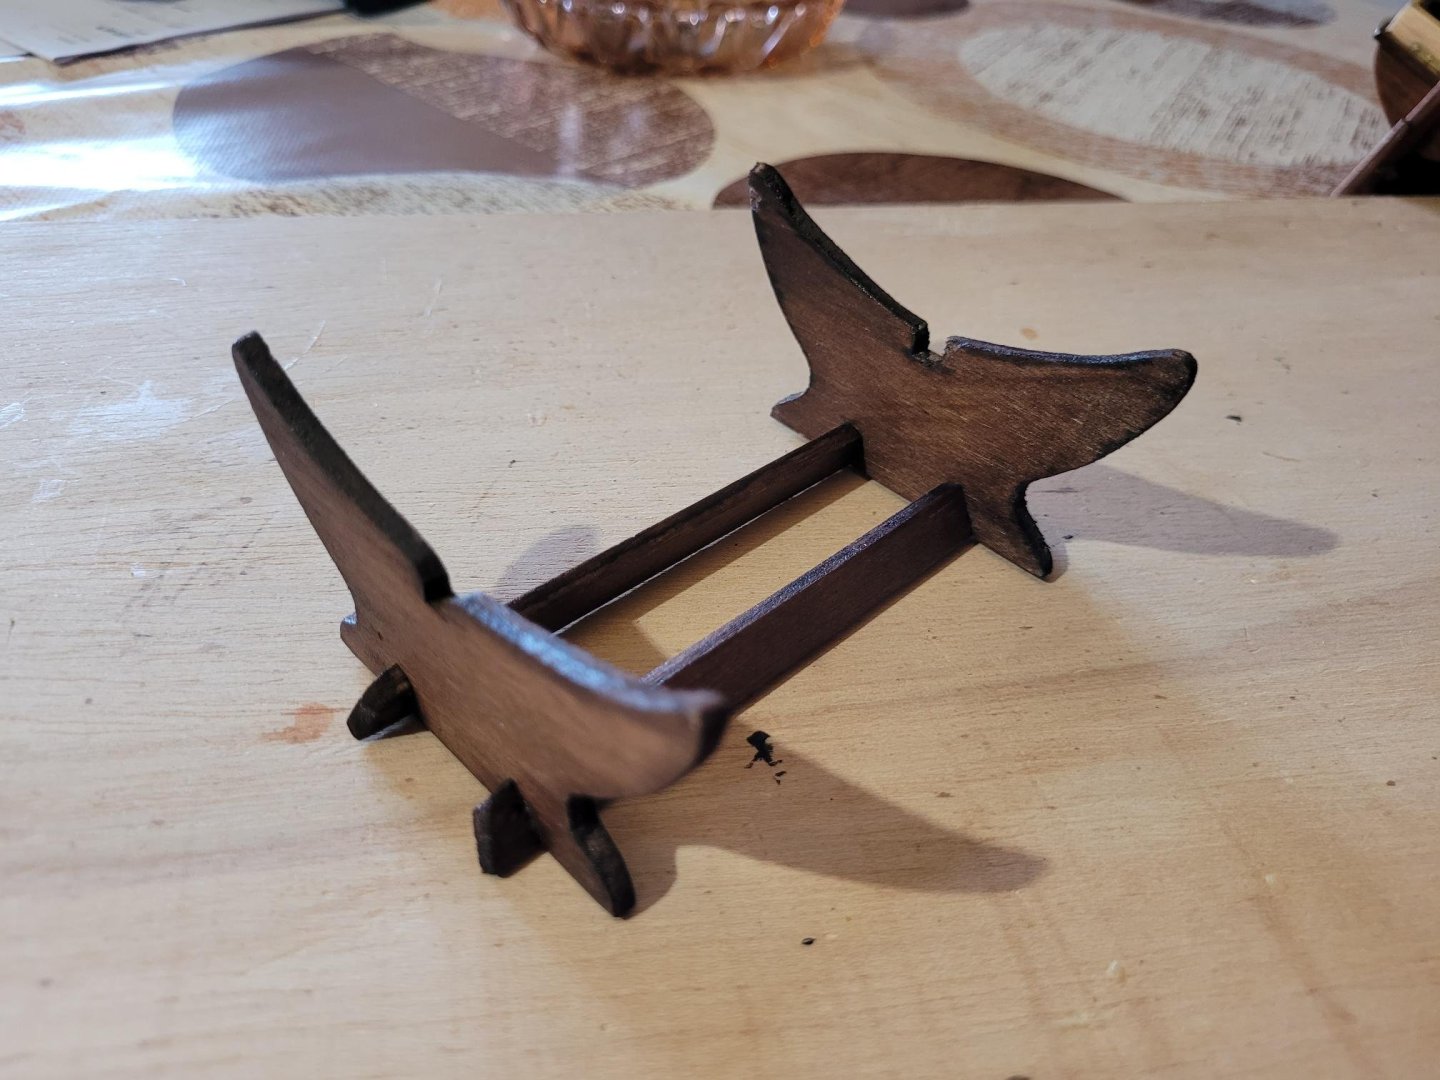
The Bounty Launch is finally complete! A very long learning trip, in which I early decided to now follow Occre's planking instructions and do a proper planking. Also added some little details inspired in other buildlogs and a couple more things. In the end, I think only one structural mistake was not corrected. I the first picture it can be clearly noticed that the bowsprit does not properly sit in the hull and, in consequence, the end if a few degrees upper than it should be, which in turn changed the front sails disposition a bit. Still, all in all, I'm very satisfied. Some details on the rigging, added some coils in the ends. Also tried to do different coils so it would not be repetitive and a bit more realistic. In the picture it can also be seen how the roar blades were bevelled. Some more detail on detail in the rigging endings, now in the certer mast. Coils in the floor can also be seen. Something I decided to also change, rings both in the benches and sails were neither left bright brass nor painted black, instead worn (in vinegar and salt). And finally, since the model had no stand, I built one based on the one included in the Albatros. That's all my friends, already starting the Albatros, where I'll try to learn weathering techniques. Thank you all for following, for your patience and, most of all, your fruitful advice. It has been a pleasure!


- 19 replies
-
- 6
-
-
- Bounty Boat
- OcCre
- (and 2 more)
-
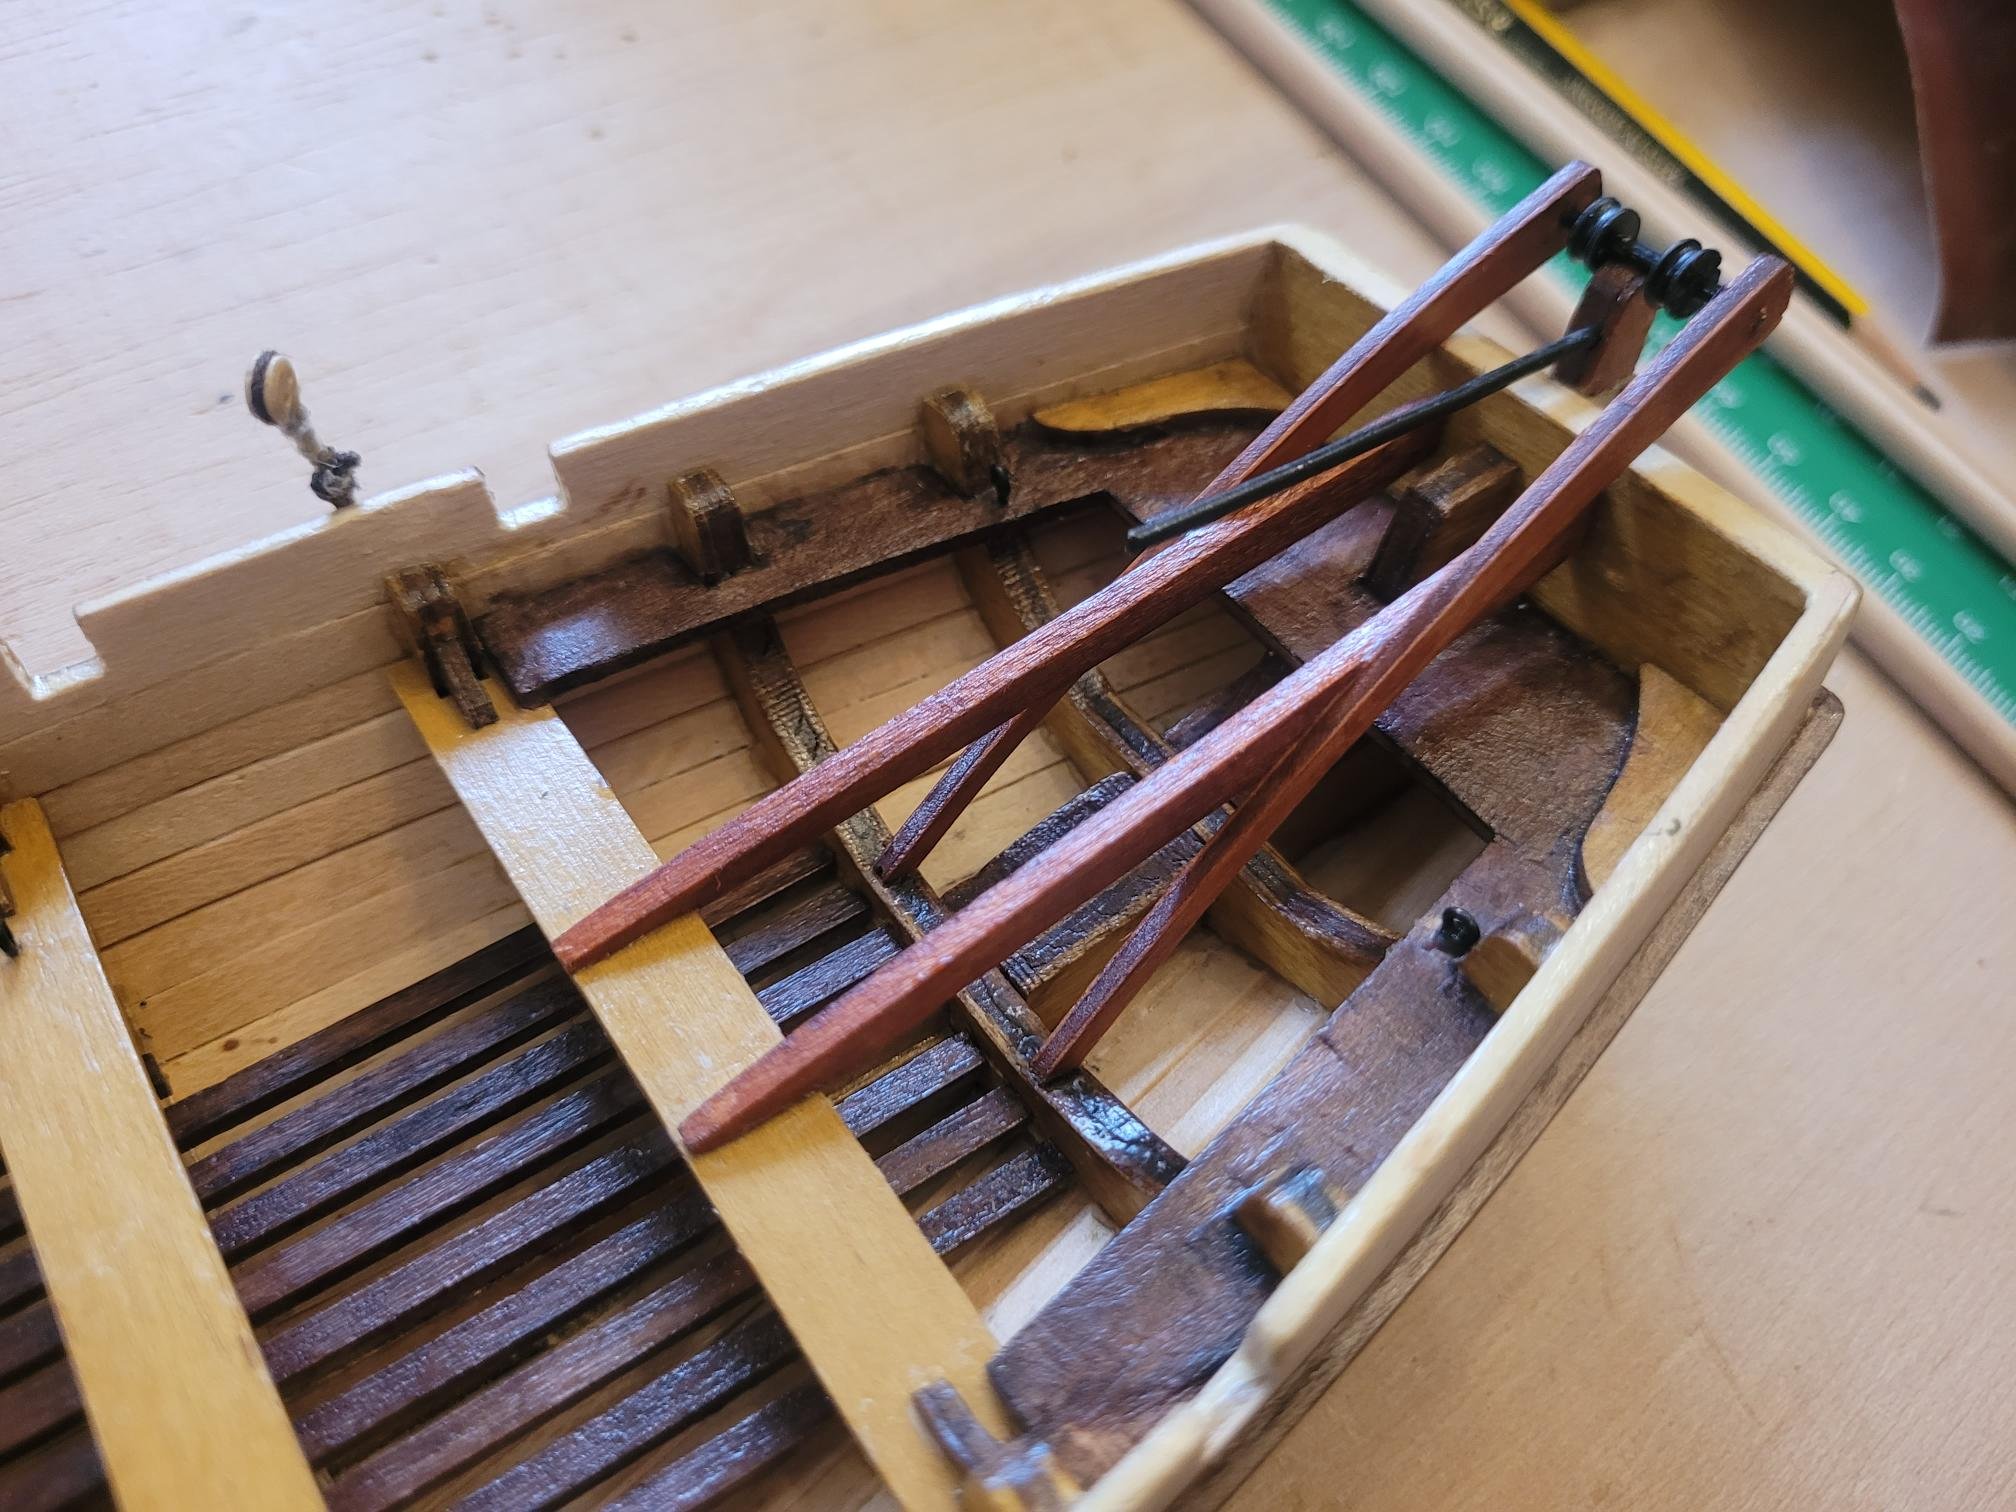
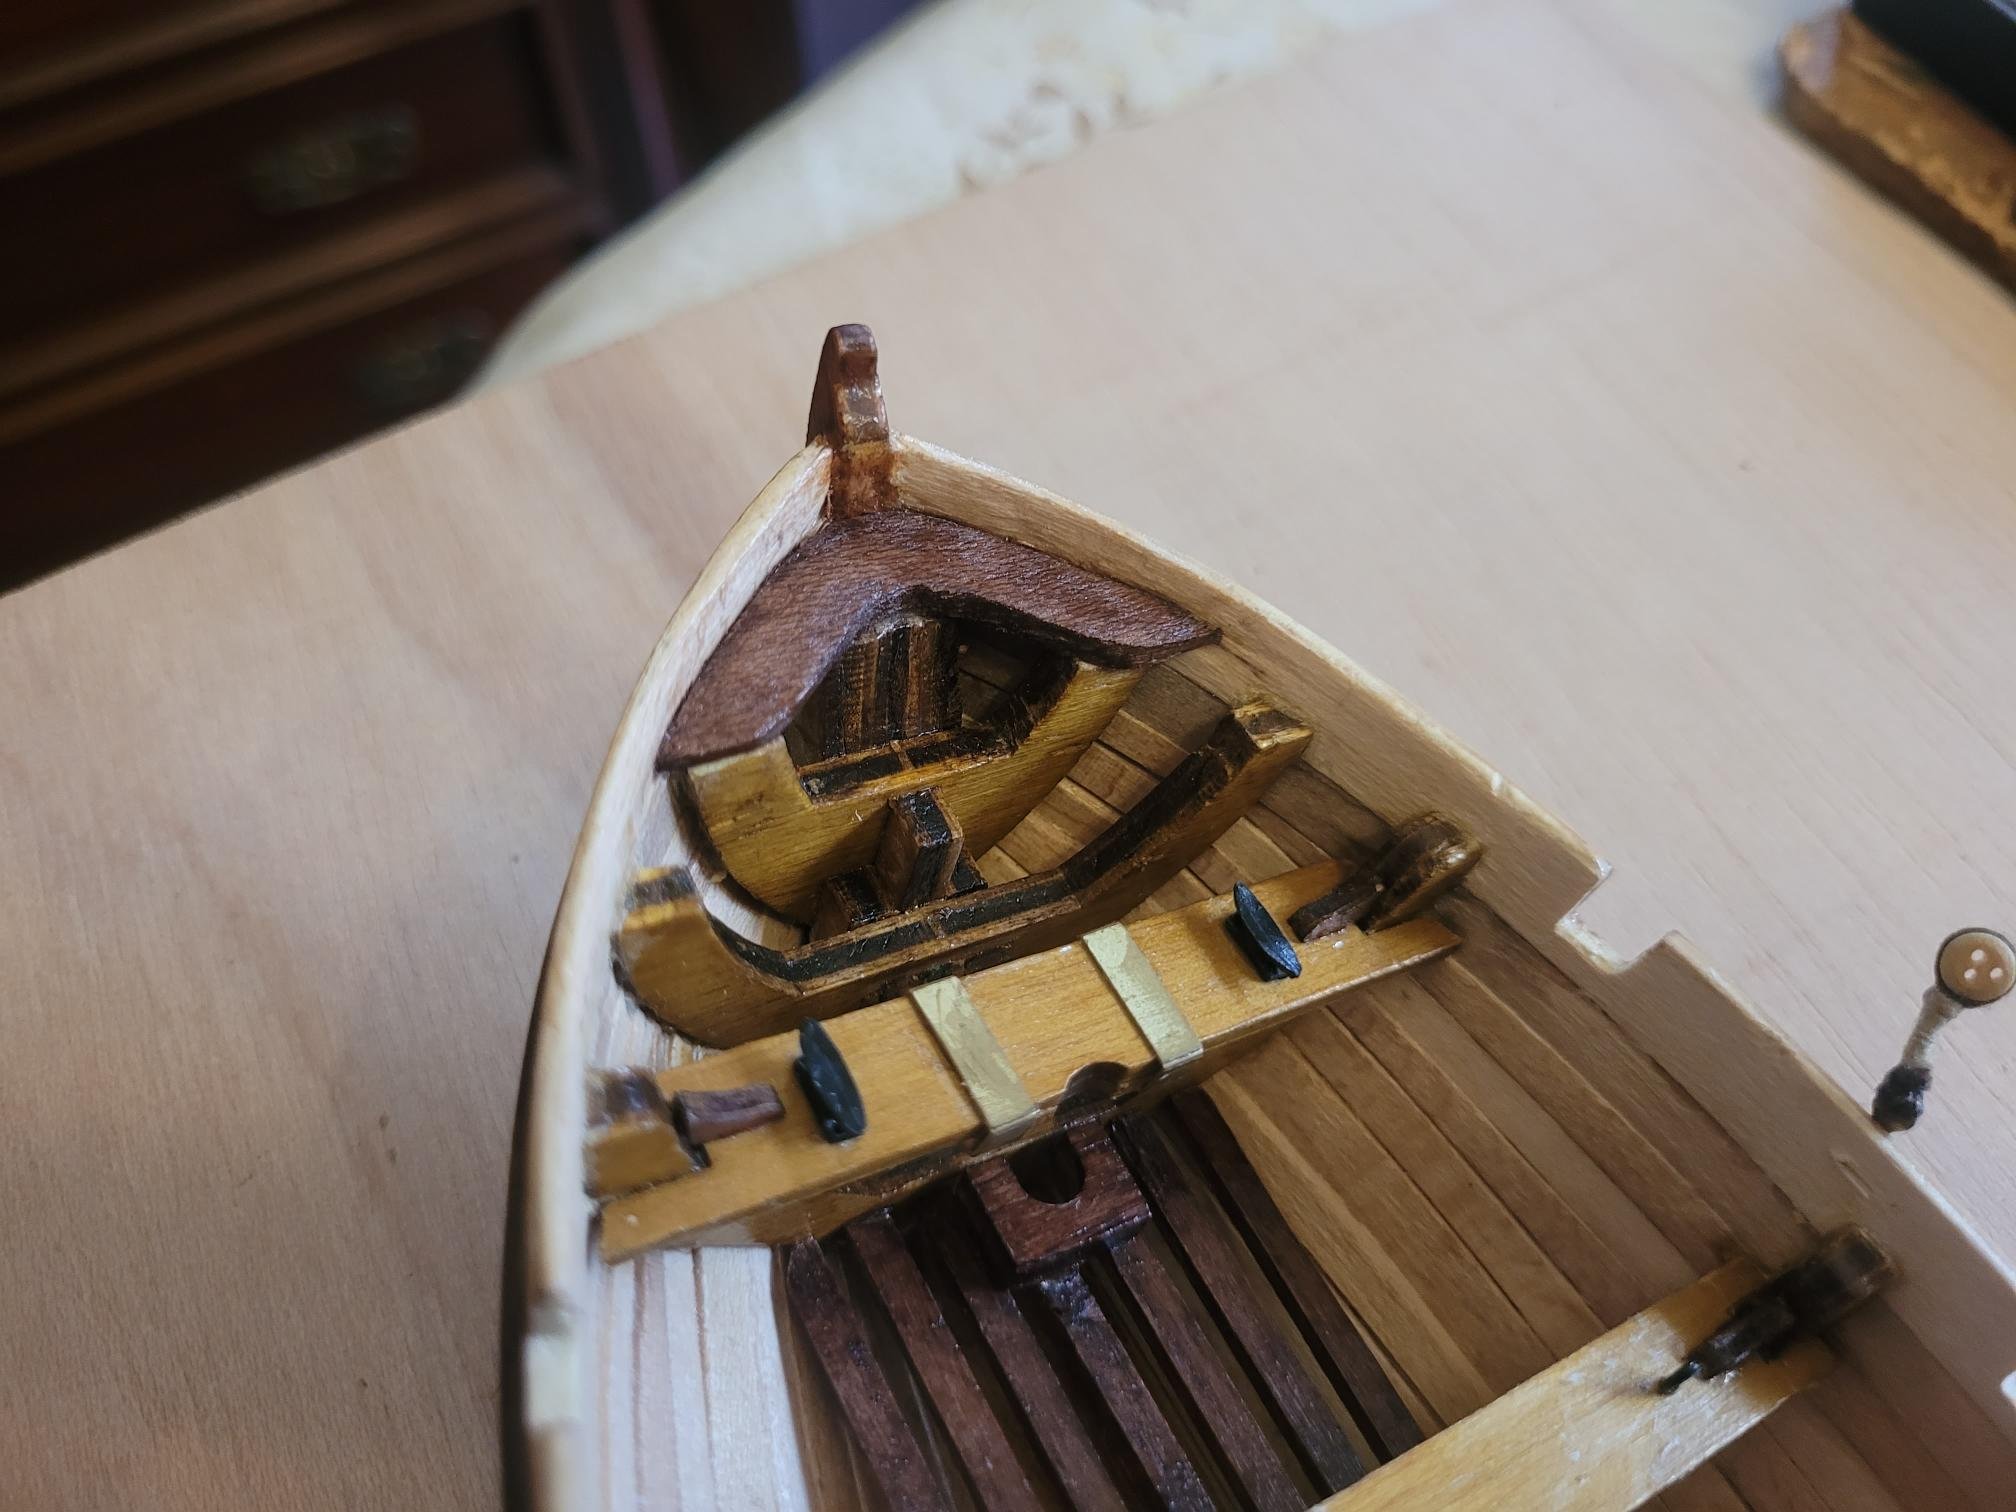
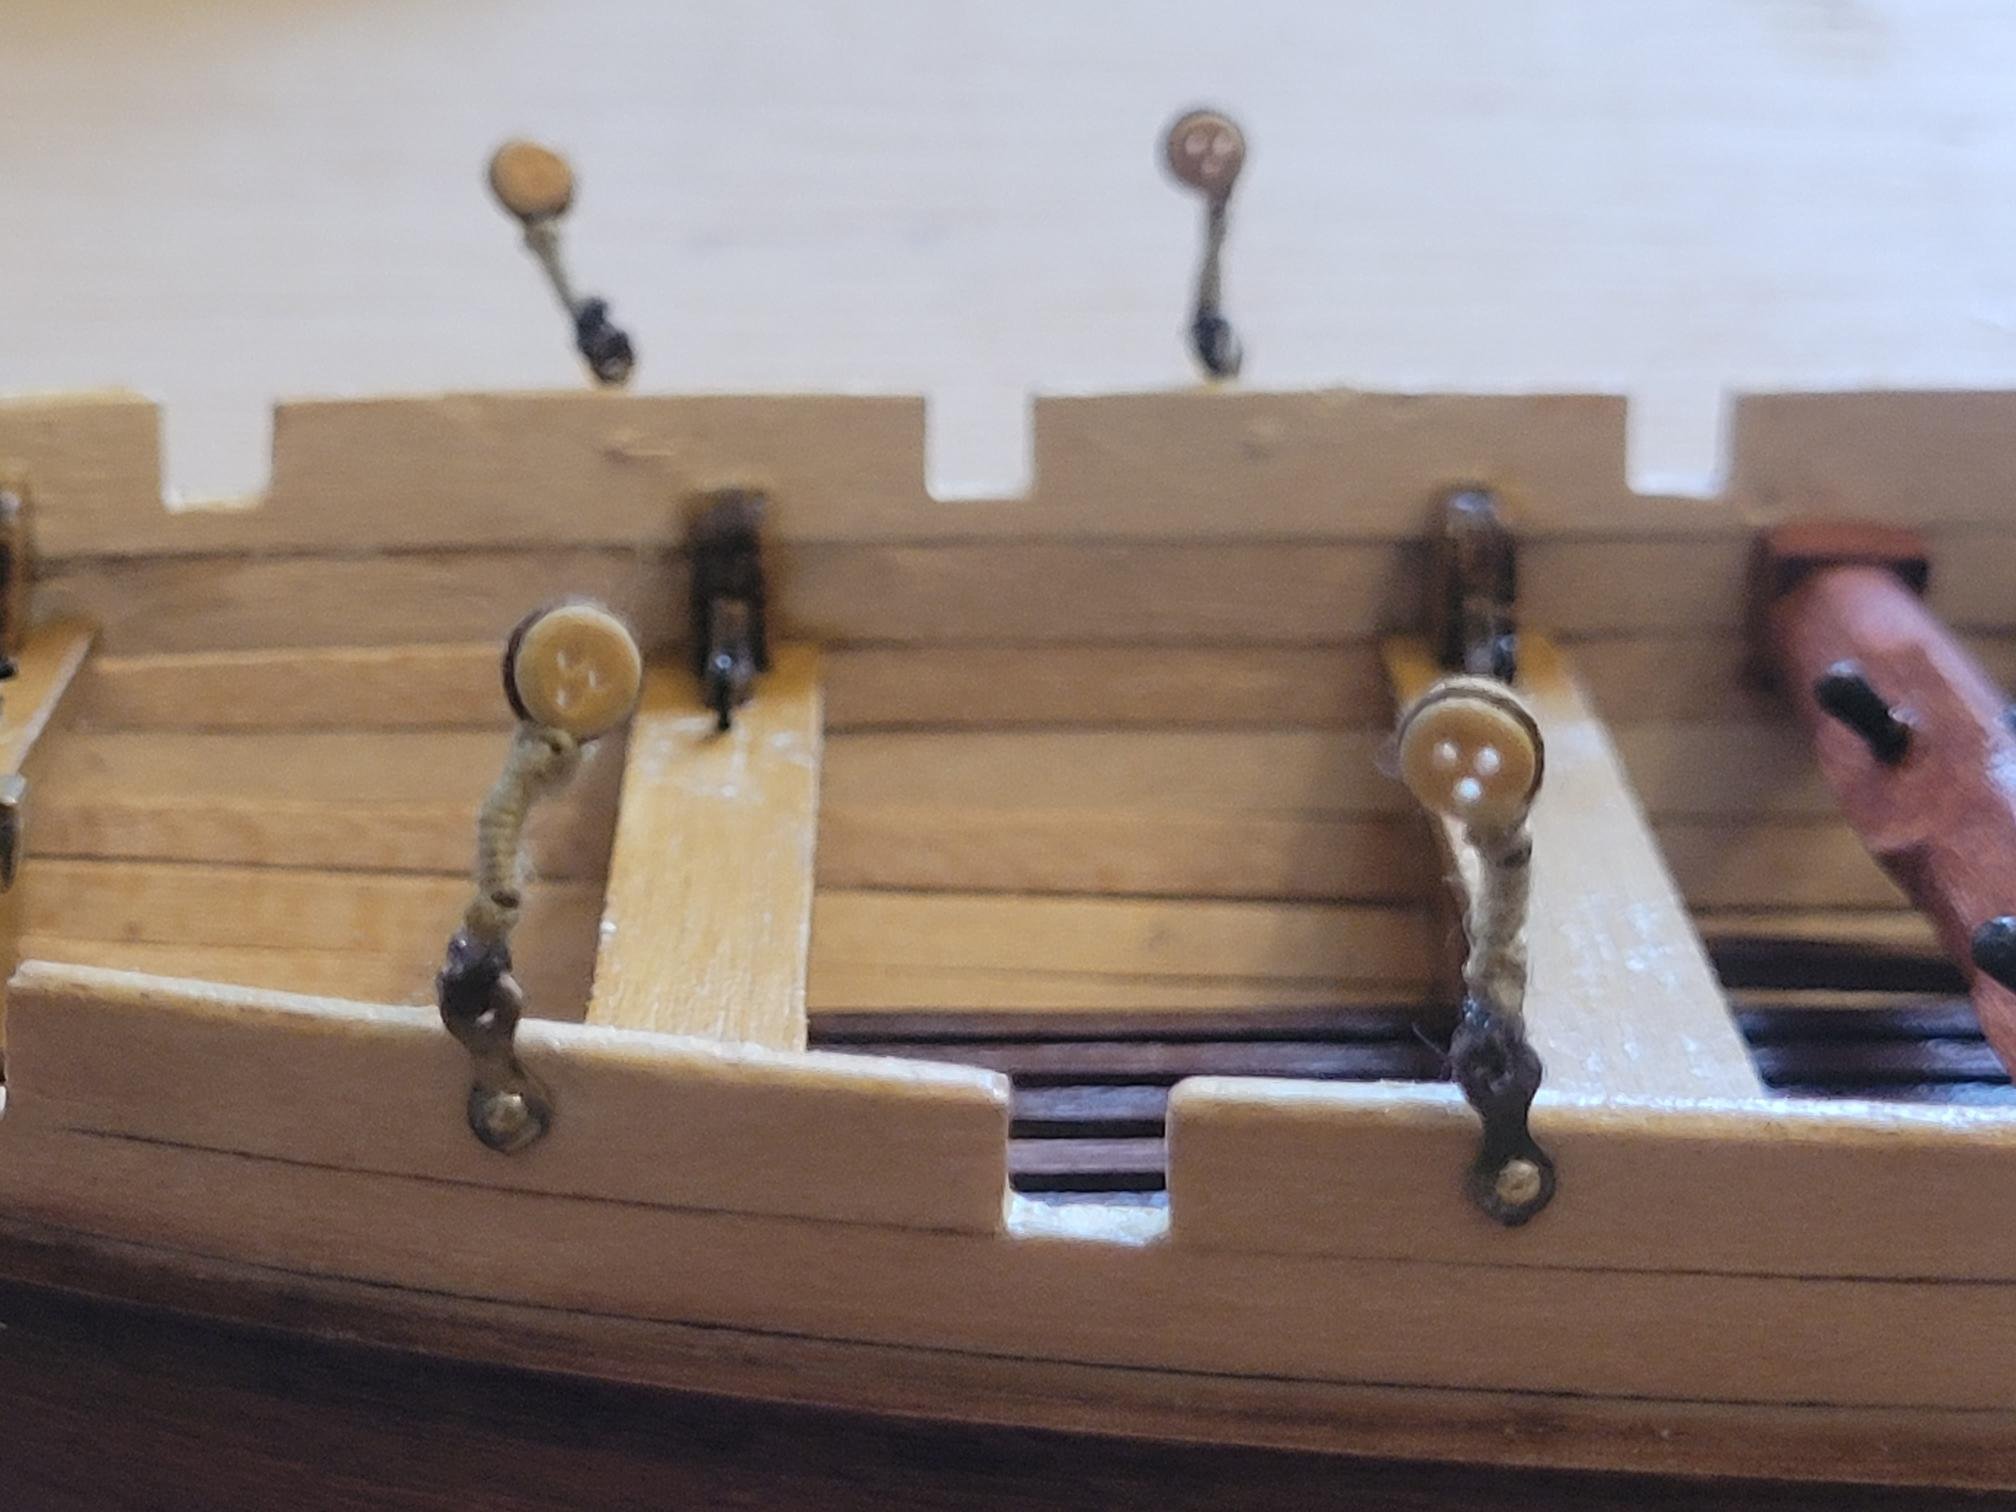
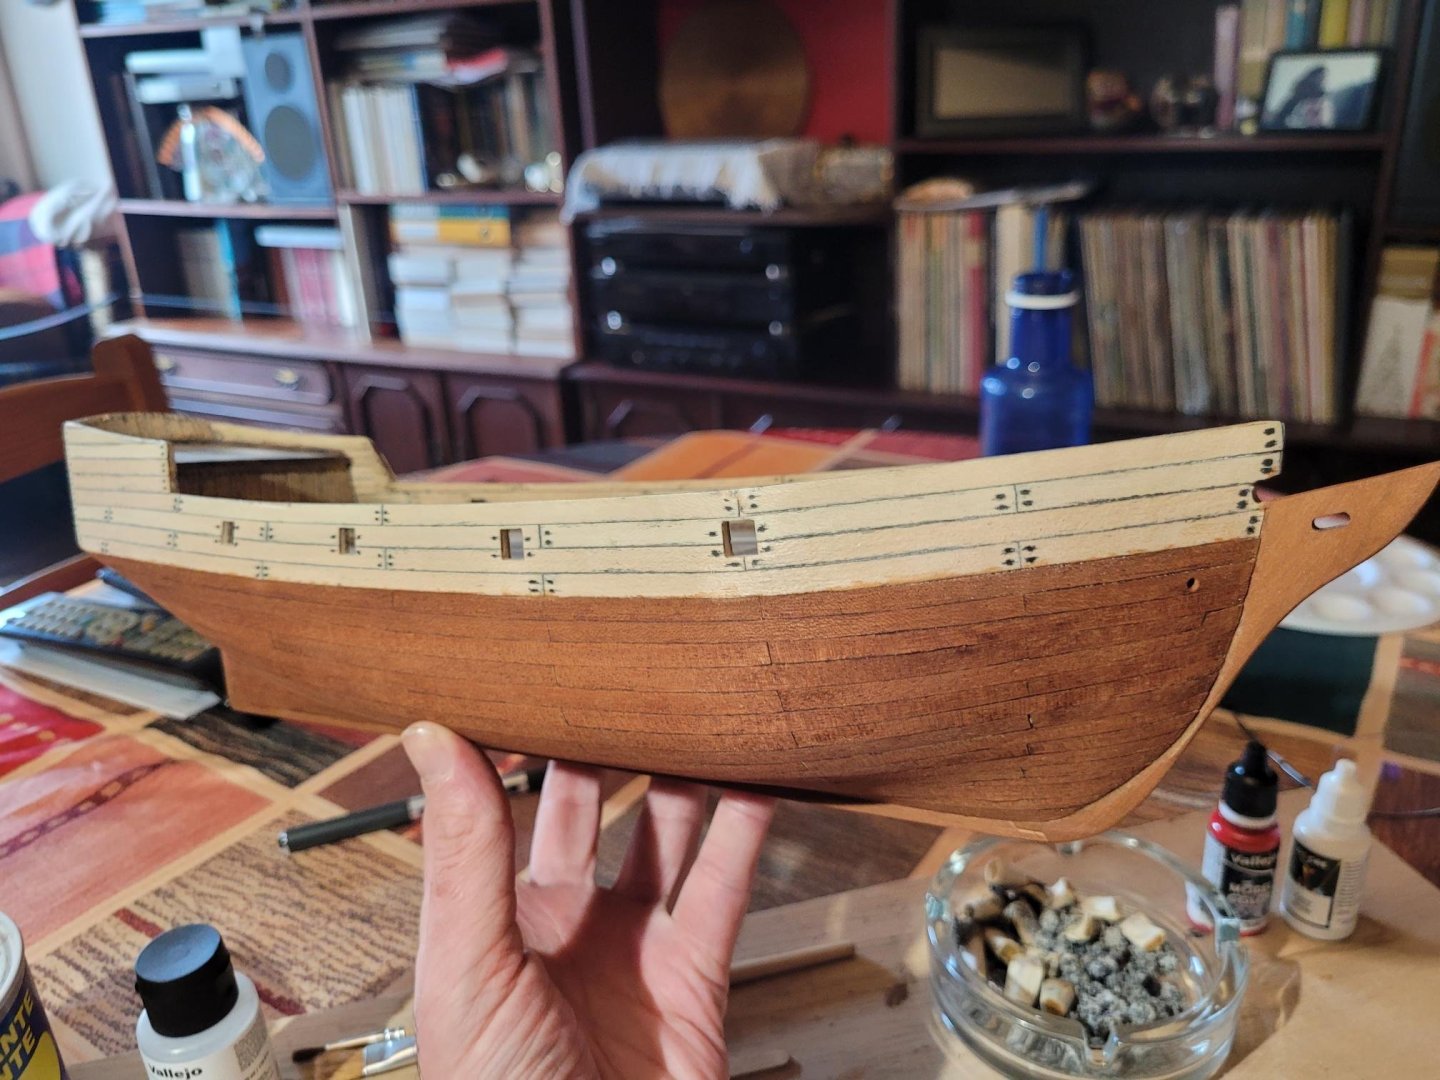
Finally finished all works on the hull. After the initial setbacks, I'm quite satisfied with the result. First idea: never give up! Just as I was disapointed with the first planking and later satisfied after sanding and filling, I think the final result on the second planking is rather nice. It needed a good sanding which discolored the planks quite a lot. They are sapeli but my stain is rather orange looking, so I decided to try different mixtures of sapeli, oak and water. This result, quite similar to the original, was a mix of 1:1:2. Only slight defects are noticeable. All in all, I'm quite happy that I decided to do a full planking. It did take a lot of time, but these skills will surely come in handy. This oak colored part broke and, after trying to repair it, I decided to simply do a new one in balsa wood. I think the result wasn't too bad. On the other hand, this one is also quite damaged, but I decided this one would be too much. It's probably the worst looking part on the boat. One more thing in which I decided to not follow the instructions was on the rudder handle, which was golden and I painted black. The same on those two wheels and the rings on the benches. I wanted to actually blacken the brass but had no proper products, so for this model I simply painted. Finally, the deadeyes are already attached. Was having a hard time preparing them until i got myself a handful third hand. They are not quite the same, but close enough for a first timer. That's all for now, onwards to the masts! Thank you all for reading and, most of all, the helpful advice once in a while!


- 19 replies
-
- 4
-
-
- Bounty Boat
- OcCre
- (and 2 more)
-
Hey, thank you for your remarks! Followed your advice regarding the holes, it looks nice. Pics soon I'd like your opinion on the clink I had at the bow both in first and second planking, it's been in my head this whole time and your remark on the "wood supplied" got me thinking further. Could it be that Occre's hull structure and plank width does not allow - at least for a beginner - deviations from their instructions and, thus, prevent a proper planking design? I started to consider this because: 1) looking at your scratch build, namely the fact that you have 10 planks and occre has 15 5mm planks. 2) when at first i fit a planking batten at the middle, indeed it went far up at the bow and to a lesser degree in the stern. Indeed, when I was planking the clink was the result of forcing the planks to the place they needed to be in order to fit the 15 planks, when naturally they wanted to go up. Could it be that, with the premade structure and planks supplied its impossible - at least for a begginer - to deviate from the instructions, meaning i would have needed less and wider planks? Or is it just begginers lack of skill? Thank you!