Strand
-
Posts
46 -
Joined
-
Last visited
Recent Profile Visitors
900 profile views

.thumb.jpeg.ffac2f8a24d212961a83eab4efb06a6c.jpeg)


-
 Ryland Craze reacted to a post in a topic:
HMS Portland 1770 by scrubbyj427 - 1:48 - 4th rate 50-gun ship
Ryland Craze reacted to a post in a topic:
HMS Portland 1770 by scrubbyj427 - 1:48 - 4th rate 50-gun ship
-
scrubbyj427 reacted to a post in a topic:
HMS Portland 1770 by scrubbyj427 - 1:48 - 4th rate 50-gun ship
-
westwood reacted to a post in a topic:
HMS Portland 1770 by scrubbyj427 - 1:48 - 4th rate 50-gun ship
-
Ronald-V reacted to a post in a topic:
HMS Portland 1770 by scrubbyj427 - 1:48 - 4th rate 50-gun ship
-
 Is there already a website?
 -
Thank you
-
scrubbyj427 reacted to a post in a topic:
HMS Portland 1770 by scrubbyj427 - 1:48 - 4th rate 50-gun ship
-
Hi JJ thank you for your quick response. I would be delighted if you could add me to your pre-order list. Do you have a price yet? WR Albin
-
scrubbyj427 reacted to a post in a topic:
HMS Portland 1770 by scrubbyj427 - 1:48 - 4th rate 50-gun ship
-
hollowneck reacted to a post in a topic:
Chris Watton and Vanguard Models news and updates Volume 2
-
Canute reacted to a post in a topic:
Chris Watton and Vanguard Models news and updates Volume 2
-
thibaultron reacted to a post in a topic:
Chris Watton and Vanguard Models news and updates Volume 2
-
Nirvana reacted to a post in a topic:
Chris Watton and Vanguard Models news and updates Volume 2
-
I'm happy for you. I'm self-employed myself, so I can empathise with how it feels to take the next big step. And it's a big step from the garage to a proper workshop. Good luck in your new workplace!
-
Of that I am firmly convinced with this remarkable project. Many more will follow. I don't want to be the only one, I just want to be the first...
-
Can I pre-order already? Or can you at least put me on the list so that I'm among the first five?
-
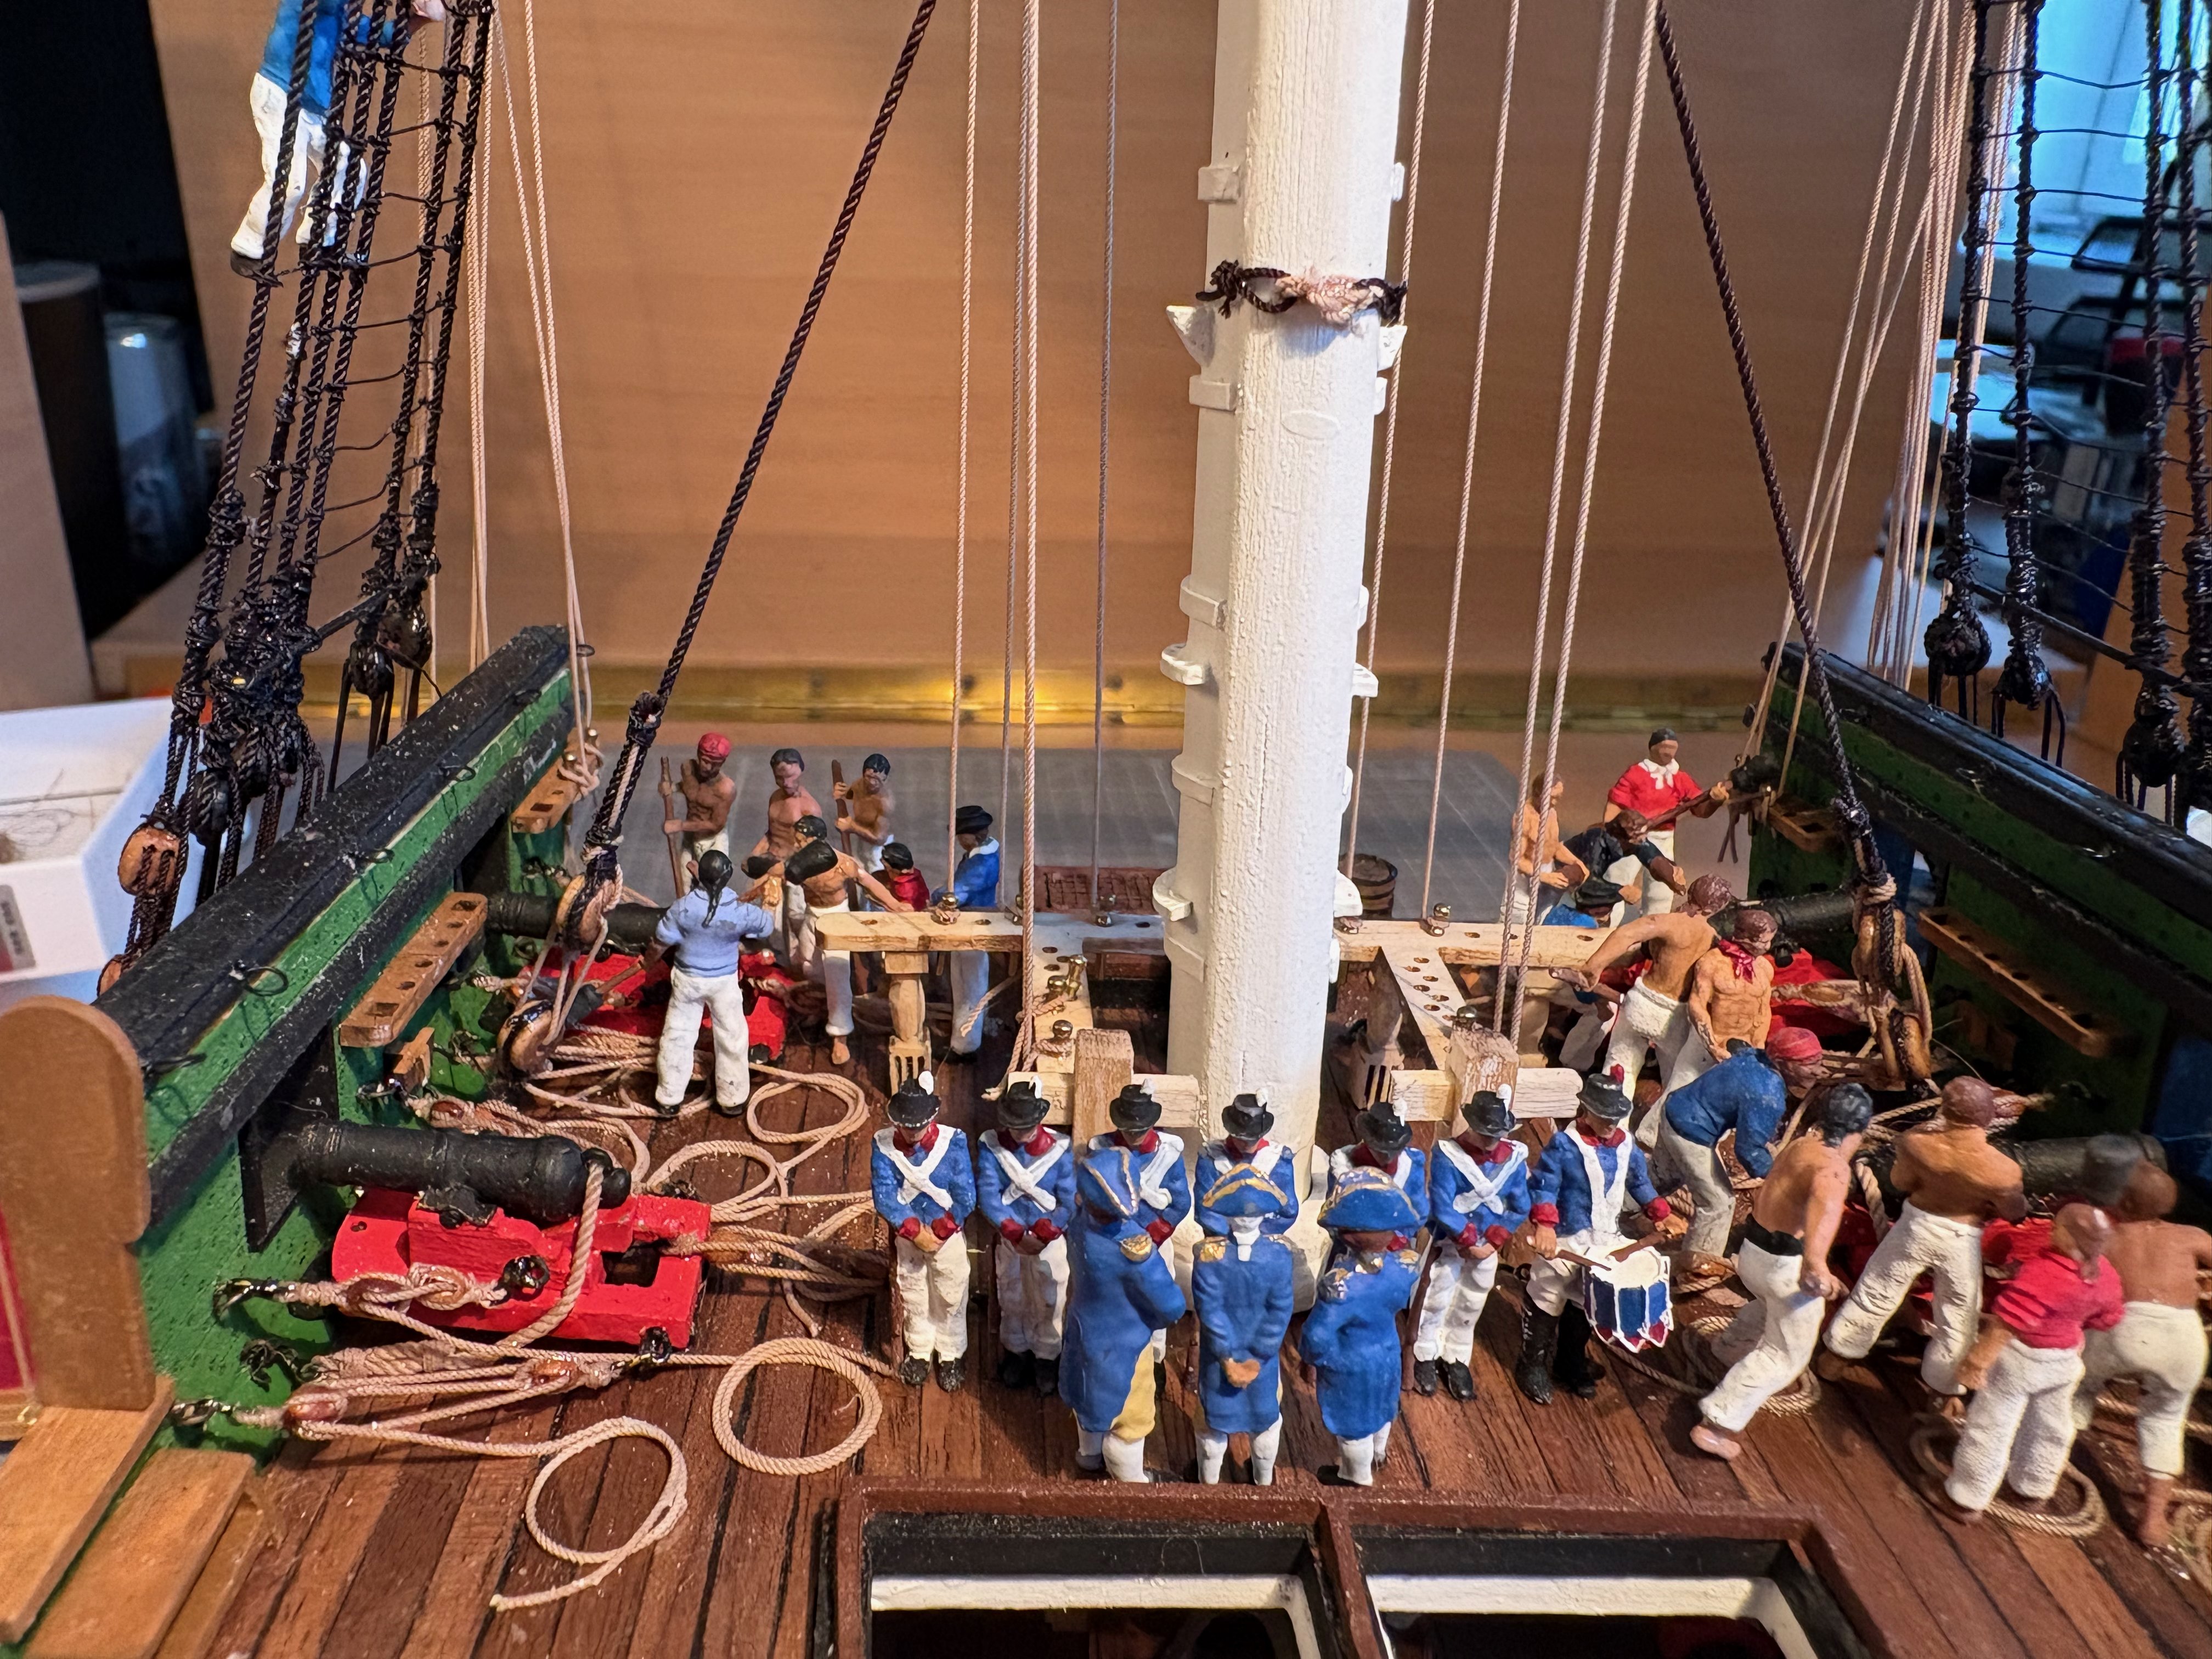
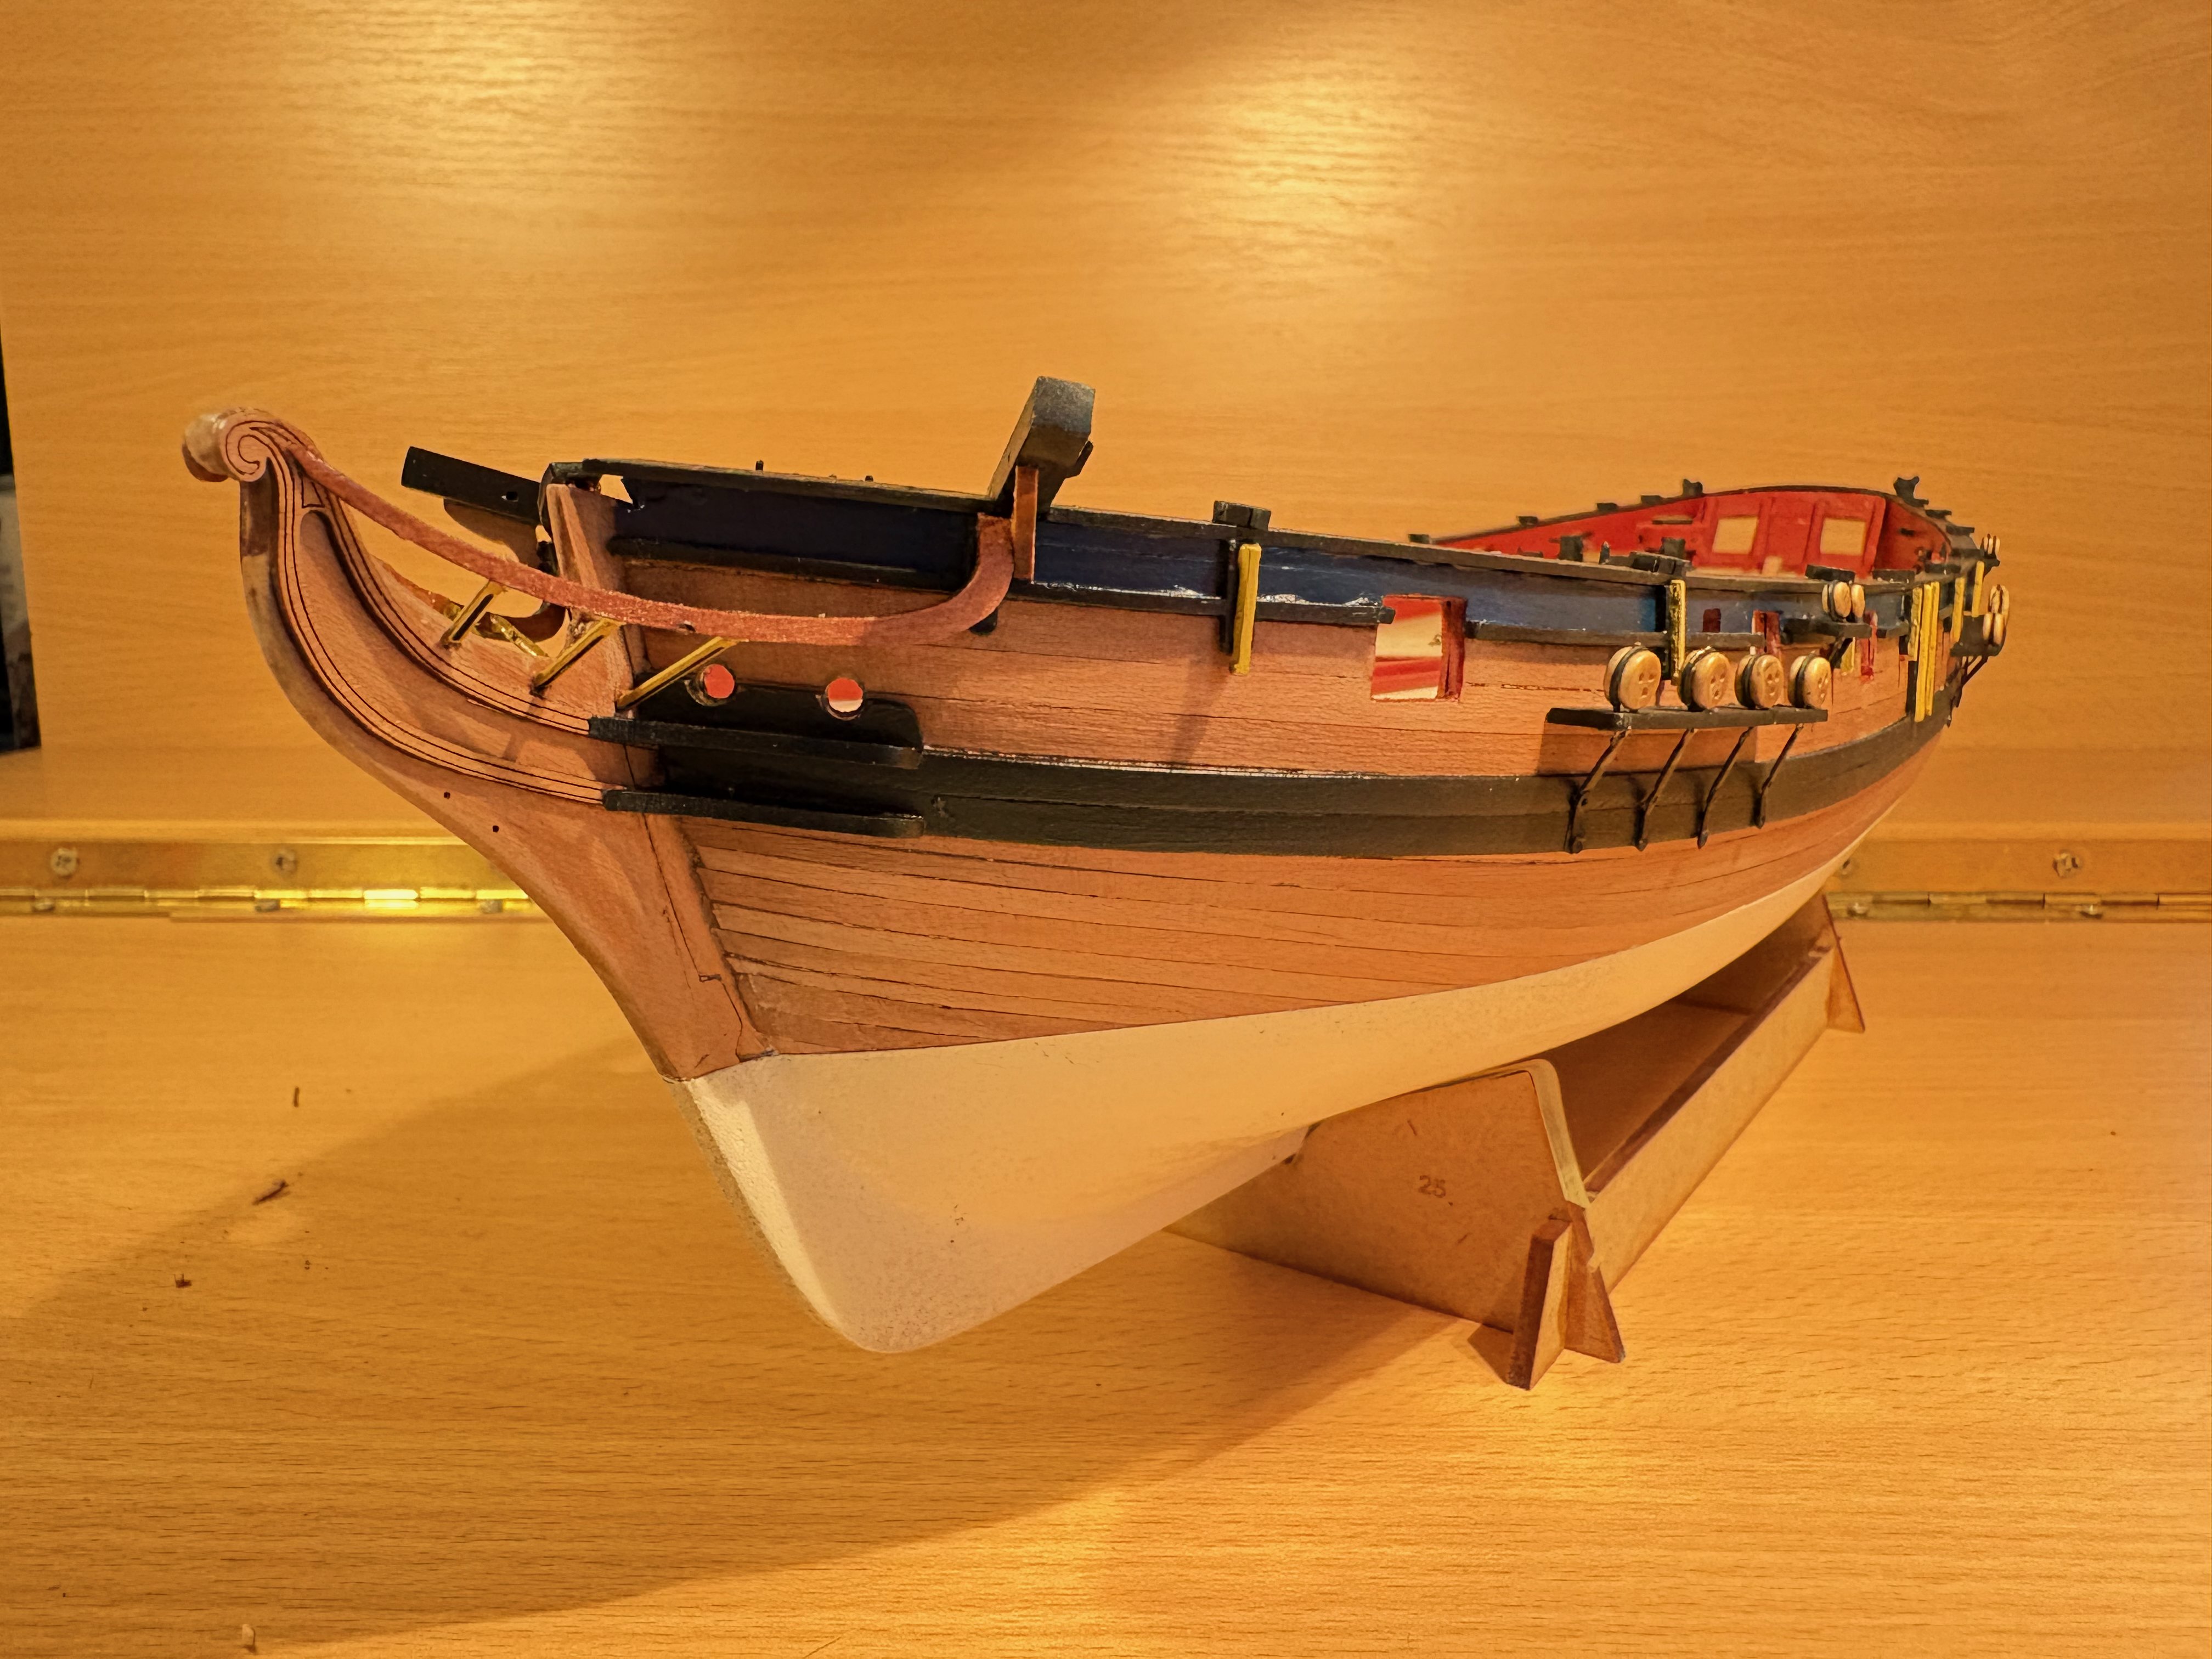
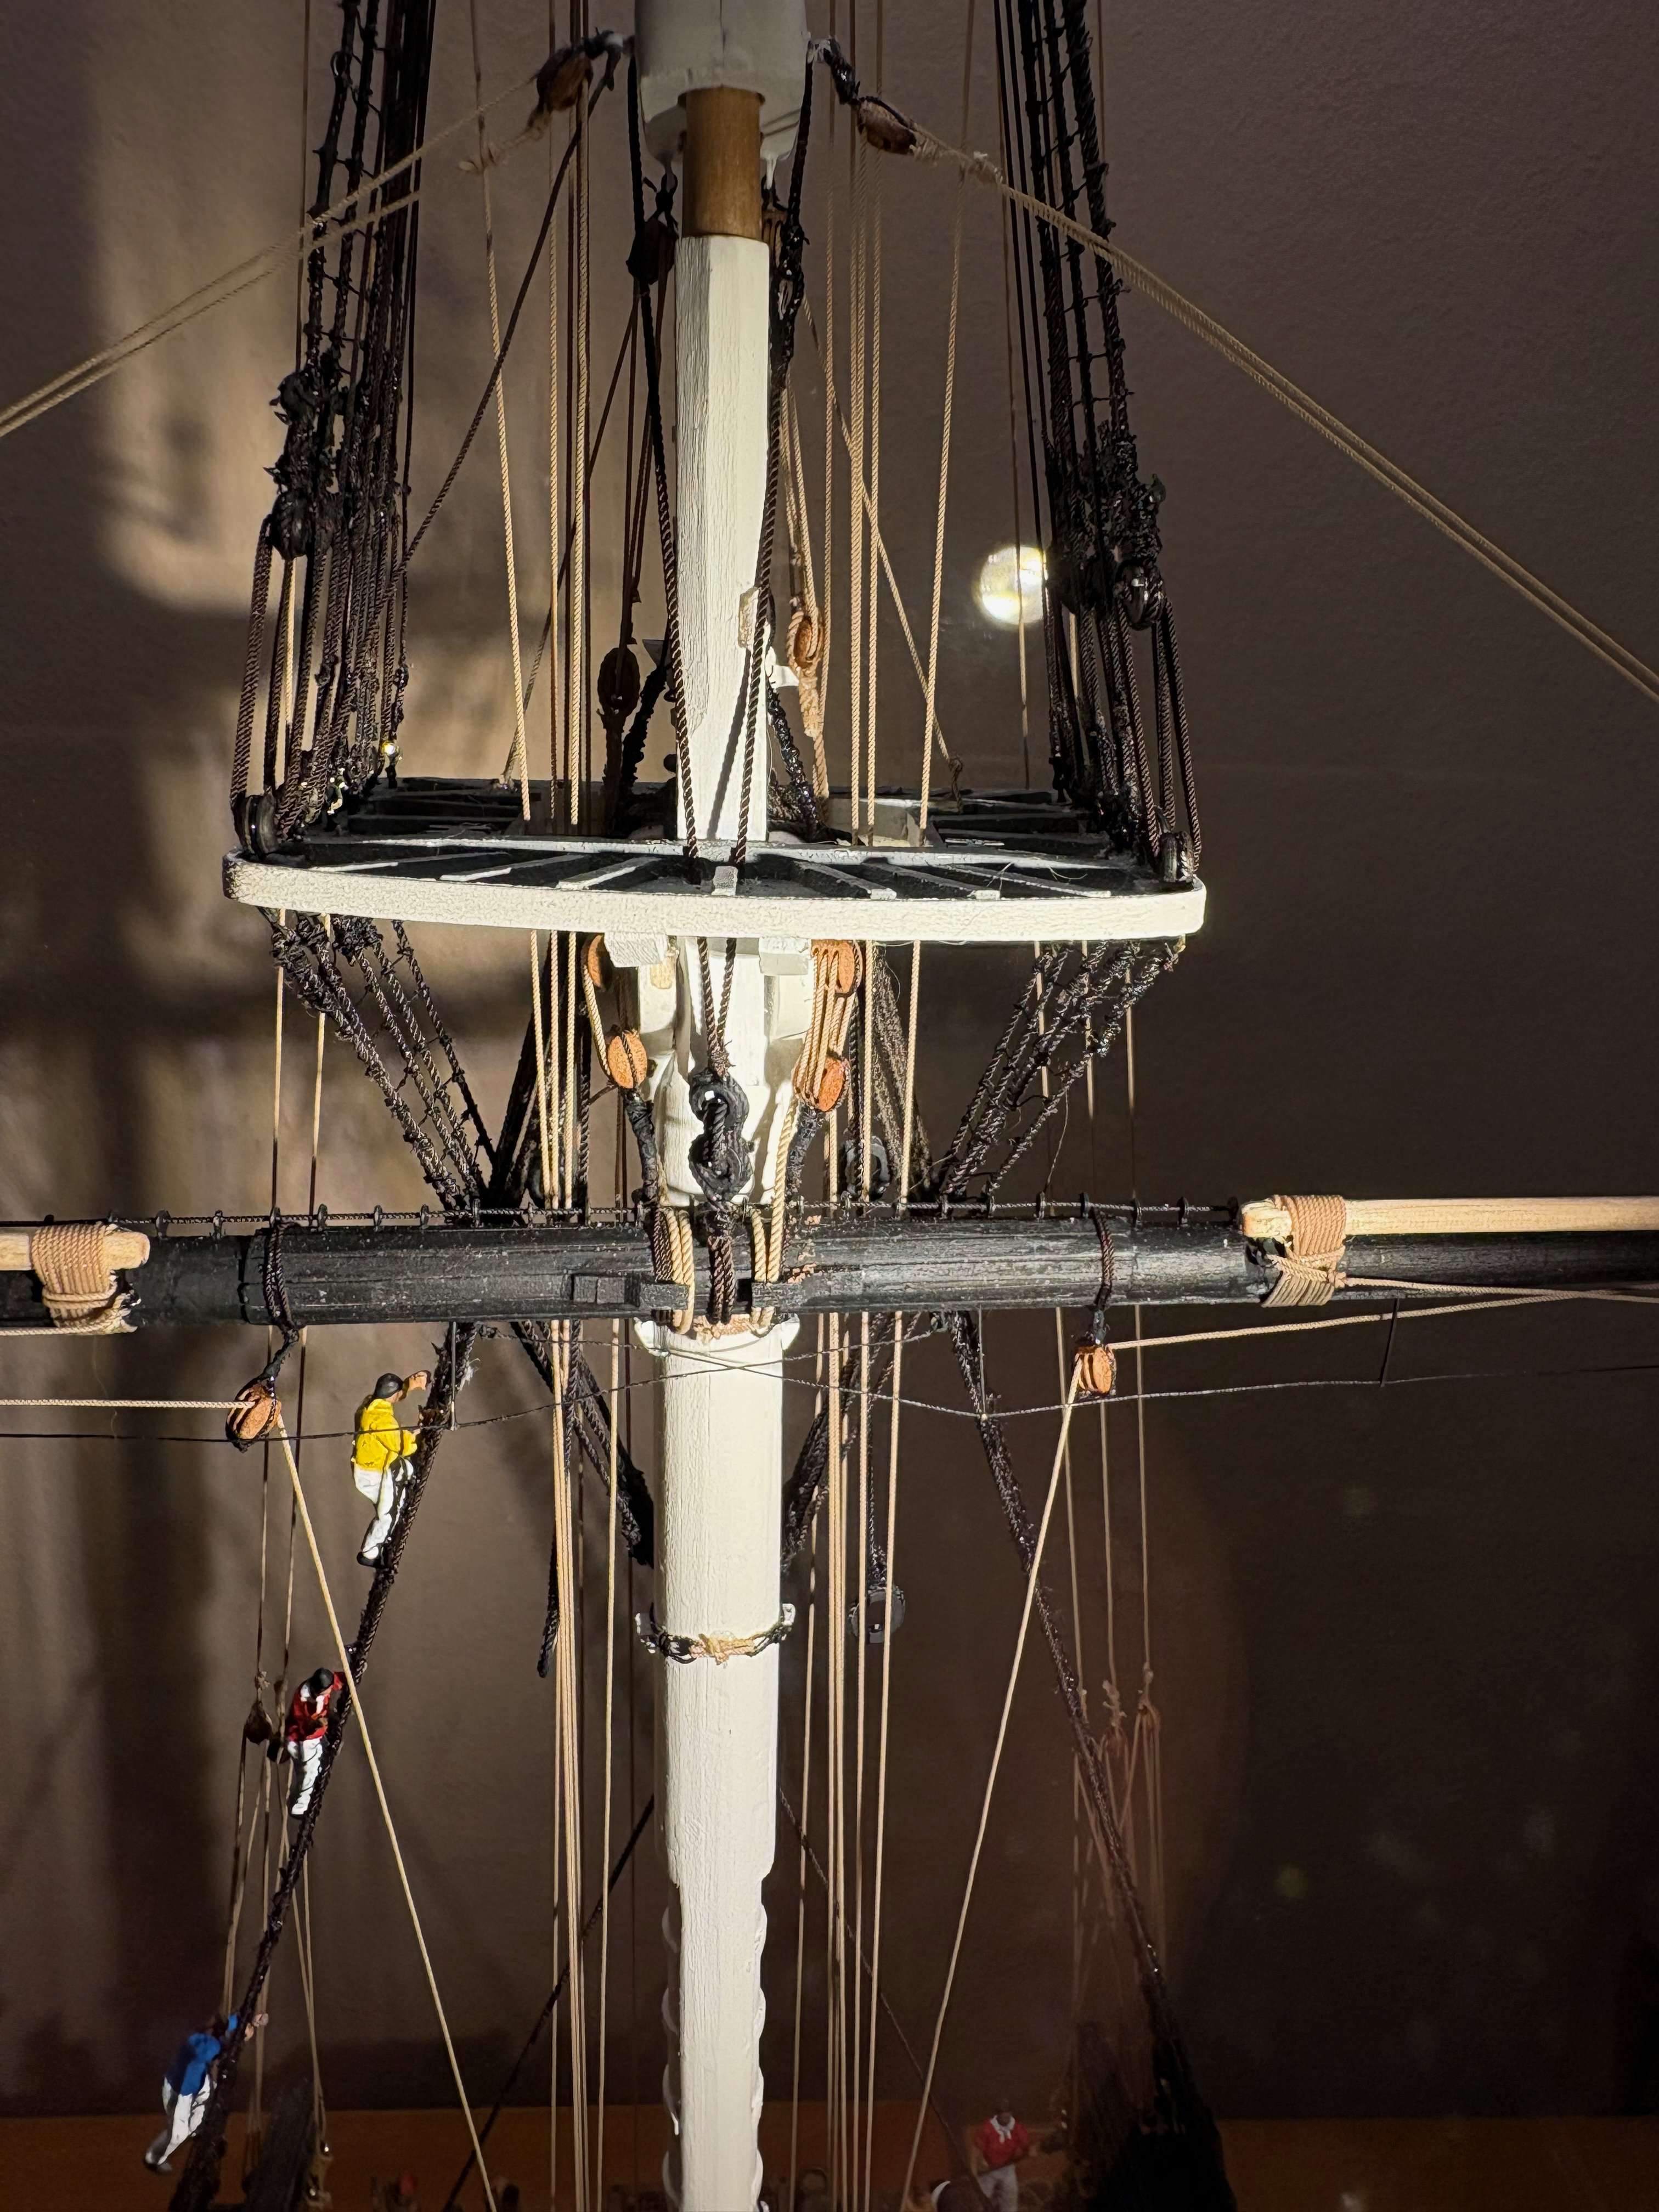
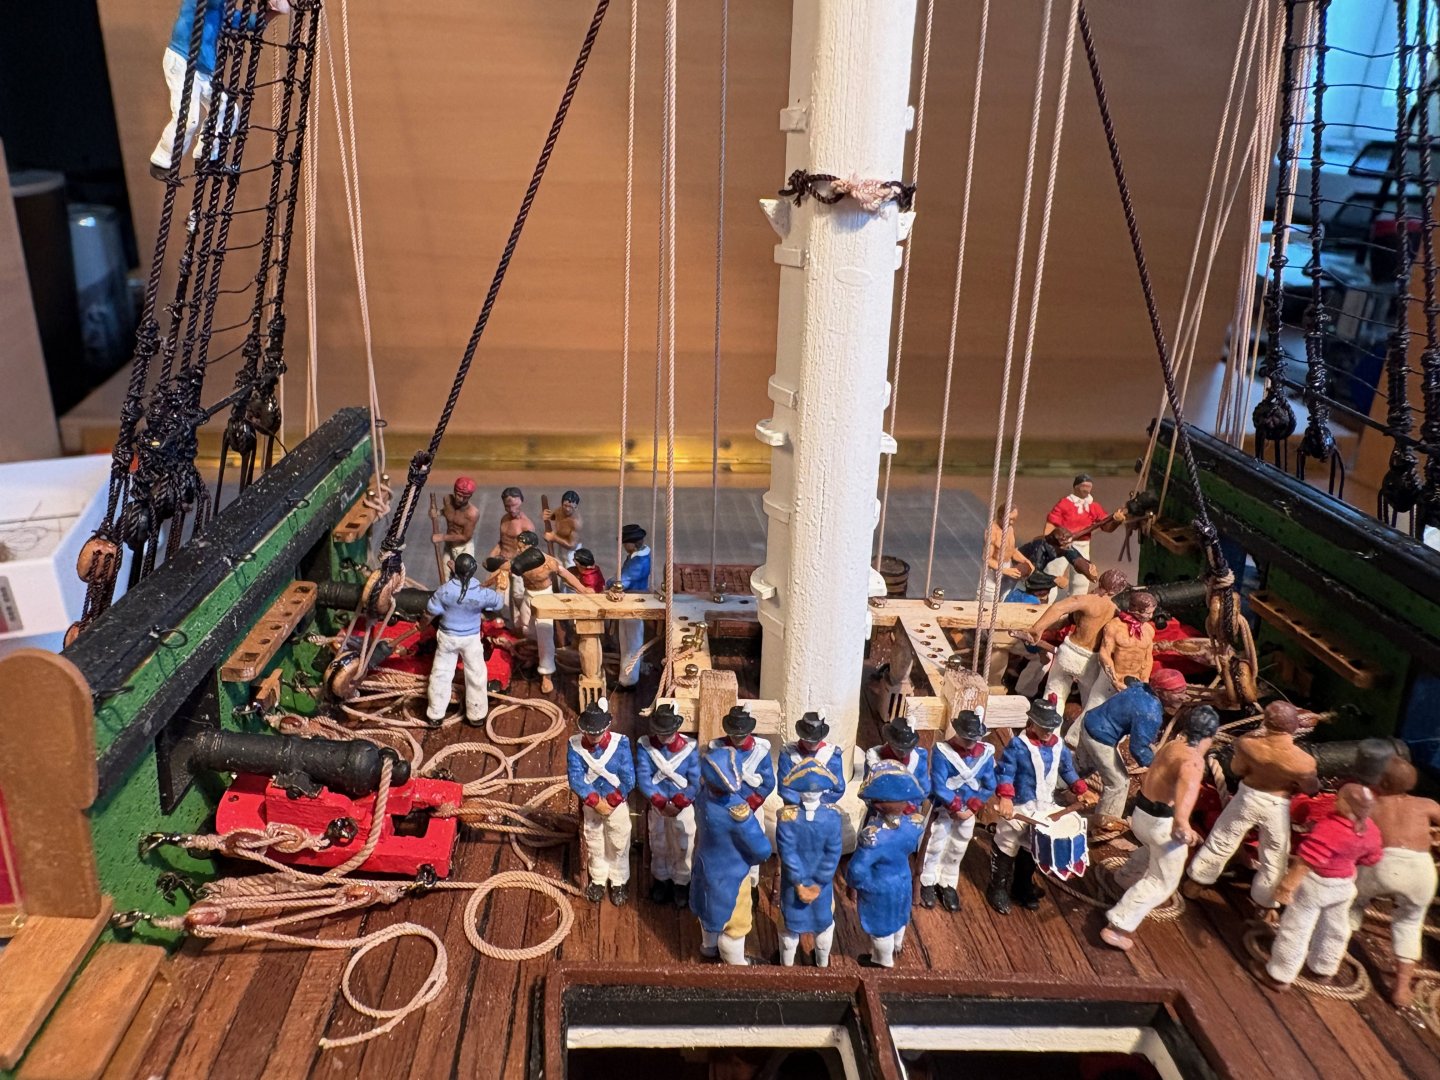
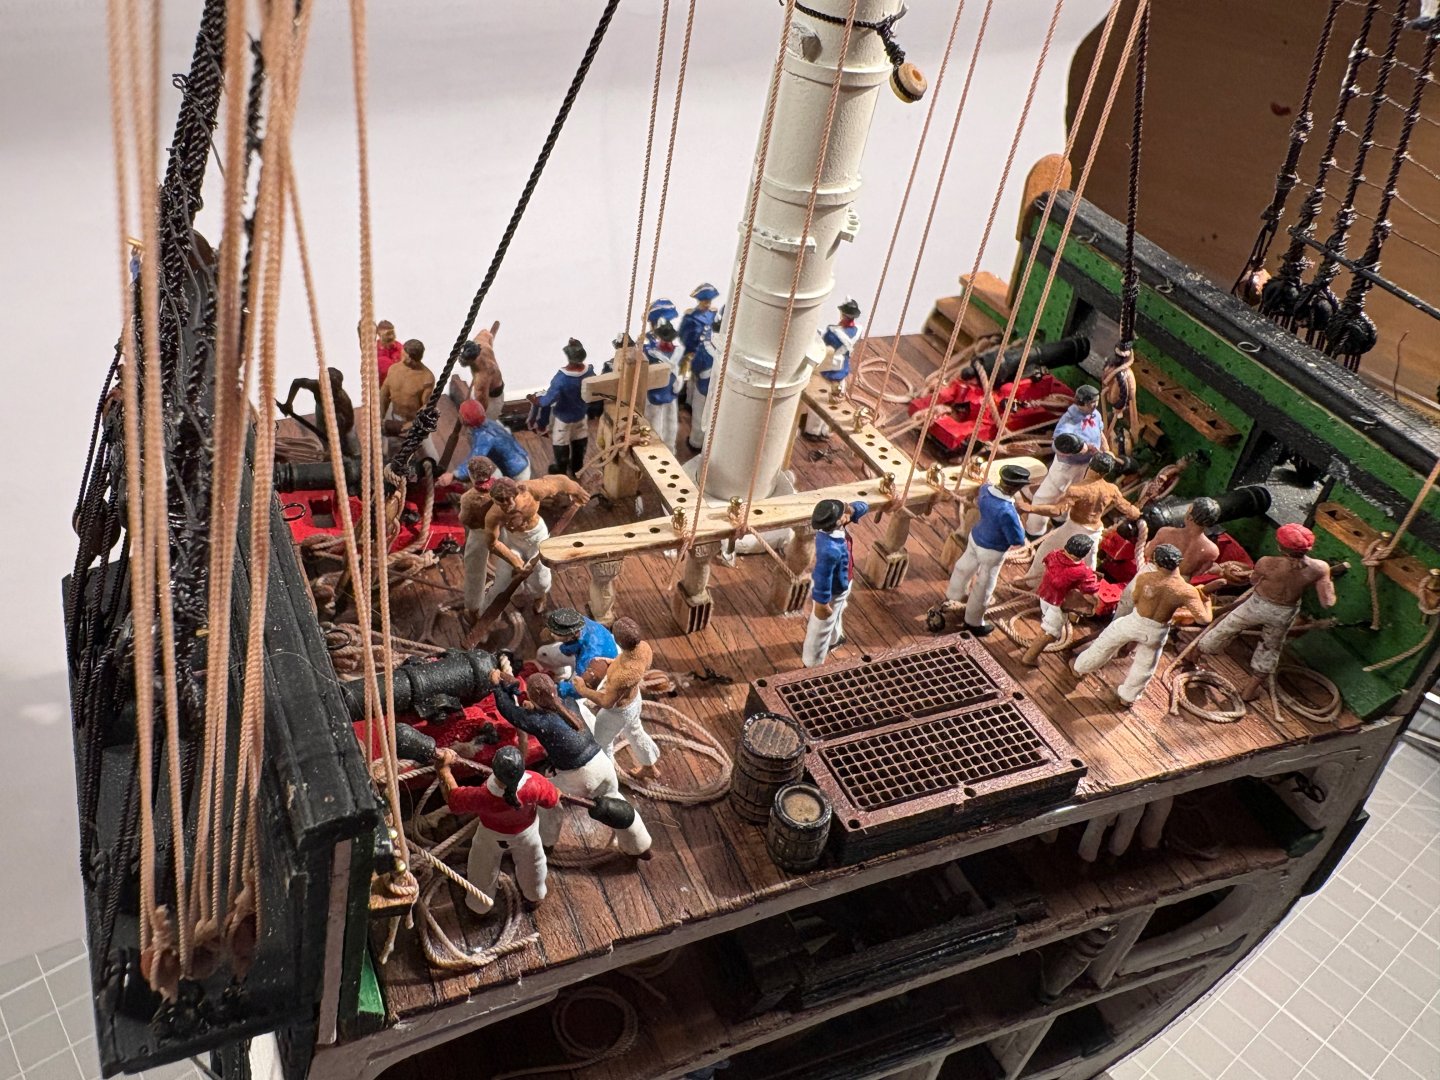
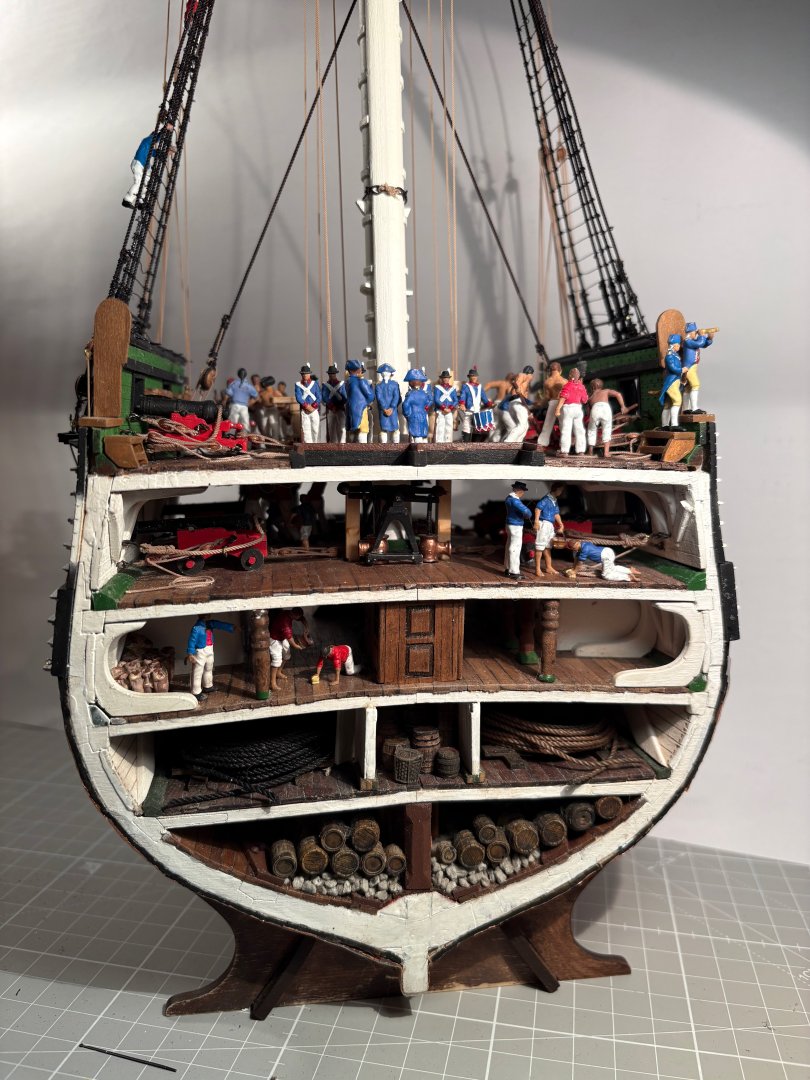
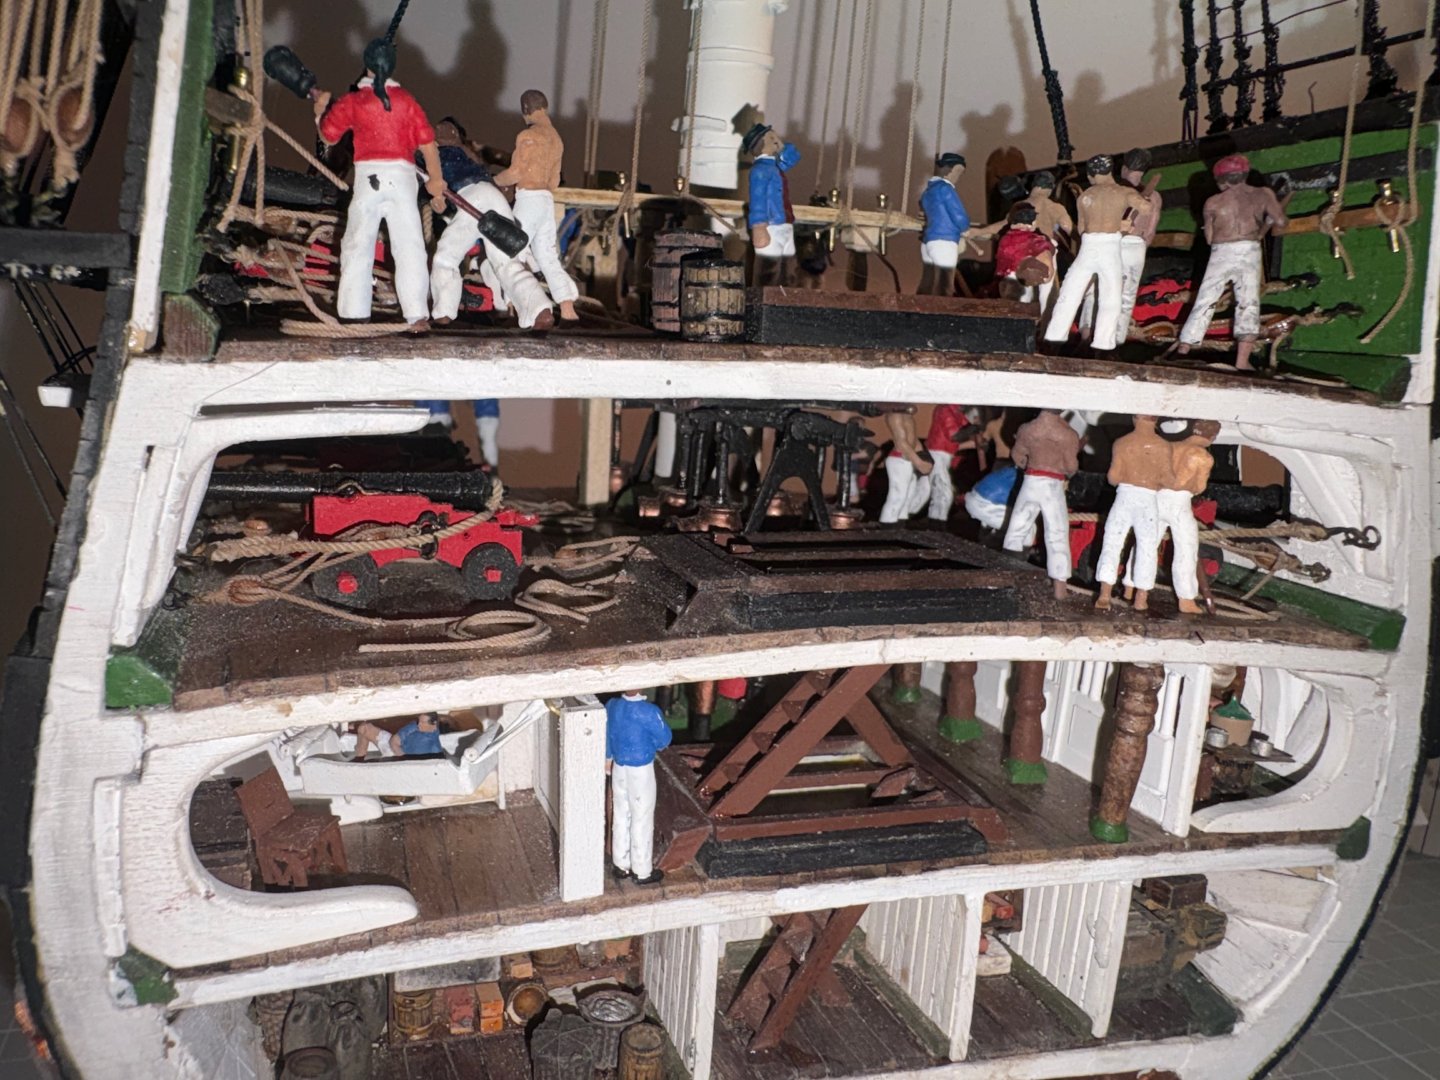
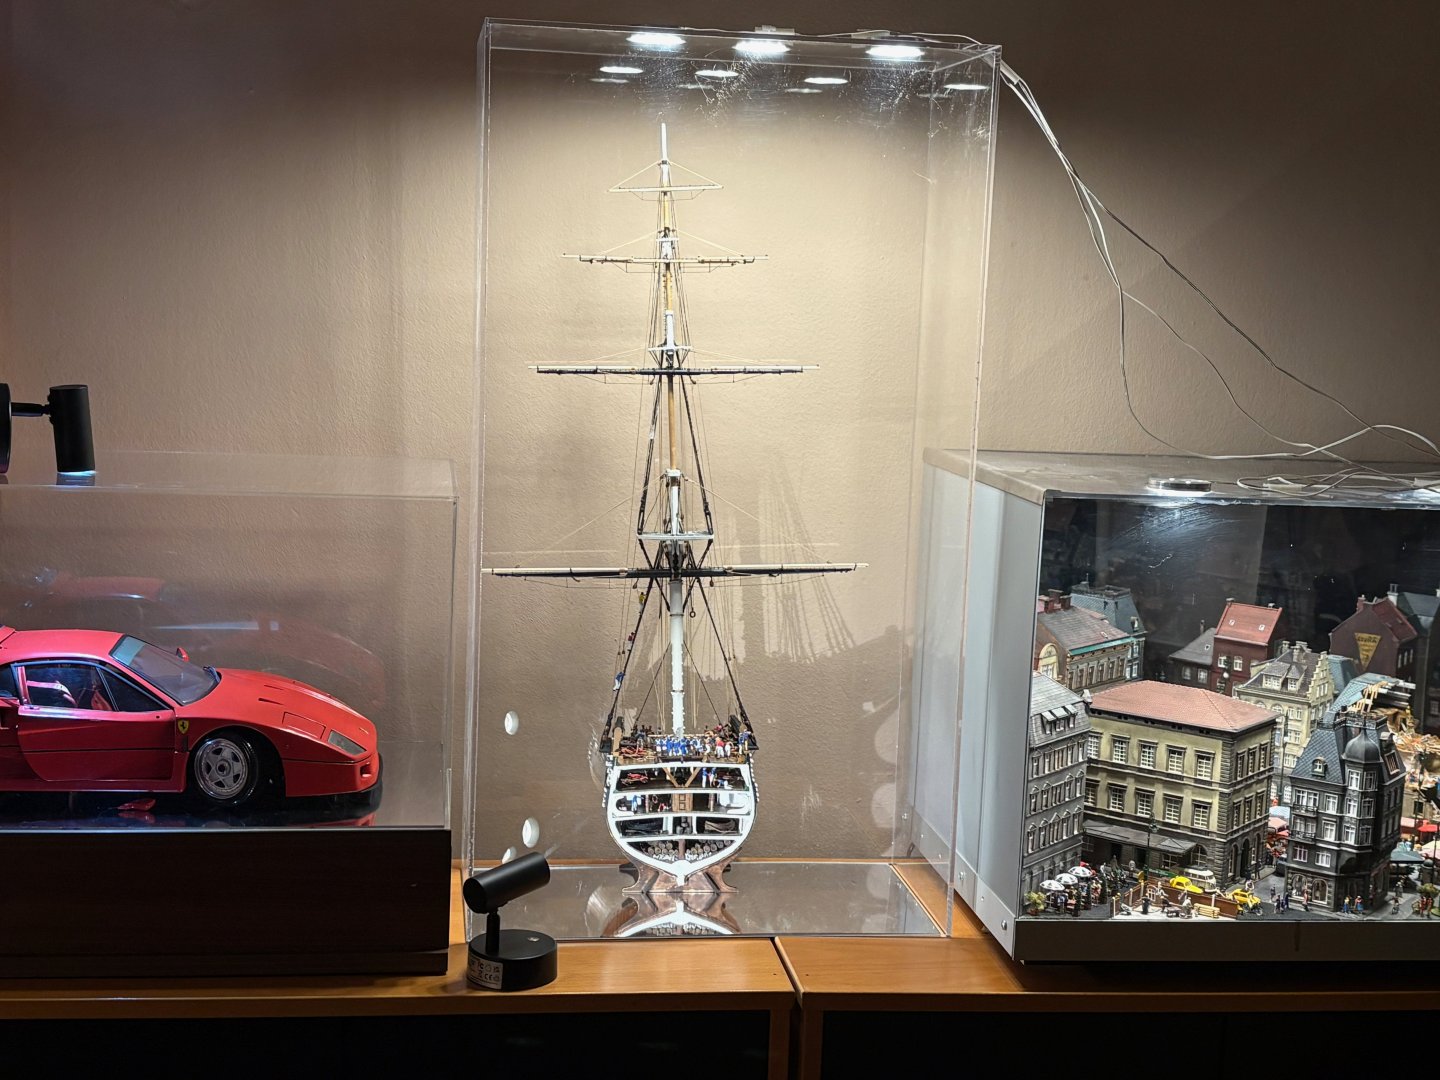
And finally, a few impressions of life on the USS Constitution It was a wonderful first project that left me wanting more. So I immediately started my second project, the HMS Flirt from Vanguard Models. This will be my first real ship. I can already show you a photo of it... And hopefully many other projects will follow. One of them must be an "Admiralty style" ship and a POF in 1:48 scale. But before that, I would like to build the Surprise from Vanguard Models. Plans, plans, plans... Thank you for your kind and encouraging words. It has been a pleasure to be part of a larger community and to receive encouragement from experienced and veteran shipwrights. Goodbye and see you next time. Albin

- 33 replies
-
- 1
-
-
- Constitution
- Model Shipways
- (and 2 more)
-
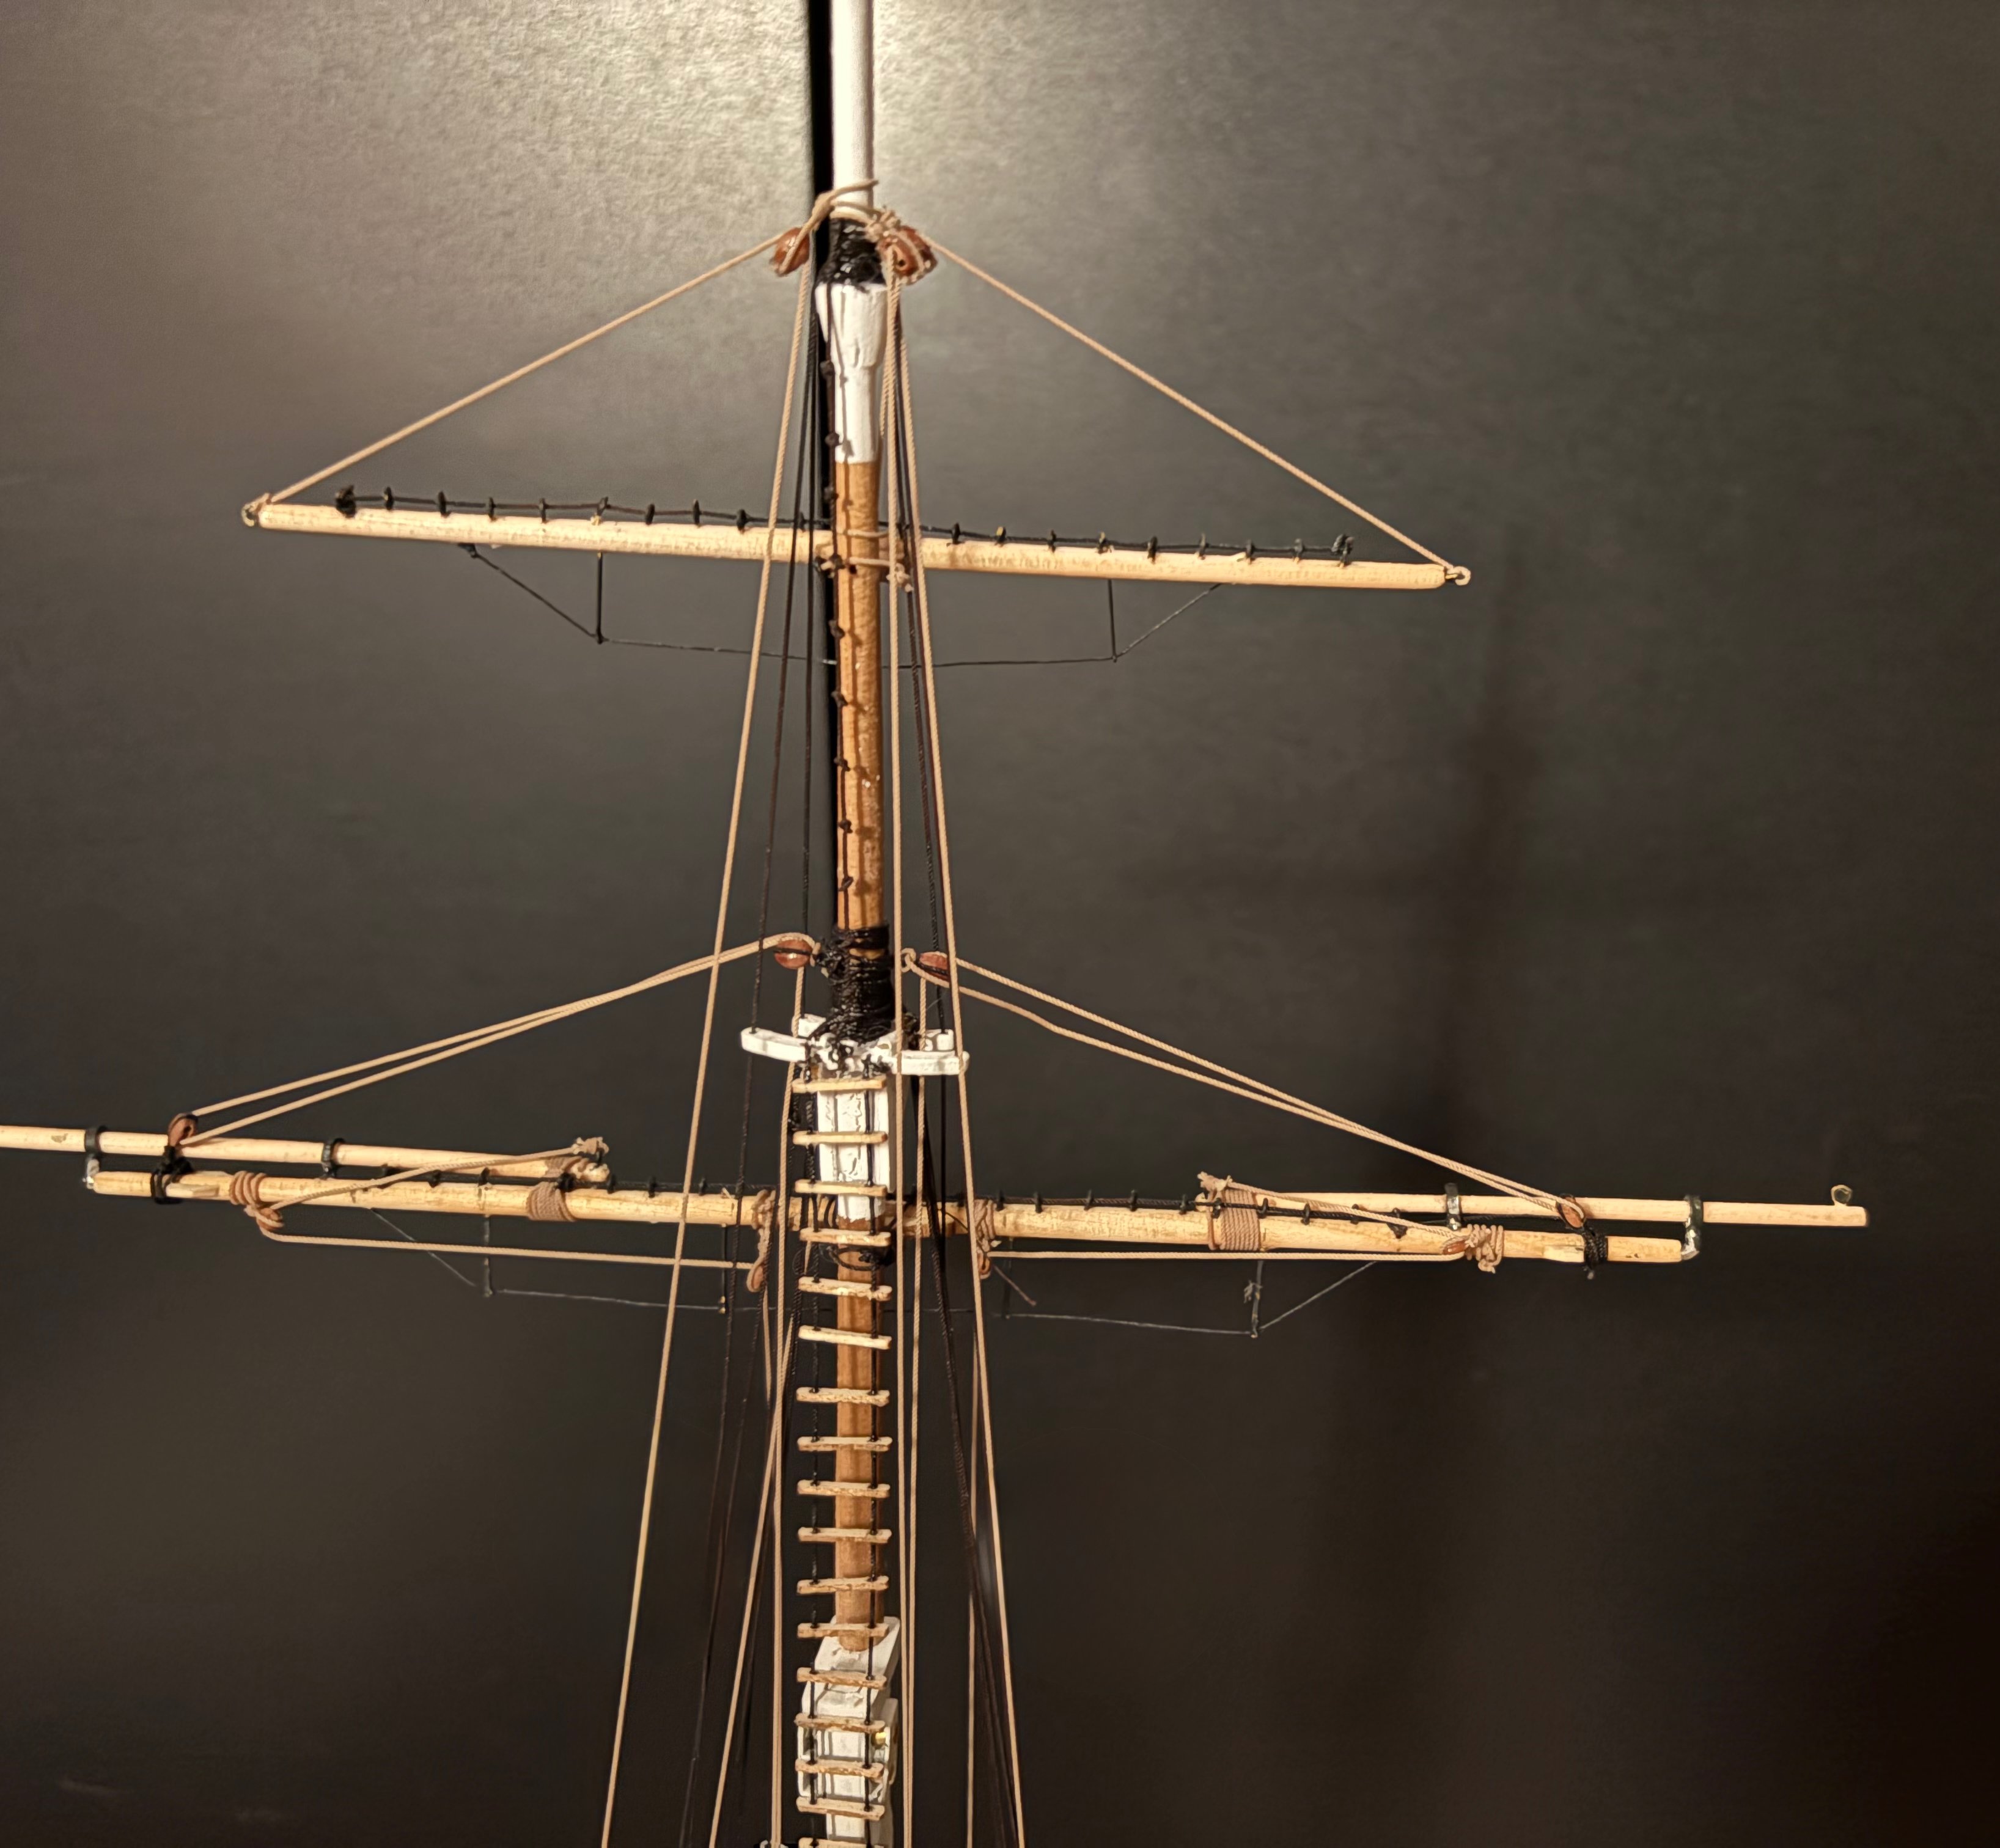
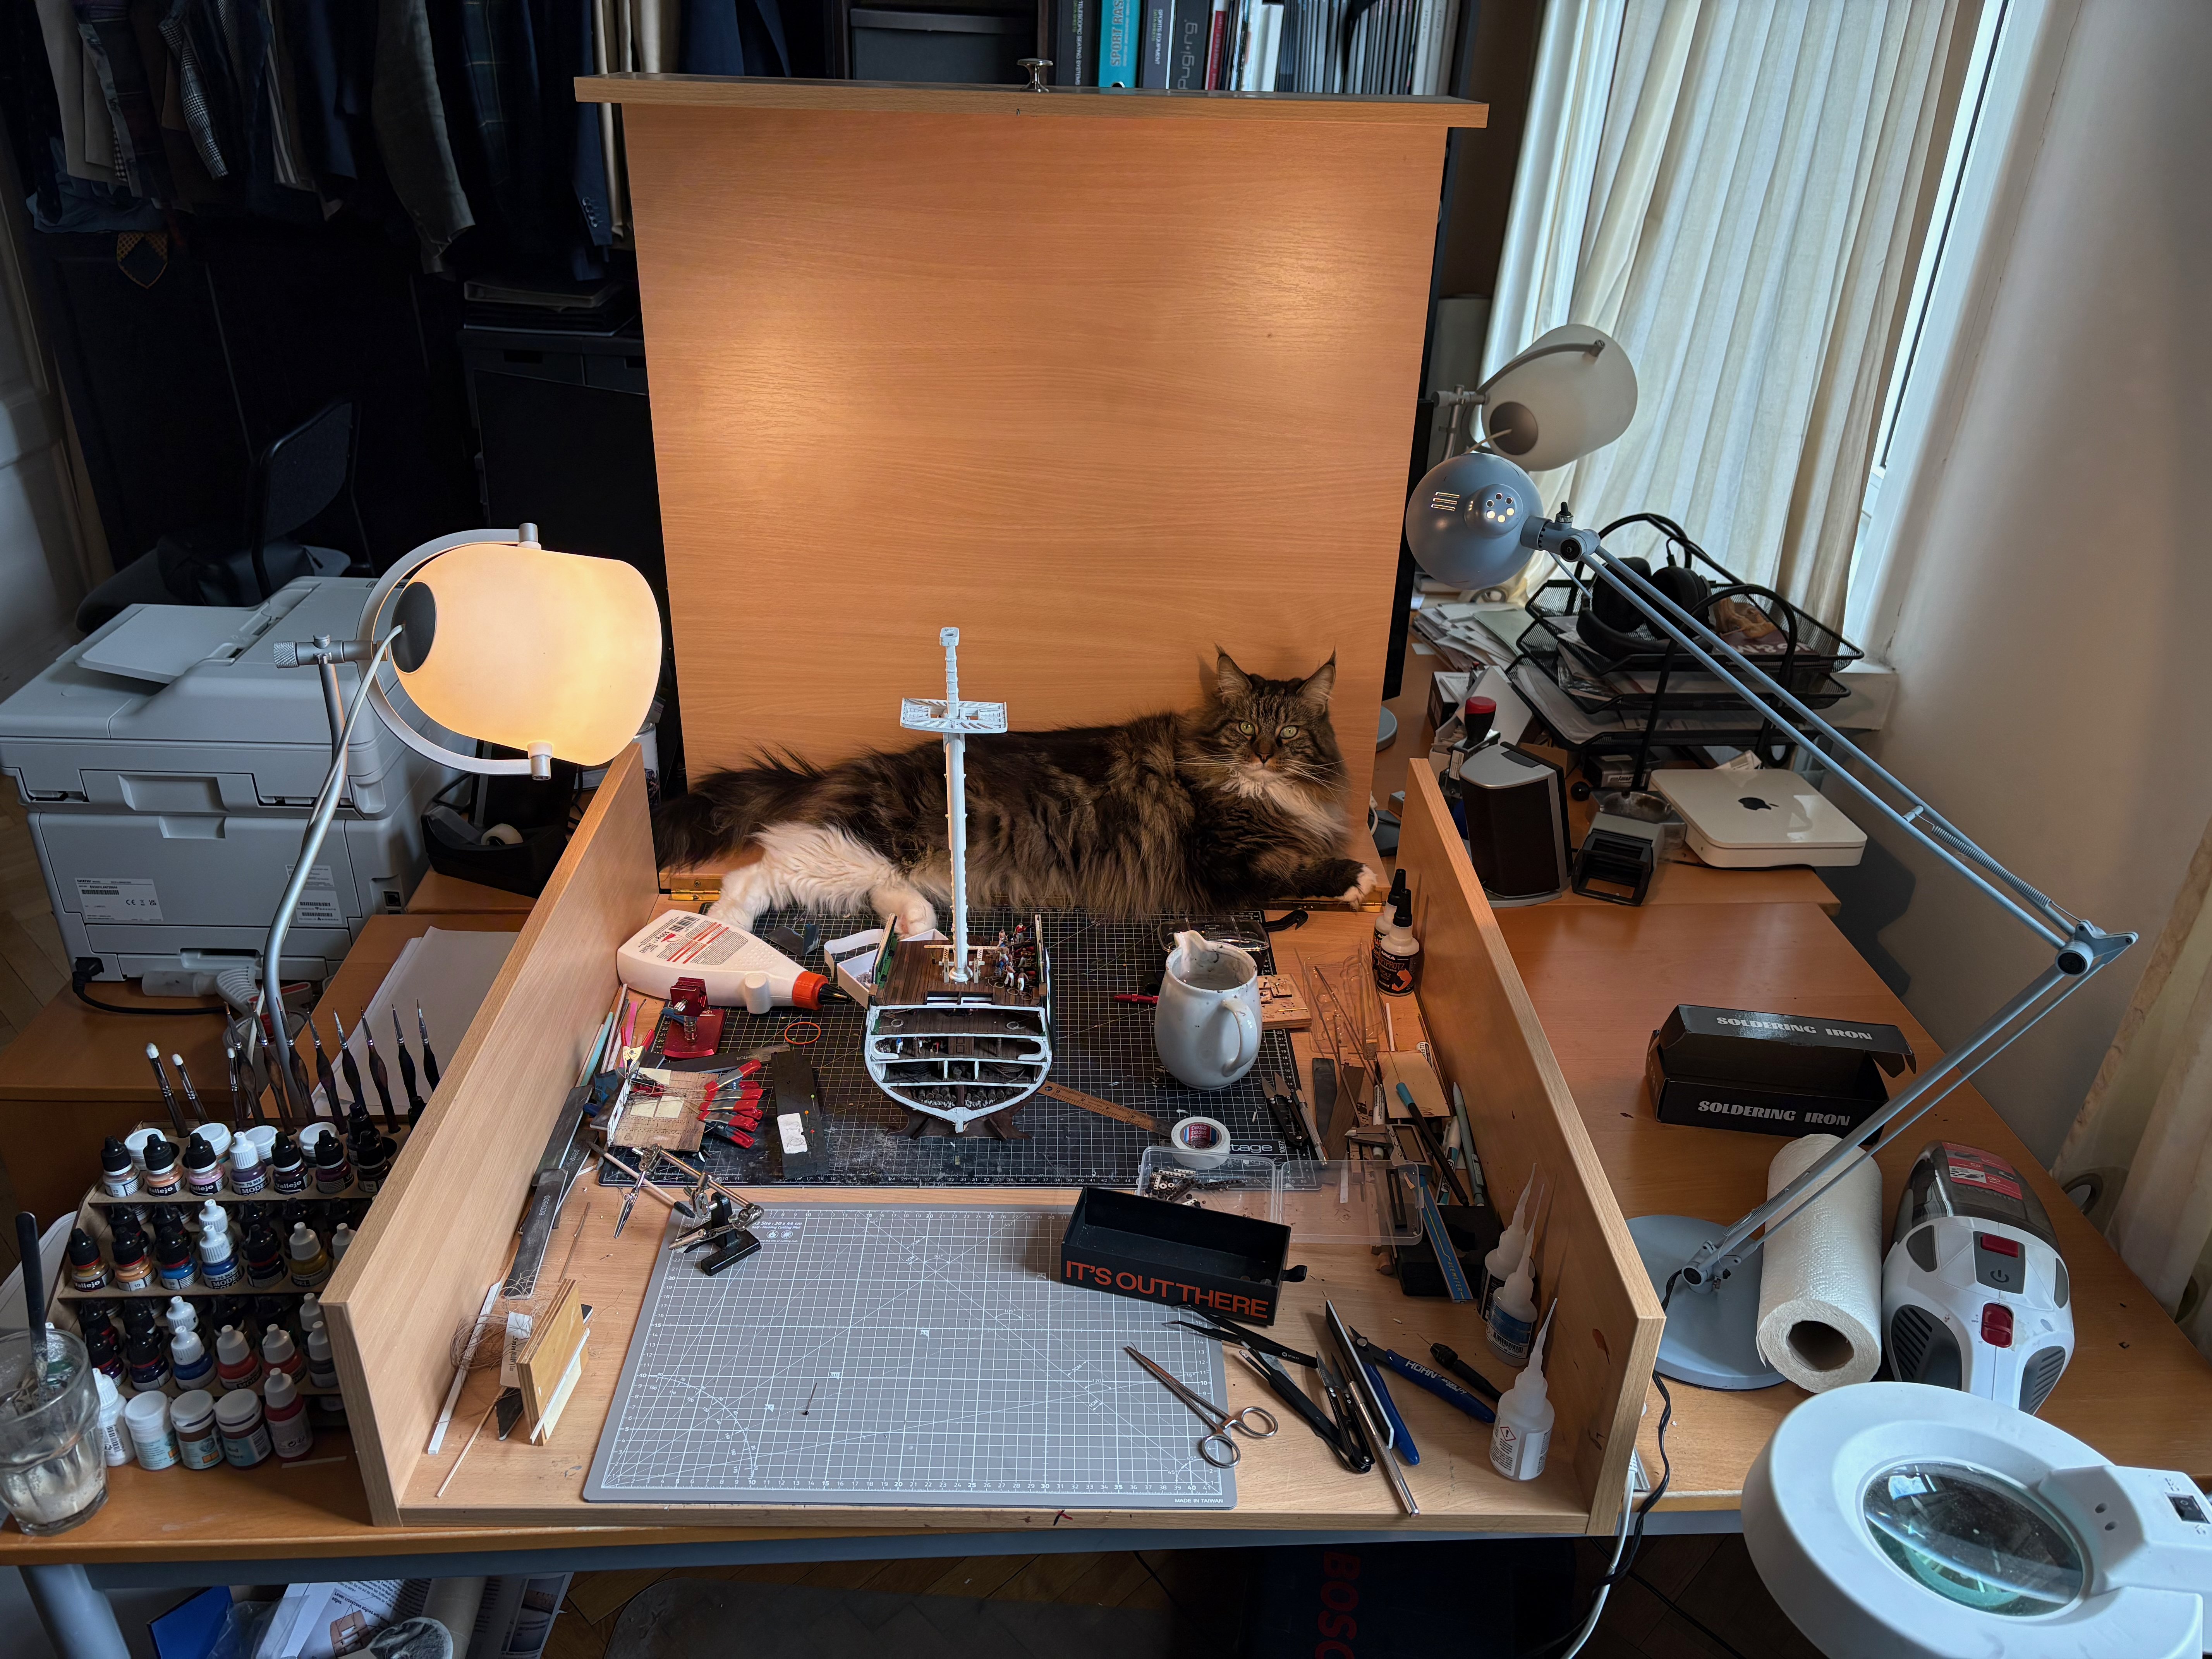
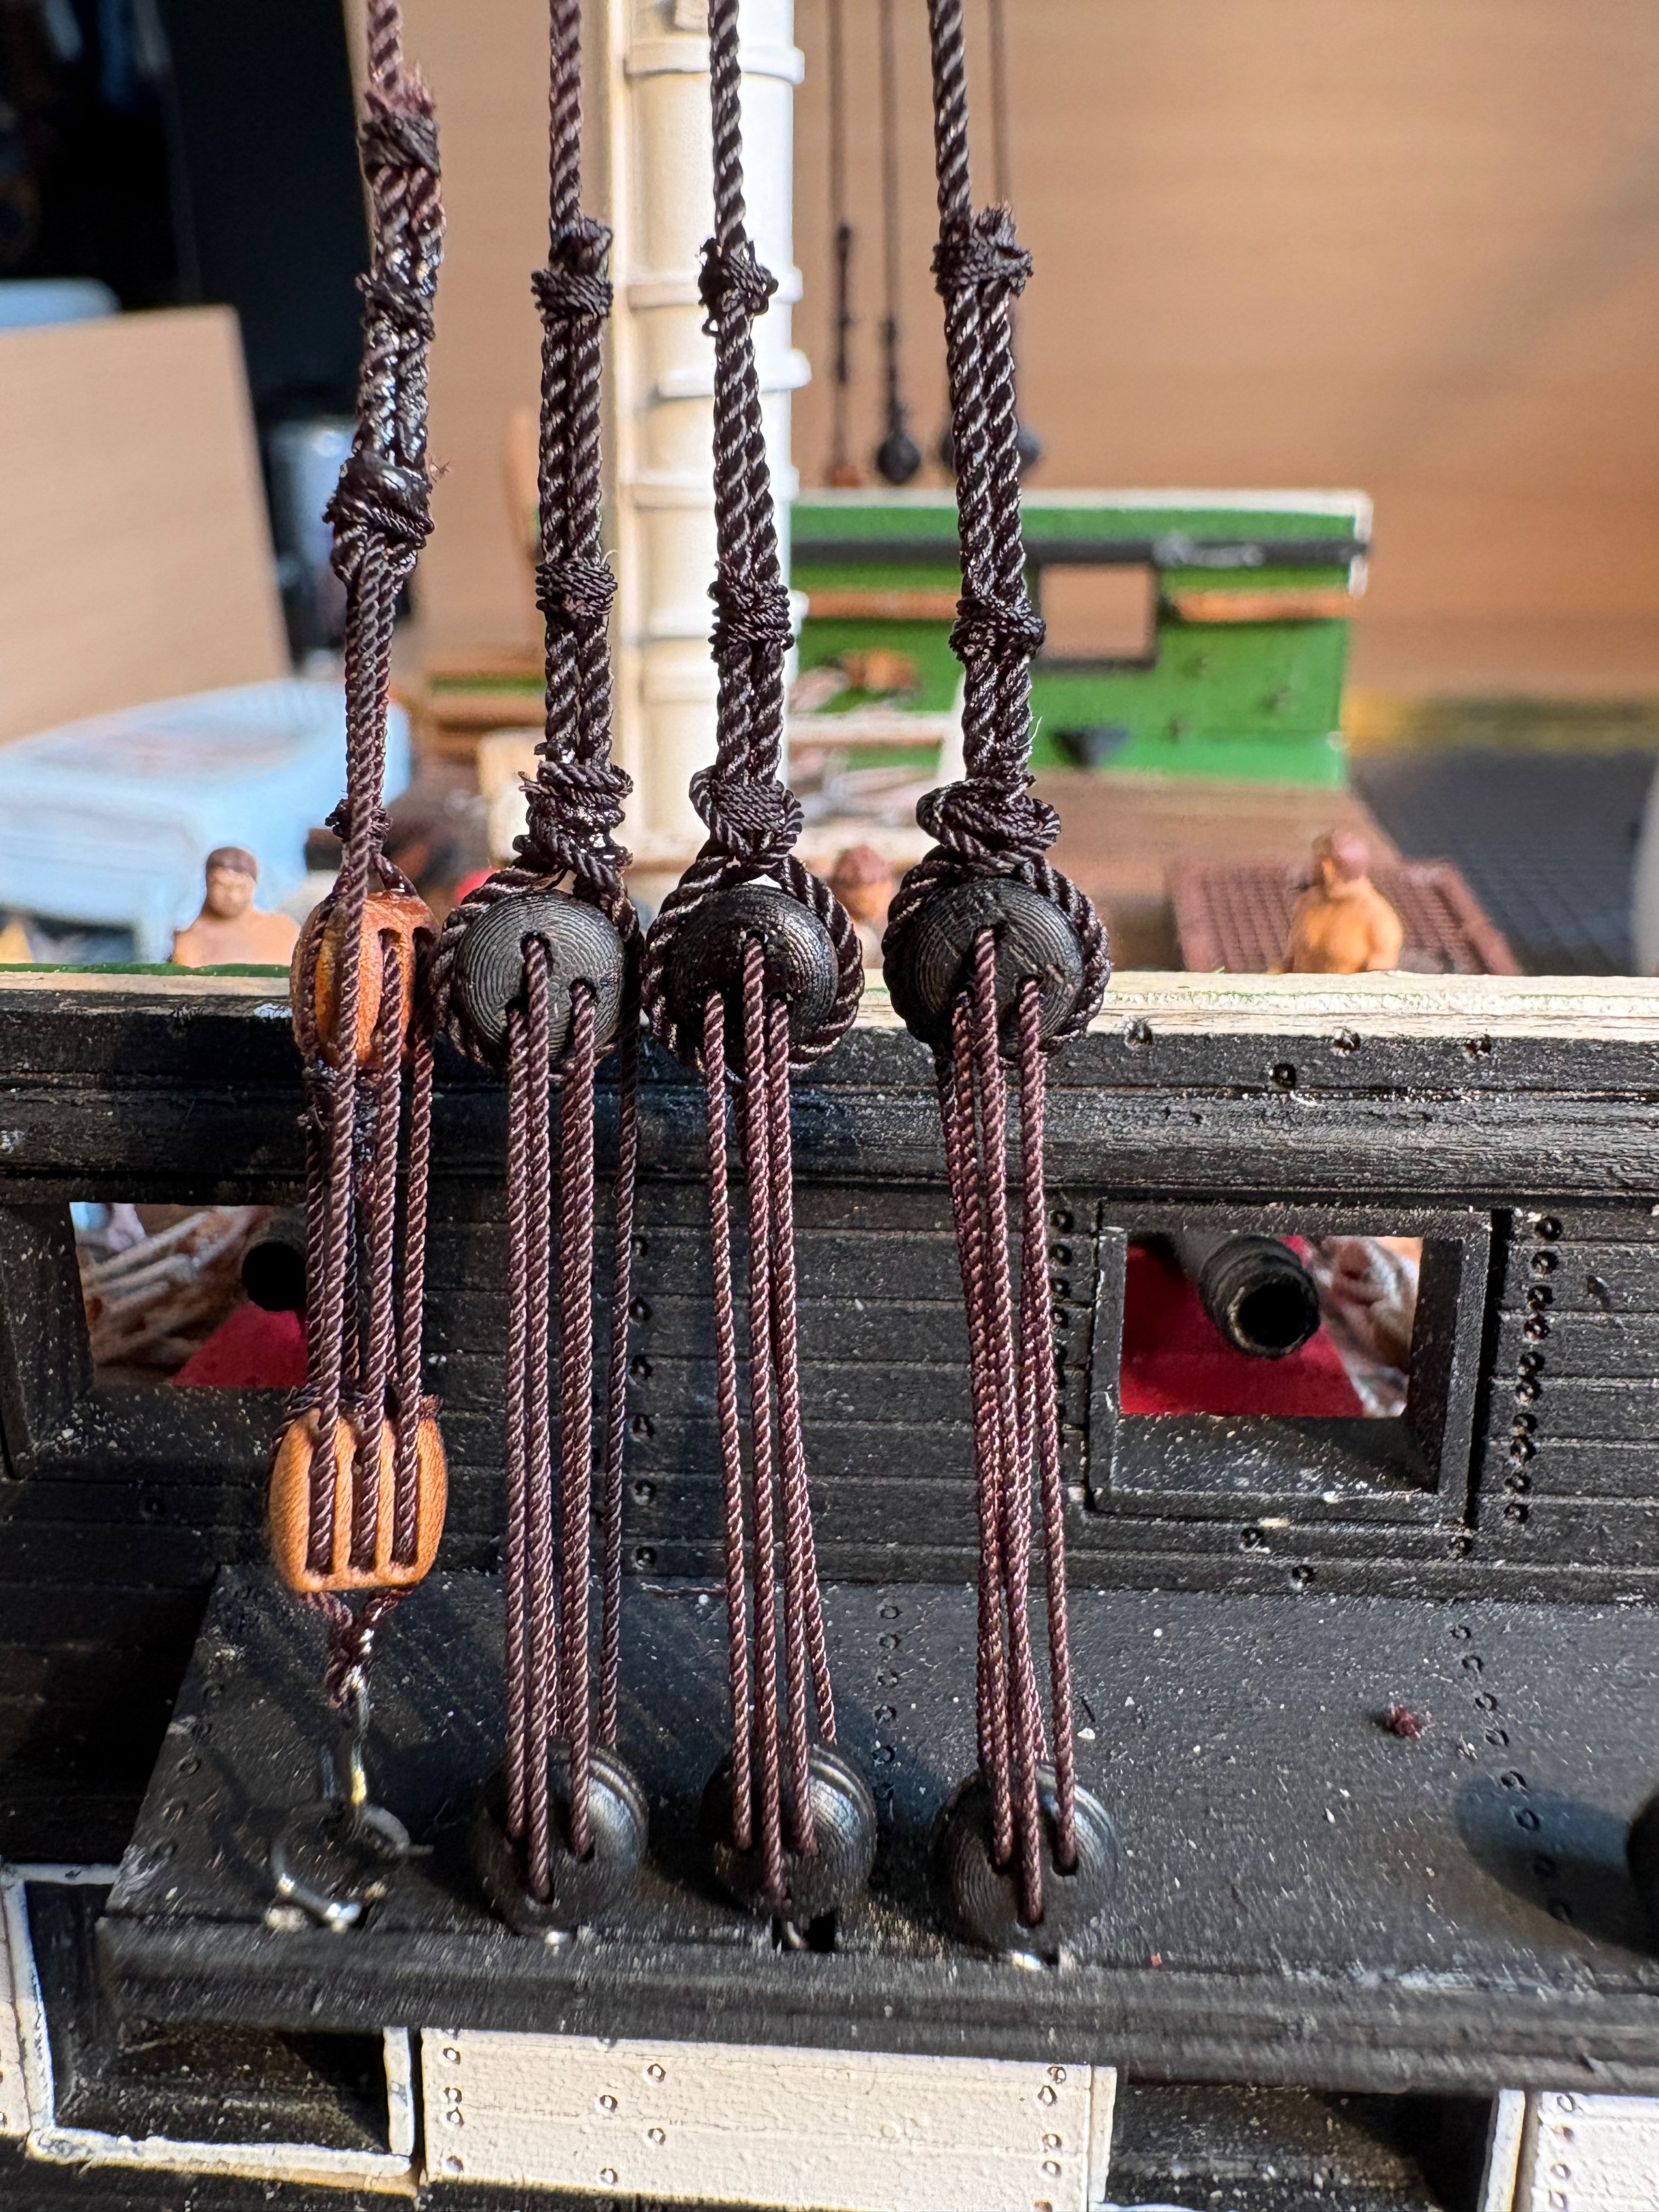
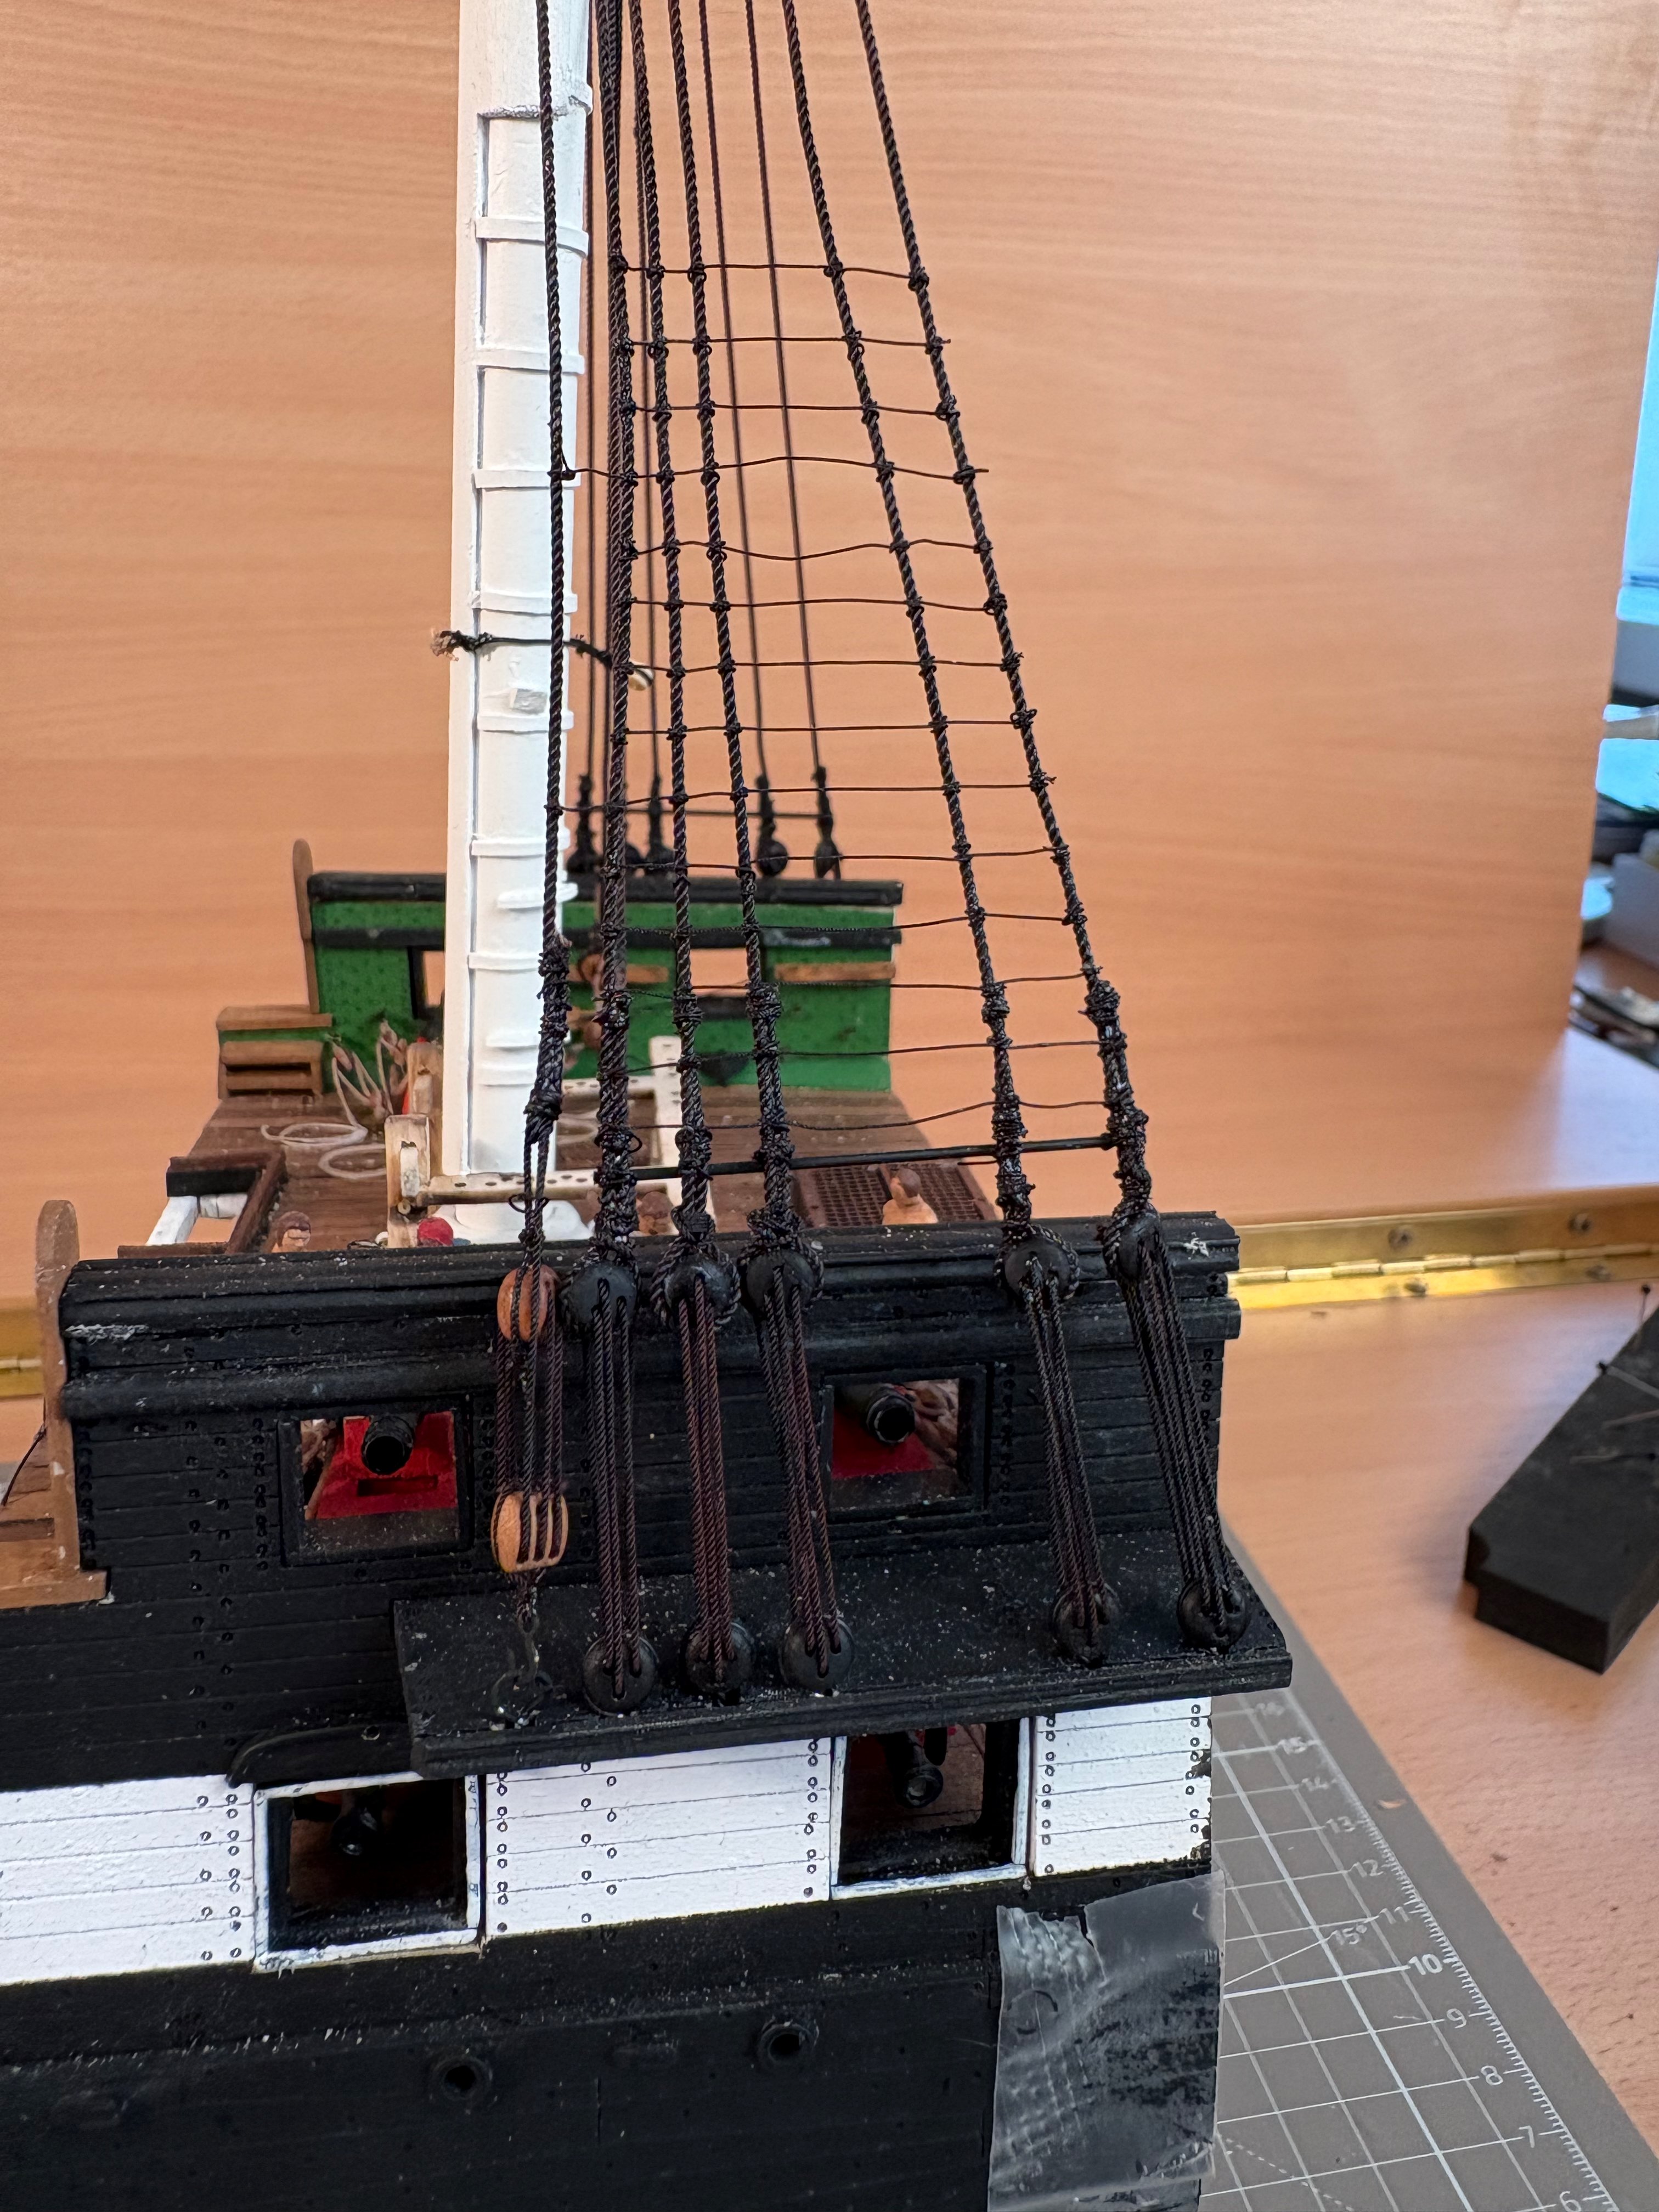
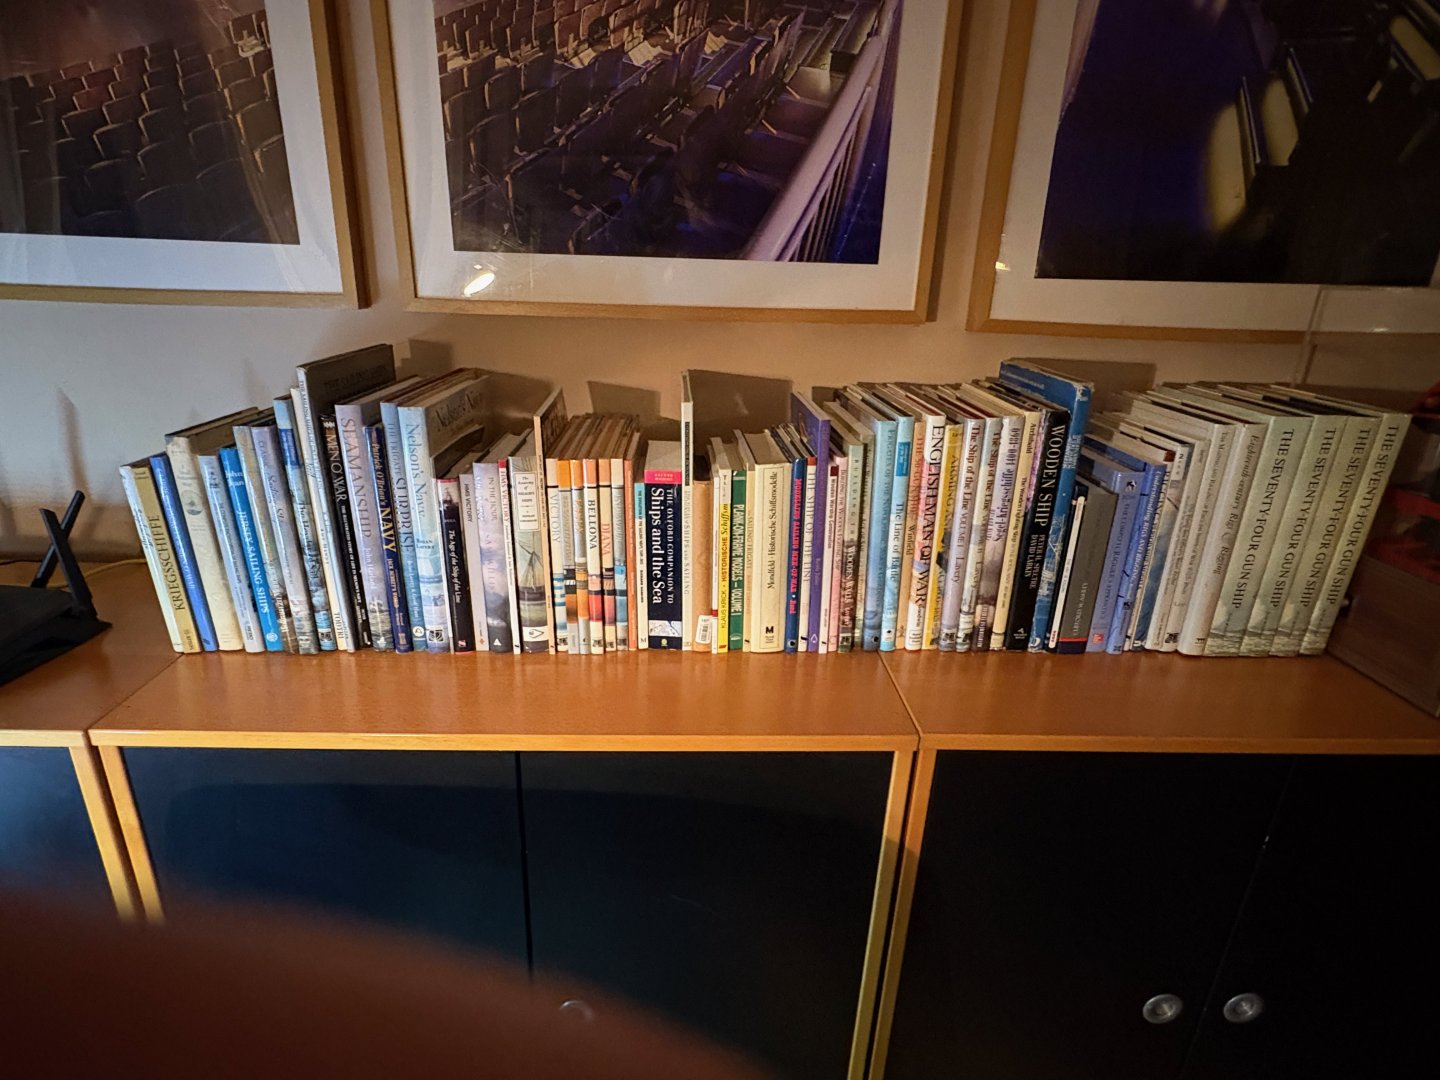
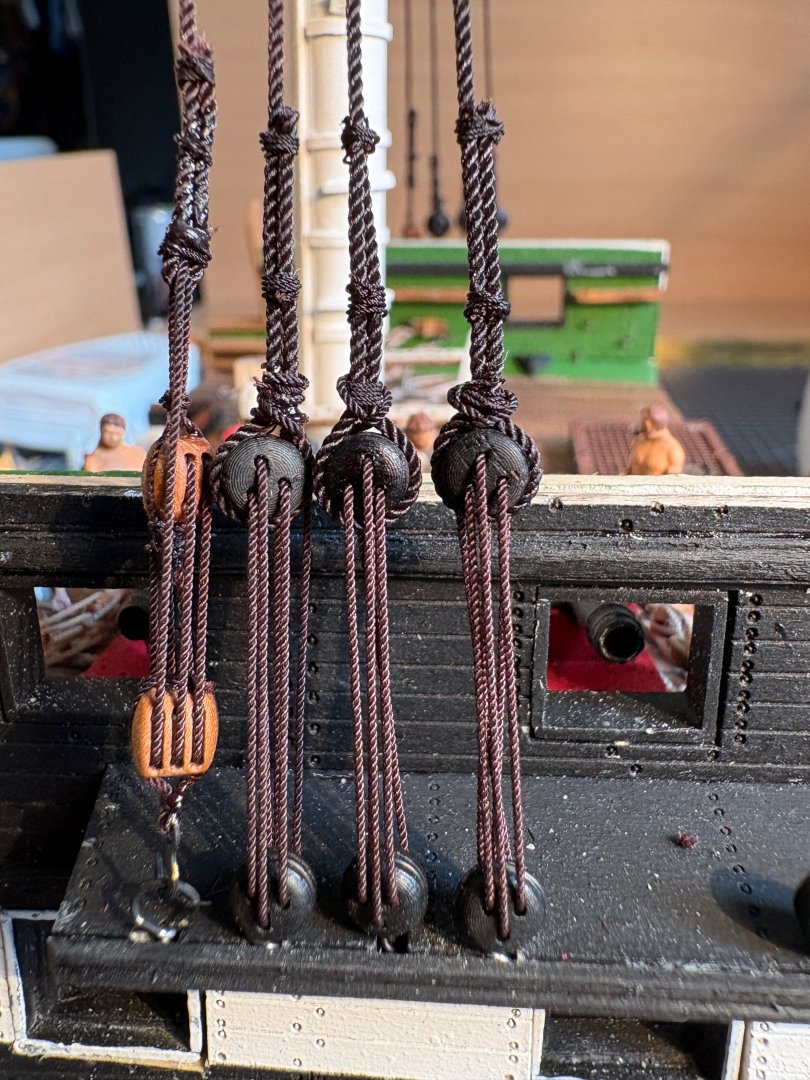
So, after a long time, I'm continuing my career as a shipwright. I started with the shrouds; everything to do with ropes and blocks is completely new to me. I've bought a "few" books on the subject... And then we were ready to go. The assistant has already arrived and is waiting patiently for his assignment. By the way, this is my workplace, a box with a lid that can be closed. The first shrouds were installed, the first knots tied, the first ratline knotted – all completely new territory for me. But it's fun.


-
Thank you, your words make me happy and I will continue to strive to improve my skills. I am not yet a real shipbuilder, but I have already started building my first complete ship, the HMS Flirt, which is just the right thing to start with.
- 33 replies
-
- 1
-
-
- Constitution
- Model Shipways
- (and 2 more)
-
Thank you for your kind and encouraging words. You've inspired me to post some photos of the almost finished project.