


Sven
-
Posts
95 -
Joined
-
Last visited
Content Type
Profiles
Forums
Gallery
Events
Posts posted by Sven
-
-
Thanks Michael. You are too kind! I really think I am only starting out.
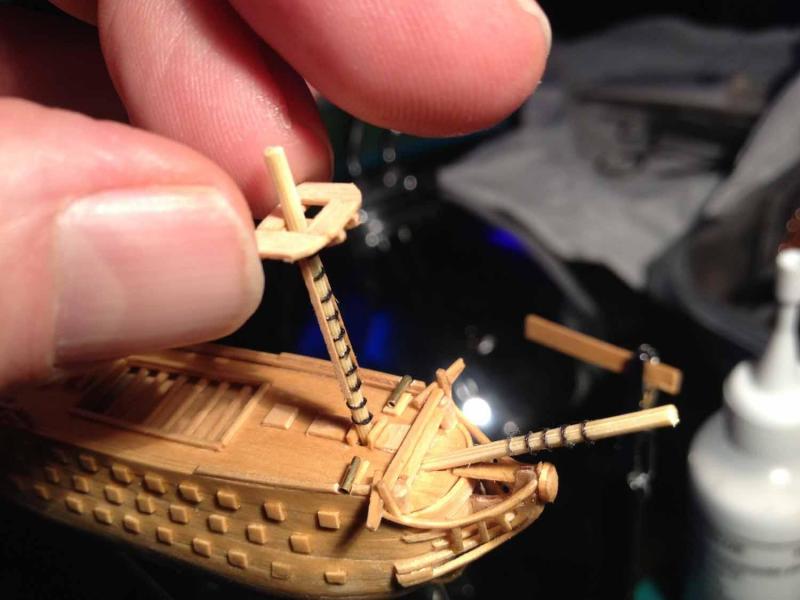
I am finding the running rigging quite tough and I regret not planning ahead more with suitable fixing points on hull and spars. A lesson for next time!
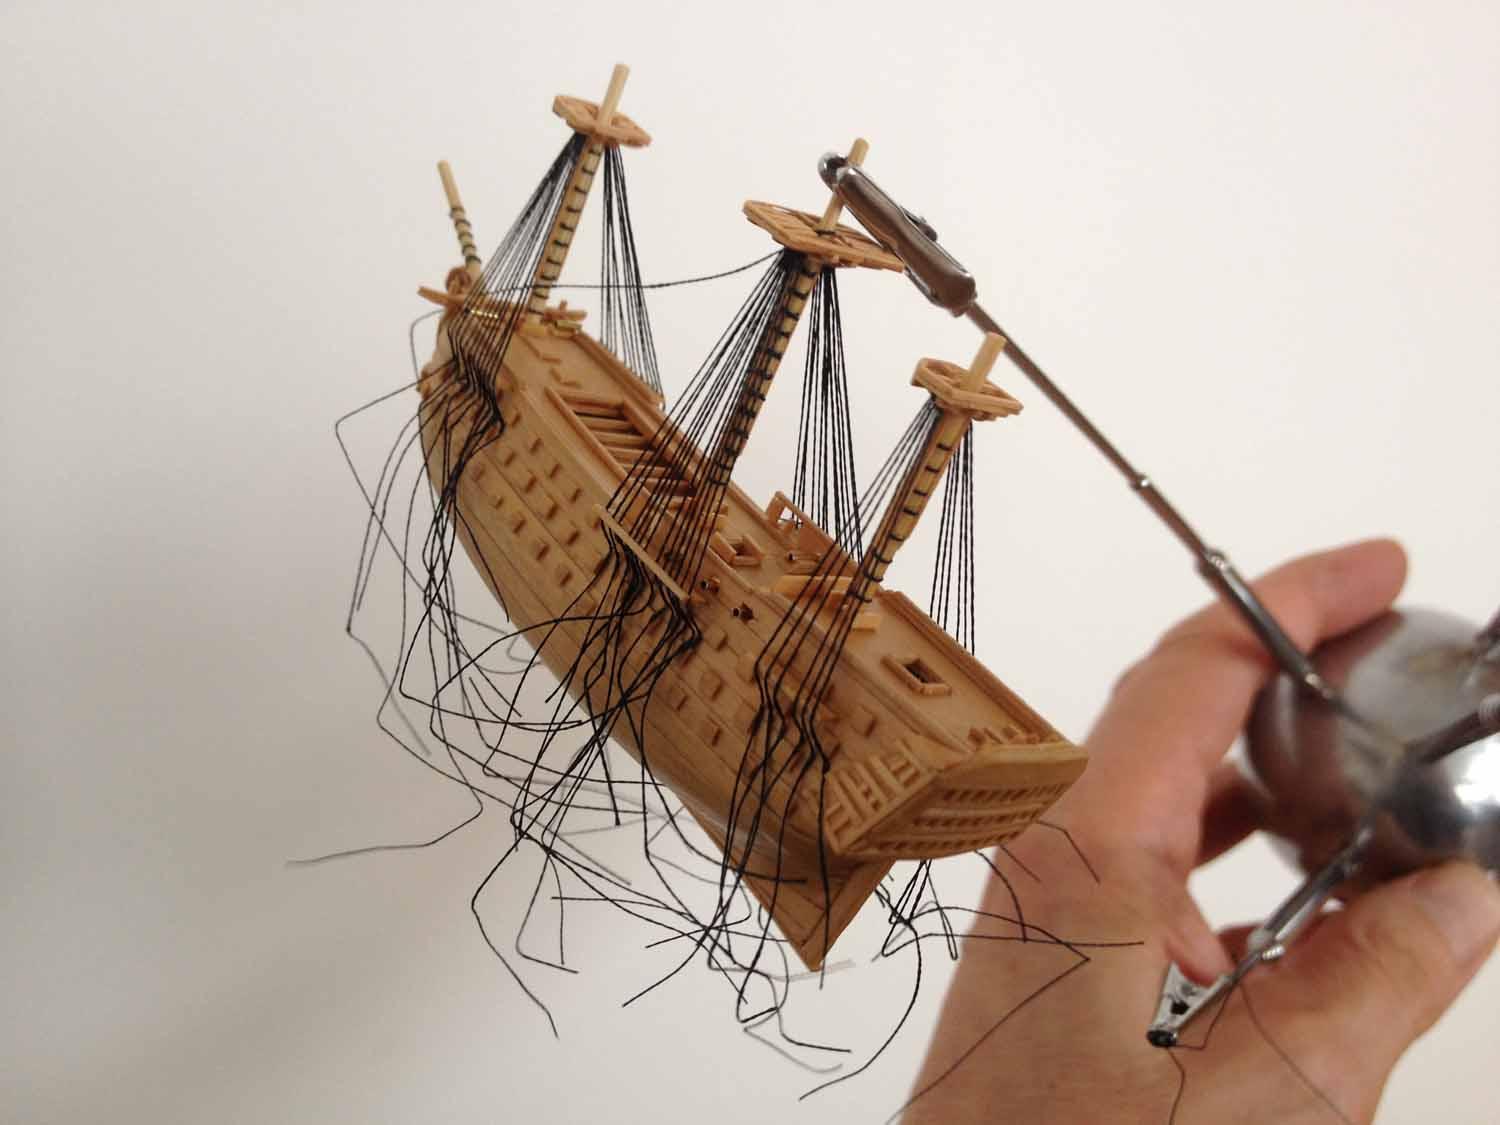
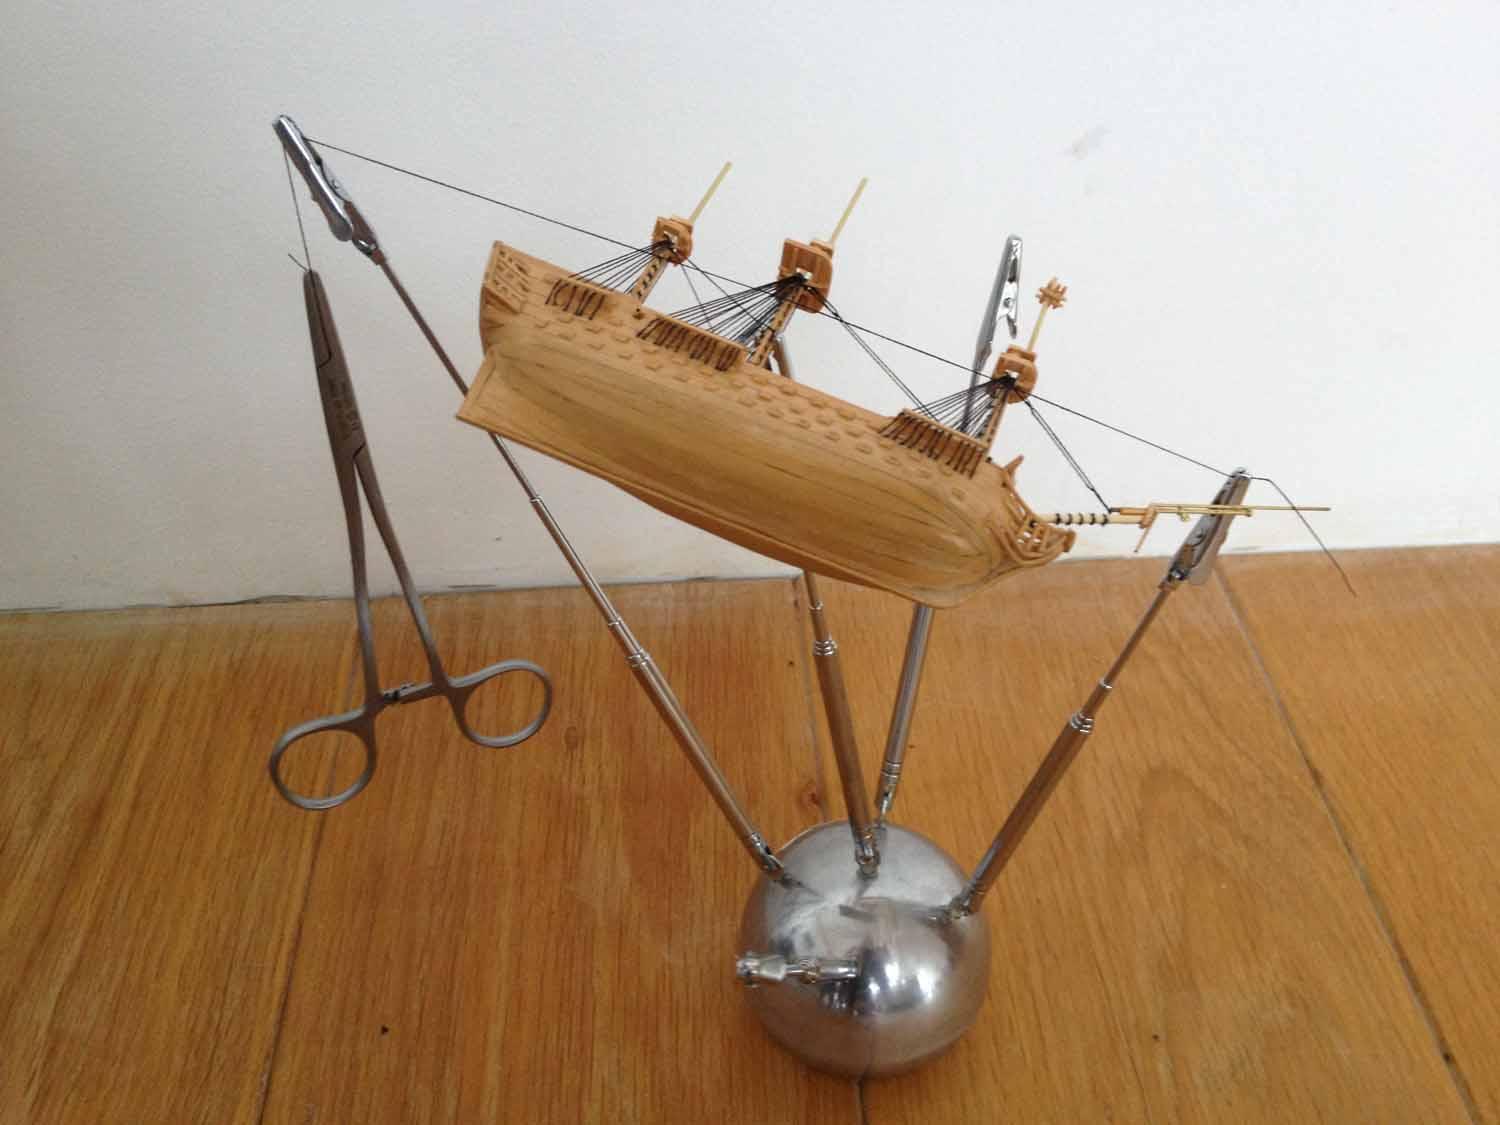
I acquired a new toy today from Aldi supermarket (!) a small adjustable vice on a vacuum mount. Just the job for getting the angle right for tensioning. I can see many more days on this stage of the work
Matt


- aykutansin, IgorSky and lb0190
-
 3
3
-
Dan with these tiny bulkhead builds I find it is important that the bulkheads are faired in to a good line. With my builds I put extra glue at the centre so the bulkheads are very well fixed. Do the fairing with a flat needle file it is much more precise than sandpaper. Your planking however looks good! Give it another go, I like a planked hull even at this scale it feels like building a real ship!
This is going to be a pretty wee pirate vessel!
Matt
-
Victory is a very convenient size!
I am trying to decide how much more detail to add after the running rigging. I think I shall do solid ships boats and anchors but perhaps not the hammock netting. I had thought about copper Leaf underneath but I like the boxwood look
Matt
- lb0190, IgorSky and aykutansin
-
3
-
-
Getting tangled up in running rigging and experimenting with sails!

-
That is fantastic metalwork! Mini you will enjoy winding that handle. Will the RC control reefing as well?
Matt
-
Thanks for following guys.
Hi Hakan! Sven is not really my name but comes from the fact that I run a 1929 Austin Seven (S'ven) car.... I must like small things!
Matt

-
Thanks Michael. So kind of you to say so. The images are mostly digital trickery.
What I love so much about making ship models is that is about the least digital thing you can do today. After working on screens for the best part of 30 years that is proper therapy!
Matt
-
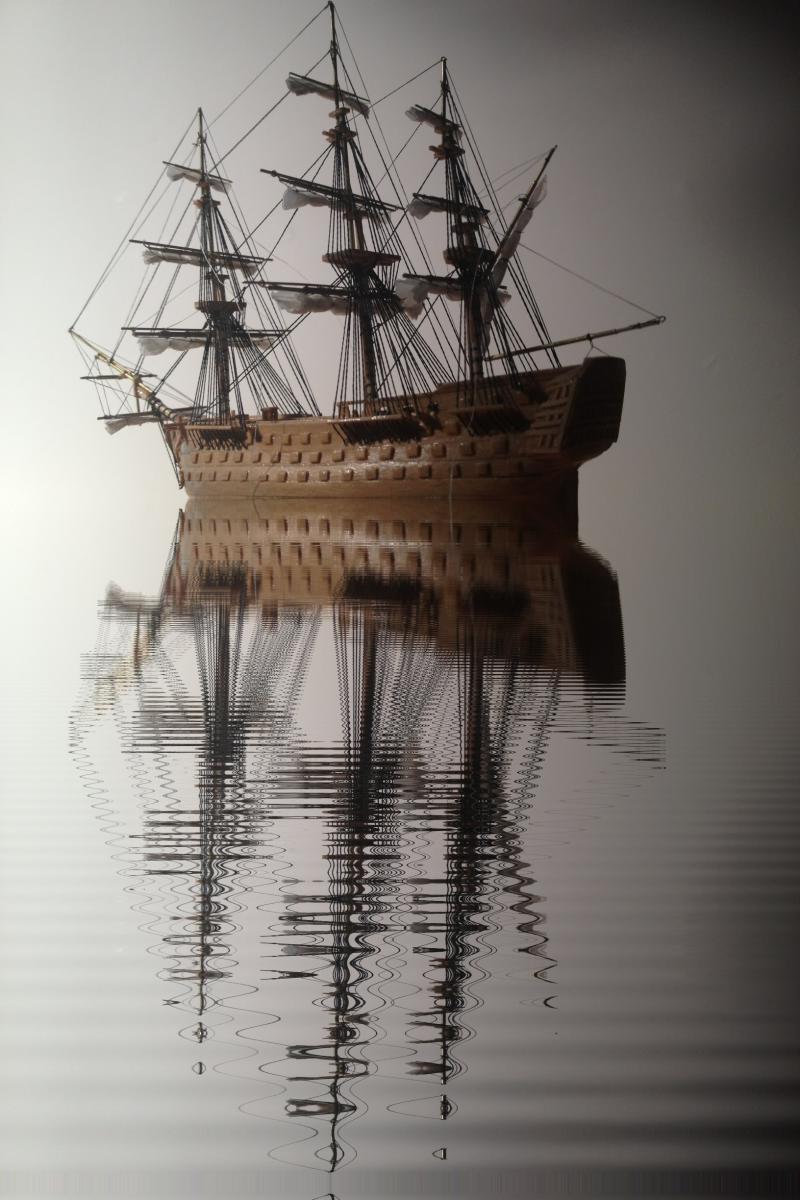
The admiral particularly liked this picture!
Matt

- SailorGreg and mtaylor
-
2
-
Fantastic. No words
Matt
-
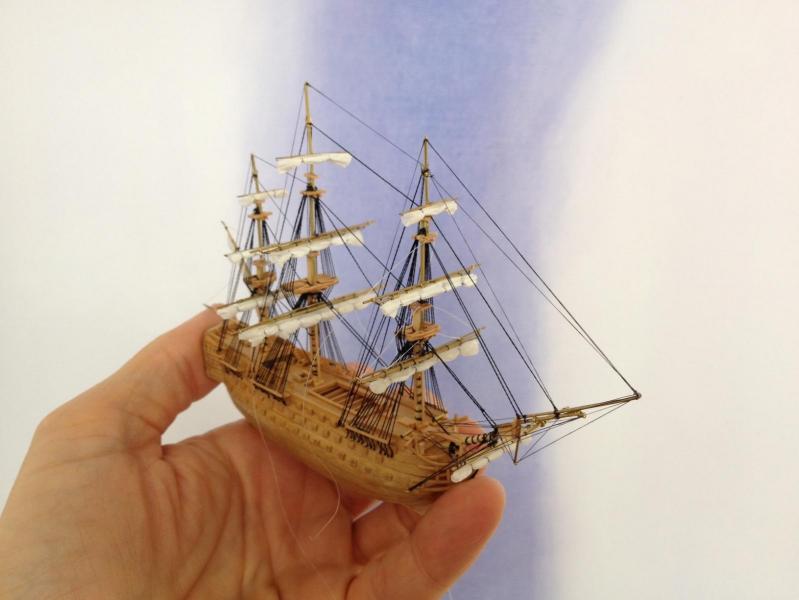
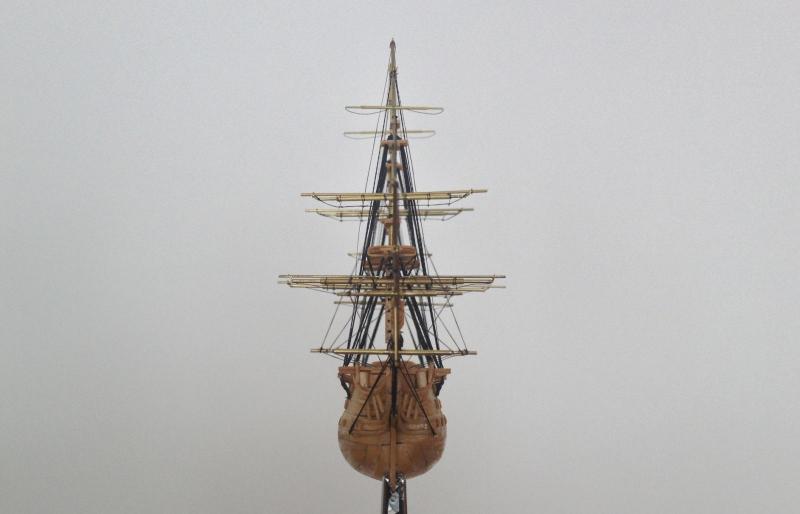
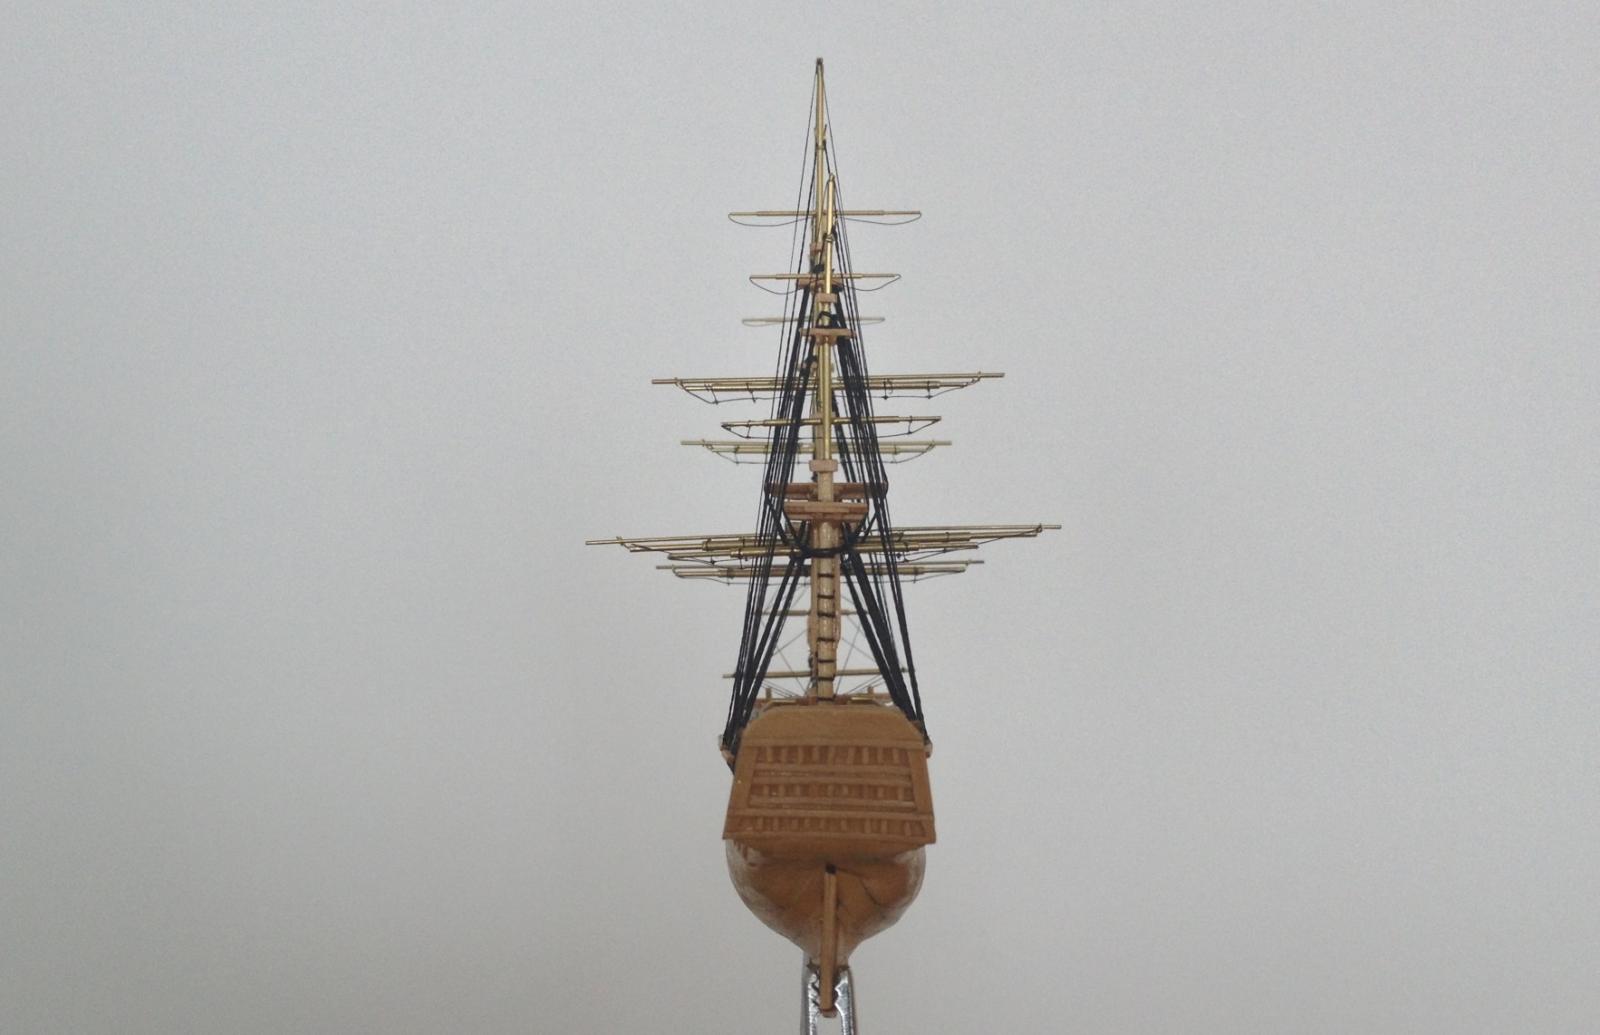
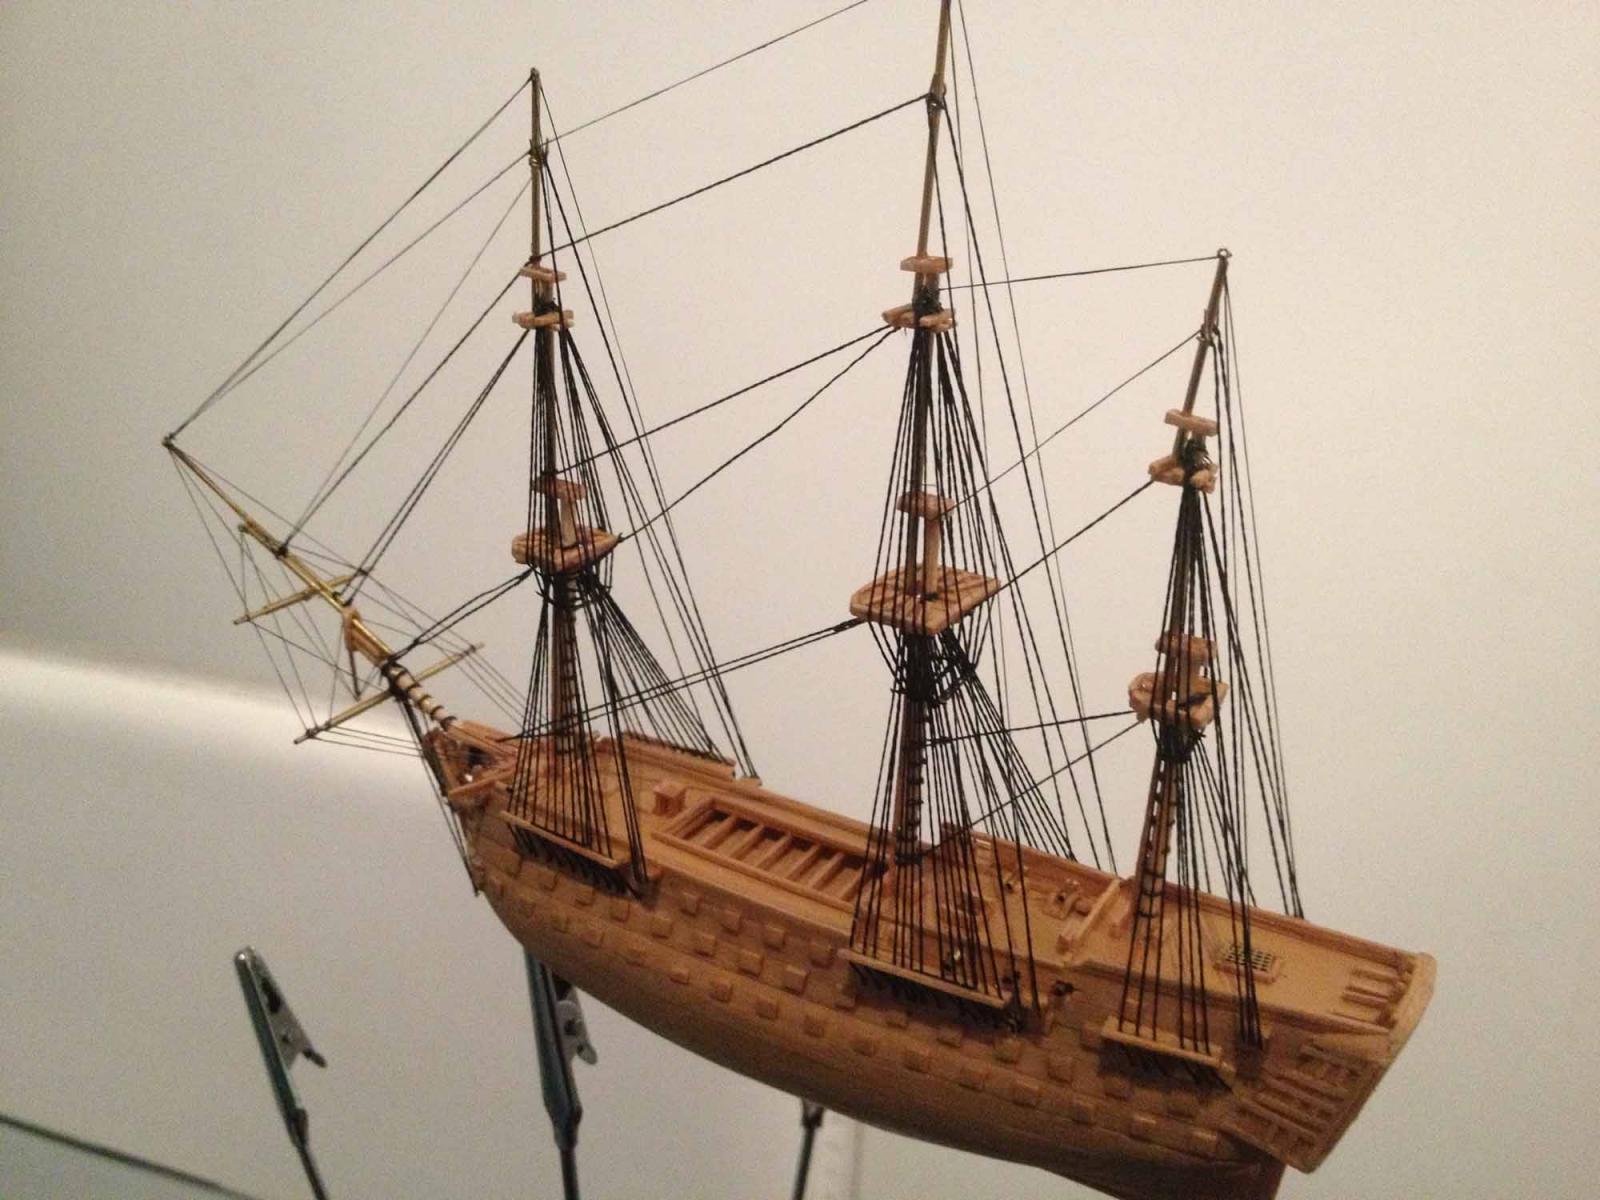
Yards now raised and thinking about how much running rigging to attempt!
Matt
- GrandpaPhil and SailorGreg
-
2
-
Nice bulwarks Michael! You know that the wood is thin when it starts to become translucent!
Great job
Matt
-
A few more yards raised and laying up for the night!
Matt

-
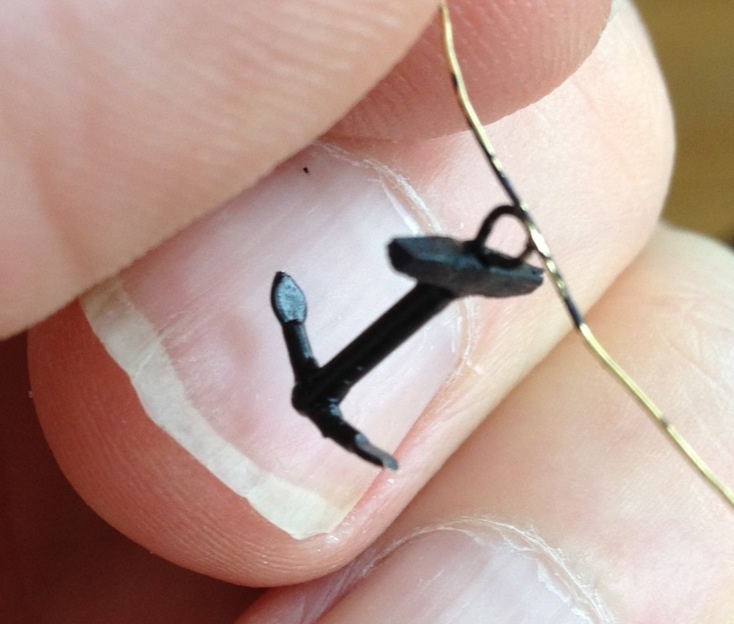
"What an anchor".... at least I think that's what the admiral said!

-
Oh Michael. What have you started!
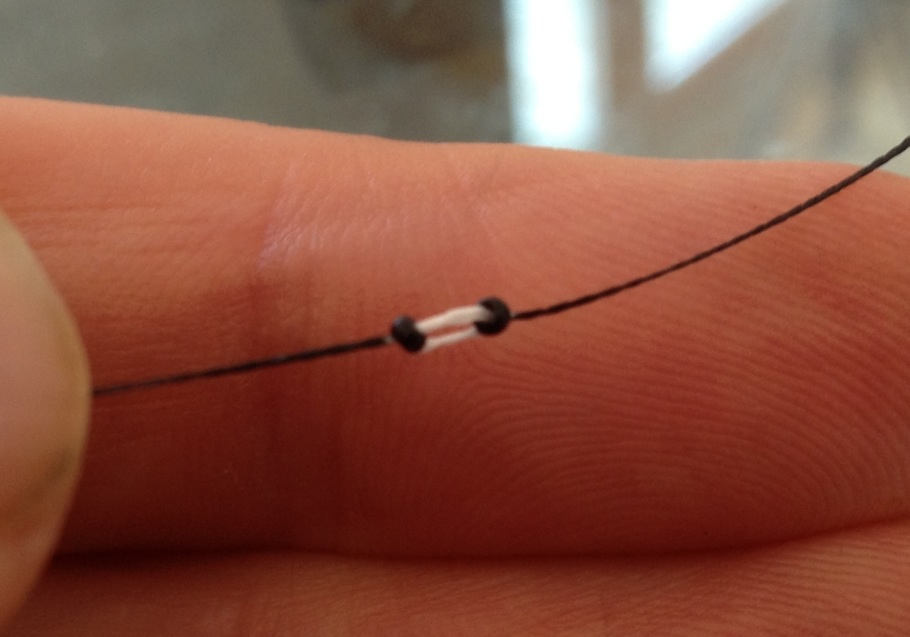
I have found a way to make scale deadeye assemblies. Unfortunately too late for this build!
Using two very small beads and one strand of white thread. The shroud is then coloured black with permanent marker. One for next time!
Matt

-
-
Well done Daniel on the ratlines! I am not even attempting them on the victory. Maybe next time!
Matt
-
Thanks Michael! Yes I did manage to cut a stay by accident and it was ten times more difficult to install with the shrouds in place!
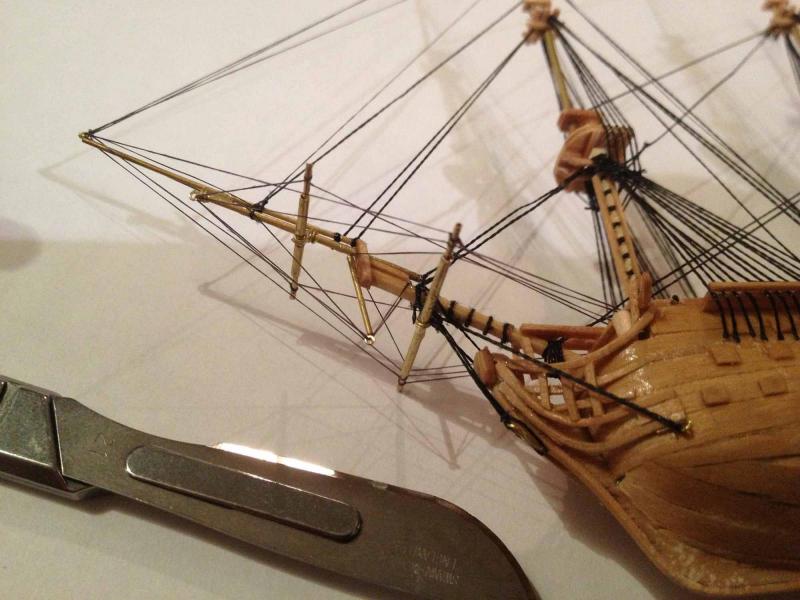
I think at this or any scale the choice of material for the rigging is key to getting the right feel for the ship. I have been using bead thread called "silamide" which is quite fine and not hairy, I have used this for the stays and shrouds.
For the finer rigging I am using fishing fly tying strand called "Nano Silk" this is very fine, non hairy and extremely strong. It is however made of many fine strands which are not bound together very well and tends to unravel while working. I impregnate it in white glue to bind it. Cutting it is very difficult and can only be done with a brand new blade.
One advantage with using the brass tube for masts and spars is that I can attach fine wire loops in the tube ends for rigging to pass through. A good source of very fine brass wire is the "net" around some bottles of wine (also a good excuse to stock up the cellar!)
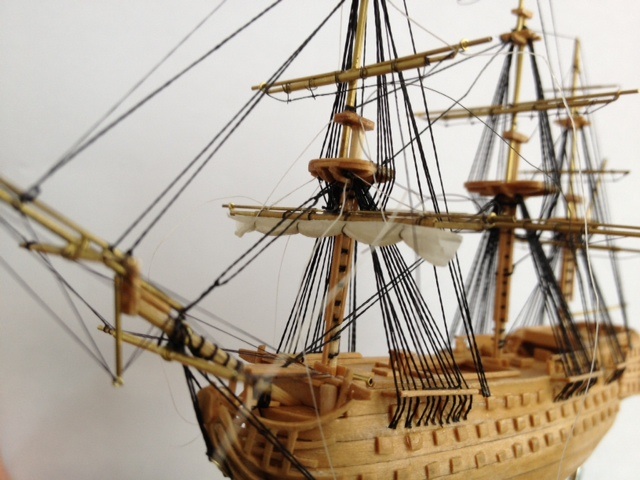
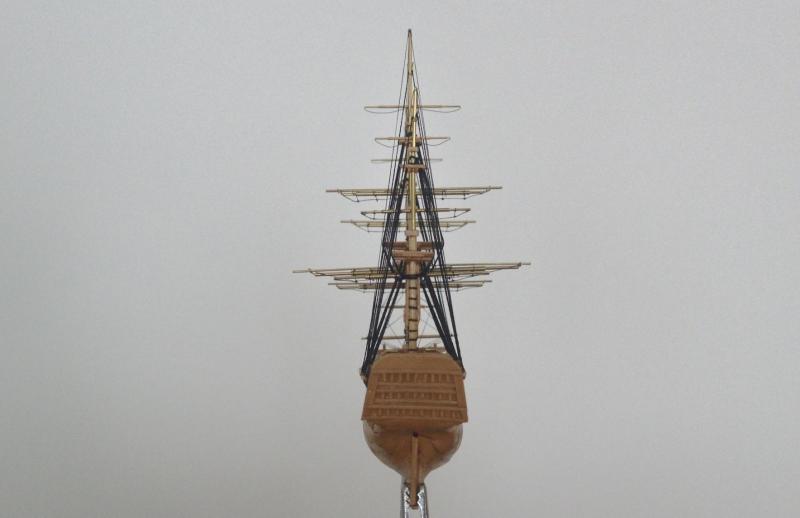
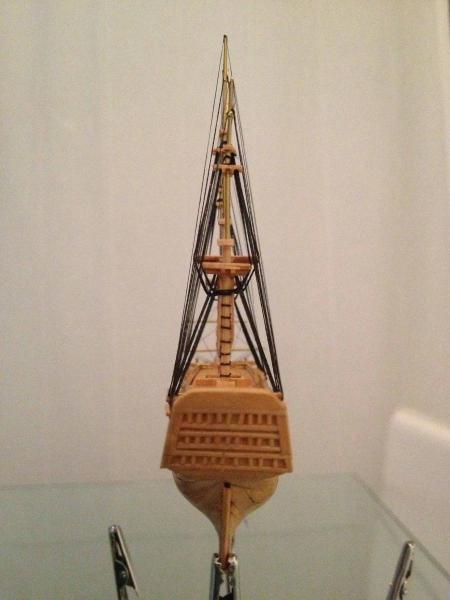
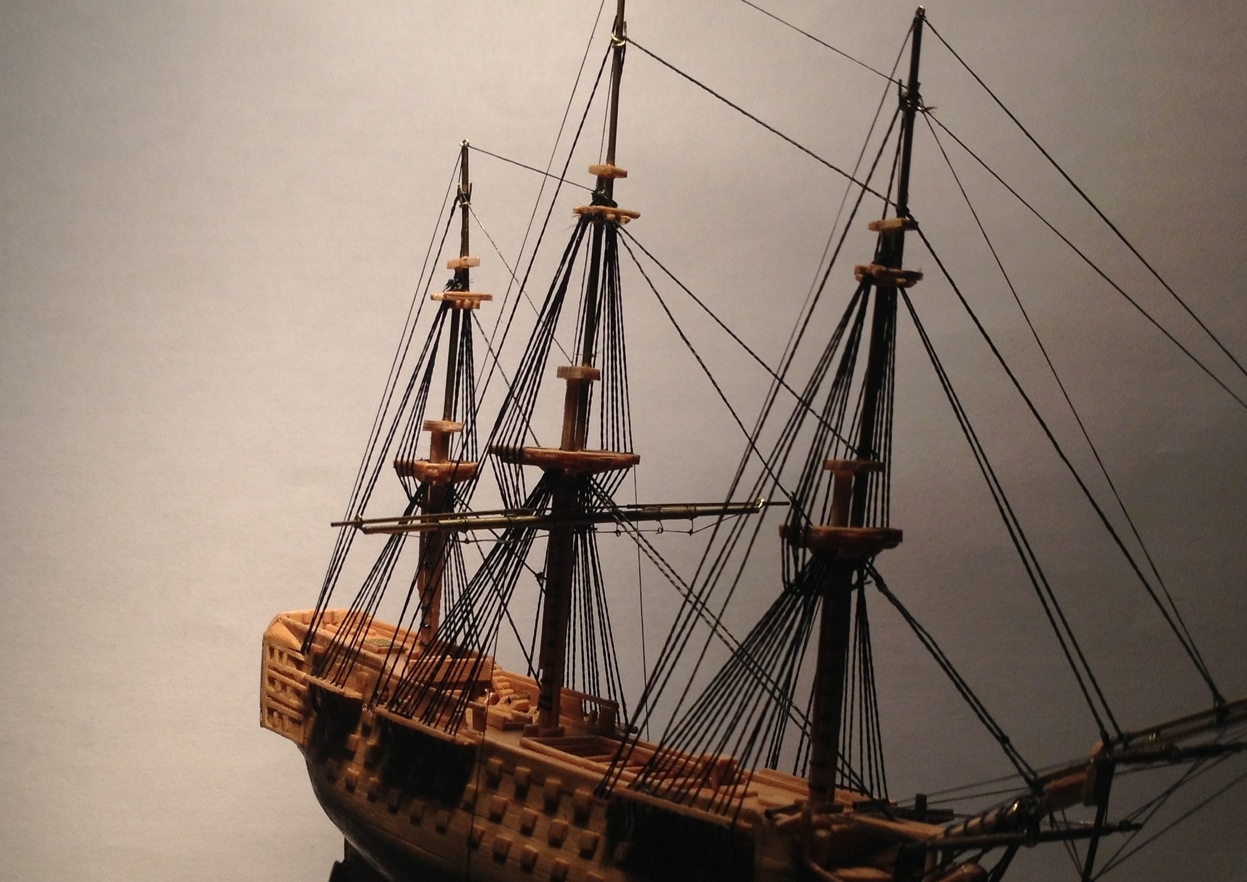
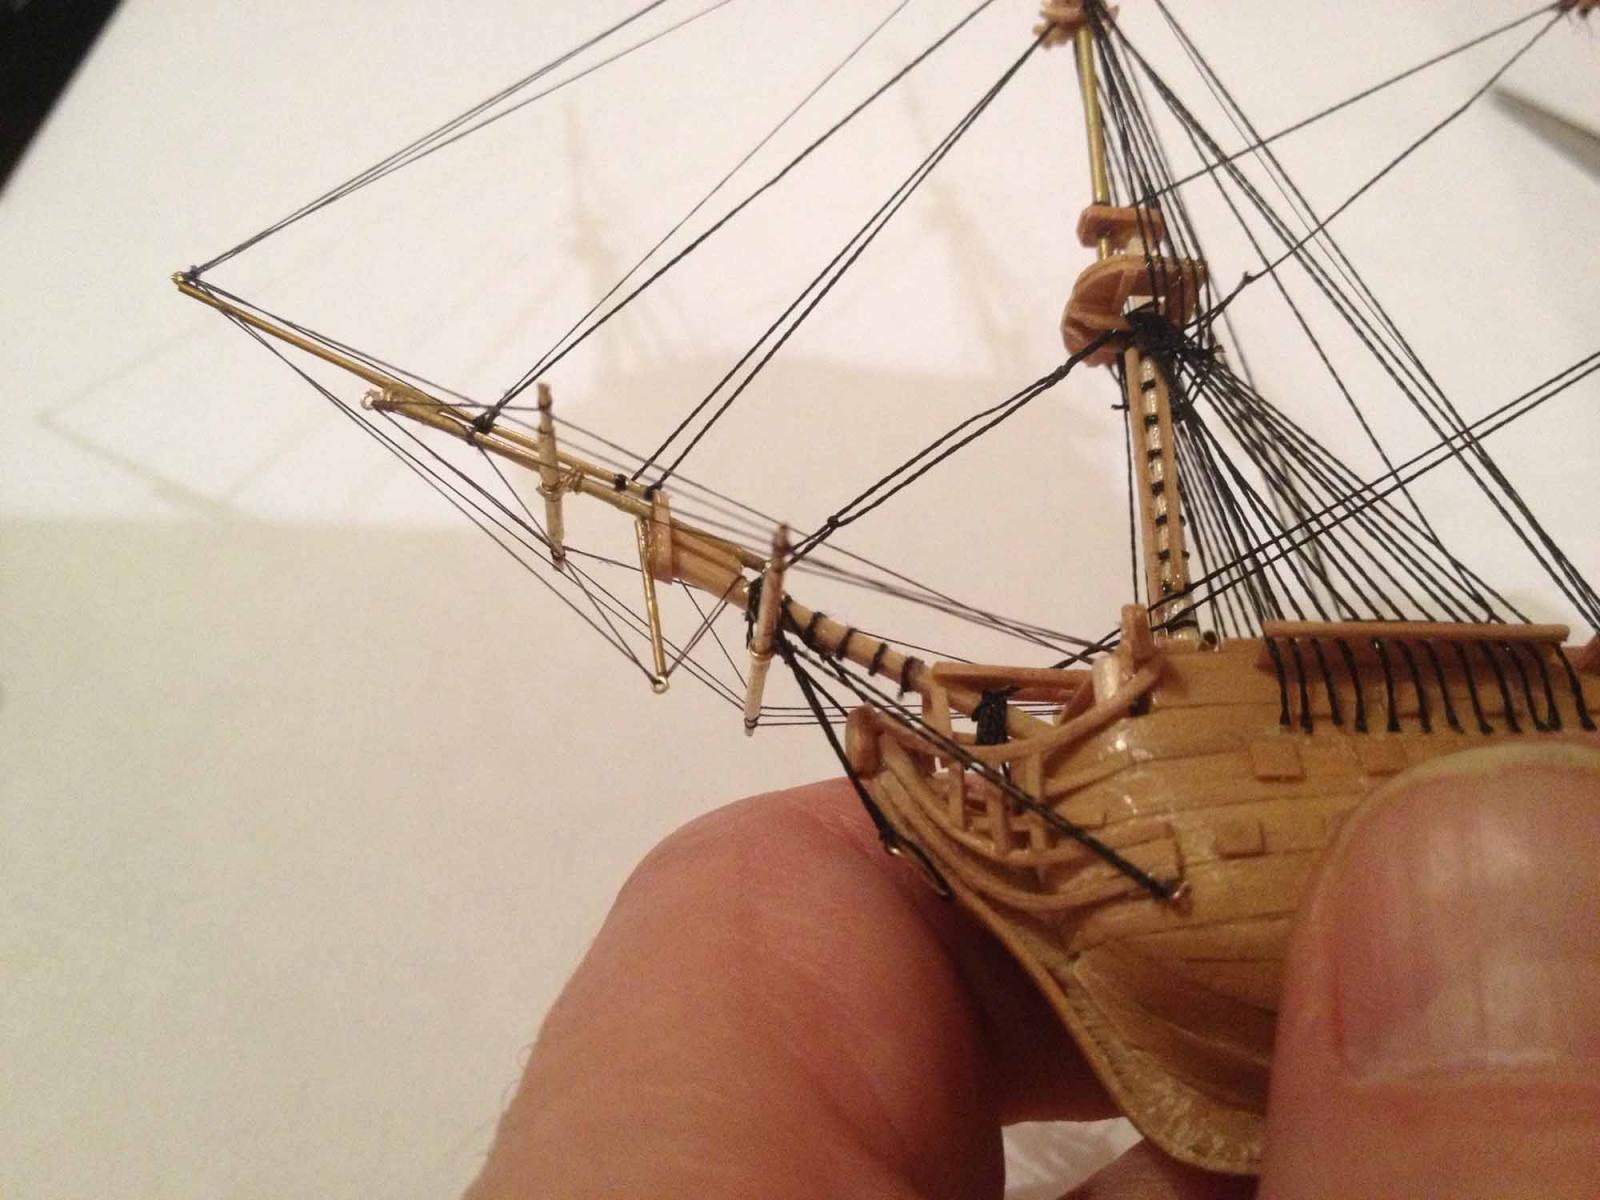
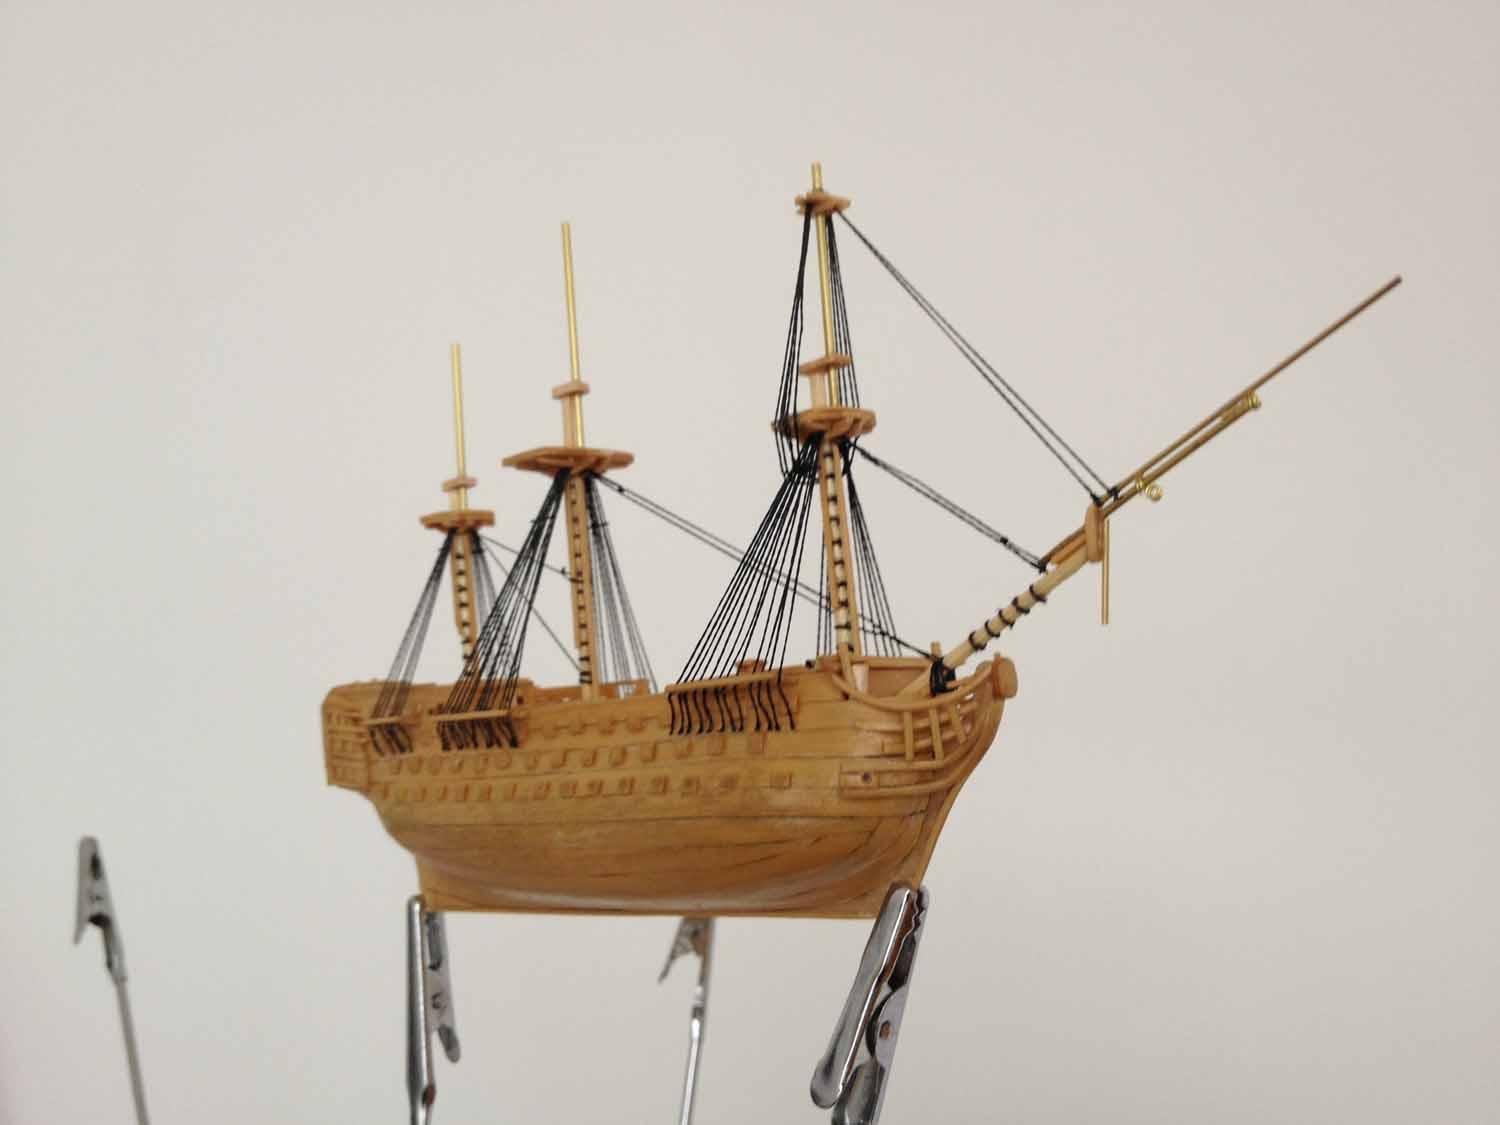
I have now finally completed the standing rigging, the bowsprit rigging was more difficult than expected!
Spars next!


-
-
Thanks for your kind comments guys, I do feel that my build is just playing compared to the masterpieces being shown on this forum, but at least I can build mine on the kitchen table!
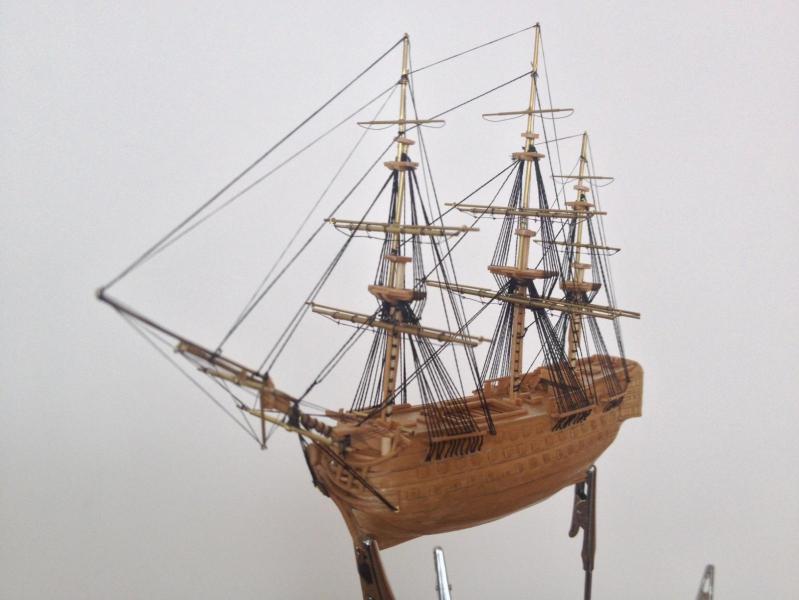
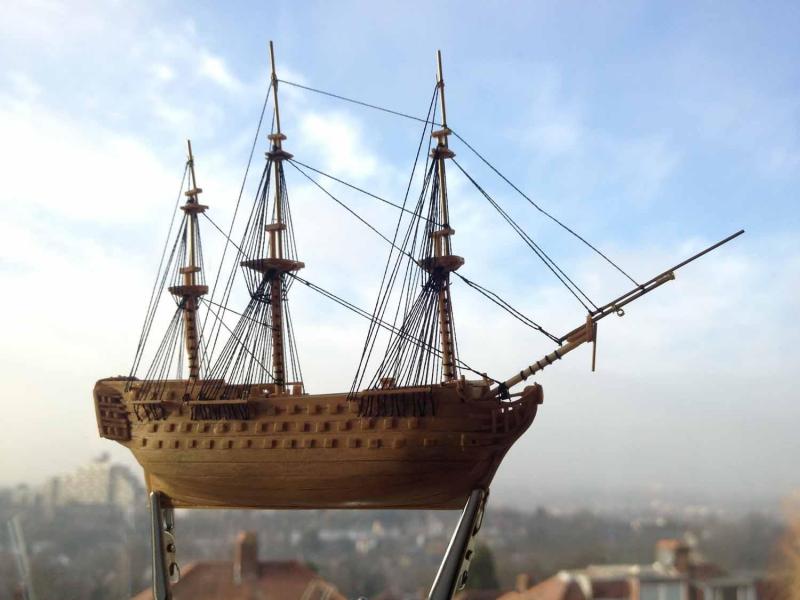
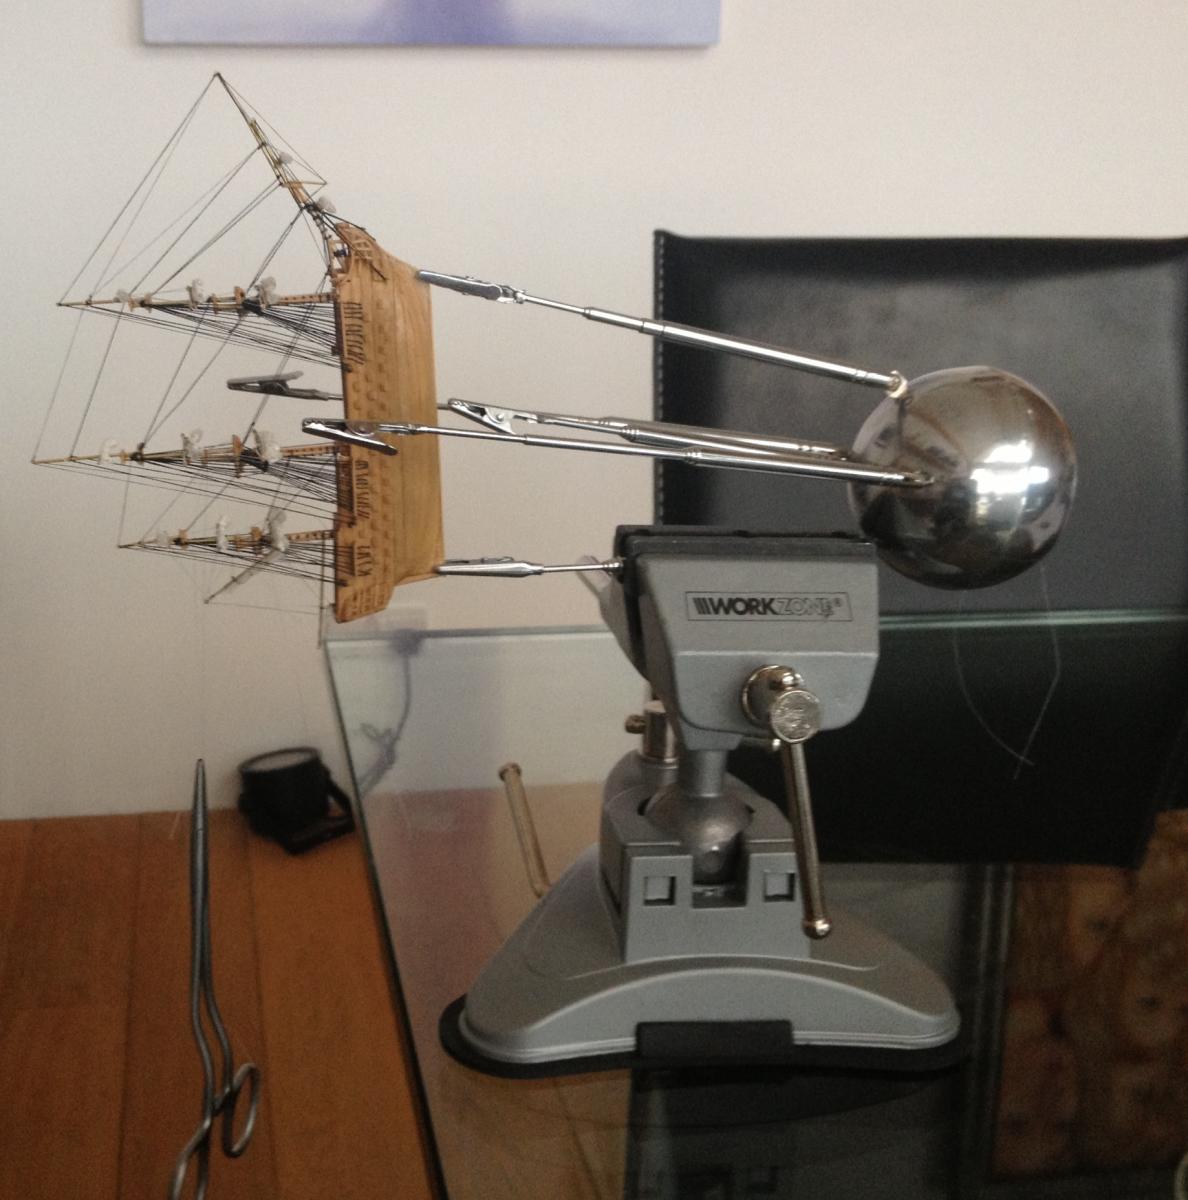
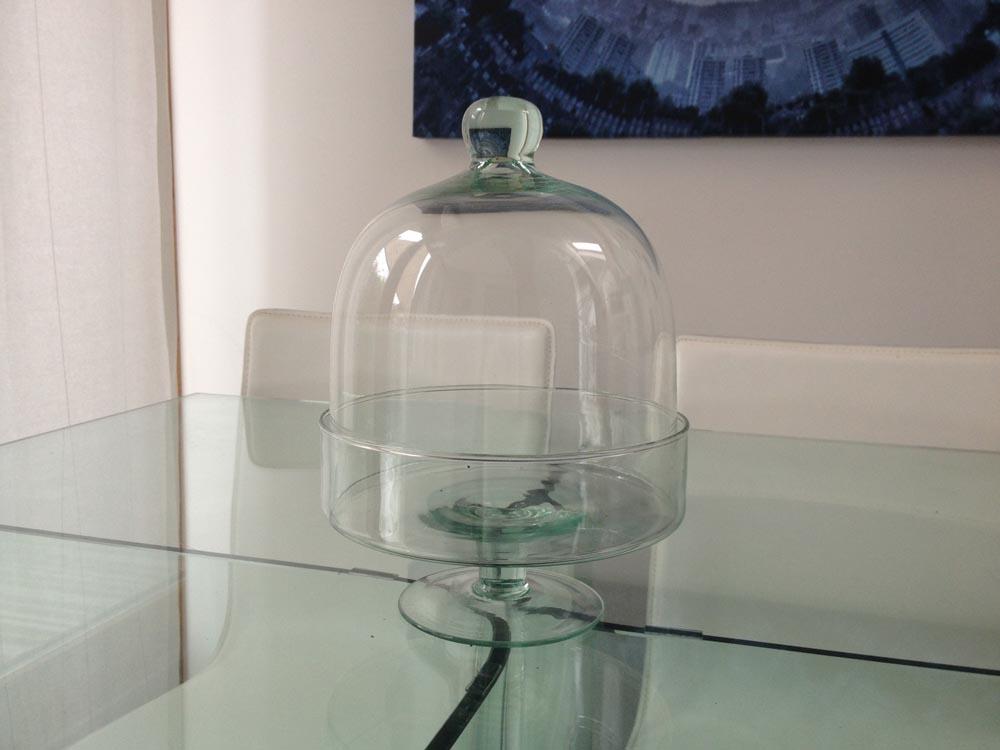
Sonicmcdude, the ship will eventually reside inside this glass cloche that the admiral has acquired

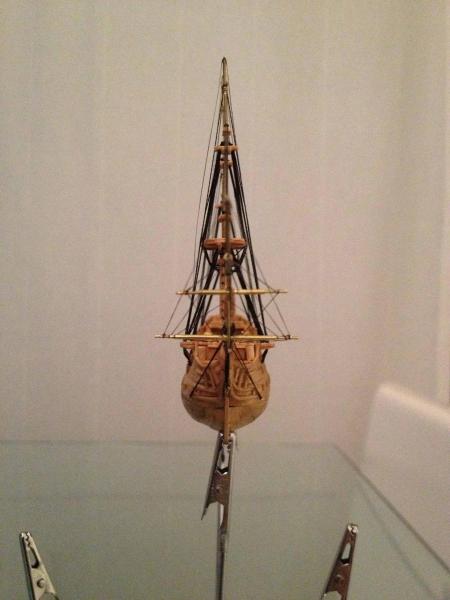
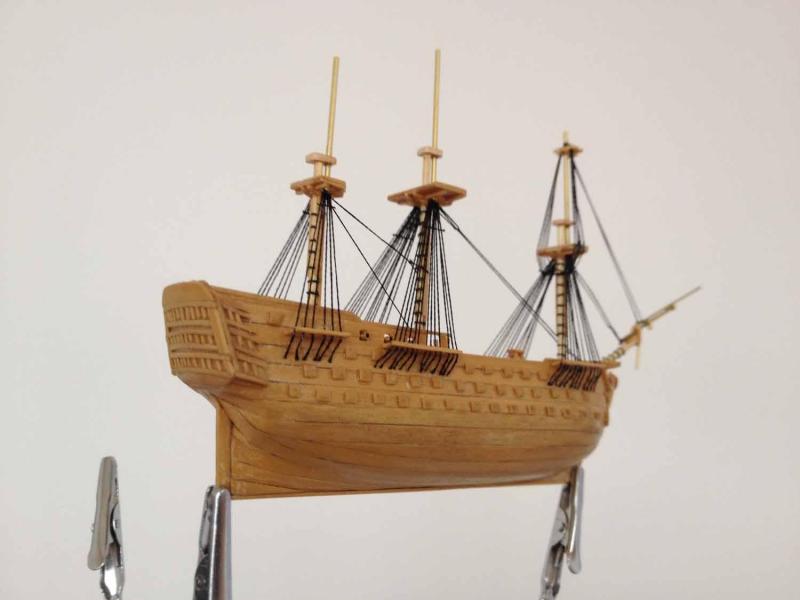
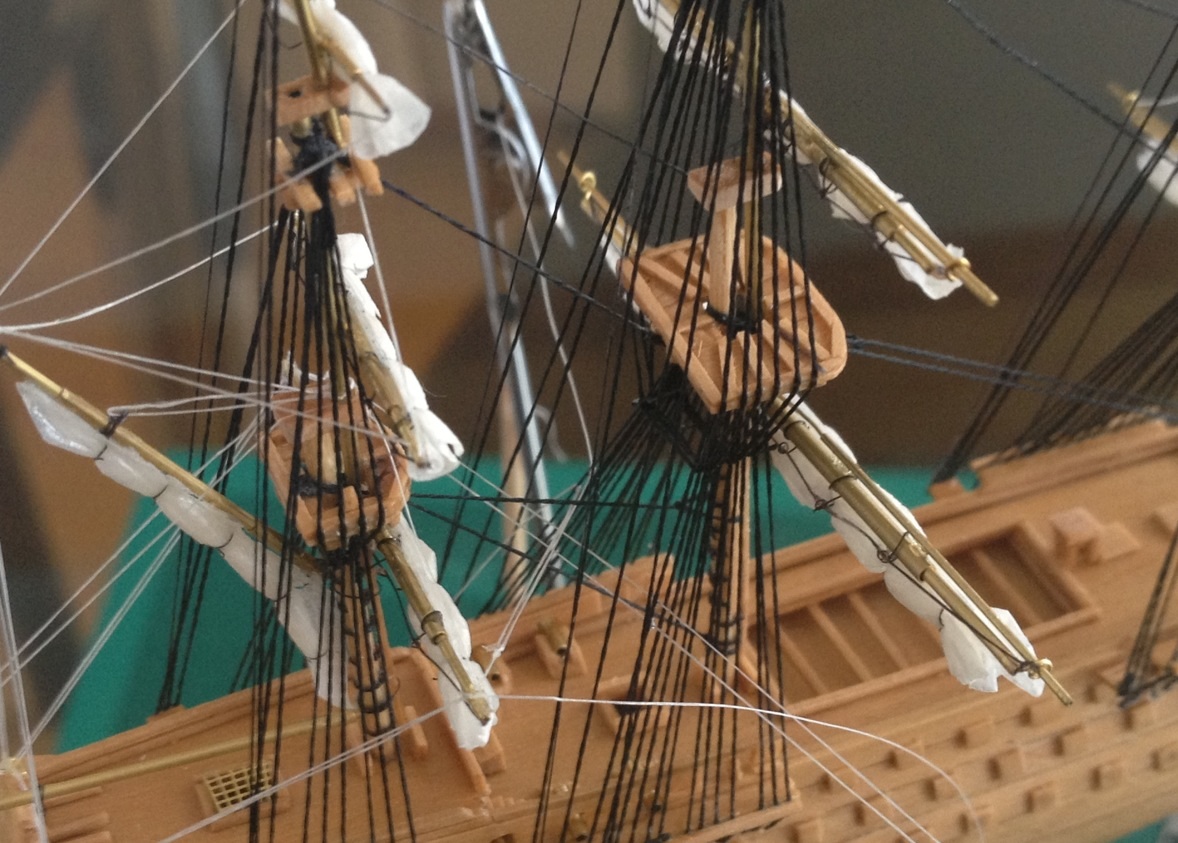
I have started on the standing rigging using a bead thread which is not too "hairy"
I am using fine brass tubes for the upper masts and yards which although cannot be tapered seem to have the right feel in terms of visual weight and complement the woods used. I am not quite sure about the representation of the shroud chains, I may revisit this later. I also need to think about whether I should try to indicate the deadeyes and lanyards.
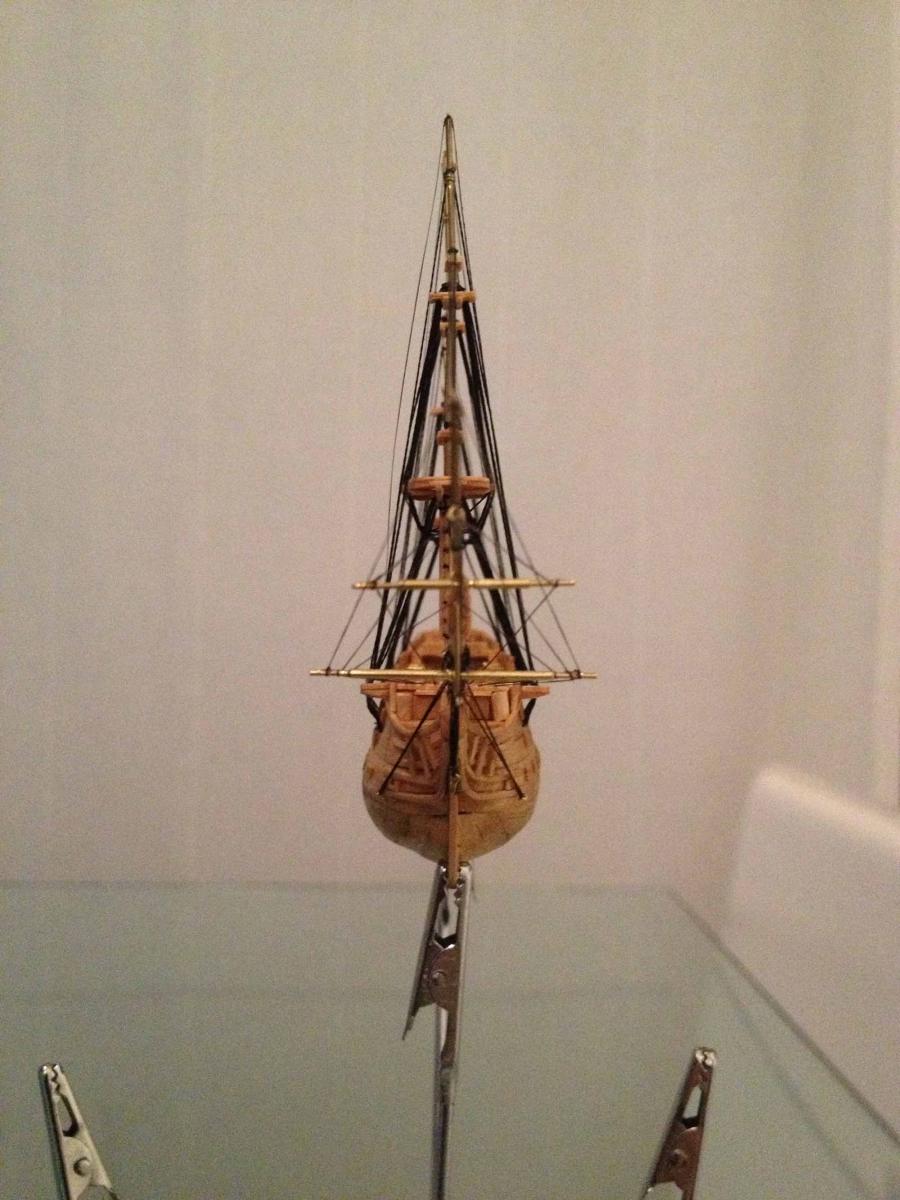
My son is studying medicine and gave me a set of his disposable surgical instruments which are great for this work! Clamps are very useful to act as weights to ensure even tension on all the shrouds
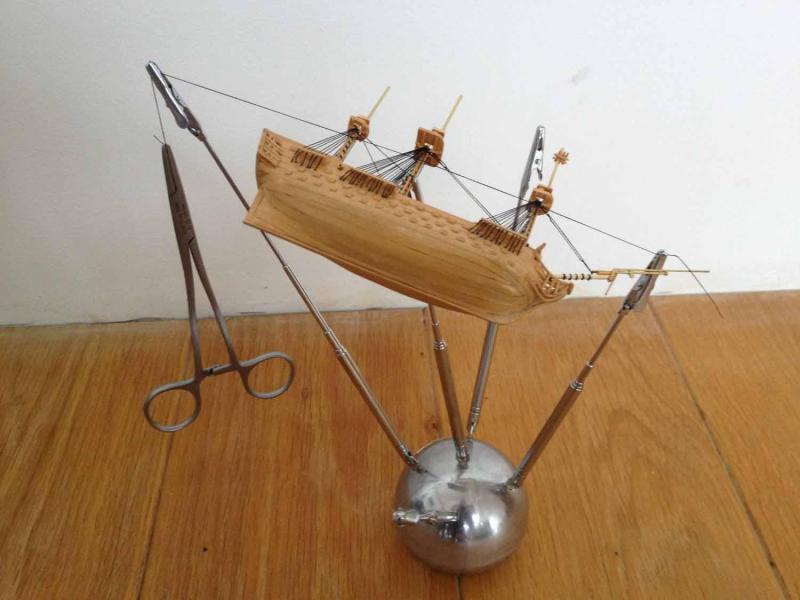

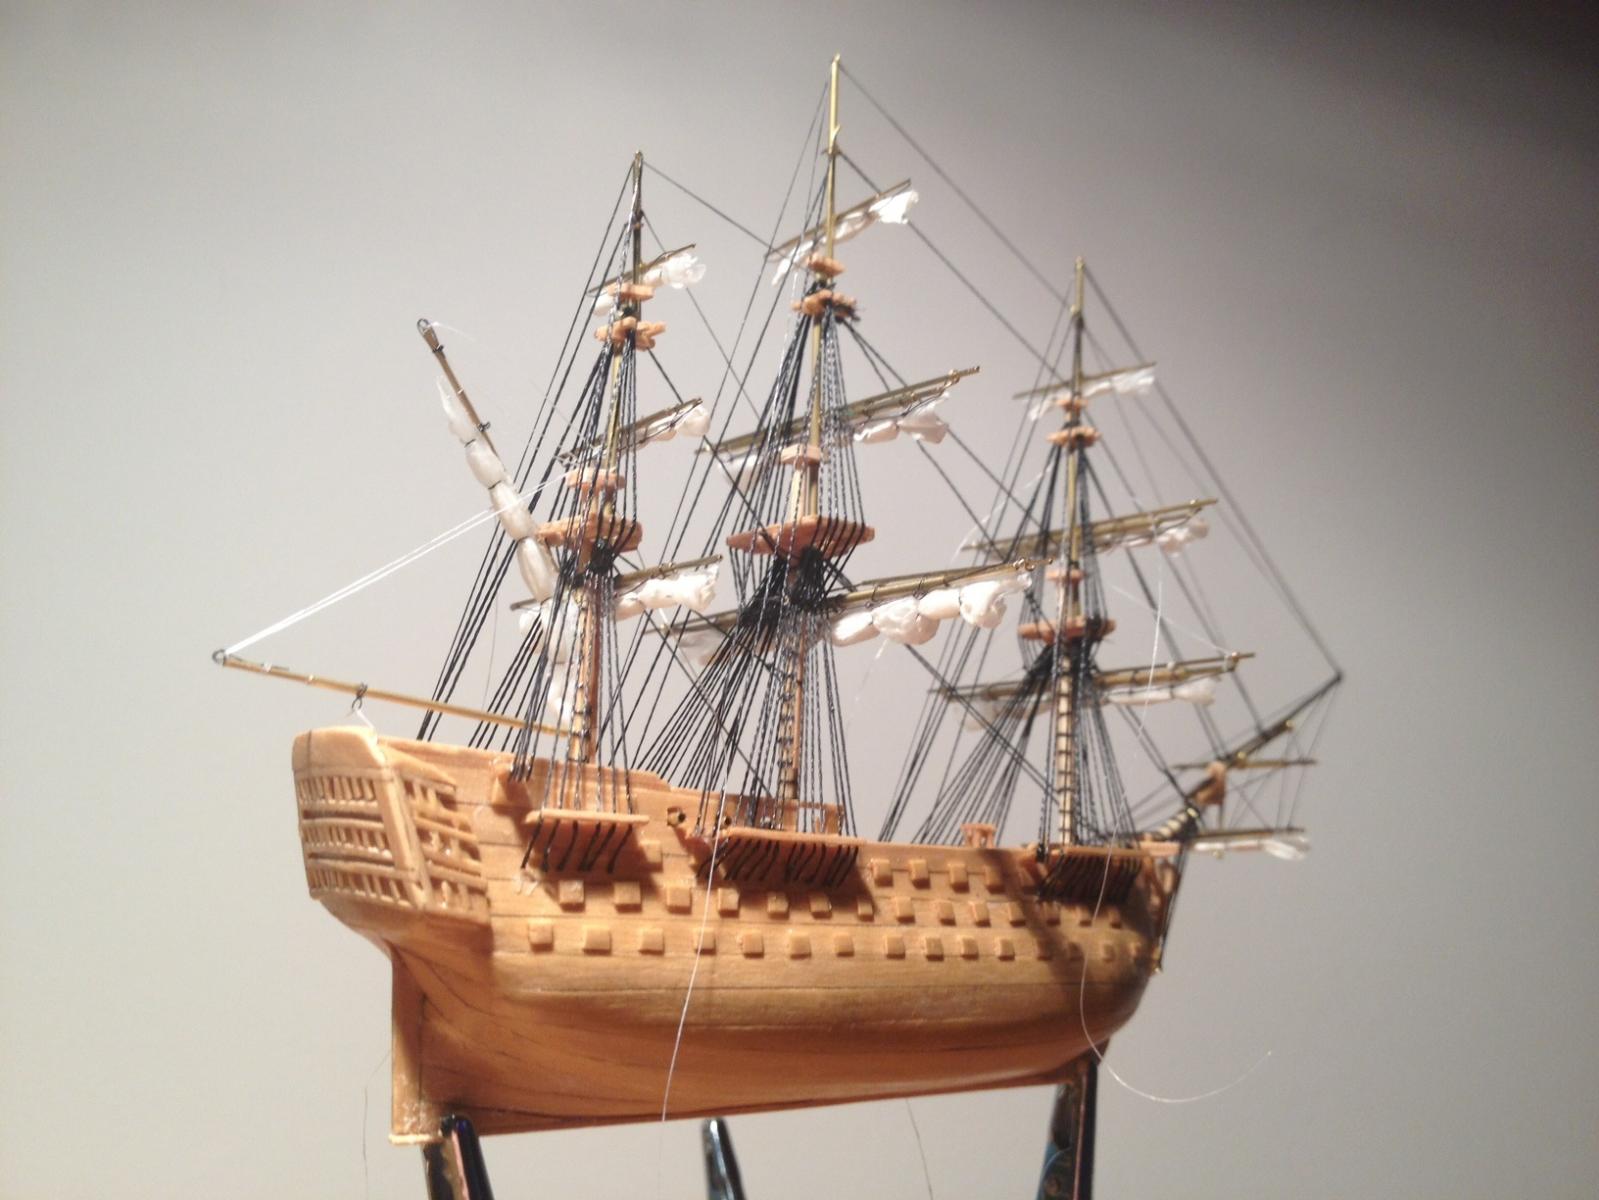
A picture of the rigging underway after launching!

-
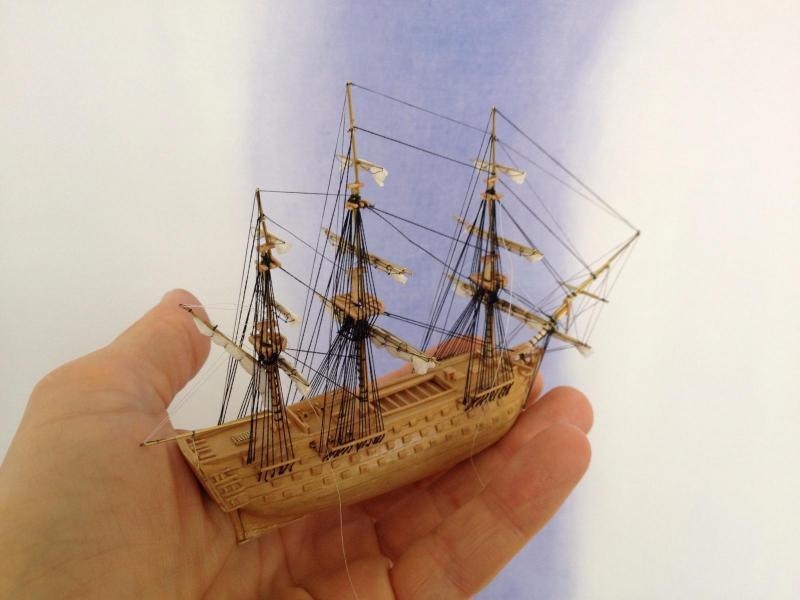
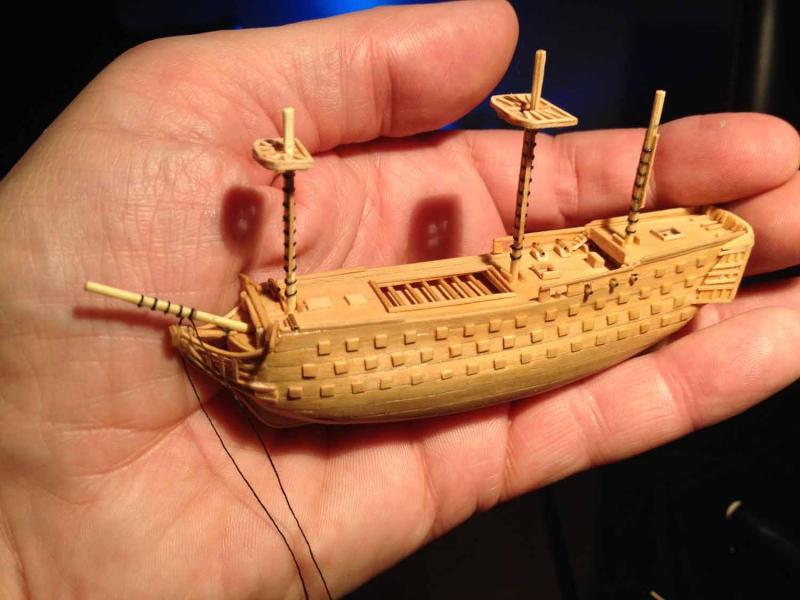
New recruit requesting permission to come aboard!
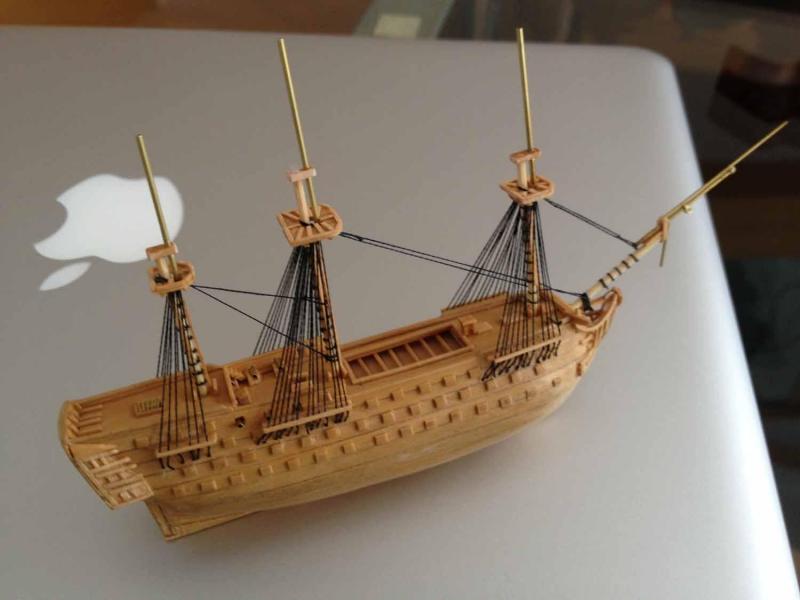
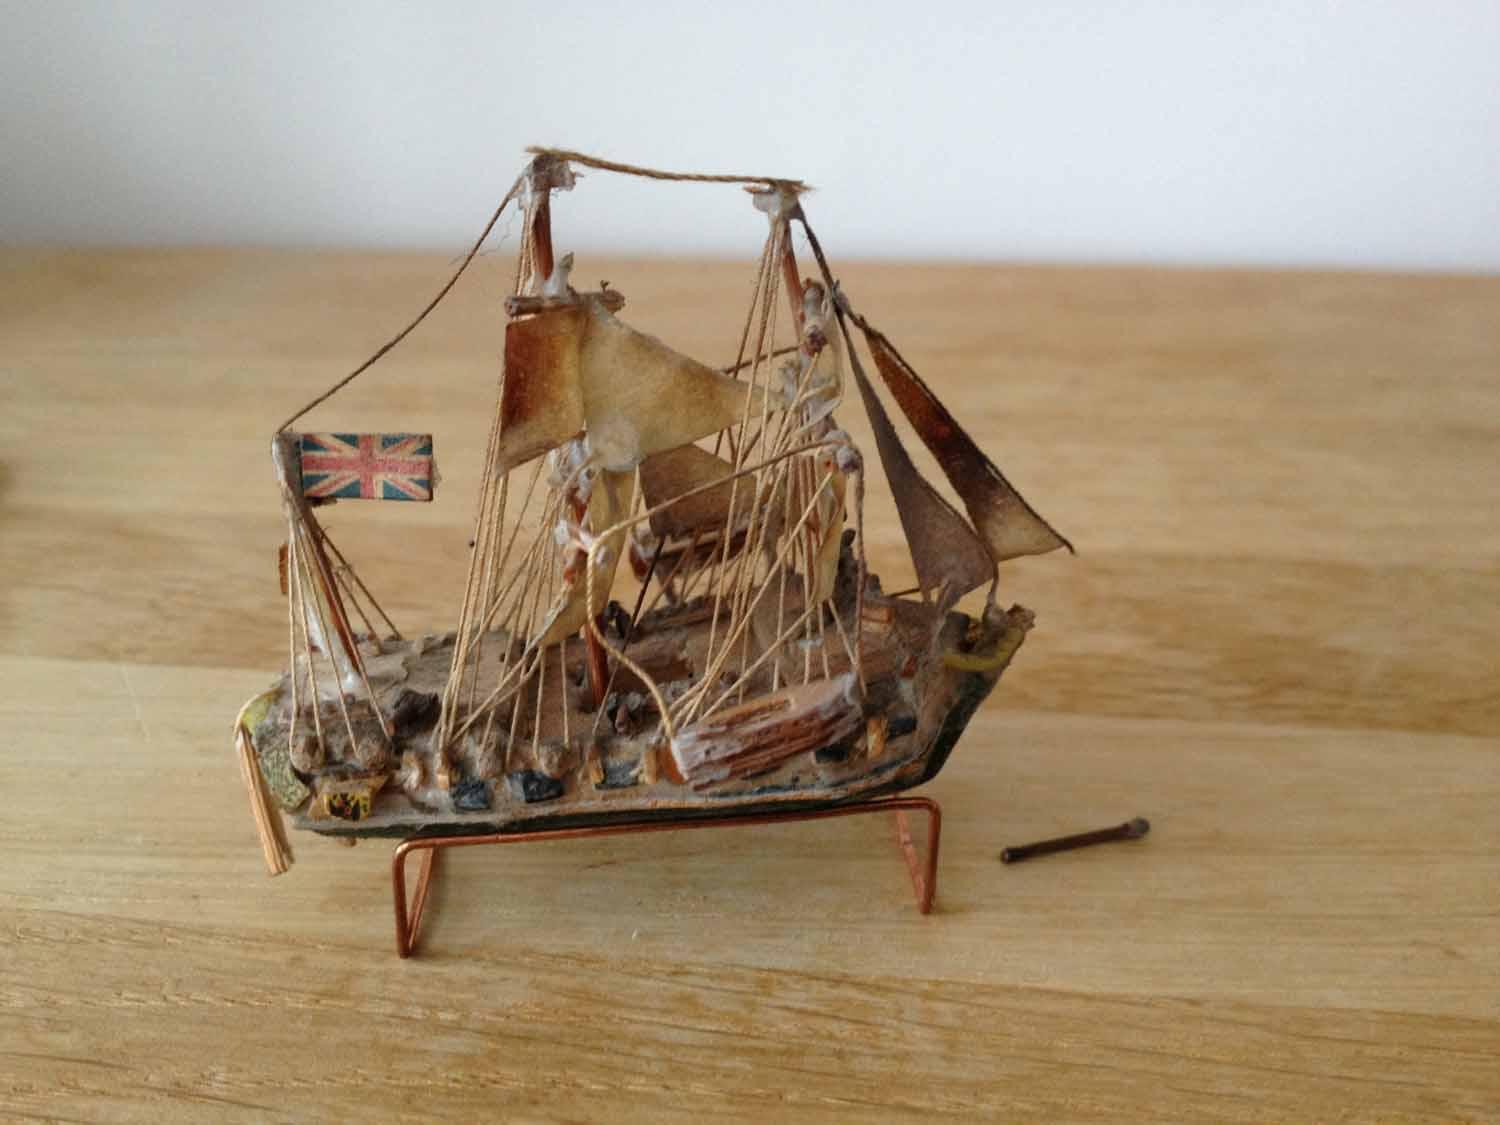
Having made a few ships in bottles I wanted to see how small I could make a static ship model.
I have been overawed by the quality and craftsmanship of models I have seen in these pages and know that I could never come close to these.
I used to build small ships when I was a kid so I thought I would have another go. this is one from 45 years ago that my mother still had!

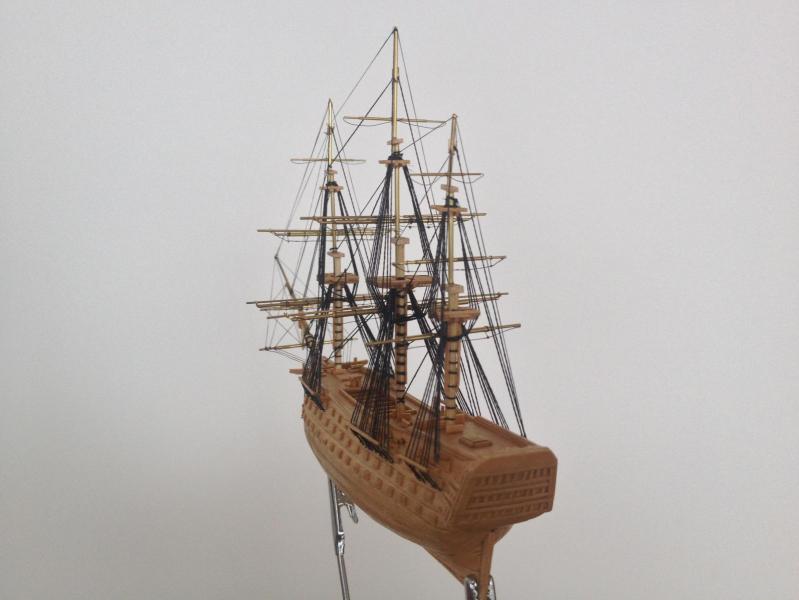
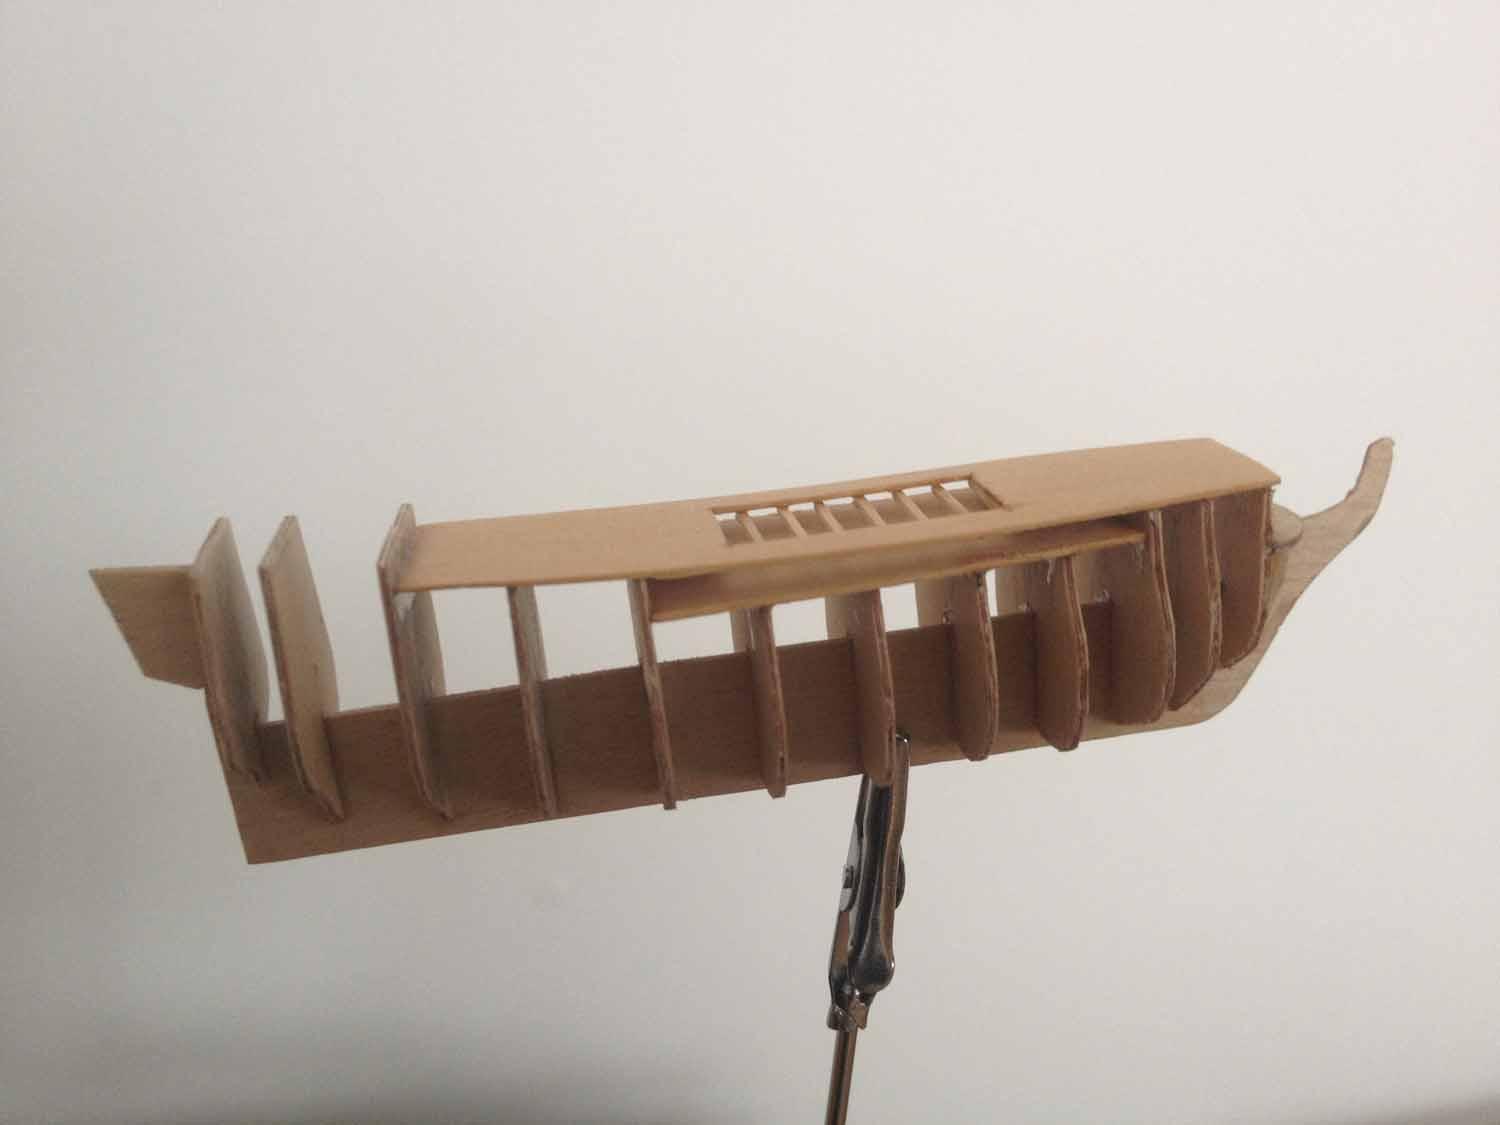
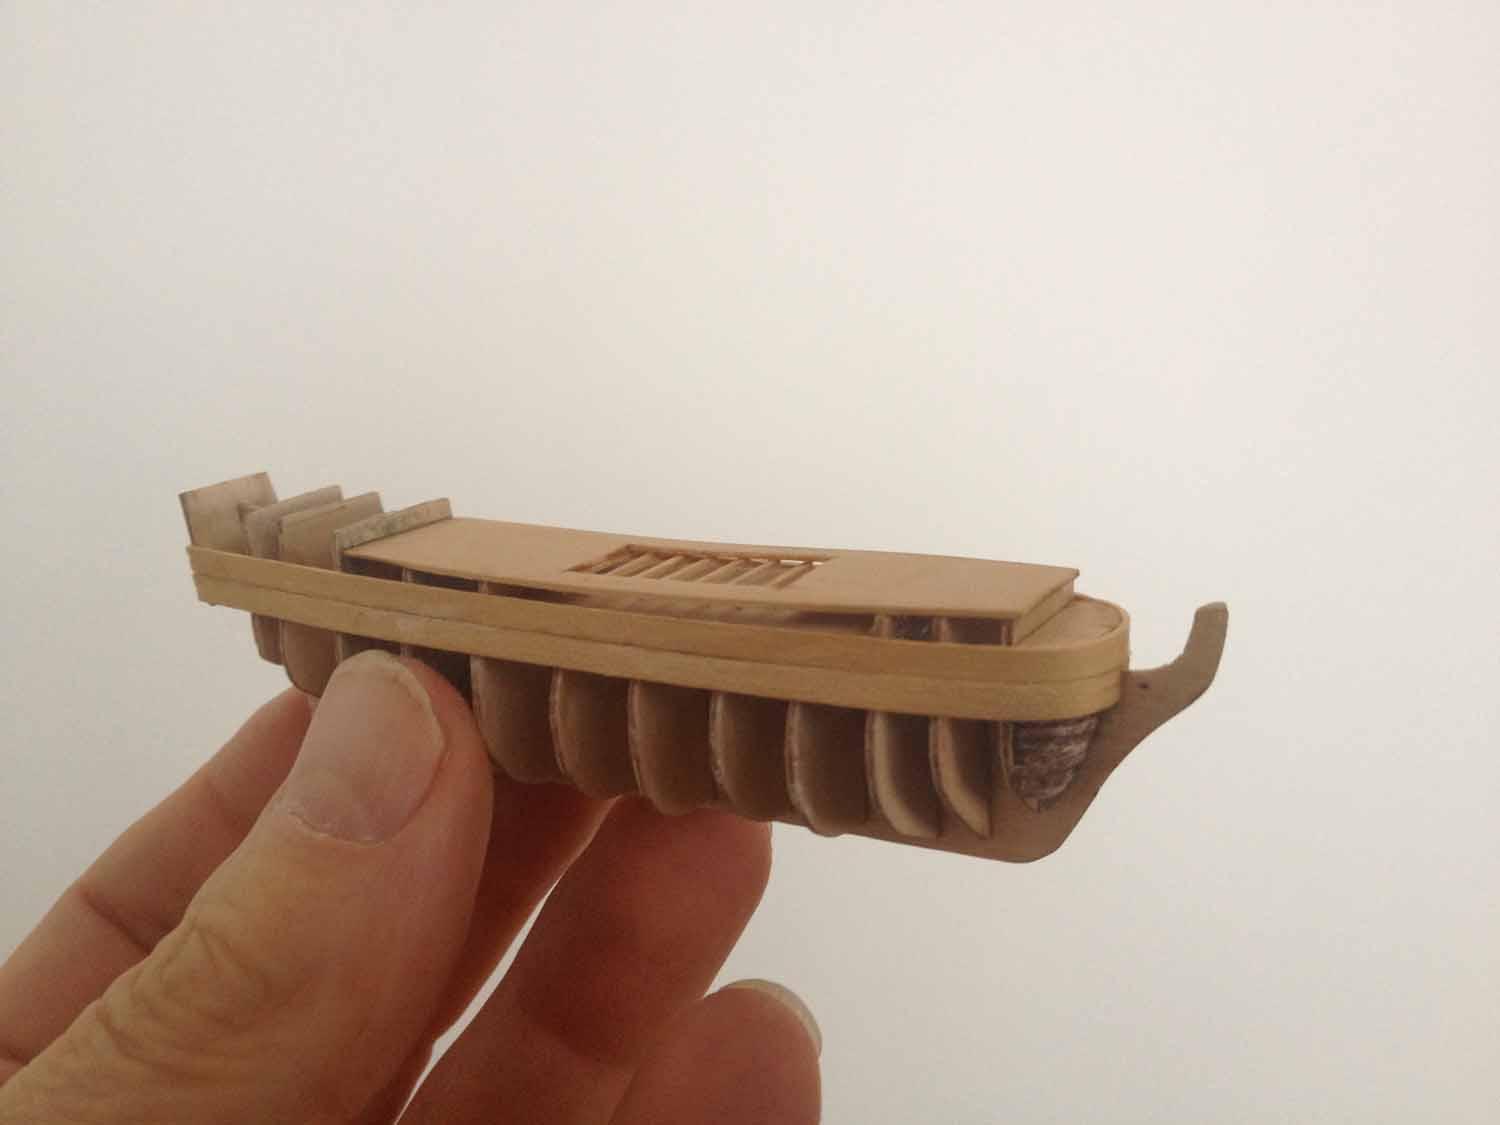
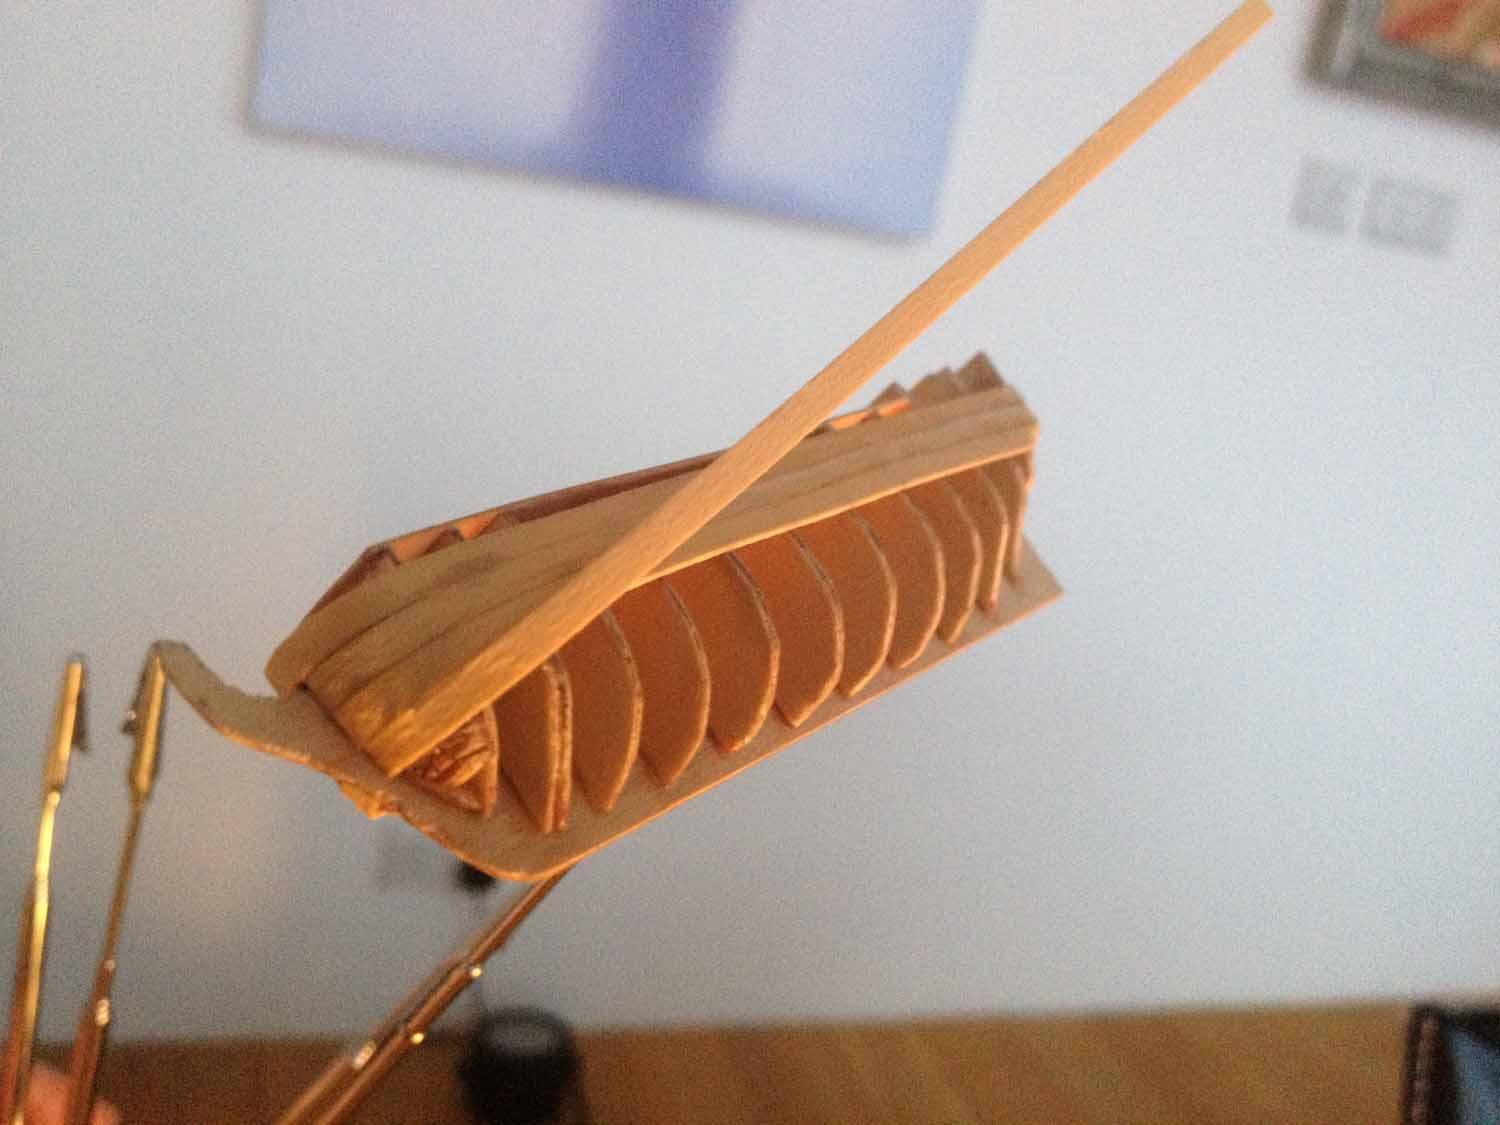
I really loved the models I used to look at in the NMM and Science Museum in London and decided to make my Victory out of boxwood for the beautiful colour and fine grain. I acquired some boxwood veneer and made a start.

I made the bulkheads and keel from 0.7mm ply the boxwood was used for deck and planking


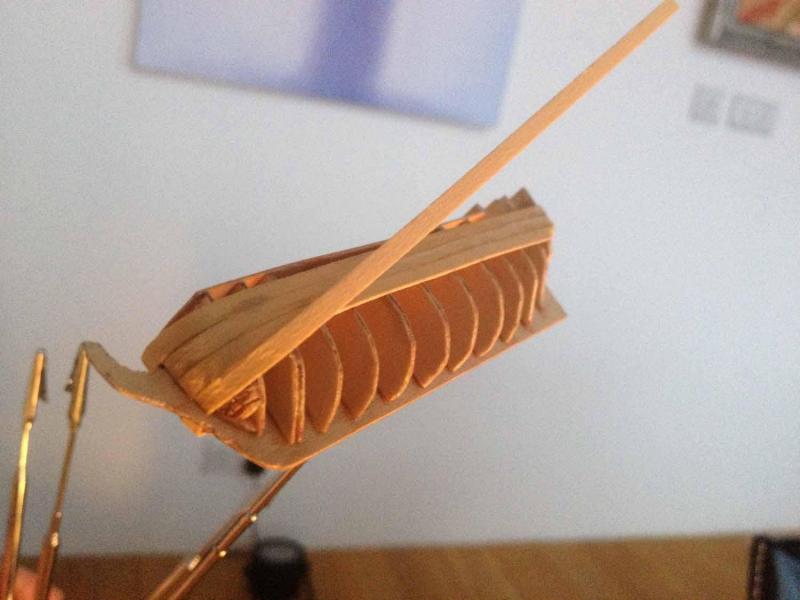
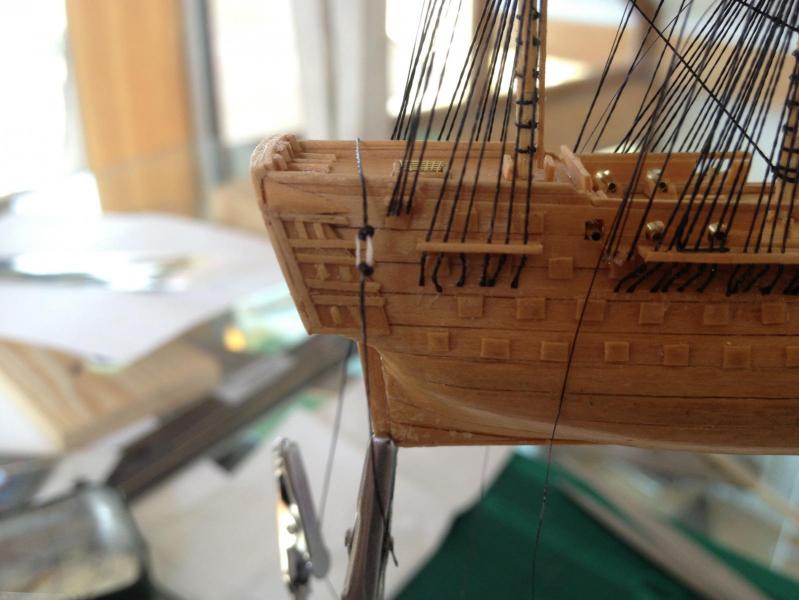
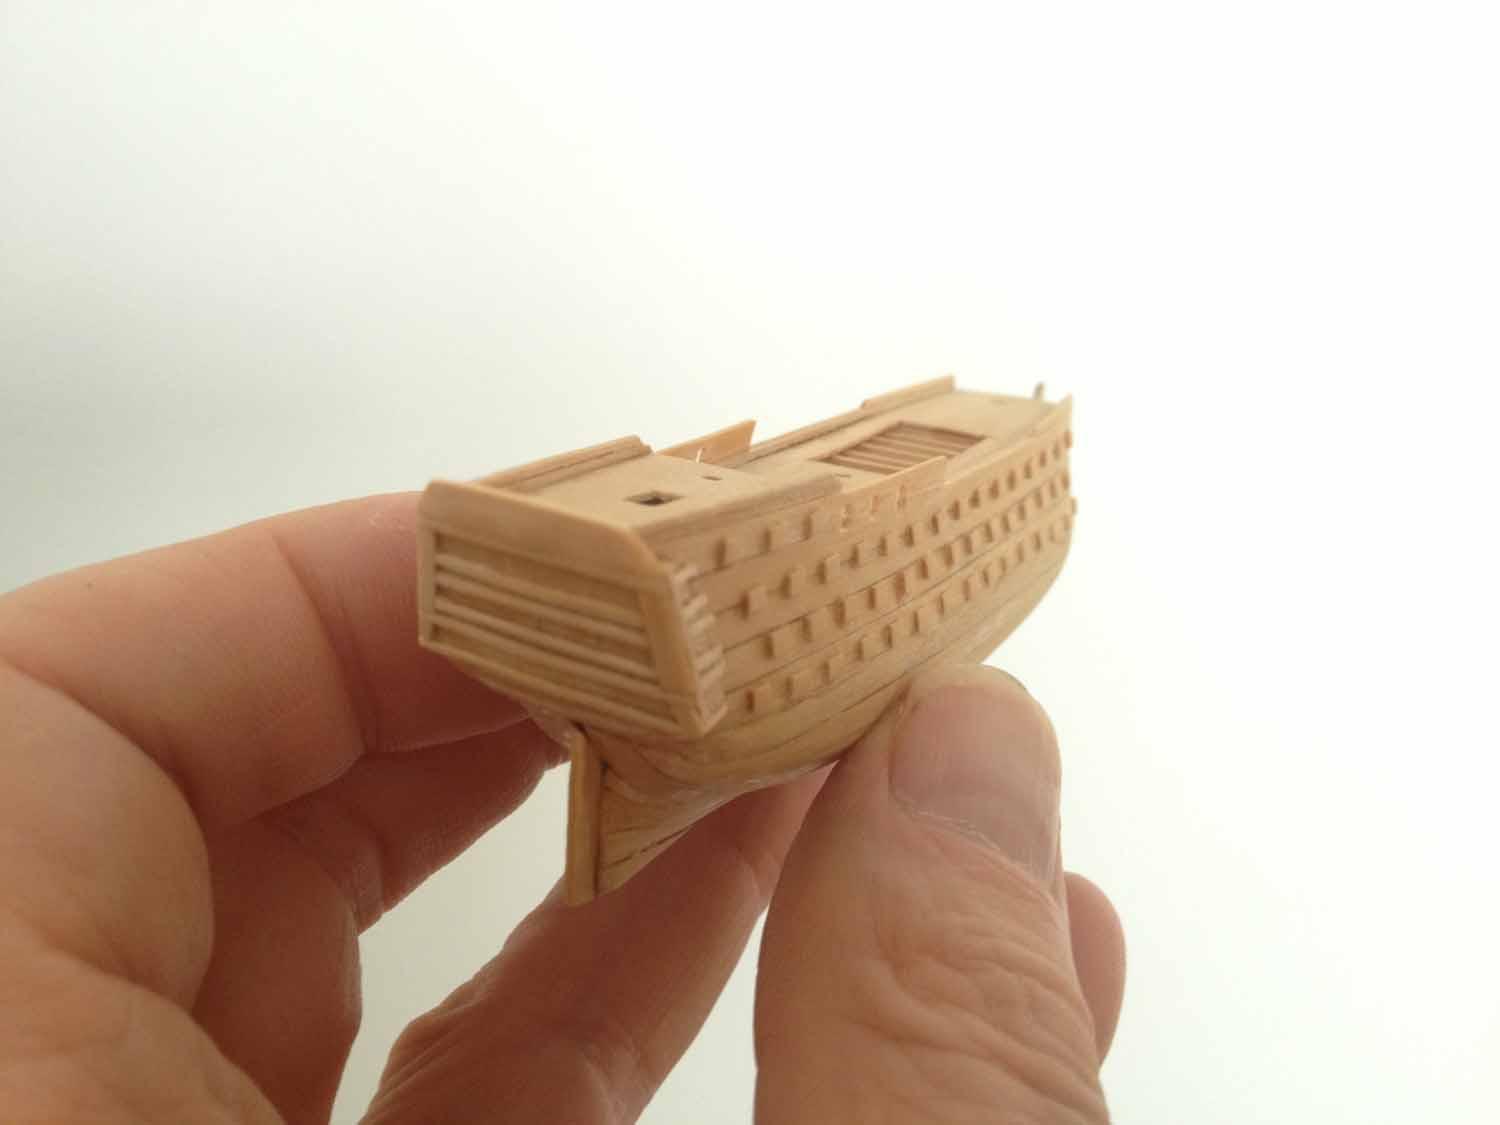
I was keen to keep the model in a timber finish and started to construct the stern and galleries onto the base hull form

The gunports are closed! and therefore set out as simple squares on the hull. I also started to think about the few visible cannons with brass tube barrels.
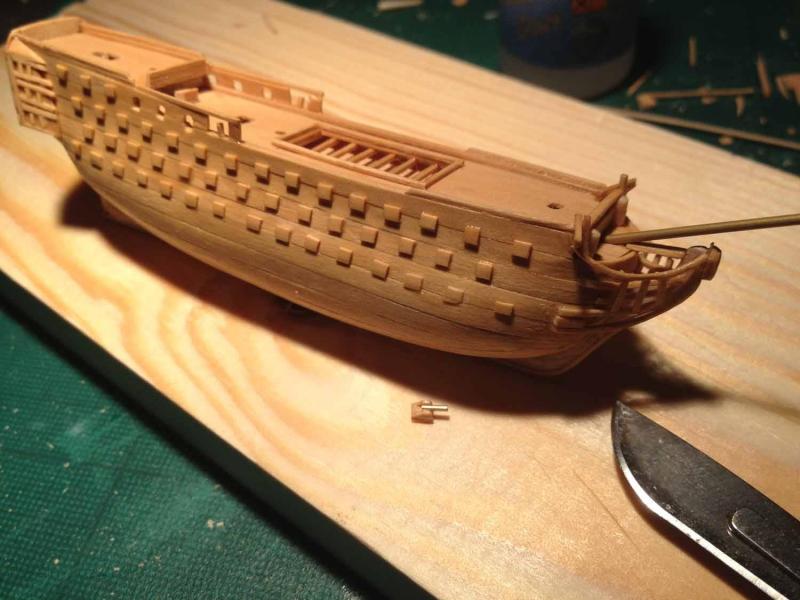
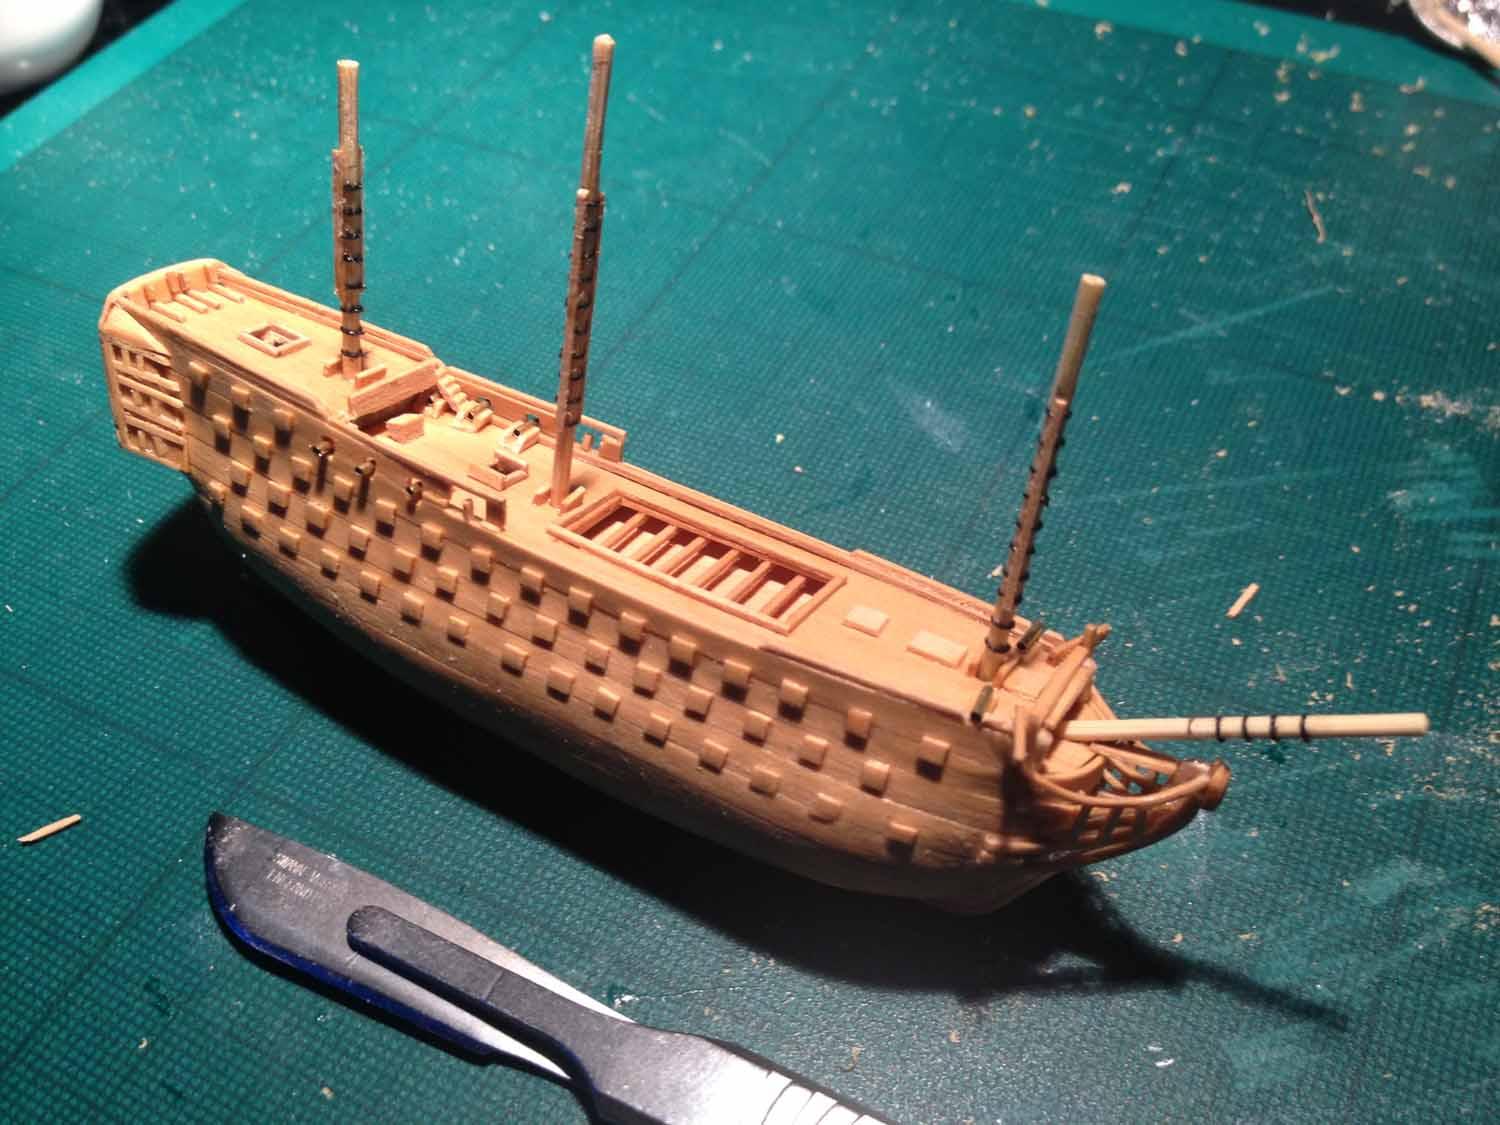
Lower masts are bamboo skewers reduced through a draw plate and bands fitted in cotton thread

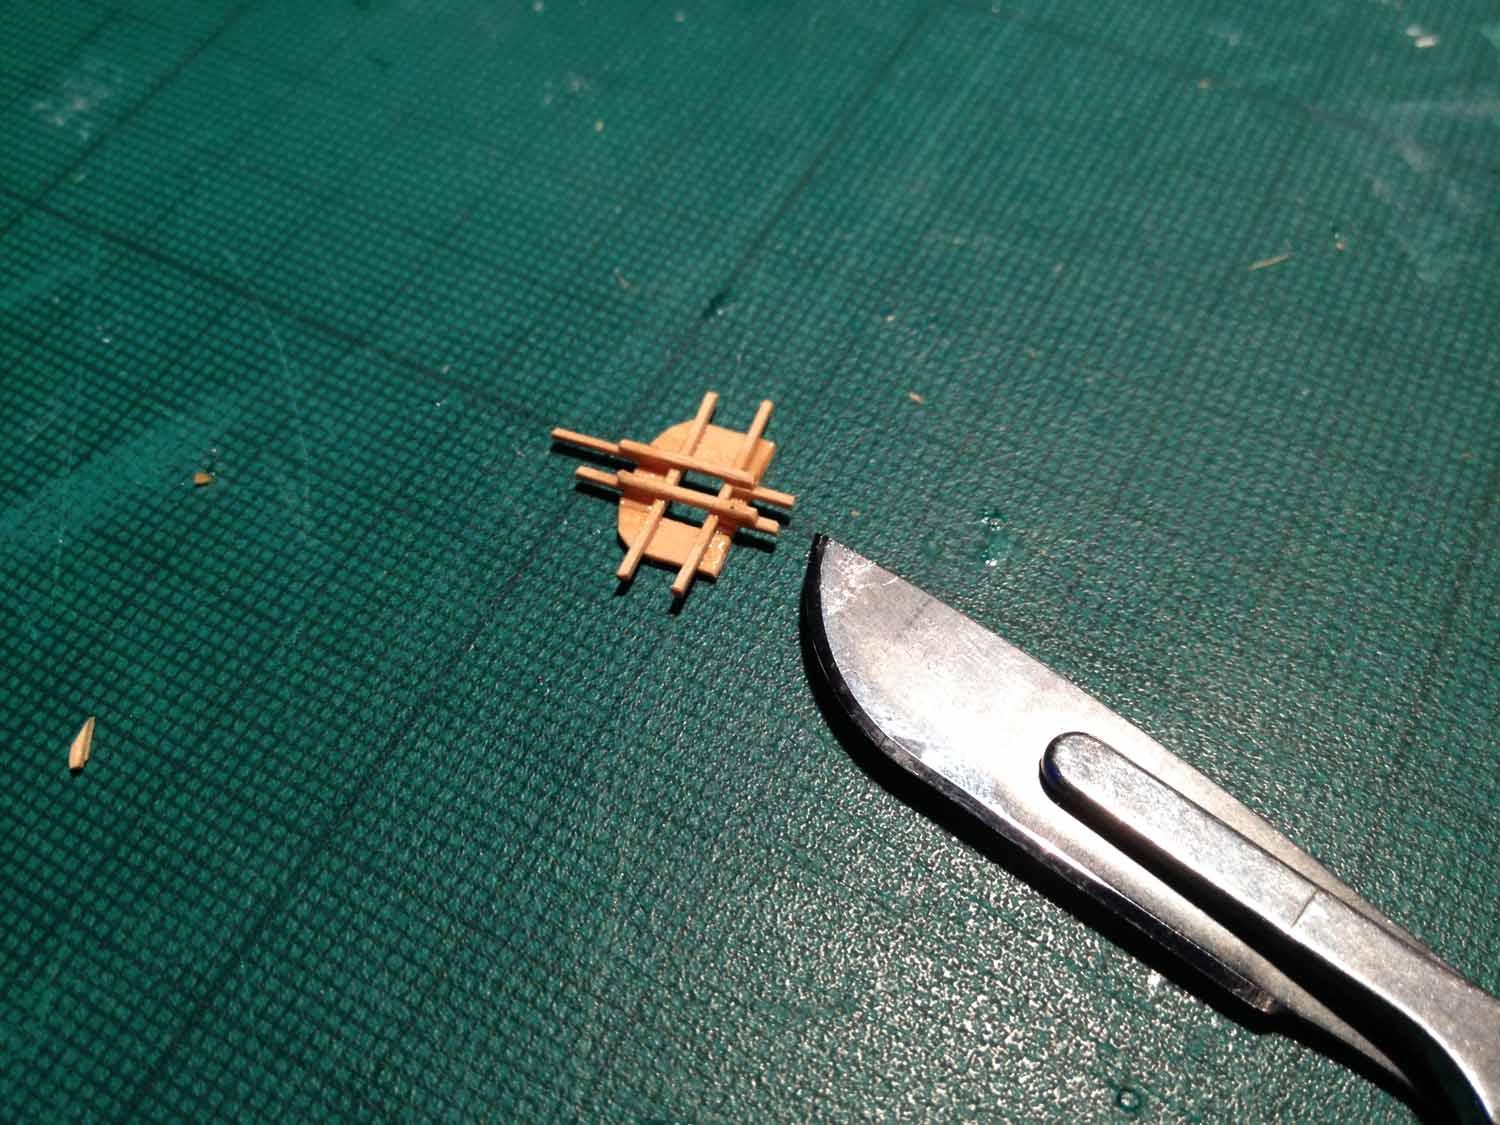
For the smaller solid parts I used sawn sections from one of my wife's used clay modelling tools which are made of fine boxwood
- Chuck, JerseyCity Frankie, IgorSky and 2 others
-
5


HMS Victory by Sven - FINISHED - 1:600 scale
in - Build logs for subjects built 1751 - 1800
Posted
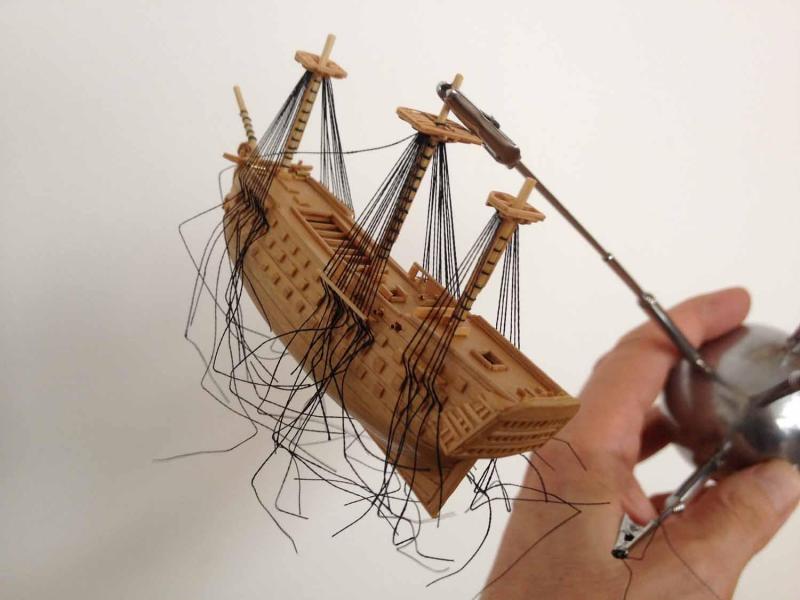
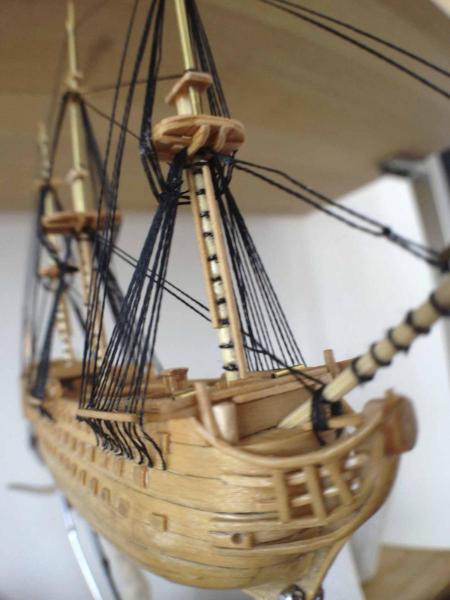
Oh dear, two steps back!!
I was getting unhappier as I progressed with the running rigging and decided that I should start again
I have removed the white silk and shall start again with fine black. The white was too stark and the ship will look better with a more limited palette of materials
Matt