


popeye the sailor
-
Posts
15,981 -
Joined
-
Last visited
Content Type
Profiles
Forums
Gallery
Events
Posts posted by popeye the sailor
-
-
does that mean that you want me to paint them orange?.........LOL!
-
-
that I am Mark.......only one more to go
-
I'll be sure to do that Aldo.........thanks for looking it.....and the good word!
-
thanks Mark.....I have a similar one on the Gothenborg.....now I know what to do with it.

I haven't seen that Wayne.......thanks for linking it to me

as if there was anything elsa Aldo.......I don't eat an apple a day............LOL!
-
thanks Mark.......my little group wouldn't be the same without her. hopefully, by the time I get this all back in, I will have finished at least one build.....and have those pesky deadeyes. I can't do anything without the budget director's approval.......ordering these 3.5mm dead eyes in bulk would be good......they will fit the United States as well. but I want to concentrate on the other builds first.....three of them could be off the table, if I just applied myself.....LOL! thanks......I'm sure you'll be folowing. now I just have to remember everything.
-
5 - 18 - 2011
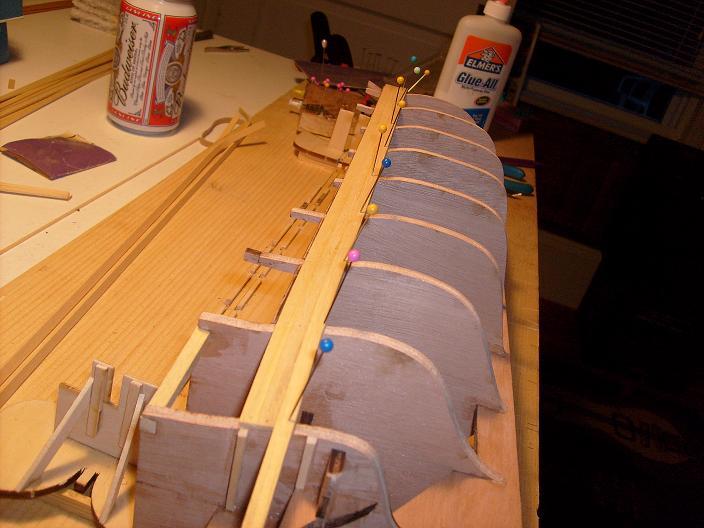
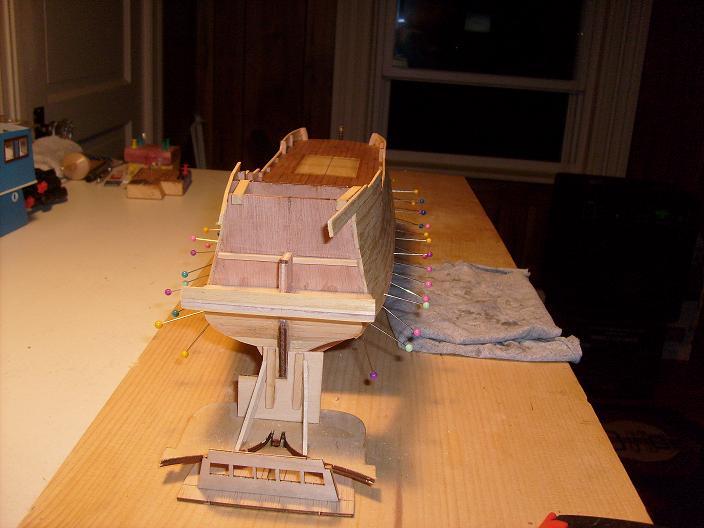
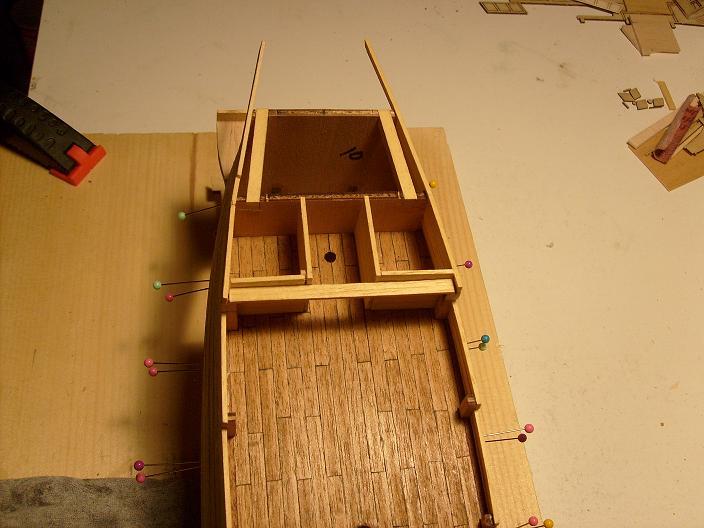
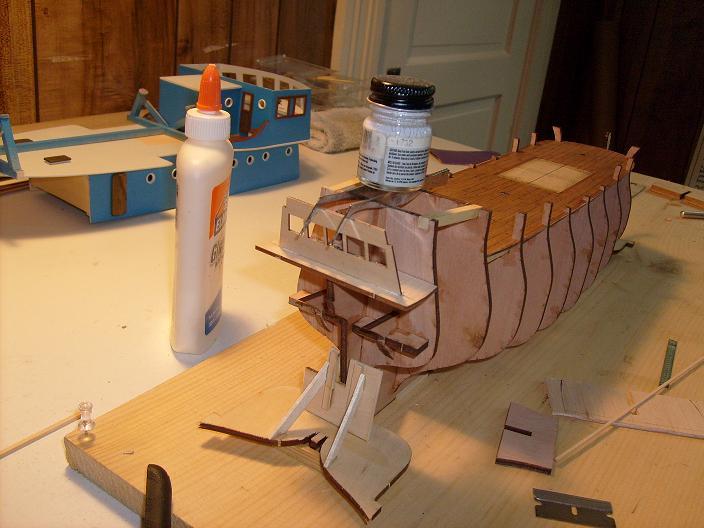
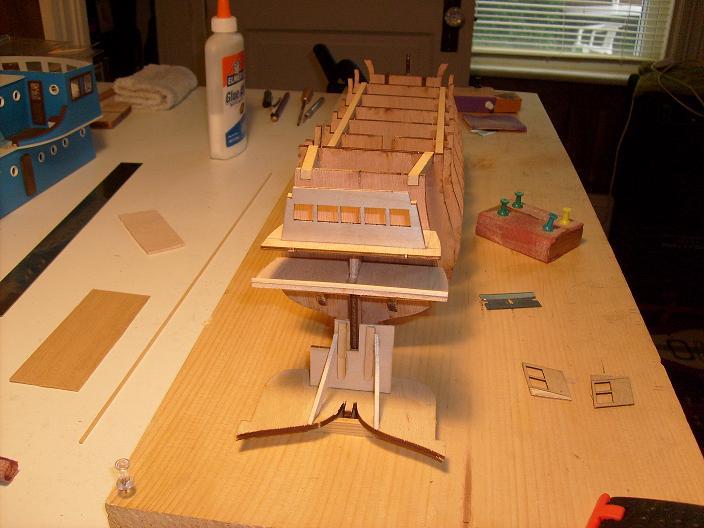
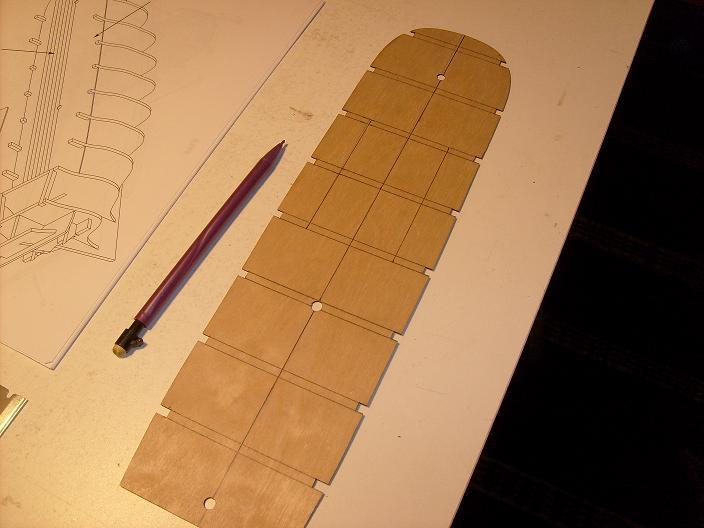
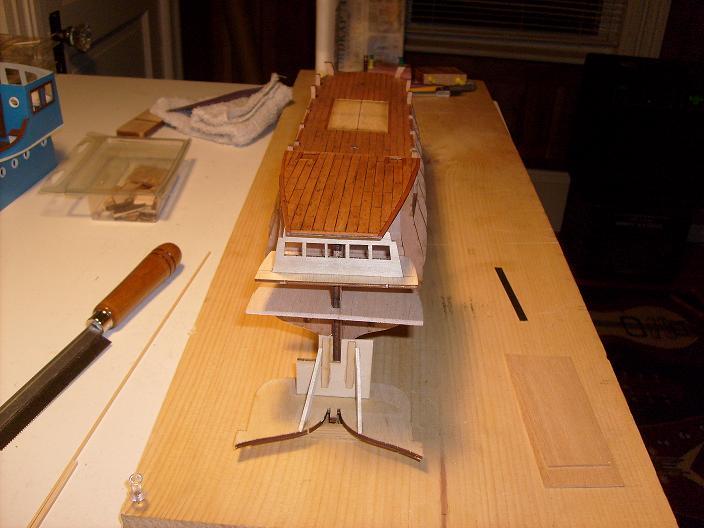
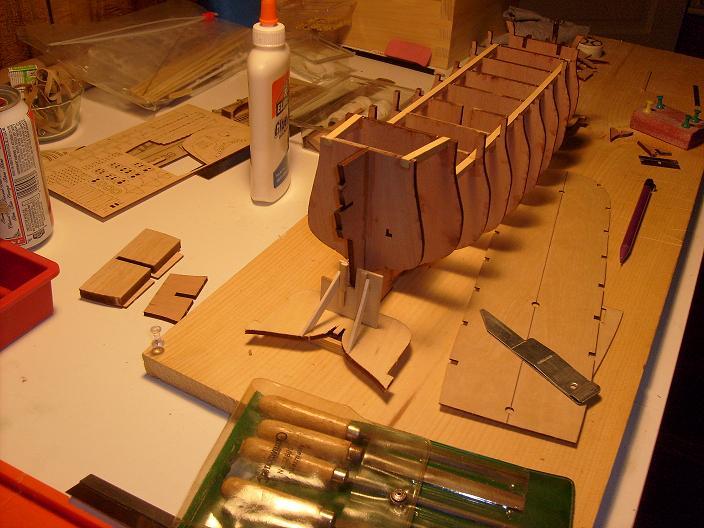
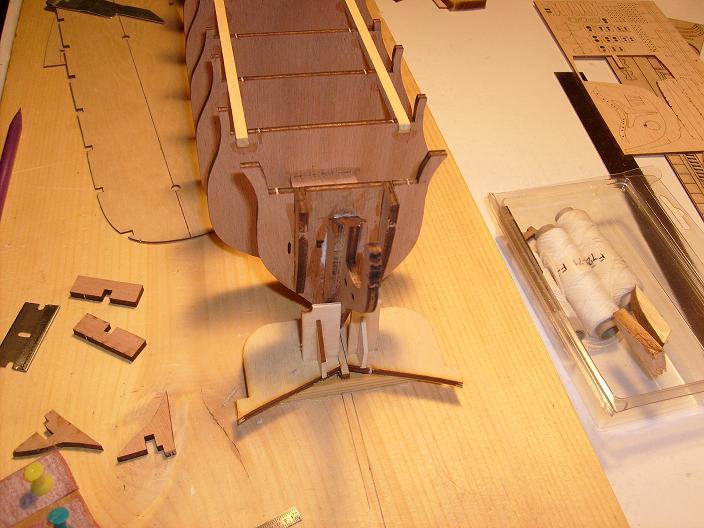
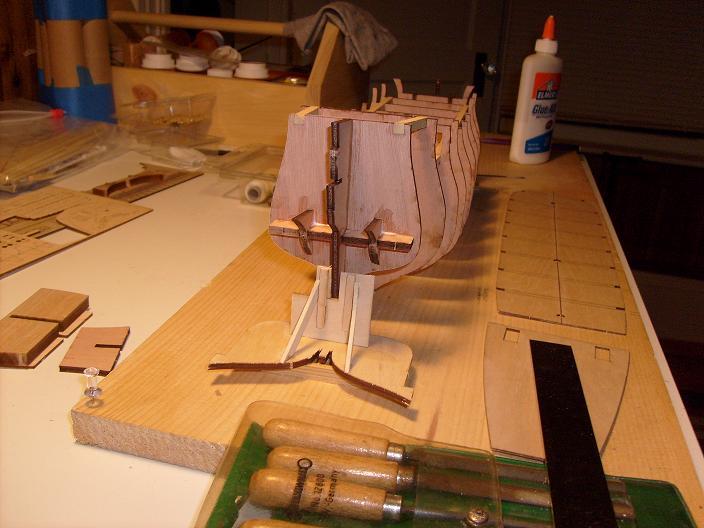
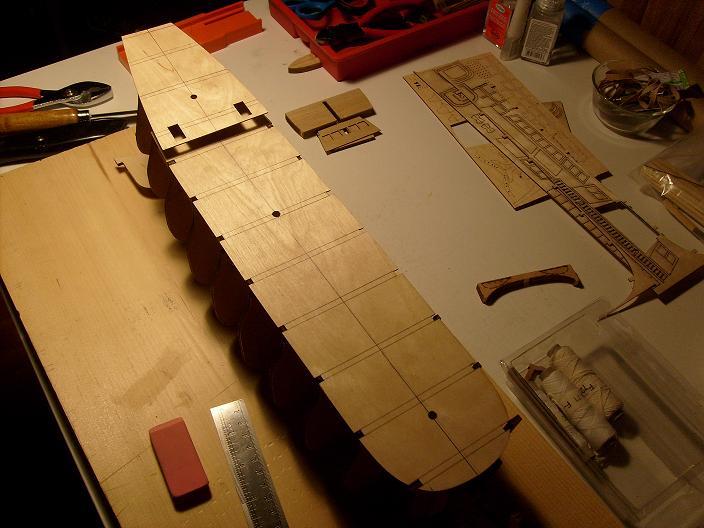
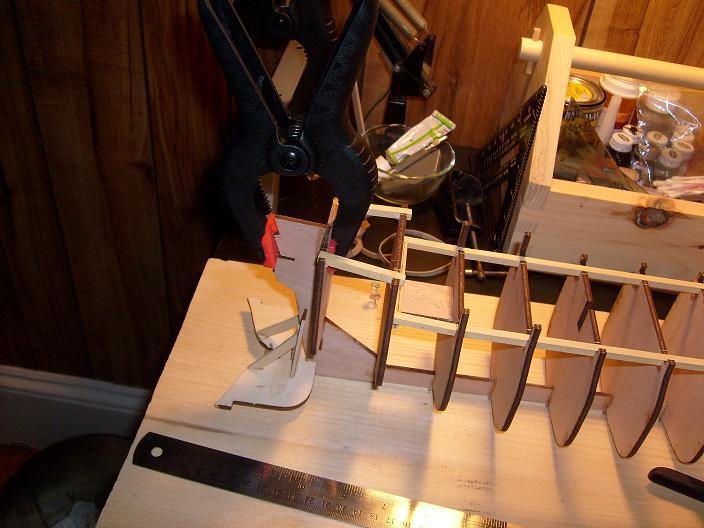
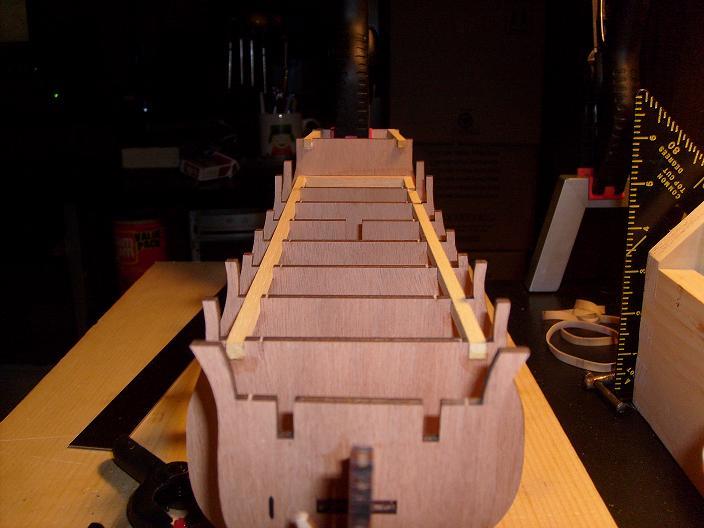
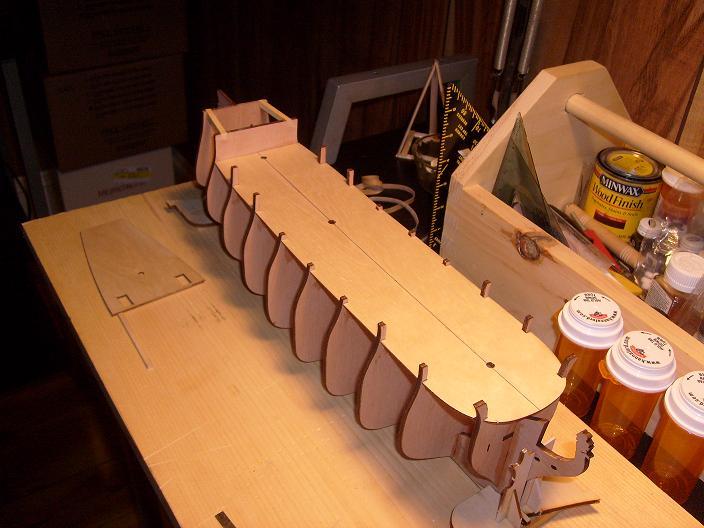
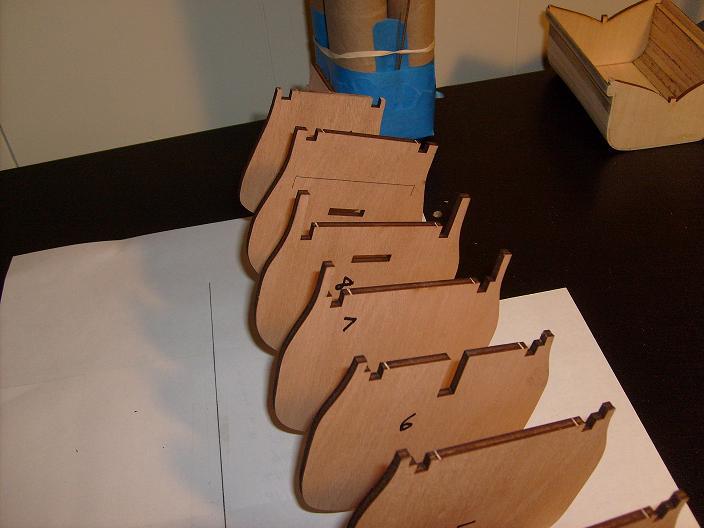
after the stern alteration ground work was established, it was time to fare the hull frame.

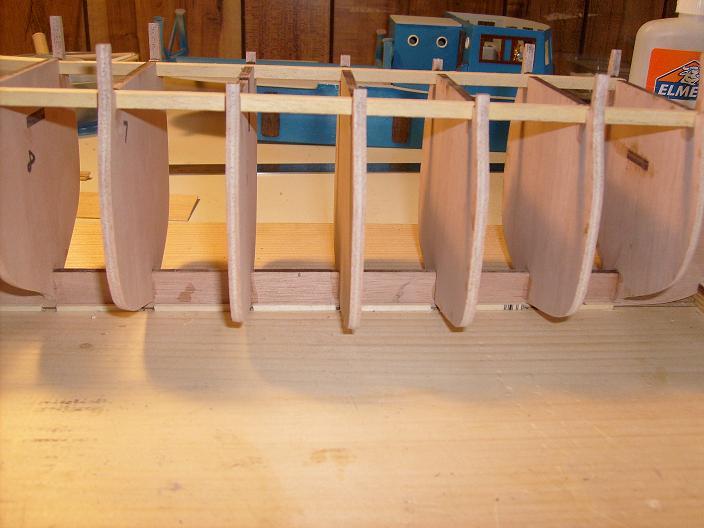

when the faring was finished, the hull was planked.

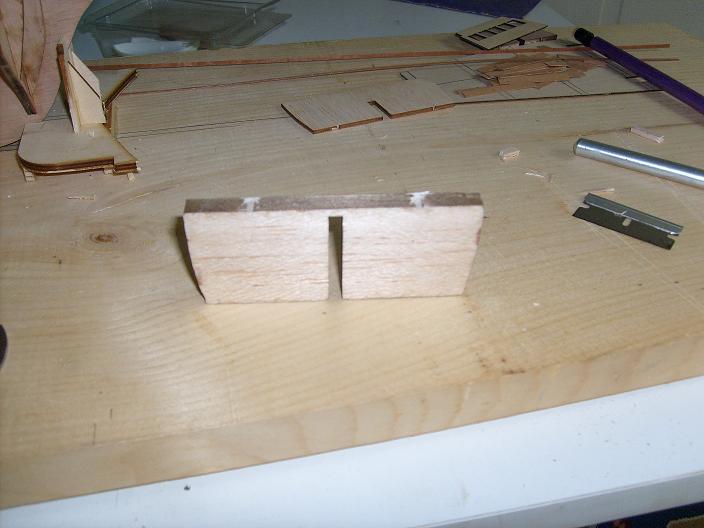
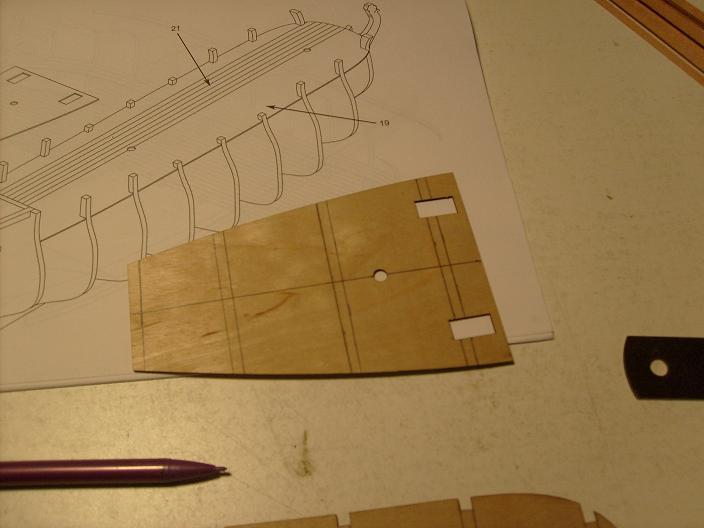
the bulwark posts on rib #8 needed to be made longer. to do this, pieces of the part's panels was cut to fit on the tops
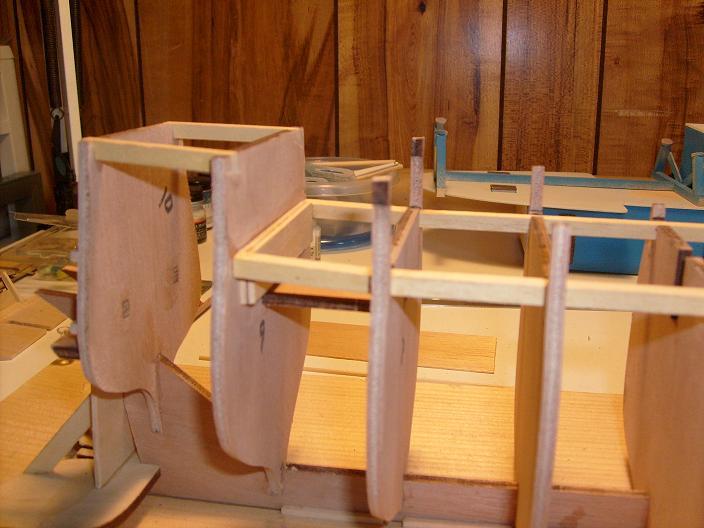
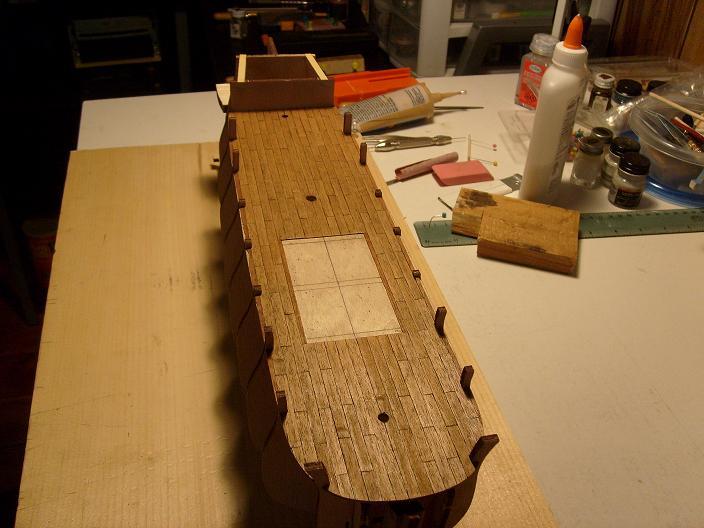
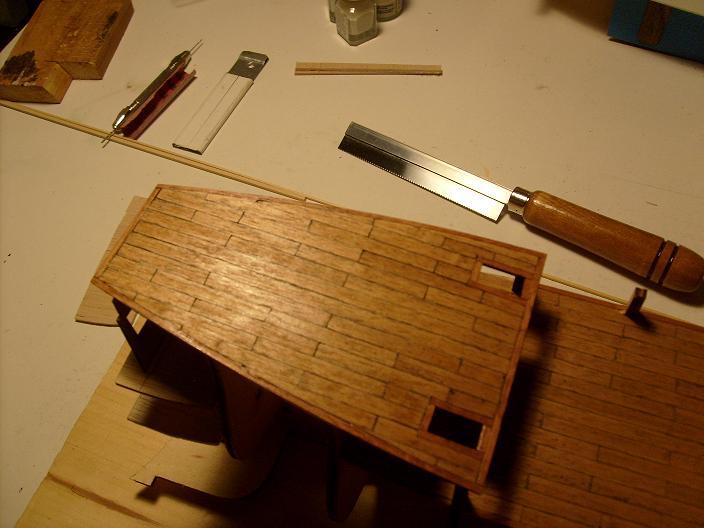
the deck was cemented in place at this time.
planks were bent as I went along.
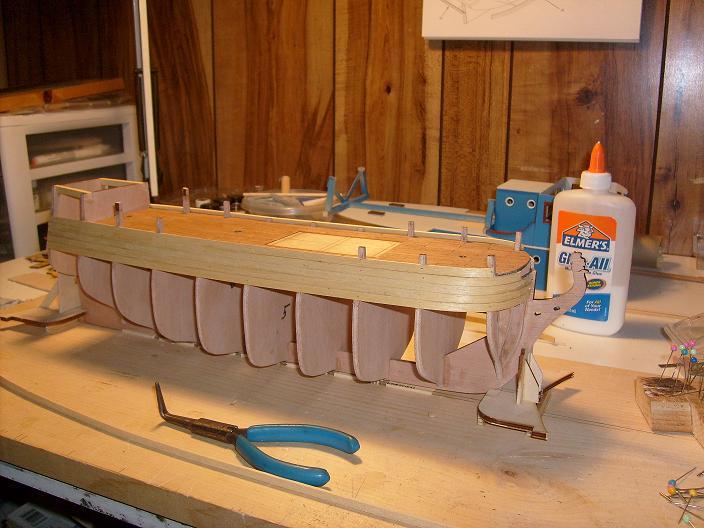
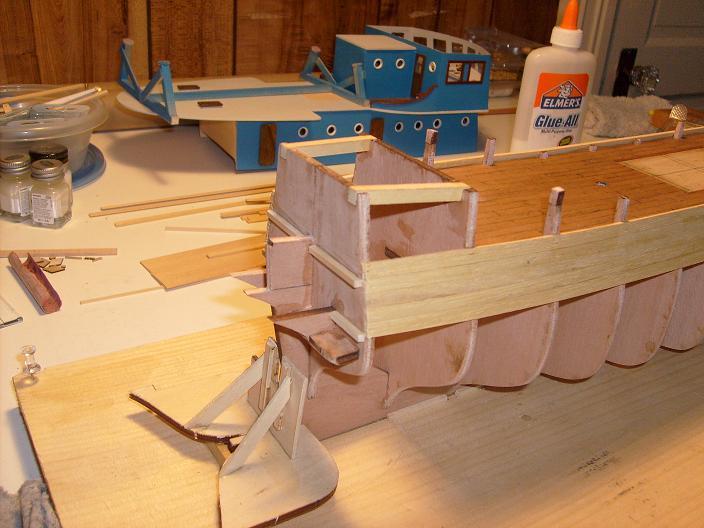

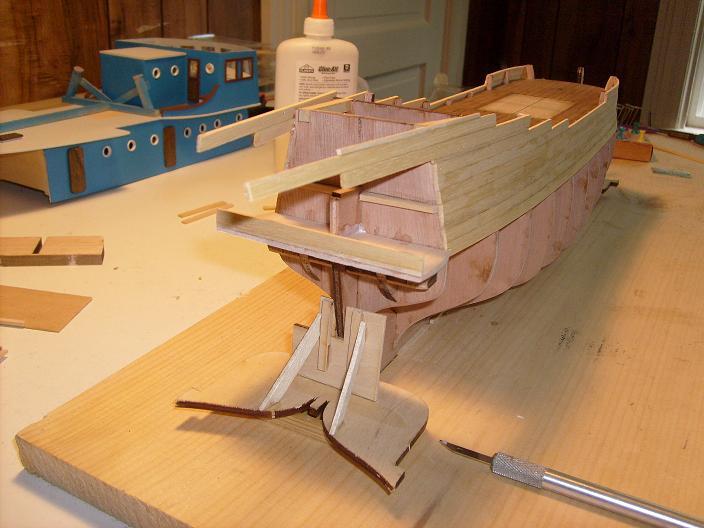
the lower deck outer wall is thinner, so the bottom of the outer wall needs to be built up.

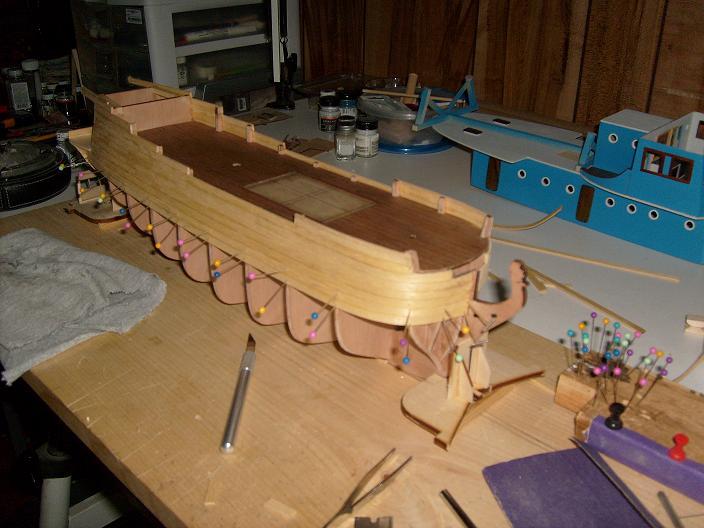
the transom didn't come out like I wanted......may need to make adjustments.
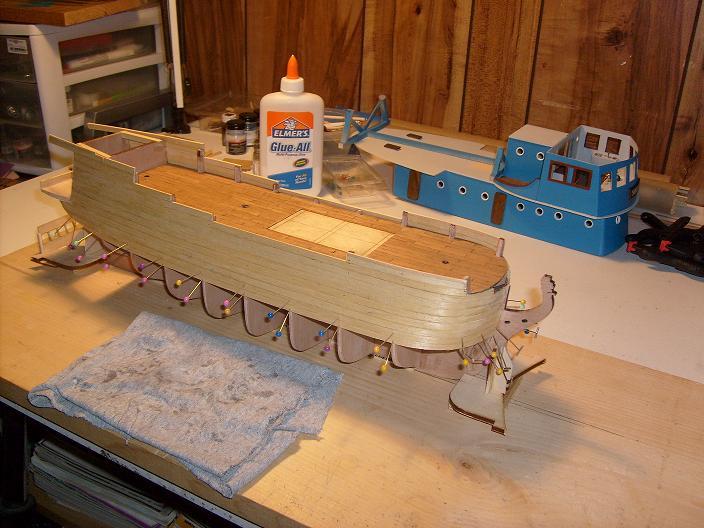
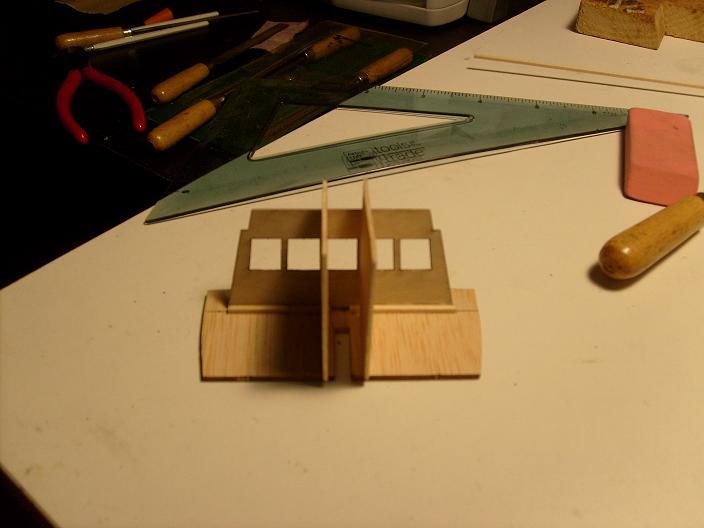
there are rooms under the upper deck.....they will be built in.
-
you know Patrick........I know how that saying originated........someone got drunk one day and ate some worms....EWWWWWWWW!!!
actually, while I'm waiting.....I'm going to try to get a few of these builds out of the way. I will get them soon. in the meantime....I'm going to have fun trying to remember everything I did on this build. thanks for the good word
-
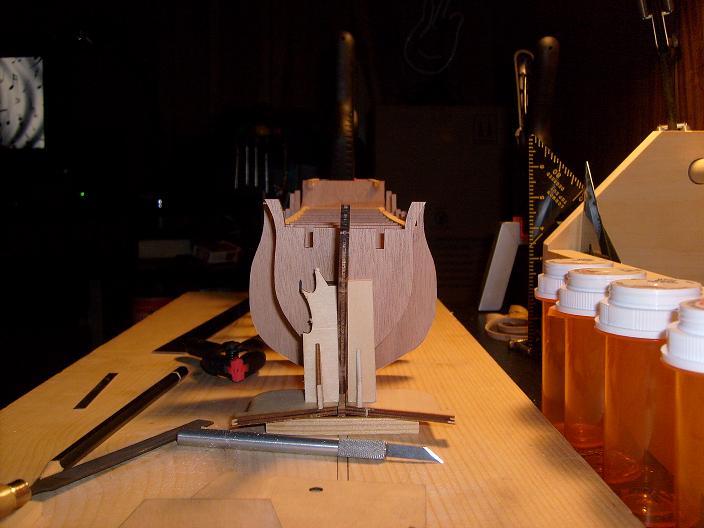
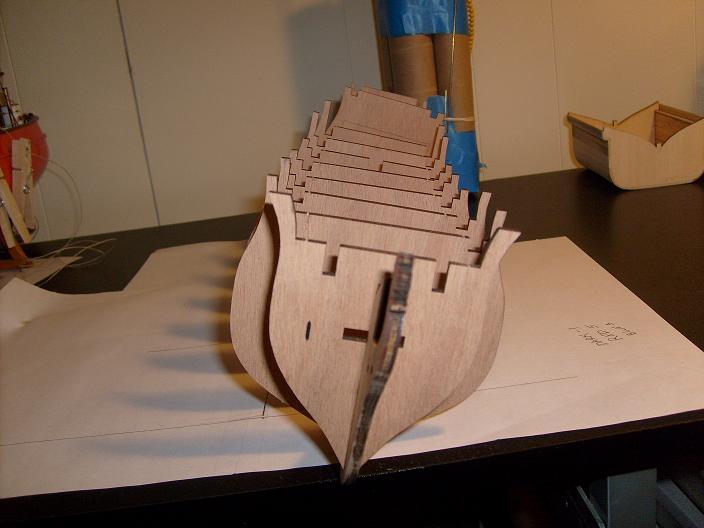
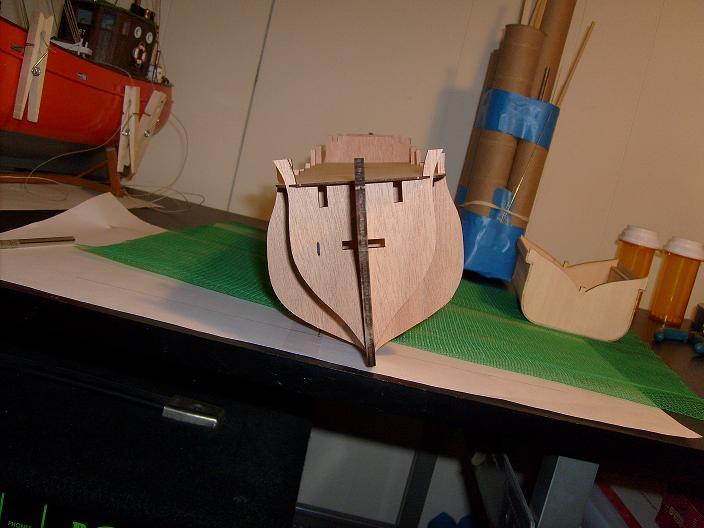
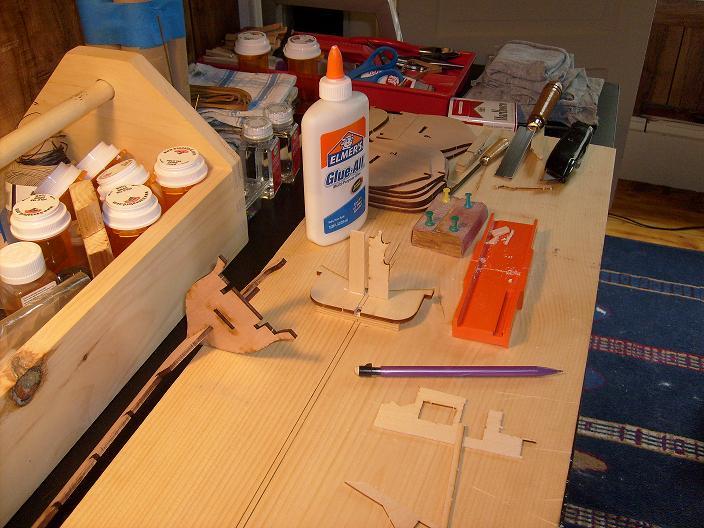
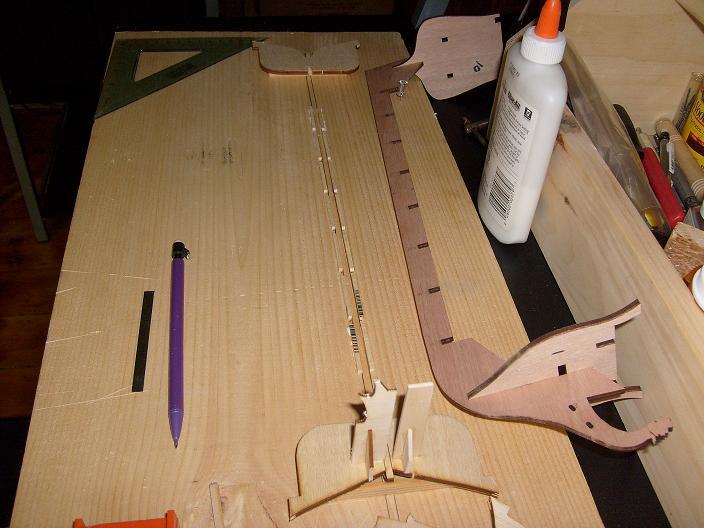
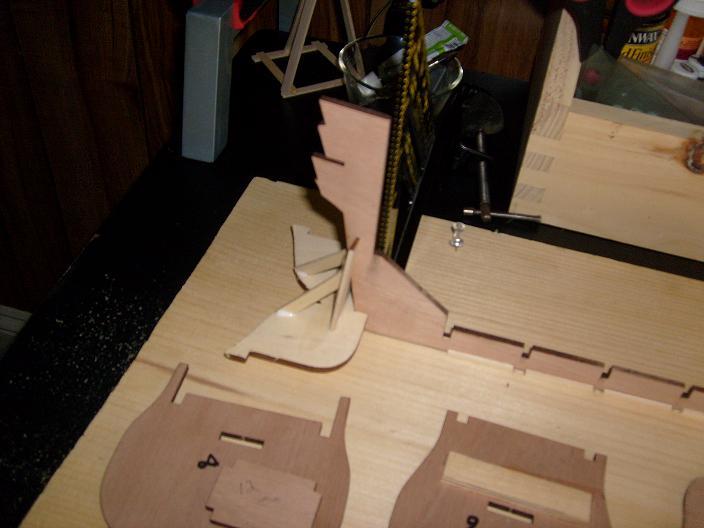
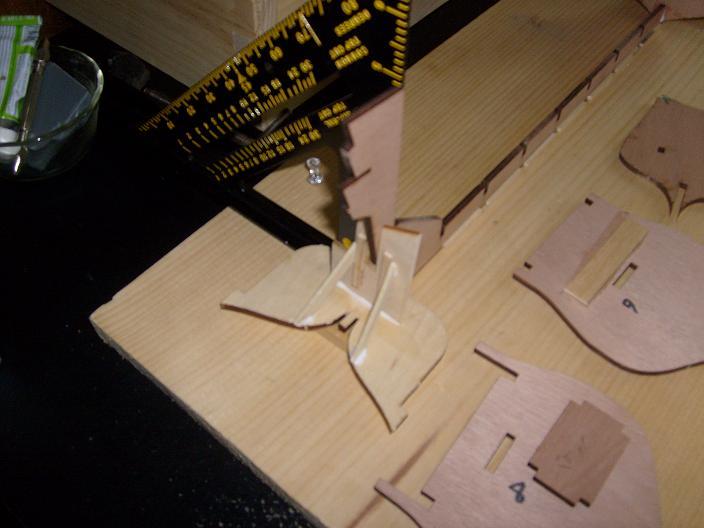
5 - 17 - 2011
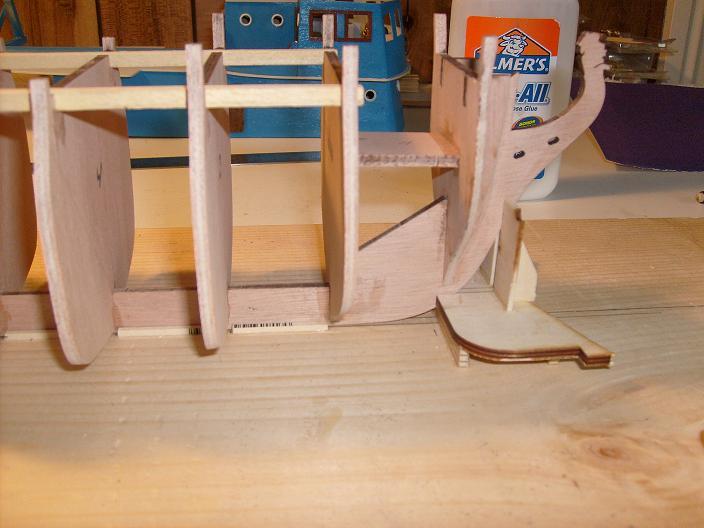
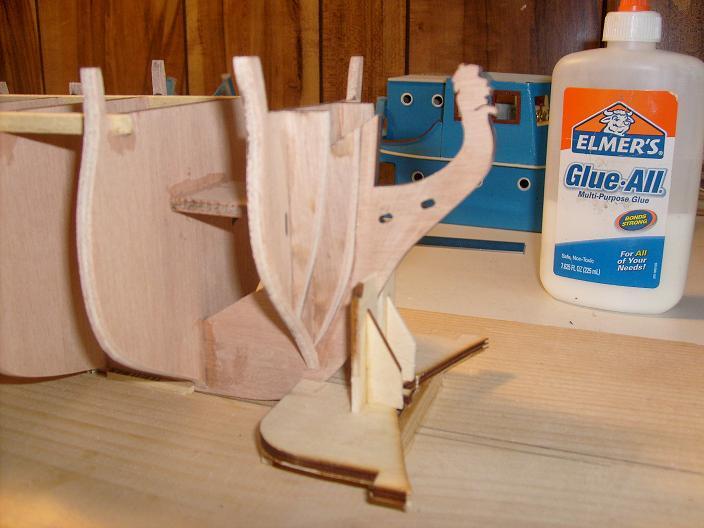
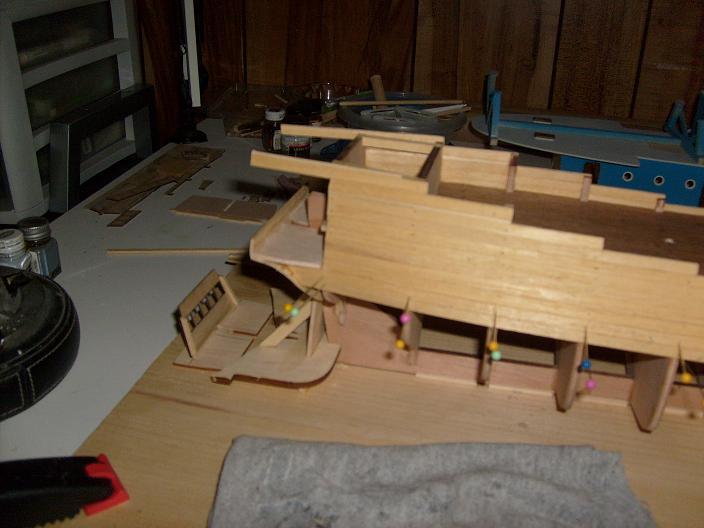
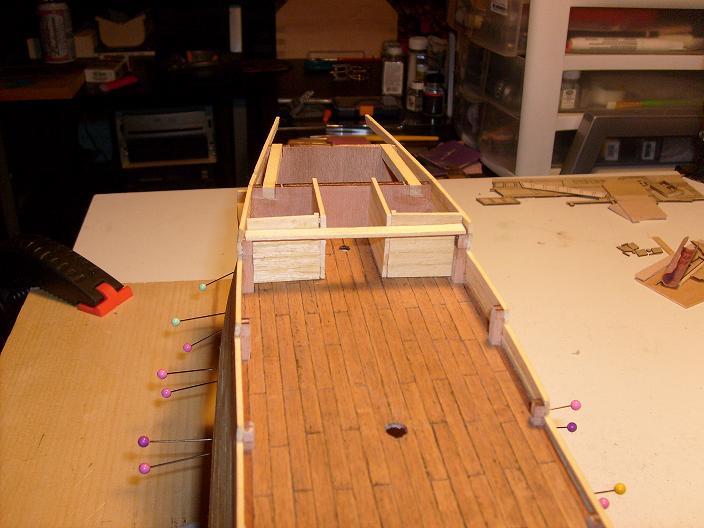
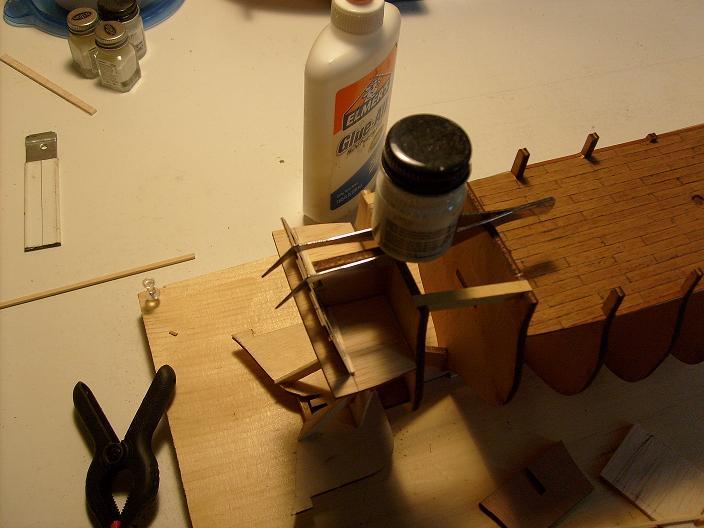
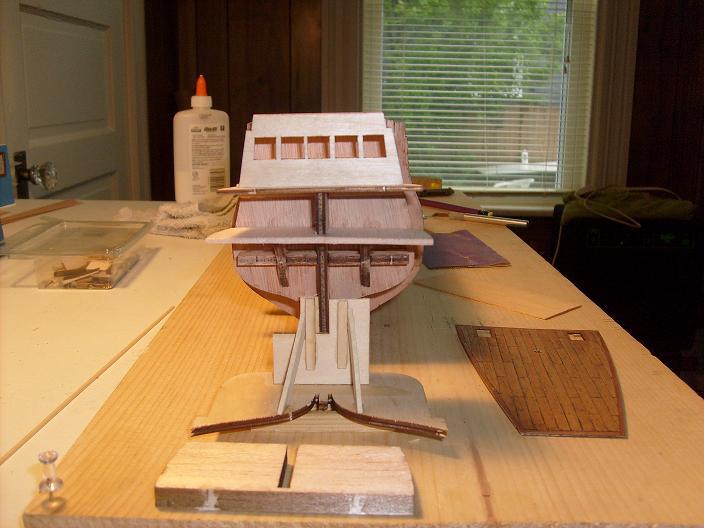
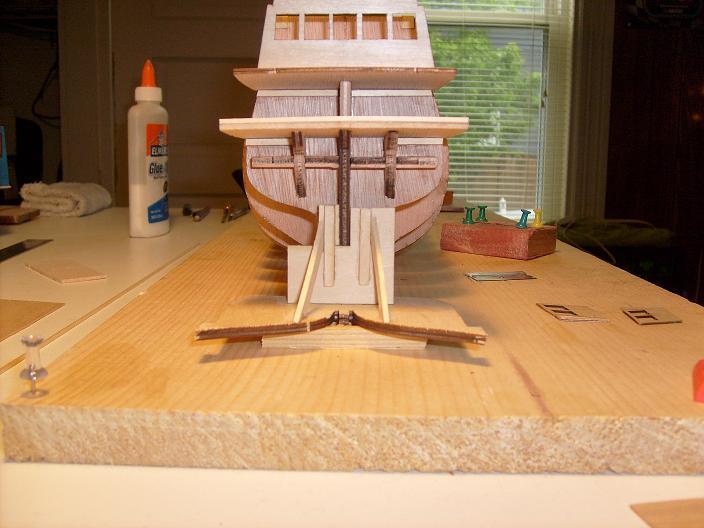
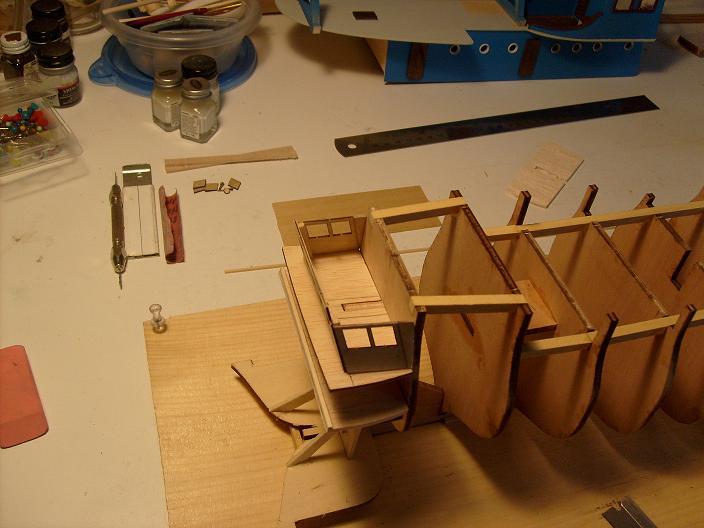
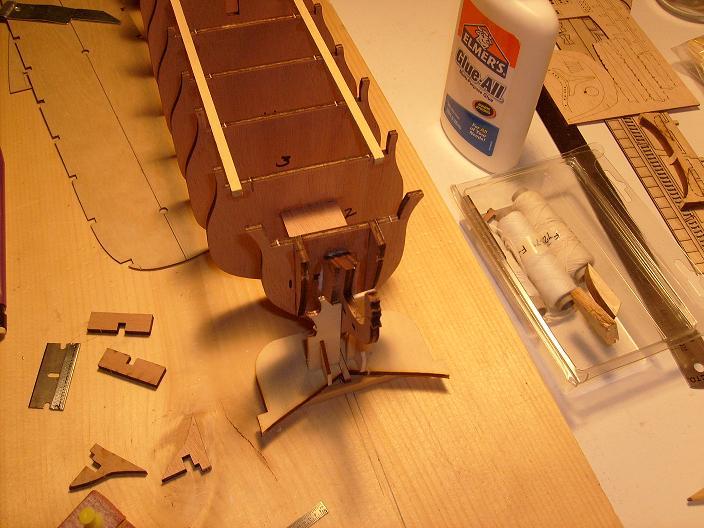
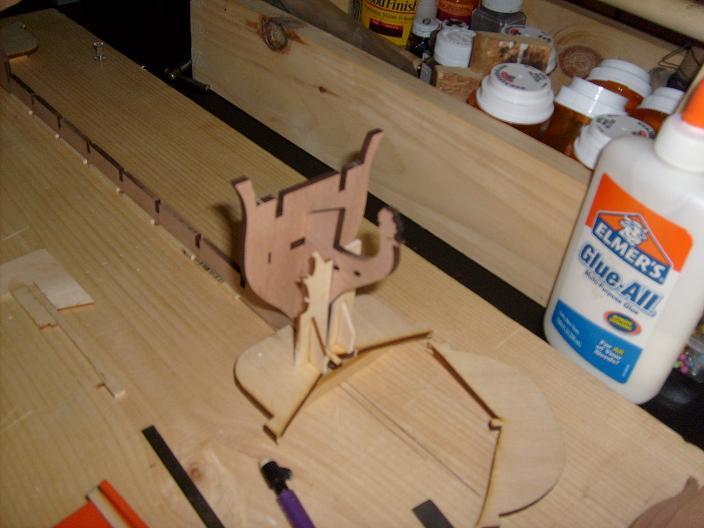
this is the second part......the alterations on the stern quarters. this part will not be needed......I will show why later on.
instead of this part, a much thinner part will take it's place. this will give more room to the lower quarters.
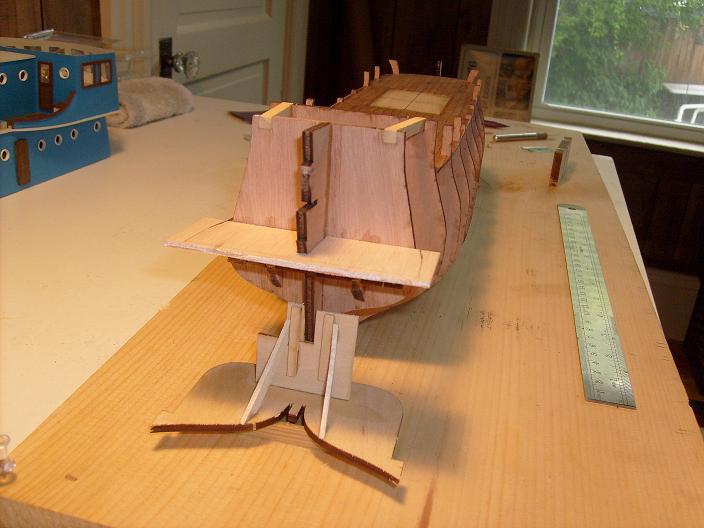
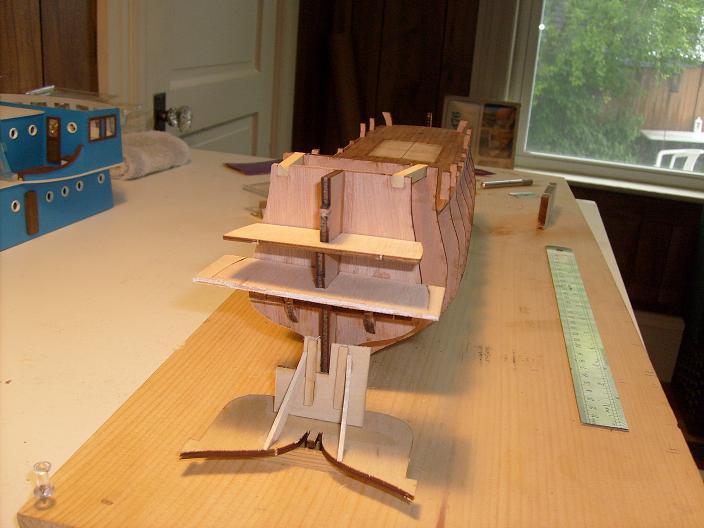
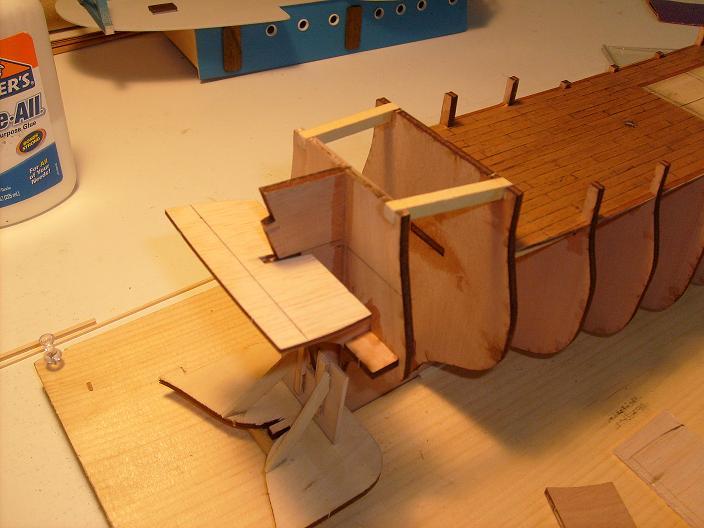
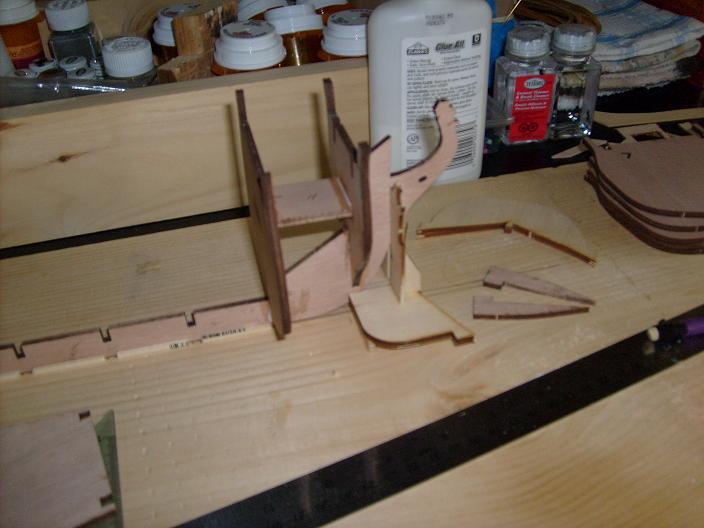
location tabs are cemented on the floor of the upper quarters. the aft outer wall is then cemented in place.
the upper stem is cut out and location tabs are cemented in place.

the thick part added..............
the thin floor added.......you can see how much room will be gained, in substituting this part.
a hallway will separate the quarters
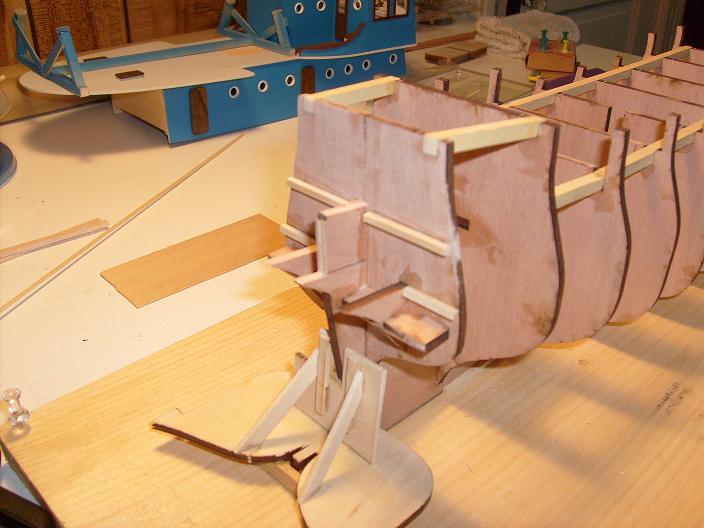
the bottom part of the stem was cut out to enlarge that quarter as well.

more location tabs are cemented in place
the side walls also needed to have extensions built onto them.

I believe at this point, I just dry fitted these parts in place. to be honest, I can't seem to remember, but these parts now fit together pretty good.
-
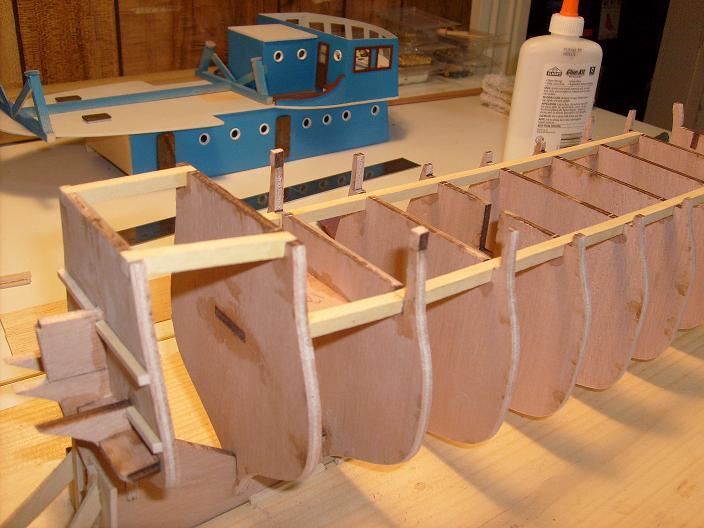
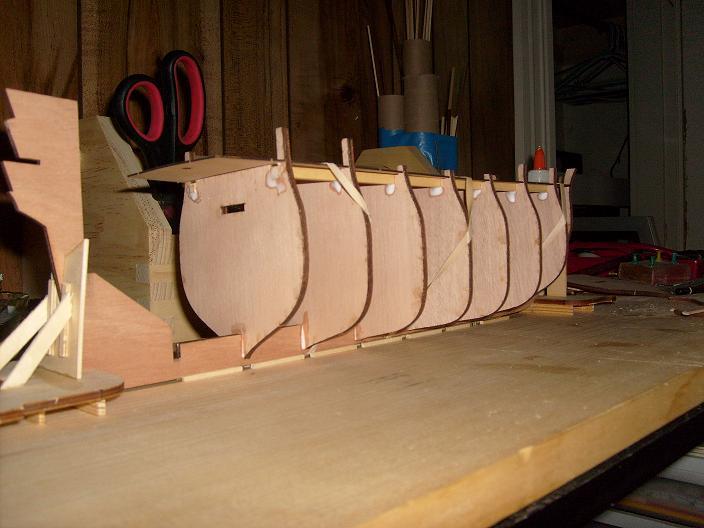
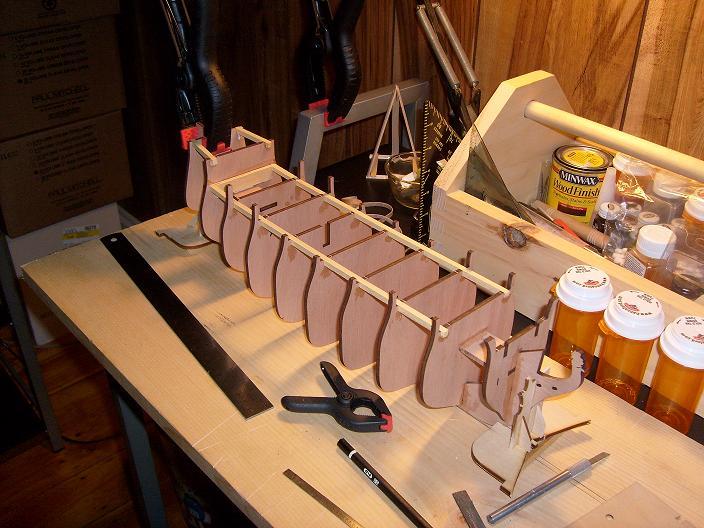
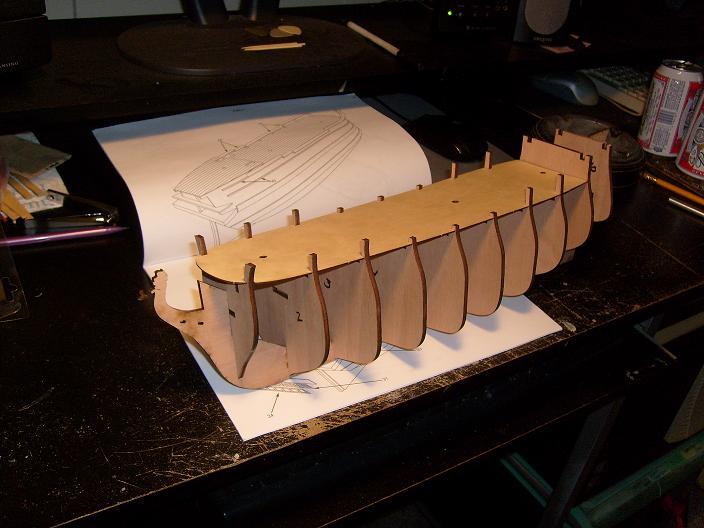
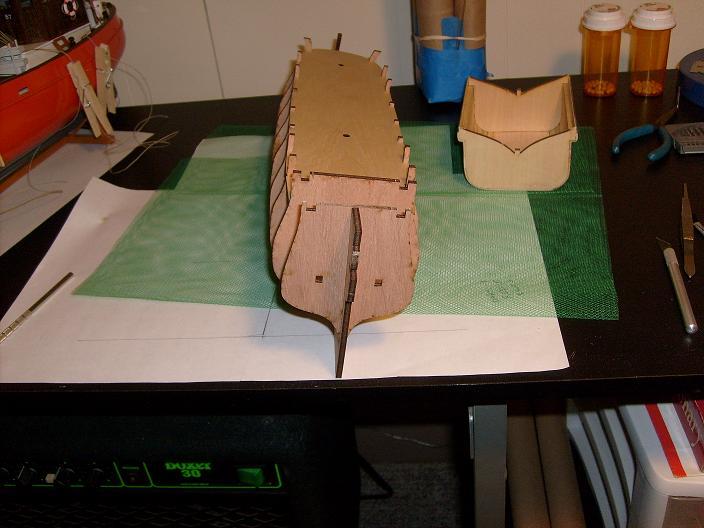
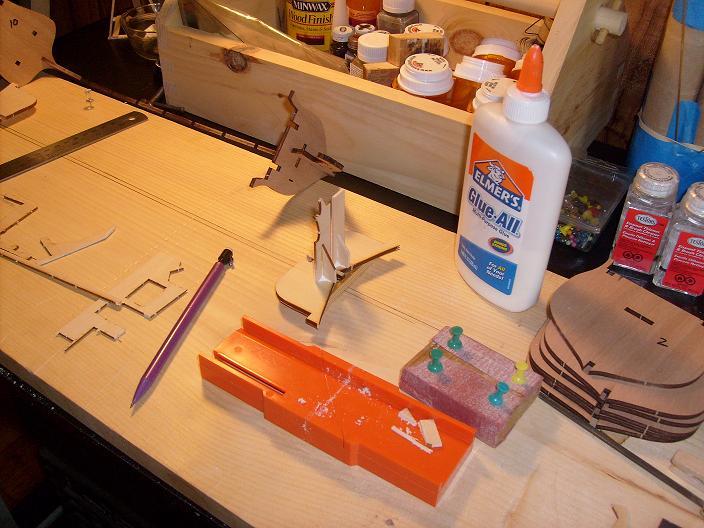
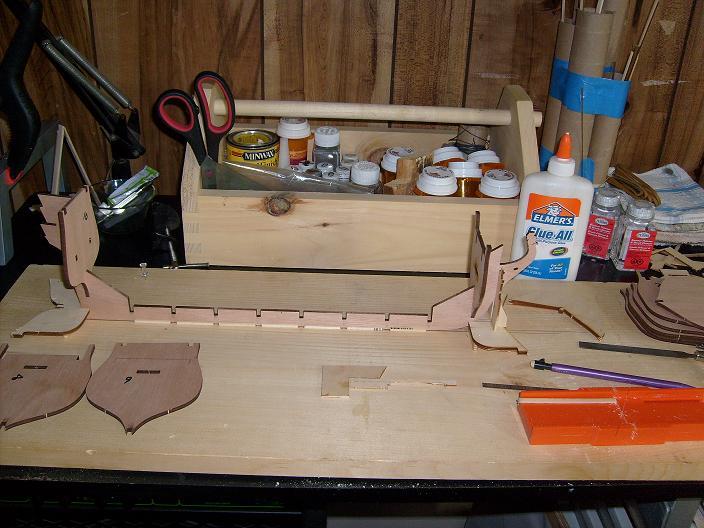
5 - 17 - 2011
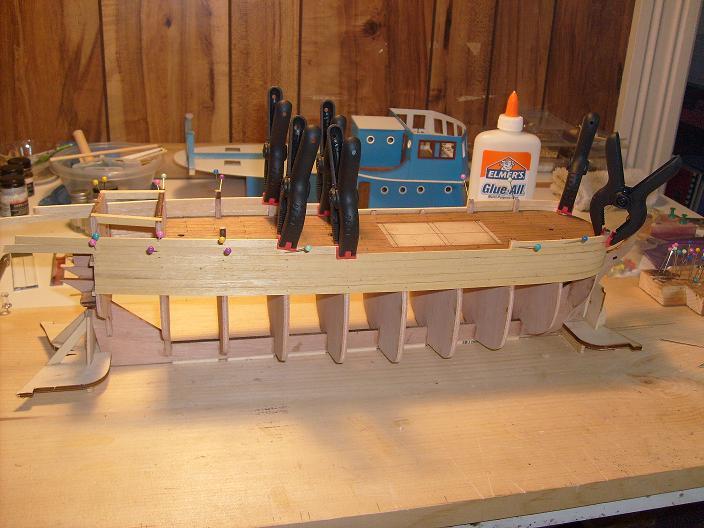
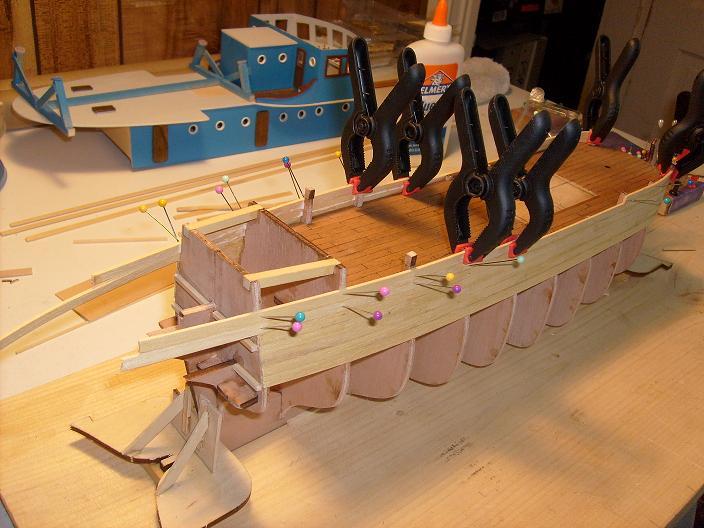
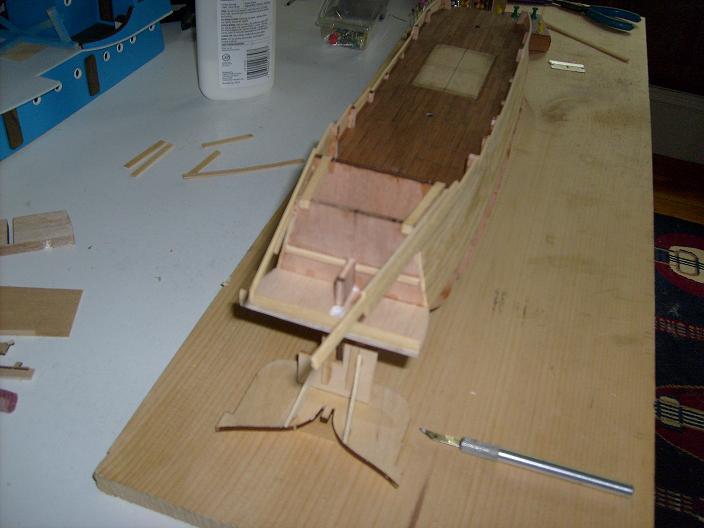
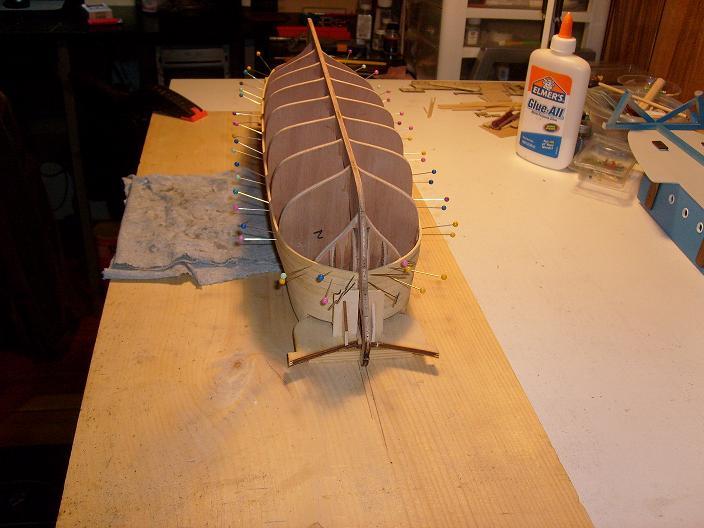
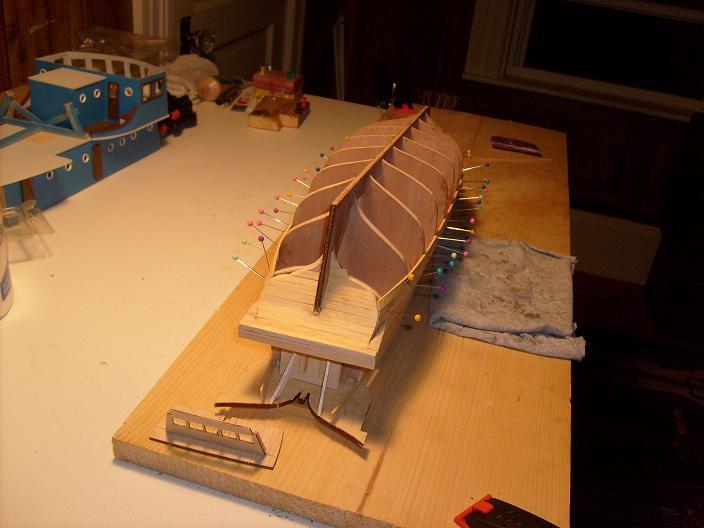
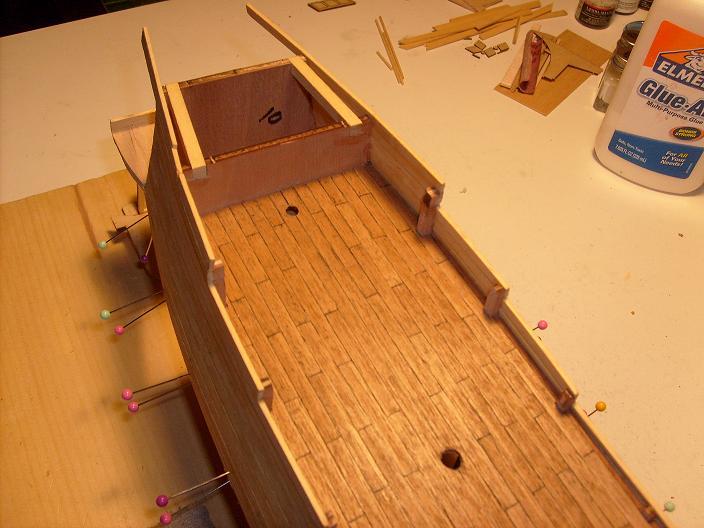
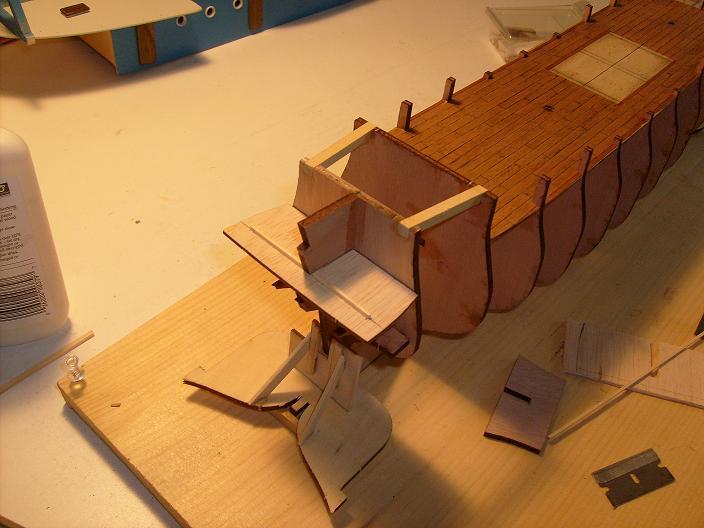
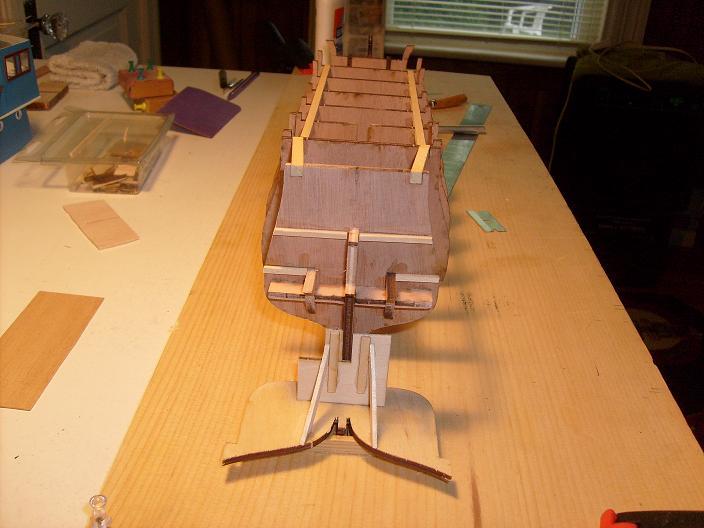
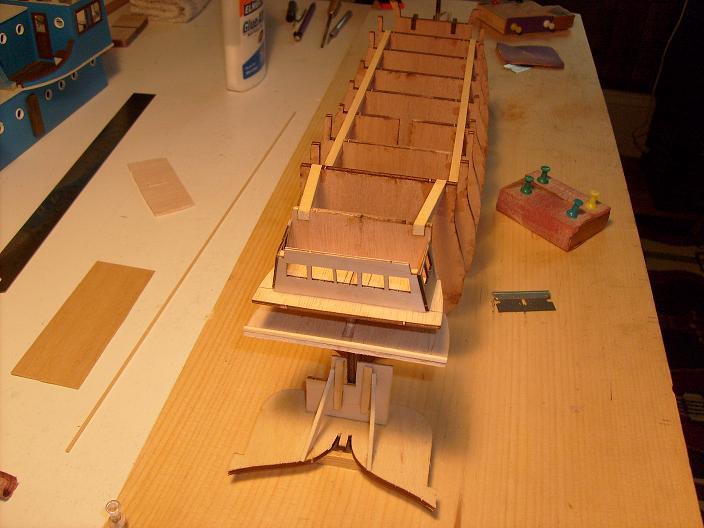
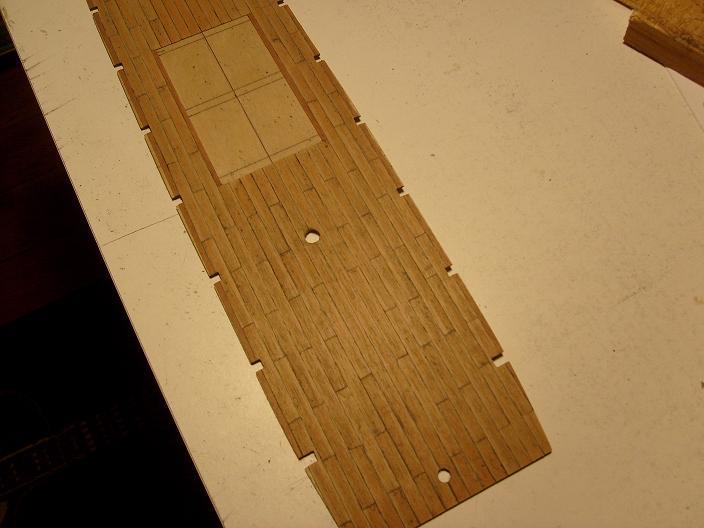
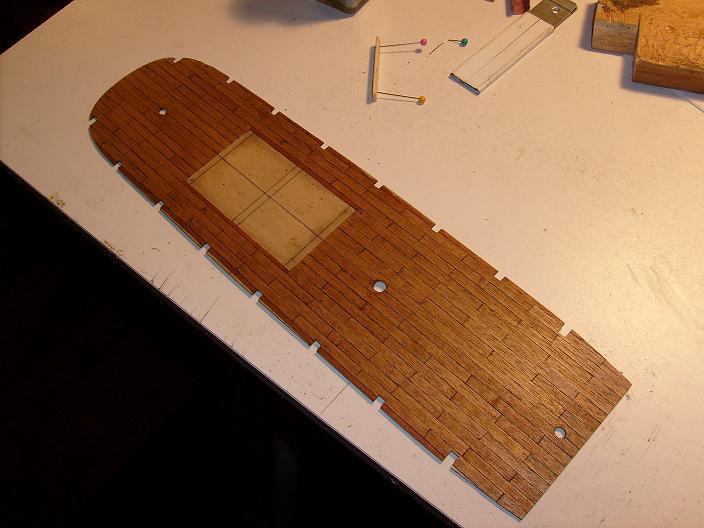
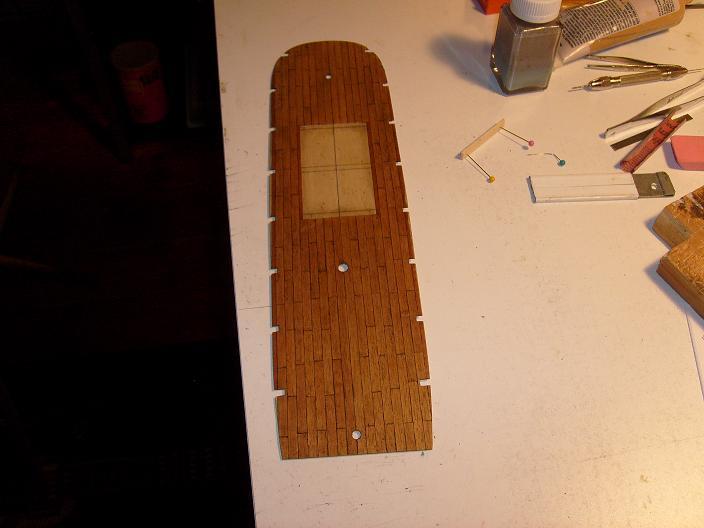
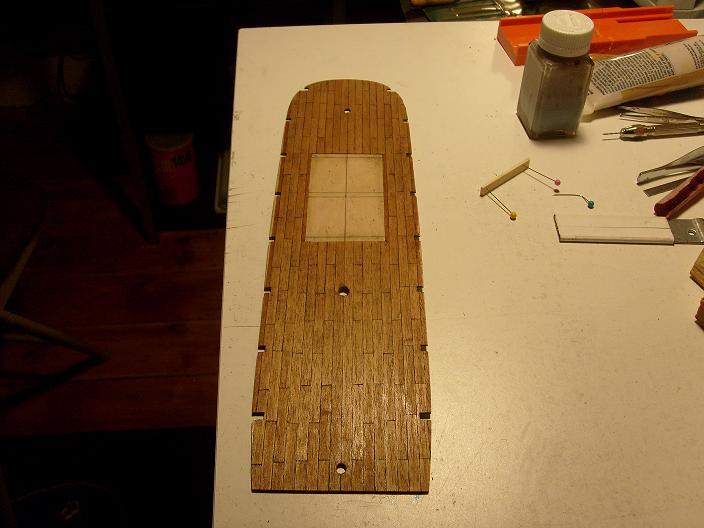
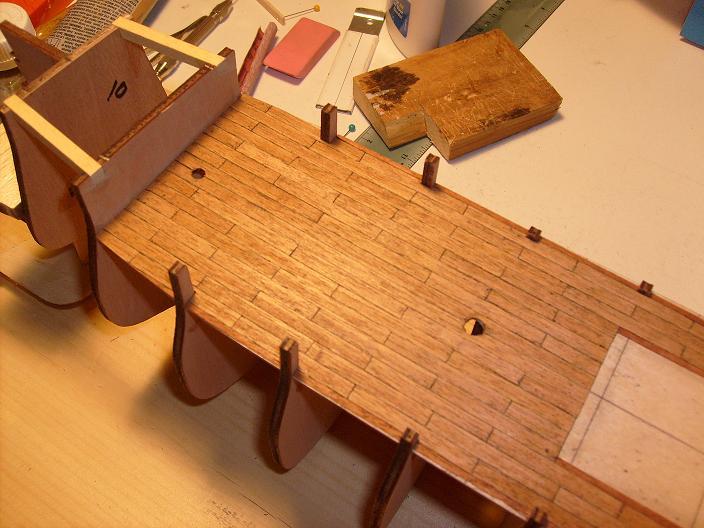
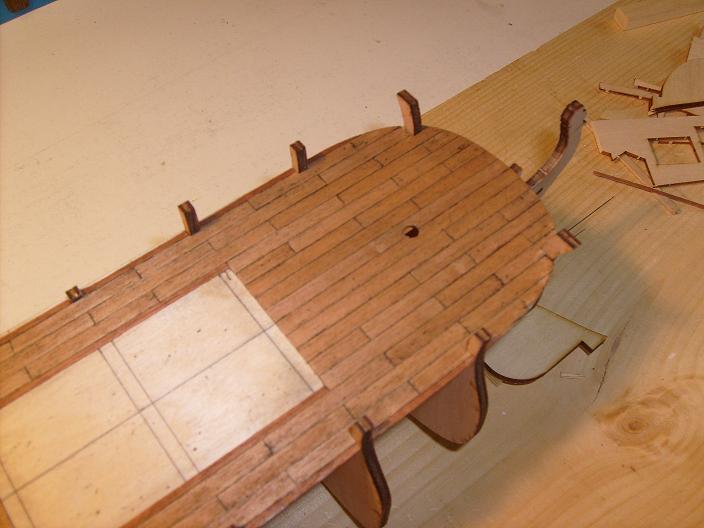
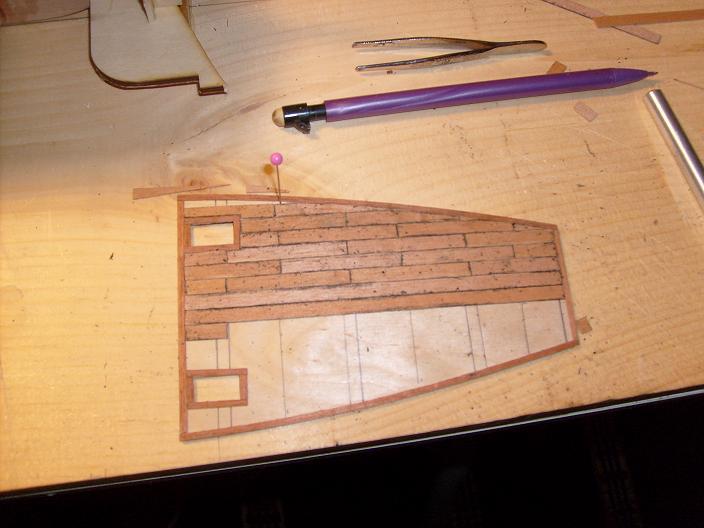
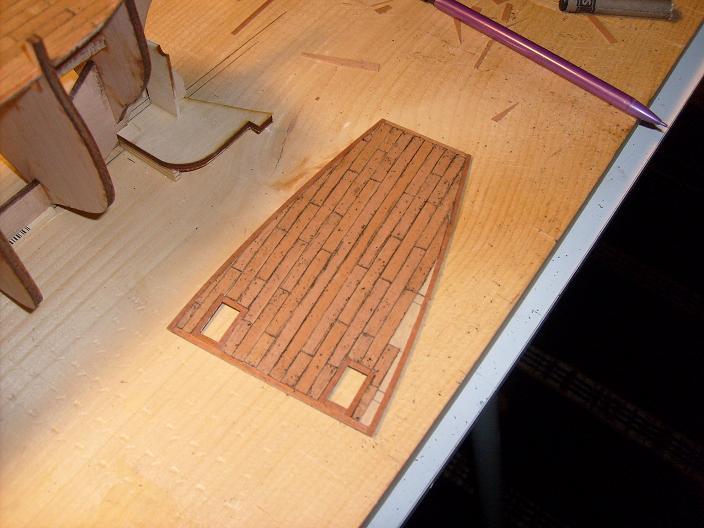
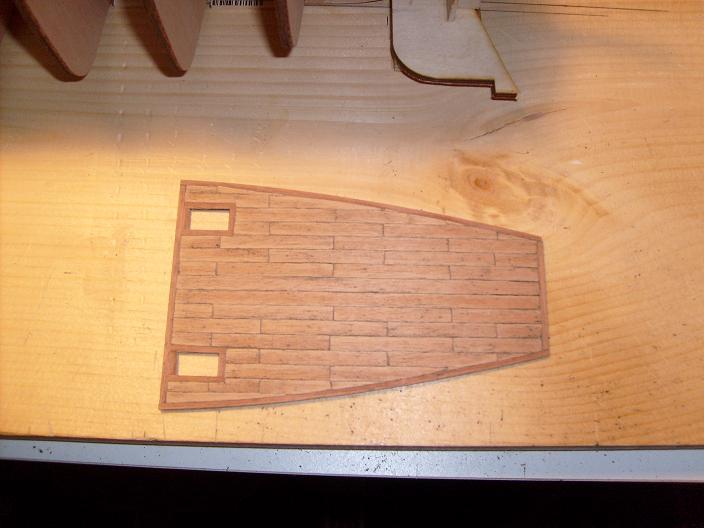
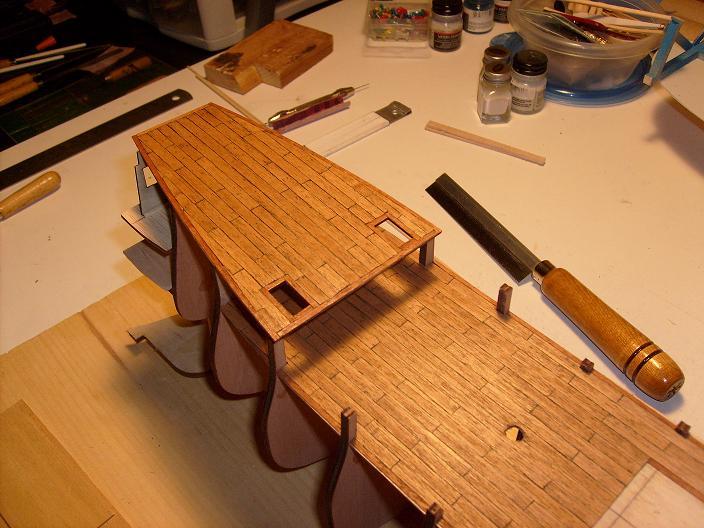
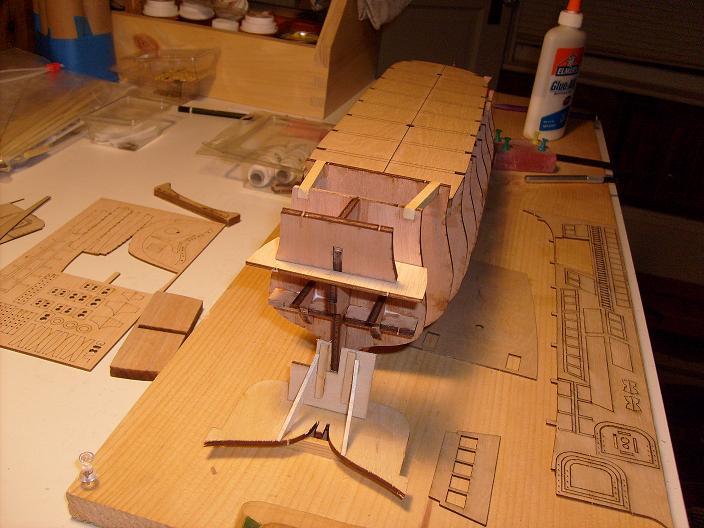
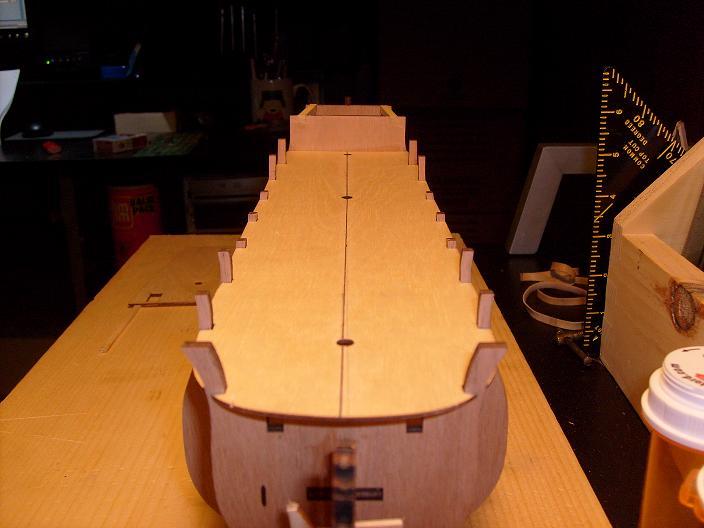
this was done in two parts......the deck planking, and the stern. first the deck planking.
I plan on adding a rack where the ship's boats are to be located. the pictures I have show a very elaborate rack on the deck. this area will be left blank. there will be a front and rear stanchion, a central platform, and lockers bordering the port and starboard sides.
I used crayon to simulate the calking. it will be sanded lightly afterwards and given a couple coats of clear lacquer. no stain.
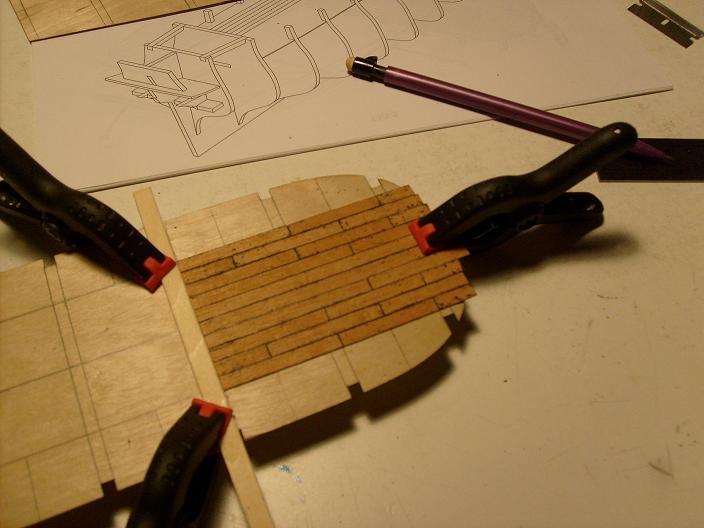

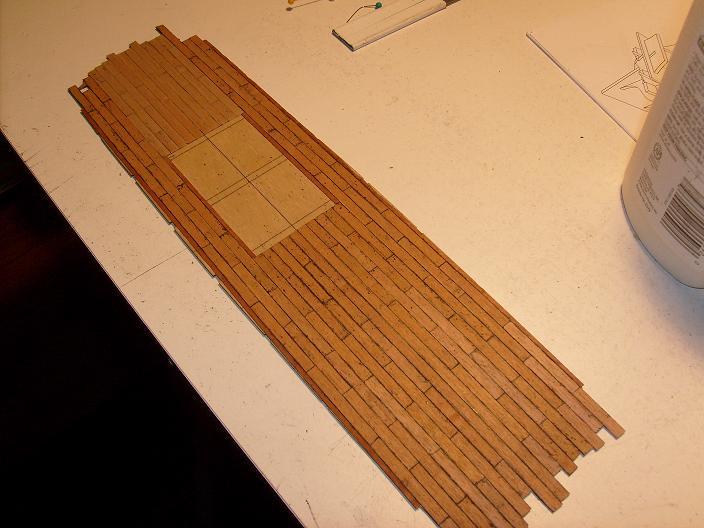
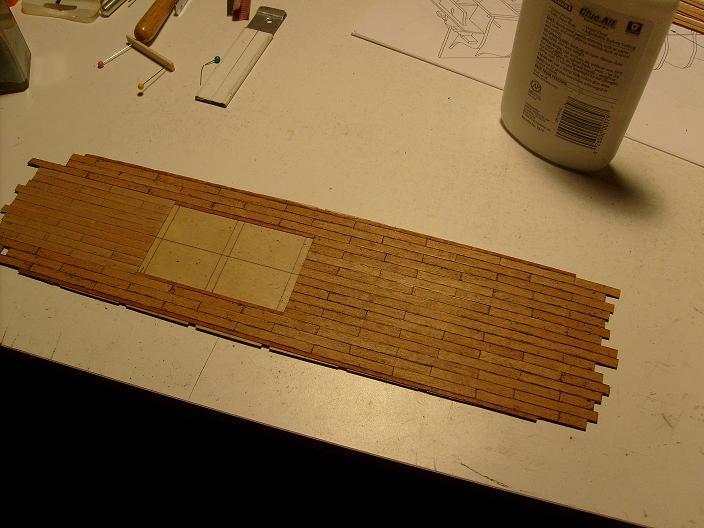

the deck was trimmed after the planking was laid.
upper deck:

- cpt. Tom, Mirabell61 and dgbot
-
 3
3
-
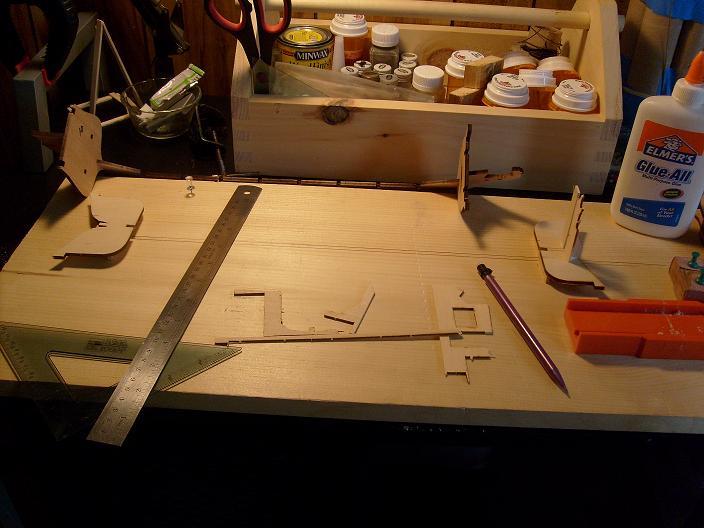
5 - 5 - 2011
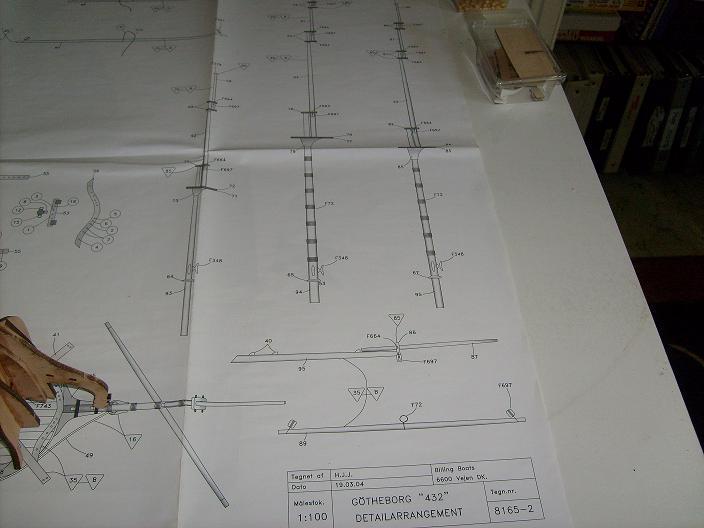
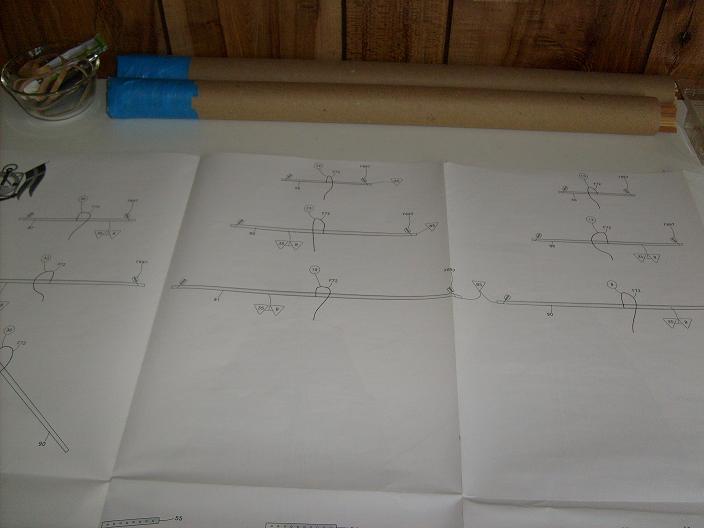
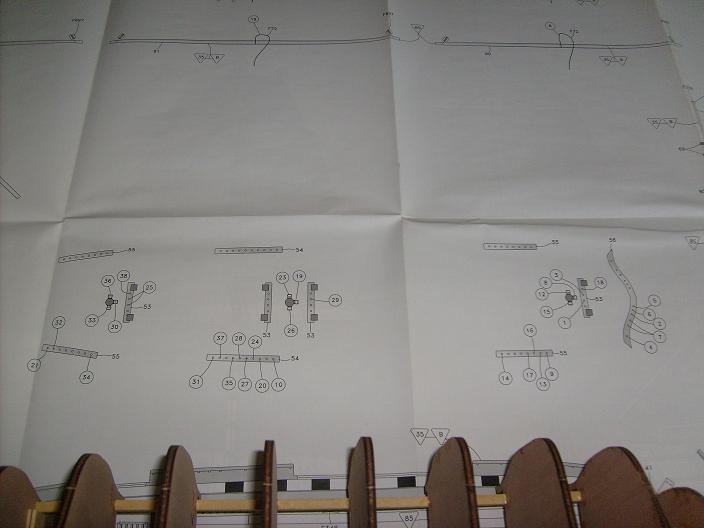
I was curious as to whether or not the plans are to scale with the build. a quick check tells me that I can rely on these drawings.
-
yepper Augie.........this is the last of my builds.......hopefully I can remember everything I had in here.
-
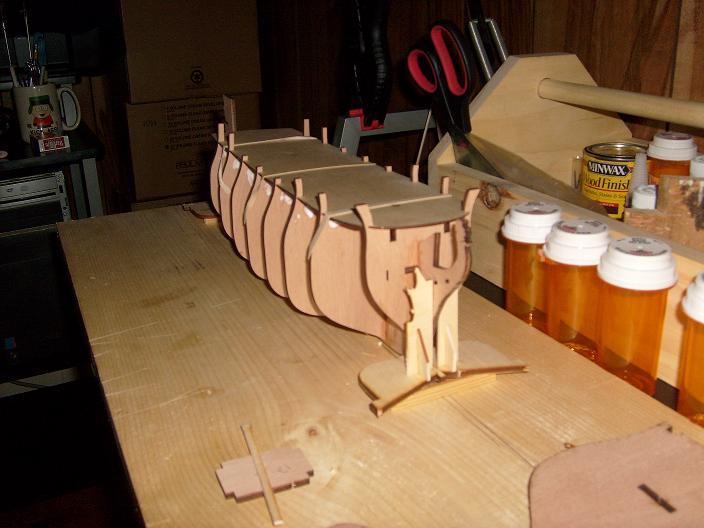
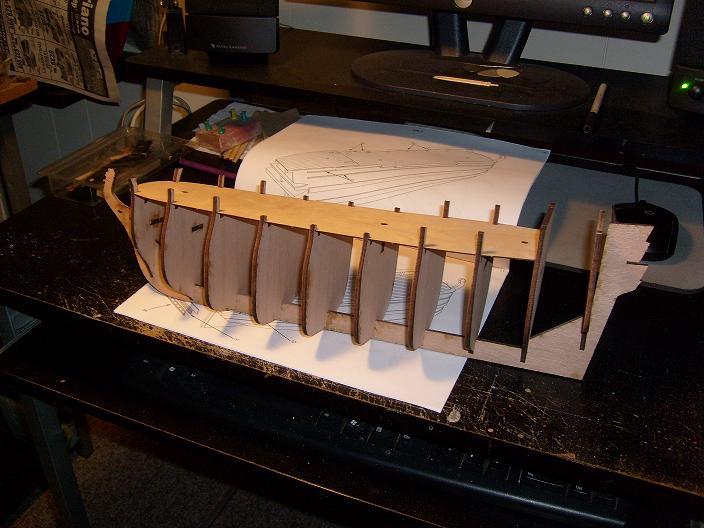
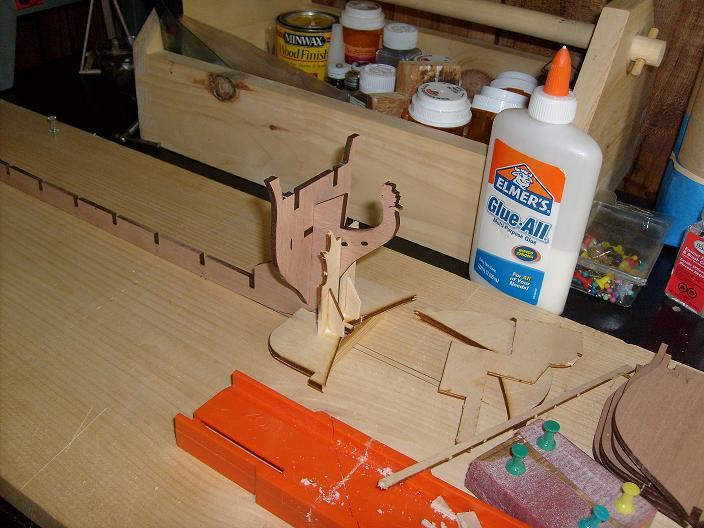
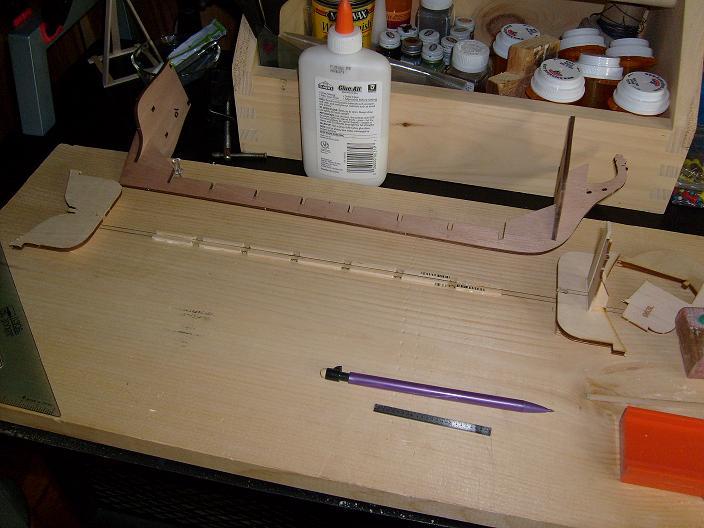
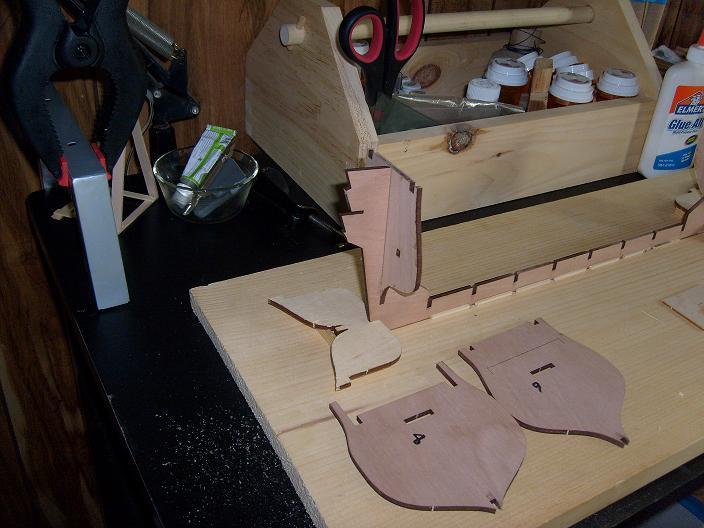
5 - 4 - 2011
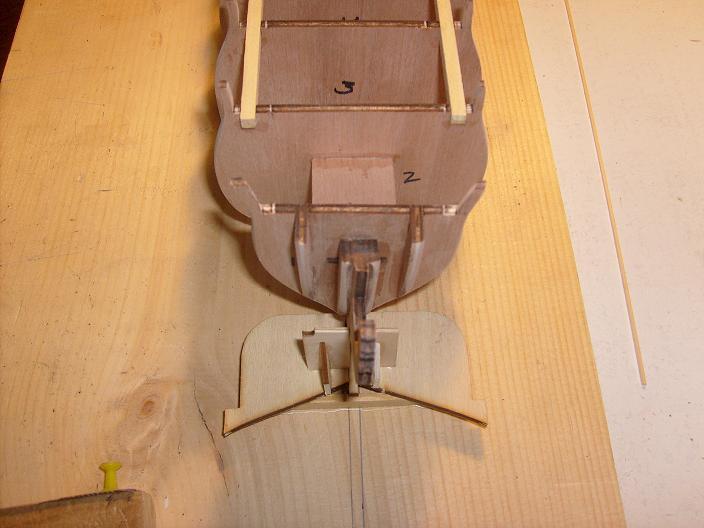
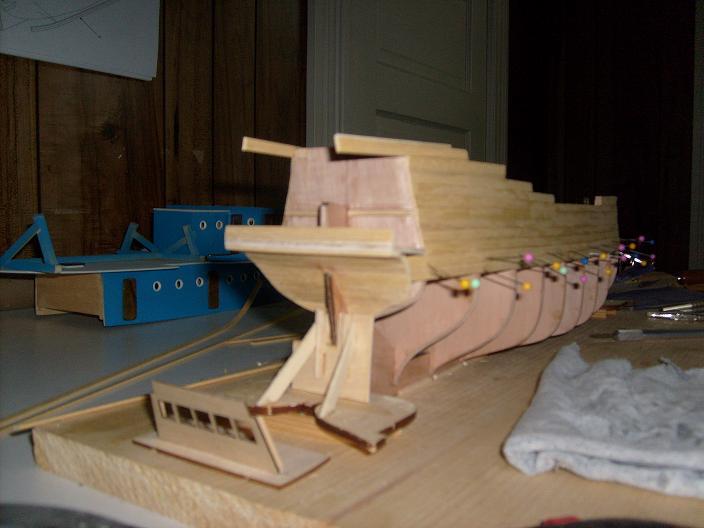
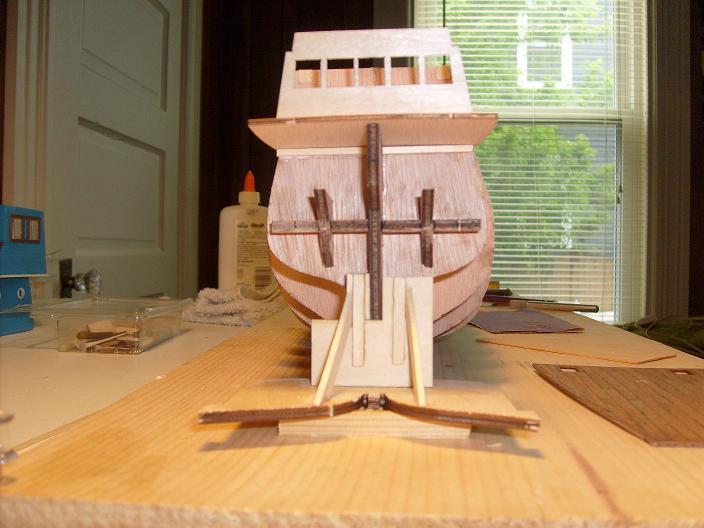
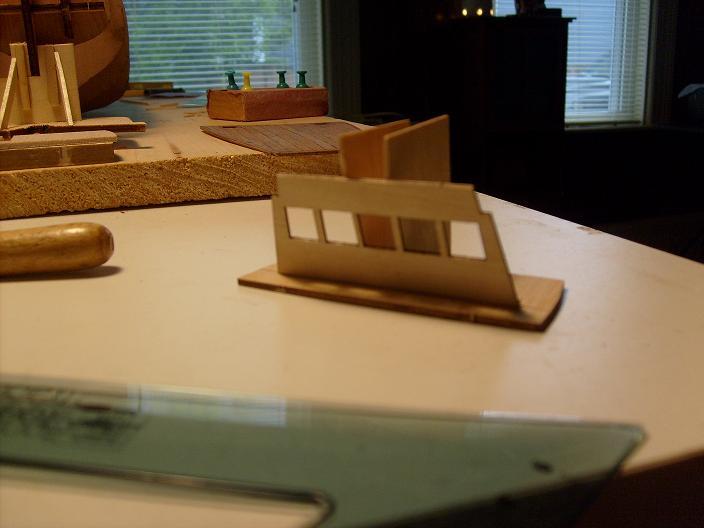
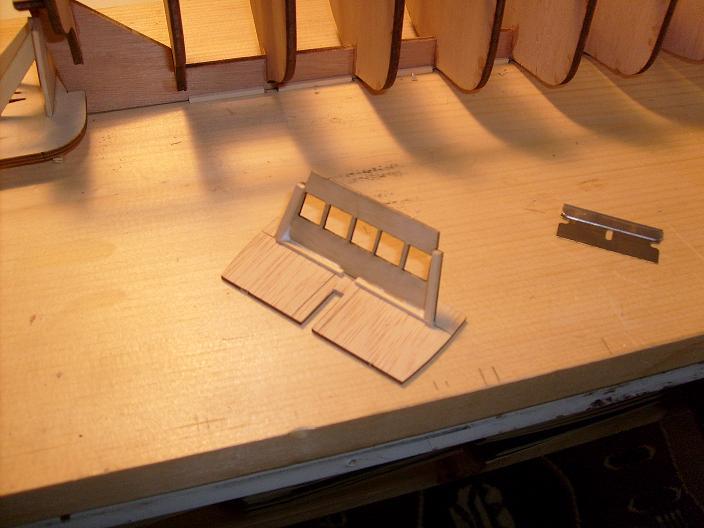
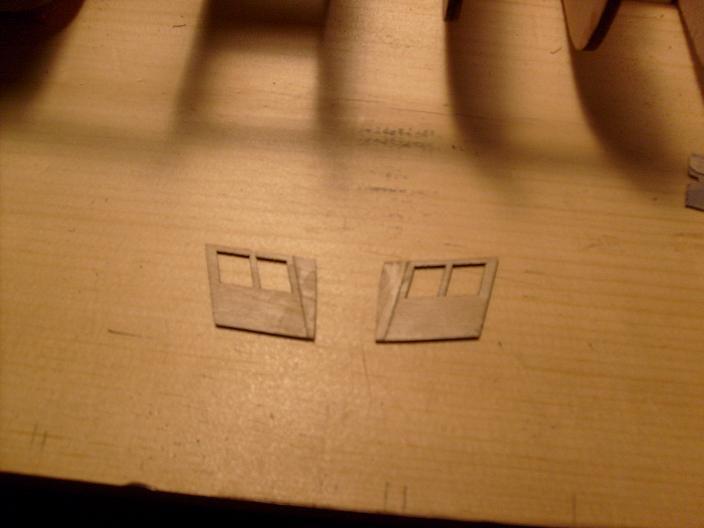
the idea here is to open up the stern quarters. the kit is portrayed with blued blanked out windows, and the clear cello that is set in the windows, has lined detail on it. this is too good to waste. the frame work continues at this point, but there will need to be some alterations made to the stern frame.
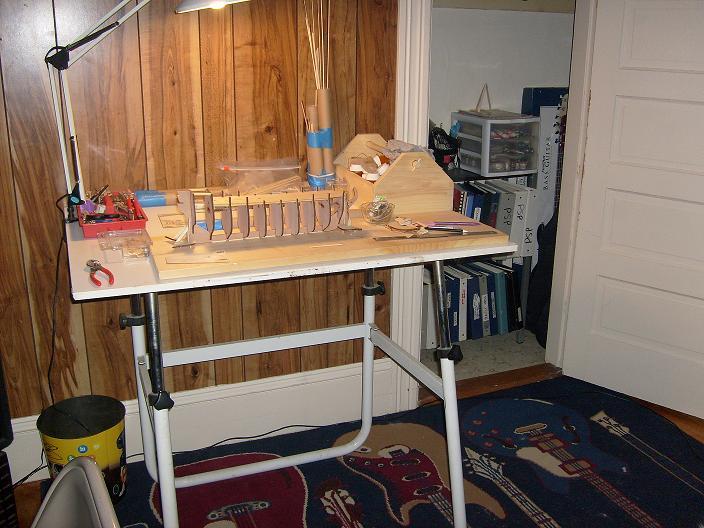
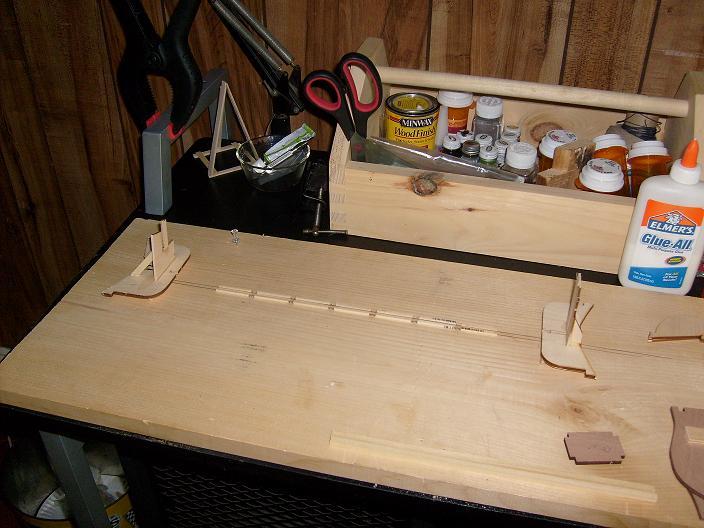
I got a new build table with matching light, thanks to my oldest son. he had it in his cellar, and didn't need it anymore.
these parts will be needed for my idea. they are cemented in place.
the center part of the stern stem will need to be cut out. with the aft wall in place, it is clear to see why.
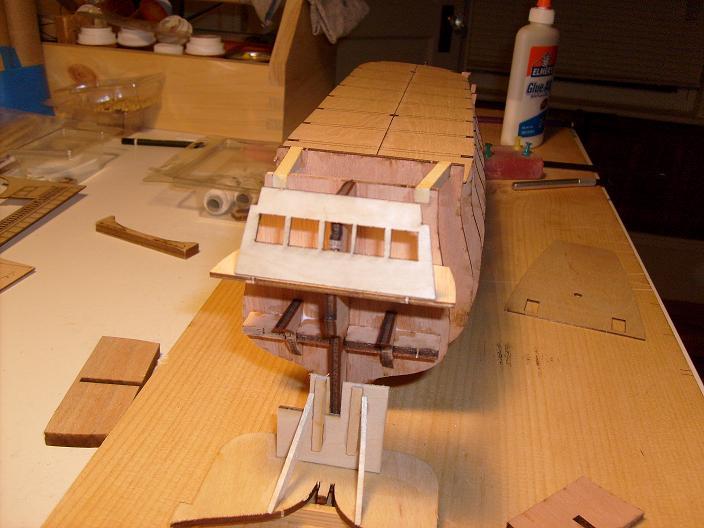


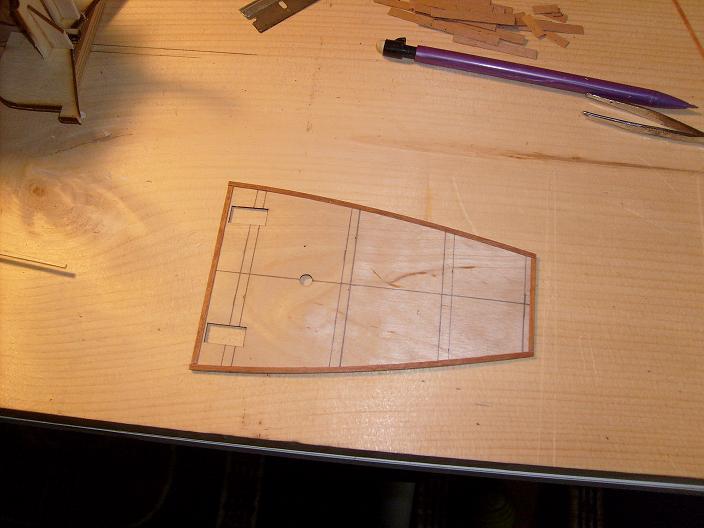
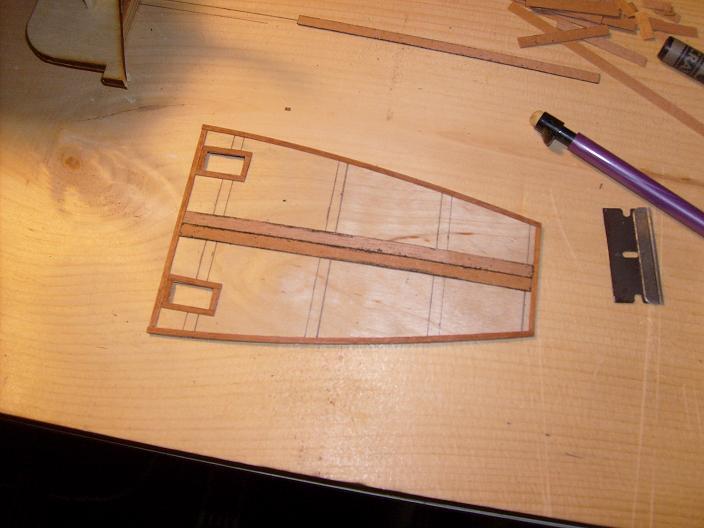
the planking lines are drawn on the platform.
-
-
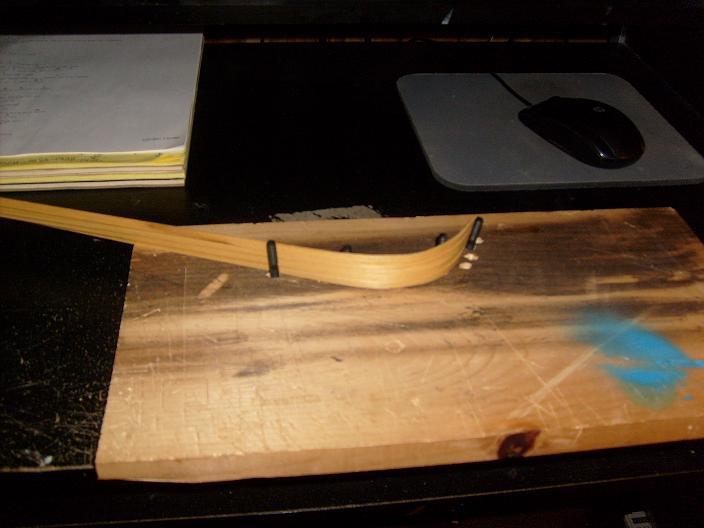
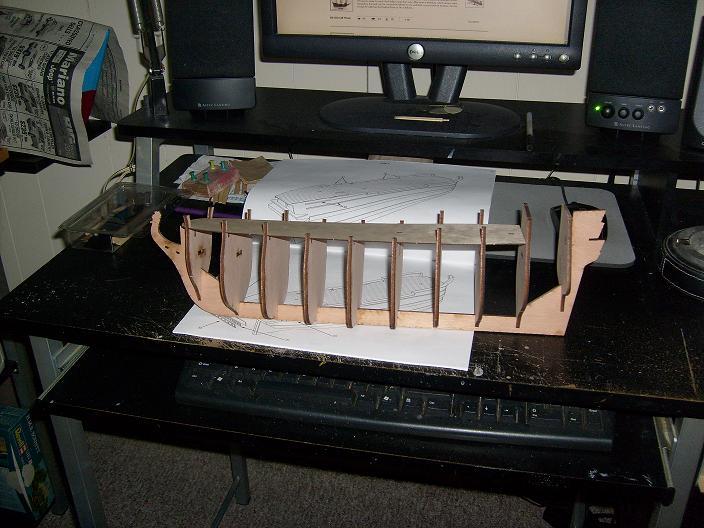
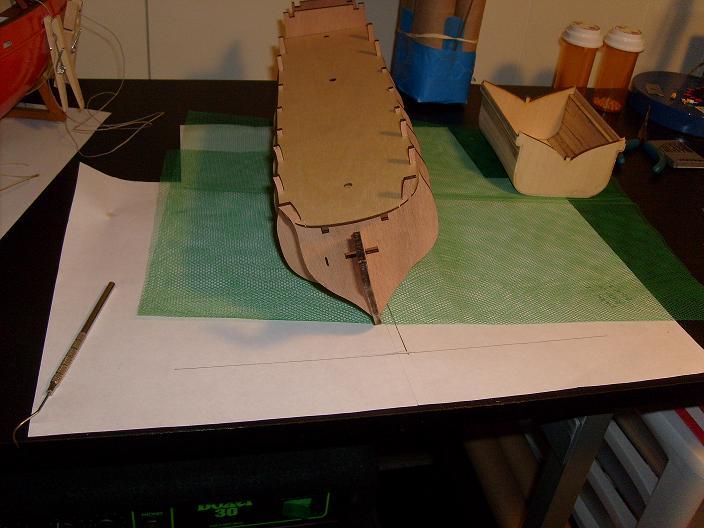
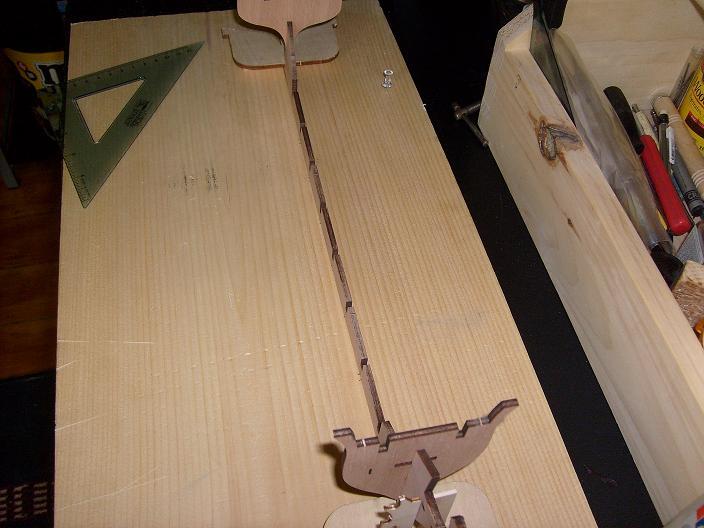
5 - 3 - 2011
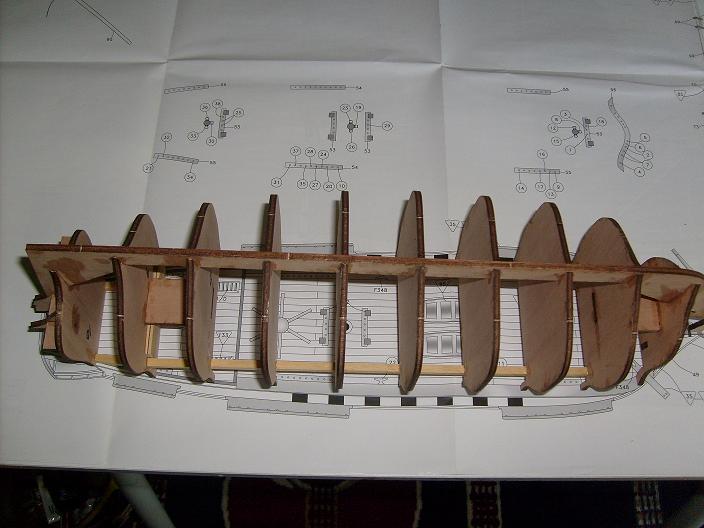
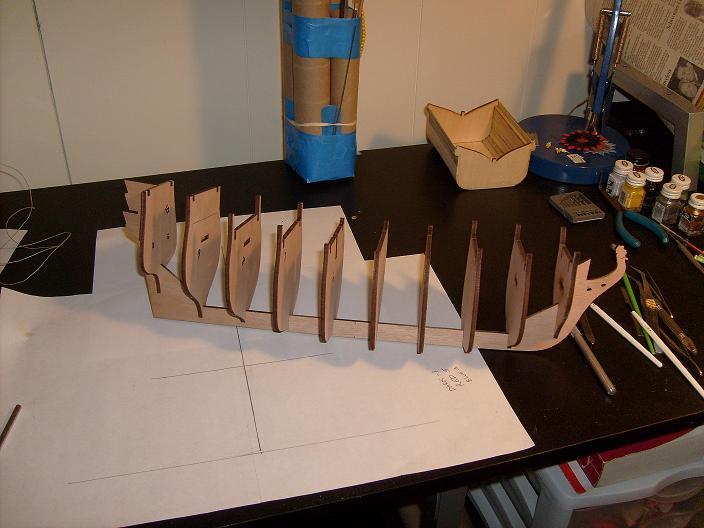
the build starts.........
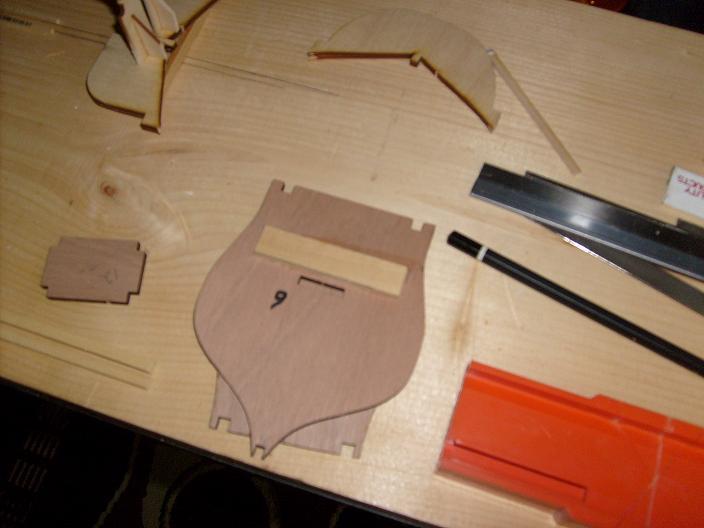
I cemented this added piece to the rib sso the aft lip of the main deck would have a good cement point.
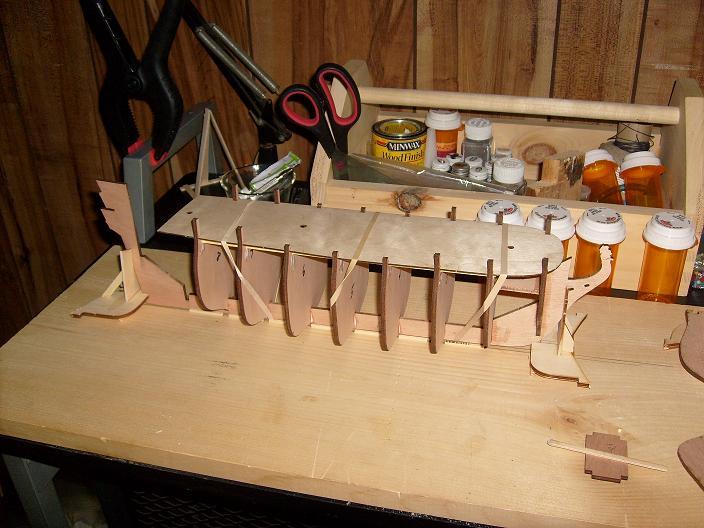
I used the deck as a spacer, as the frame joices dried
if I would have thought of it, I could have extended the joices to meet the beam on rib #9. I added in these pieces.
the deck platform was dry fitted in place.
- Kosit and Mirabell61
-
2
-
4 - 2011
I made the build slip in may. I did this dry fit in April, while I was building the Cux 87. I had just gotten the kit.....purchased through MSW as an offering from Billings Boat. even then, I had the problem....the inability to keep my hands out of shiny new boxes. remember, this is only a dry fit......I couldn't wait to check it out.

- Mirabell61 and Kosit
-
2
-
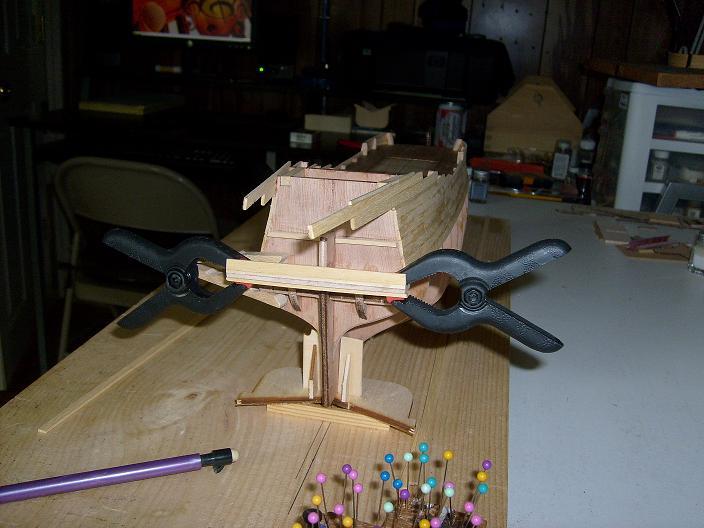
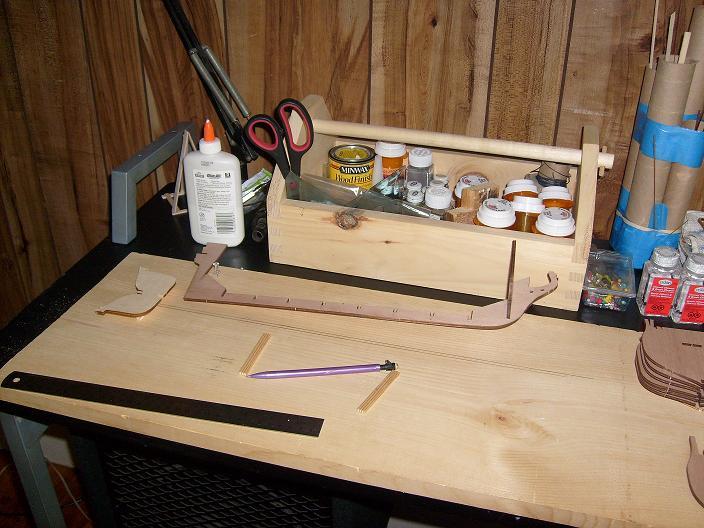
now for the biggie........I have quite a log on this build. at the moment, I am waiting for the budget director's OK to order the dead eyes for this build. so, I have plenty of time to get all this back up onto the site. this poor girl has seen a few problems......even being dropped on the floor once. she has also seen her fair share of kit bashing, and additions in detail.......thanks to Eric, Erik, and Anton, for supplying me with well over a hundred pictures of this fine vessel......if I relyed on the internet, I would probably be at a loss.
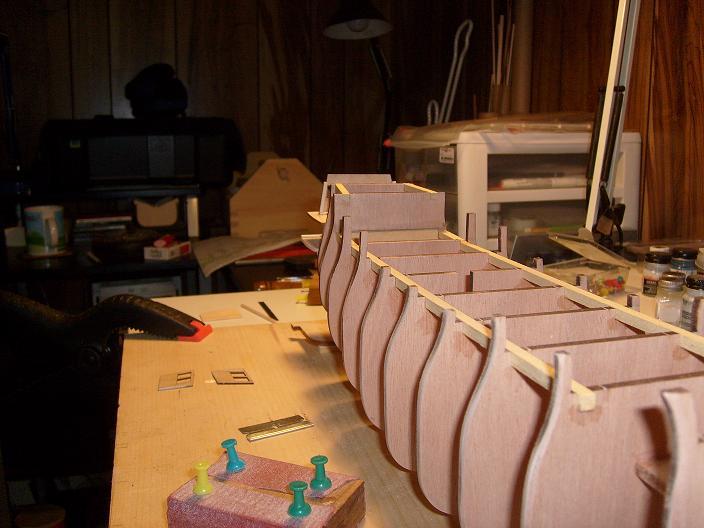
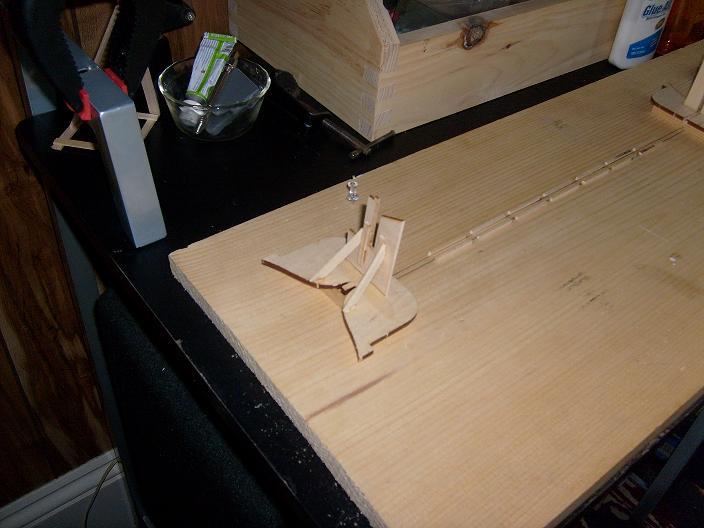
At the time of the atart of this build, I did not have a proper build slip for her. I made one myself. using a large pine board, and some junk wood, I was able to do so.
-
thanks John......I guess 'spur of the moment' thoughts always work best
thanks Bob......I don't need anything for the AmericA.....as a mater of fact, I have to make a change with the light boxes {wait till you see what they look like}. it just so happens that I have lights this size fo it....so I'm all set there. this seems to be another ship that only requires one anchor. they have it set up like........the chain comes out of the fairlead on the deck......chain and anchor just lays on the deck......doesn't sound right. I'm going to look at some pictures and see if I can see how it's set up.
-
this is the reason why I didn't weather the boat......it's so confusing. I'll do a bit more to the traps anyway. I also have to furnish the interior. thanks for the pictures John......I've seen lots of pictures though......you can see just how versital this type of ship really is.
-
-
that's true Augie........that's how they used to do it. the animal rights activists thought that was inhumain.......isn't eating them just as bad?
no Bob.......he just has a very good pit crew.........LOL! thanks for the good word
-
thanks Rick and Patrick........model manufacturers do a pretty good job of supplying the parts to make some really fine models. there are some parts that we see that might not give a good representation of that particular aspect. I see something that can be done better...I'm going to try it. now that I've tried this and see that this is a doable thing.......I can do the same thing to the galley skylight on the Gothenborg........there's one in that build as well. thanks for the good word!
-
thanks Carl........now I know what to do about the galley skylight in the Gothenborg build
-
that's in the plans Wayne........perhaps not the bevs though......I run a tight ship! leave that for miller time
it can be done Sarah.......I have bev containers in my M&M build.......the dollhouse dept can be a good place to find cool things. there was a time that I wouldn't frequent craft stores......but now, it's a whole different story. the jewelry dept.....stenciling.......just a few places where things can be found to accentuate the hobby. gotta be careful of the colors though.......don't want to clash
dowel would also be a good material to make bottles and cans
US Brig Syren by Augie - FINISHED - Model Shipways - 1:64
in - Kit build logs for subjects built from 1801 - 1850
Posted
that's poopdeck pappy.....popeye's father......I have a few pictures of him. looking forward to more updates Augie