


popeye the sailor
-
Posts
15,981 -
Joined
-
Last visited
Content Type
Profiles
Forums
Gallery
Events
Posts posted by popeye the sailor
-
-
I notice Sarah, that you have the Cux build in your future. if you'd like I have my build logs that I wrote on it. I can send you the links when you are ready......just let me know if you have need of them. sadly, thay ae no longer here.
learning the history of the subject, is the best way to ready yourself for any build........nothing wrong with that.
-
also glad th see your build up as well..........such a superb ship to follow.
-
glad to see you back with the H.L. instructions can be a problem, but it doesn't seem to be impeeding you from creating a very nice build.
I find such an 'open ended approach' to wood modeling......it's very refreshing. this coming from a guy that used to shy away from these kit. some kits more than others, you will find yourself dabbling more towards the 'dark side'......more than others. all you can do is learn from it......and when your ready.....you'll be prepared. looking forward in following this fine build.
-
I still love the way you did that deck sheer Borge.
-
thanks Augie! I don't do too much weathering......this was a lot of fun! thanks for the good word.
-
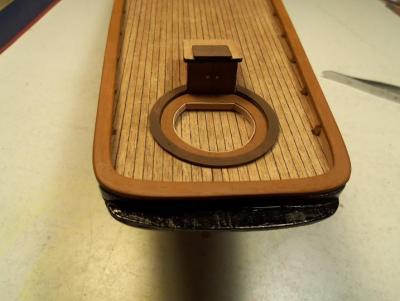
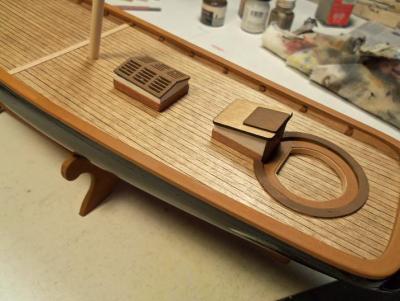
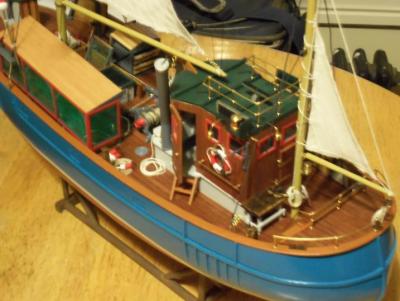
I have a lot to catch up on........and so much to post too ! I made some progress on this build. I finally painted the top rails


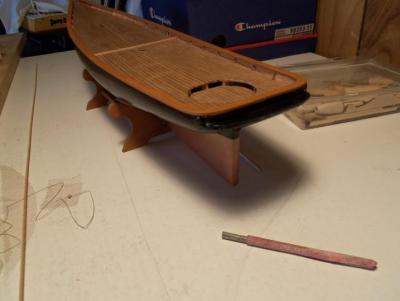
the companionway and tiller assembly was cemented in place

painting the tops of the side wall for the skylight structure flat black solved the problem I had with the white showing through the bottom slats

after this ws dry, the roof was cemented on the structure. I then started to work on the masts.

the skylight was cemented in place at this time.
I wish I could get more........but it's getting late.
-
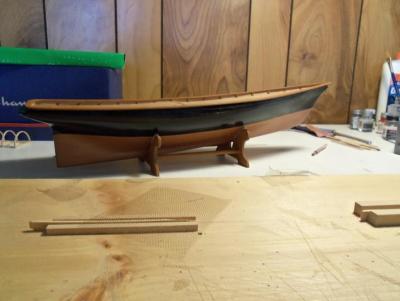
hello Sarah, the felt was my idea......good to protect the hull thanks for looking in
thanks to you as well Mark and John......your good word is much appreciated!
-
-
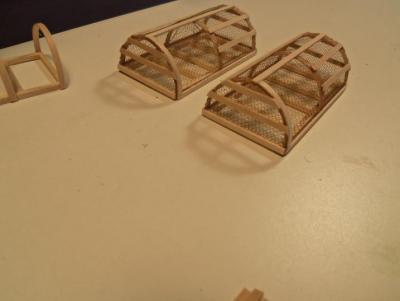
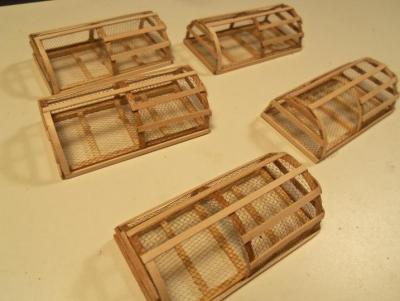
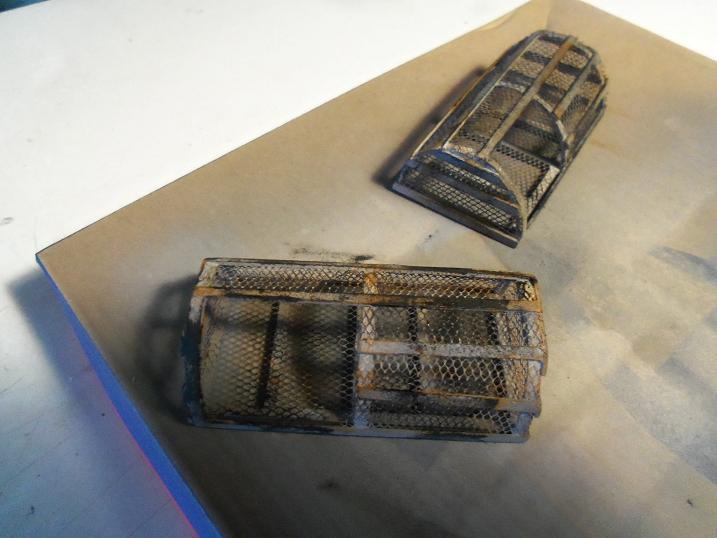
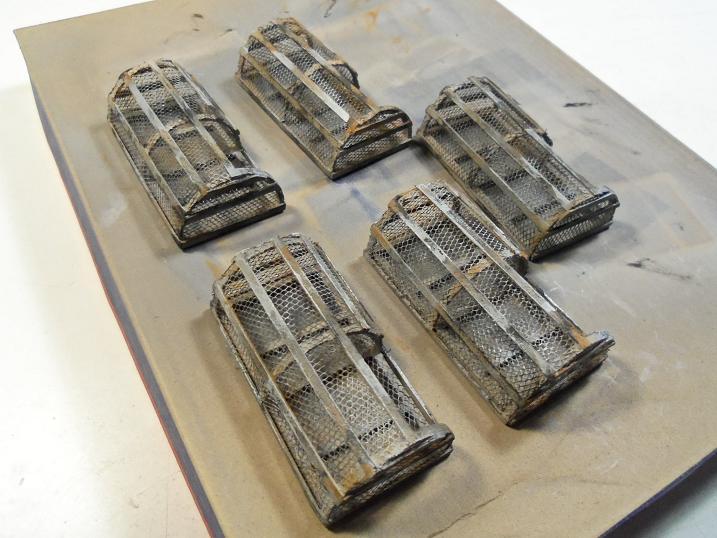
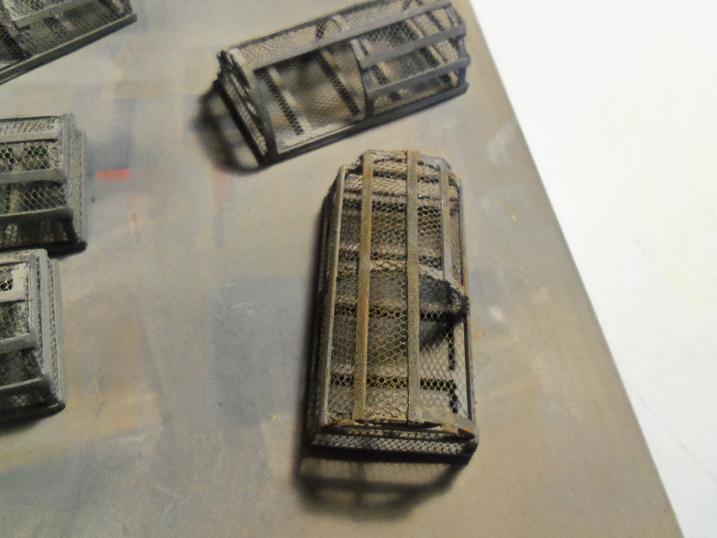
I didn't get any pictures of the initial paint. after bringing them down stairs, they were painted with the rest of the gray primer. then I took flat tan and poured a little in the bottle I was using.......I added three times amount of thinner, wich turned it into a wash. after spraying it spiratically over them in splotches, I let them dry a little and brought them up.
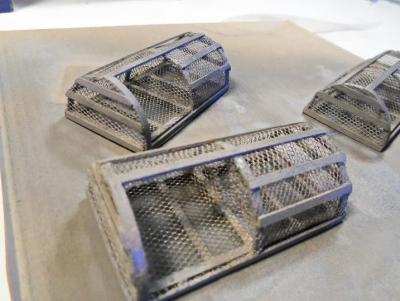
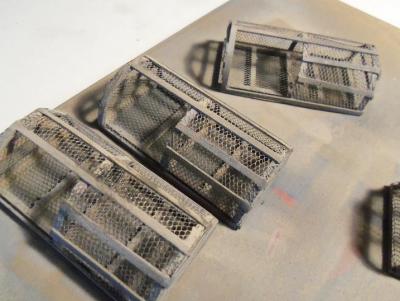
then I dry brushed a flat light brown testors #1166

then dry brushing flat black was next. I was wiping the brush on a piece of newspaper....the blended color gave it a bit more contrast. it blended in the other colors as well.
-
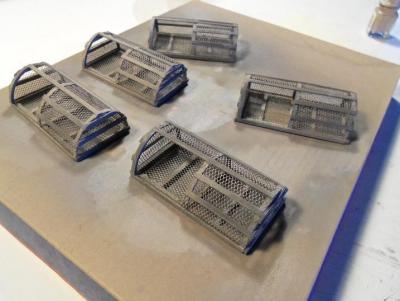
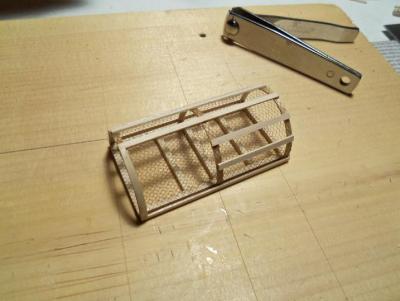
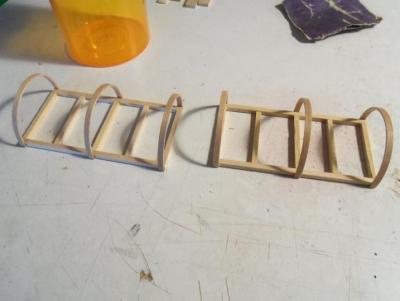
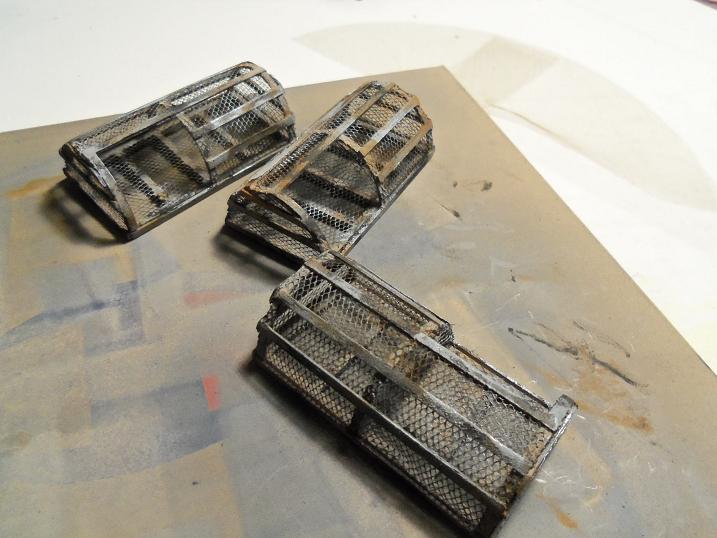
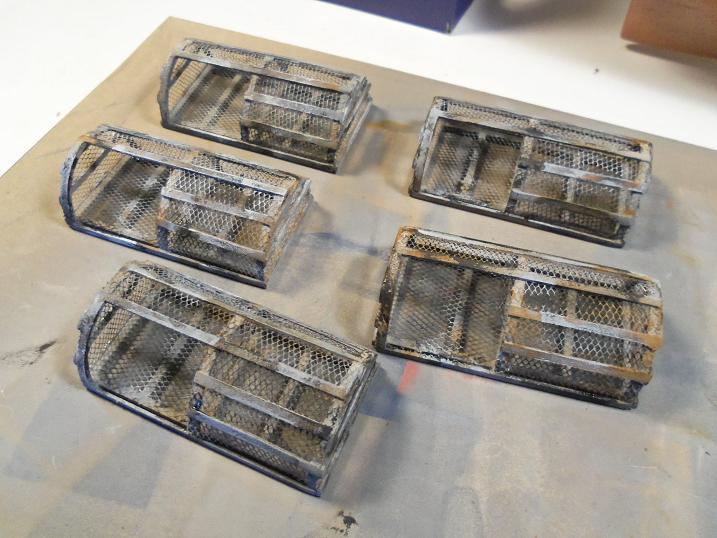
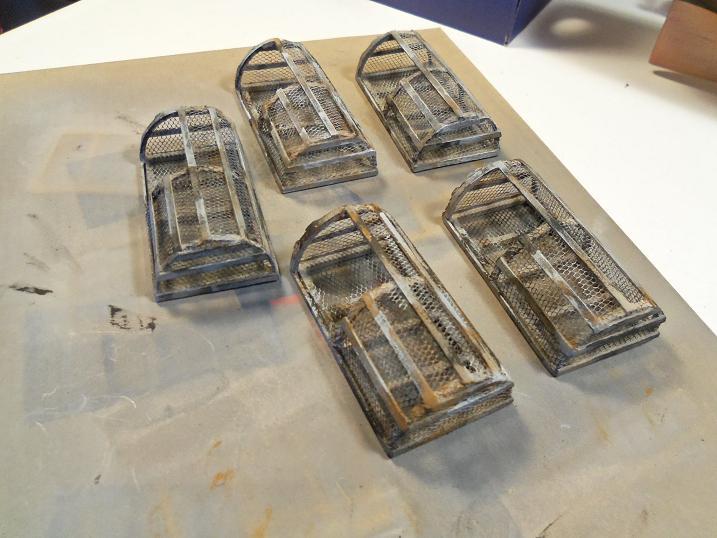
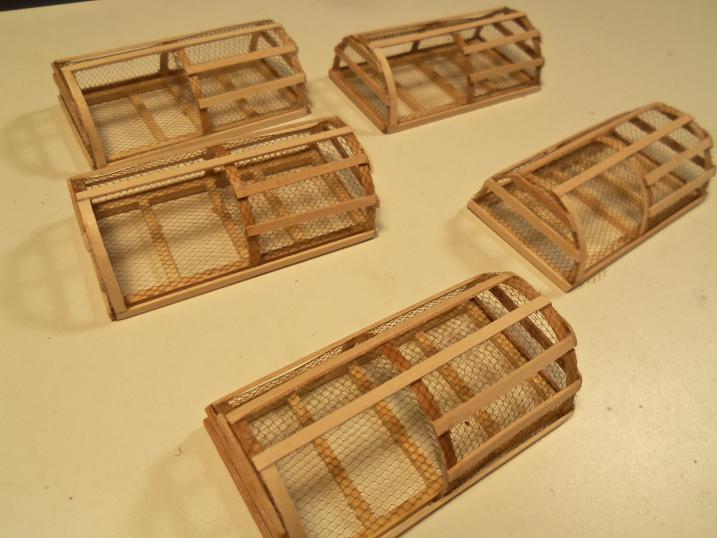
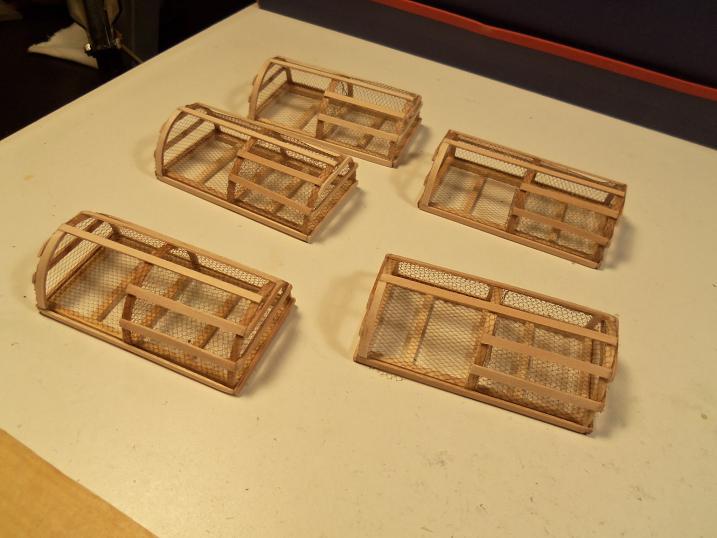
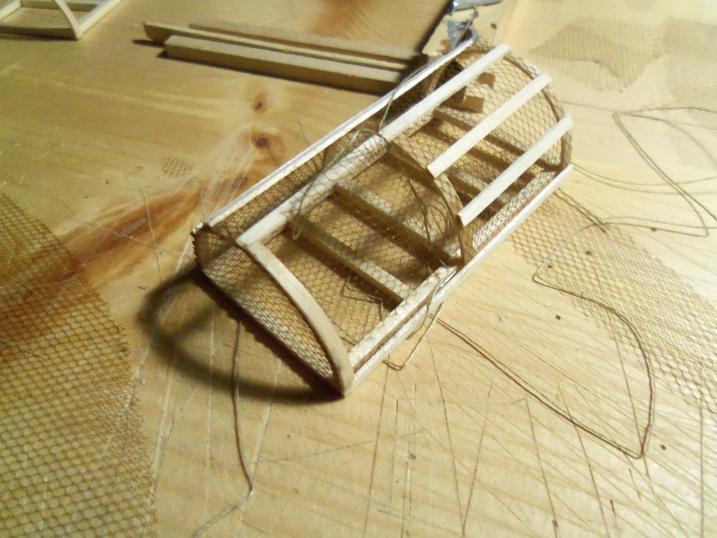
so. all the others were done the same way......covering them up in tulle and then slatting them over.
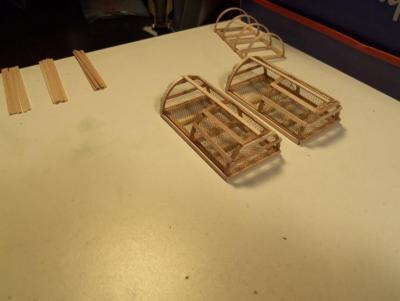

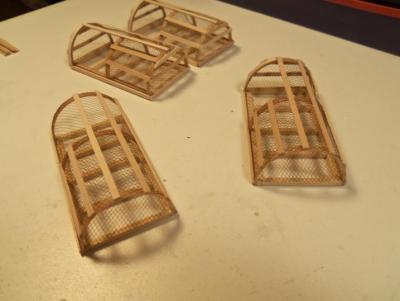
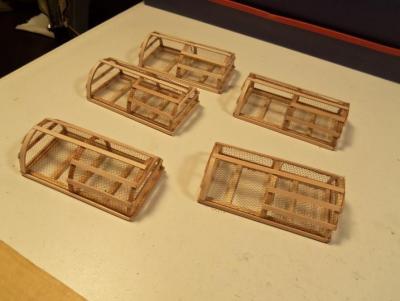

they are all assembled........now they go to the paint department.
-
.....goes back to the age old feat of sticking one's head in a lion's mouth........LOL!
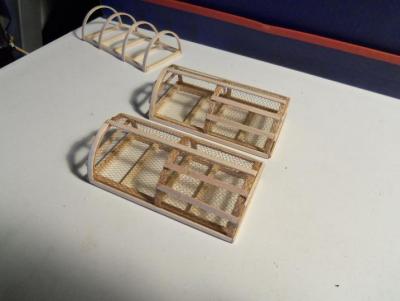
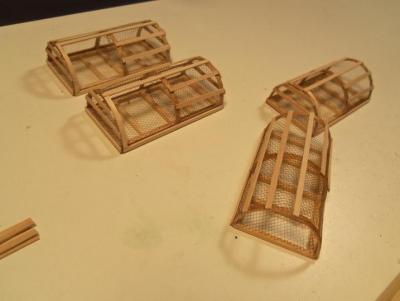
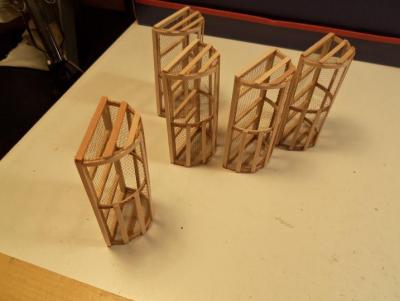
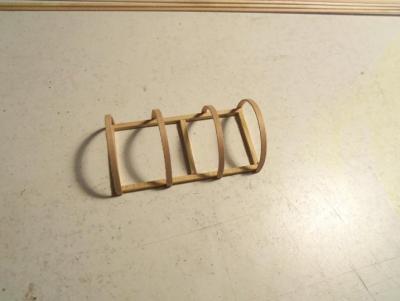
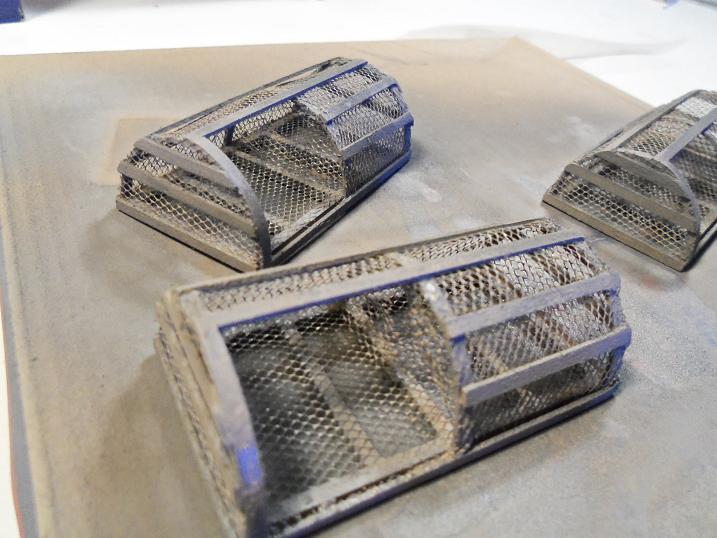
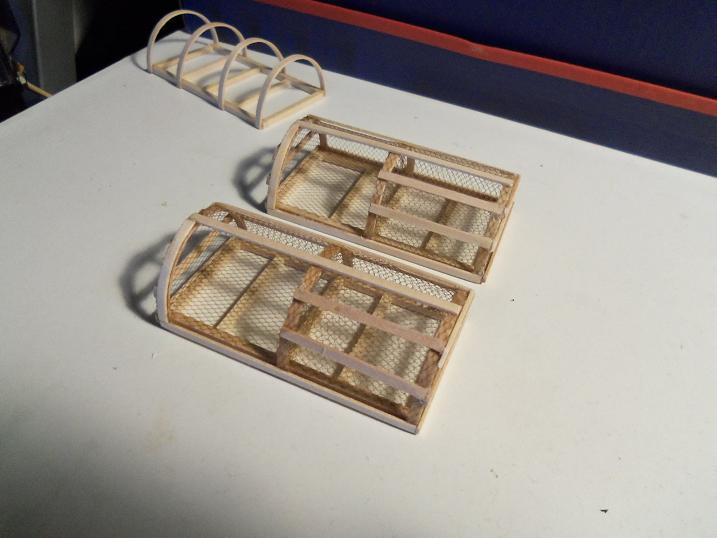
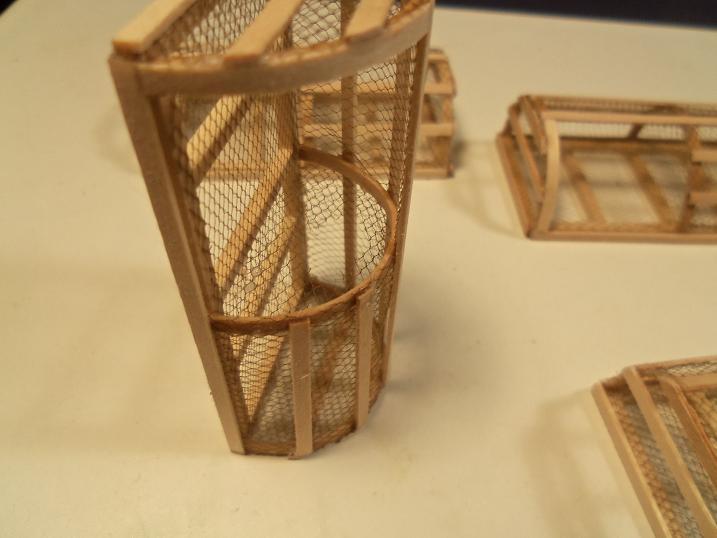
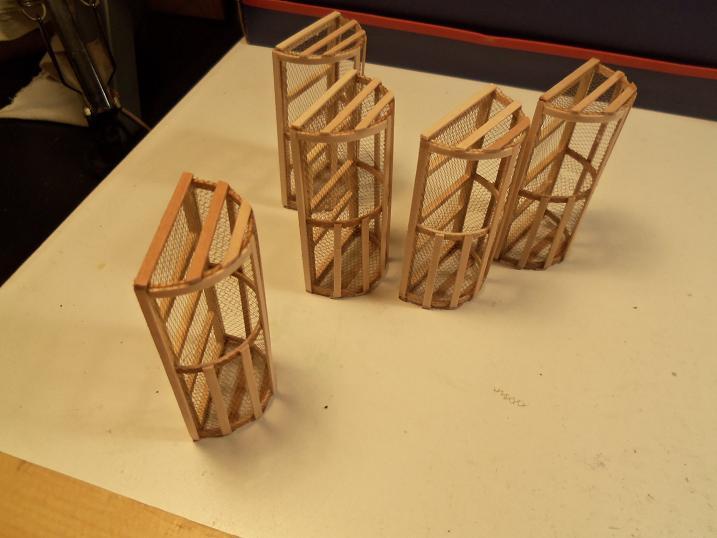
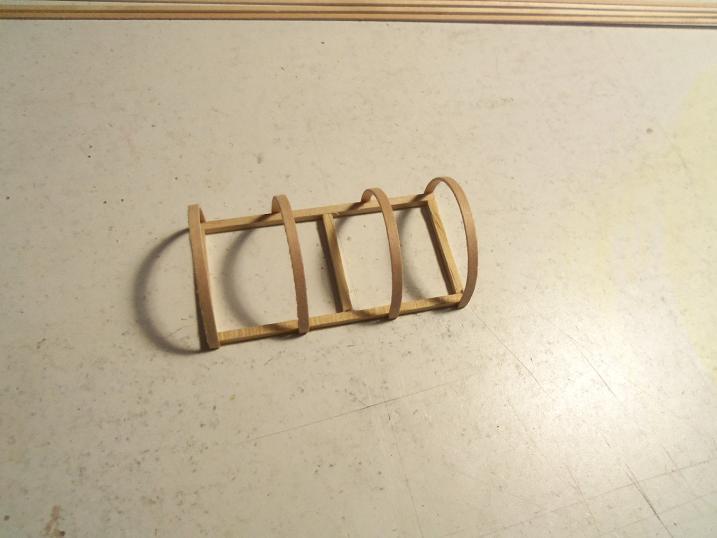
soon they were all assembled.

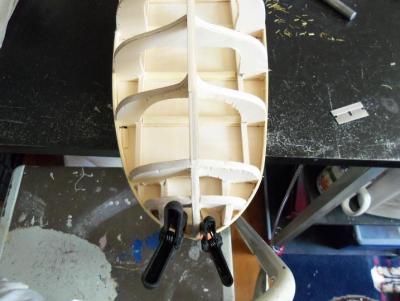
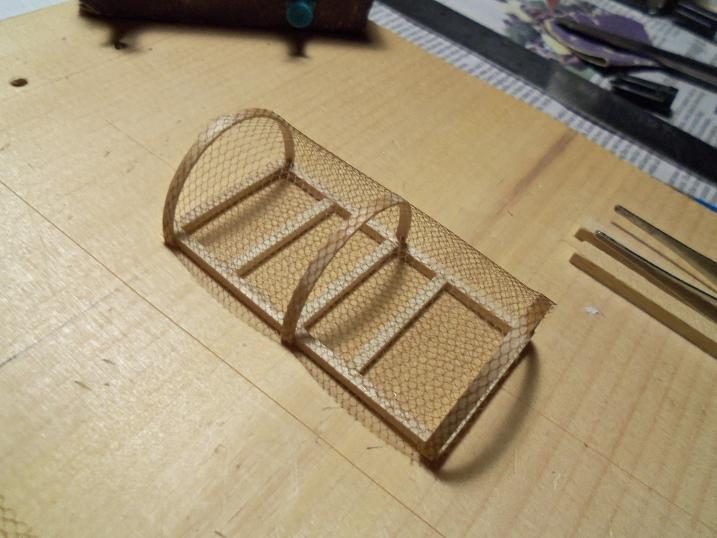
they will now be covered in tulle, as a netting. after they will be covered with the slats. inside the trap there is a wall with a hole in it. this separates the parlor from the entrance. I tried to install this after the trap was covered, but it didn't work out too good.
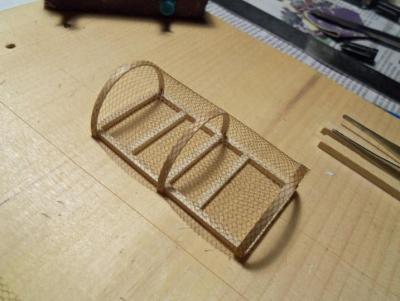


the second one was done differently.....the wall was installed before the trap was covered......worked out much better.
the sides were closed up at this time.....they will have slats on them as well.
-
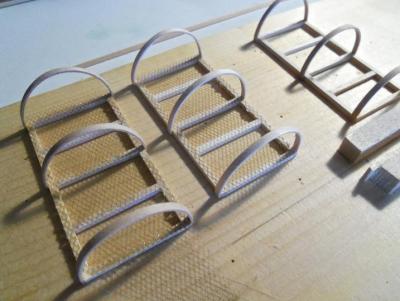
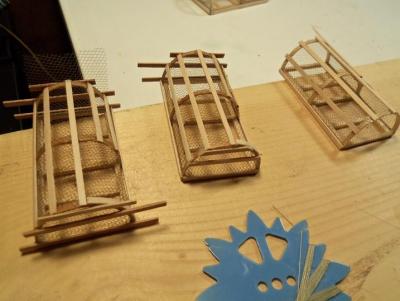
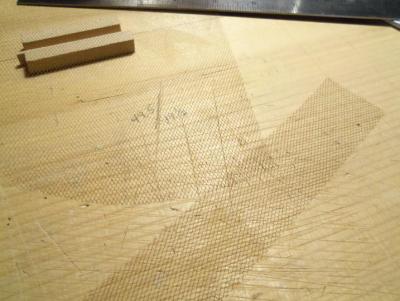
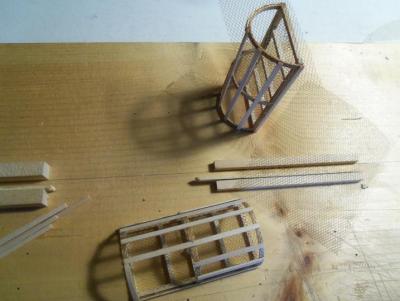
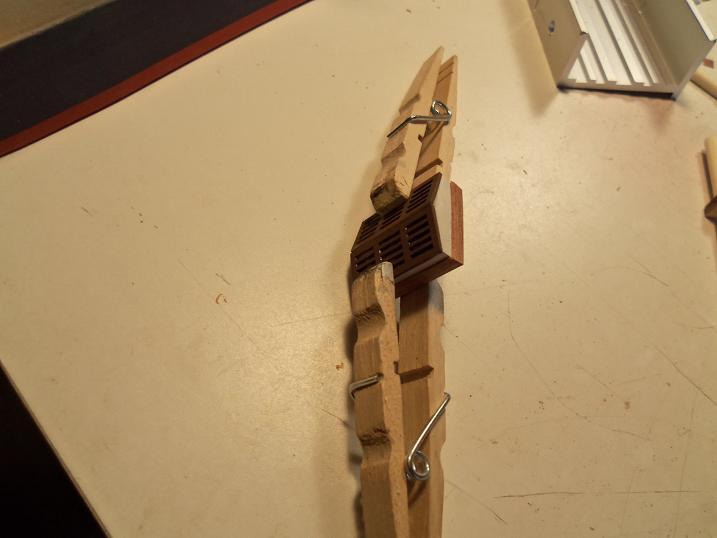
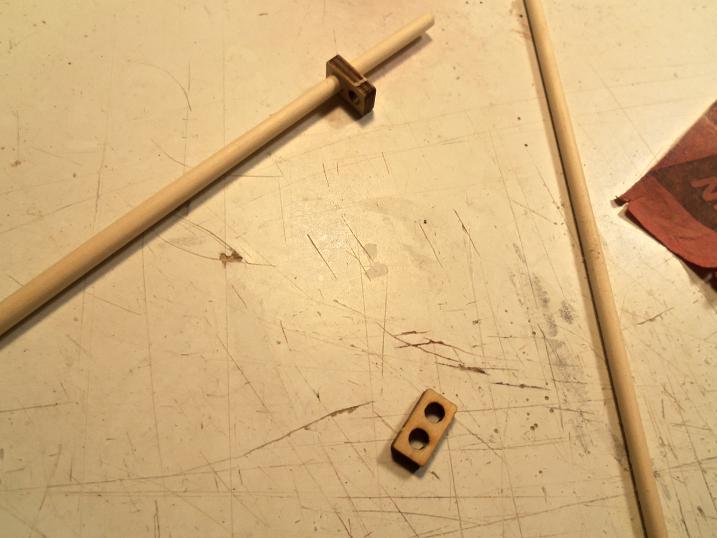
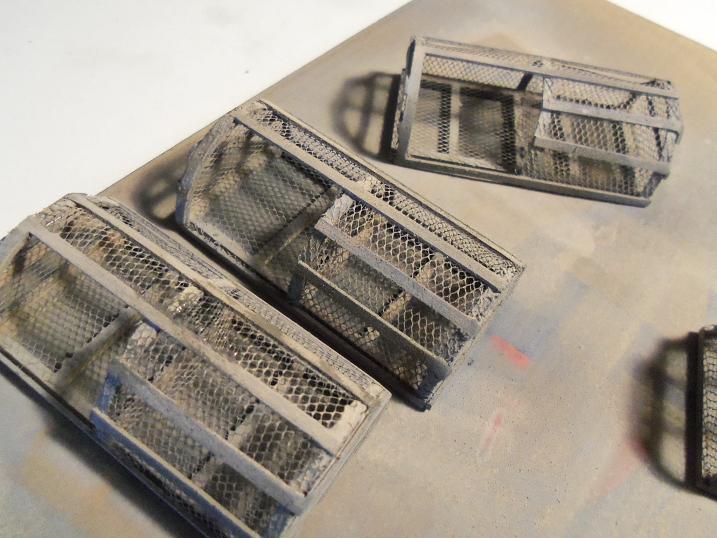
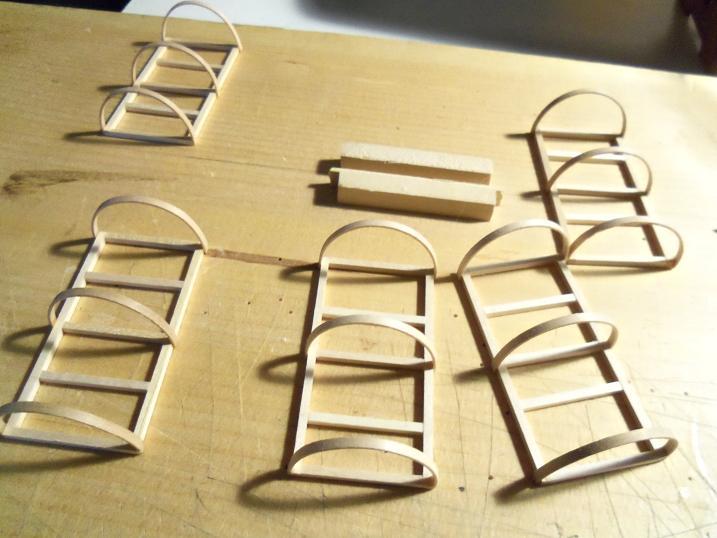
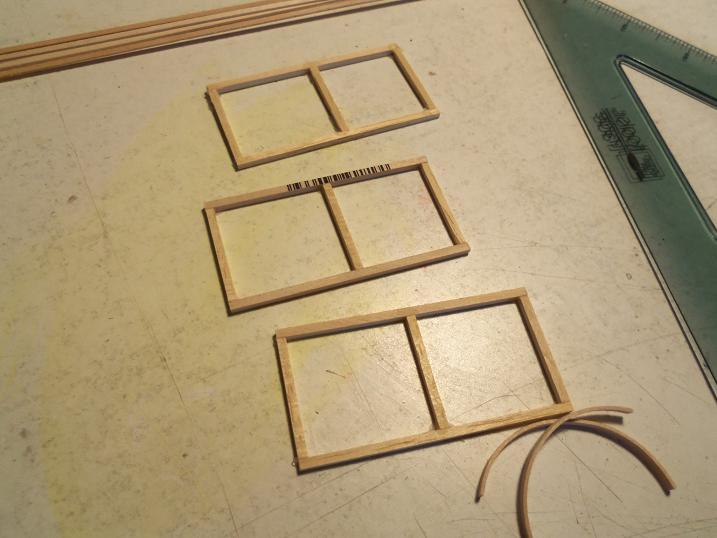
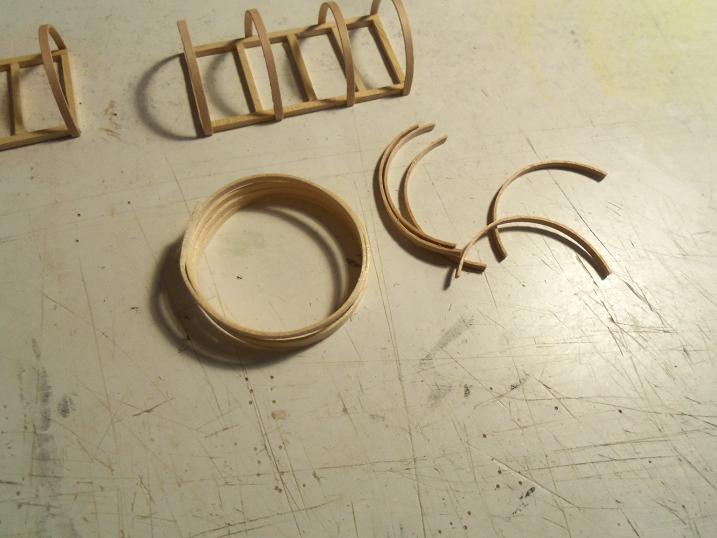
now.....let's try this again. for some reason, I got thrown out! I decided to make the traps for the Denny-Zen. the kit only provides enough 1 x 2mm stripping for a couple traps.......I want five of them. I took three of them and soaked them in hot water. they were then fitted into a large pill bottle. I'll start this one as well with a group photo.
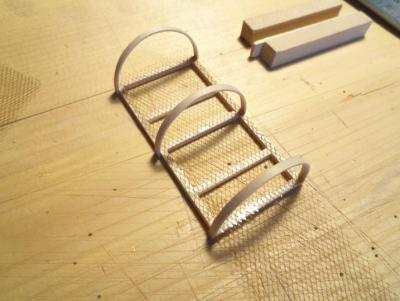
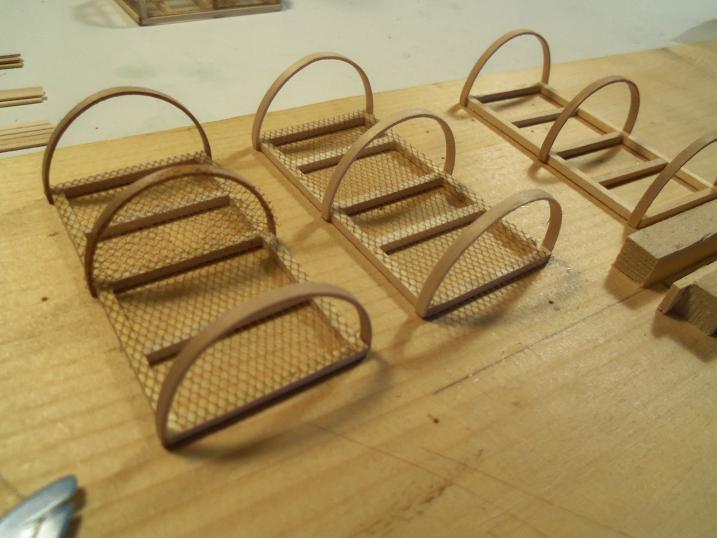
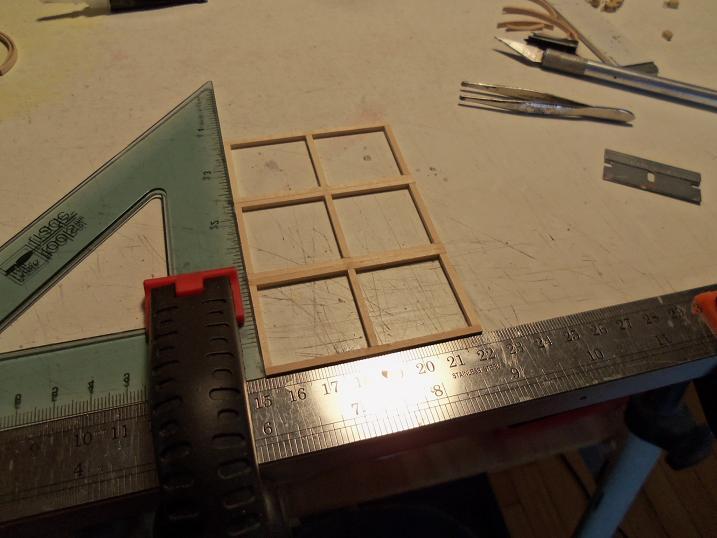
while the stripping was drying, I made some of the frames bottoms
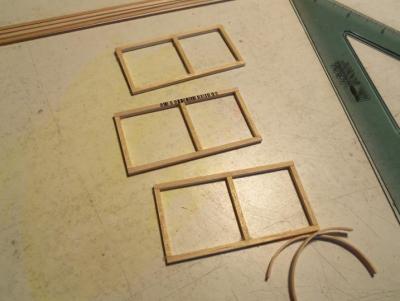
I made this one.....I wanted to get creative.....but I didn't like it
I then made these......that's more like it.
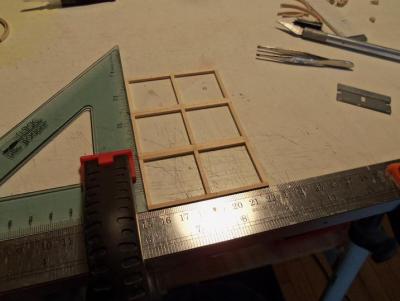
I made some more frames.
this is how the stripping looks after it came out of the bottle.
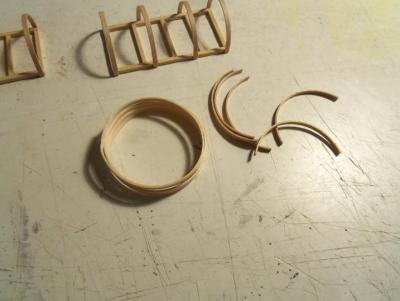
I will finish making the rest of them.
-
oh....I don't know about that.......you have folks who try to surf during a hurricane.....fresh water lake perhaps?
-
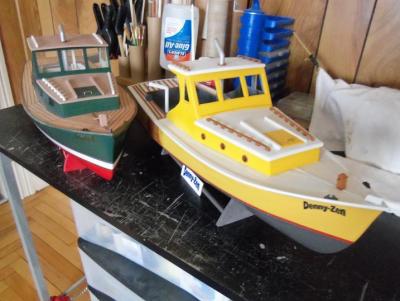
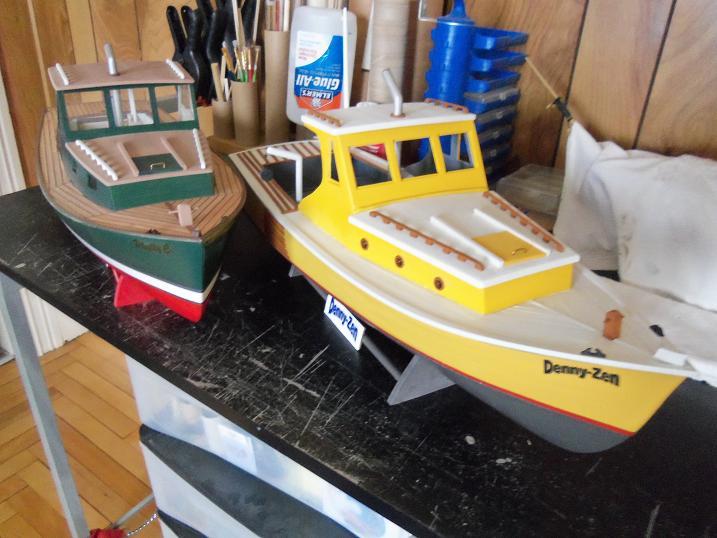
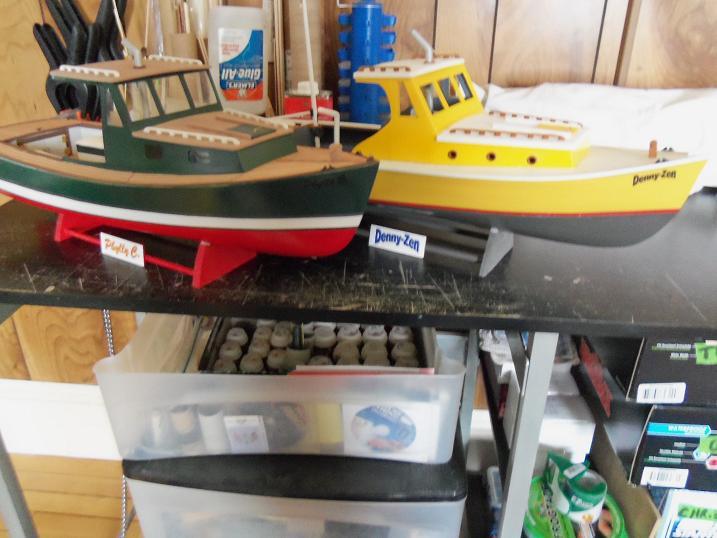
OK.......we're back in business! while we were on vacation, I made some progress on these two. I'll start with the progress for the Phylly C. it isn't much.......I got too carried away with the Denny-Zen. it starts with a picture of the two love birds.......

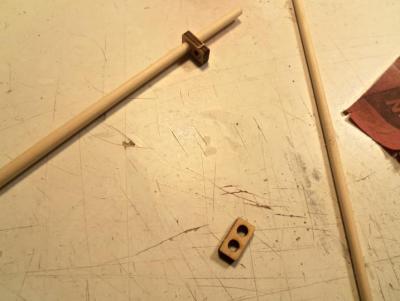
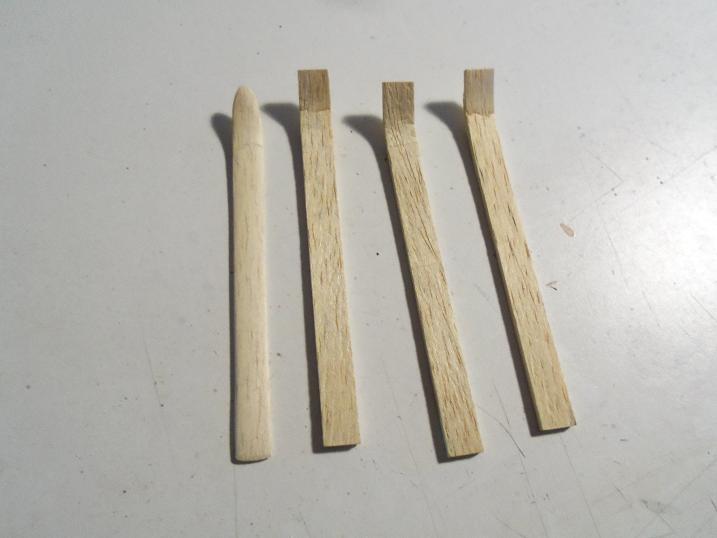
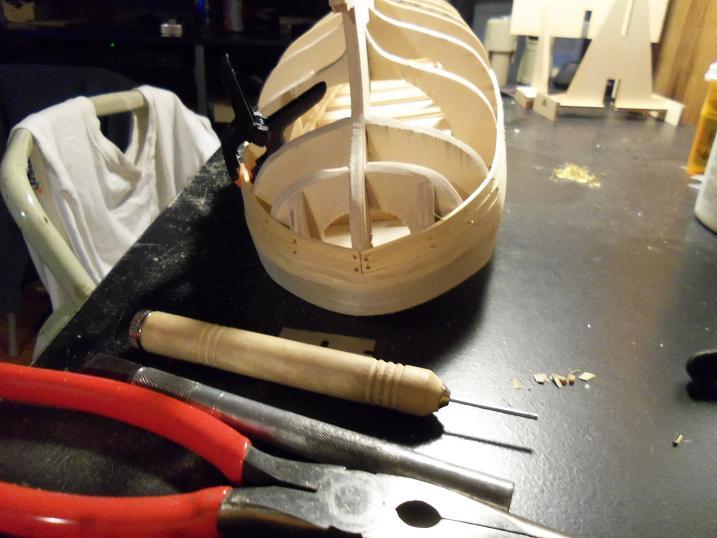
Now.......a pleasure boat should have pleasureable things. construction starts on one of the props for it.

these pieces of planking were soaked with hot water and bent the way you see them. after they were dry, I started to shape them.
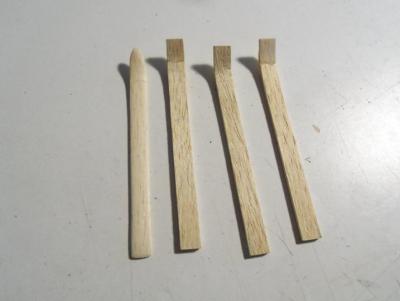
soon they were shaped and set in pairs.
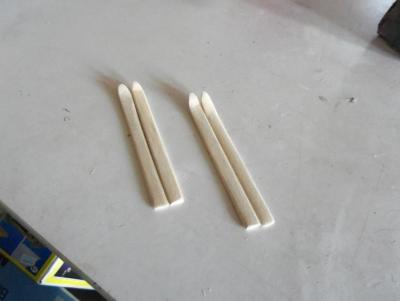
and then they were given a coat of primer.
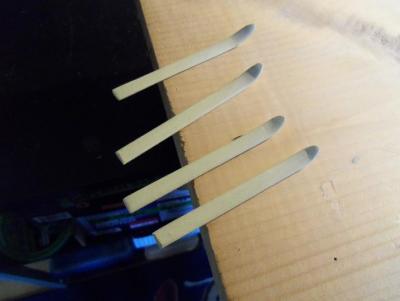
they still need paint and hardware.......then I can set up the ropes for them. I have another idea, but I'll have to researdh it a bit more.......
-
I know Andy.......I'm still waiting till I can get the deadeyes for the Gothenborg. I have updates for the other builds, as well as the AmericA. you did forget about the United States build.....I'm holding off on that one {I need more stuff}. I have a lot of the fittings for this build......but now I've run out of the planking. I still have more to go til it's all caught up......then I can put in the other builds. the doctors called it 'manic constructive disorder'........it's incurable.......don'tcha know

thank you Micheal.......I'll have more progress on this one soon.....I'm not working on it at the moment......good thing.
thanks Anja........I'll still keep my eyes open........I appreciate everyone's comments

-
Gee.....I forgot I was doing the Susan A at the time as well........the Wharf is a busy place 8)
3 - 29 - 2012
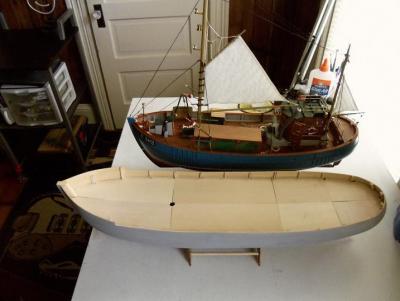
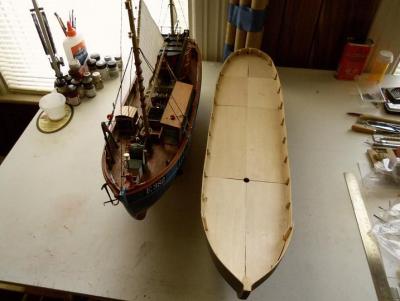
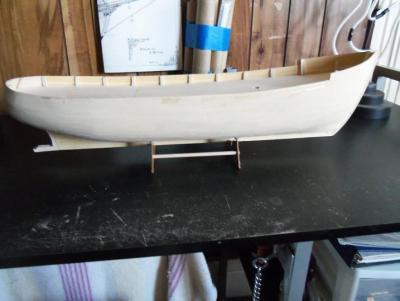
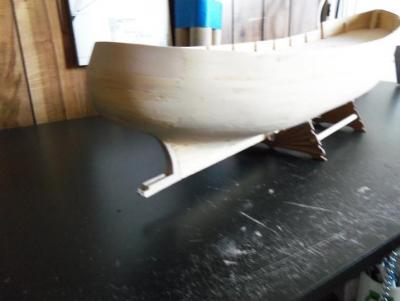
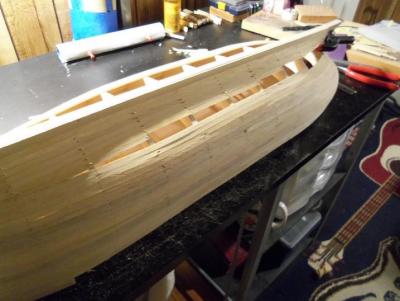
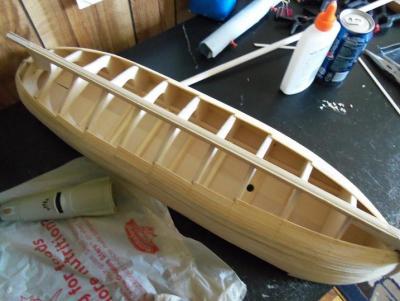
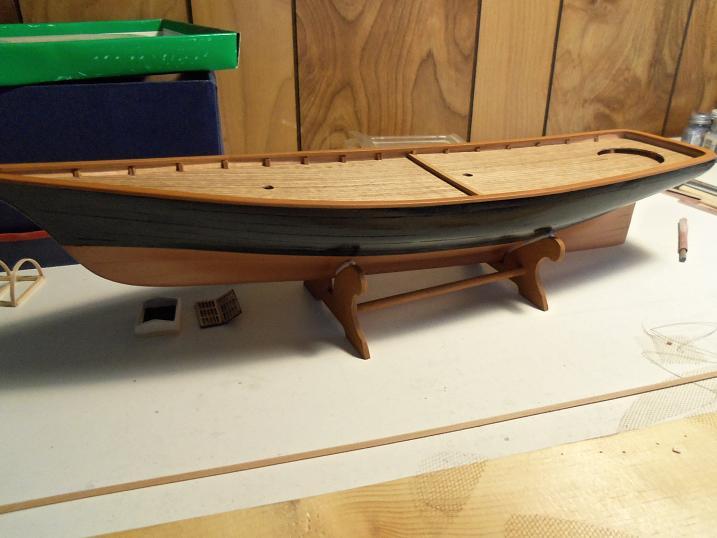
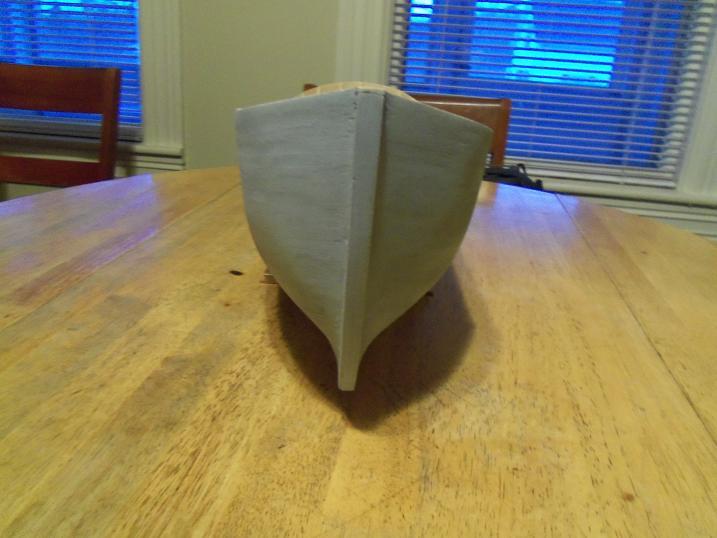
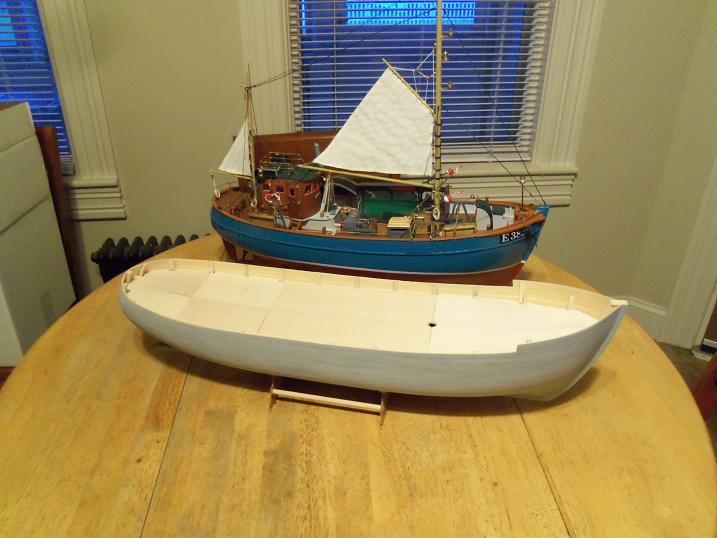
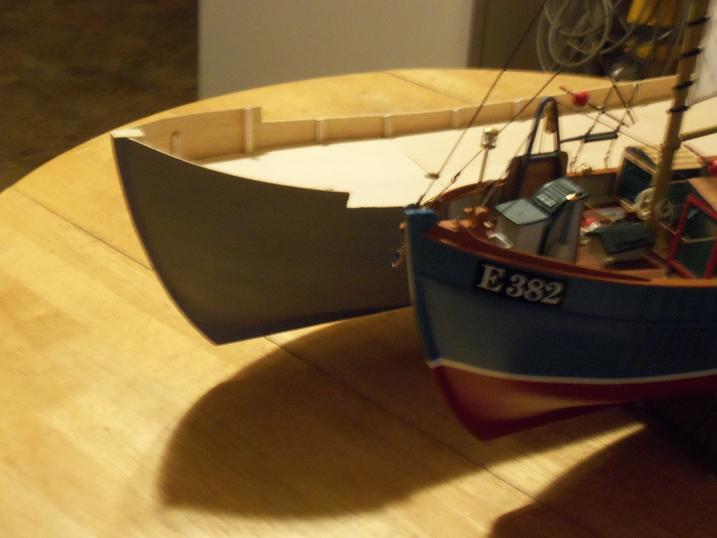
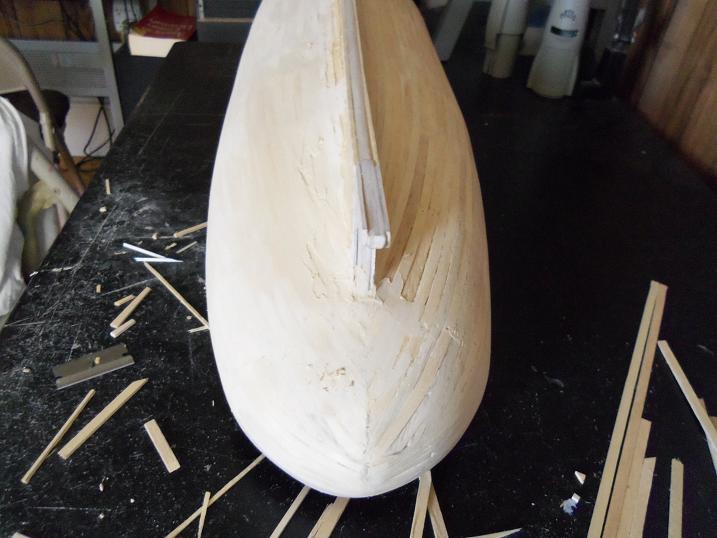
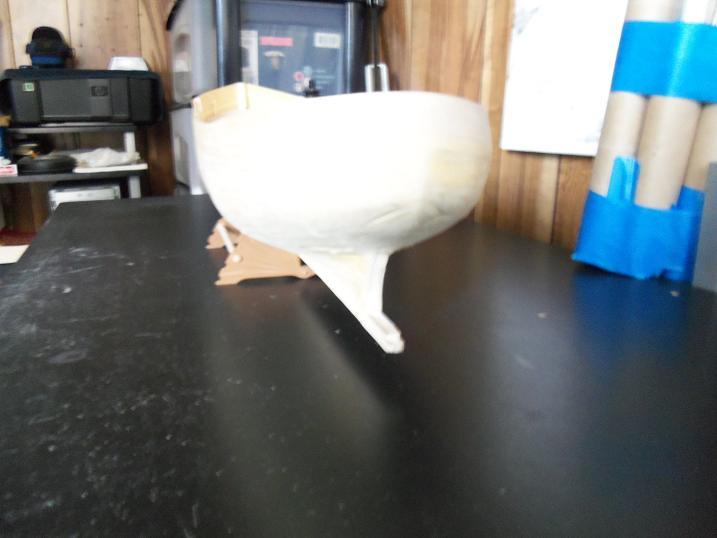
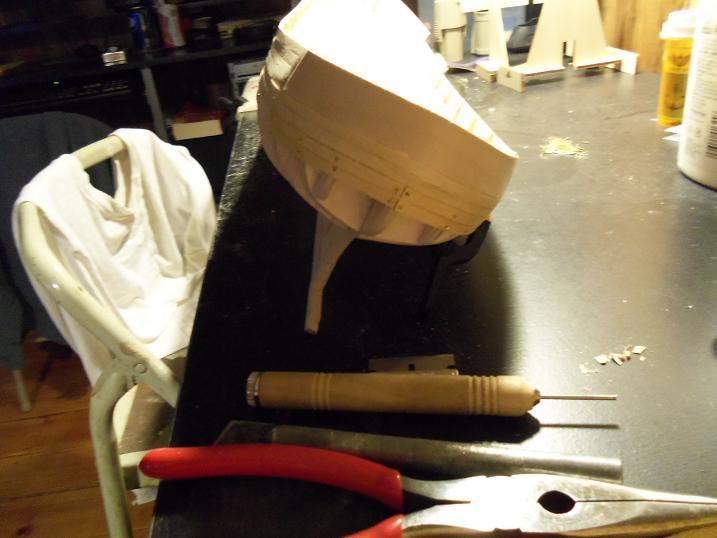
Here is an interesting session.......you'll get to see what the comparison between the normal hull and this hull looks like. let's get to it.


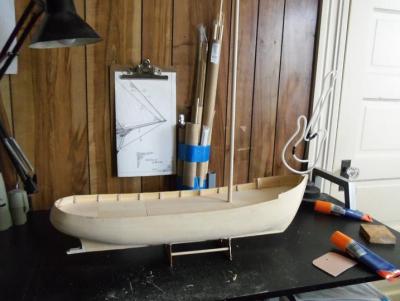

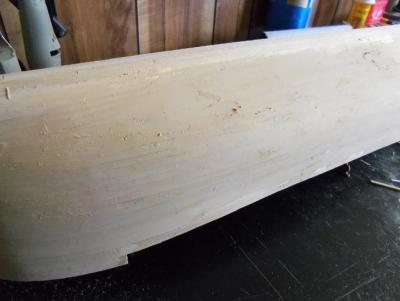
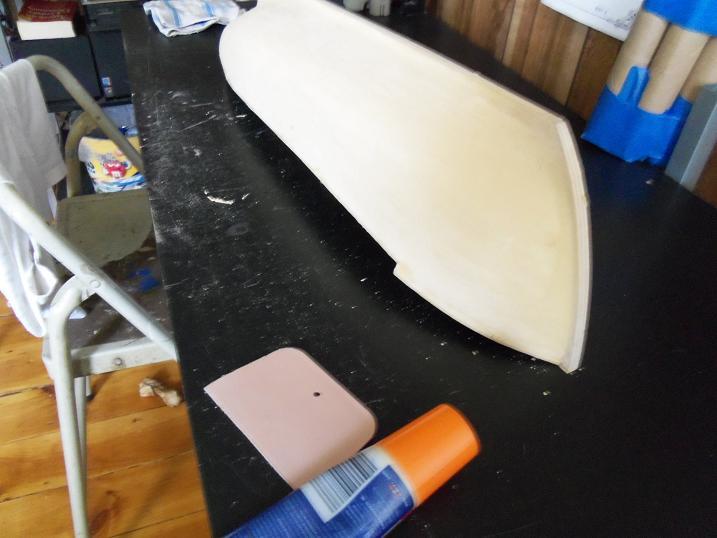
The hull is sanded and smootheds out. Filler has been added to eliminate the gaps and rough spots. I was all too quick to lay on some primer.
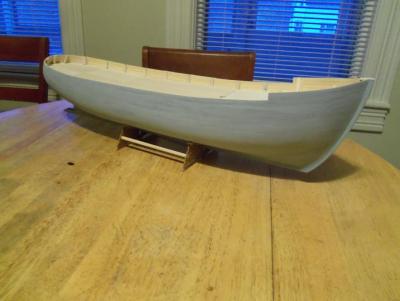


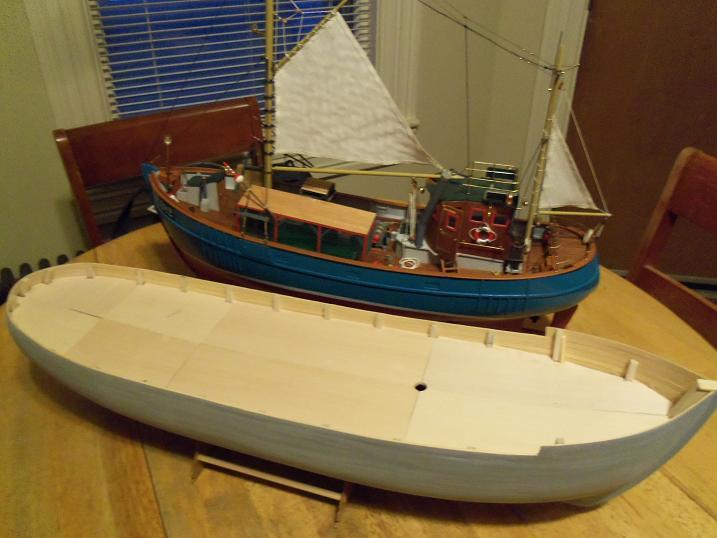
I have to do a bit more to the hull, but I'm satisfied with the results. I set the Mary Ann beside the hull to show the size relation.
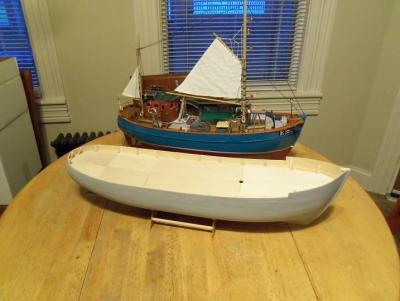
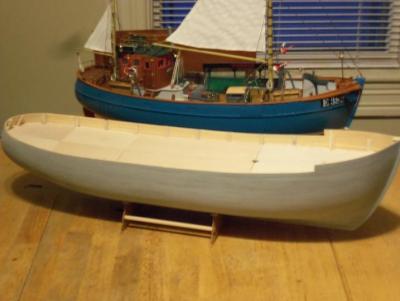
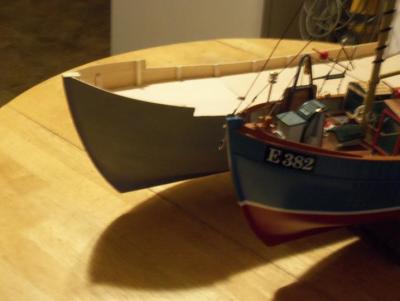

I coundn't help getting at least one picture of the Mary Ann in there........went a bit overboard with it...but in a nice way.

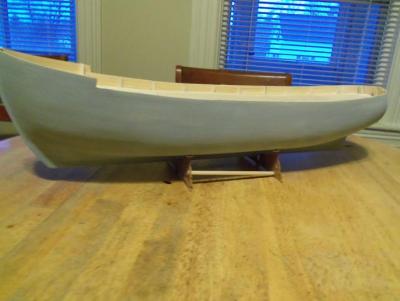
I got it back into the computer room........I took a couple more pictures.
- MikeB4, PeteB, Elmer Cornish and 4 others
-
 7
7
-
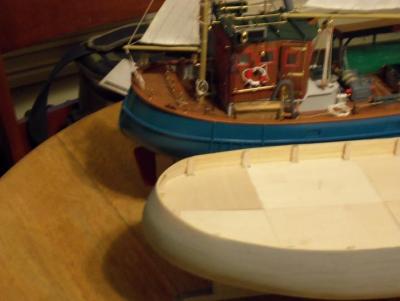
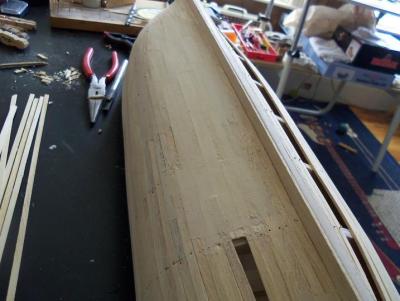
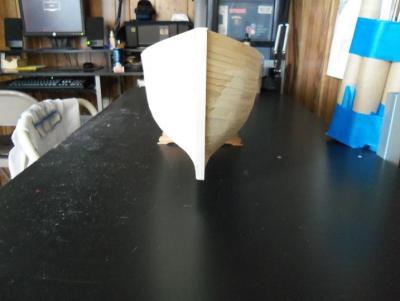
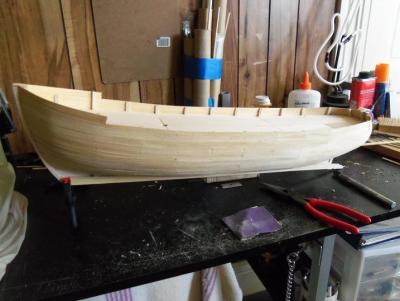
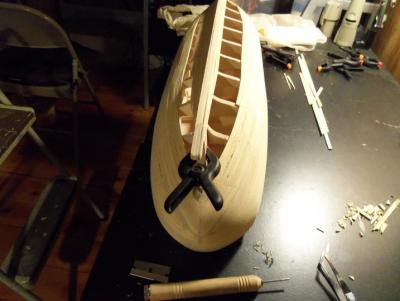
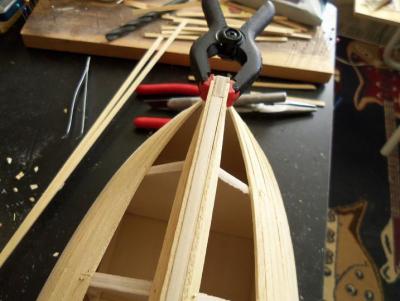
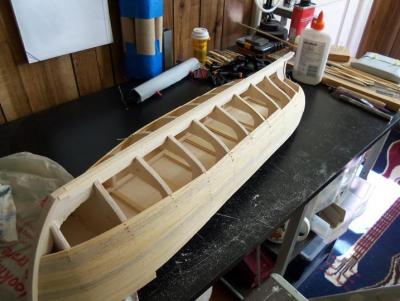
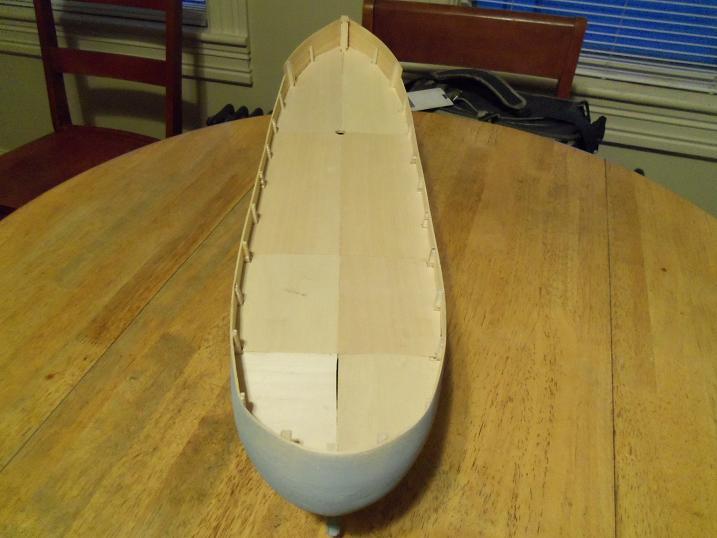
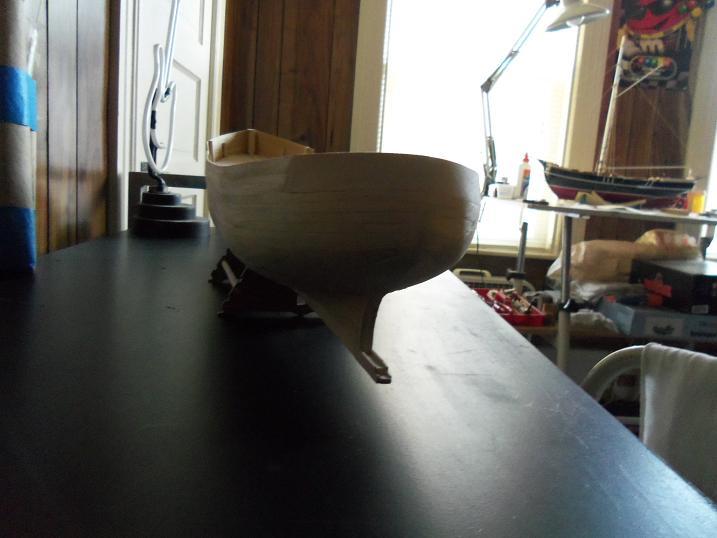
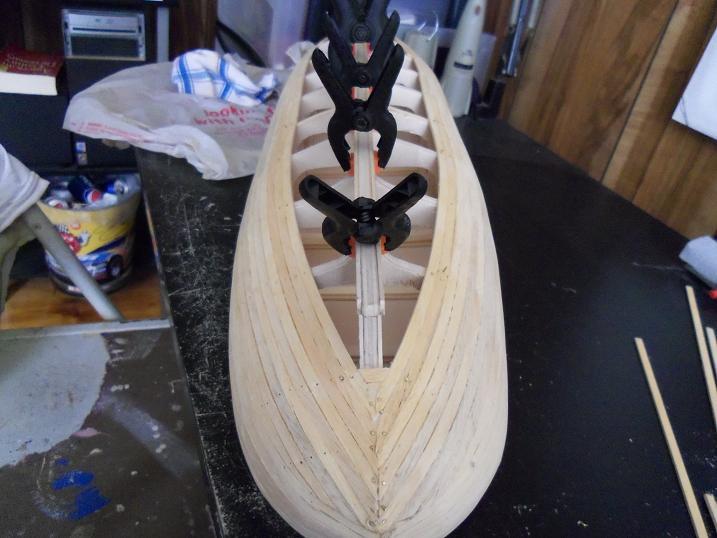
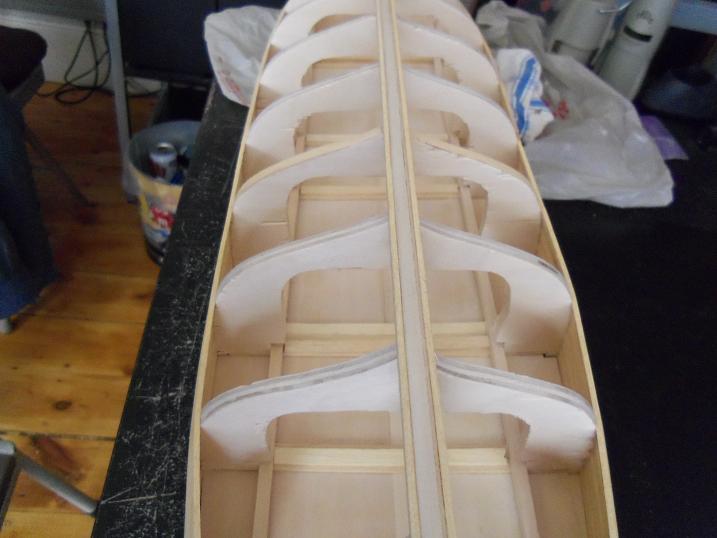
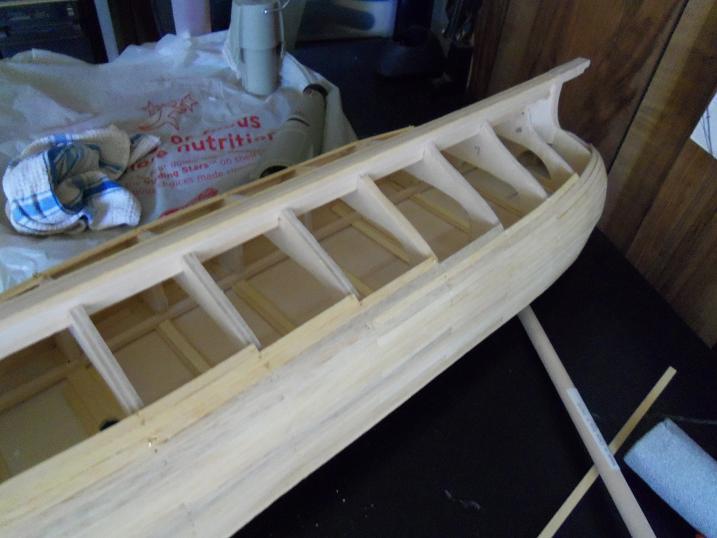
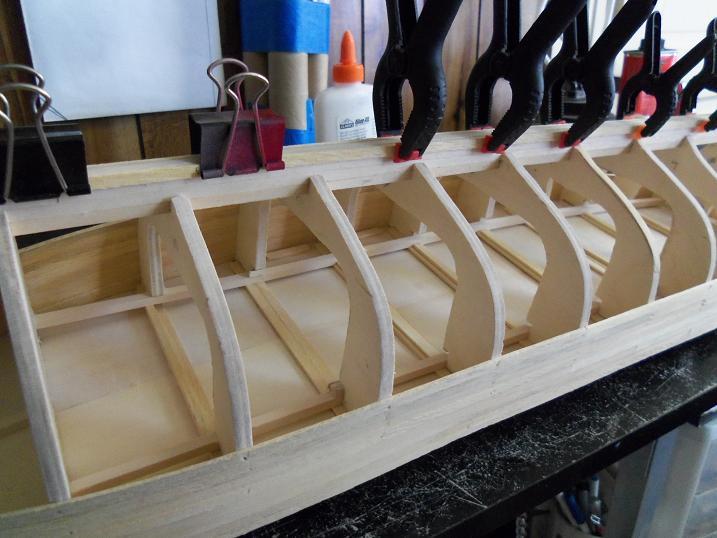
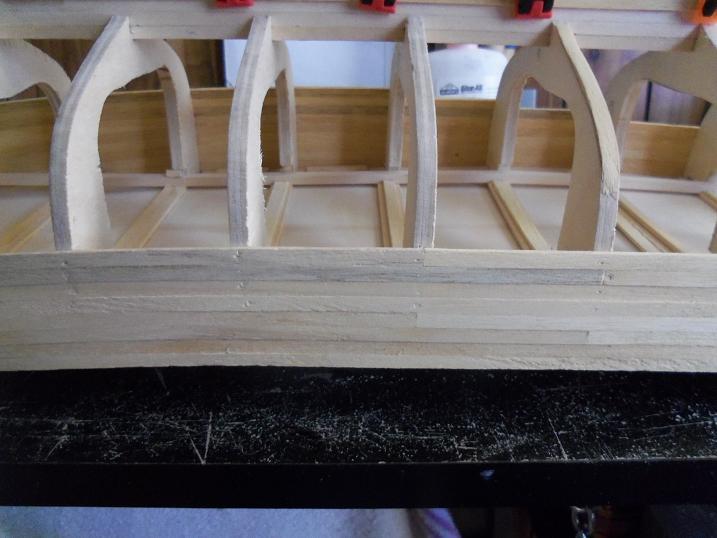
3 - 28 - 2012
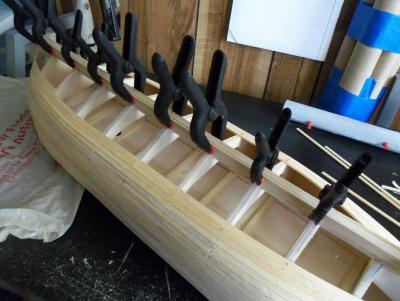
the continuance towards closing her up.


- Elmer Cornish, themadchemist, PeteB and 1 other
-
4
-
it kinda stinks.......here I am putting stuff in, and you folks are posting......and I don't know it.. please look along......I will answer......I appreciate your looking in.
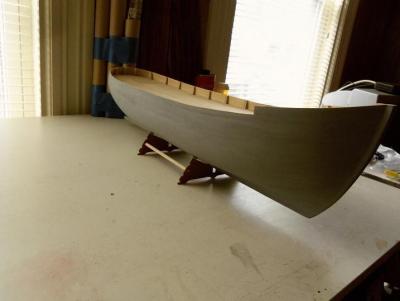
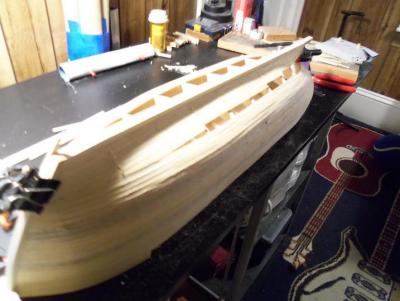
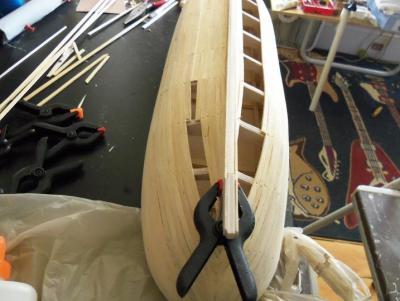
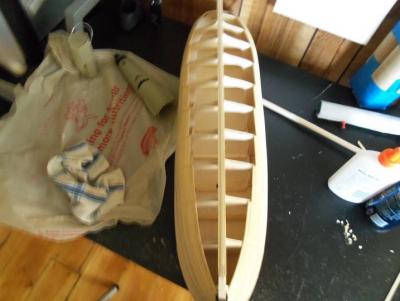
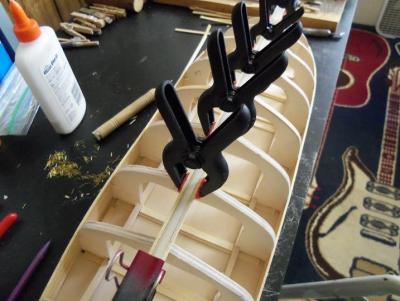
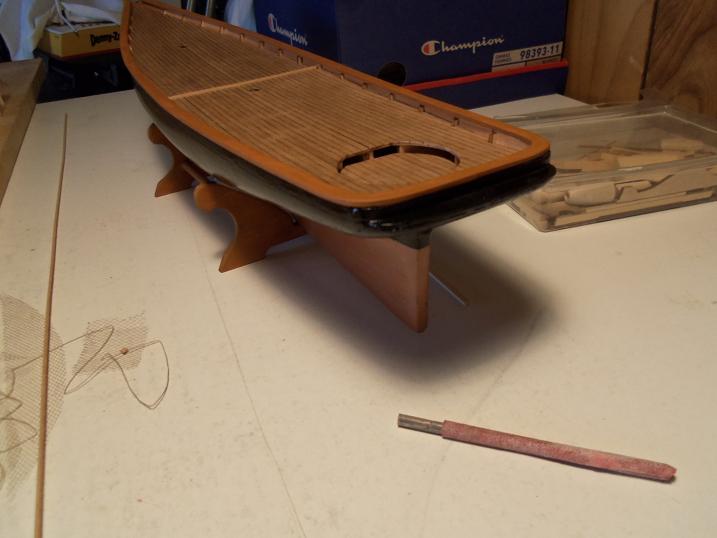
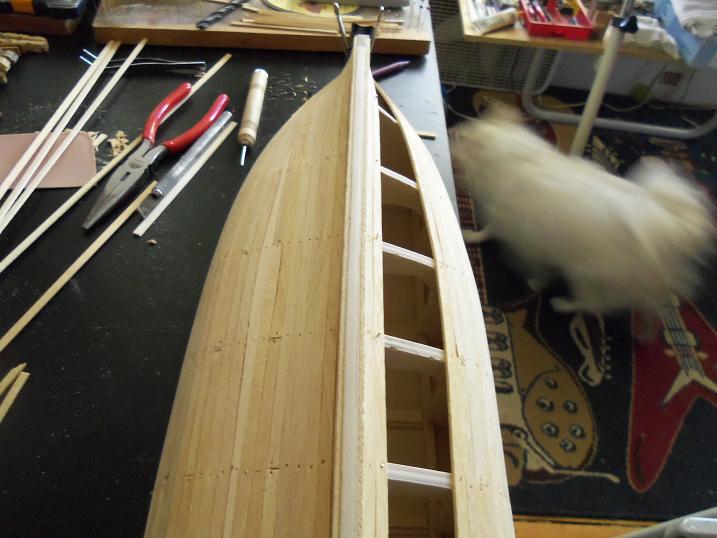
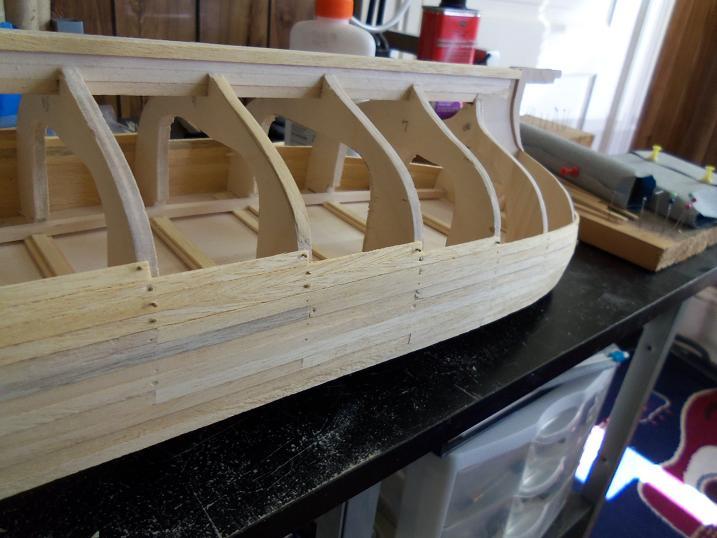
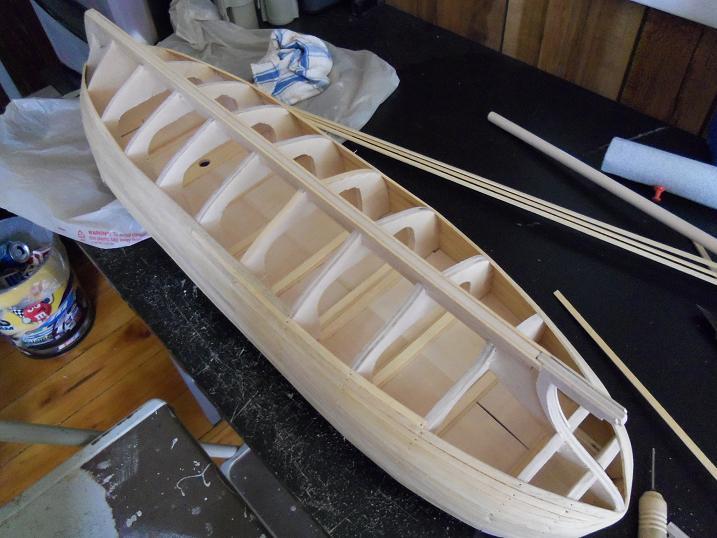
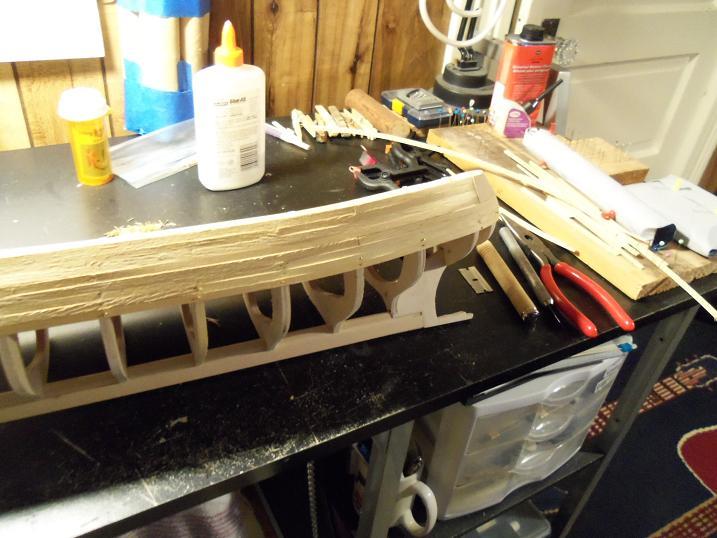
3 - 27 - 2012
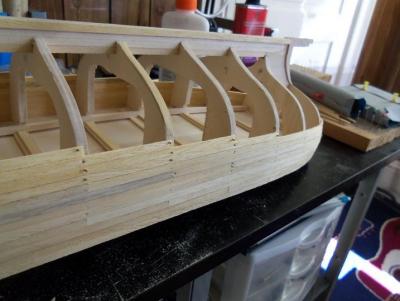
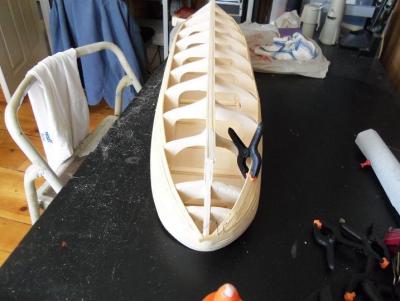
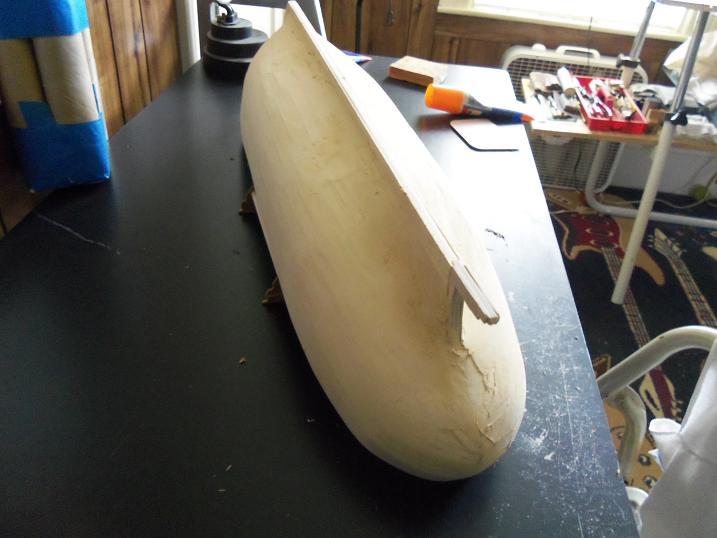
oh boy......only a little more to go! this has turned out to be SOME plank job! my make-shift stand hold it up as I look her over. I'll be so glad when I can get the hull looking better.


-
hi there Wim.........it still is a nice ship..........it right here beside me, I can play with it and everything........LOL! yea, it's going slow, my friend, but I'll get there. that'll teach me for having so many builds in the wings.......thanks for the good word!
-
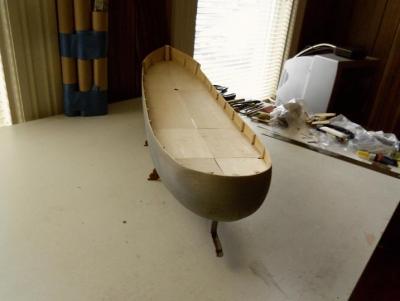
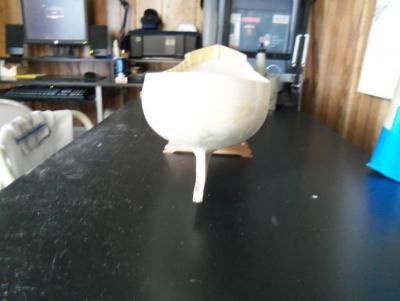
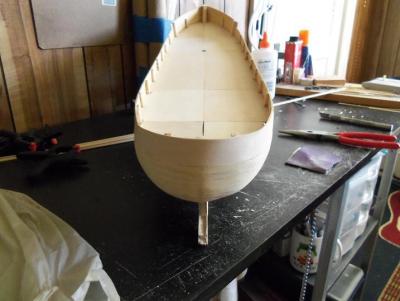
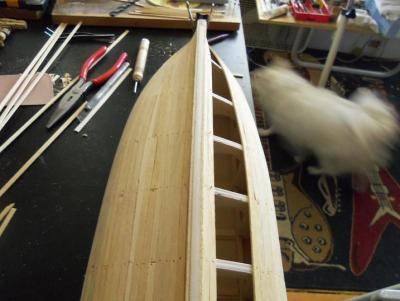
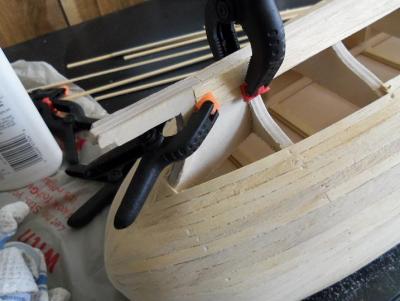
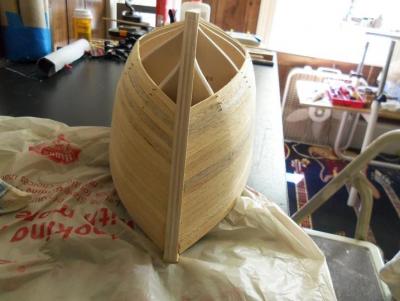
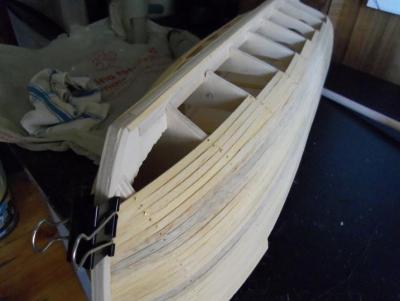
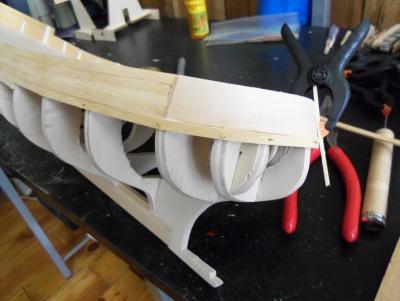
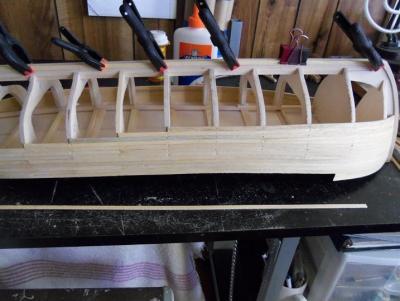
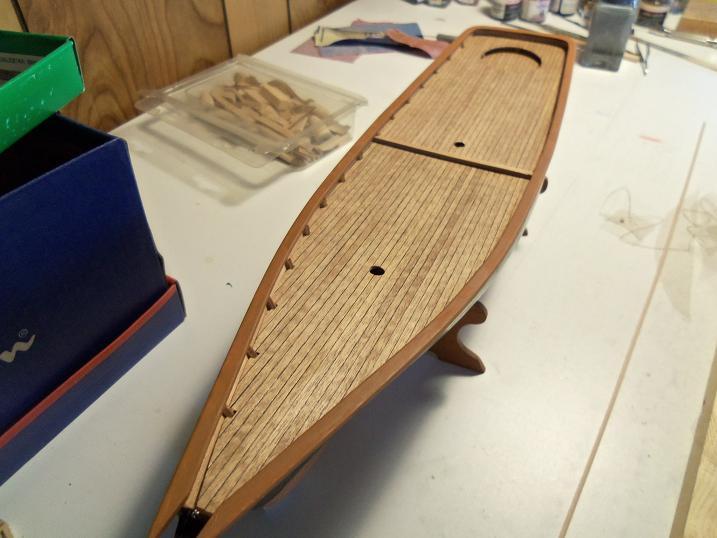
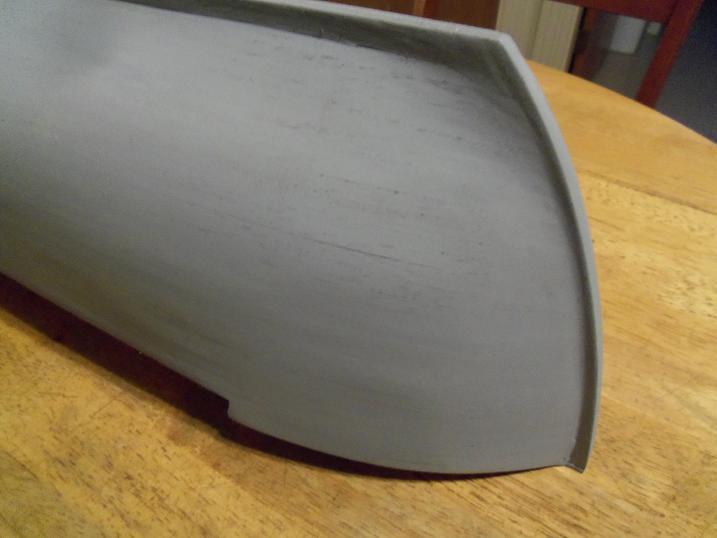
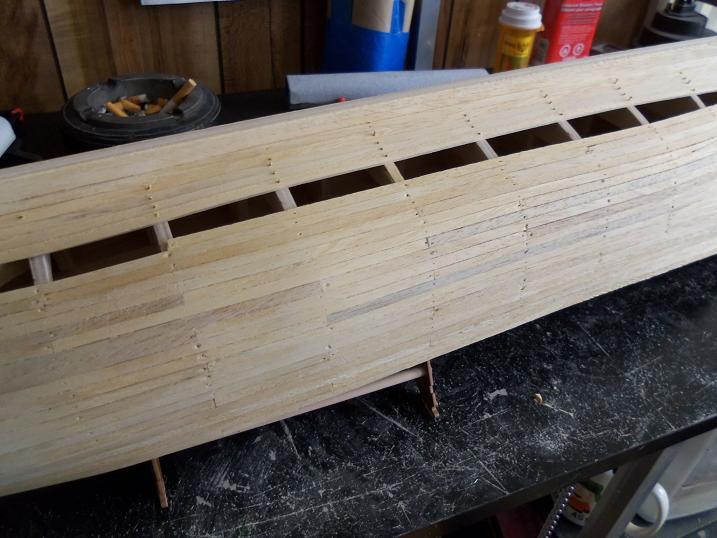
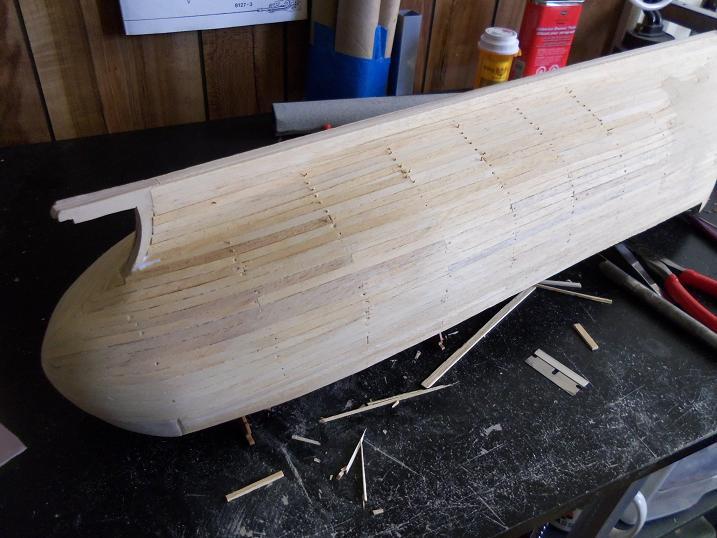
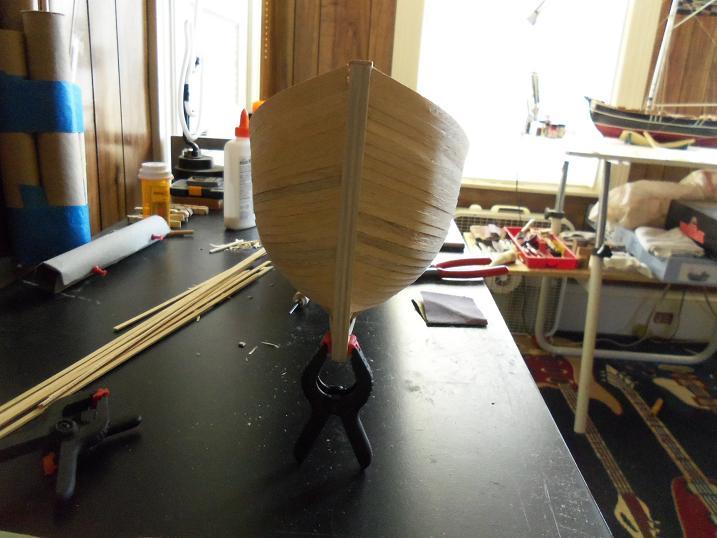
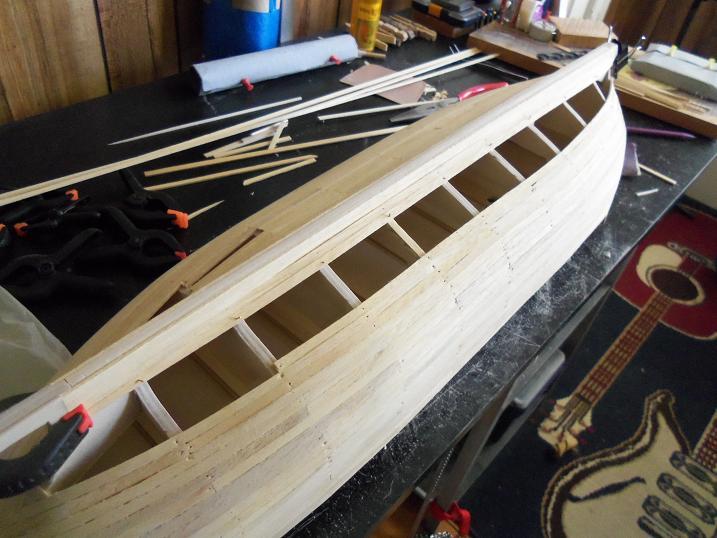
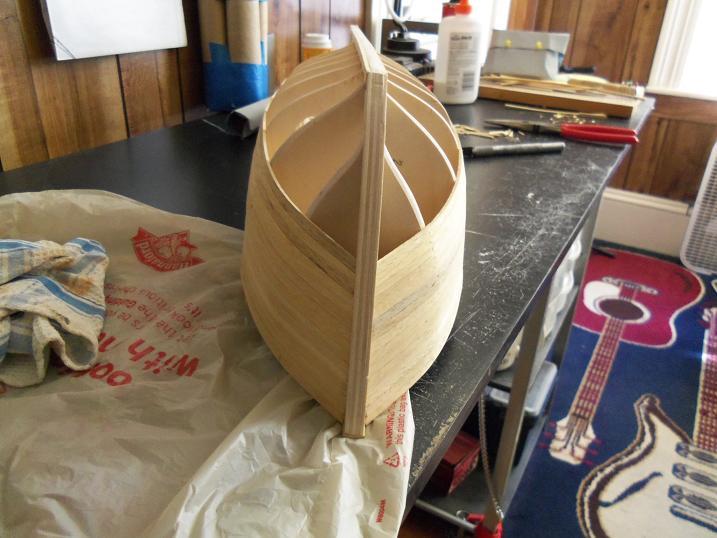
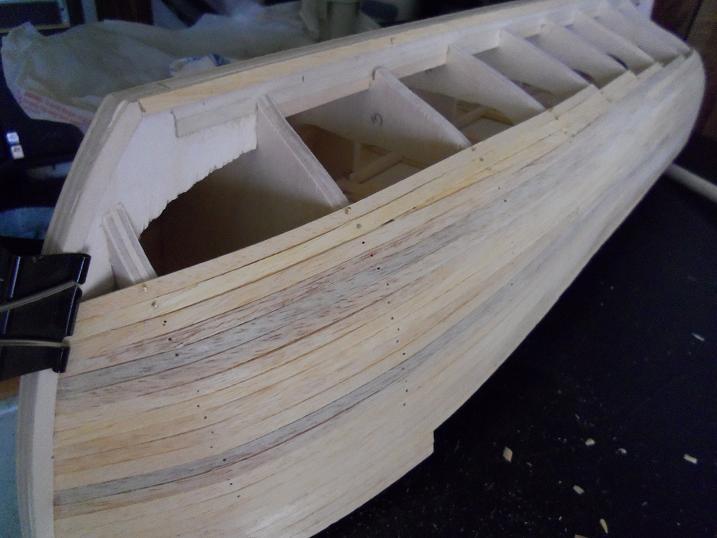
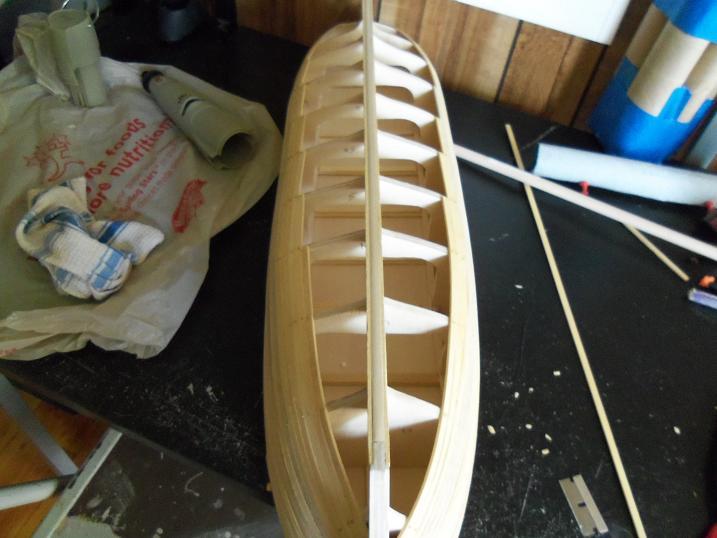
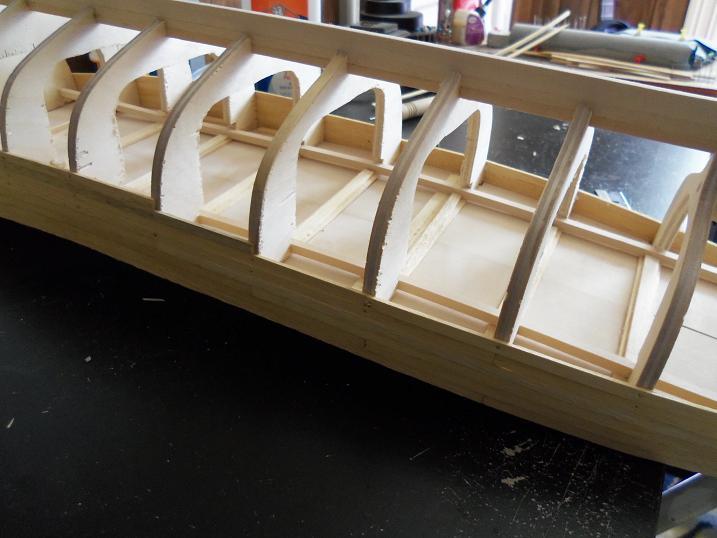
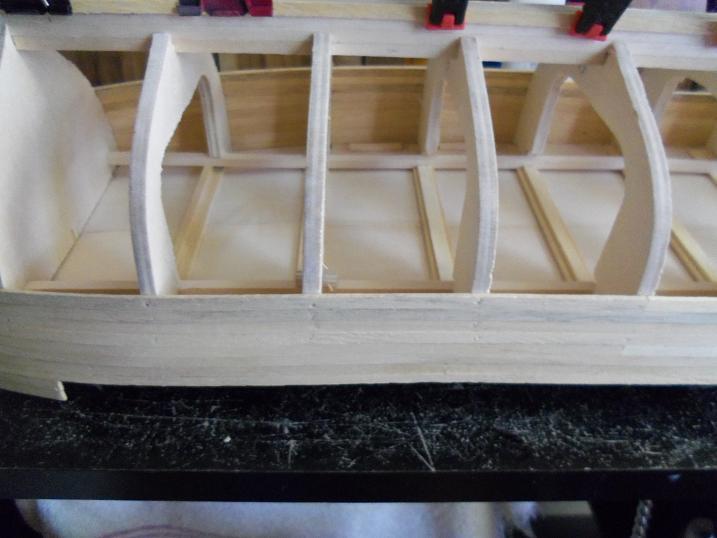
3 - 26 - 2012
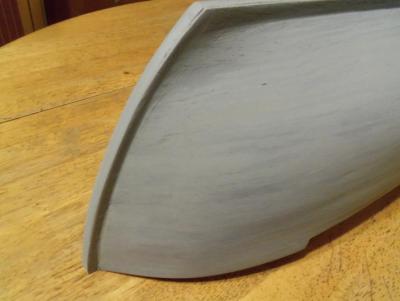
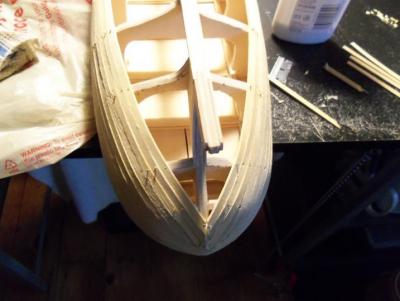
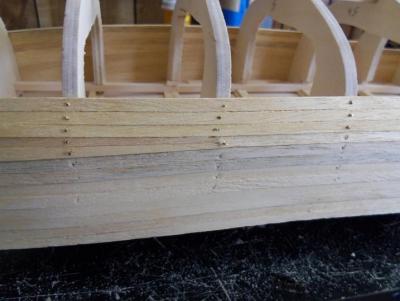
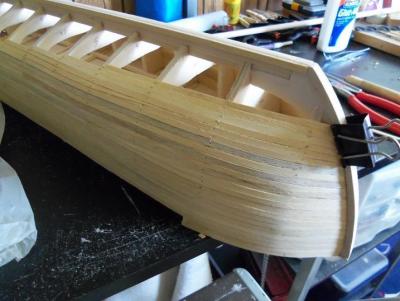
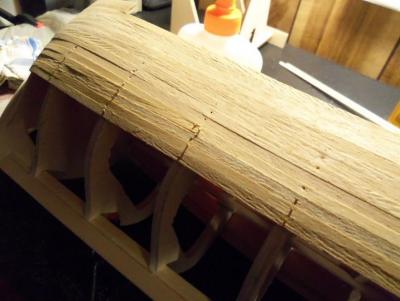
the planking continues.........it's getting there though. Towards the end of this session, I laid the garboard planks and began to merge the plankings together. The stern buttoned up to the turn of the keel, where it was terminated with a border plank. Sanded and painted, this will not be seen.


- Elmer Cornish, dj.bobo, canoe21 and 1 other
-
4
-
you two are such wonderful folk!
-
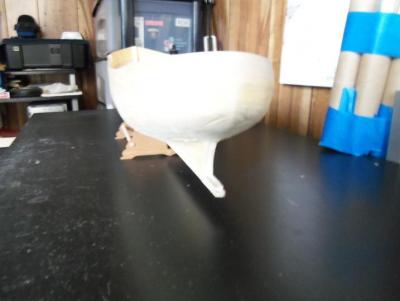
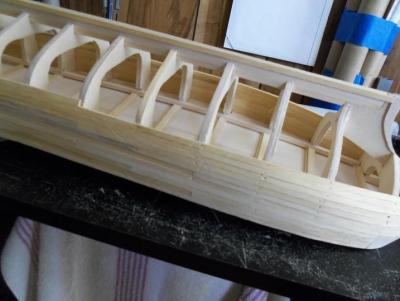
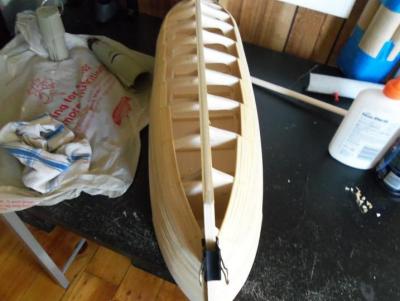
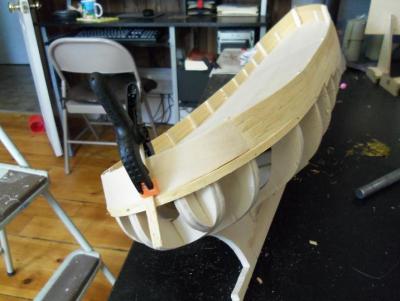
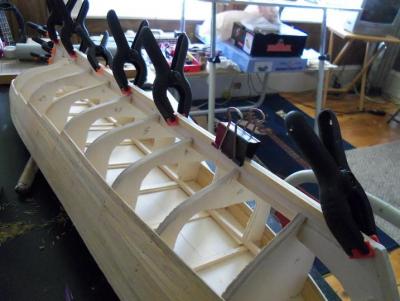
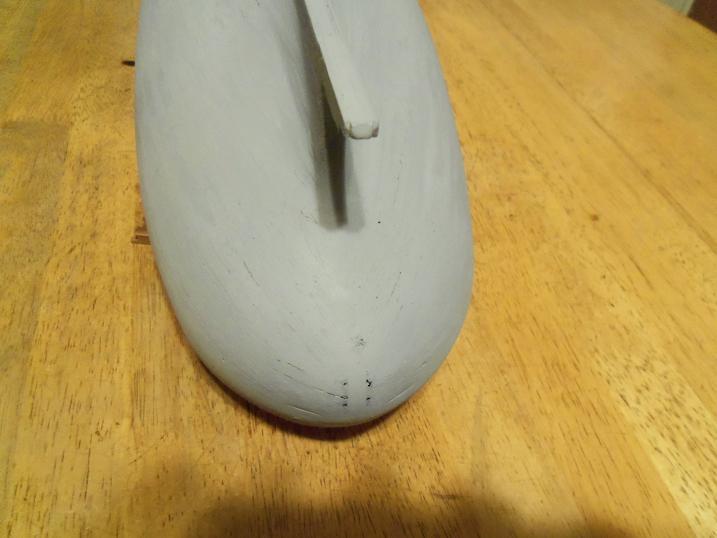
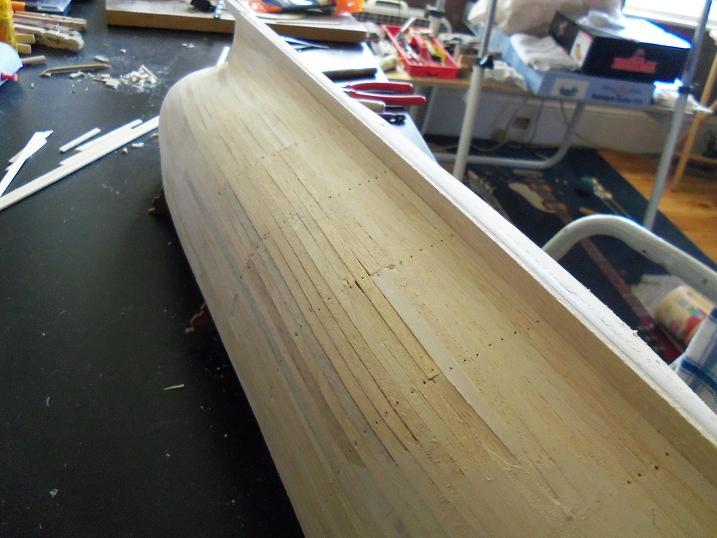
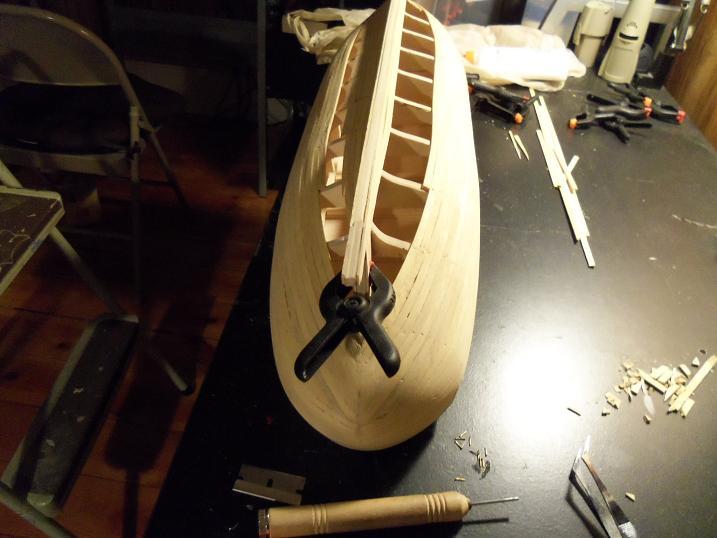
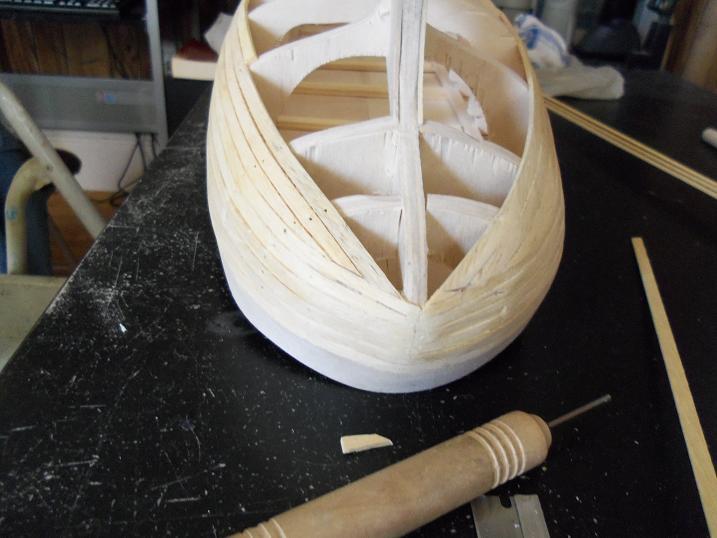
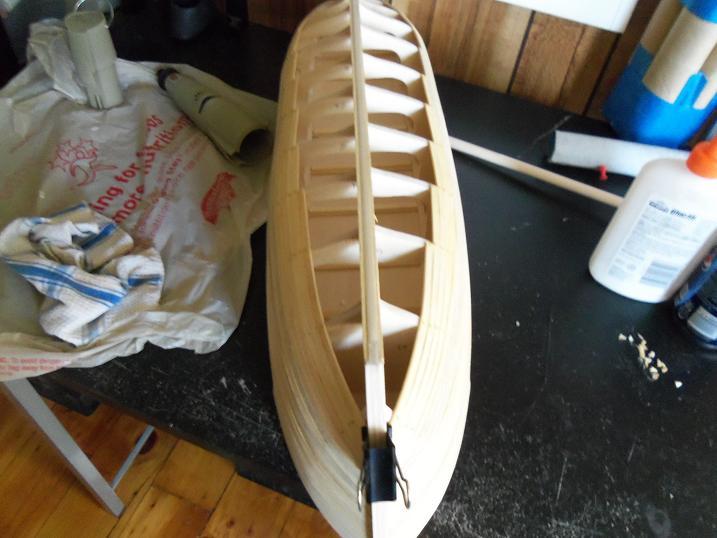
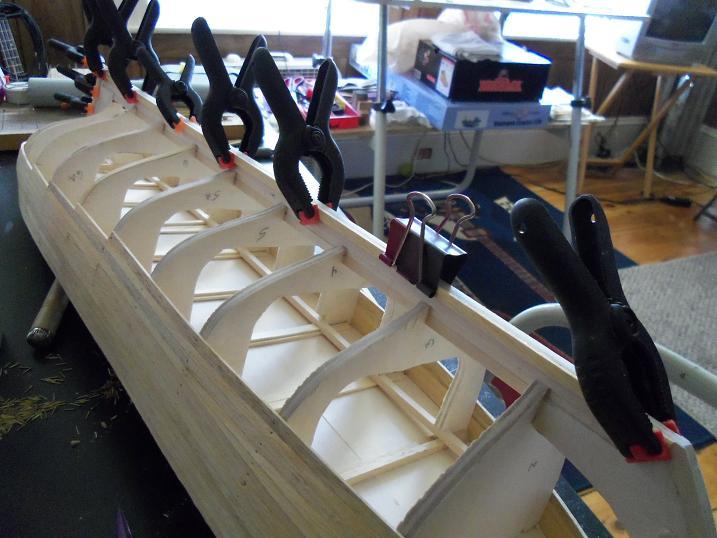
3 - 23 - 2012
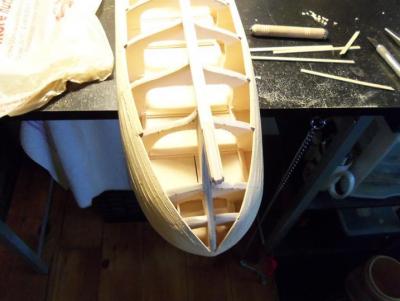
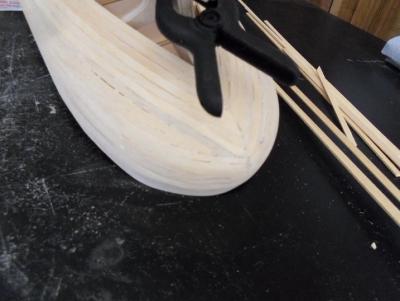
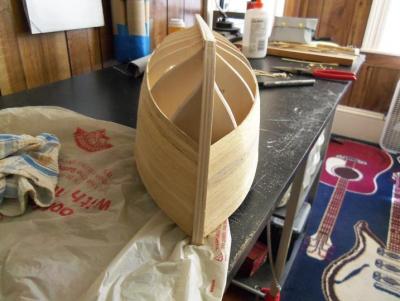
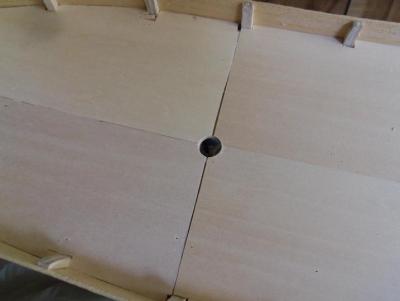
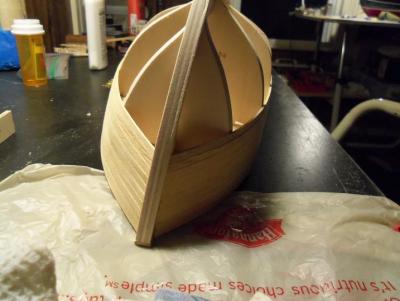
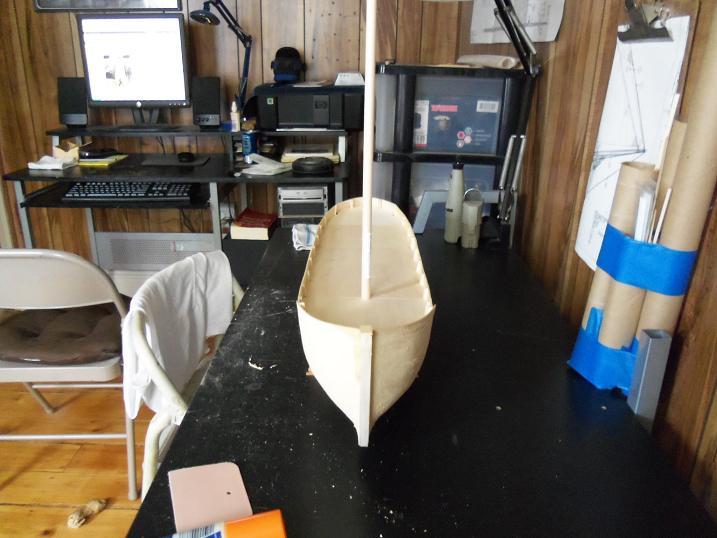
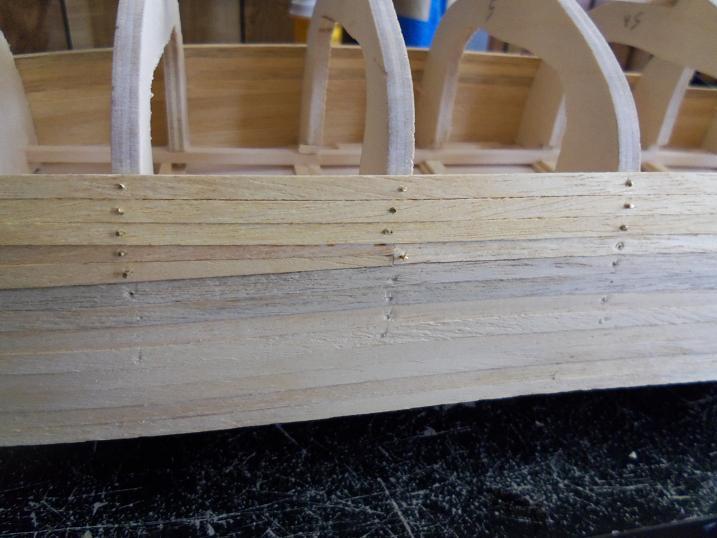
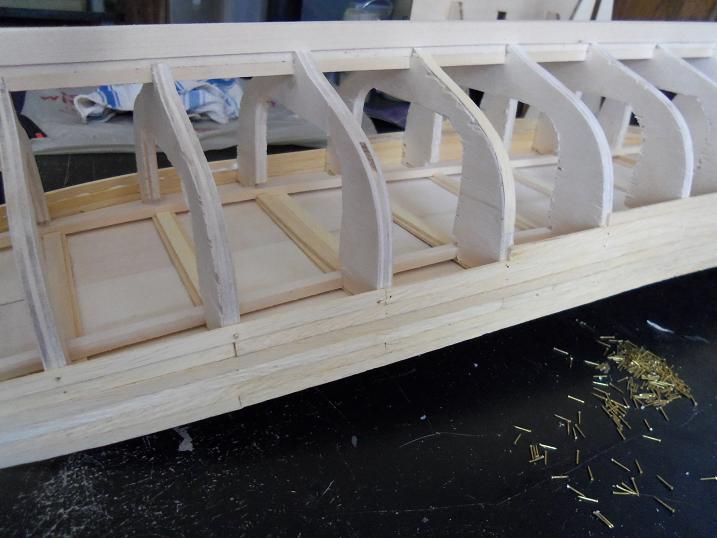
The planking was going along great! Sanding as I went along, it shows the progress, without looking so scary....LOL! As I was closing in on the keel, I thought that I had better drill the mast hole, before I totally lose track of the center to the rib and keel.


- themadchemist, pete48, PeteB and 3 others
-
6
-
thanks Anja......I'm well on my way to get everything back in. I dread the Gothenborg the most.......there is so much in there! thanks for the good word and for looking in!
-
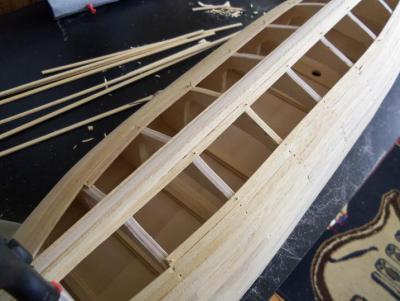
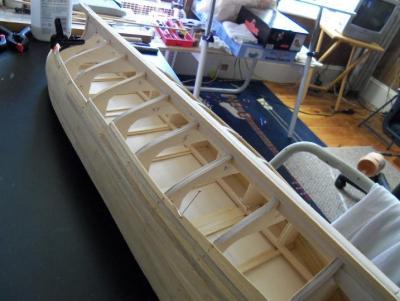
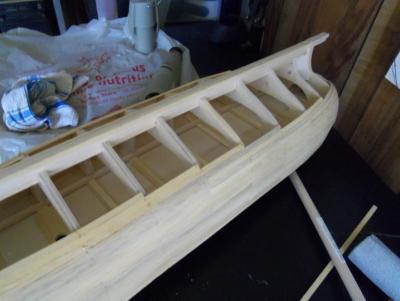
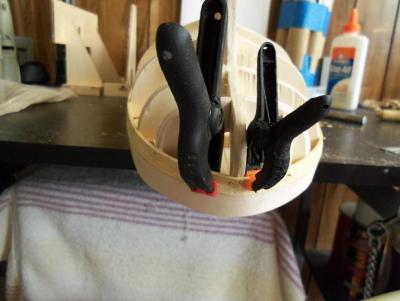
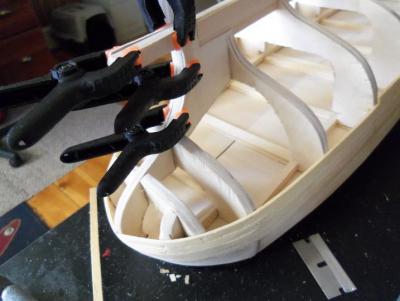
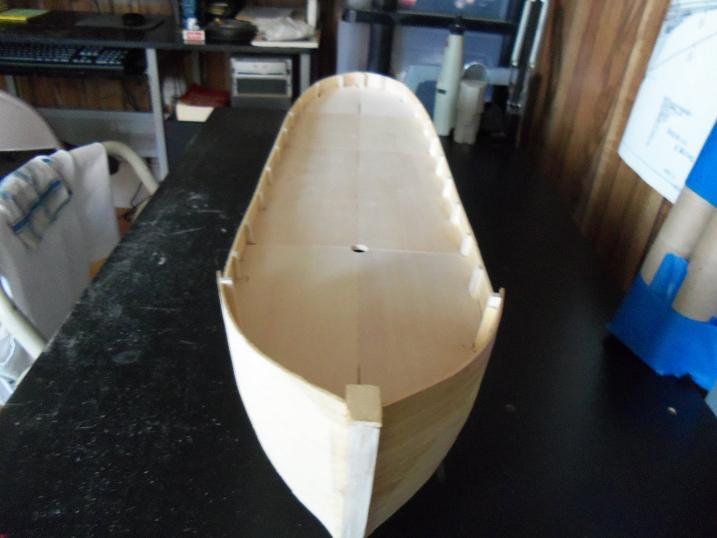
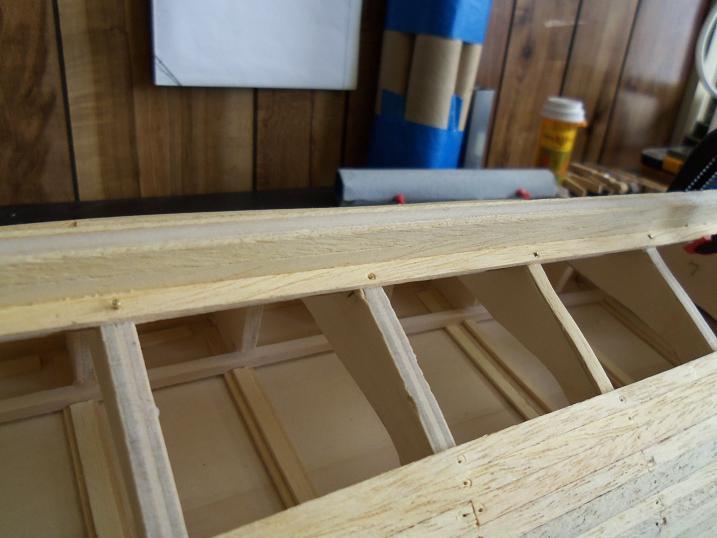
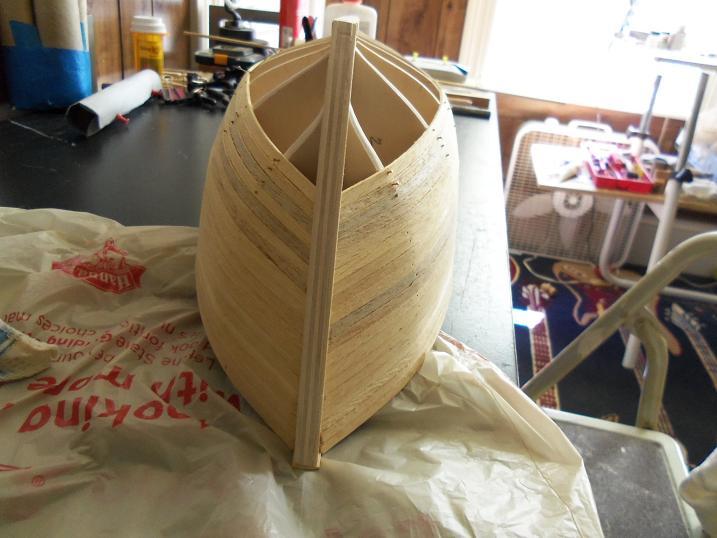
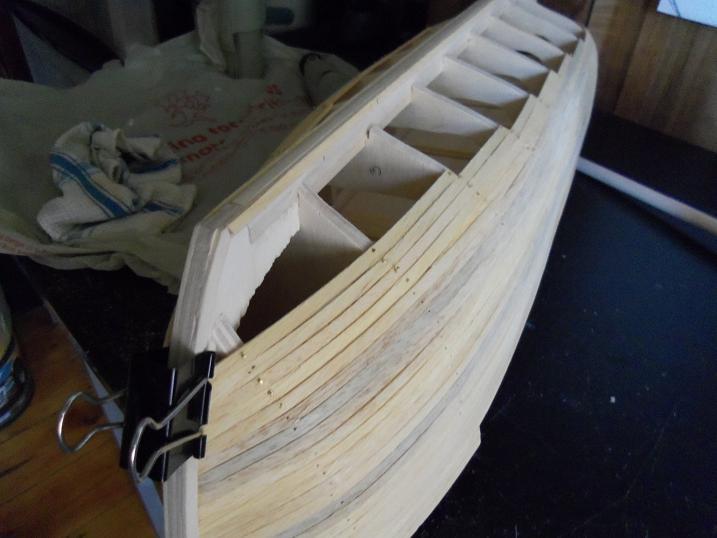
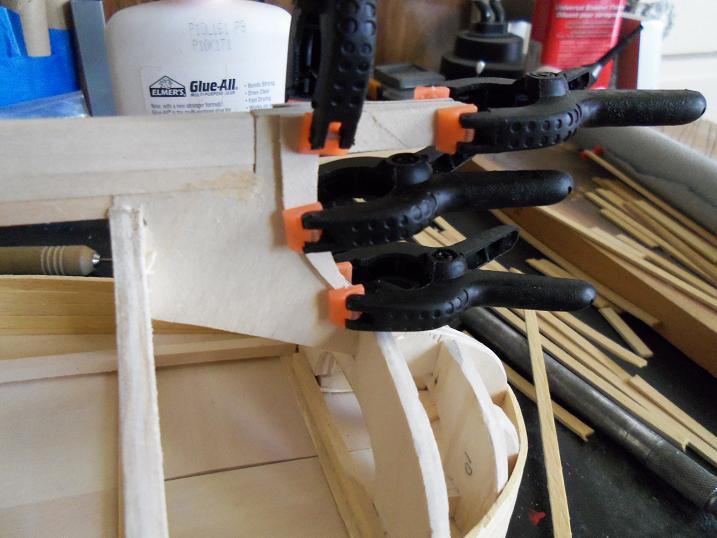
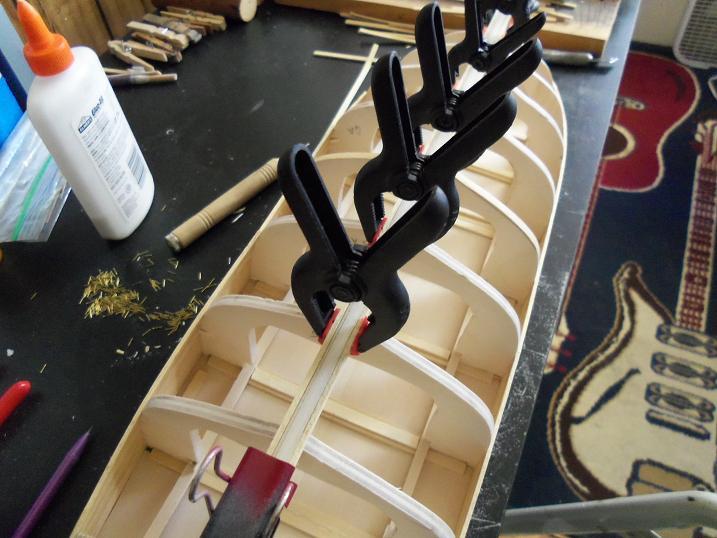
3 - 21 - 2012
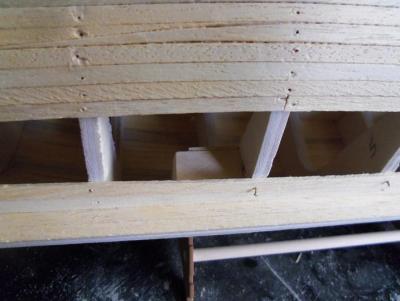
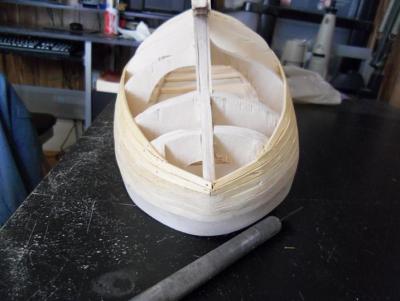
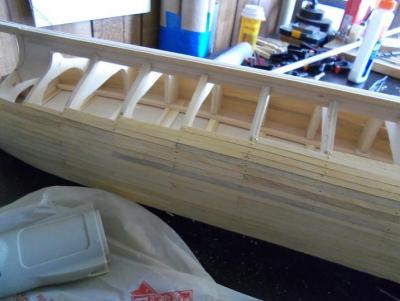
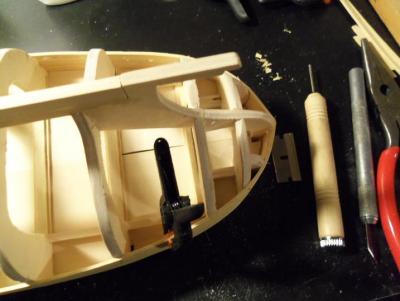
The planking continued.........the stern and keel rabbits were installed at this point, not having much need for them until now.


- JesseLee, themadchemist, dj.bobo and 2 others
-
5


Regina by Wintergreen - FINISHED - Billing Boats
in - Kit build logs for subjects built from 1901 - Present Day
Posted
the beginnings of the dingy look very good. i look forward in seeing more.