HOLIDAY DONATION DRIVE - SUPPORT MSW - DO YOUR PART TO KEEP THIS GREAT FORUM GOING! (Only 69 donations so far out of 49,000 members - Can we at least get 100? C'mon guys!)
×


kayakerlarry
-
Posts
117 -
Joined
-
Last visited
Content Type
Profiles
Forums
Gallery
Events
Everything posted by kayakerlarry
-
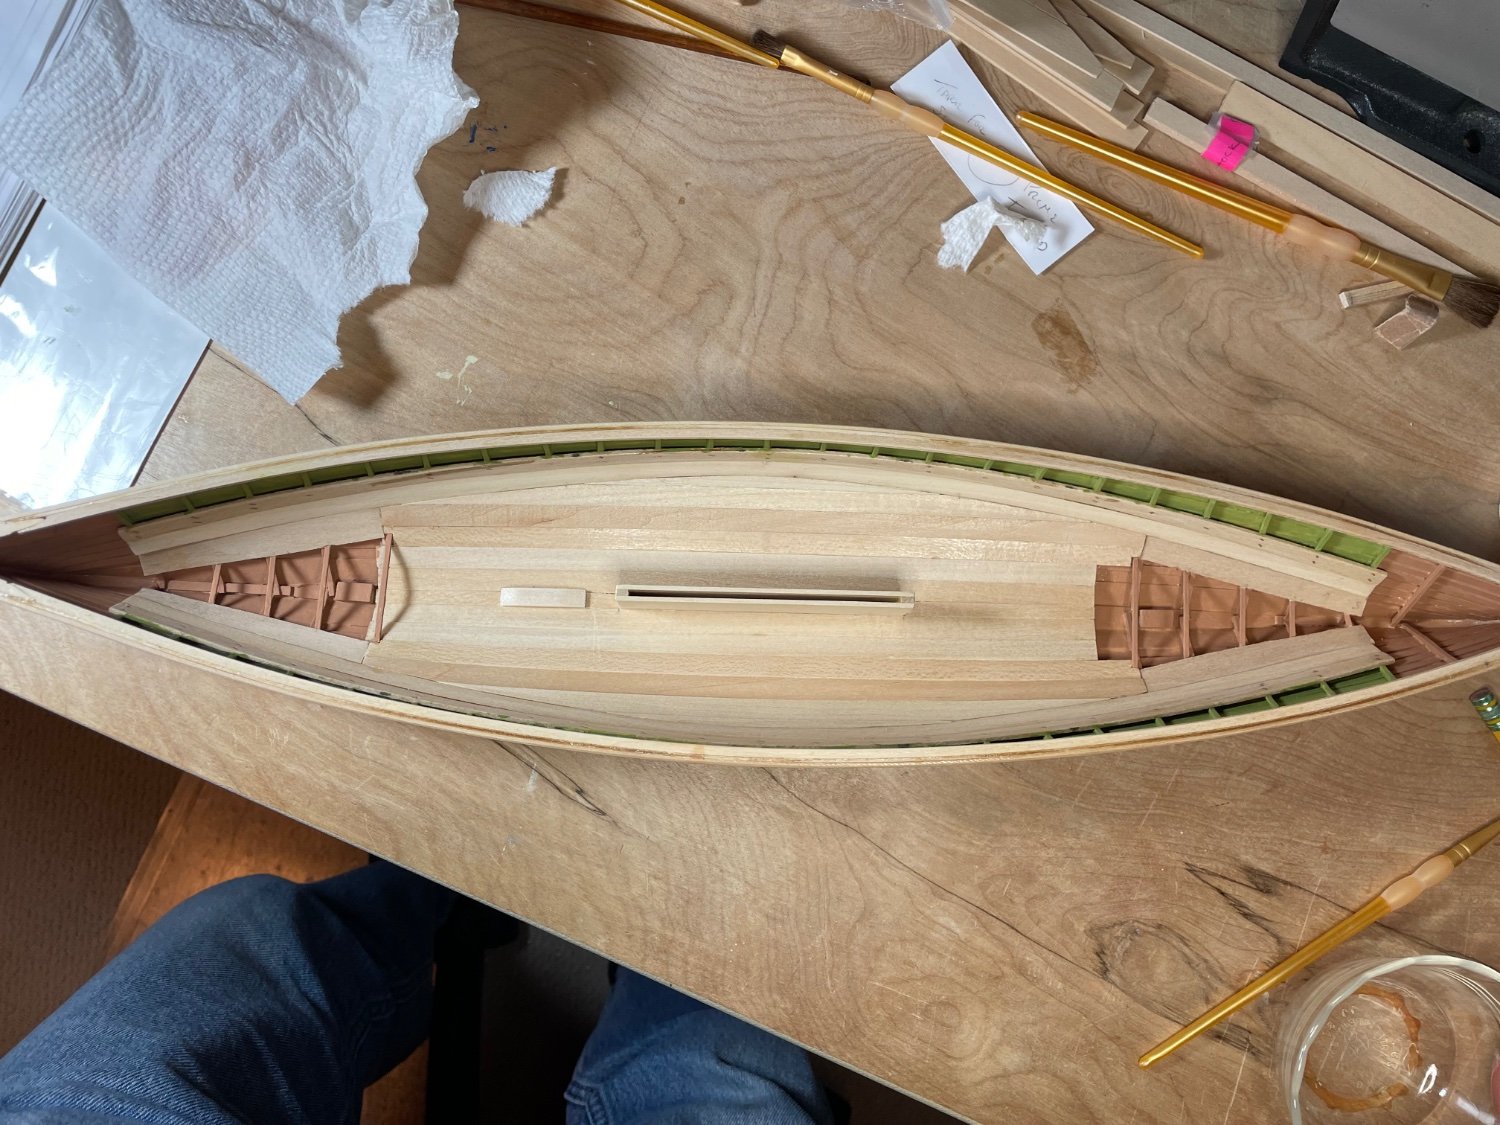
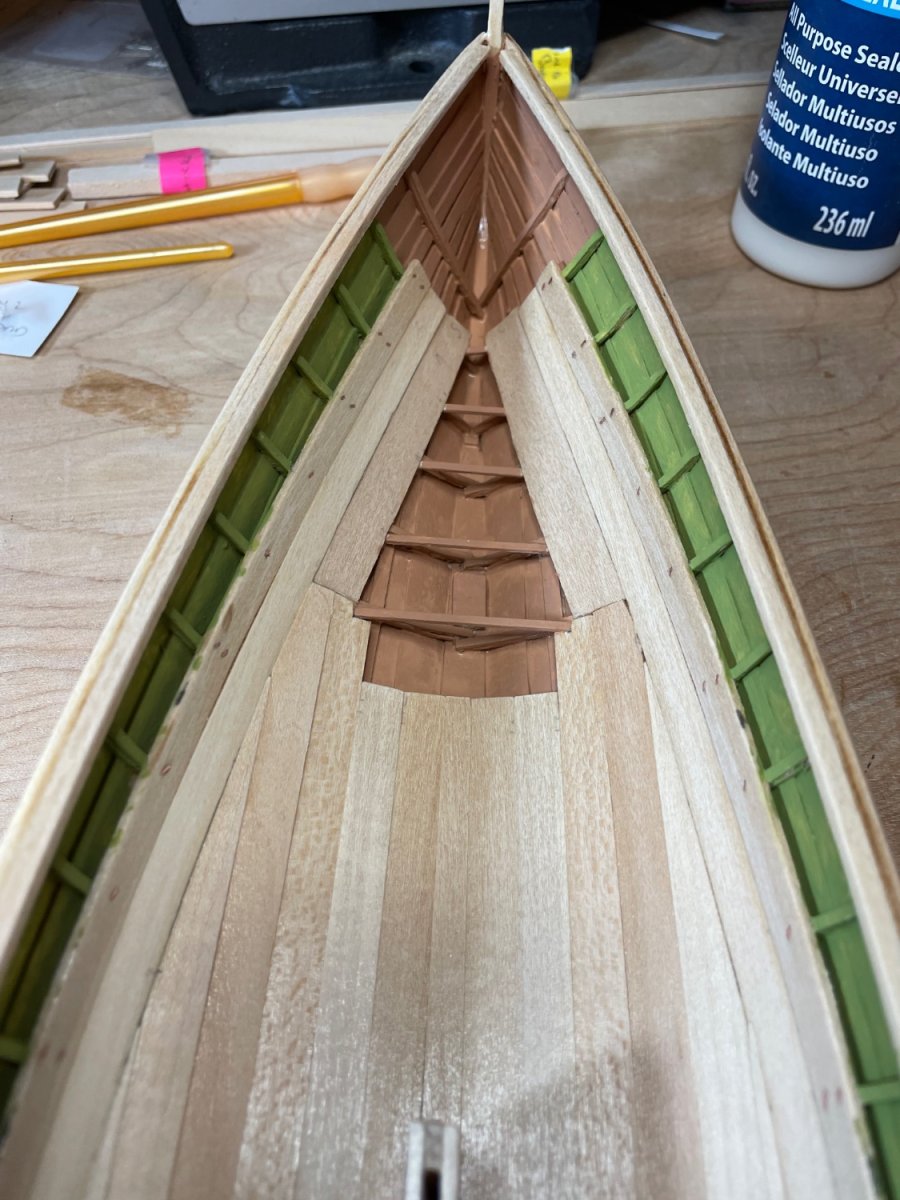
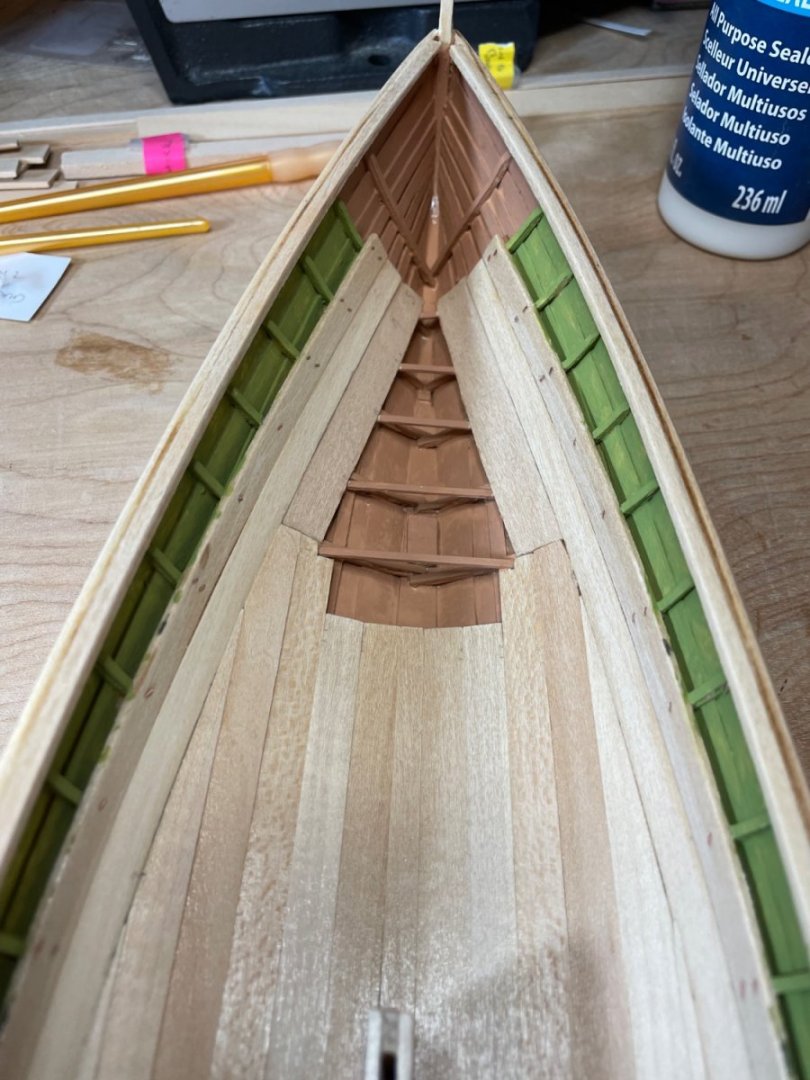
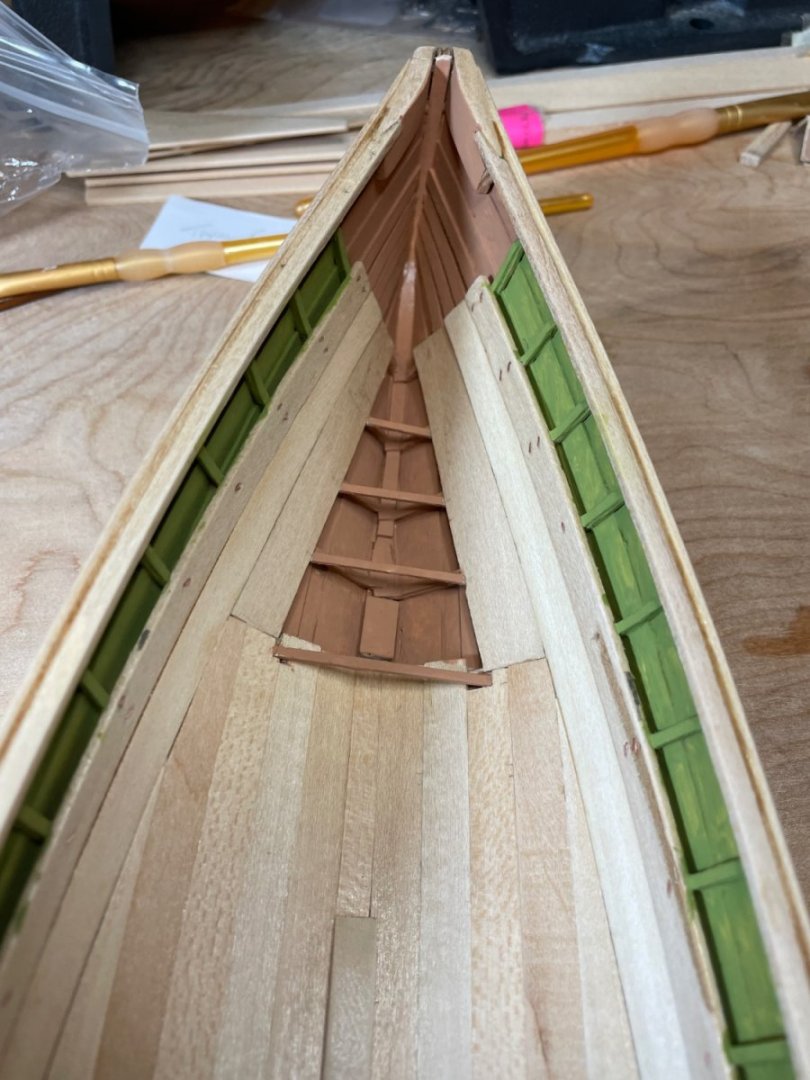
 Primed two coats and started to paint inboard before securing thwarts, etc. Used a golden brown in bow and stern to represent unfinished planks below ceiling. I think it’s reasonable. The “pea green” the book suggests is a Spanish olive green. Again I think it works. Second coats next.
-
As a bit of an aside, I am using one of my older models (Herreshoff Buzzards Bay Boy's Boat) in a silent action I am holding to raise funds for a great charity - ZERO Prostate Cancer. I have it on display at Harbor Fish Market in Scarborough, Maine if anyone is "driving by". As of today, I have bids on everything except the model (minimum bid $500) but obviously there is a much smaller customer base for that. If someone bids the minimum on the model that will put me over $15,000 raised since end of July.


-
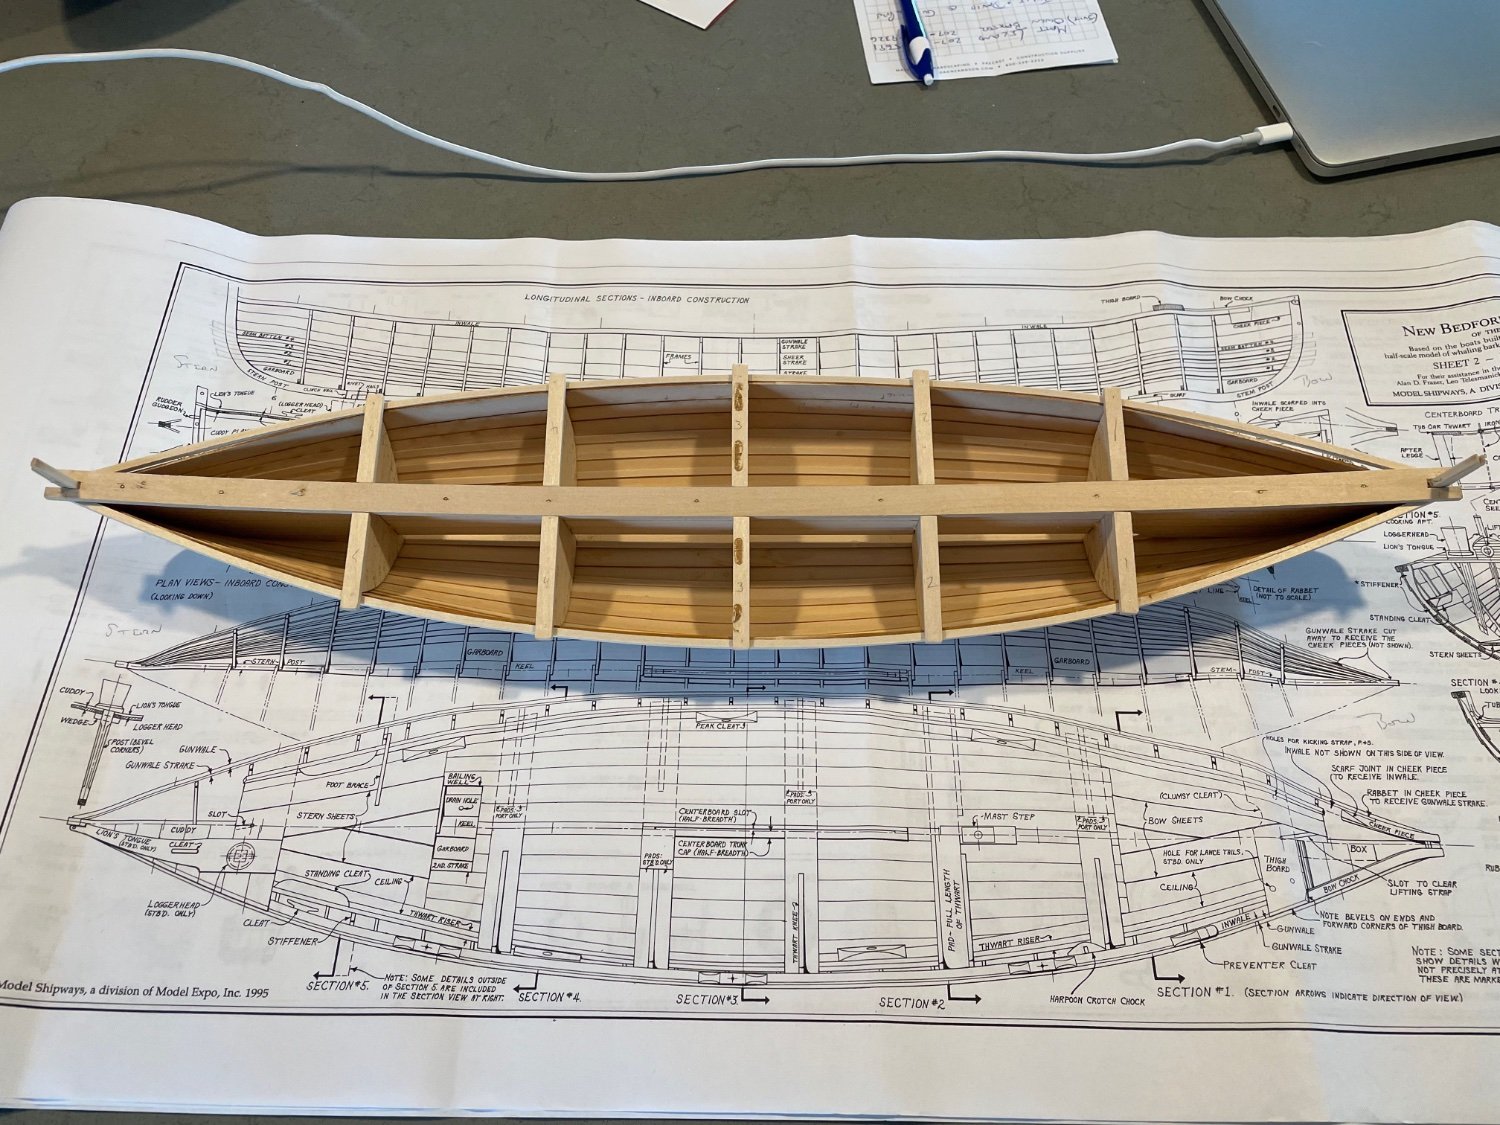
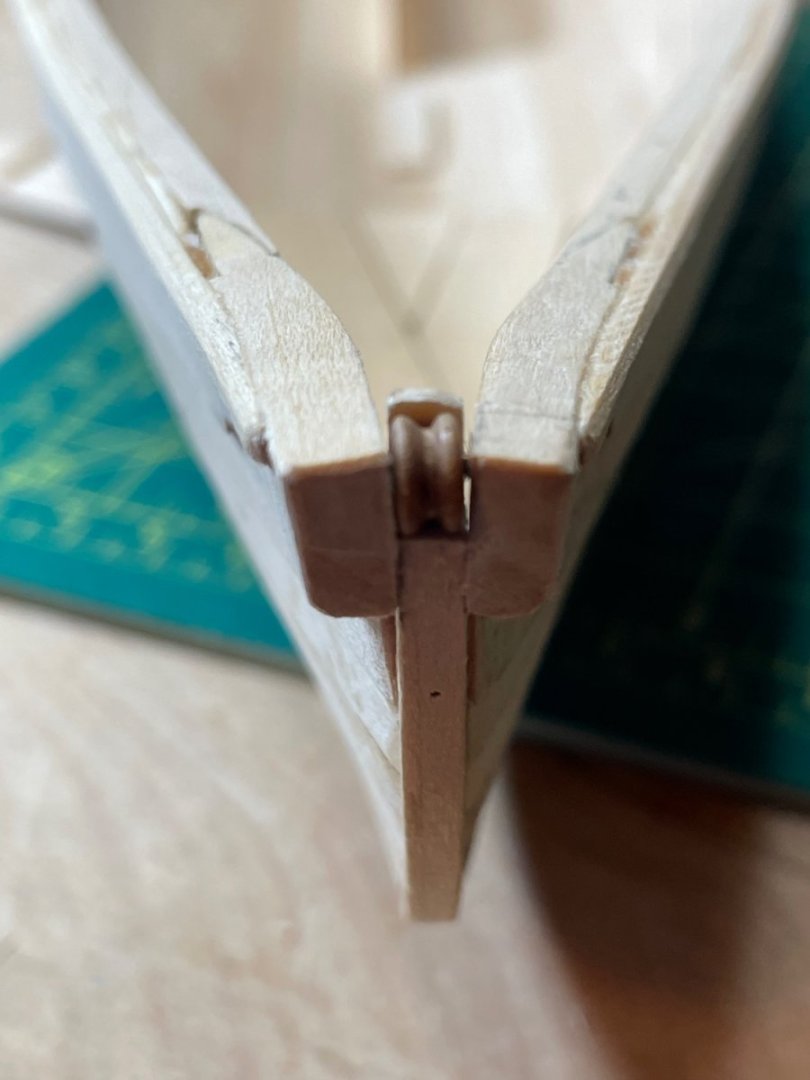
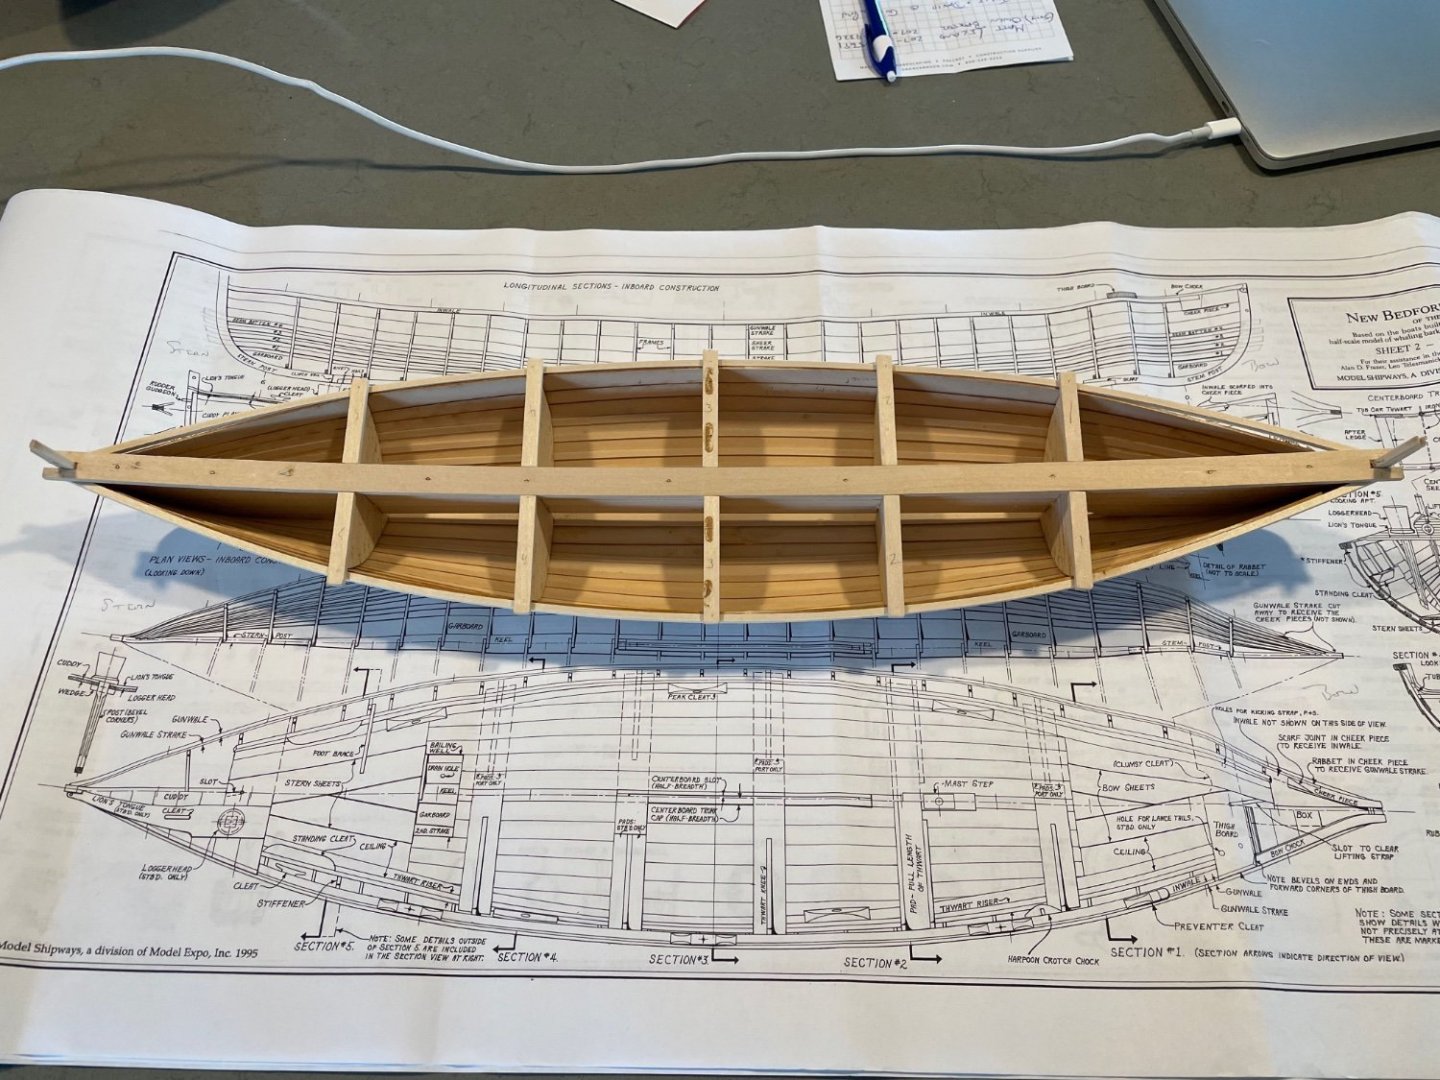
It's been a while since I posted anything but here are a few pictures thru inwales, gunwales, bow/stern sheet build (page 82). I opted to only use the nails in the first ceiling plank just to get the feel of the process. Now onto priming and painting hull interior. As the paints I used to use (Model Master acrylic) are difficult to find I have ordered acrylics from Vallejo on Amazon. They seem to get decent reviews on wood so will give it a shot. I did find this set which has all the colors called for so hopefully all will go well - Vallejo Naval Steam Era Paint Set, 17ml, Naval Steam Era Paint Set 17ml, 0.5 Fl Oz (Pack of 16). Has anyone had any experience with these? Mike - thanks for the heads up on keeping proper beam measurements. After installing the gunwale I'm dead nuts on at the beam.
-
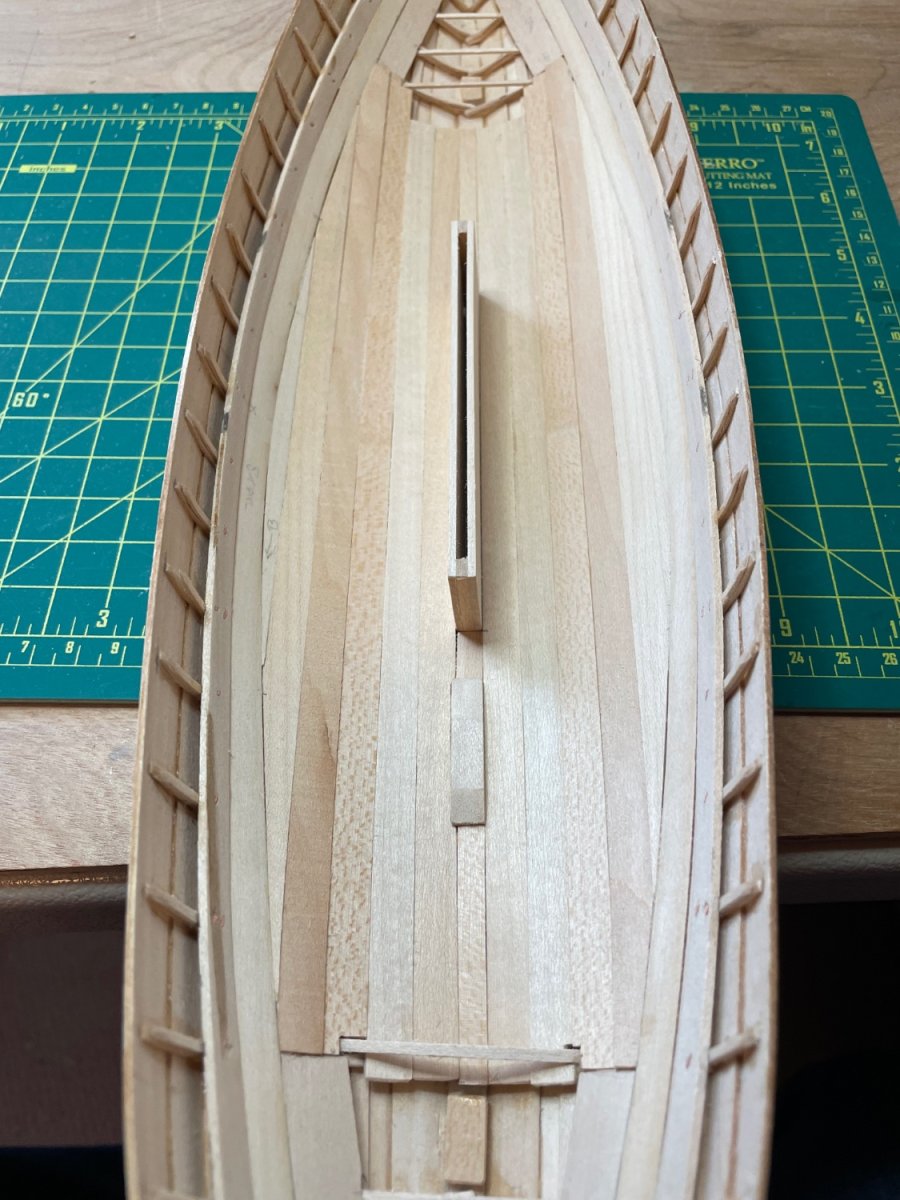
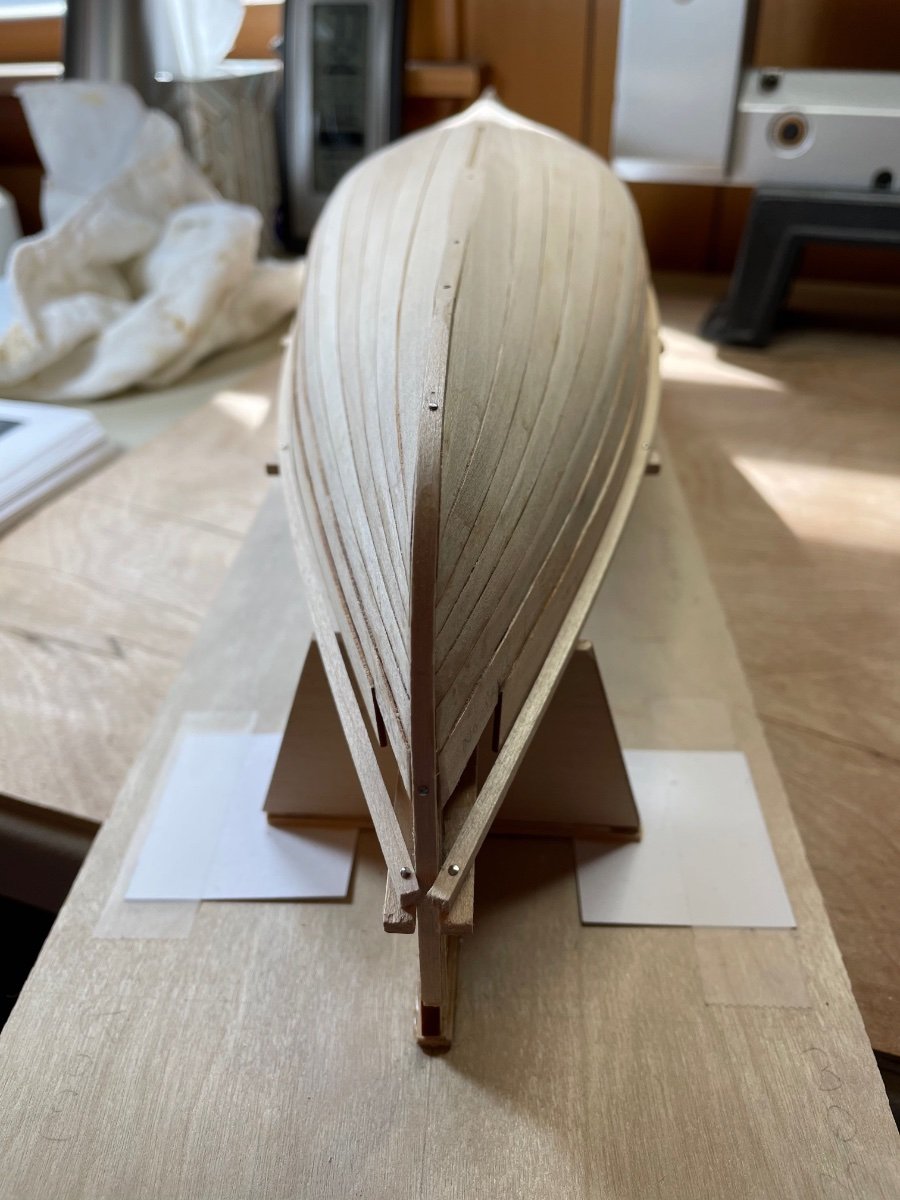
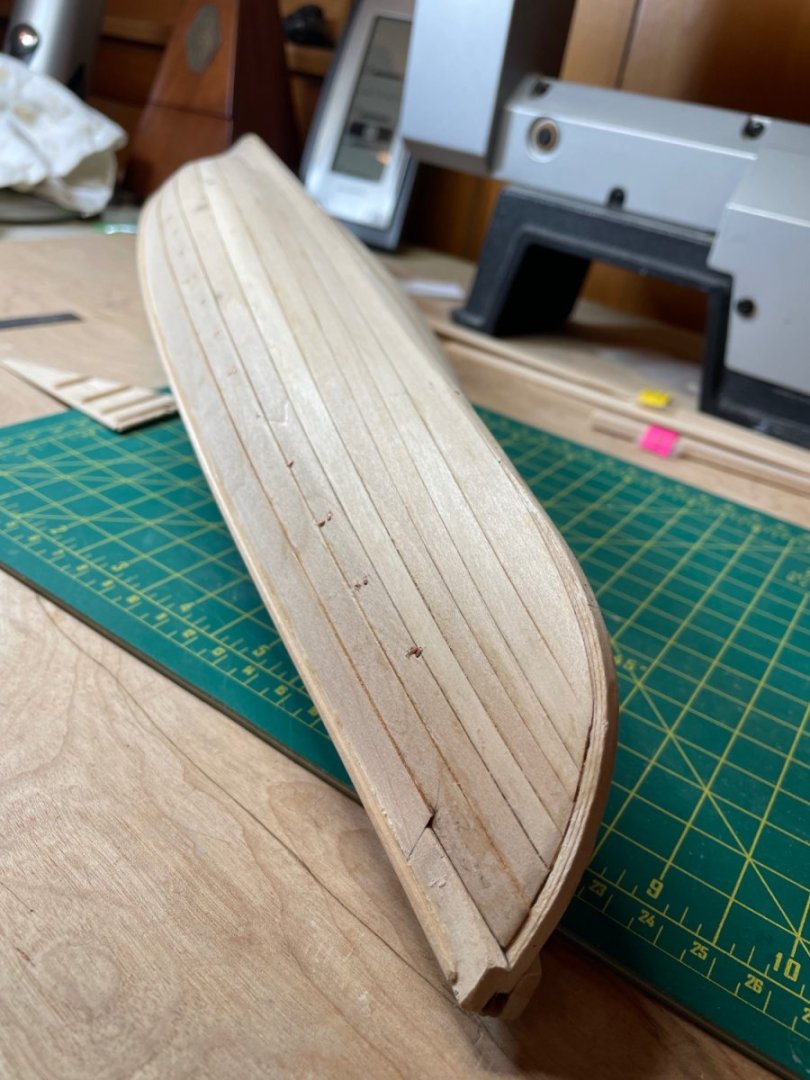
Ceiling complete...


-
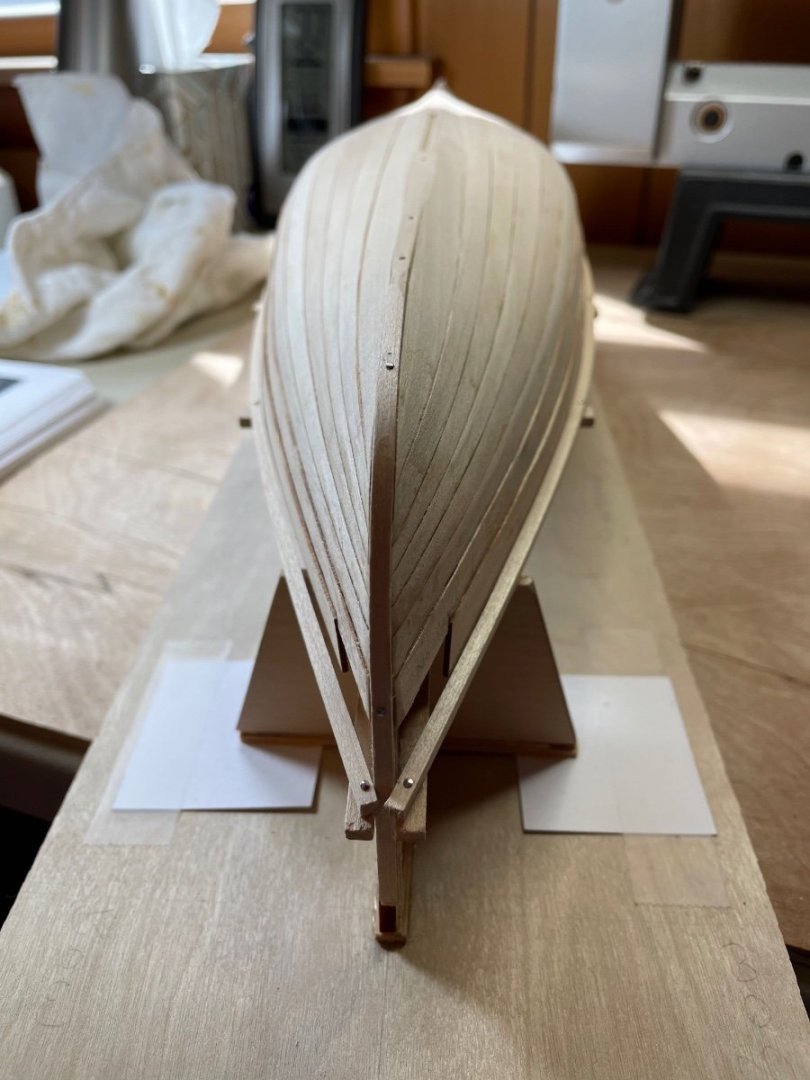
Thanks Mike. Both bow and stern had to be widened by 3/32” at third frame. At least both ends were equal so I assume that’s a good thing. Is there a trick to keep the spreaders in place?

-
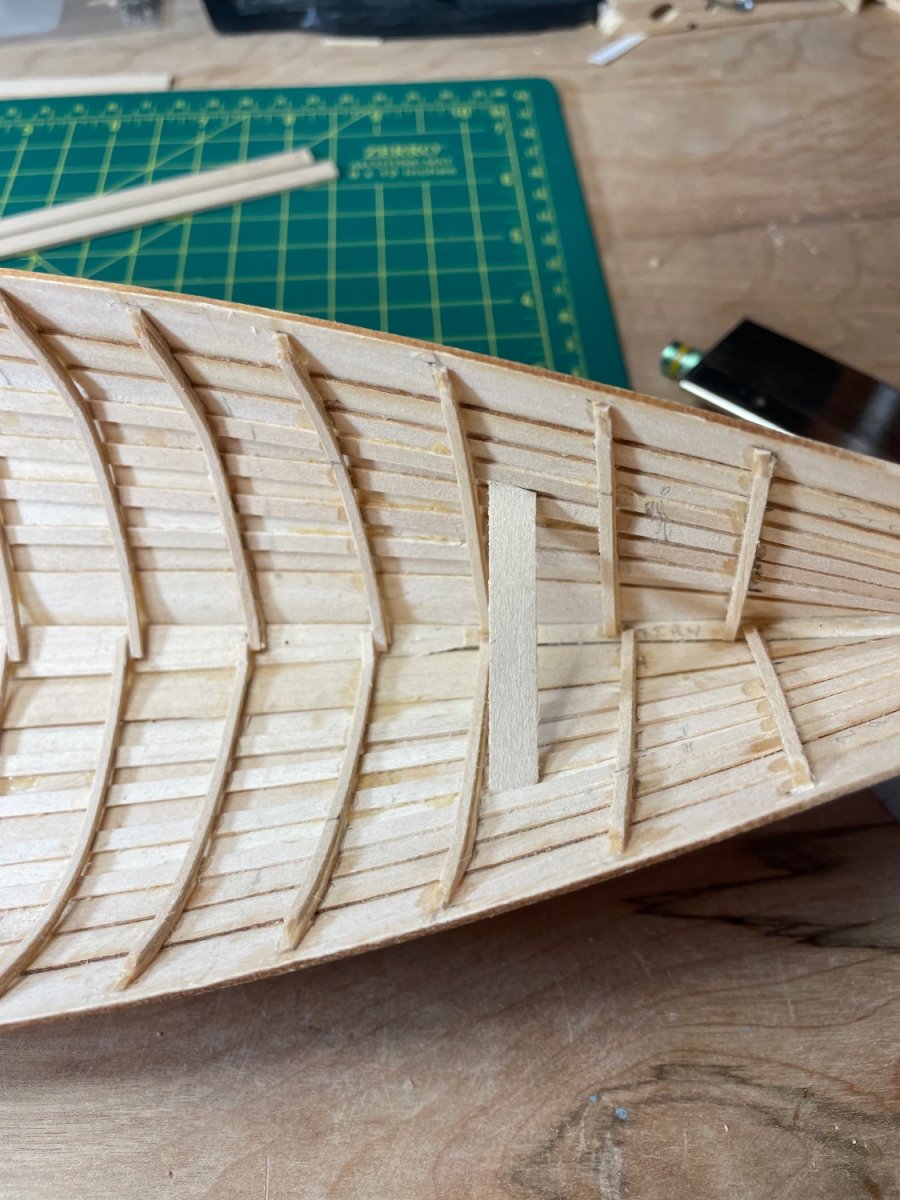
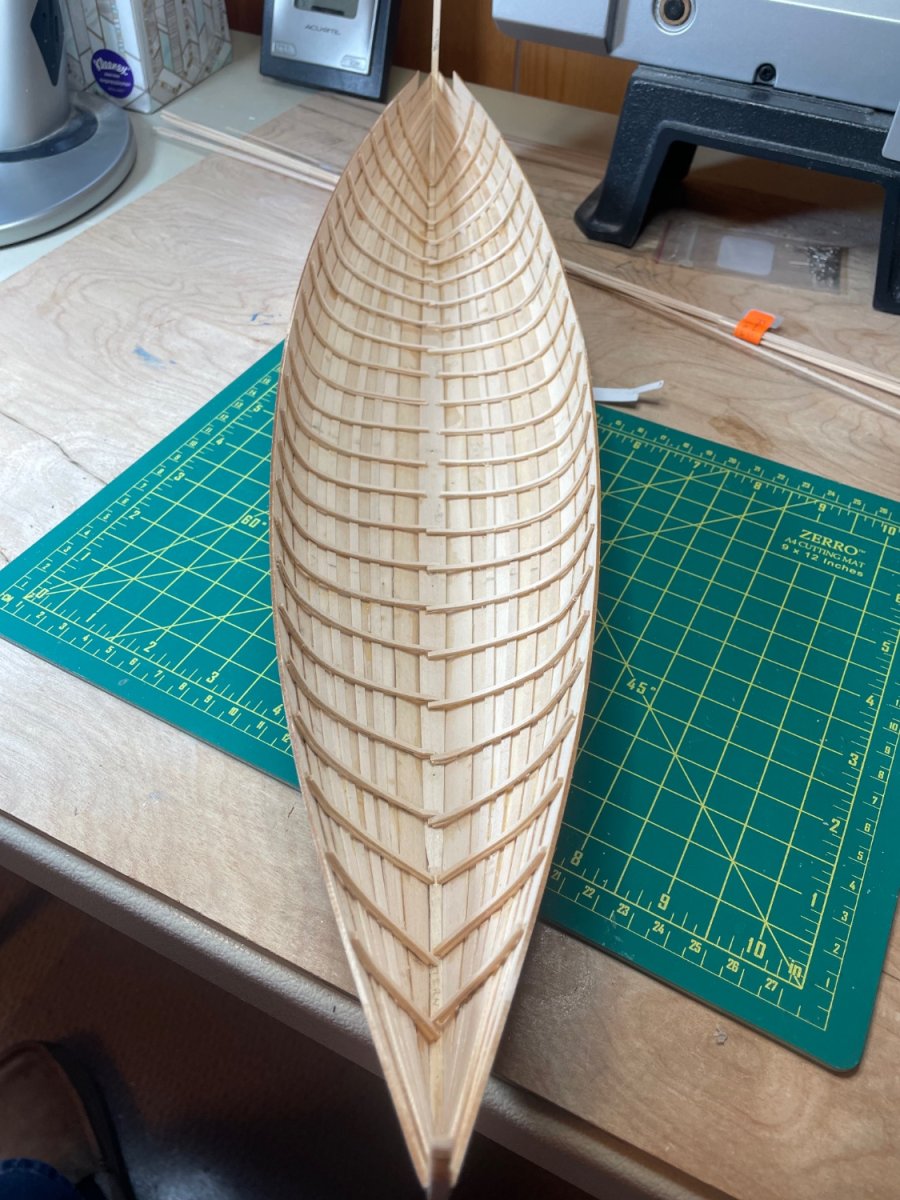
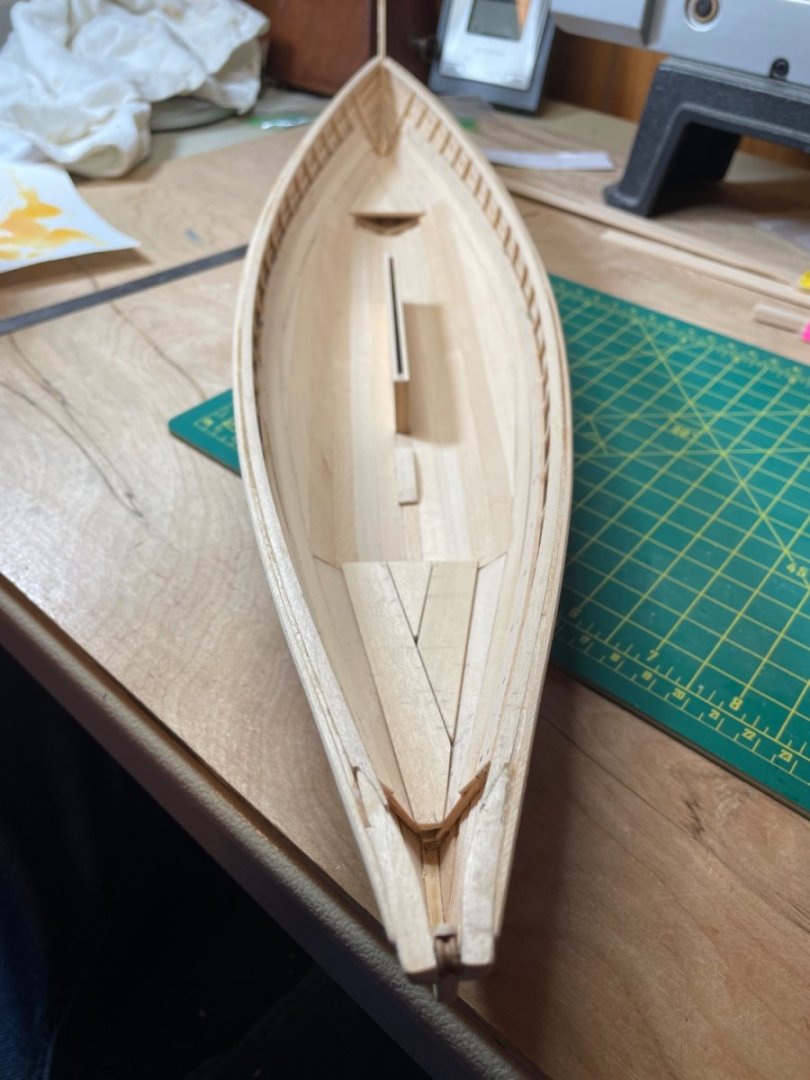
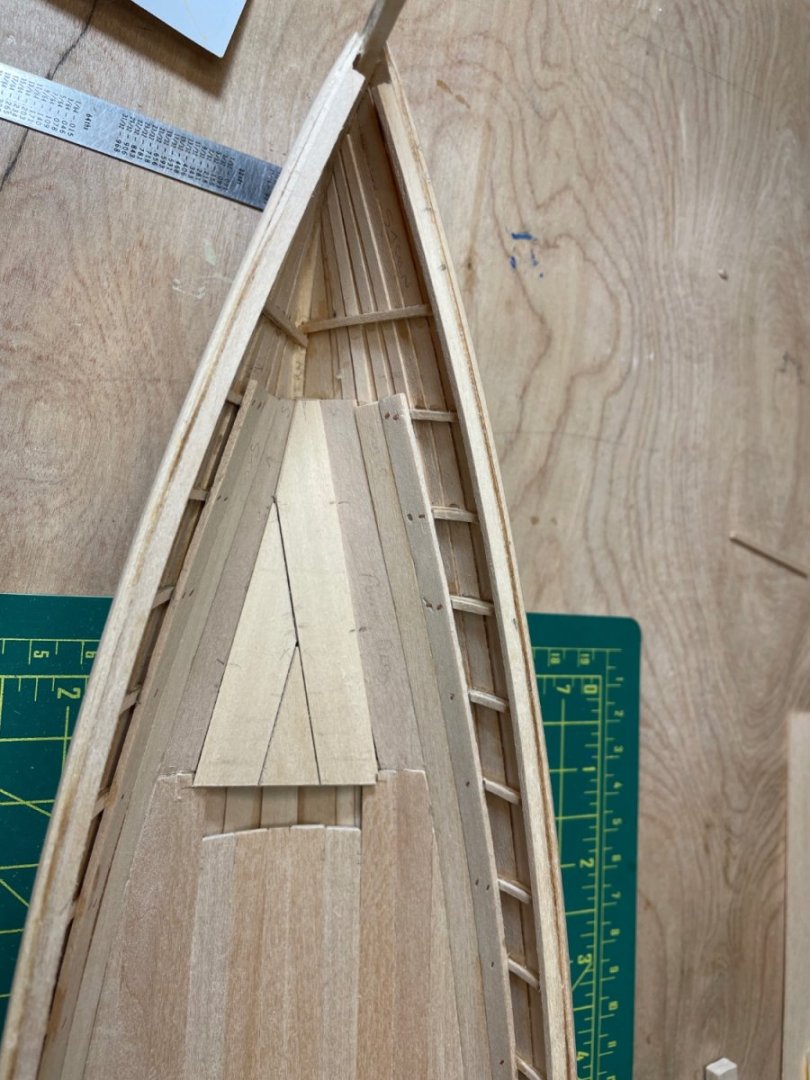
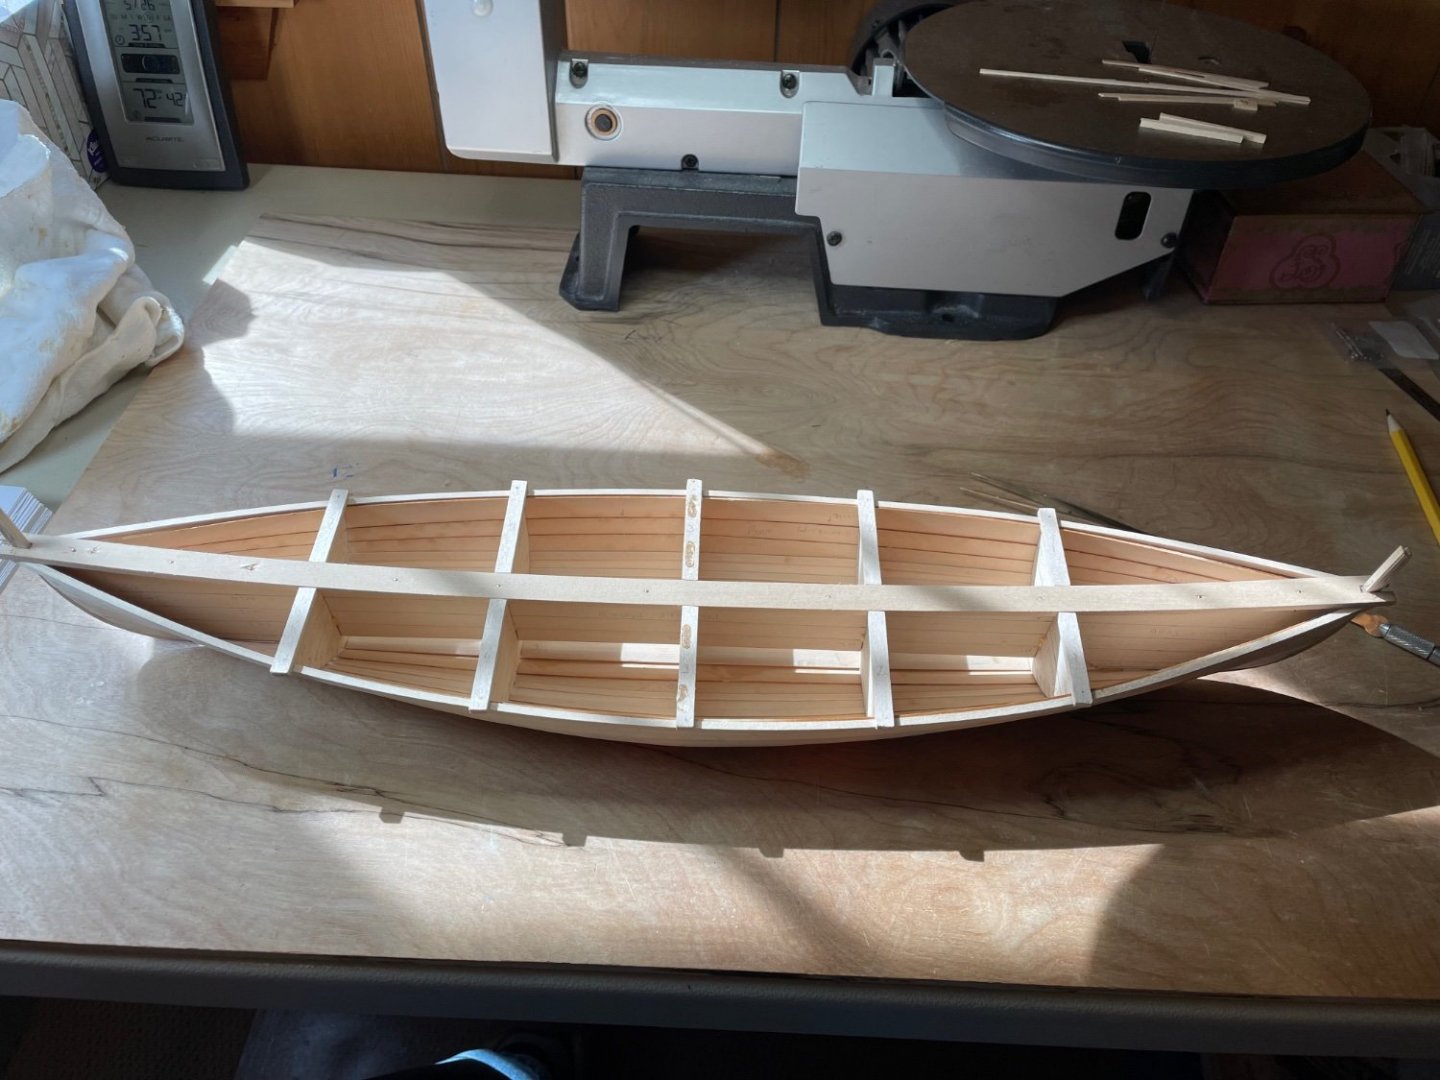
It's been a while since I worked on the Whaleboat but just finished all 96 pieces of the frames. I final figured out it was MUCH easier to work on the frames closest to the mold pieces after removing the mold - first layer was down but waited on second for about half of those closest to the mold. Also, I didn't read ahead enough to see that I should wait on the frames outside of mold pieces #1 and #5 and struggled with the first layer of frame pieces in the stern - the bow pieces are properly bent and sistered along the keel. Now I will read ahead...

-
Limited time to work on model but it's coming along. Have started on frames - about 1/2 of first layer complete. My apologies to Mike_In_RI as I inadvertently posted to his site - that's what happens when you haven't been around for a while...
-
Sorry, I forgot I can't use Apple formatted pics here... Limited time to work on model but it's coming along. Have started on frames - about 1/2 of first layer complete.8D11B079-197E-4838-933C-3095E4D38DE6.heic7709C238-1A6A-471A-870B-5CB4470EFAE3.heic

- 128 replies
-
- 5
-

-
- model shipways
- new bedford whaleboat
- (and 1 more)
-
Limited time to work on model but it's coming along. Have started on frames - about 1/2 of first layer complete.8D11B079-197E-4838-933C-3095E4D38DE6.heic7709C238-1A6A-471A-870B-5CB4470EFAE3.heic
-
Reposted from Mike_in_RI Whaleboat build log... I just restarted my Whaleboat after taking a break for my Cape Cod Nimblets and see I have a question. Appears page 56 is missing from my Ronnberg "To Build a Whaleboat' that came in the Model Shipways kit. I can probably figure it all out but if anyone can take a picture of that page and send to me, that would be much appreciated. I'll start my own log shortly.
-
I just restarted my Whaleboat after taking a break for my Cape Cod Nimblets and see I have a question. Appears page 56 is missing from my Ronnberg "To Build a Whaleboat' that came in the Model Shipways kit. I can probably figure it all out but if anyone can take a picture of that page and send to me, that would be much appreciated. I'll start my own log shortly.
-
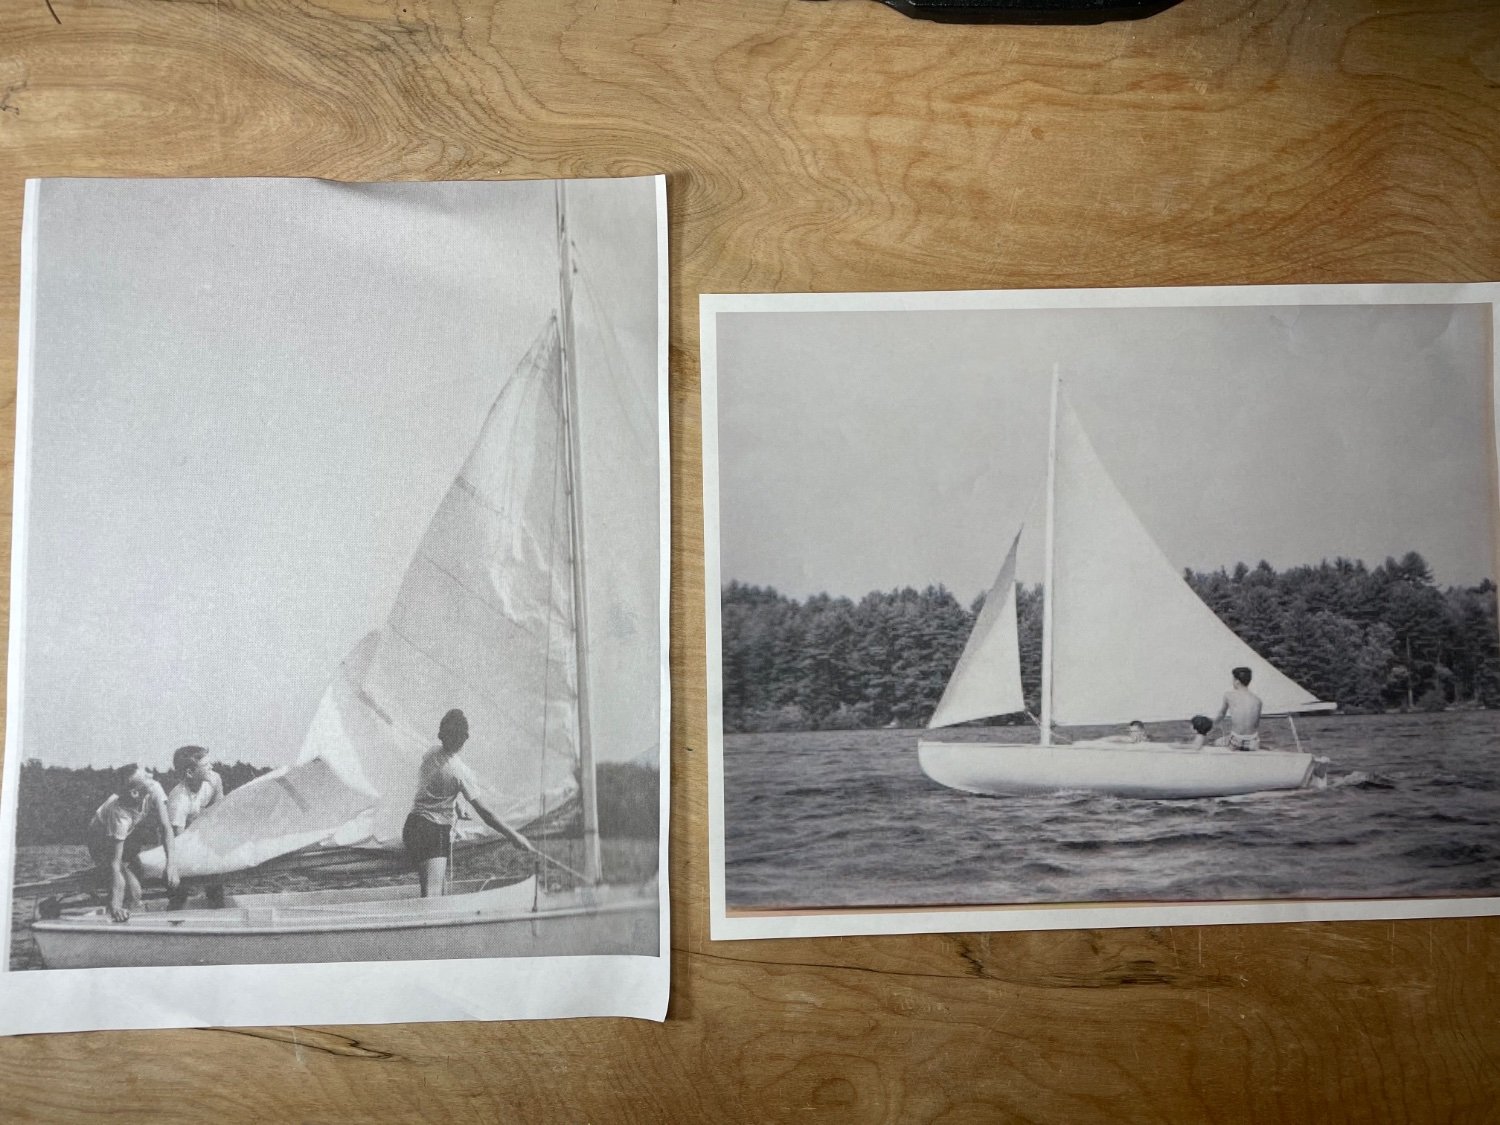
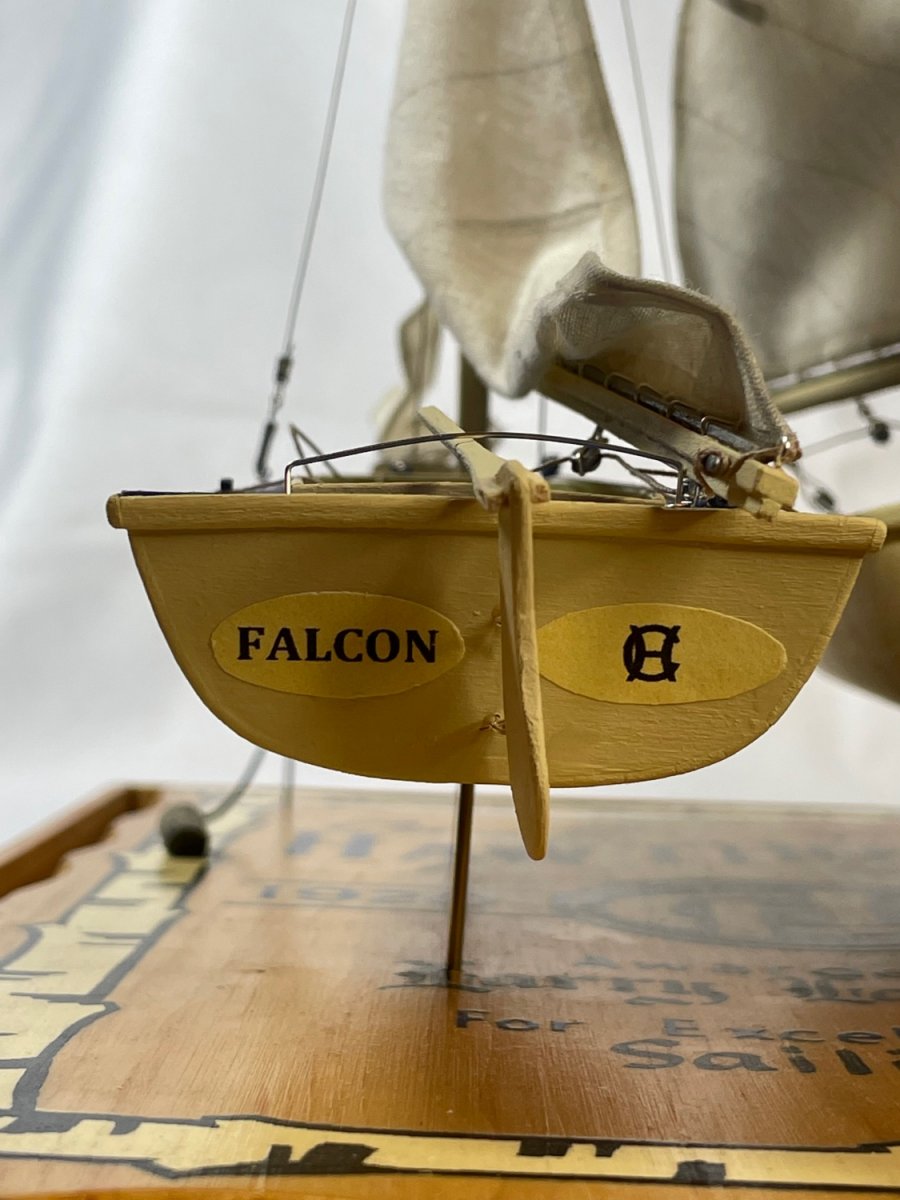
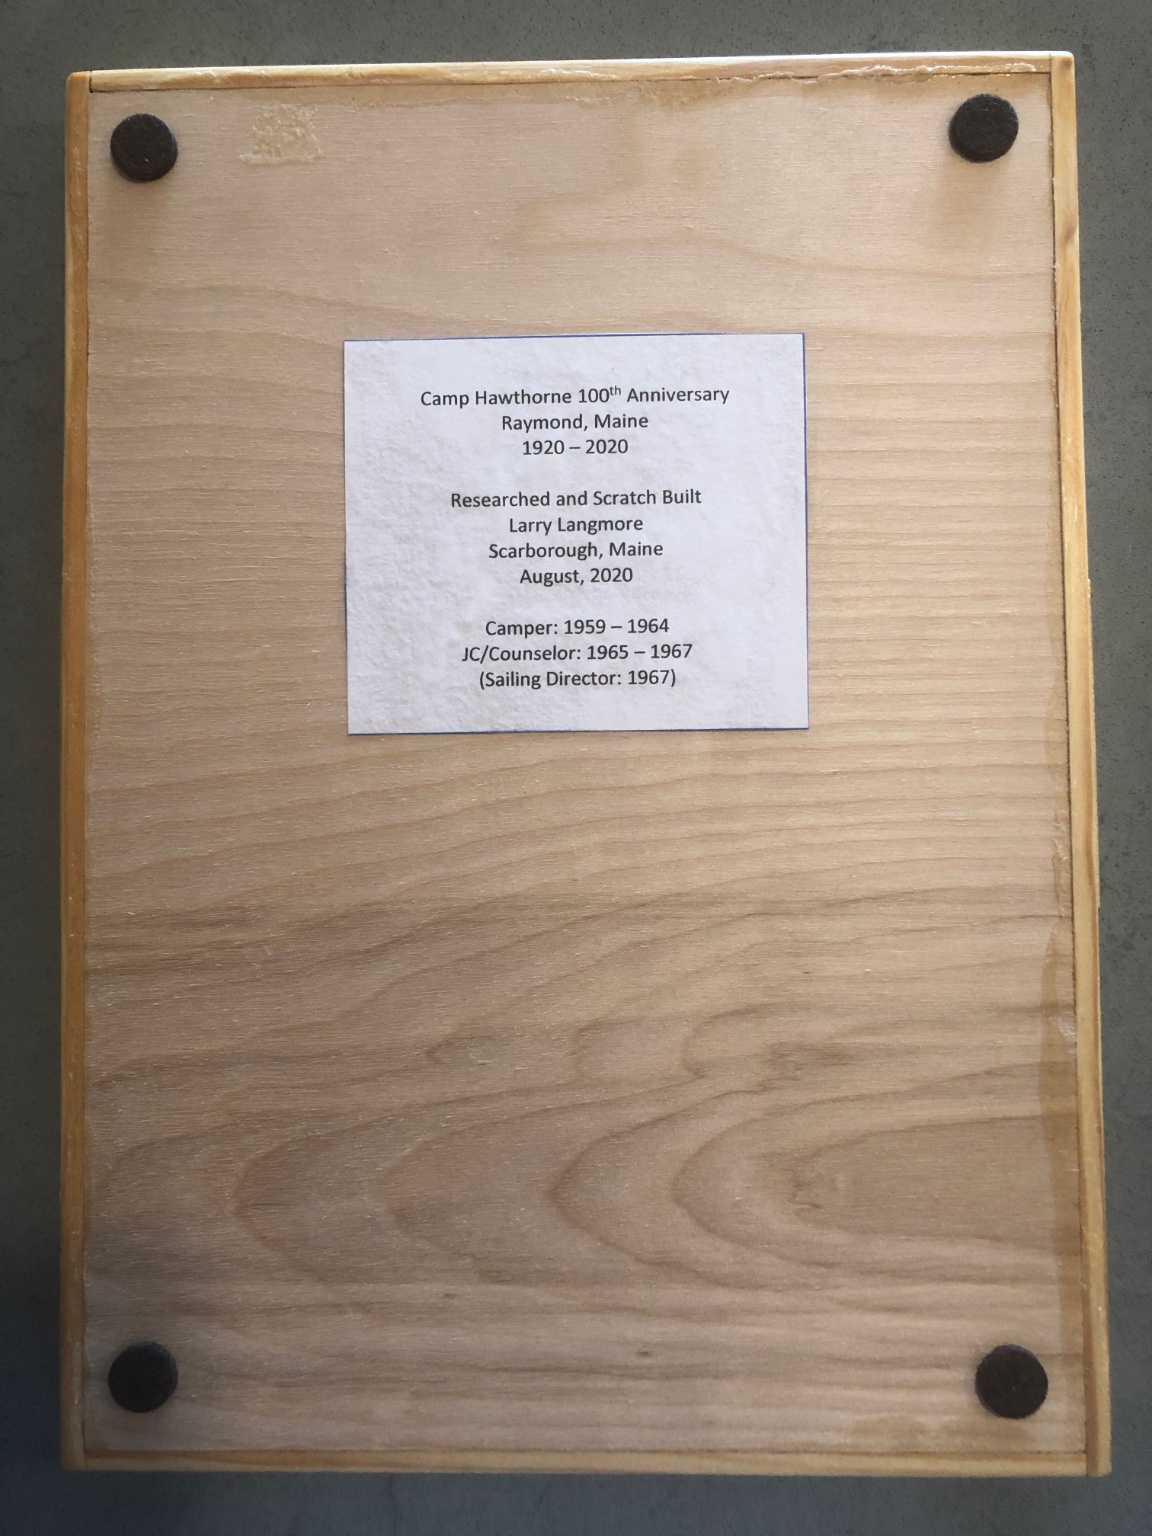
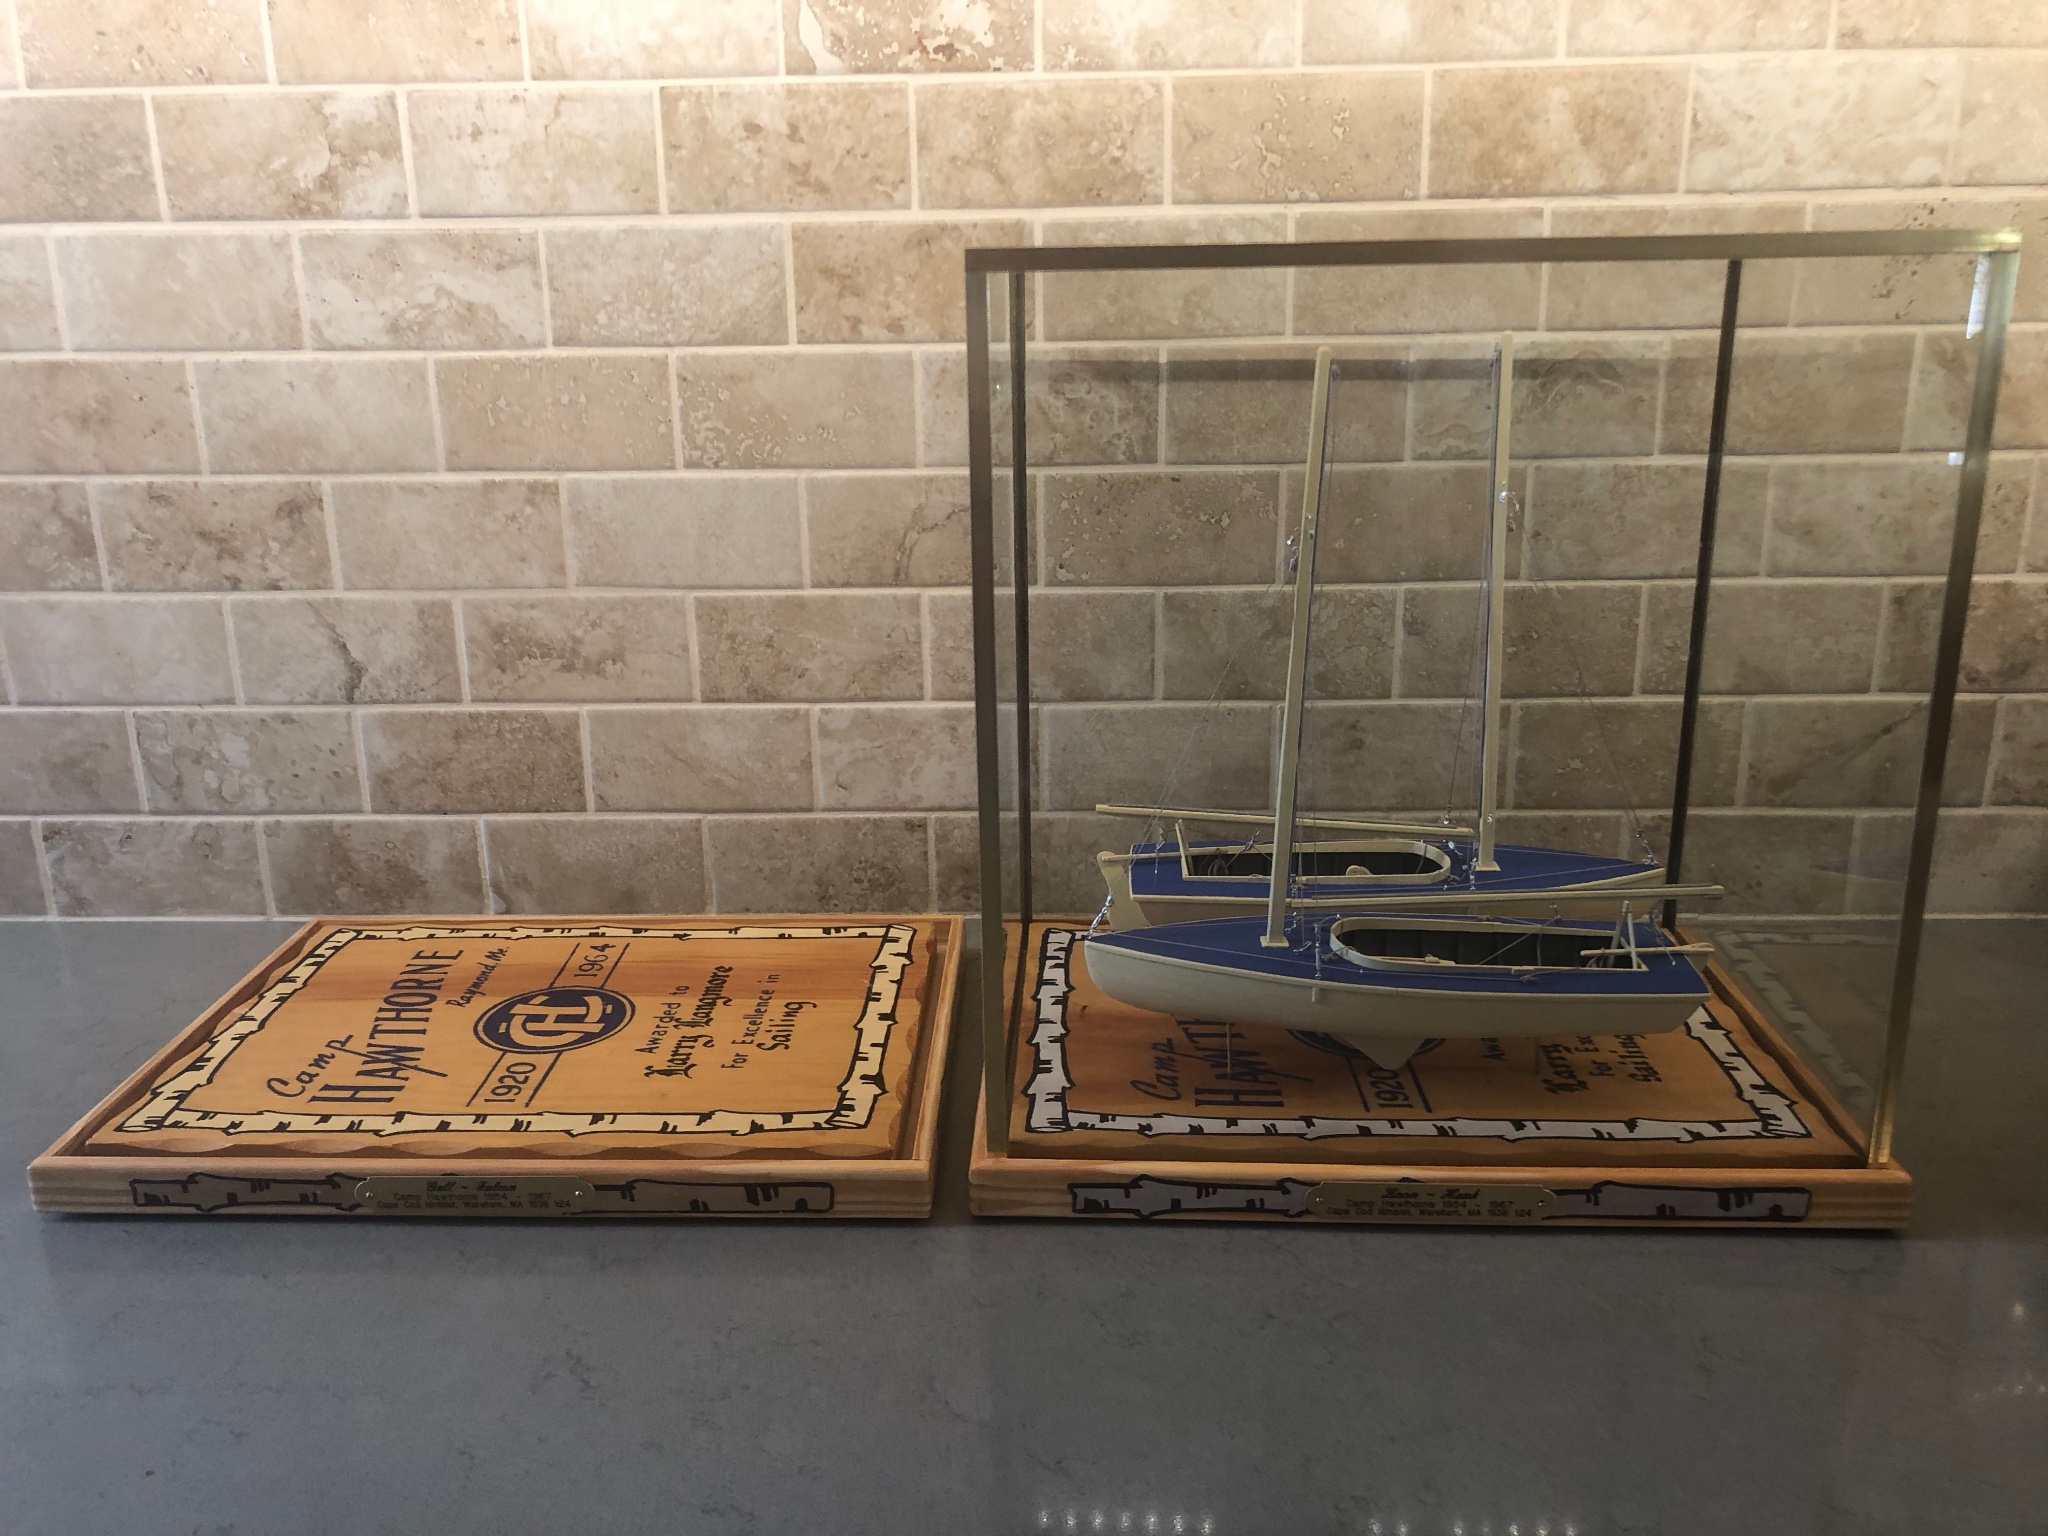
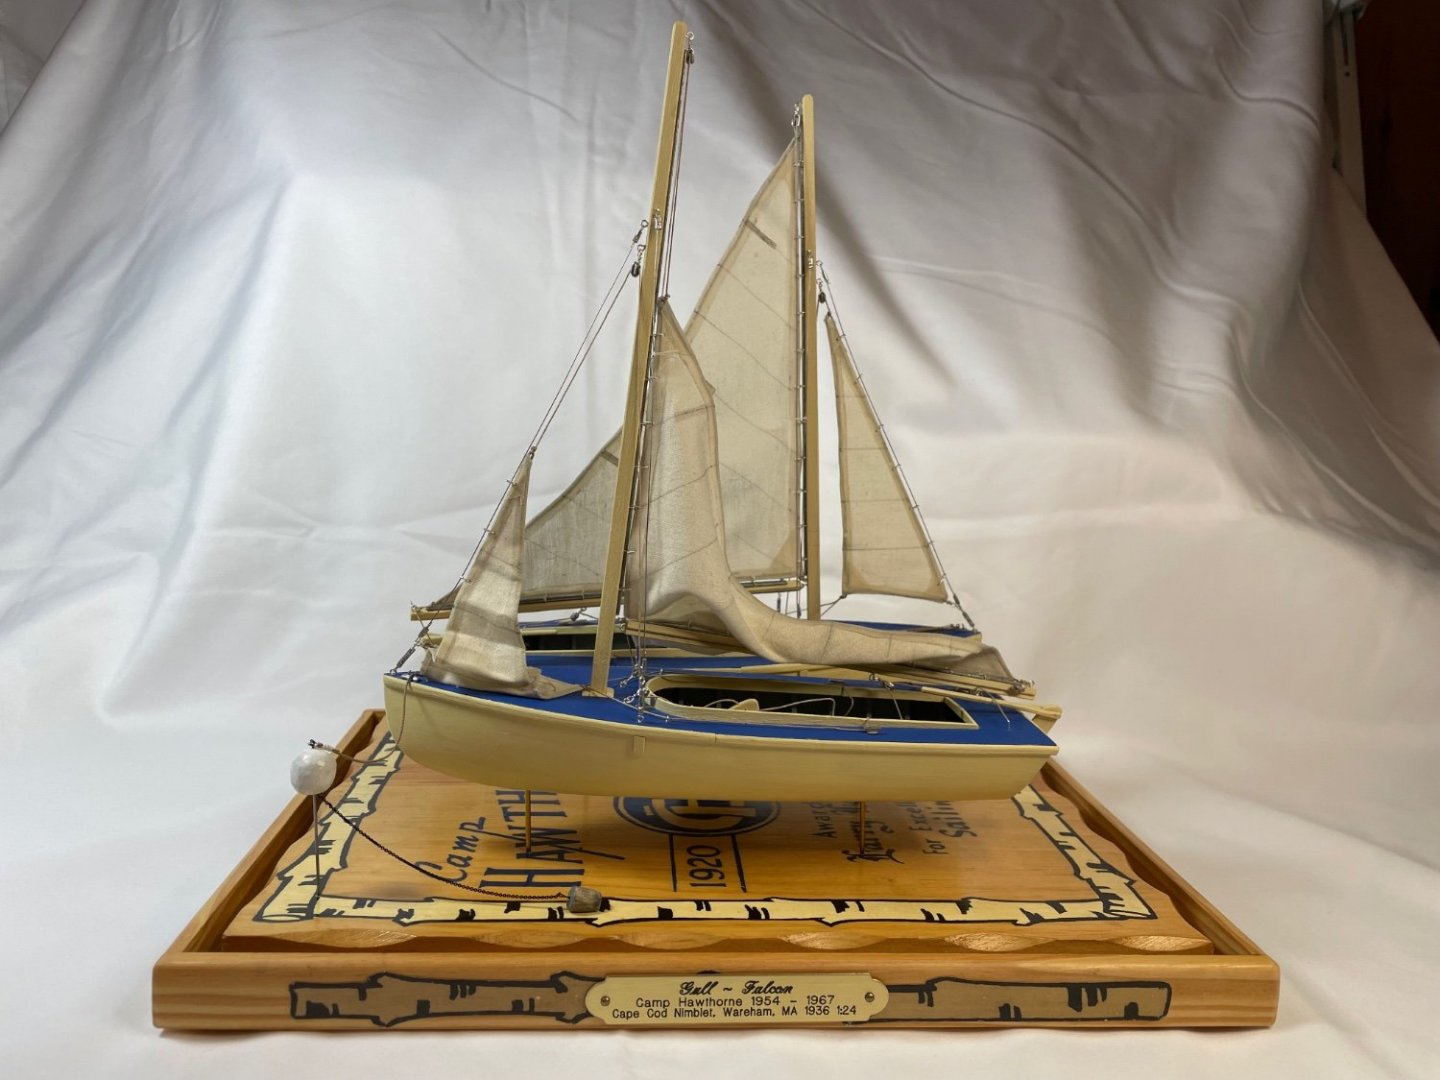
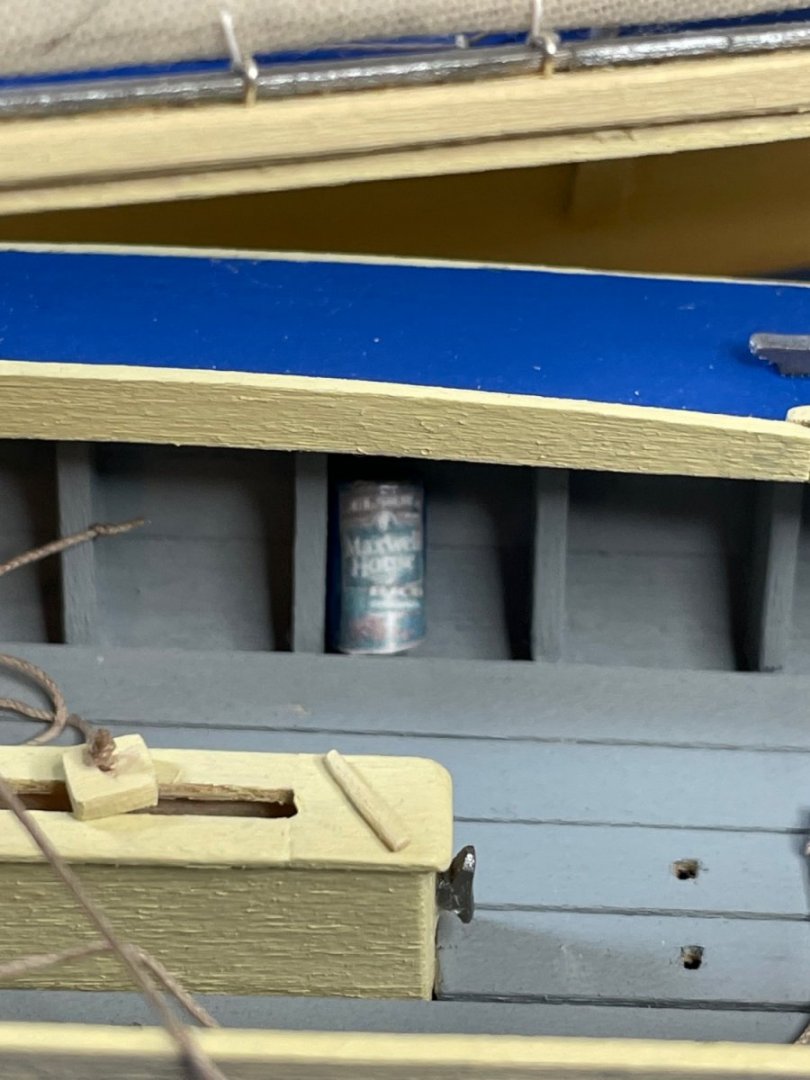
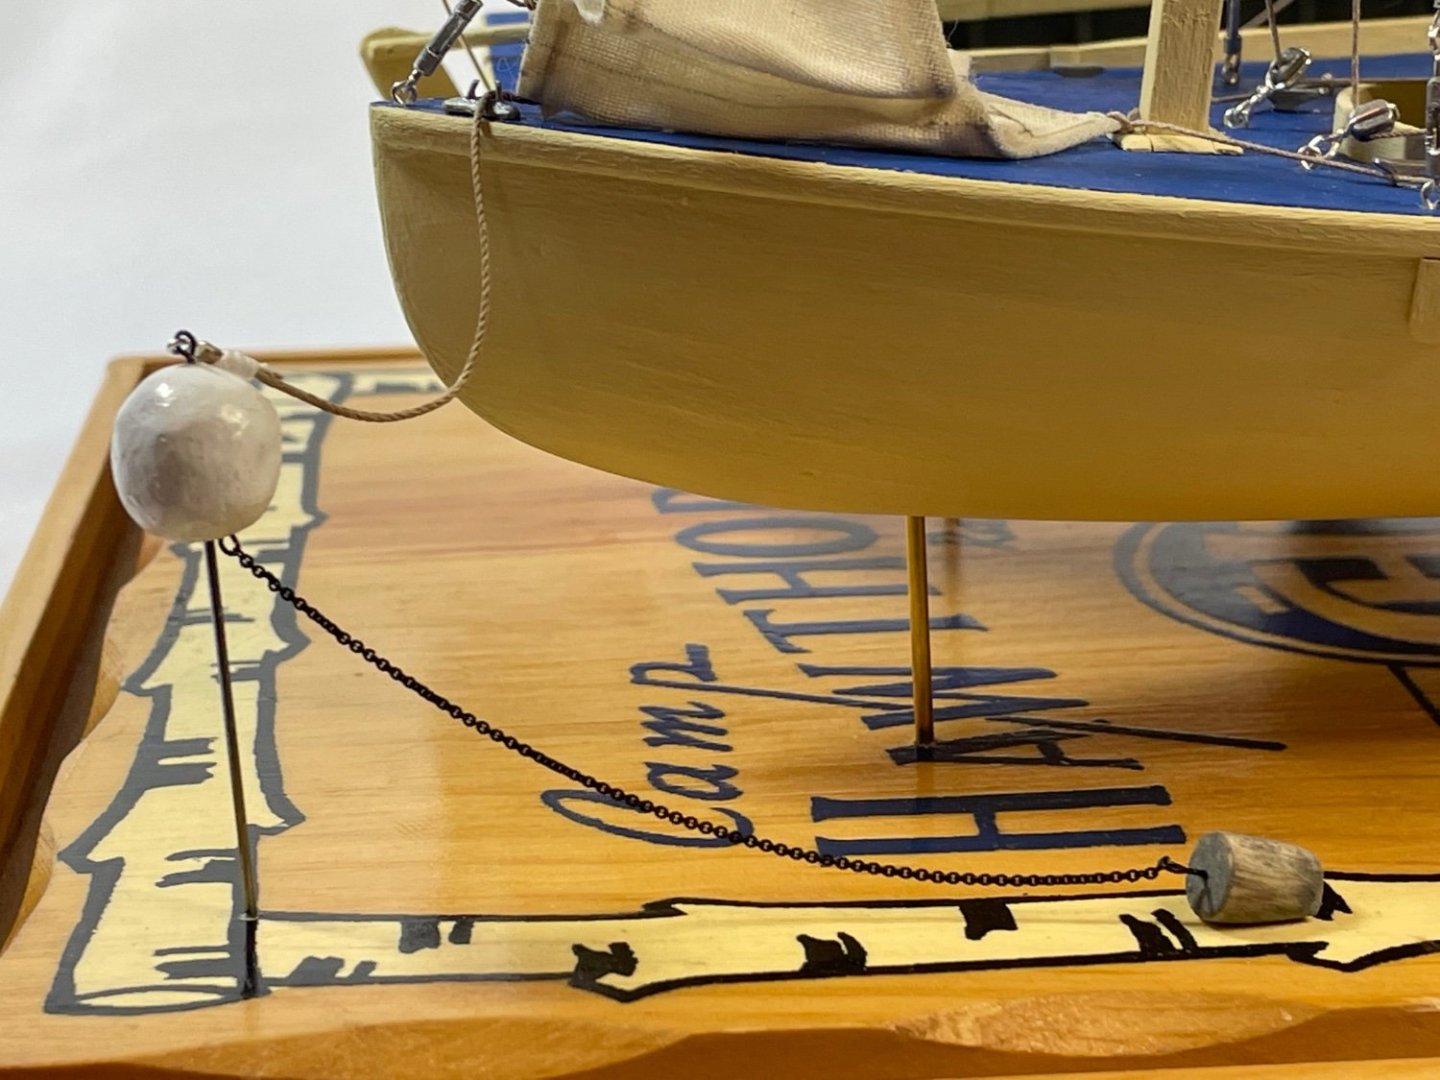
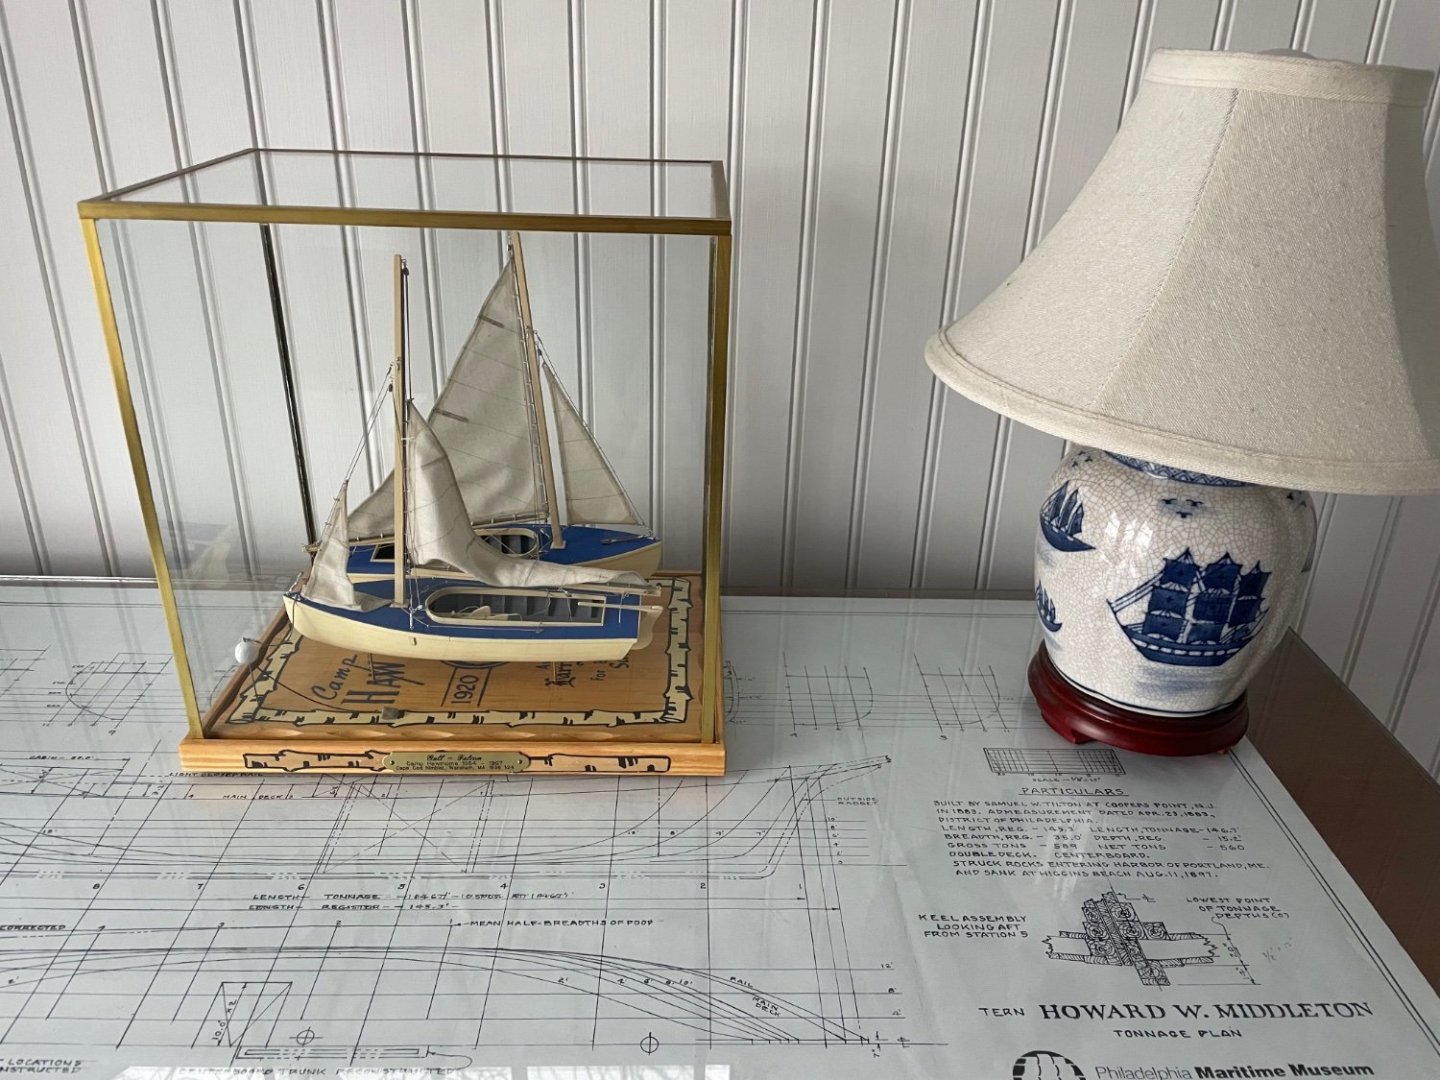
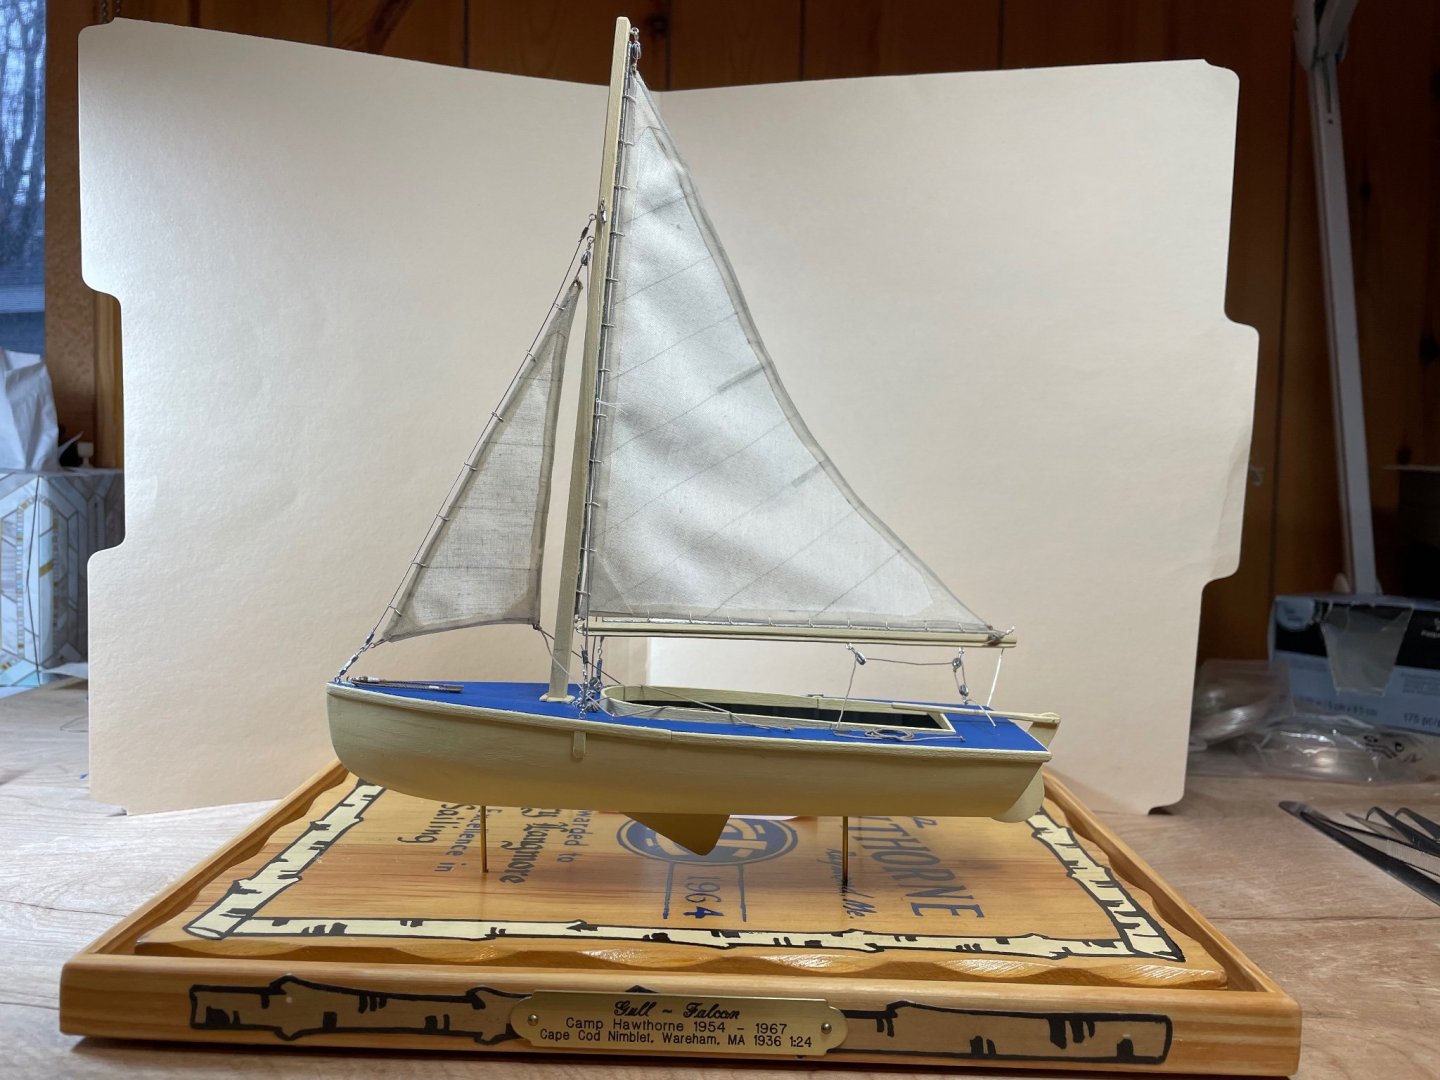
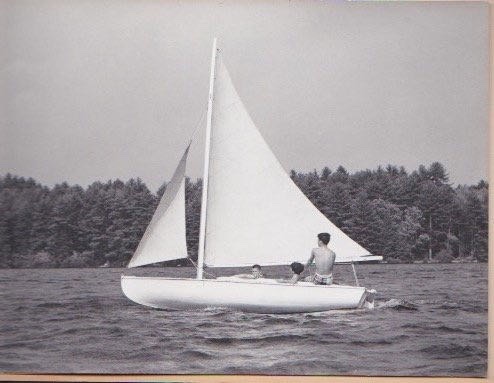
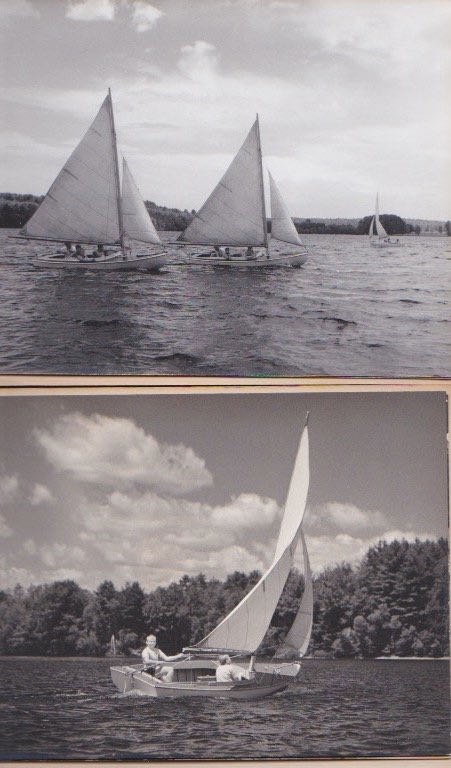
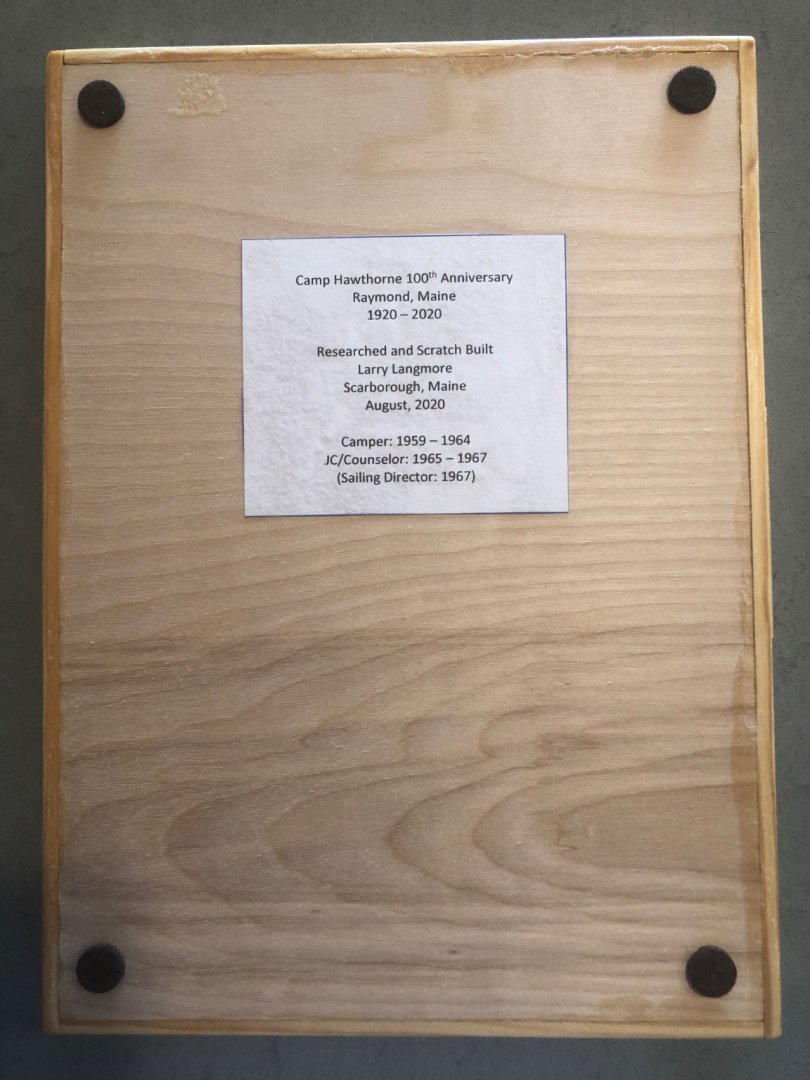
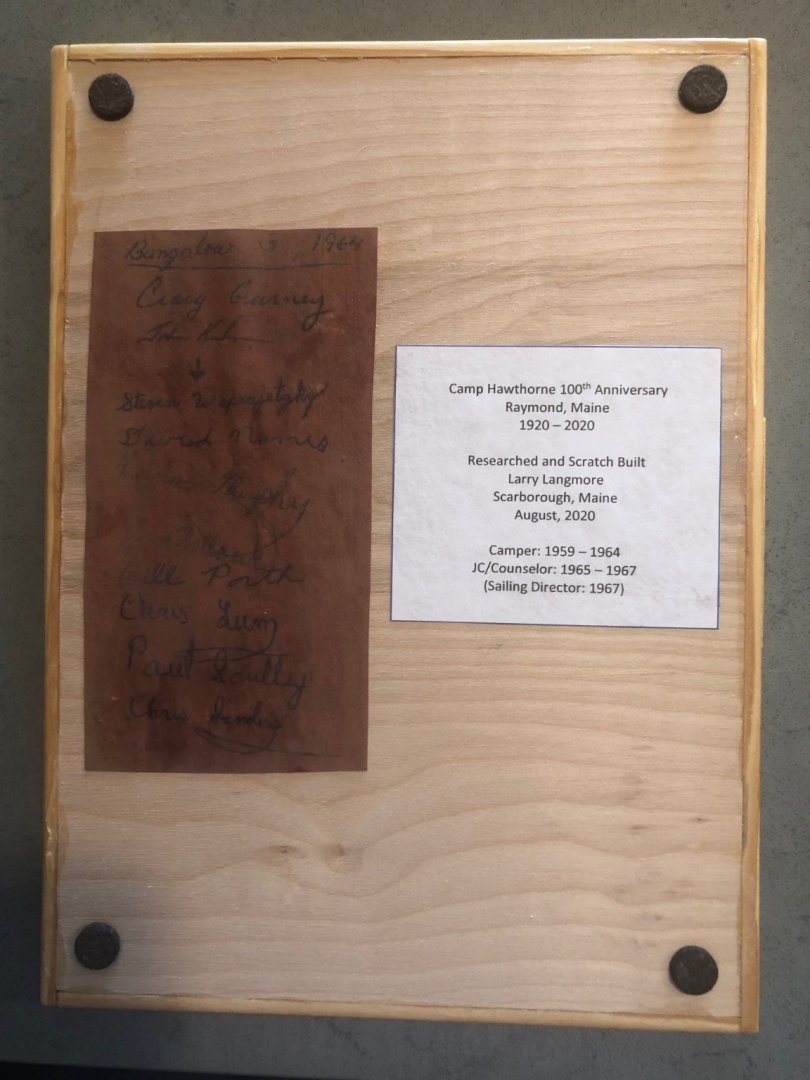
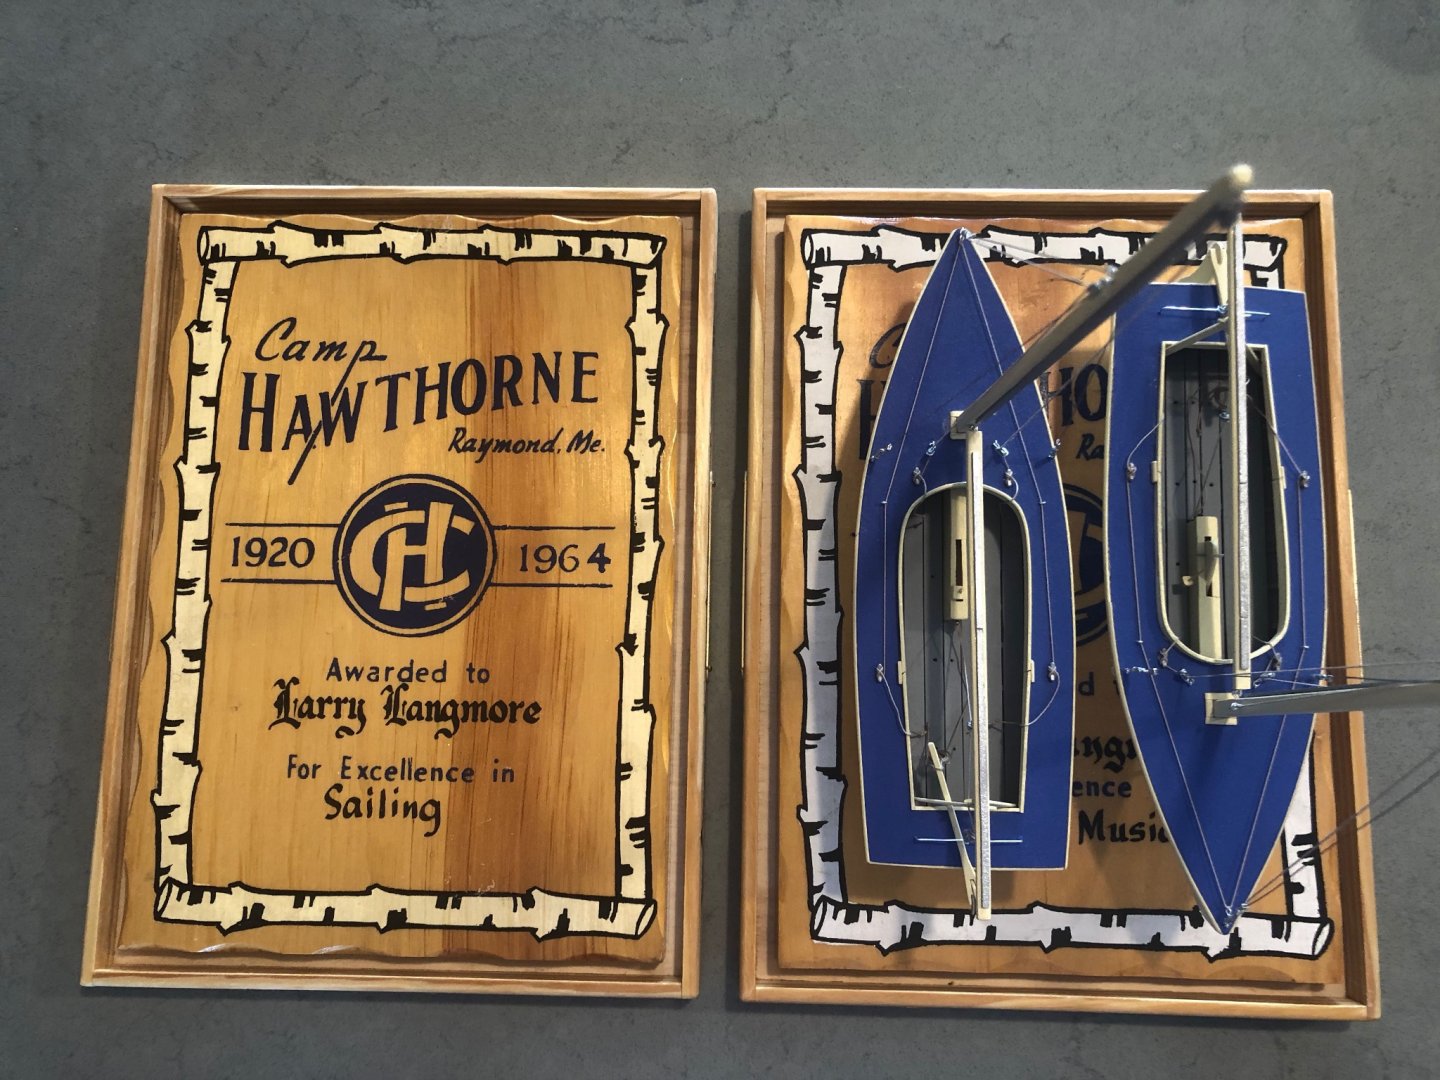
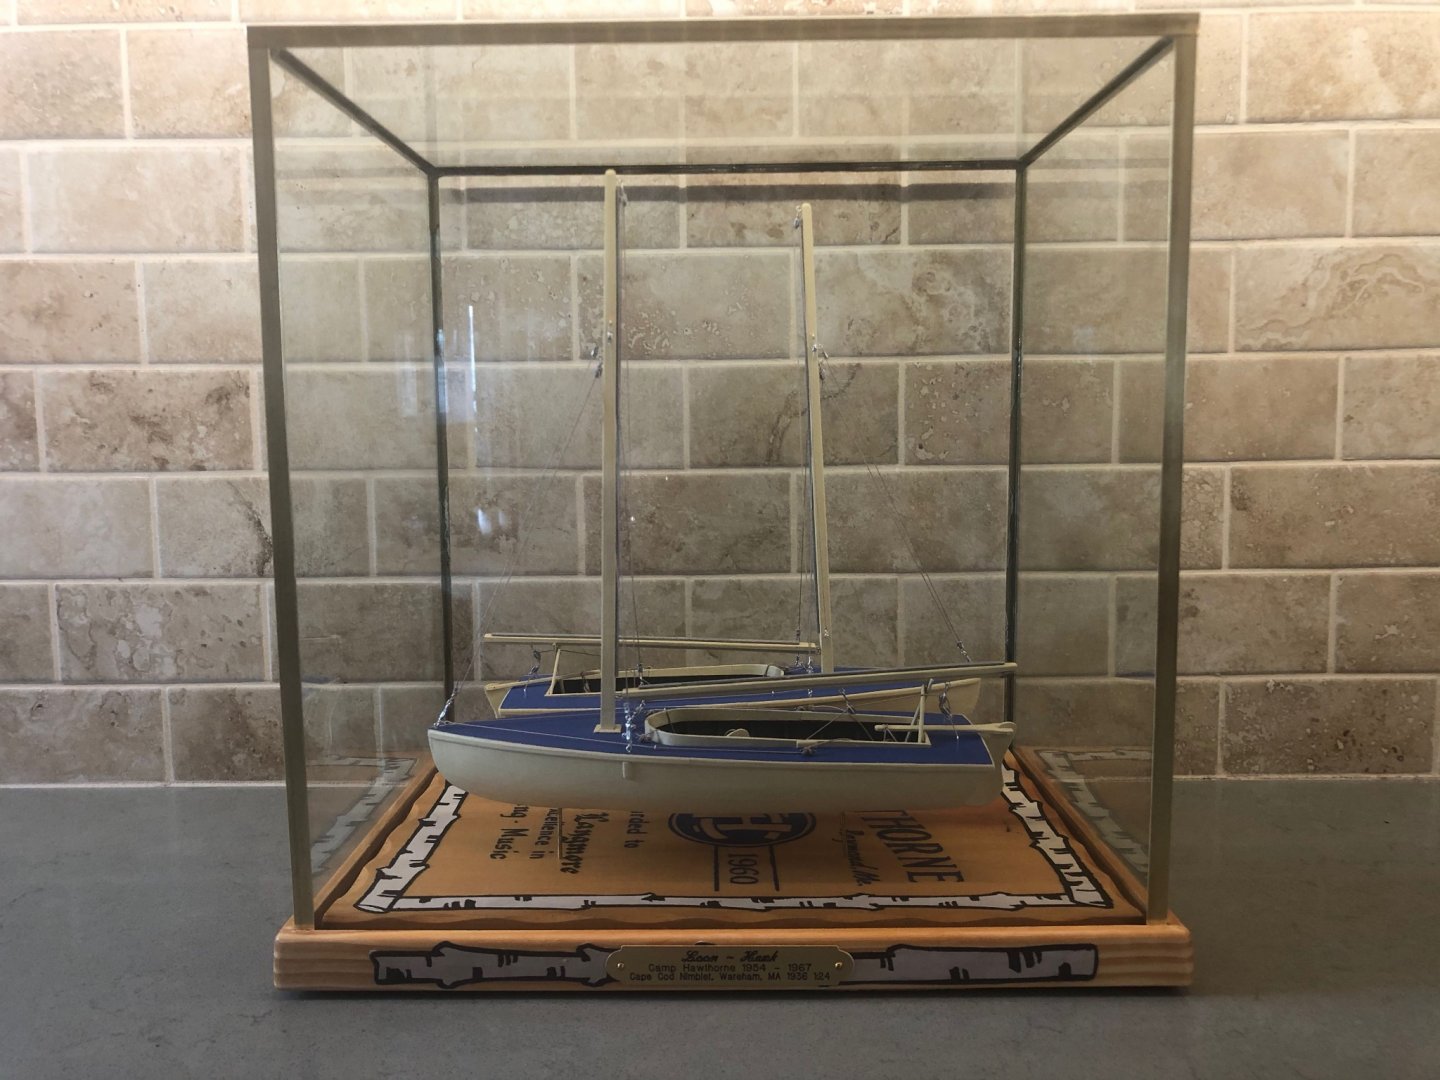
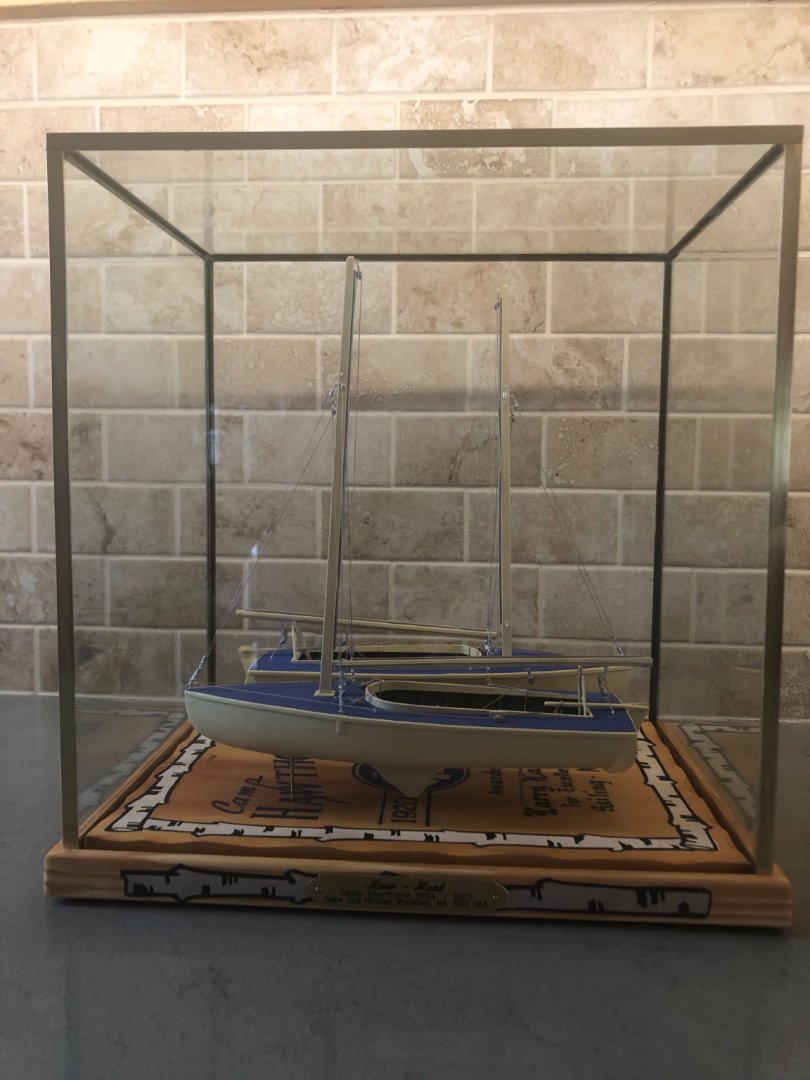
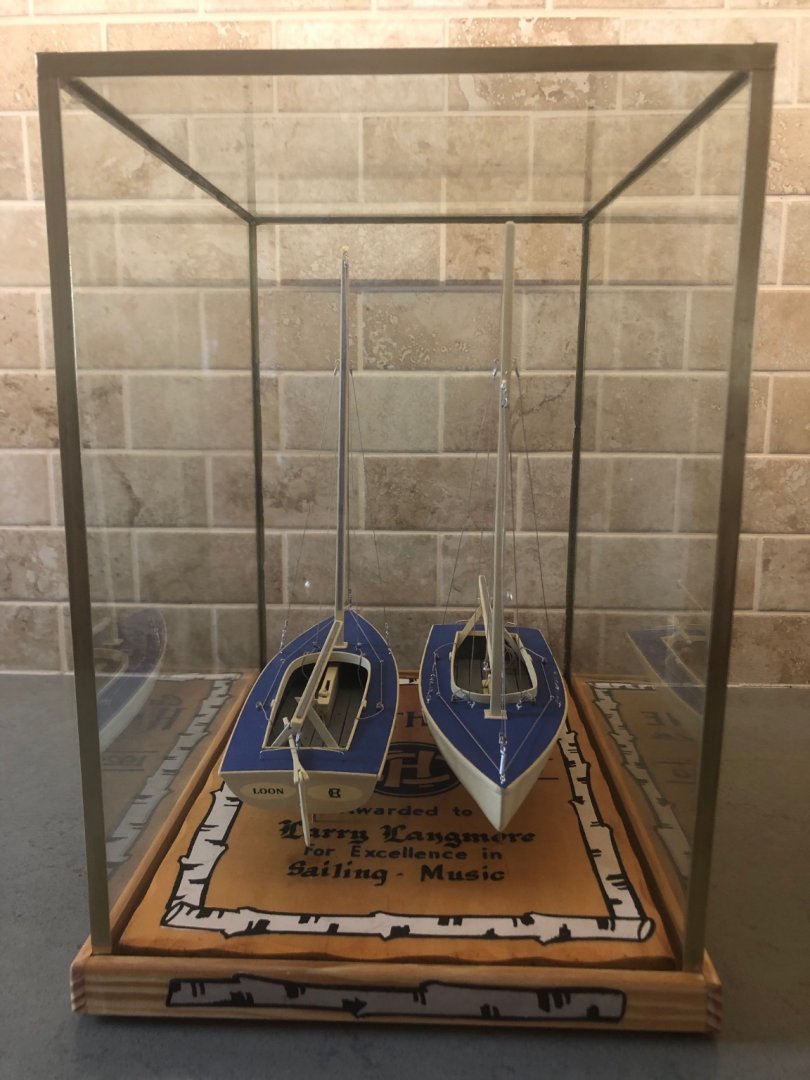
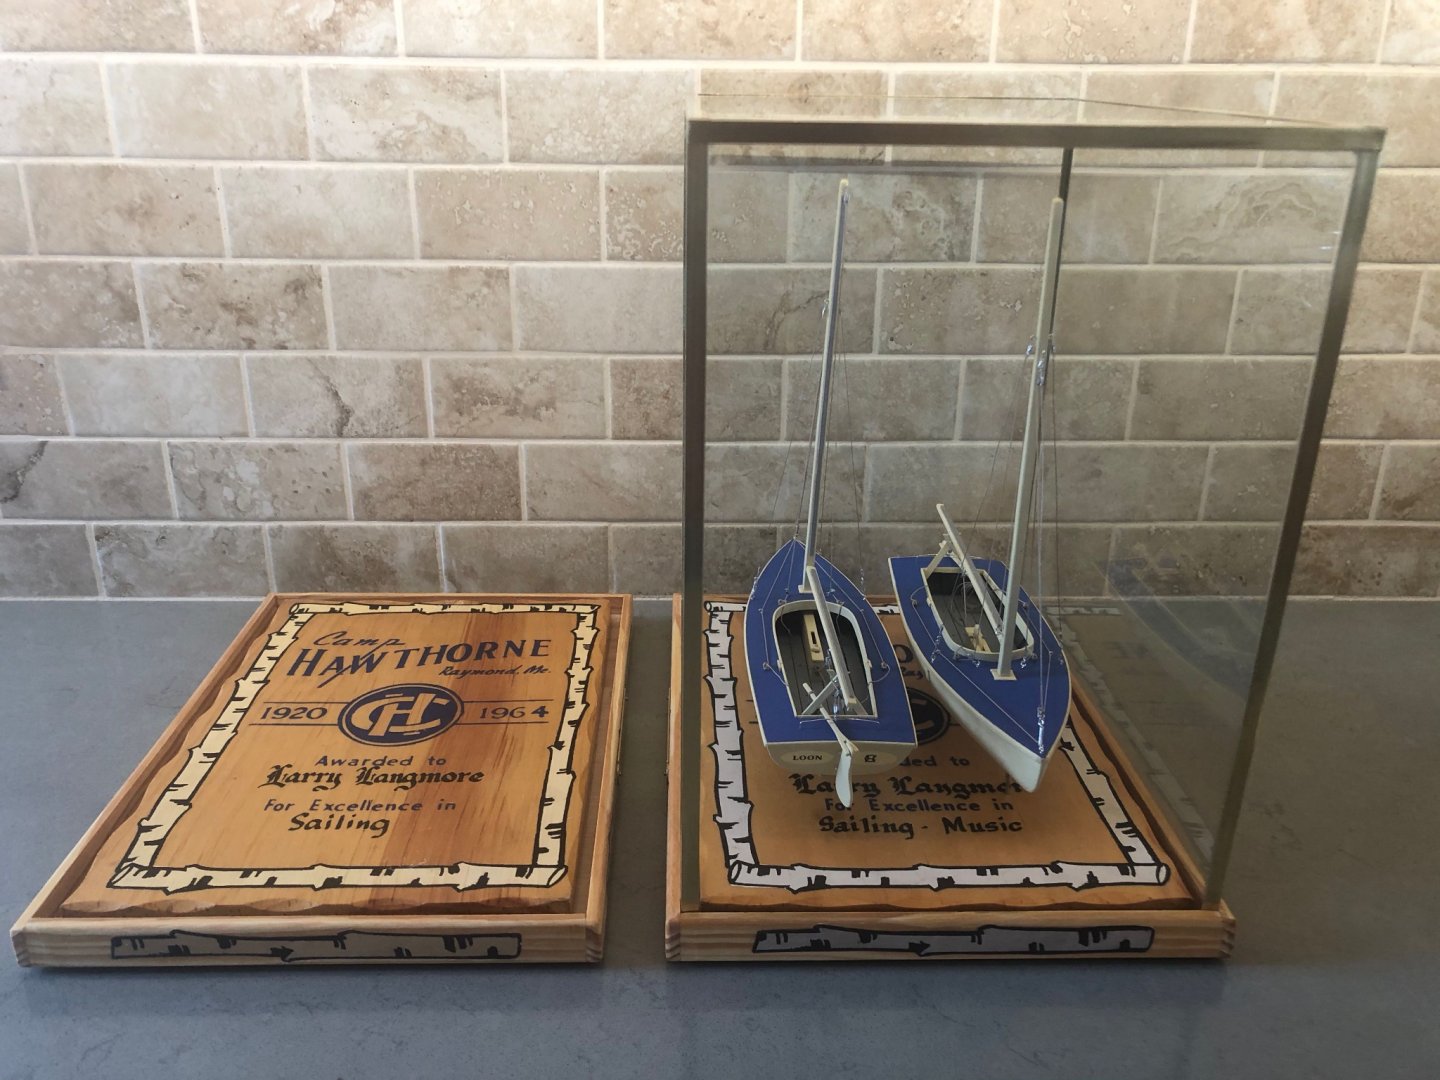
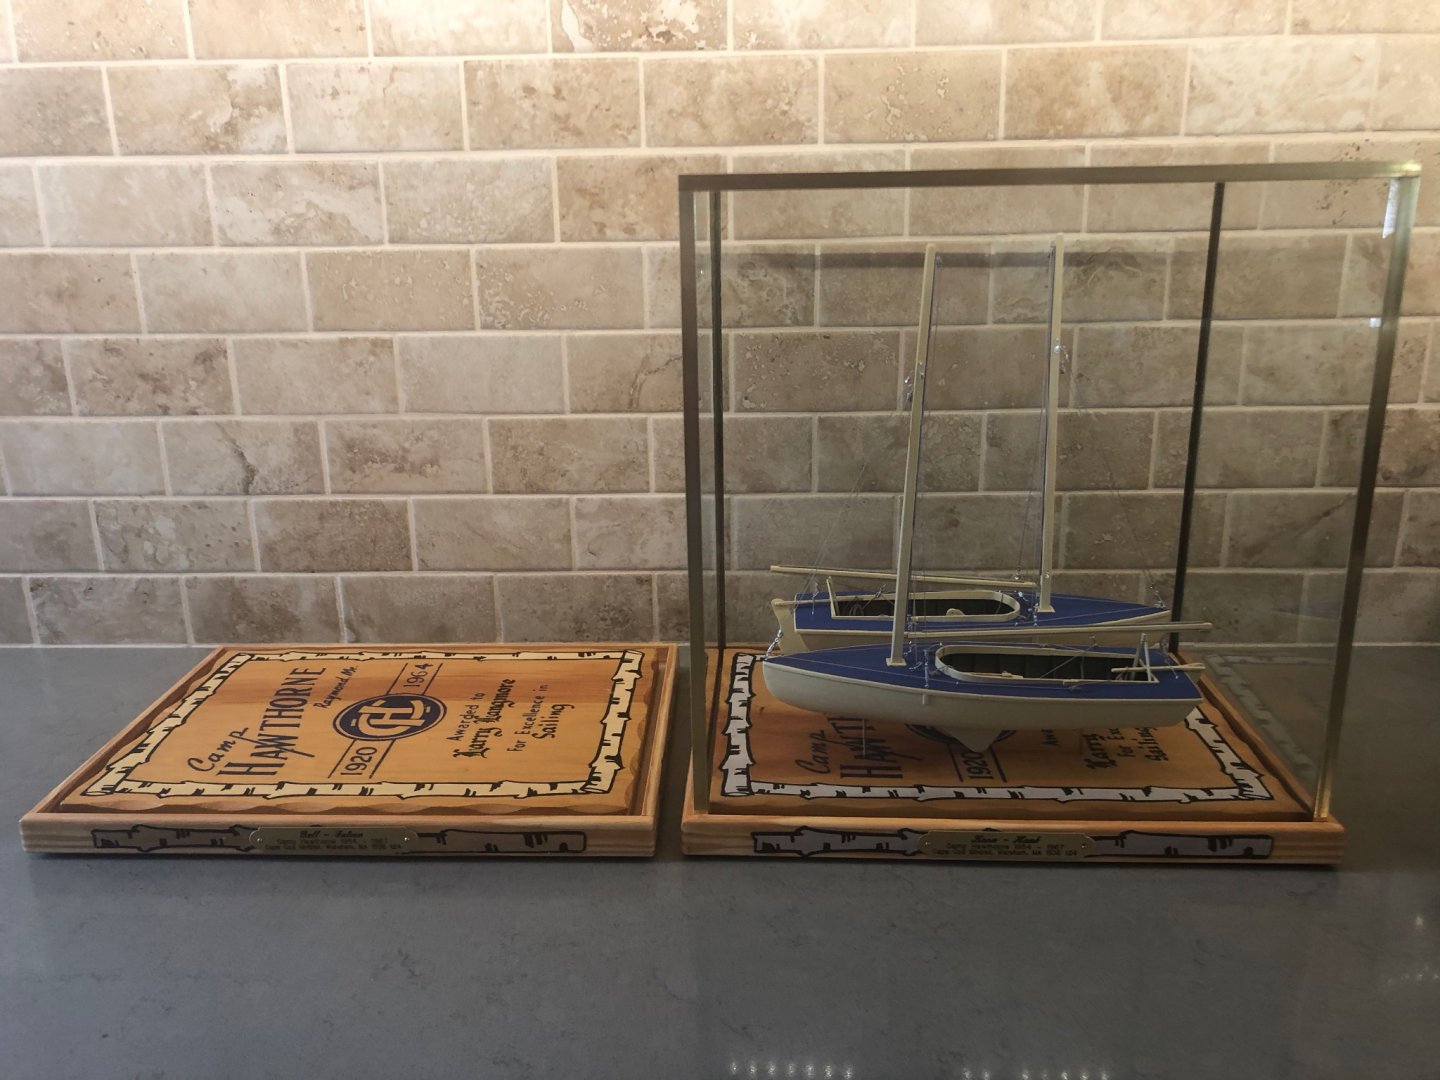
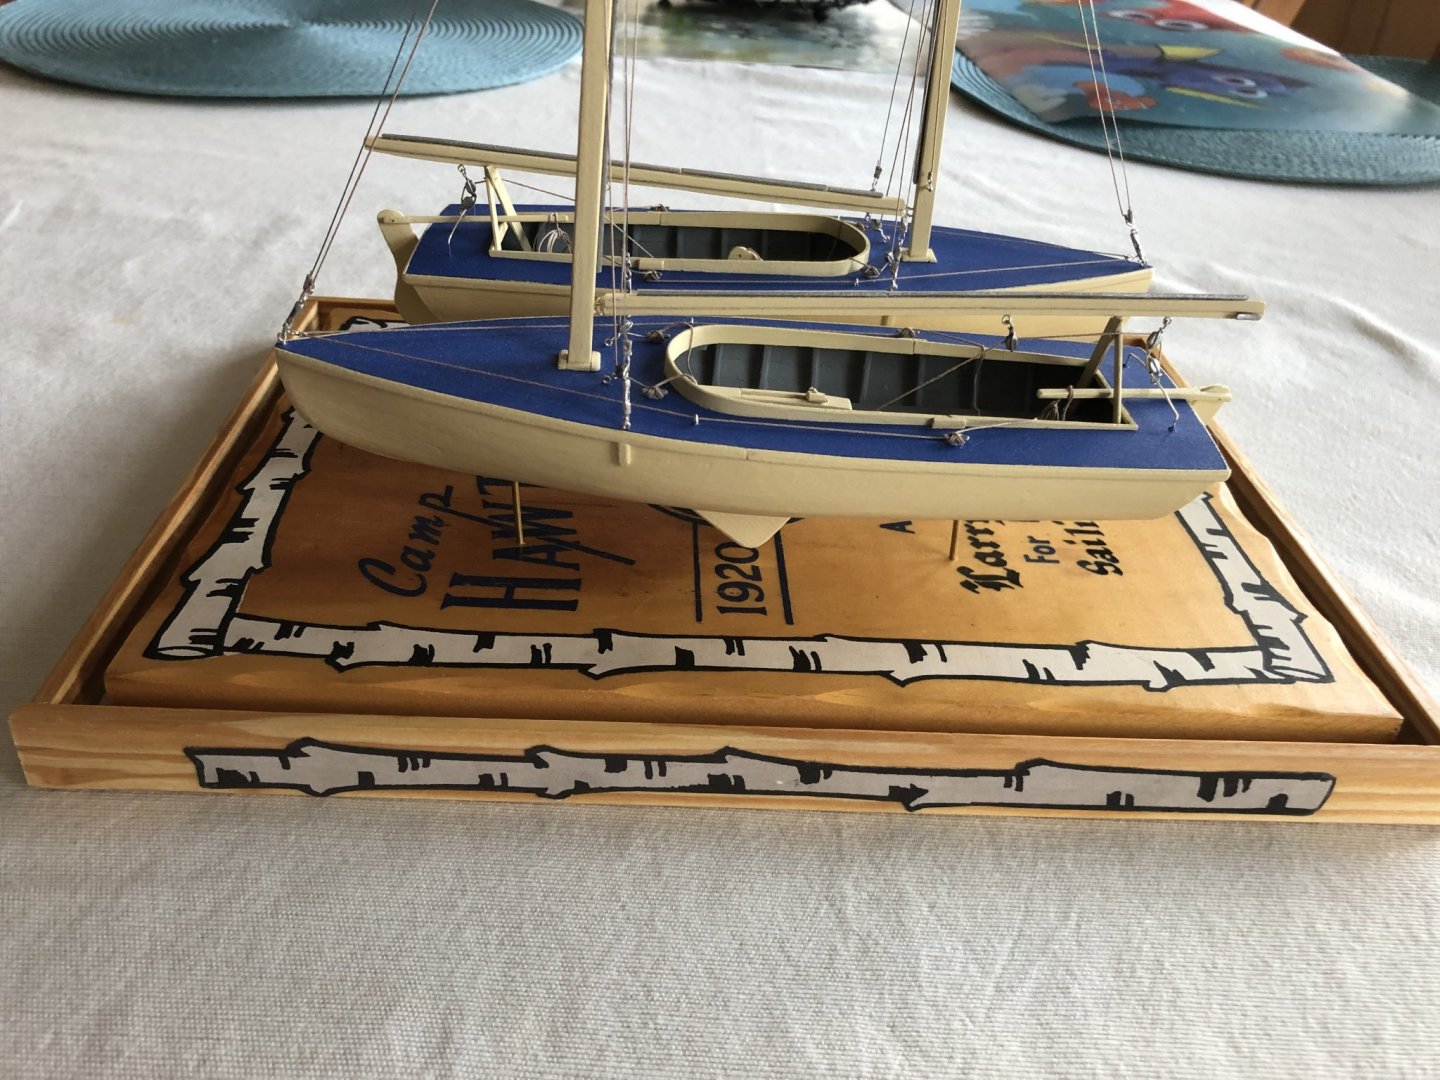
Well as it is a new year it is time to wrap up my 100th reunion camp project with the completion of the last two boats - the Gull and Falcon. Finished with the two Maxwell House bailing cans yesterday and placed the completed models in the case. The rigging and set up of the sails was modeled on the two pictures - I did buy 1:24 scale people but in my wife's words - they looked freaky so opted to just leave natural. So here are a few of the final pictures including the final resting place on my bureau along side the plans of the Howard W. Middleton that was completed several years ago (see link below). I'll be back - probably get back to the New Bedford Whaleboat.


- 84 replies
-
- 2
-
-
- nimblet
- knockabout
- (and 1 more)
-
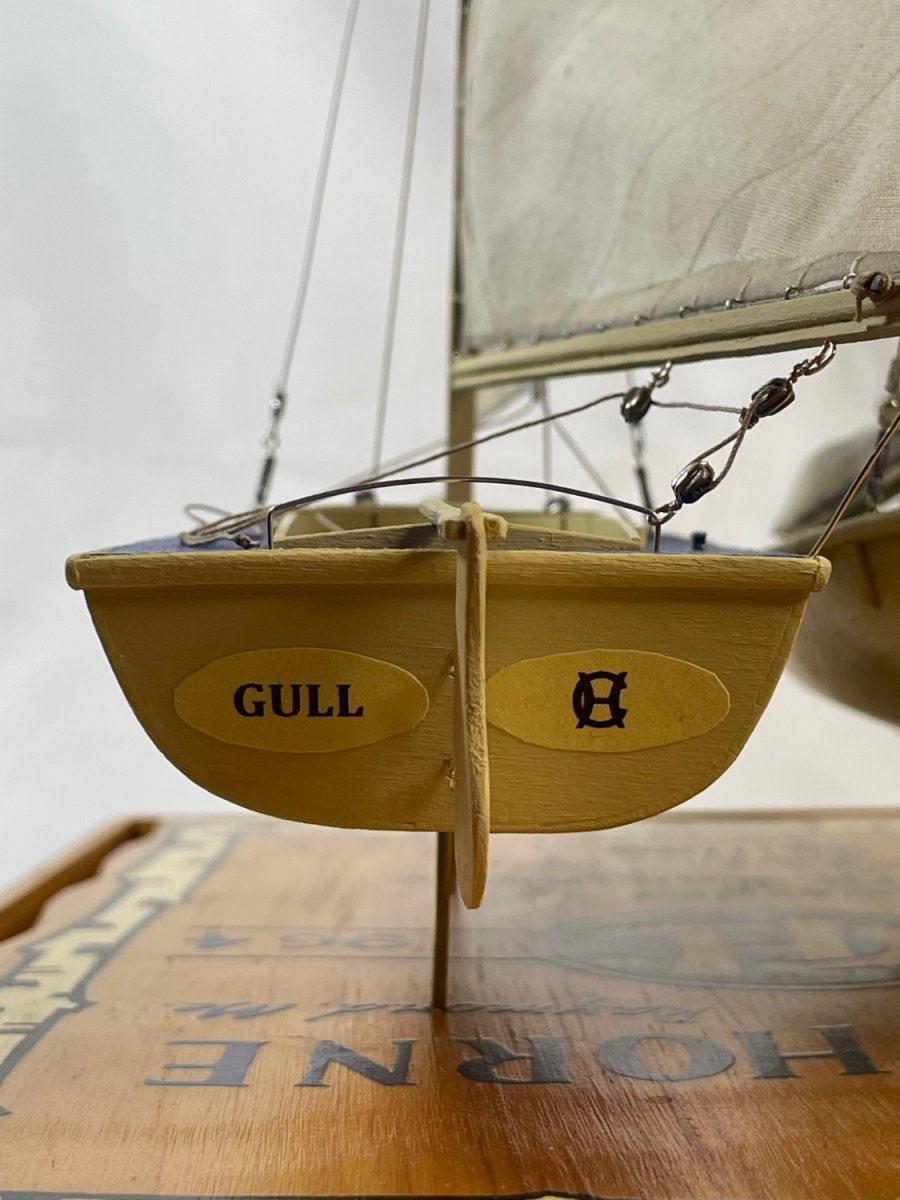
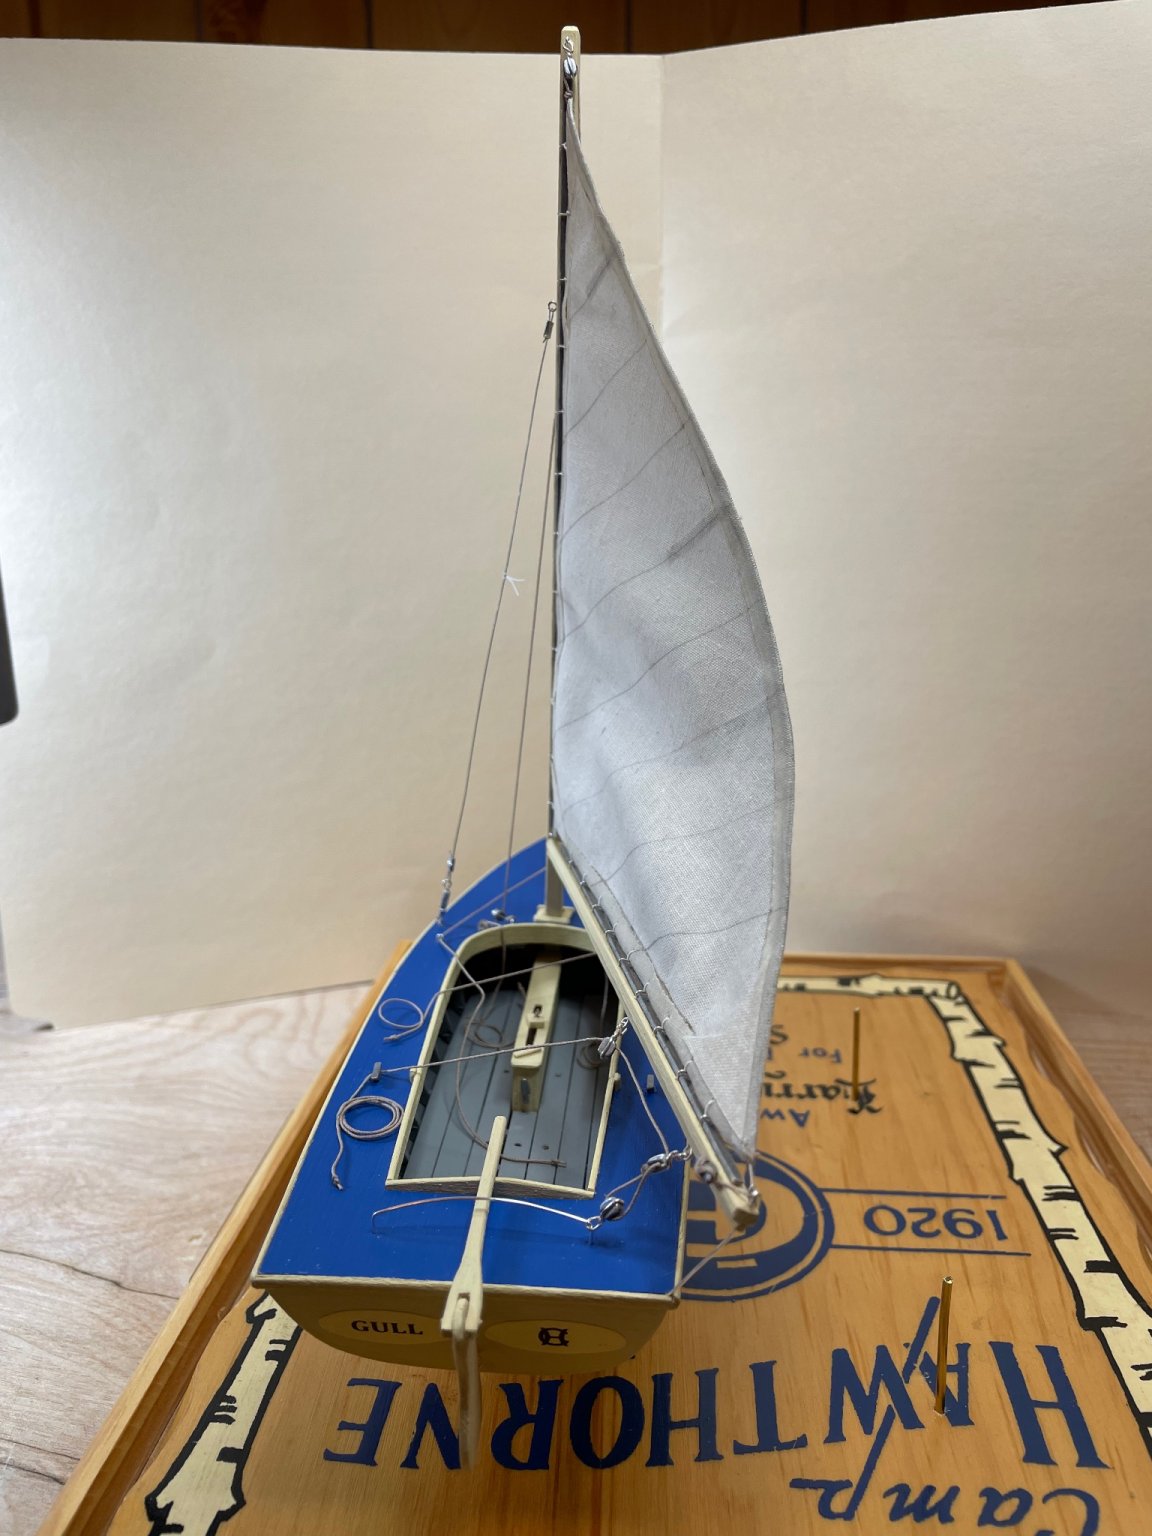
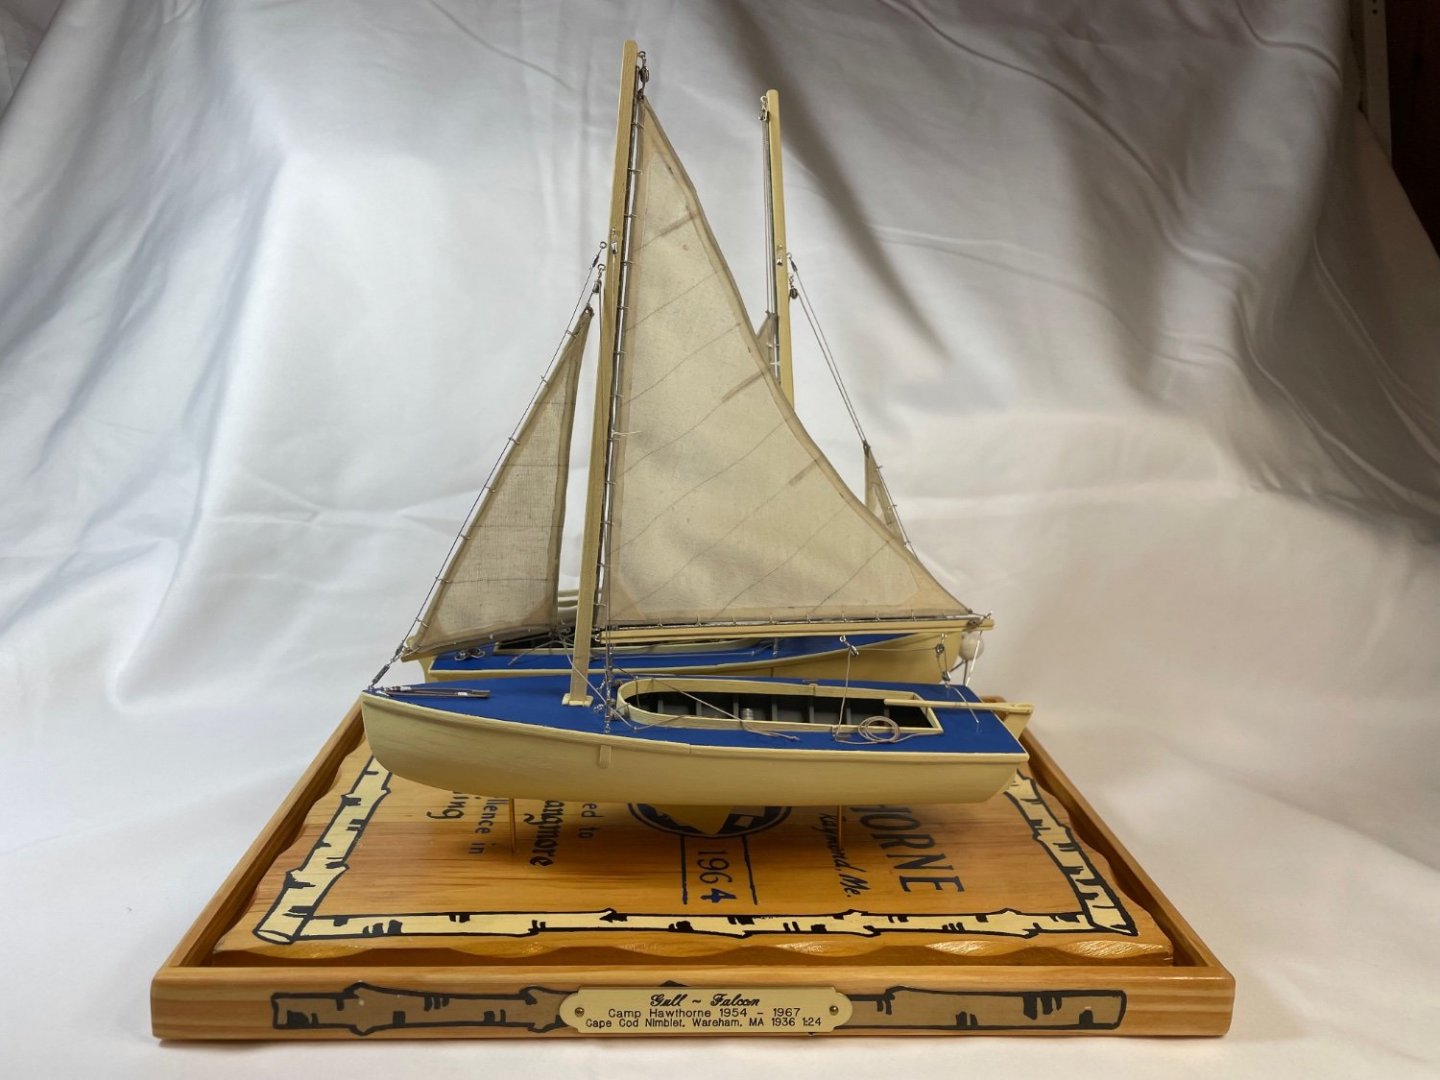
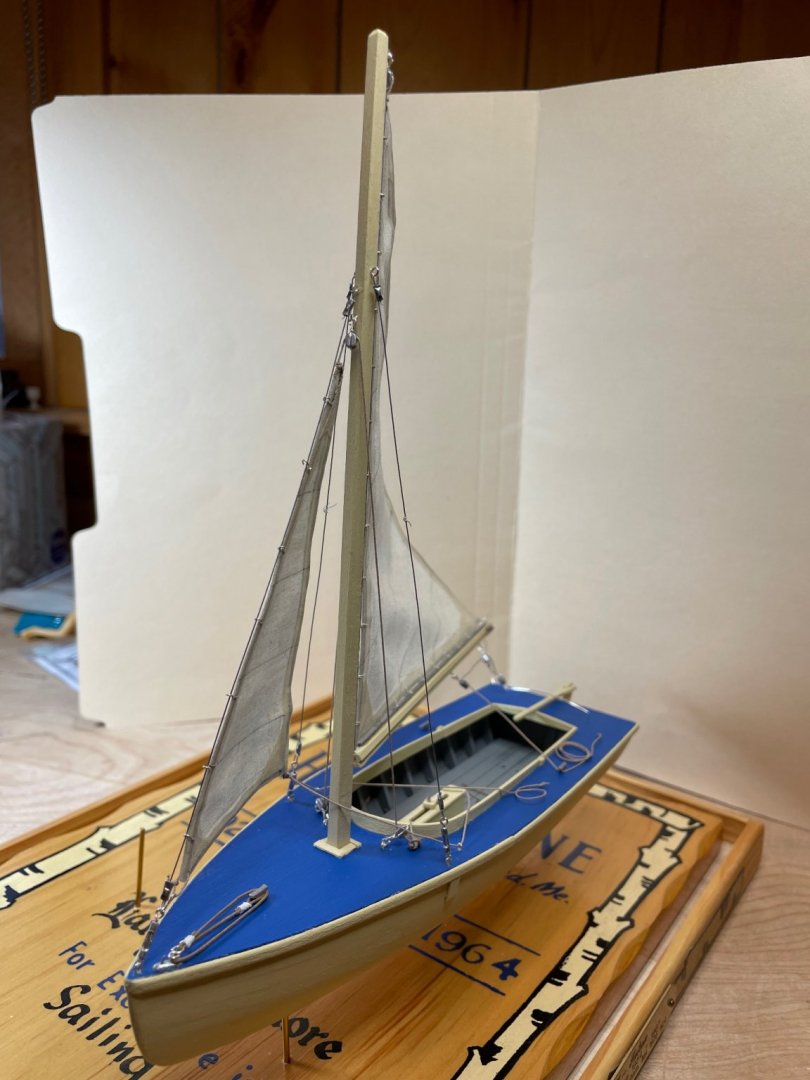
Third boat (Gull) complete. I used a small piece of 24 gauge silver wire to hold the mast out so it appears to be catching wind while sailing close hauled on port tack. Forgot to include painter line in first set but after looking at some old photos realized my mistake so now included. Once I determine how I want the sails to look (hoisting or furled) on last boat (Falcon) will begin final steps. If you look closely you can see the telltails on the two shrouds indicating a close haul tack.


- 84 replies
-
- 3
-
-

-
- nimblet
- knockabout
- (and 1 more)
-
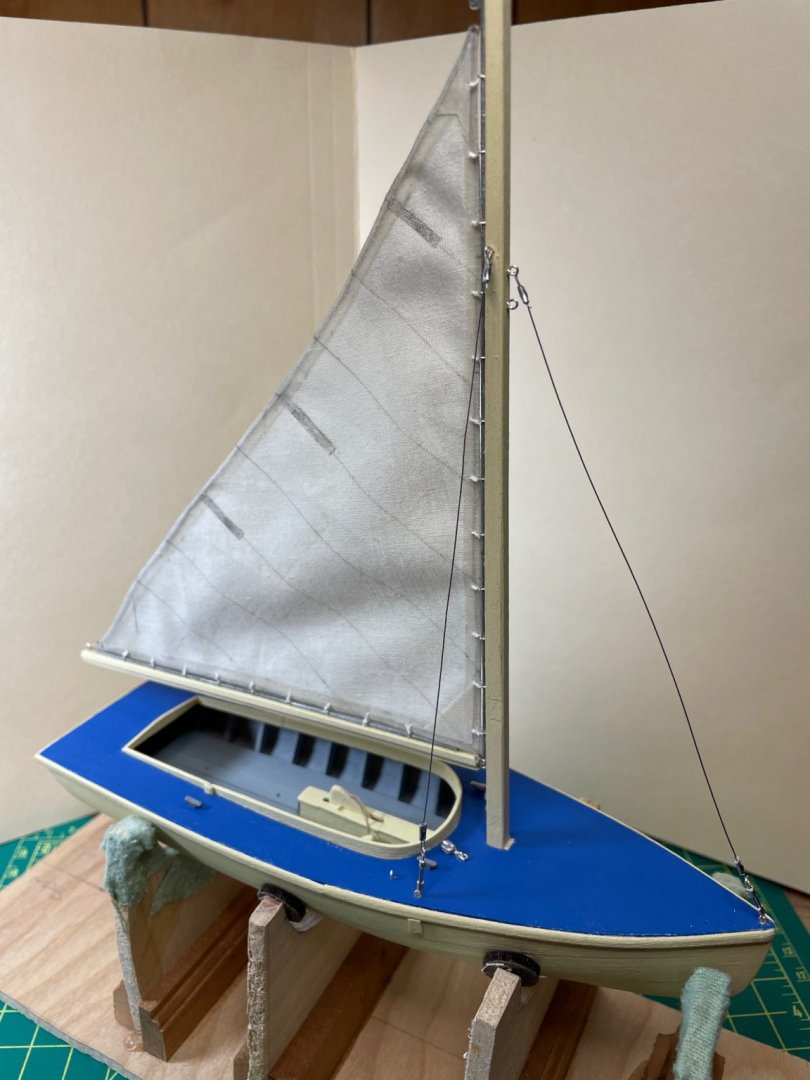
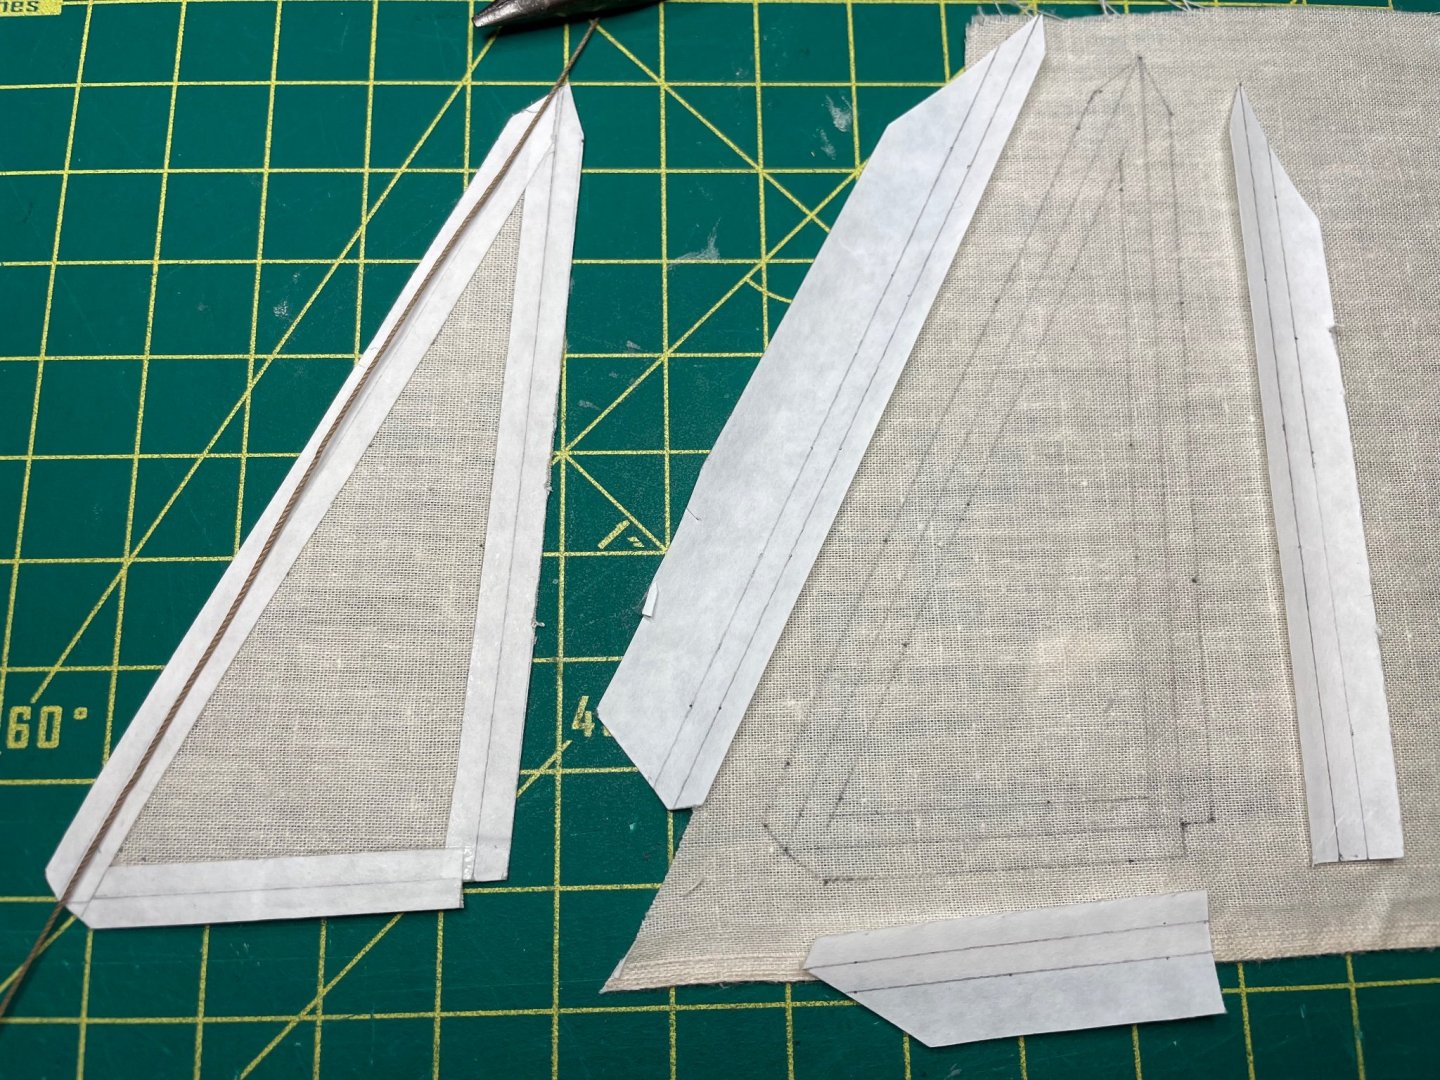
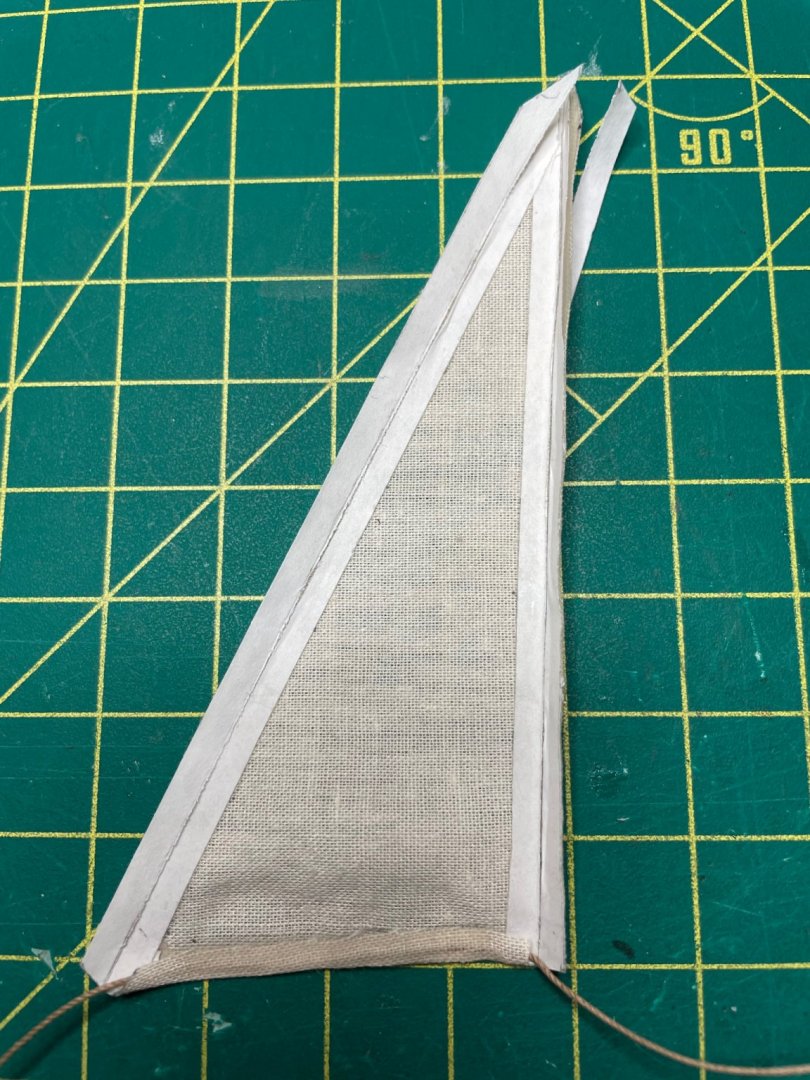
Mast stepped and main sail attached to first boat (Gull) and Just finished the two jibs. Couple of pics showing process of jib construction and inserting bolt rope into edges.
- 84 replies
-
- 4
-
-
- nimblet
- knockabout
- (and 1 more)
-
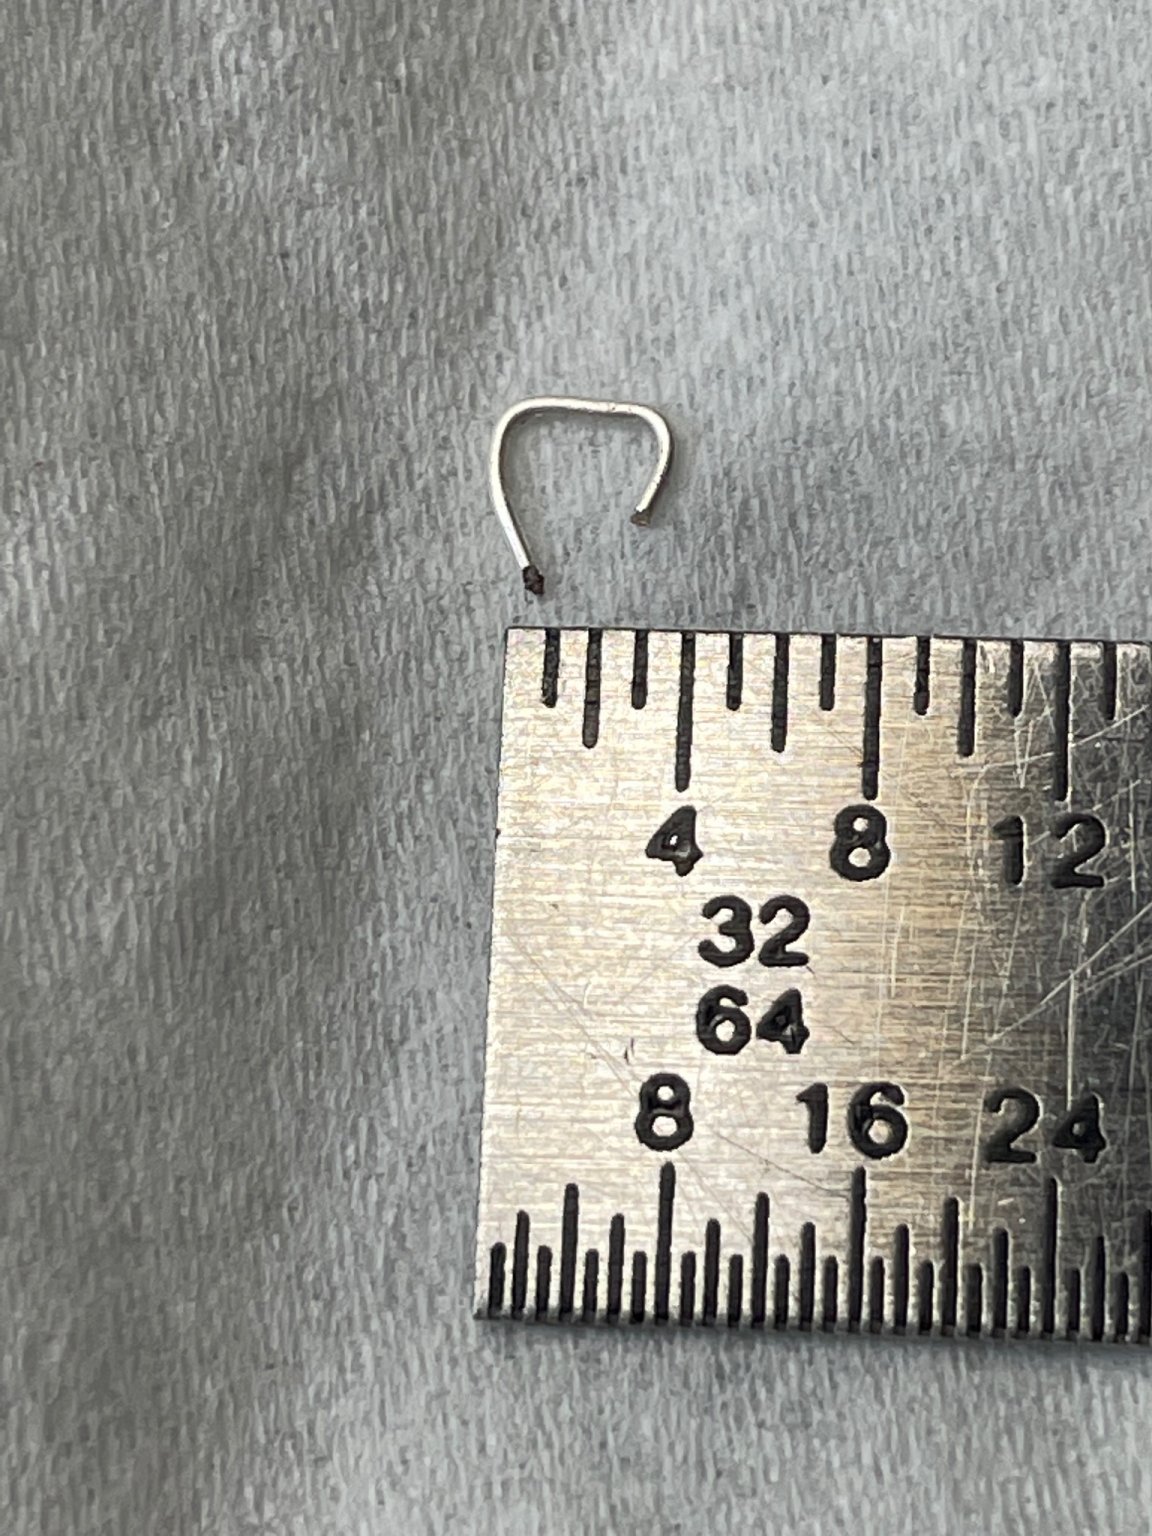
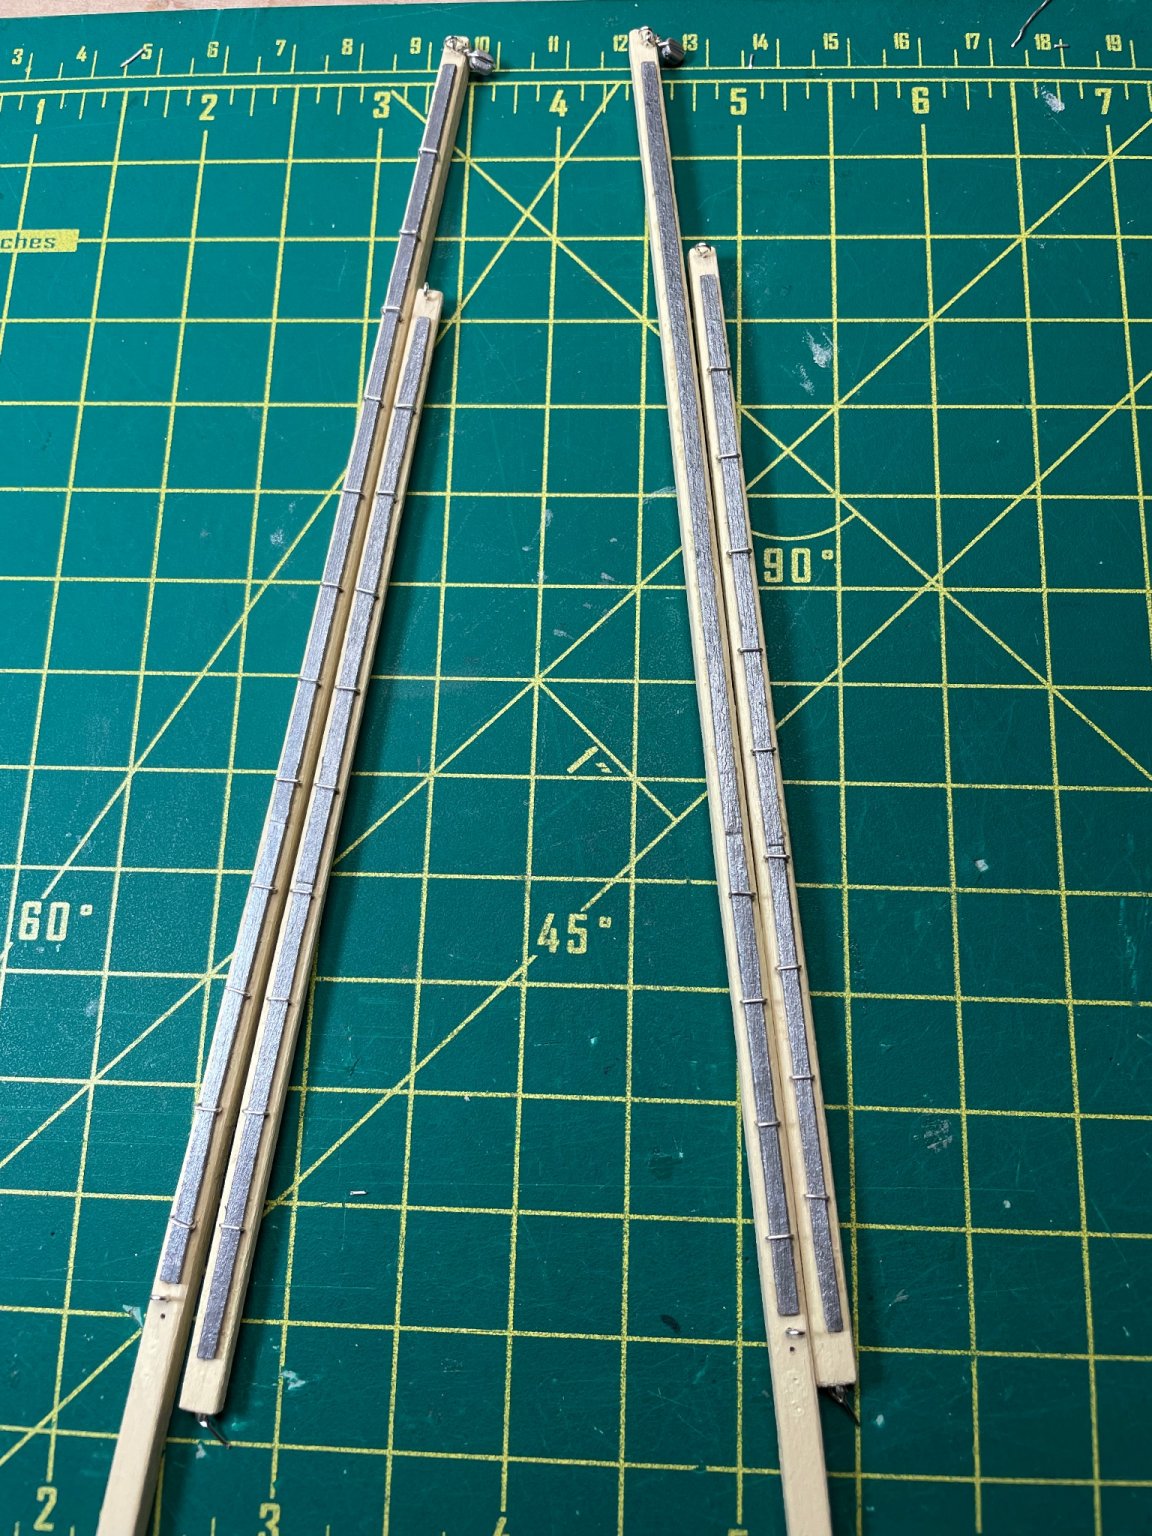
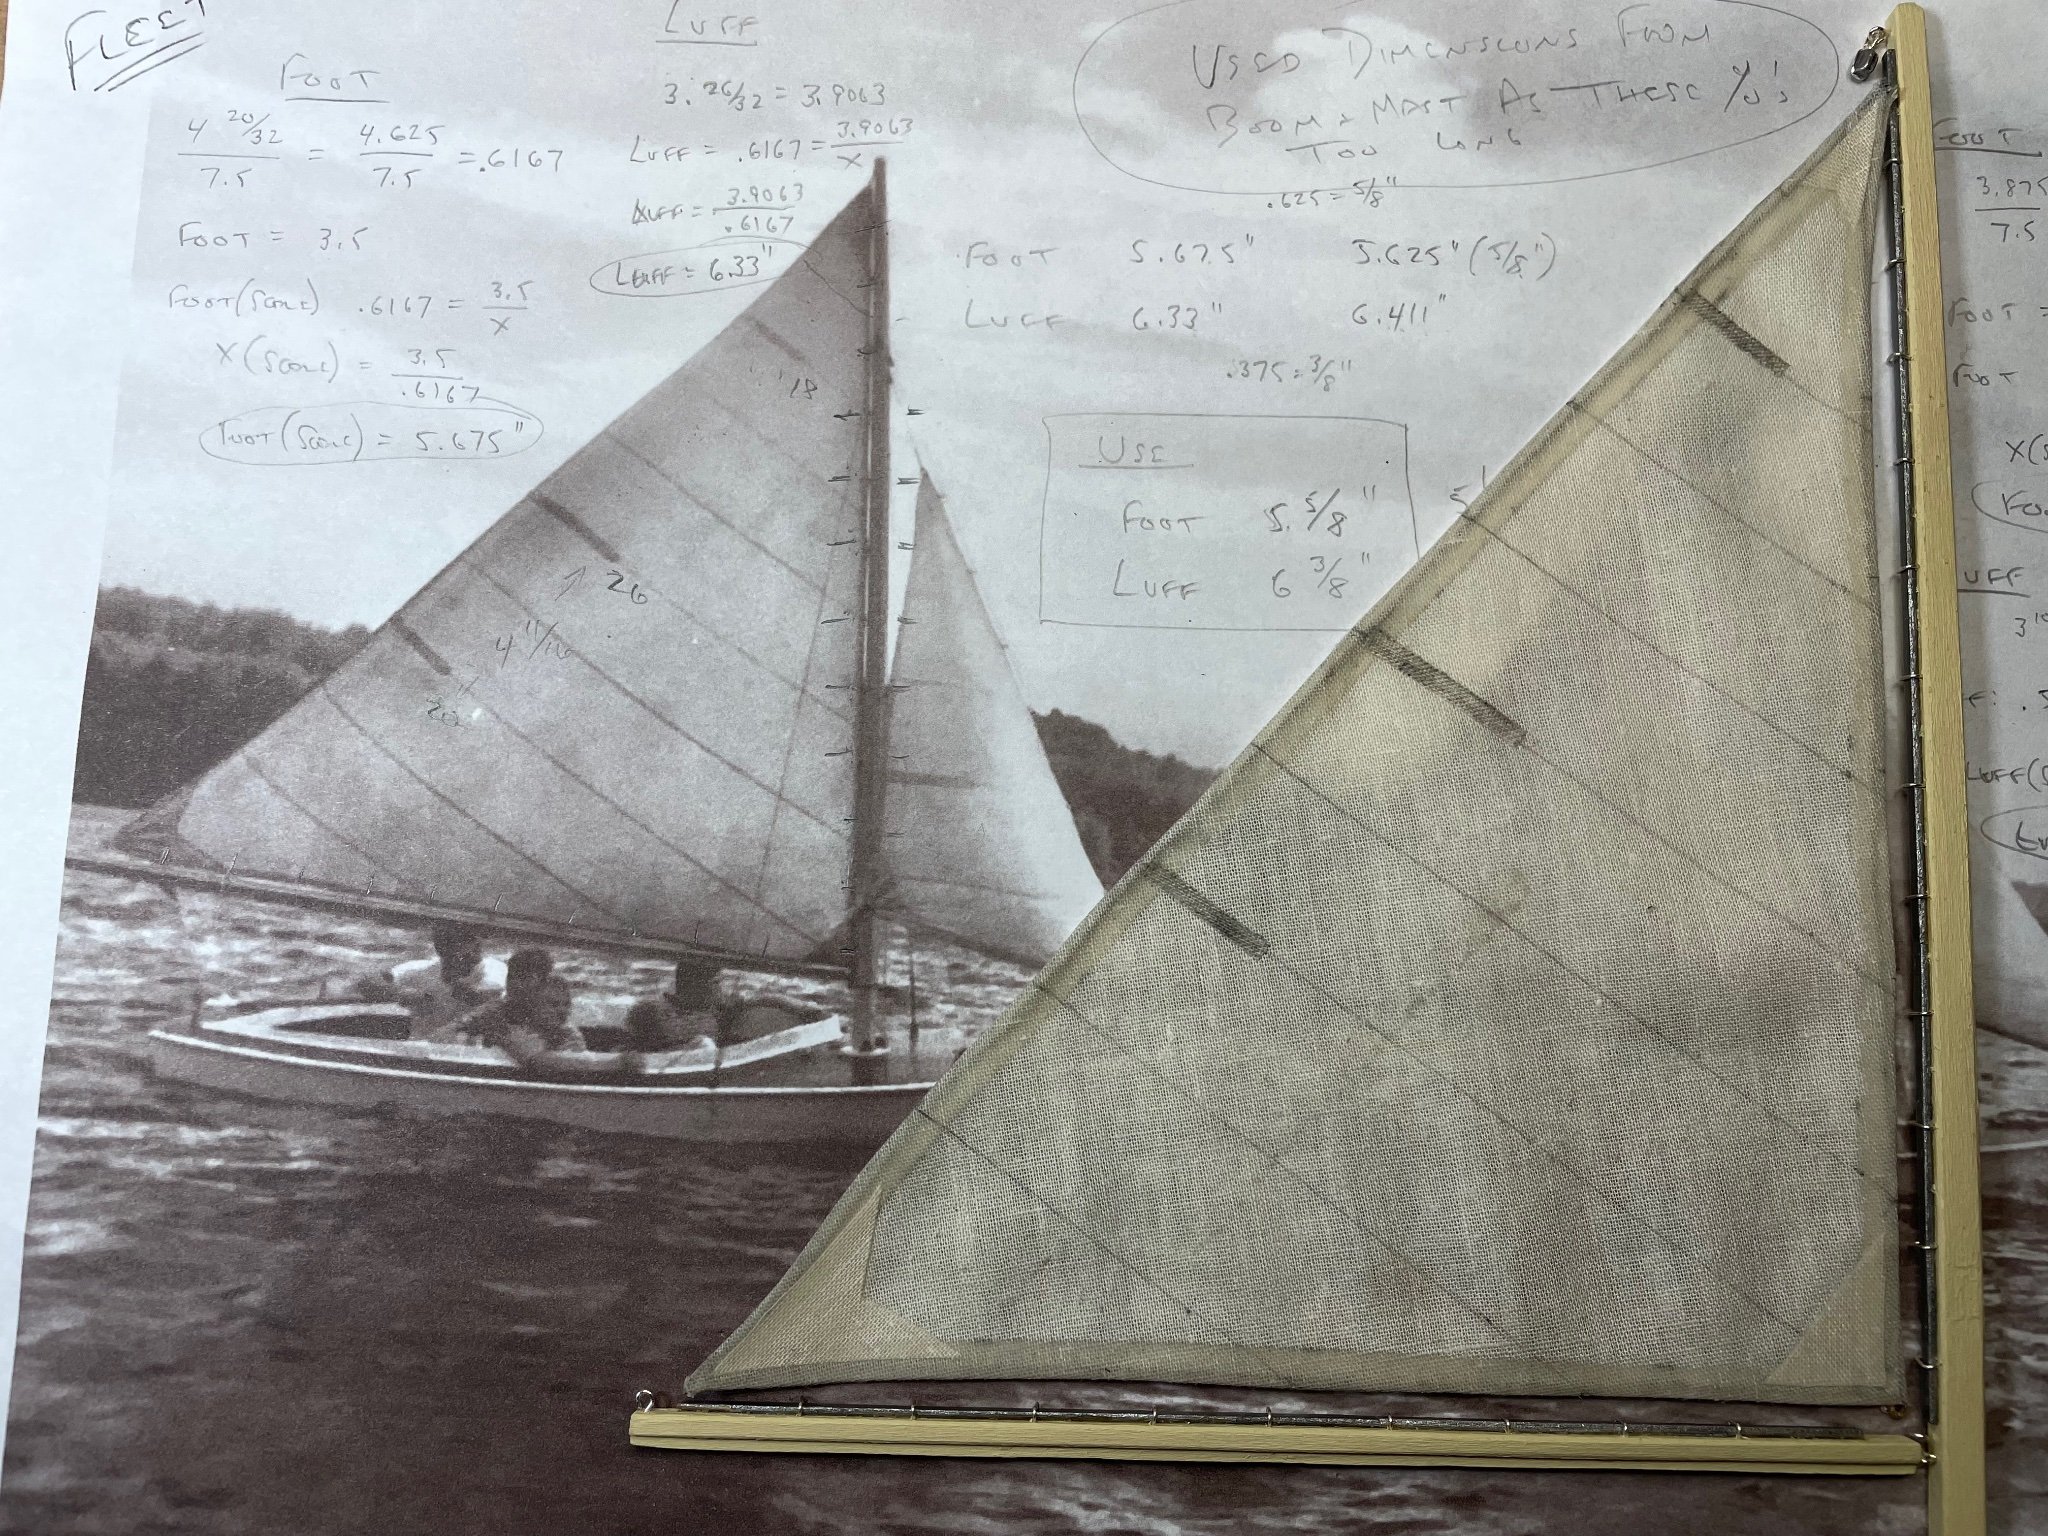
Couple more pics of sail WIP. This is how I modeled the sail tracks that were attached to the sail and then slid onto the sail track attached to the mast/boom. Rather then trying to attach to sail and "slide" onto track I opted to attach to mast/boom first and then tie sail to tracks. Used 26 gauge silver wire bent so it would fit around the tracks and then drilled angled holes on each side of track with a #77 drill. Spacing on mast was determined by the third pic - they were 12" apart so I spaced them 1/2" apart at scale. All sail tracks installed on mast/boom mast on right only has 4 tracks. I am going to try to have sails on this model partially raised so only need ones to match height of raised sail. Ready to tie sail to sail track and attached at head, foot and outhaul thru bolt rope loops at three corners.


- 84 replies
-
- 3
-
-
- nimblet
- knockabout
- (and 1 more)
-
Thanks for the support! I have two additional scale additions I may try out as well - I bought scale figures so will see if I can replicate a few of the "real" scenes with actual sailors and one of the folks who bought my book asked me where the bailing cans were! He remembers cut off plastic jugs, I remember old Maxwell coffee cans - will see what I can do for both...
-
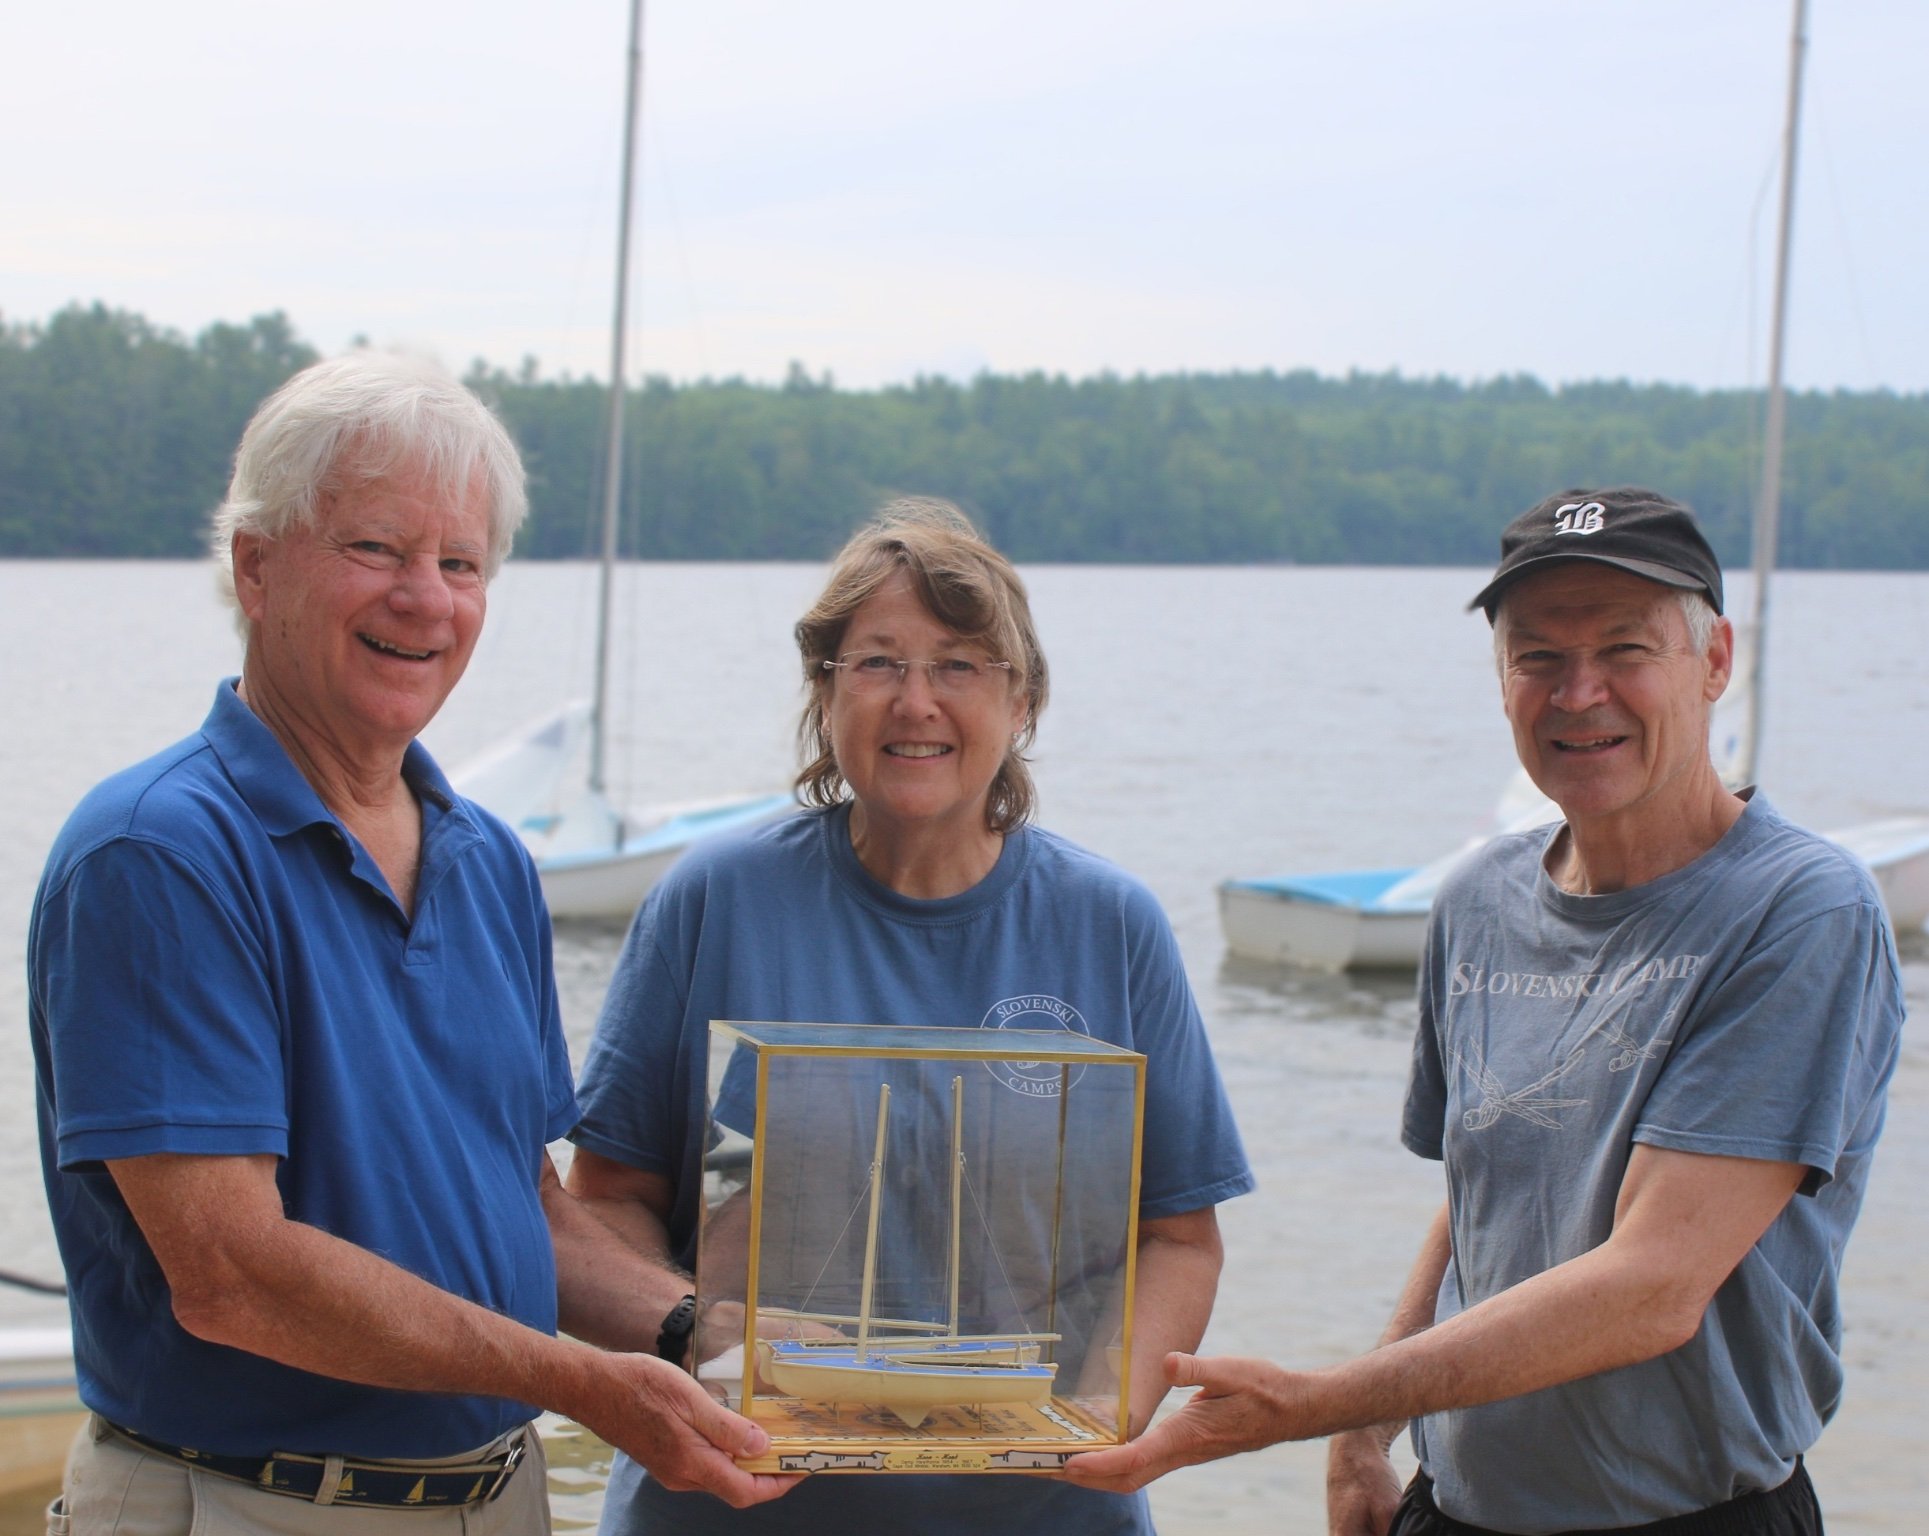
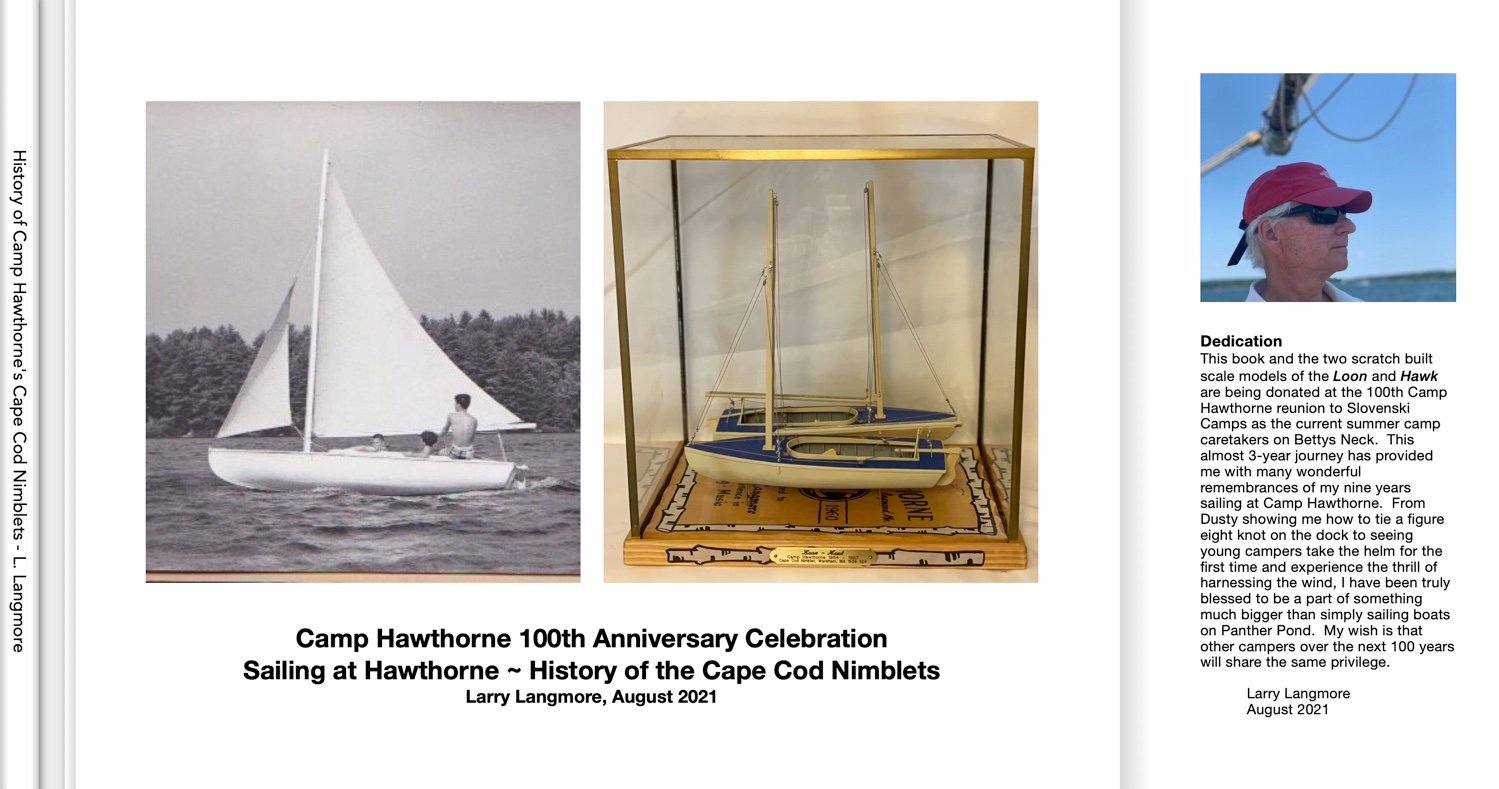
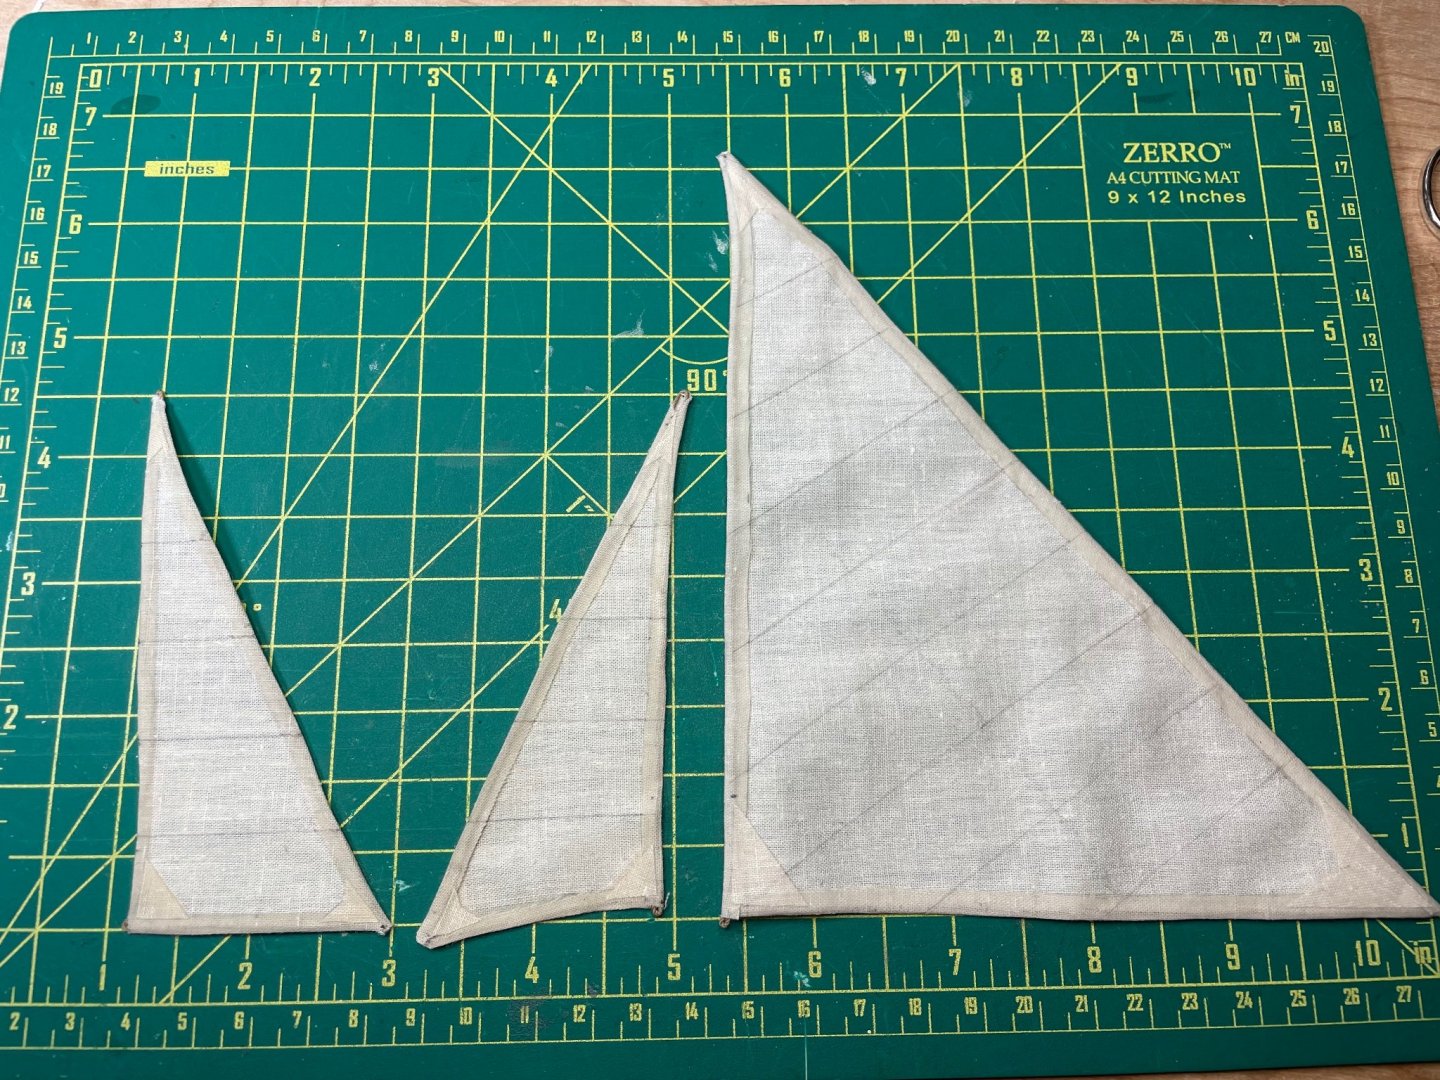
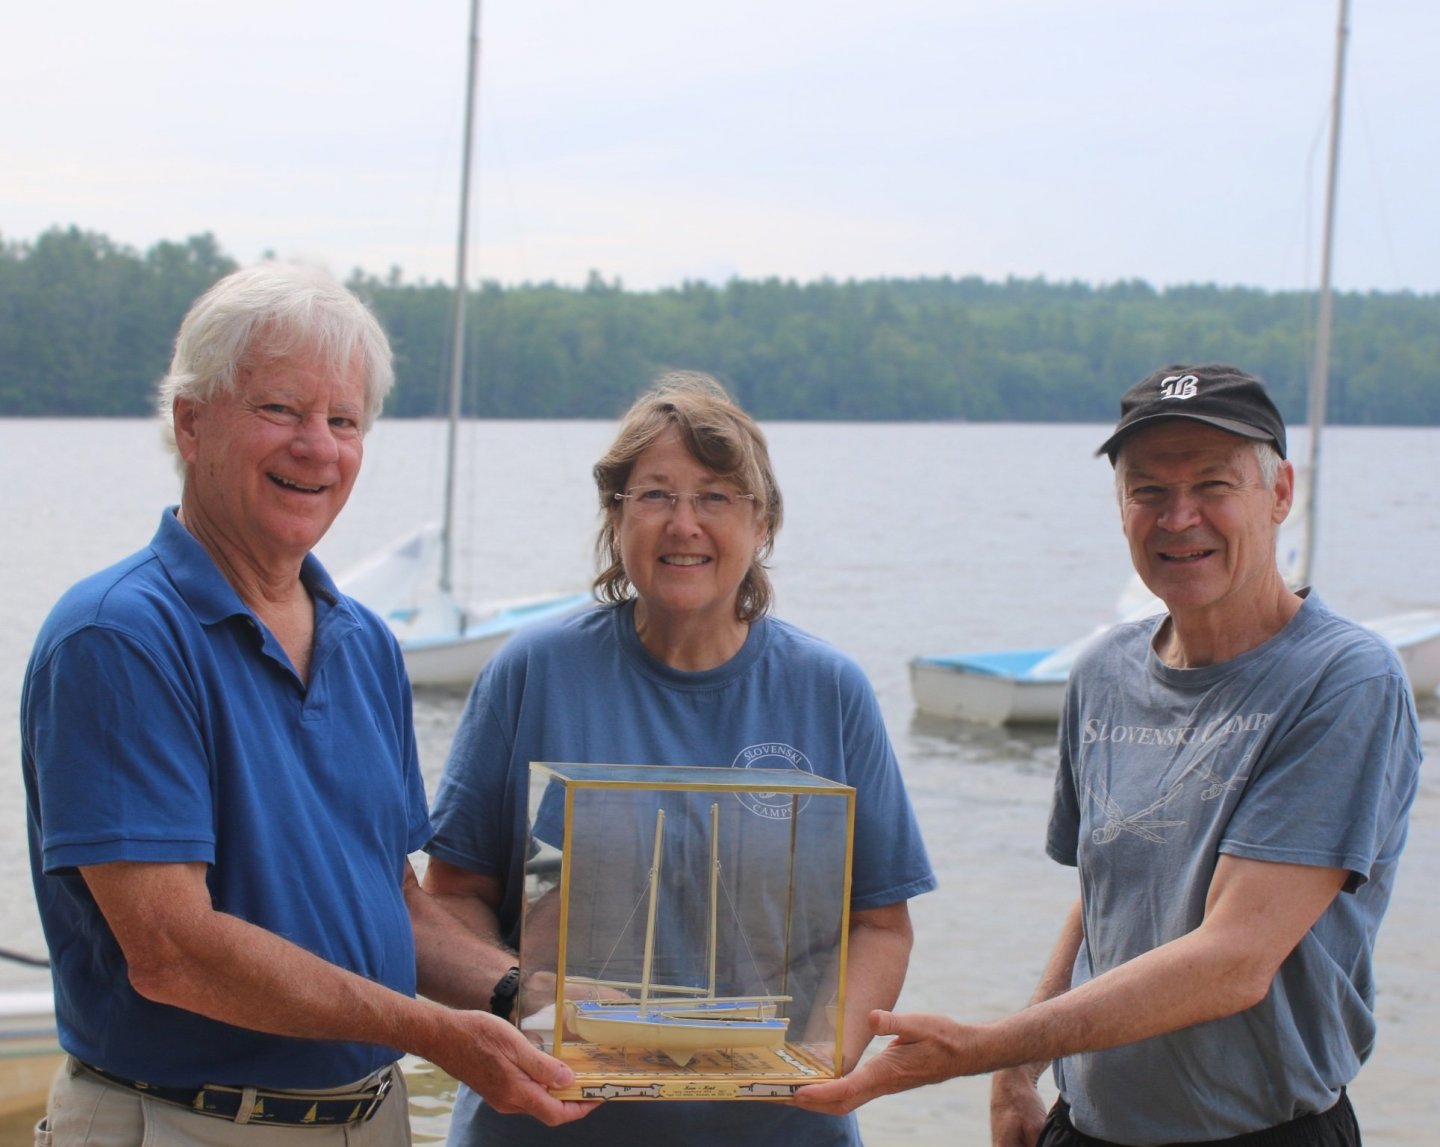
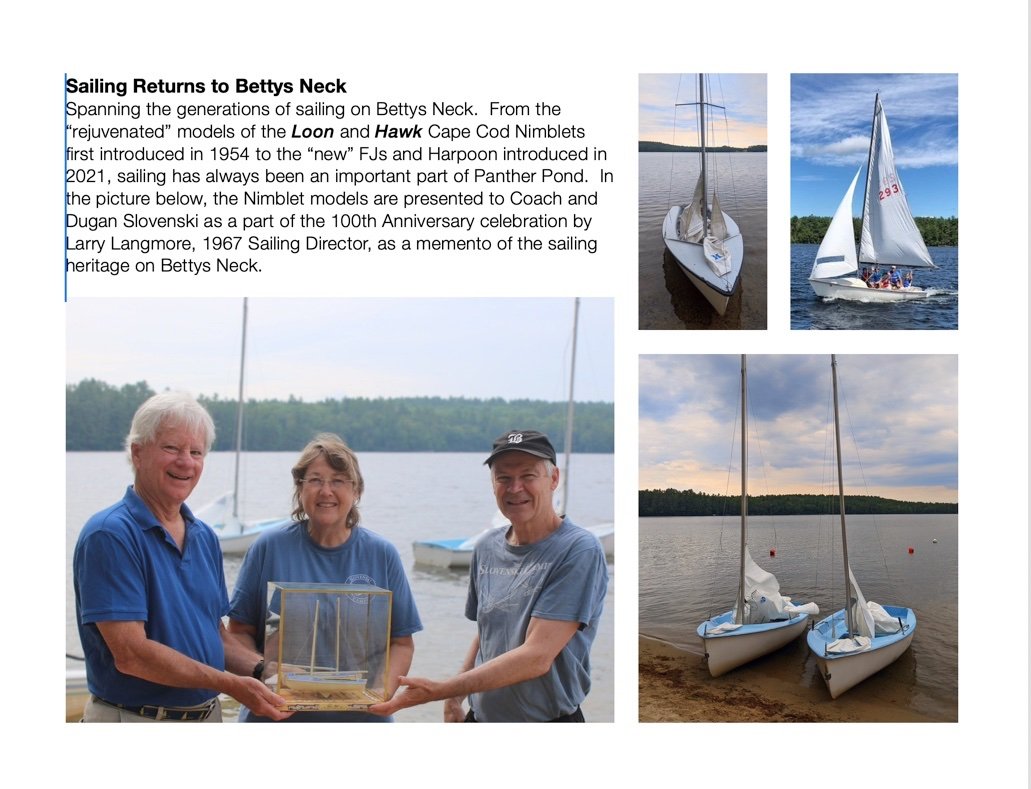
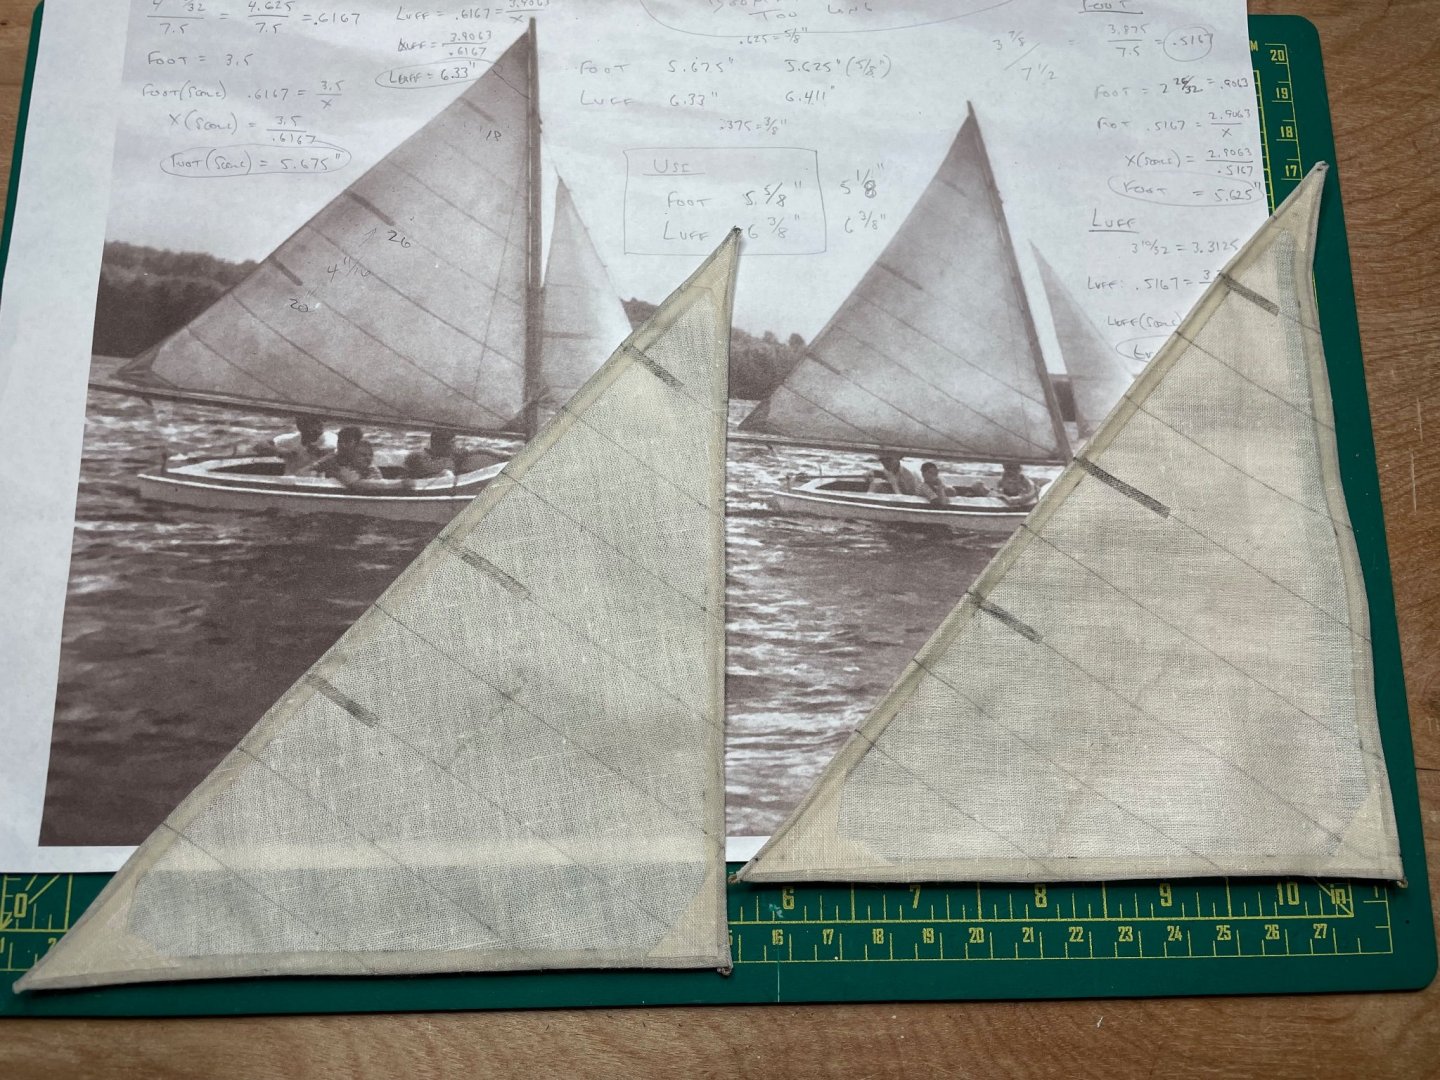
It's been a while since I updated this post so here is a brief summary of progress. First set of boats were presented at the 100th camp reunion in August along with a book of the history. Extremely well received (and emotional) and even had 10 orders for book. Have just had time to work on sails for remaining two boats and I think they came out reasonably well. Here are a few pictures with progress. I did a "mock" presentation the camp director and his wife early August so I could get the picture in the book (back cover below). We had a professional video photographer (he was a camp alum) document my presentation at reunion as well as many of the weekends events. Here is the cover of the book I also presented... And finally here are the two sails ready to be attached to mast and boom (haven't figured that one out yet). I soaked cloth (got from Bluejacket) in coffee, used Heat n Bond Ultrahold iron-on adhesive to hold in the bolt rope which surrounds the entire sail, used pencil to draw the sections on sail and then ironed on addition fabric for each of the corners and baton pockets. Reasonable facsimile.

- 84 replies
-
- 4
-
-
- nimblet
- knockabout
- (and 1 more)
-
Haven't posted for a while but final two boats are basically complete ready for rigging. I would like to try my hand at making sails for these two boats. Can anyone point me in the right direction for the best post on sail making. .
- 84 replies
-
- 2
-
-
- nimblet
- knockabout
- (and 1 more)
-
CAJ - great to hear there is a ship modeler who also walks Higgins Beach! The Middleton lies with the bow facing the ocean. The seas often break pieces of the remaining frame off the wreck which can be found on the beach. Not as many pieces of coal these days but with a sharp set of eyes you should be able to spot the translucent reflections of small pieces as you walk between the wreck and the high tide mark. If you are here in the summer you should stop by the club house (next to the HB Inn) and take a look at the collection of memorabilia from the wreck that have been donated over the years. Enjoy your walks...
-
Apologies. Not sure why it used the HEIC format this time - has always worked before.


- 84 replies
-
- 8
-
-
- nimblet
- knockabout
- (and 1 more)
-
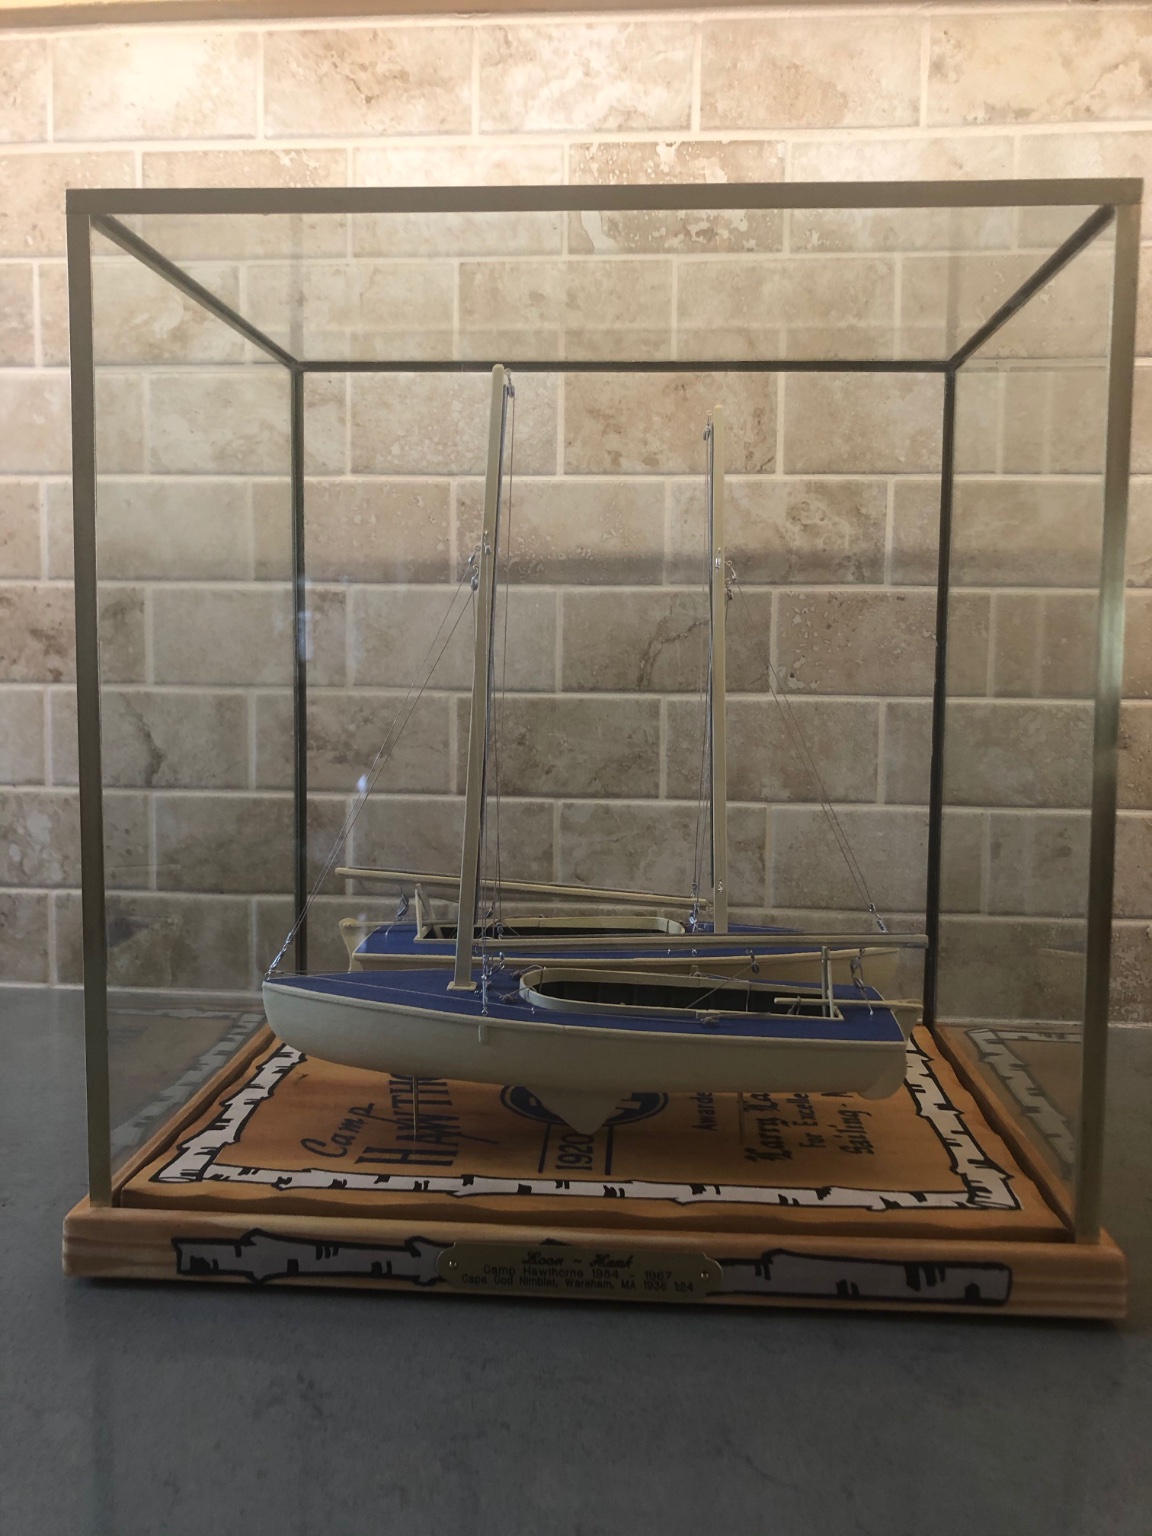
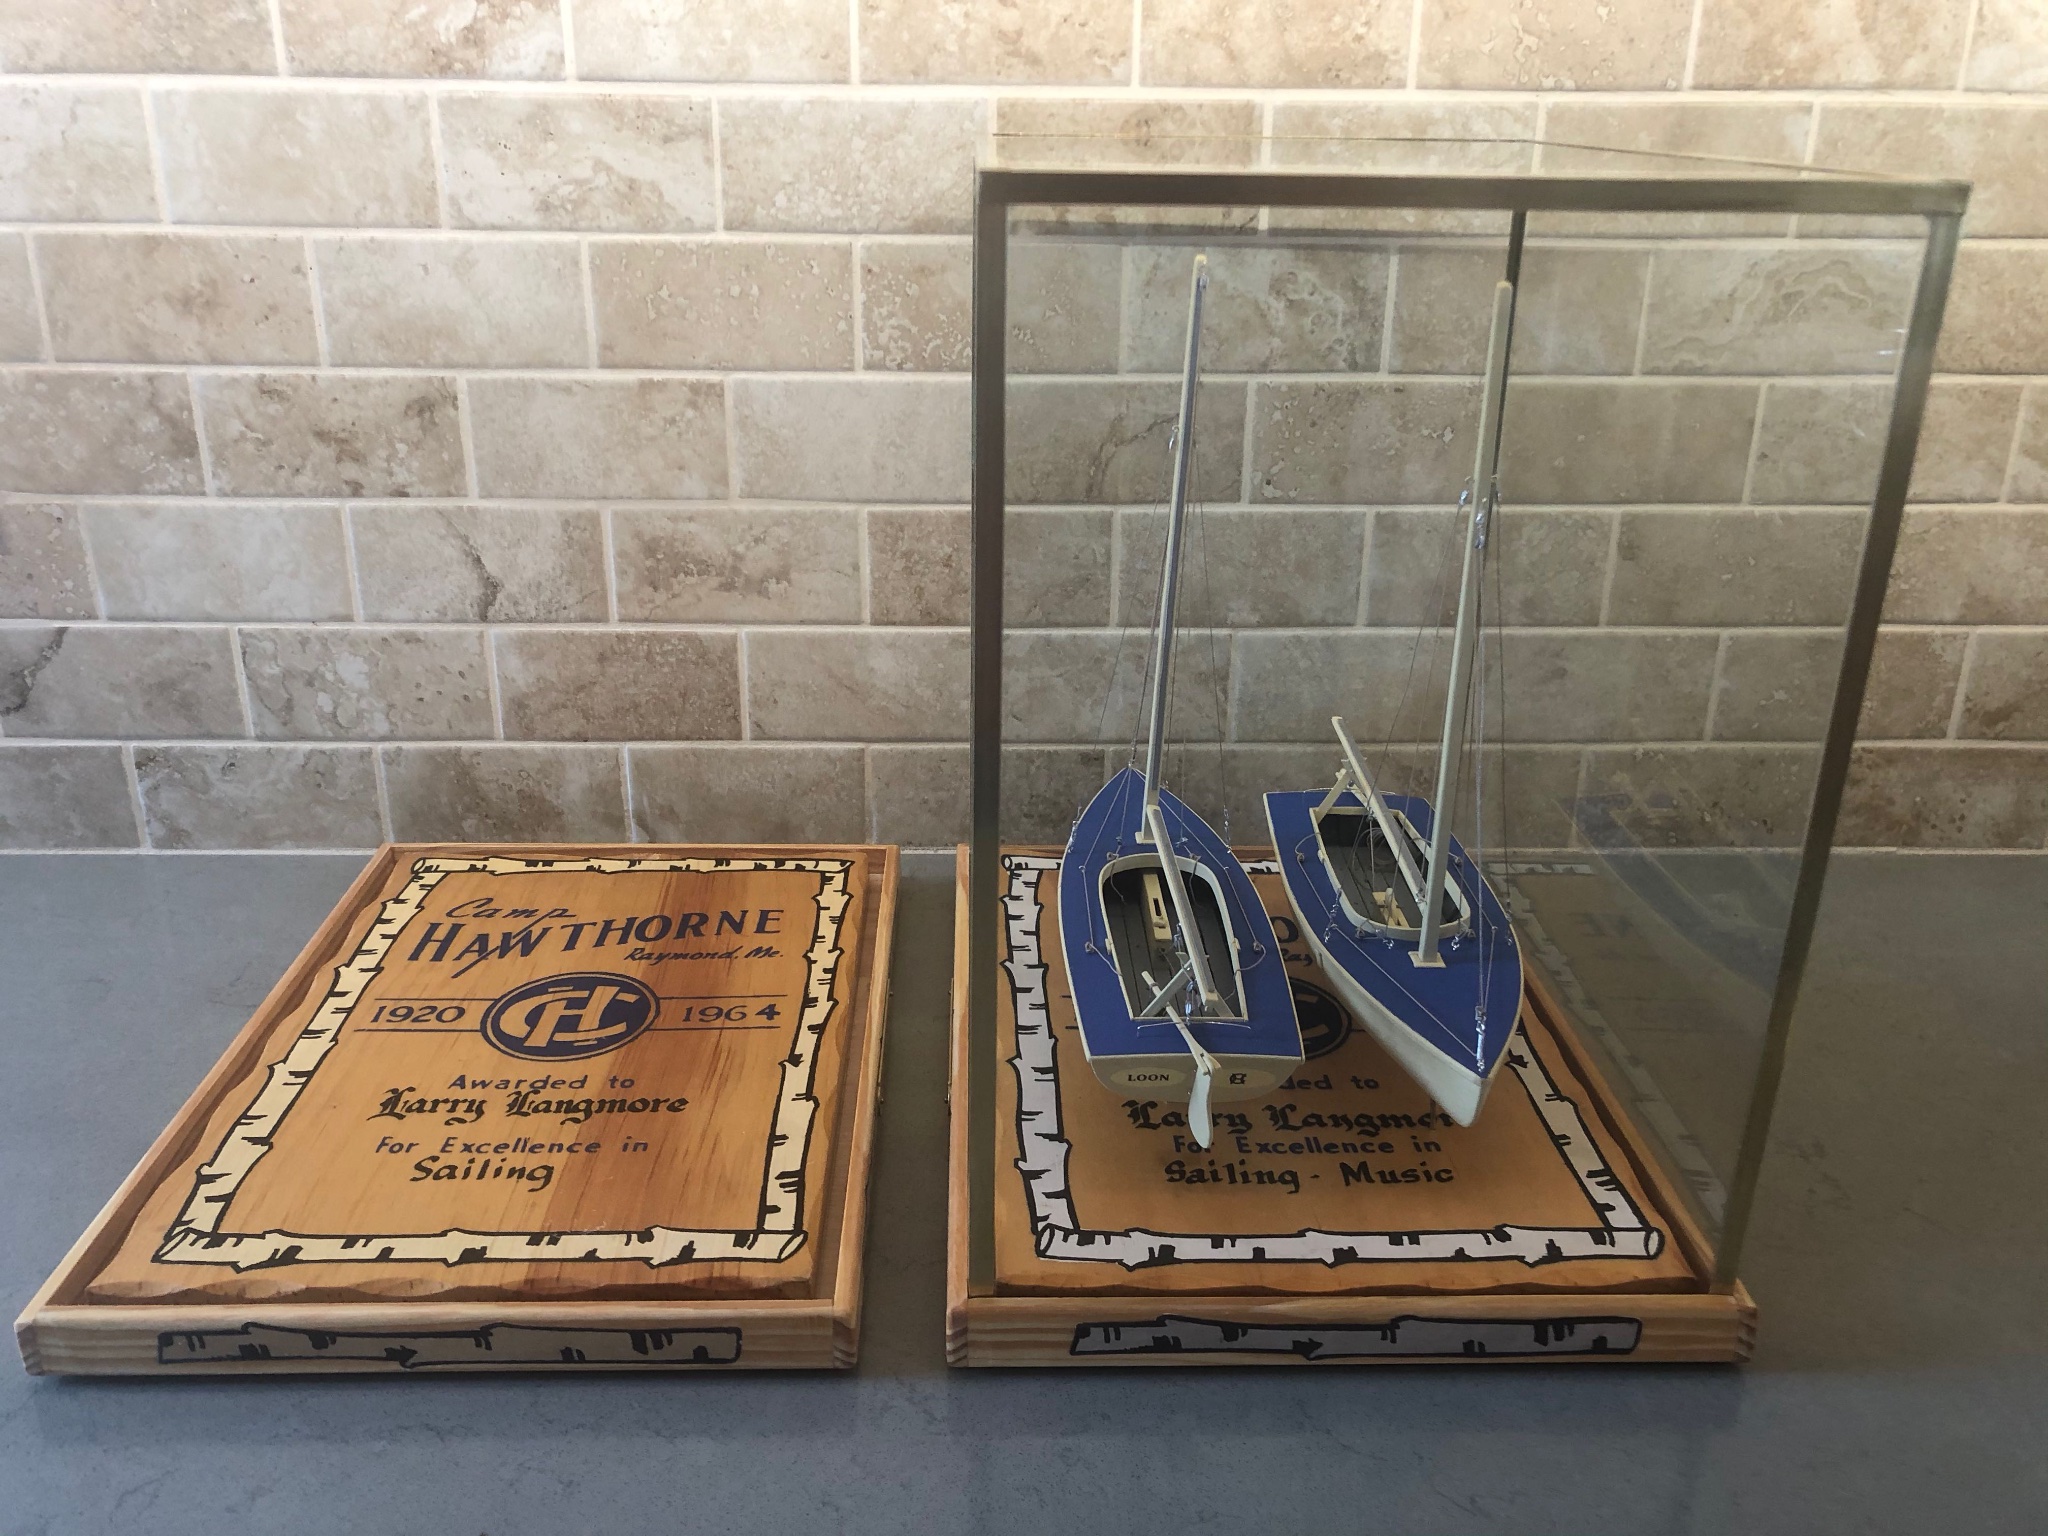
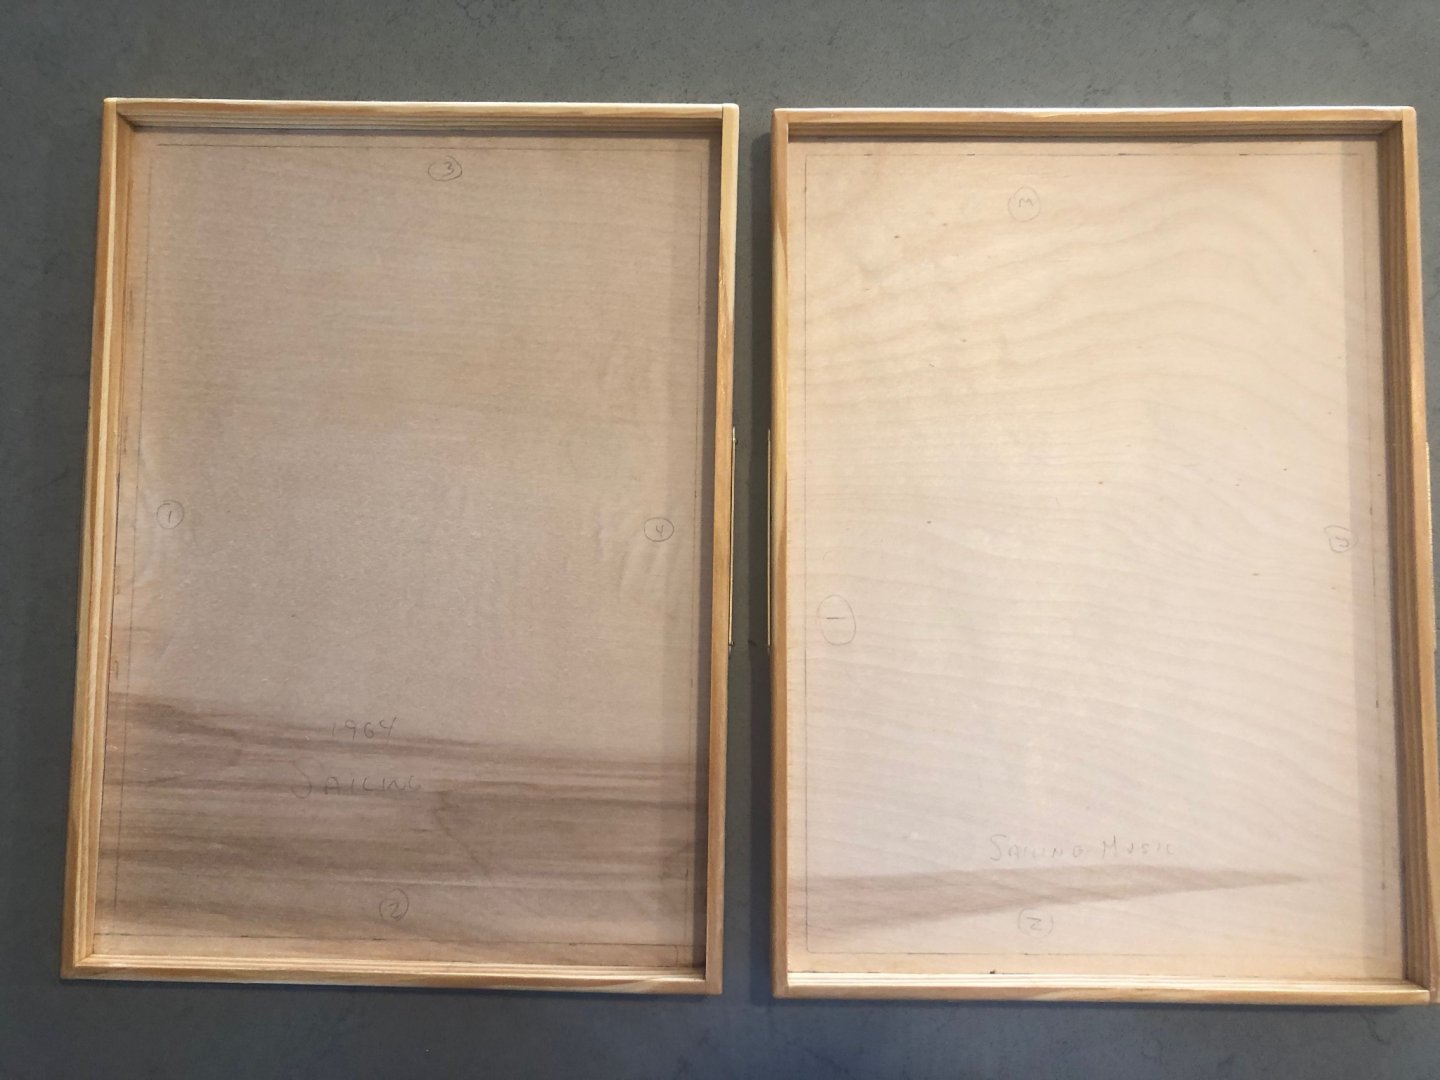
FINISHED FIRST SET! Base and case were the most difficult part of the entire process. Will build second case next and then onto the last two boats. 799C0FC0-3777-47B5-9443-7AEC2DCFA8BB.heic1FC7D620-6112-4D69-95F1-64686DB5EFB7.heicE31D3C1E-EECD-4125-A93C-854B94DF3873.heicAA1B7AB1-052D-47F4-B024-00F08C7DD9F4.heic93BB943F-0B2E-4E6E-840C-634832E48486.heic65FF35B2-33C6-49F9-84D1-5FFB3351A477.heicEB6CCEFE-DE4B-43DF-9C55-C5AFBA1C3F6B.heicB6FD6EDE-840B-4124-816F-A13B66FD0892.heic6D4E6752-7EC6-4F94-93A7-625B692469DA.heic
-
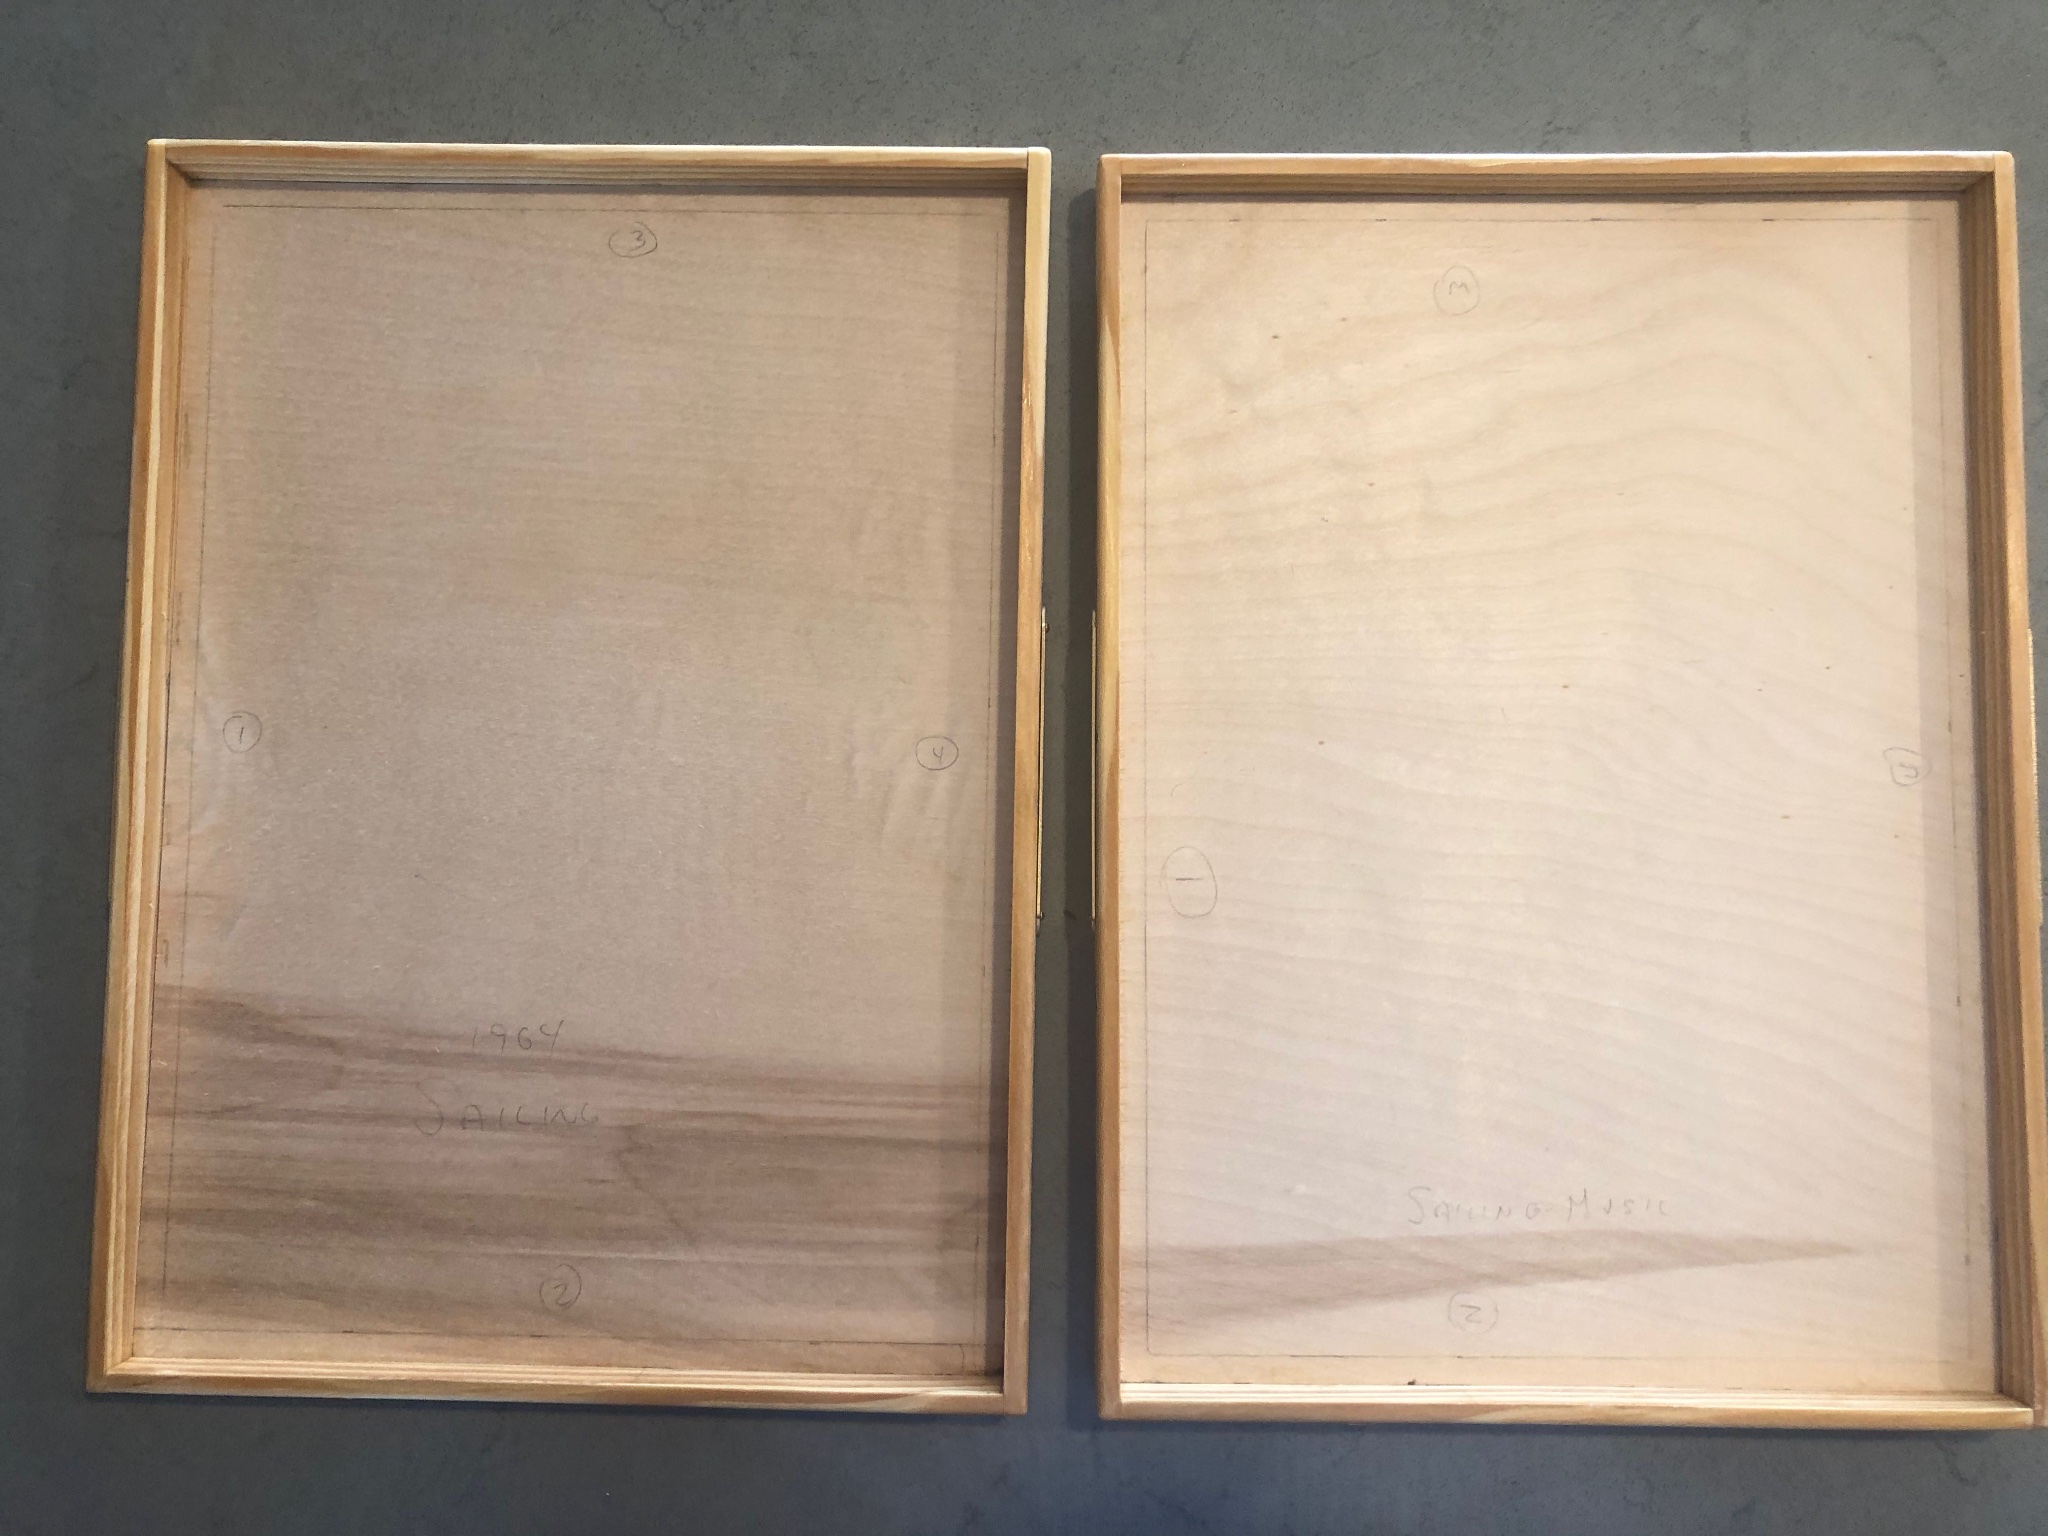
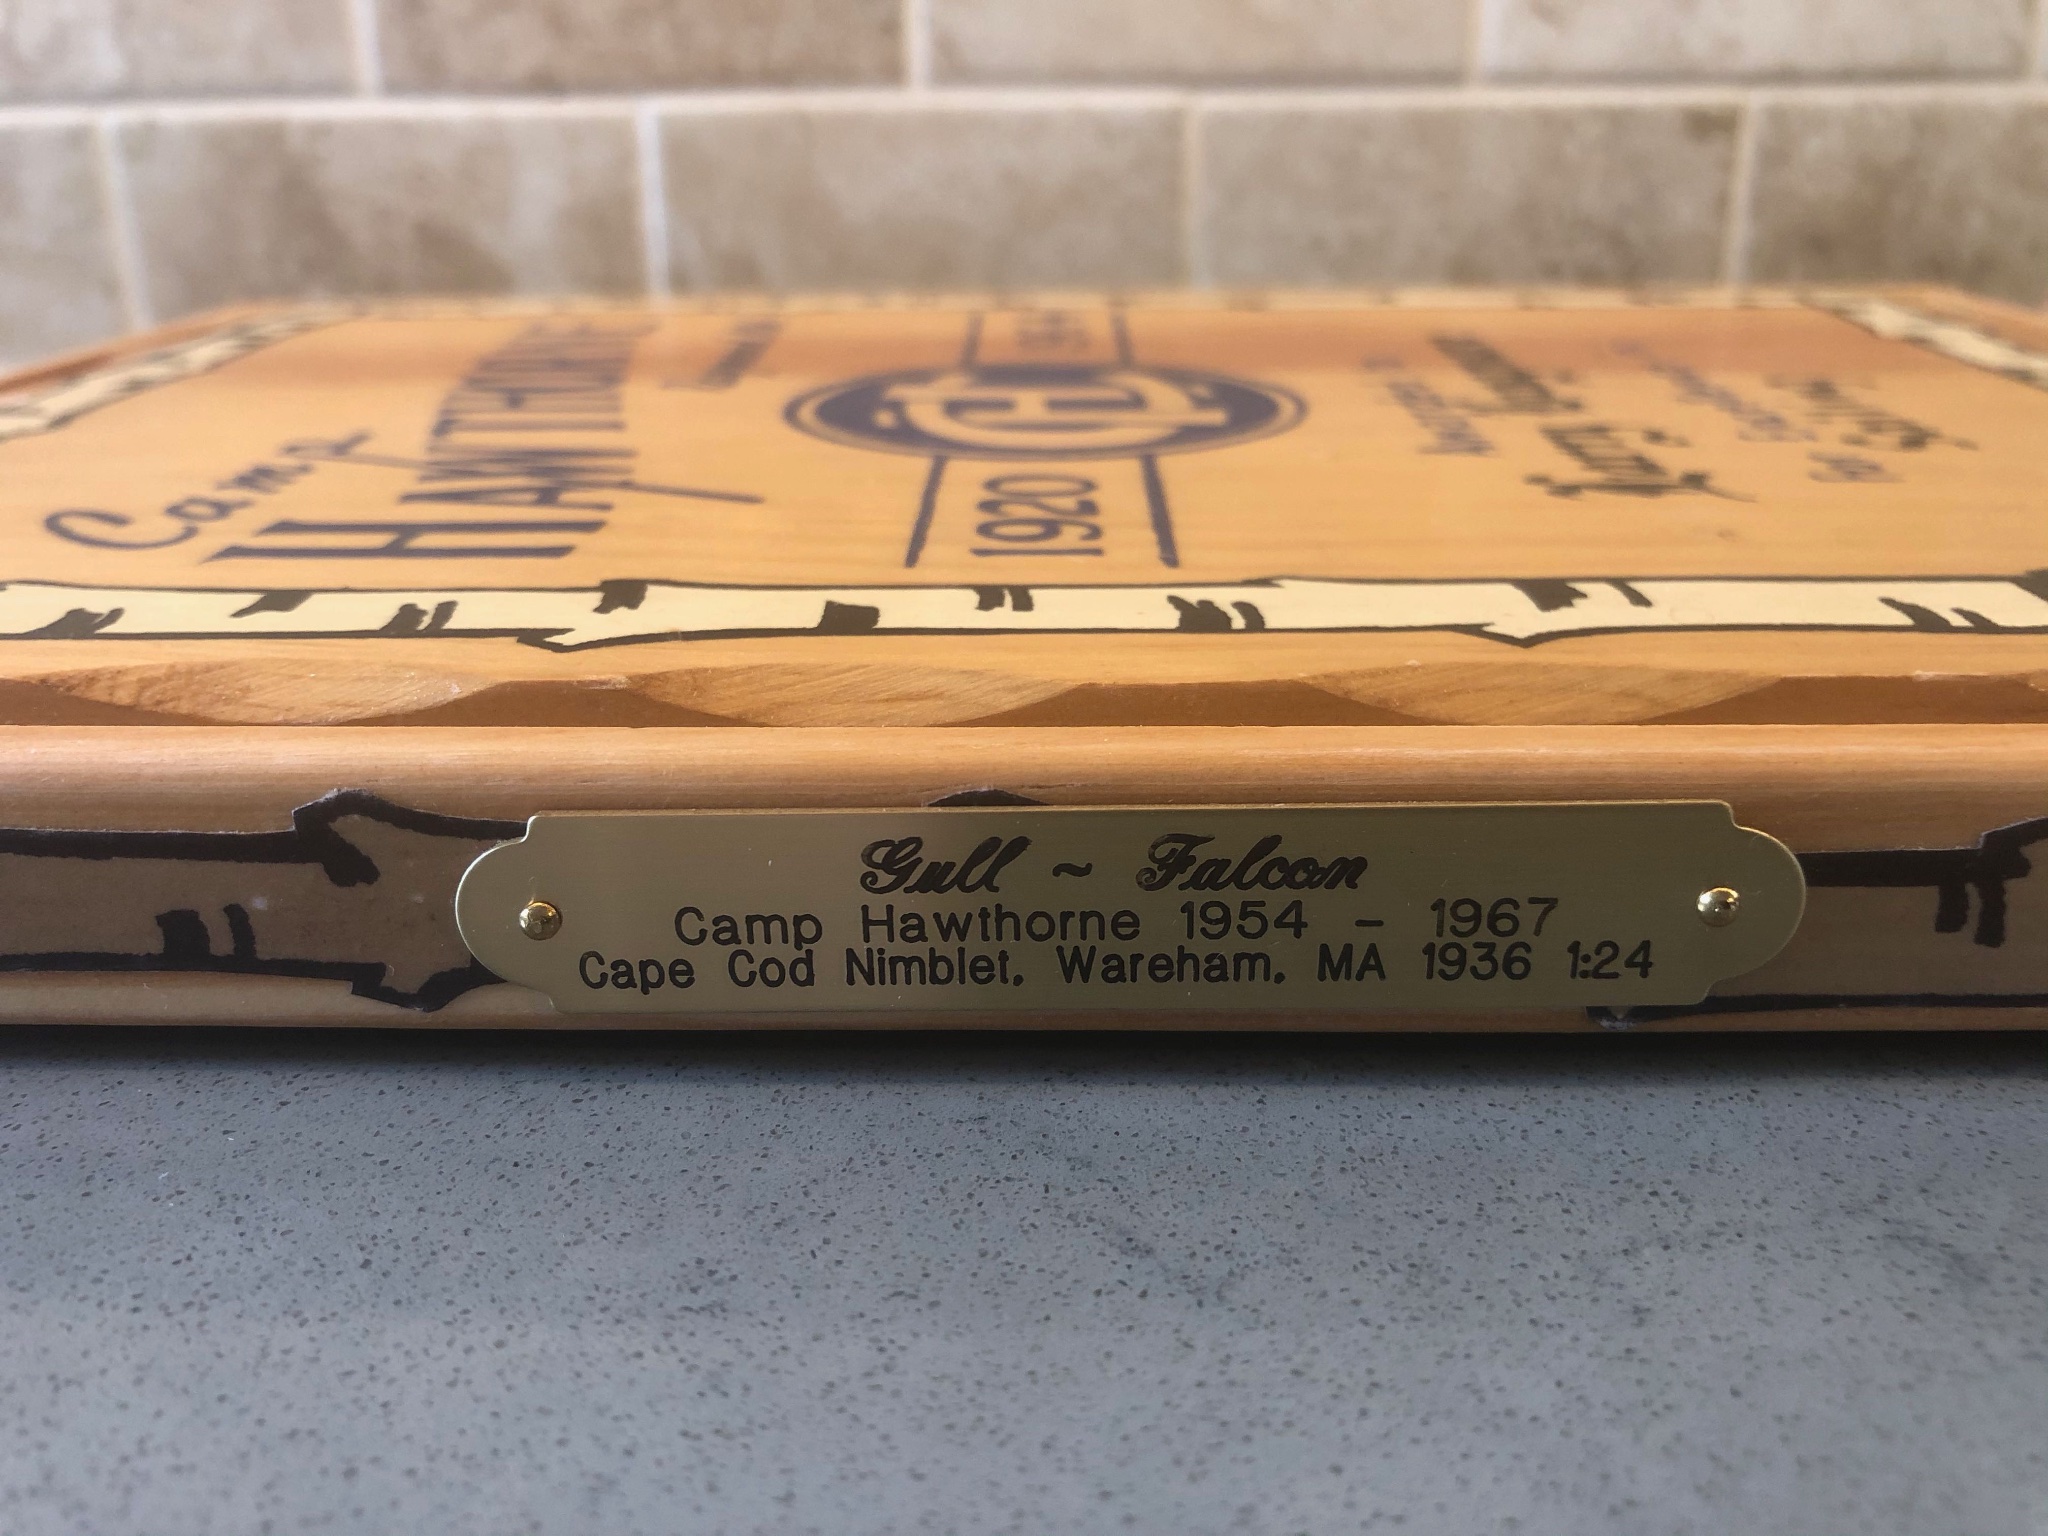
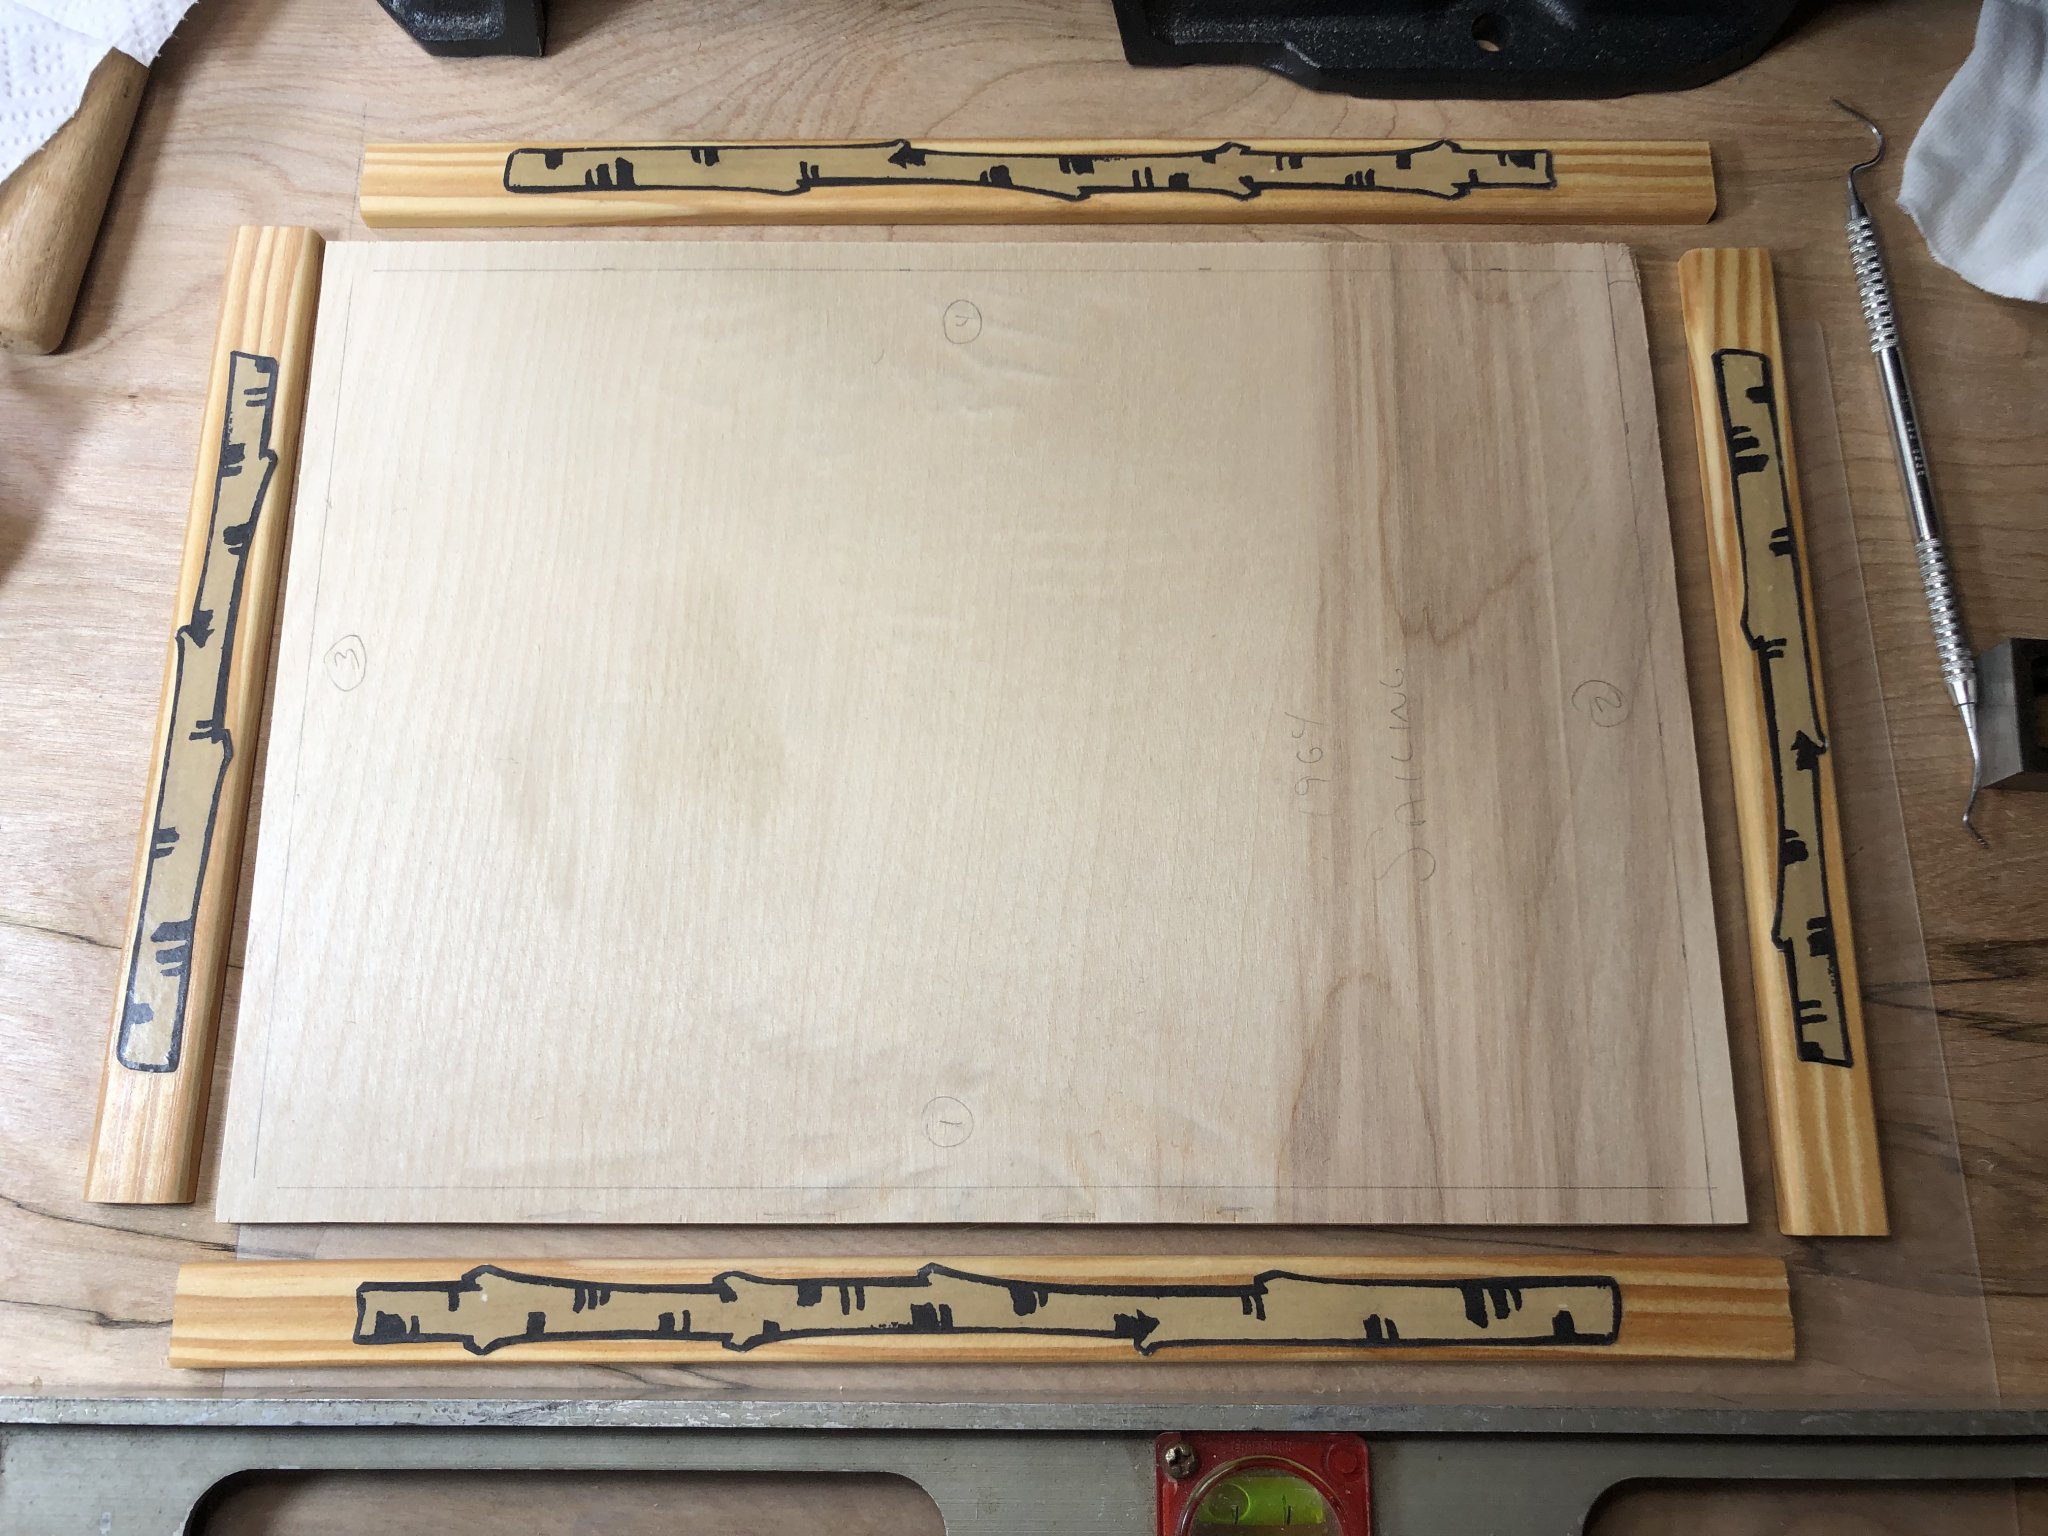
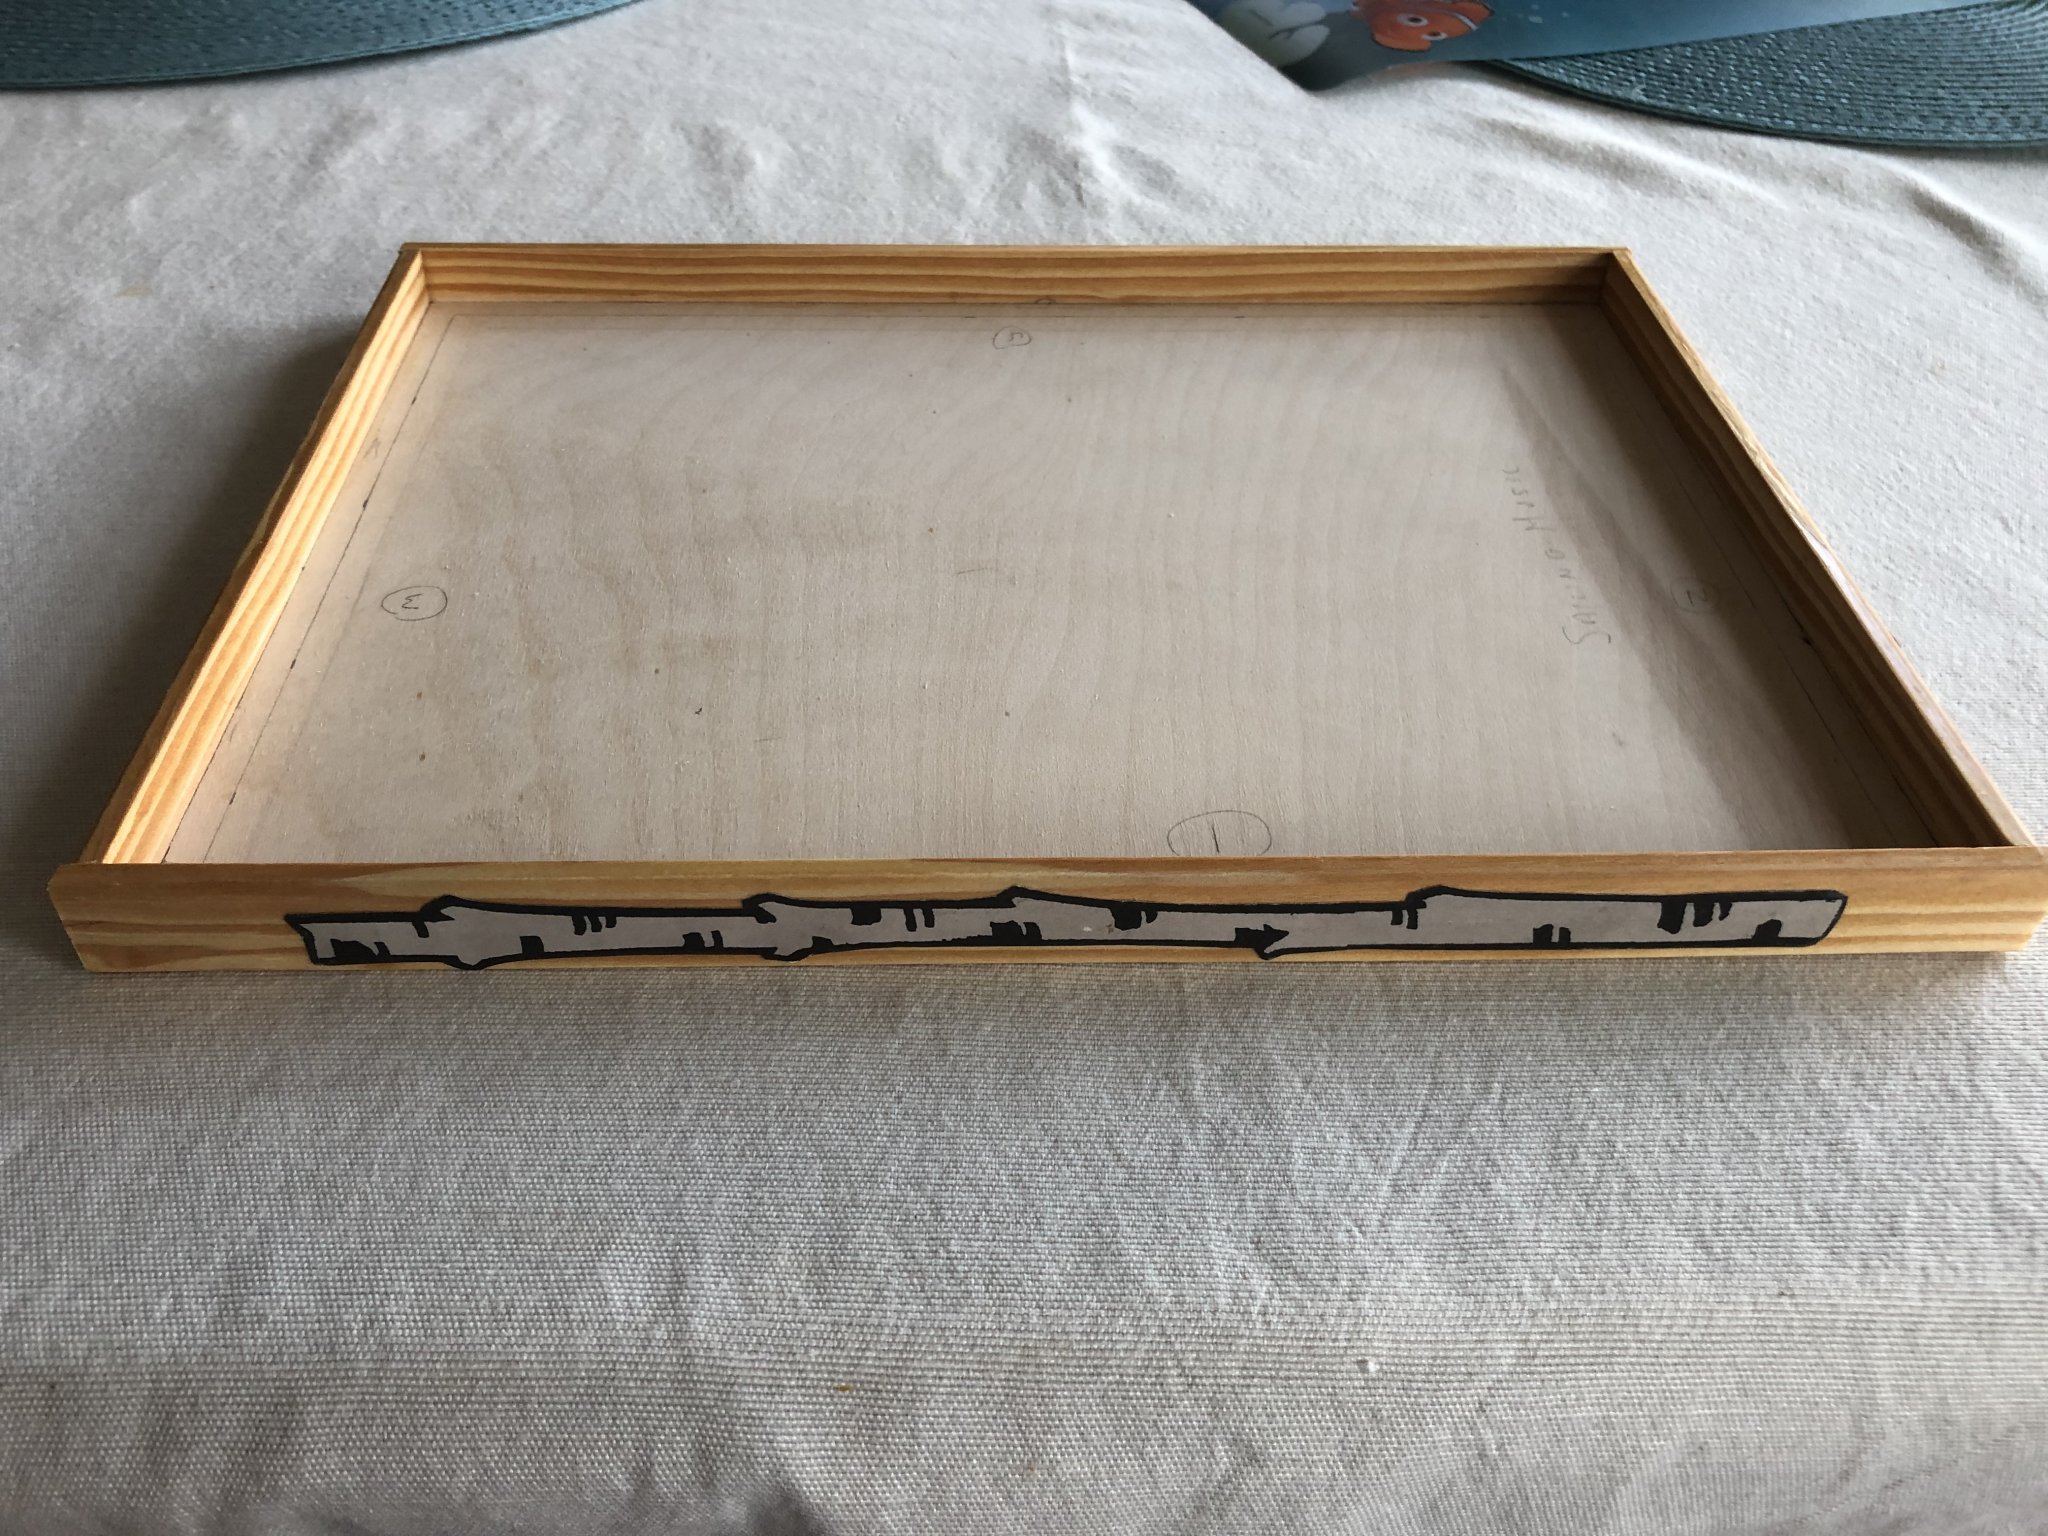
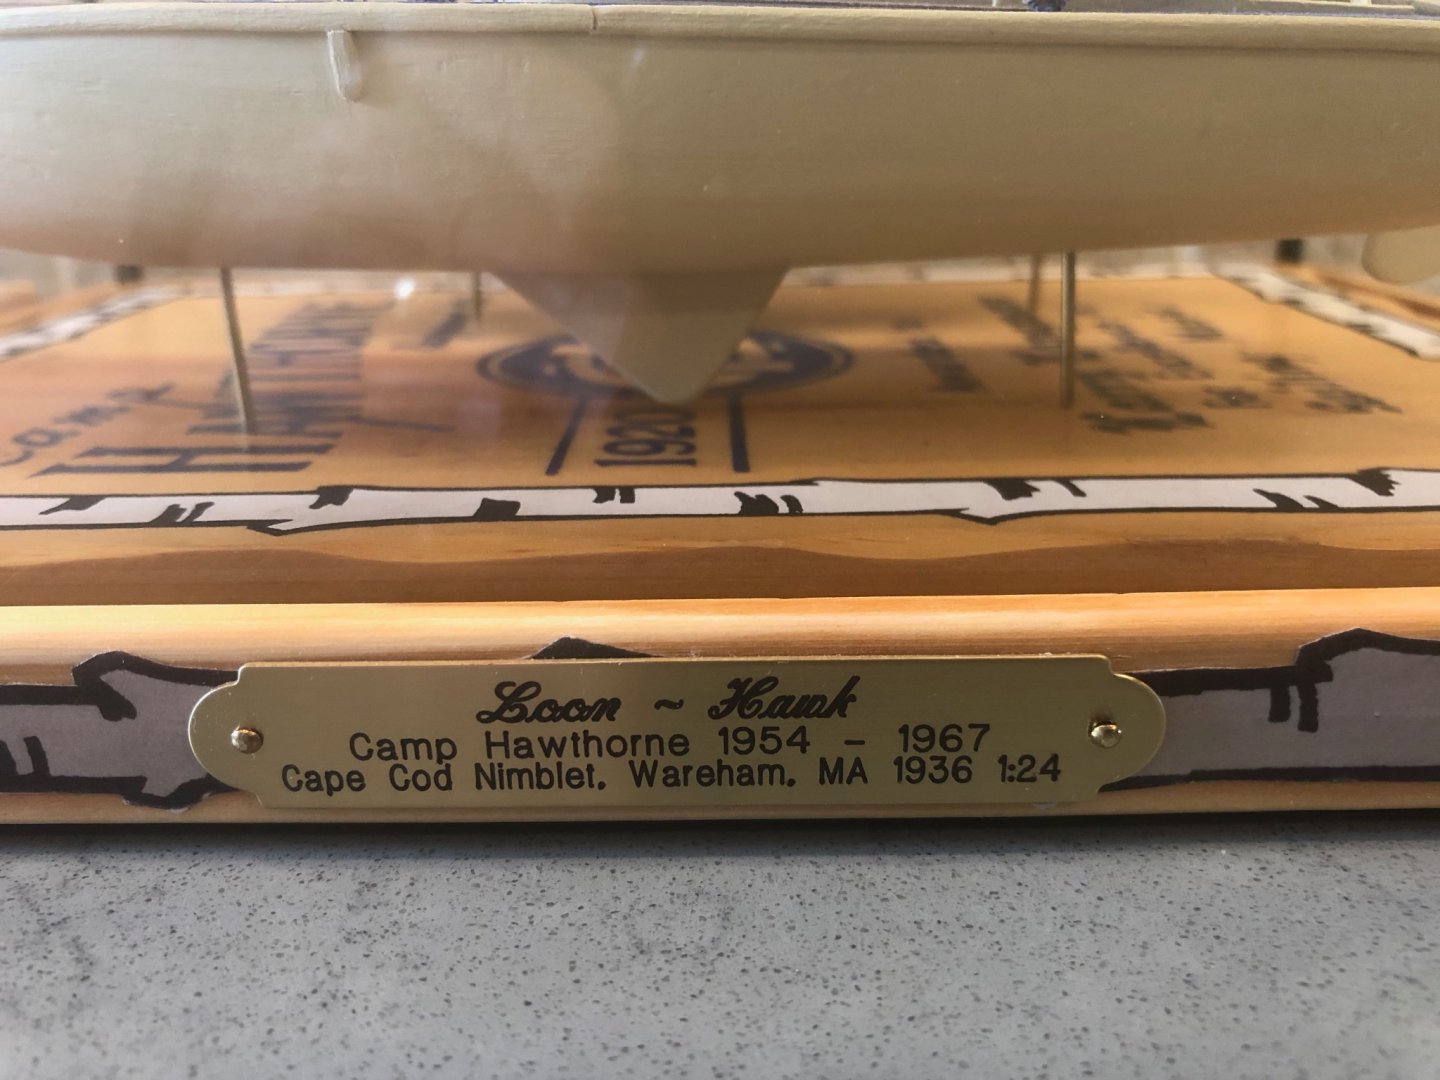
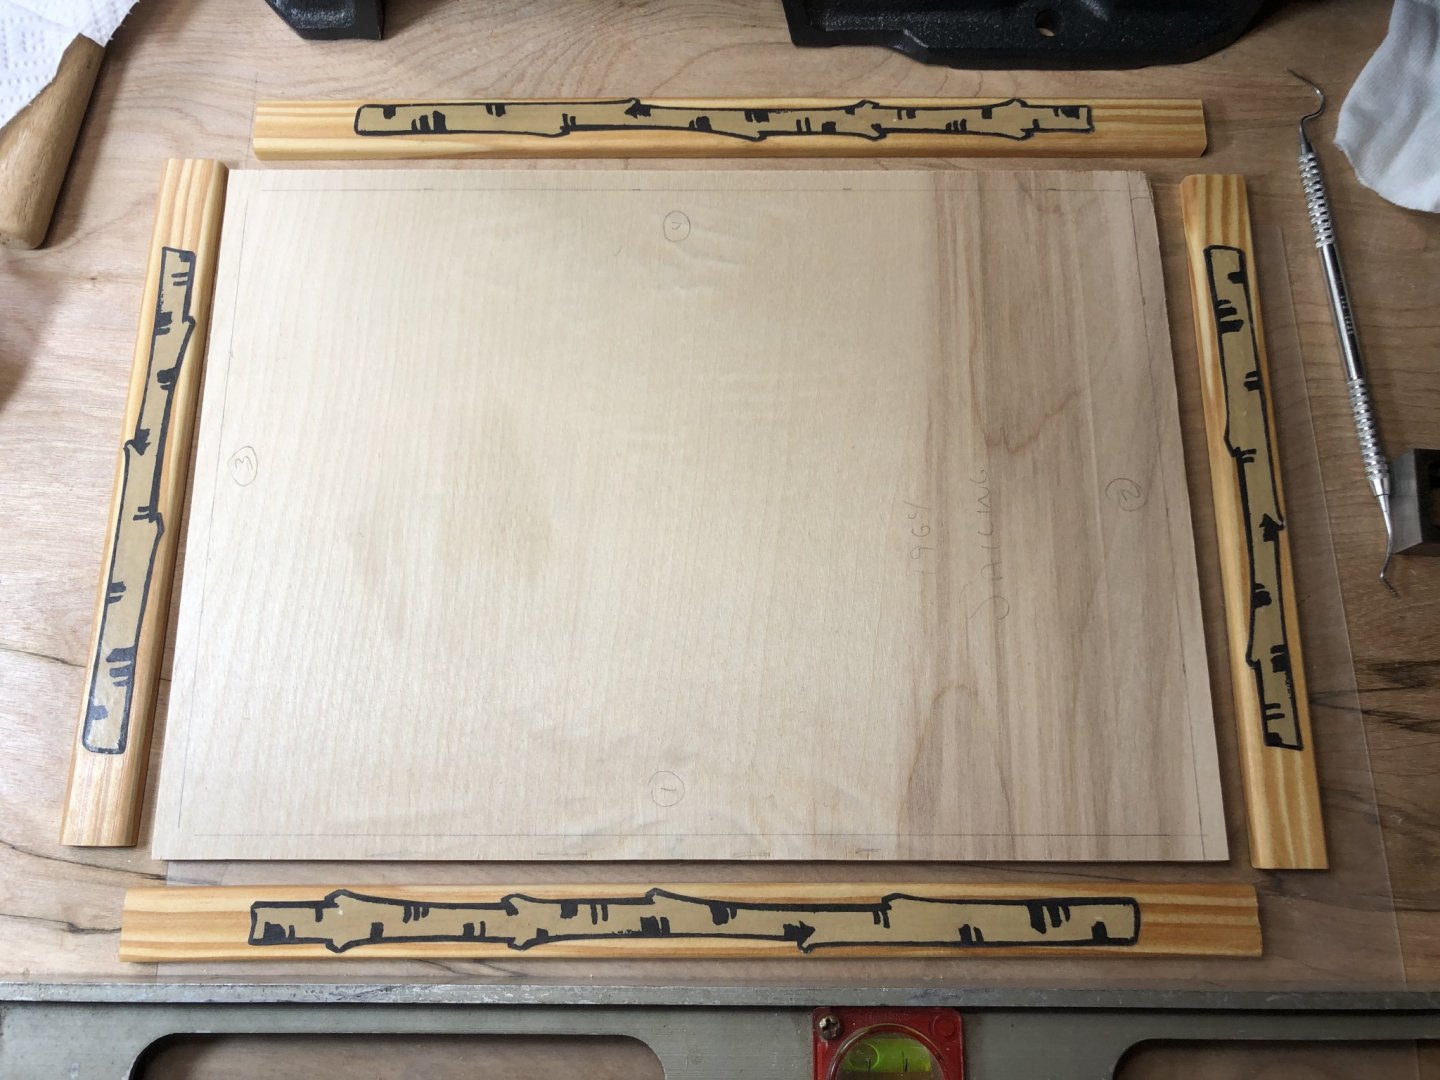
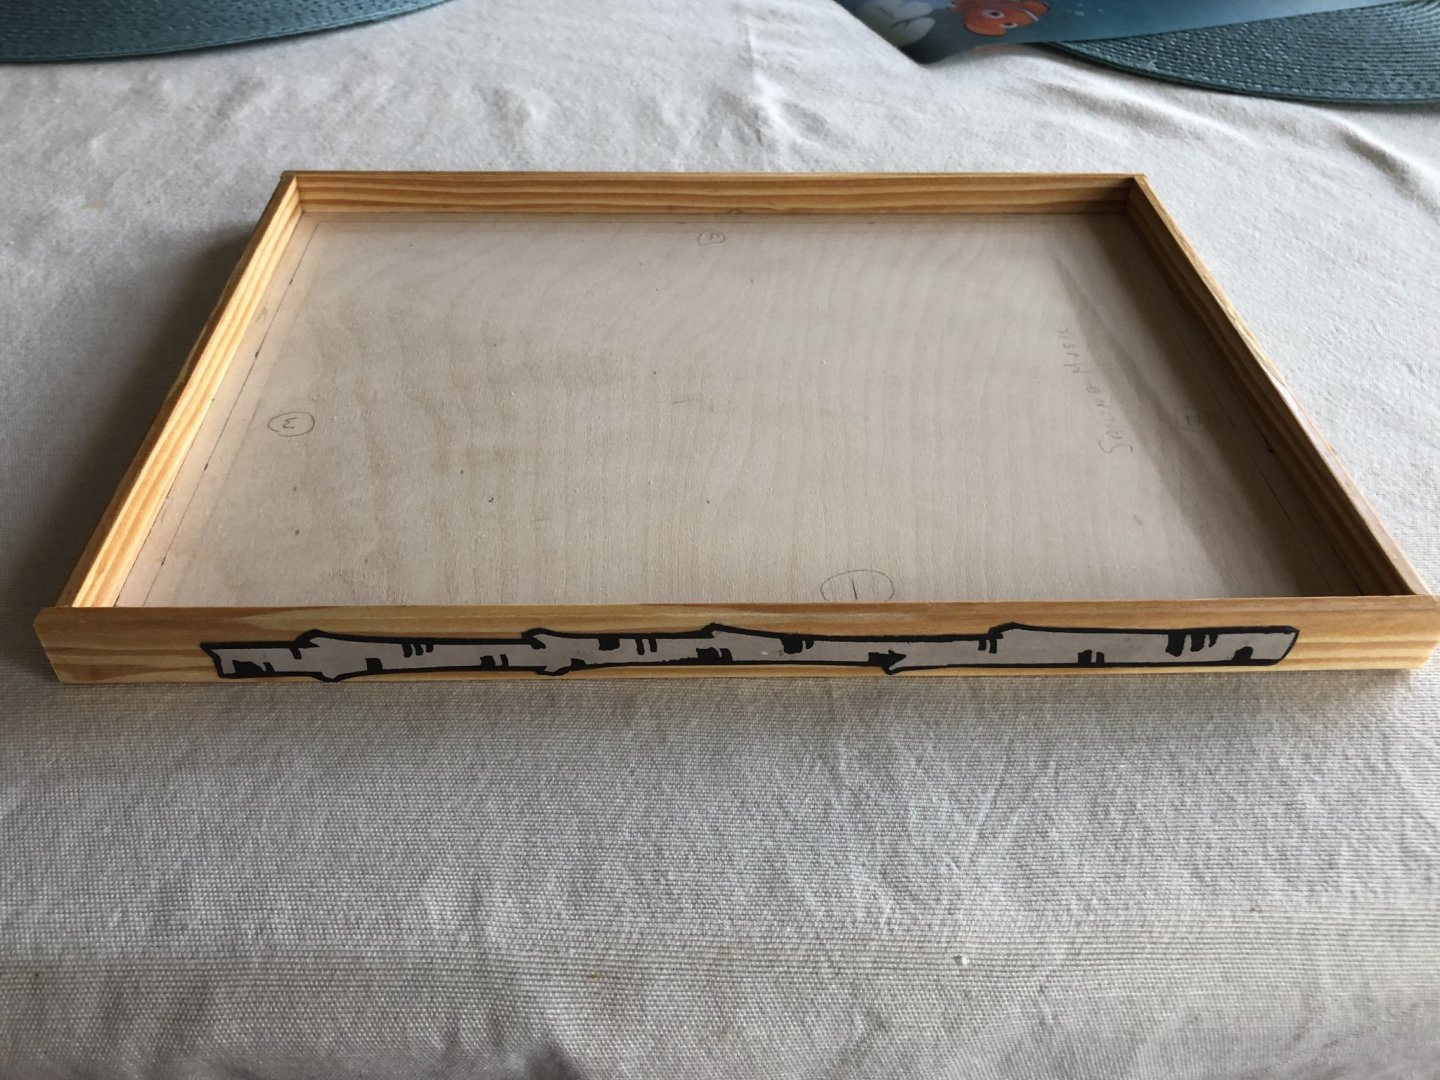
Been a while since I posted or in fact did much on this project but here is recent progress on the base. Really need a second set of hands to help with the glass case but that is difficult with social distancing. Good thing the 100th camp anniversary was deferred until next August! About to order the 3"x1/2" brass plaques for sides - something like this: Loon ~ Hawk Camp Hawthorne 1954 – 1967 Cape Cod Nimblet, Wareham, MA 1936 1:24 Gull ~ Falcon Camp Hawthorne 1954 – 1967 Cape Cod Nimblet, Wareham, MA 1936 1:24

- 84 replies
-
- 6
-
-
- nimblet
- knockabout
- (and 1 more)
-
Beautiful pics. Looks like it doesn't take much of a breeze to get those boats up on edge. Mark, thanks for the compliment on my Nimblets. Two down and two to go.
-
John, good call. I don't see one whitecap in the harbour so I would vote for sinking or a strong tide running out the harbour as neither do I see the crew all sitting on the leeward side. Larry