.jpg.f4fa790b1fa2f0e00e3d149ed7bdd37c.jpg)

shipaholic
-
Posts
538 -
Joined
-
Last visited


-
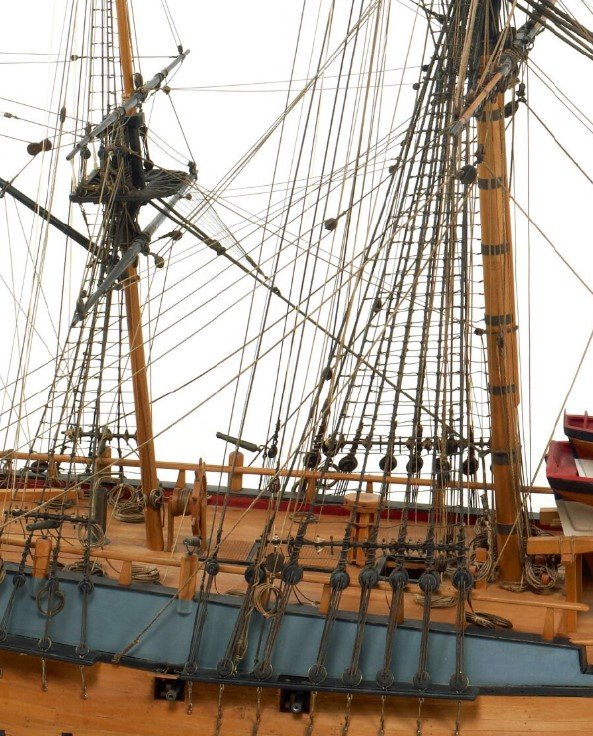
 Hi Dave Just found this new build of yours. Welcome back to the shipyard. Have you seen the model of HMS Sirius at the Powerhouse Museum, there are some good photos on their website. Might be of useful reference I will follow this build with great interest And later on if you need help with mast and spar dimensions I have a copy of the book "Steele's Elements of Mast making Sail making and Rigging" which is the book that Marquardt referenced when he wrote the Endeavour AOTS Cheers Steve
 -
Great job Bill she looks nice, I really enjoyed watching your build.
-
 Hubac's Historian reacted to a post in a topic:
Endeavour by Bill97 - FINISHED - OcCre - 1/54
Hubac's Historian reacted to a post in a topic:
Endeavour by Bill97 - FINISHED - OcCre - 1/54
-
Good pictures Allan, you must have a better library than me. Quite a few of those drawings seem to show boomkins with single guys well away from where the anchor cable might foul them , which makes sense with respect to my earlier point about fouling of the anchor cables
-
Hi Bill I did the same as the replica vessel and have a block attached to the cathead. When I built my first Endeavour by AL in the early 1990's their instructions said to rig it that way also. It's interesting that the fore course on the AL model is narrower at the bottom than the top.
.jpg.6eec2bcef11ce6d64d72cd8536df5fe8.jpg)
.jpg.08cb0dbfea6f832c6772f97d59ab6545.jpg)
-
Hubac's Historian reacted to a post in a topic:
Endeavour by Bill97 - FINISHED - OcCre - 1/54
-
Hubac's Historian reacted to a post in a topic:
Endeavour by Bill97 - FINISHED - OcCre - 1/54
-
Sorry Allan, you don't address my issue with the potential fouling of the anchor cables with the boomkin shrouds in the arrangement you suggest. The boomkin shrouds would need to be above the hawse holes like in larger Men-o-war. Also those things on Parkinson's drawing a way too fat to be boomkins, and their position suggests no advantage to having the tacks leading to them rather than to the catheads. Despite numerous searches, I am yet to see a period painting of a ship with no beakhead that has boomkins/bumkins Cheers Steve

-
Hi Bill Just my opinion, but I've always had an issue with the presence of boomkins on Endeavour, especially how the AOTS shows them. I imagine they would cause all sorts of issues with the anchor, even if they aren't directly under the catheads. The ship will move around whilst at anchor due to wind and currents and, with the boomkins there, those stays would foul with the anchor cables. So I left boomkins off my Endeavour model because I could not see how they would work, especially if they are situated where the supposed boomkins on Parkinson's sketch are. Also, in my opinion those things on Parkinson's sketch do not look like boomkins. Keep up the good work Steve
-
Hi Bill Sorry I didn't see this until just now, I don't look at my build log any more. Yes I left the sails off, wanted to build it like the old admiralty models that don't have sails. I was thinking about having sails at one stage, but I no longer know anyone who could sew them for me on a sewing machine. The Occre ones are terrible, too thick and too much hem. I built another Endeavour a long time ago and it has sails that were made for me by a kind woman who was good at using a sewing machine. Cheers Steve
-
Revell Cutty Sark 1/96 rigging Instructions needed.
shipaholic replied to Richard Dunn's topic in Masting, rigging and sails
I have a set of instructions for the running rigging, but not the standing rigging from when I built this model about 45 years ago -
DaveRow reacted to a post in a topic:
Endeavour by Bill97 - FINISHED - OcCre - 1/54
-
DaveRow reacted to a post in a topic:
Endeavour by Bill97 - FINISHED - OcCre - 1/54
-
DaveRow reacted to a post in a topic:
Endeavour by Bill97 - FINISHED - OcCre - 1/54
-
Just build your model and make it look good, don't worry too much about the technical stuff that some people want to amuse themselves with
-
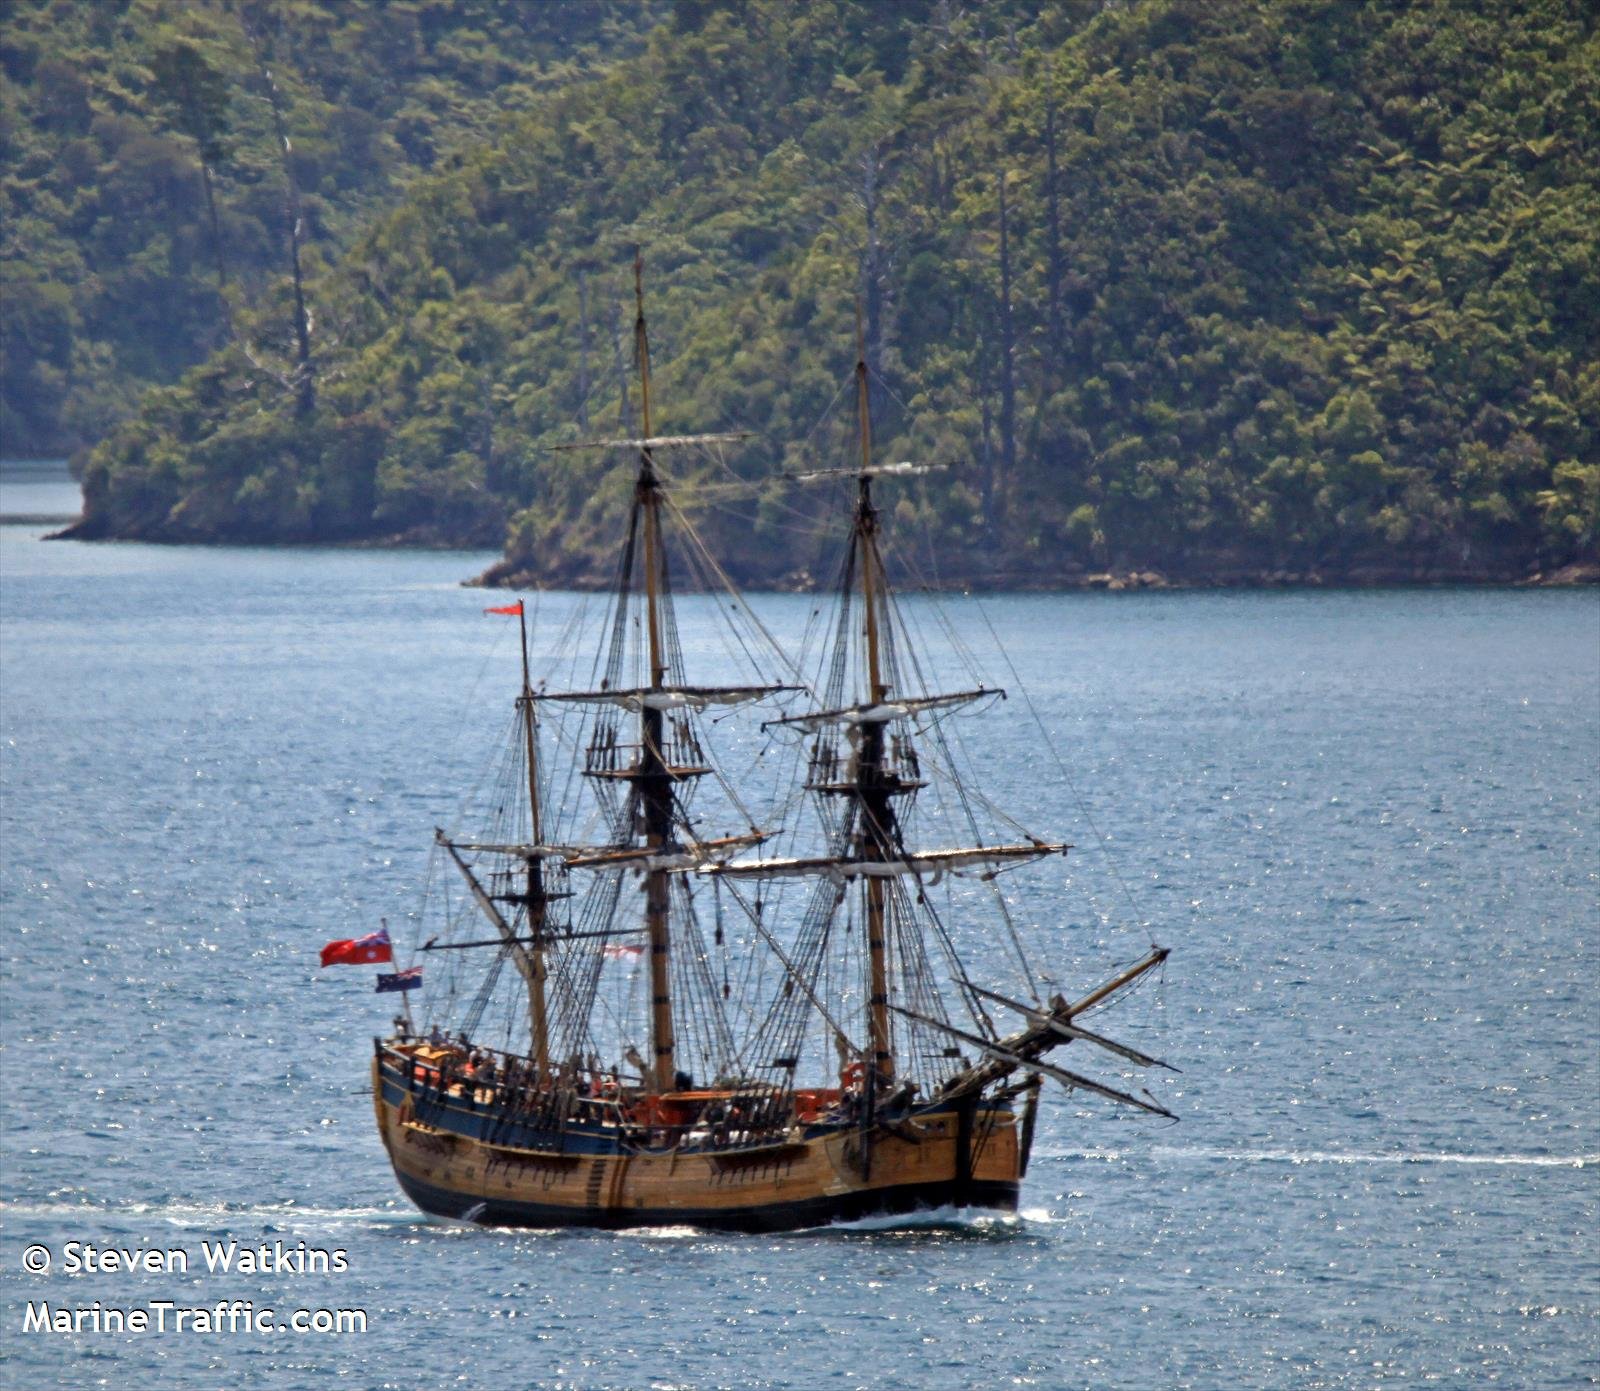
Hi Bill I didn't rig that mizzen staysail stay on my Endeavour because, as you say, it doesn't make sense going through the crows feet. The full size replica in Sydney doesn't have it, and its not shown on other rigging plans for ships of this size. There are quite a few mistakes in the AOTS and this is one of them Cheers Steve
-
Hubac's Historian reacted to a post in a topic:
Endeavour by Bill97 - FINISHED - OcCre - 1/54
-
Hi Bill My fore yard is about 5/16" thick at the centre. When I built mine I enlarged the diagrams in the AOTS to 1:51 scale using a photocopier. You can see my yards and the diagrams on page 16 of my build log. Yes Australia is a great place, and yes a long flight from USA, 14 hours from LA I think, even further to Kentucky. Sydney has the Endeavour replica berthed there at the maritime museum
-
Hi Bill Good work Yes the yards were usually entirely blackened including the battens. Its a pity the Occre instructions have the yards so thick compared to real ones
-
Hubac's Historian reacted to a post in a topic:
Endeavour by Bill97 - FINISHED - OcCre - 1/54
-
Mr Whippy reacted to a post in a topic:
HMB Endeavour by shipaholic - FINISHED - Eaglemoss - 1/51
-
Hi Bill Yes the yards are lowered with the sails furled. On the scale of your model they would sit about 1/4 inch above the mast caps. Disregard the topgallant yards in the first pic, they are sitting on the crosstrees because the topgallant masts have been lowered. Steve
.jpg.595d43a2e23a3b3237220d9d4f93e33b.jpg)


-
I still have a full set of paper plans and instructions for the old AL Endeavour. I scanned each page of the instruction booklet some time ago for someone else and still have the files. There are two large sheets containing diagrams and plans, I just tried taking a photo of one of them and the instructions are still quite clear.
-
Hi Bill That looks pretty good. The trick is to just try to make it look right compared to photos or diagrams in books. In my experience kit instructions are not a good reference for details Cheers Steve