HOLIDAY DONATION DRIVE - SUPPORT MSW - DO YOUR PART TO KEEP THIS GREAT FORUM GOING! (Only 13 donations so far - C'mon guys!)
×


Kevin
-
Posts
7,008 -
Joined
-
Last visited
Content Type
Profiles
Forums
Gallery
Events
Everything posted by Kevin
-
thank you, rereading the reply it wasnt two rudders then with independent movement, it was two welded together offset so how was this solved, was it better propeller design, two props, twin rudders?
-
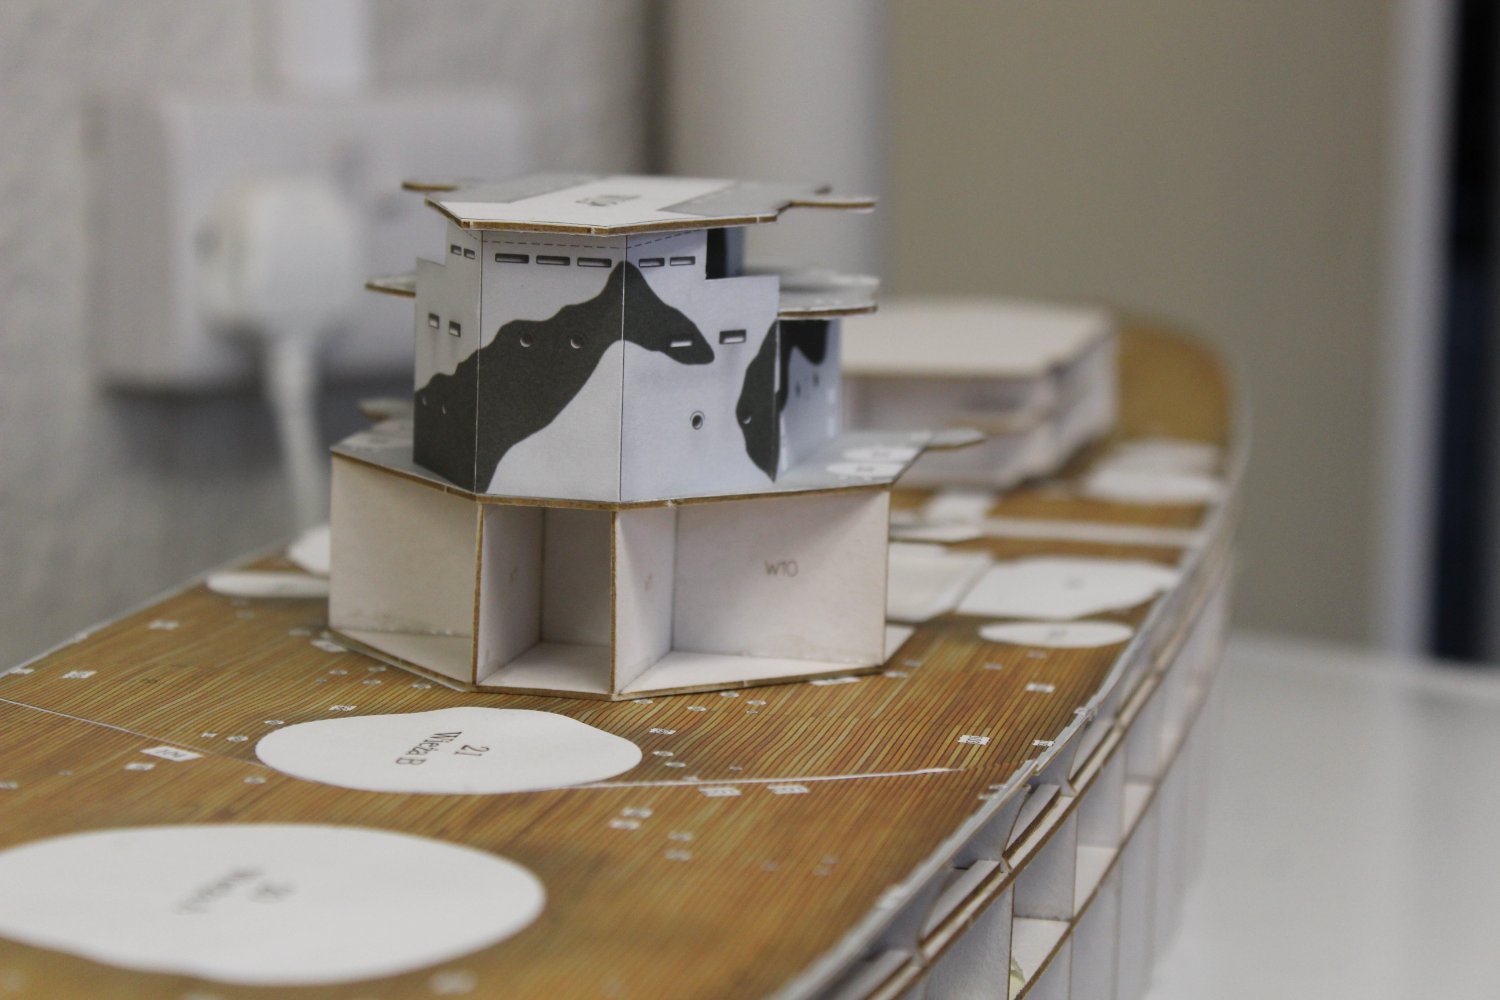
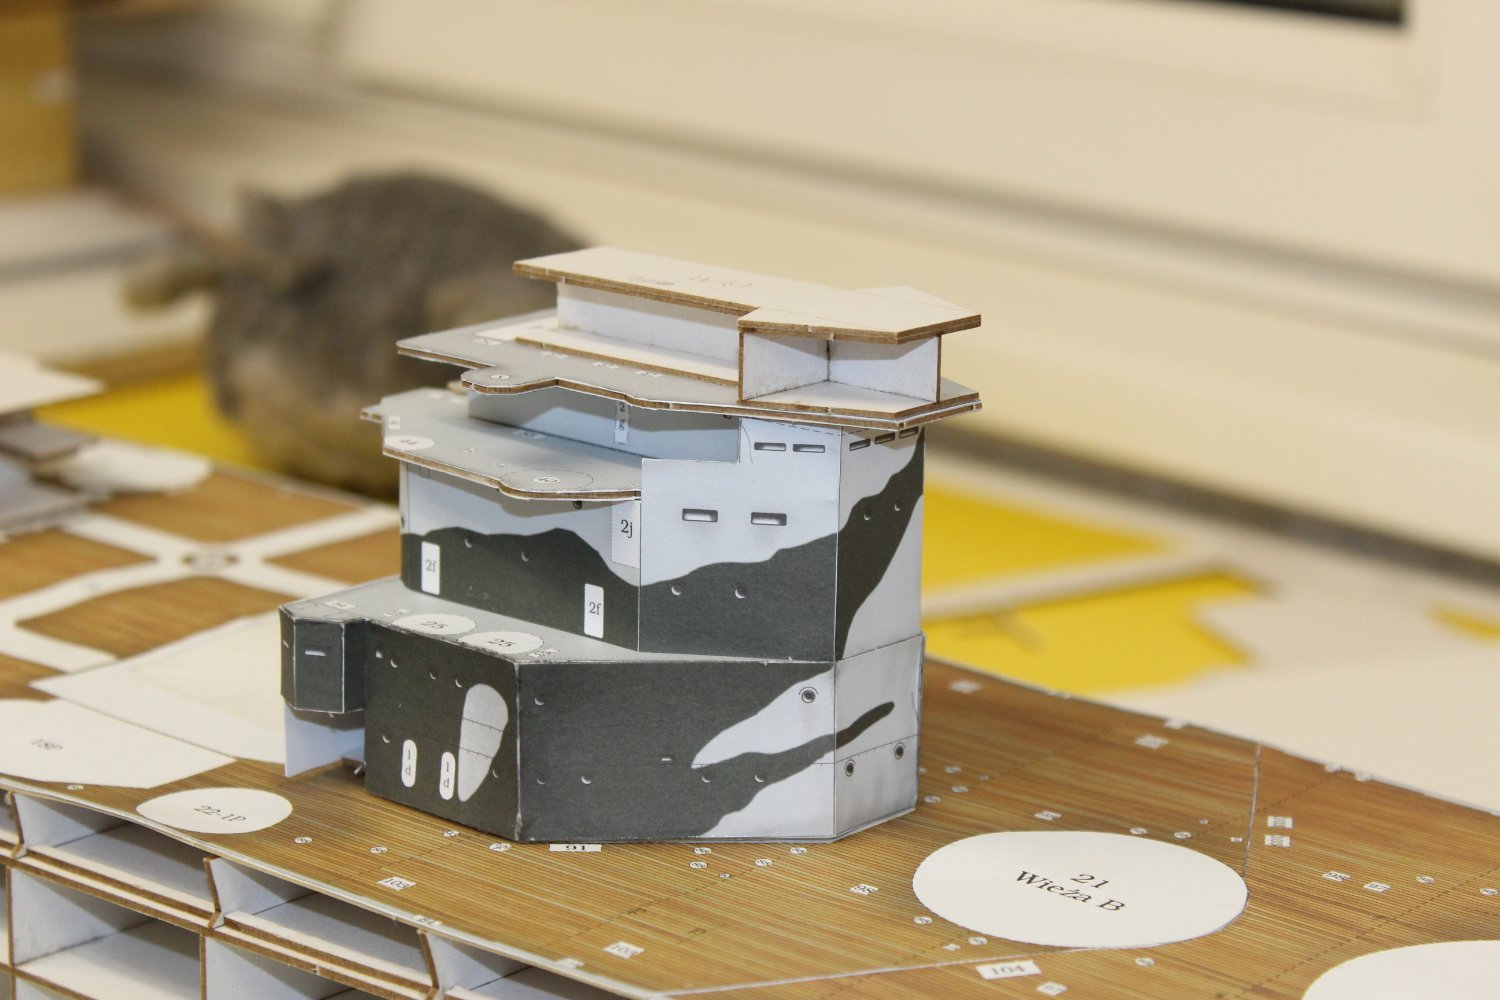
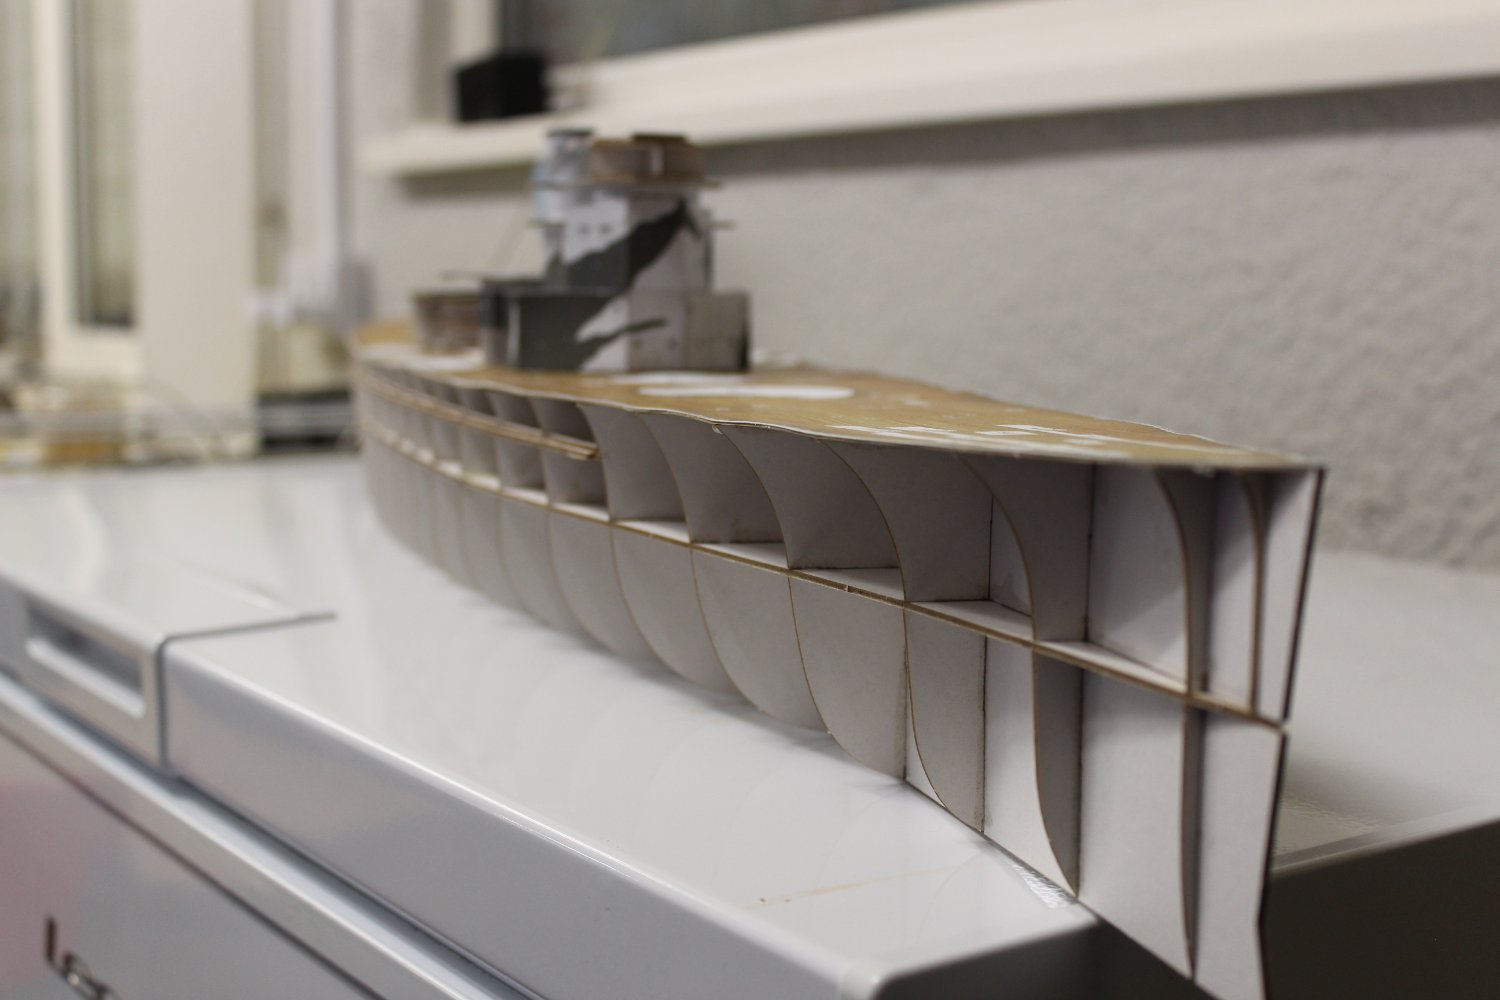
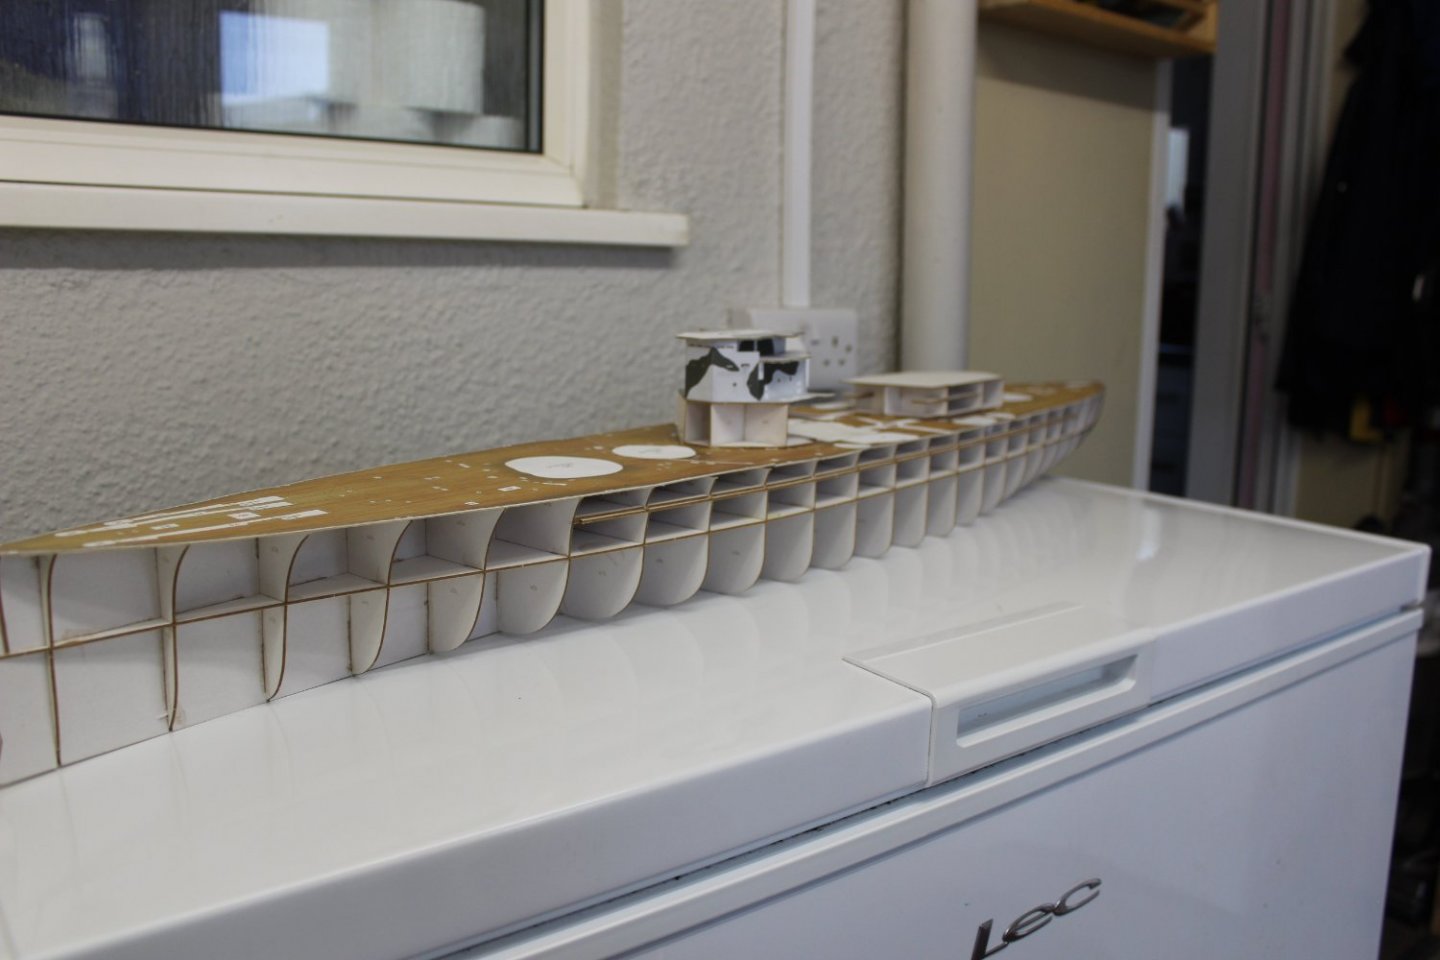
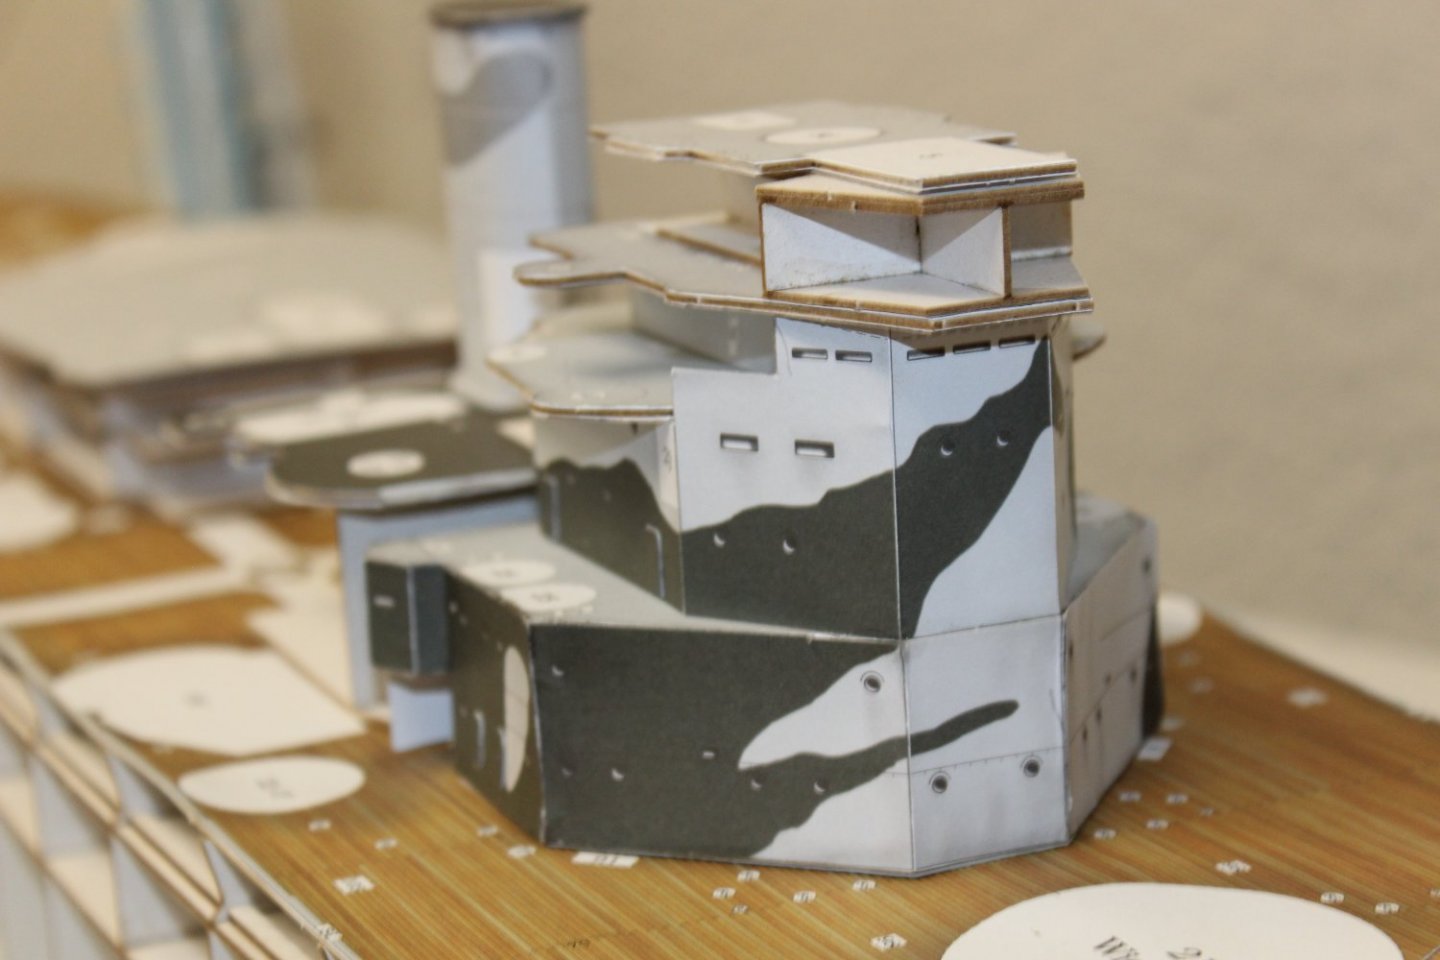
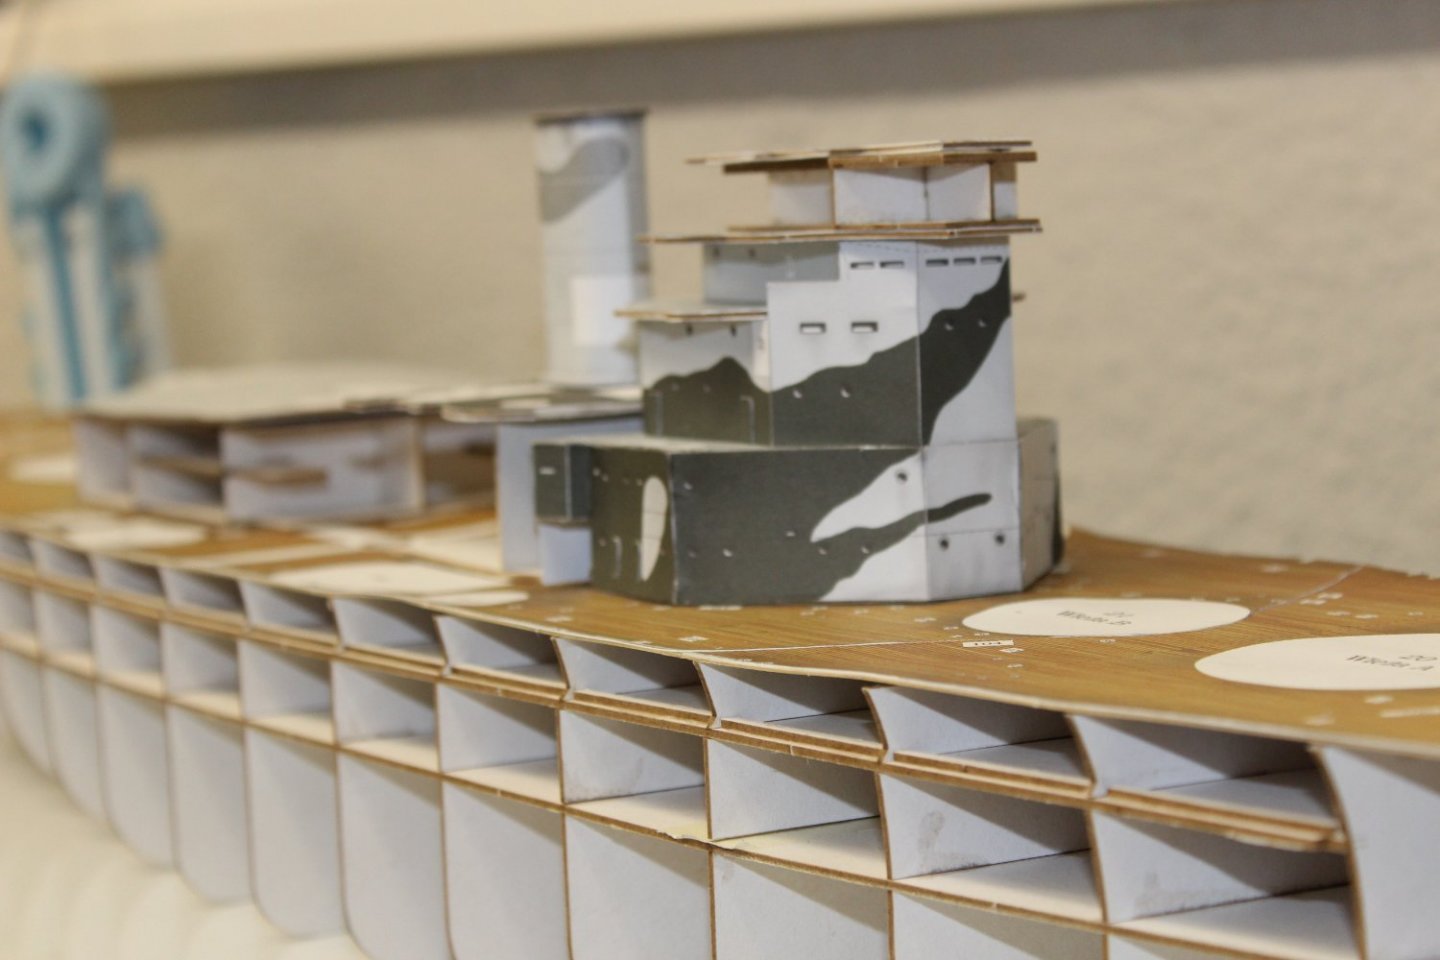
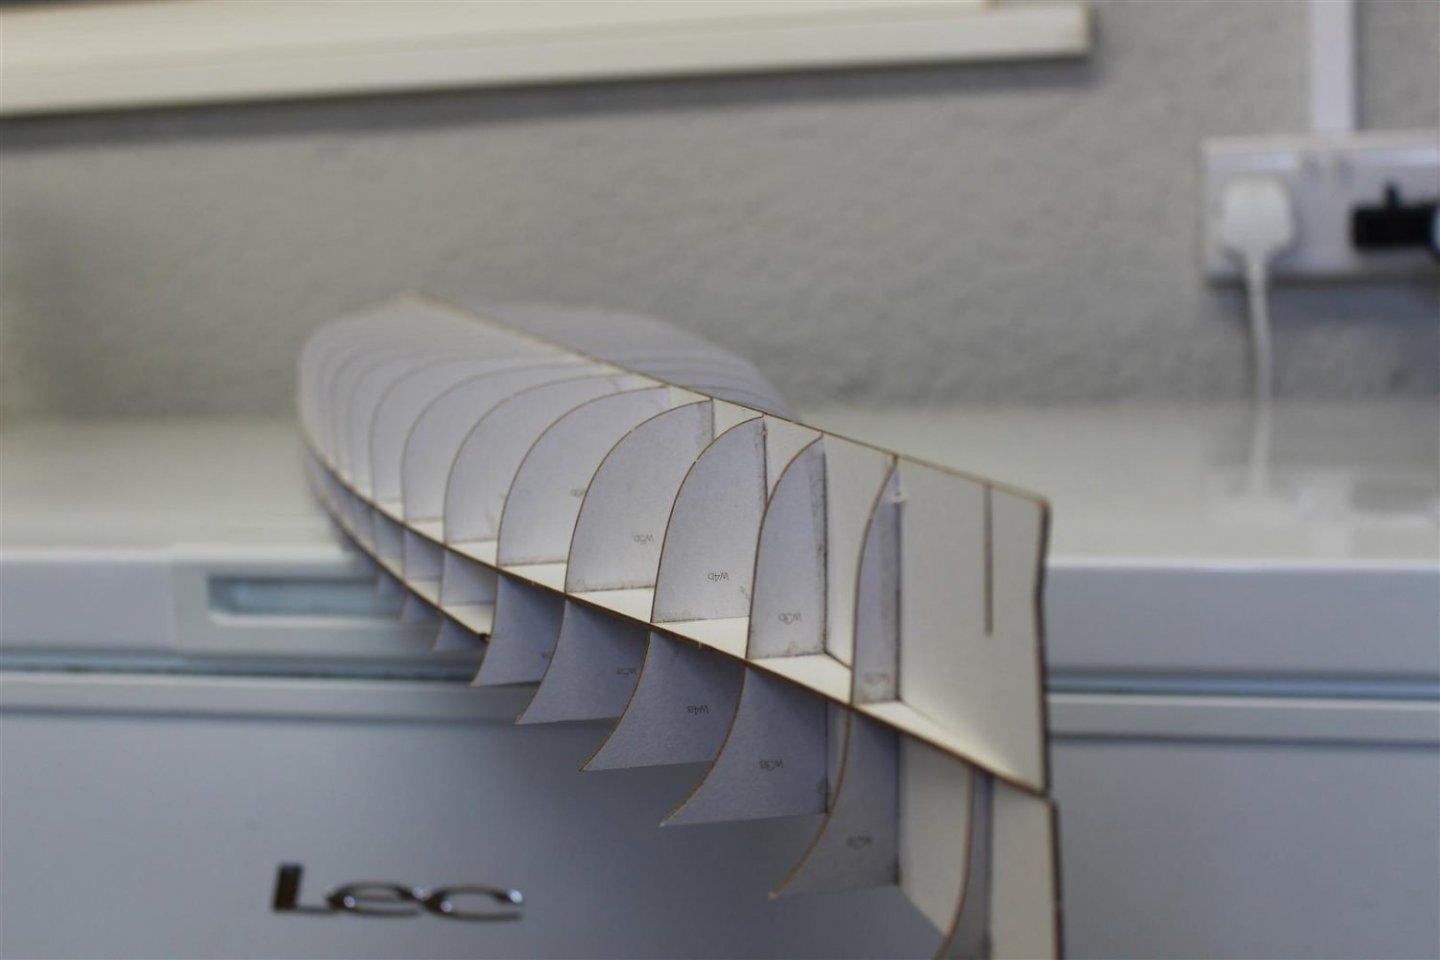
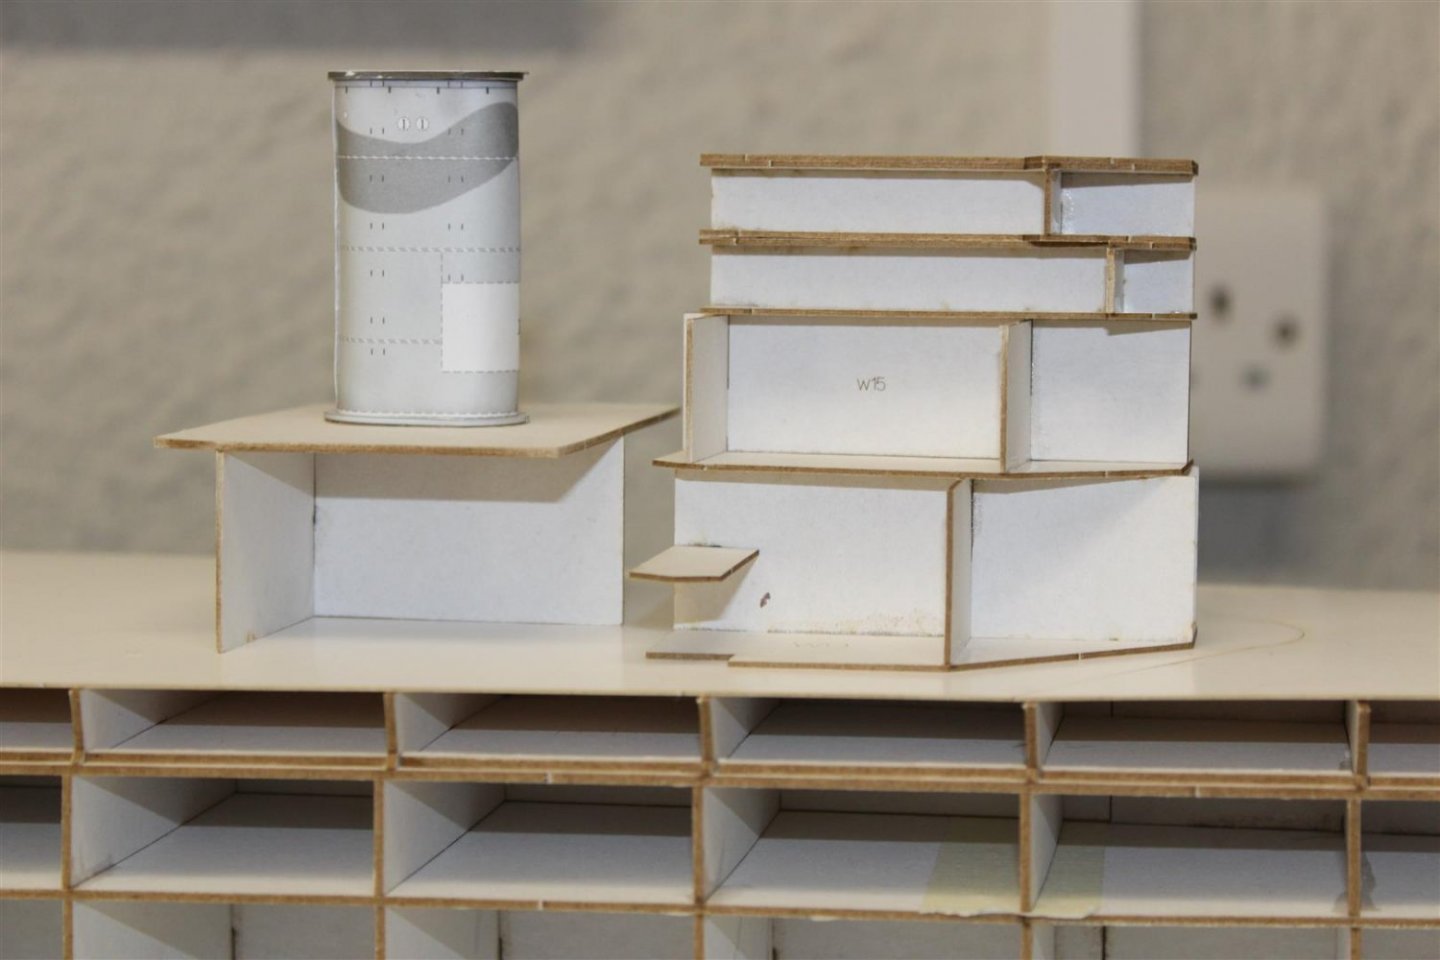
 Good evening everyone day 3/71 well i certainly would not recommend this kit to myself as a starter kit, its requires completely different skillsets to anything i have attempted before, and some of the mistakes i have made today reflect the fact i didnt have a clue what i am doing it took me ages to work out that each laser cut card is covered on all sides, if it can be seen, lol i had all these duplicate shapes with different images printed on them the paper is not forgiving if a mistake is made on folding the crease opens up and exposes the fibres yep school boy errors, but work continues the card top deck is placed on, which stops any twisting in the hull the printed top deck followed after the glue dries the rest of the day was spent putting the wrap on wallpaper onto the superstructure, which caused me a few issues some of the edges look messy, i hope to sort these out somehow
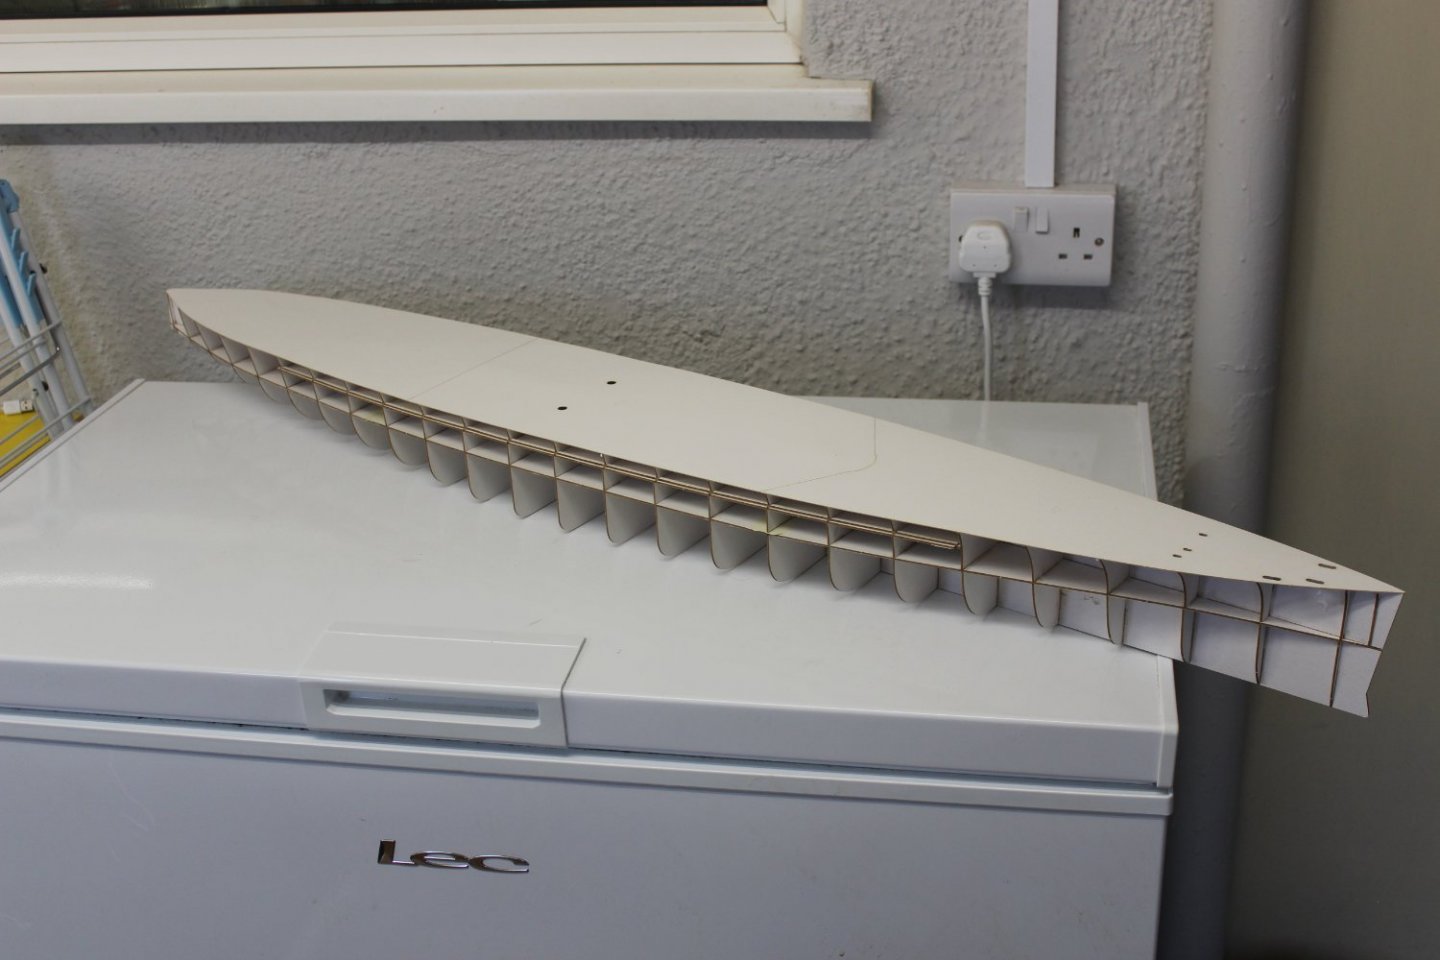


- 24 replies
-
- 10
-

-
saw a photo today on another forum that the WW2 liberty ships had a top and bottom rudder, but i dont know why?, was it an adjustable setting to offset a poor build , ie to enable a straight line/course heading?
-
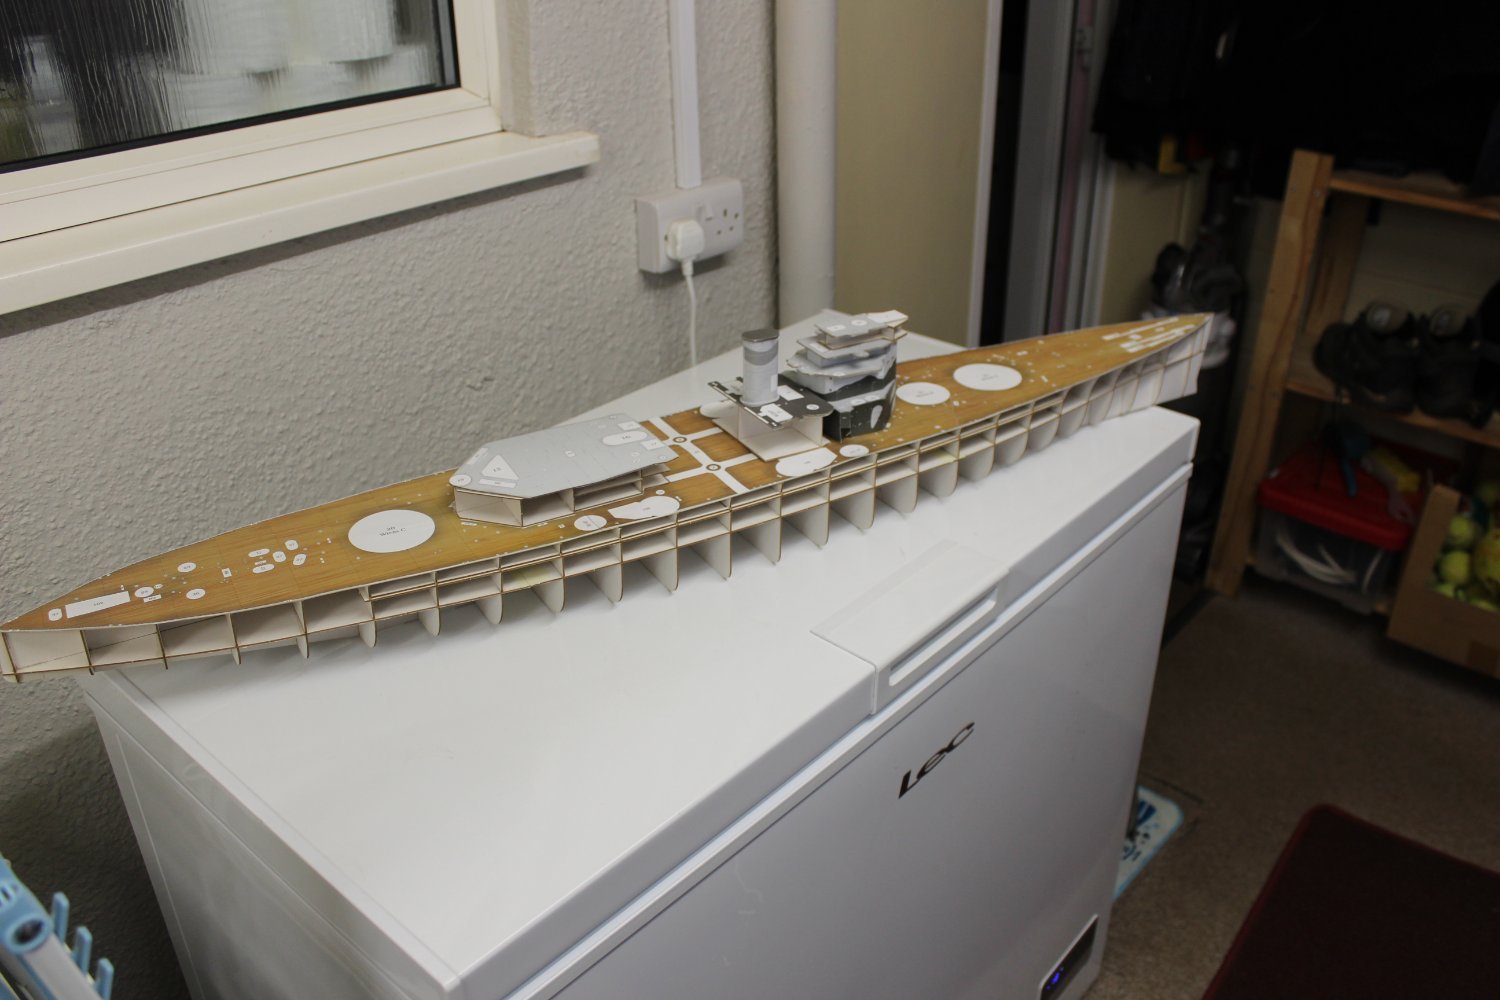
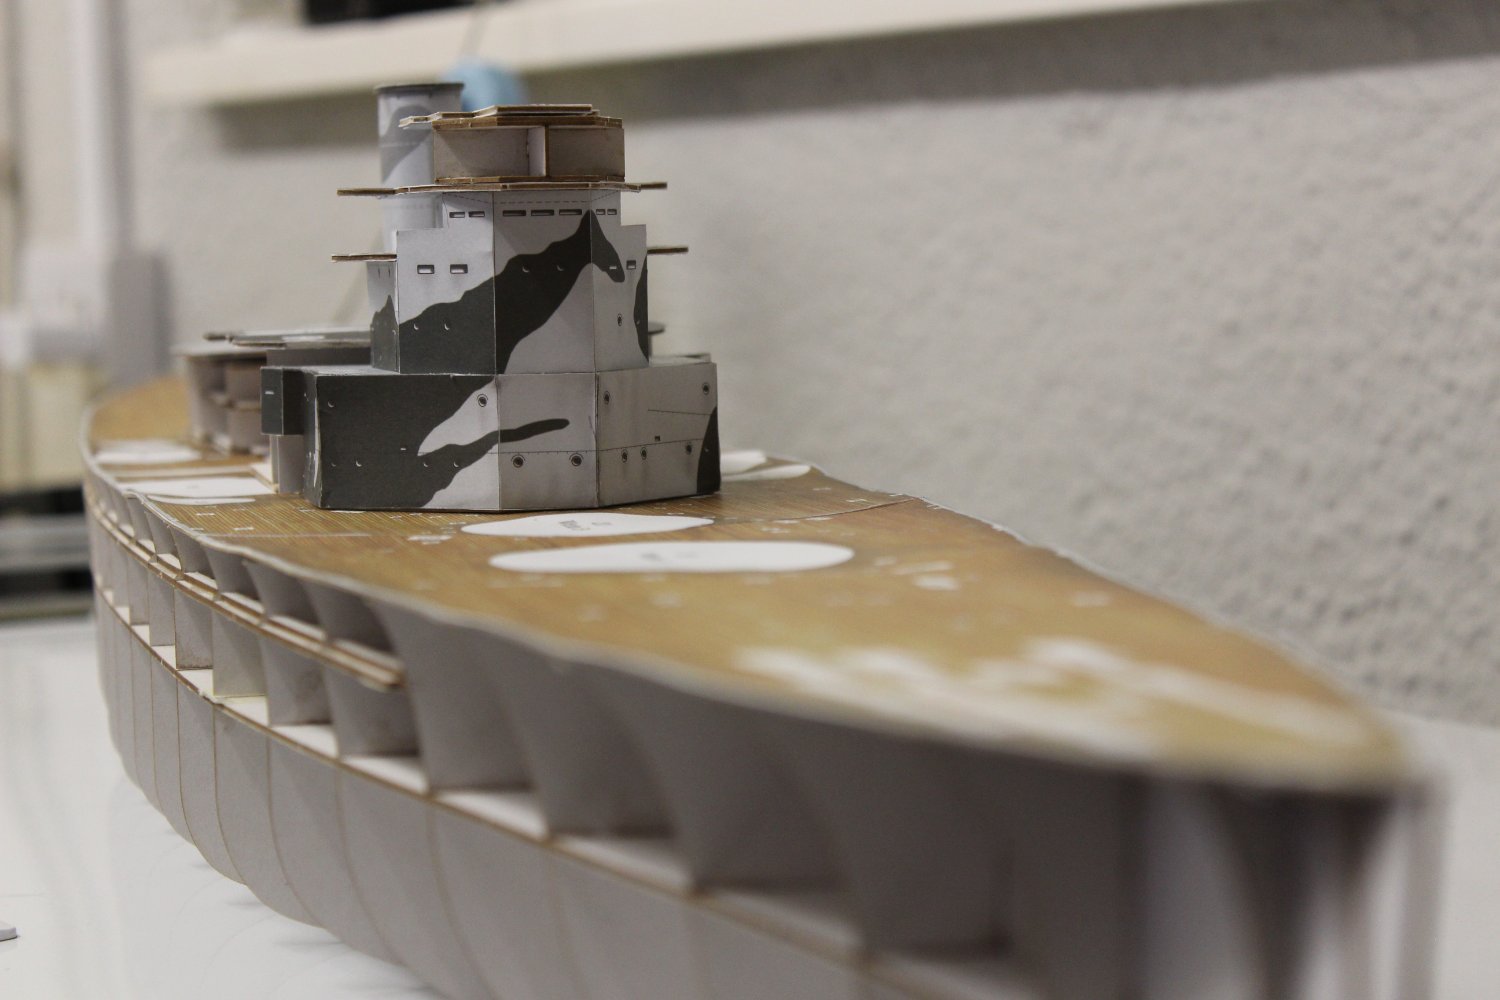
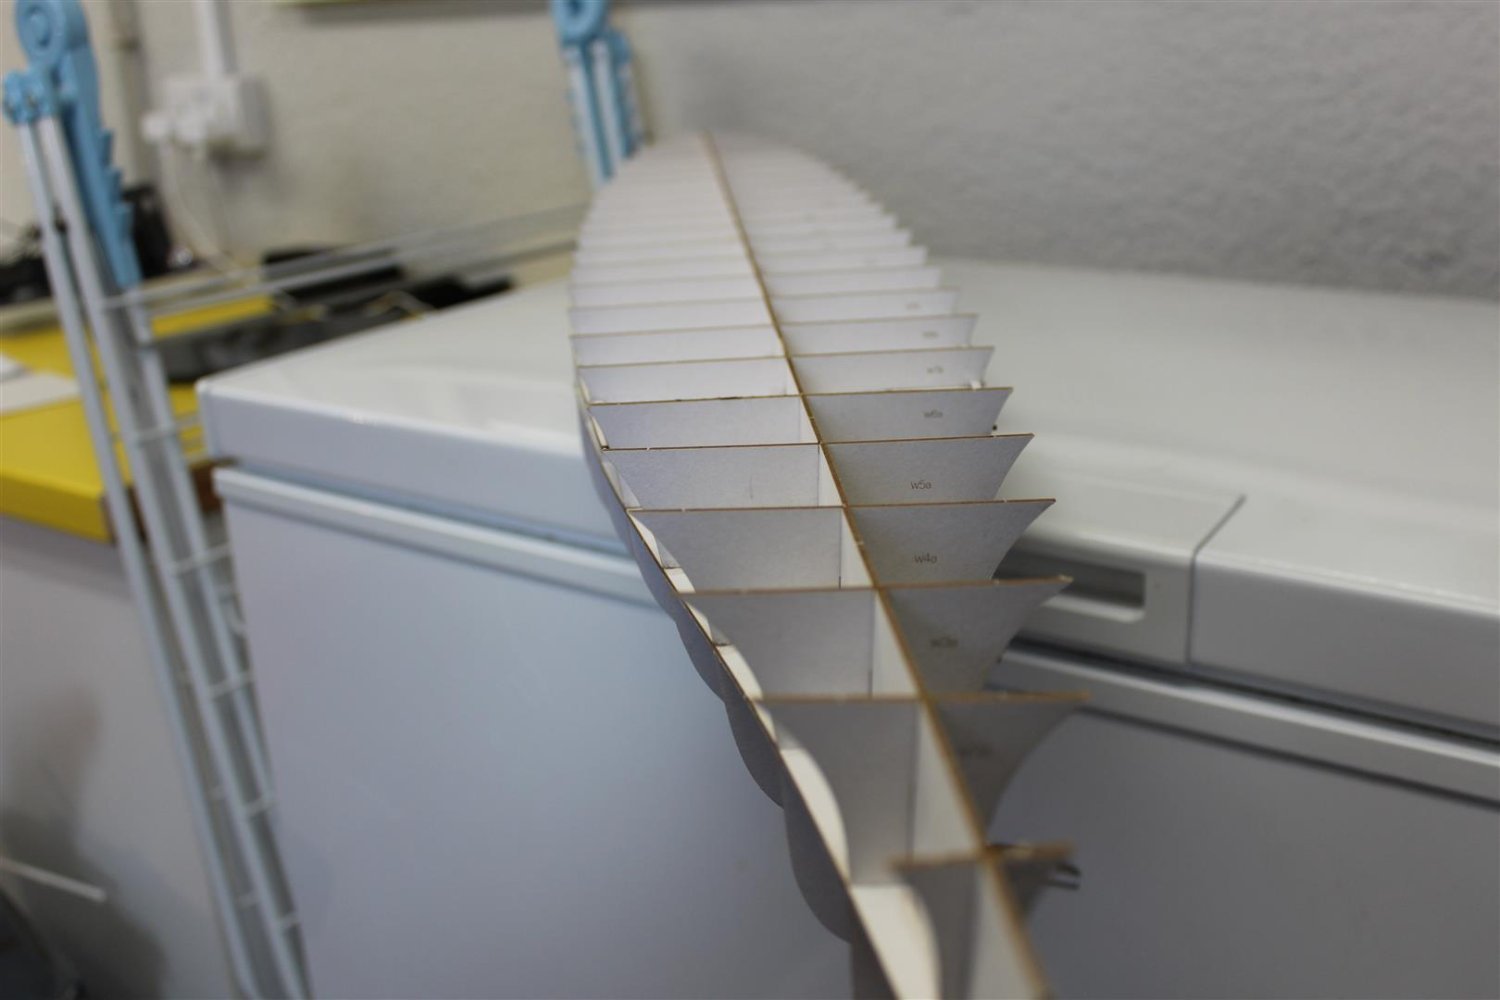
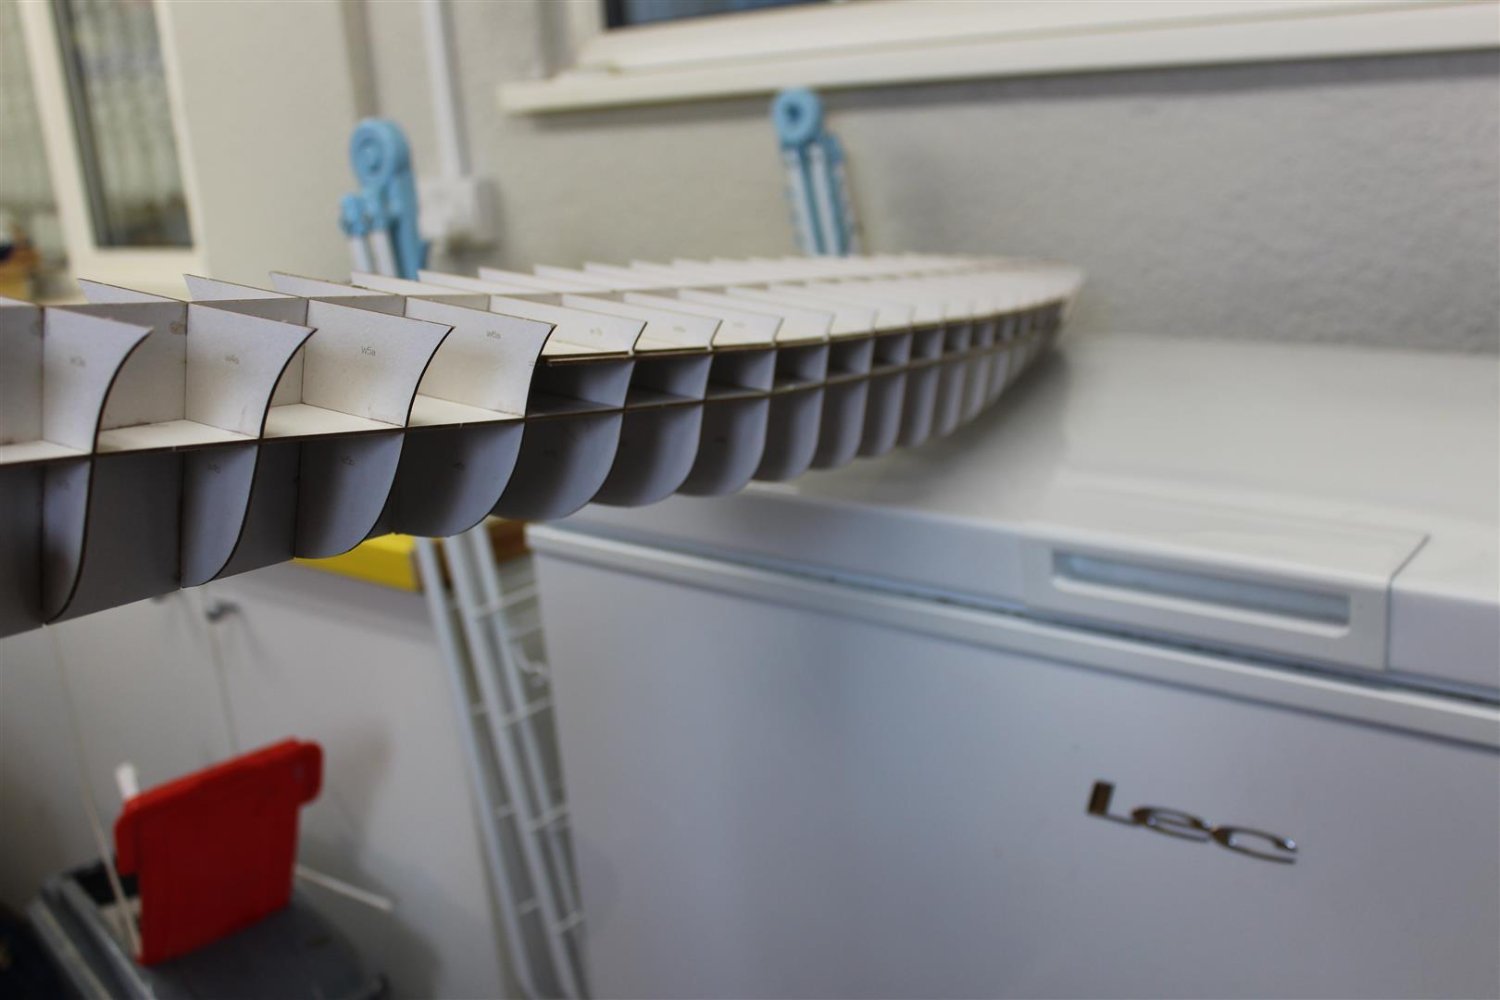
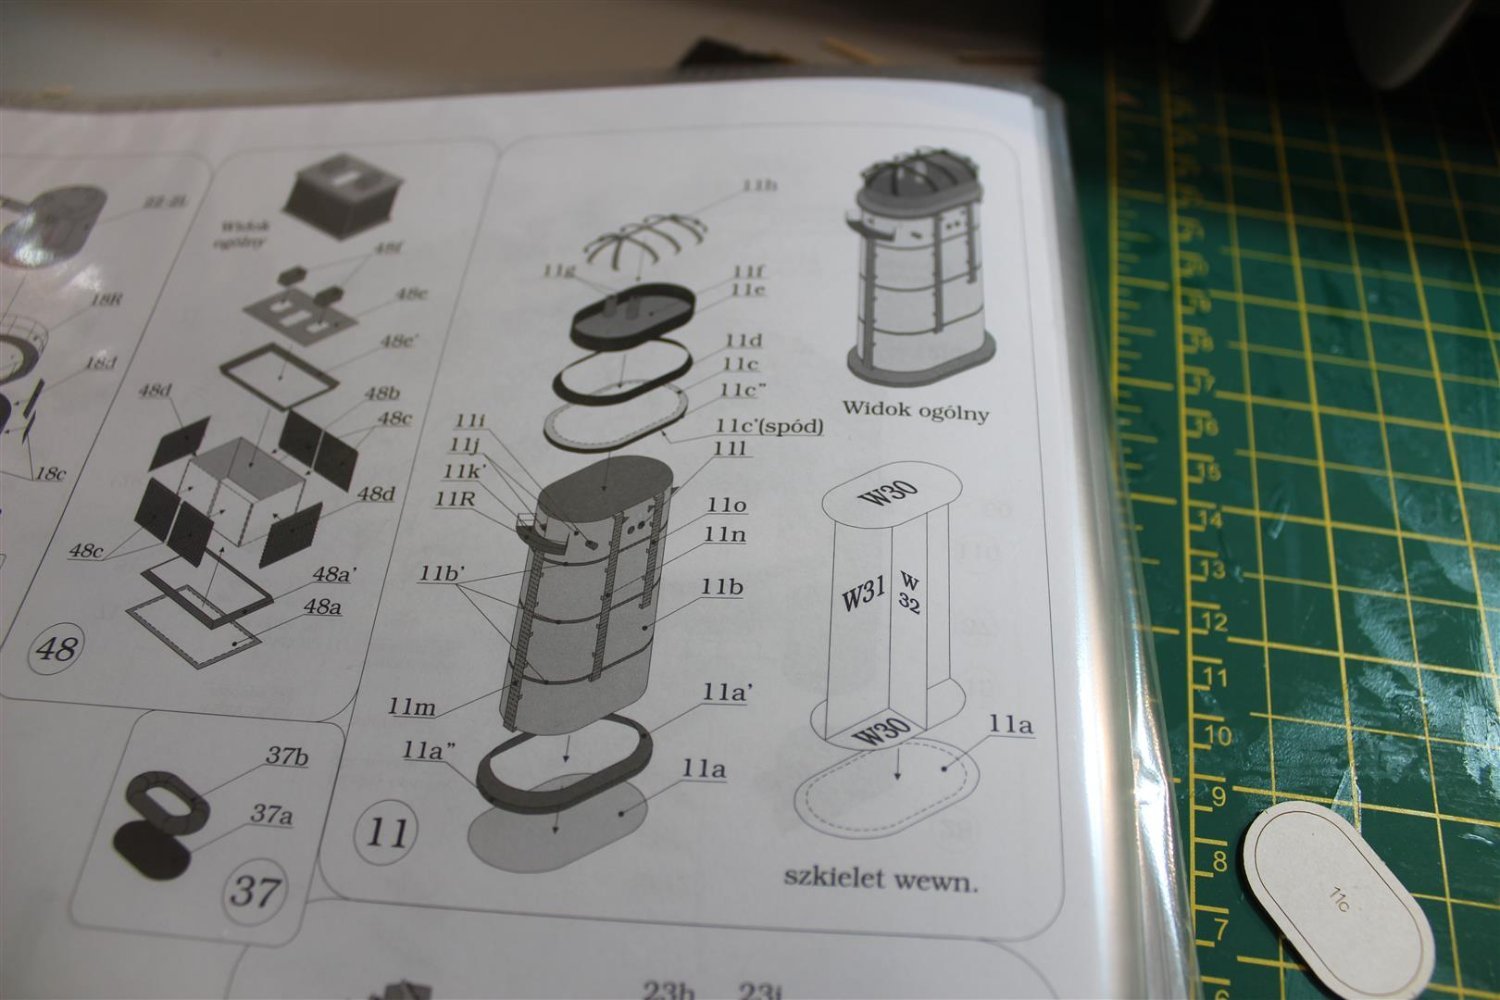
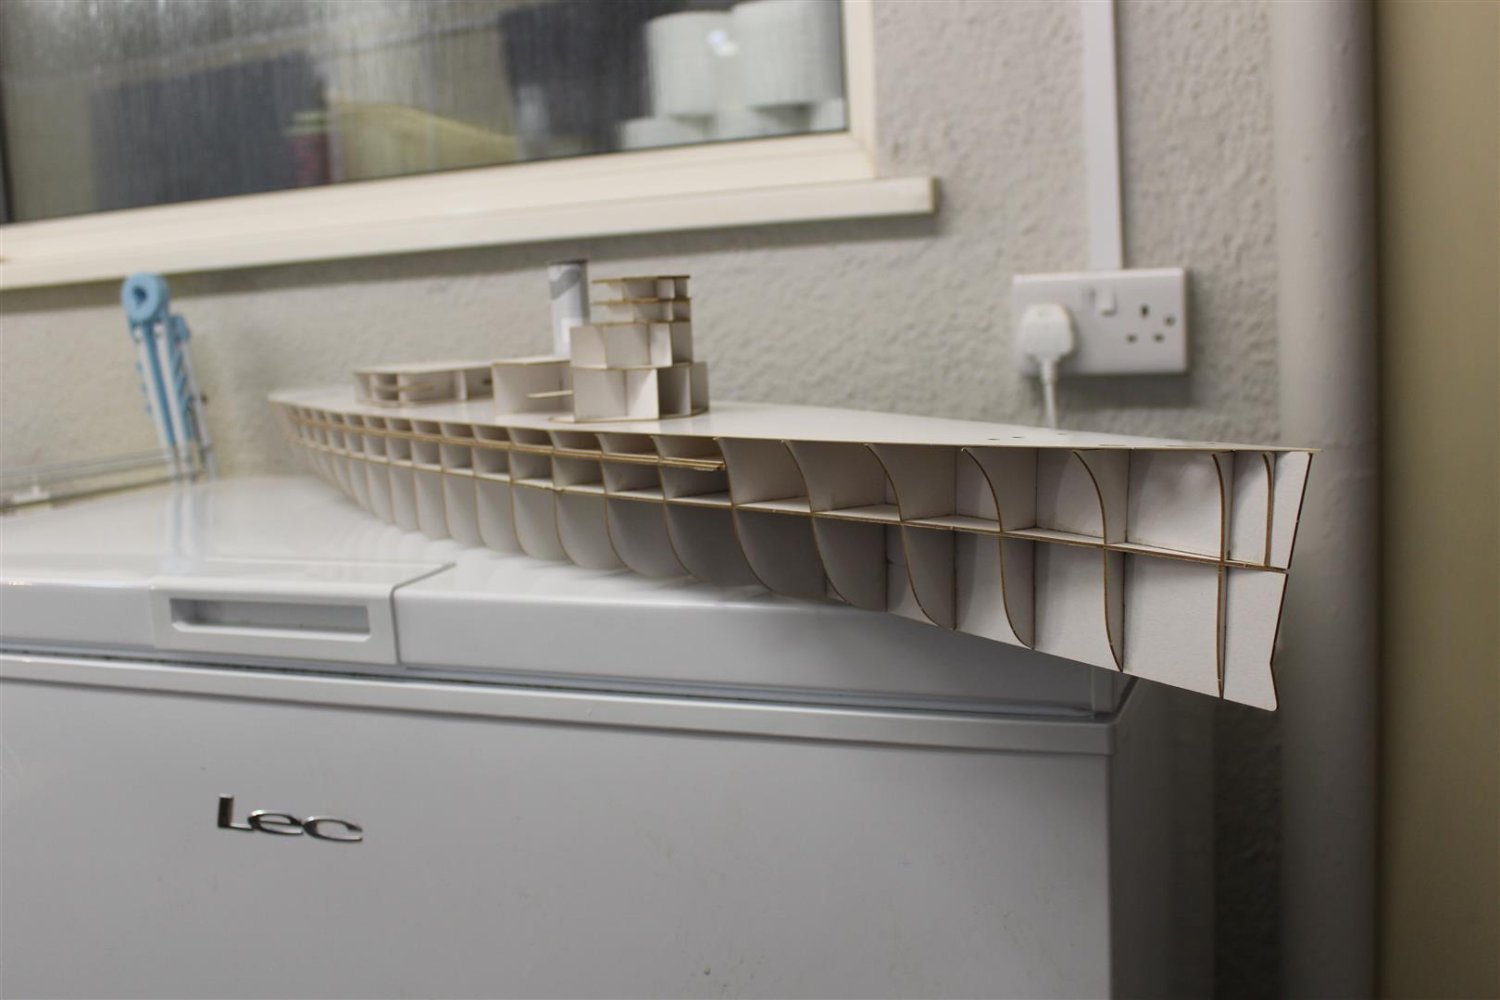
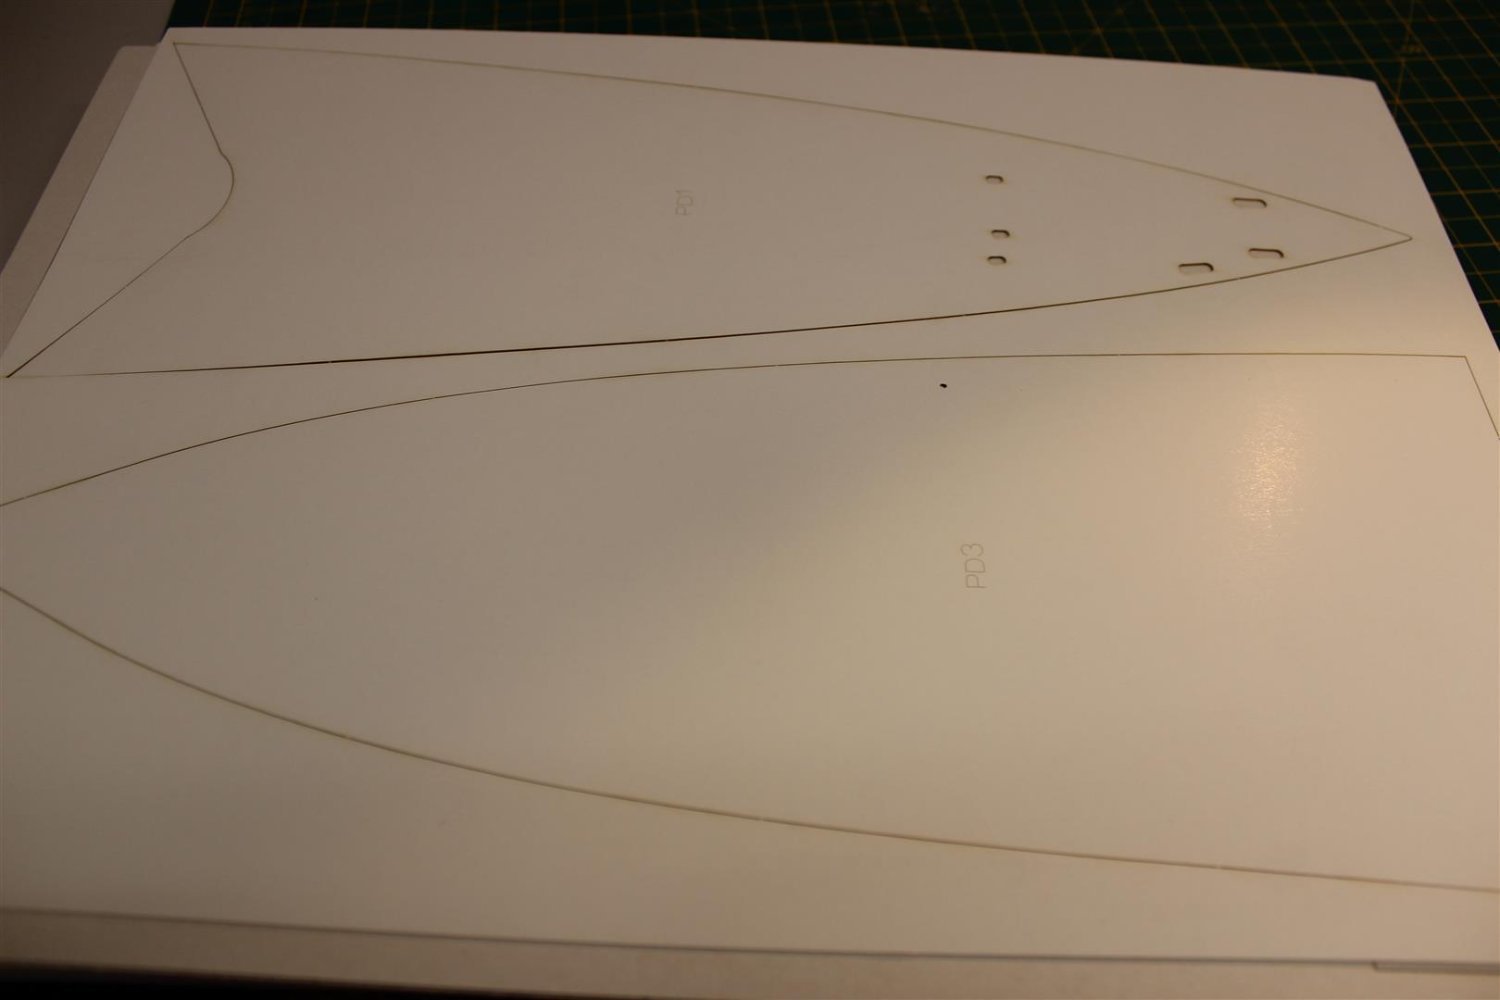
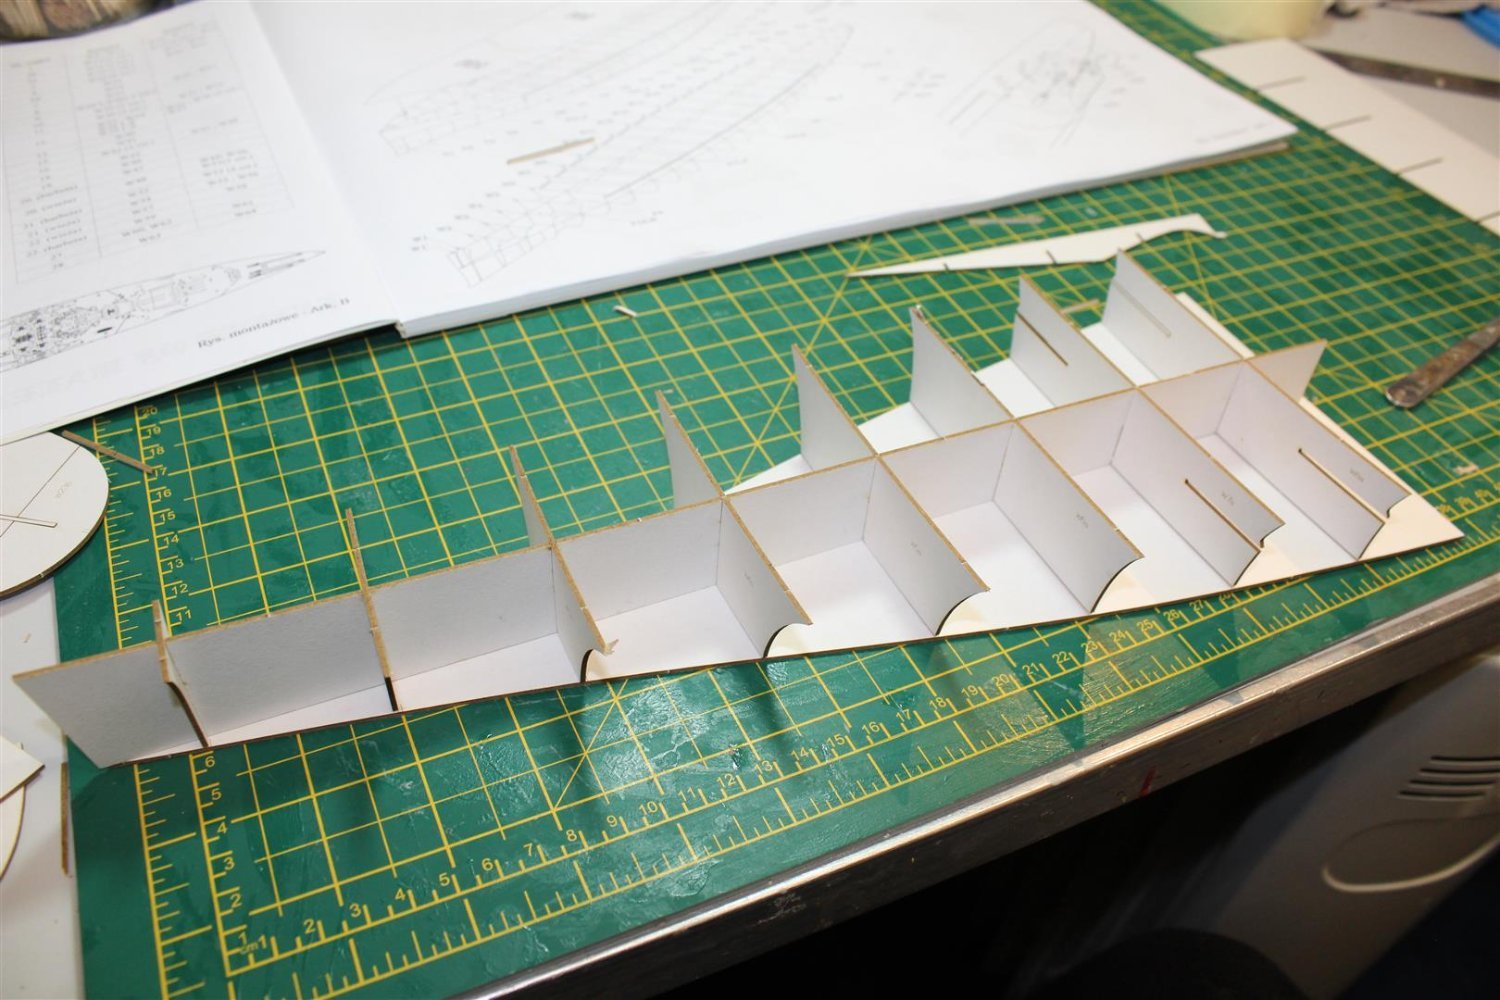
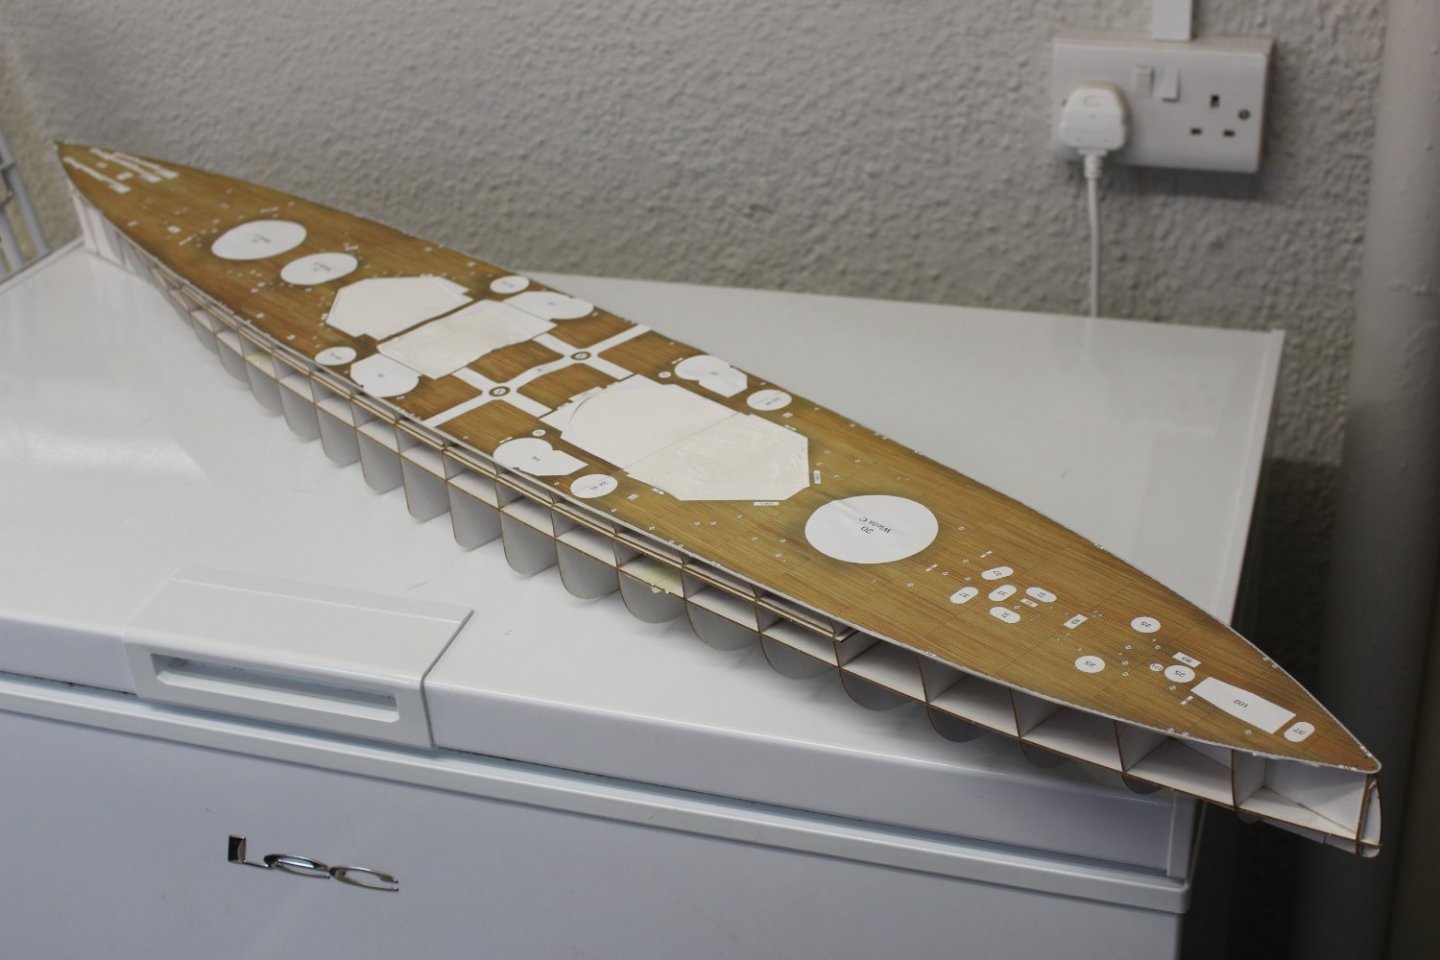
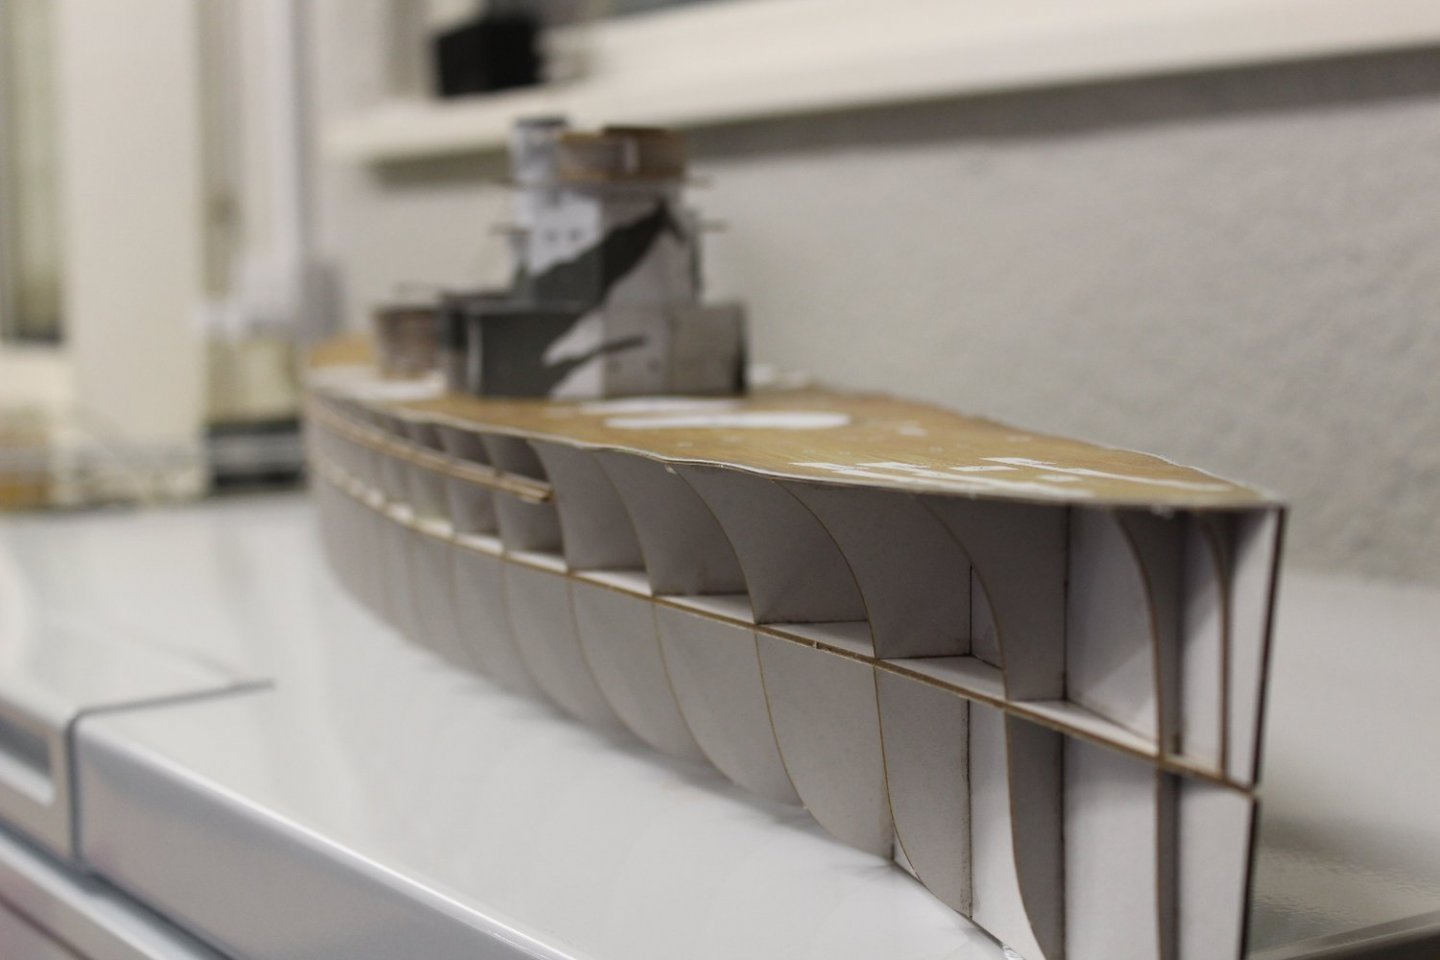
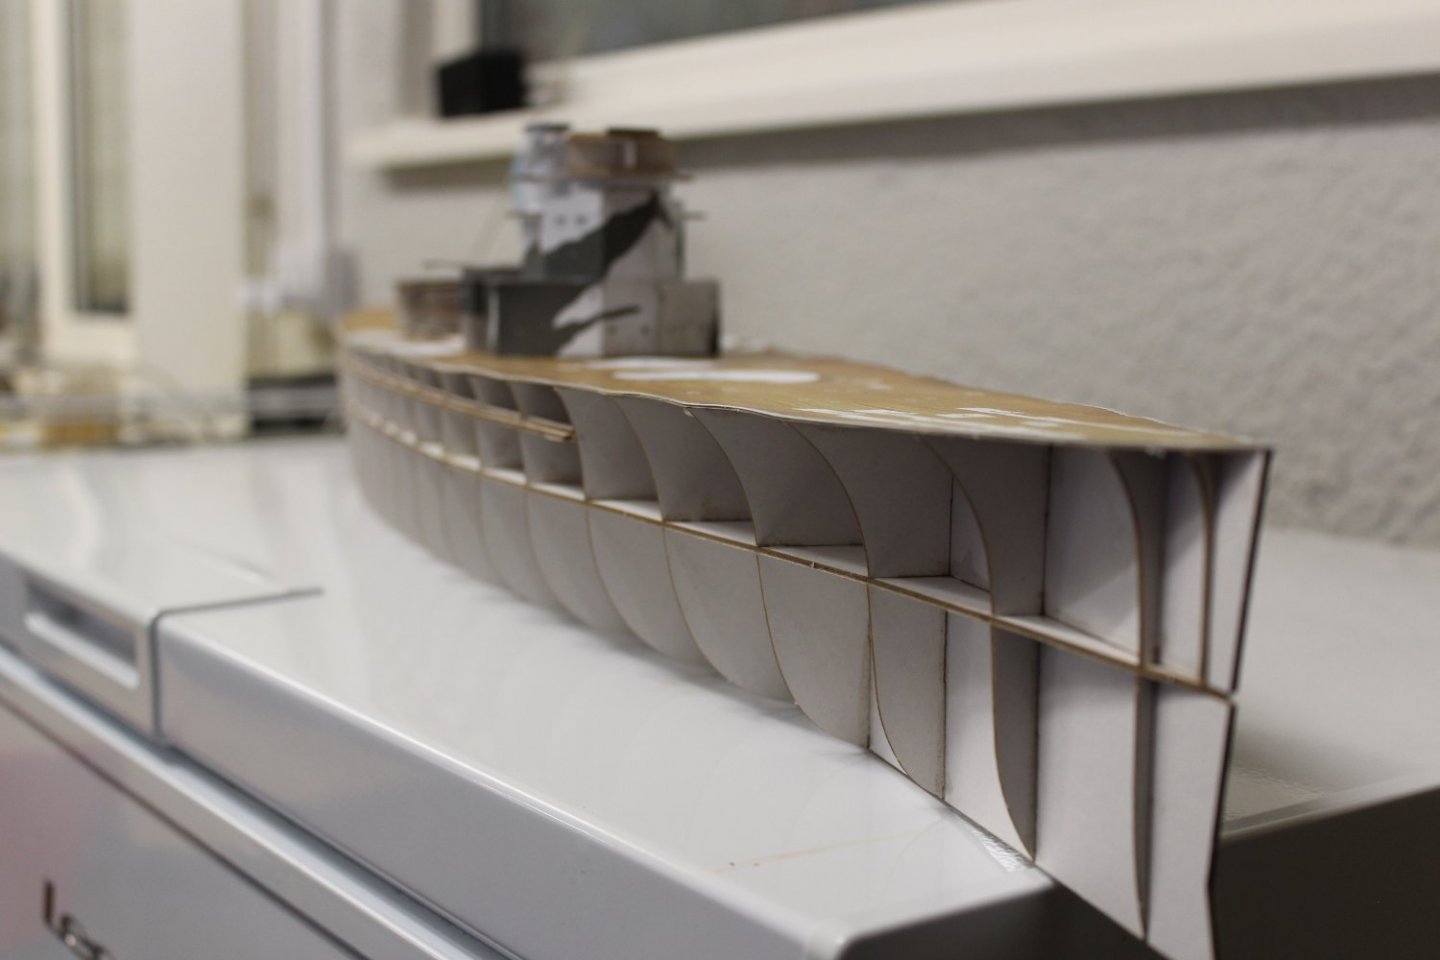
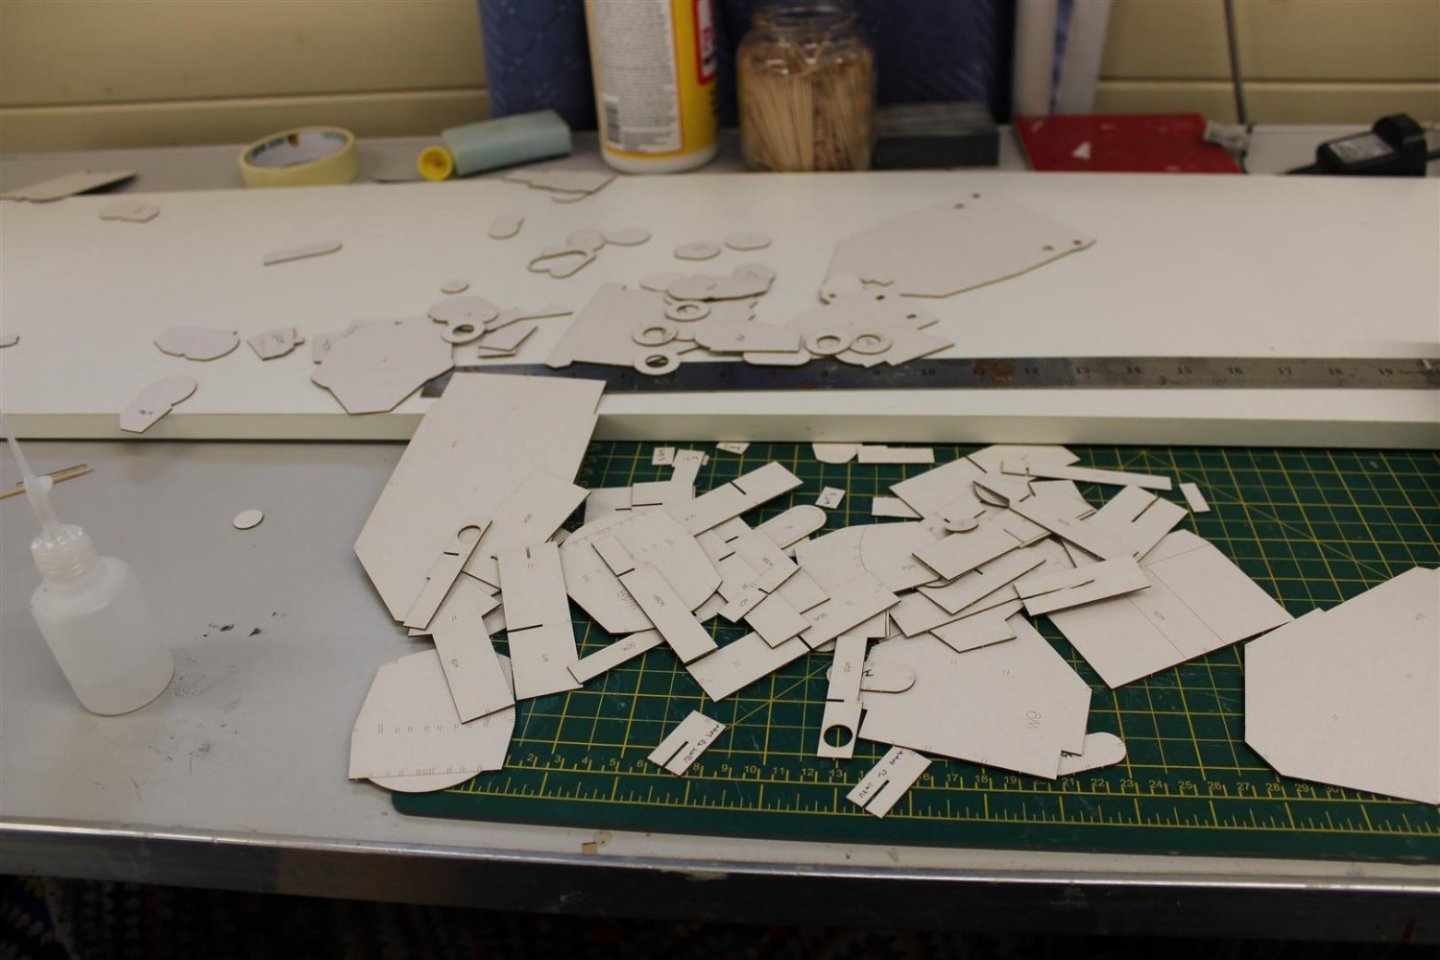
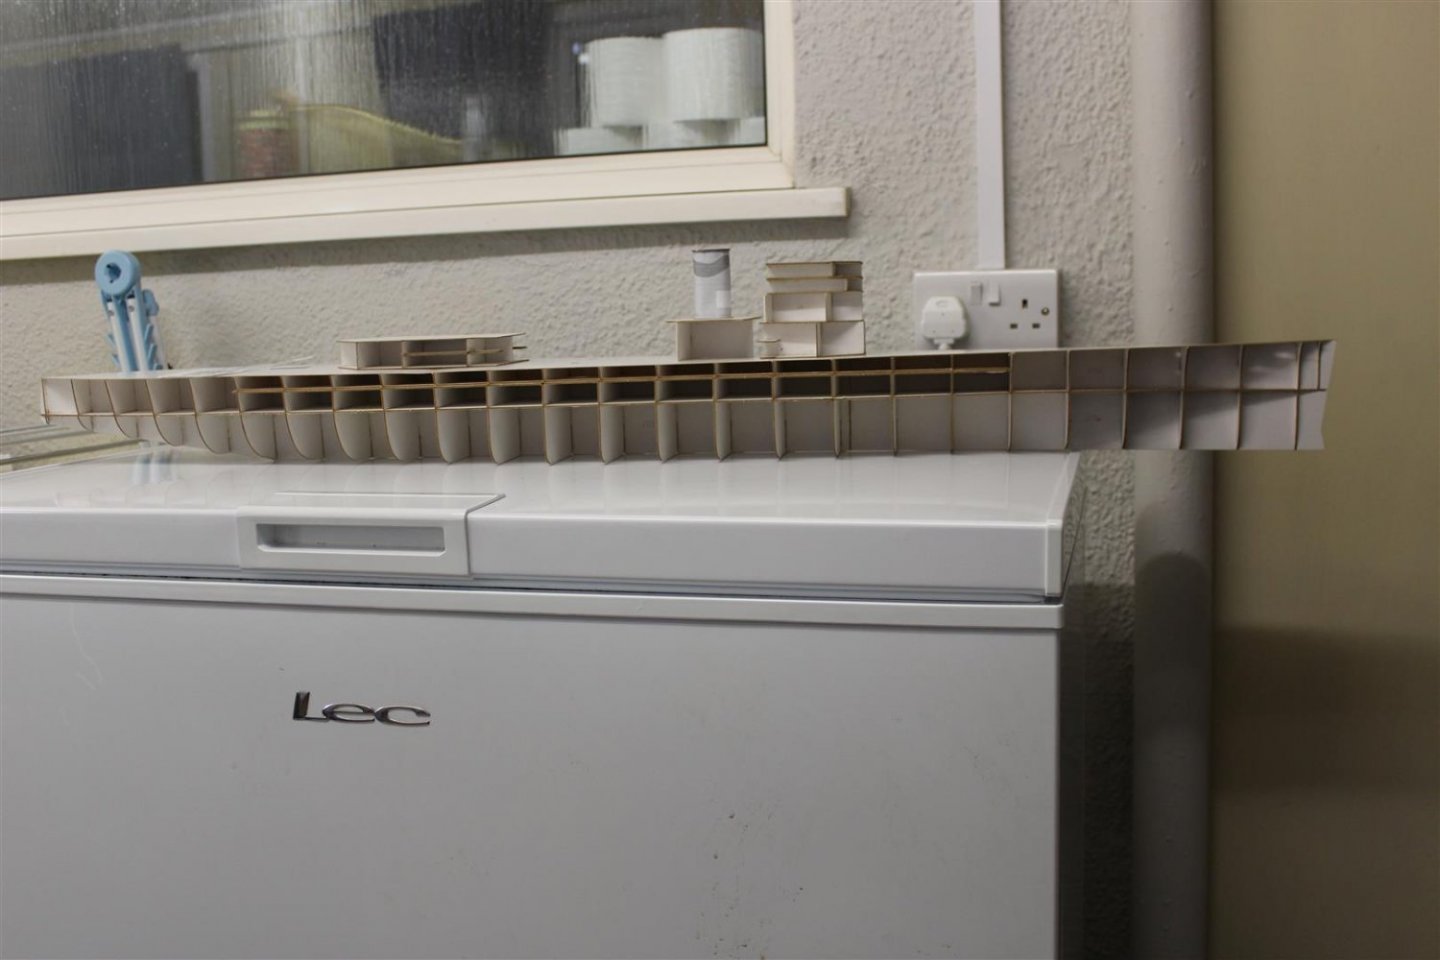
good evening everyone thank you for comments and likes, and welcome to new followers (im the guy who never finishes anything) day 2/71 well the bottom half of the hull also went on ok, it is clearly marked where the frames go, as for the centre line, it is straighter than anything i have build before all the laser cut pieces were pushed out and filed, then i decided to use them to build up some of the superstructure, i need to find a decent log now from somewhere and work out what to do with the upper deck, there is a card template that fits over the bulkheads and then the printed deck fits over that, i just need some guidance as to whether to fix the deck sheet to the card template , then stick the two on top or if they need to be done separately (dont suppose it matter) i even had a go at the funnel, its quite hard on the eyes fun factor 10/10 laser cut superstructure funnel instructions


- 24 replies
-
- 13
-
-
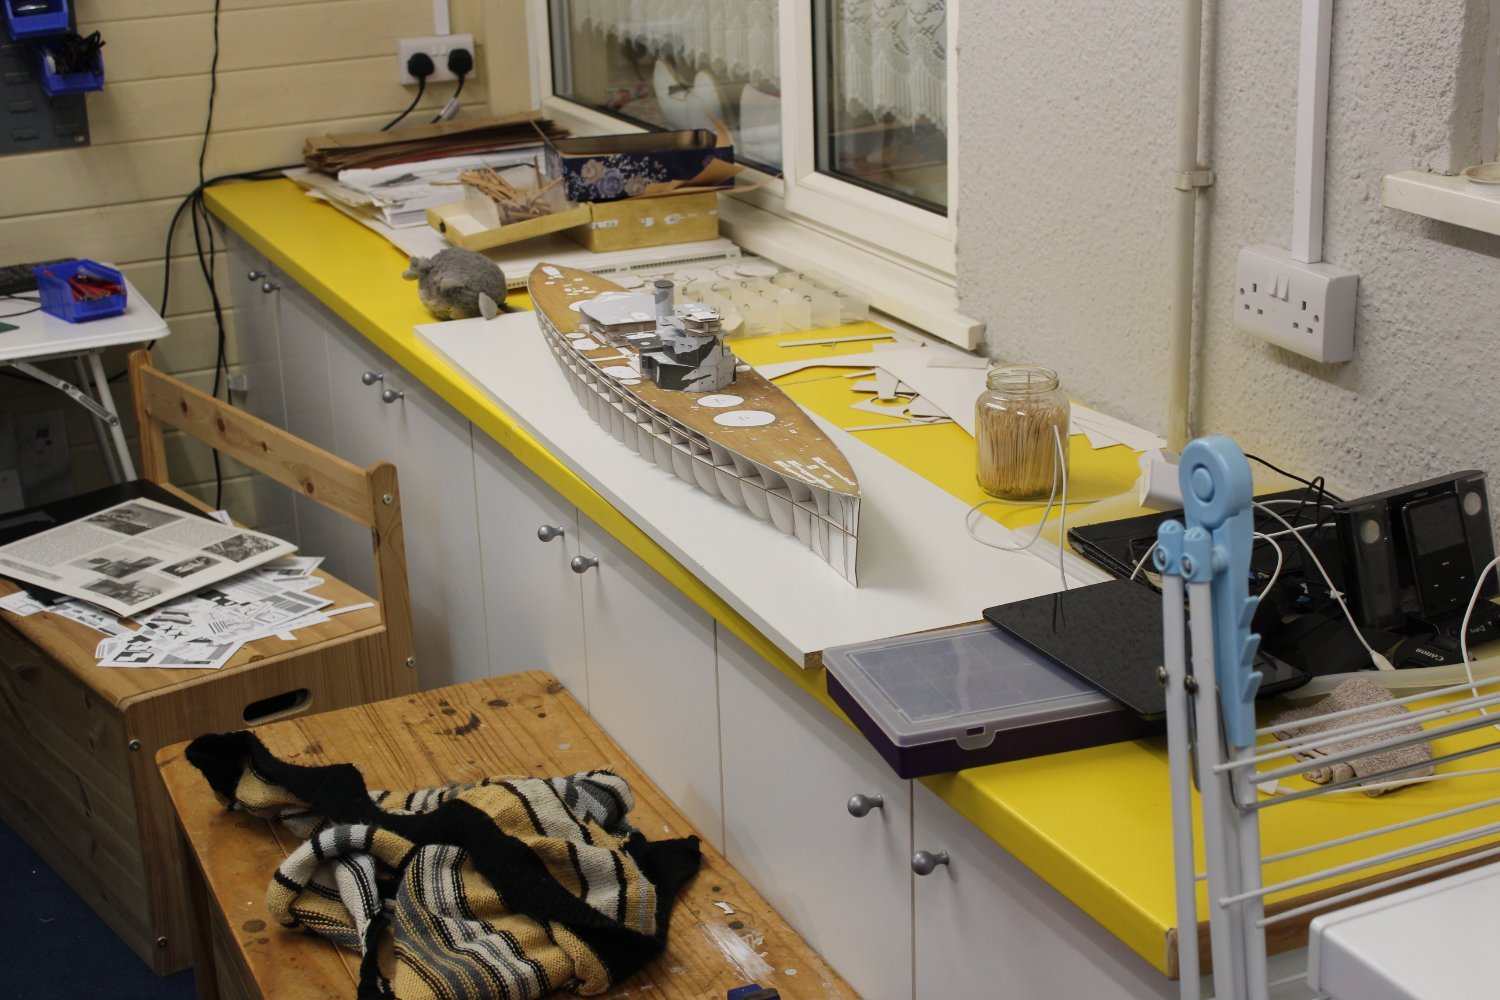
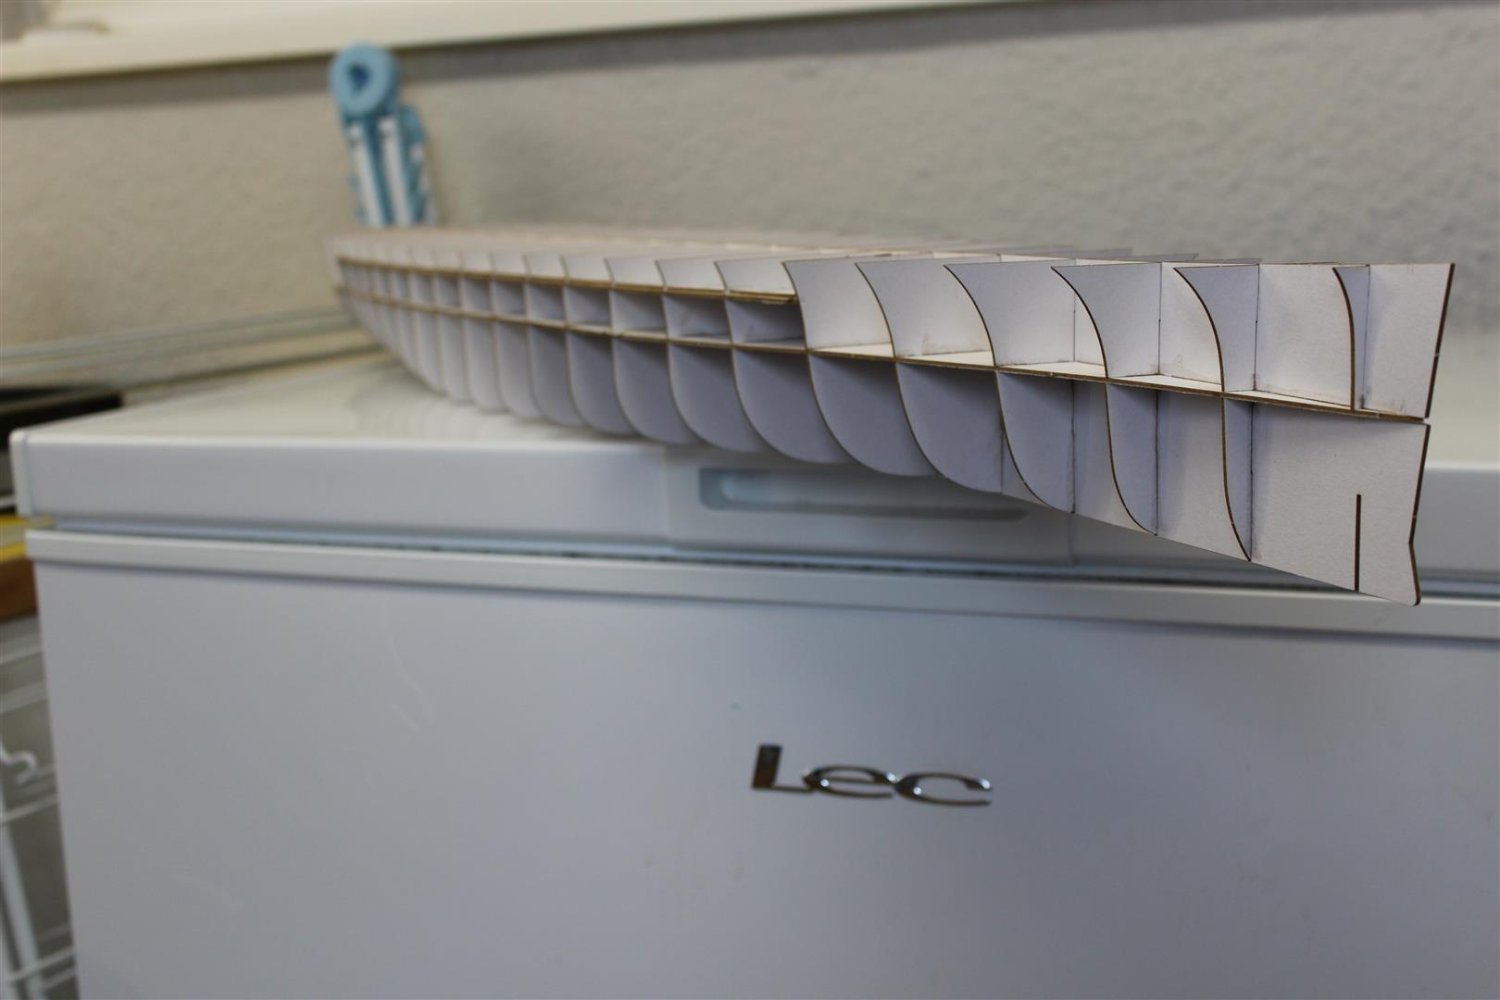
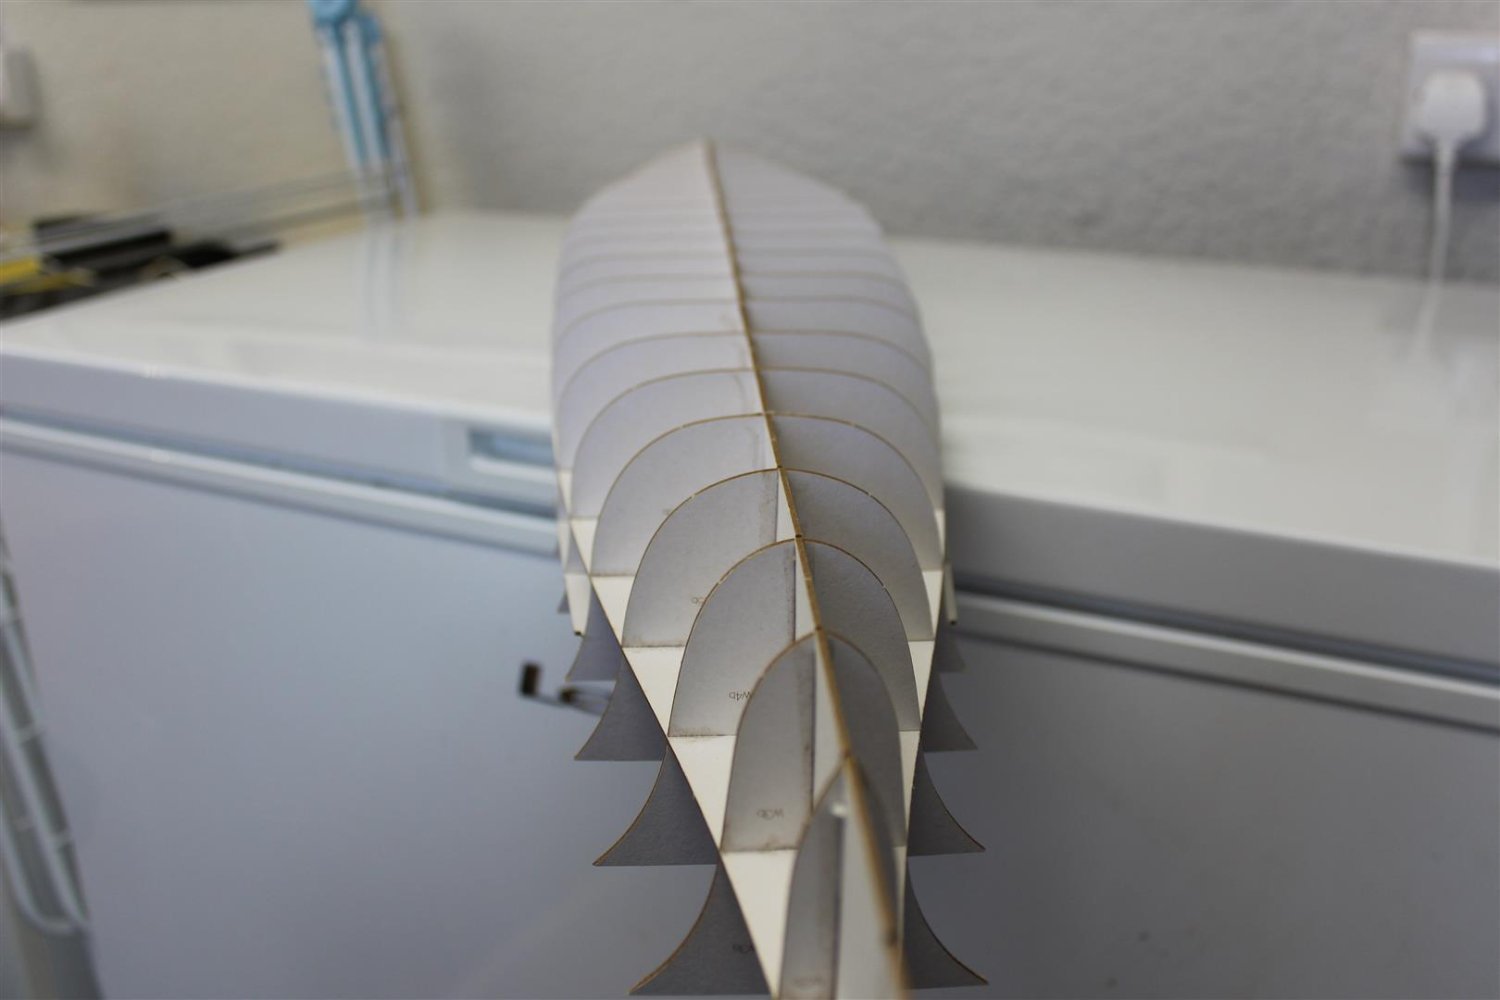
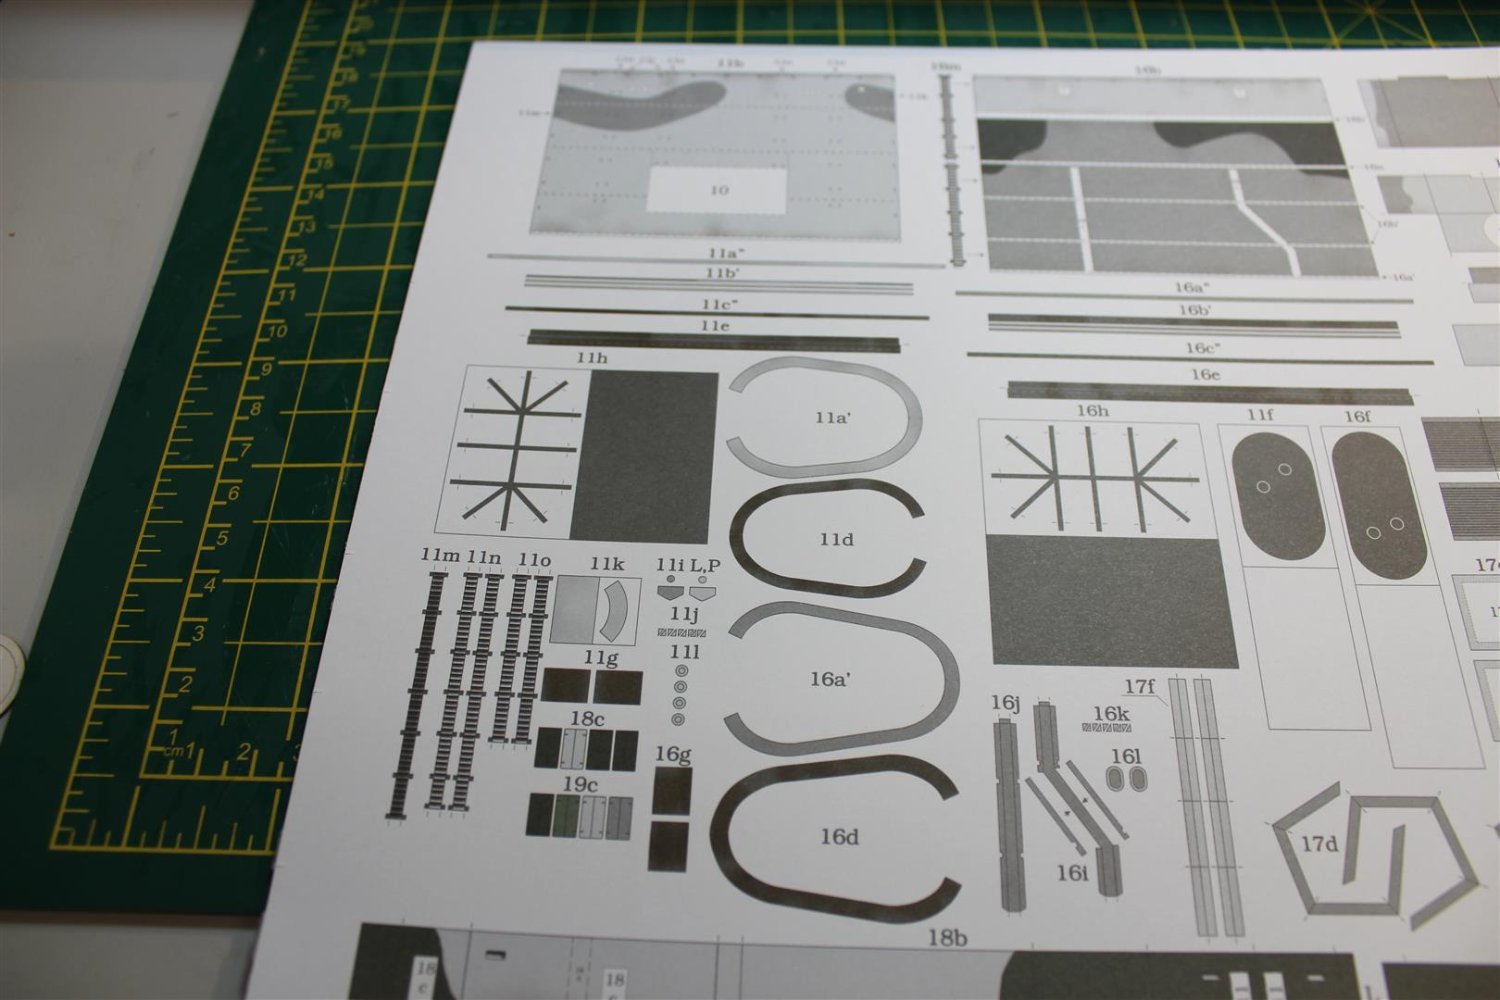
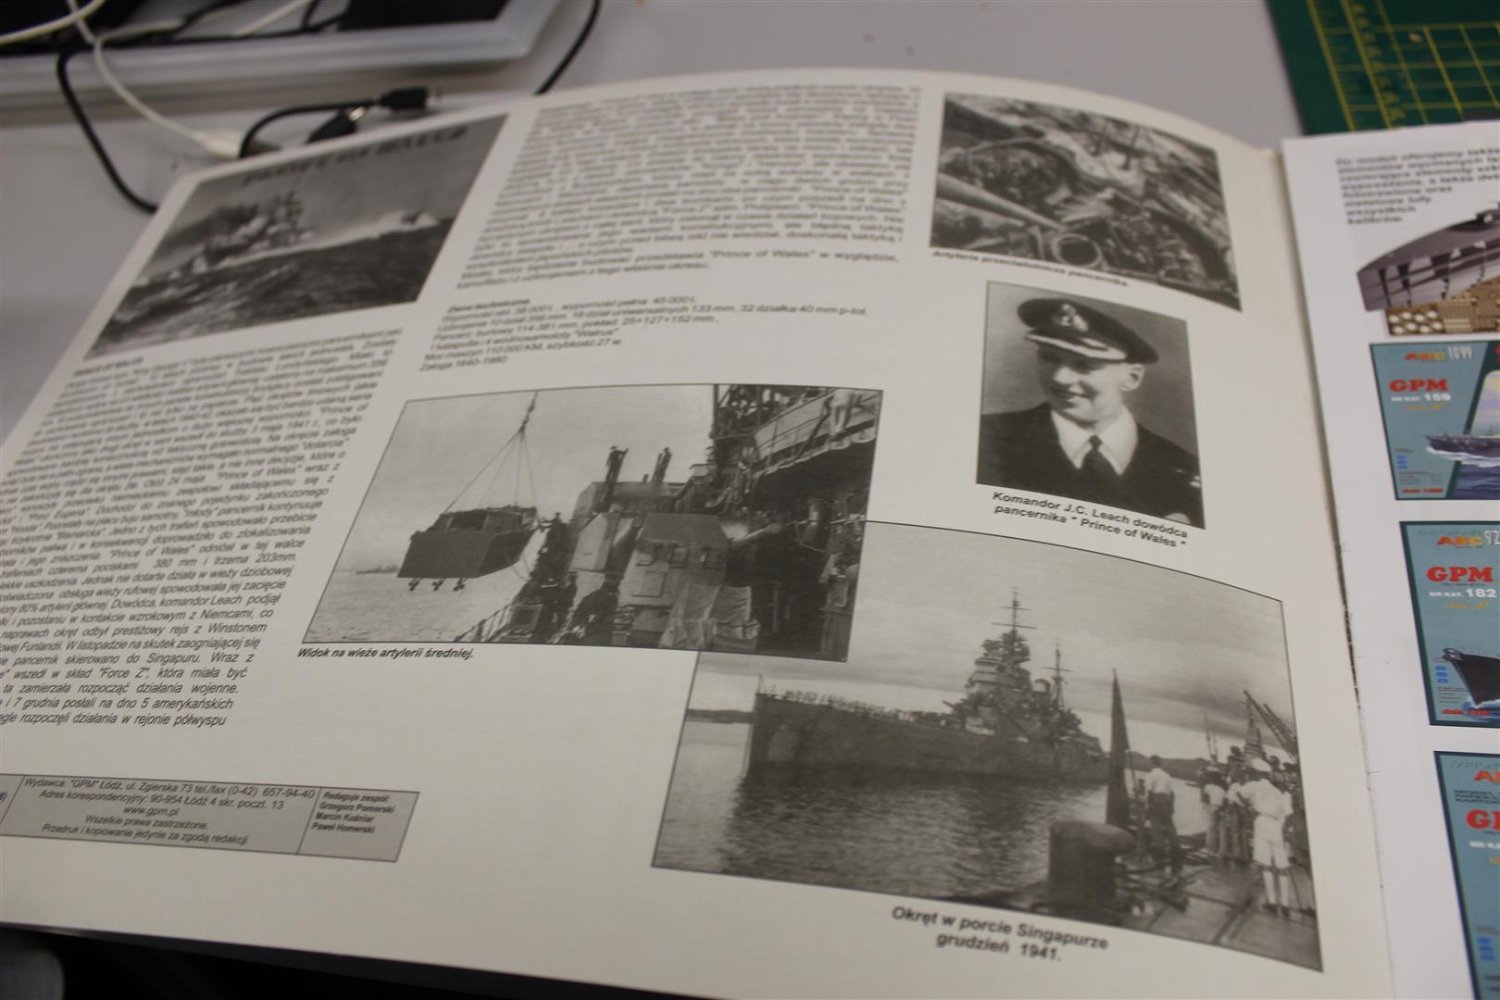
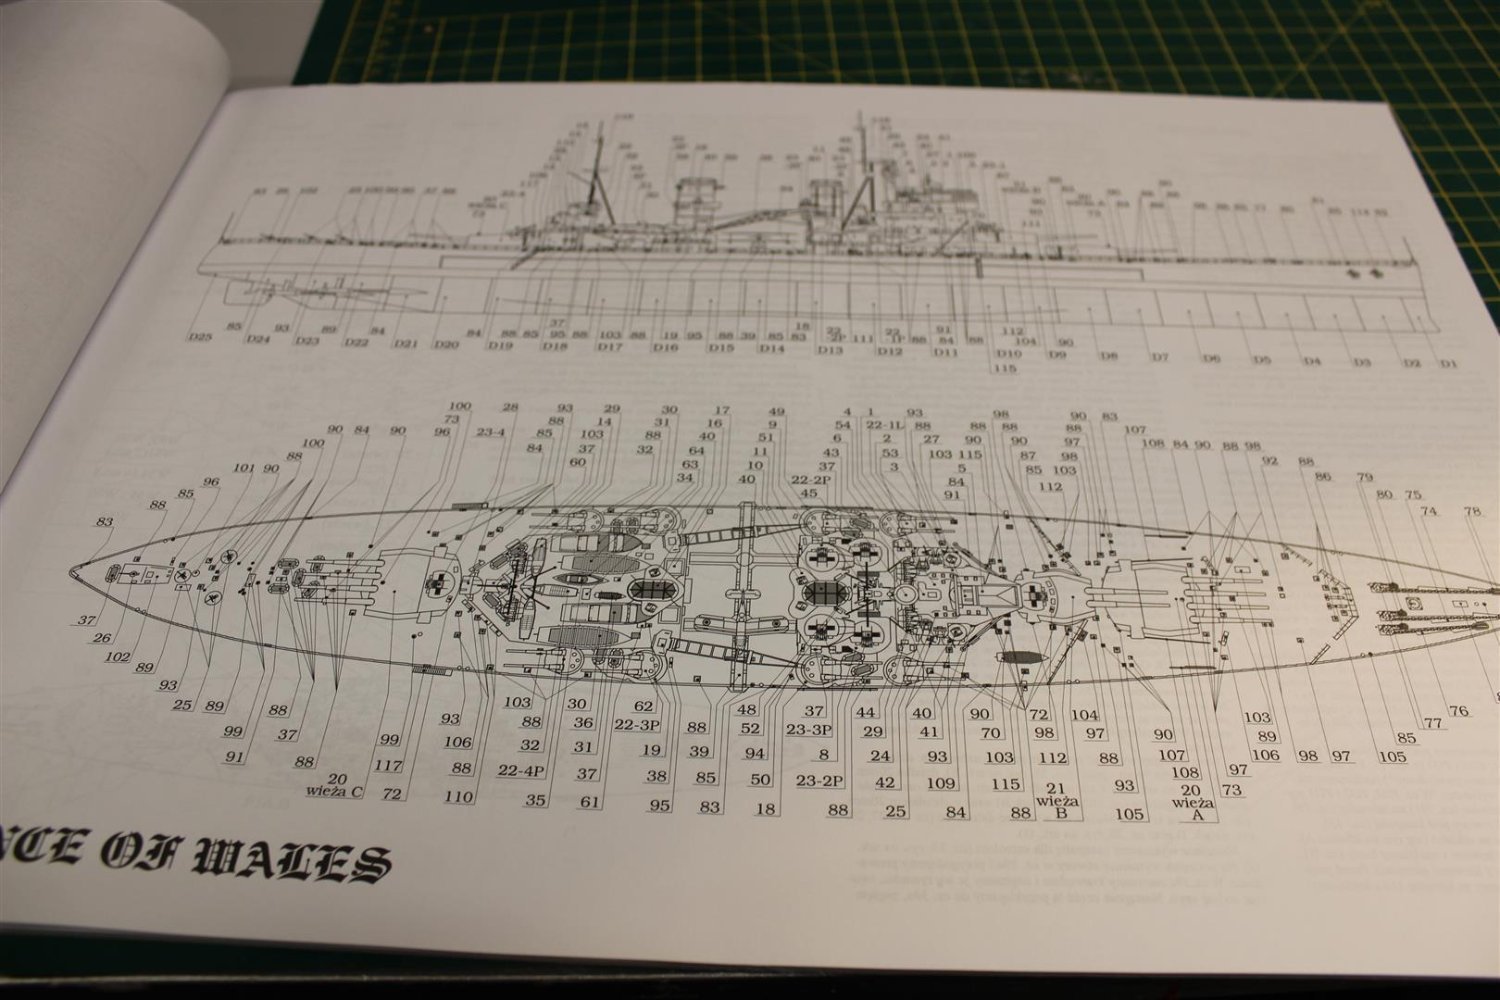
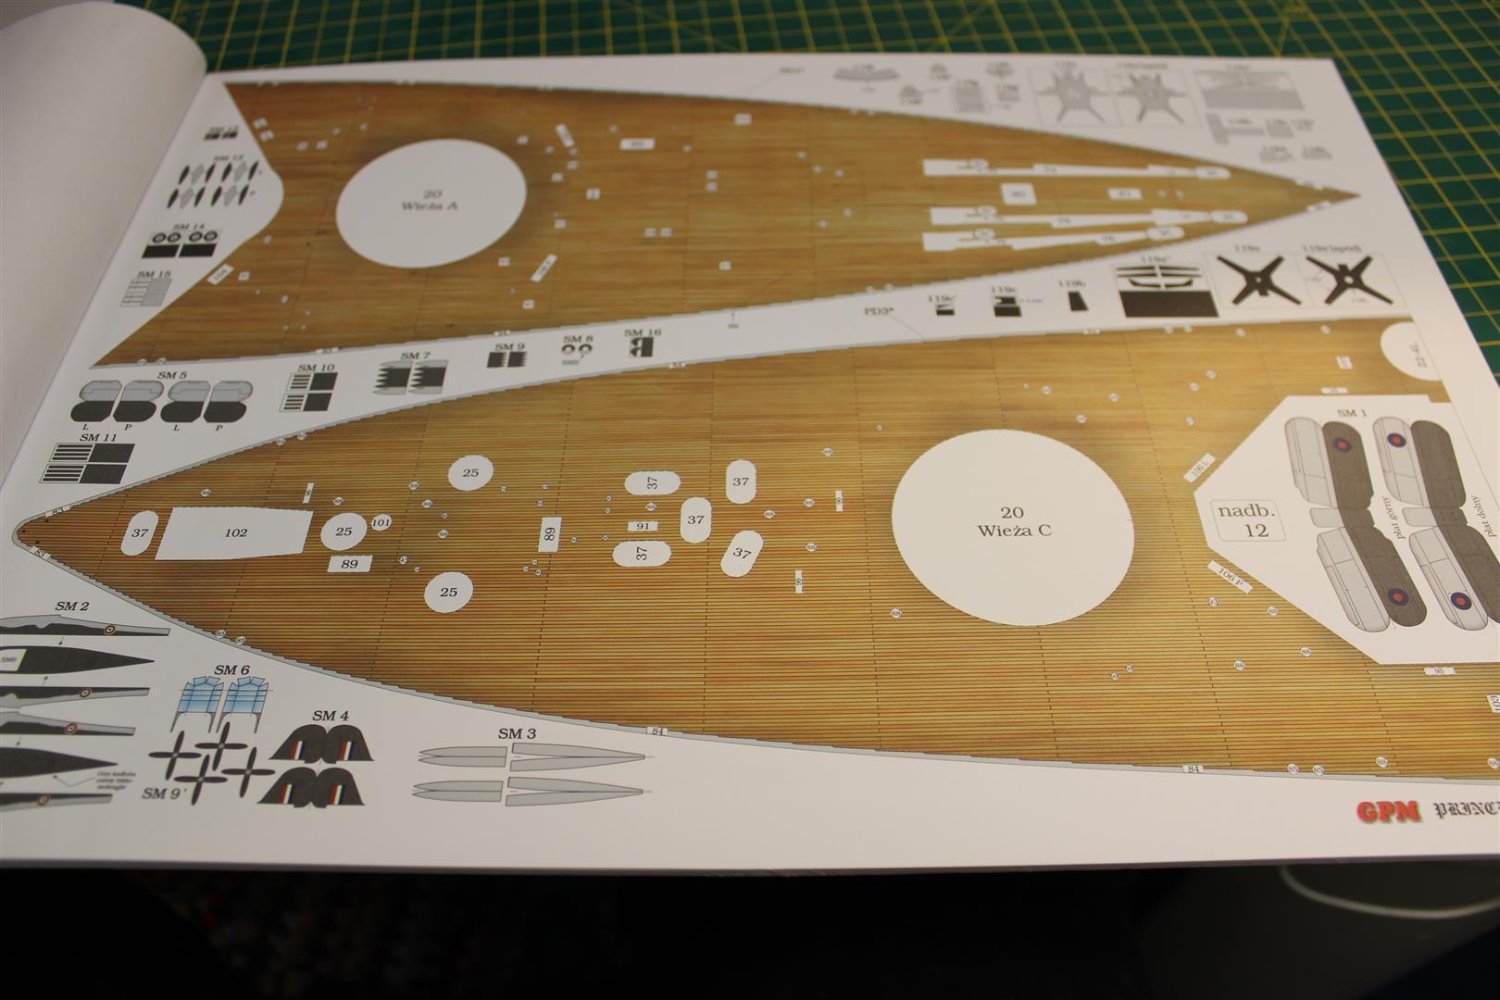
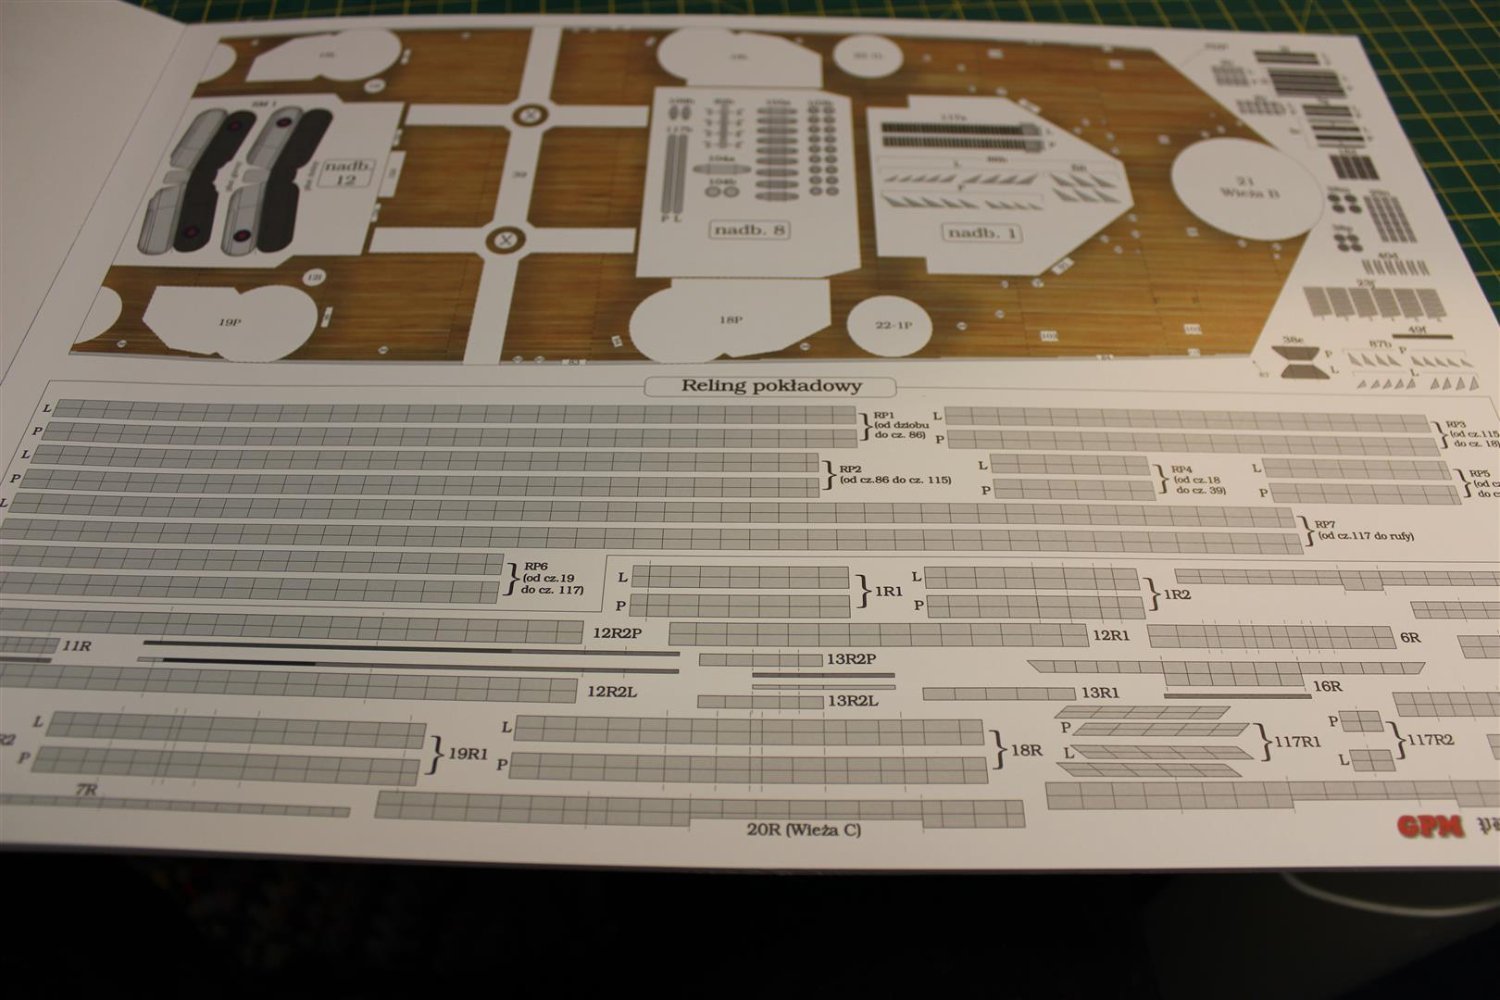
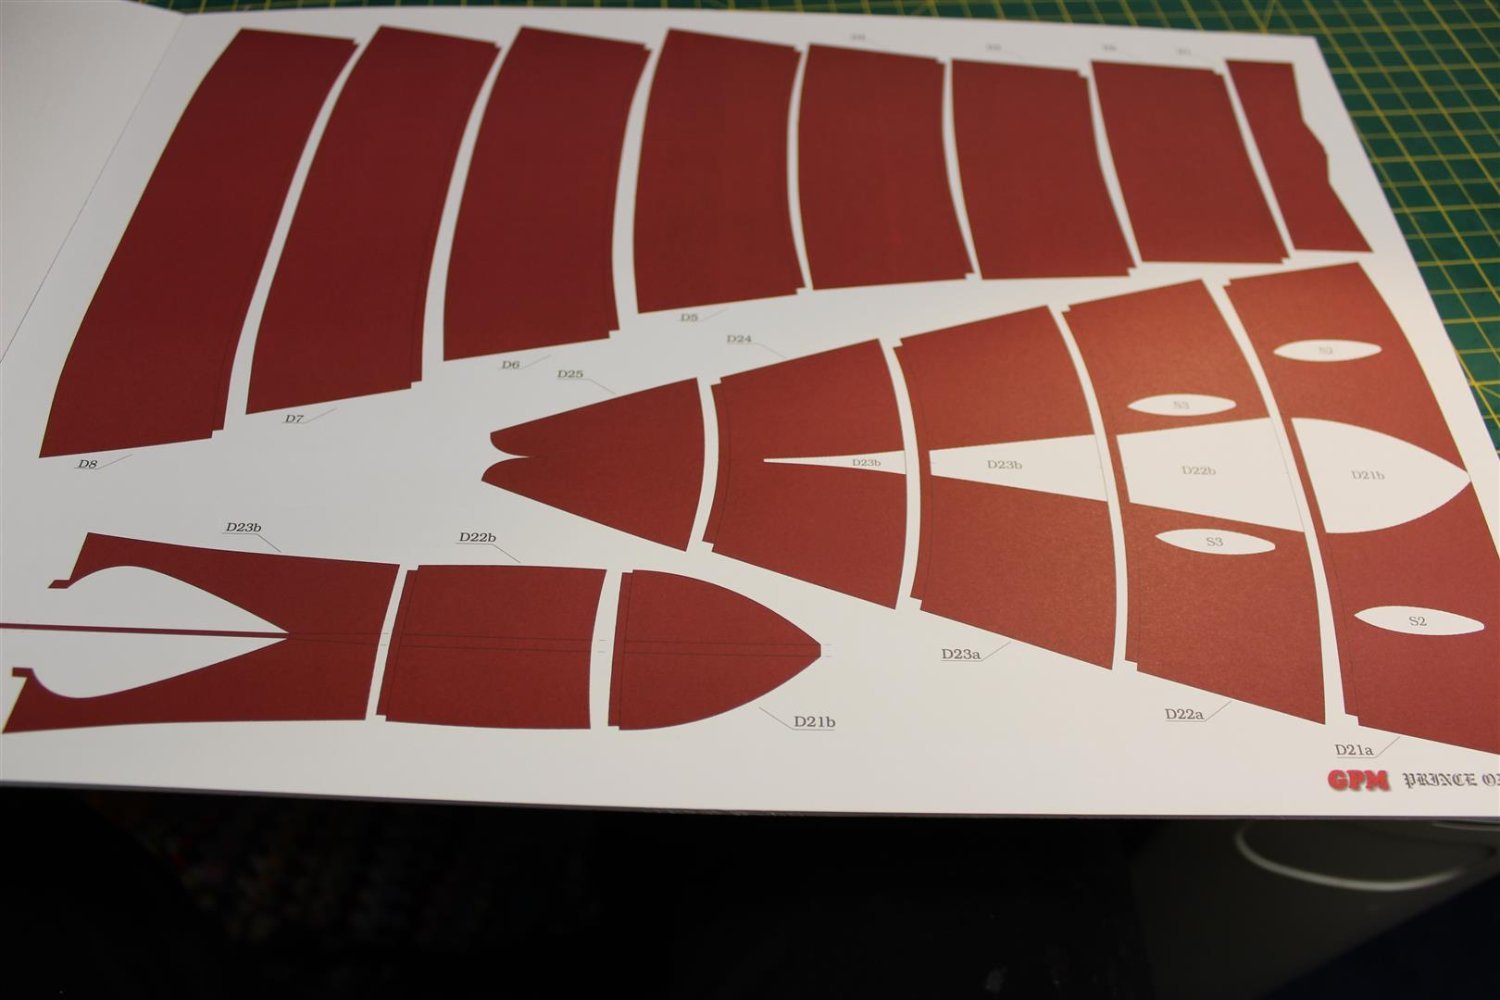
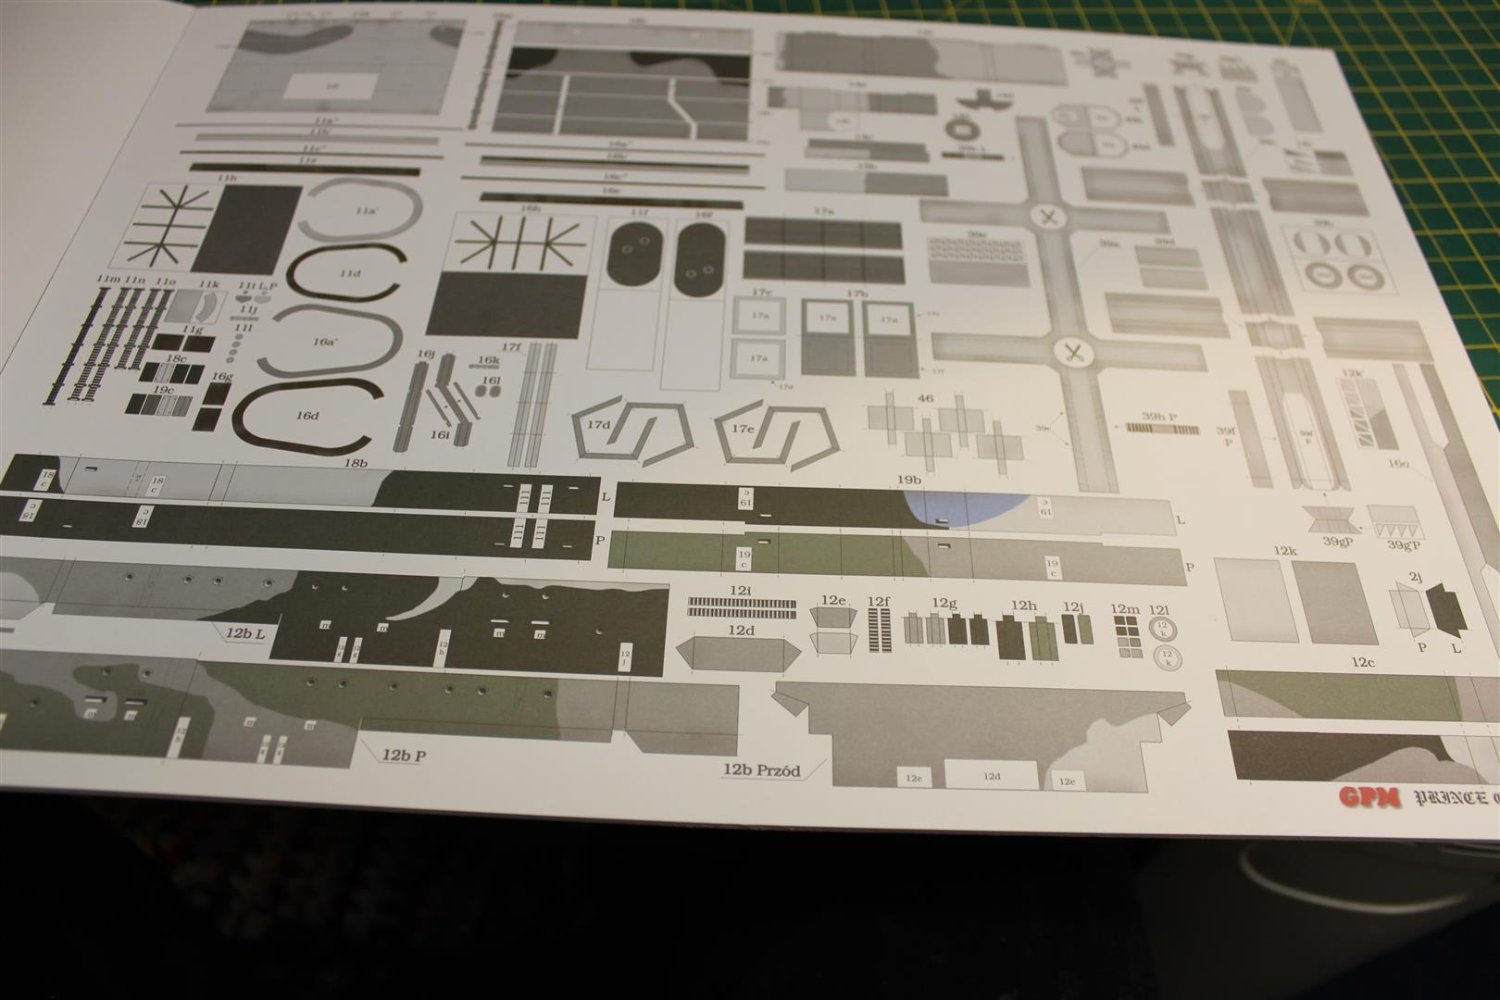
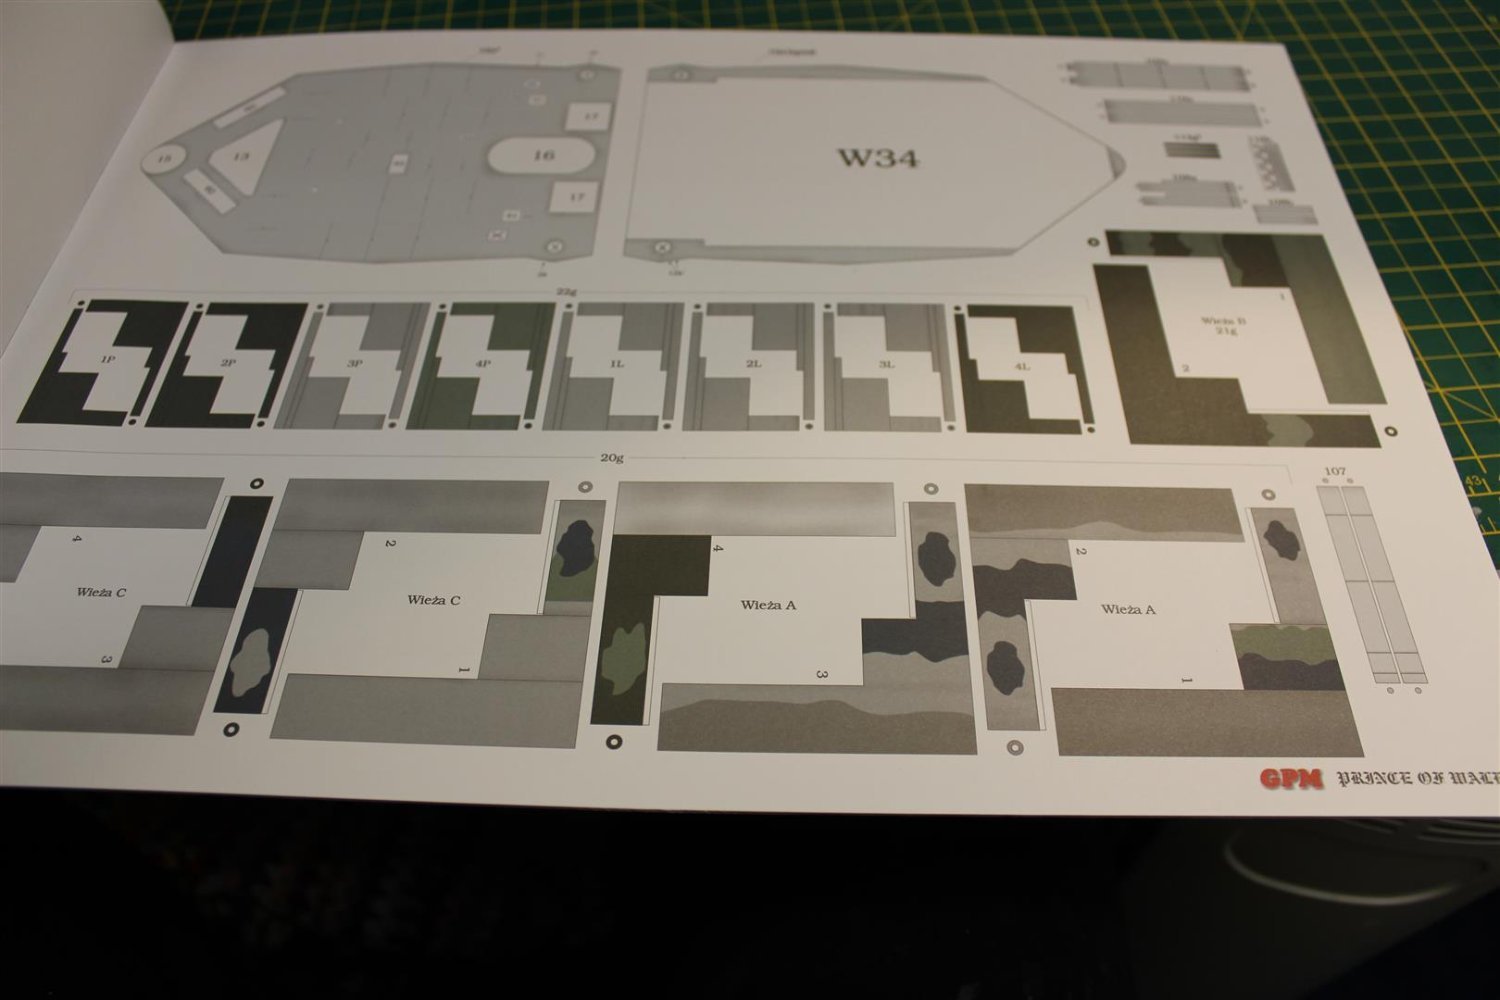
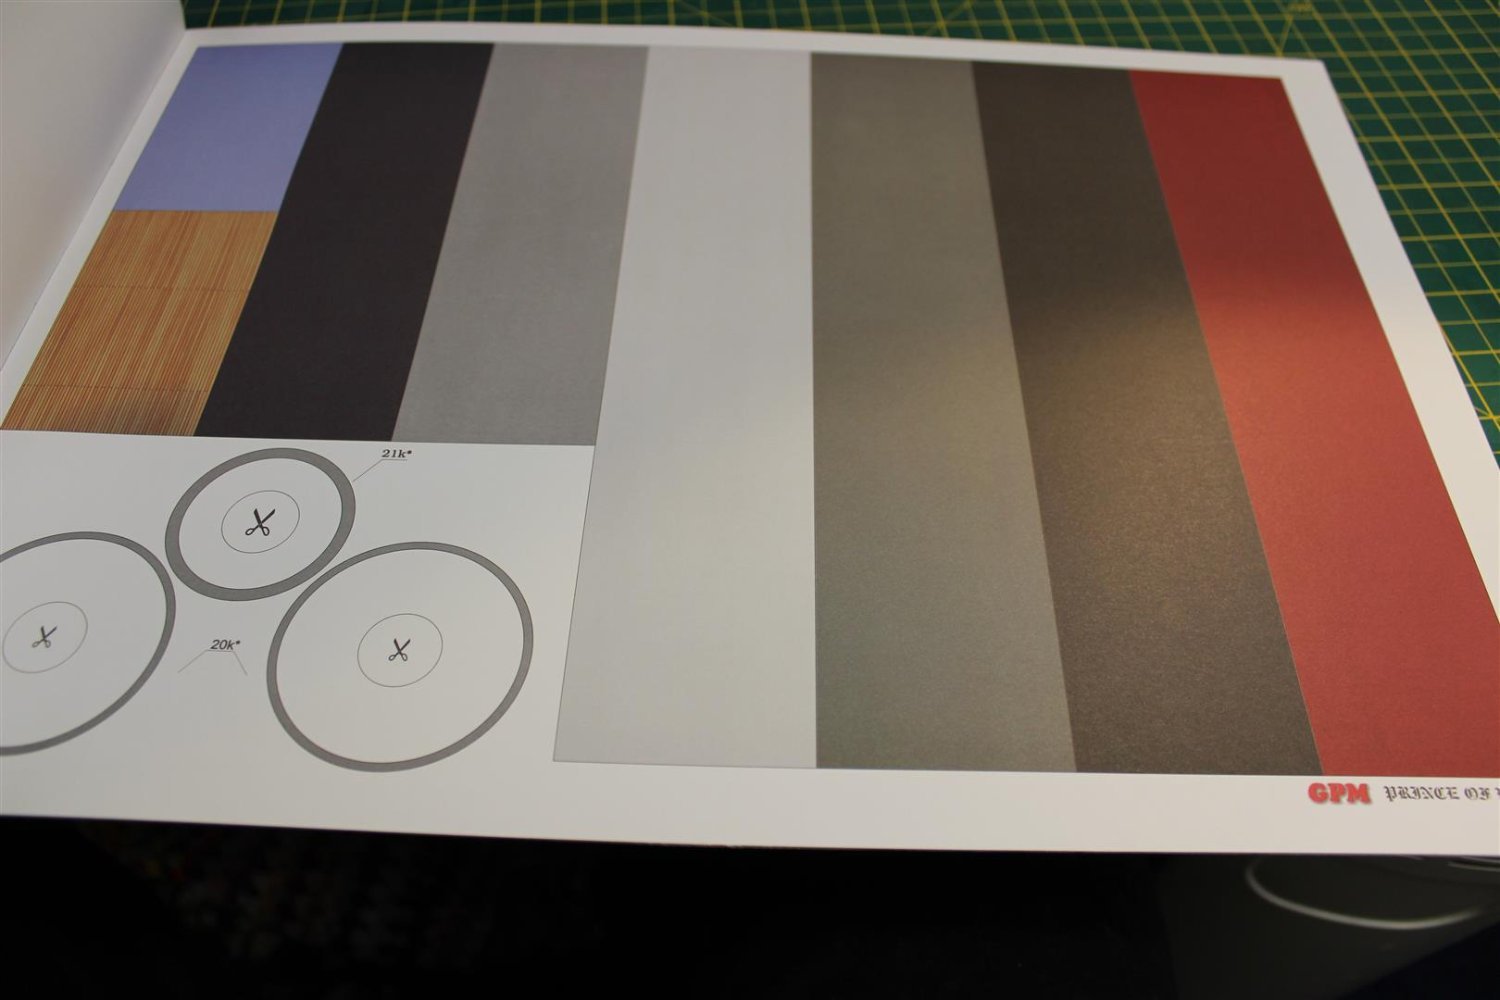
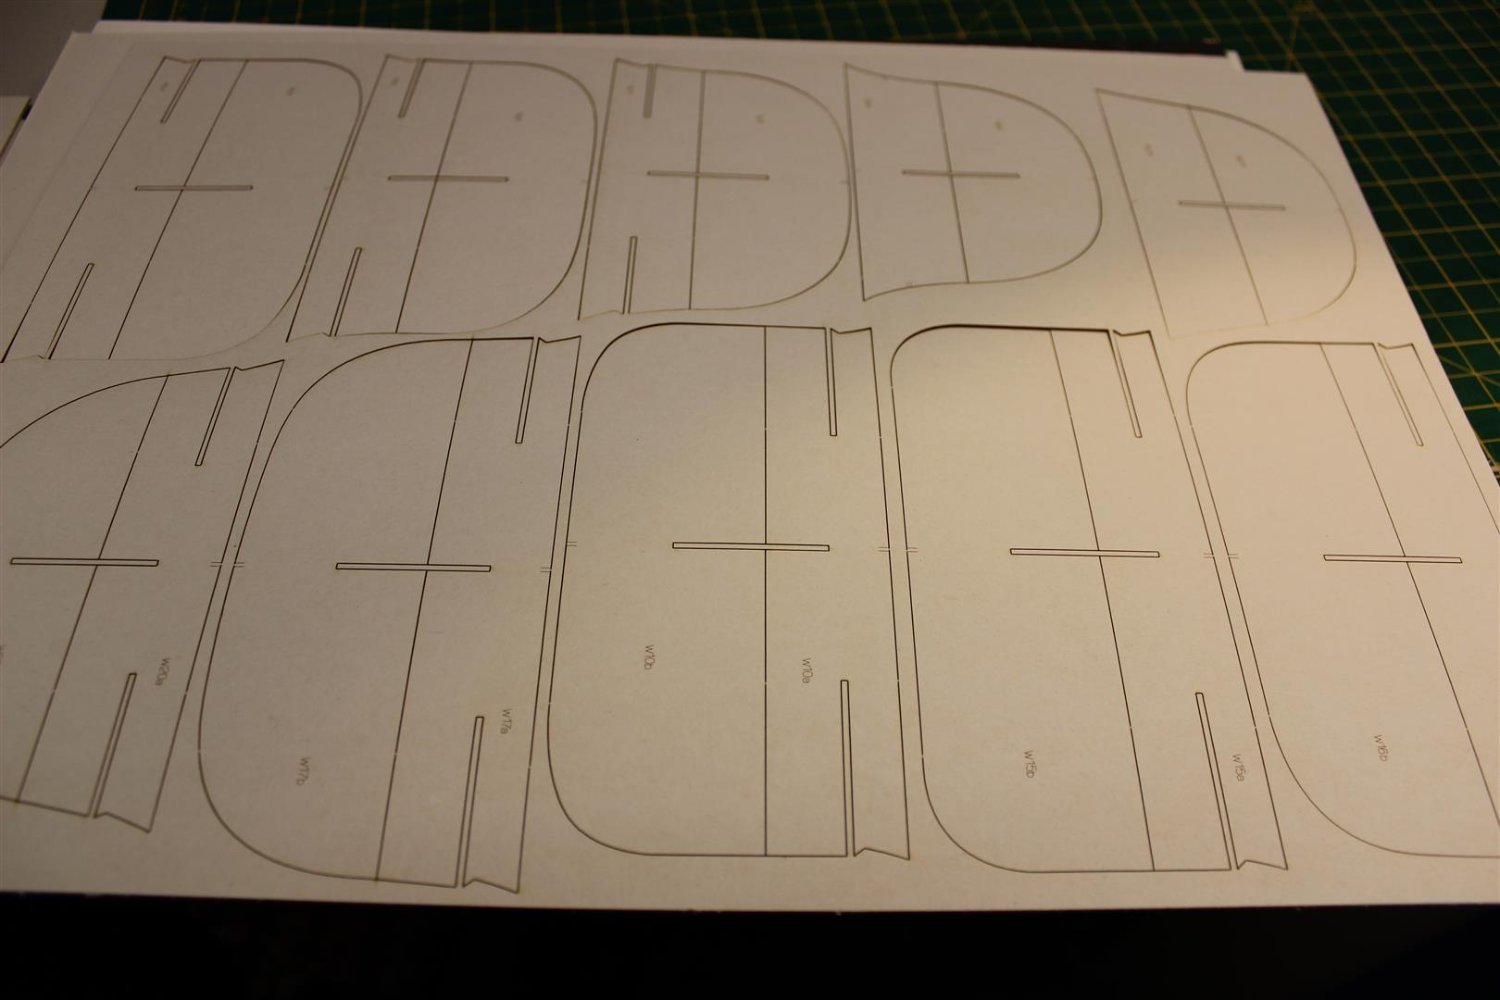
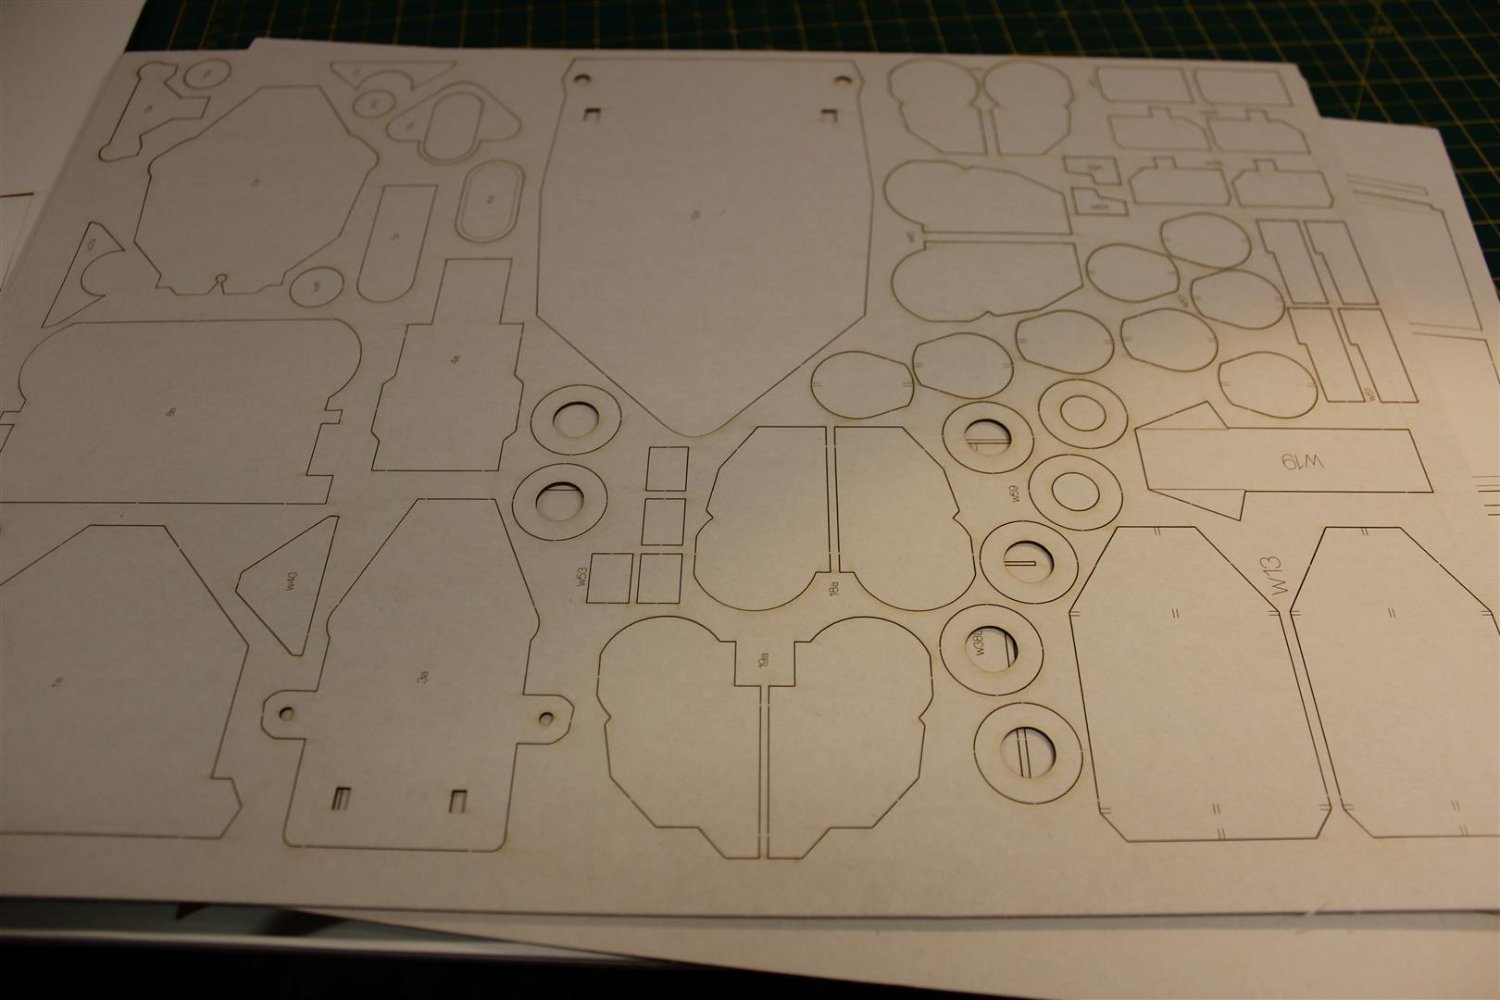
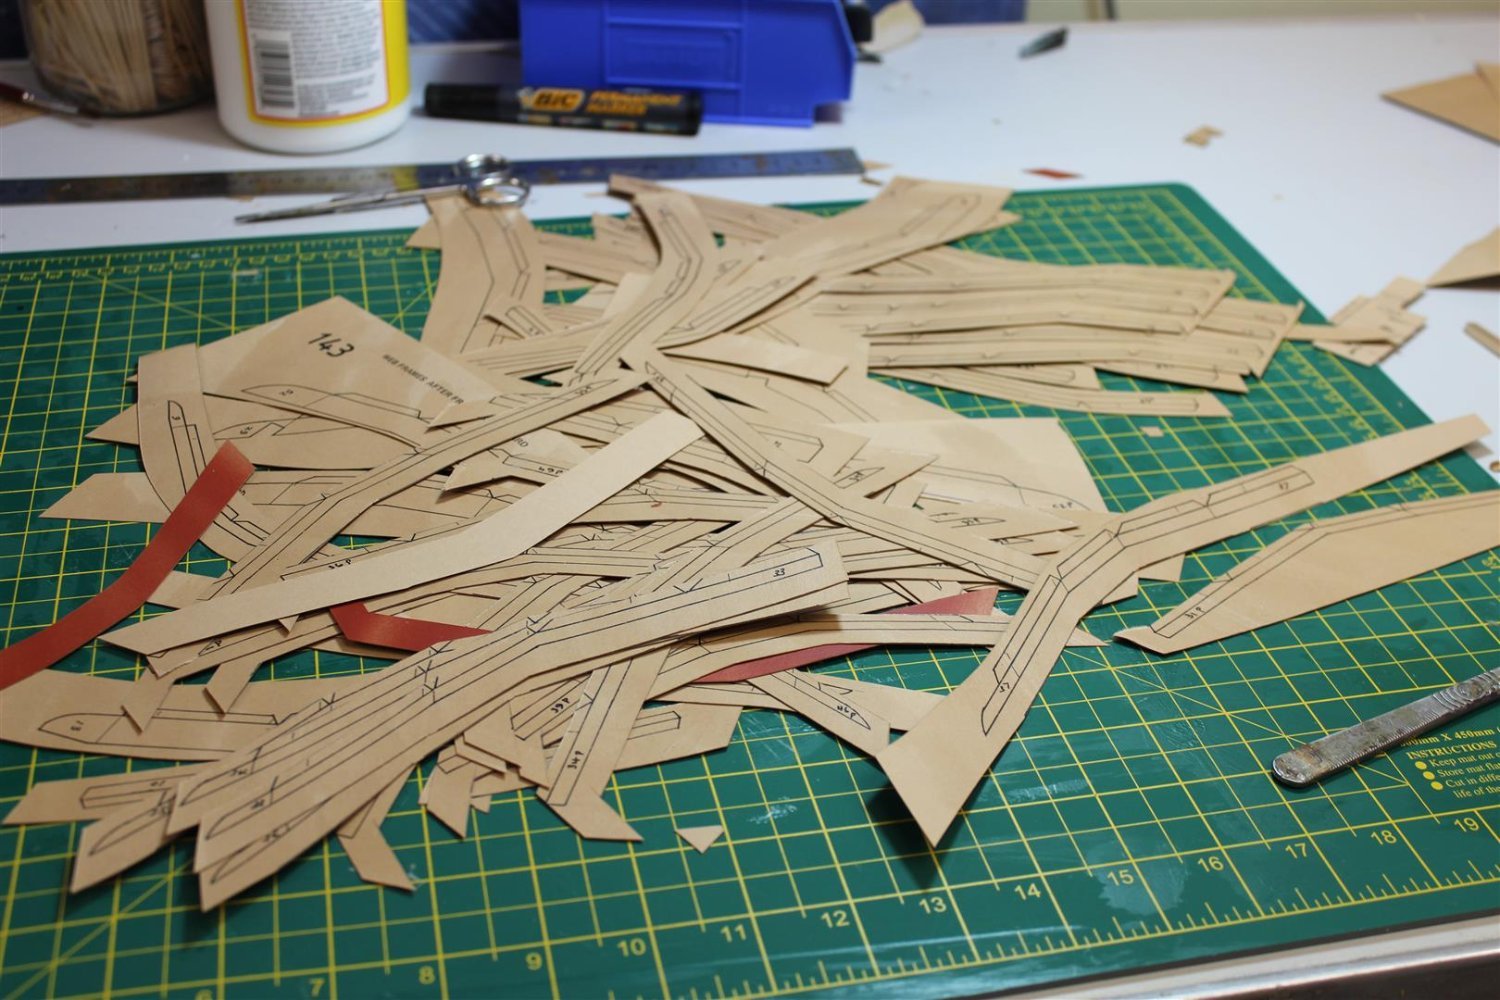
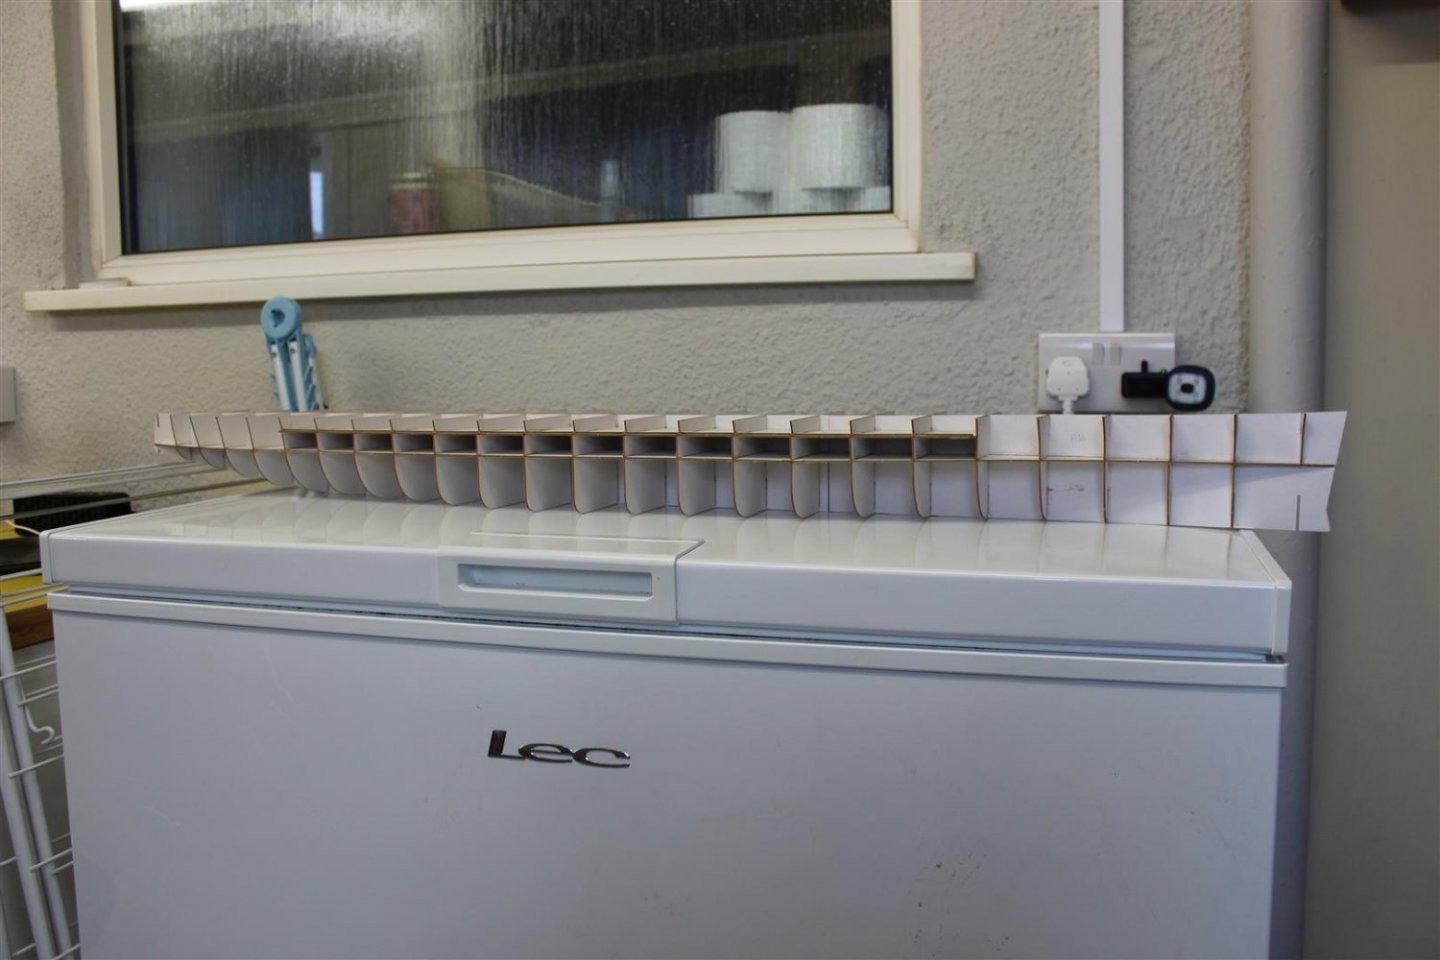
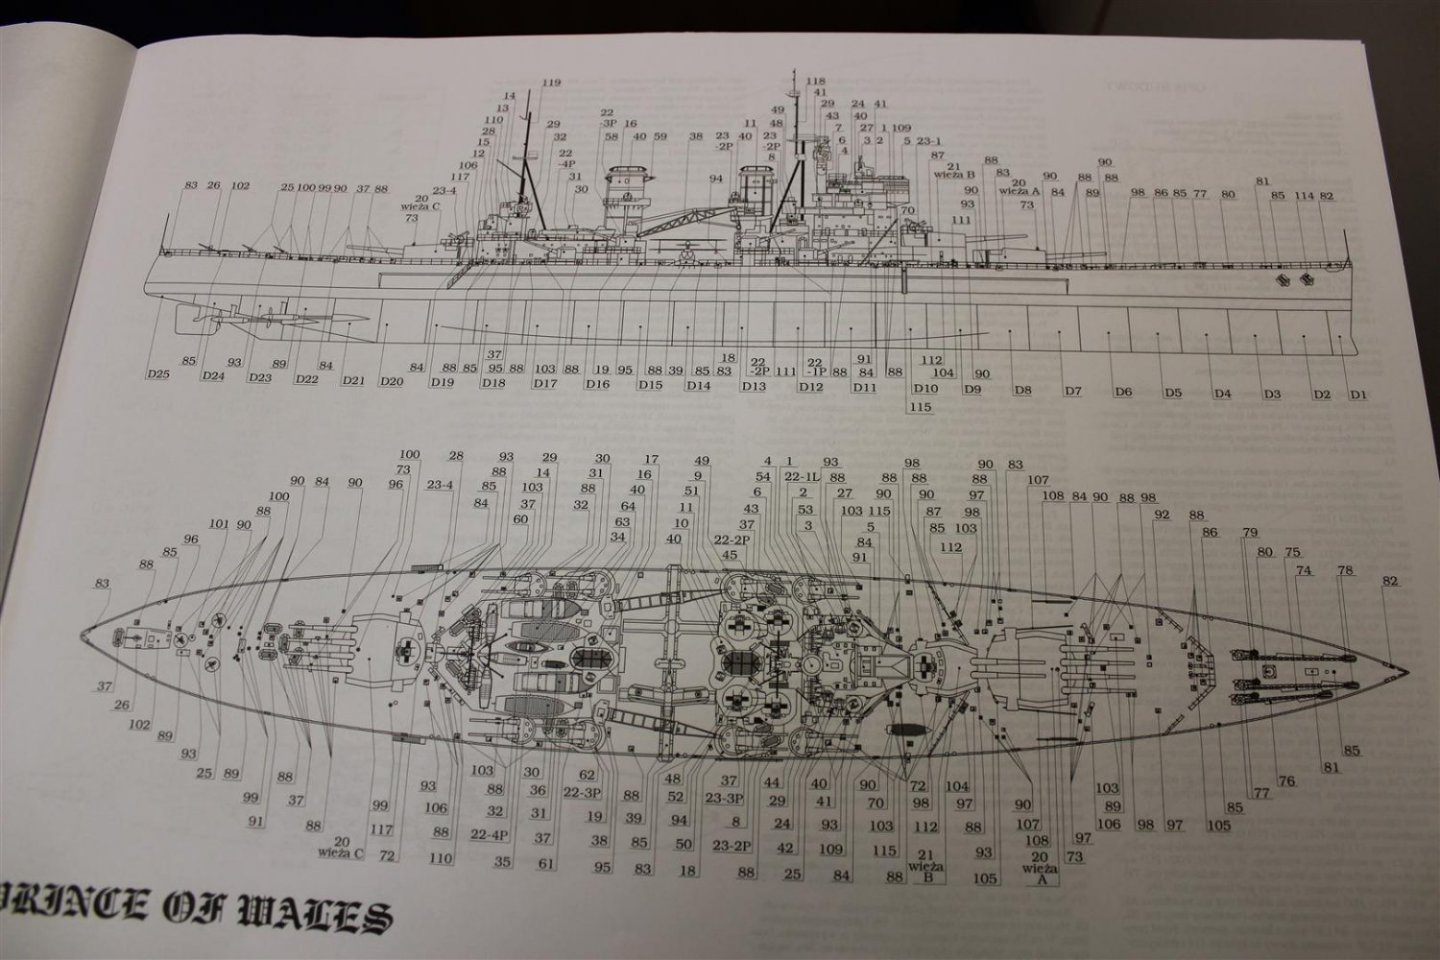
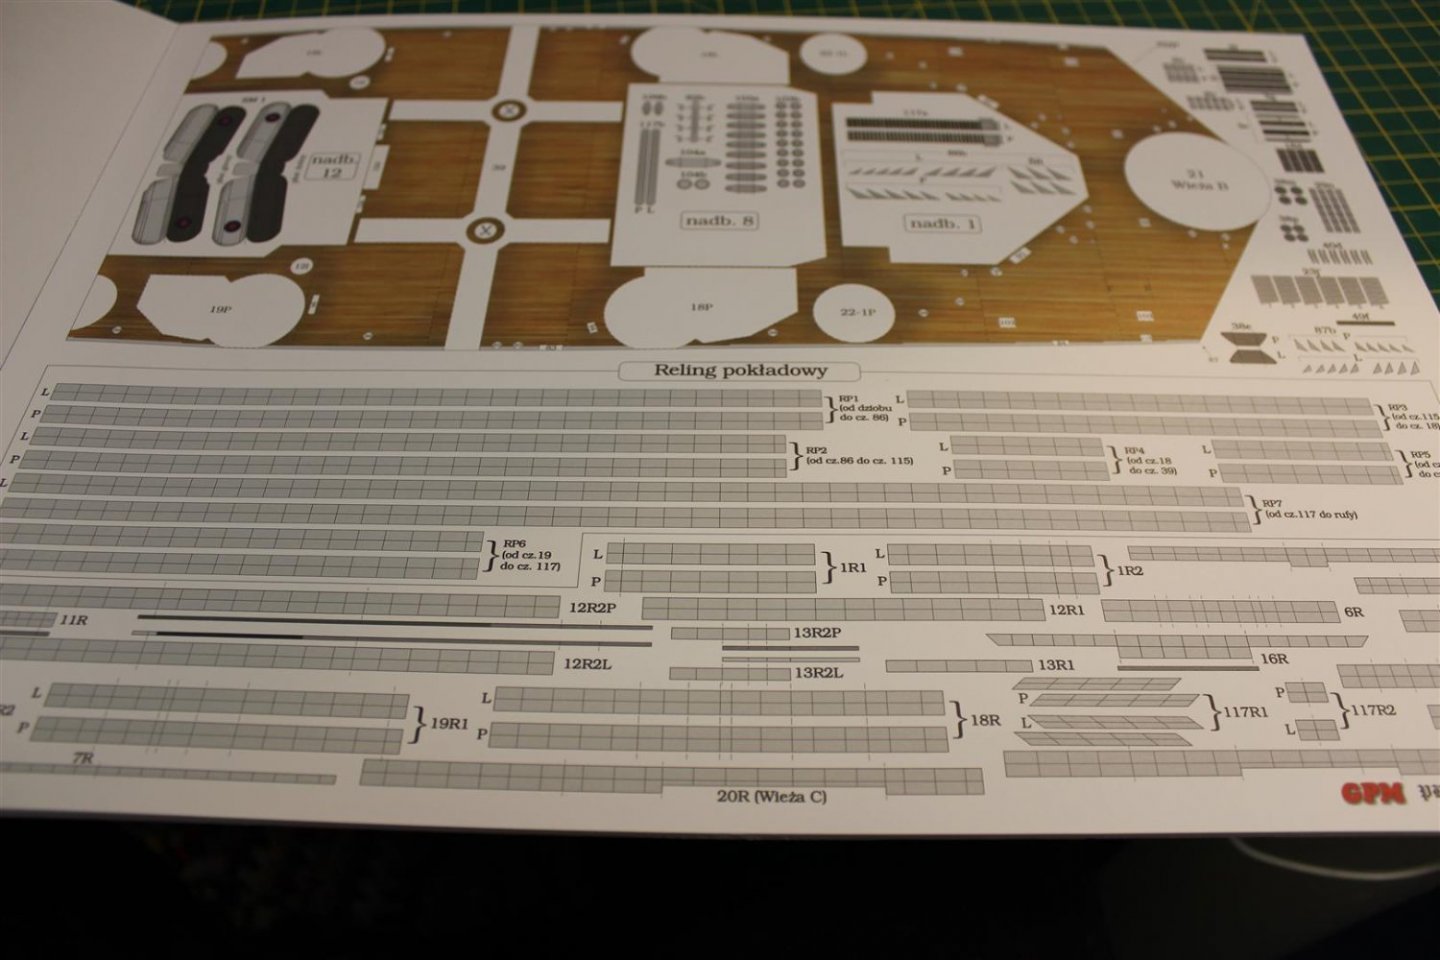
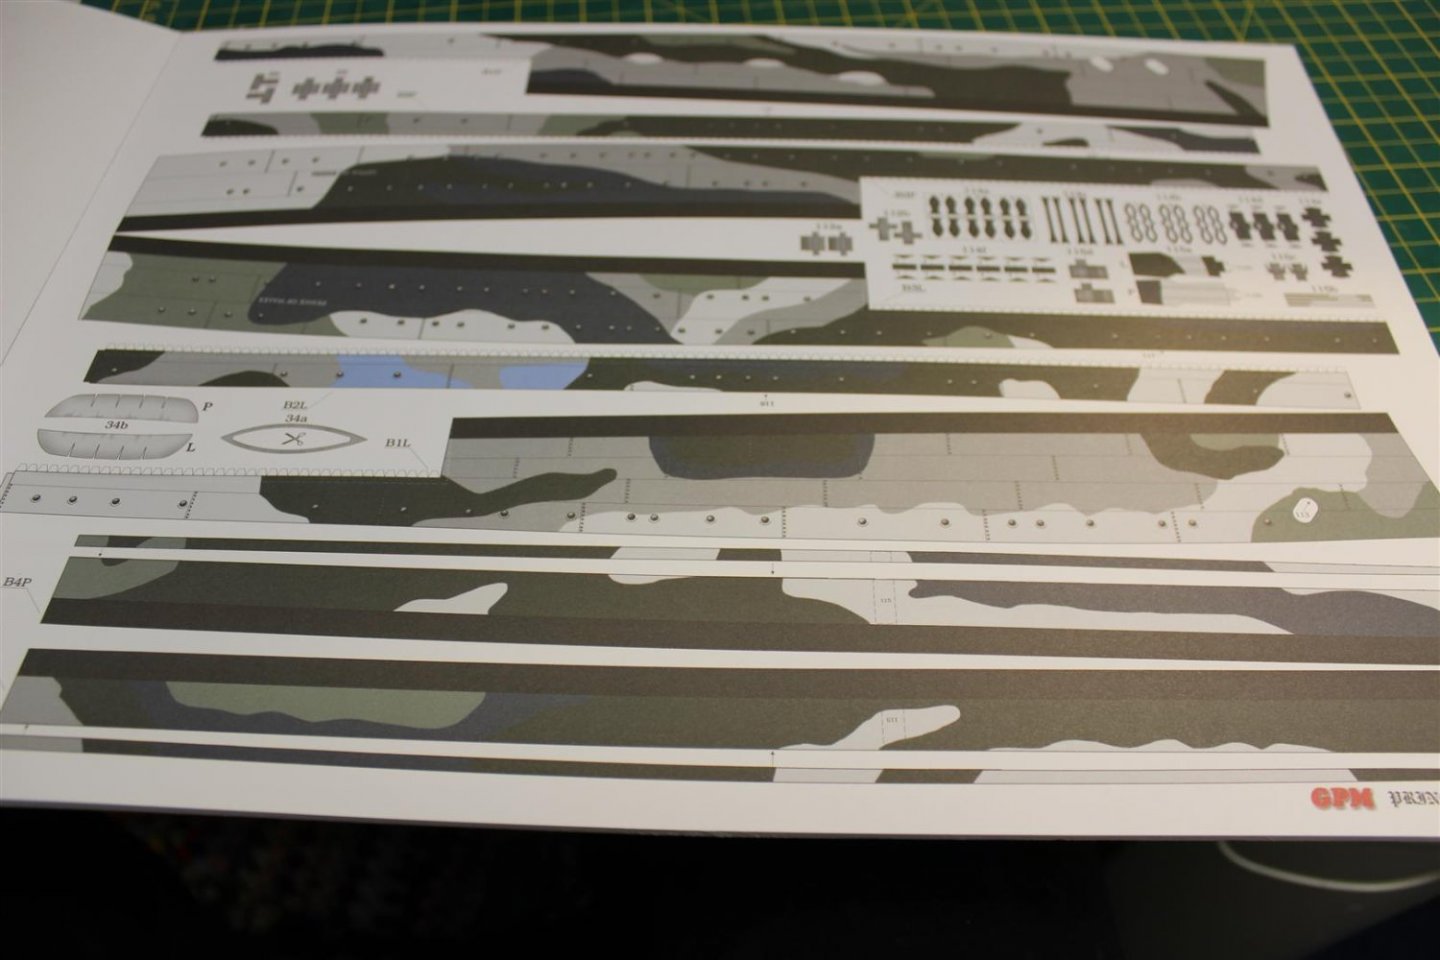
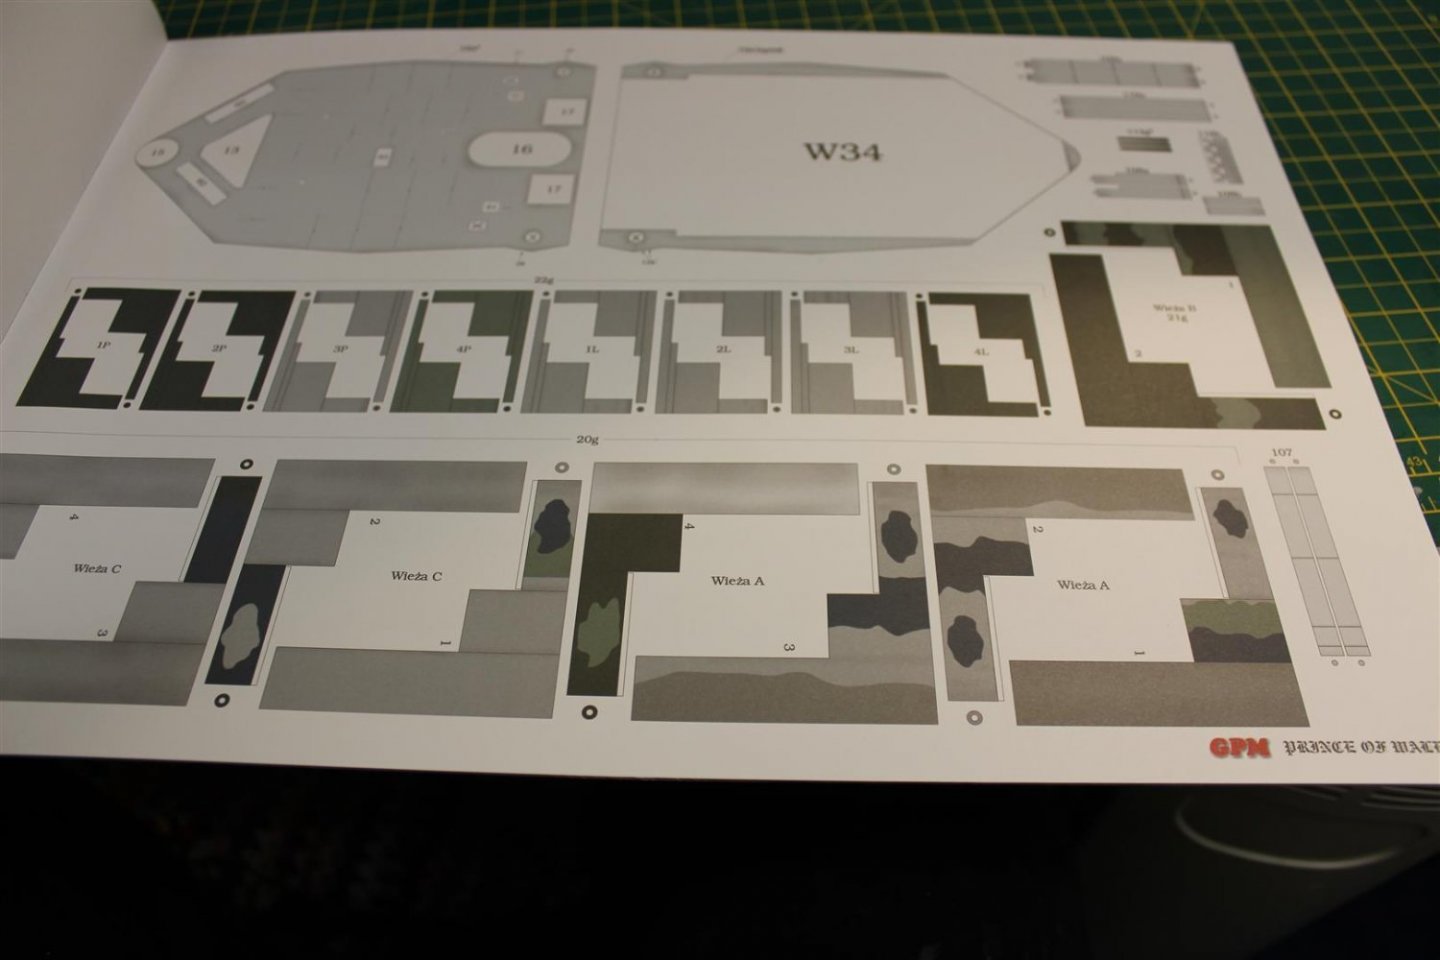
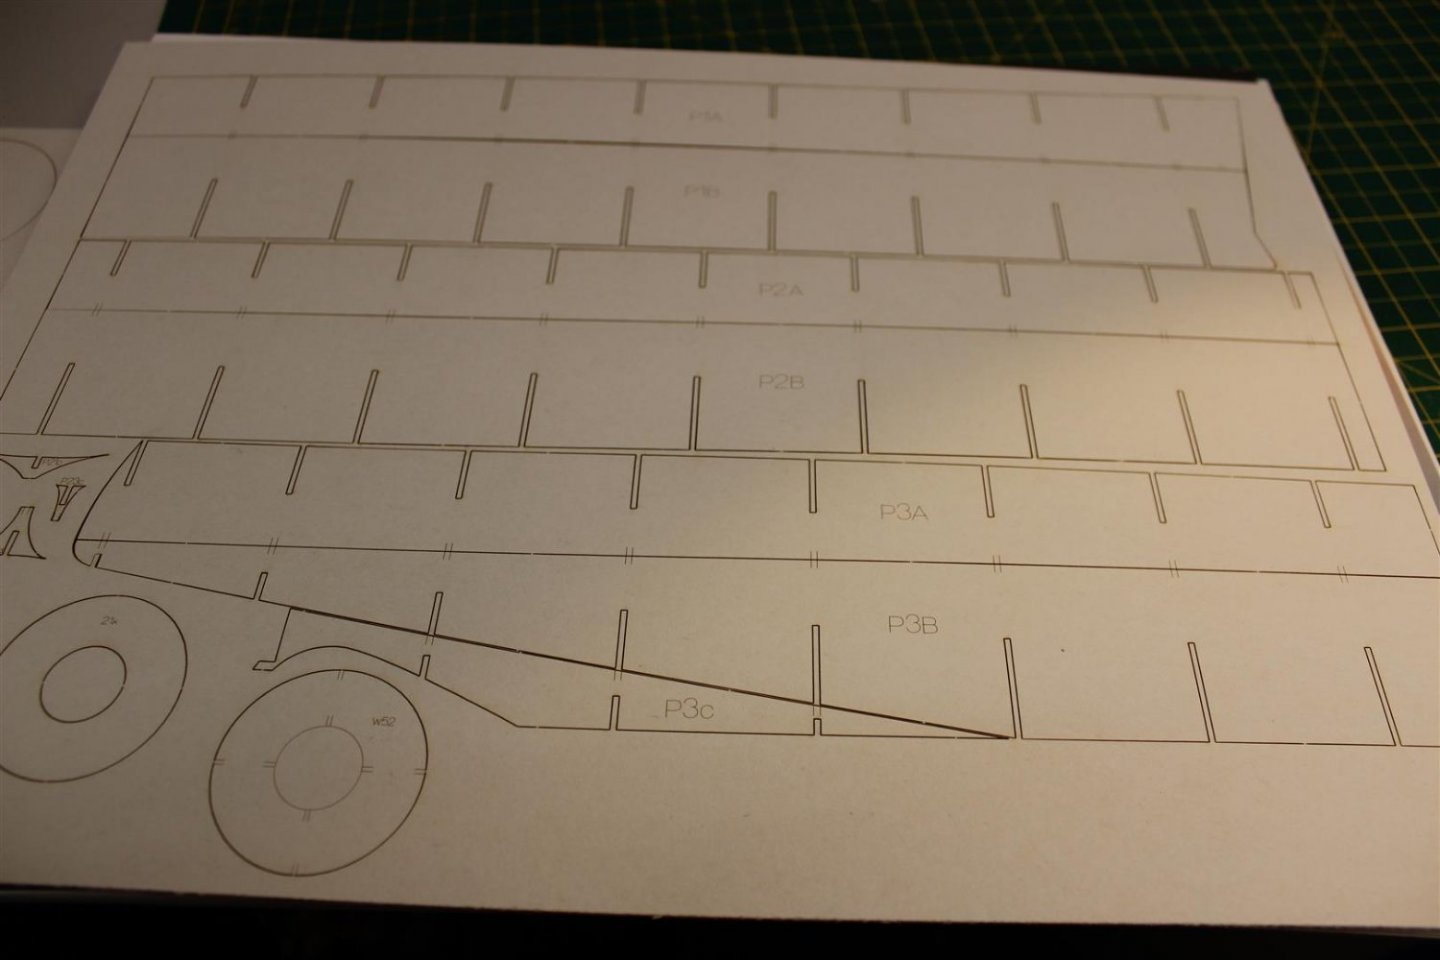
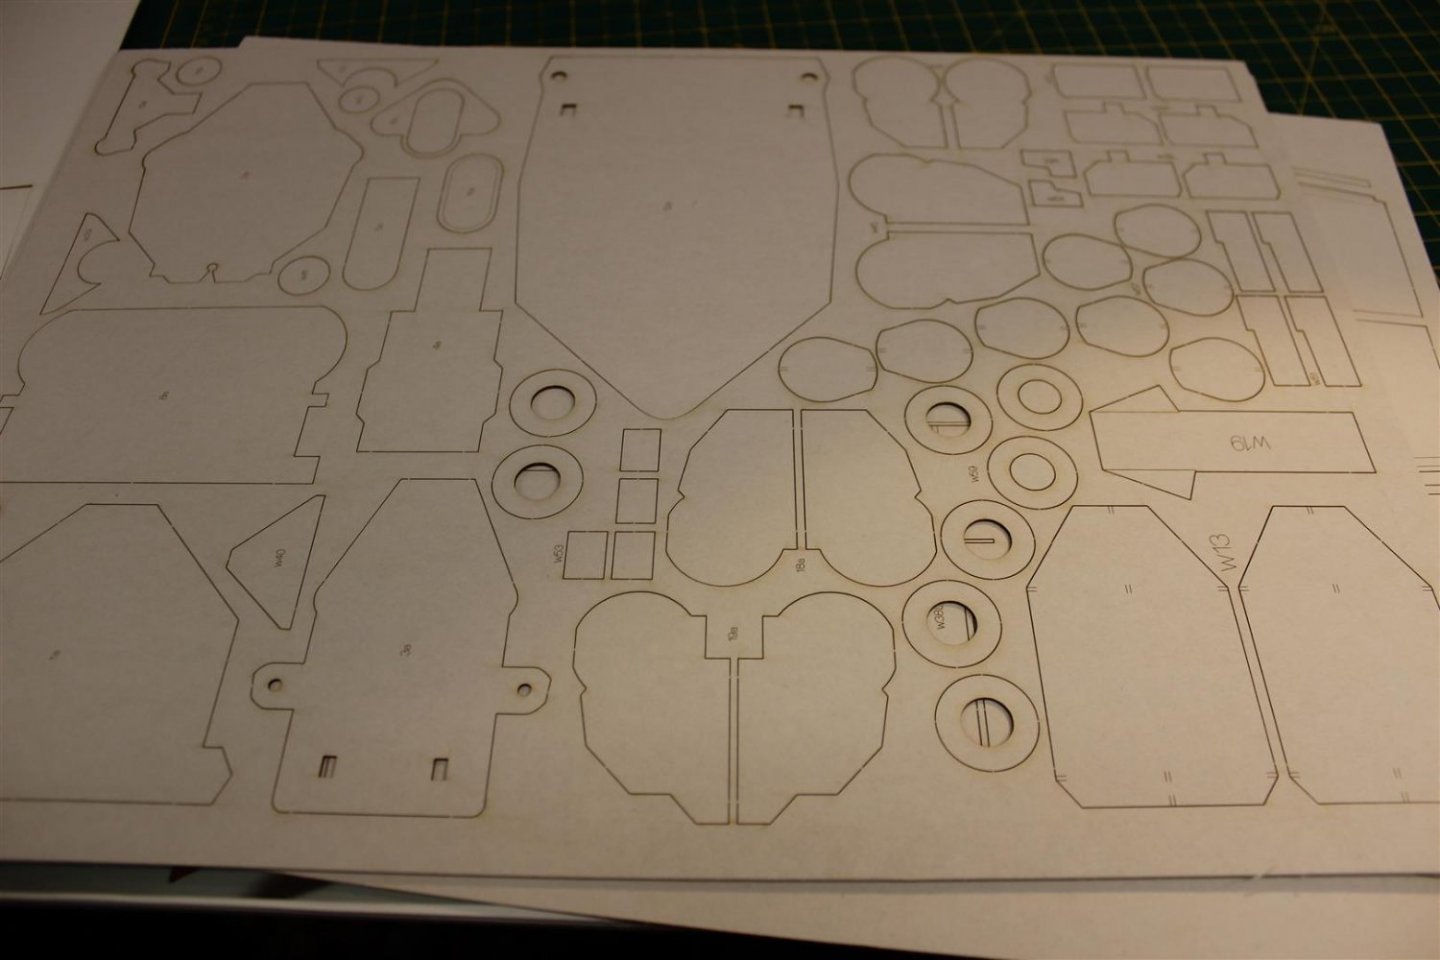
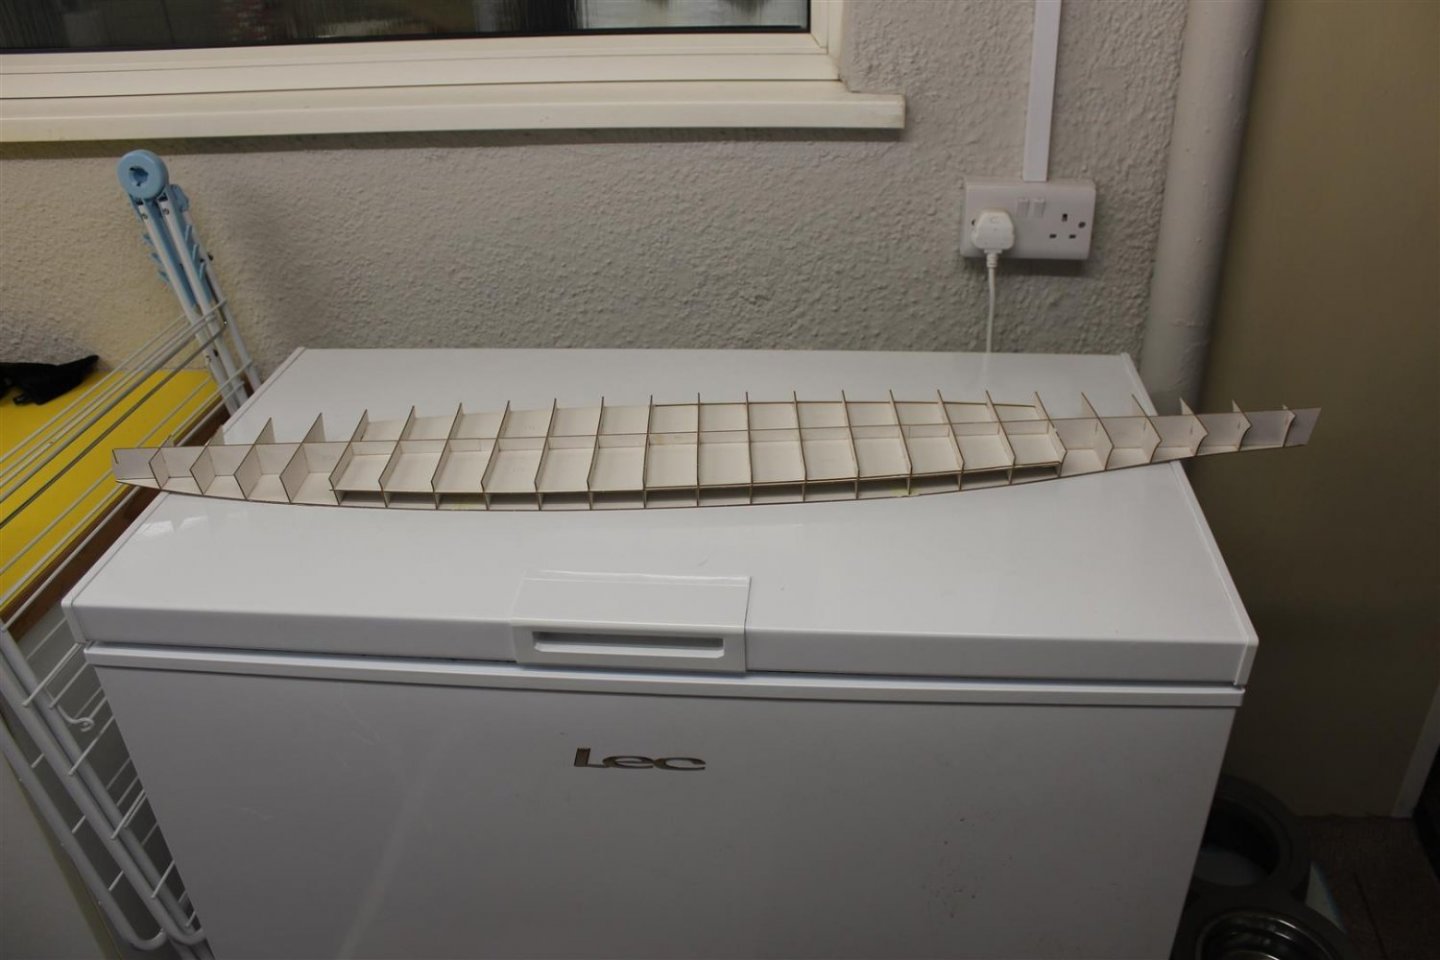
this is a 1/200 card/paper kit from GPM, it comes with the hull and superstructure in laser cut formers, which are marked very well to place the bulkheads the large book contains lots of instructions (all in Polish) (which is my 2nd language NOT) and pages of identifications of the 2nd 1/2 of the book which is the actual kit a few photos to show contents and a start has been made, yep bigger than the freezer


- 24 replies
-
- 11
-
-

-
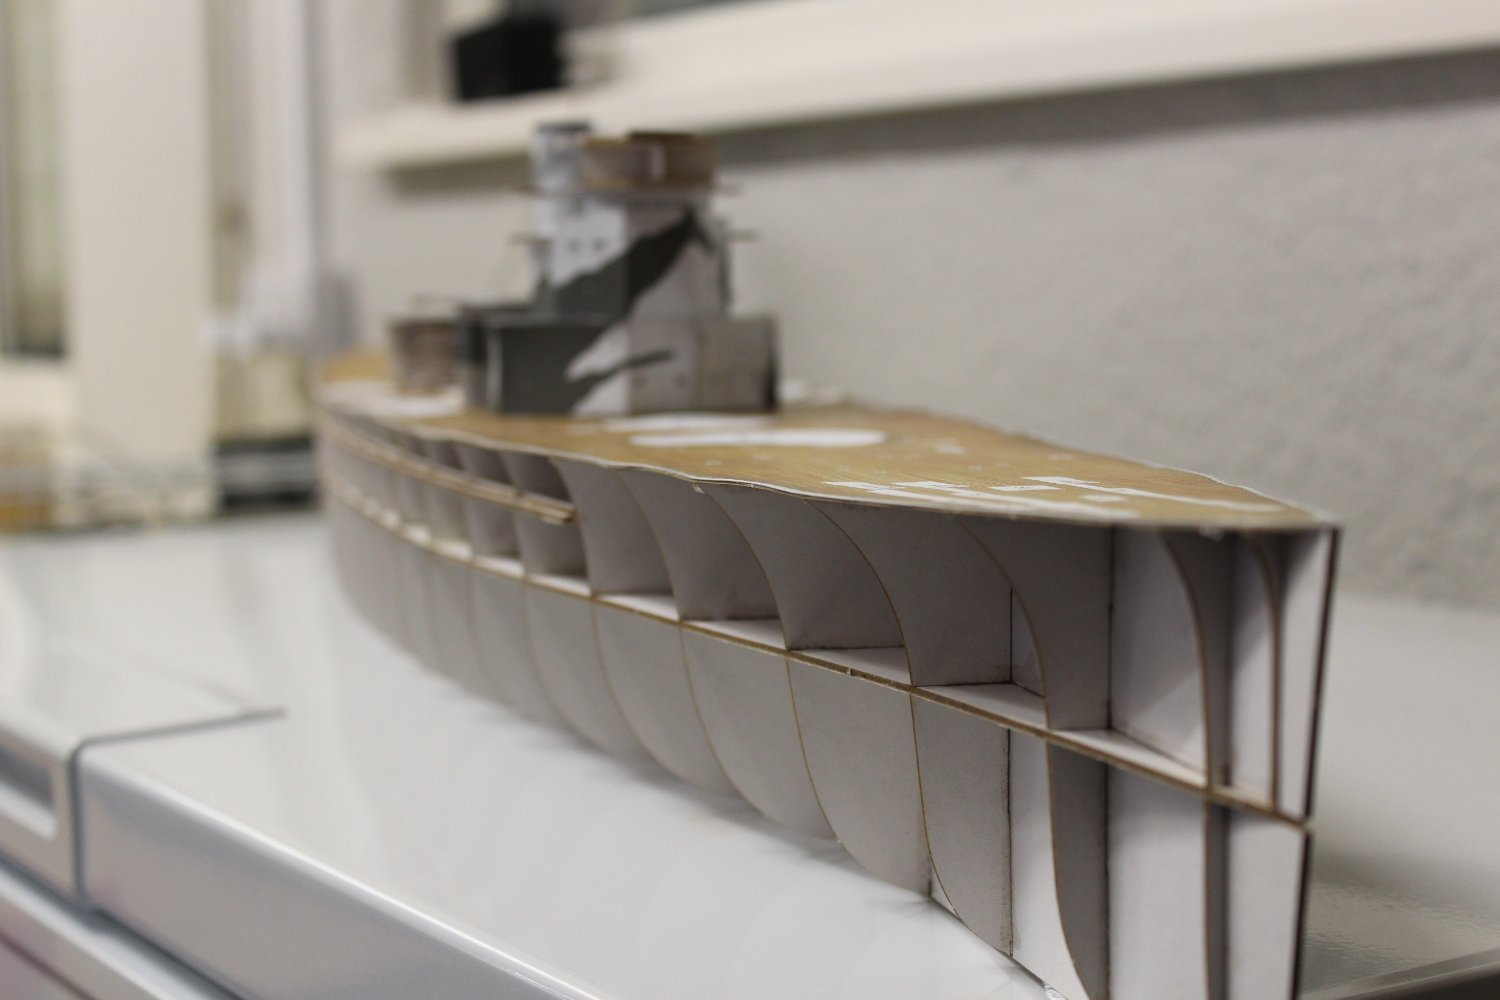
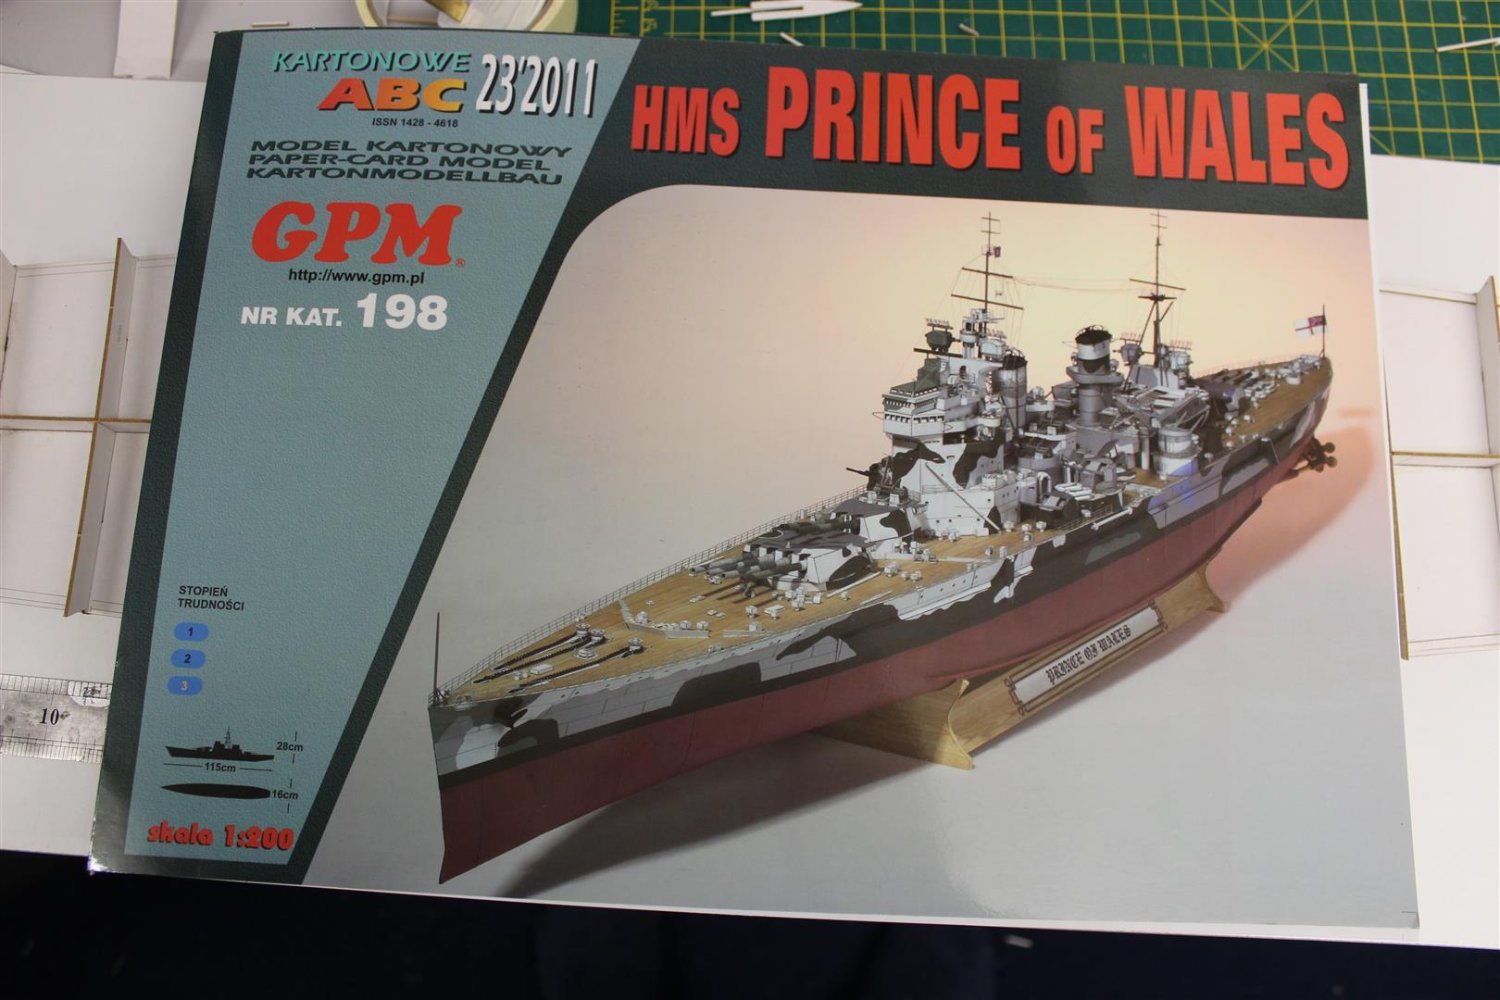
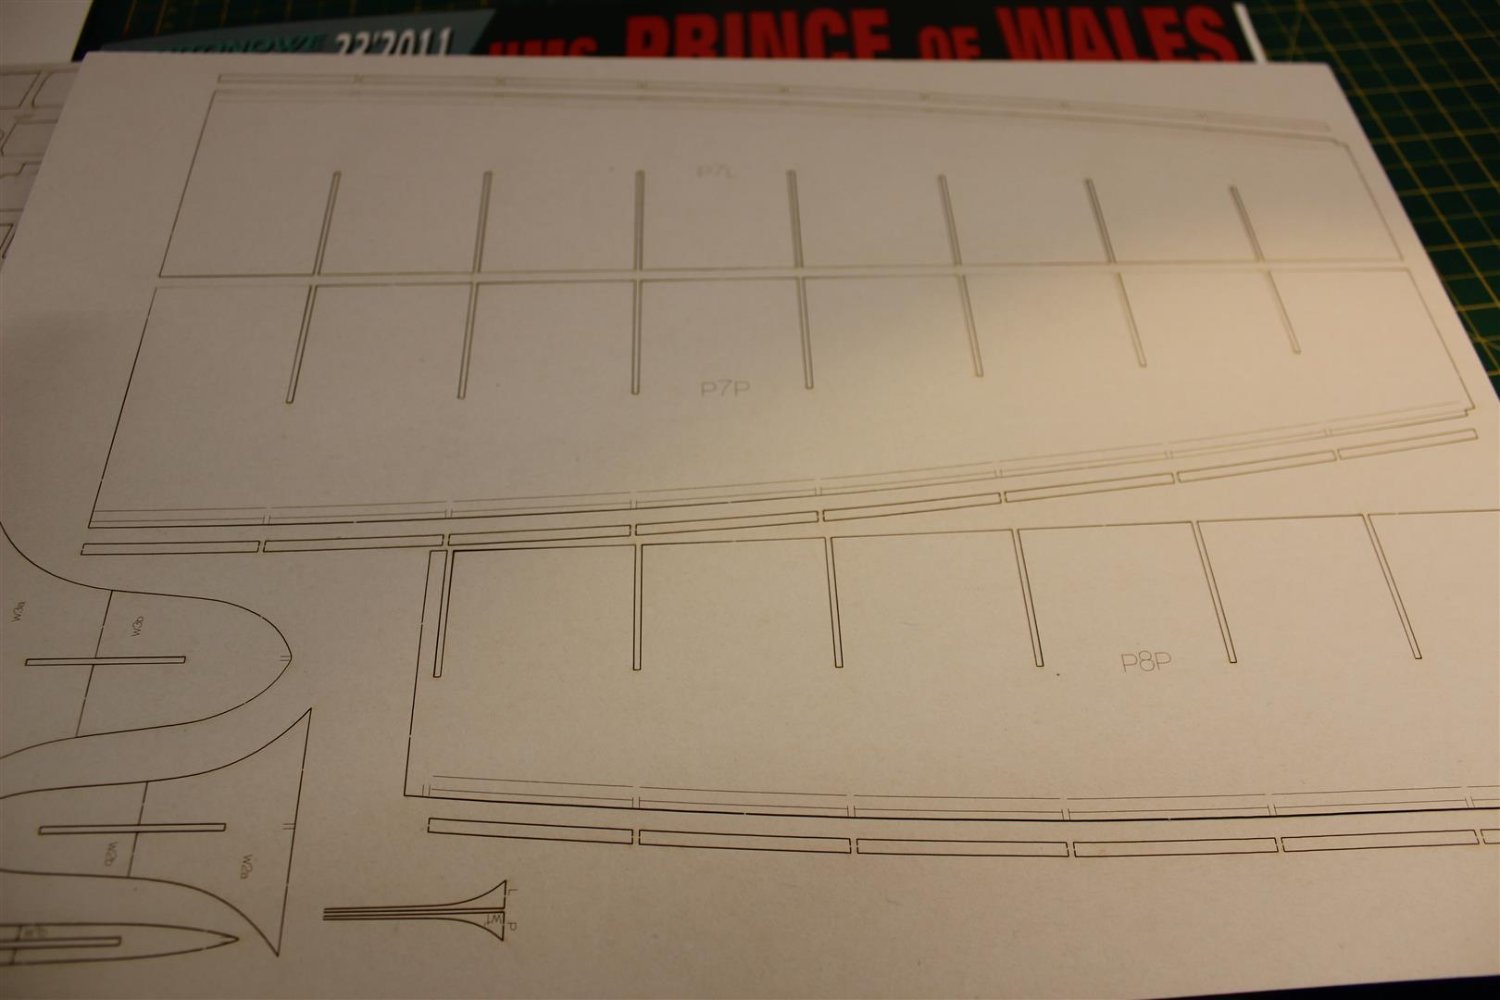
after the accident yesterday with the SD14, i still wanted to continue with the 90 day group build i was taking part in on another forum, i had bought this incase the SD14 wasnt allowed due to being a 1/3 of a kit anyway i started it tonight and see how i get on, its not the same as the Marcle kit, this actually has some detail in it taken from wikki HMS Prince of Wales was a King George V-class battleship of the Royal Navy that was built at the Cammell Laird shipyard in Birkenhead, England. She had an extensive battle history, first seeing action in August 1940 while still being outfitted in her drydock when she was attacked and damaged by German aircraft. In her brief but storied career, she was involved in several key actions of the Second World War, including the May 1941 Battle of the Denmark Strait where she scored three hits against the German battleship Bismarck, forcing Bismarck to abandon her raiding mission and head to port for repairs. Prince of Wales later escorted one of the Malta convoys in the Mediterranean, and then attempted to intercept Japanese troop convoys off the coast of Malaya as part of Force Z when she was sunk on 10 December 1941, two days after the attack on Pearl Harbor. She was sunk alongside her consort, the battlecruiser HMS Repulse, by Japanese bombers when they became the first capital ships to be sunk solely by air power on the open sea, a harbinger of the diminishing role this class of ships was subsequently to play in naval warfare. The wreck of Prince of Wales lies upside down in 223 feet (68 m) of water, near Kuantan, in the South China Sea.
-
just watched, very interesting BBC Two - Why Ships Crash
-
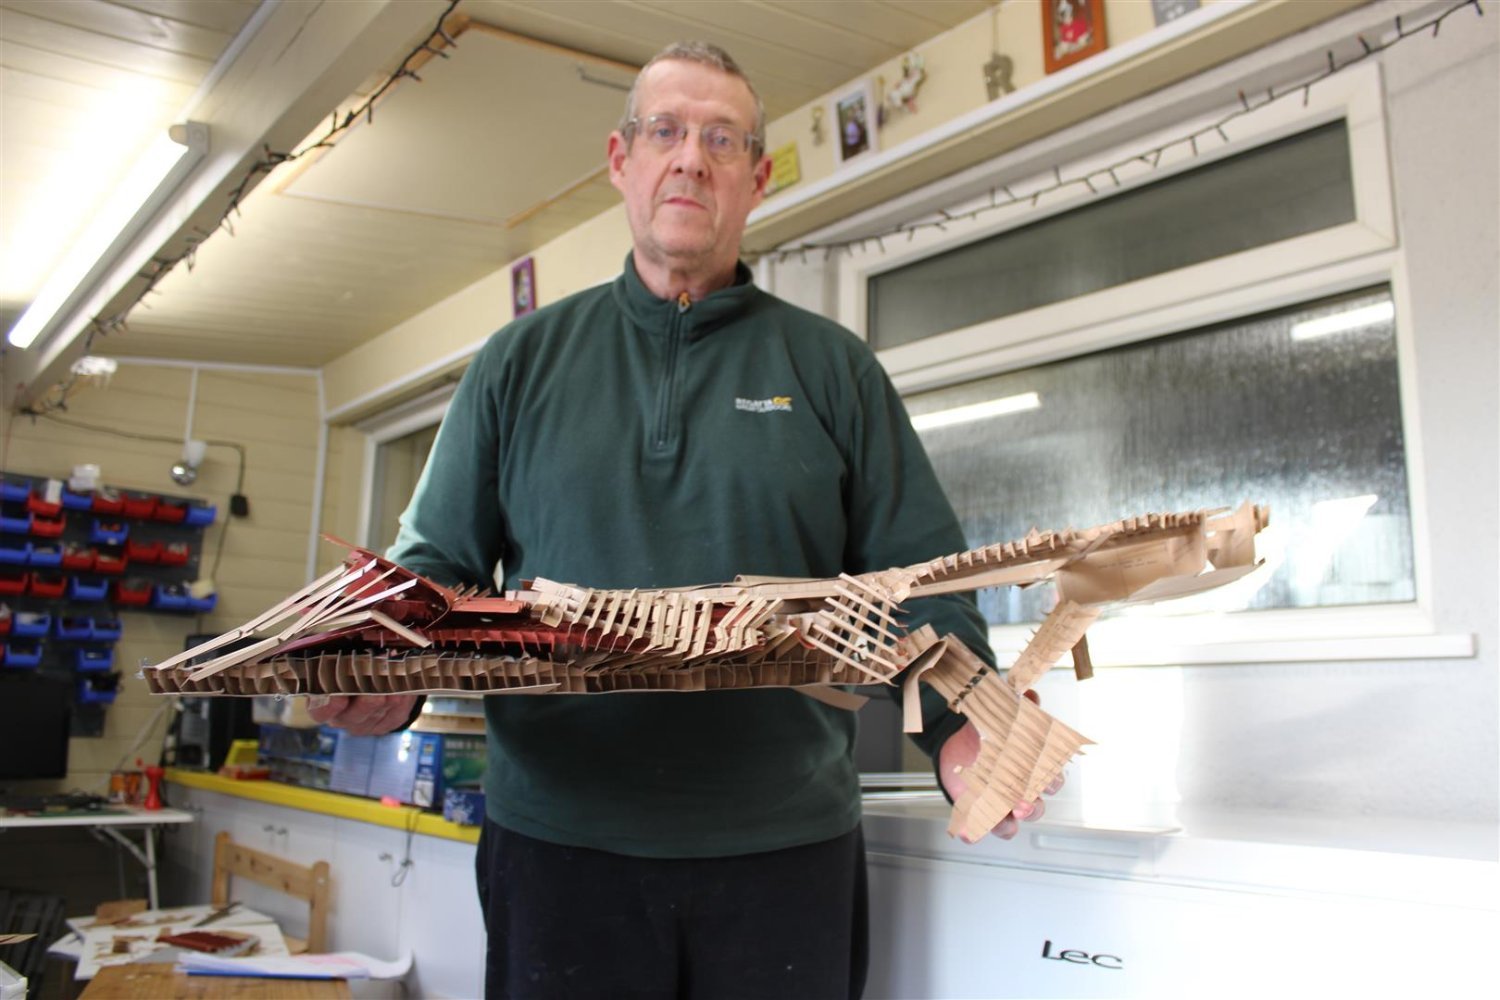
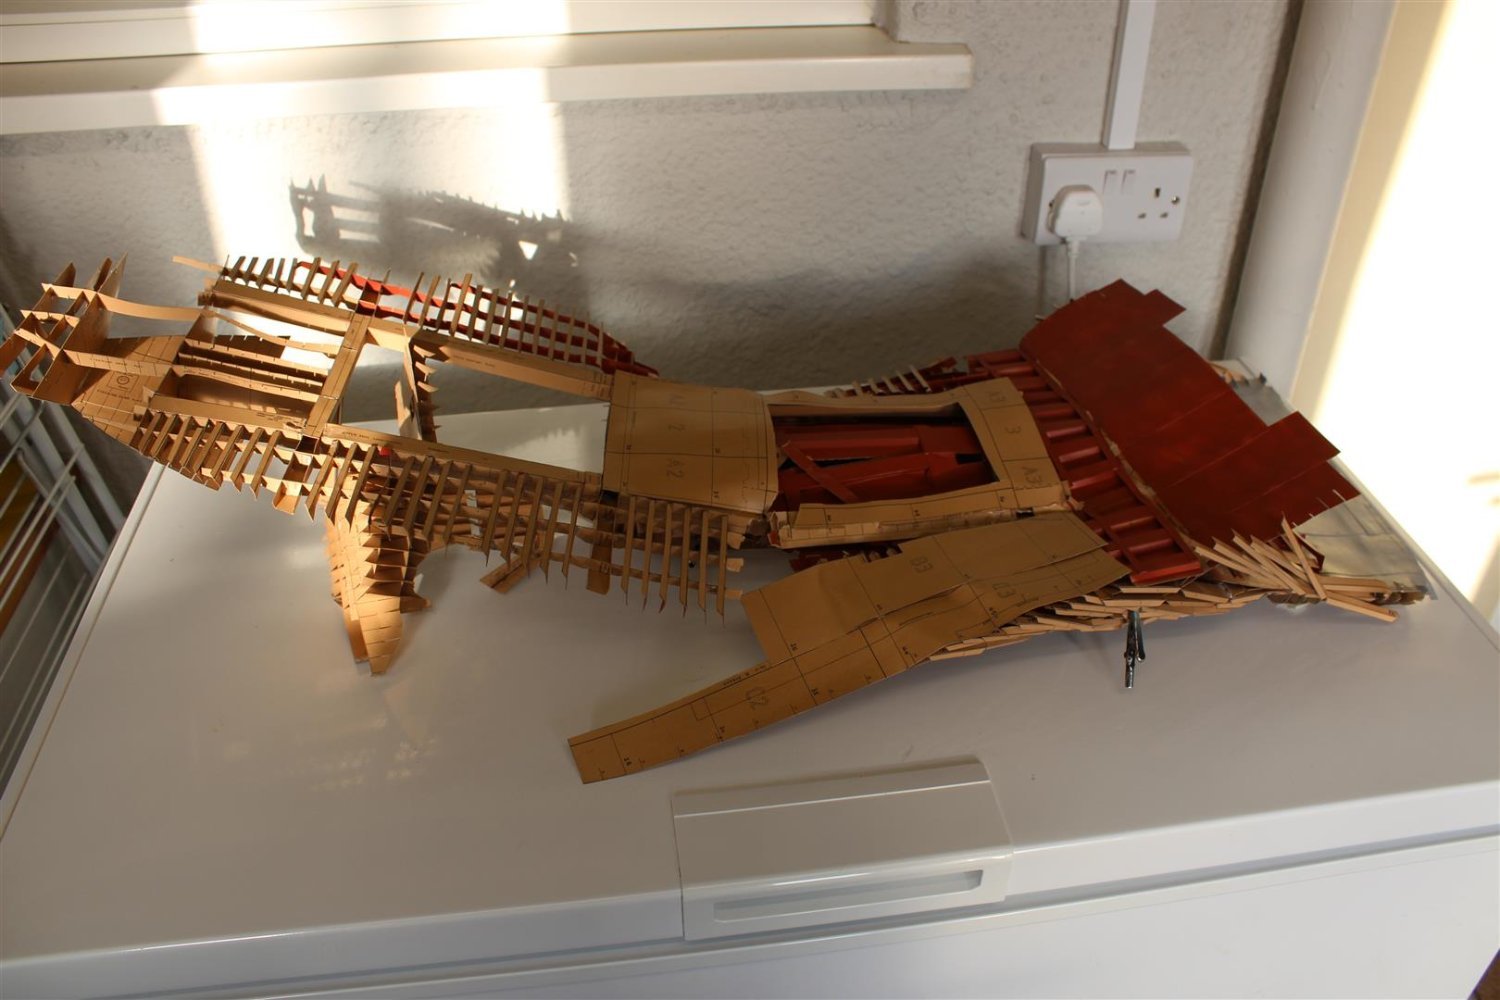
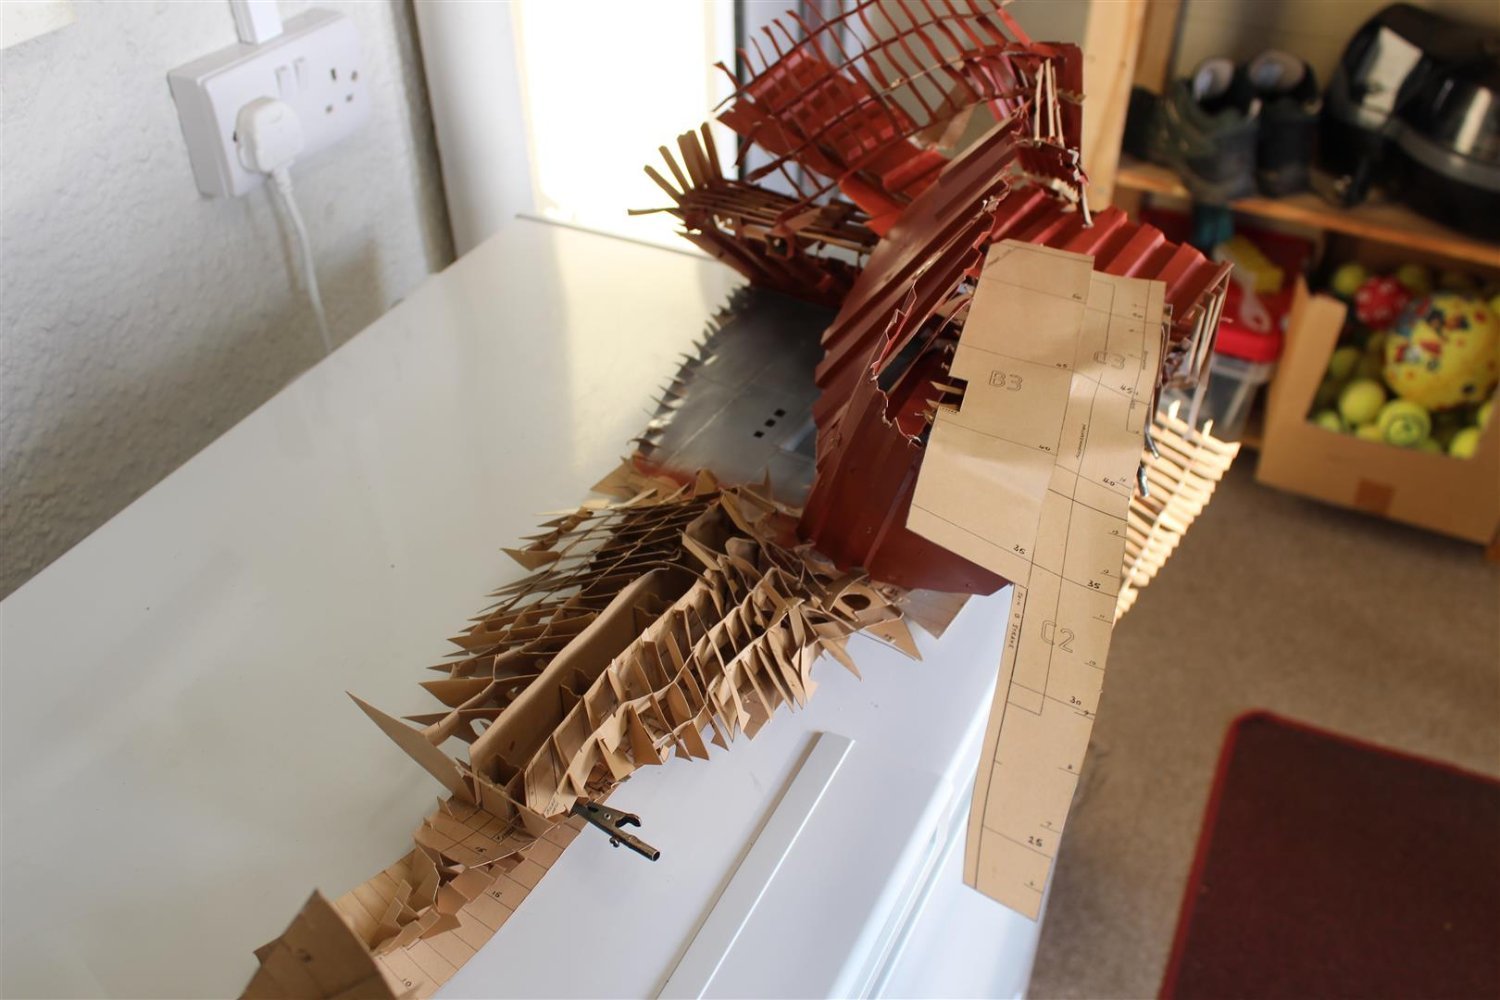
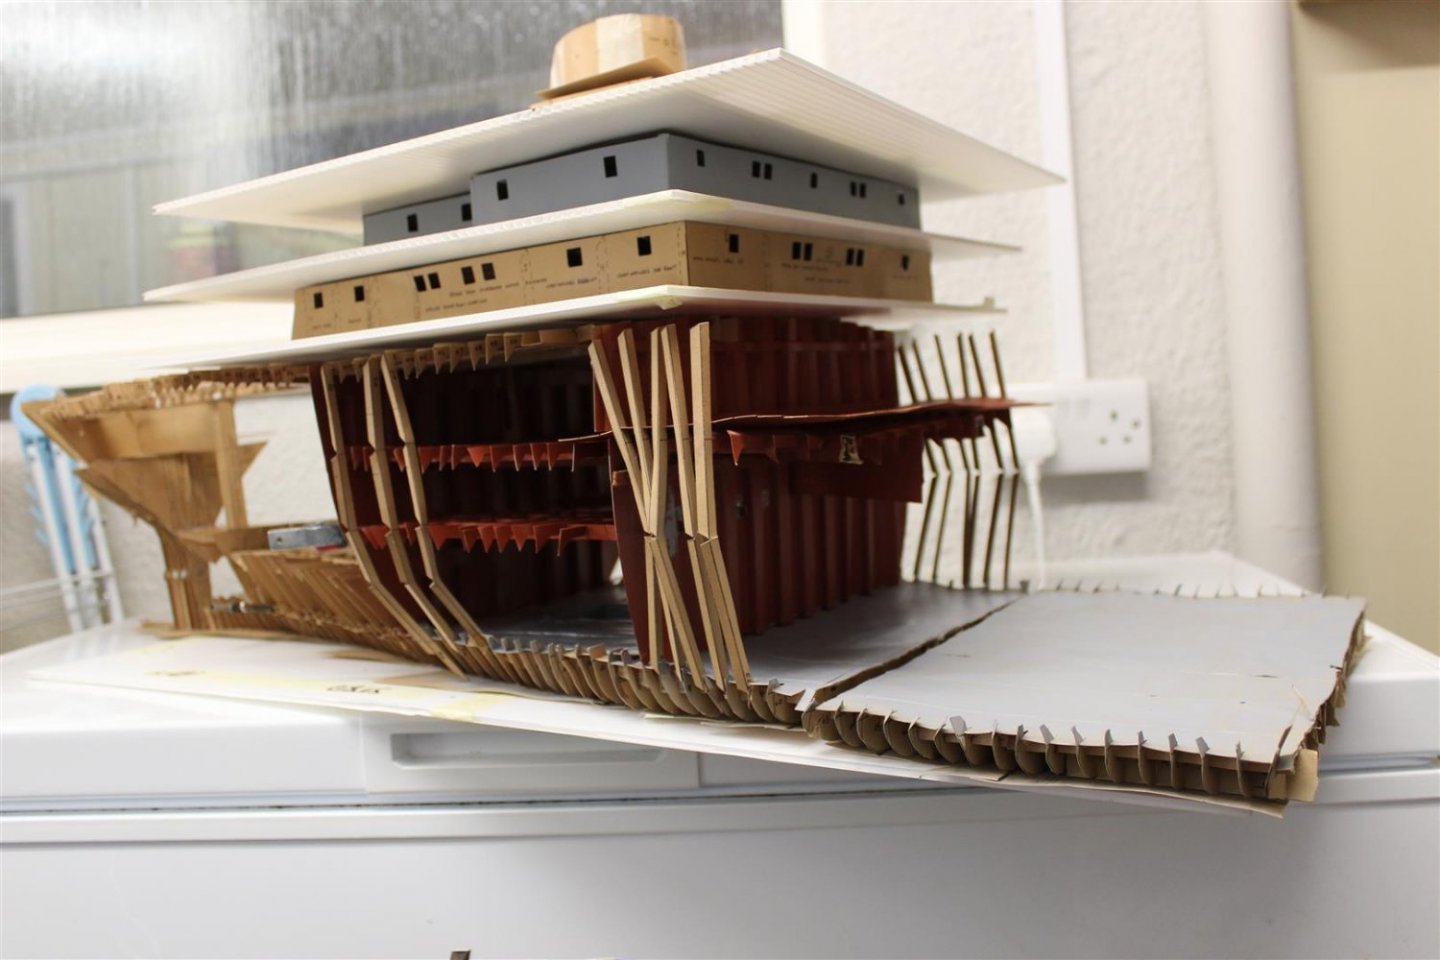
Good morning everyone i was bitterly upset and very grumpy last night, and felt extremely silly with myself, it was nothing more than tripping over my own feet, as i swung around off my bench, the damage is/was completely beyond repair, i looked to see if the keel was fit to use, even the floor had ripped as my full weight went through the frames Anyway, what to do next well the Admiral decided for me, just do it again, the full kit is on order and being posted today, this thread will be renamed and i will just restart a full build
- 79 replies
-
- 11
-

-
-
- SD 14
- Marcle Models
- (and 1 more)
-
thanks guys, its the end of this build, but not the end of the SD14 story
- 79 replies
-
- 5
-
-
- SD 14
- Marcle Models
- (and 1 more)
-
yes im fine just gutted, i was thoroughly enjoying that
- 79 replies
-
- 6
-
-
- SD 14
- Marcle Models
- (and 1 more)
-
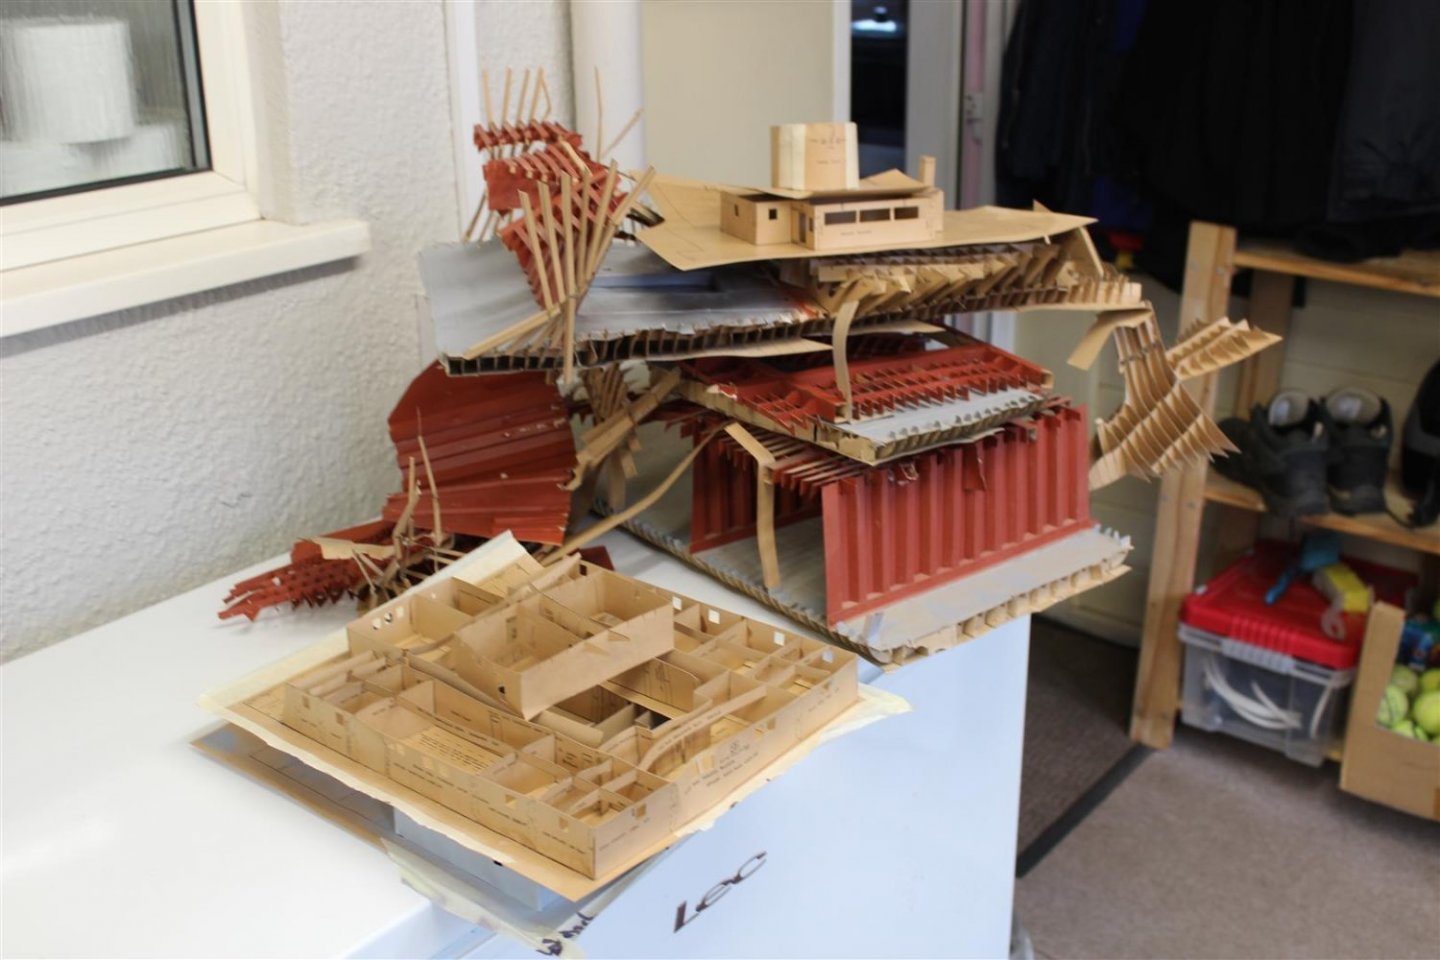
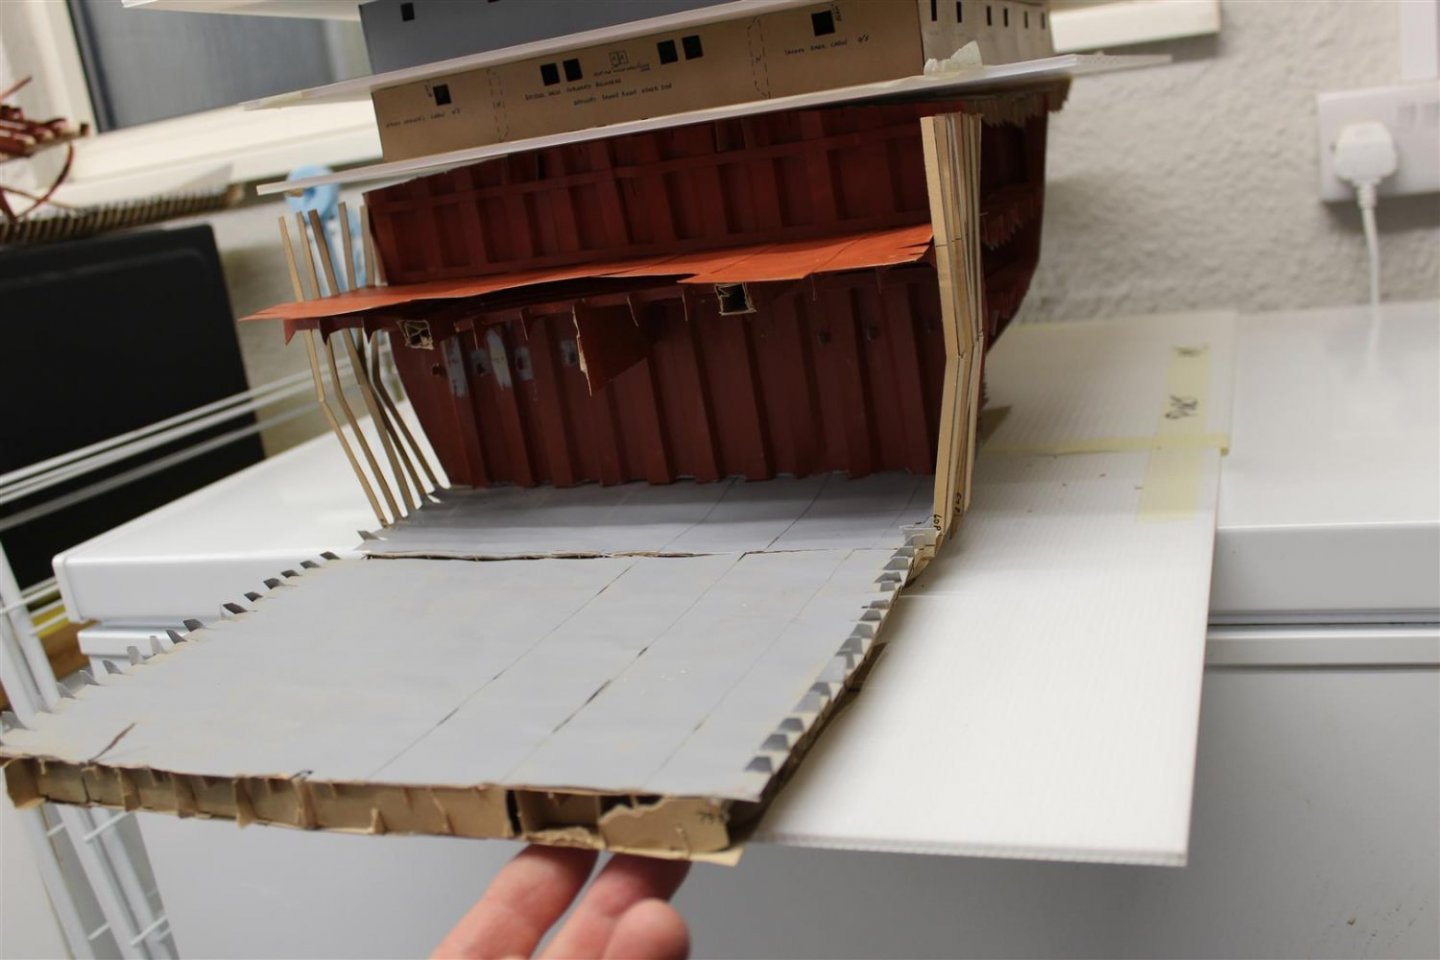
the build came to a sudden and abrupt end this afternoon, moving it to the freezer for my daily update, i tripped and fell on it RIP stern section SD14


- 79 replies
-
- 15
-
-
-
-
- SD 14
- Marcle Models
- (and 1 more)
-
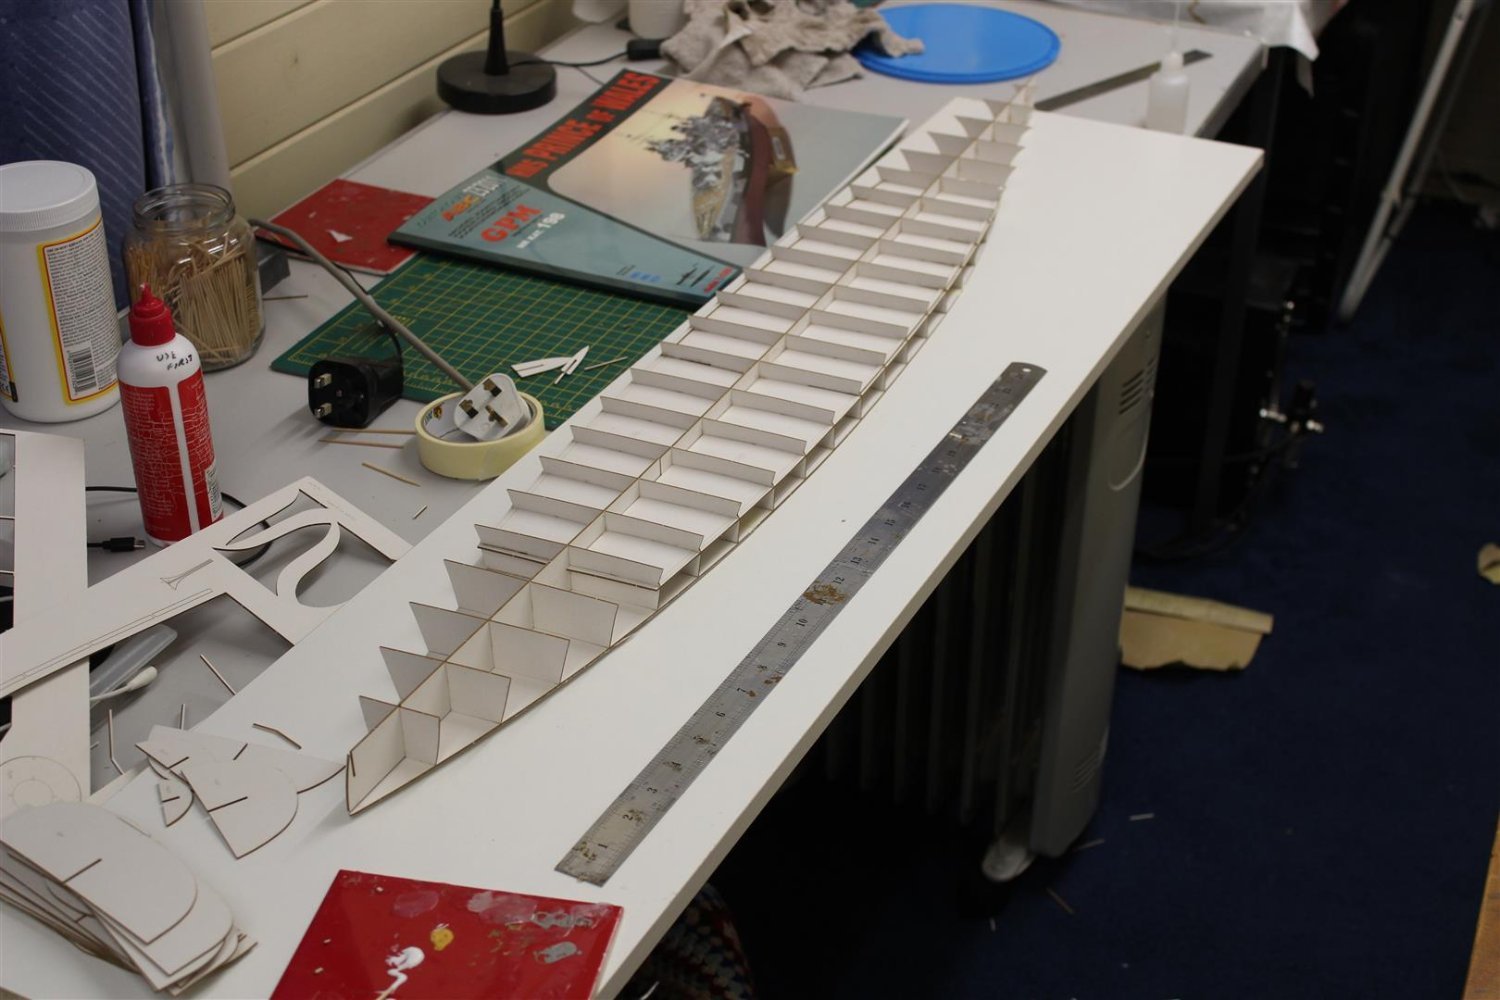
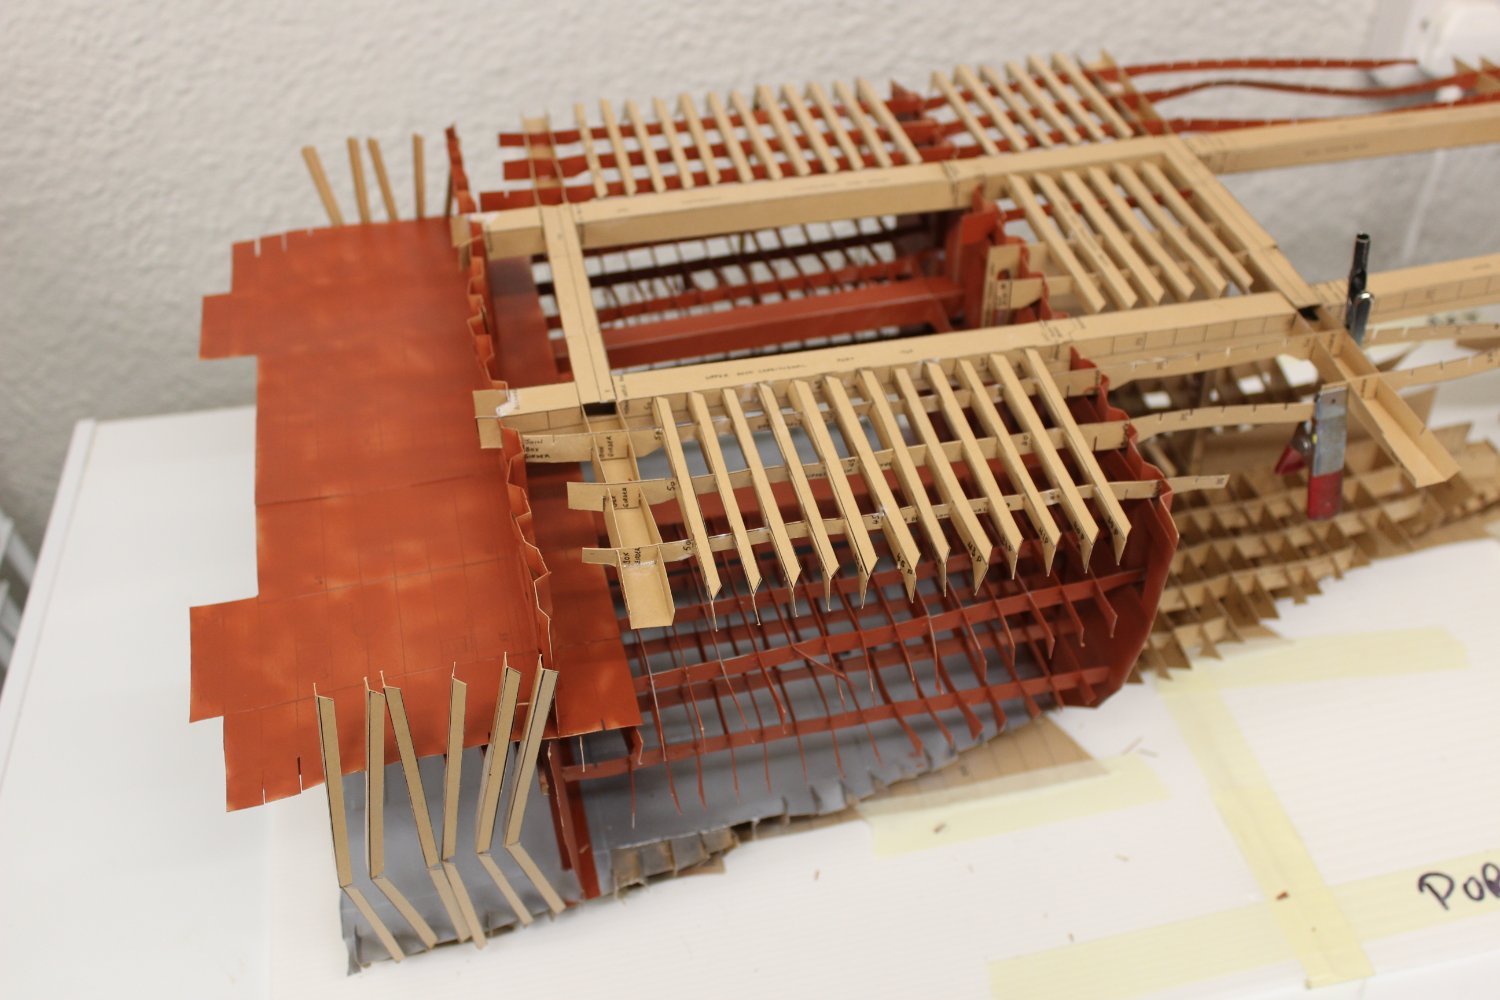
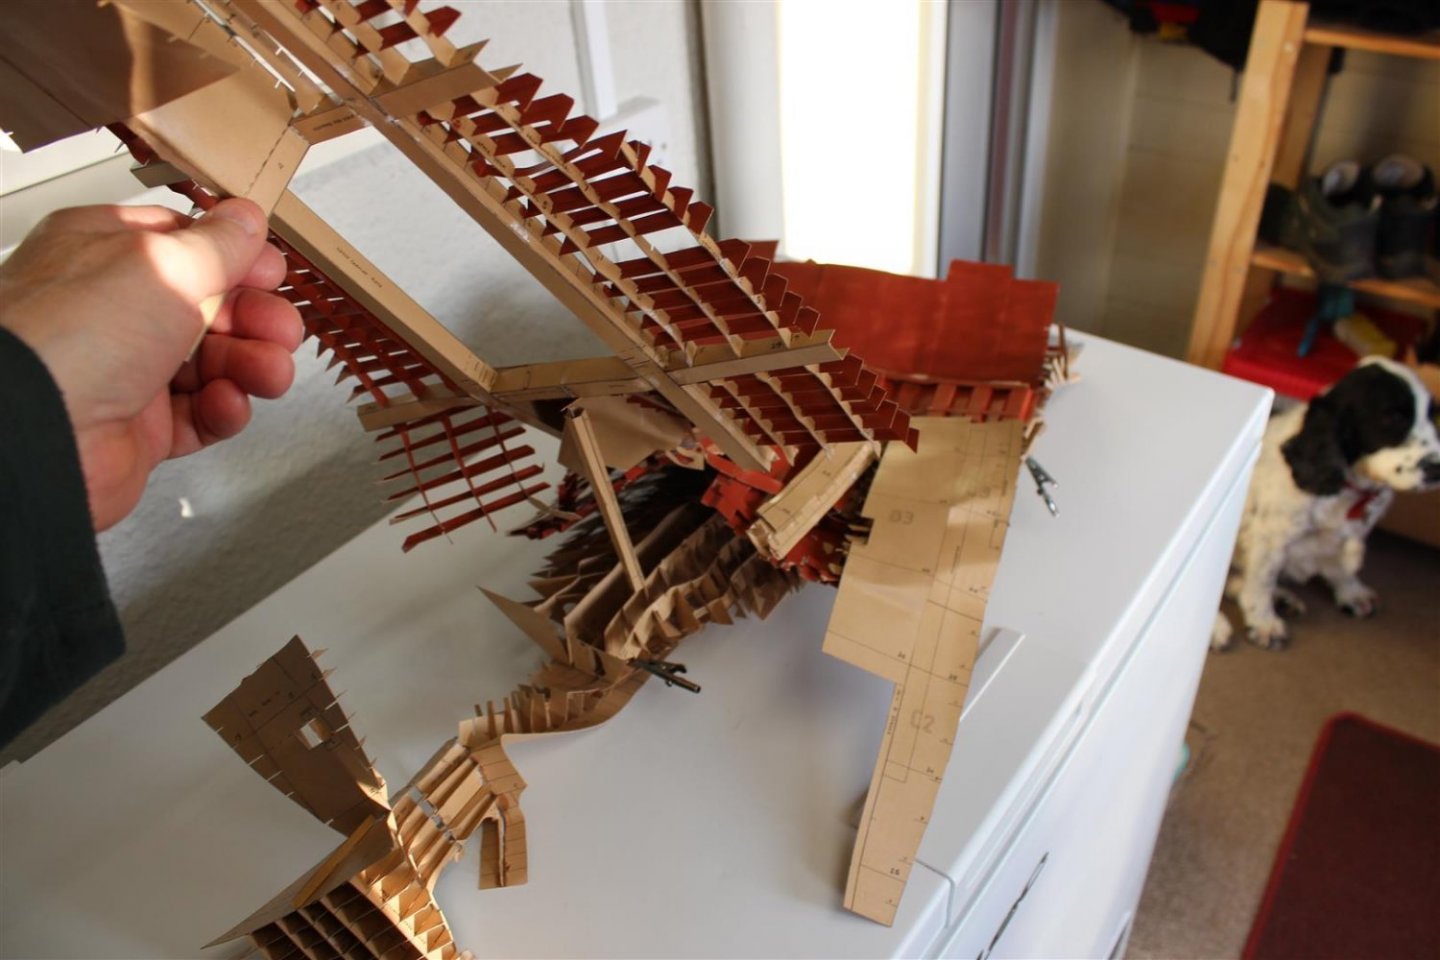
tell the truth it dont look much different to sat photo, and honest I put loads of transverse frames in today, i can honestly say that this has been really enjoyable build so far, and if given the chance i would do all 3 sections together with open frames and no hull plates
- 79 replies
-
- 4
-
-
- SD 14
- Marcle Models
- (and 1 more)
-
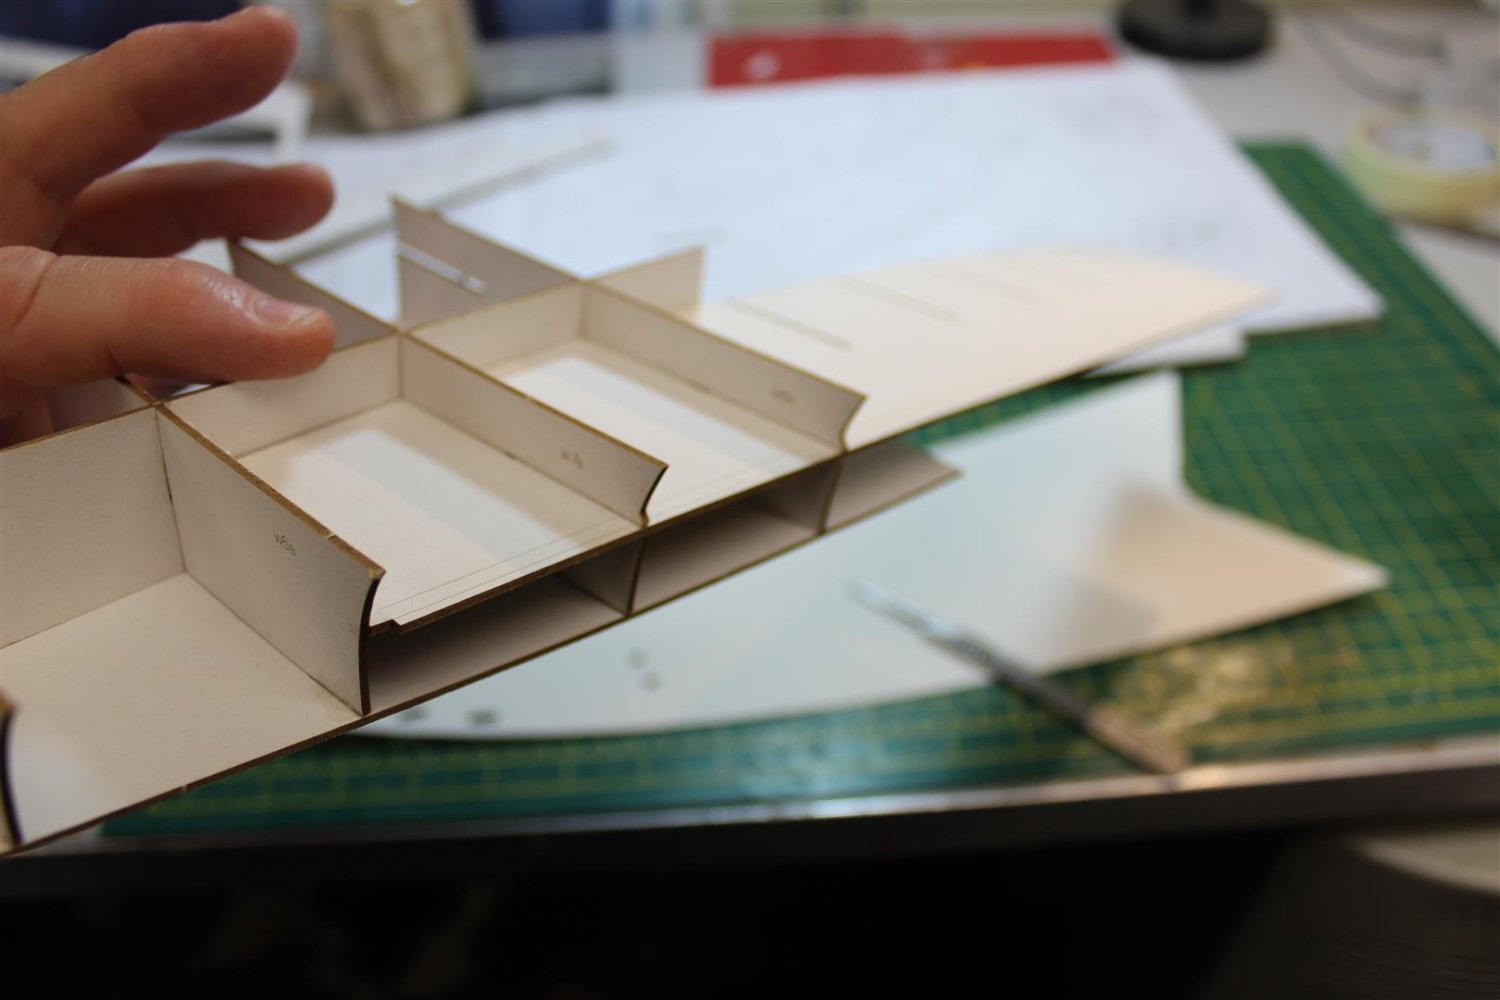
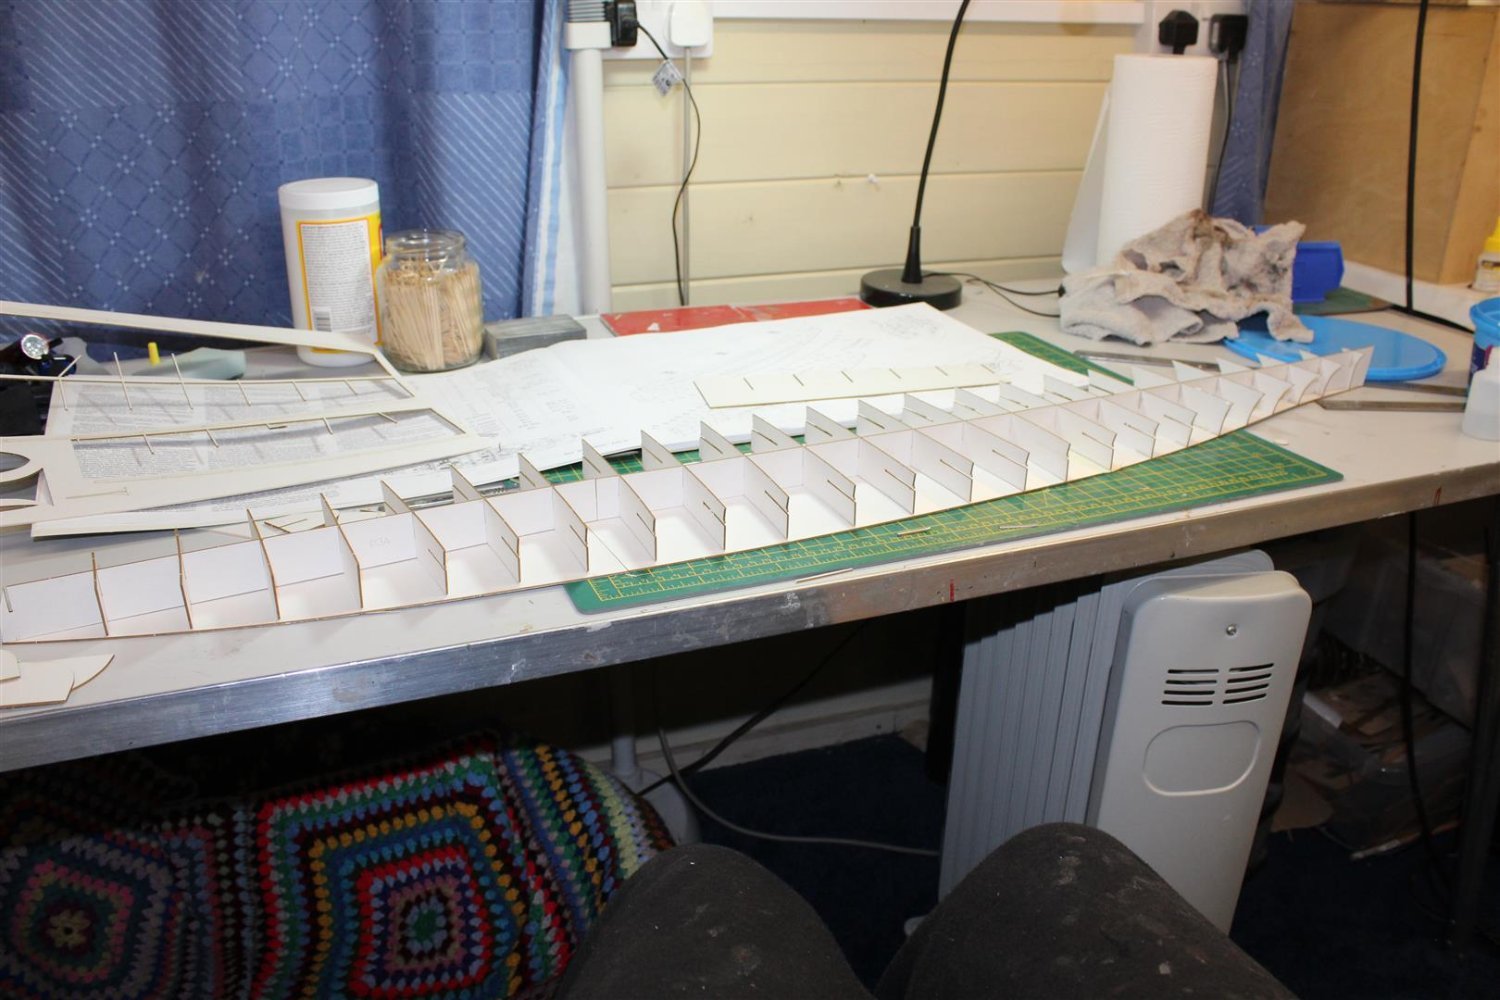
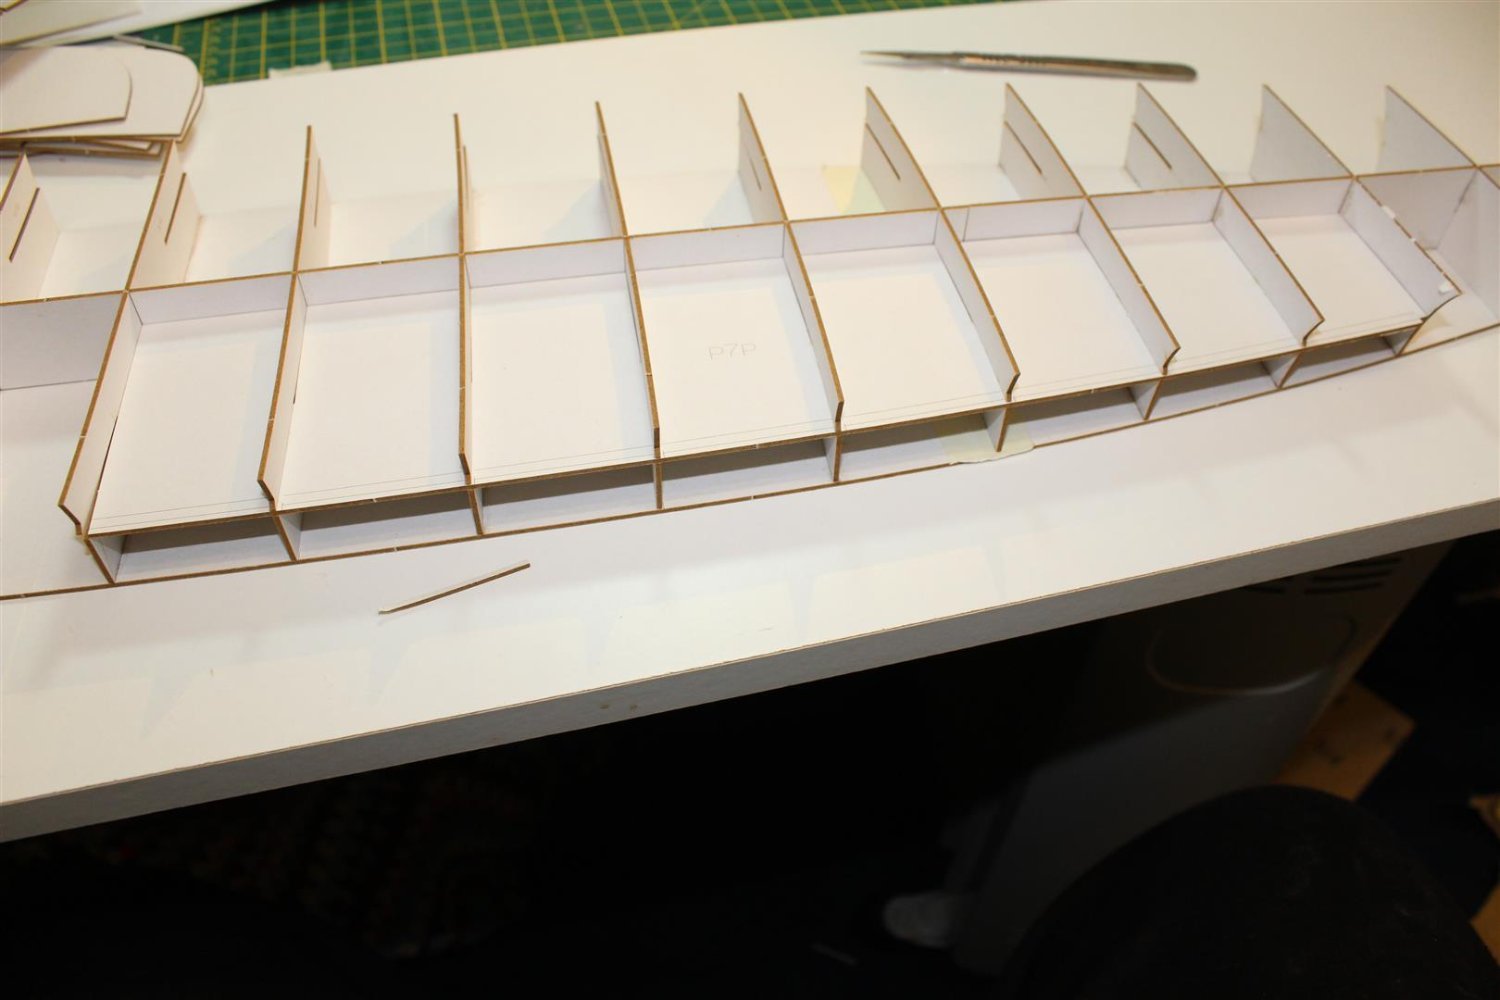
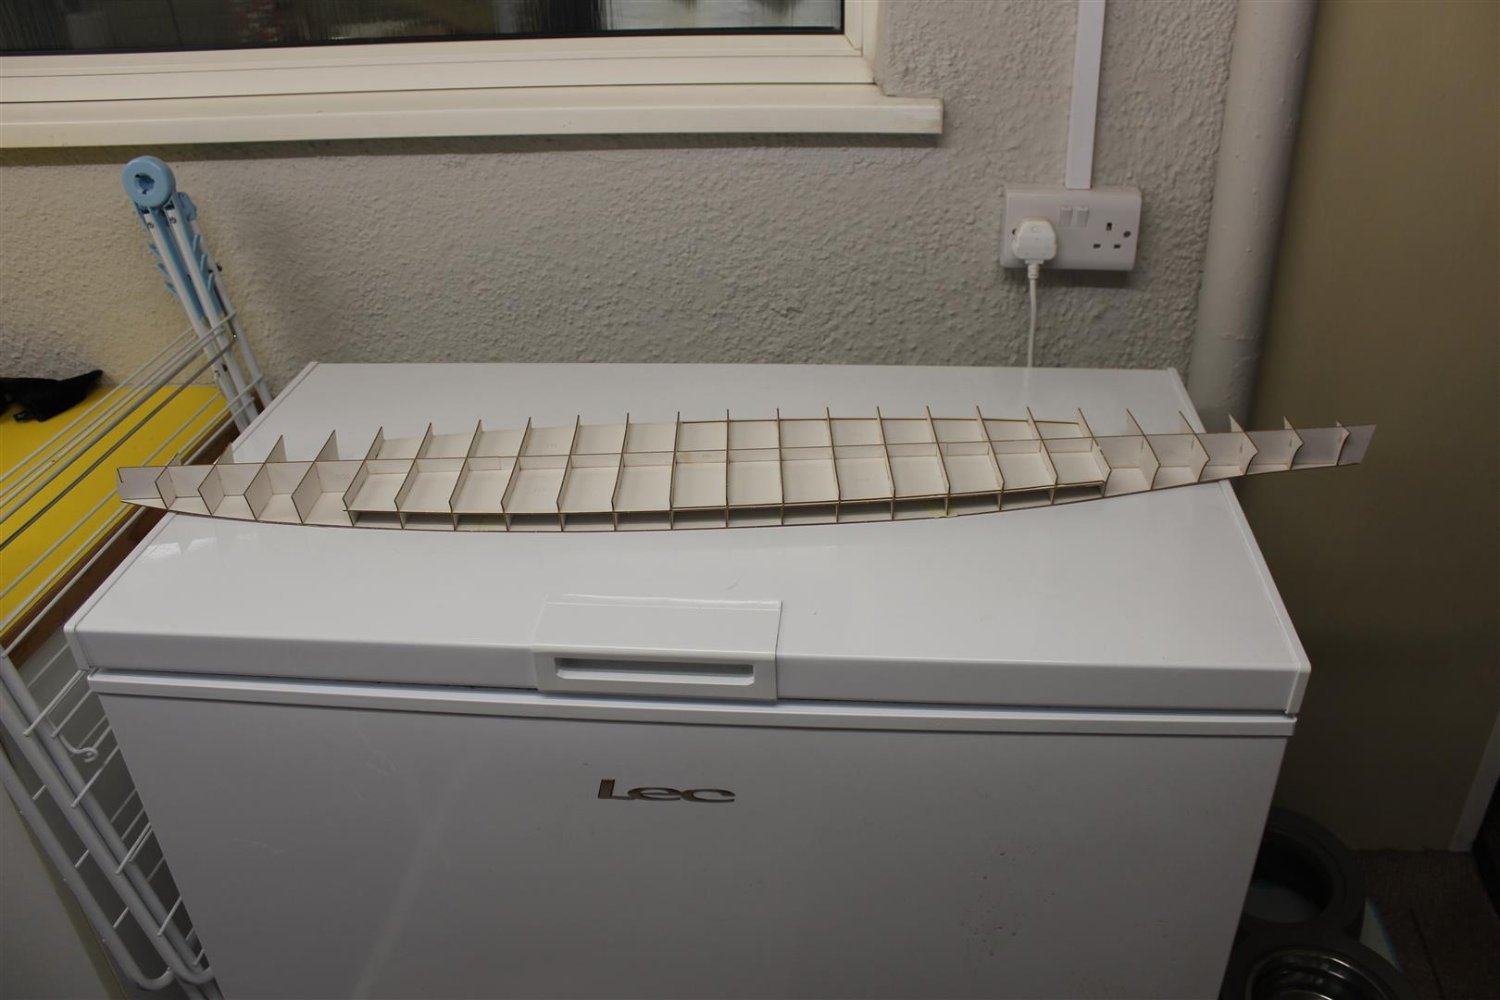
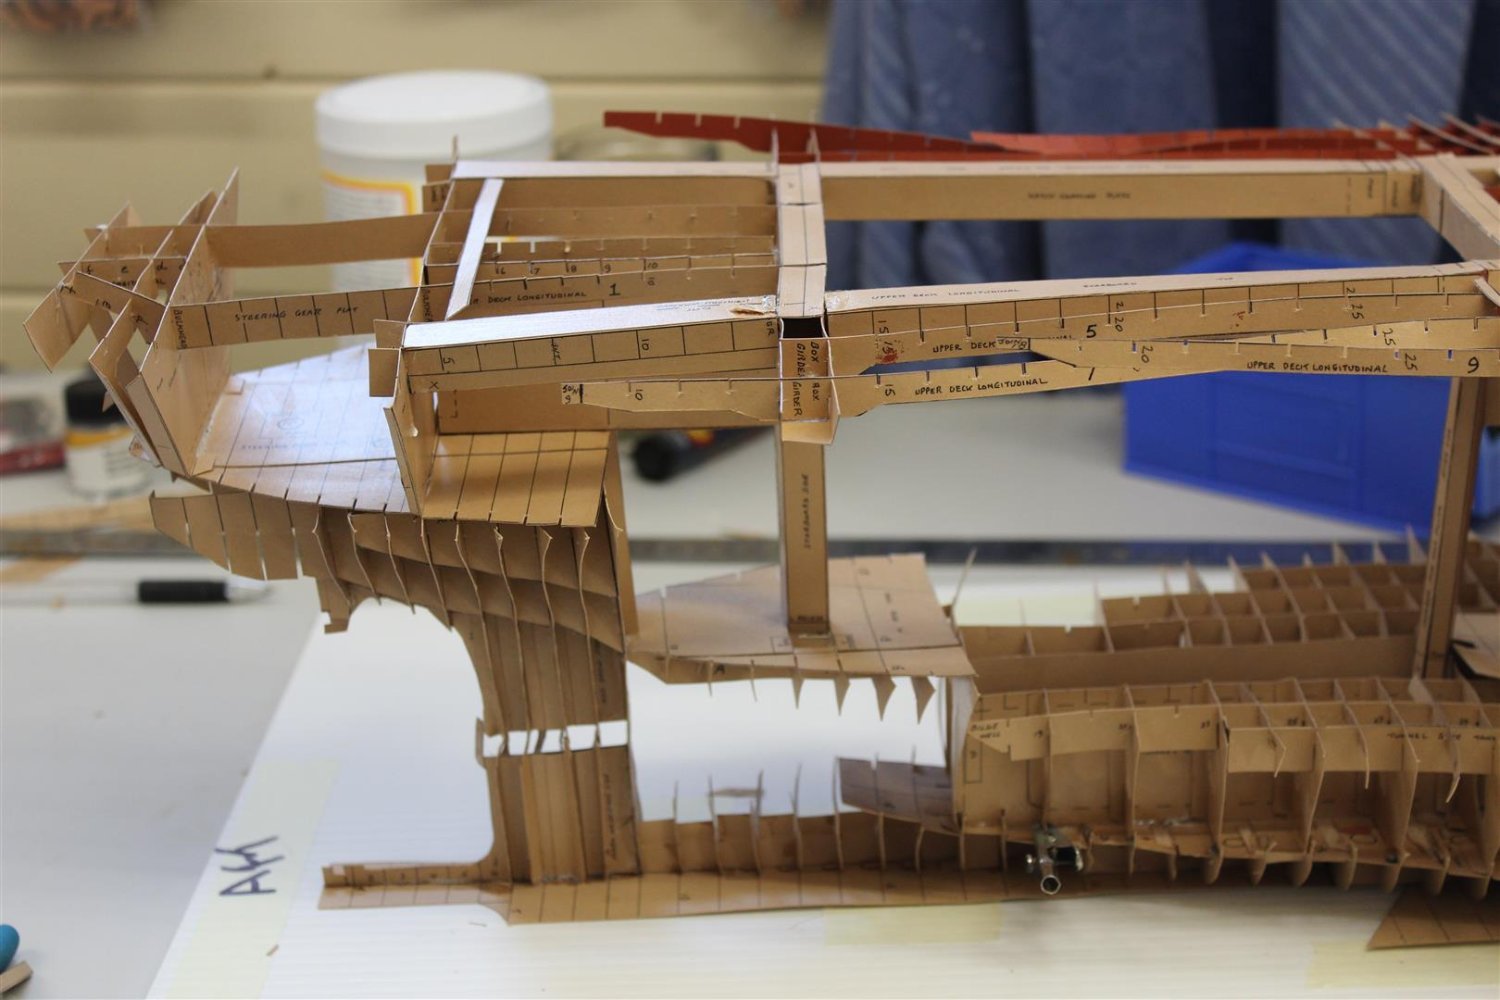
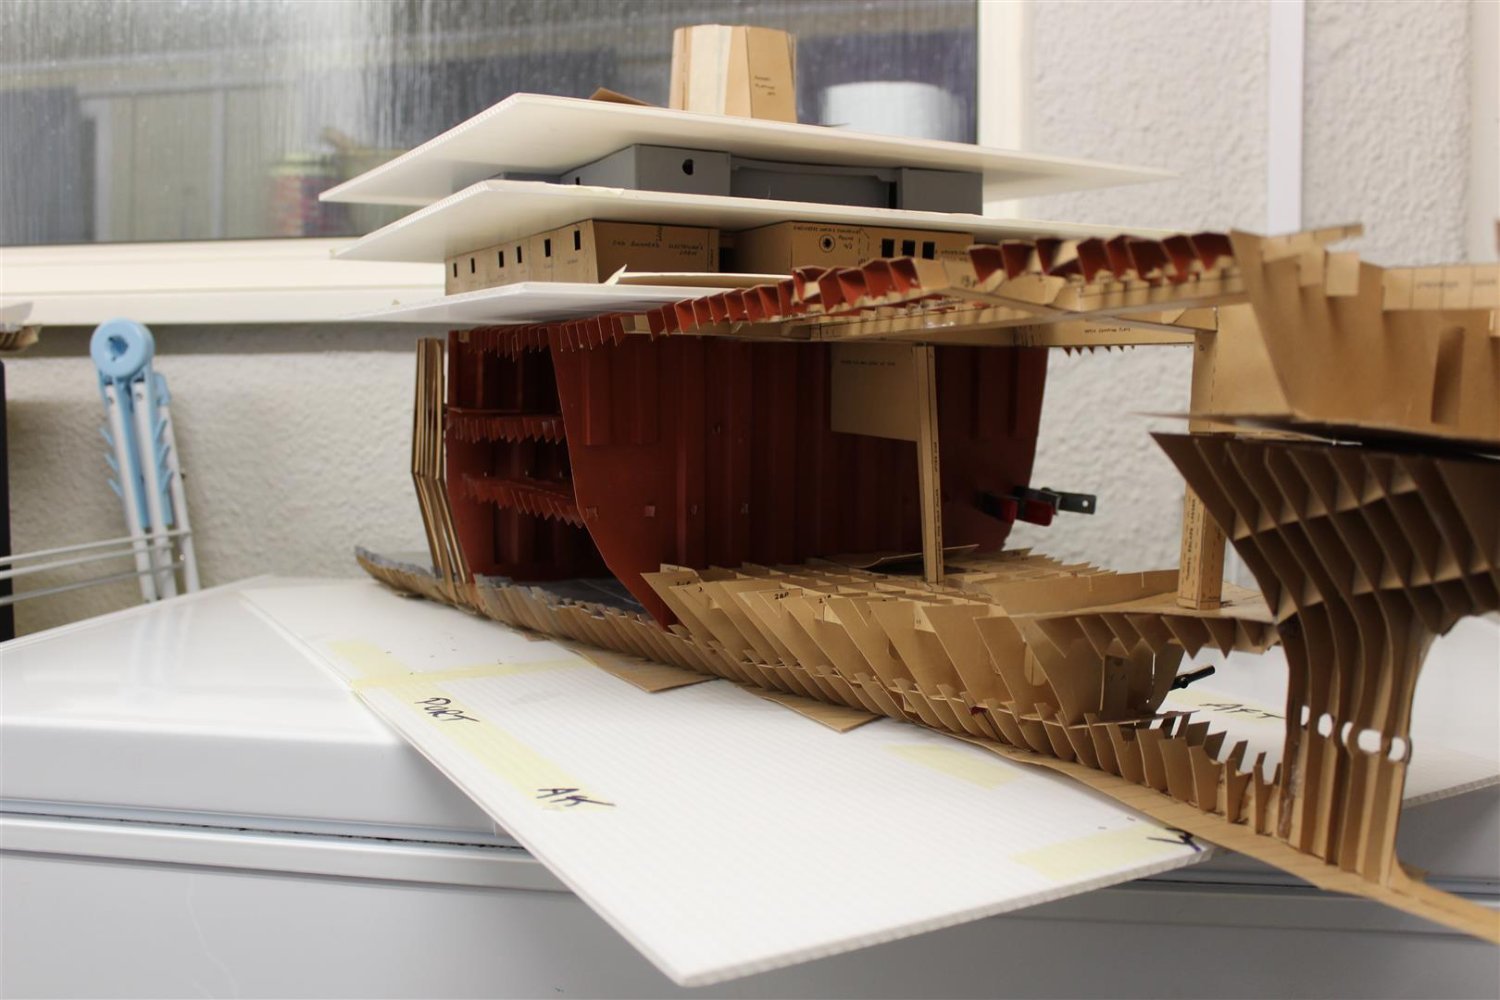
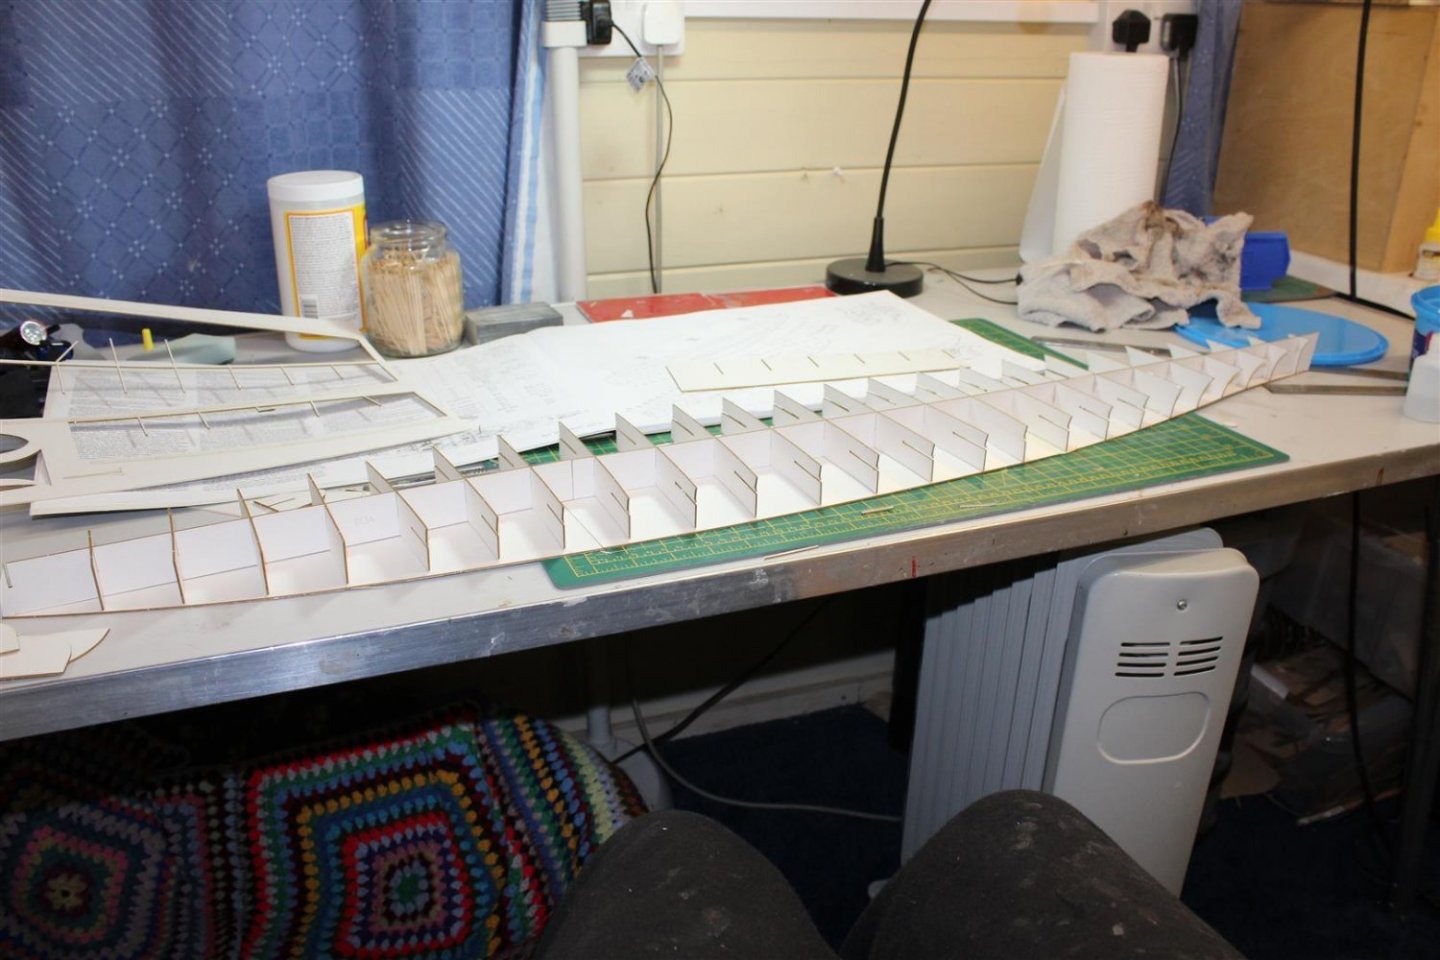
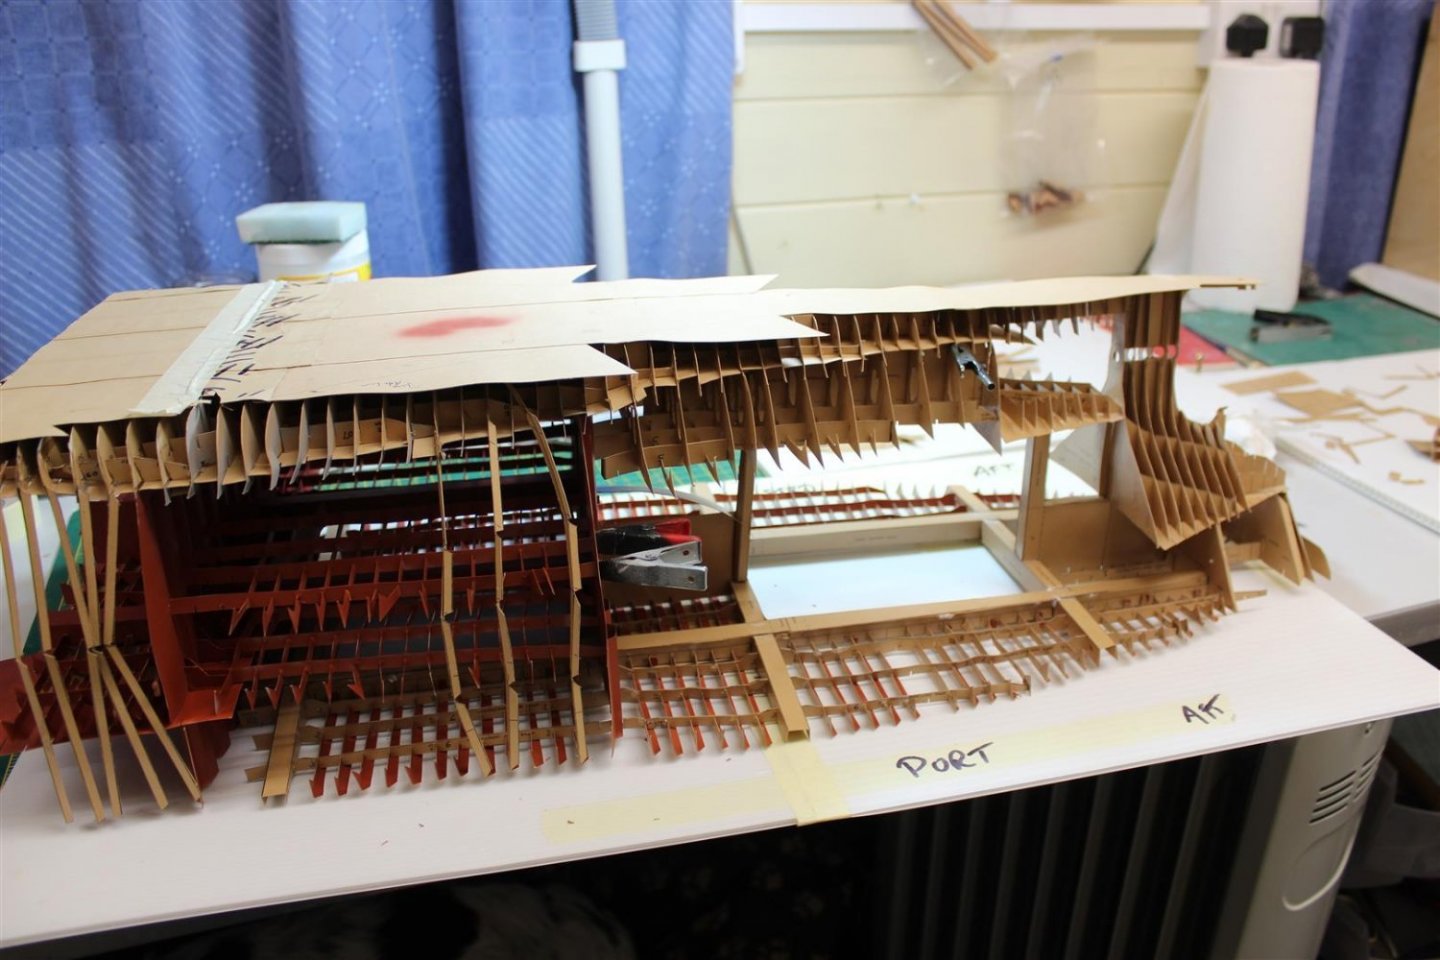
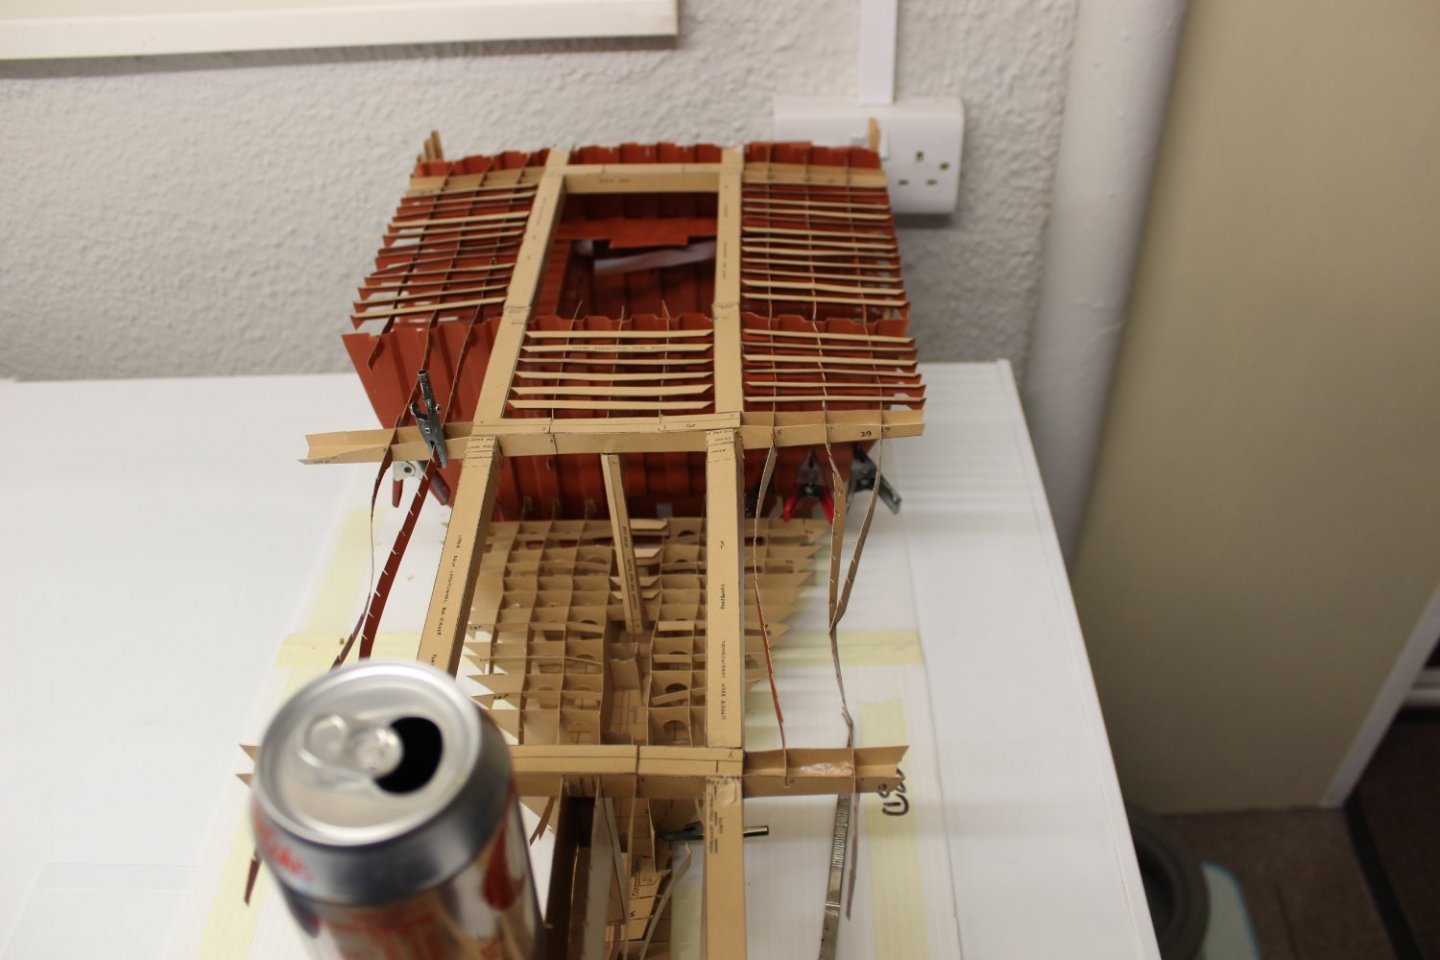
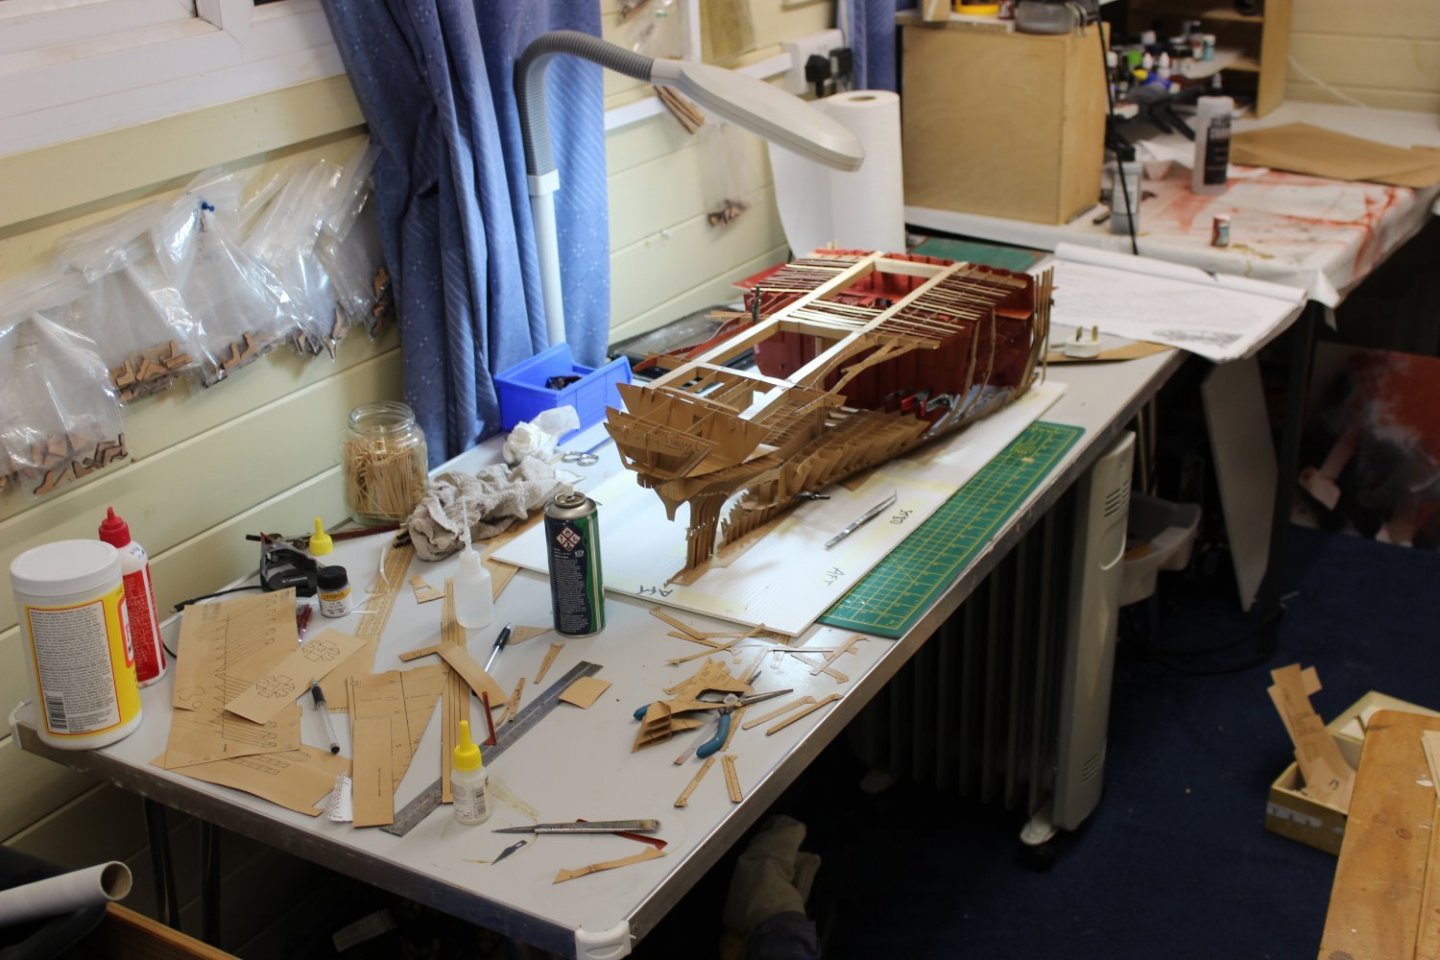
good evening everyone day17/90 the build is now going from 28" to 38 as i have taken another section from the redundant midships section, not fixed yet everything is now starting to fall into place including the stern as the transom gets fixed into position i now have in excess of 100 frames to fix into position so i know what i will be doing tomorrow


- 79 replies
-
- 10
-
-
- SD 14
- Marcle Models
- (and 1 more)
-
good evening everyone day 15/90 about 1/2 way through about anther 300 pieces added since the last update, mainly on the upper deck transverse beams, each section i complete is bringing it into shape,

- 79 replies
-
- 11
-
-
- SD 14
- Marcle Models
- (and 1 more)
-
true, its not the way to build this, but the main bits i want are around the engine room, the rest may be left open to the cutters
- 79 replies
-
- 3
-
-
- SD 14
- Marcle Models
- (and 1 more)