HOLIDAY DONATION DRIVE - SUPPORT MSW - DO YOUR PART TO KEEP THIS GREAT FORUM GOING! (Only 13 donations so far - C'mon guys!)
×


Kevin
-
Posts
7,008 -
Joined
-
Last visited
Content Type
Profiles
Forums
Gallery
Events
Everything posted by Kevin
-
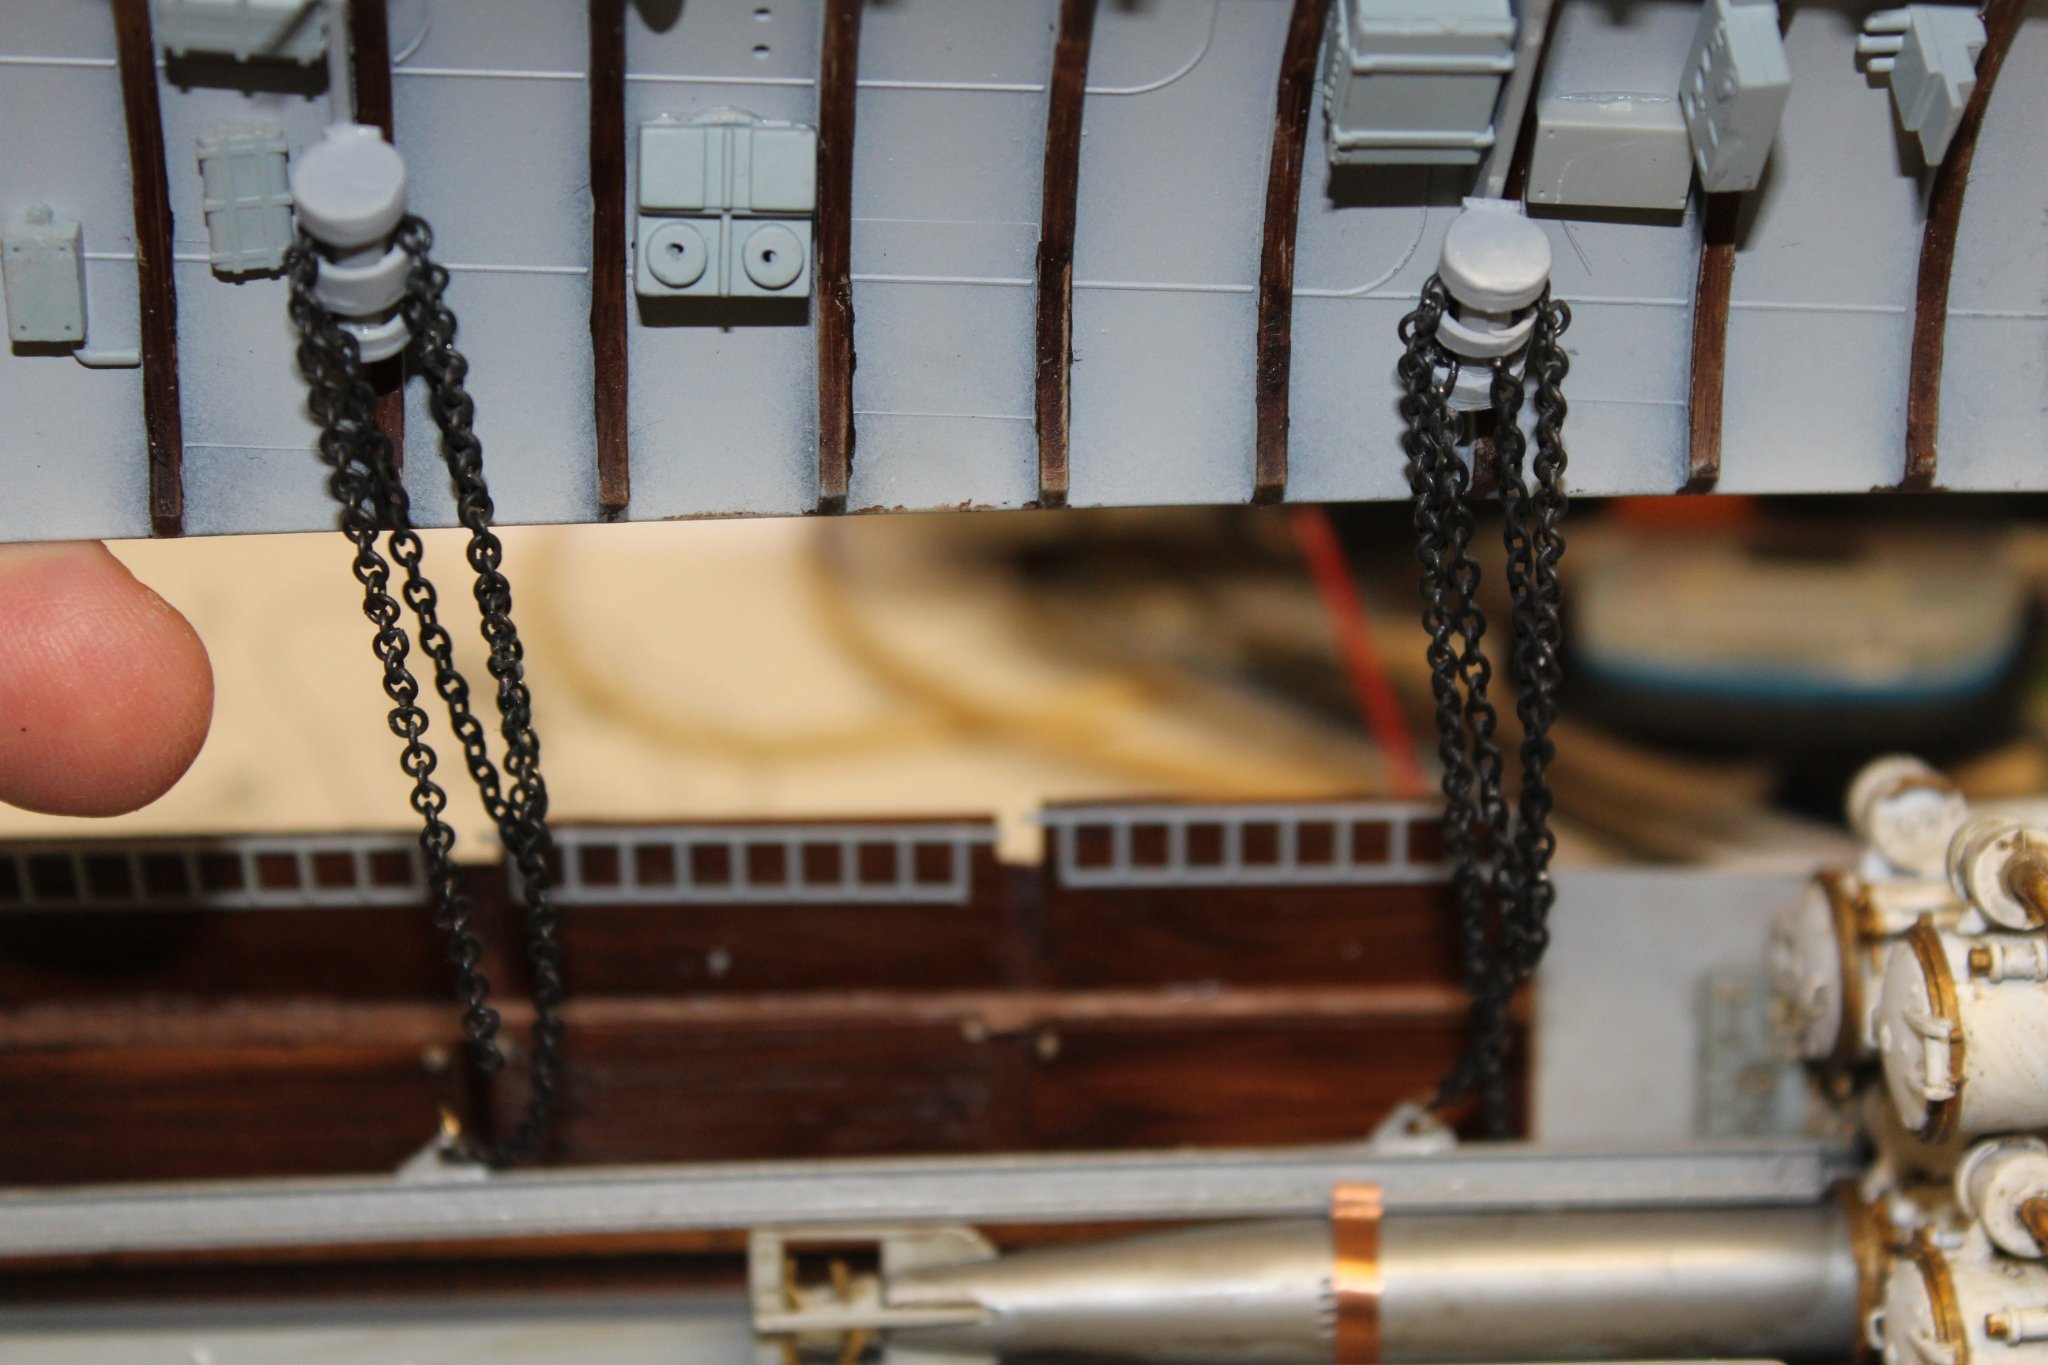
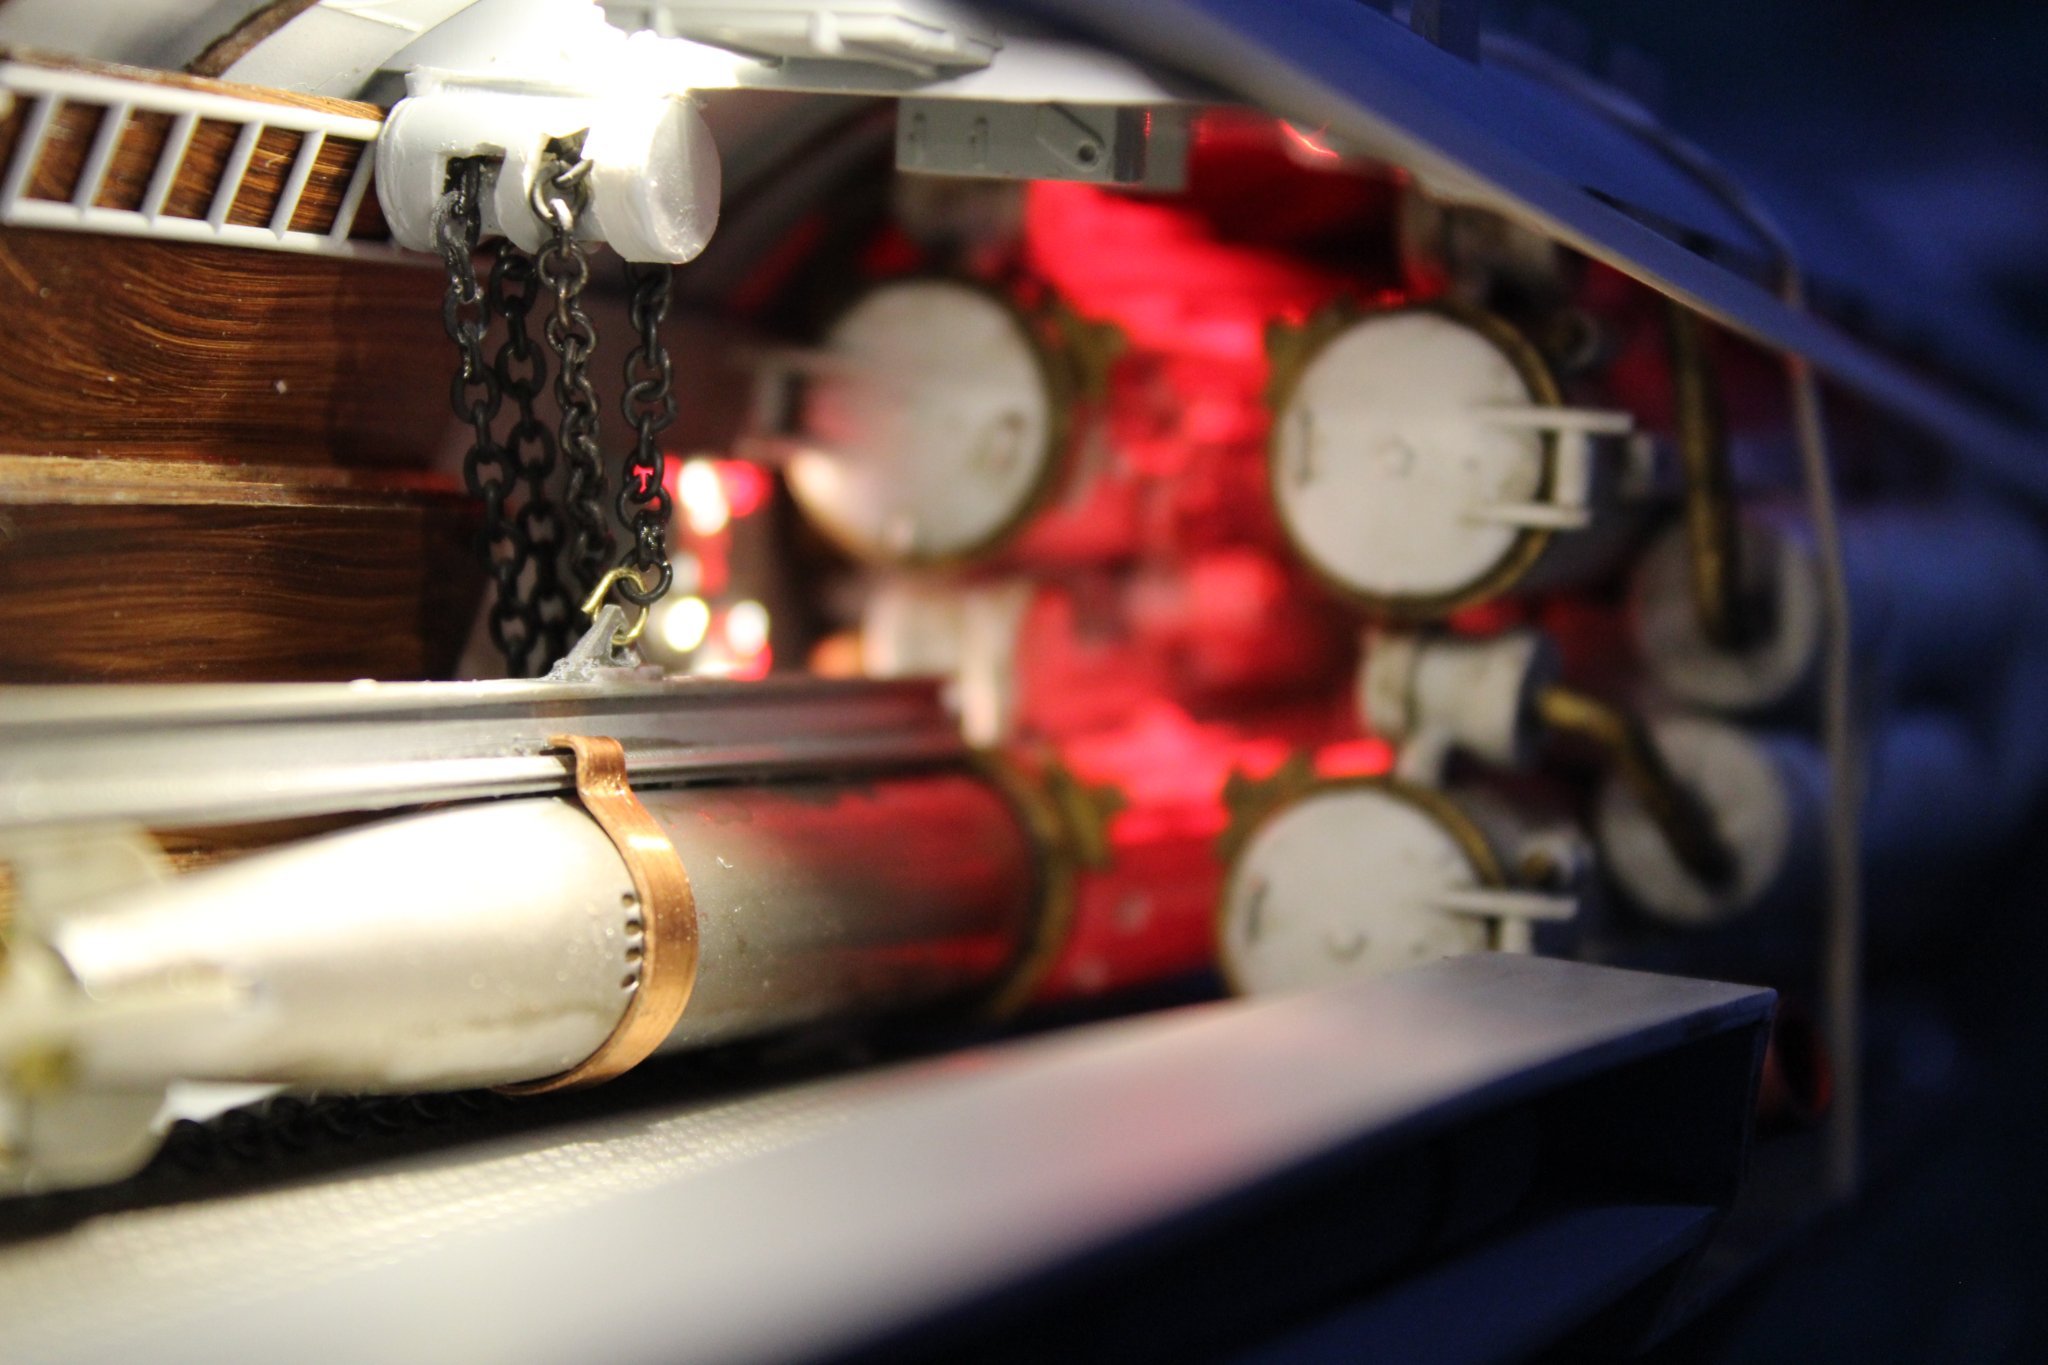
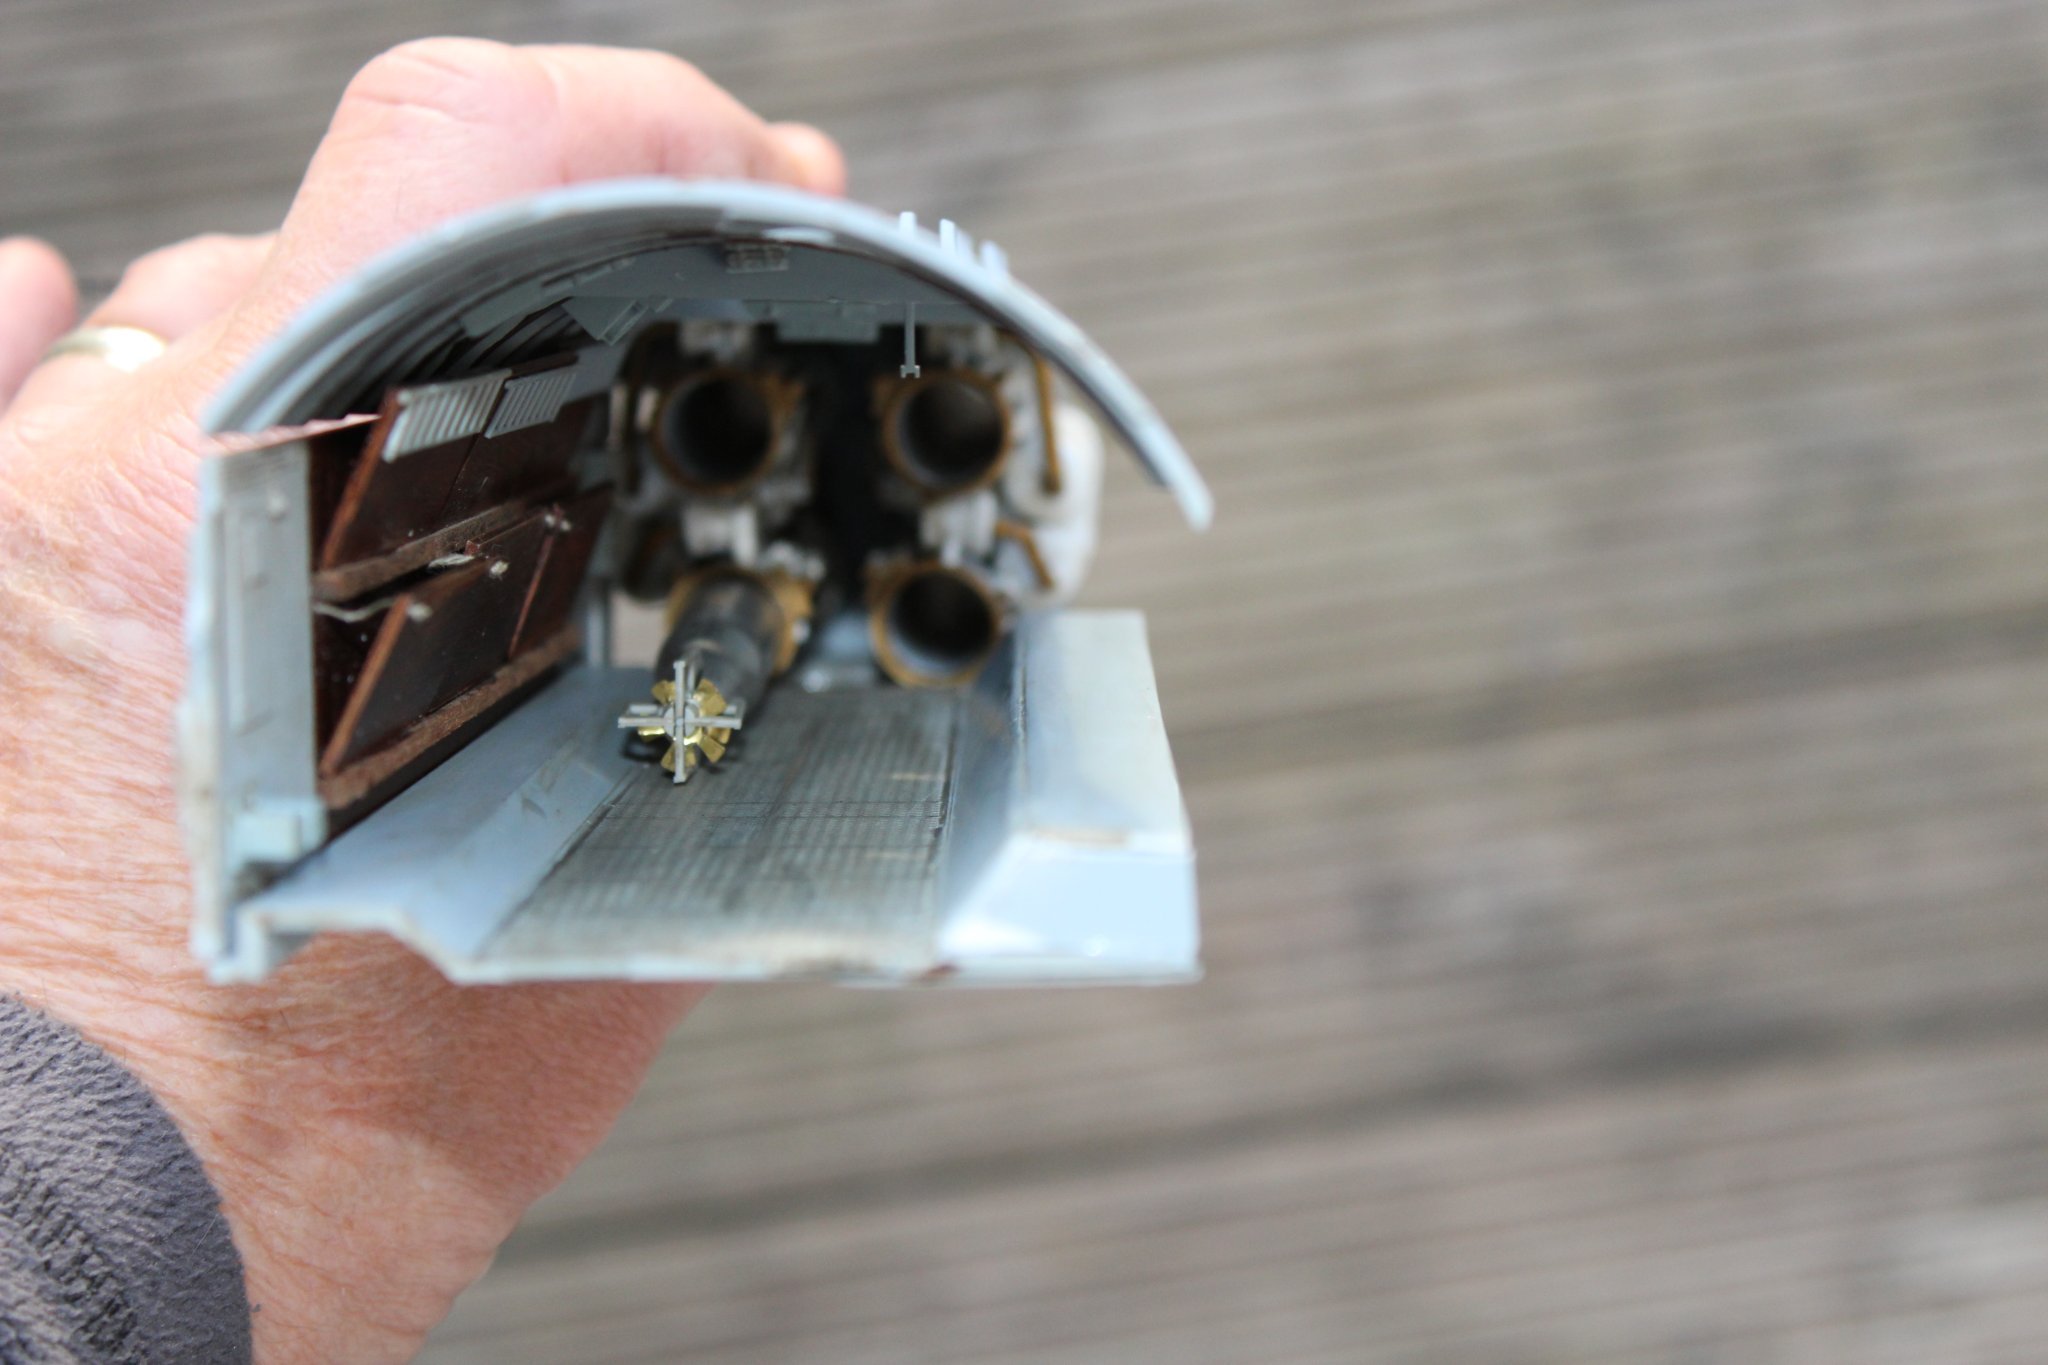
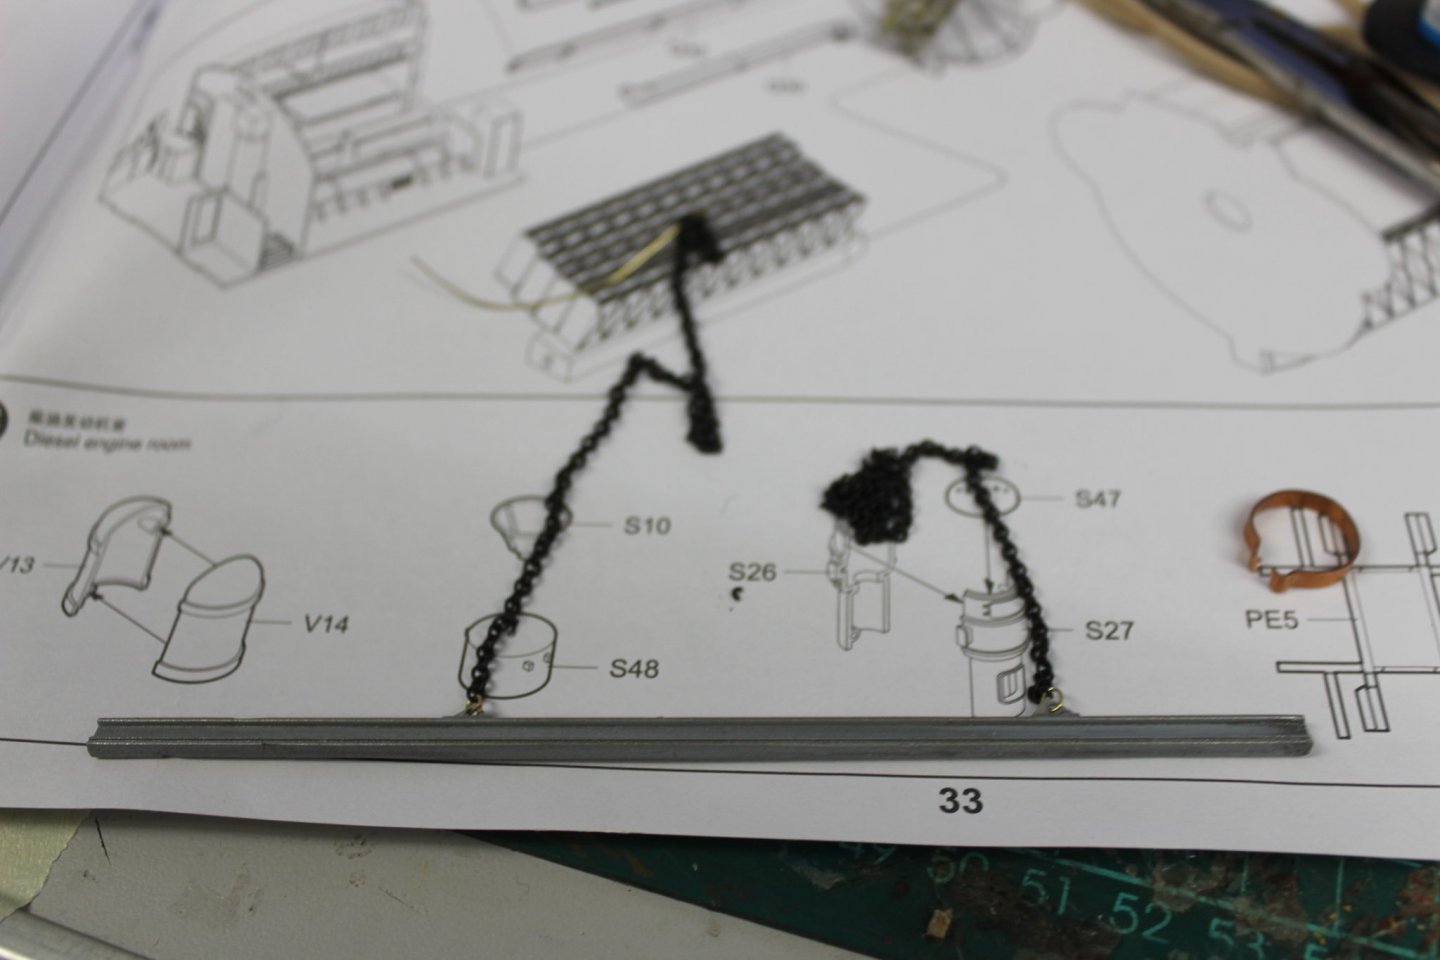
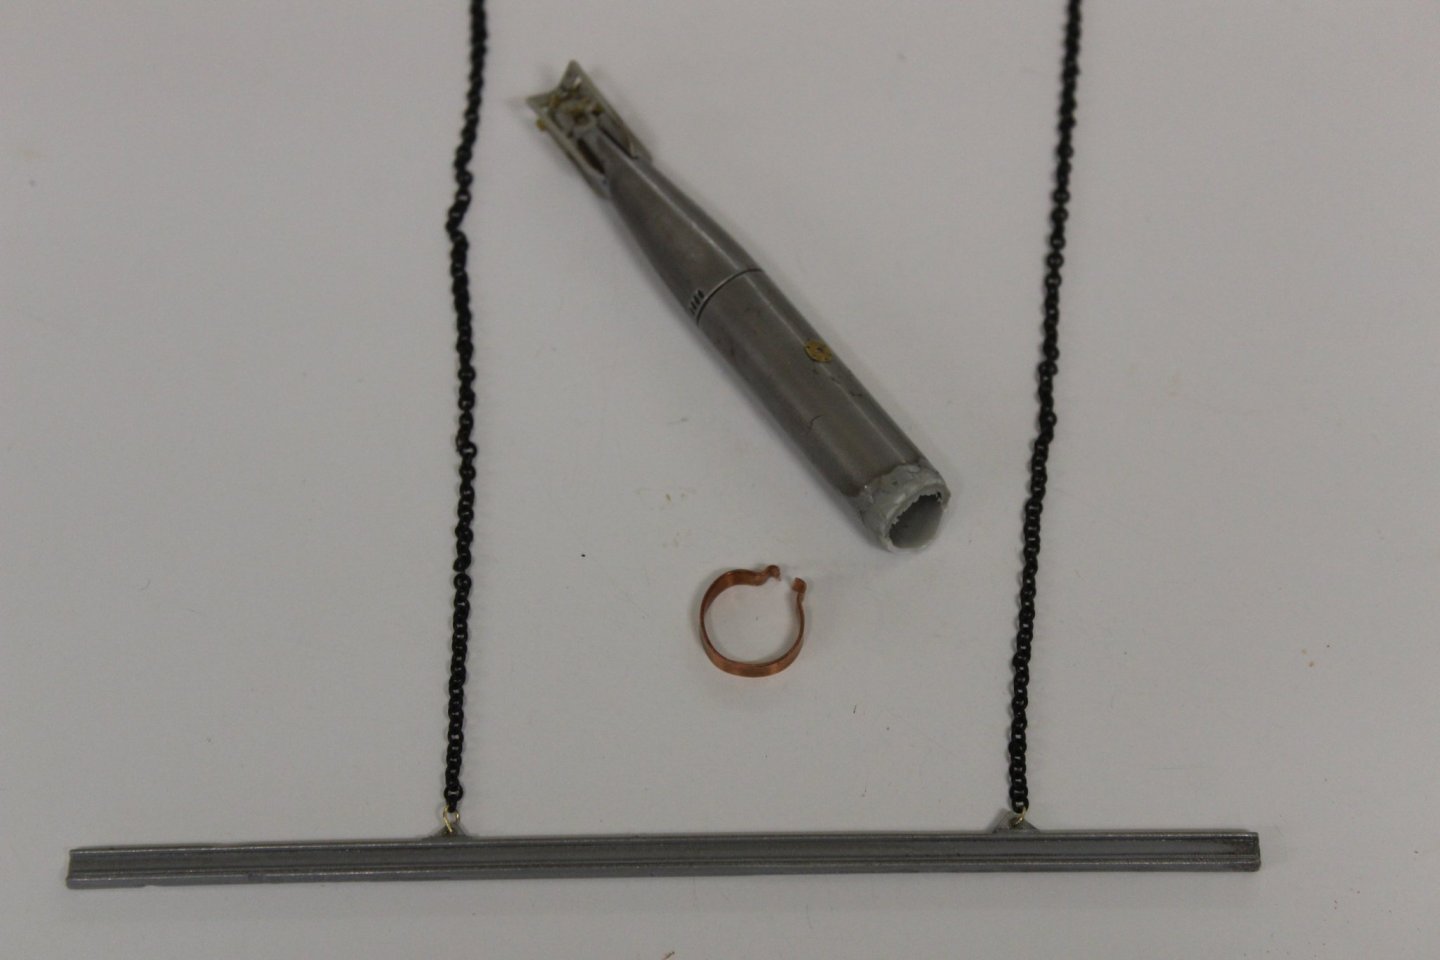
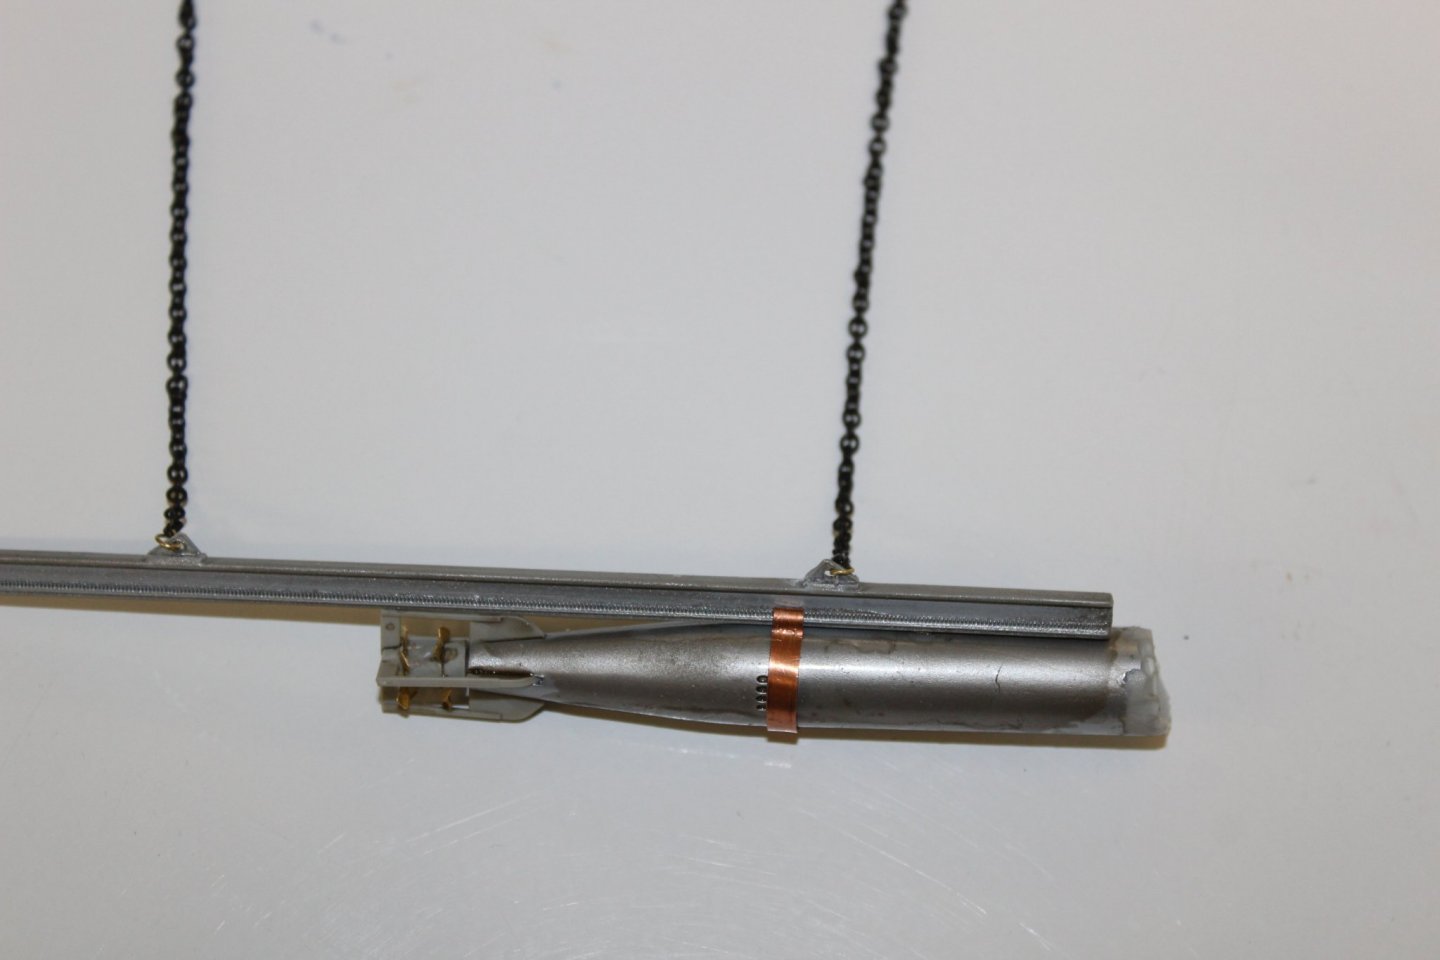
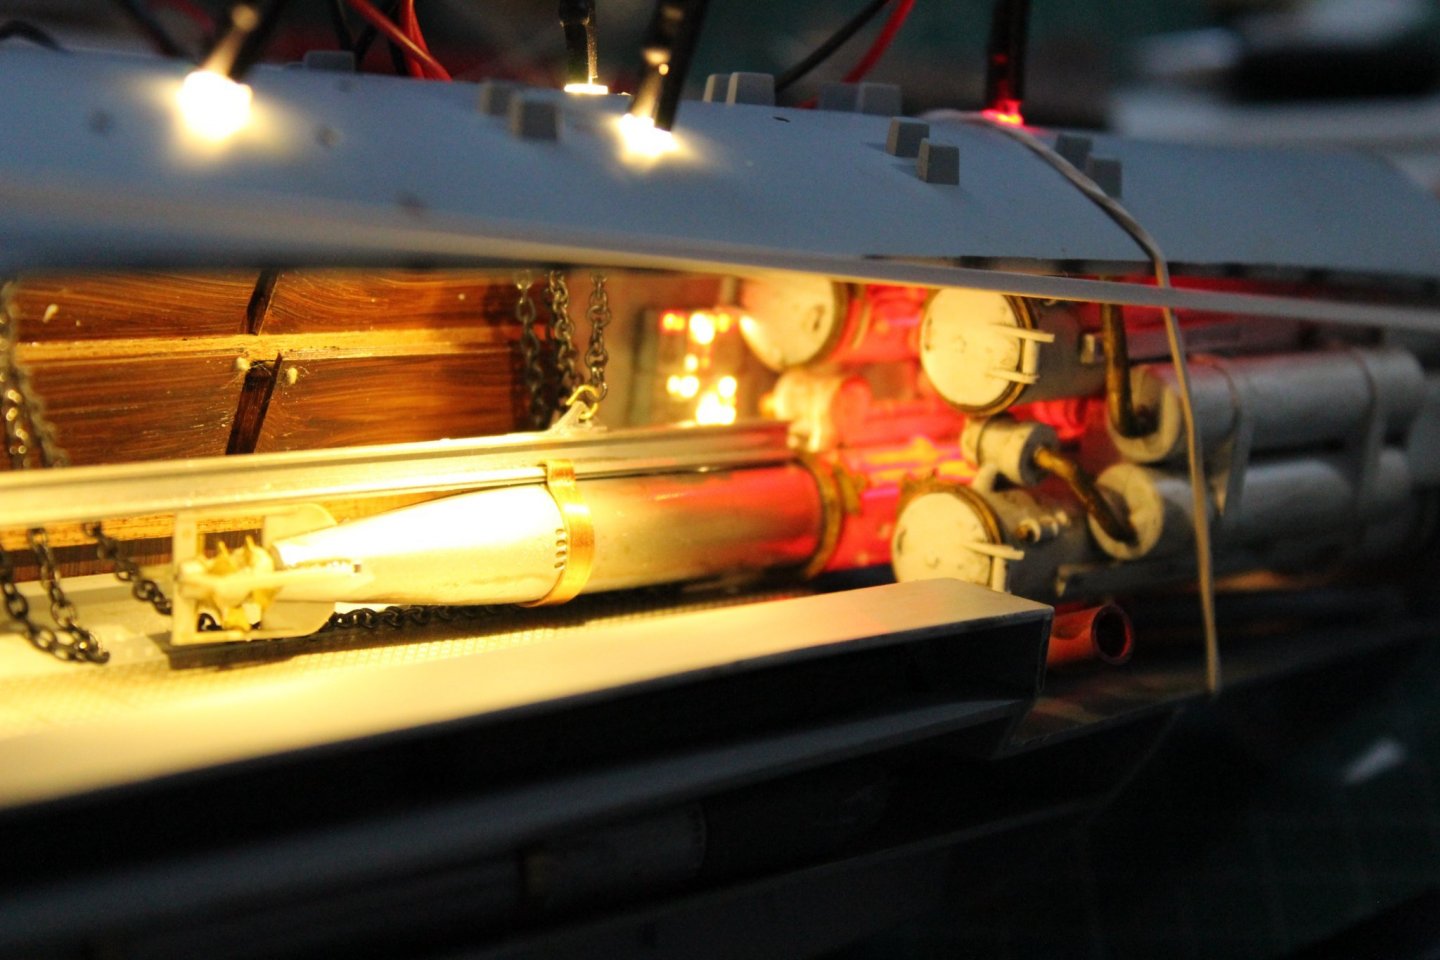
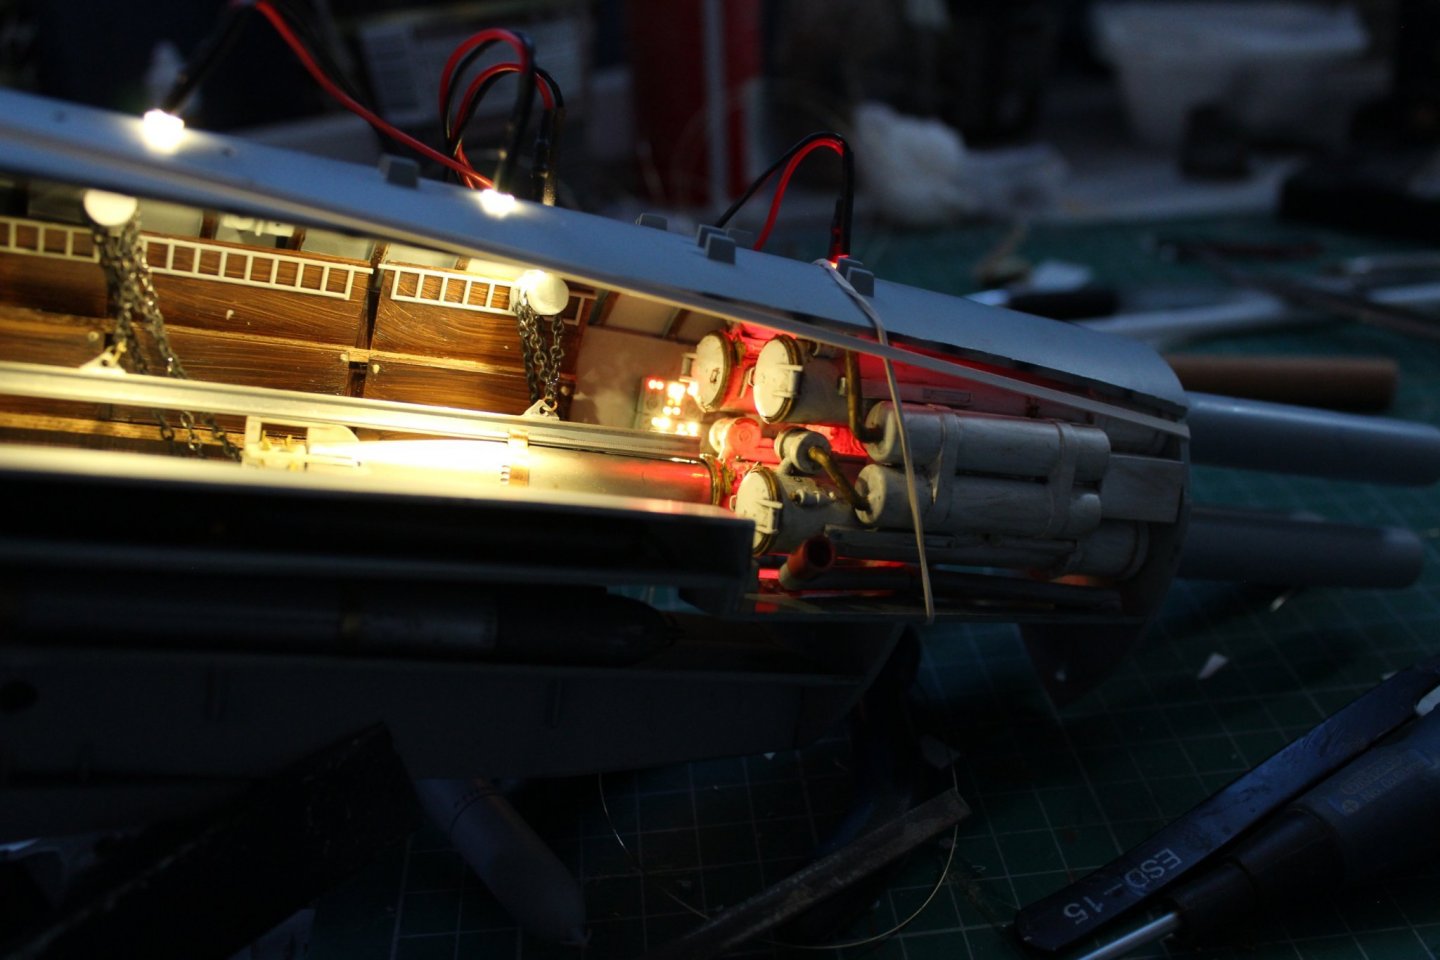
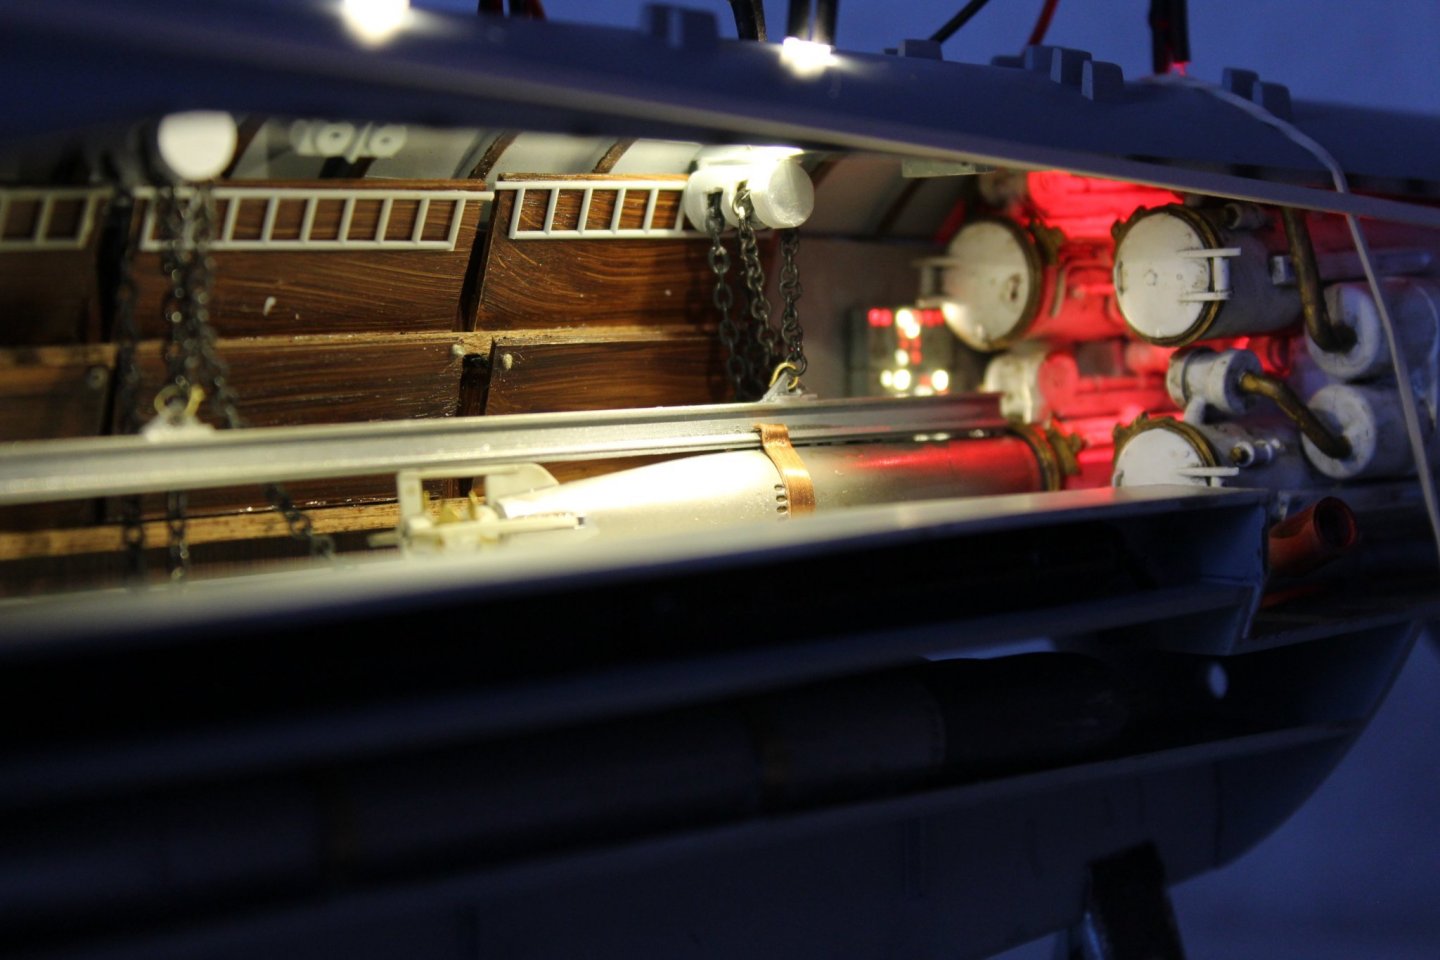
 good morning everyone the torpedo lifting gear is better now having got rid of the kit bits, i left the chains long to help putting the deck head on lighting i need to put an inline dimmer and these new 3mm lights are getting quite warm i think the chain looks out of scale for now i will be leaving this compartment like this as i am still unsure of the diorama setting and possiblty rethink the lighting
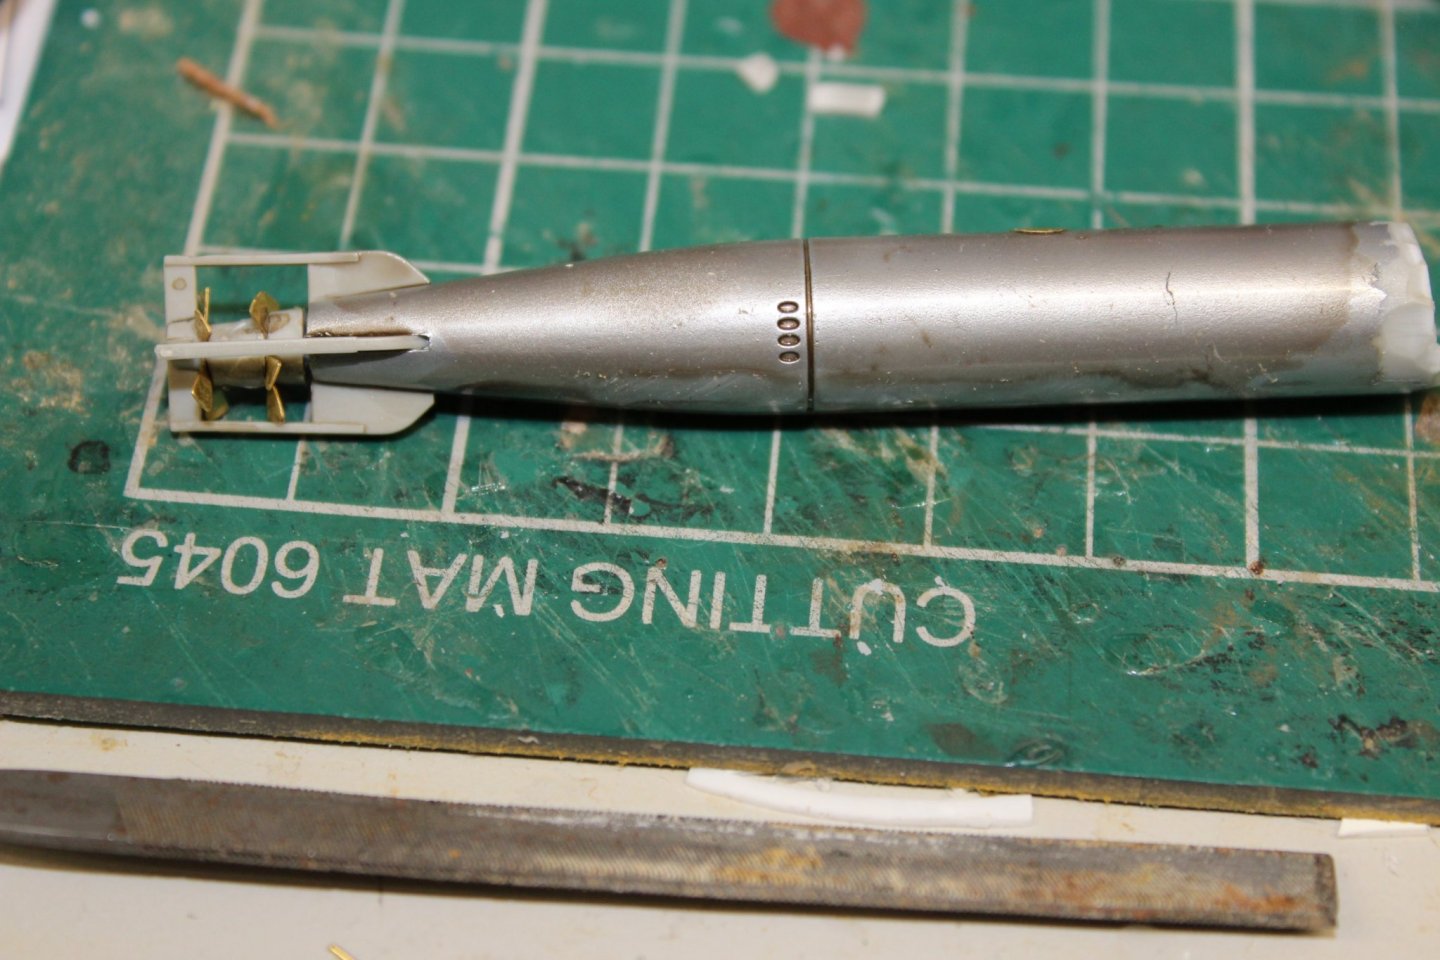


- 90 replies
-
- 10
-

-

-
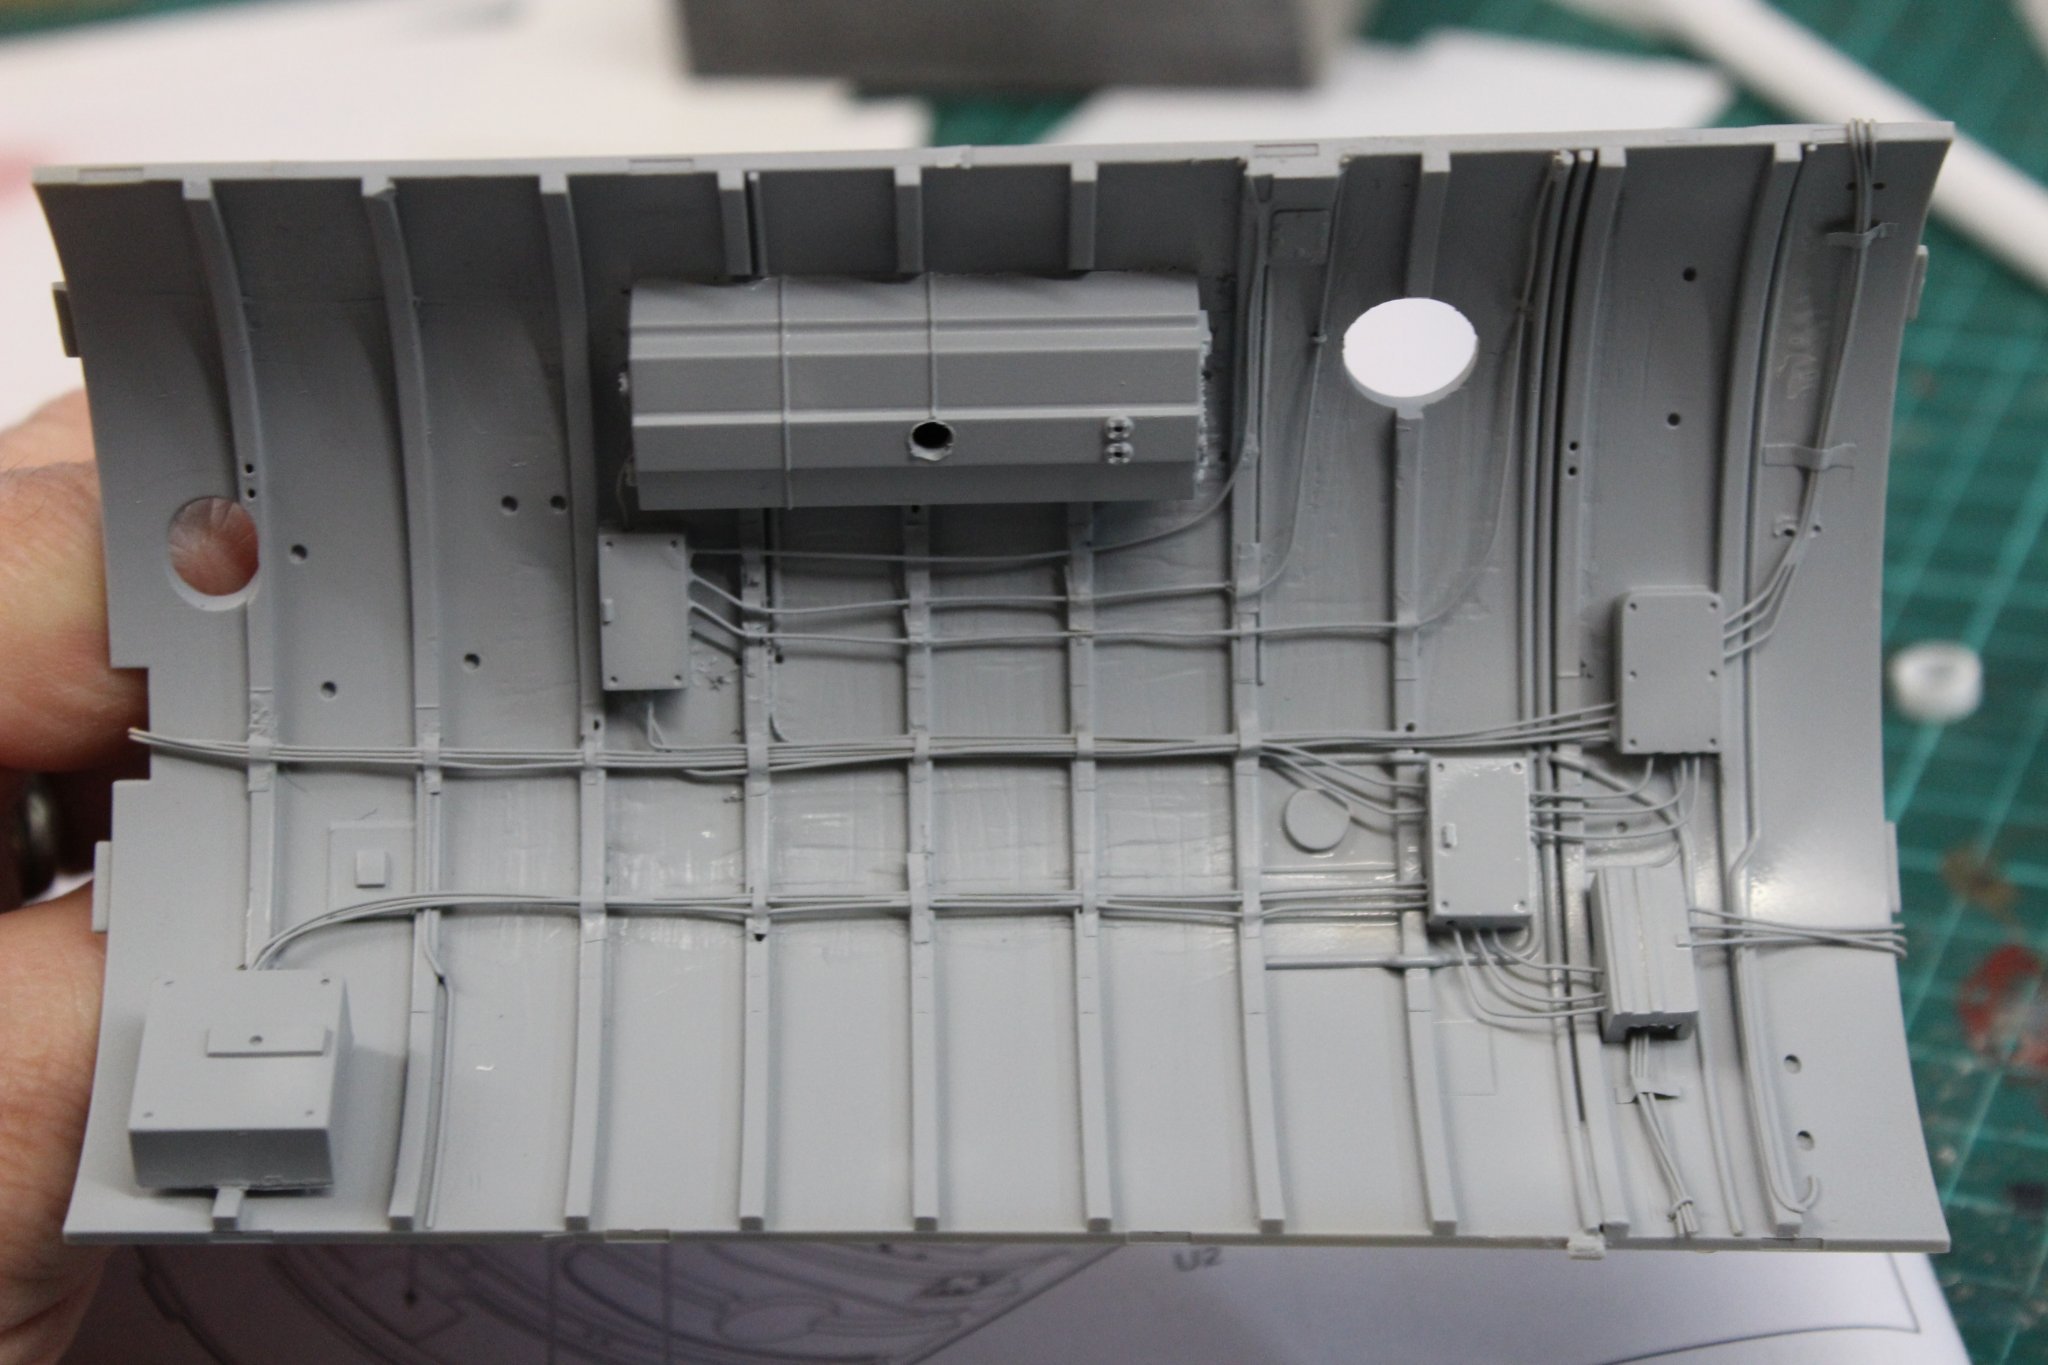
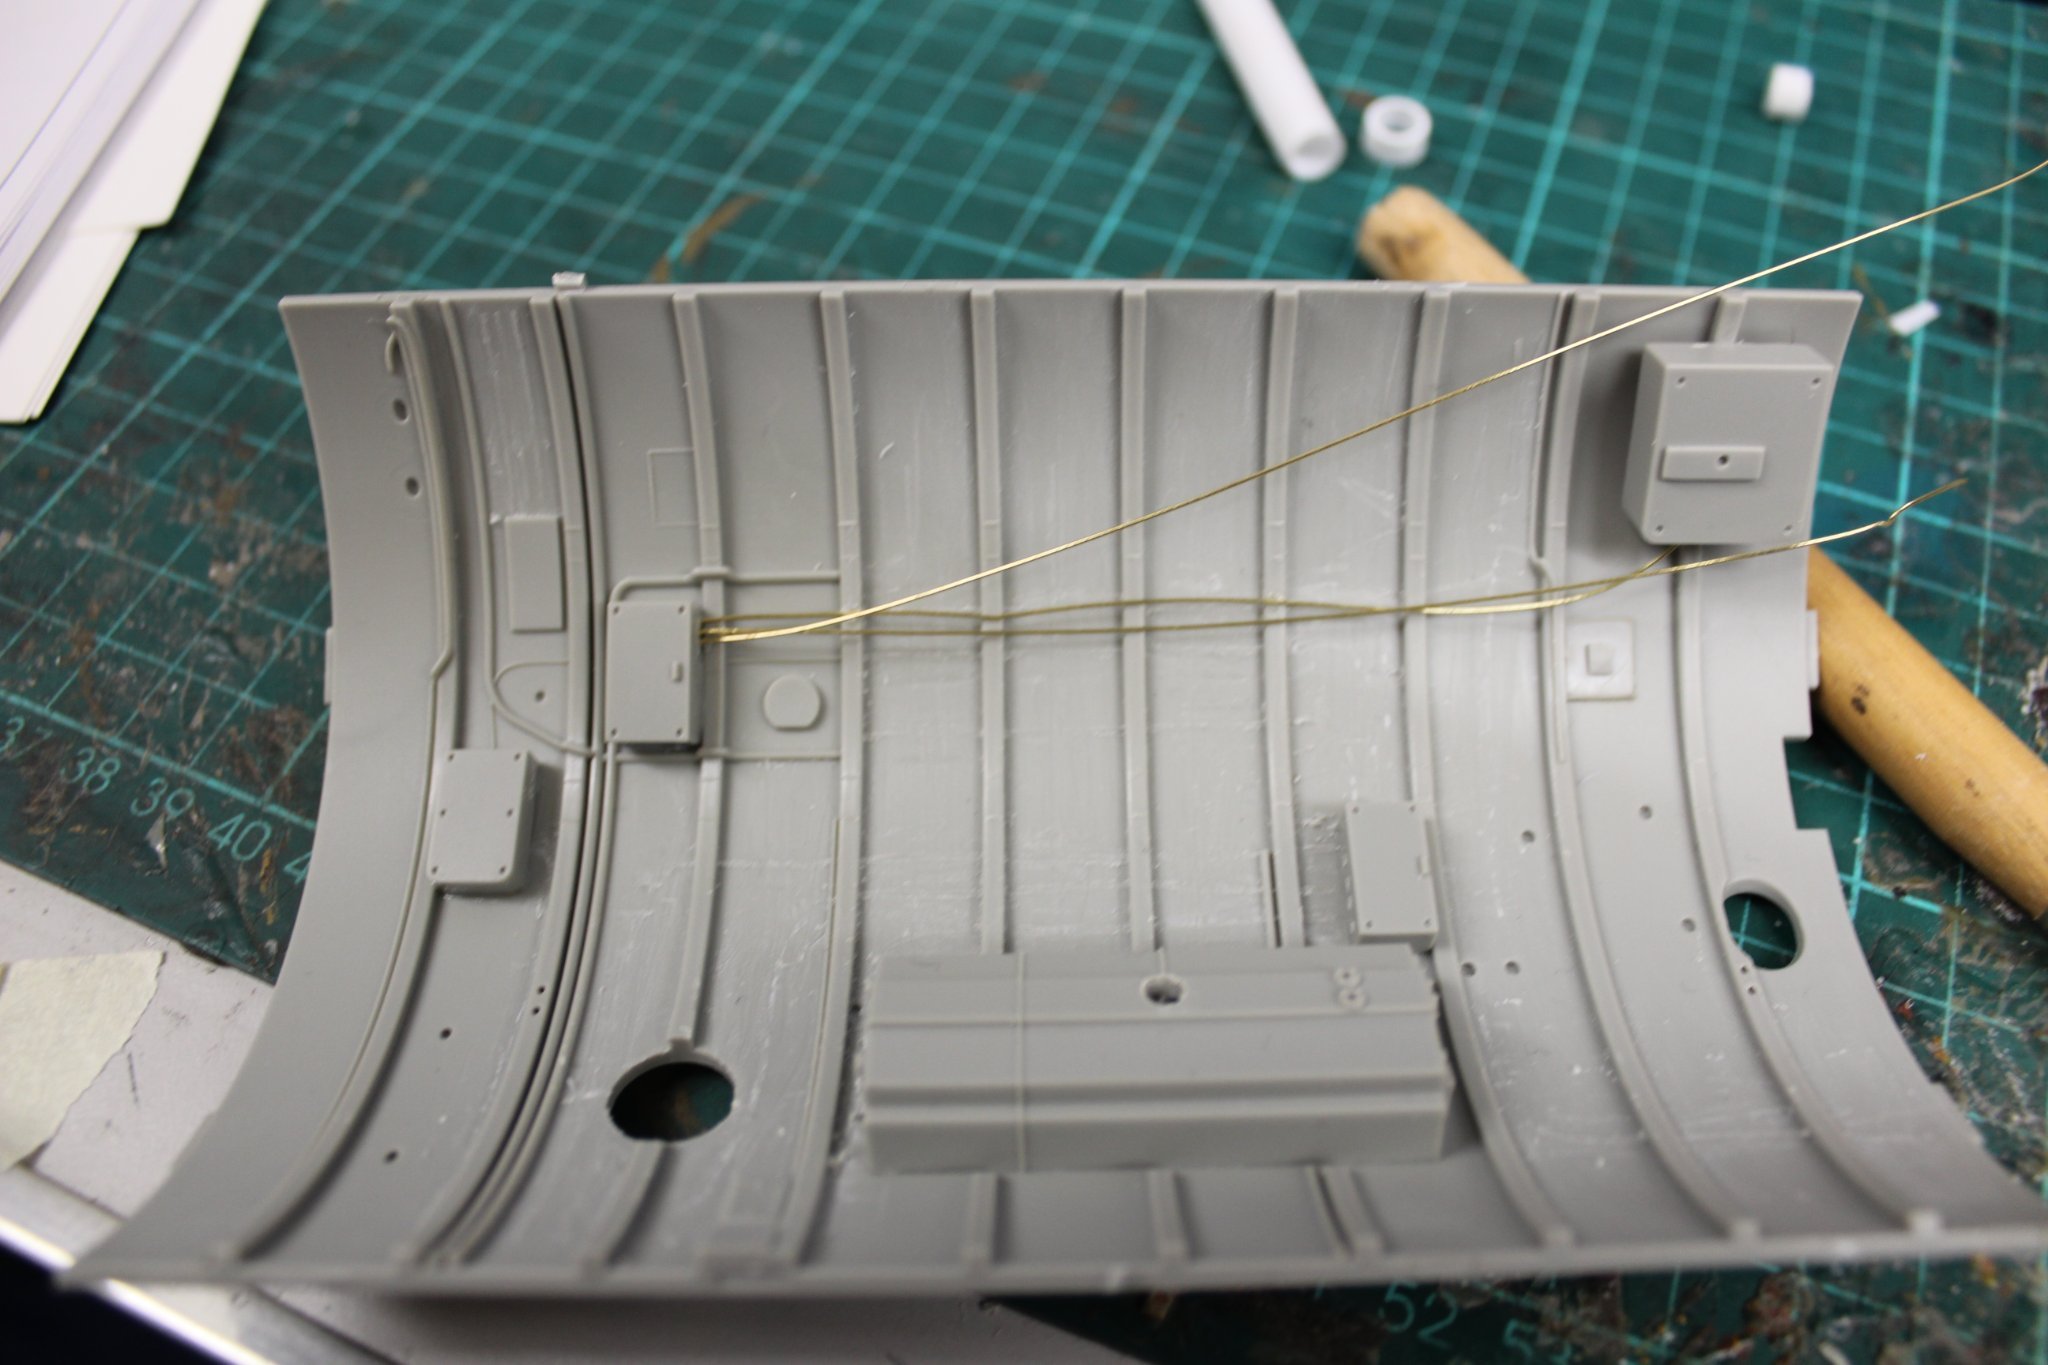
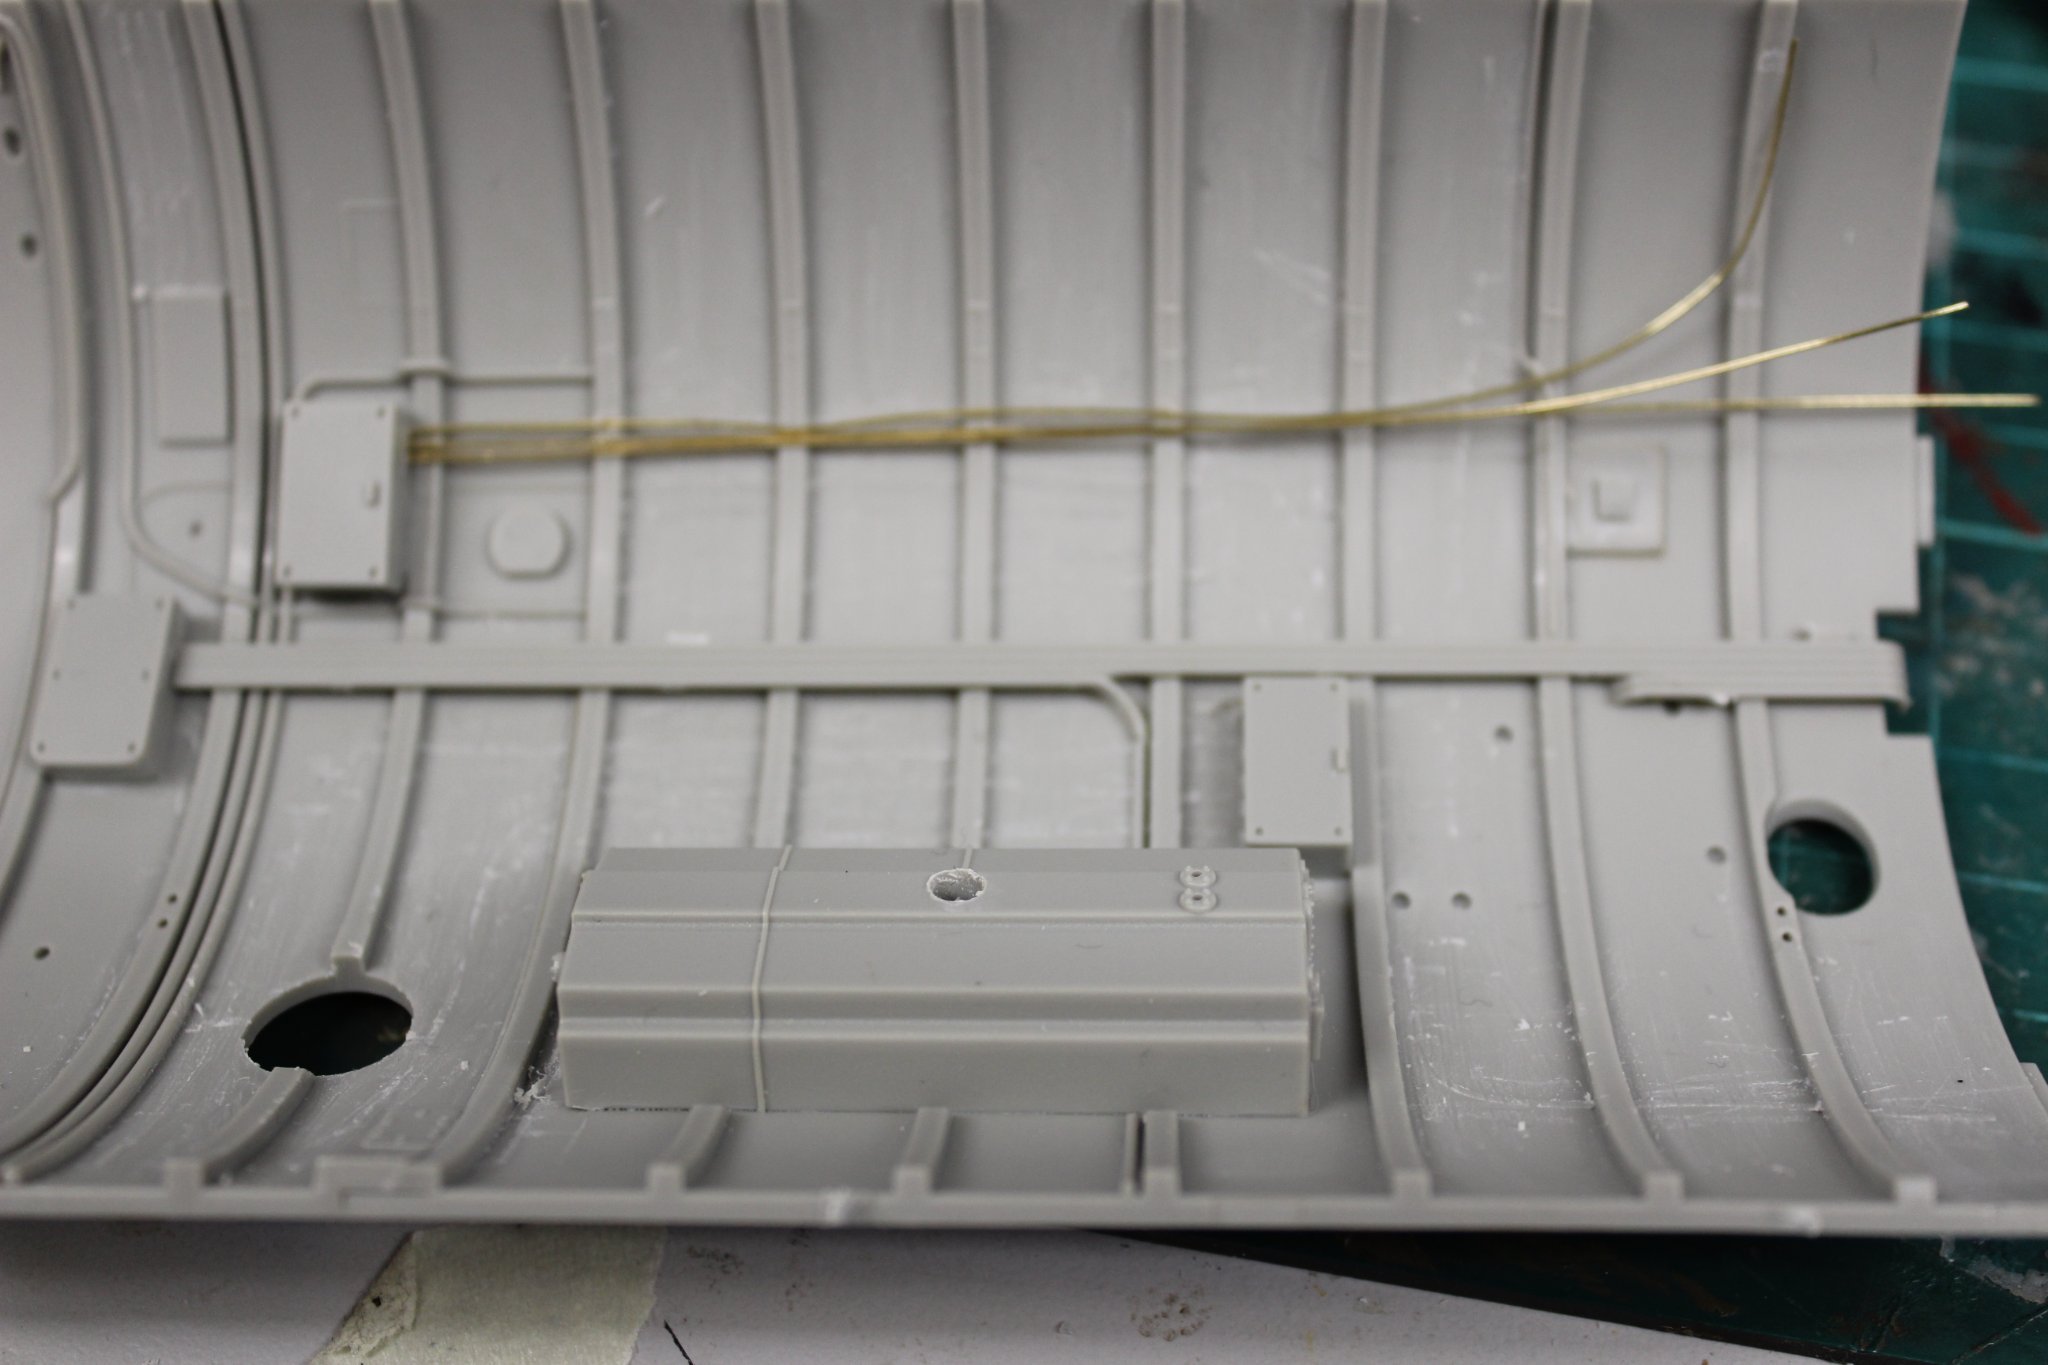
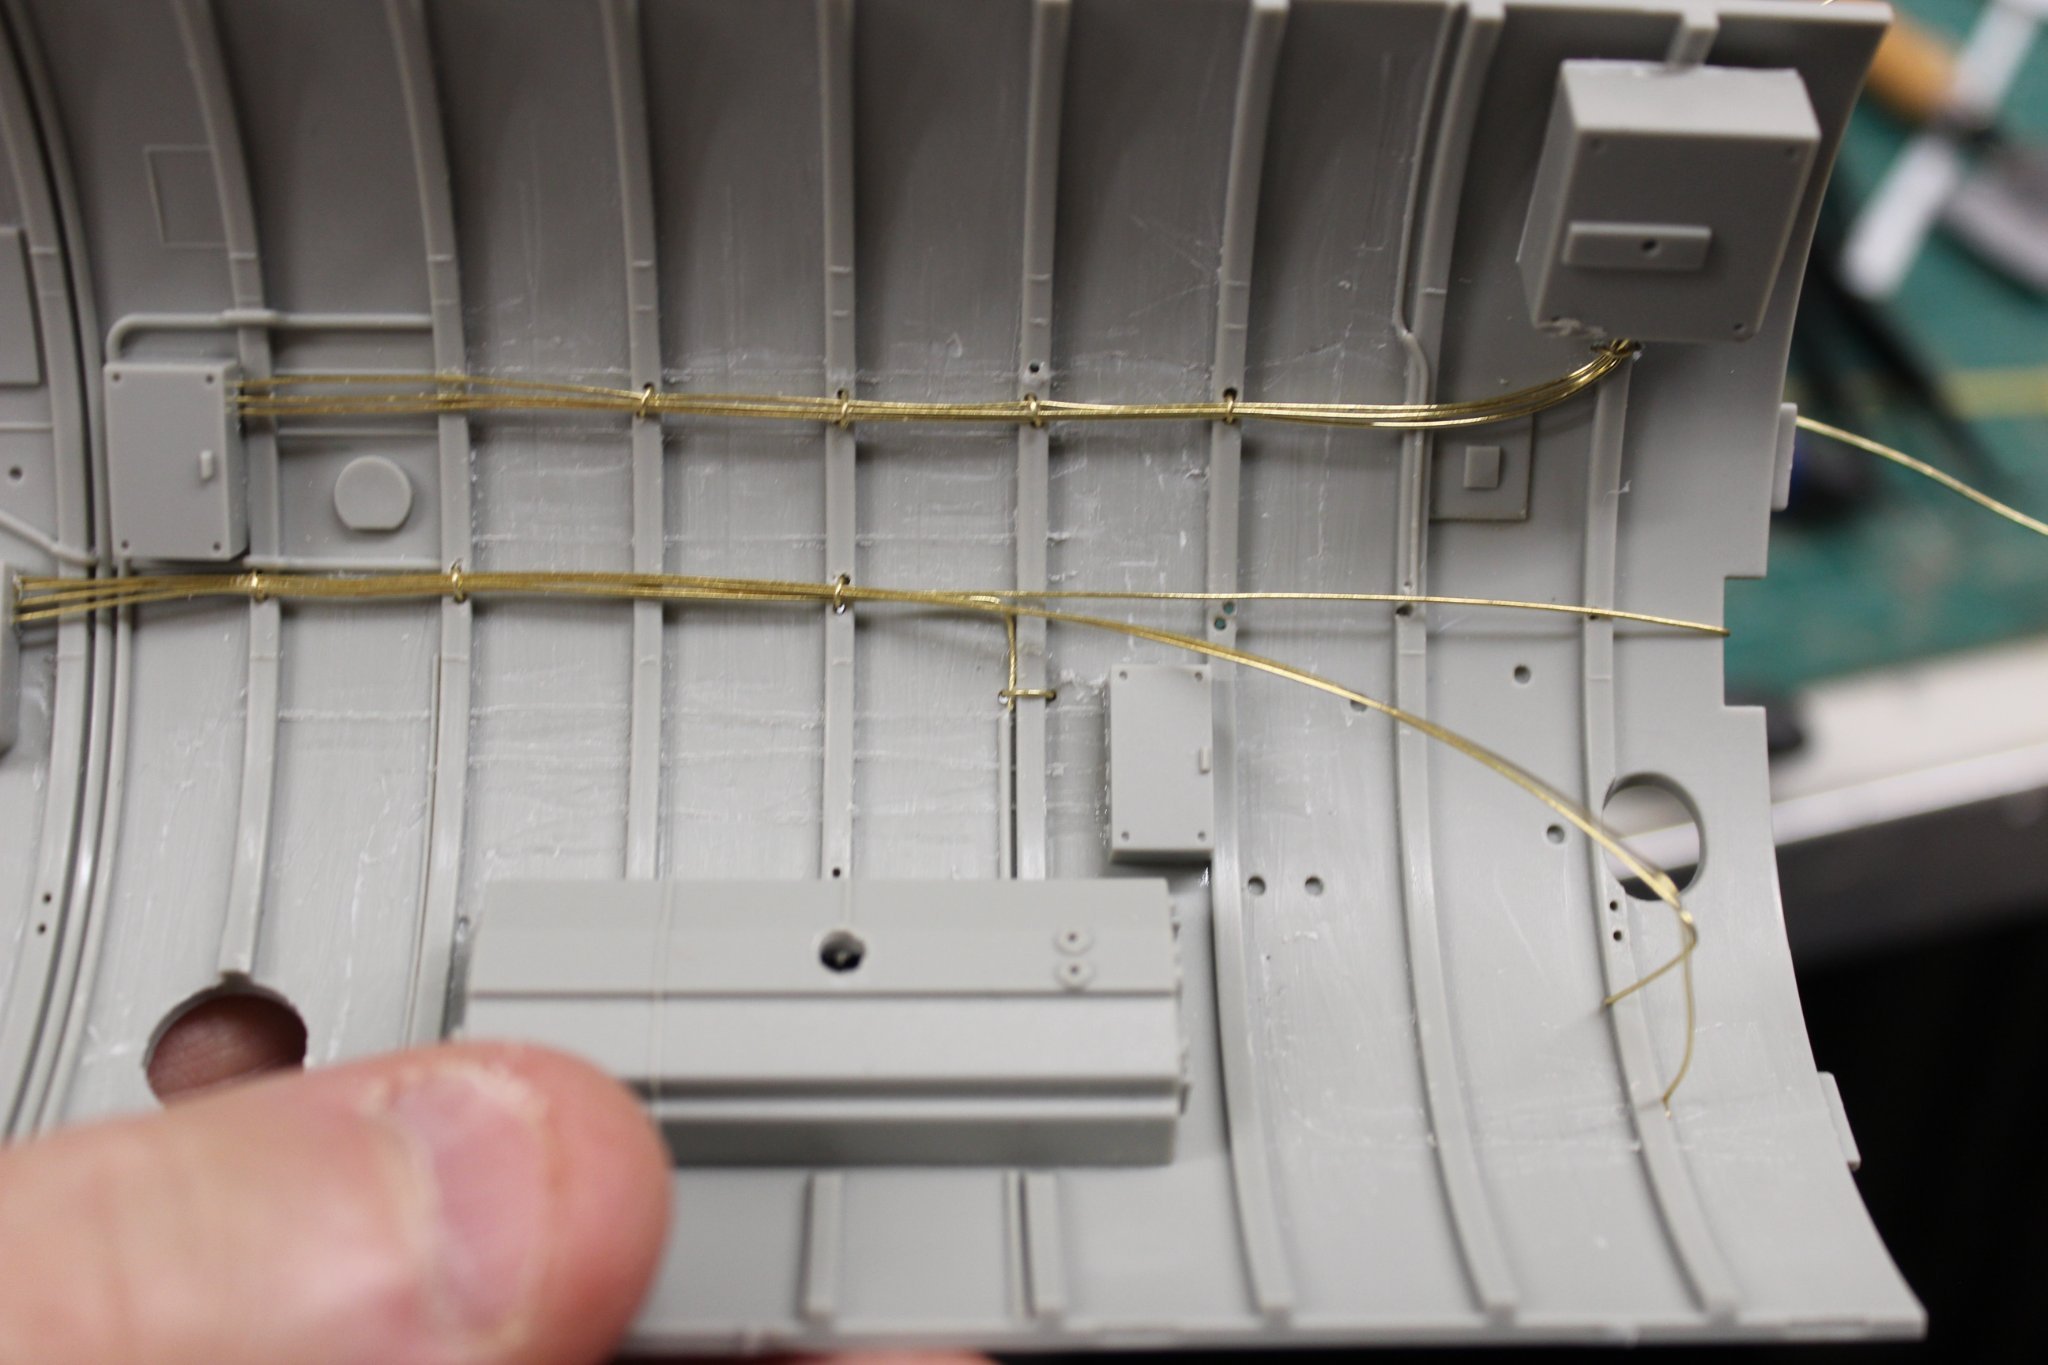
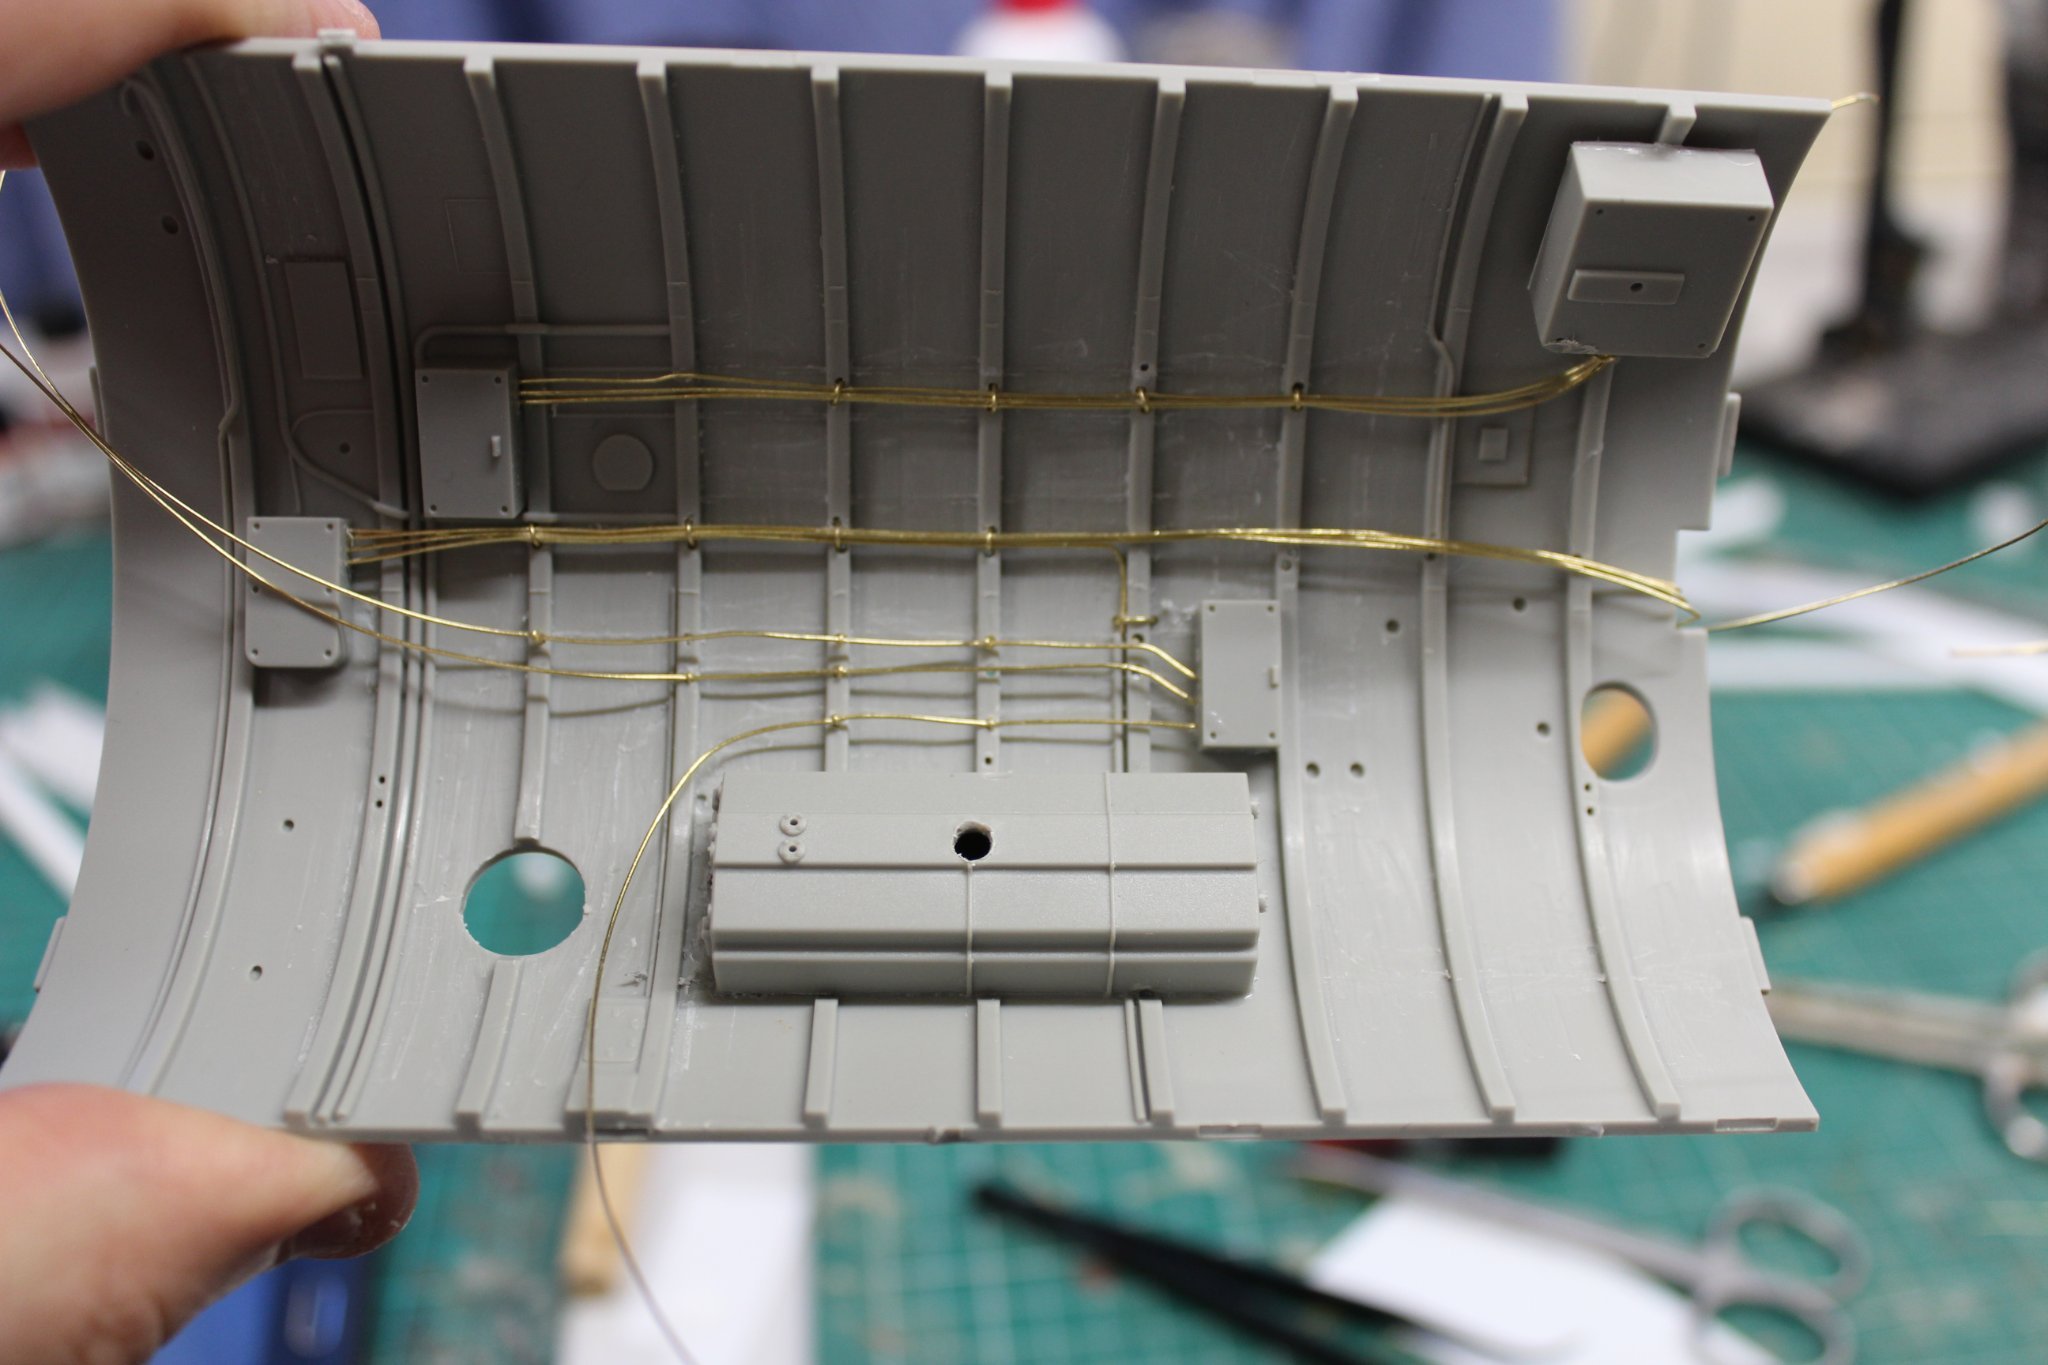
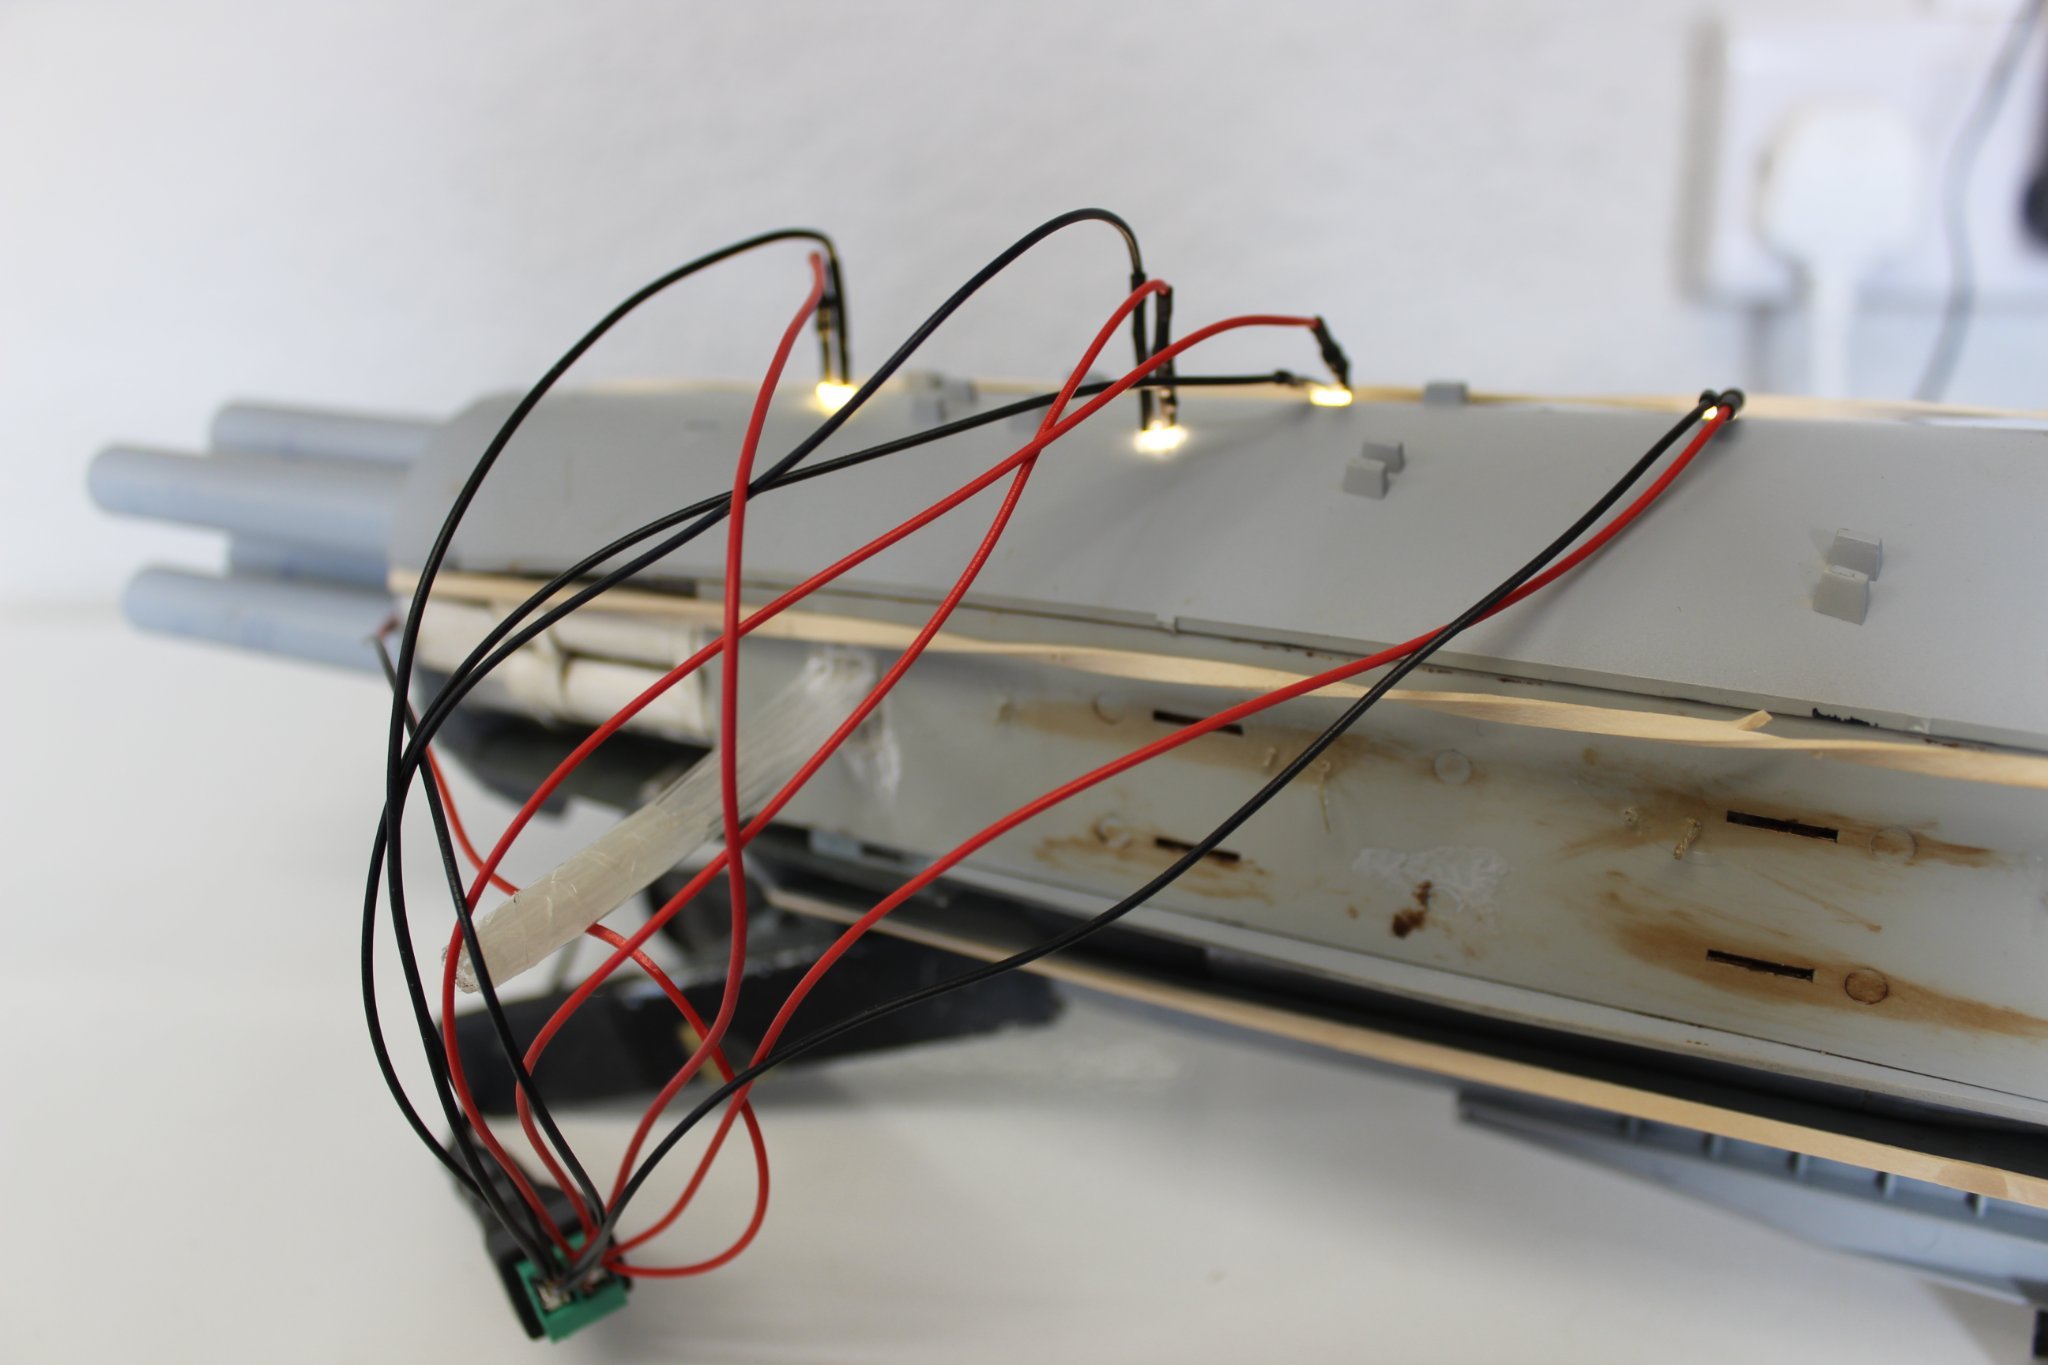
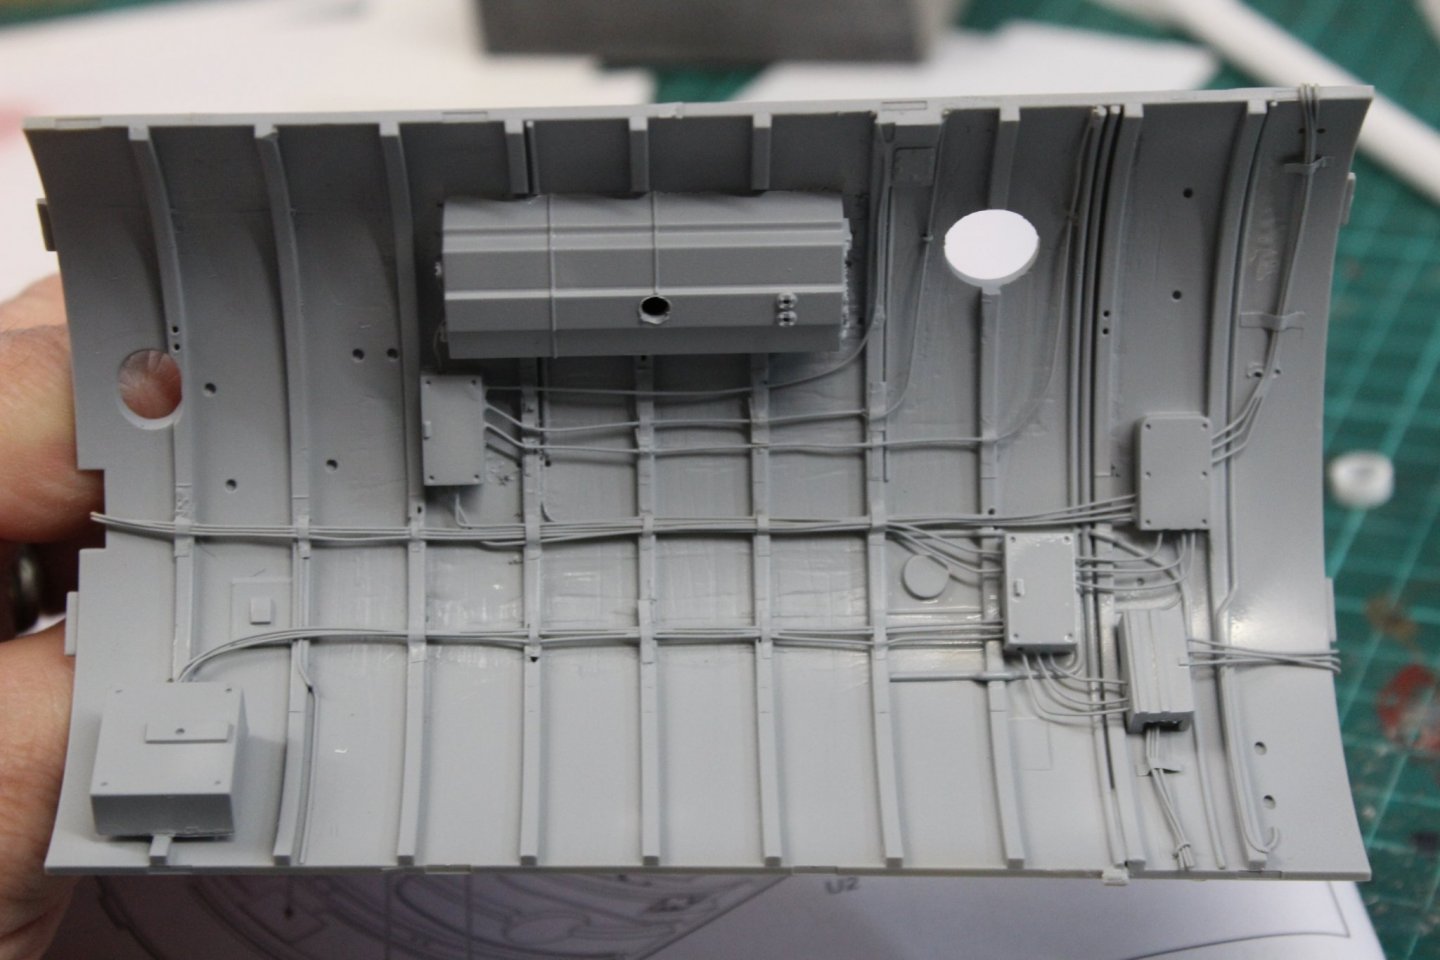
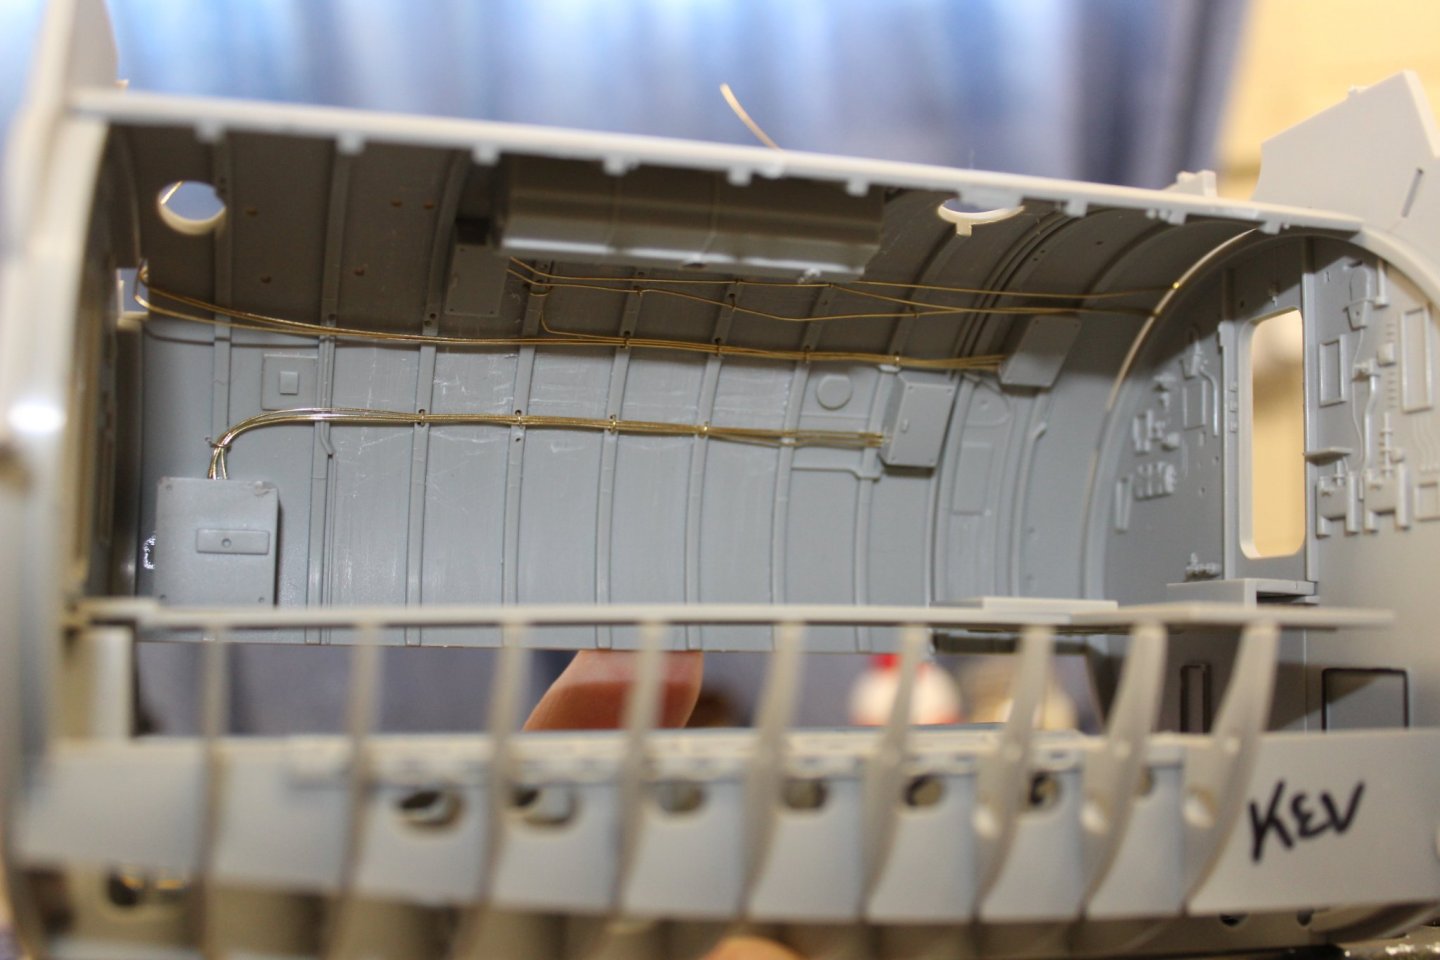
Good evening everyone thank you for comments and like i have done enough wiring for the hull i still have the bulkheads to do i removed the wire clips holding the wire runs in place, and replaced them with tape put a coat of primer over it all, including the bits i have done on the engine up to now


-
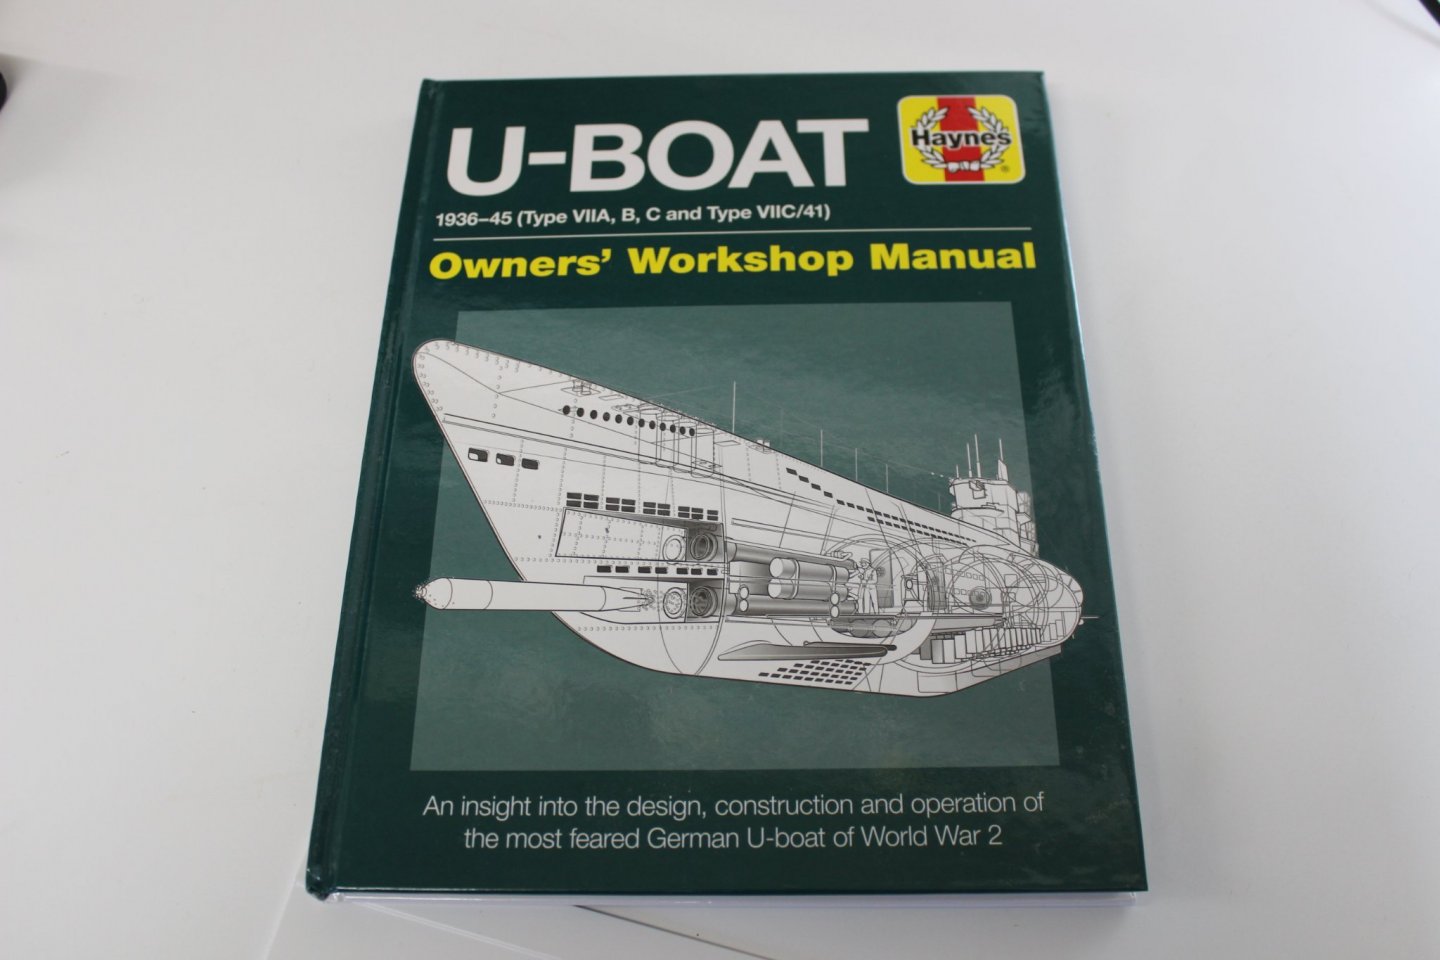
Thankyou for that, and the photos,very nice indeed, its a real shame about the kit, anyone i am aware of in buildkng this have criticised just how wrong it is, however i dont have any decent accurate information to make mine any better than seeing what others have done
-
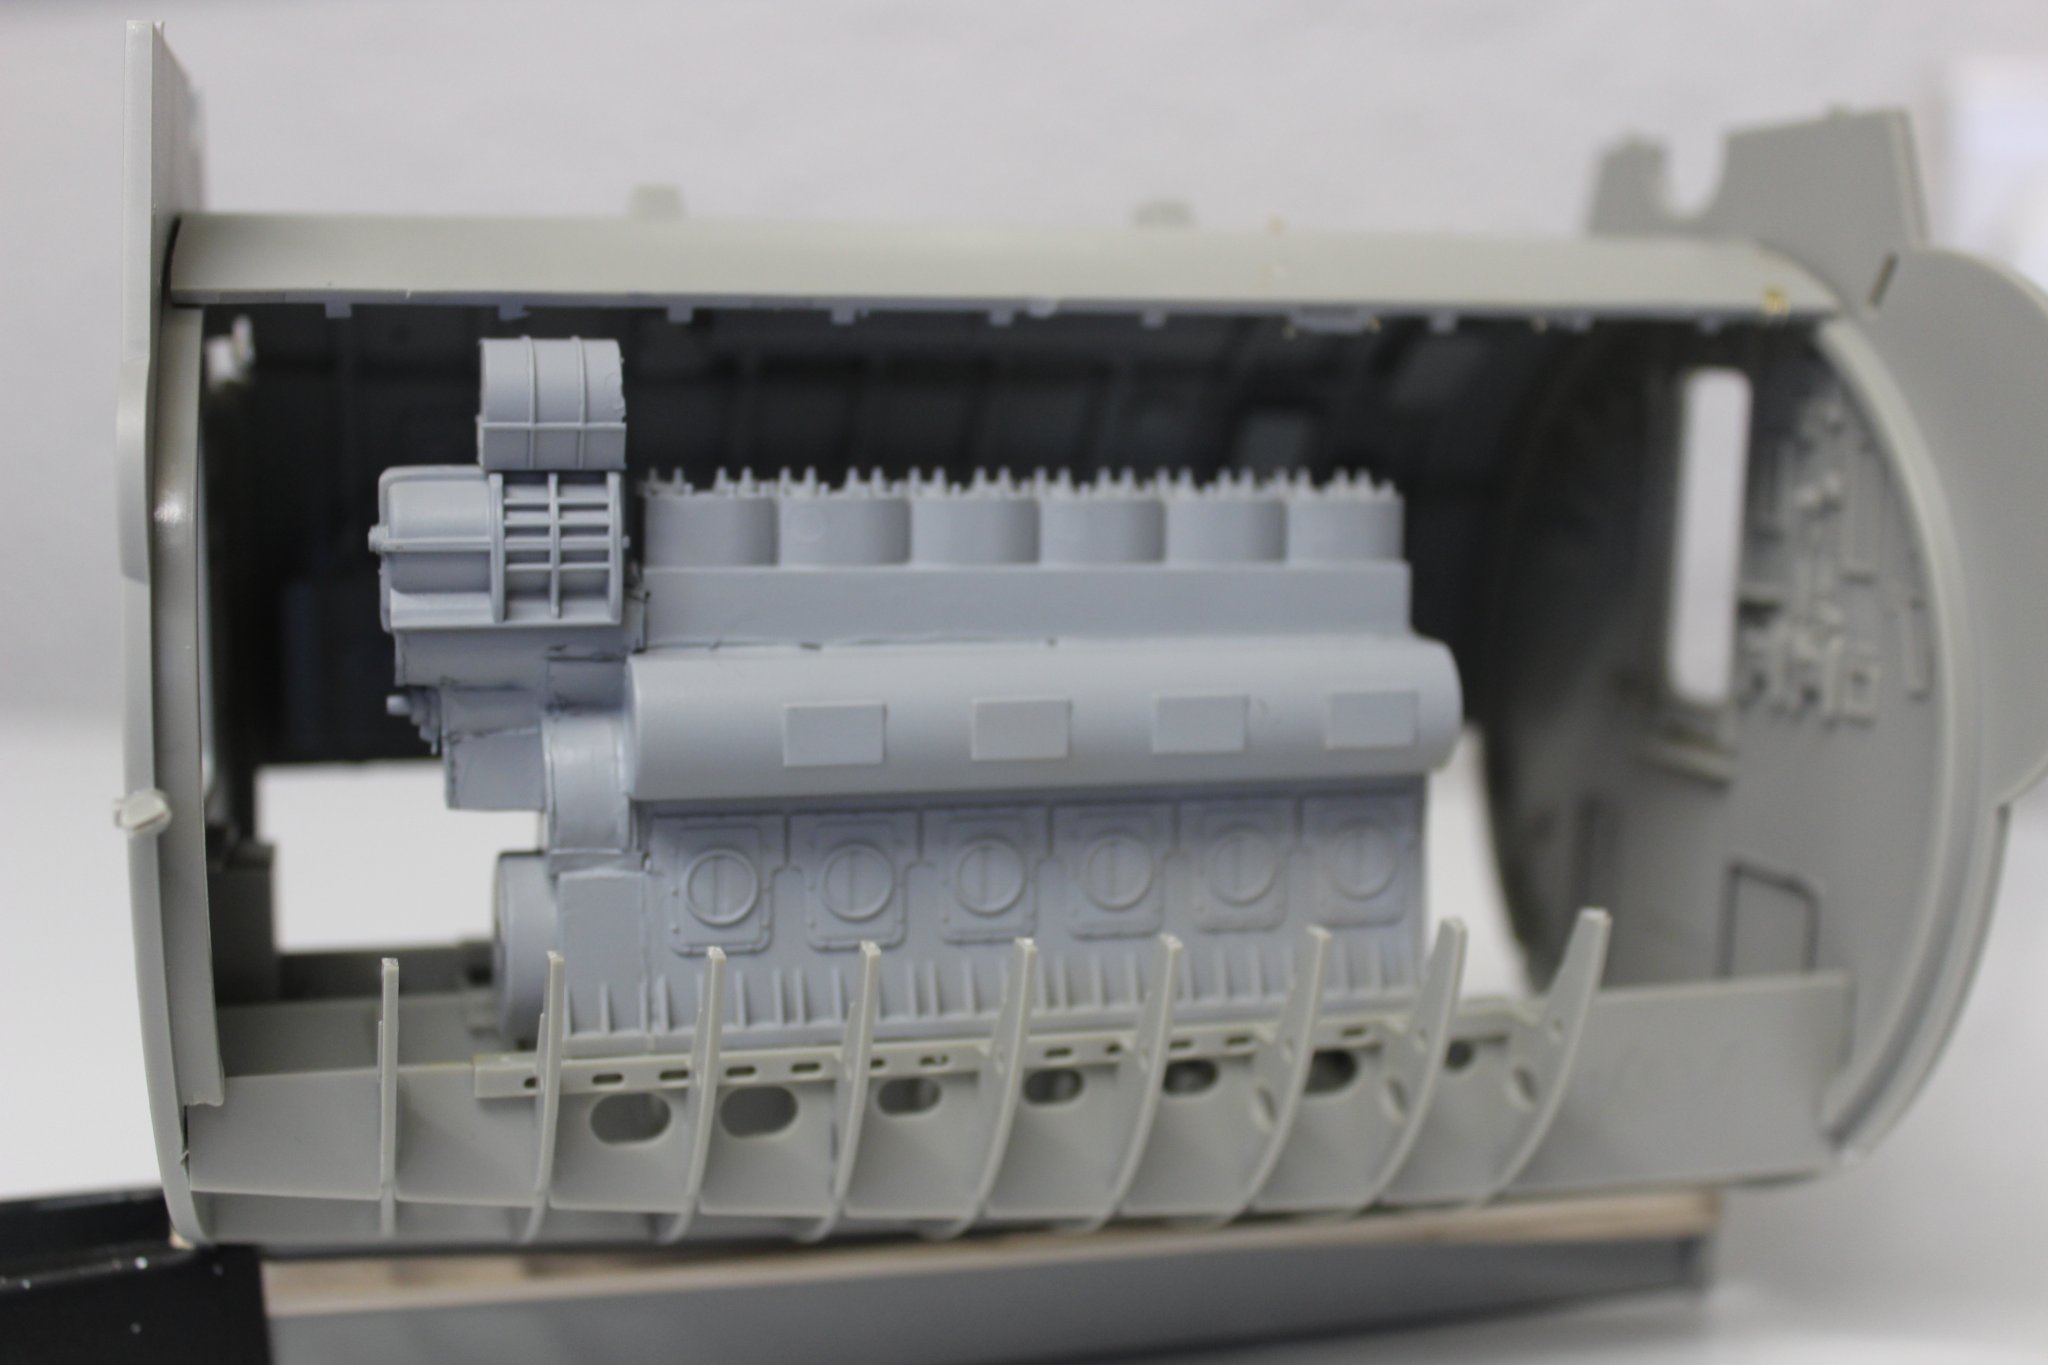
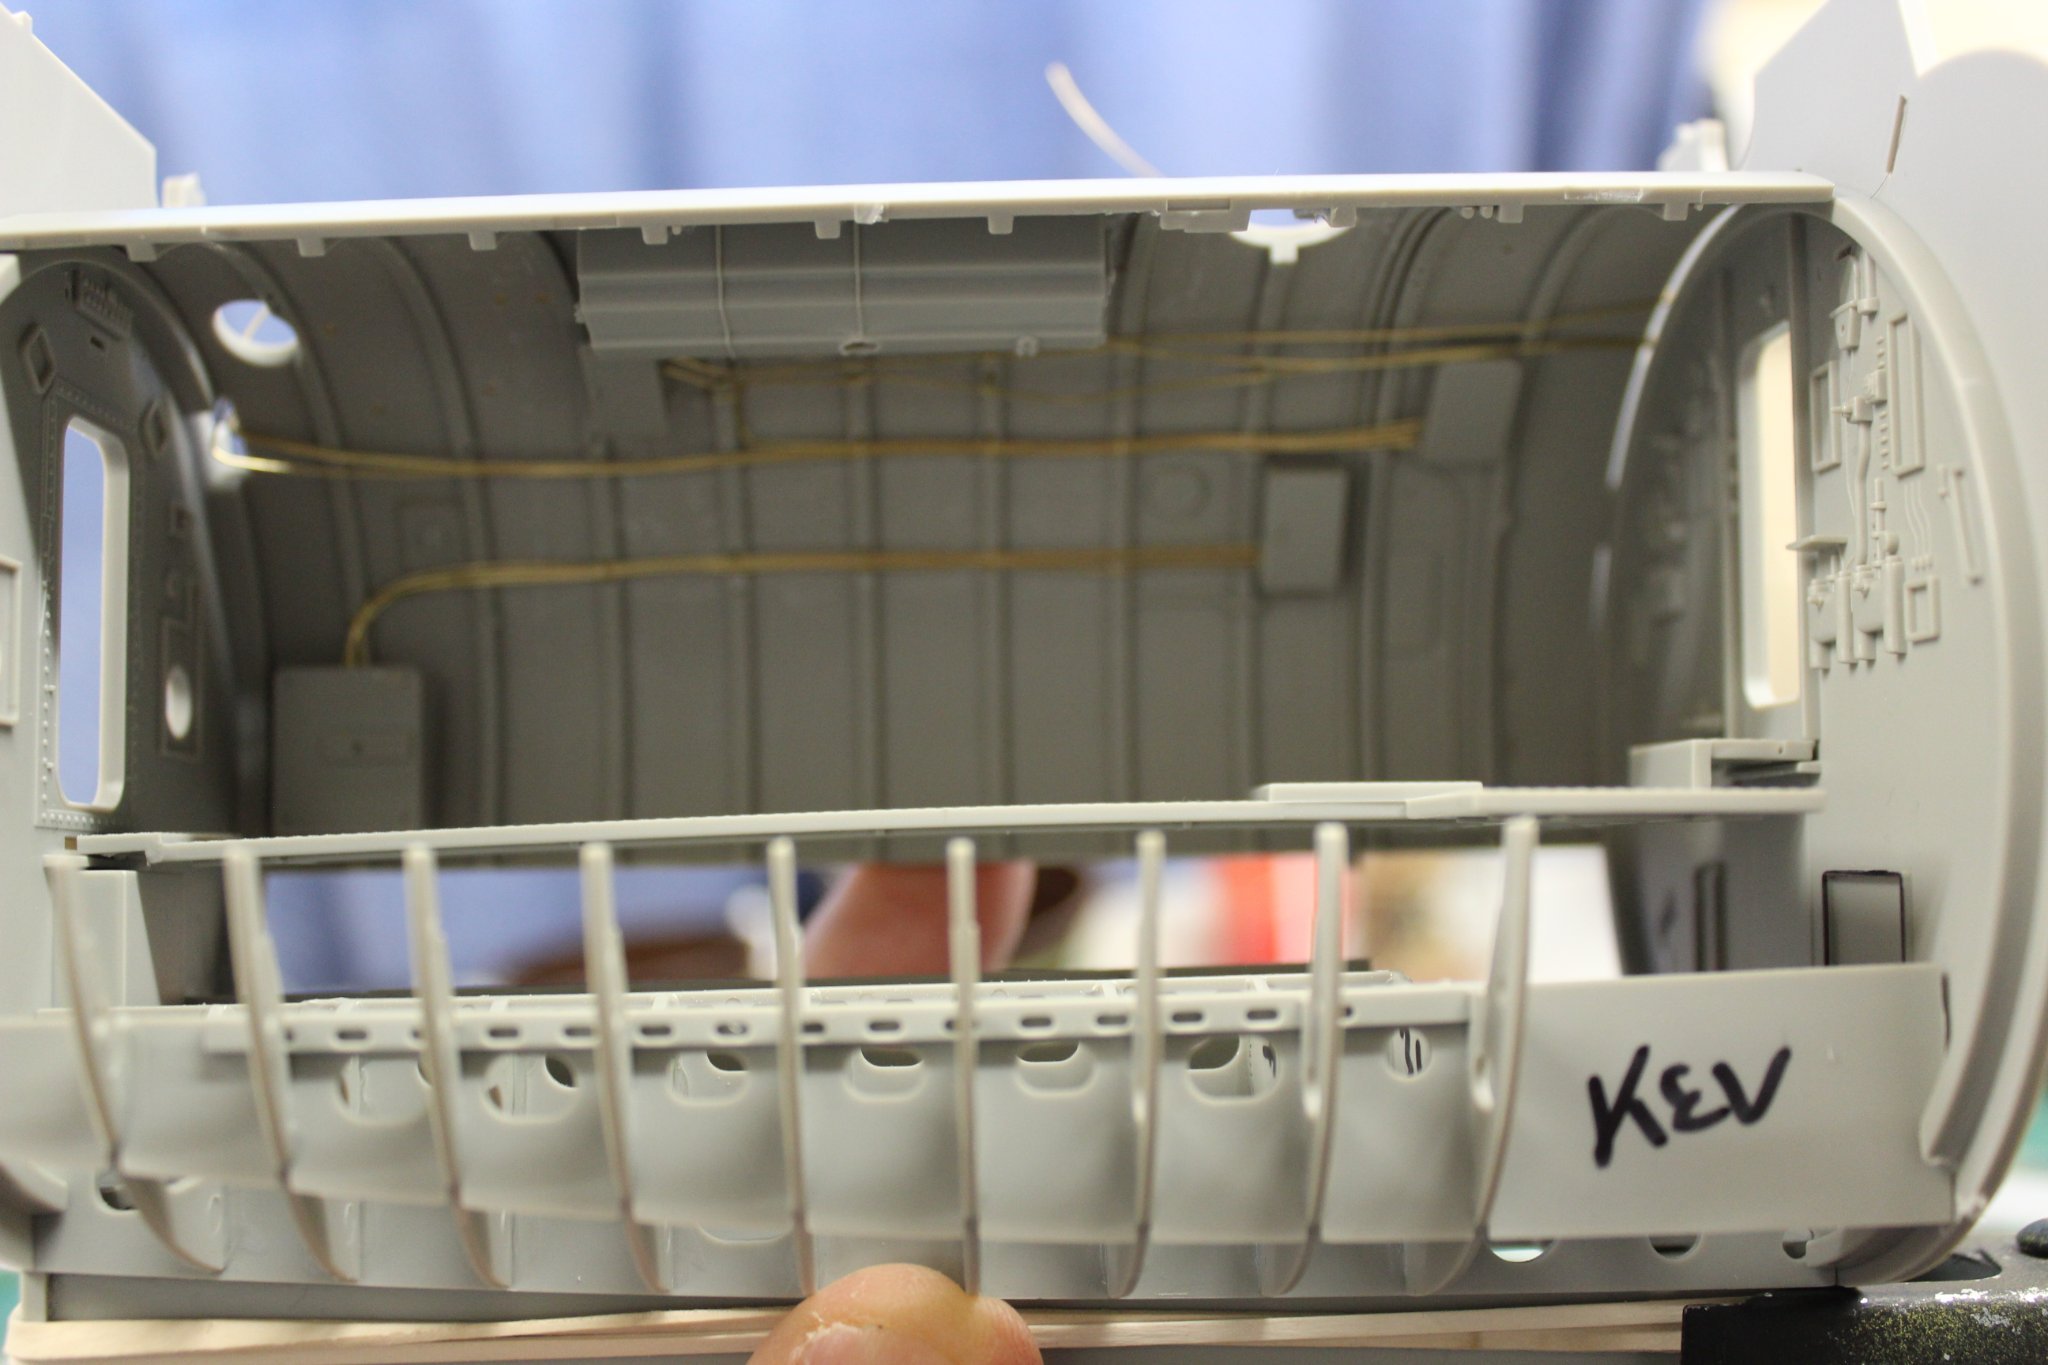
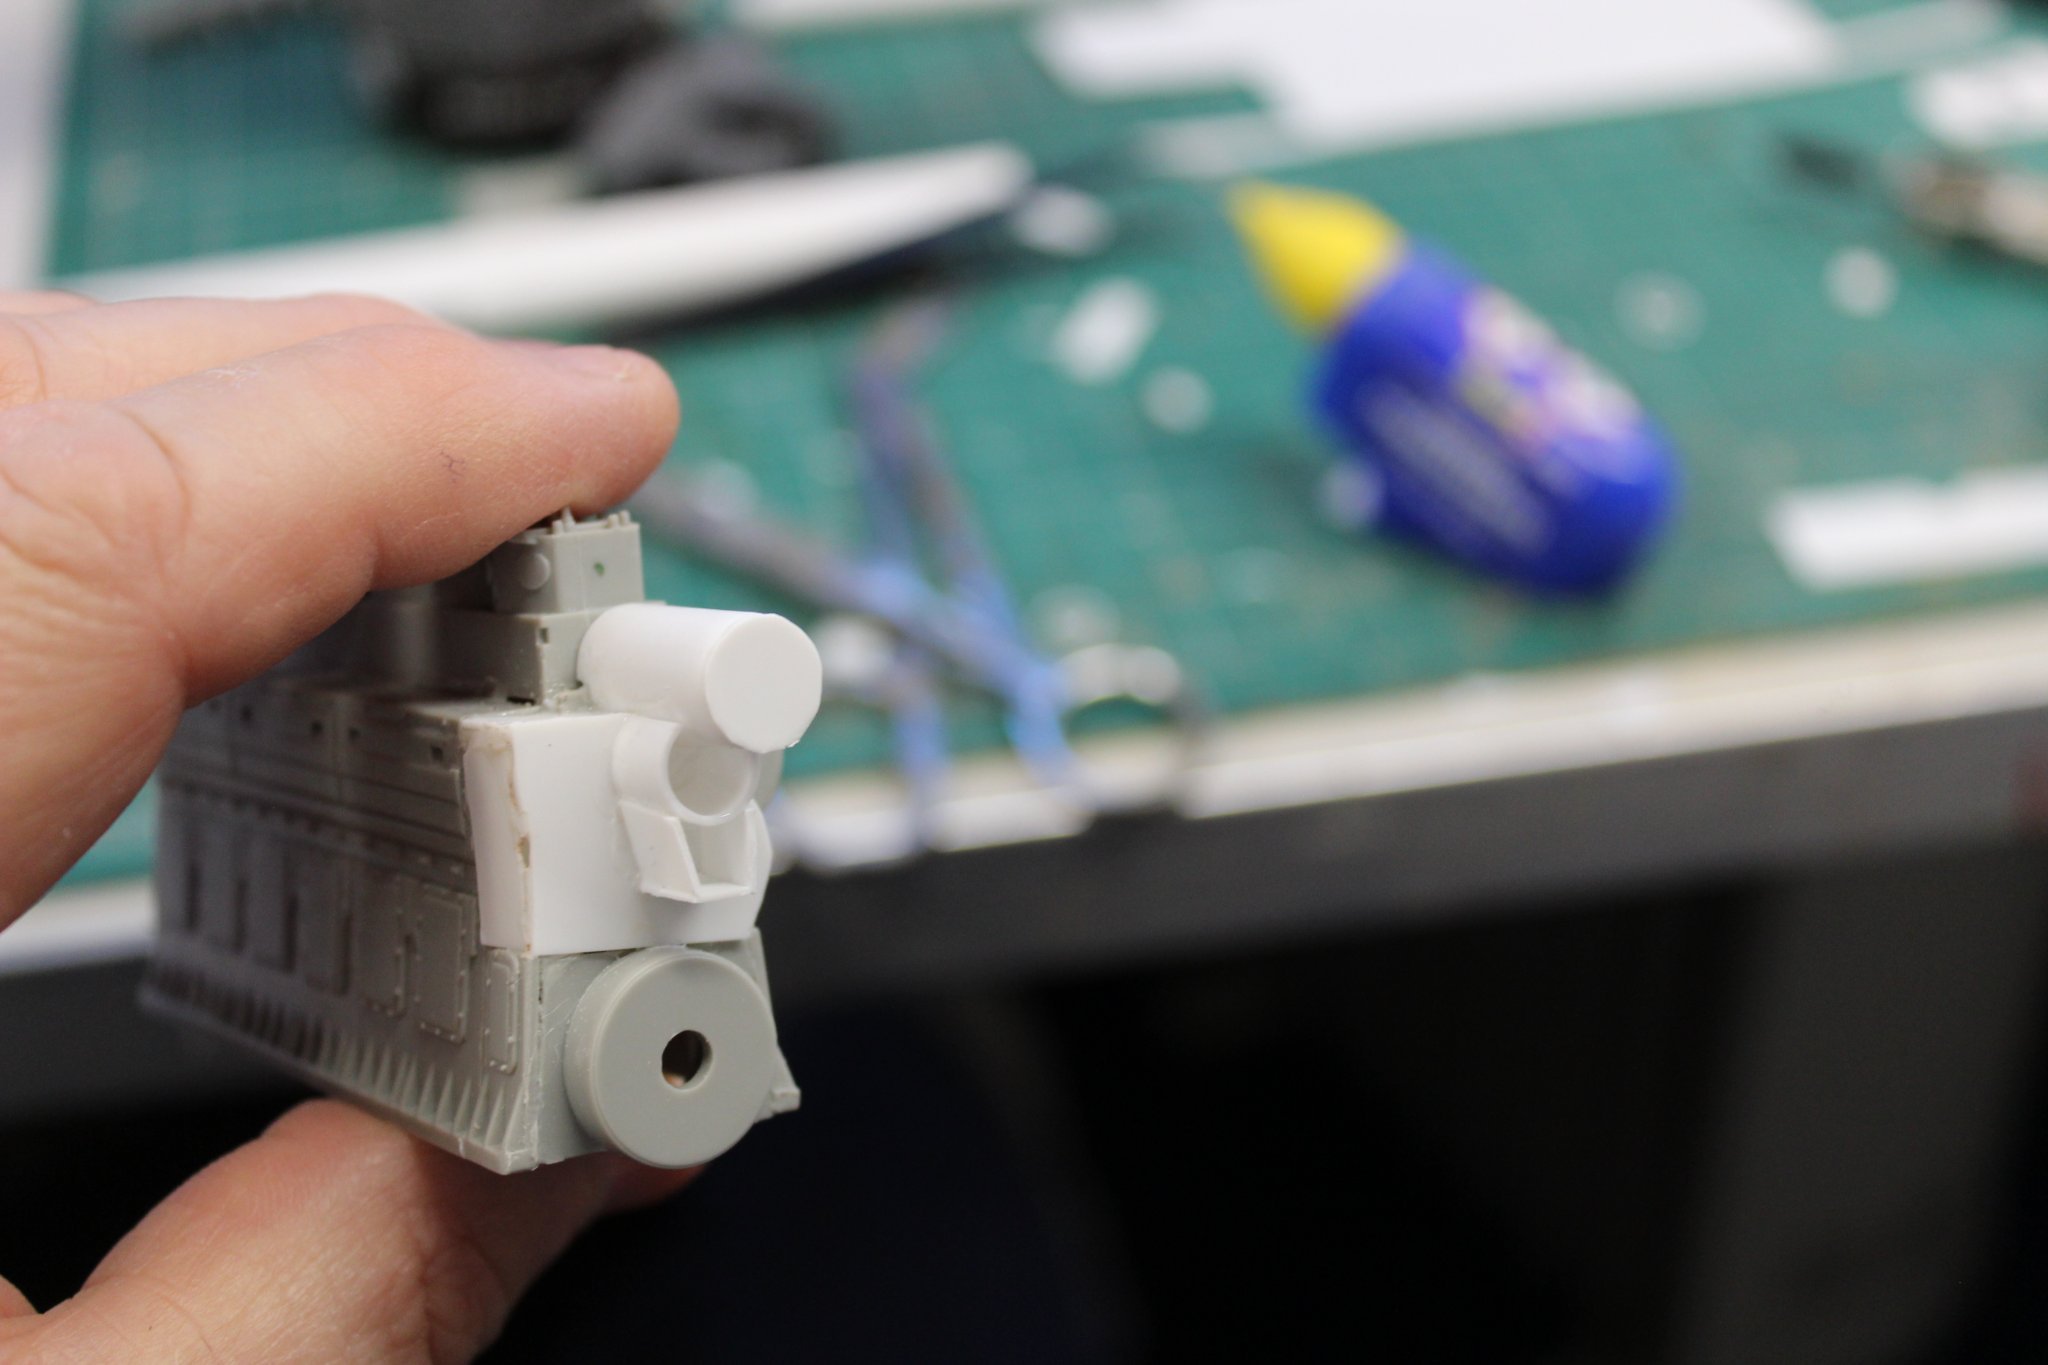
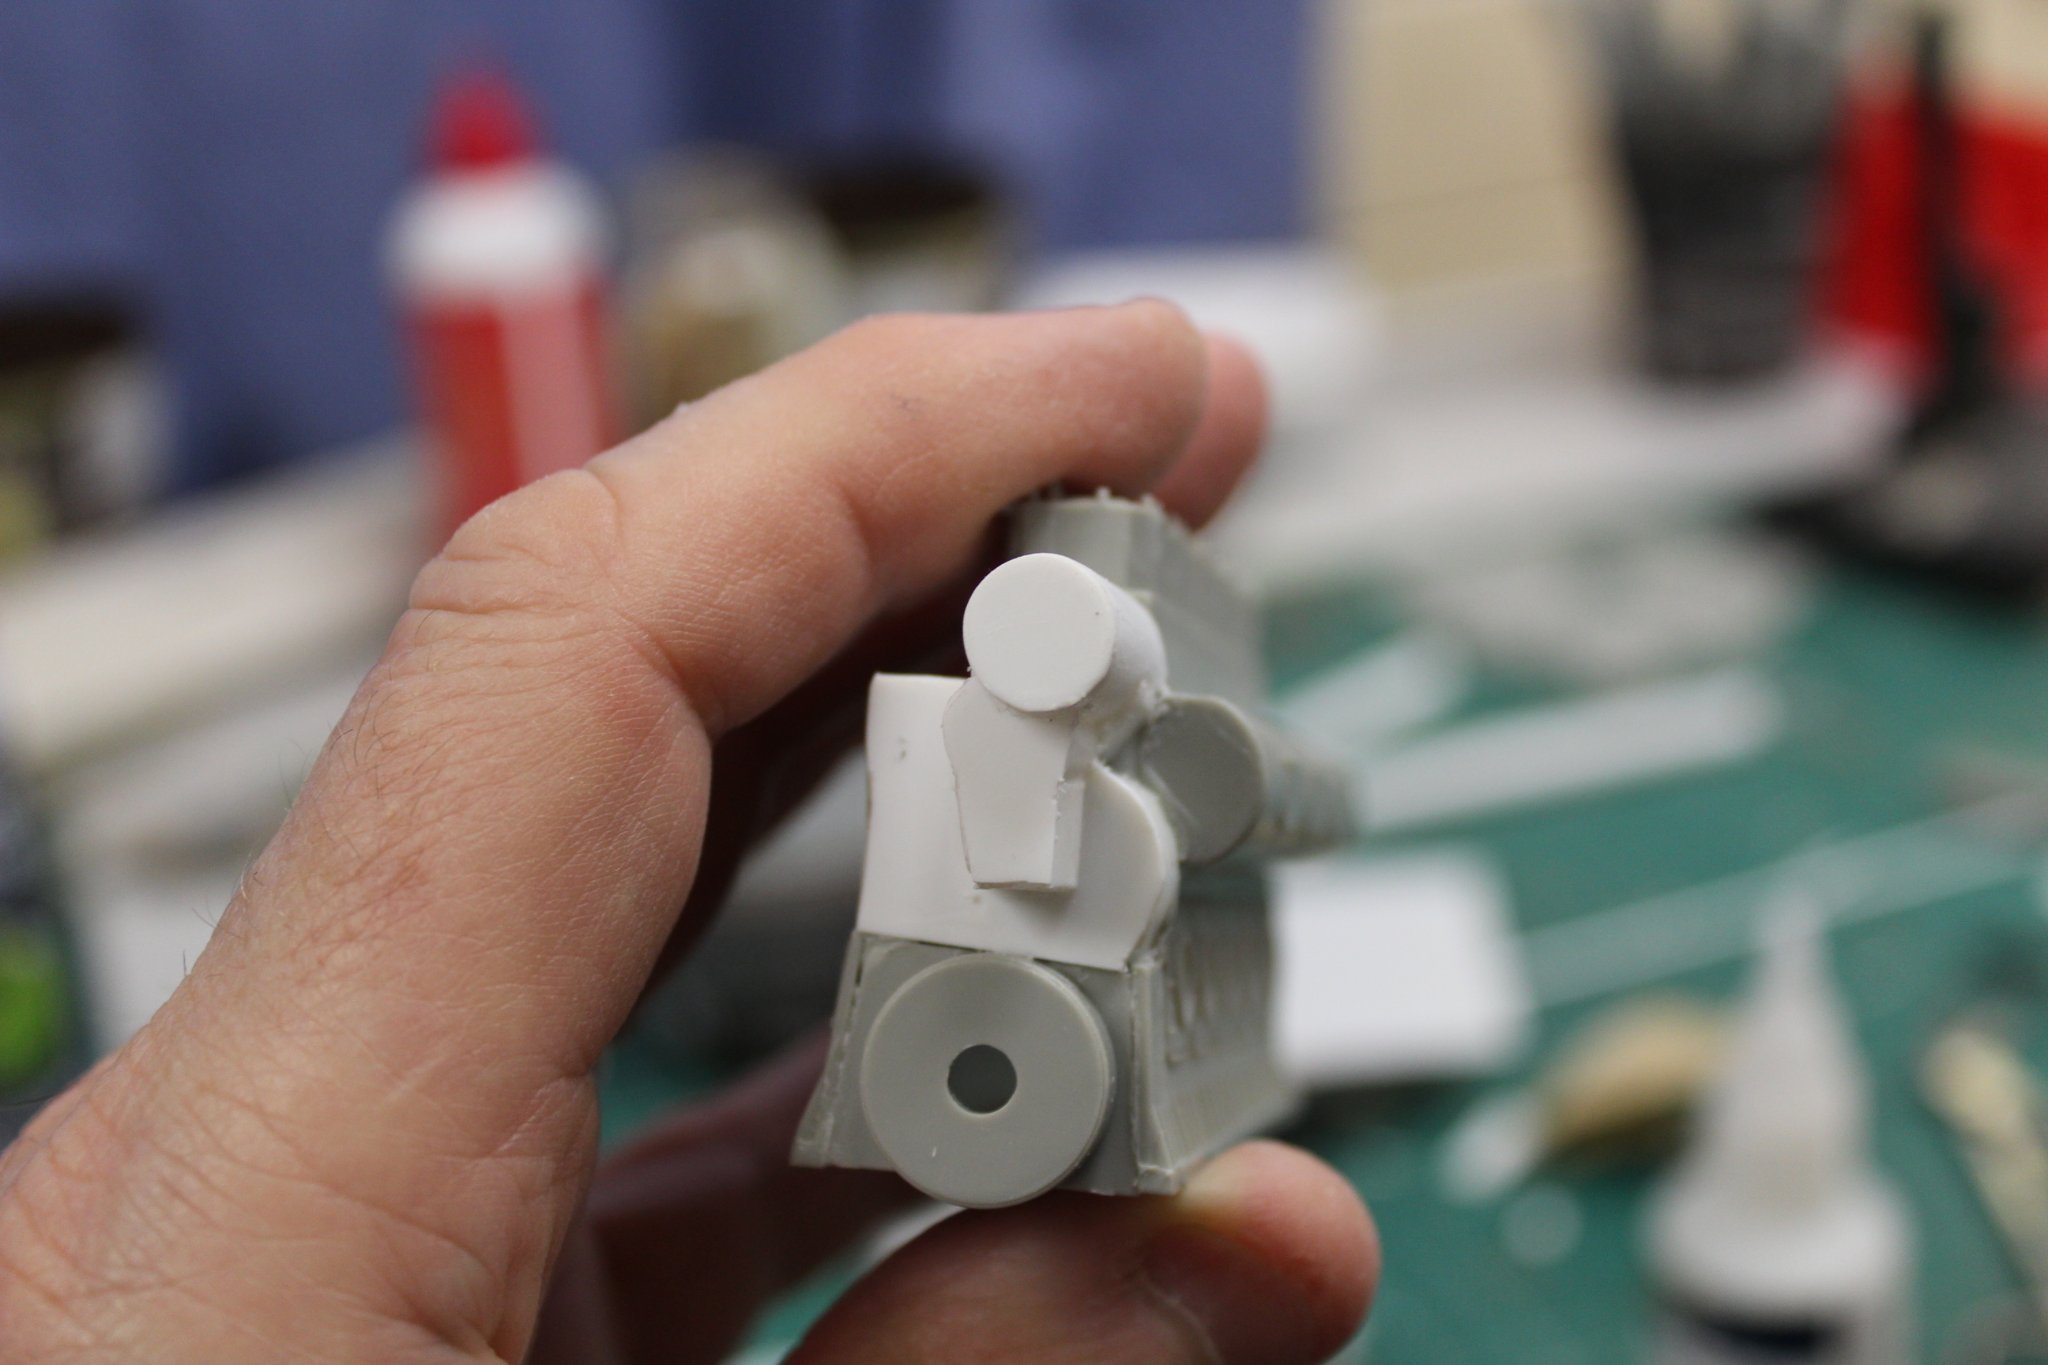
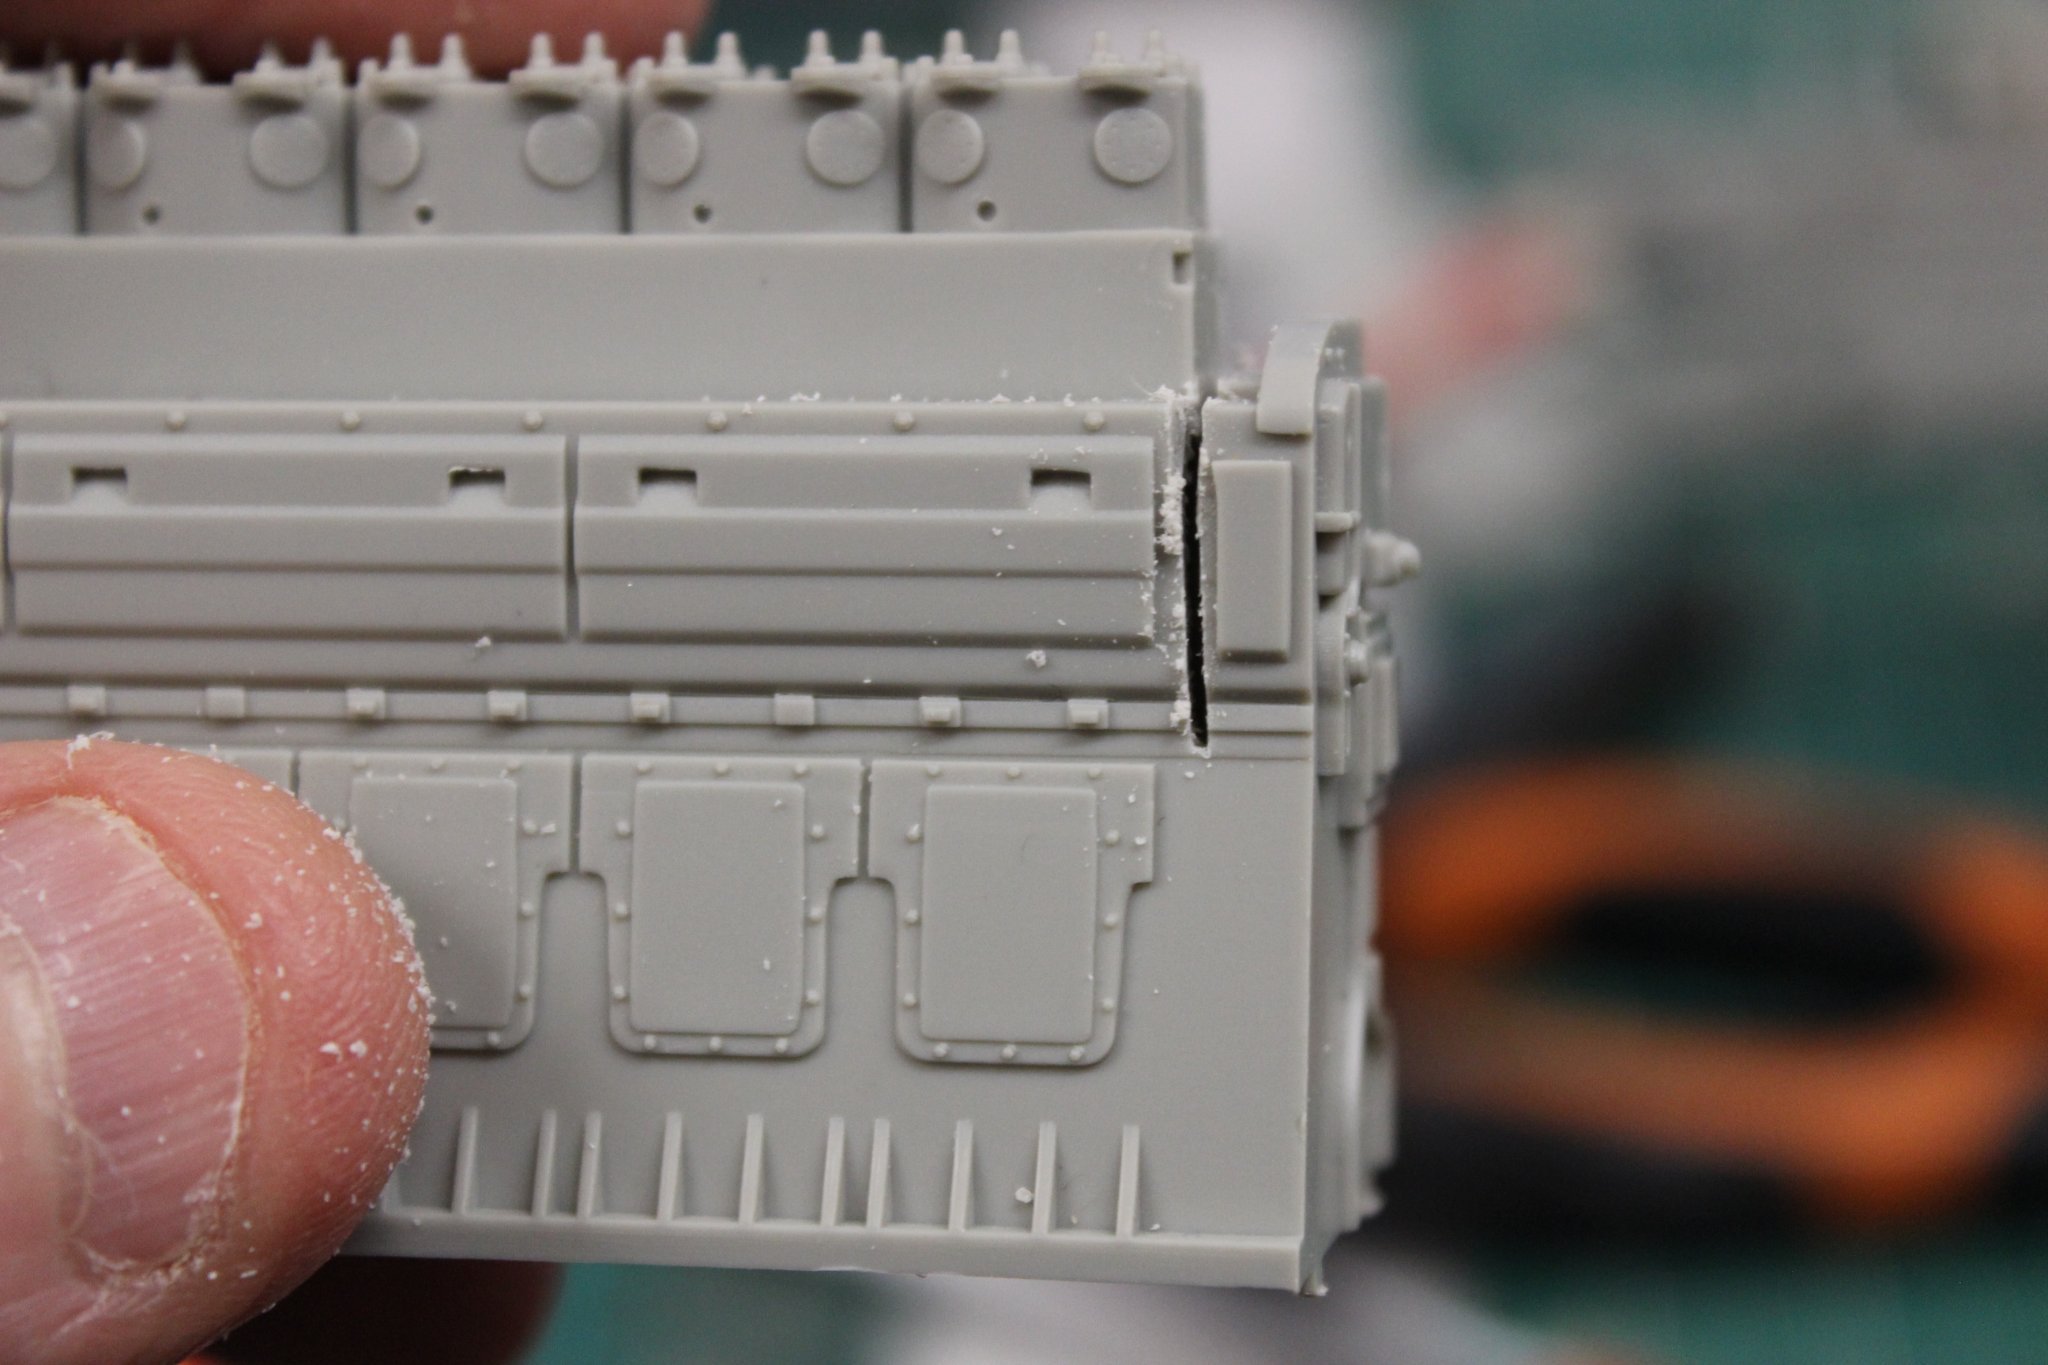
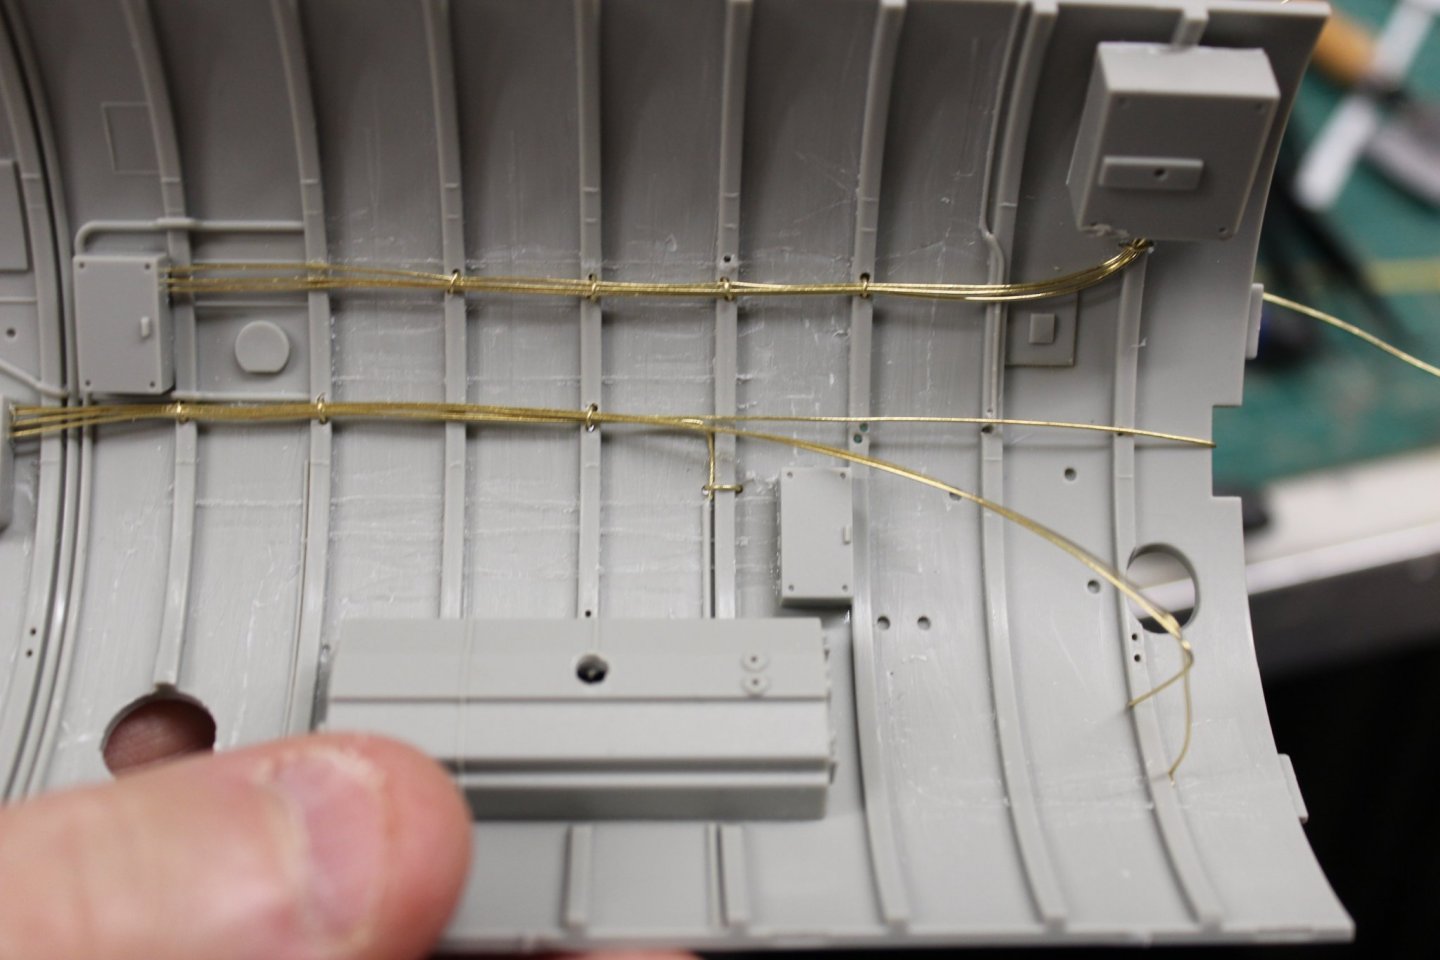
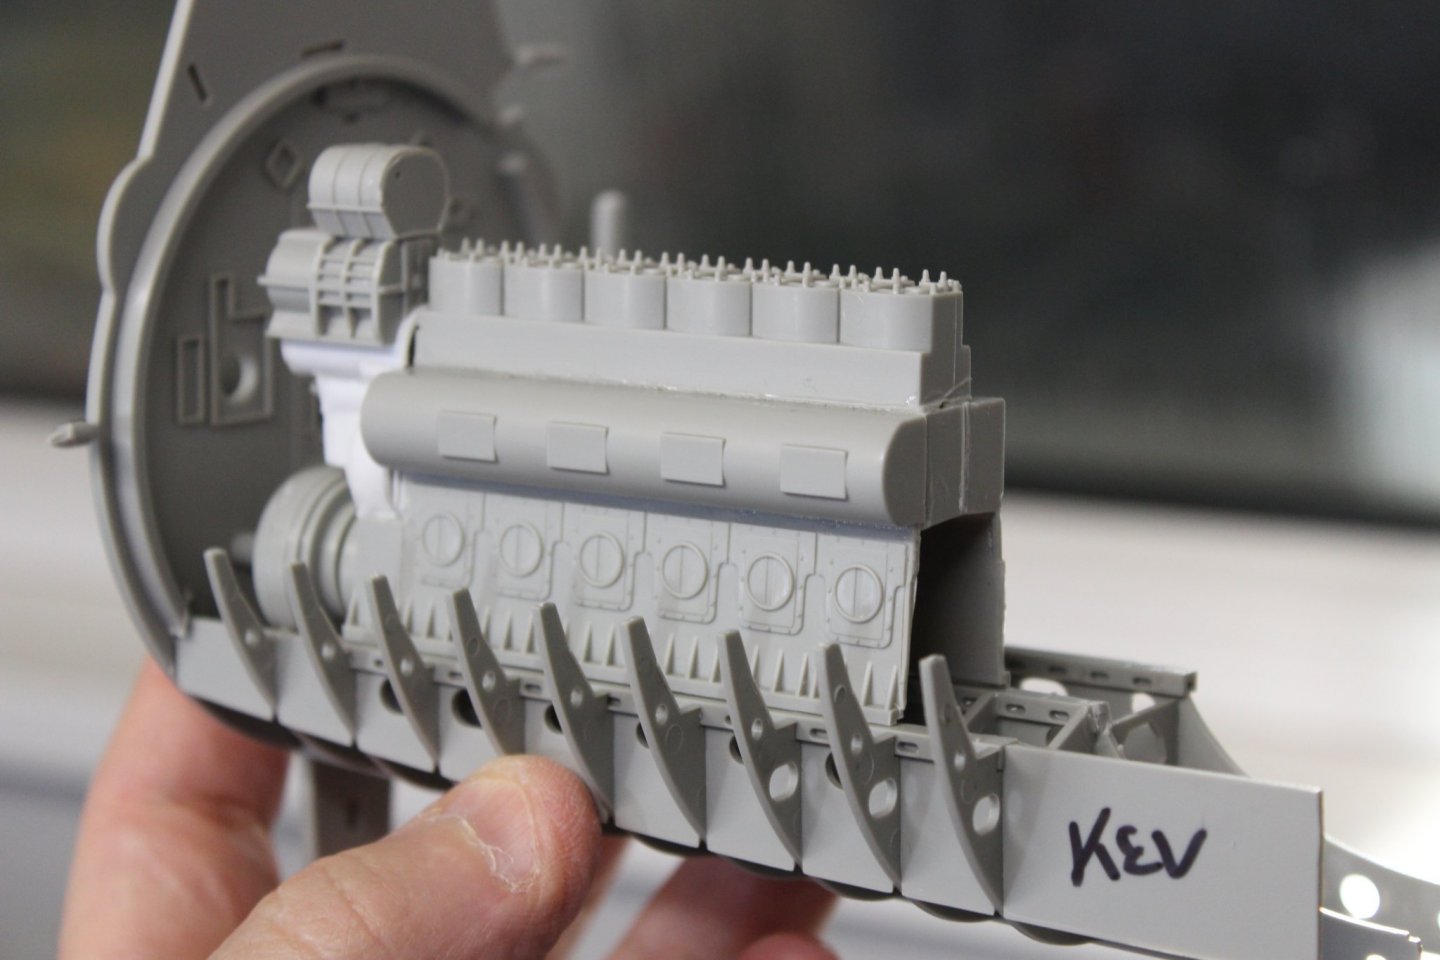
good afternoon everyone what a brilliant idea off swopping the engines over, lol what have i done to myself, no regrets its just not turning out as expected, the space (well lack off) is being made worse by (a lack of space) anyway i plod on in my own way of making something good into a mess the engine still has another 80+ bits to be fitted, and each bit has to be altered, so its ongoing meanwhile another moment of madness to replace the molded wire on the bulkhead im using .4mm wire for this oh and by the way non of this will be seen either, i just want to try my skills out and avoid finishing the build by christmas this year i will put in at least another 10 cable runs


-
lol you just never know when you might need to know how to swop a submarine diesel over
-
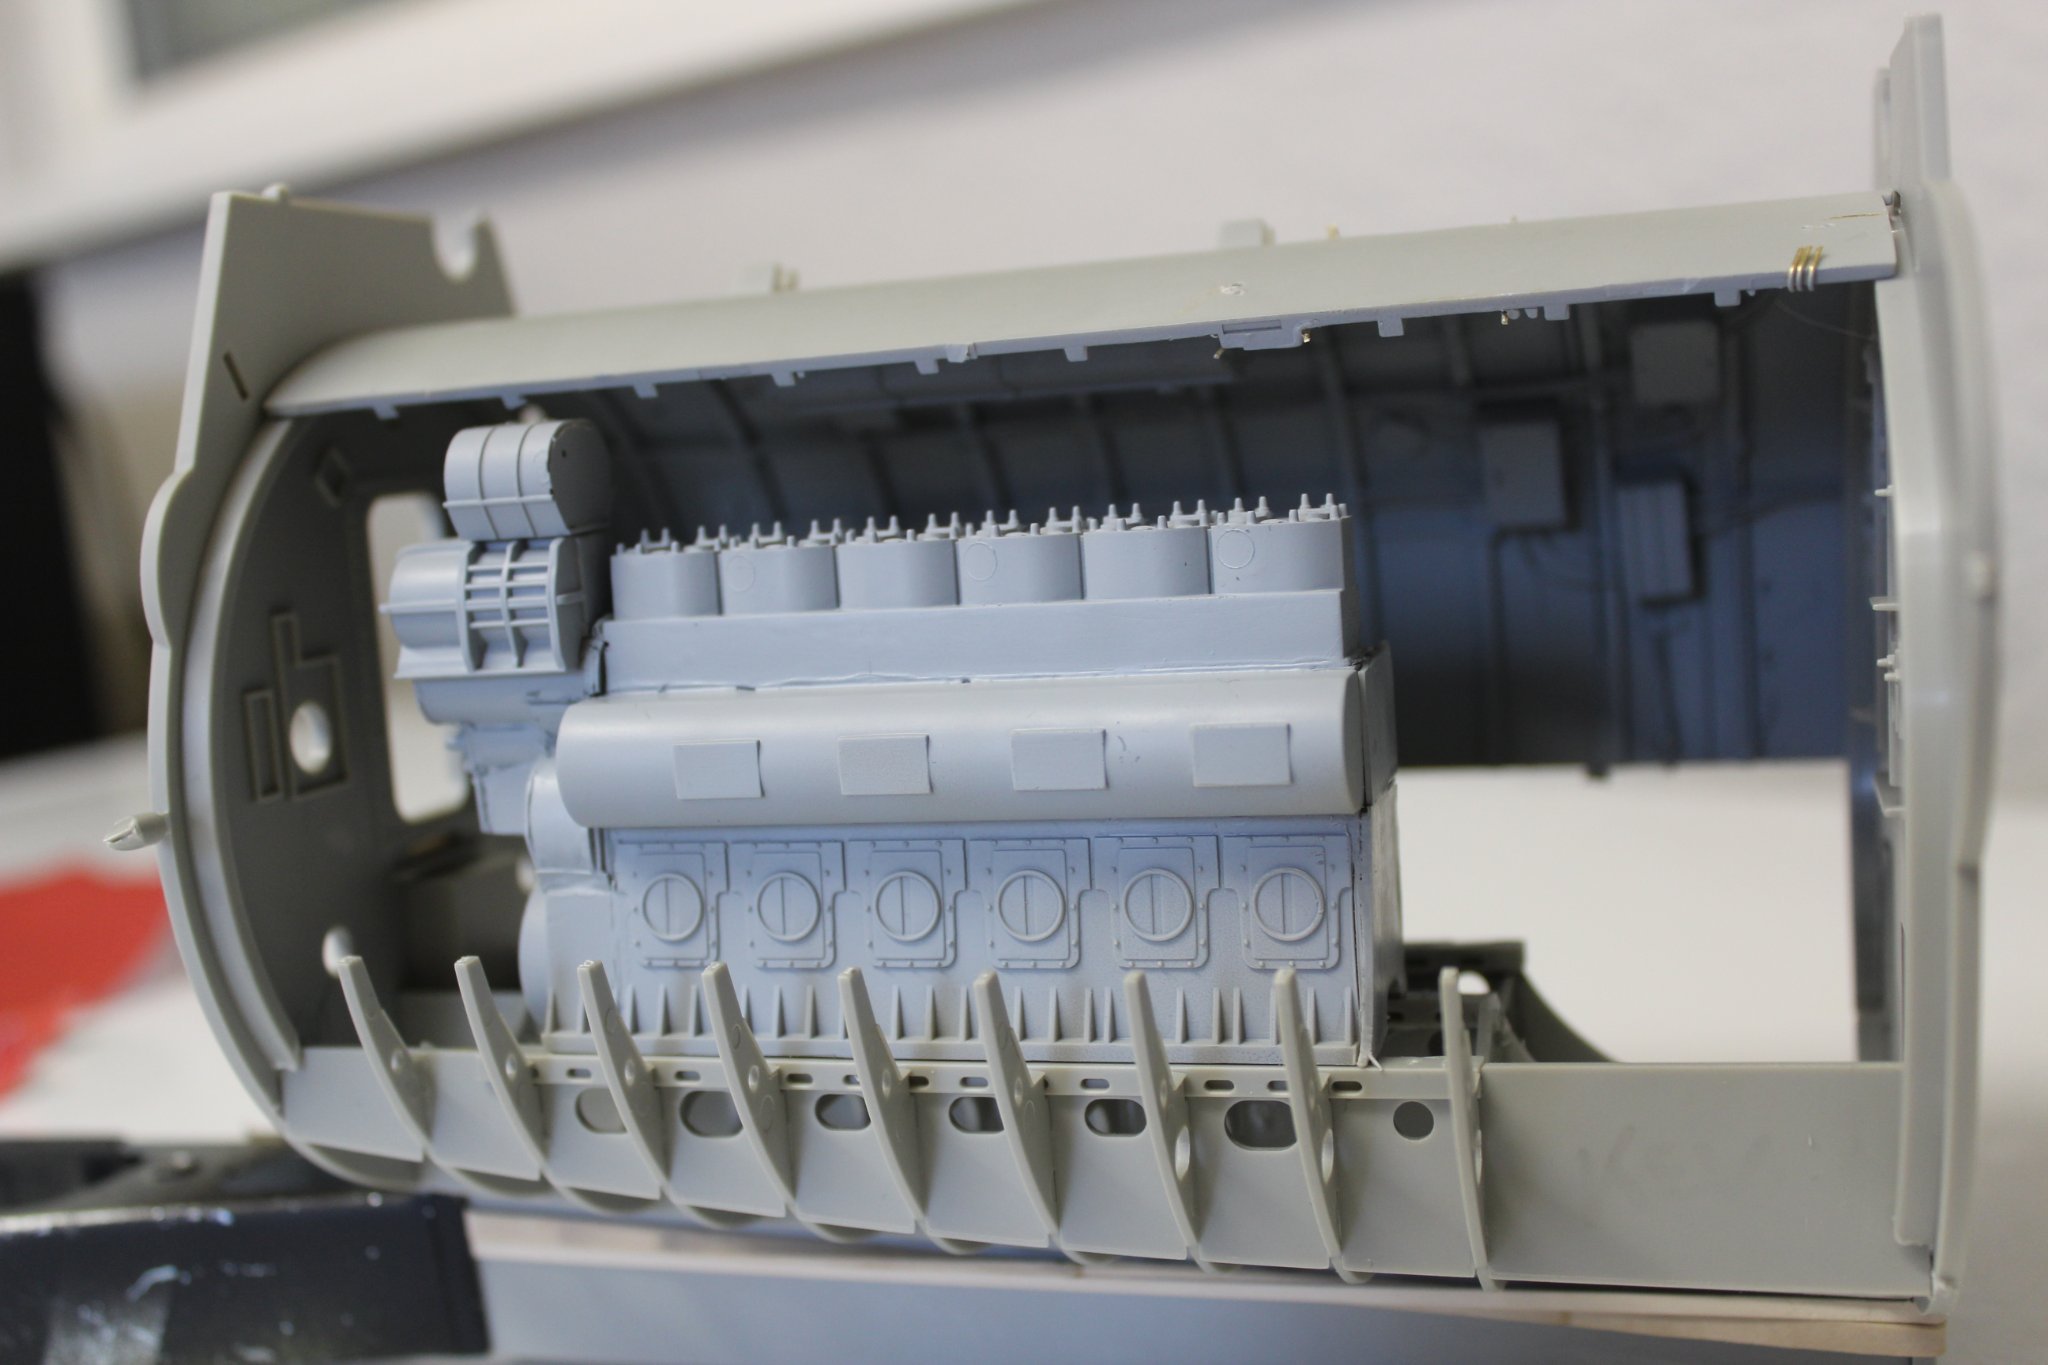
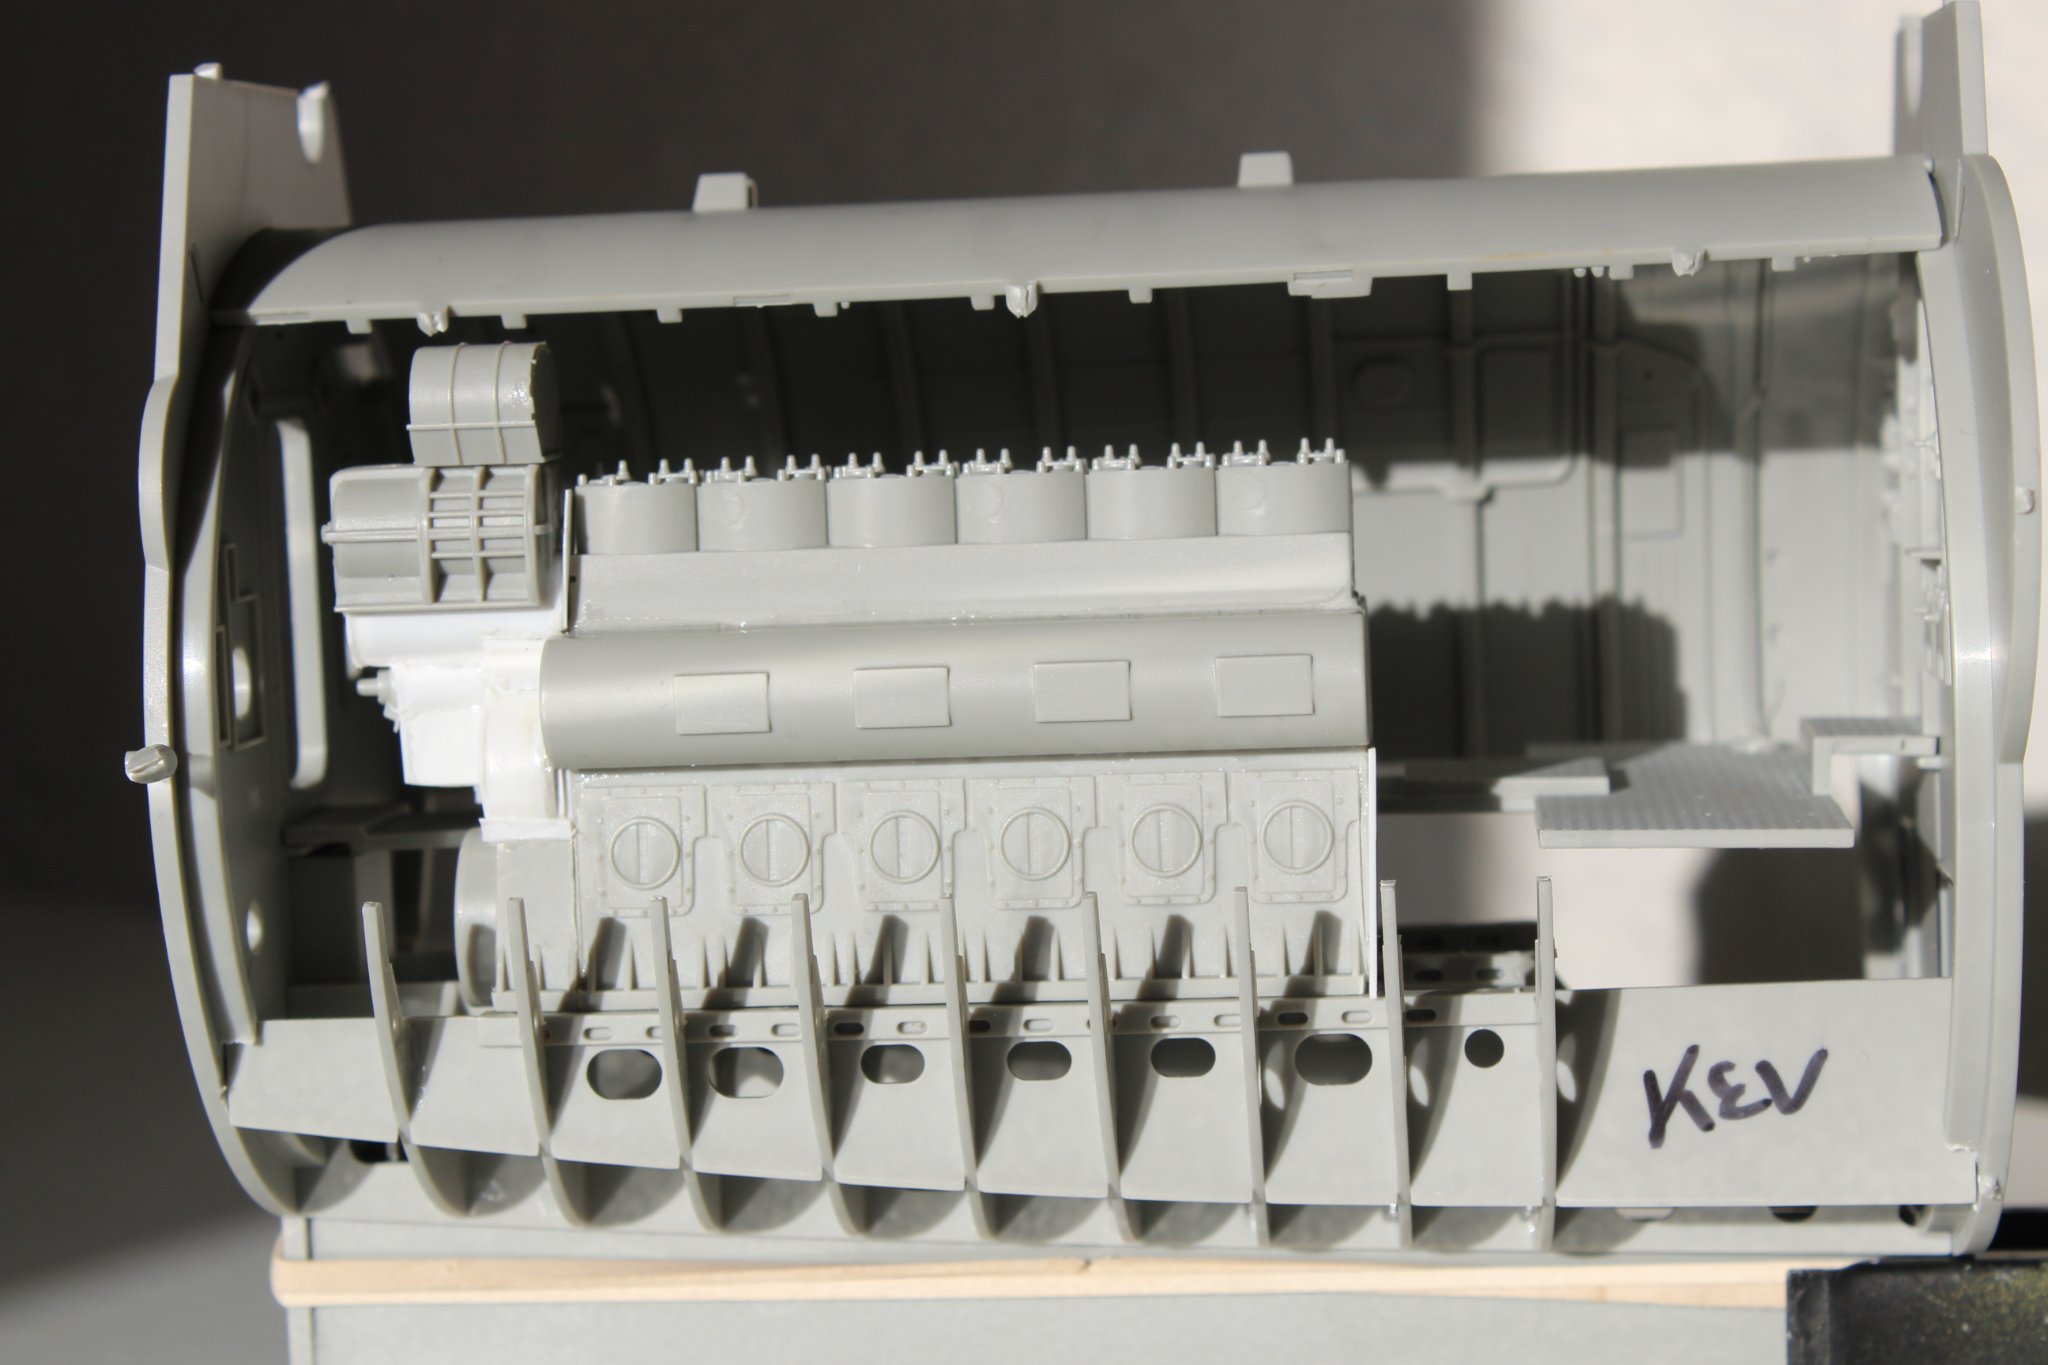
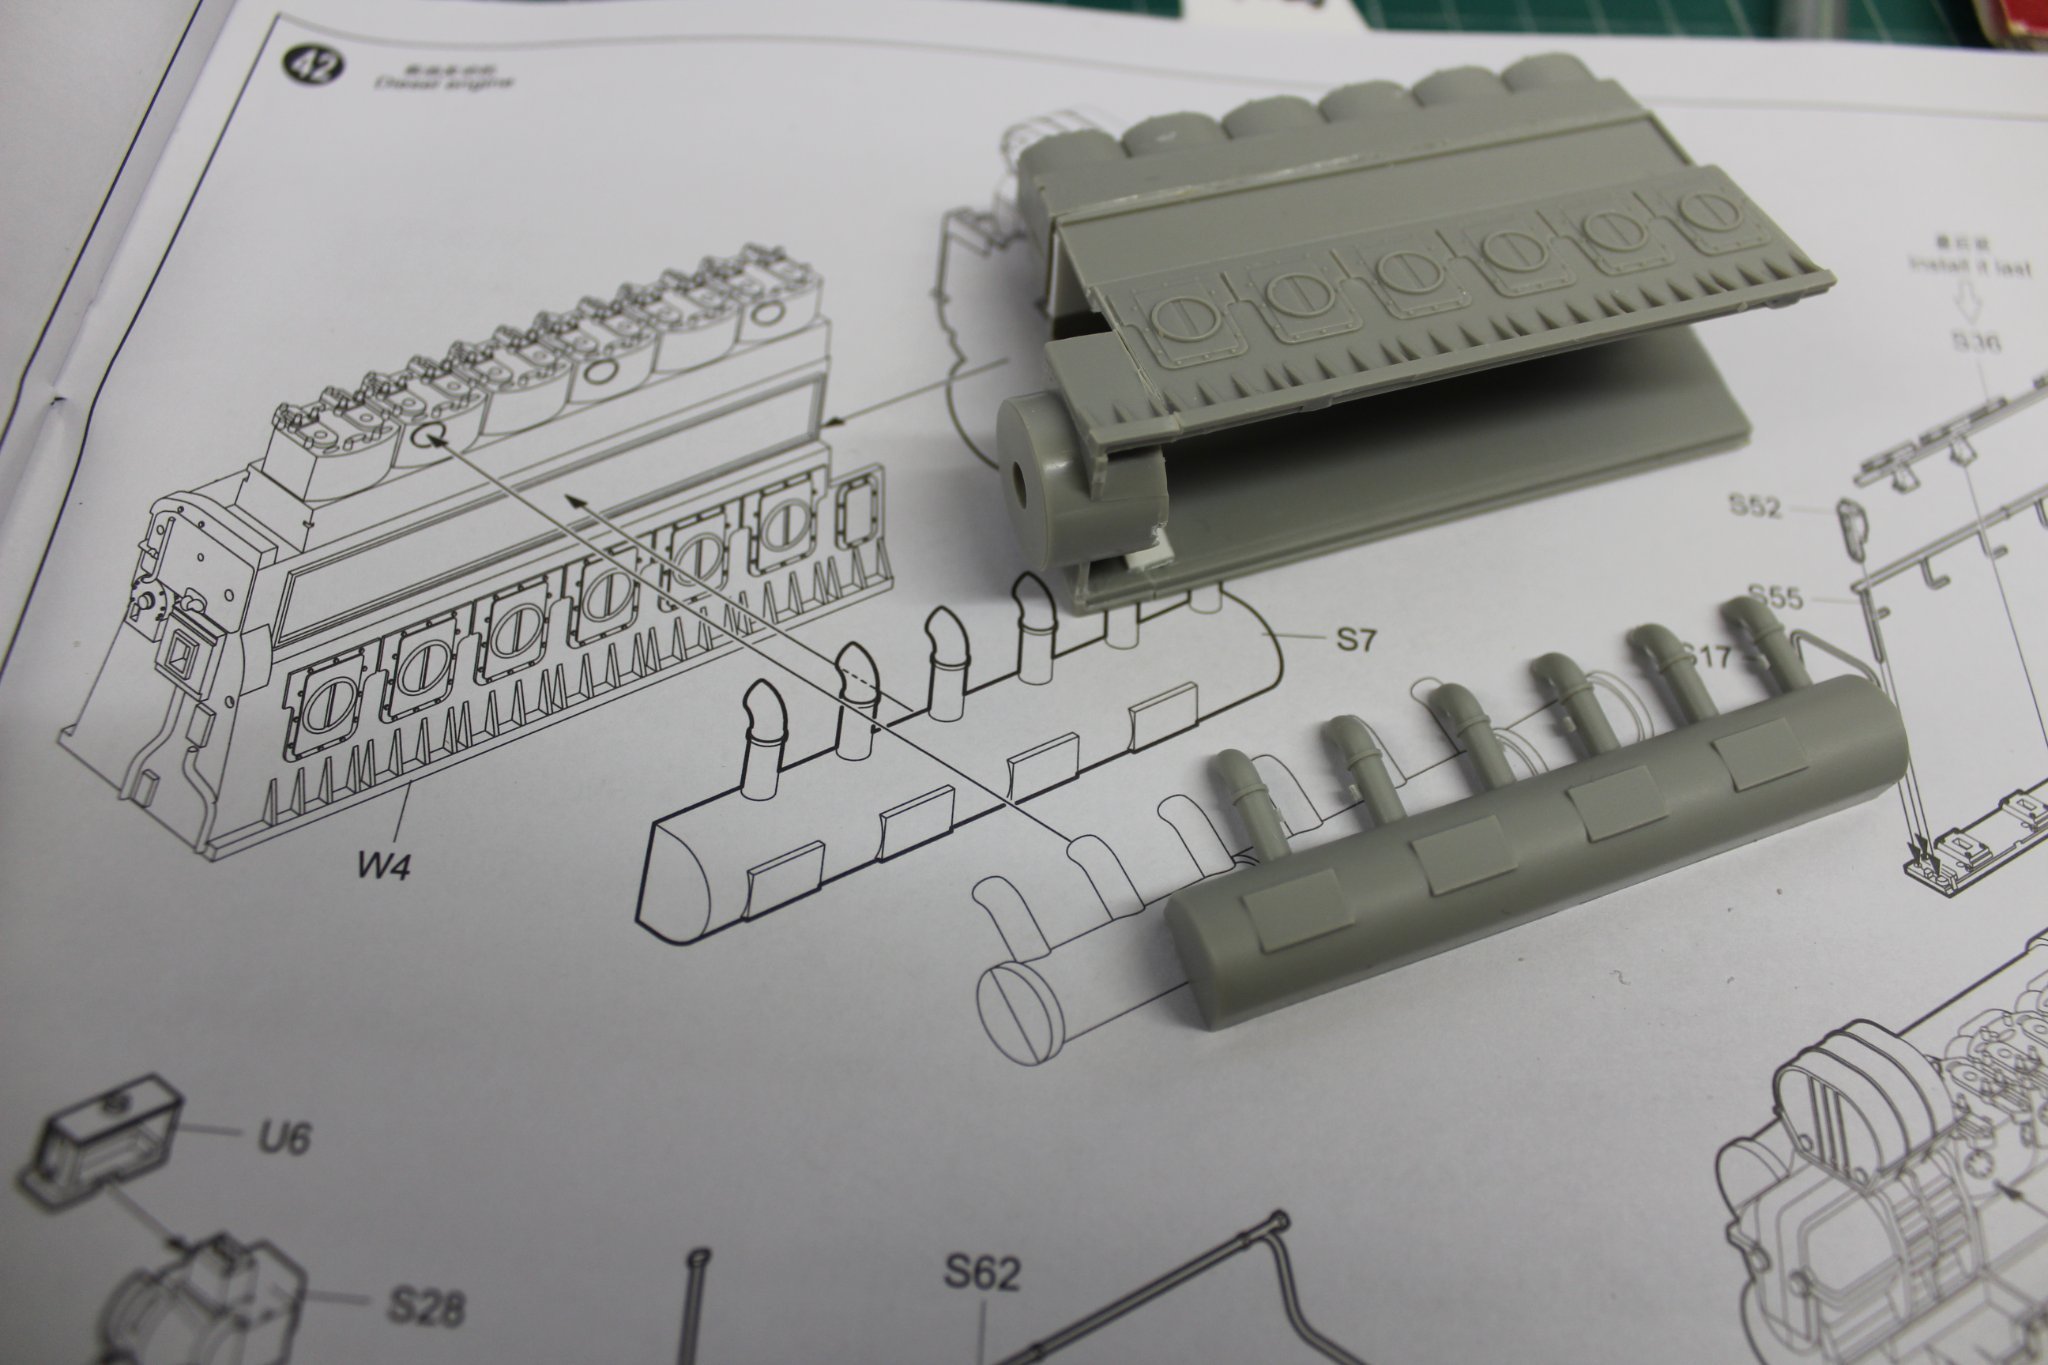
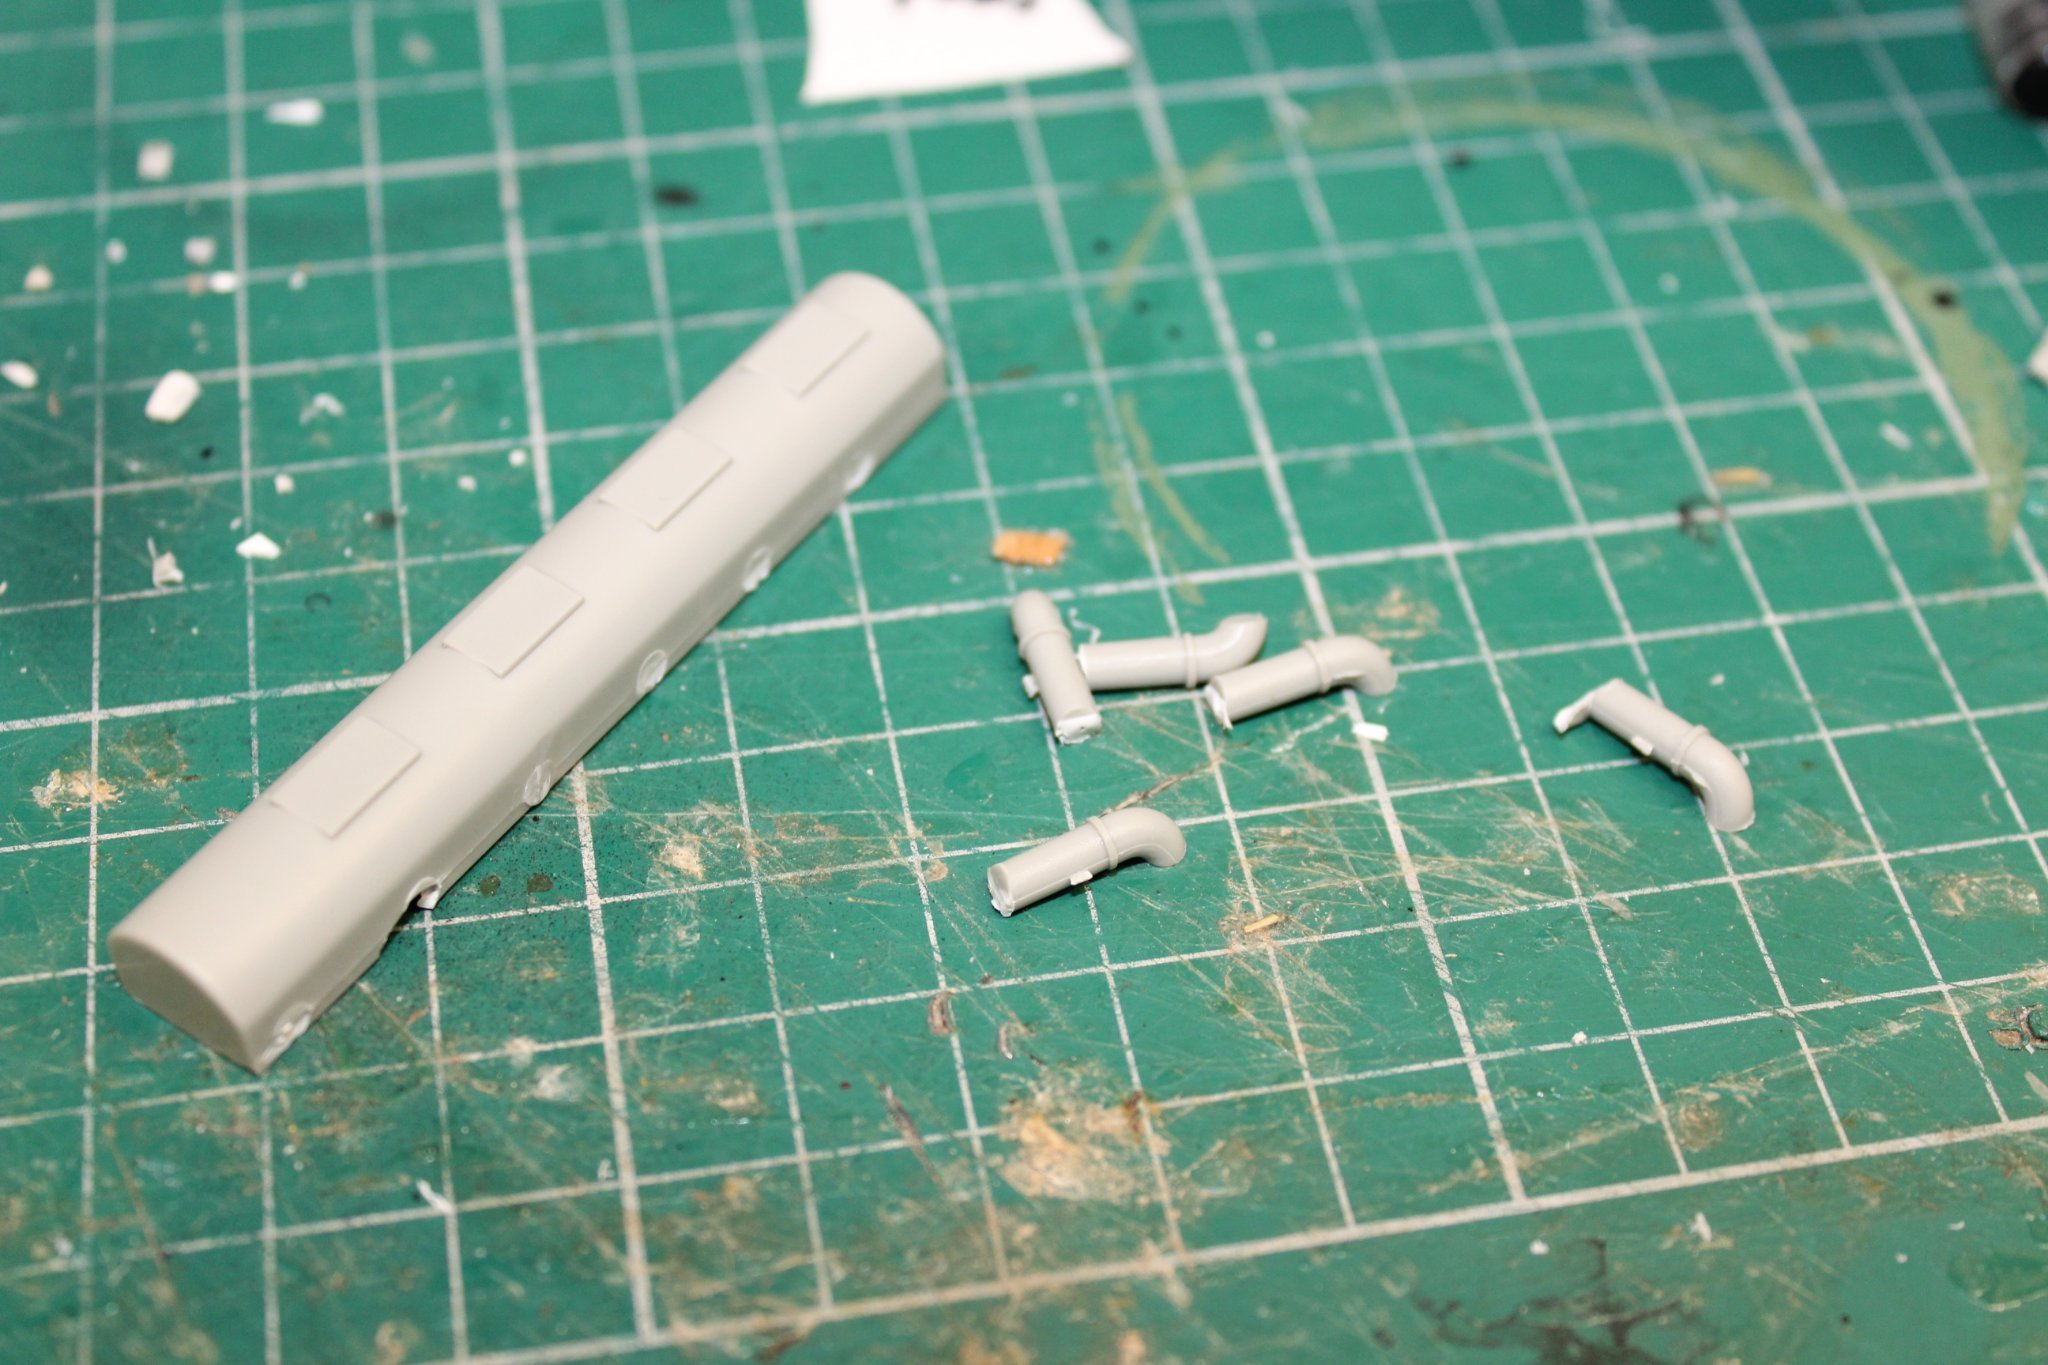
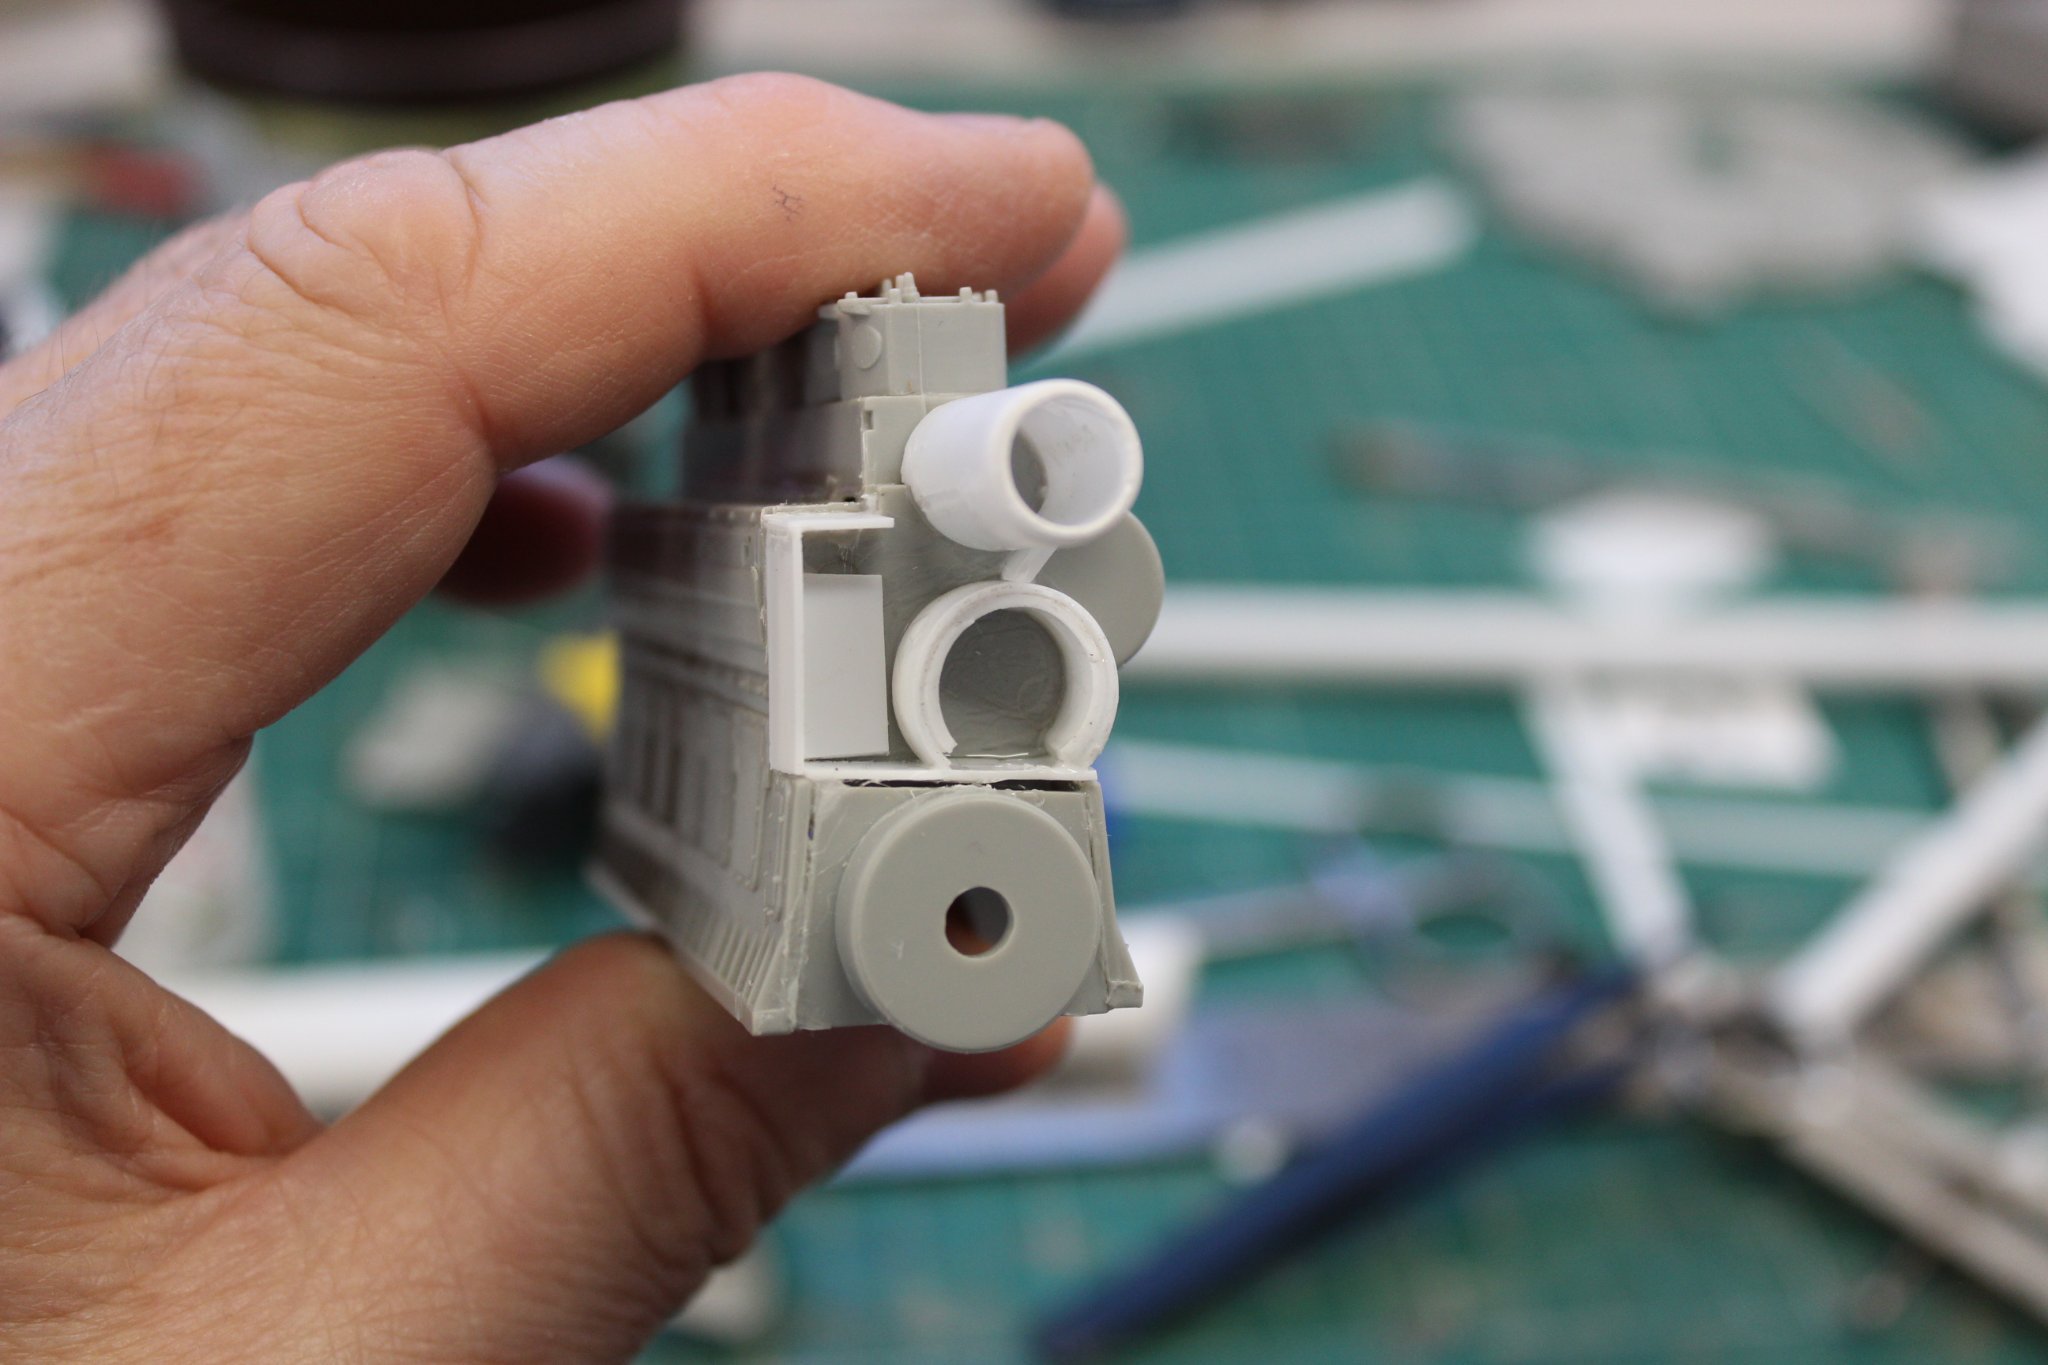
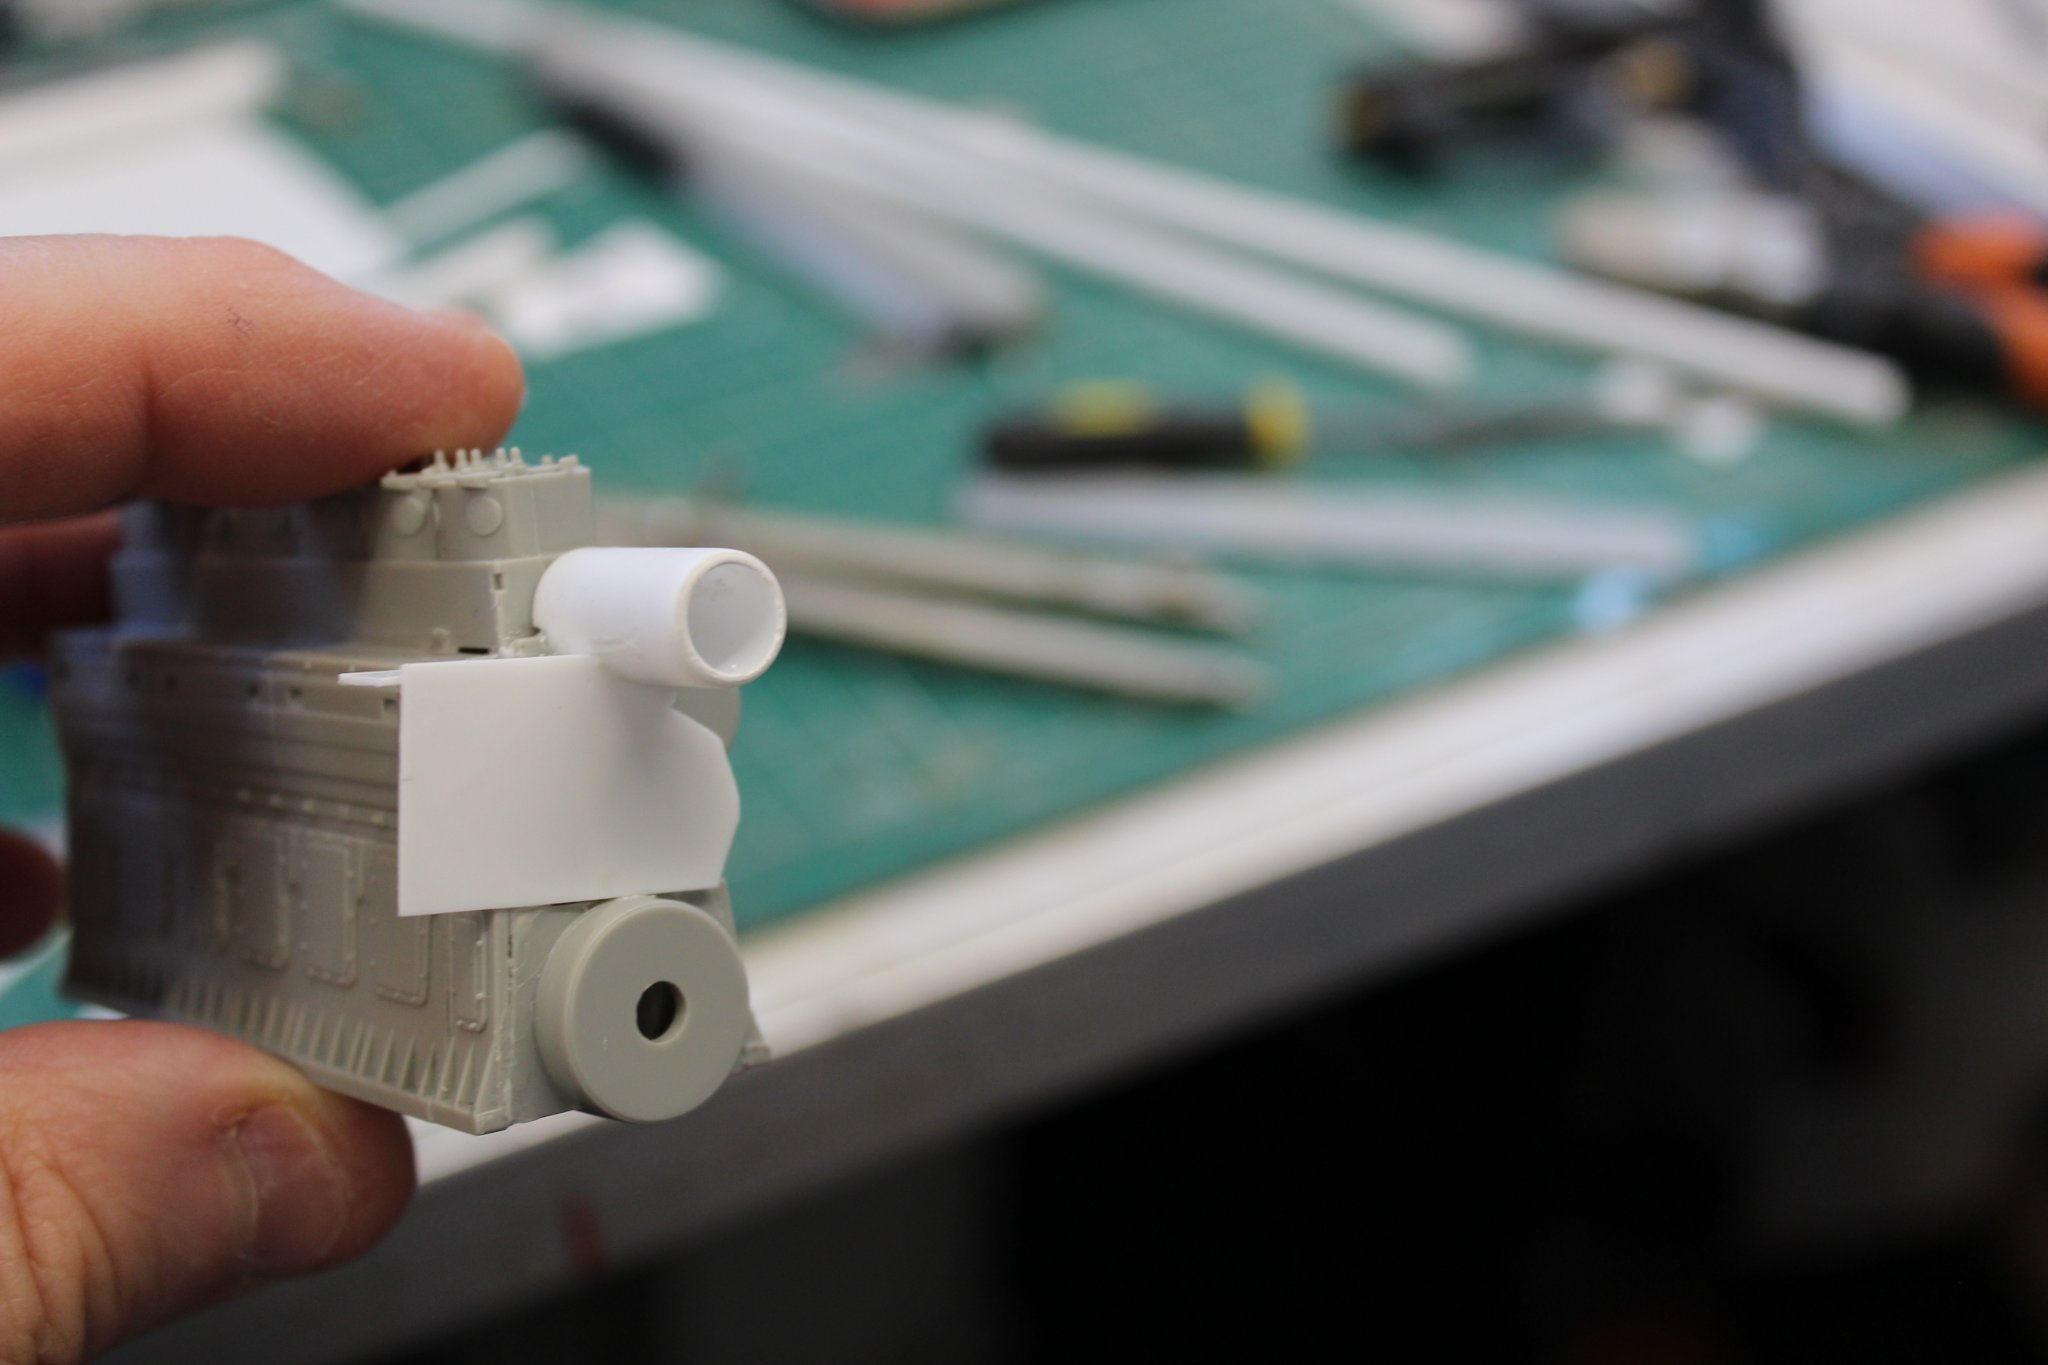
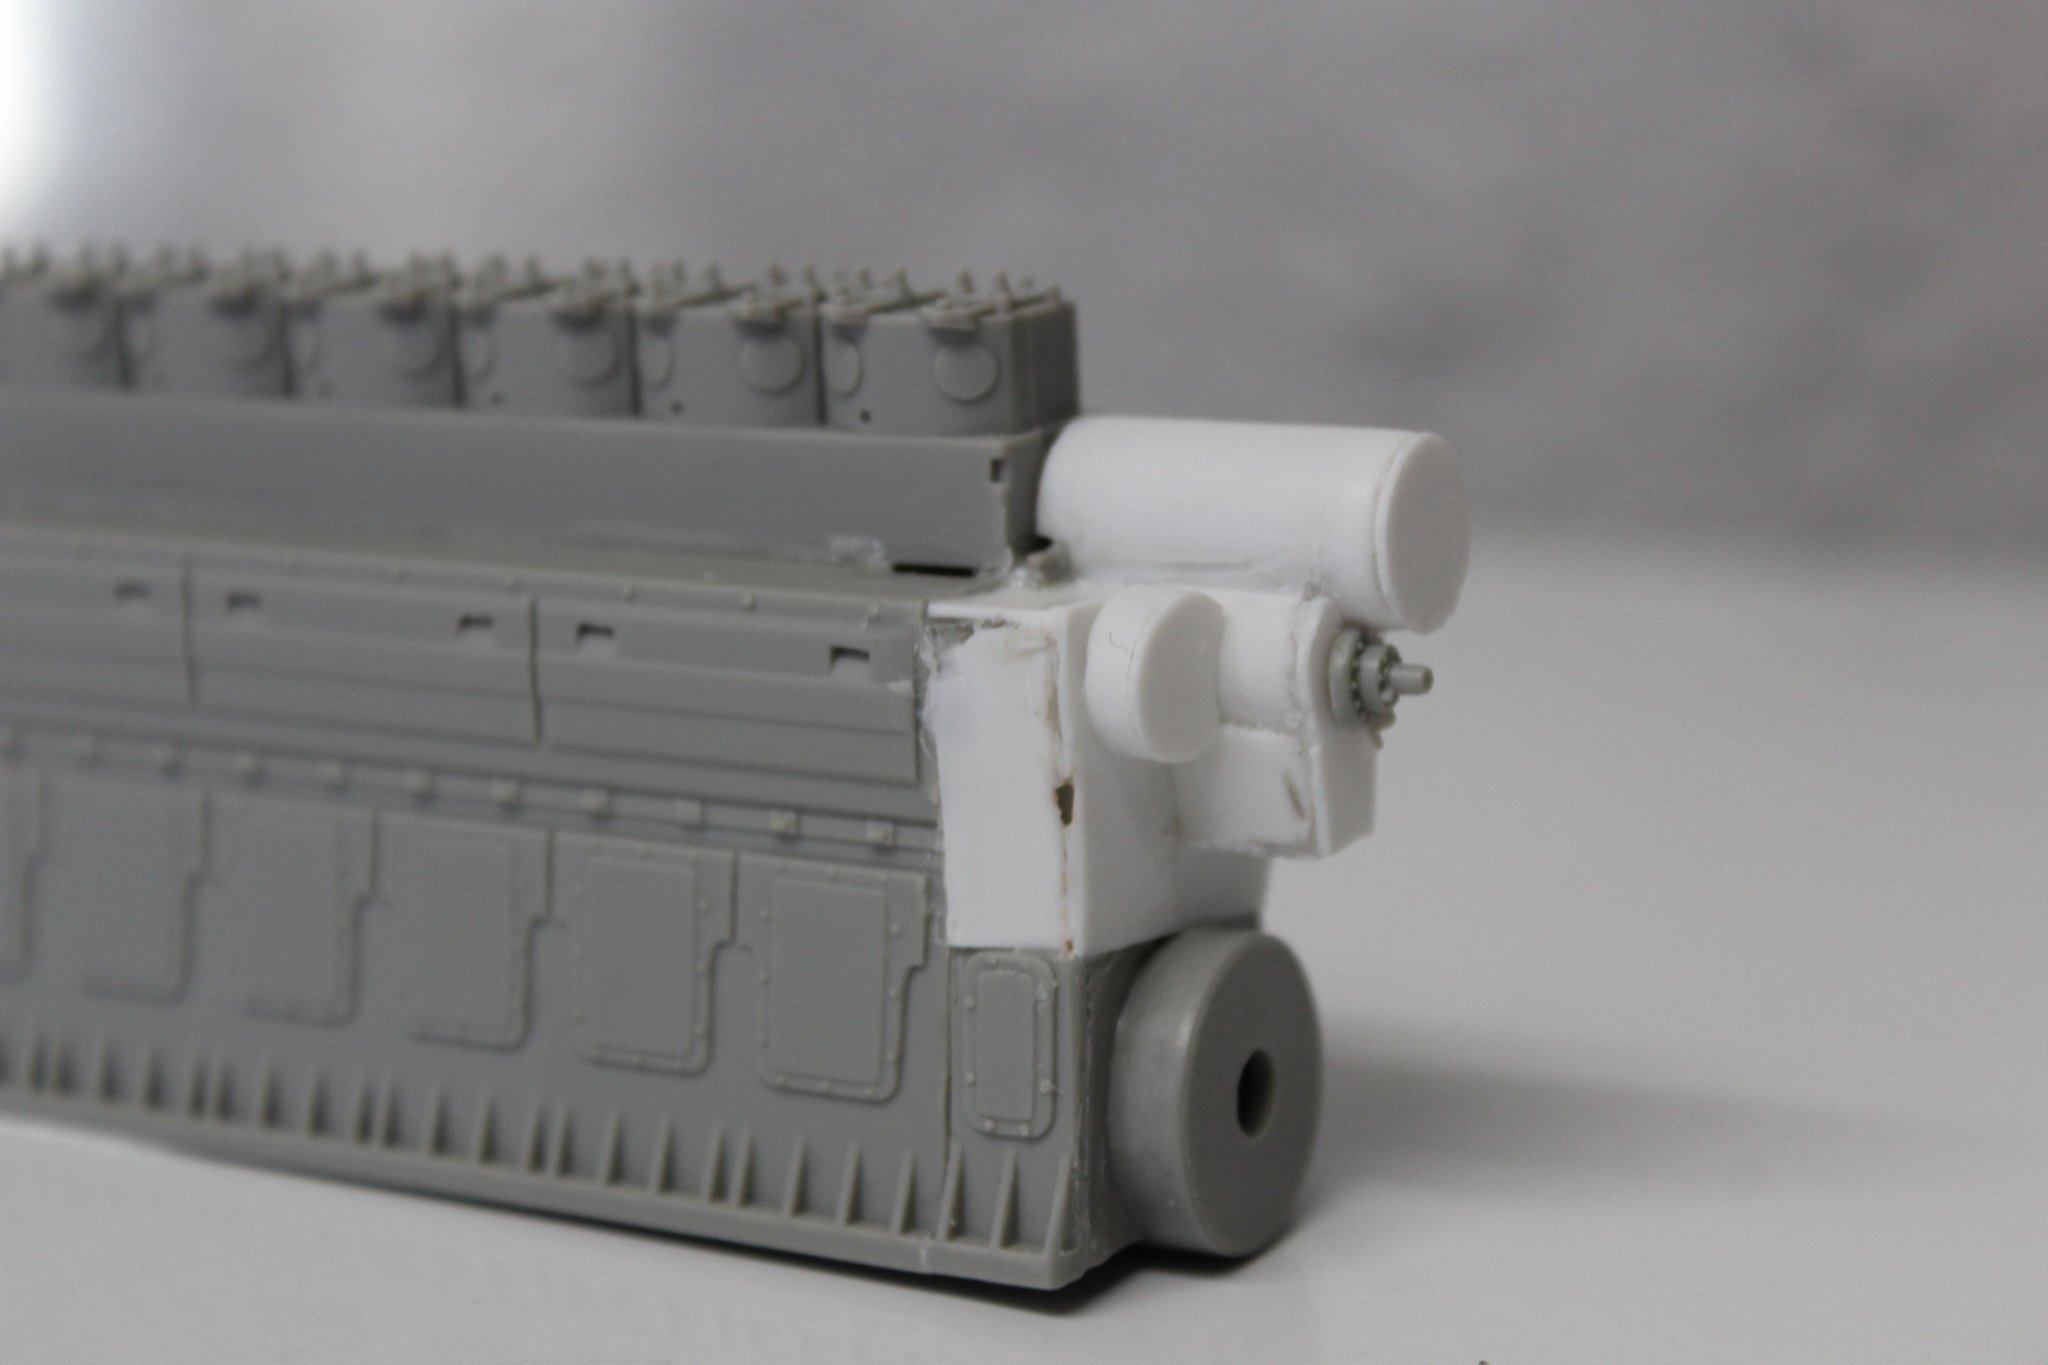
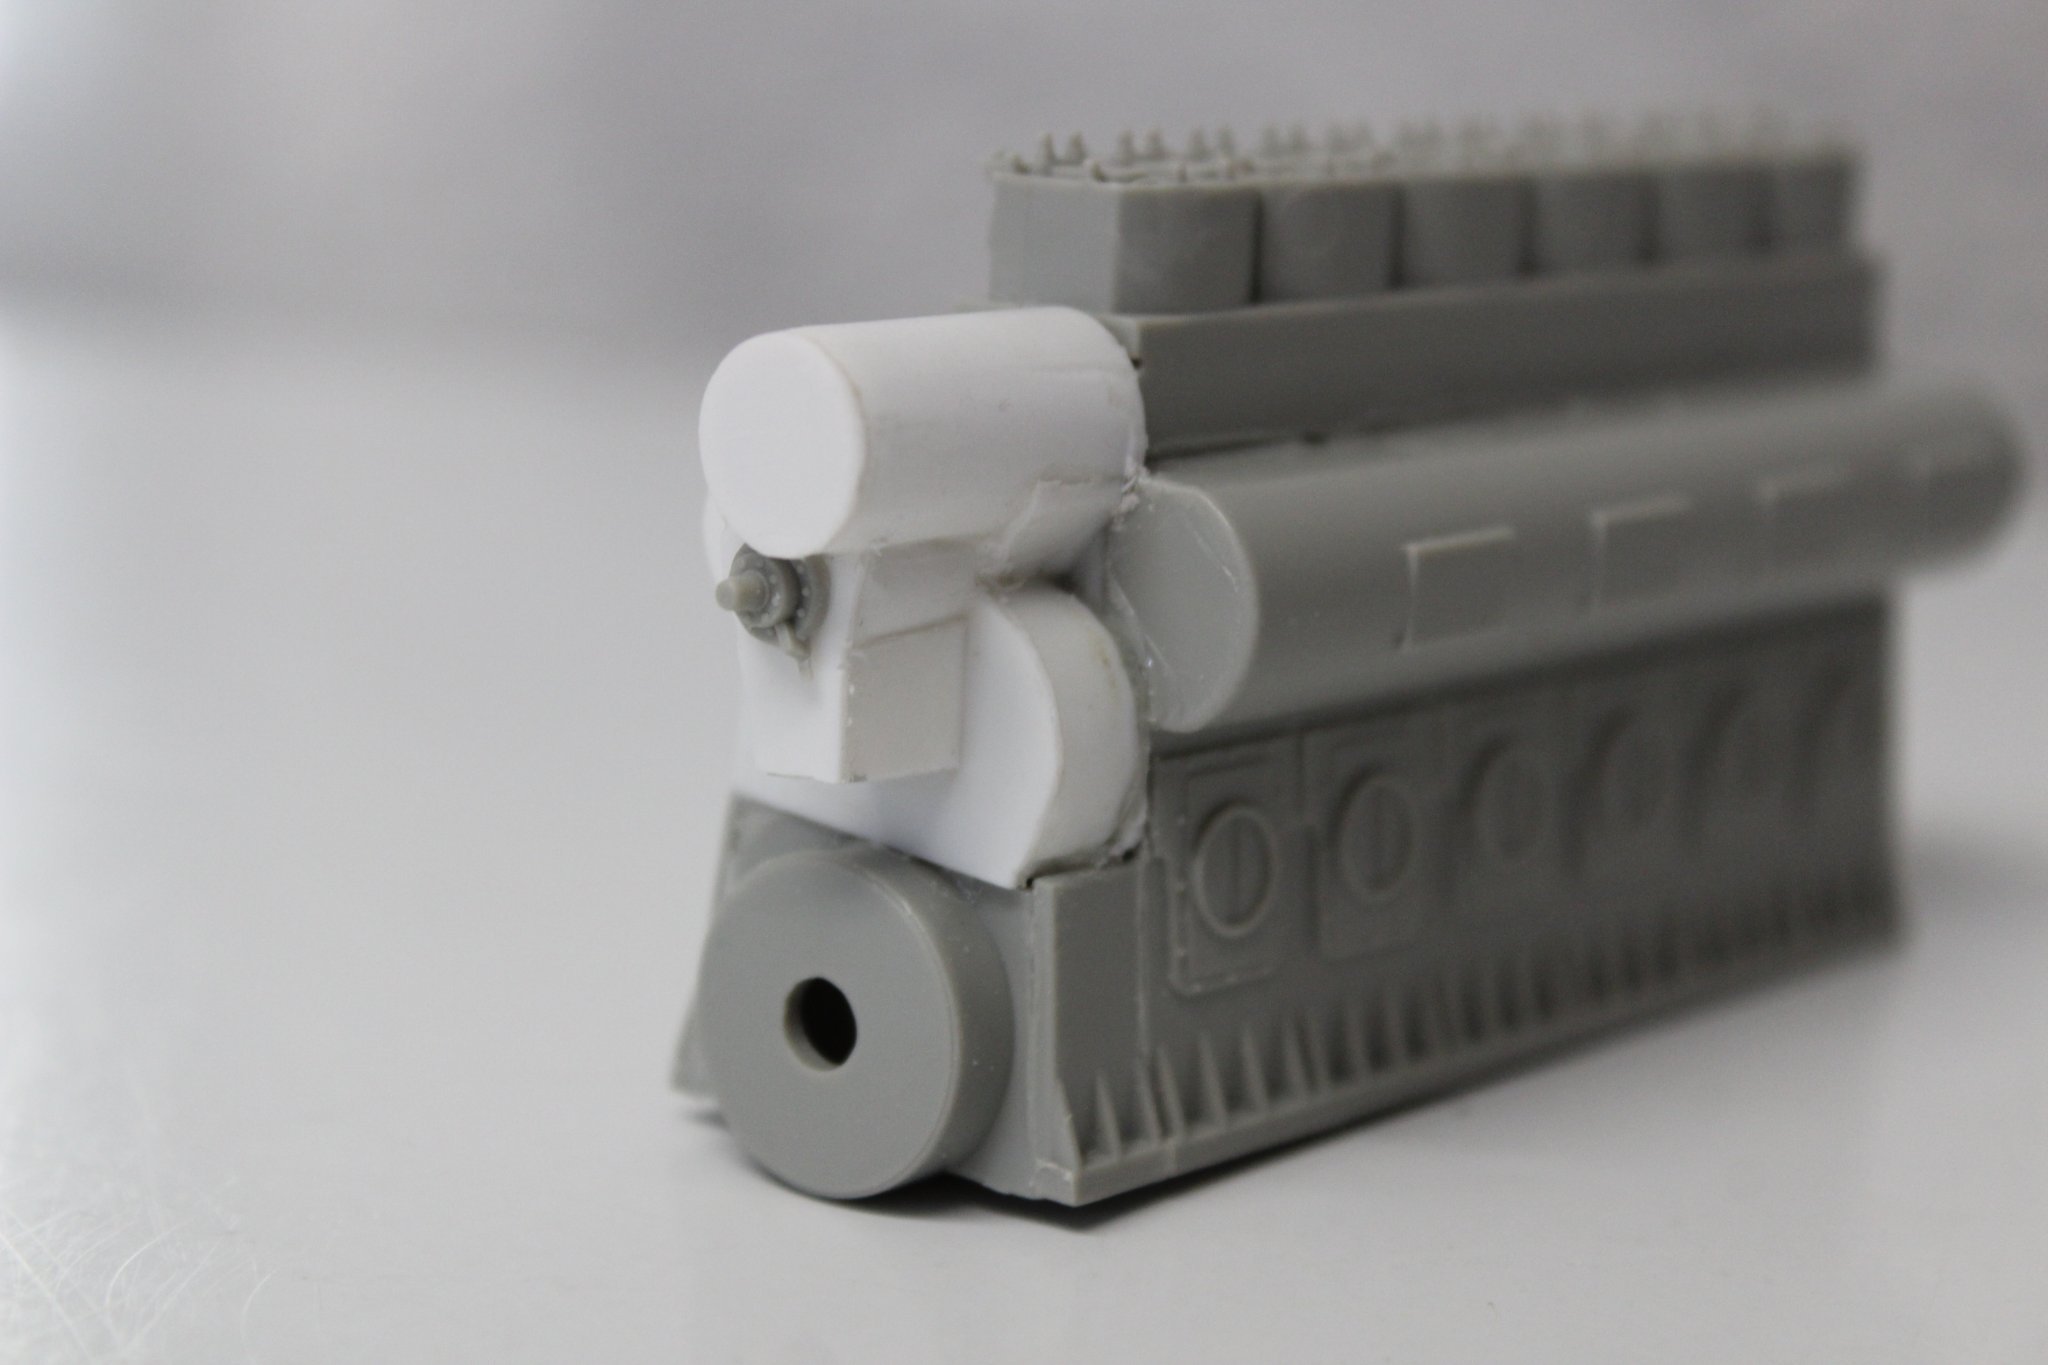
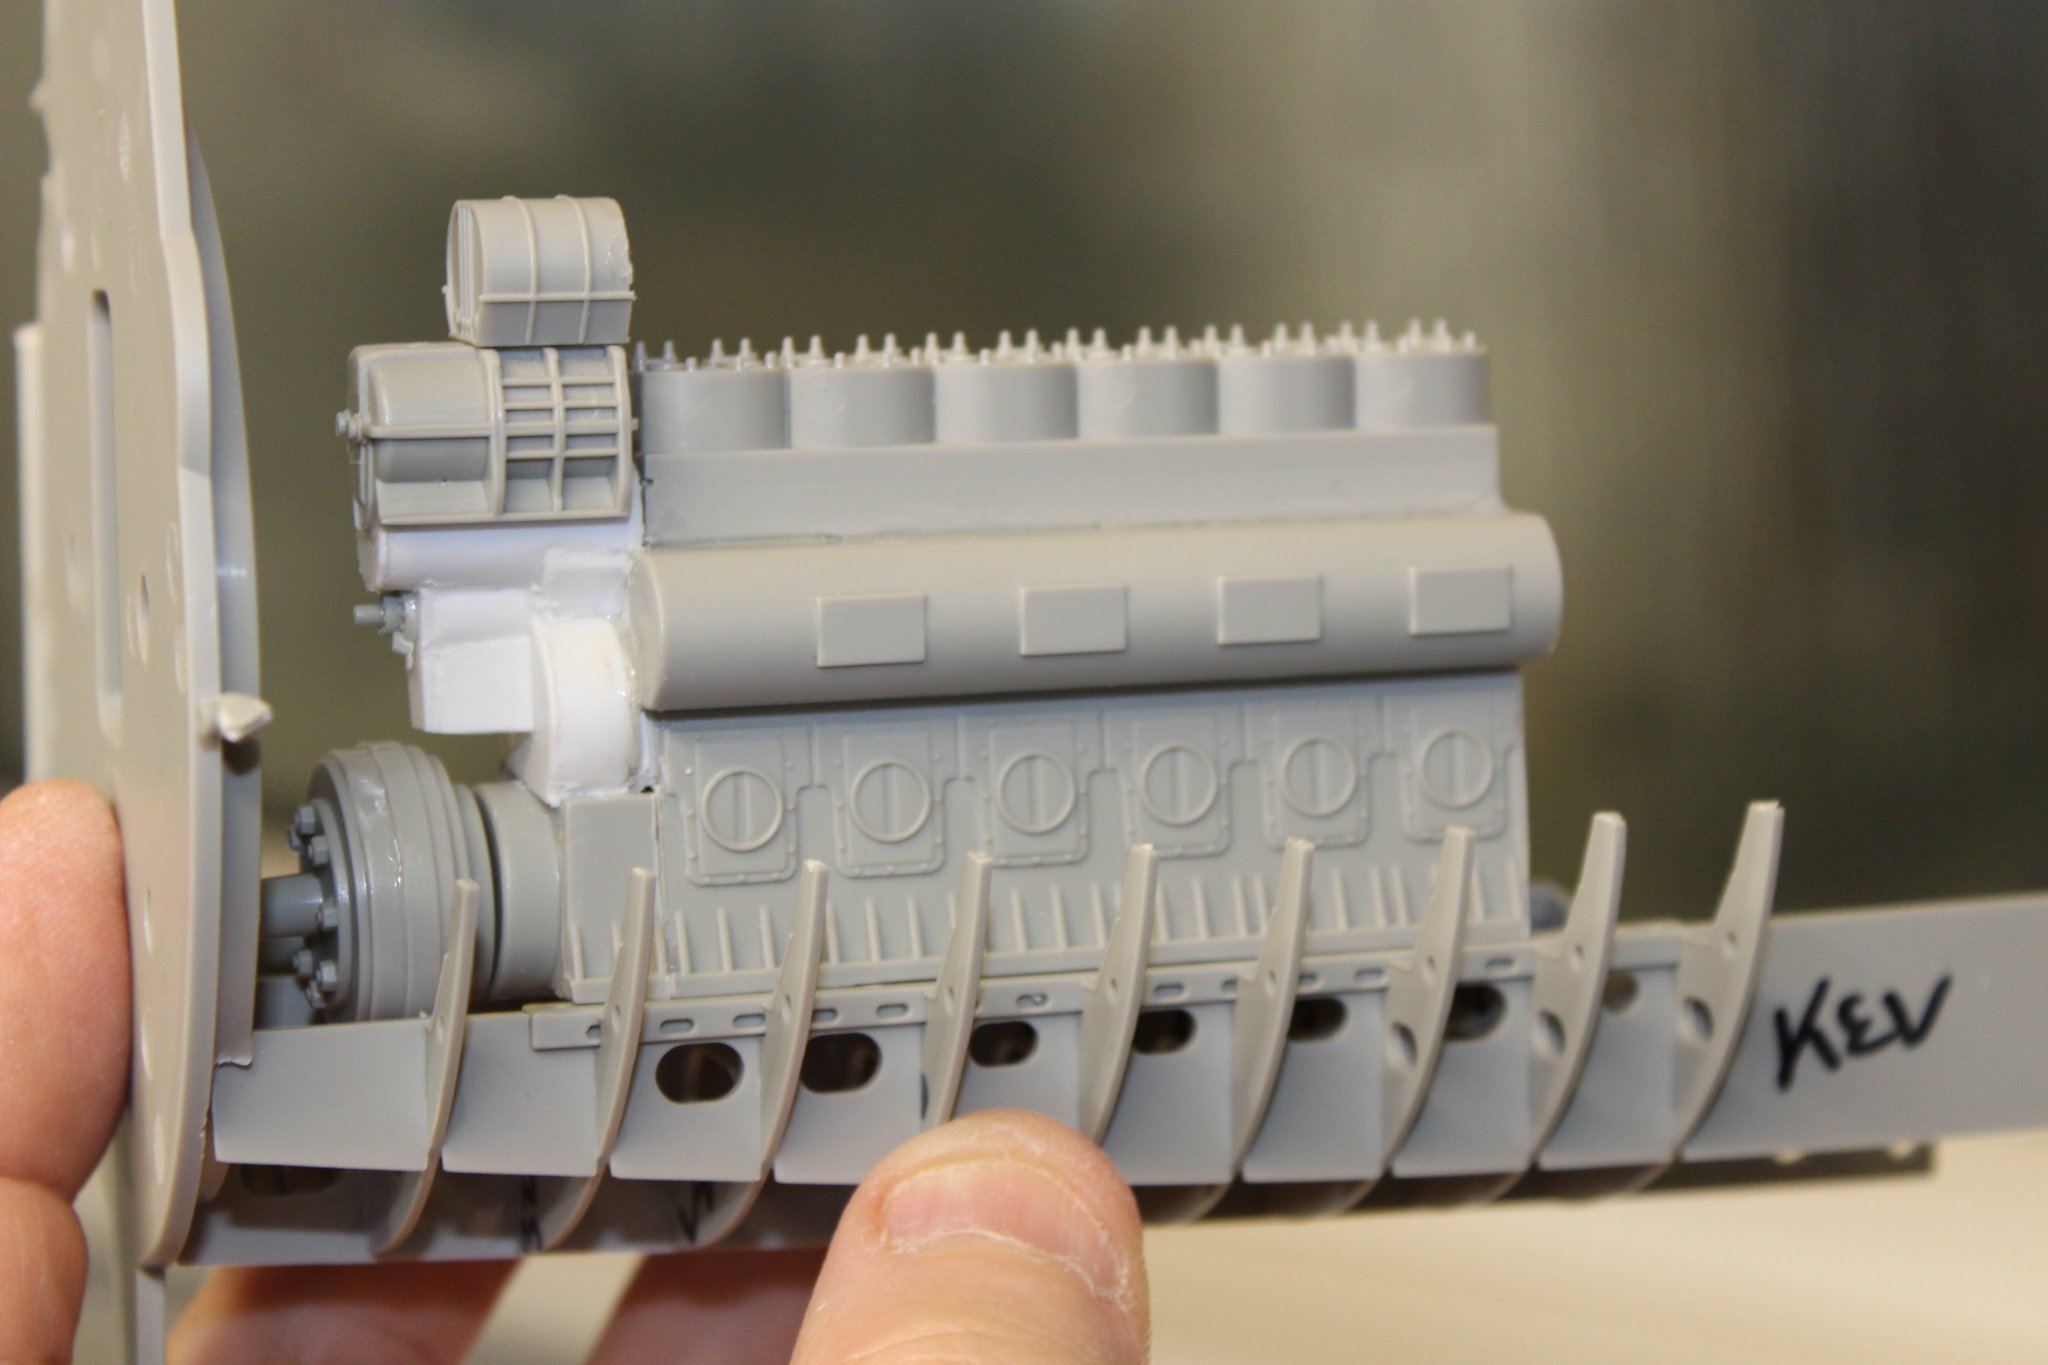
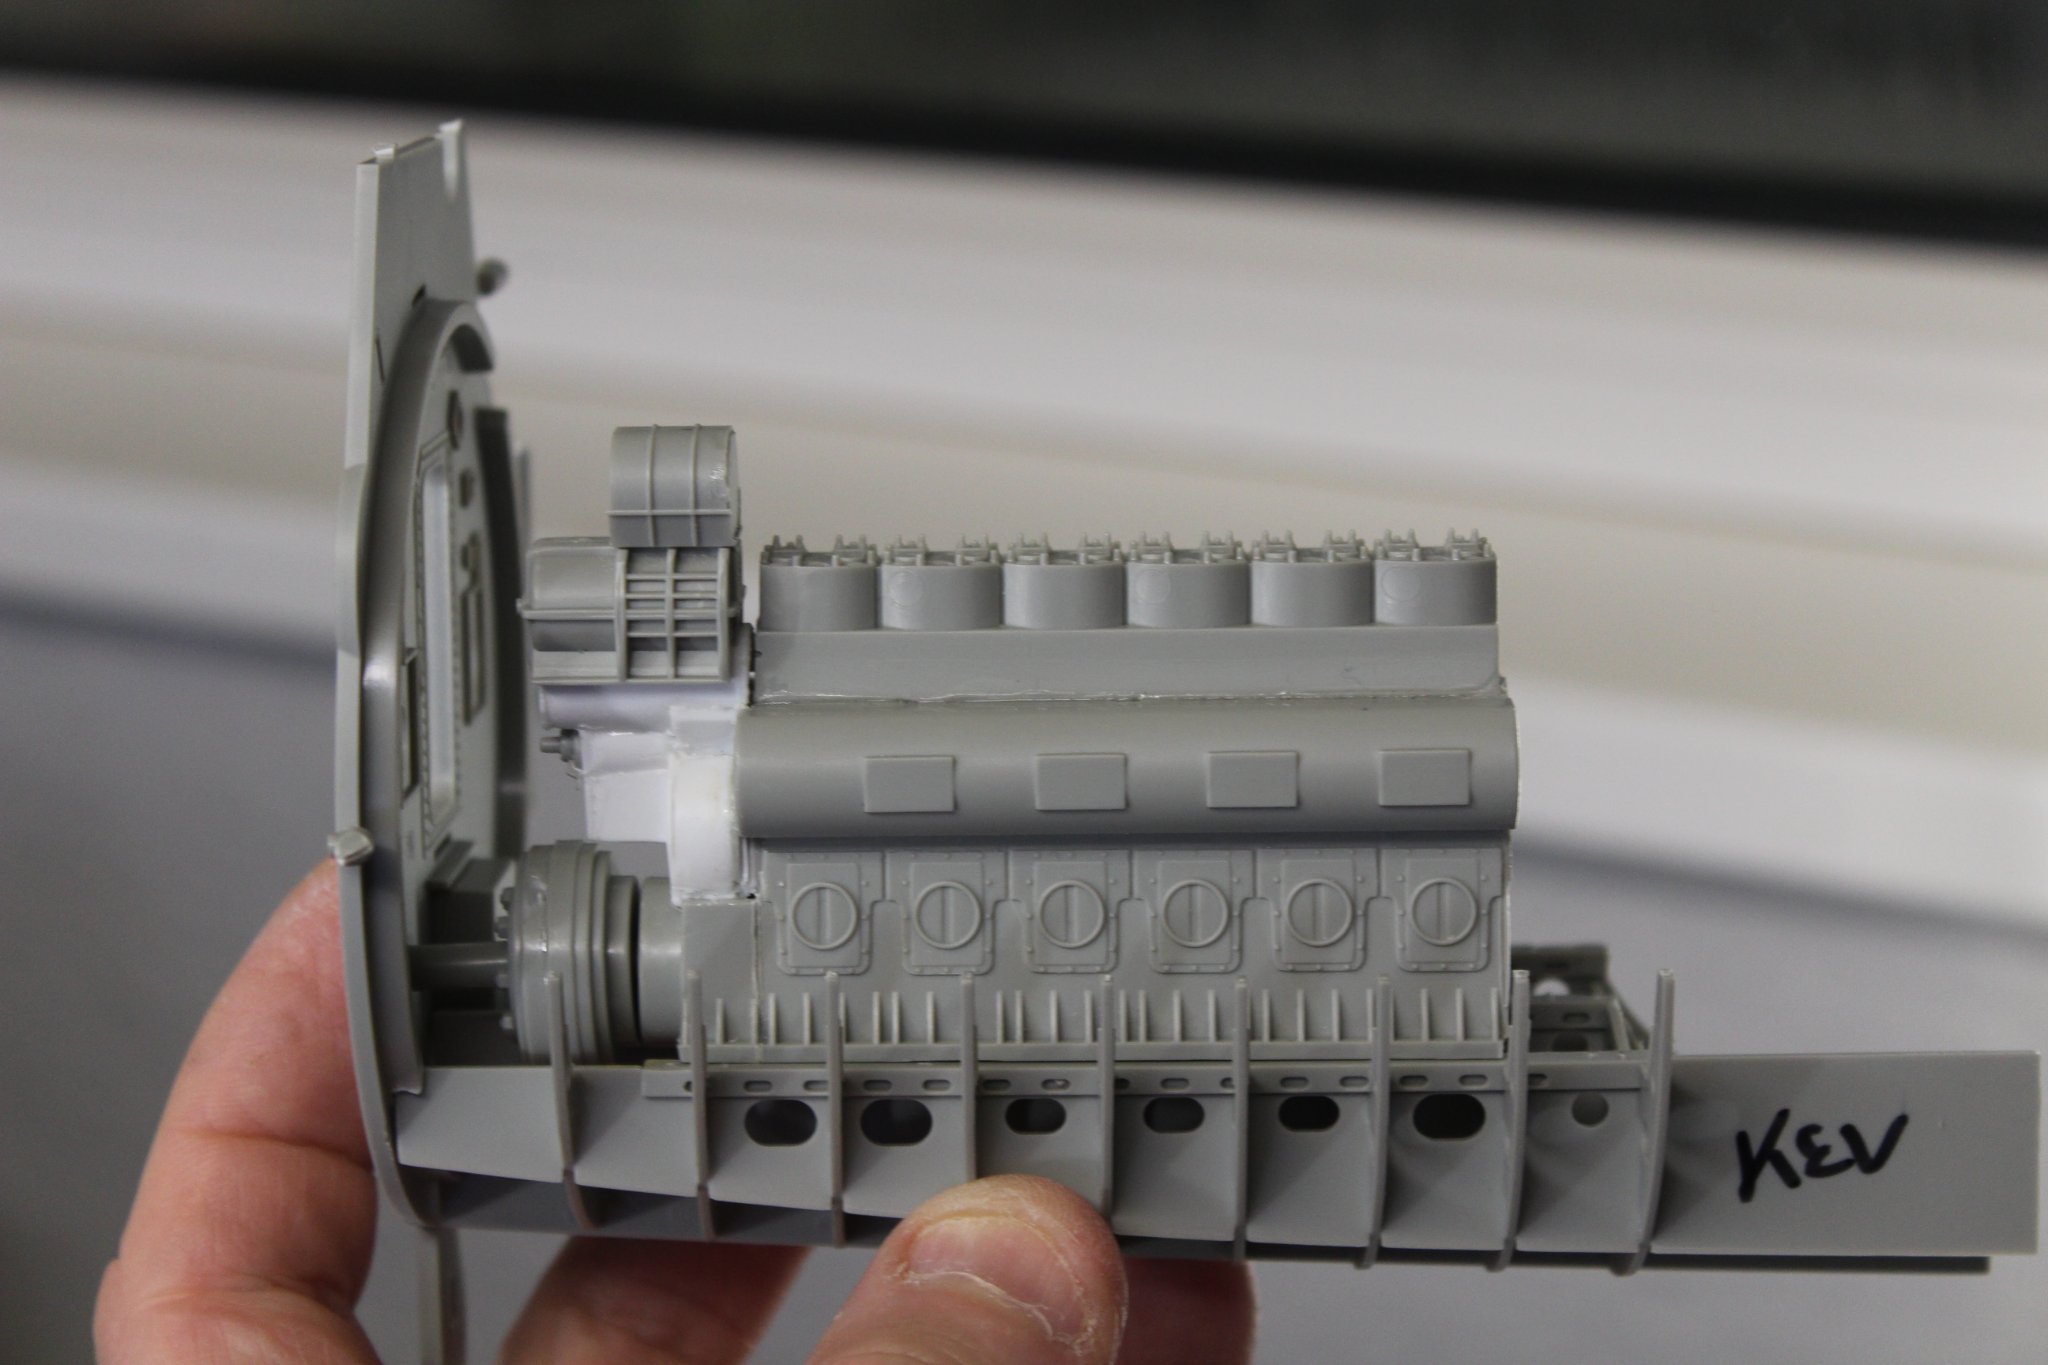
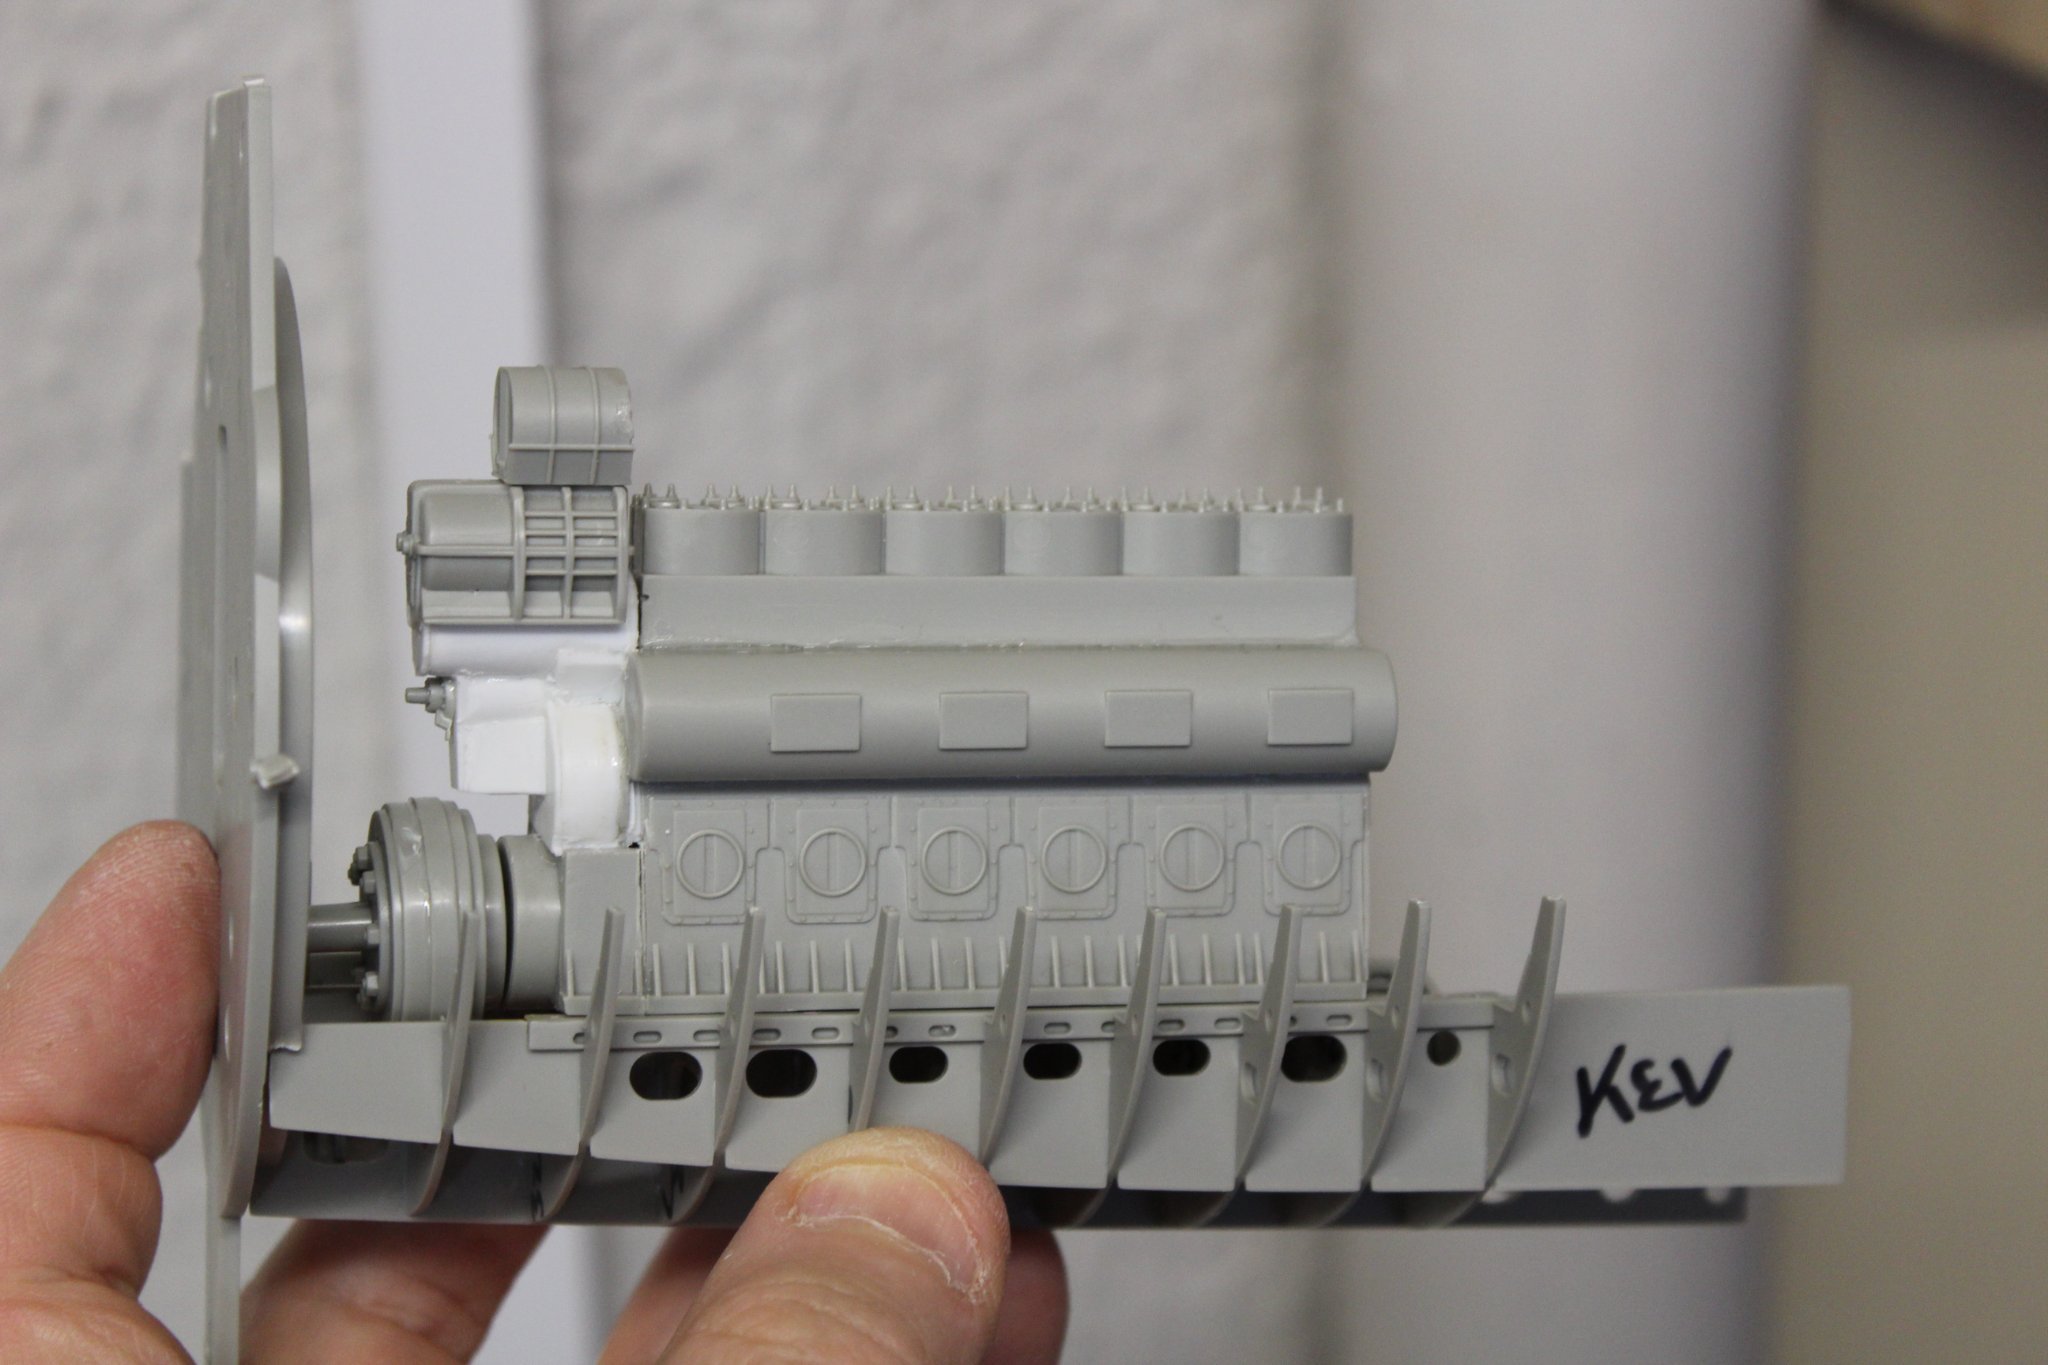
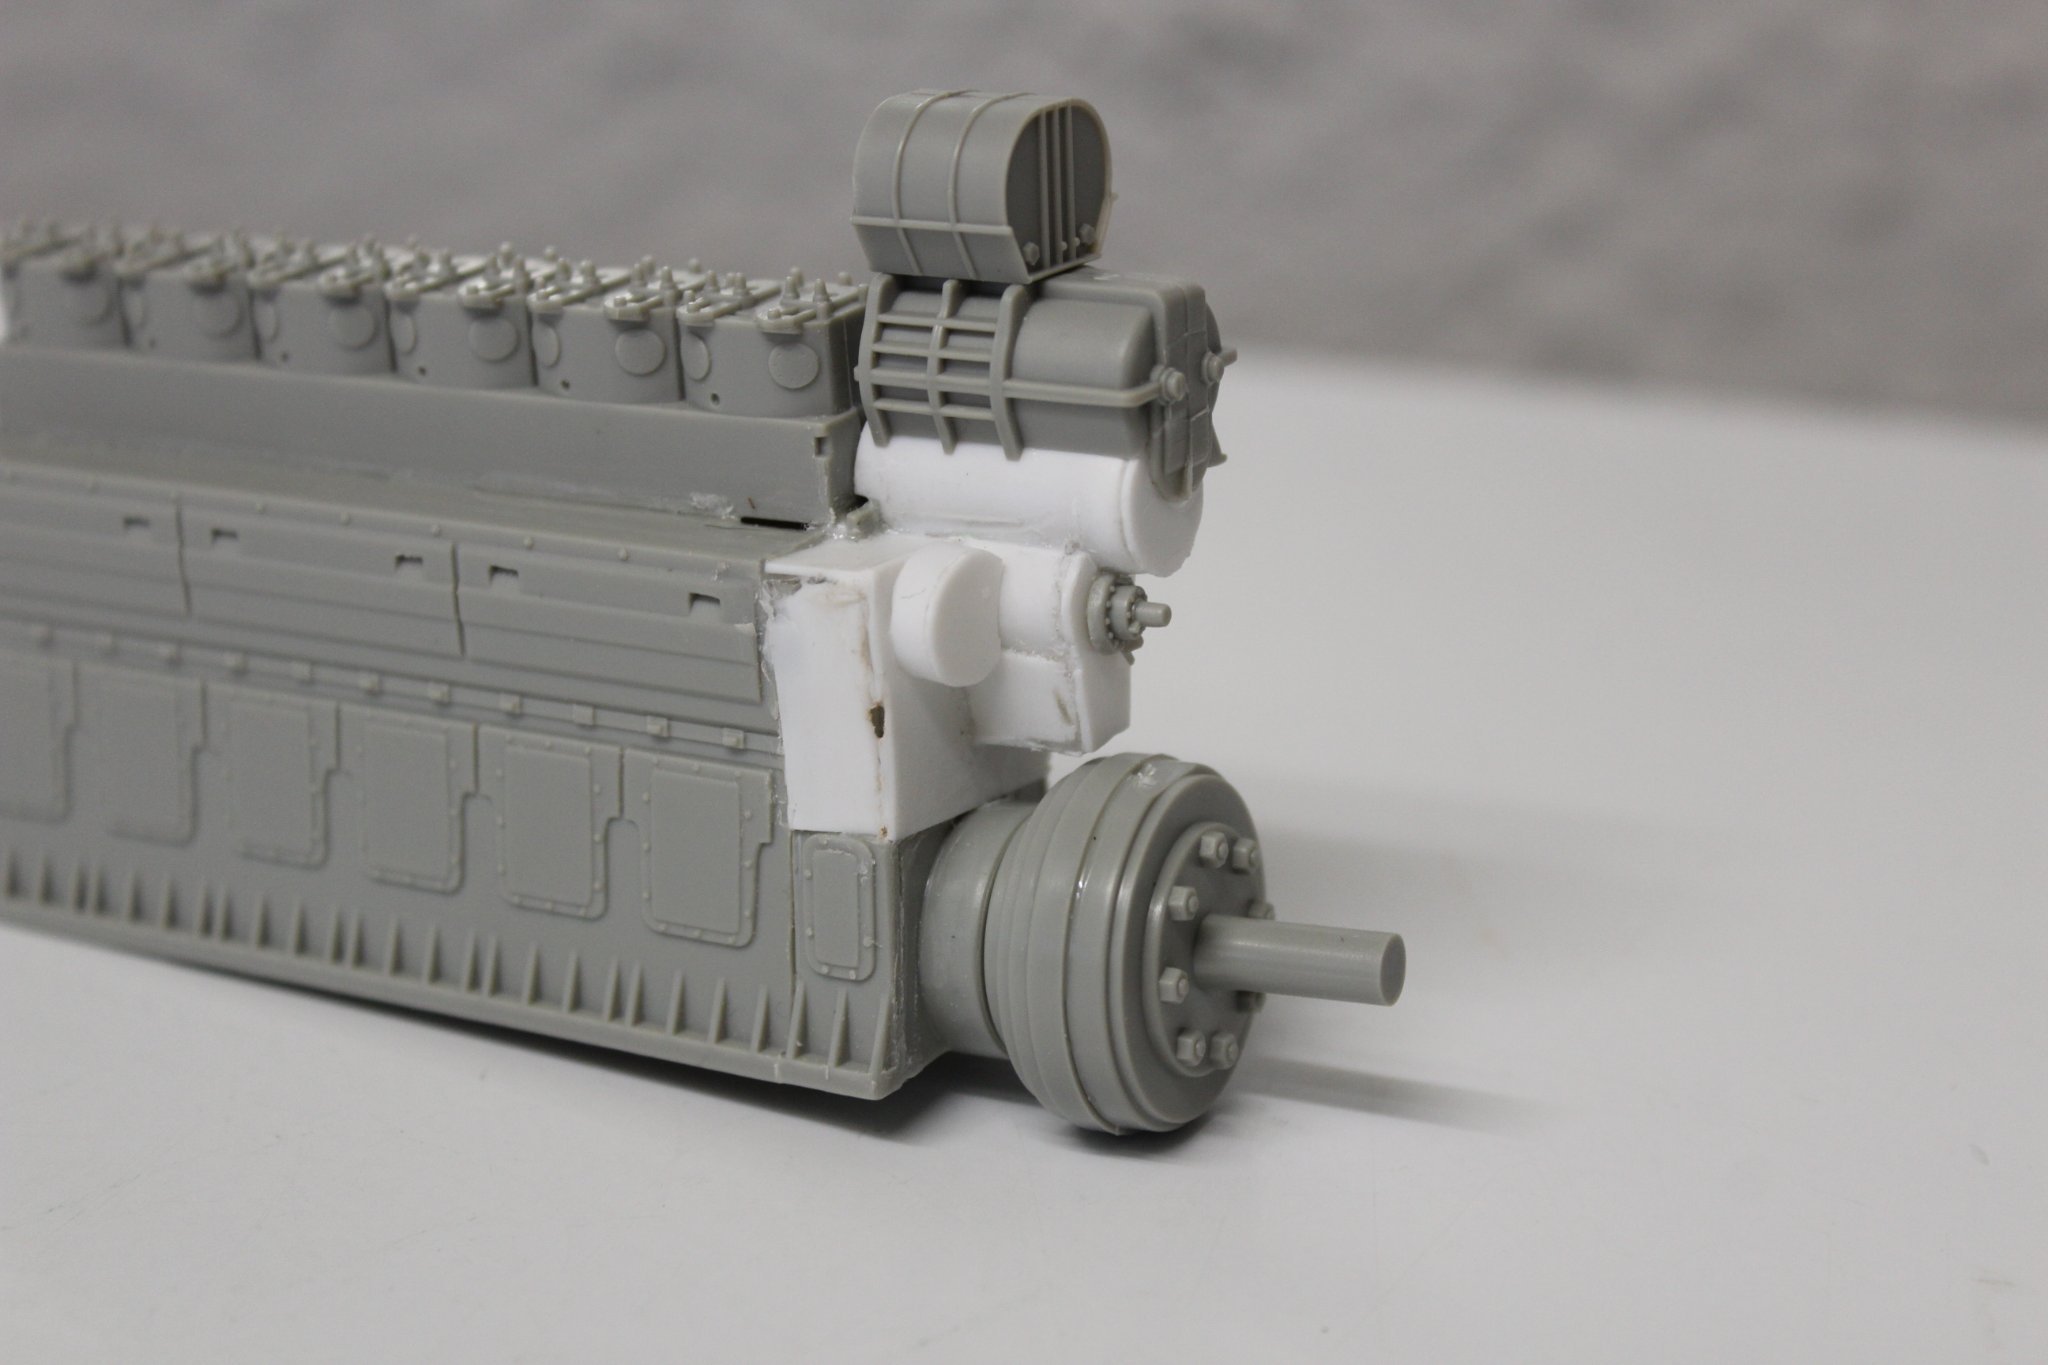
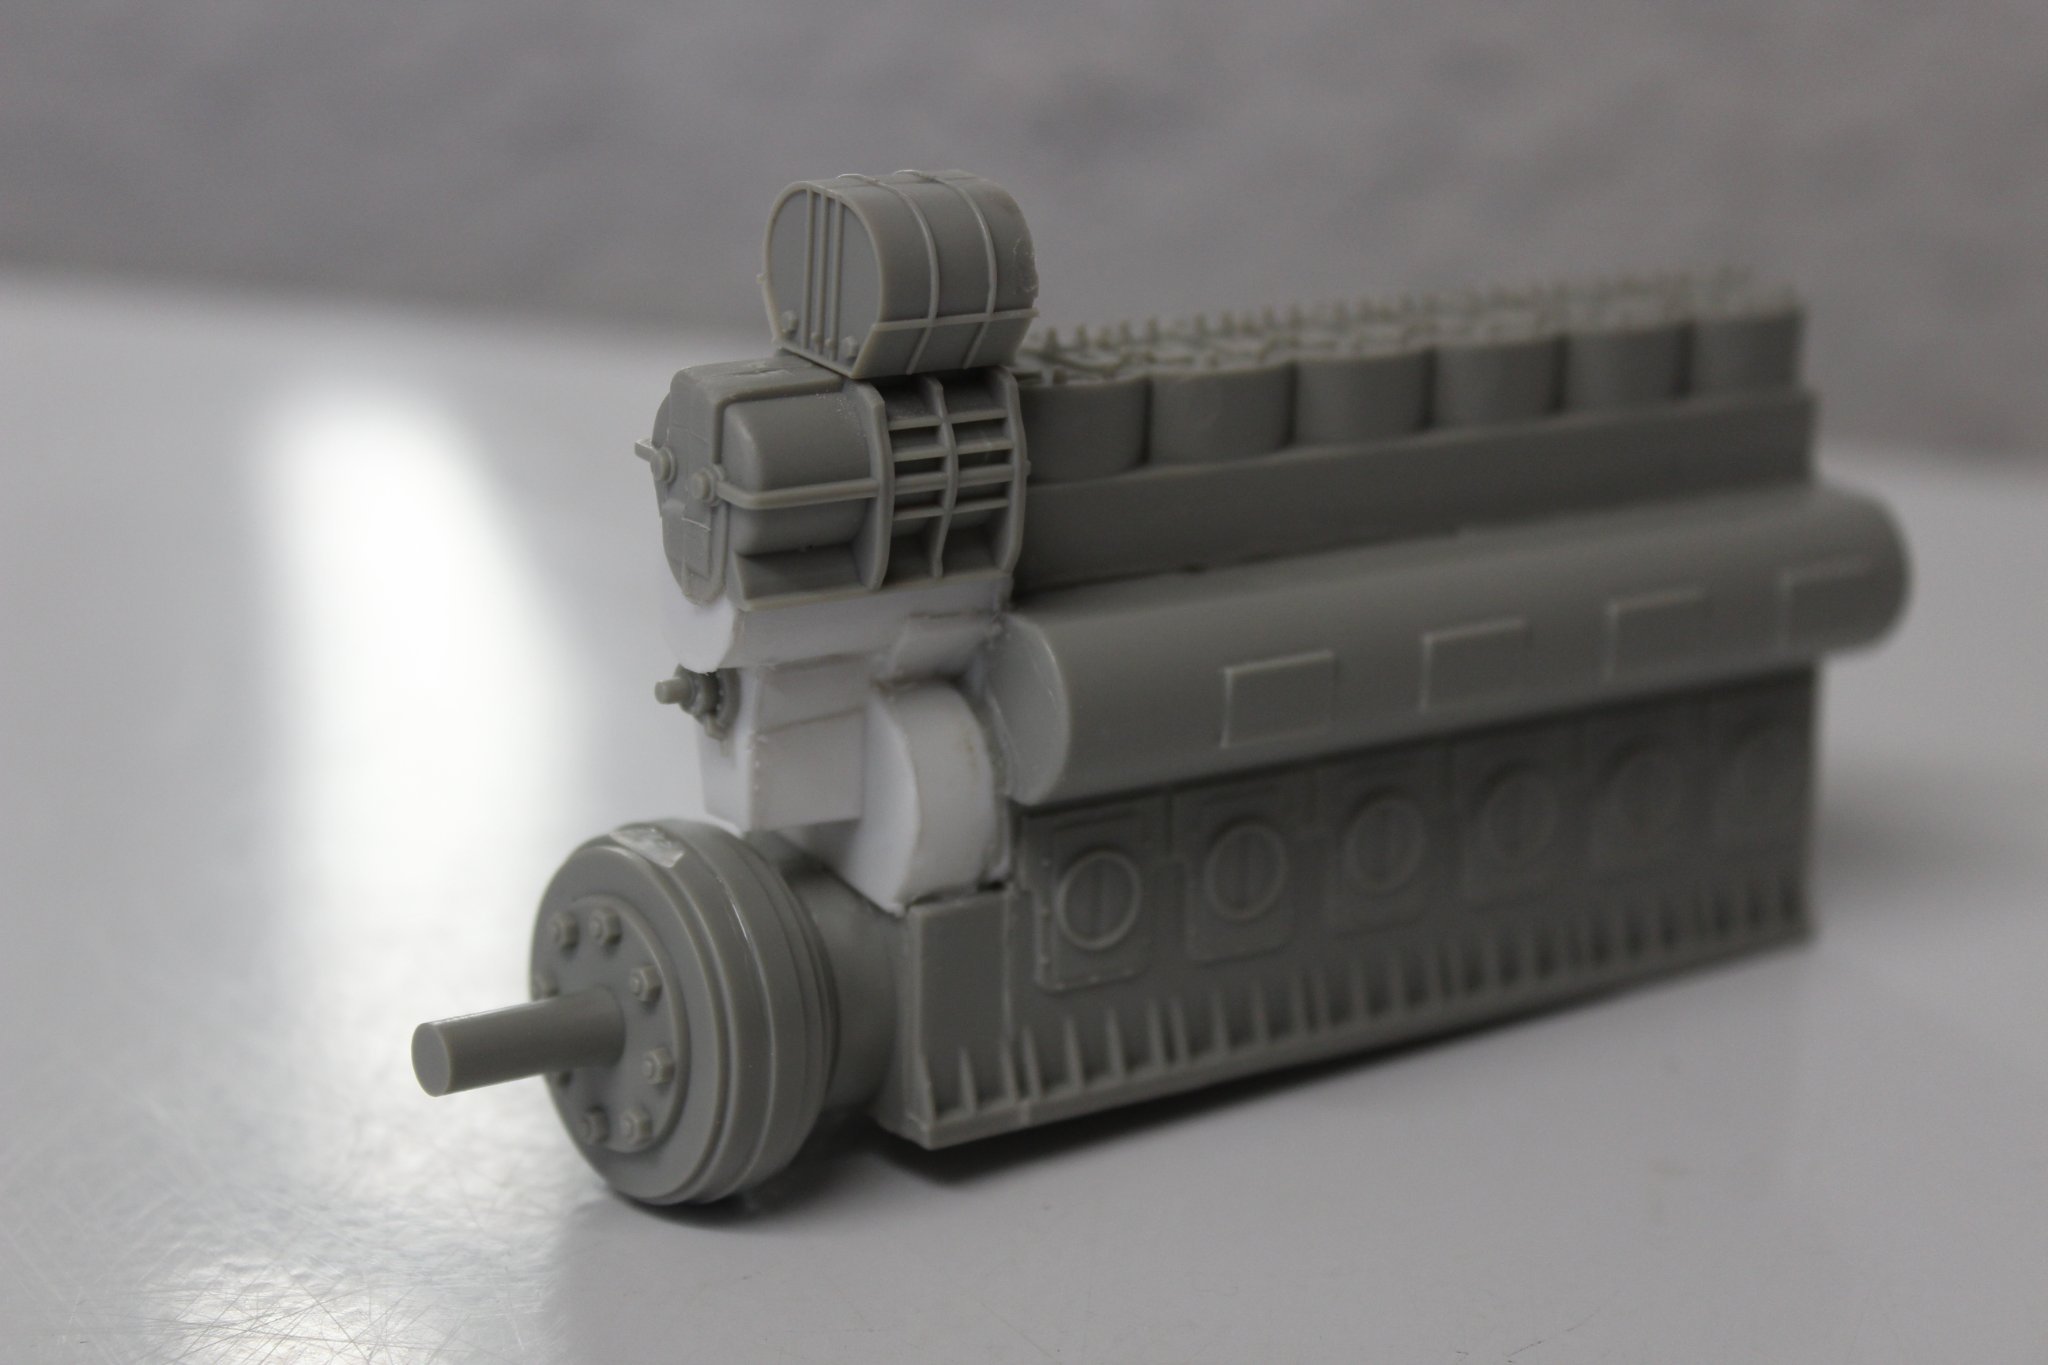
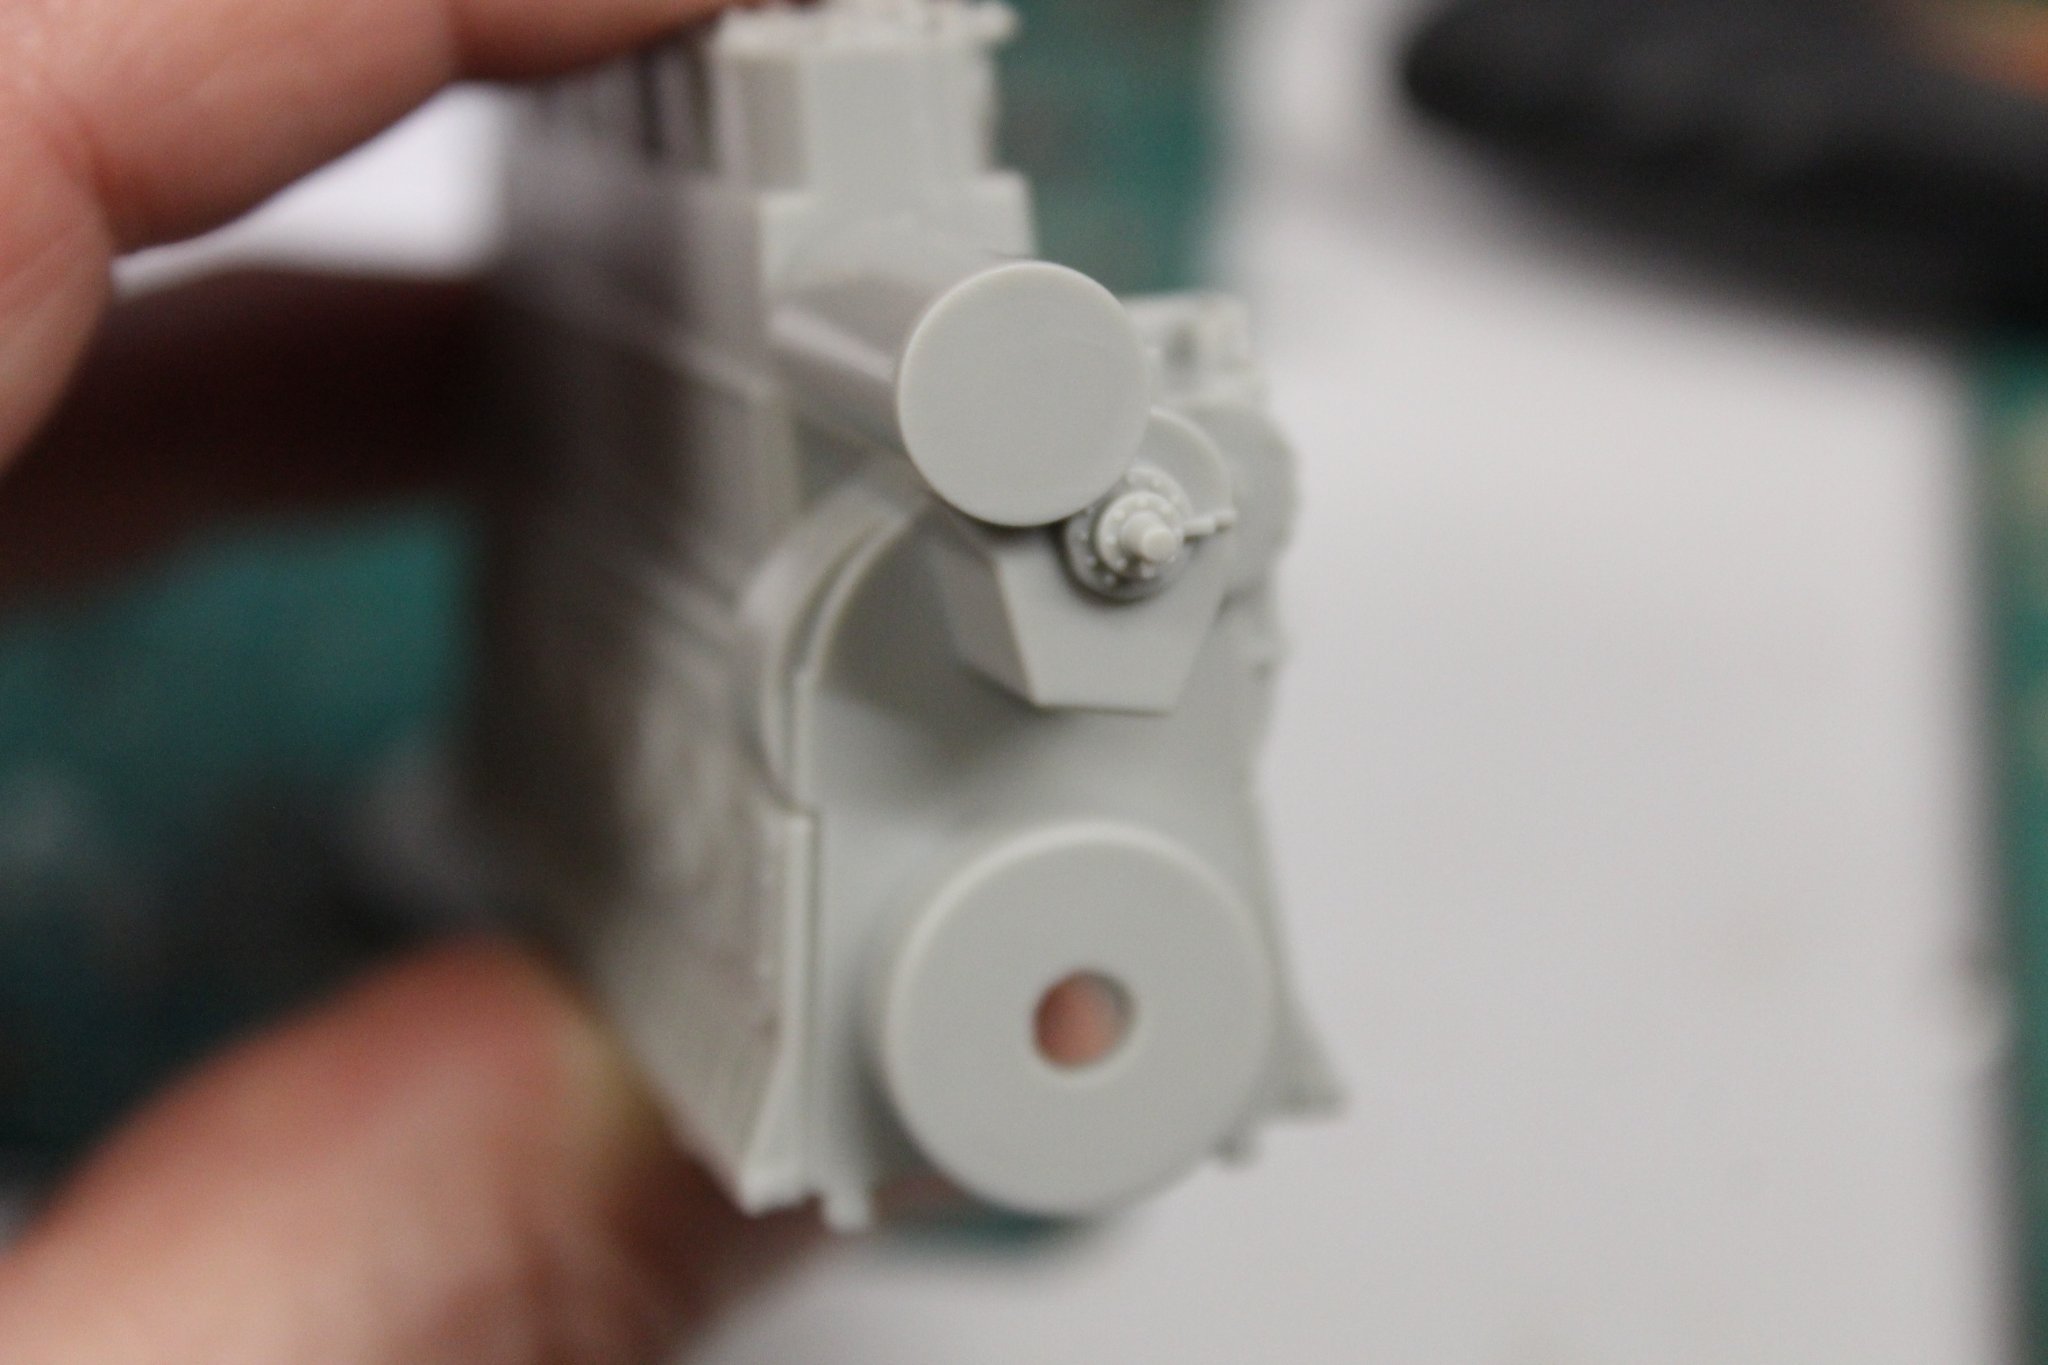
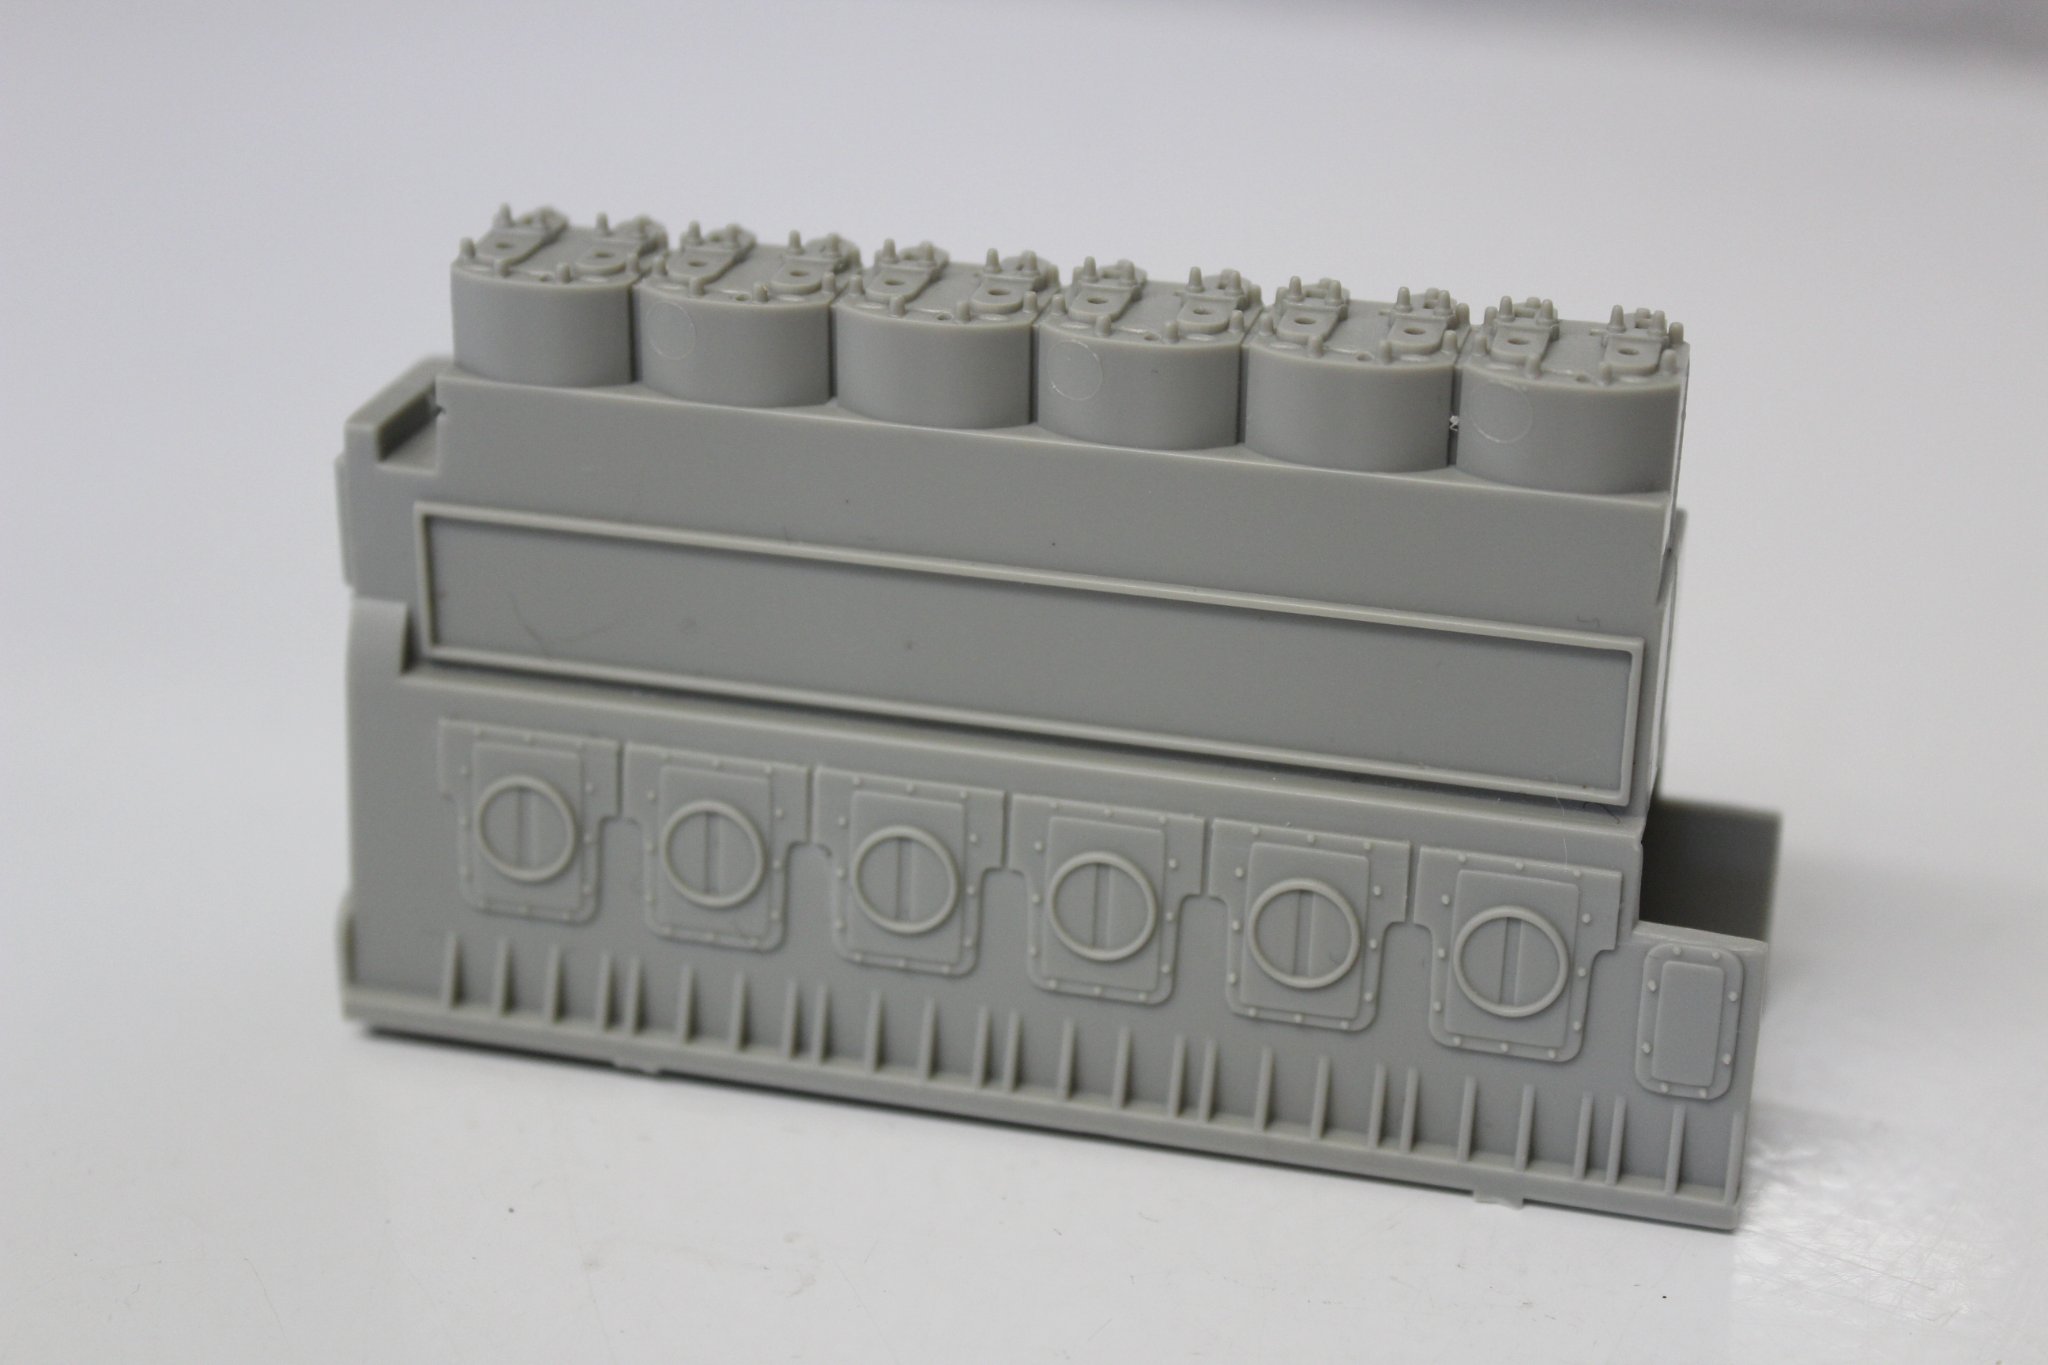
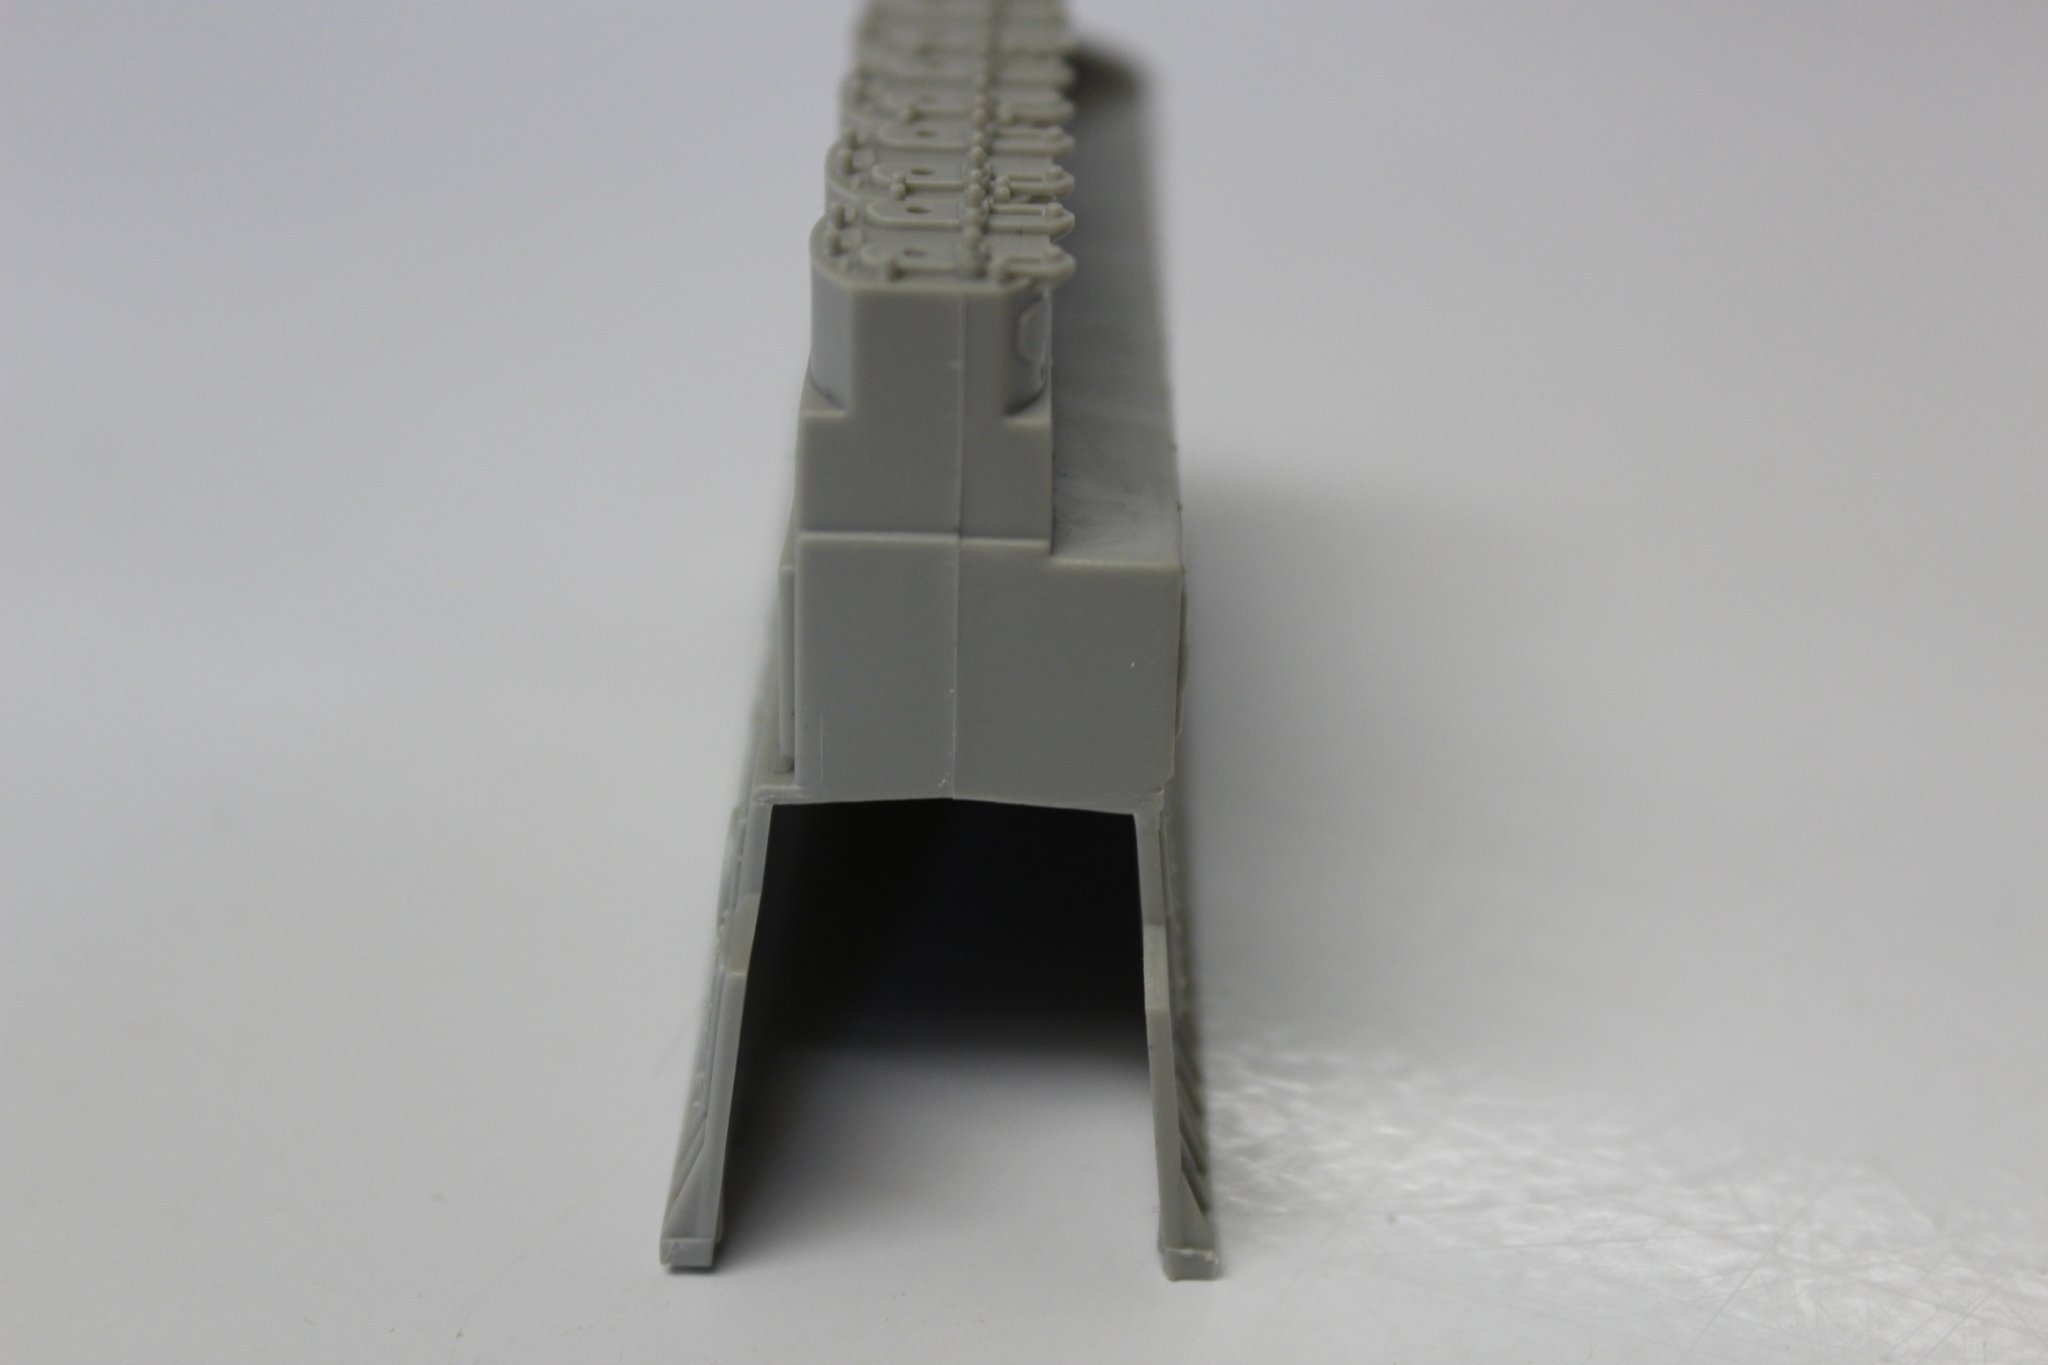
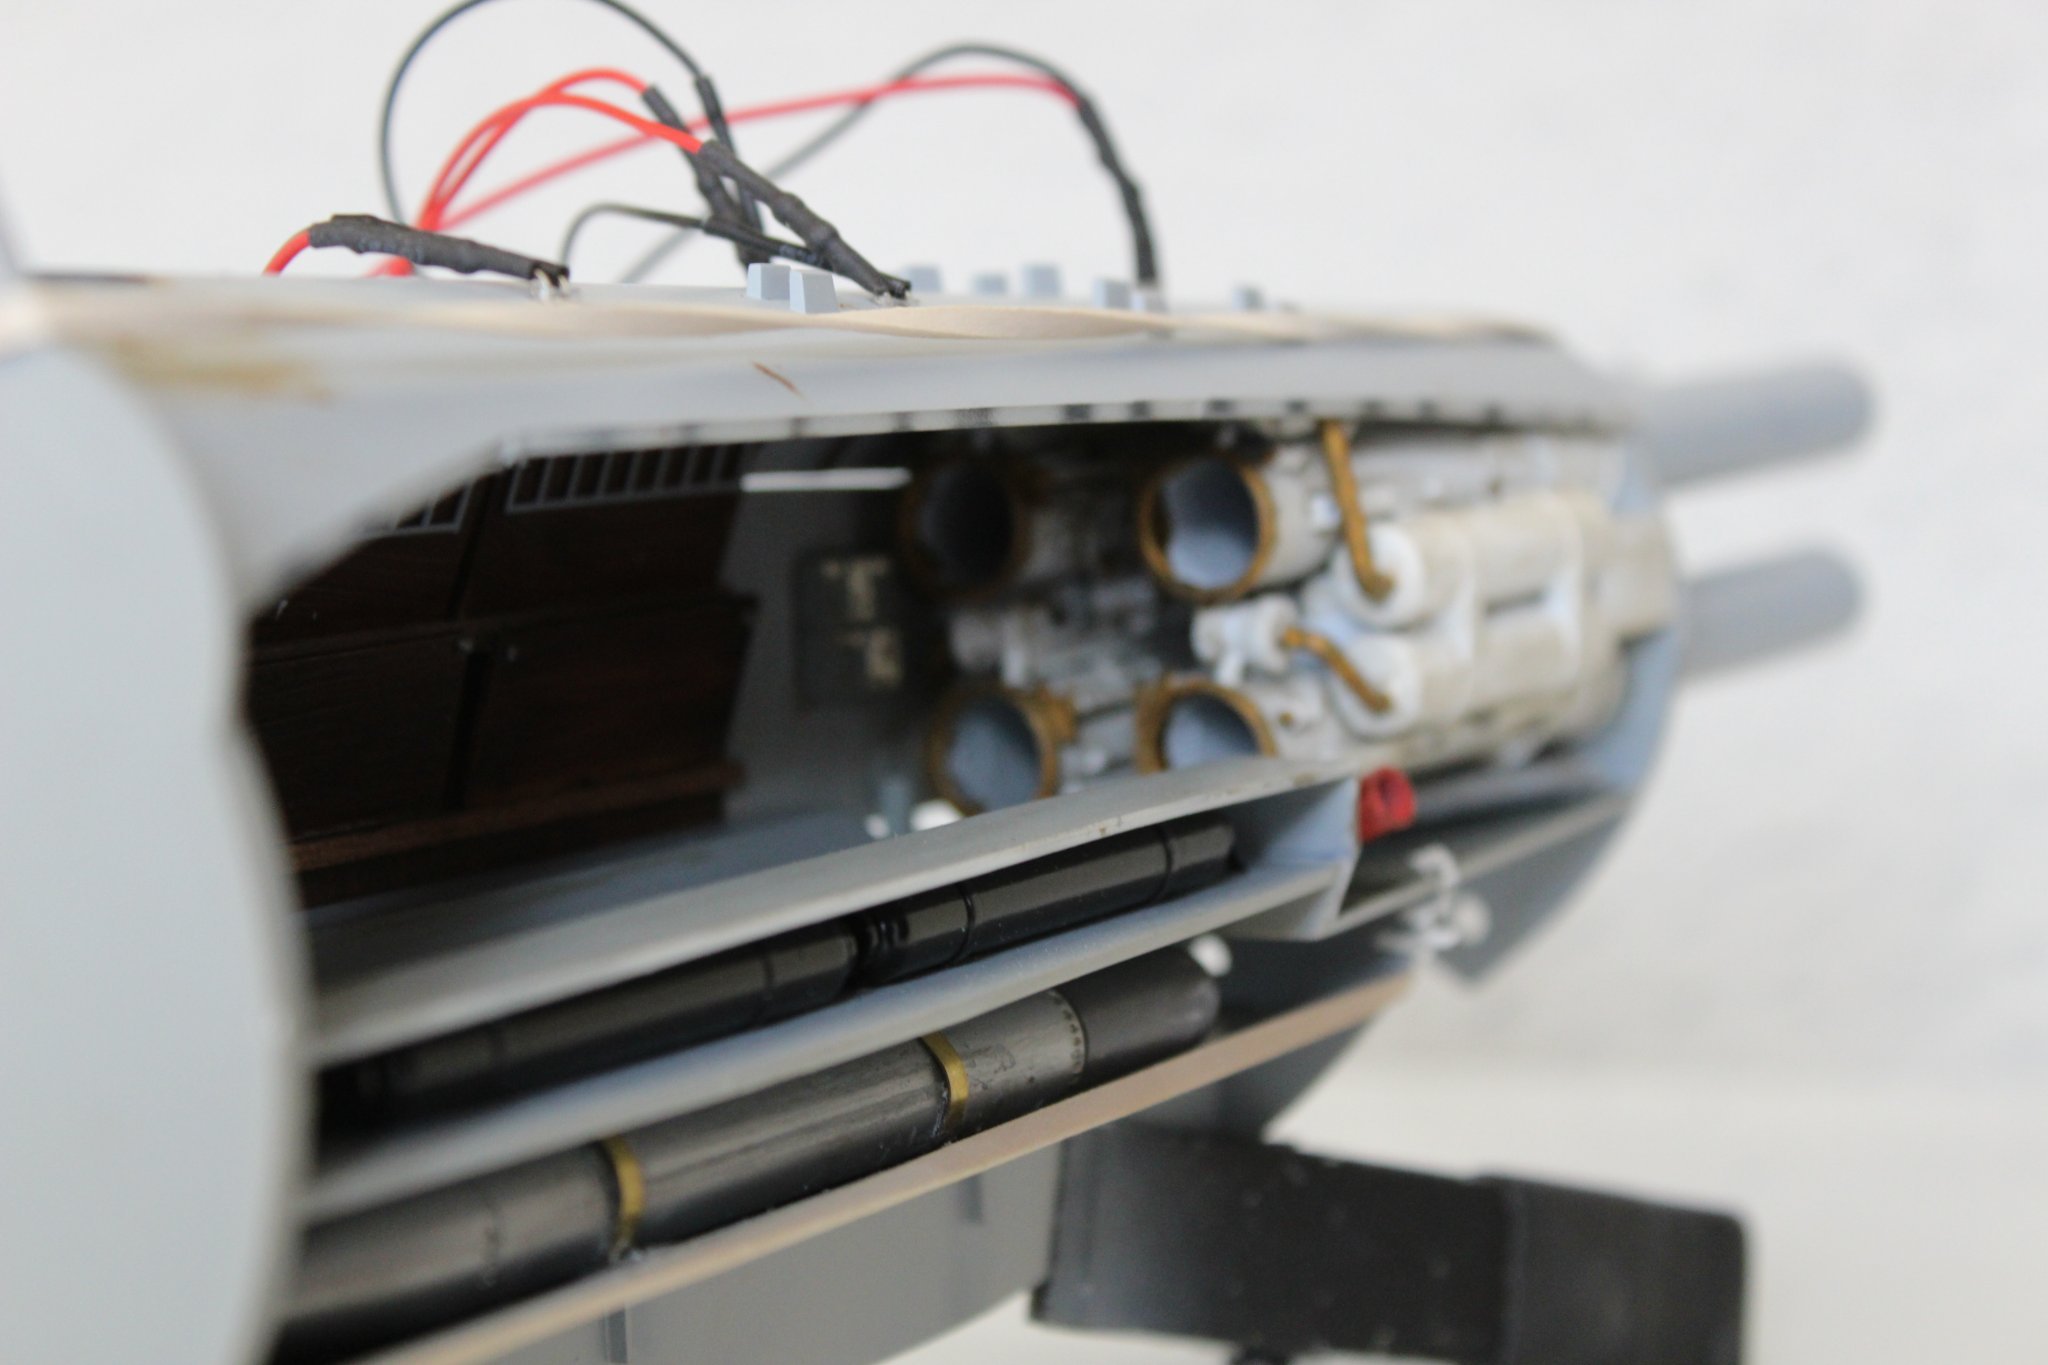
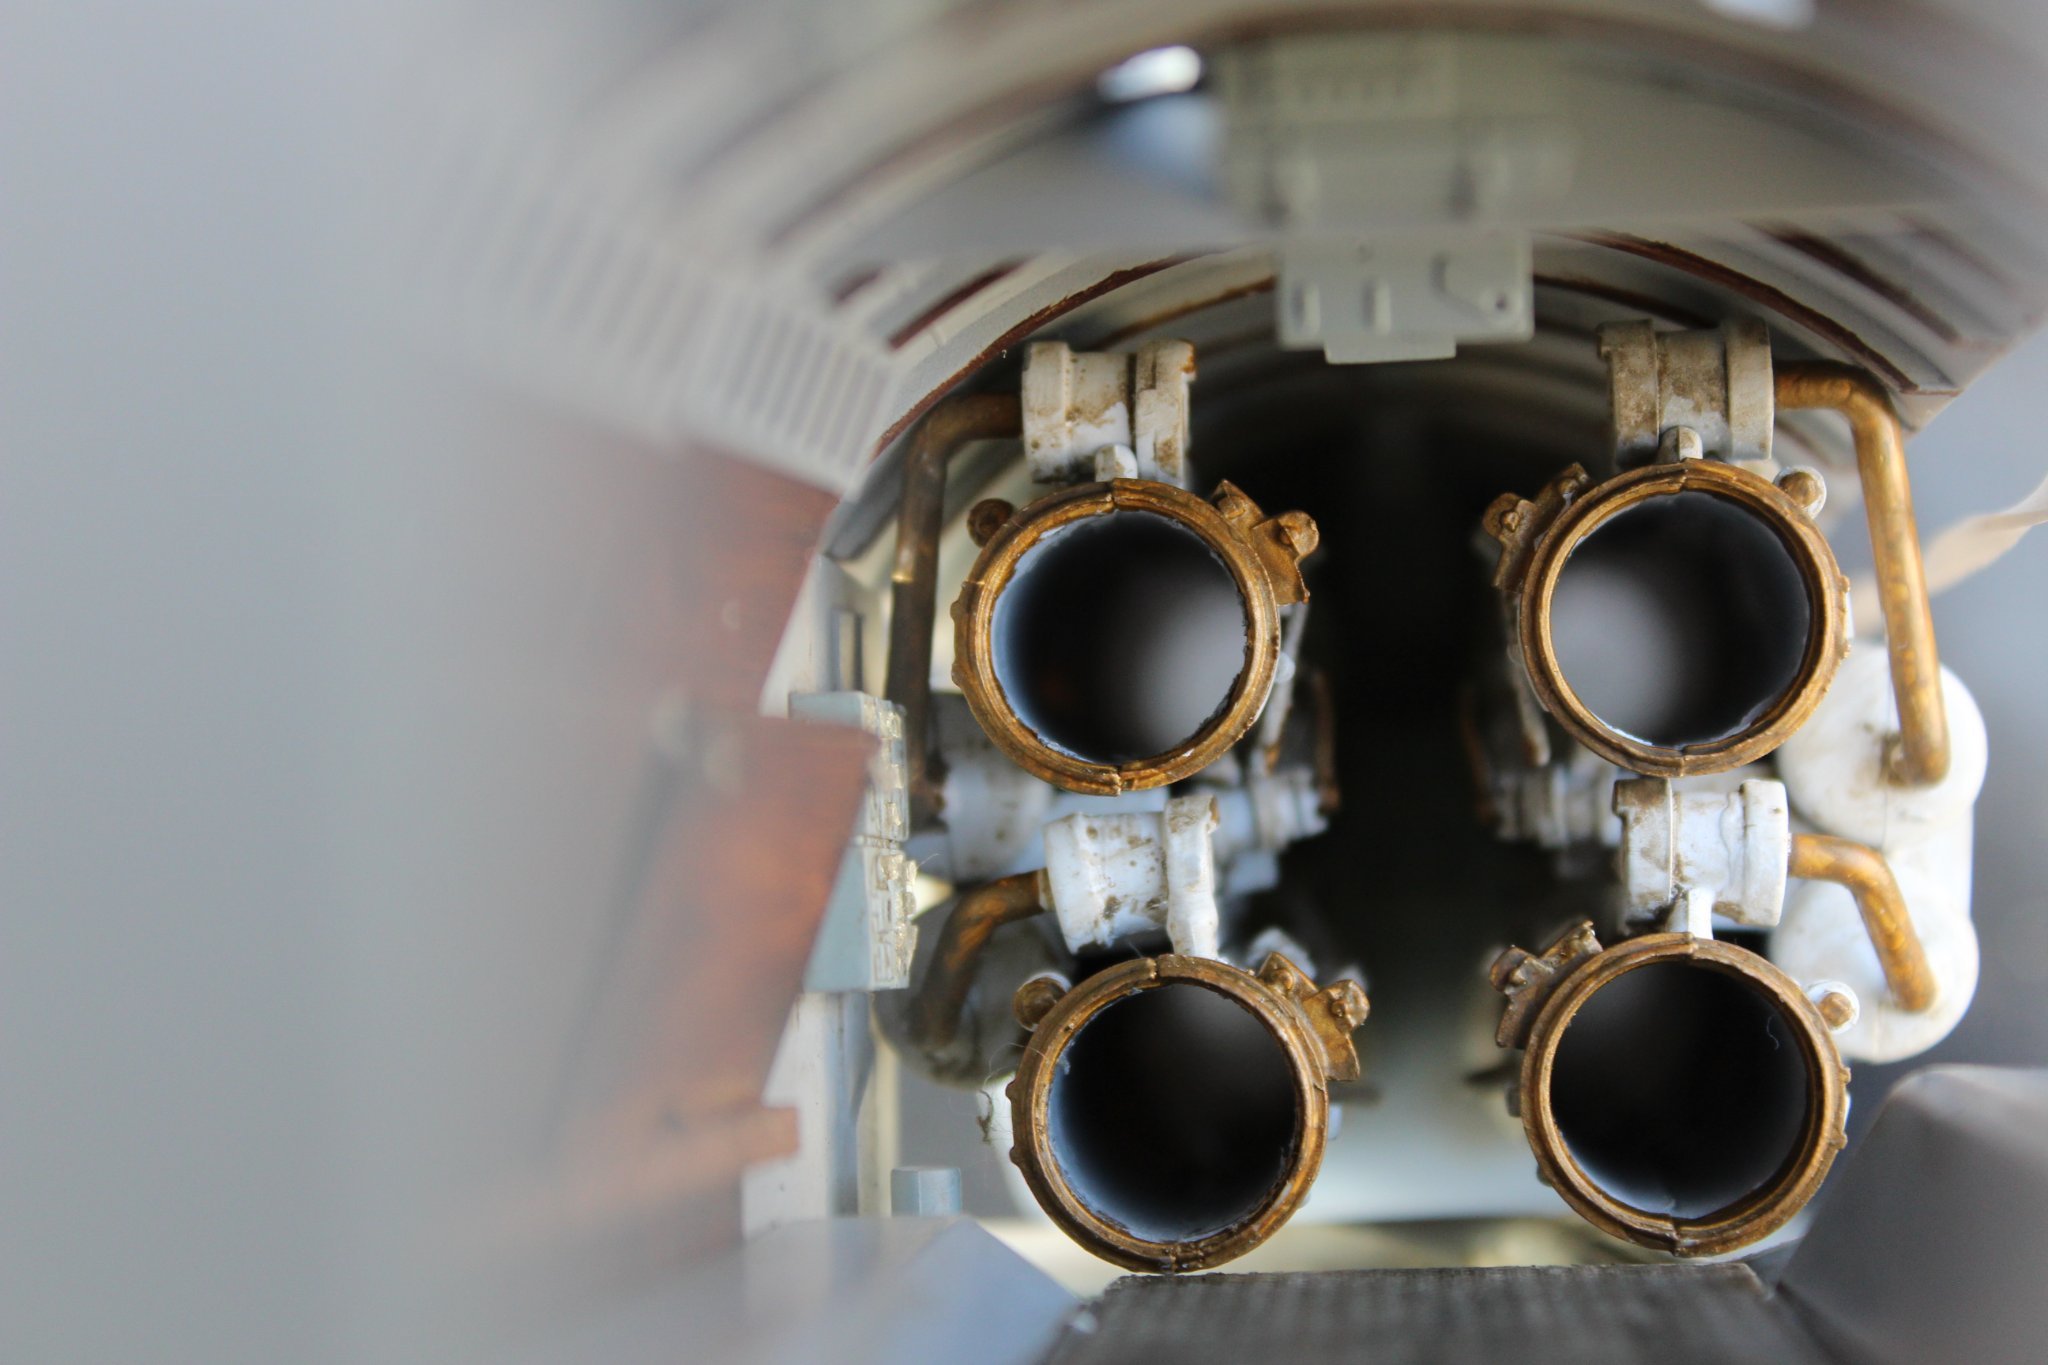
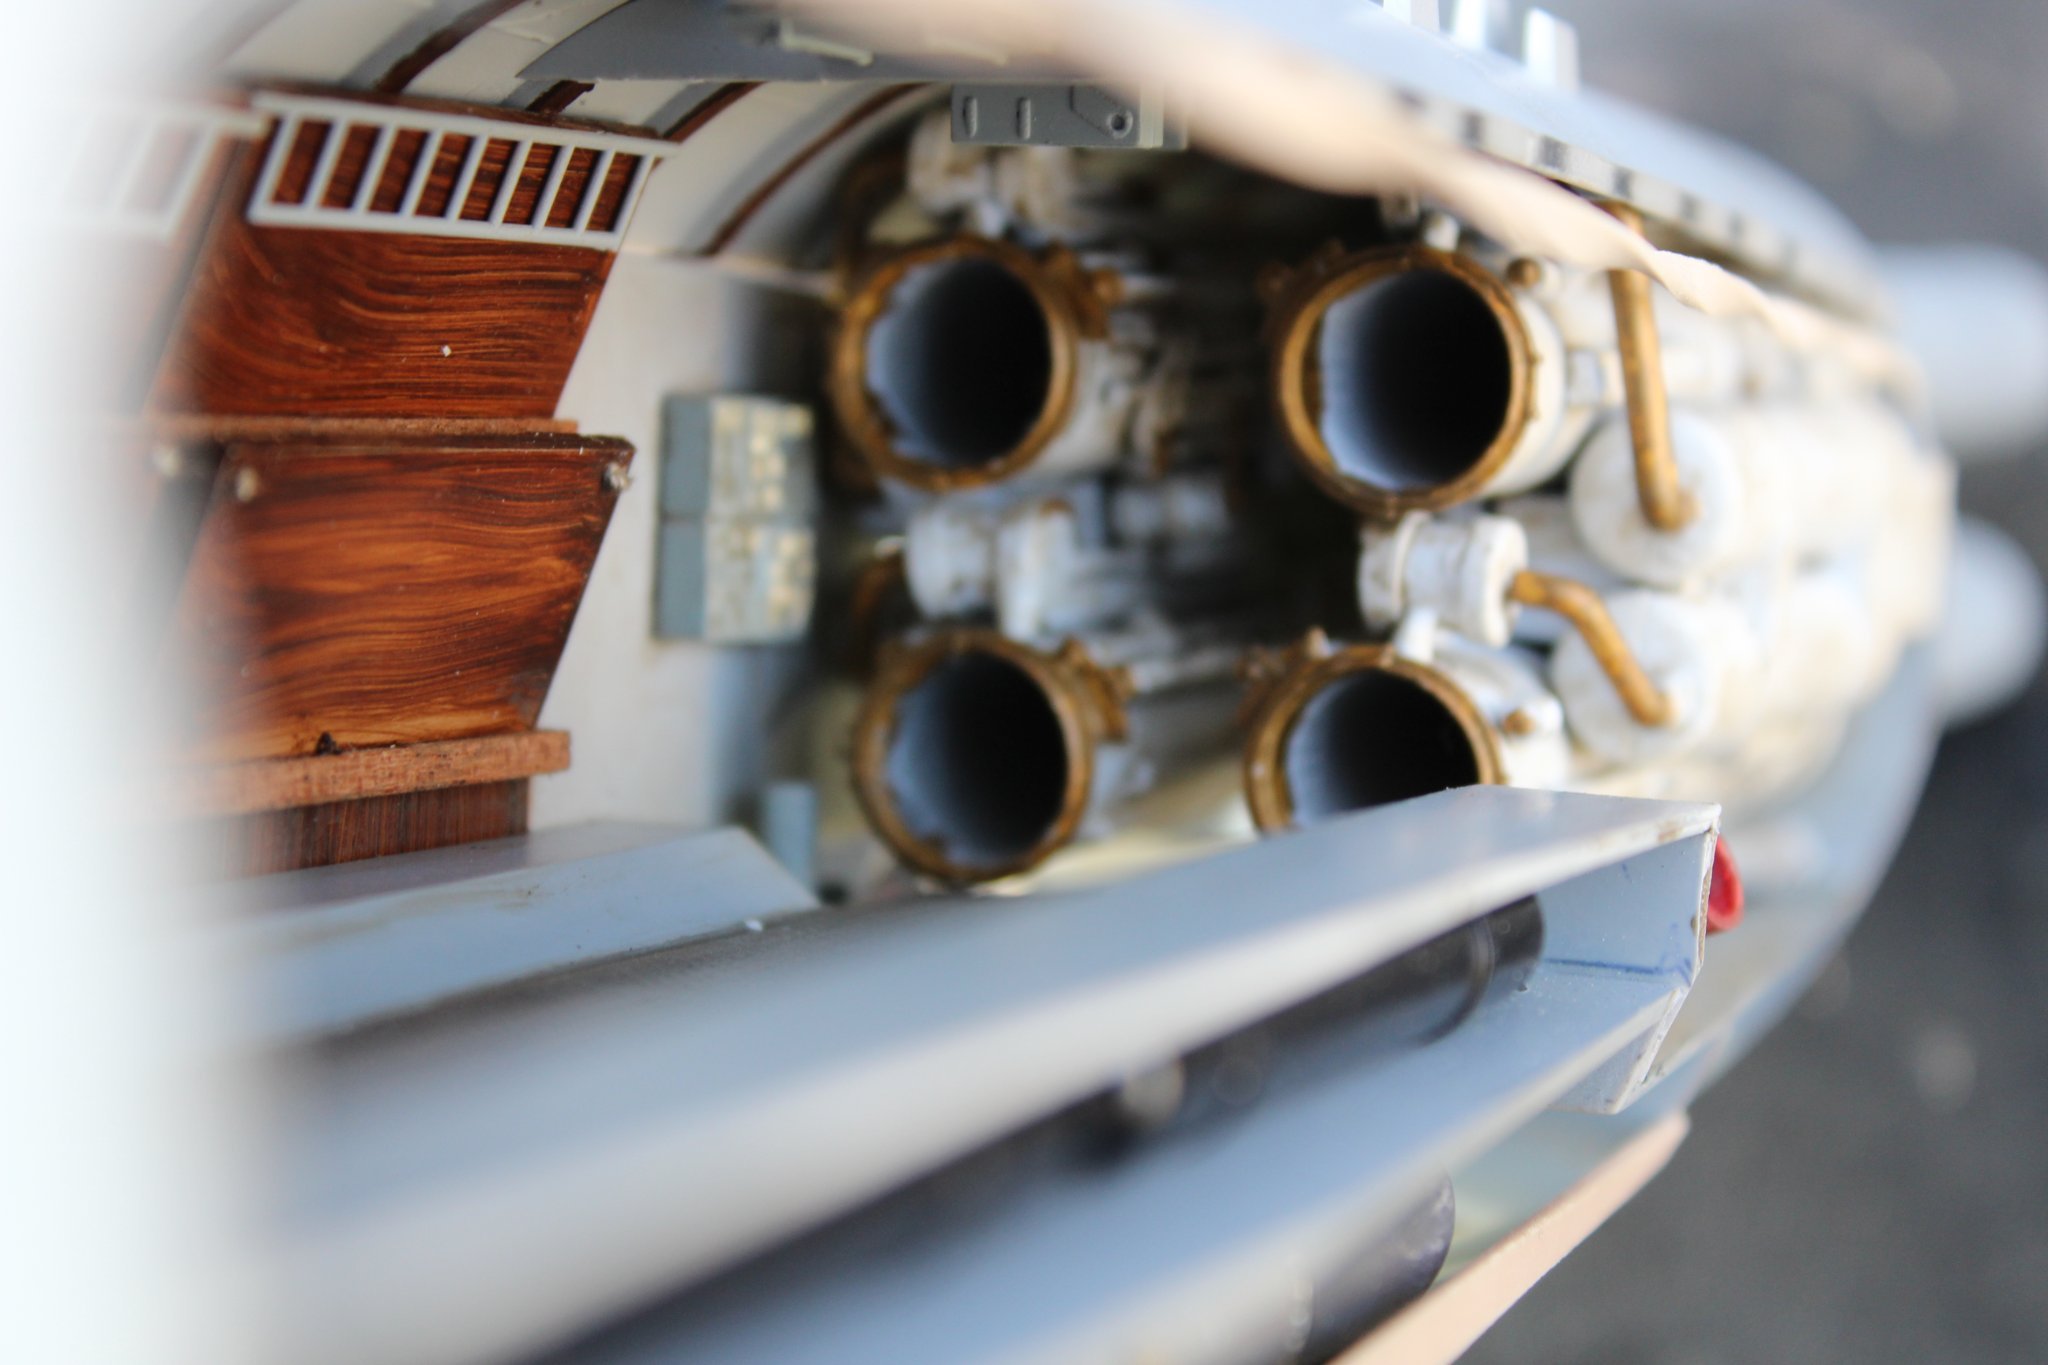
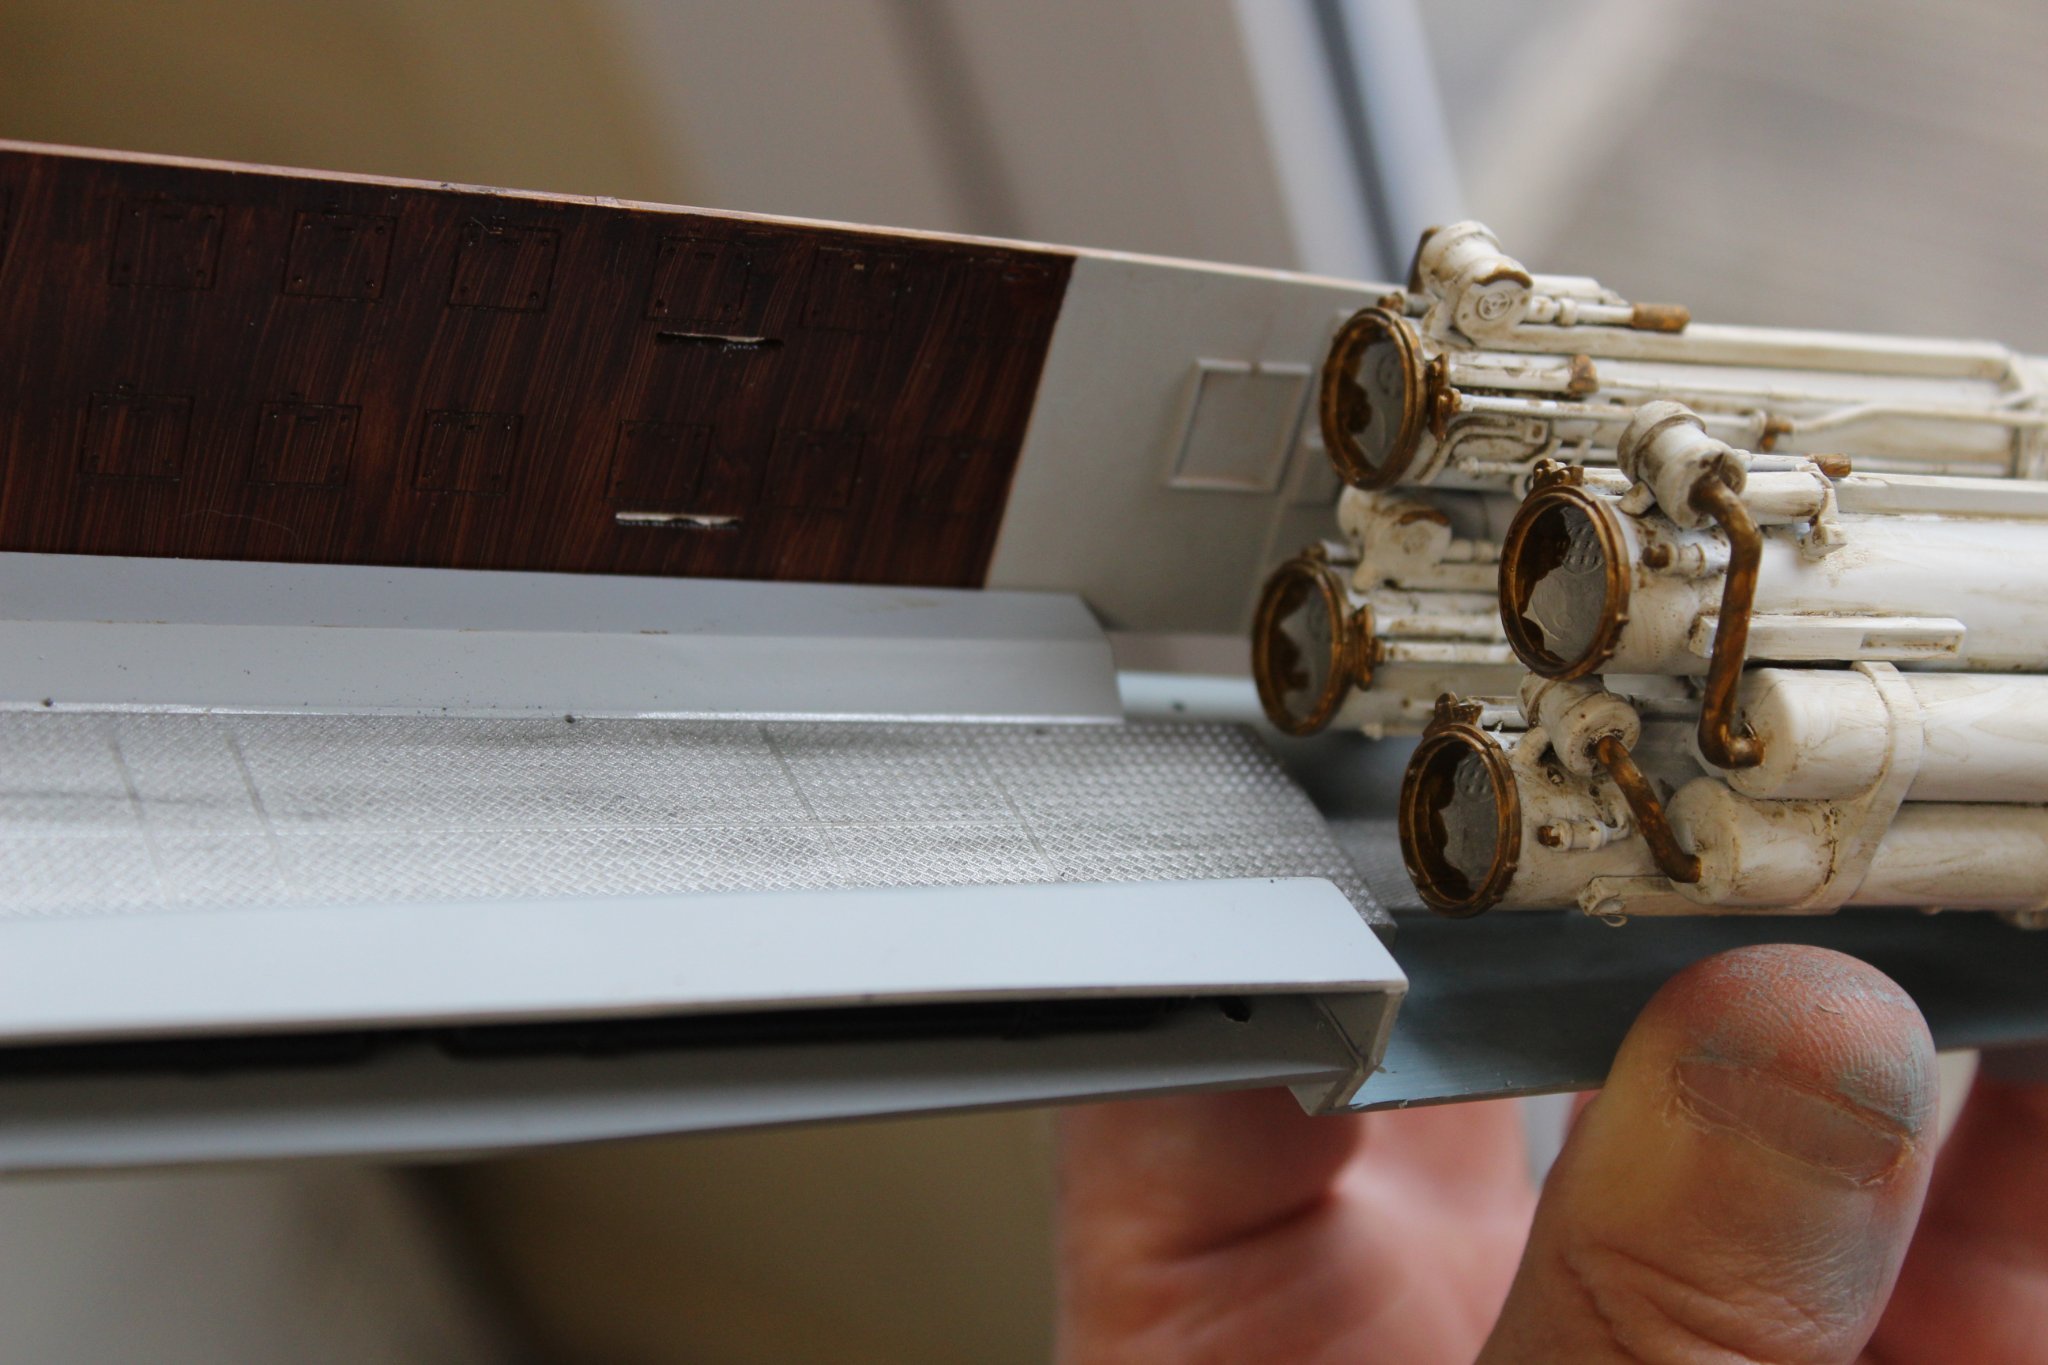
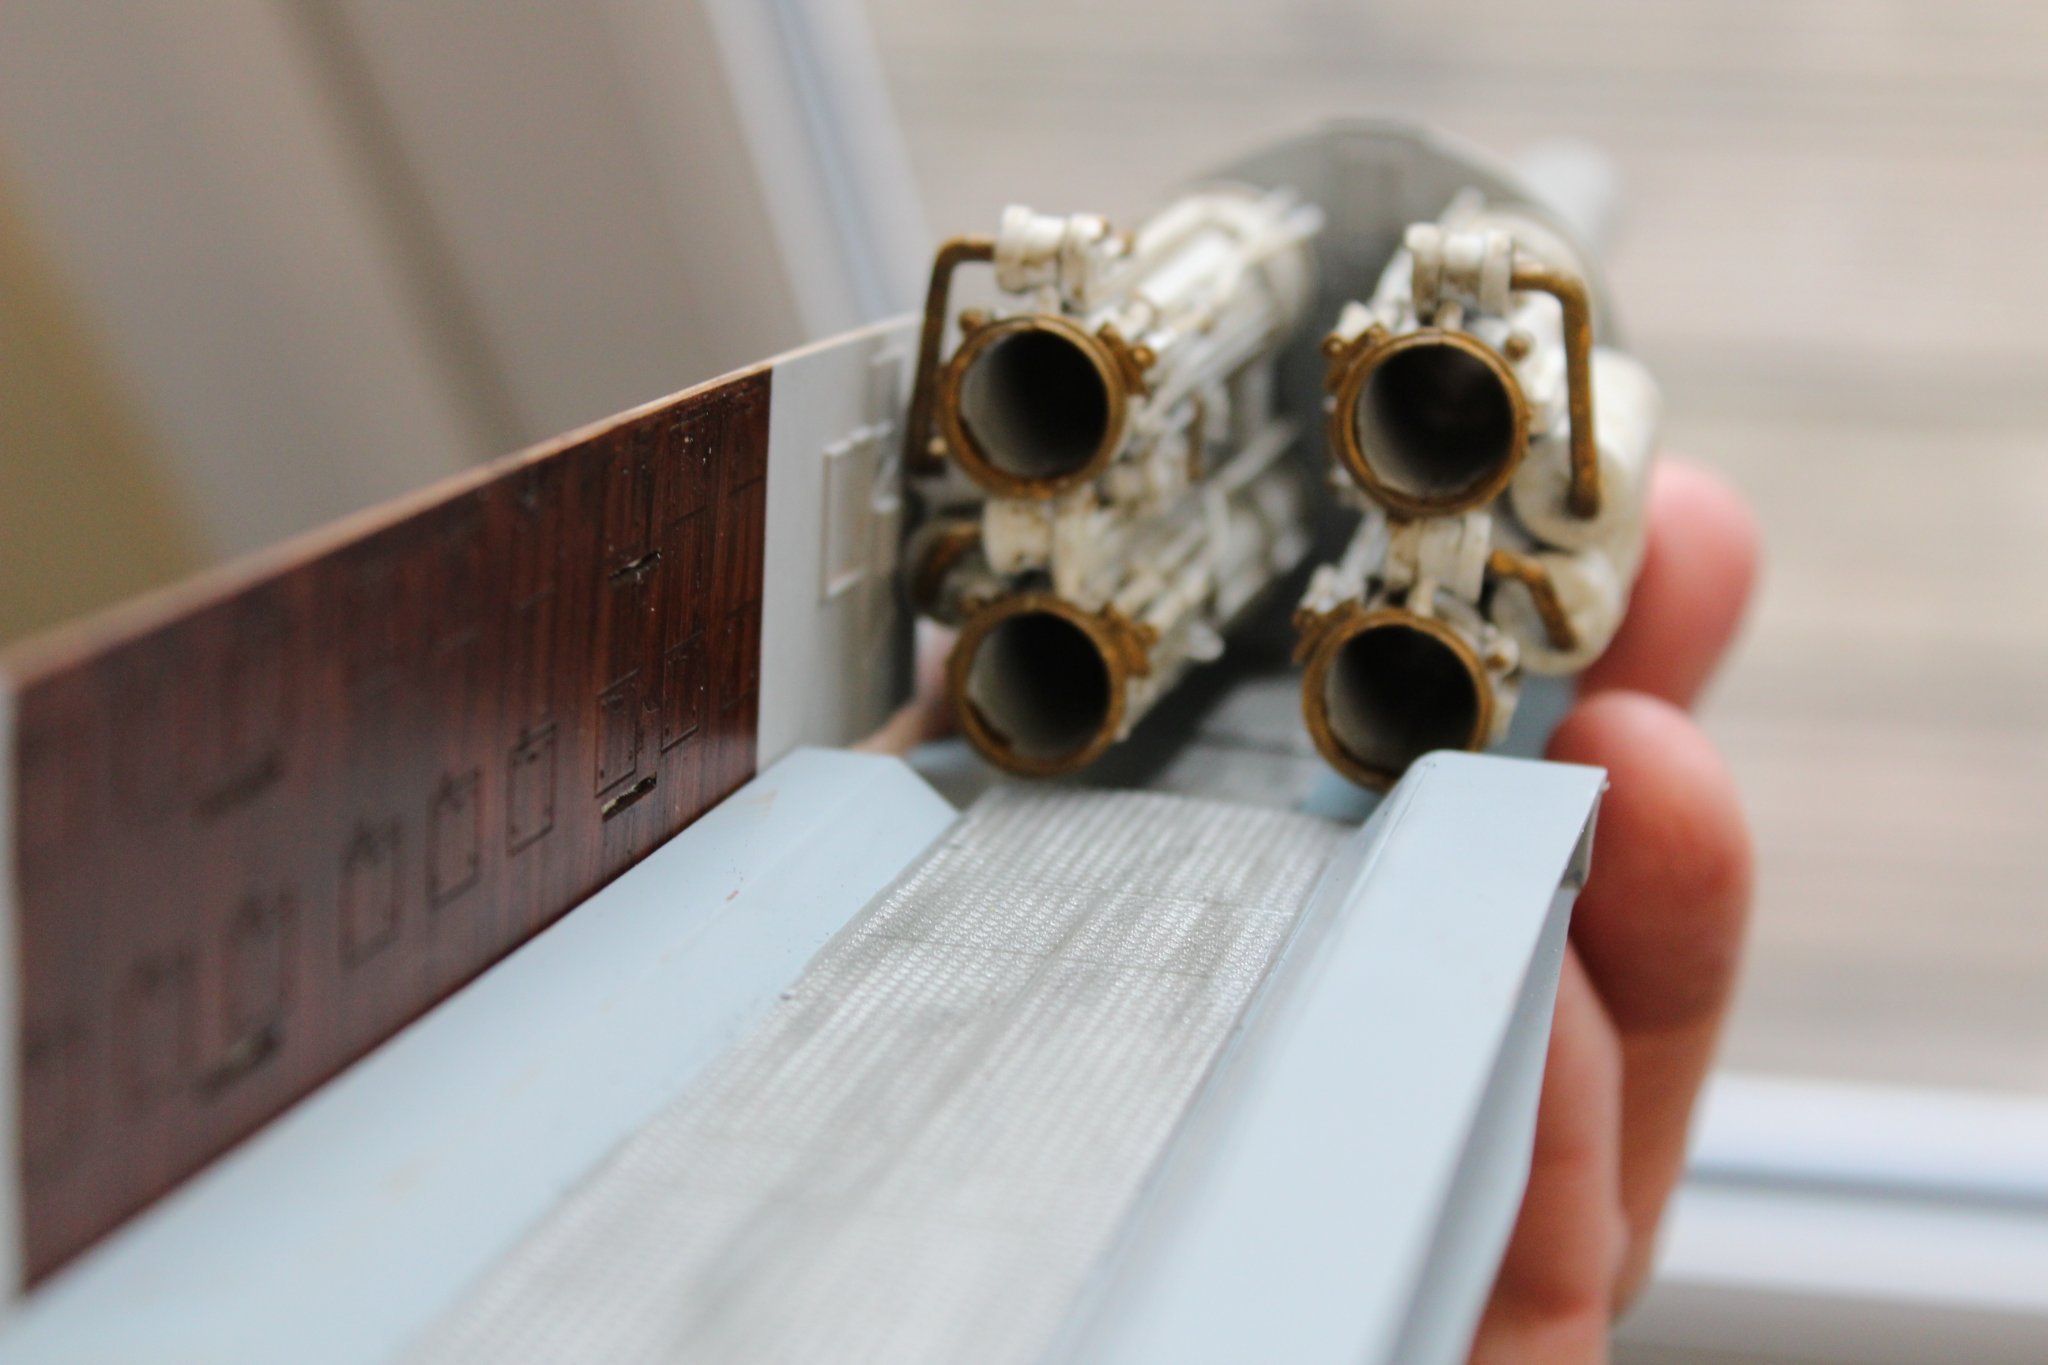
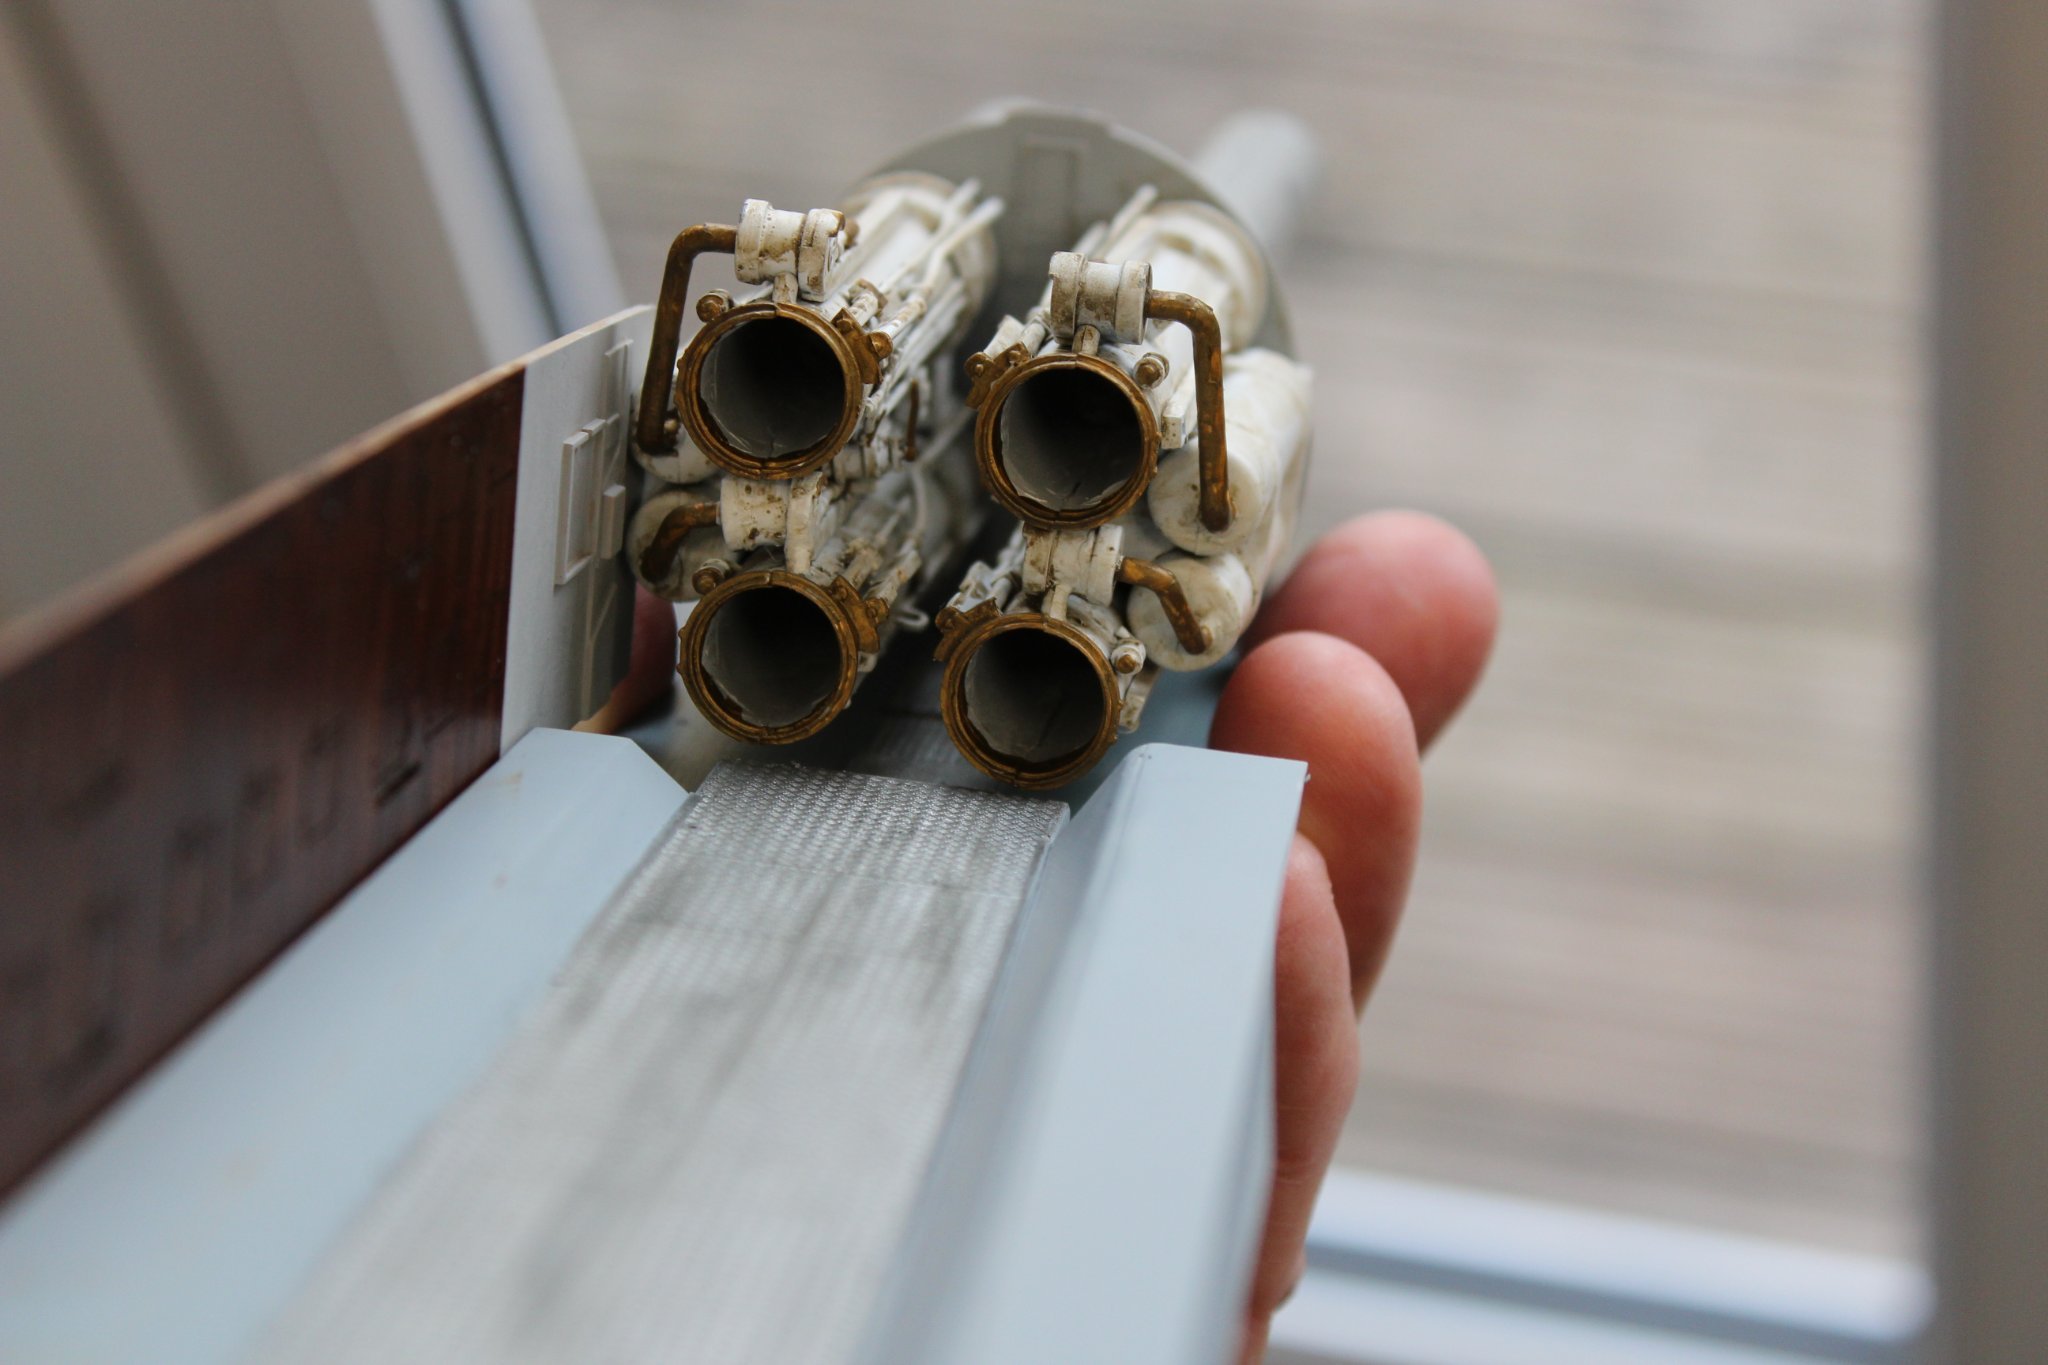
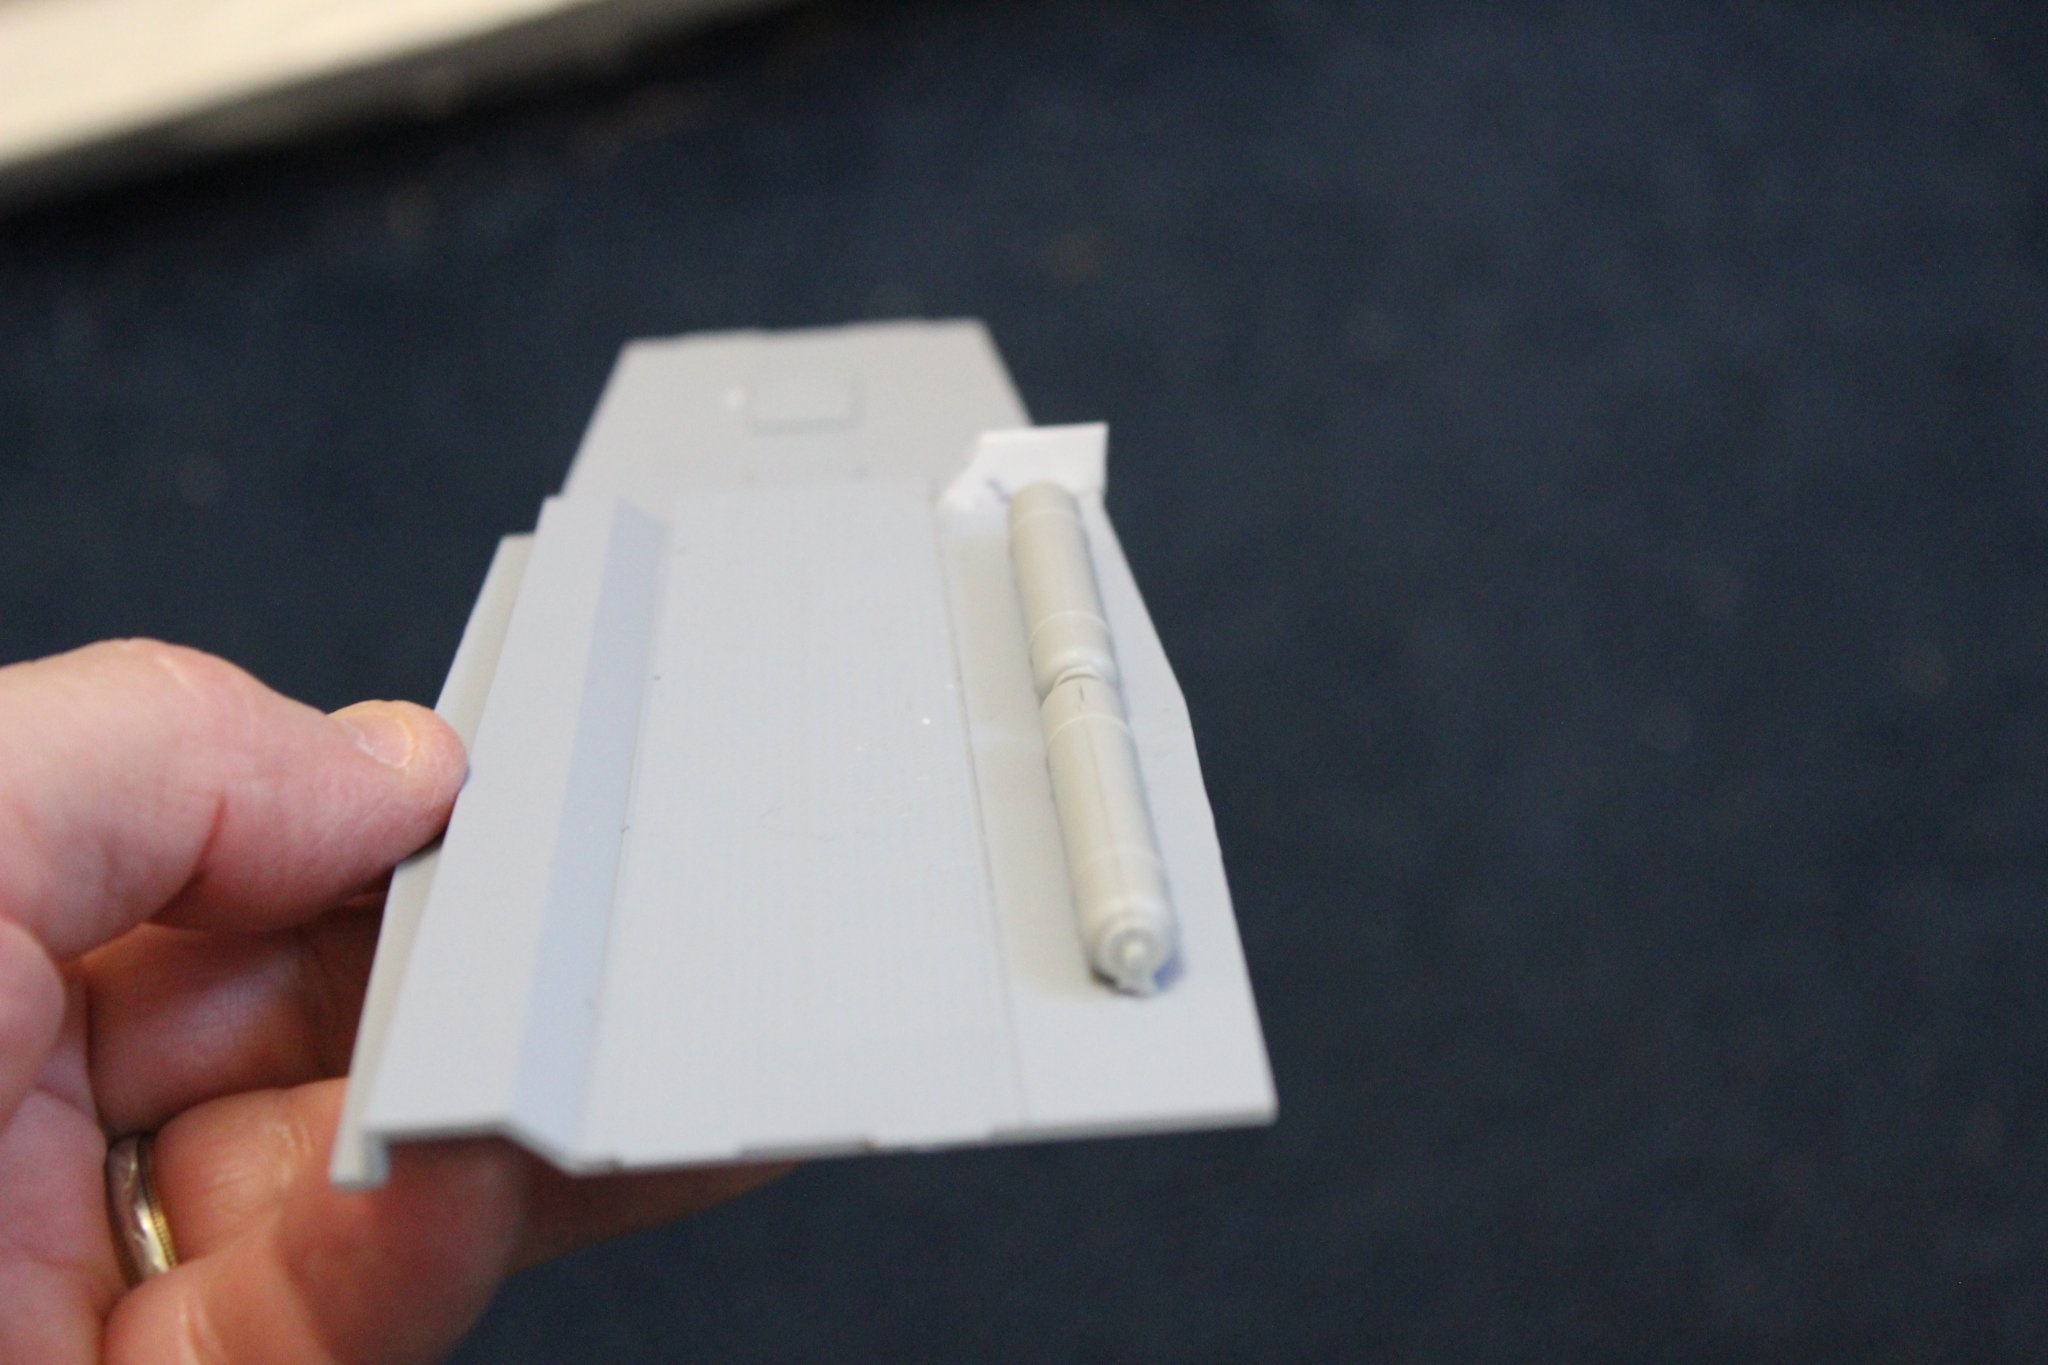
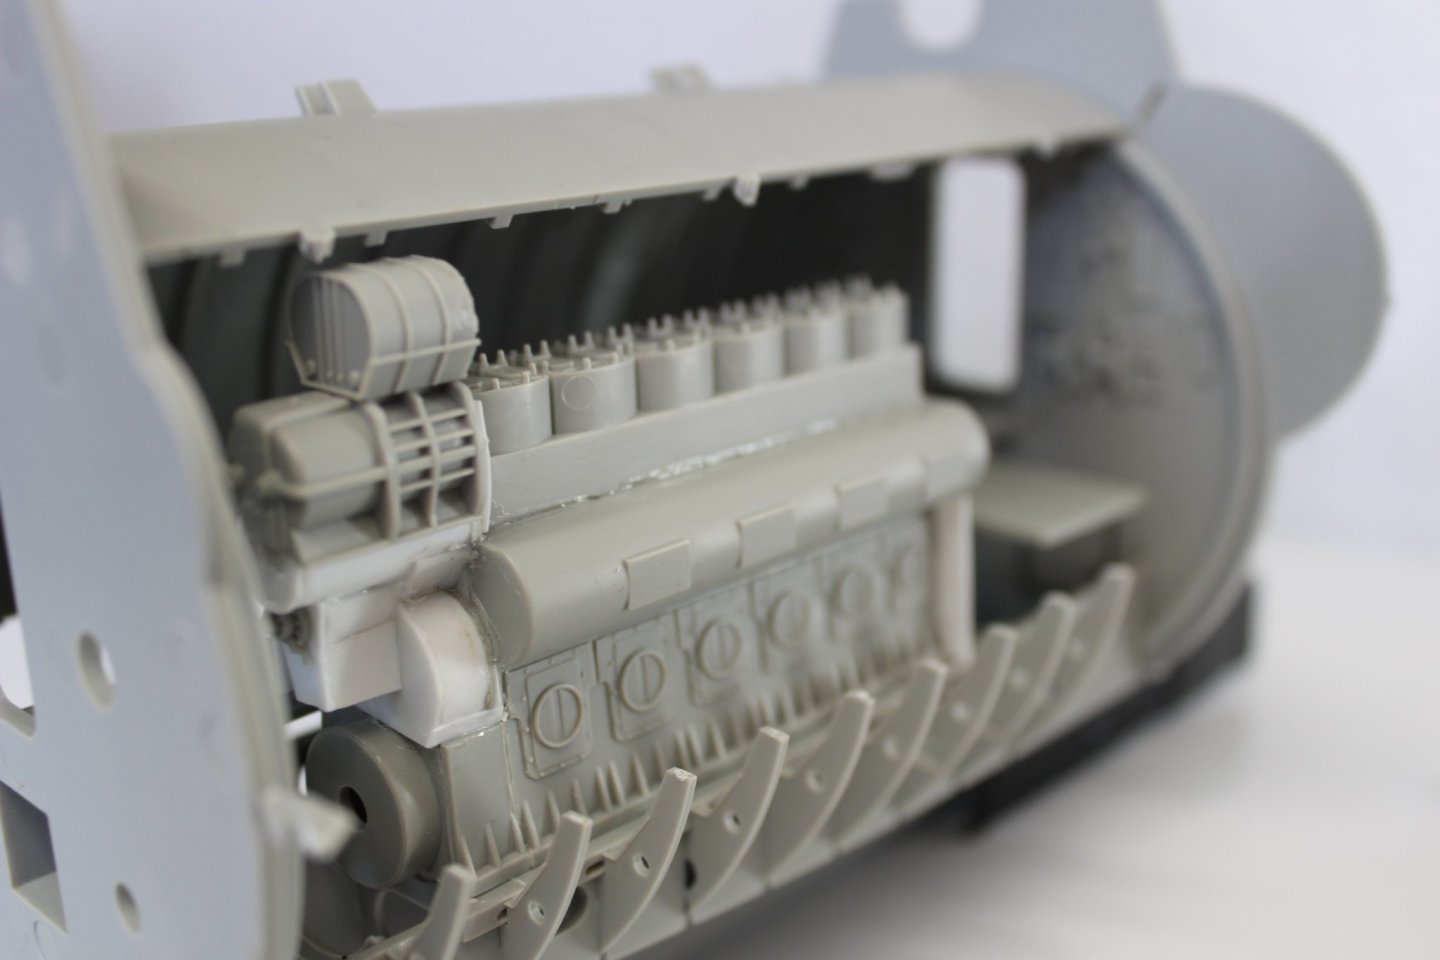
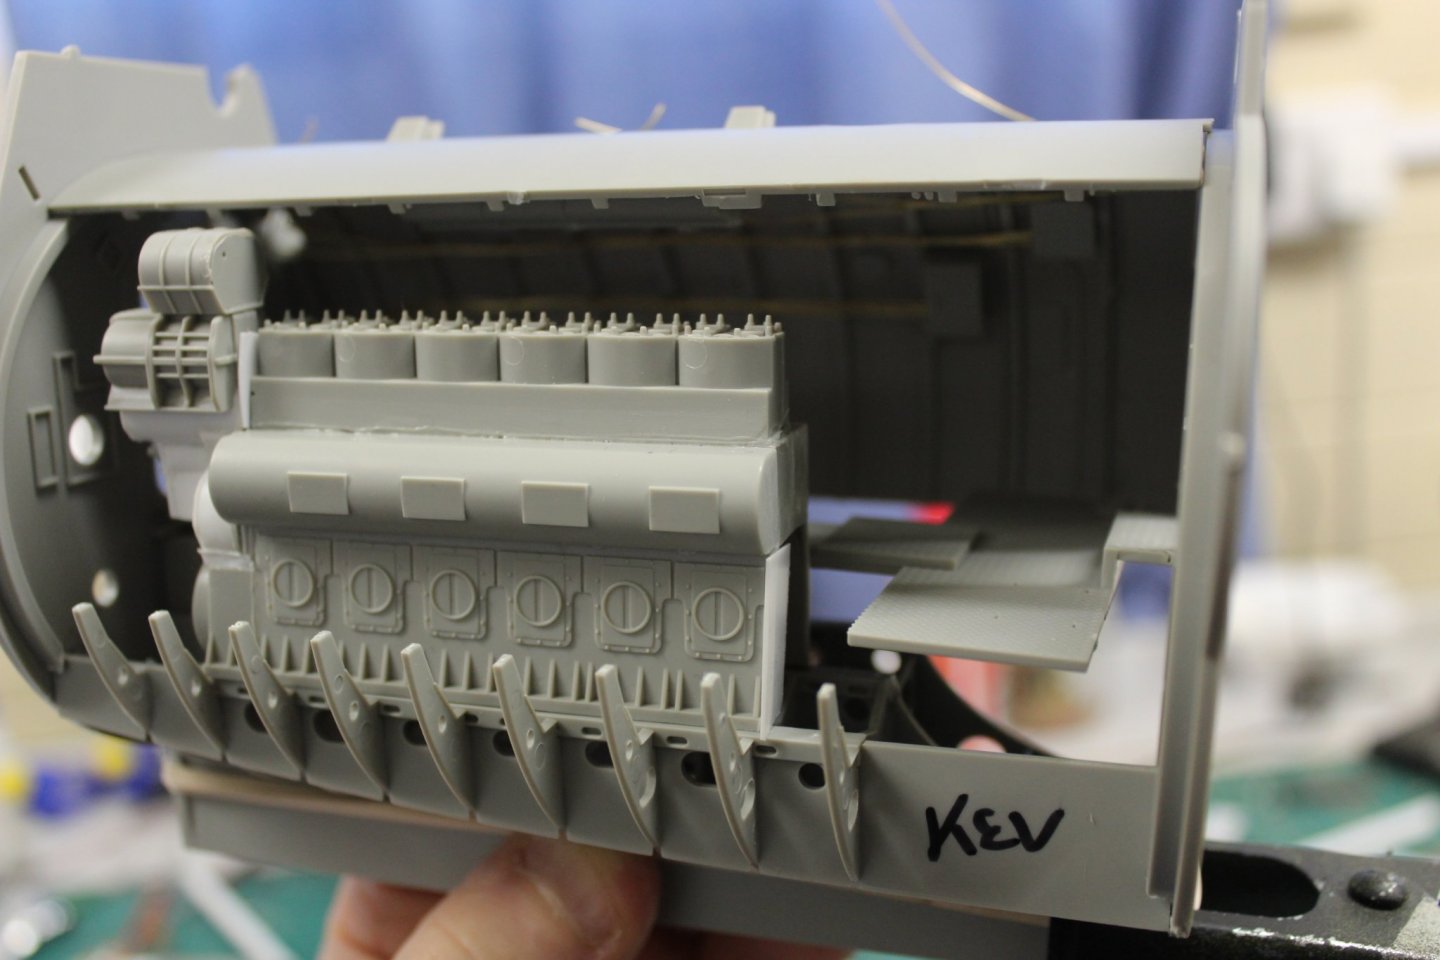
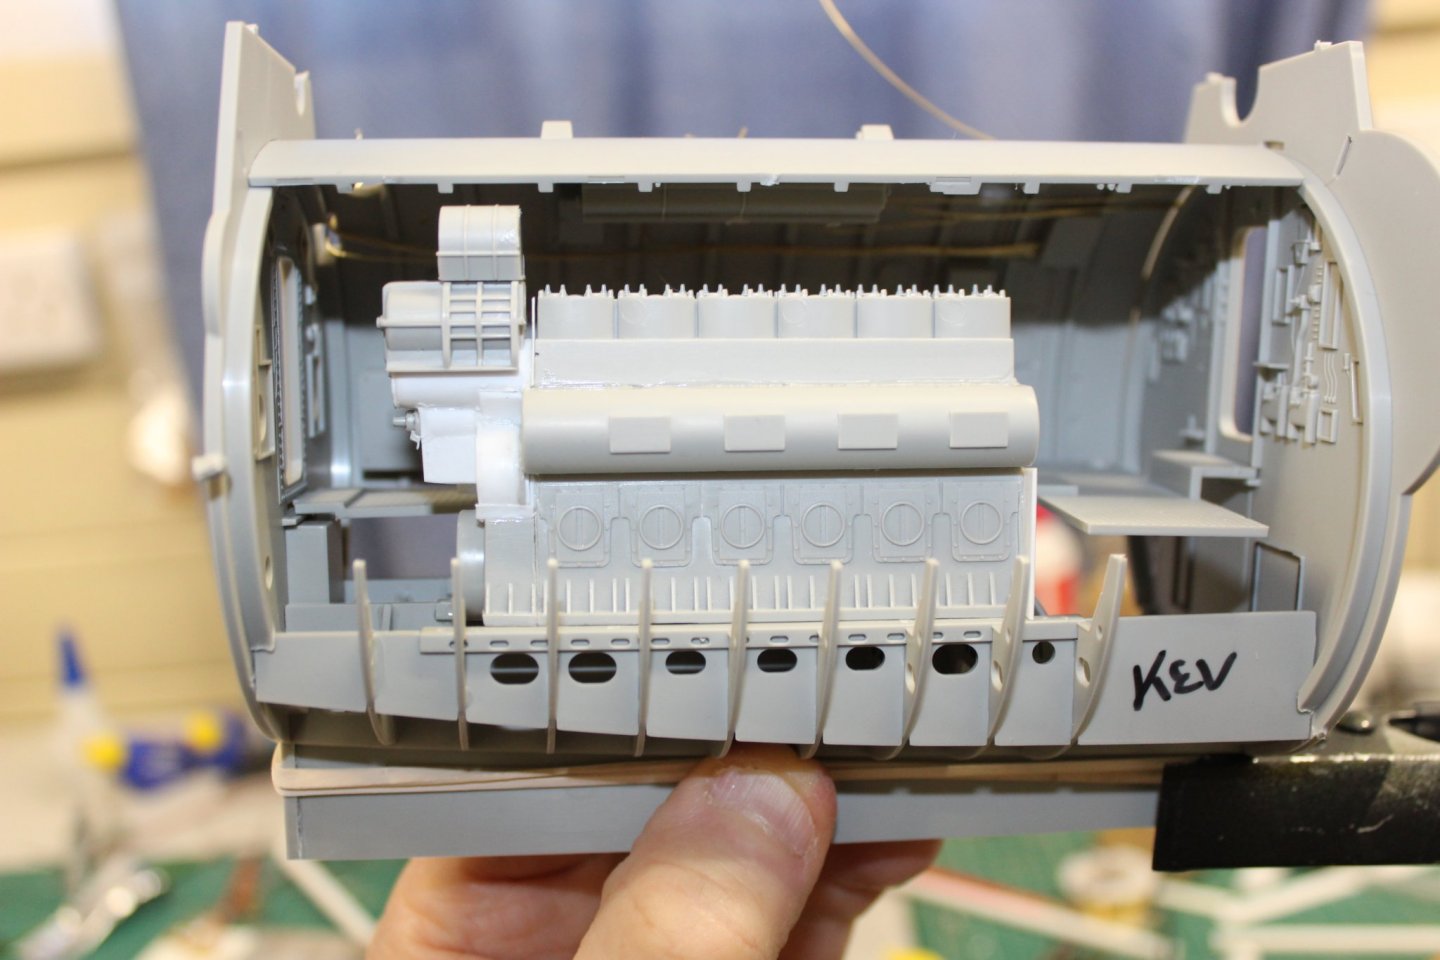
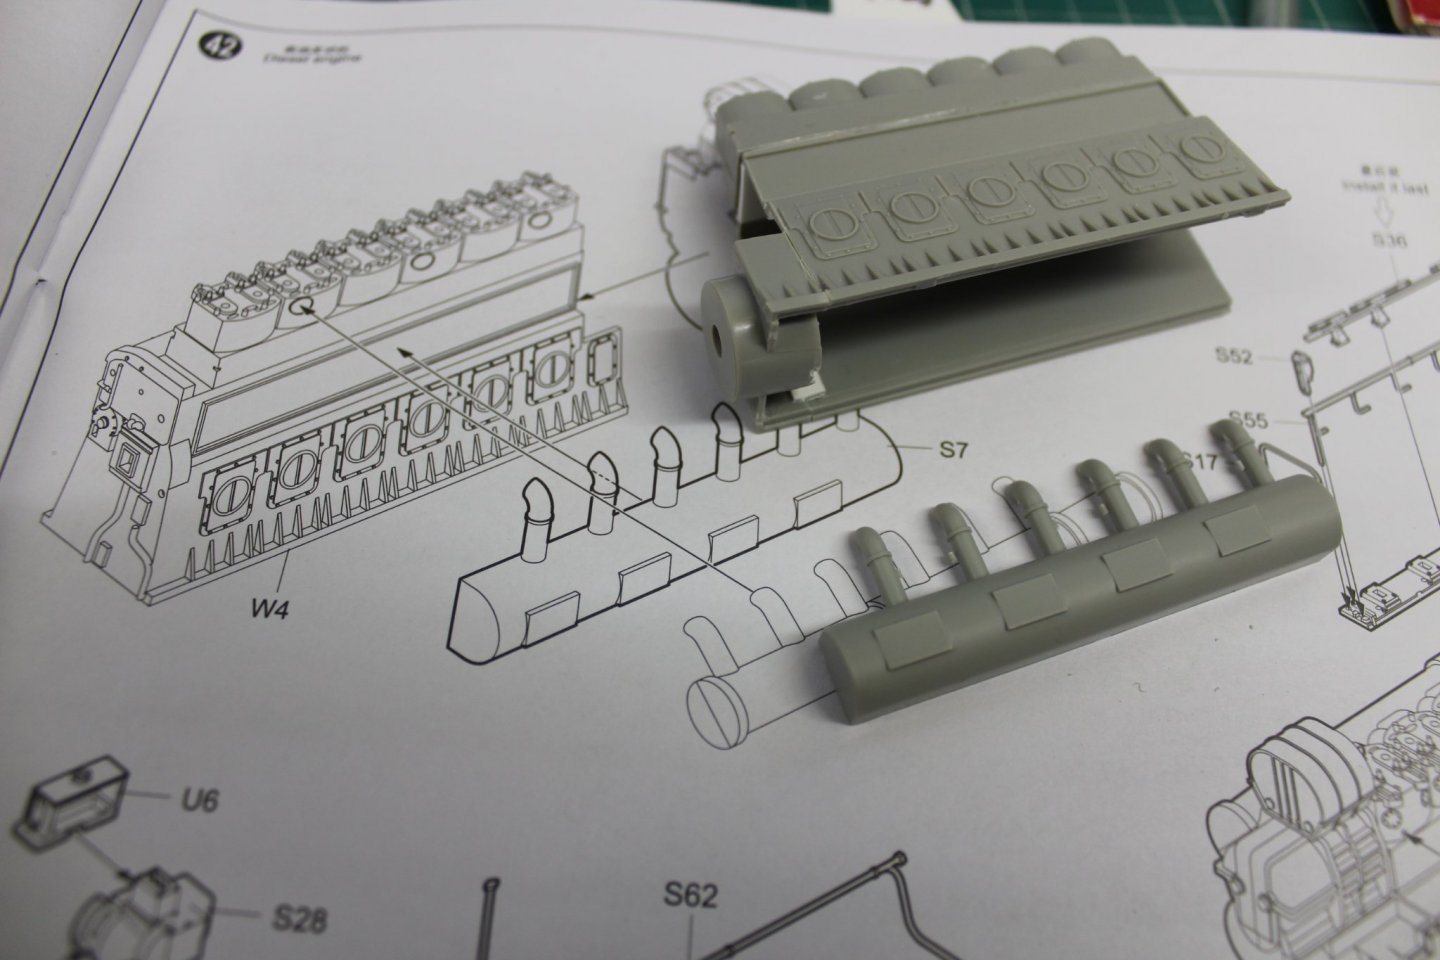
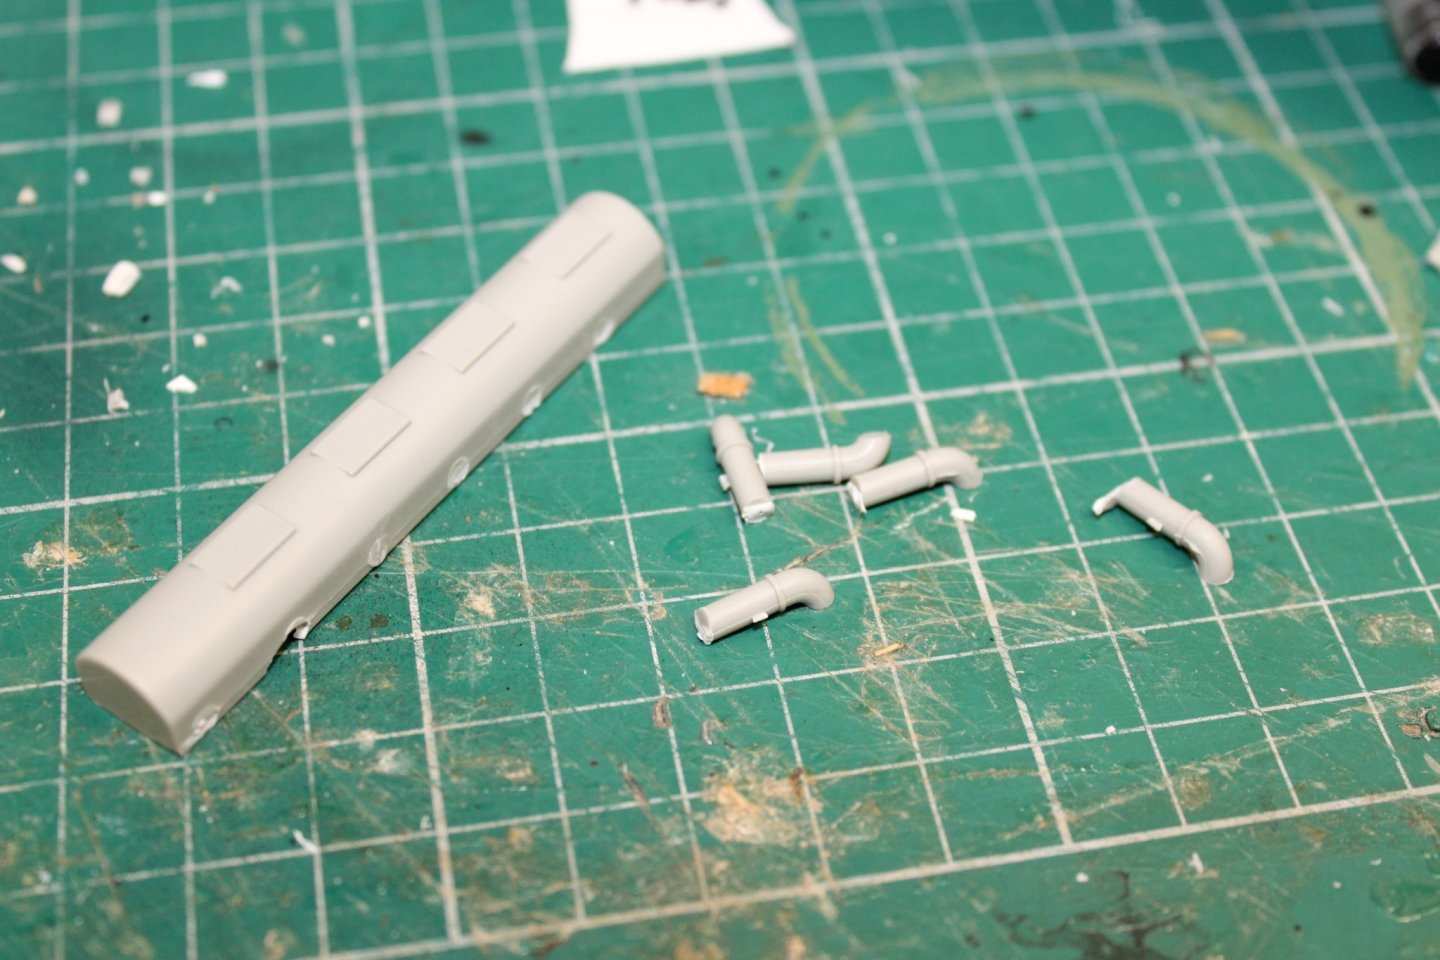
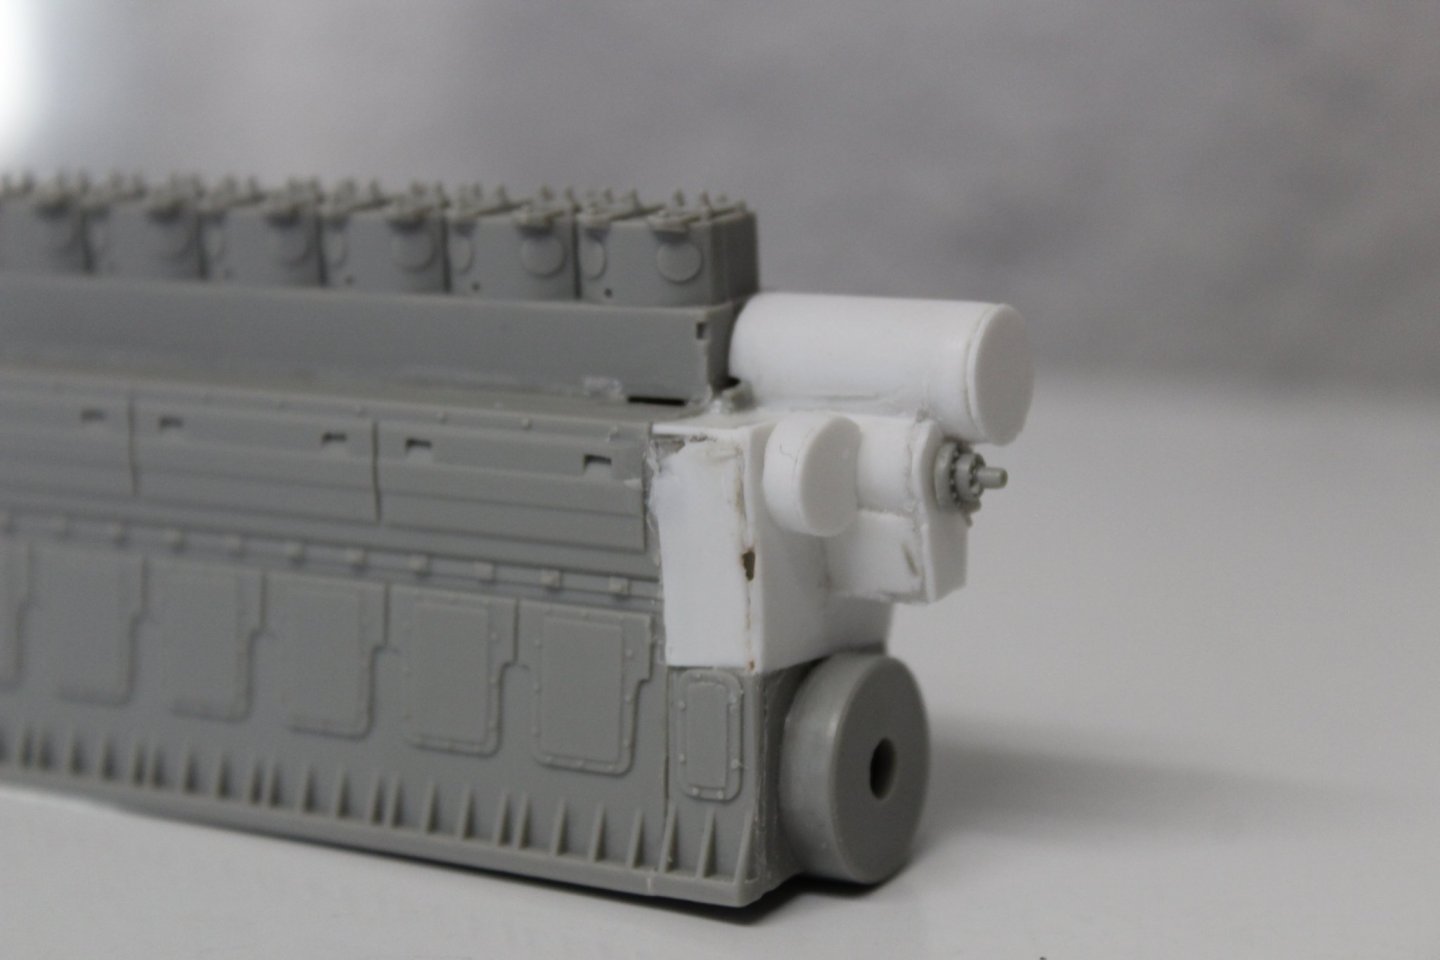
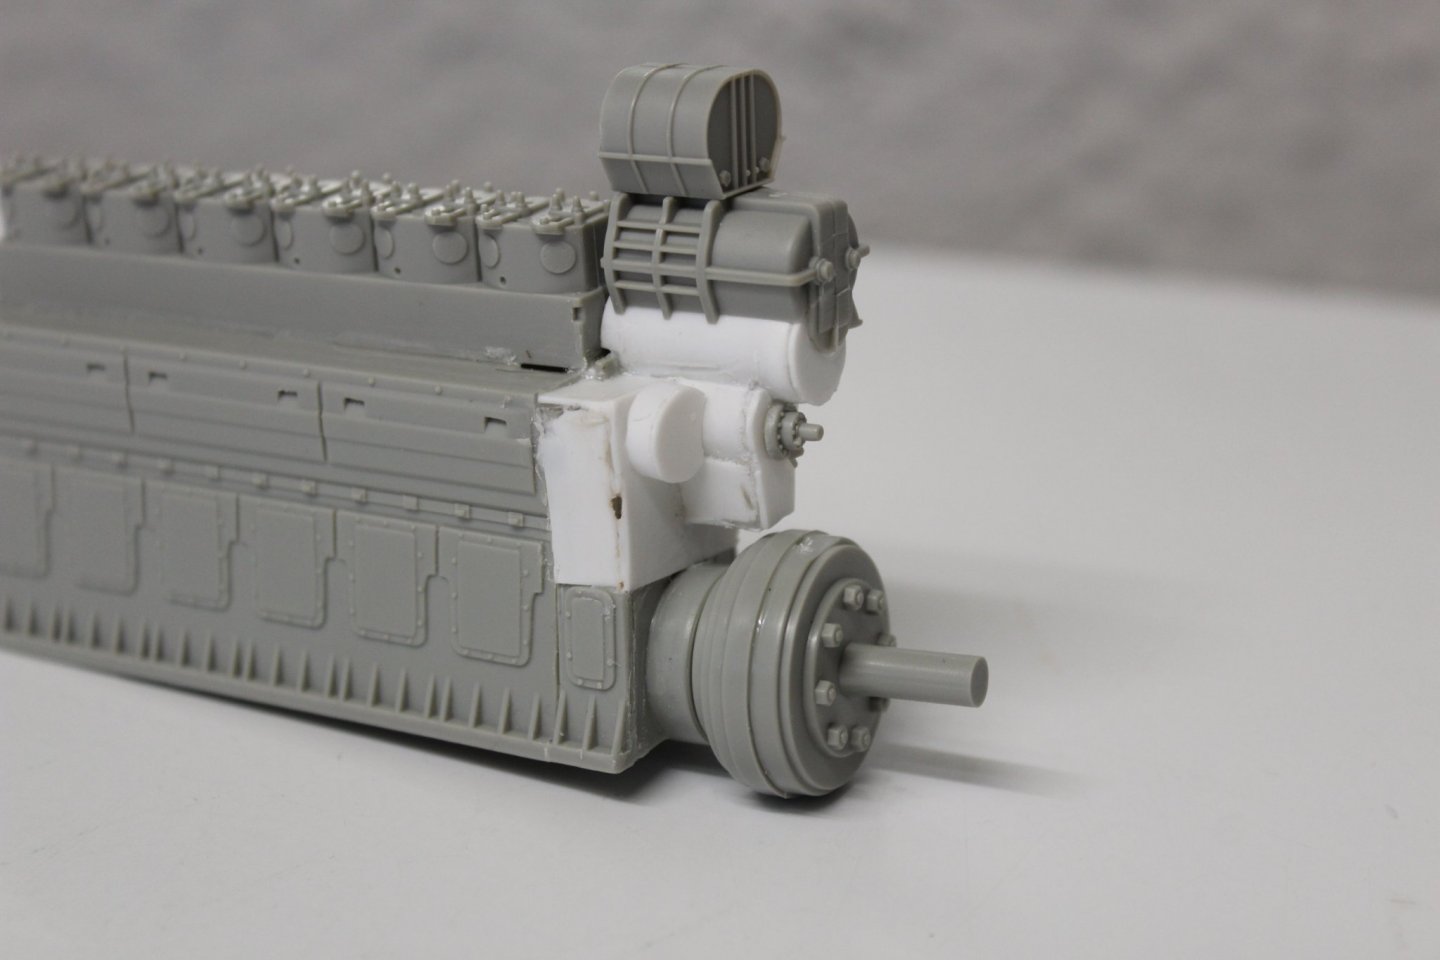
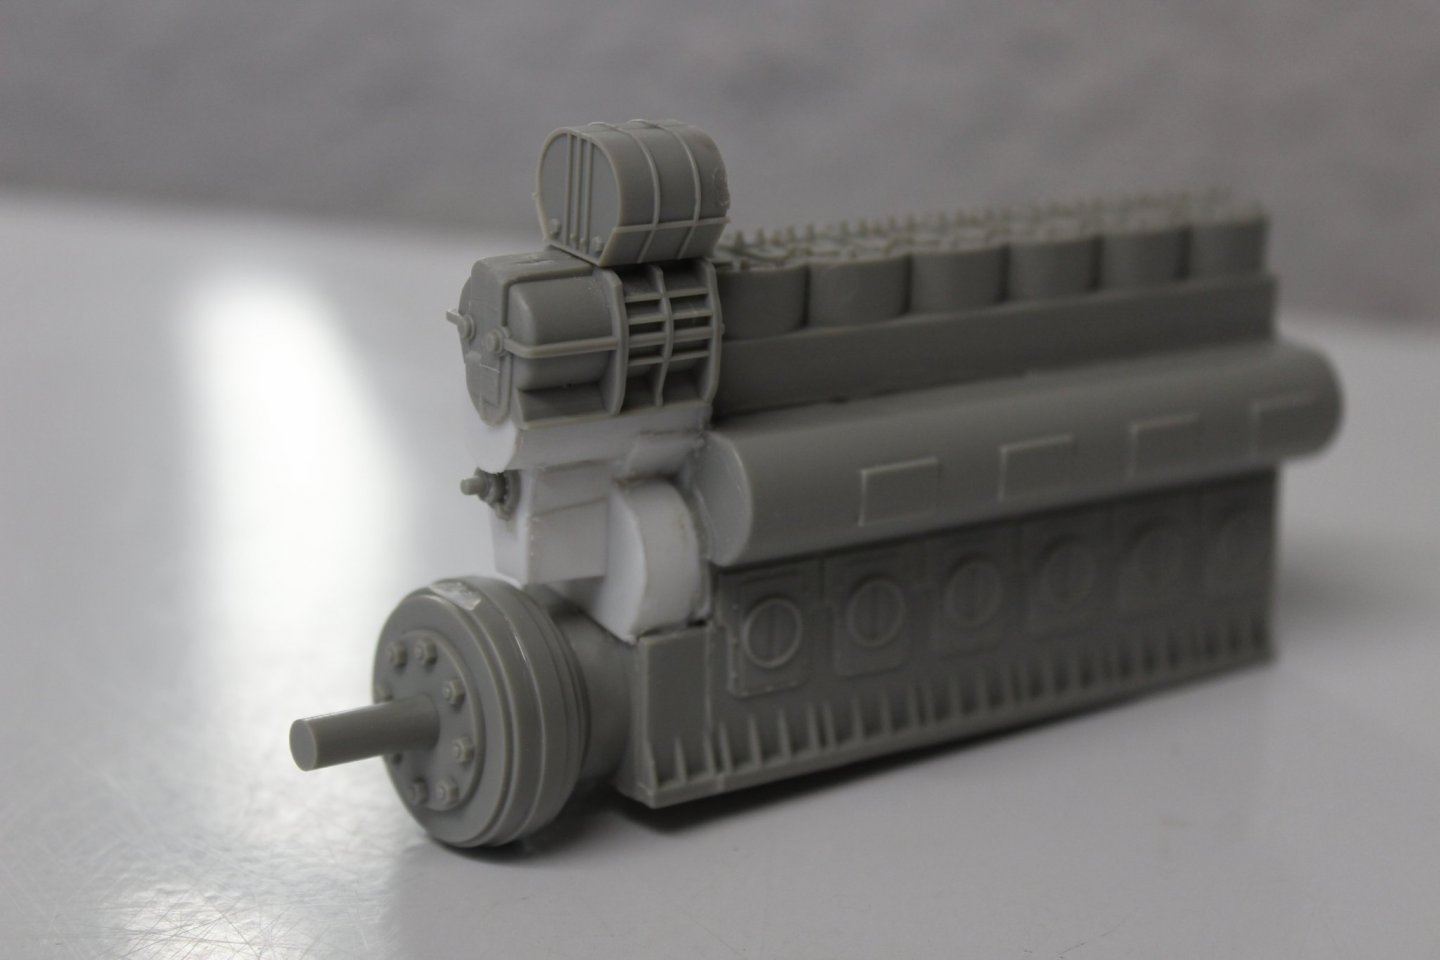
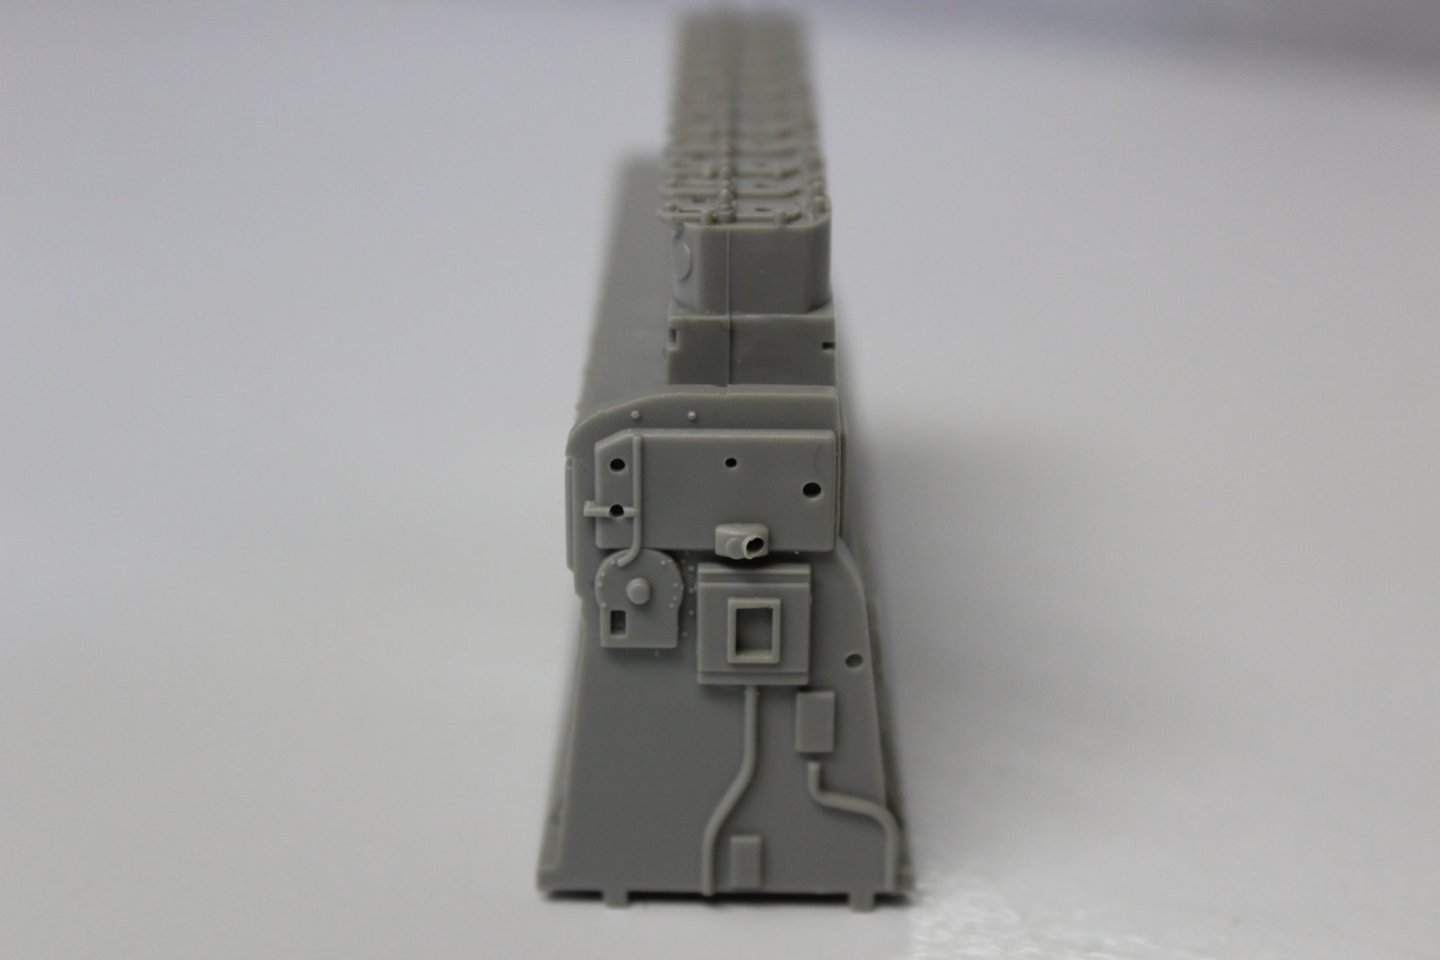
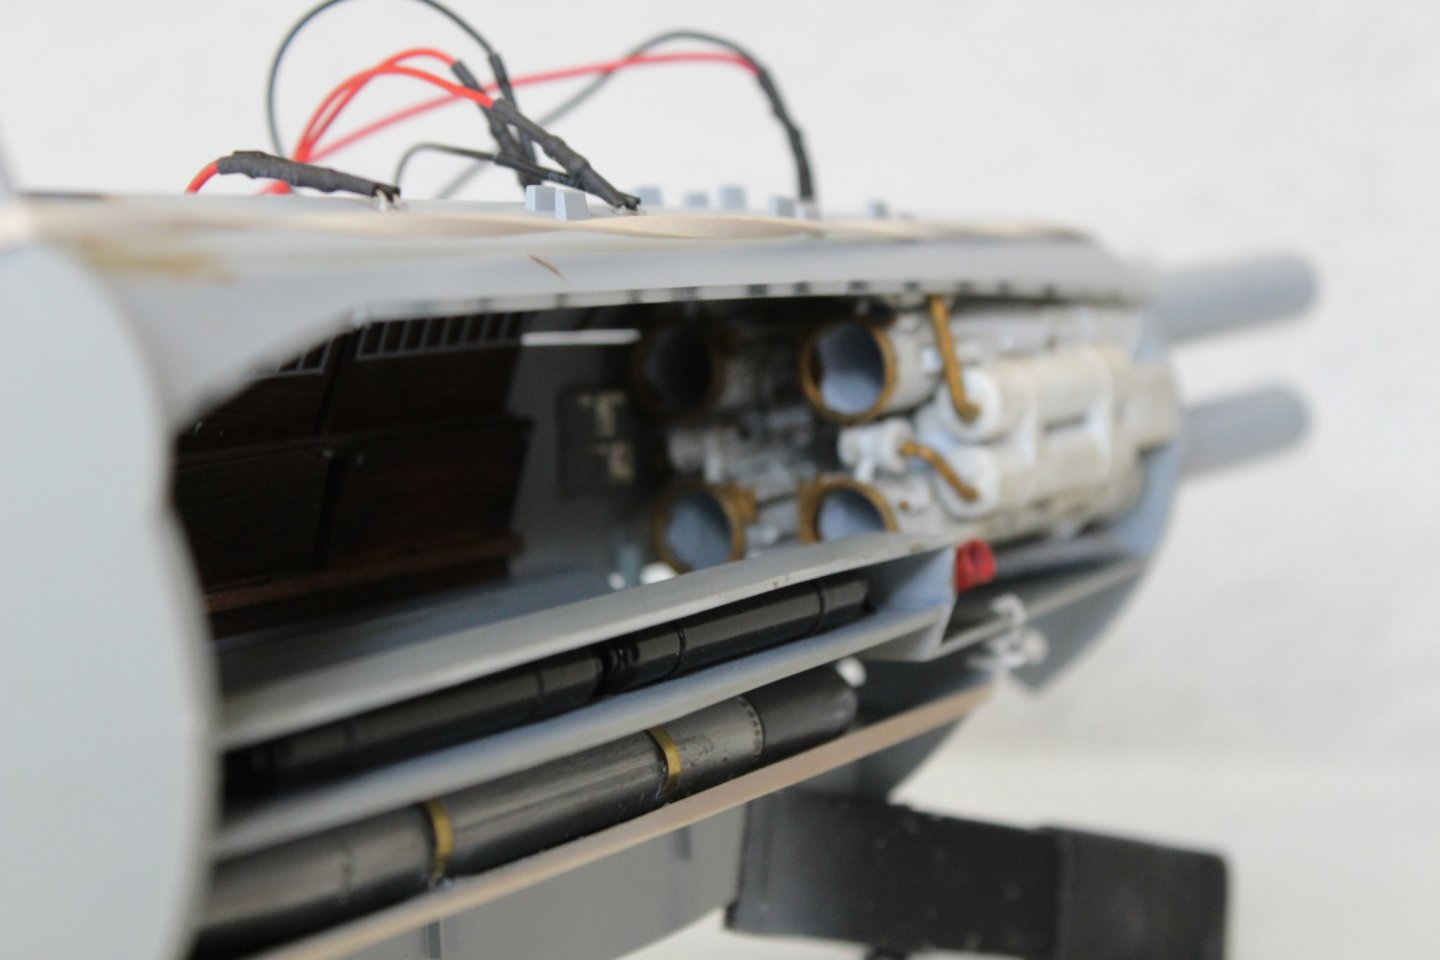
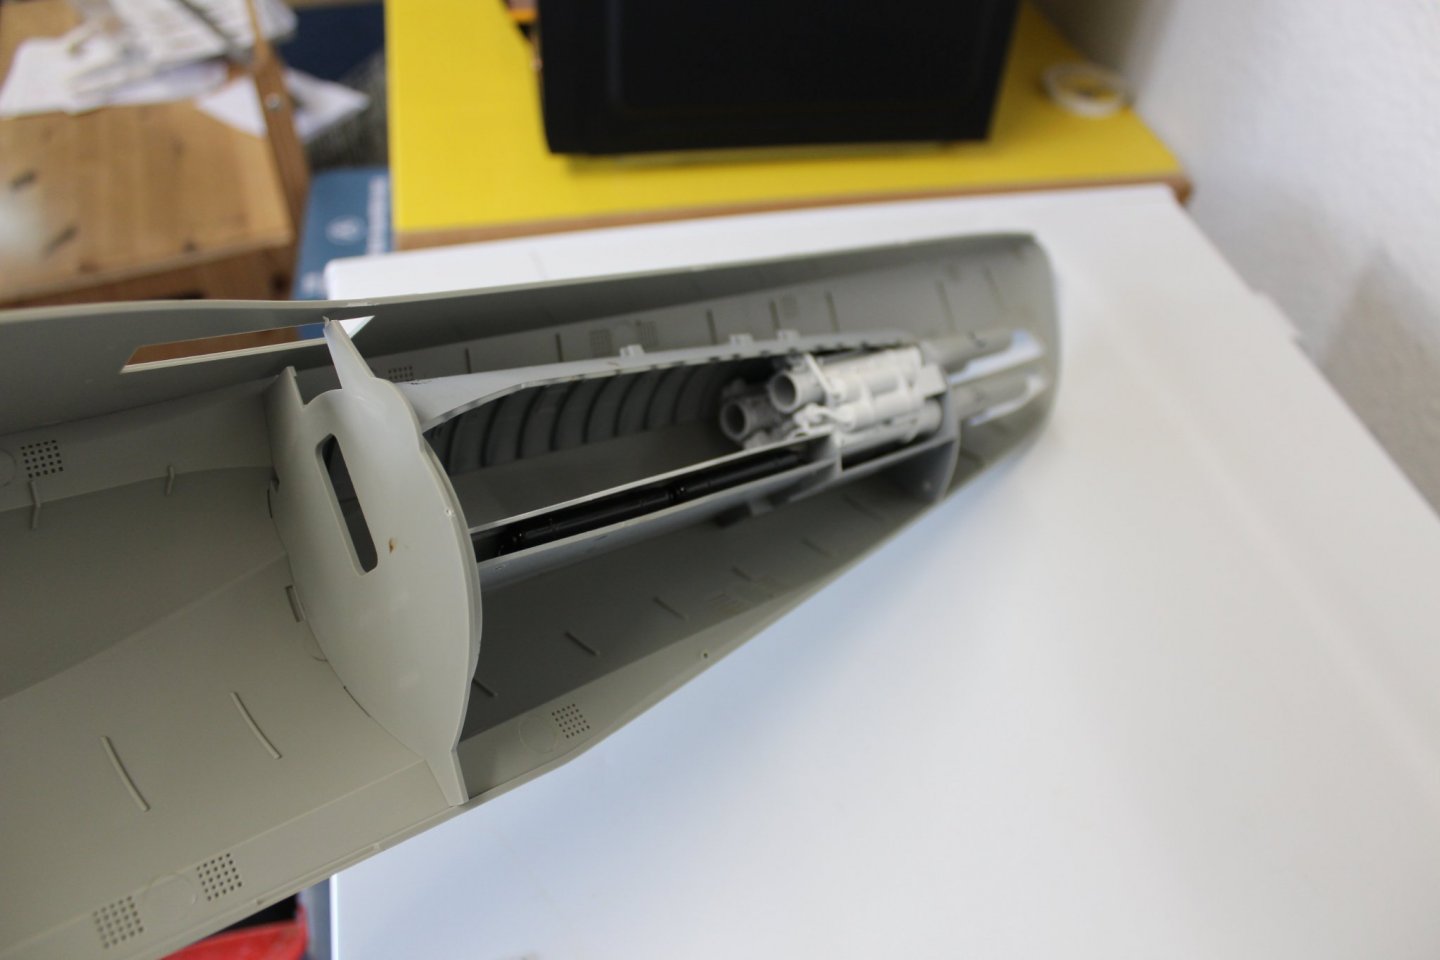
good evening everyone the engine conversion will take me quite a while so here is some more progress, should you be interested the first of the outboard exhausts only requires the six pipes to be cut off, and turn the manifold upside down the rest of todays photos are trying to get some shape to the after end of the stbd engine, No its not perfect by a very long way, i need to see what it looks like after a bit of filler, more shaping a coat of primer


- 90 replies
-
- 12
-
-
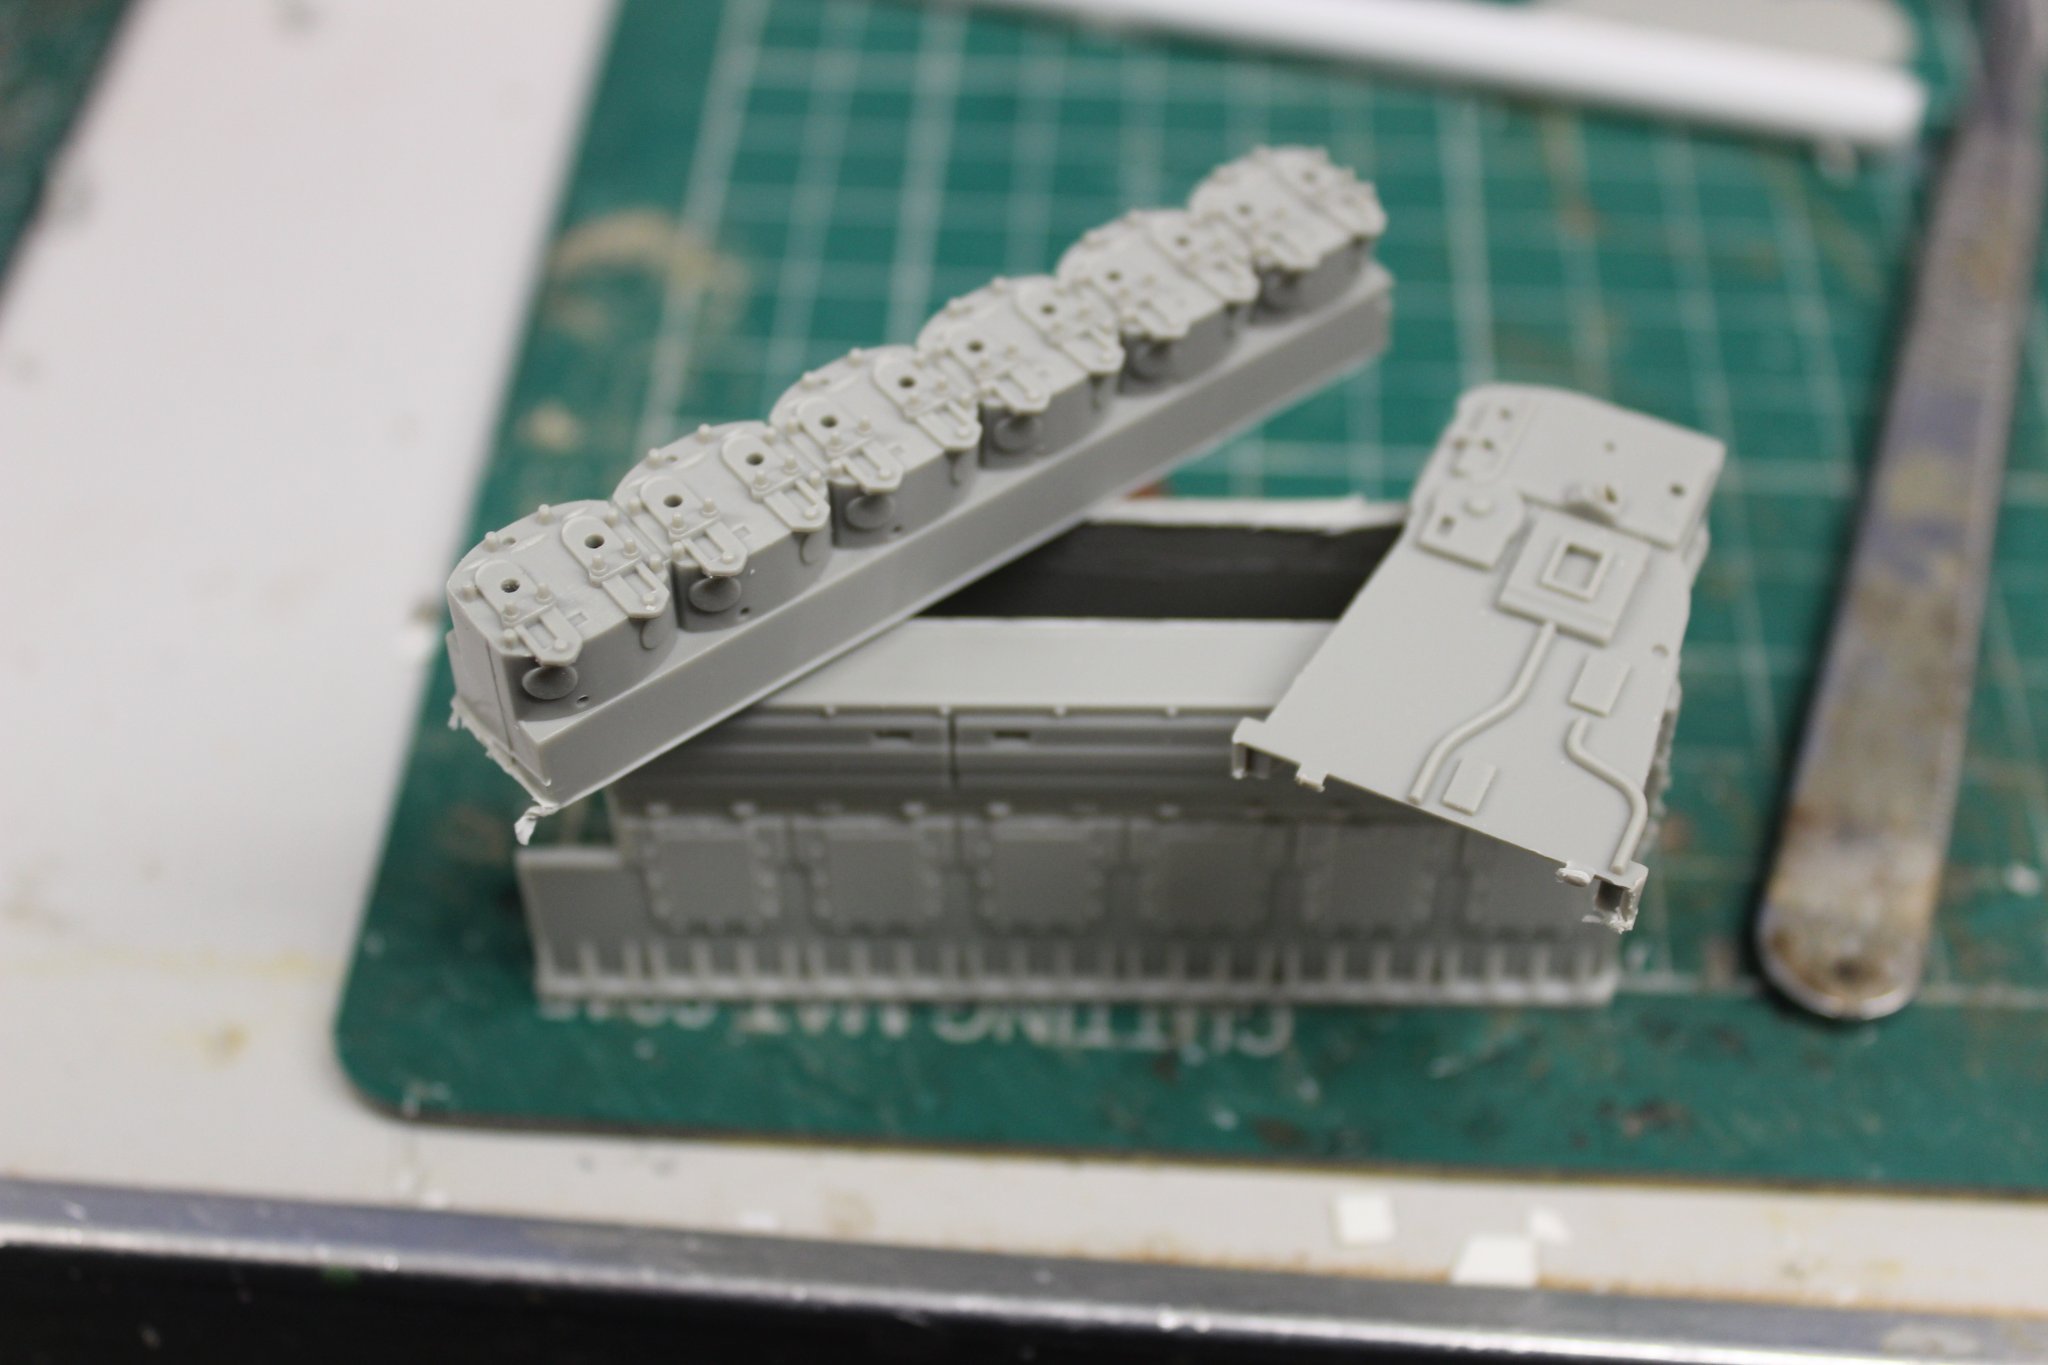
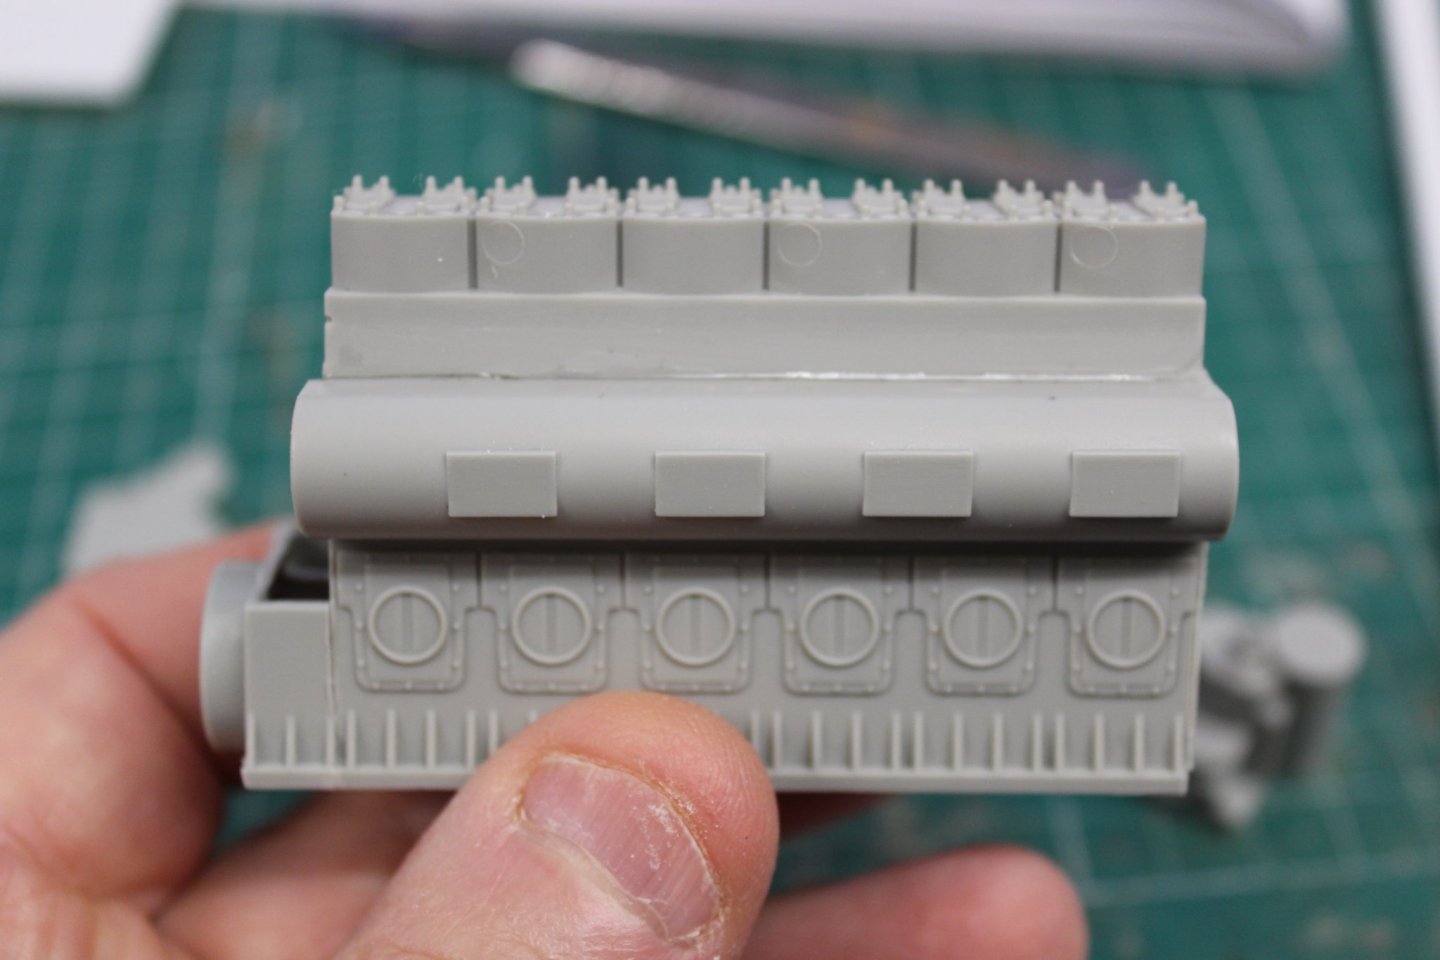
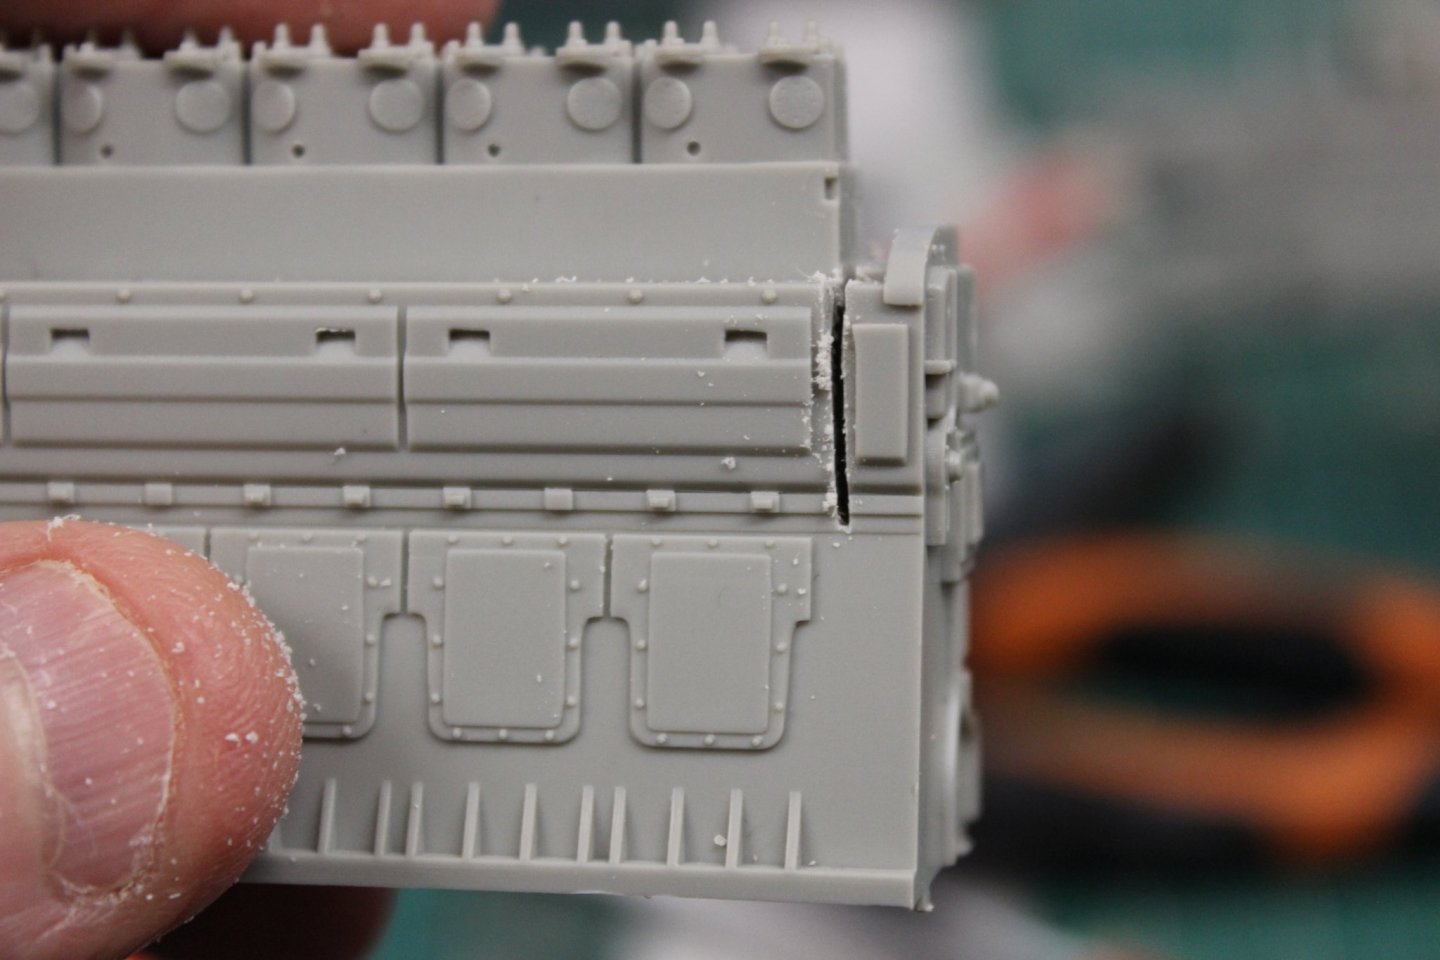
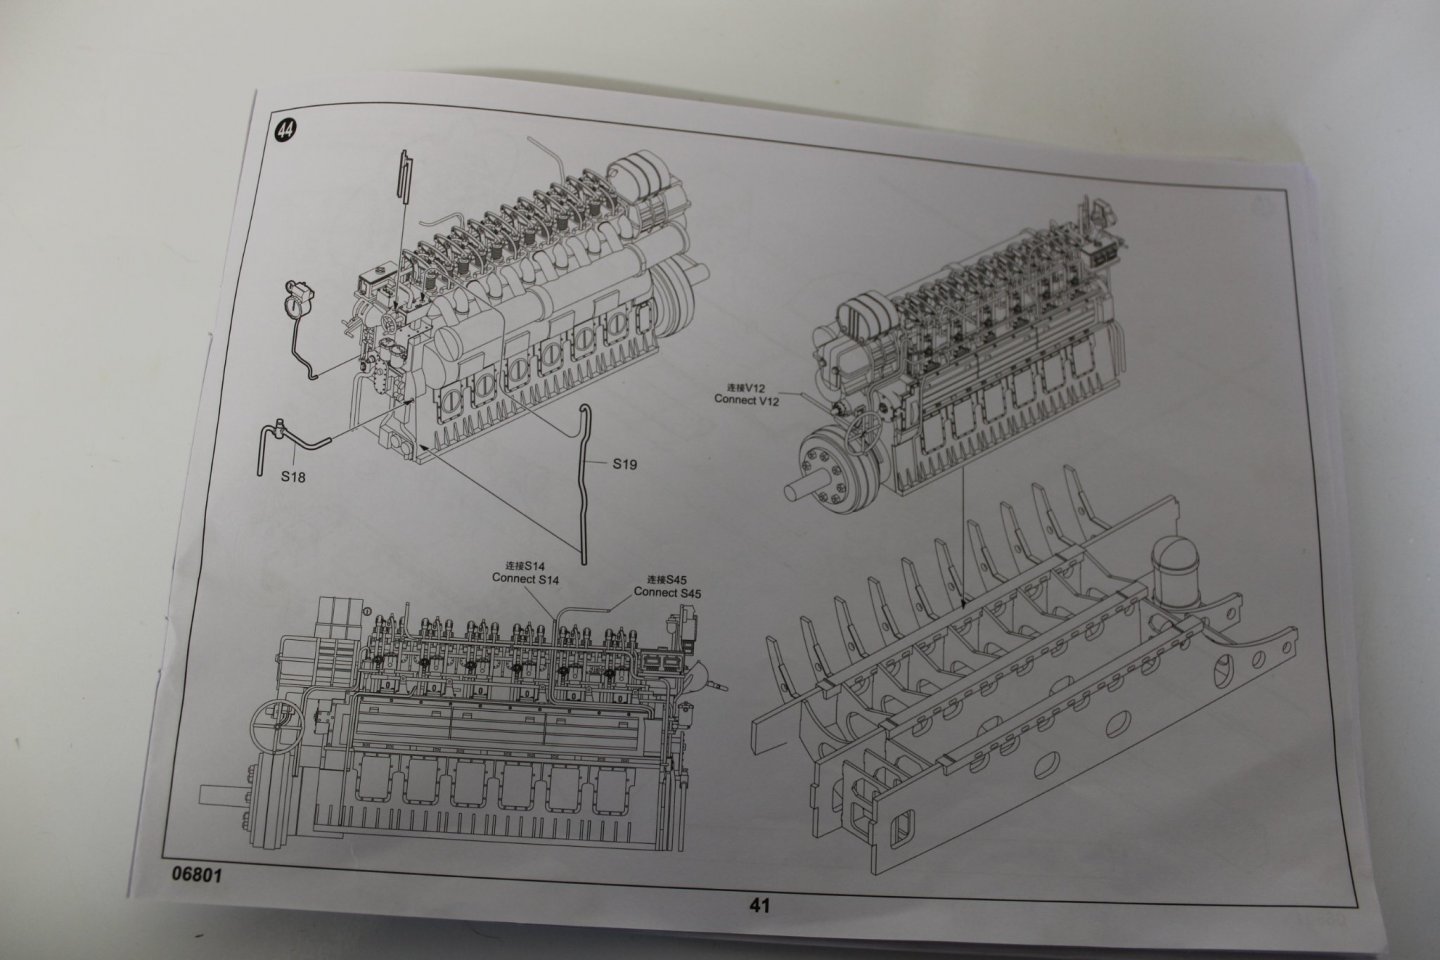
good morning everyone thank you for comments likes and messages lol i now have realised the full amount of work involved in this idea i had everything now has to be rotated 180 degrees, and the easy bit is done, most of it will have to be scratched as i went along removing the ends of the block, i could have avoided taking the head off


- 90 replies
-
- 12
-
-
-
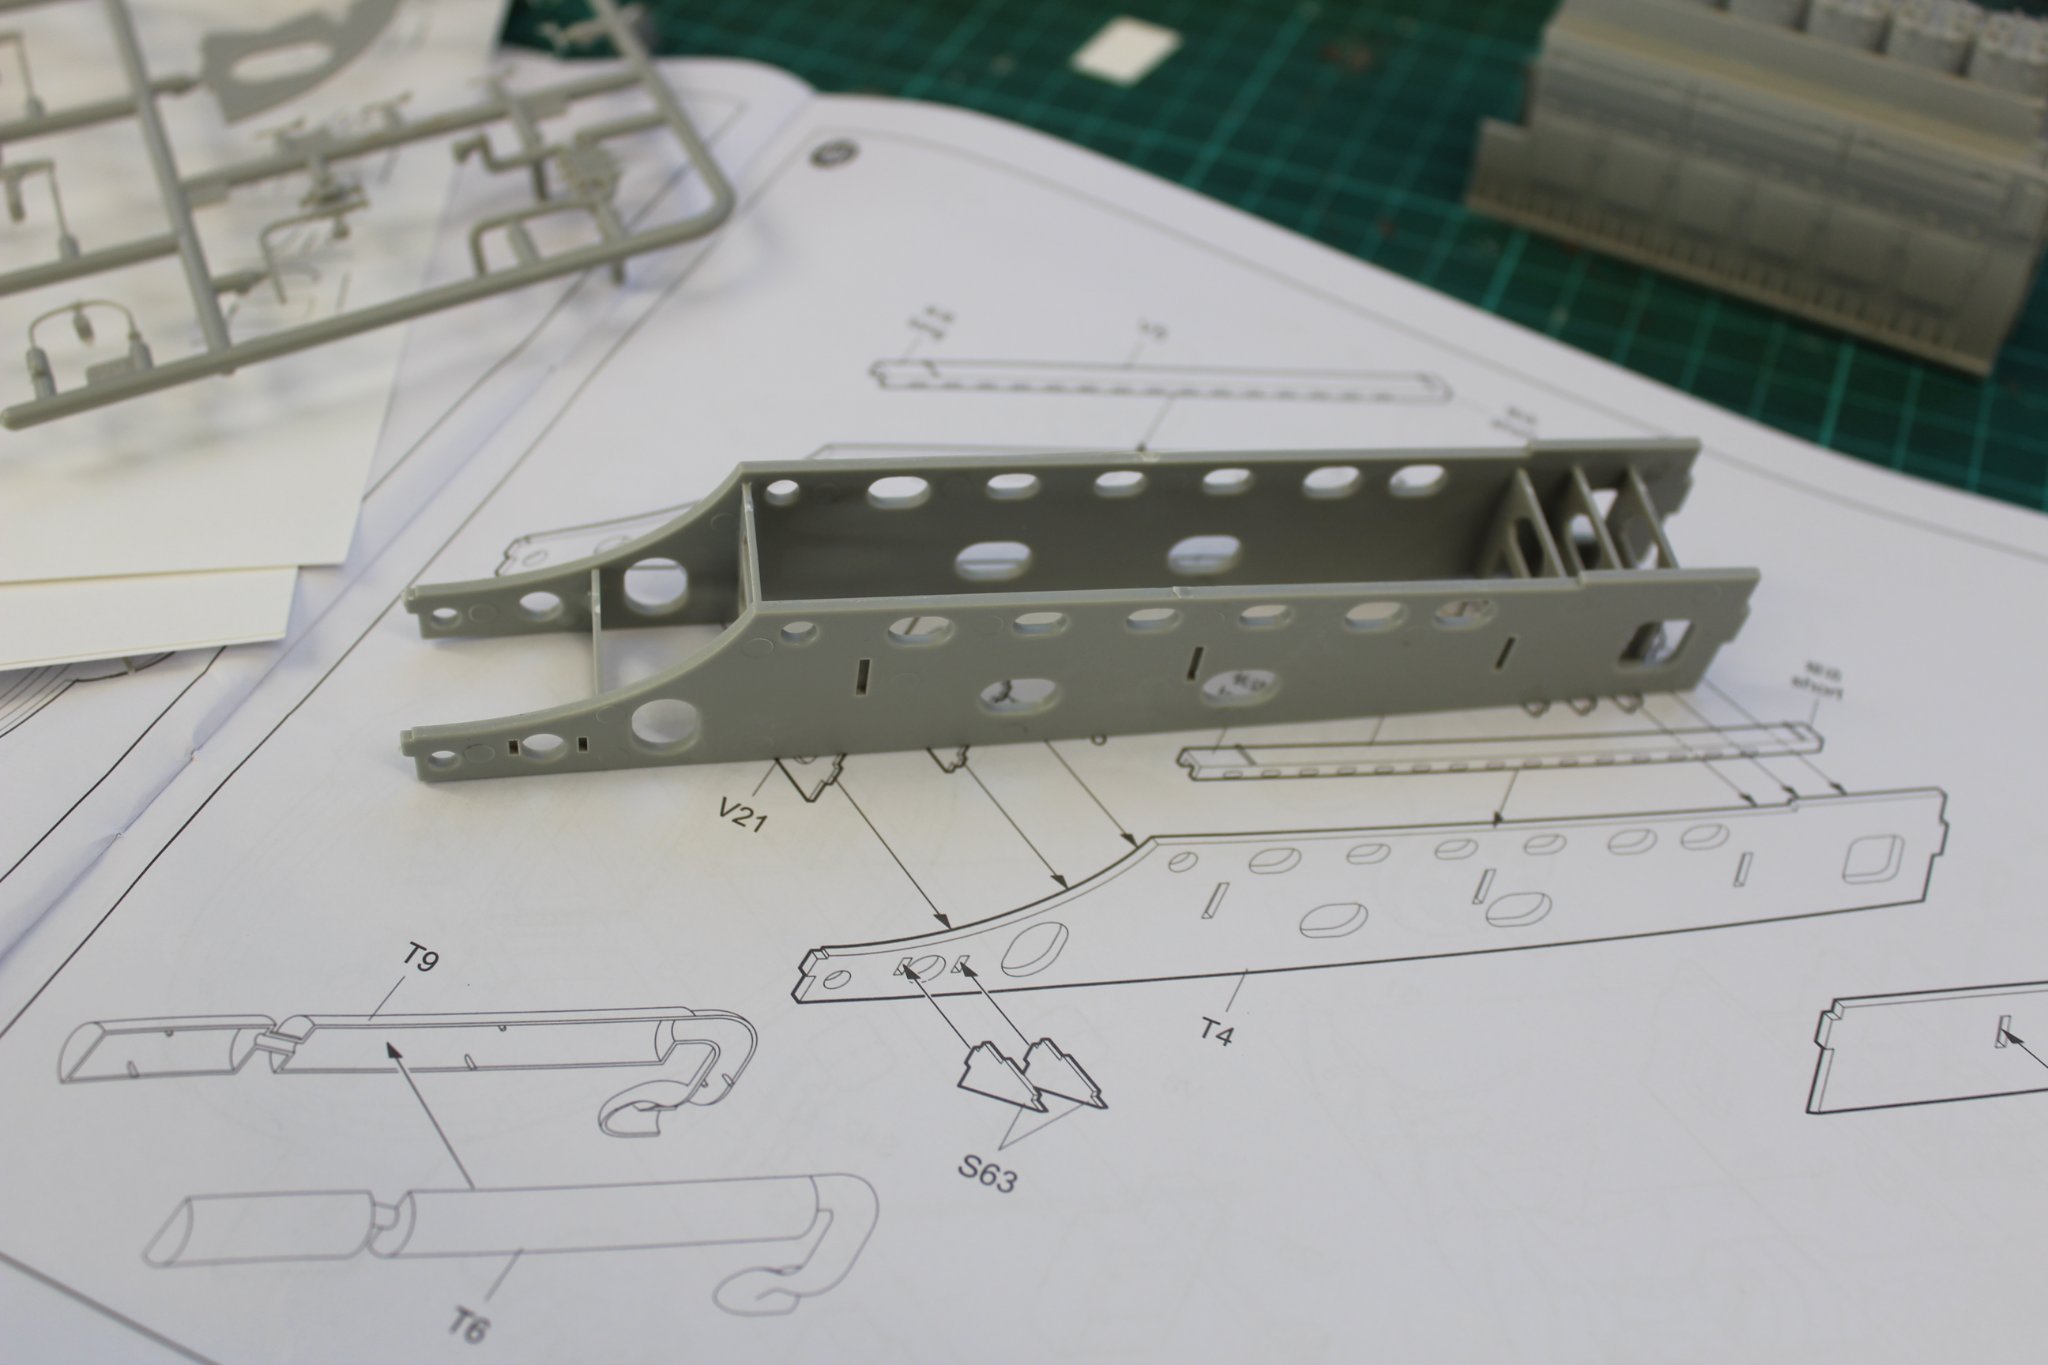
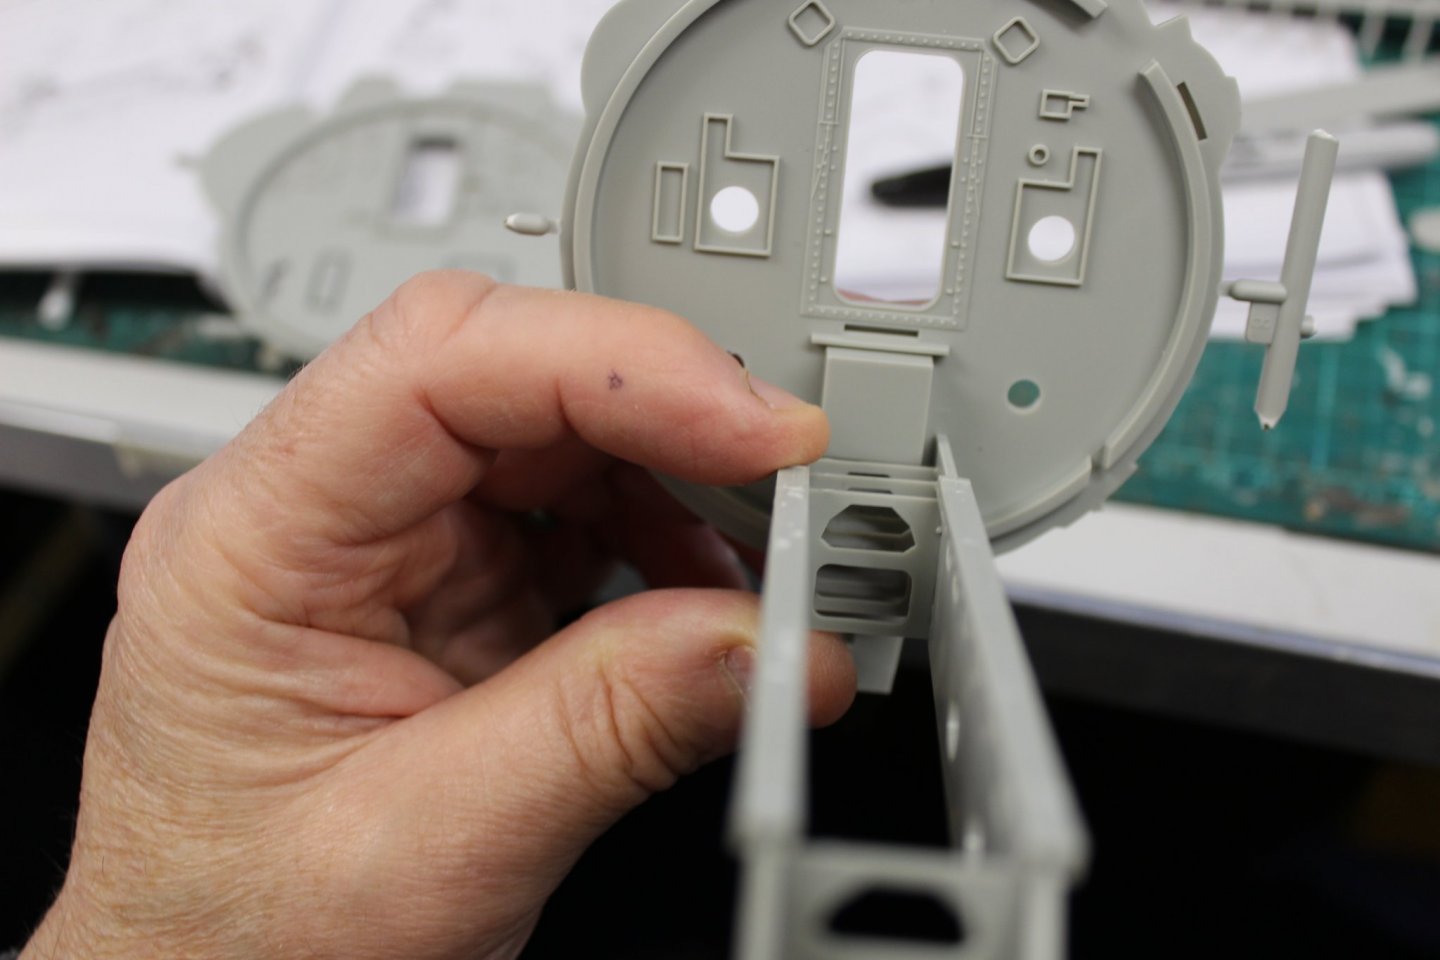
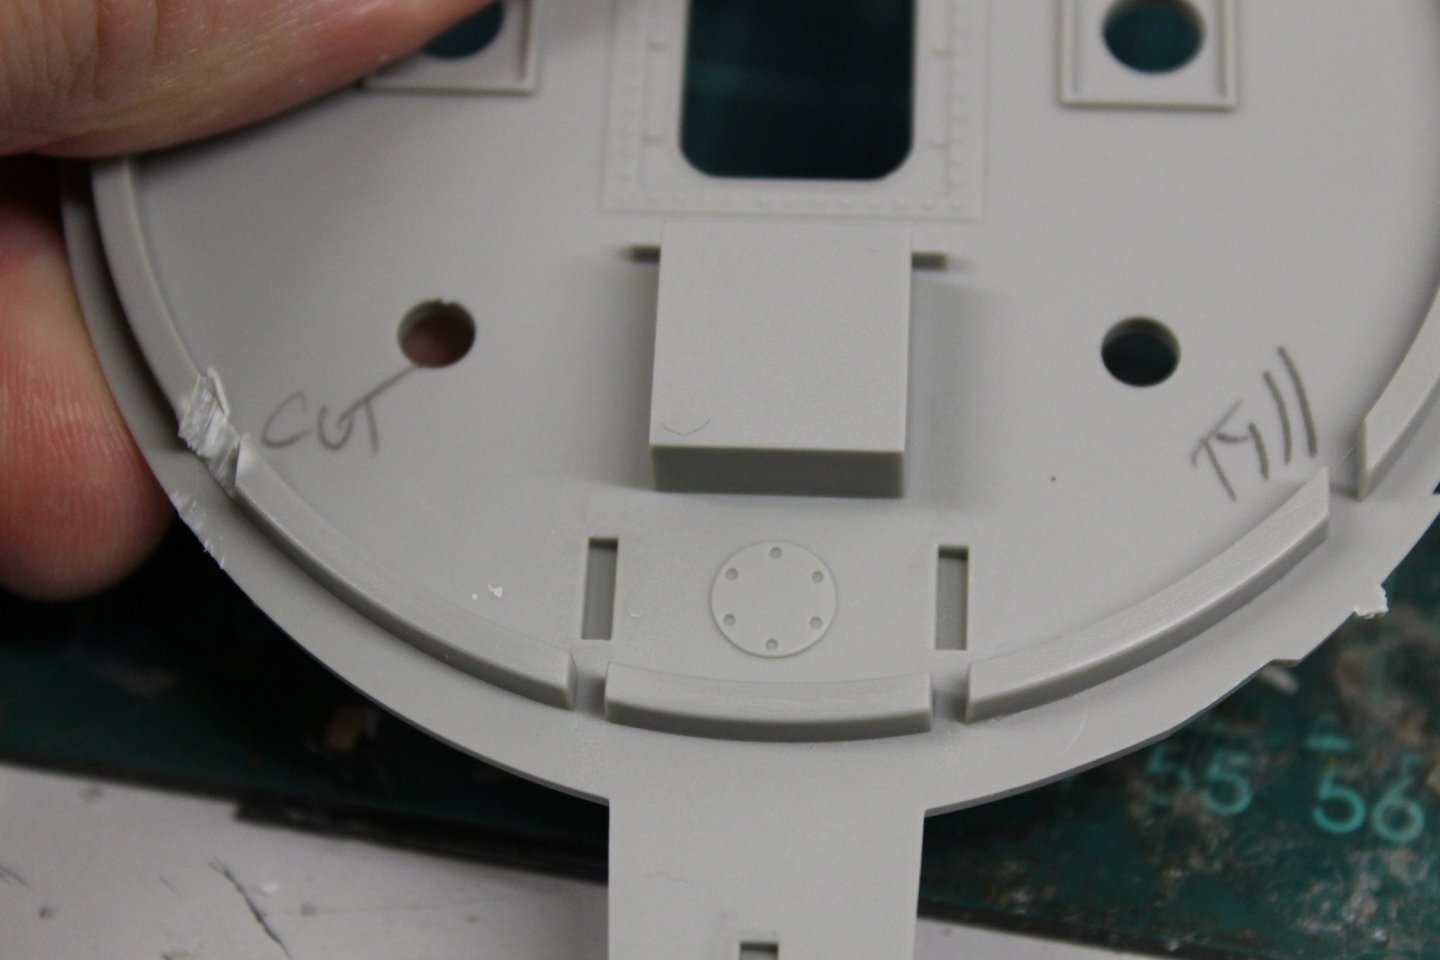
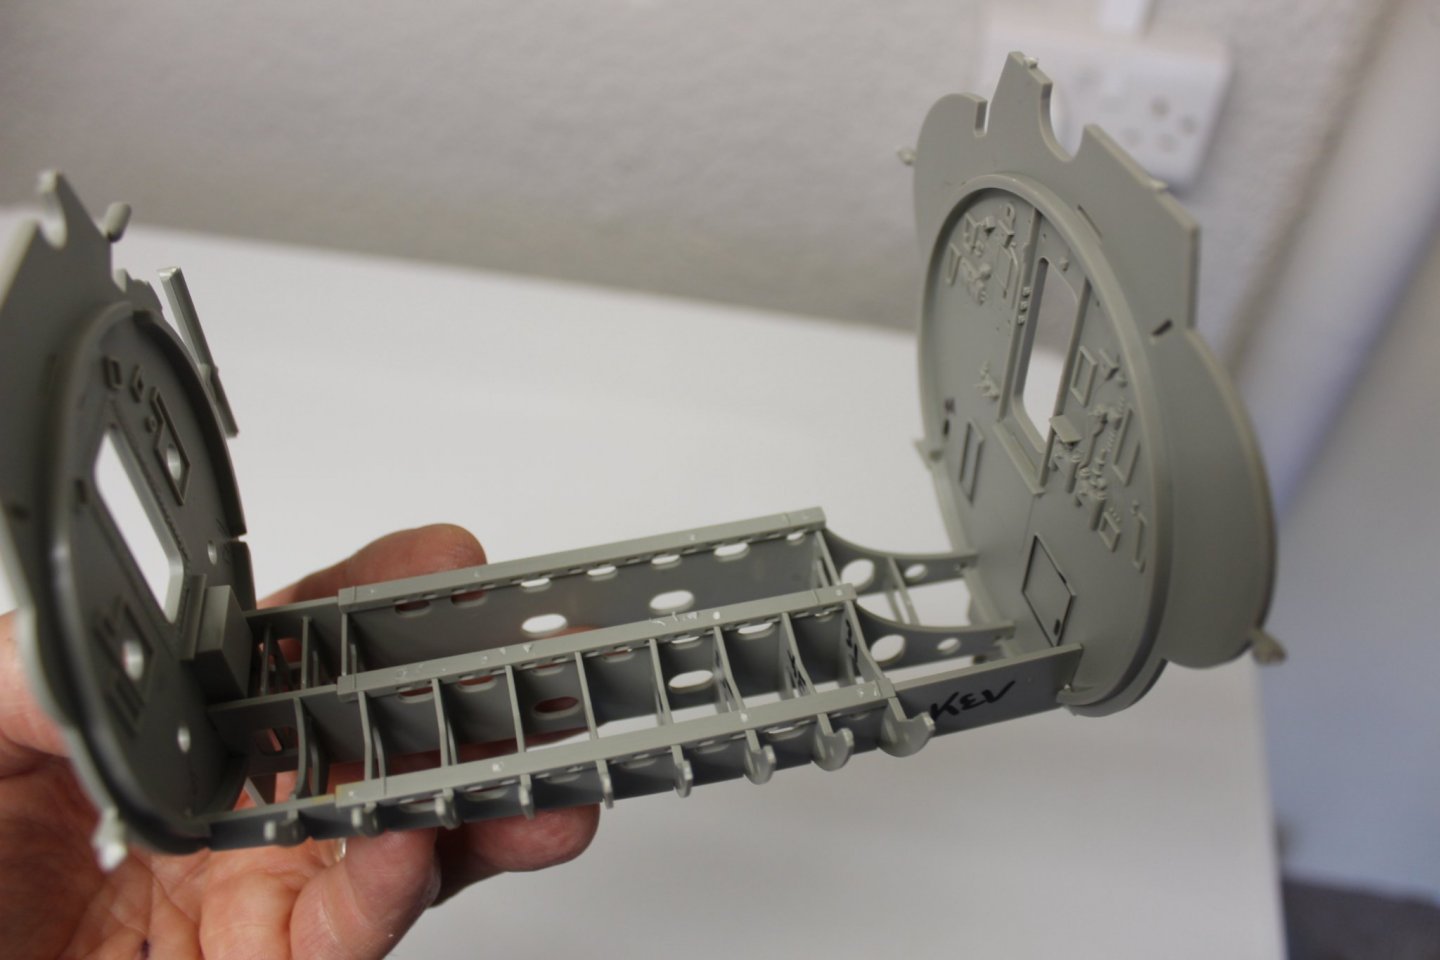
me again well i managed to turn the hull supports form the port side to the stbd removed some tabs and adjusted the bulkheads by cutting where the diesel support beams go, i don't suppose for a moment that the further I go into this that it will be easier, but for me thats a great start


- 90 replies
-
- 10
-
-
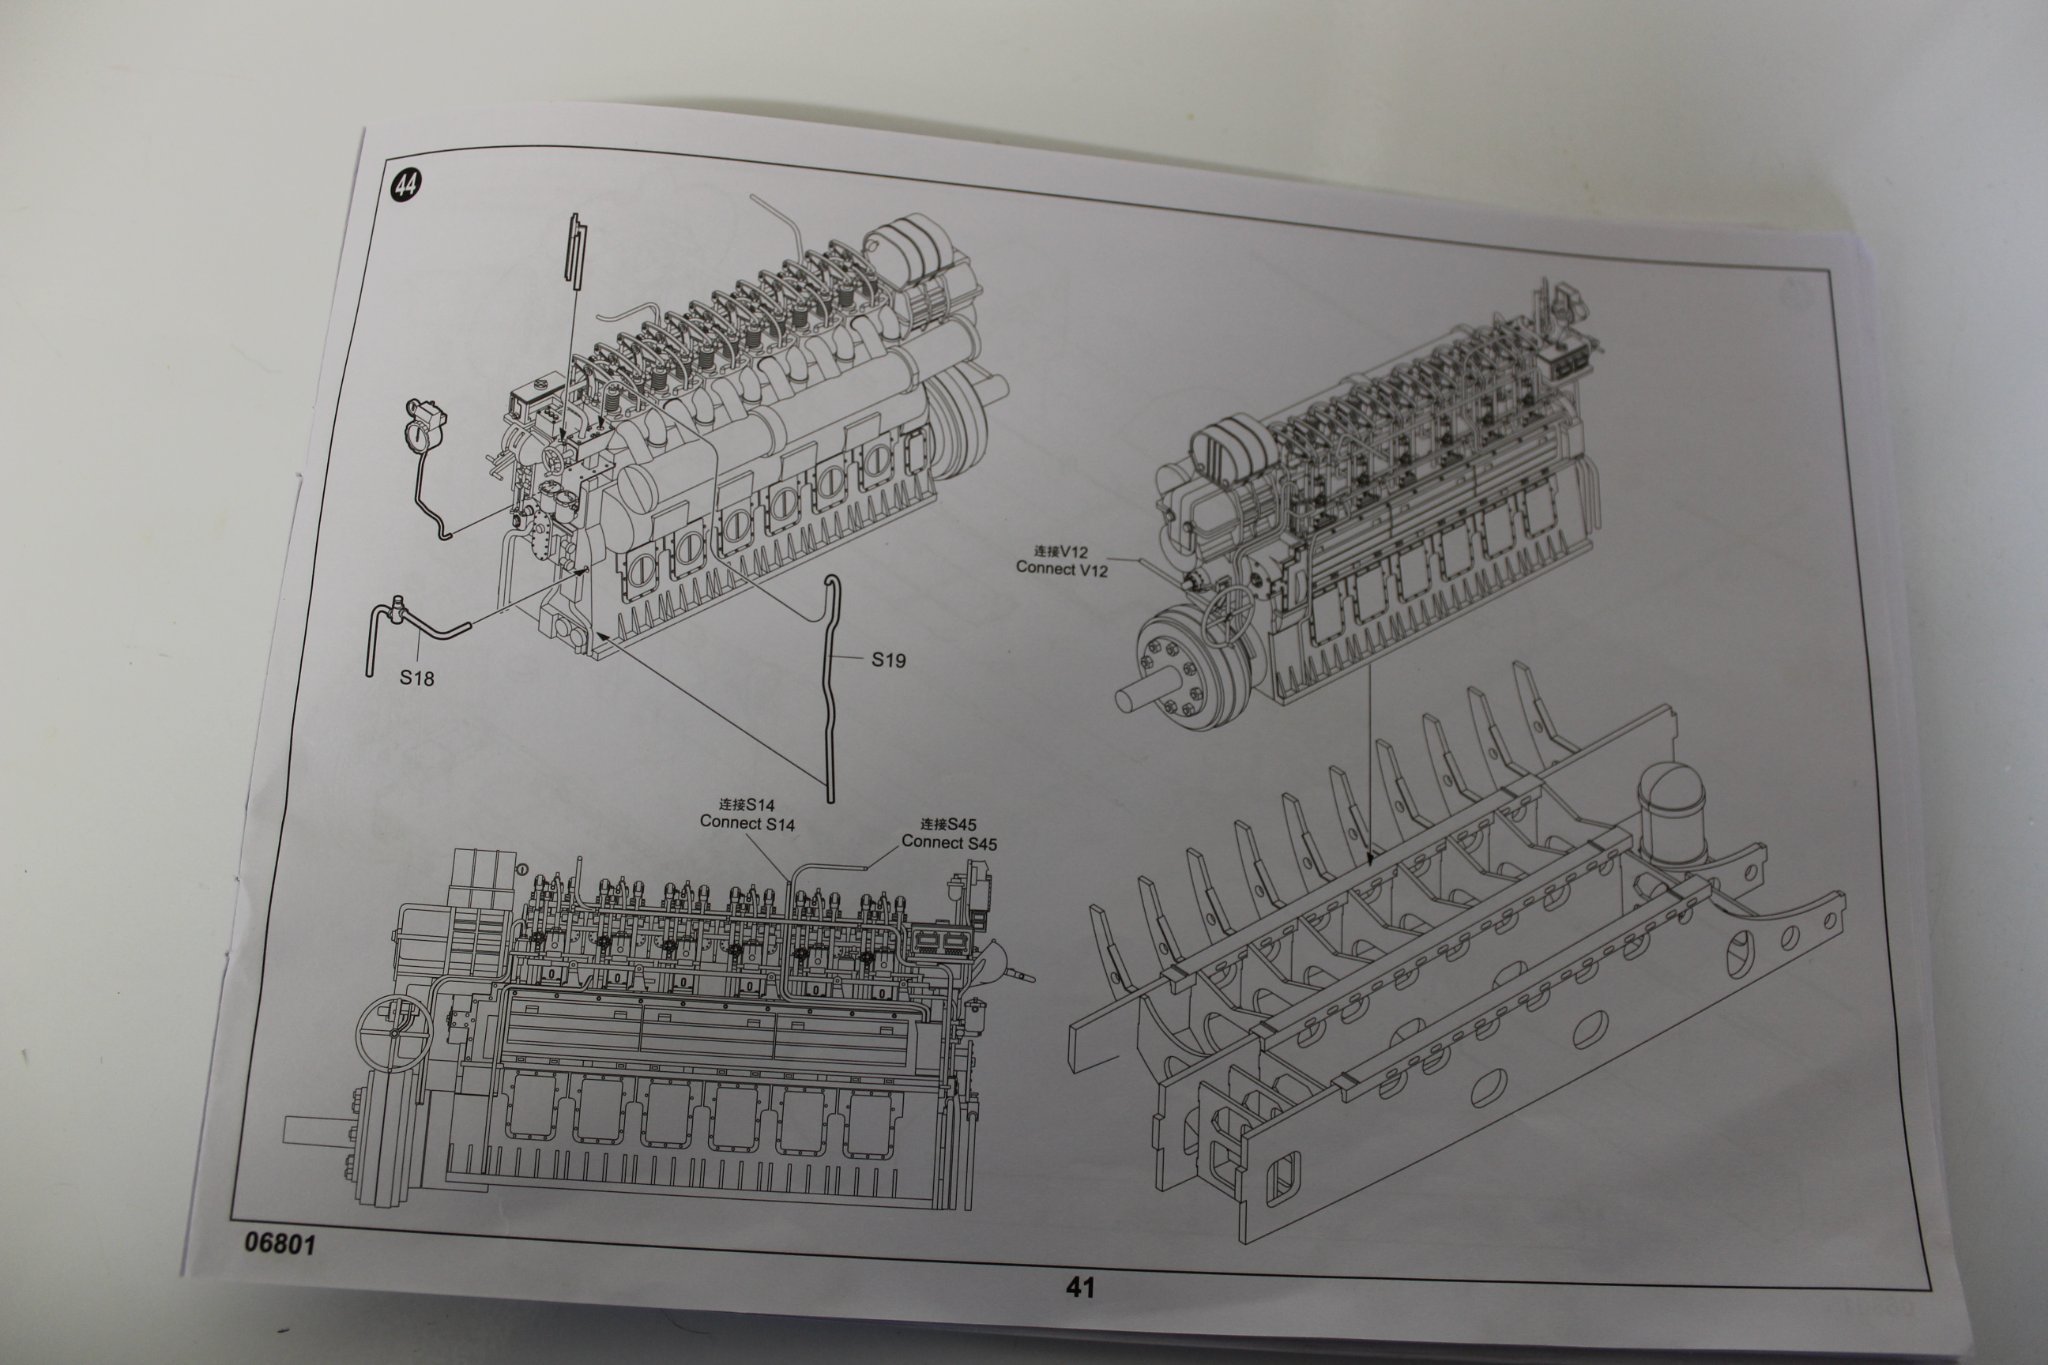
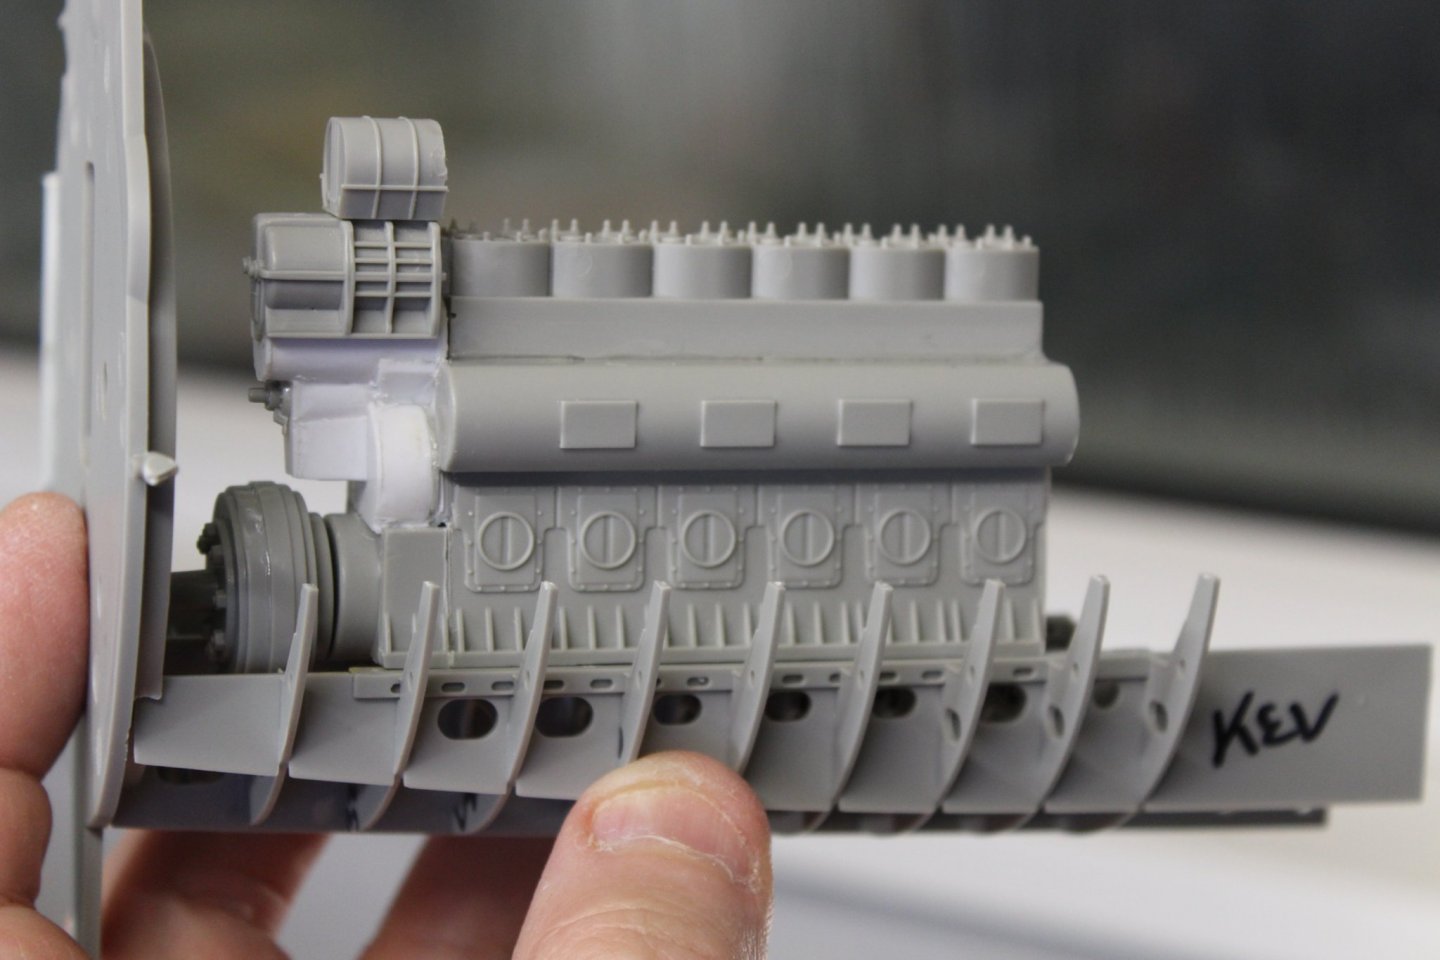
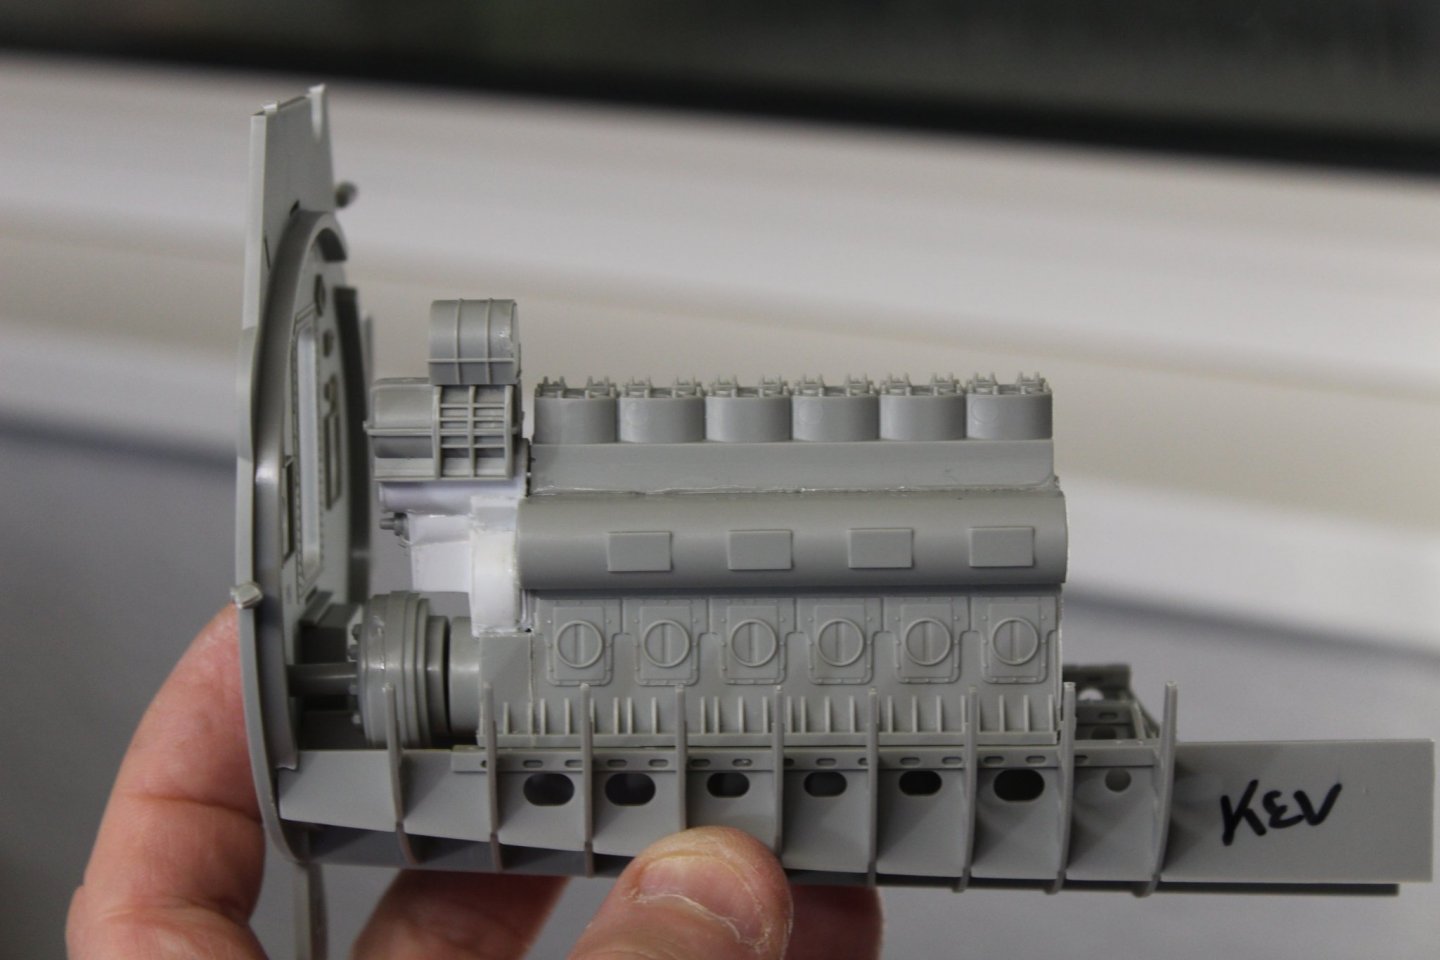
good morning everyone the forward torpedo compartment is coming to an end, just a few things that are in paint, but i am unable to fit for now until i decide how to set the build up in its final setting right for me its silly time i want to do something with this build that i have not seen before, or found on the net as discussed she only has one engine in the kit, which is a port side inboard , which has some hull framework underneath it there is no stbd engine or frame work under the diesel to support it either, i want to build a stbd side engine from the port side, using it as a doner unit the port one can be cloaked in covers whist welding work is carried out reason for doing this because i want to, as the kit does not represent the confined space they endured how am i going to do this? I dont know, but i mess it up im up a creek without a paddle both engines are symmetrical as in both sides have the controls inboard, which also means the blocks are different as well i am going to start with the superstructure first whilst i get my head around the best way to do this the boocks are the same but above that everything is 180 degs out


- 90 replies
-
- 10
-
-
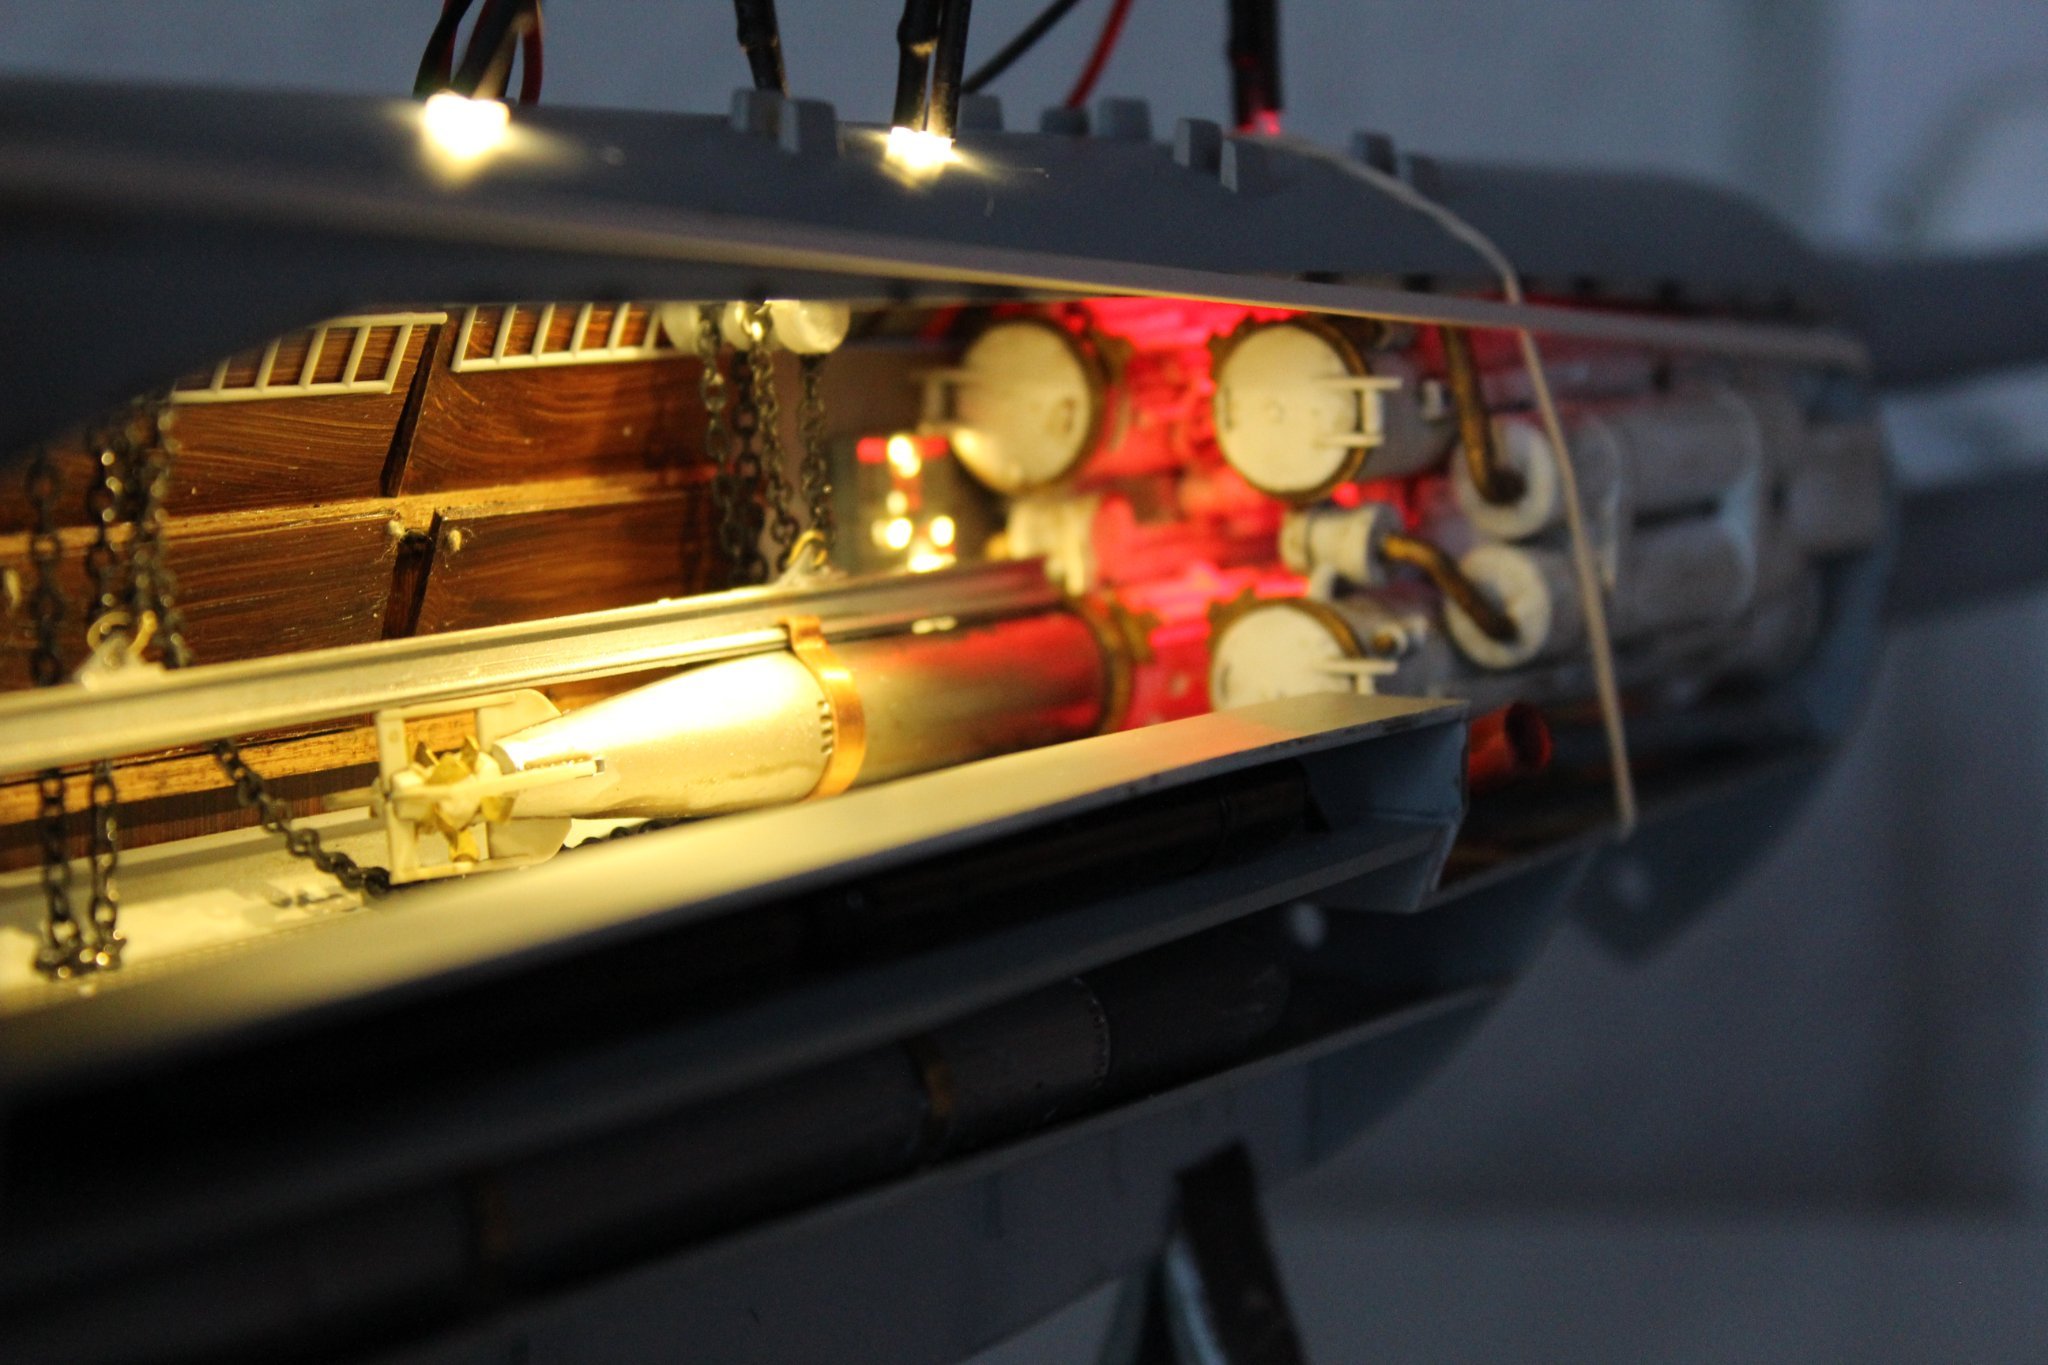
good morning yes the lighting wont work like it is, it was just setup for now to see if the effect i was after was going to work, i work put un any lighting until the outer hull is ready, mush later on however i was quite happy with the results and it shows the areas i need to improve, loving this build, another surprise is the interest others have shown
-
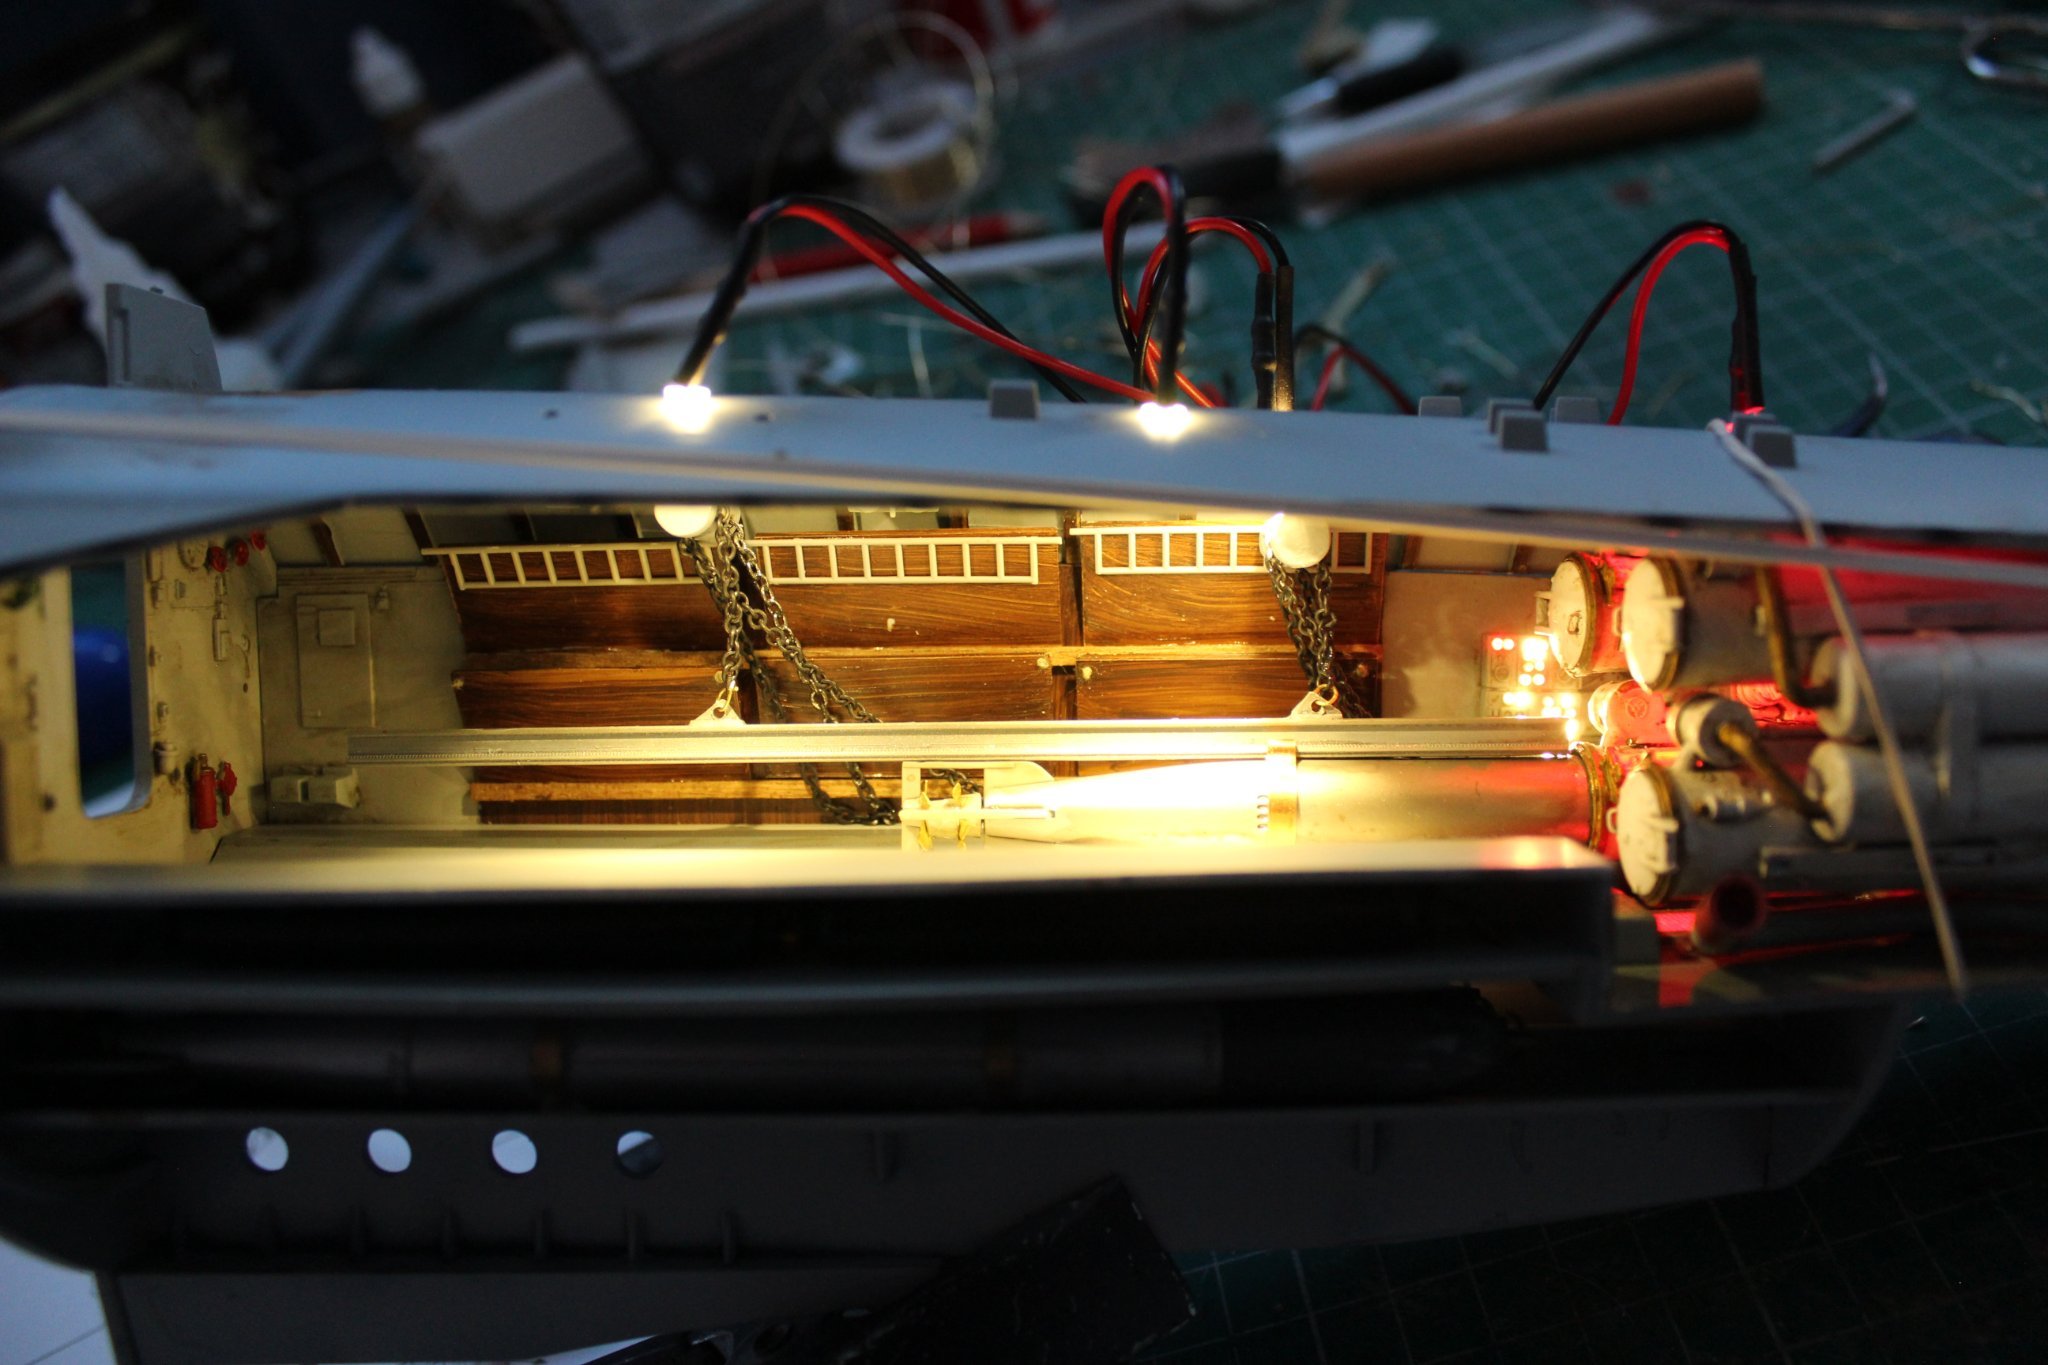
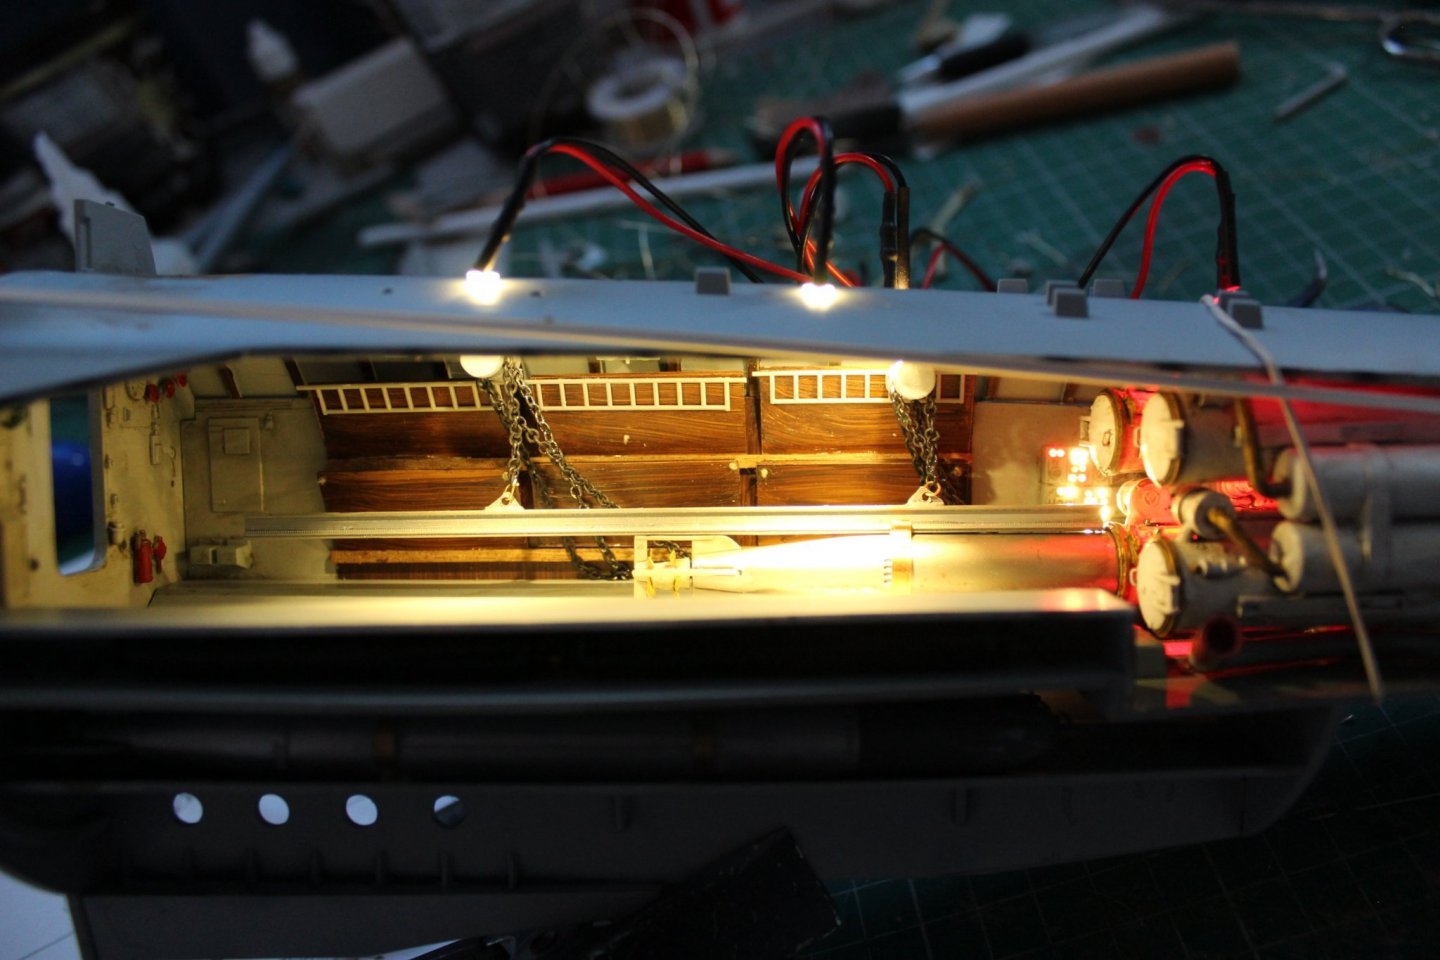
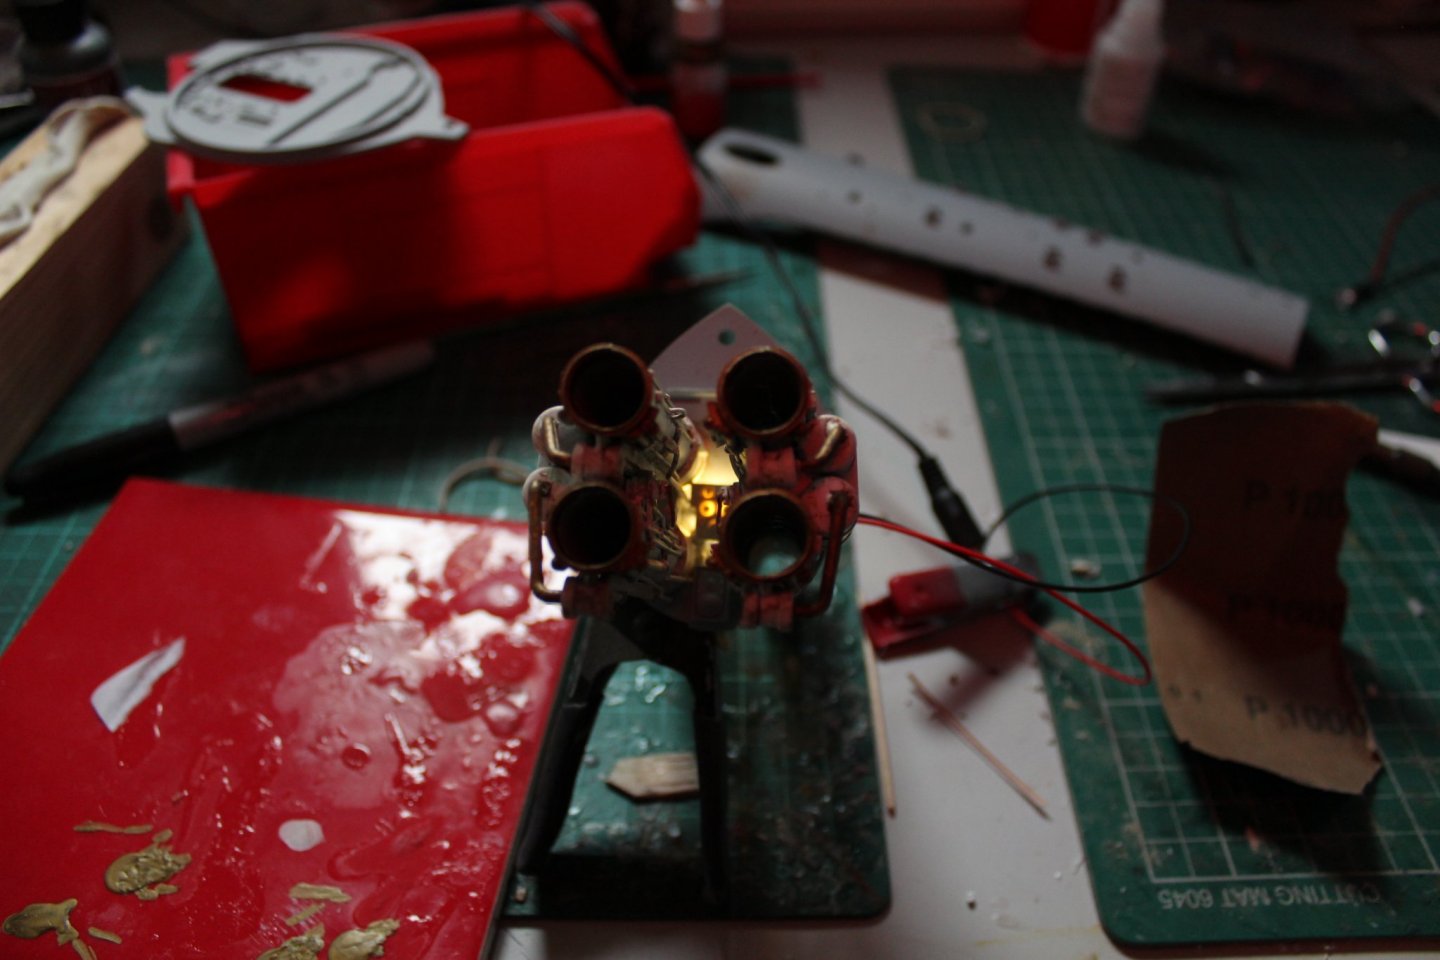
good afternoon everyone no lights not much achieved today, but i did a quick temporary wire up of the 5 leds in the compartment, im happy now as it is how I wanted it to look some lights i will change the lights to warm white and dim them later on in the build


-
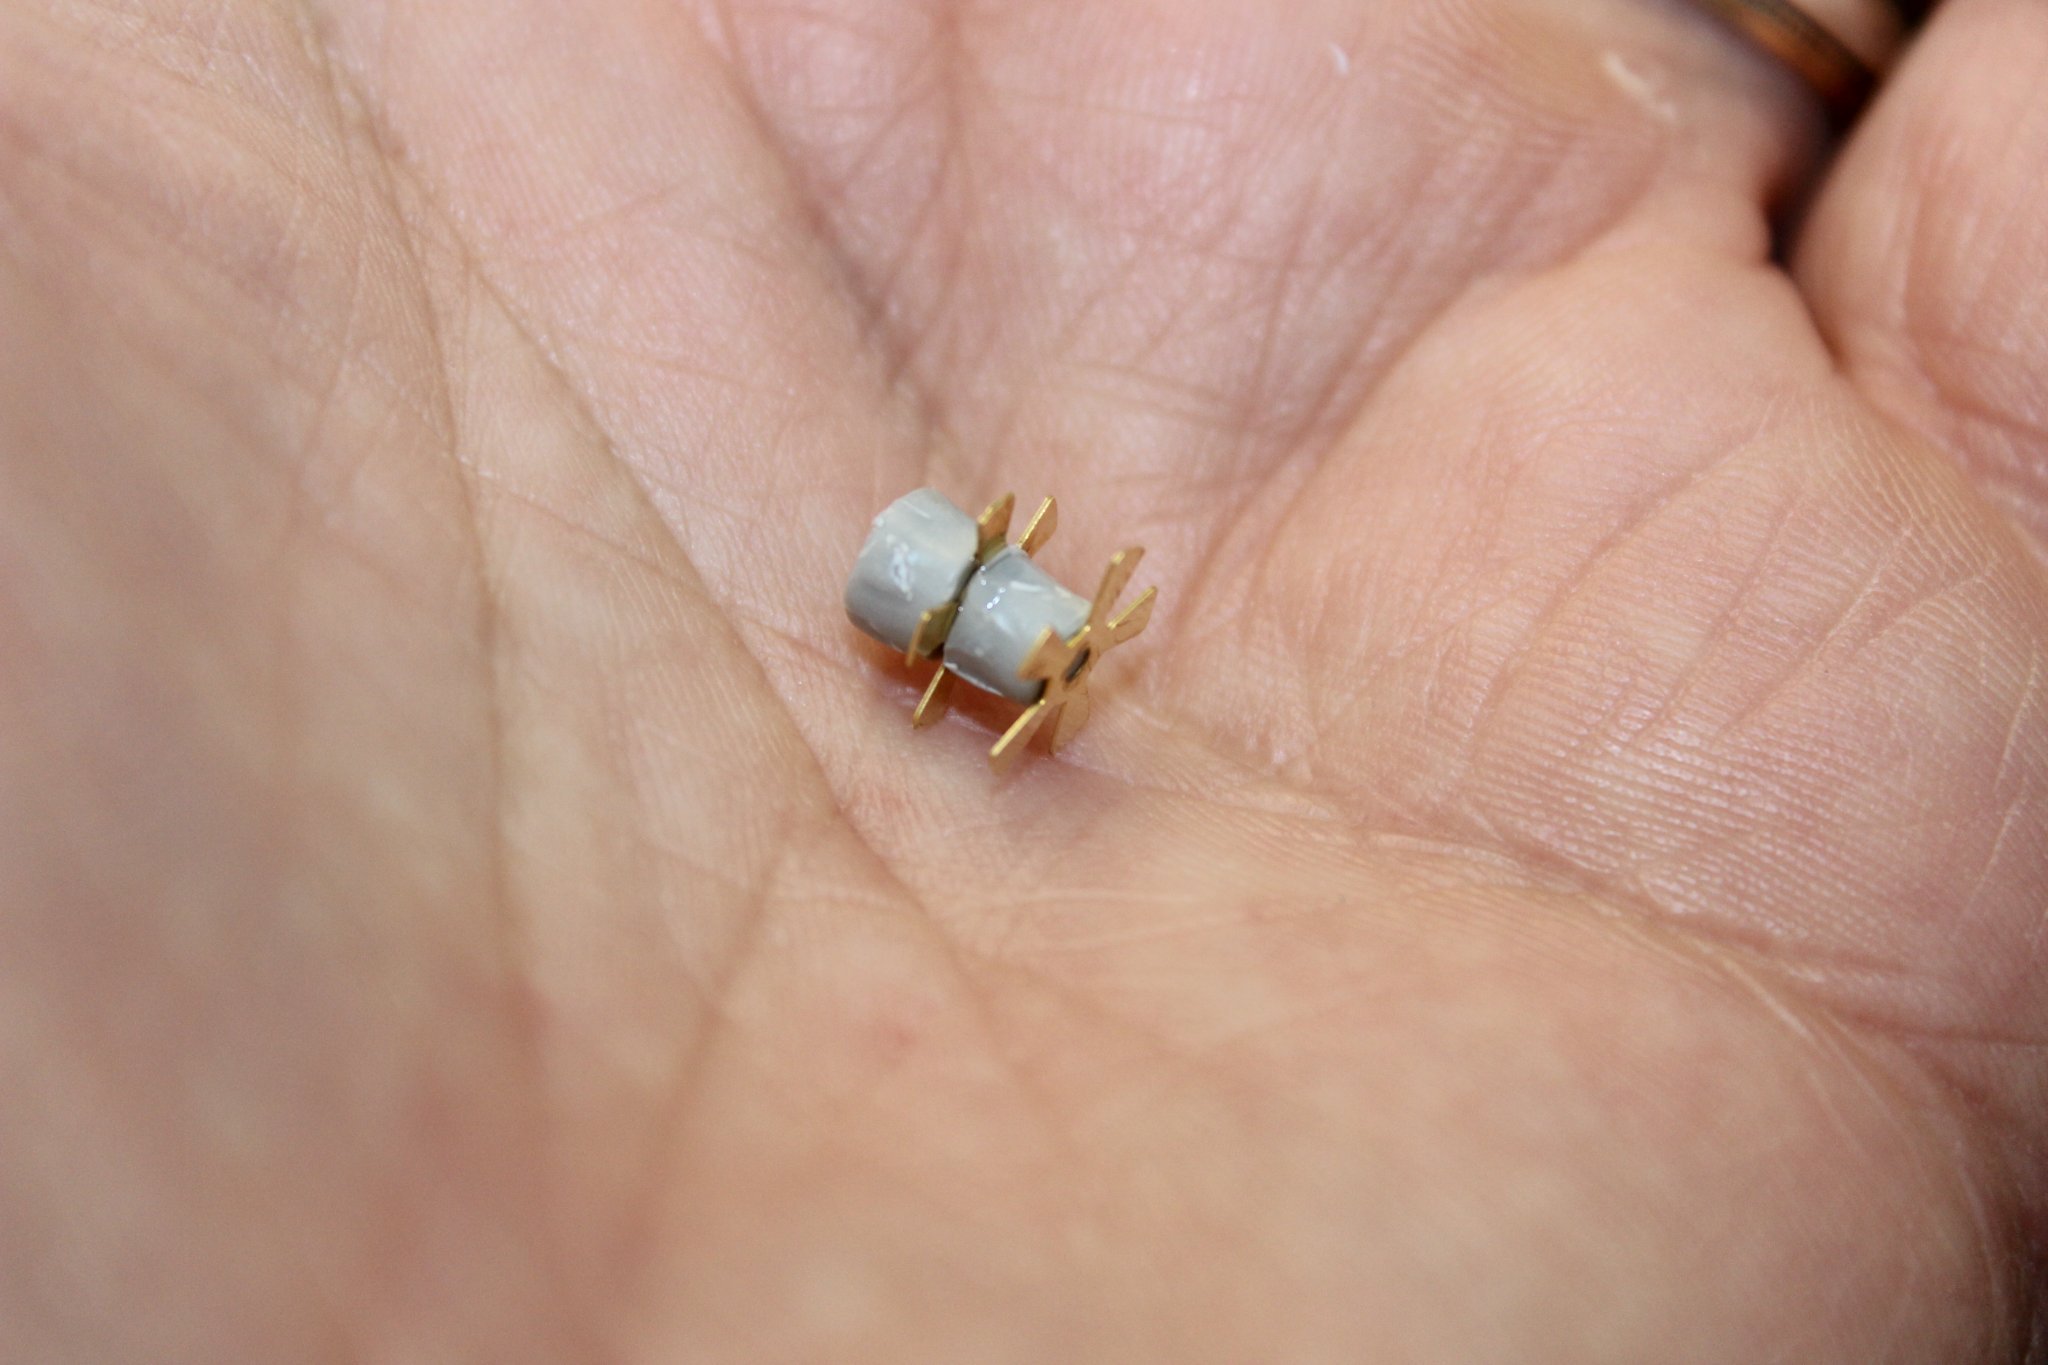
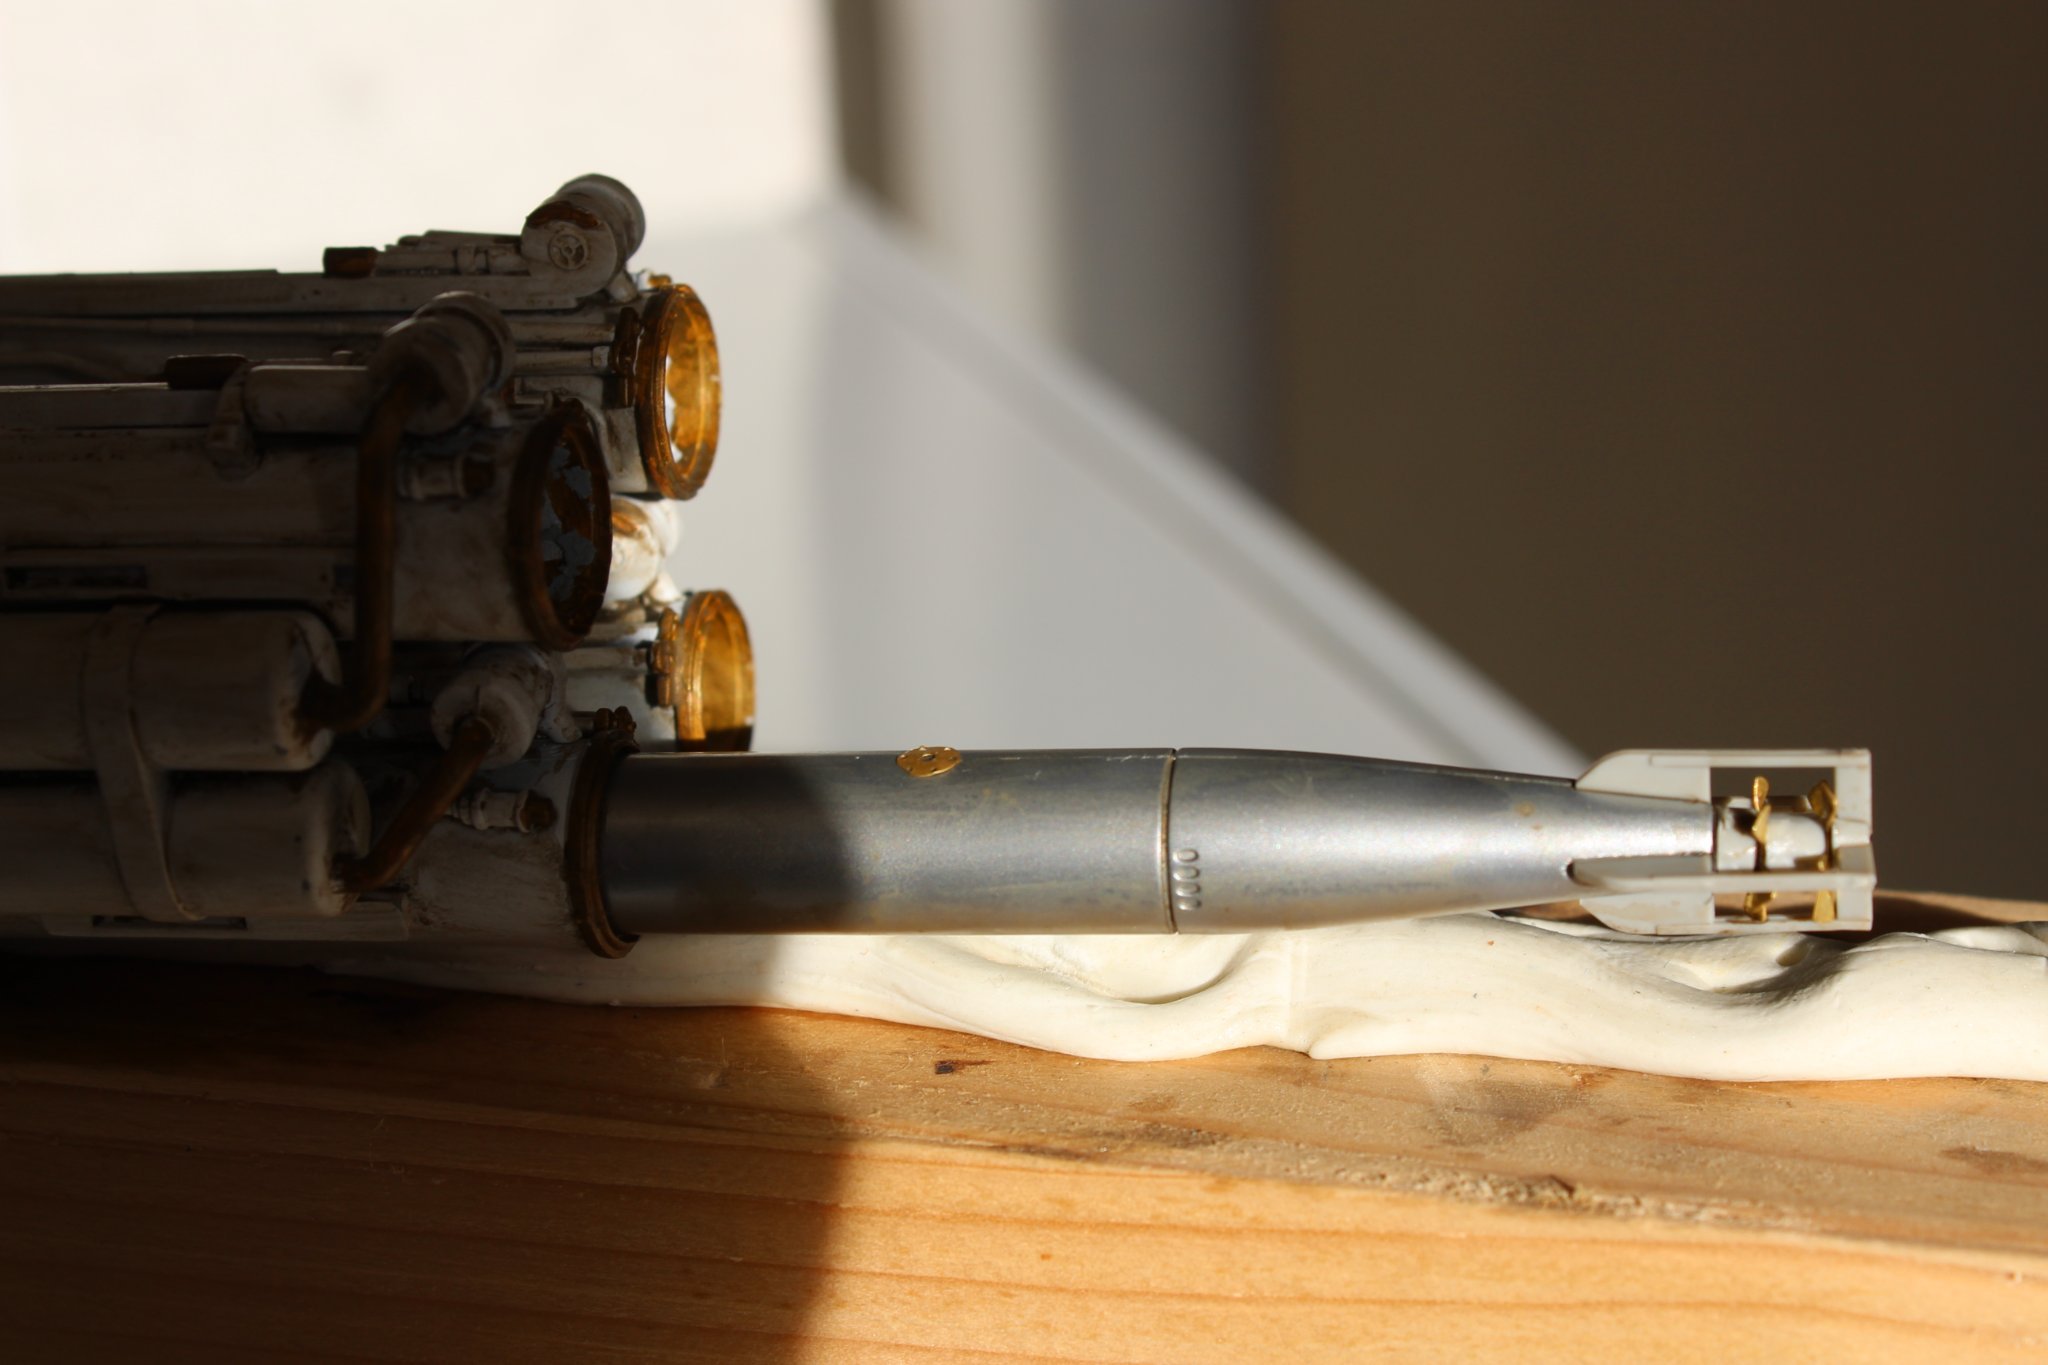
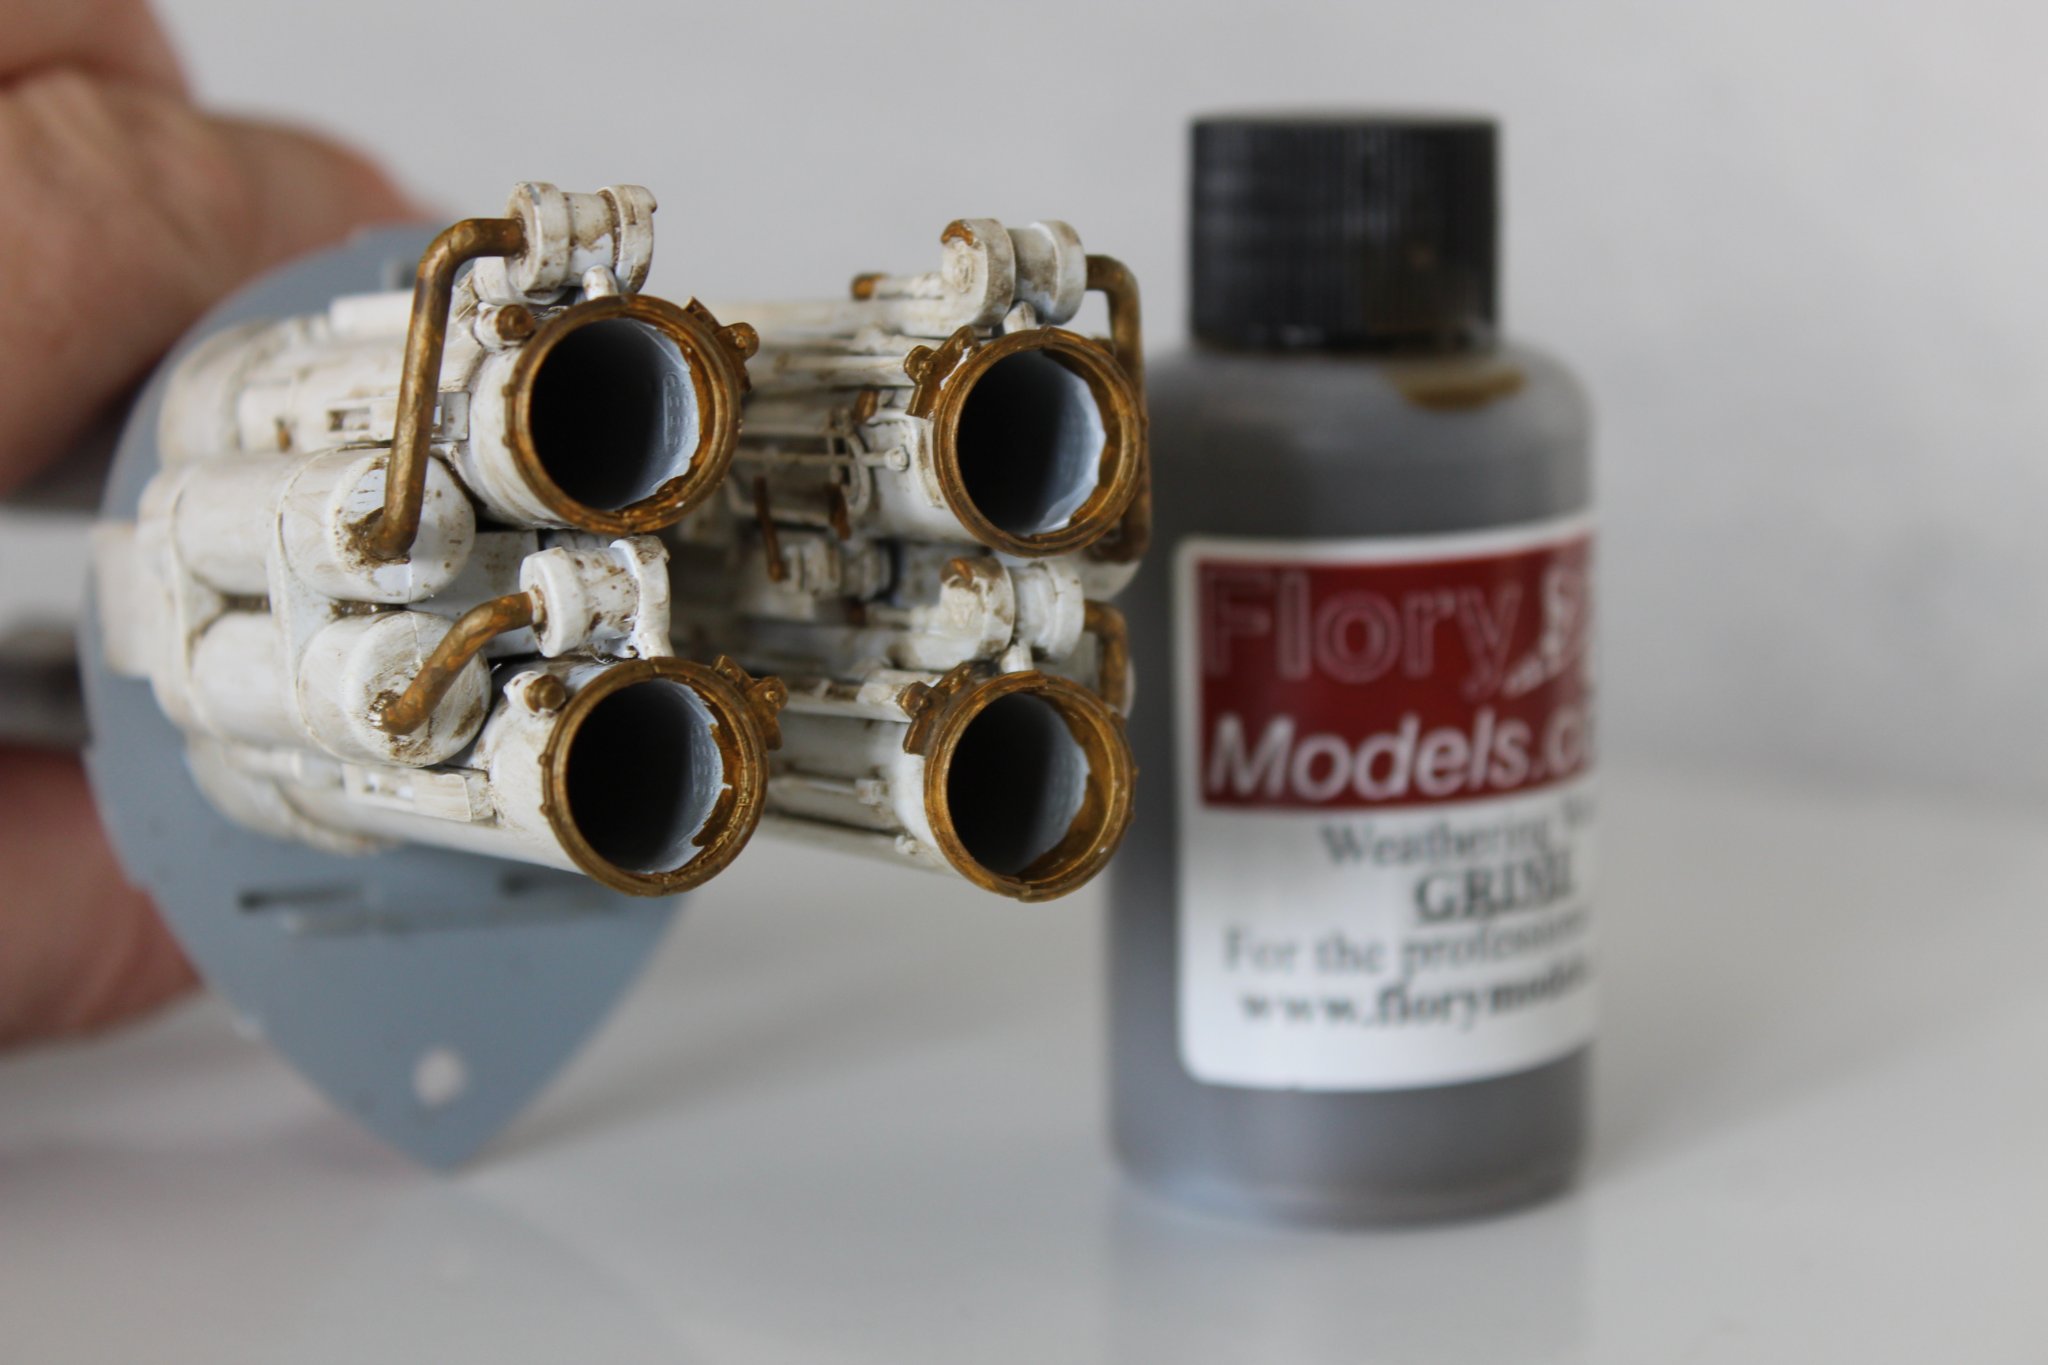
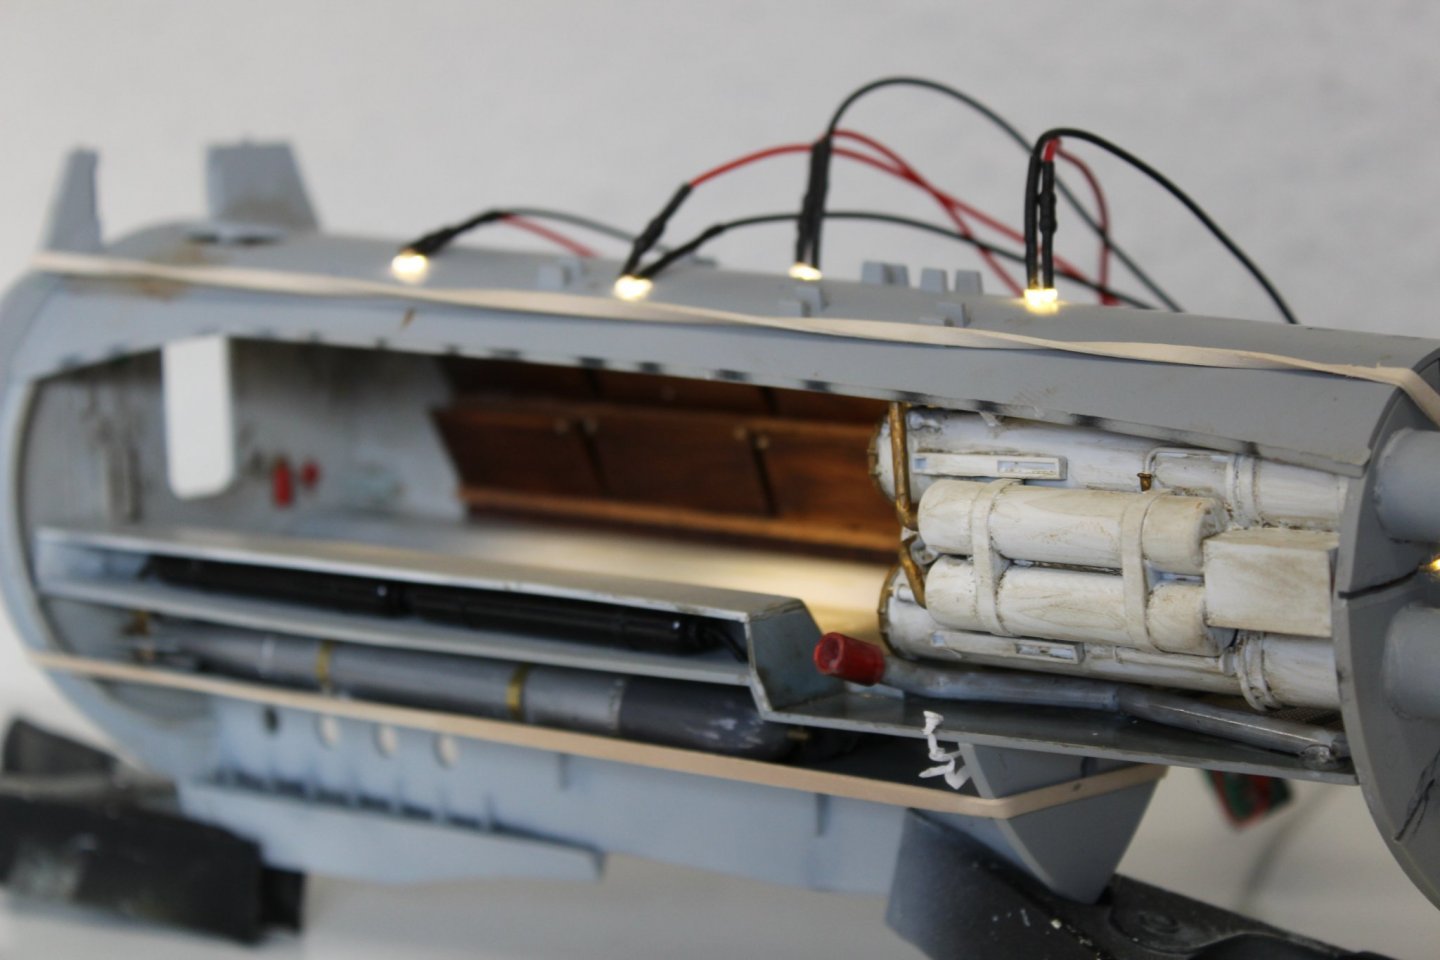
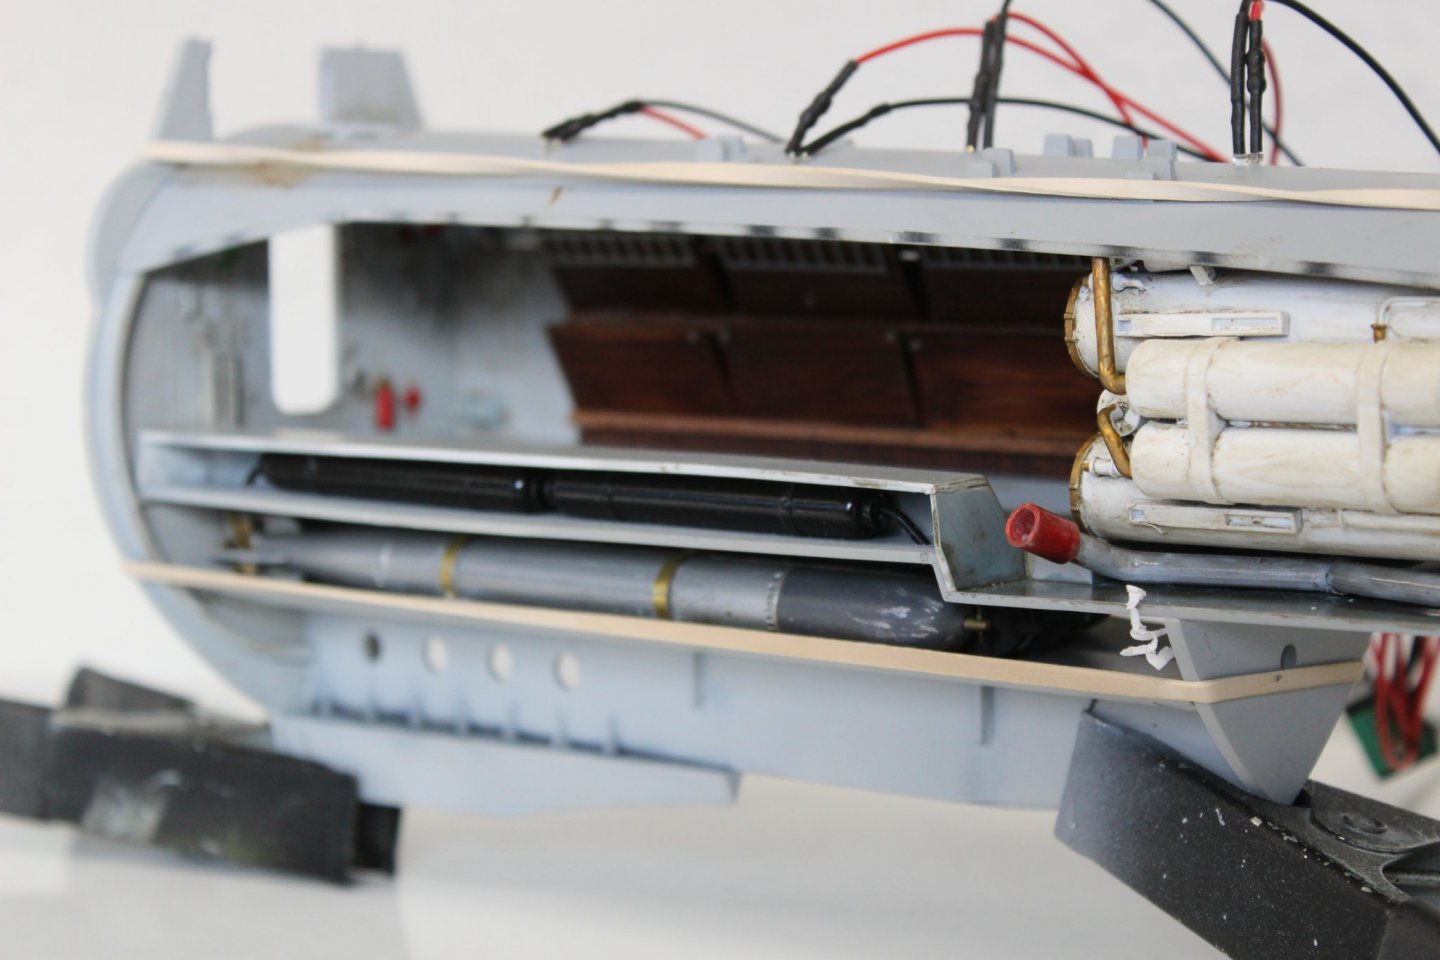
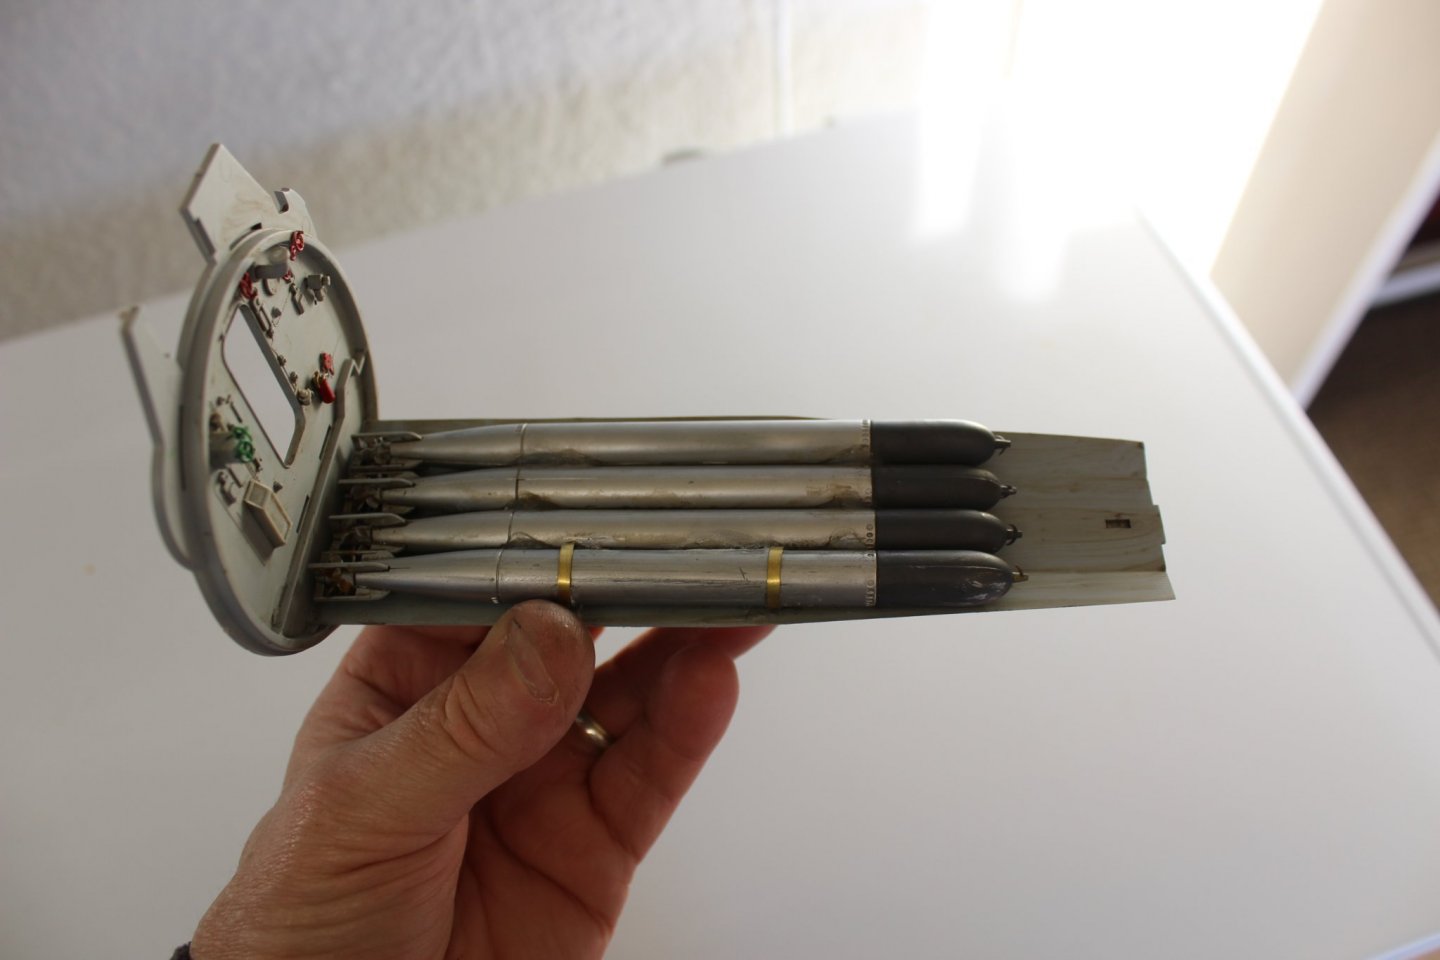
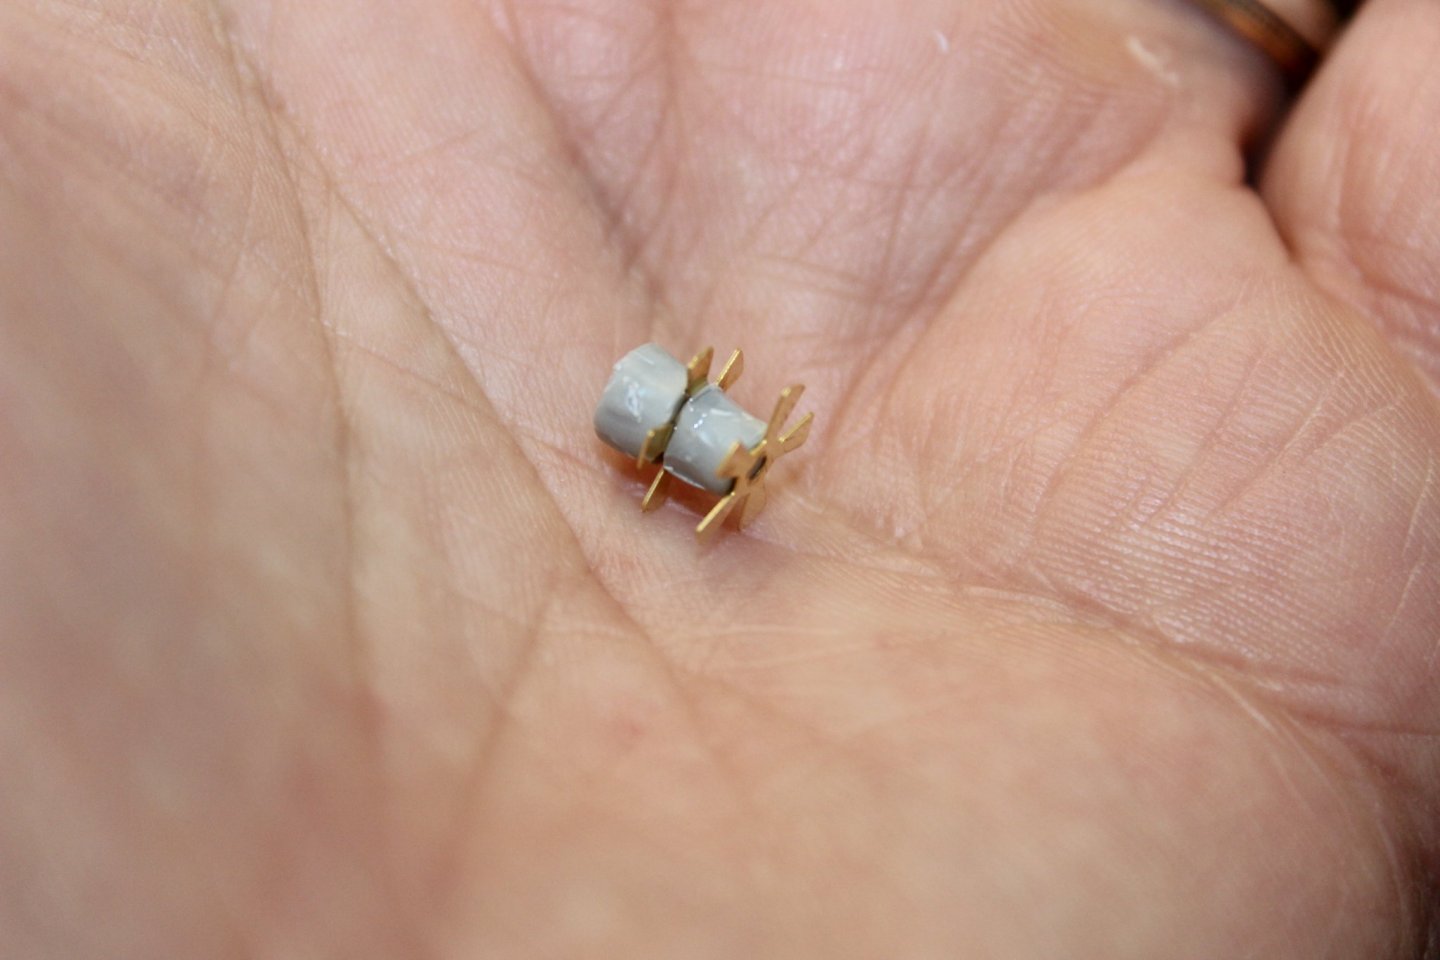
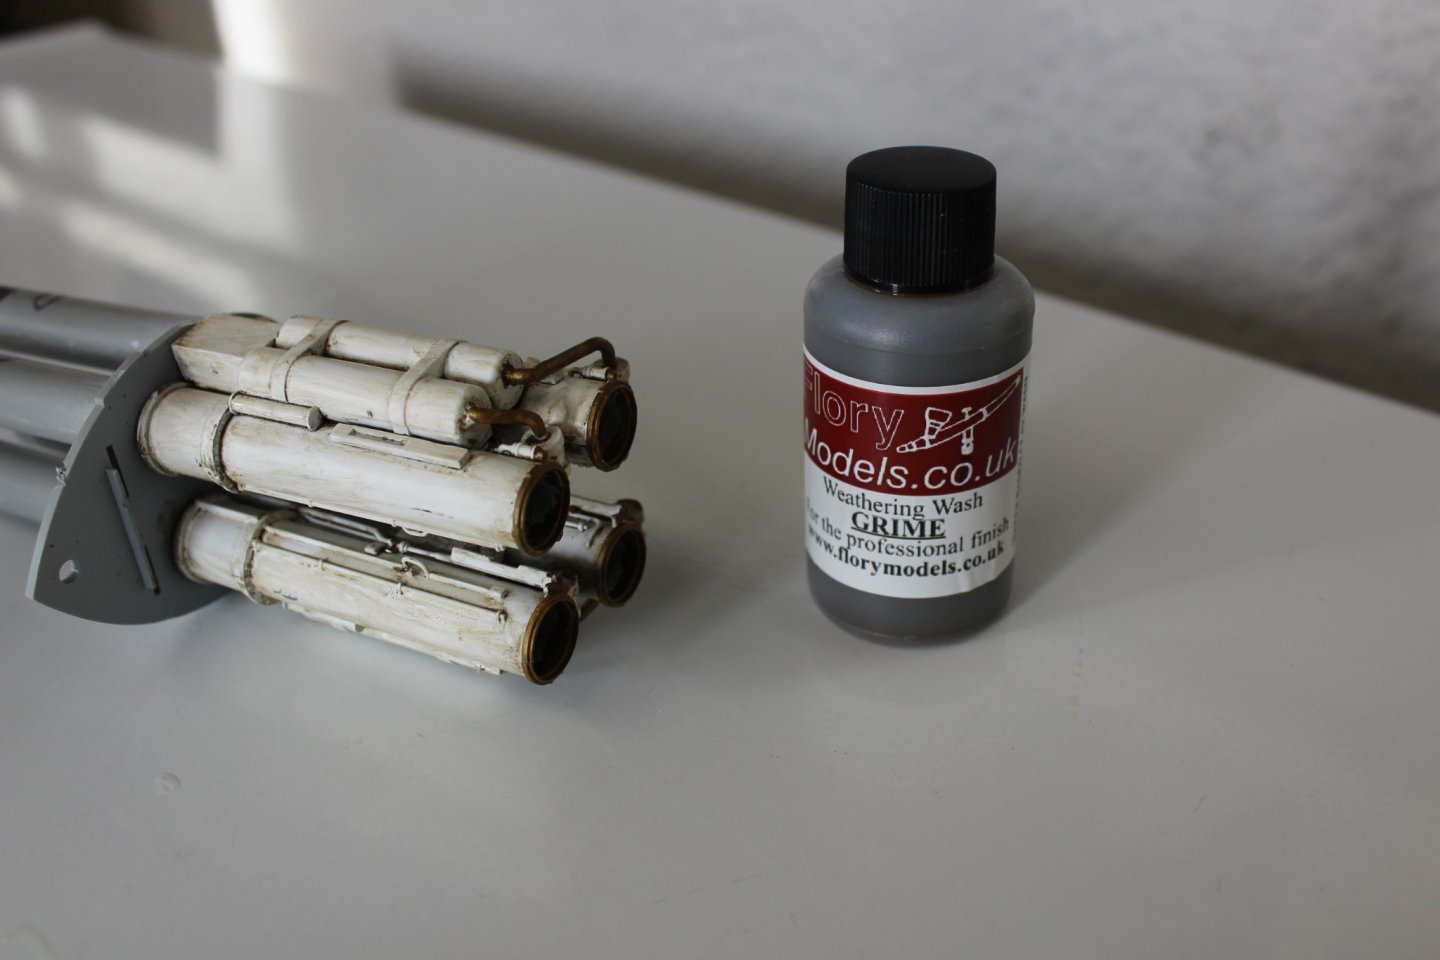
good afternoon everyone thank you for comments and likes the after bulk head went in after a primer and Lifecolour DKM50, picking out a few colours along the way next the torpedo stowage deck with just primer dkm 50 and Flory grime the torpedo's i never went the full hog on them, going to be pretty well hidden, alclad aluminium and a bit of brass for the props, Tamiya dark grey for the bang bit of the torpedo, i then put a bit of brass around one of them to simulate be secured in the stowage t a the bulheads are now fitted, just the deckhead left to go in the next couple days left to do torpedo crane torpedo tube rear doors lighting weathering, but not going heavy at all on the rust, she is a new boat going out on first patrole


- 90 replies
-
- 12
-
-
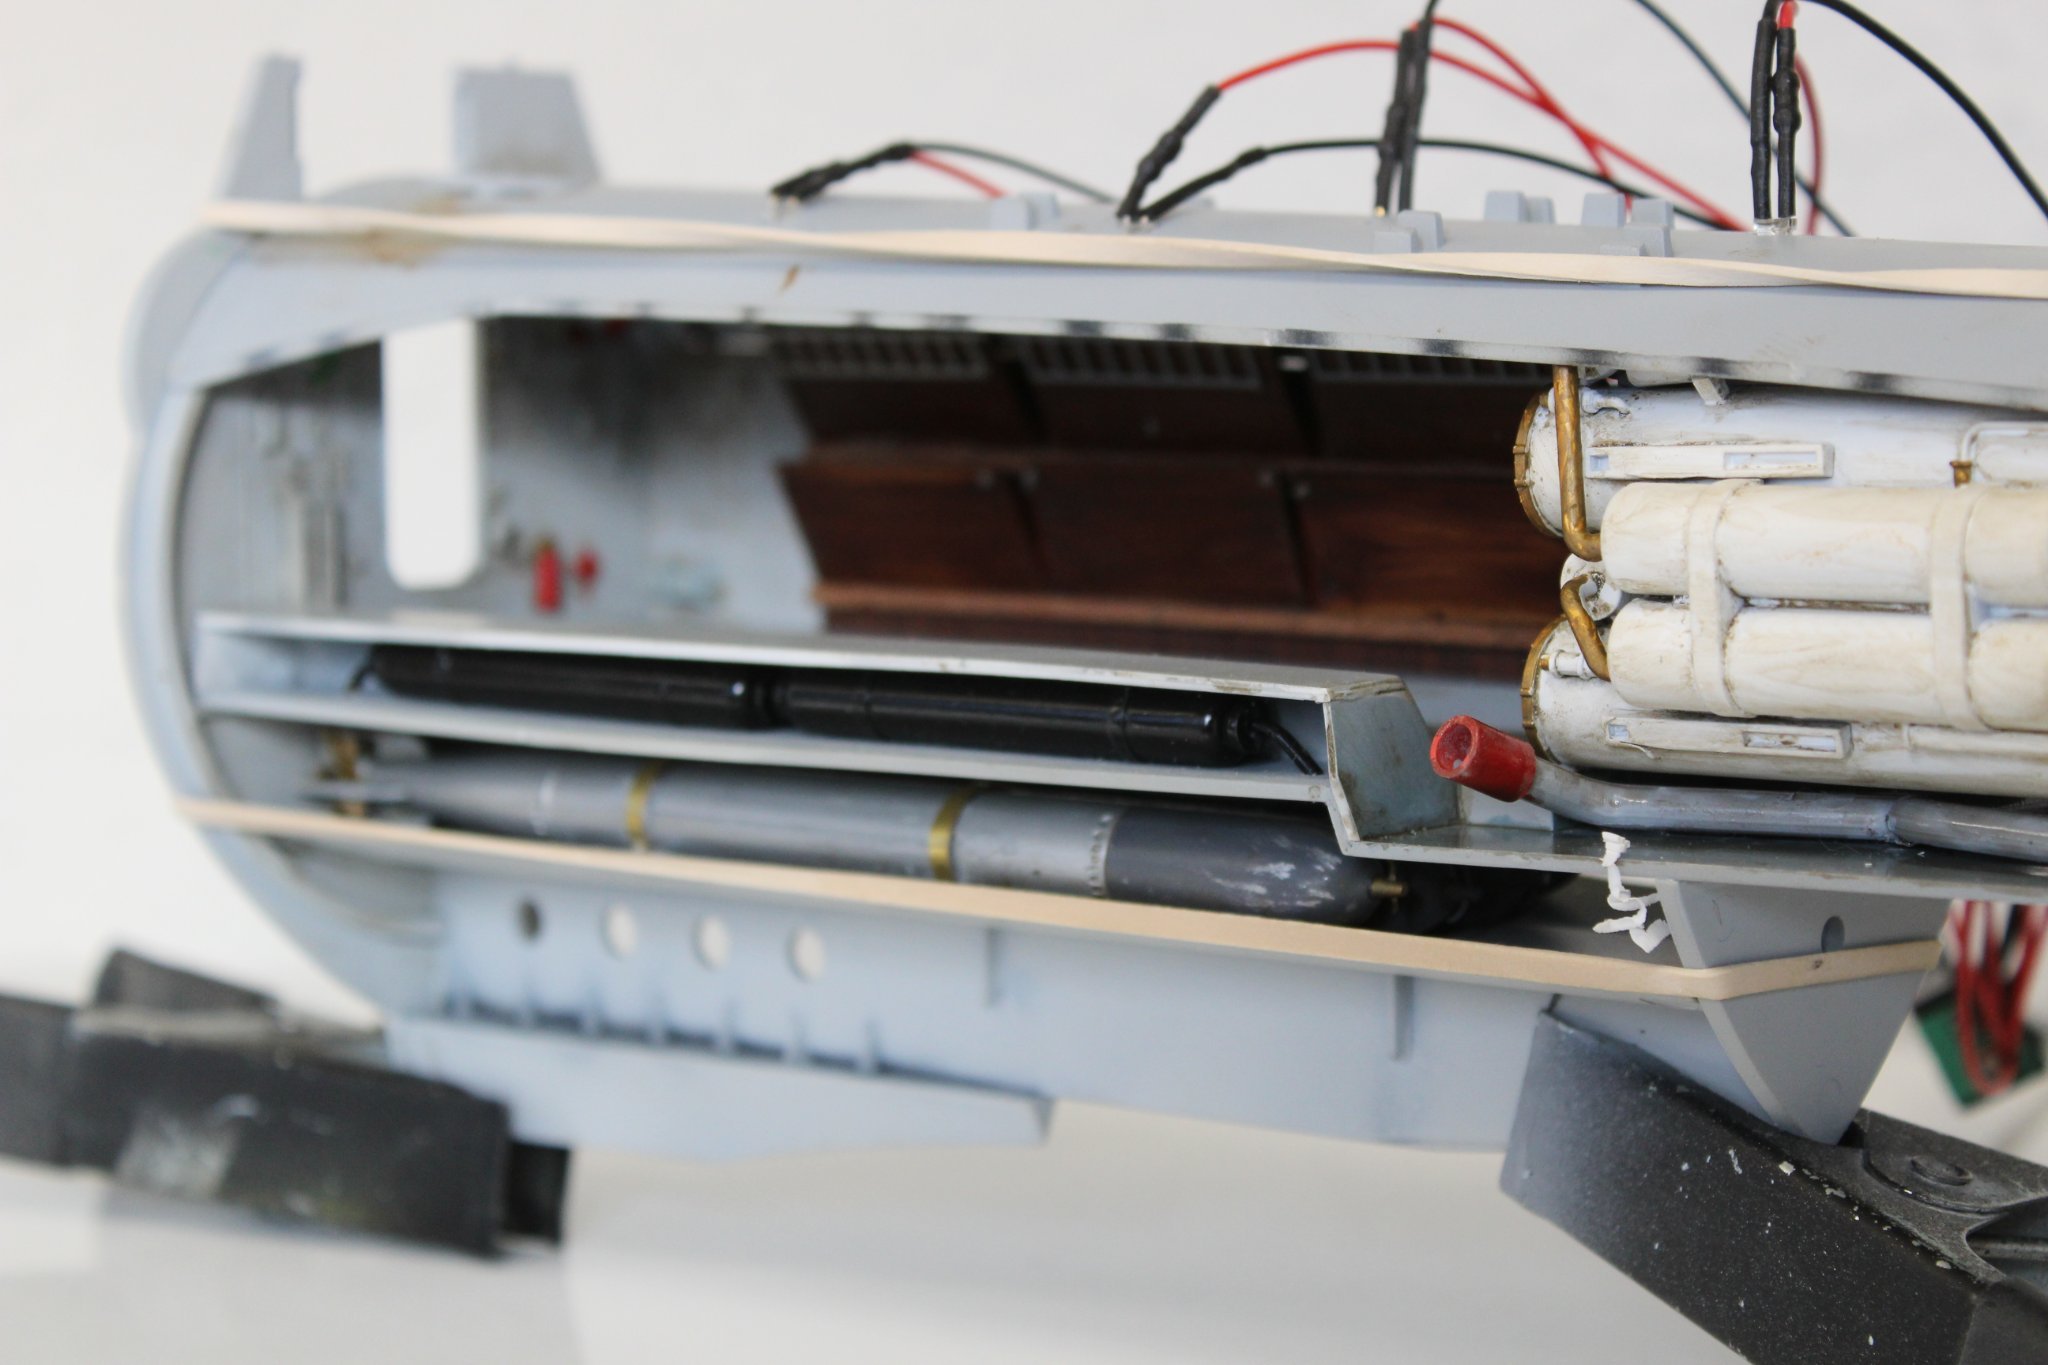
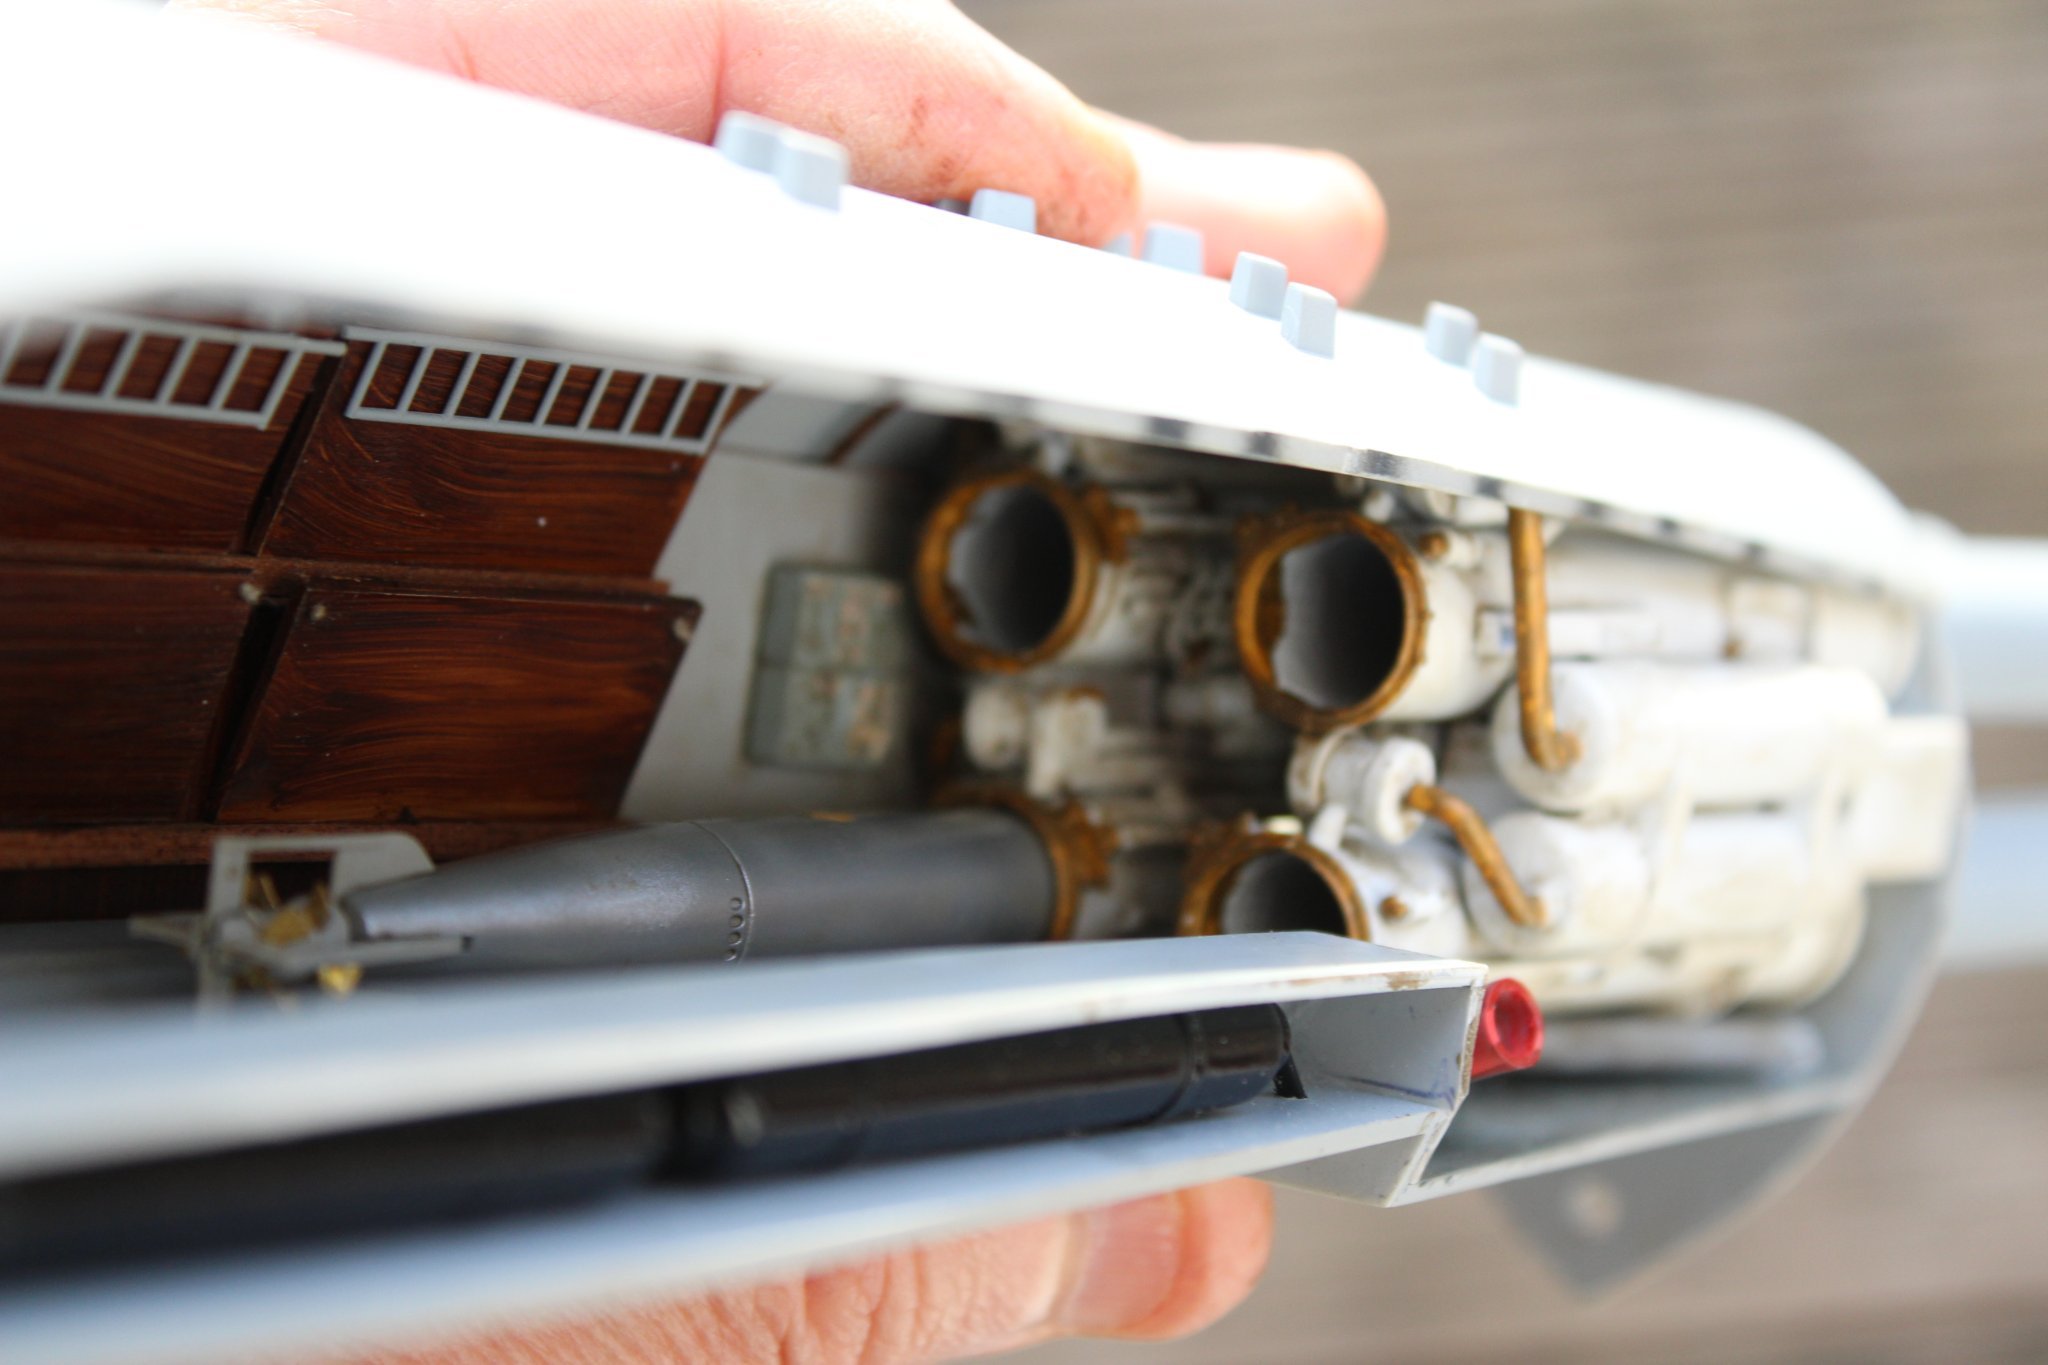
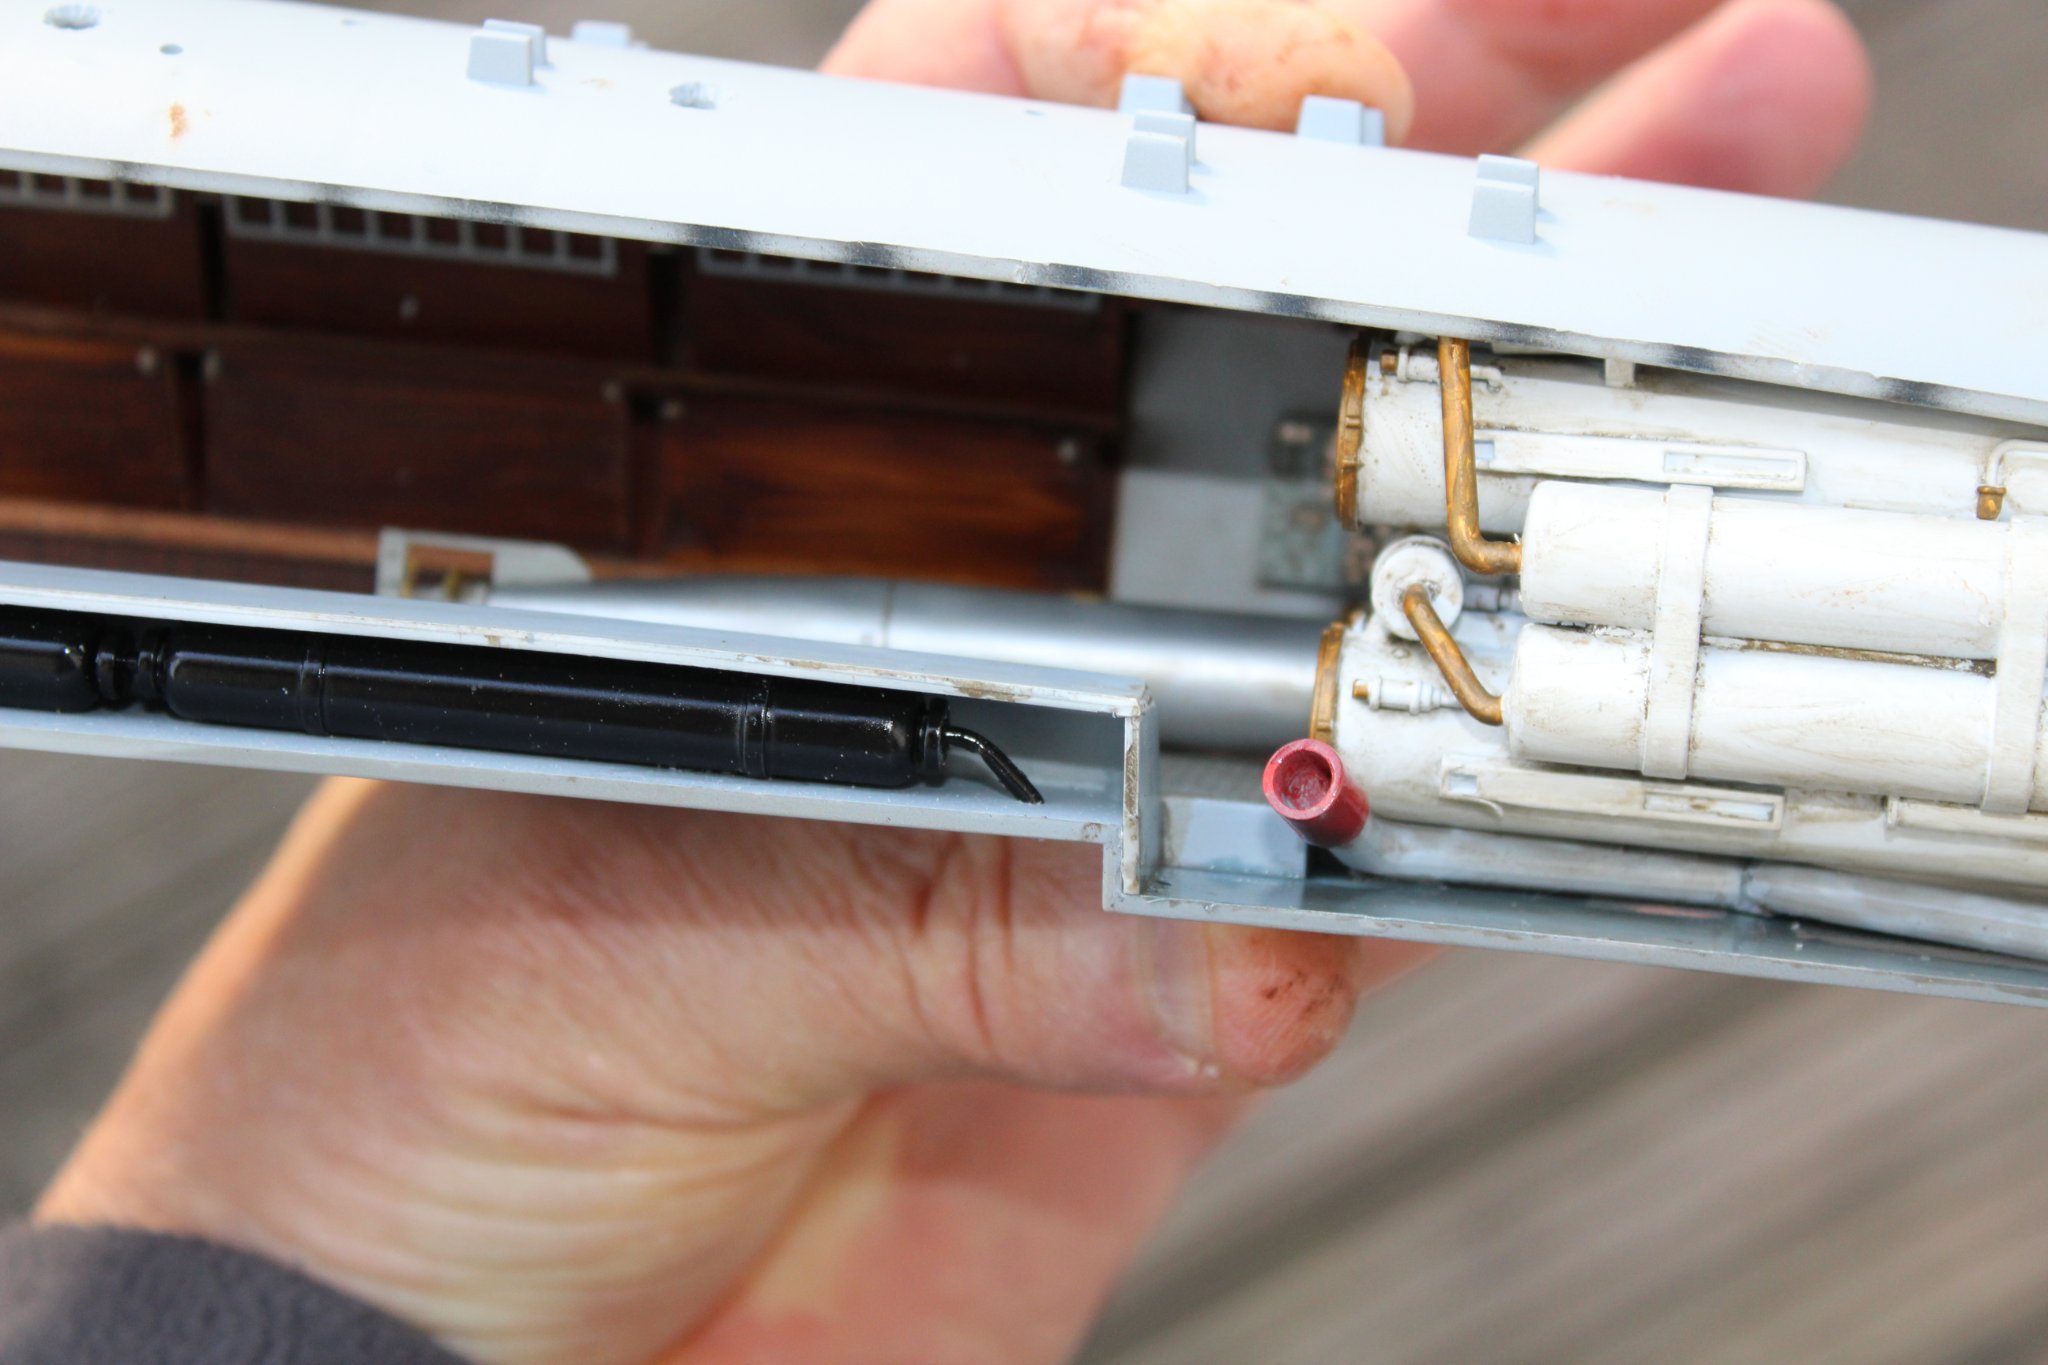
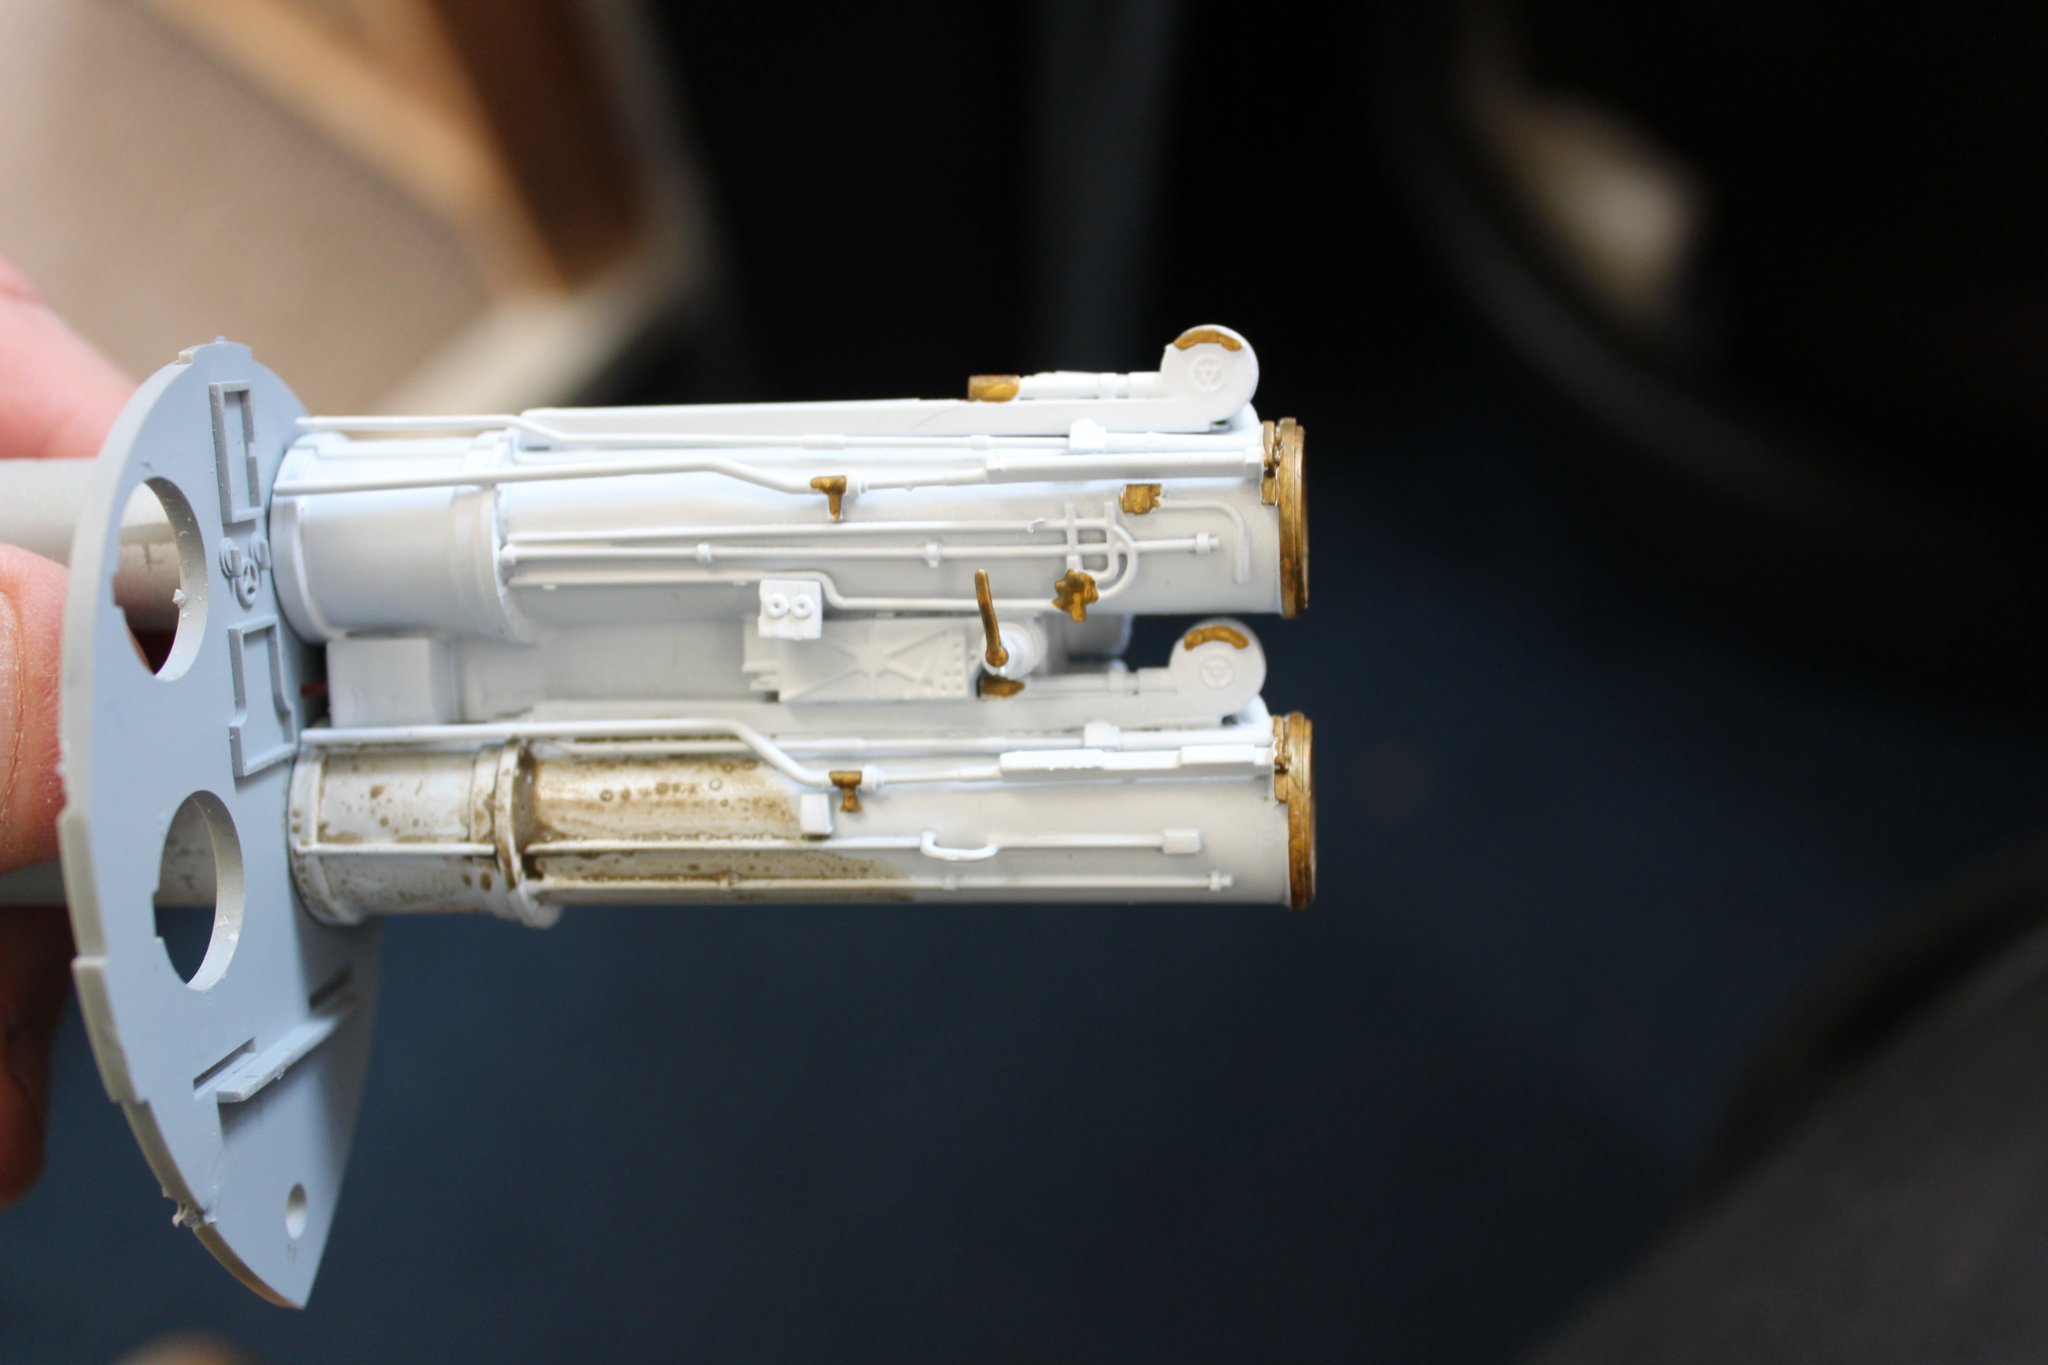
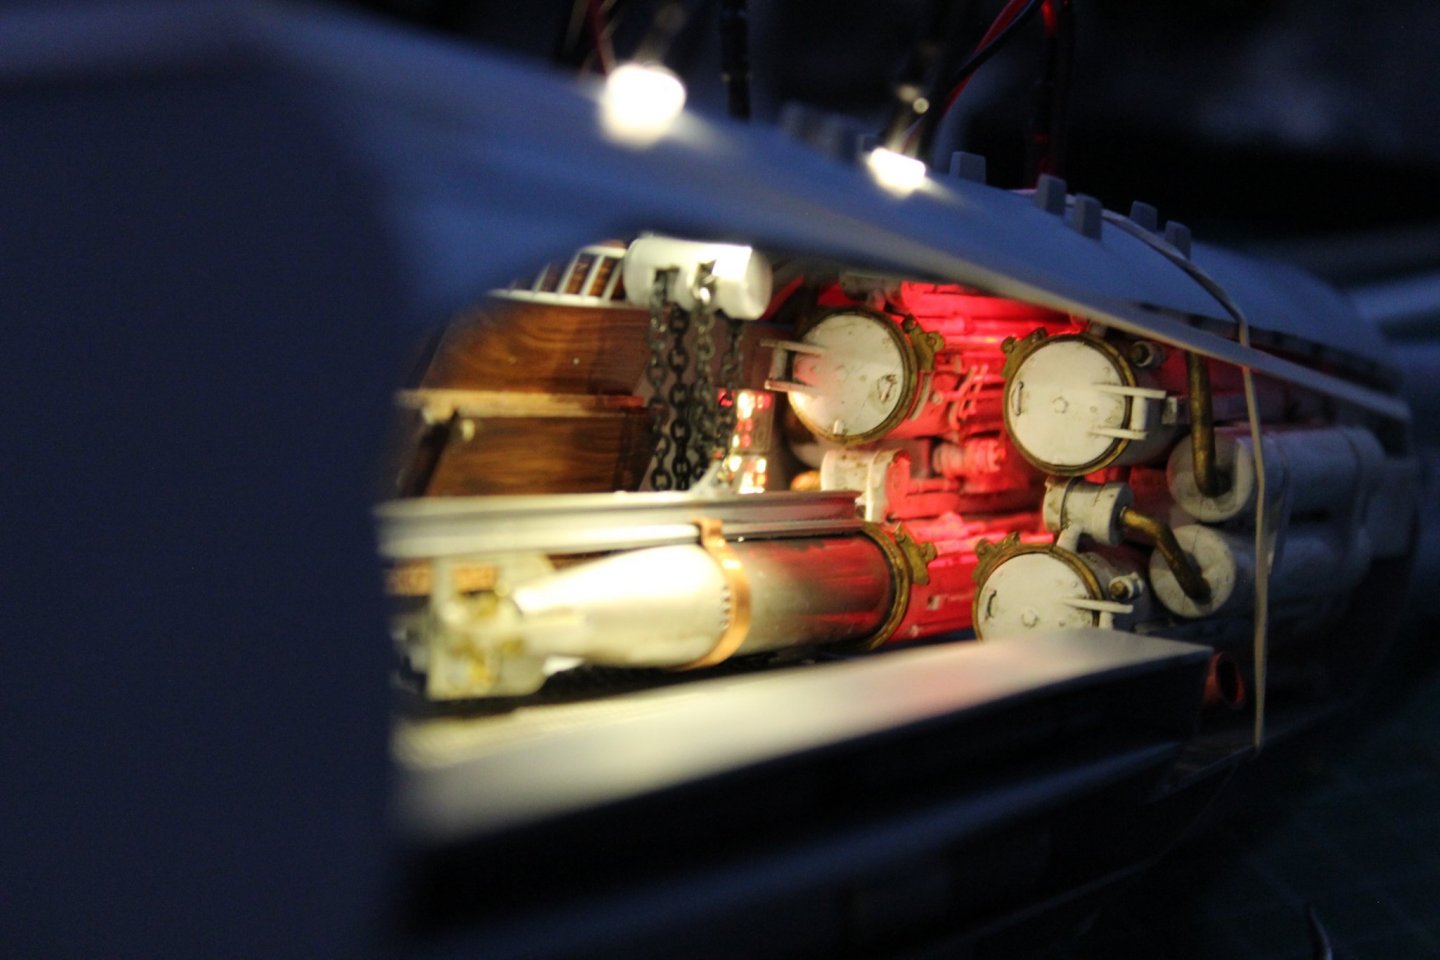
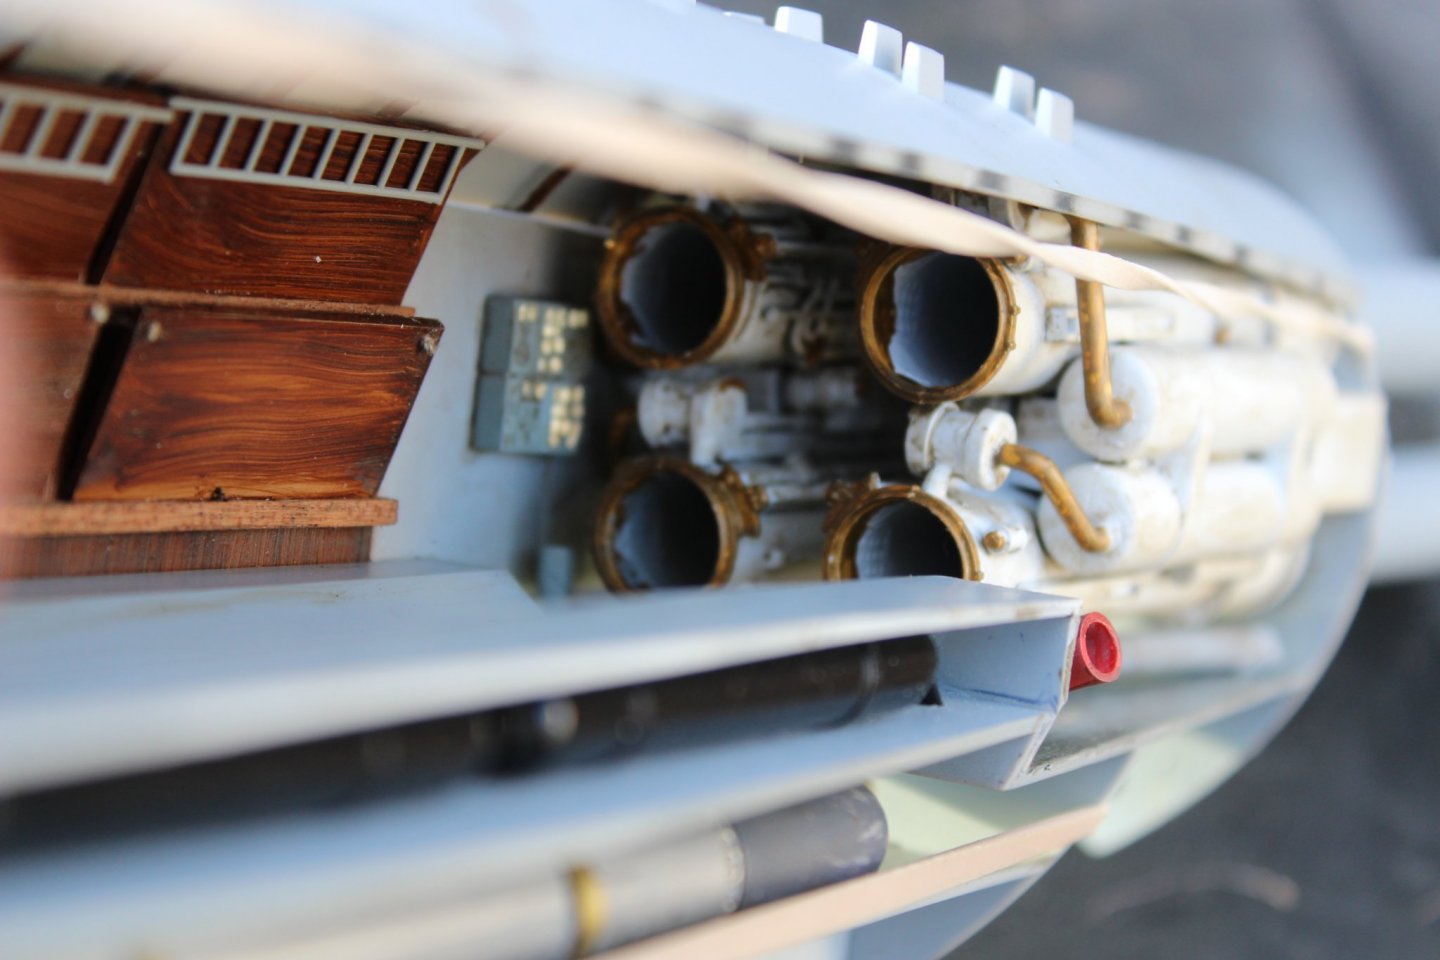
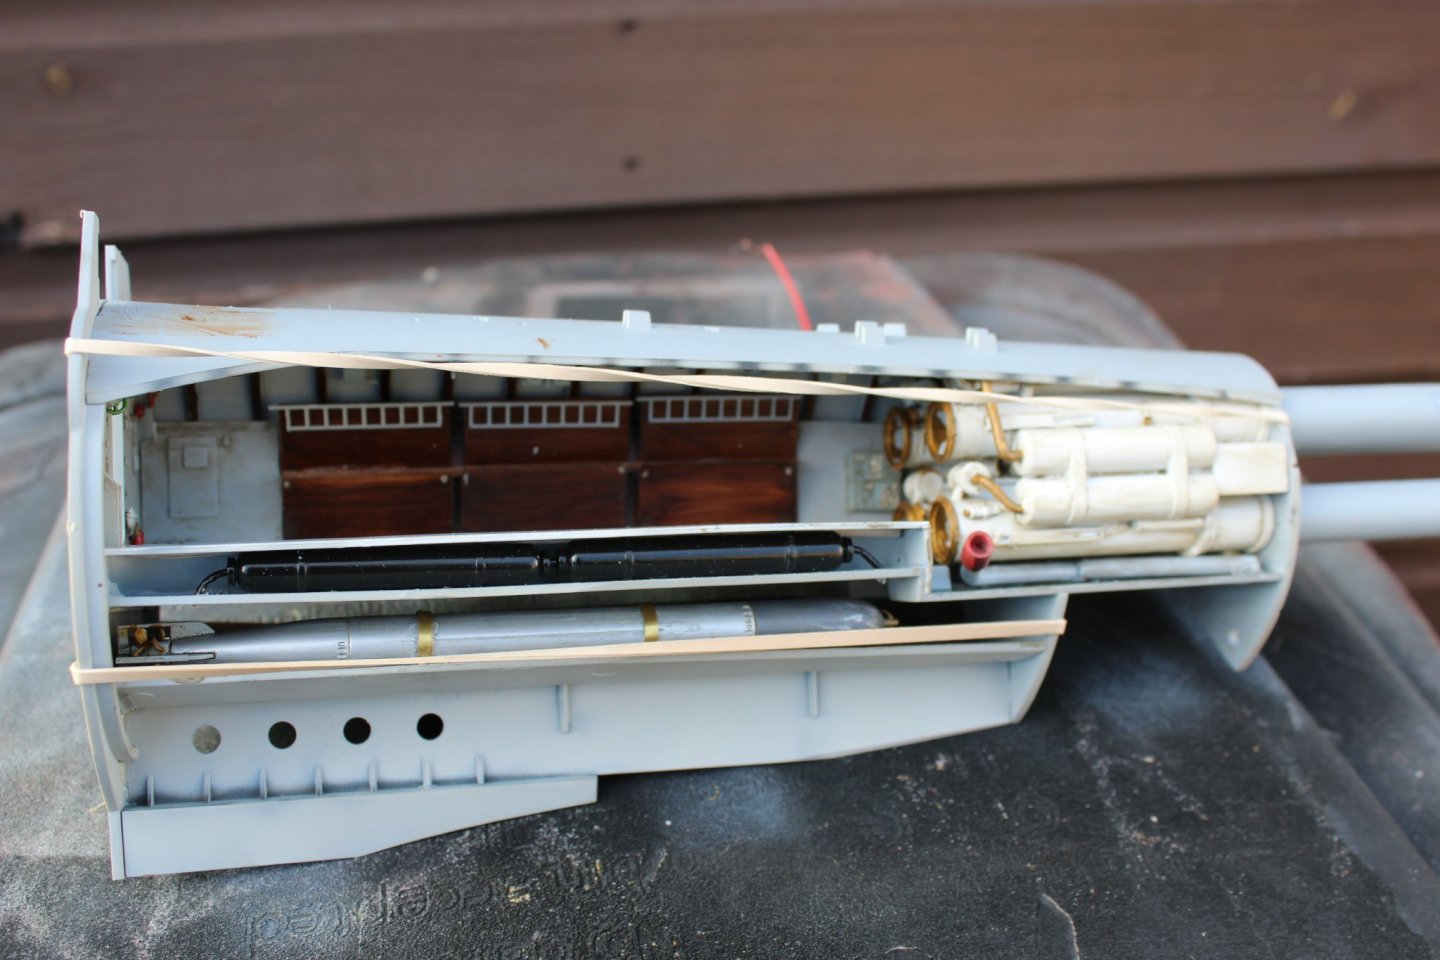
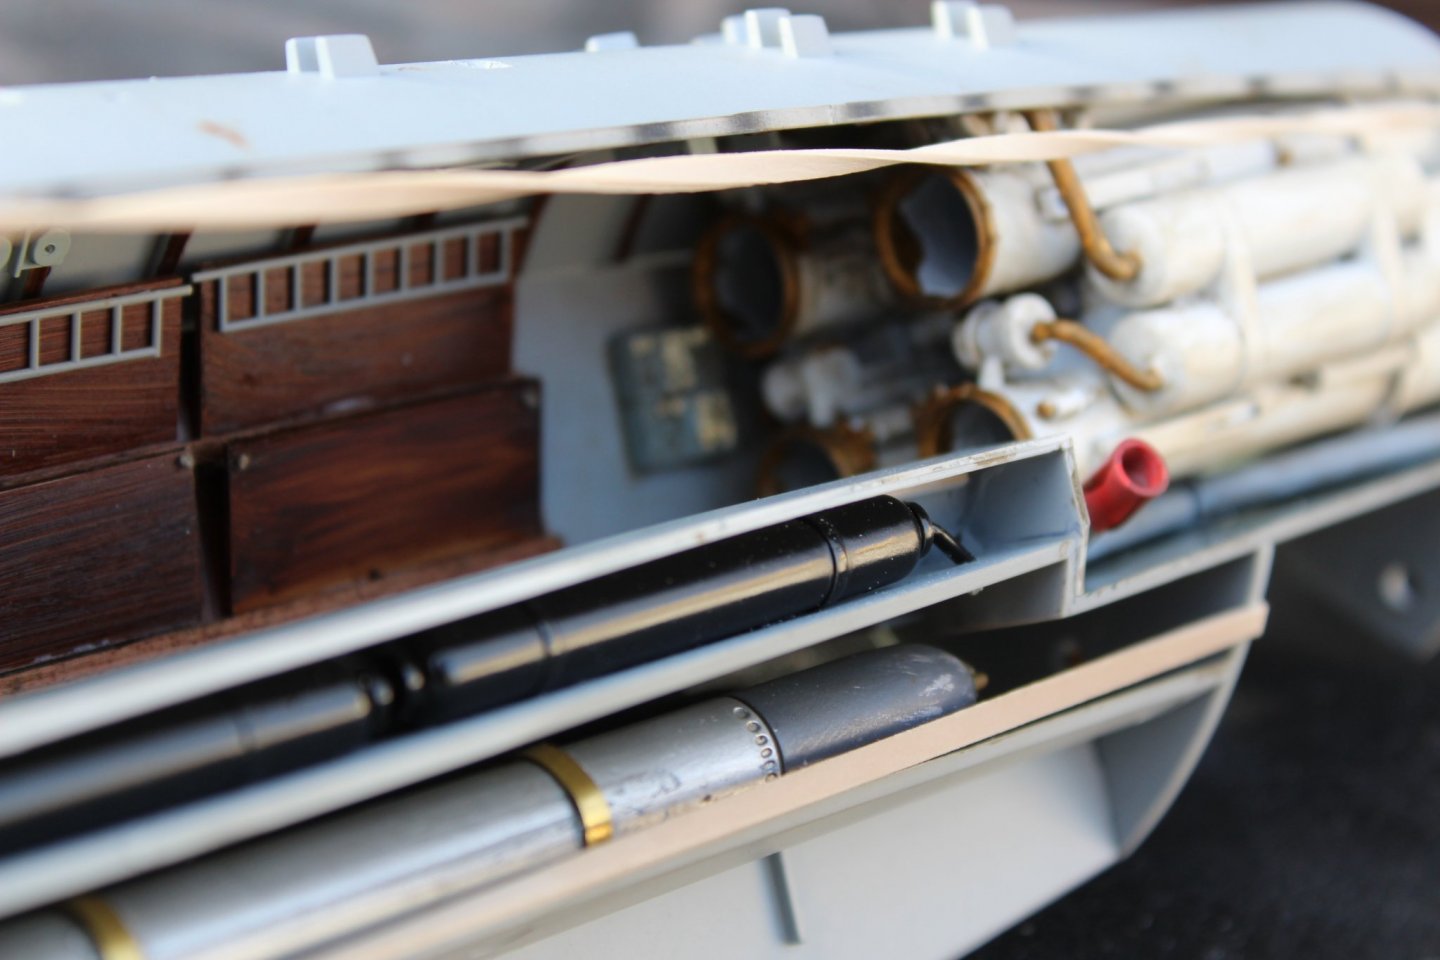
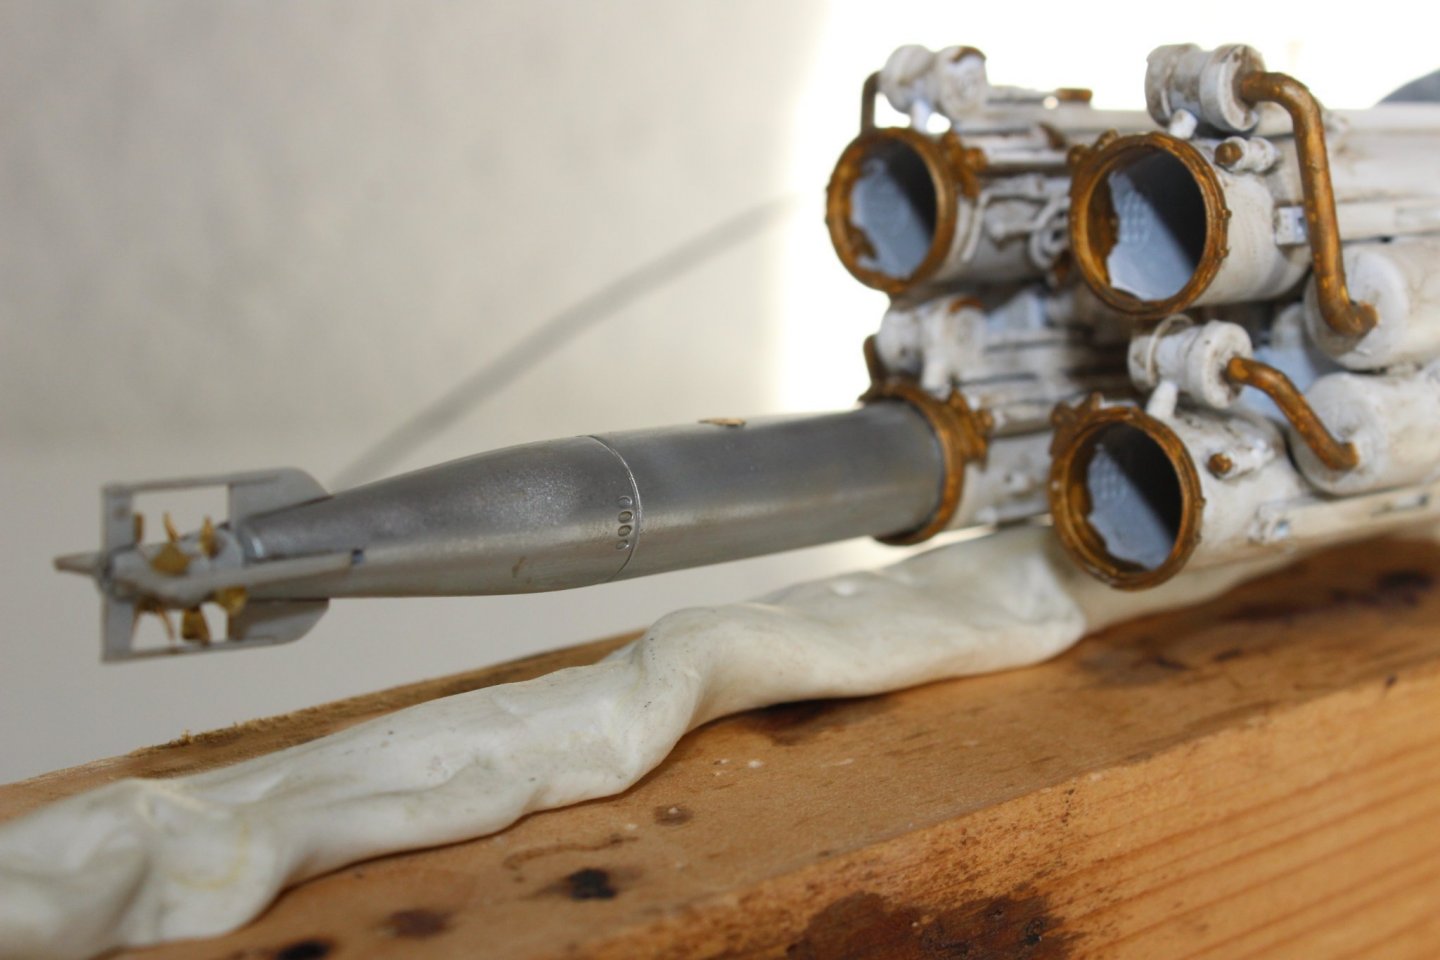
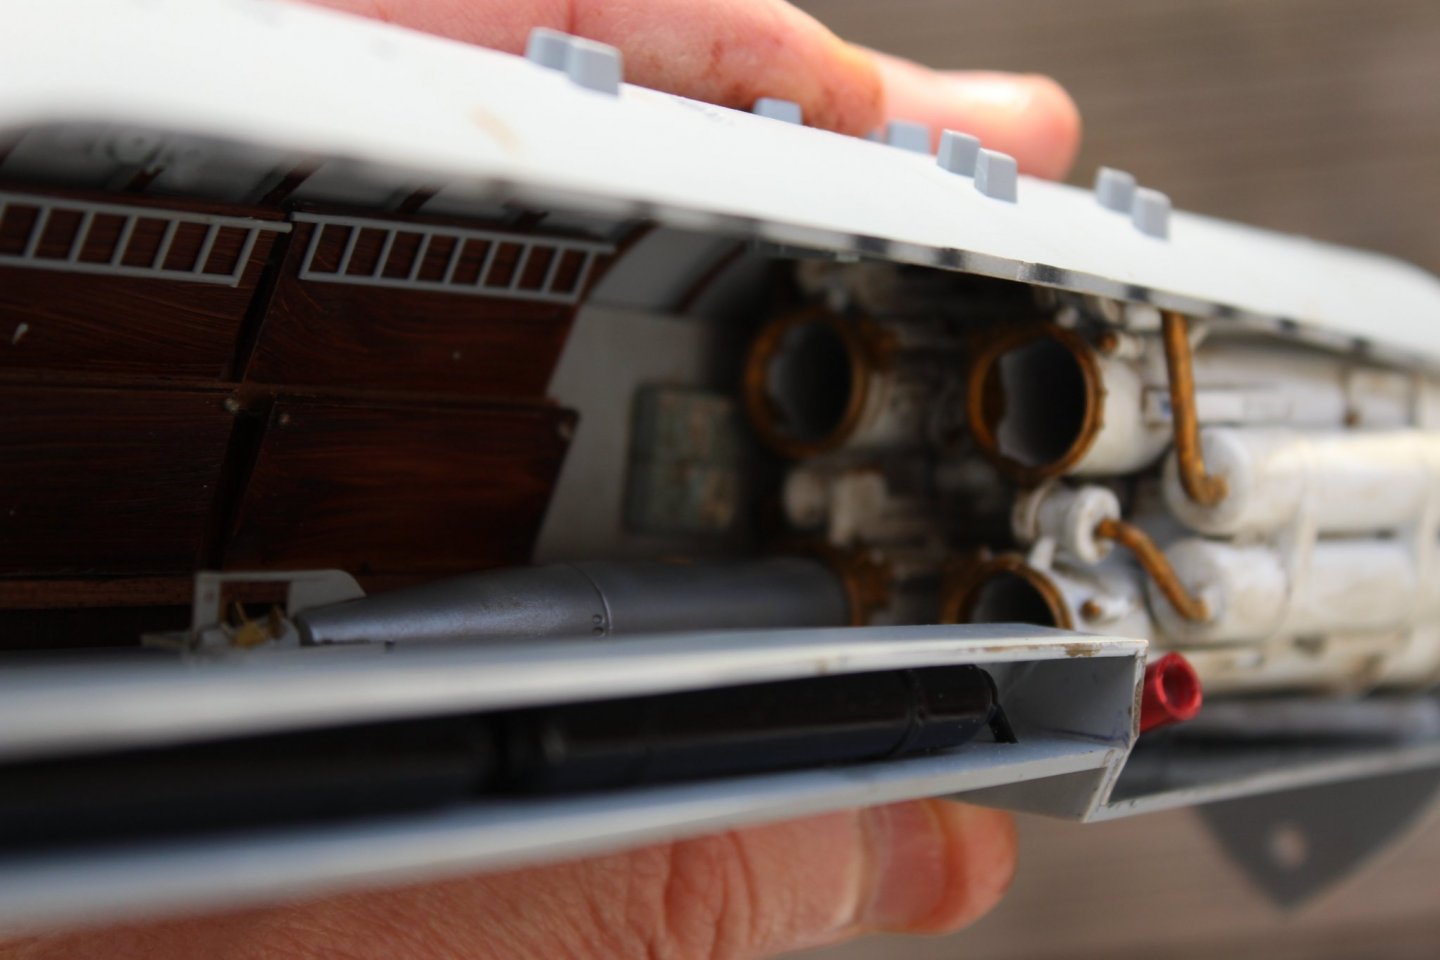
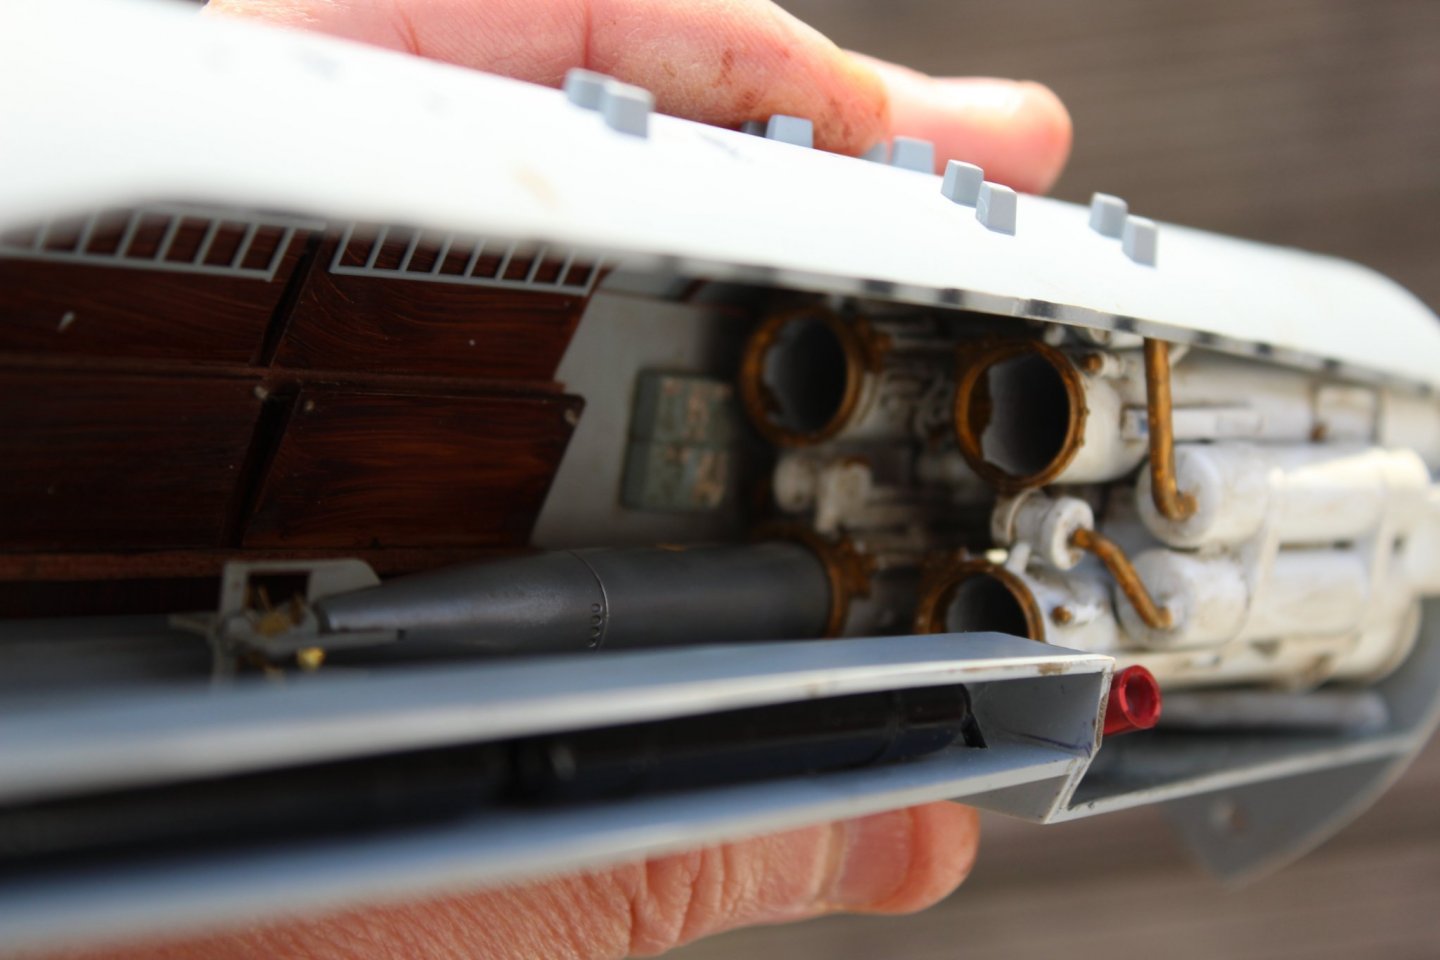
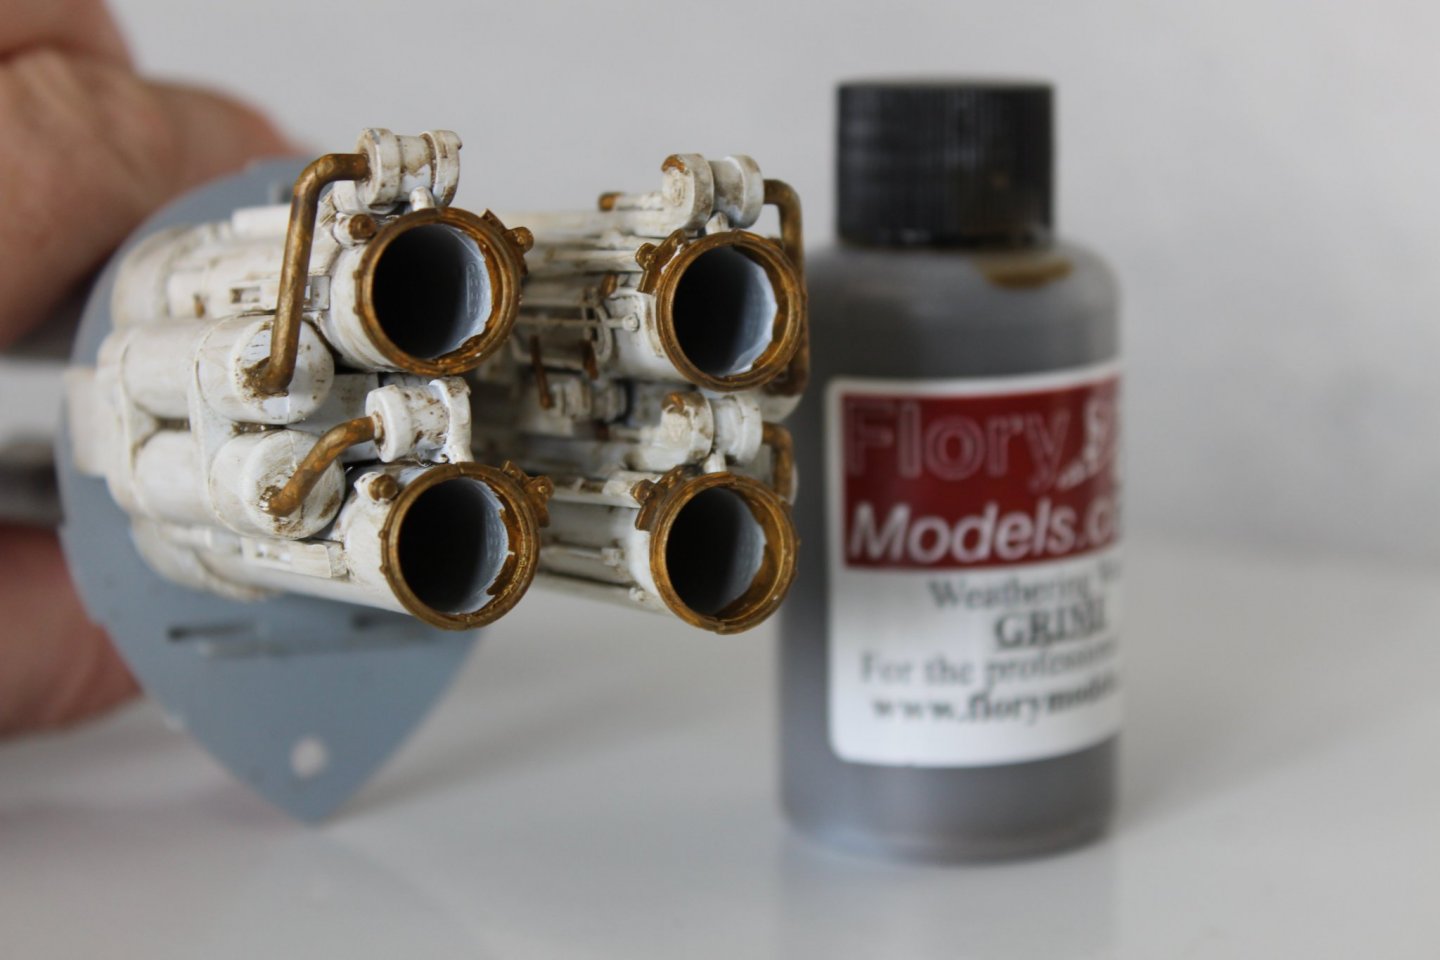
good afternoon everyone thank you for comments likes submarines never had space under the torpedo tubes, there was a multitude of pipes, strainers, and valves, so although this is artistic licience, i closed the gap in a bit, no one is going to be able to follow a pipe mig oil stain used under the tubes, my loading torpedo get the chop after a aluminium paint job and a new set of props the bunk beds from the kit were discarded as the bunks would have been raised whilst loading the fish sorry about the poor photos, i need one hand to keep it all together arrived today


- 90 replies
-
- 11
-
-
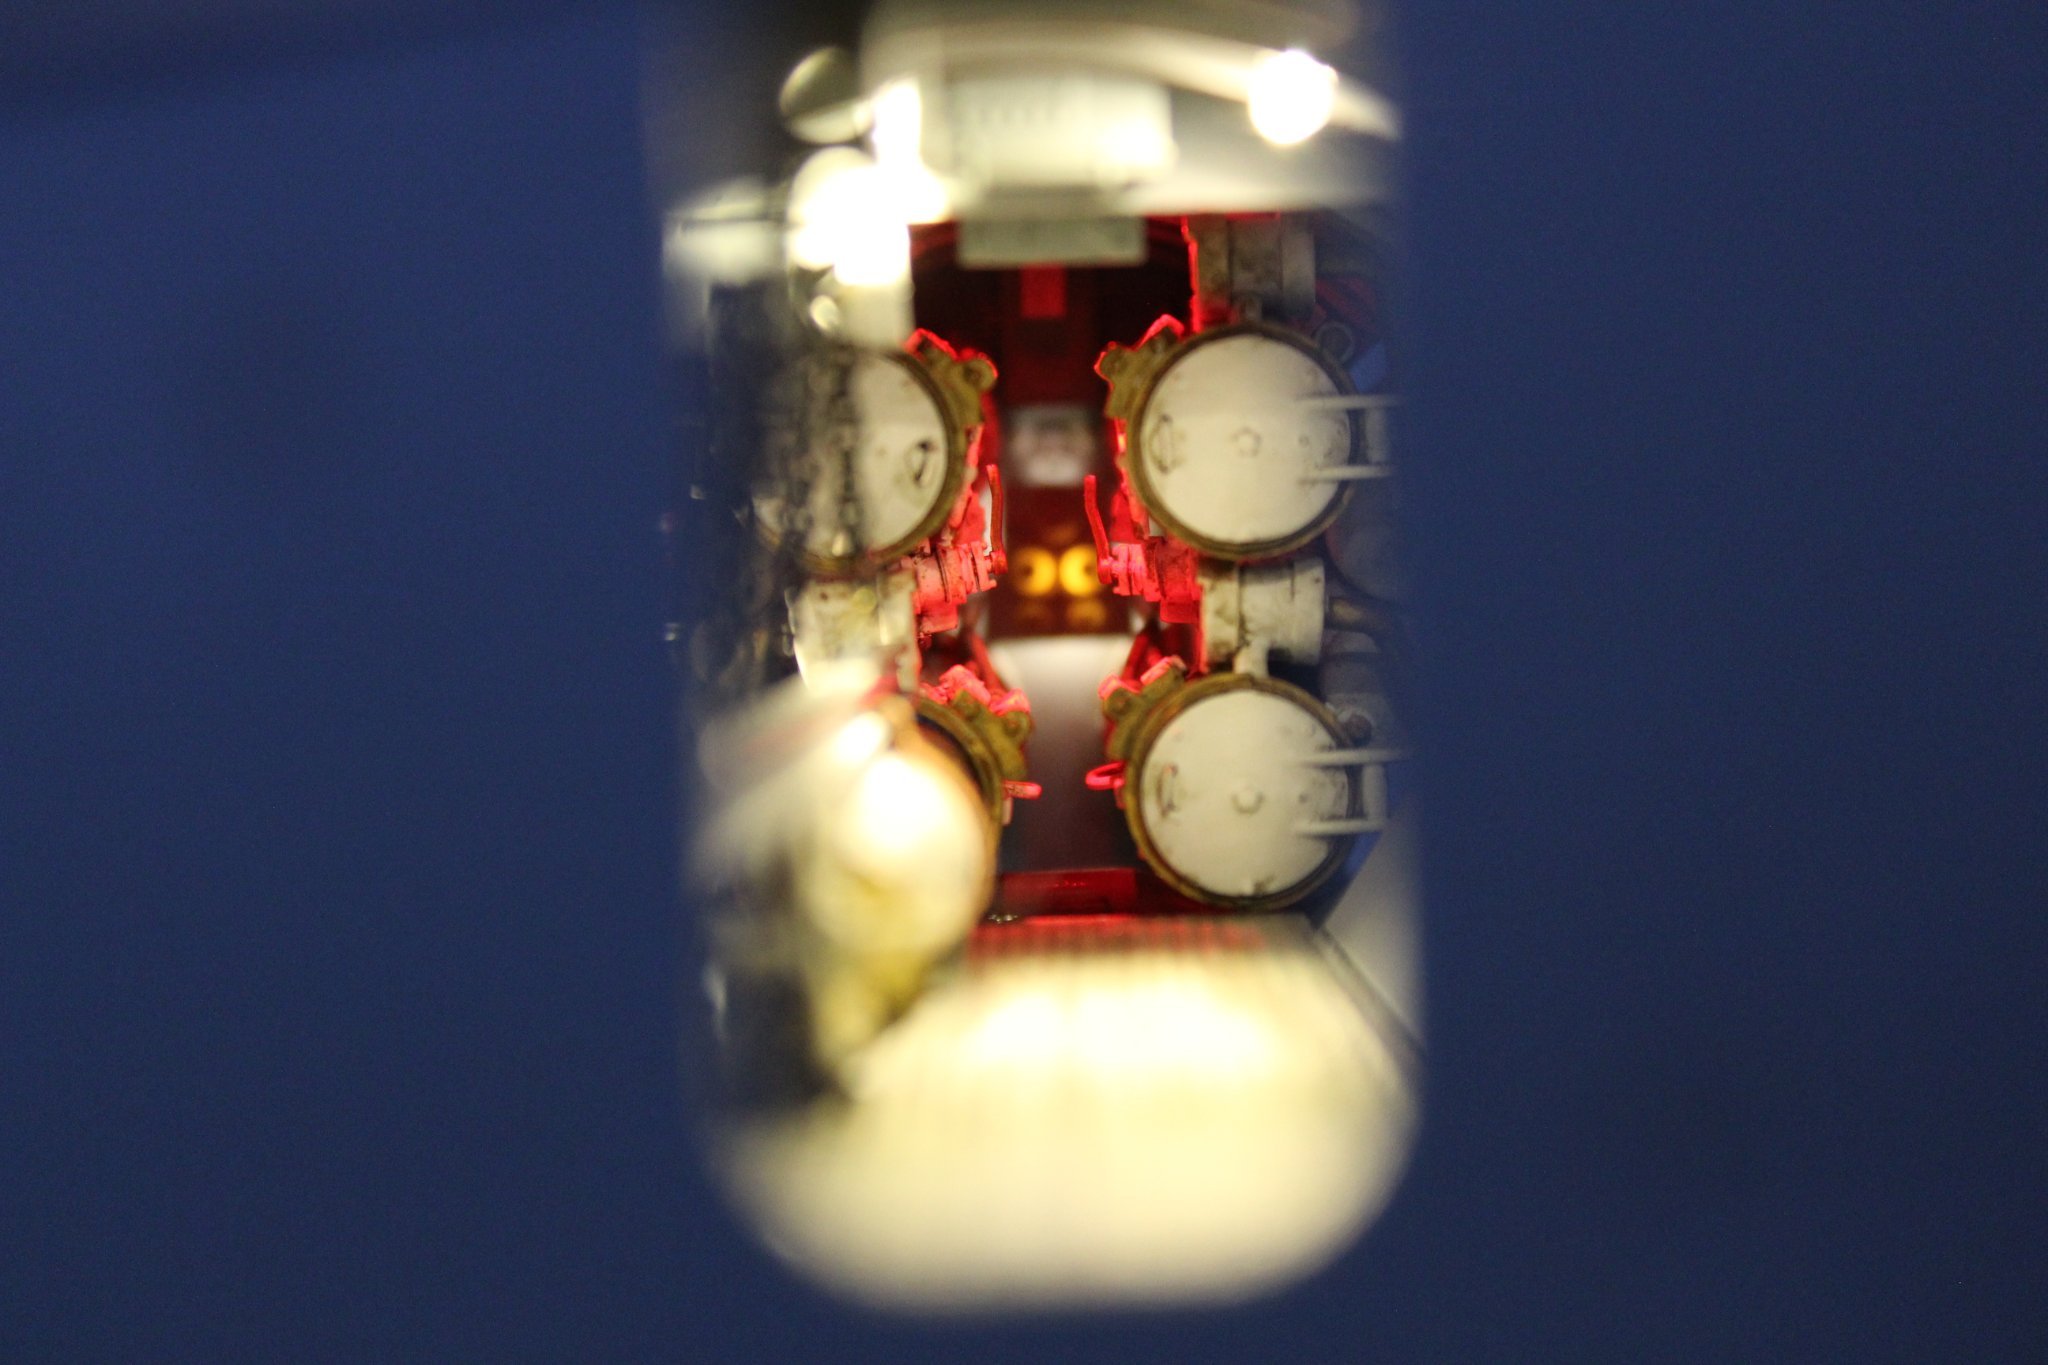
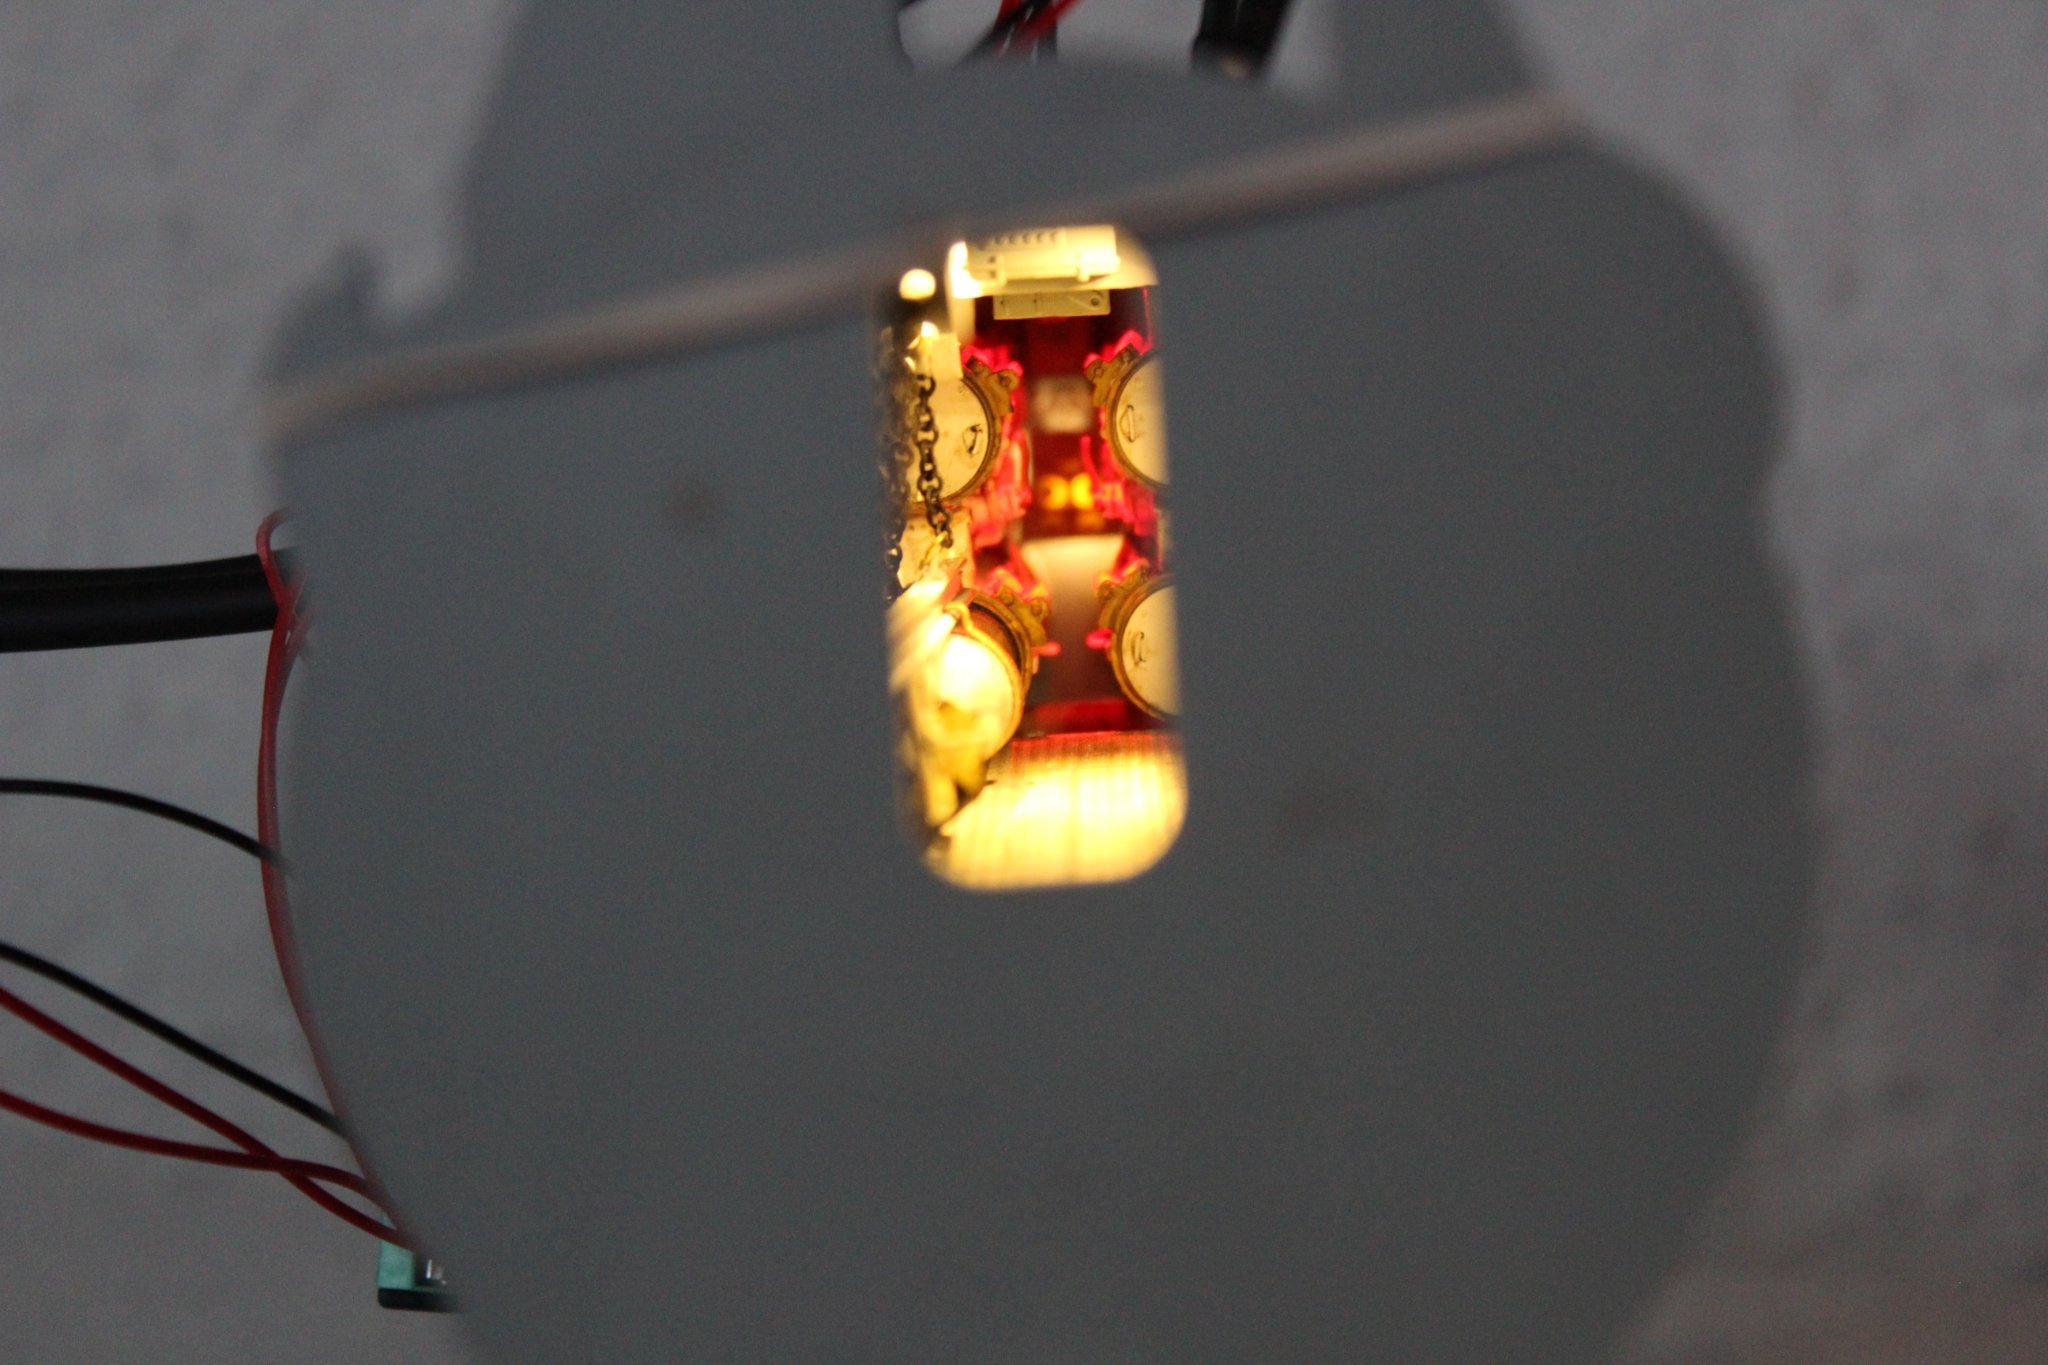
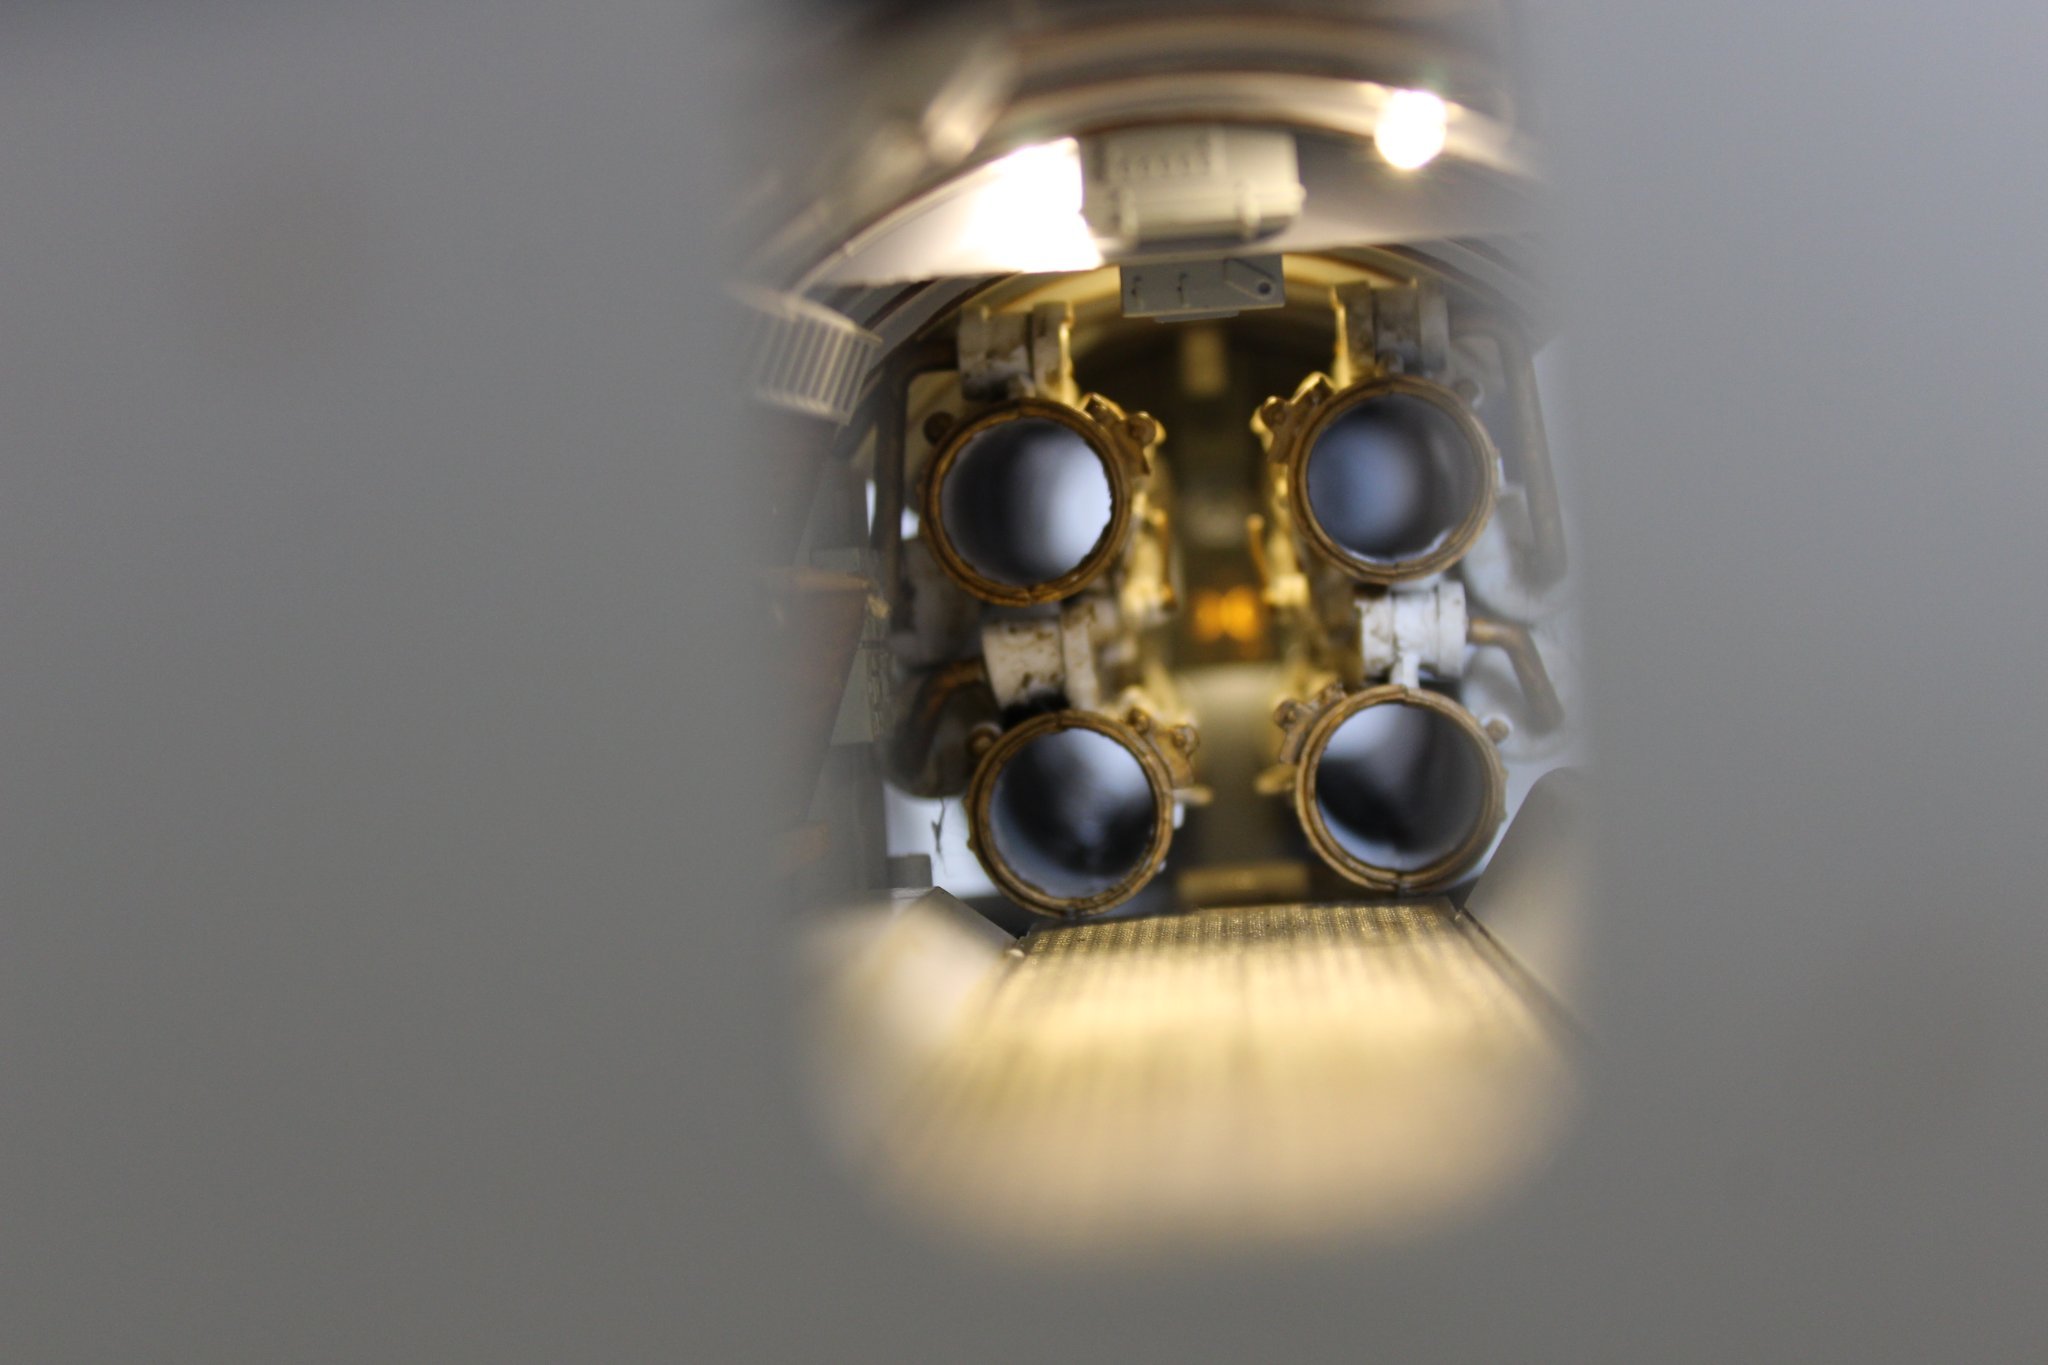
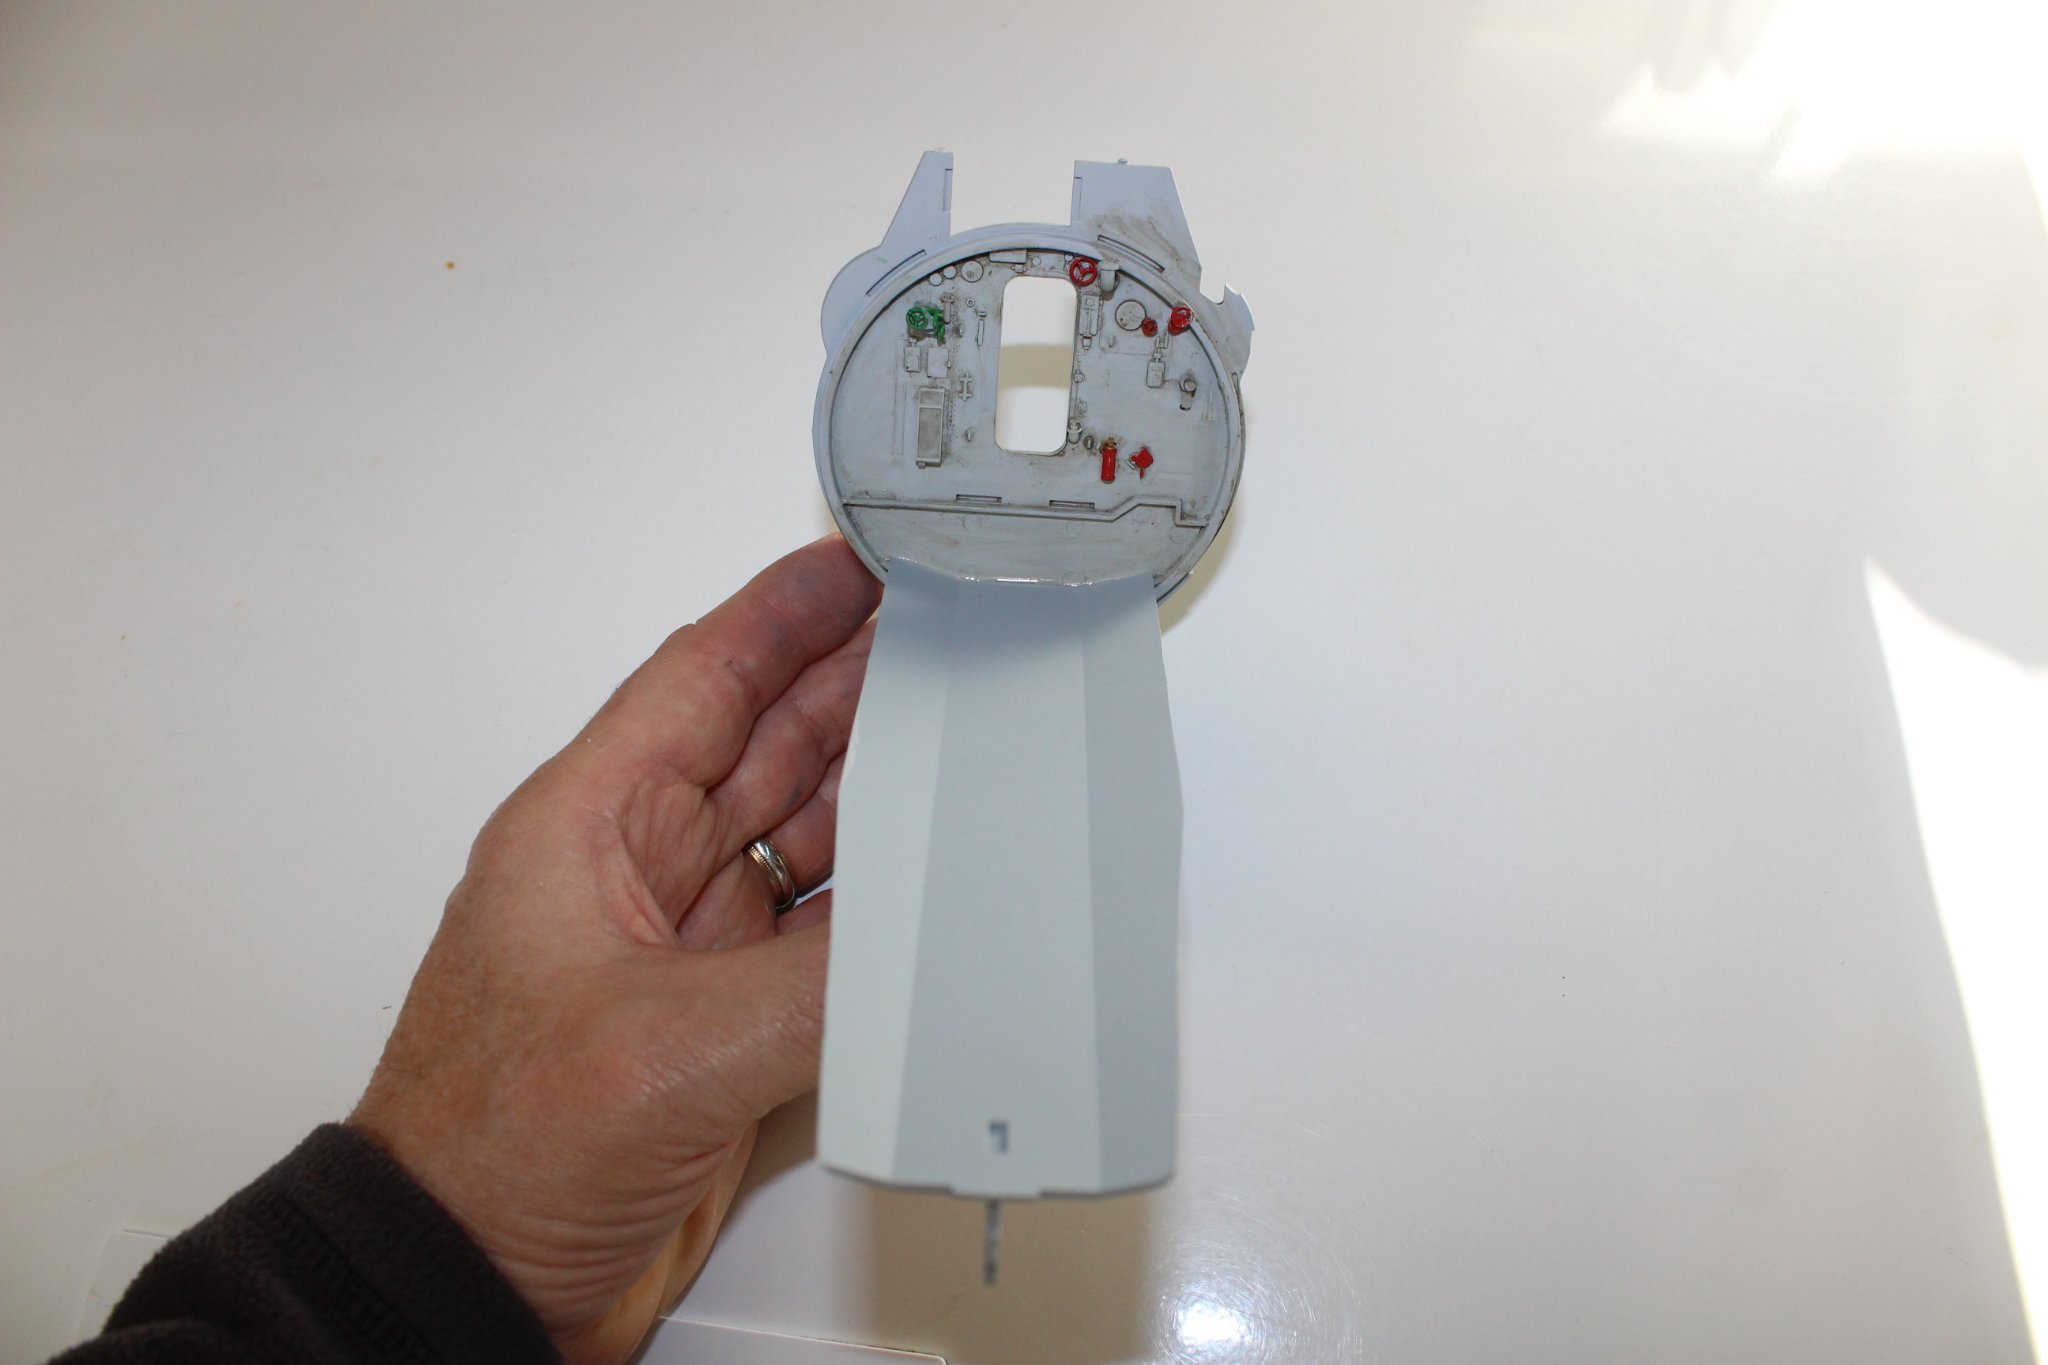
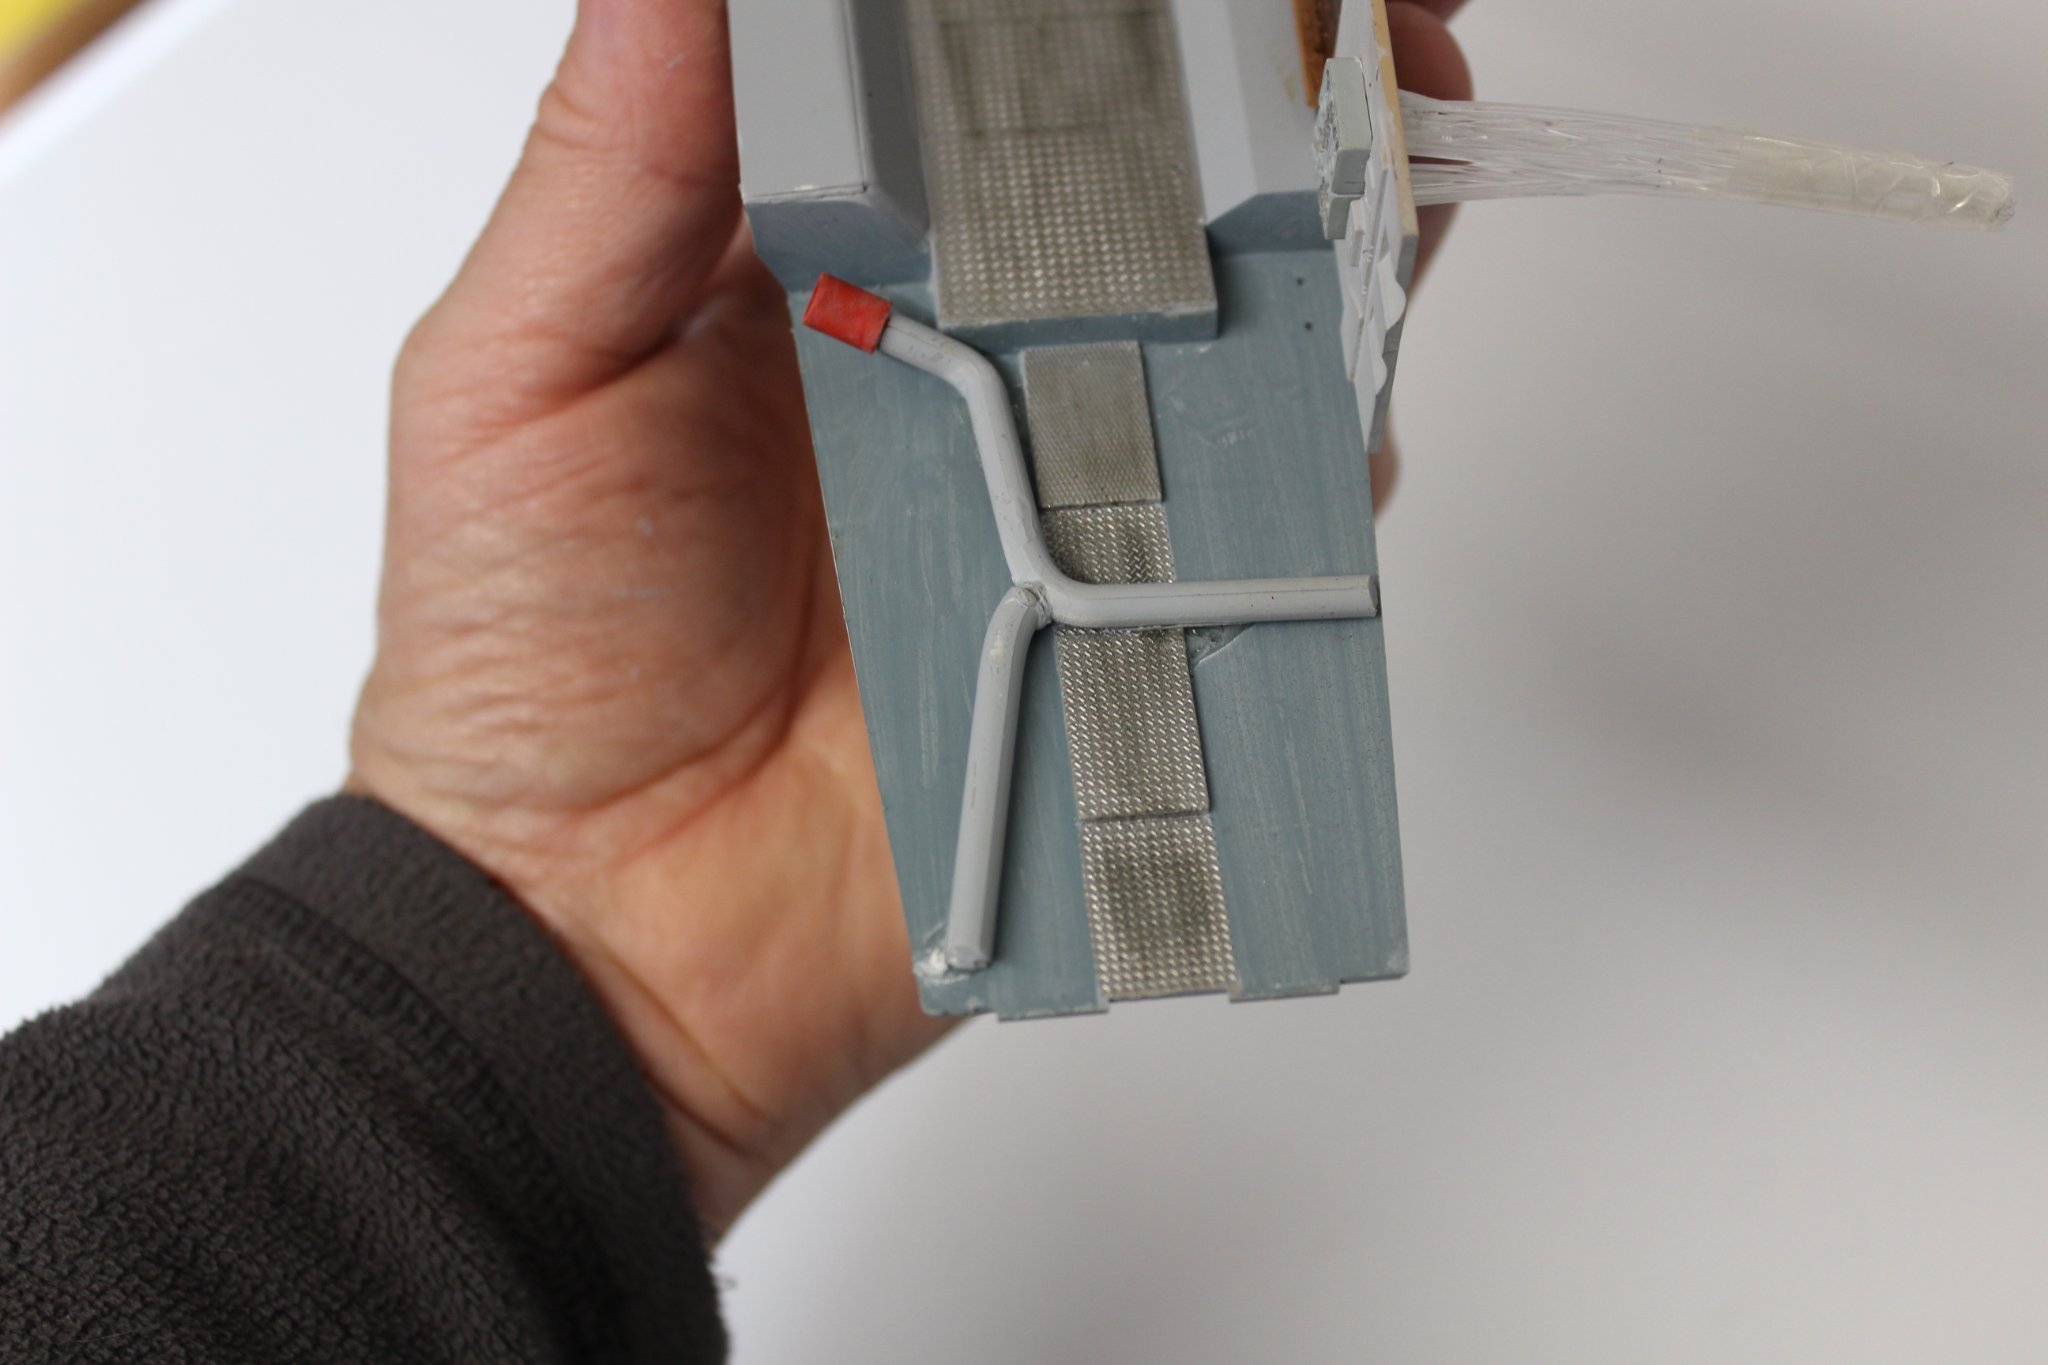
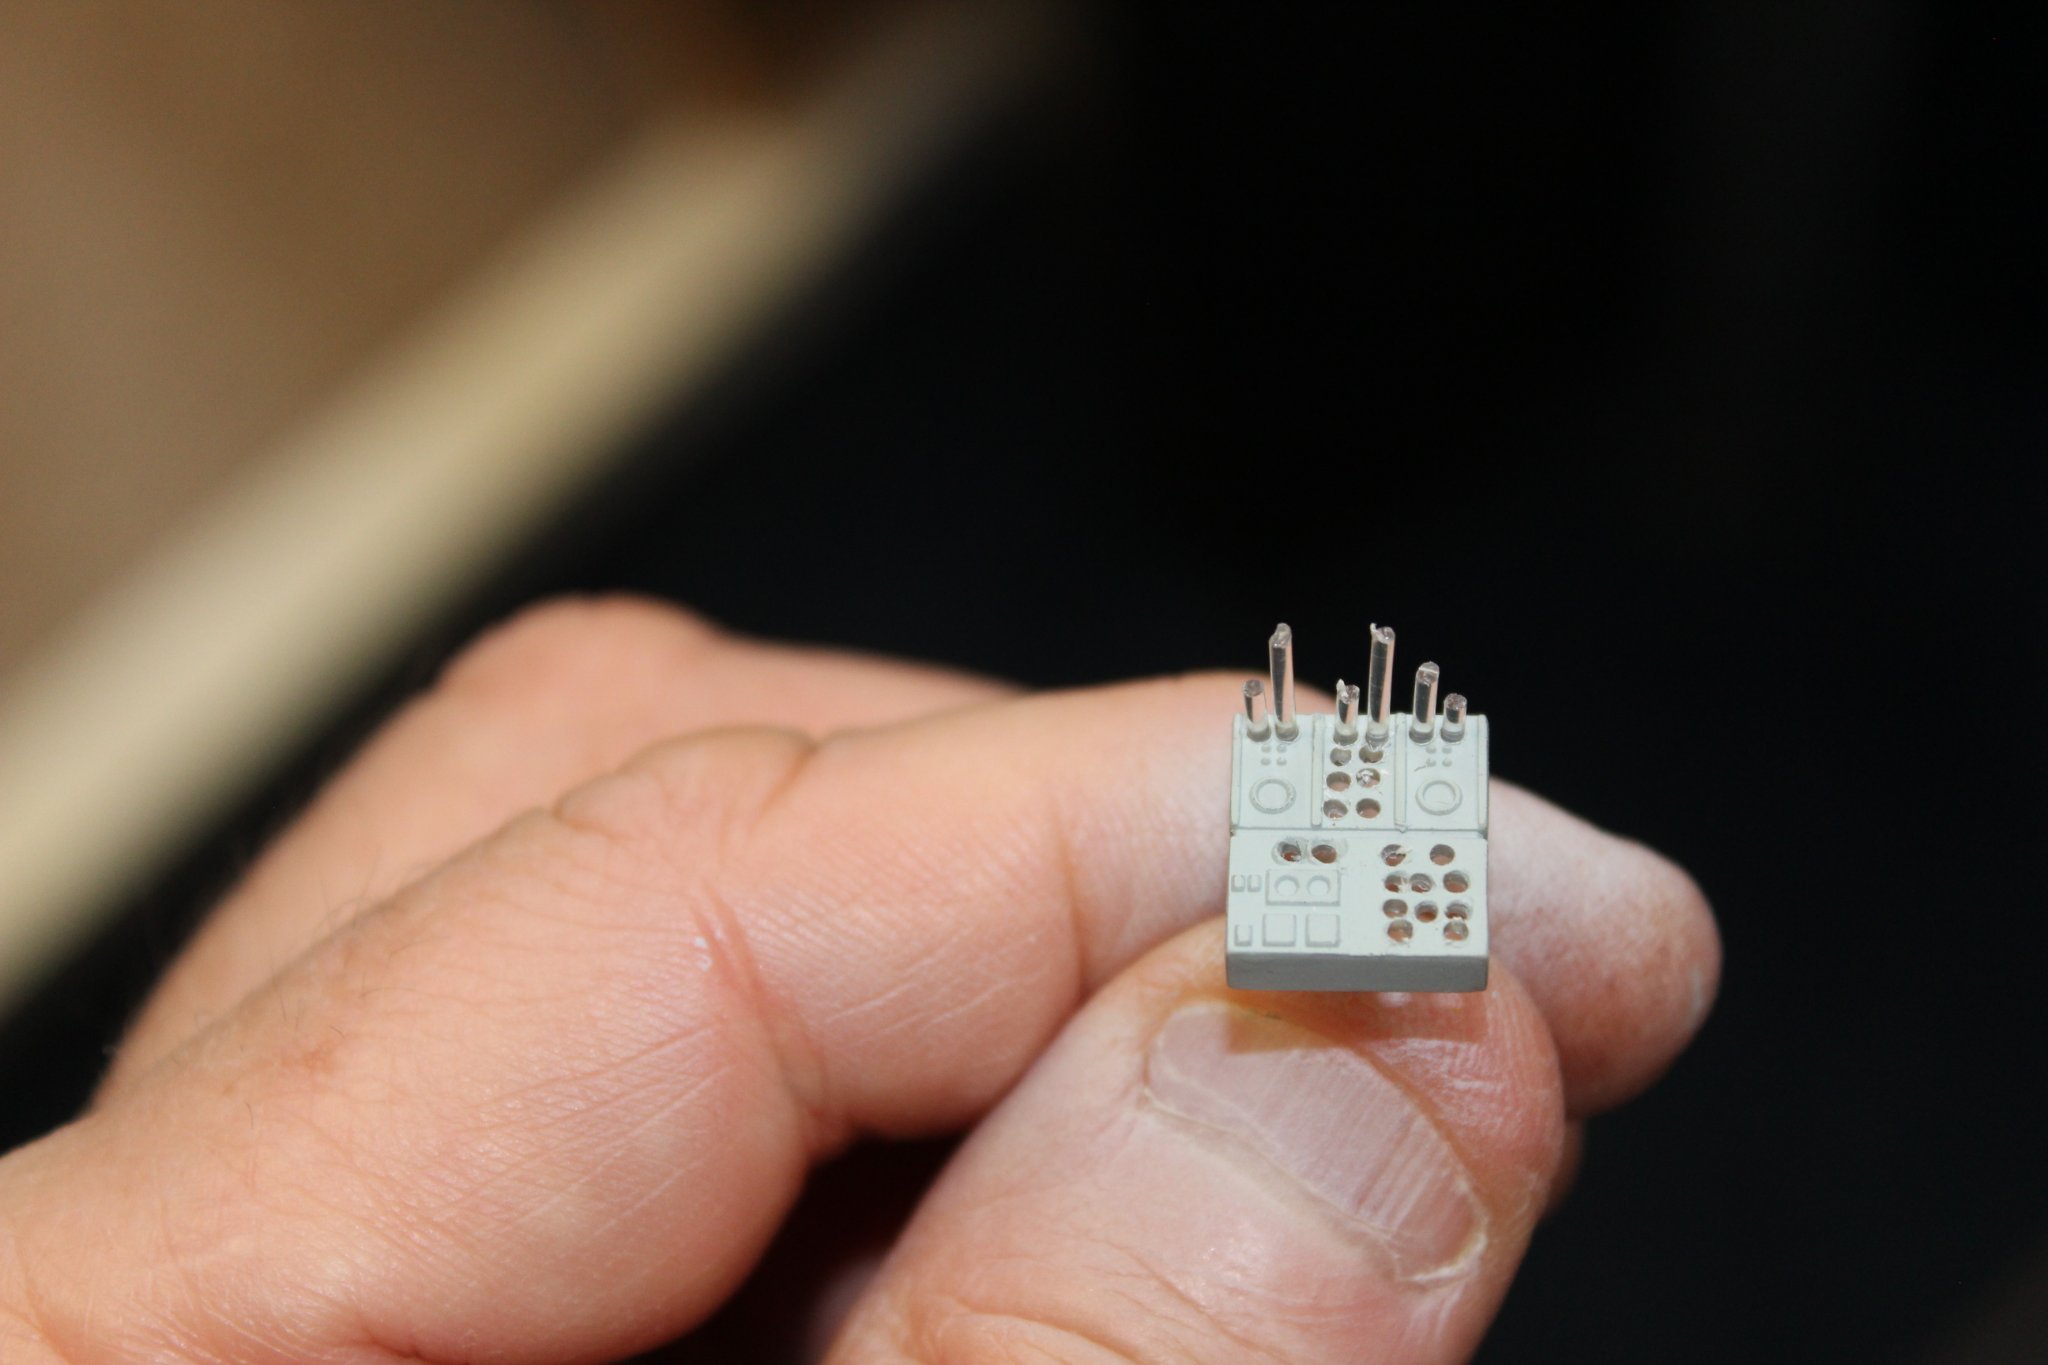
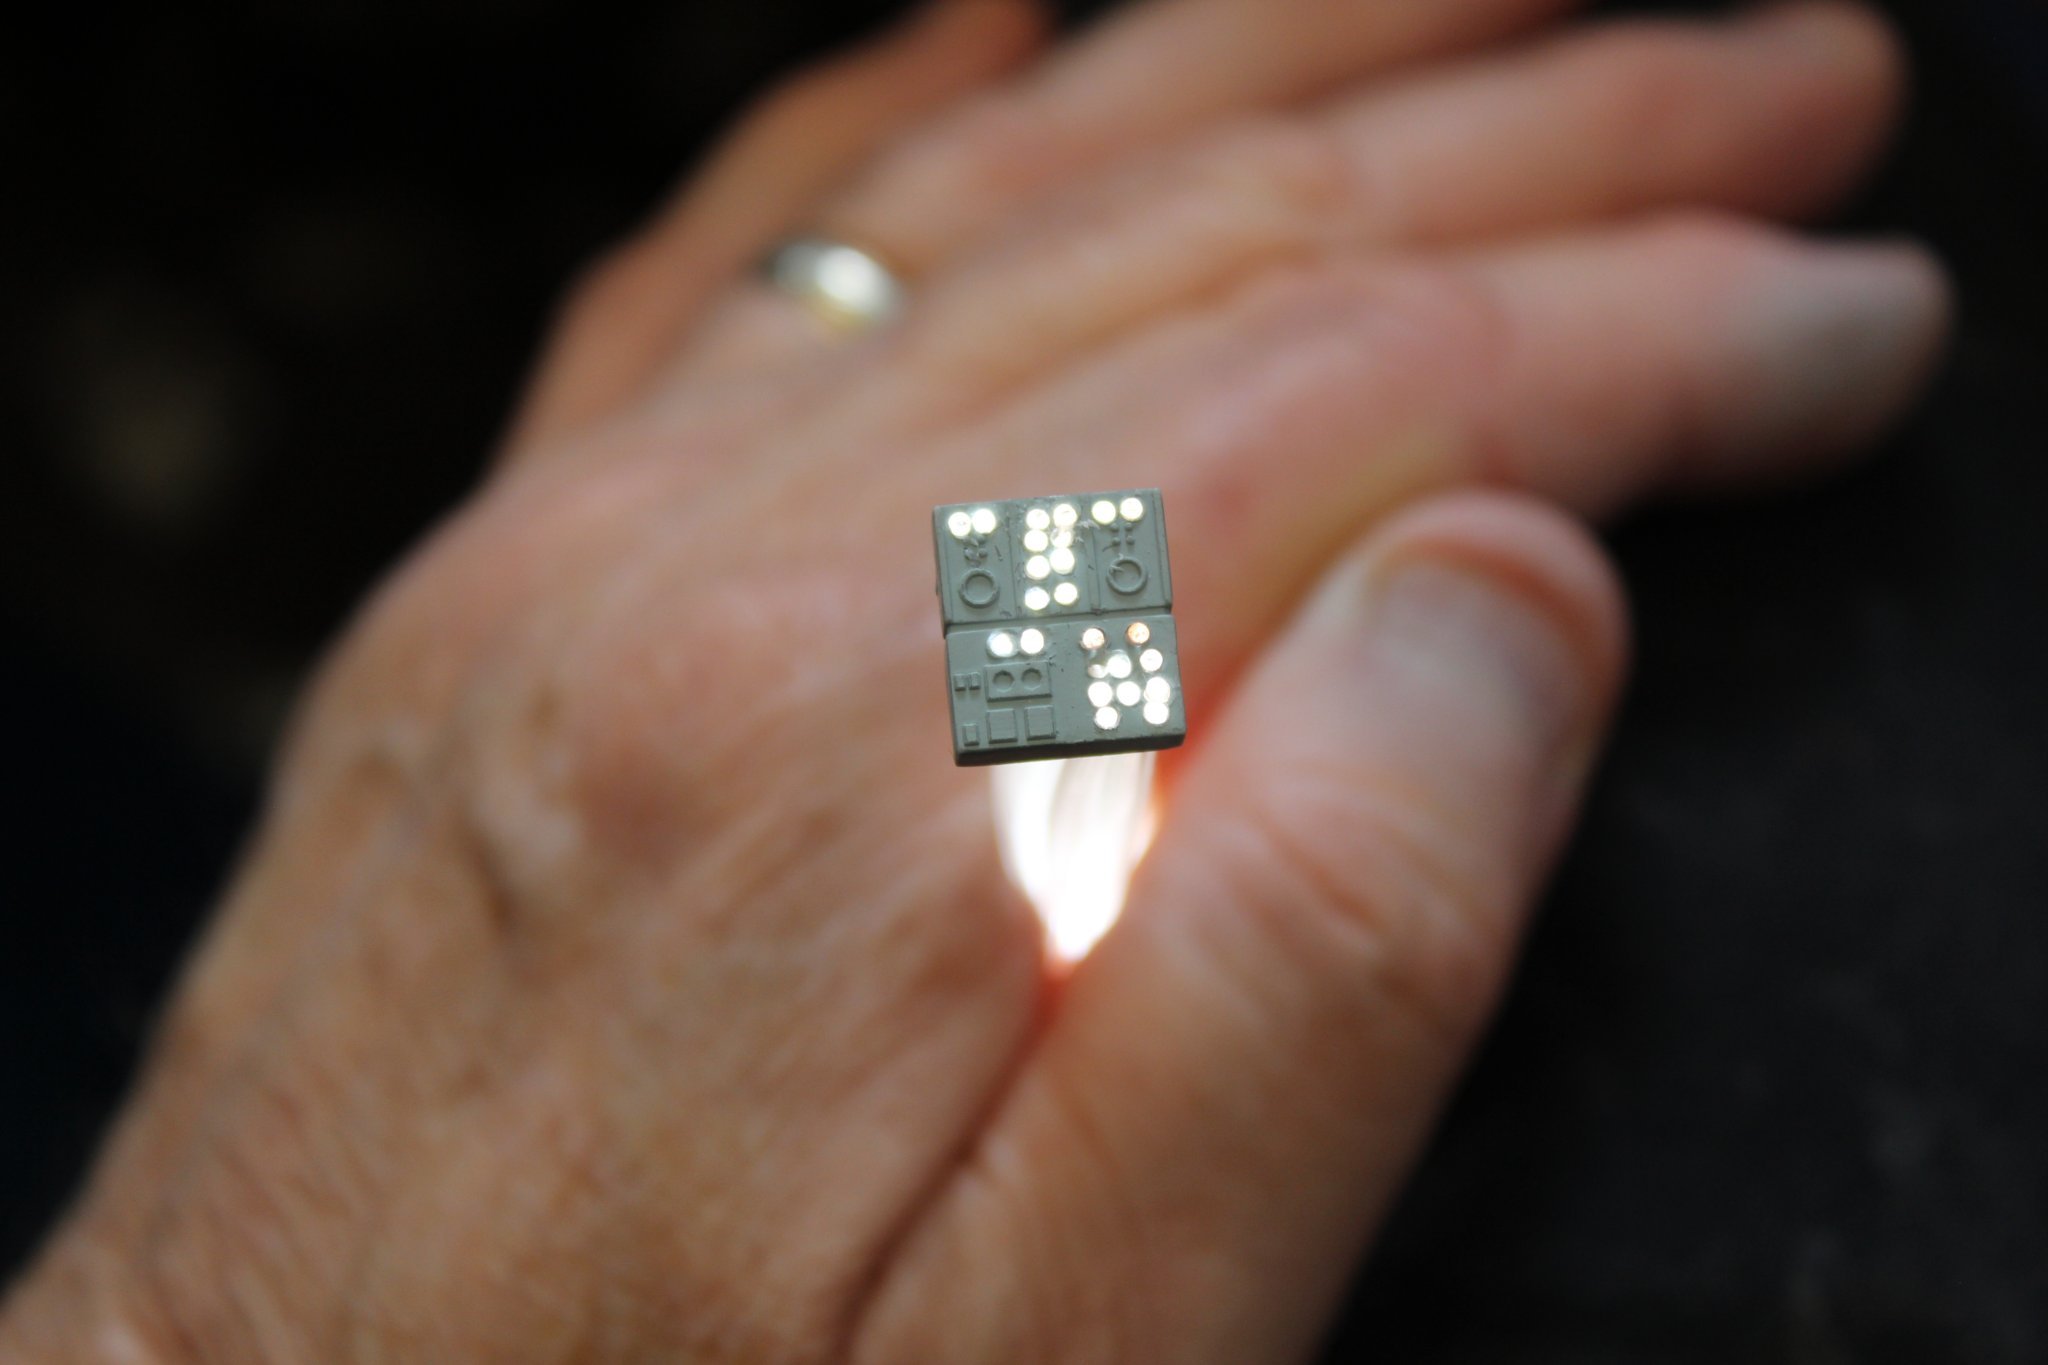
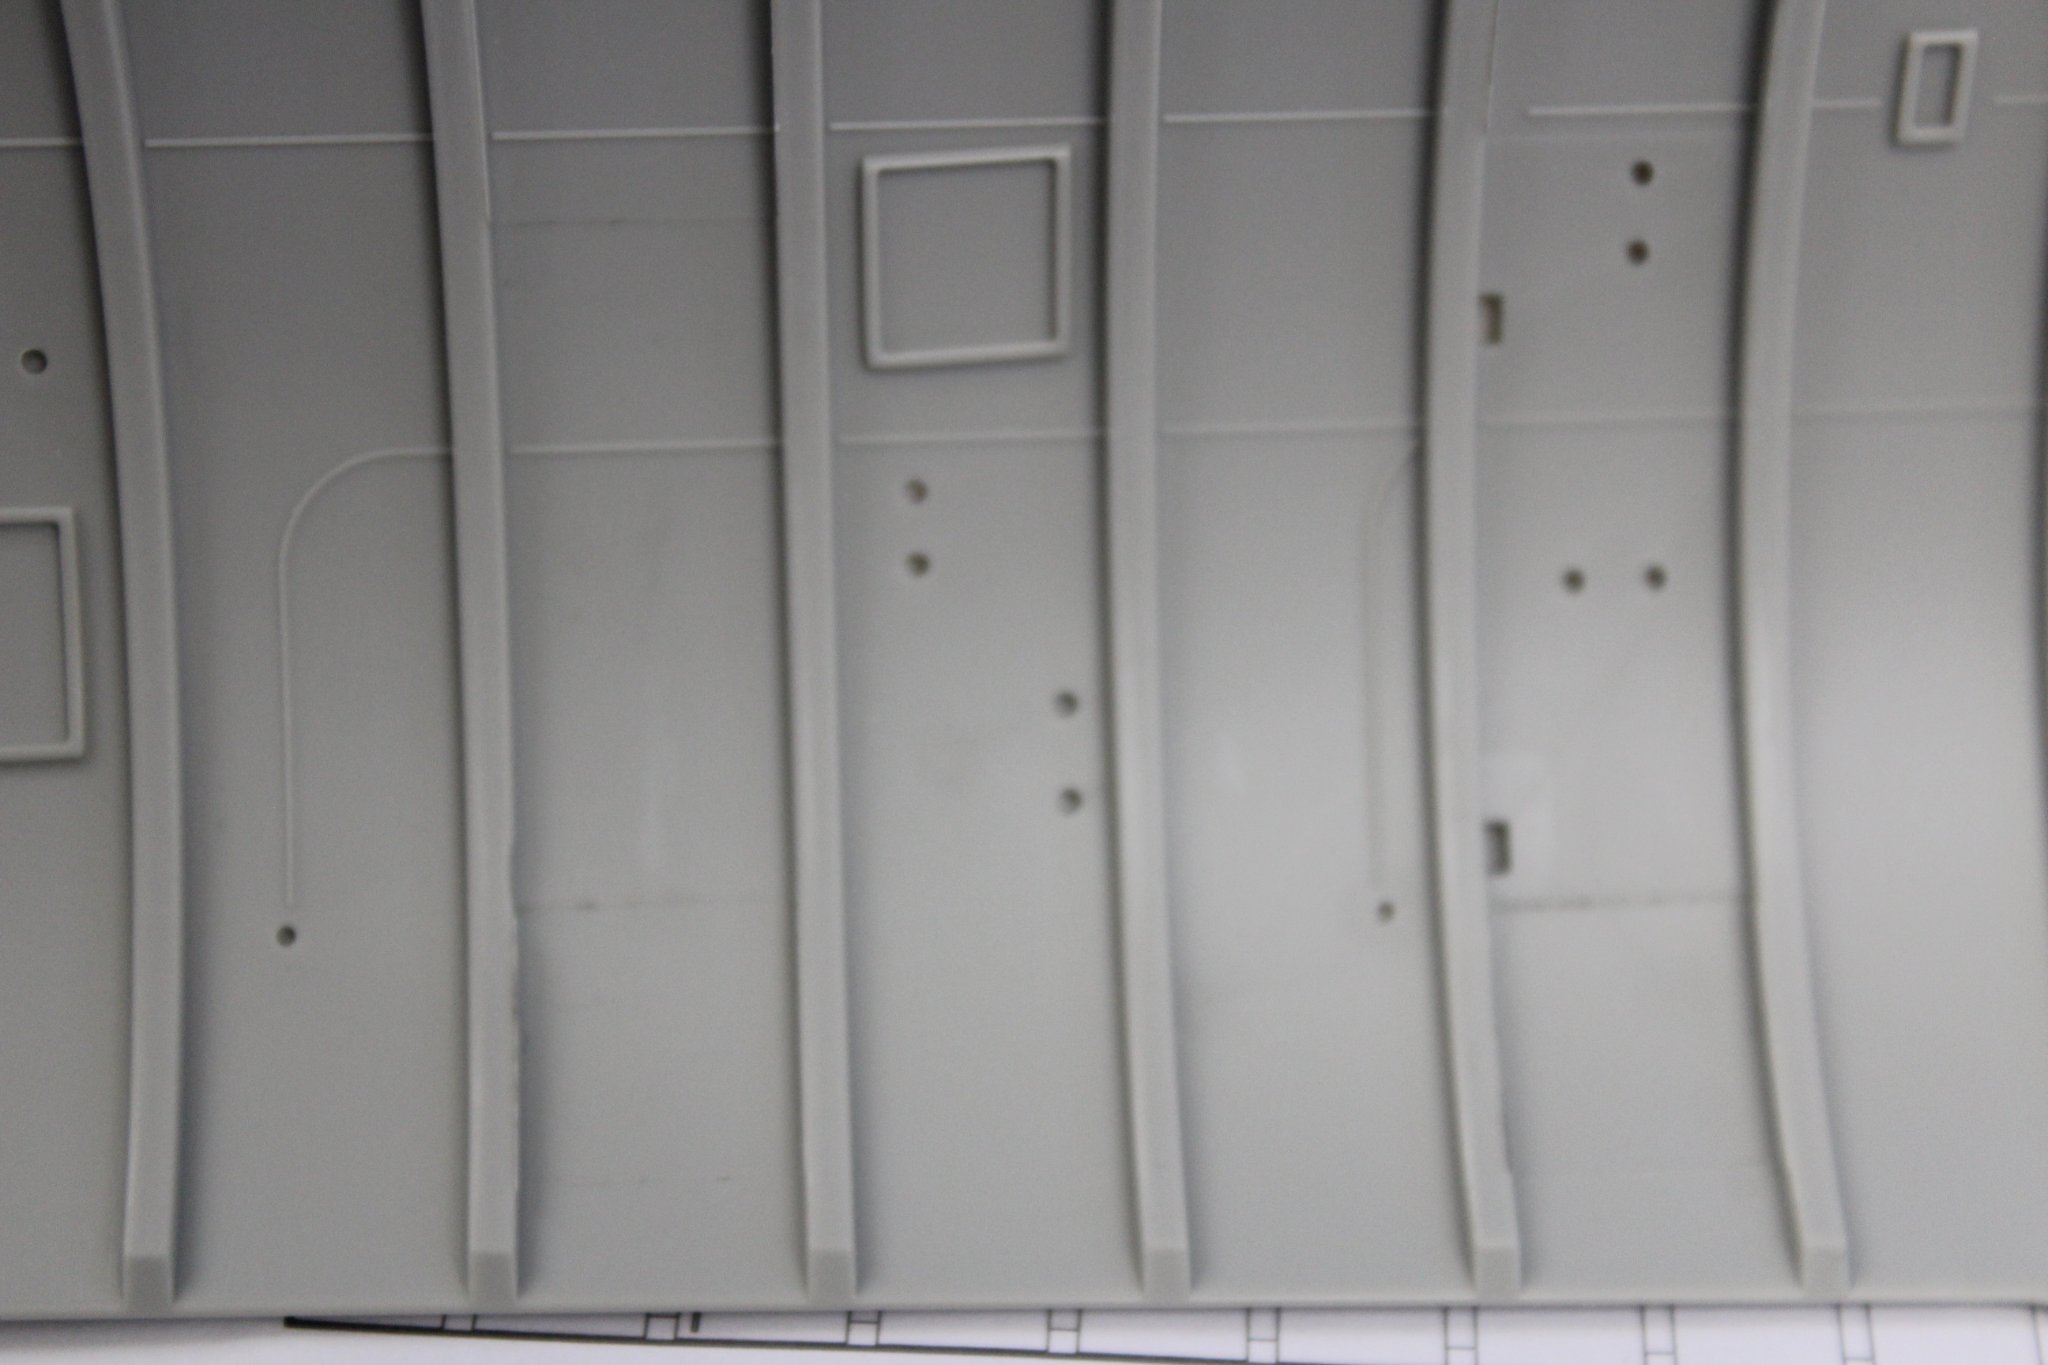
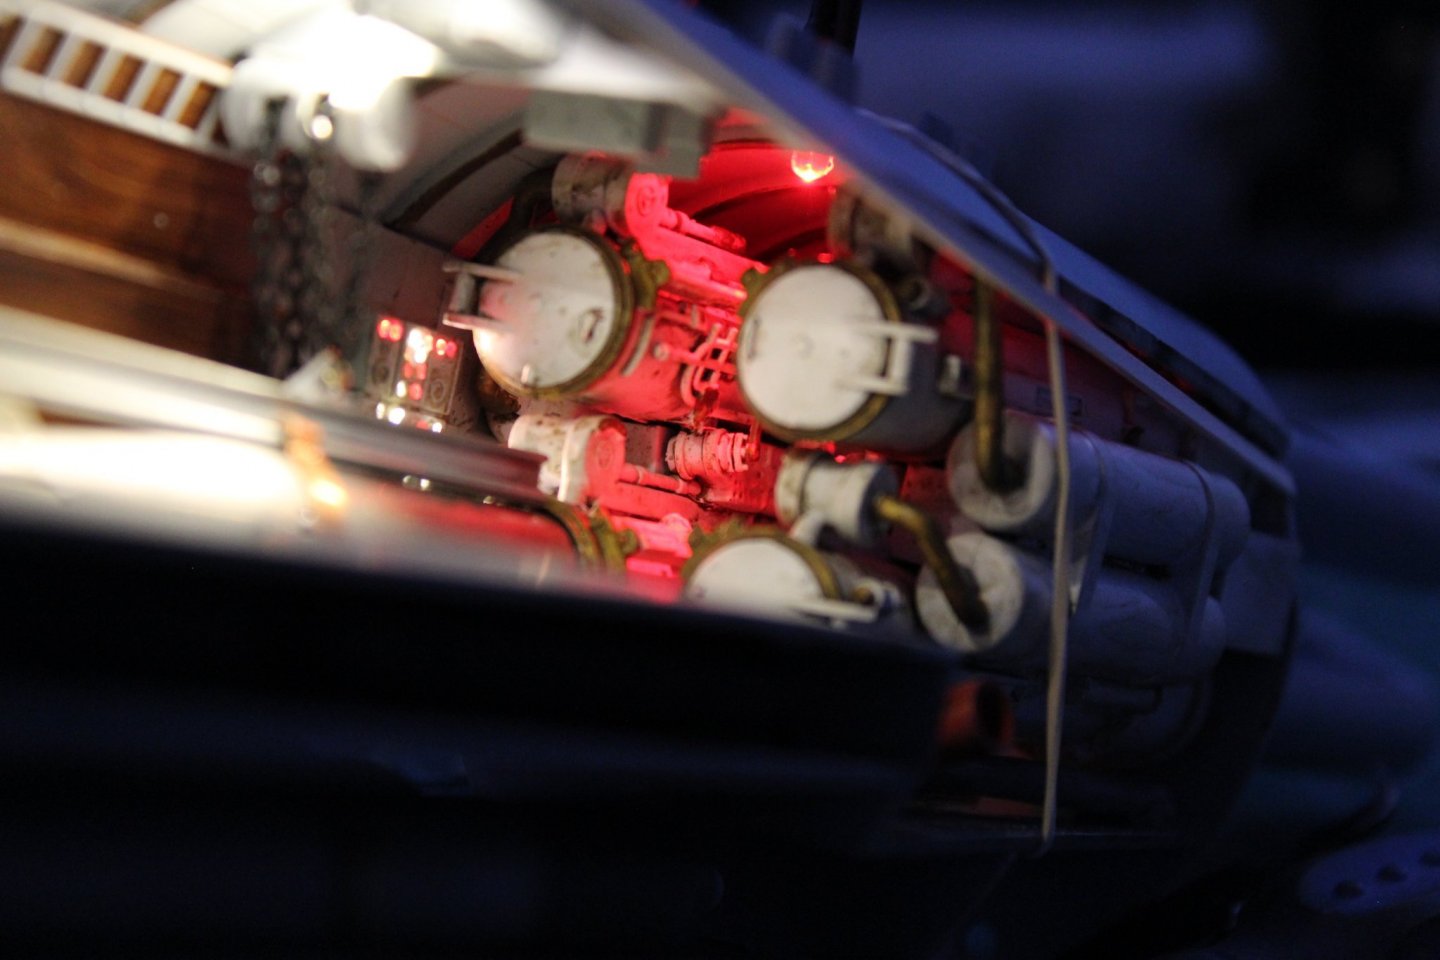
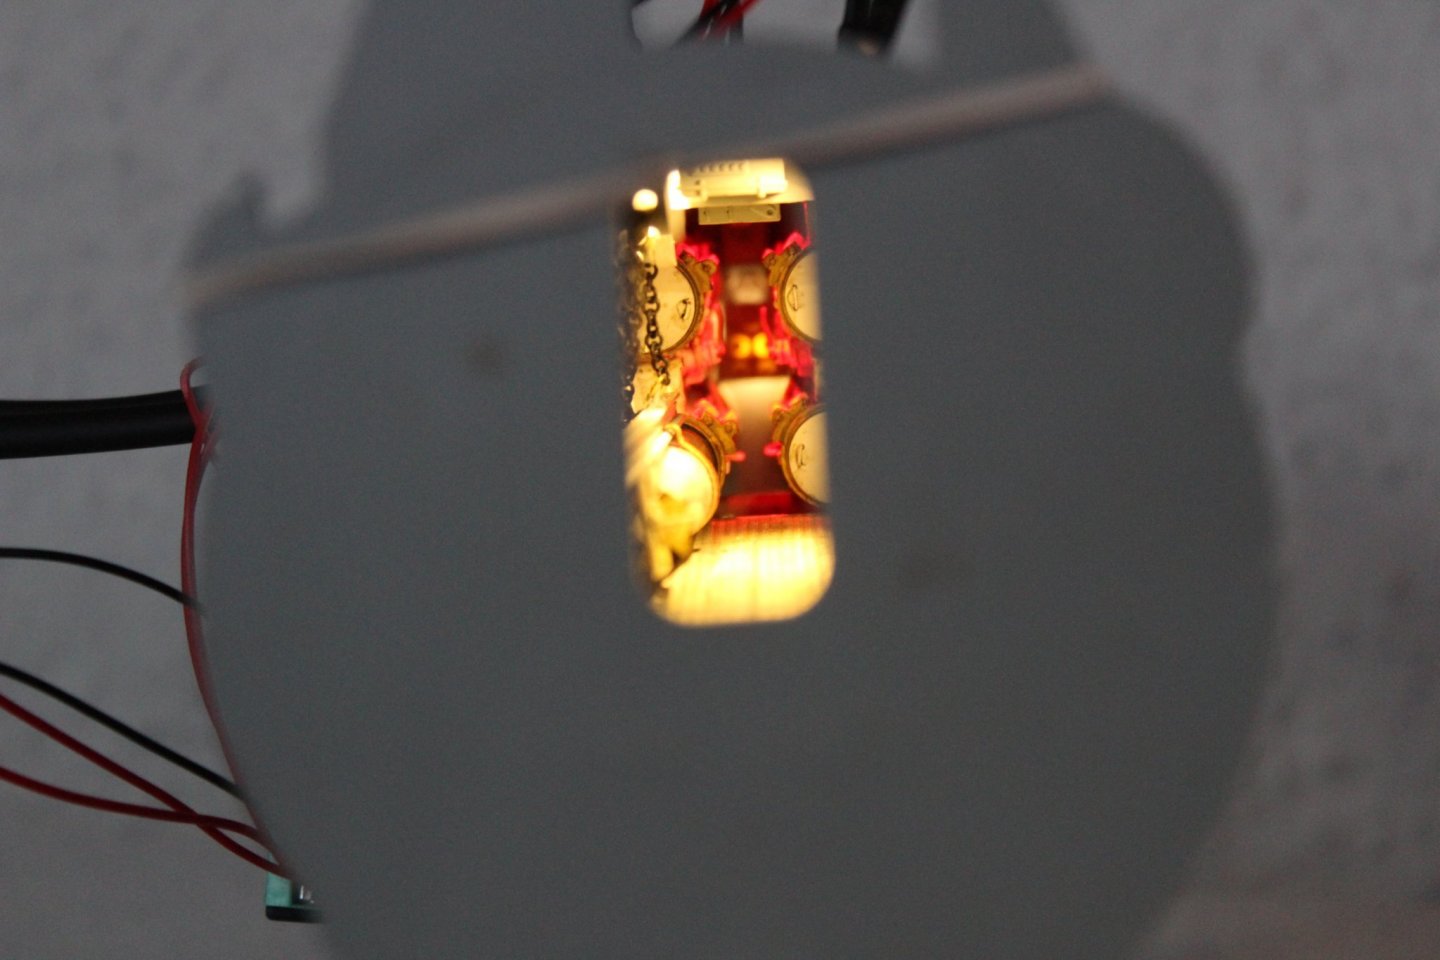
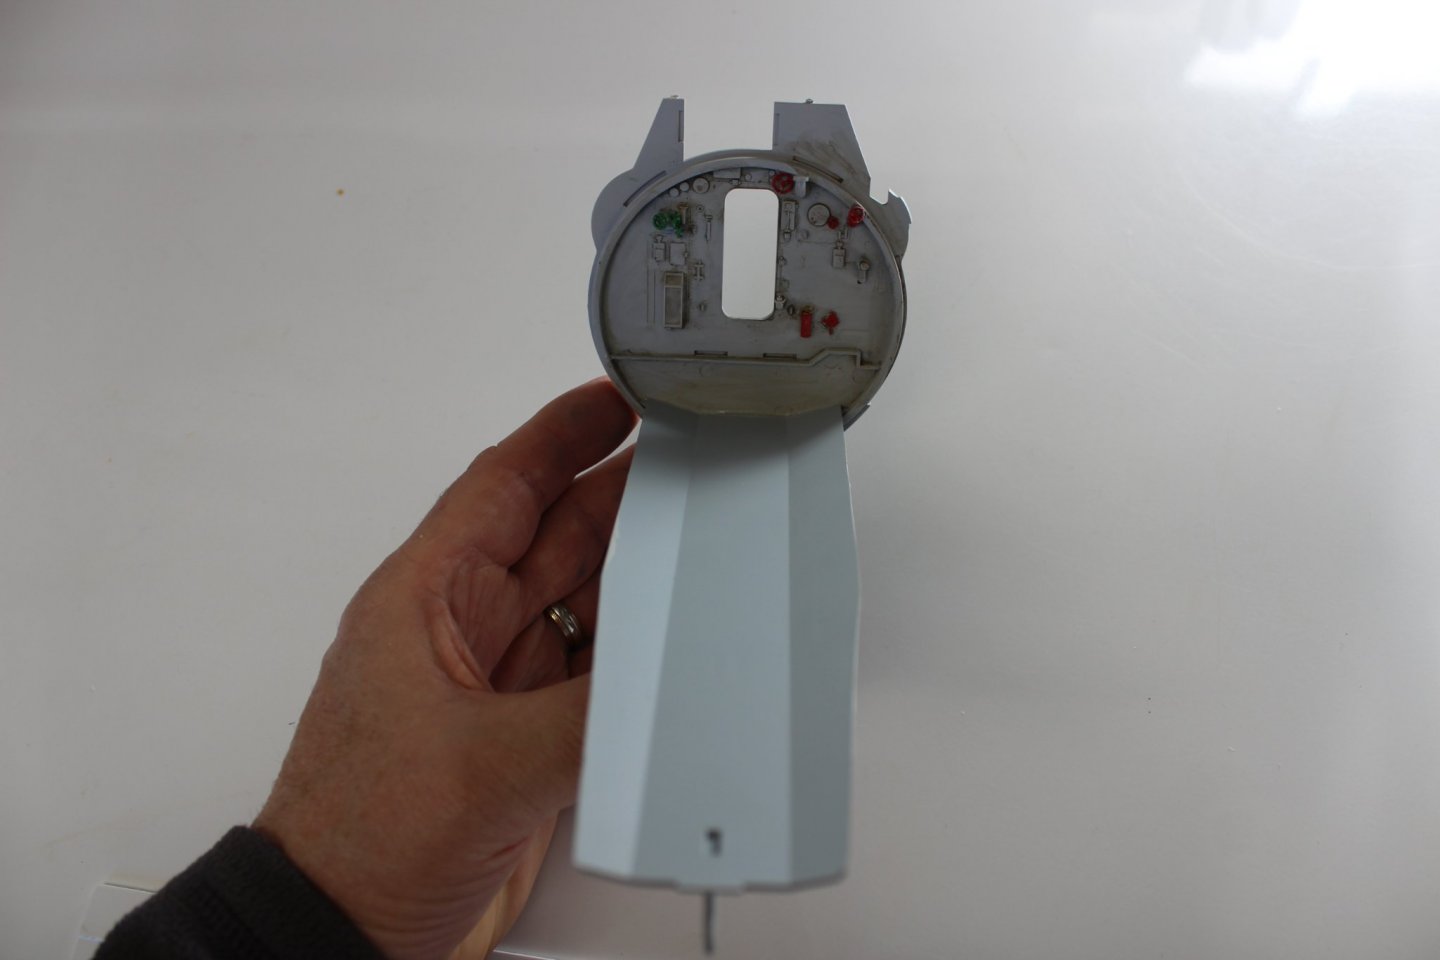
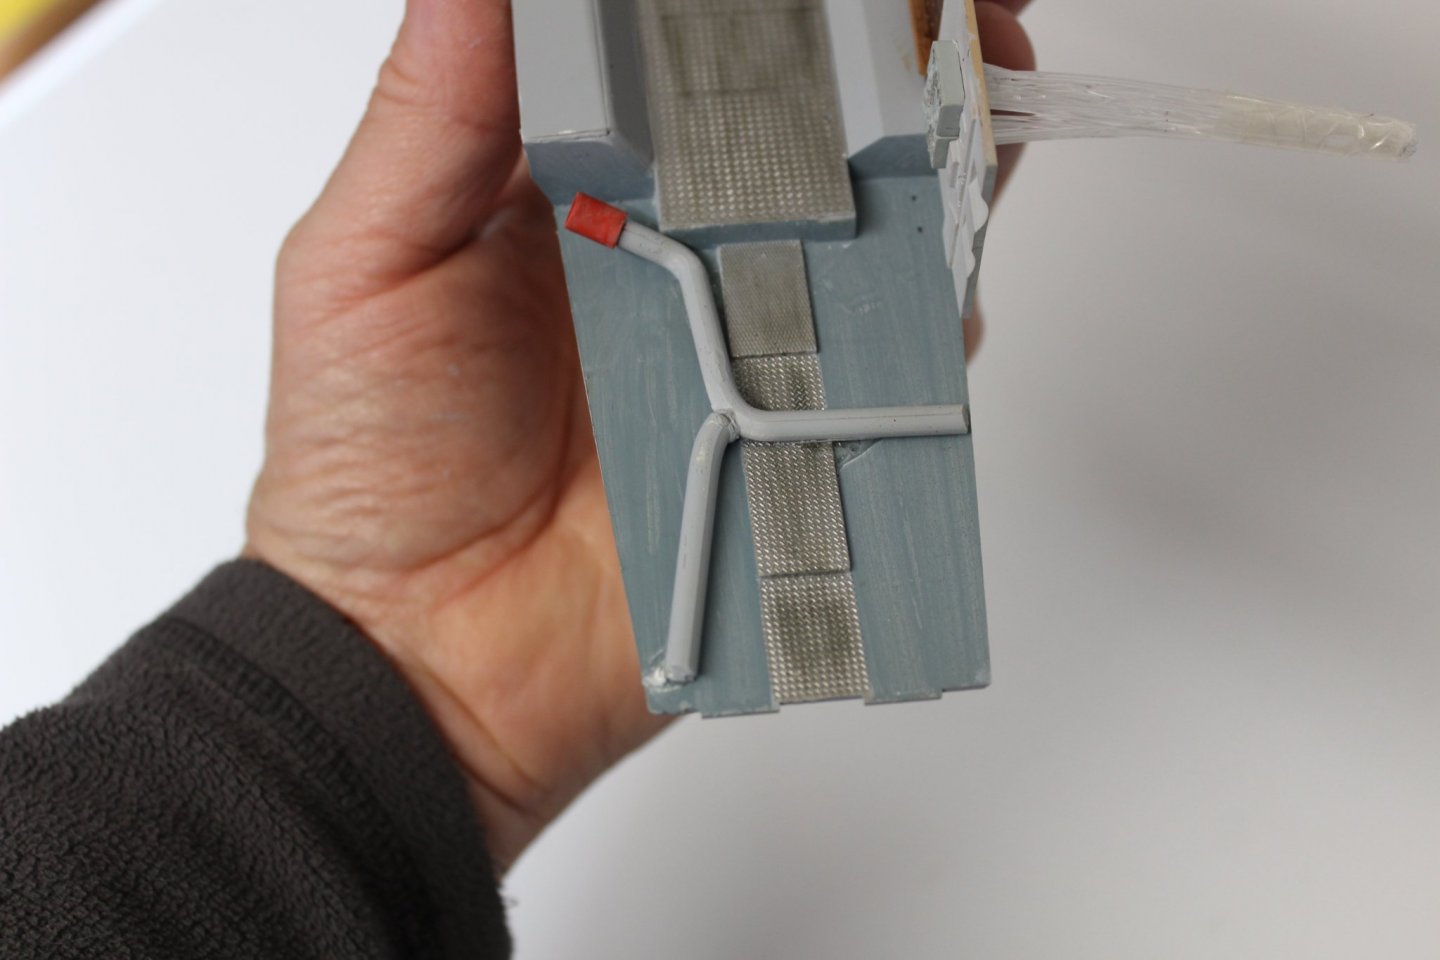
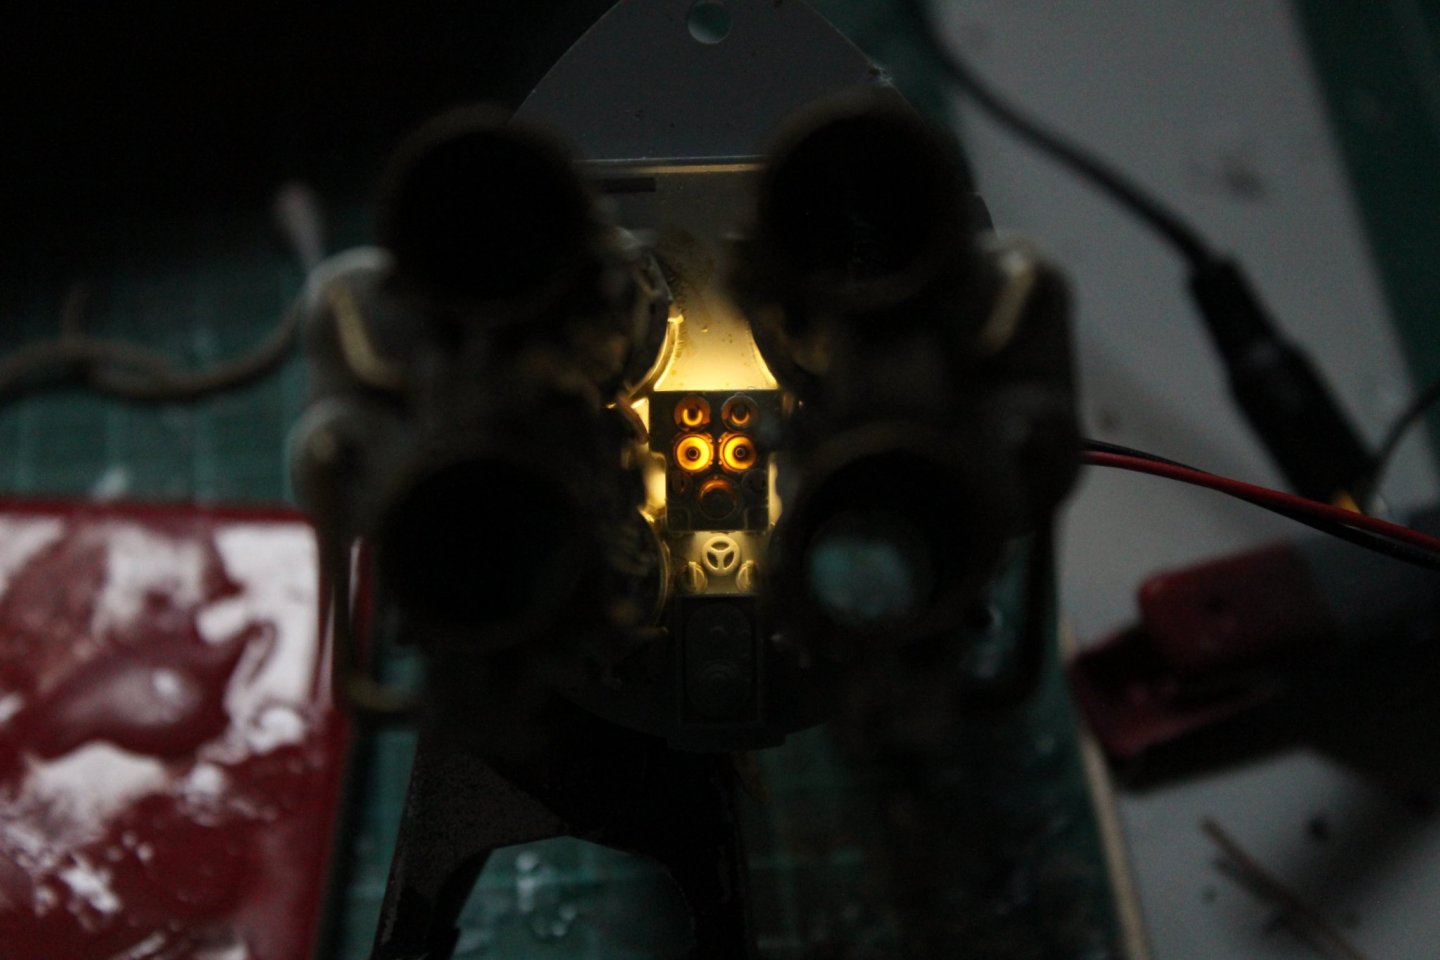
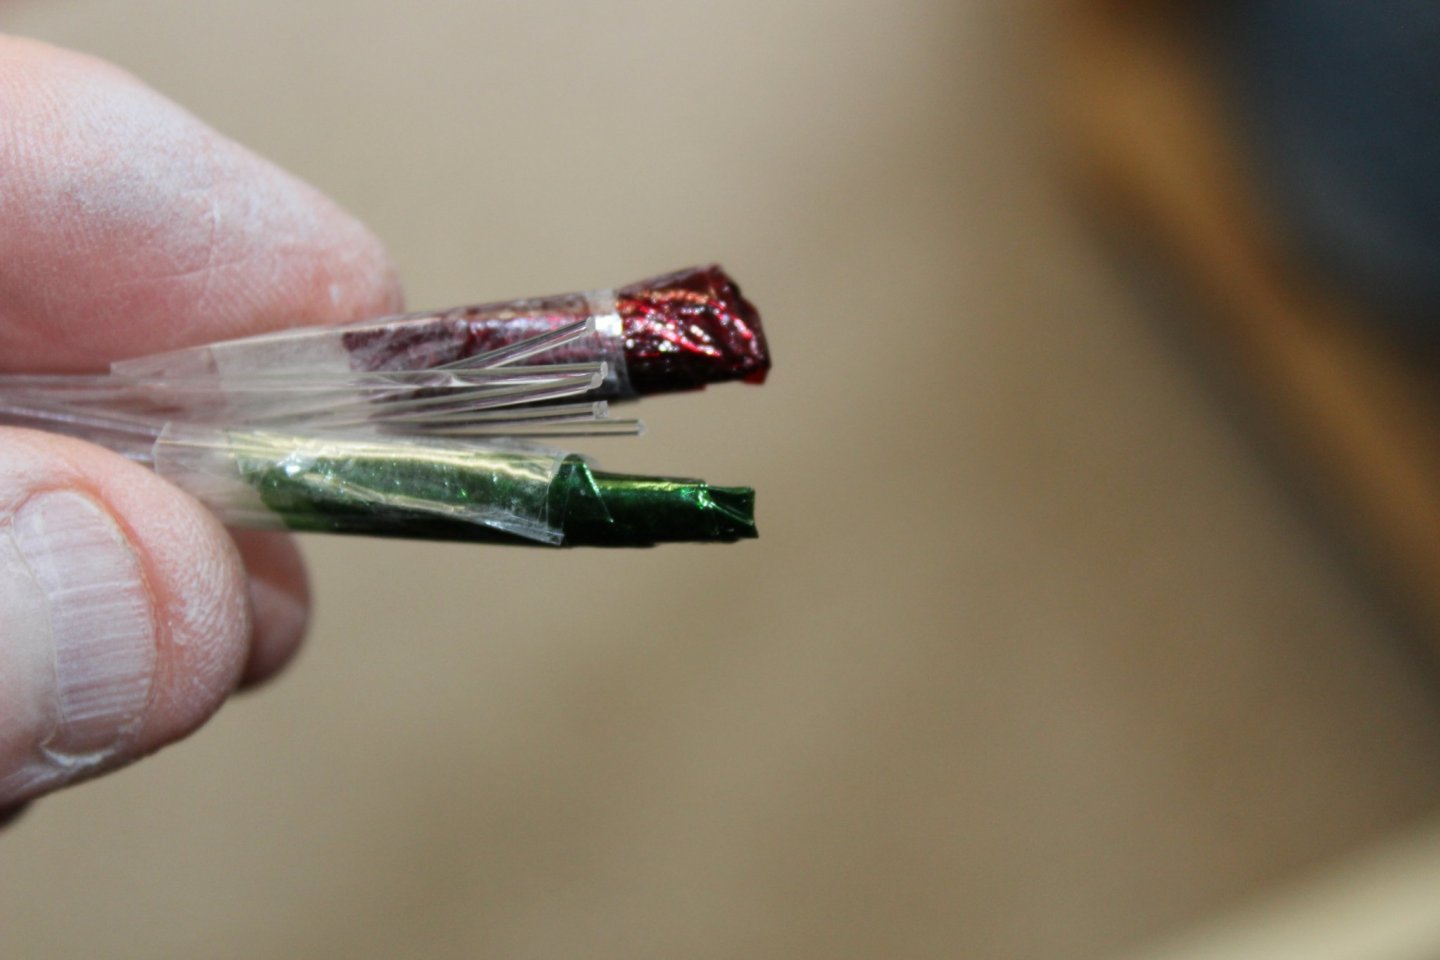
im not sure what colour they are, i don't even know what the panel is for, although i am presuming it is a control state board for the tubes, colours can be decided at anytime when i know for sure, its just a filter at the light source, at a quick quess i would say red/green and power status
-
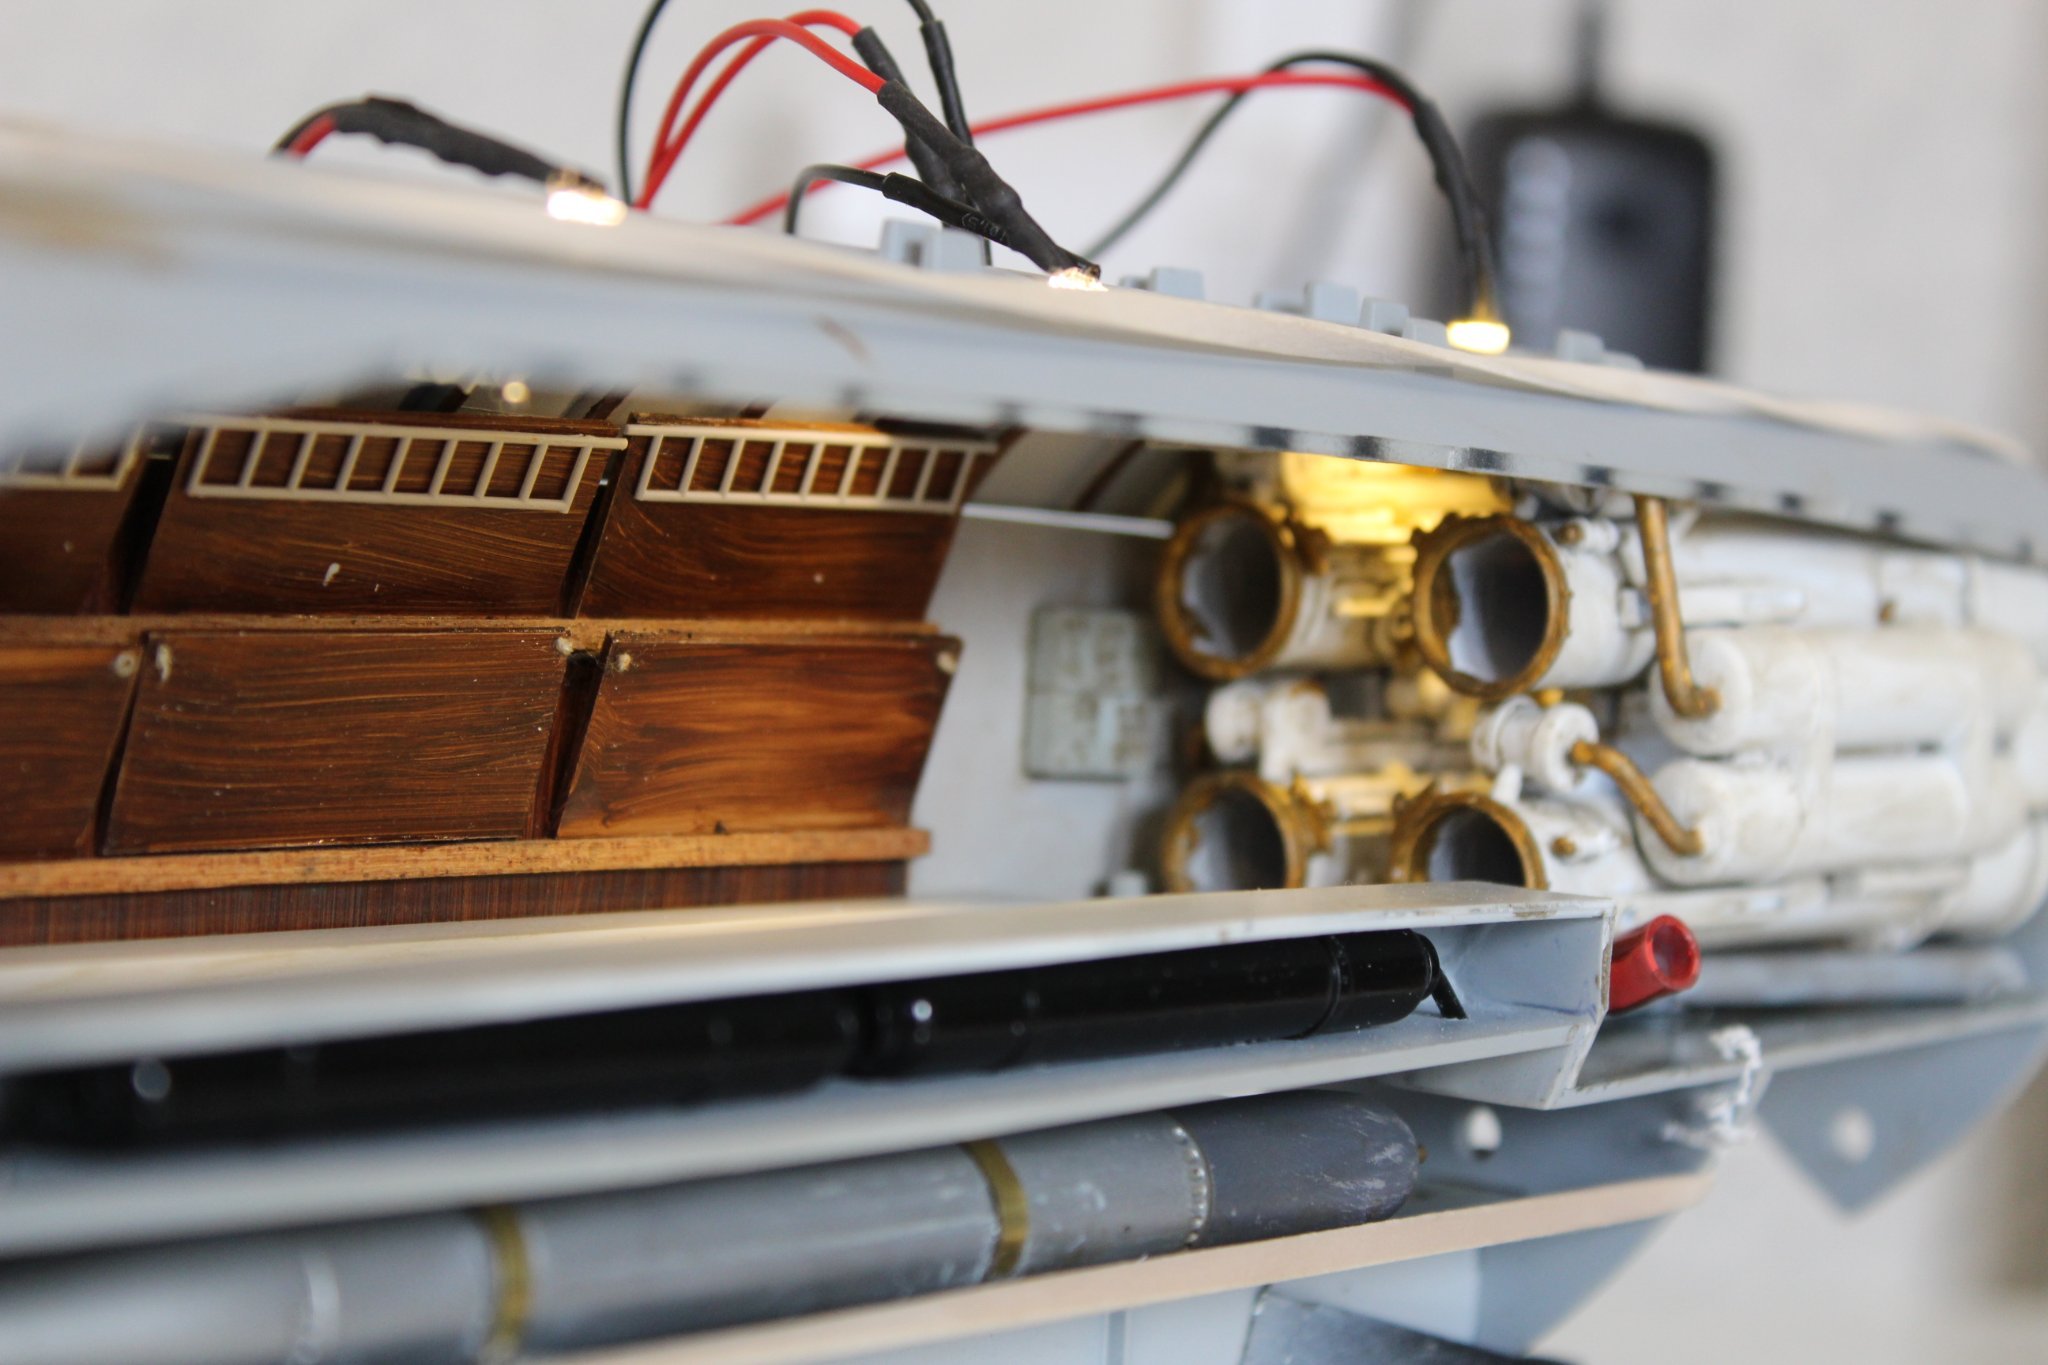
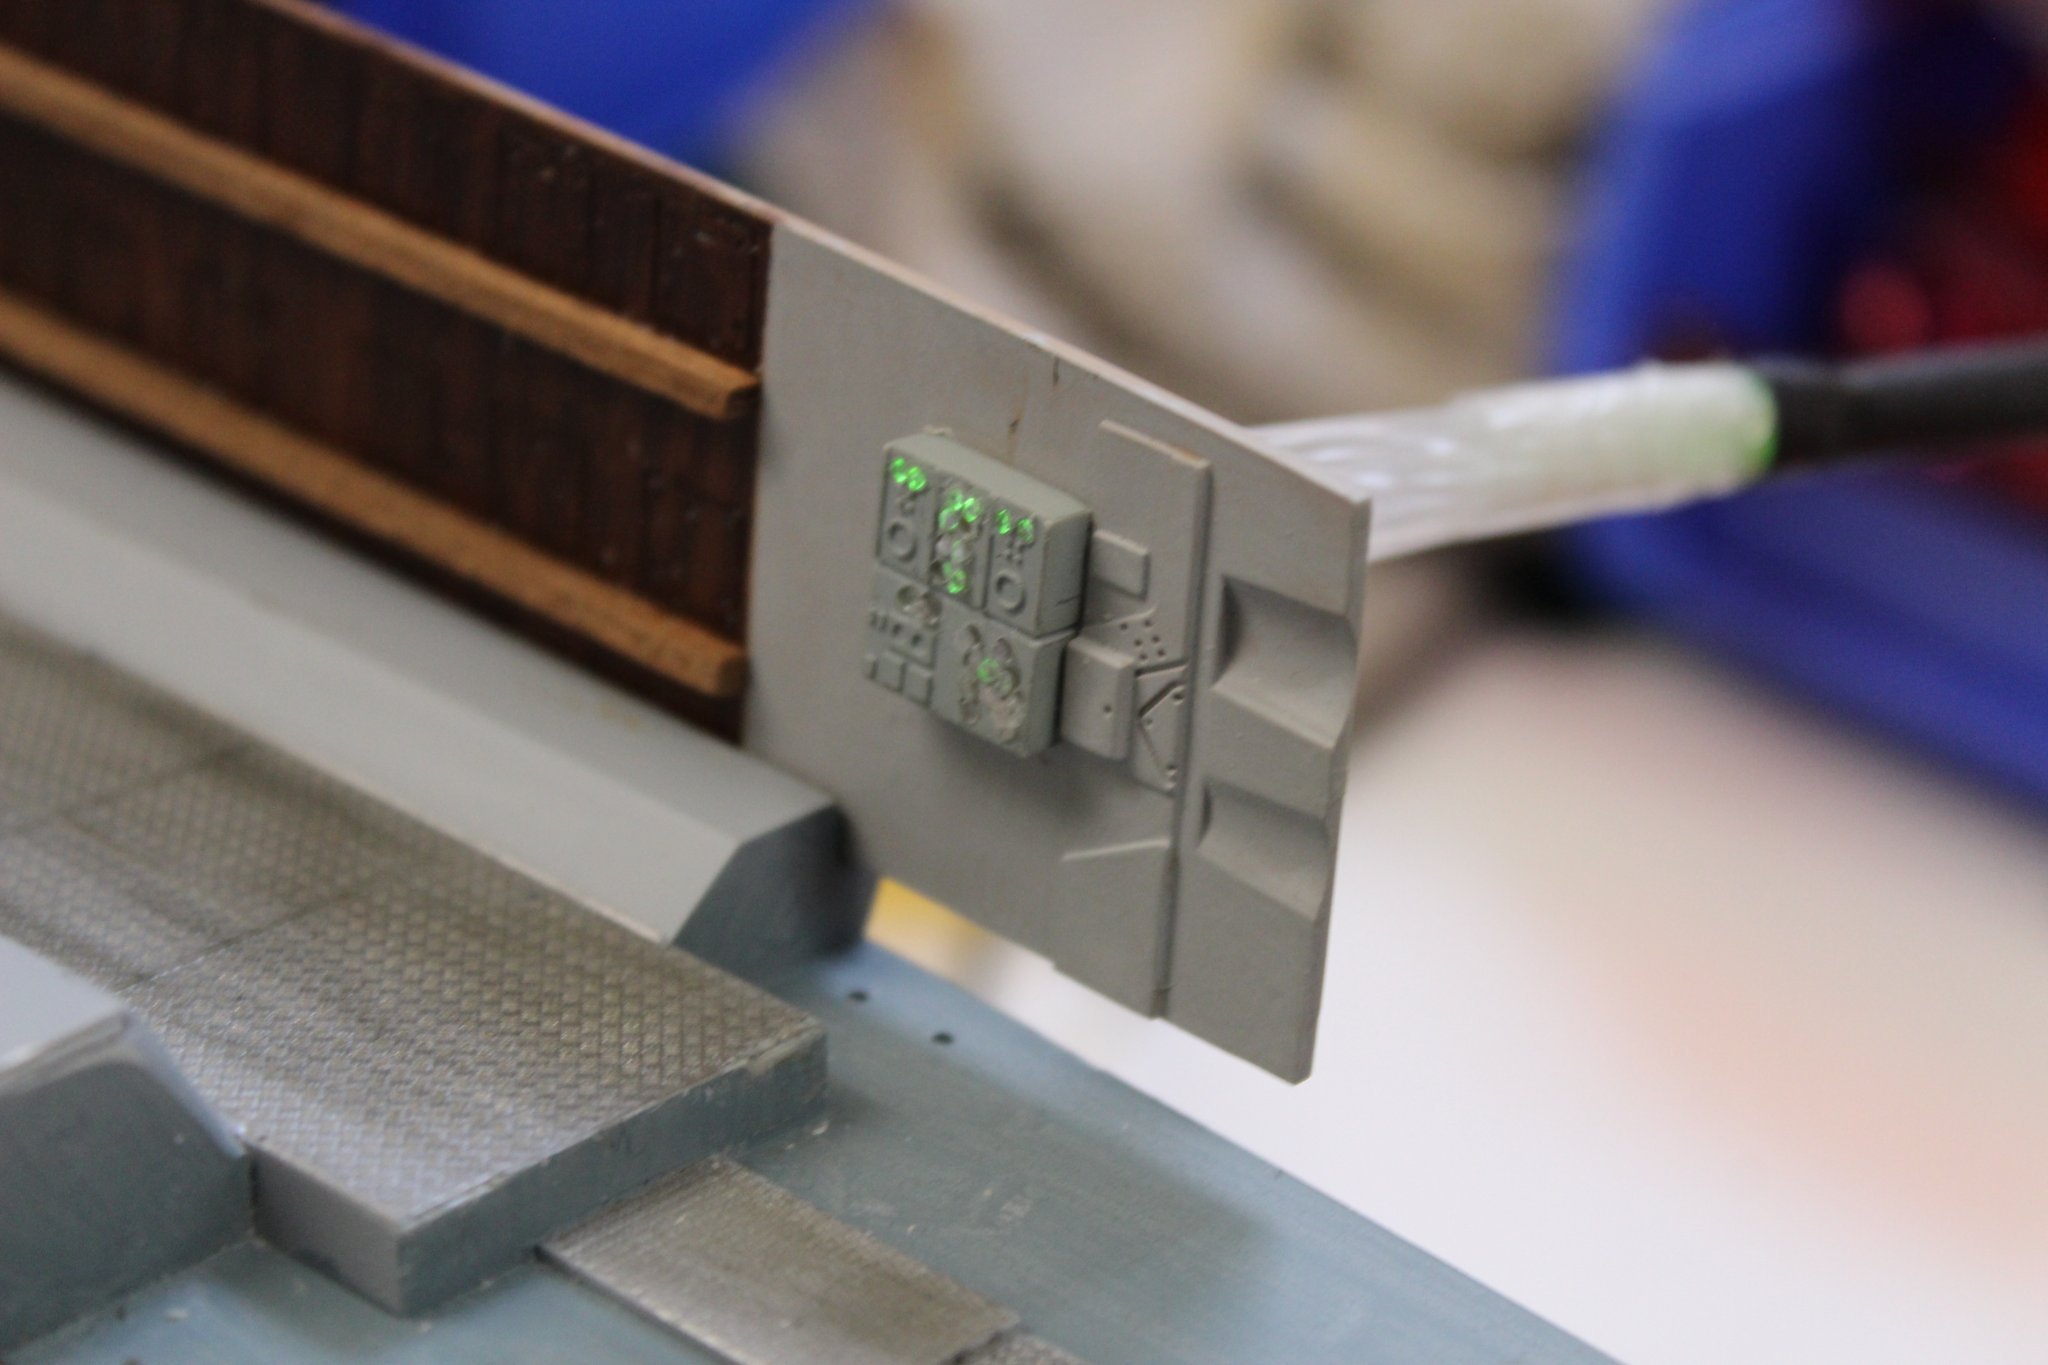
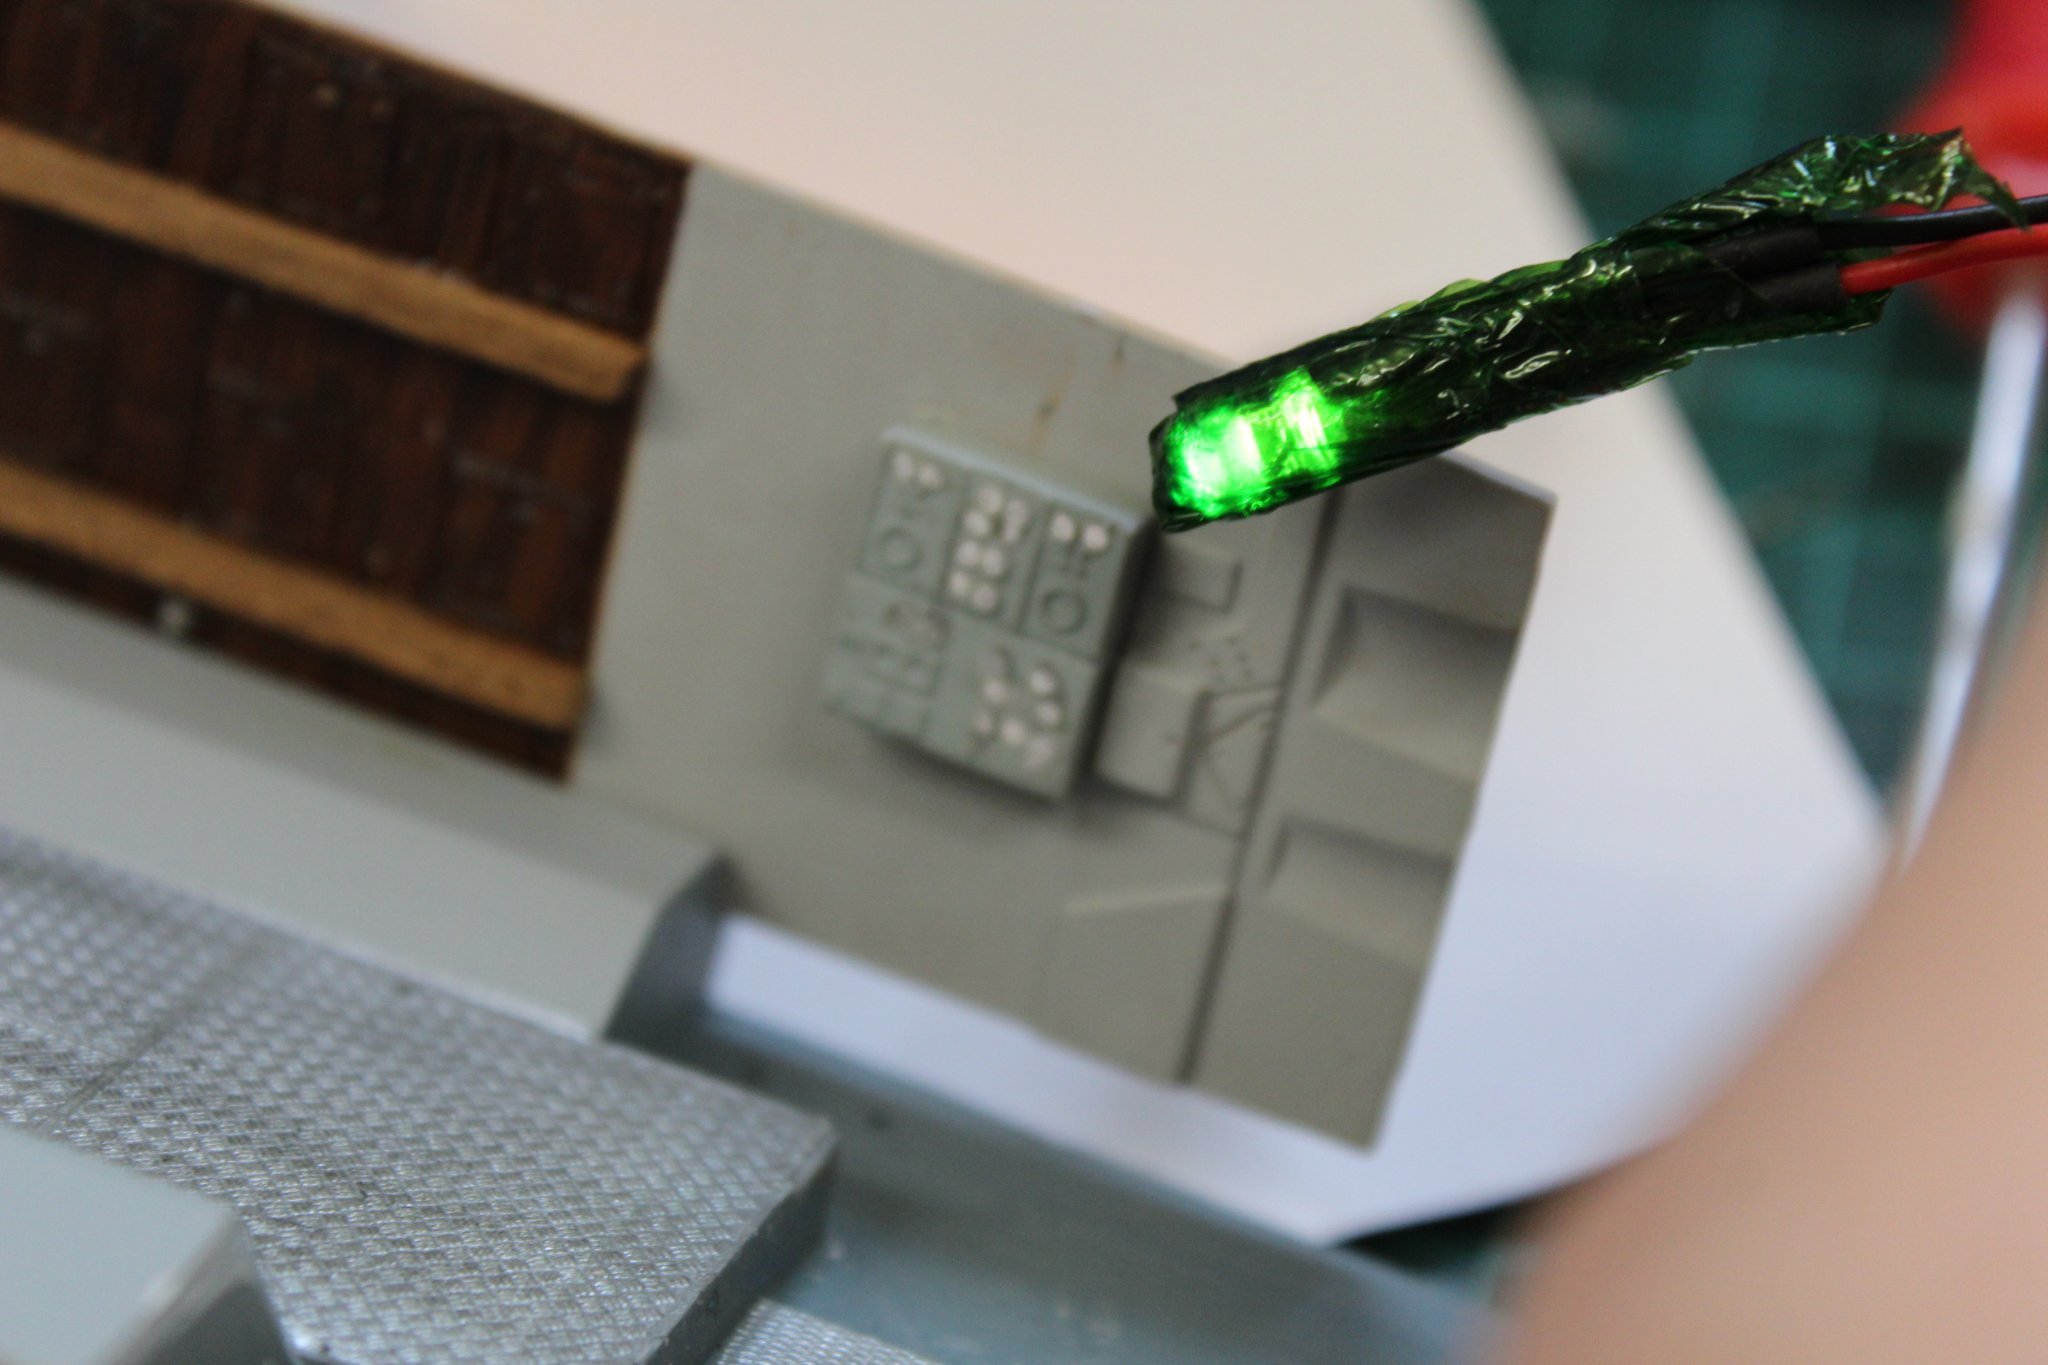
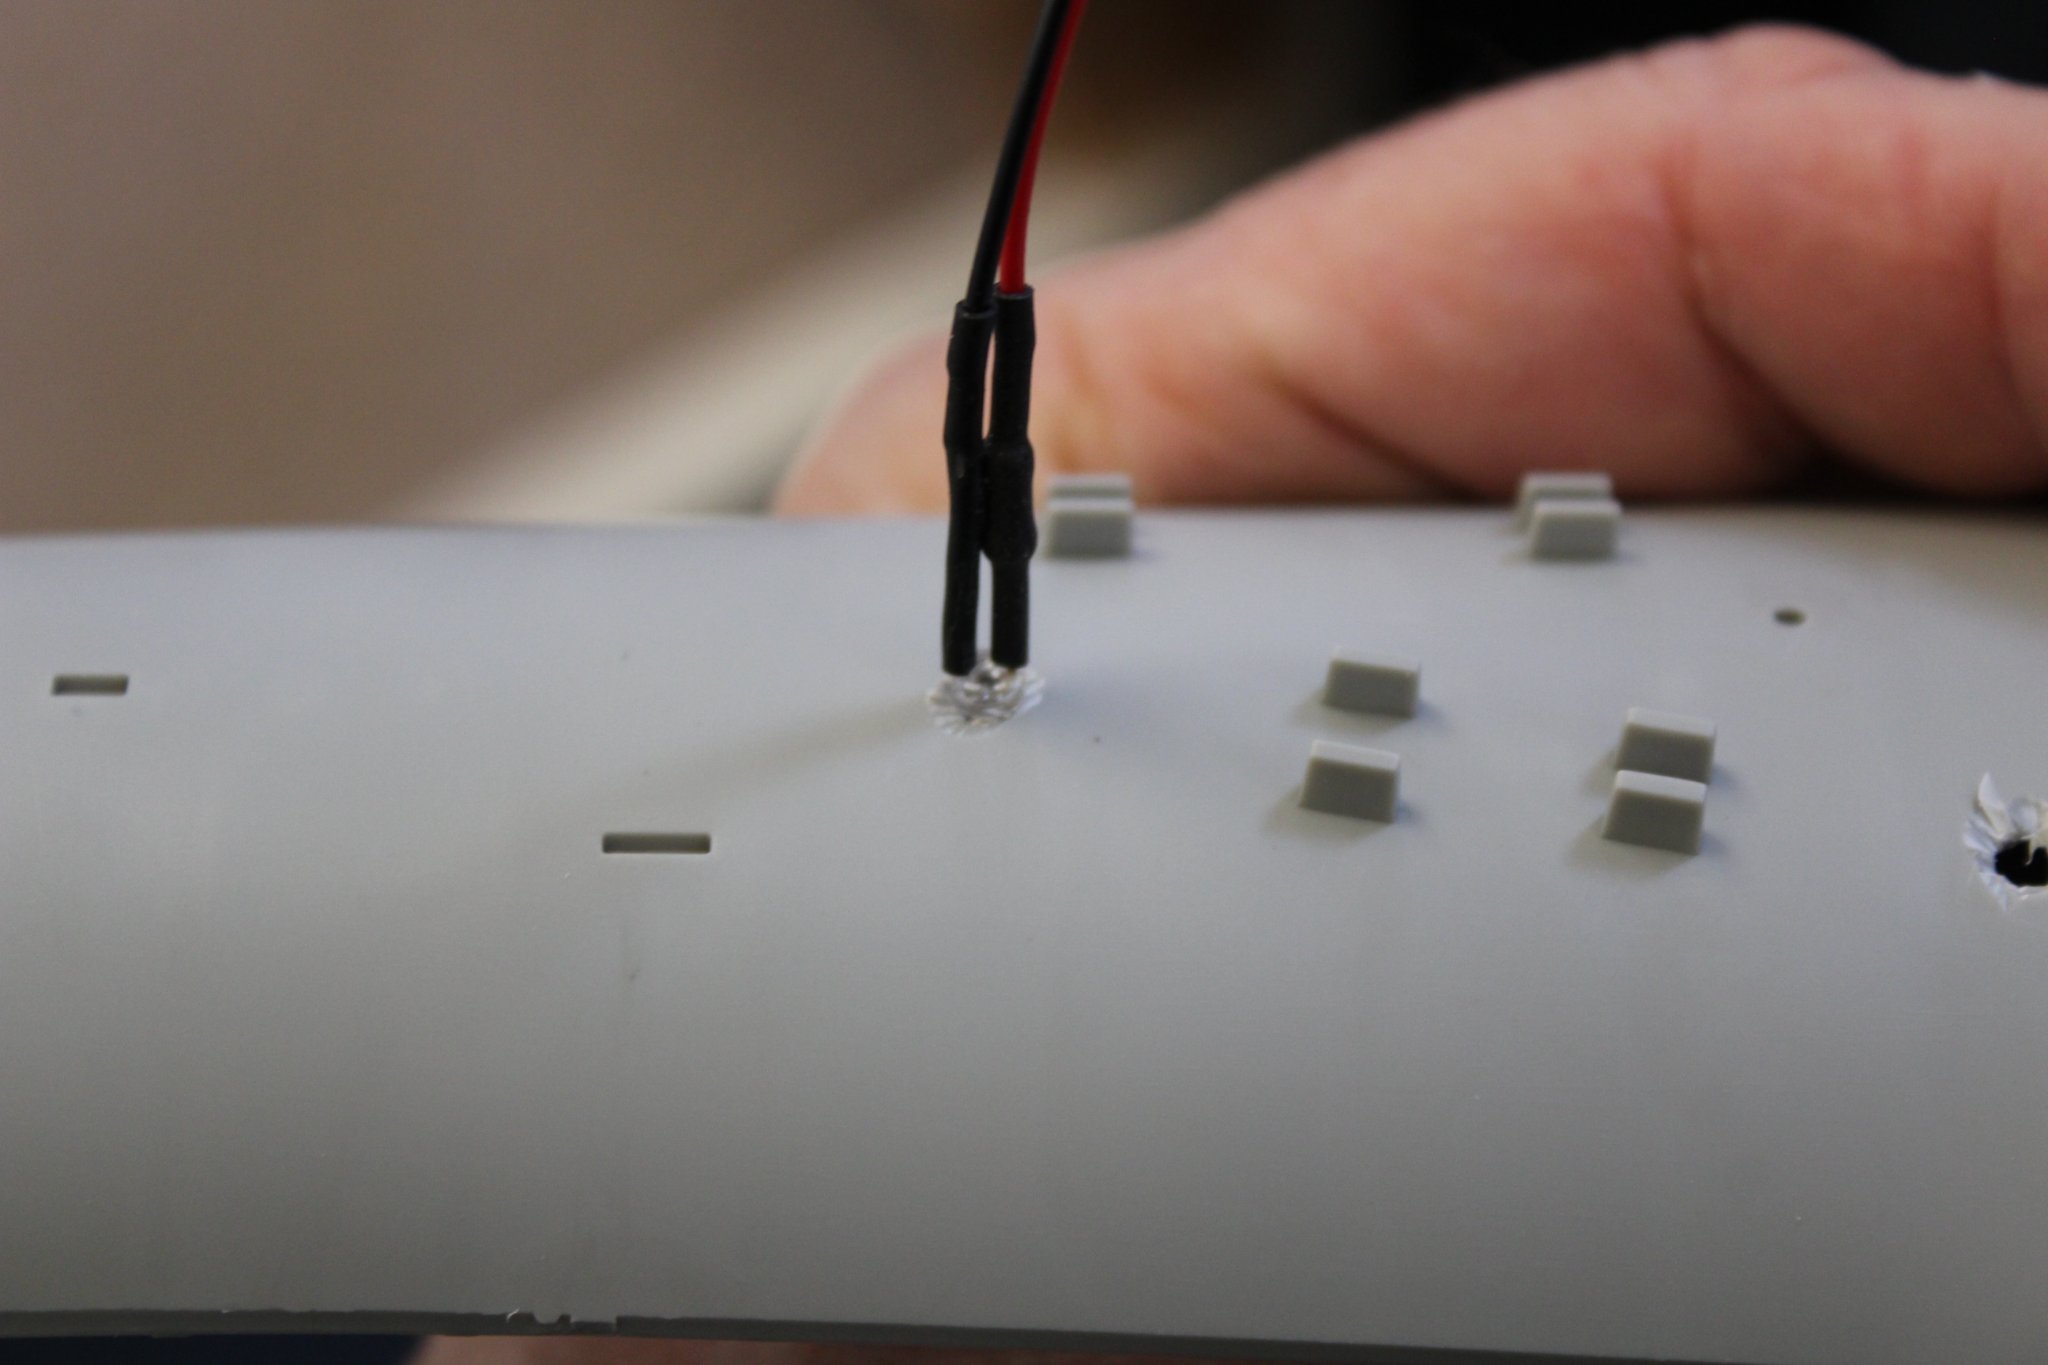
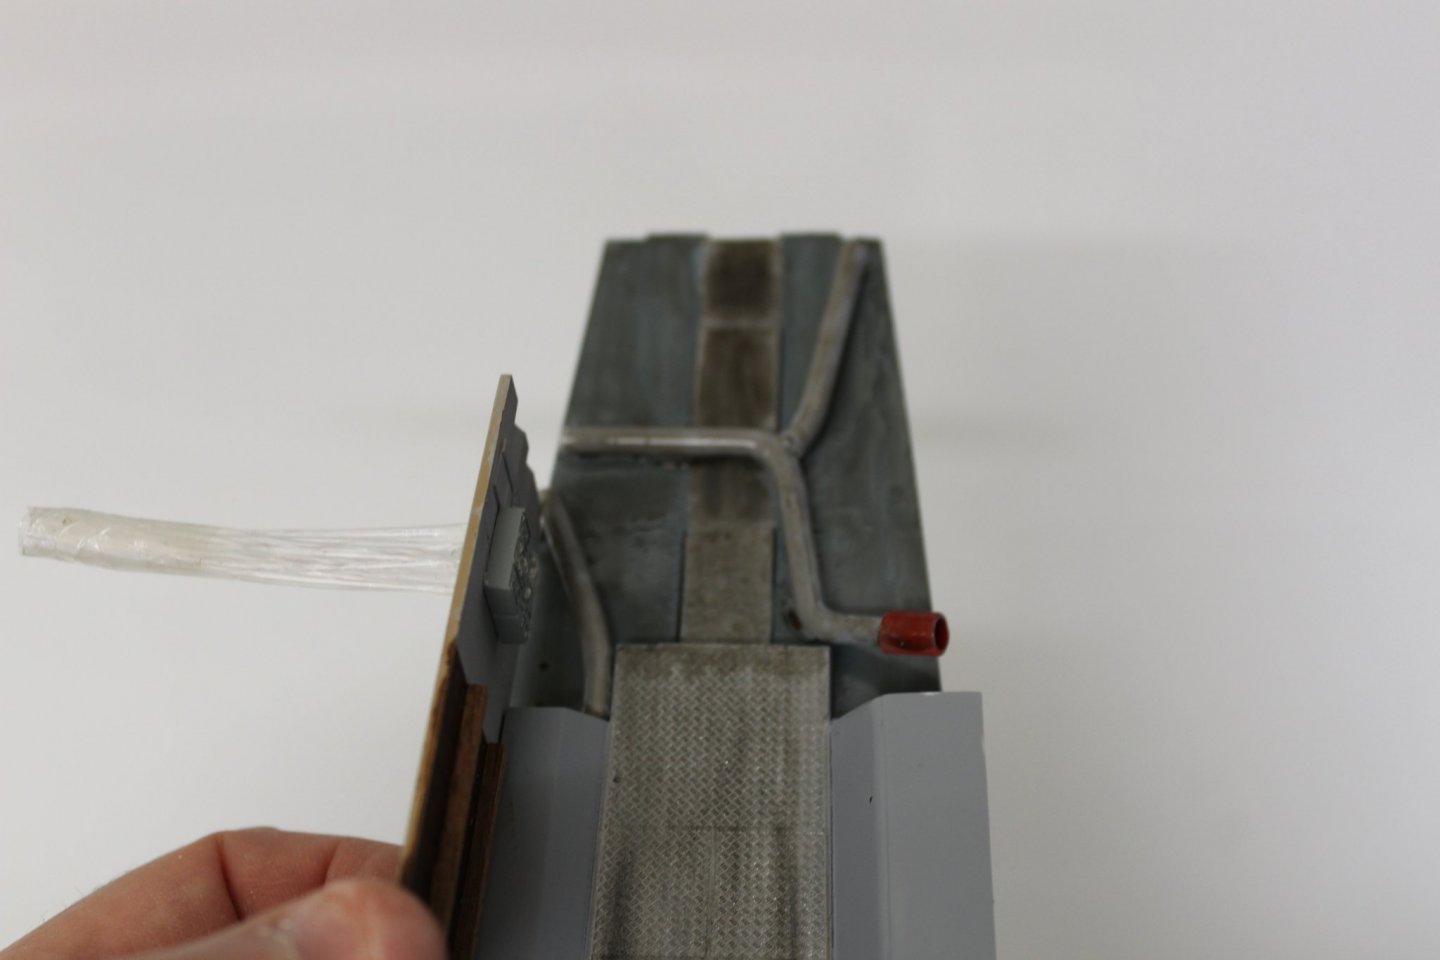
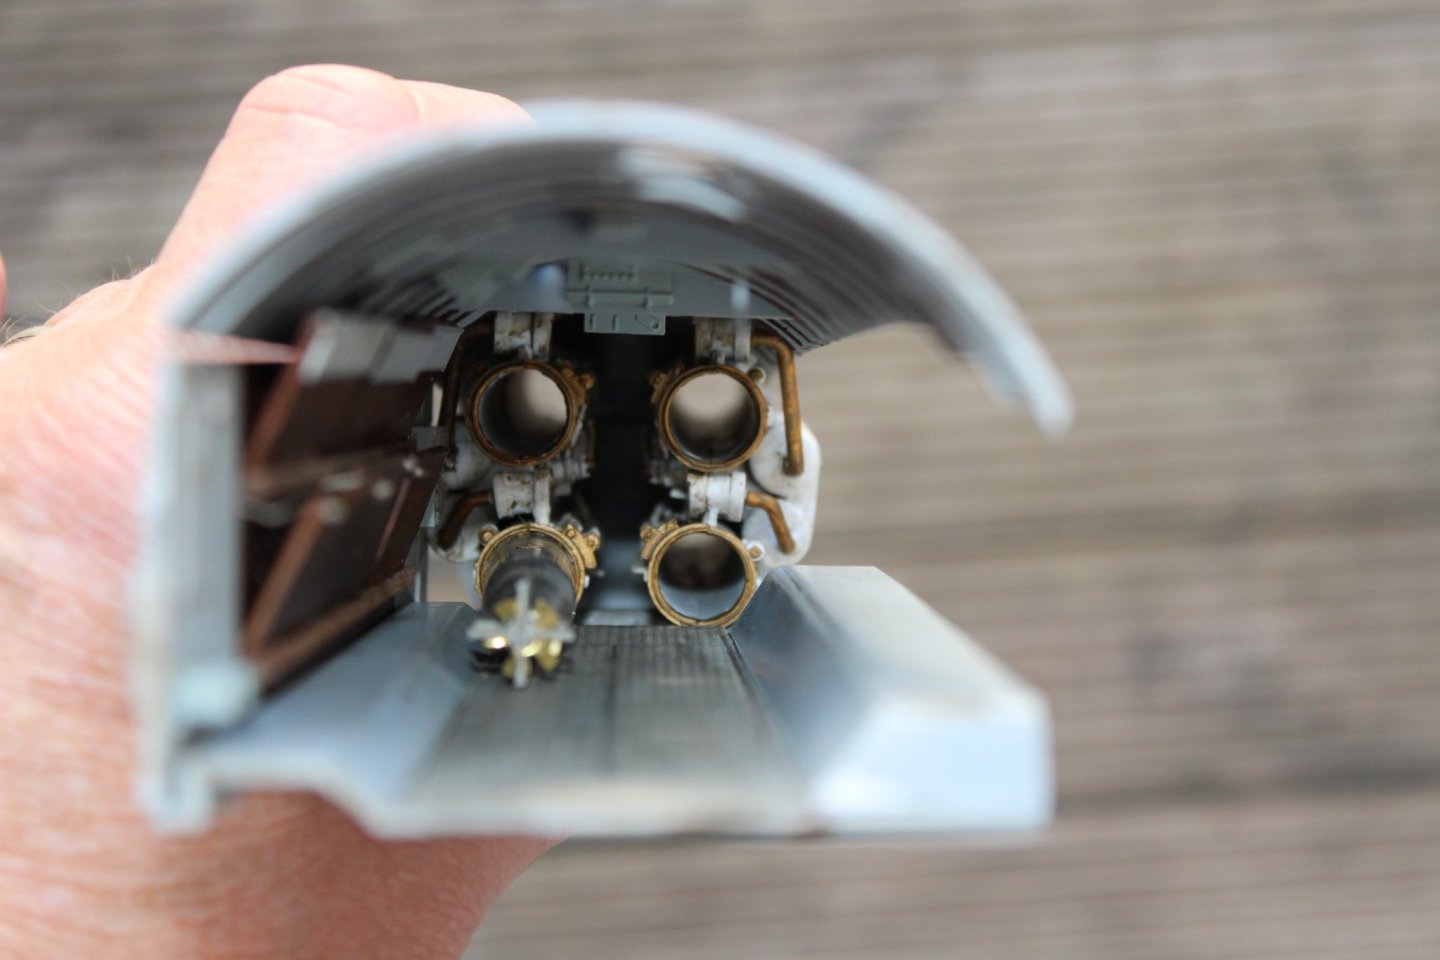
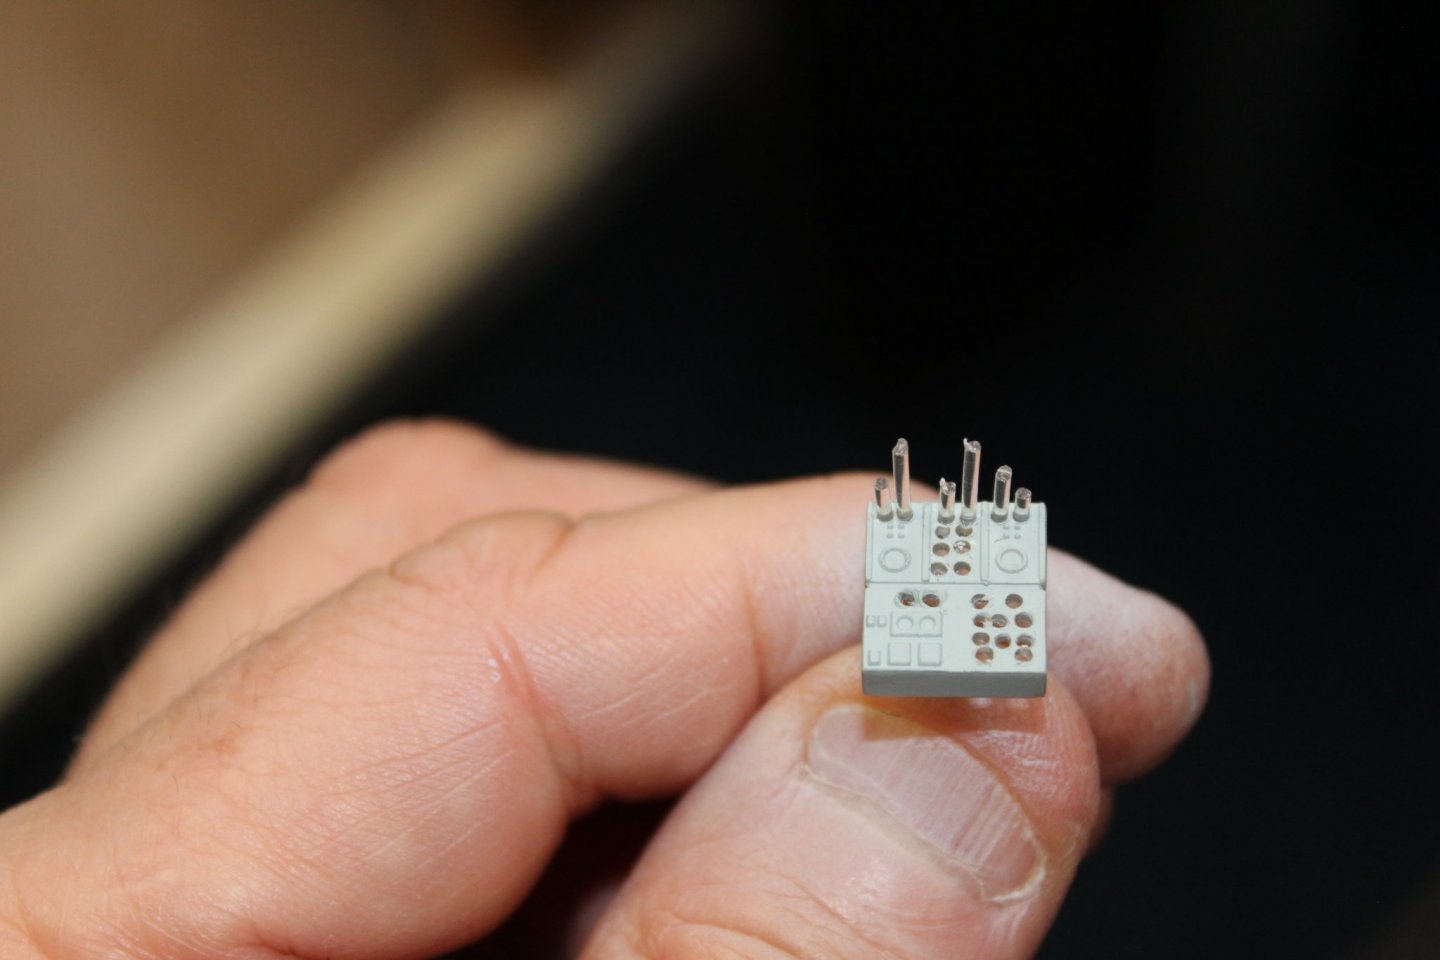
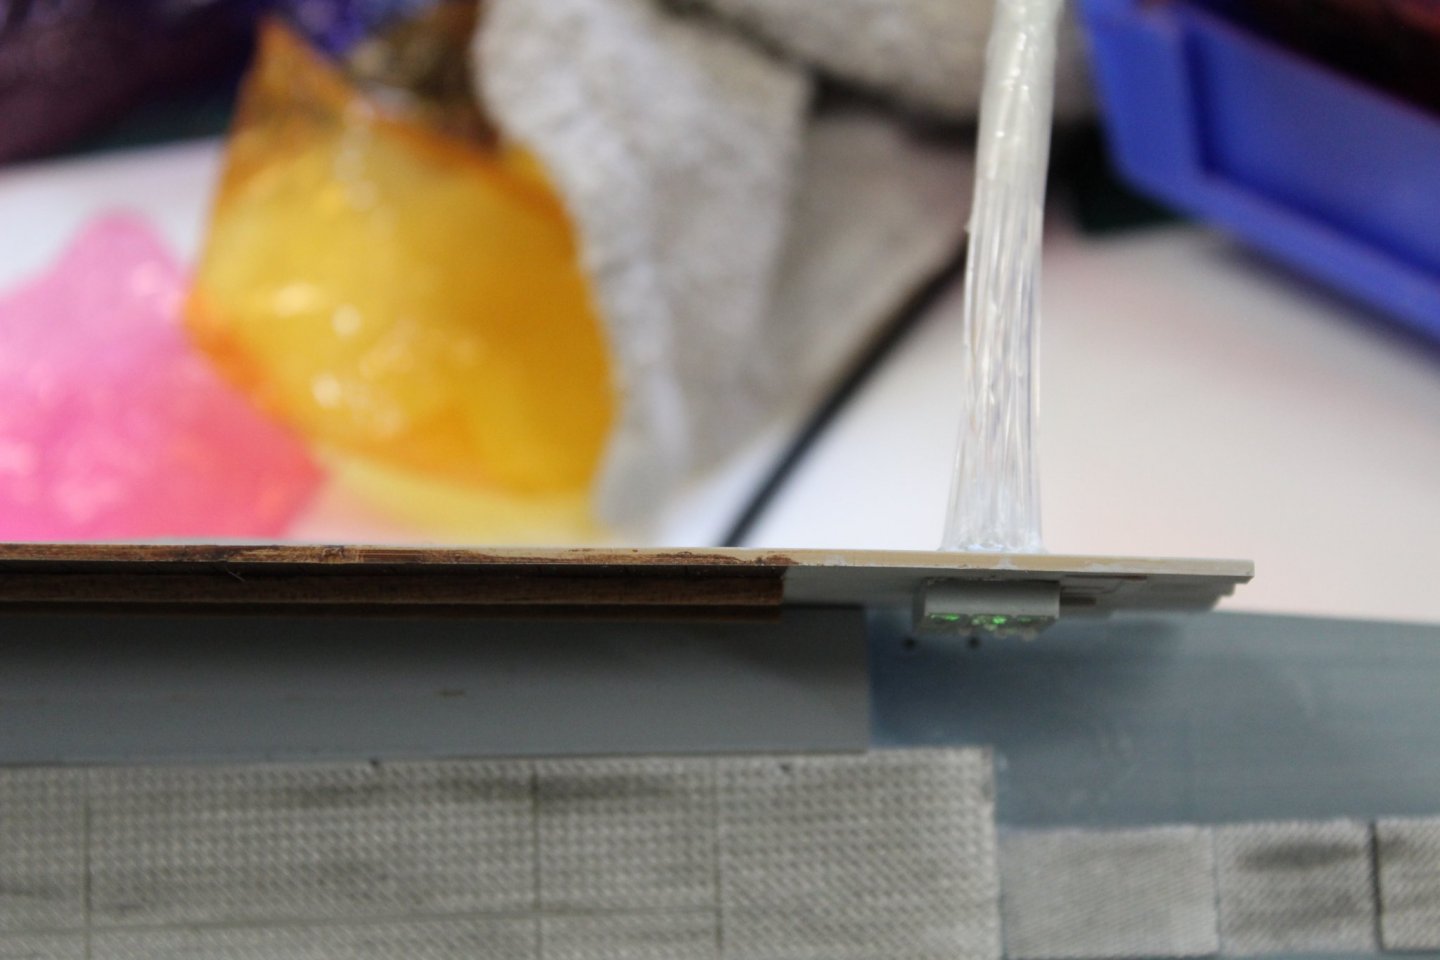
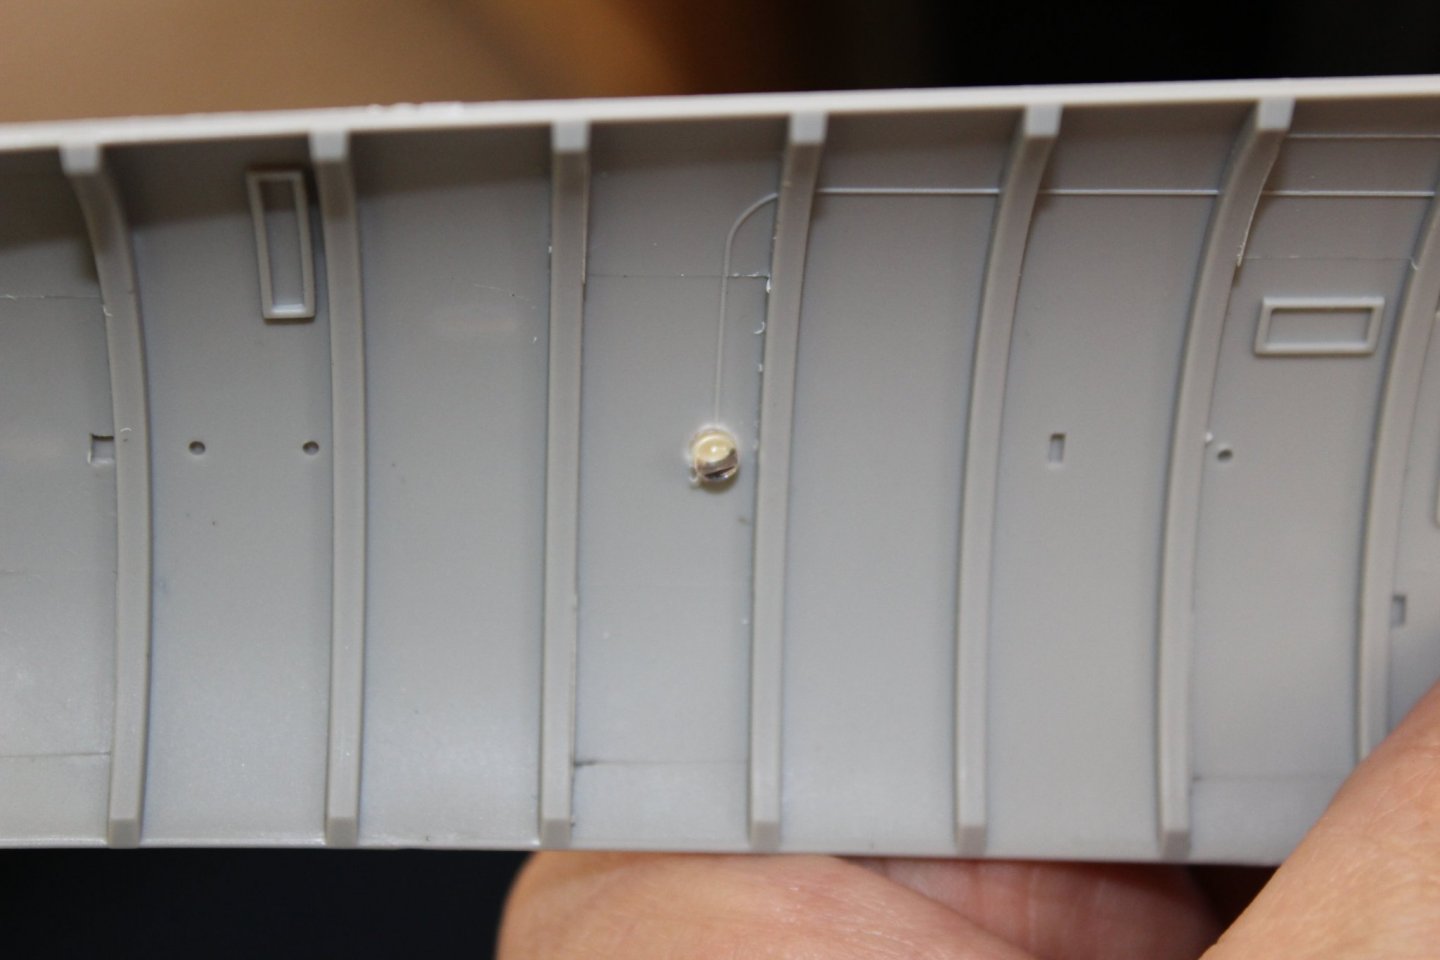
good afternoon everyone Lighting this will be a mixture, of lamps LEDS and fibre i put one light between the tubes, fed a wire through the bulkhead and hollowed out some of the panel to light up in different directions the firbe wires, im not so sure about, i should have ordered .5mm not 1.0 i drilled far to man holes and i dont think i am going to be able to bend them enough as the space behind the panelling is tight when the pressure hull goes in, but i am experimenting with different colours and if i use more than one lamp i might be able to get them to fit, as it wont be so bulky


- 90 replies
-
- 14
-
-
-
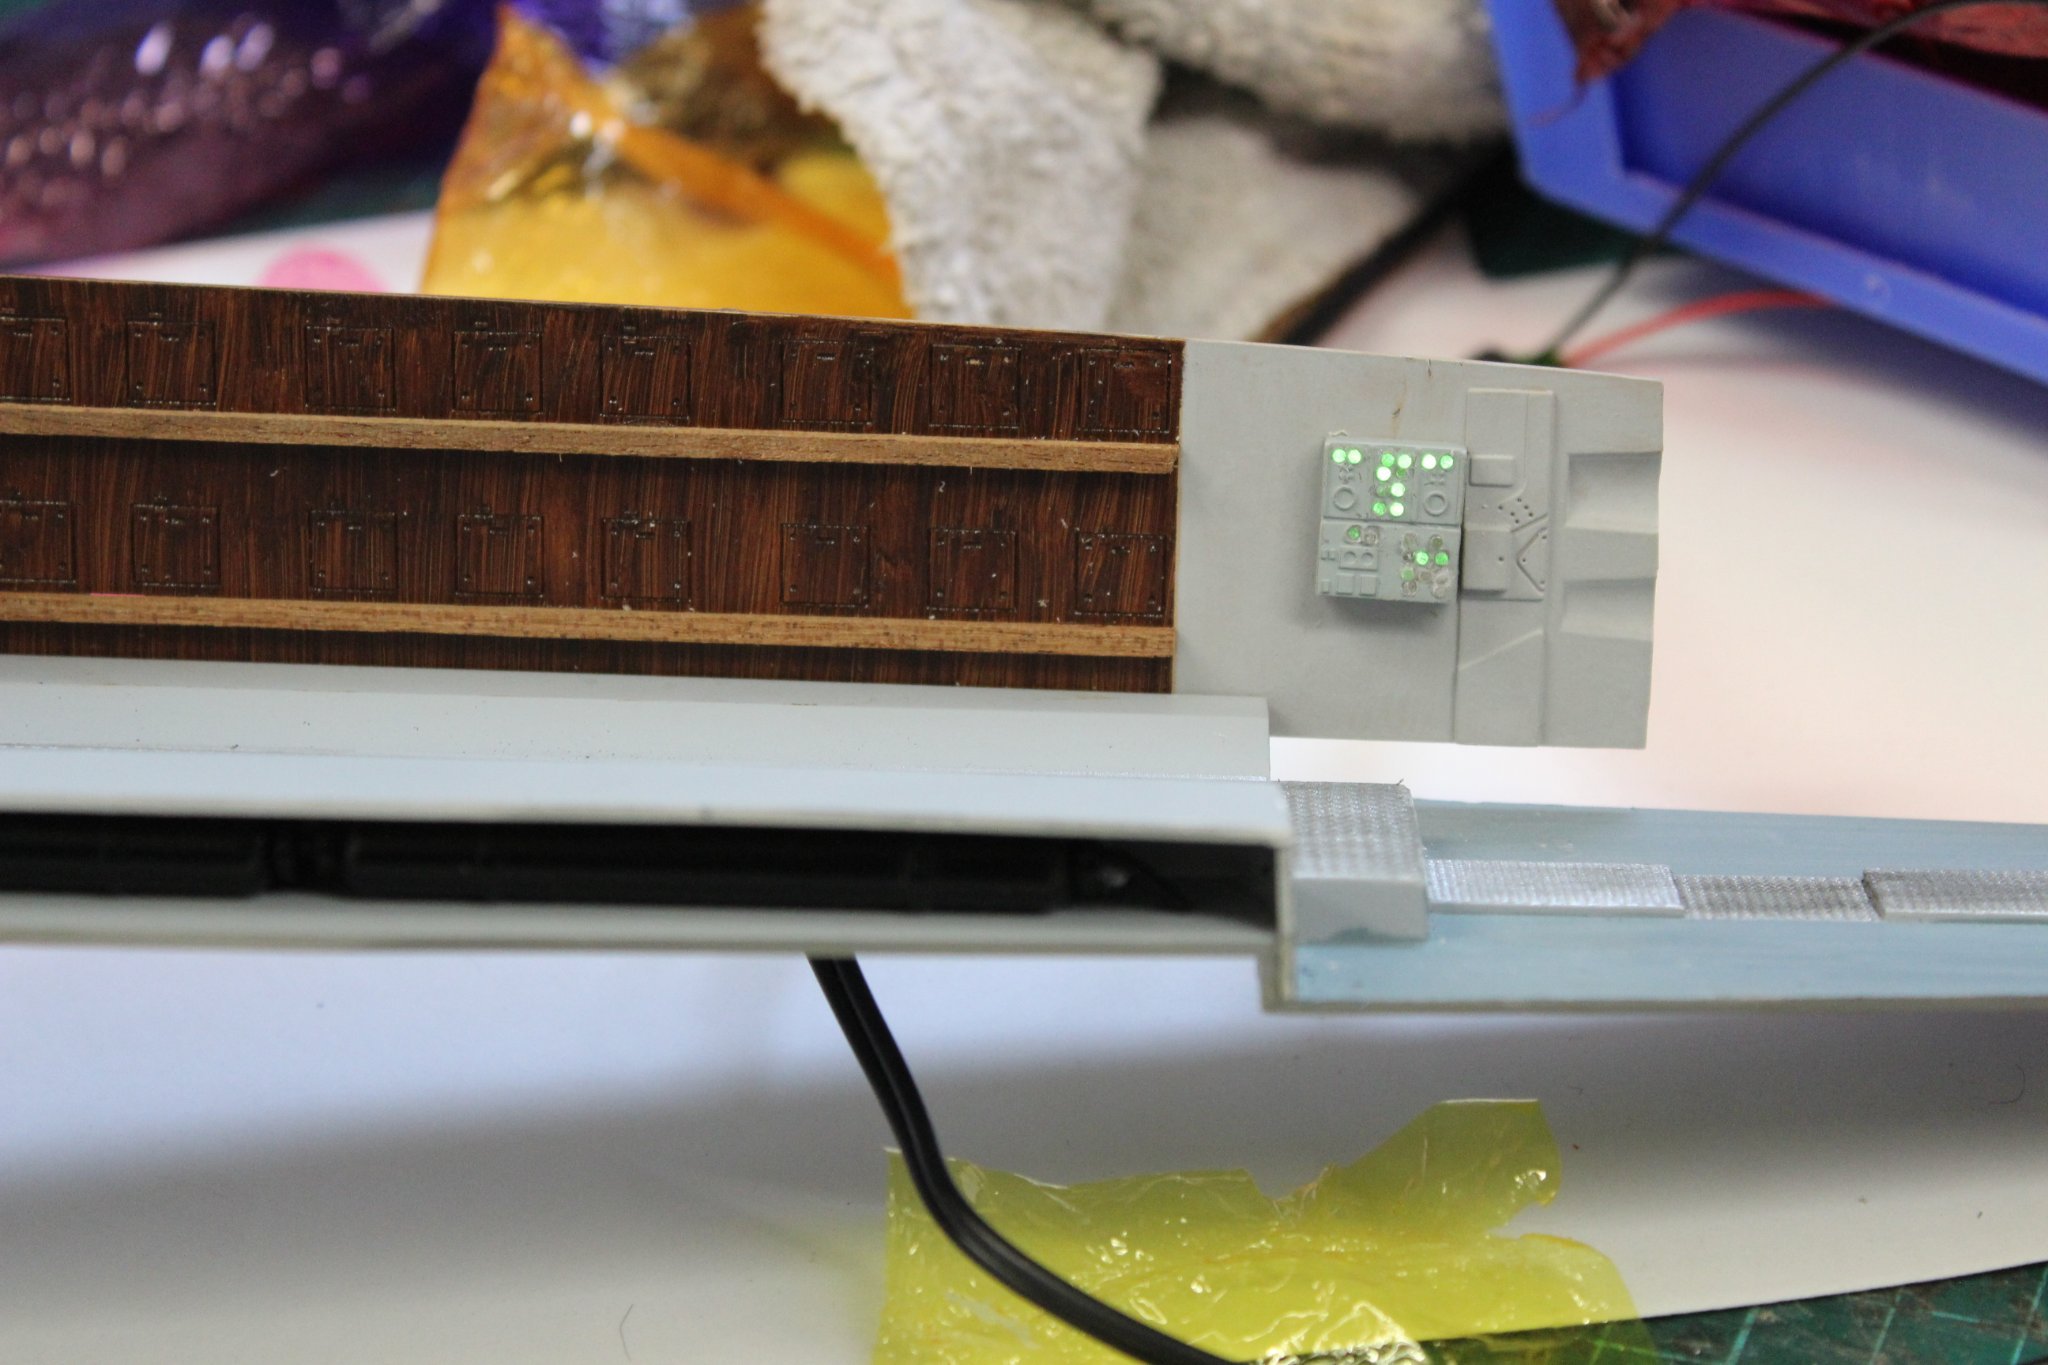
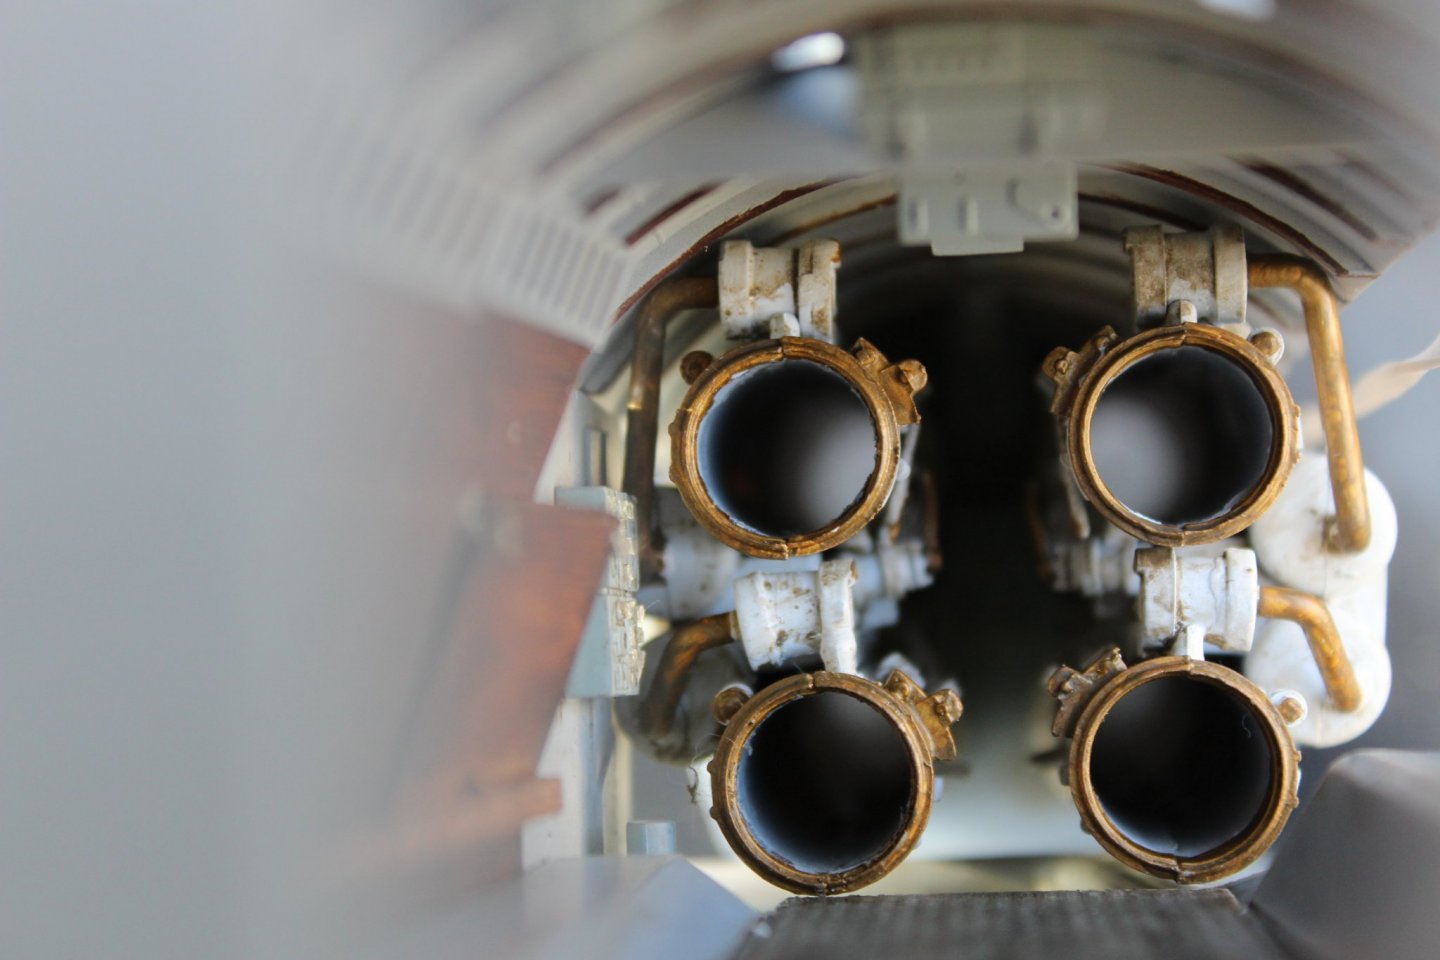
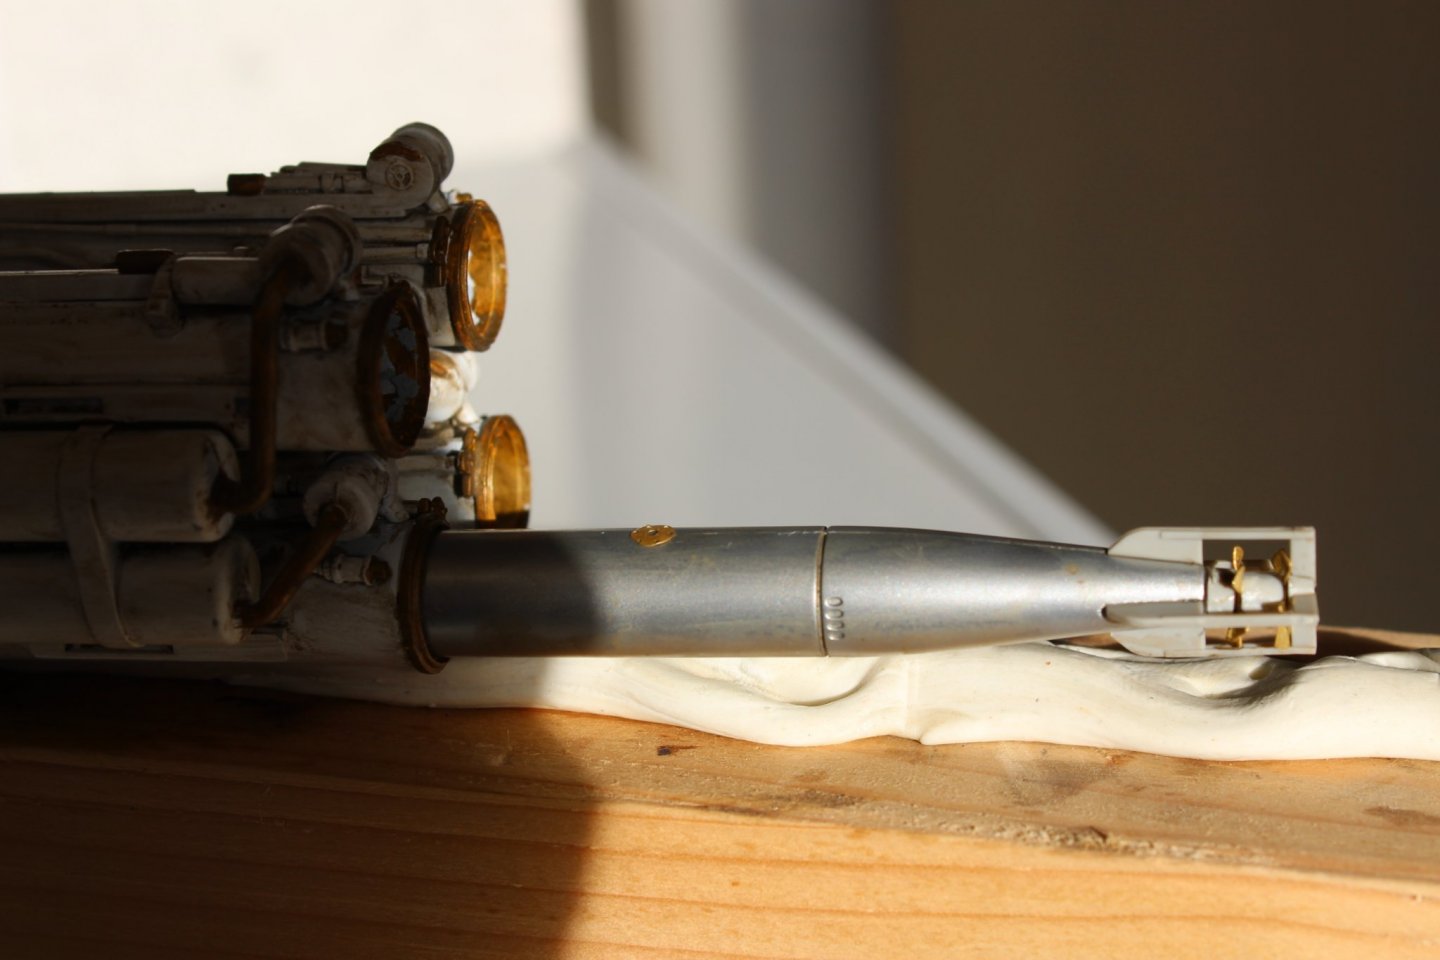
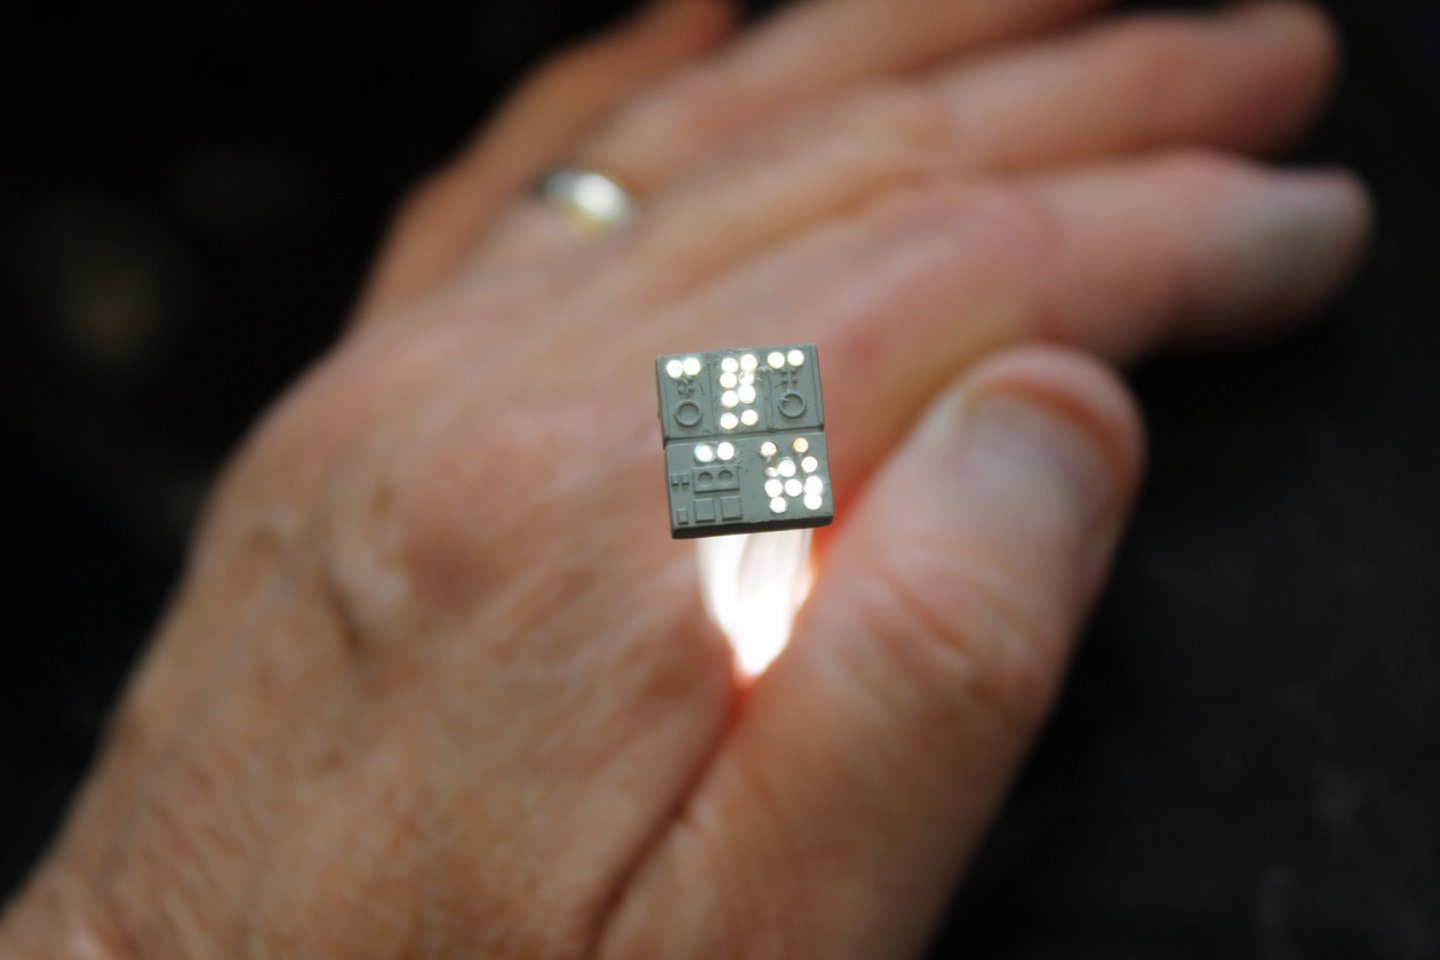
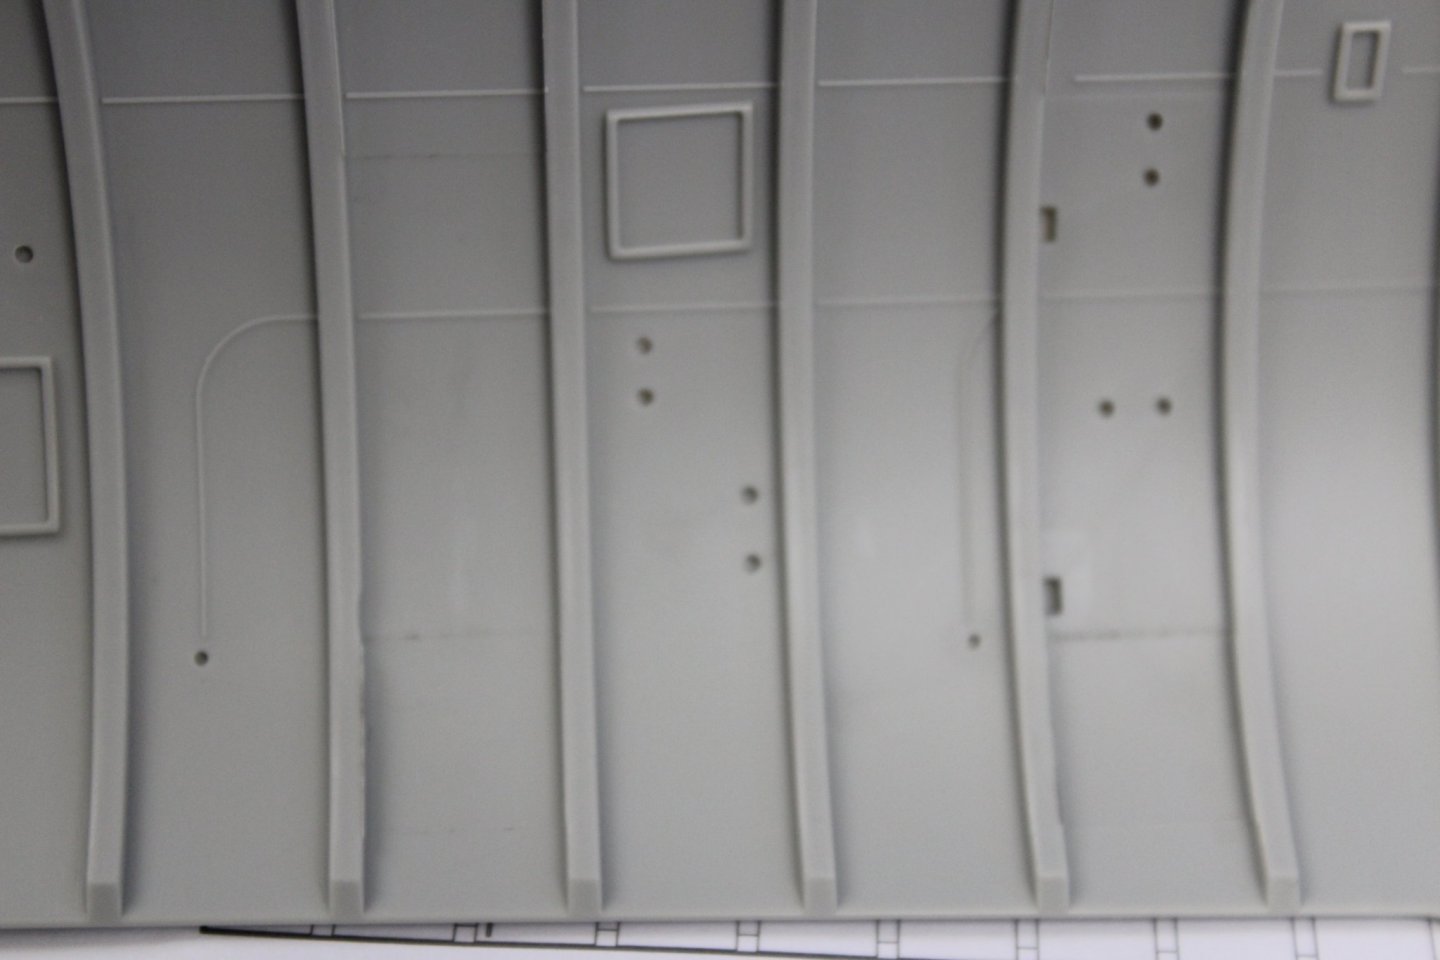
good afternoon everyone thank you for comments and likes did another photo of the panelling, in daylight, to me that looks better everything has had a grey primer, and im using DKM 50 on the bulkheads with a different shade for the numerous boxes and panels the torpedo tubes were in a Lifecolour flat white with Vajello brass and Flory grime wash


- 90 replies
-
- 11
-
-
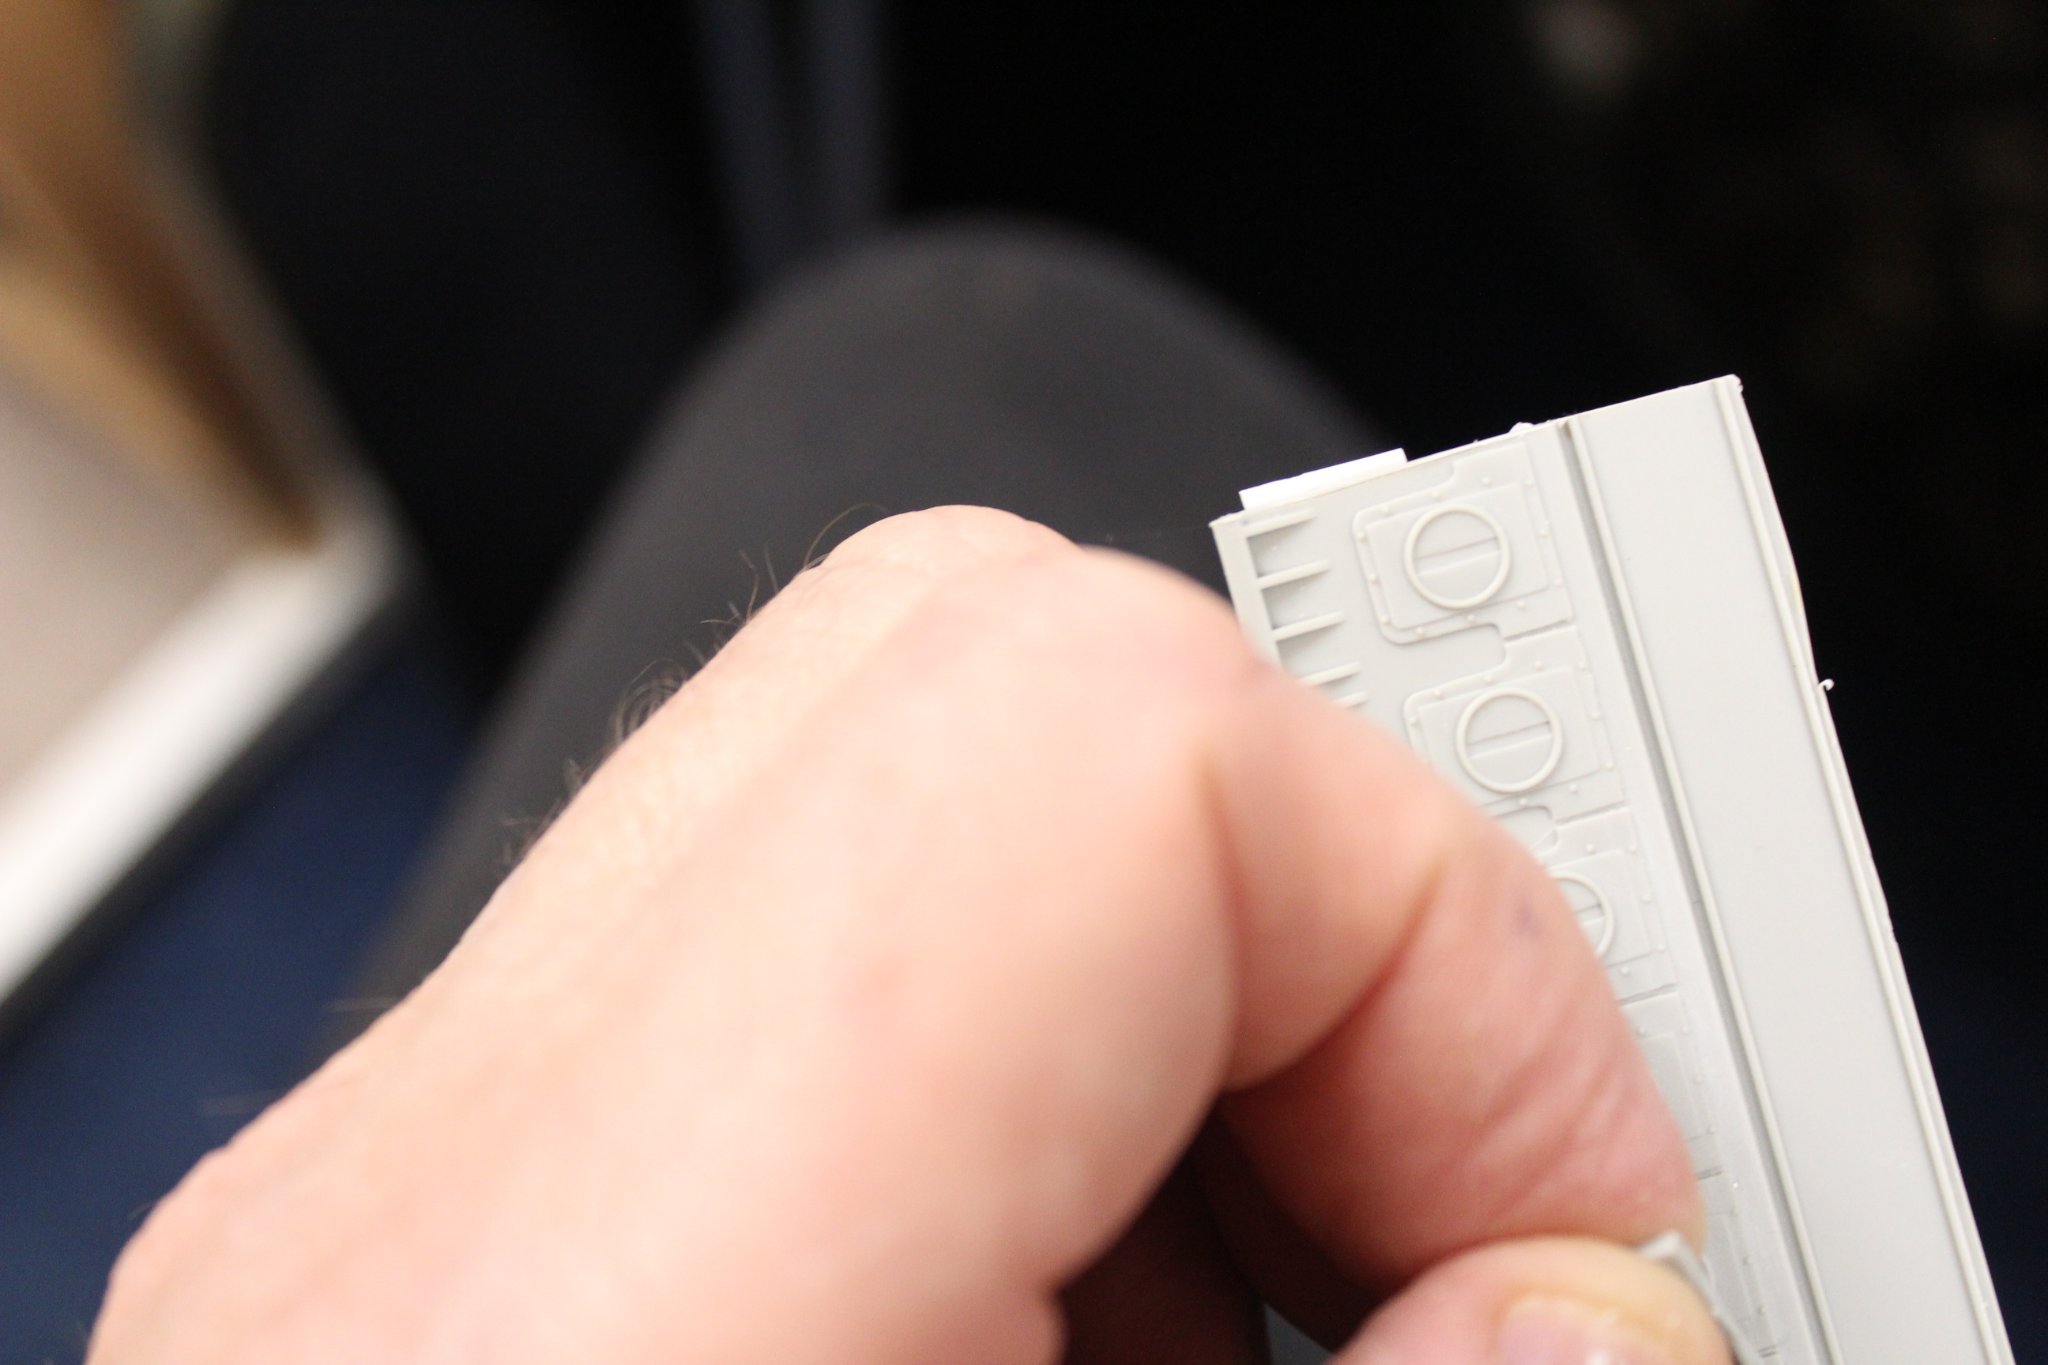
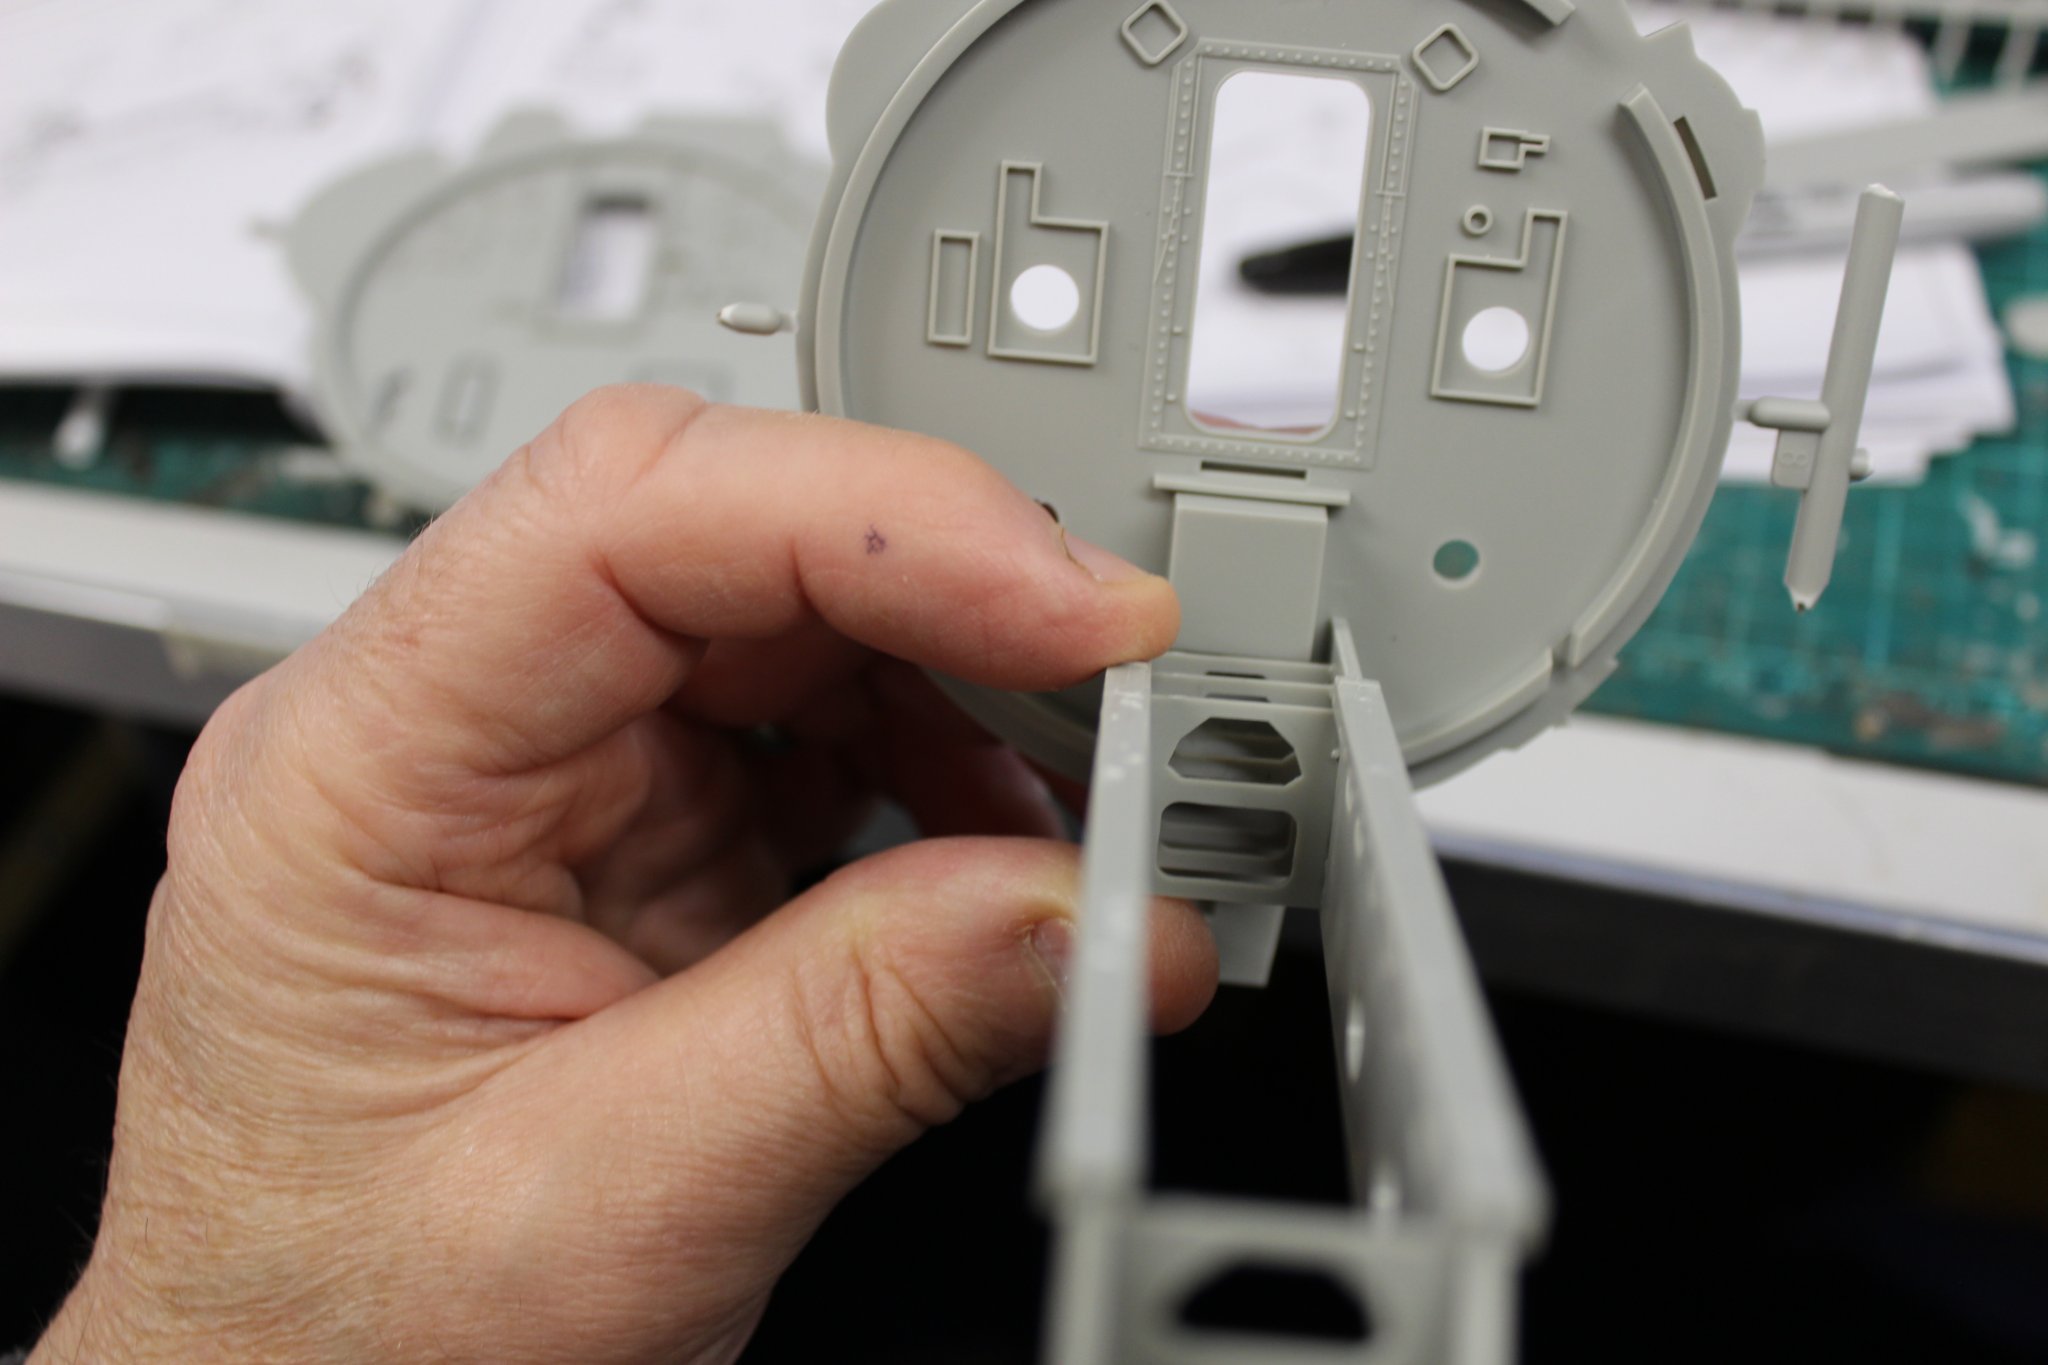
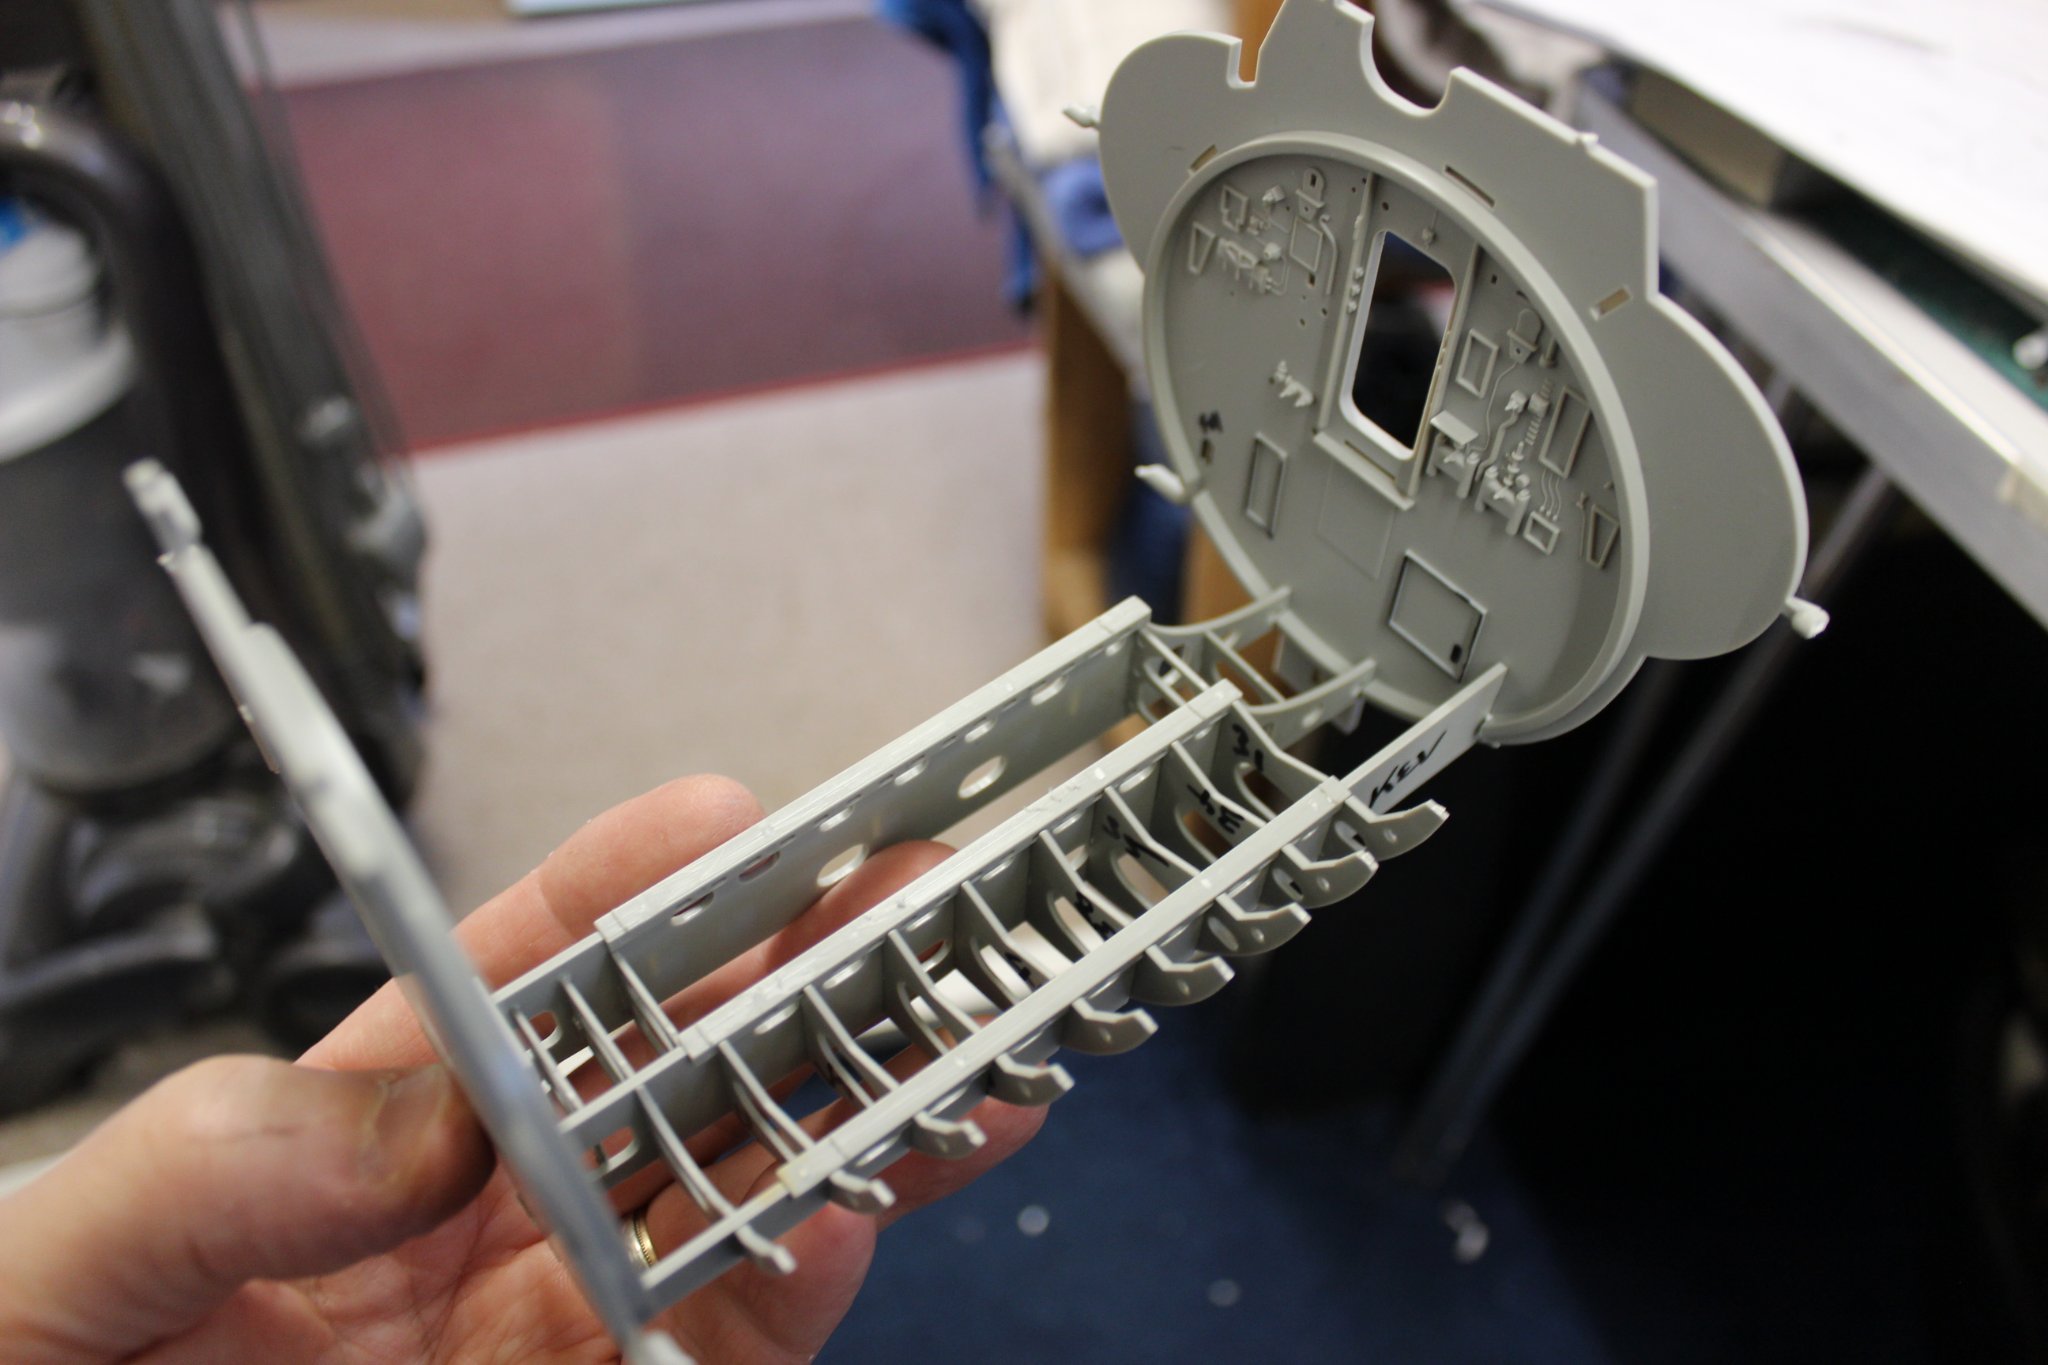
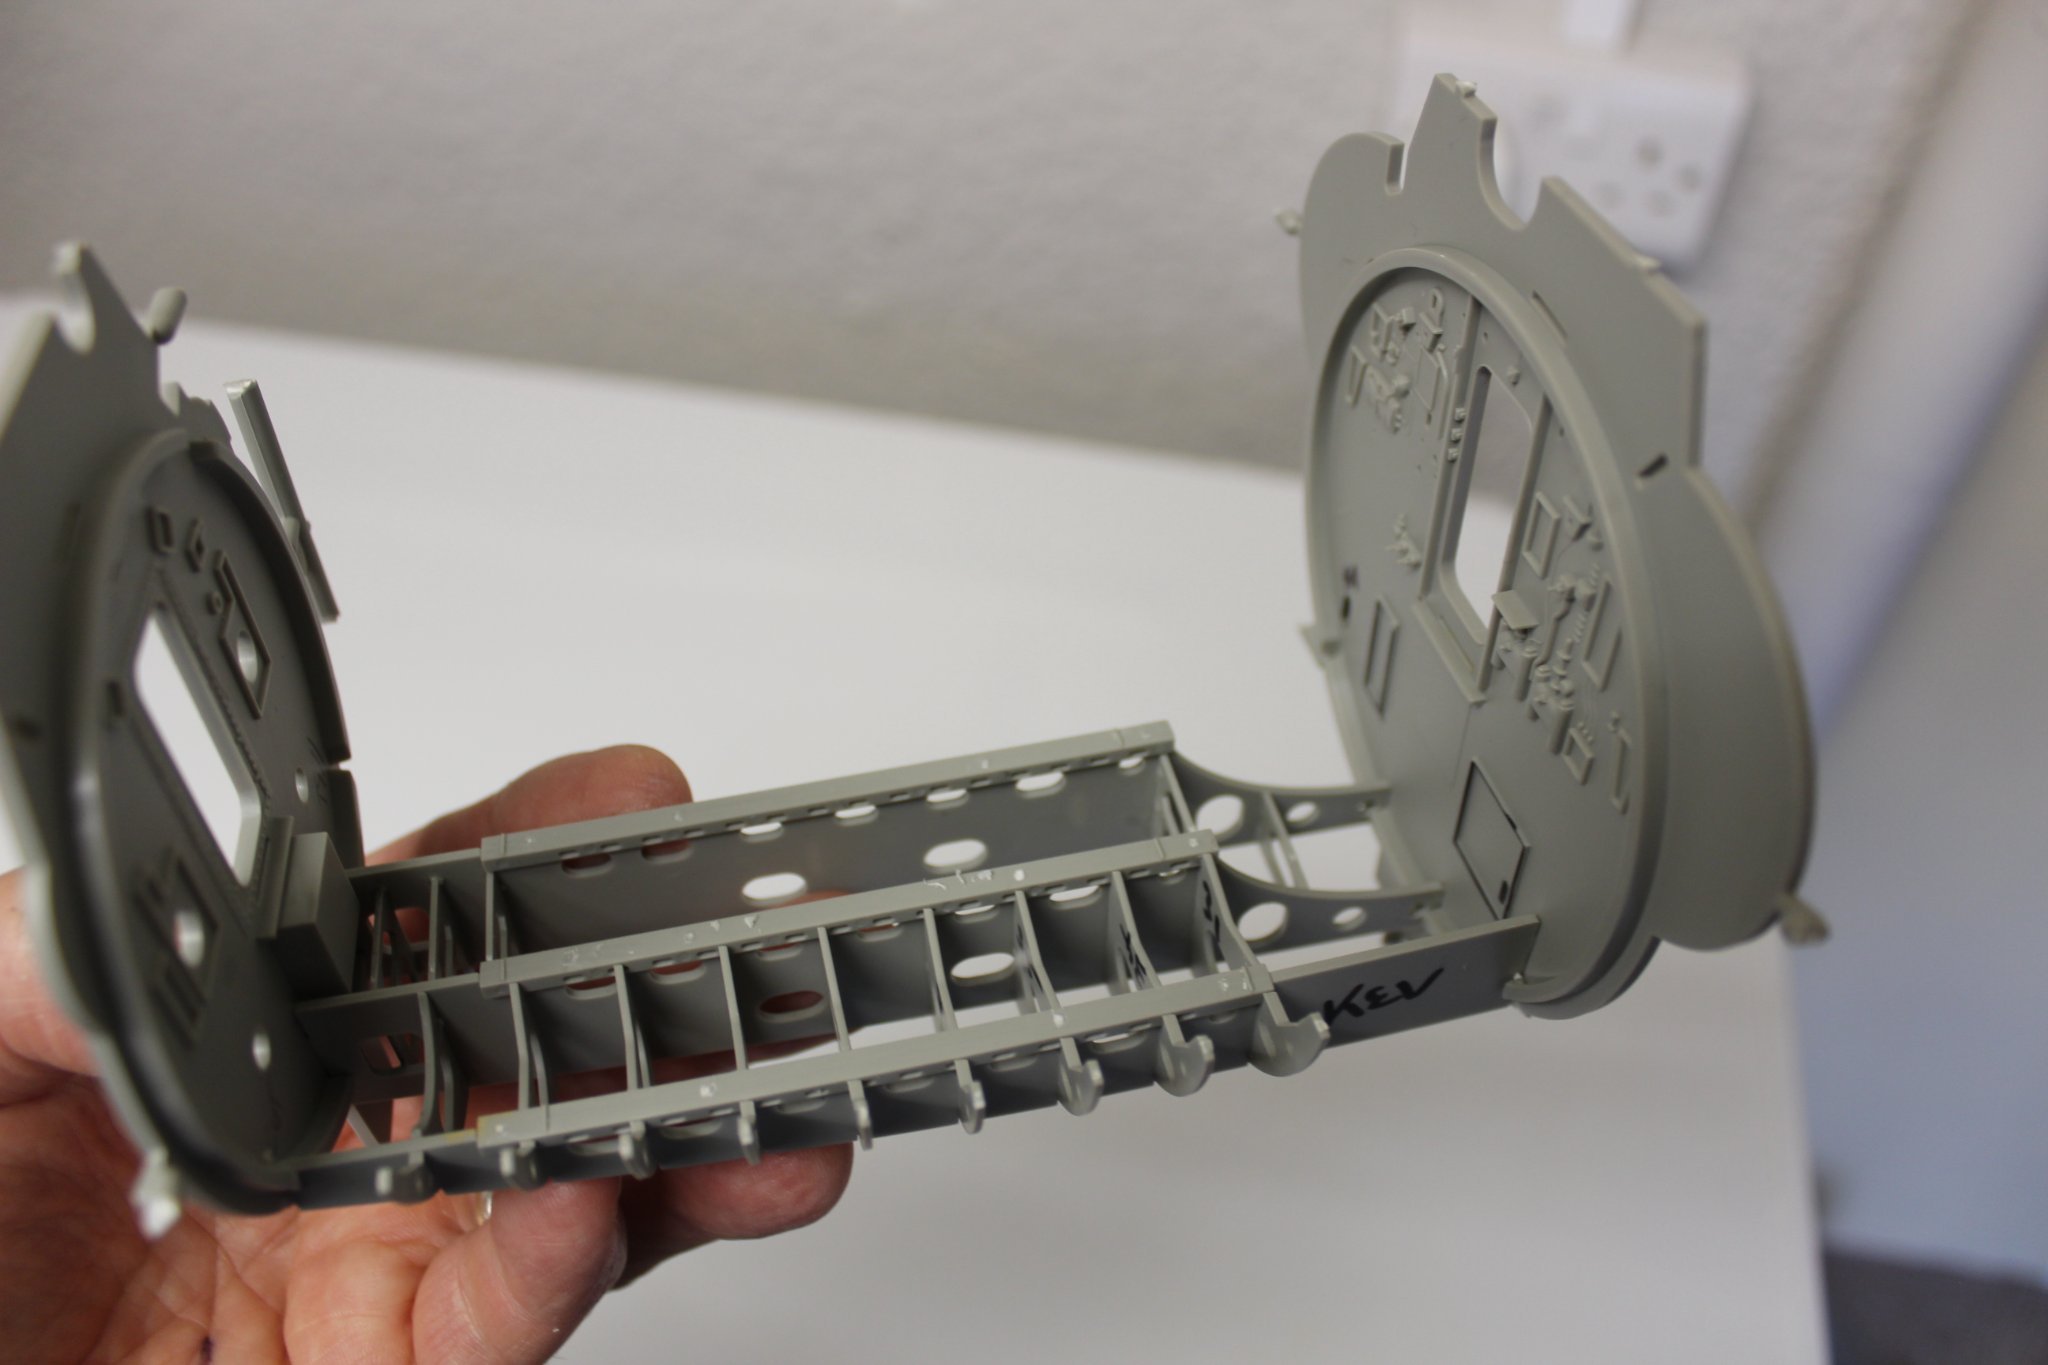
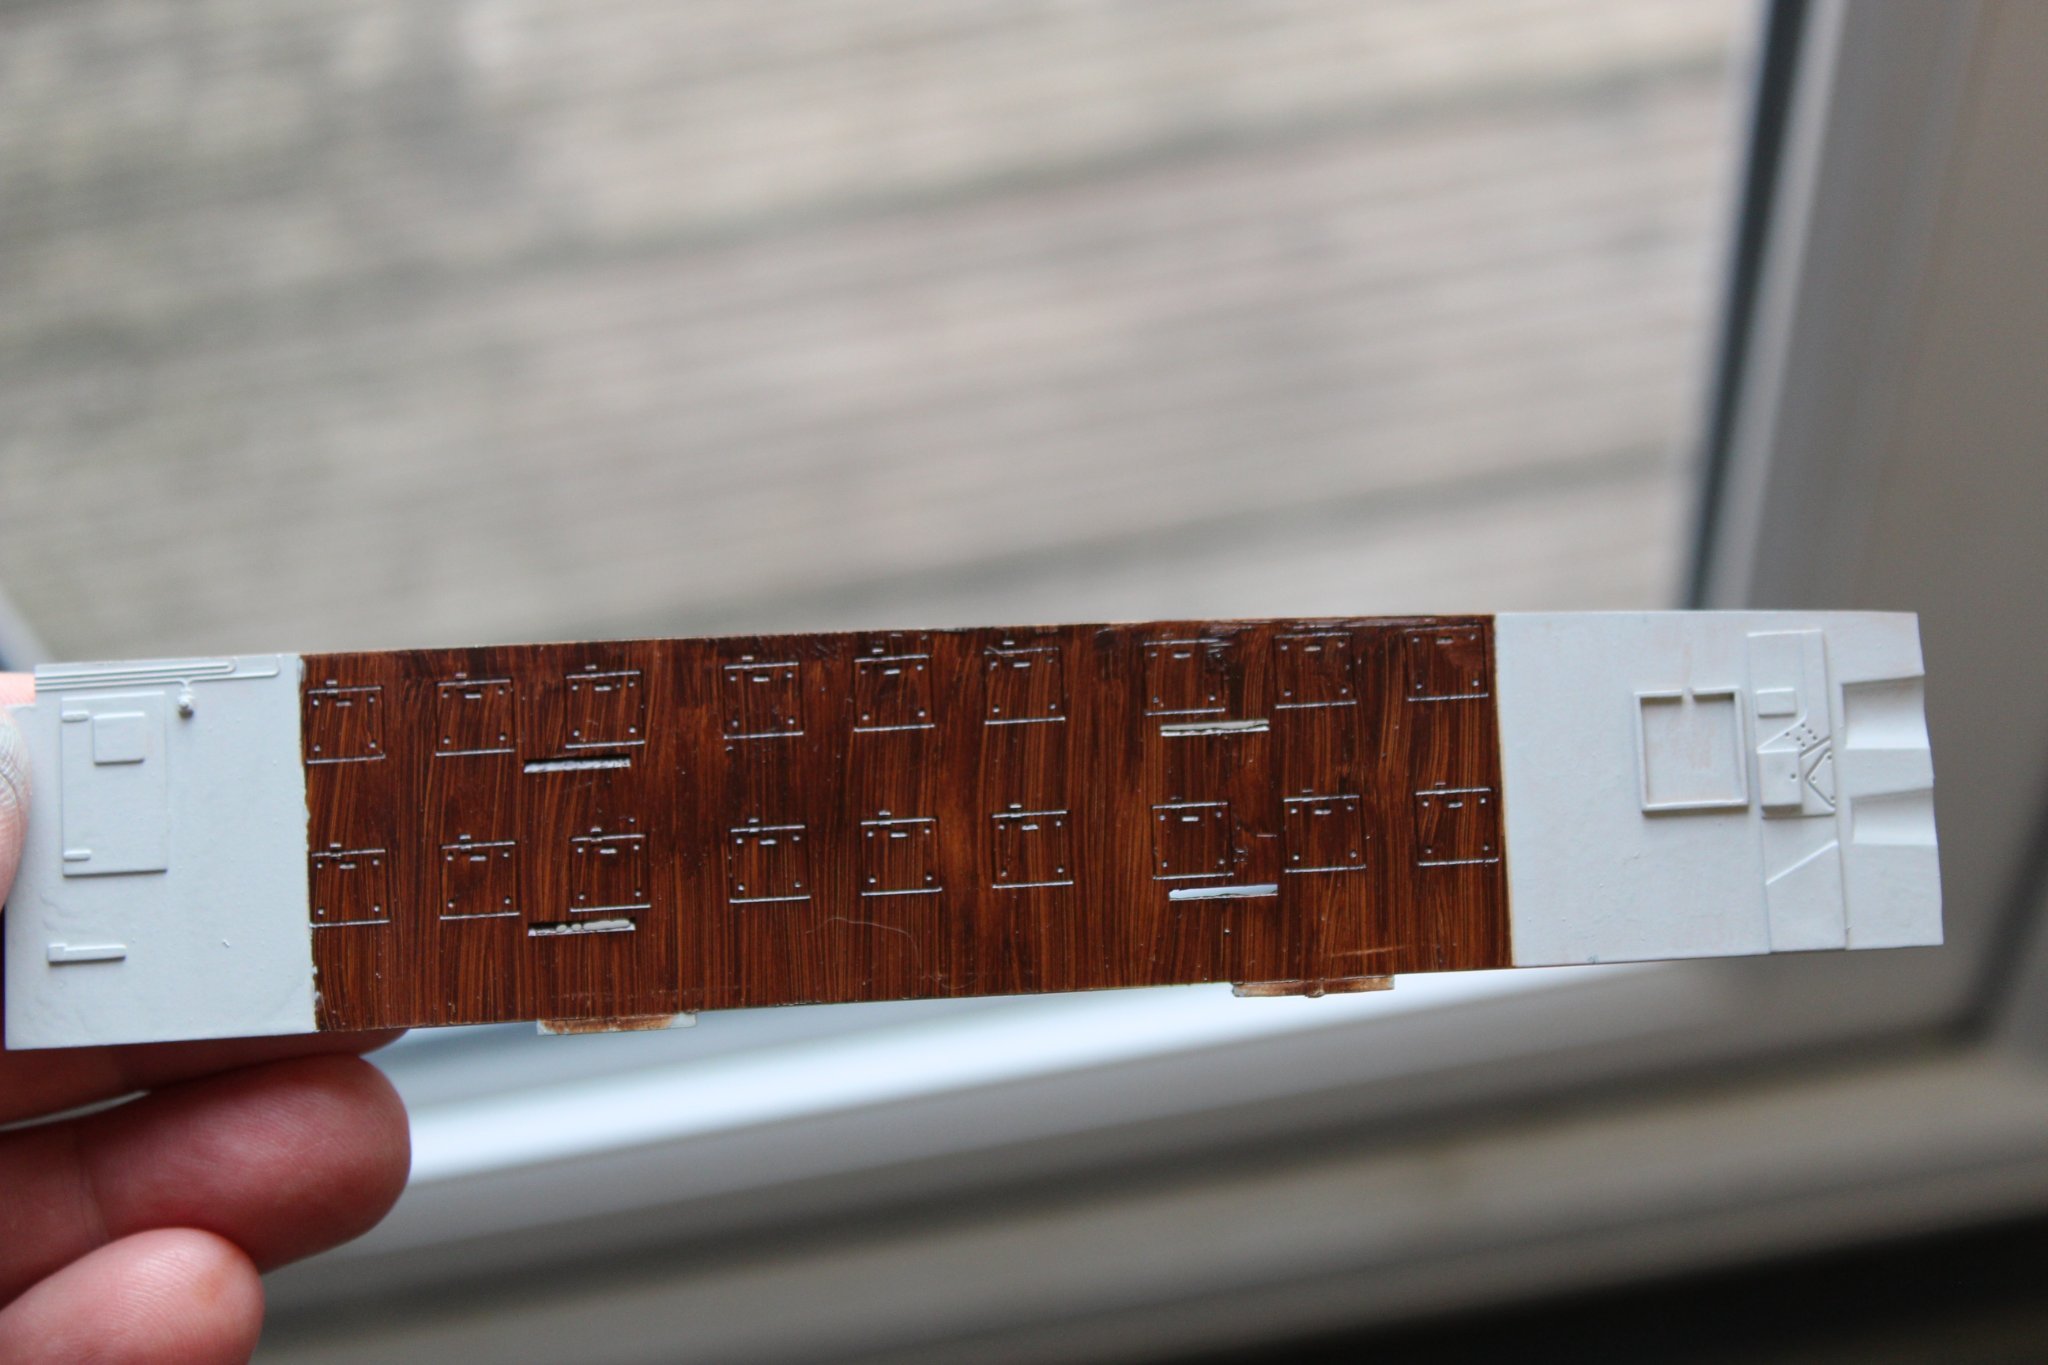
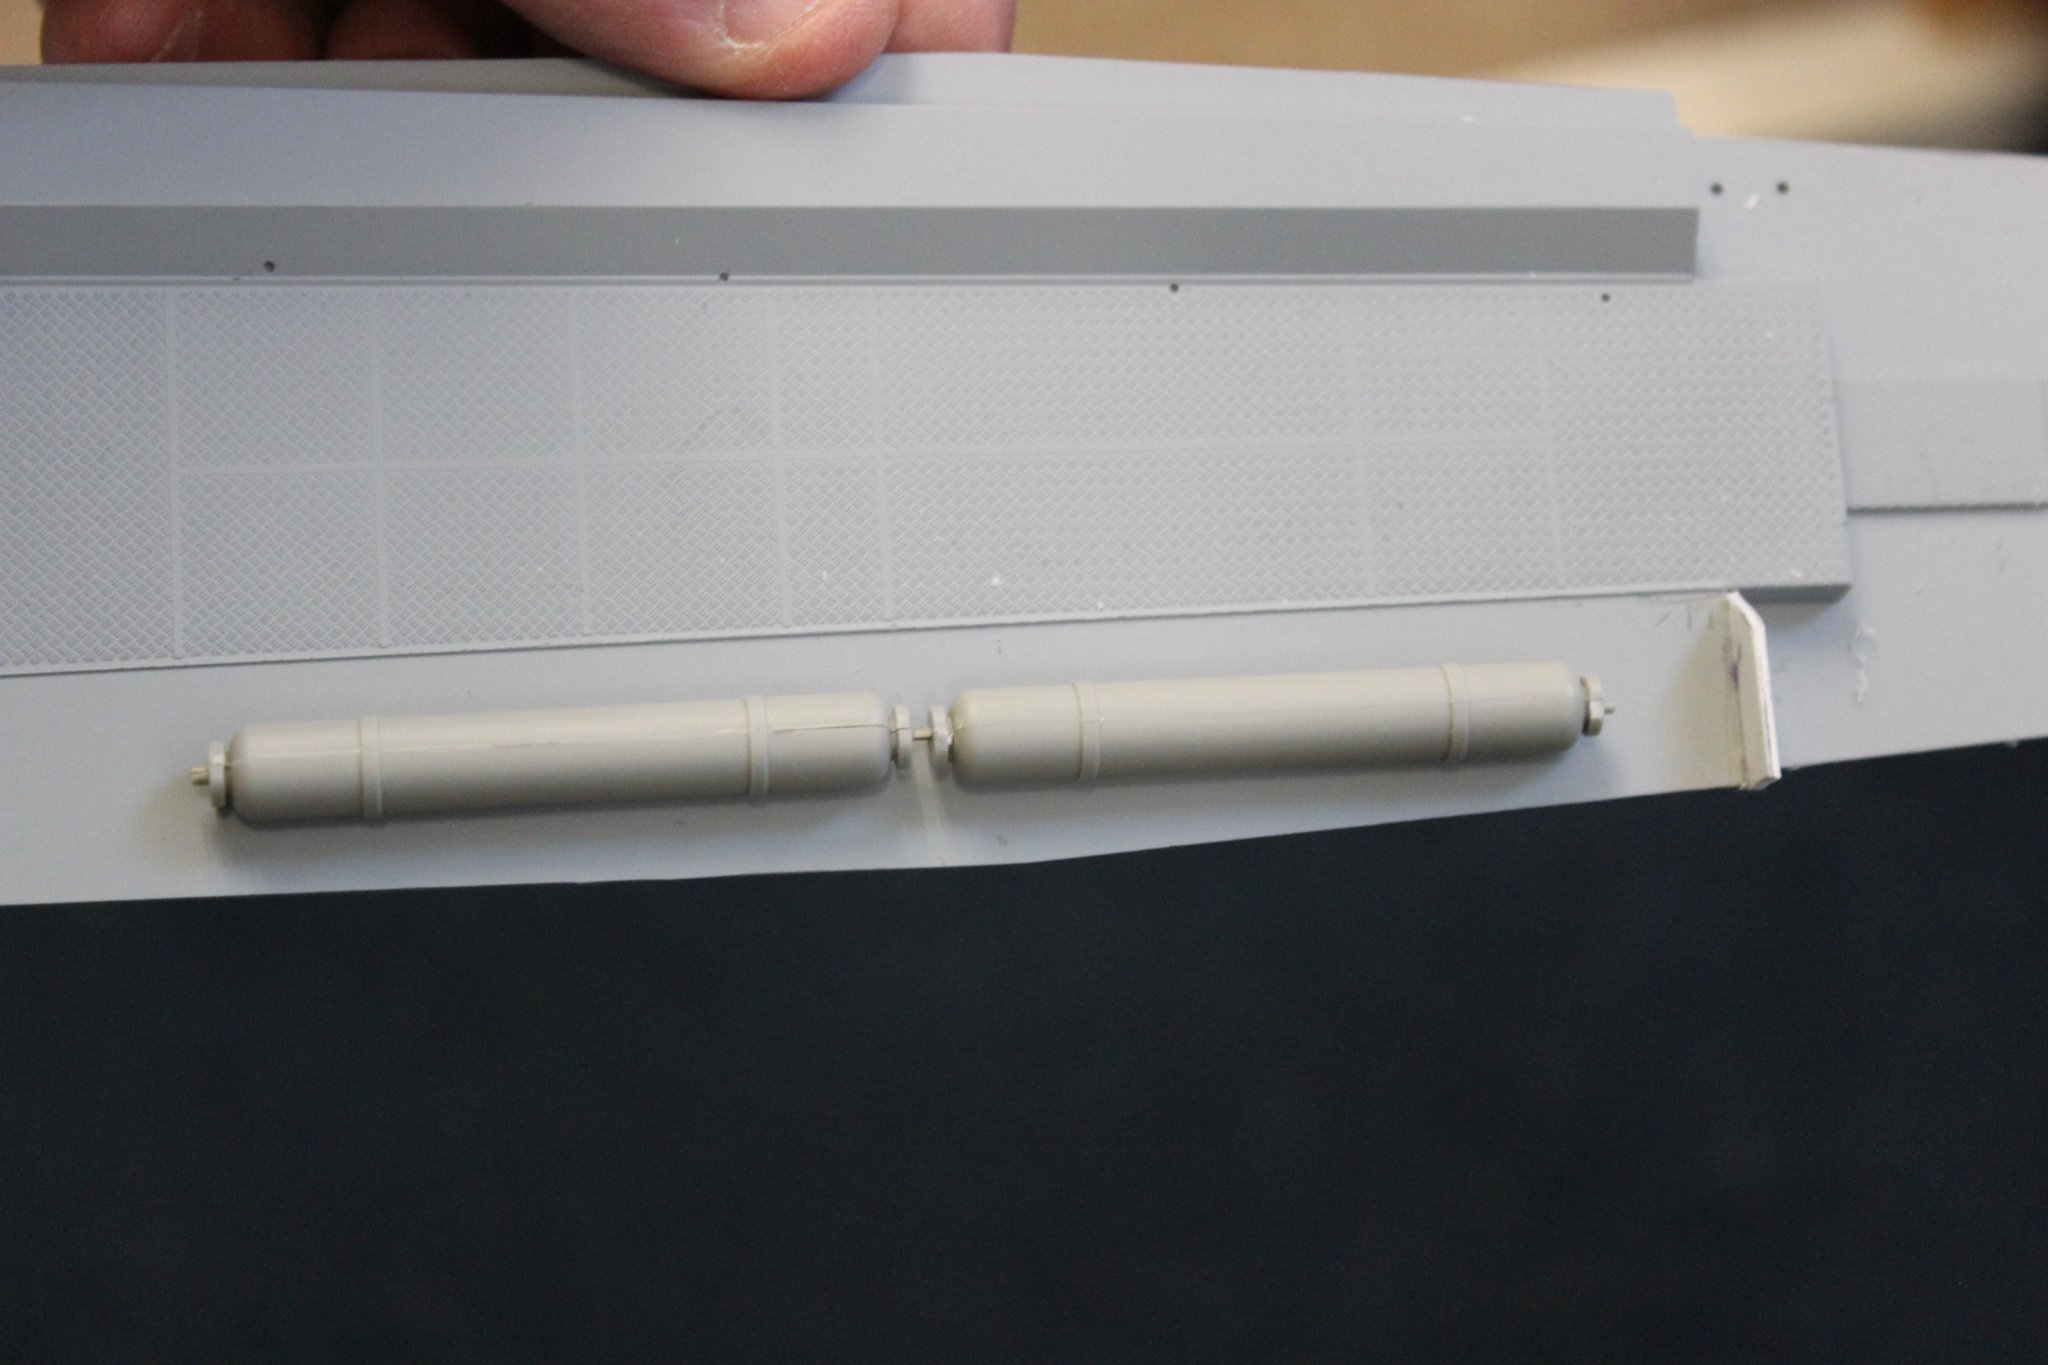
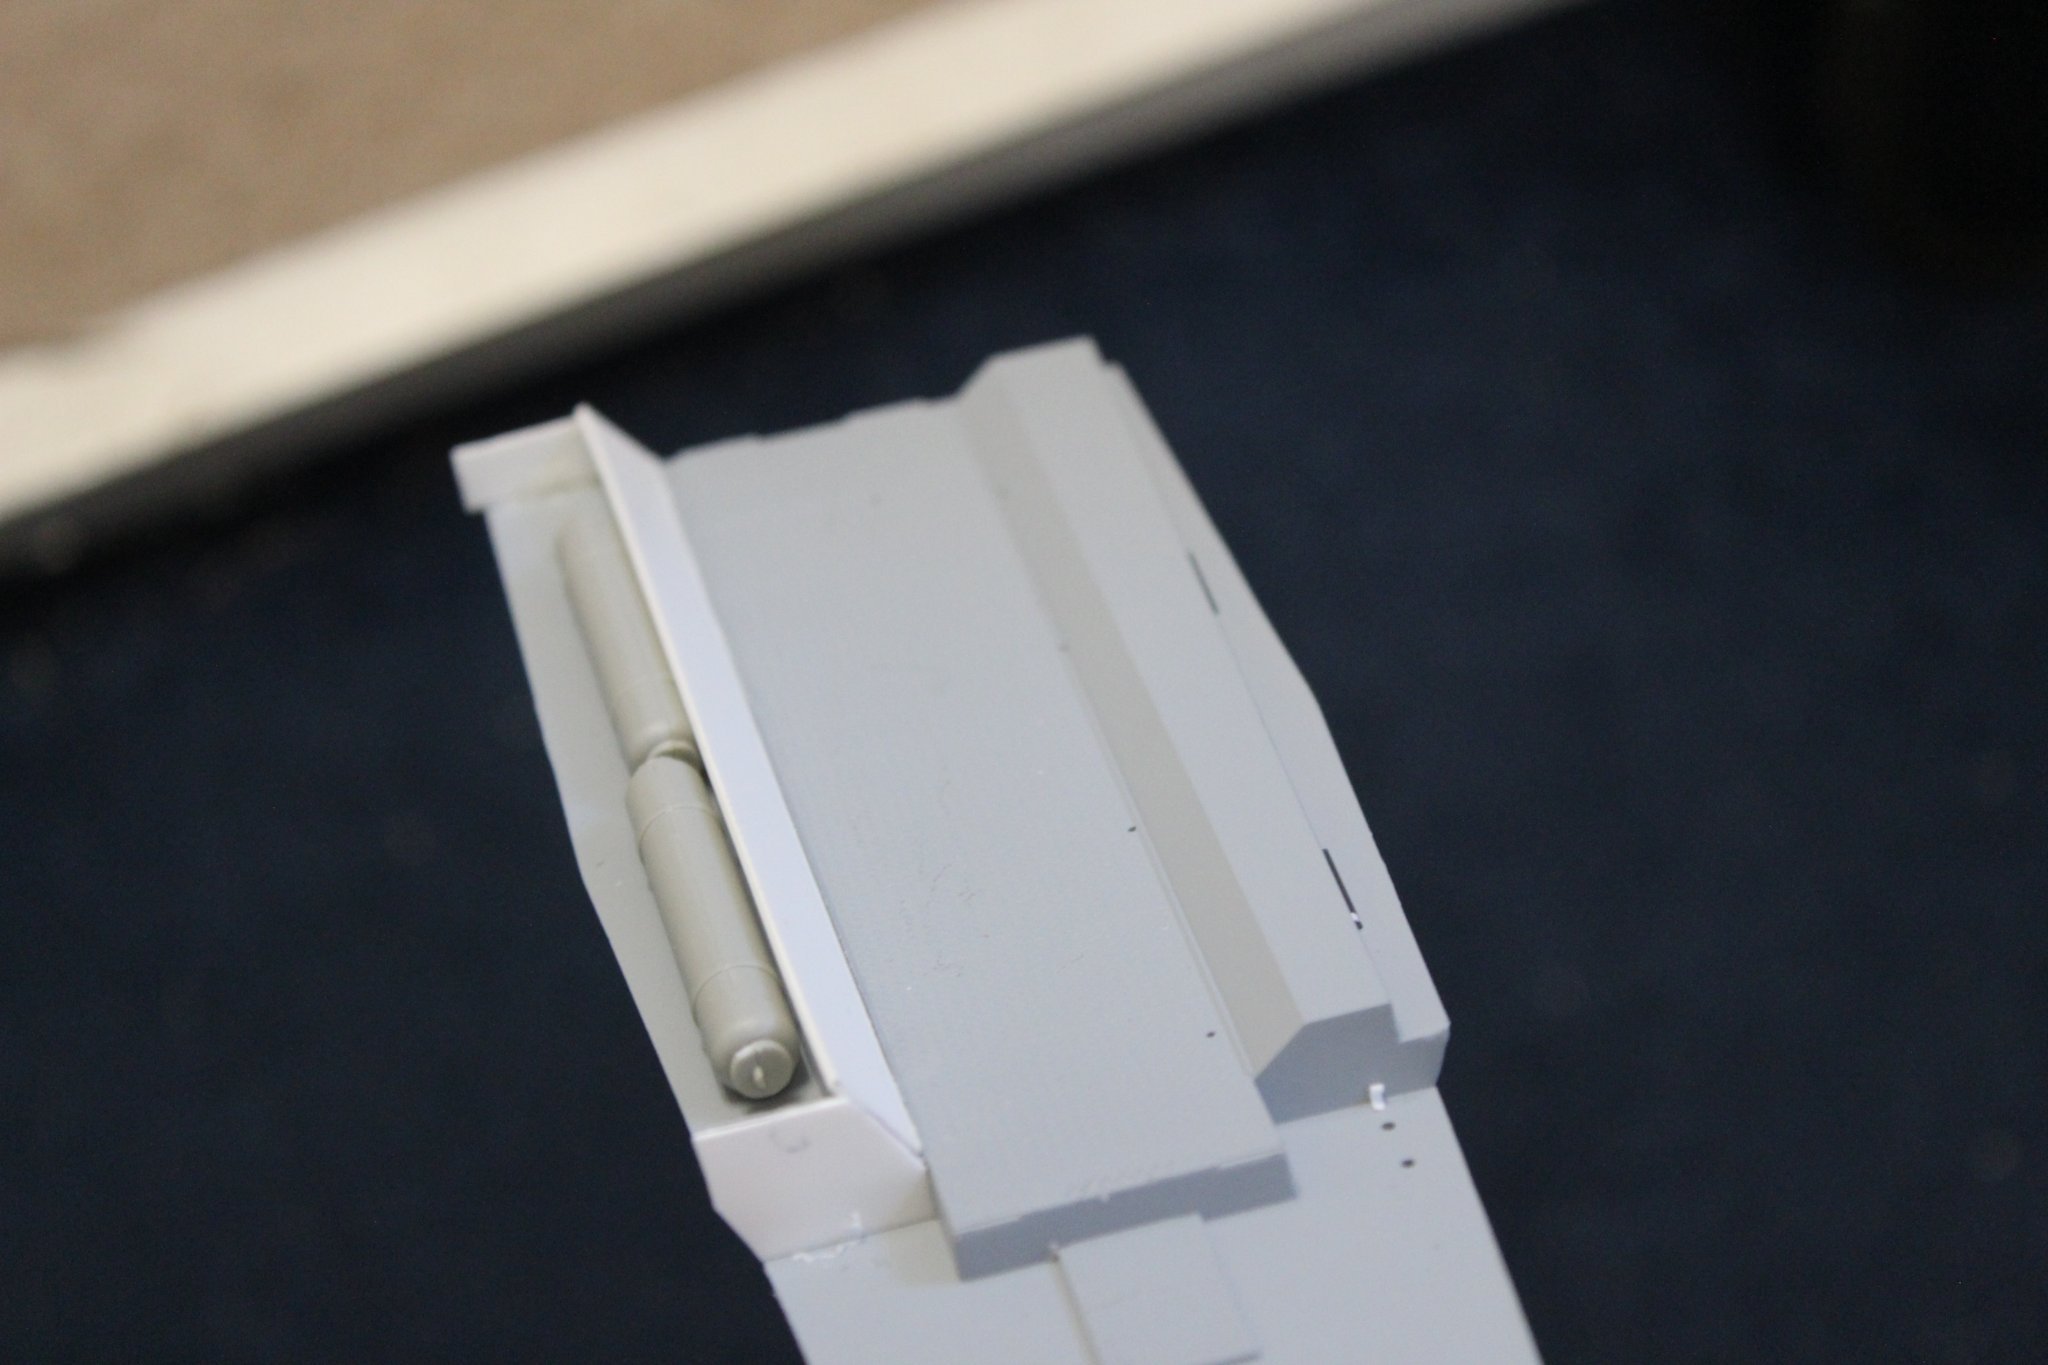
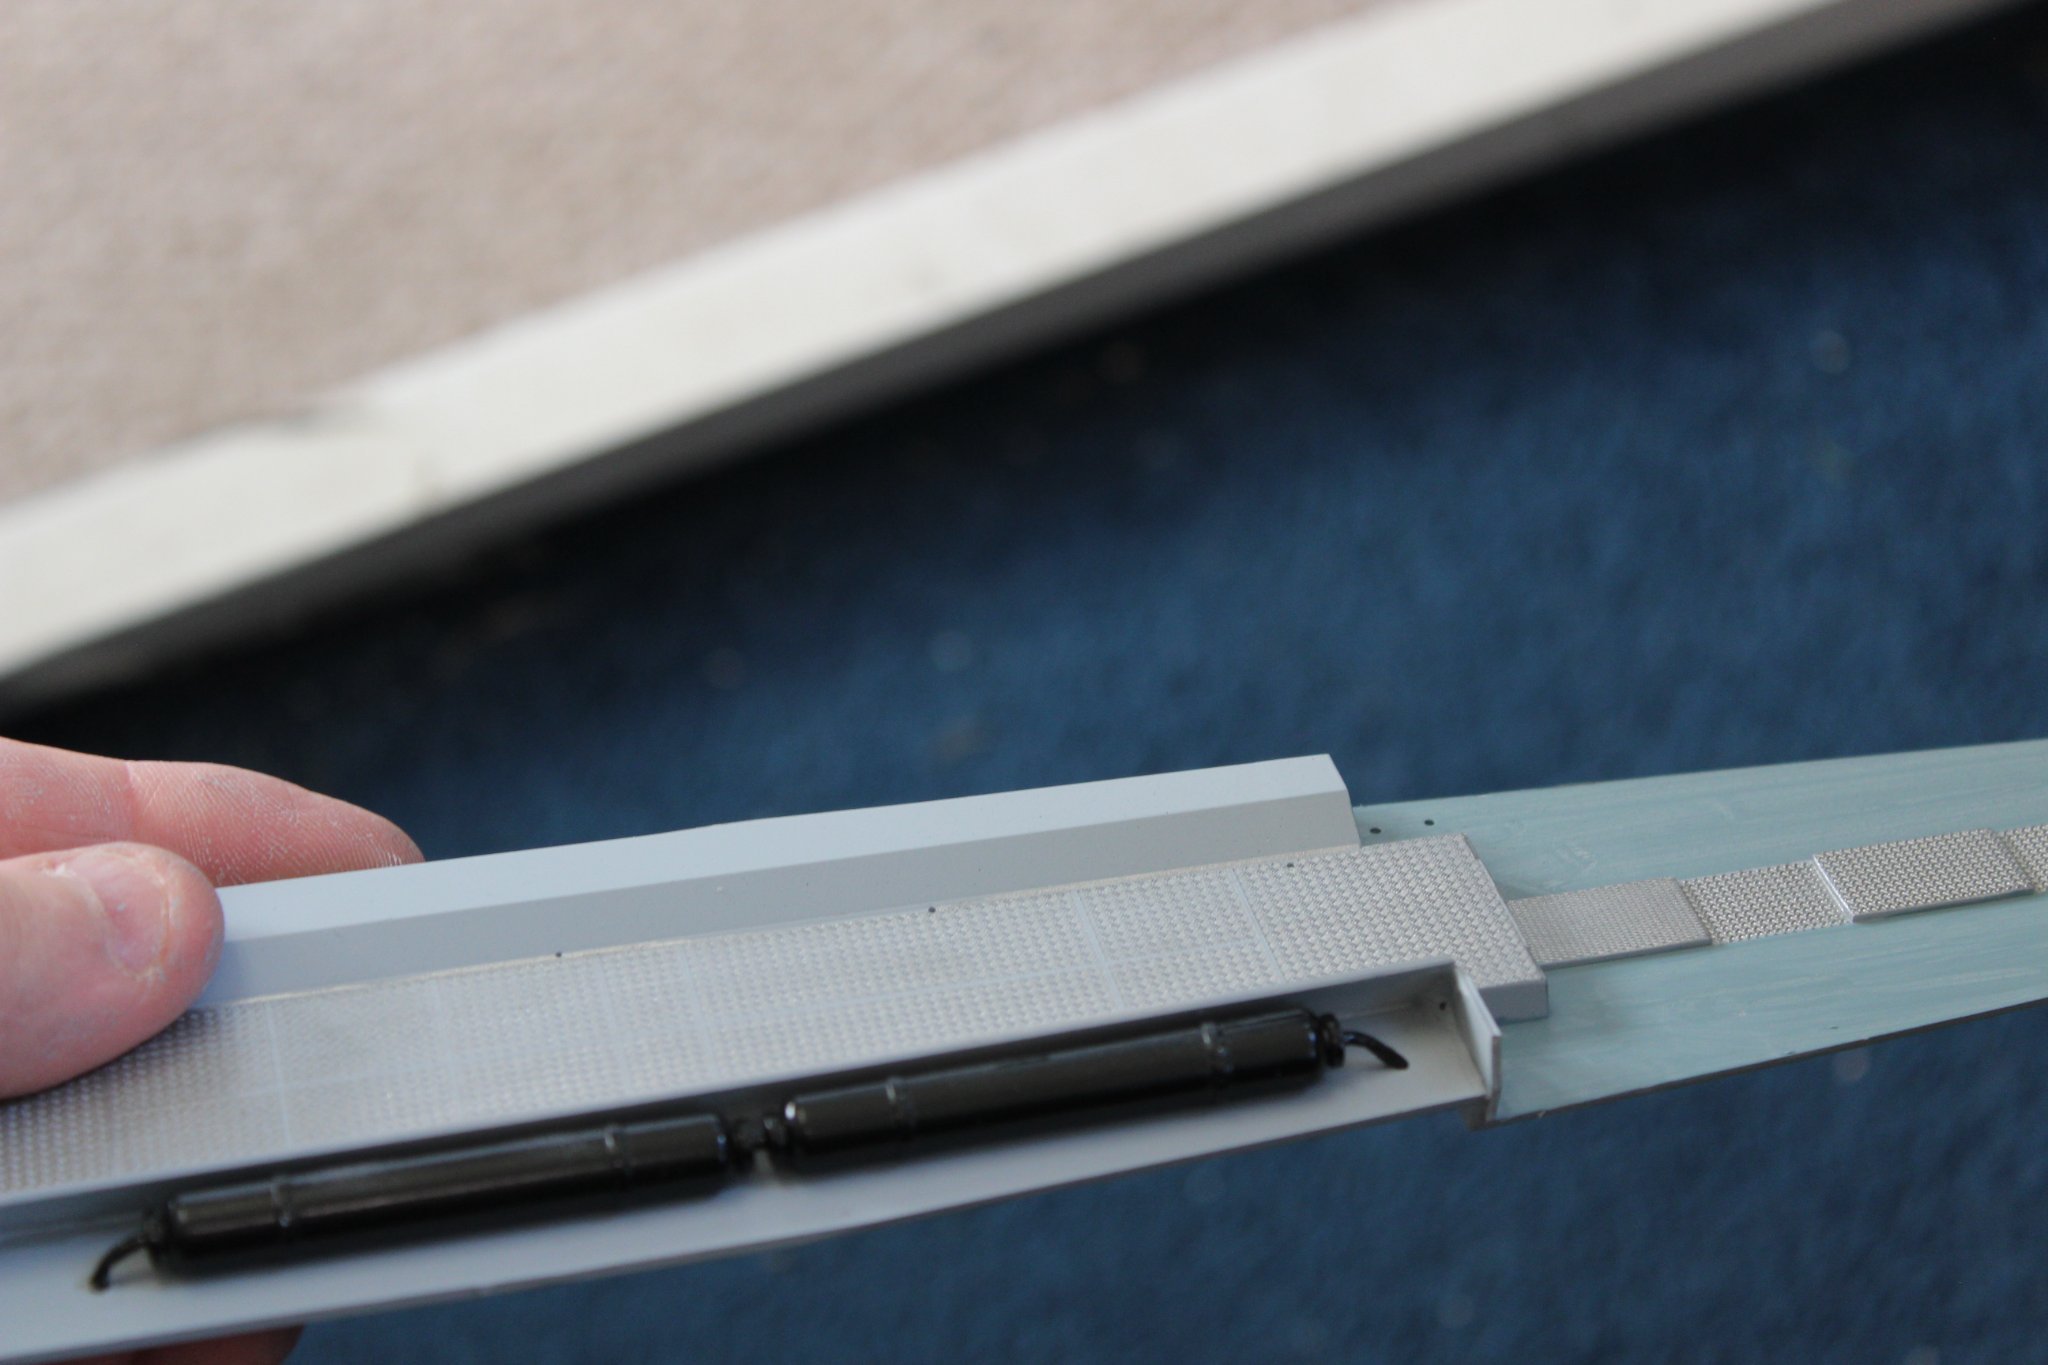
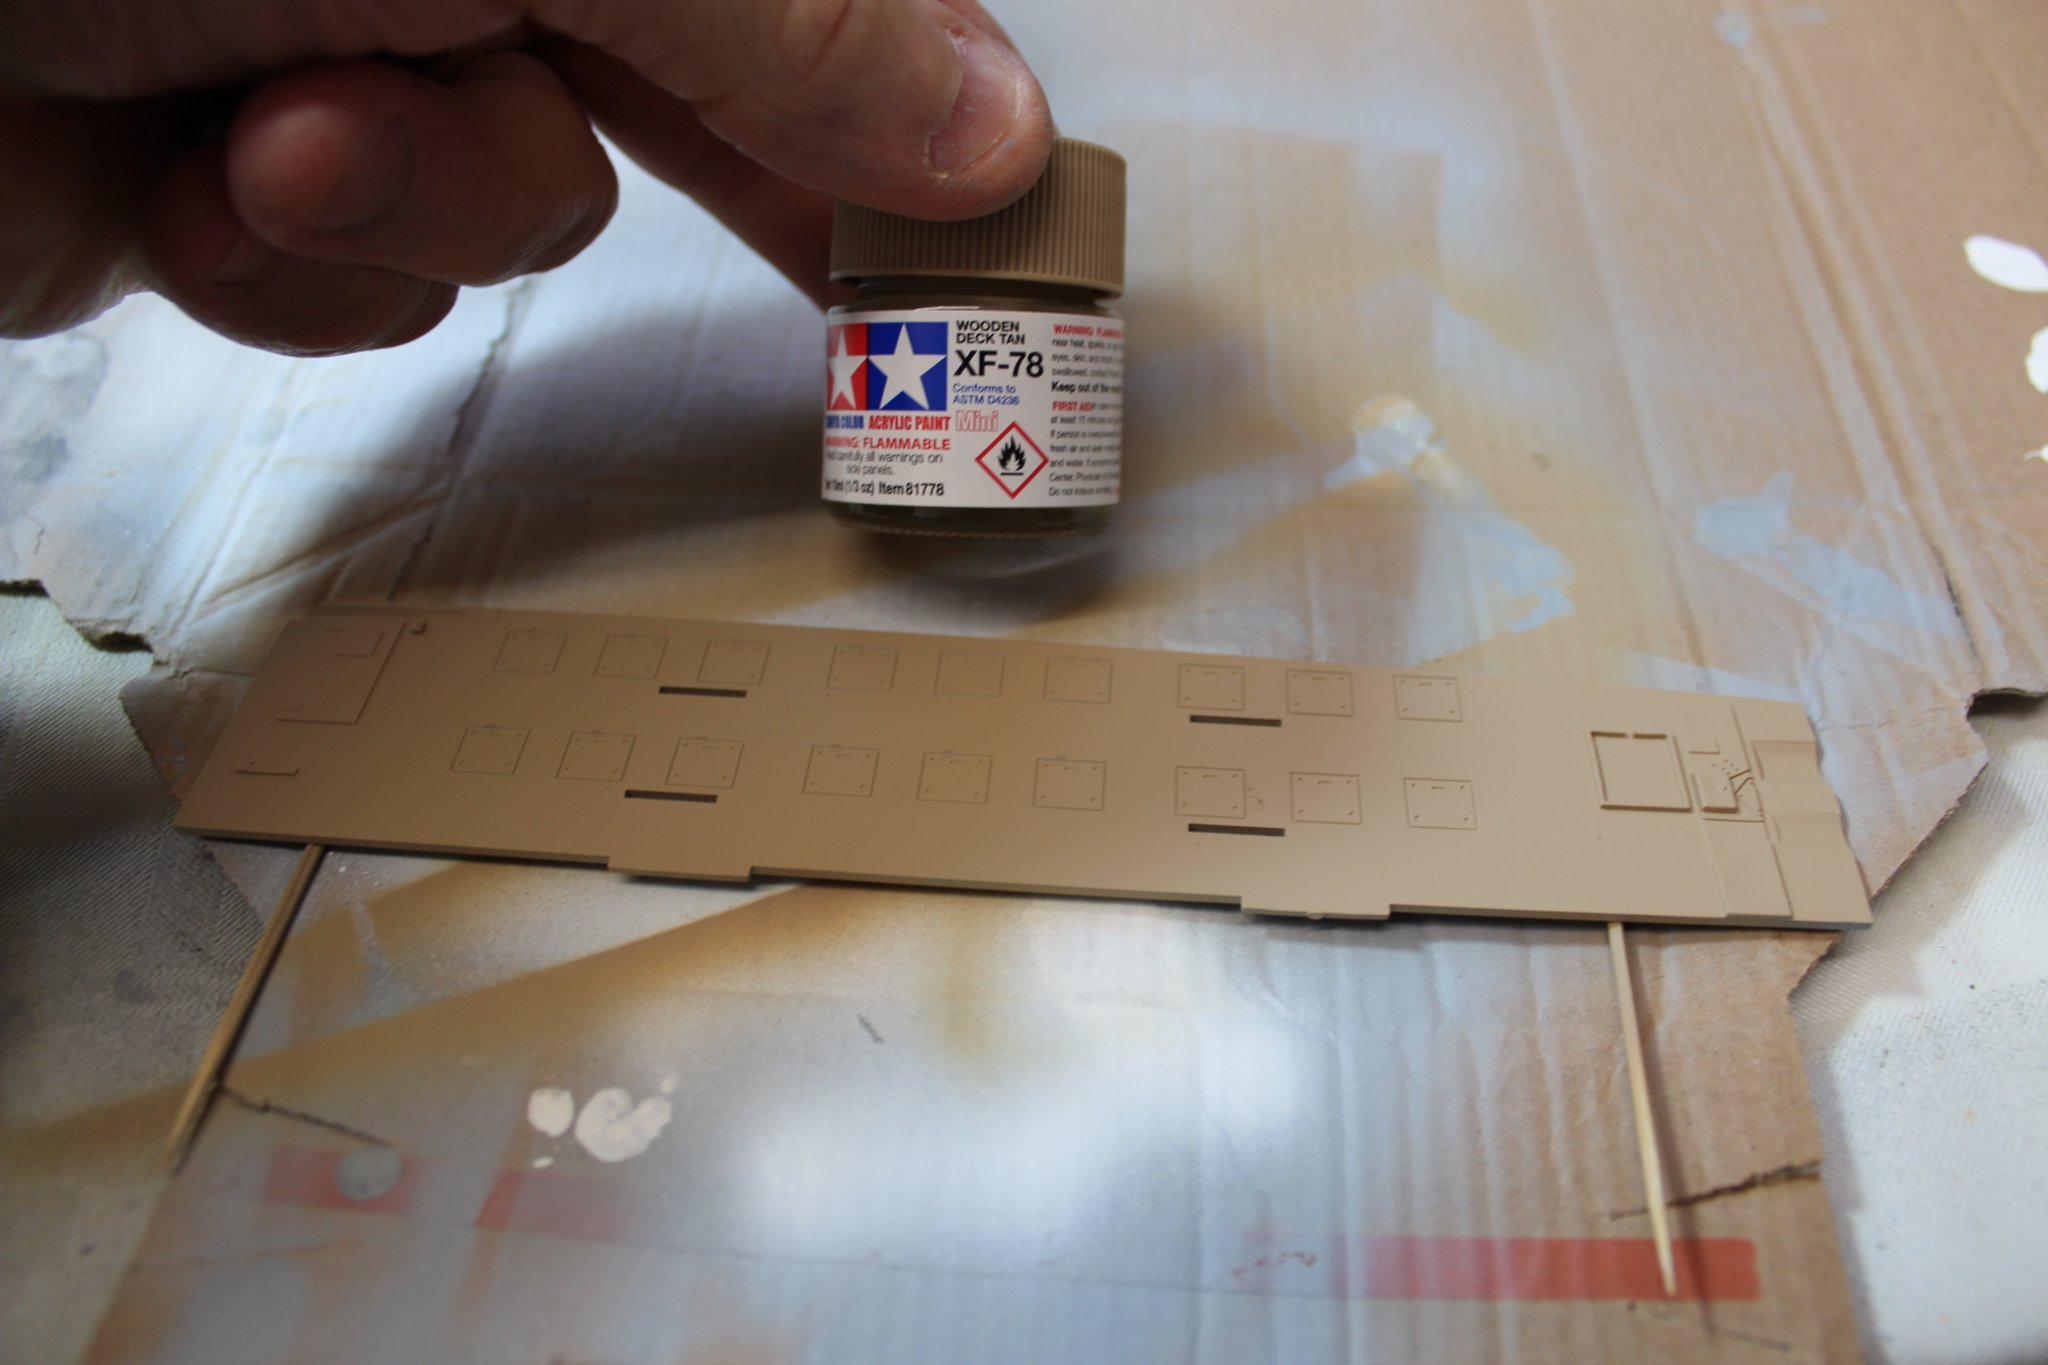
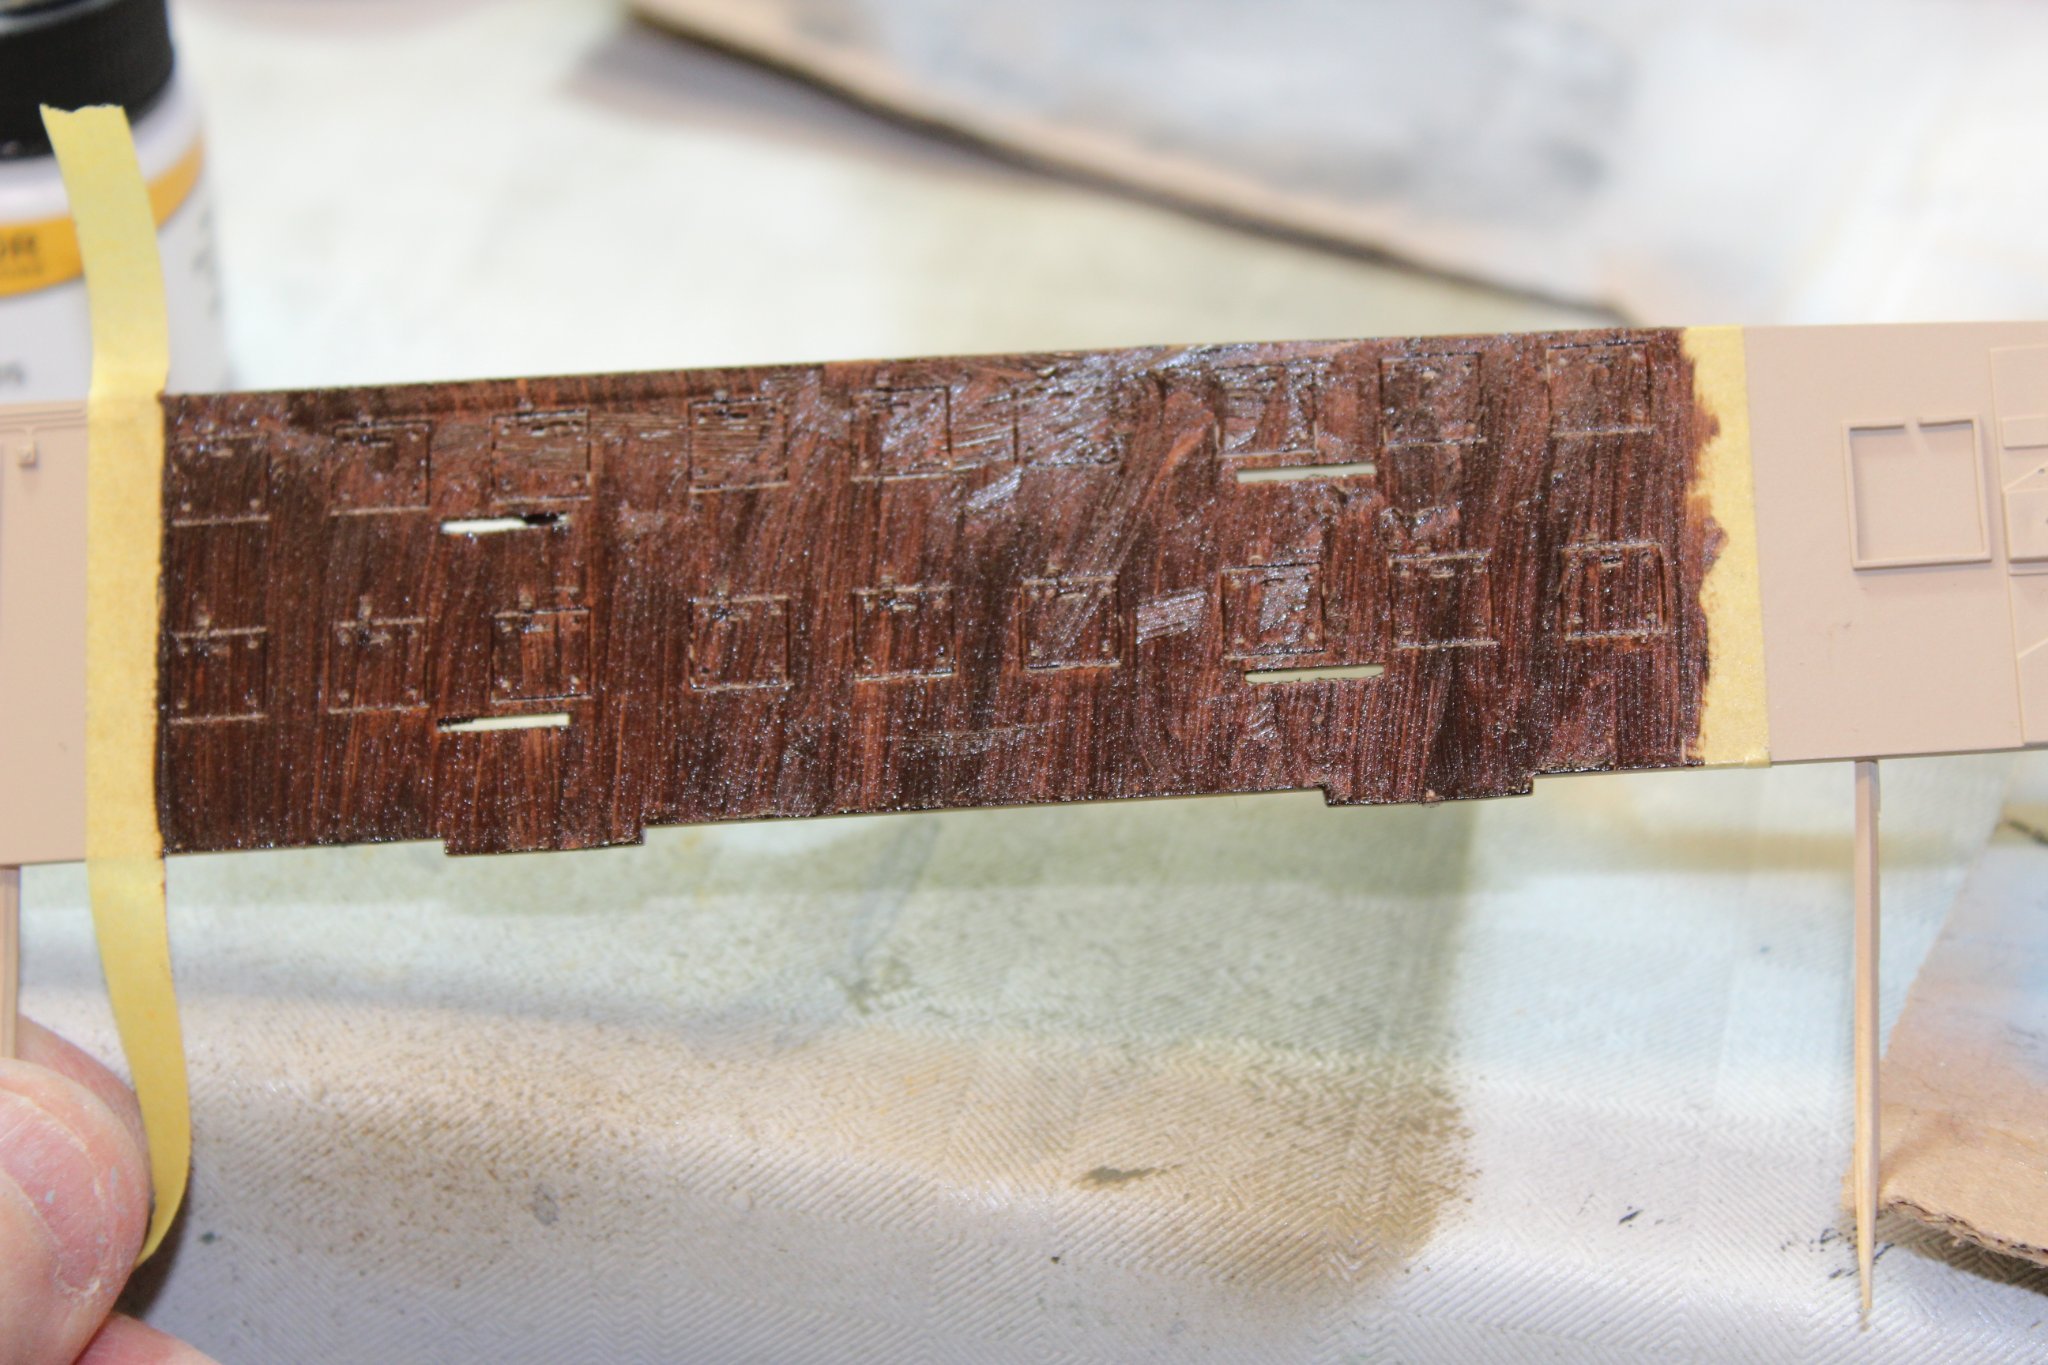
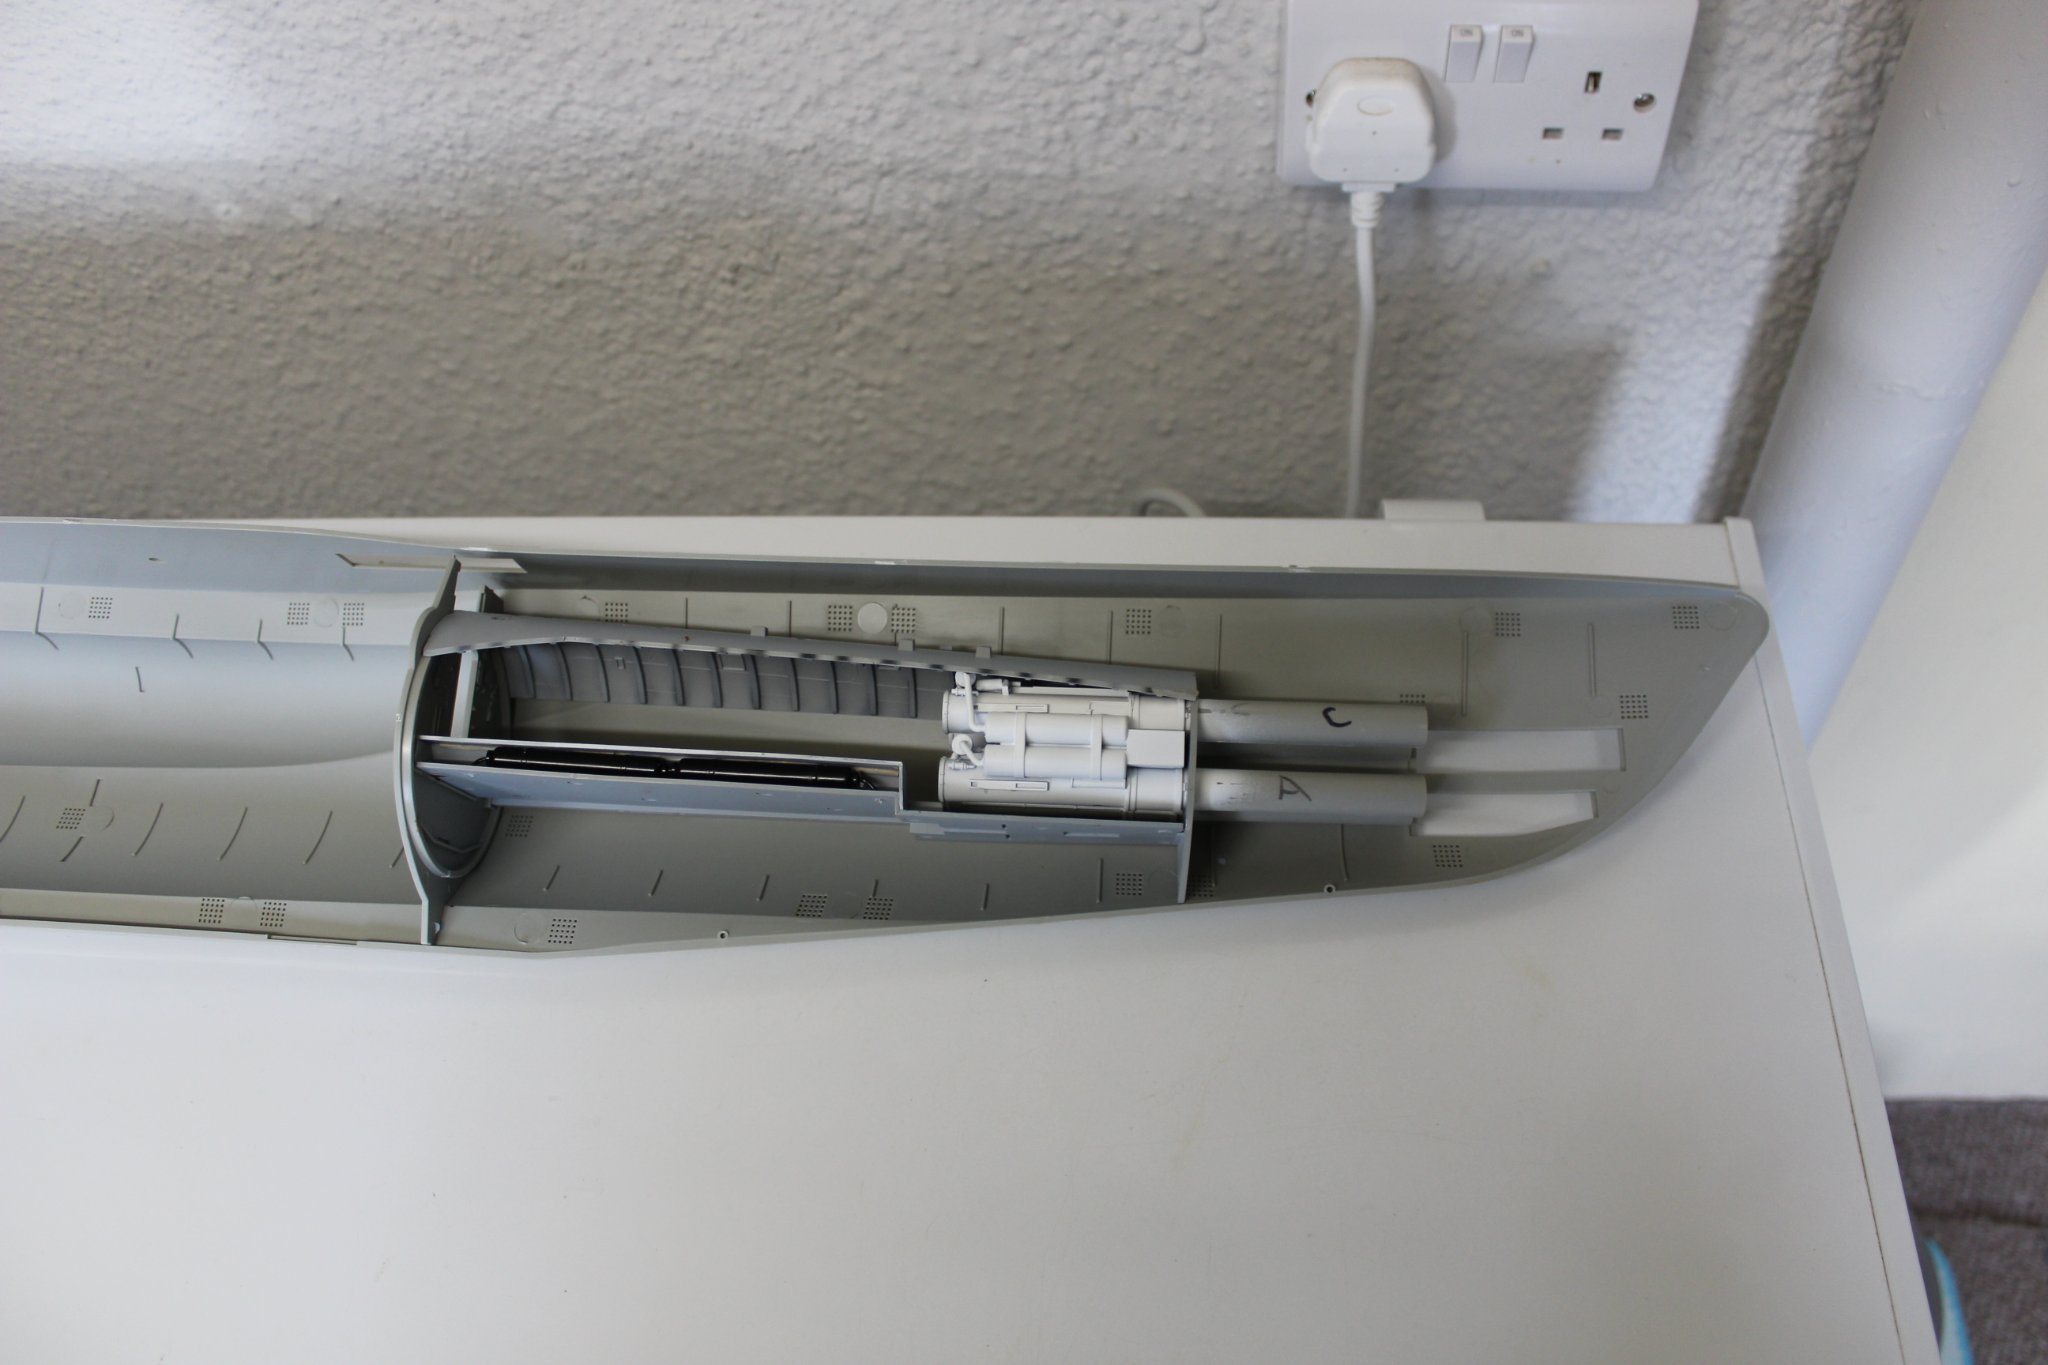
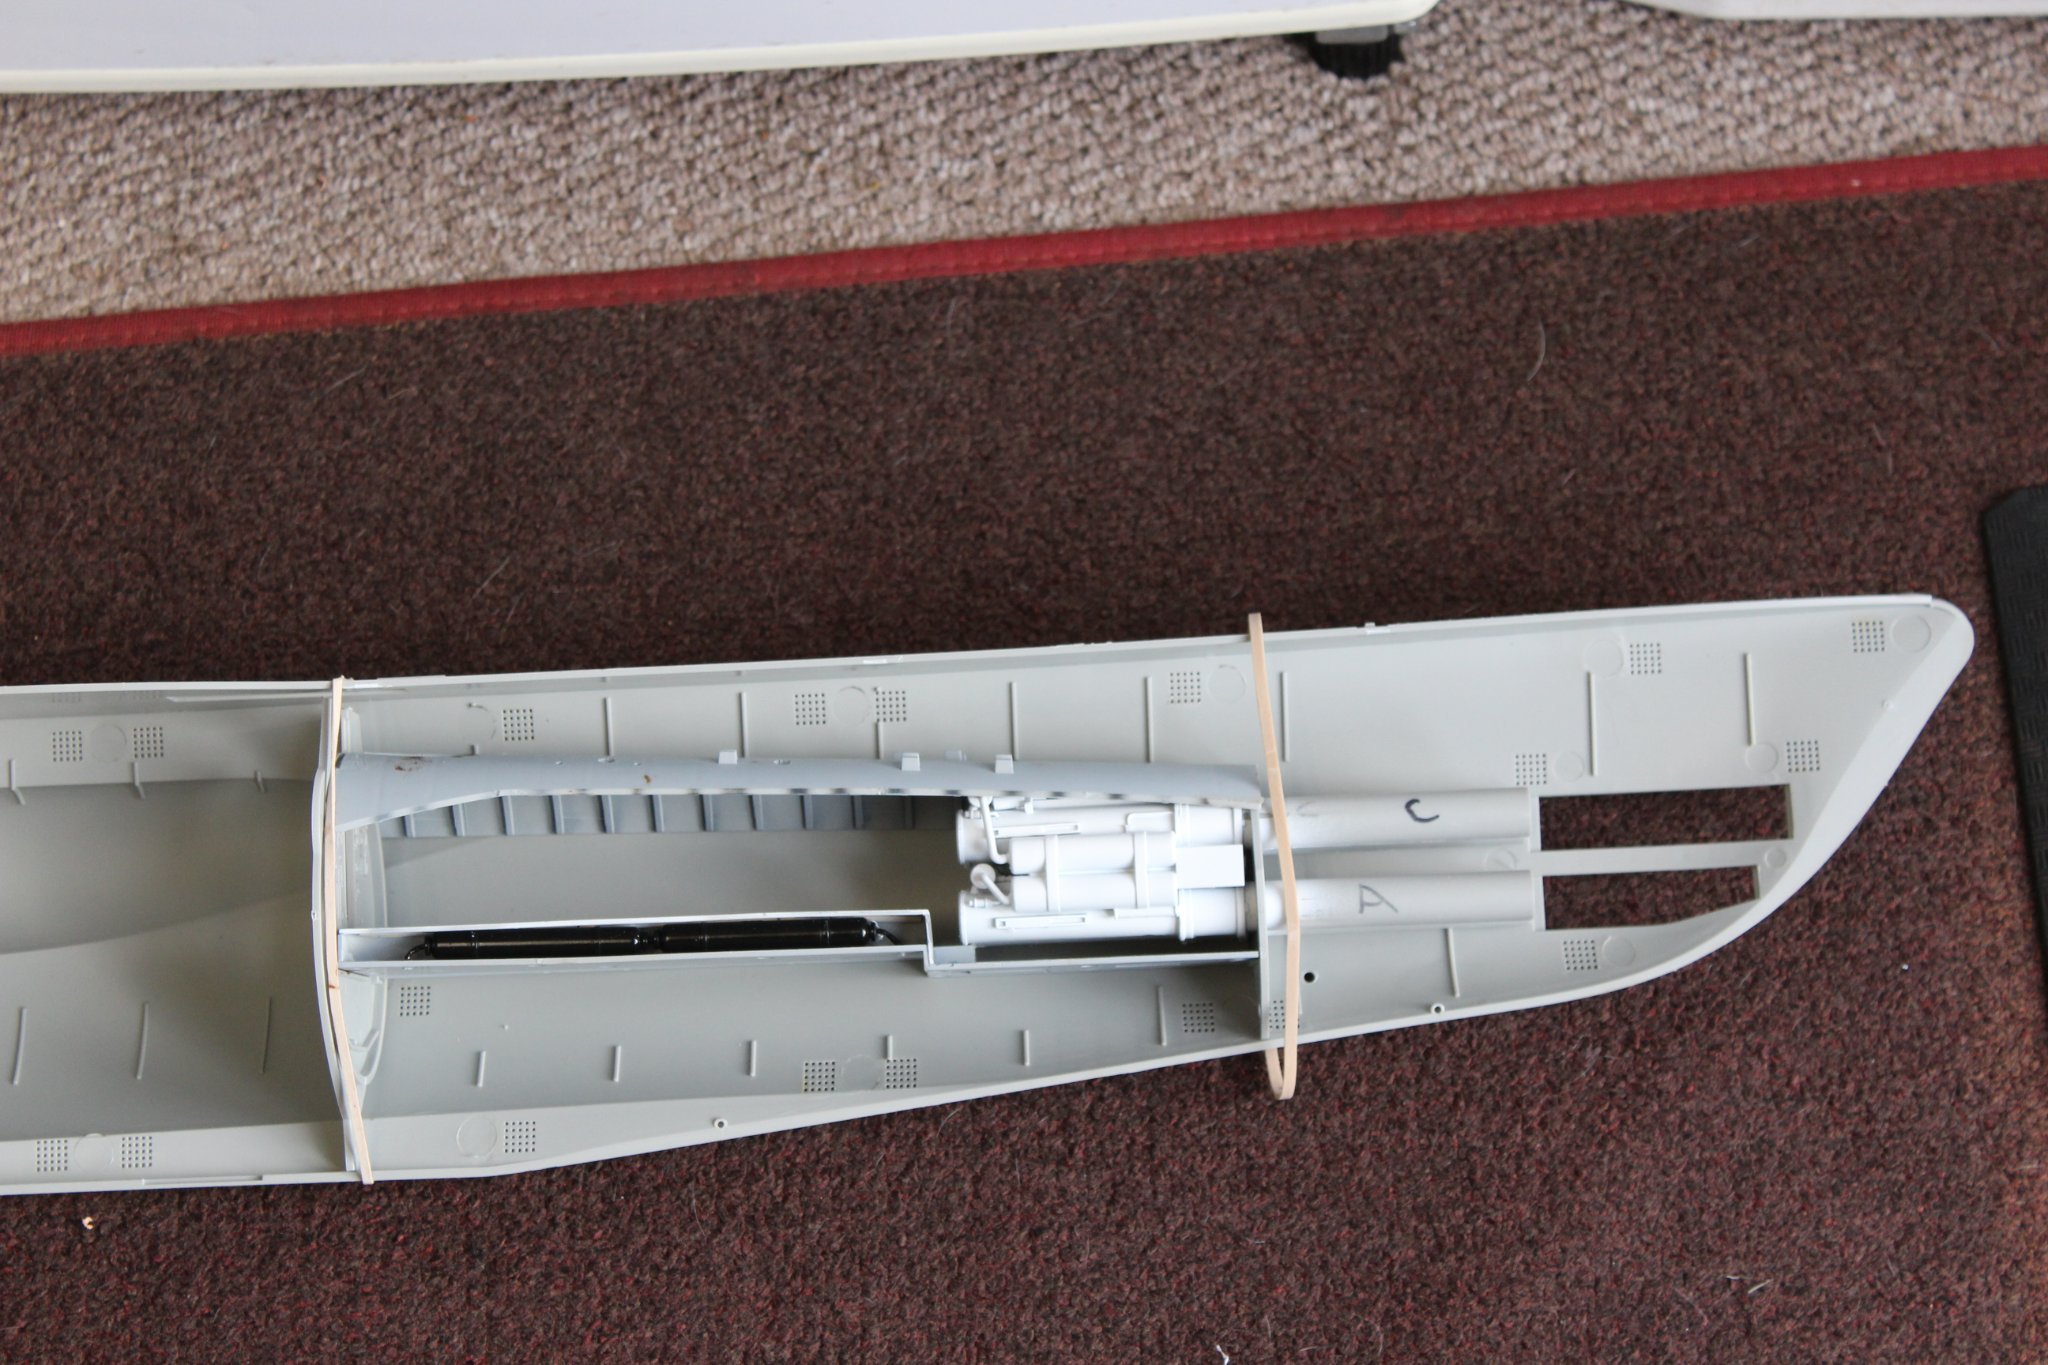
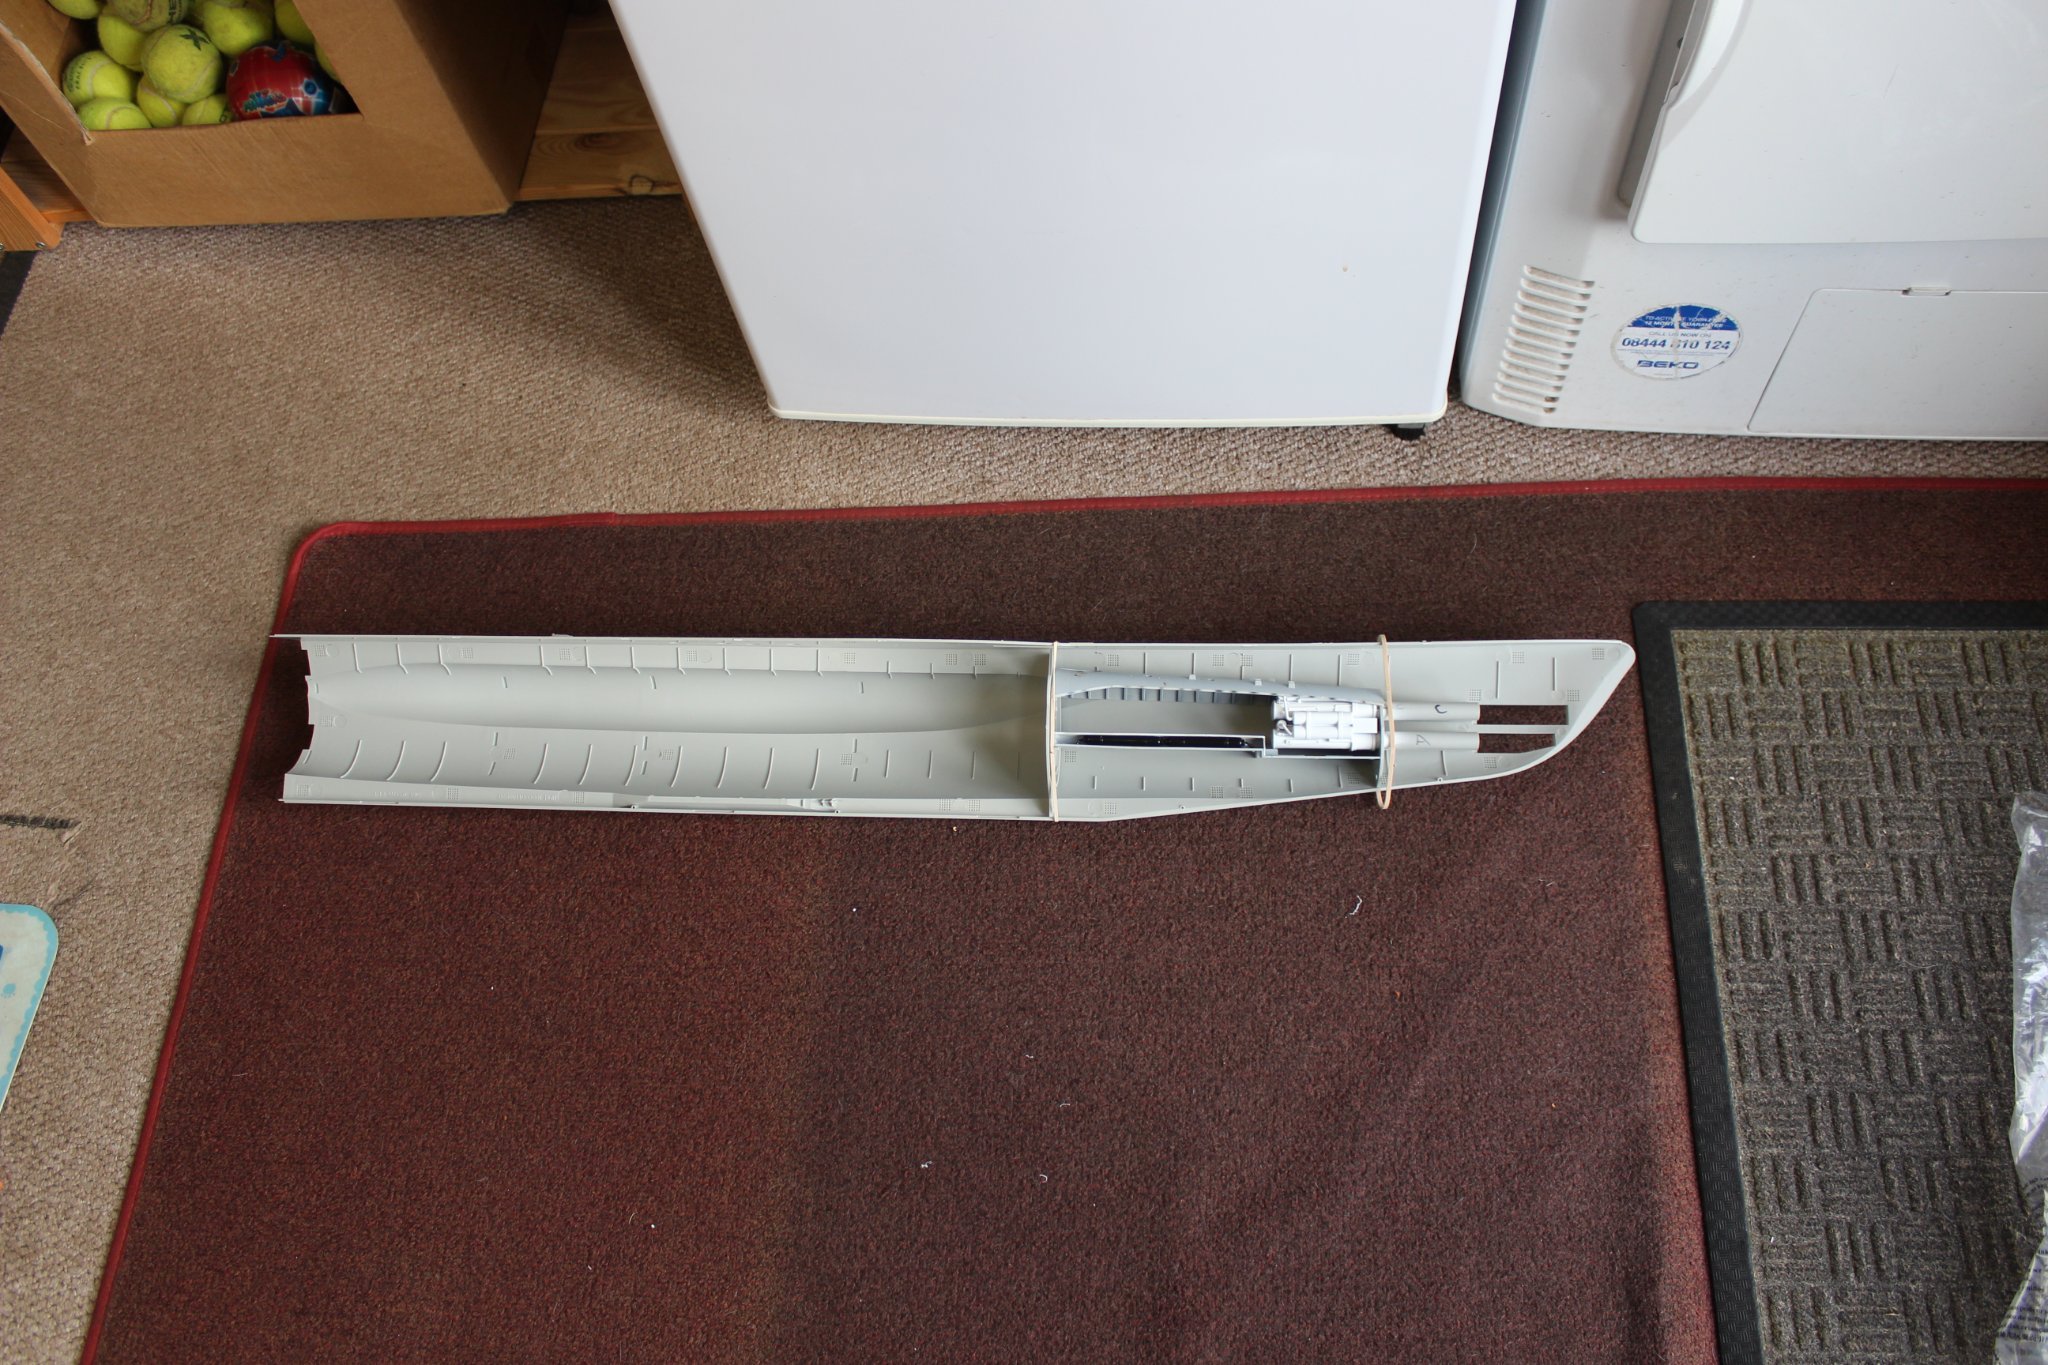
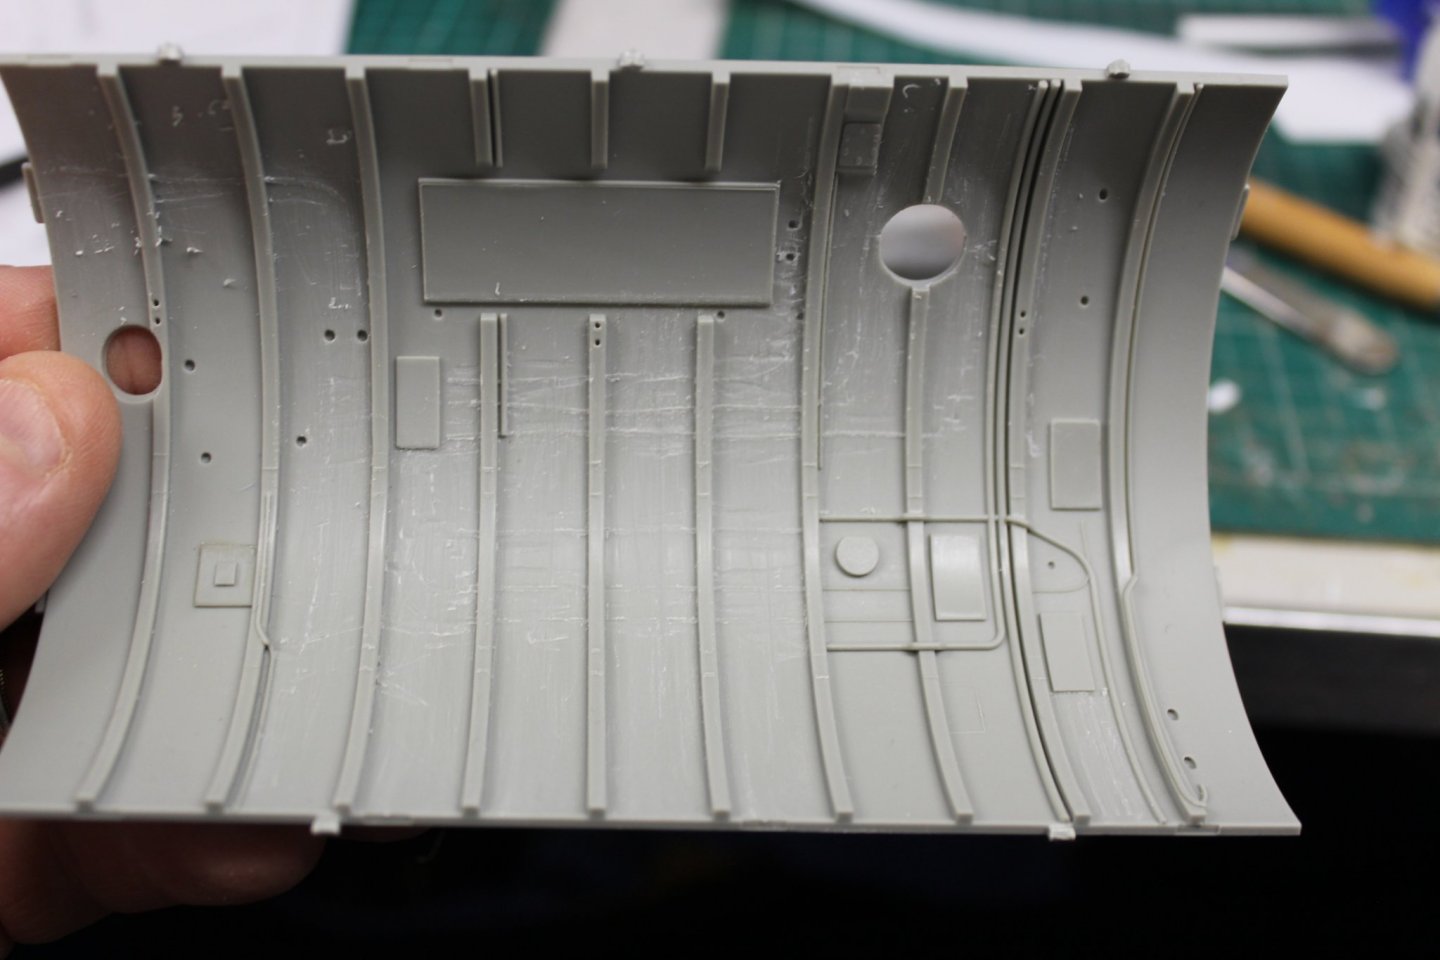
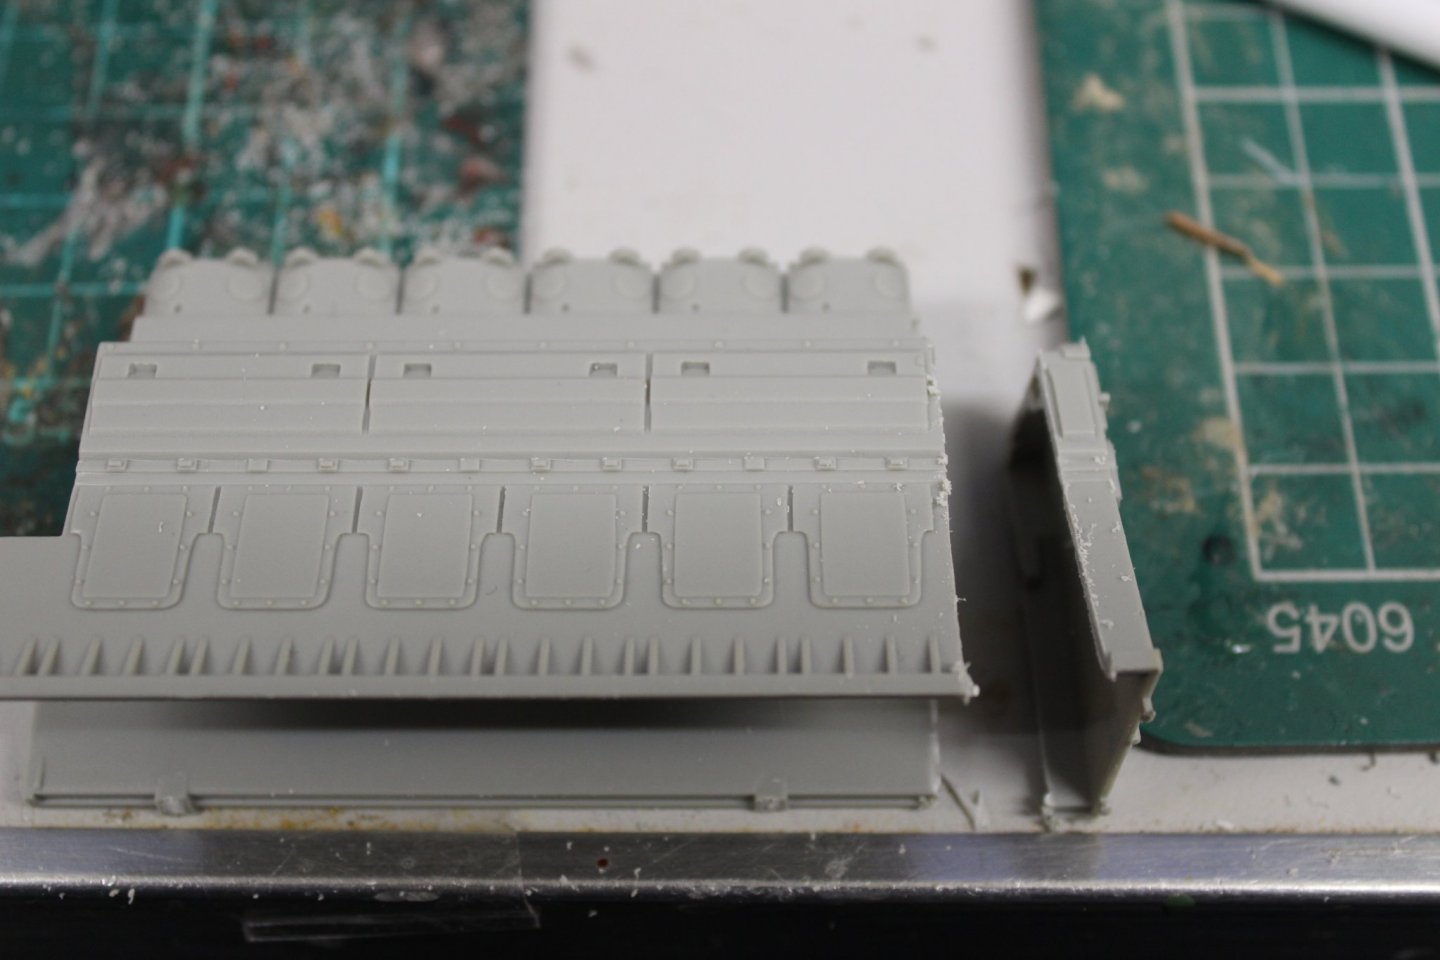
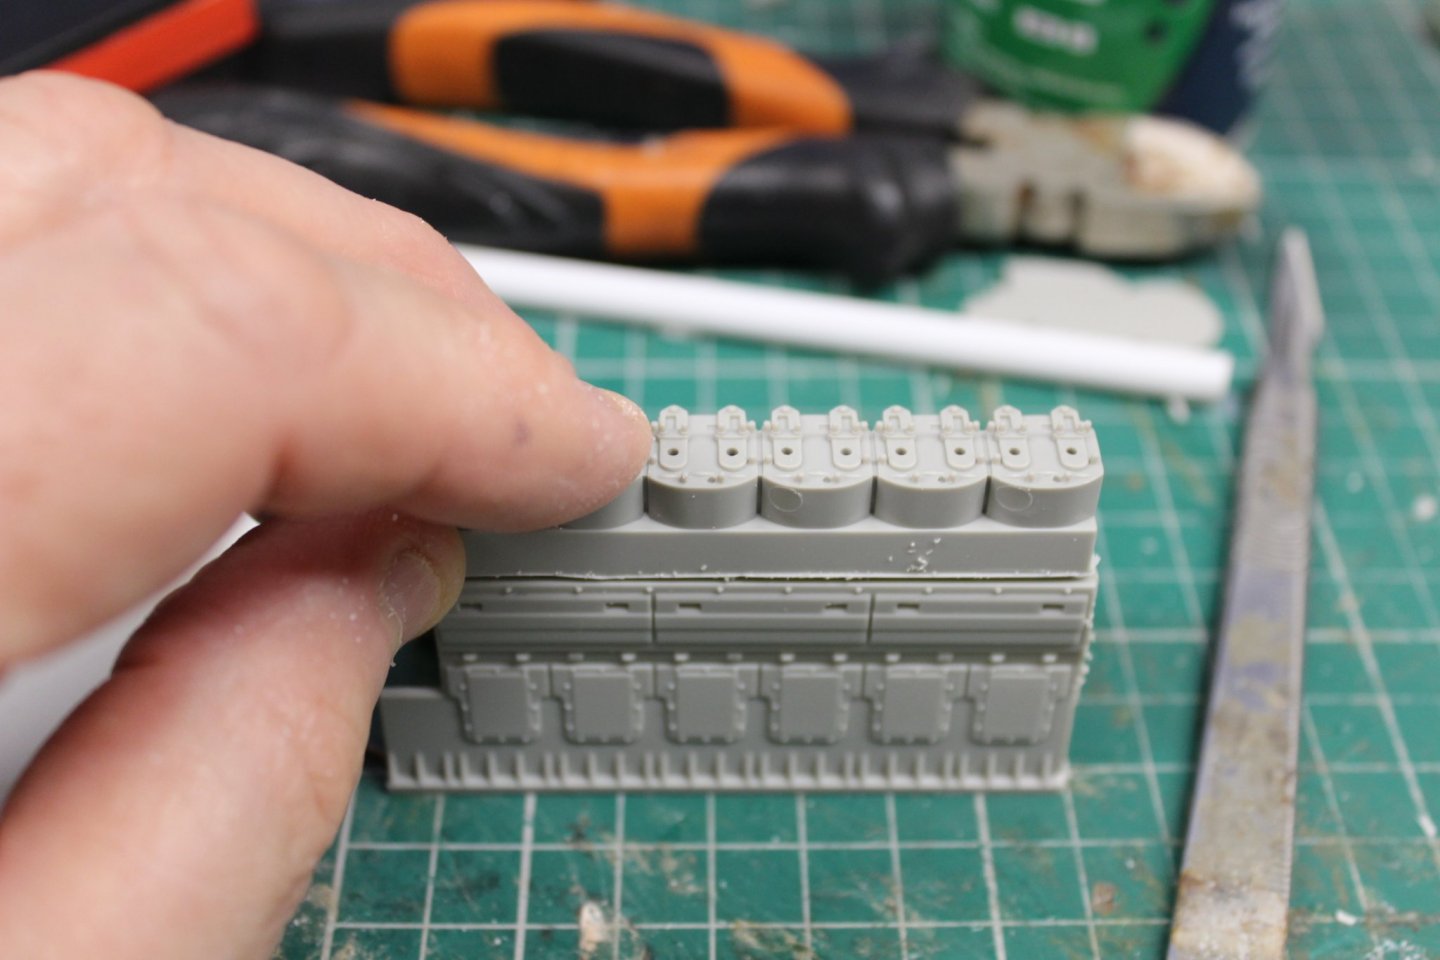
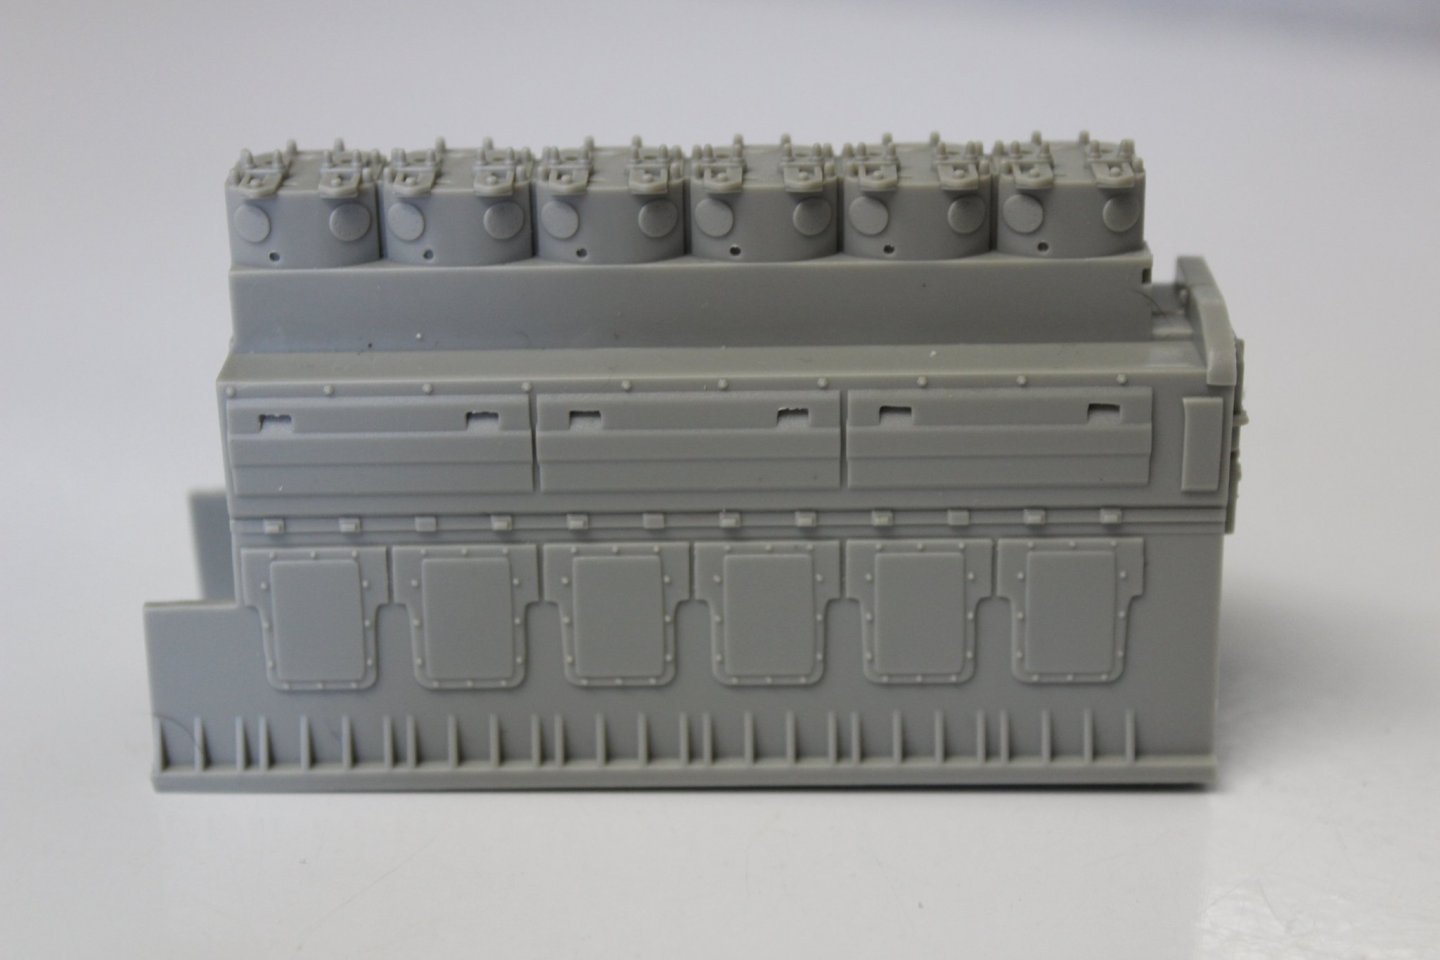
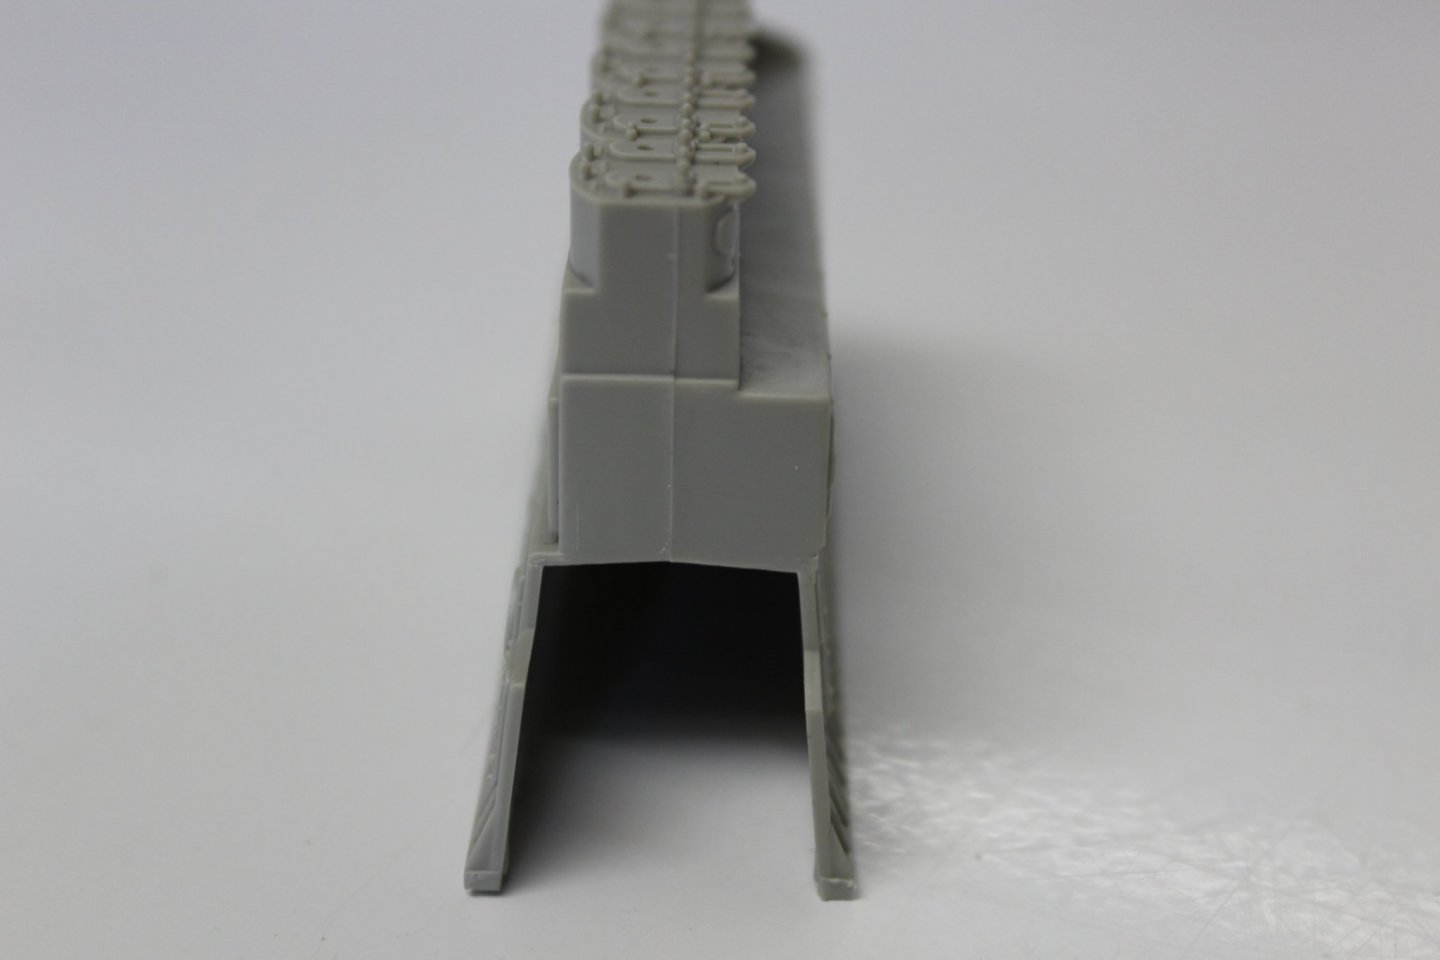
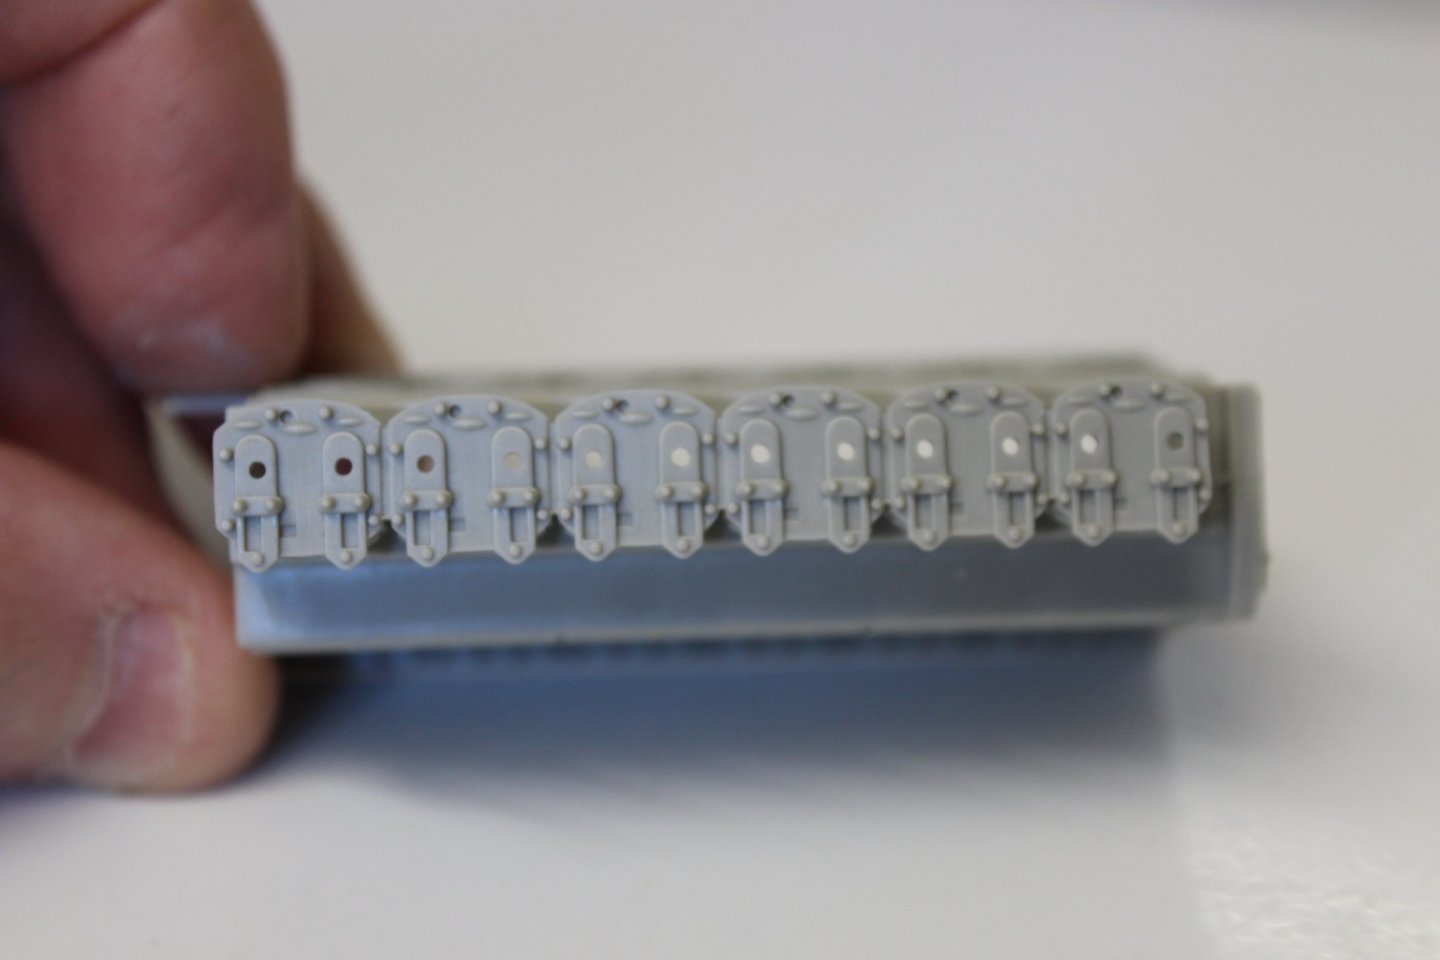
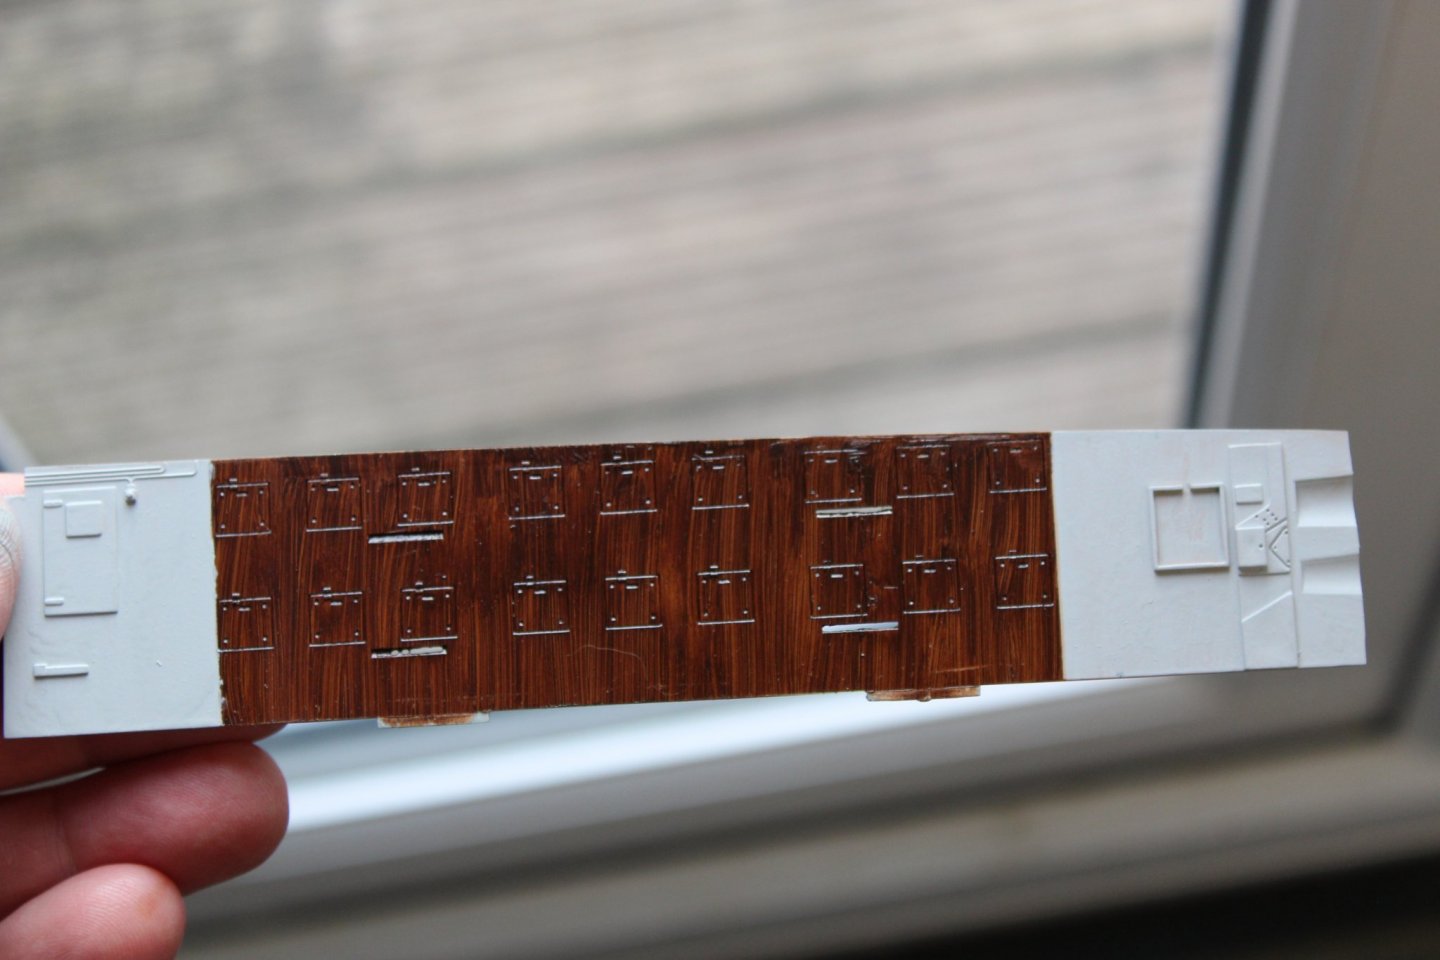
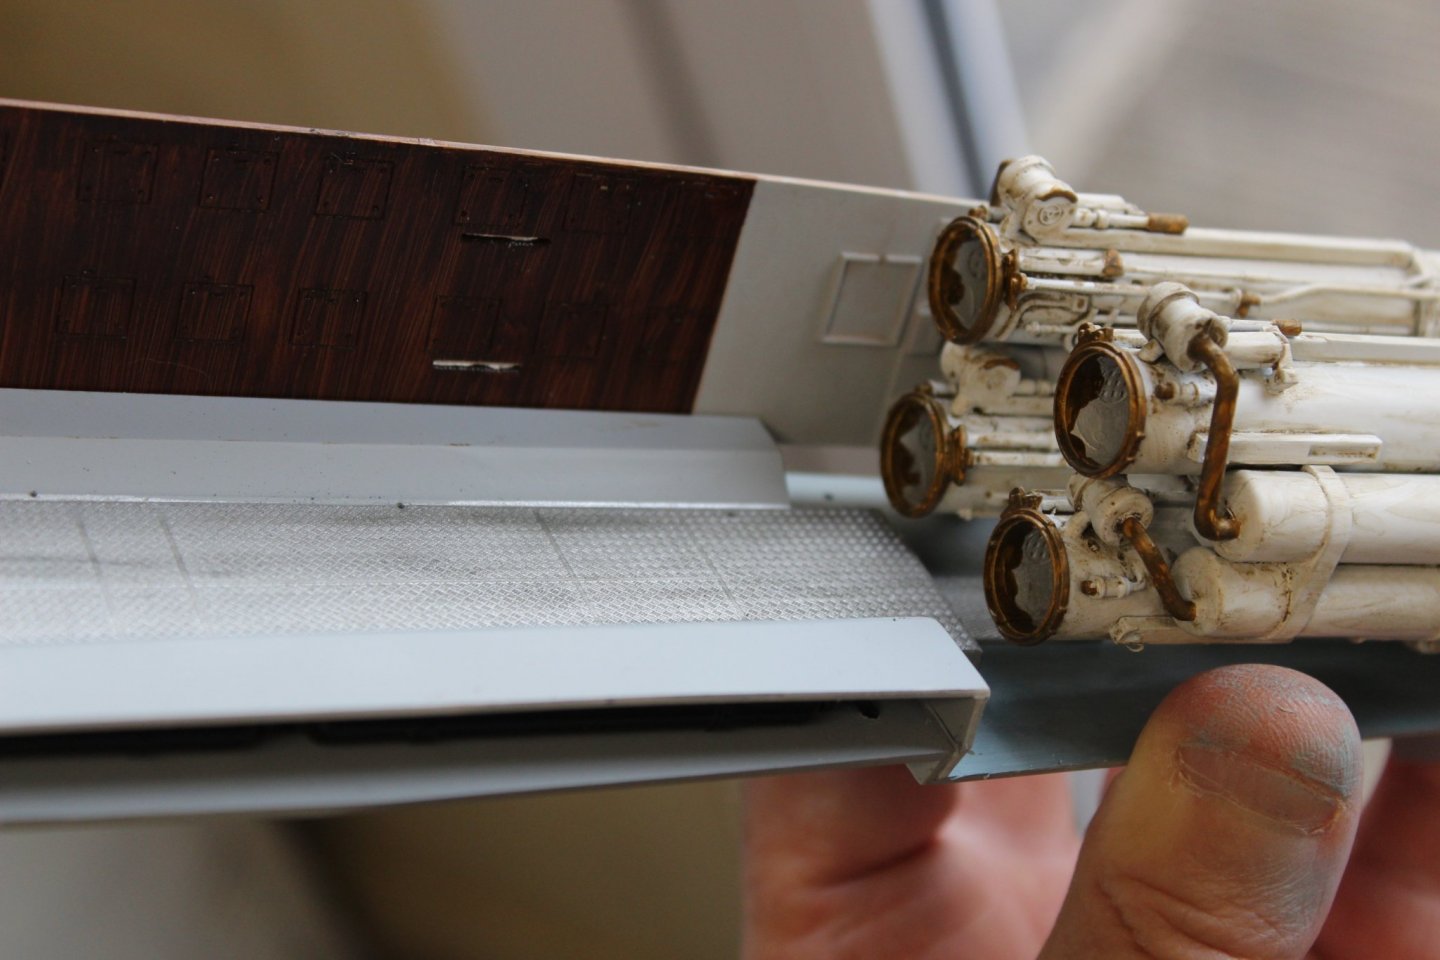
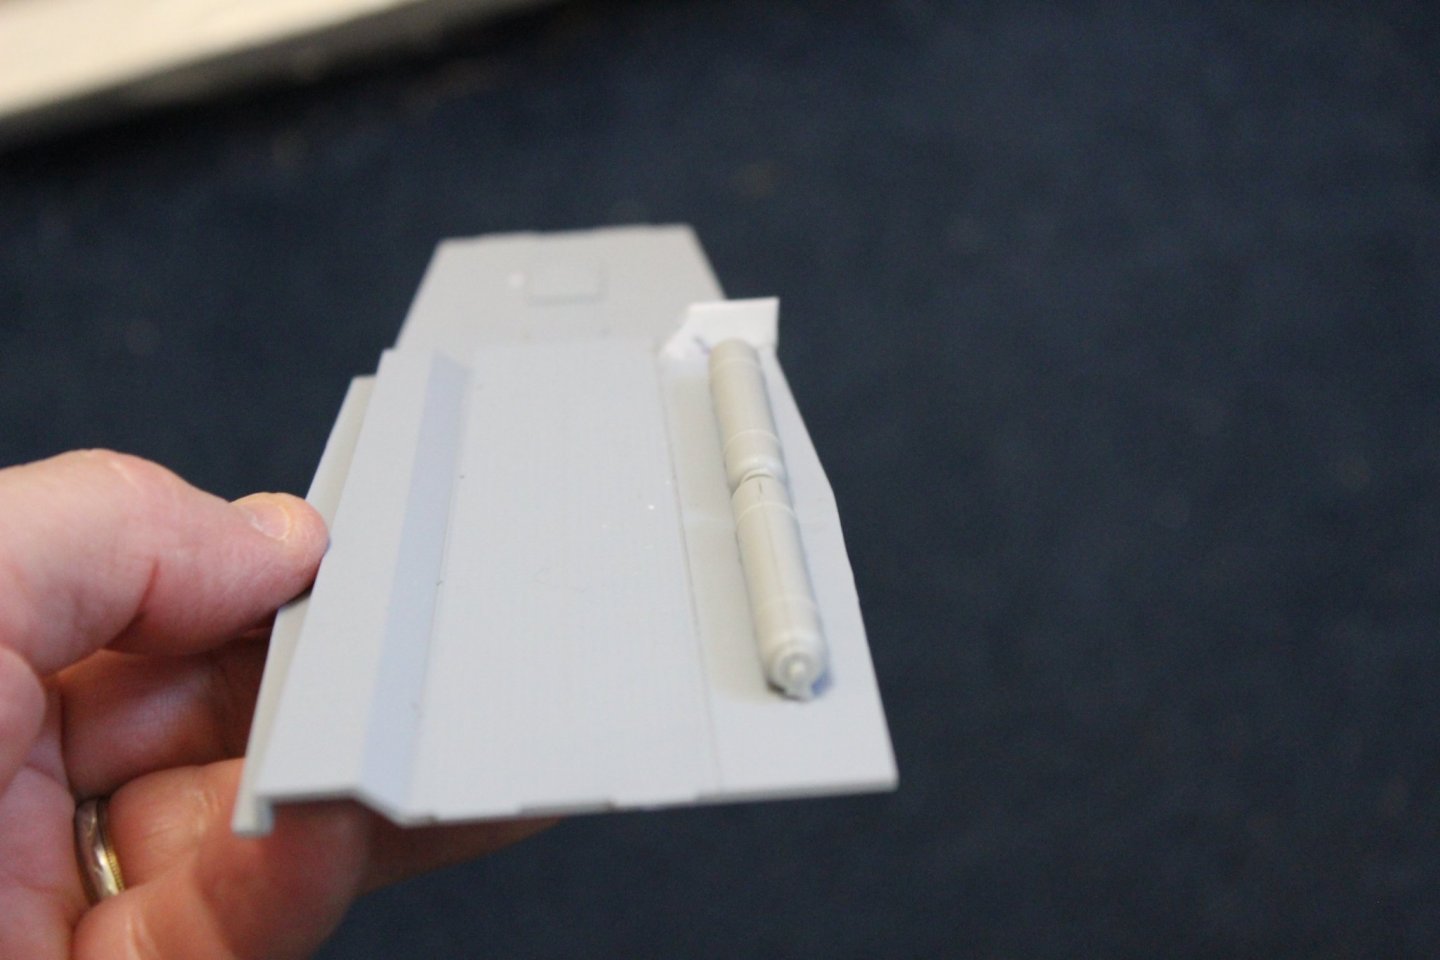
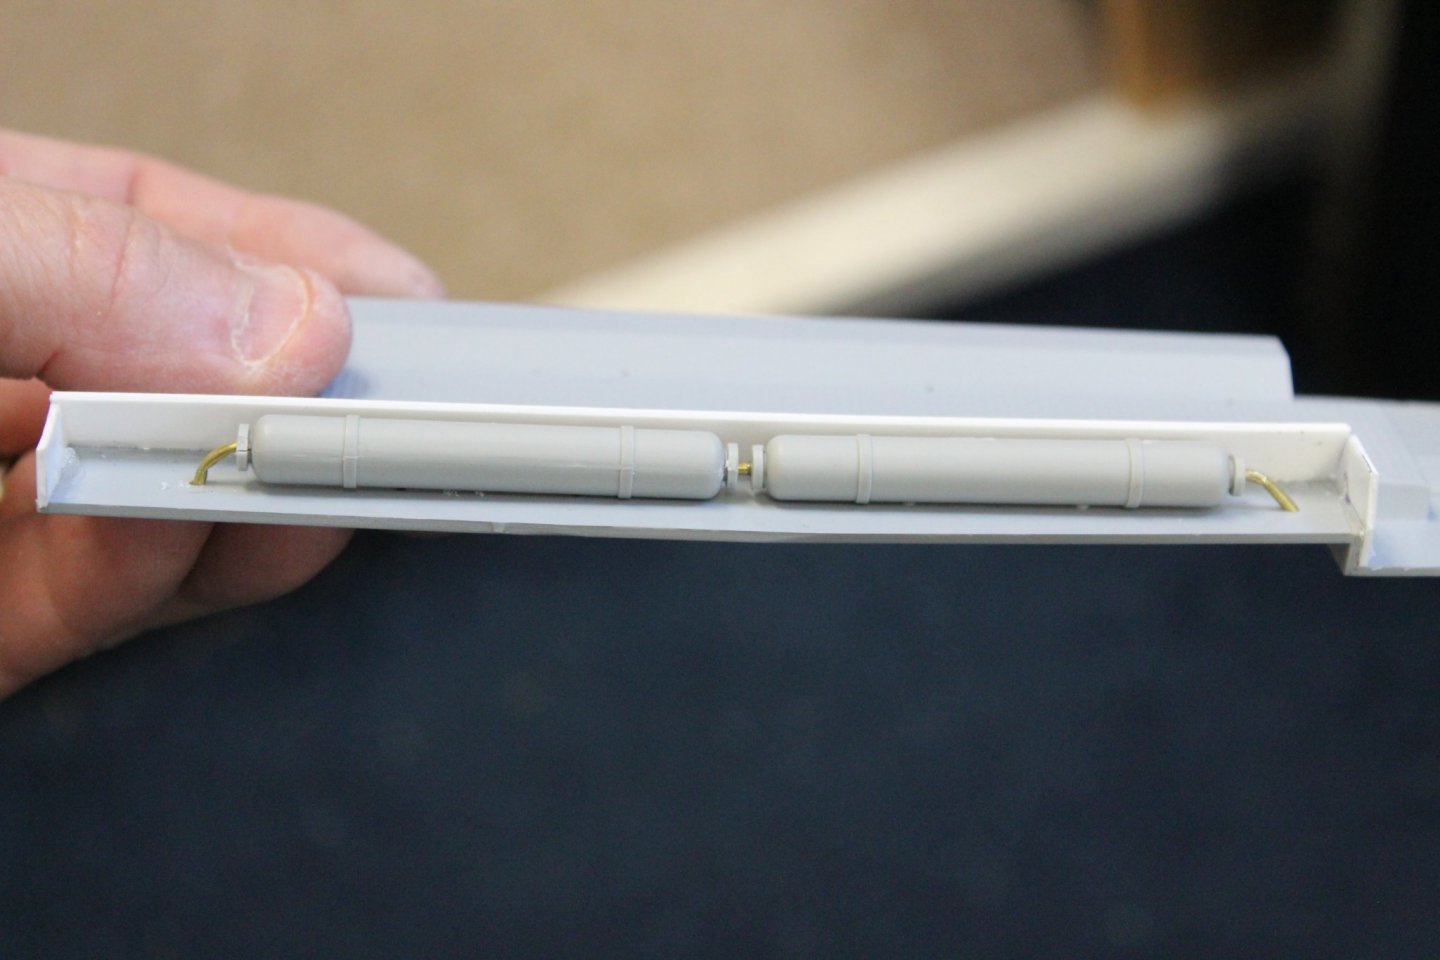
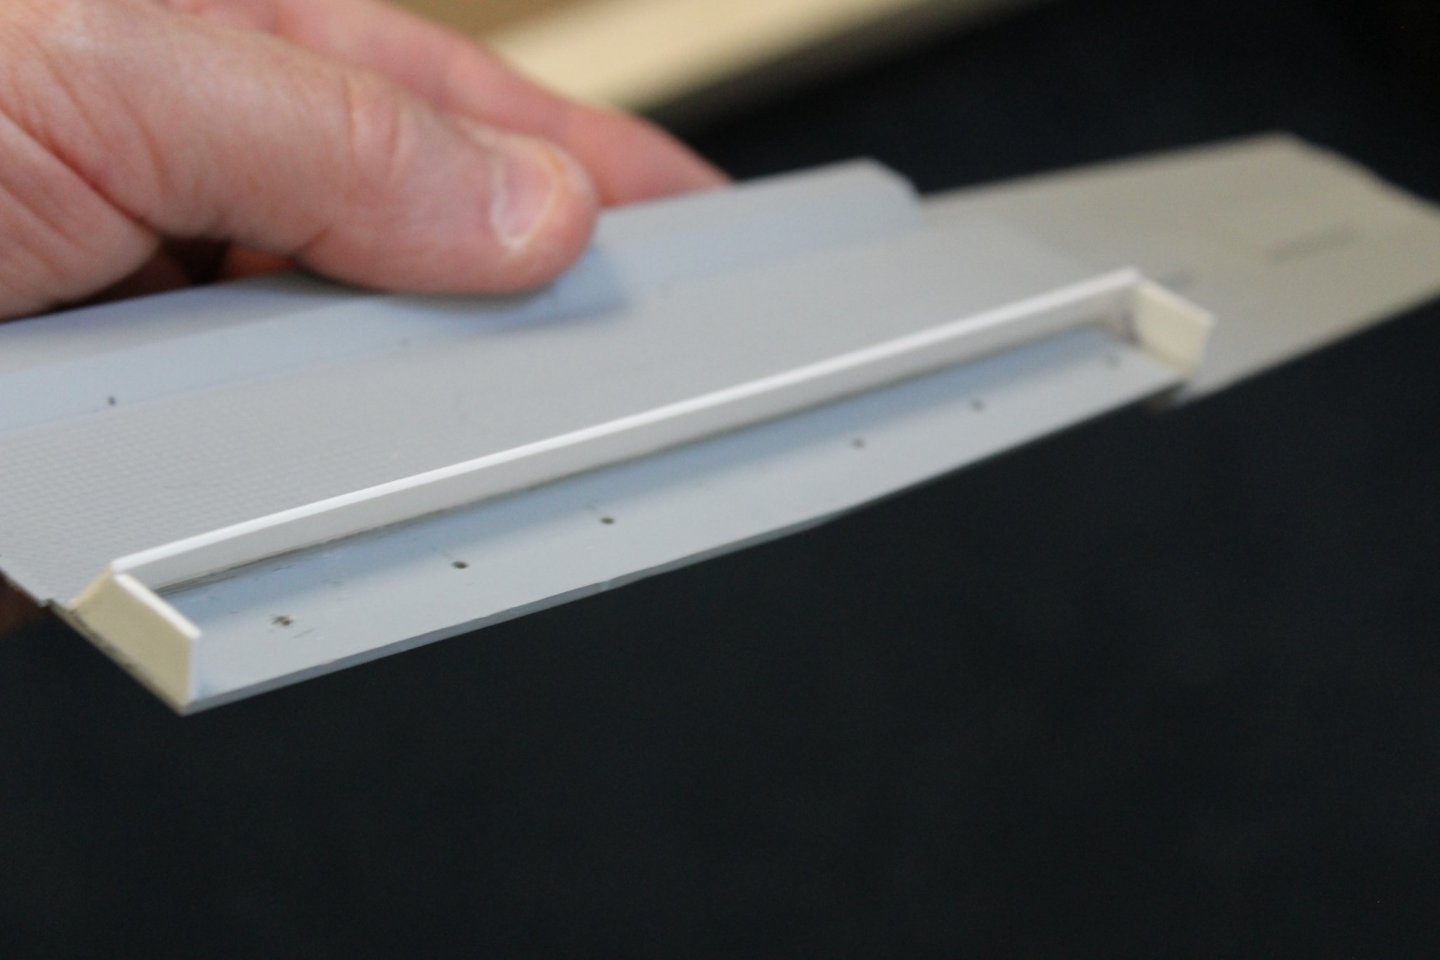
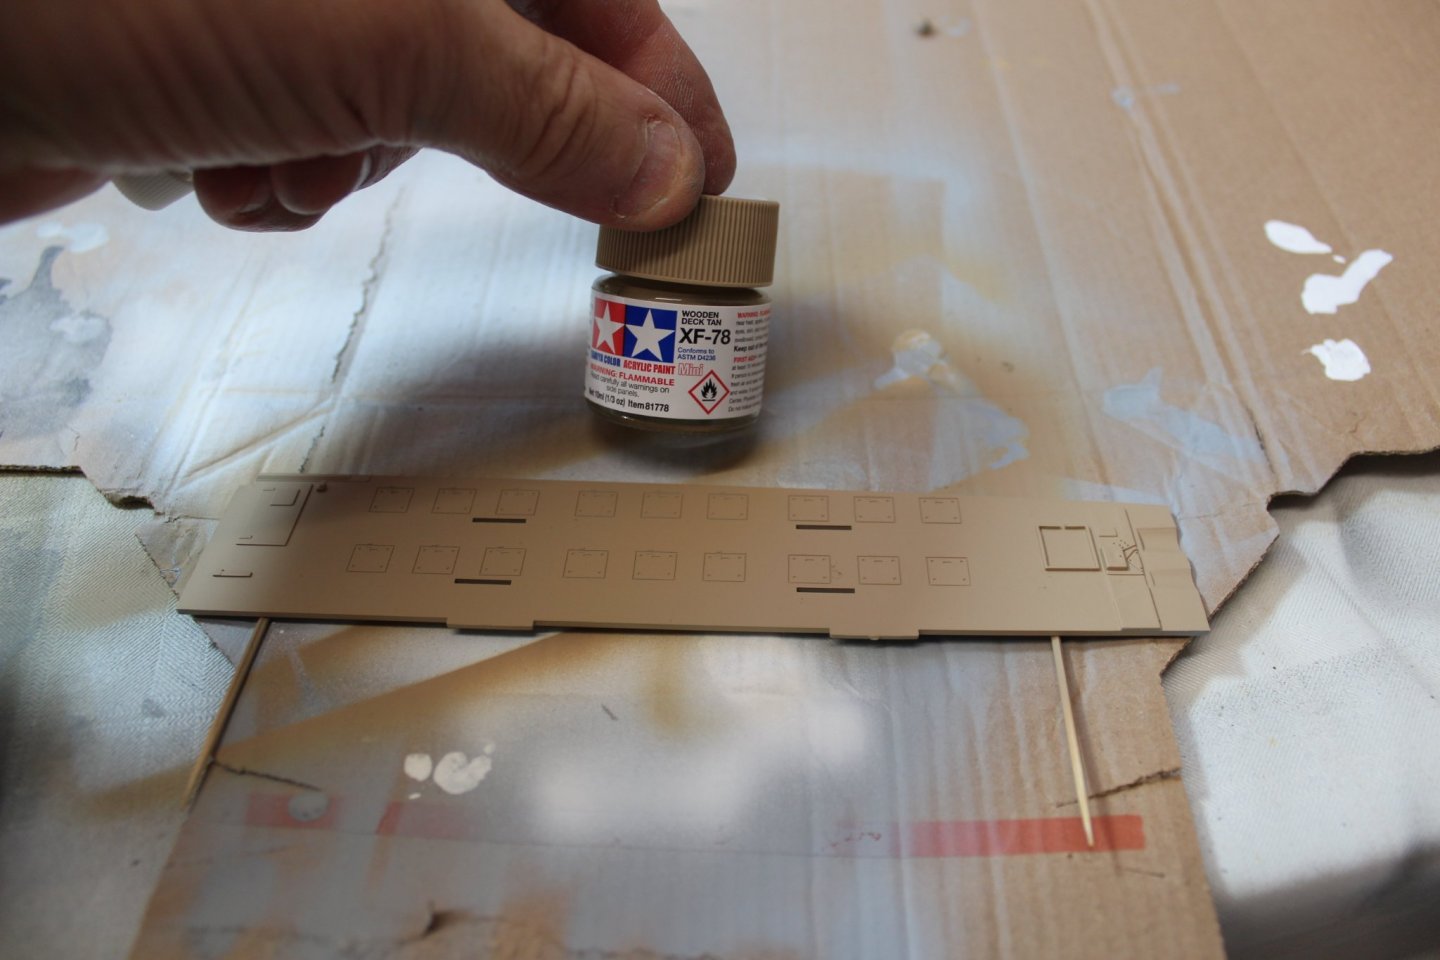
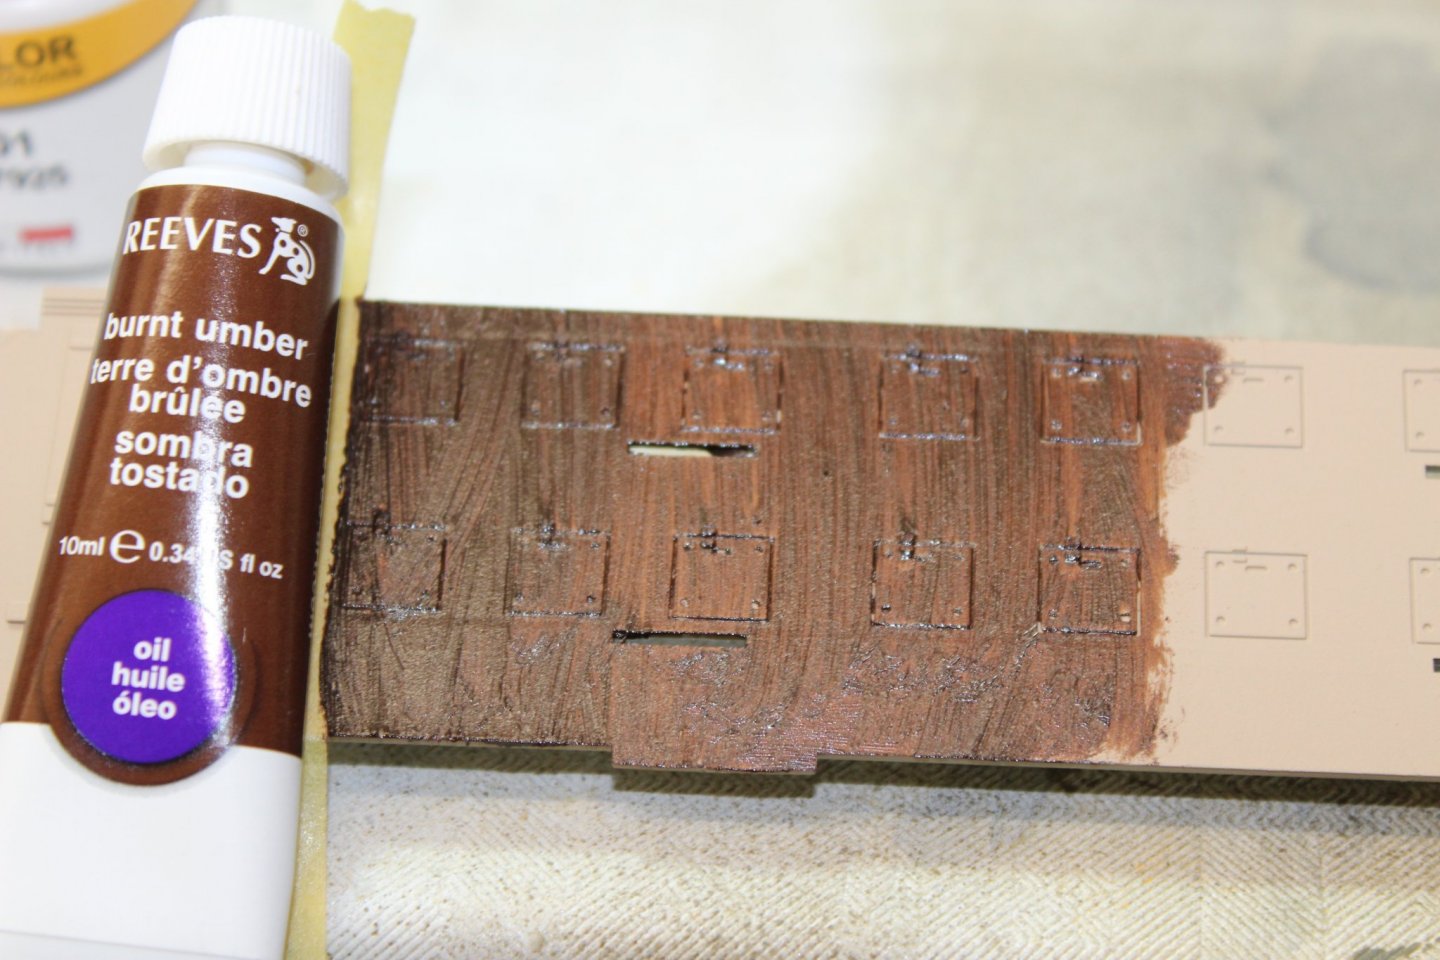
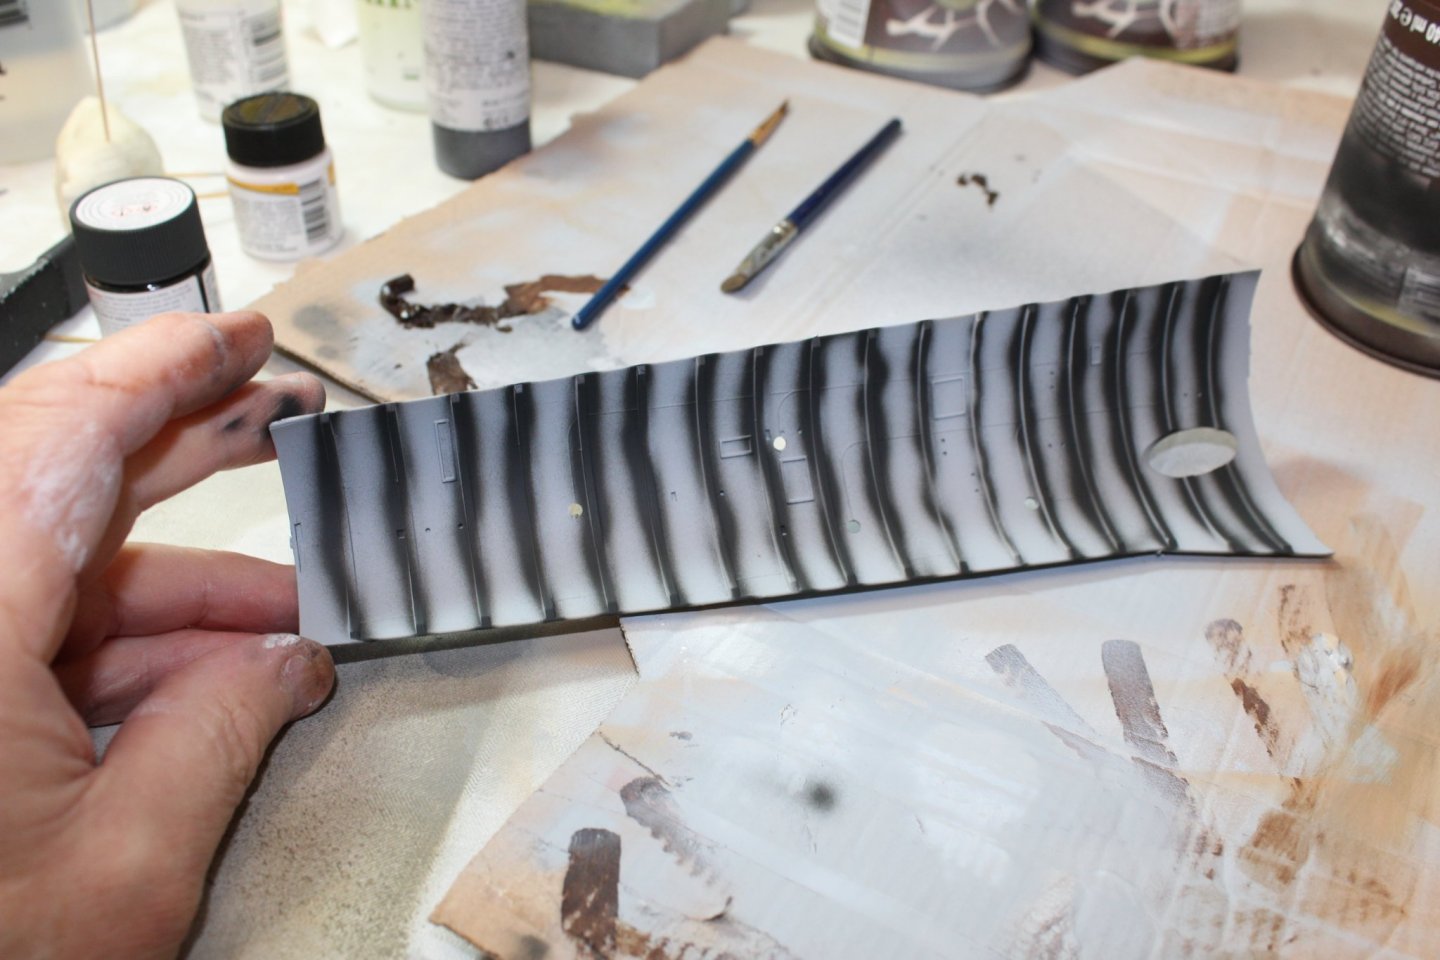
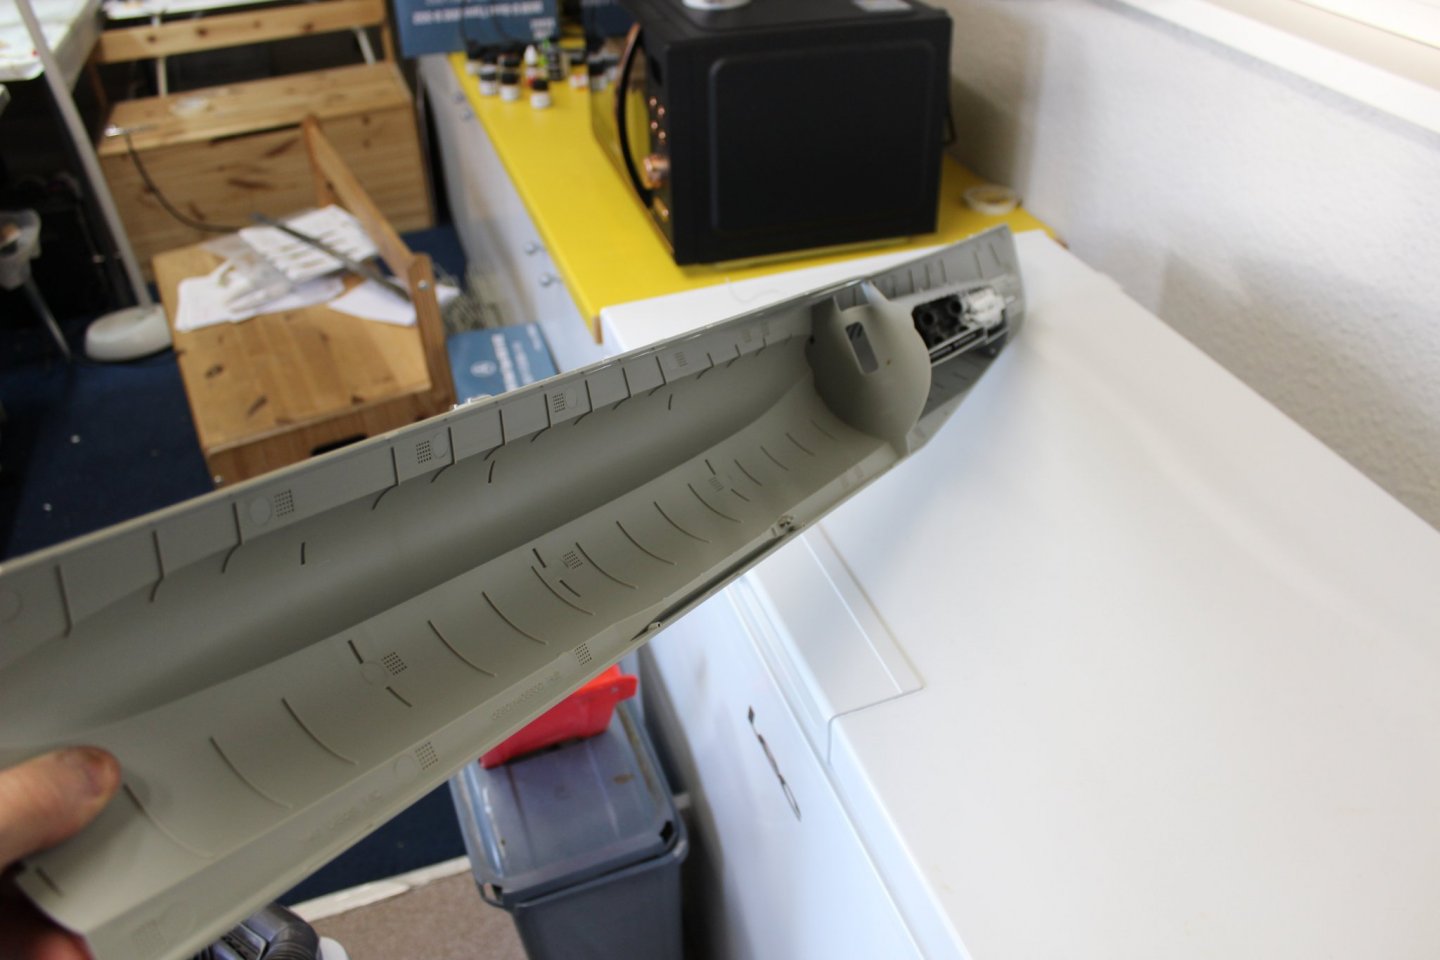
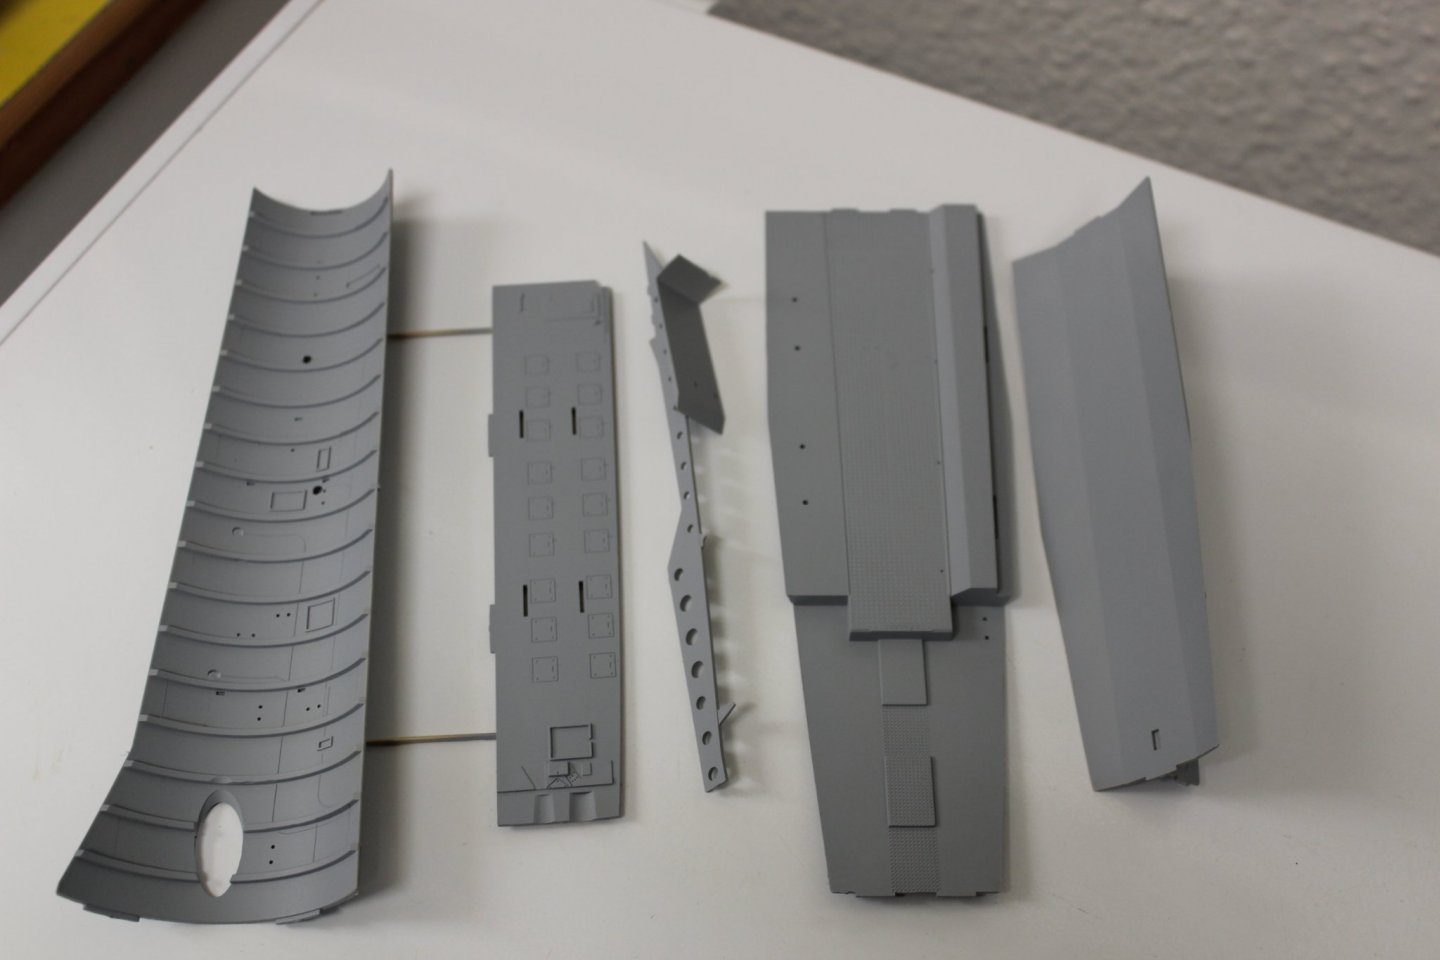
thank you for comments and likes its a strange kit by trumpeter, they wanted a display item, then never fully thought it out how best to do it, so much detail is missing, in an attempt to get as mush seen, but not giving the impression of the tight space restrictions there or any sub suffer fom the forfends deck is an example, the air bottles are not in the open as per kit they are hidden away like on the port side, which again is not tall enough to cover them, so the stbd side now has them enclosed, lol my first scratching for this kit the starboard side aft of the tubes will have bunk beds behind which wooden personal lockers are fitted, i tried to achieve thes with burnt umber oils on a tight tan base coat the top of the pressure hull is work in progress with grey primer NATO black preshade and a lifecolour dkm 50 top coat and a few photo of how she appears at present


-
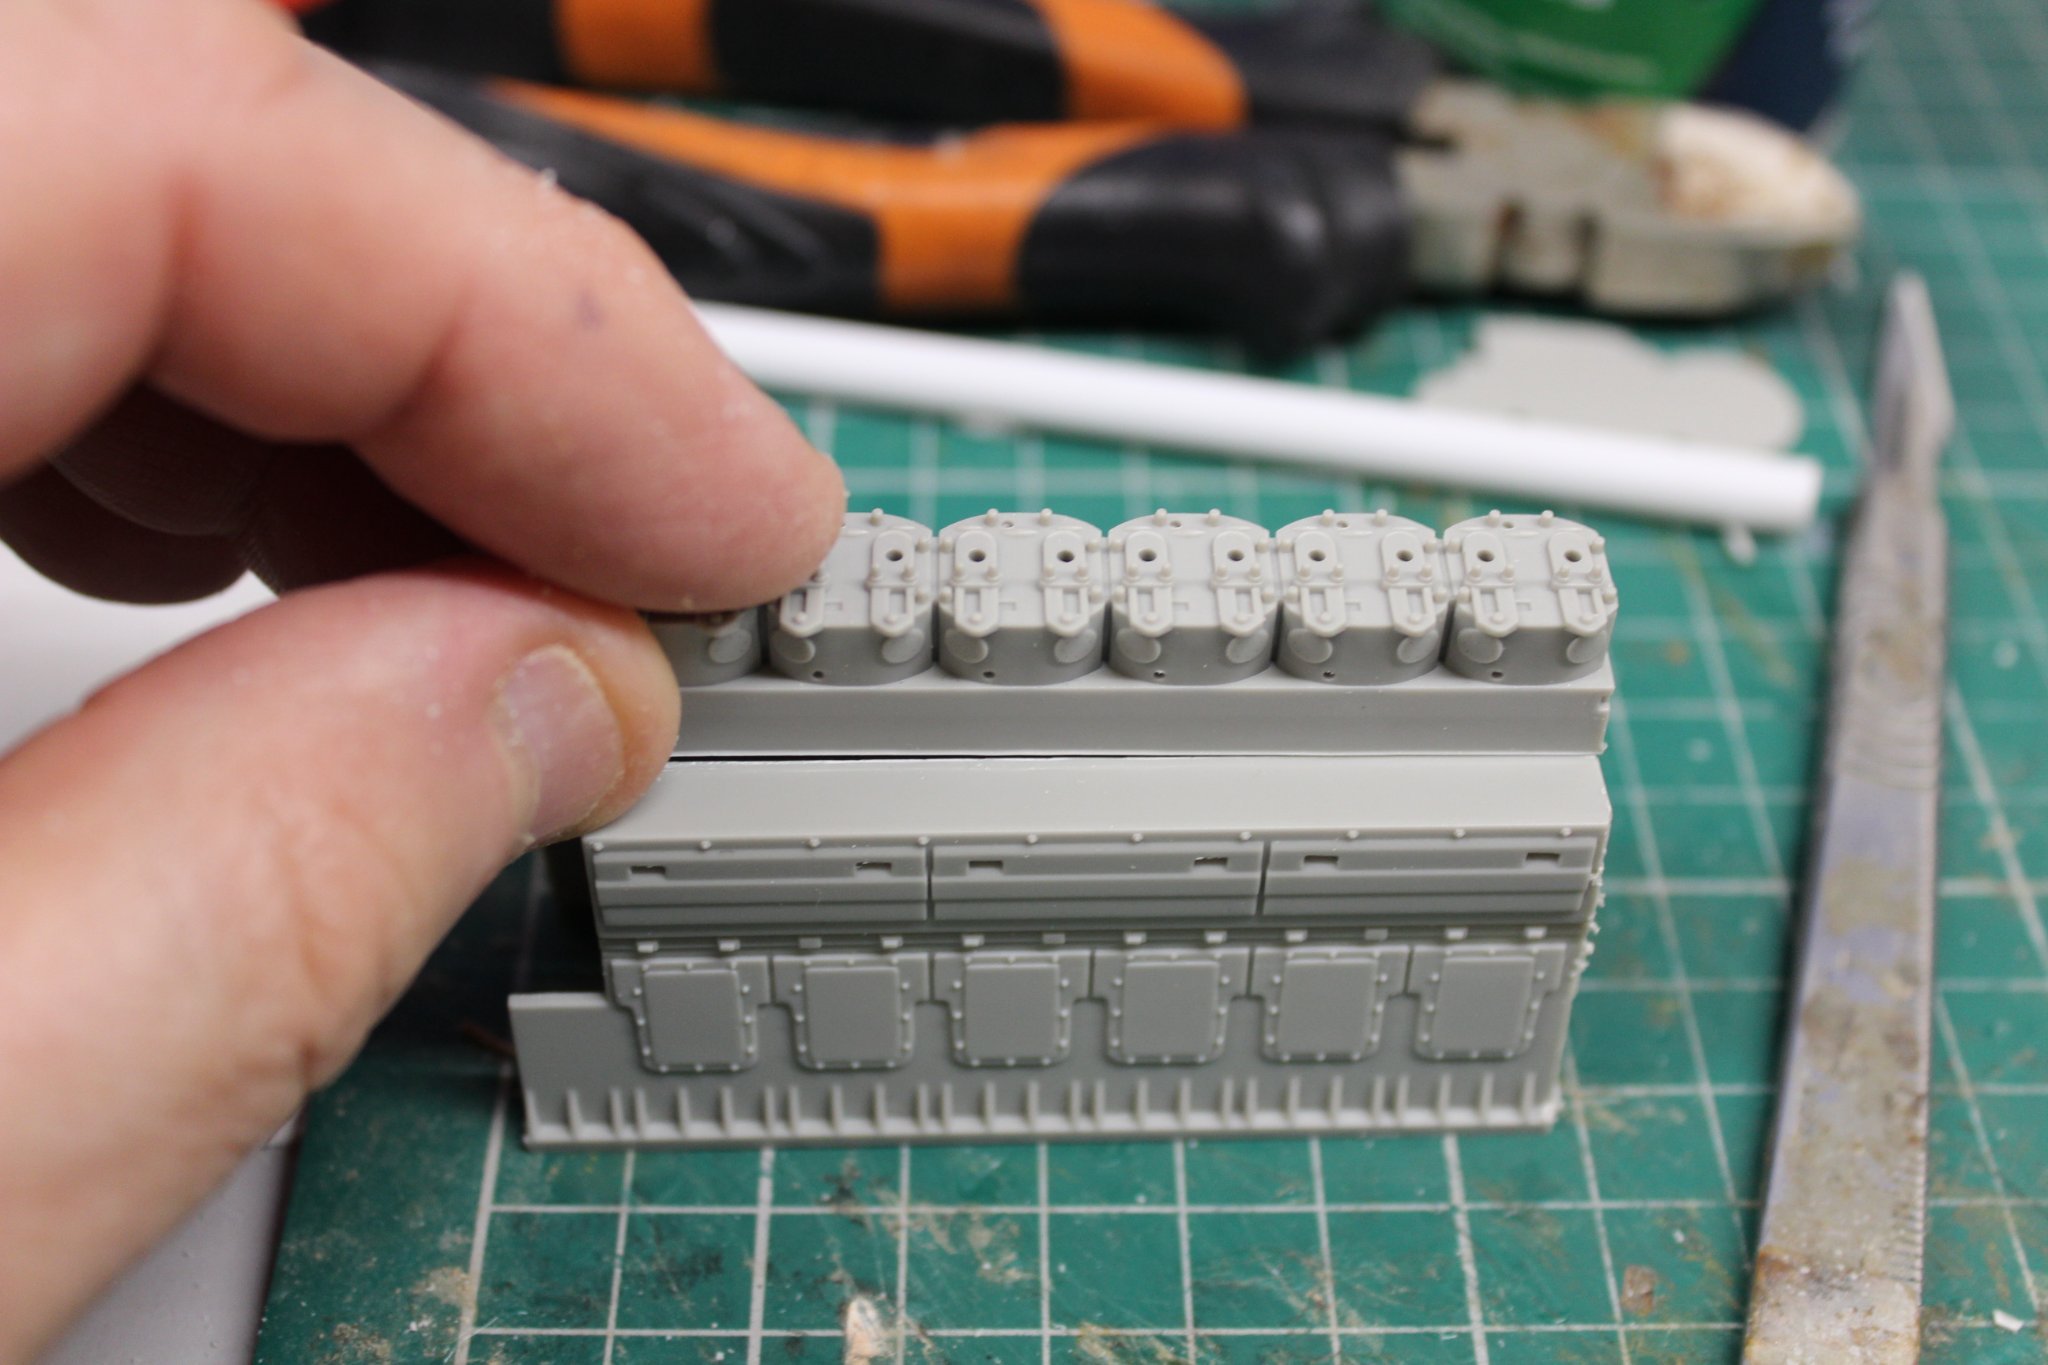
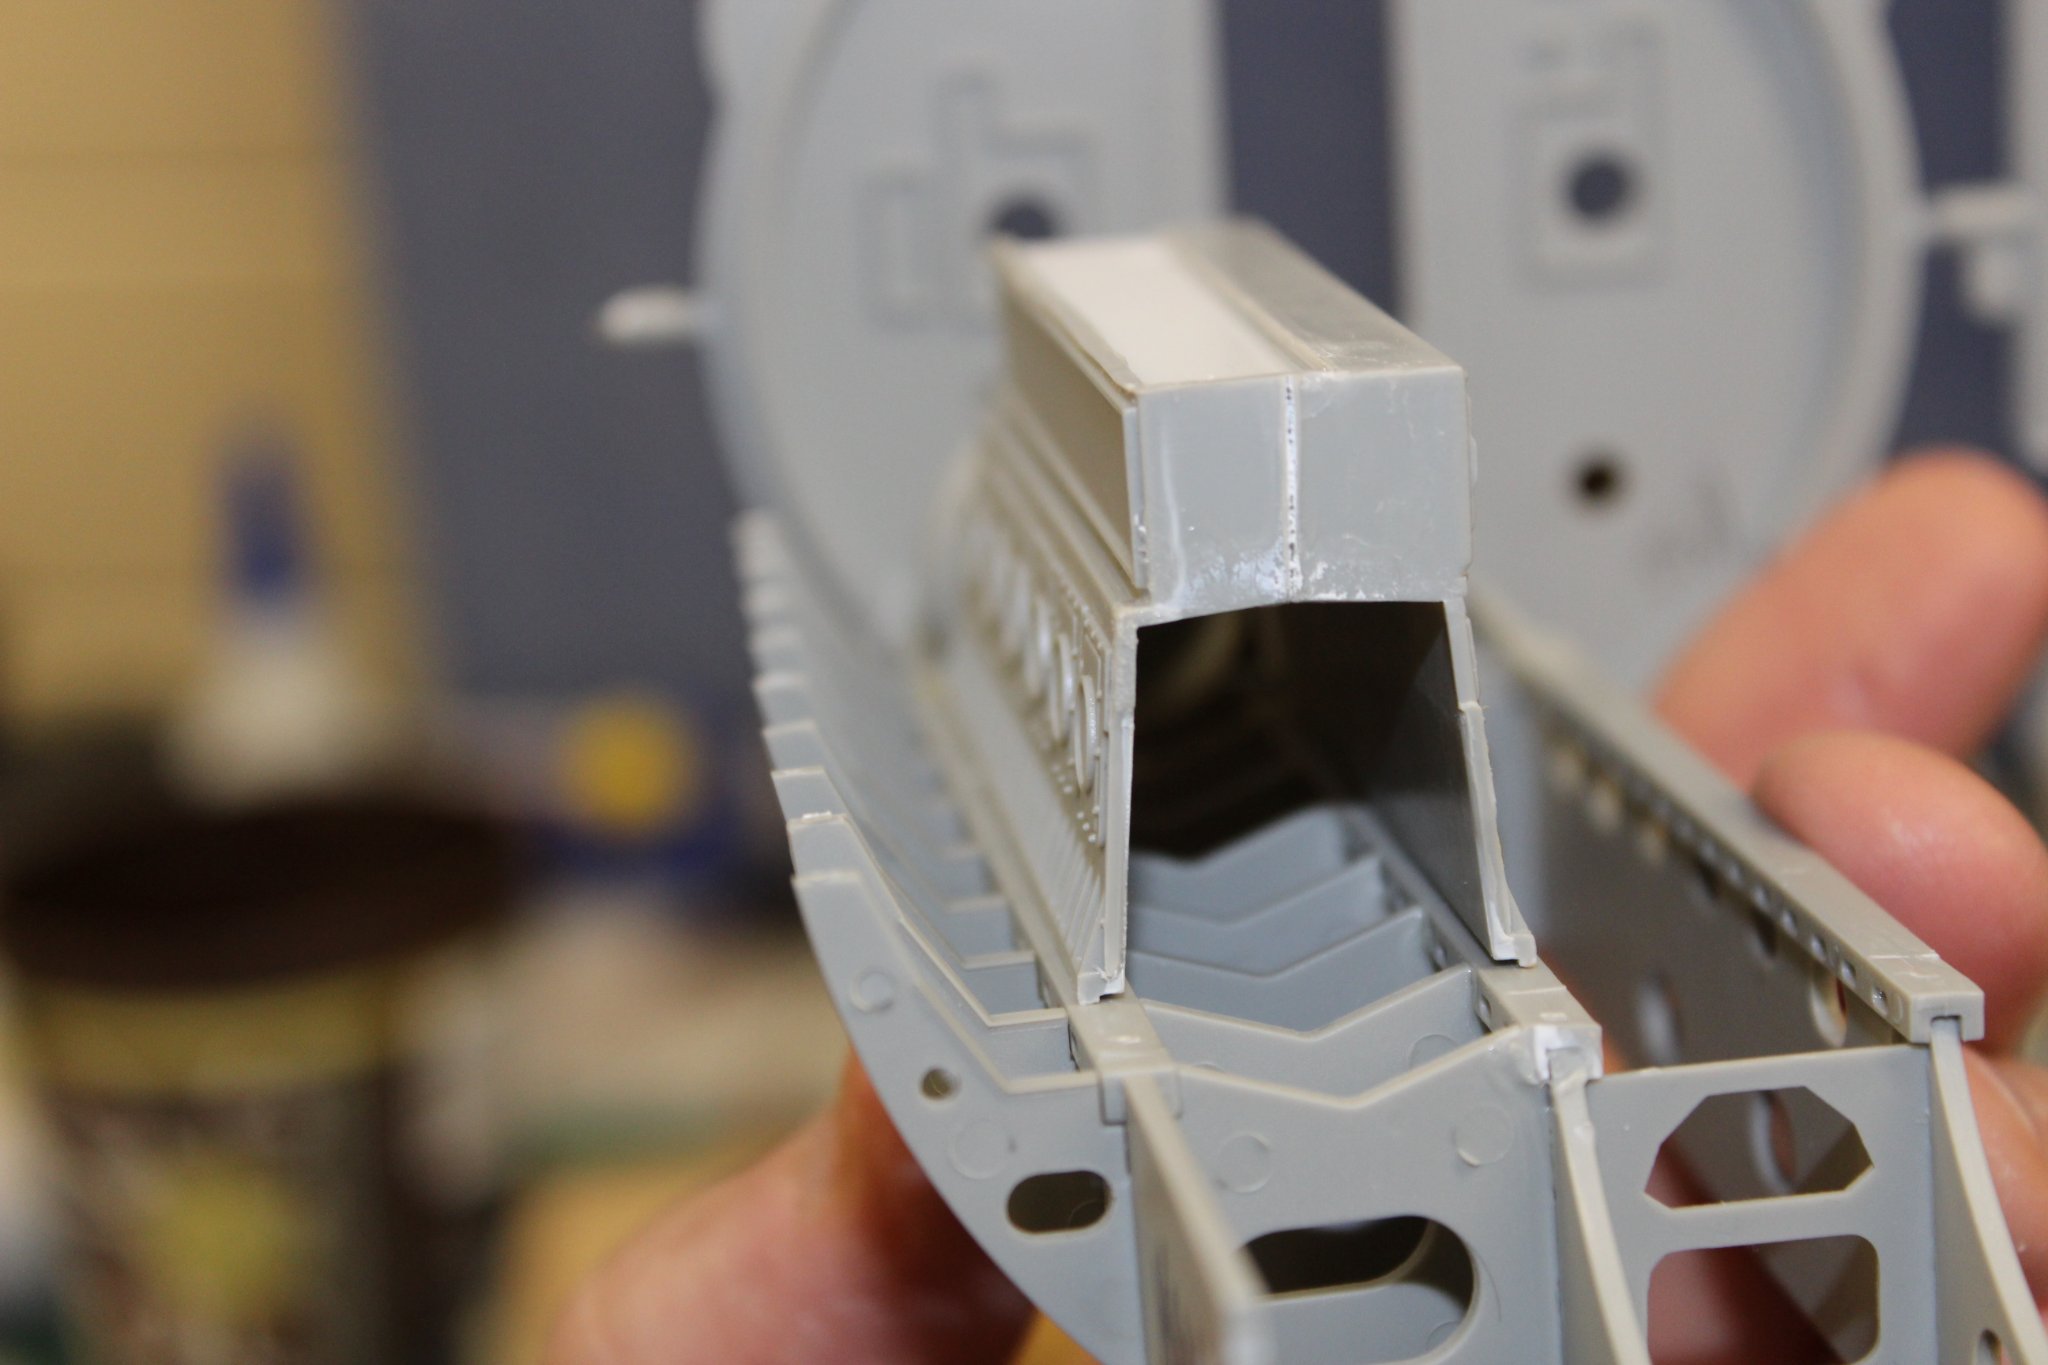
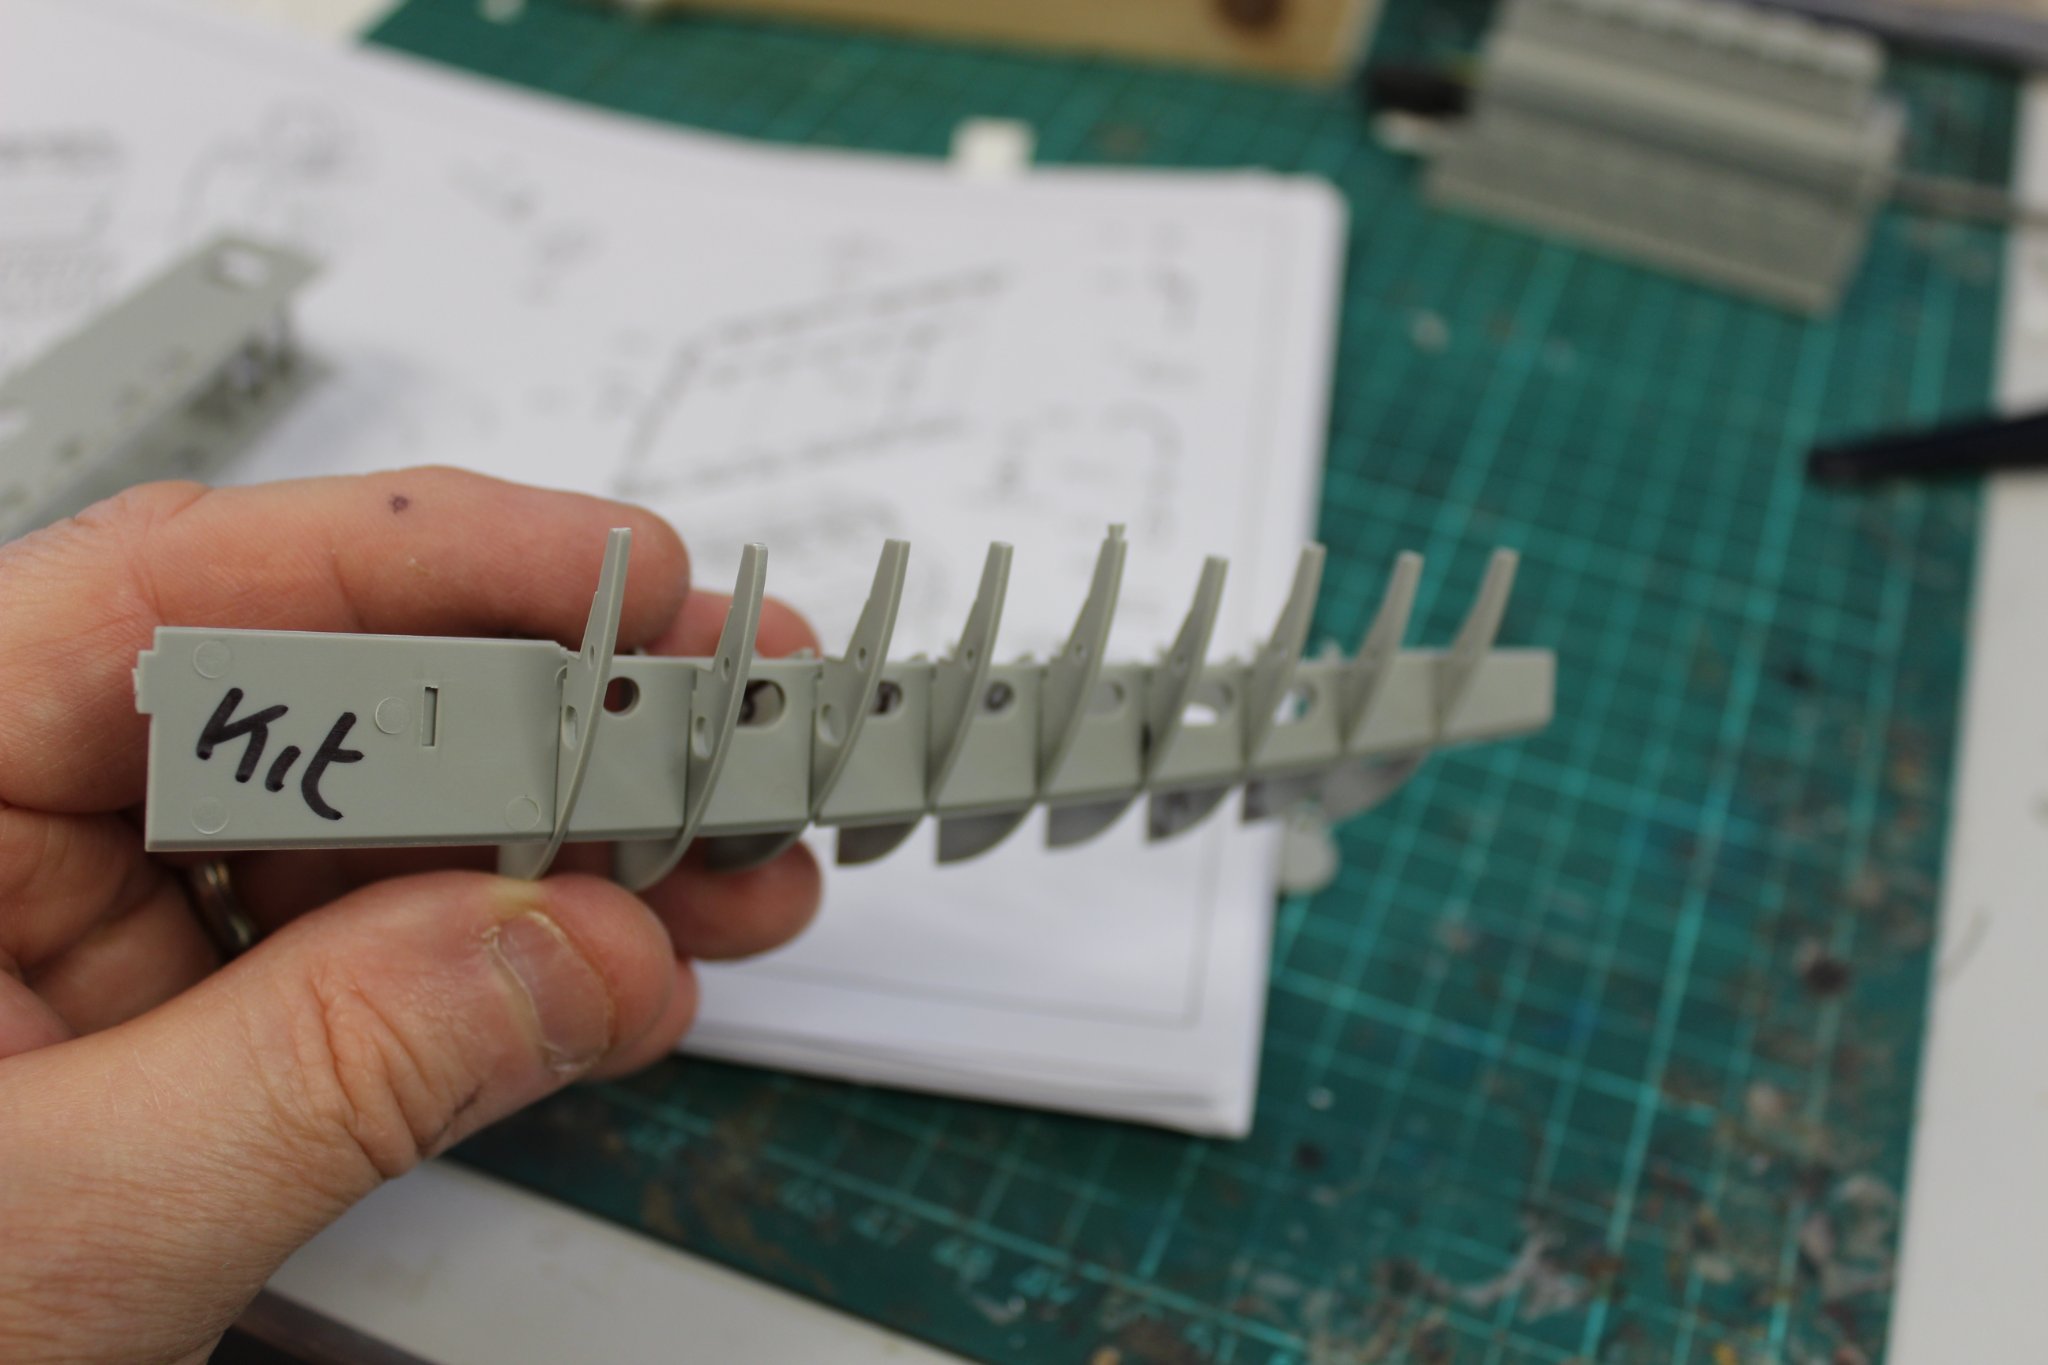
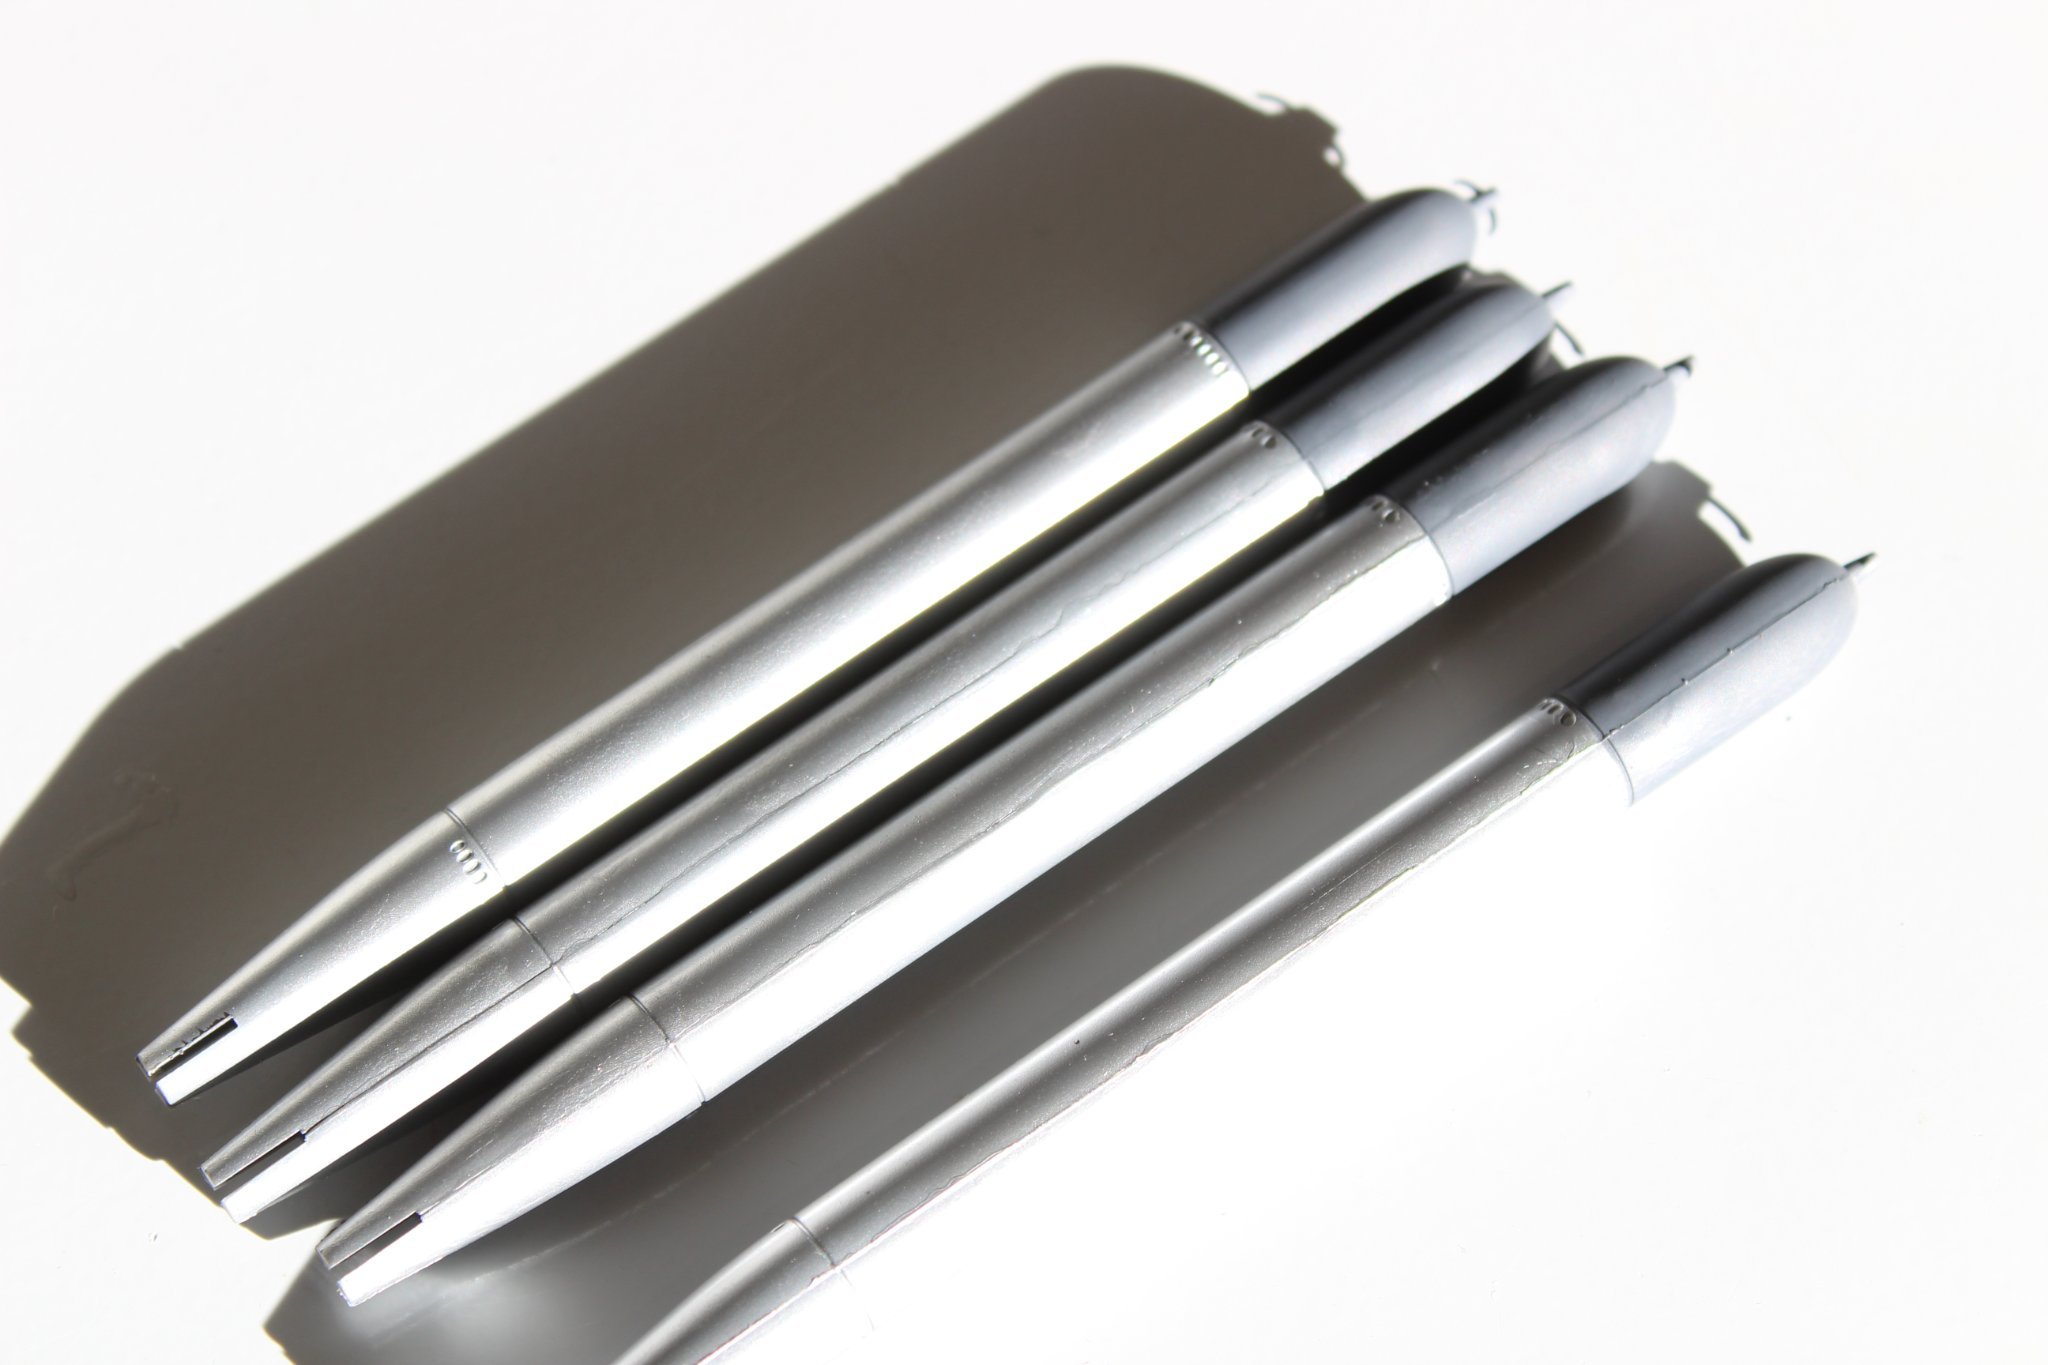
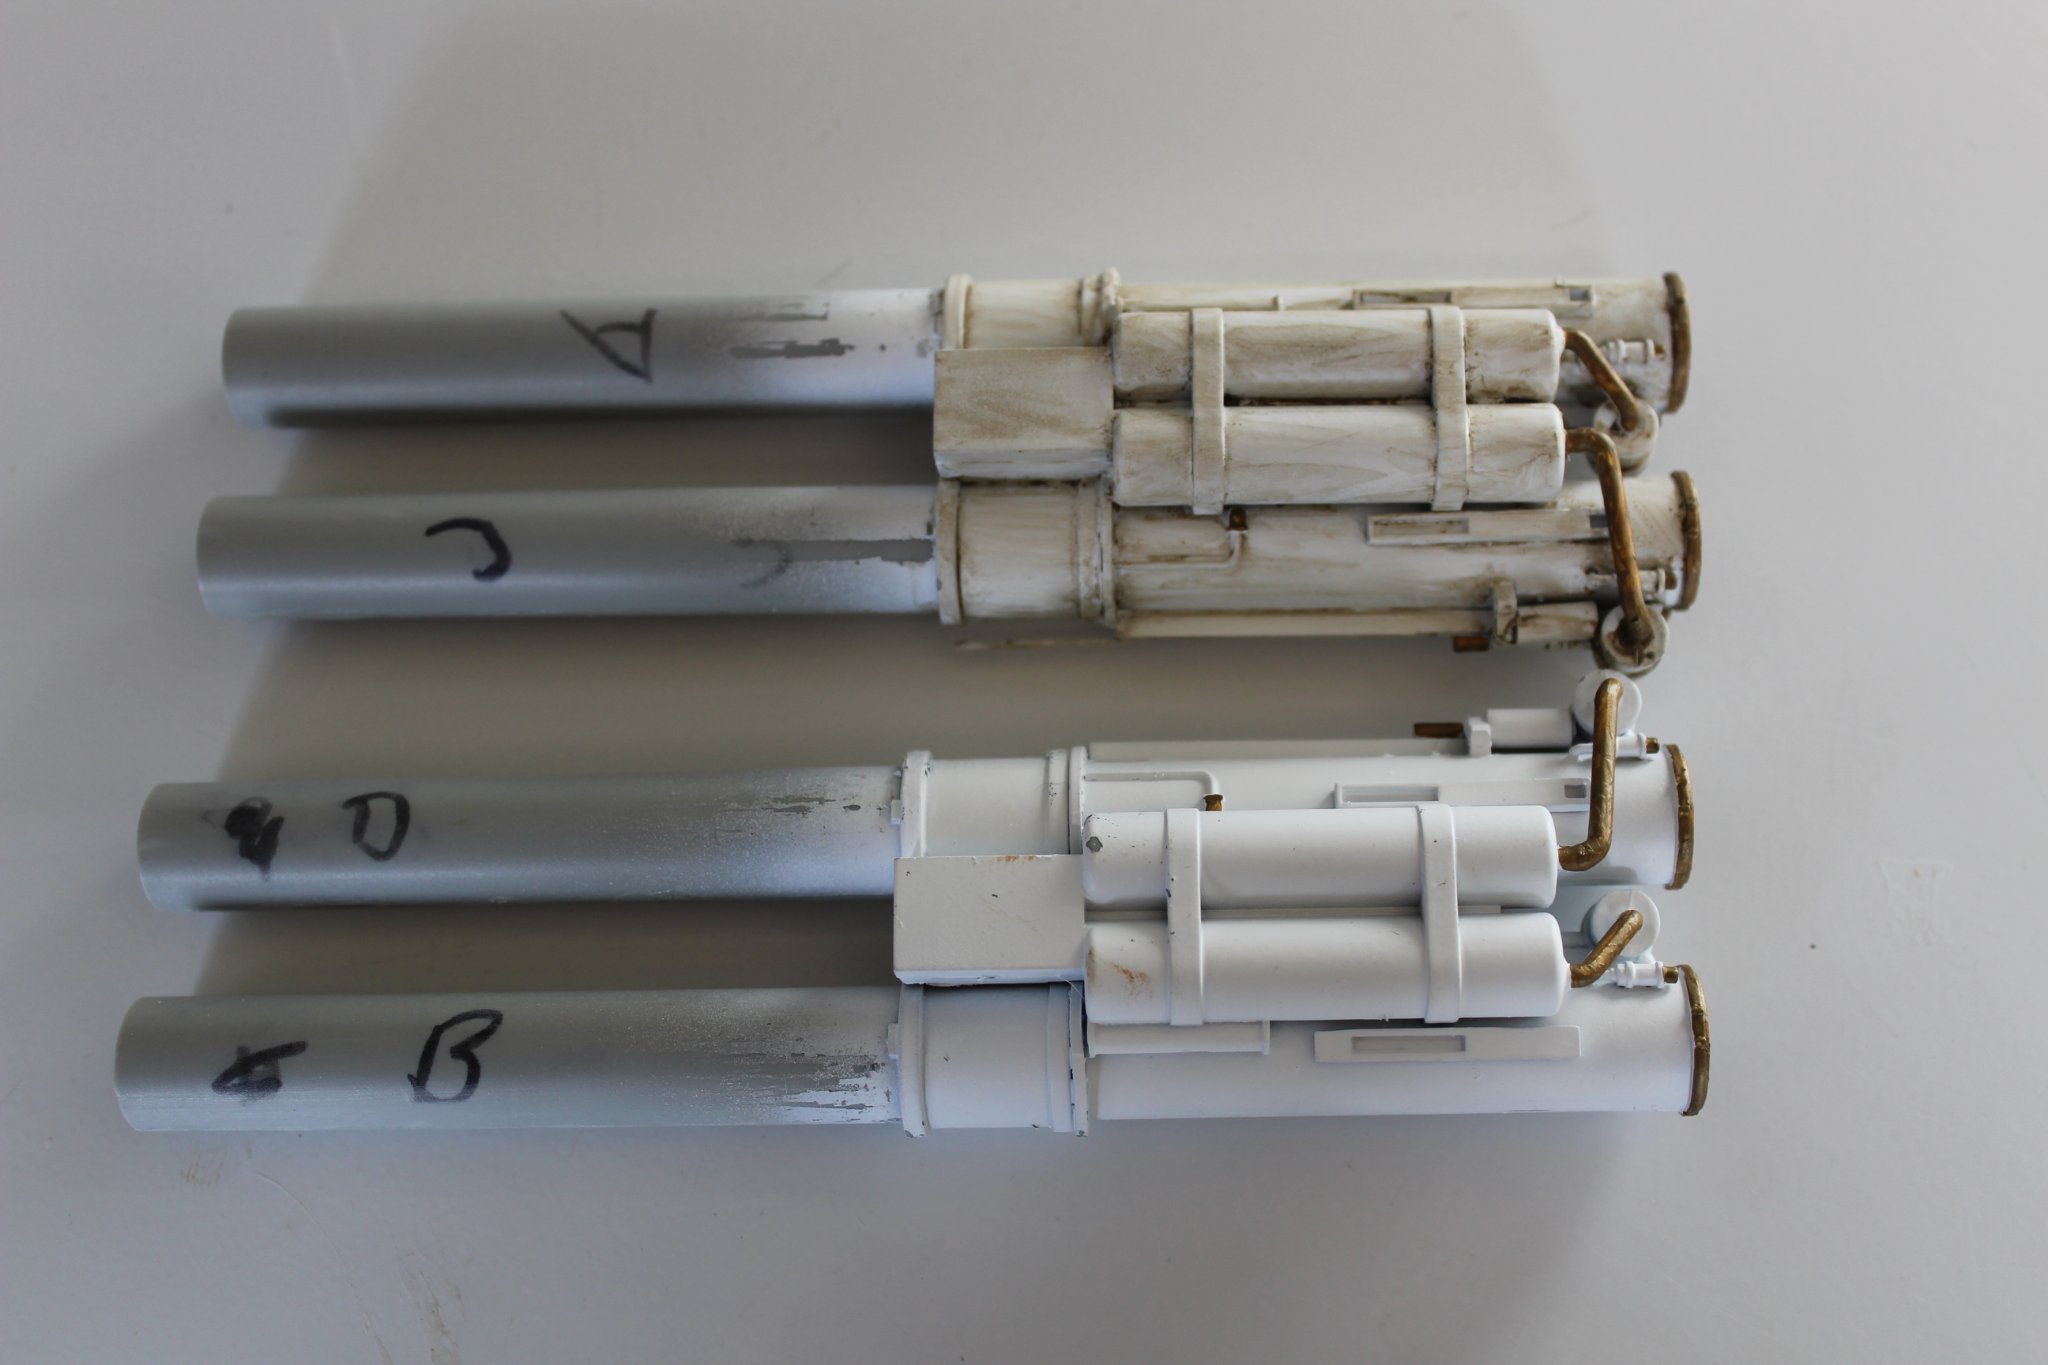
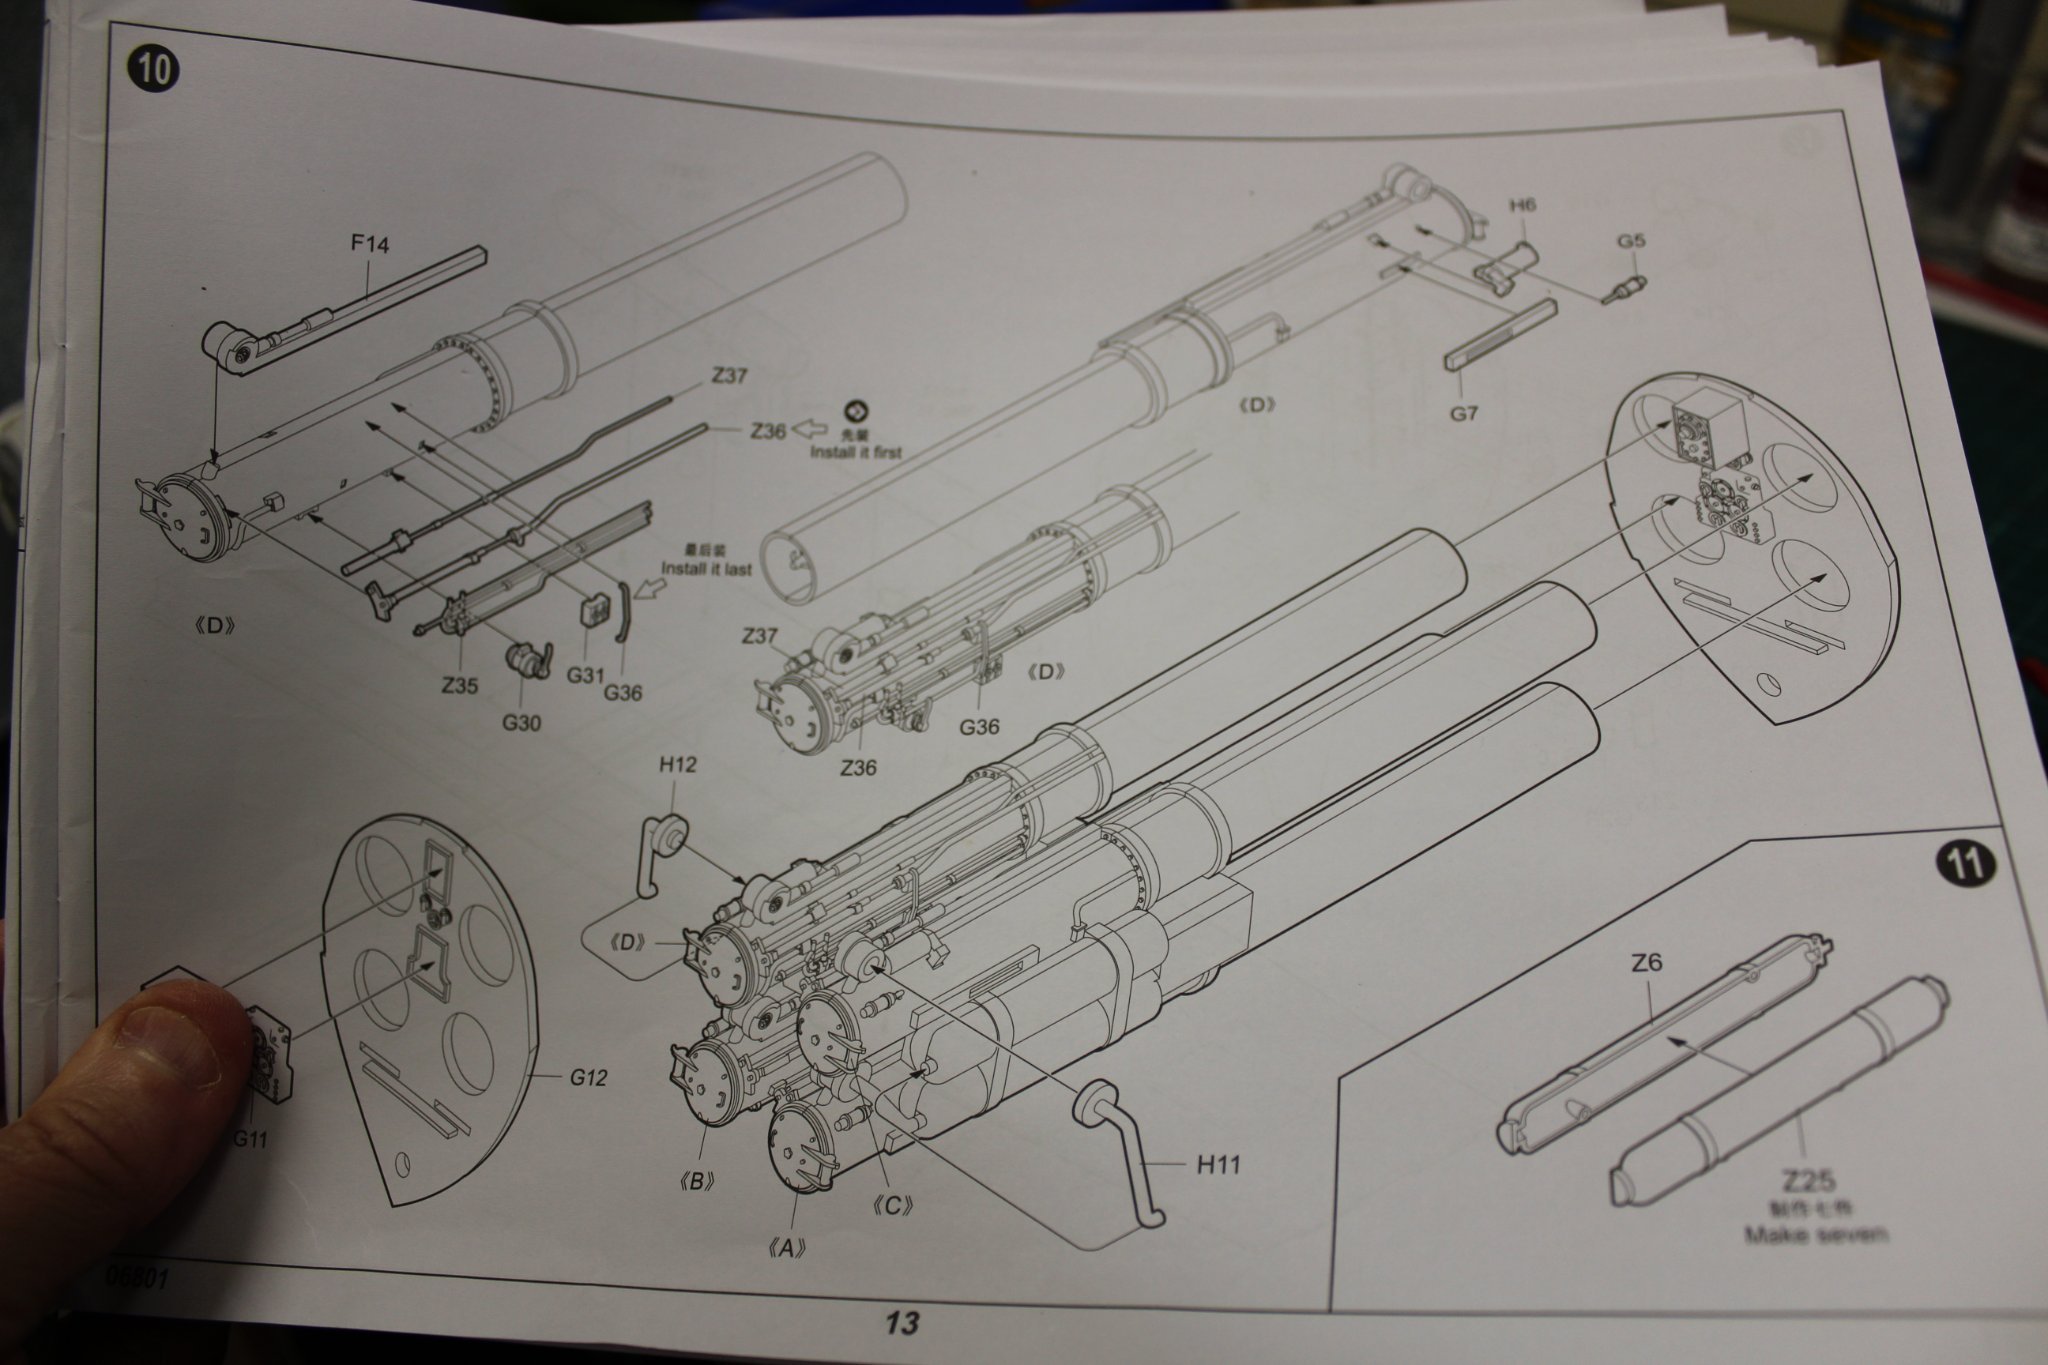
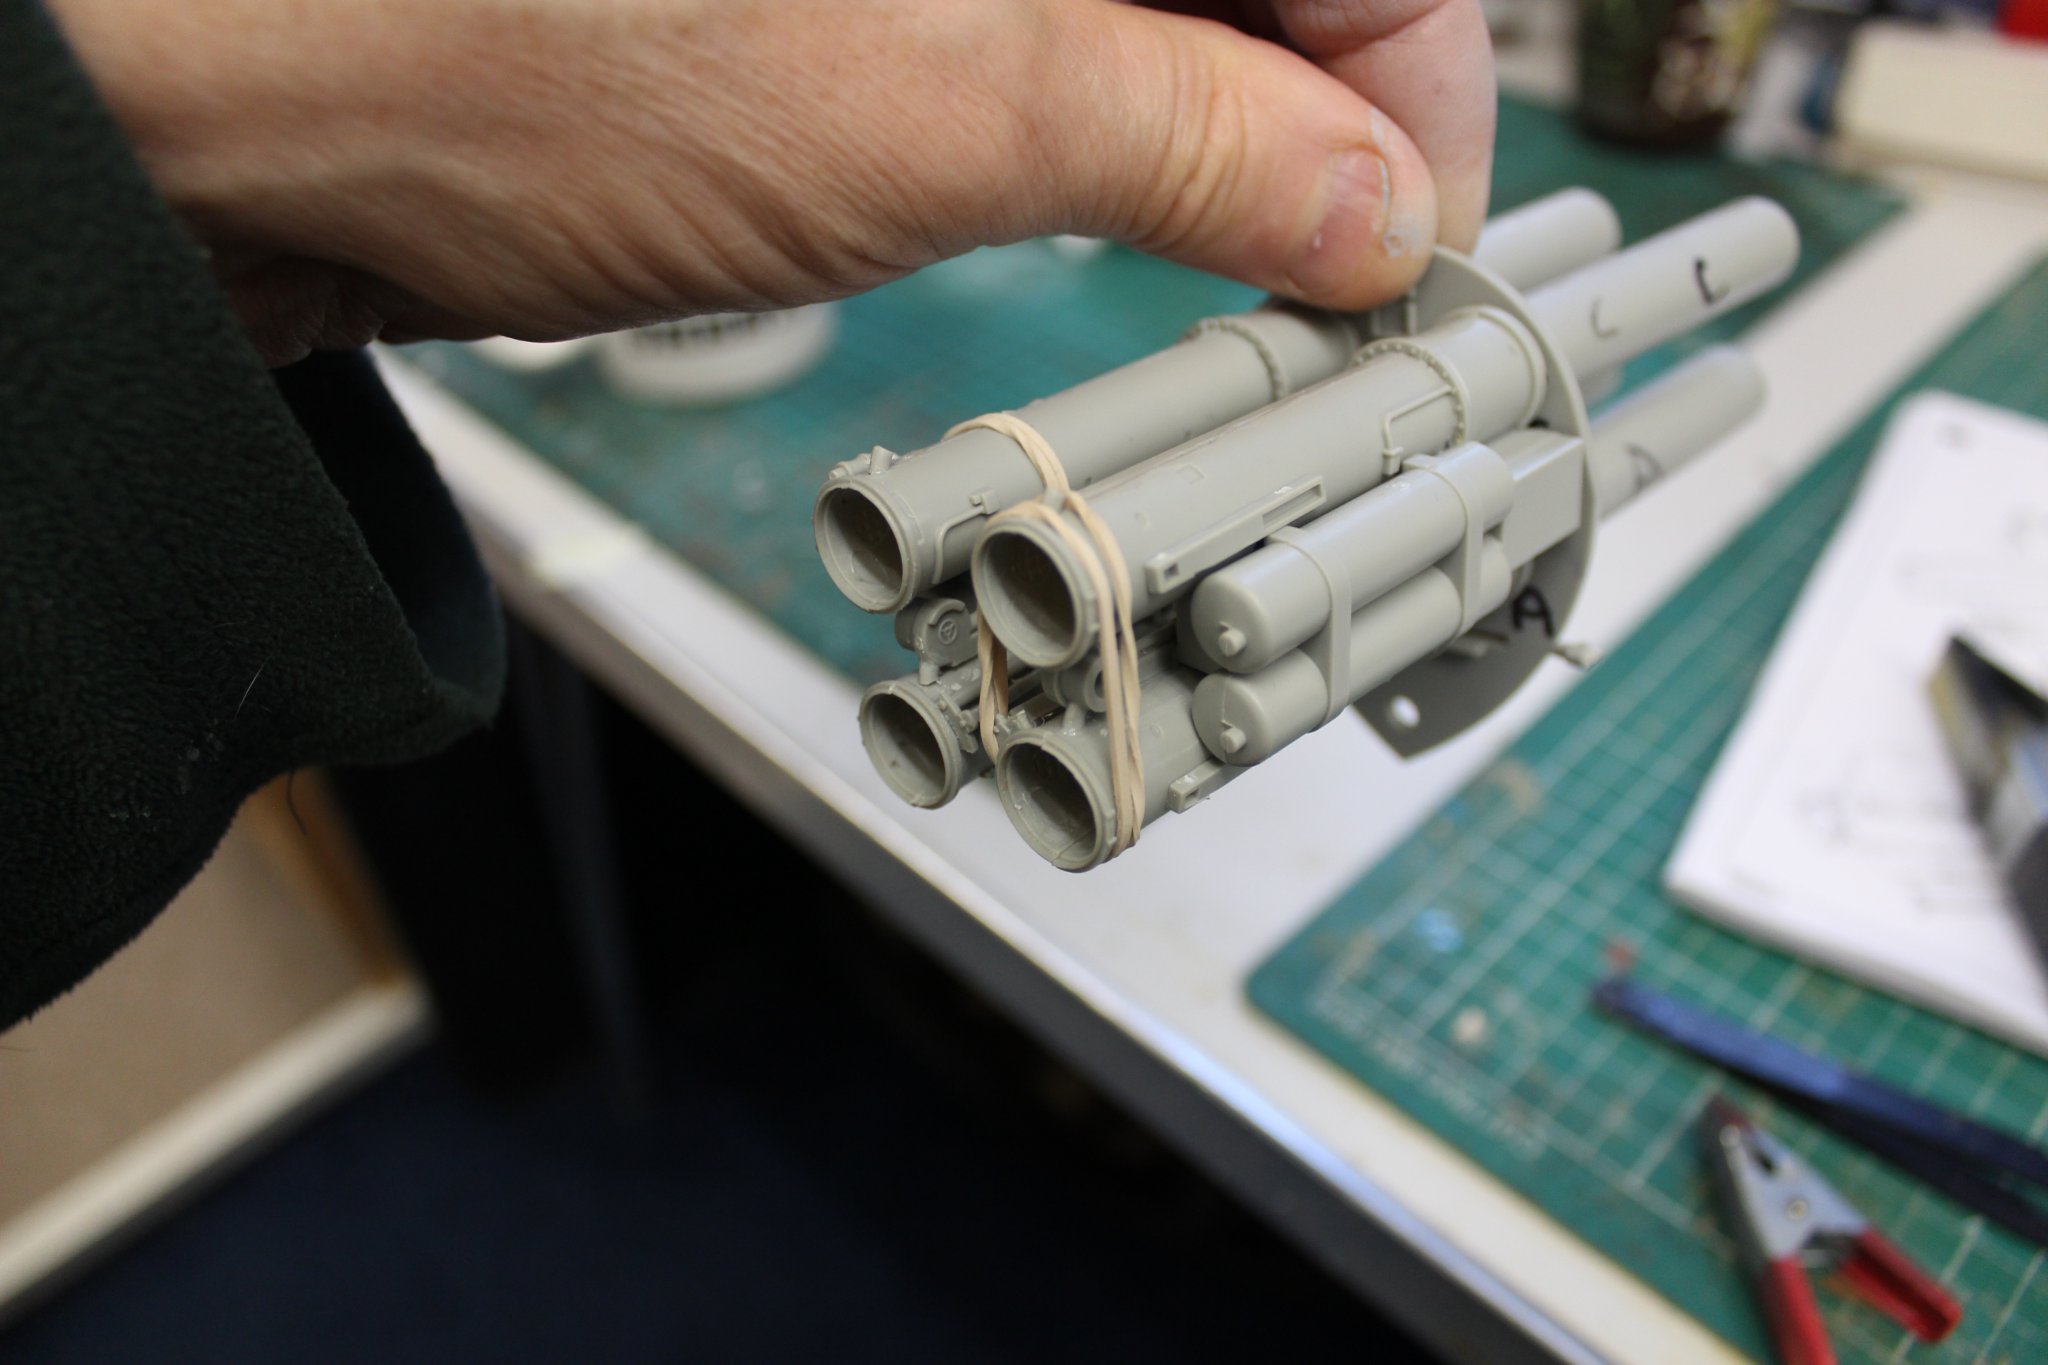
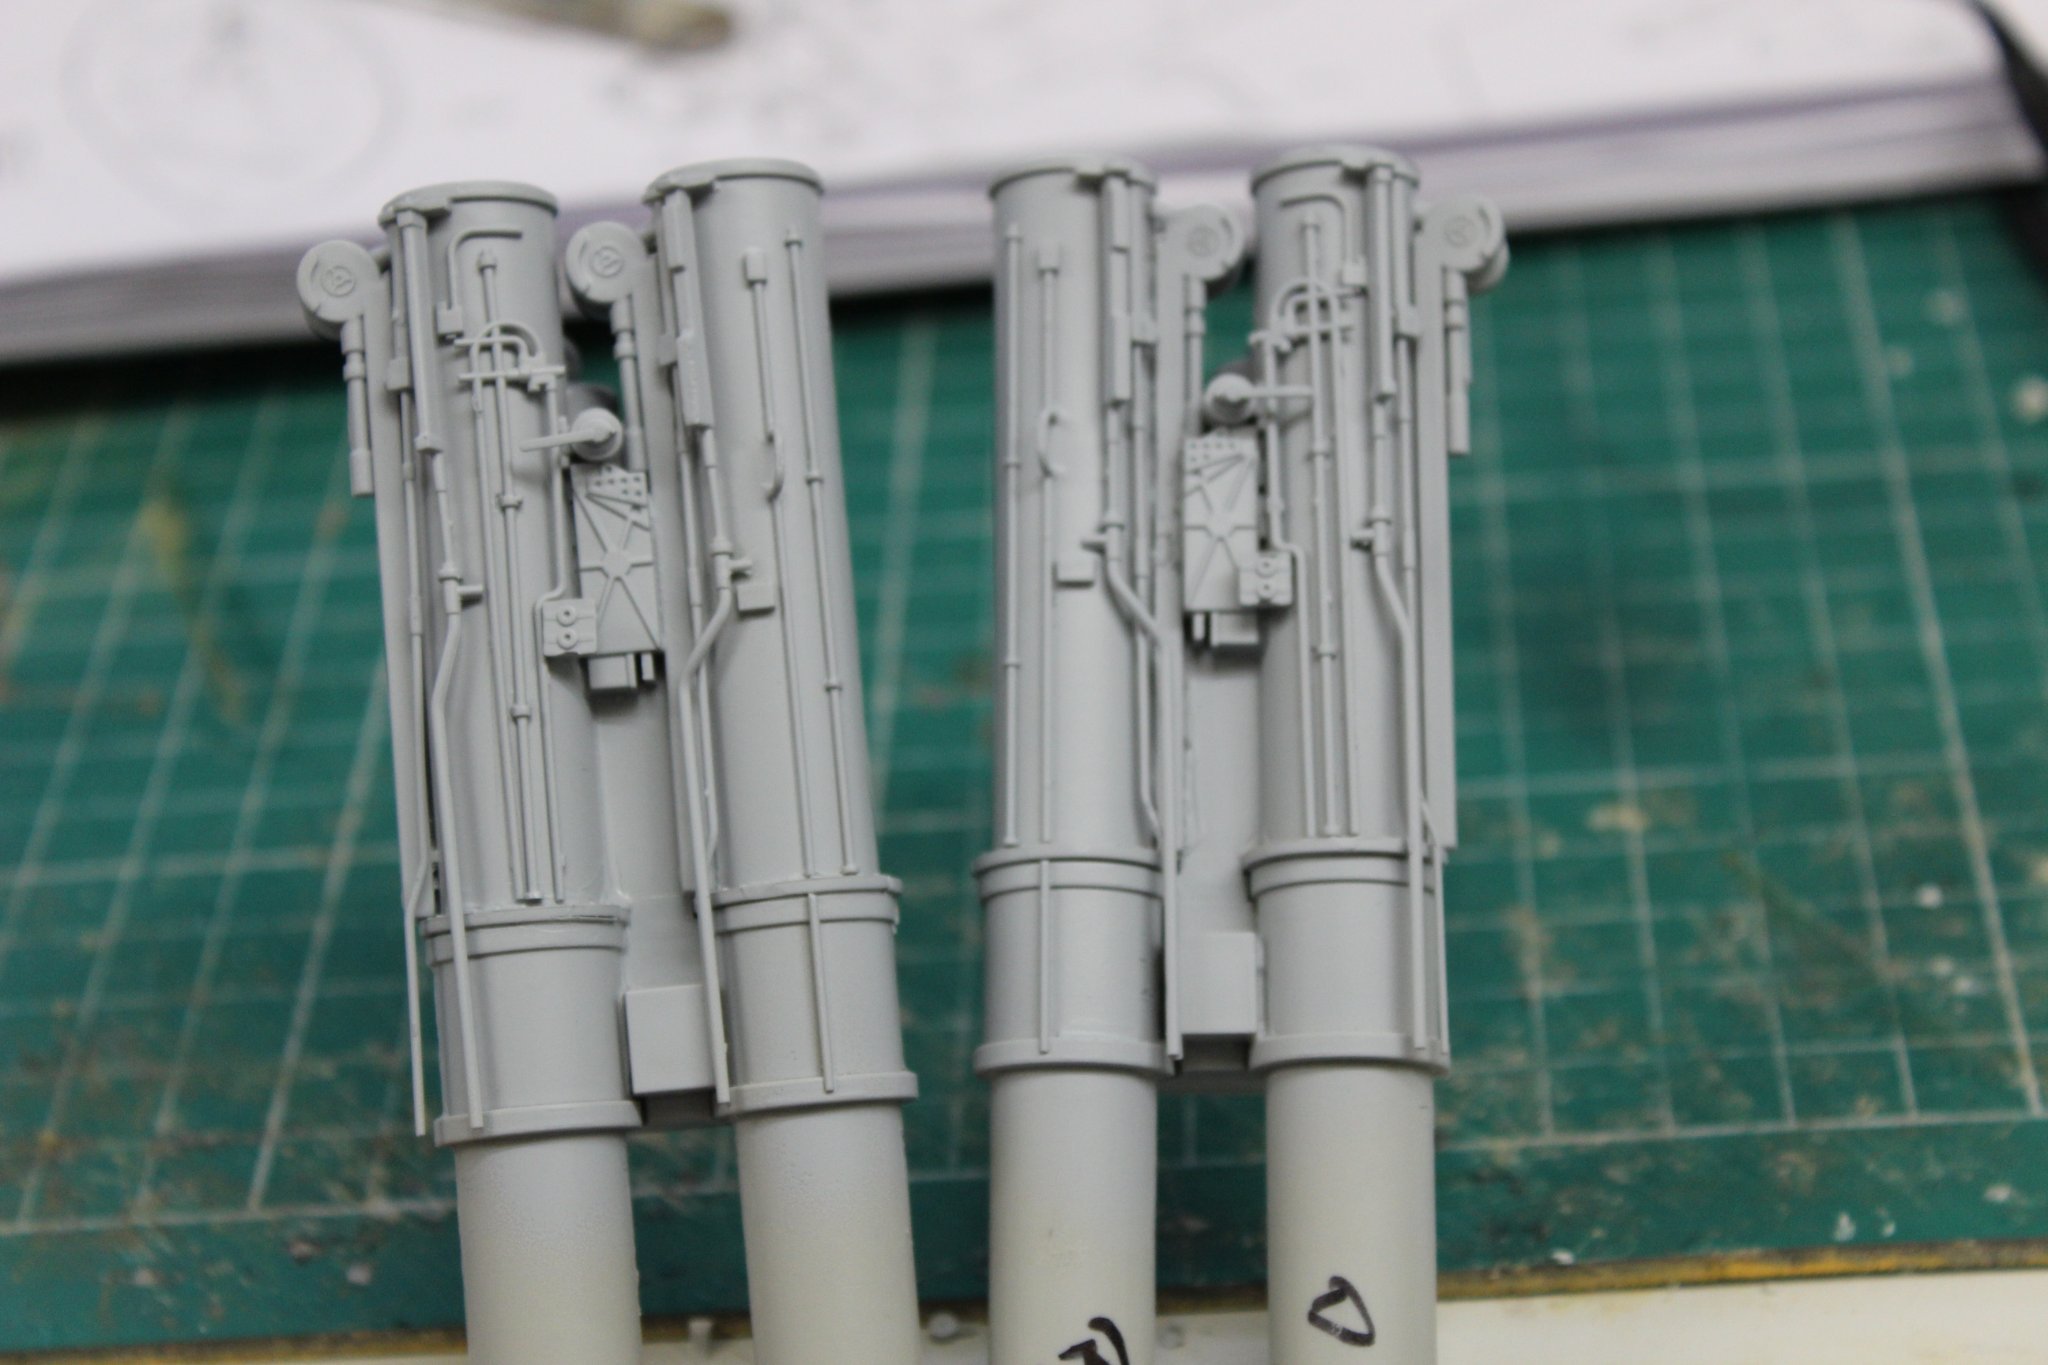
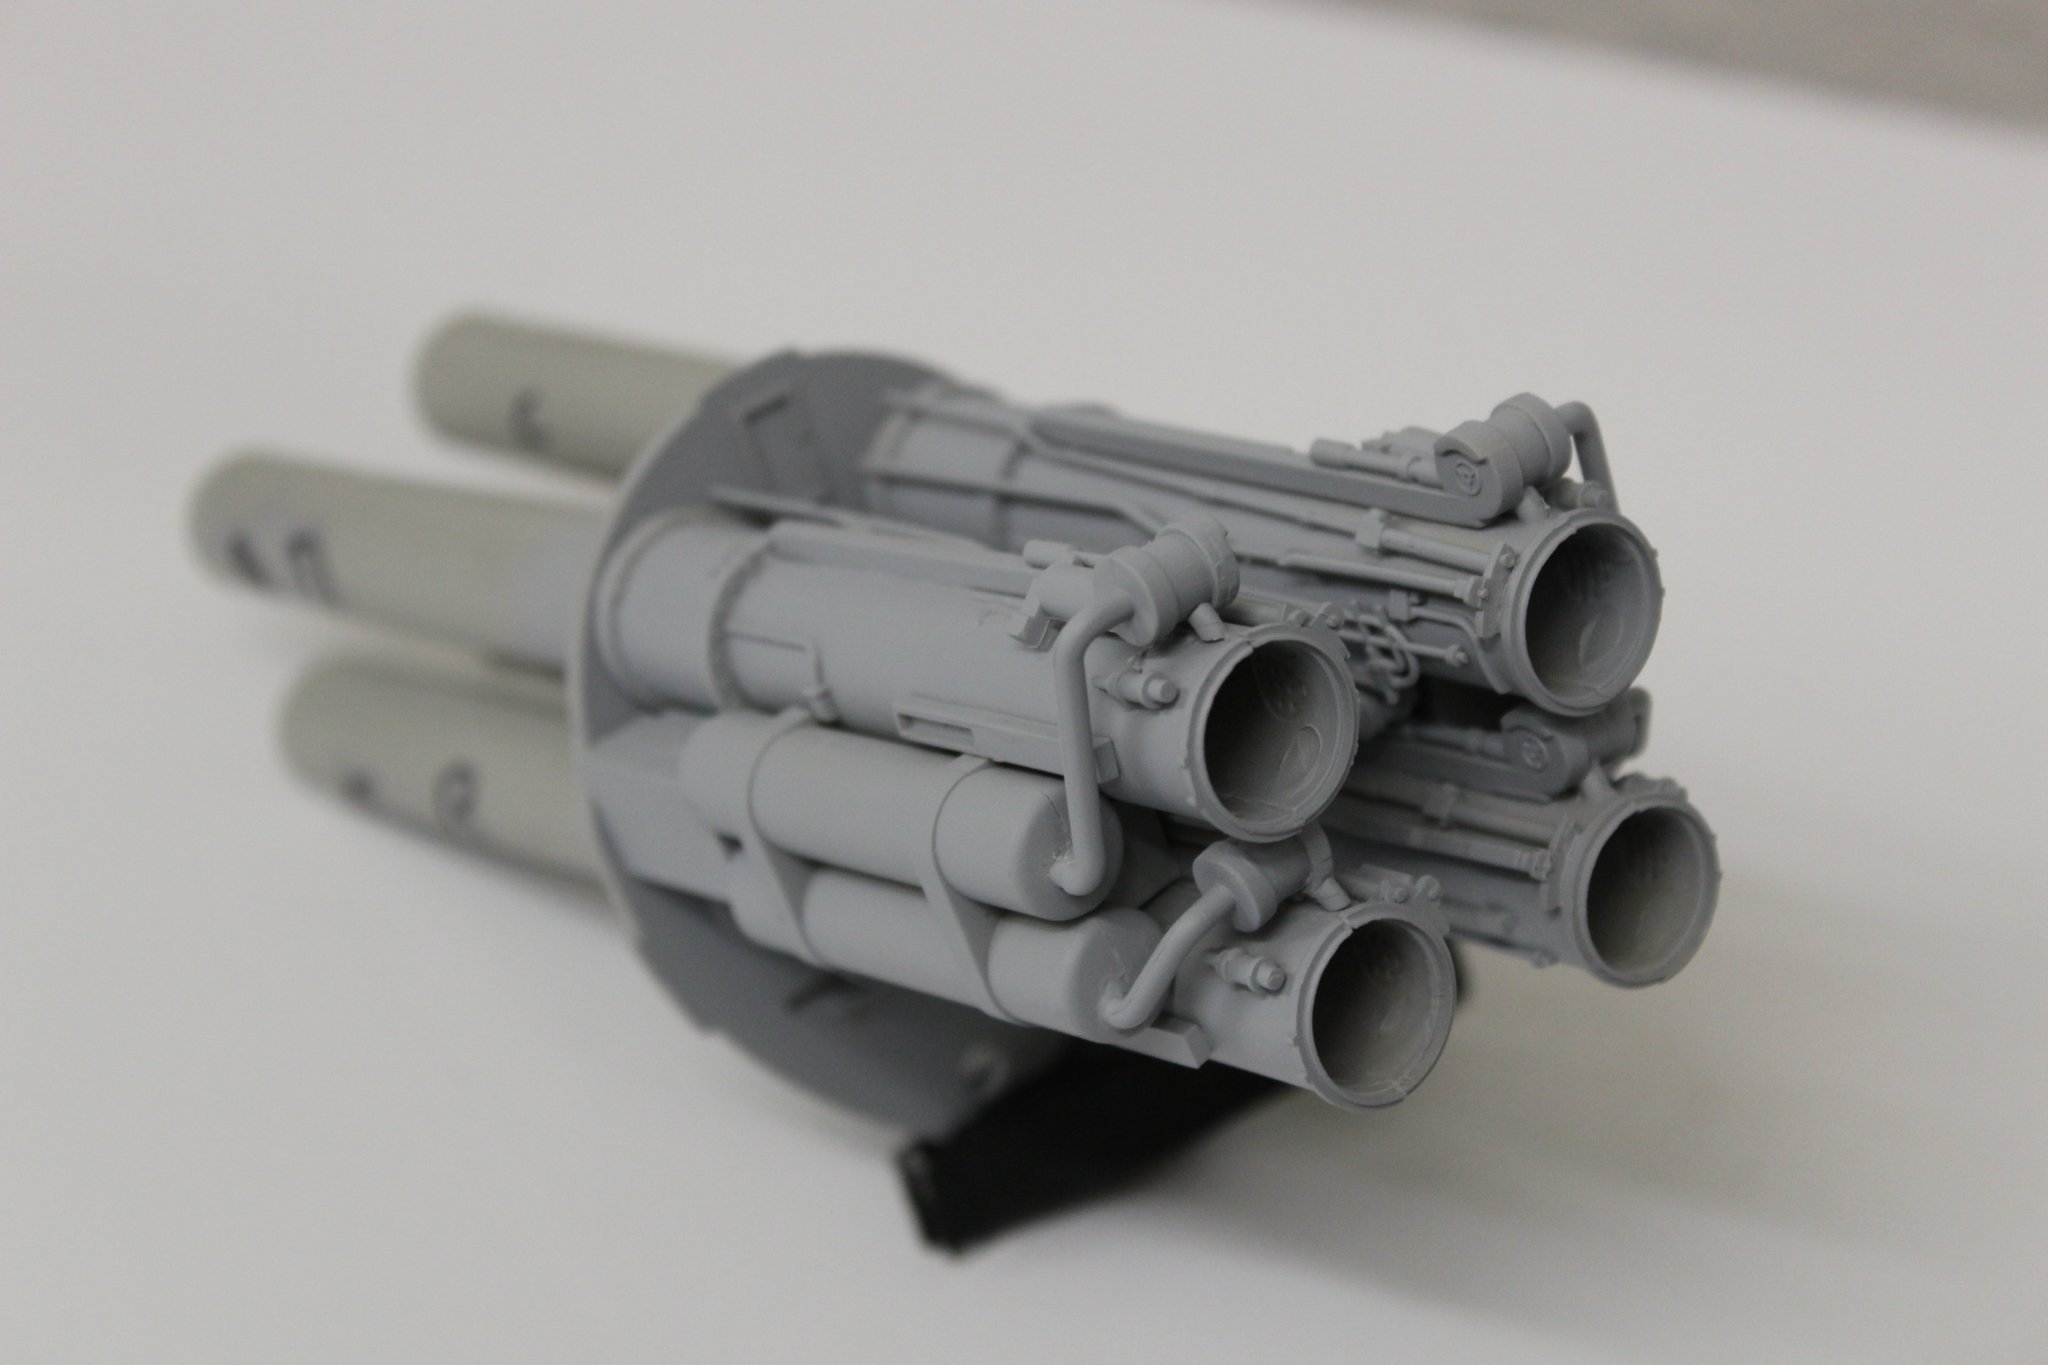
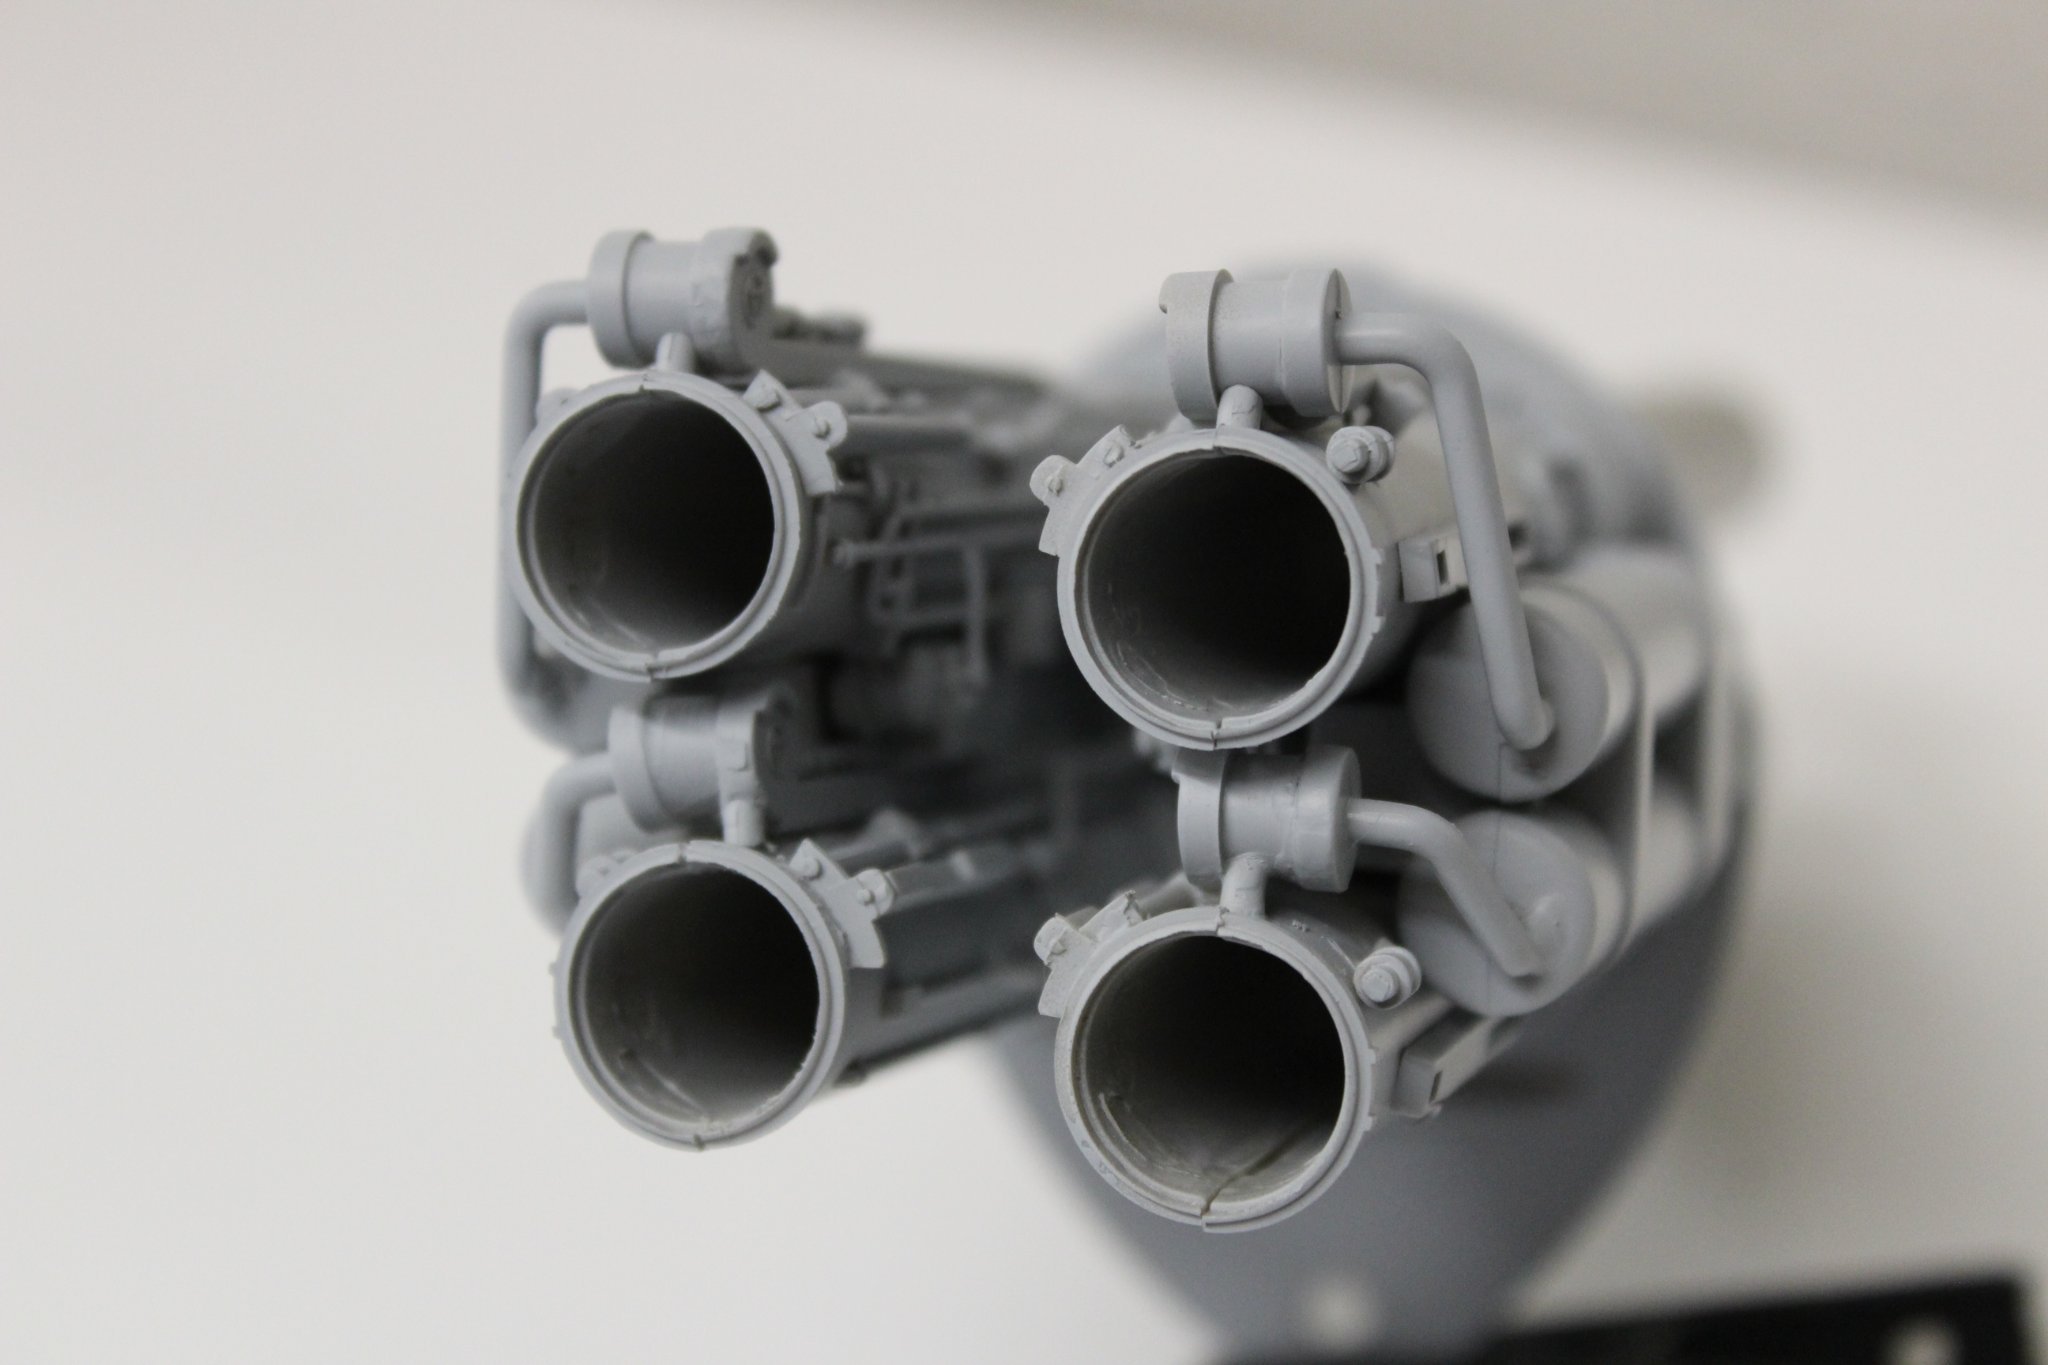
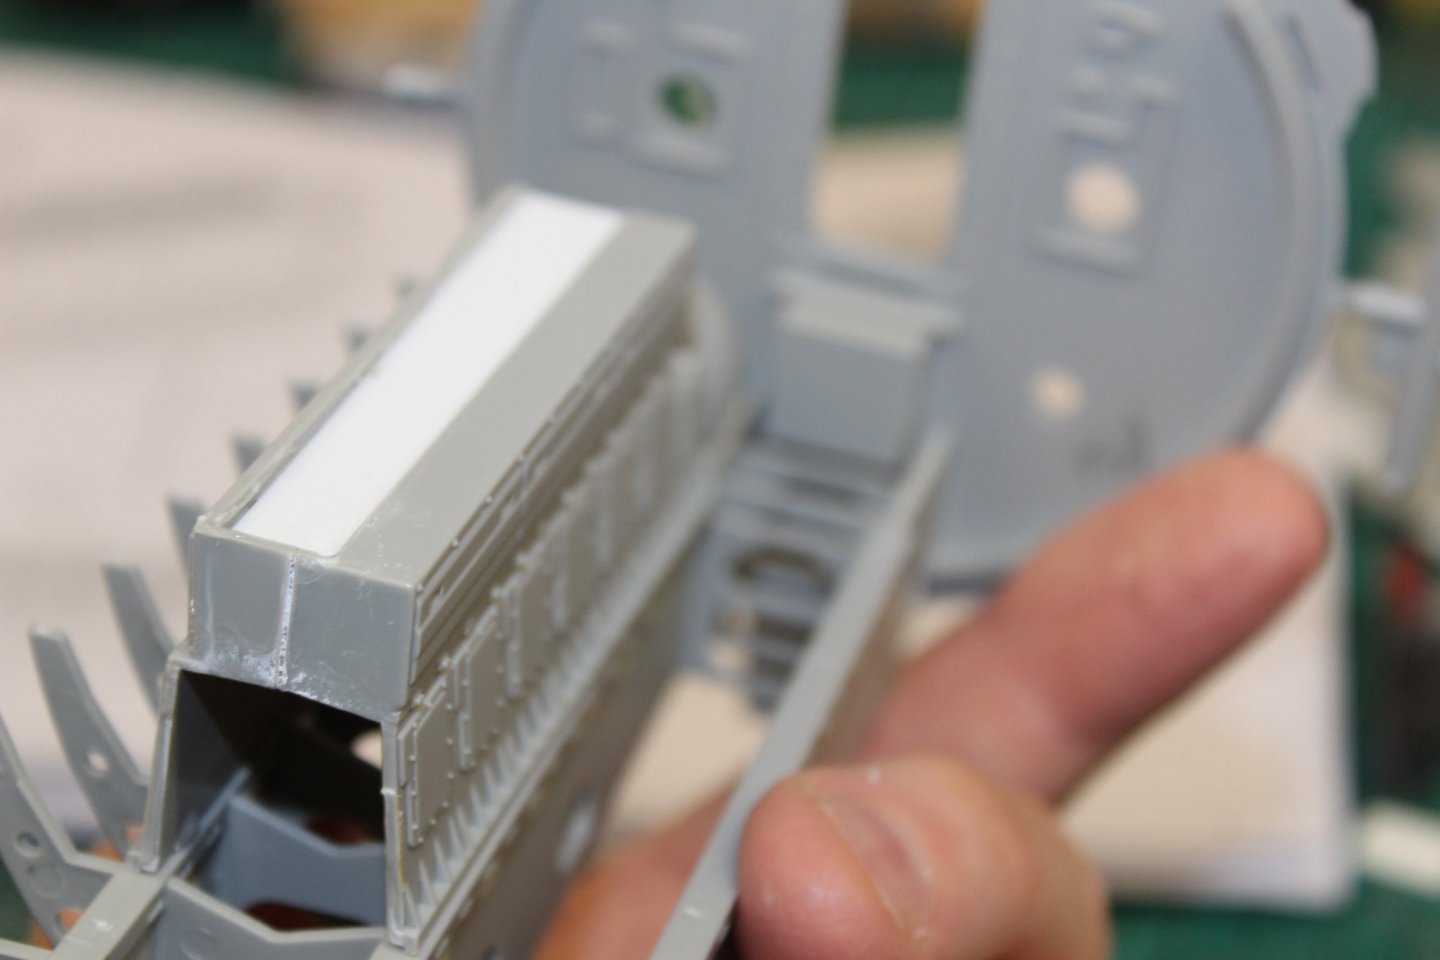
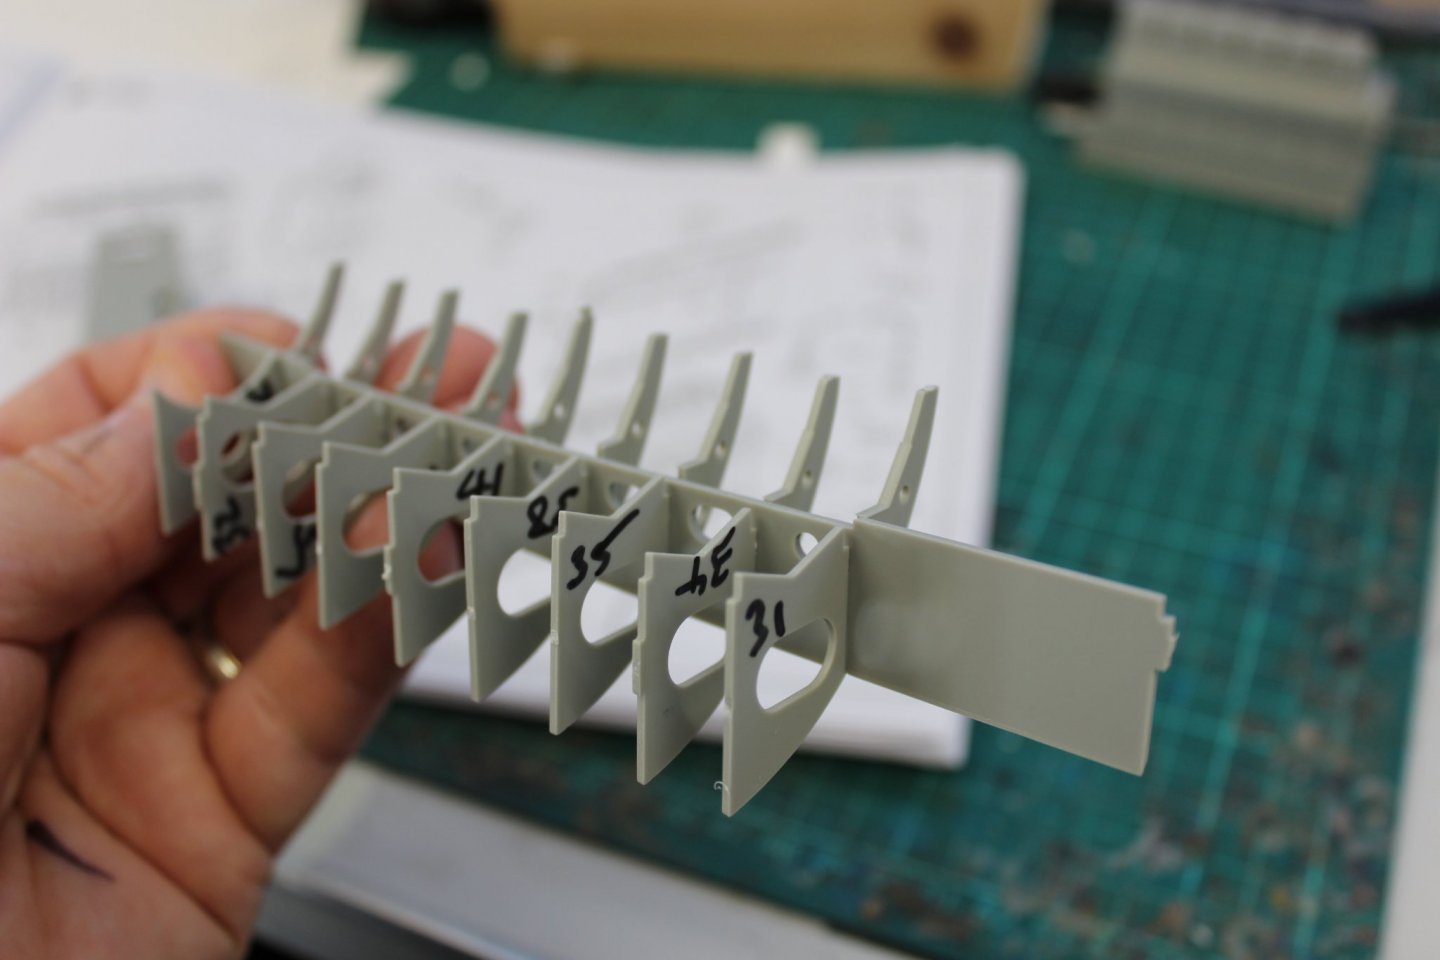
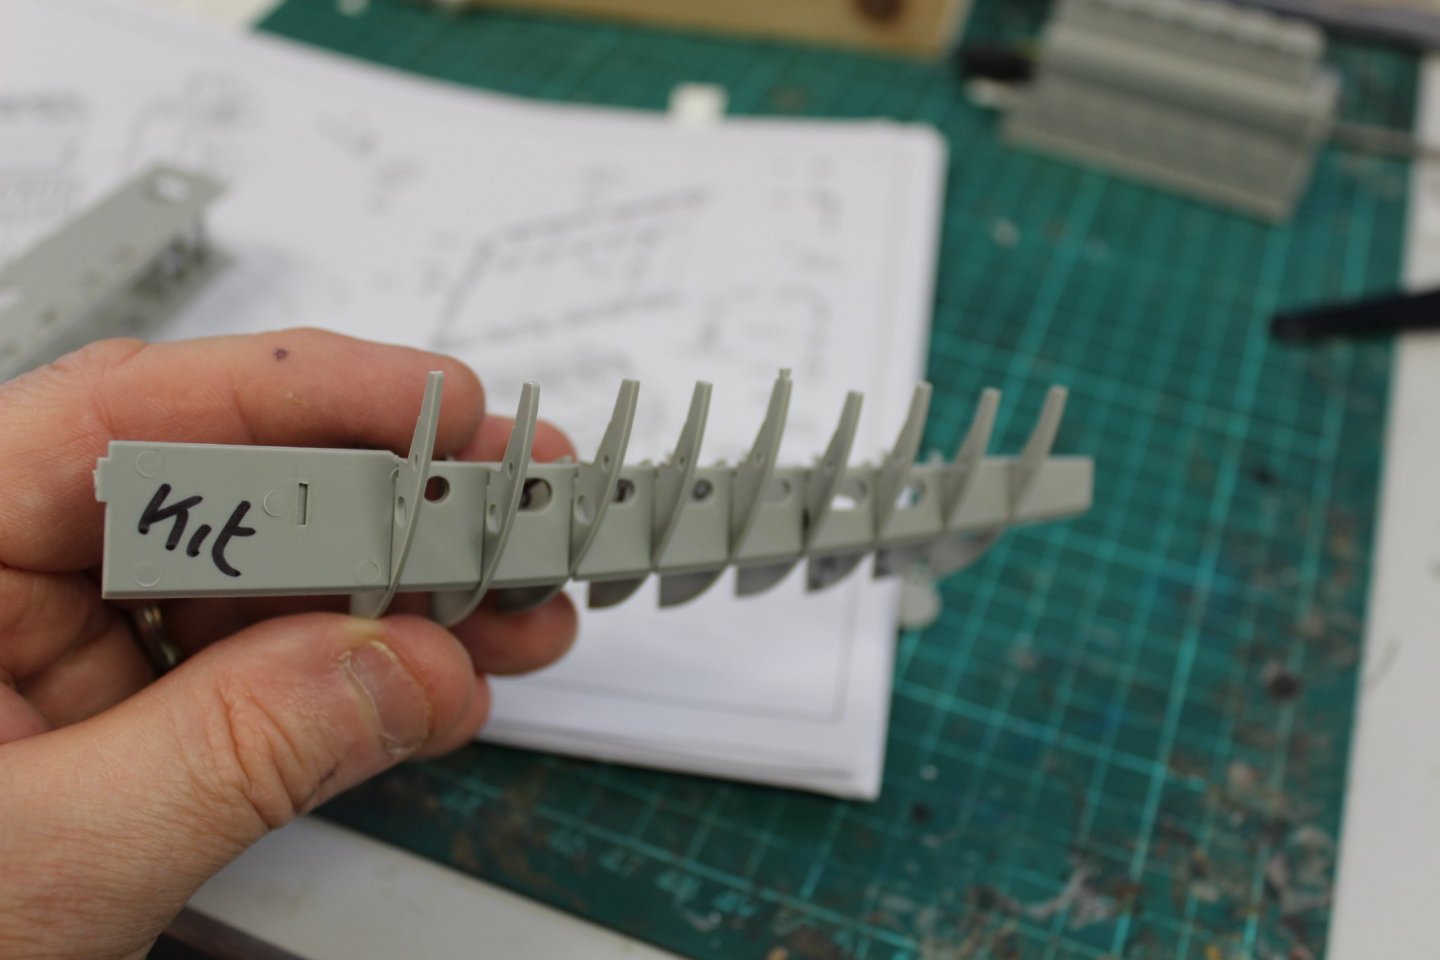
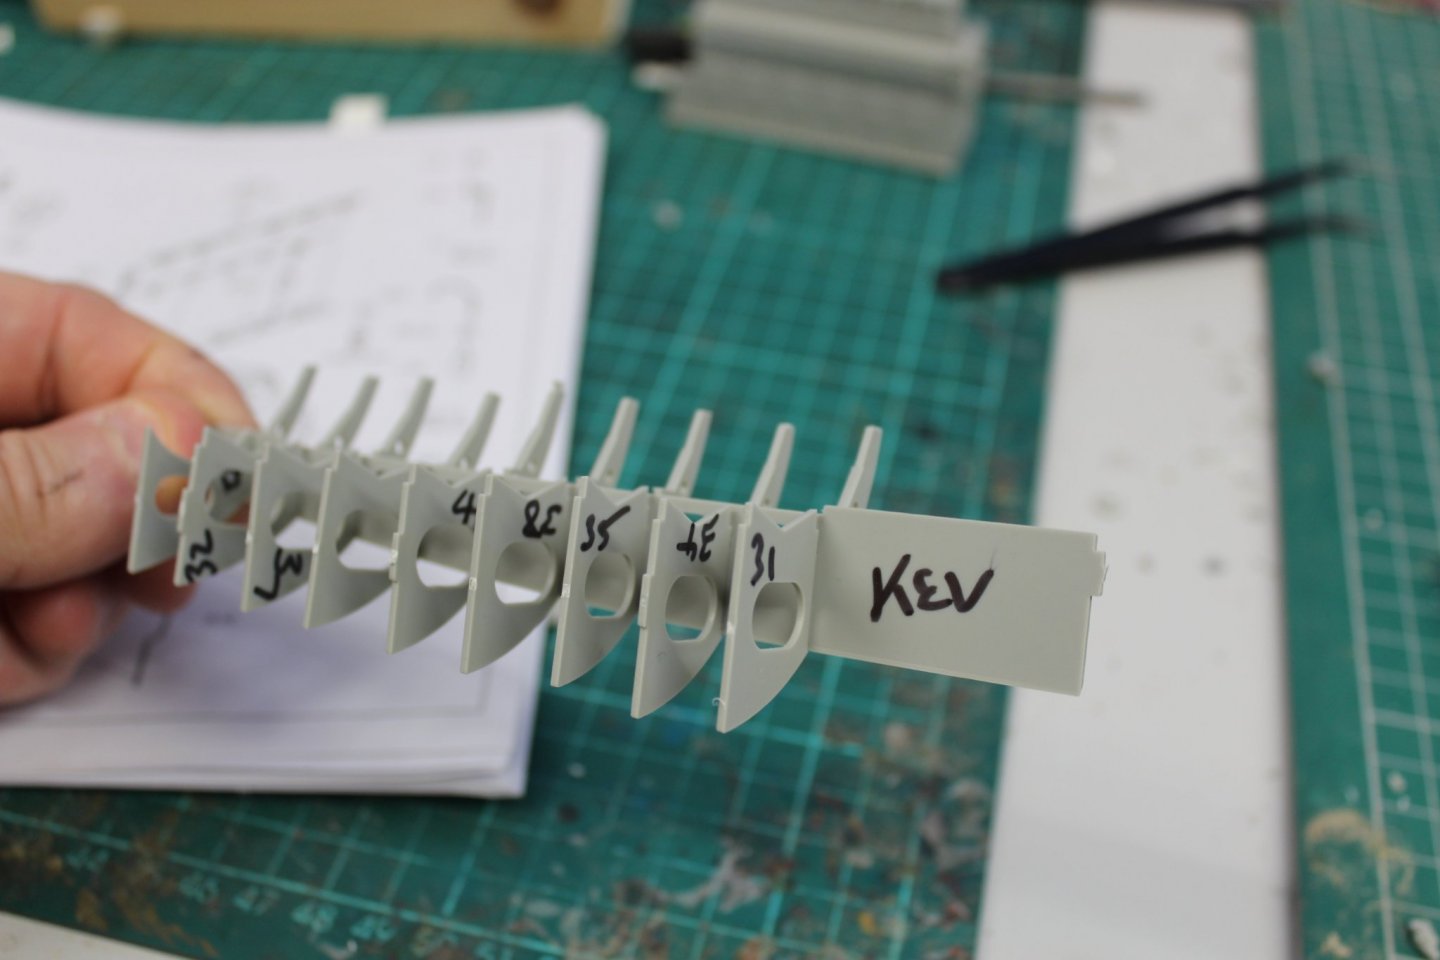
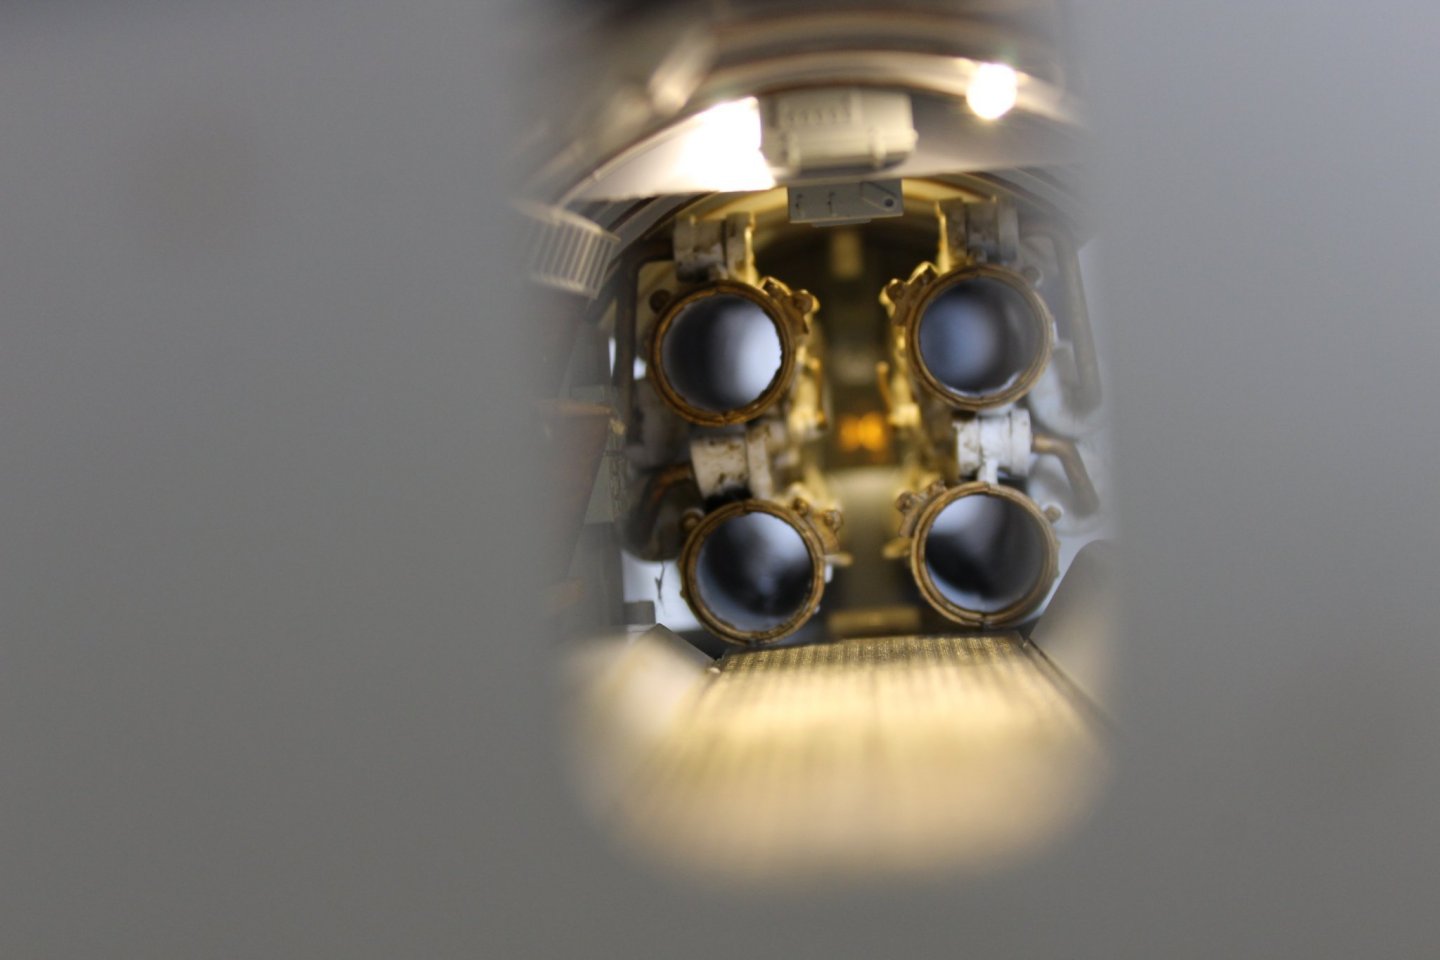
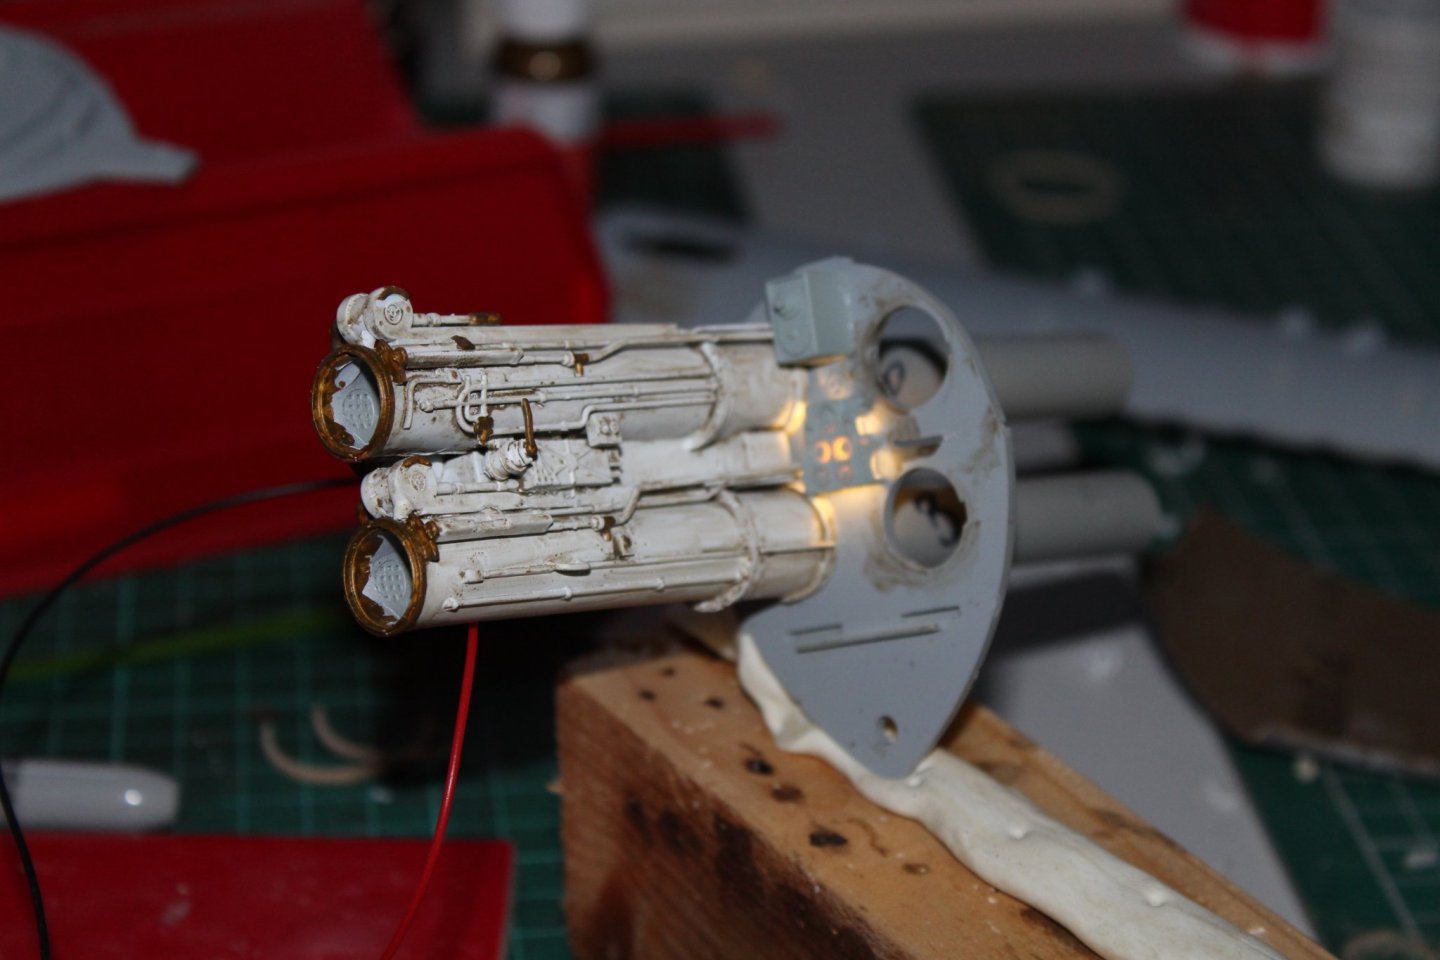
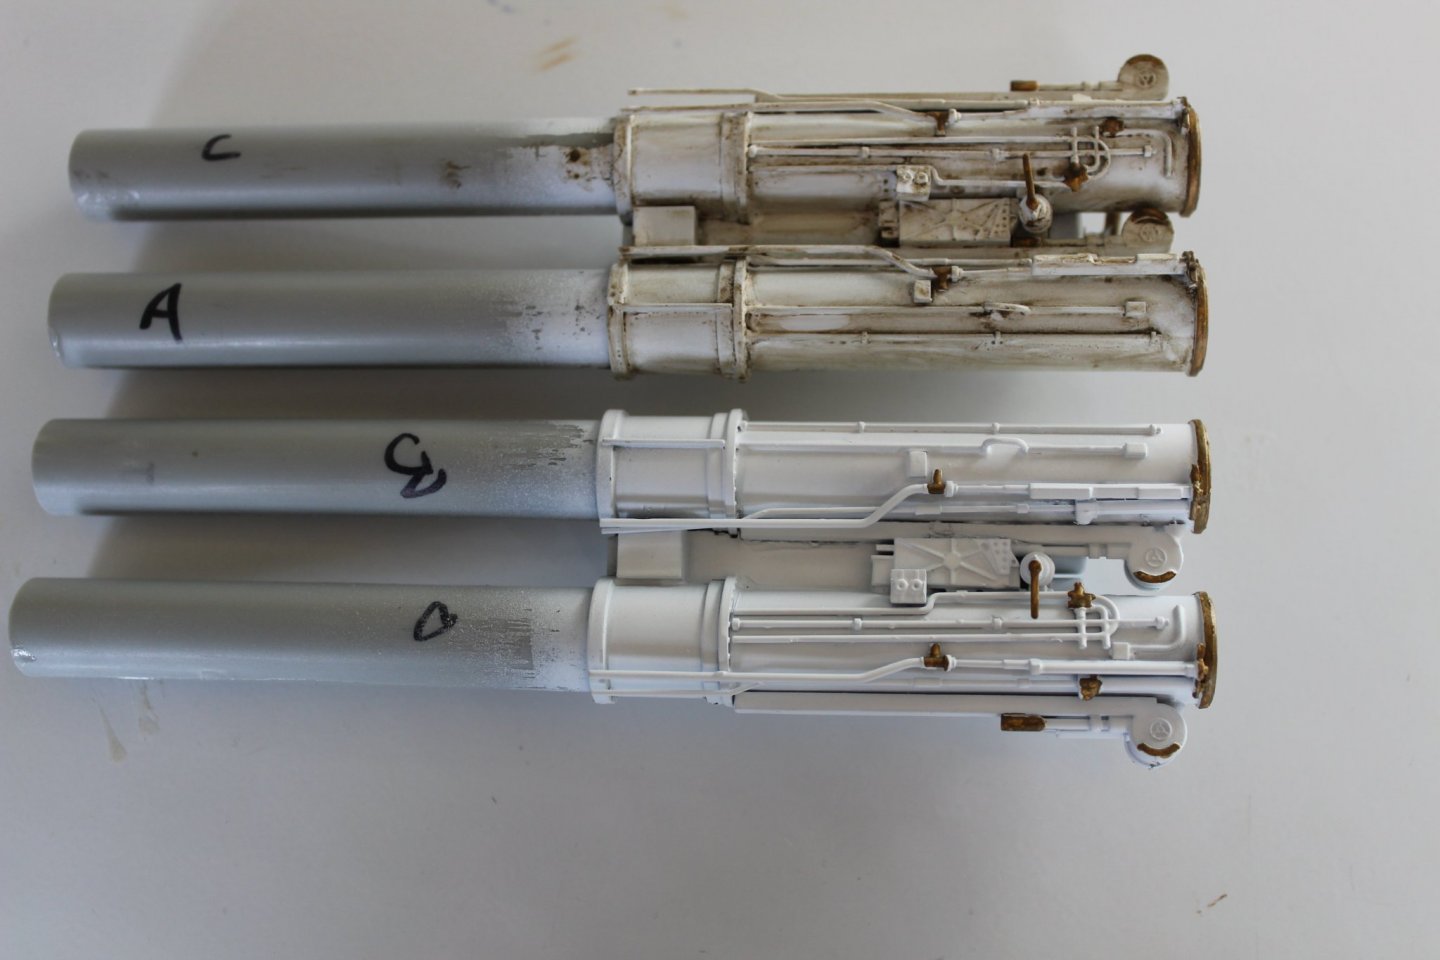
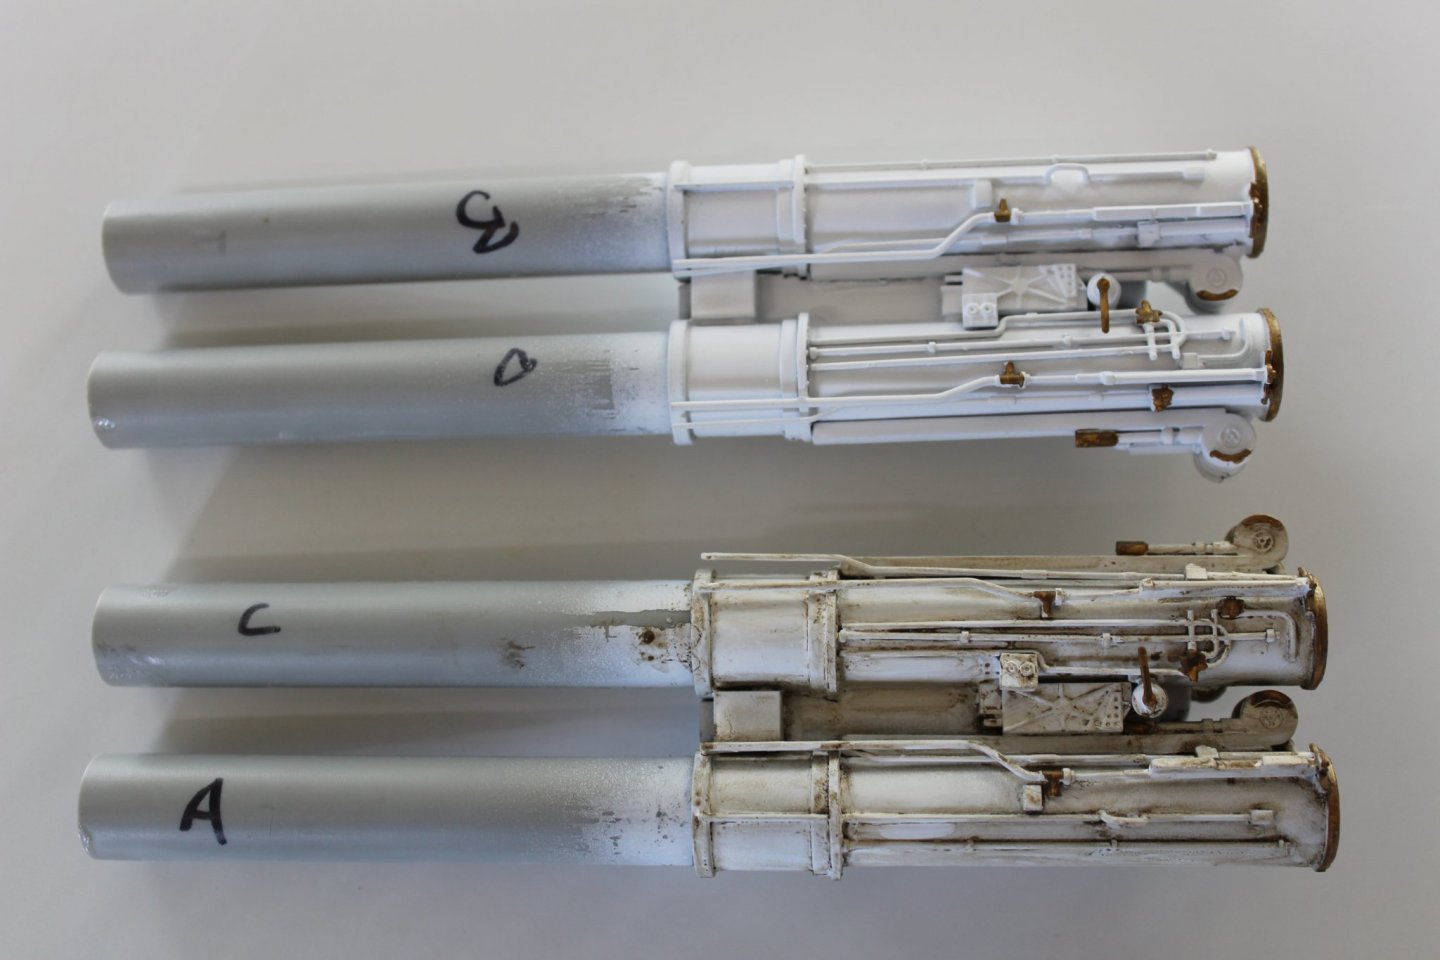
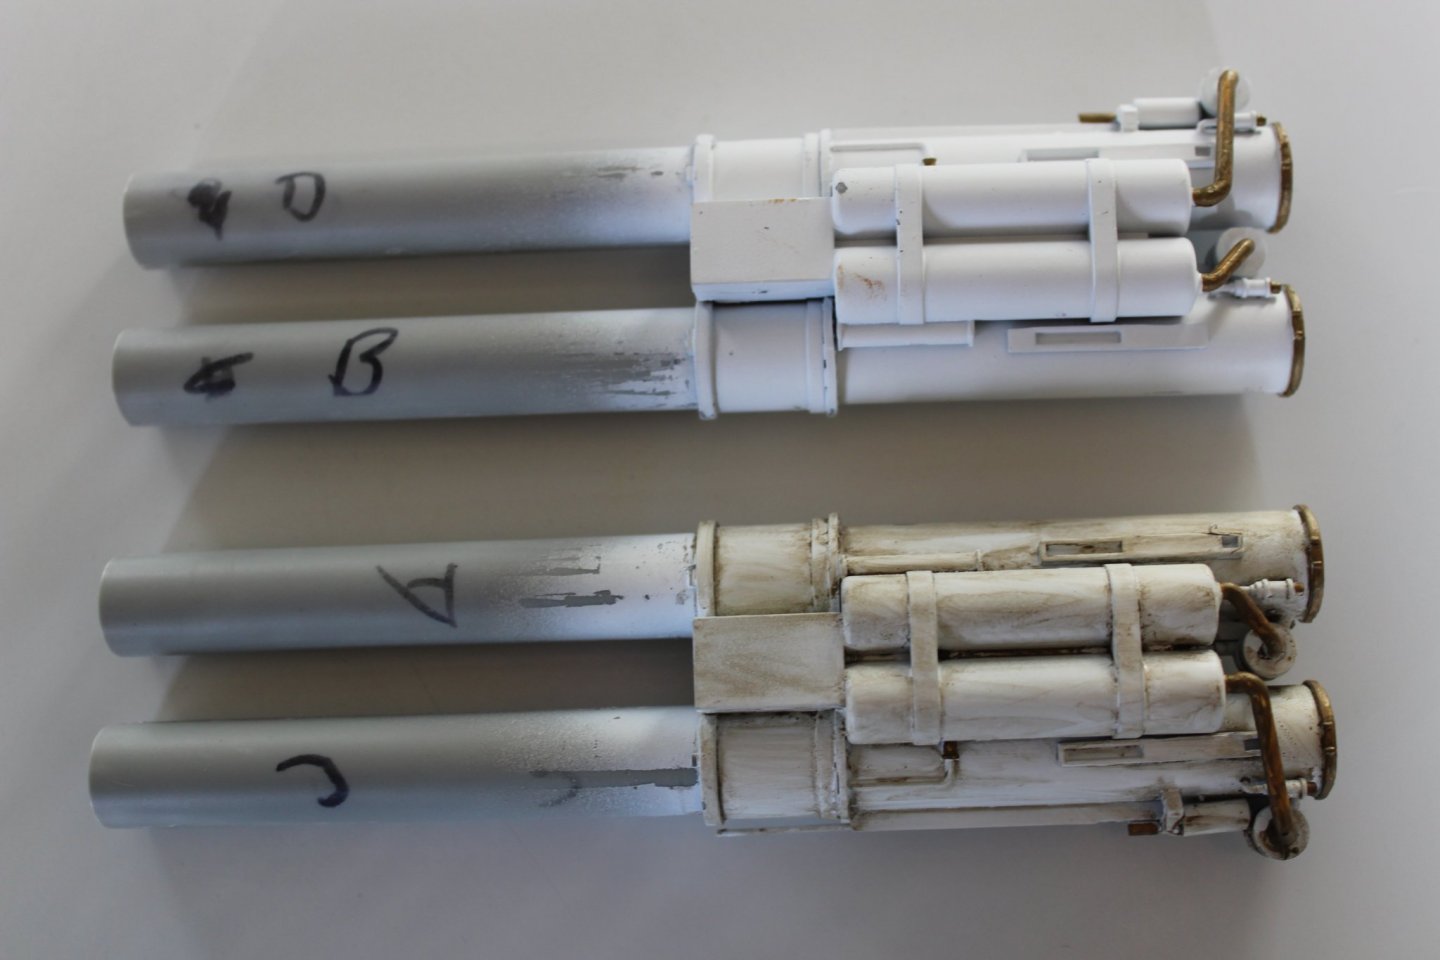
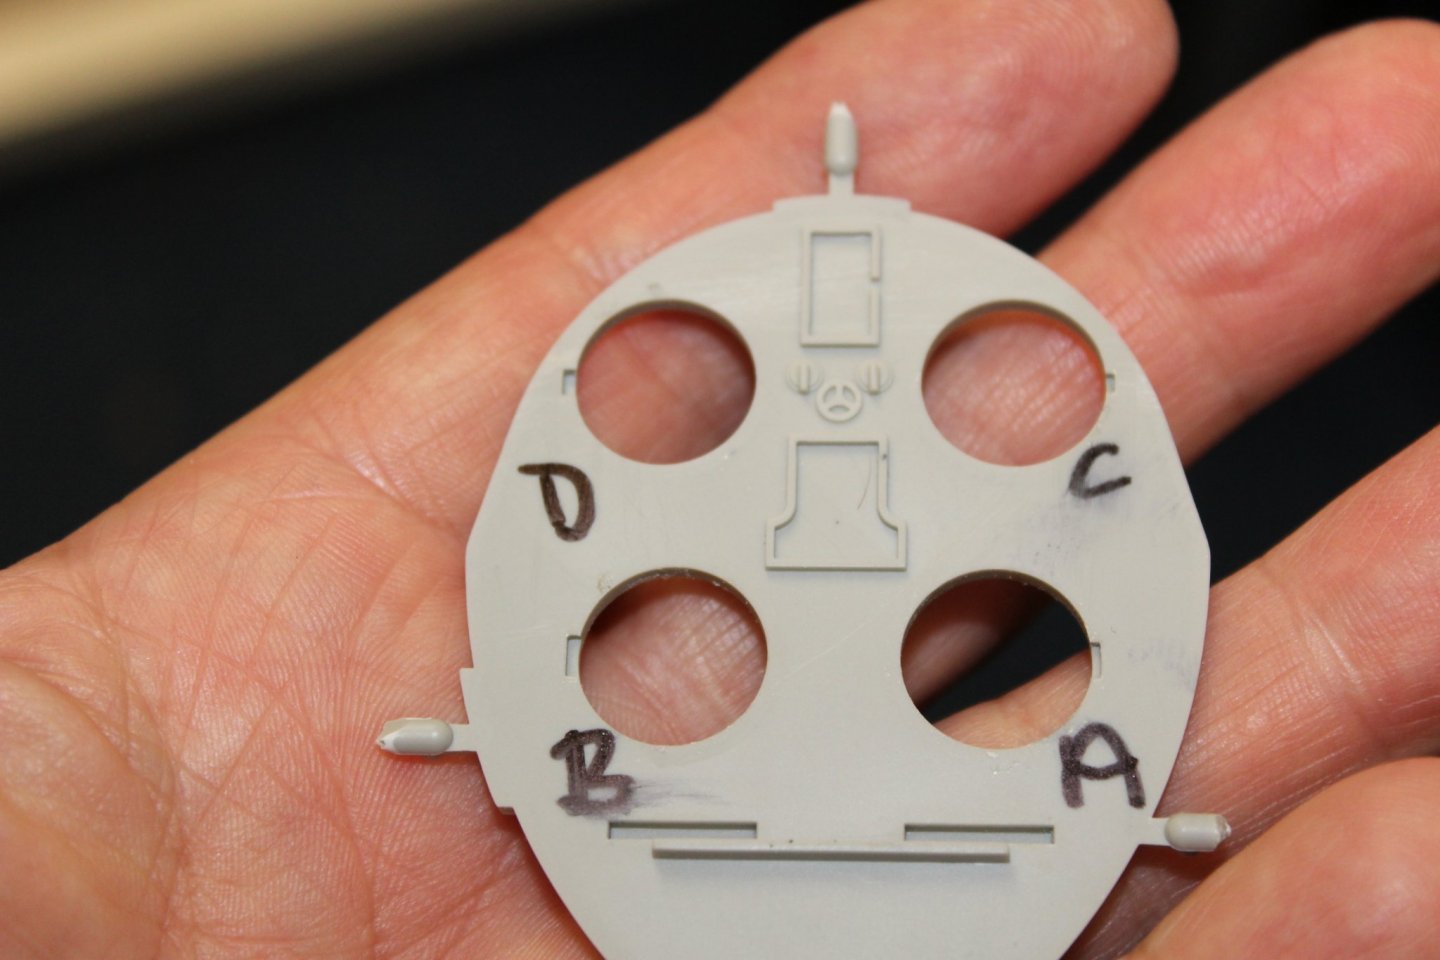
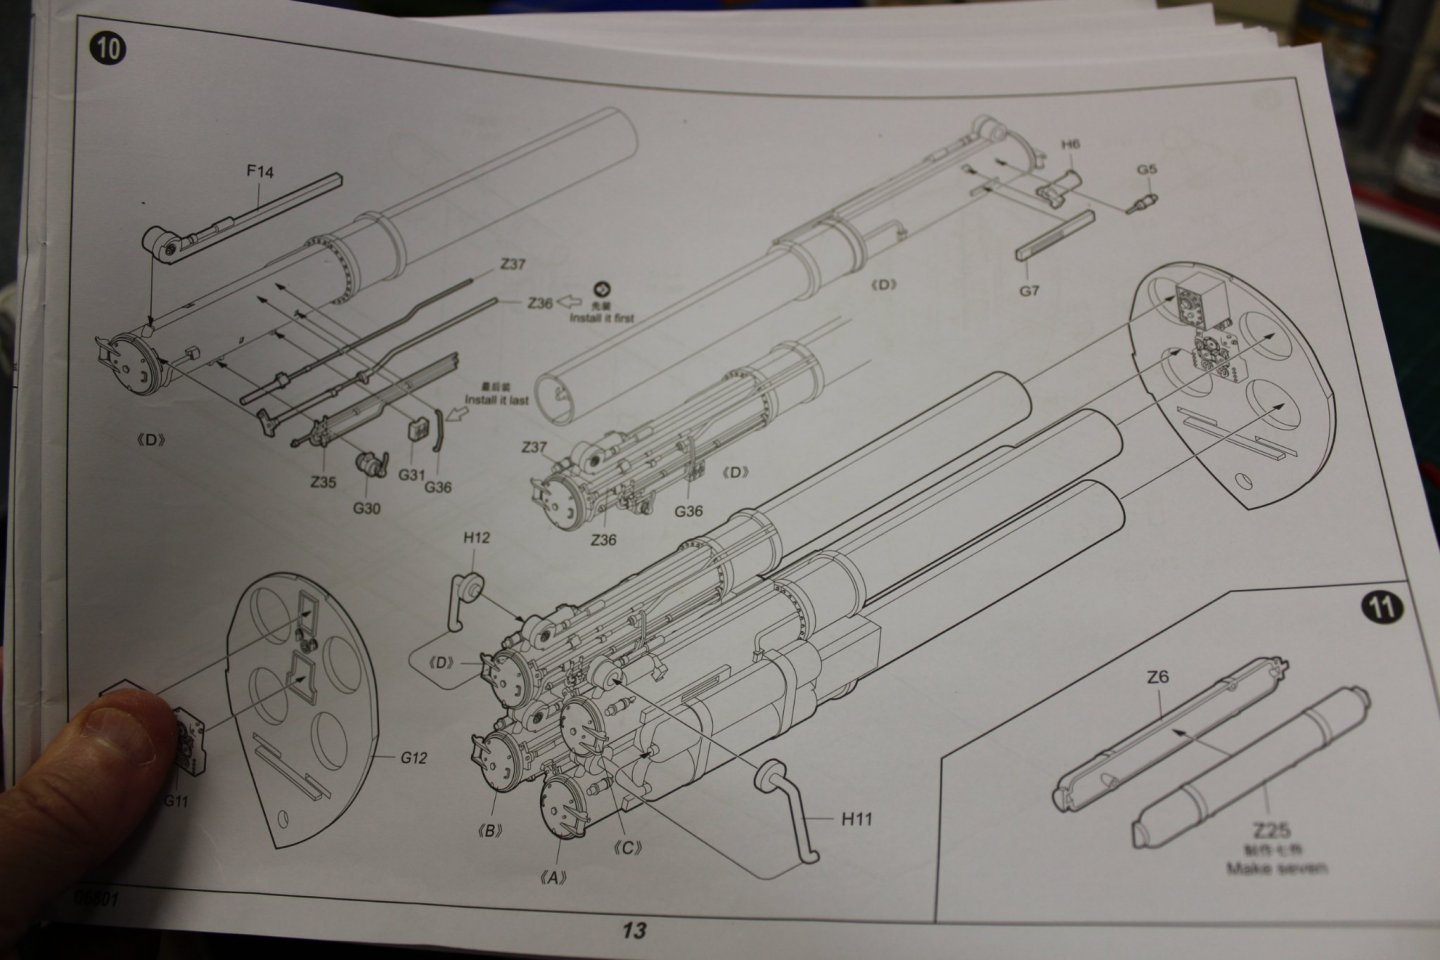
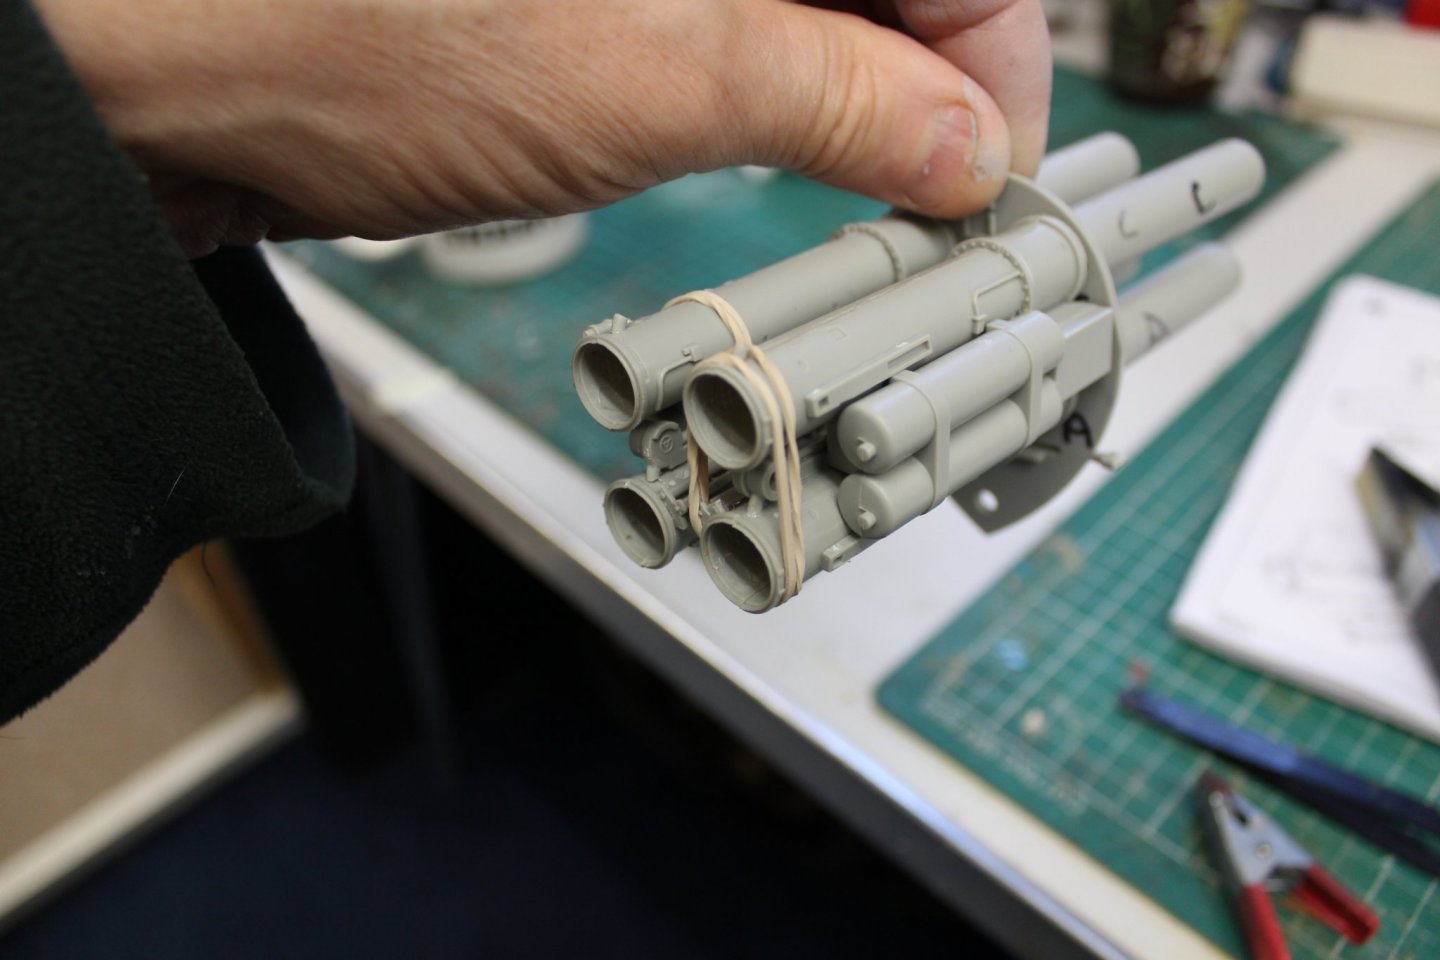
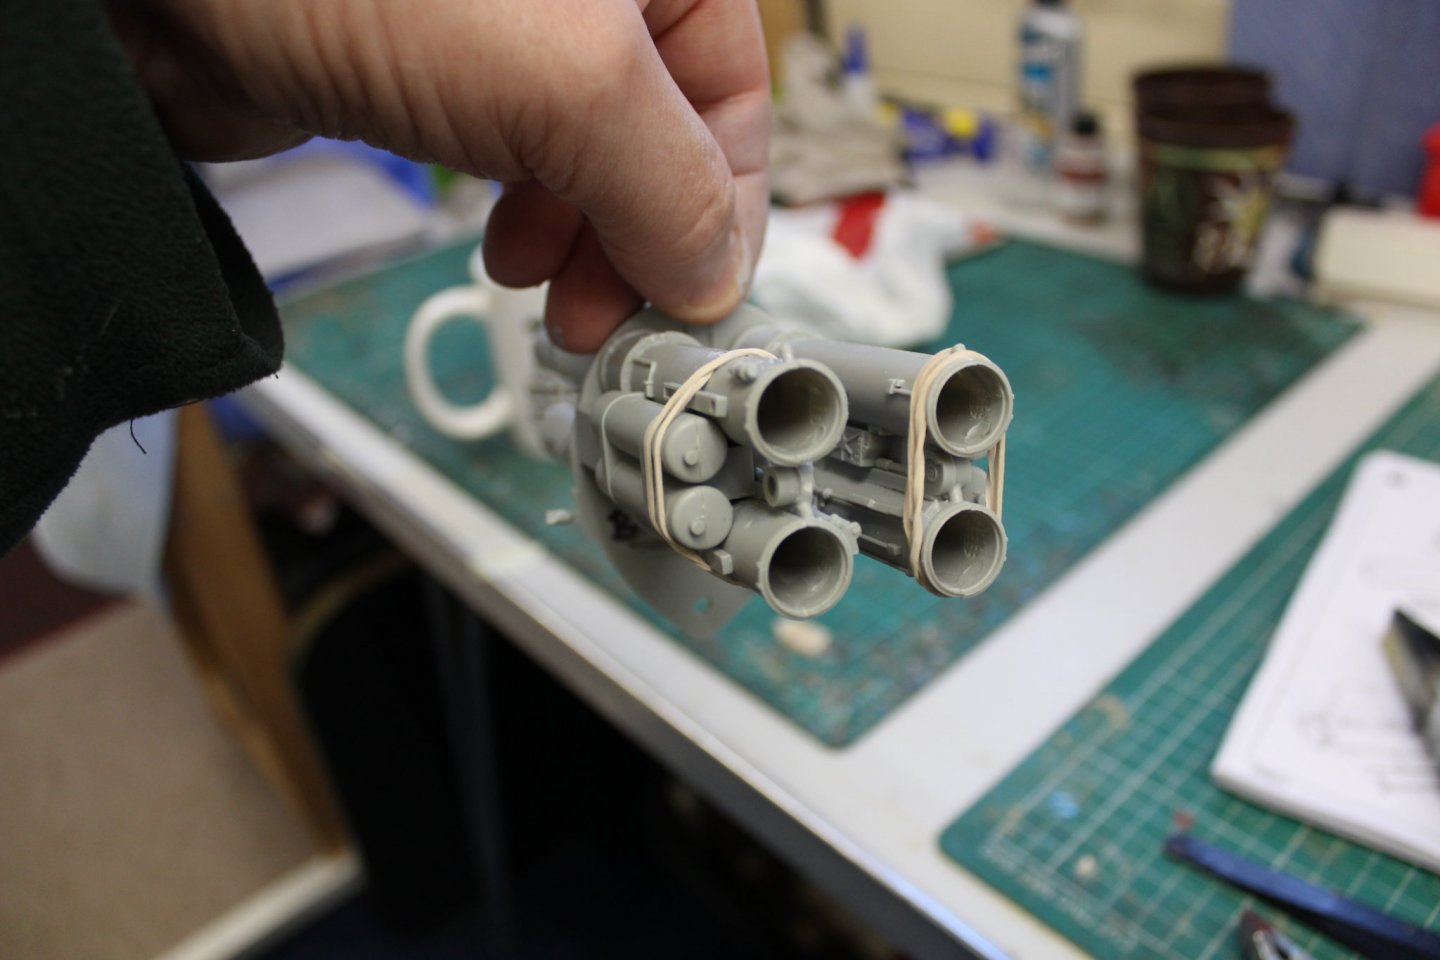
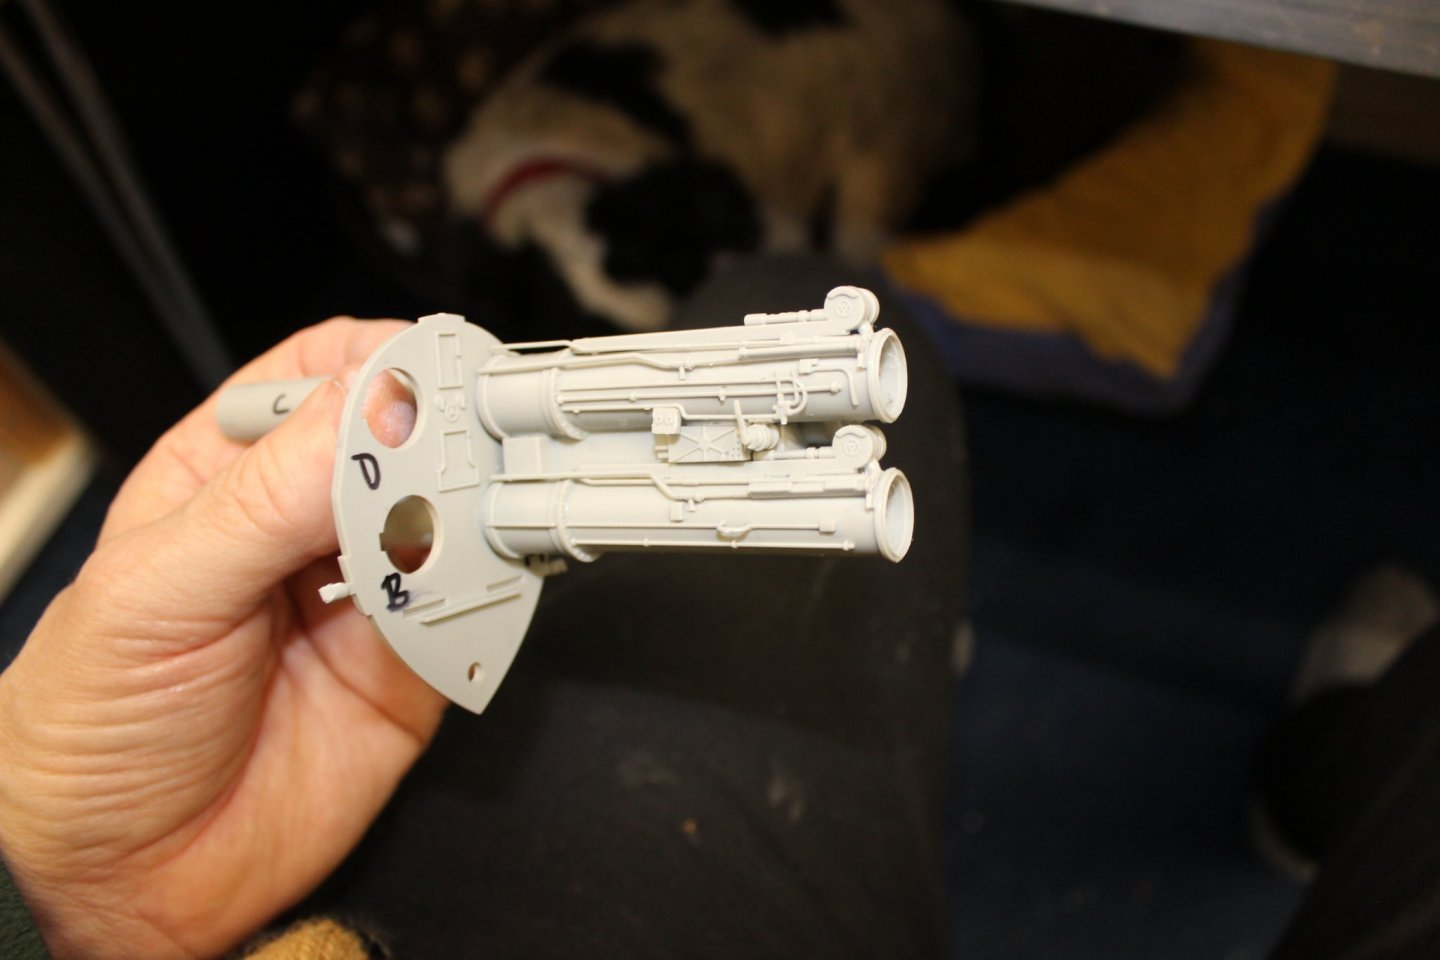
good evening everyone whilst i decide what to do with the torpedo's in a diorama setting i have in mind, i got on with the tubes Confession time, i made the tubes up yesterday morning, not feeling very well at all and well just glued two halves together, well the result was not as expected, each of the 8 tube halves has its own number on the sprue NOT one pair was correct so all dismantled and redone, a real pain as they did not want to part at all, i think with all the added detail they came out all right i have primed them now the larger compartment pieces have also had a coat of primer on them the deck head as had the light fitting drilled out to take a 3mm lamp each tube when built correctly goes into position A-D primer on the top one still to sort the ends out and decide which one is going to be open


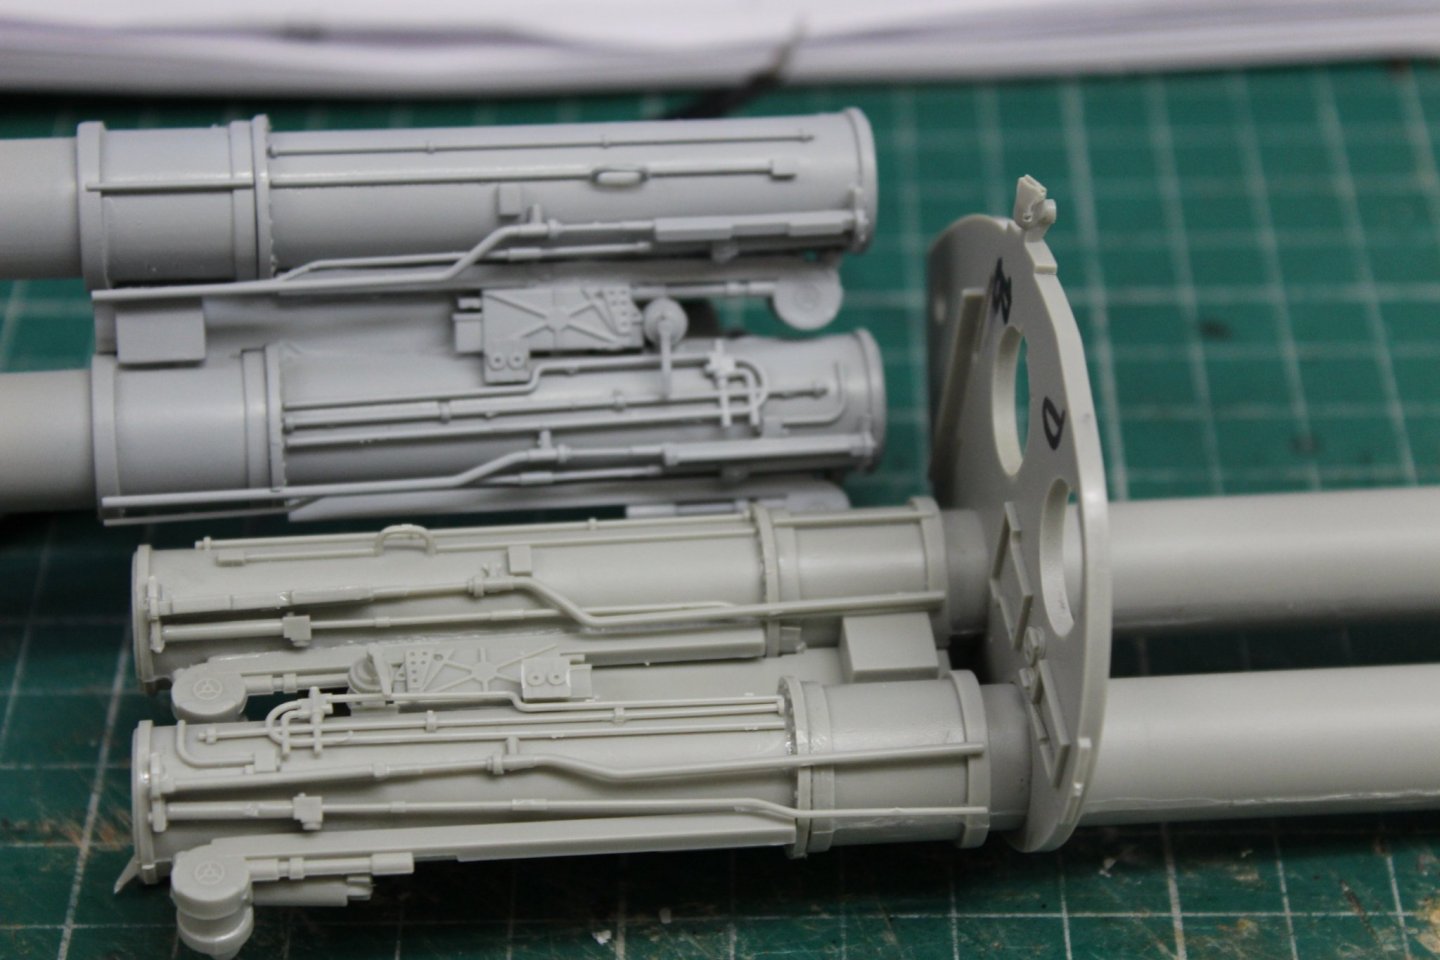
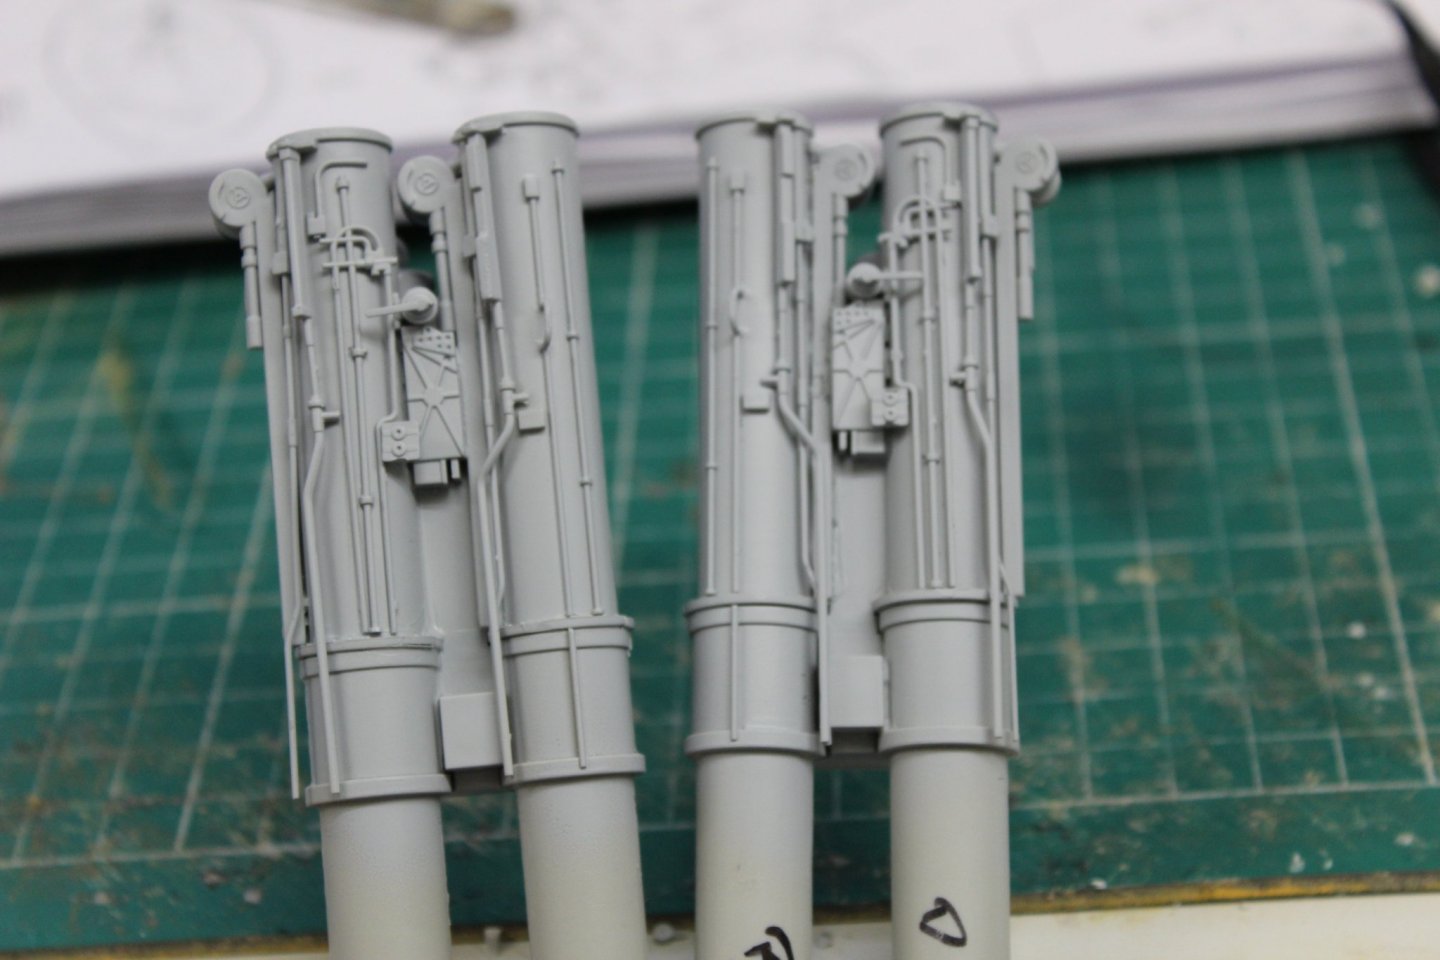


- 90 replies
-
- 12
-
-