HOLIDAY DONATION DRIVE - SUPPORT MSW - DO YOUR PART TO KEEP THIS GREAT FORUM GOING! (Only 13 donations so far - C'mon guys!)
×
DavidG
-
Posts
217 -
Joined
-
Last visited
Content Type
Profiles
Forums
Gallery
Events
Everything posted by DavidG
-
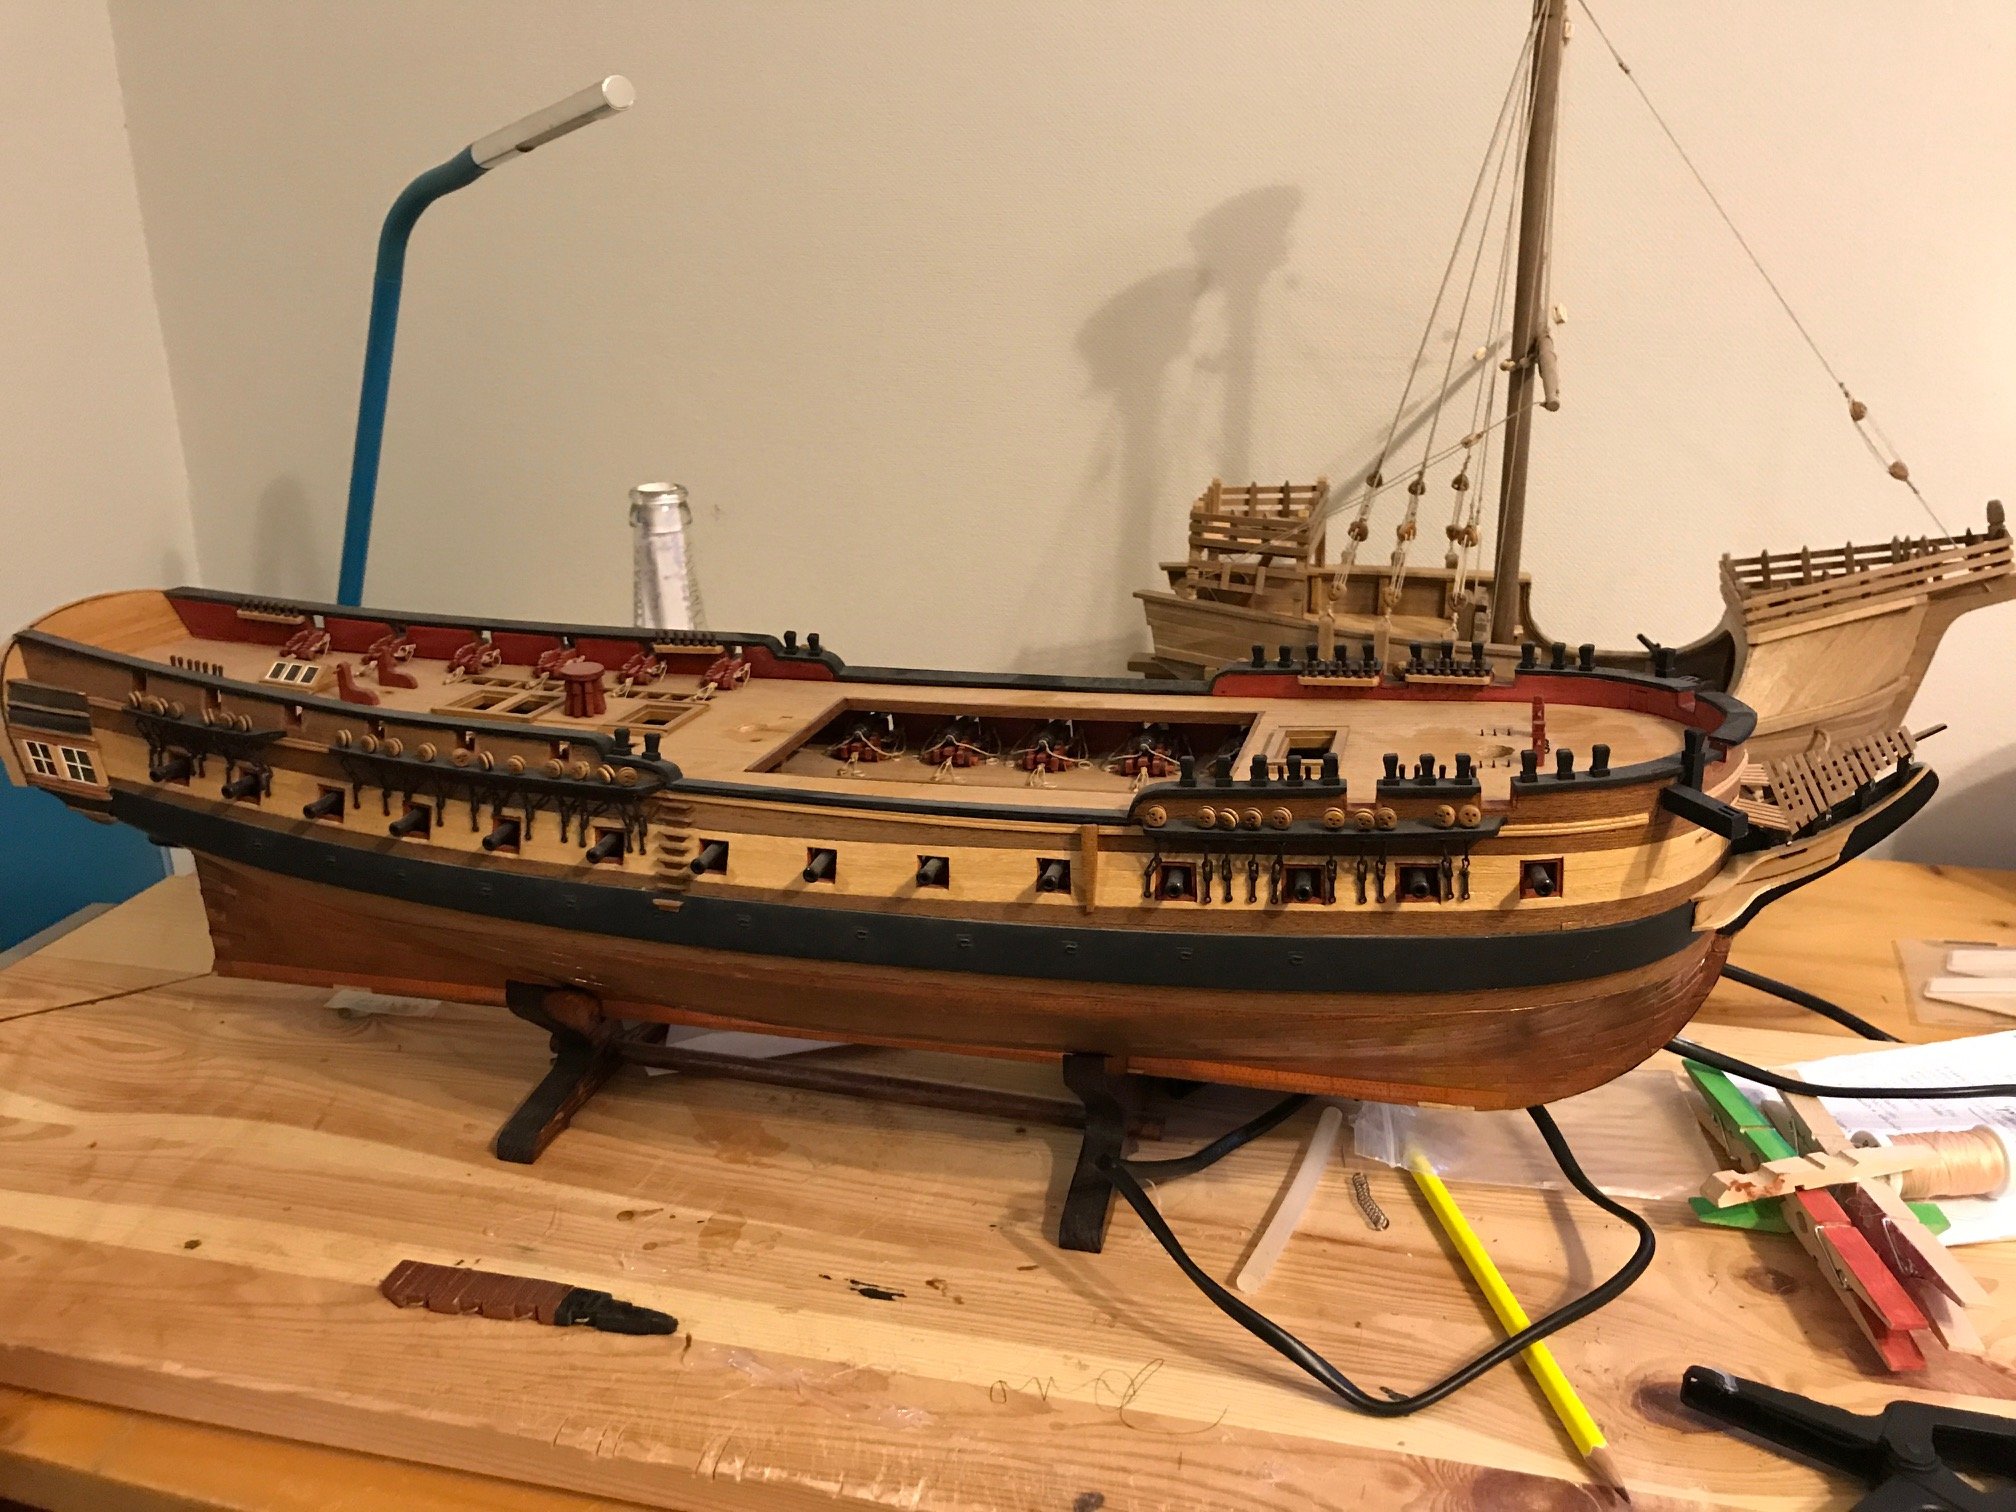
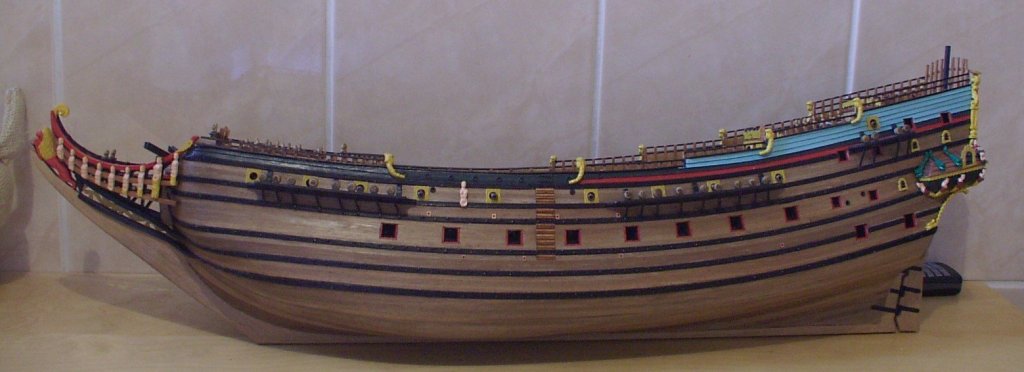
Hi Snow, I started the Occre Diana 10 yrs ago, but the work stopped with the birth of my children. This is how it looks at the moment: During the build I deconstructed the model several times as I updated/ replaced the kit parts with aftermarket or scratch build ones. Apart from the basic hull very few of the original kit remained. If you are not too critical about the historical accuracy this is an entertaining build. Wish you good luck and ask, if you feel I can be of any help. best David
-
 that's good work, Jan. the rails, the scroll and the lion blend together nicely
 -
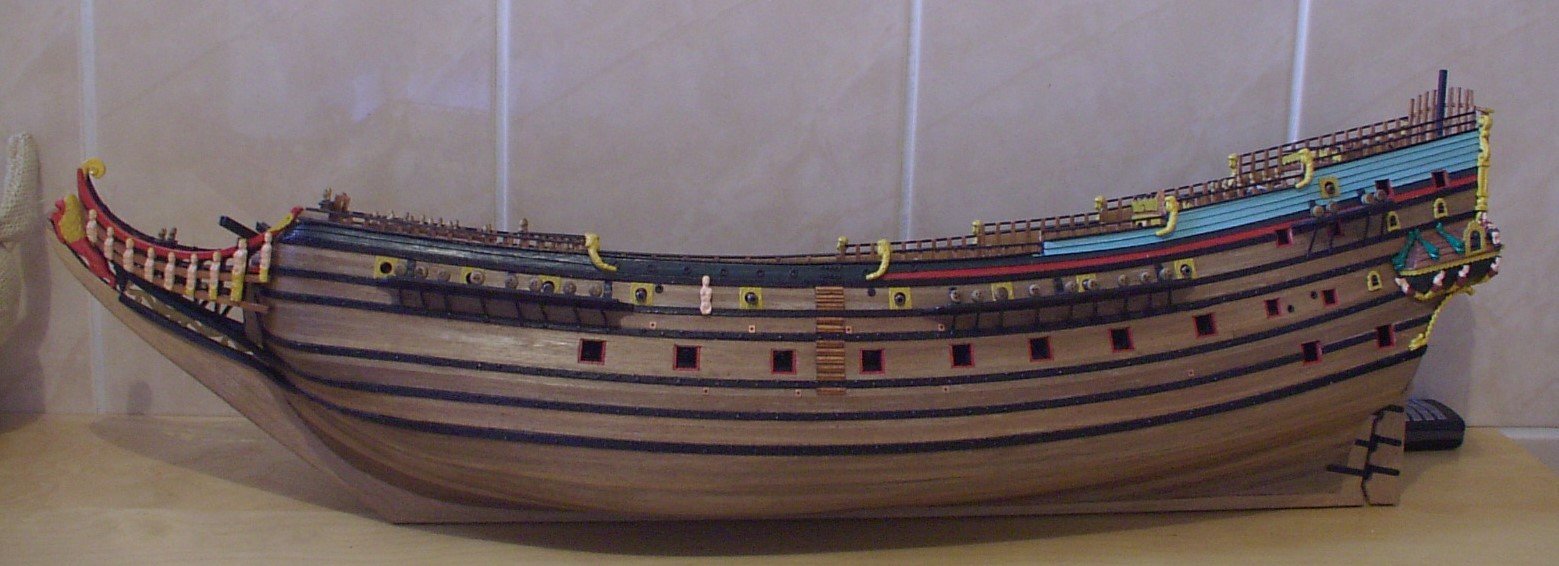
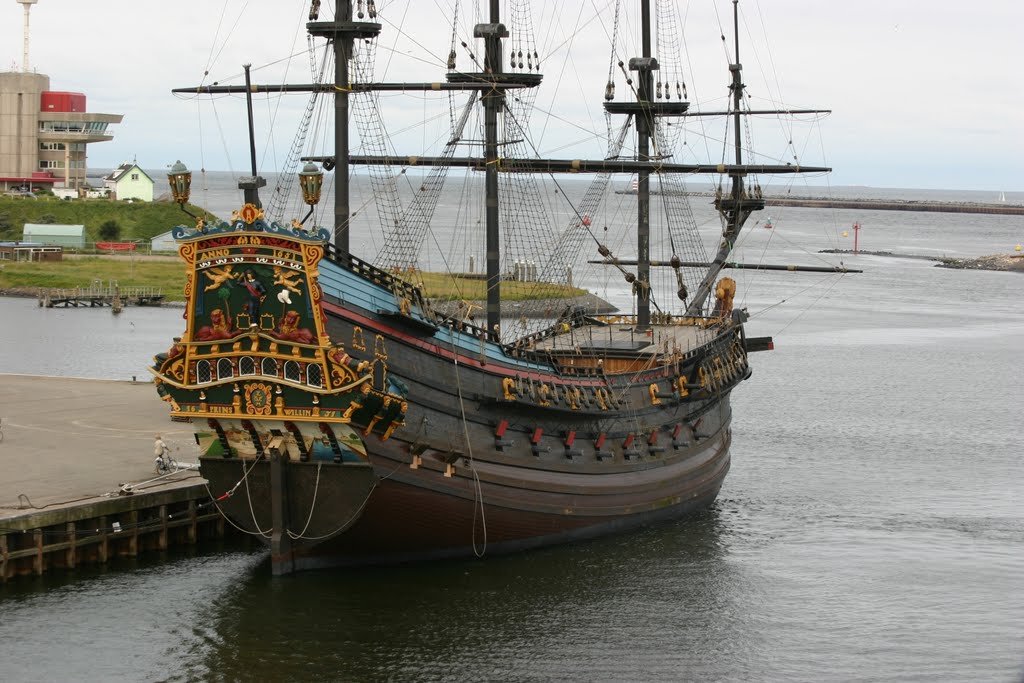
a note on the paint scheme. While there are many different interpretations I chose to follow the replica. I know it was more a theme park attraction than a real ship but looked shipshape nevertheless. It caught fire couple of years ago.

-
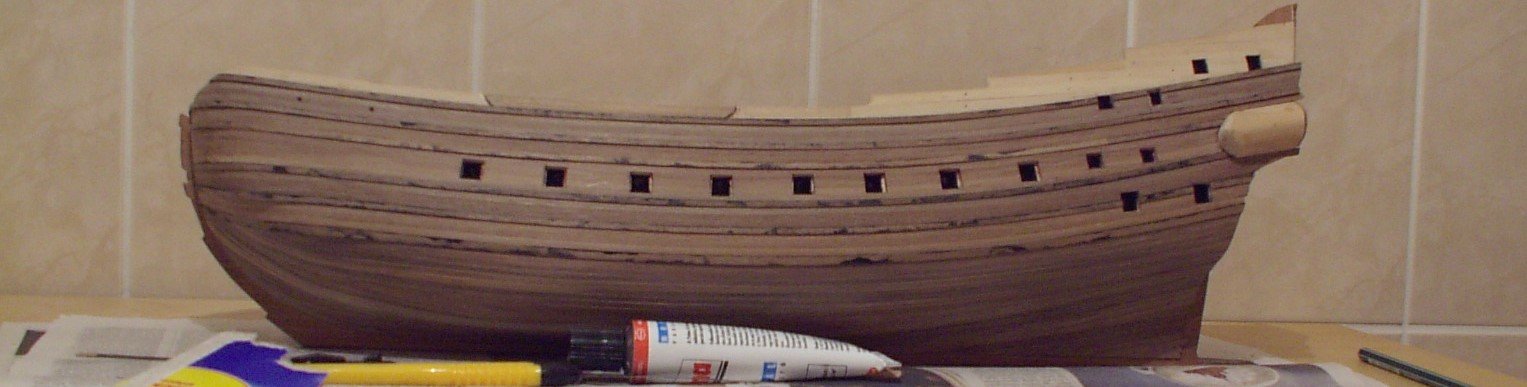
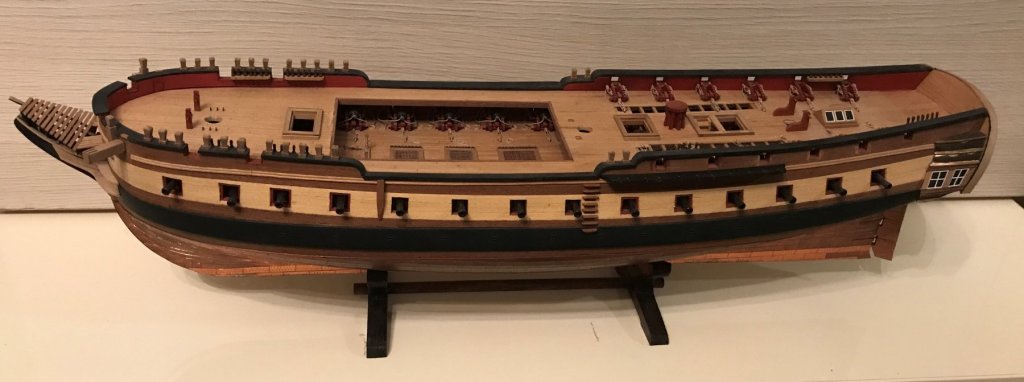
this completes the construction of the hull in October, 2006. Another year will be spent on the rigging.
-
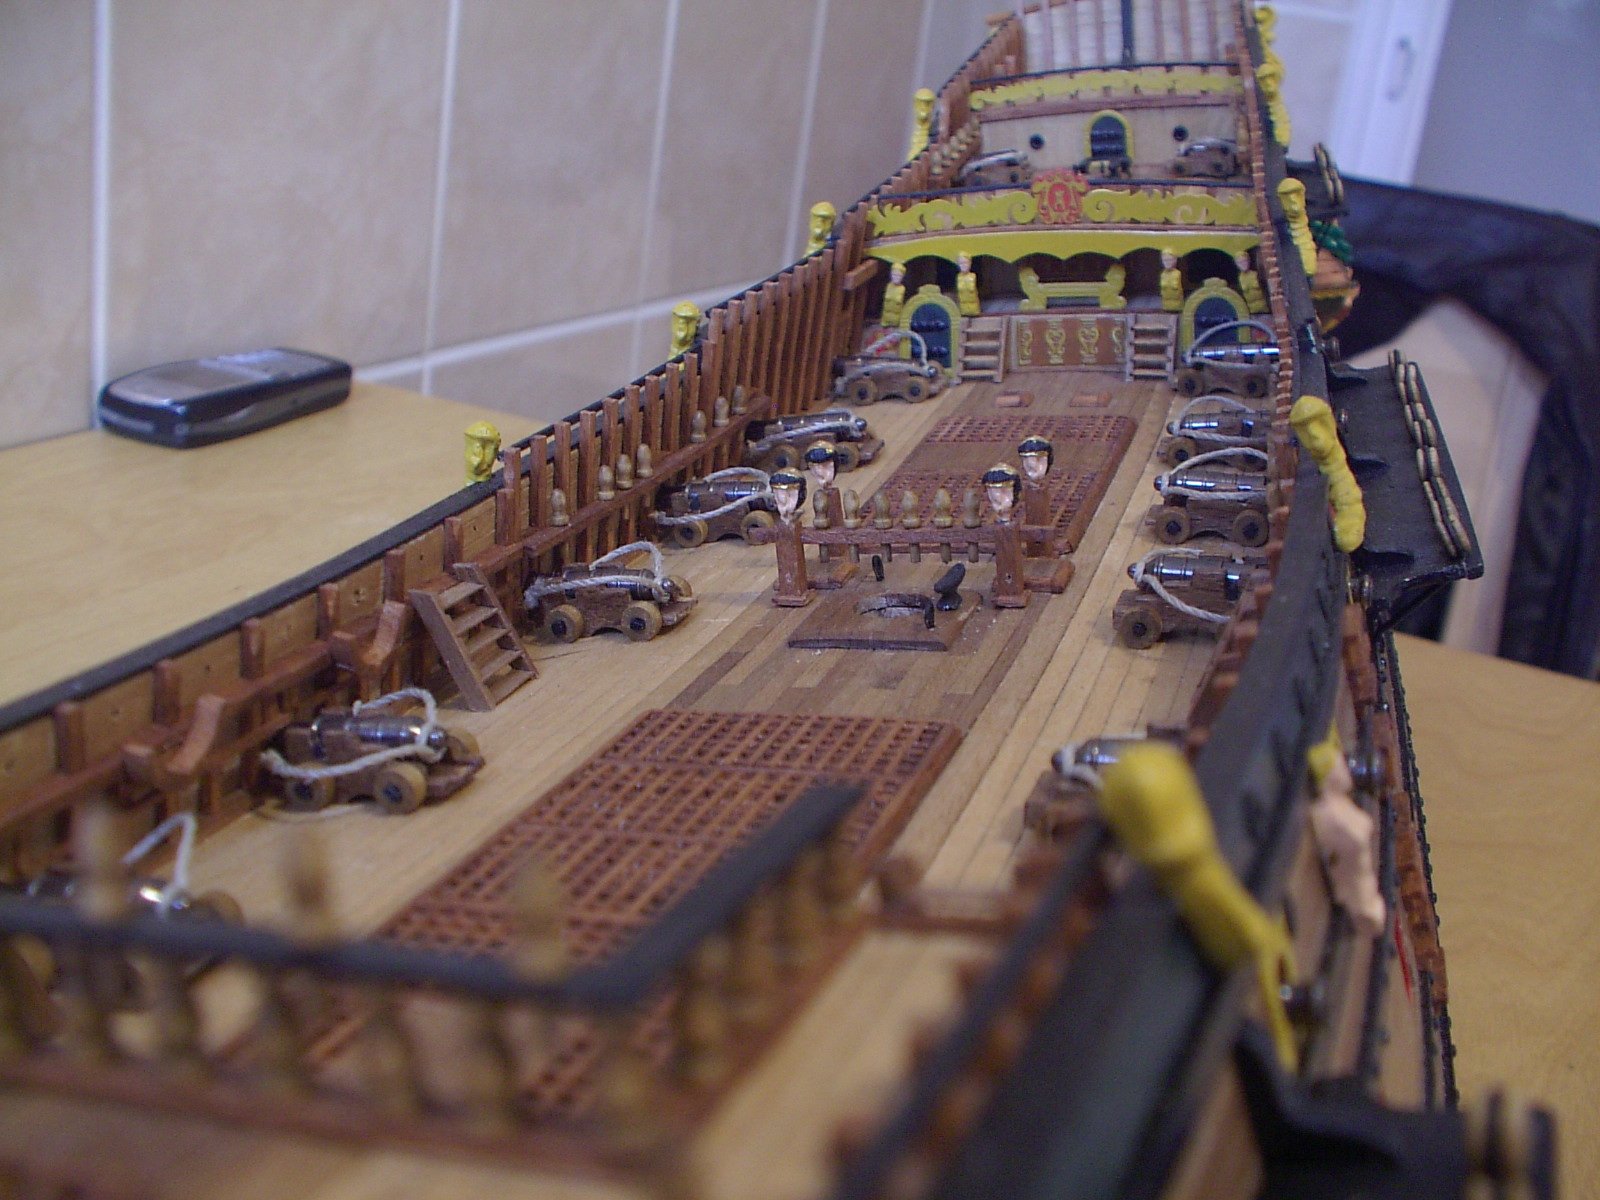
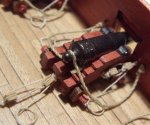
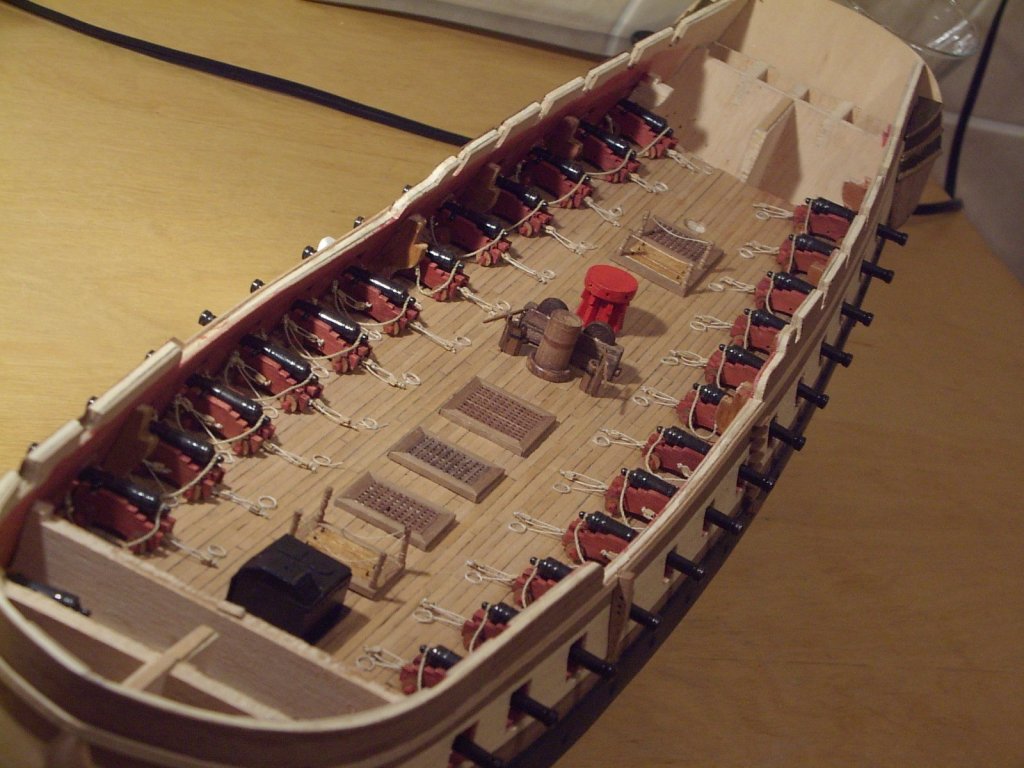
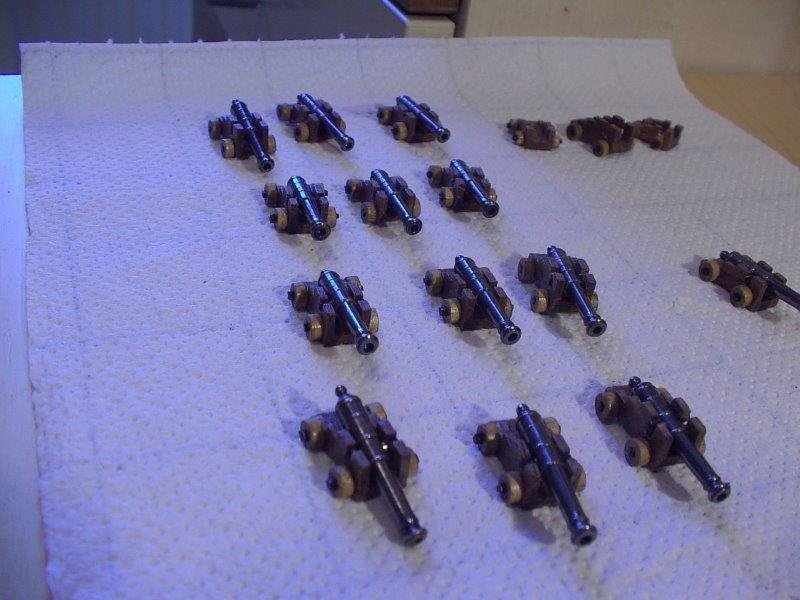
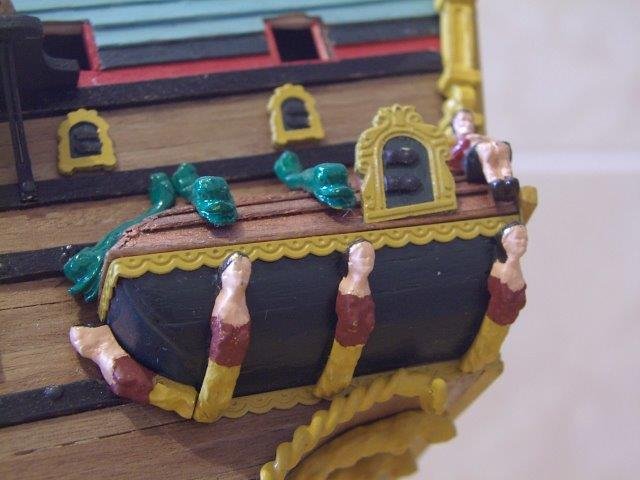
the last step is the installation of the guns. i built them as the kit supplied, they come in two sizes. the barrels are already blackened and have a nice finish. The guns rigged with the breeching rope, later glued down to the deck.

-
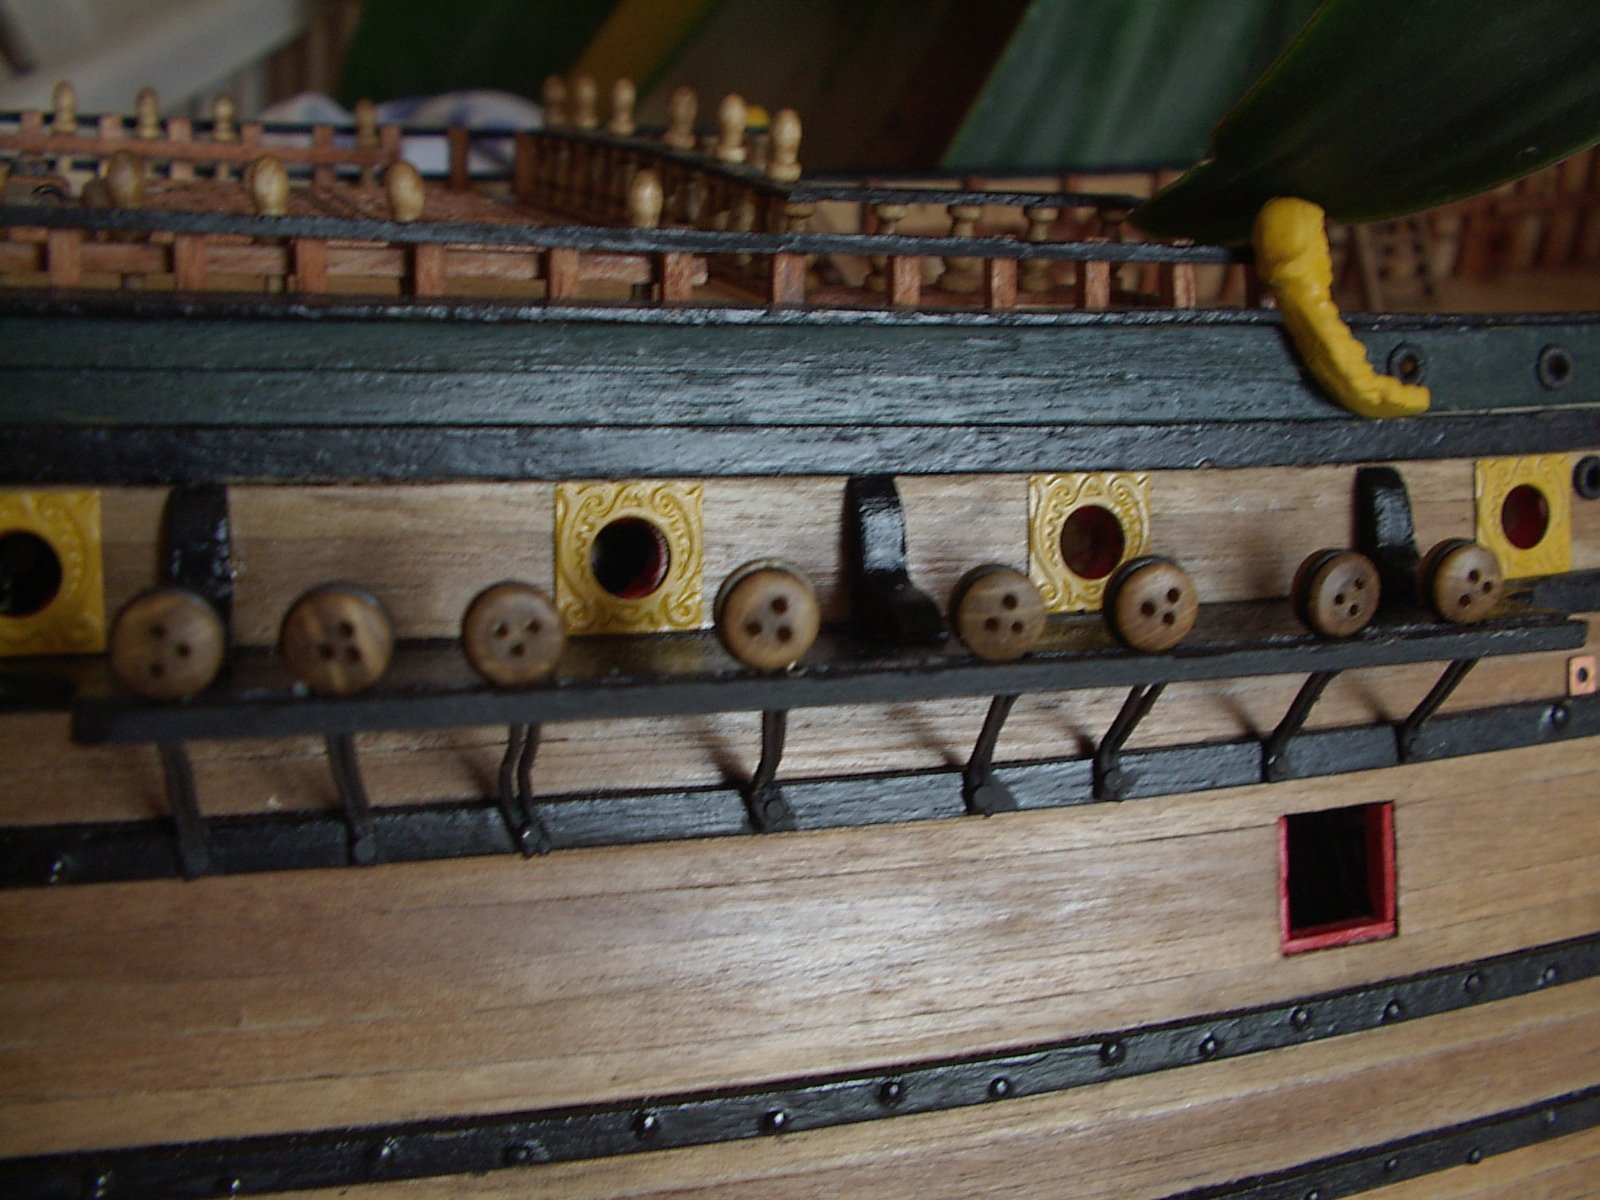
the channels are precut ply parts, the slots were too big, I filled them and cut them again. The chainplates also preformed from a single piece of wire, soldered along the vertical edge. Some of them came loose, and I had to solder them. The joint must withstand drilling a hole, where they are fixed to the hull.

-
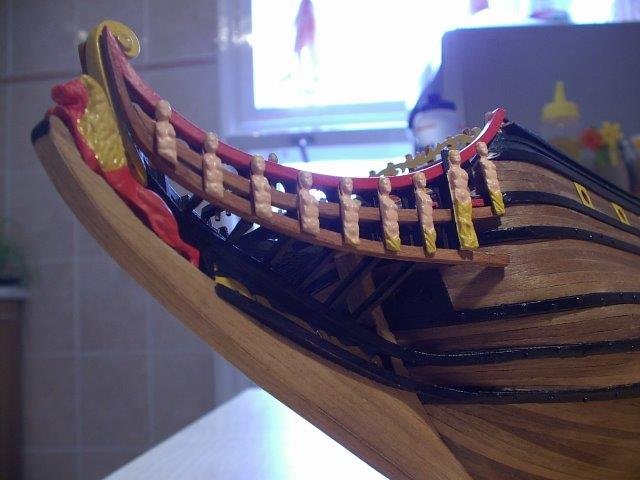
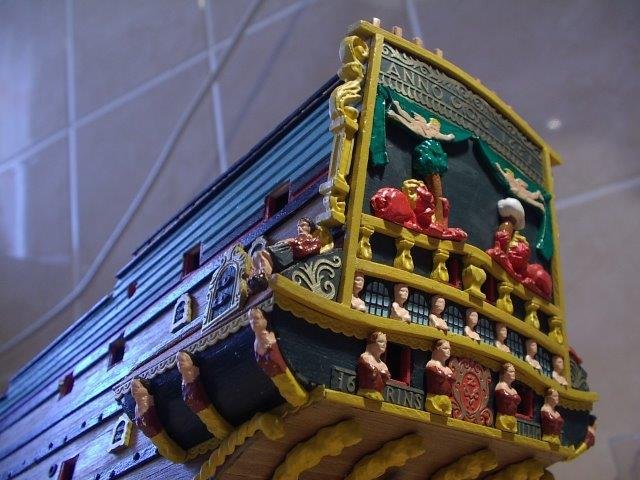
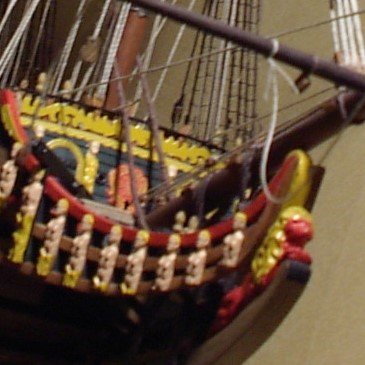
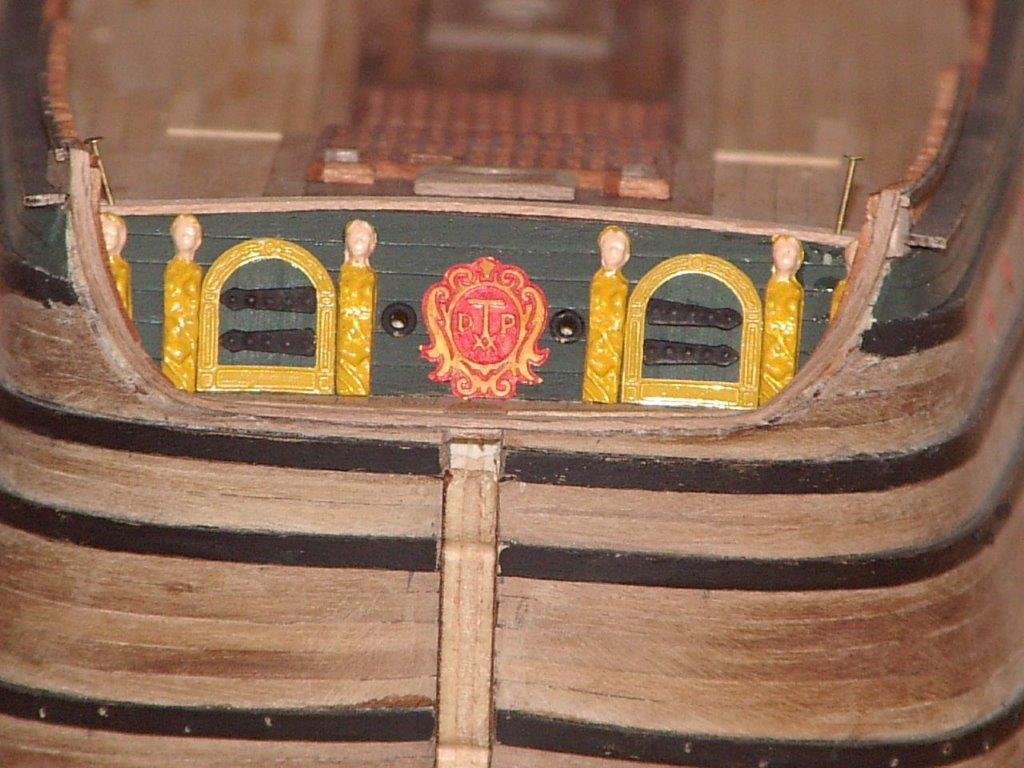
and all these on the hull. These Dutch ships were really attractive.Would have been nice to have some face details on the figures, but I was not up to the task. By the way, 18 months into the build so far, reasonably constant work.
-
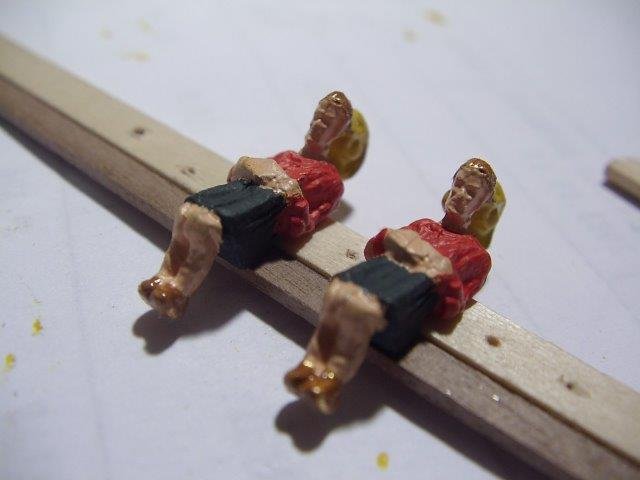
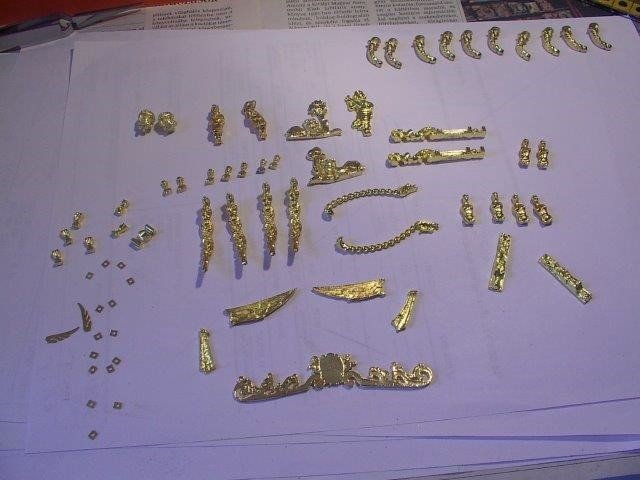
Guys, thank you for the nice comments and likes. The basic hull structure is done, let's paint. A ton of shiny stuff waits to be glued on. They are mixed quality, these two guys are some better pieces. In size they match the drawings, fit quite well, with no or minimal adjustment. I underestimated the time needed to paint them.
-
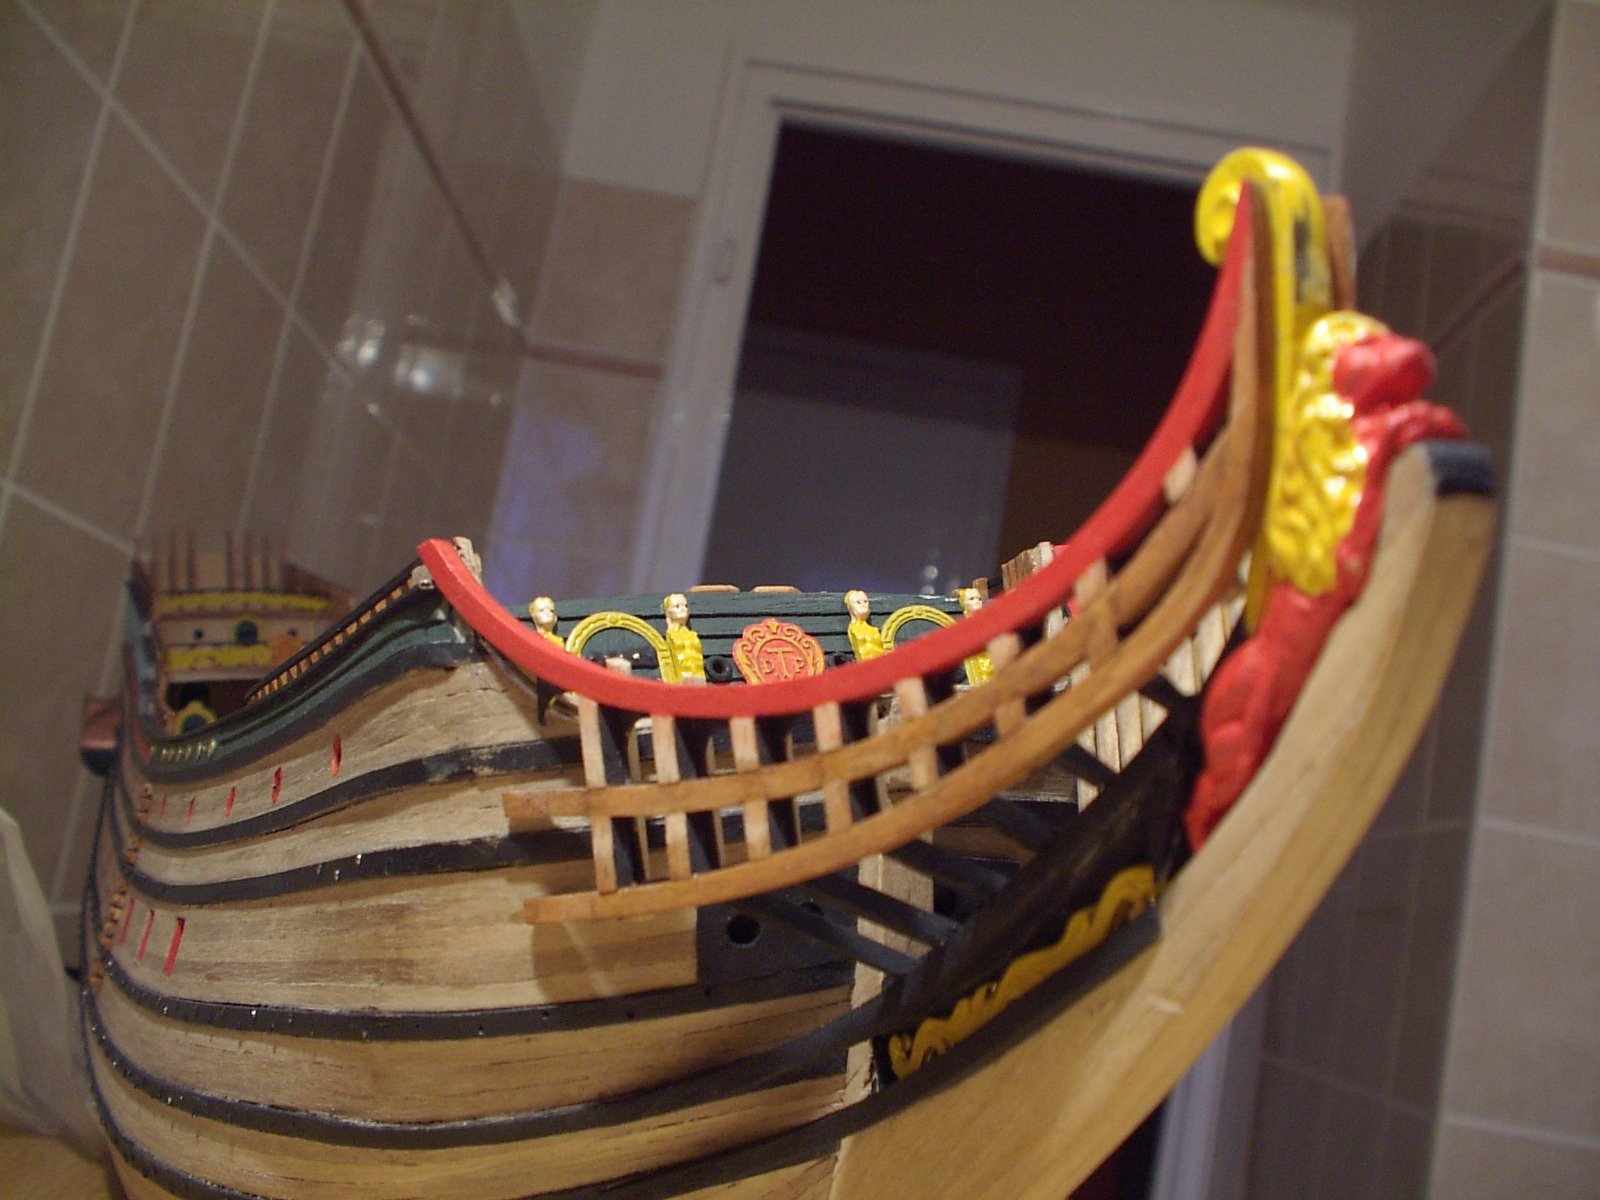
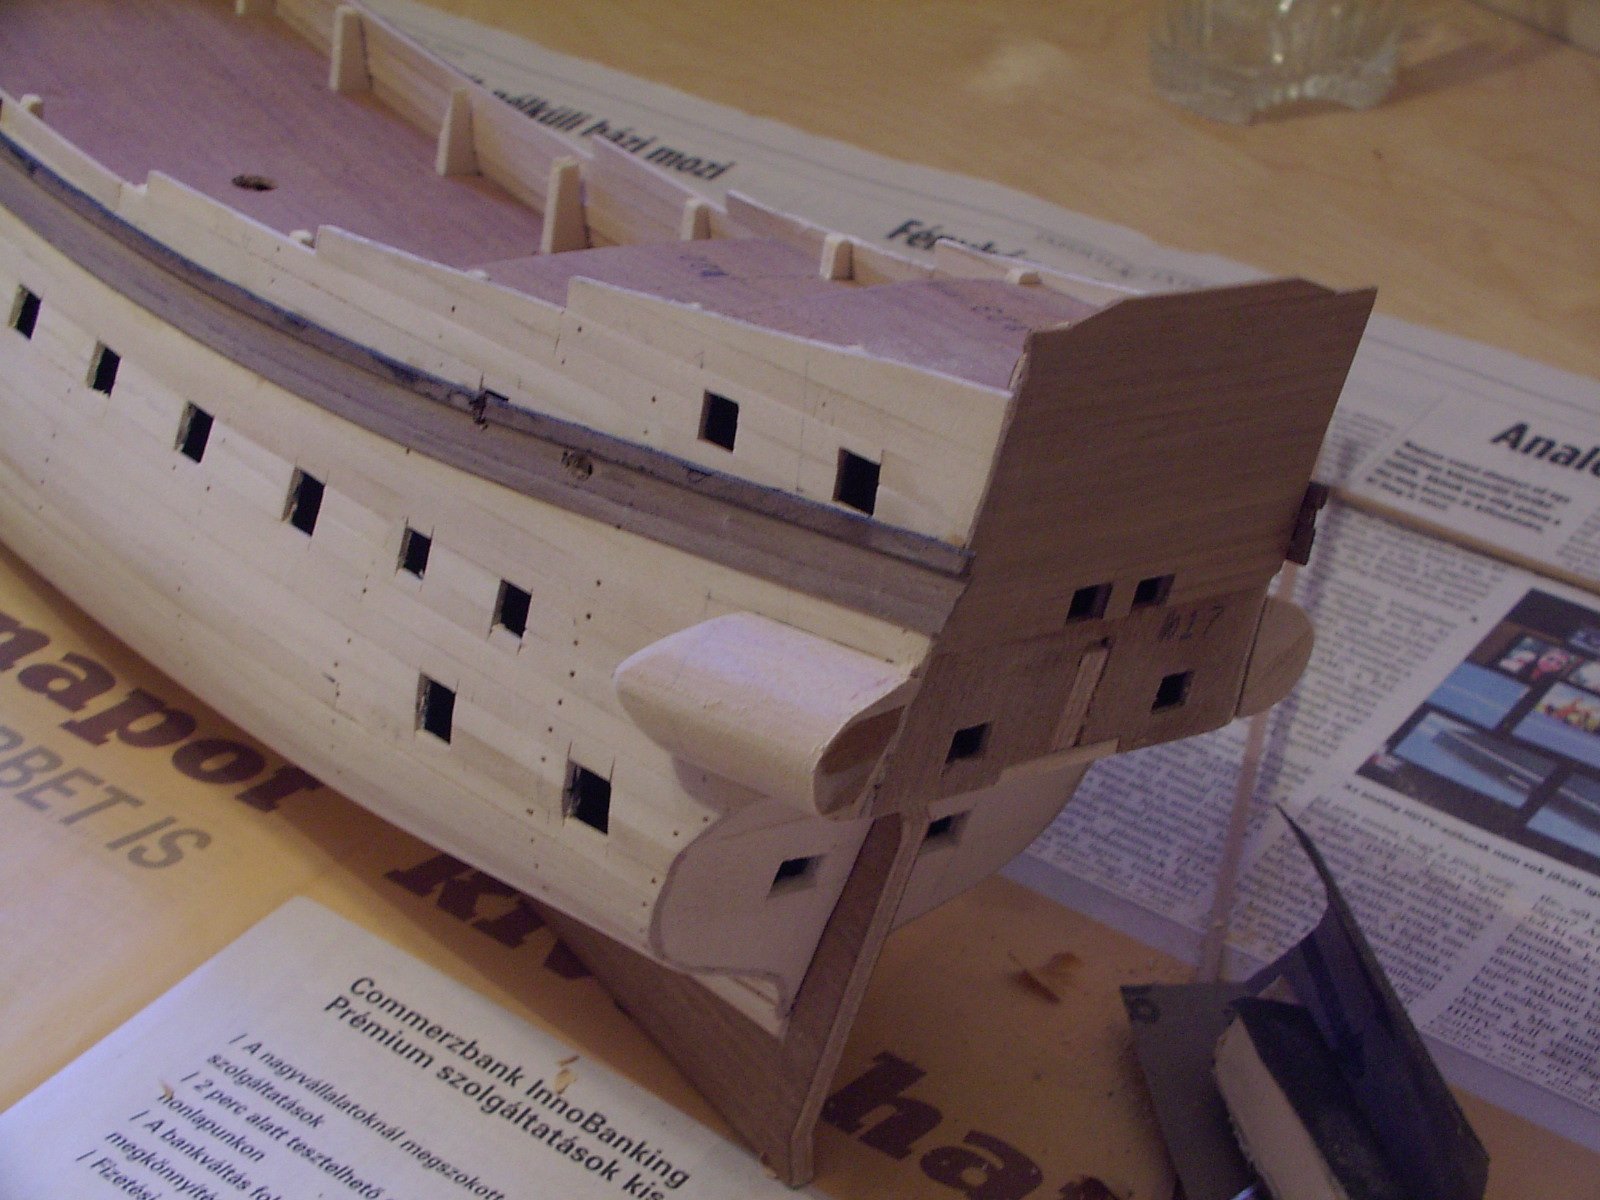
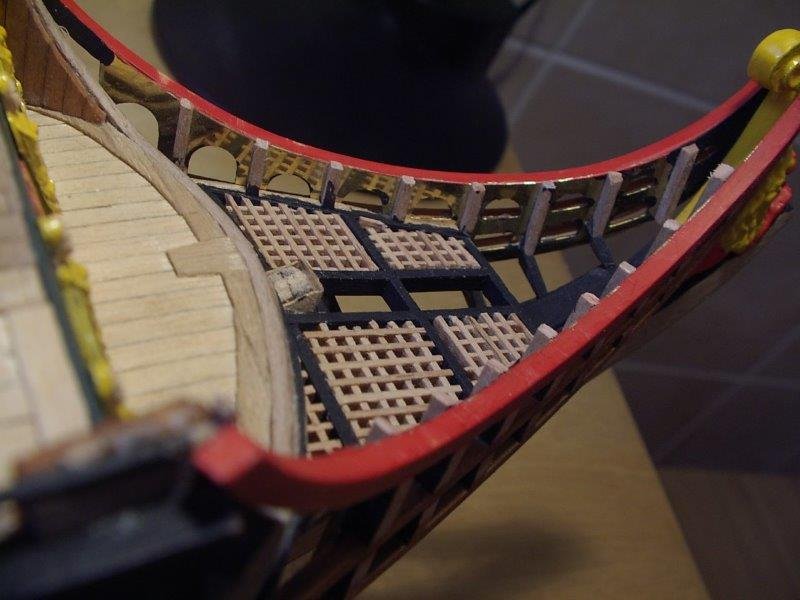
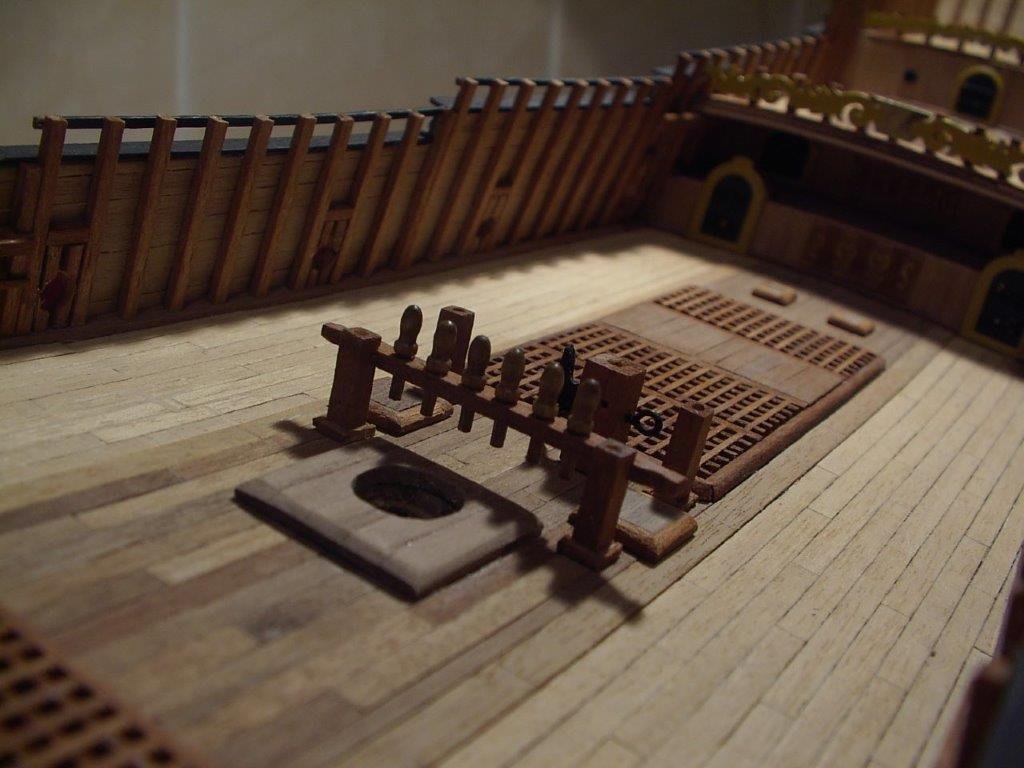
finally the framing filled with gratings cut to size. This is a scary picture to look at. By now I don't like the scale of the gratings, and can't recall why didn't I sand it properly. Anyway, it is painted black at a later stage, which hides most of the unevenness. Neither it was a good idea to paint the grating on the model, pretty difficult to cover all the holes, in and out, up and down. But the construction of the head is ready, huhh... Next, the decorations and painting and painting.
-
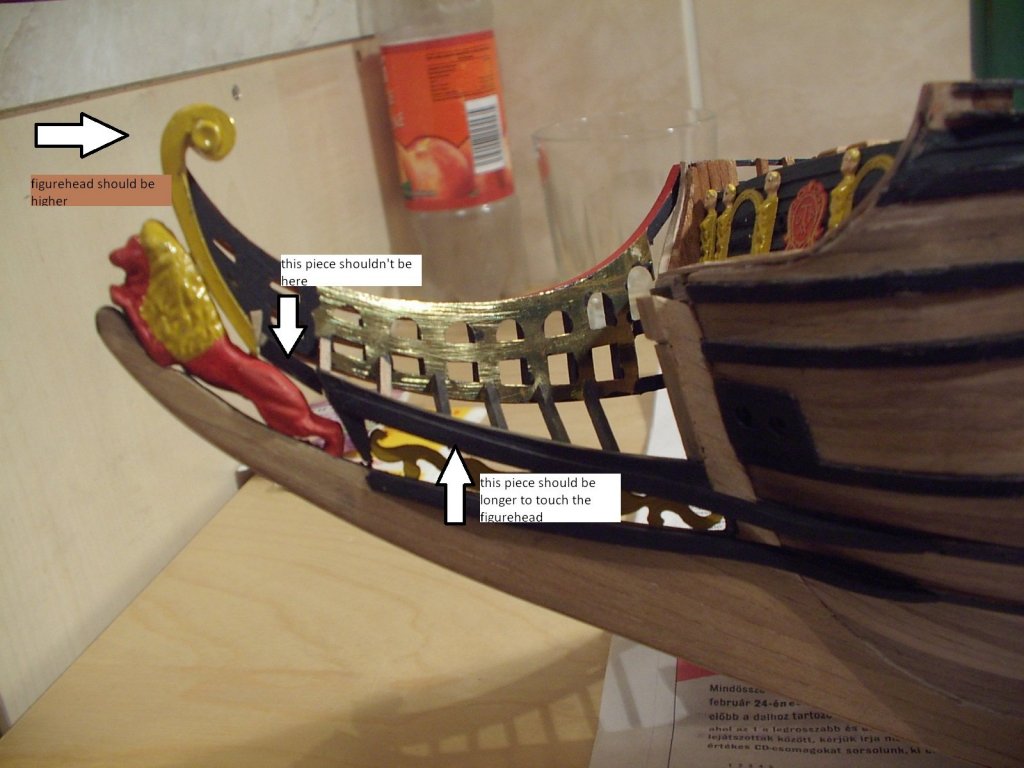
Hi Jan, thanks for looking in. You certainly set the standard how to build this kit. You are right, the scroll ended up too high, and later in the build I had to lower it. The overall headrail assembly should be at a lower position, on the other hand the lower posts (which connect the lower edge of the rail to the stem) must maintain the upward angle, which restricts the downward positioning. Nevertheless, everything could be fine if I had my figurehead level with the upper edge of the scroll, but it was too late to adjust.
-
the next step is to make a frame to fit inside. I made it off the model, over the plan drawing, and glued in. It fitted surprisingly well.
-
this is how it looks at this stage:

-
now let's see a major mistake in the construction. I tried to illustrate it on the picture below - my black piece above the scroll is too short. I can't recall why. Could be a bad piece supplied, or I just screwed it up. As a result, my figurehead (of which the position is guided by the scroll cover piece) is too low, and I had to insert a filler piece to connect the yellow decorative element end the scroll cover.
-
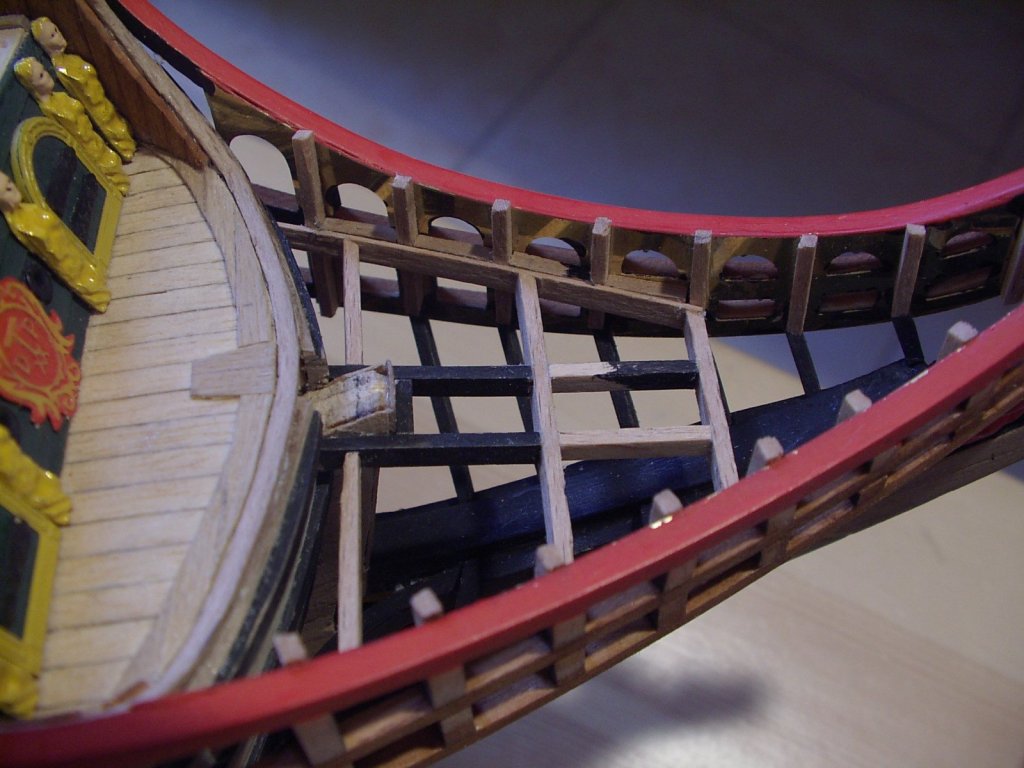
the headrails glued to the hull, vertical post glued to the inside, and they are connected with the stem piece.

-
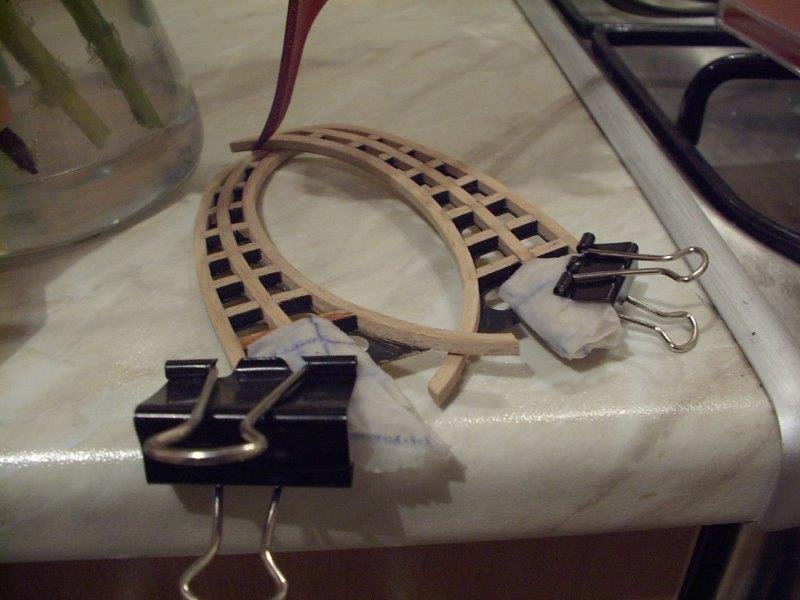
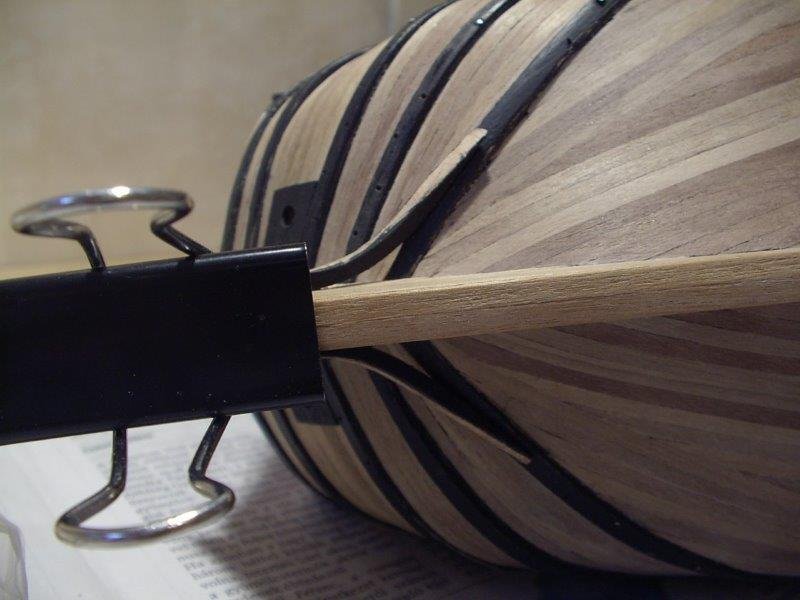
the head rails come next. it is built over a PE brass piece by planking it over with a flexible strip. These strips are really flexible. With a few drops of water a knot can be tied of them.
-
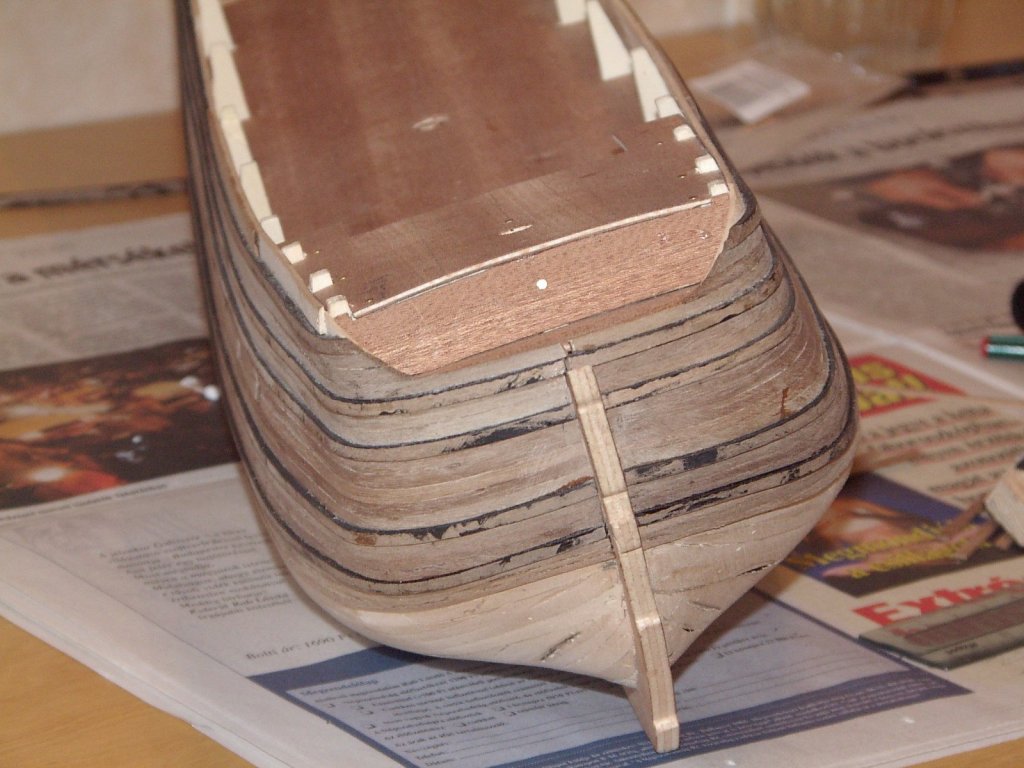
time to construct the scary head part. the first step is to attach these timbers to the bow. The triangular gap is supposed to be filled with a solid wooden piece, but after a long string of failures to fit them, I decided to live without it.
-
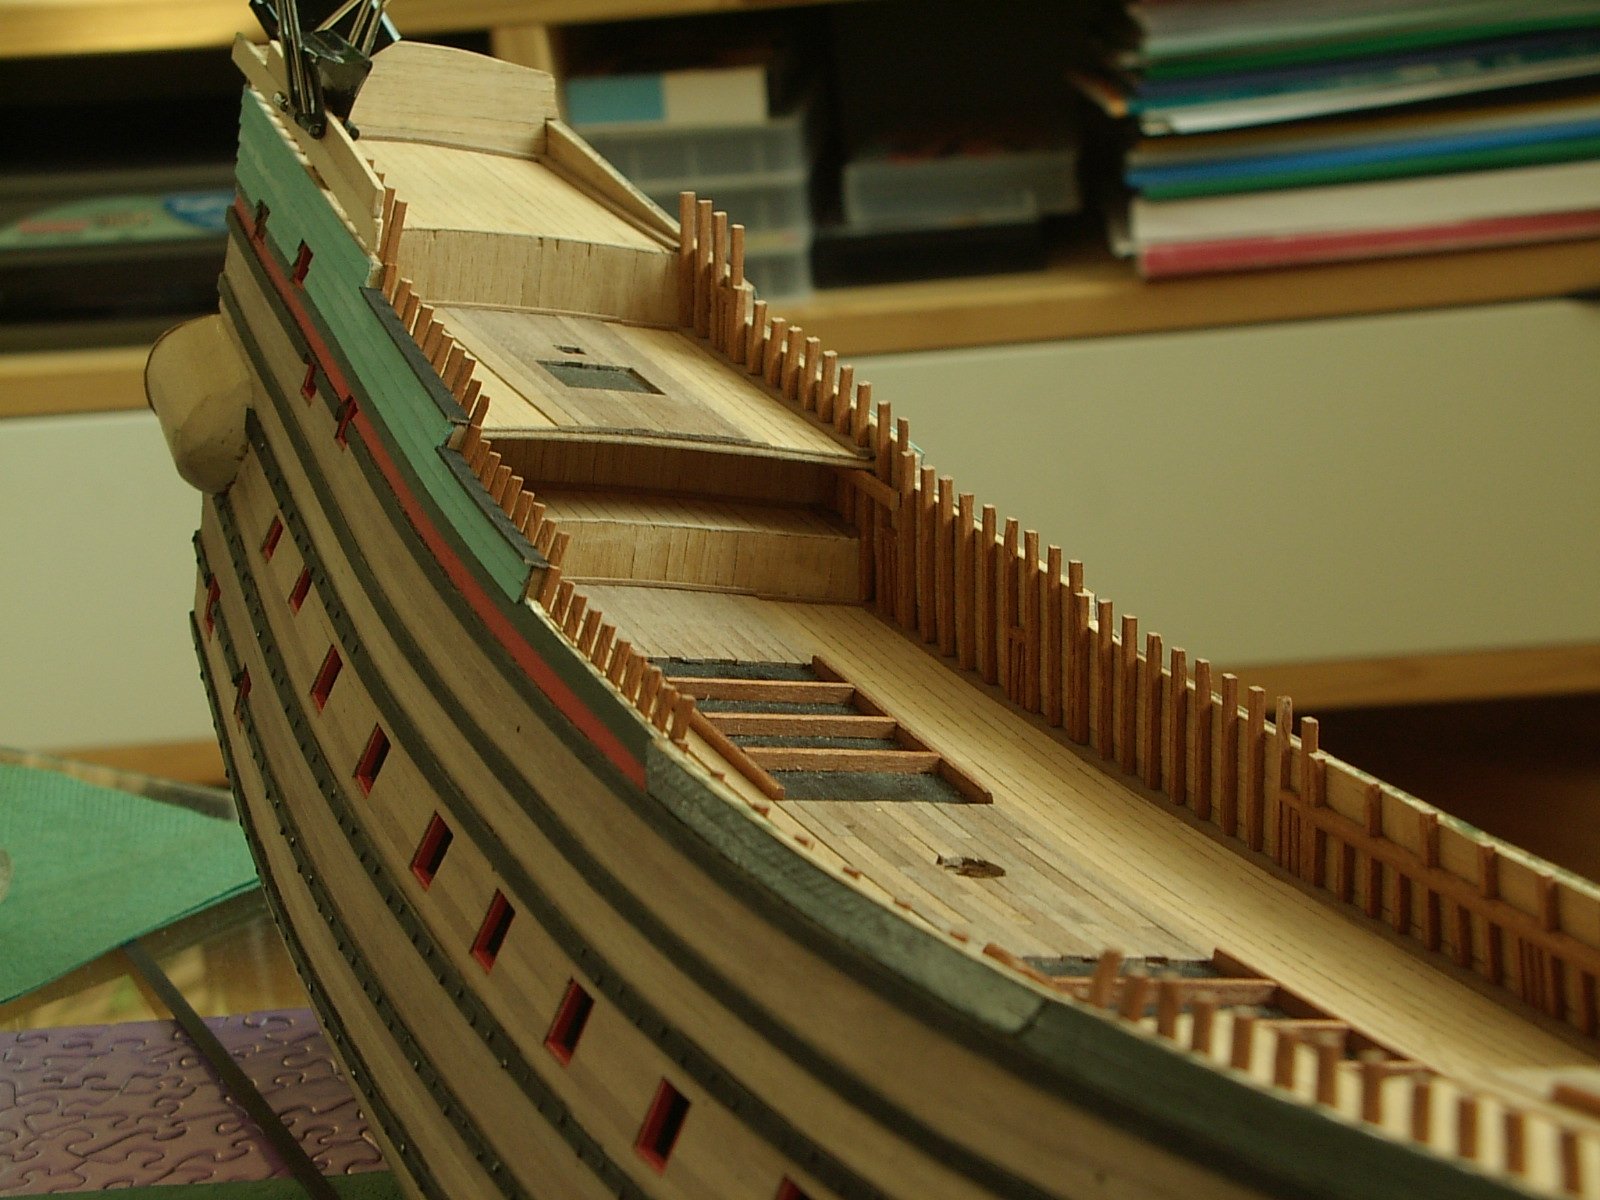
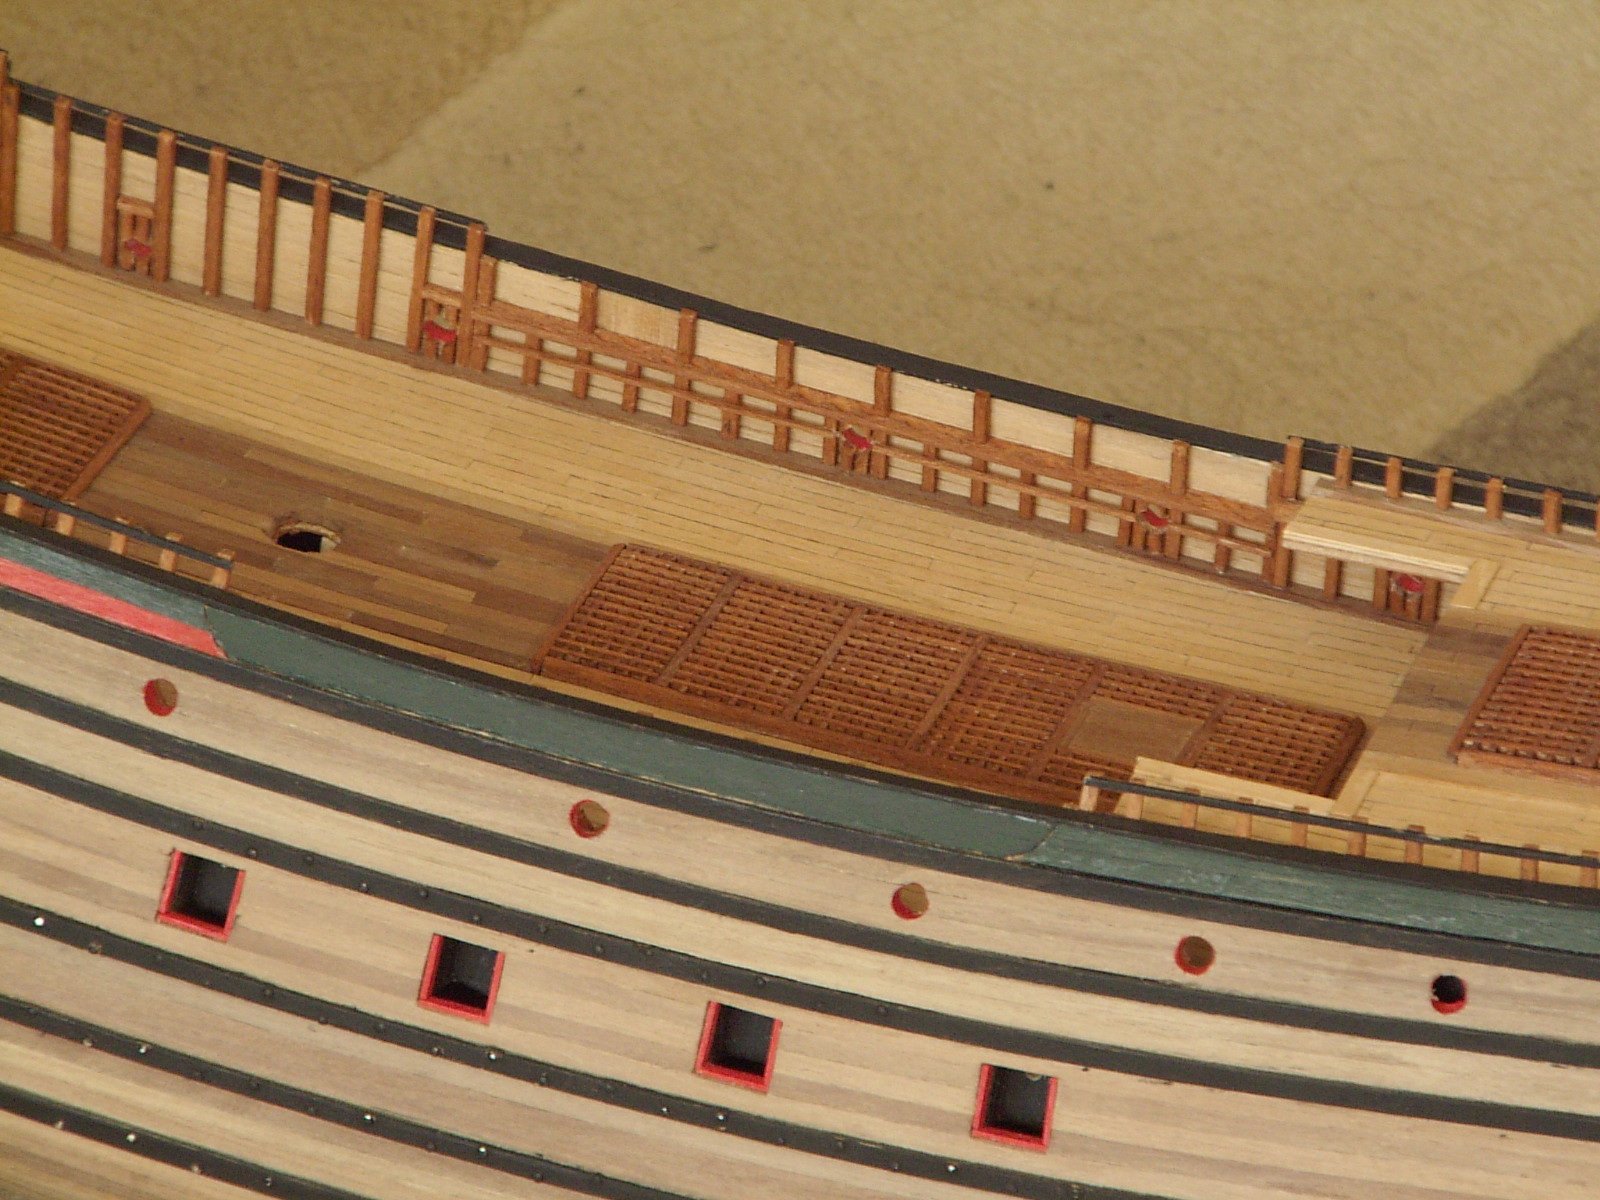
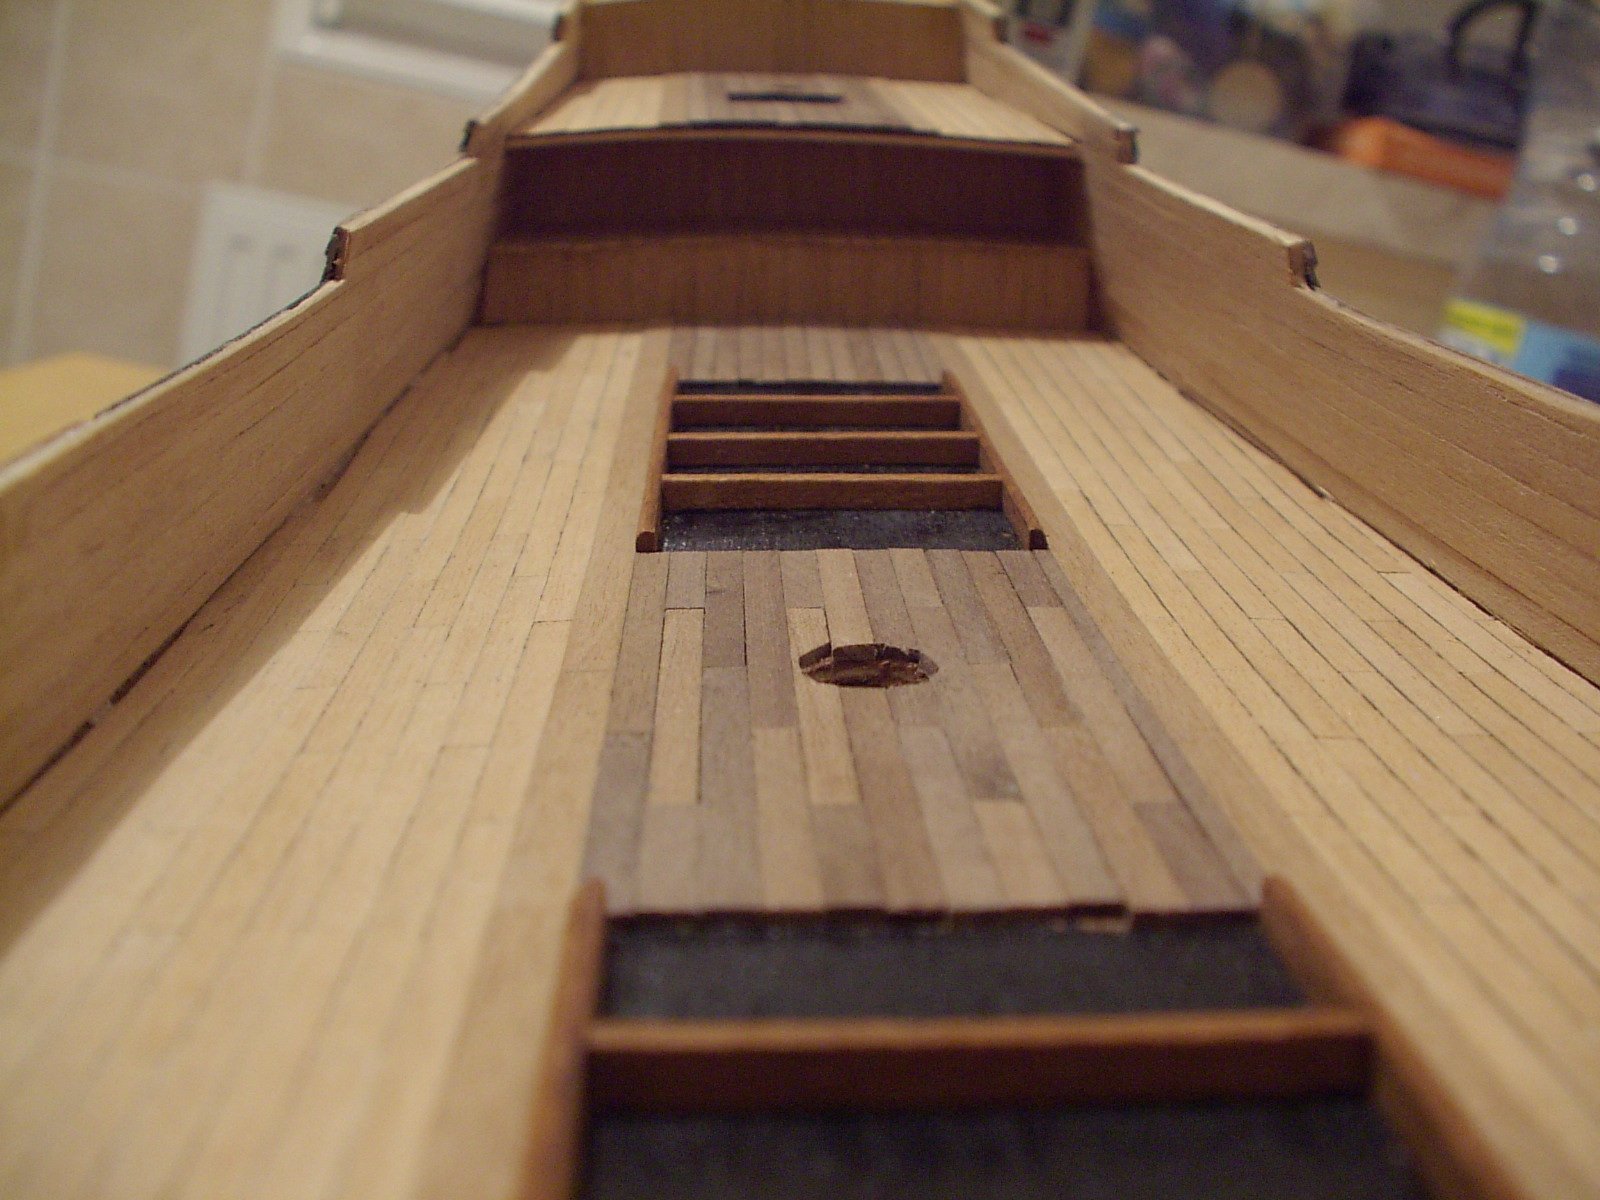
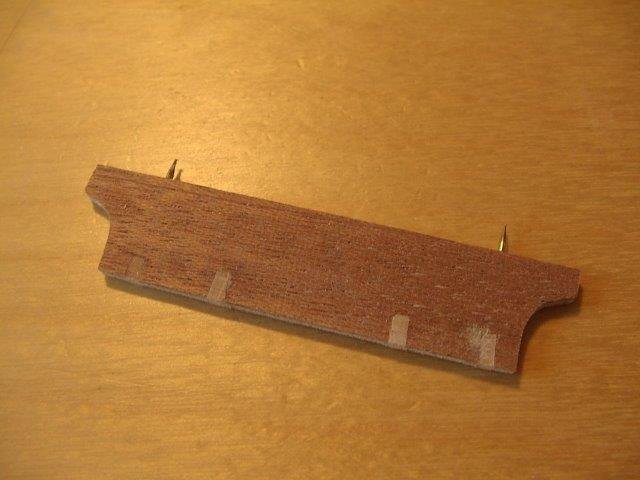
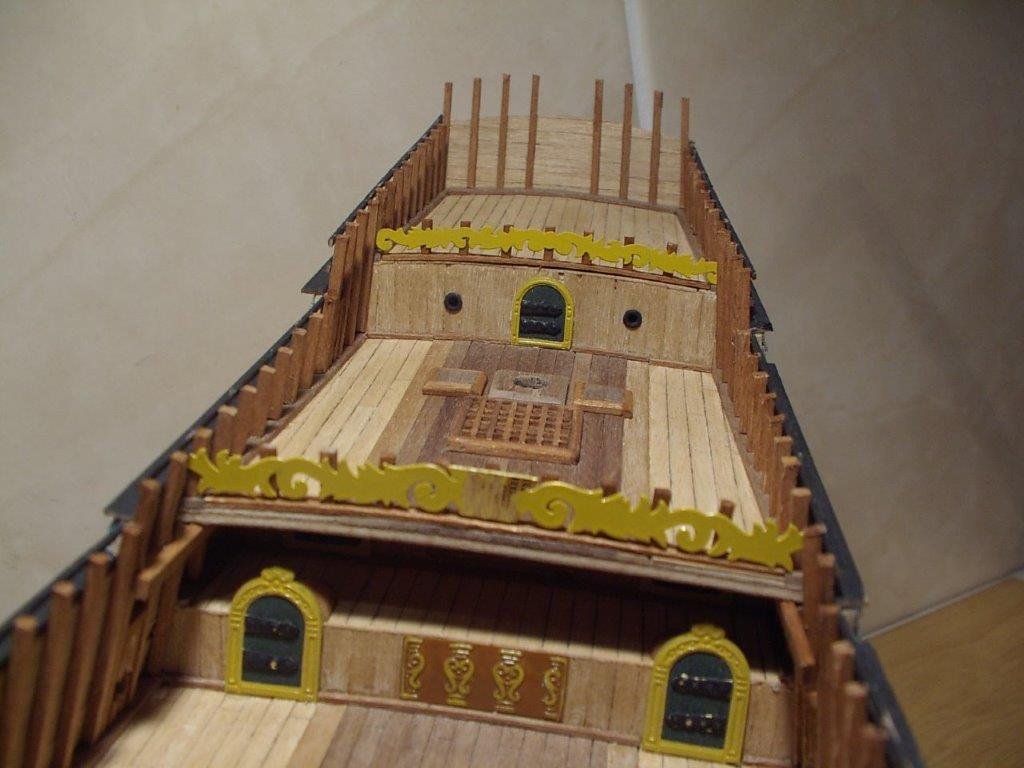
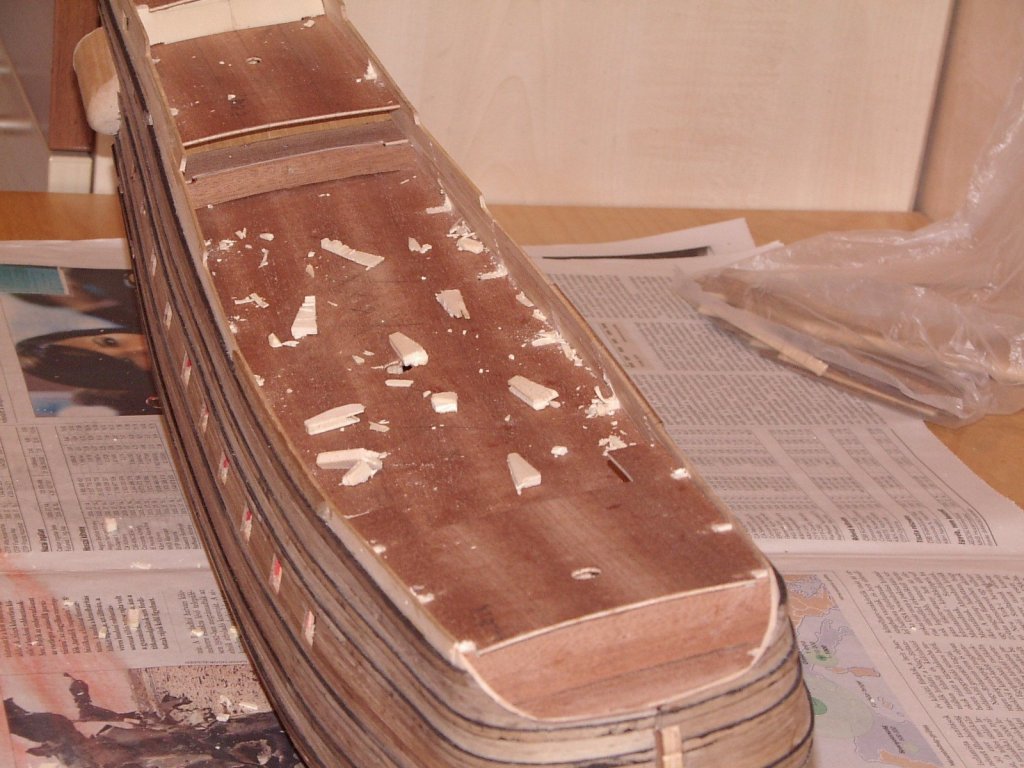
the next step is fitting out the deck with various hatches, gratings and decorations. If I was to do it now, should have replaced the gratings to smaller ones. but that time there wasn't such a supply of aftermarket parts. It is one area of the model I'm the least satisfied now. In this stage the first step is also taken on the road of endless painting of parts.
-
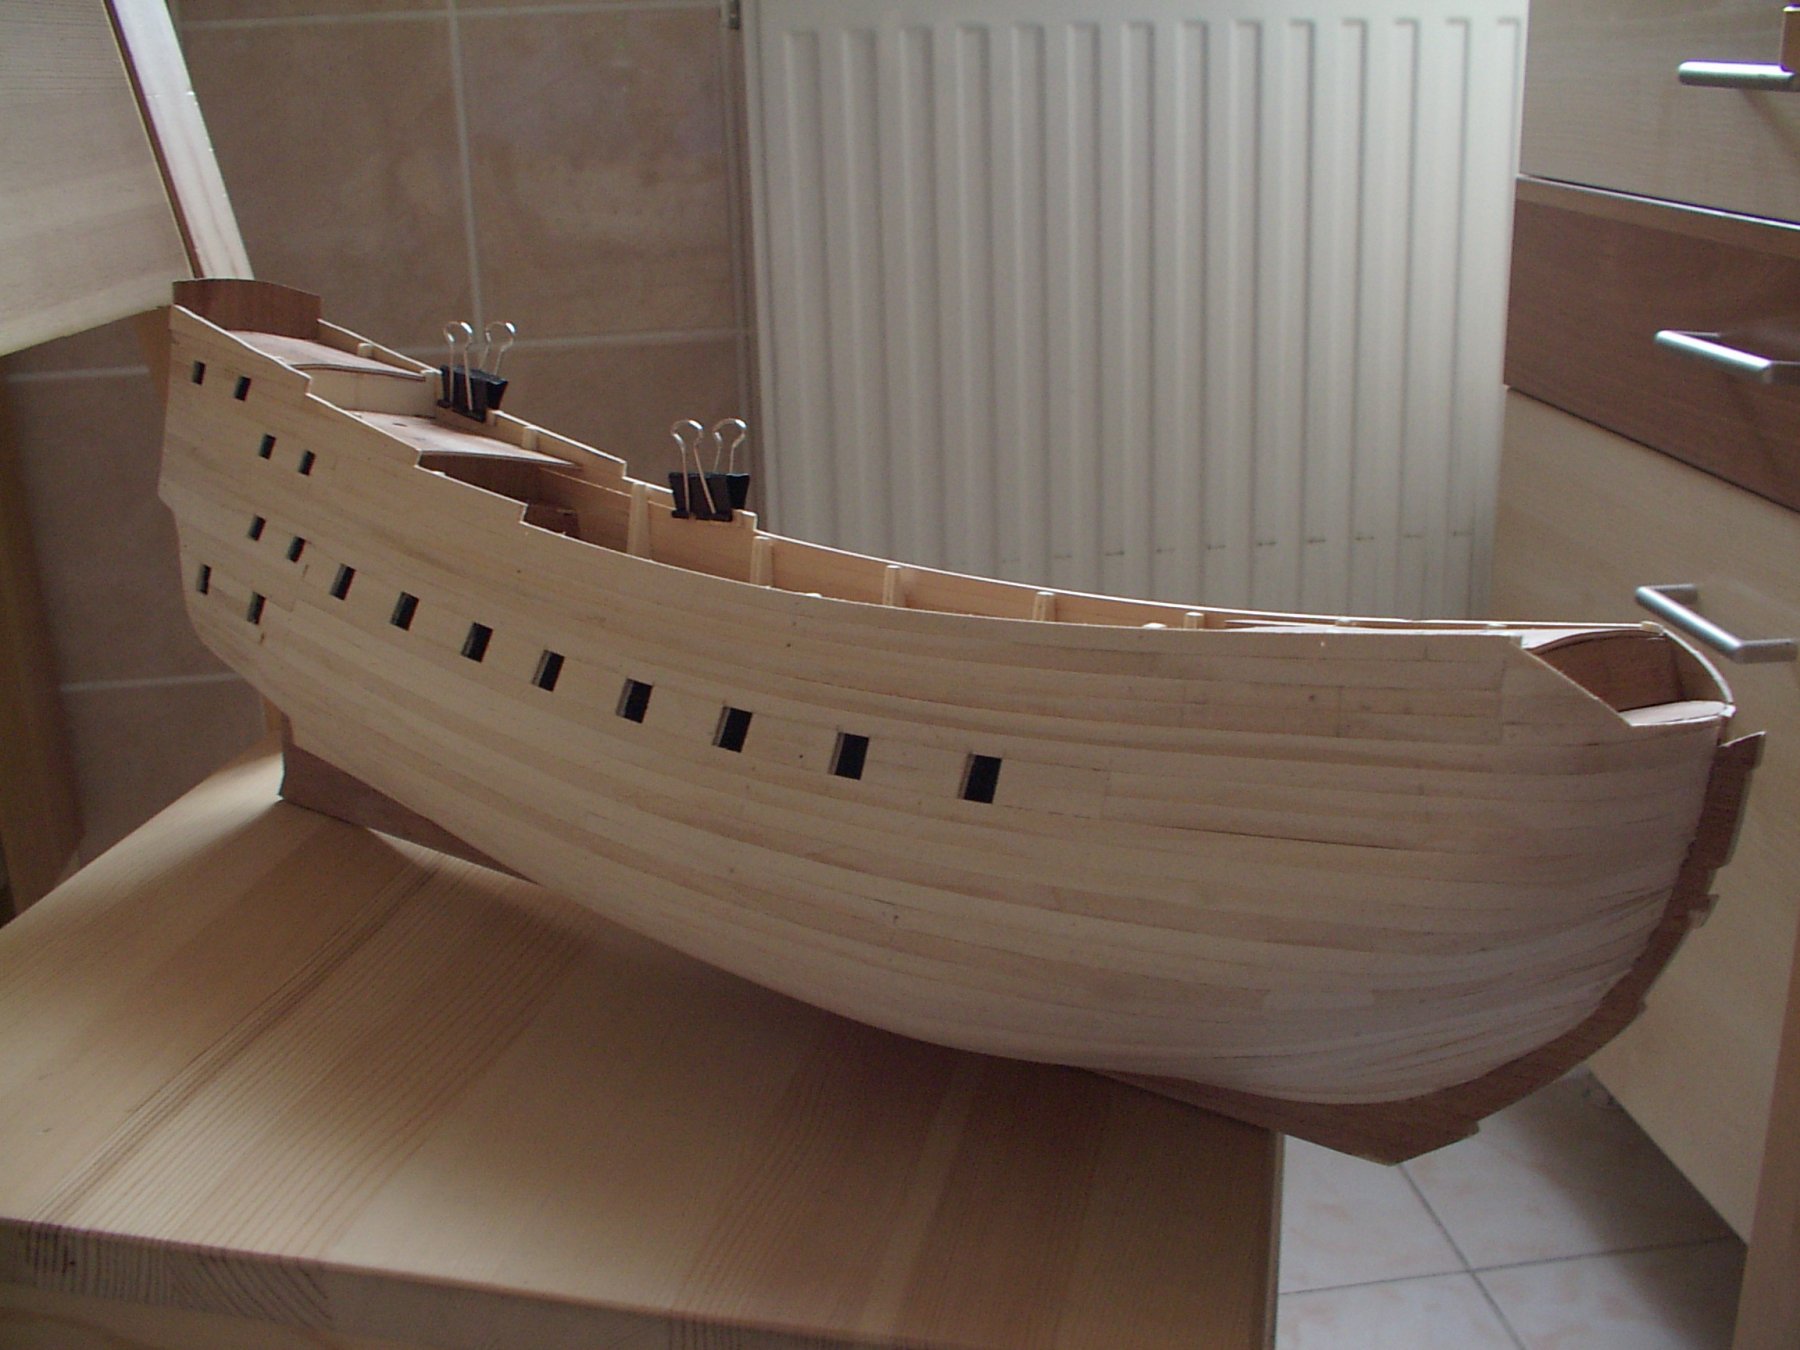
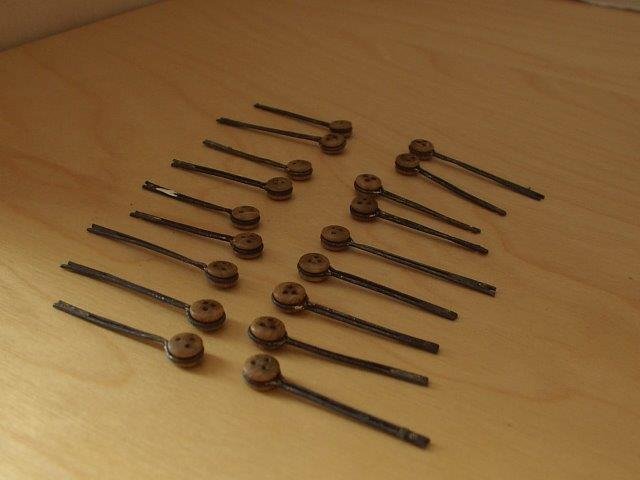
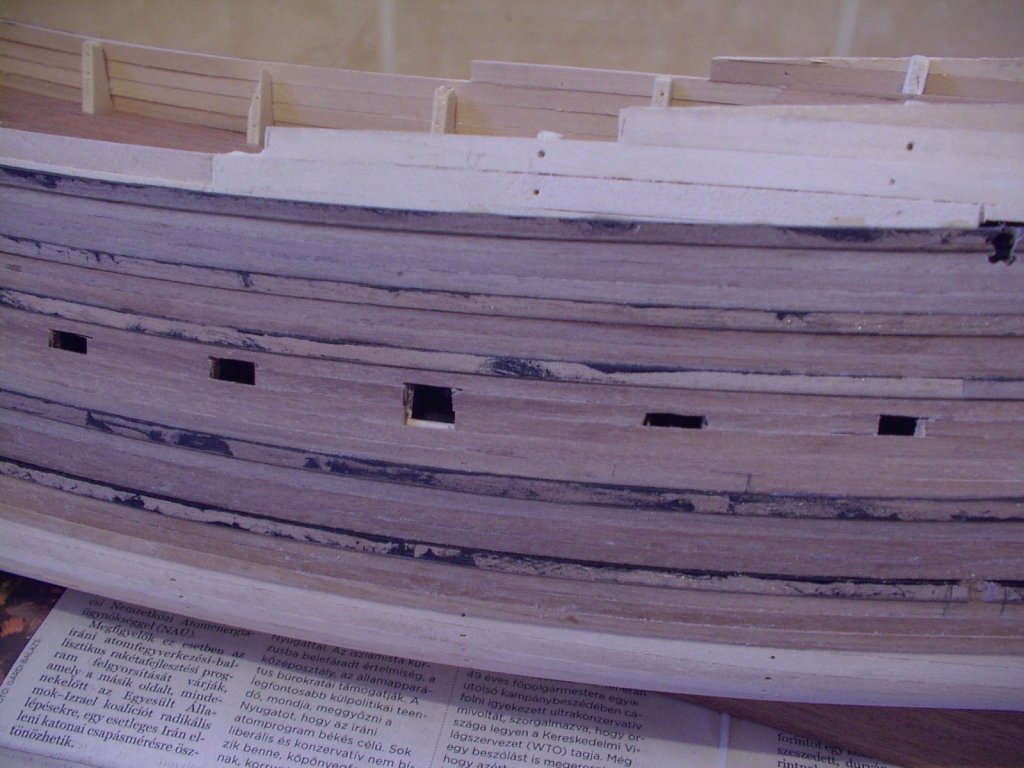
after the inner bulwarks planked, the posts glued in place. there are a several hundred of them.. this is the point when the kit switches to beech strips, not a favorable move. in such a small section (2x2 mm and like) they don't hold the edge at all, and it makes cutting them nicely very difficult.

-
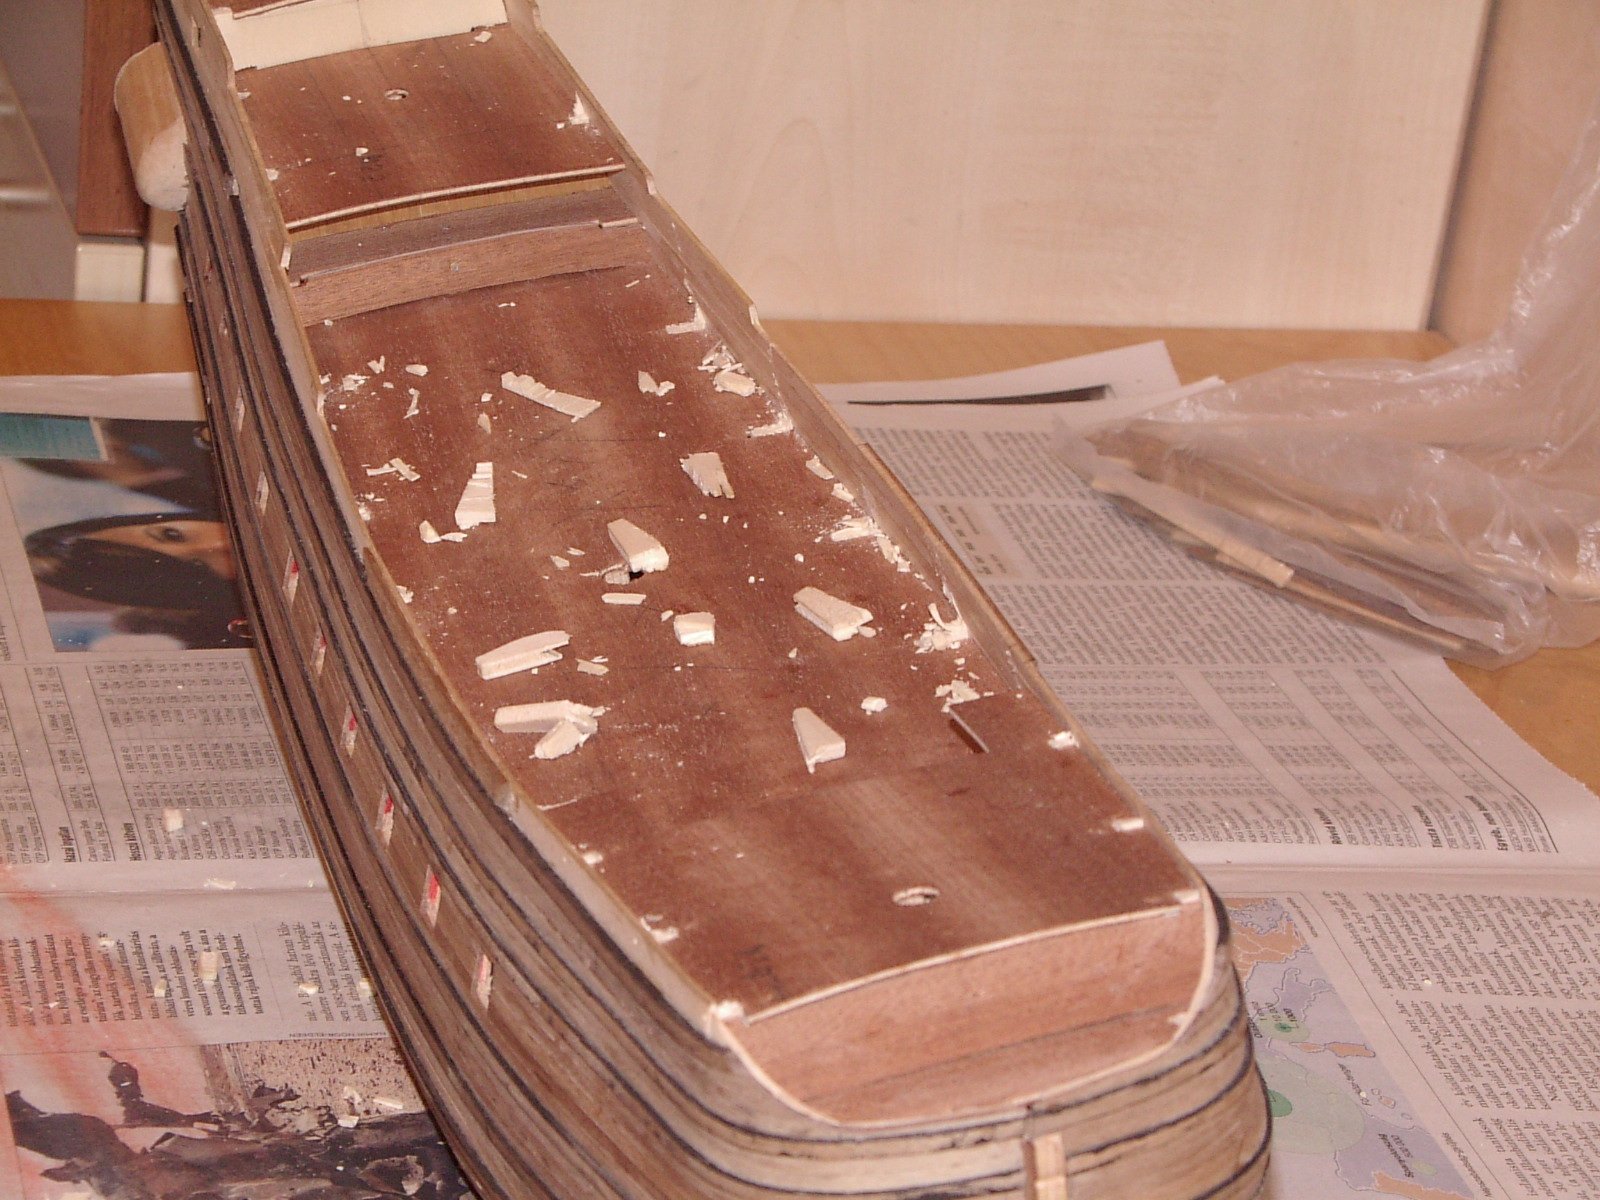
deck planking is straightforward. the middle section is reinforced by thicker walnut planks - don't know how authentic it is, but looks fine. there are no actual openings below the gratings, the black paint covers the ply deck.

-
after a year into the build, the planking is done as the work on the deck starts

-
an area with clinker planking, painted as the kit instructions suggests.
-
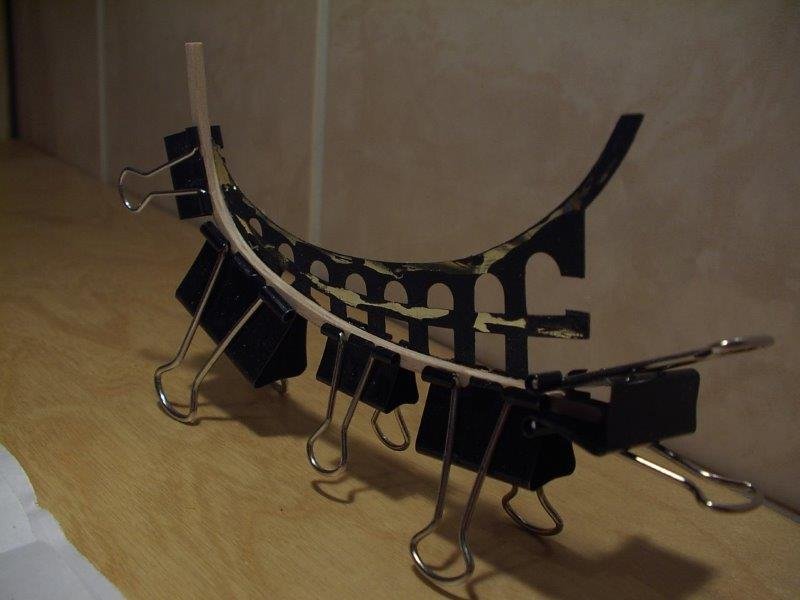
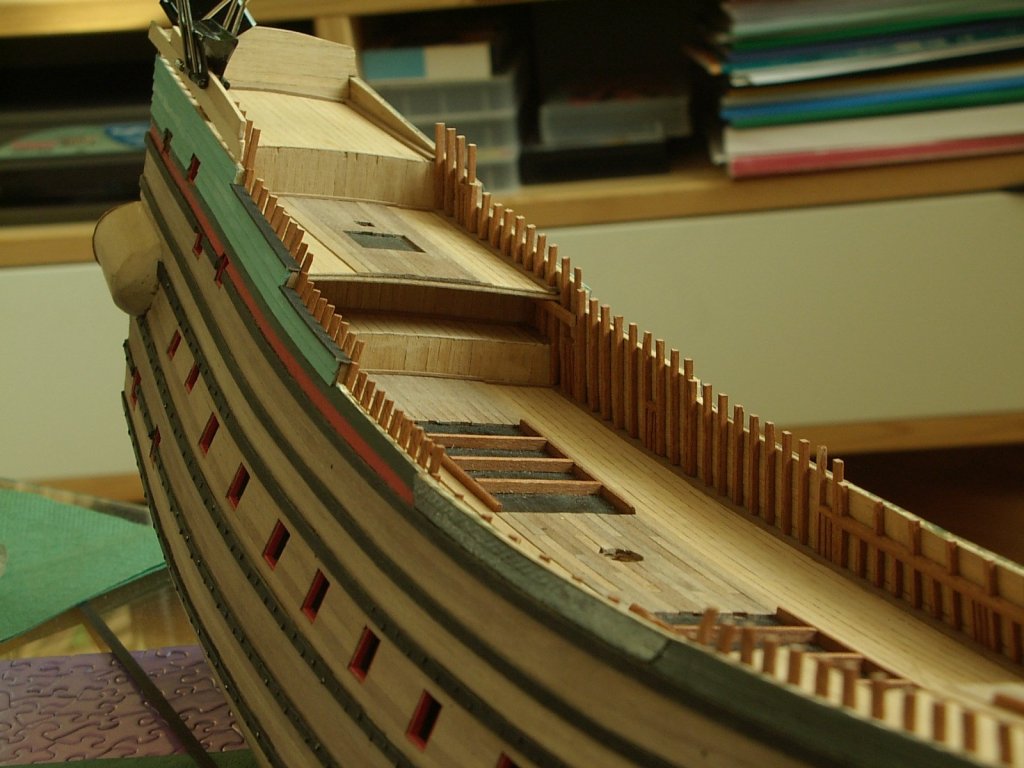
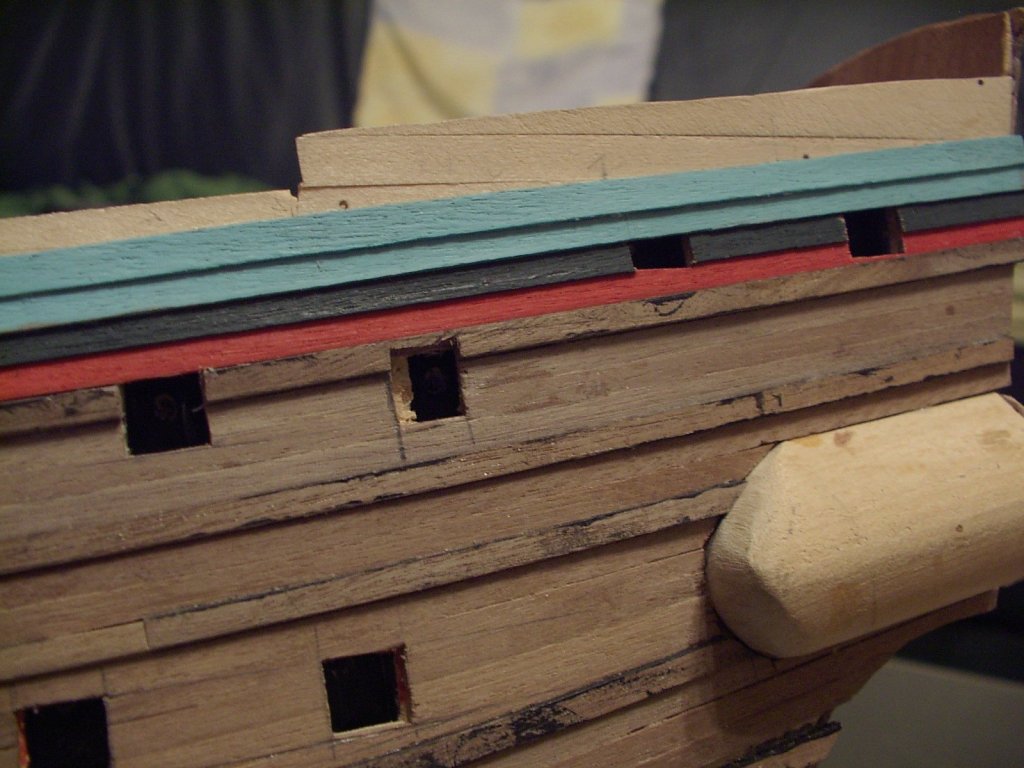
I prepainted the edges of the wales. there are quite severe bends at the bow, but the wood took them pretty well.
-
the quarter galleries are carved from a block. they are preshaped in section, but the forward profile must be carved in. a pretty difficult task, especially I used a very basic toolset. If it is inevitable to have some blood in the model... this one has mine. Seriously, do not carve hardwood, held in your hand, with a knife in the other hand. Lesson learned. The blocks finally glued in place. As they will be planked and heavily decorated, there is still opportunity to adjust the shape.

-
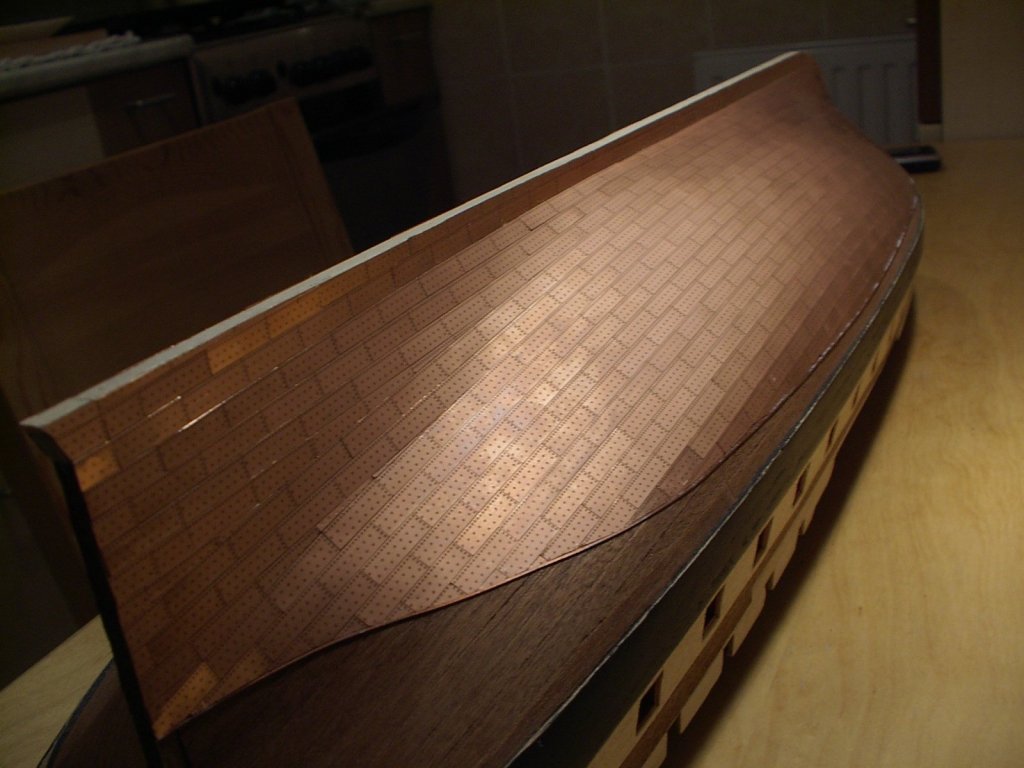
start of the second planking with the highest wale. as for the first layer, the wood was well cut, straight, and uniform in width. not uniform in color, so some sorting was needed, but now after ten years I see the planks of different color blend together nicely. The dark strips became lighter over time. A spacer, made up from the required number of planks helped to position the wale strip near the stern.
-
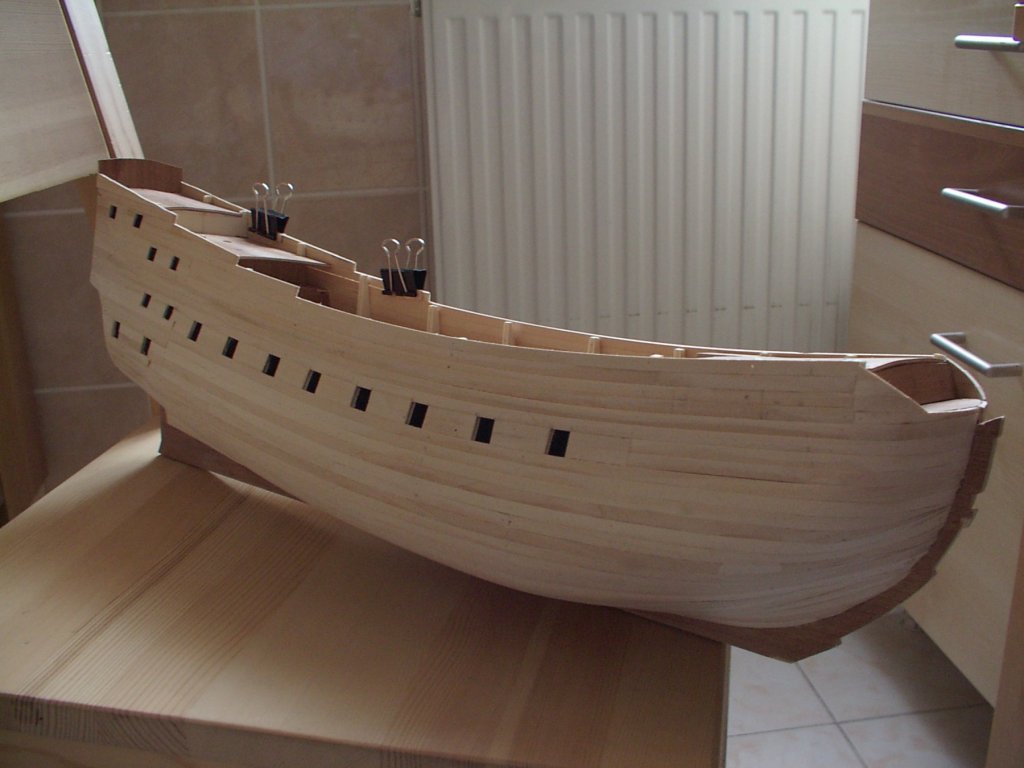
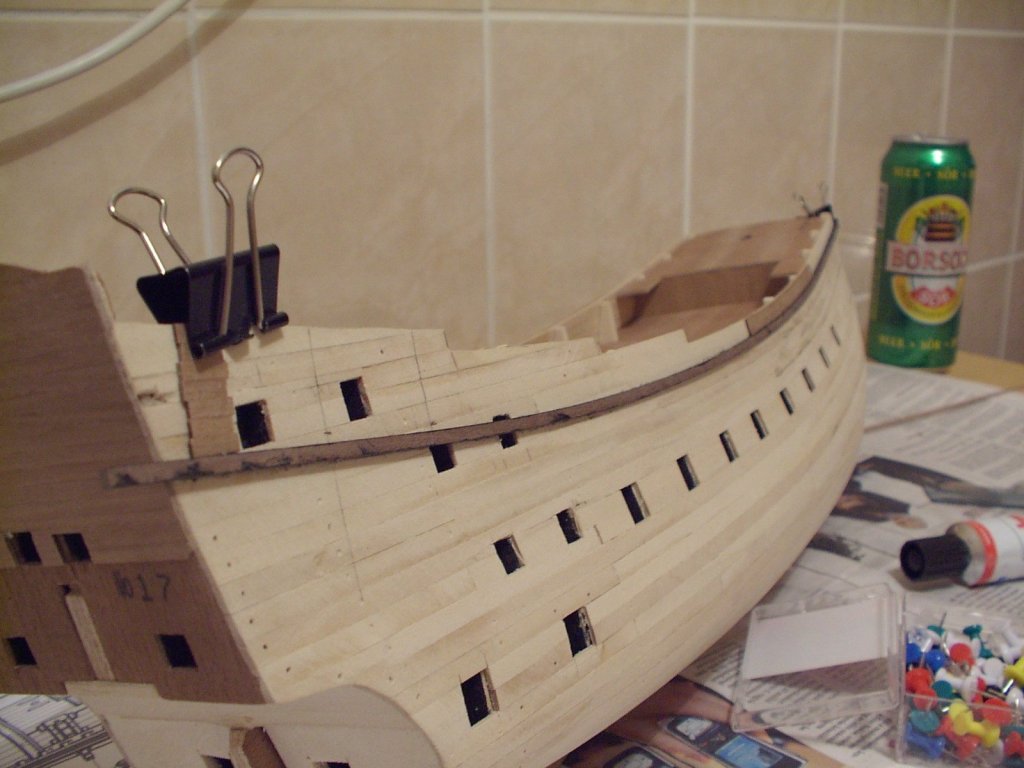
thank you for the comments. can't believe a year passed since the last update.. log writing goes as slow as building.. here is a picture of the first planking, actually my first properly planked hull. I was satisfied with it, but most importantly the whole planking was trouble free. I wasn't sure in the beginning, but it gave me the hope that I will be able to build the ship to a reasonable standard. I still like the idea to have the flow of gunports defined by the planking strips above and below.