lambsbk
-
Posts
910 -
Joined
-
Last visited
Content Type
Profiles
Forums
Gallery
Events
Everything posted by lambsbk
-
I put a better description of how I am making the blocks in a separate thread. See this link. Info is toward the bottom of the page. Thanks. http://modelshipworld.com/index.php?/topic/3145-hooks-and-blocks/page-2
-
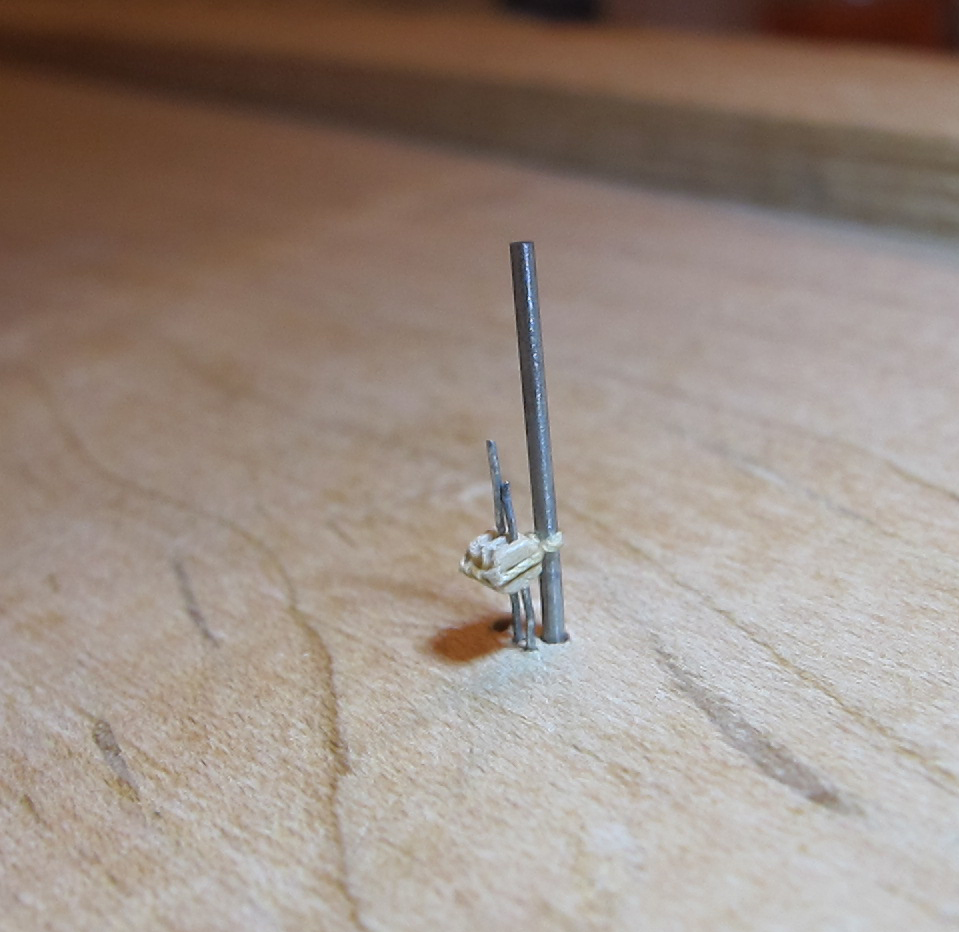
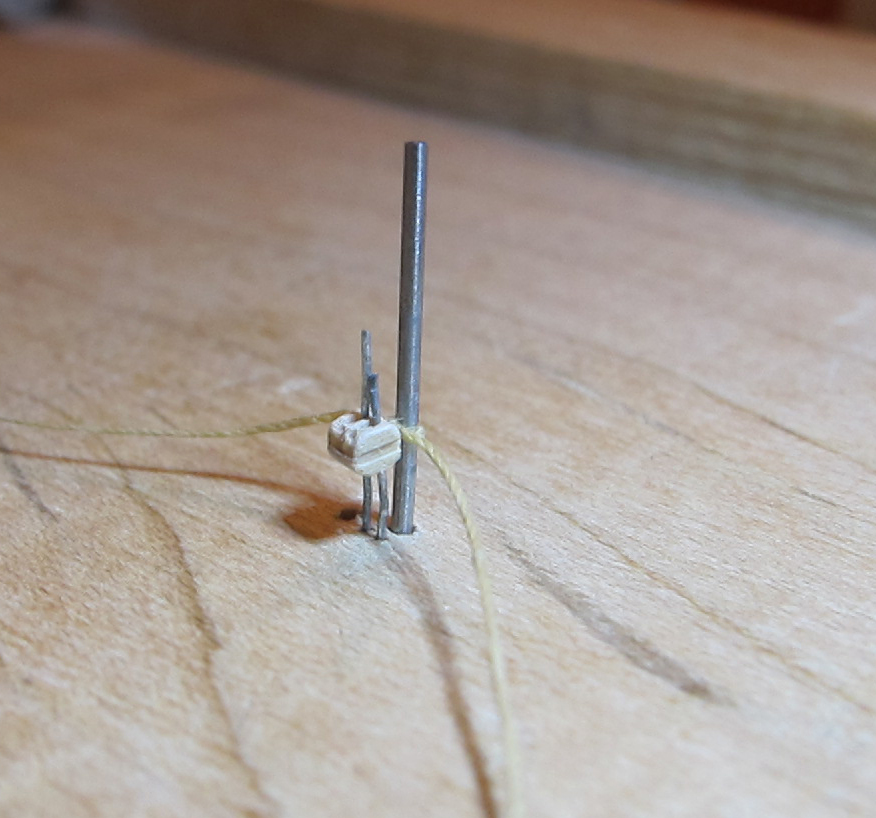
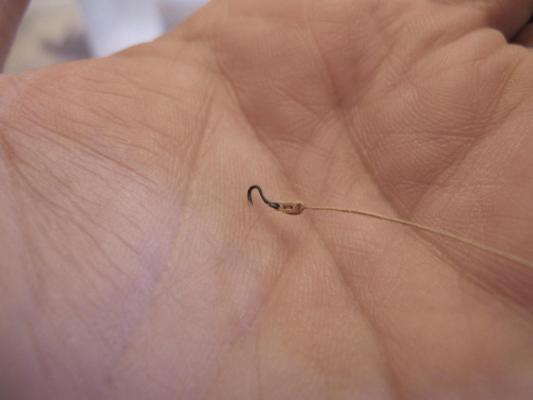
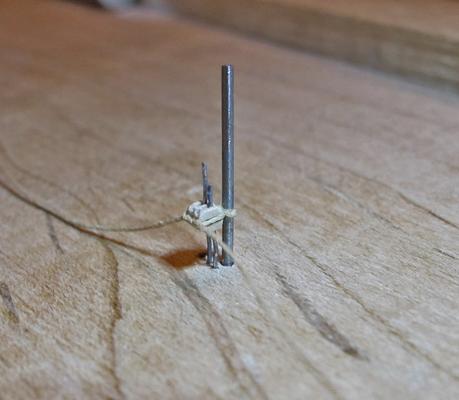
The single blocks are made the same way but with a line from the bottom of the block and the large wire (which I use to form the becket) moved 90 degrees (or parallel to the block). The block is placed on the jig. The line is attached in a similar fashion but with the rigging line extending past the block. With the attached hook.
-
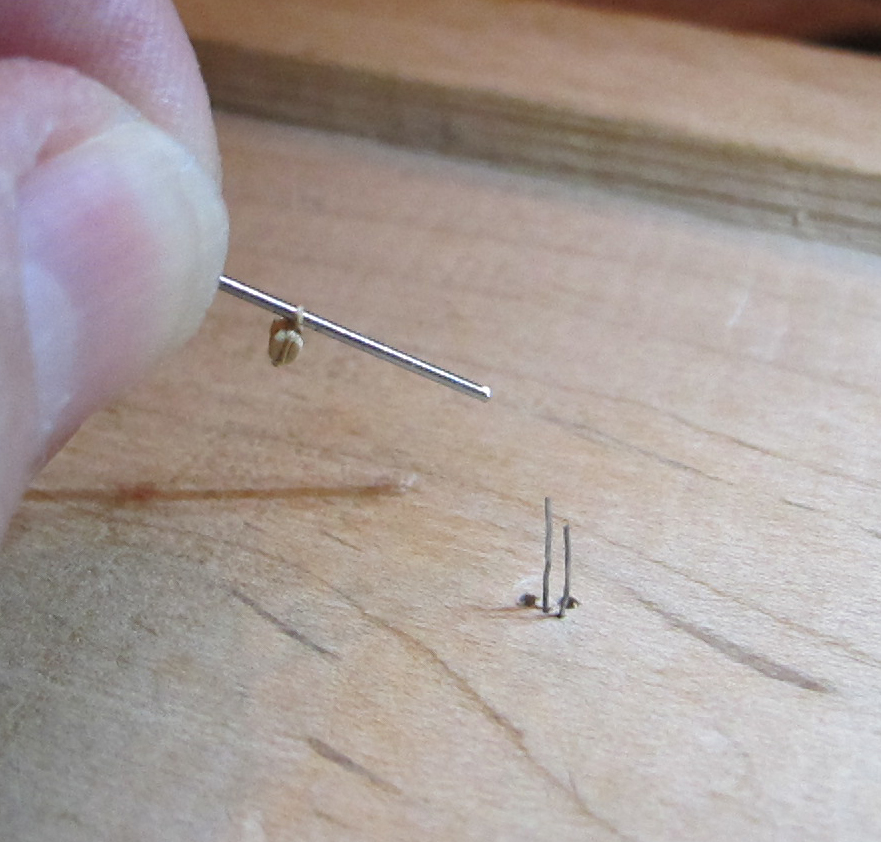
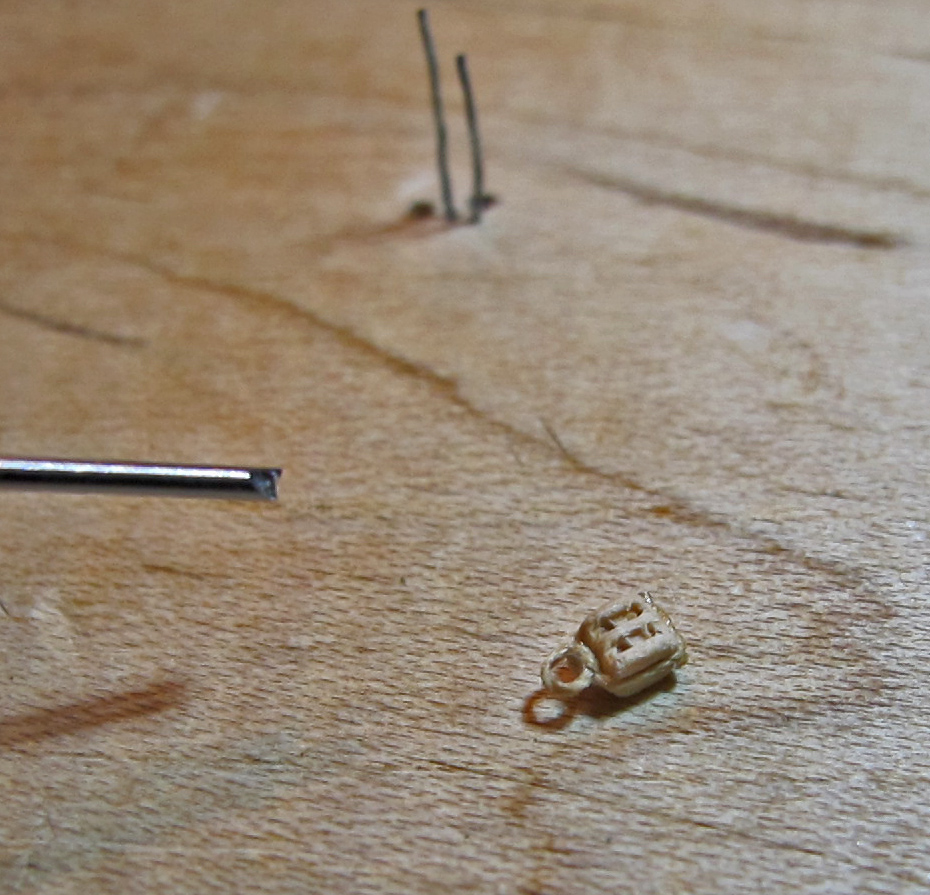
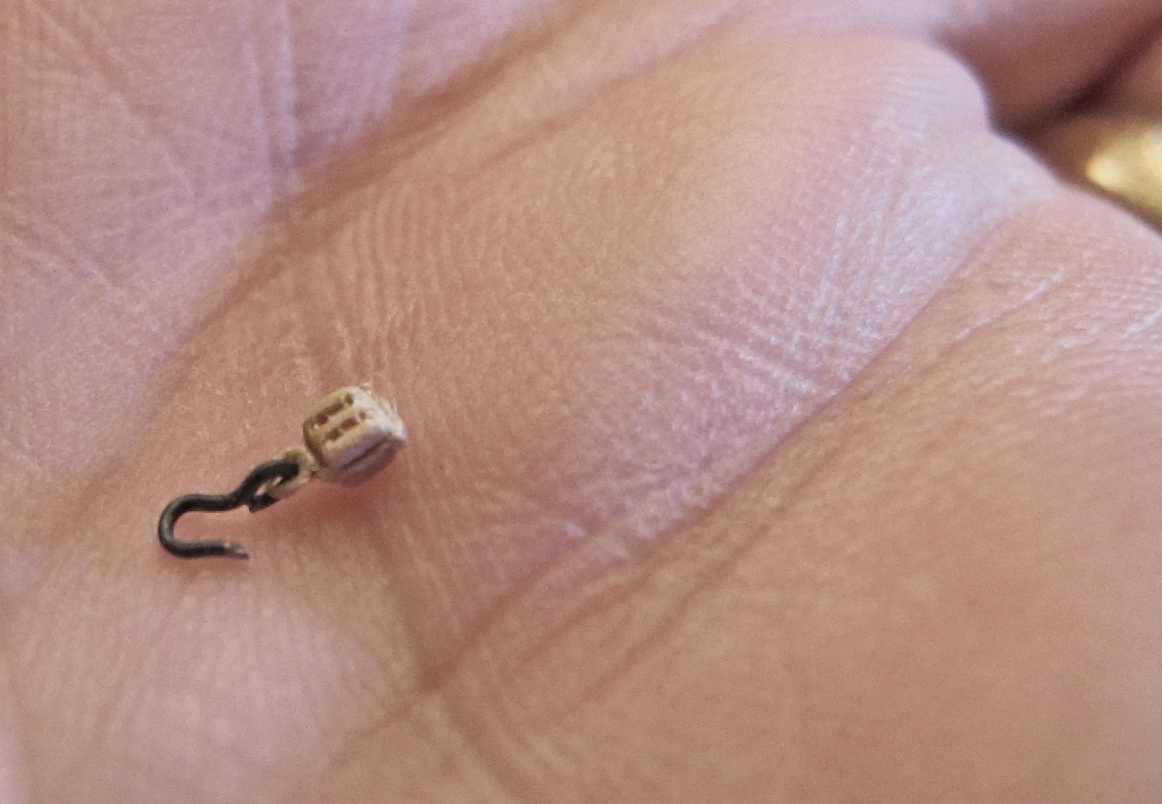
I then trim the extra line and apply a little CA to the overhand knot to further secure it. The block is then removed from the jig when the CA is dry (hastened again with the hair dryer). I then attach a hook (these are not my best effort but show how it is finished.)


-
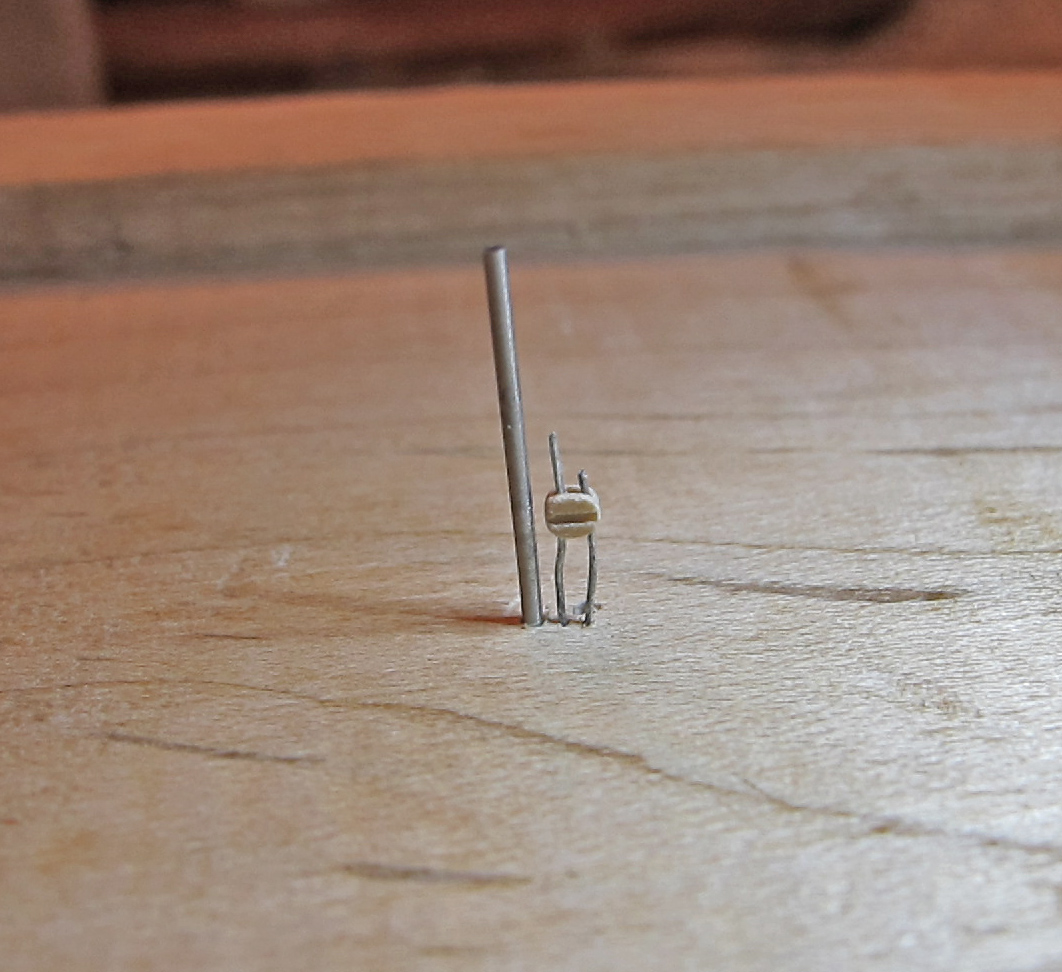
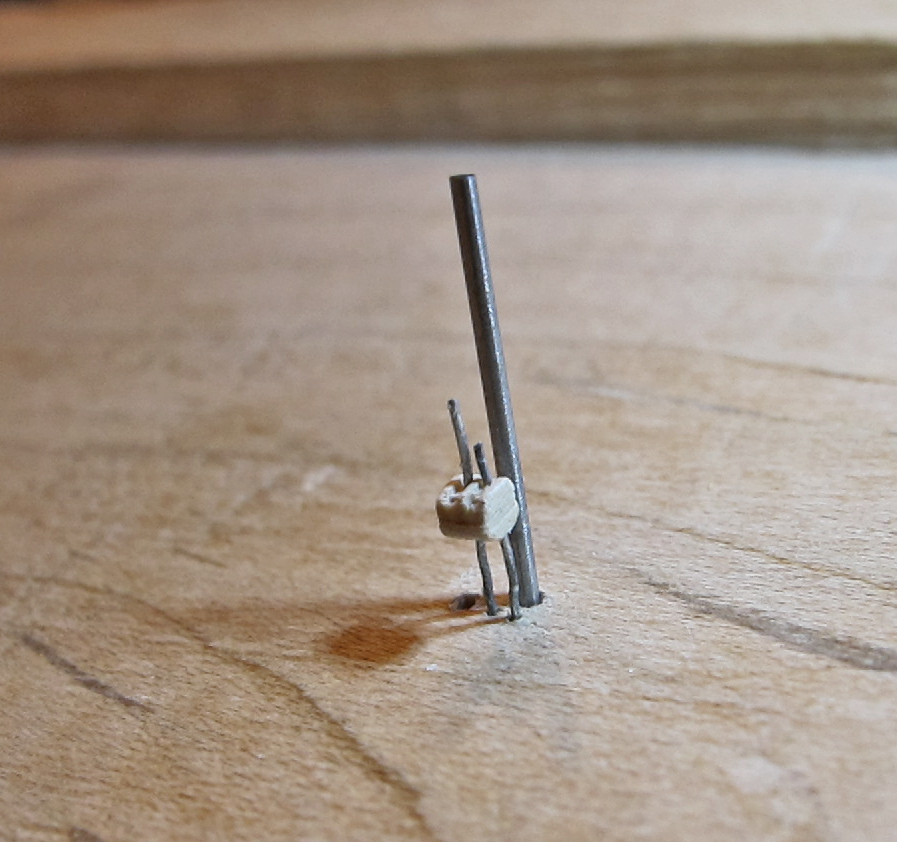
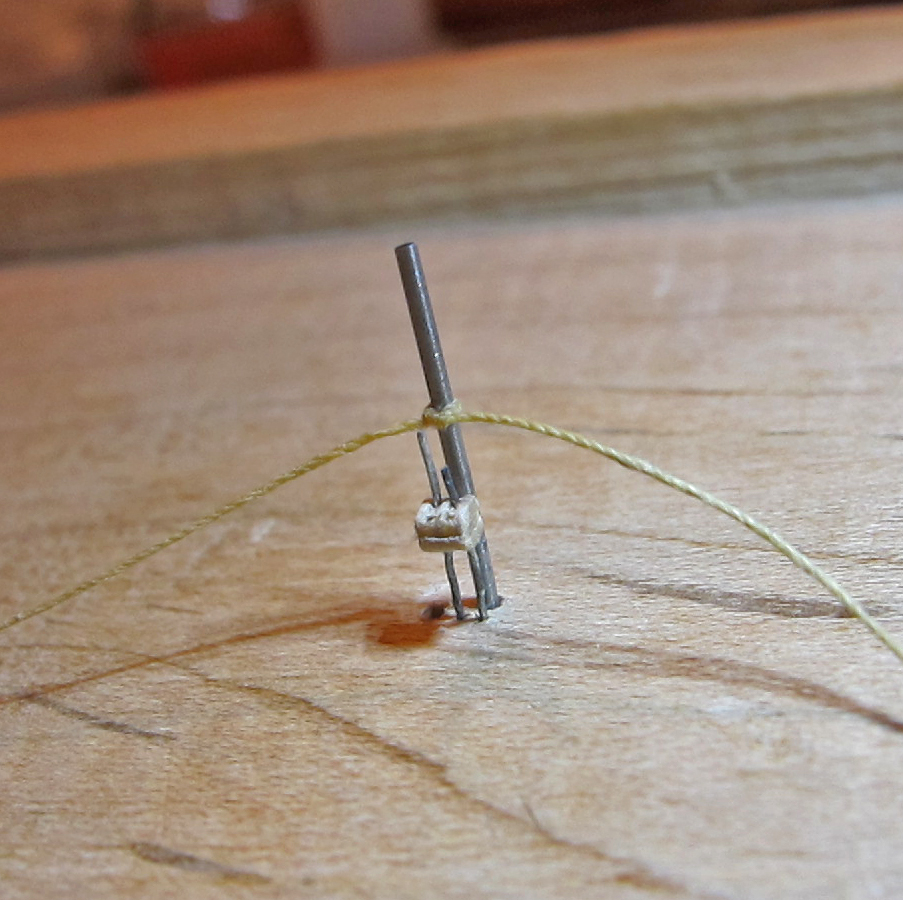
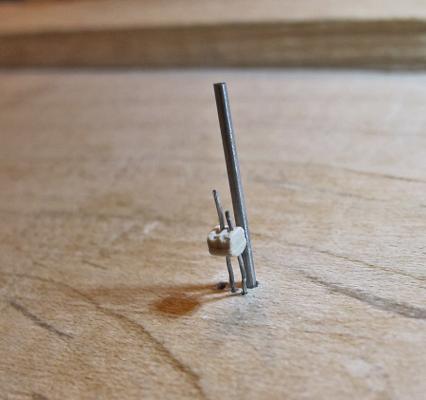
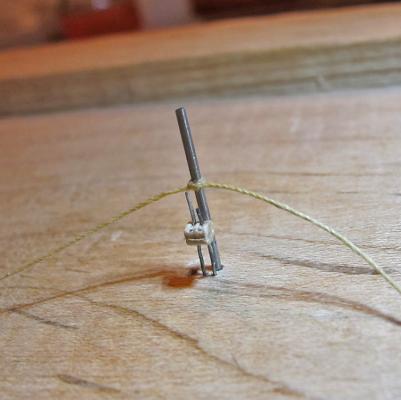
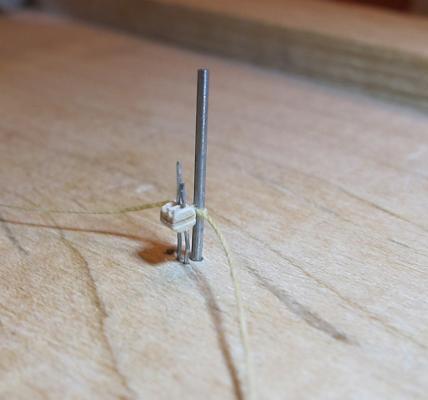
Here is my solution to stropping 2mm blocks...first up is the double block. I used an inverted maple miter box and wire from a rotary drill wire brush since these were stiff and threaded through the blocks. The becket is formed around a third thicker wire. All are drilled into the miter box to at least 3/8". The larger wire (for the becket) is perpendicular to the smaller wires for the double block. The block is maneuvered onto the jig. A square knot is made around the large wire with moistened line(30/70 Elmers and water) to form the becket. It is then placed behind the block. The block is then stropped and an overhand knot is placed on the bottom. It is kept under tension and Plastruct Weld Cement is applied to the strop and the becket and then dried with a hair dryer.
-
Absolutely. I could not have cut the trench for the optic without a Dremel rotary. Low speed - the plastic tends to MELT at high speed. I lightly touched the tool to the work and worked it 'pencil sketch' style. In my build I have two 1/32" engraving tools. One for the rotary and the other is attached to a jewelers tool vise to use for scraping and small part work, hole drilling, etc. After power cutting the trench I used the hand tool to ensure depth and clean up the trench for any rough edges. I don't remember how I embedded my build site in my signature. I looked it up. Somewhere in this forum are the instructions. I remember it was not very hard once I followed the instructions.
-
I think you thickened your bulwark, right? You should be able to Dremel a carefully scribed 'trench' with the 1/32" engraving bit tool. Just go deep enough for the fiber to be slightly lower than the surface of the bulwark. I used gel type Tester's glue to fill the trench, place the fiber then I clamped them together overnight. The lantern jig mainly helps keep the lanterns equidistance from the Spar deck. The blue painters tape (non-sticky side) does not adhere to the glue at all and it spreads out any access glue evenly. When dry you may want to add a little plastic putty for any areas of defect. Make sure the fiber is slightly deeper than the bulwark because you will need to lightly sand the surface with fine finishing paper (you don't want to sand the optic fiber AT ALL) then paint. The stand I made - I used a couple of profile internal shots that gave the cross section of the ship at various places along her hull. Using these I printed them about the same size as the 1/96 model, cut them out, and used them to cut the stocks for the build supports. These were then mounted to an old piece of backyard deck board I had around the house and a couple of handle rejects (we bought several before finishing the kitchen cabinets) were screwed into the ends to allow a safe 'grab' point when moving the ship.
- 135 replies
-
- 1
-

-
- Constitution
- Revell
- (and 1 more)
-
They do get easier as you get a few done... If that is your first lantern it looks extremely good. I did not post a pic until at least test lantern no. 5! The no.s 1 through 4 were not - uhhh...- picture worthy.
-
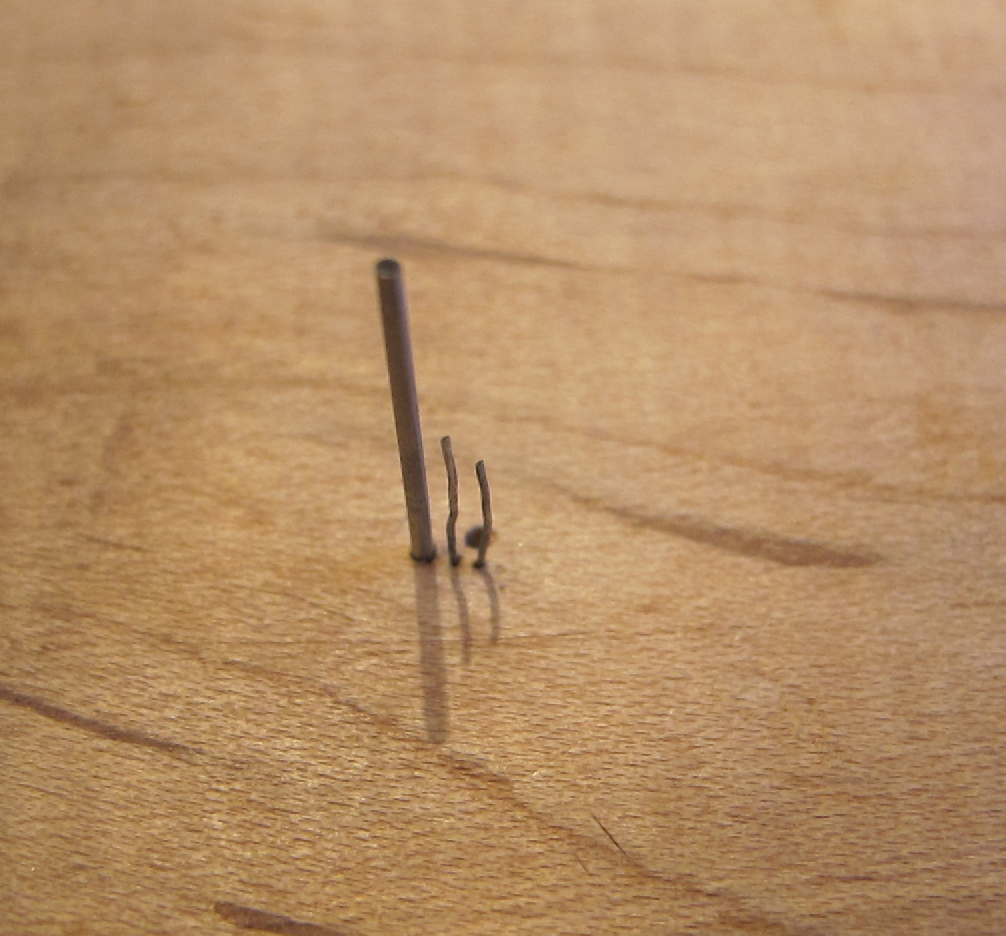
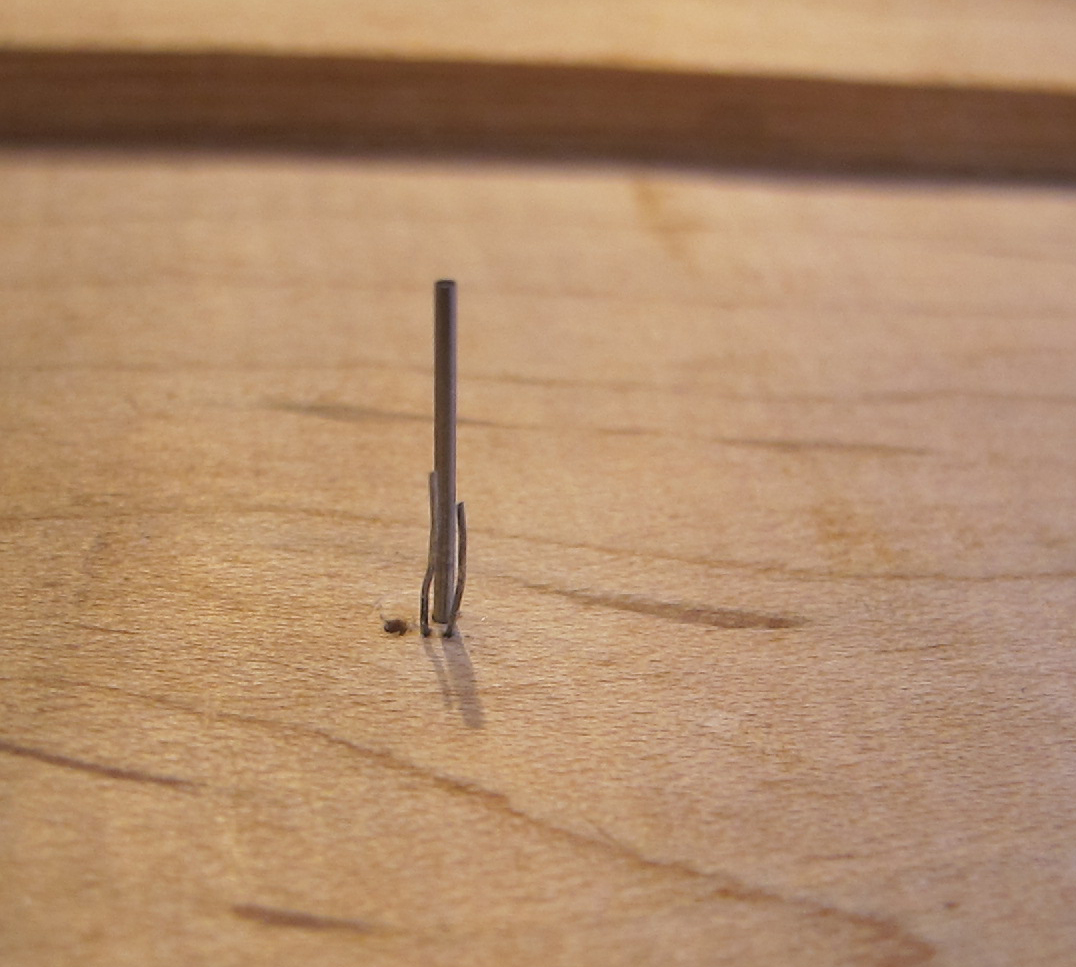
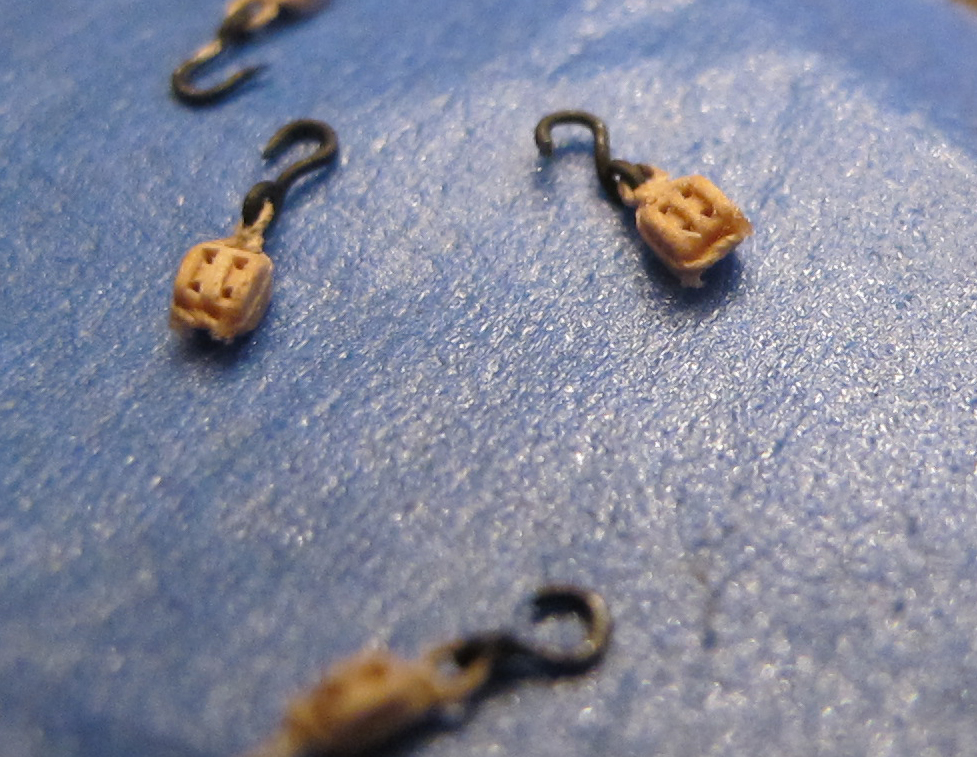
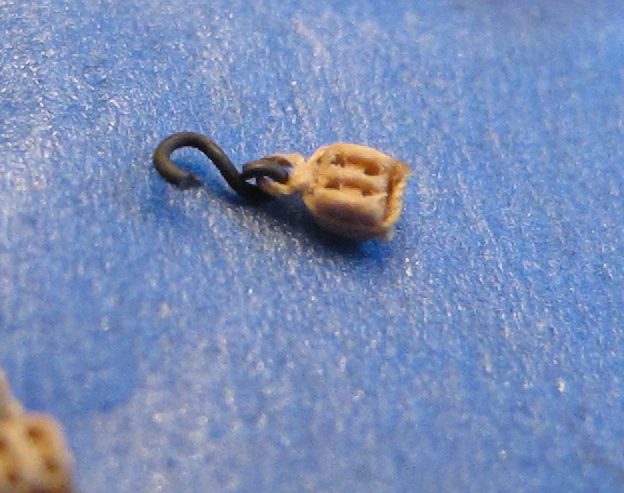
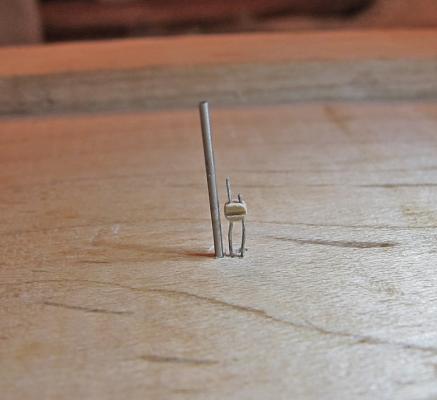
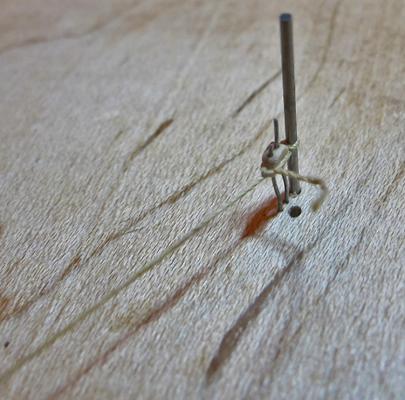
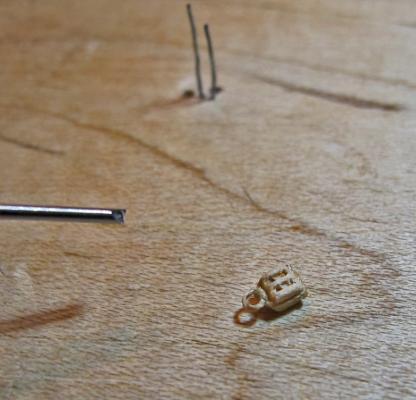
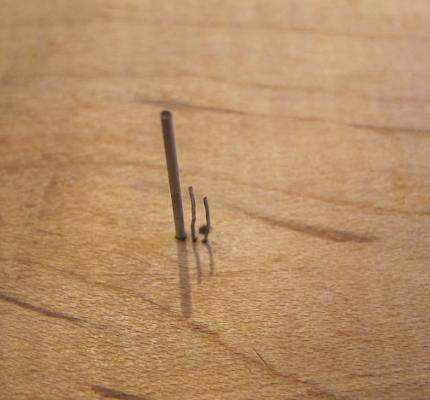
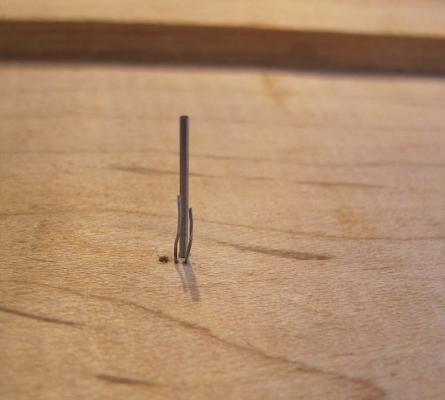
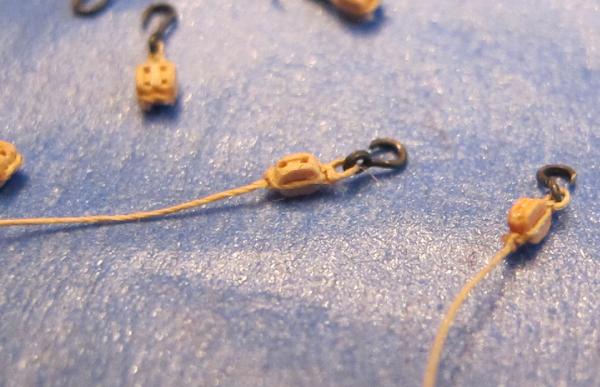
Here are a few pics of my simple jig and the results. I was too tired tonight to show how I used them but I will post pics of the process tomorrow. For single 2mm blocks... For double 2mm blocks the pin is moved 90 degrees... results... Not my best hook but this shows a close view of a double block...


- 601 replies
-
- 1
-
-
- constitution
- revell
- (and 1 more)
-
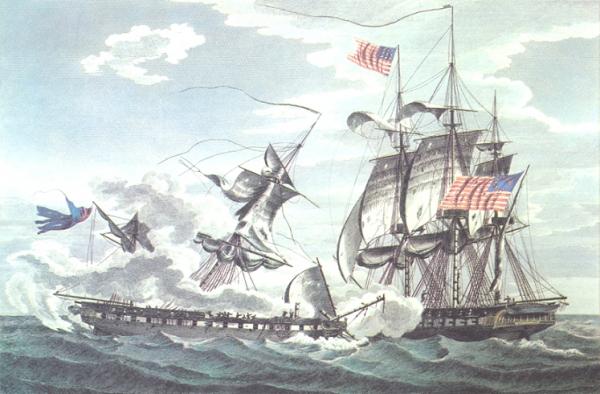
I found a couple of early Baugean engravings. He was in the Mediterranean area for the Java and Guierere fights and he tends to emphasize the wooldings on the masts. I have included a sample below.
- 601 replies
-
- 1
-
-
- constitution
- revell
- (and 1 more)
-
Henry: I have done a similar technique but started the bend around the wire which forms the becket, secured with a square knot to keep the lines parallel, then strop the block with a simple overhand knot on the bottom of the block. I have tried the Plastruct Cement recommended by Kim and this secures the block pretty well. To ensure it does not unravel I put just a little CA on the overhand knot and it seems fairly stable. I am at work right now but will get some pics up later today. Kim: I will look at the source materials I have at home tonight and let you know what some of the earliest art shows. I agree with John - right now the rings are painted white to match the mast. Oh, and thanks for the reference on the glue - the MEK from plastruct is just what I needed.
-
Yes, me too. They are tricky little things. Henry, I made a small jig but have not been able to get the becket lashed as it should be..instead I have used a square knot between the becket and the block. It is not as ship shape as lashing the becket but I am trying (like Jasseji) to balance accuracy vs. sanity!
-
I have not posted progress in a while. I am working on the gun tackle (i.e. 2mm blocks, stropping blocks, and rigging those blocks after making the hooks). This is VERY slow and tedious work. But eventually (October?) I will get the finished pics up.
-
BTW - that LED you purchased should do the trick. Heat sink that rascal before you test it (use a small amount of thermal compound ) and (although I am sure you are aware) watch those input leads for short circuits on the heat sink. What you bought is bright. You'll be seeing flash for a while after you fire it up!
-
I like that power supply Verne. Are there more on eBay?
-
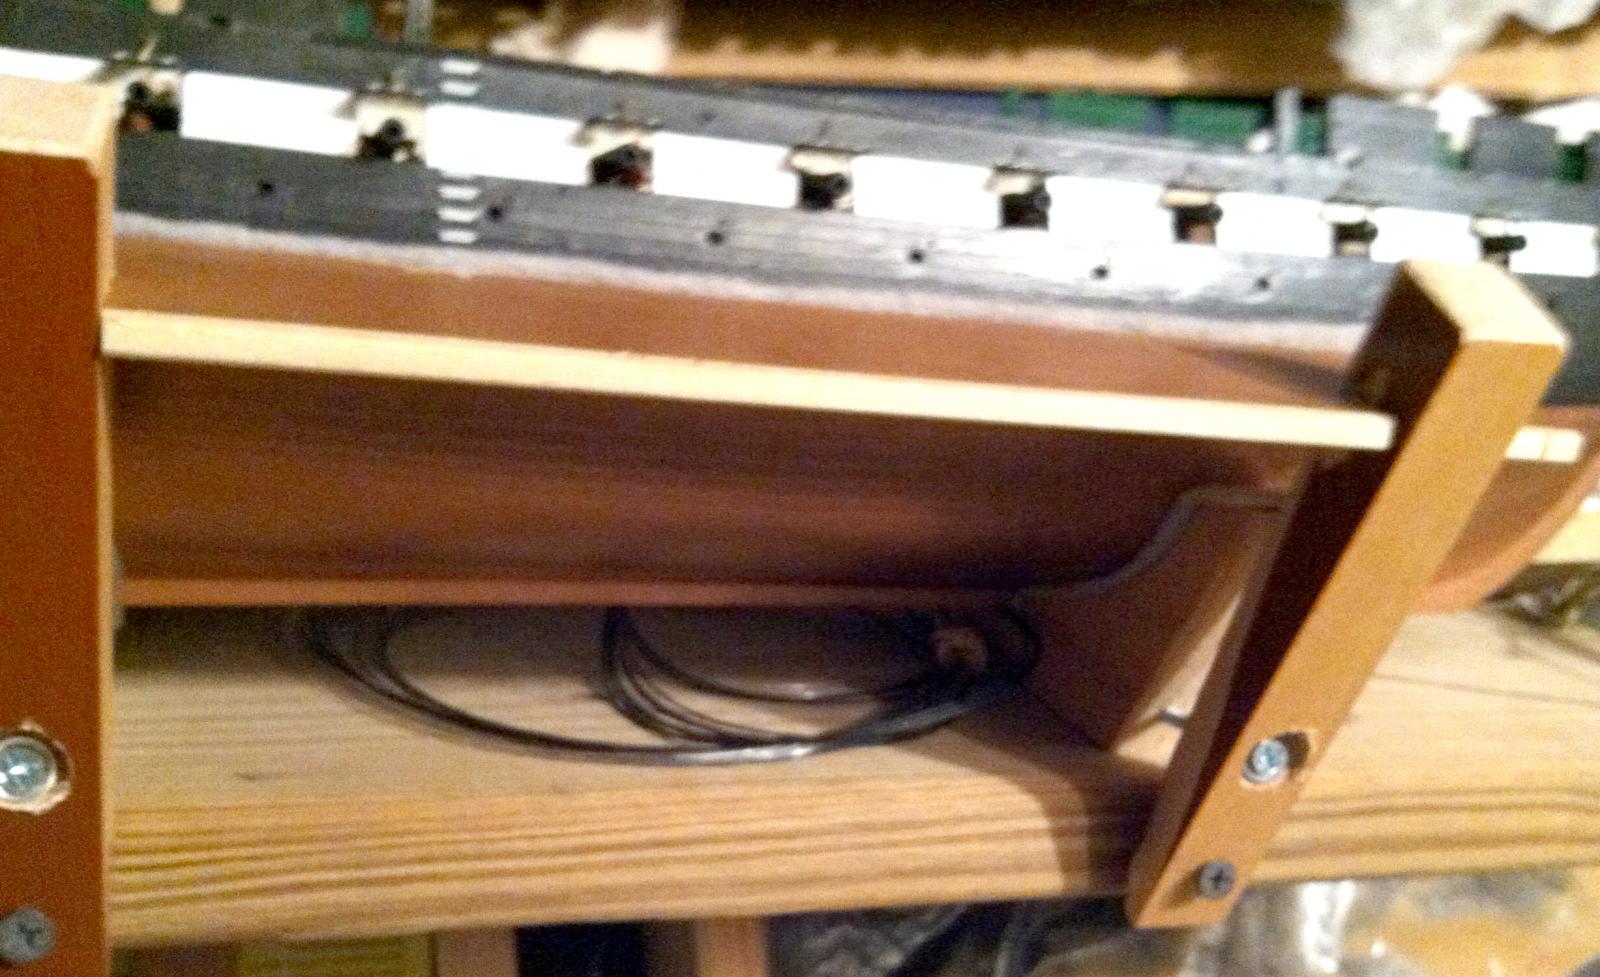
Although these are a little blurry it shows the exit of the optic through the keel and the curve/fold under the my build.


- 135 replies
-
- 1
-
-
- Constitution
- Revell
- (and 1 more)
-
Verne, I simply left the stock out and gently curved it under the hull. The temporary 'stand' I made gave very little clearance as well and I seriously thought about drilling through the base of the stand to bring the cable under it and store. But in the end it seemed too much trouble and the optic has not really been in the way where it is. I'll get a pic up later. I think you are right to make more lamps. You should have no trouble incorporating them into your thickened bulwark. I believe I have too few but nonetheless they do light up the deck enough to see it. More lights on the deck area would have been better. The cabin lights are quite adequate however. Good luck with this project. I am looking forward to seeing how it turns out.
- 135 replies
-
- 1
-
-
- Constitution
- Revell
- (and 1 more)
-
After buying the tap twice and the drill twice - $6.49 is a real bargain (not to mention the saved time to drill and tap the core block.
-
It is a beads LED array. 9v probably would drive it but it is cranking out 10 watts - a battery will not last very long at that power. The 'housing' is temporary and is being used to experiment. Think of it as a projector focusing toward the bundle of optic cables. They are 2 to 3 inches away from the actual LED chip since the chip generates heat and will melt the optic fibers if they get too close.
-
The Vernier caliper is good for sizing objects. To me it has not been as helpful on my build as I thought - although my pair is not the finest quality. The EKG caliper is similar to a compass in action spreading equidistance as they move about a common central pivot. I suppose they are similar to a ship's navigation caliper with a pin on each leg for charting distances. Mine are pictured in the beginning of this thread. It is in the items needed pic as item no. 1.
-
When you drill out the heat sink a word of caution: I am not a machinist and broke several bits (and 1 tap) drilling out the core for 4-40 machine screws. I LEARNED after erring to go SLOWLY while cutting the heat sink for the screws - light pressure on the drill press and twist the tap just a little until resistance is felt (as it cuts), back it out, remove debris from the tap, then rethread and tap another couple turns, repeat, etc. Use a drop or 2 of cutting oil or gun oil while drilling and tapping. I should also mention the 1100 lumen beads LED was best - and it was affordable - if you decide to use a single light source to power the optics. Think ahead about the fiber optic transitions from the ship. You can not get much bend out of these cables. Although I decided not to mount the LED's in the ship, the wires for LED's are easily incorporated into the model, even in tight spots. You will need a lower wattage version in the 3000K range but then you would be able to get those sconces up with a little (smaller than fiber optic) tinkering. The down side is keeping those wired circuits from being compromised during the rest of the build. Good luck Verne. I am looking forward to seeing your build progress.
-
Glad to see the Mayflower was back at her berth. We missed that in June.
-
Not at all Verne. I GOT THE SAME KIT. It came with the fiber optic cable and I realized fairly quickly just as you have that it would not be sufficient.
-
Verne I just looked more closely at that second pic - I don't think you have fiber optic there at all. The 'wire' seems to be bent a little near it's origin - fiber optic plastic does not bend in that way - it should be a lot more 'springy' than what is shown. Also, unless you get several more LED's I fear the kit included light will not be strong enough or the right color wavelength (as you probably already know, measured in Kelvins (as in the temperature of molten iron when it glows yellow [3000K] or white hot [6500K]). You will want a light output near 3000K.
-
I got the 12V, 10W, 1050mA, 1100 lumen bulb today and I am MUCH HAPPIER with it. Not super bright but the lantern light is well simulated at this lumen level. Cost - $2 on Ebay. So far the heat sink is draining all of the excess heat from the chip so no over-heating is occurring. As expected on my Connie build there is light bleed through between the Spar deck and the bulwark but I have already figured out how to eliminate that problem. http://modelshipworld.com/index.php?/topic/444-uss-constitution-by-lambsbk-–-revell-–-plastic-–-196-a-fresh-build/page-1 The fiber optic I have been using is still at full length (i.e. I have not cut them back yet - and won't until the ship is permanently mounted) but as they are cut back so will light loss (which is proportional to the length). Adjusting the voltage down will decrease the lumen output if it becomes too bright after trimming them. It is time to move from the experimental housing to something more permanent. Over the next few weeks I will probably have that solution posted. For those of you following this thread thanks for your encouragement and comments.
-
Verne: I have been adding info on a separate thread about my experience with these lights. I am going to post some more findings tonight. If you are interested it starts on page 2, bottom of the lamp tutorial. I hope that helps. http://modelshipworld.com/index.php?/topic/3163-fiber-optic-lanterns-ca-1845-196/page-2 It takes a fairly bright light source to drive these optics and lanterns. I bought a beads LED 10watt, 1050mA, 1100 lumen lamp and bolted it onto an aluminum CPU heat sink from the local computer guy - heat sink -no cost; beads LED $2 on Ebay. I made an experimental light box from some old plumbing pieces in the house (I think I must have watched too much 'McGuyver' in my younger years). So far I like the 1100 lumen bulb and it really lights up the deck in a very realistic fashion Oh... I should mention the bulb should be in the 3000-3500K range for a 'warm' white light. It is easy to get lost on the build for this lighting step but looking at the model in the lantern light tonight I was very glad I got it to work. It is not super bright - and I am sure some of the details of the gun deck are not going to show but the detail that does show really pops. Good luck.