lambsbk
-
Posts
910 -
Joined
-
Last visited
Content Type
Profiles
Forums
Gallery
Events
Everything posted by lambsbk
-
I used separate elements for the optic and light source. What size is the fiber optic? Can you post a pic of the rig? Plastic or glass optic? There should be light transmission. Make sure the ends of the optic are free of interference. Are they inserted into the barrel of the illuminator in a focused manner. What is the wattage/lumens of the illuminator?
-
I made some coils for the Connie. I hope this link will show you how I did this step. Click on photo to view 4 minute video.
- 601 replies
-
- 3
-

-
- constitution
- revell
- (and 1 more)
-
I have made a small simple device for making rope coils. I'll get the particulars up tonight. I have a question about rigging technique though. I have tried CA and dilute elmers. The dilute elmers seems more 'natural' as the CA is so stiff it does not forgive errors. The question is: does the dilute elmers hold up over time or does it tend to unravel?
-
Thanks for the pics John. Plymouth is a lot of fun. The Mayflower is still in refit however and I am not so sure their lobster is up to par with those in Maine. Fran and I really enjoyed Plymouth Plantation. P.S. The national Freedom Monument is really hard to find (at least it was at dusk). A GPS program should come to your rescue.
-
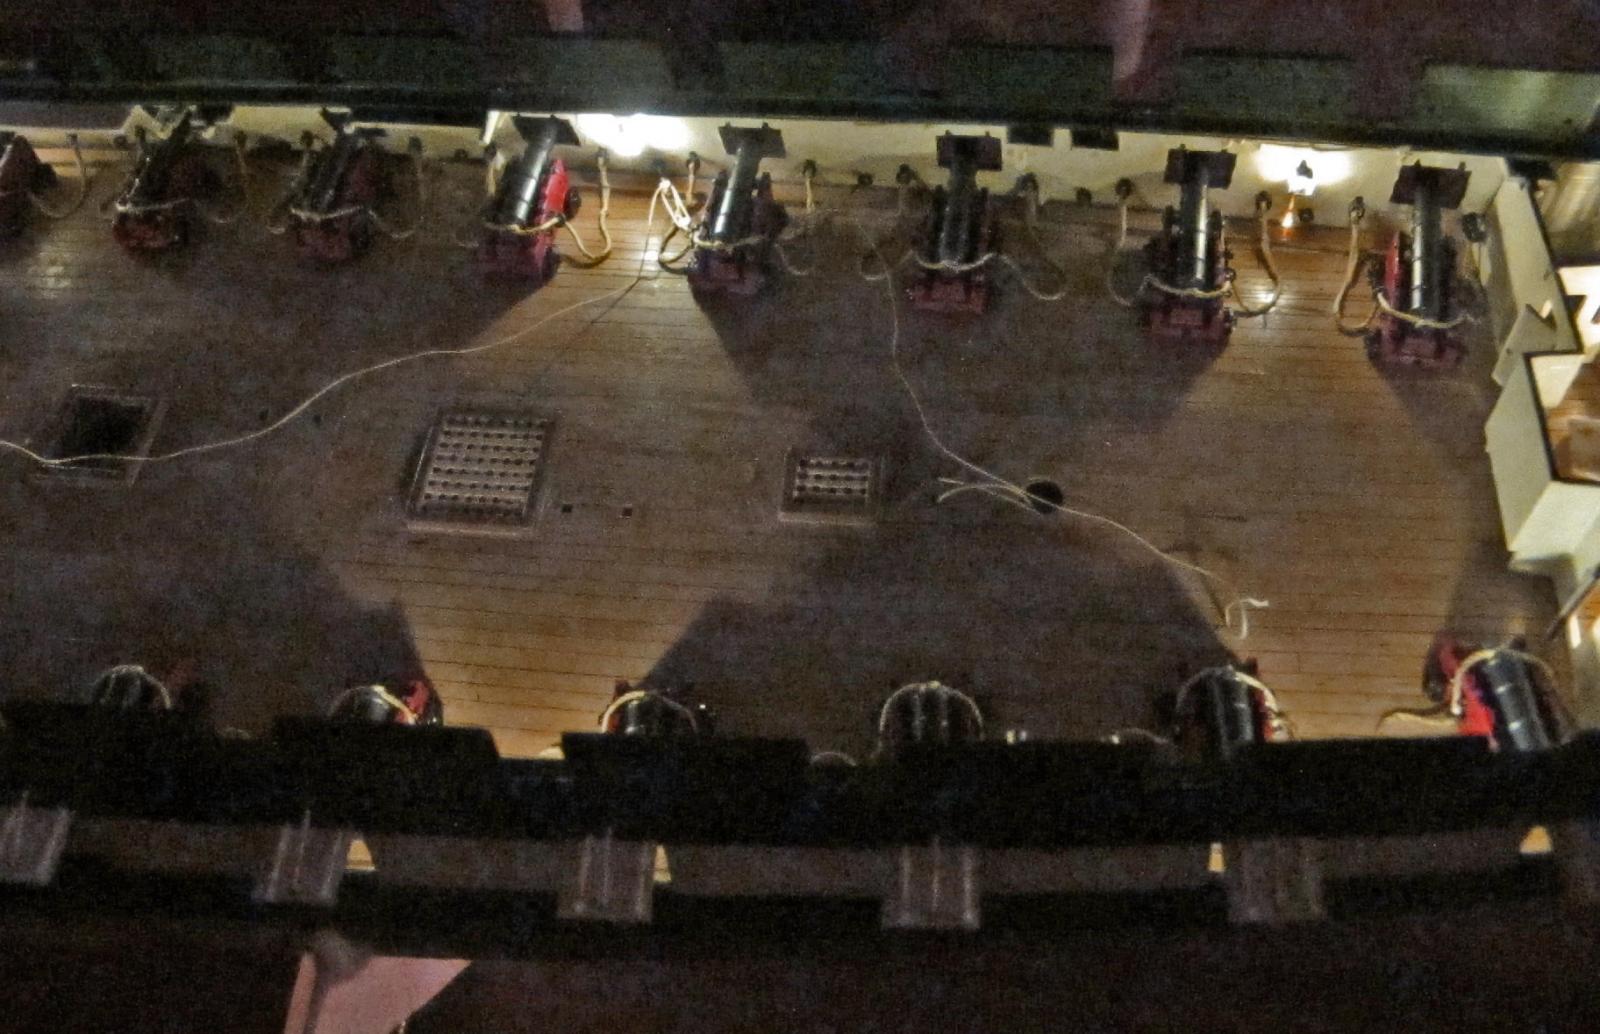
Shhh...I got museum photos...
-
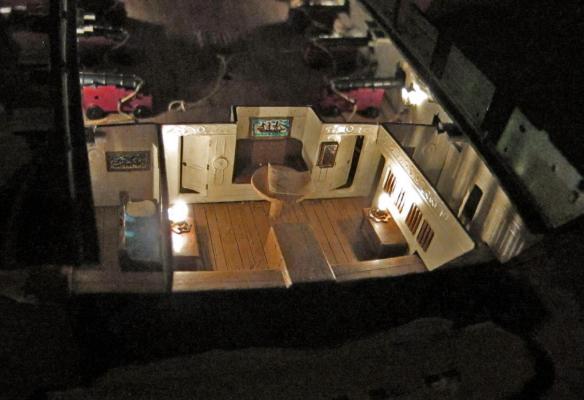
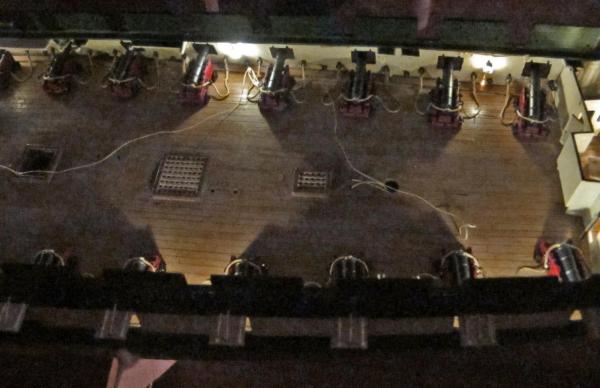
This pic is with the lower power light. I am still waiting for my 1100 lumen bulb in the mail.
-
I also took some 'night' shots. These were difficult to print but hopefully you can see some of the lighting effects. Hey Verne - check out the chart


- 601 replies
-
- 3
-
-
- constitution
- revell
- (and 1 more)
-
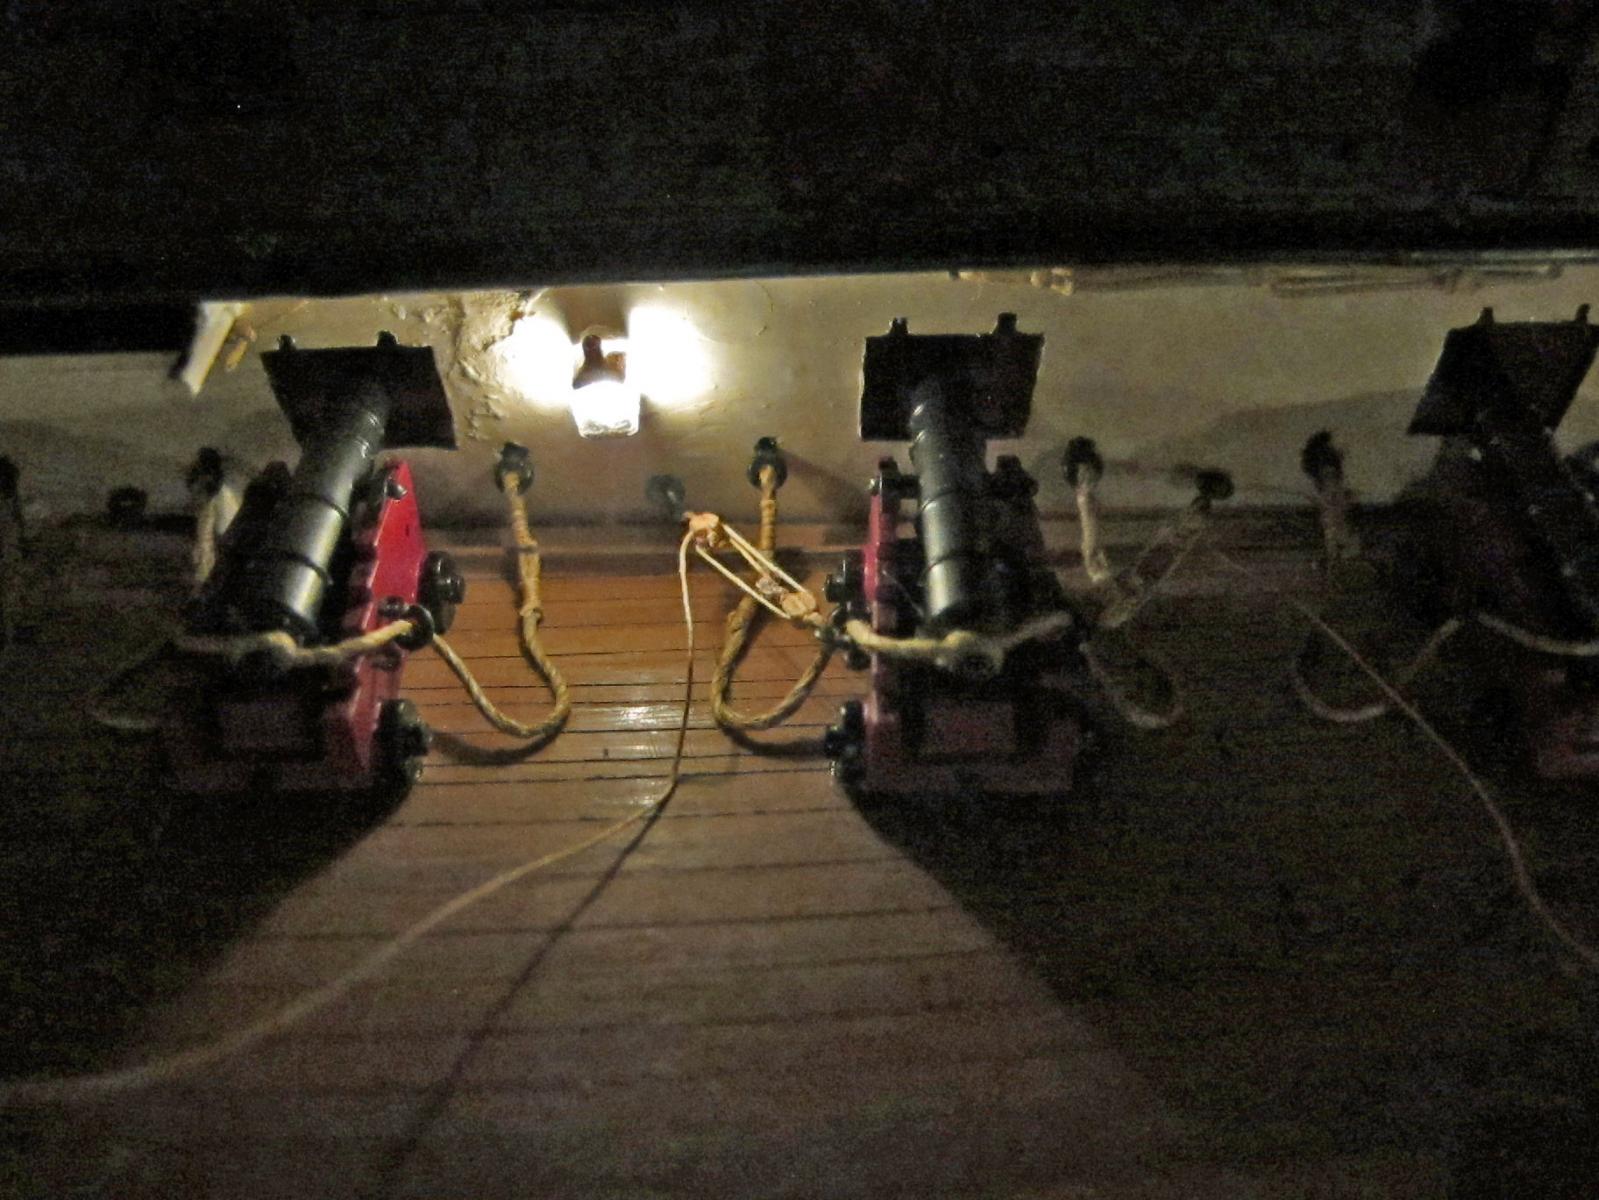
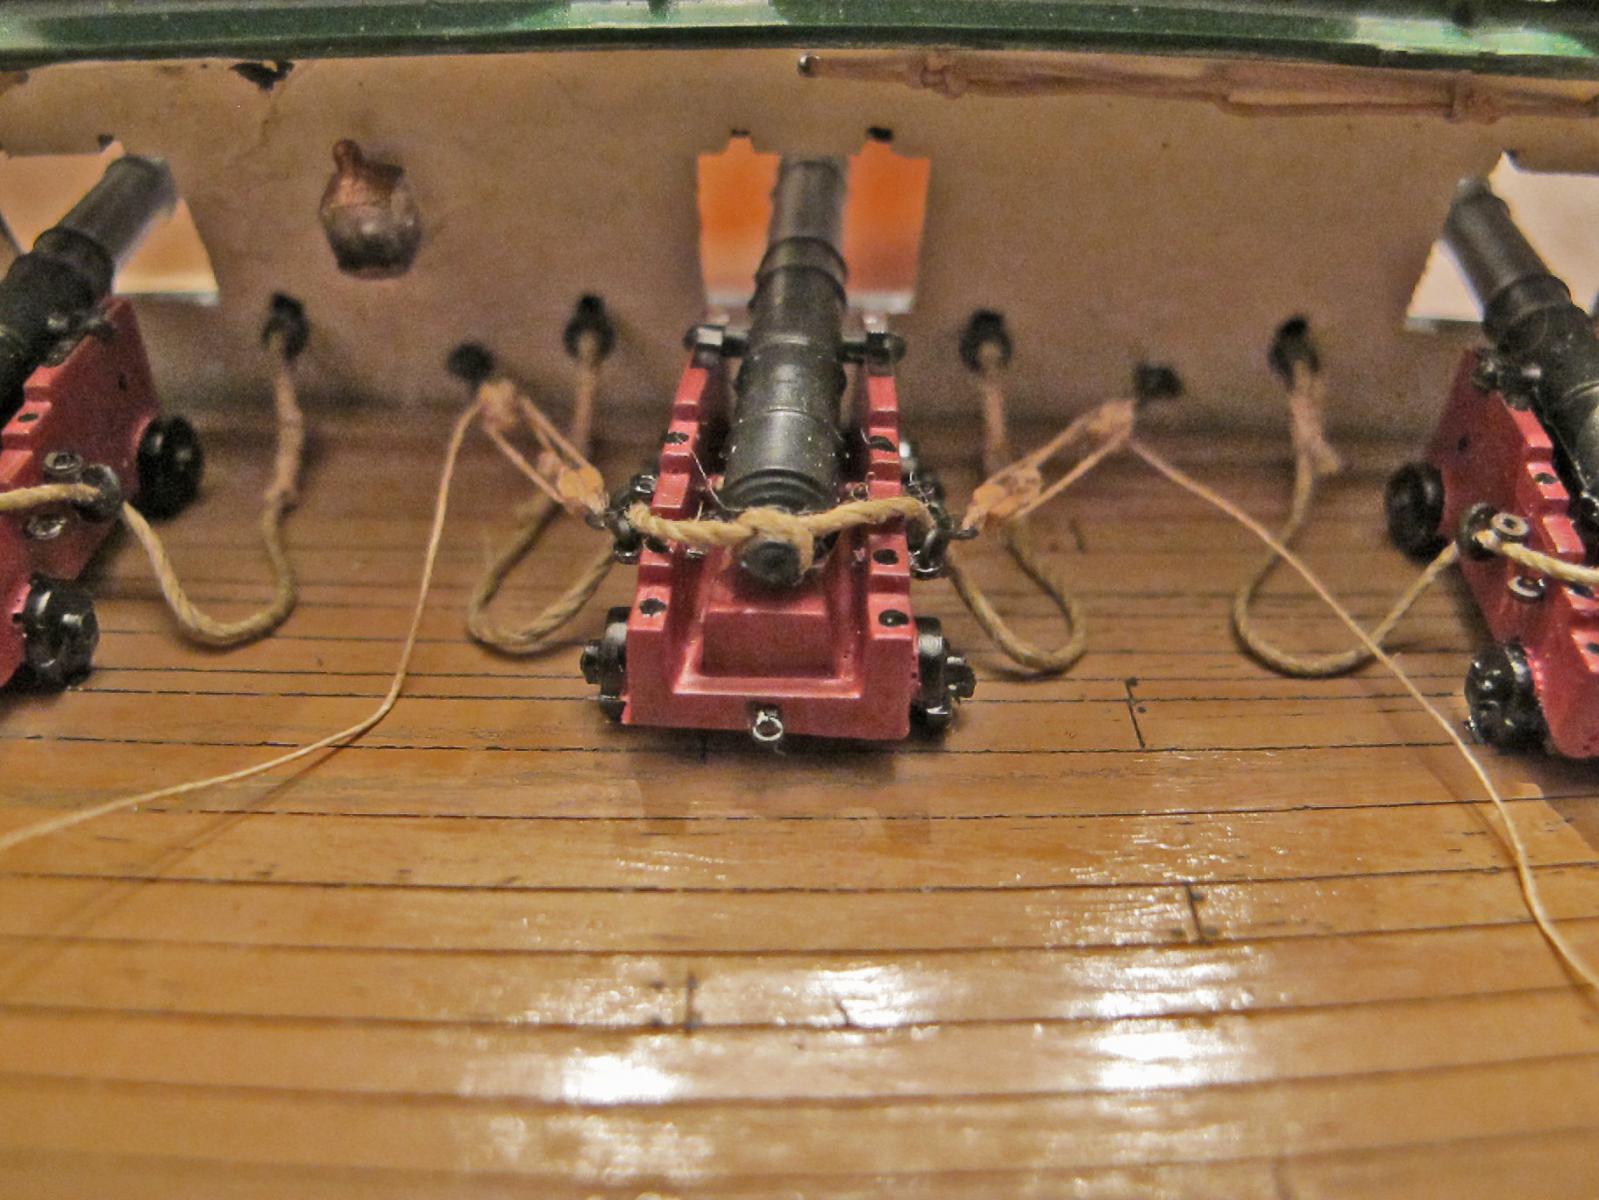
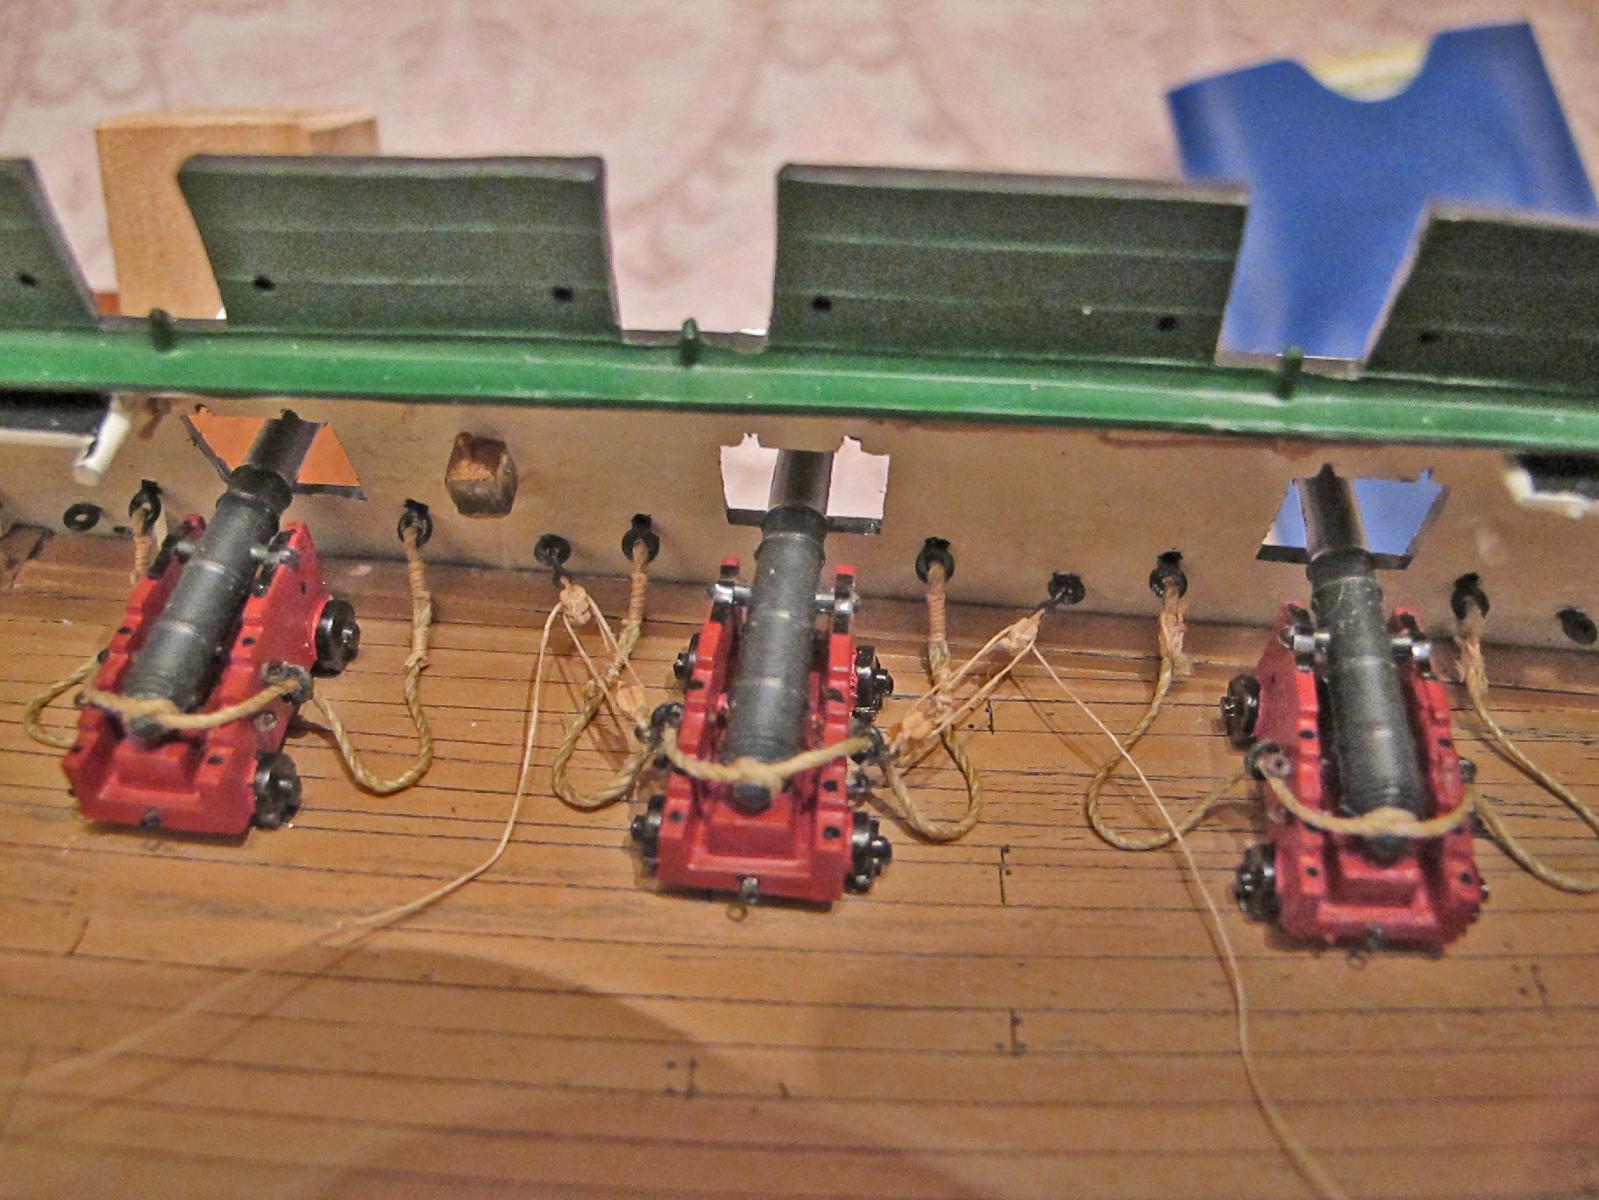
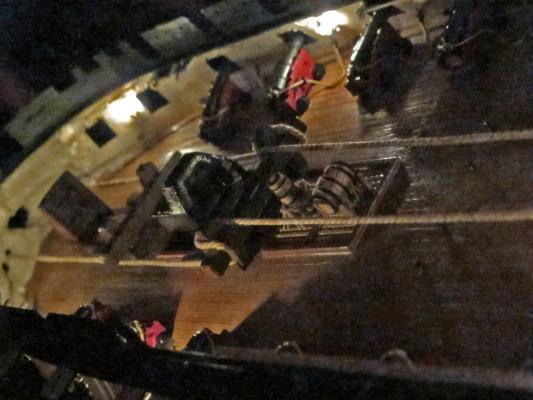
The prototype tackle gun is complete. I am not happy completely but am uncertain as to why. I could not get the lines to 'droop' with a gravity effect because the line just loosened up and looked ridiculous. So here it is tightened up but before the lines are coiled at their ends. Thoughts or suggestions anyone?


- 601 replies
-
- 1
-
-
- constitution
- revell
- (and 1 more)
-
Actually any of the topside deck furniture (wheel, bell, camboose stack, etc. ) would be great. They were covered due to rain when I was aboard. Thanks John. Have fun.
-
Verne: these are very small and tricky areas to paint. I remember using a very sharp no. 11 knife to gently tease away over-paint on the scrolls, transom, and quarter galleries. It took several weeks before I decided I could do no more good without causing even more bad.
-
Just caught up Len. I love those carronades. The ring bolts are amazing. When I get to that on my spar deck I'll be referring back to your build for reference.
-
Yes John as I recall it did take a little bit for him to get back to me. I believe he called just as I arrived into the Boston area. I hope you guys can get together for the Connie tour. Enjoy Boston.
-
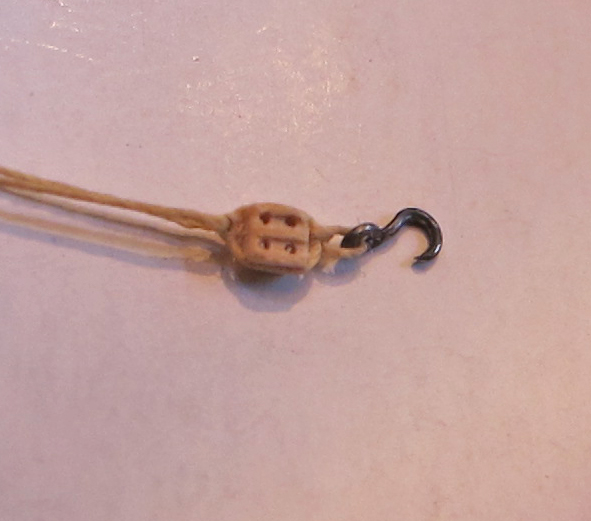
I posted this on another thread but wanted to add it to my build log. The prototype block and hook were completed today. This shows a double 2mm block with becket and hook which will be used on the gun tackle. The process is fairly reproducible and has a fair result. Just to give you an idea of the size here the block rope is the same size used to seize the canon breeching (see pics ion previous pages.)

- 601 replies
-
- 4
-
-
- constitution
- revell
- (and 1 more)
-
I finally got around to trying my hand at these blocks. I took Henry's and Janos idea and tried a jig. I used wire from a wire wheel - about an inch long but fairly small diameter and strong. I placed 2 of these side by side in a maple miter box turned upside down then a larger wire behind them for the becket. I'll get some pics up of the process used but for now here is a pic of the prototype.

-
I am currently making a light box for the lanterns Verne. I have not perfected it yet but I think it will work well. The candles in the great cabin really light up the room well because they are close together. In my dry run tests they really allow the detail in the cabin to be seen. I am not as happy yet with the gun deck. But I am also not done experimenting. That is partly why I have not posted any updates for a while. Concerning the furniture: I know one member of this forum used HO scale model train furniture. In the pics it looked pretty good. Is that copper tape on your hull or do I need better paint?
-
Did not know that Evan...thanks. Welcome back BTW. Your build log seems to have moved along just fine. :) :)
-
Those pumps look nice Verne. I believe they were redundant because the 'new' hand siphon style pumps were, in fact, new. They could pump water on the up and the down stroke of the handle. They may have not worked out that well because not much is mentioned of them later in history.
-
John: I am sending you a private message with Henry's phone number. And thanks for the offer of the pics. I'll let you know.
-
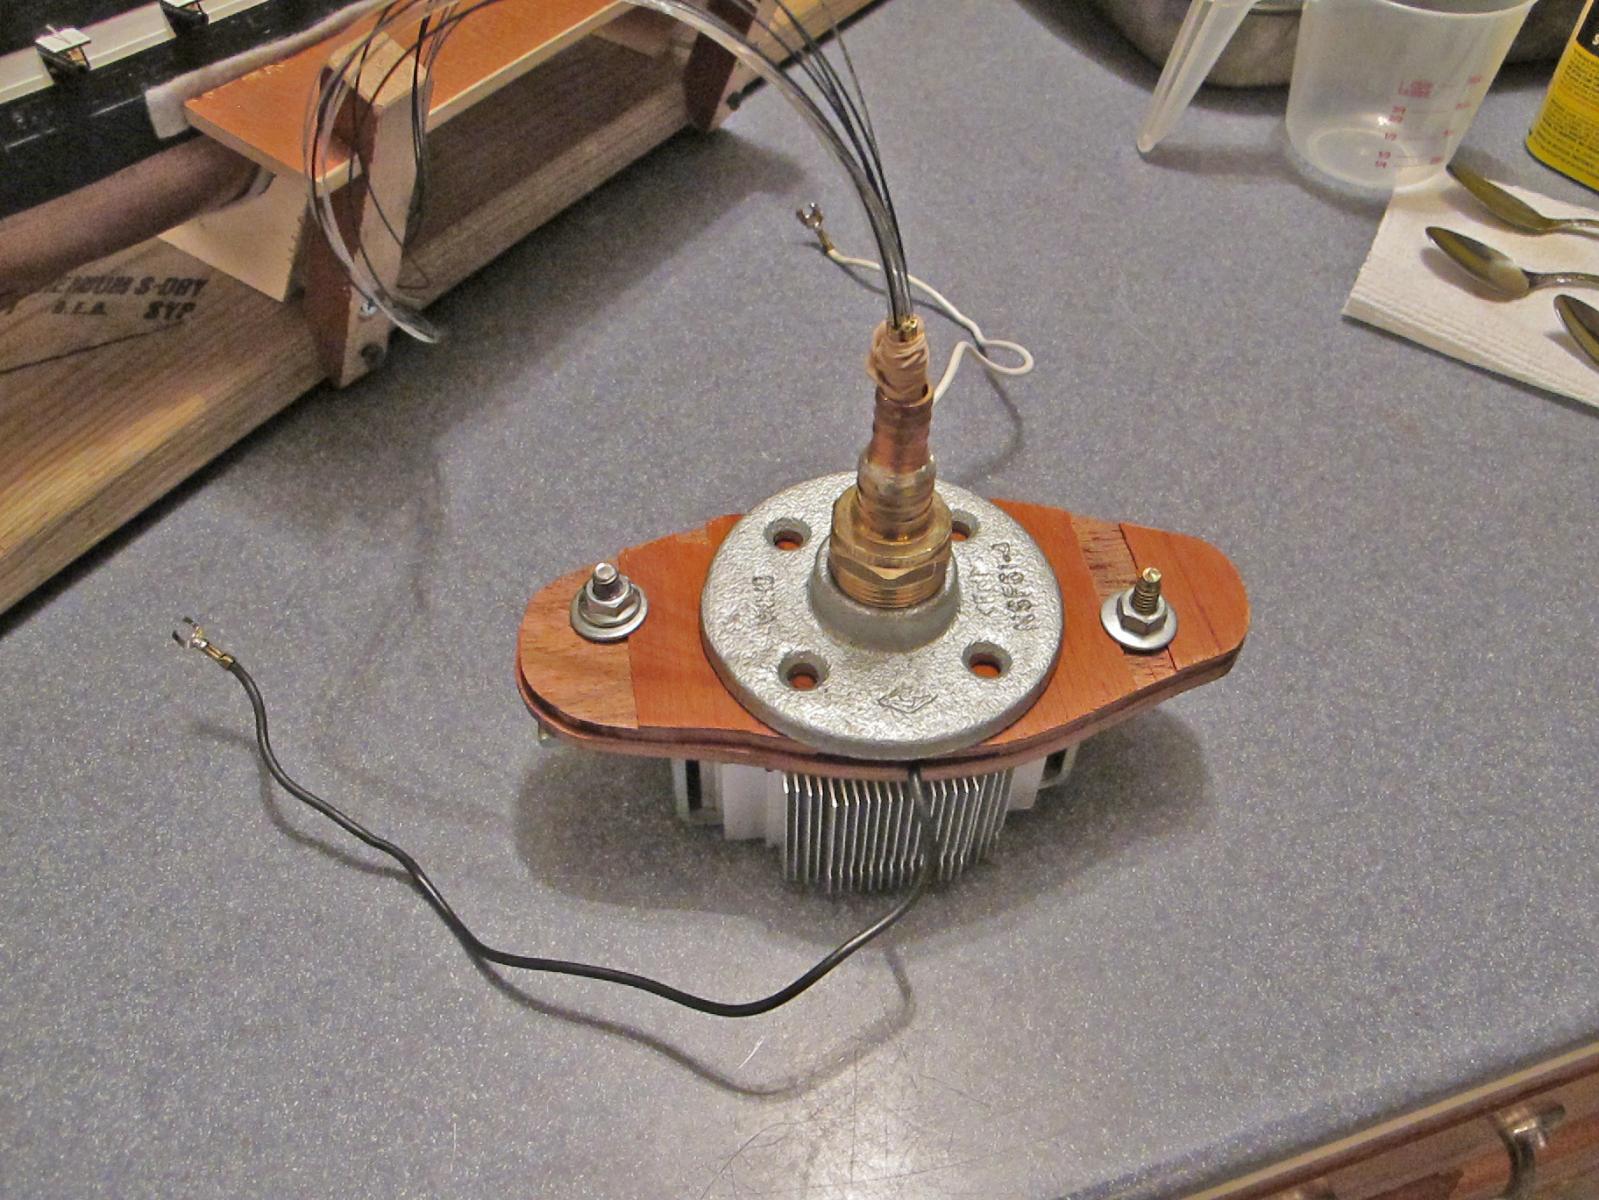
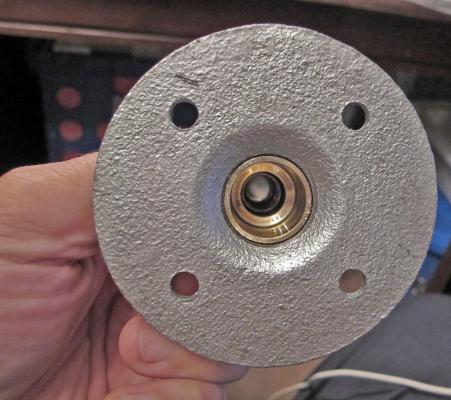
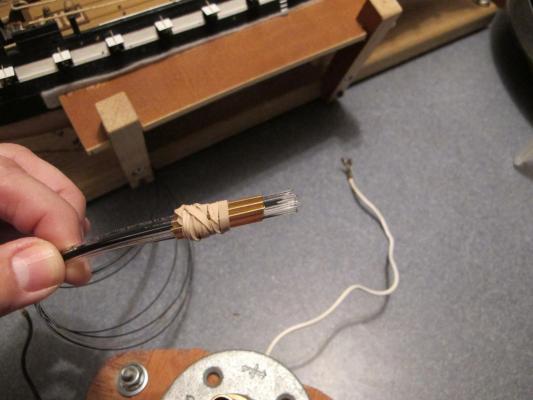
I am enclosing the LED in a housing that focuses the light toward the optic fiber. I made it from some scraps around the house - a little brass and copper. I had some brass micro-tubing left from the camboose floor so I put that to use in 3cm sections to guide the optic fiber straight from the 'muzzle end' of the housing. It is just a mock up right now but the principals should not change. The experimental mock up. Crude but effective. The housing from the bottom. The brass micro-tubing on the optic fibers. Together for now with rubber bands! Obviously - still a work in progress.


-
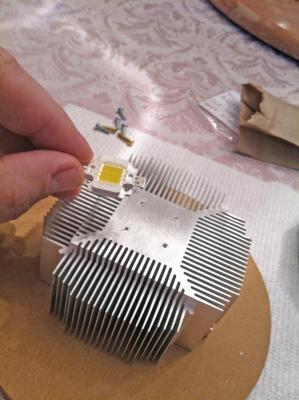
10.8 watts Mark. 600 lumens. The chip gets hot so the heat sink is needed to dissipate the heat. It was not that hard to make it from the CPU computer heat sink and it was free. It worked a lot better than the can type LEDs on my test tonight with the optics but it is still not quite what I wanted. The next LED to test is the 1100 lumen 10 watt chip I bought on Ebay for about $2. It is still in the mail. If I can find a simple convex lens I am going to try to focus the light to the optic but that may be a little to far to go. The light the LED produces is cool (no infrared). Very little transference of heat to the optics. It all goes into the heat sink. I'll get a pic up tomorrow of the simple lamp enclosure I made for testing - Mark: Thanks for edging me toward this part of the project. I was going to do it last in the build. But I can see that would have been a mistake as bugs really need to be worked out at this stage.
-
I love that chart Verne. I have to try that.
-
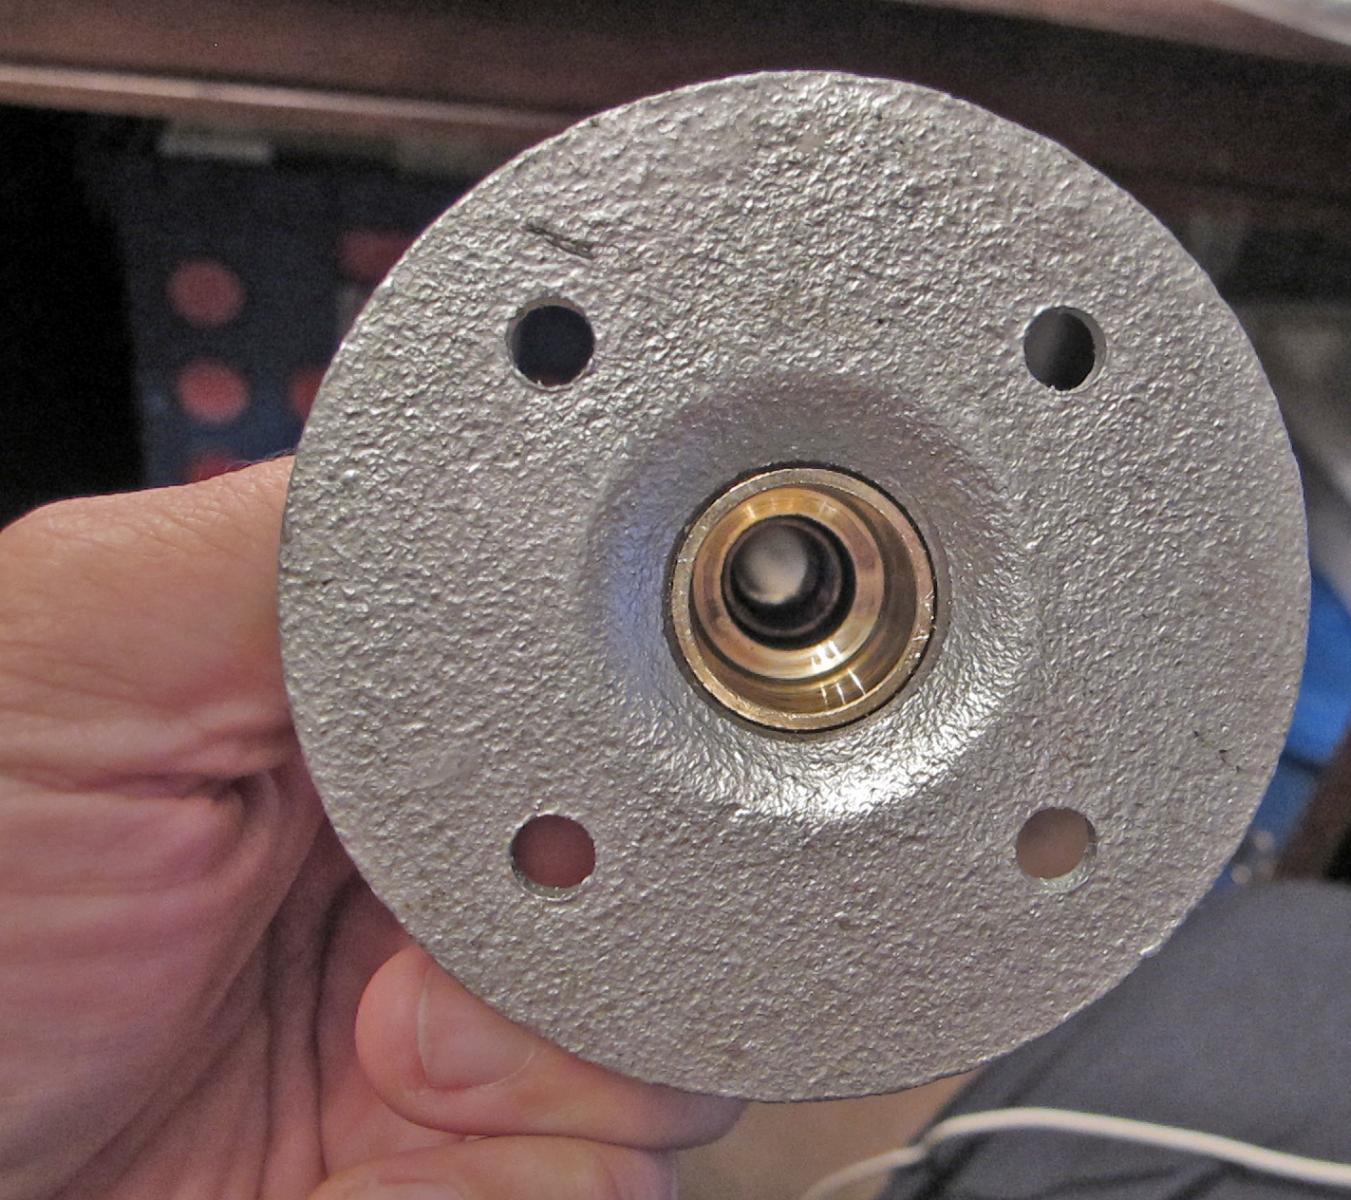
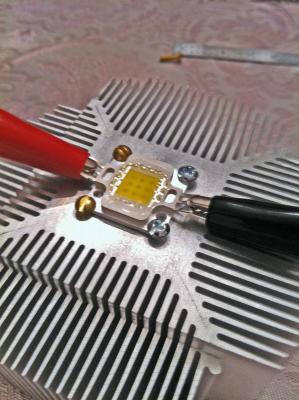
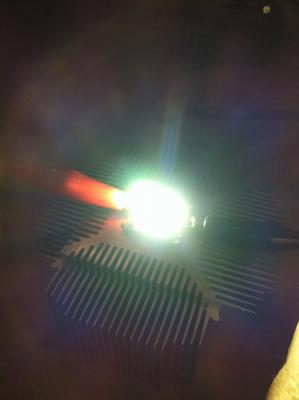
The high power 600 lumen light source was heat-sinked today and the chip stayed cool while running. Tonight I will enclose and test it. In principle it should work but as a back-up I bought an 1100 lumen bulb on Ebay a few days ago. The heat sink after drilling and tapping (I got this from a computer store - it is an old heat sink for a CPU - which they gave to me). I used brass 4-40 3/8" machine screws for the positive side of the chip and silver for the negative side. It lit up very well with power from the wall transformer.
-
rommoz: check out Andymech's log as well. Hey; has anyone seen Evan lately on his build log? :)
-
Yes. I did not think about printing some paintings for the gallery. My 'artwork' is fine from a distance. Up close - not so great.
-
A quick update: the 'can' type LED's were not bright enough at 2 watts each OR the glass lens prevents their getting close enough to the light source so I am now moving onto the 10 watt array. I will cool it and place it into an enclosure. I'm already thinking of how....I'll further update when it is finished.