HOLIDAY DONATION DRIVE - SUPPORT MSW - DO YOUR PART TO KEEP THIS GREAT FORUM GOING! (83 donations so far out of 49,000 members - C'mon guys!)
×

juhu
-
Posts
267 -
Joined
-
Last visited
Content Type
Profiles
Forums
Gallery
Events
Everything posted by juhu
-
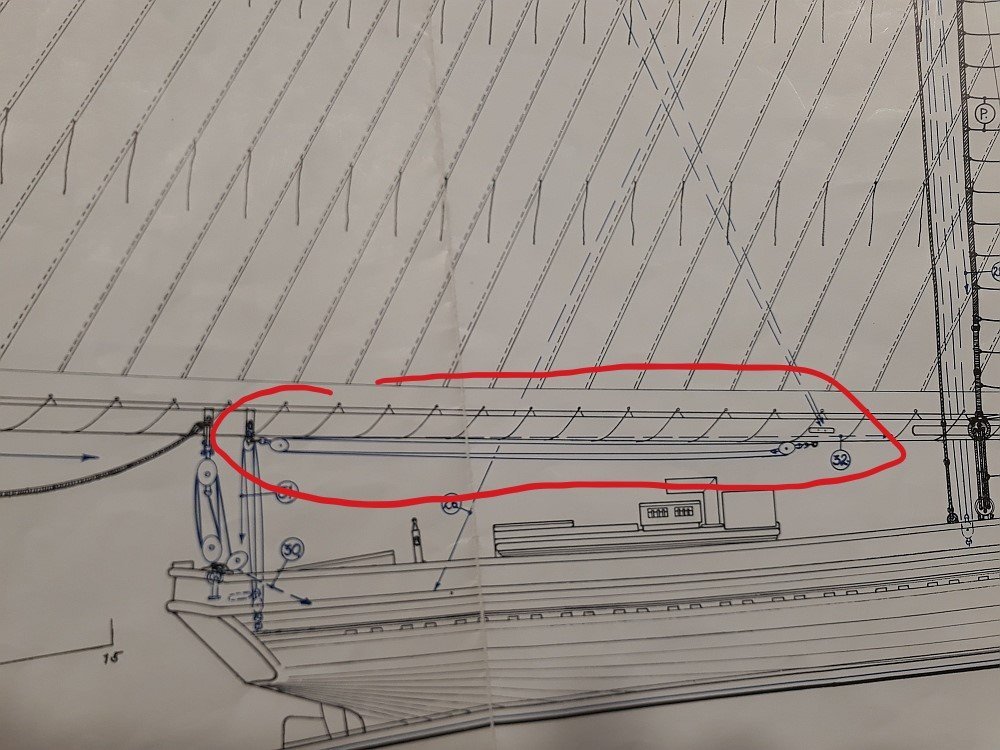
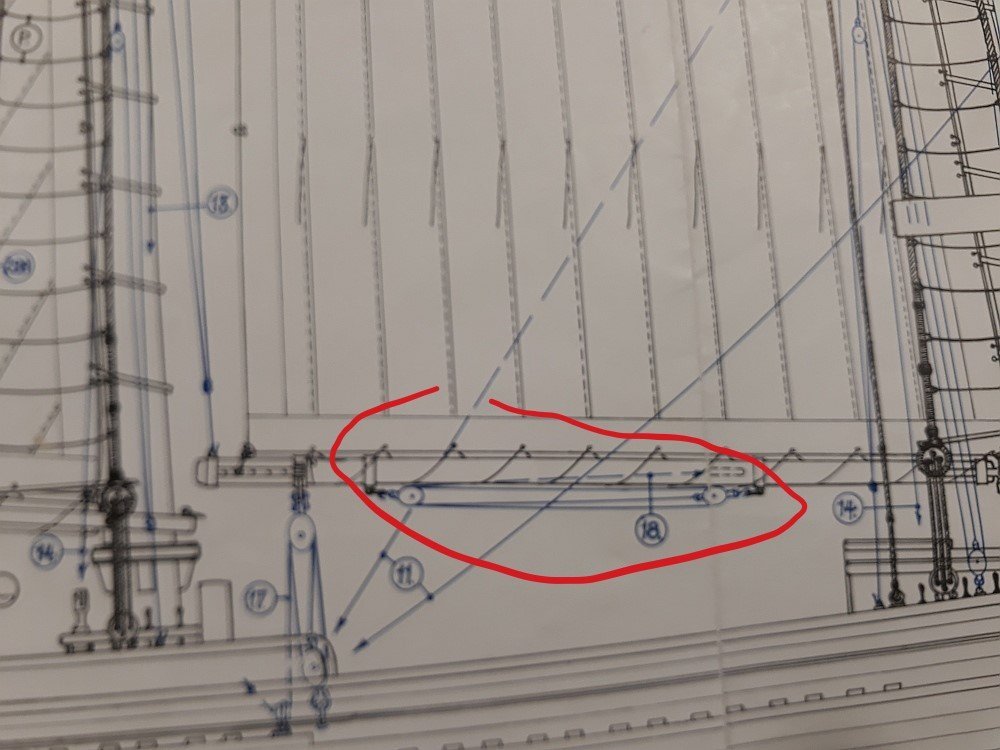
Greetings, while building BJ's Gloucester fishing schooner "Smuggler", I have come across rigging part called boom tackle. Before posting this question, I have searched and found this thread ( ), still I am not sure: What is actually the purpose of this? If I look into the plans, the whole thing is just attached to the boom, no connection with sail in any way. As such it seems to me like completely independent stuff, not usable at all. From my short yachting experience, I could imagine some lines that would go from the boom down to deck or rails to fix the boom while sailing, preventing it from "running" unexpectedly to the other side. But here the plans show the ship under full sails and the tackles are just hang with both ends from the bottom of the boom. Thank you for any help / explanation.
-
 Just a small addition: moved up to the masts. Topmasts being prepared with the help of lathe (the fore one already done). The bottom section is square-profiled, which makes it a bit tricky for me as a lathe-novice, but doable. I think there will some break in this thread now - will come back once the masts are more complete...
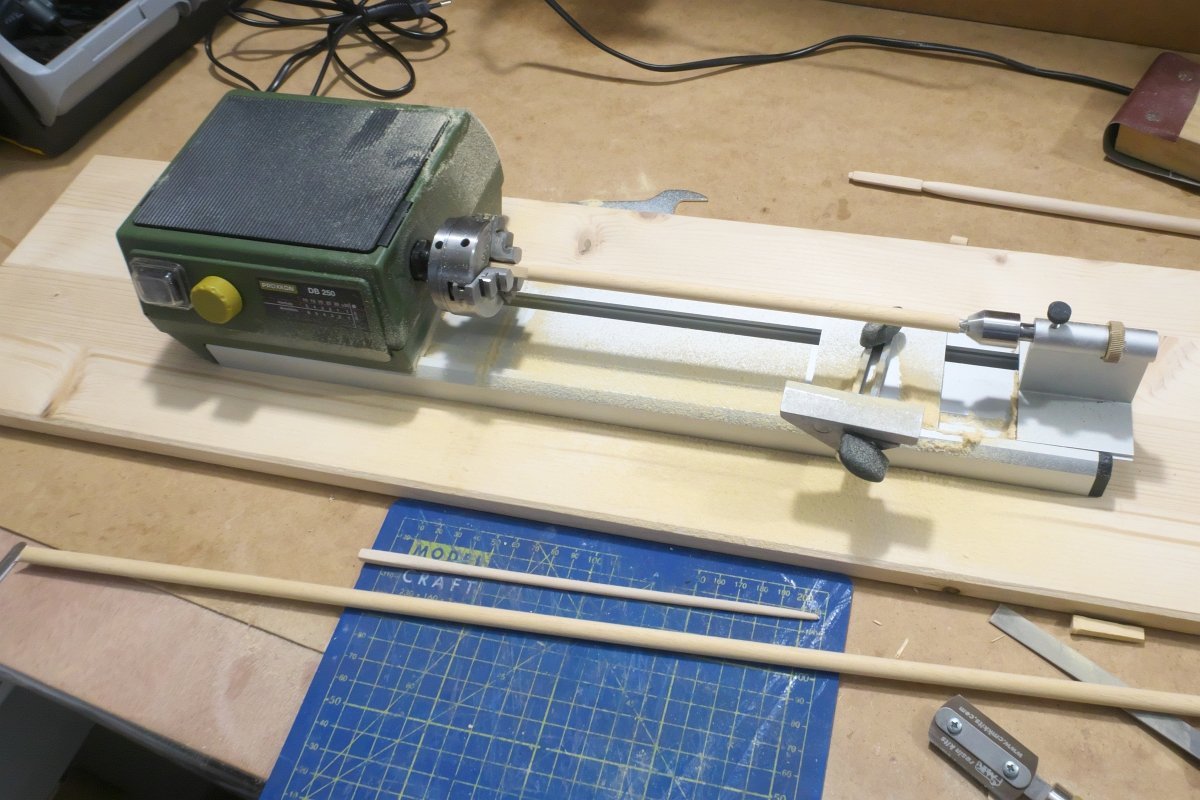
- 104 replies
-
- 1
-

-
- Bluejacket Shipcrafters
- smuggler
- (and 1 more)
-
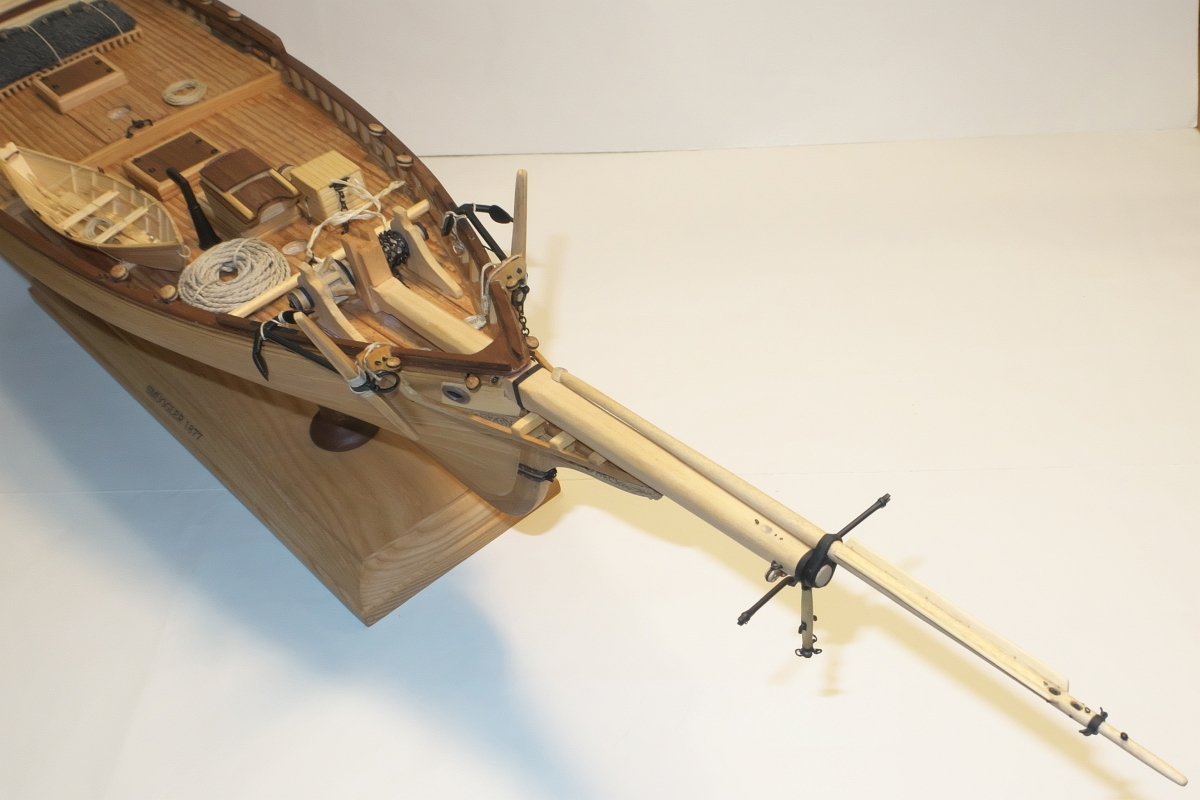
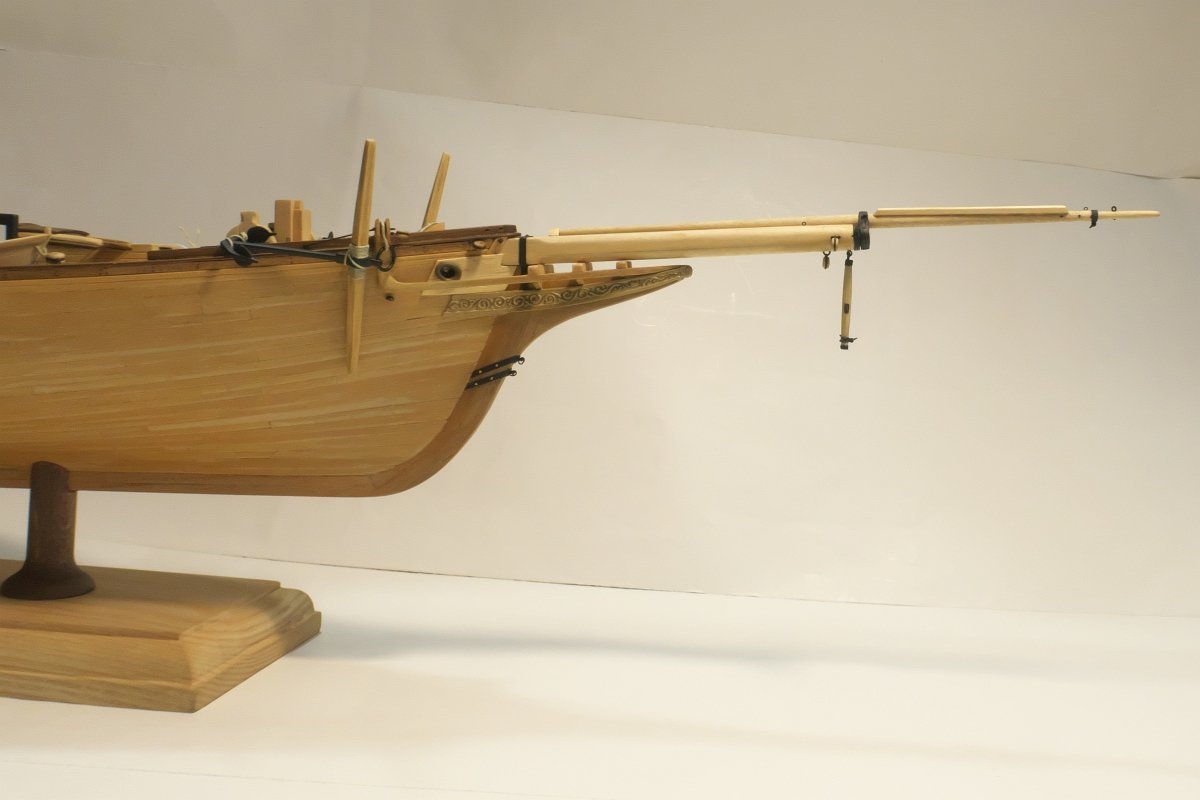
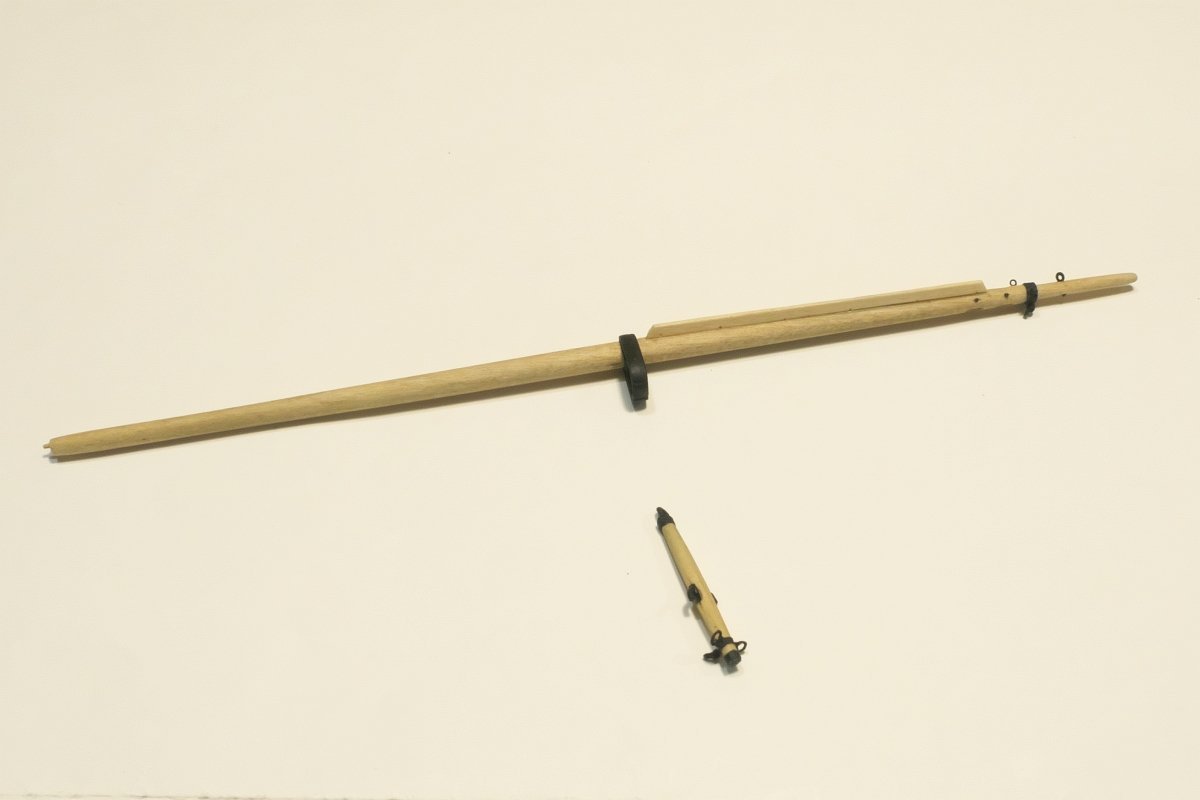
Greetings, posting some small progress after a while... Moved fore and made bowsprit and dolphin striker. I again opted with the latter one not to use the provided metal casting, but rather tried to make one from some spare wood. Fiddly little piece with all that bolts and rings made me some headache... Both parts dry fitted only. I am a bit hesitating to glue particularly the bowsprit. The glued spreaders making me little bit nervous, but with the bowsprit I see even more risk of damage. Probably will wait till the masts are attached.
- 104 replies
-
- 5
-
-

-
- Bluejacket Shipcrafters
- smuggler
- (and 1 more)
-
I have been making slow progress on Smuggler for more than a year. It used to be a pleasure and nice refresh after work time and a way how to learn a lot of history and craft techniques. Today though, it is hard to feel the joy. There is a war in neighboring country and I feel somehow ashamed that even with all the unrest in mind, I could still enjoy the hobby in peace while the people there are losing their homes and lives under terrible aggression. Thank you all the visitors of this thread and for all the support I have received from you. But now I would like to dedicate all the likes and thoughts to the brave people and brave country. Just a symbol, I know, but thanks to all who join.

- 104 replies
-
- 9
-
-

-
- Bluejacket Shipcrafters
- smuggler
- (and 1 more)
-
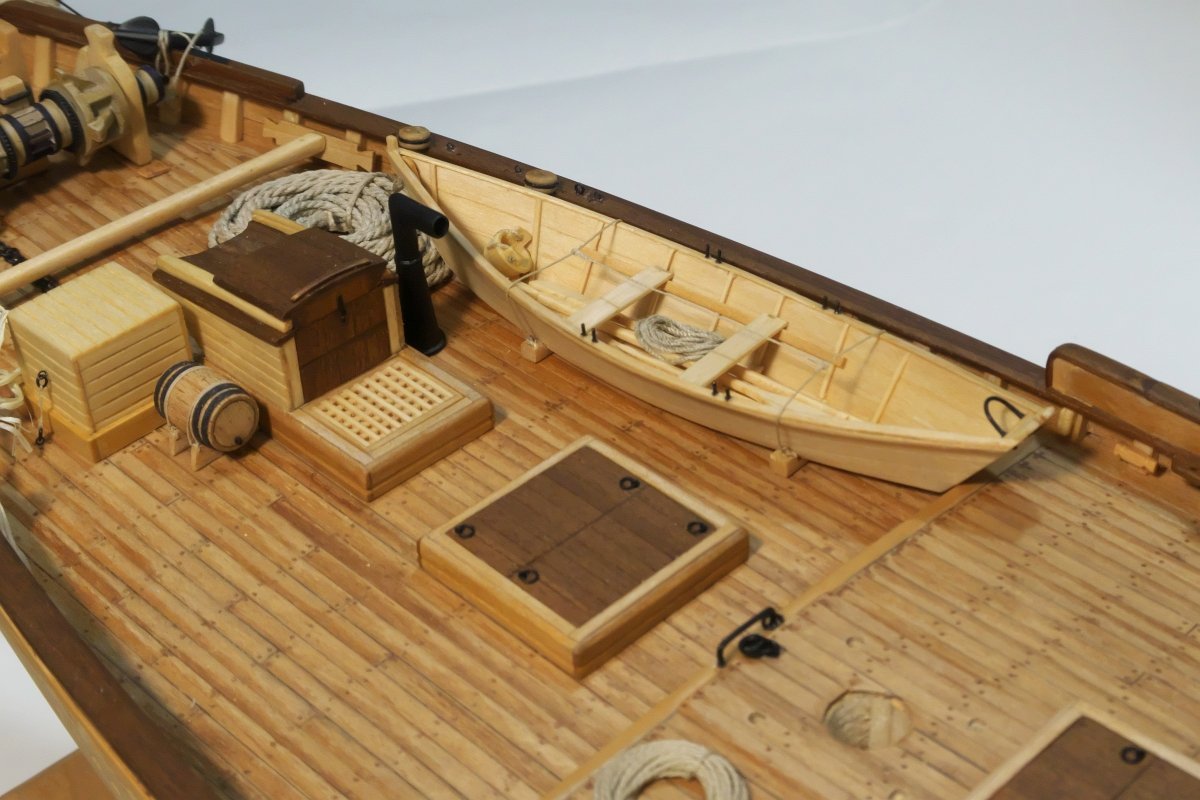
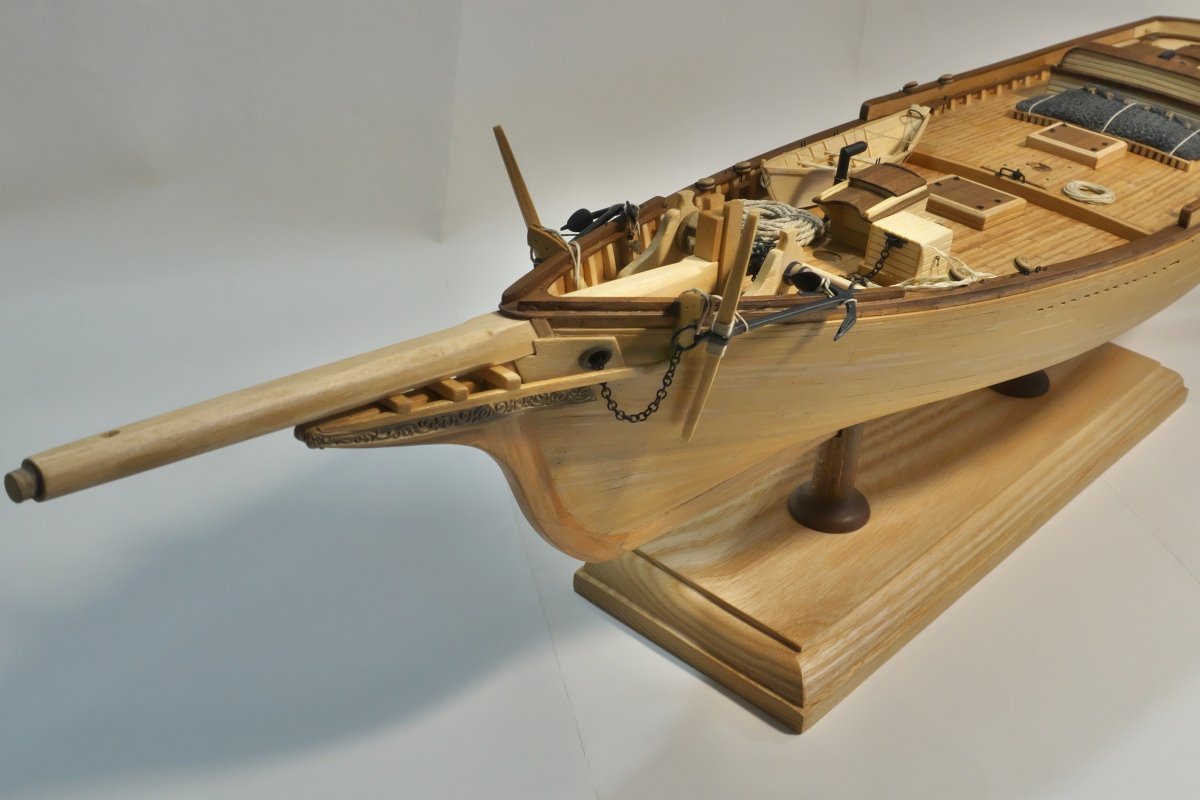
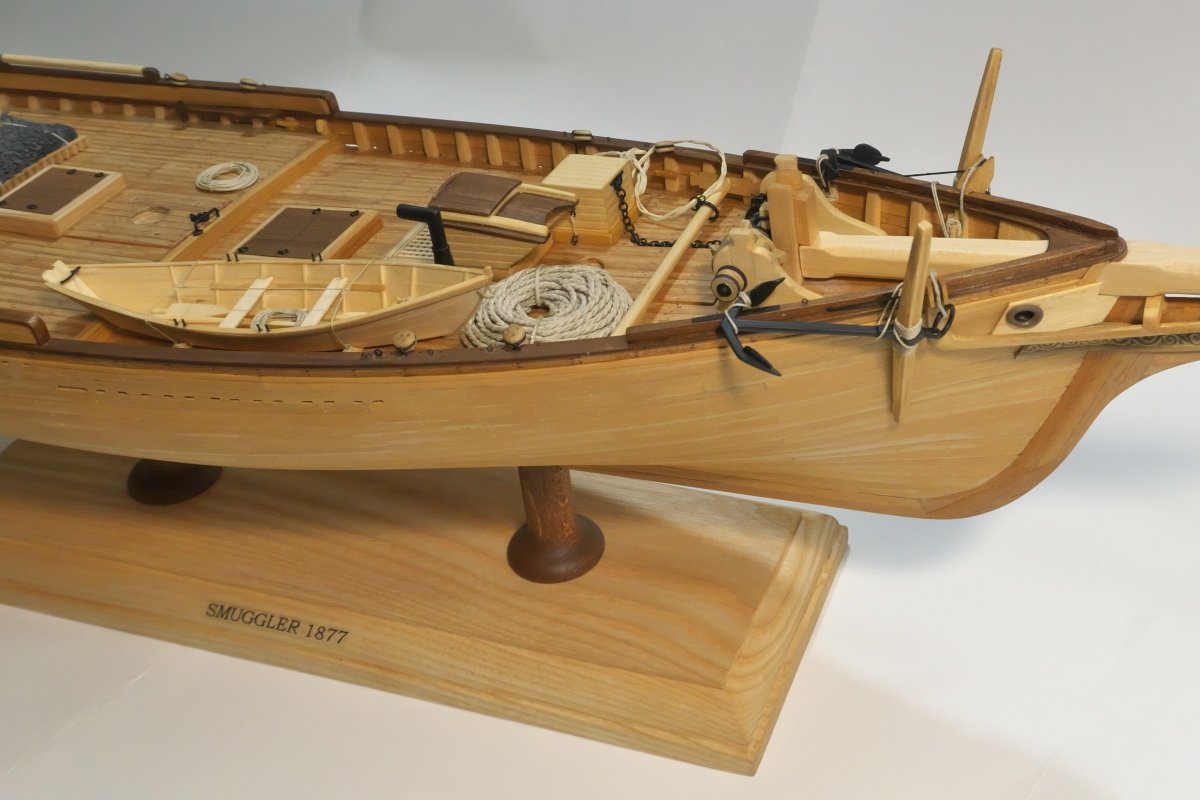
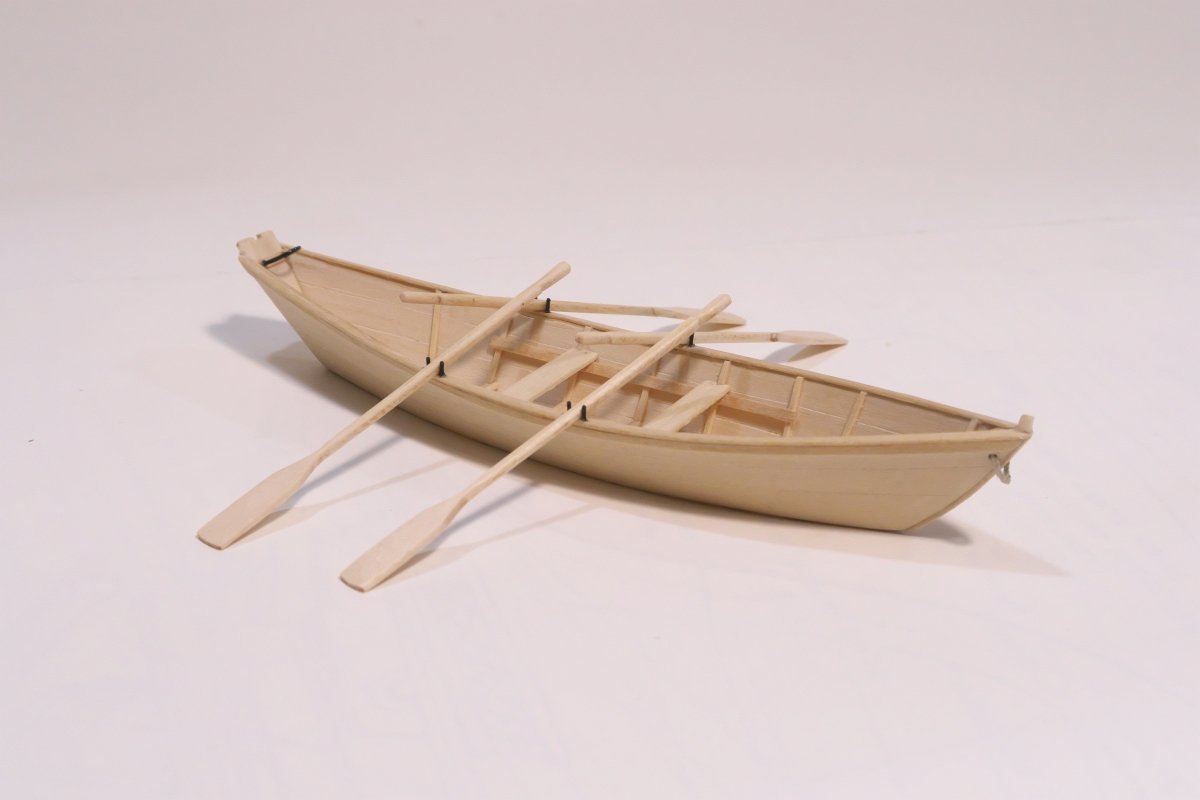
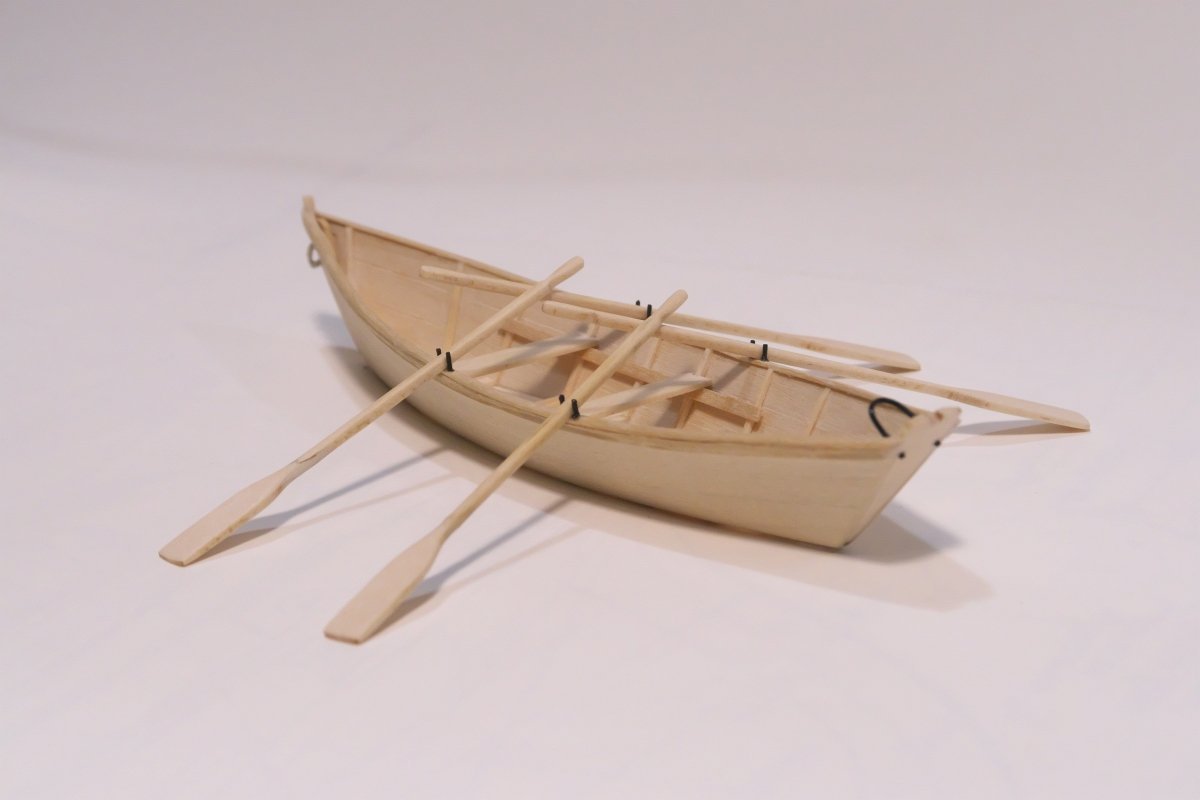
Hello again. Dory is finished and secured in her cradle on the deck, added chain plates and attached anchors. If did not forget something, I shall consider the hull as done and investigate carefully, what is rigging about and where actually to start with it...
- 104 replies
-
- 7
-
-
-
- Bluejacket Shipcrafters
- smuggler
- (and 1 more)
-
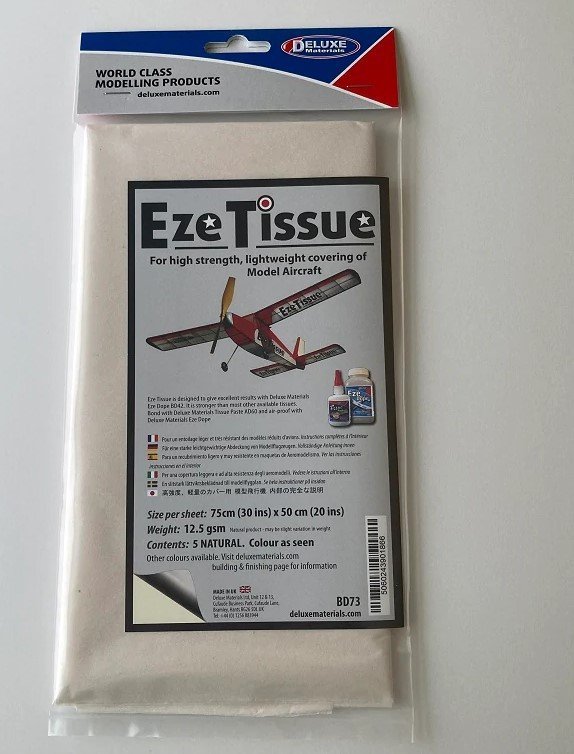
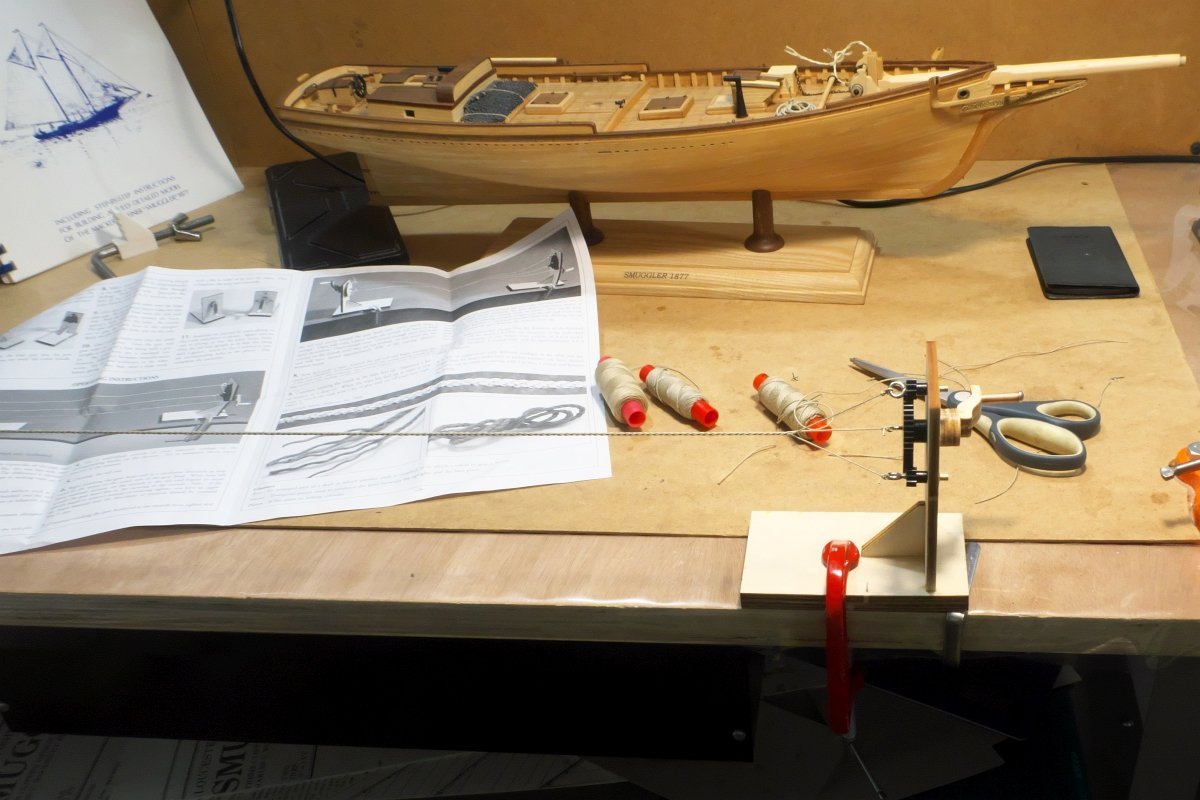
Hi Nirvana, thank you. Am so far happy with the progress and appreciate all the support from here - being my first wooden model ship, it always gives me the additional boost for further progress! As for sail material, I have recently purchased this. It looks very finely structured, also the color I believe is more realistic than usual white. Will see, how it would suit:
- 104 replies
-
- 2
-
-
- Bluejacket Shipcrafters
- smuggler
- (and 1 more)
-
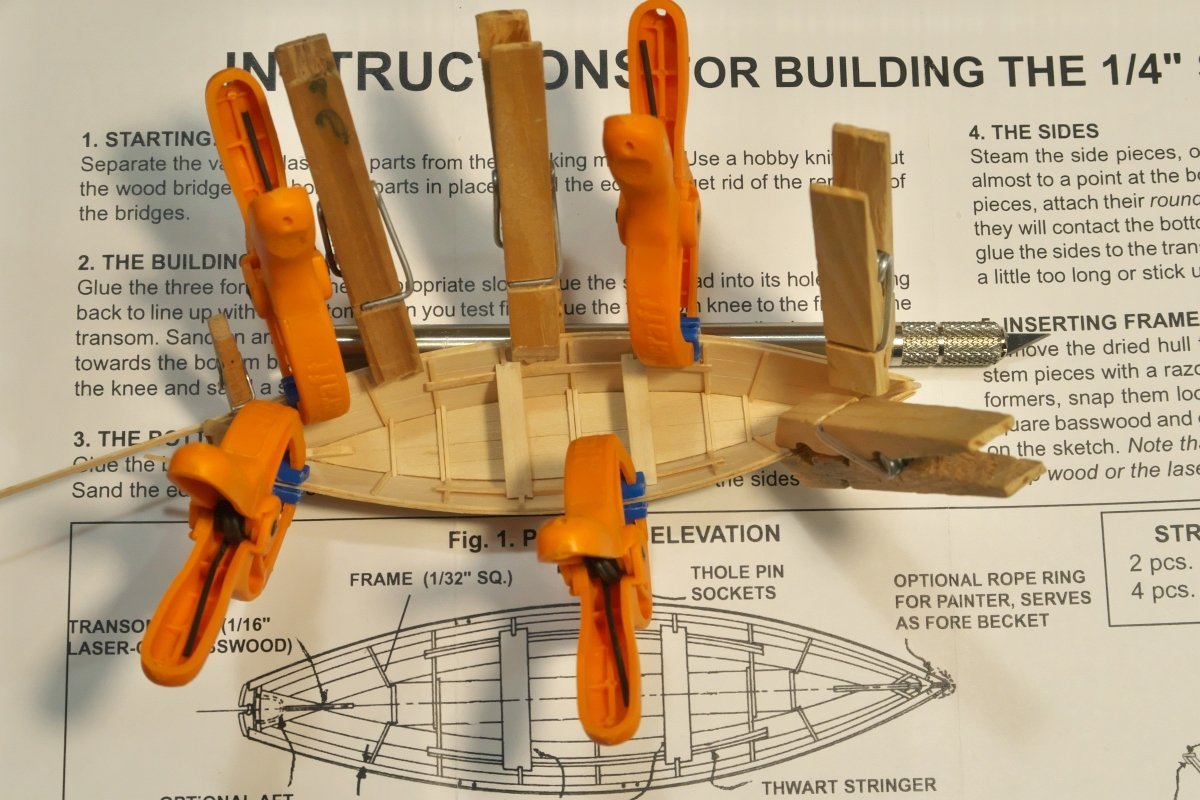
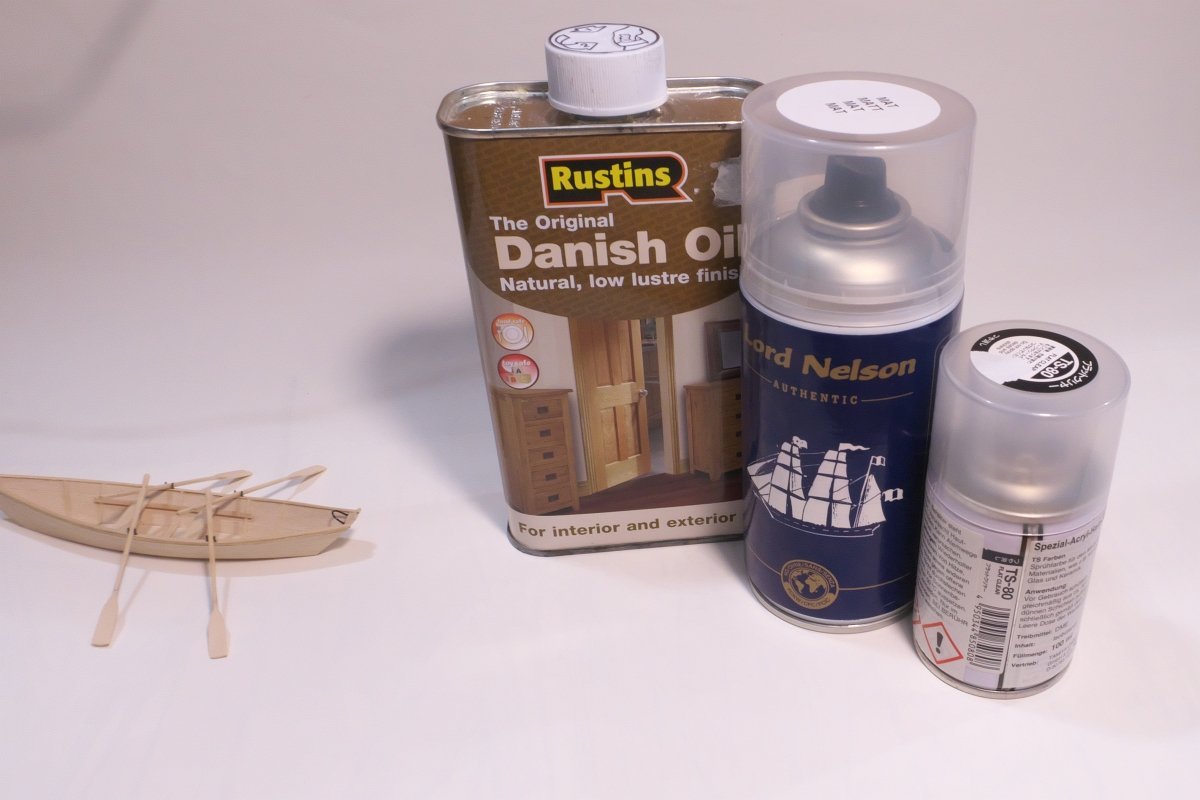
Hi all! Another update, the work on dory goes on... Almost there... Time to employ little bit of chemistry to make the thing "alive"
- 104 replies
-
- 6
-
-
- Bluejacket Shipcrafters
- smuggler
- (and 1 more)
-
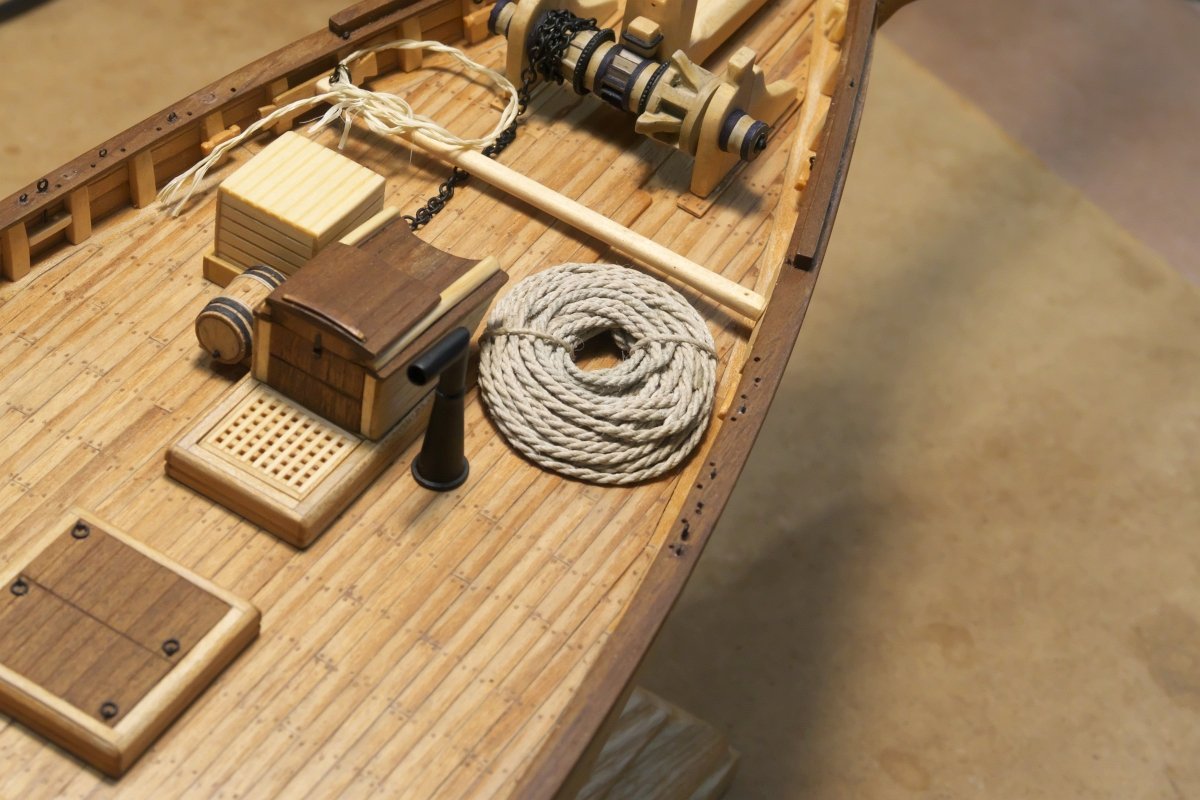
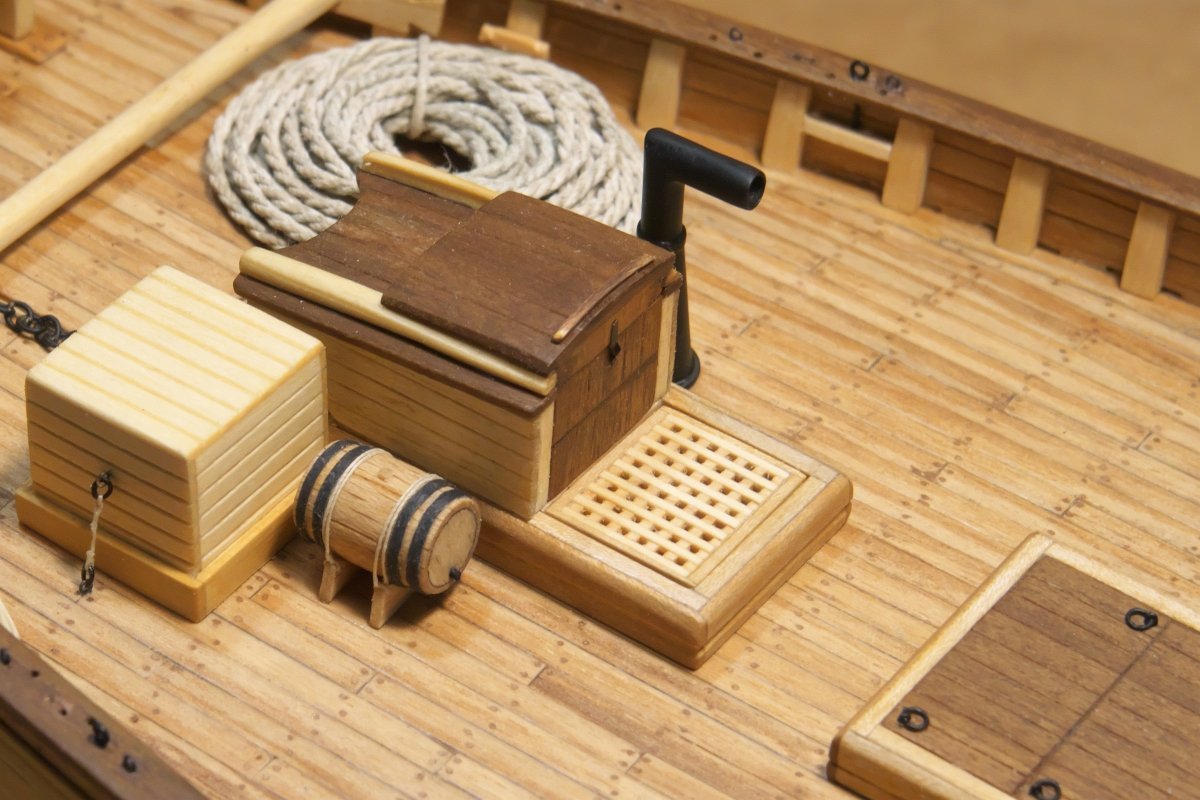
Thank you Bob and as well thanks to all encouraging likes. Here show goes on. I carry on with steering gear housing: I also start to play with rope walk. Real fun to use. I enjoyed it so much , that I decided to place a final product on the ship. Originally I did not intend to, supposed seasonal mackerel seiner had probably both anchors operated by chain, but I could not resist . After all, am sure I have so many other mistakes in my build, that this additional historical inaccuracy will not harm. And as said, for full season vessels, the hemp cable for the starboard anchor is authentic and appropriate, so what Once done, I have added some small details to make the ship more "alive". And started to work on a dory boat.
- 104 replies
-
- 7
-
-
- Bluejacket Shipcrafters
- smuggler
- (and 1 more)
-
Thanks for all the hints - I think based on all the findings, will take the minimalist approach, maybe just a water cask, will see
-
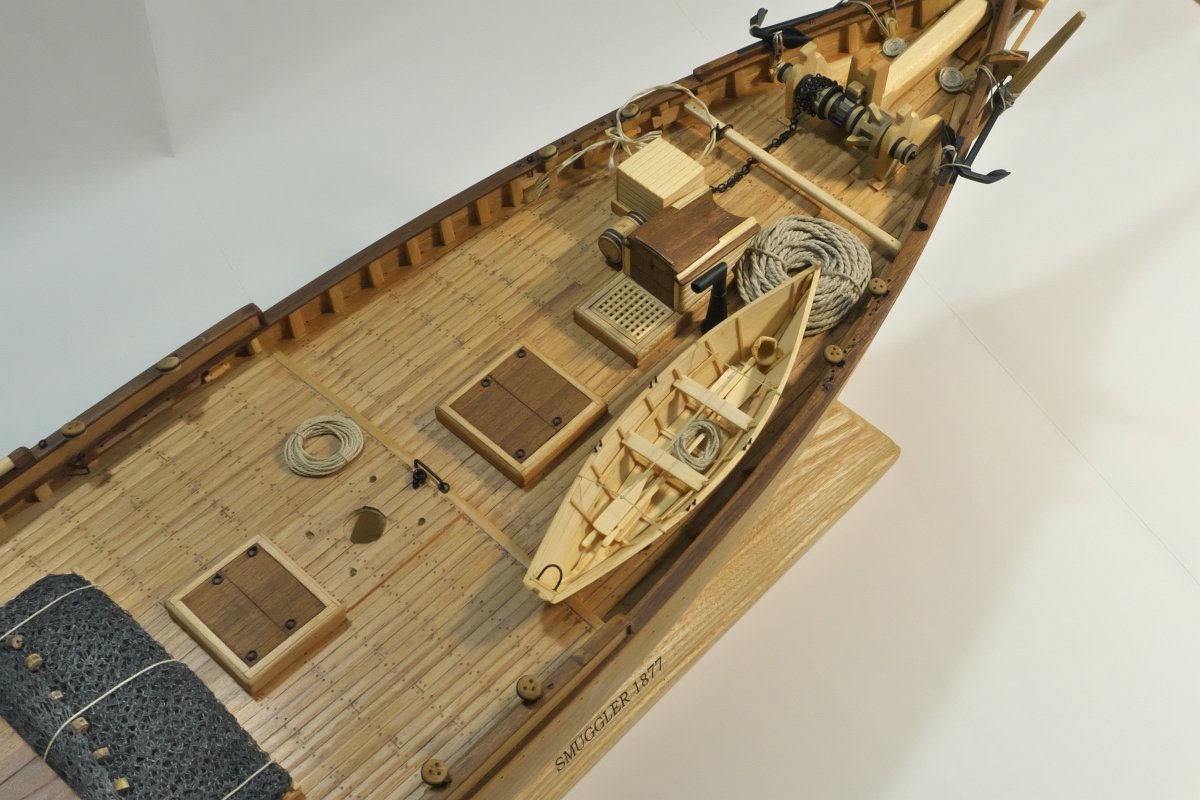
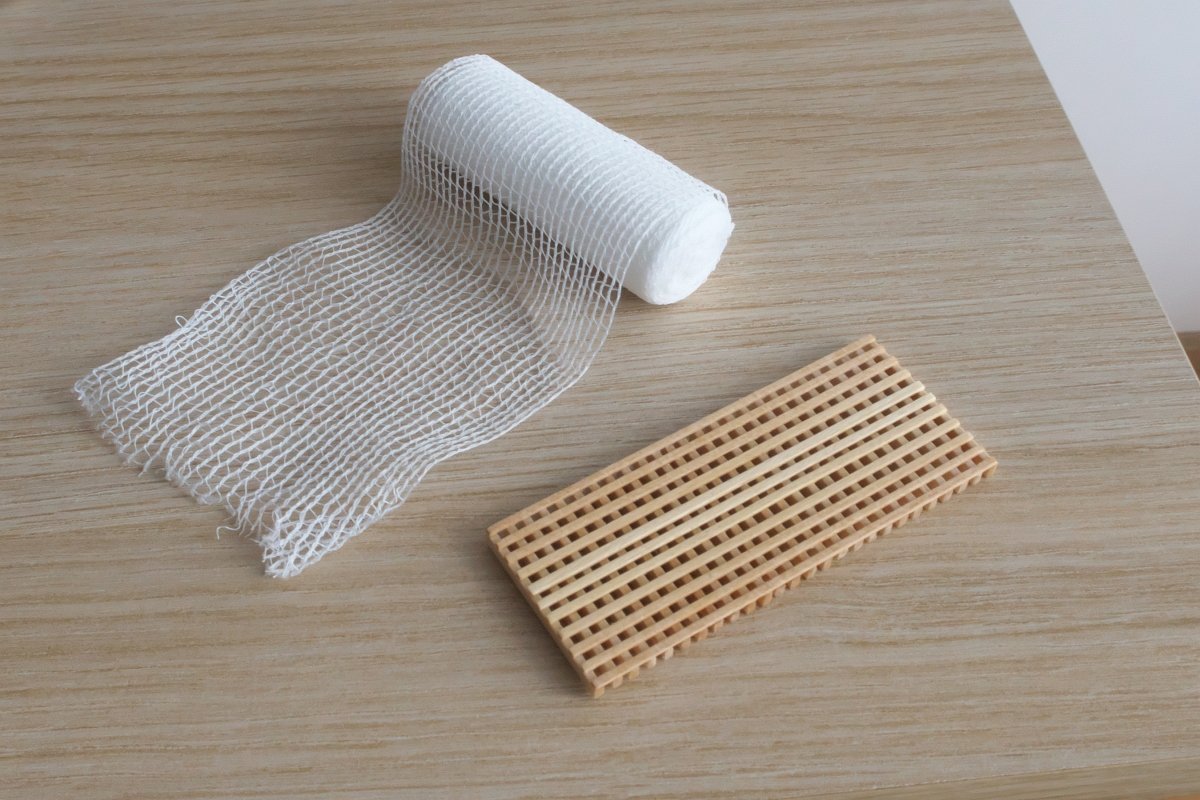
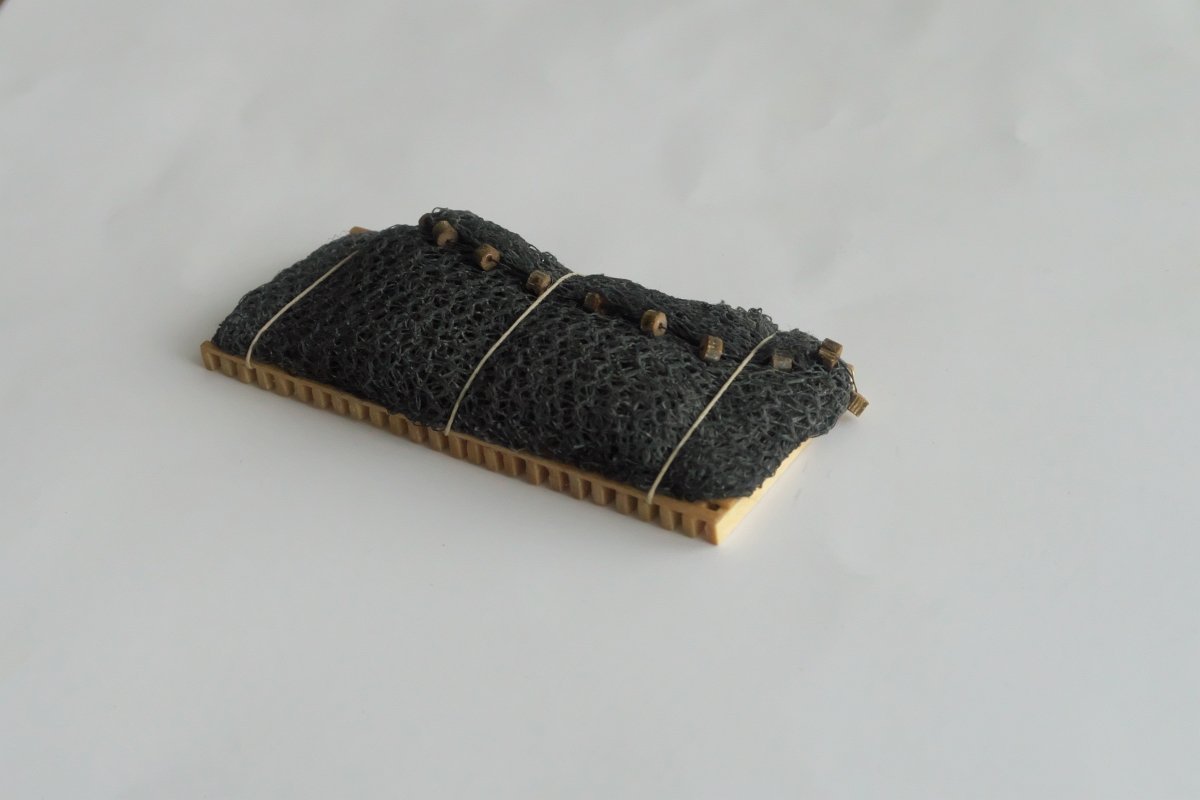
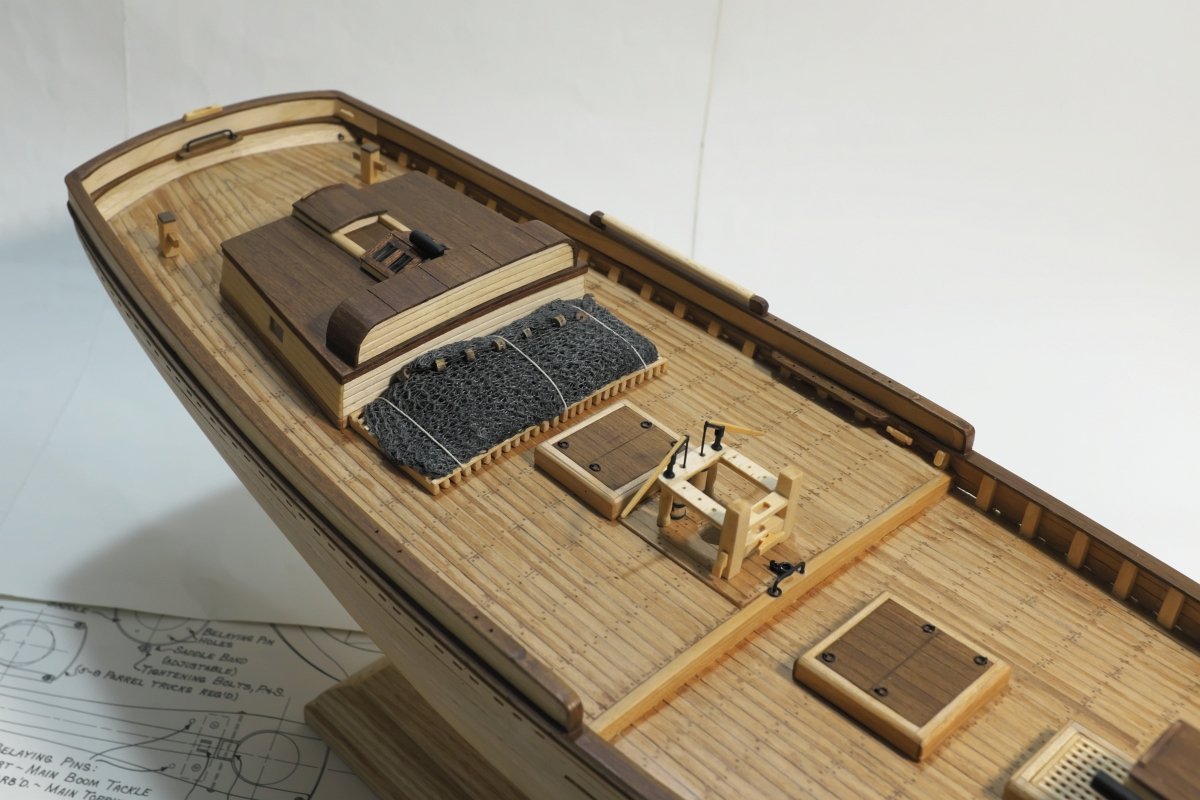
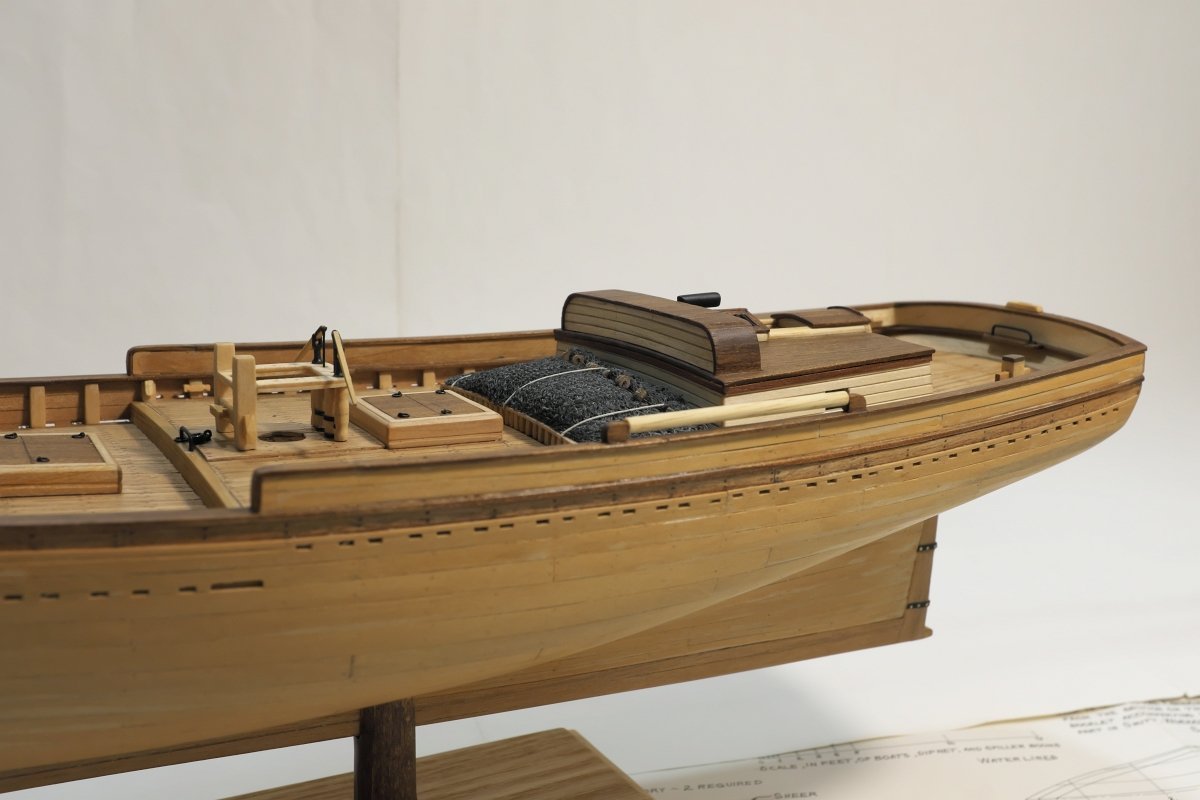
I focused myself now on some fishing equipment. The ship is featuring quite a prominent rough grating, supposed to be a resting place for a seine as I understood. I created one using the kit stock, but I found it to be looking quite sad, being so empty. After a while of thinking, I borrowed a piece of bandage from our home med-kit and tried to simulate mackerel seine. Am glad I tried - when properly stretched, squeezed and glued to a desired shape, it looks acceptable for me. To complete the equipment, seine roller was installed on the top of the port monkey rail.
- 104 replies
-
- 8
-
-
- Bluejacket Shipcrafters
- smuggler
- (and 1 more)
-
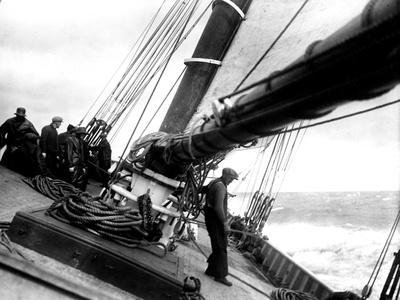
Thank you for all the hints and advises. I have searched the net of course, but as also seen here, most of the picture you get are from the moored ships, where the deck is full of various things that would not be there under sails. The hint with the salt or fresh water being rather protected under than exposed atop got the points, I will need to think out. The limited experience from the small recreational yacht led me to this question - as said everything left unattached will fly even under not so hard weather conditions As I was afraid, showing busy deck is eye catching, but under sail it does not have much support in reality.Could not imagine anything heavy and tall just laid on this deck
-
Hello Keith thank you, I went through the referenced thread, yet am not sure I have found the answer. I understand that most of the supplies would be stored under anyway. The salt barrel is one that would be probably stored up to be available for a fishing vessel, maybe some fresh water casks too?. While the reference contains a lot of interesting info on RN barrel sizes and loads, I still cannot figure how would be a barrel fixed on the deck. I doubt the Gloucester fishermen would have any strict rules like Navy, would be surprised if any regulations to be followed existed there, but maybe I am wrong. What I wonder is, how would be relatively unstable thing like barrel, opened at the top, secured safely on the deck during the voyage? Thank you, Regards Juraj
-
Hi all, another maybe trivial question from my site, any help though would be welcome: Am building the model of Gloucester mackerel seiner "Smuggler". I would like to show some barrels and similar ordnance on the deck. I know for example that barrel with salt would be stored there. But I was not able to find any reasonable drawing or photo of how would be such an object secured on the deck against the movement during the voyage? Many ship models shows busy decks with simply standing barrels "somewhere" and busy decks look really good, but I doubt anything like that would be just standing there without any fixation. Any idea how to fix standing barrel so it looks realistic? Thank you!
-
Thank you !
-
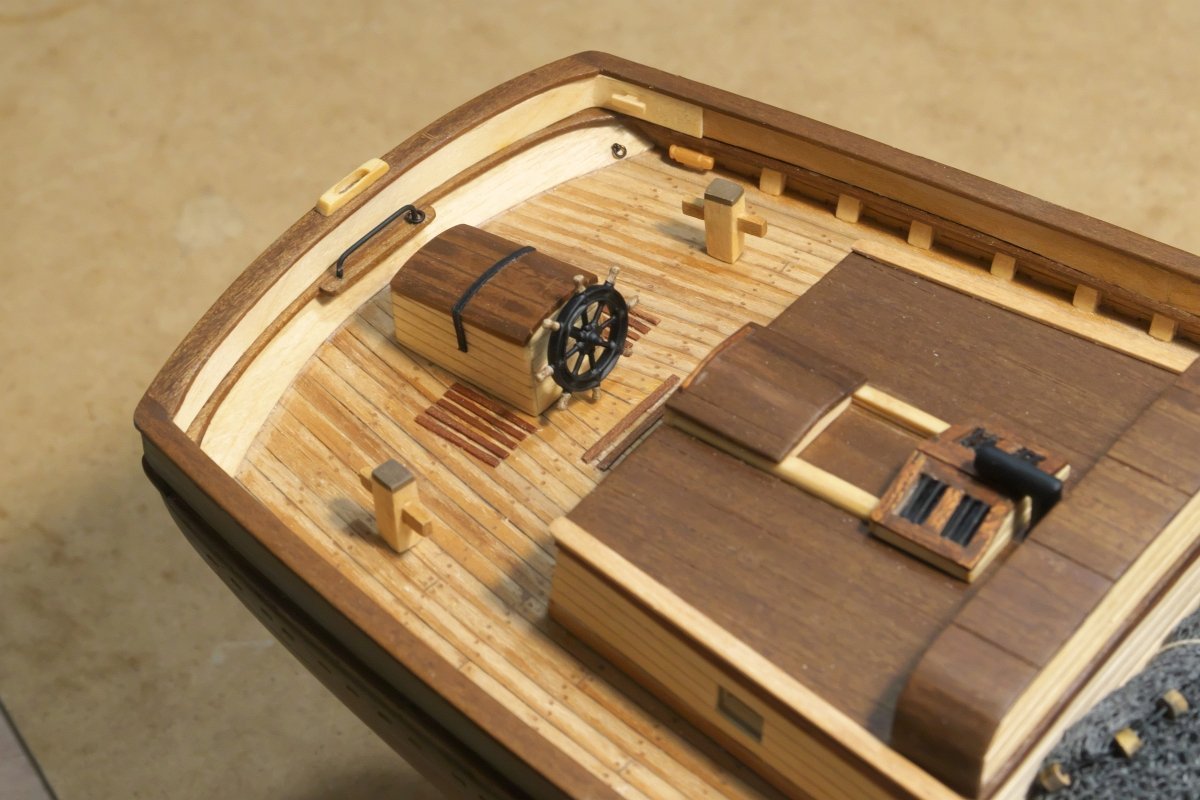
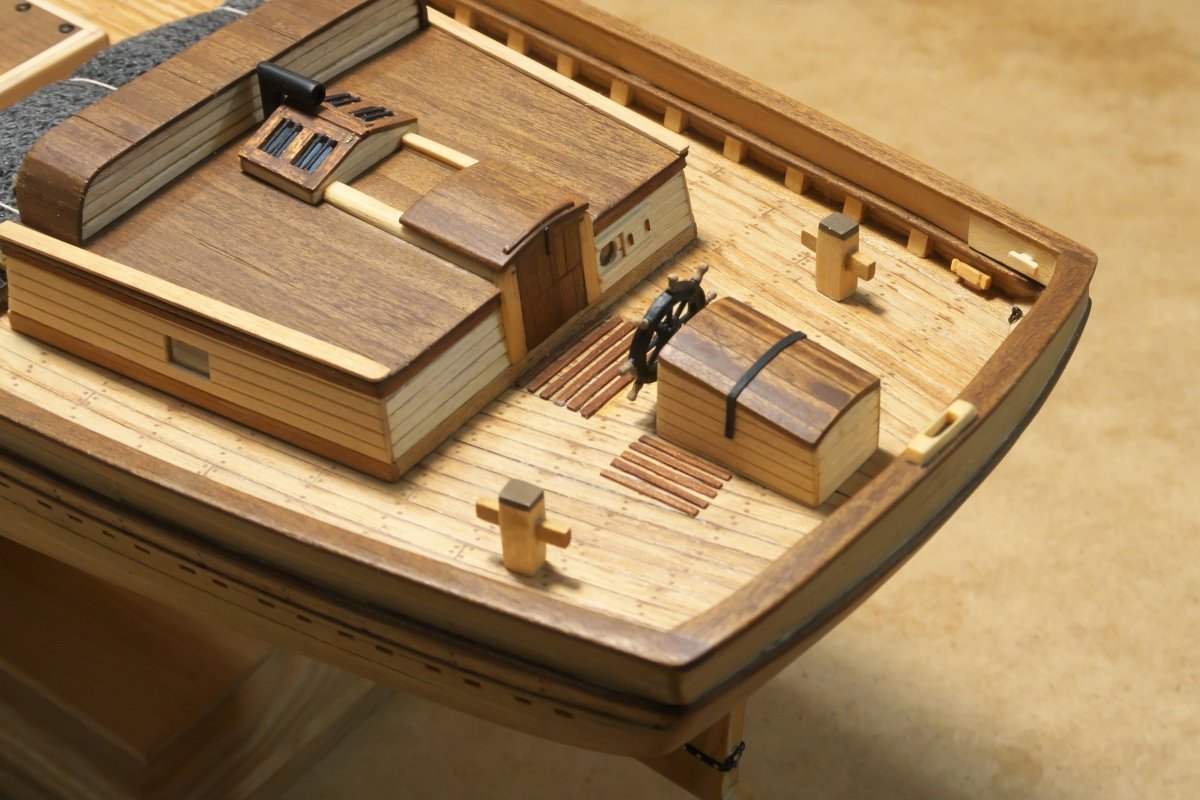
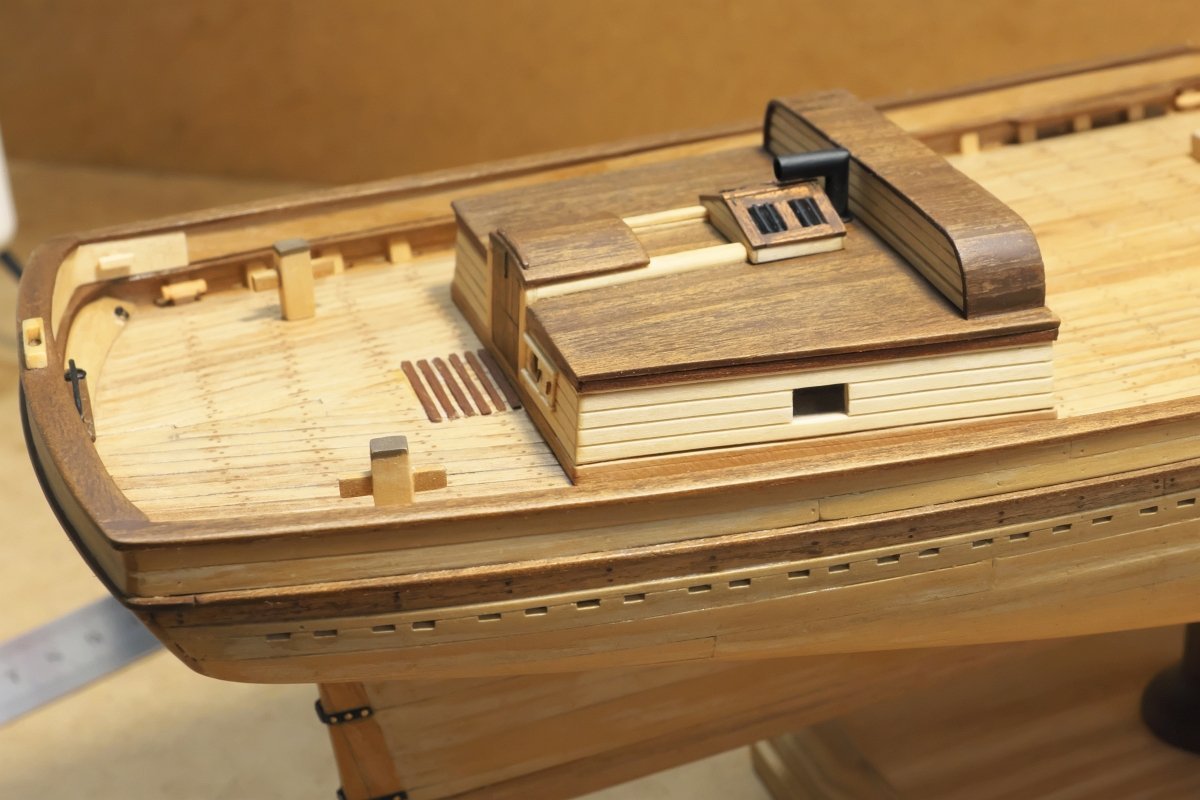
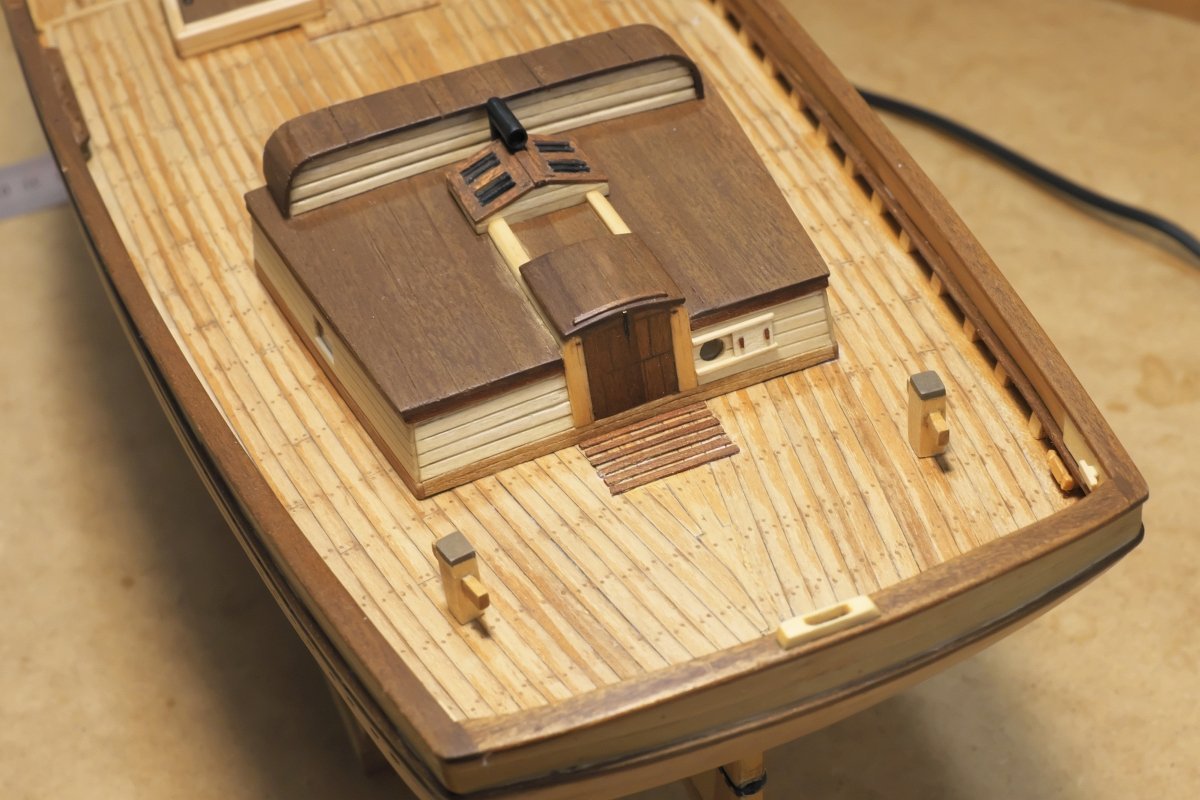
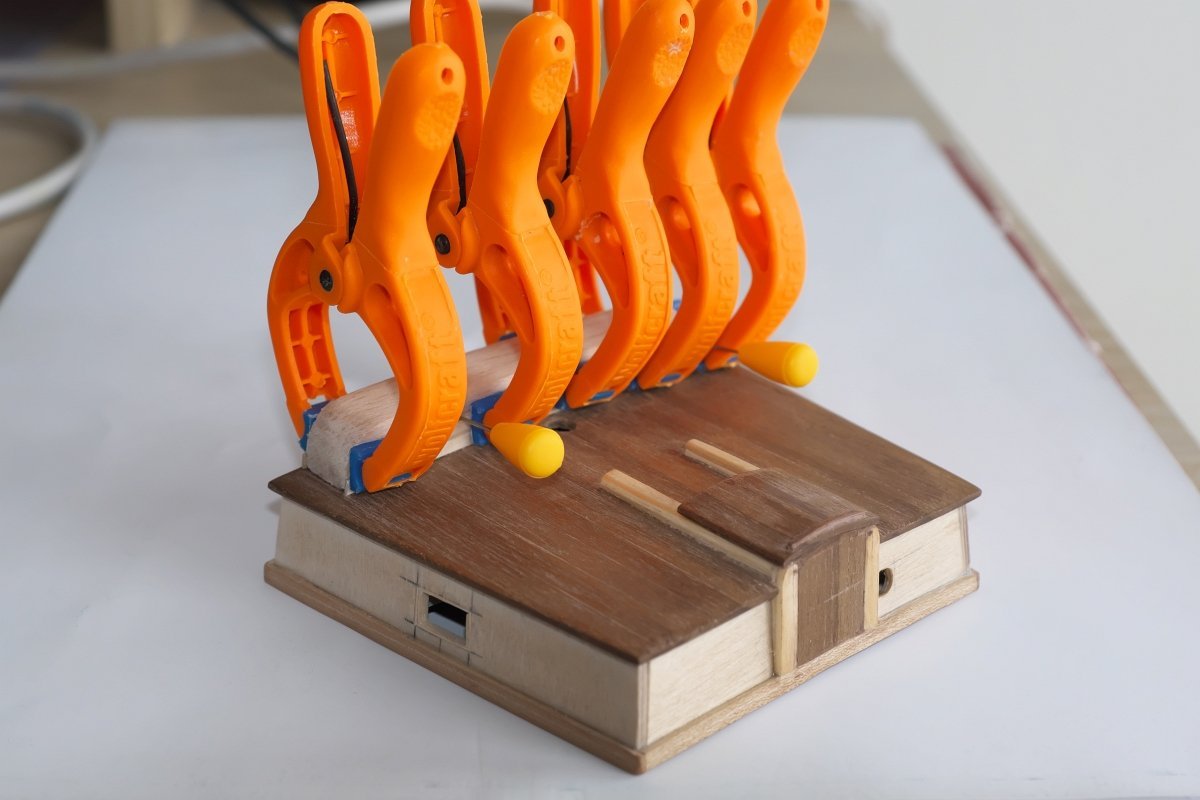
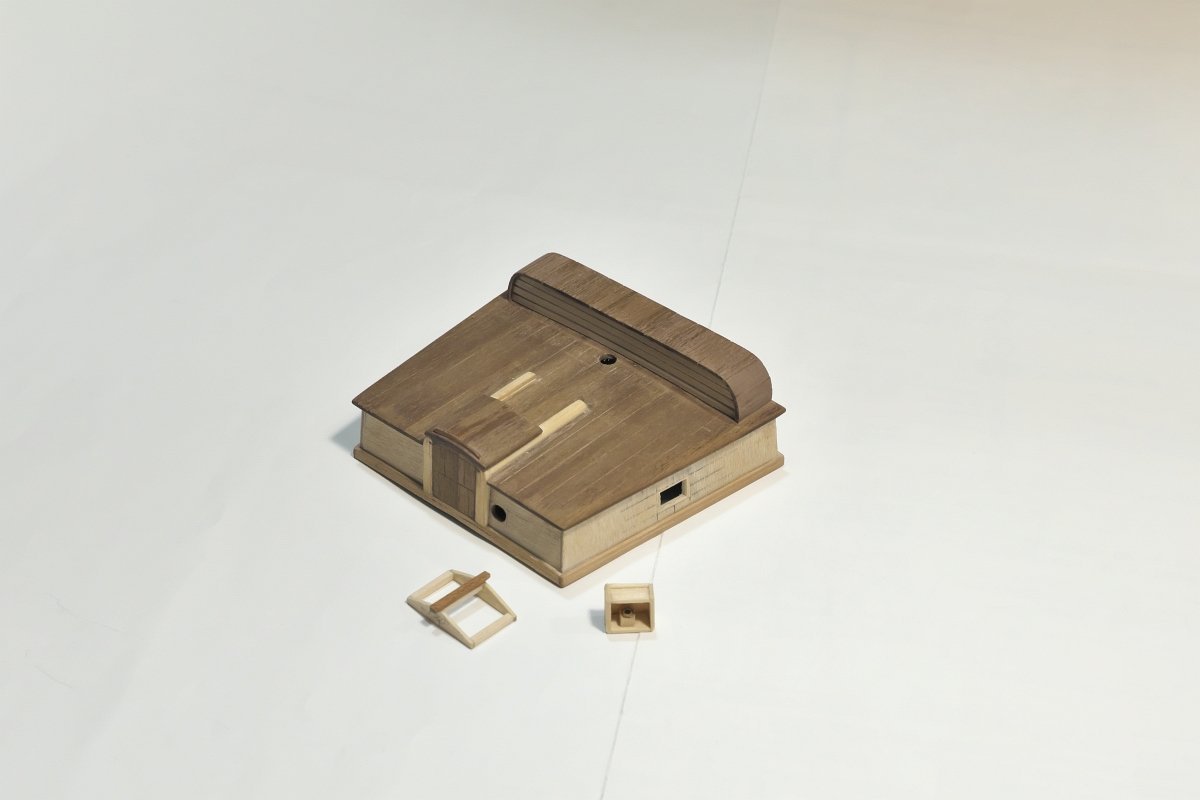
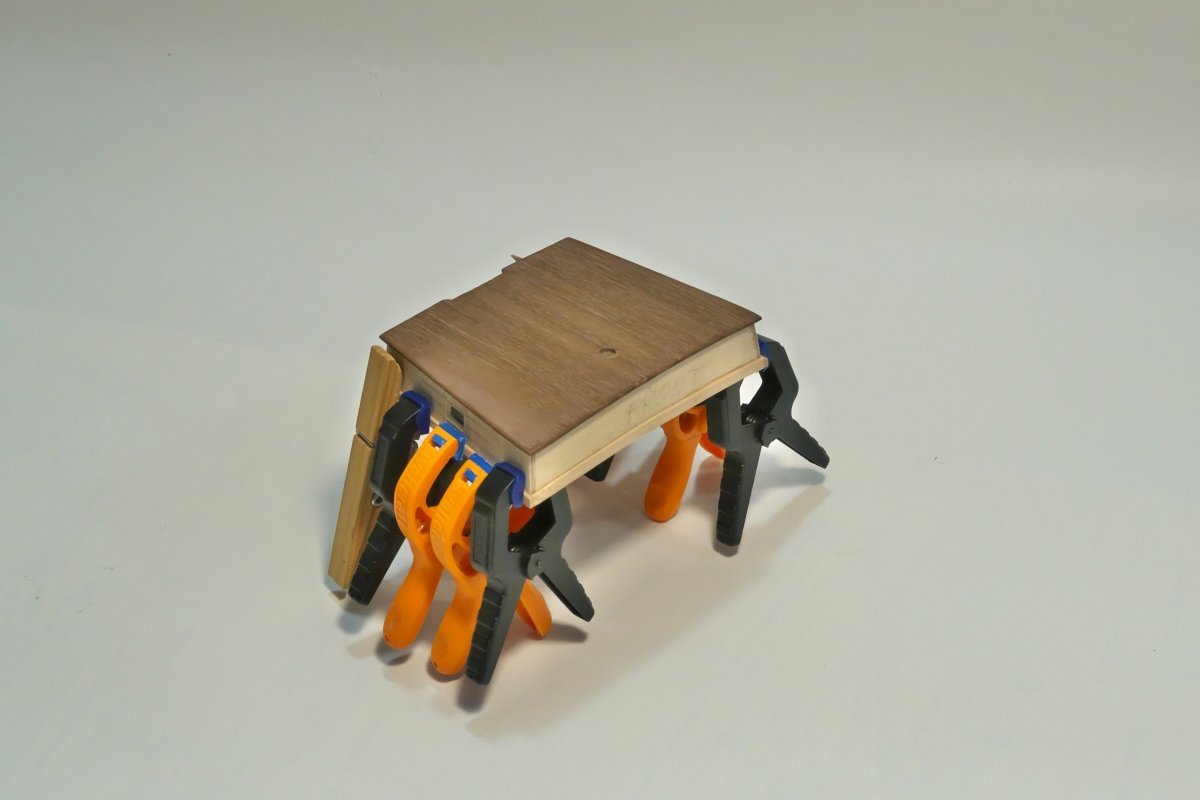
Cabin trunk finished and installed on the deck.
- 104 replies
-
- 8
-
-
-
- Bluejacket Shipcrafters
- smuggler
- (and 1 more)
-
That is sad to hear Johann. You work inspires many members from this hobby community but the health is what matters the most. Wish you all the best and quick recovery!
-
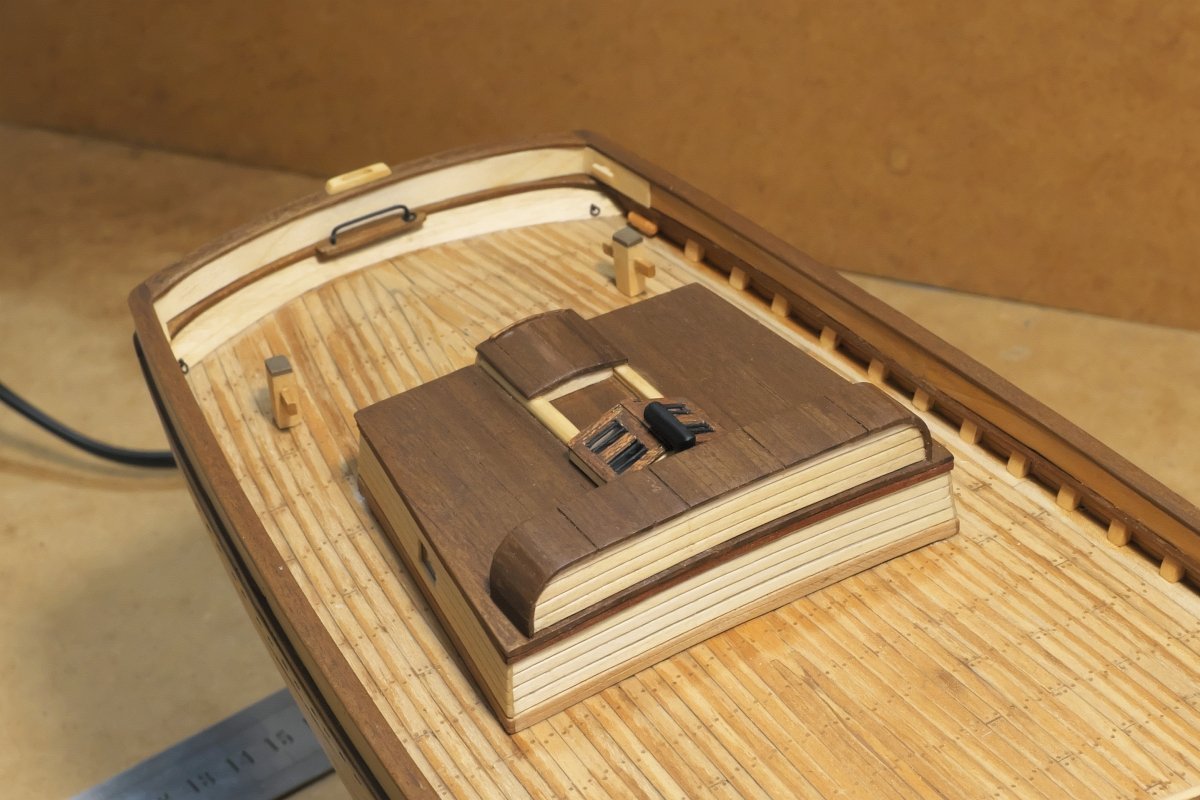
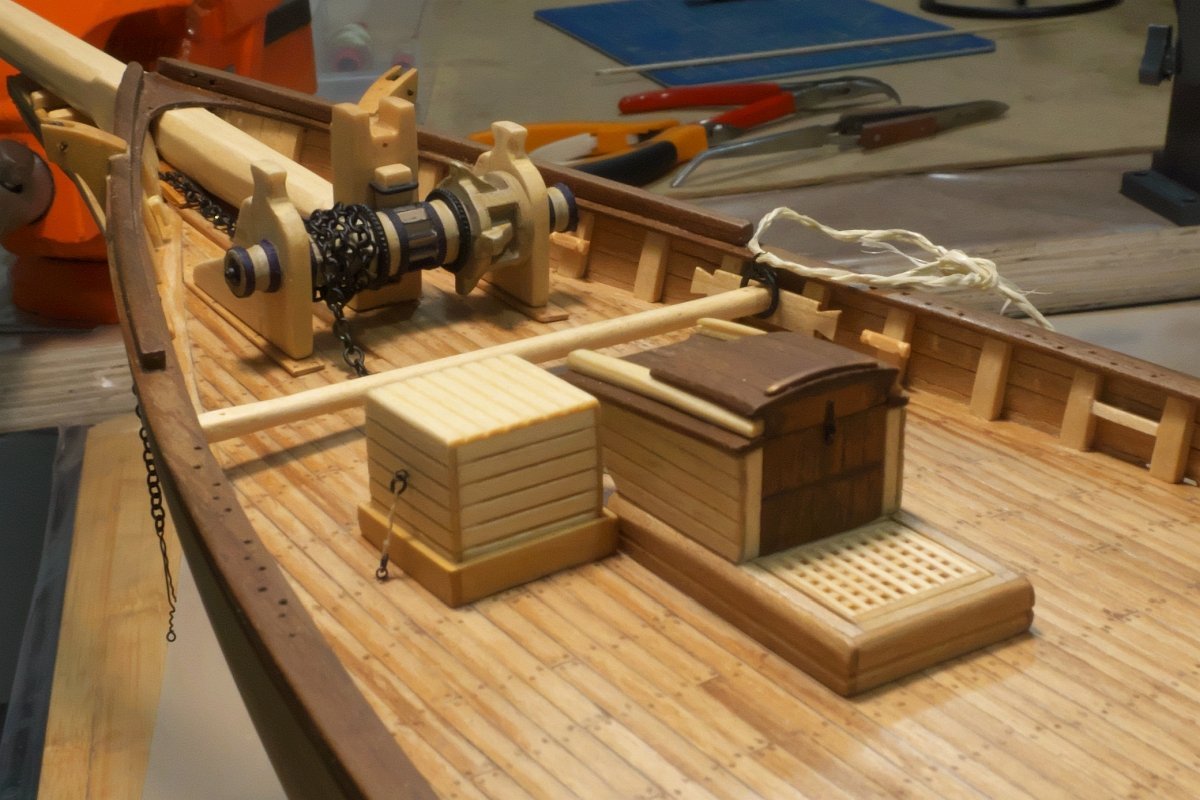
Further steps, first bait box atop of the cabin trunk is being completed. The base is from the balsa wood and then planked with the thin veneer. Bait box done. Skeleton for the skylight is prepared and small compass housing too. It will not be seen too much of it anyway behind that small oval window, but at least for the good "it-is-there" feeling
- 104 replies
-
- 5
-
-
- Bluejacket Shipcrafters
- smuggler
- (and 1 more)
-
Thank you for all the likes and kind comments from Gary and Bob. I fully agree these older kits are somehow showing their age. Speaking strictly in materialist language, they are quite pricey for what they offer - I think many metal castings could have been betteromitted considering their quality. On the other hand I must say, exactly this is something that teaches me more than any tutorial or manual. I like the freedom in creation and design thinking, without any complicated laser cut parts or 3D moldings, there is always a chance to repeat the things and rework the ill-went doings (which I had to do several times already). This is so different from crisp plastic kits, where everything is prepared to the last rivet, but once screwed, alas... As this is my first wooden kit, there is a lot for me to learn, but I like the look of the natural wood more and more and if the next build comes, I think I will do it in the same manner. Bob: PoB from Model Shipways has been my favorite kit. The only reason I did not go for it was the scale - I want to keep 1:48, so it matches my other (plastic) kits on the shelf.
- 104 replies
-
- 3
-
-
- Bluejacket Shipcrafters
- smuggler
- (and 1 more)
-
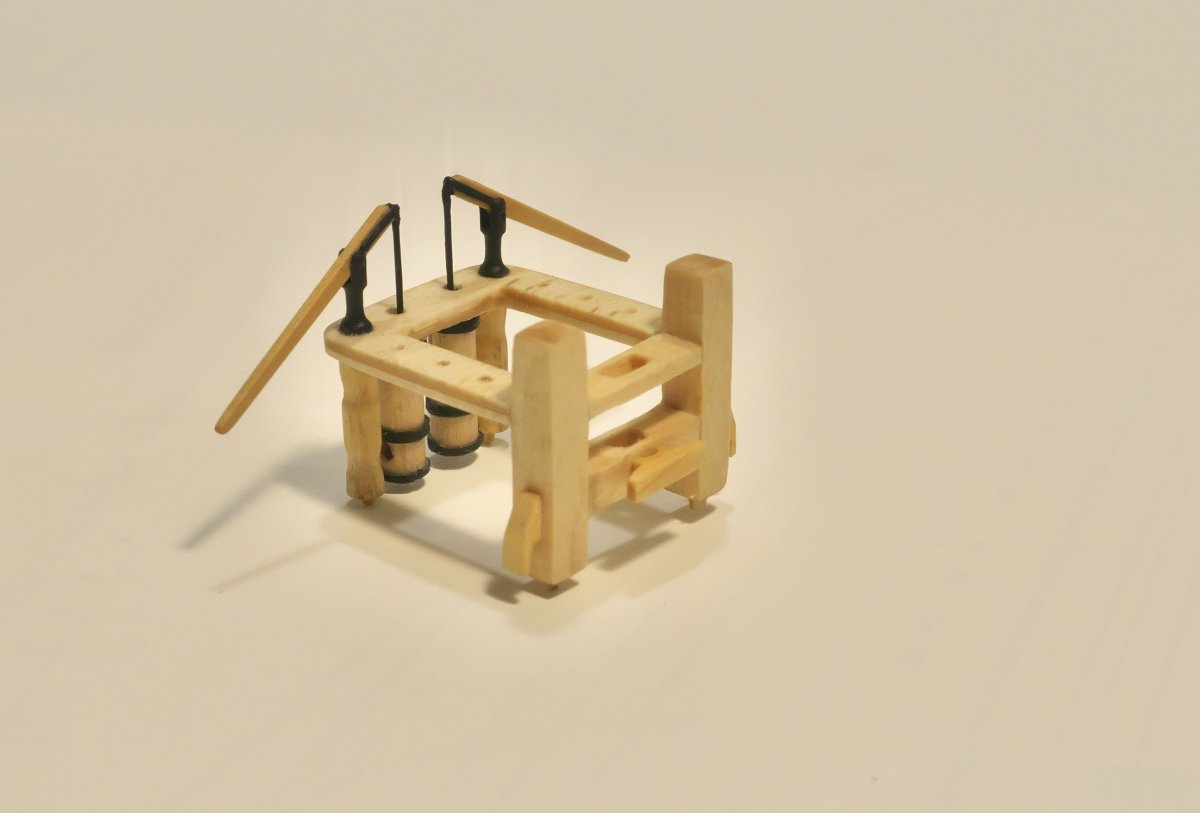
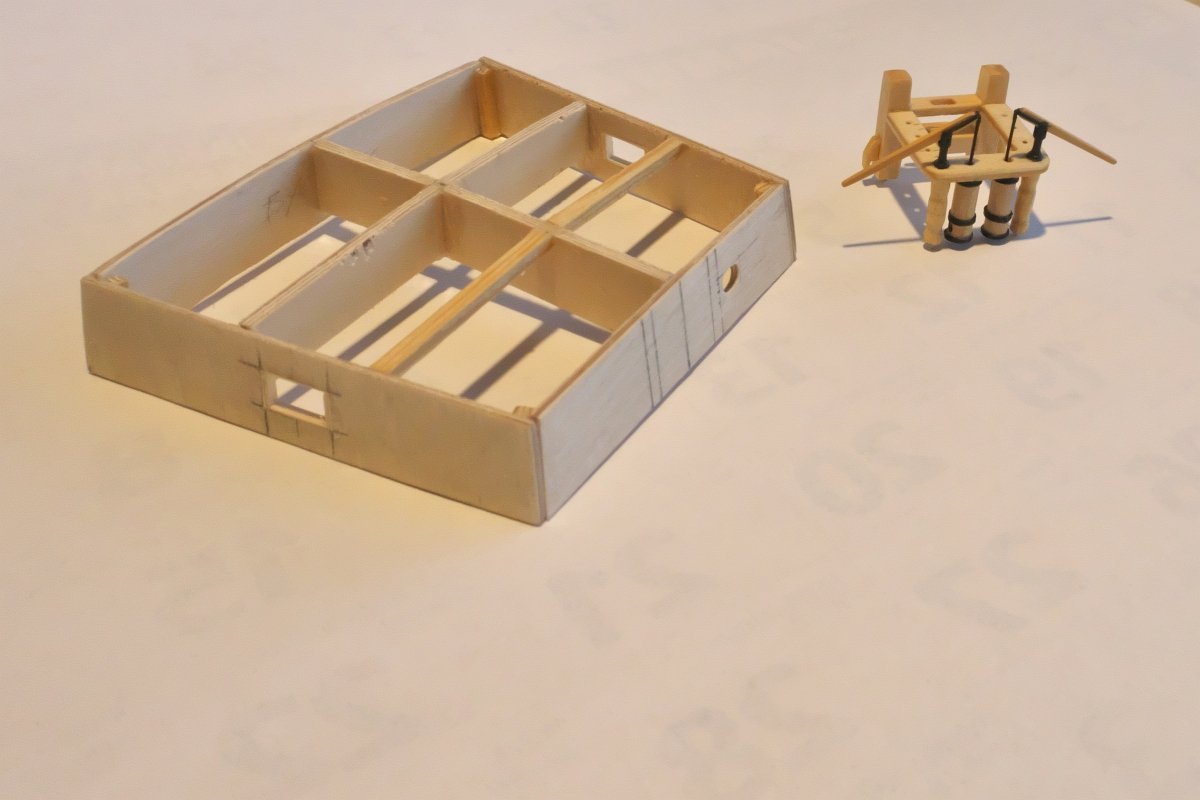
Another update after a while: Fife rail with pumps finished, work begins on cabin trunk.
- 104 replies
-
- 7
-
-
- Bluejacket Shipcrafters
- smuggler
- (and 1 more)
-
Master piece. Do you plan to plank it fully? Would be shame to cover that magnificent work completely.
-
Question on Boom Crotch on Gloucester fishing schooner (Smuggler)
juhu replied to juhu's topic in Masting, rigging and sails
Thanks a lot Allan - I will then leave them out. Of course the corresponding hole in rail will be made. J -
Hi all, while building Smuggler schooner kit from BlueJacket, I came across the question on "crotch". I understand these wooden pieces supports heavy booms when laid down without set sails. My question: Were these removable? I.e. , when the ship sails, were they removed or where they sticking out of their saddles without purpose? If they were removable, where would they be stored - on the deck or somewhere below, not visible? I plan to display the model with sails set, so would like to know how to represent this feature. Thanks a lot for help in advance! Juraj
-
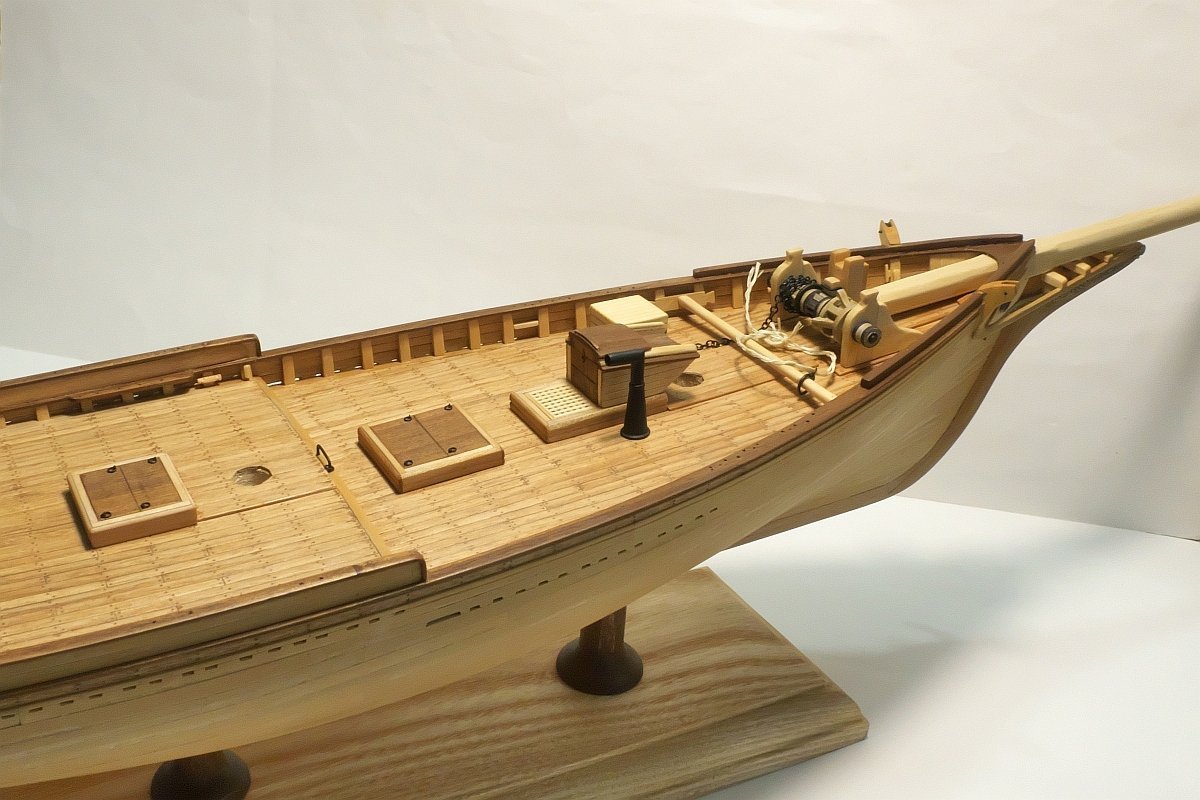
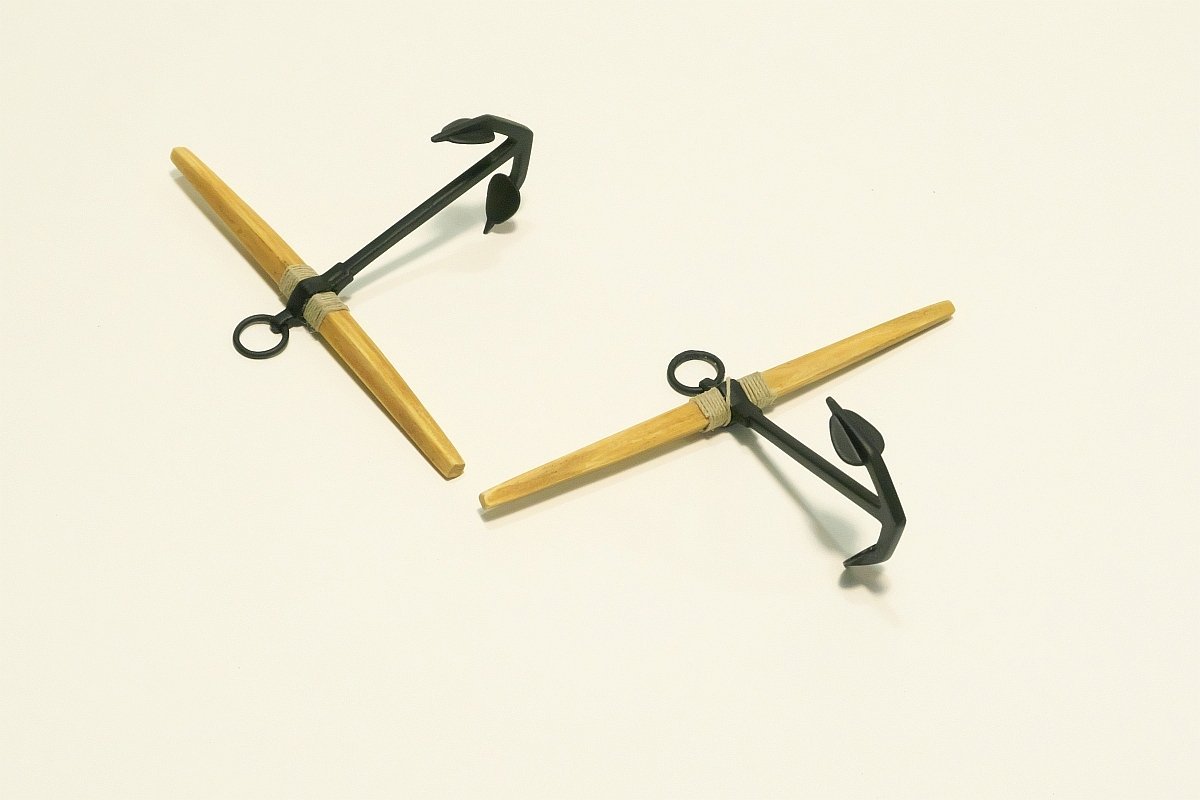
Another step forward. Hatches and galley stack in place: And promised anchors finished too. The kit instructions provides nice comprehensive notes on anchor configuration. According to it, mackerel seiner used only for seasonal duties (during summer) would have both anchors attached to chain cables. While only the port one was in common use, the anchor on starboard was used very rarely. This will be then also the way how they will be displayed. So no anchor rope cable on the deck. (and I wanted to test the rope maker tool on one )
- 104 replies
-
- 7
-
-
- Bluejacket Shipcrafters
- smuggler
- (and 1 more)
-
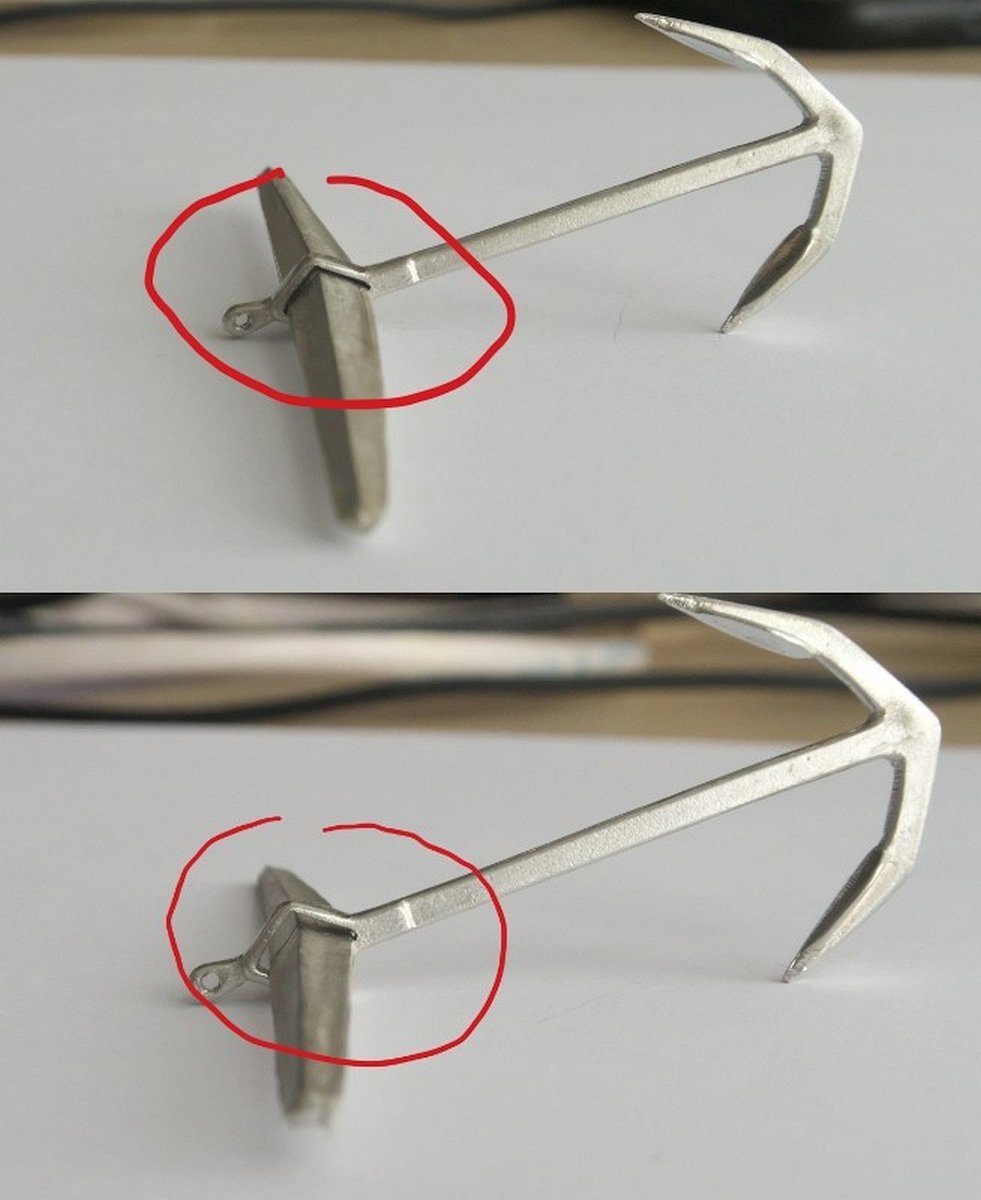
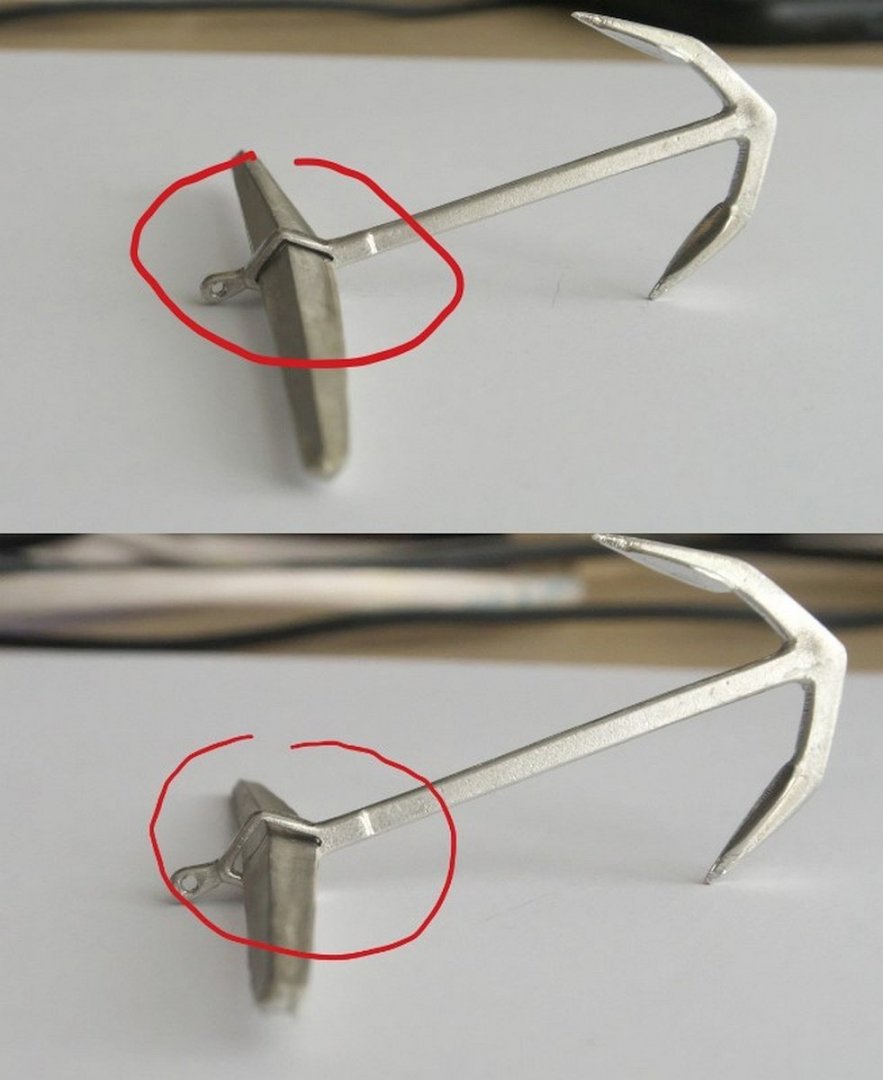
As a next step I have created main- & quarterdeck hatches. To have a break from wood work, I decided to prepare anchors . The pieces were cleaned but.... well, to be honest, the metal castings supplied with the kit caused me some headaches already. Particularly those parts that try to "simulate" wooden elements. In earlier stage I had trouble with trail-boards, where each of both was of different length, width and thickness. There I decided to go with it. But here again, one of the anchor "wooden" stock pieces is so off in cross size, that it can hardly be used. I guess I will create new pair from the wood, am just a bit afraid - stock pieces are tapered to the ends across diagonal, not so easy to follow, lets see how it would go.

- 104 replies
-
- 4
-
-
- Bluejacket Shipcrafters
- smuggler
- (and 1 more)
-
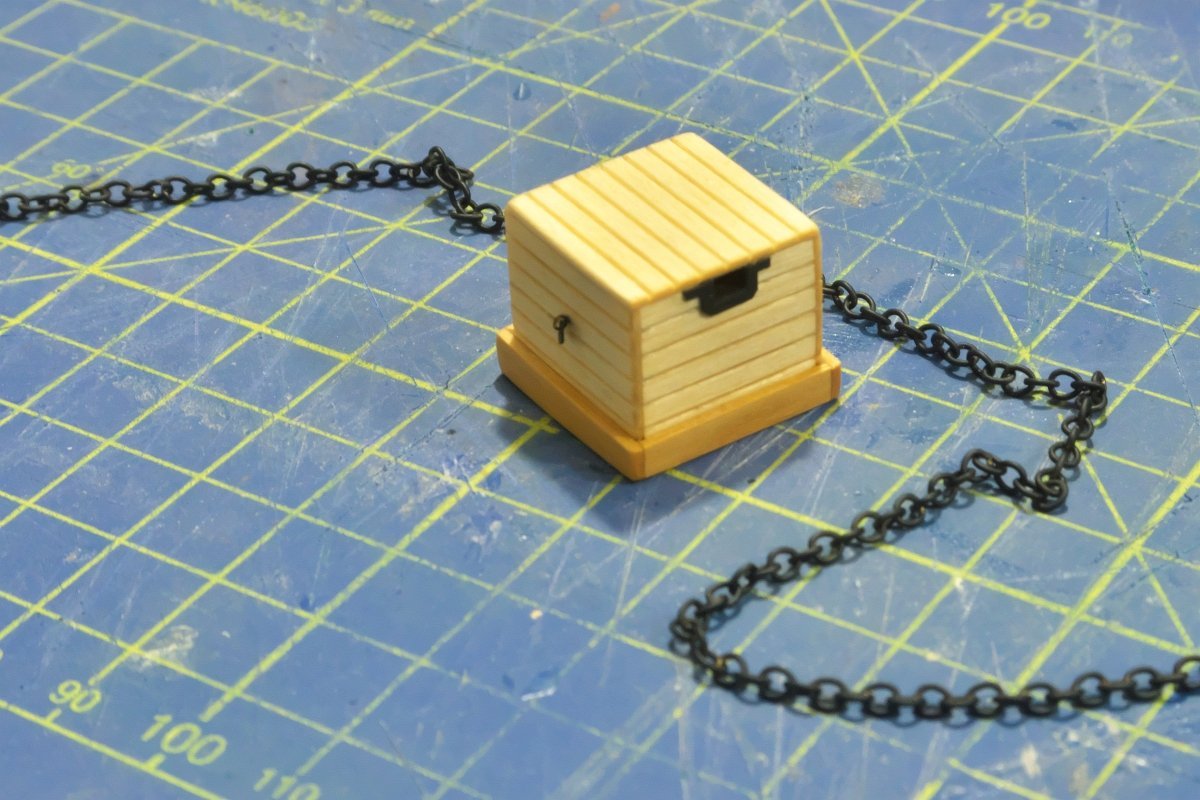
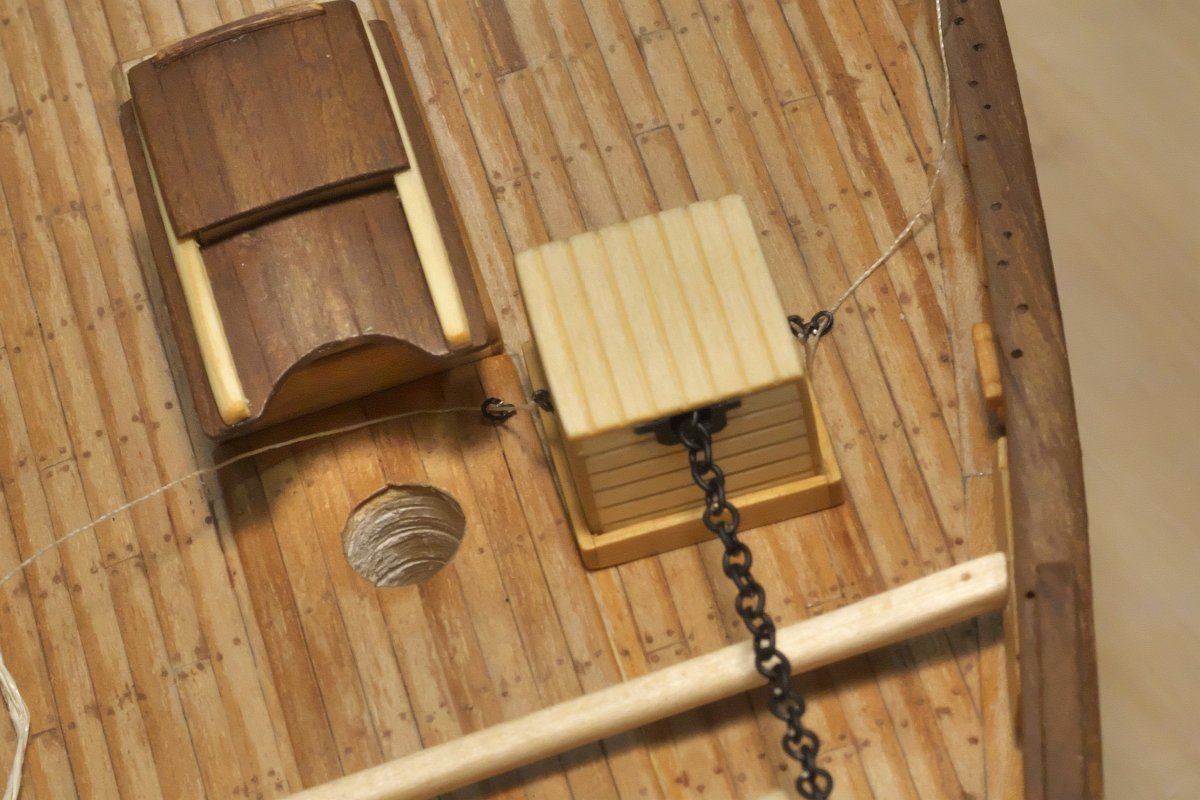
Work goes on with anchor chain box Deck attachment is a bit fiddly. In addition to kit's plan I have added some bottom framing and fixing ropes according to Chapelle's book. Glued to the deck together with companionways

- 104 replies
-
- 8
-
-
-
- Bluejacket Shipcrafters
- smuggler
- (and 1 more)