HOLIDAY DONATION DRIVE - SUPPORT MSW - DO YOUR PART TO KEEP THIS GREAT FORUM GOING! (Only 20 donations so far - C'mon guys!)
×


KennyH78
-
Posts
269 -
Joined
-
Last visited
Content Type
Profiles
Forums
Gallery
Events
Everything posted by KennyH78
-
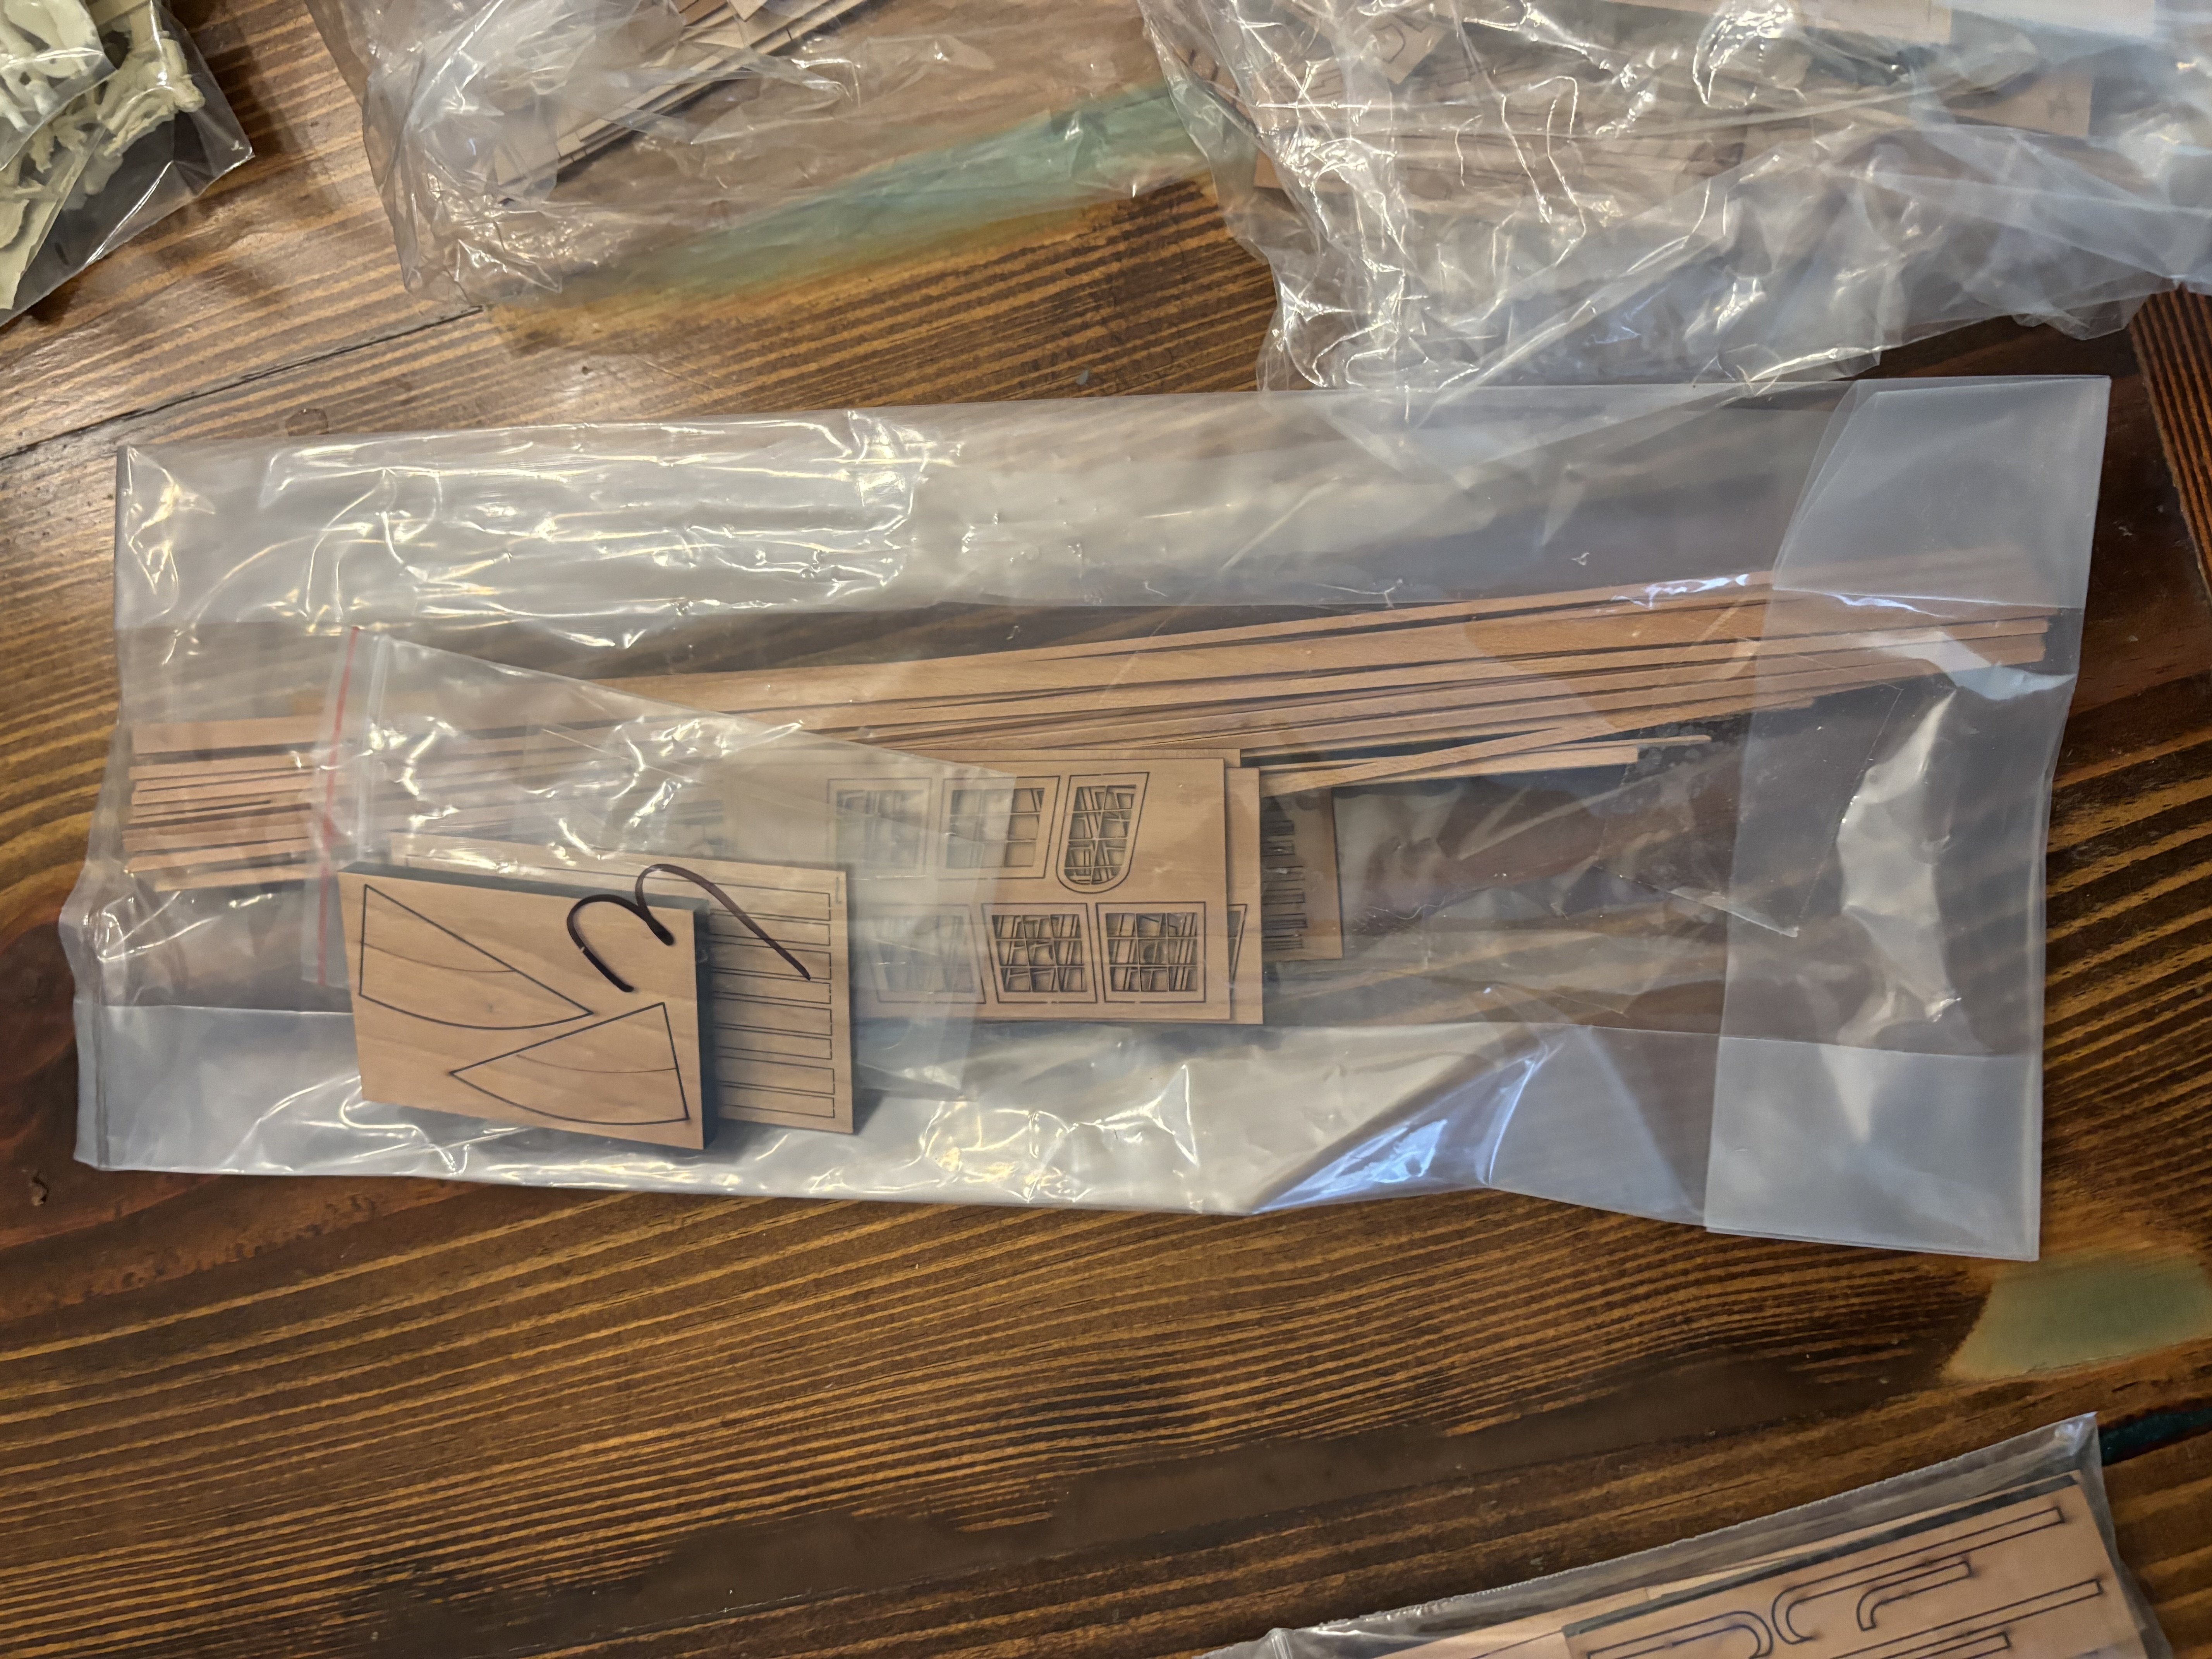
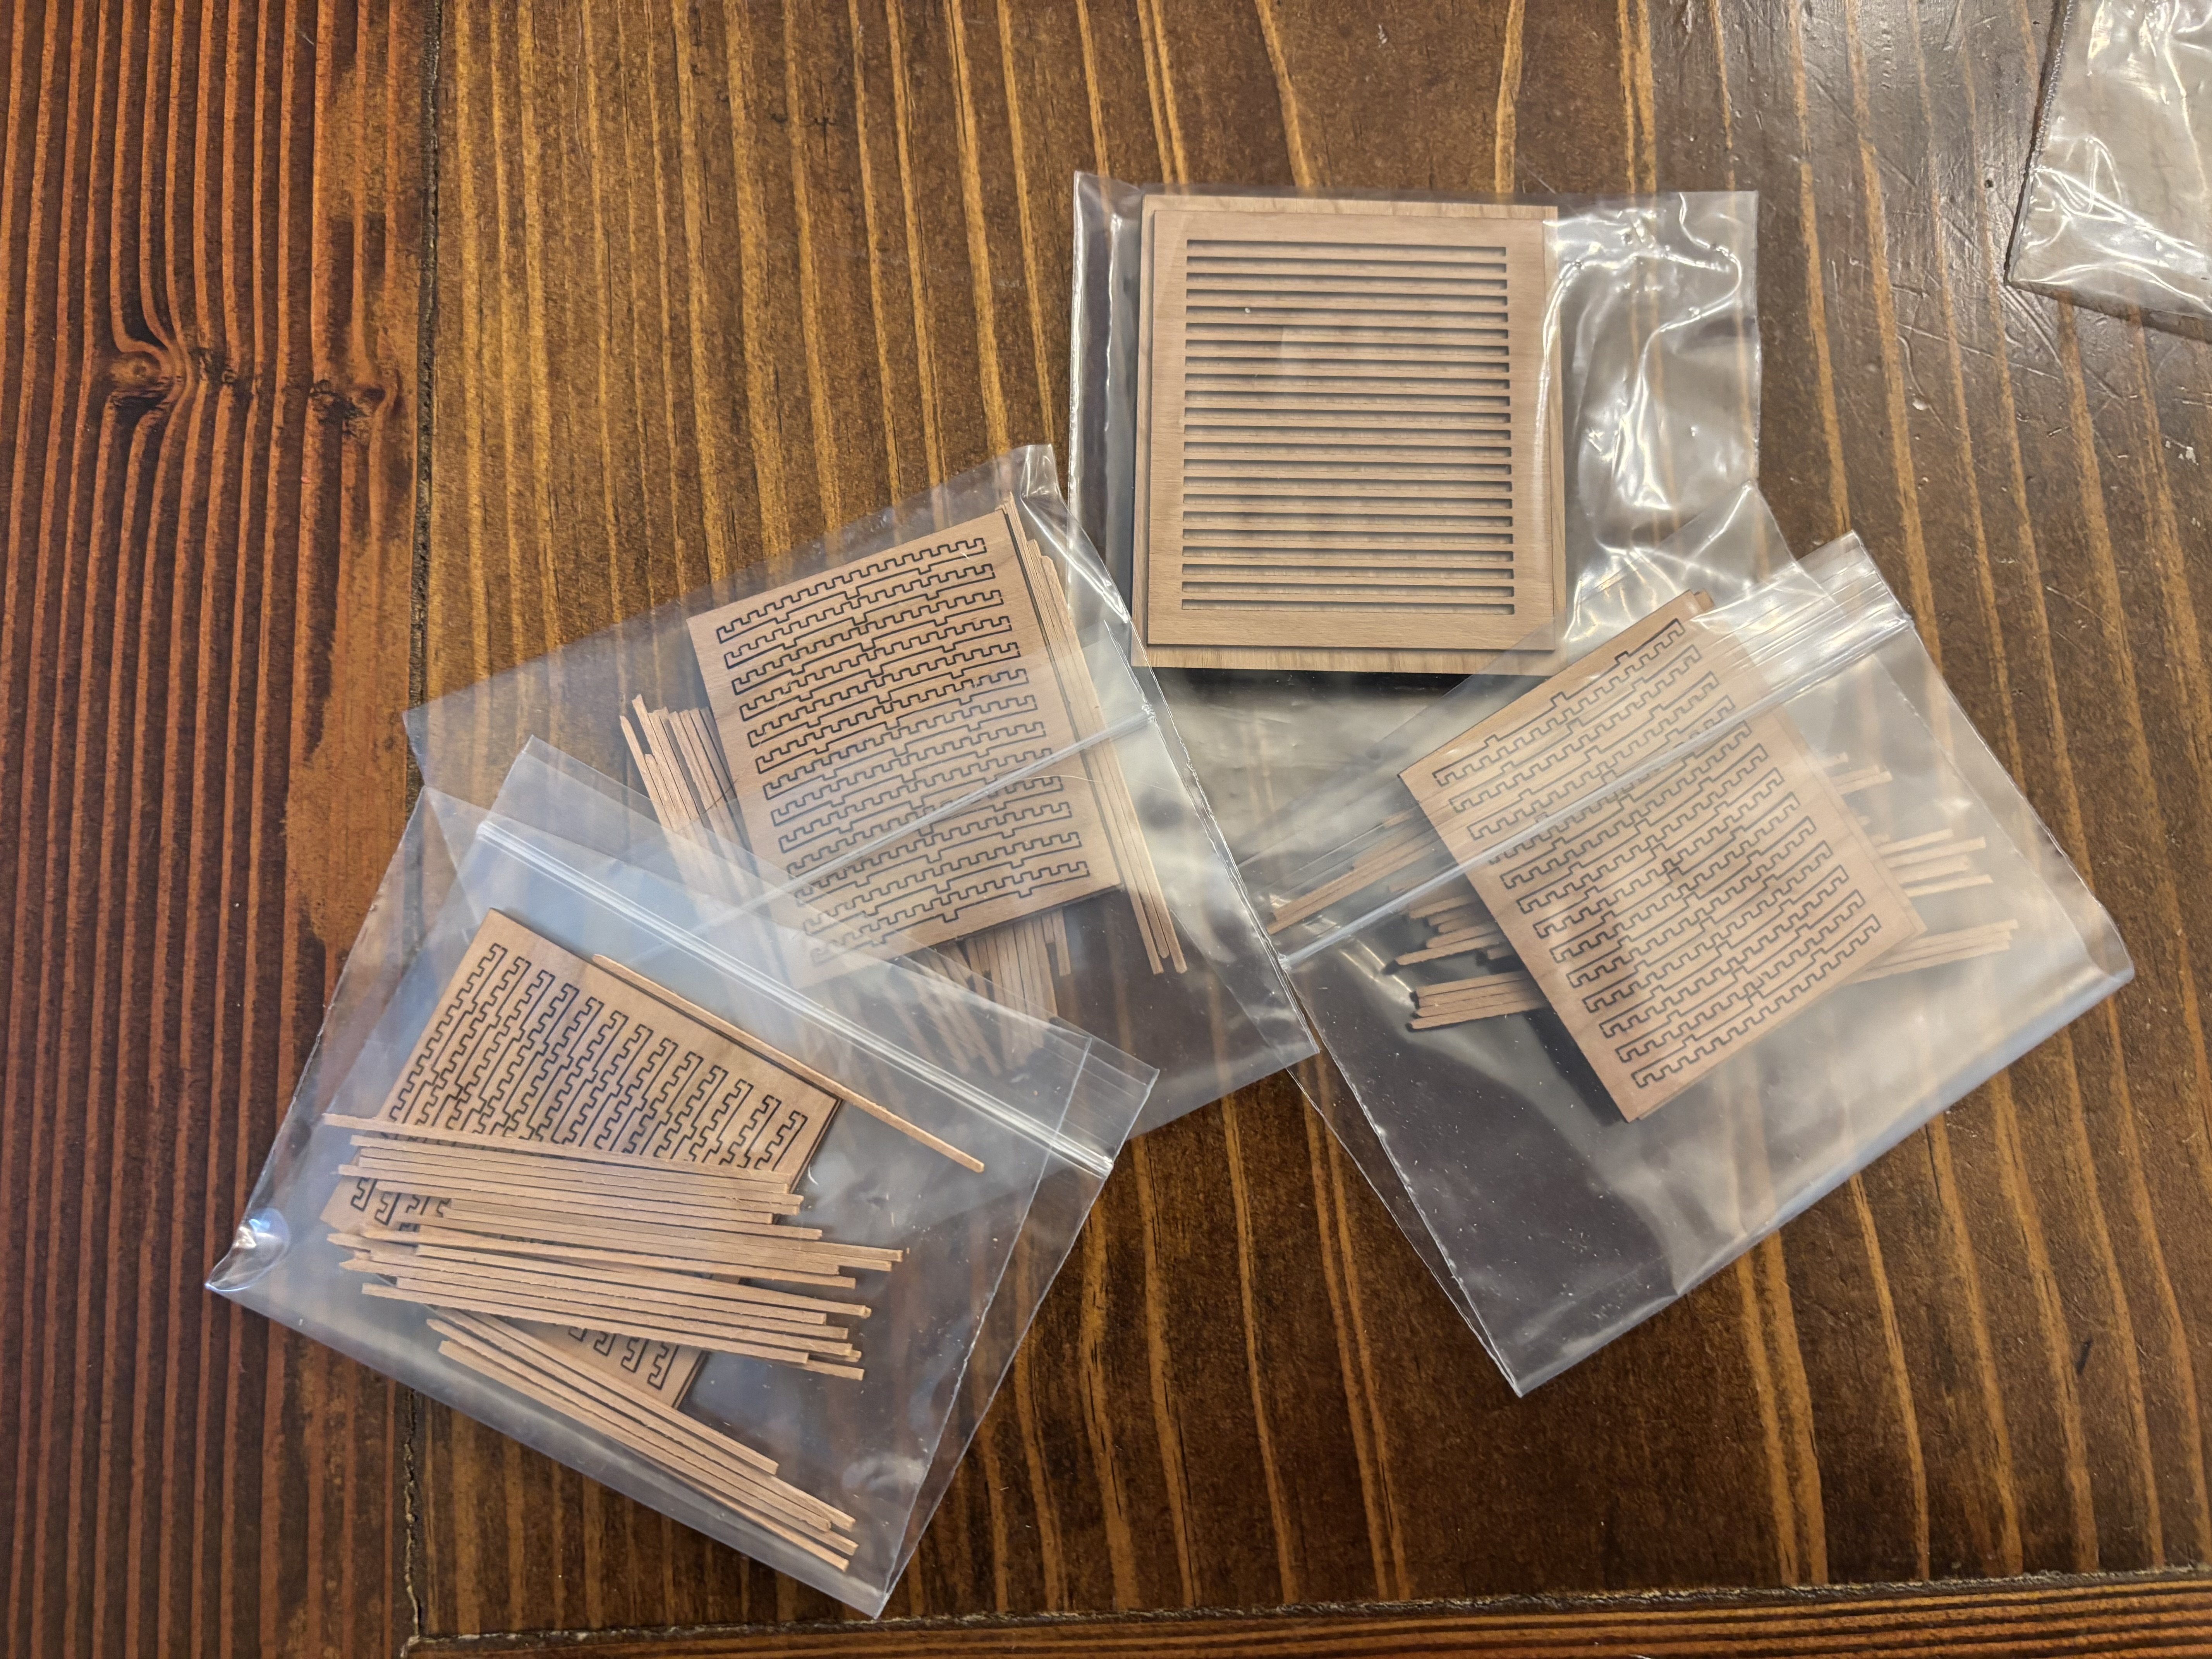
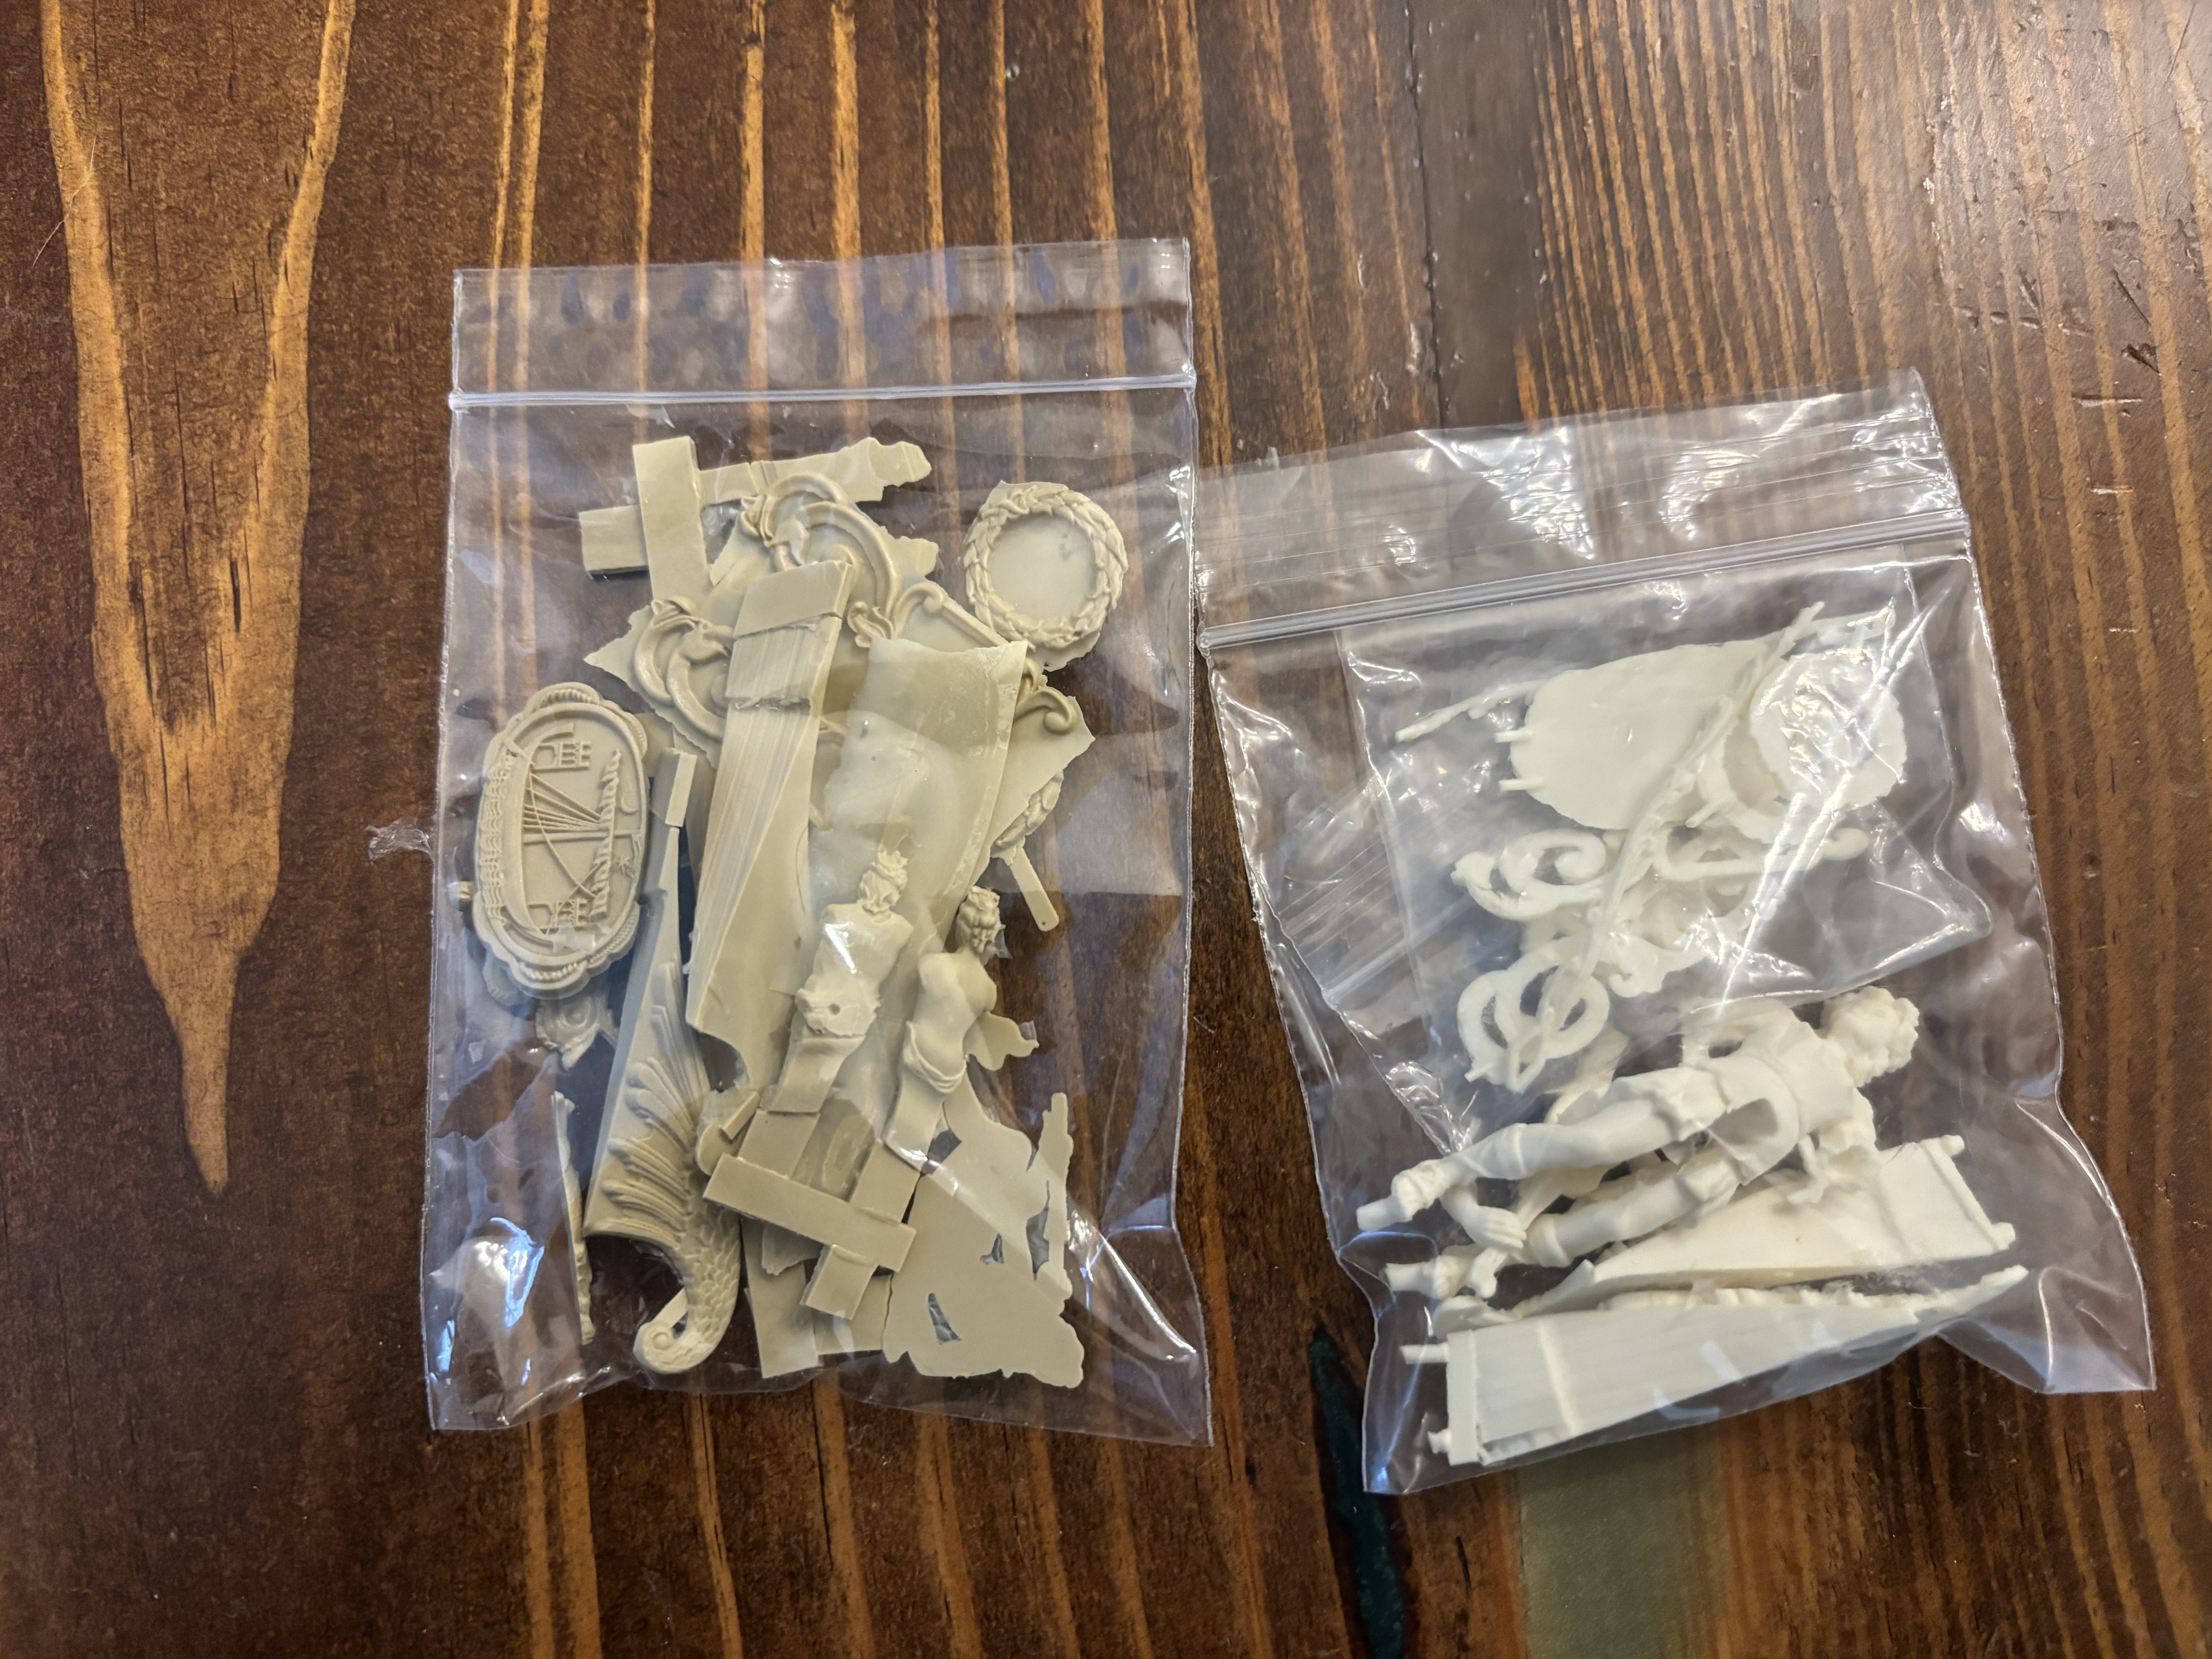
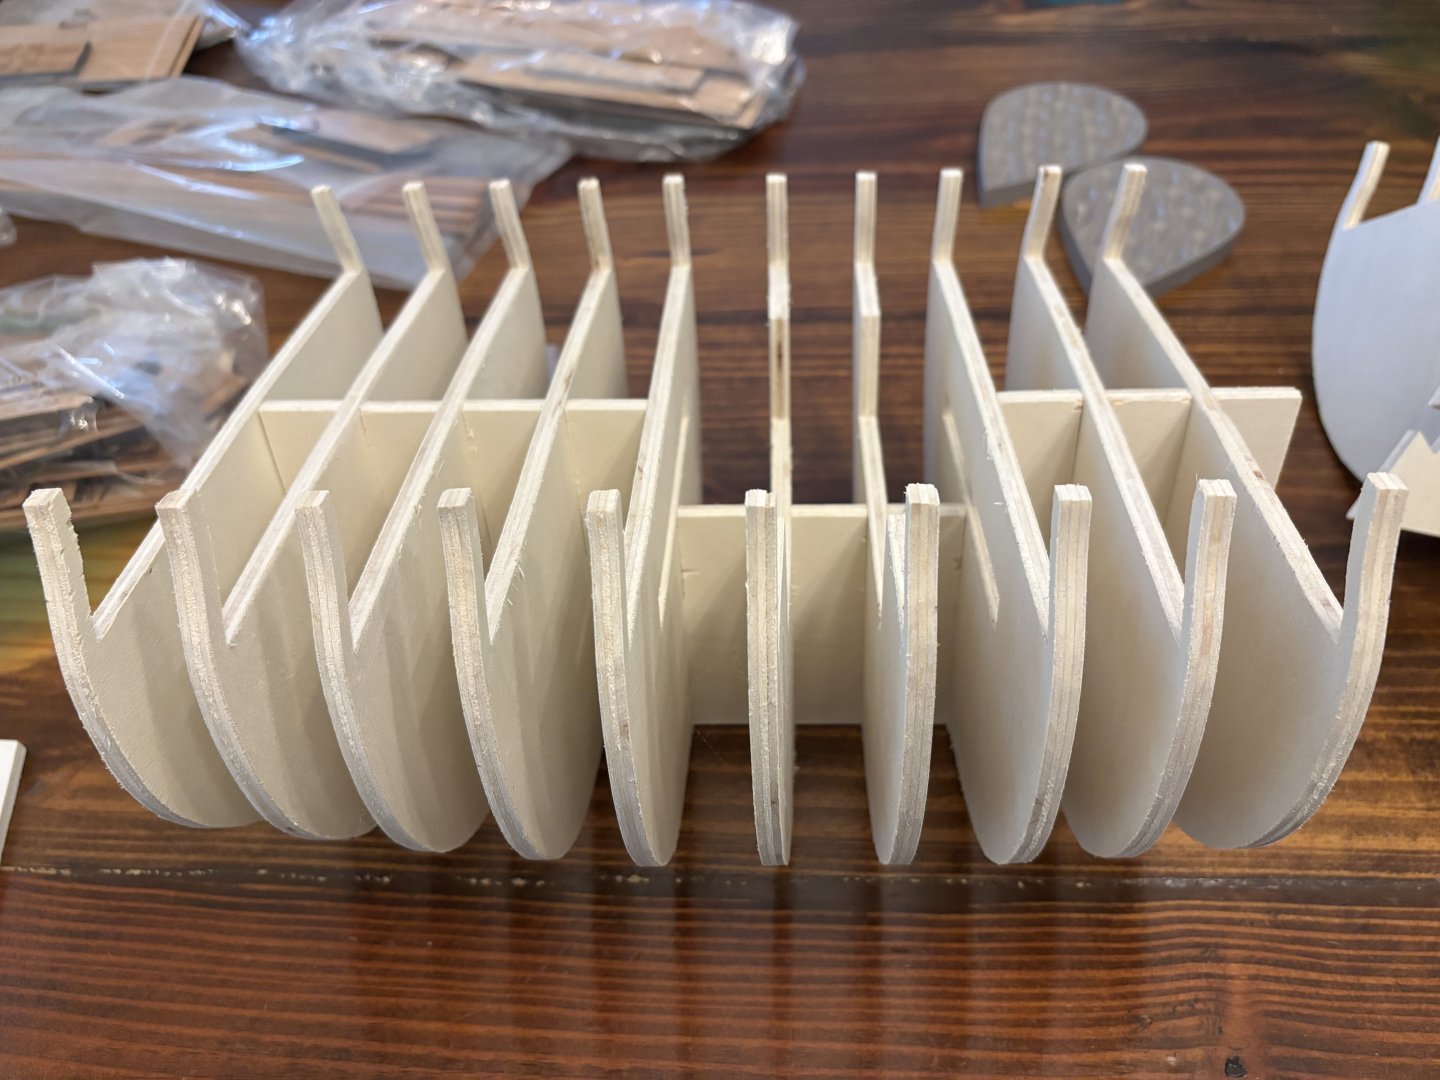
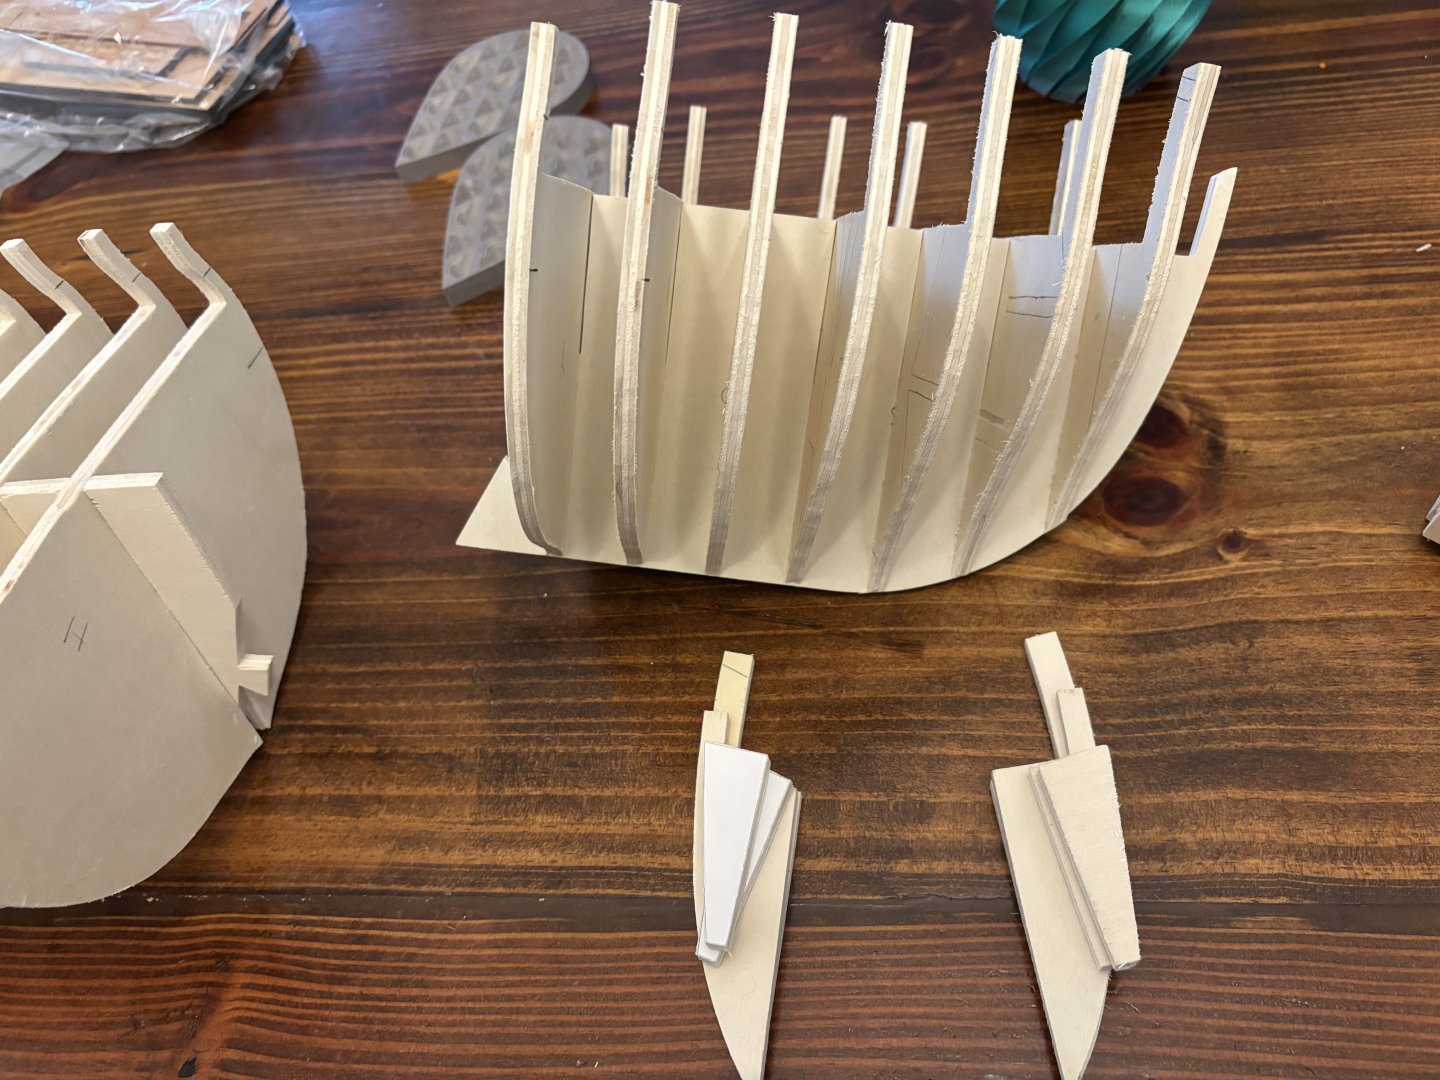
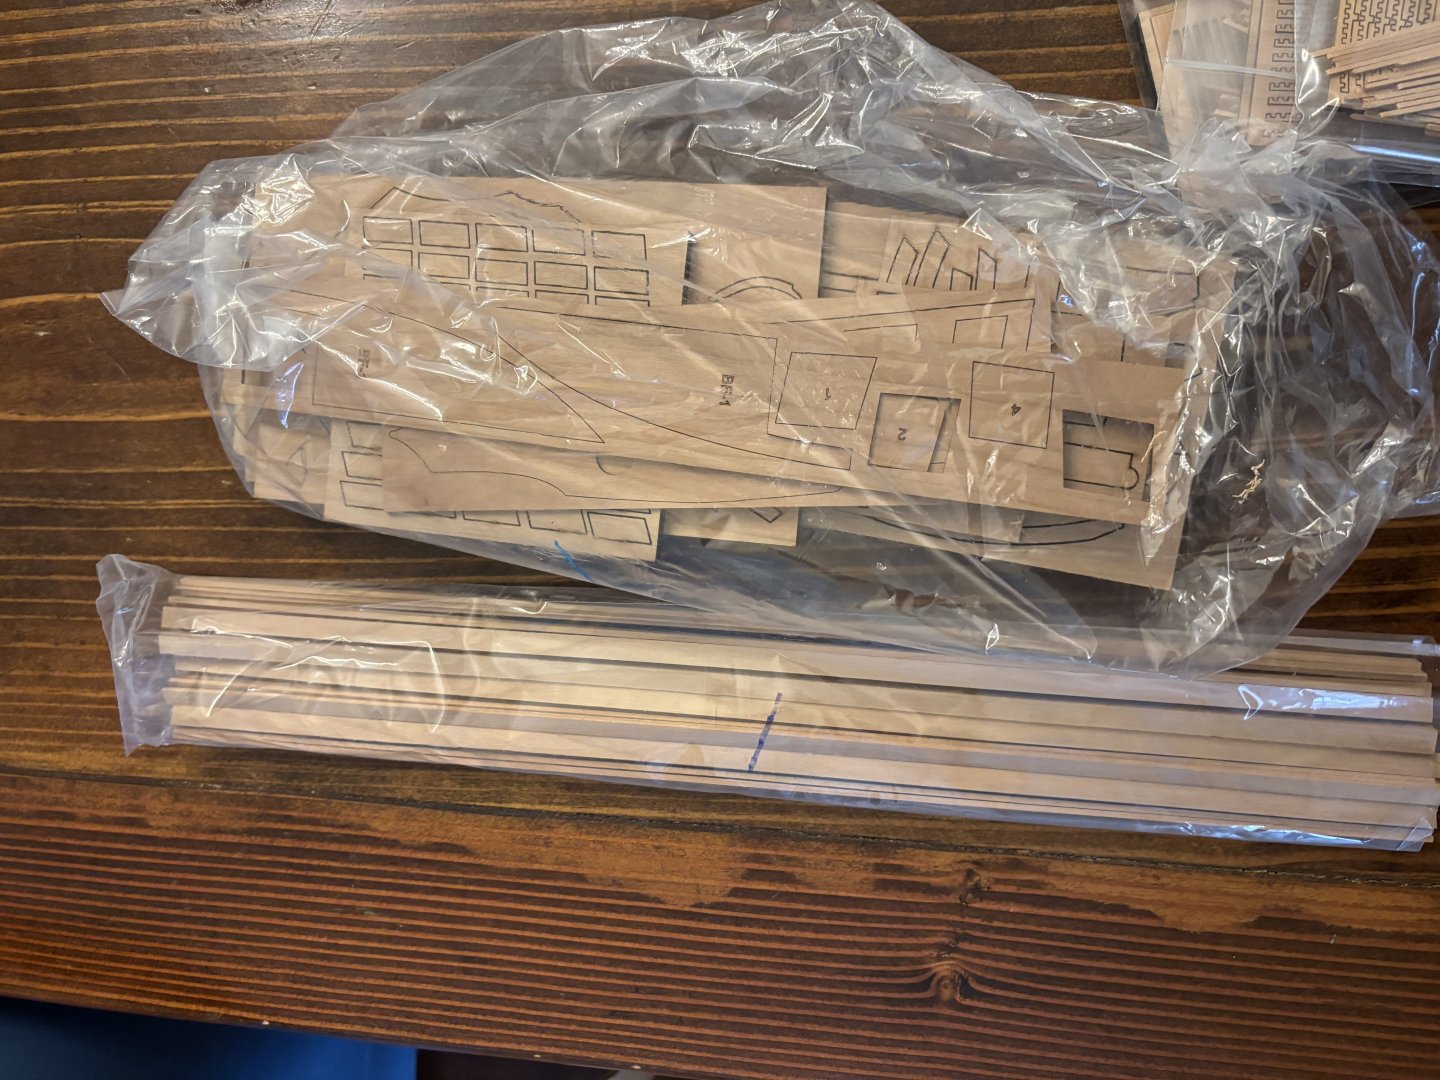
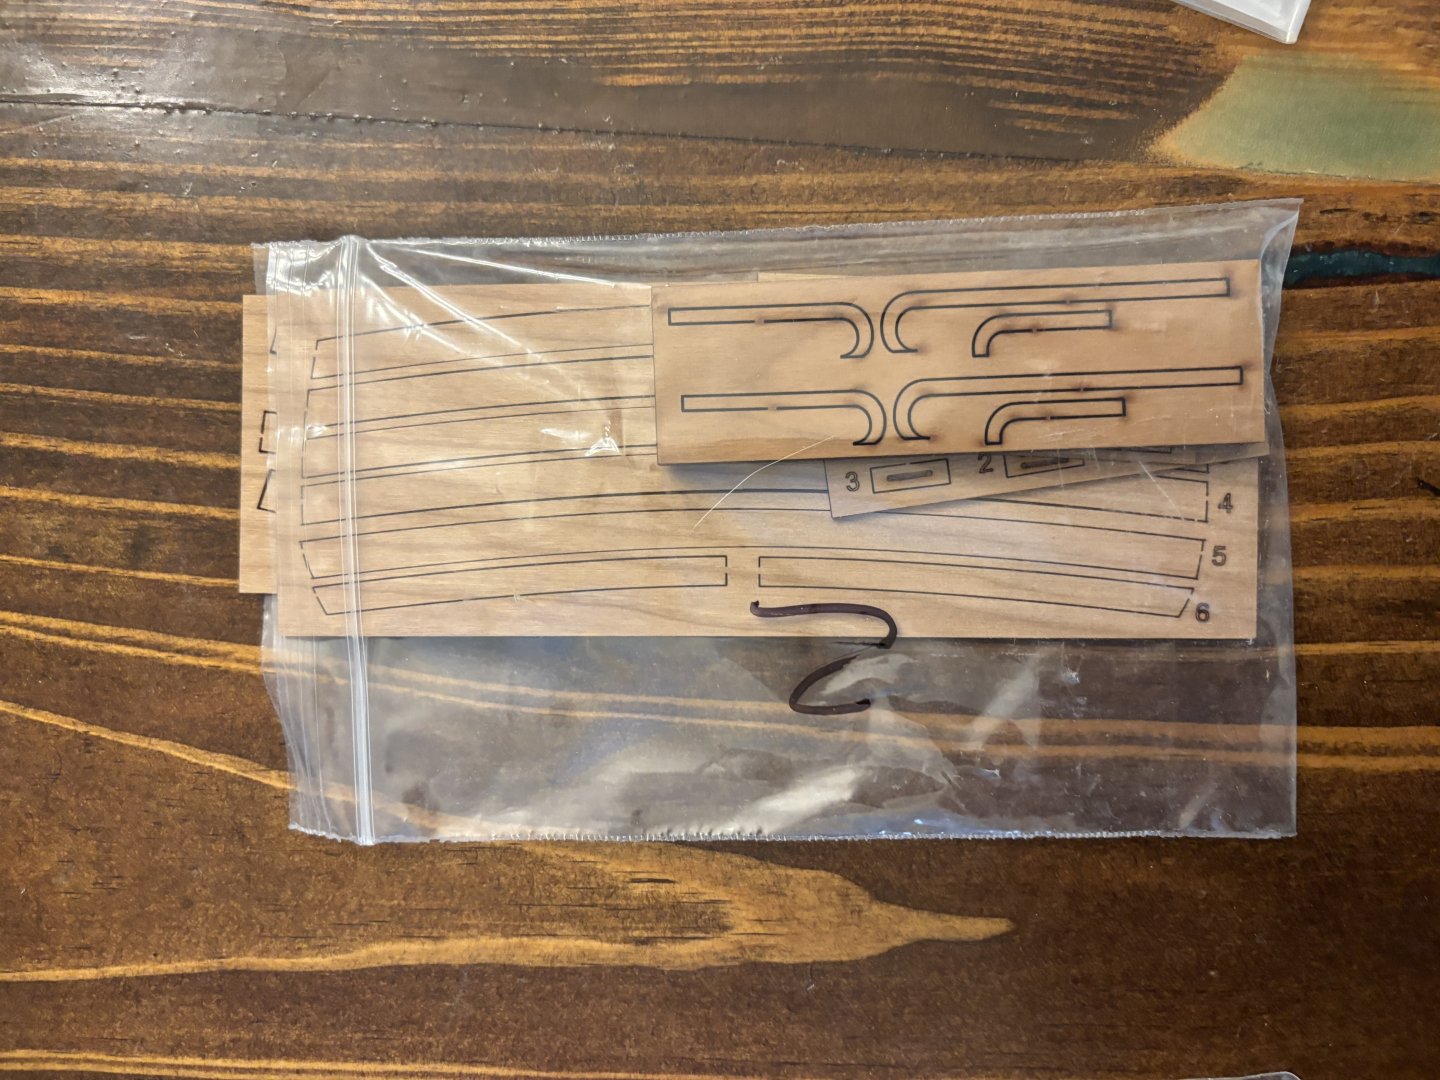
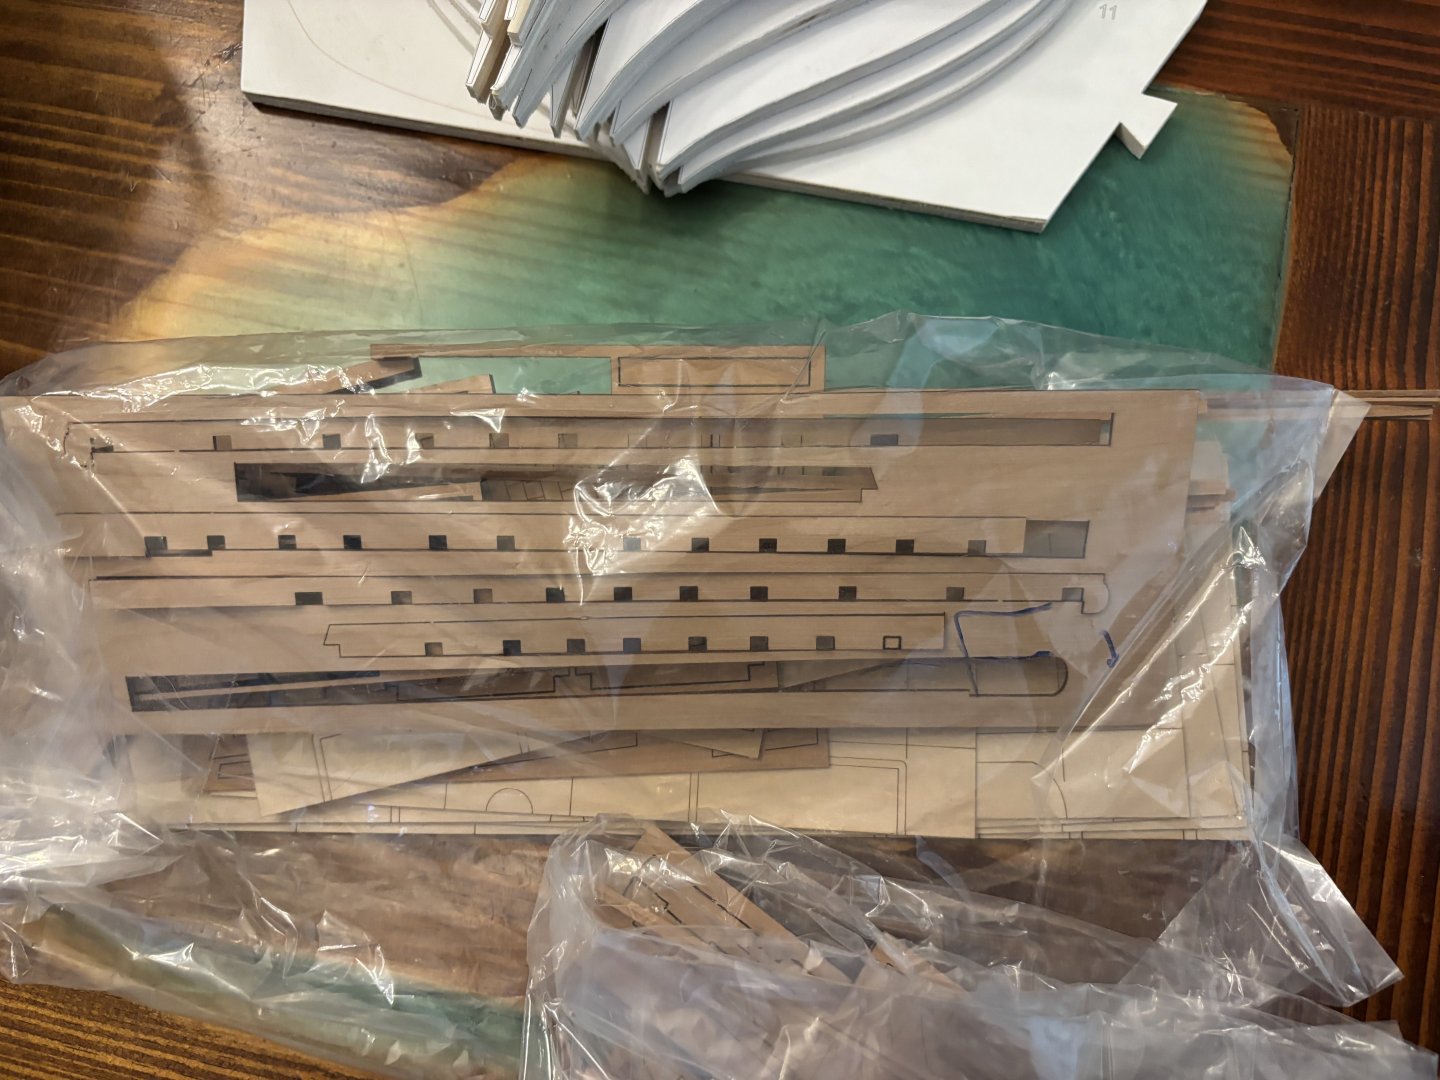
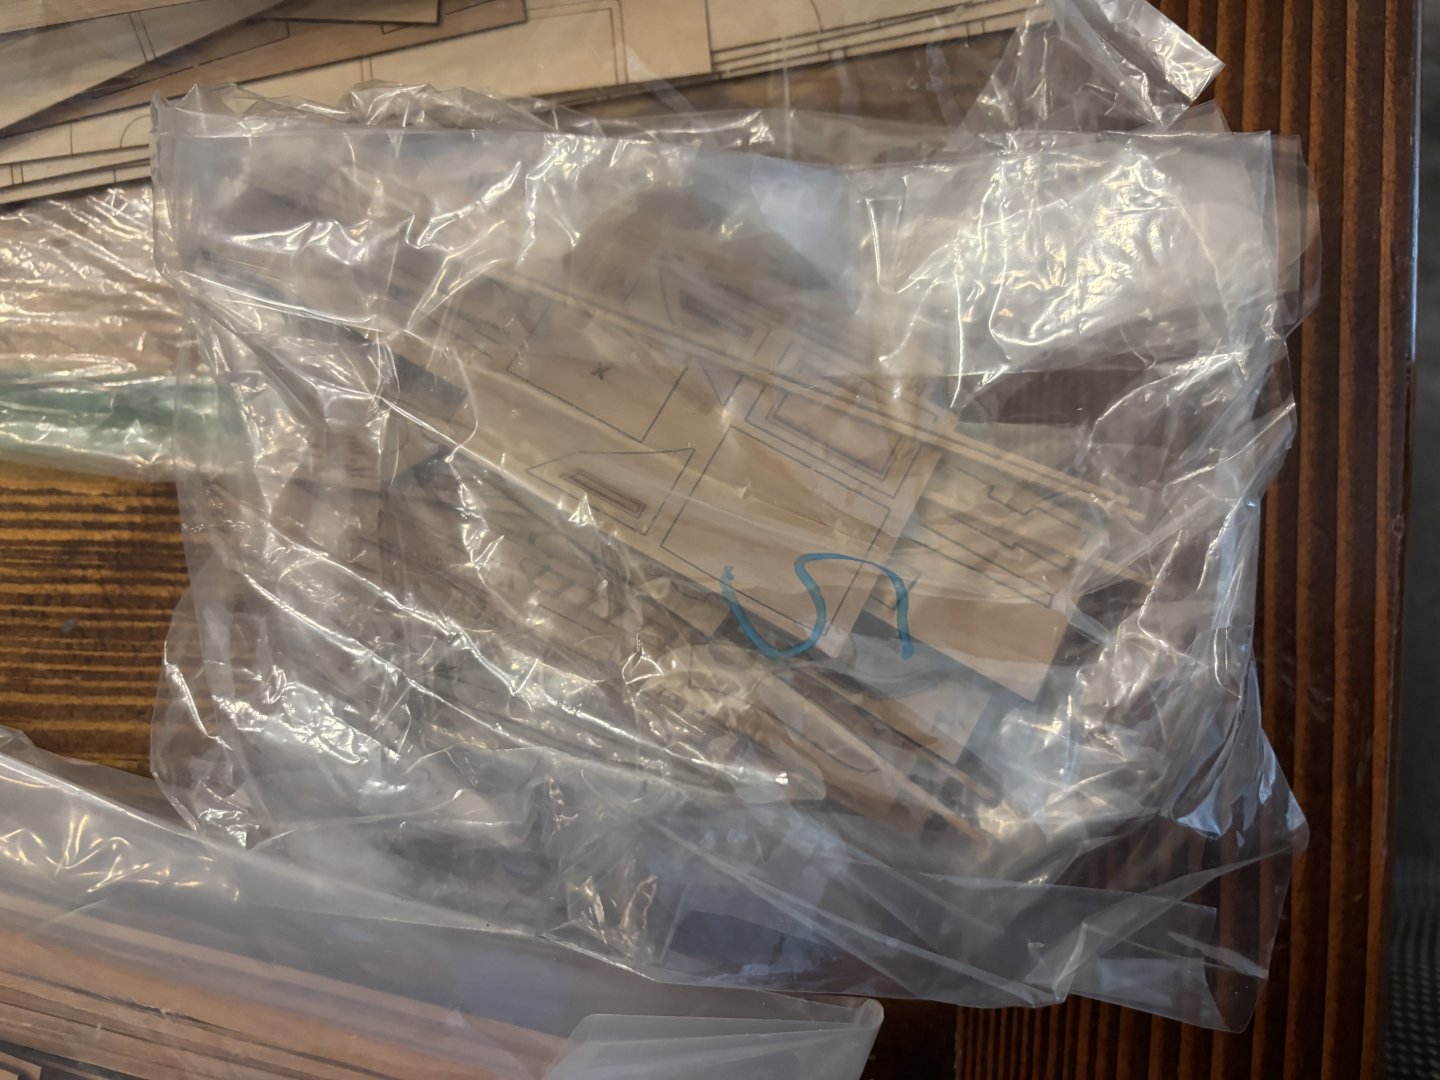
 I am looking to sell my cut out frames and false keel along with chapters 1-5 for Chuck’s HMS Winnie build. I am selling it because I don’t think that I will be able to get back to the build before all of the rest of the chapters are sold out on his site. I also have the figurehead kit going with it as well. Most of the frames have already been fitted to the false keel (none of the frames have been glued to the false keel), the aft section still needs some final fitting done. I’ll separate the frames from the false keel pieces before shipping. I am asking $300 plus shipping for the whole lot. PM me with any questions you may have.
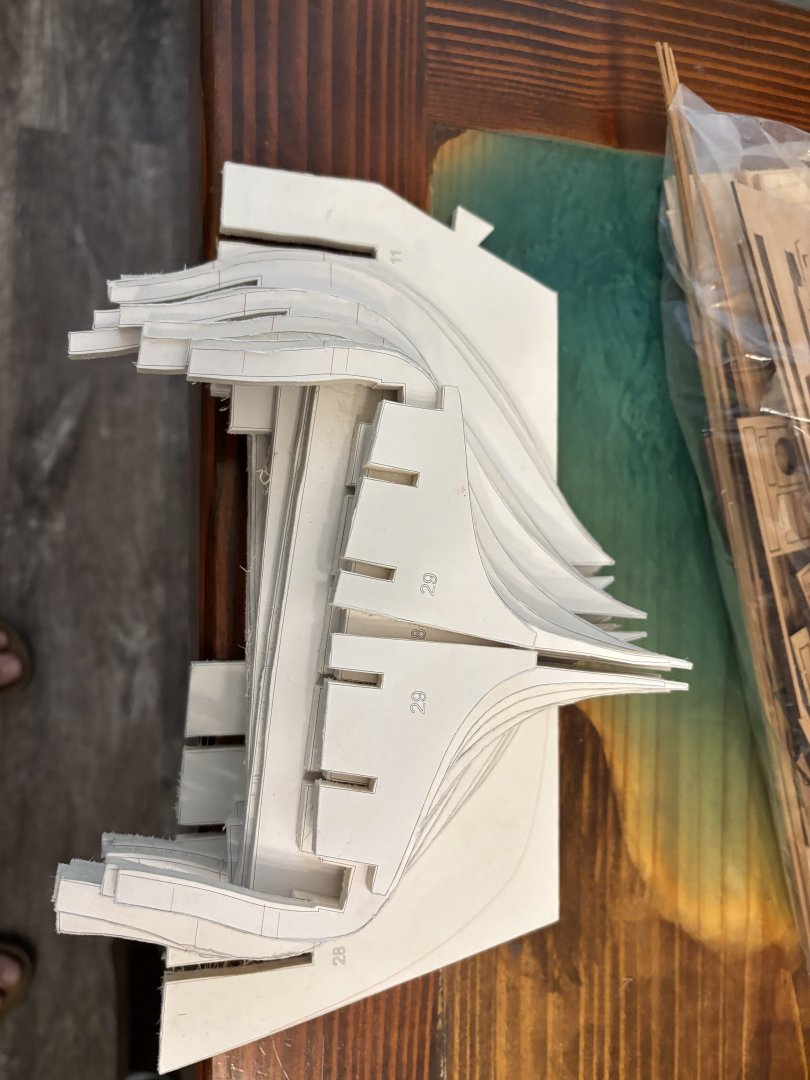


-
As always, I have no words. Truly exceptional work! She is turning out to be a model that is worthy of display in the Smithsonian.
-
Glenn, the boarding ladder came out beautifully. And no one would have know about the slight mishap when turning her over if you hadn't mentioned it. A testament to your work and attention to detail!
- 840 replies
-
- 2
-

-
- winchelsea
- Syren Ship Model Company
- (and 1 more)
-
She is looking quite exquisite! Beautifully done!
- 840 replies
-
- 1
-
-
- winchelsea
- Syren Ship Model Company
- (and 1 more)
-
Chuck, the chairs, table and cushions are next level! Just when we think that you can't possibly outdo yourself; you yell out "Hold my beer!"
-
Chuck, your bulkhead looks absolutely amazing!
-
Such amazing work! If one did not know better, one might say that you are actually building a real ship and not a model.
-
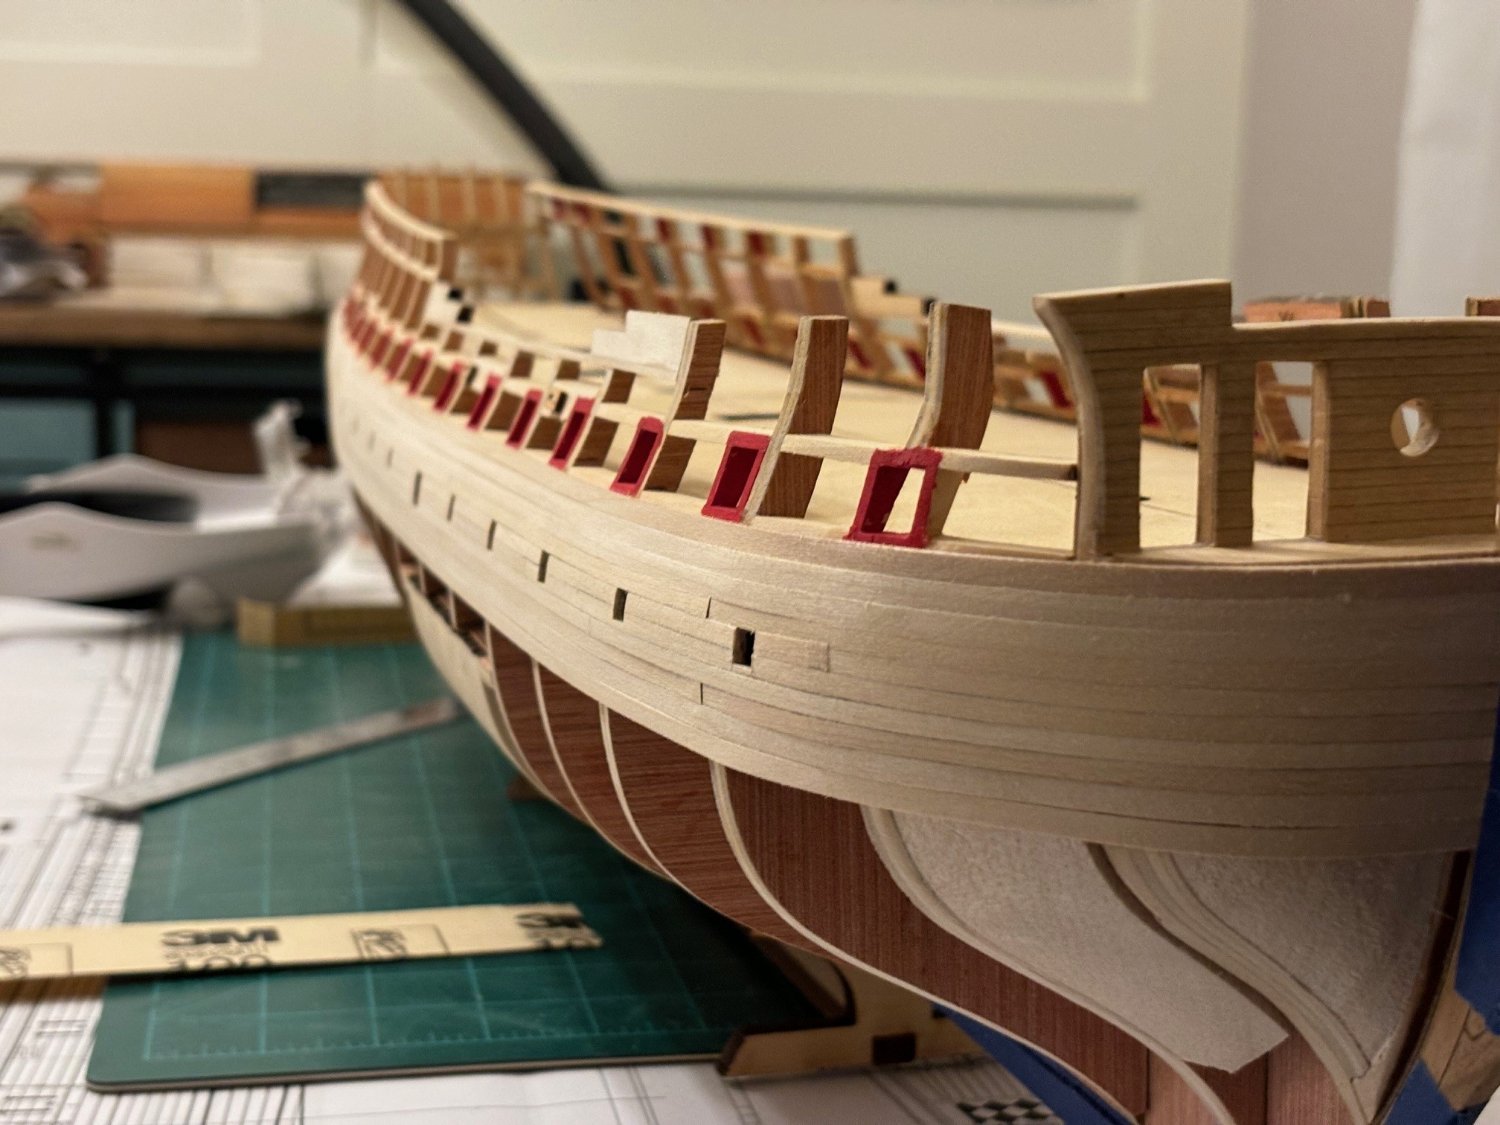
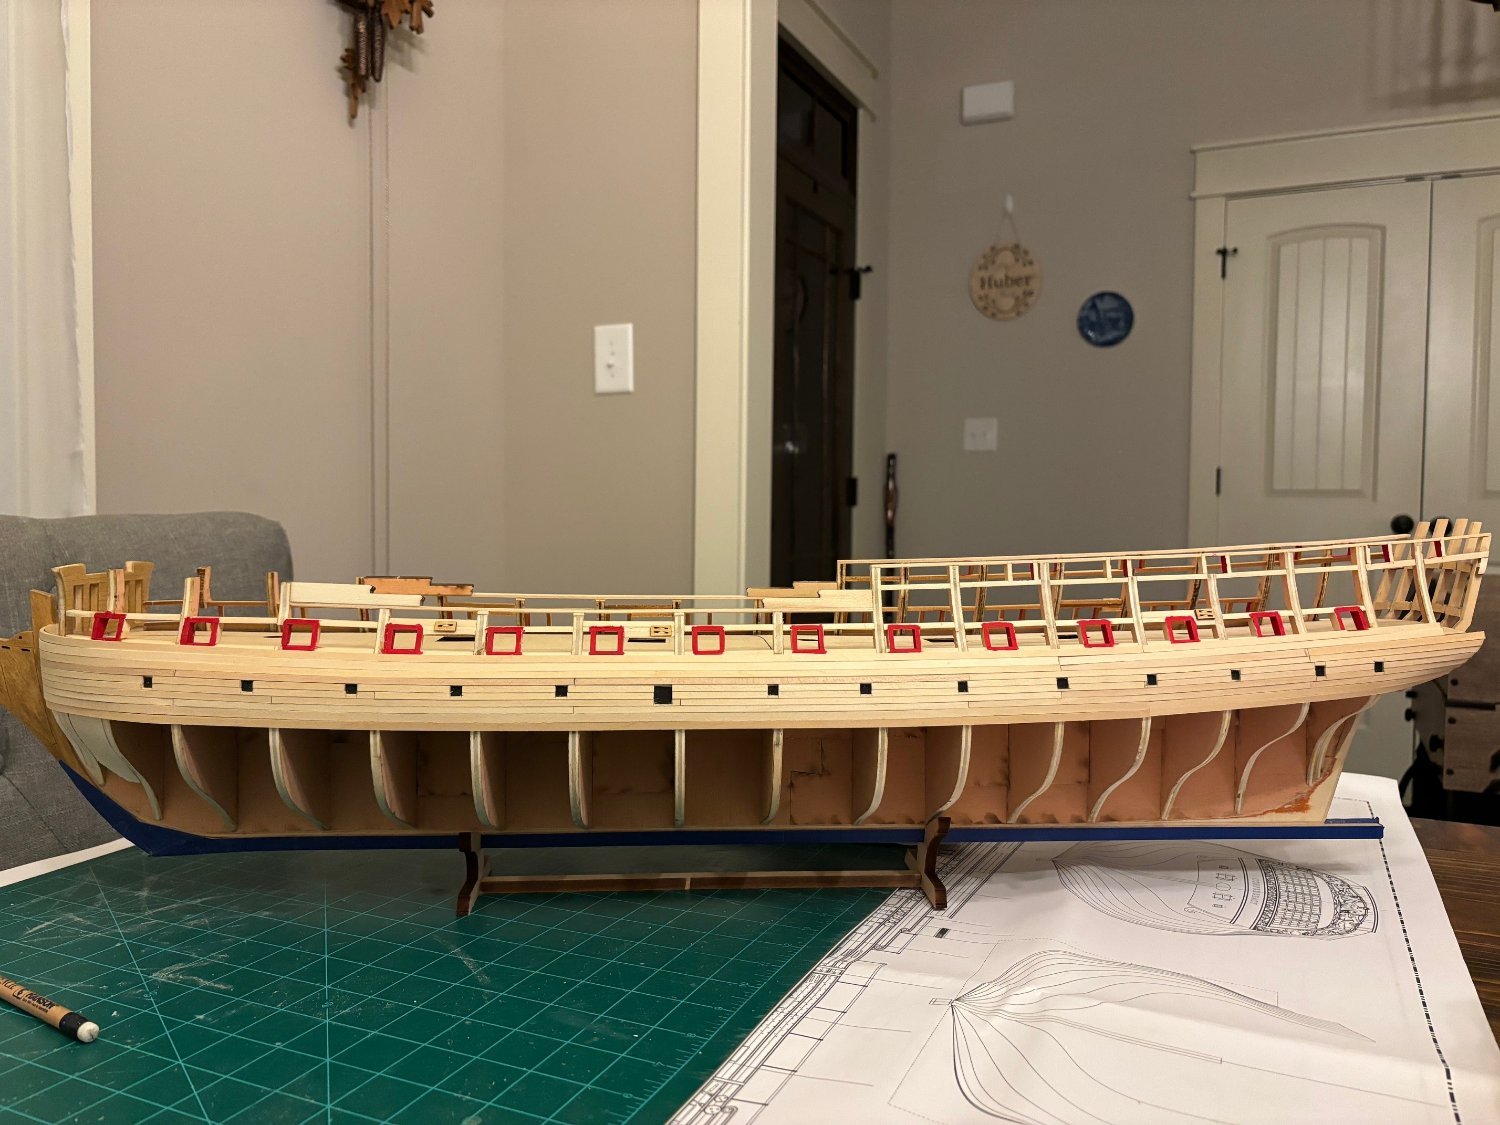
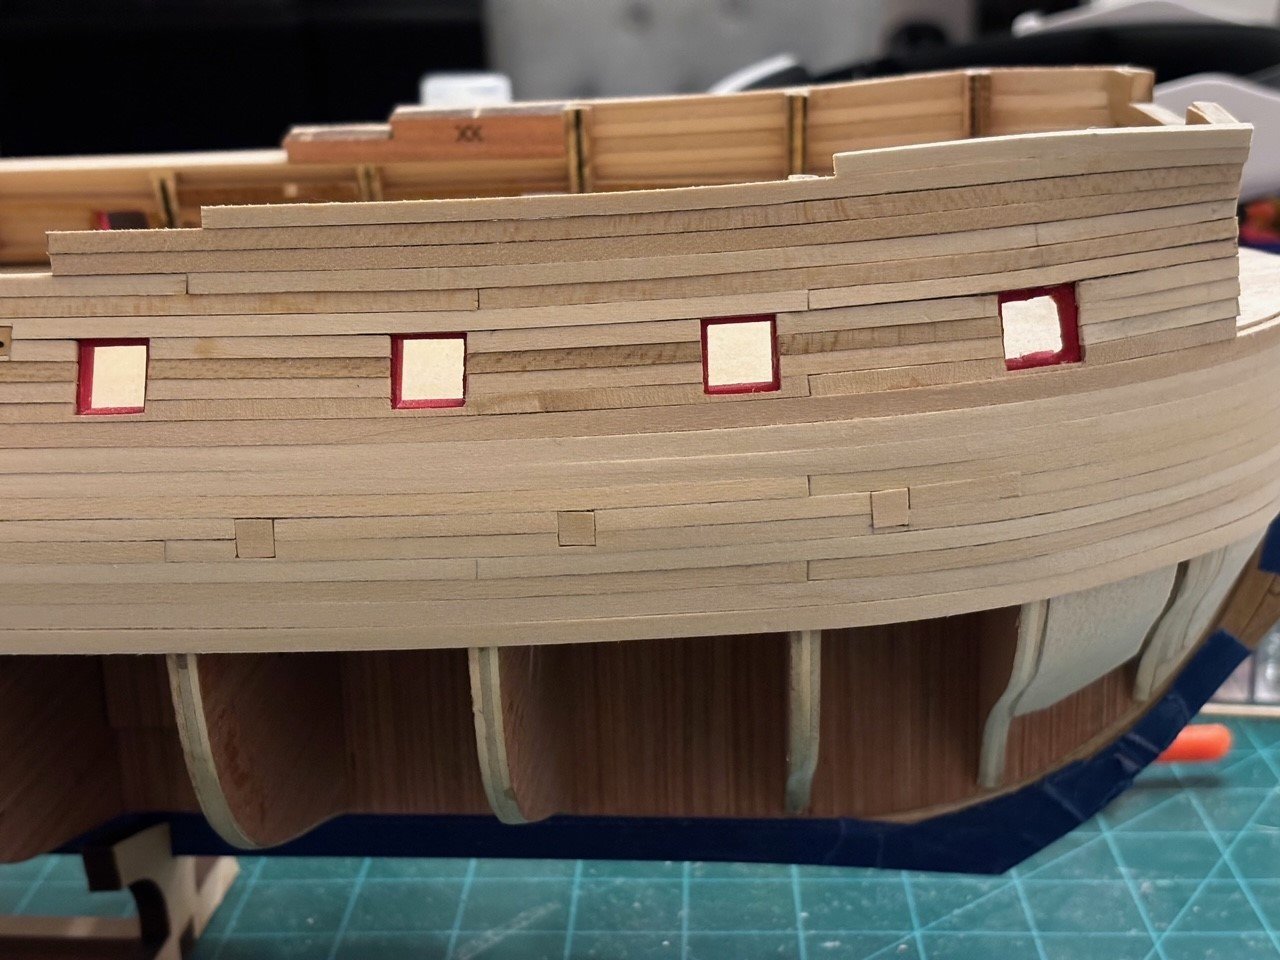
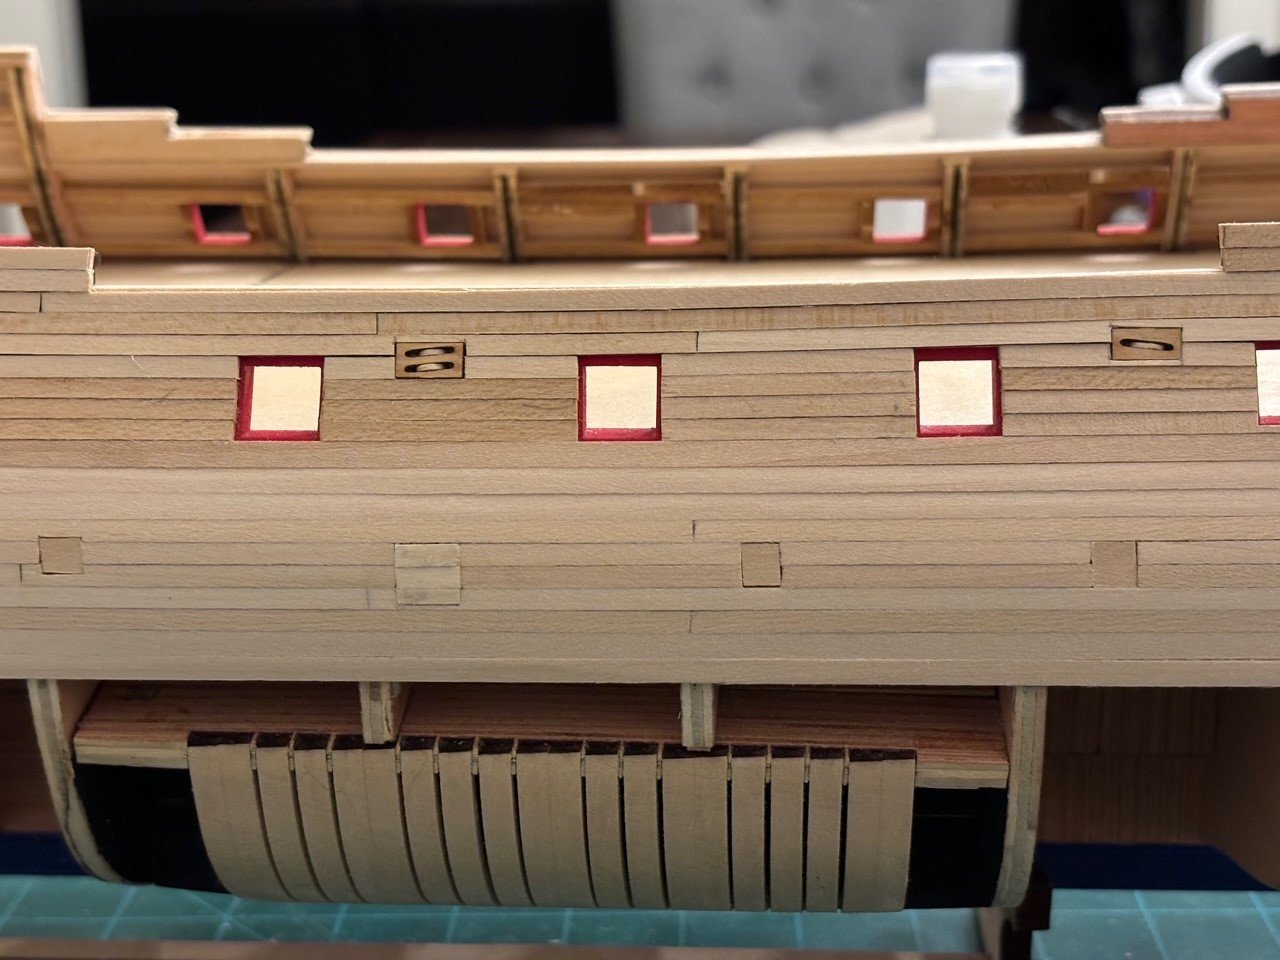
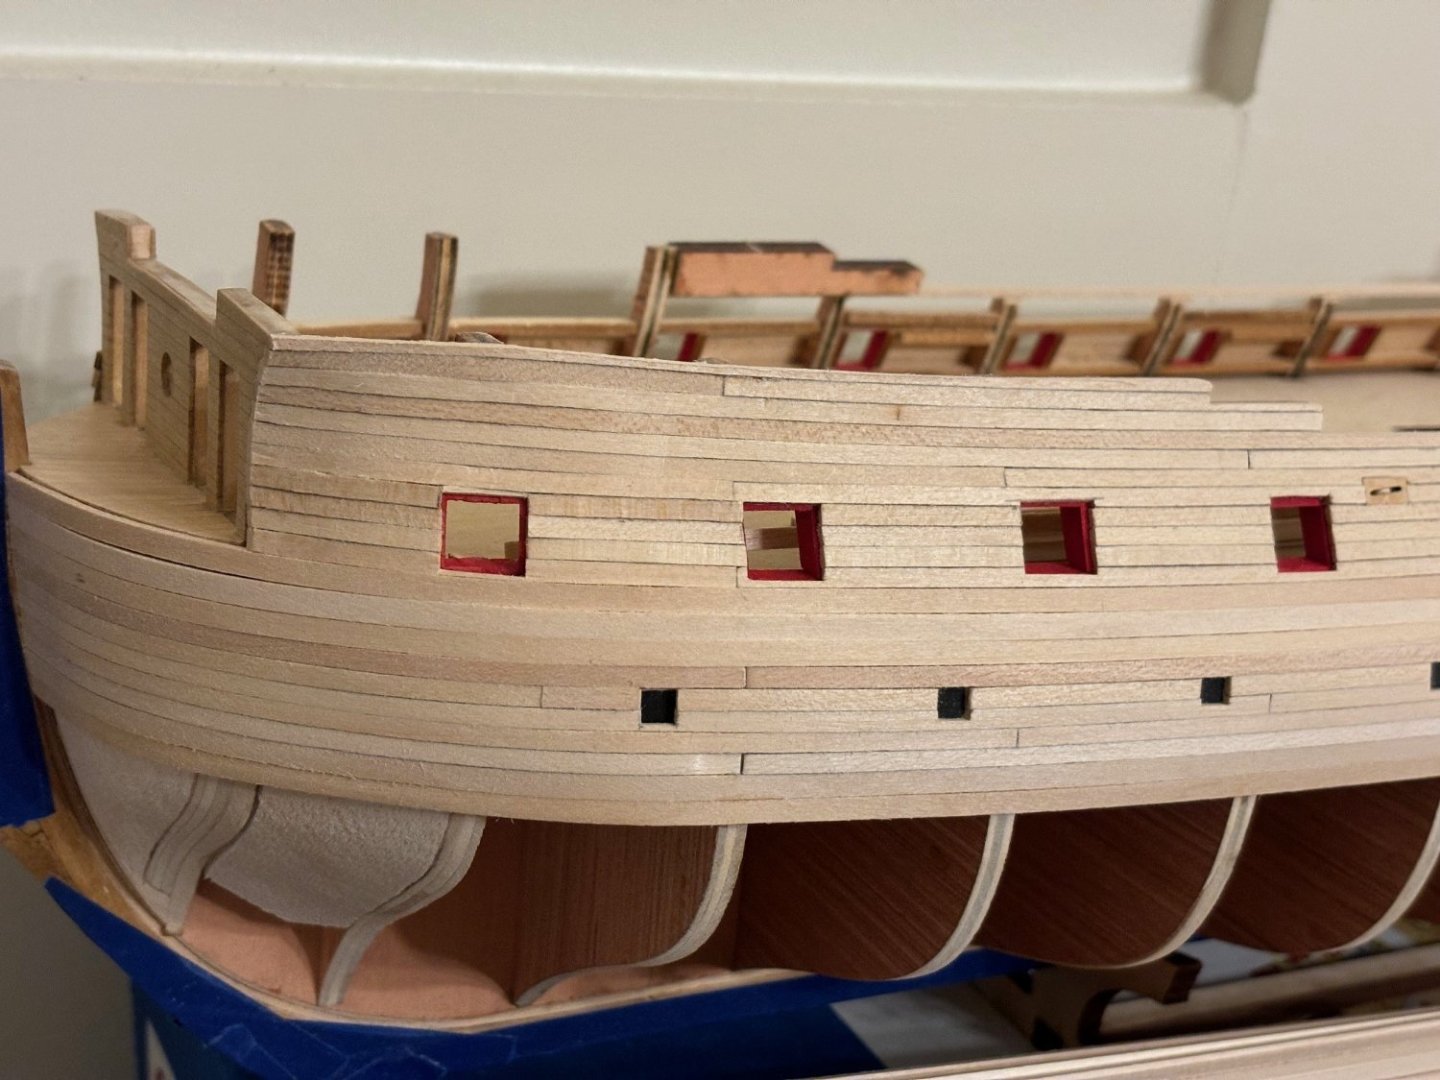
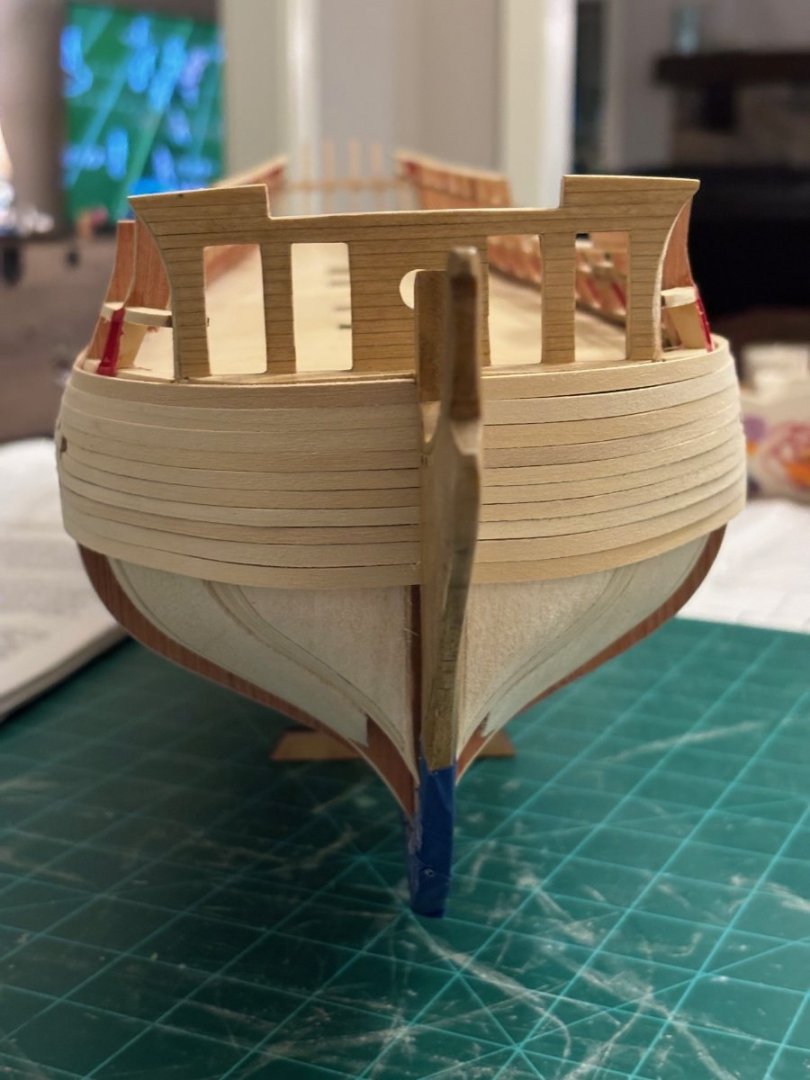
Starboard side is now planked up the sheer. The port sweep and ballast port lids have also been installed. The port side sweep ports and ballast port lids have also been installed. Next task is to do a rough sanding on the planks, install the remaining 3 blanks for the main wales on both side and then install the second layer on the main wales, channel wales and black strake.

-
JJ, coming along nicely and I must second the comment by Allan on the attention to detail. Your model will look stunning next to your Winnie. That really sucks, I hope that you are able to get your timber back. Seems like you just can't trust anyone anymore these days. That is why I have cameras set up all over the exterior of my house.
-
Looking great Chuck! She is going to be conversation starter for sure when on display.
-
My thoughts exactly!
-
Looking really good. Glenn. She is shaping up to be a very superb model.
- 840 replies
-
- 2
-
-
- winchelsea
- Syren Ship Model Company
- (and 1 more)
-
Why am I always late to the party? Simply amazing with the design and build so far, I will be following along intently with my bucket of popcorn and chair.
-
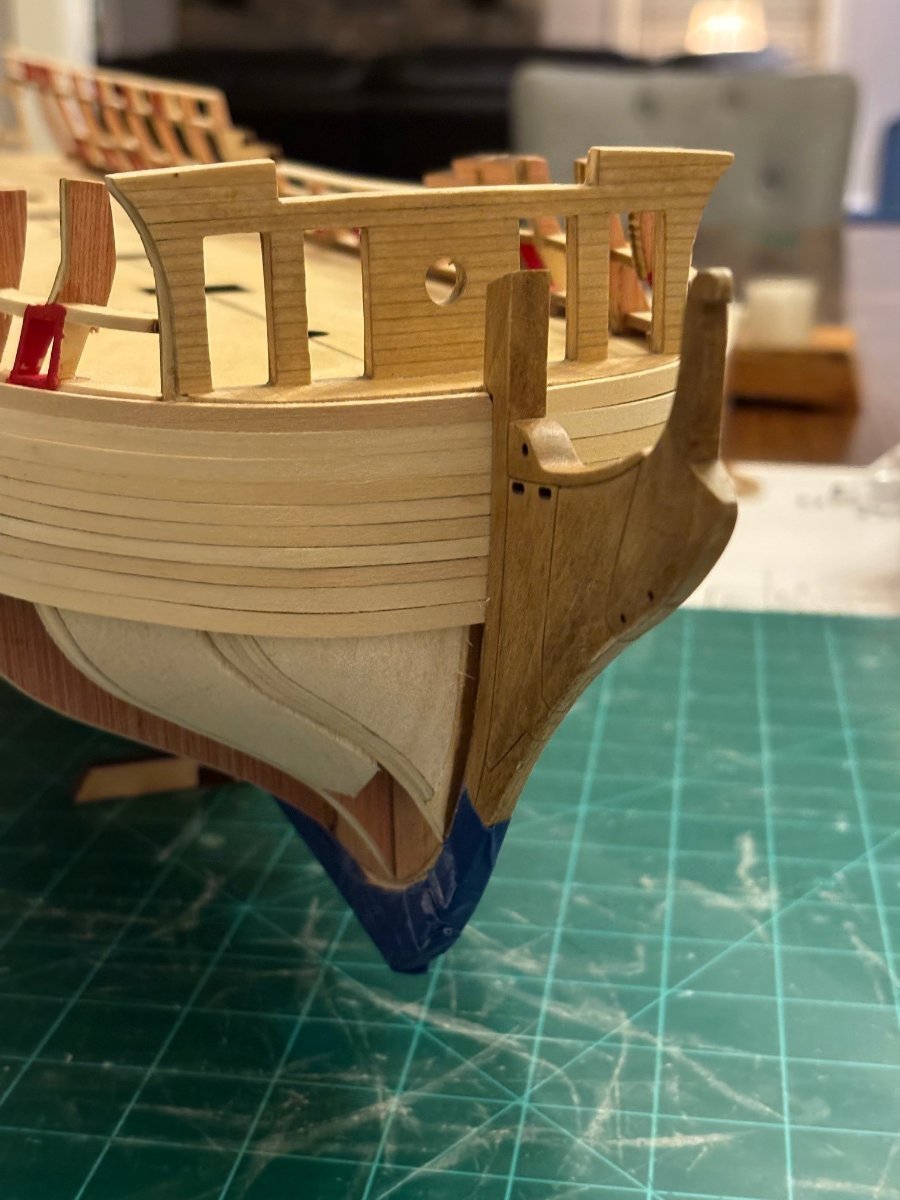
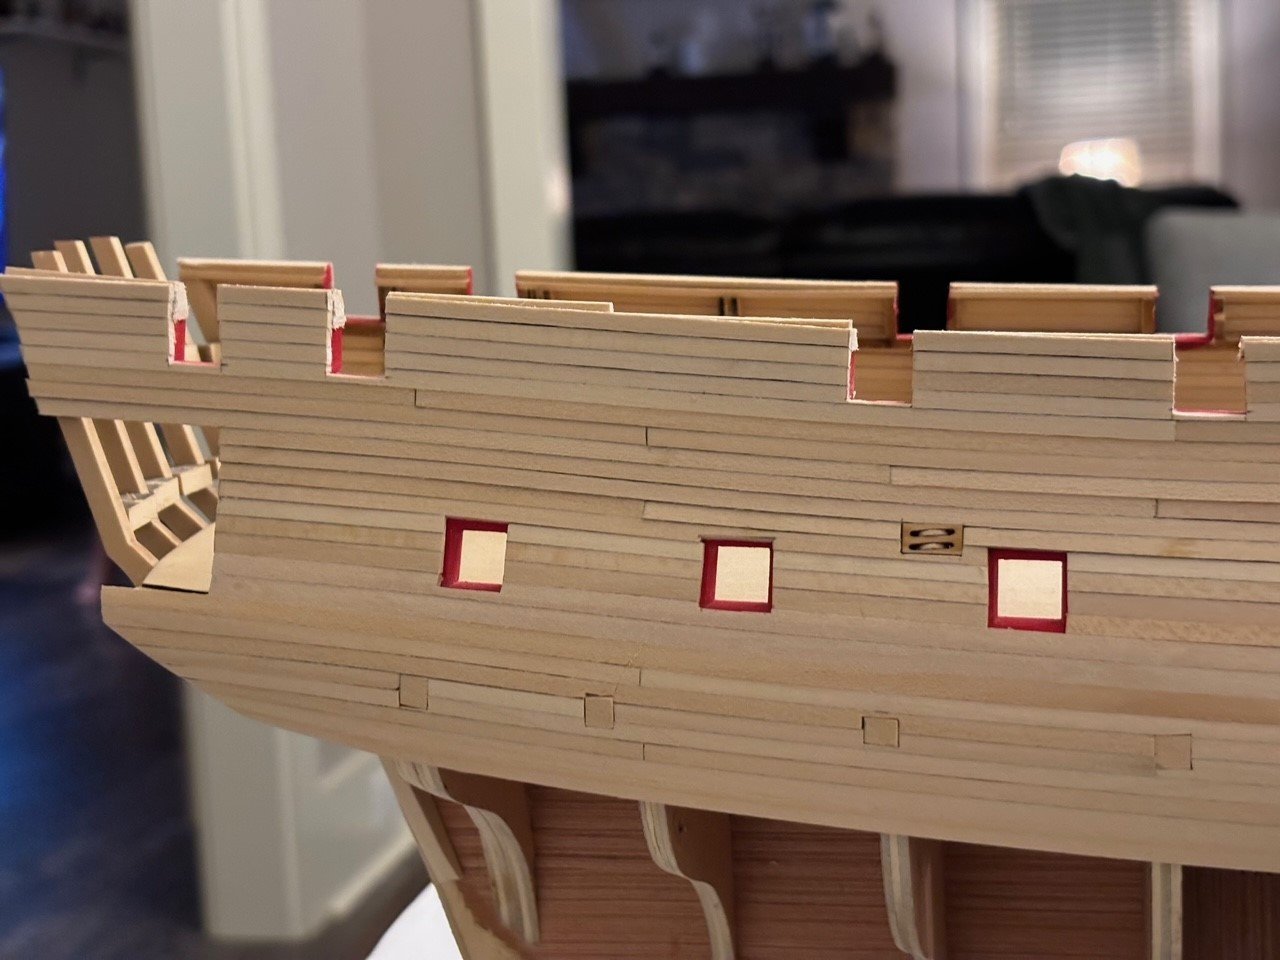
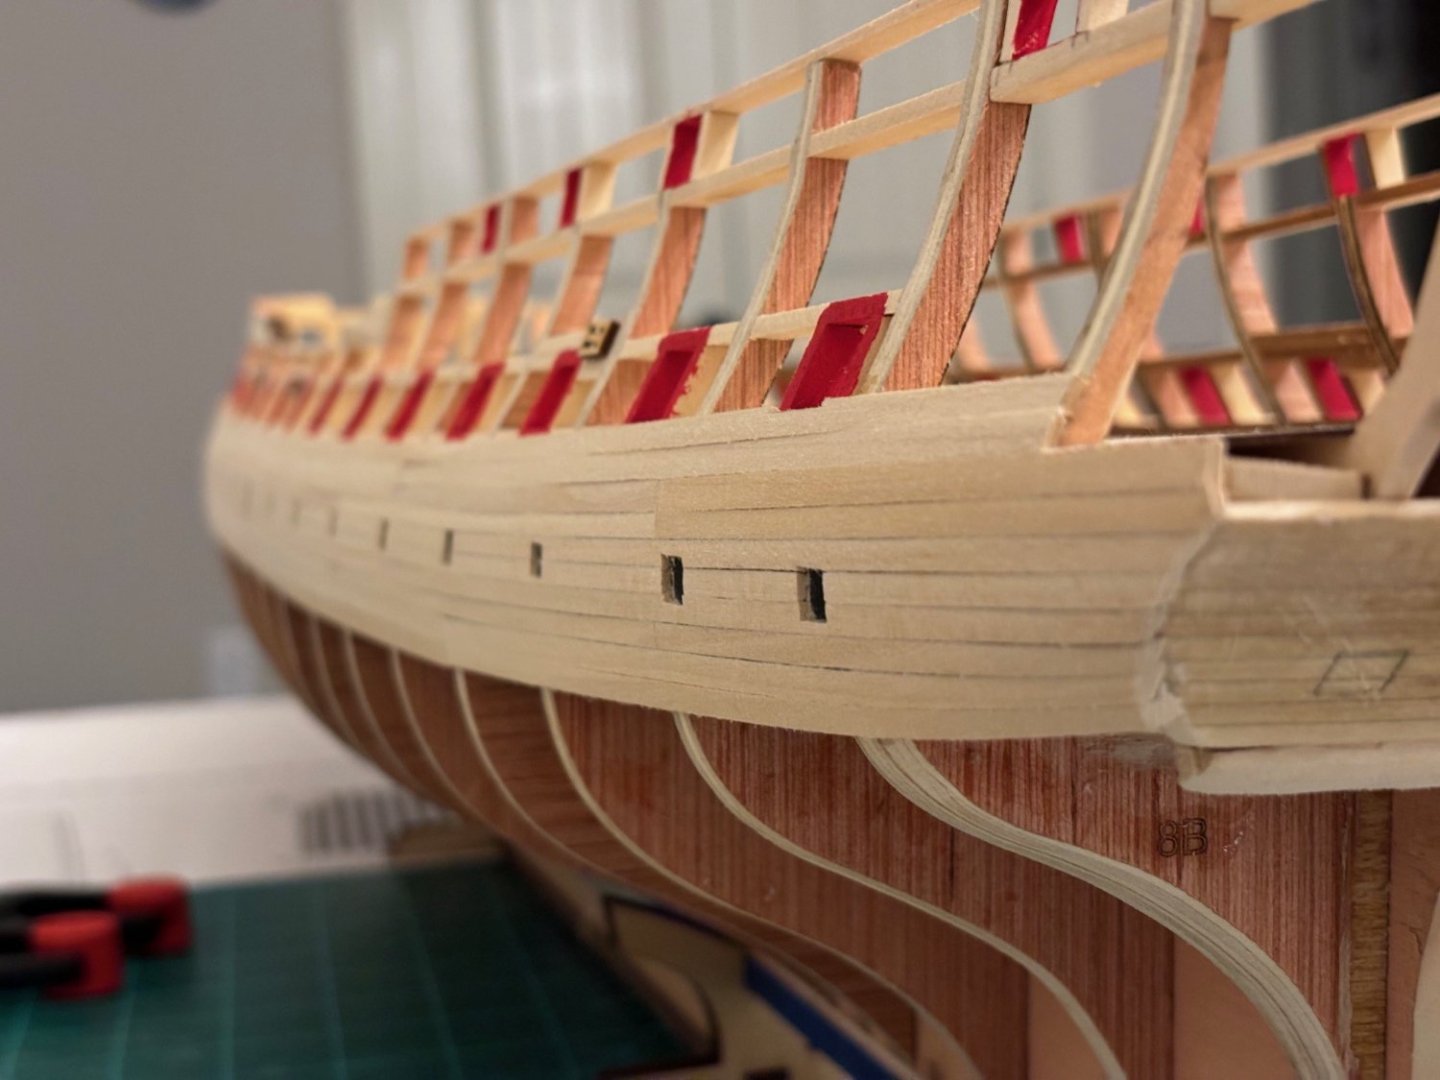
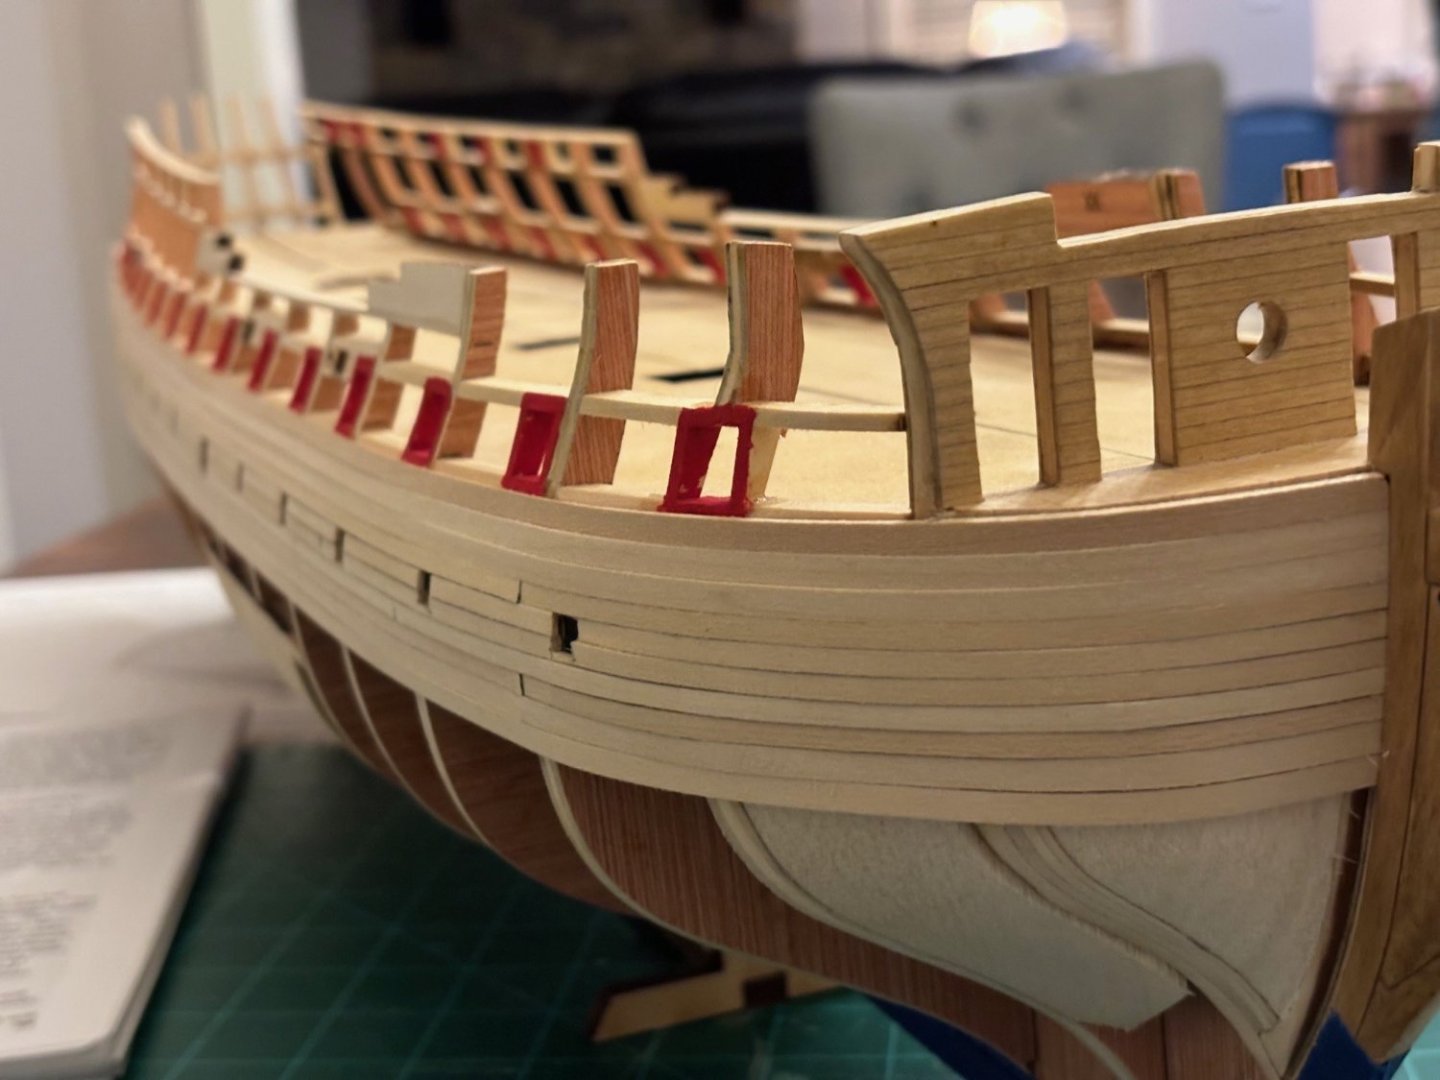
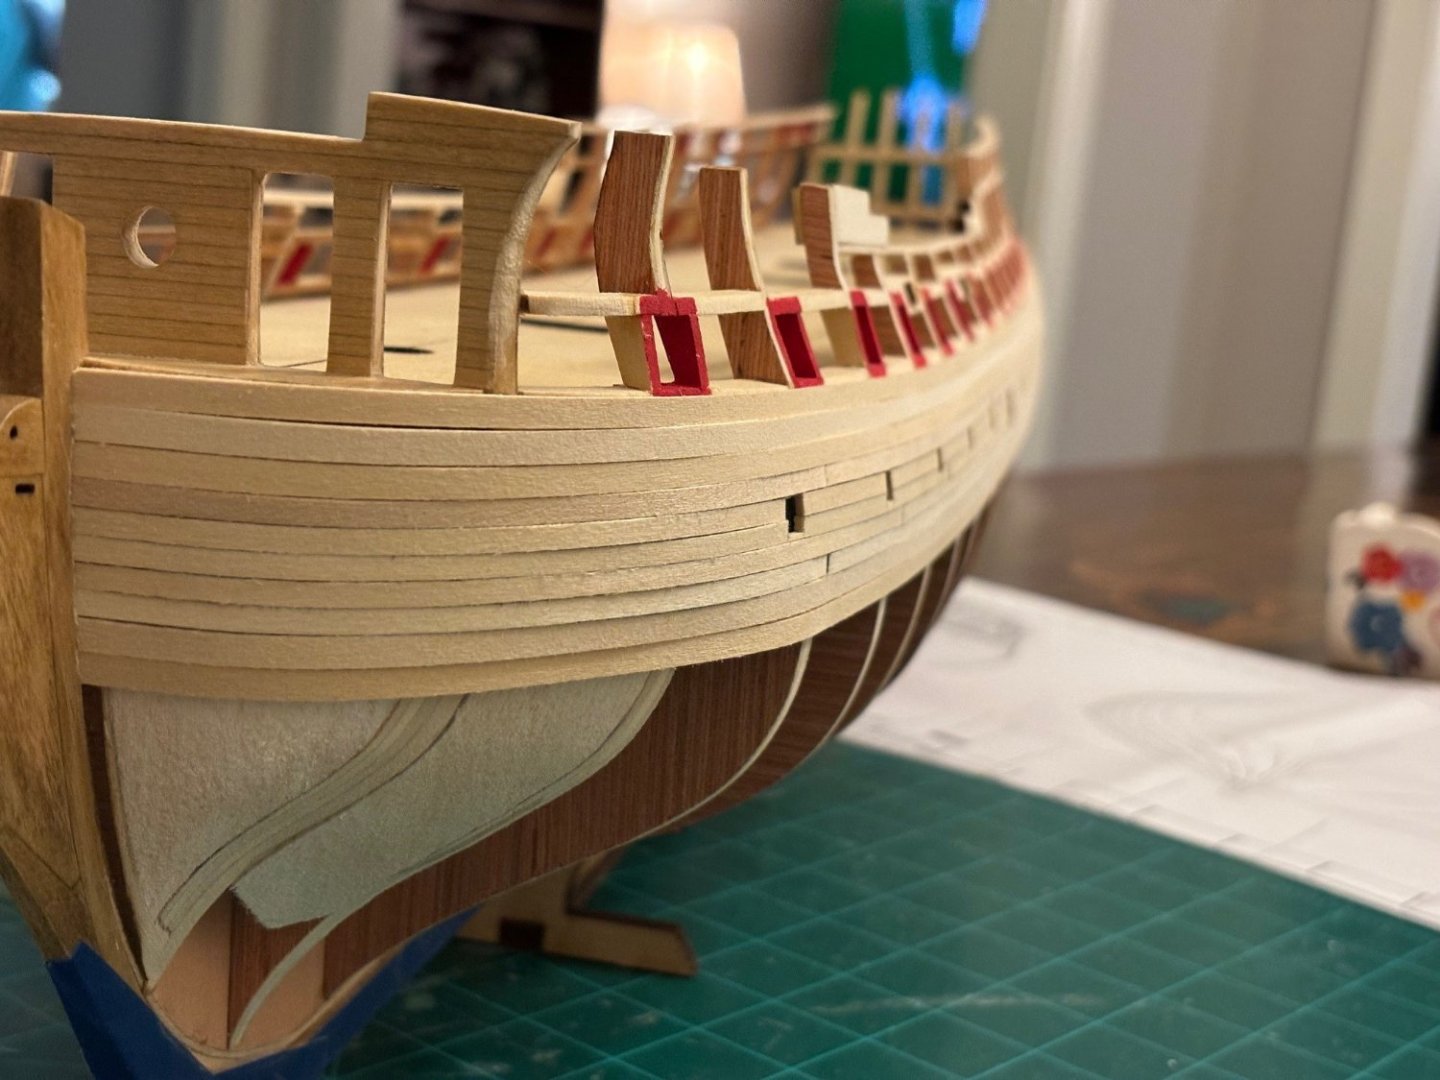
Finished up the planking above the wales on the port side. It just needs sanding to smooth it all out before adding the second layer for the channel wales and molding and sweep port covers. I'll sand it after I finish up the starboard side. To get the rabbet consistent on the gun ports, I used my guitar string set up rule since it provides measurements down to 1/64 of an inch. I have also decided that I will be painting the hull the above the wales instead of staining it. I like the look of the painted hull better.
-
What an awesome technique for making the eyebolts look more to scale. I will be incorporating this way of making them for sure. Those lower platforms look absolutely amazing.
-
That is one fine looking half hull merchantman model. I am currently planking mine at the moment to gain some experience. I started with planking the wales and up; and plan to use Chuck's method of planking below the wales. Can't wait to see some more progress on your Winnie.
-
Perfection as always, Chuck! She is going to be a stunning model when completed.
-
Hello Harshil, I just read through your superb log and will follow along to completion. I have gotten plenty of ideas that I may borrow as I progress farther along in my build of the Confederacy. Your craftsmanship and attention to detail is up there with the best.
-
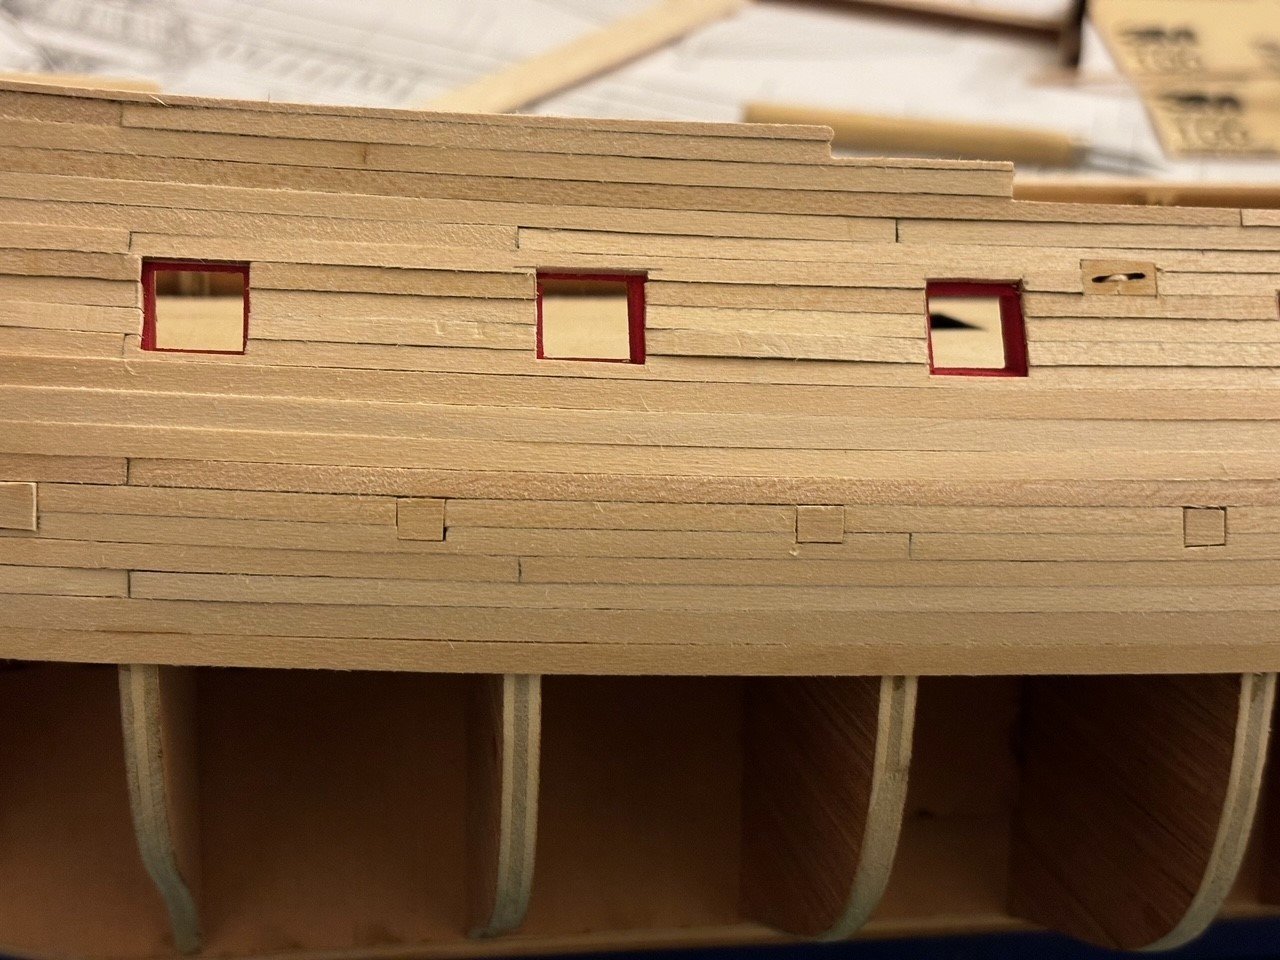
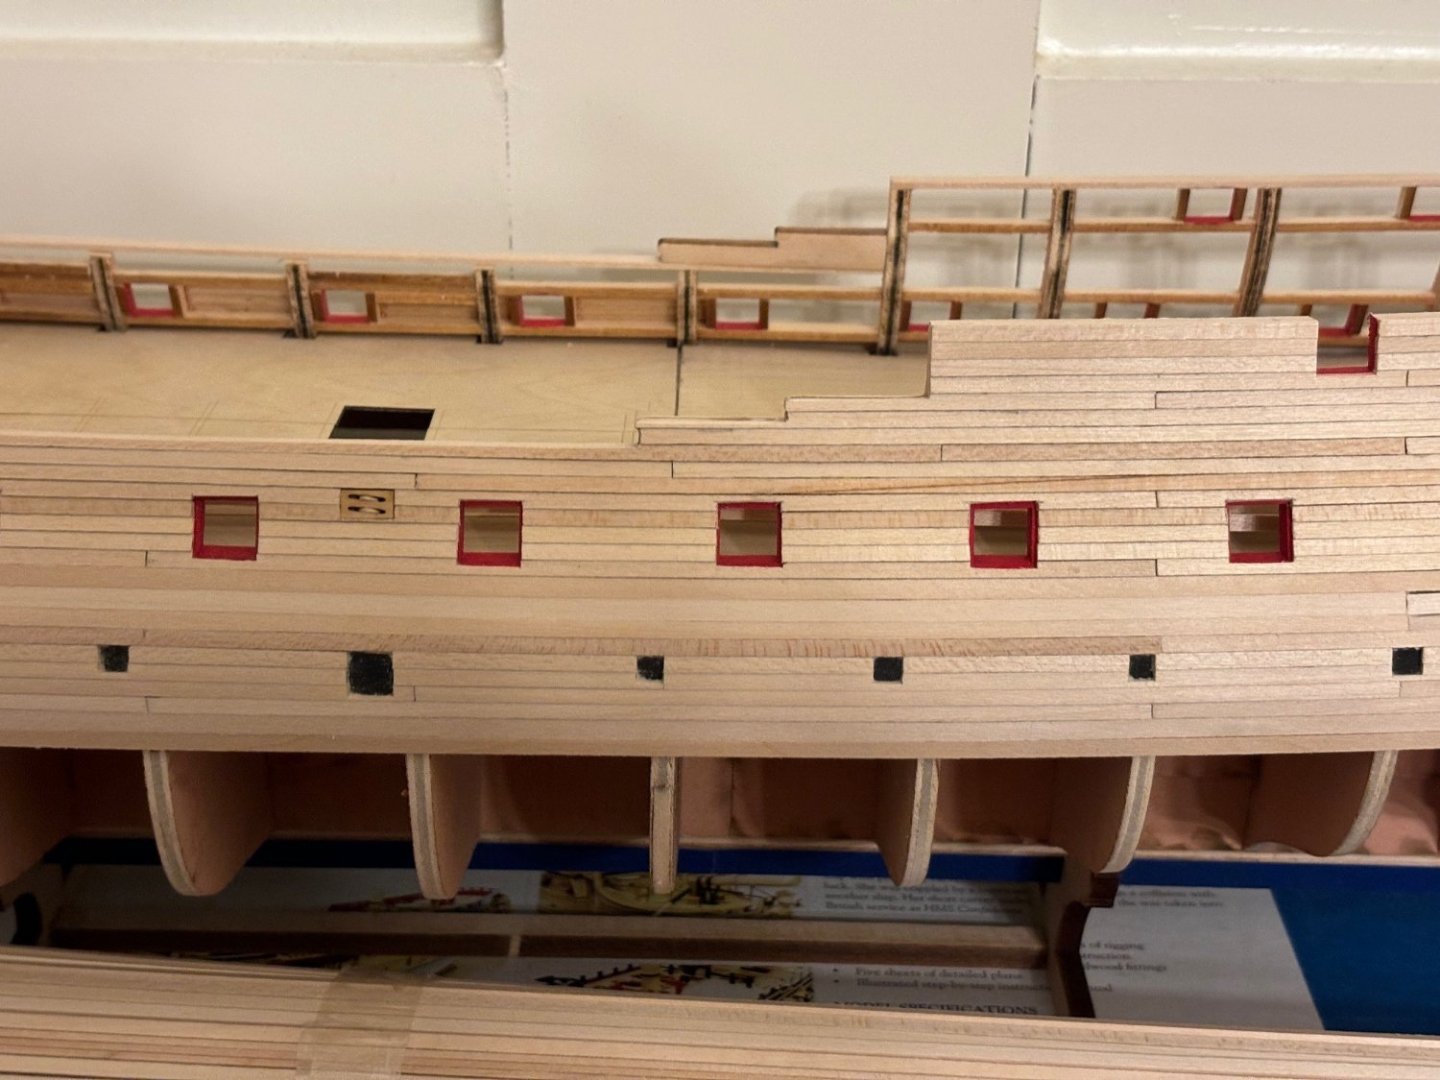
Had about an hour's worth of shipyard time today, so I decided to do a rough sanding on the planks that I already installed on her. I am very happy with how it turned out. I also cut some replacement 5/32 x 1/16 strips from some sheets that I picked up from Hobby Lobby (got tired of waiting on Model Expo to mail out the replacements I requested over a week ago). As always, thank you for all the likes and all comments and critiques are always welcome.


-
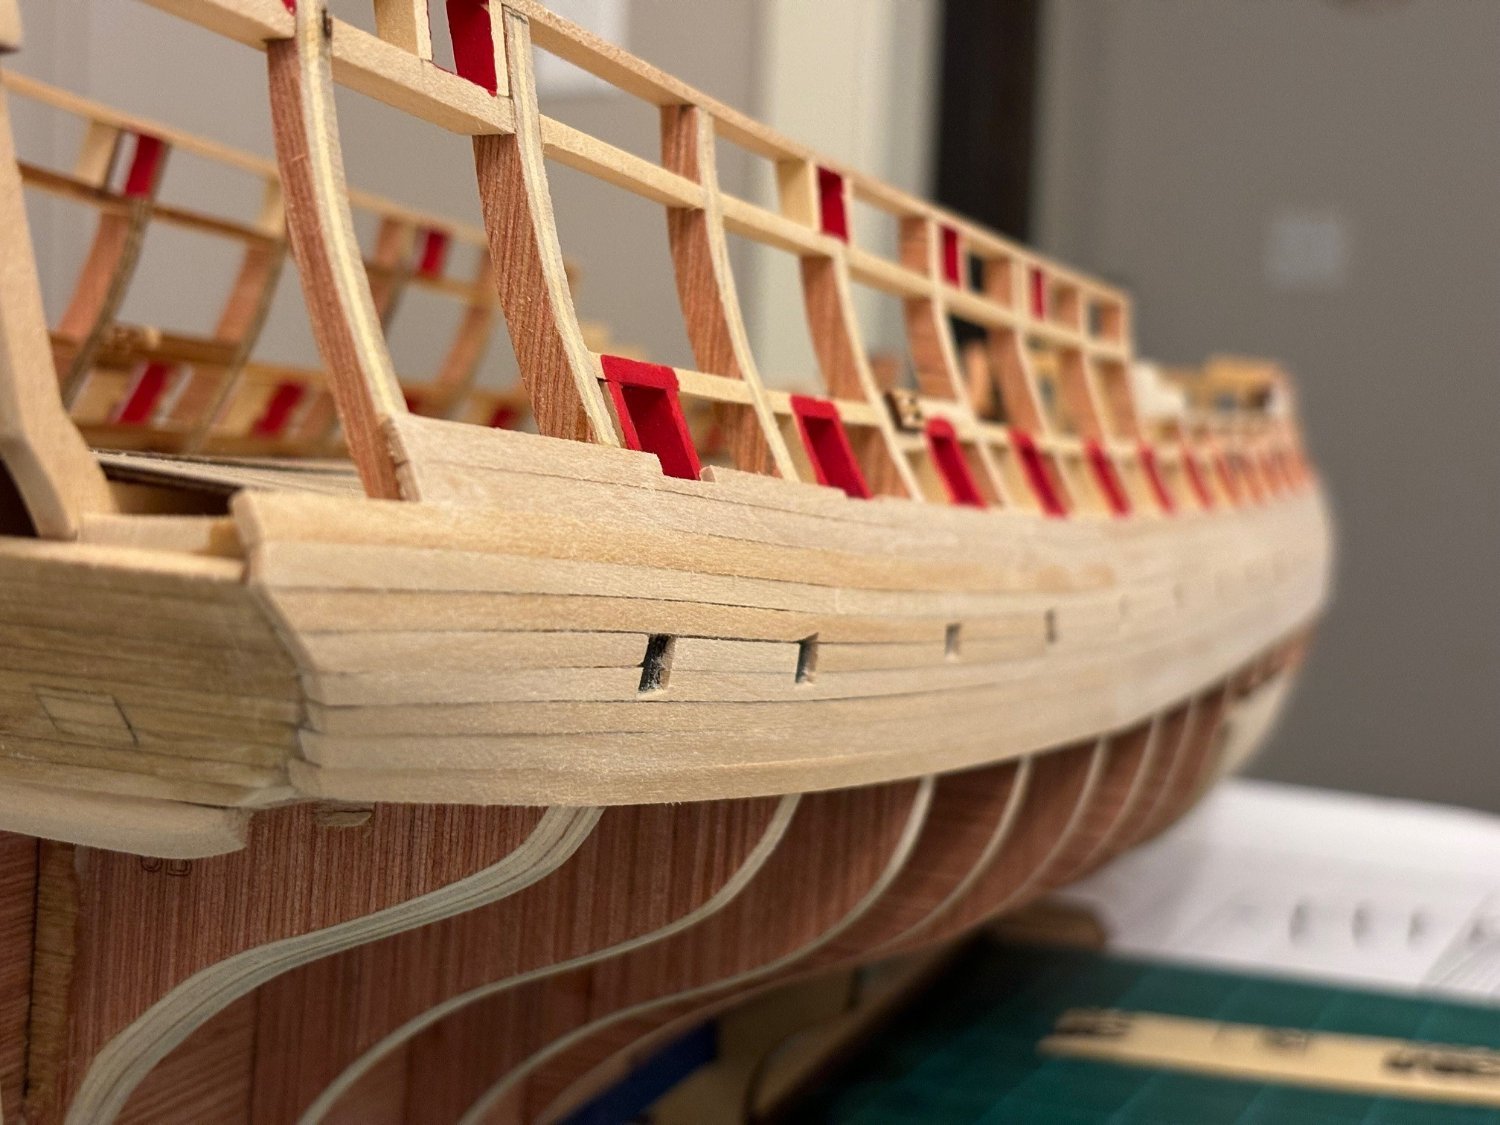
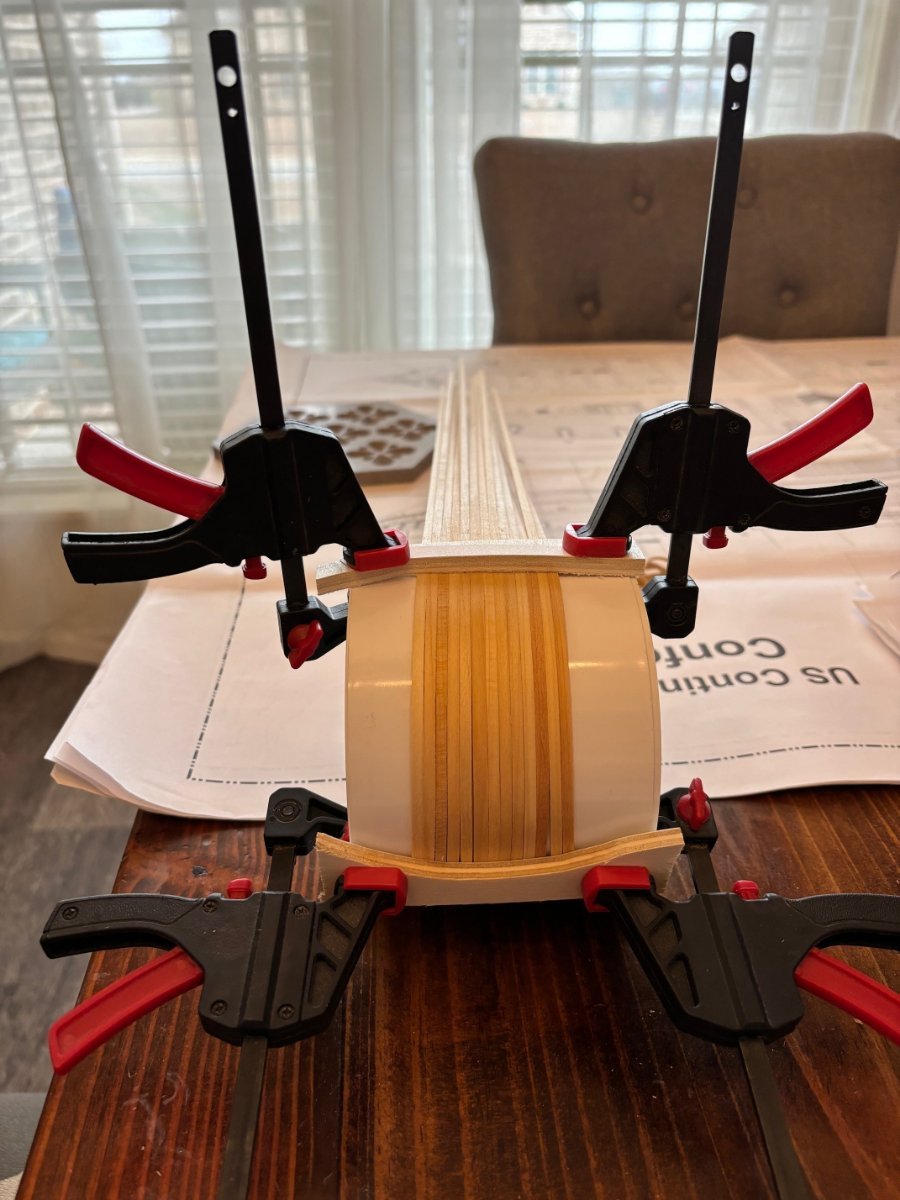
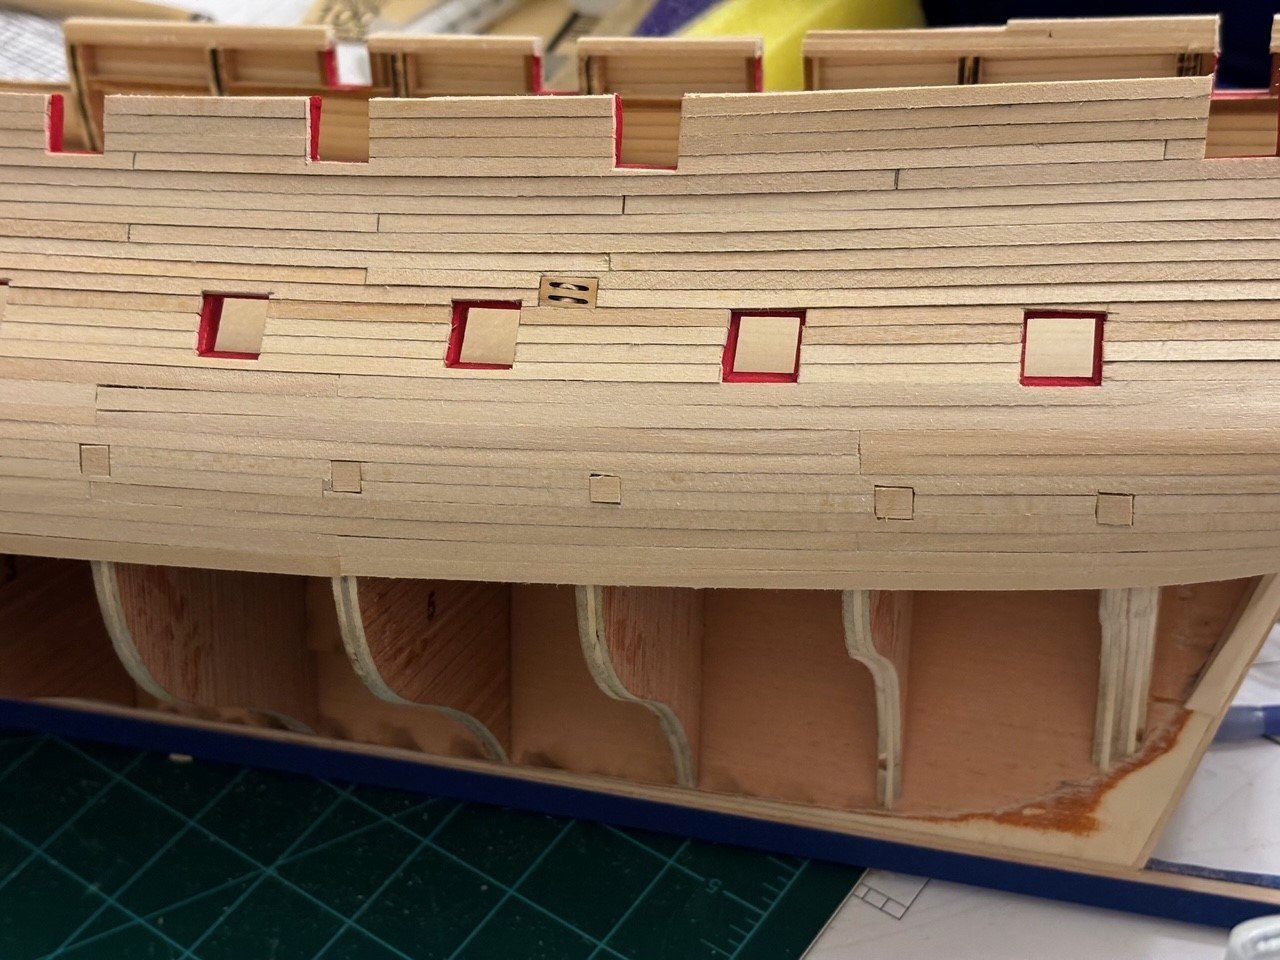
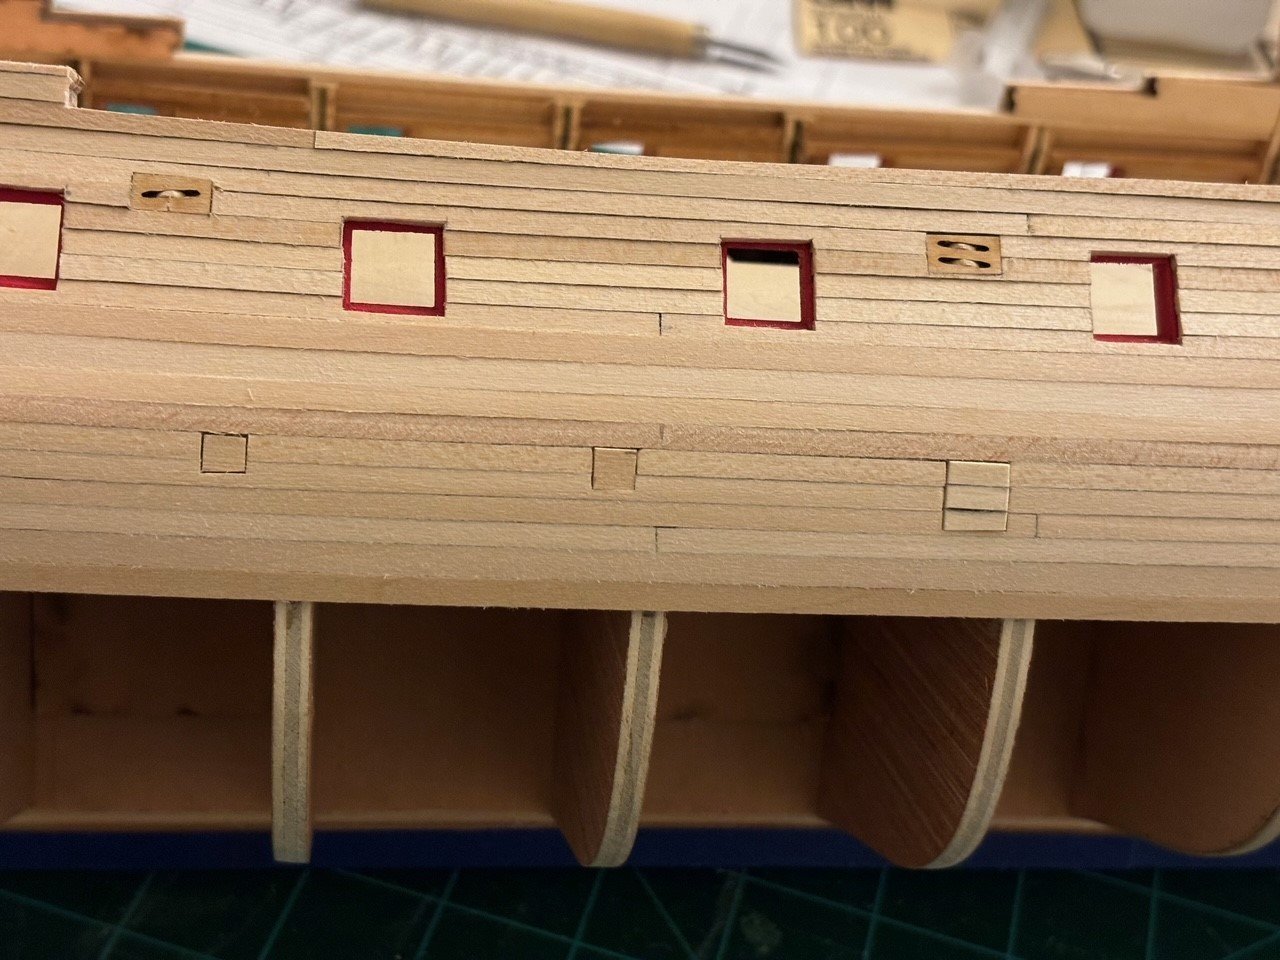
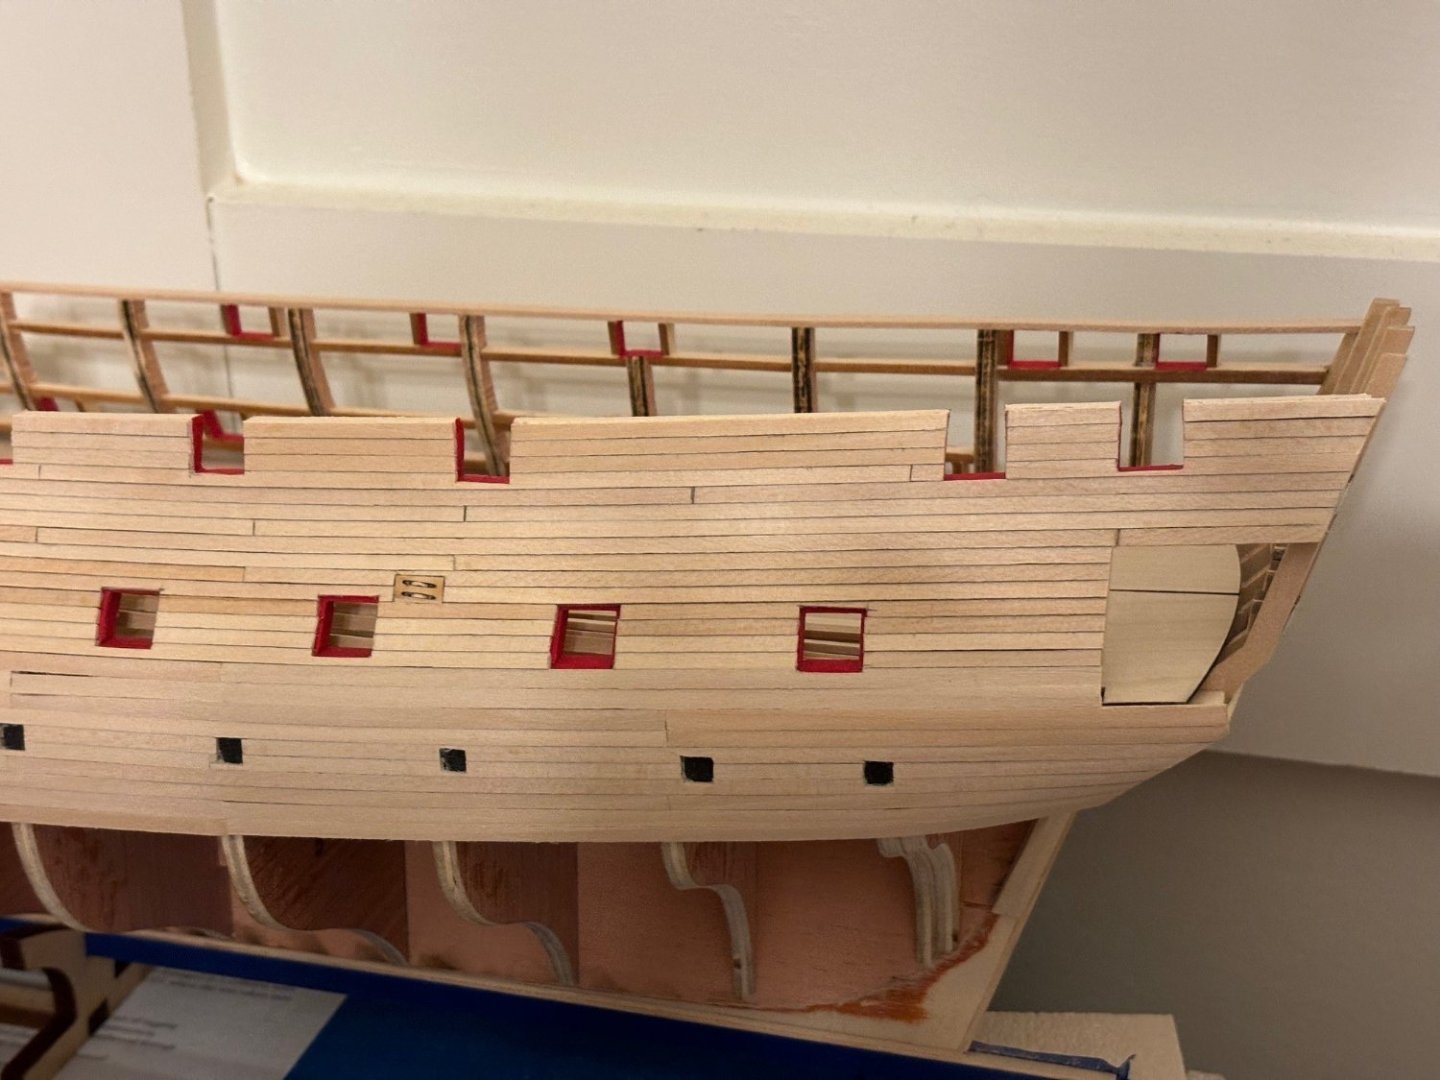
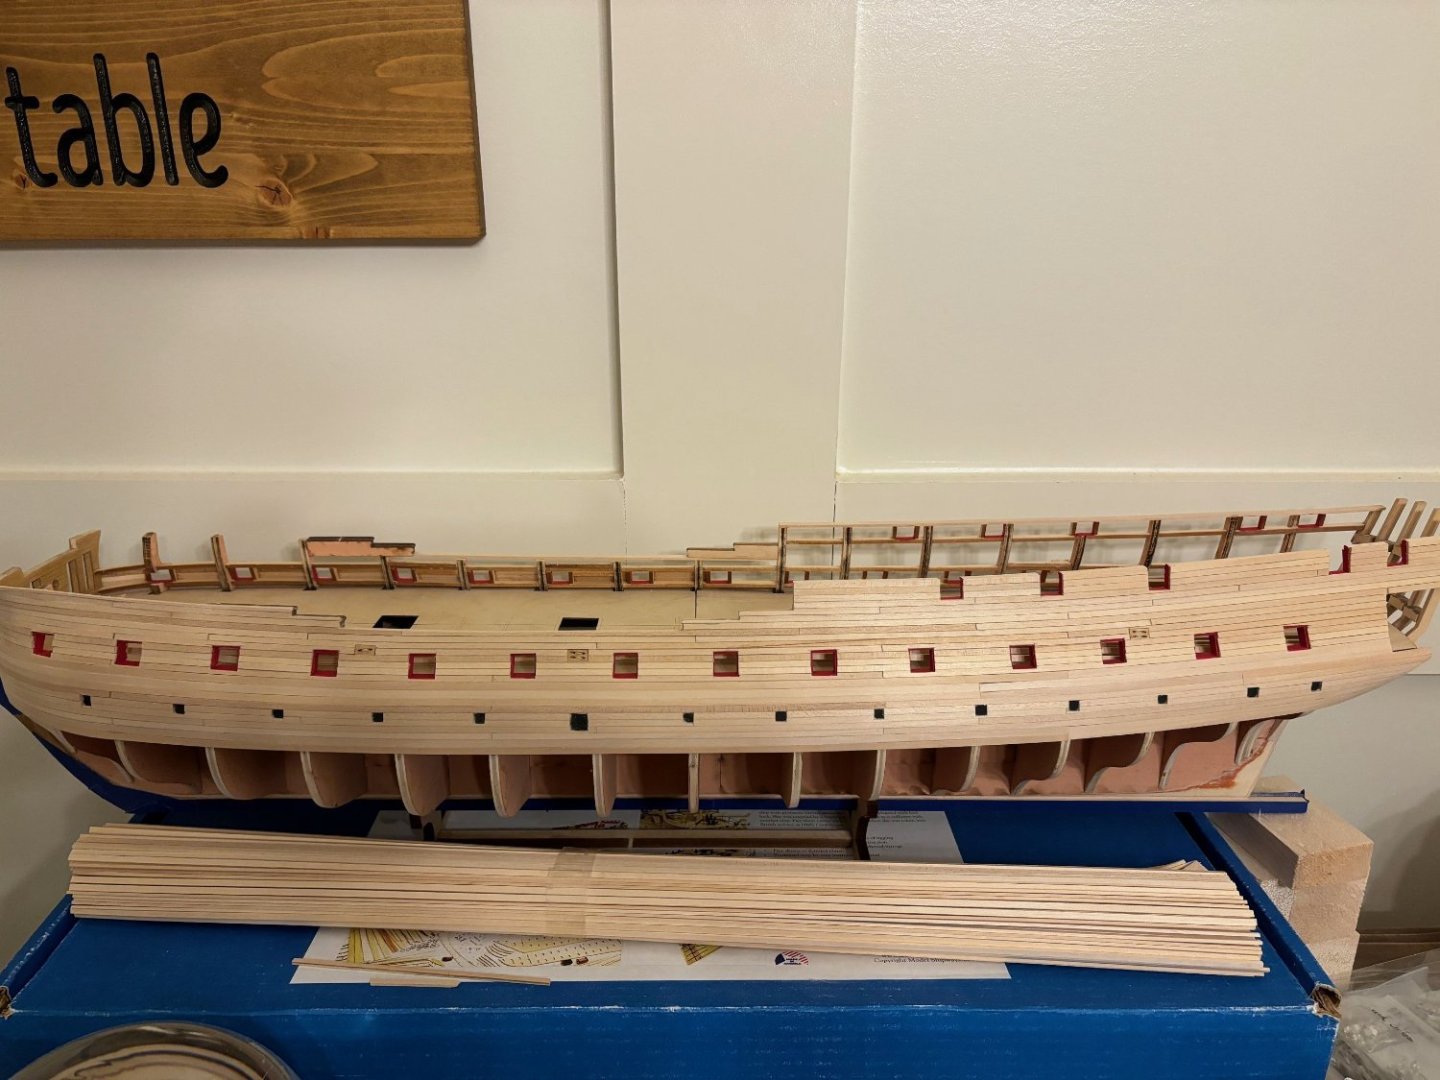
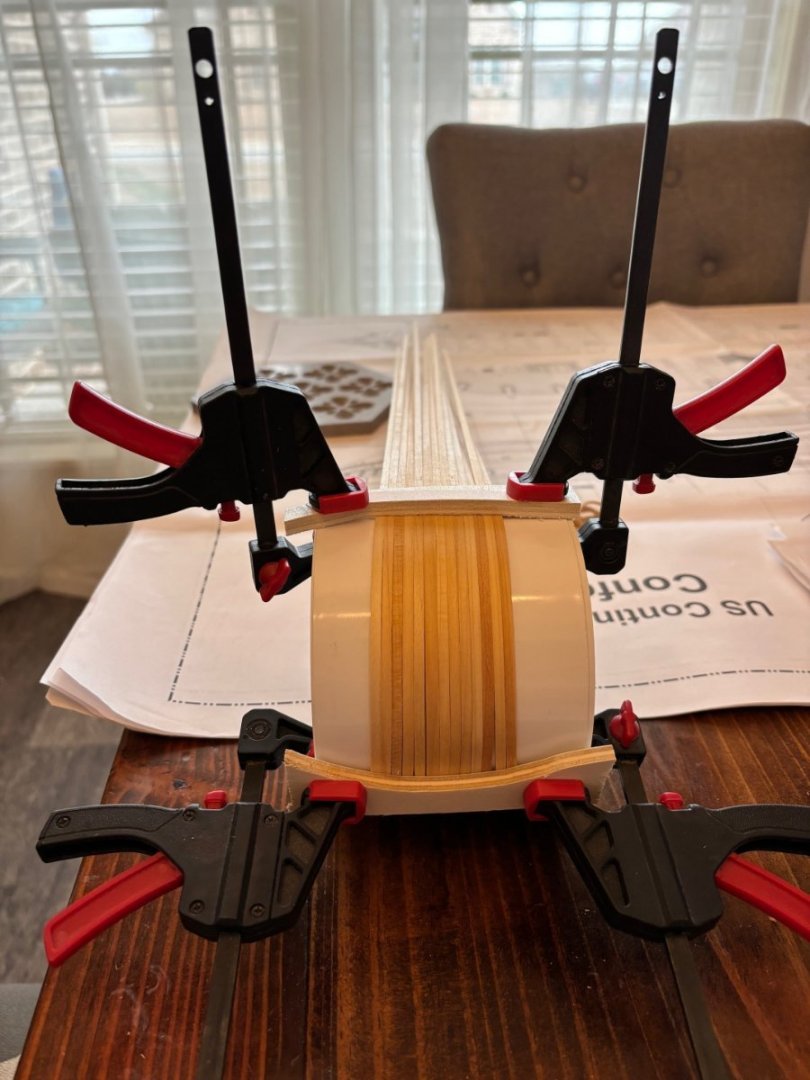
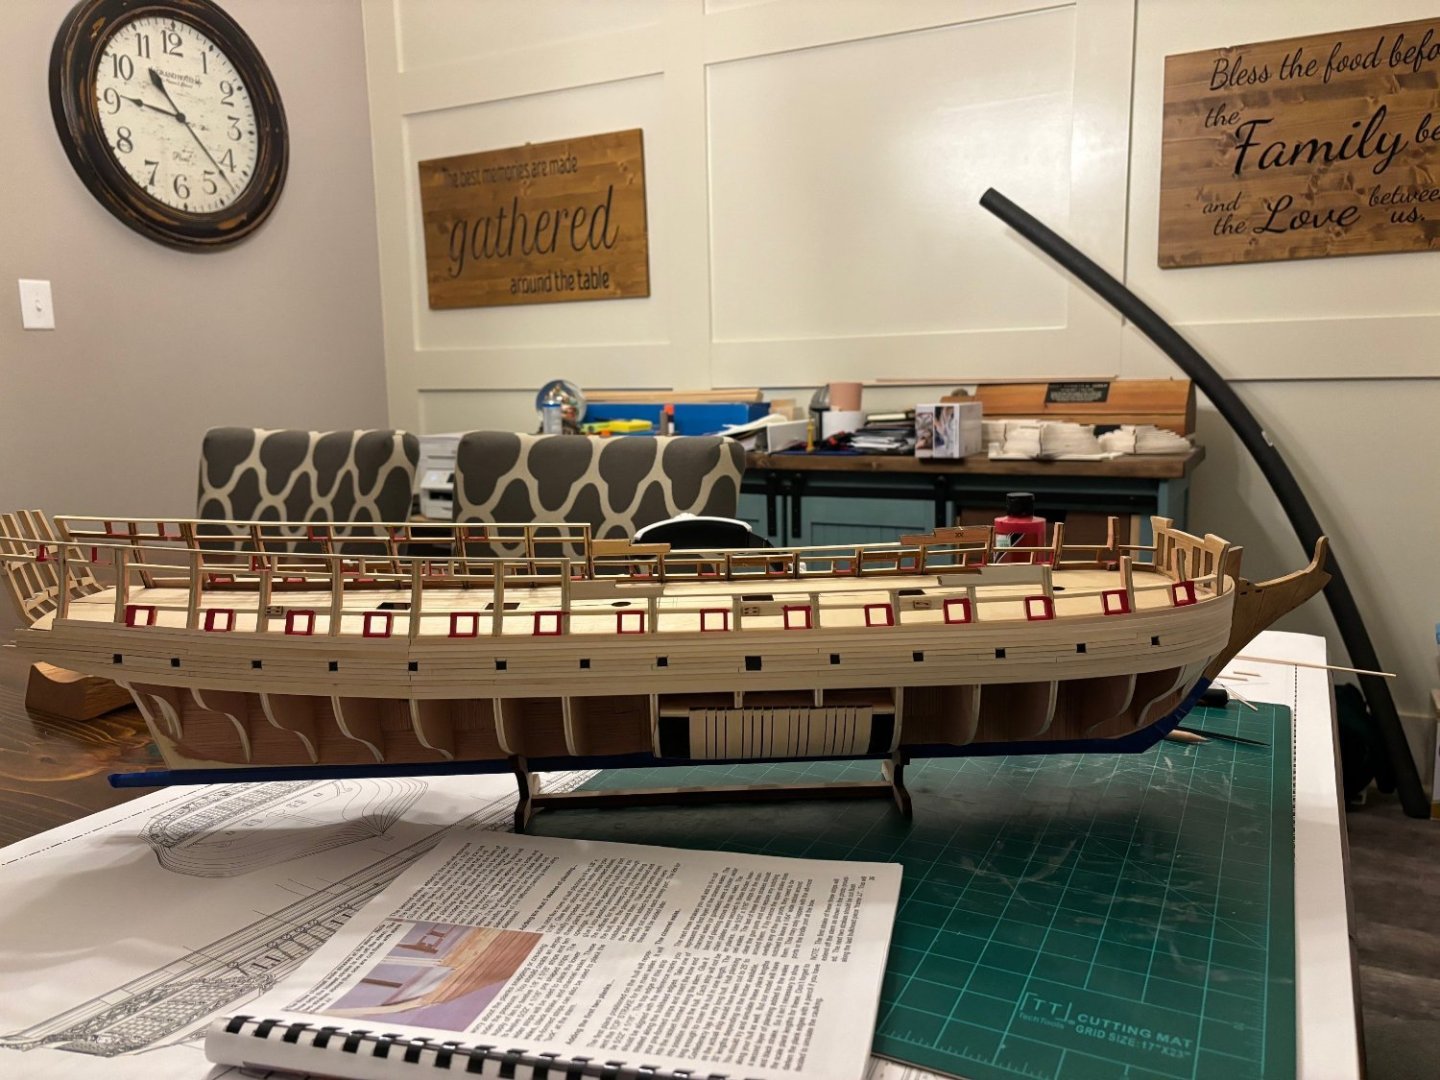
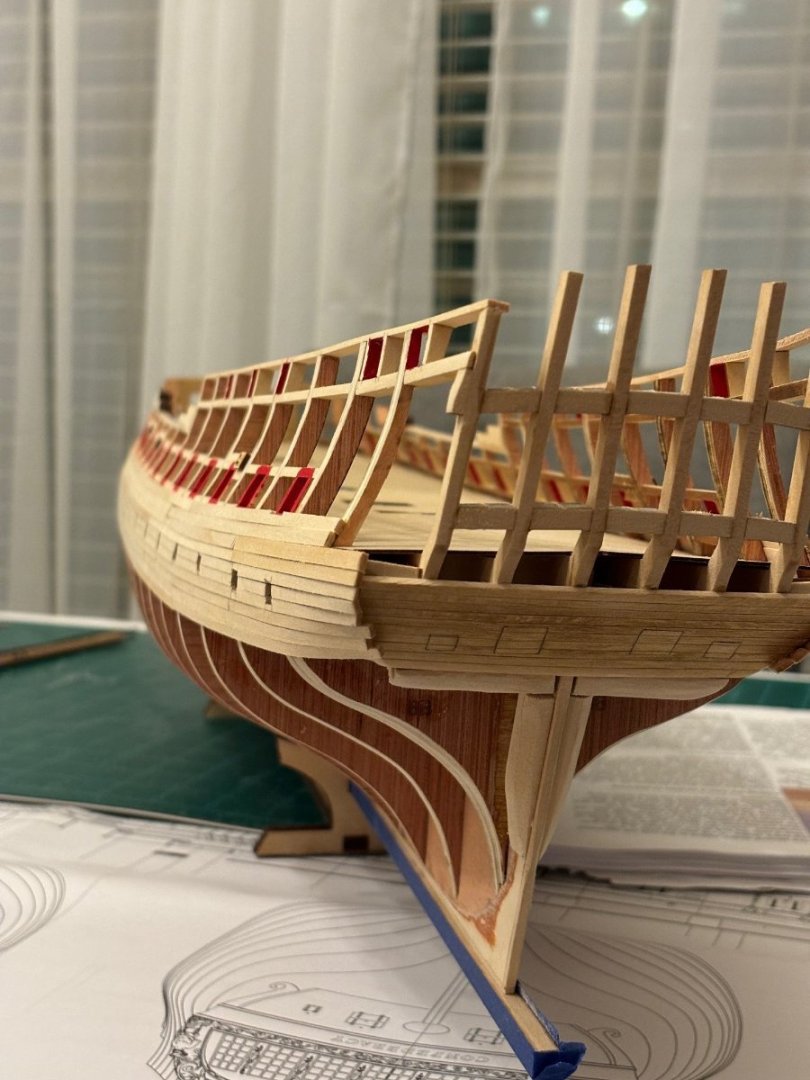
Still waiting on the replacement timbers from Model Expo; boy are they slow. I did get them to email me the templates needed for the sweep ports. I got those printed out and cut out and marked the hull with the locations of the sweep ports. Then I commenced to planking once again starting with the first layer of the top strake of the wales and black strake. Then it was 5 strakes of planking above that followed by 3 strakes of the first layer of the channel wales. Next step is to give all of these strakes a rough sanding before continuing on with the planking above the wales. So far I am much happier with the planking the second time around. Only time will tell if I will be painting or staining the hull. Got the idea of using a piece of 4 in PVC tube to bend the planking material from another member's build log. I must say that it worked out great.


-
I have no words to describe your craftmanship, Chuck. Awesome work on the stove. Plus 1 vote for a mini kit.
-
Just awesomely fantastic! Right on par with Chuck's prototype in my opinion. I will definitely use your log as one of my resources for my build.
- 840 replies
-
- 3
-
-
- winchelsea
- Syren Ship Model Company
- (and 1 more)
-
Glenn, I just finished reading through your entire log (took a while) and I must say that your Winnie is a work of art! I will definitely use your log along with Chuck's and a few others as I start my journey down the path of the HMS Winchelsea Group Build.
- 840 replies
-
- 3
-
-
- winchelsea
- Syren Ship Model Company
- (and 1 more)
-
Reading through Glenn's log as I begin my journey on my own build of the Winnie; I have been saying the same thing as I sit on Amazon adding things to cart and checking out.
- 840 replies
-
- 5
-
-
- winchelsea
- Syren Ship Model Company
- (and 1 more)
-
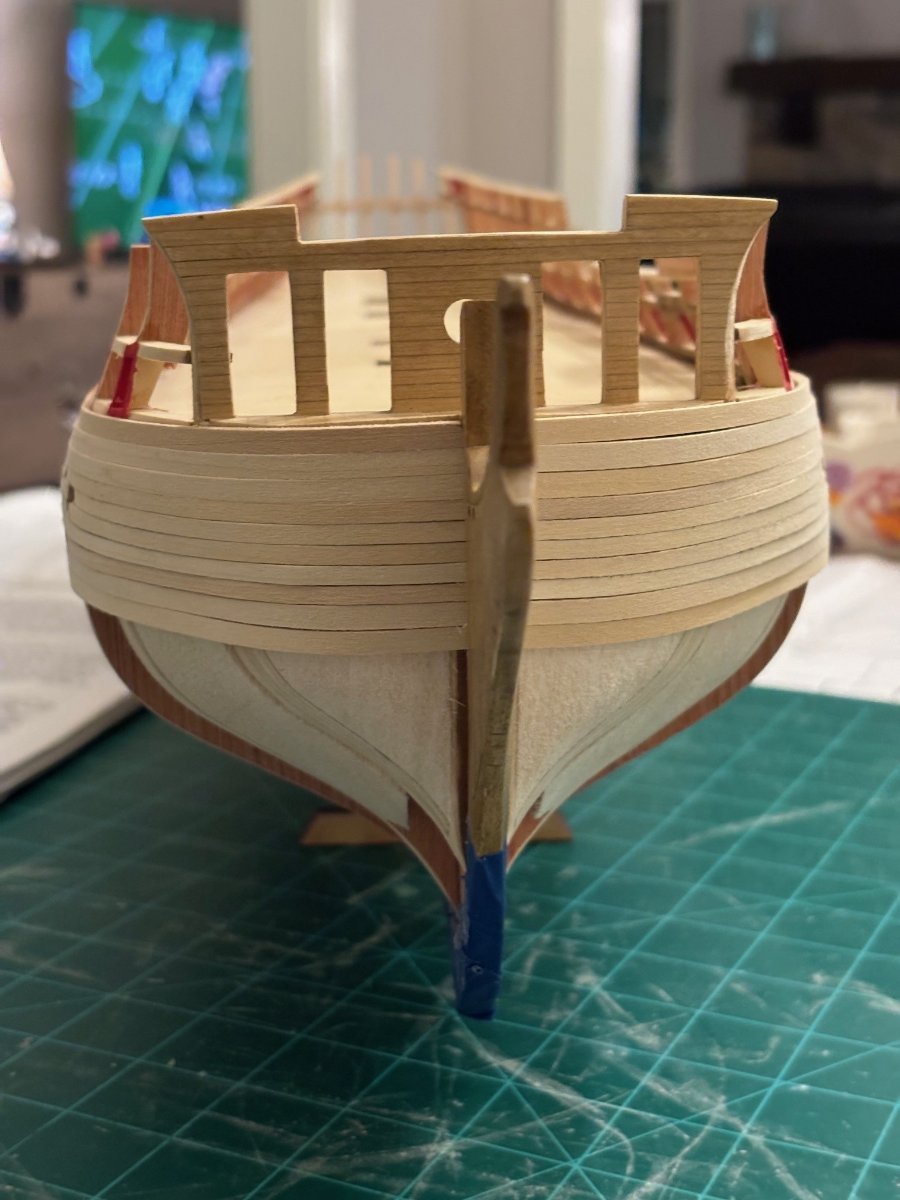
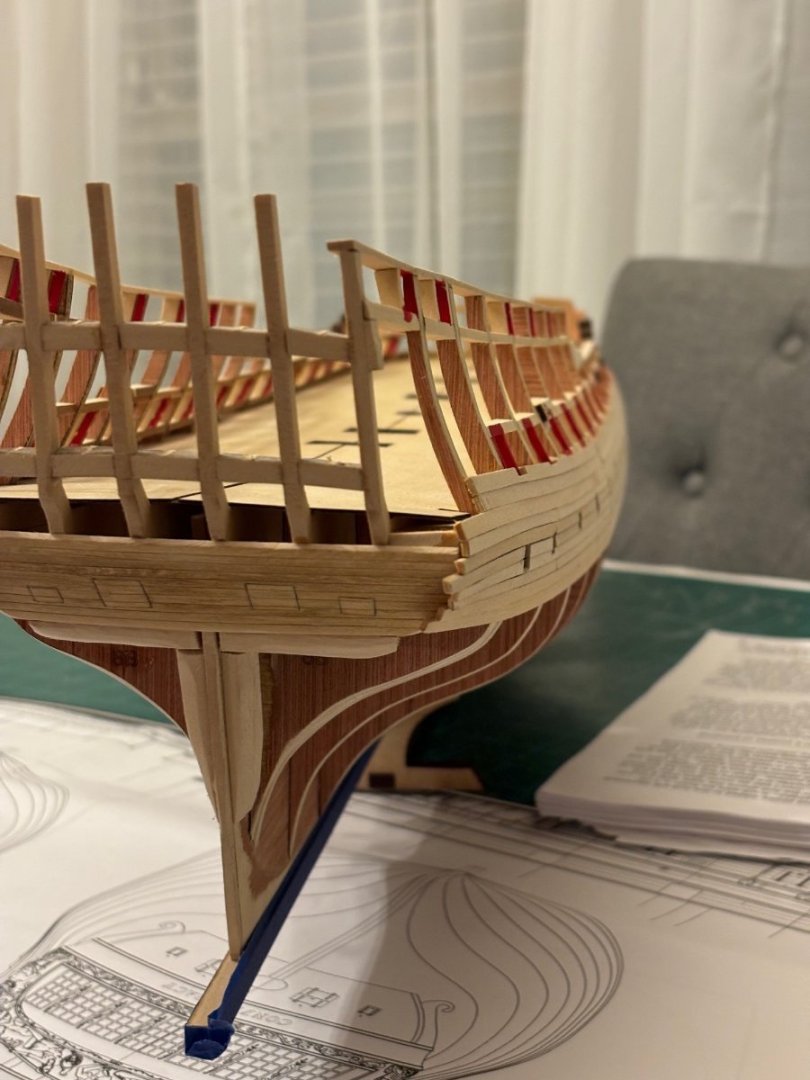
So the more I look at the planking so far, the more unhappy I am with it. Plus the sweep ports do not have a nice flow to them on the port side. So I have decided that I am going to rip off all of the planking and start again. I have already requested extra planking strips and sheet 5 of the plans for the templates from Model Expo. My plan is the rip off all of the planks currently on the model, lightly sand to get the bulkheads smooth again and then redo the port sweep locations and restart the planking process. In the meantime, I will practice planking a hull with the NRG's half hull planking kit that I purchased. I am trying to figure out the best way to get the nice smooth curve for the planks at the bow. I may even decide to use a different type of wood other than the supplied basswood. I have a couple of billets of roasted maple, a nice big billet of maple and some cherry that I can mill down into planks for the hull. Any and all comments and suggestions are welcomed and encouraged.