HOLIDAY DONATION DRIVE - SUPPORT MSW - DO YOUR PART TO KEEP THIS GREAT FORUM GOING! (Only 13 donations so far - C'mon guys!)
×


KennyH78
-
Posts
269 -
Joined
-
Last visited
Content Type
Profiles
Forums
Gallery
Events
Everything posted by KennyH78
-
 Amazing, your design skills are top notch @Chuck!
 -
Enjoy your much needed vacation. The Capstan Project is looking good so far and I eagerly await the opportunity to build one should you choose to release a tutorial.
-
Truely amazing work, Glen! This has me wanting to attempt a SIB build although I probably won't be able to achieve anything is spectacular as your build.
- 156 replies
-
- 5
-

-

-
- Queen Annes Revenge
- bottle
- (and 1 more)
-
I will definitely sign up if you do a course @Chuck I already have 3 3D printers (2 FDM, 1 resin) and a laser machine. The painting skills is where I will need the most instruction, 😂
-
Vaddoc, that is very generous of you. I may have to take you up on that. The work you are doing on lofting the boat is amazing.
-
She's a beaut, JJ! Very impressive model; can't wait to see what chapter 3 has in store.
-
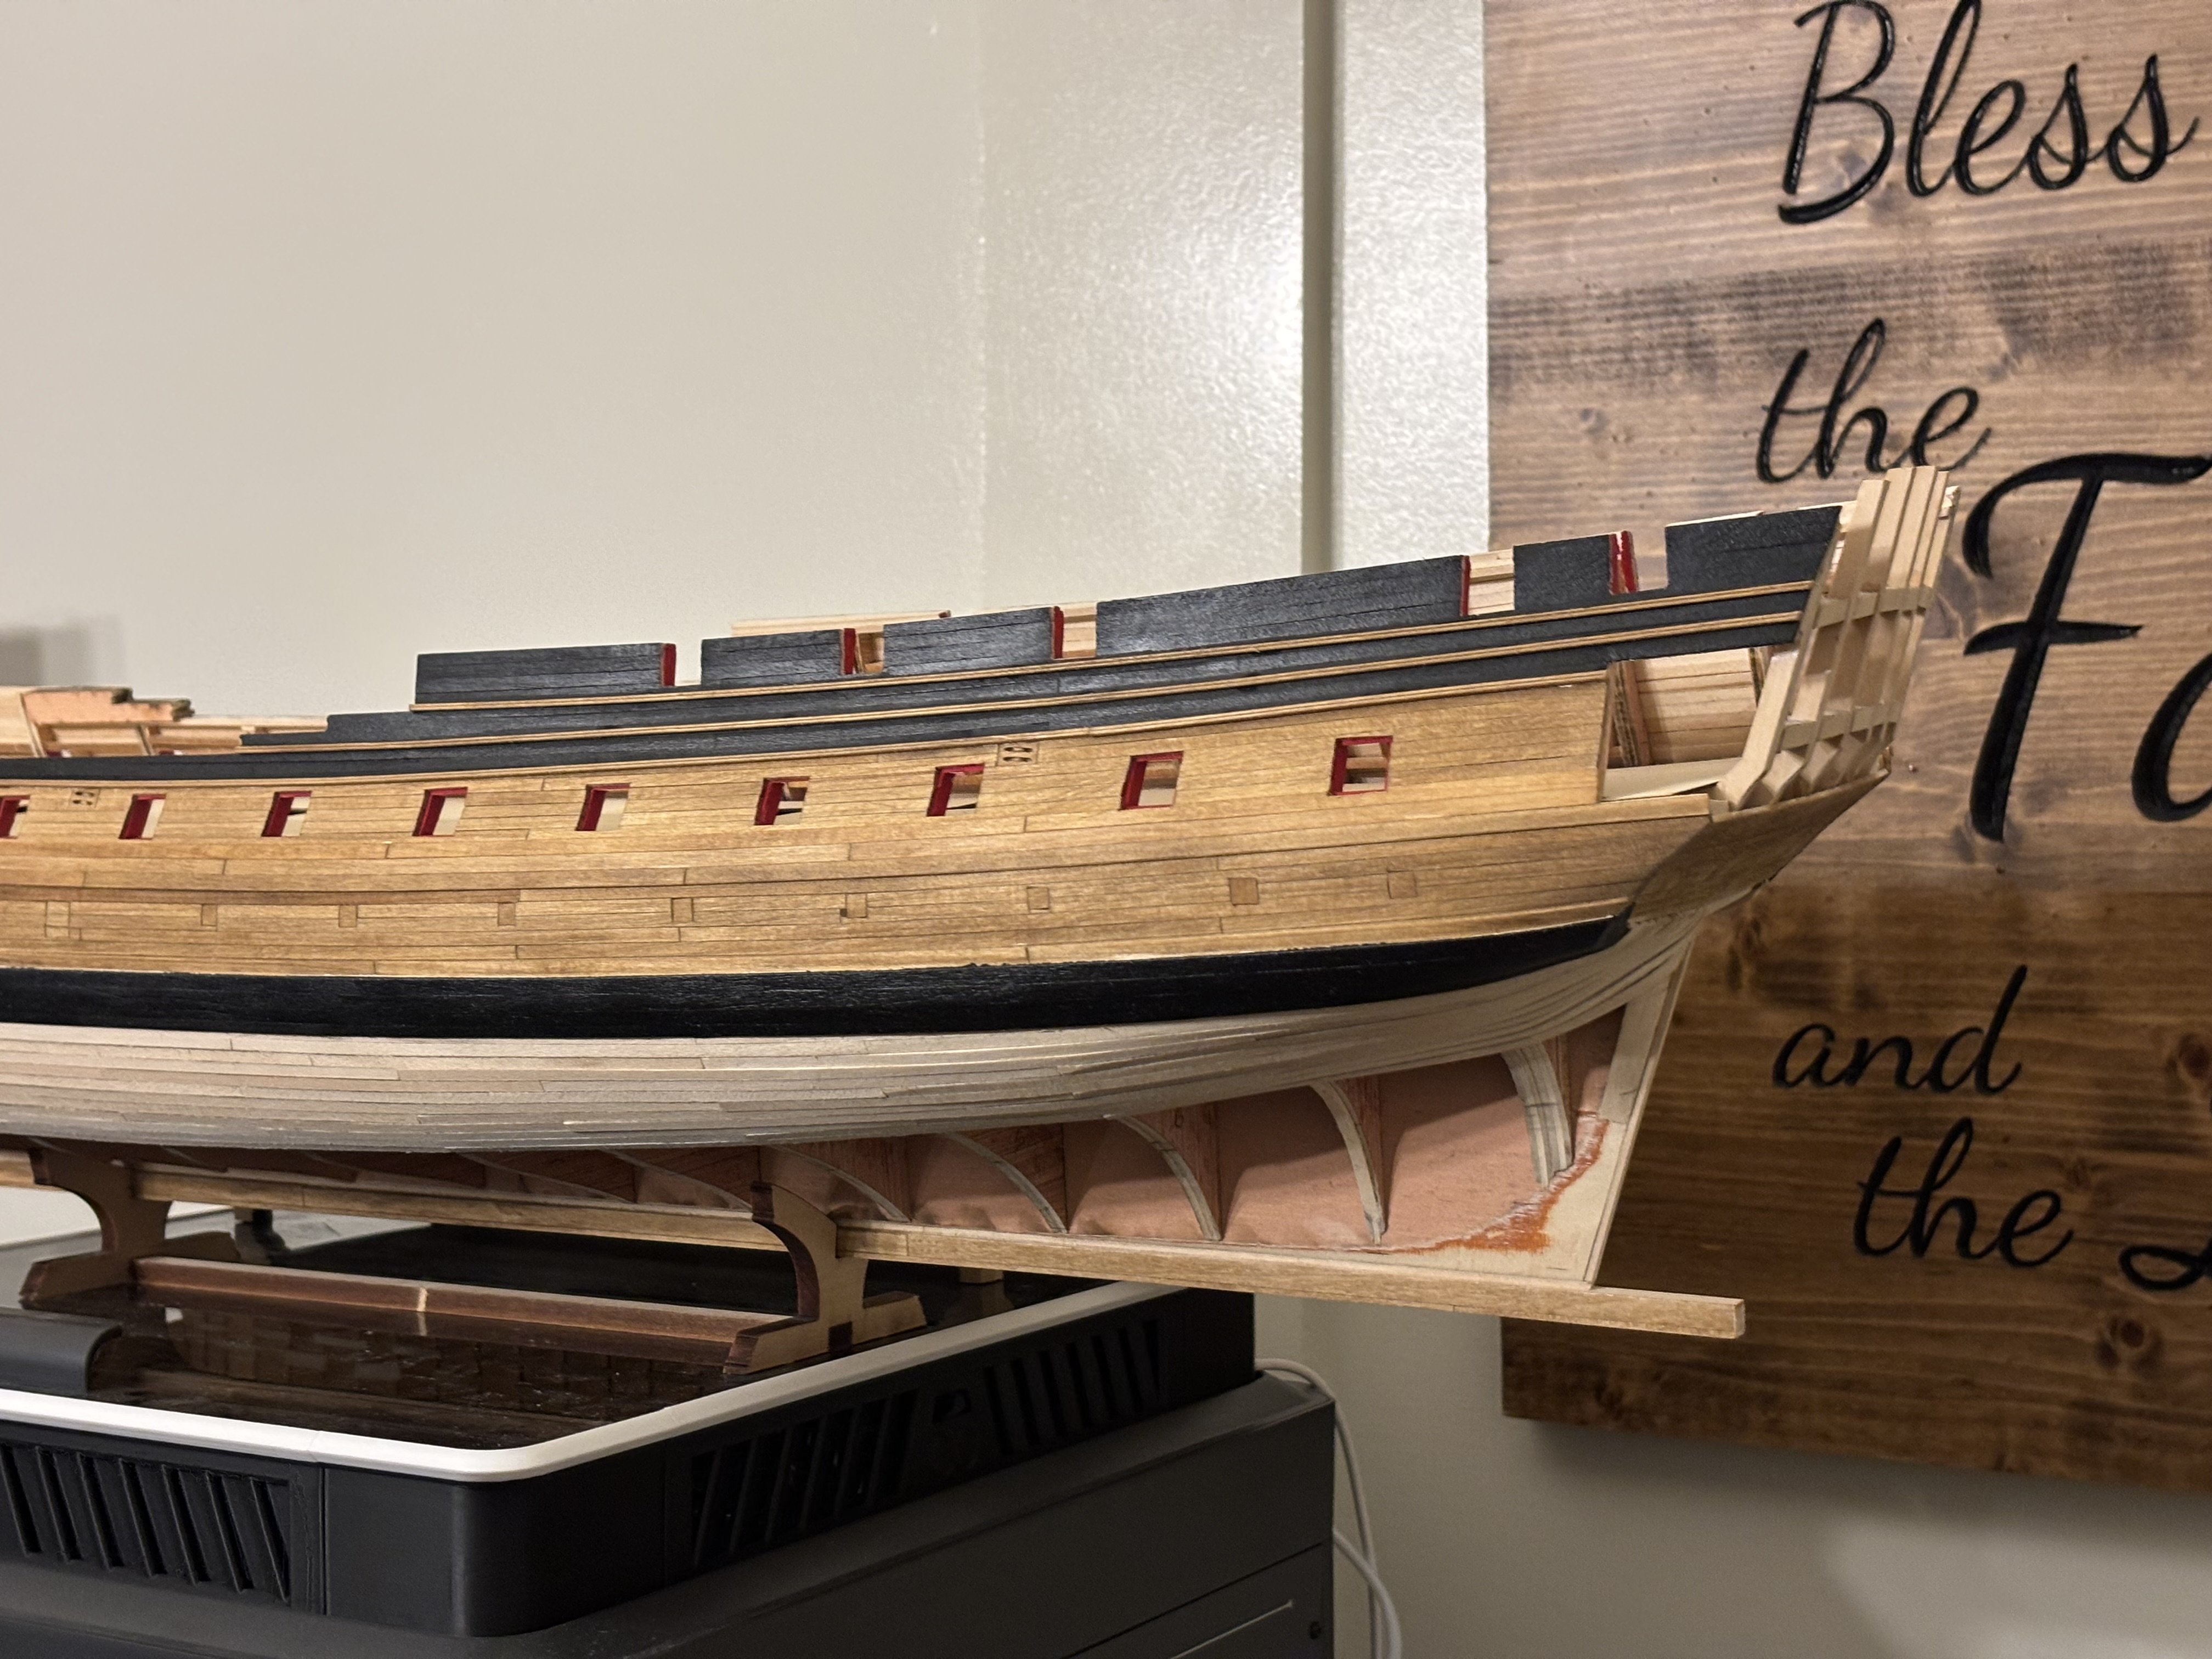
Planking on the starboard side is progressing at a steady pace. I hope to have it finished up by the end of the weekend. So far, the first belt is completed and the second belt is 1-2 strakes away from being halfway done. Once her hull is fully planked, I will need to switch gears and show Chuck’s Medway longboat some planking love.


-
Thanks for the kind words, Glen. I am my biggest critic. I have started the starboard side and am applying the many lessons learned from the port side.
-
WOW! I just can't help, but be amazed by the level of detail you are able to show at such a small scale. Really can't wait to see the completed project.
- 156 replies
-
- 4
-
-
-
- Queen Annes Revenge
- bottle
- (and 1 more)
-
Hope you get well soon, Chuck. The most important thing is that you get better.
-
She is looking really nice. I love the CNC'd figure head and stern carvings. I think I may not have mentioned this before, but I love how you combined POB and POF model into a hybrid model!
-
Finished planking the port side of the hull today. I also gave that side a rough sanding with 80 grit and 100 grit paper to smooth out the planks. I will come back with 180, 220 and 320 once the starboard side is completed. I am debating on applying a coat of WOP to the planks to help protect them. All in all, I am quite happy with how it turned out, especially since this is the first big hull that I have planked. Anyways, here are a few pics of the port side.


-
vaddoc, I am going to pull up a chair and follow along. I also watched Leo's YouTube series on rebuilding Tally Ho and thought about building a model of her. There is something about her story that just draws you in. I may still attempt a model, but that is a long way off; I need to learn how to draft a set of workable plans for a build from the lines plans first.
-
Thanks, Ronald. My goal is to have the port side finished up this weekend, but we will see if life will allow that.
-
deck planking options
KennyH78 replied to manning16's topic in Building, Framing, Planking and plating a ships hull and deck
I like the look of the holly against the cherry; but that is just my humble opinion. I like the contrast of the two woods together. Although the boxwood would give the model a nice subtle look on the other hand. As others have suggested, do some testing to see which looks better to you. -
Got the first belt on the port side finished. I think I will continue on the port side before I move onto the starboard side. So far I am happy with how it is progressing. I did have to redo some of the planks at the stern because it didn’t look right to me. I toyed with the idea of just letting it be, but ultimately decided that I can do better and that I would be happier if I just went ahead and fixed the planks. I sure am glad that I did.


-
Been lurking for a while, following along silently; but I have to say that your SIB is coming along nicely. I am quite amazed as to how anyone can make a model that detailed in such a small scale and then make it fit into a bottle. Well done, Sir!
- 156 replies
-
- 5
-
-
-
- Queen Annes Revenge
- bottle
- (and 1 more)
-
Looking really good, JJ! Following your progress on the prototype makes it very tempting to get one of your production kits.
-
Chris, she is almost ready to raise sail and get underway! Looking real good, better than mine, lol. Any thoughts on how you plan to display it when finished?
- 38 replies
-
- 2
-
-
- 18th Century Longboat
- Model Shipways
- (and 1 more)
-
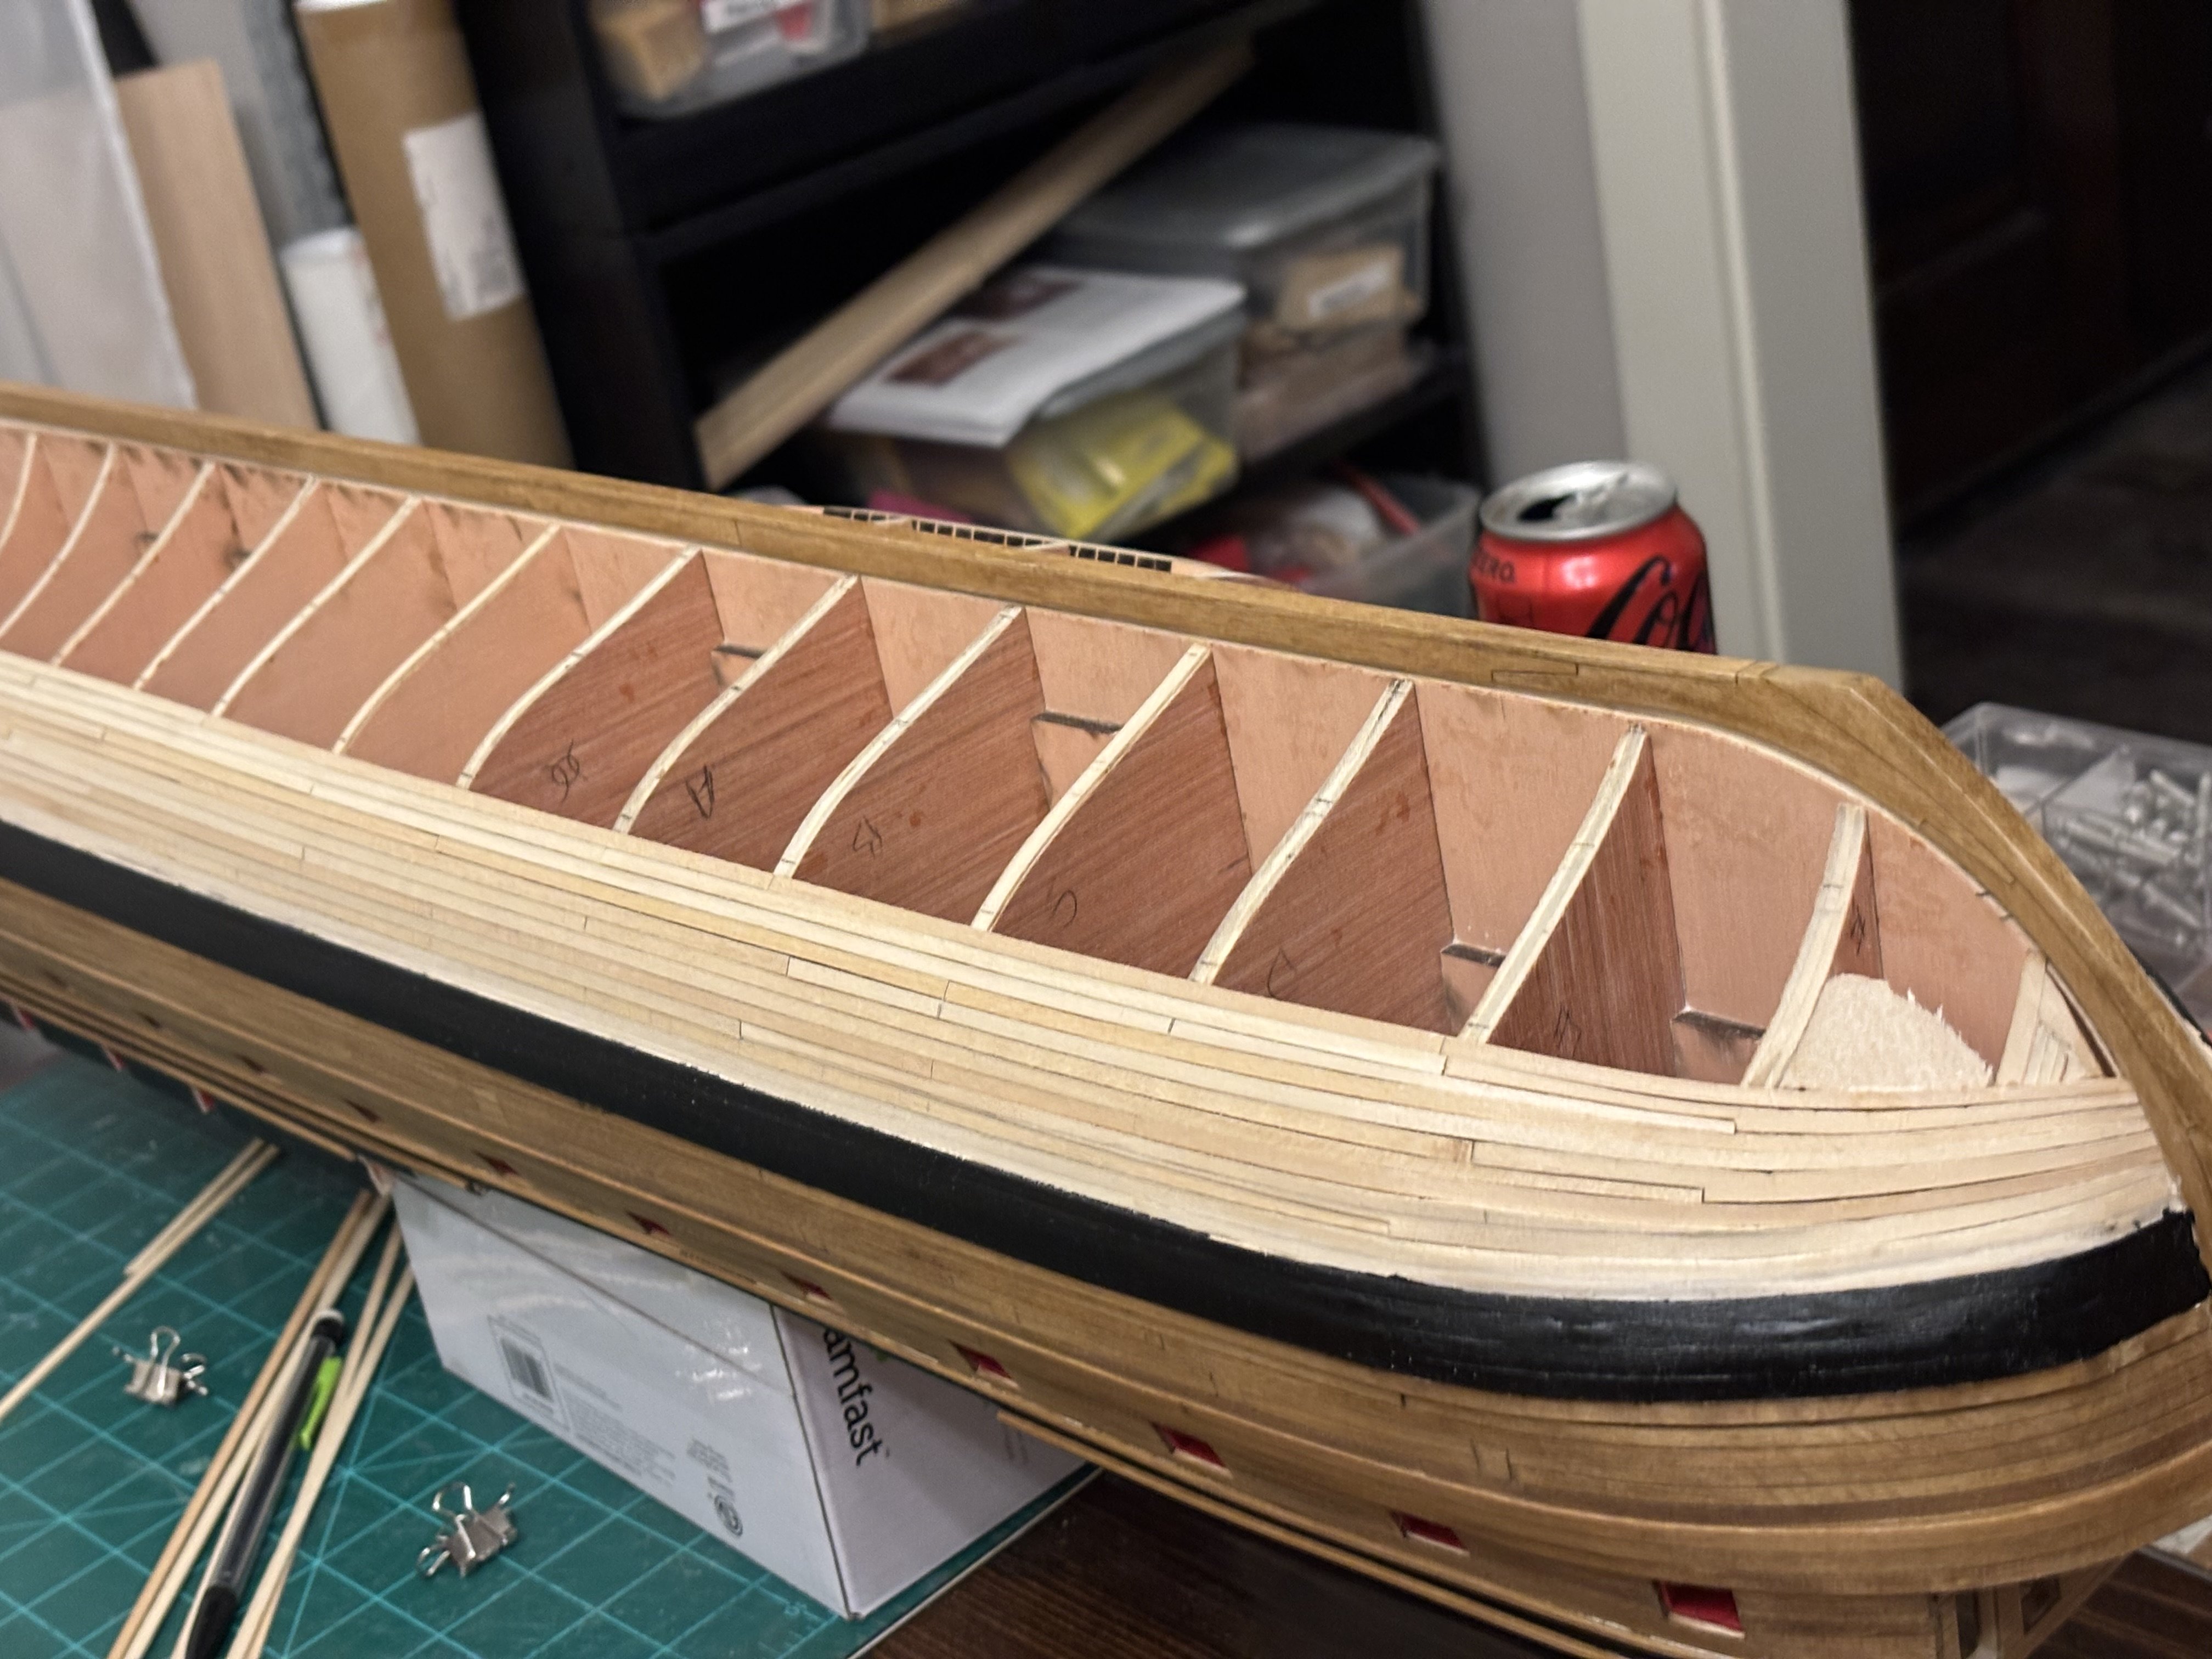
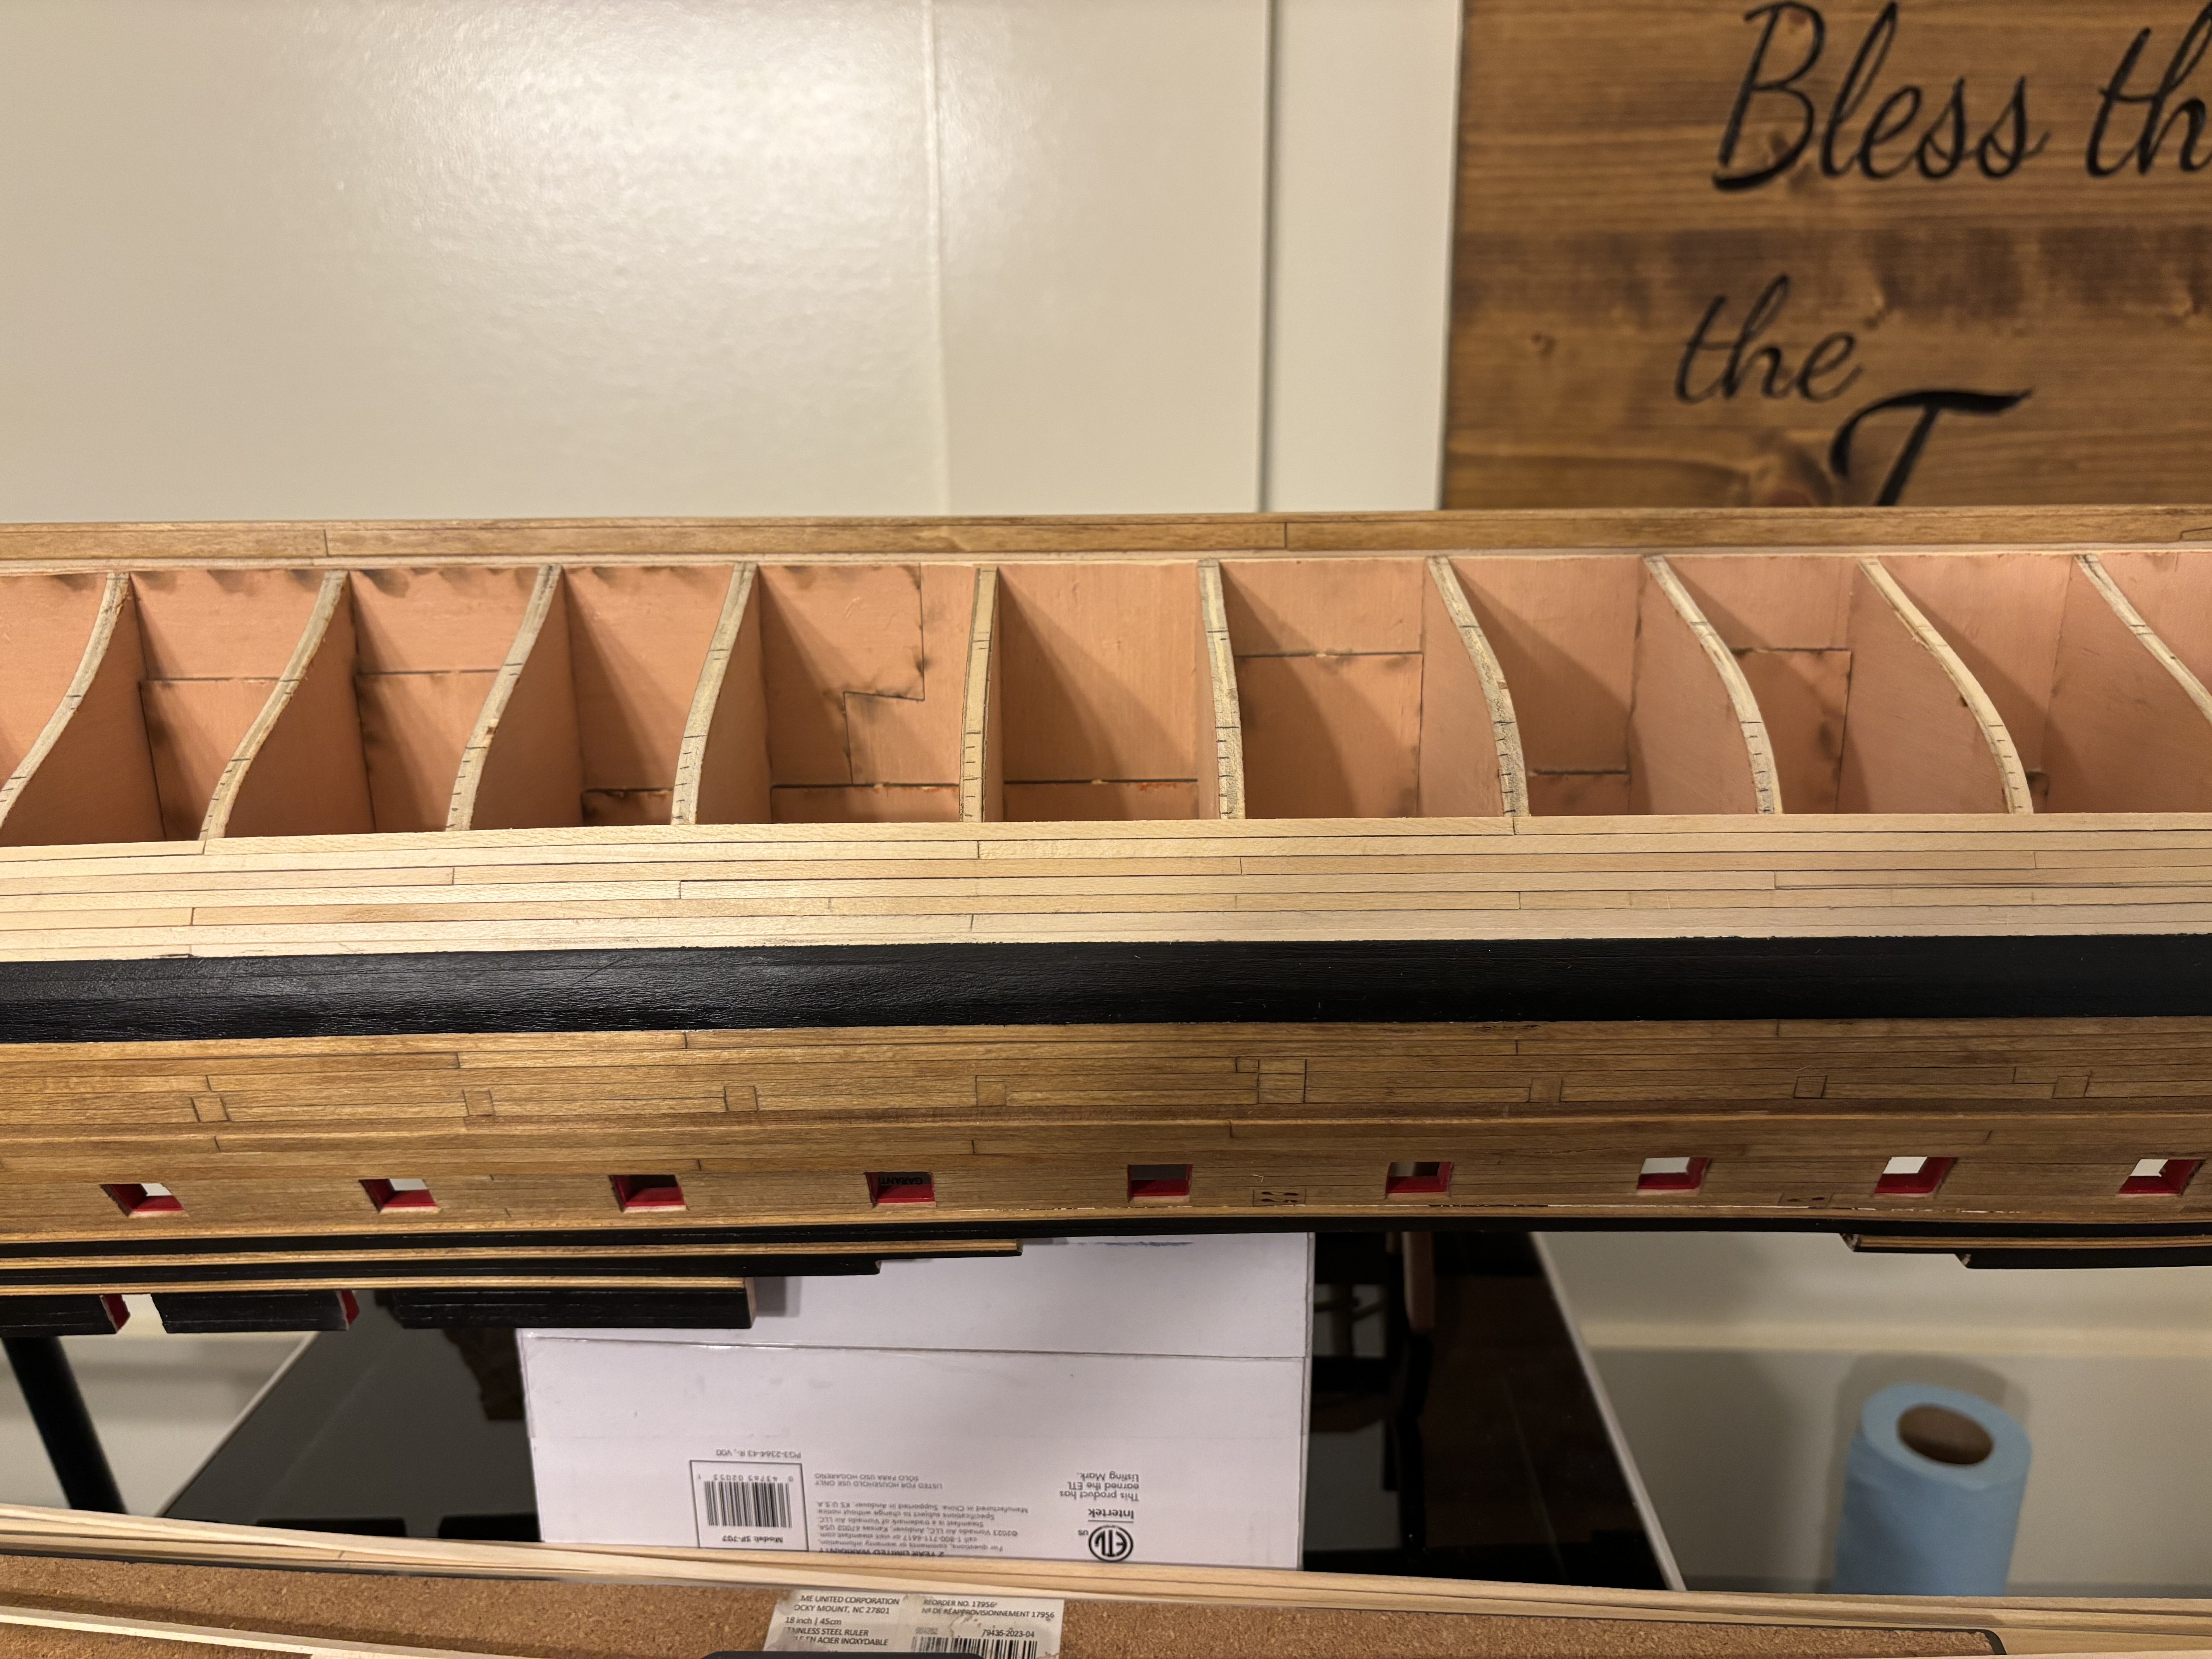
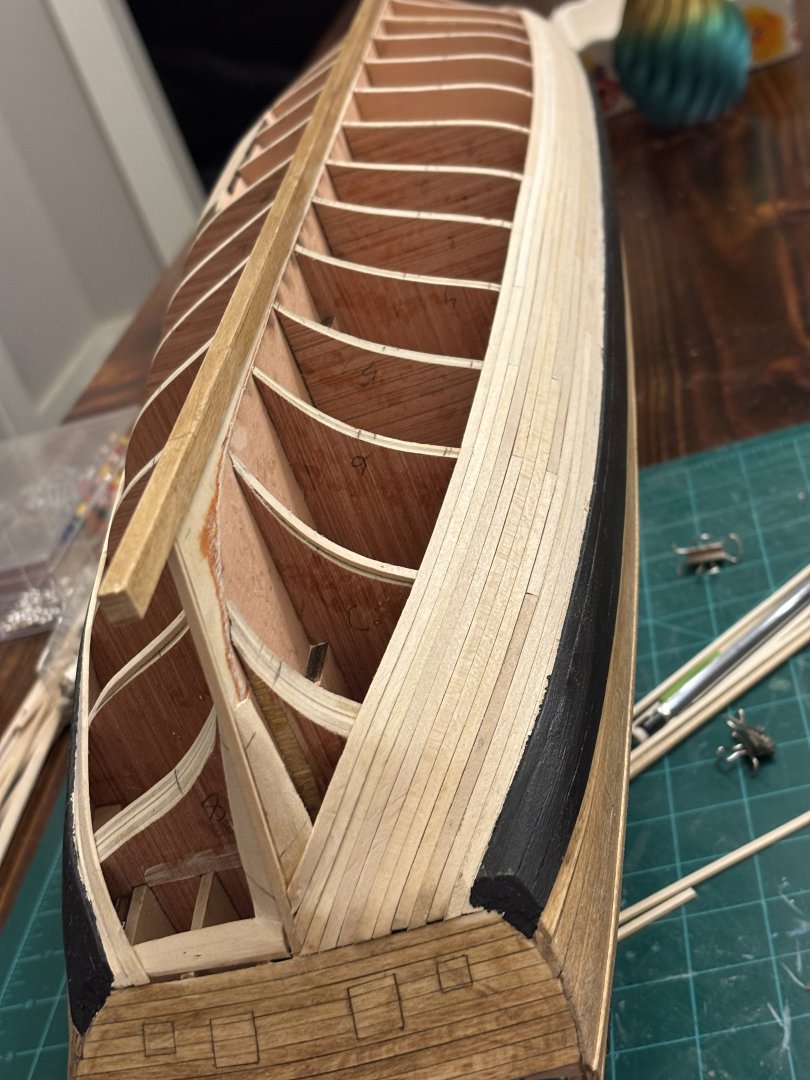
Planking below the wales has begun. First thing I did was to line off the hull and separate the hull into 3 belts. Then I started planking the first belt on the port side. I am about half way through with this belt, it will consist of about 9-10 planks. So far I am pretty happy with how the planking is progressing.


-
Glenn, they are great. I bought then after seeing them on your build log for Winnie along with rolls of adhesive sandpaper in 6 different grits.
-
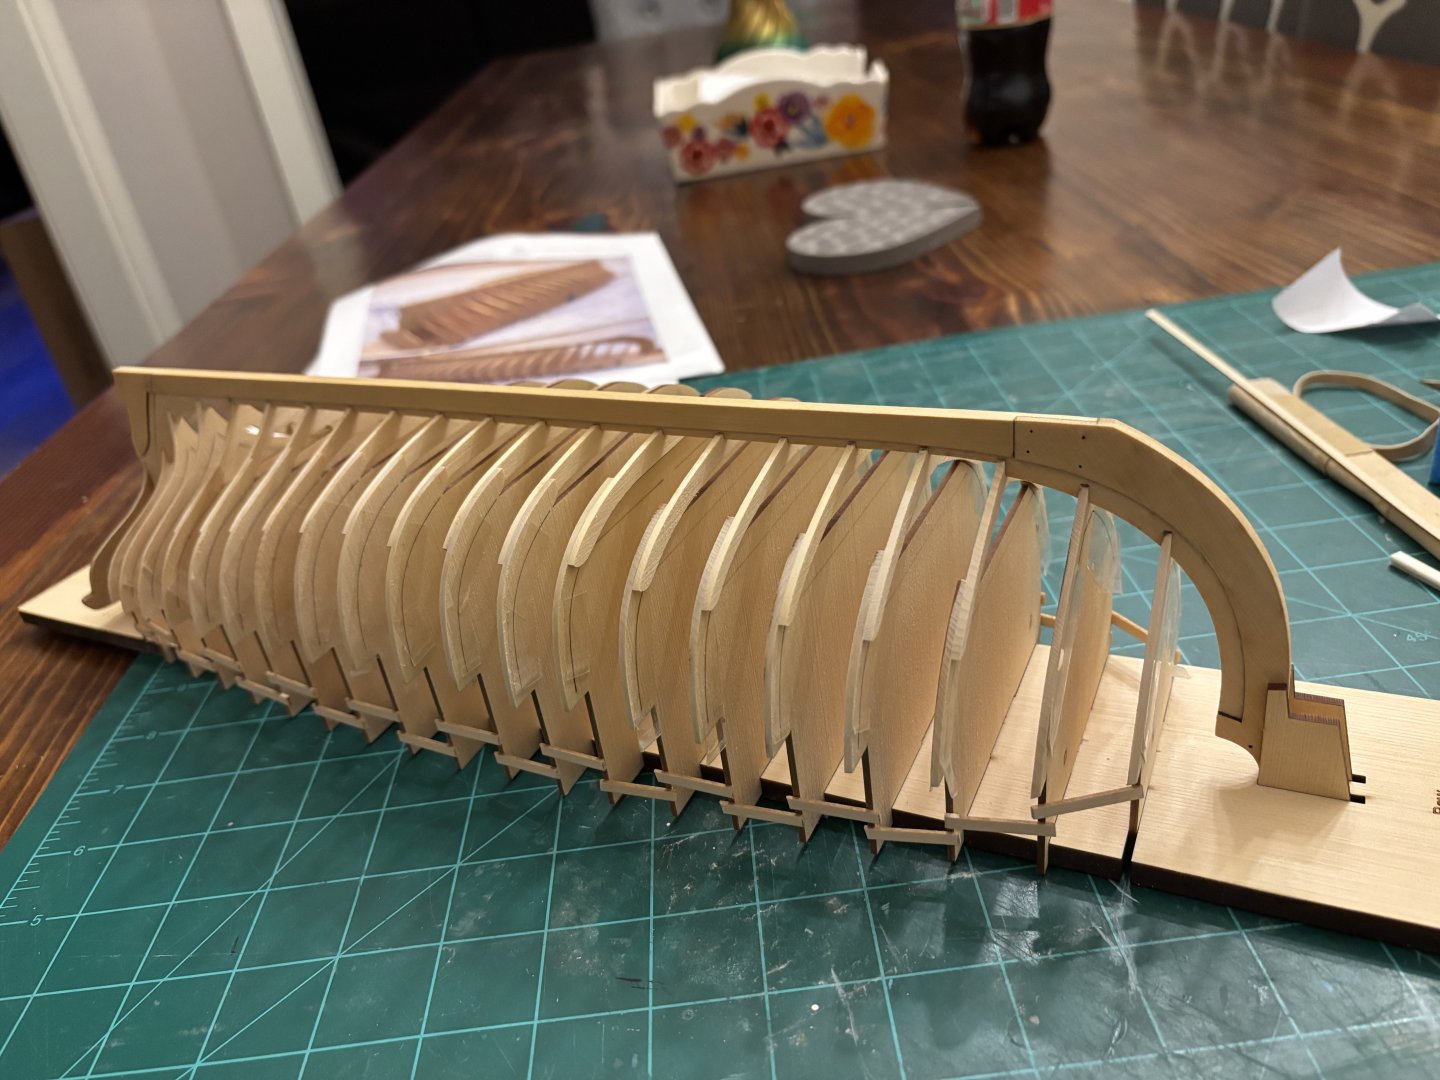
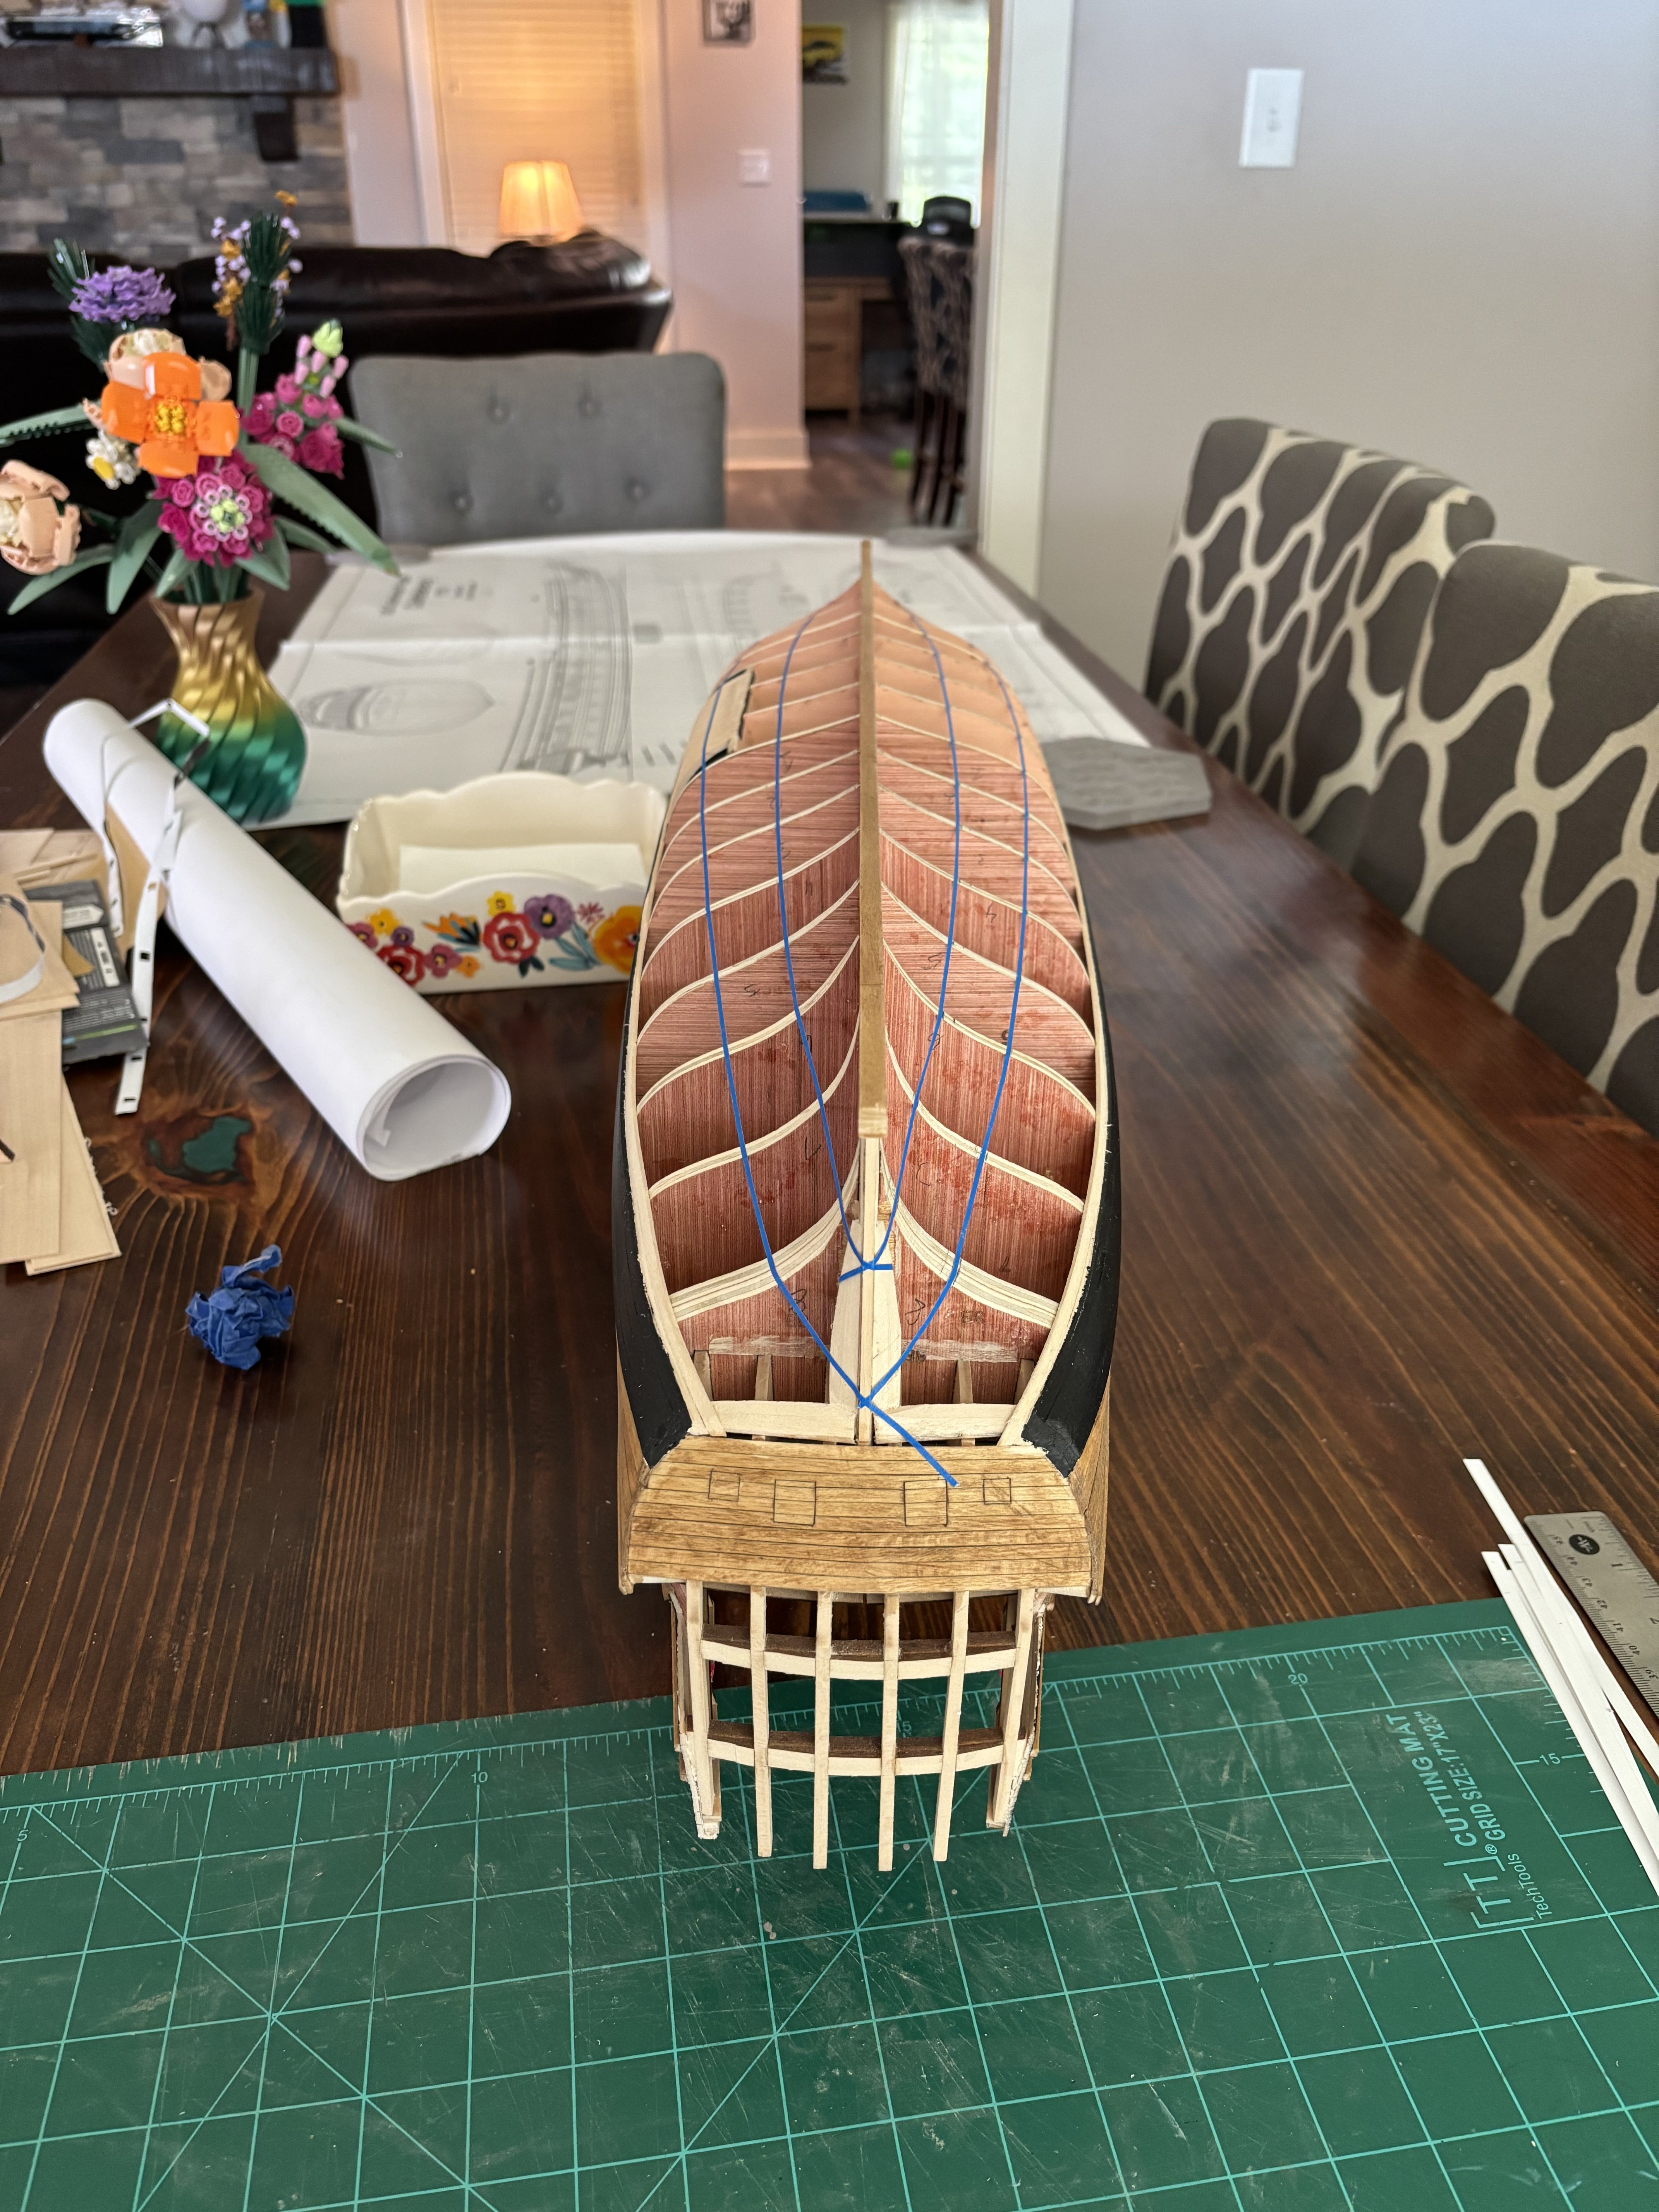
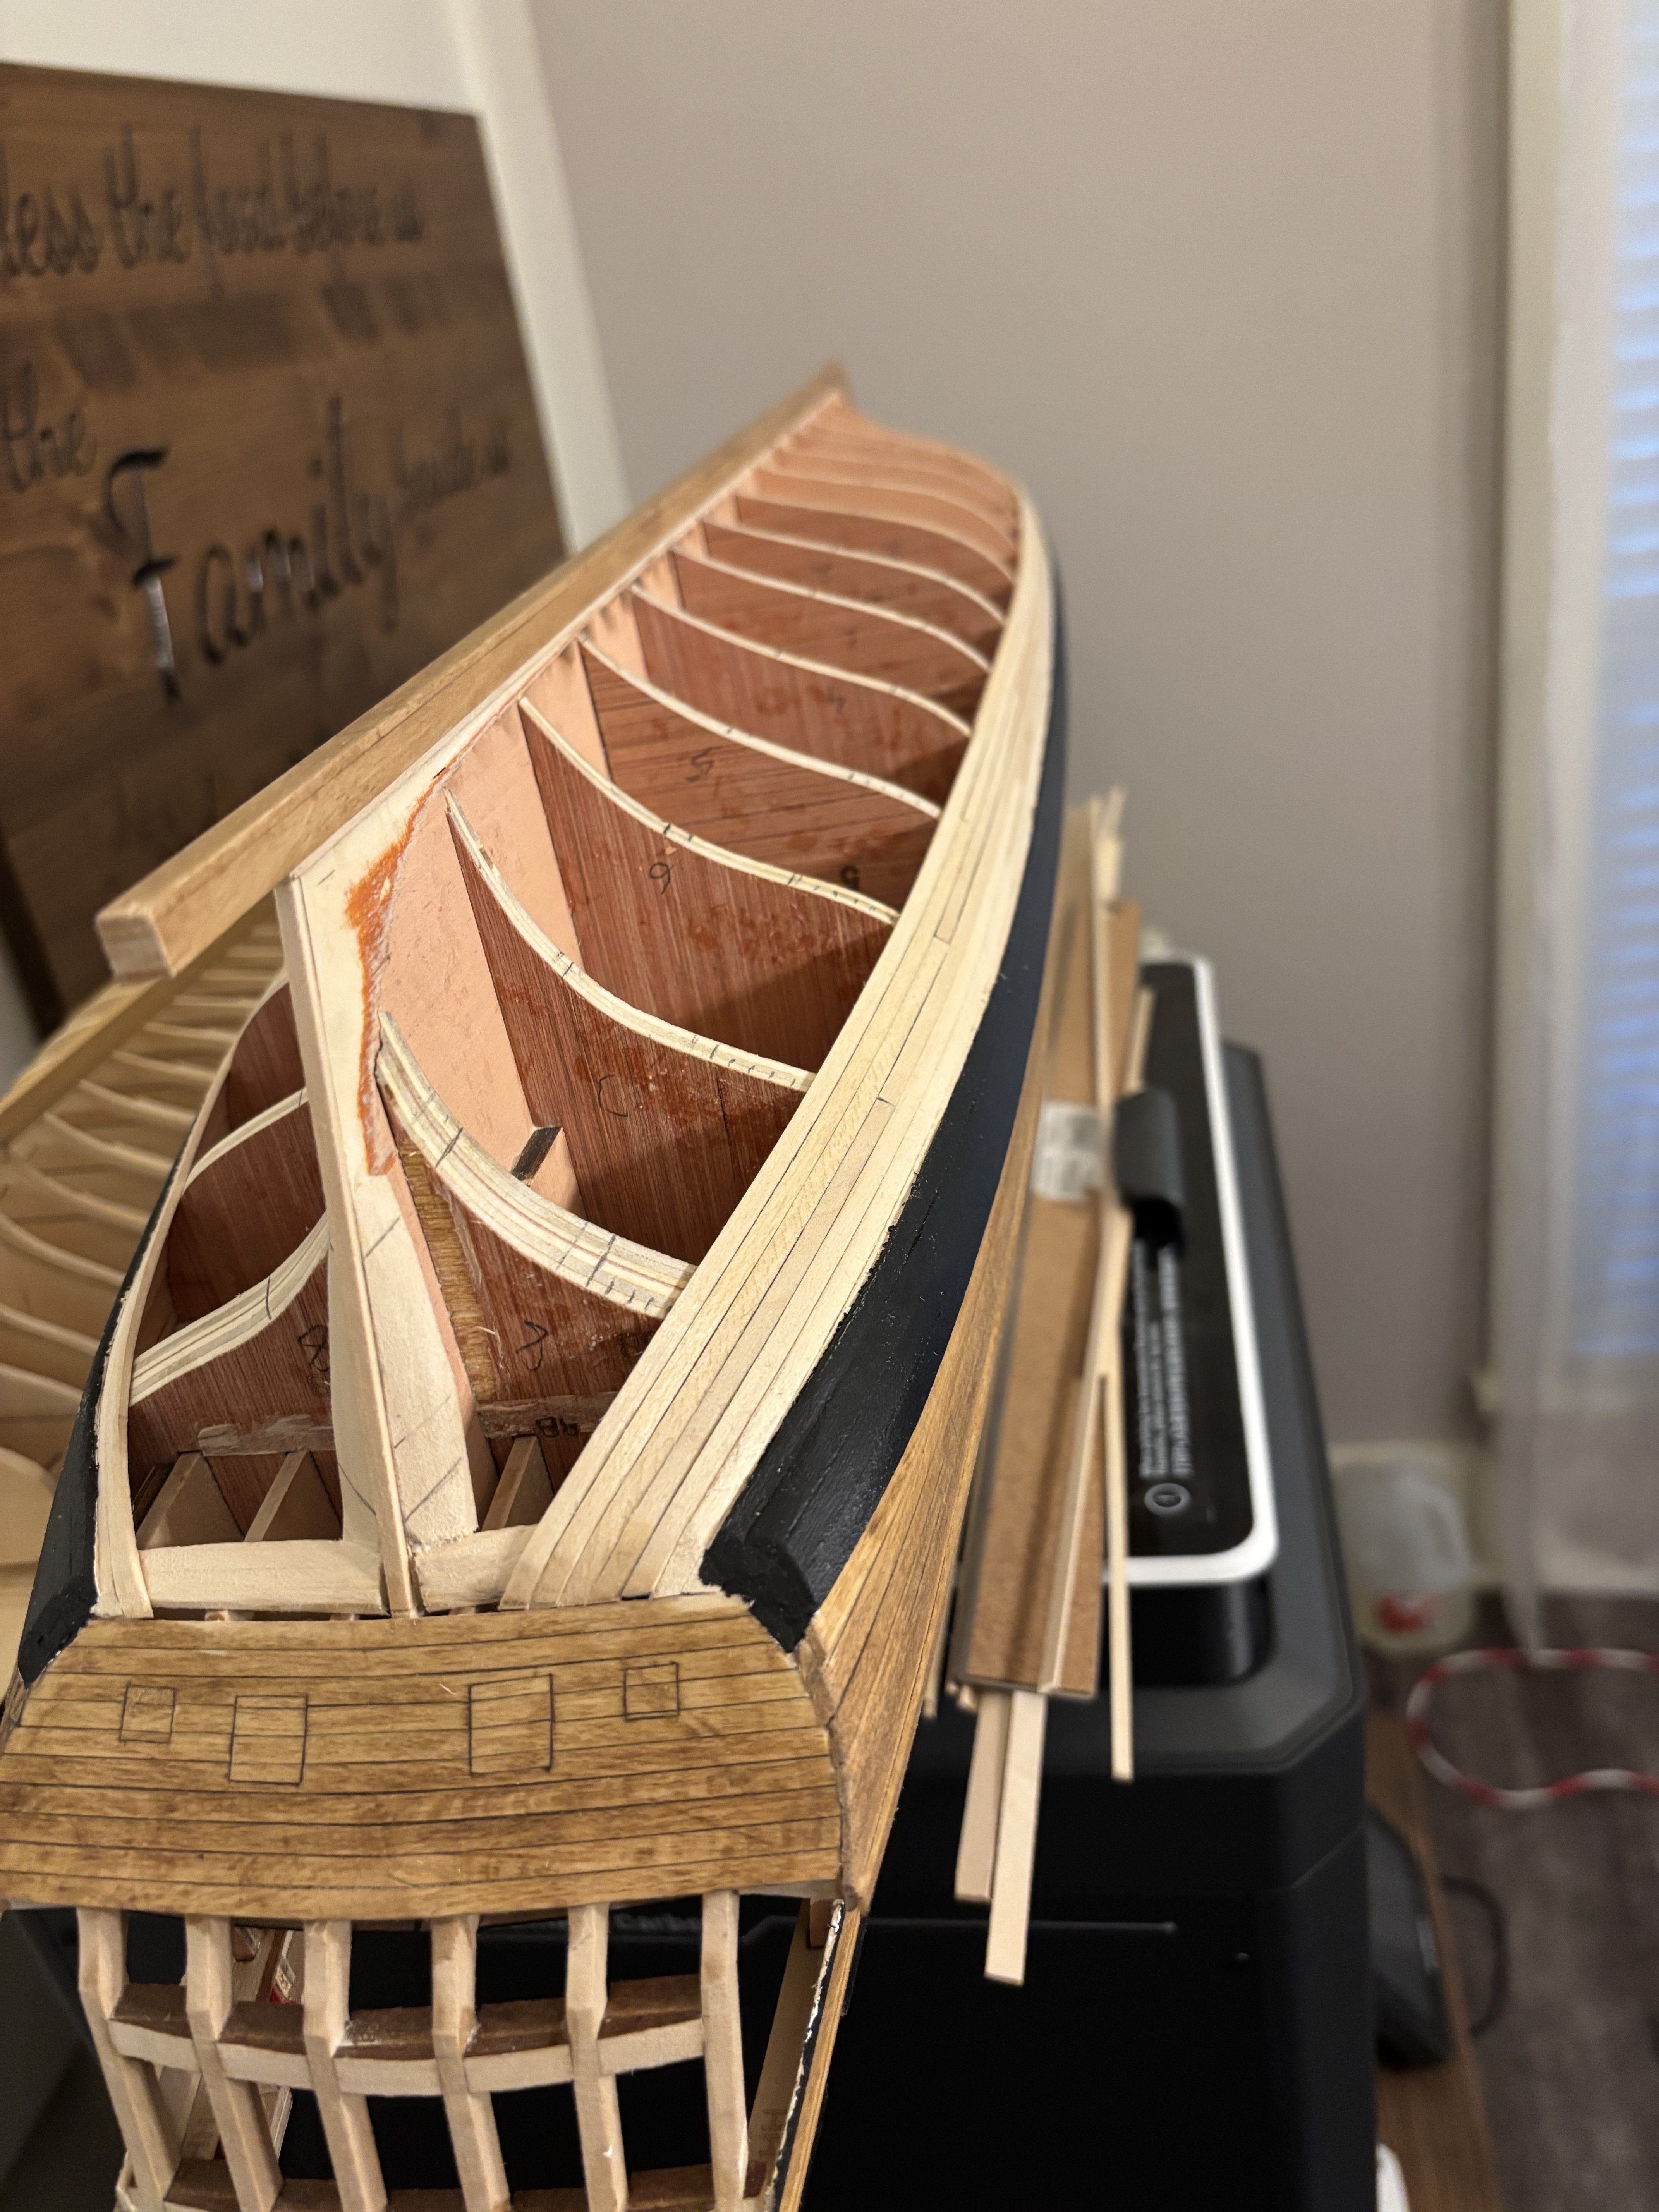
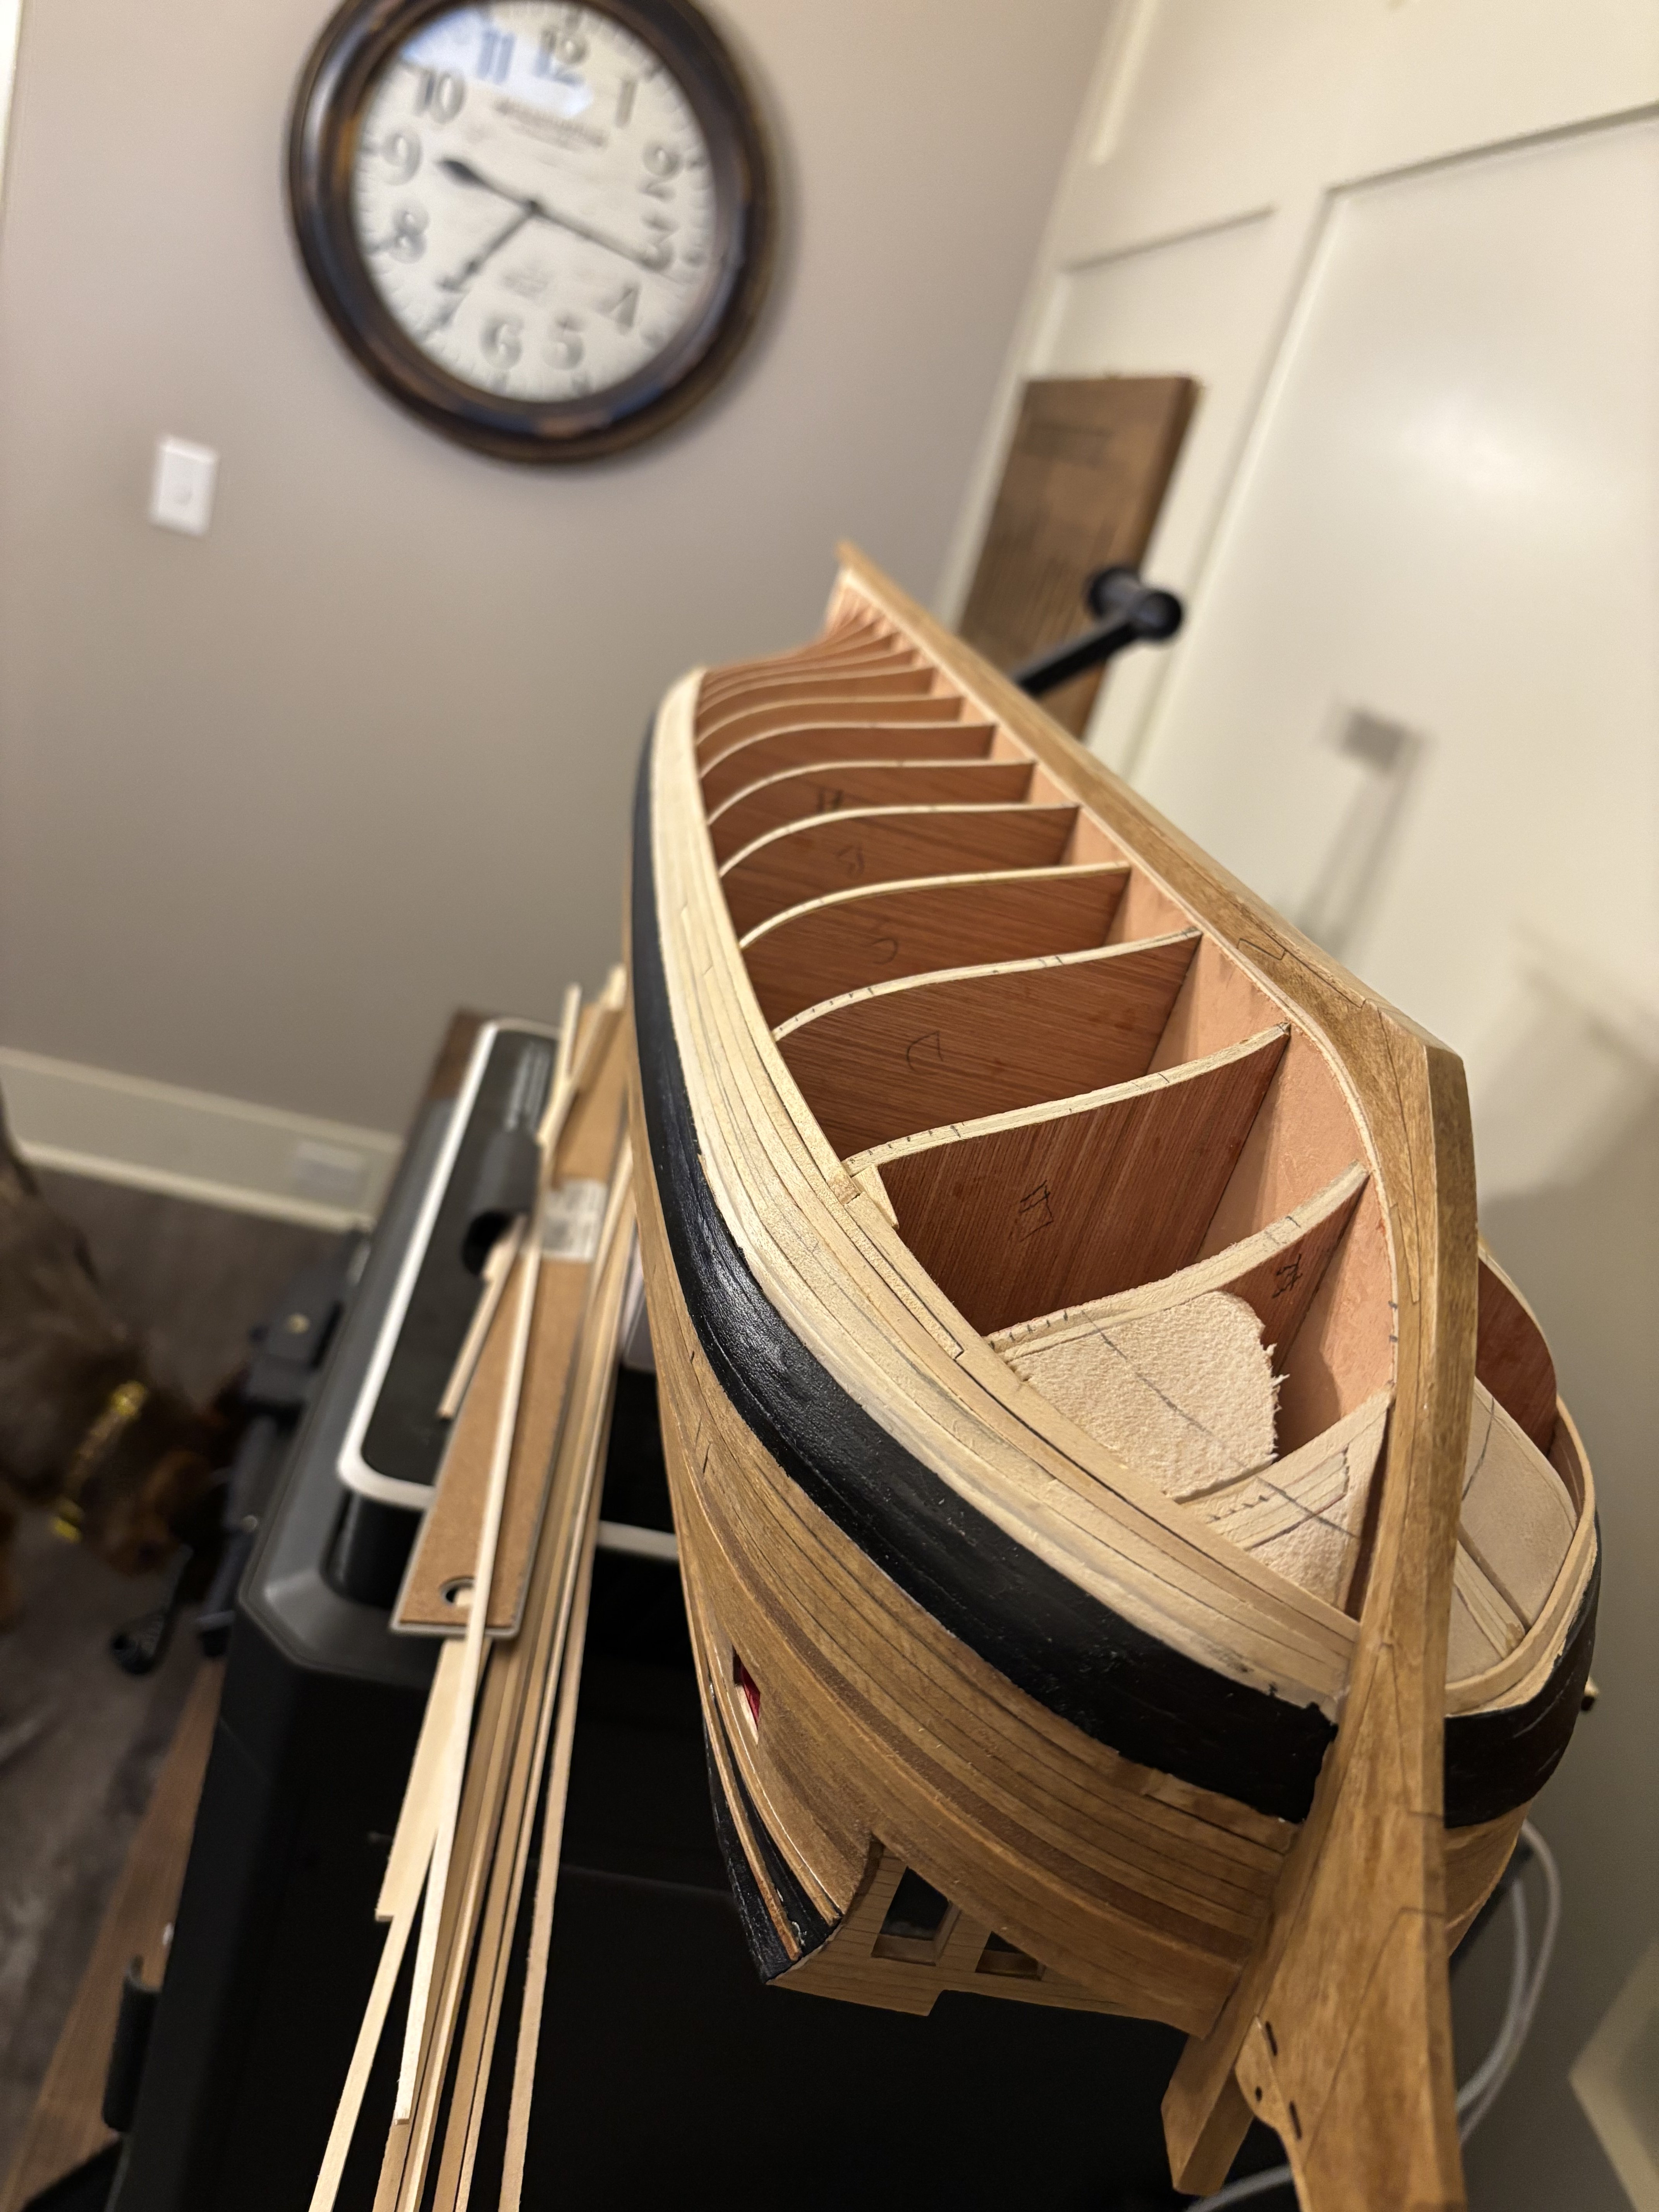
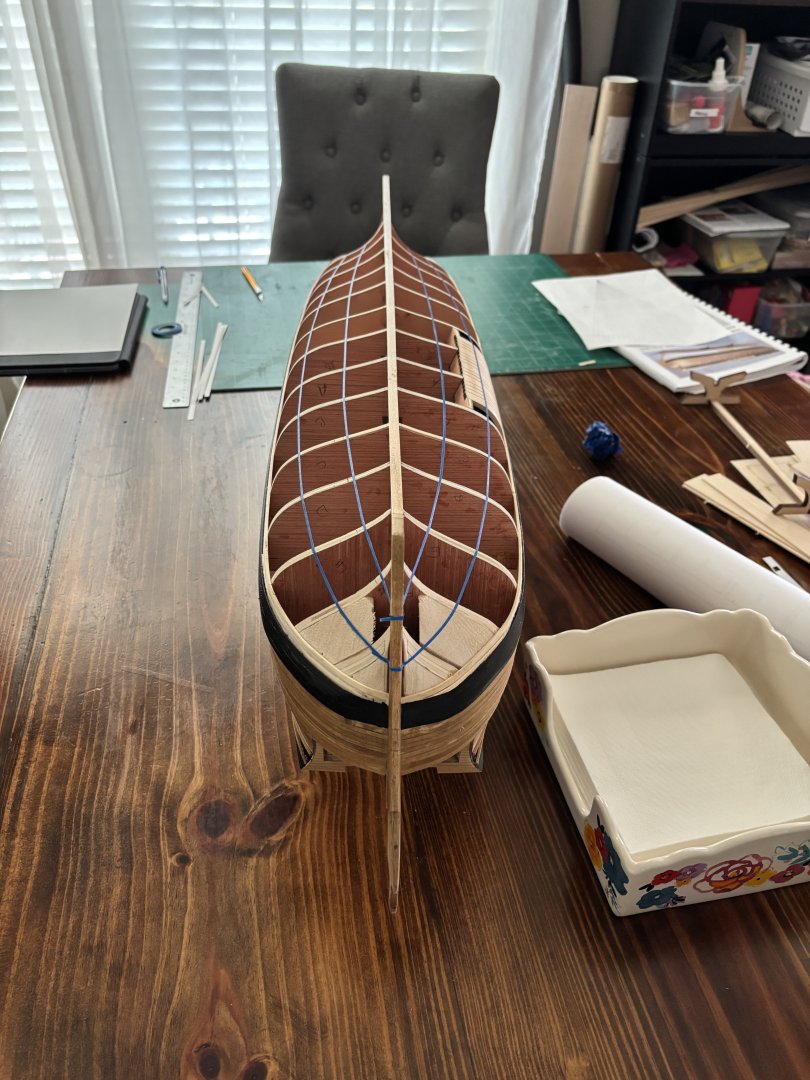
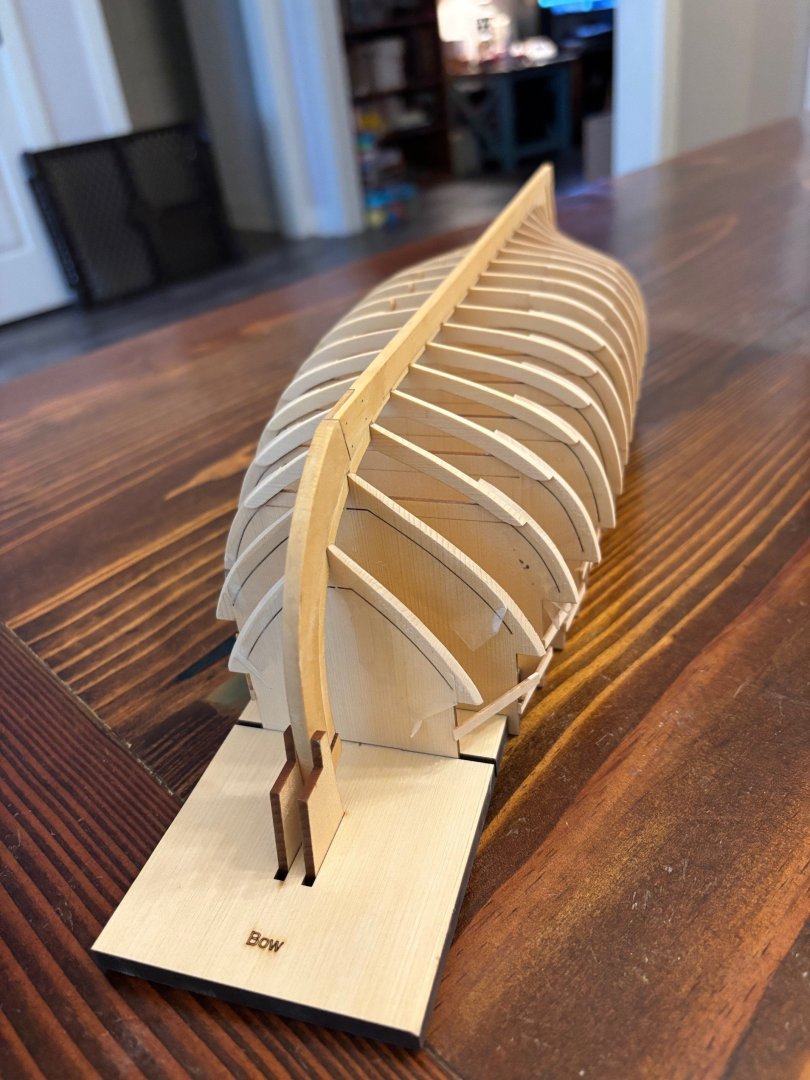
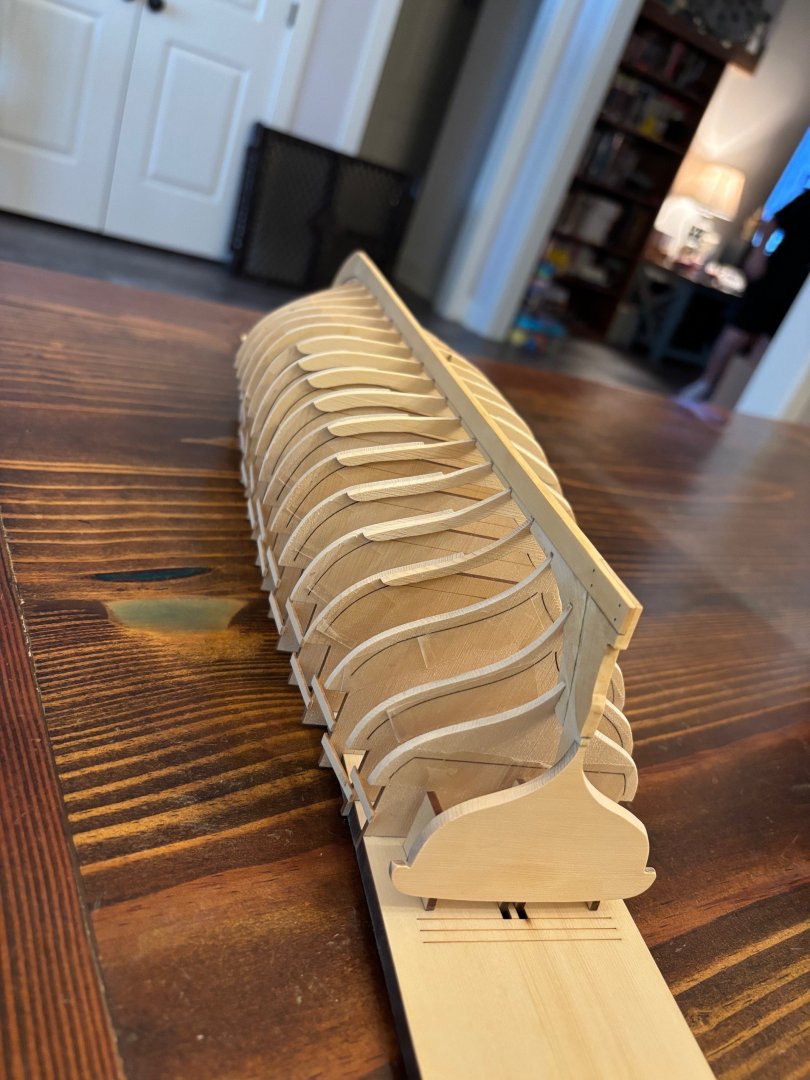
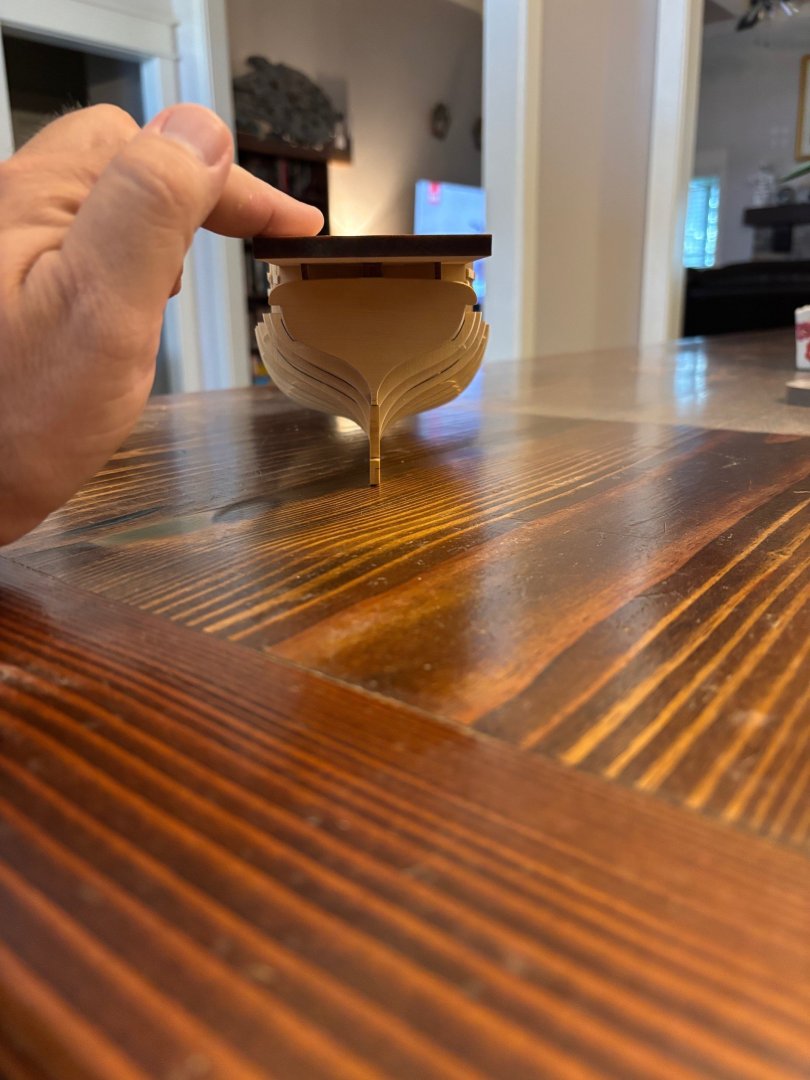
The starboard side of the hull has been faired. Now it is time to line off the hull and start planking. You can see the elegant lines of the hull. Chuck really did an amazing job developing this kit.
-
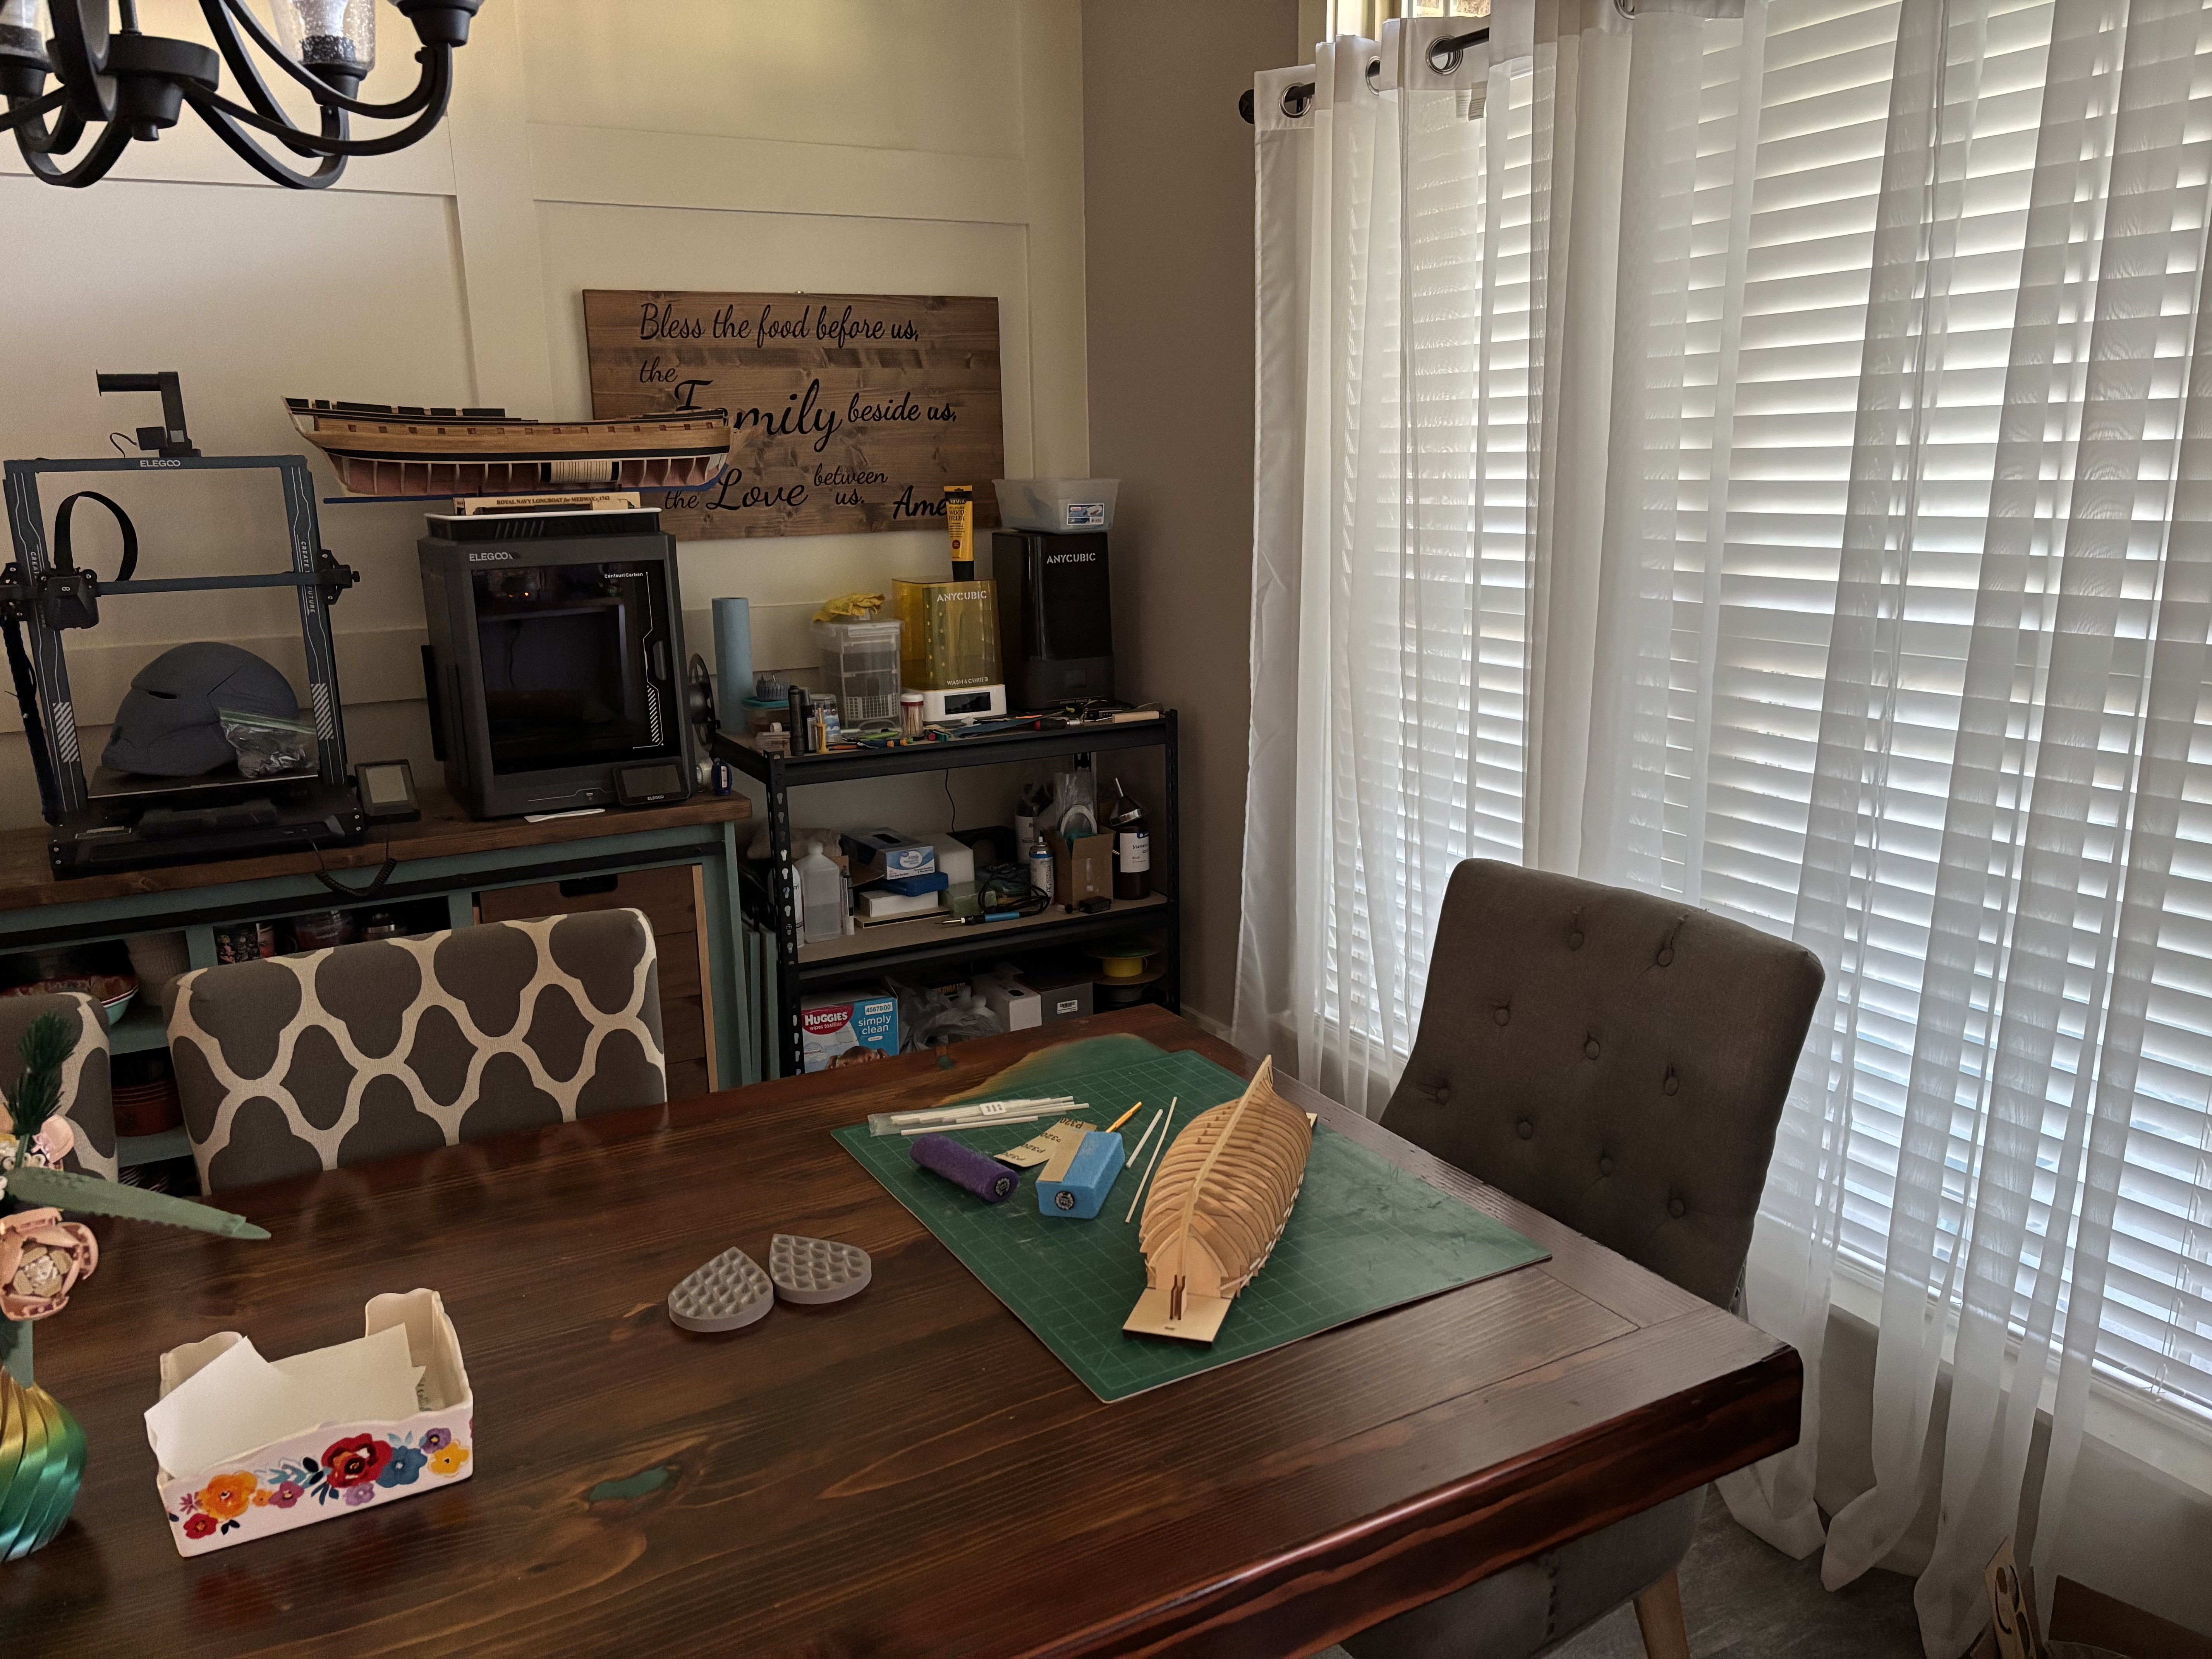
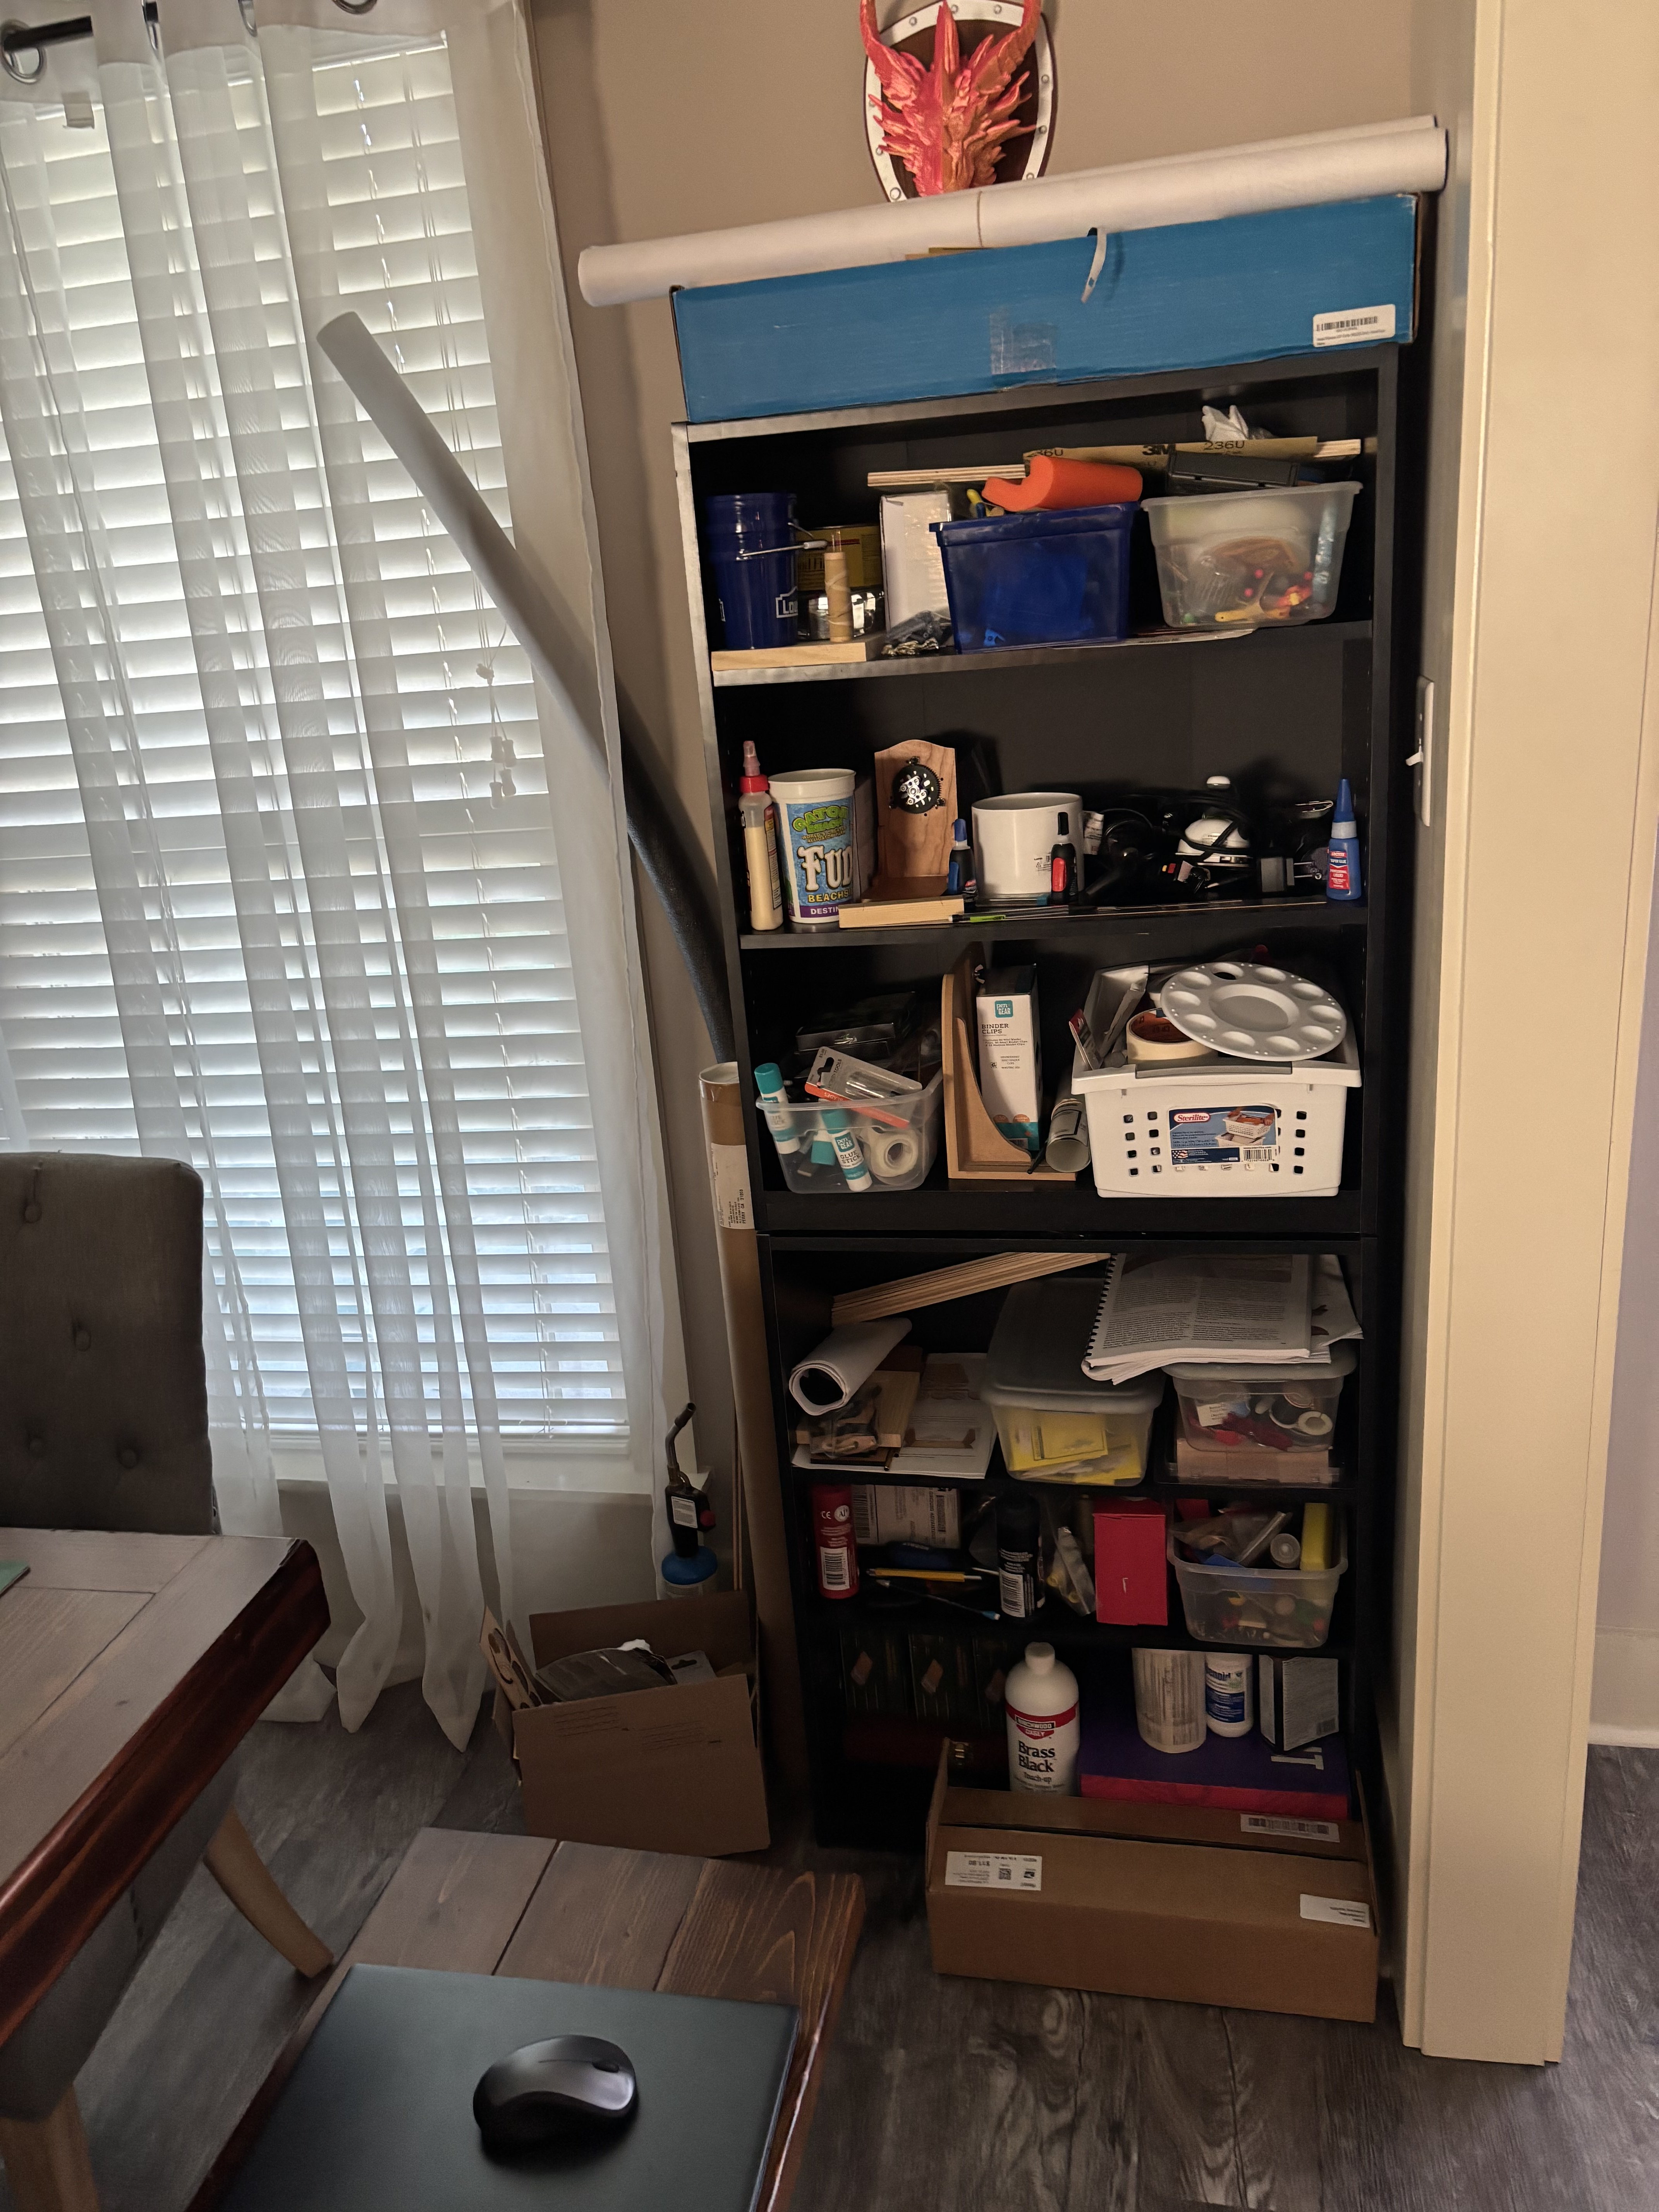
Work area pictures only
KennyH78 replied to Johnny Mike's topic in Modeling tools and Workshop Equipment
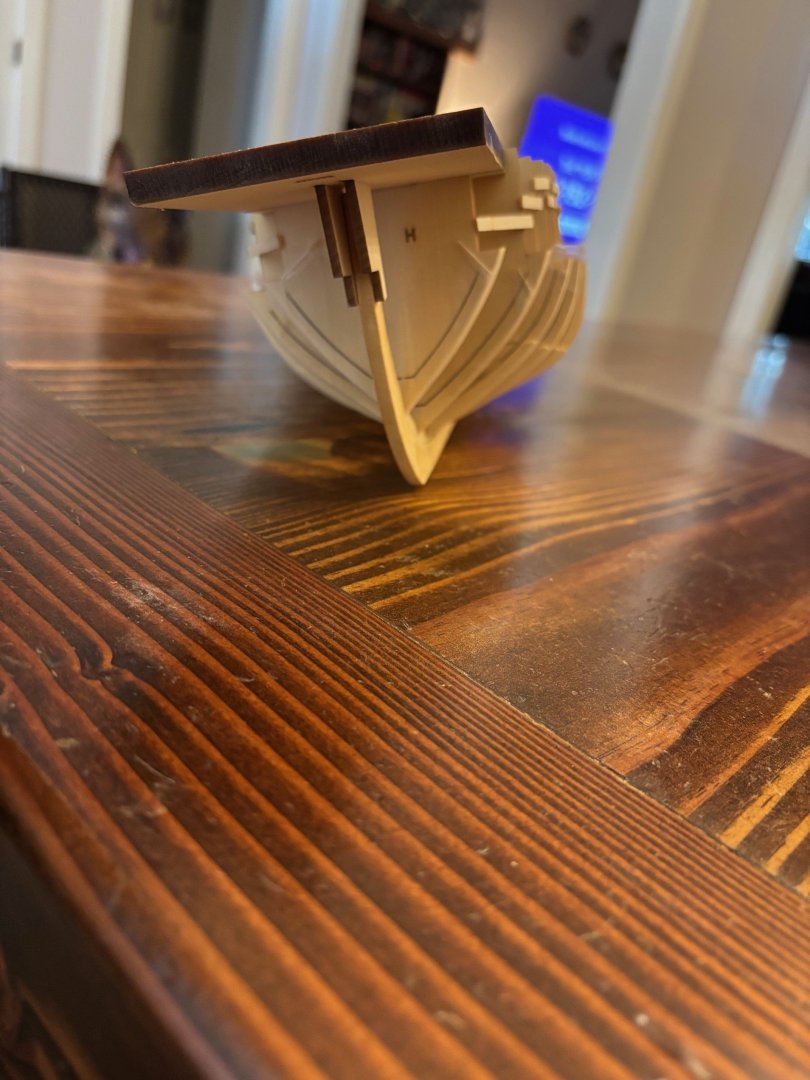
My temporary spot at the dining room table. Eventually, I hope to have my own hobby room once my oldest finds his own place. The power tools reside in the garage turned into woodworking shop.

- 47 replies
-
- 13
-
-
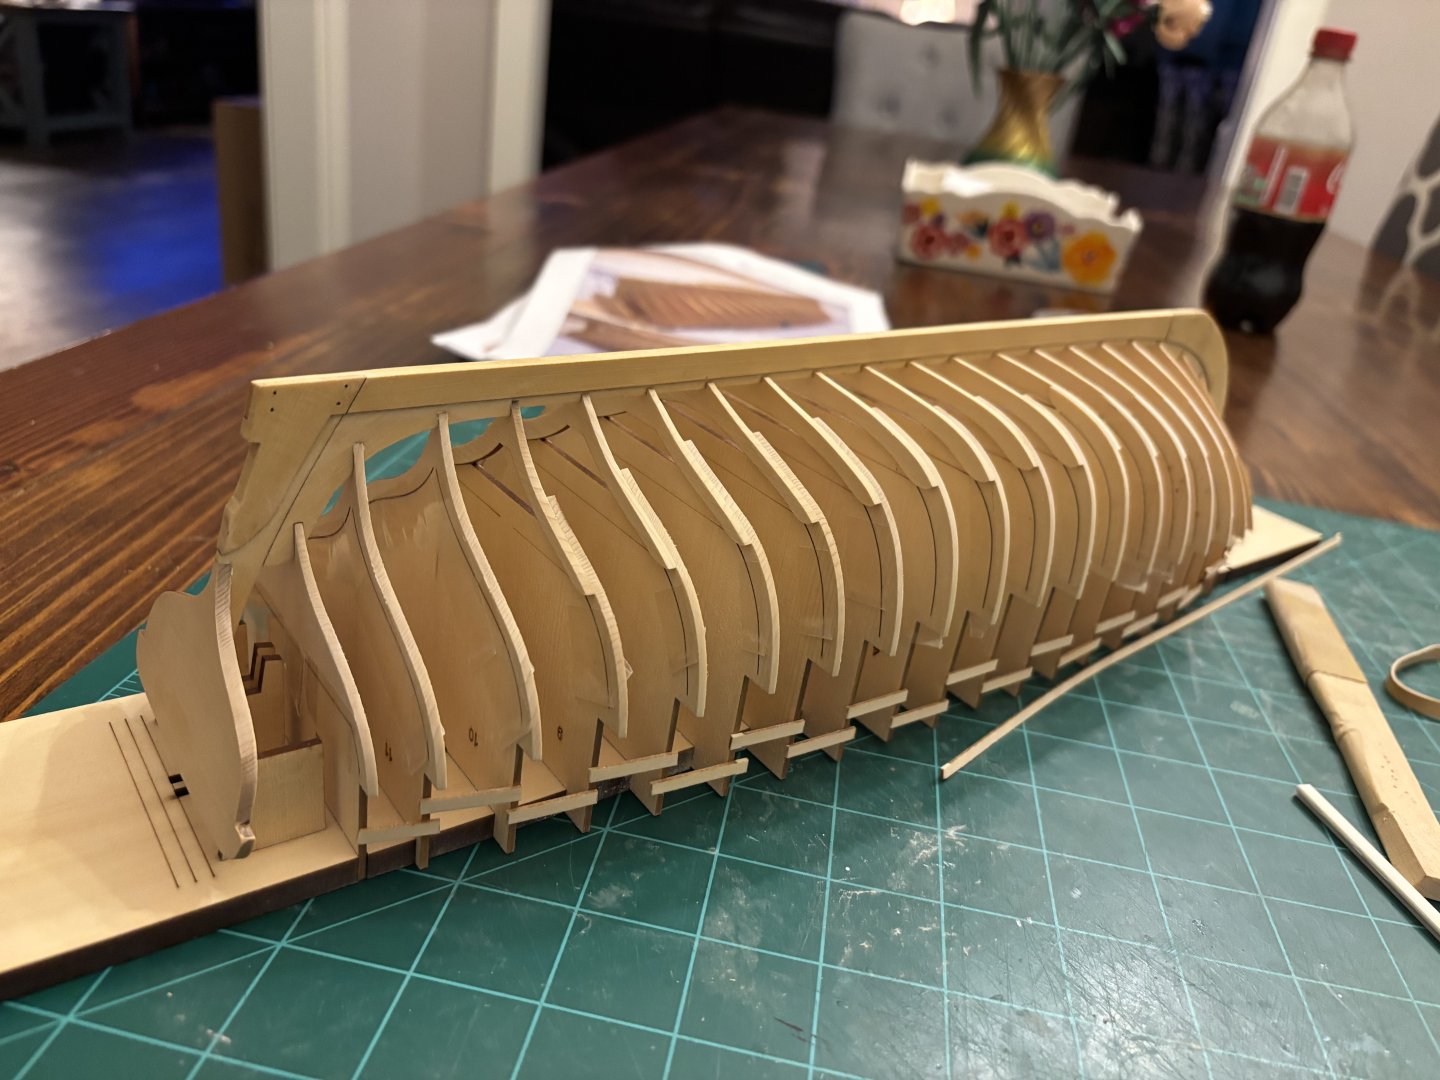
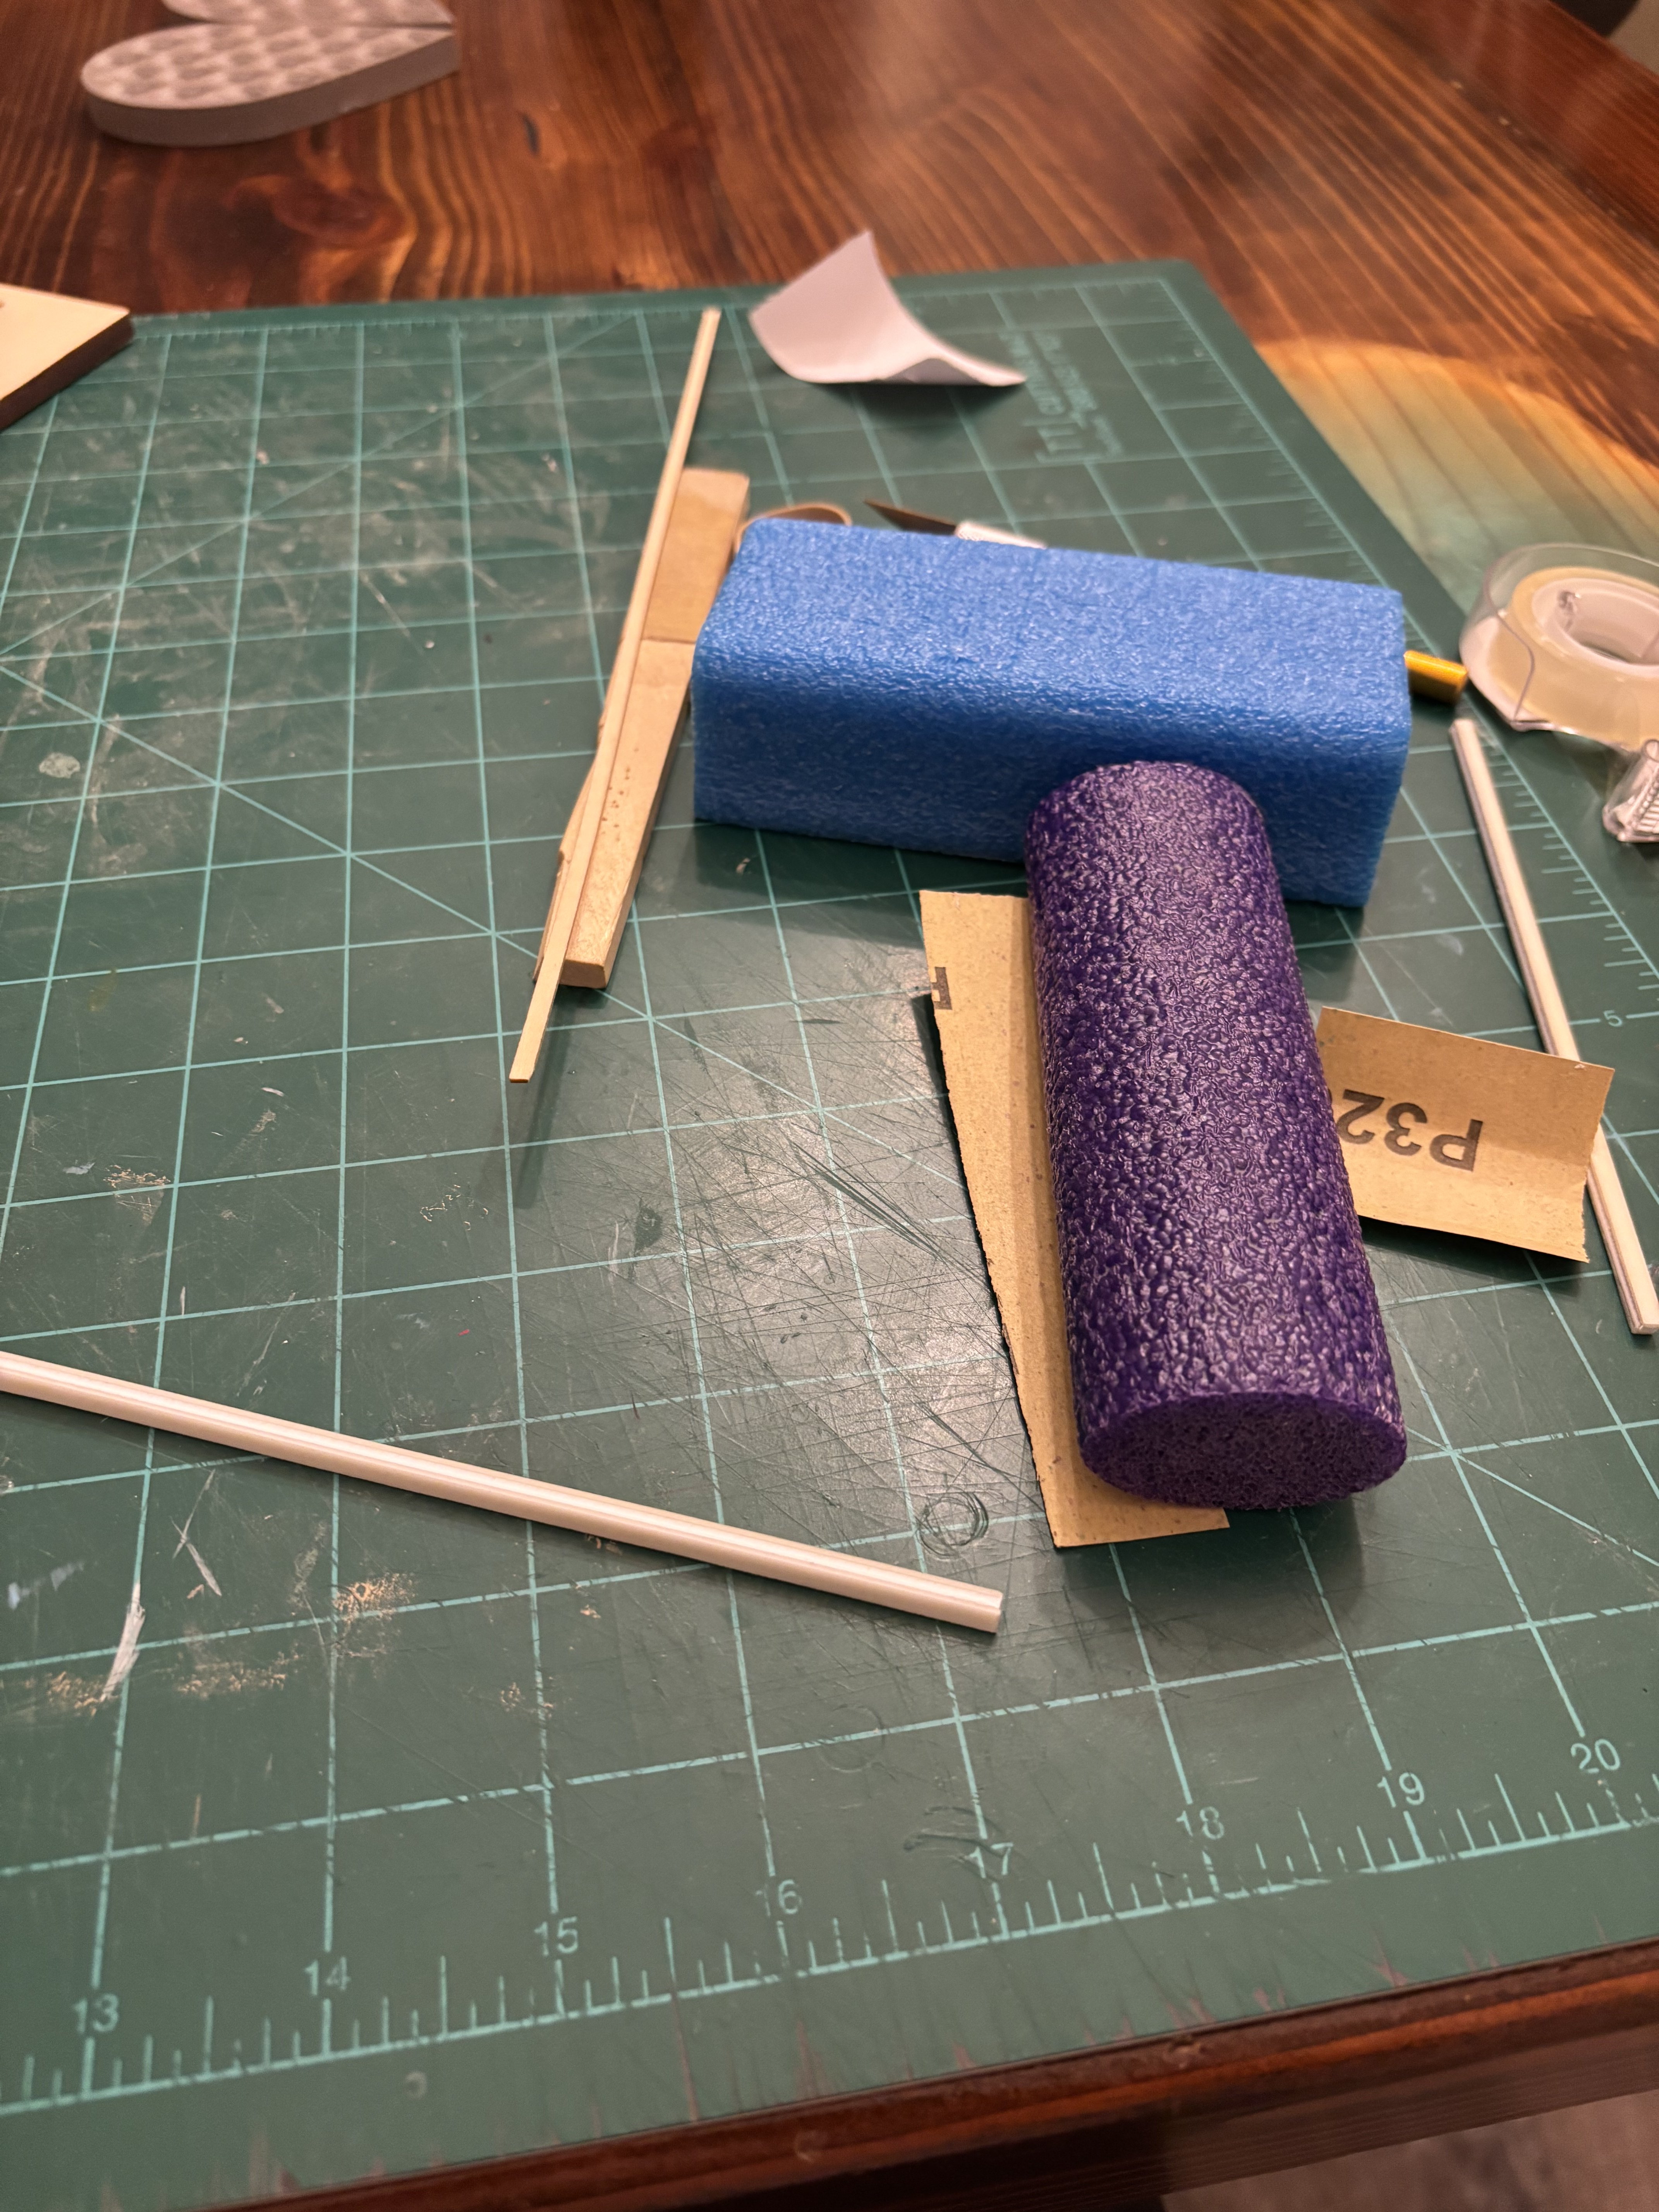
Finished fairing the port side of the hull. I’m pretty happy with it. I took my time and used a variety of tools (as seen in the last pic) to get the job done. The foam blocks worked great on the middle frames and then I used a combination of the sanding sticks the white foam sanding files, all 320 grit, at the bow and stern. Now I just need to repeat the process on the starboard side.