Mick_S
-
Posts
22 -
Joined
-
Last visited
Content Type
Profiles
Forums
Gallery
Events
Everything posted by Mick_S
-
 You are doing a grand job there, looking very good….👍👍
 -
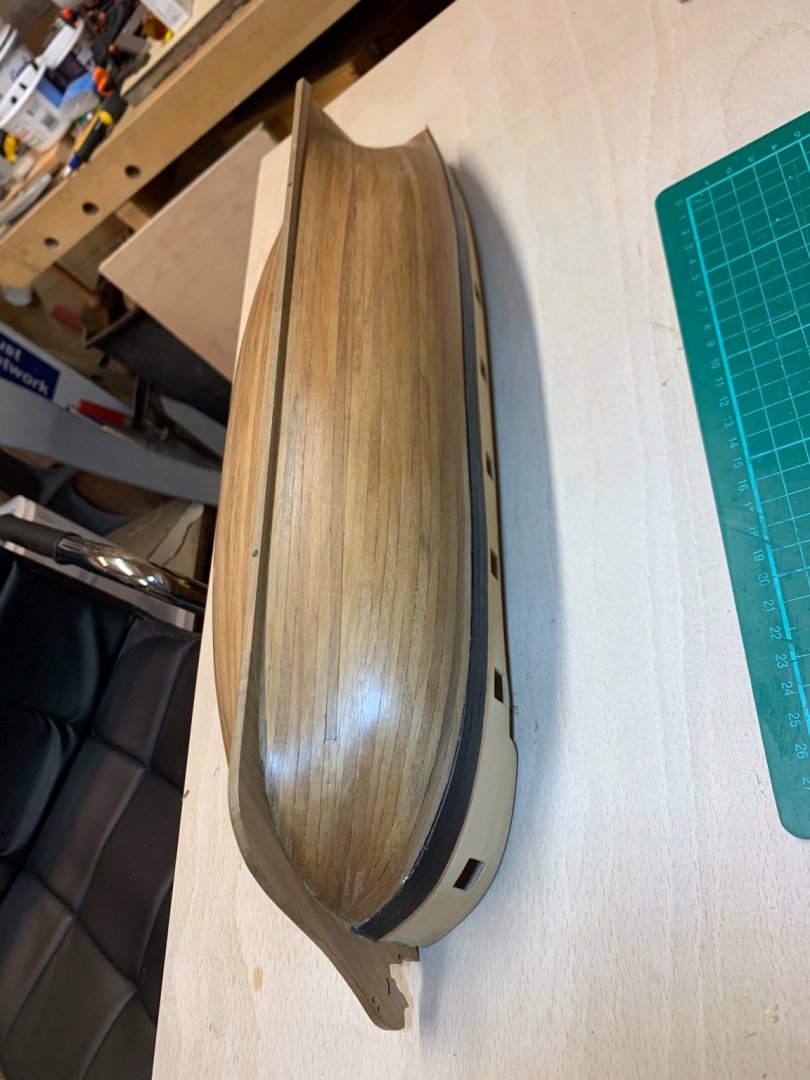
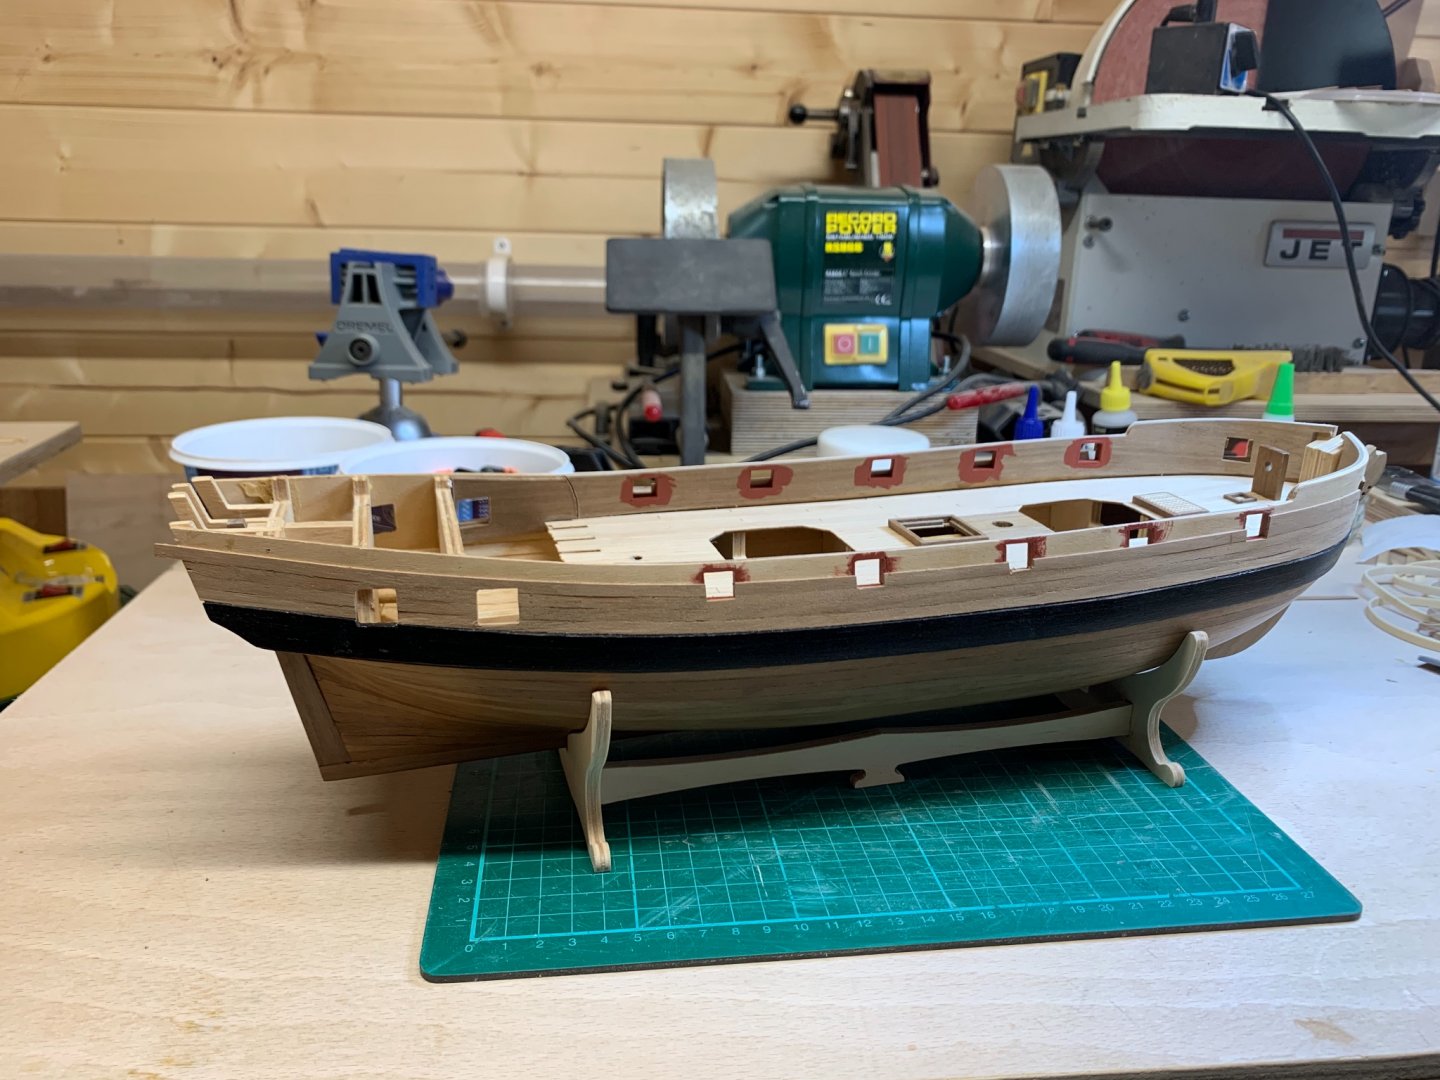
Thanks. No build log yet, not felt brave enough or made progress that regularly. Started a few years ago and it sat on a shelf when the planking got a bit tricky..😂. I have spent a bit more time recently and finished the planking and then moved on to some other bits. I think we are pretty much at the same stage now.... If I worked out how to post them there are a couple of pics below. Will be following your progress with interest. Great lithographs by the way....👍 Mick.


-
I really don’t think you should be embarrassed at all as you are doing a great job and the bulkheads will look fine once installed. I am part way through the Granado and will be doing mine the same as yours. It’s a great kit and if you take your time and think it through you’ll end up with an excellent model.
-
Hi Sam, good build log, I sure it will be invaluable one day when I get round to starting mine. You are doing a fine job.....👍👍
-
Hi, just found your build log and would like to say what an amazing job you are doing on the build. I have the same kit to make in the future and was disappointed to hear a lot of negative comments about it from others but the work you are doing shows it can be built into a really great model. Keep up the good work and I look forward to your update. Best Wishes, Mick
-
Thank you Sjors. It’s good to be back and I have started my Caldercraft Granado again and I also have a very old Mantua Endeavour model.....I will try and make something of that as well. i also caught up on your other build....the Nuestra Senora....but it looks like that one is causing you some problems...? I hope you can succeed with it. i look forward to your updates. Best Wishes. Mick
- 53 replies
-
- 2
-

-
- brig-sloop
- Caldercraft
- (and 2 more)
-
Hi Sjors, I haven’t been on the forum for a while but I remember following your Agamemnon build and it was excellent. Looking forward to seeing you put this one together. Mick
- 53 replies
-
- 2
-
-
- brig-sloop
- Caldercraft
- (and 2 more)
-
Thanks for sharing the method of second planking Glenn, will give it a try on my ship as I am just about to start. Have done the wale with a few planks and CA glue but I am not too happy as there's not a lot of movement time and I do like to get a really close fit between the planks. Keep up the good work. Regards Mick
-
I would agree with Richard, several light cuts do the job. Hold a steel rule firmly on the work and lightly score the first cut while pressing the blade firmly against the steel rule. Once that score is made the later cuts tend to follow but if you find you have wandered off the line you can press back against the rule to take off the remaining piece. The other methods do work as well, i.e a small plane; a razor saw (depending on length of cut) or cutting away from the line and sanding down. Good luck....lots of practice will find you a way that you are comfortable with. Regards, Mick
-
One down , one to go....hope the second rail goes on smoothly for you. Mick
-
Good luck with the sheer rail Craig, must admit it's not a part I'm looking forward to; I'm sure I have read it's a tricky bit to do. Mick
-
I agree, made up a couple of mine as per instructions but prefer the look of yours...!! Cheers Mick
-
Hi Craig, a question if i may; noticed your cannon's have been painted the same red as the ship....is that personal preference or a result of your research...? Regards, Mick
-
I should start a log Craig, haven't done one before as it's my first build and I guess wasn't sure if anyone would be too interested given the quality of others in the forum. Will try and get something together.....
- 366 replies
-
- 1
-
-
- granado
- caldercraft
- (and 1 more)
-
I shall be watching you both closely to see what the solution is, I am a while away from that bit but will get there one day..!! I think maybe your option of re-shaping the knees might be worth consideration, the AOTS plan shows them sweeping forwards rather than dropping straight down...?? Good luck..... Mick
- 366 replies
-
- 1
-
-
- granado
- caldercraft
- (and 1 more)
-
Hi Glenn, I looked into this quite extensively before doing mine and I have started at the top and then stopped and then gone to the keel and started upwards. It seems to be the recommended way to go but Patrick makes a good point in that it depends what comes next....if it is all covered up then maybe the priority is to get a straight and solid build in whatever way you choose. I'm building my kit to get experience before doing a larger and more complex kit so its really a test bed for my skills and I was originally led by the research and reading I did including guides on this site. A lot is said about the 'Garboard Plank' being a key part of starting the planking away from the keel so I had a go at that with a wider plank as recomended. Anyway, don't go too much on what I have done, this is all quite new to me but I hope you don't mind me responding. Mick
-
Thanks Craig and Timmo for the feedback, great to get advice from you both as you have got past the stage I am at with the Granado. I have faired the bulkheads quite a lot to match the run of the planks from one to another but taking on board what you have both said I think the problem is with the filler pieces....I assumed they were correct from the plans but I think they should have been faired themselves a lot more than I have....particularly lower down. Anyway enough of my problems this is Craig's build log...!!...apologies if I have put the questions in the wrong area...!! Glad you have solved the dilemma of the oversize blocks Craig....you must be relieved..!! Look forward to more pictures on both build logs. Thanks again. Mick
-
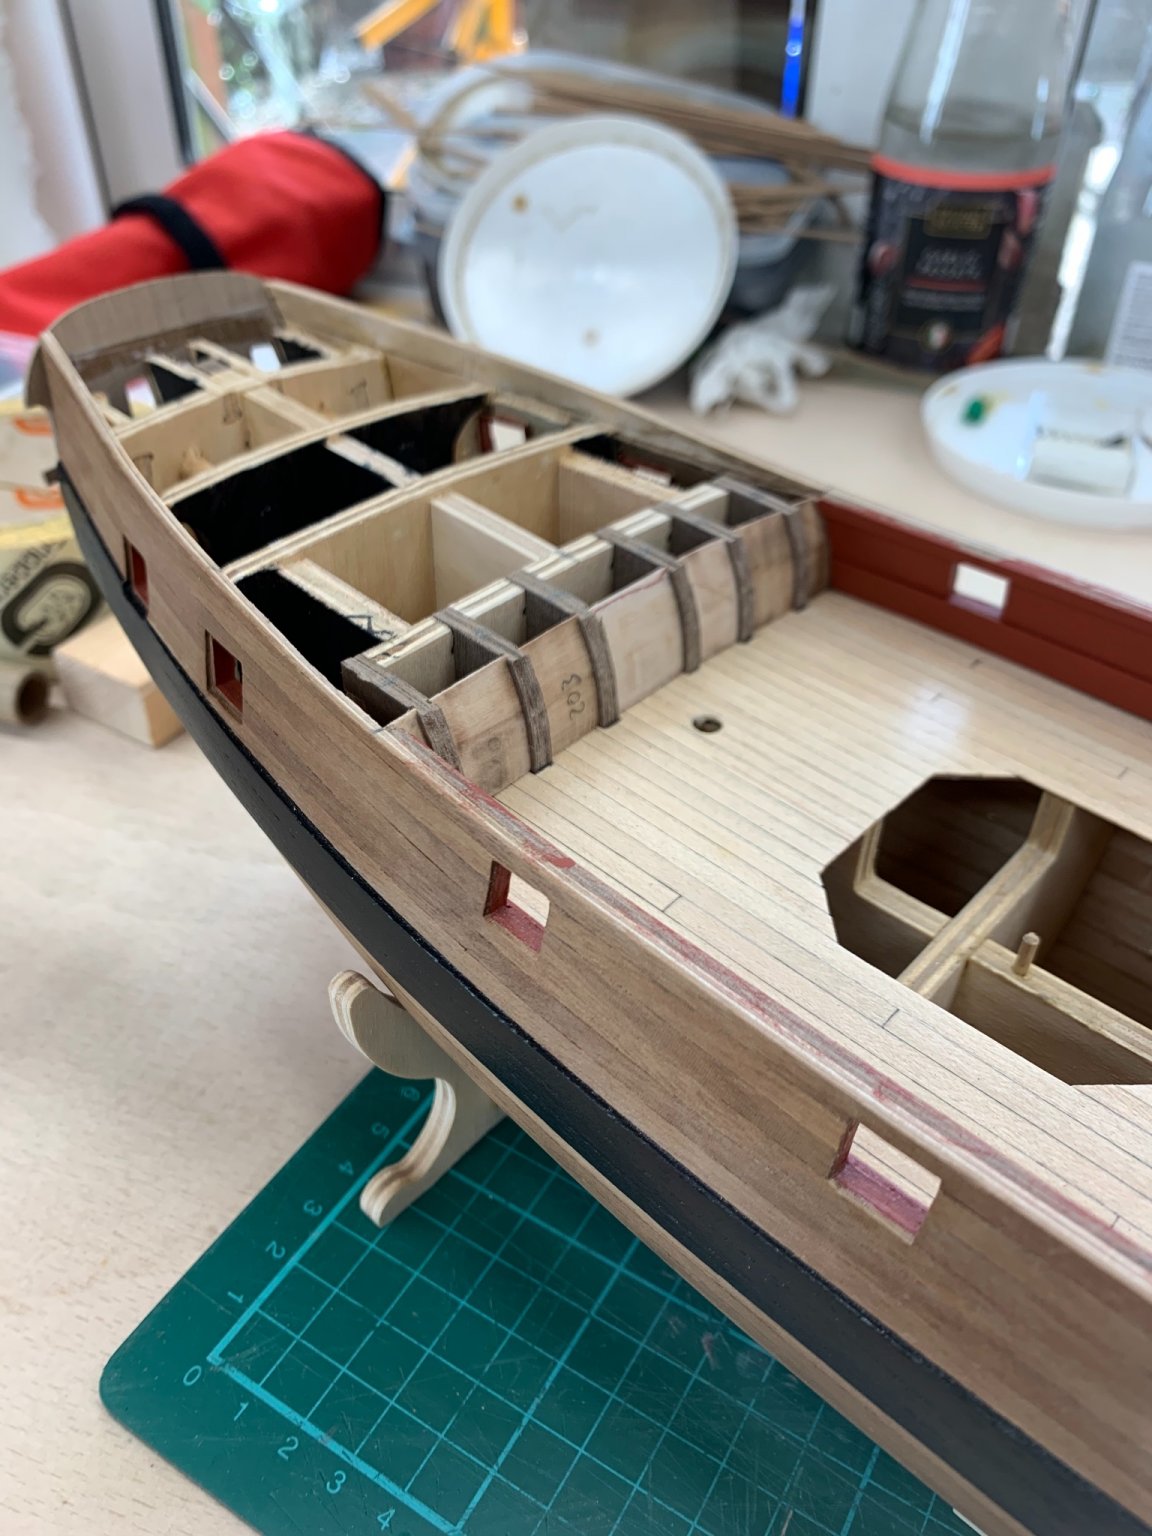
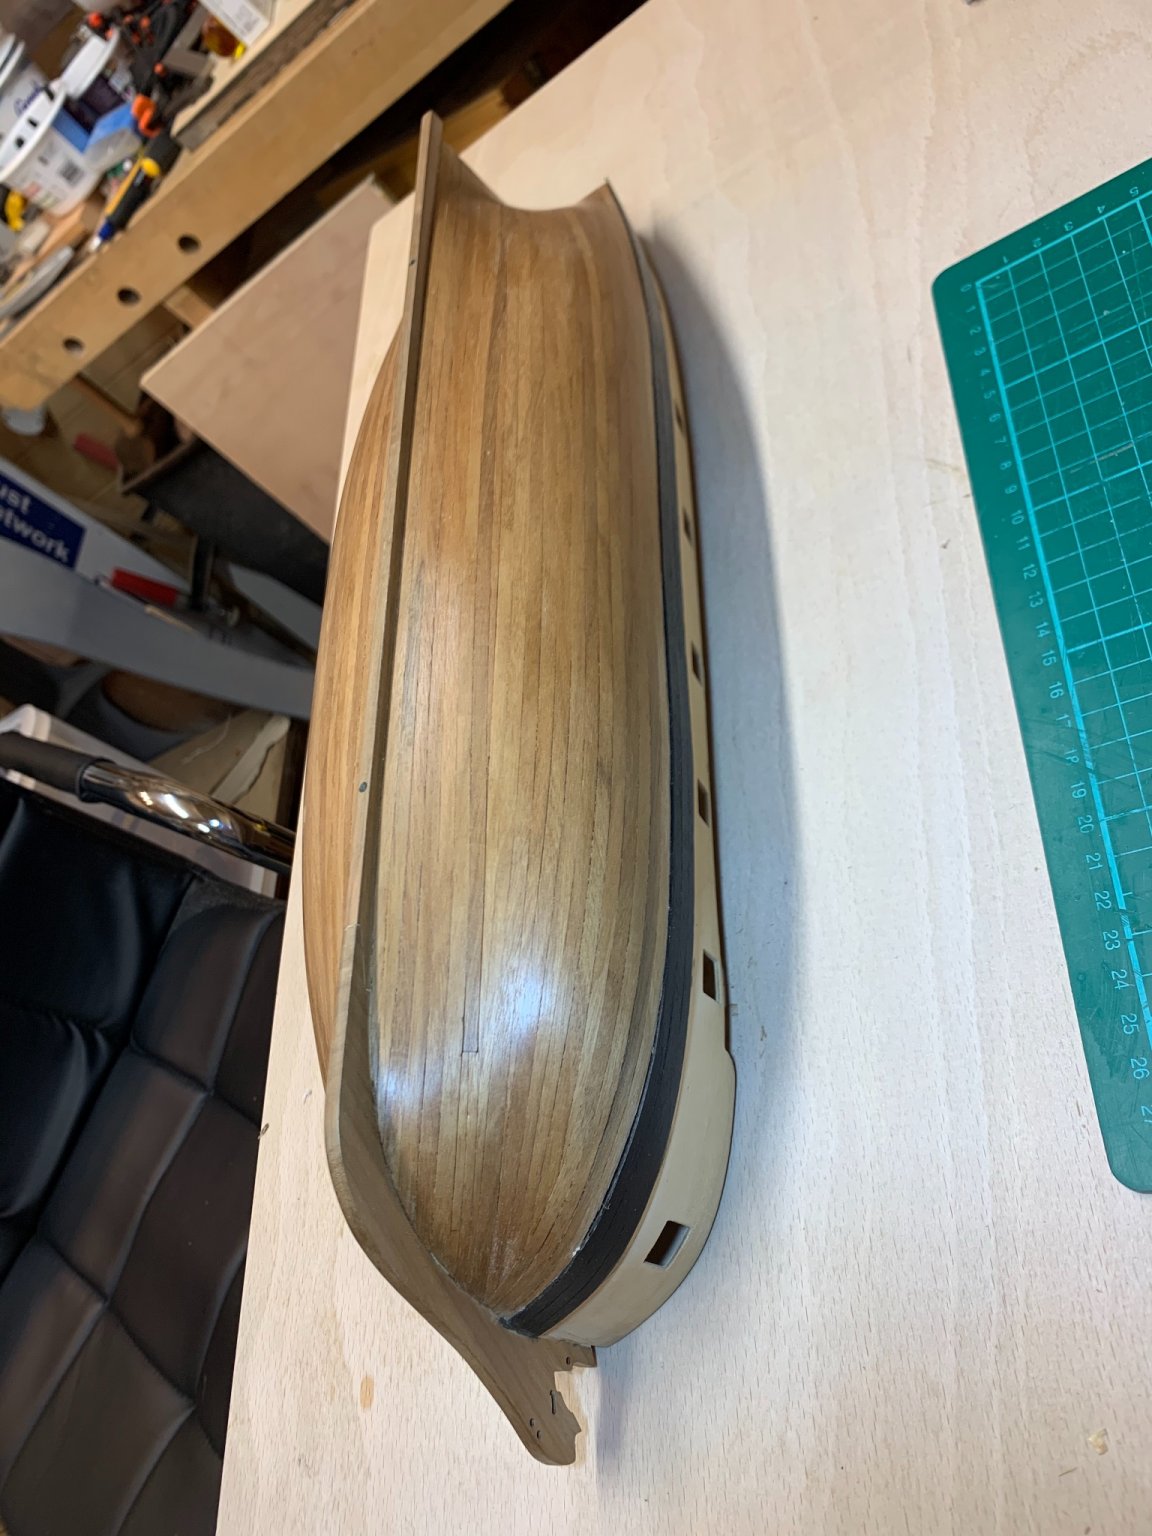
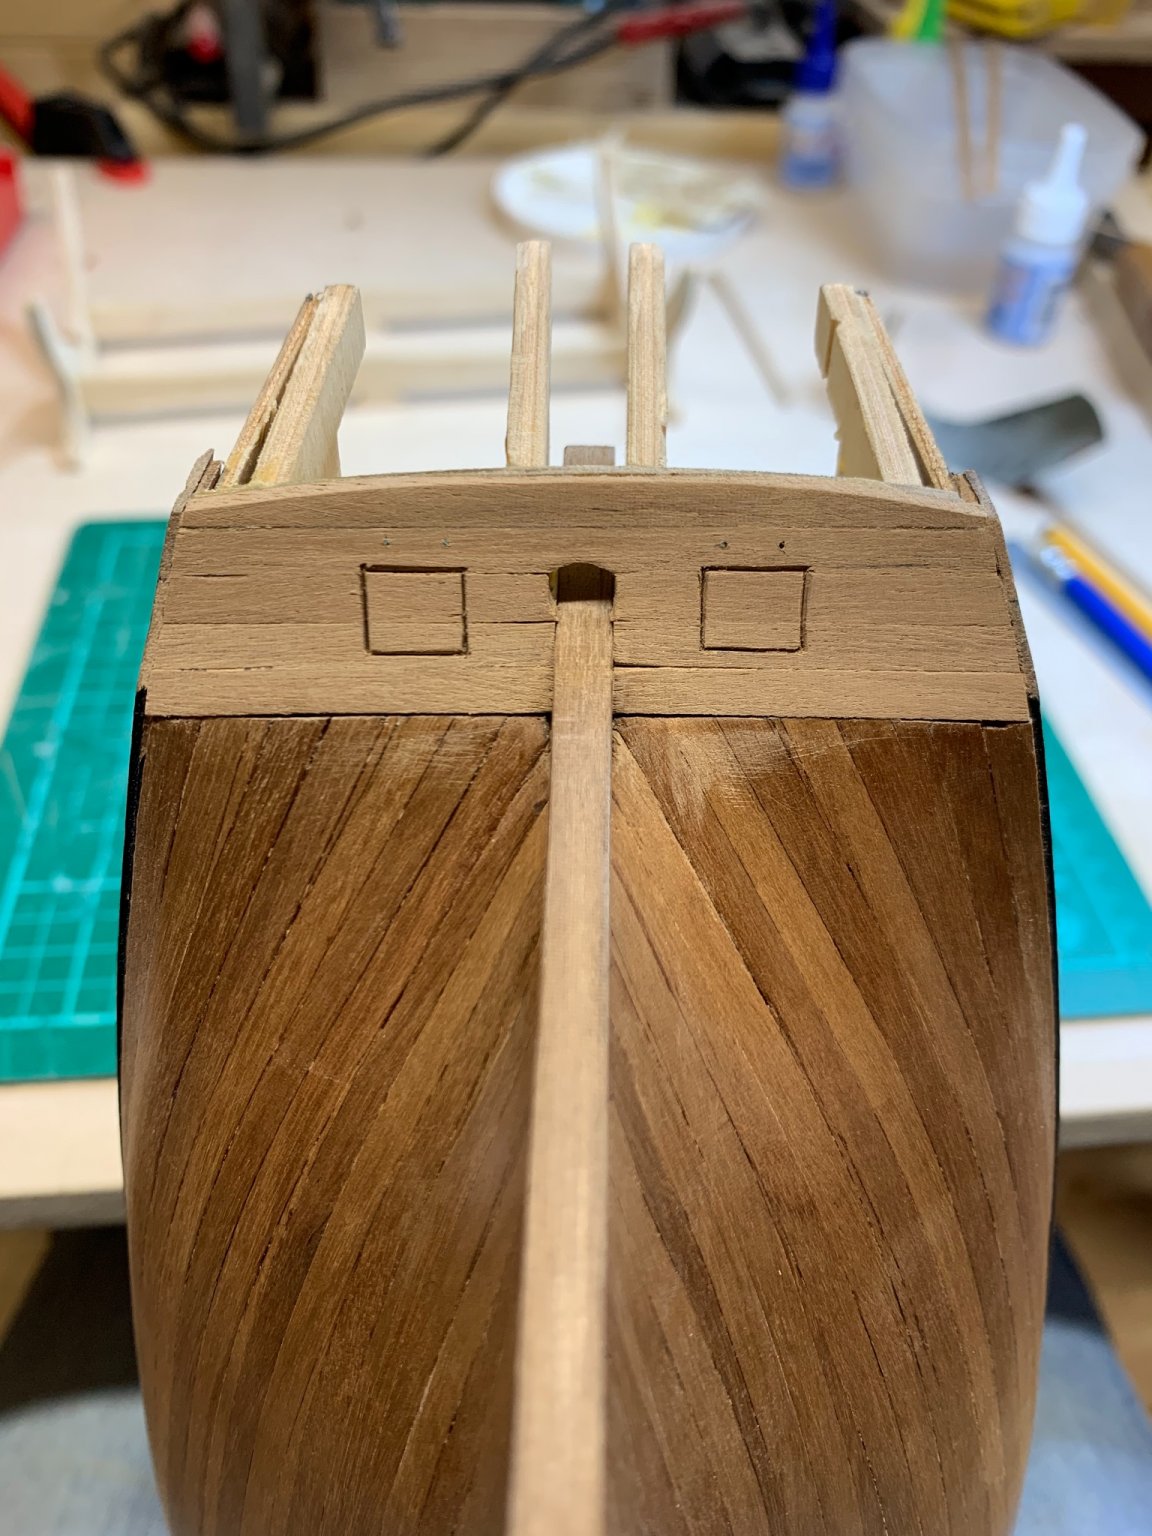
Hi Craig, I have been looking at your build with great interest and it's looking really good. I am building the same kit myself and have been having a few dilemas with the first planking around the bow area. Like you I have tried to use the 'thinning' techniques, drop planks etc but I think a problem with my kit is that the 2 filler blocks at the bow (the ones than go on the keel ahead and behind bulkhead no. 1) don't allow the planks at the lower part of the bow to lie on no 1 bulkhead. Maybe I have not sanded the filler blocks back enough..? Did you have similar problems with your build....the photos you ahve posted look as though it went OK for you. Thanks, Mick
-
Thanks for the extra information Glenn, very helpful. I think I have spotted why I have been having trouble with the pins on my build going all the way in.....the ones I have look much shorter than yours......mine were supplied with my kit. The longer ones will allow a bit more control. I would be interested to see the line your planks take around the bow as you get further into the planking if you wouldn't mind....particularly the lower part of the bow....? Your information and photos are a great help for someone like me who hasn't had much experience. Regards, Mick
-
Looks like it's going well Glenn, steady but sure. A couple of questions if I may as I have run into a small problem at the bow of my ship whilst planking......are you 'spilling' the planks at all.....I believe this helps deal with the compound curves Jerry mentions..? Also noticed you are not necessarily symettrical with your planks and running them naturally on each side....my question here is that I assume this couldn't happen on the second planking when there is more visibility of the finished job..? Glad to hear the pins are working well....I have taken a leaf out of your book and am also using the mapping pins I see in your pictures. Keep up the good work. Mick
-
Thanks for the feedback Glenn and Jerry, I'll assume it's not the done thing..!! Plank bending looks like it's given good results; the only thing to be careful of is that the crimps can be weak spots depending on how the wood is stressed afterwards. Regards Mick
-
Hi Glenn, following your build with interest as I aspire to the same kit one day. I am currently at an early stage with the Caldercraft Granado but a lot of the techniques and decisions are similar. One question (and apologies if it's a daft one as I'm quite new to all this) is there not the option of leaving the pins in on the first planking..? They could I am sure be tapped flush with the wood and then covered by the second planking layer..? Might even add some strength..? Like you, my pin pusher has no depth stop and I find it's really easy to push the pins home rather than just part way. Regards Mick