


Cap'n Rat Fink
-
Posts
829 -
Joined
Content Type
Profiles
Forums
Gallery
Events
Posts posted by Cap'n Rat Fink
-
-
 All questions and remarks are welcomed....
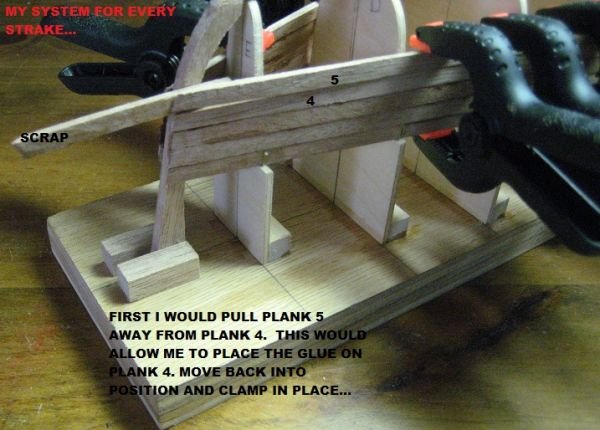
- Sjors, avsjerome2003 and Anja
-
 3
3
-
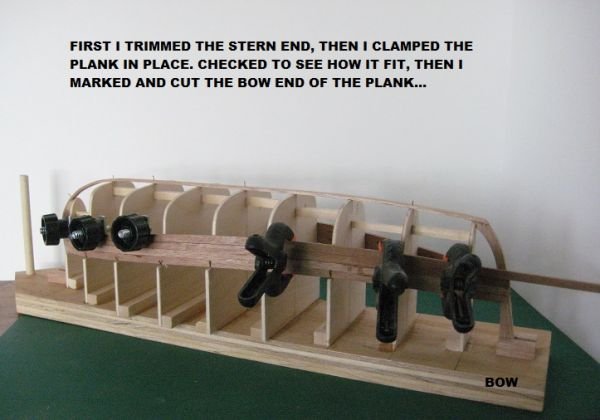
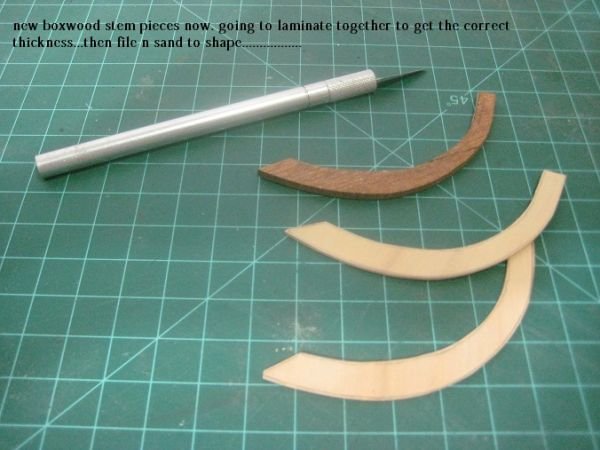
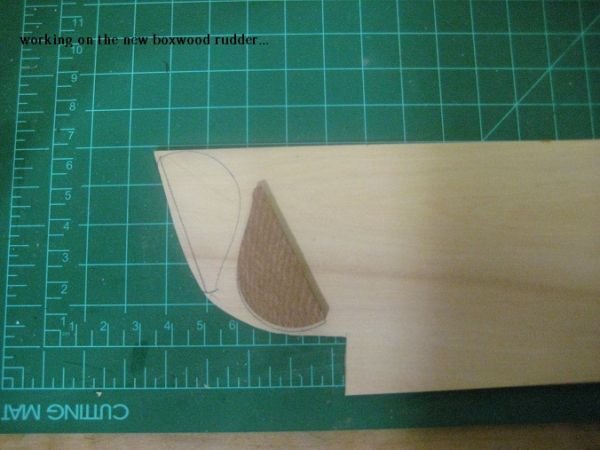
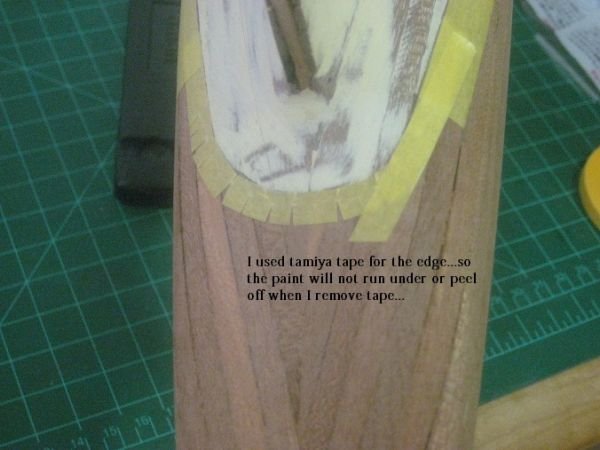
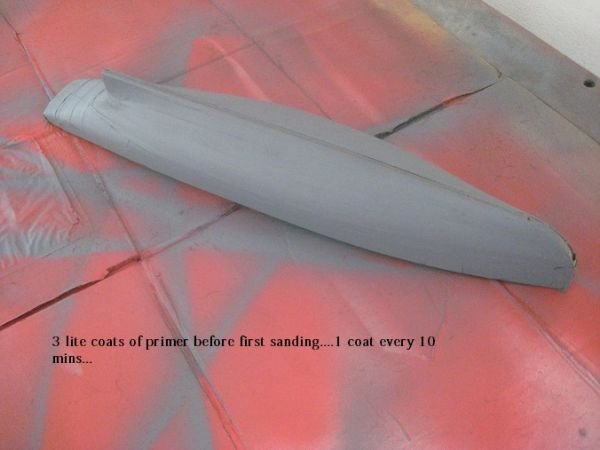
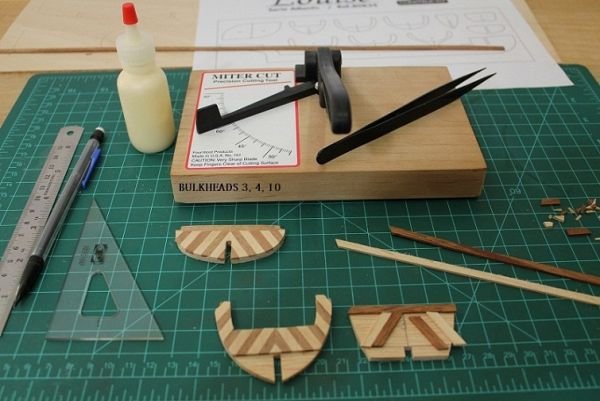
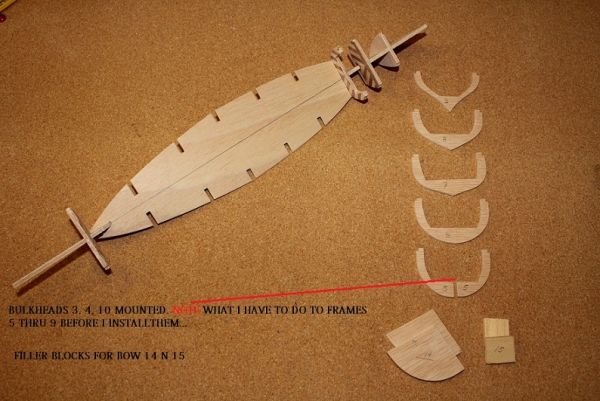
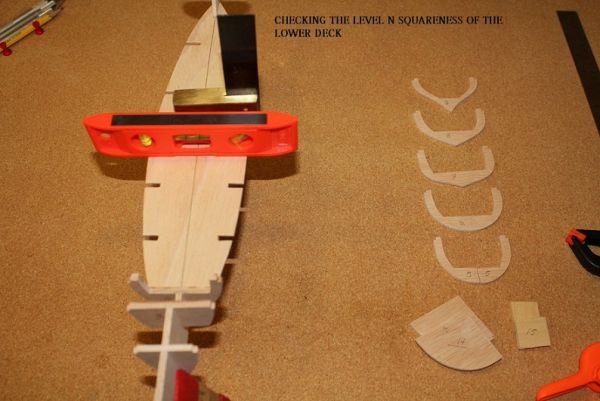
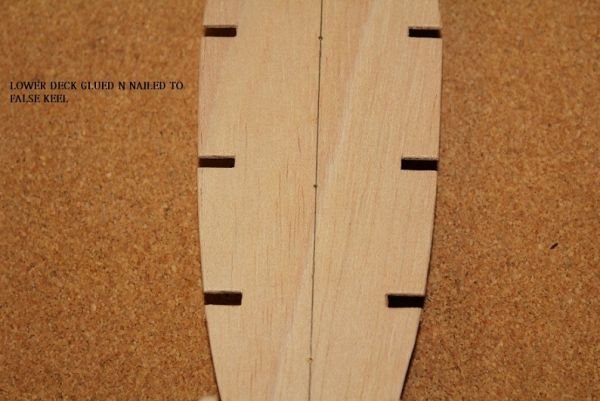
here ios a small update on my Ancient workboat......

-
Hi Simon,
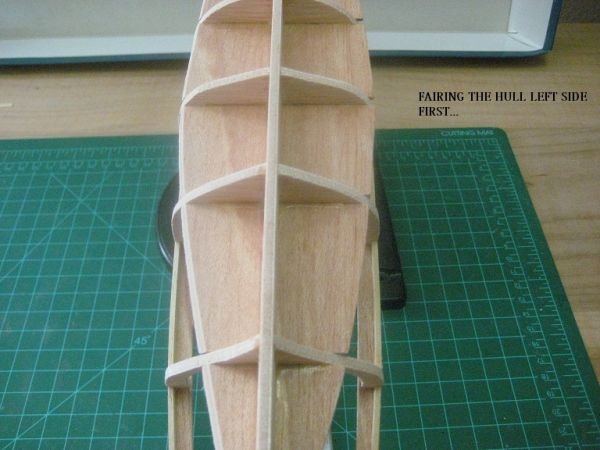
This makes into a very nice model. heck all of Midwest little model boats make into nice models. To answer your question, I can't tell from the picture, but did you fair the frames on your building jig first? If you did not you must do that and then you take a batten(spar piece of planking) and lay it across all frames to make sure it sits flat and runs smoothly across all frames. You slide this batten up n down the length of the hull to make you that same look over the whole jig. This will help eliminate the clinker effect...
As for the garber strake it is usually the first plank that is placed for me. The sheer is what i do next and then i work towards the middle. But before you do this you should take measurements of your frames and the width of your planks and divide them evenly on the frames. This way you can figure the taper of the planks at the bow n stern areas. You can use one of those seamtress rulers to measure your frames. You know those soft material rulers that roll up in your hand.
What i do and have read is place the plank on the jig and with the next plank i make sure it sits flat as possible on the first plank with no gaps. If there some gaps this is where I start to slightly work in a bevel on that edge of the plank until it sit cleanly on the preceeding plank. Then I start all over again and place the next. What I don't do it bevel both sides of the same plank. Its one beveled side of the plank sits on the factory side(untouched side of the plank) of the plank.
This works for me but there is a great tutorial in the ARTICLE DOWNLOADS section os MSW. I hope this helps you out...
-
-
-
-
Some more pictures; some more ratlines. As my last two models didn't have any ratlines, I'd forgotten just how many there were even on a single masted ship!

Here's where we are at the moment.
One side finished

And a good start made on the other side
John
Really nice work there John................as for you forgetting. I doubt that. I think you have forgotten more then i will ever know in my lifetime about boats and ships...
-
-
-
Thanks John,
Got home tired from work and did not even look at my model. My little 1 yrs old g-daughter walked up to me and she had my external drive in her hands. How did she end up with i don't know. So I plugged it in to see what i have on it since i do not pay attention to it too much and suprise, i found that I still had to add 3 more of my builds from 1.0 to 2.0.....
So I was just sitting there like a lump of cheese aging, so what the heck started adding this log back in...Man I have a lot of pictures on this one. I did get a little crazy with the detail on this boat....
-
-
-
-
-
Thats a COOL video there Mark....
How the heck did you find that video? :mellow: one heck of a beer tap there Mark
-
Hi Ken,
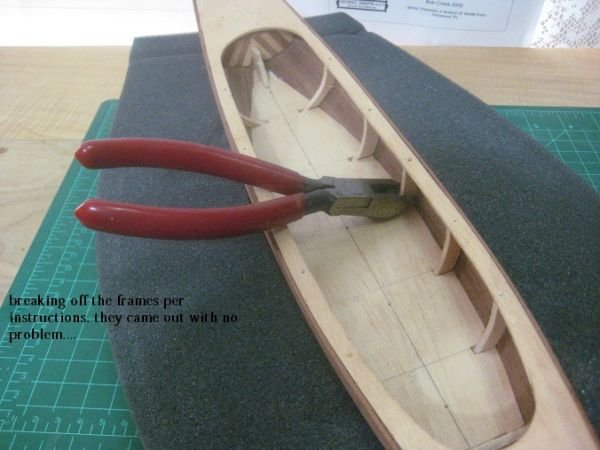
I have been watching your log also. After I build the 2nd boat, I am considering a lager scale at 1/10 so i can give the mortice n tendon building feather a try. At 1/24 i think its just a bit too small to hassle with....But it was kinda of neat after i finished off this hull. You would think with no frames at all it would colapse, but it di not. Though you have to add a scrape piece at midships before you remove the hull because it does tend to pull inwards after removed from the strong back........
-
Hi John, Frank, and Wayne....
Thanks Guys for stopping by. Next time i add some pictures i will ad a little info about the book, which i thought was a great read.
Take care
-
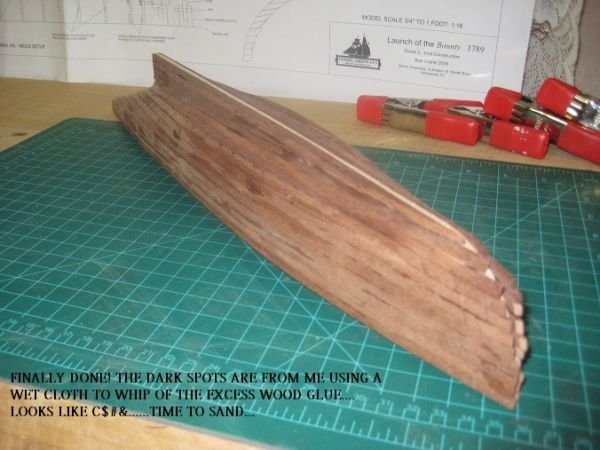
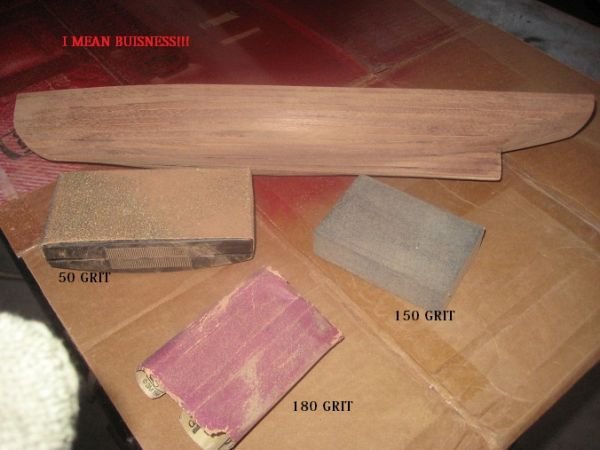
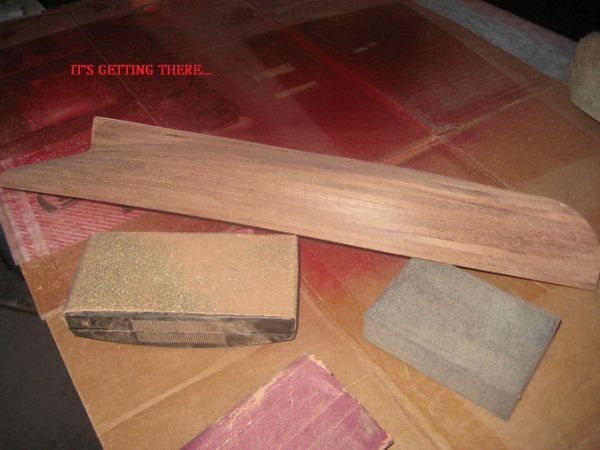
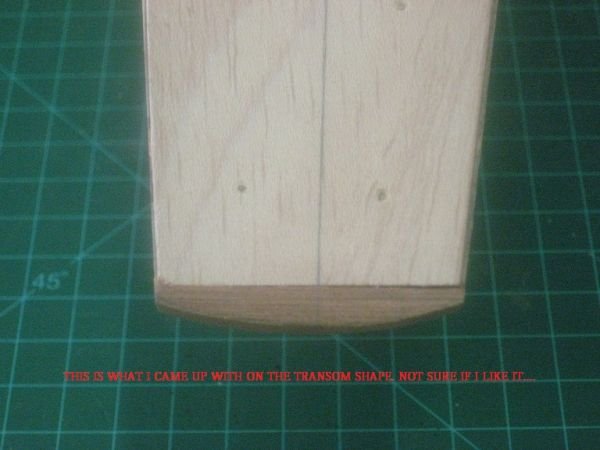
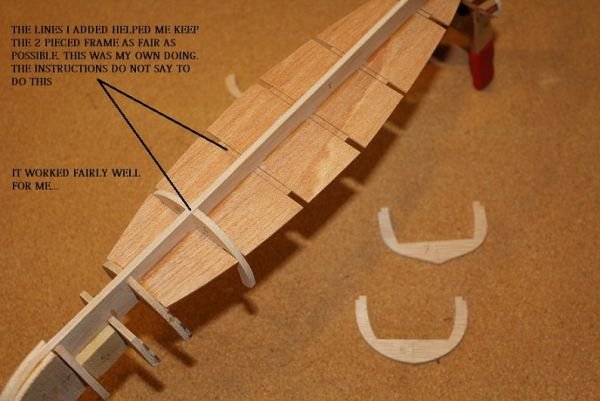
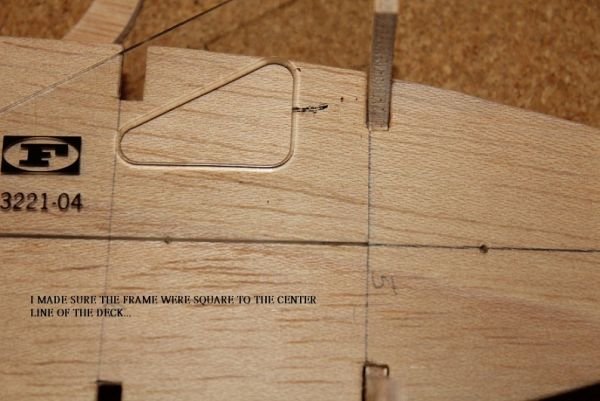
AND A FEW MORE PICTURES.....


- Anja and avsjerome2003
-
2
-
Hi Mark.....
Not for long I'm heading back up the stupid mountain in about a hour.... I should of gone camping since i'm in the mountains so much this weekend....
Hi John...
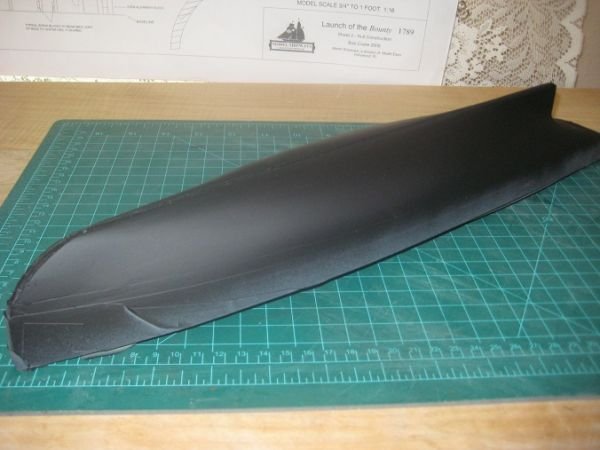
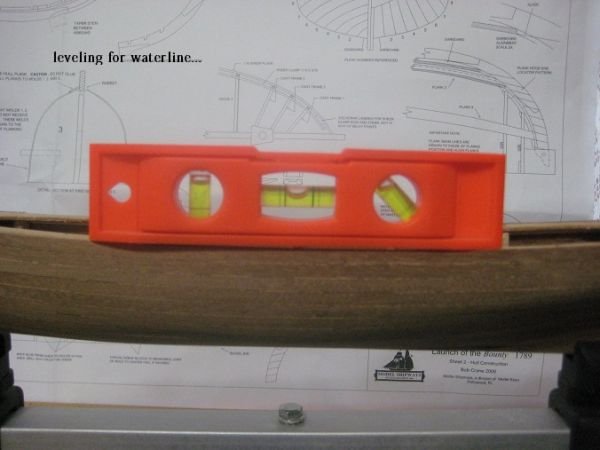
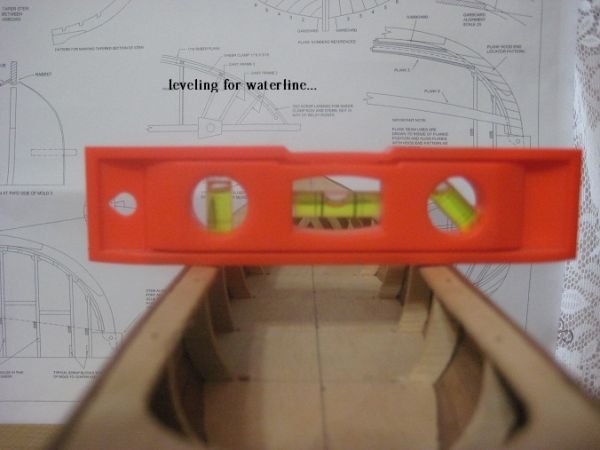
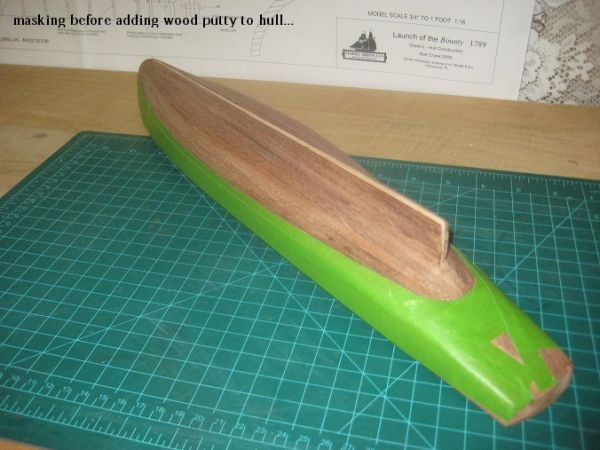
Thanks...I have a lot of detailed pictures of the hull construction before of how different it was to put together...
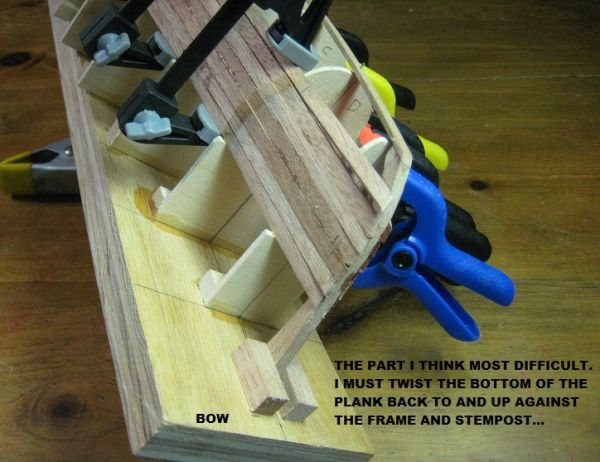
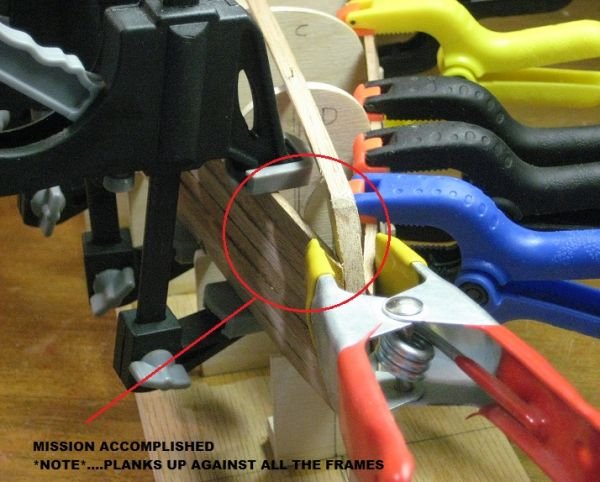
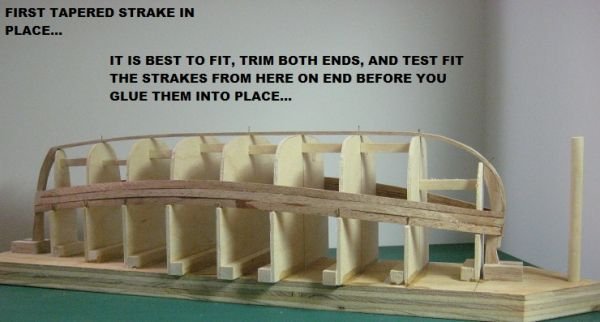
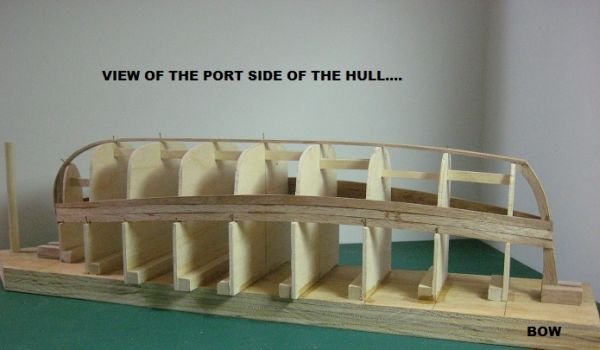
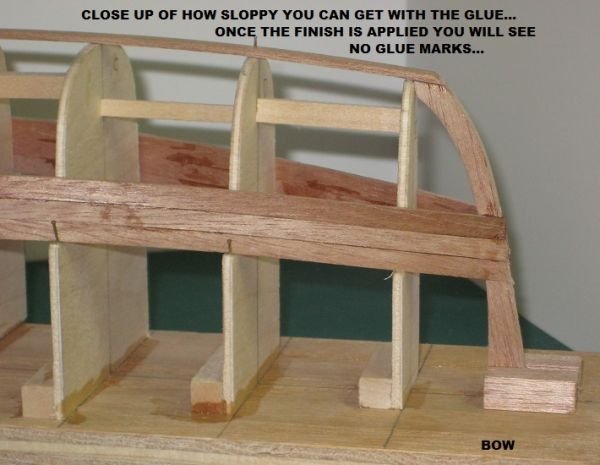
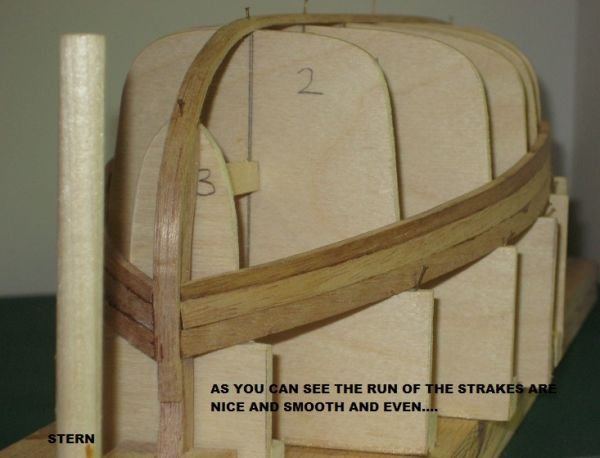
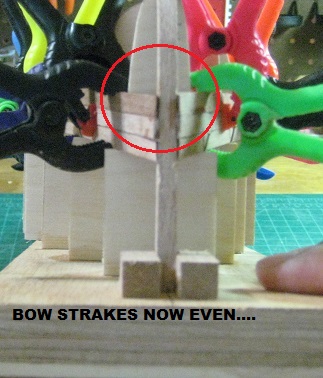
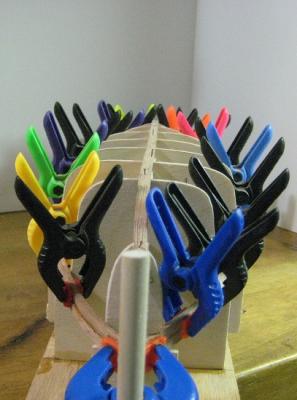
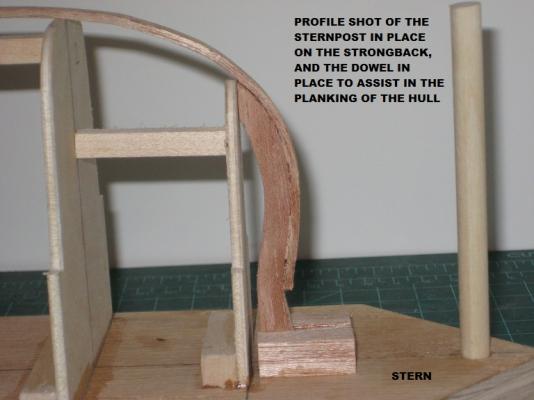
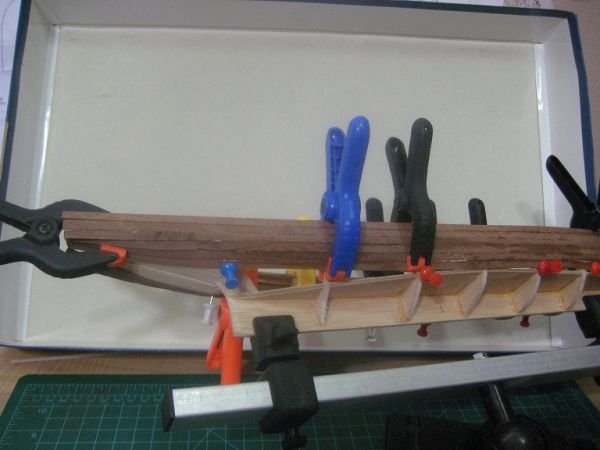
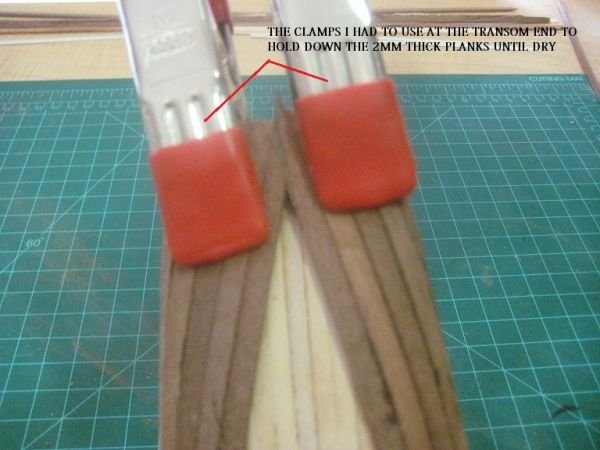
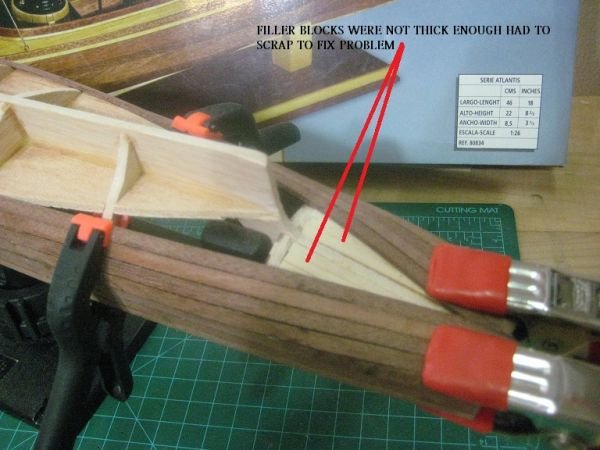
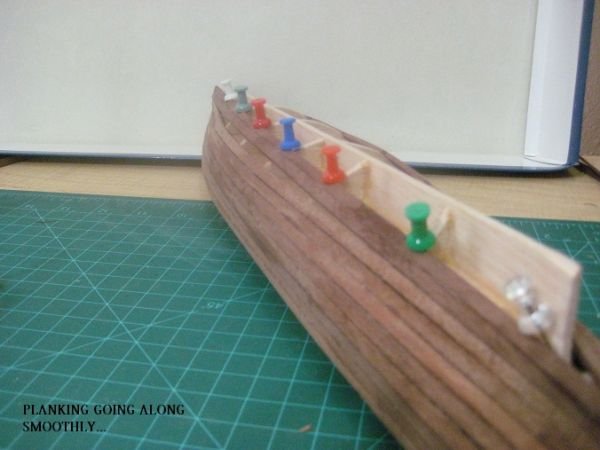
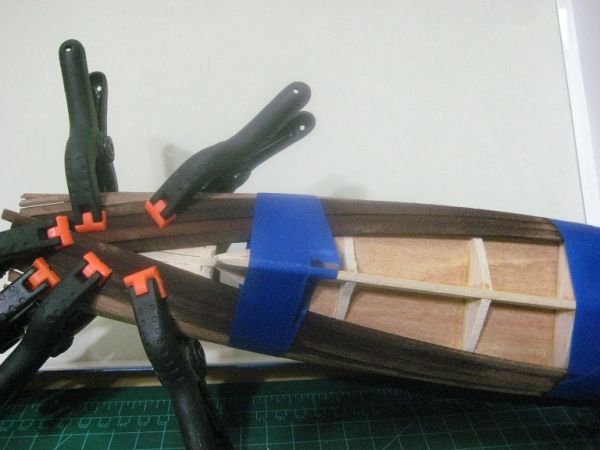
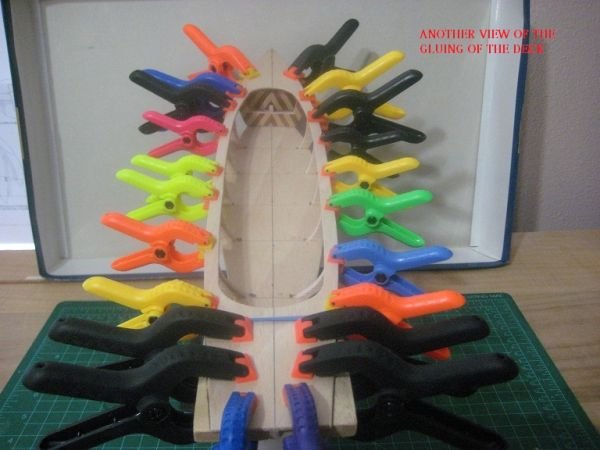
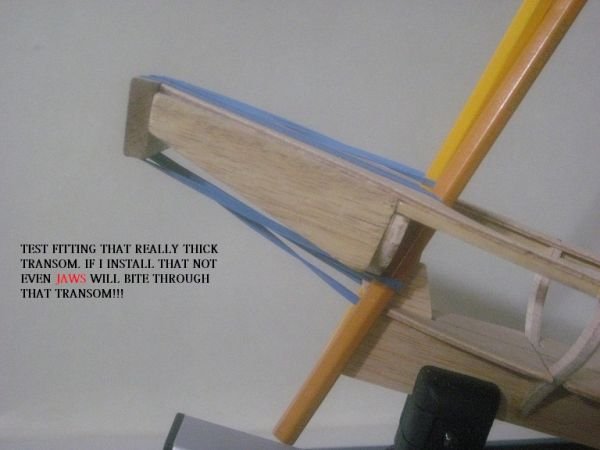
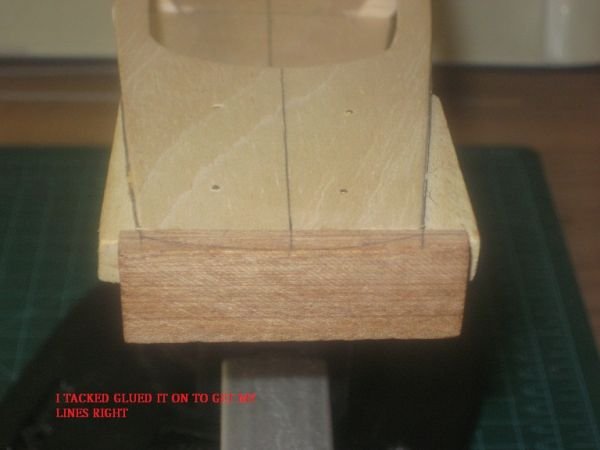
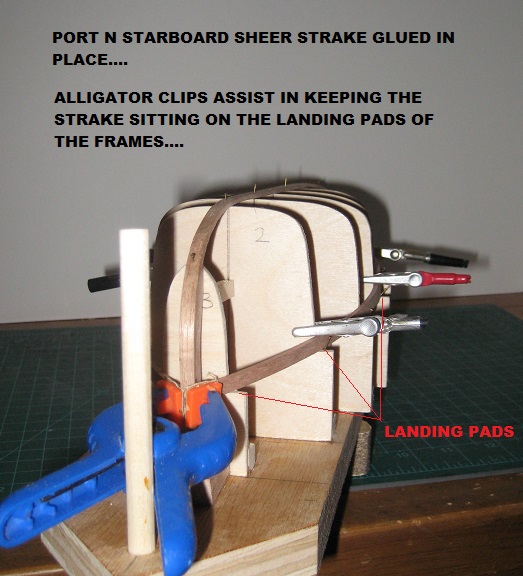
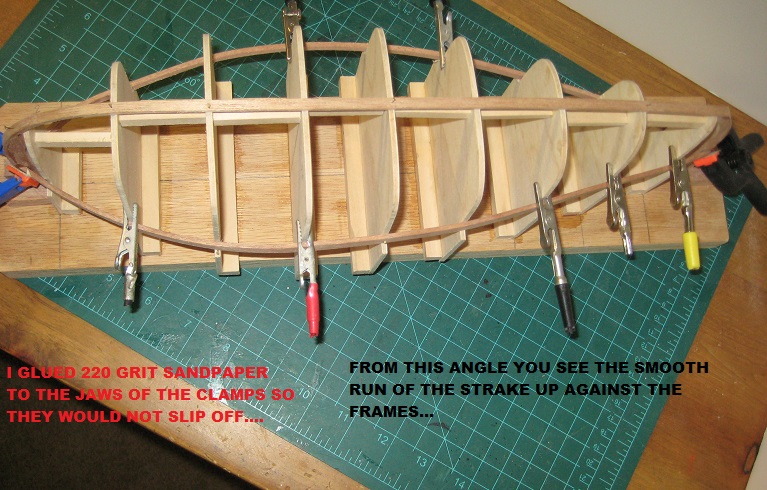
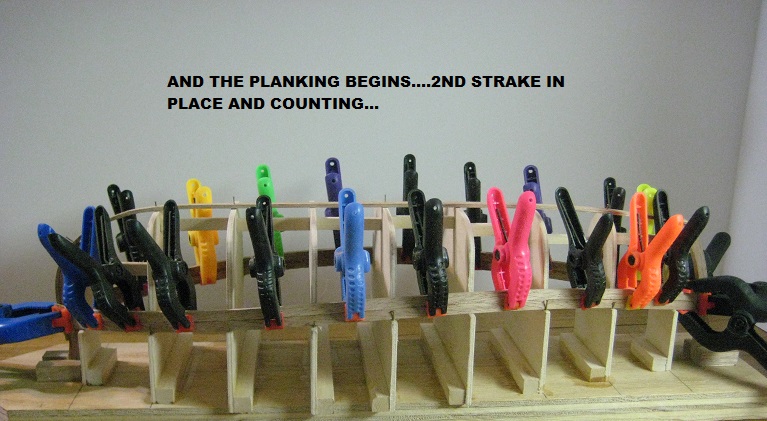
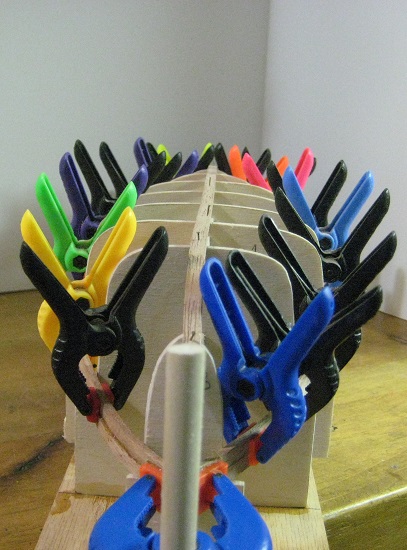
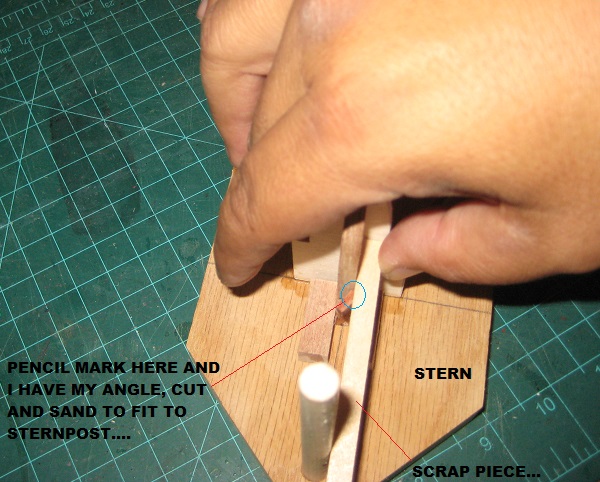
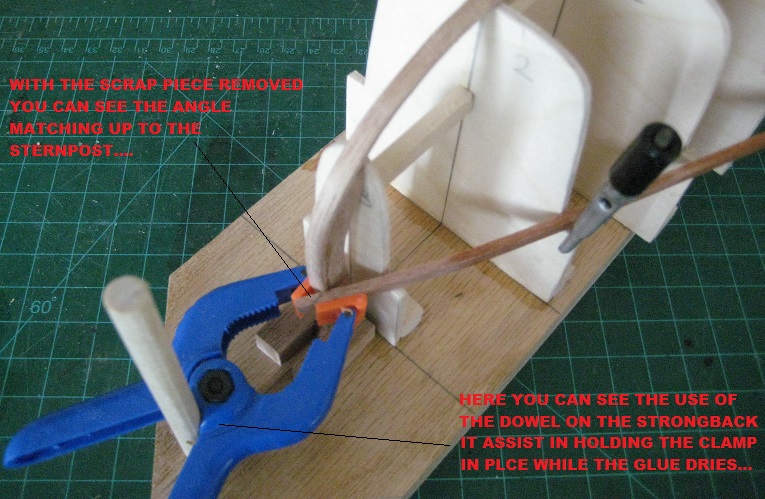
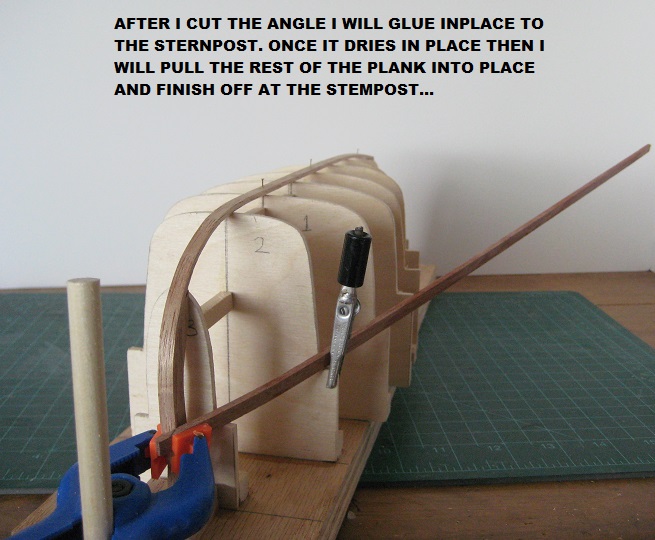
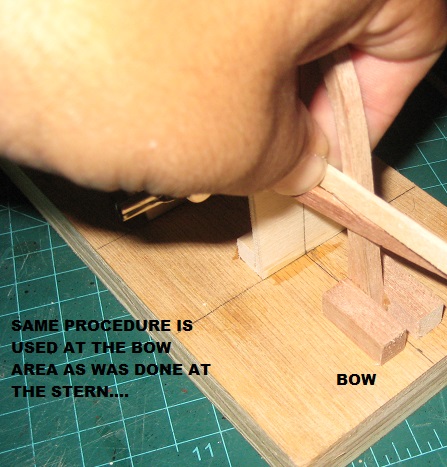
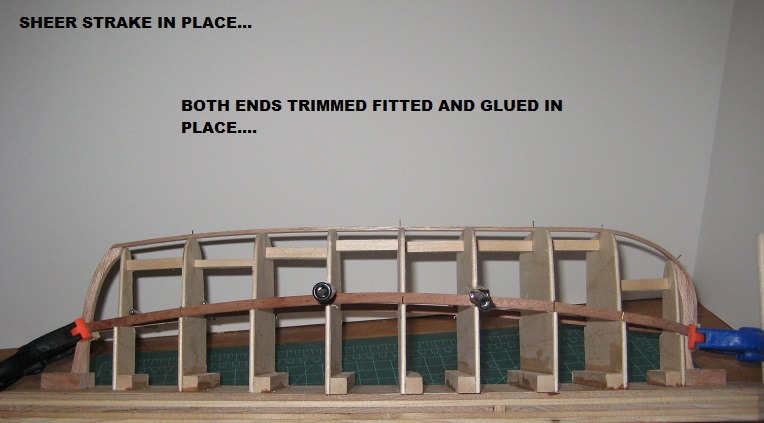
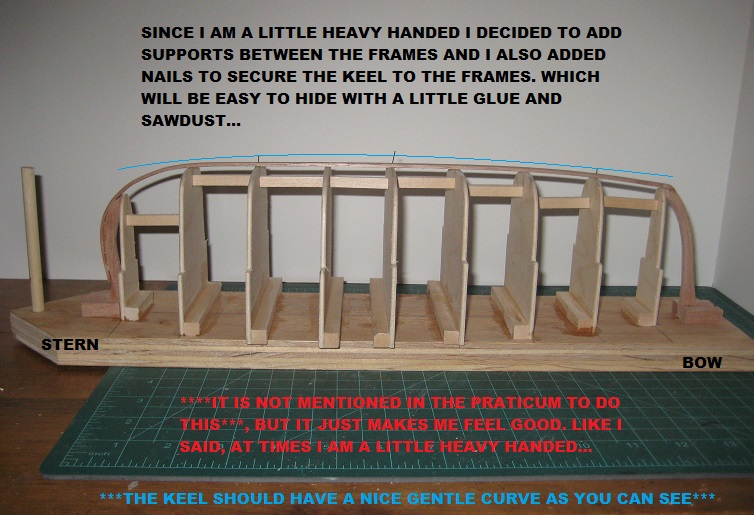
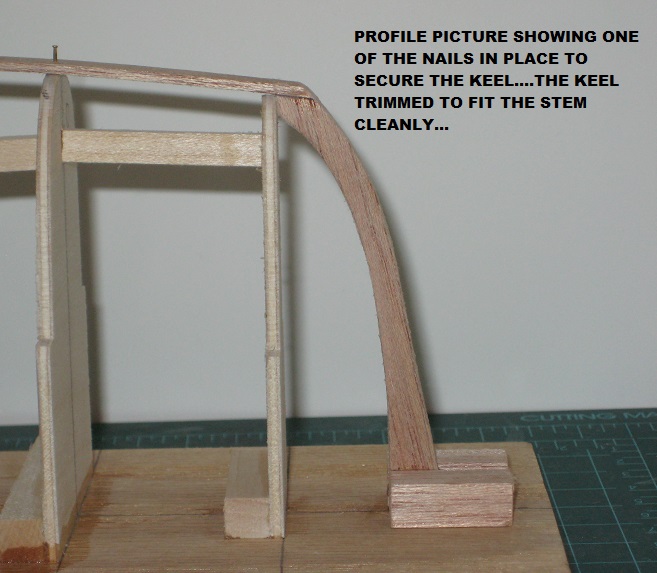
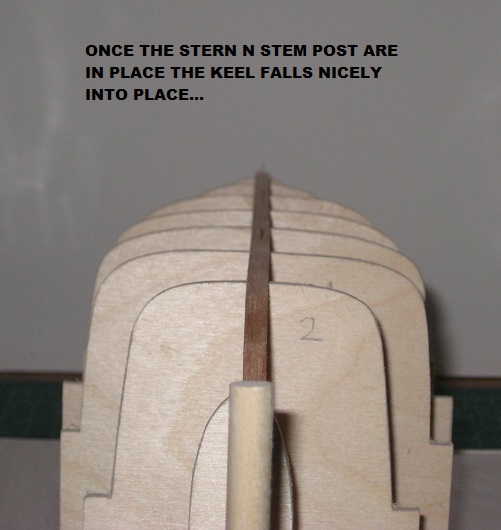
SO HERE ARE A FEW MORE PHOTOS TO SEE...................

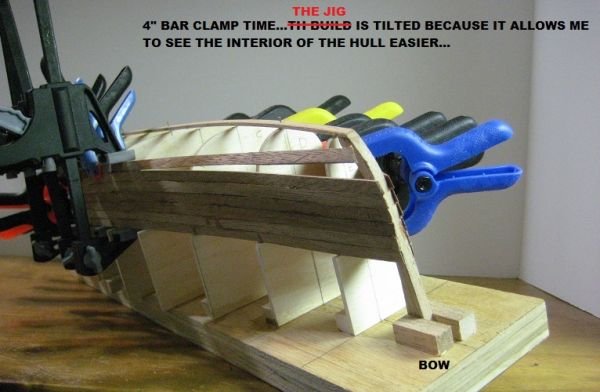
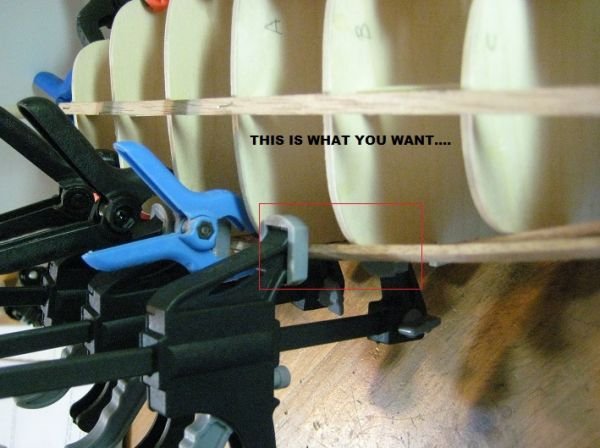
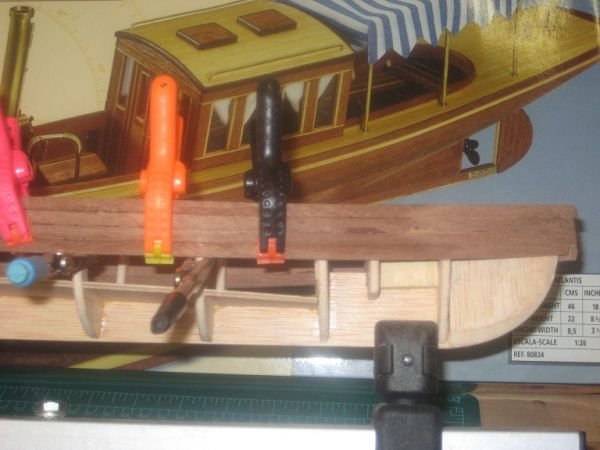
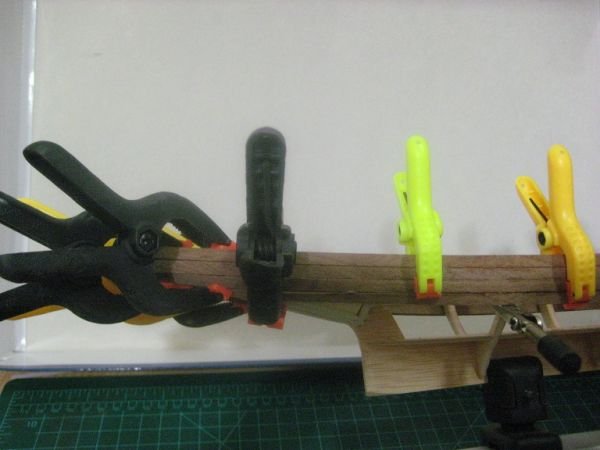
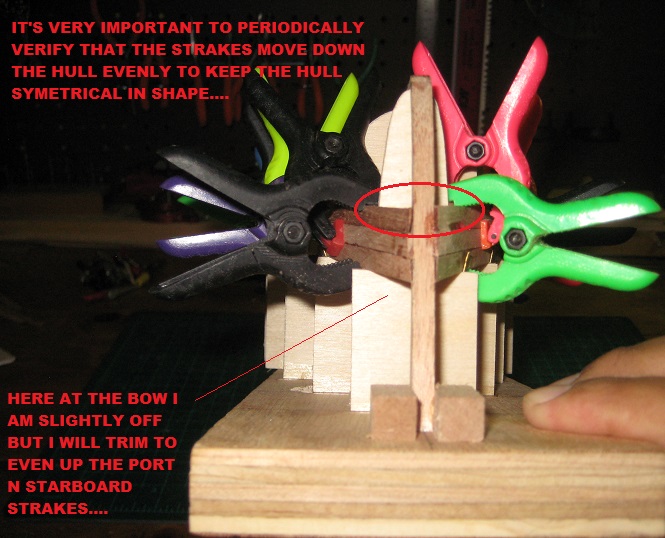
NOTICE HOW THE DOWEL COMES INTO PLAY HELPING KEEP THE CLAMP FROM SLIPPING OFF THE STERN AREA.


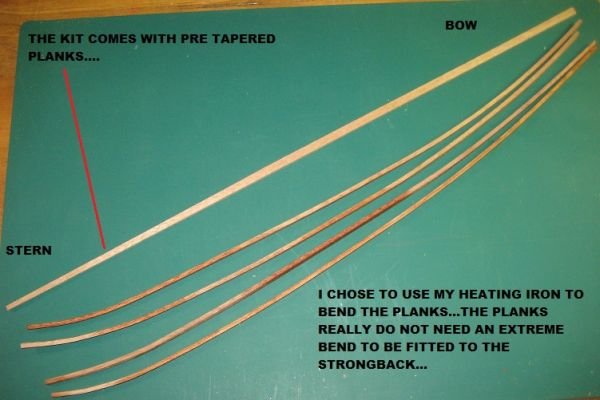
PER THE PRATICUM THE FIRST 2 STRAKES ARE NOT TAPERED IN ANYWAY.....
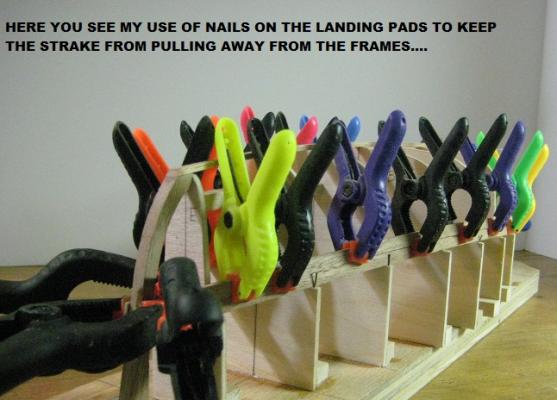
YOU CAN NOTICE HERE EVEN WITHOUT A DOWEL ON AT THE BOW THE CLAMP STAYS IN PLACE BECAUSE OF THE ADDED SANDPAPER TO THE JAWS....
- avsjerome2003 and Anja
-
2
-
Coming along nicely John. Looks like you almost to the promised I see...

-
Nice looking pumps Mark.............
-
-
-
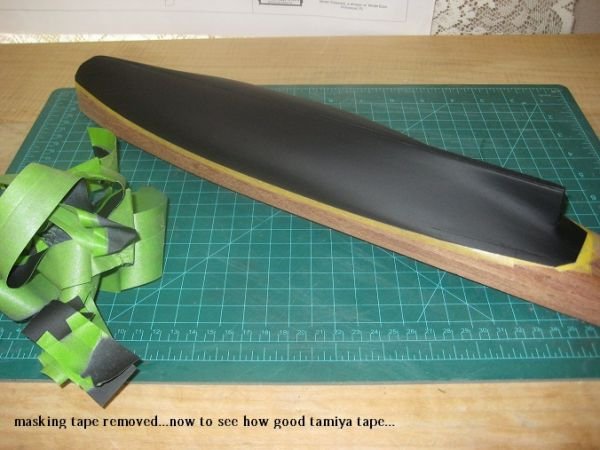
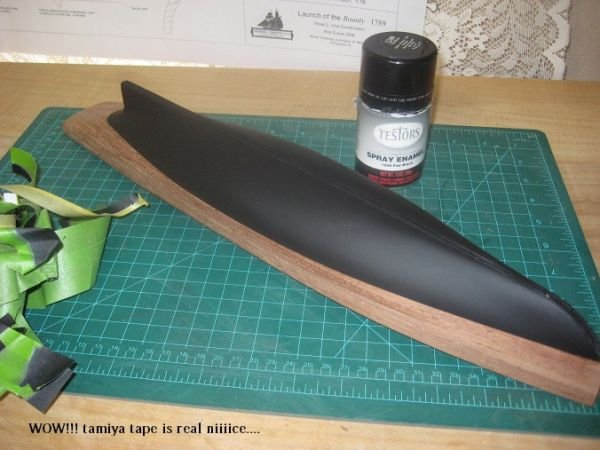
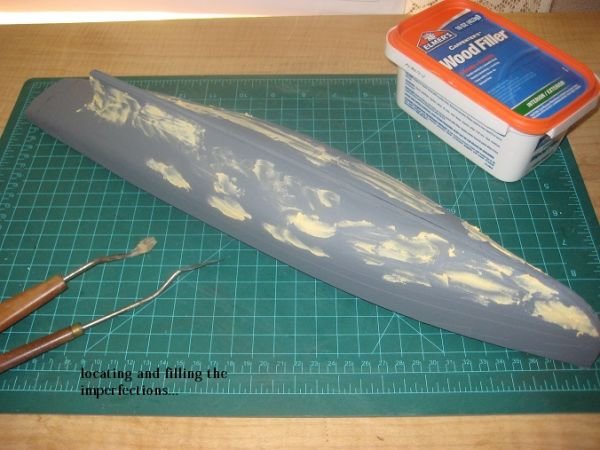
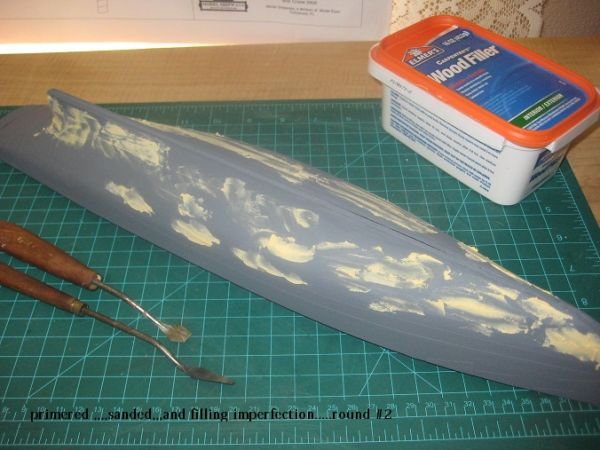
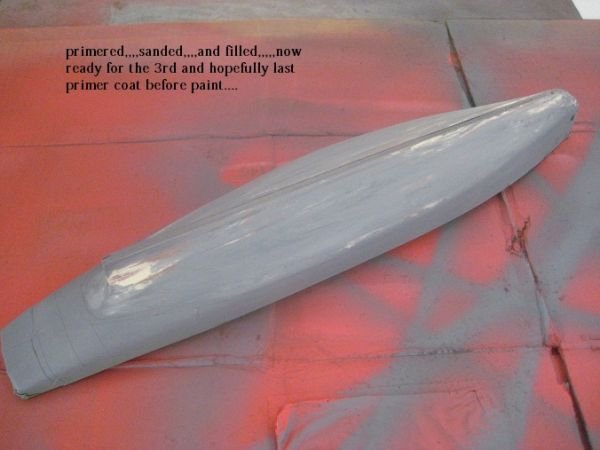
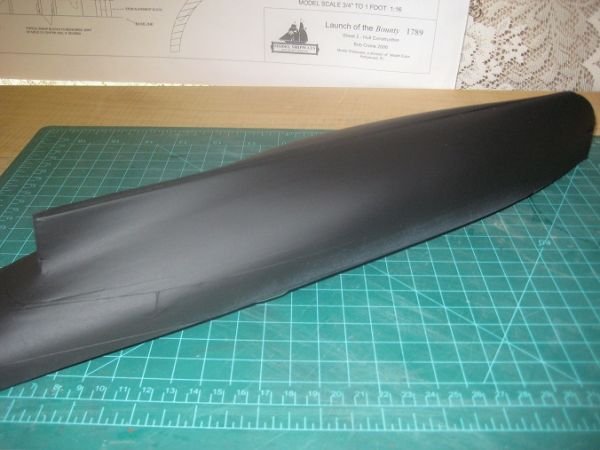
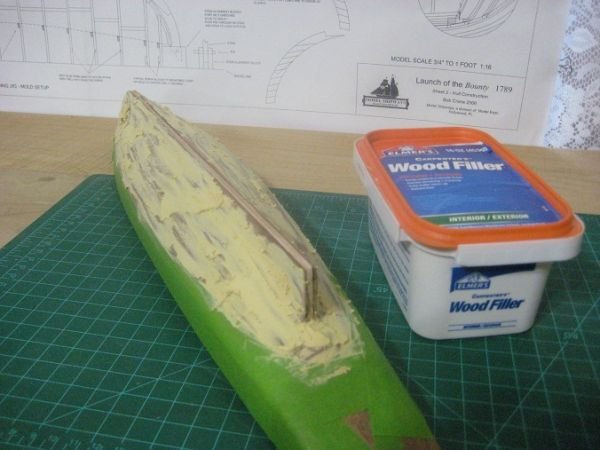
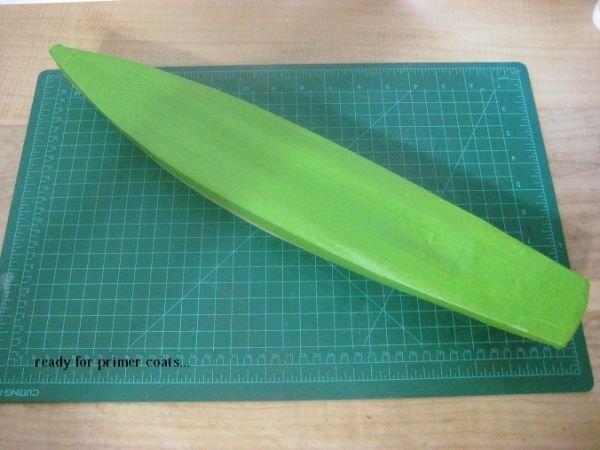
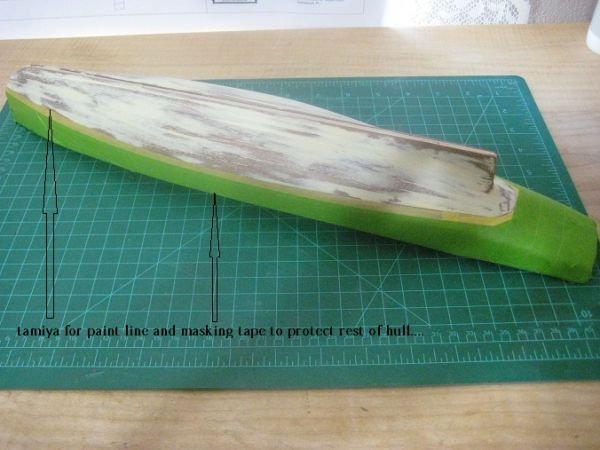
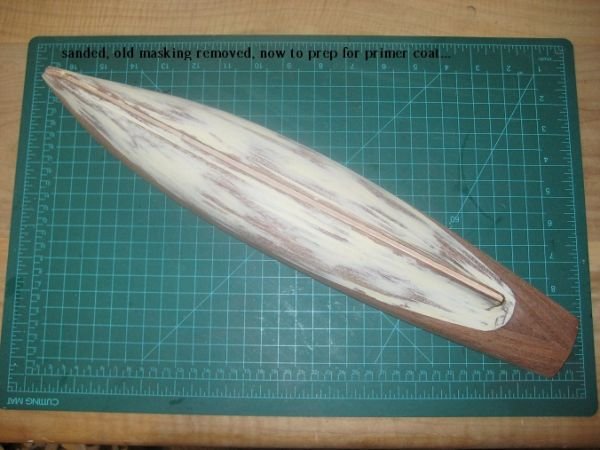
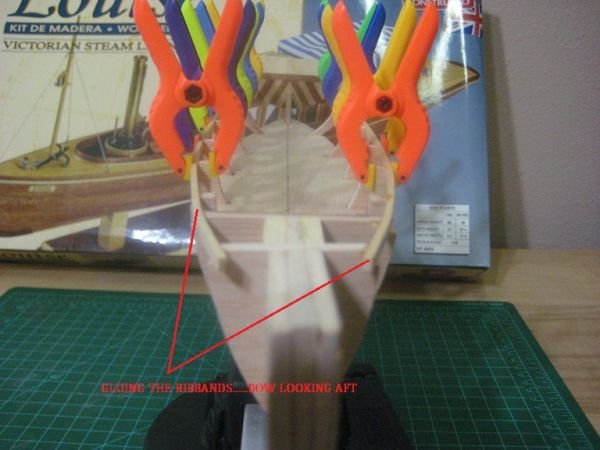
Here's a few more..............any questions or remarks are very welcomed..


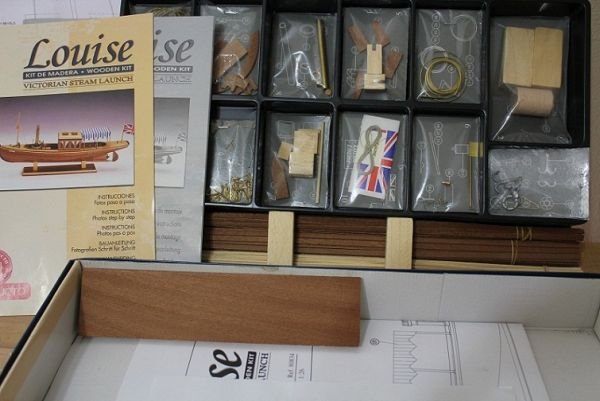


Victorian Steam Launch by Cap'n Rat Fink - FINISHED - Constructo - 1/26 - kit-bashed to the WINDERMERE
in - Kit build logs for subjects built from 1851 - 1900
Posted
Thank you Russ,
I had a whole lot of fun bashing the launch...I completed it a little over a year ago....