DONATION DRIVE - SUPPORT MSW - DO YOUR PART TO KEEP THIS GREAT FORUM GOING!
×


stangone50
-
Posts
30 -
Joined
-
Last visited
Content Type
Profiles
Forums
Gallery
Events
Everything posted by stangone50
-
Hey Dan! Been a while, just came to check what you were up to and its nice to see you are still at it doing amazing work as always.
-
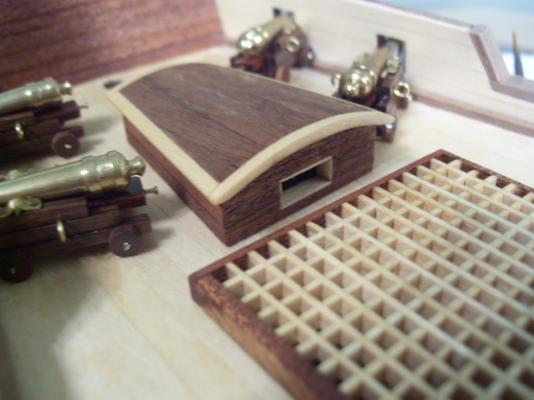
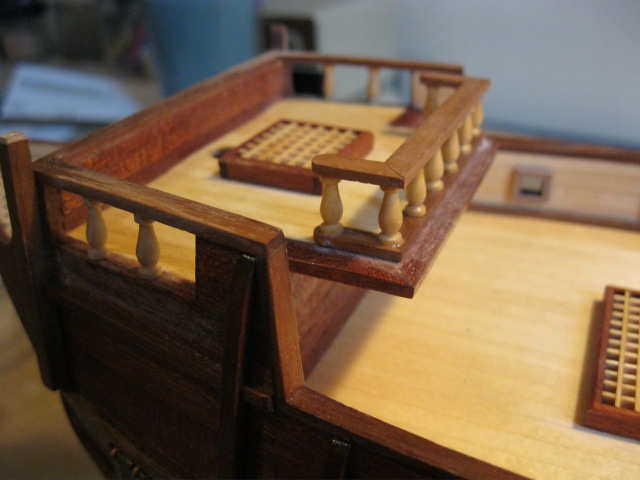
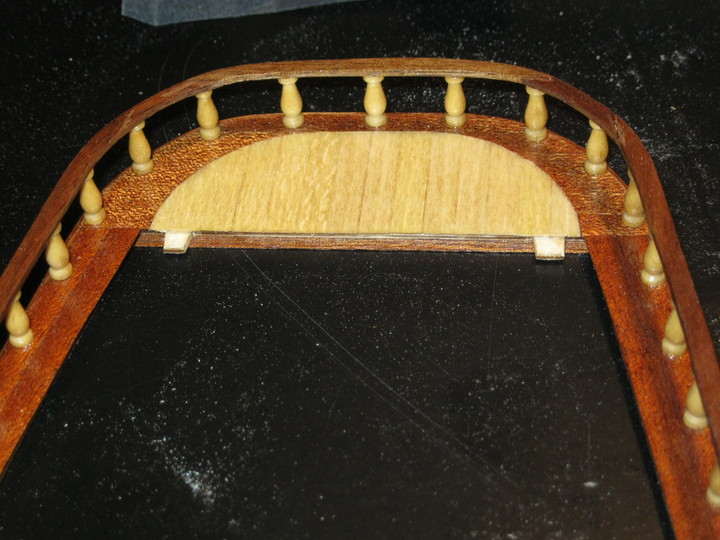
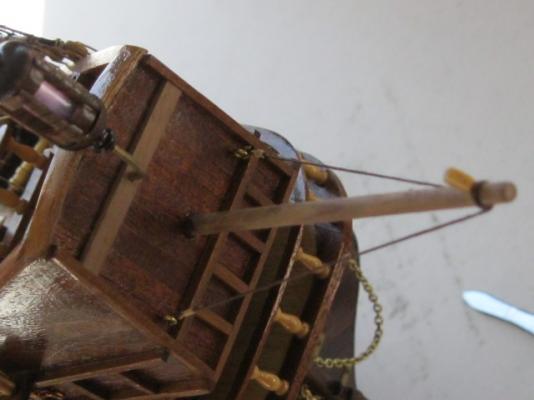
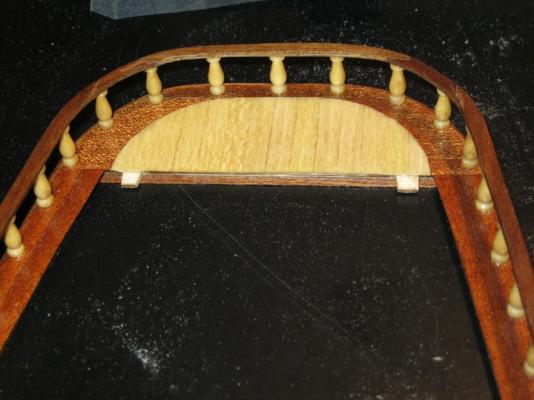
What I did for the bow grating was make an outline by transfering the shape of the opening to a peice of paper. I was able to use this outline as a layout. I then got the peices together and make sure they fit perfectly within the outline before putting it all together. Only minor sanding was required for the perfect fit.
- 114 replies
-
- 1
-

-
- san francisco ii
- artesania latina
- (and 1 more)
-
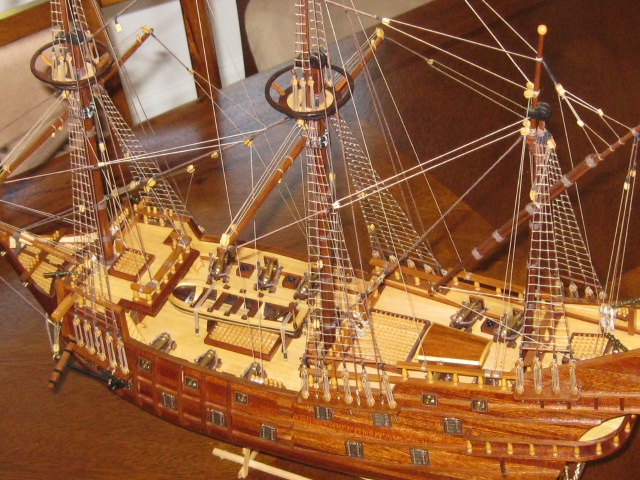
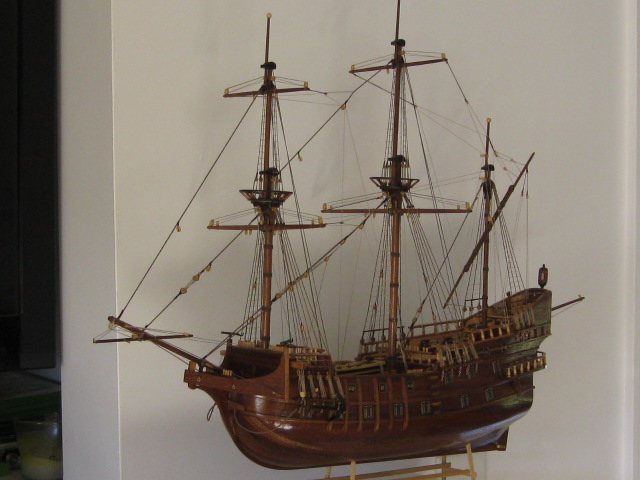
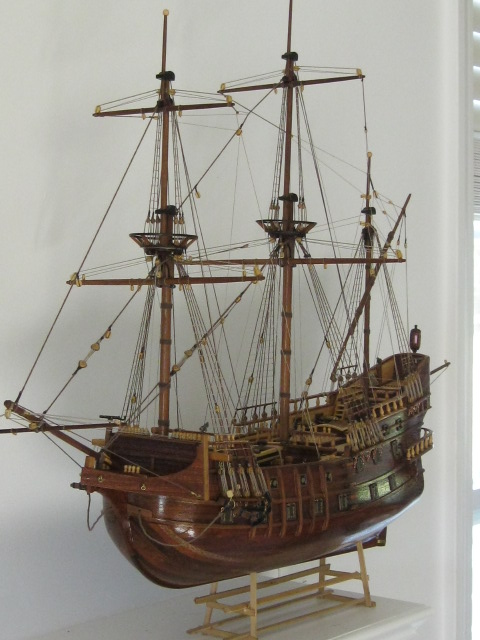
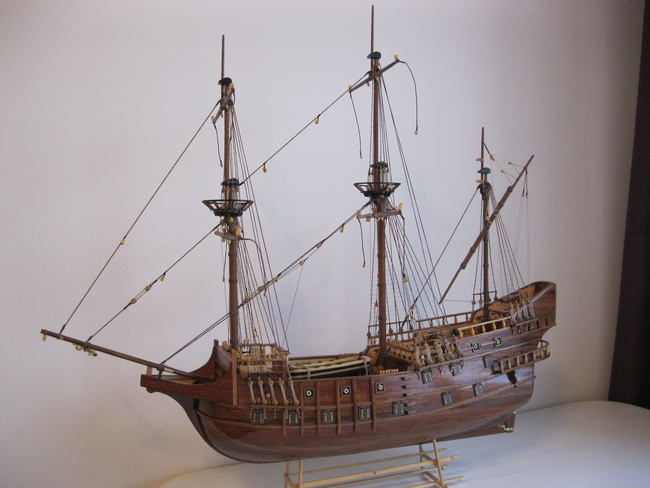
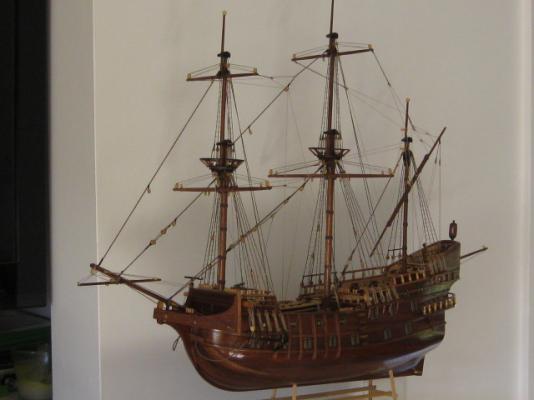
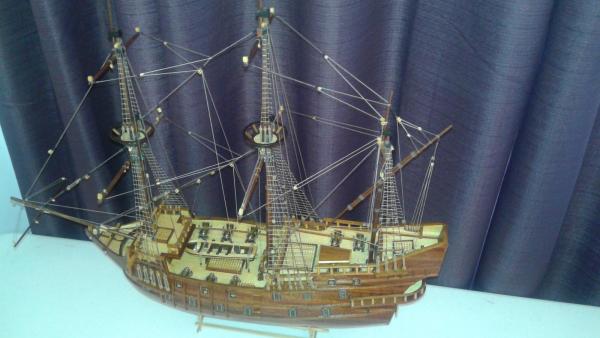
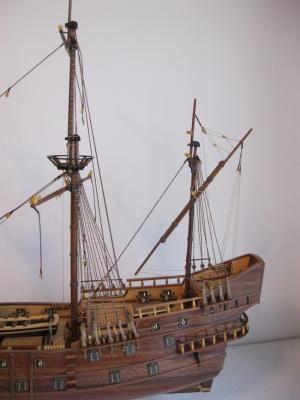
Well im thinking she is finally complete, minus the sails. Some final pics....


-
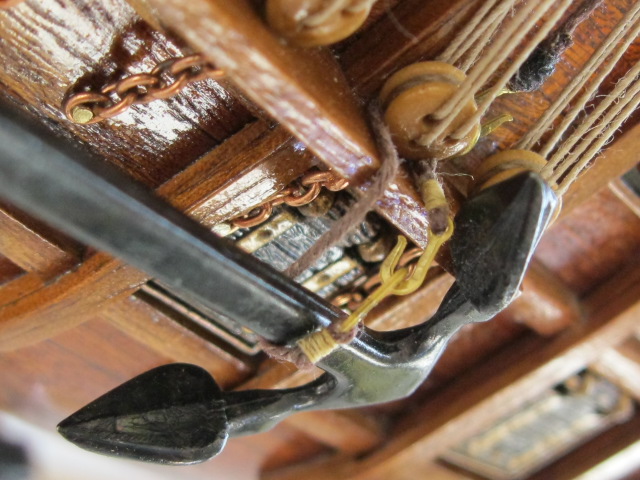
The anchor looks great, I see what you mean now by making it look like wood. You did a great job with it. My kit came with those parts already in black so I didnt have to paint the anchor.
-
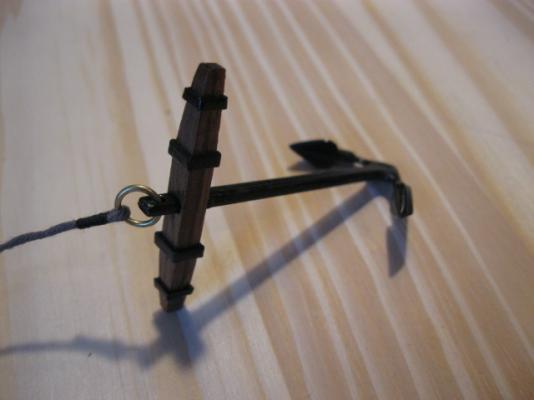
Yes the anchor stock was replaced with wood. I tried to highlight the peices I replaced with wood throughout the log.
-
Hmm which parts are you refering too? Many of the metal parts I replaced with scratch built ones that I made so they may very well be wood : oD. Any metal parts you do see are probably bare. I may have coated the cannons with clear miniwax polyurethane. I use the same prodoct on all the wood parts. And thanks again guys! Feedback is always much appreciated.
-
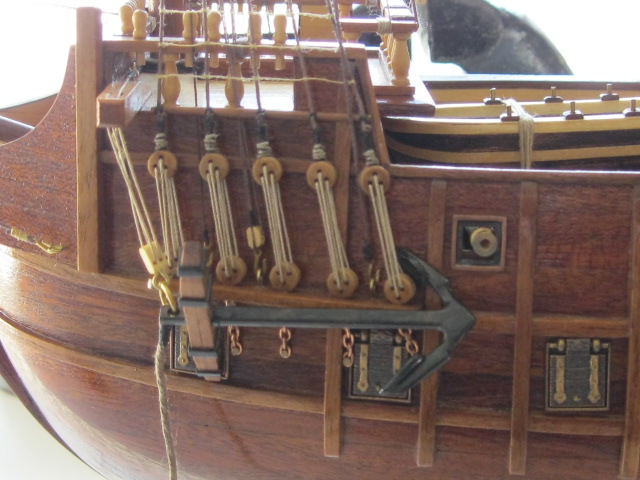
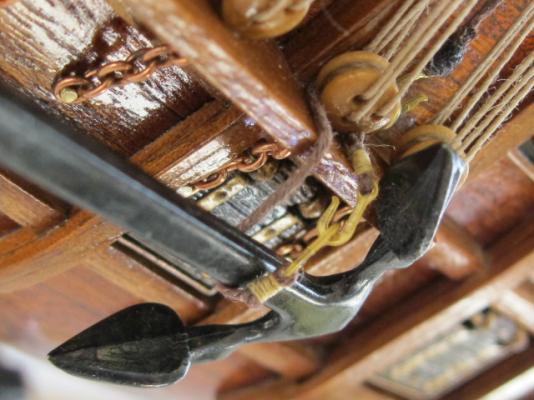
I ended up using a seized rope with hooks to hold the anchor. I have also re-installed the boom. I was short on material and the original was actually 2 peices glued together but a small bump broke them apart. I was able to find another apple wood dowel and made a new one. I have chose to leave certain things out of this build such as the badges and flags. They are just not to my taste. I am still unsure of what to do about the sails. I certainly will not be using the ones provided in the kit in their current condition SO my next update may be the last.

-
Awesome! Looking forward to your progress.
- 70 replies
-
- 1
-
-
- san francisco ii
- artesania latina
- (and 2 more)
-
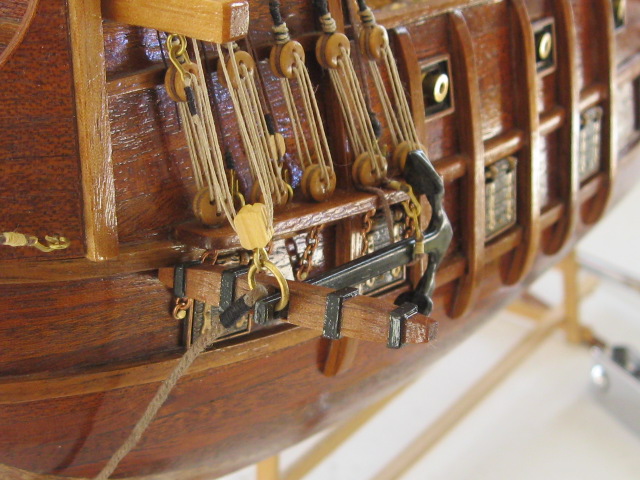
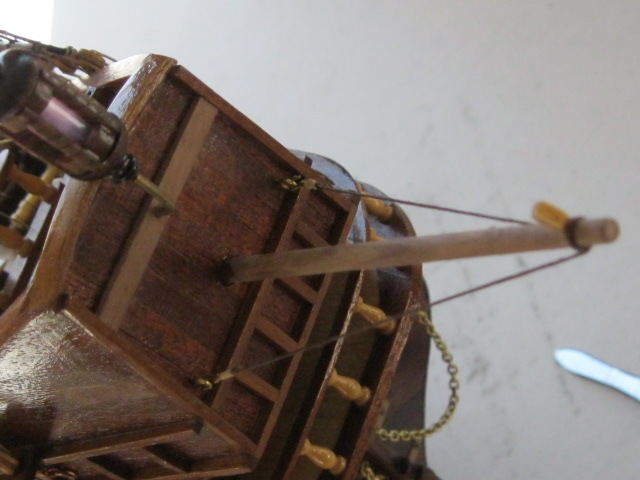
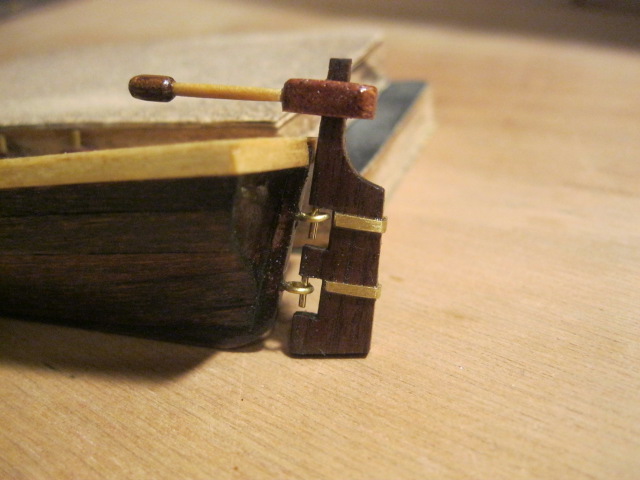
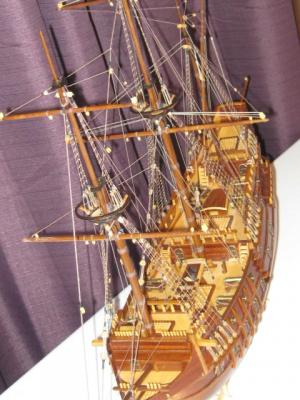
I am still waiting for a violin block to arrive so I can finish the bracing. In the meantime I have mounted the Lantern and rigged the anchors. I ended up adding an extra peice of trim to the back of the stern to accept the Lantern post. The stern wall was only 2.5 mm so I added a 1.5mm trim peice just to have a little extra. Im still trying to deciede how to hold up the other side of the anchor.


-
Nice! Planking looks great. I really wish I had more knowledge when I did mine. I have just mounted my Lantern. I found it was a good idea to add a peice of trim horizontally onto the back of the stern right above the hole. The stern was only 2.5 mm so I added the extra peice of trim to have a bit more wood to accept the Lantern. I will post a pic next time I update my log , maybe tomorrow.
-
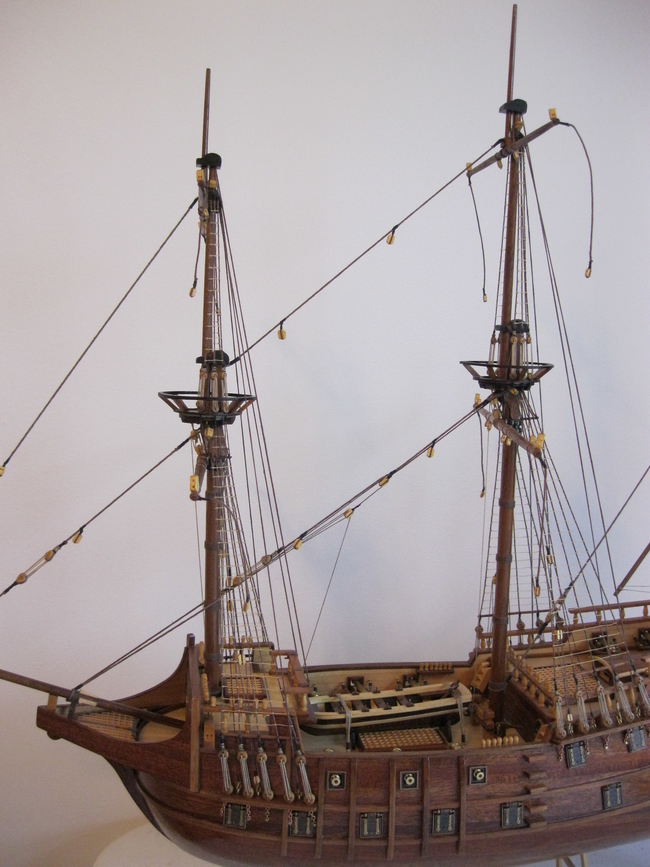
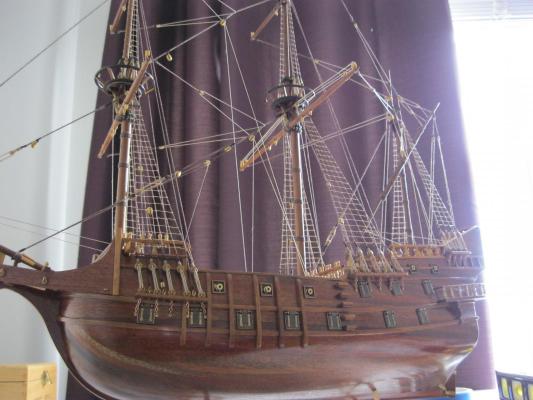
I have been working on the yard braces. I still have 2 more to do but I ran out of violin blocks(actually I didn't run out, I am 99.9 %sure my cat pulled it off the yard somehow haha). I am pretty happy with the way it is coming out. It has made me question whether to put the sails on or not as they hide so much work. Plus I am still a little confused as to how to rig the sails to the yards as well as how to rig the sails themselves. In the instructions it looks like there are blocks attached to the bottom corners of the sails but im not sure. Any links to tutorials or close up photos would be much appreciated.

-
Nice! Lookin good Dave!
-
I am sorry to derail this thread but can anyone tell me how to thread the sails to the yards? Thank you.
-
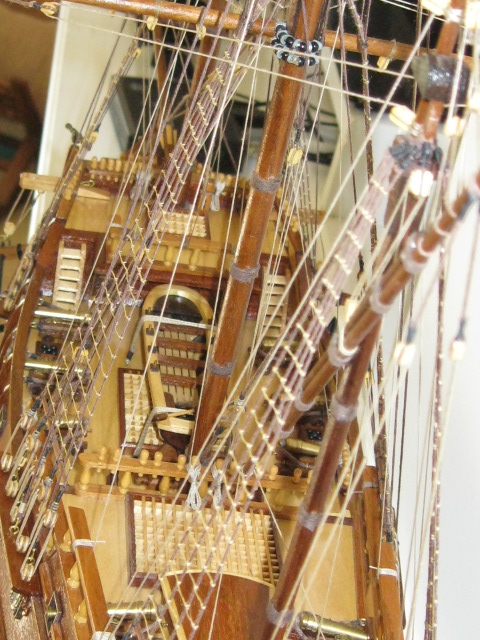
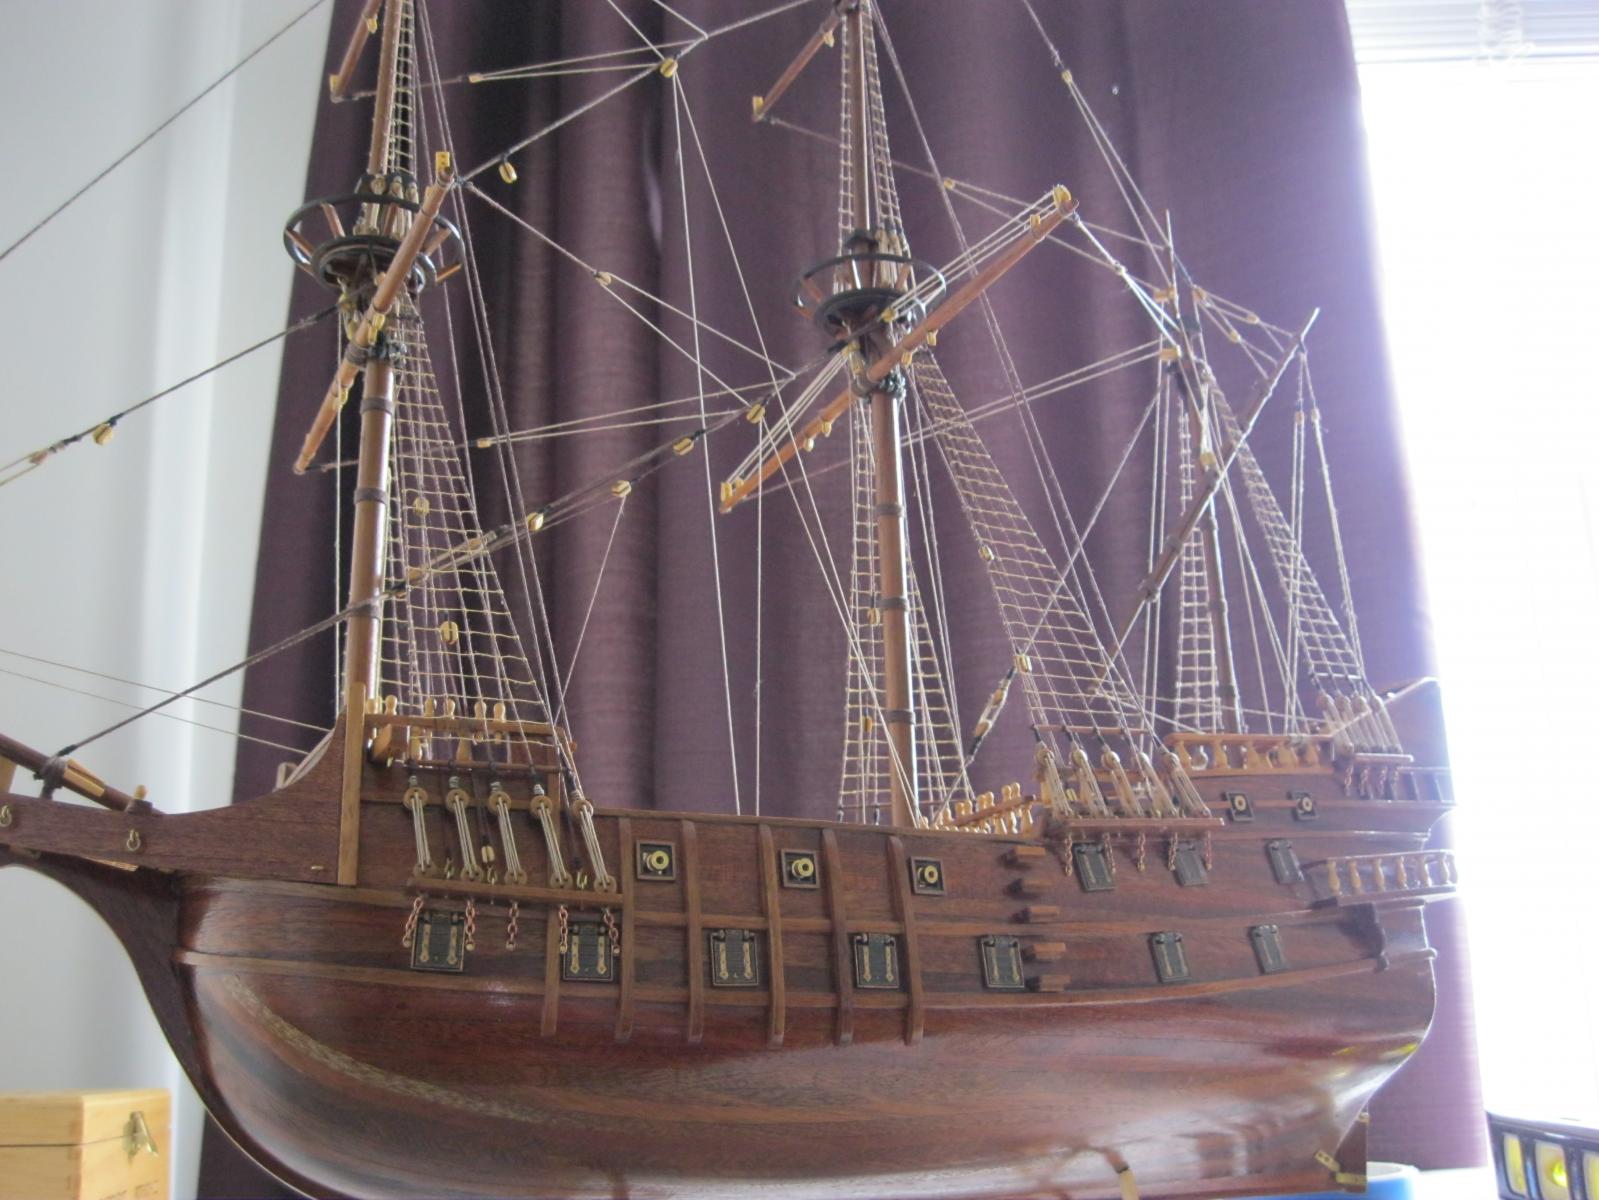
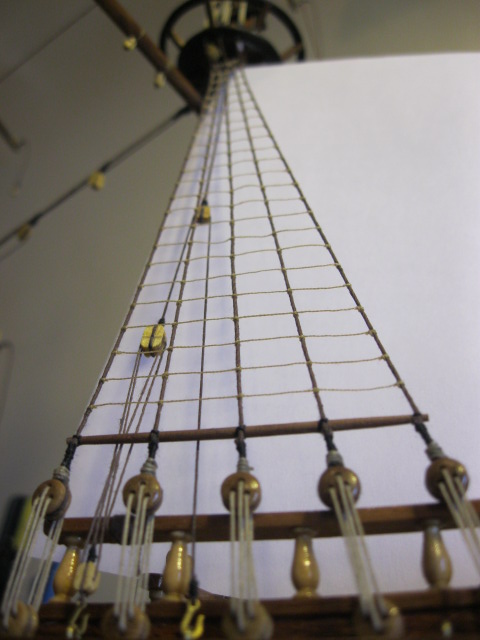
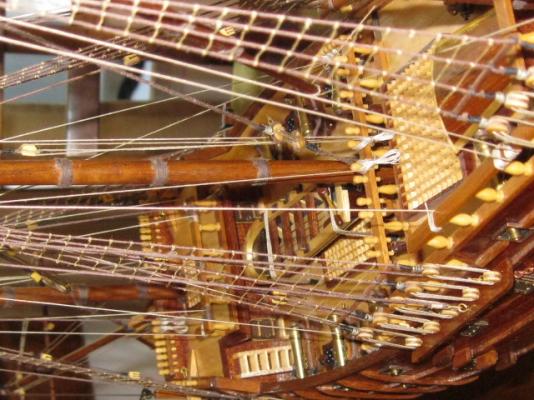
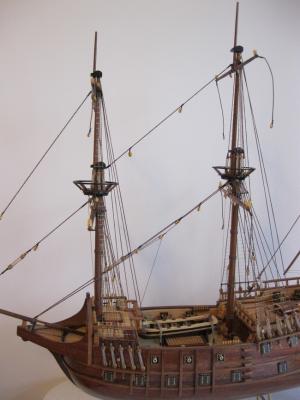
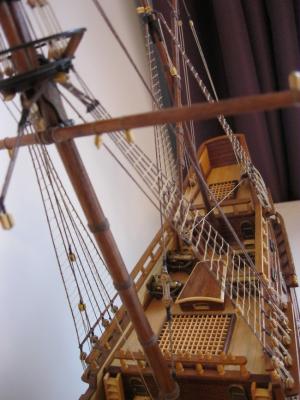
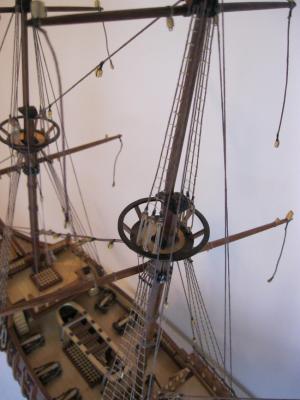
Hey guys! This is a pretty big update for me. My log is finally caught up and after almost 3 years I have finally finished the ratlines! Next I will start working on the yard braces. I also have to figure out how to rig up the sails. Here is some pics of how she currently sits...(sorry for the poor quality photos, the site made me resize them and I don't know much about that)

-
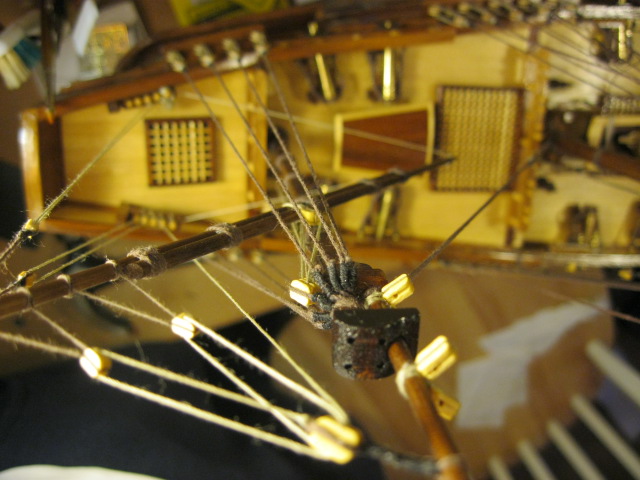
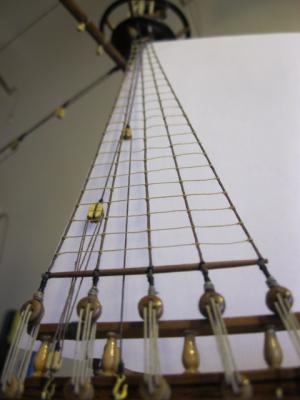
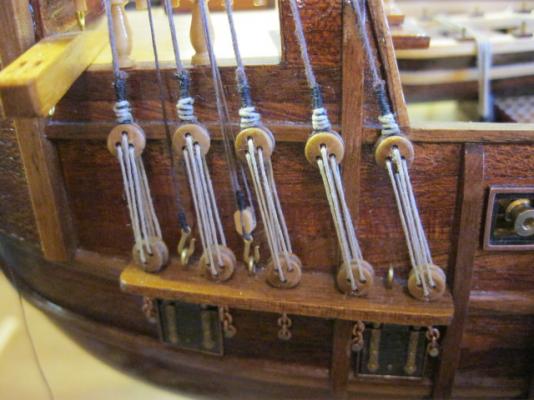
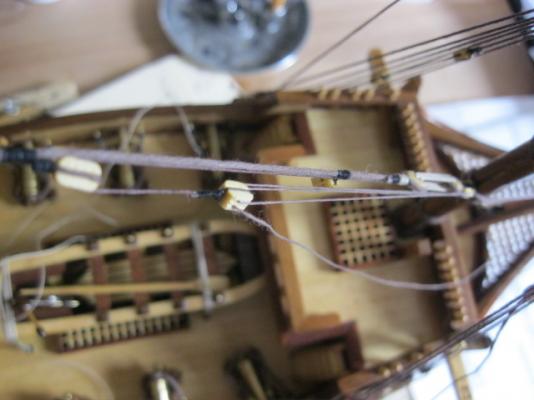
Thanks Don! Next I started the rigging. This is where it gets a little confusing for me. At this point all masts and yards have been installed.I started by installing the stays, deadeyes, shrouds, ratlines and tackles. I have also rigged up the halyards which I now realize I did wrong and will have to correct. I have a few questions for you guys. 1-I added the garnet to the stay. Can anyone tell me where the loose end goes? (pic 5 ) 2-For the mizzen lanteen rigging-My plan shows 2 locations it is tied off-one on either side... but in all the pictures it only shows 1 line being tied off. Can anyone tell me which is correct? (pics 2 and 4 -the white thread has one end that was tied to a pin rack on the right side. should this have 2 lines rather than one?) 3-Before I continue is there anything I can do about the fuzzy threads? I tried running them through wax before installing but the boat sat for a couple years and gathered some dust. Edit: I finally finished all the lower ratlines today. Once I finish the upper ratlines I will post some new pics of how she currently stands.


-
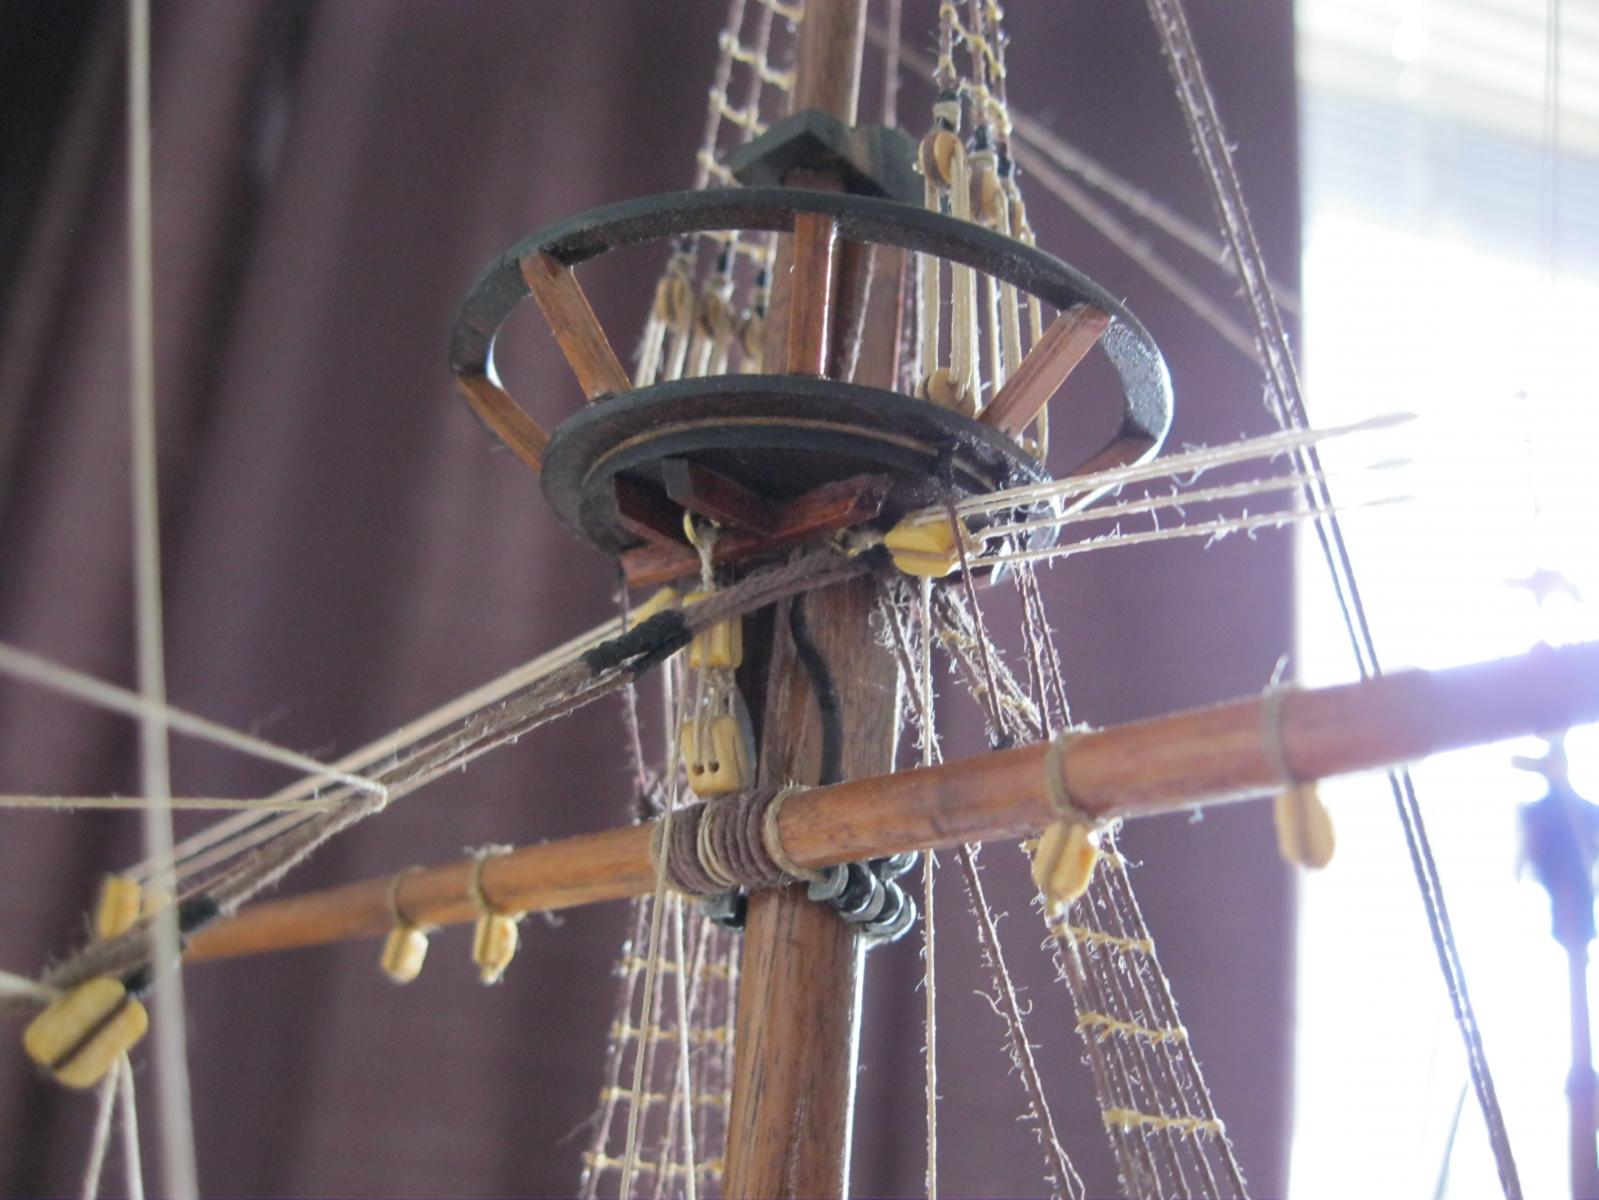
This is the last update before I started on the rigging. The mast caps also came in metal and were replaced. Some mast pics...


-
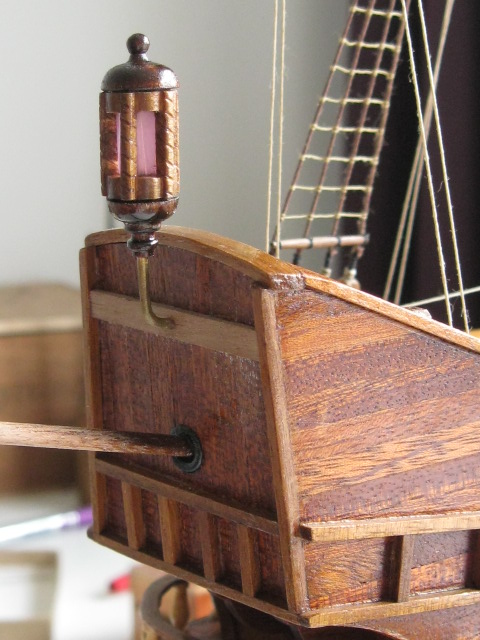
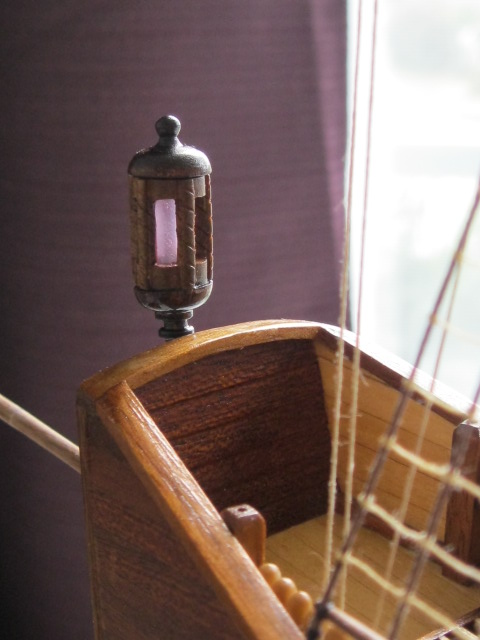
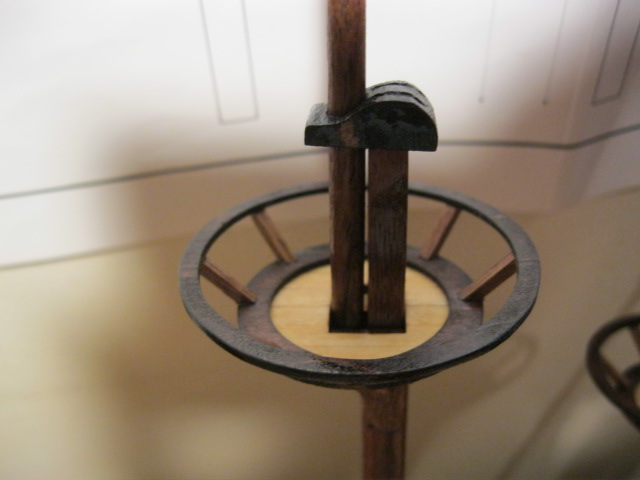
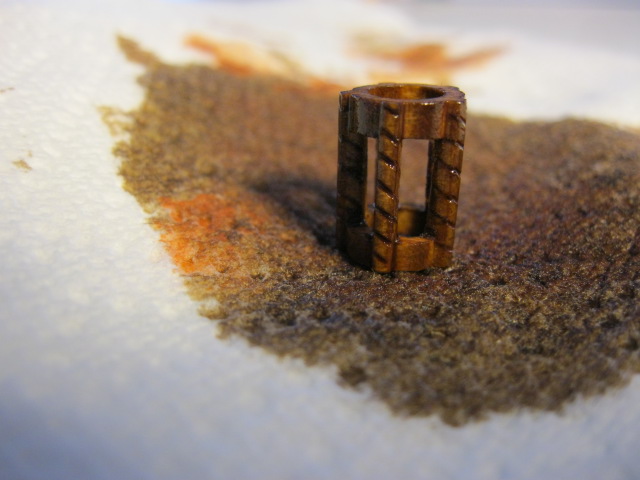
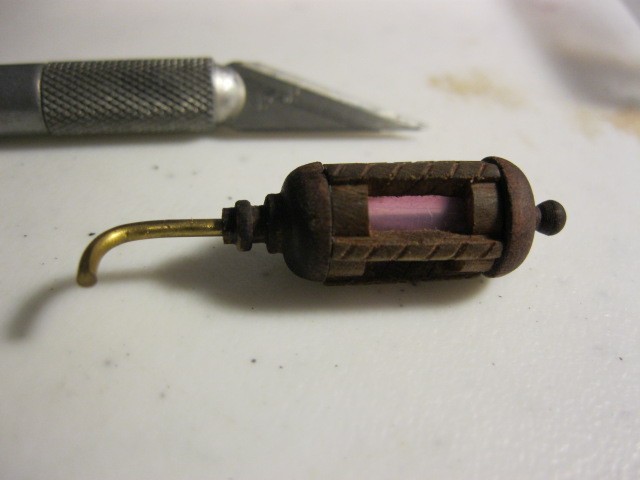
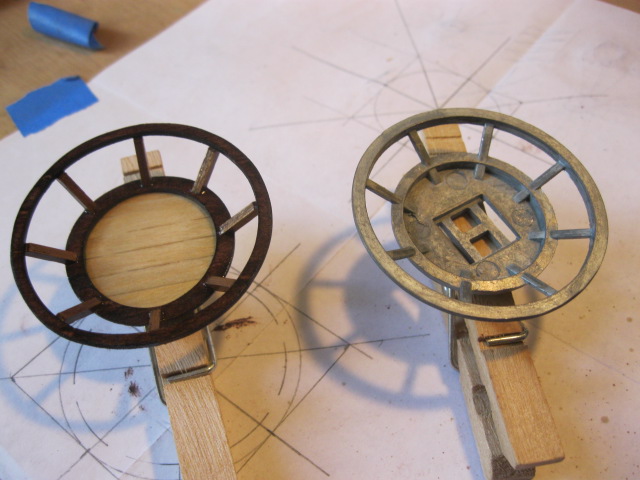
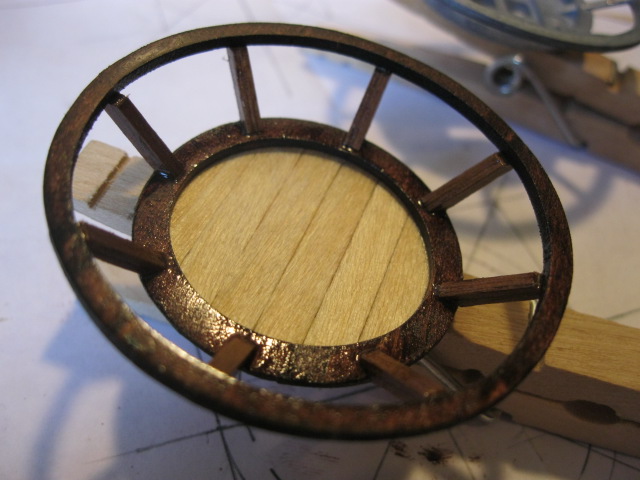
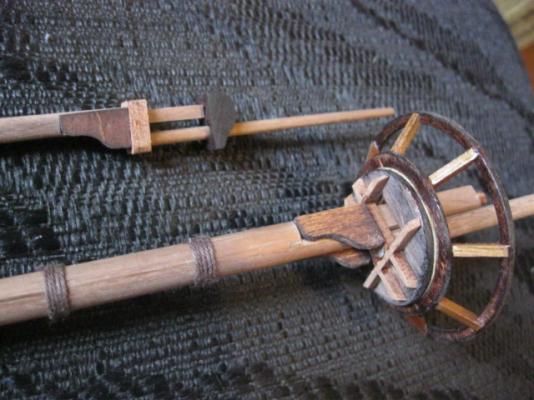
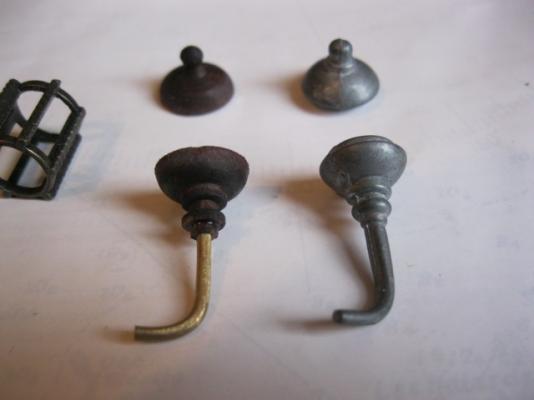
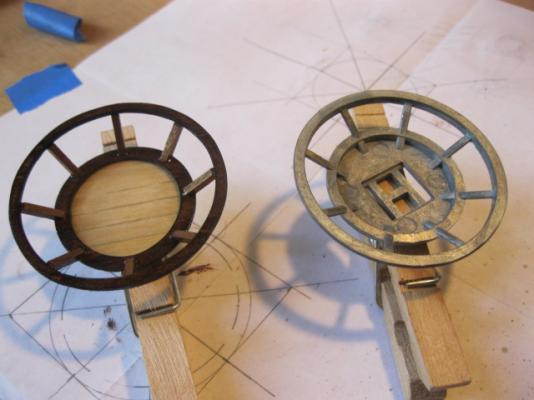
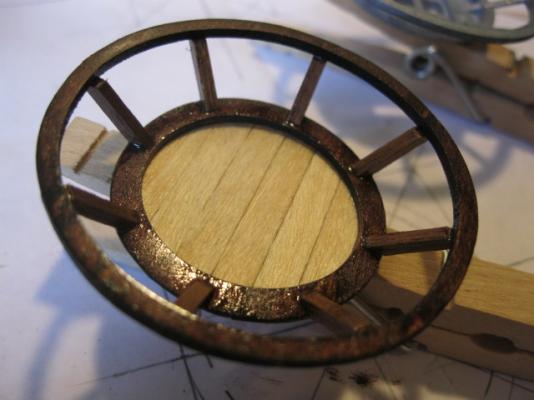
In this post I wanna show you guys the lantern and mast tops. Both pieces came in metal again and scrapped together my own pieces. I do not own a lathe so what i did to make the top and bottom was secure a dewalt drill to a board. I may have used duct tape haha. I put a dowel in the drill and let it spin. I used an assortment of files to get the shapes then cut off the ends.


-
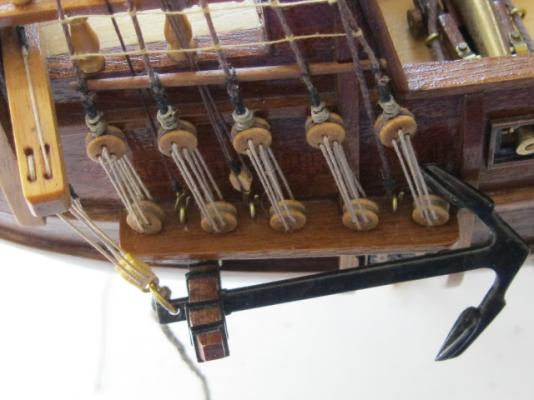
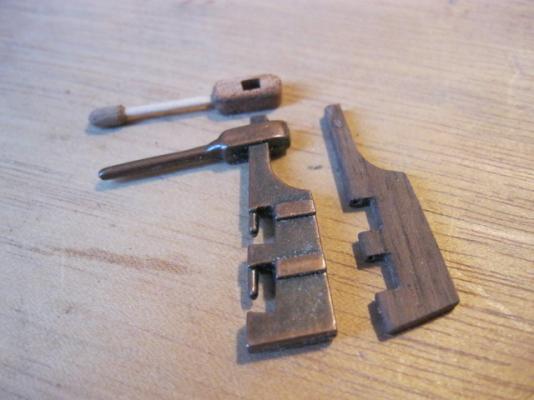
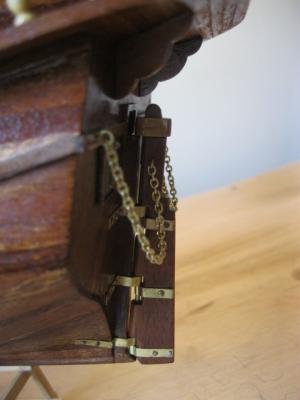
The anchors also came with a metal part I didn't like much so I made a new one...

-
Looking good , cant wait to see how it progresses. I am back to working on the same ship! Will definitely check back here. Deck planks look sweet, wish I would have added that detail into mine but just didn't know any better : o) I was just looking at my bow, Im not sure why you needed to add those pieces. My first row of planking sits about 2-3 mm above the deck about the same height you have those fillers at.
-
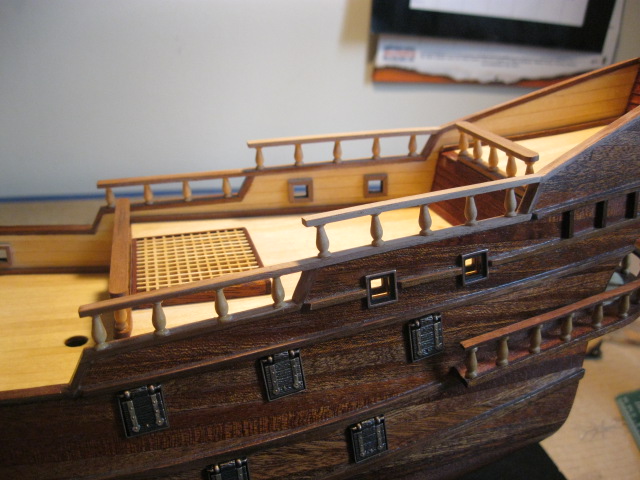
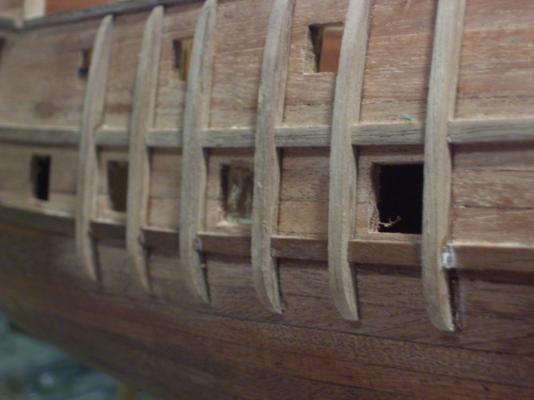
Next was the strakes, reinforcements and railings...


-
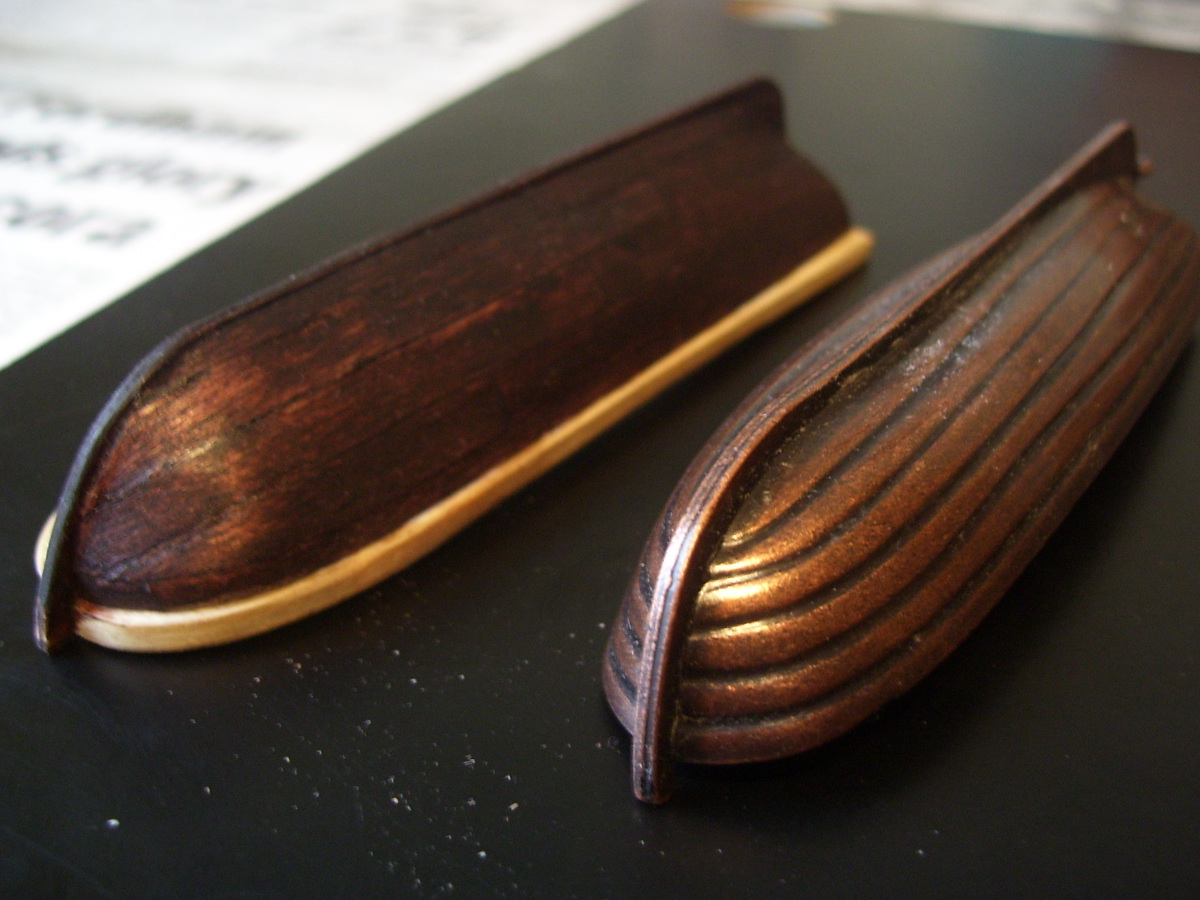
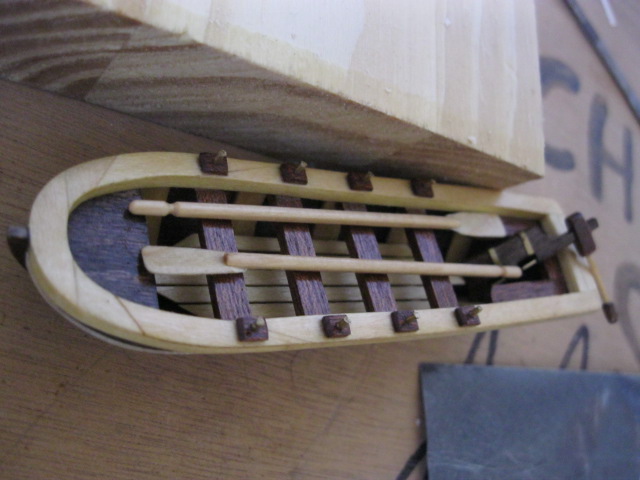
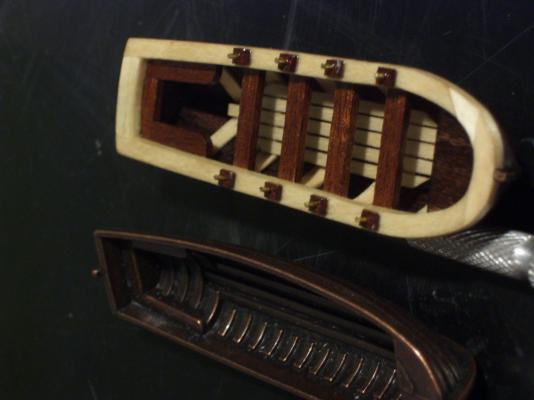
This next part was one of my favorite parts of the build. The ships boat and rudder also came in metal and chose to try to make my own.


-
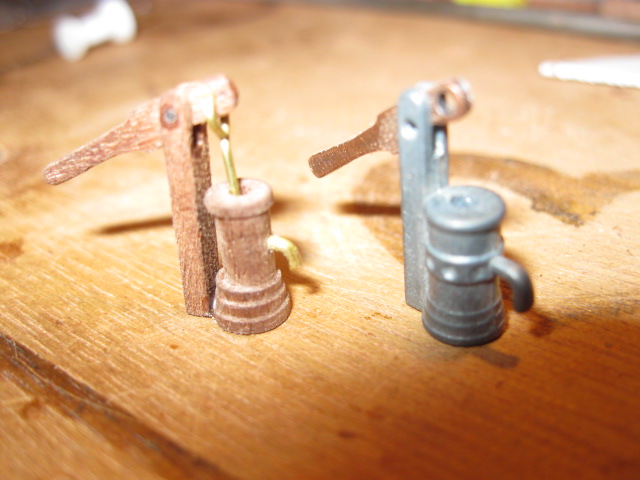
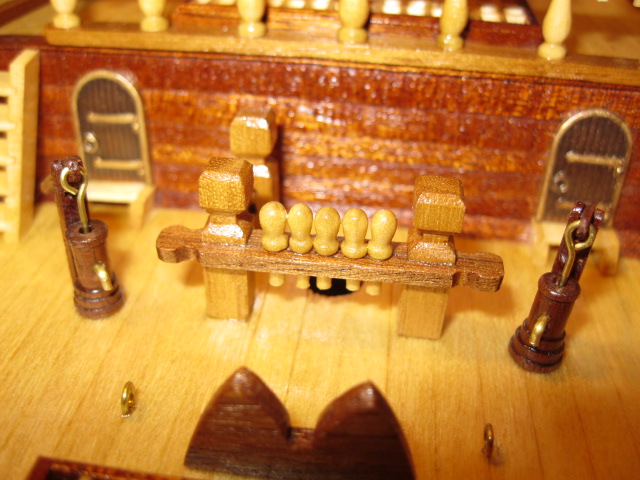
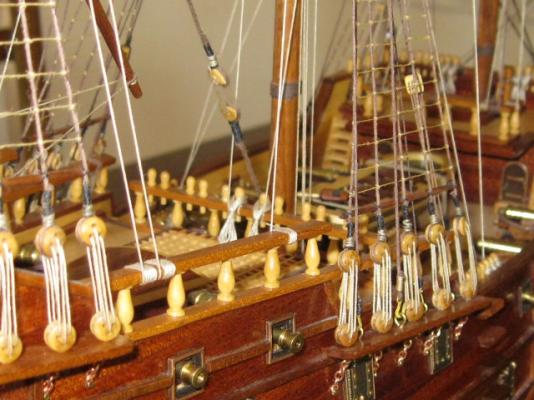
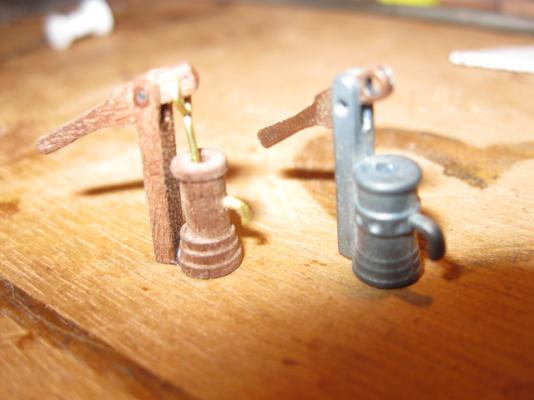
Pumps and pinracks... The pumps that came with the kit were metal and I didn't like them much so I made my own.

-
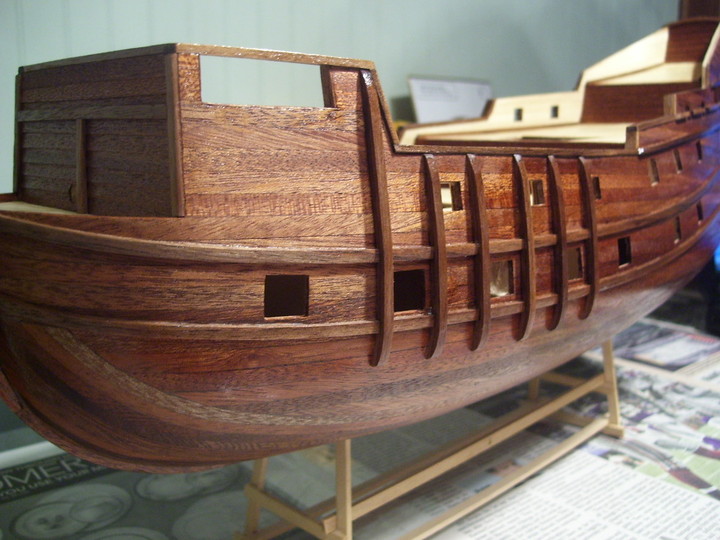
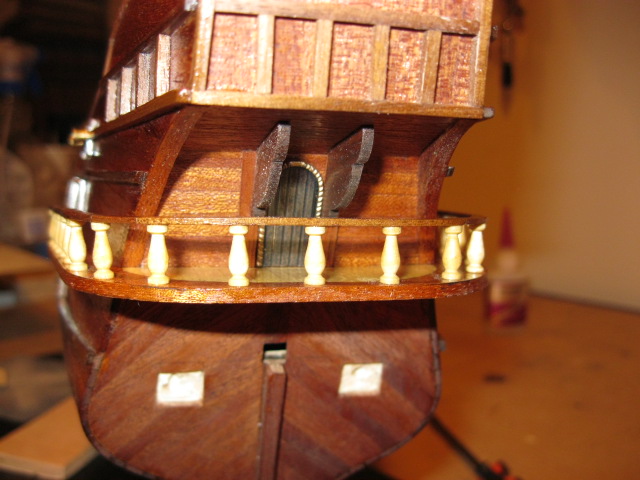
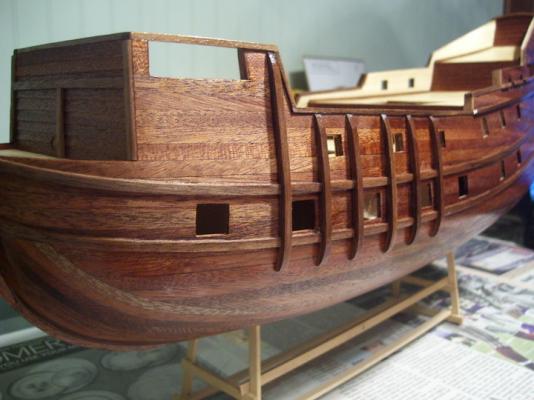
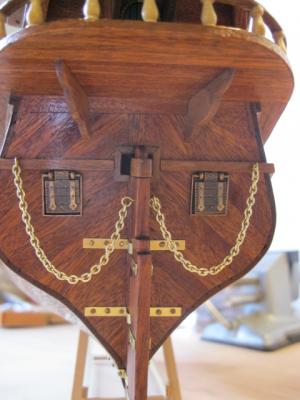
Thanks again philo! None of the windows in the kit had a proper flange and they would not sit flush against the ship. I had to grind out a 45 degree flange all around the backs of every window. Here is my work on the rudder and gallery...

-
The Helmsman Cabin...