HOLIDAY DONATION DRIVE - SUPPORT MSW - DO YOUR PART TO KEEP THIS GREAT FORUM GOING! (89 donations so far out of 49,000 members - C'mon guys!)
×

Usgecko
-
Posts
94 -
Joined
-
Last visited


-
 Cathead reacted to a post in a topic:
US Brig Niagara by Usgecko - Model Shipways - 1:64 Scale
Cathead reacted to a post in a topic:
US Brig Niagara by Usgecko - Model Shipways - 1:64 Scale
-
brunnels reacted to a post in a topic:
US Brig Niagara by Usgecko - Model Shipways - 1:64 Scale
-
SiriusVoyager reacted to a post in a topic:
US Brig Niagara by Usgecko - Model Shipways - 1:64 Scale
-
schooner reacted to a post in a topic:
US Brig Niagara by Usgecko - Model Shipways - 1:64 Scale
-
Coyote_6 reacted to a post in a topic:
US Brig Niagara by Usgecko - Model Shipways - 1:64 Scale
-
ccoyle reacted to a post in a topic:
US Brig Niagara by Usgecko - Model Shipways - 1:64 Scale
-
ccoyle reacted to a post in a topic:
US Brig Niagara by Usgecko - Model Shipways - 1:64 Scale
-
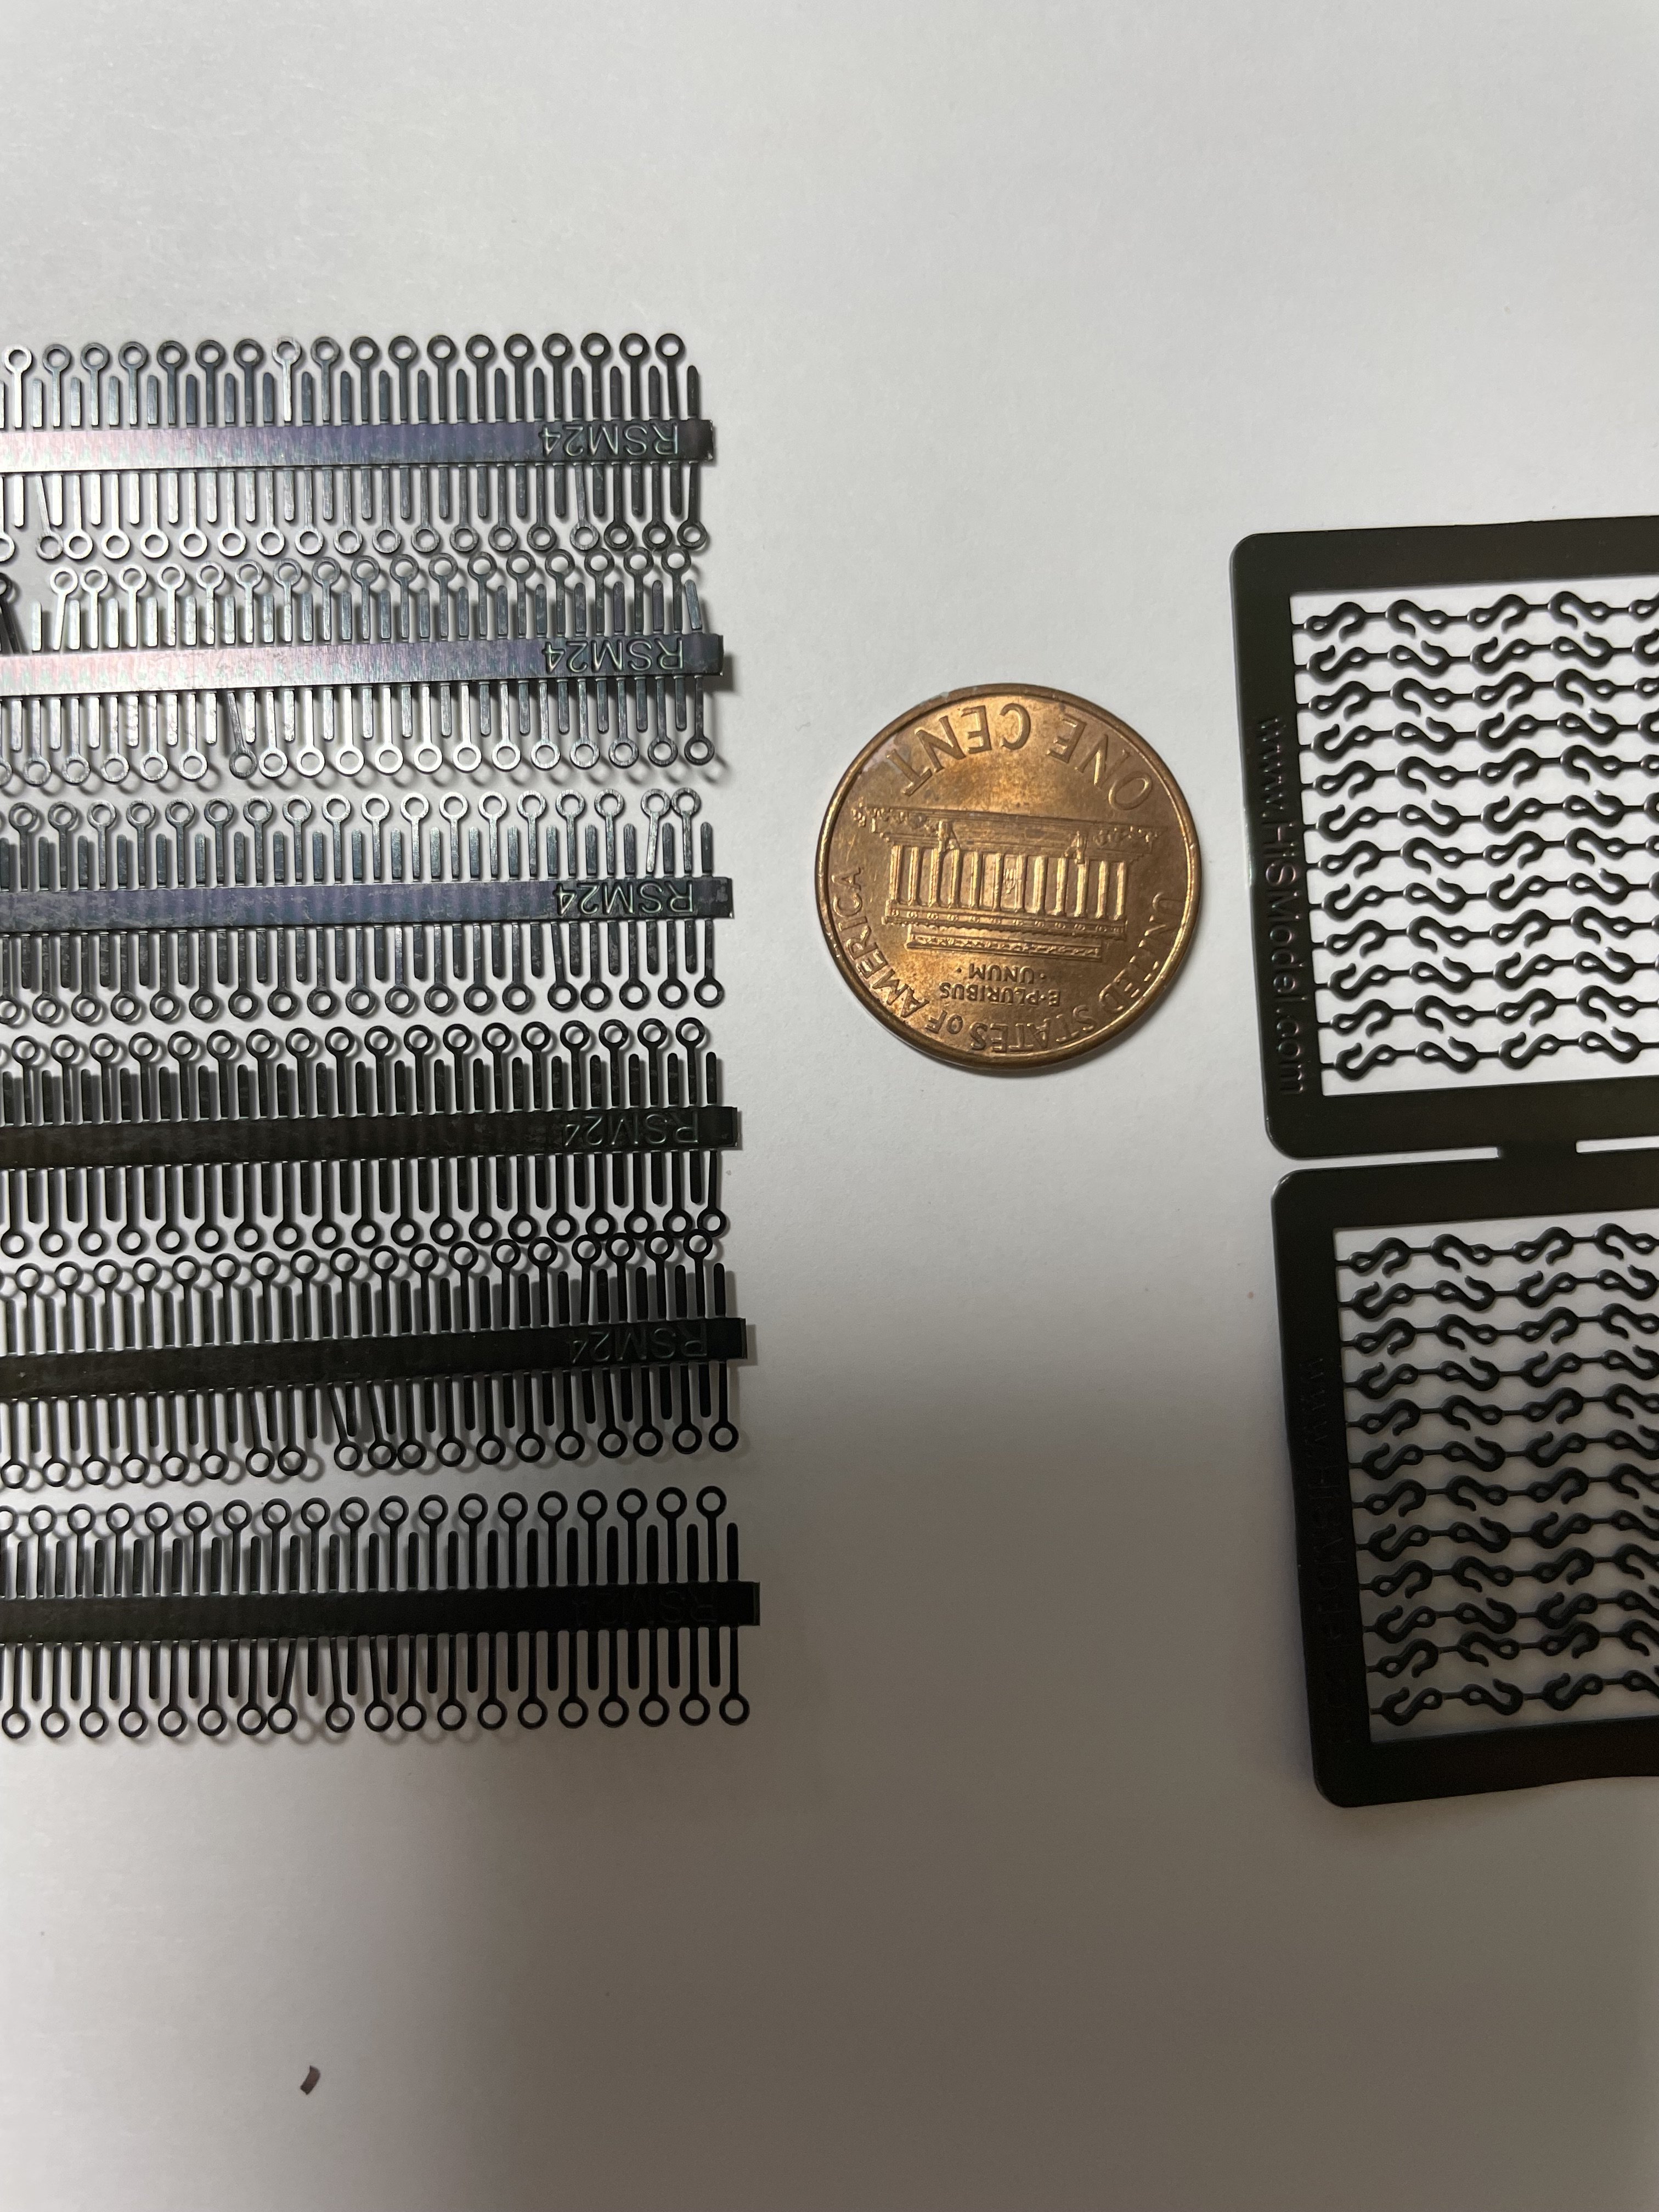
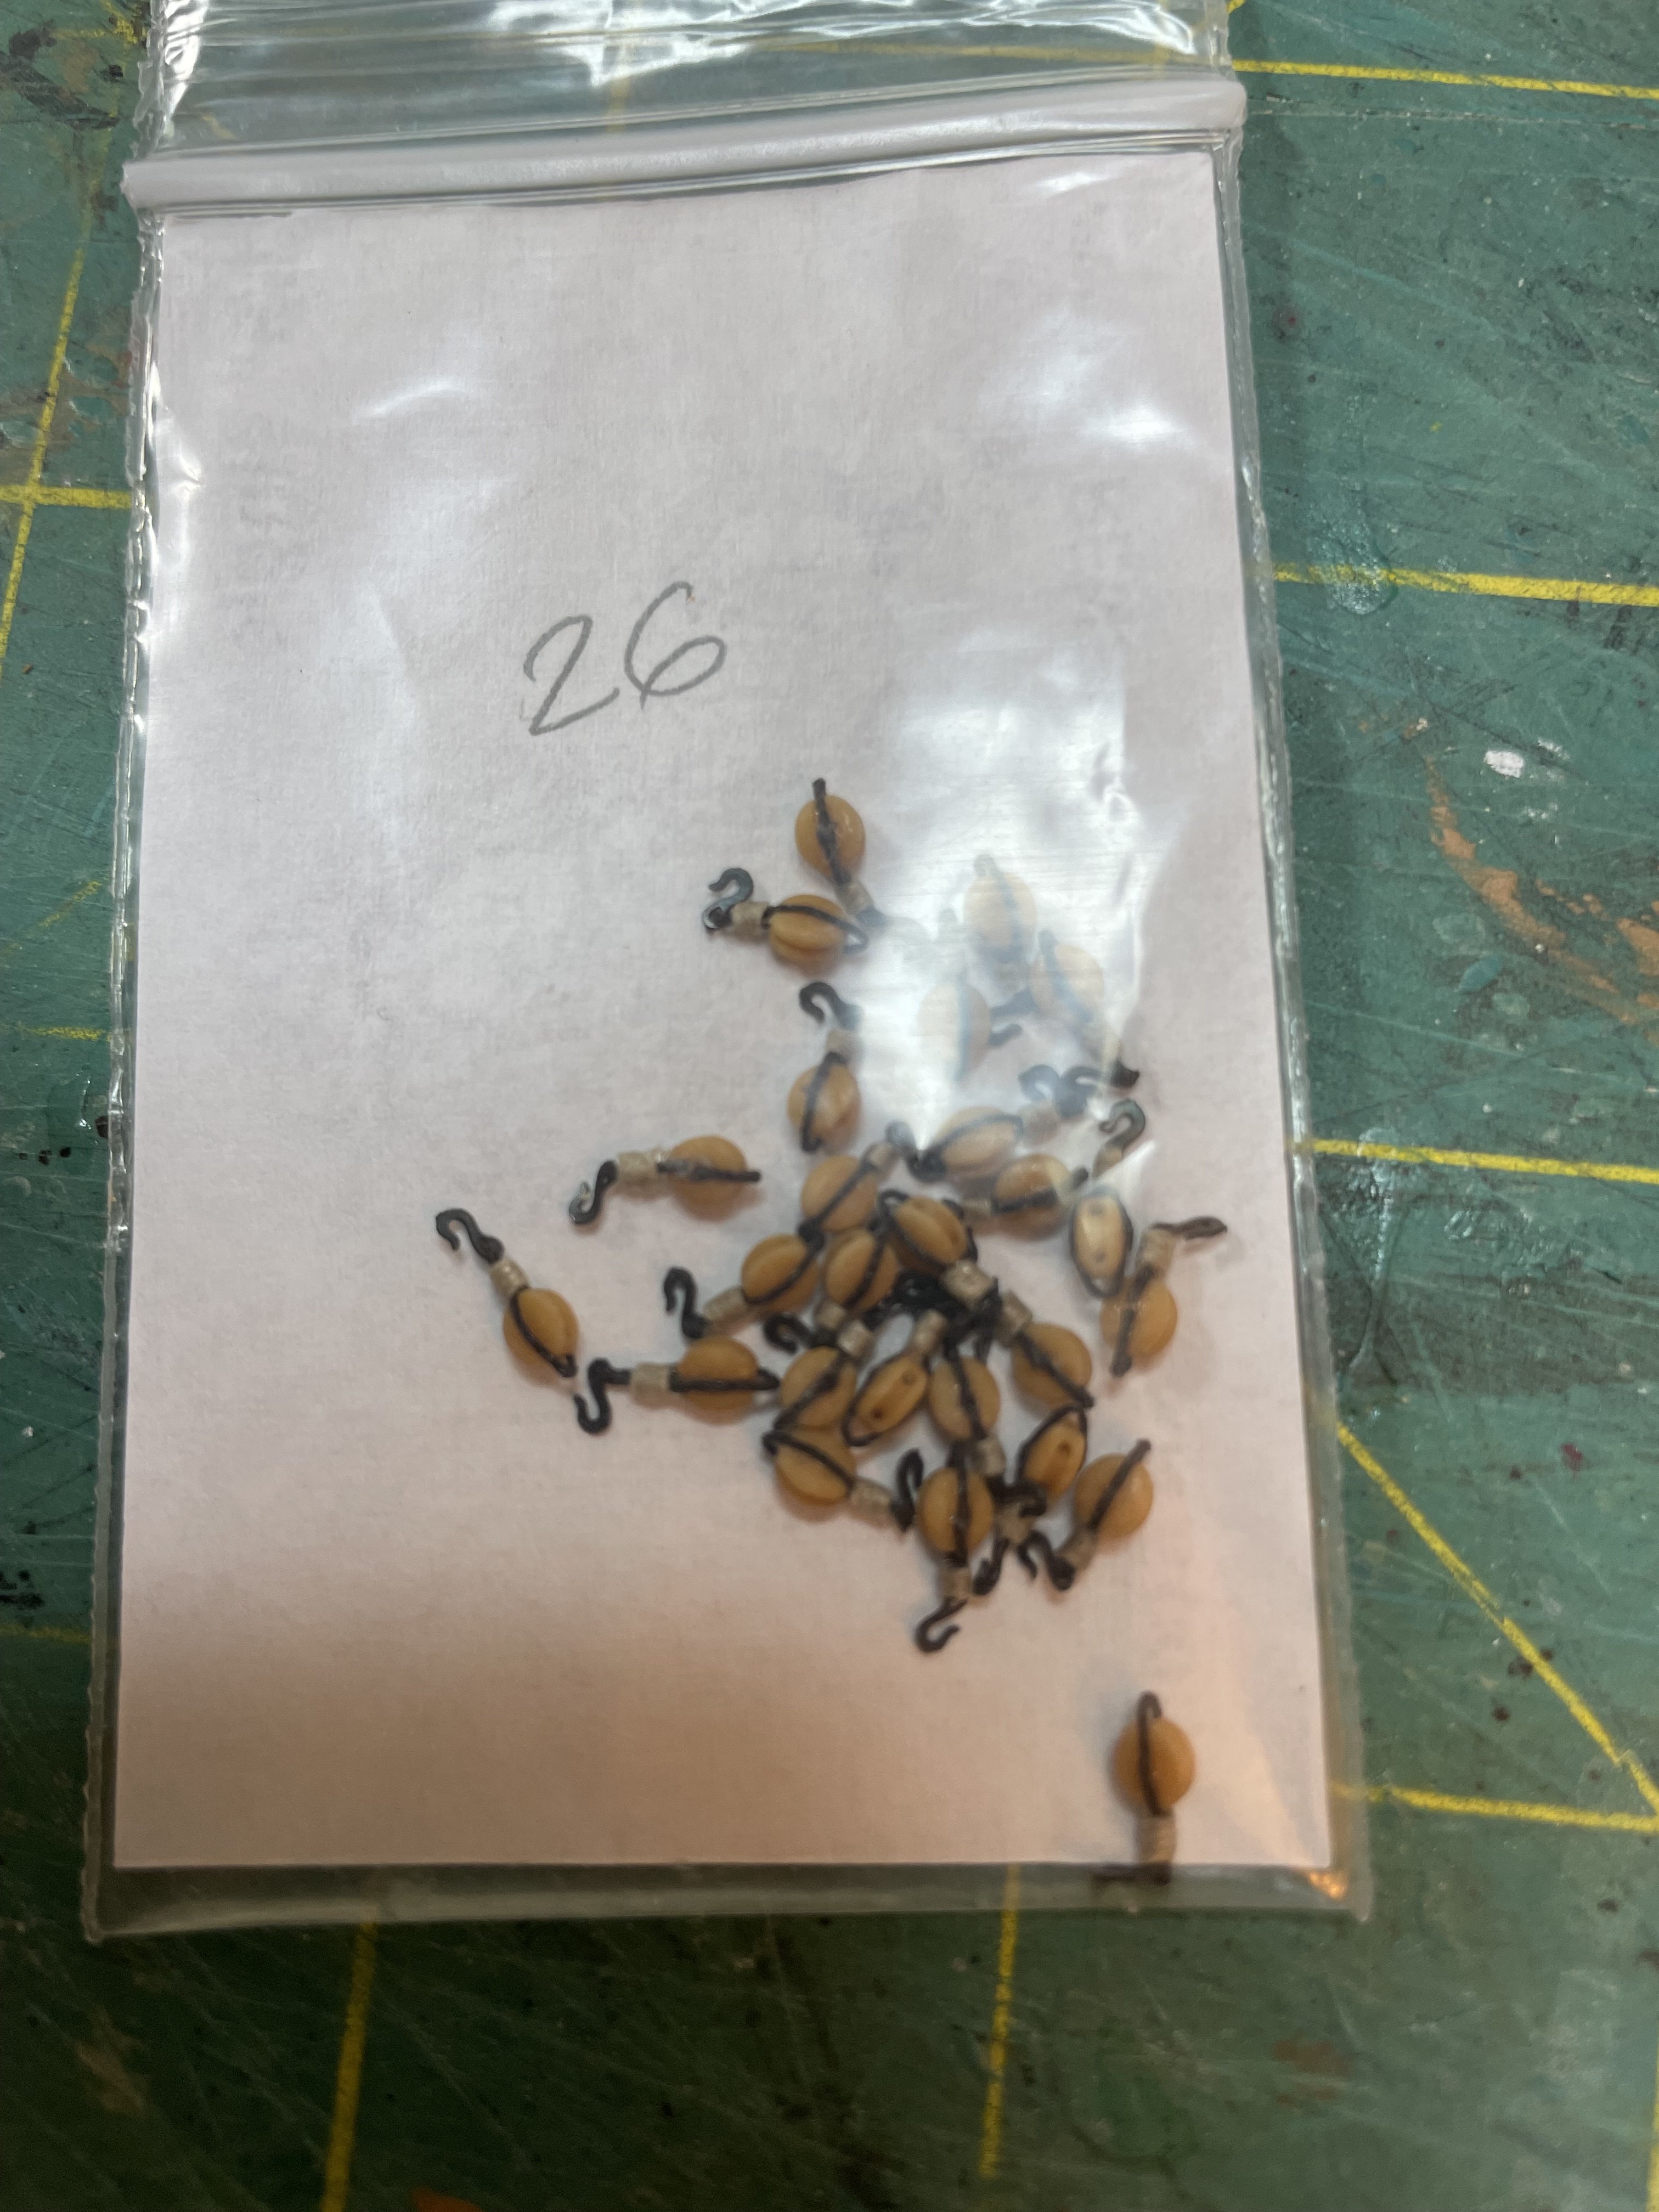
 I could not put it off any longer - construction of the cannons and carronades and all the associated rigging. Got small very small hooks and eyebolts online as I just wasn't pleased with the hooks I coul make myself Started putting together, and painting the carronades, adding the required hardware. The hardware was made out of the rings and brass strip provided in the jit, blackened using a commercial blackening solution. And then on to the (for me) daunting task stropping the blocks for the rigging for the cannons and carronades. I purchased rope and blocks from Syren and as many other people have stated - what lovely stuff! I ended up going down the pre-made seizing route for stropping the blocks after unsuccessfully trying other methods - It's not perfect but I am ok with the results. I'm not 100% pleased with them, but what modeler ever is? 🙂 Working through the single and double blocks in groups of 25 while working on other parts of the construction to try to maintain my sanity!


-
Cathead reacted to a post in a topic:
US Brig Niagara by Usgecko - Model Shipways - 1:64 Scale
-
abelson reacted to a post in a topic:
US Brig Niagara by Usgecko - Model Shipways - 1:64 Scale
-
schooner reacted to a post in a topic:
US Brig Niagara by Usgecko - Model Shipways - 1:64 Scale
-
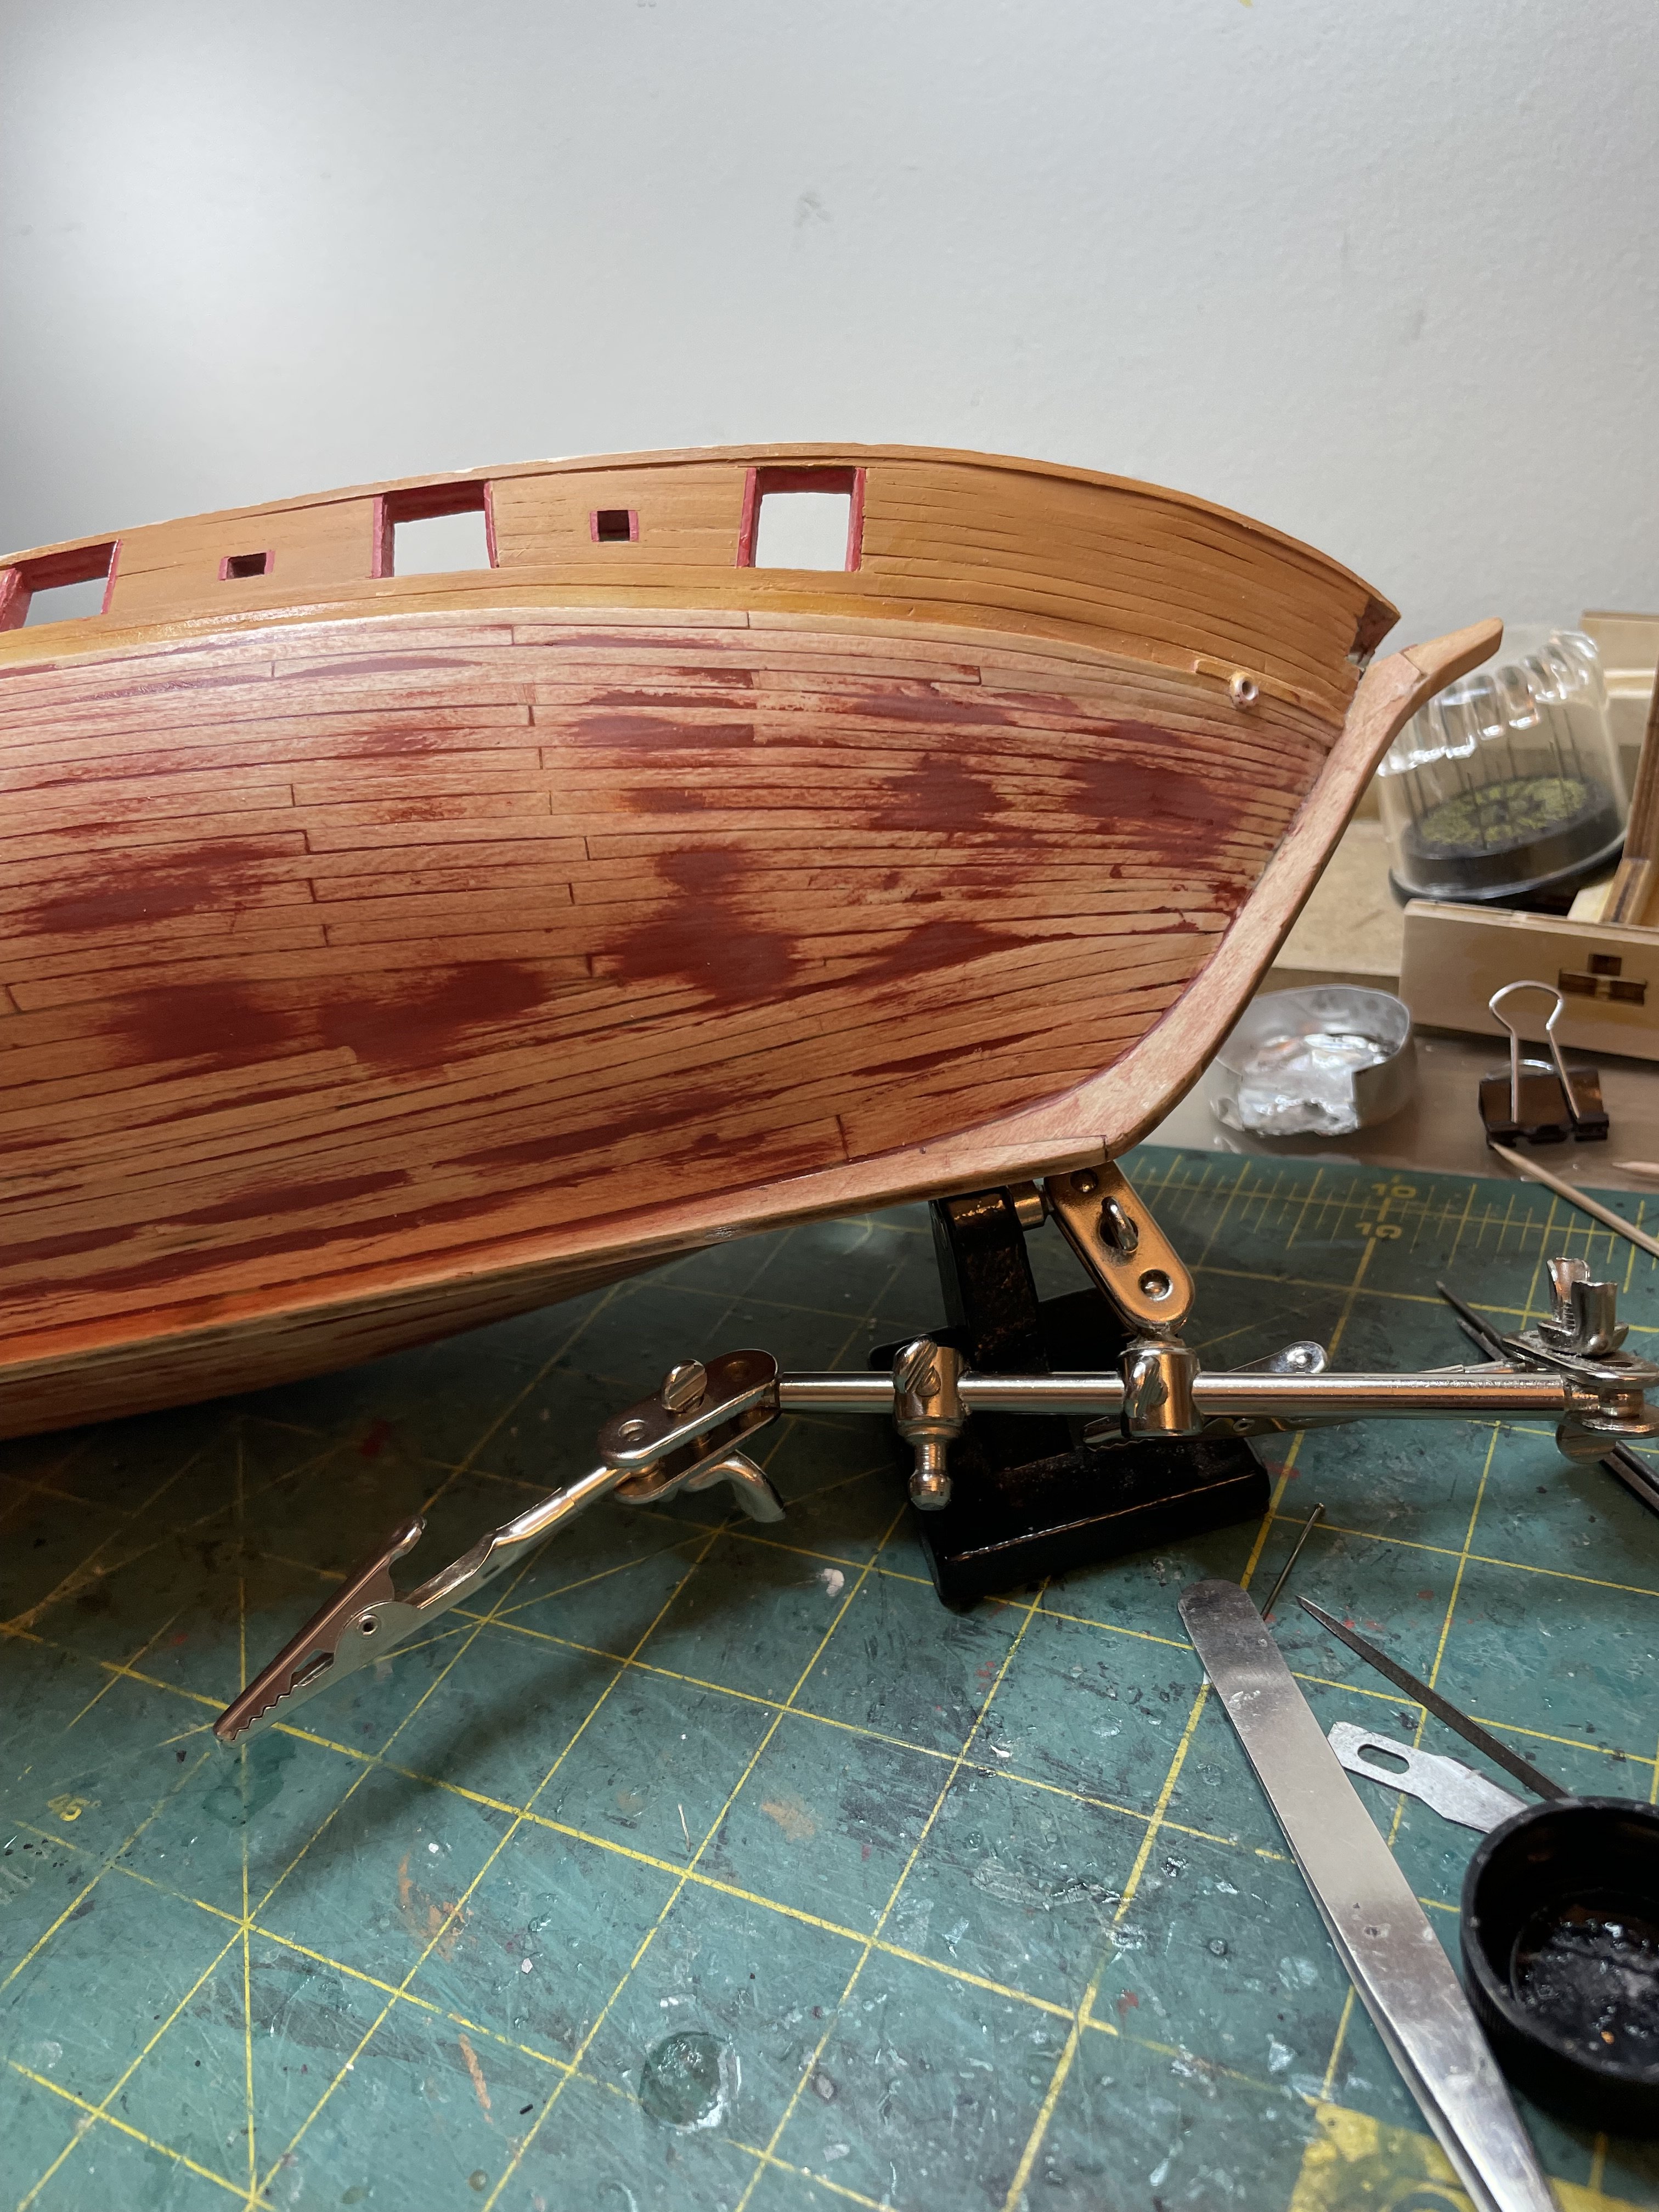
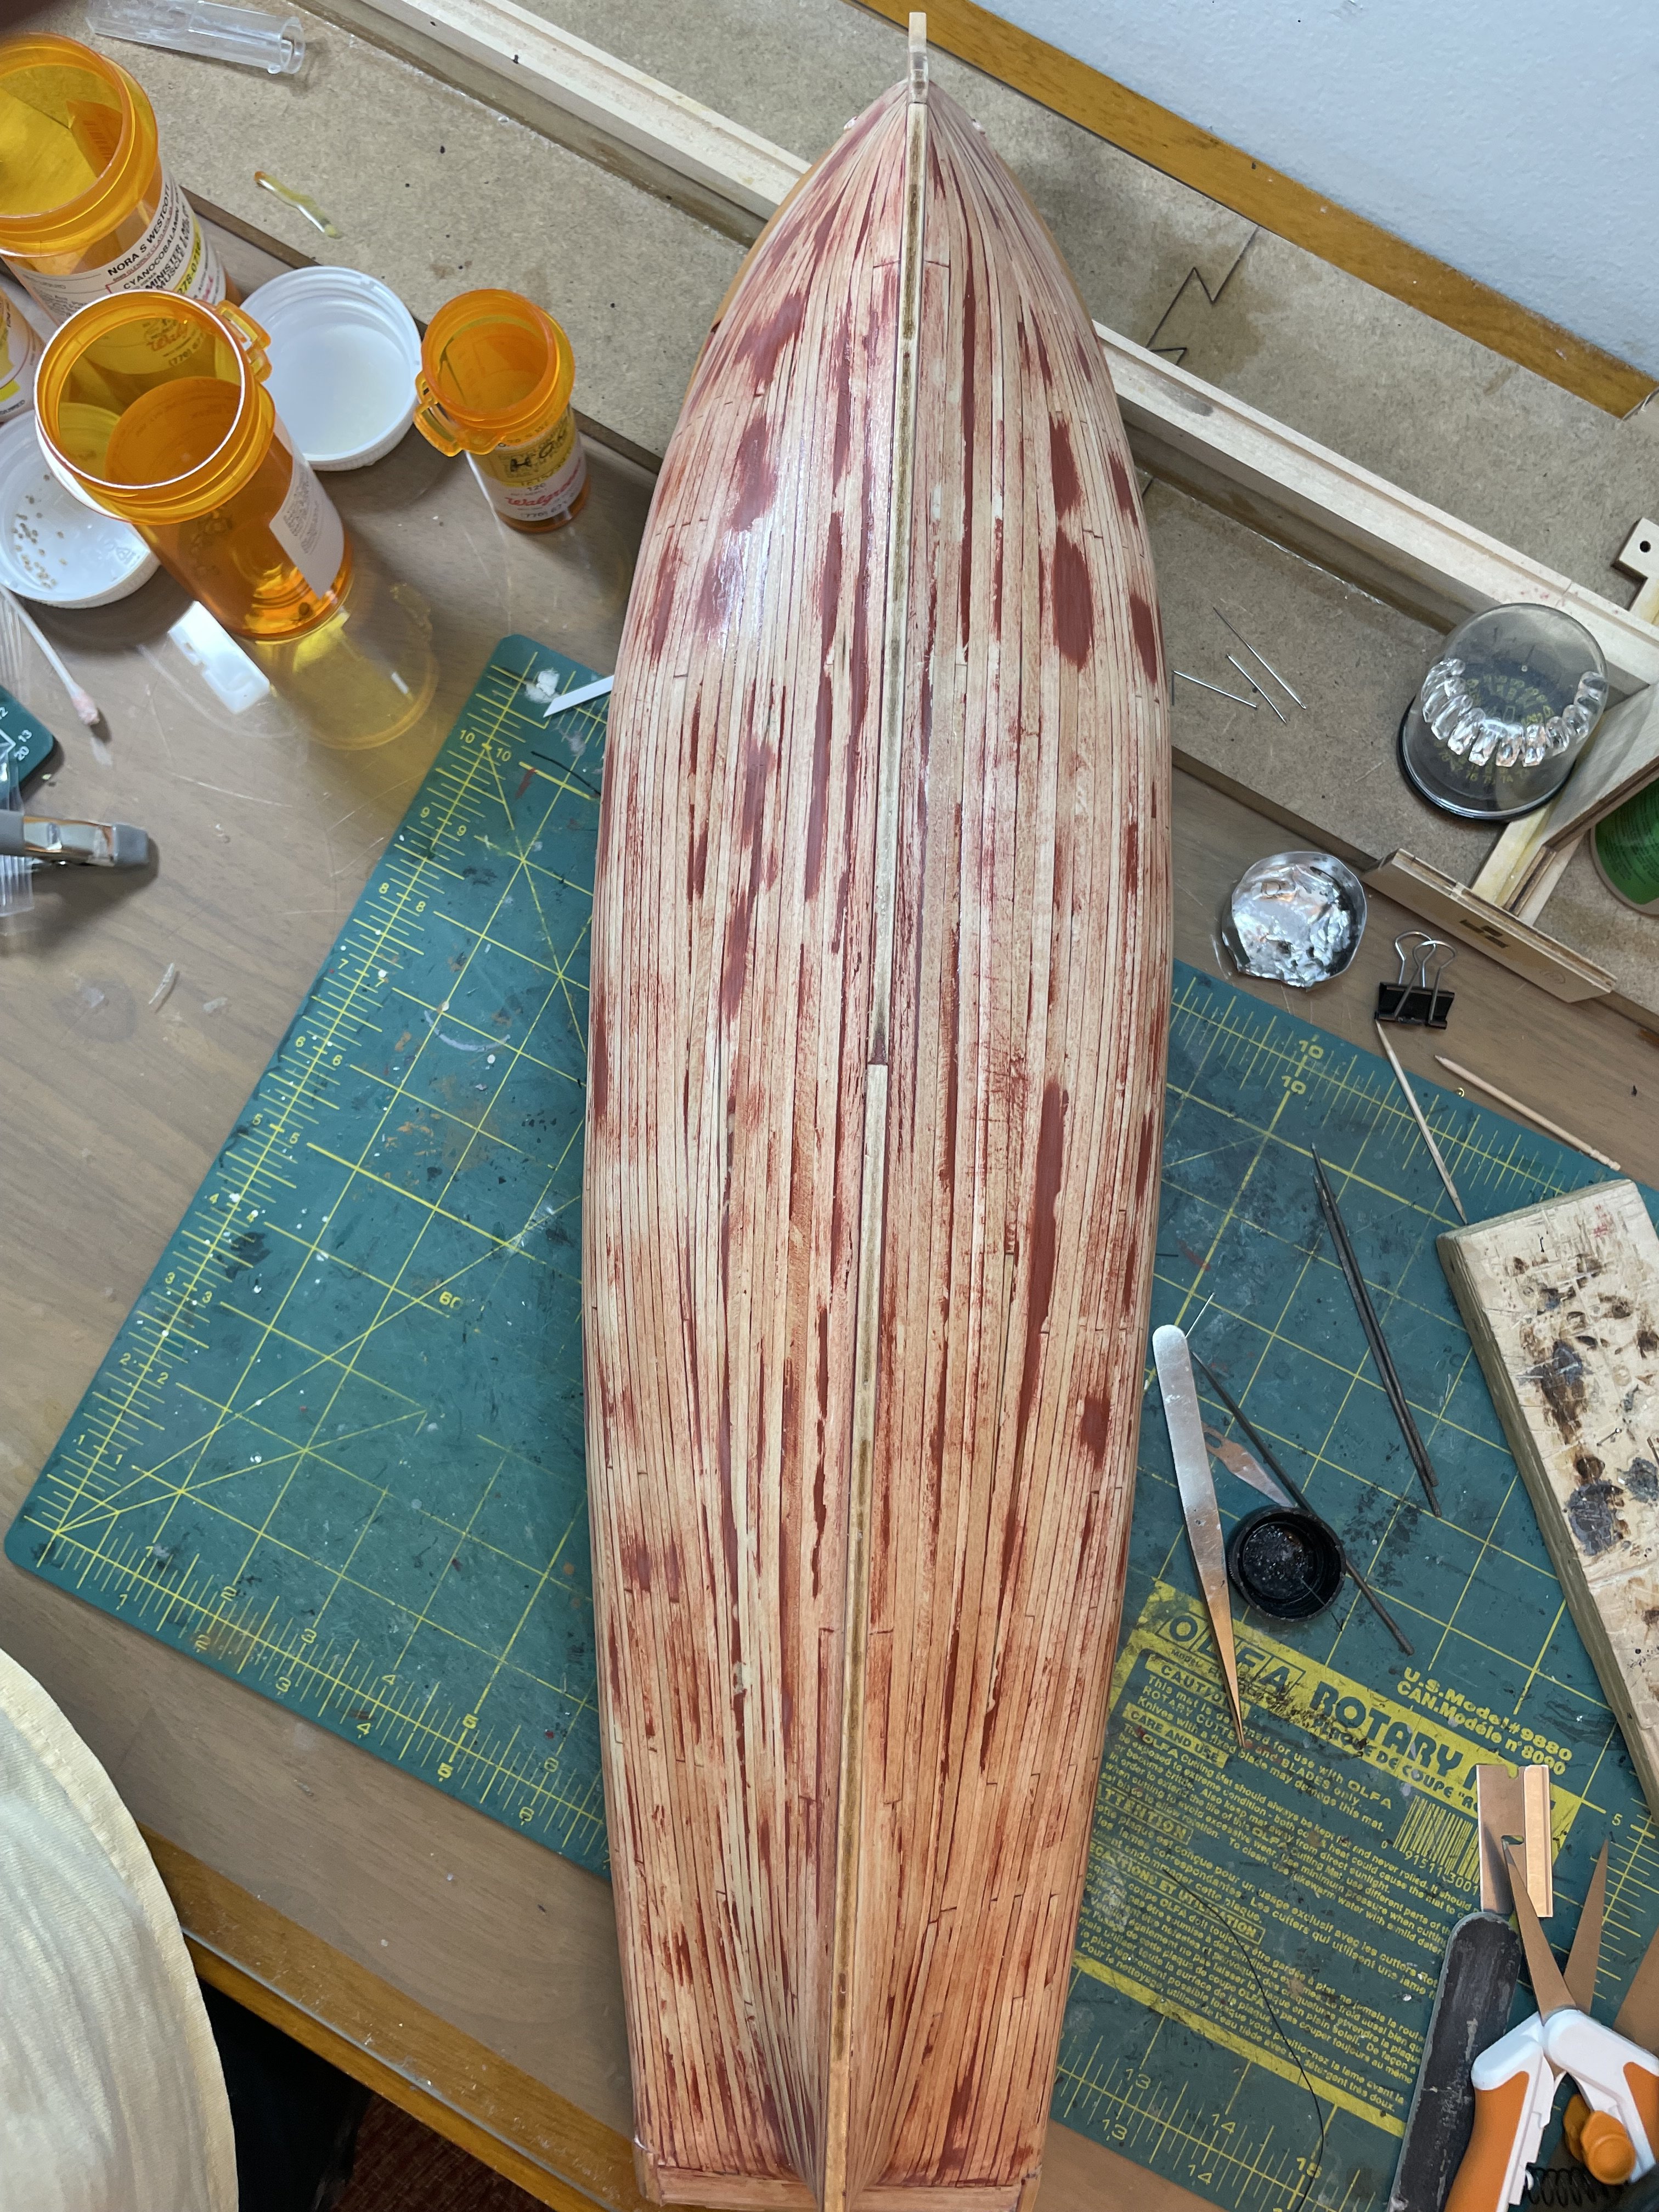
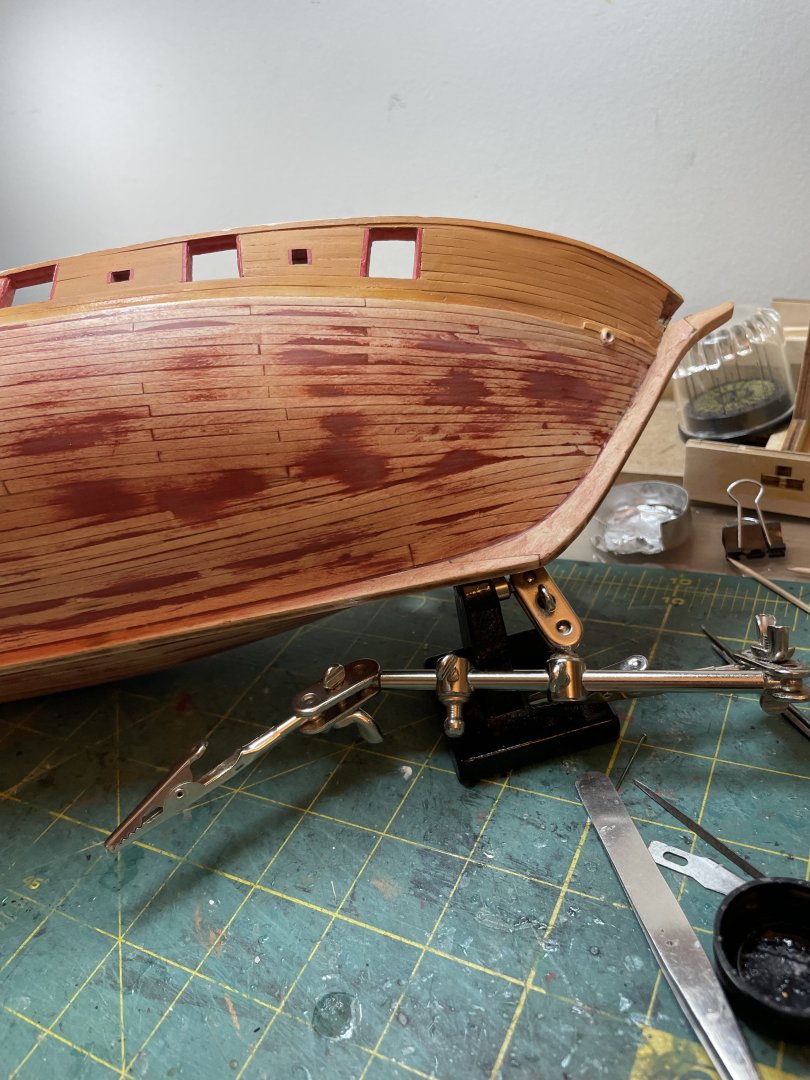
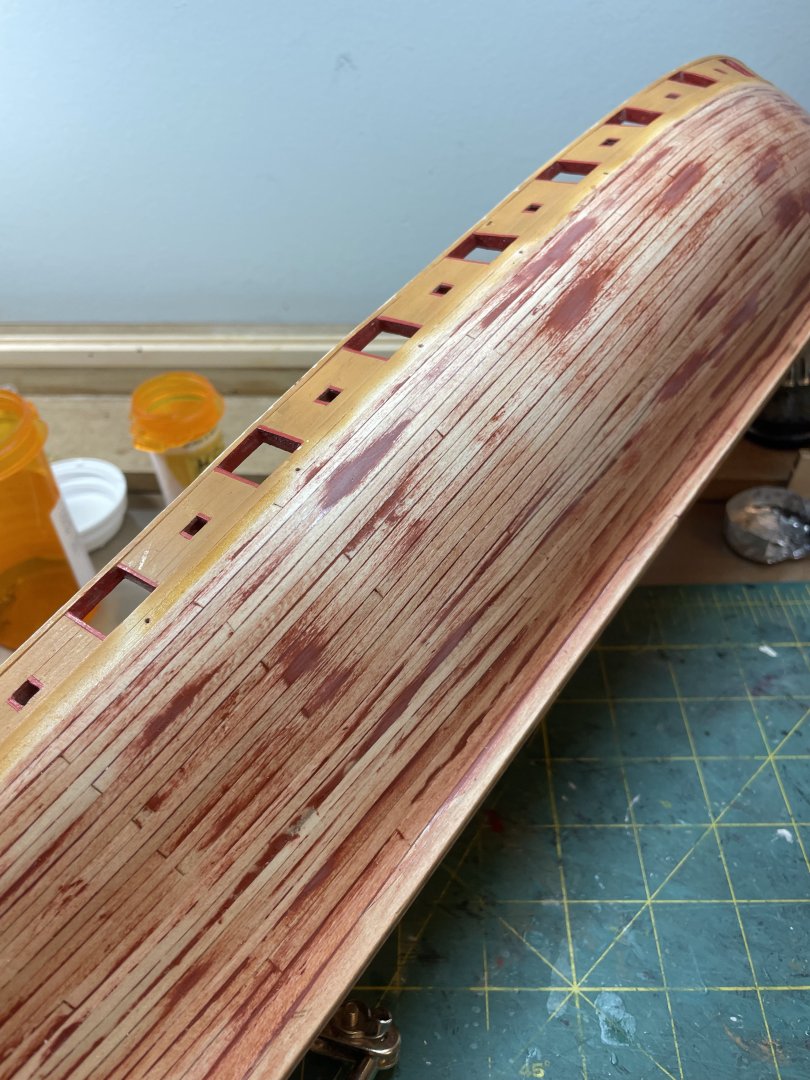
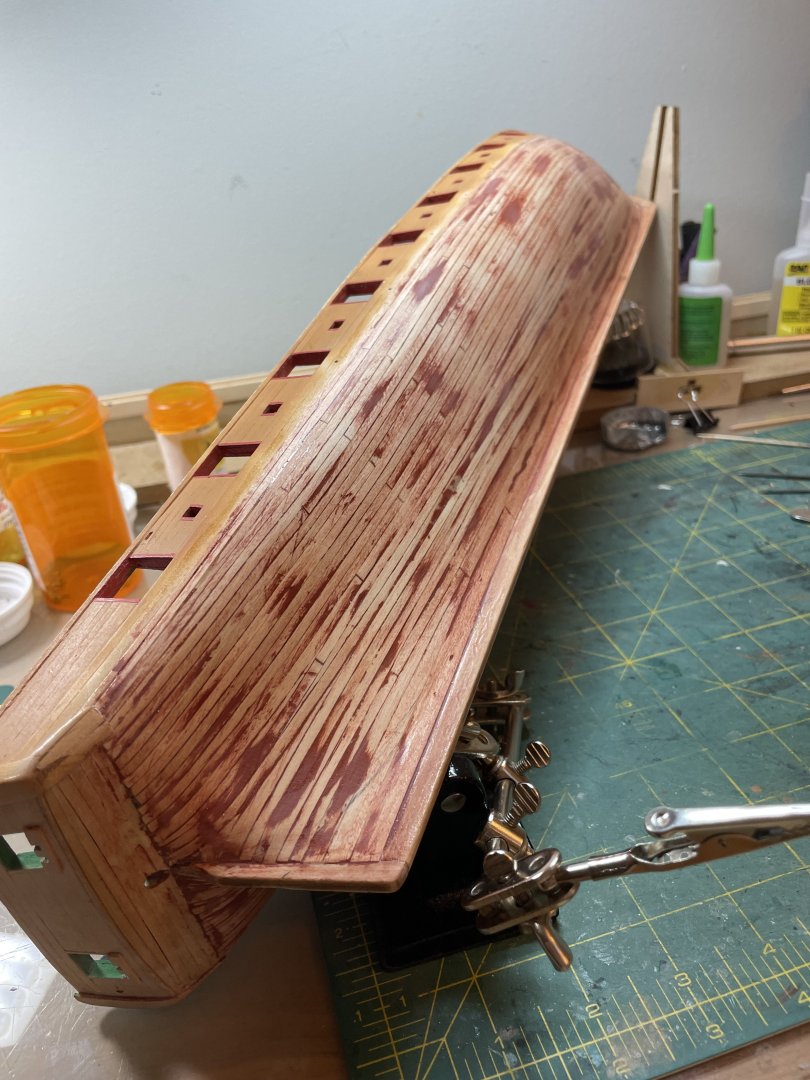
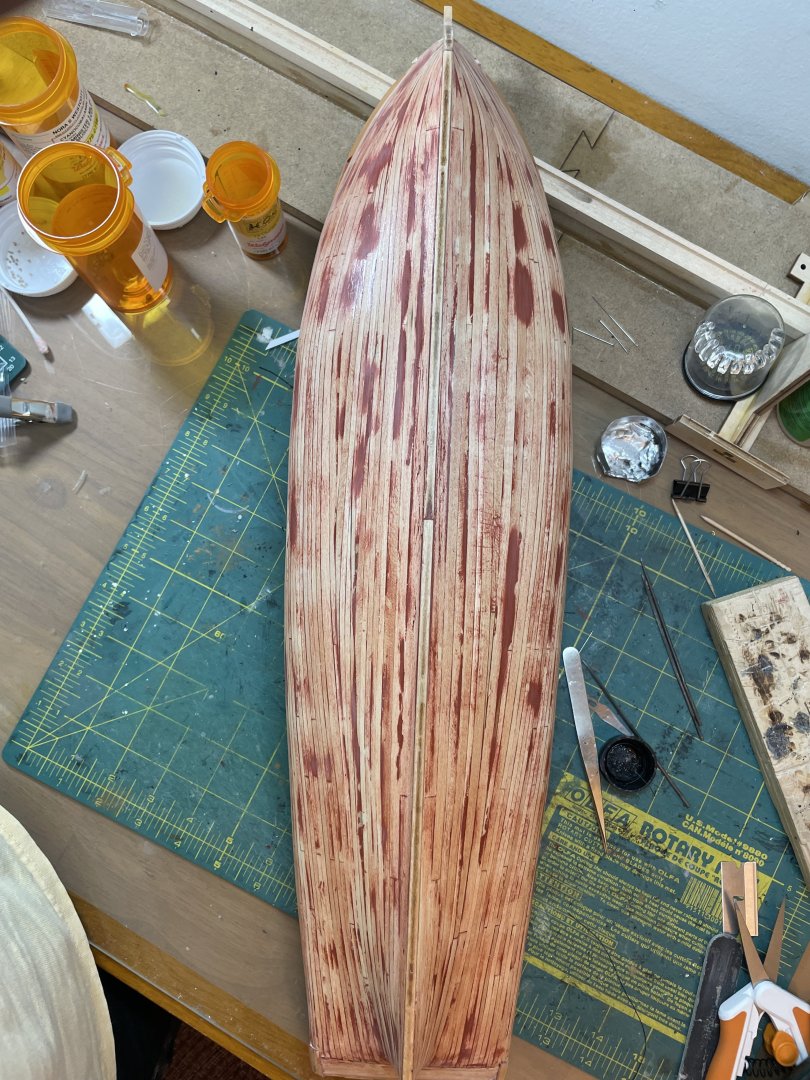
After working on the masts and yards I turned my attention to completing the planking on the hull. Not 100% happy with it but it's the first planking like this I have done and after use of bondo filler and judicious sanding it was completed and ready for a couple of coates of sanding sealer to get rid of "fuzzies" on the wood and next step will be priming.


-
Thanks Steven - appreciate the kind words, your build, and others have been a great inspiration for me.
-
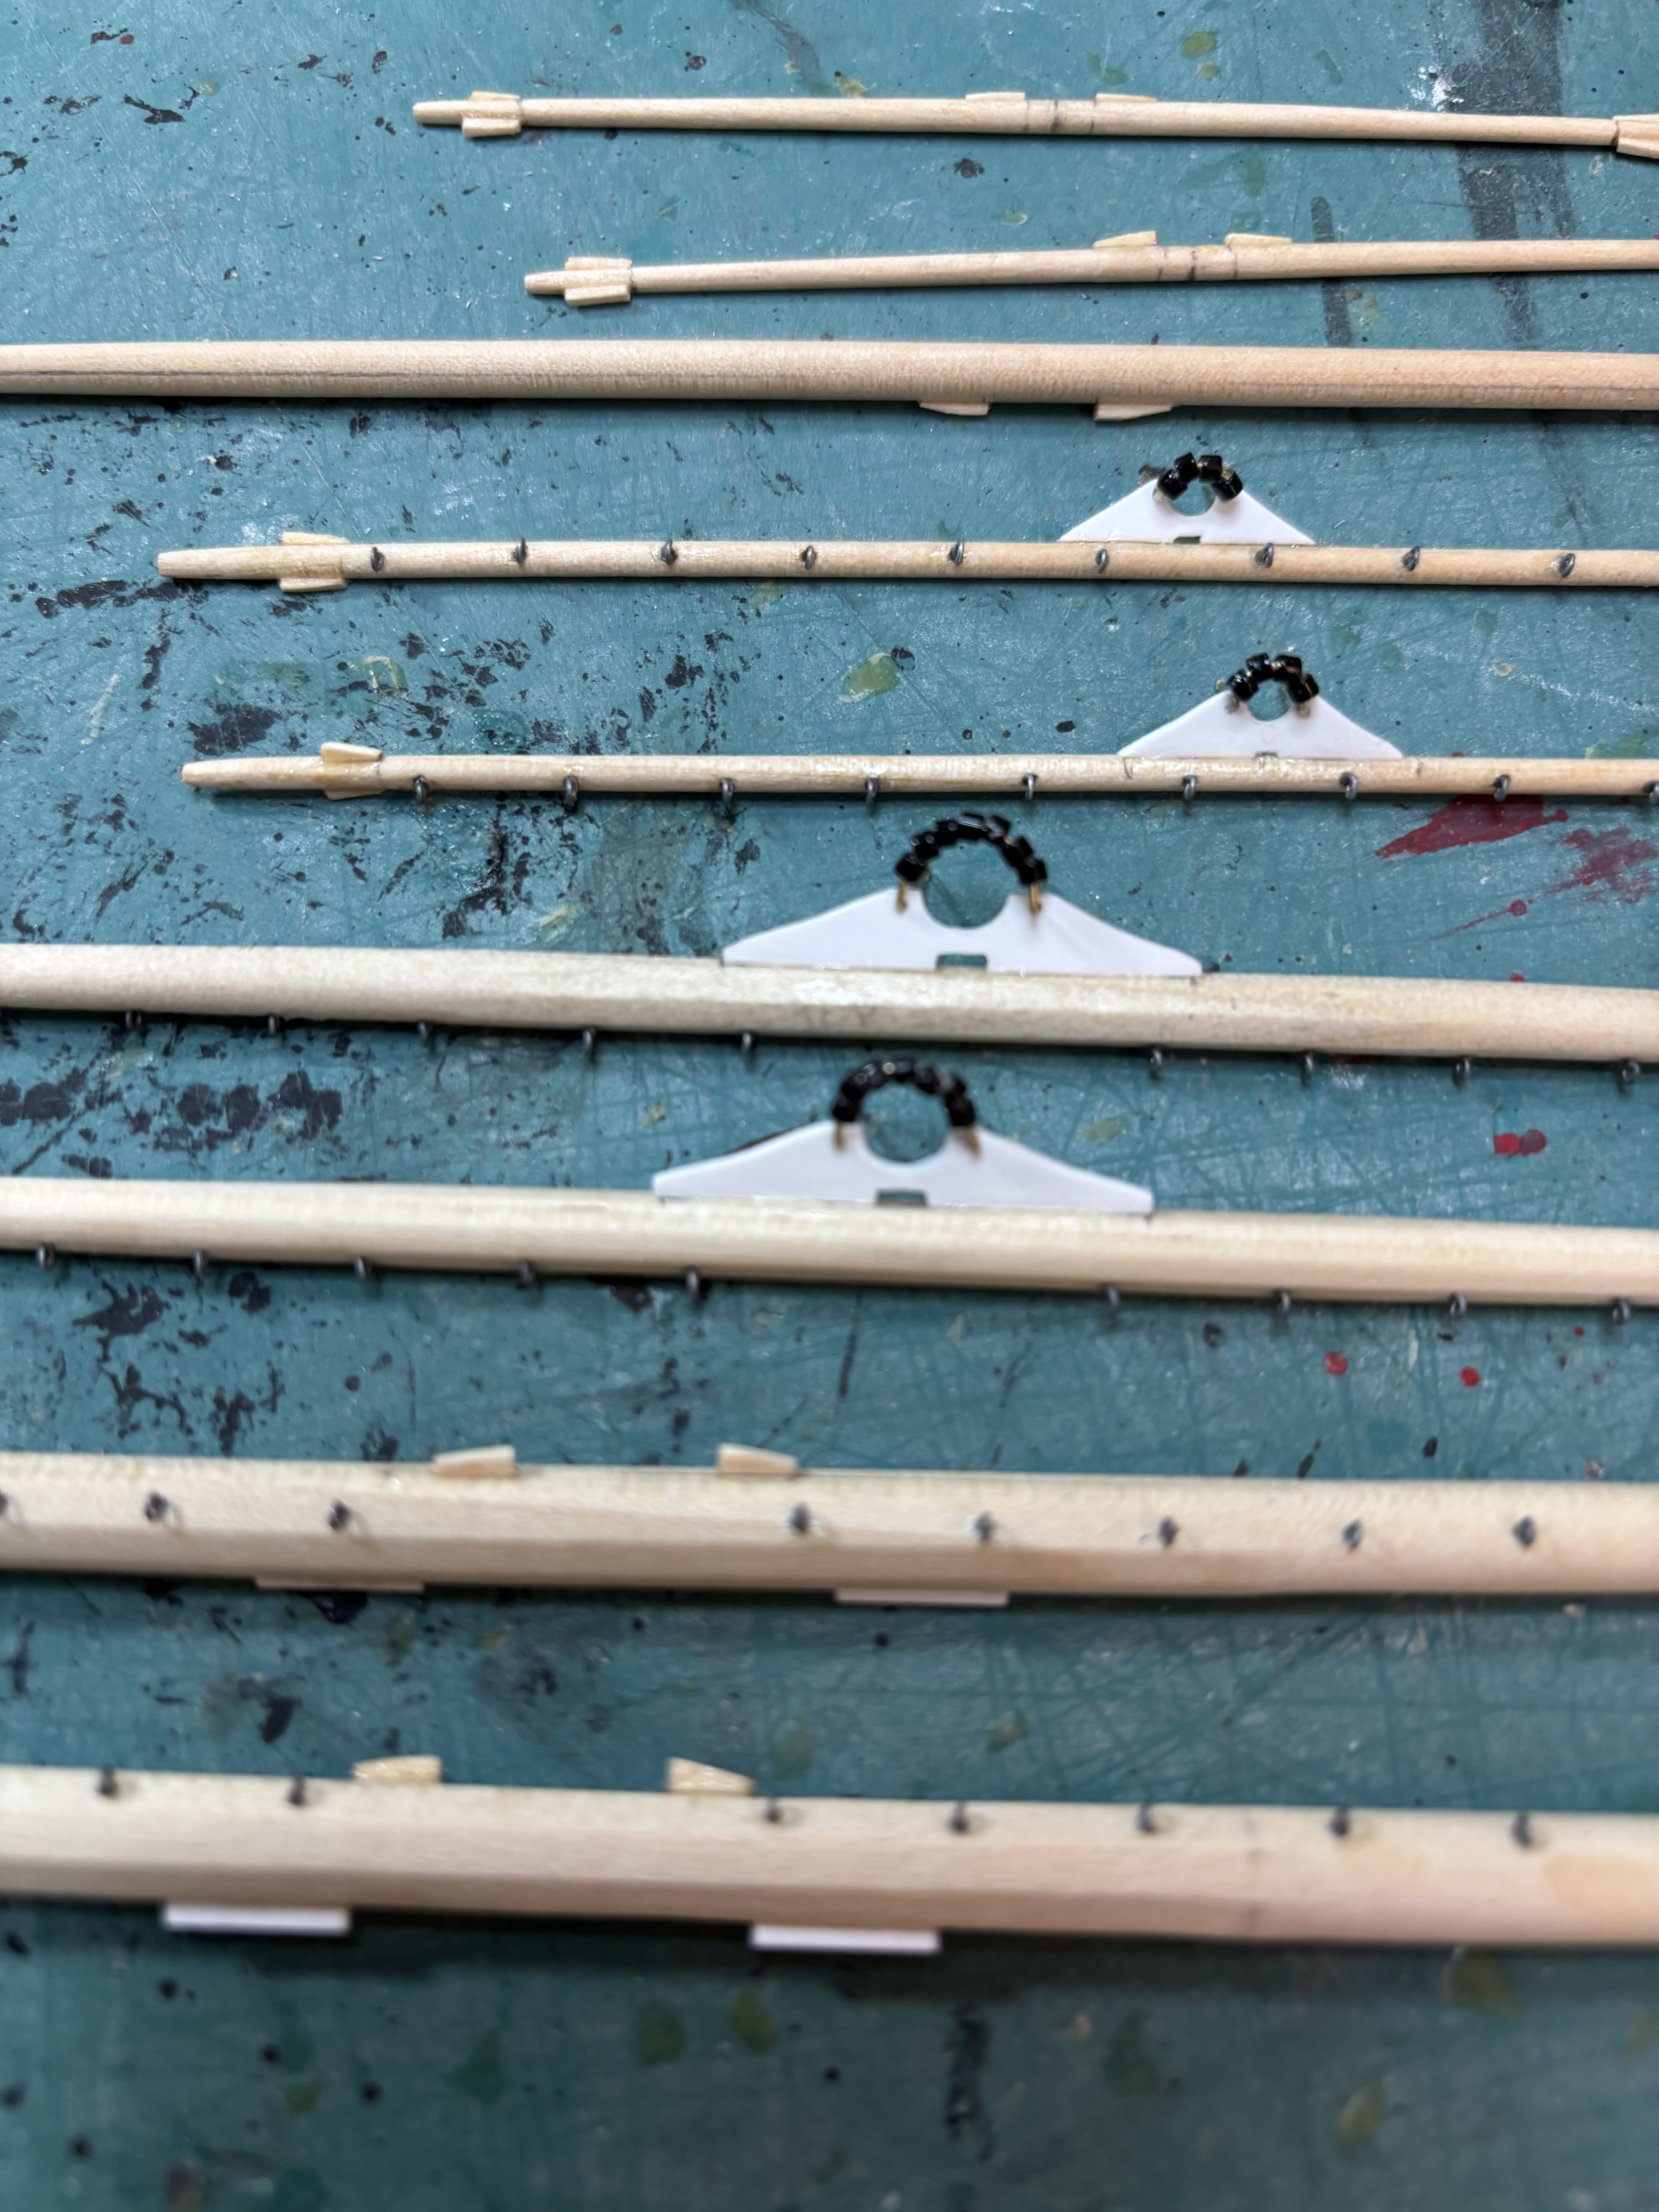
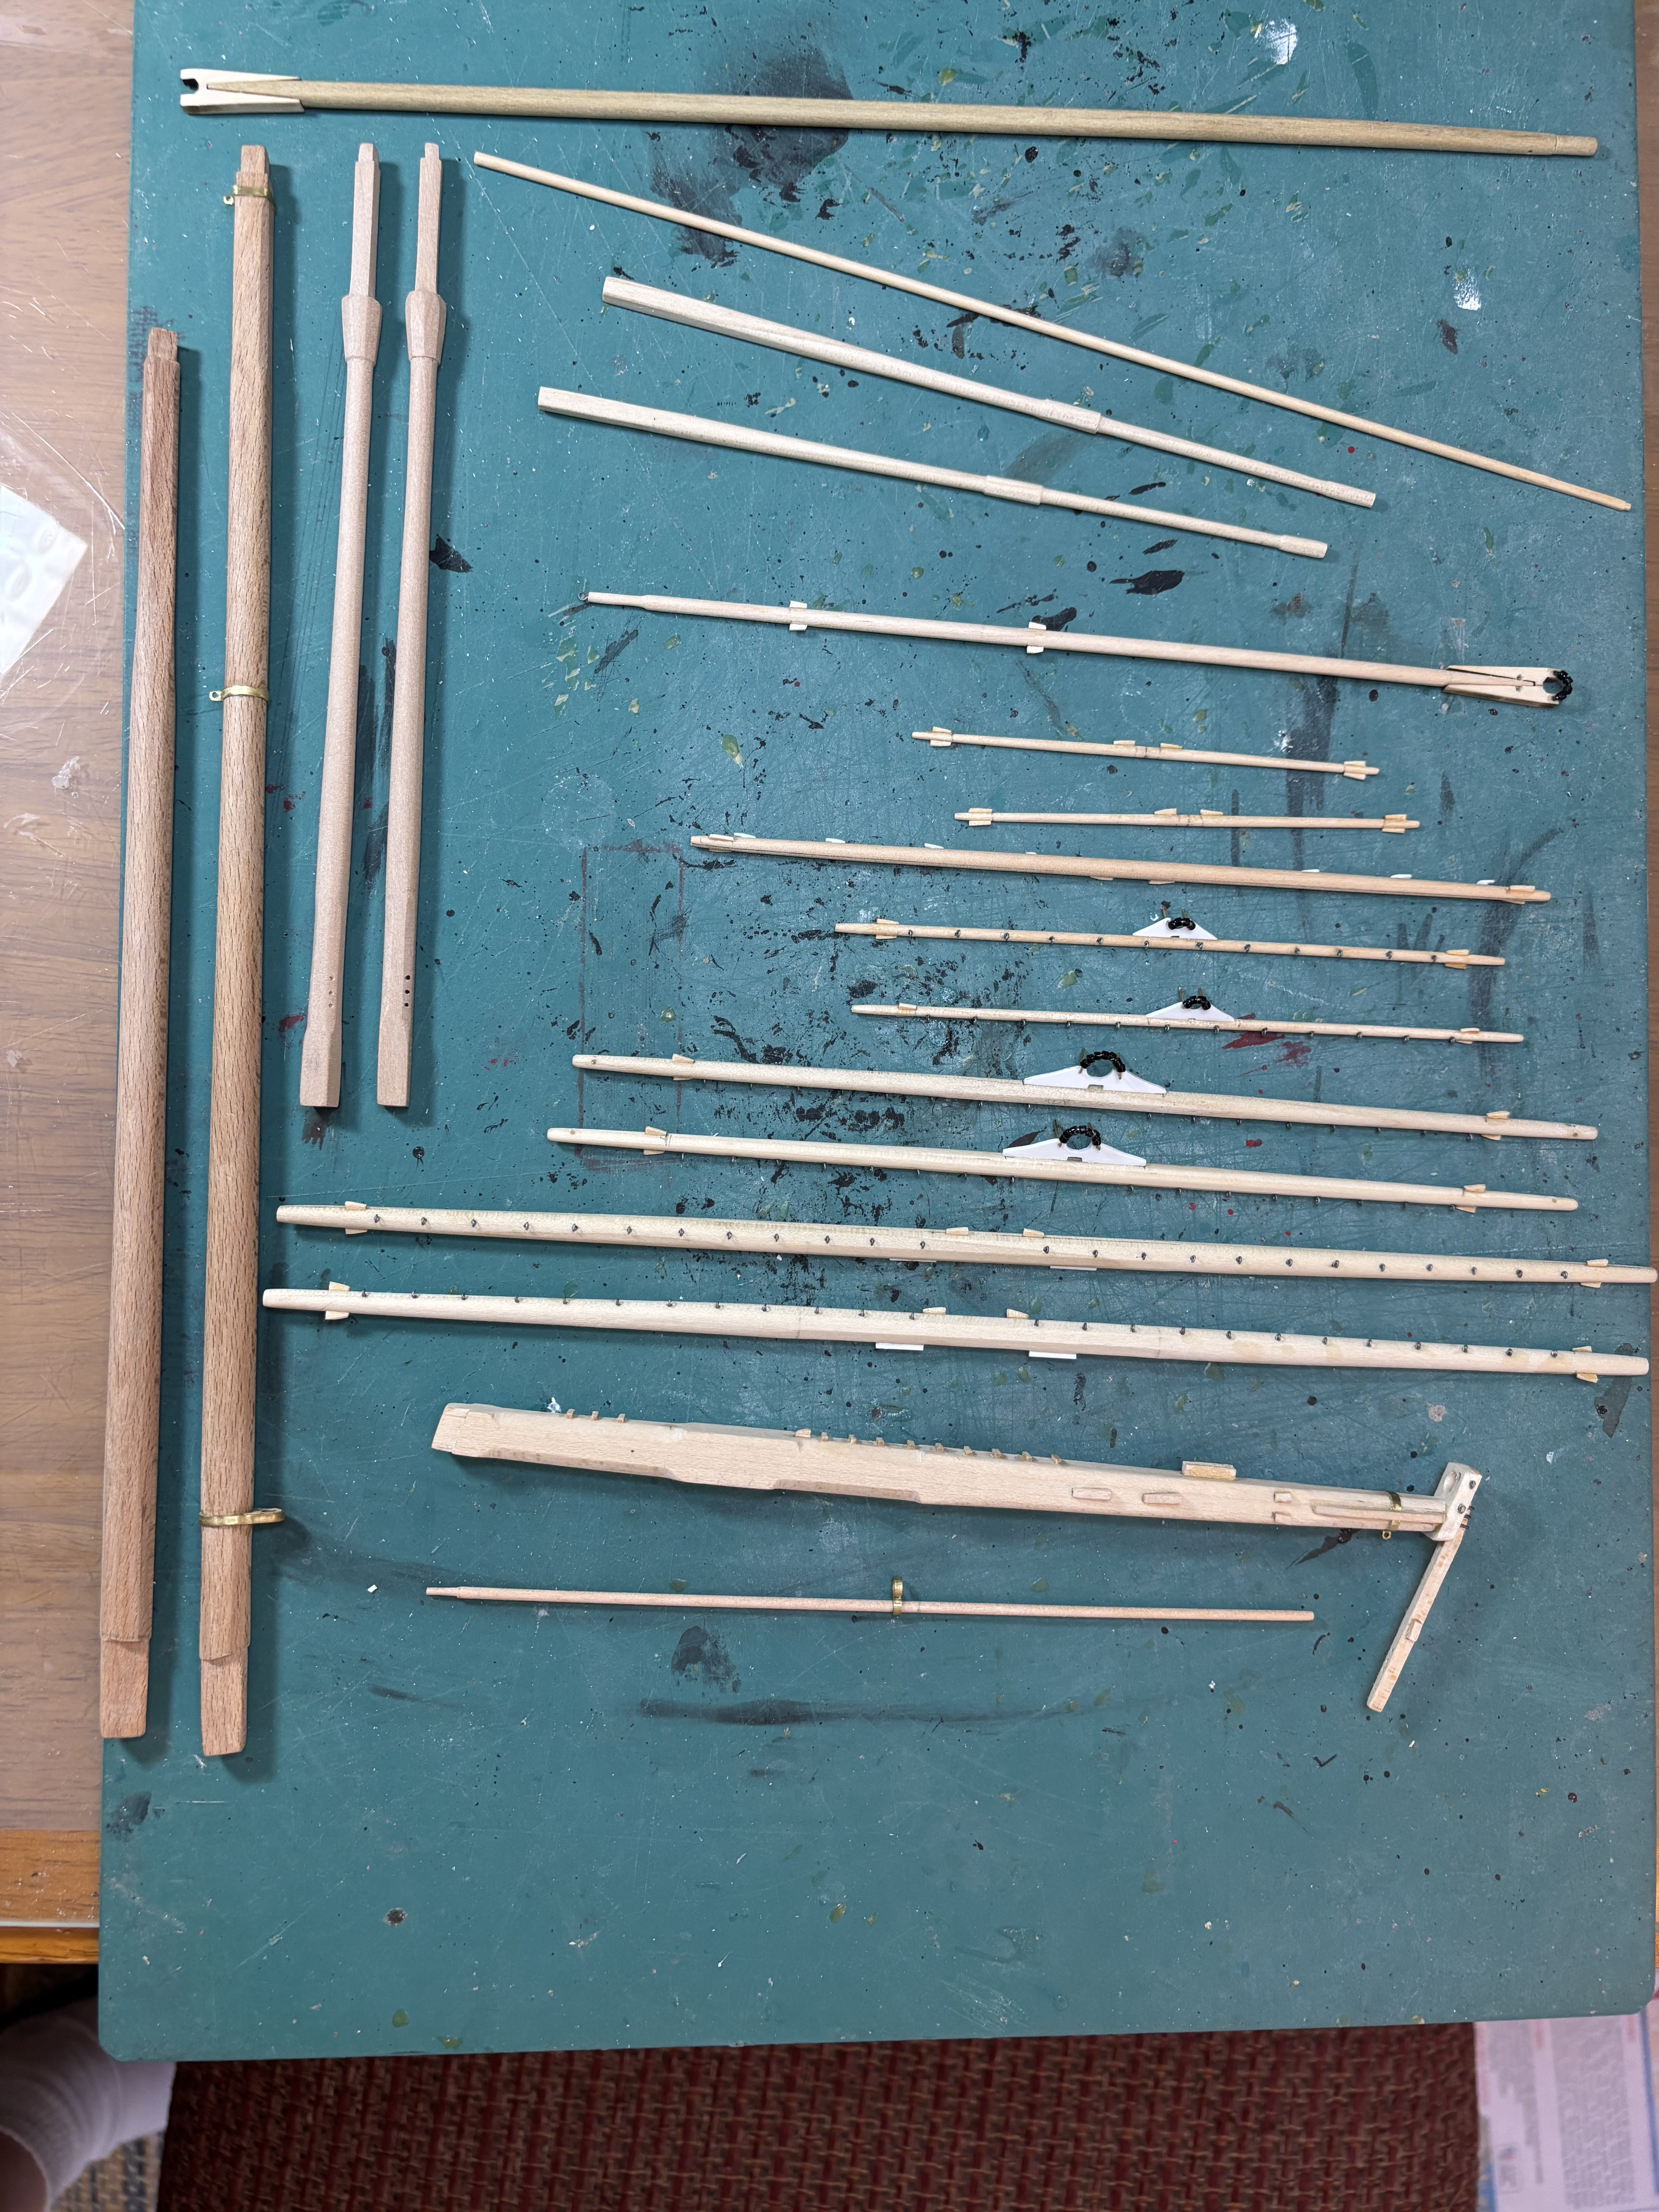
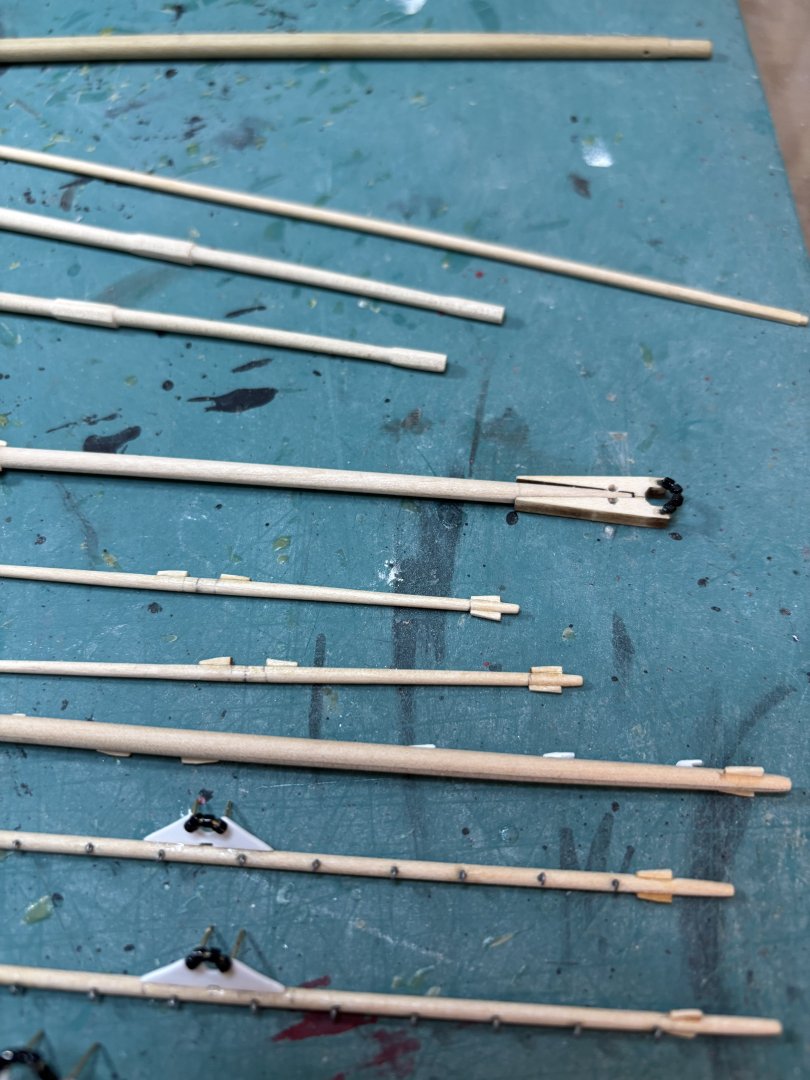
A lot of work on masts and yards. Not completely done but well on the way


-
Permanently added the deck I built earlier and added some color the hull. Working on masts and yards now - slow because I am doing everything by hand - couldn't justify getting a lathe at the moment.


-
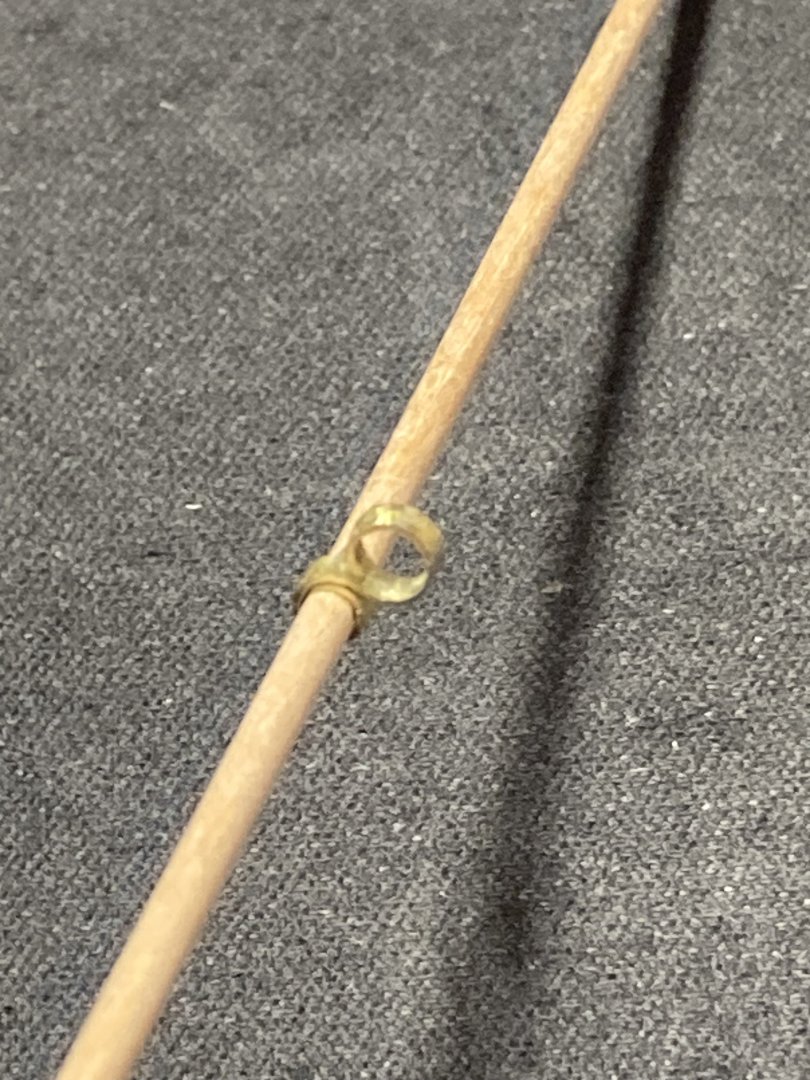
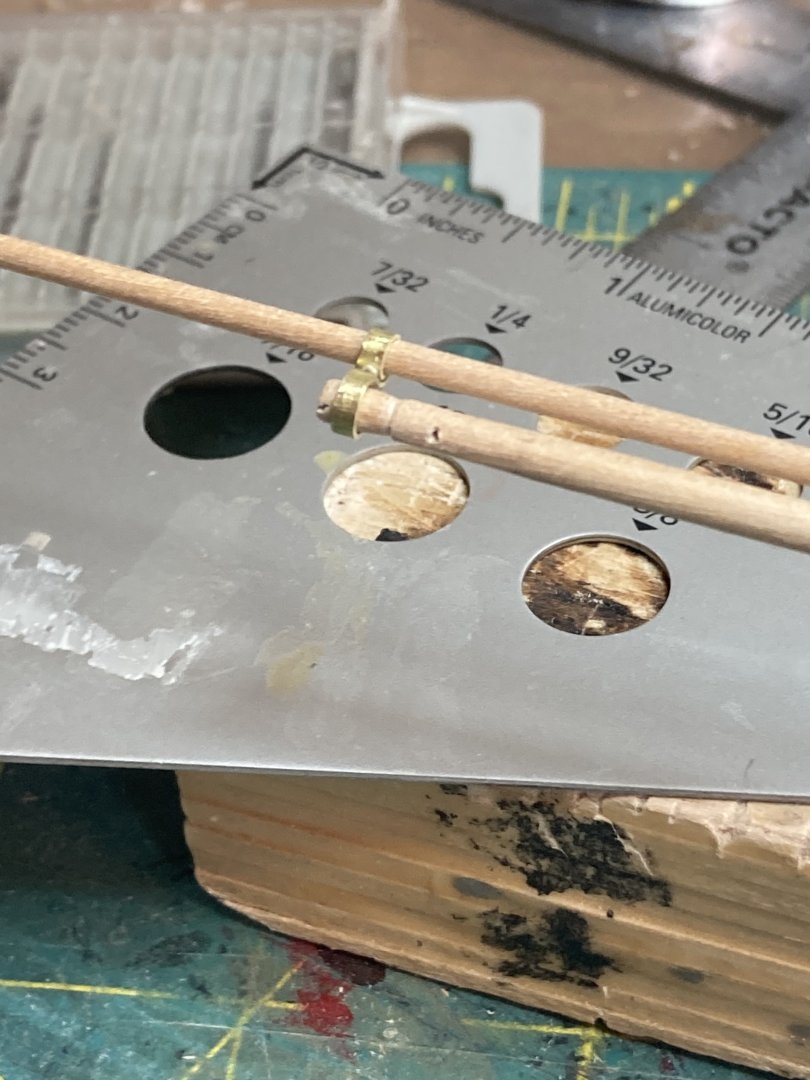
Good call Steve - is the bass wire going all through the rail, or just reinforcing the joint?
-
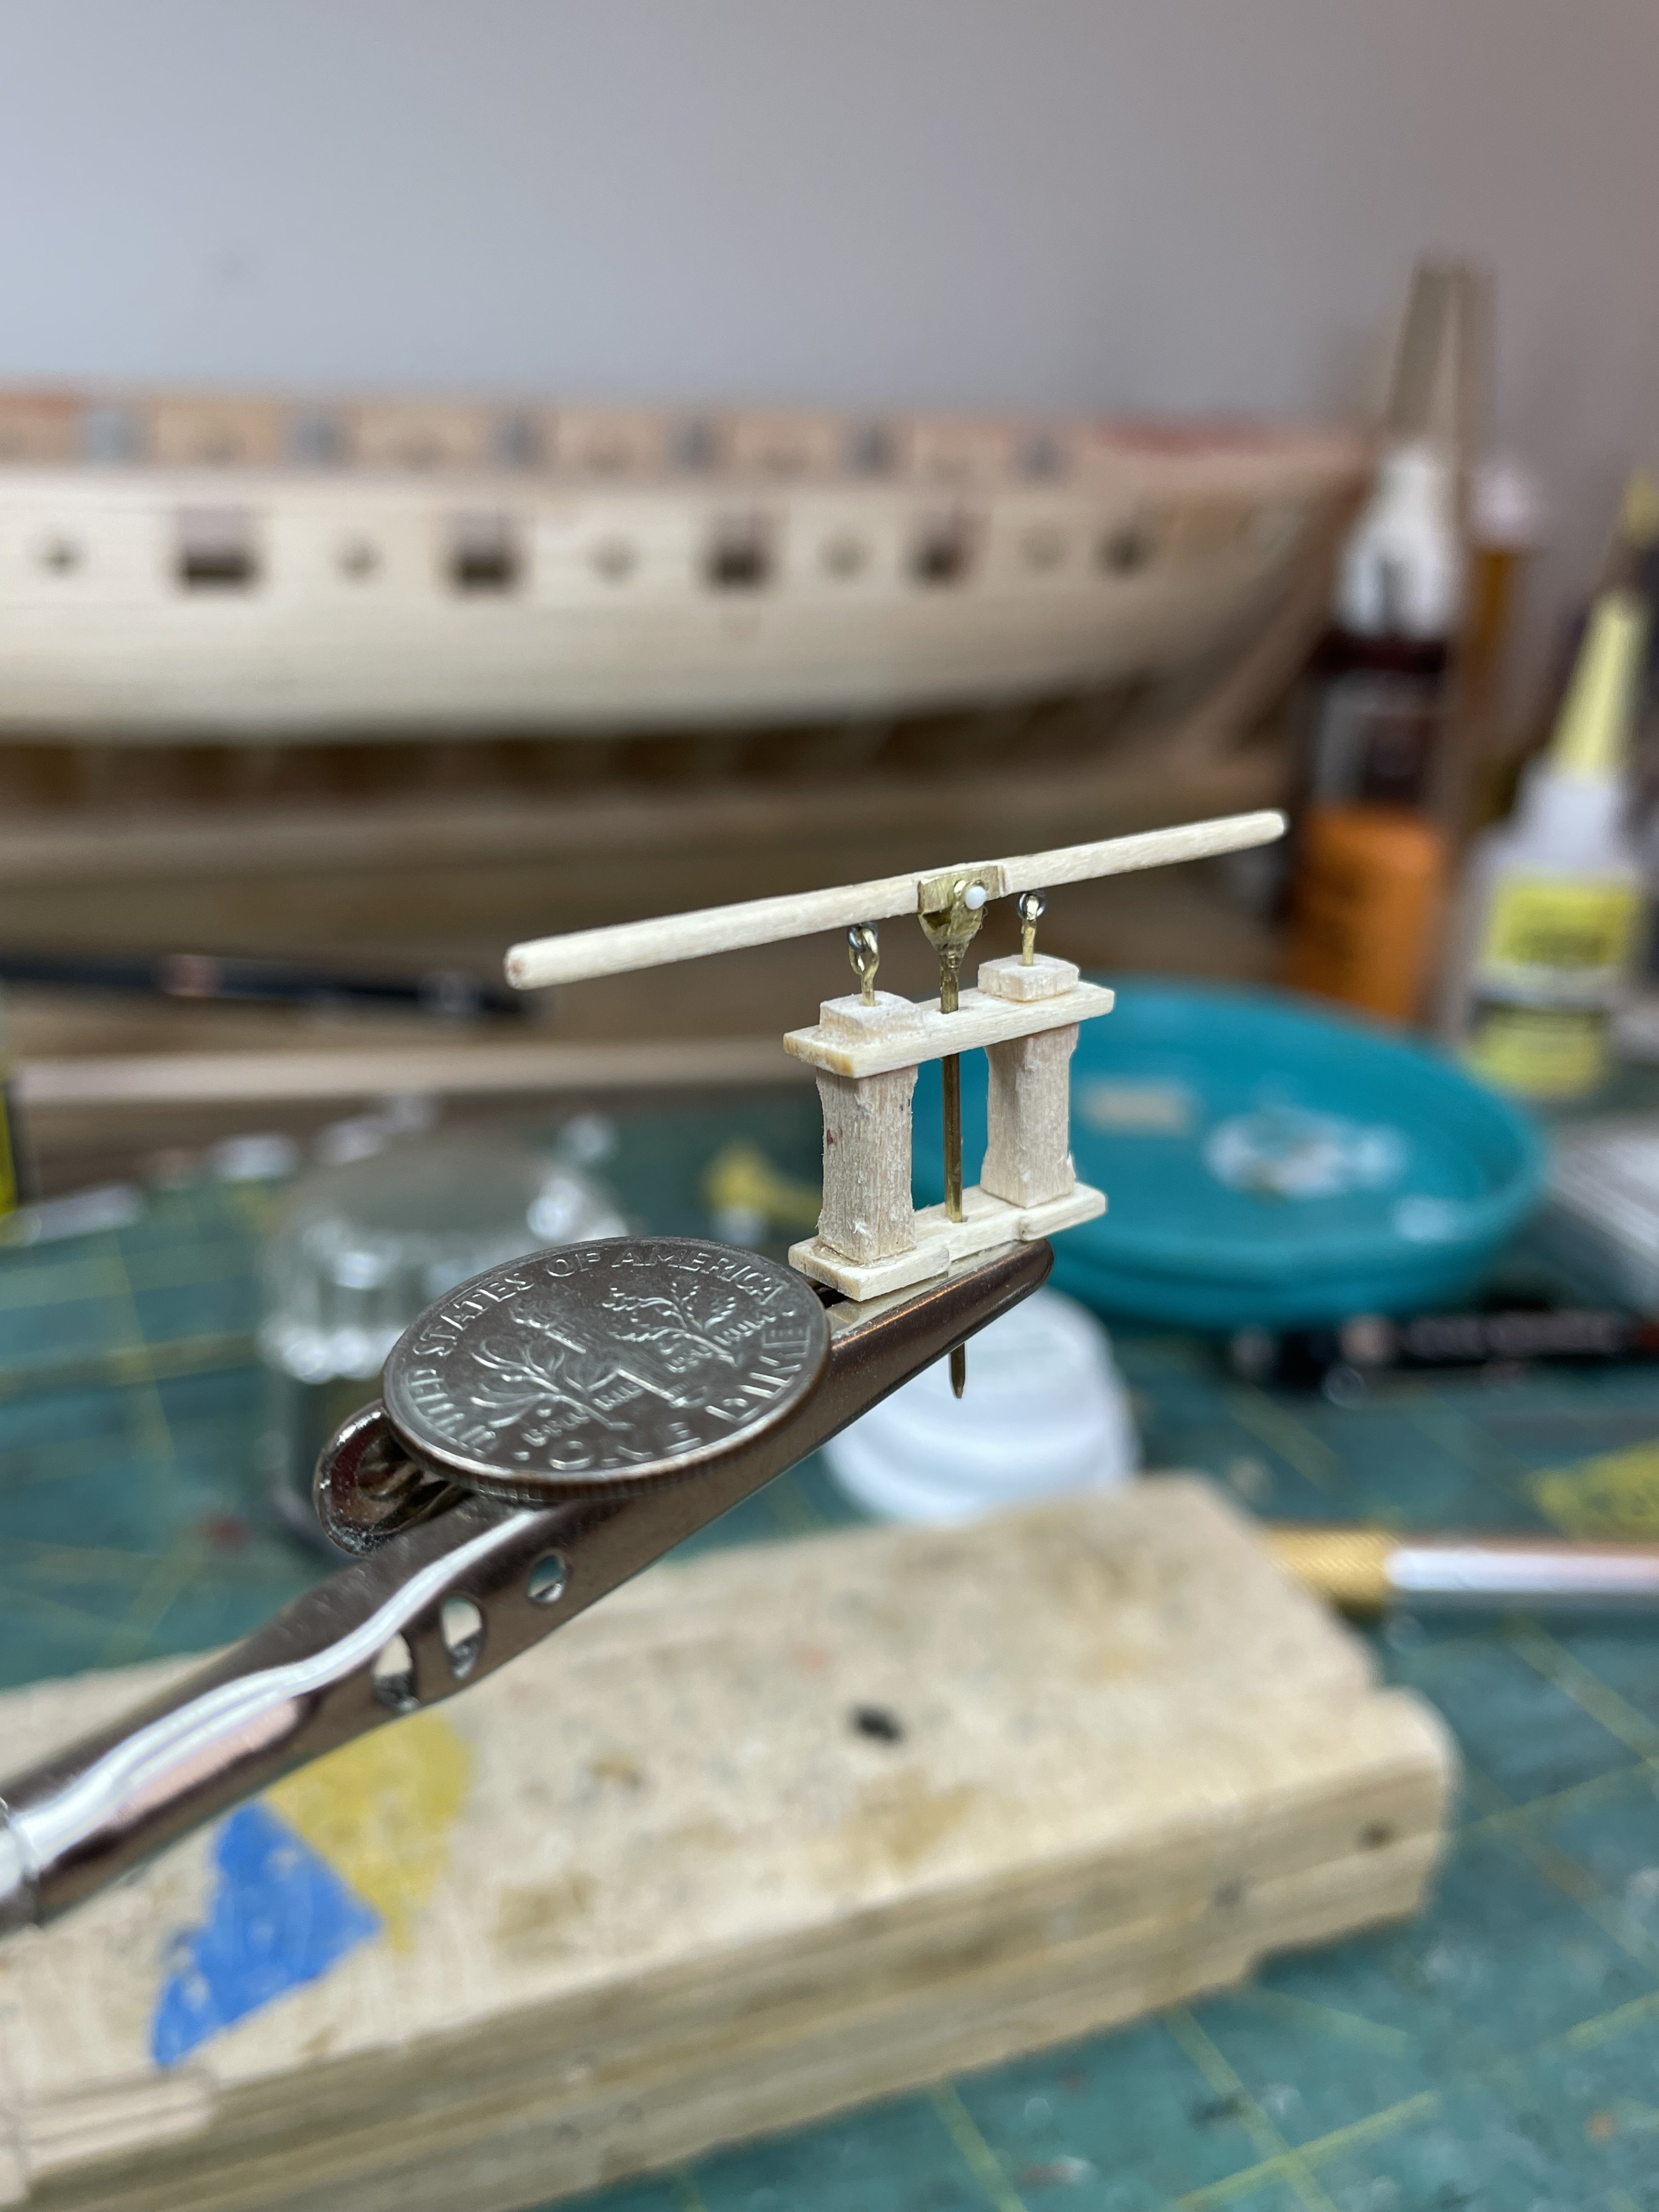
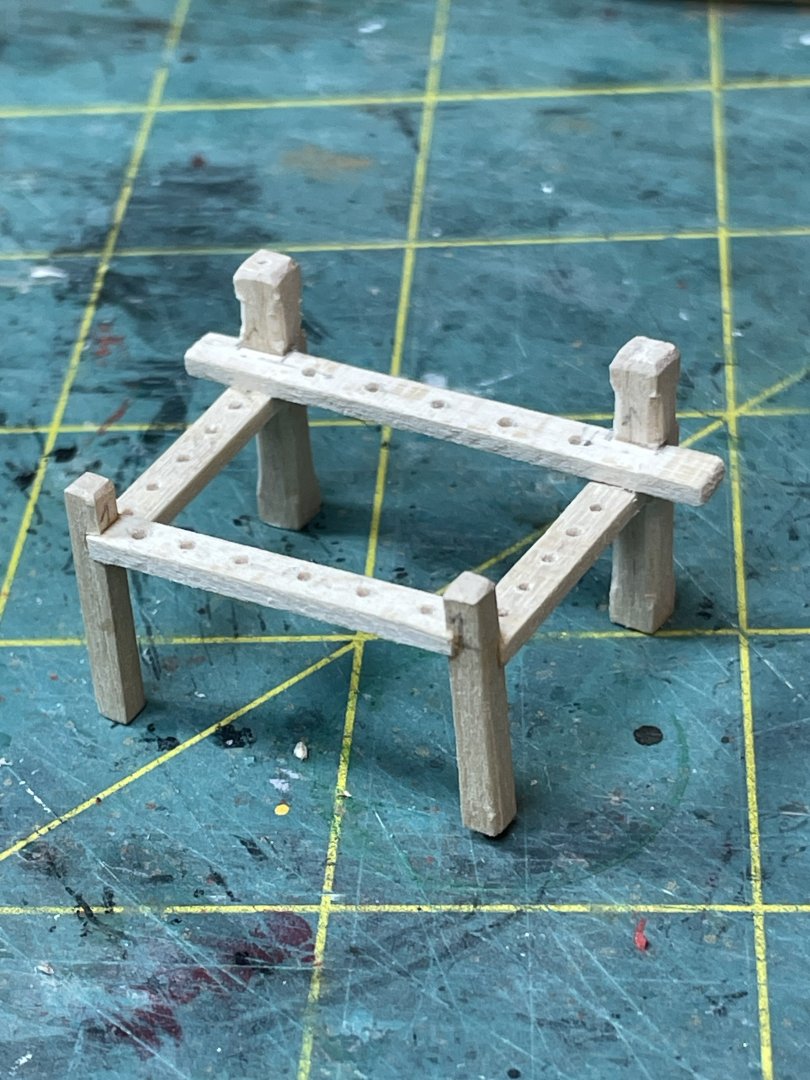
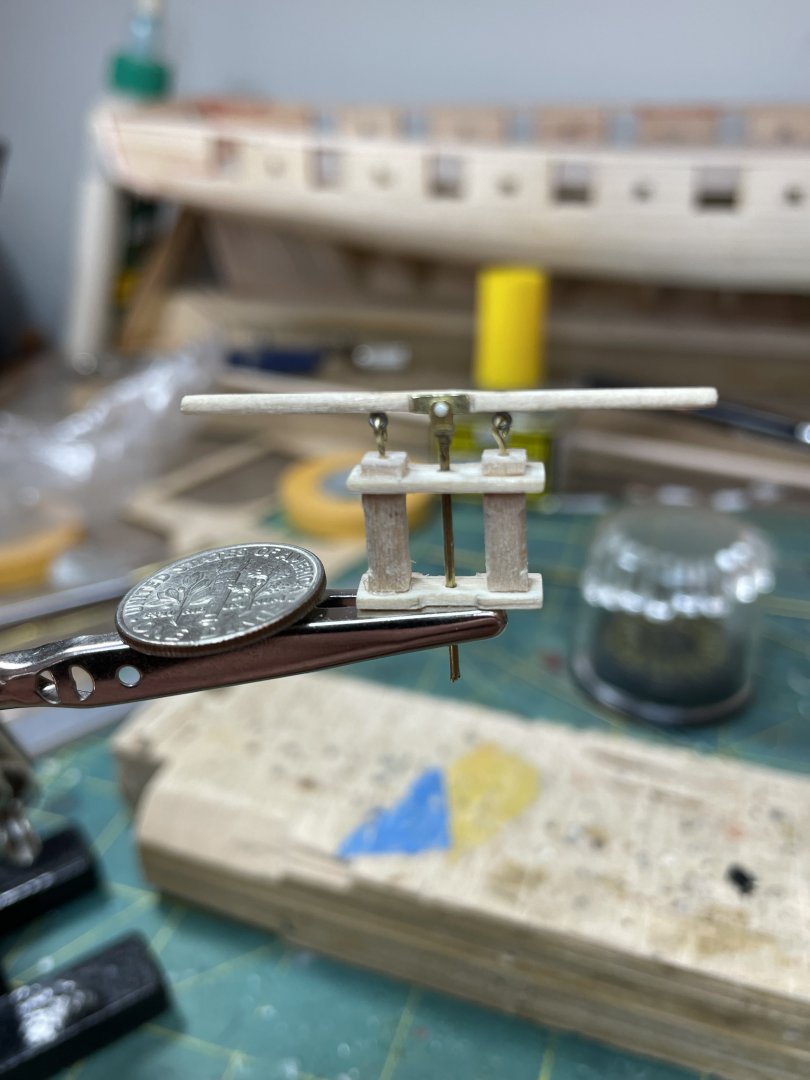
Small update as work continues - the fife rails and where the ships bell will be attached

-
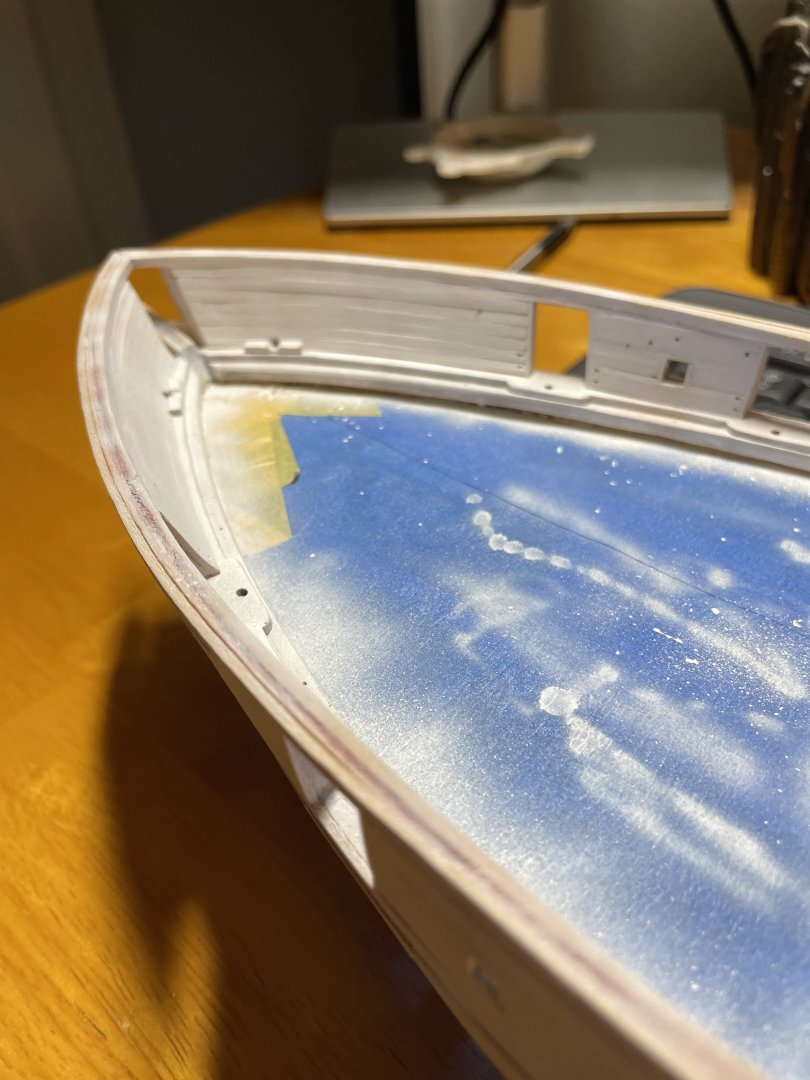
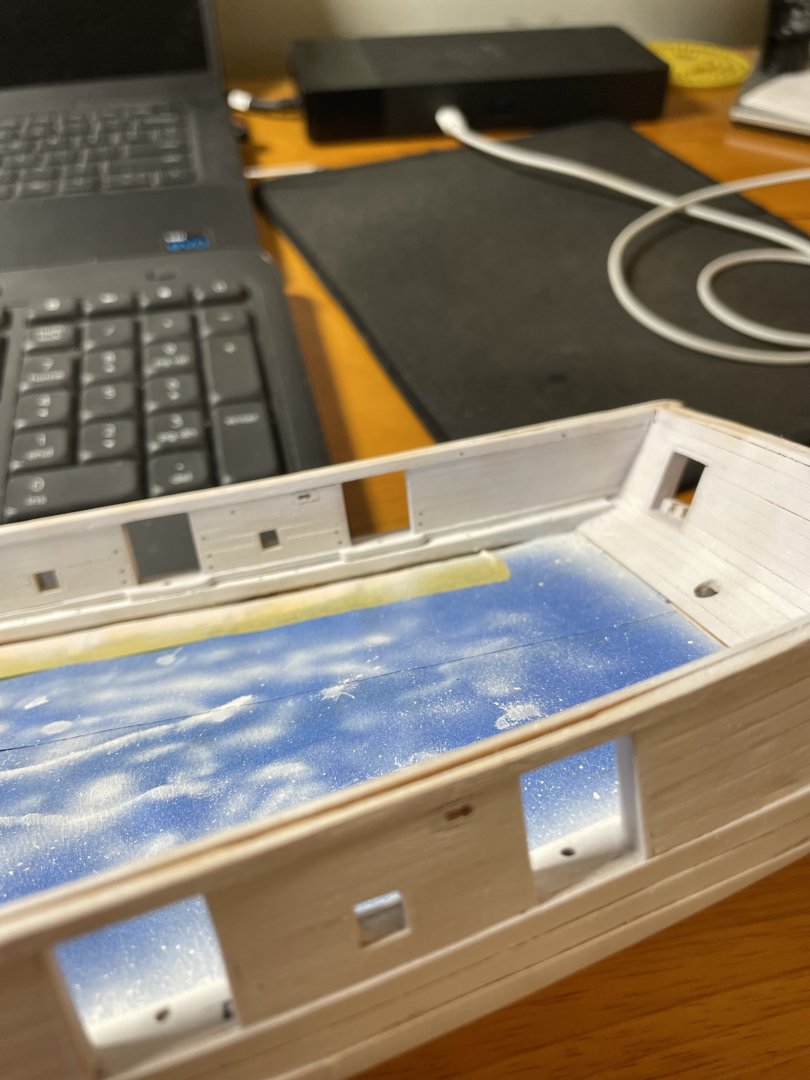
In a change of pace I primed the hull for adding color later


-
Looks fantastic.
-
Thanks Steve!
-
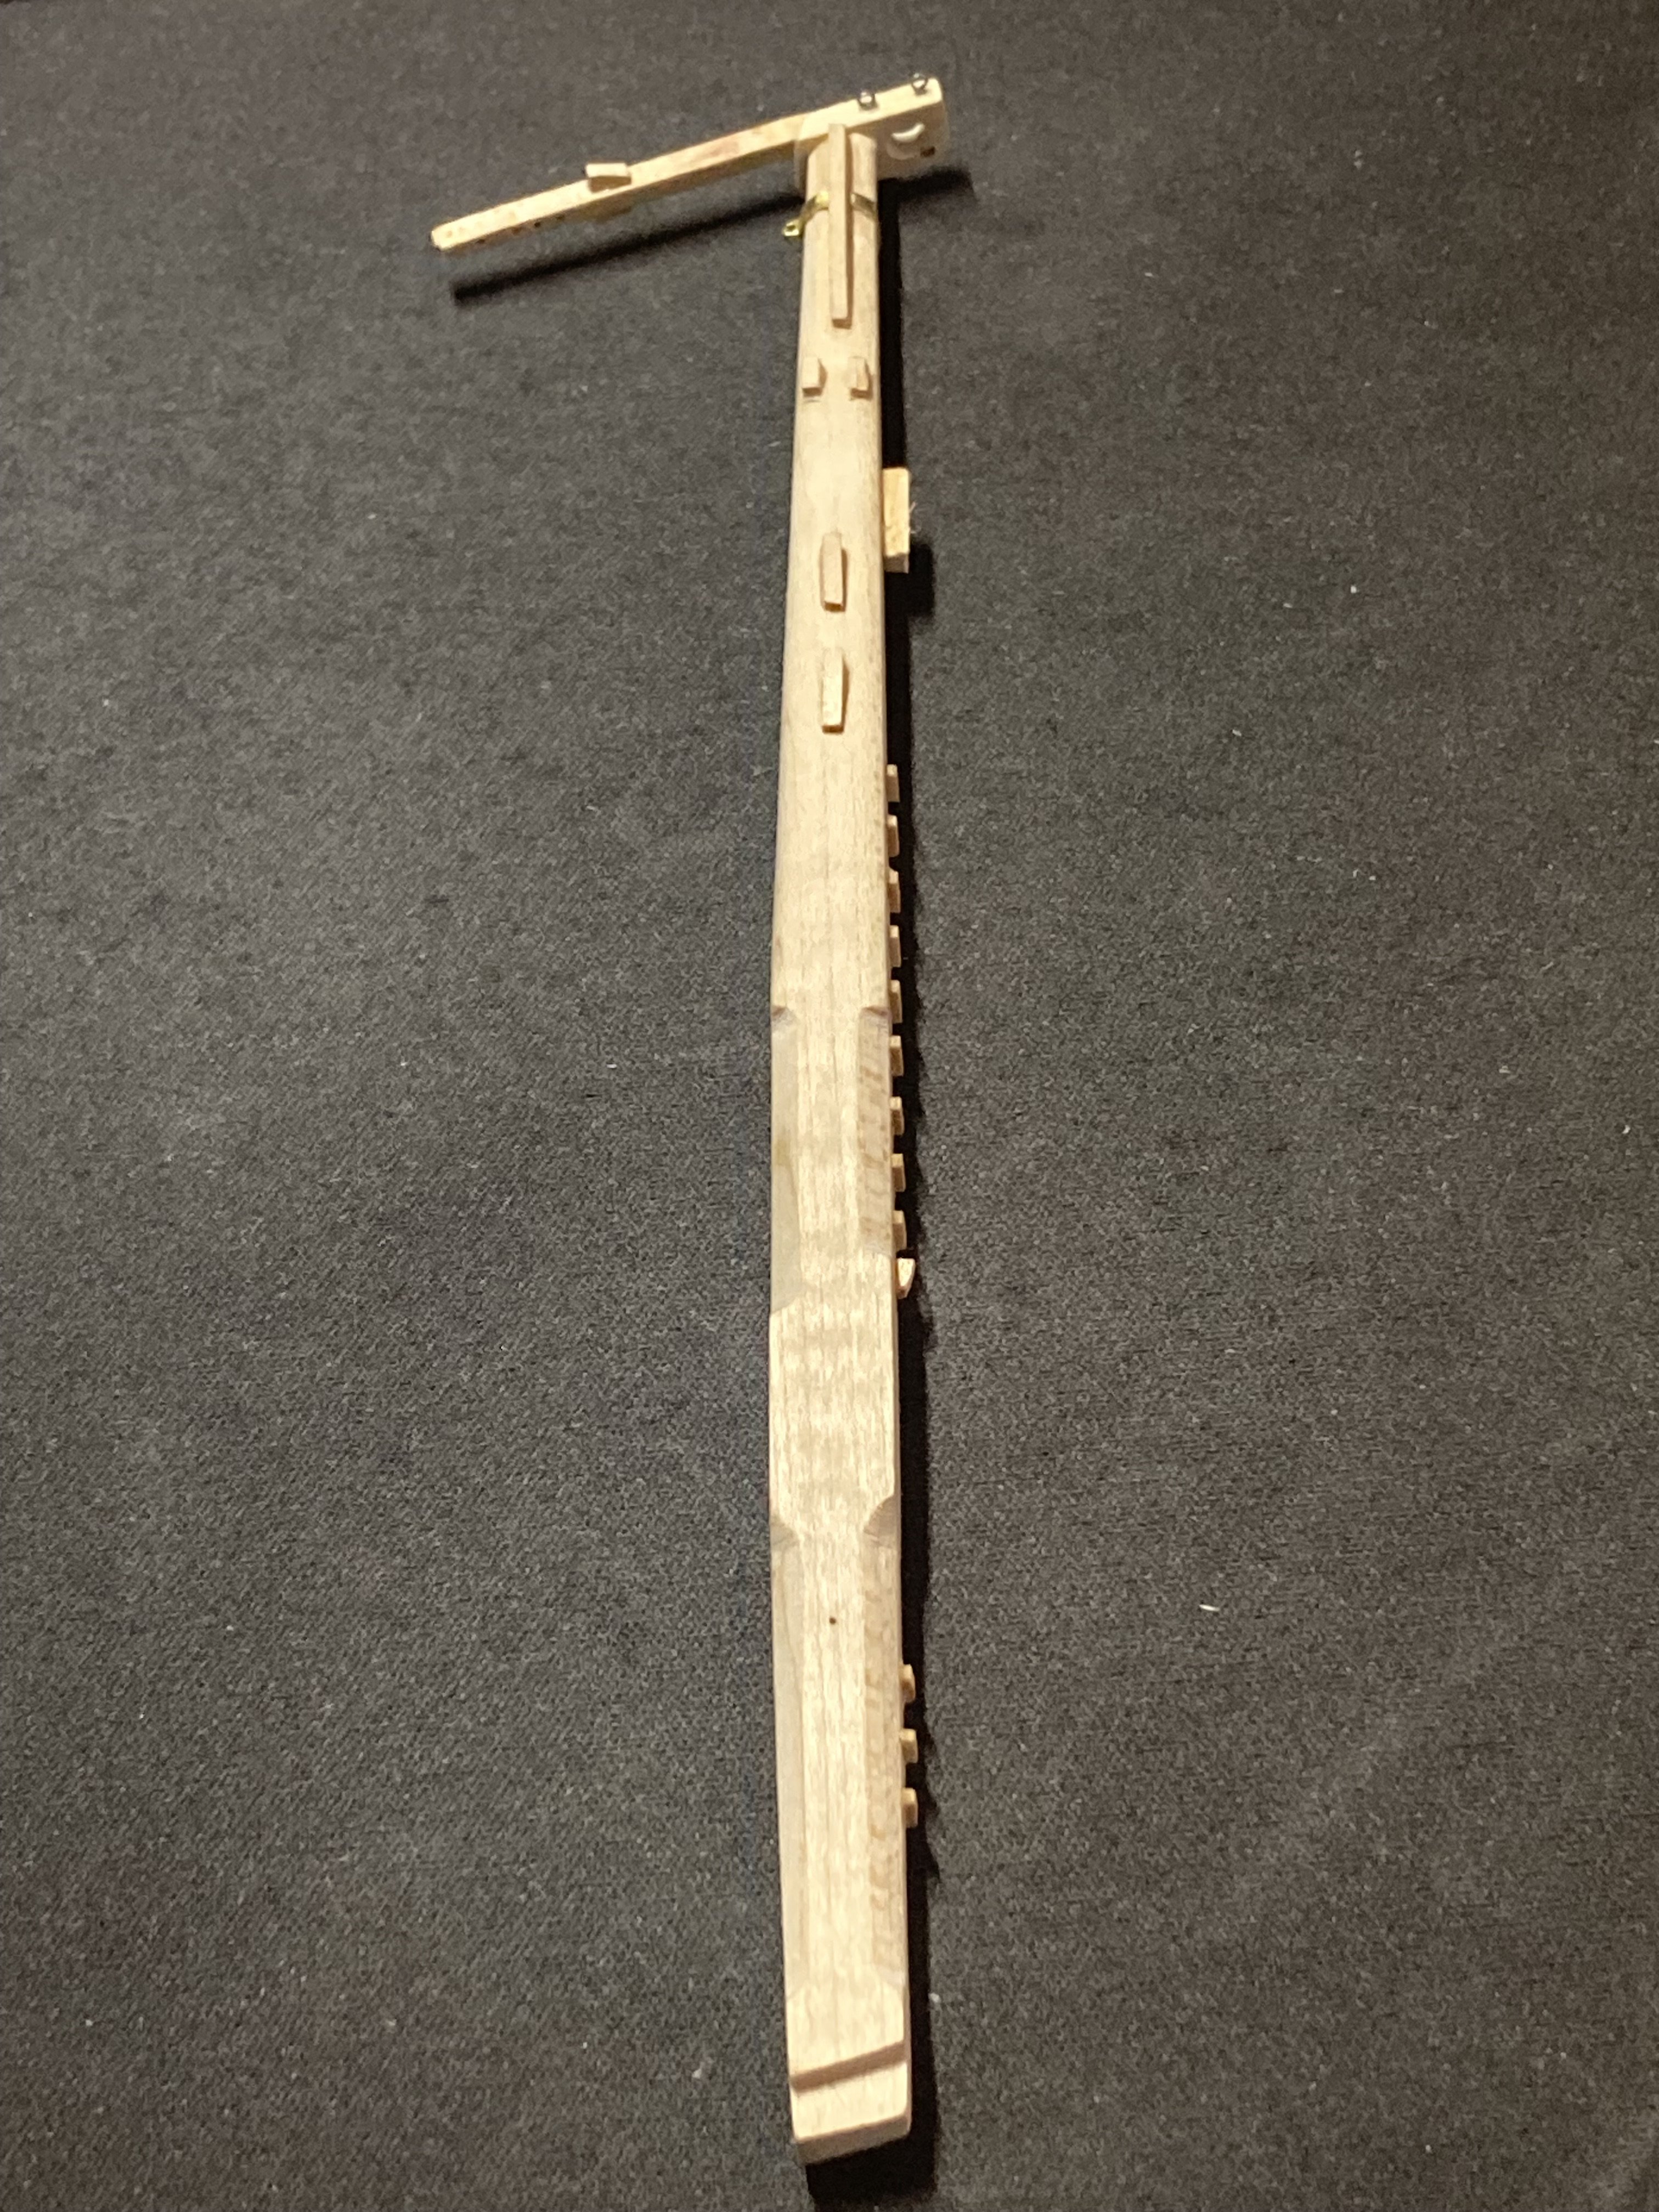
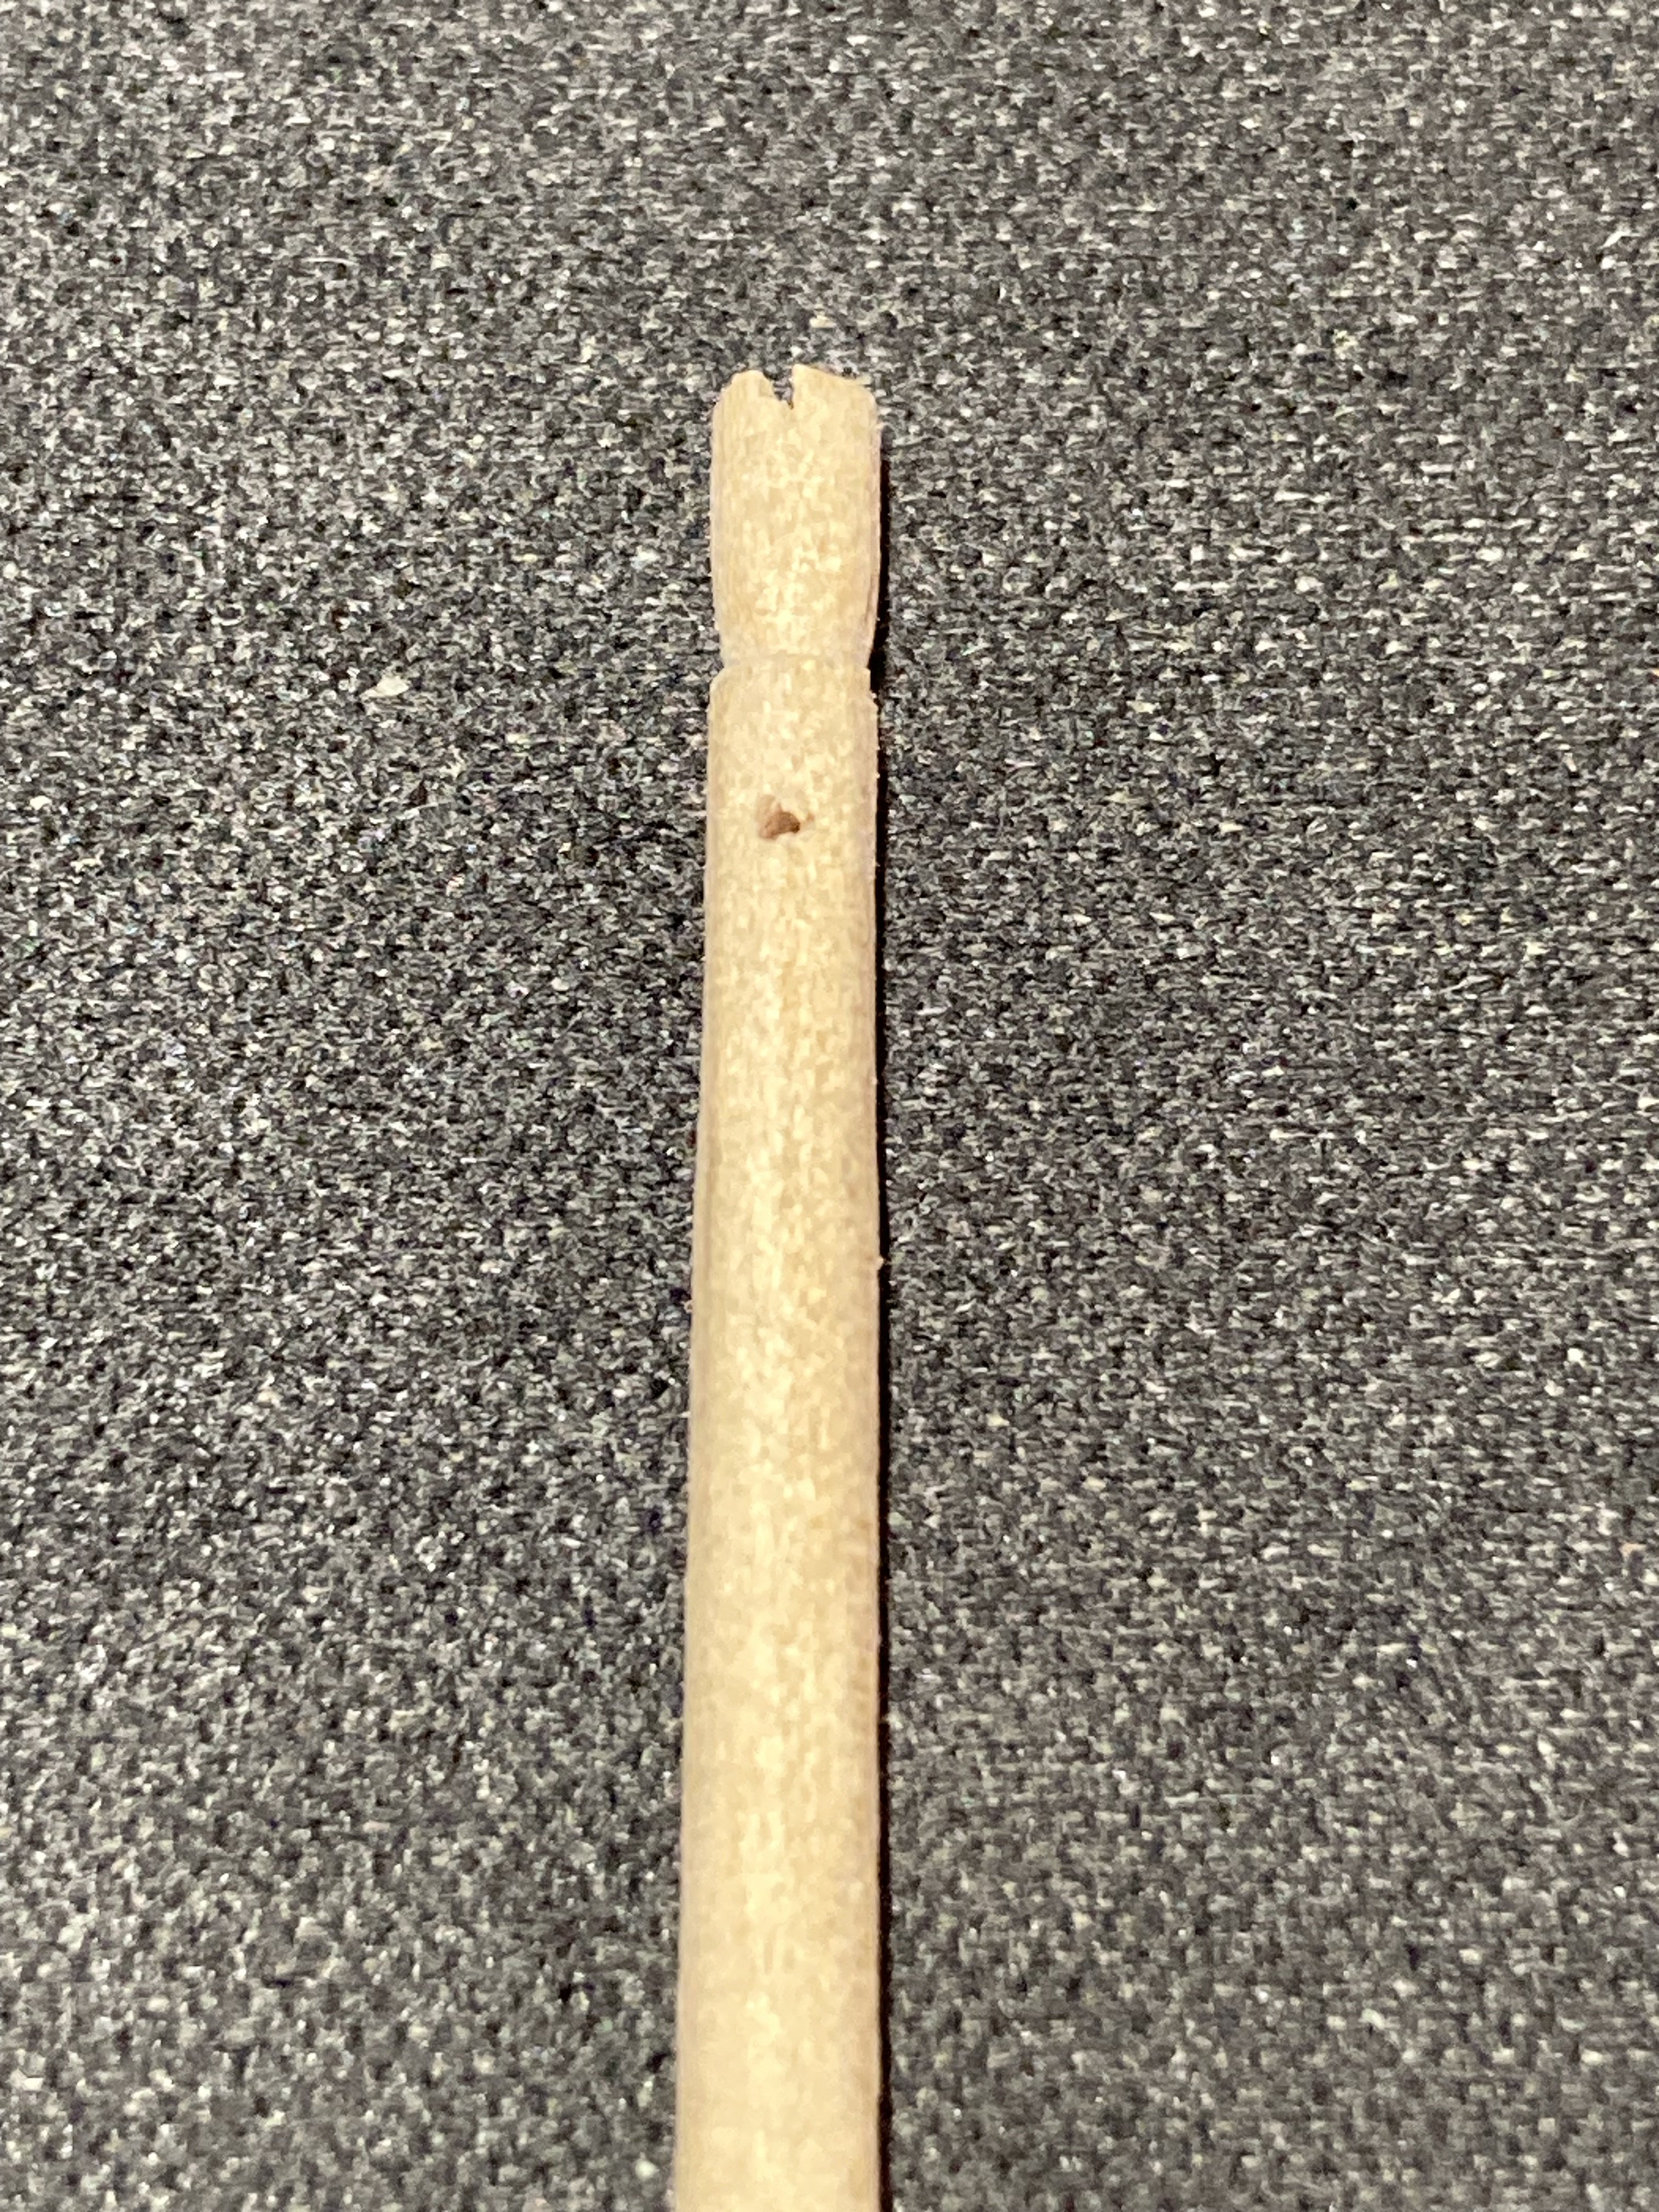
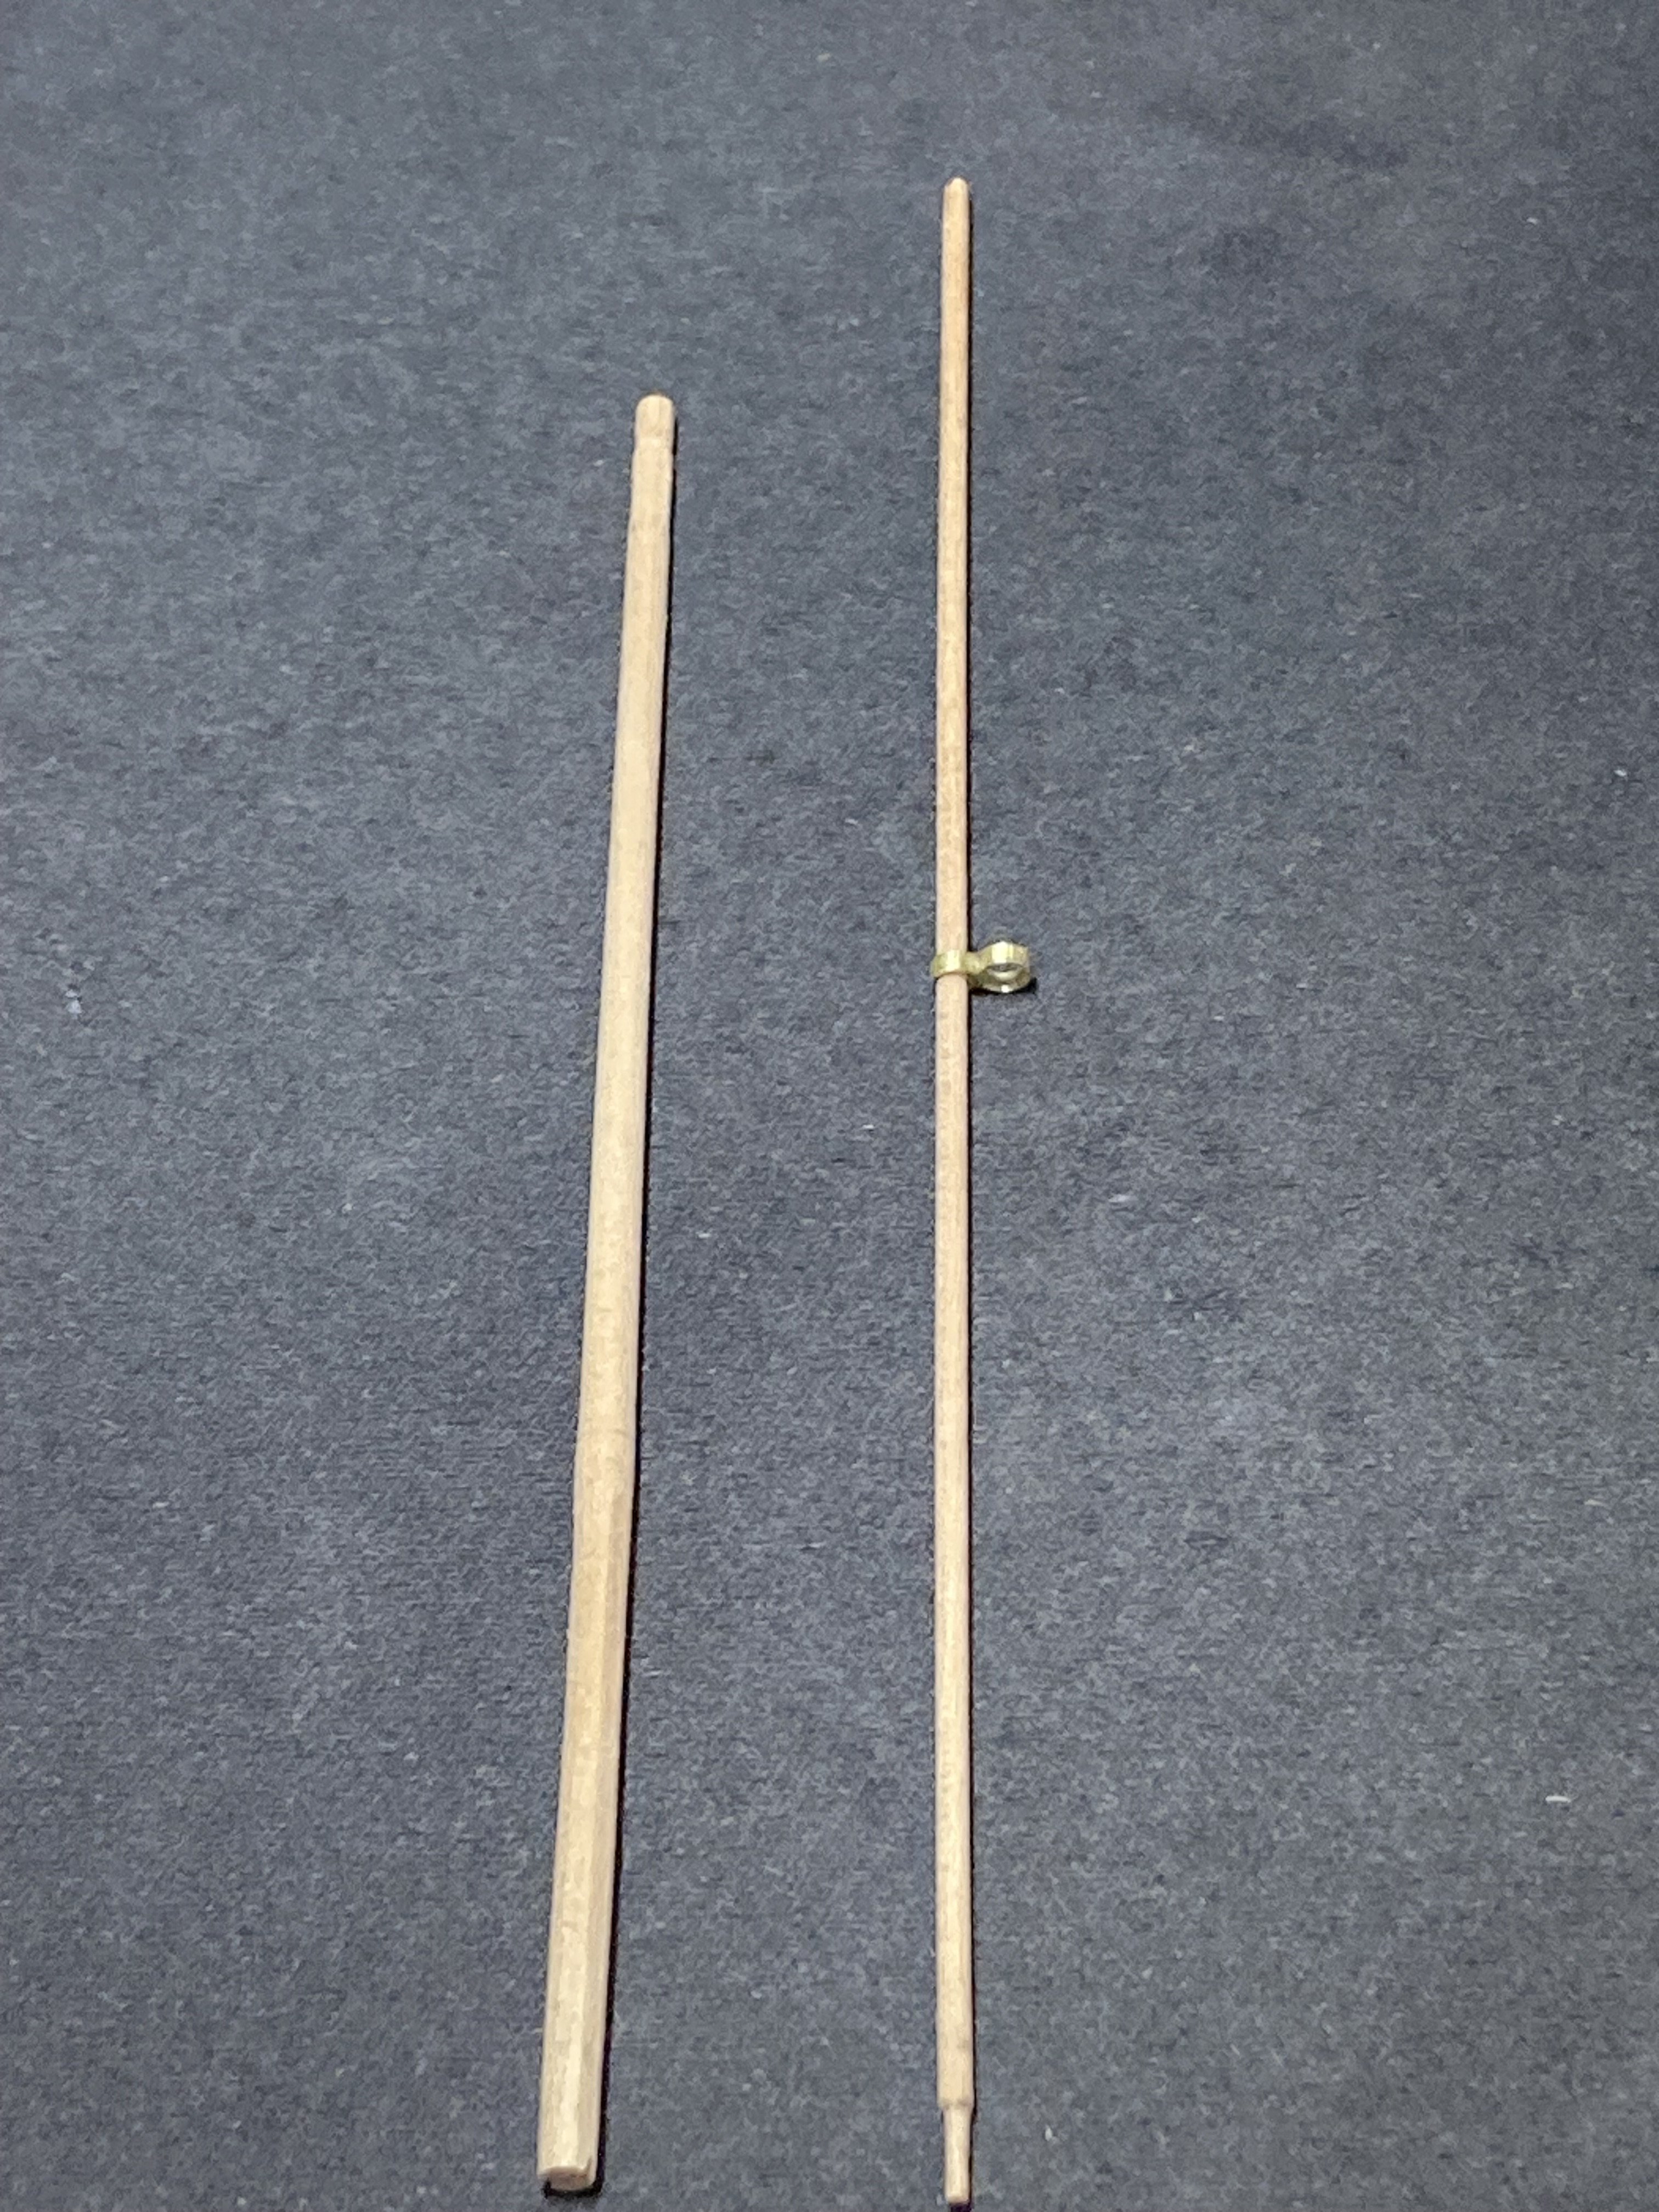
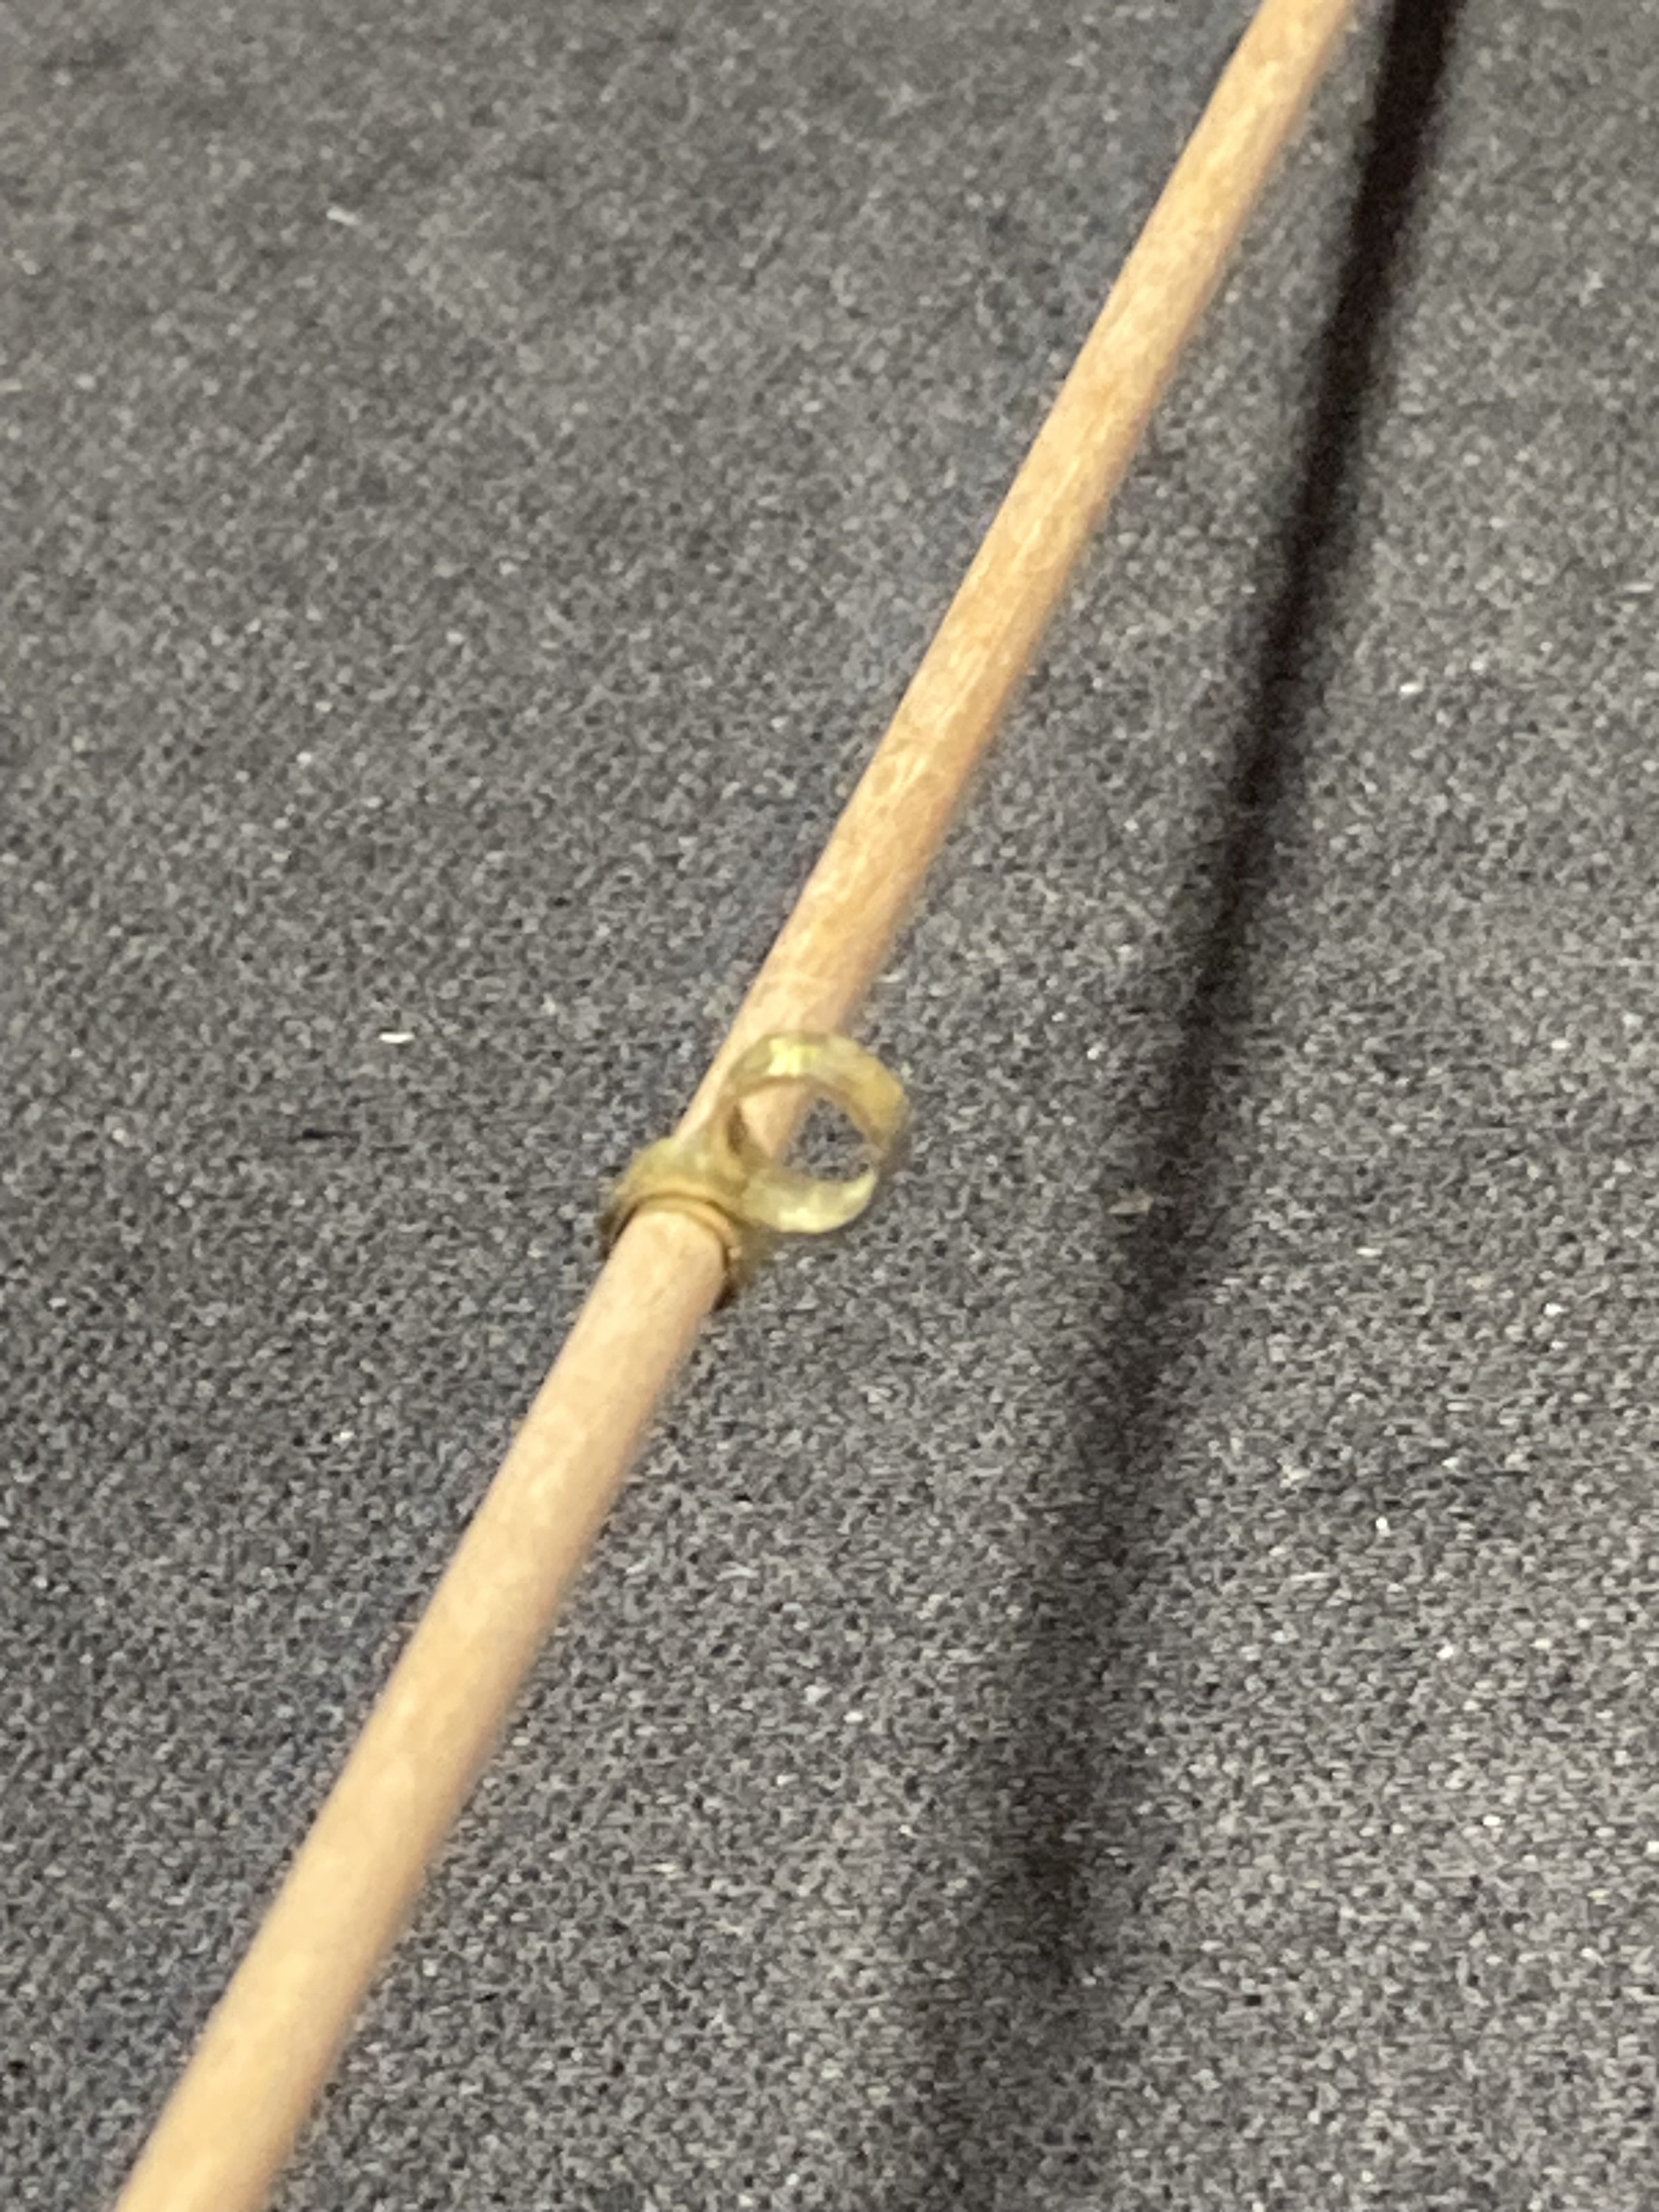
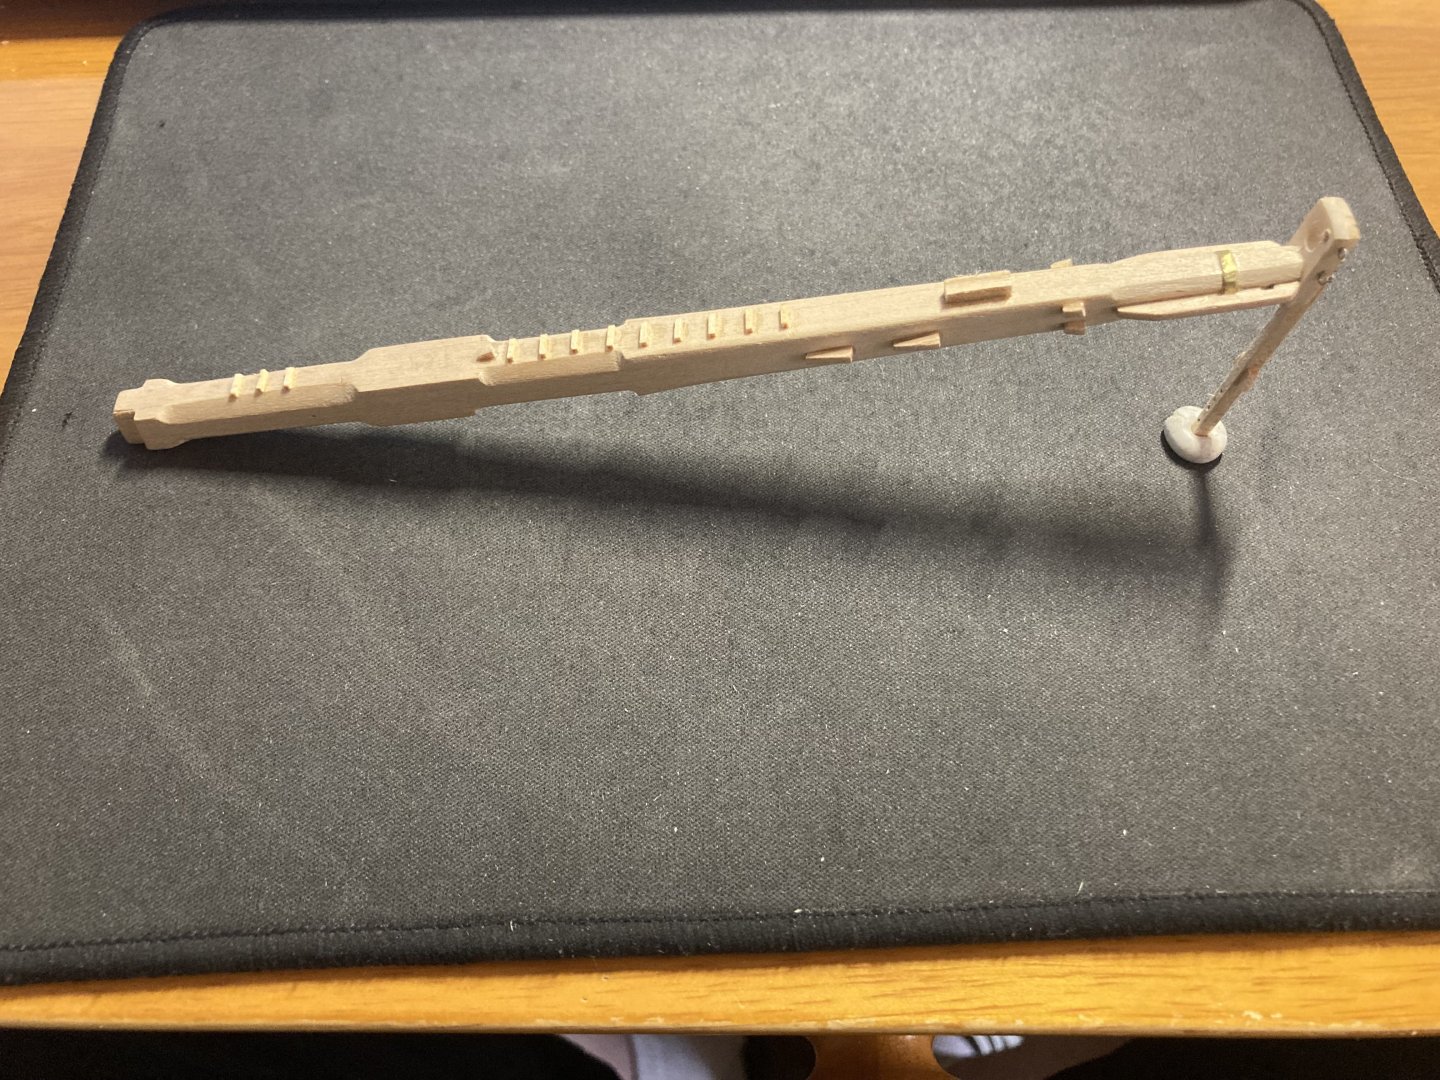
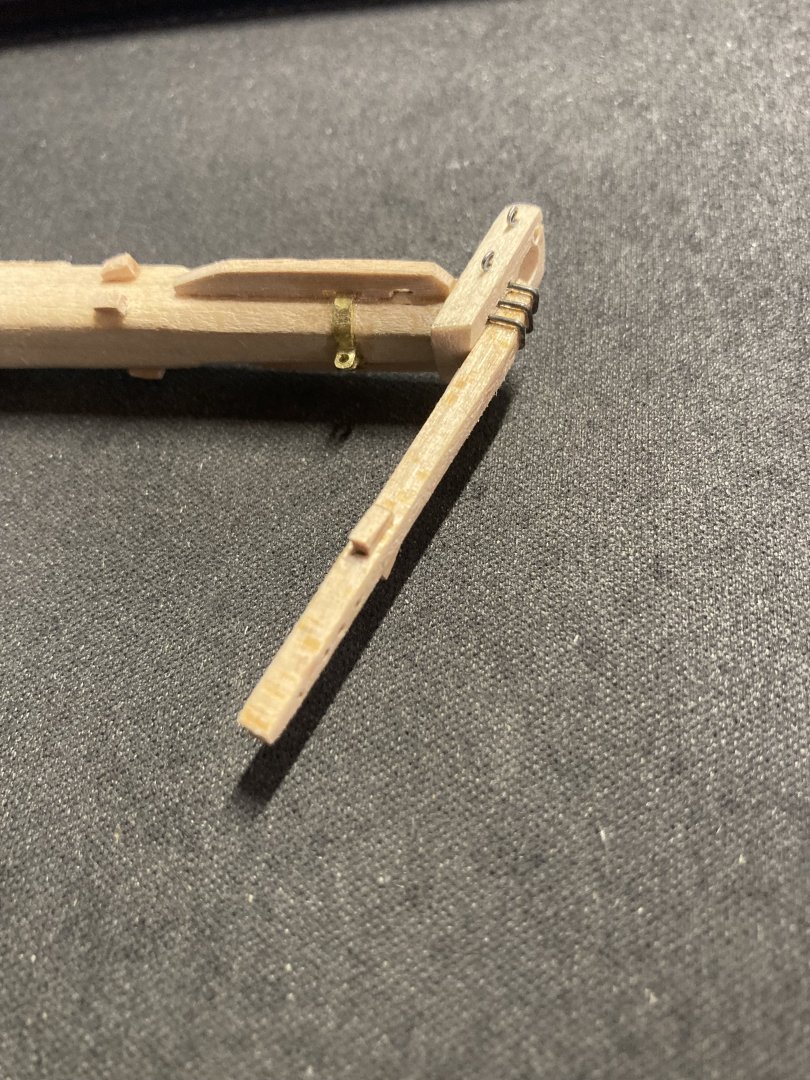
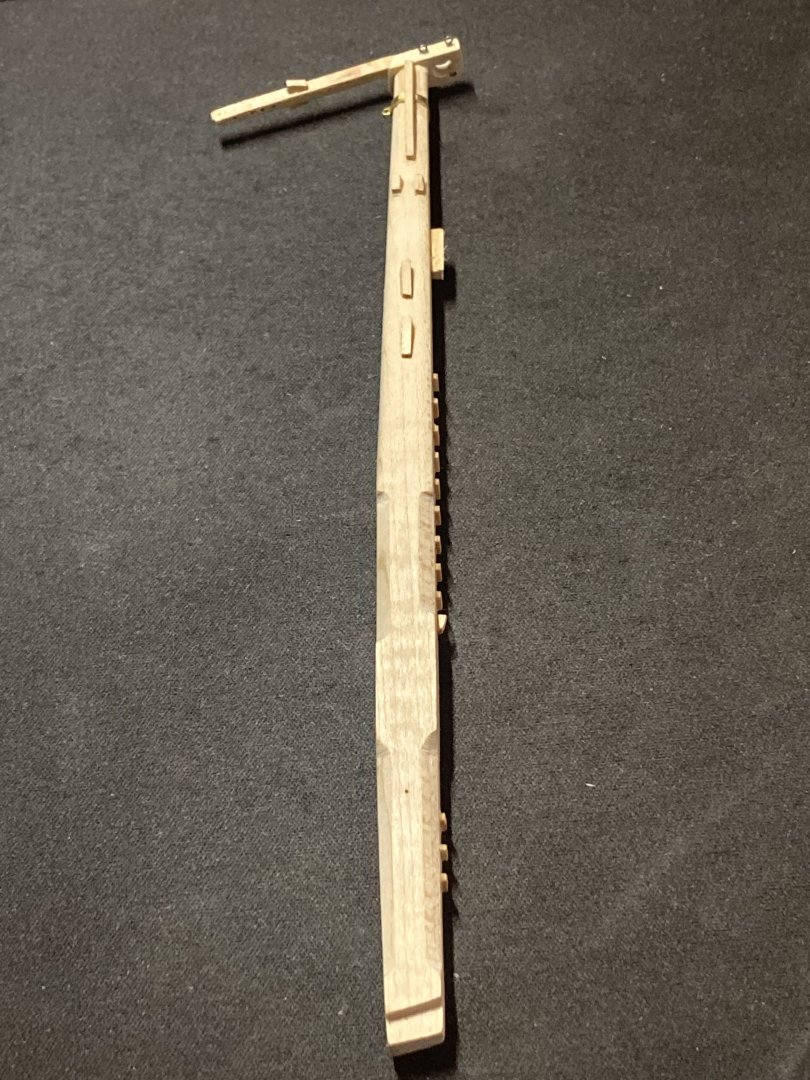
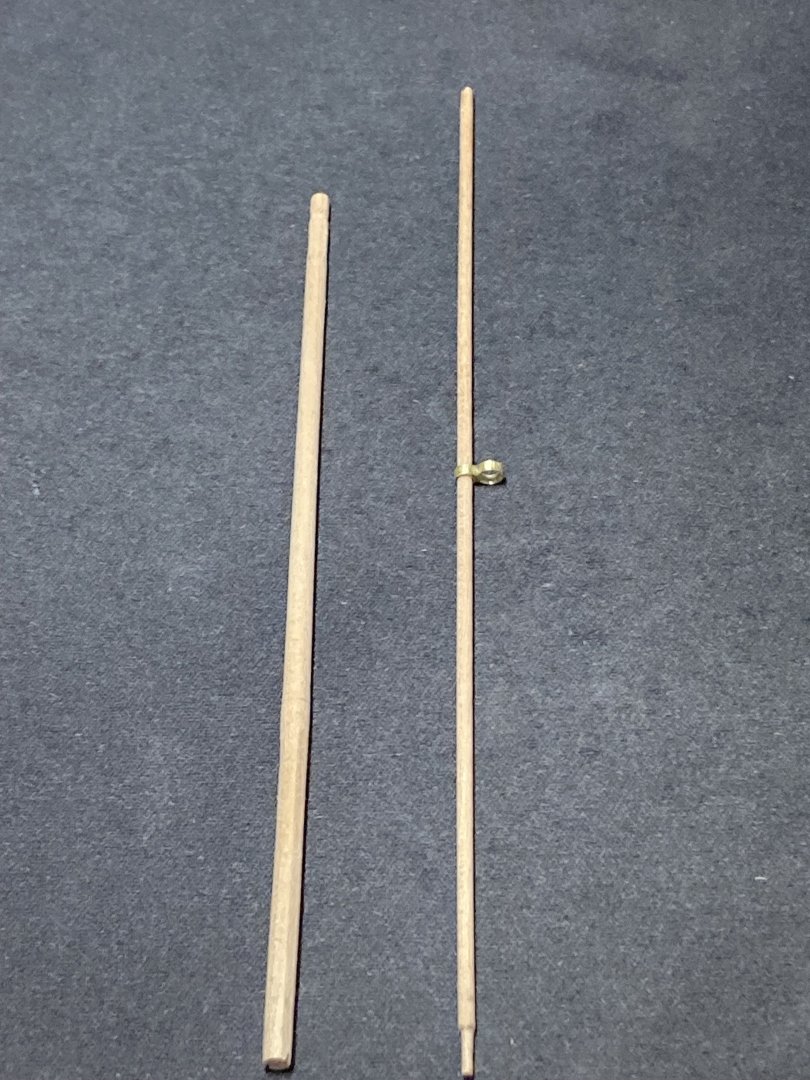
On to the bowsprit, jib boom, and flying jib boom


-
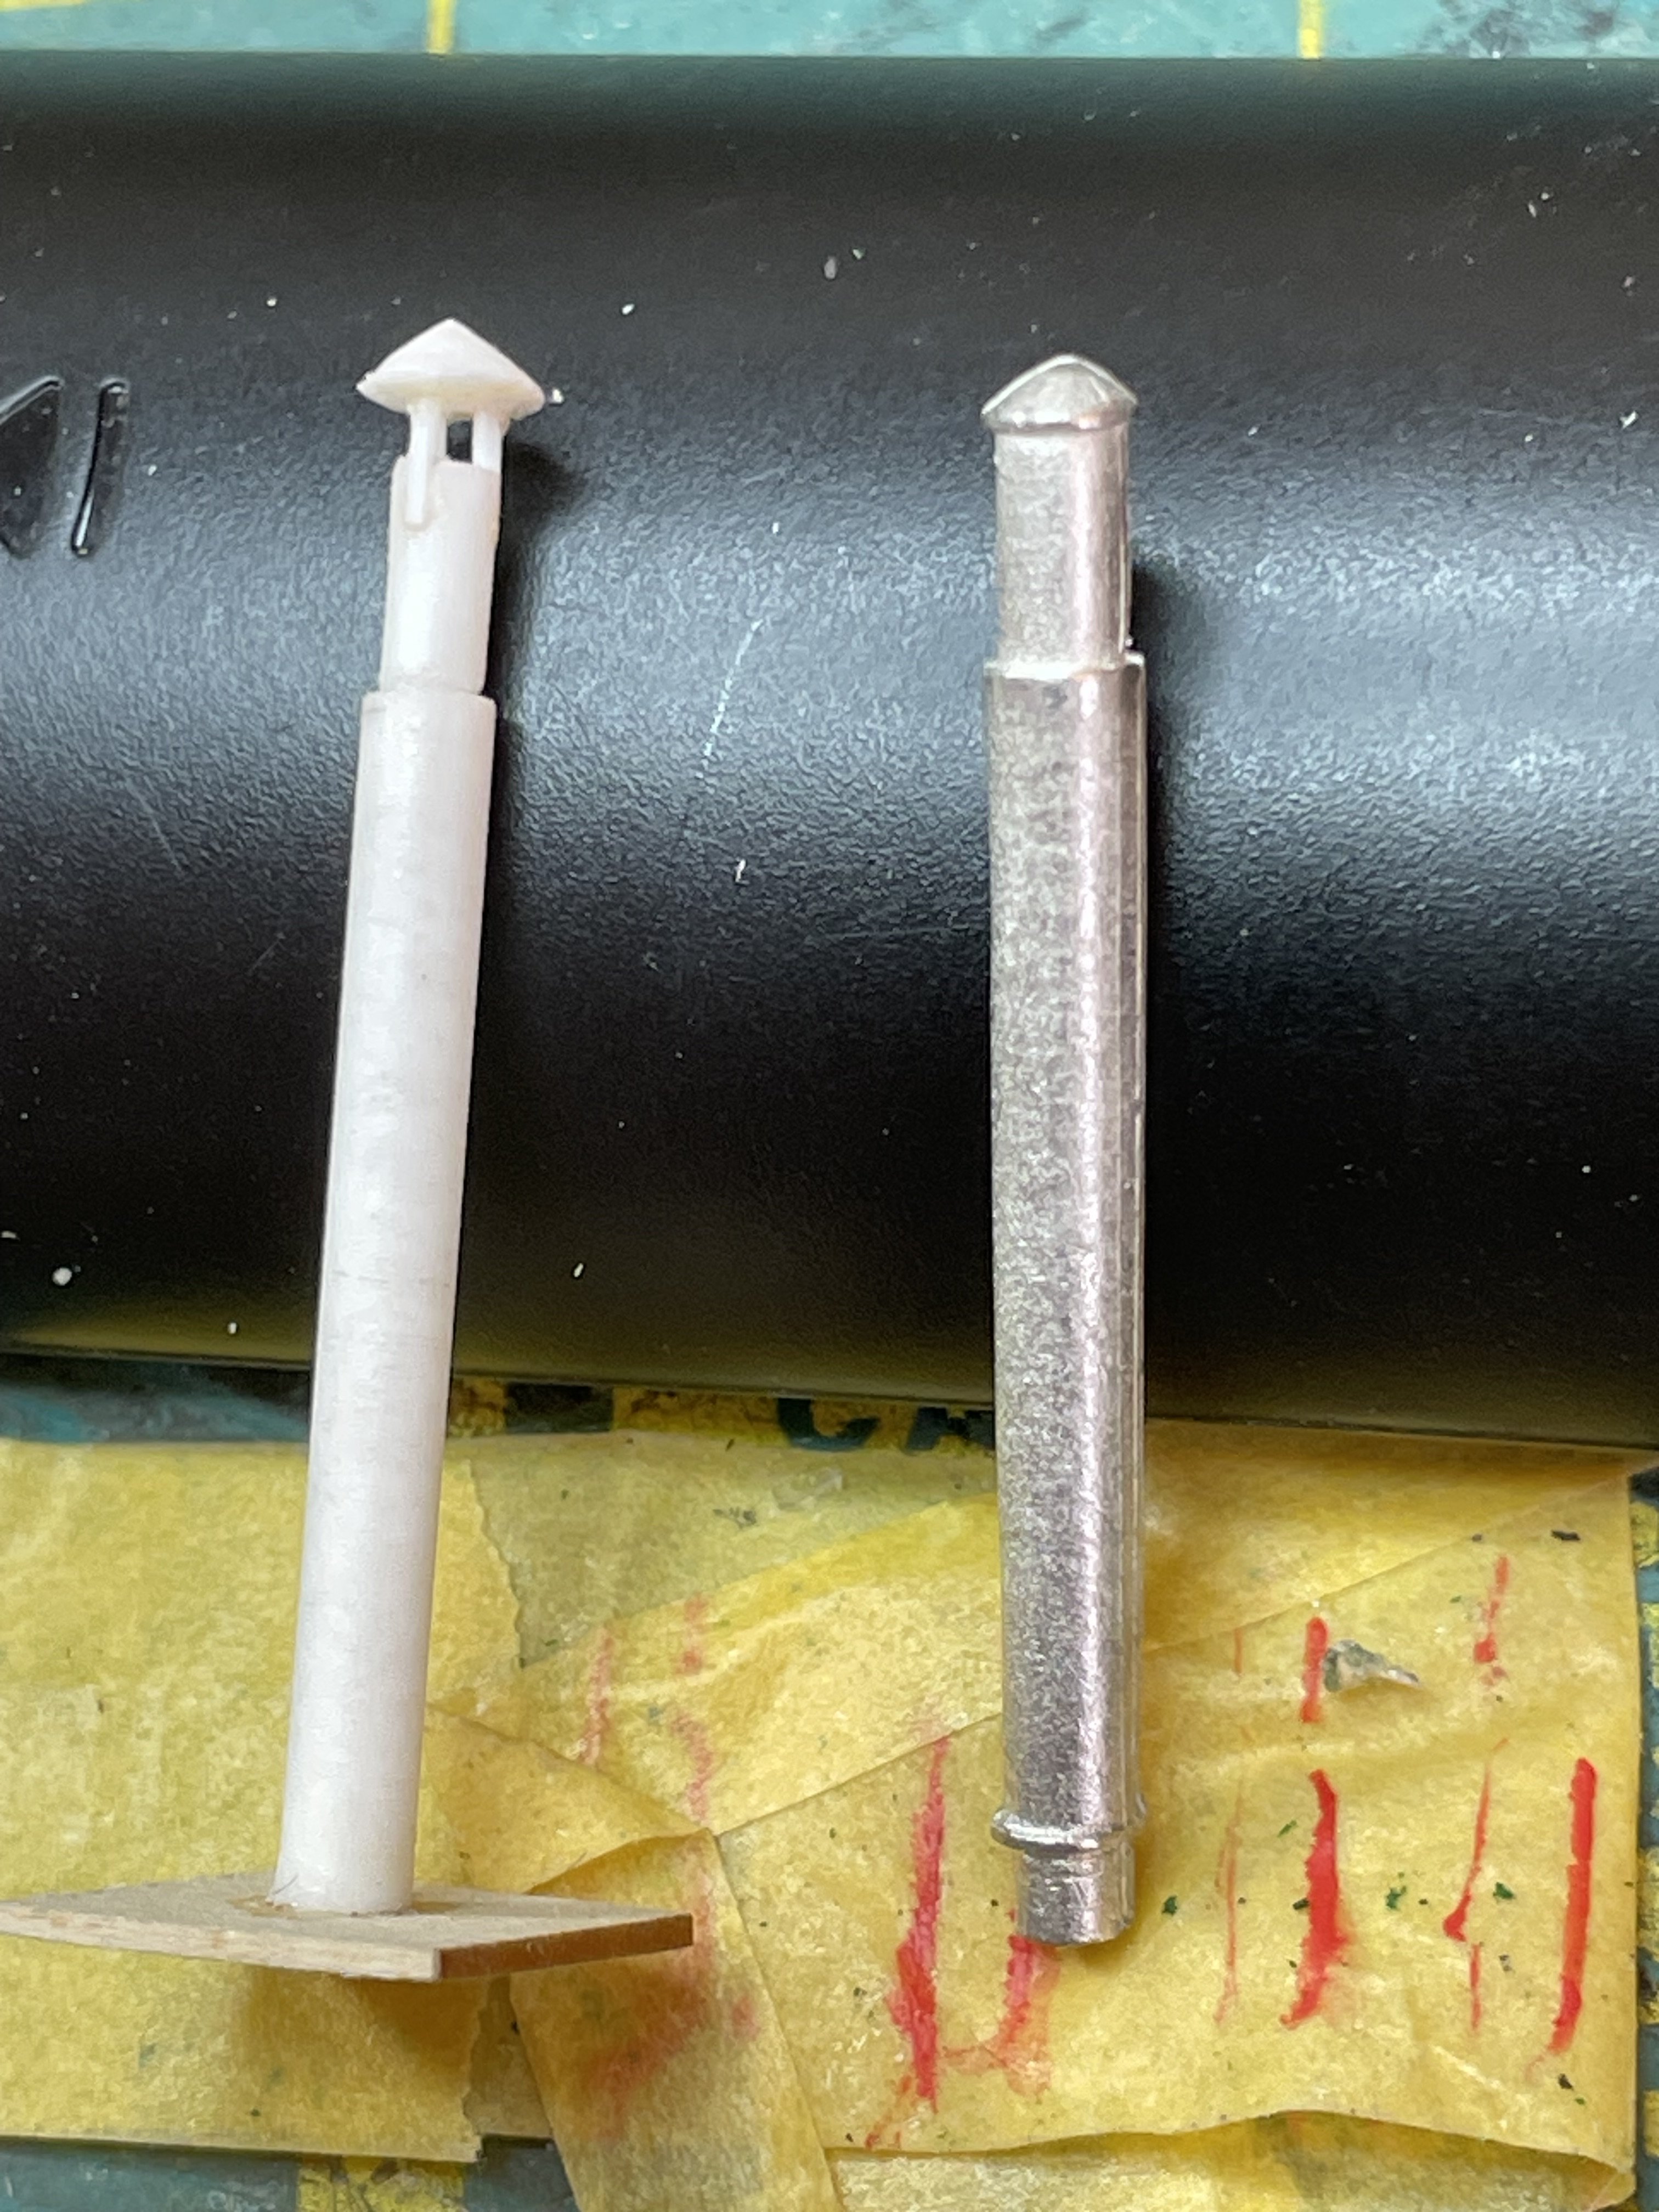
Decided to rebuild the chimney smoke stack from plastic rather than using the cast metal part provided. I felt that the cast metal part just didn't look too great: Also finished the bilge pump:


-
Mooring cleats attached and shaped: Hawse hole drilled on inside and outside. Small plastic piece shaped for outside of hull:


-
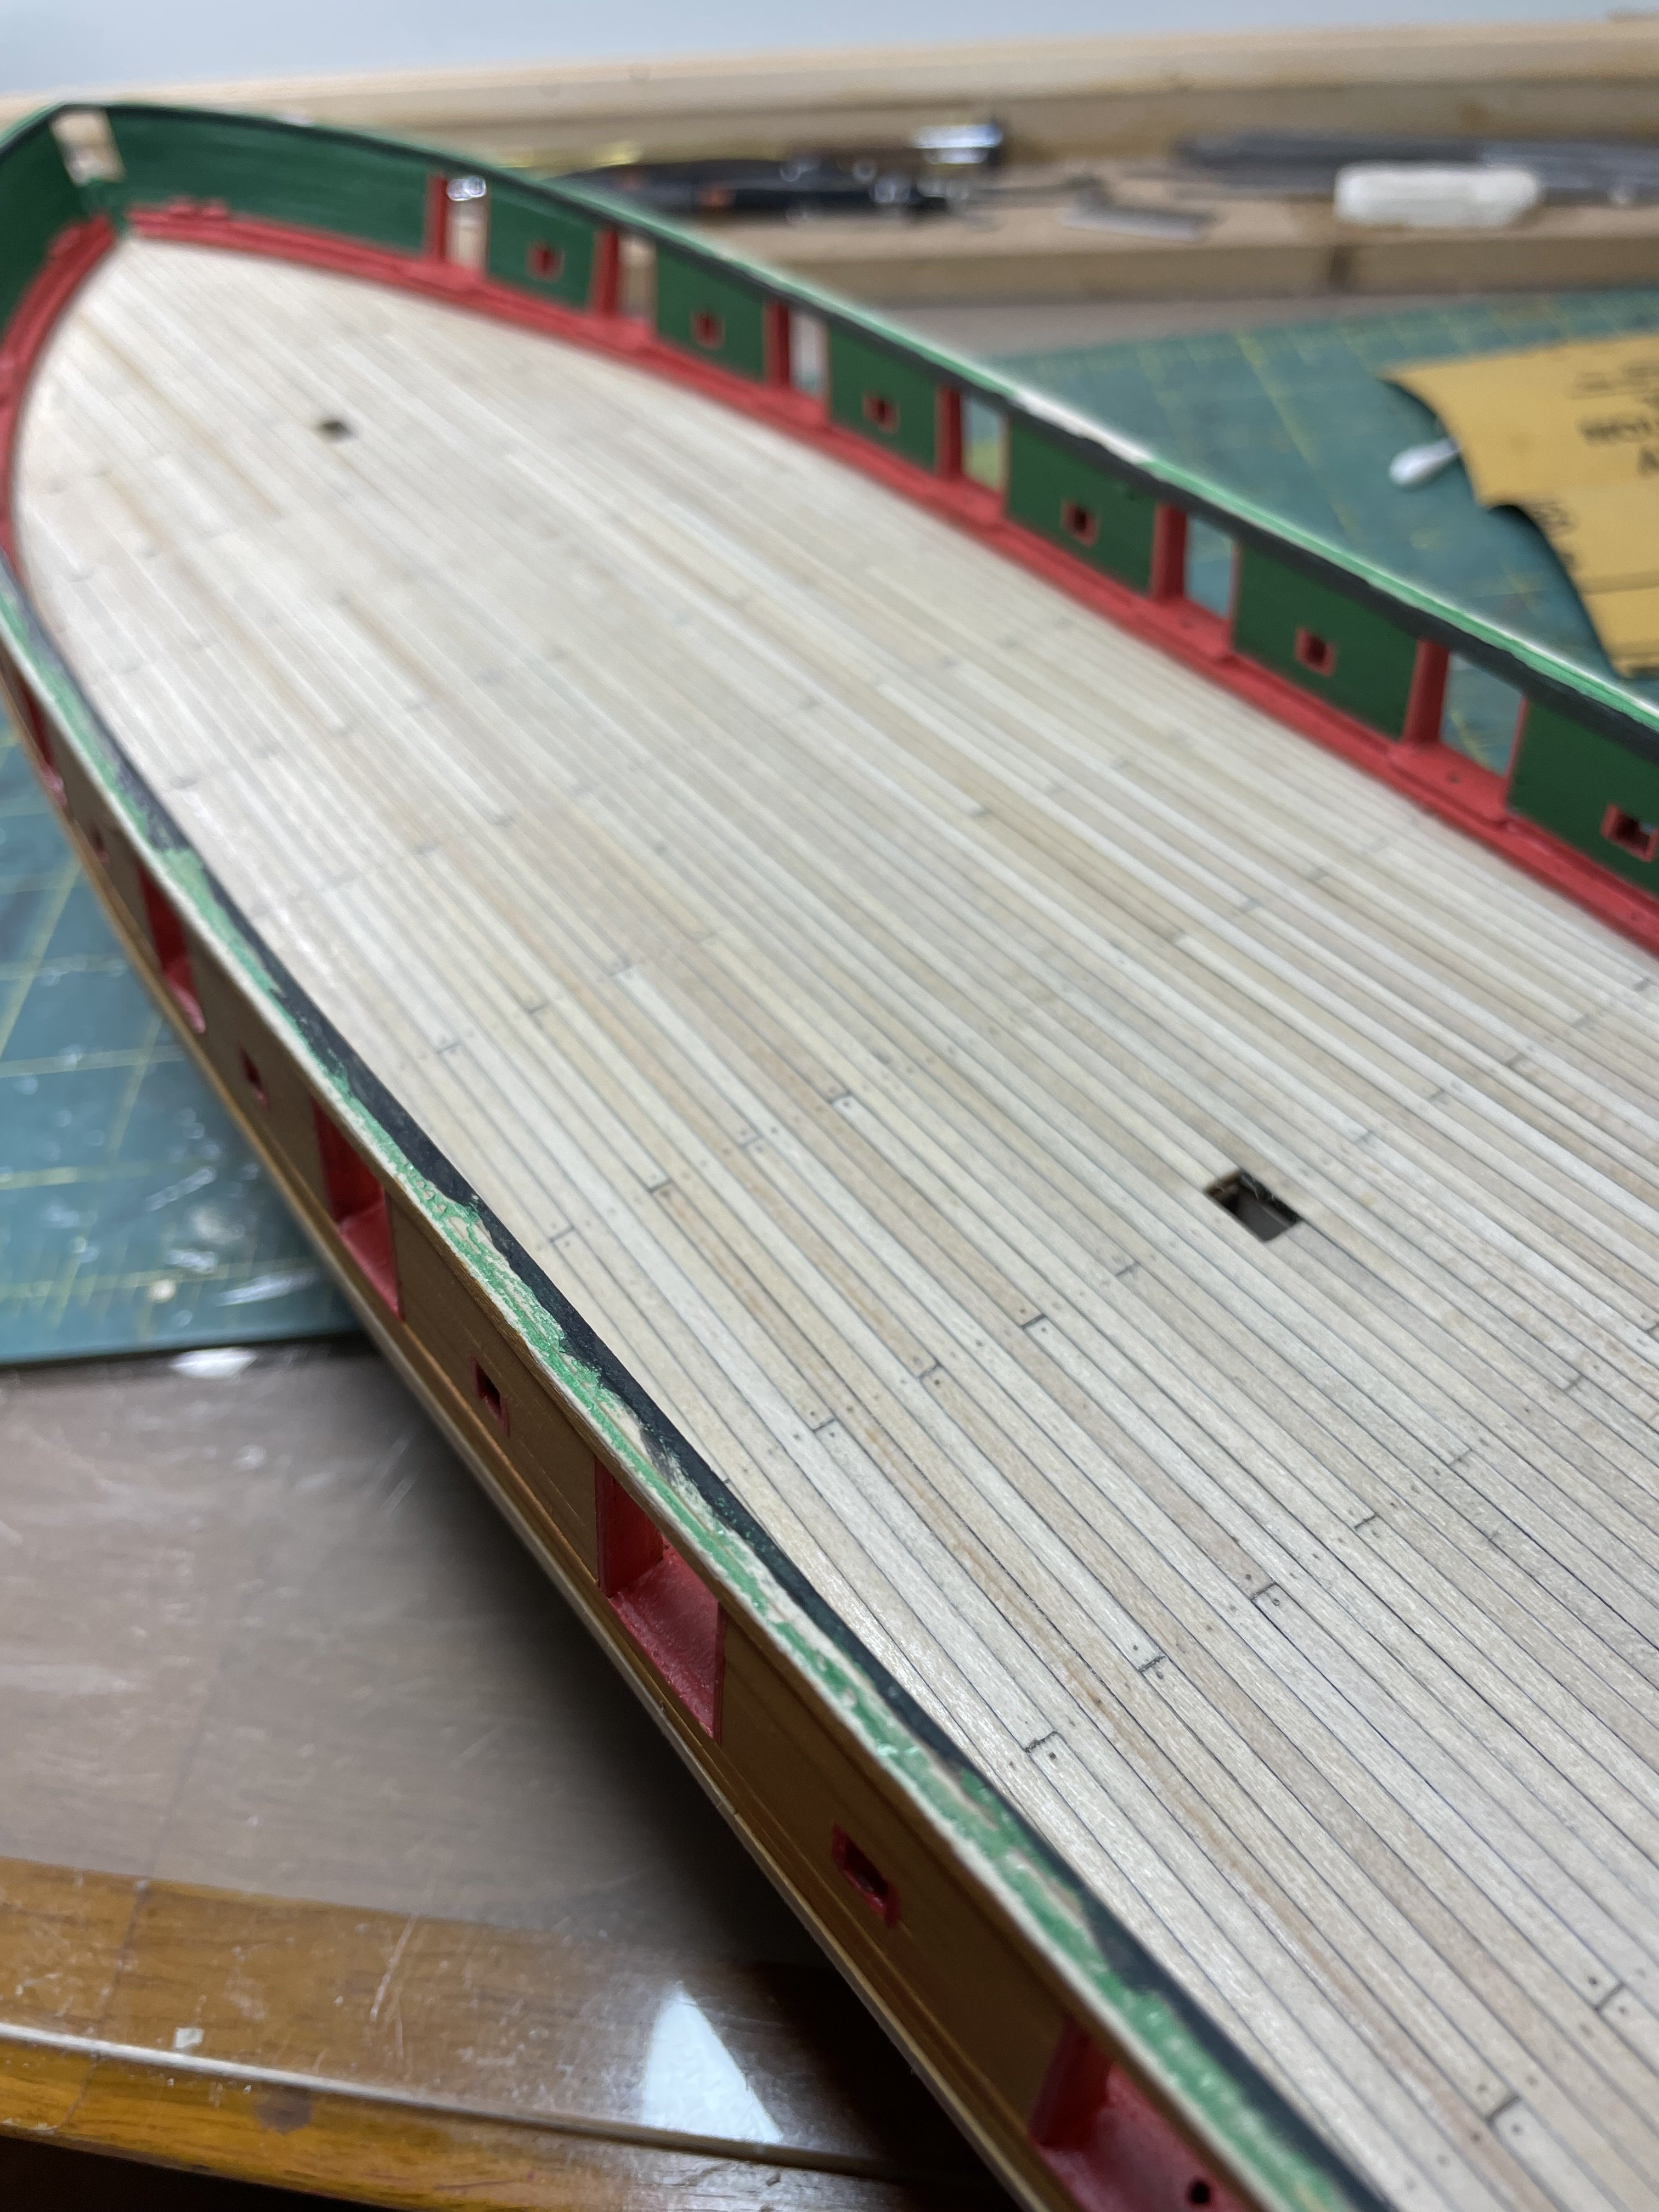
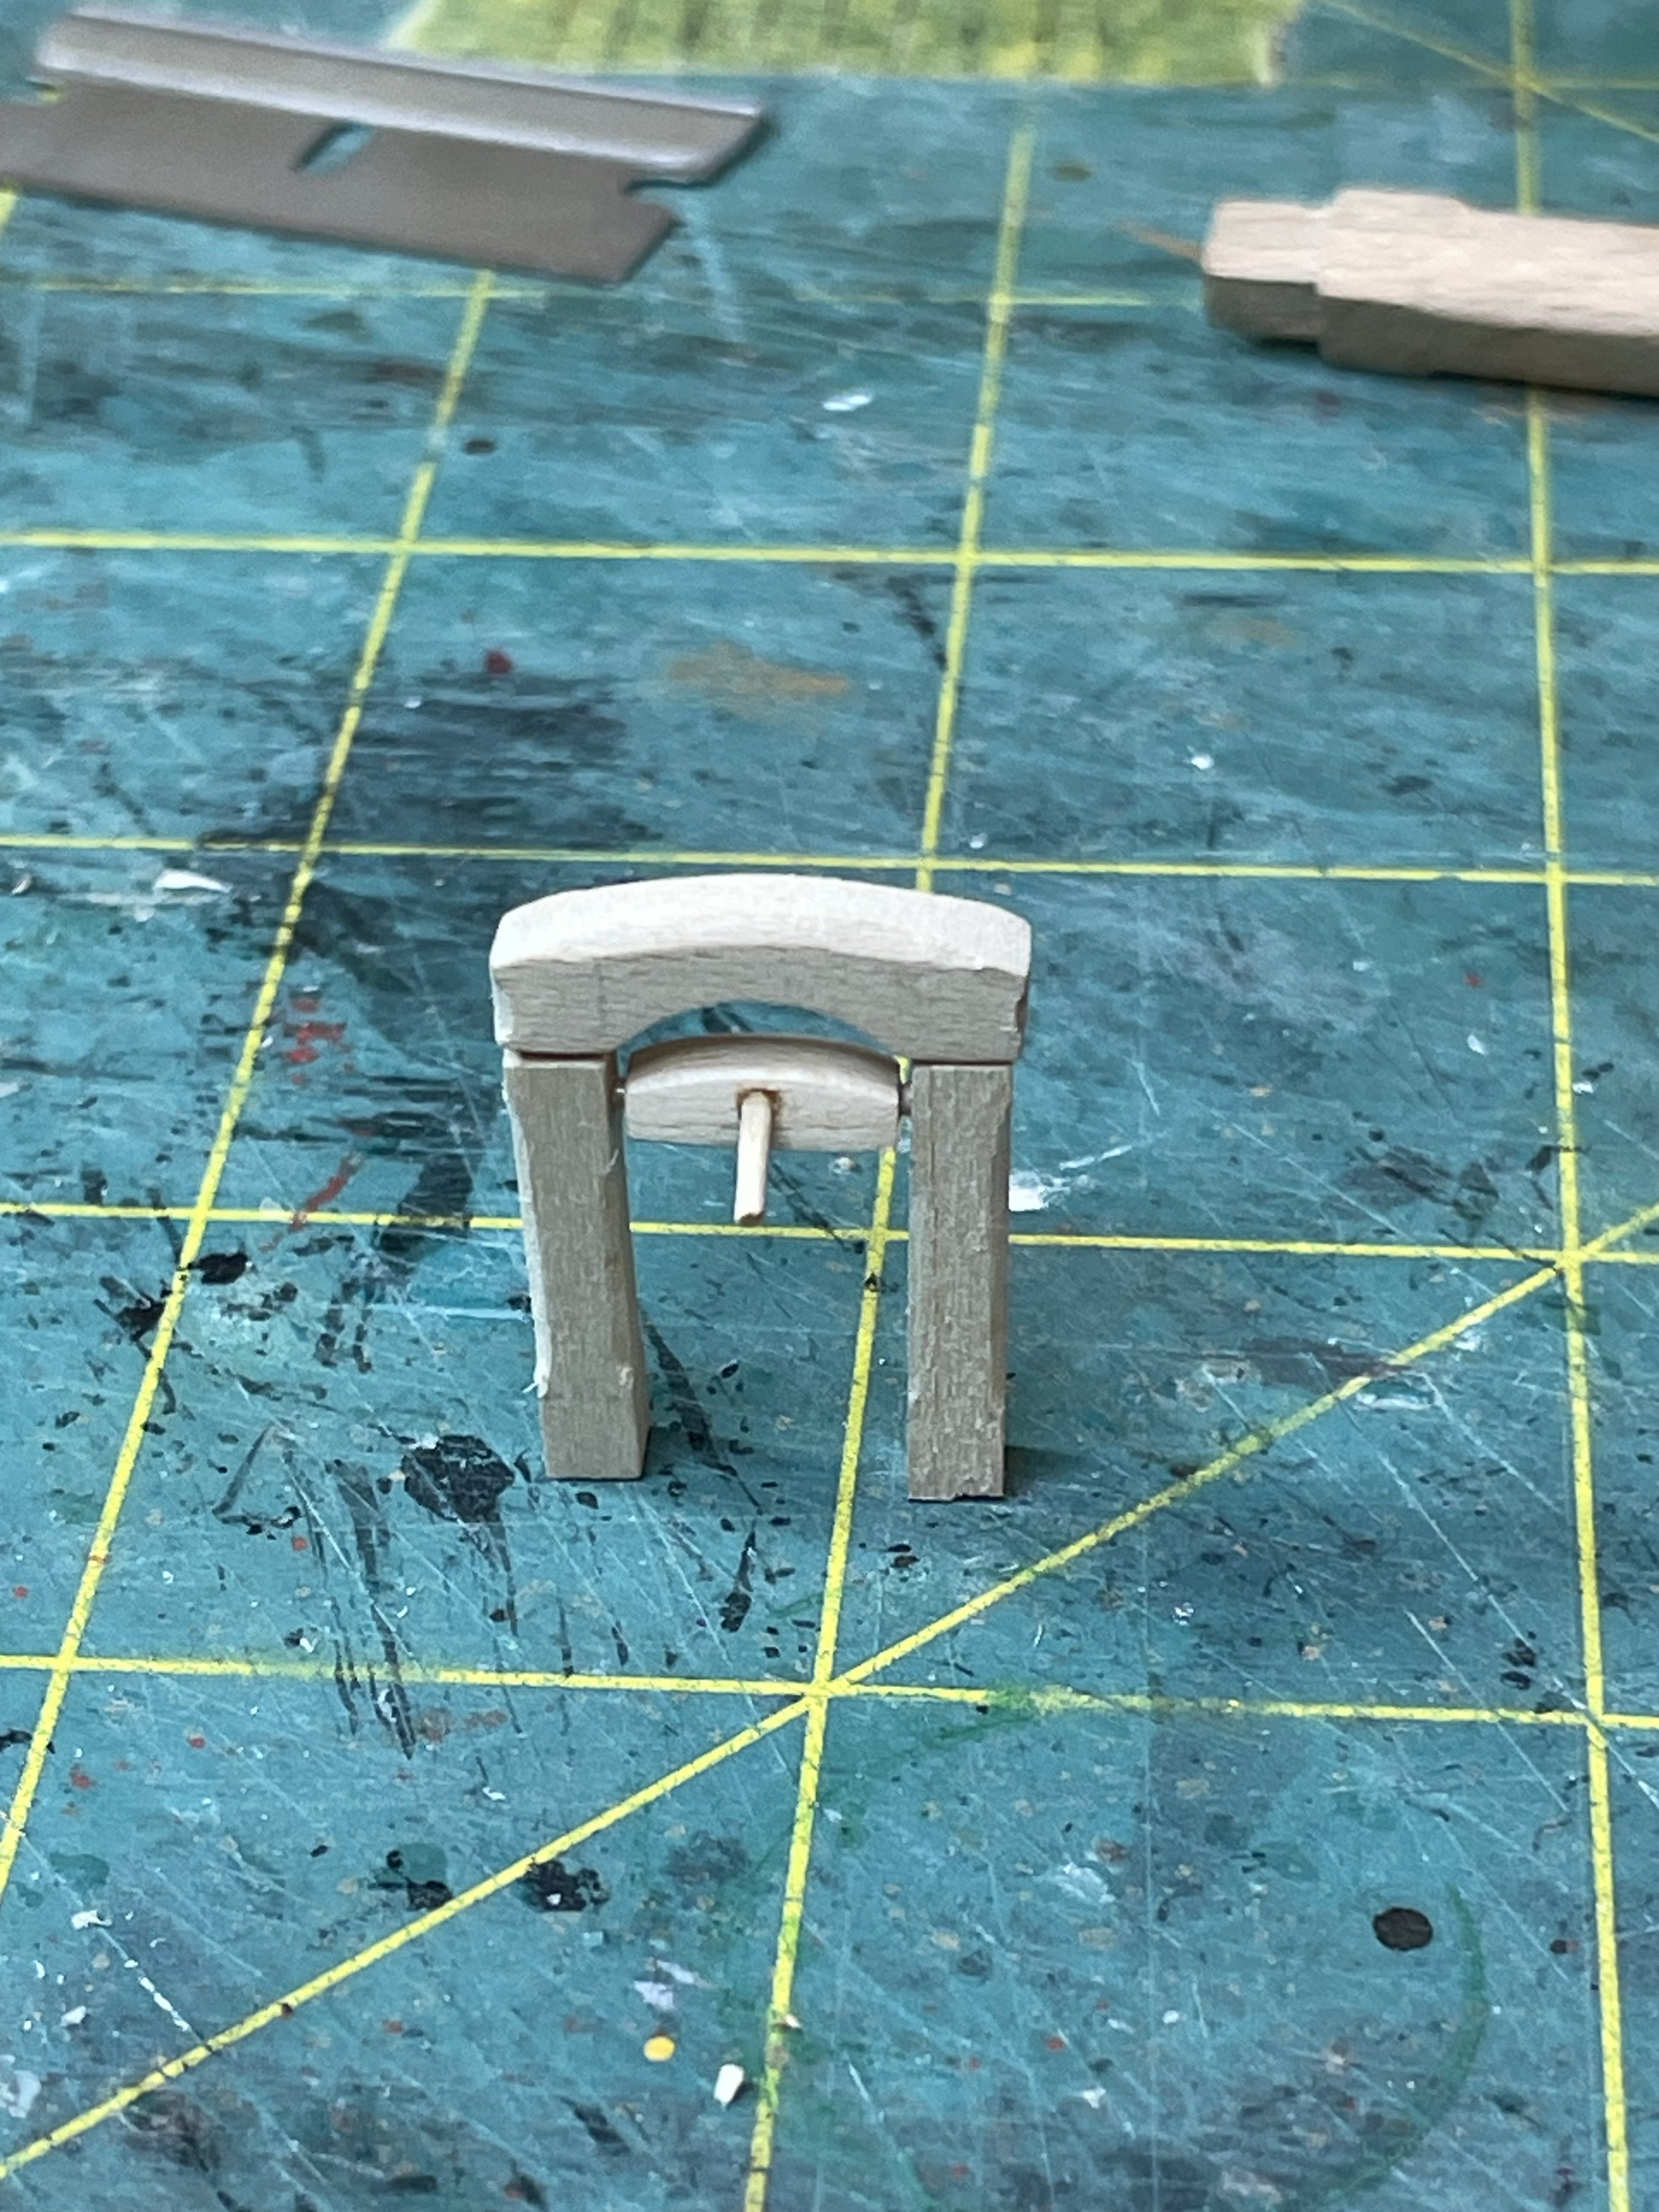
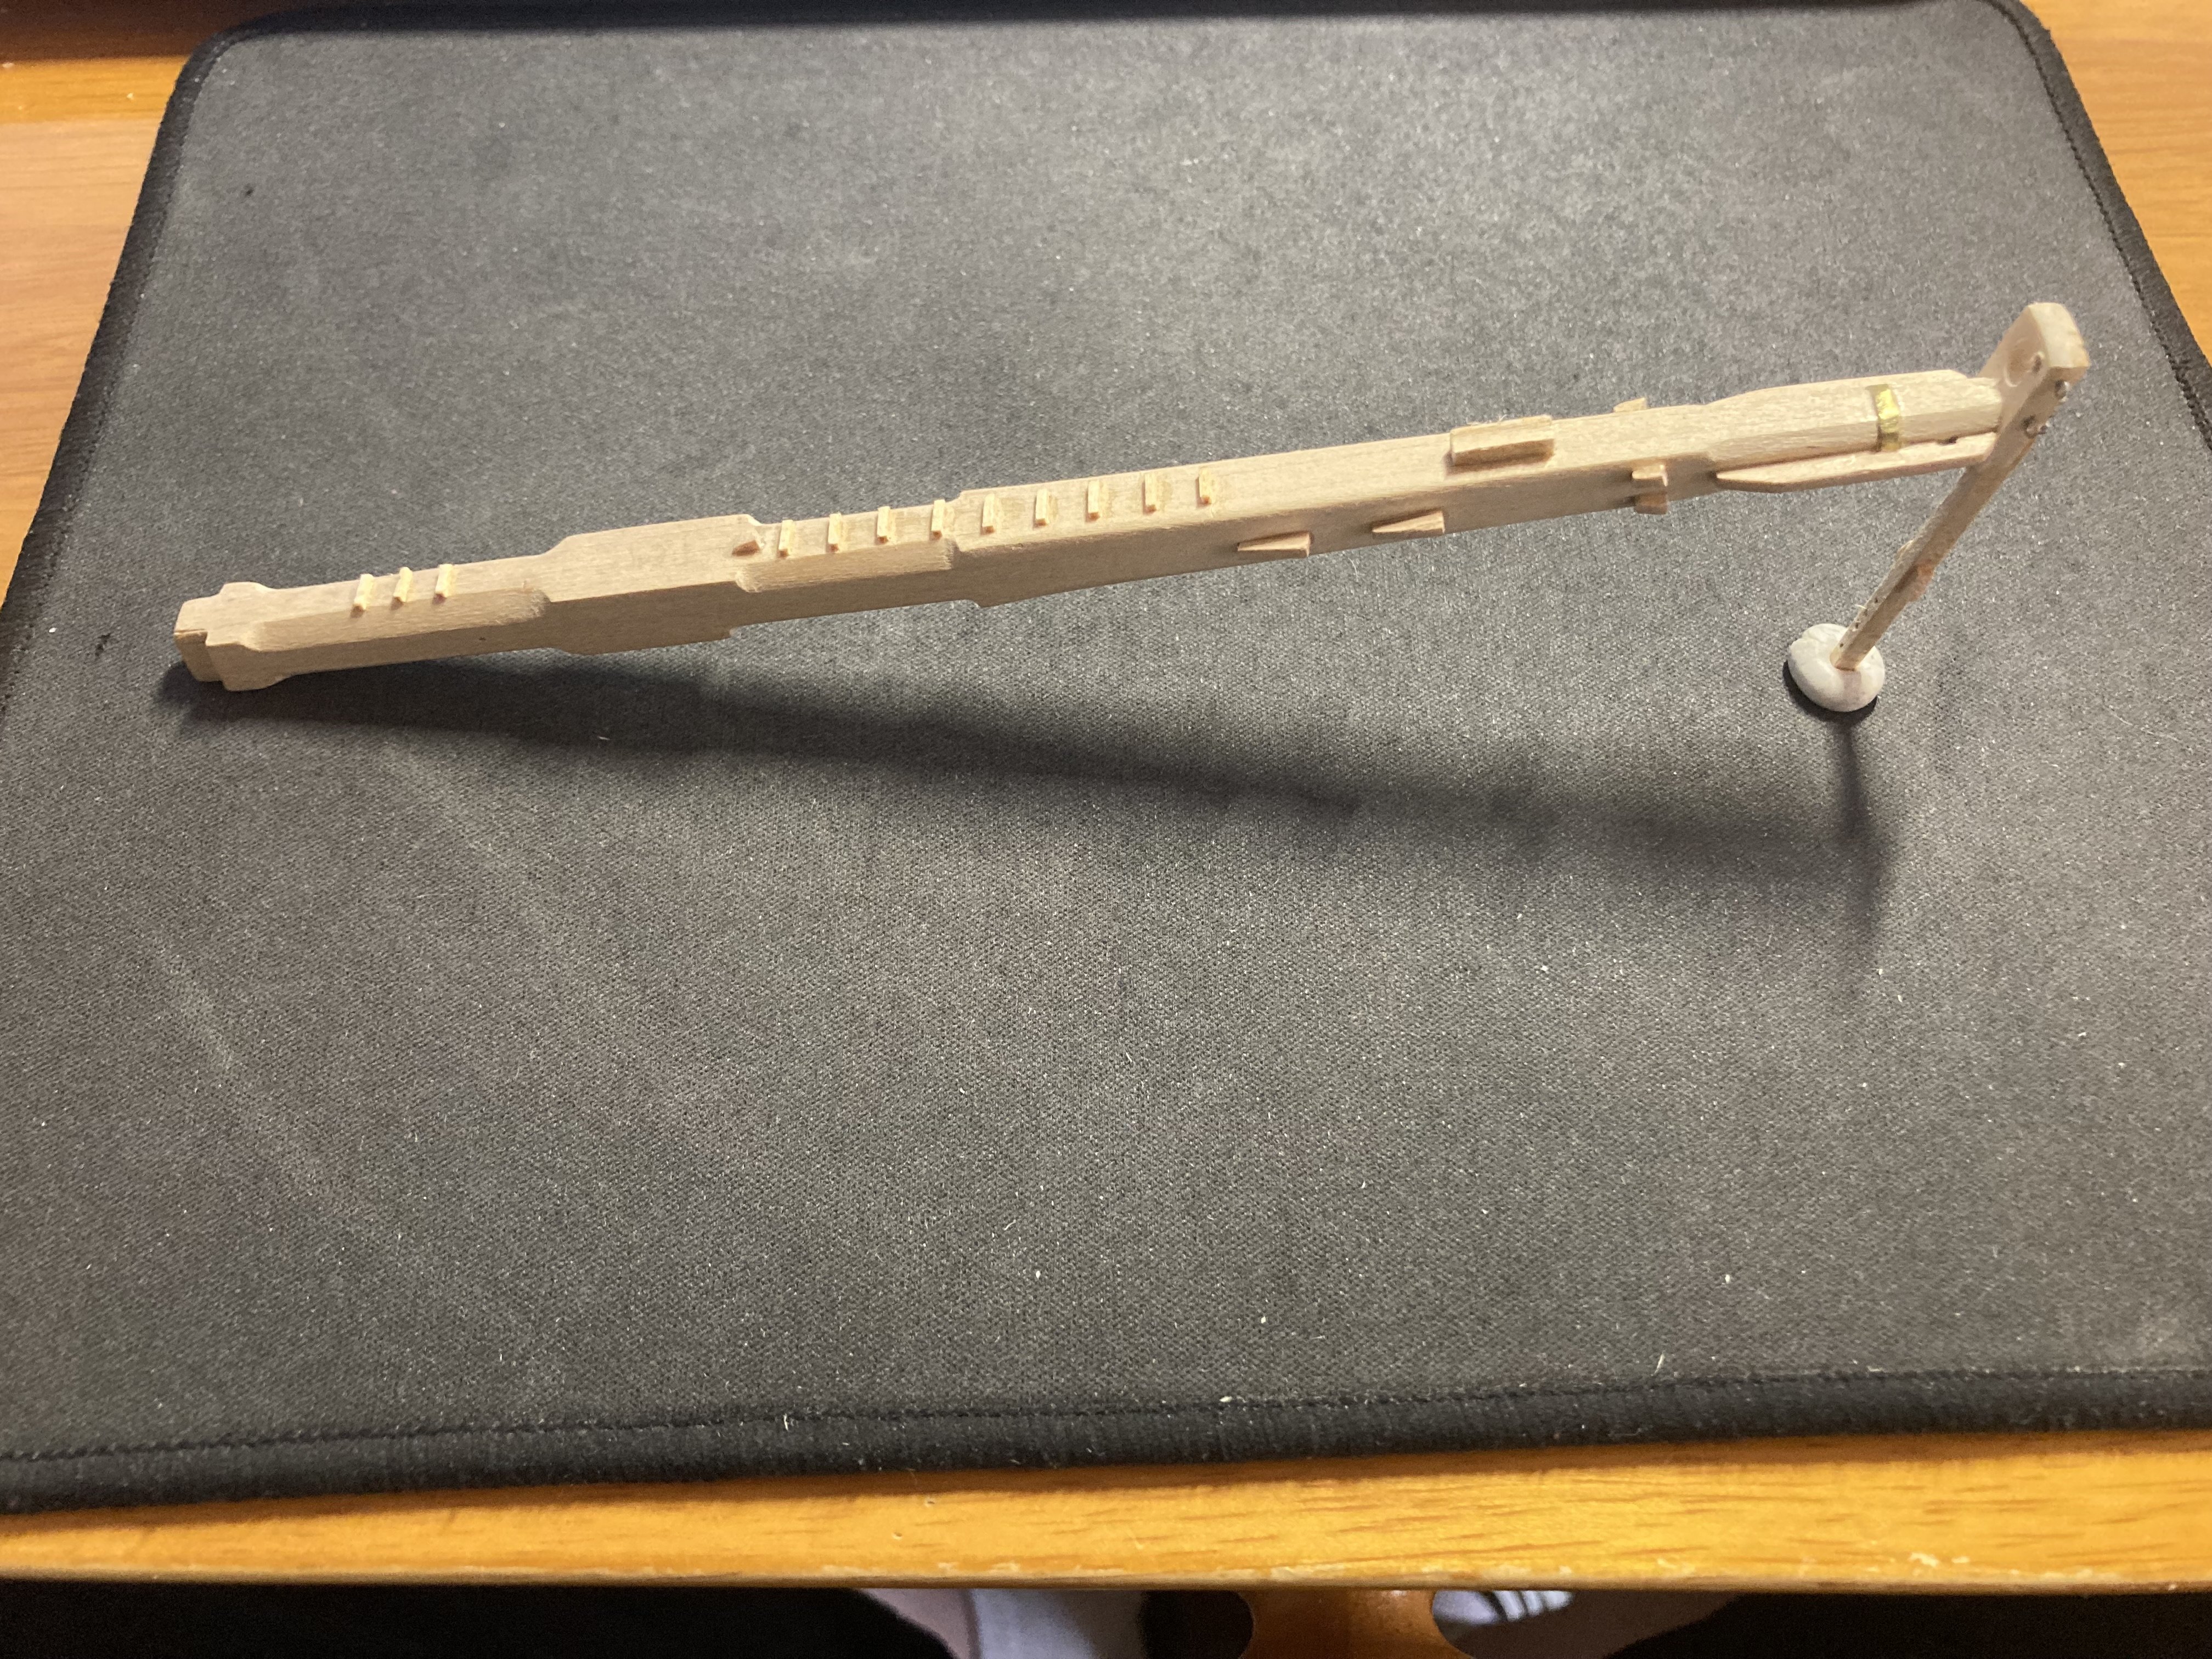
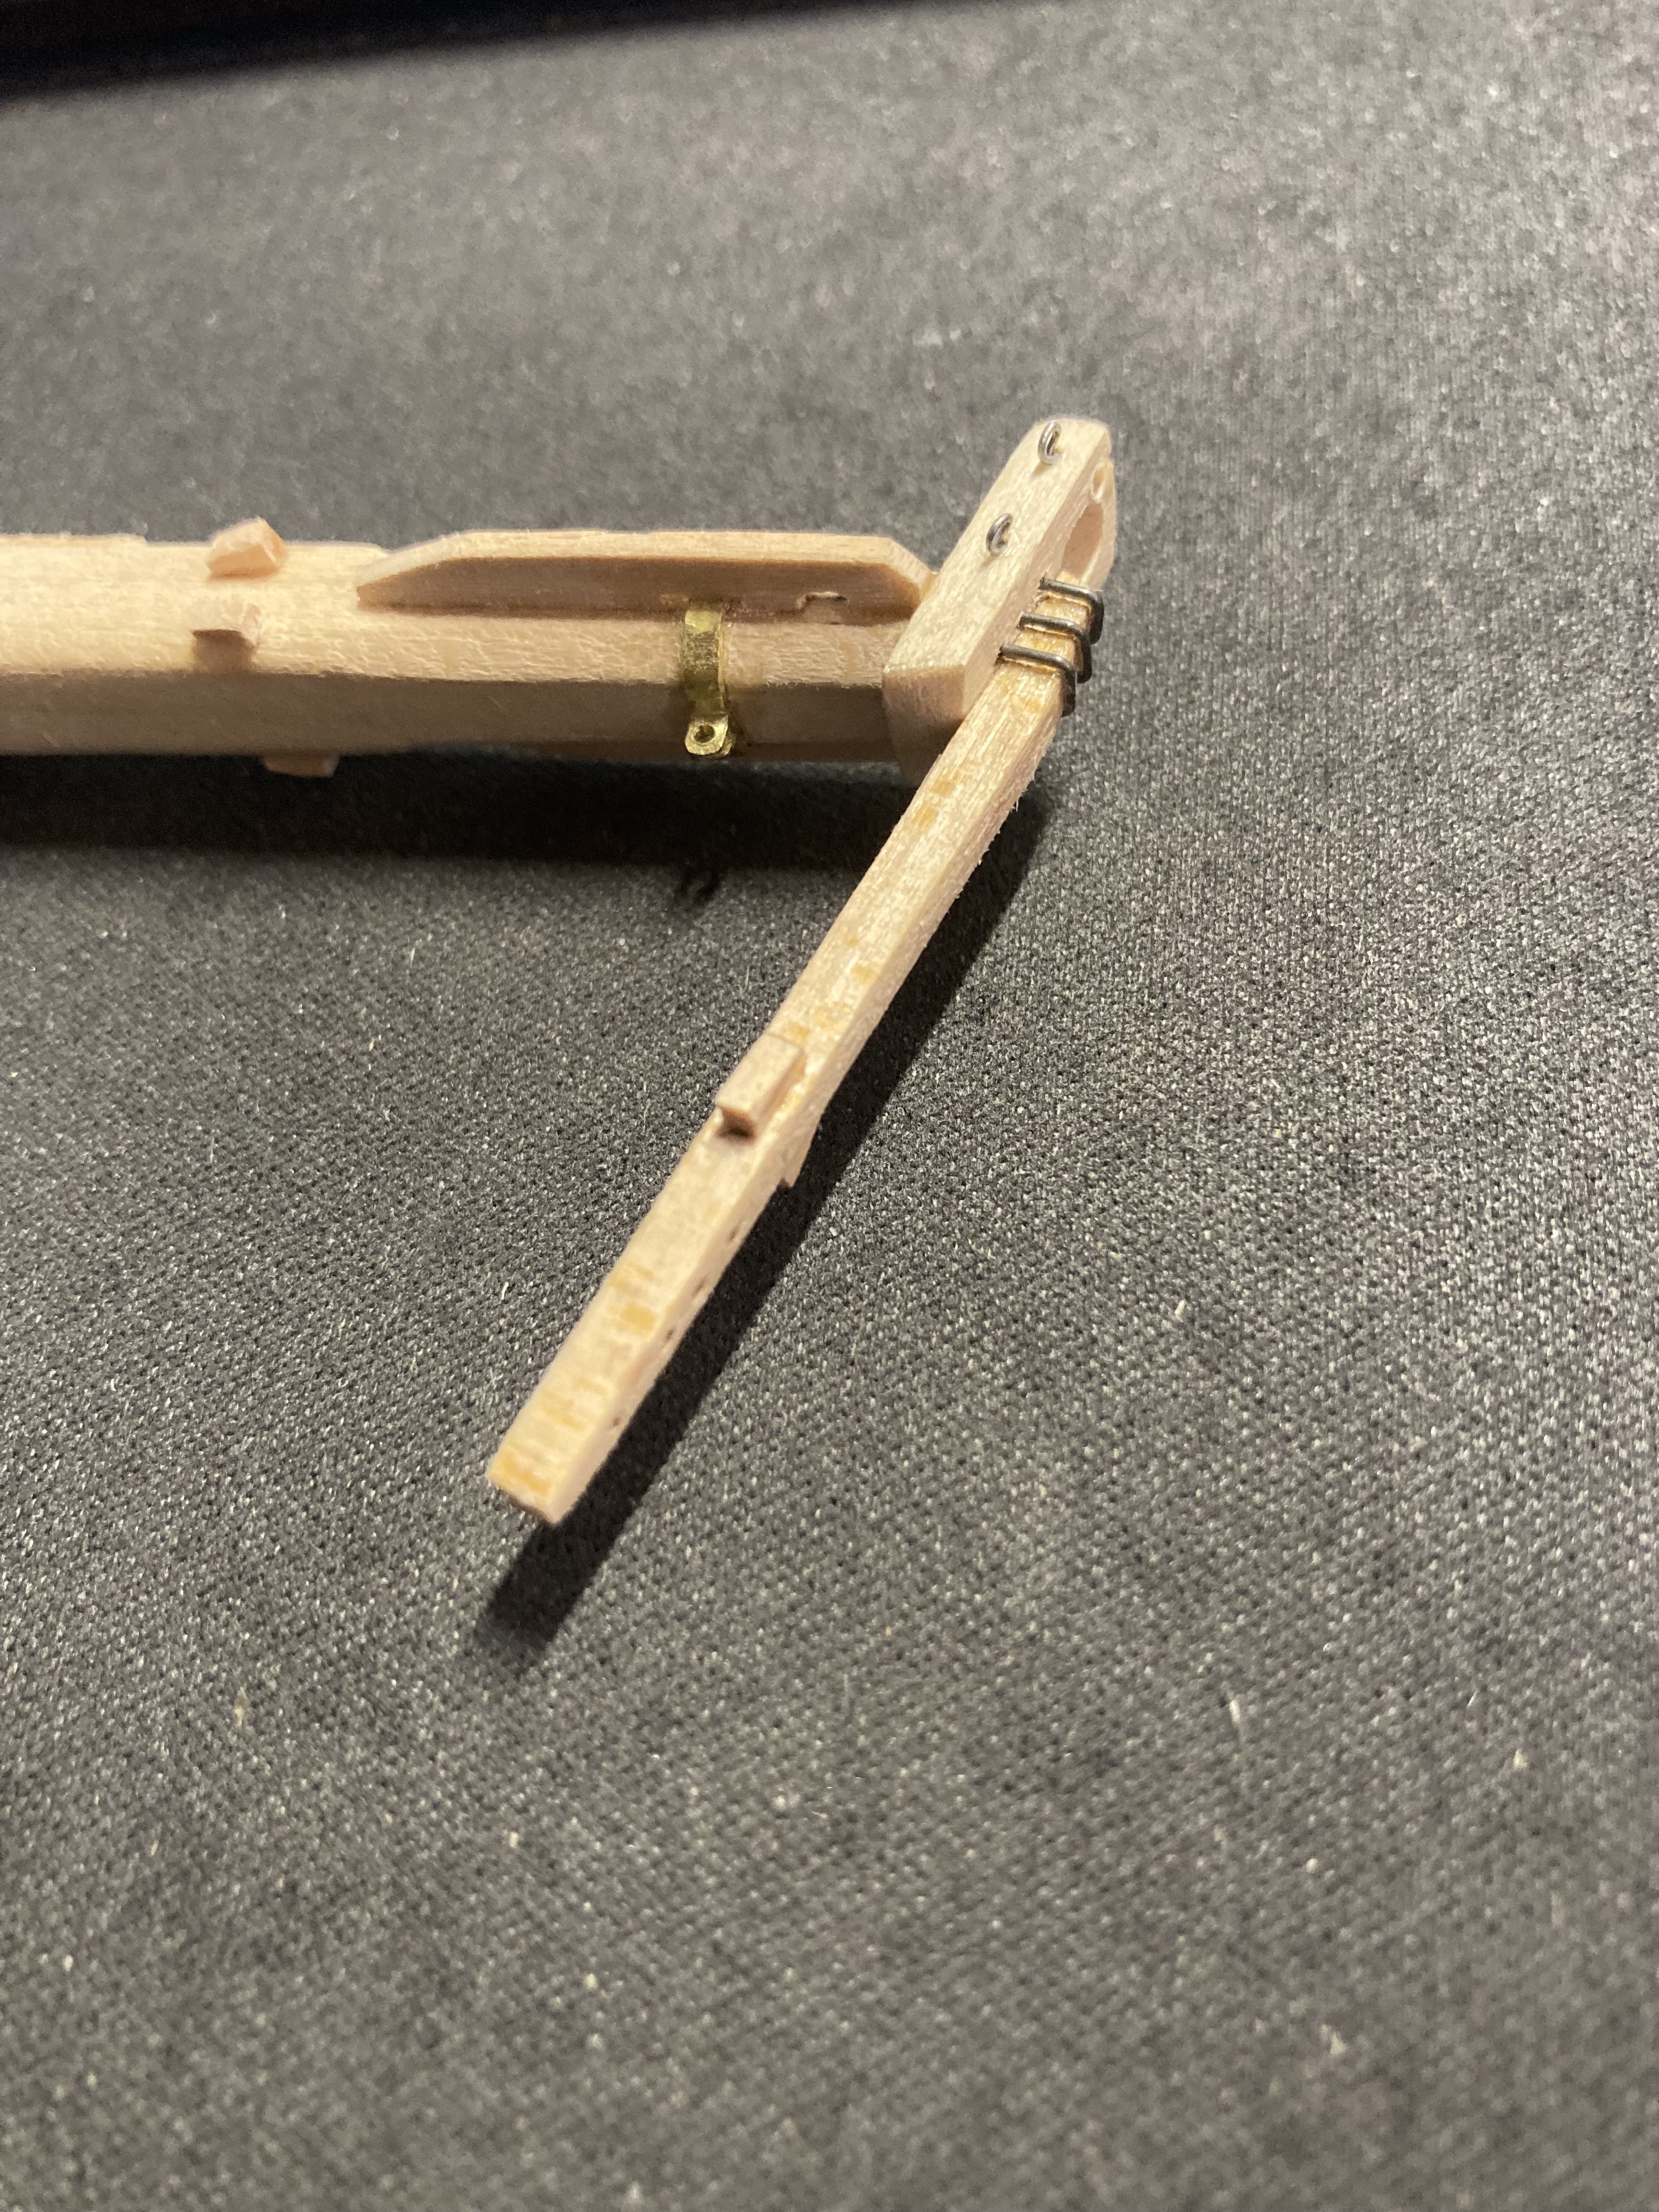
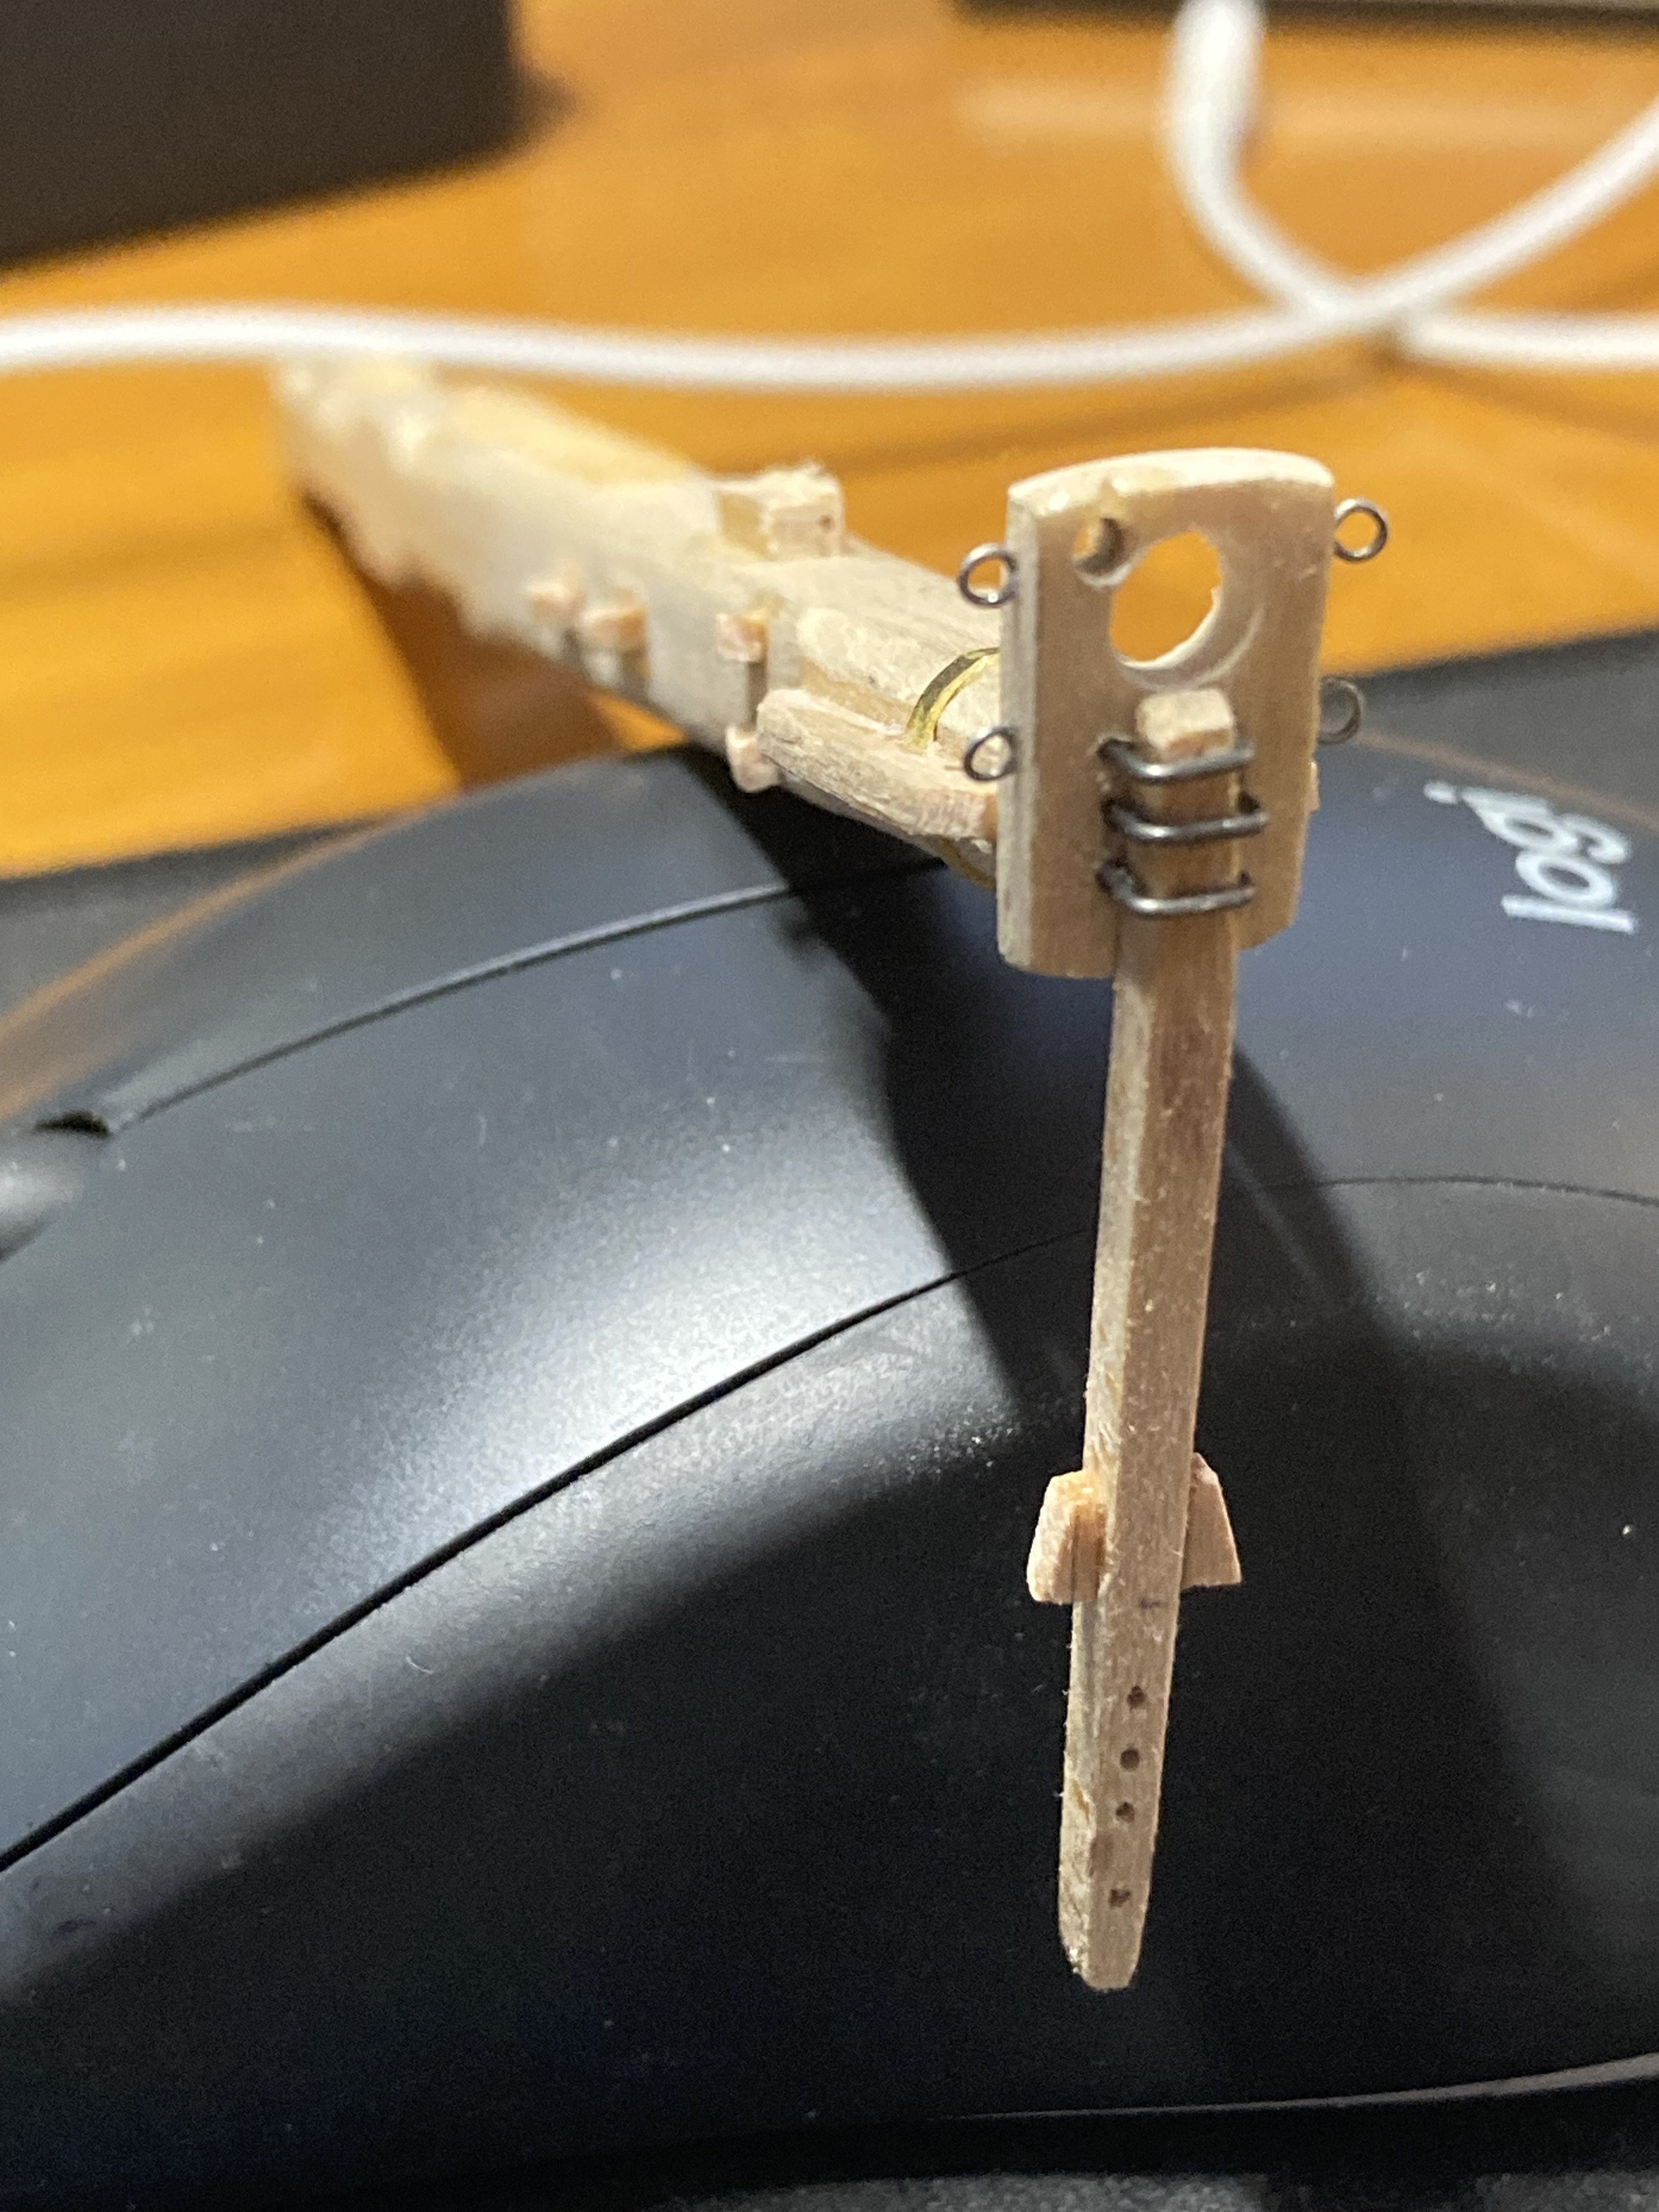
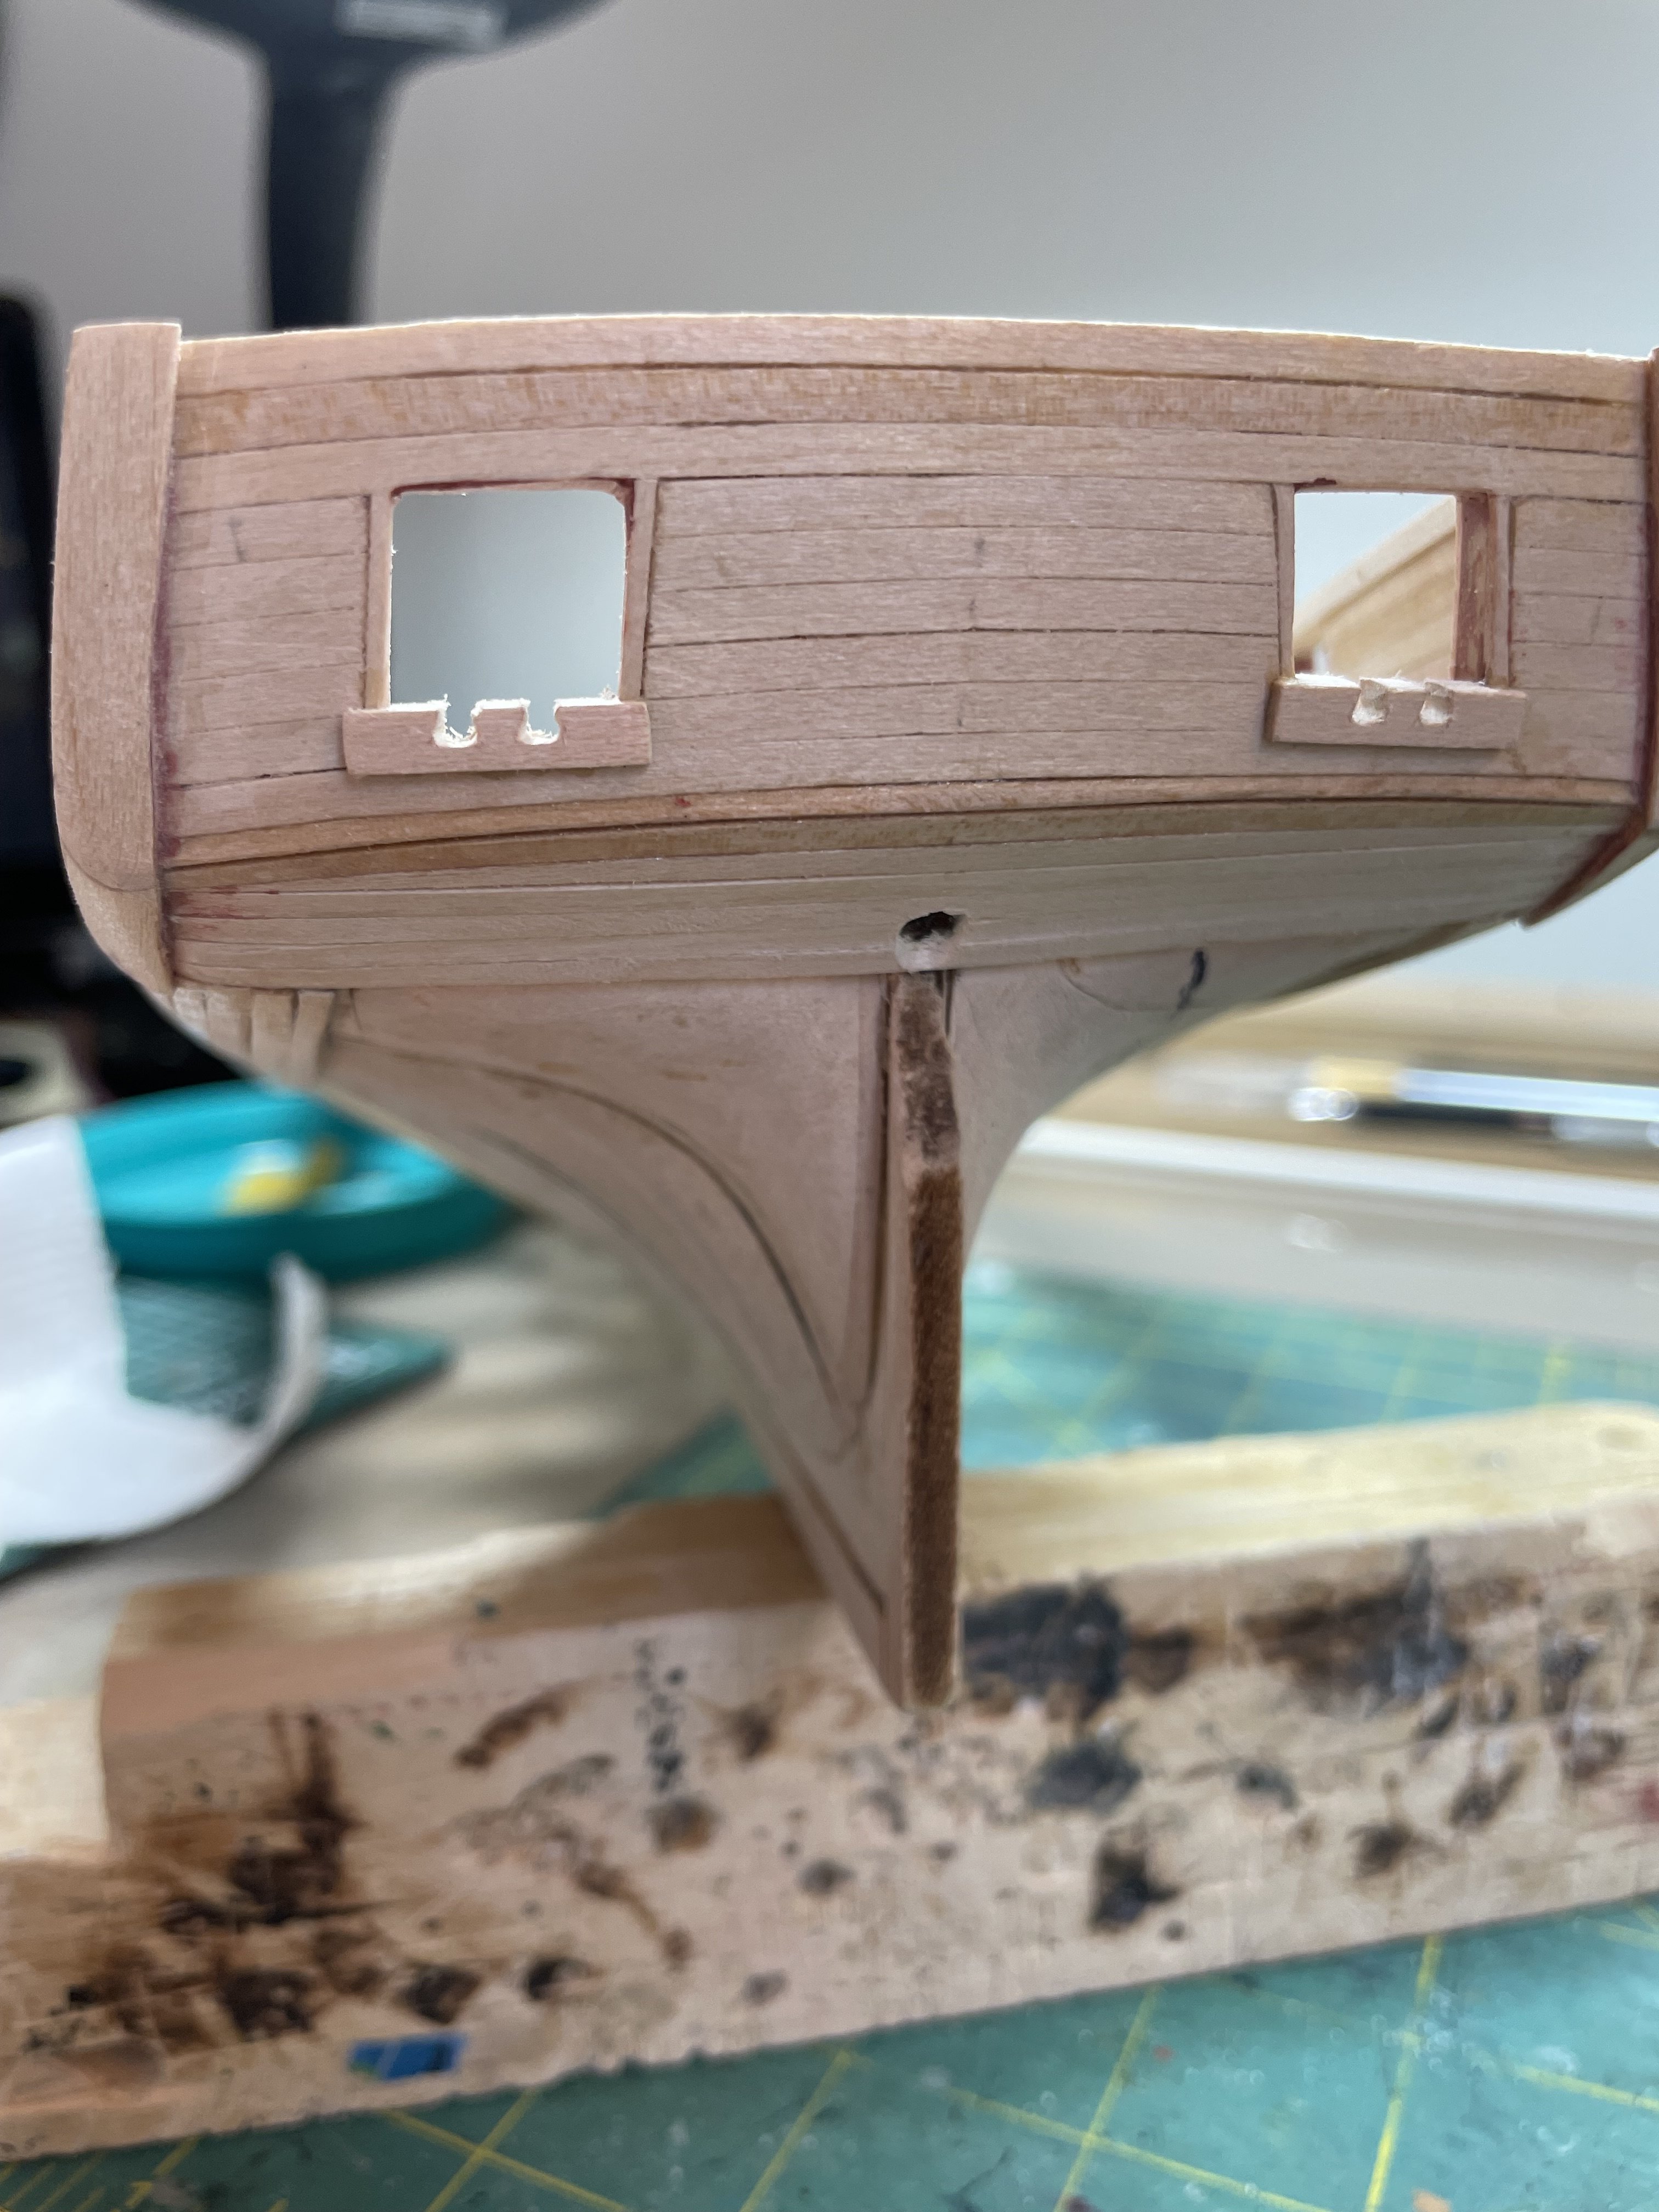
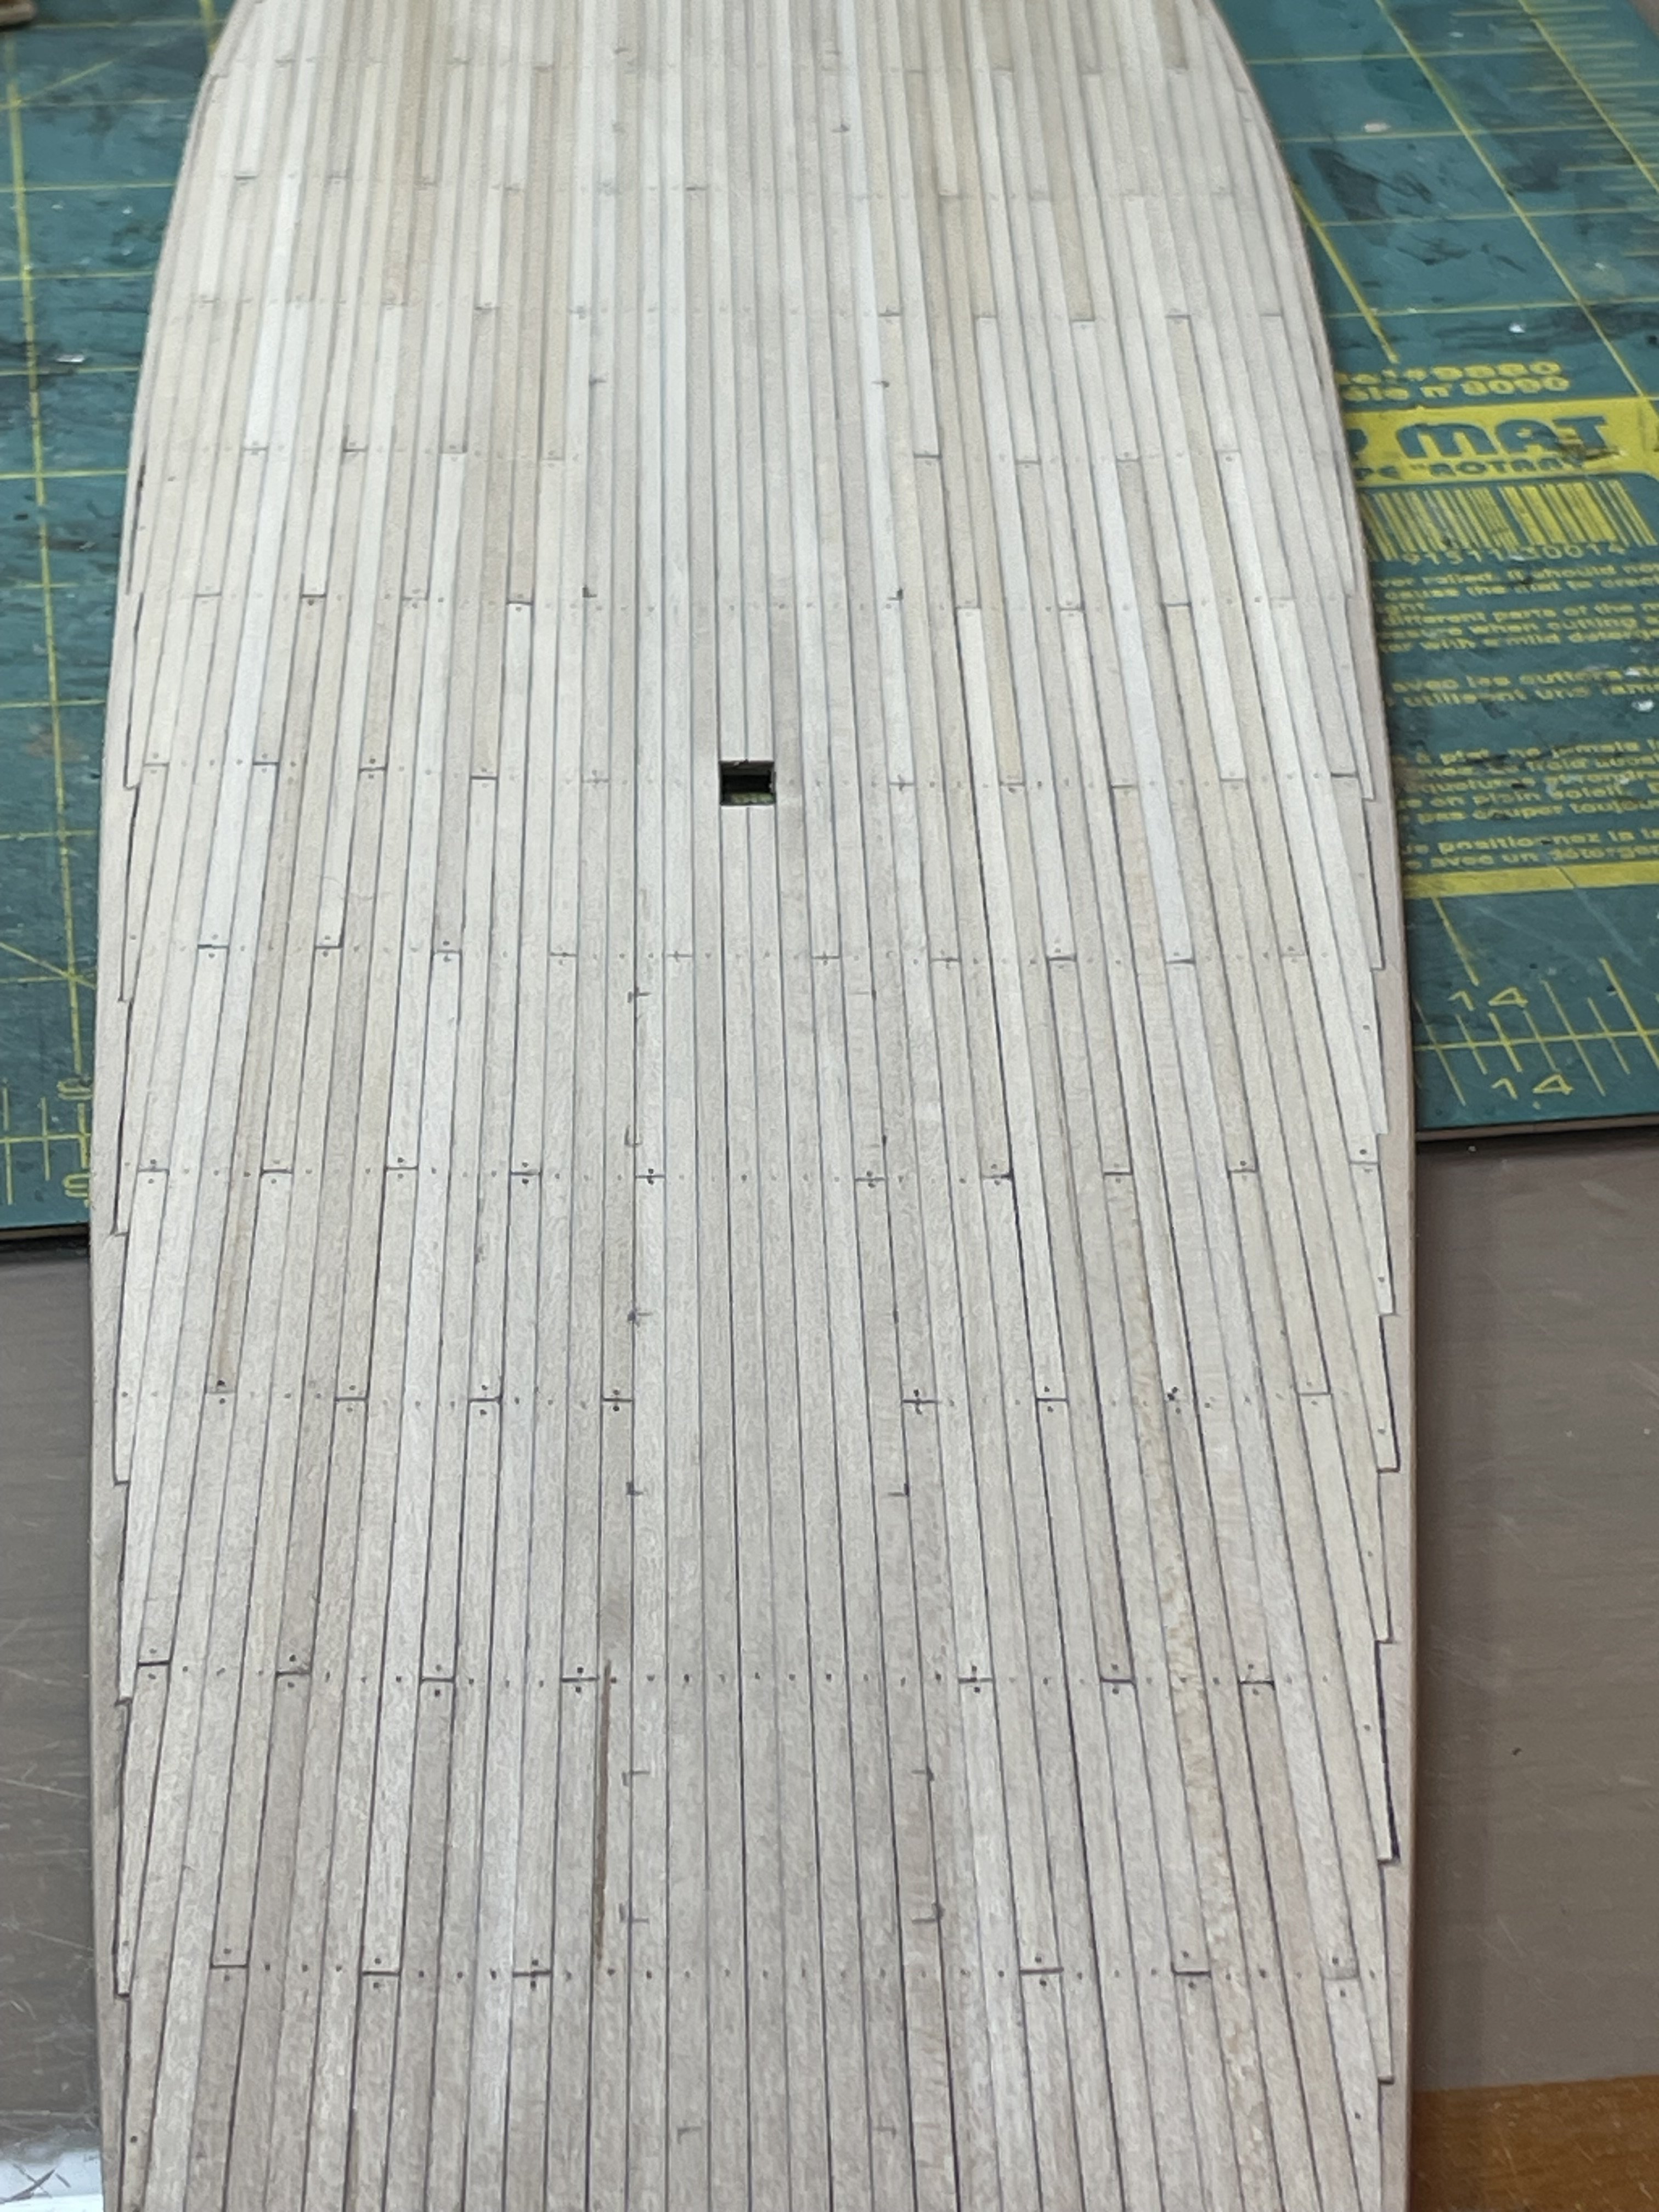
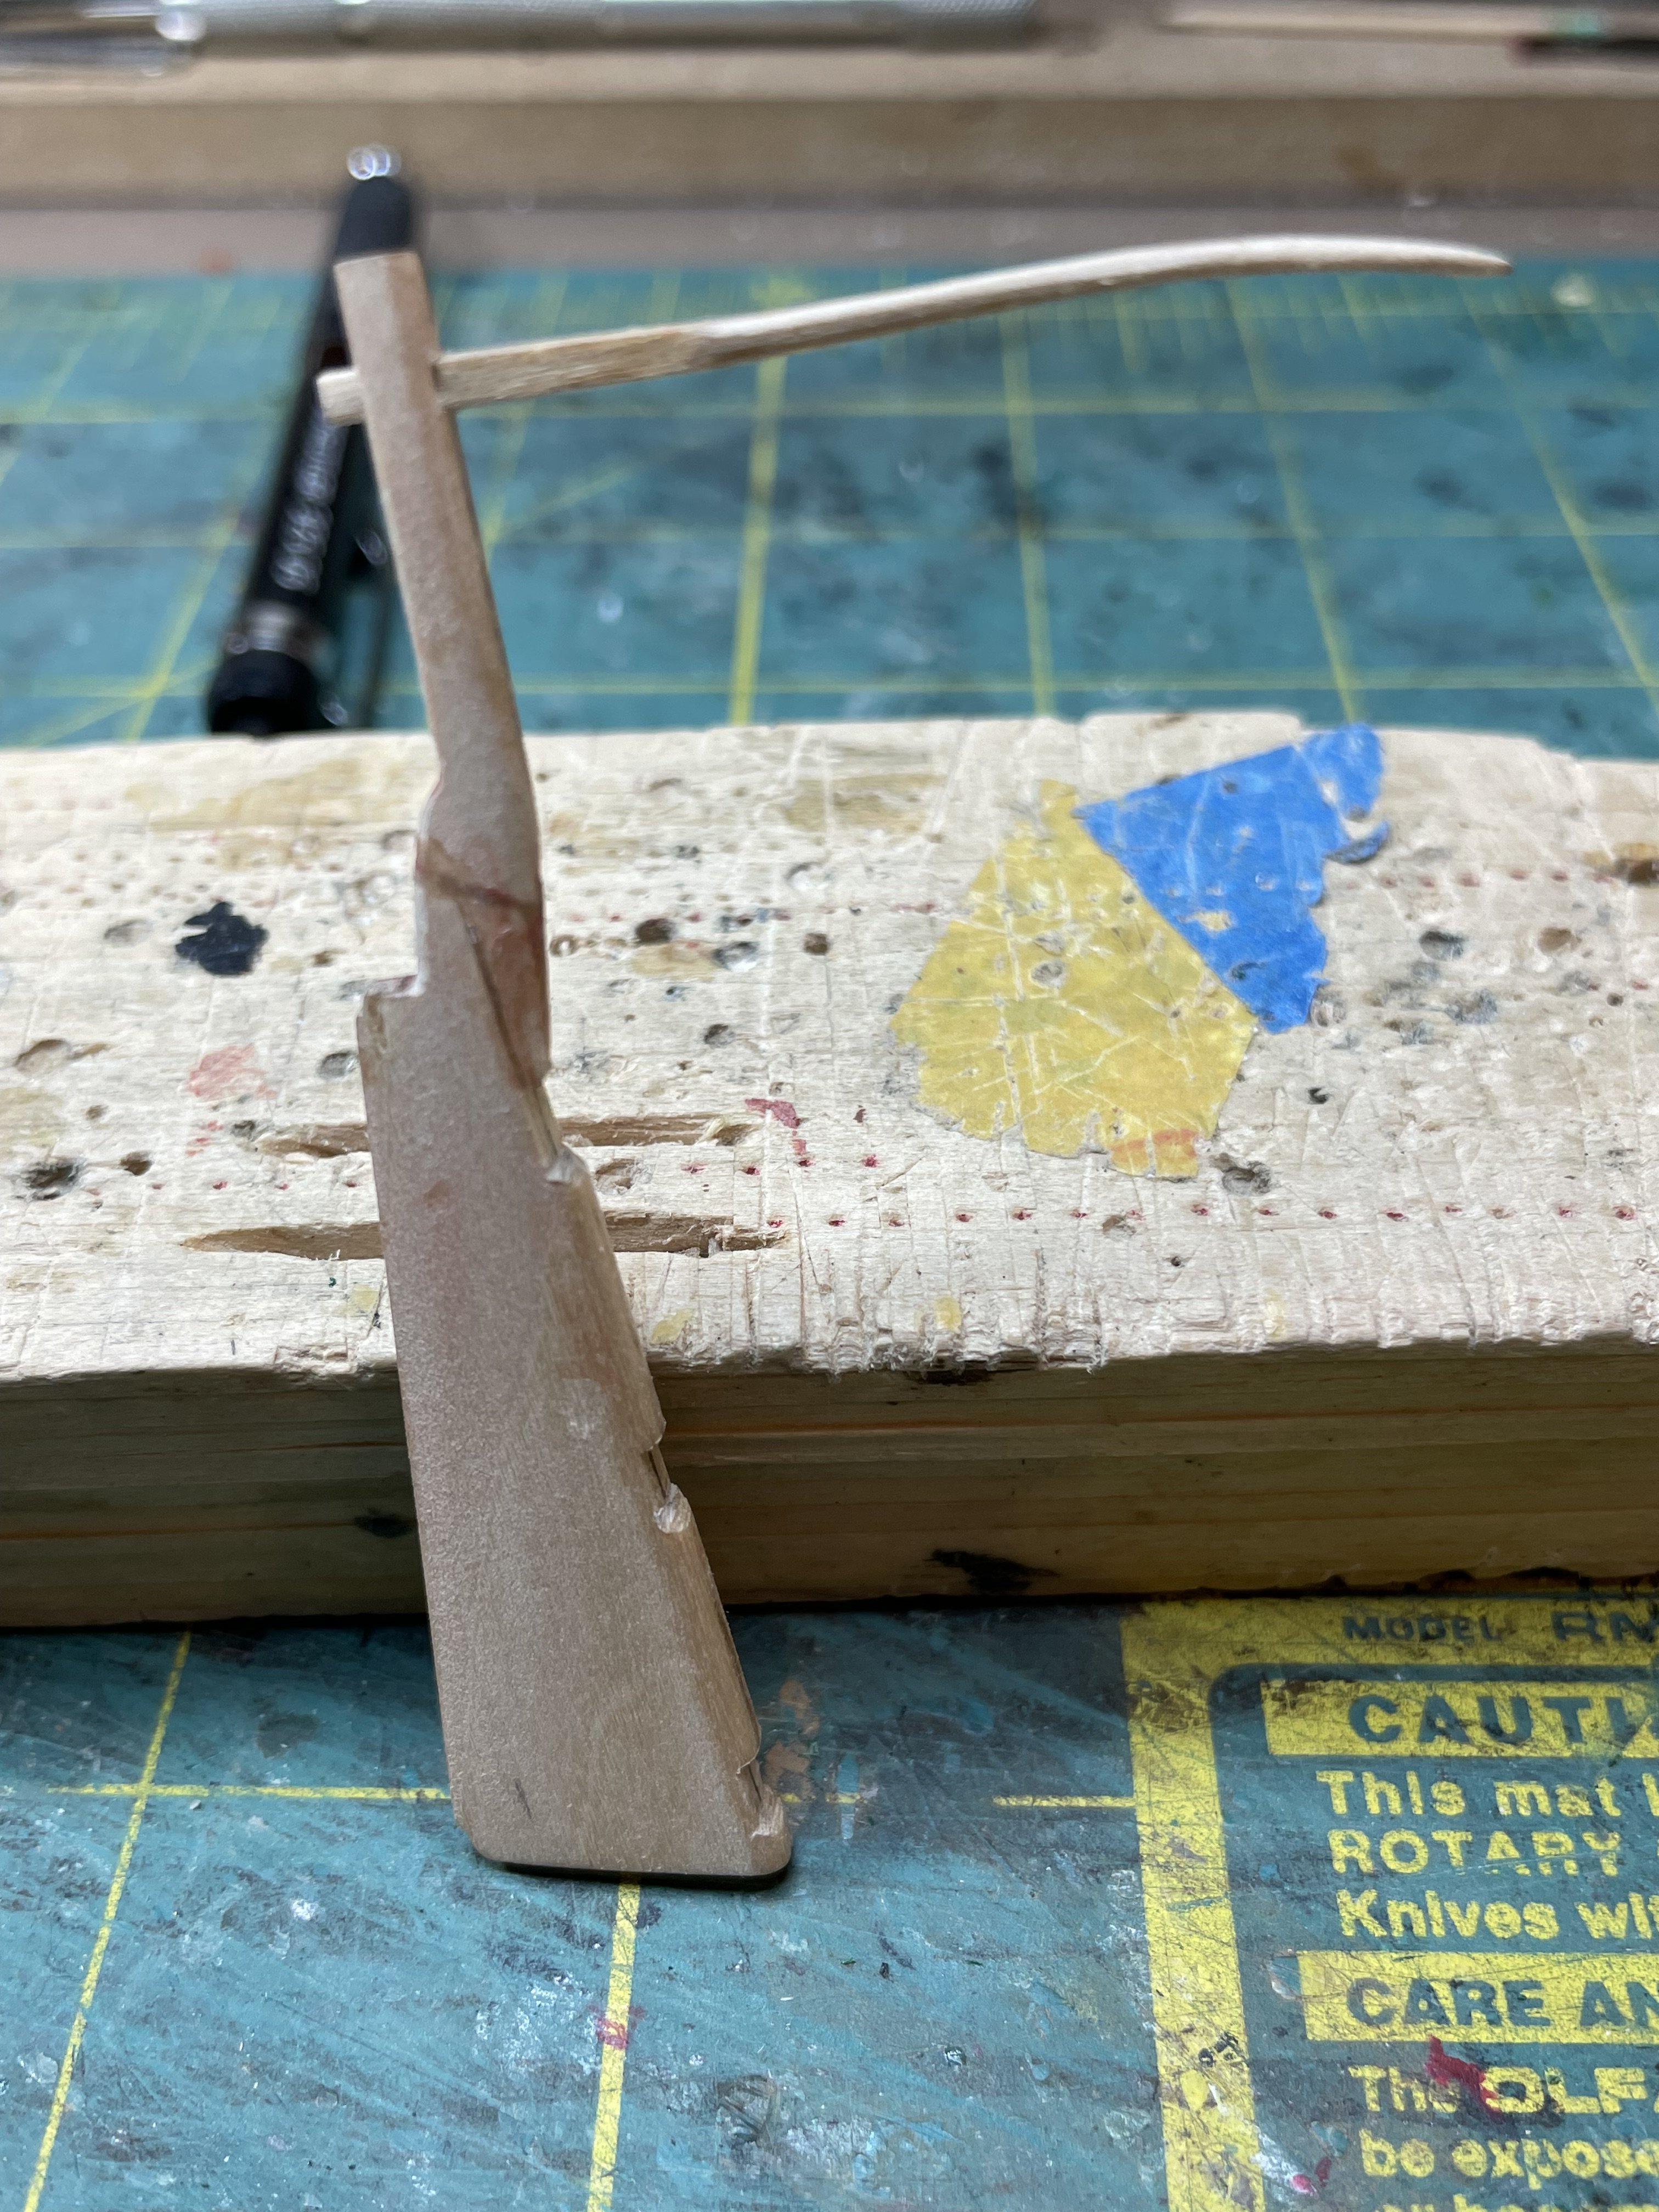
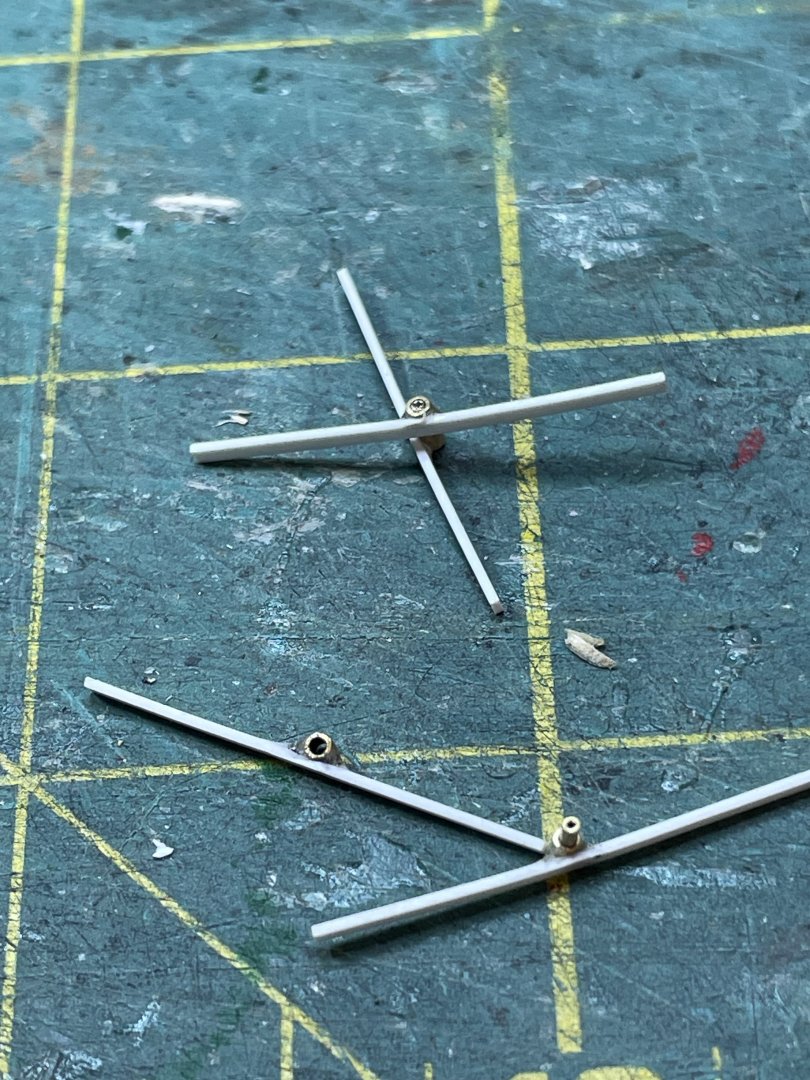
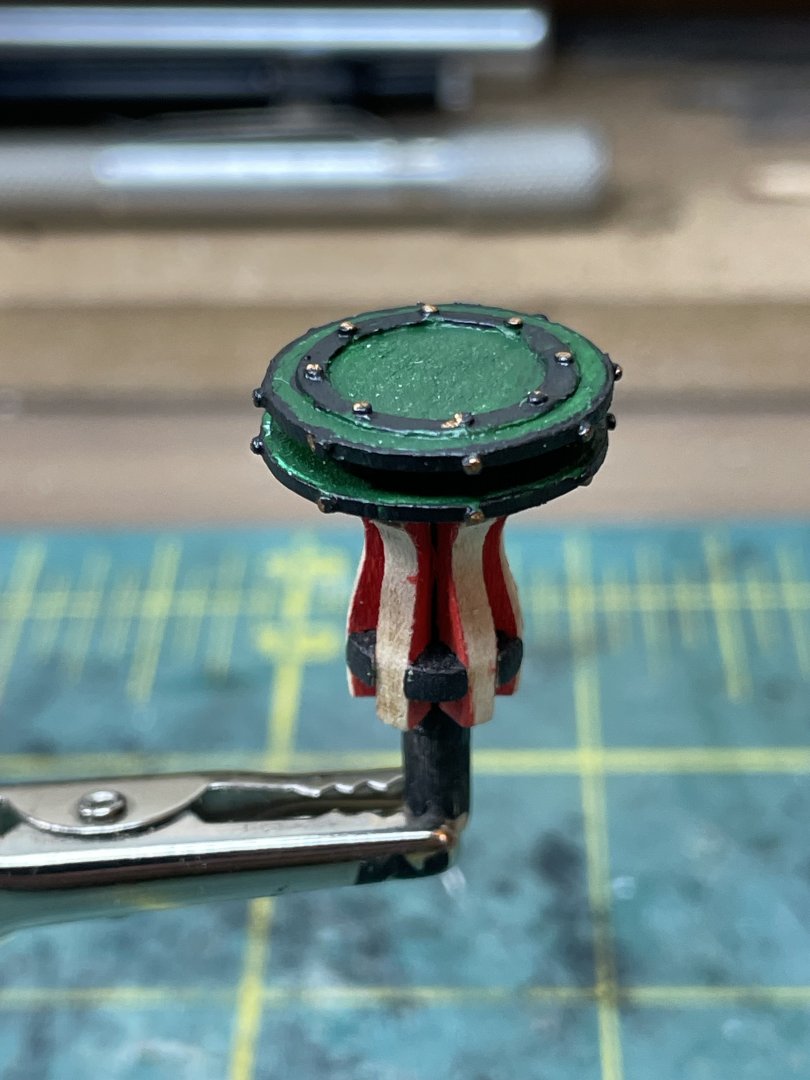
Work continues on various different areas. I have added representation of nail holes in the decking. The effect will be a little more subdued once sanding sealer has been applied, a few passes with fine sandpaper and then final staining. I don't think I am going to attach the deck to the hull until after I have done some painting of the hull, and that will not happen until warmer weather in Atlanta when I can use an airbrush outside in the garage. Also some work on the rudder: Excuse the fact that the rudder looks a little mangled. I did not like the alignment when sliding it into the holes already drilled in the hull. There was too large a gap for my taste where the rudder aligns to the back of the hull so I cut up the rudder a little and realigned it - the fit will be closed when it is attached now. Also decided to make the rudder hinges out of a combination of brass tubing I had and strip plastic. Why plastic - because I tried soldering brass strip and it looked awful so plastic it is. The brass is of two different diameters which fir snugly inside of each other. The plastic strip on the top and bottom of the hing can therefore pivot and will be attached to the rudder and hull, after replicating nails (bolts) by which the hinges would have been attached to the hull and rudder. Last work has been to put together the capstan which needs a little tidy up paint wise but otherwise is complete. The disc on top of the capstan is cut out of plastic sheet with very small diameter plastic rod inserted and sanded down to represent the fittings.


-
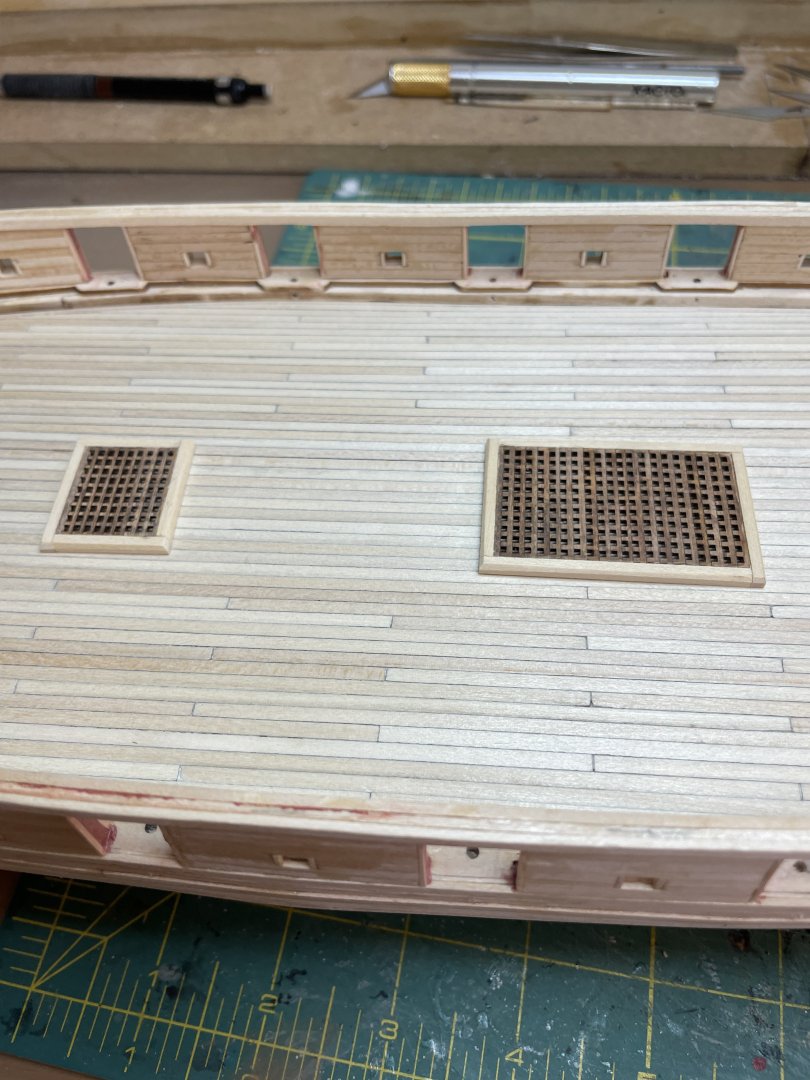
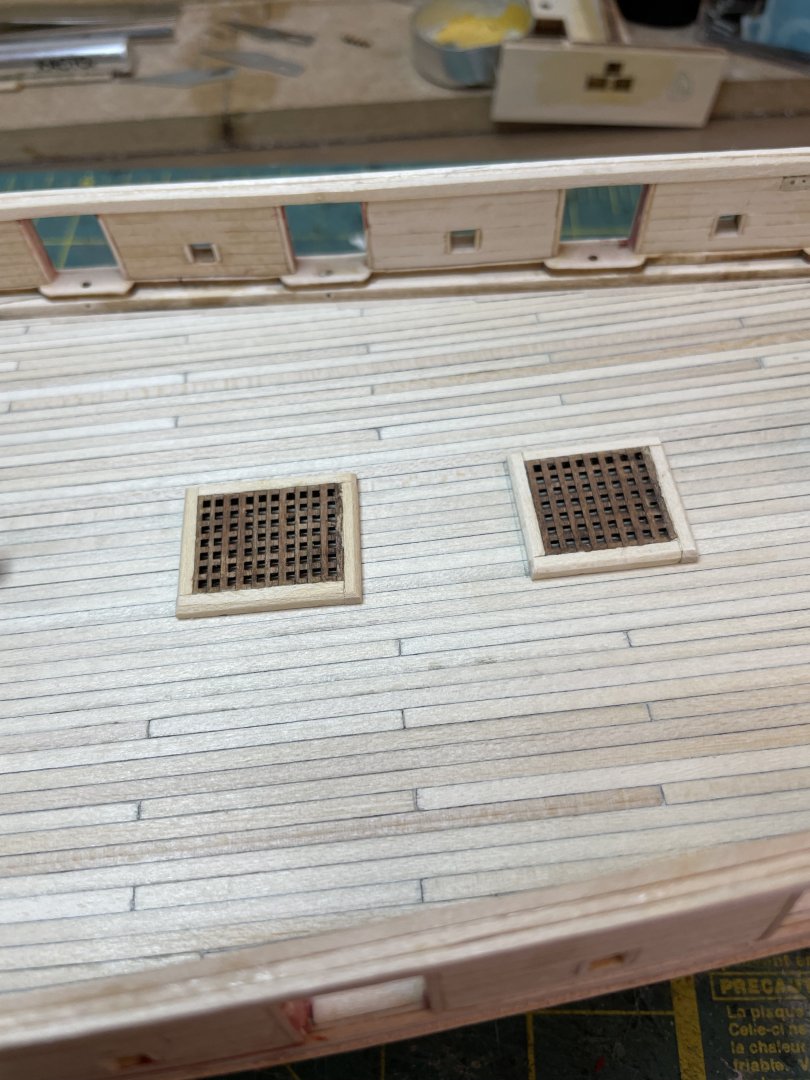
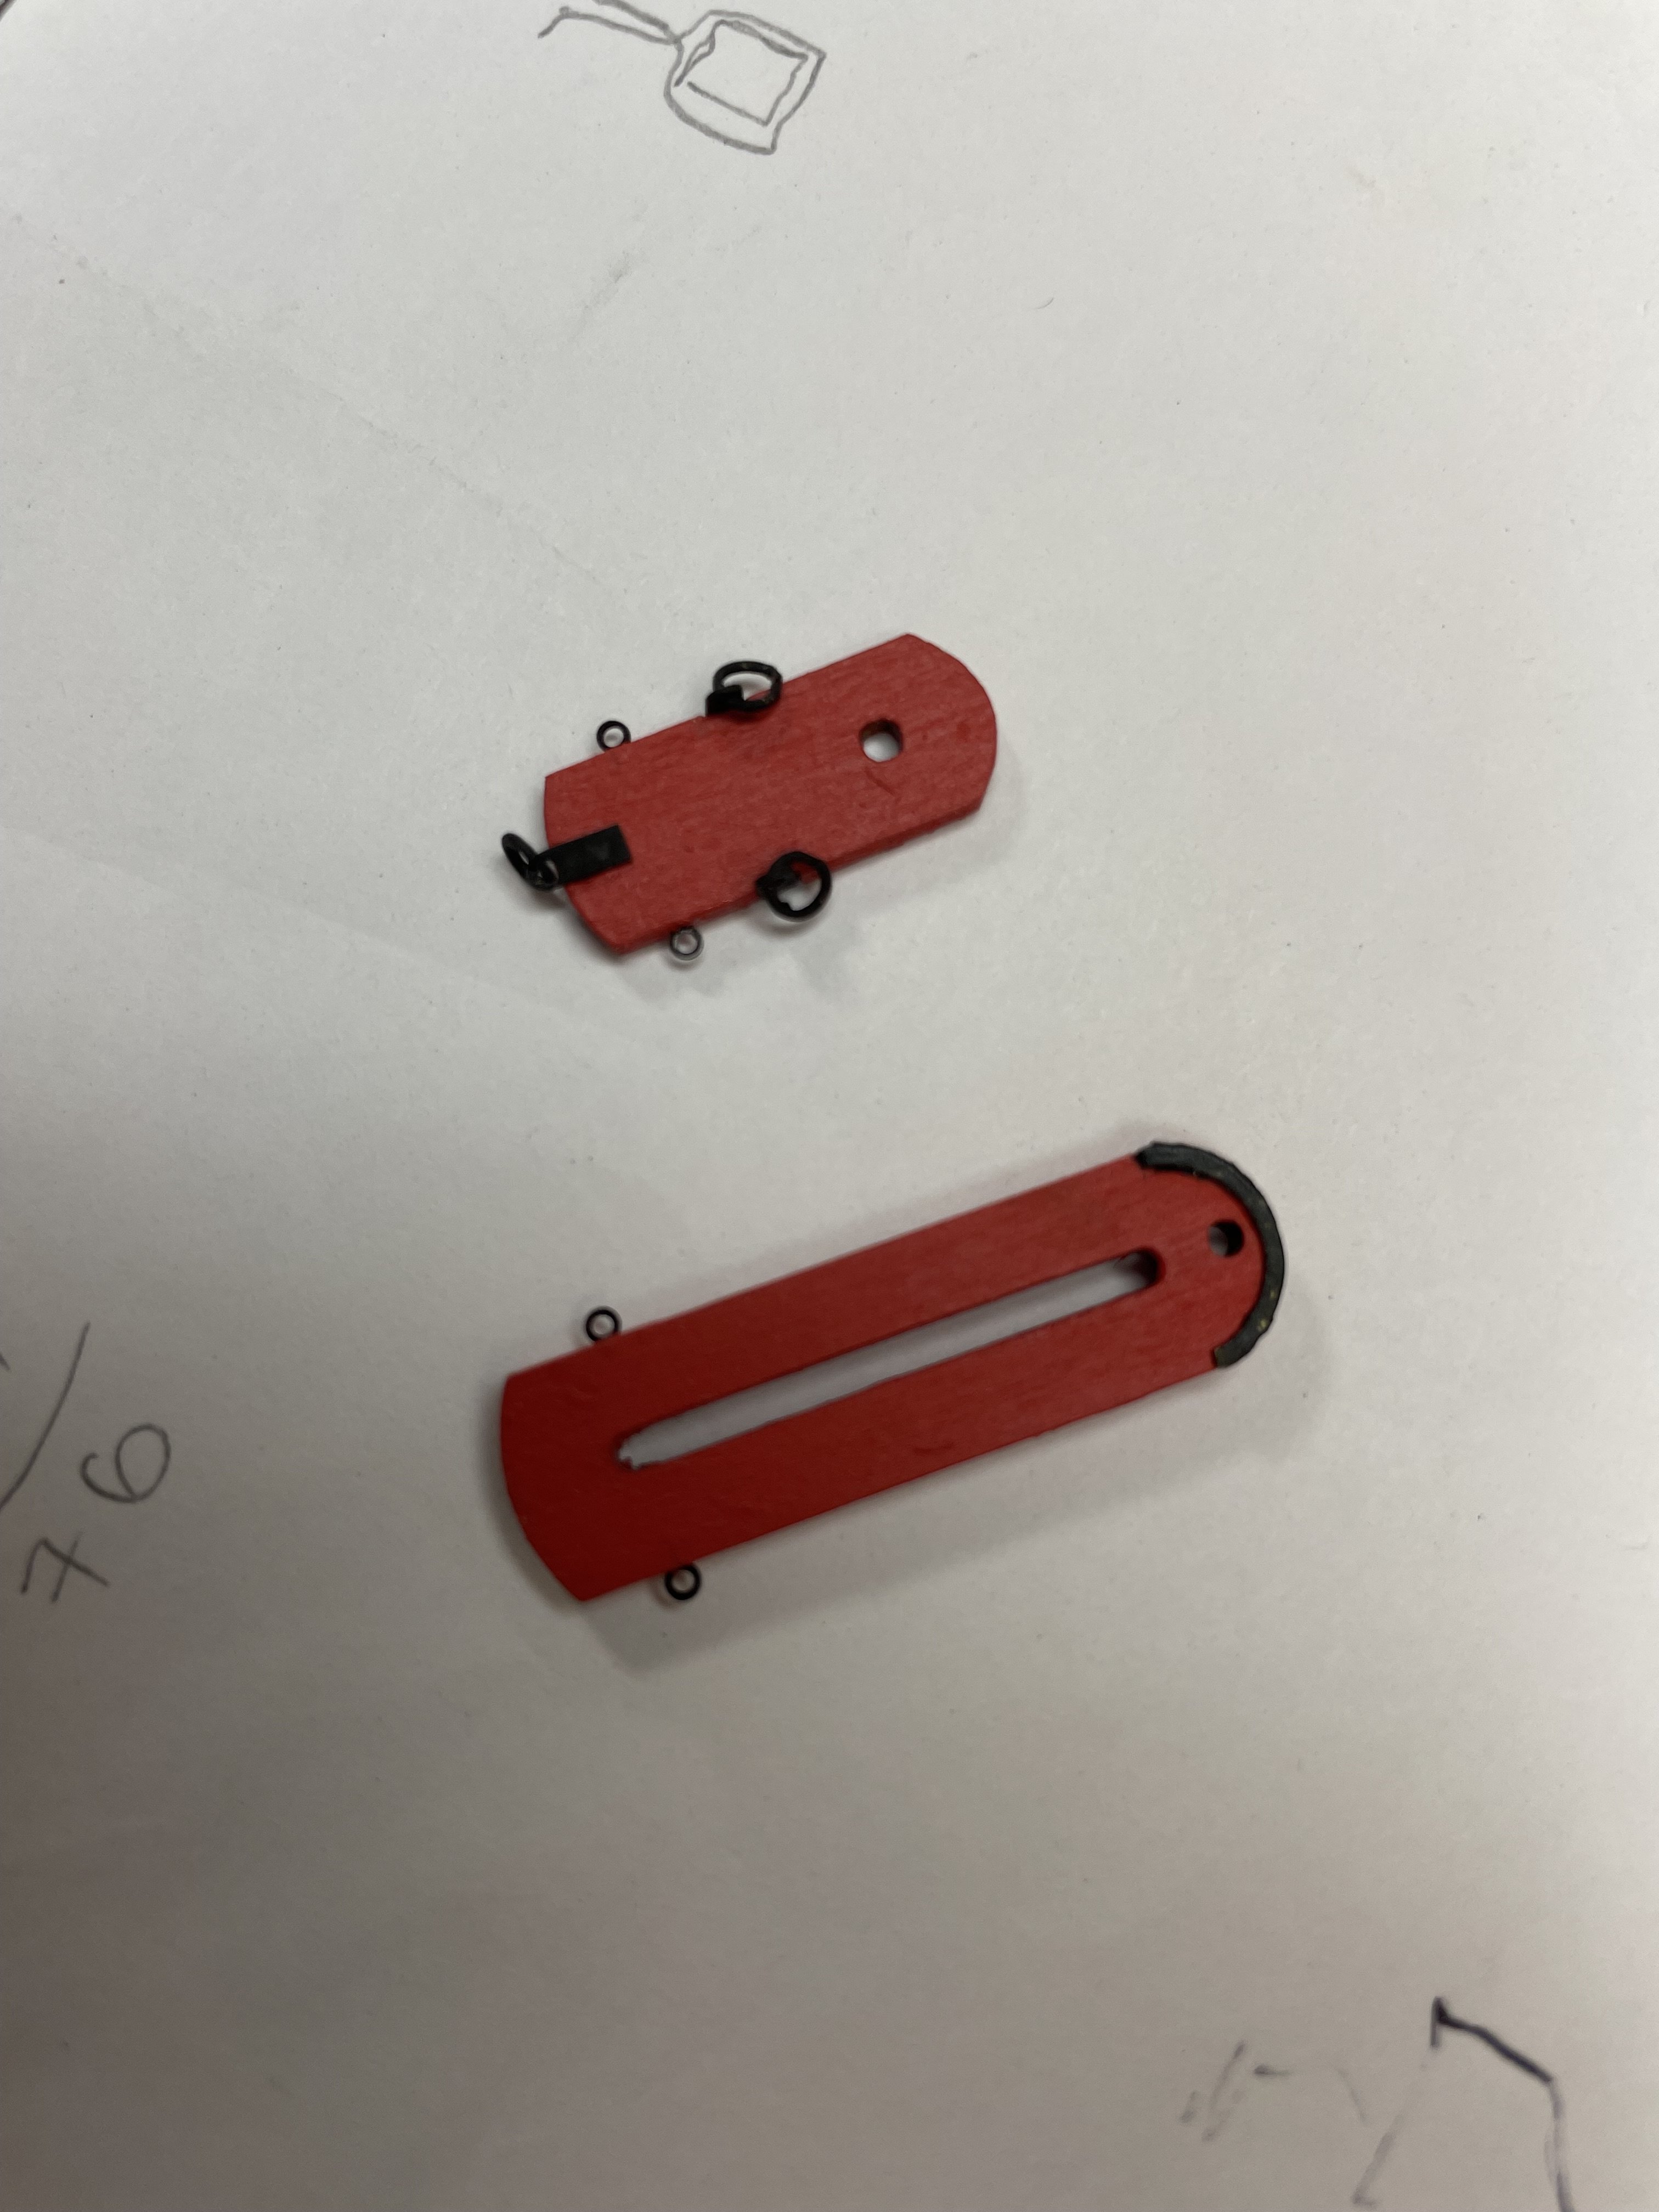
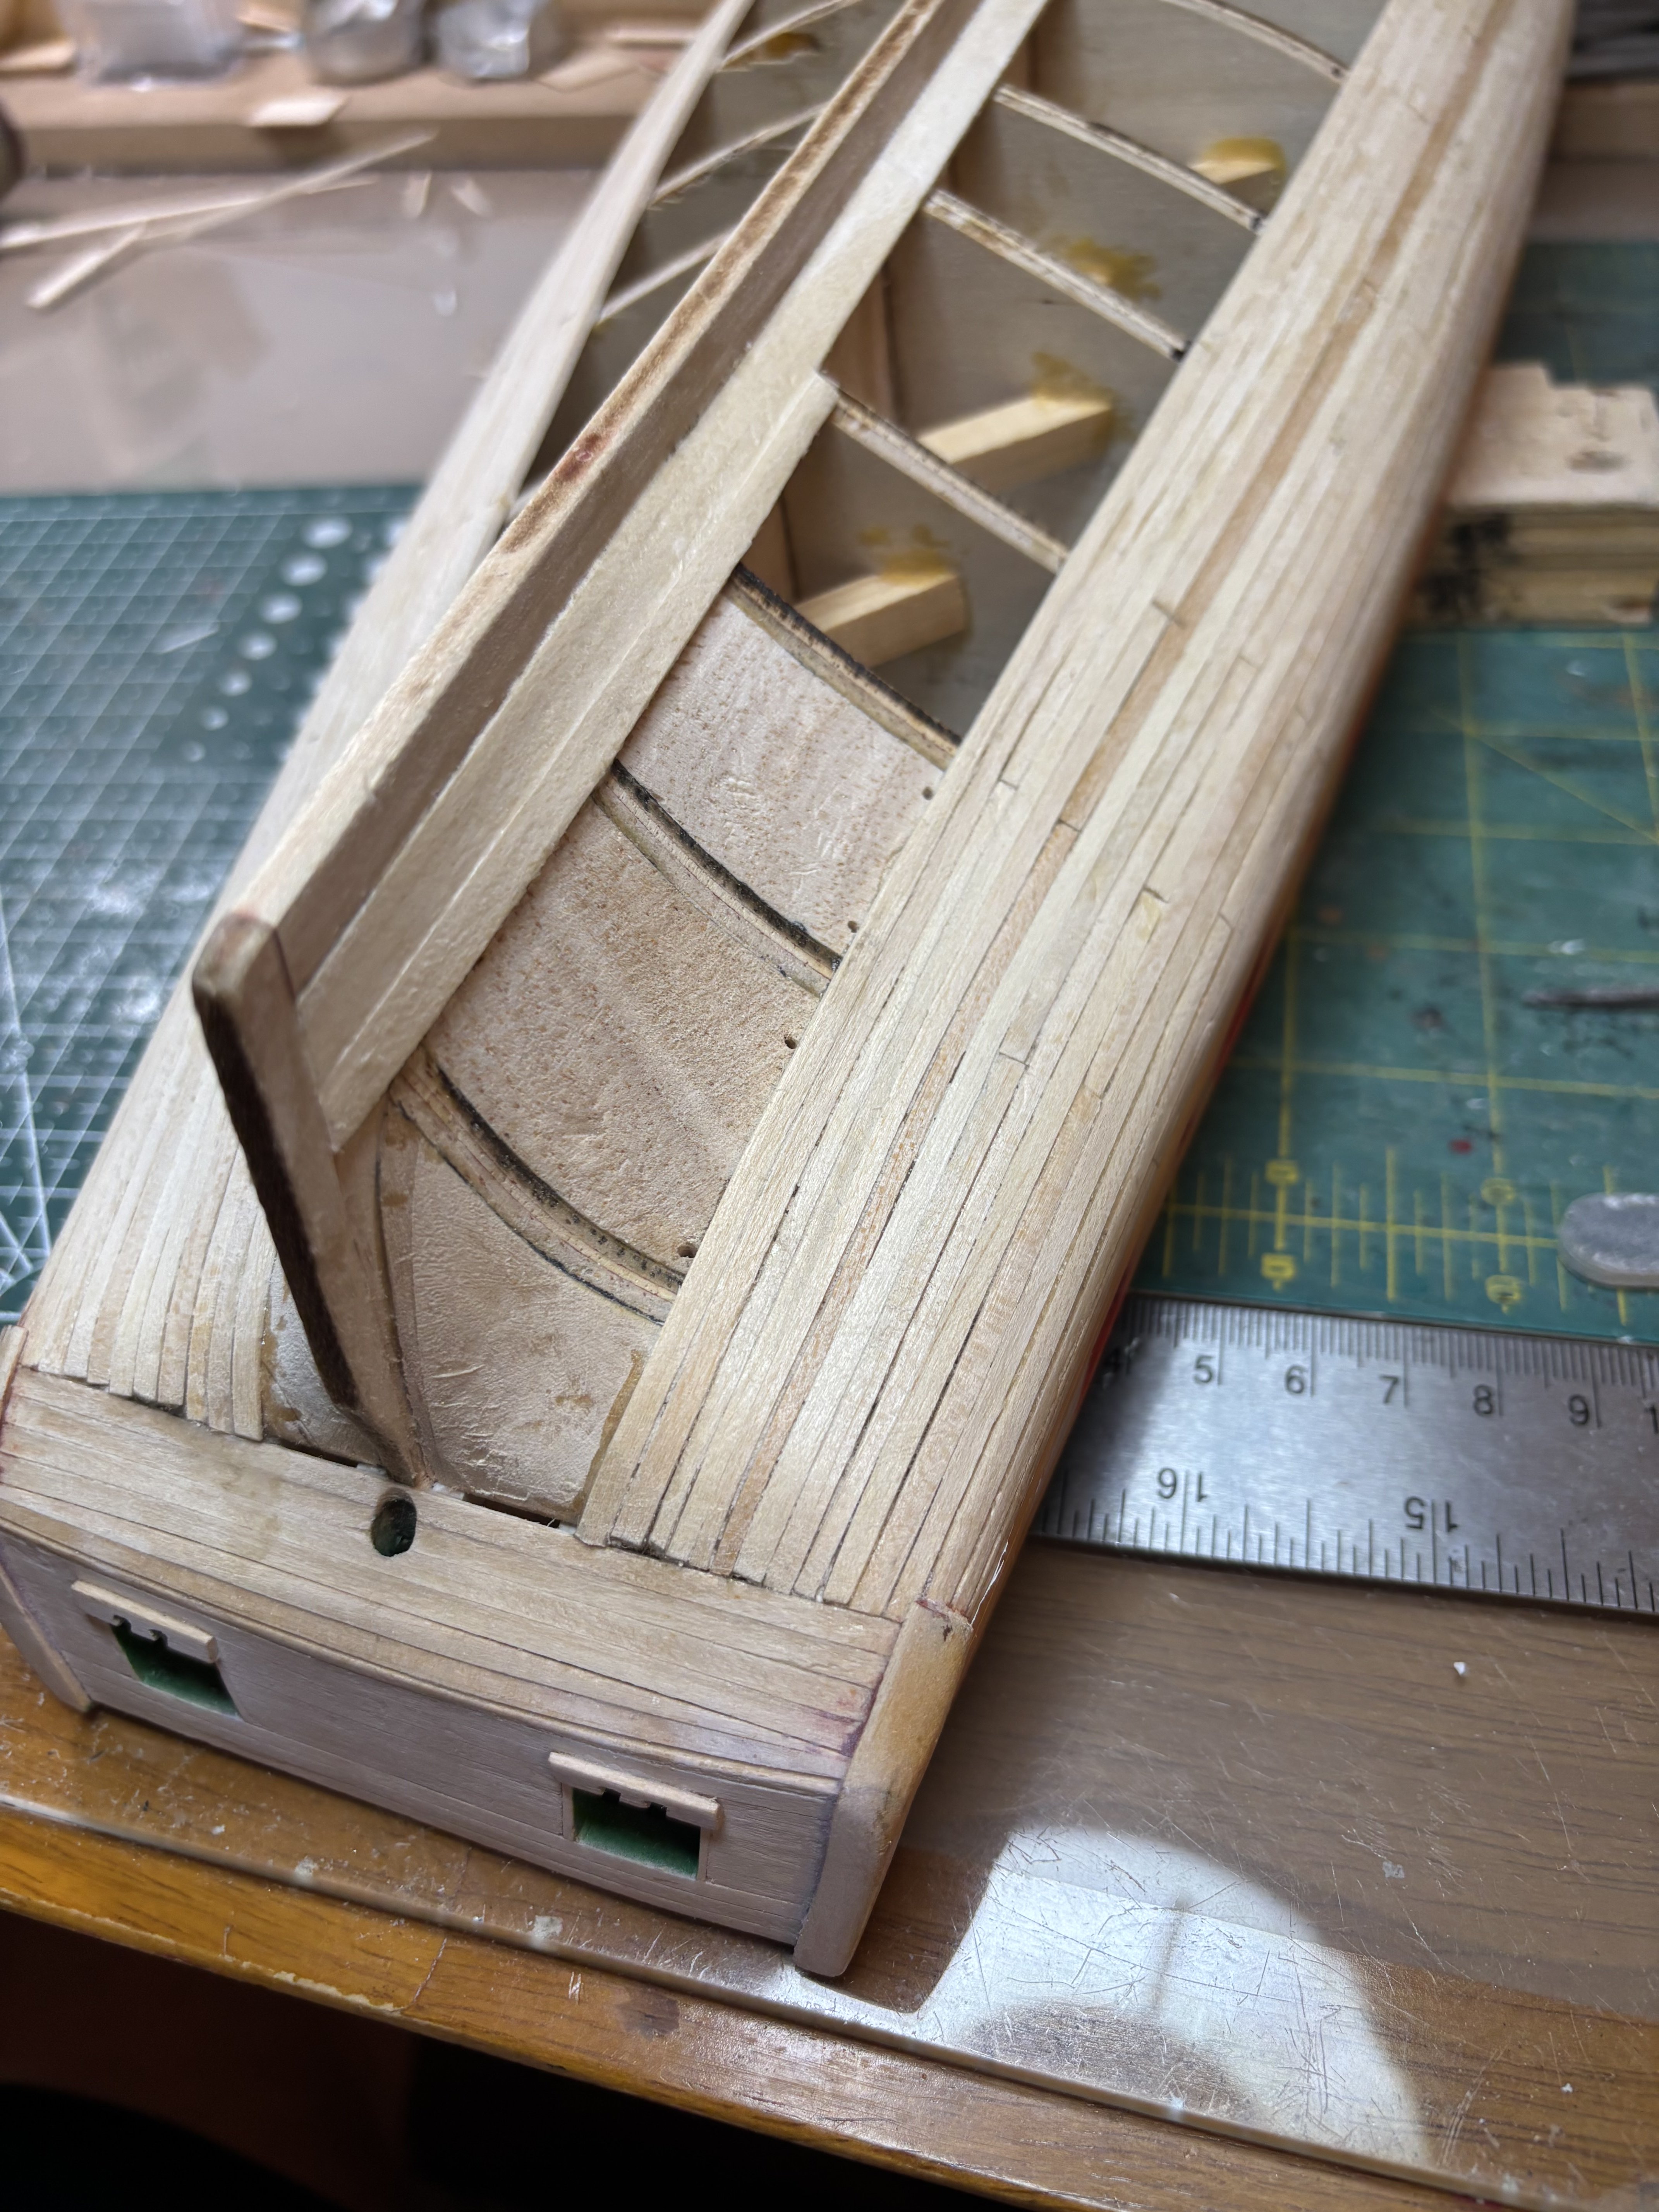
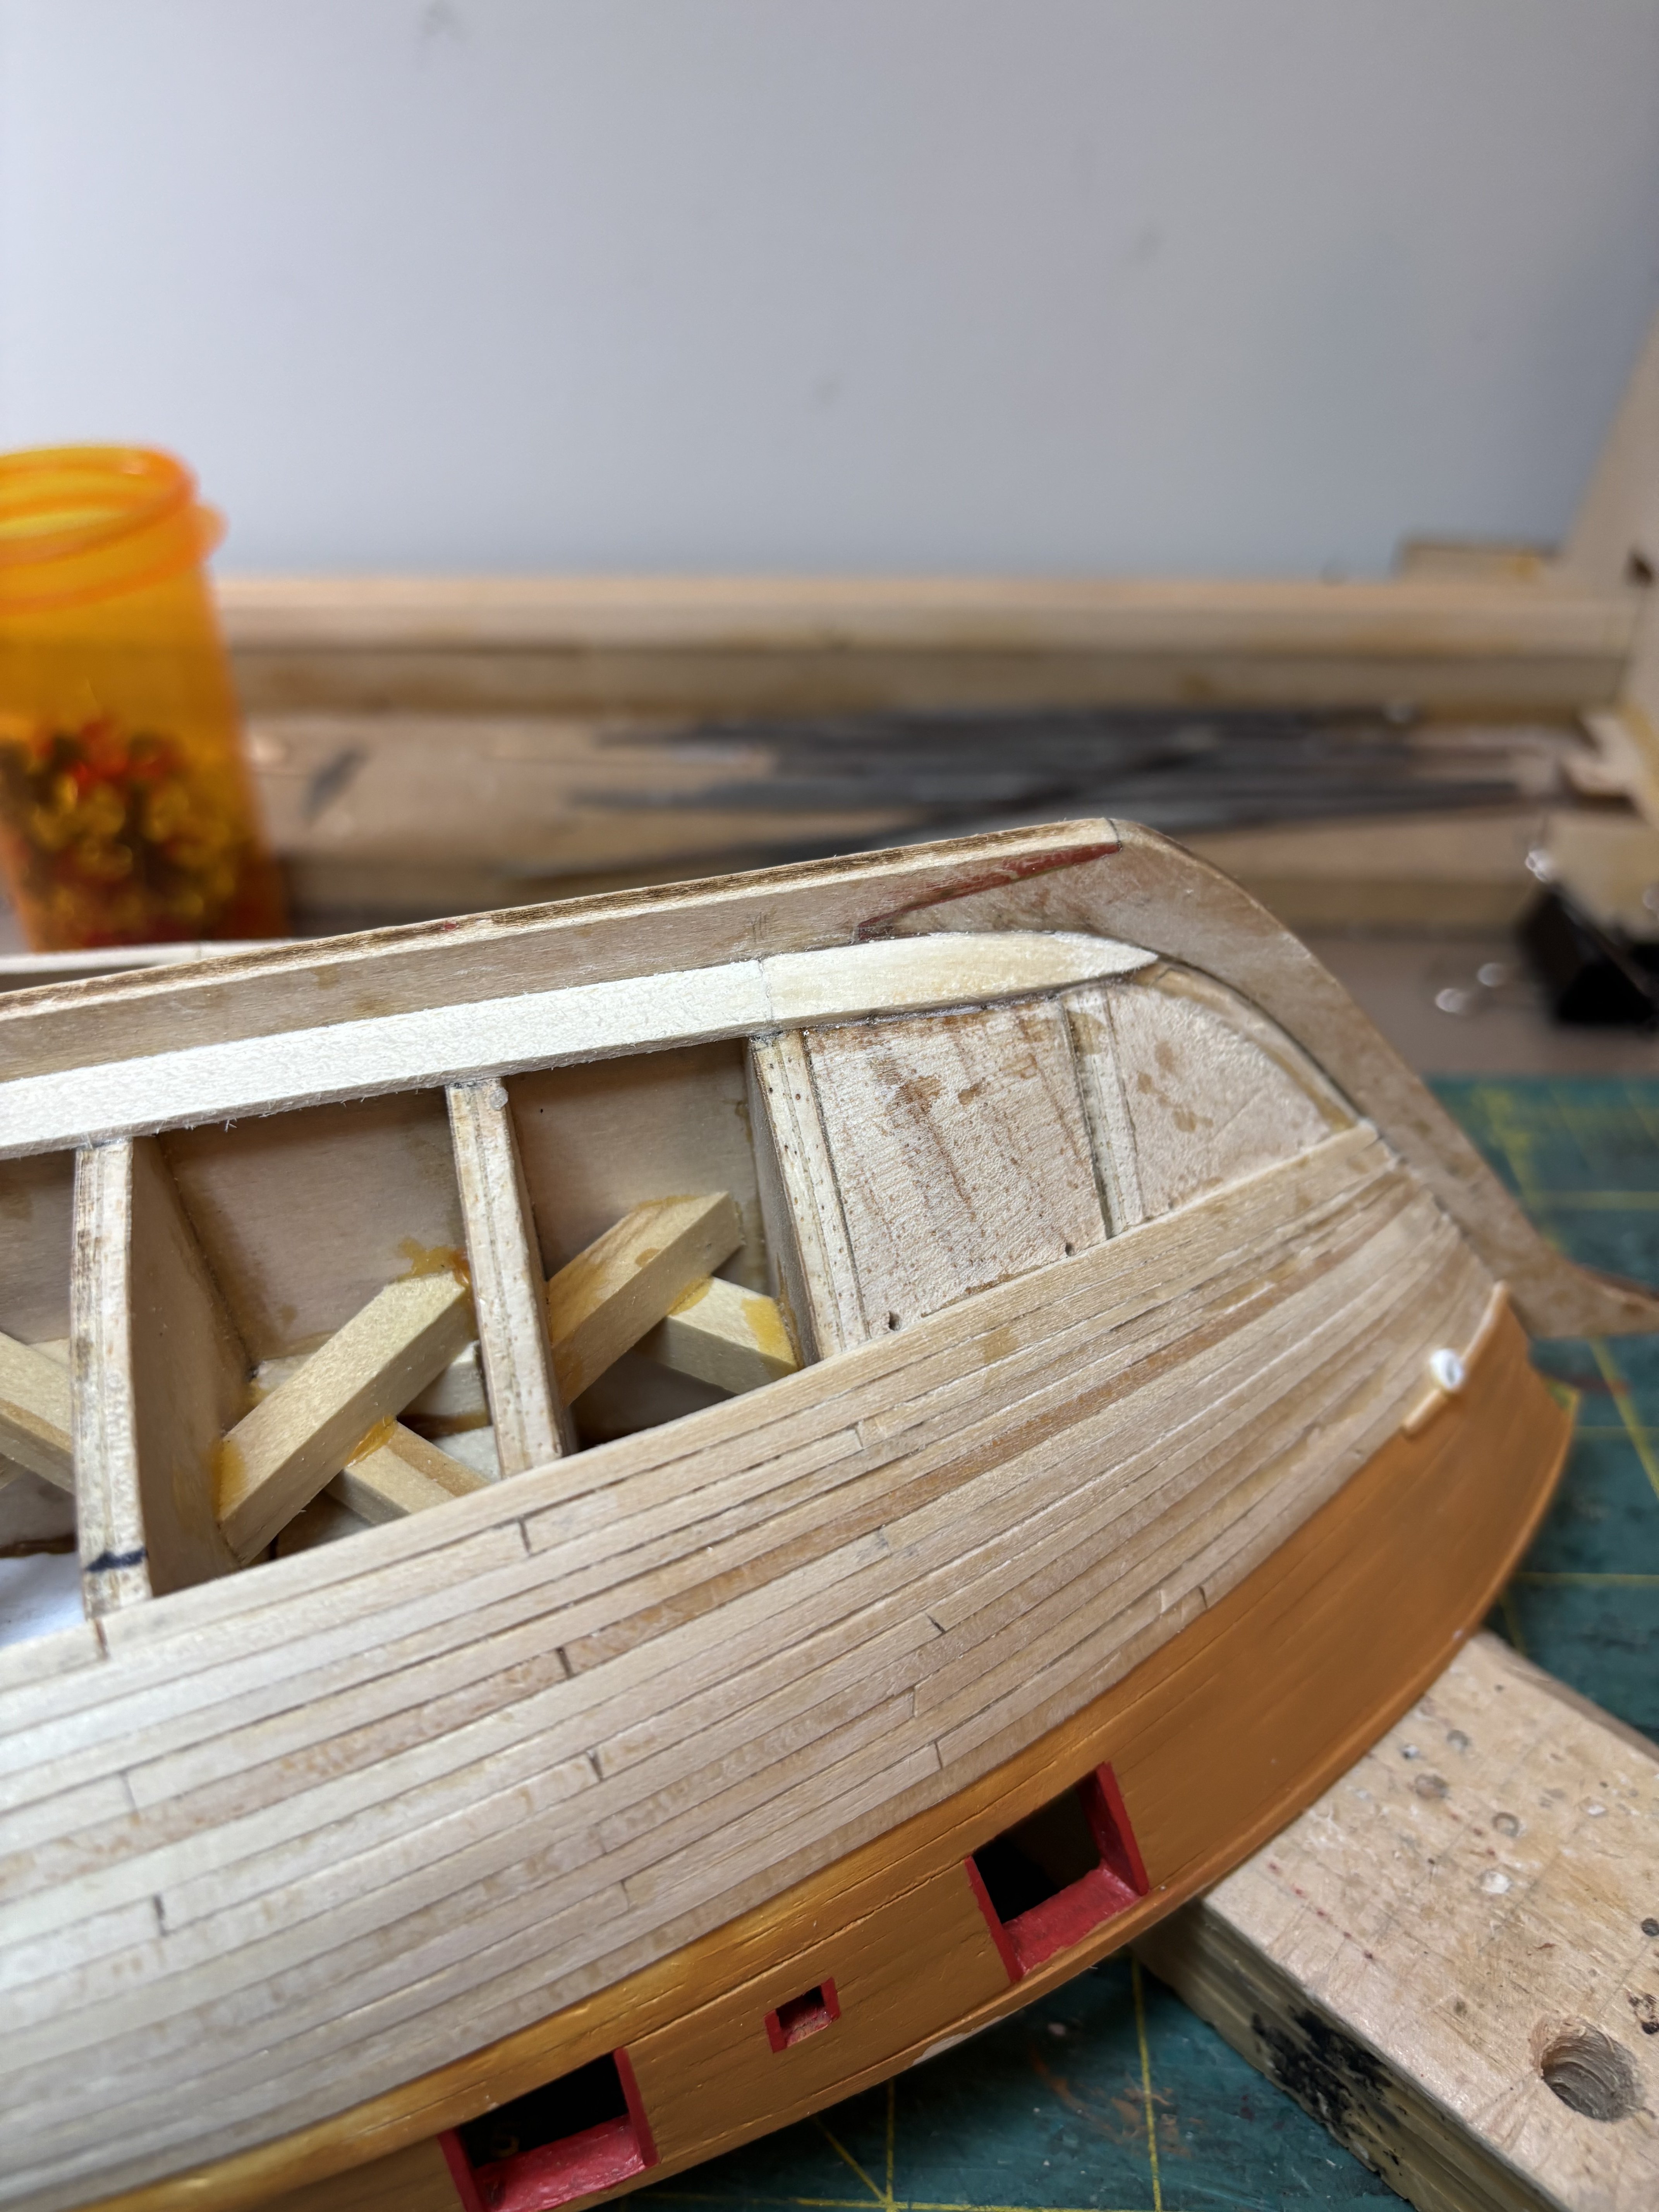
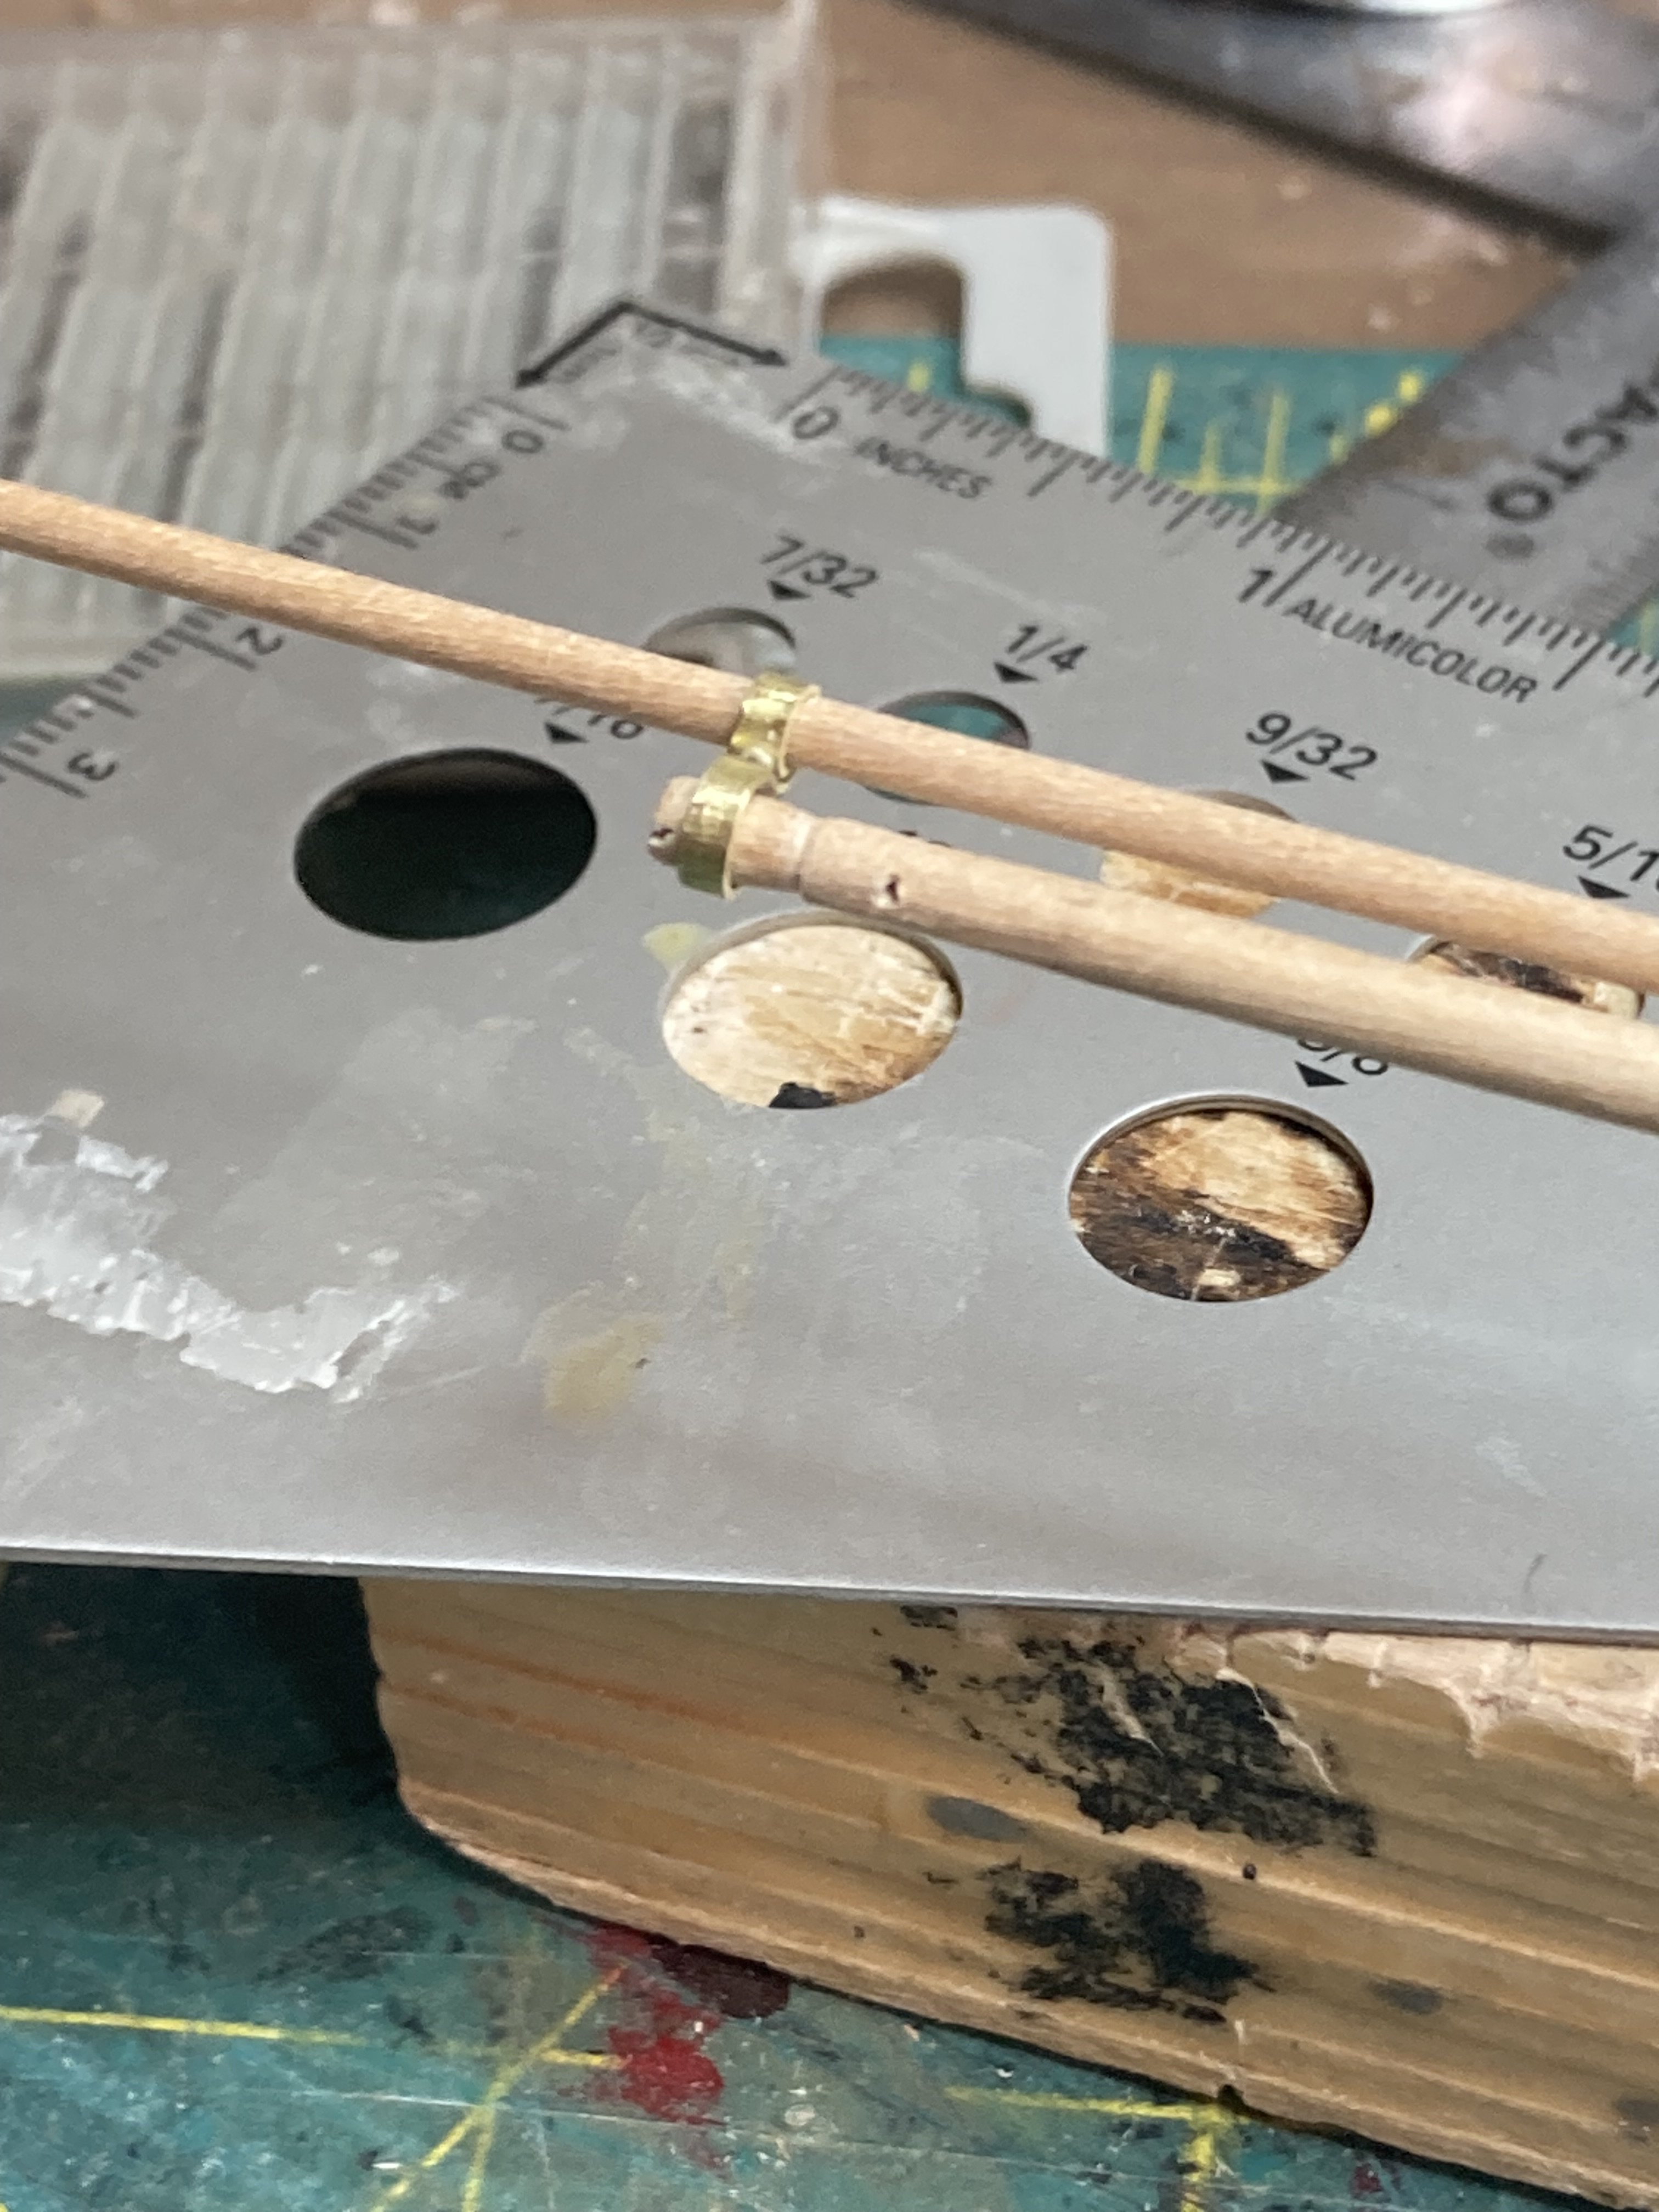
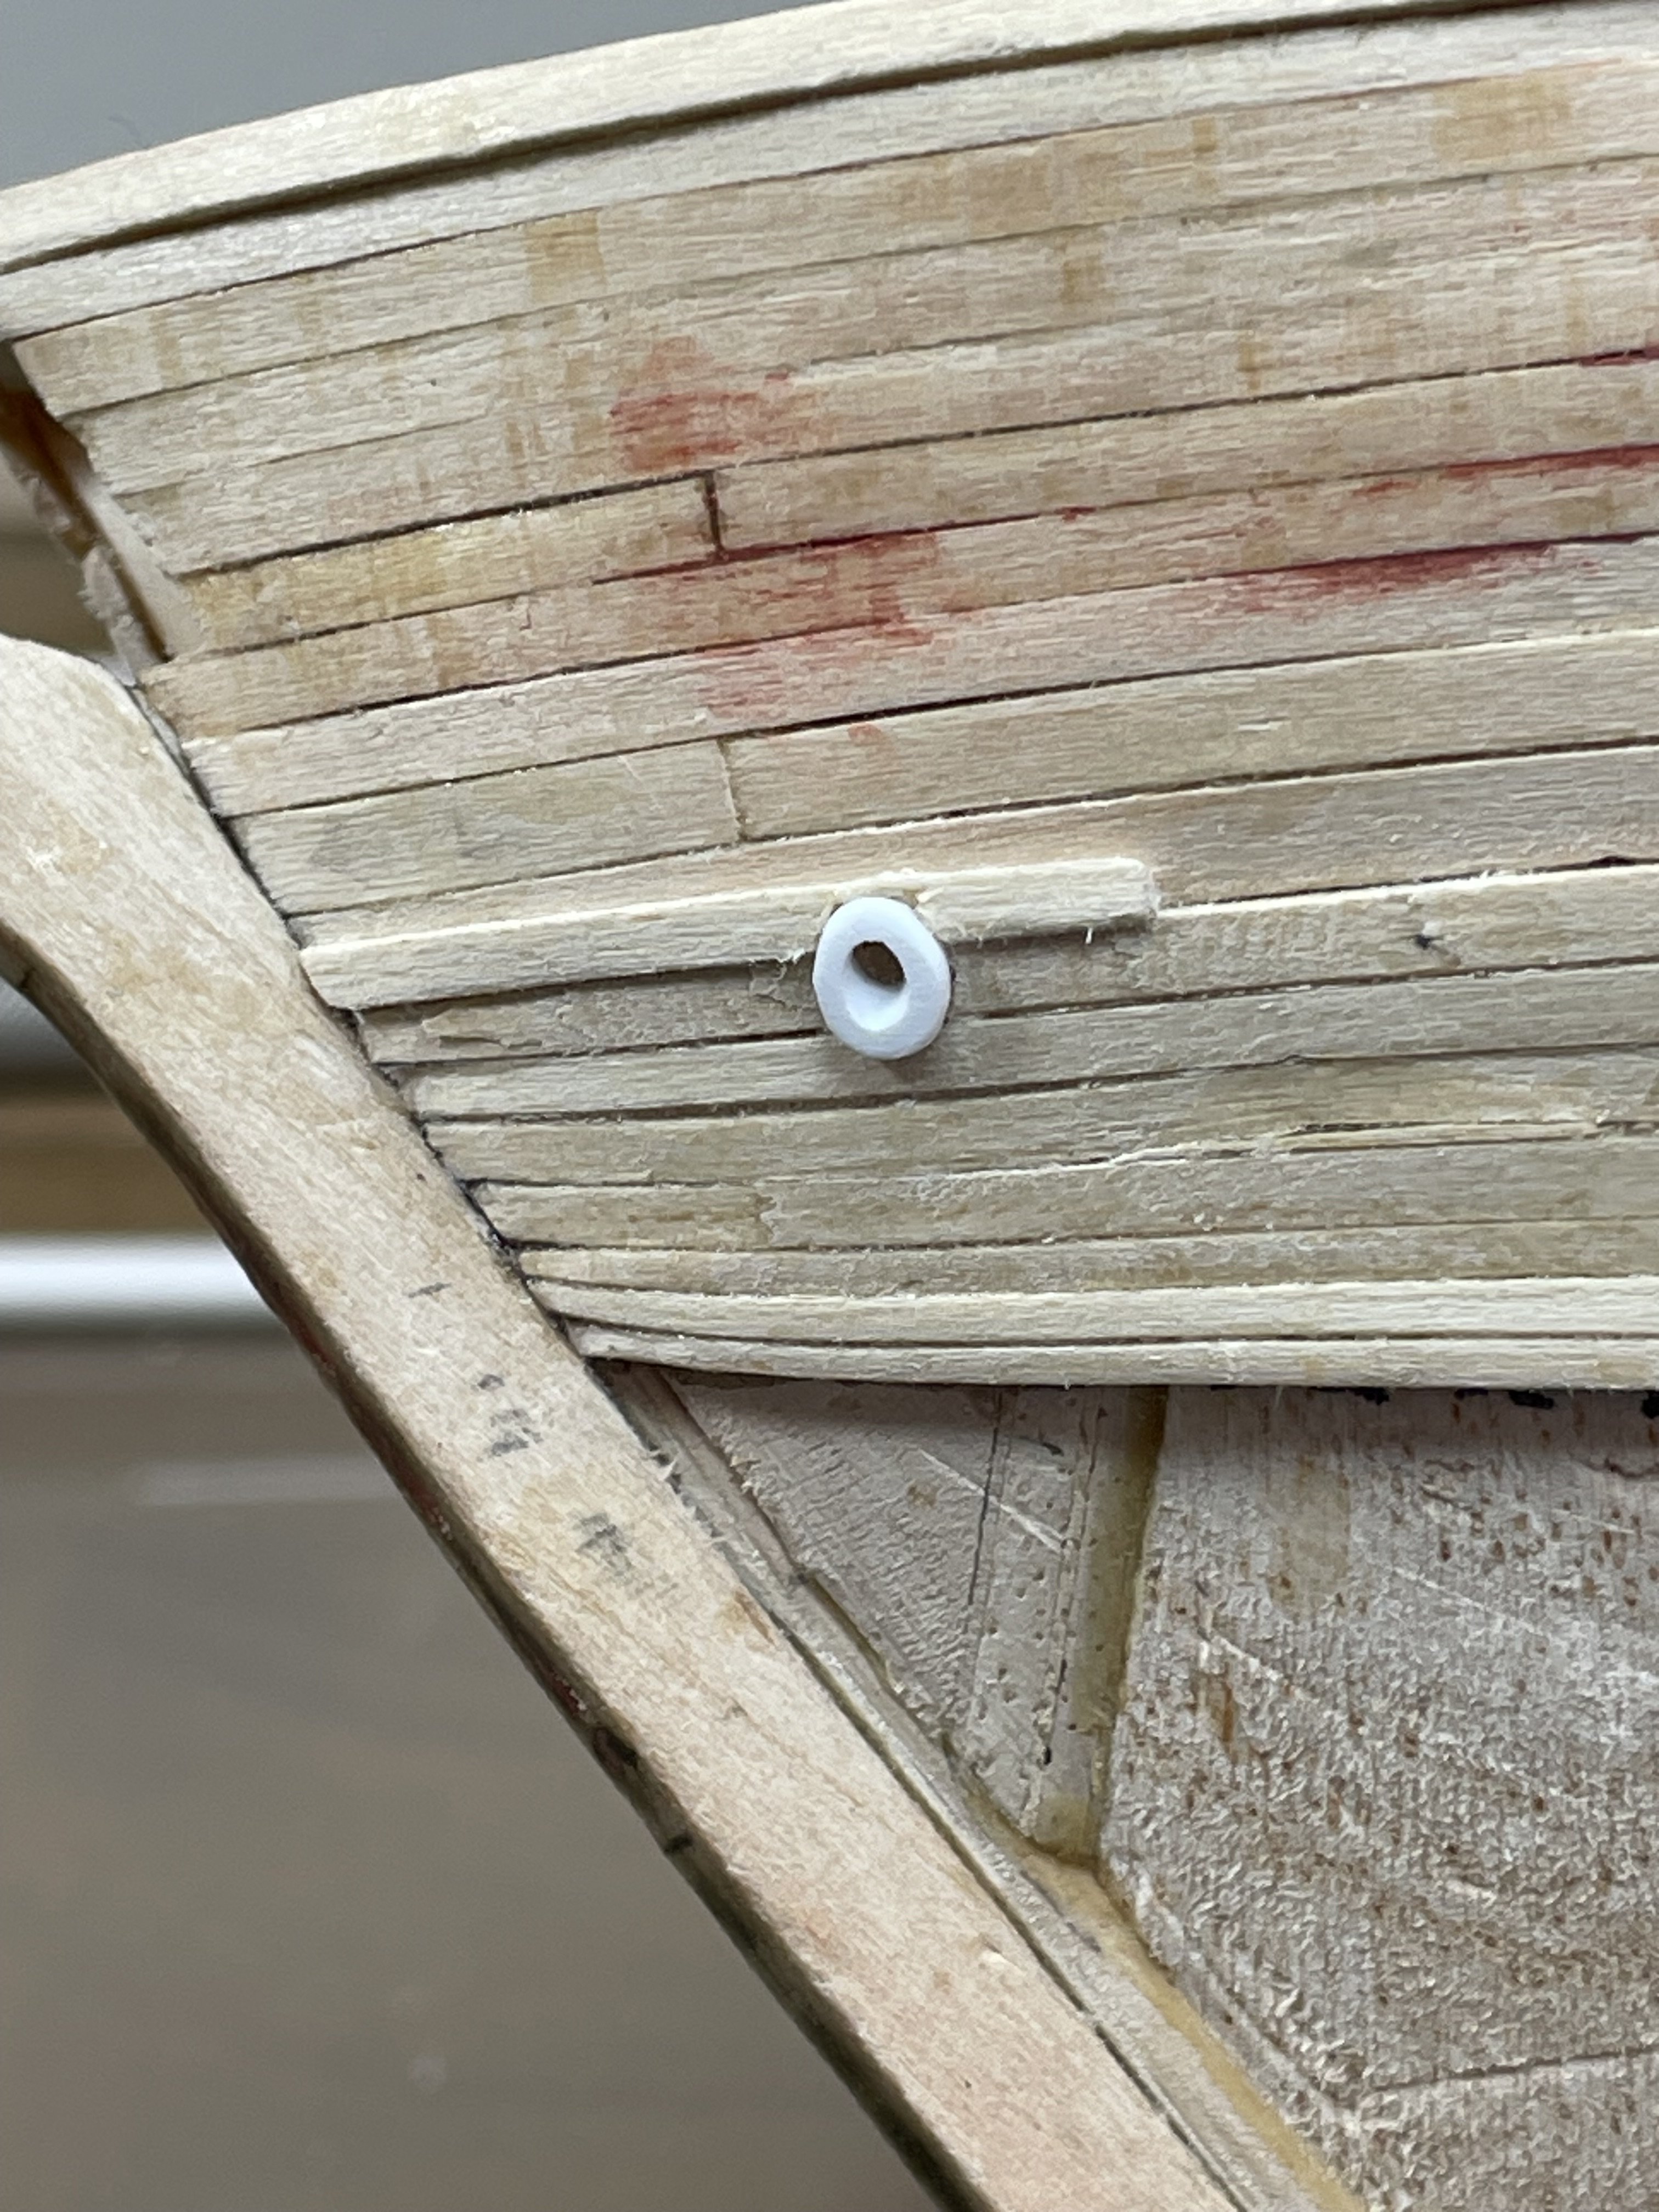
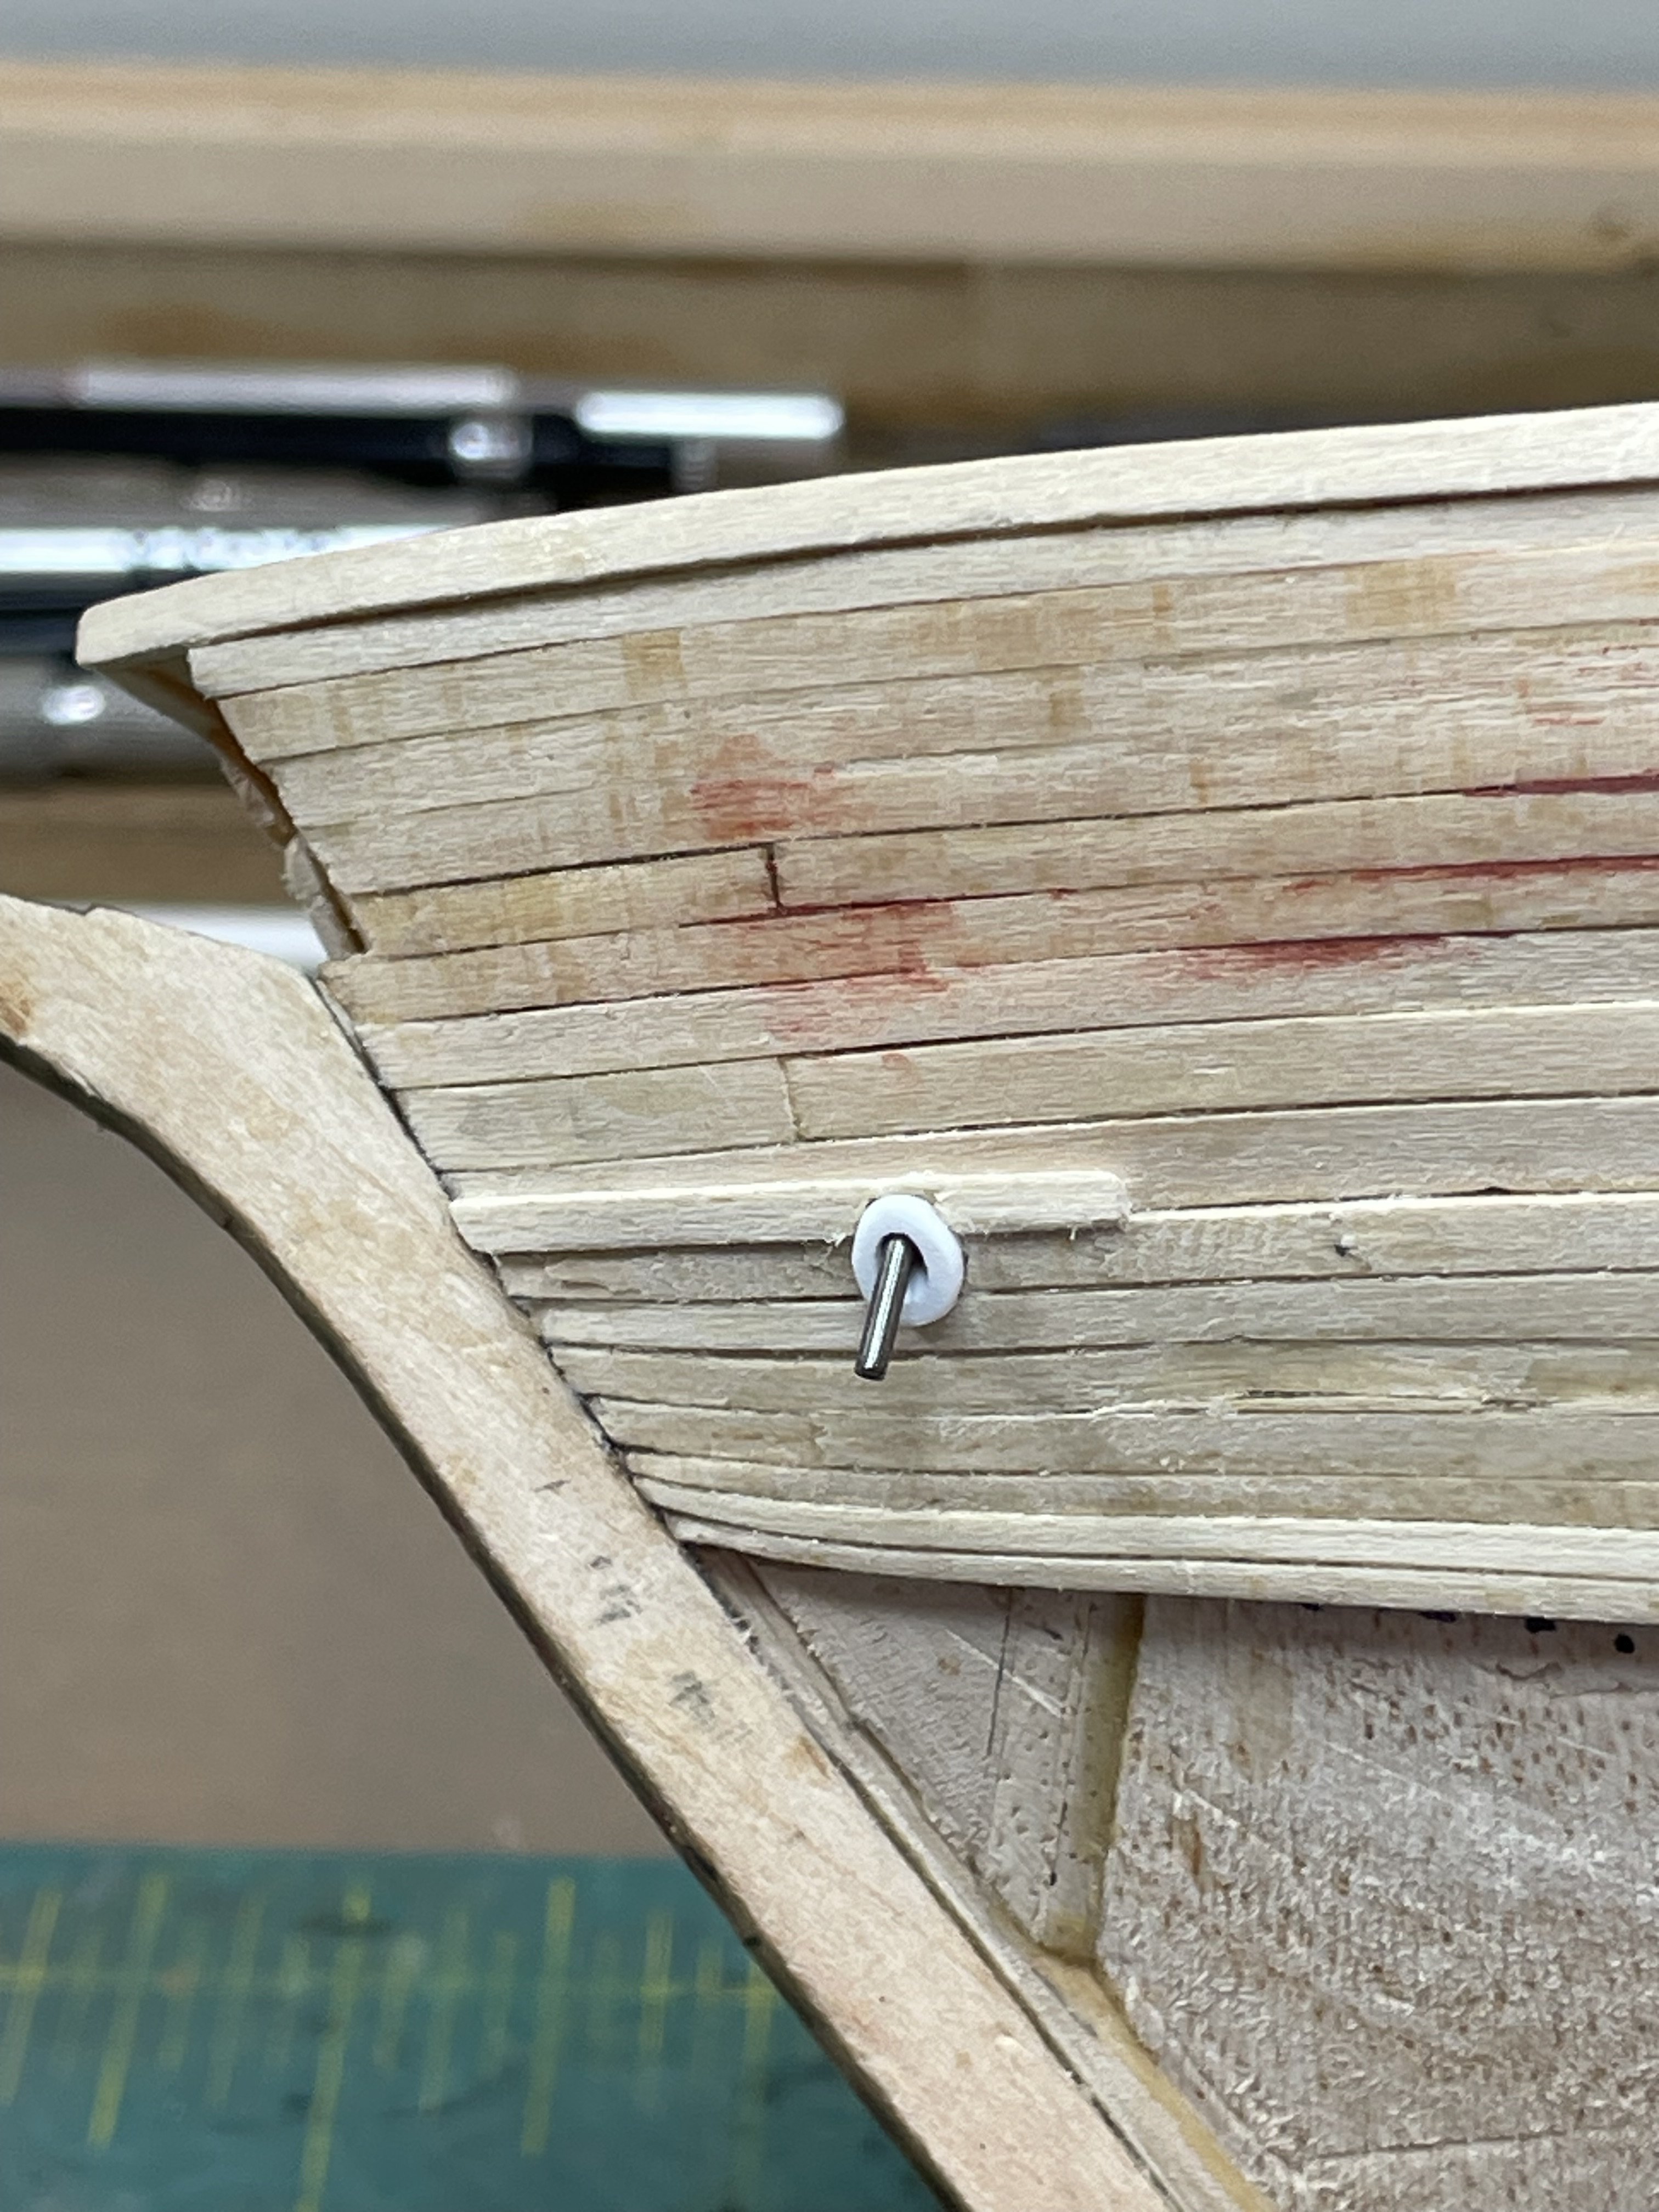
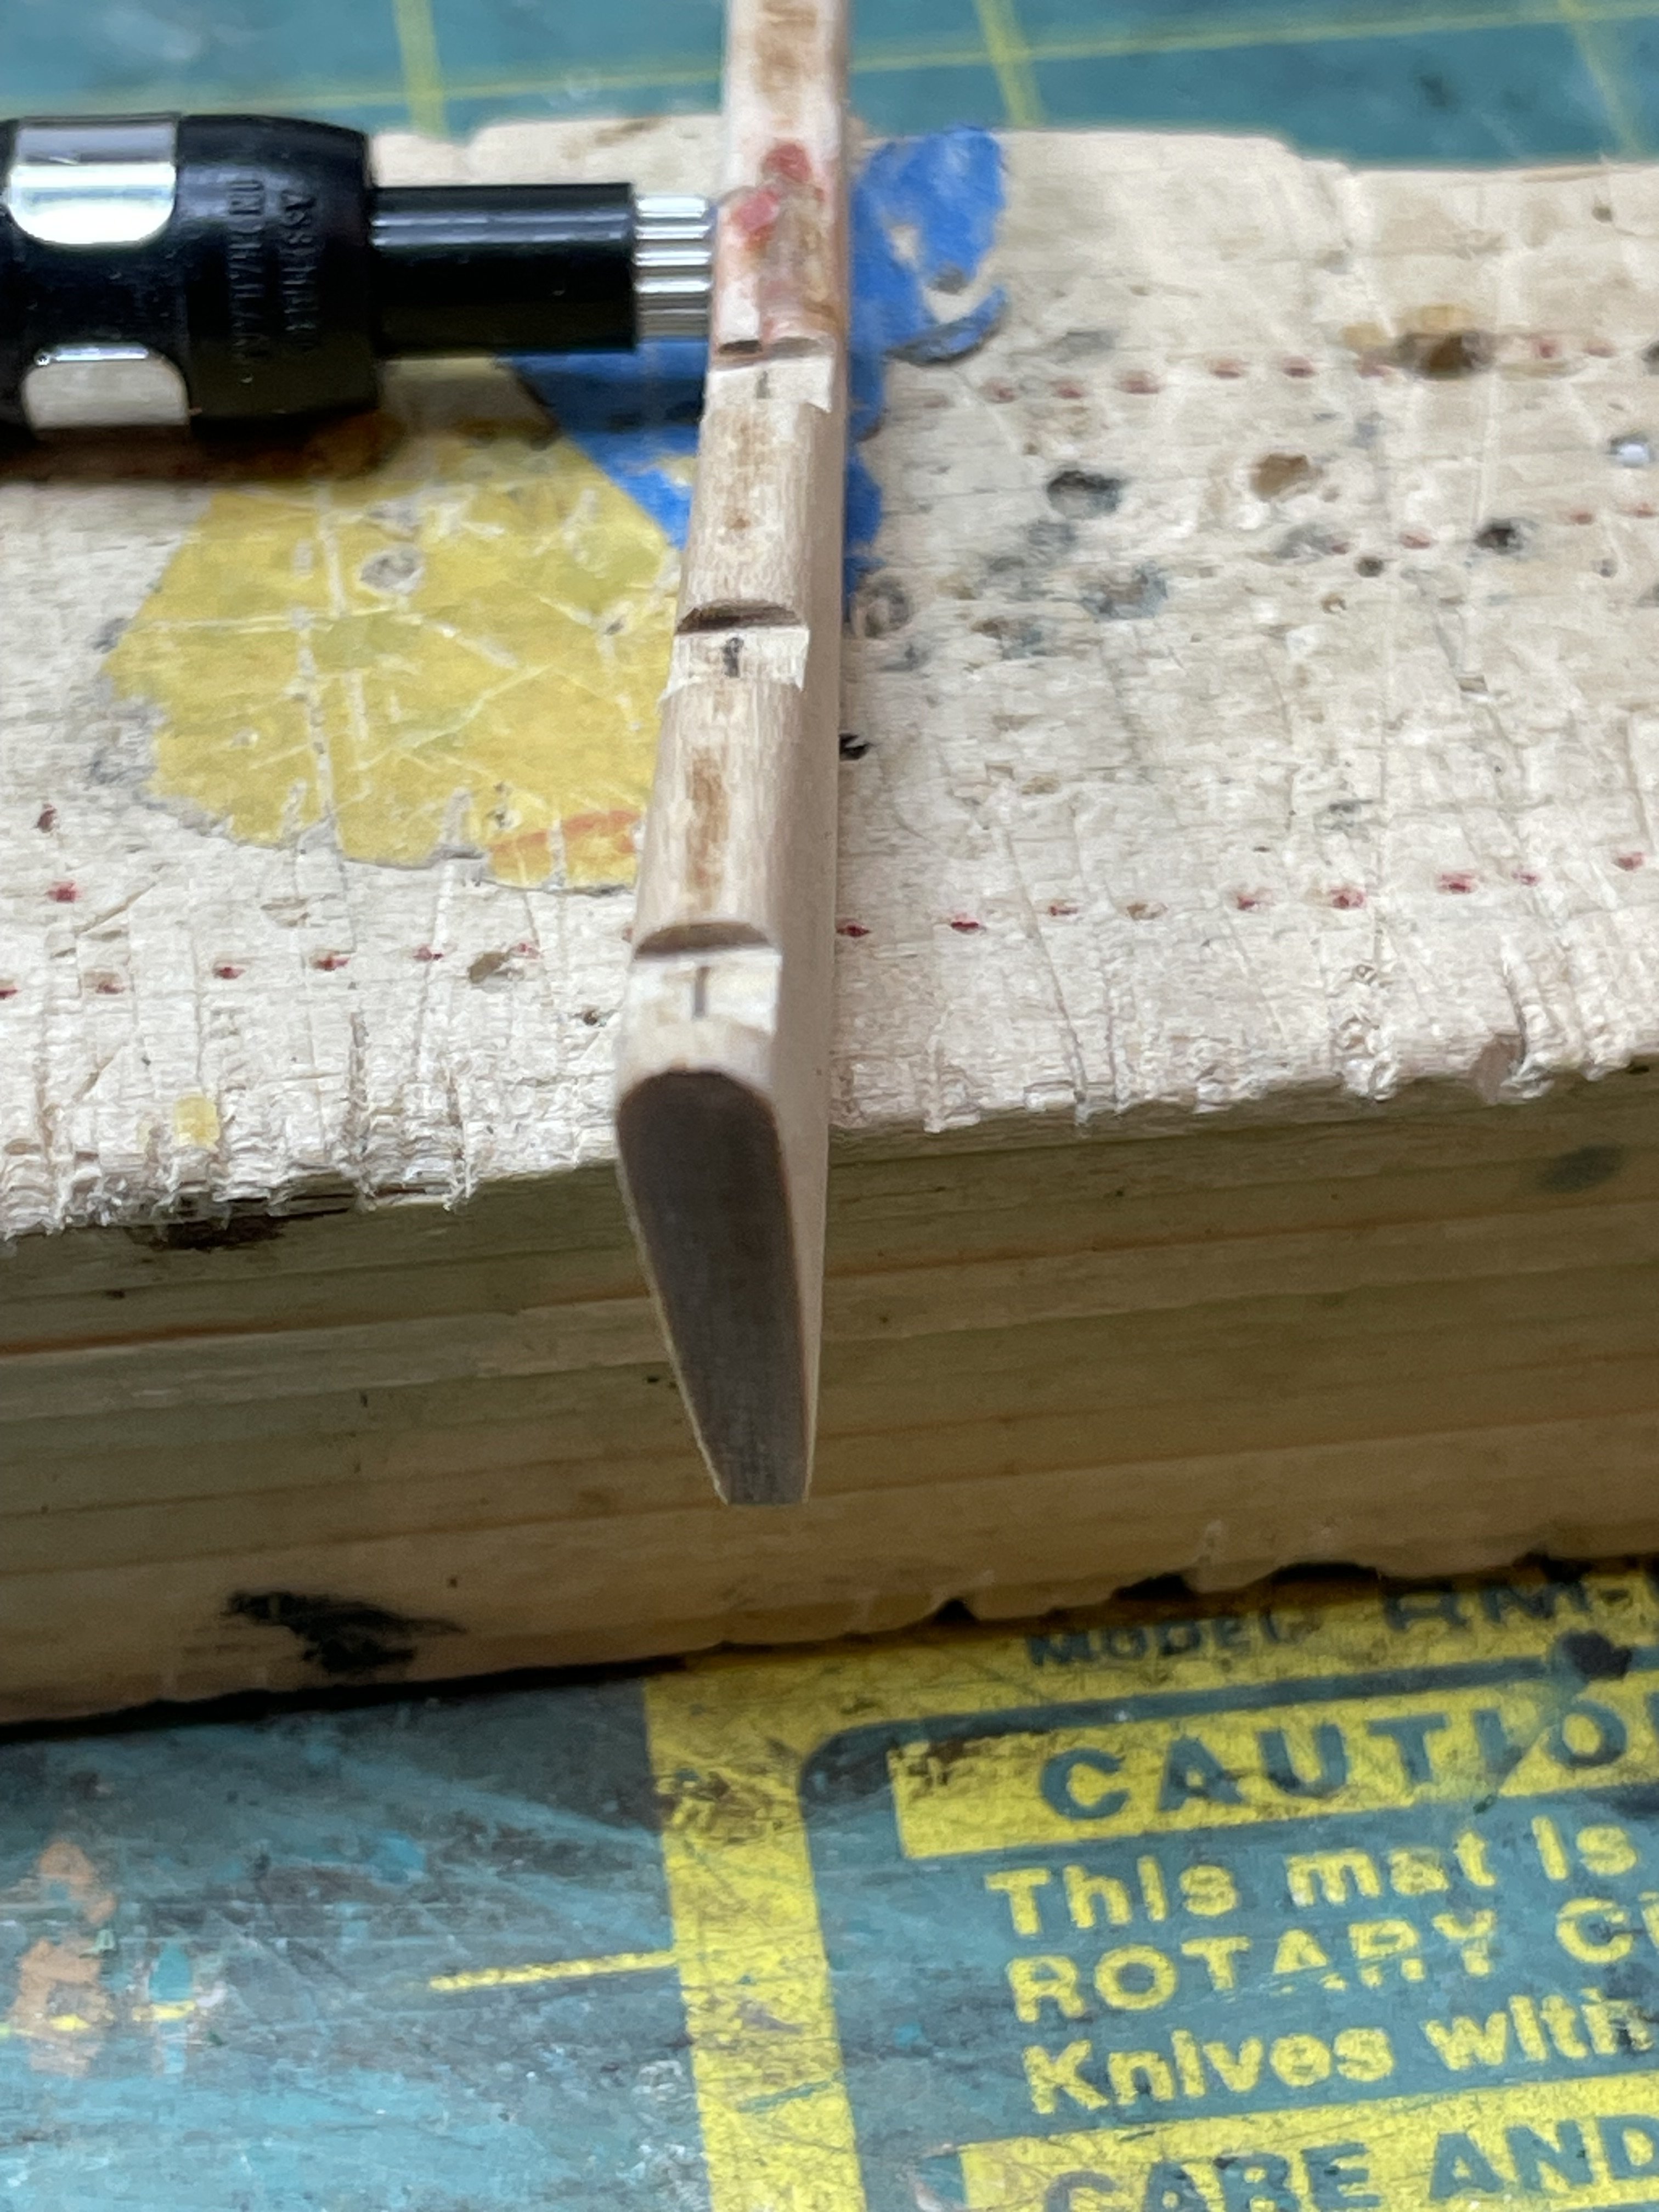
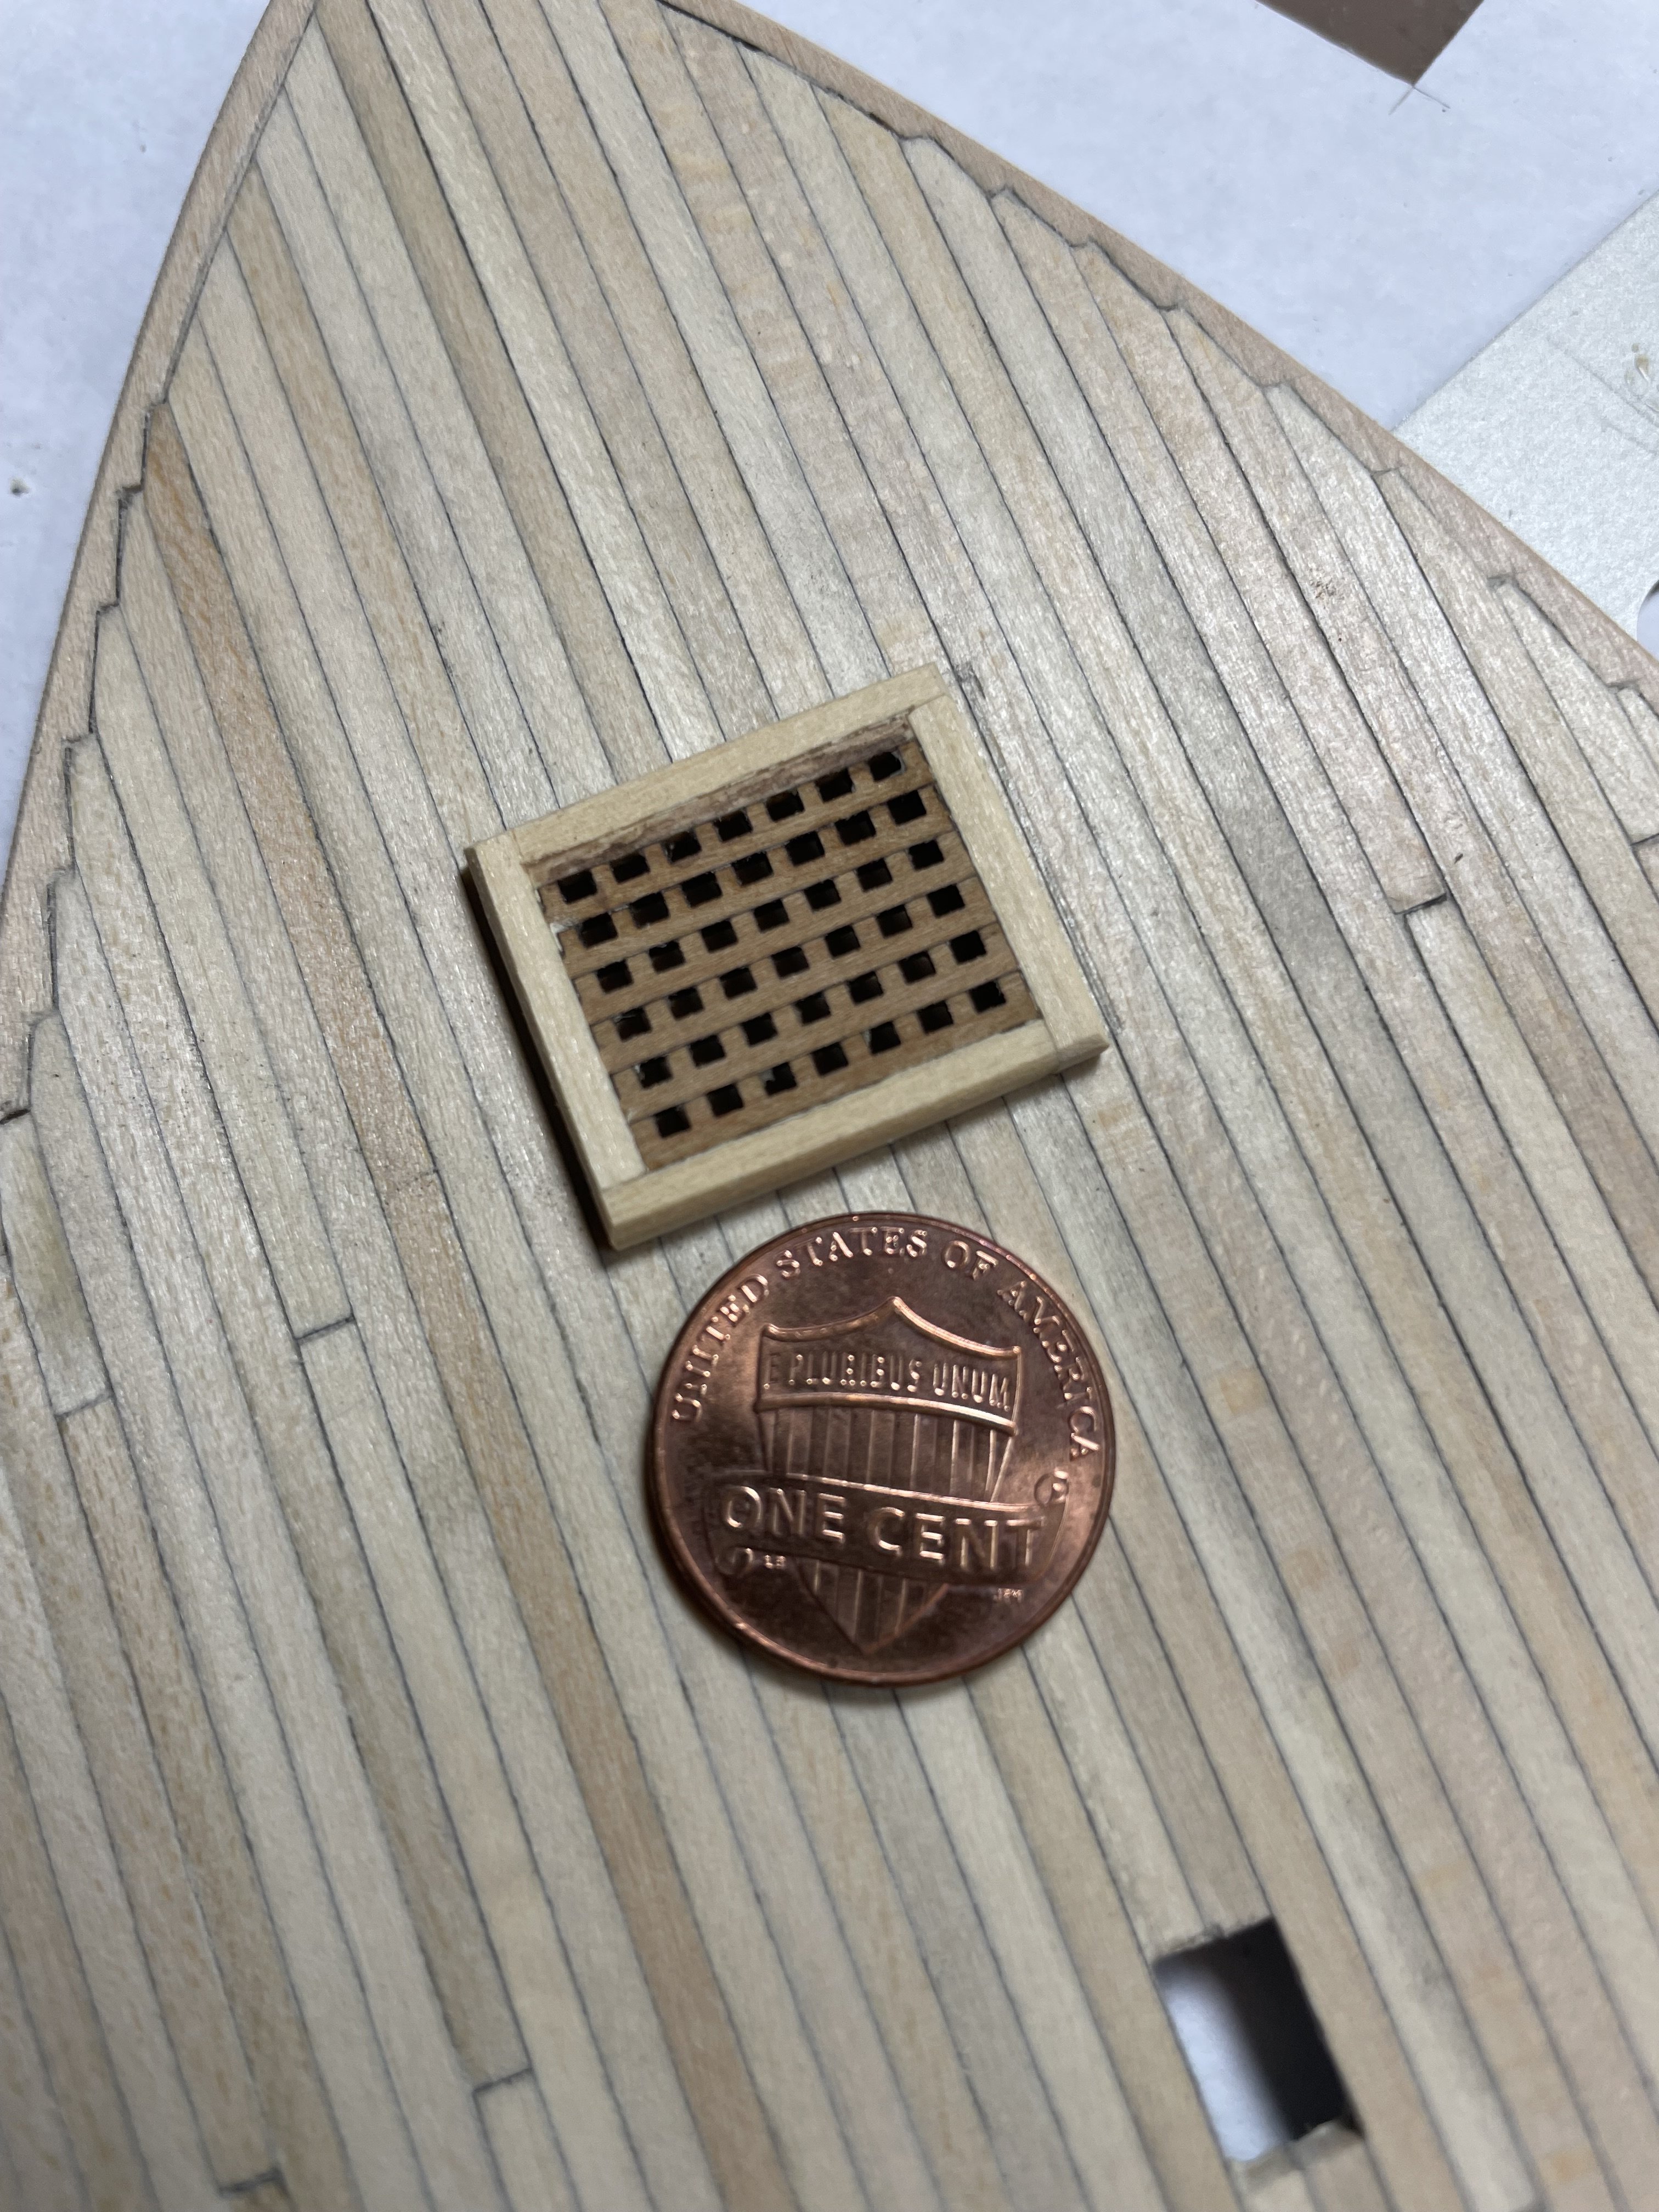
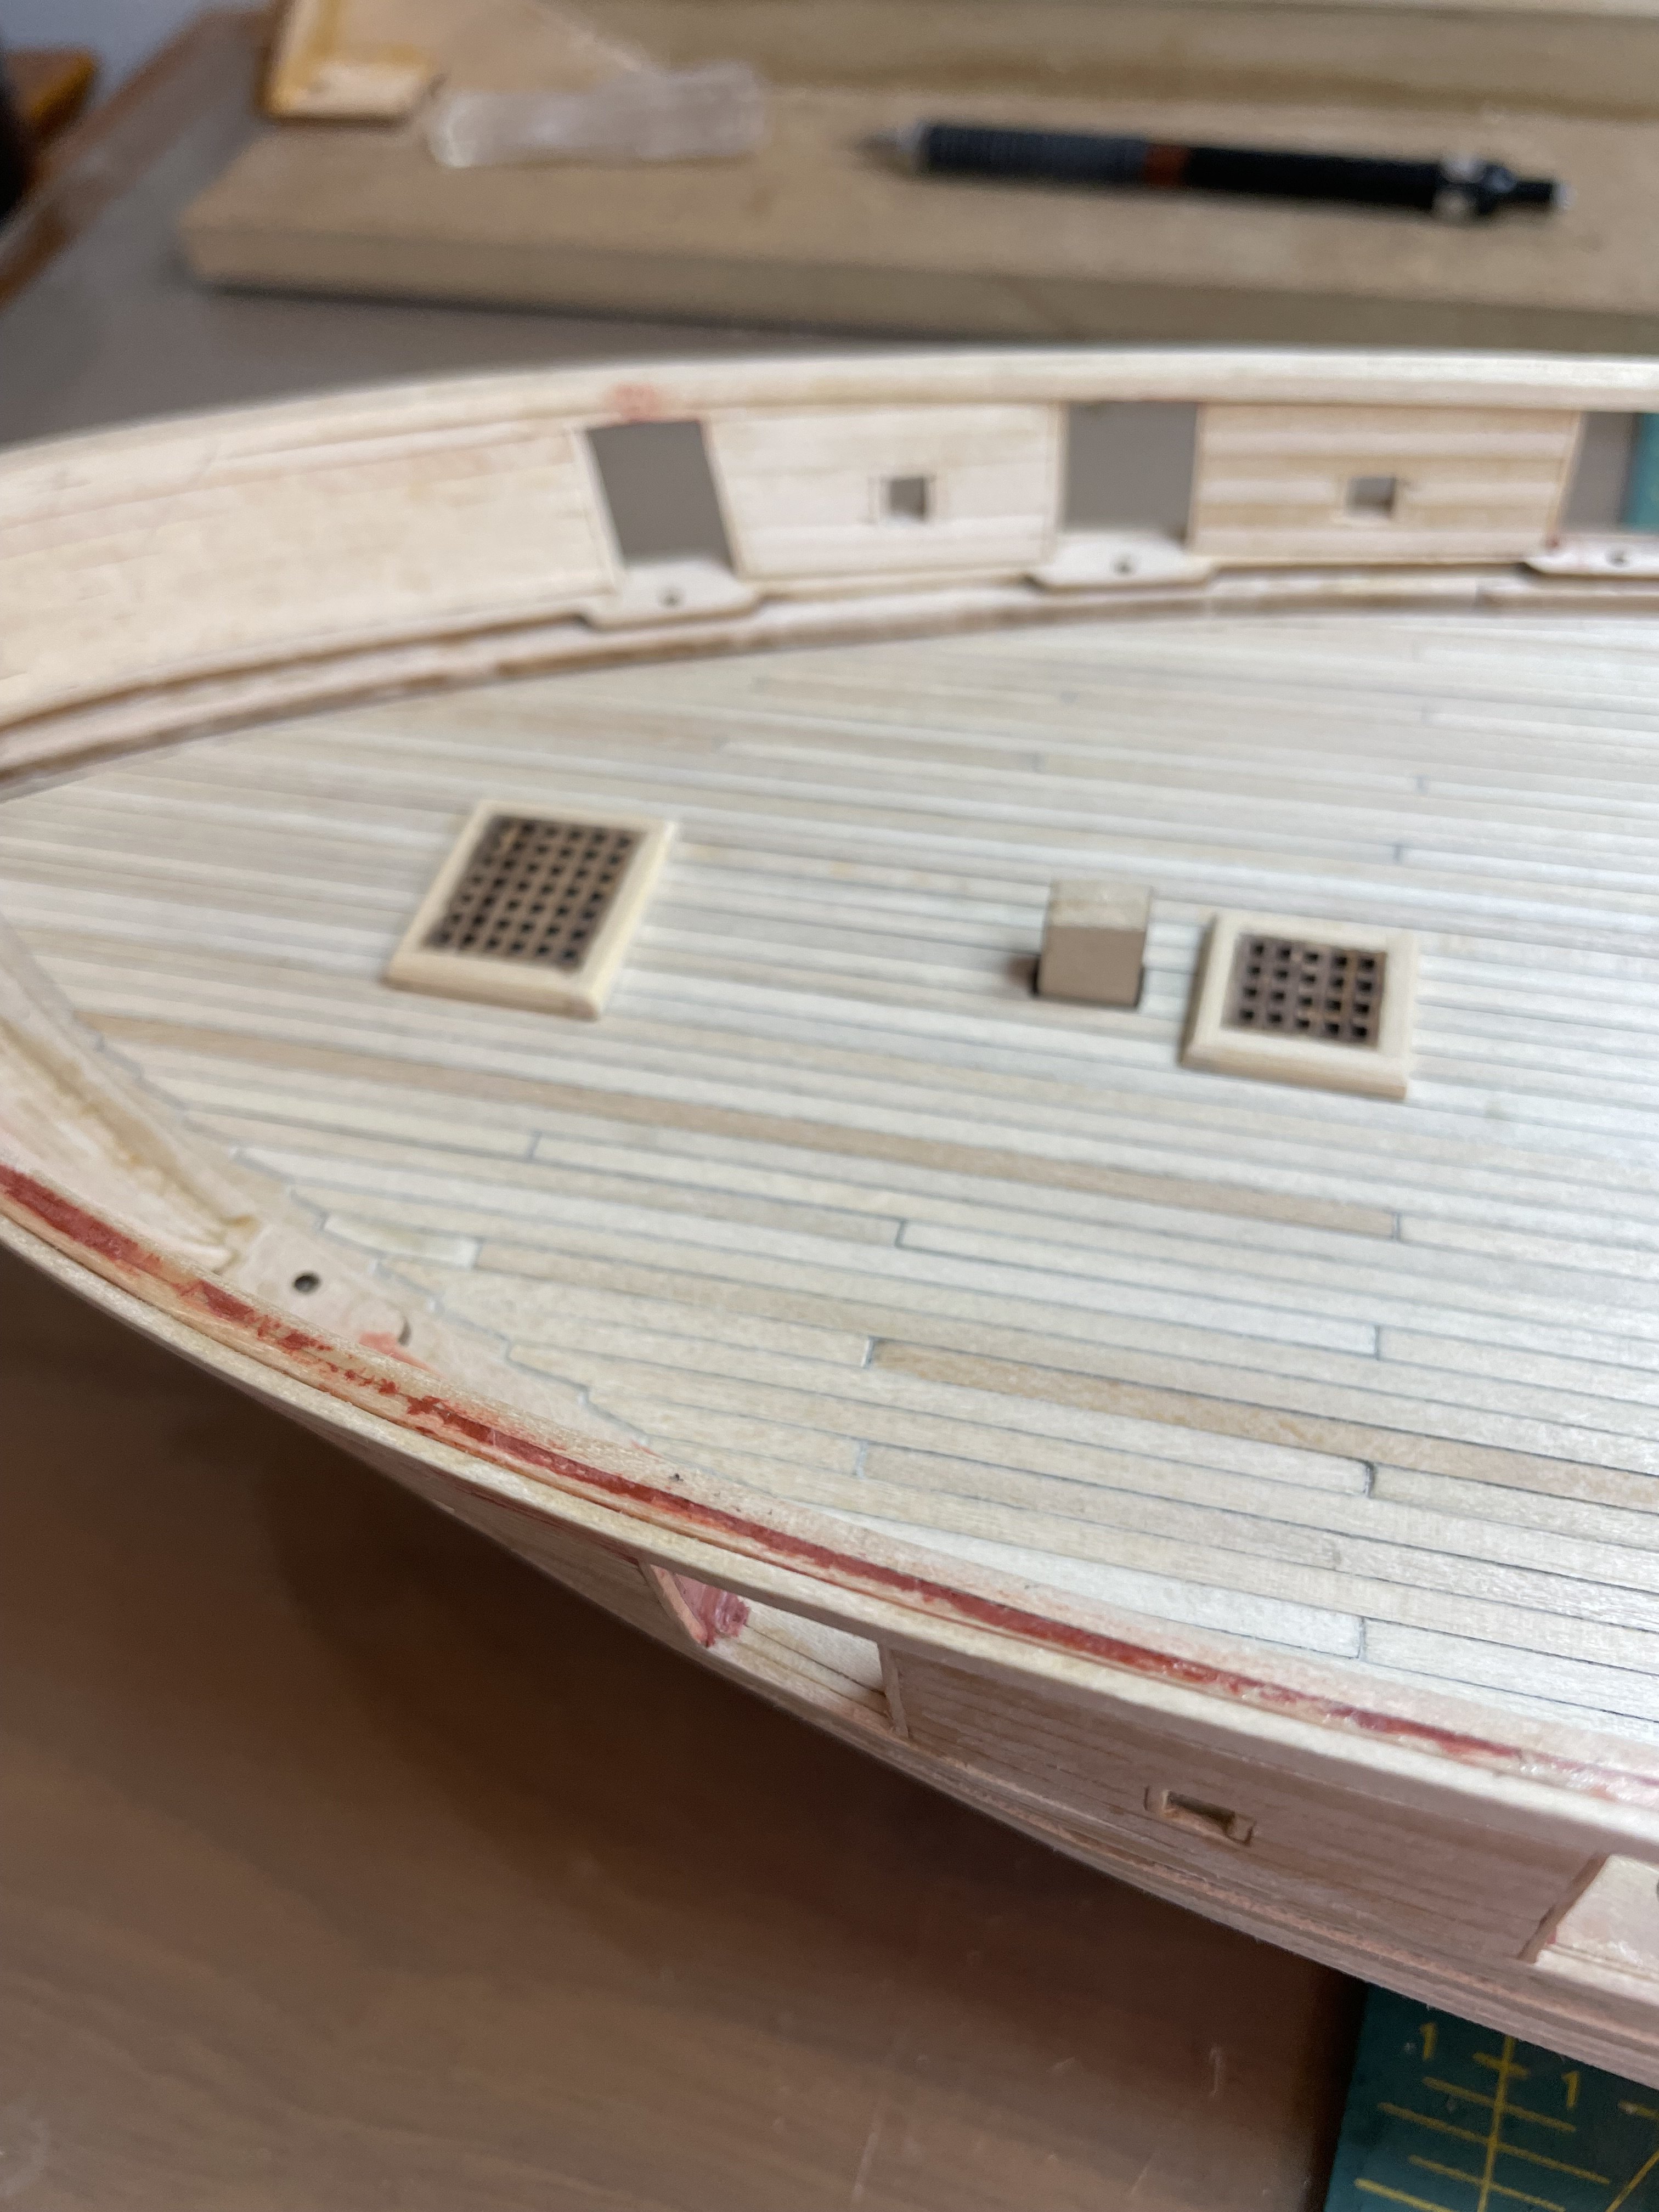
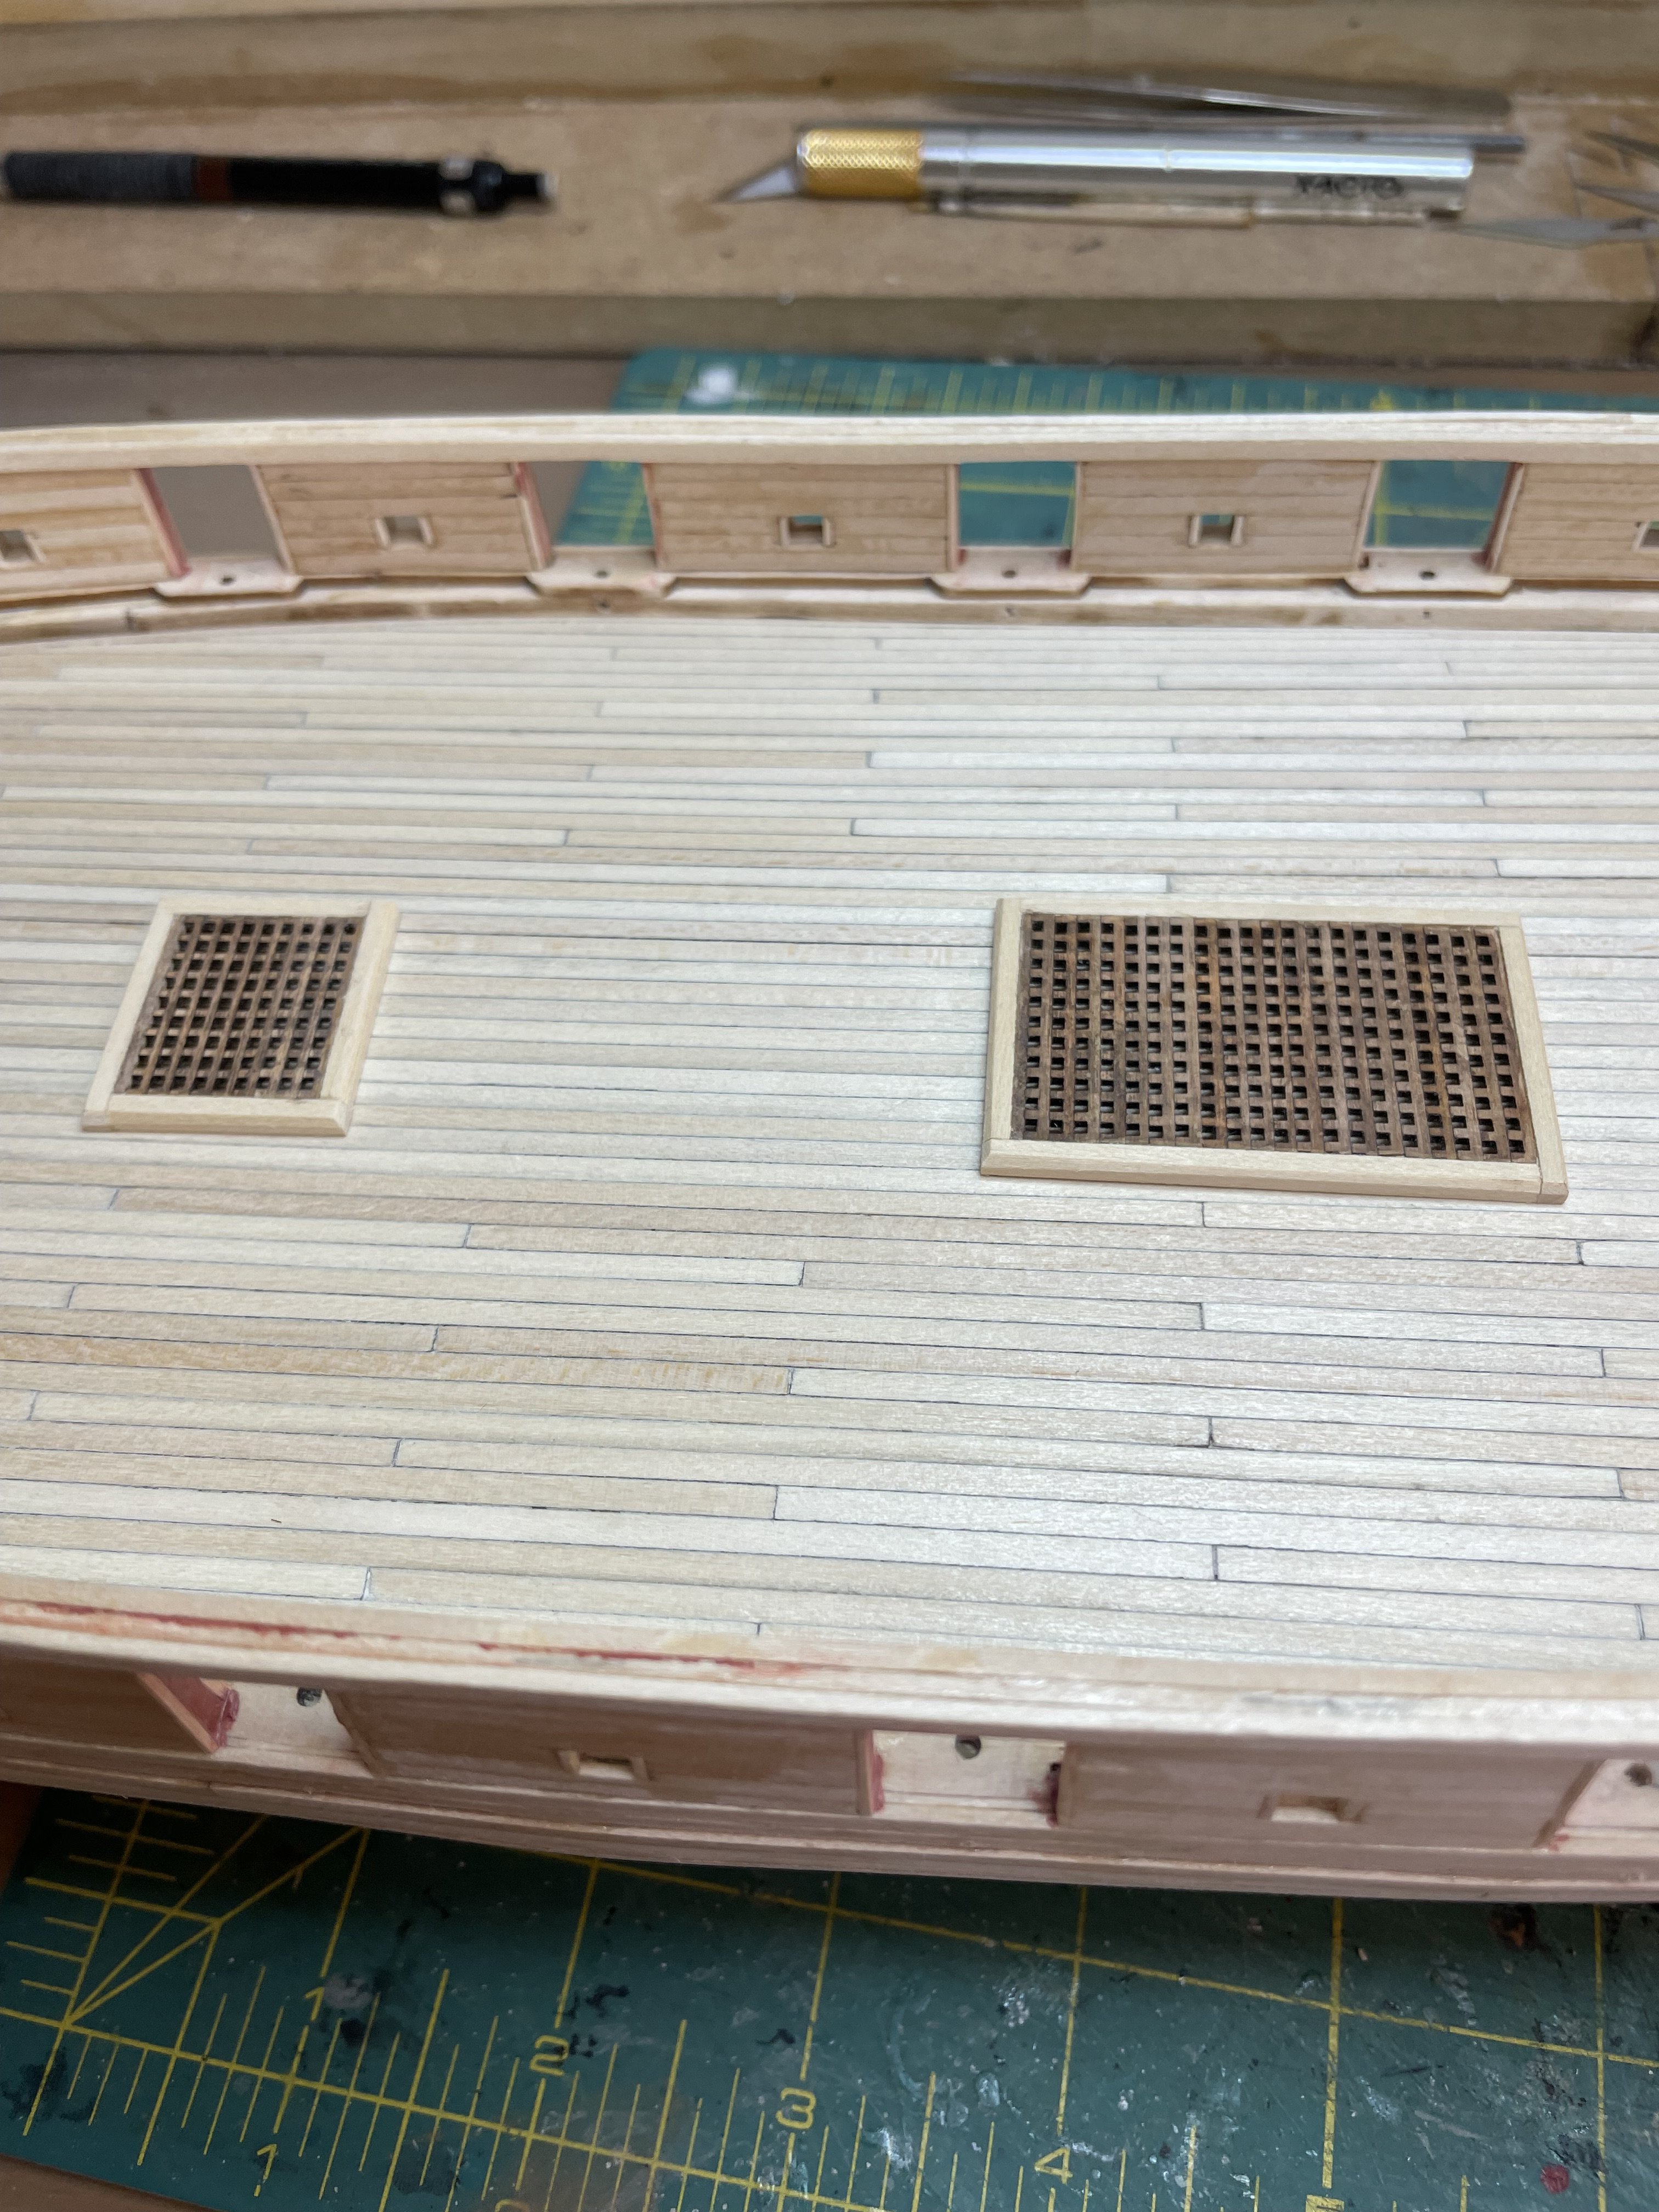
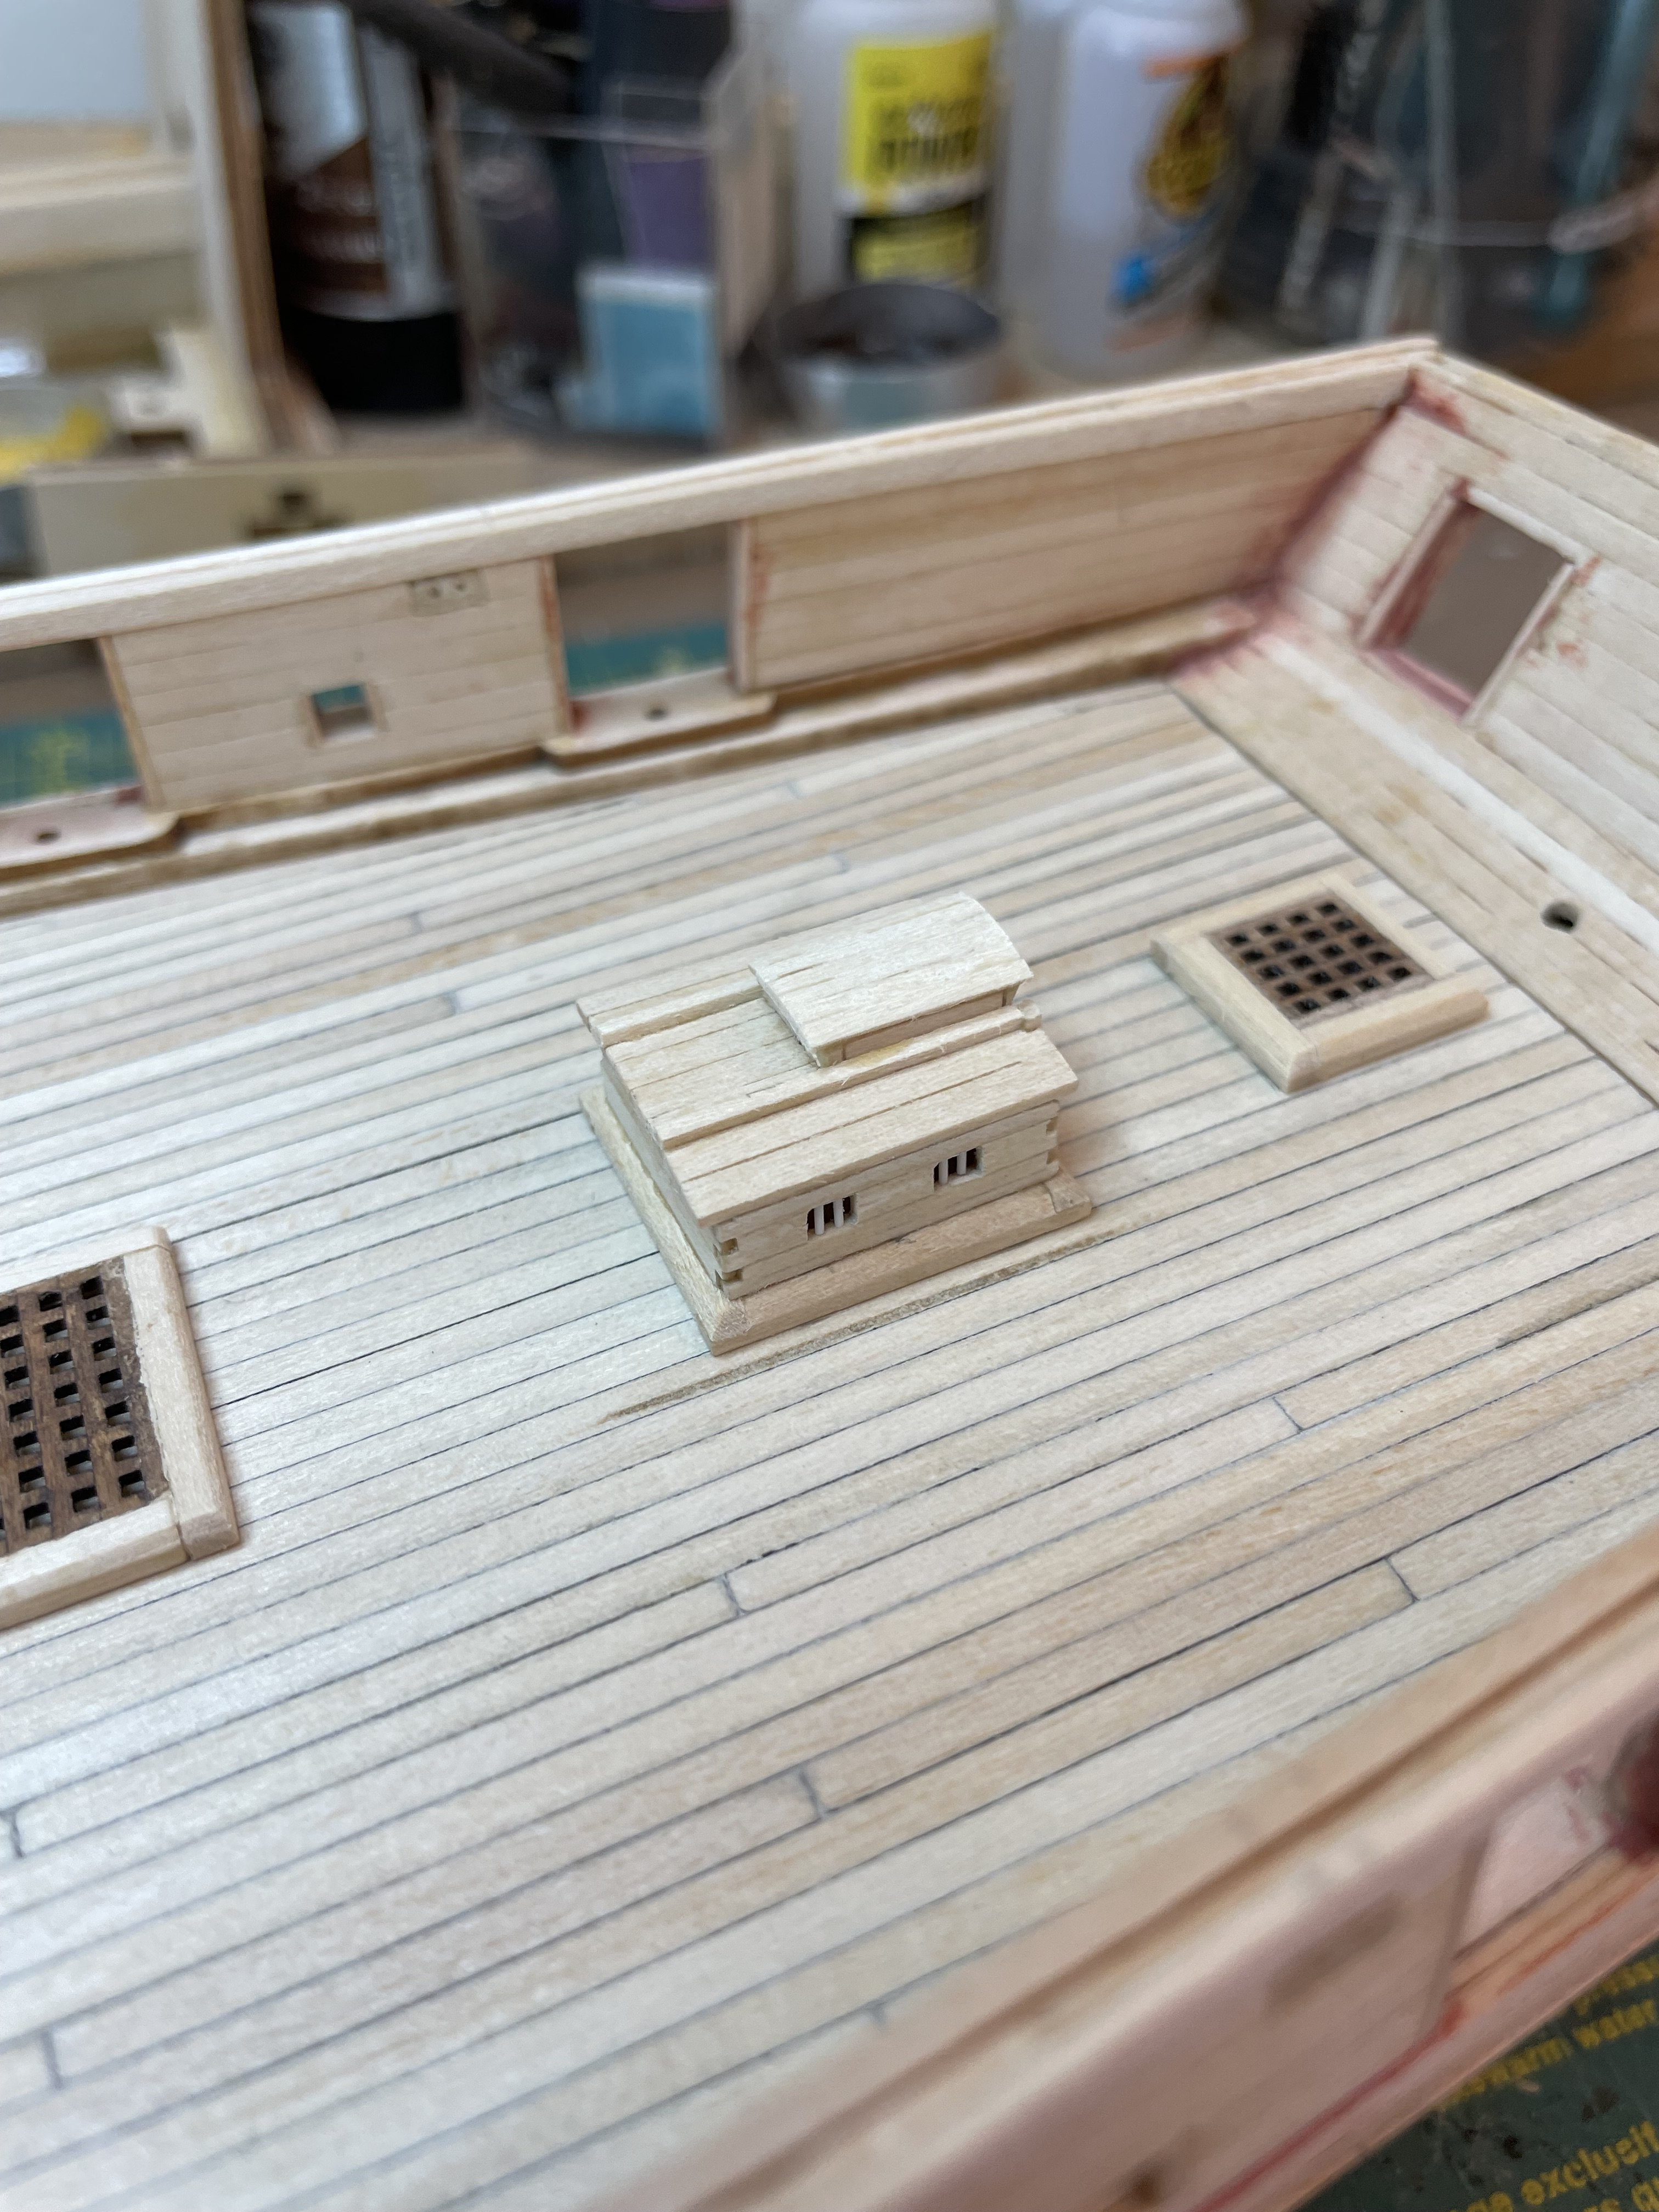
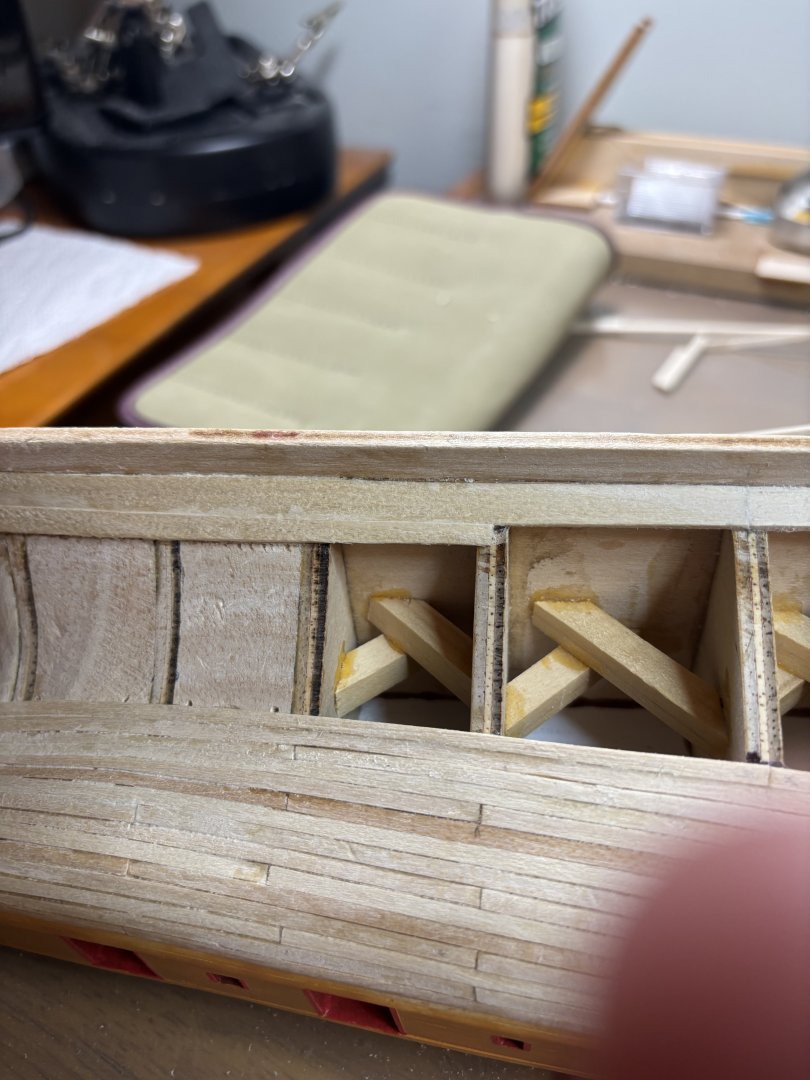
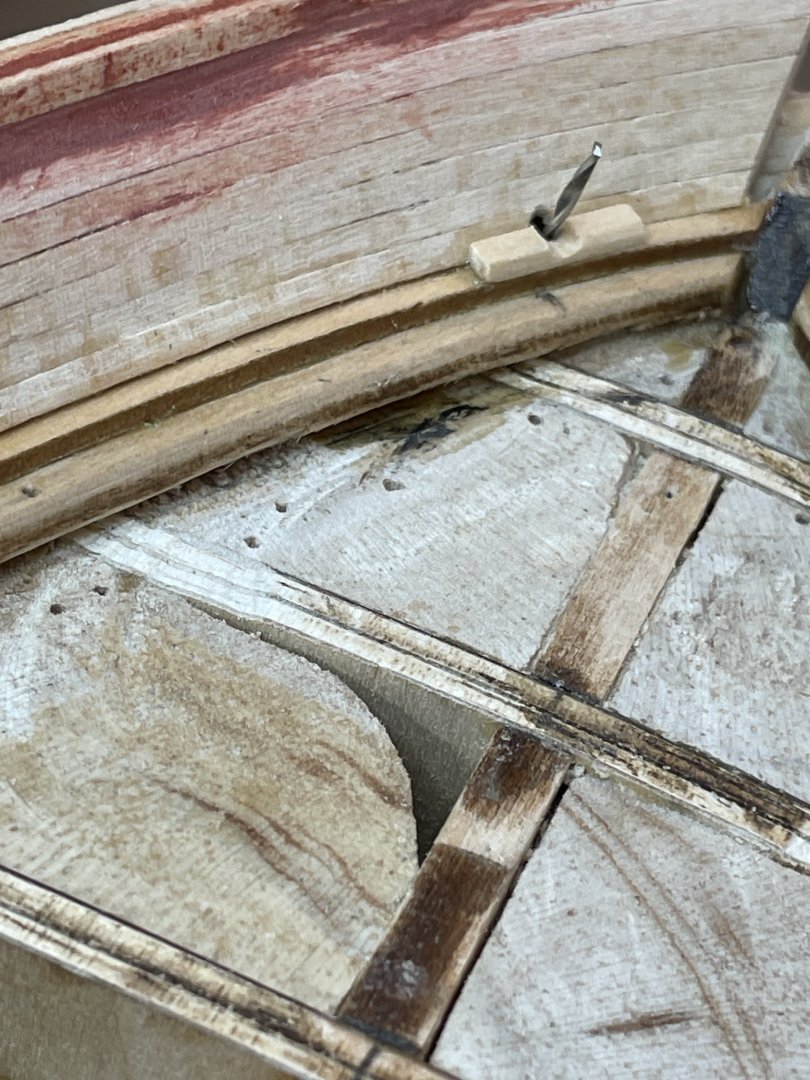
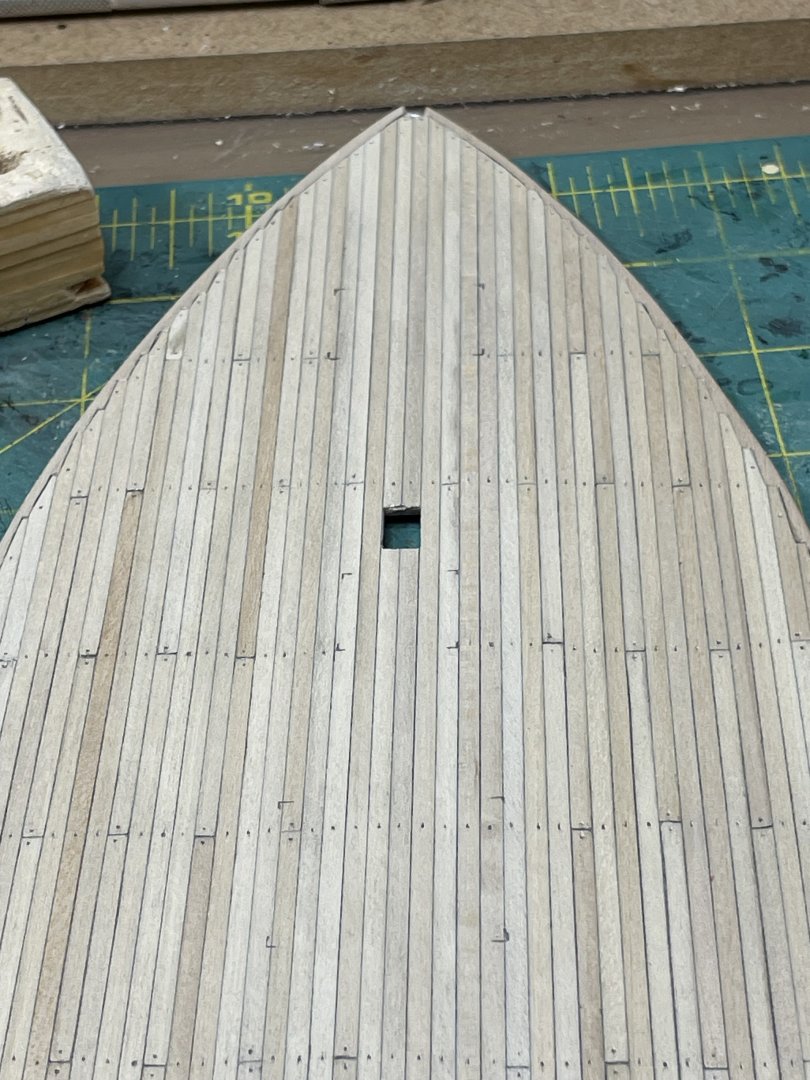
Decided to move next to deck hatches. As with some of the other builds already posted I felt the deck was too busy and elected to only add the skylight for the captain's cabin Also cut out holes to insert blocks for sheaves - I felt that this method was cleaner than just drilling holes through the hull