MikkiC
-
Posts
129 -
Joined
-
Last visited
Content Type
Profiles
Forums
Gallery
Events
Everything posted by MikkiC
-
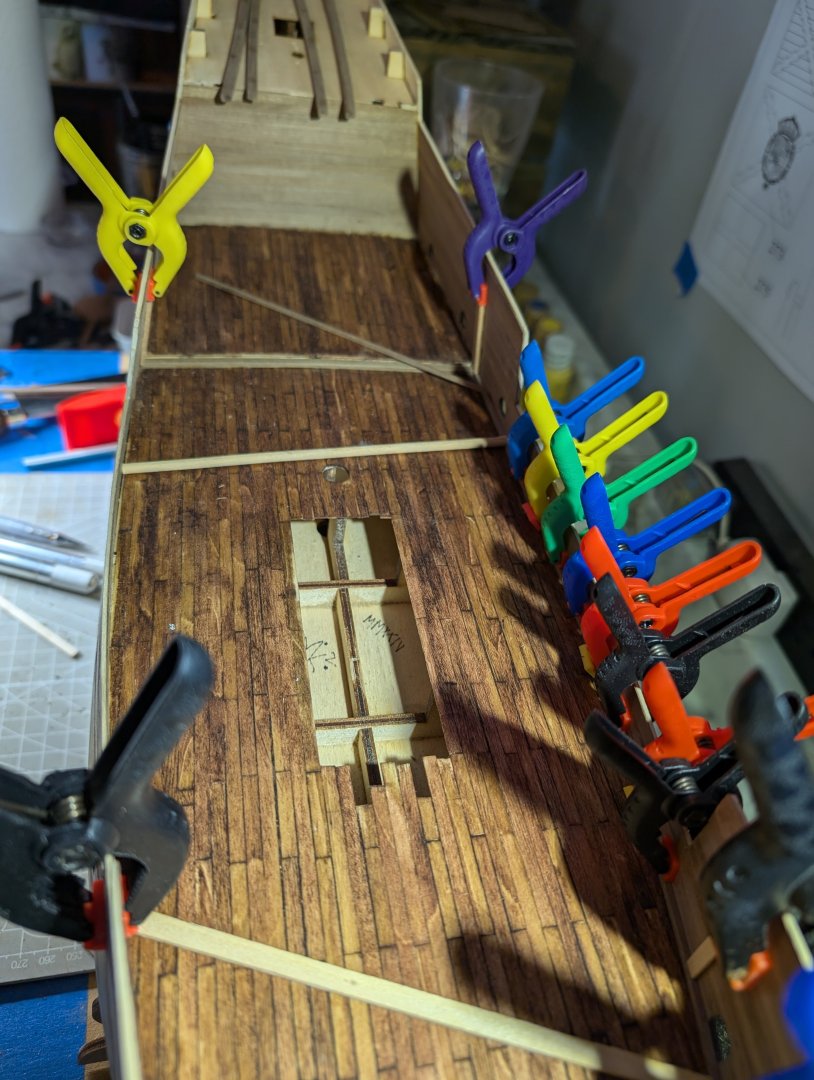
She is looking really good. The wales on my current build are 2mm x 5mm walnut. I bent them pretty easily by soaking in warm water for about 20 minutes then formed them around a jar lid. I used clothespins for clamps. I just let them dry overnight. The bend may be too tight, but planks bend out significantly easier than in. I'm sure others have tricks, so I'll be watching to see what others do.
-
That's phenomenal information. Thanks for sharing it.
-
San Martin by MikkiC - Dusek - 1:72
MikkiC replied to MikkiC's topic in - Kit build logs for subjects built from 1501 - 1750
And....I have used the veneers (0.5mm) for 2nd layer of planking on previous builds, but I chose the 1mm for this one. So far I prefer the 1mm. Yeah I pre-bend it, but it's nice to work with. It doesn't splinter at all, and it sands pretty well. -
San Martin by MikkiC - Dusek - 1:72
MikkiC replied to MikkiC's topic in - Kit build logs for subjects built from 1501 - 1750
One more to the wale, then 2 more, then another wale. After that, I'm gonna work on the other side then rinse and repeat.
-
Interesting to see the perspectives from both sides.....
-
San Martin by MikkiC - Dusek - 1:72
MikkiC replied to MikkiC's topic in - Kit build logs for subjects built from 1501 - 1750
A little more progress. Next pic I take, I'll take from bow.
-
And I'm pretty sure this is why women weren't on ships back then. I could think of few things I would like less! 😬
-
Very nice! I'm gonna watch this one if you don't mind. And as for that box of pain meds holding up the deck on the sterncastle....good choice. You just might need them during this build. And you've consulted two fantatic and reliable sources. Agreed @Baker is a builder in a class of few. His work is stunning. And @Louie da fly, well his work is in that class as well. He is also a reliable, kind provider of info. His knowledge is vast. I, too, have interest in this ship and am not ready to scratch build. I thought about your path as well with the kit. I'll be eagerly watching it unfold.
-
San Martin by MikkiC - Dusek - 1:72
MikkiC replied to MikkiC's topic in - Kit build logs for subjects built from 1501 - 1750
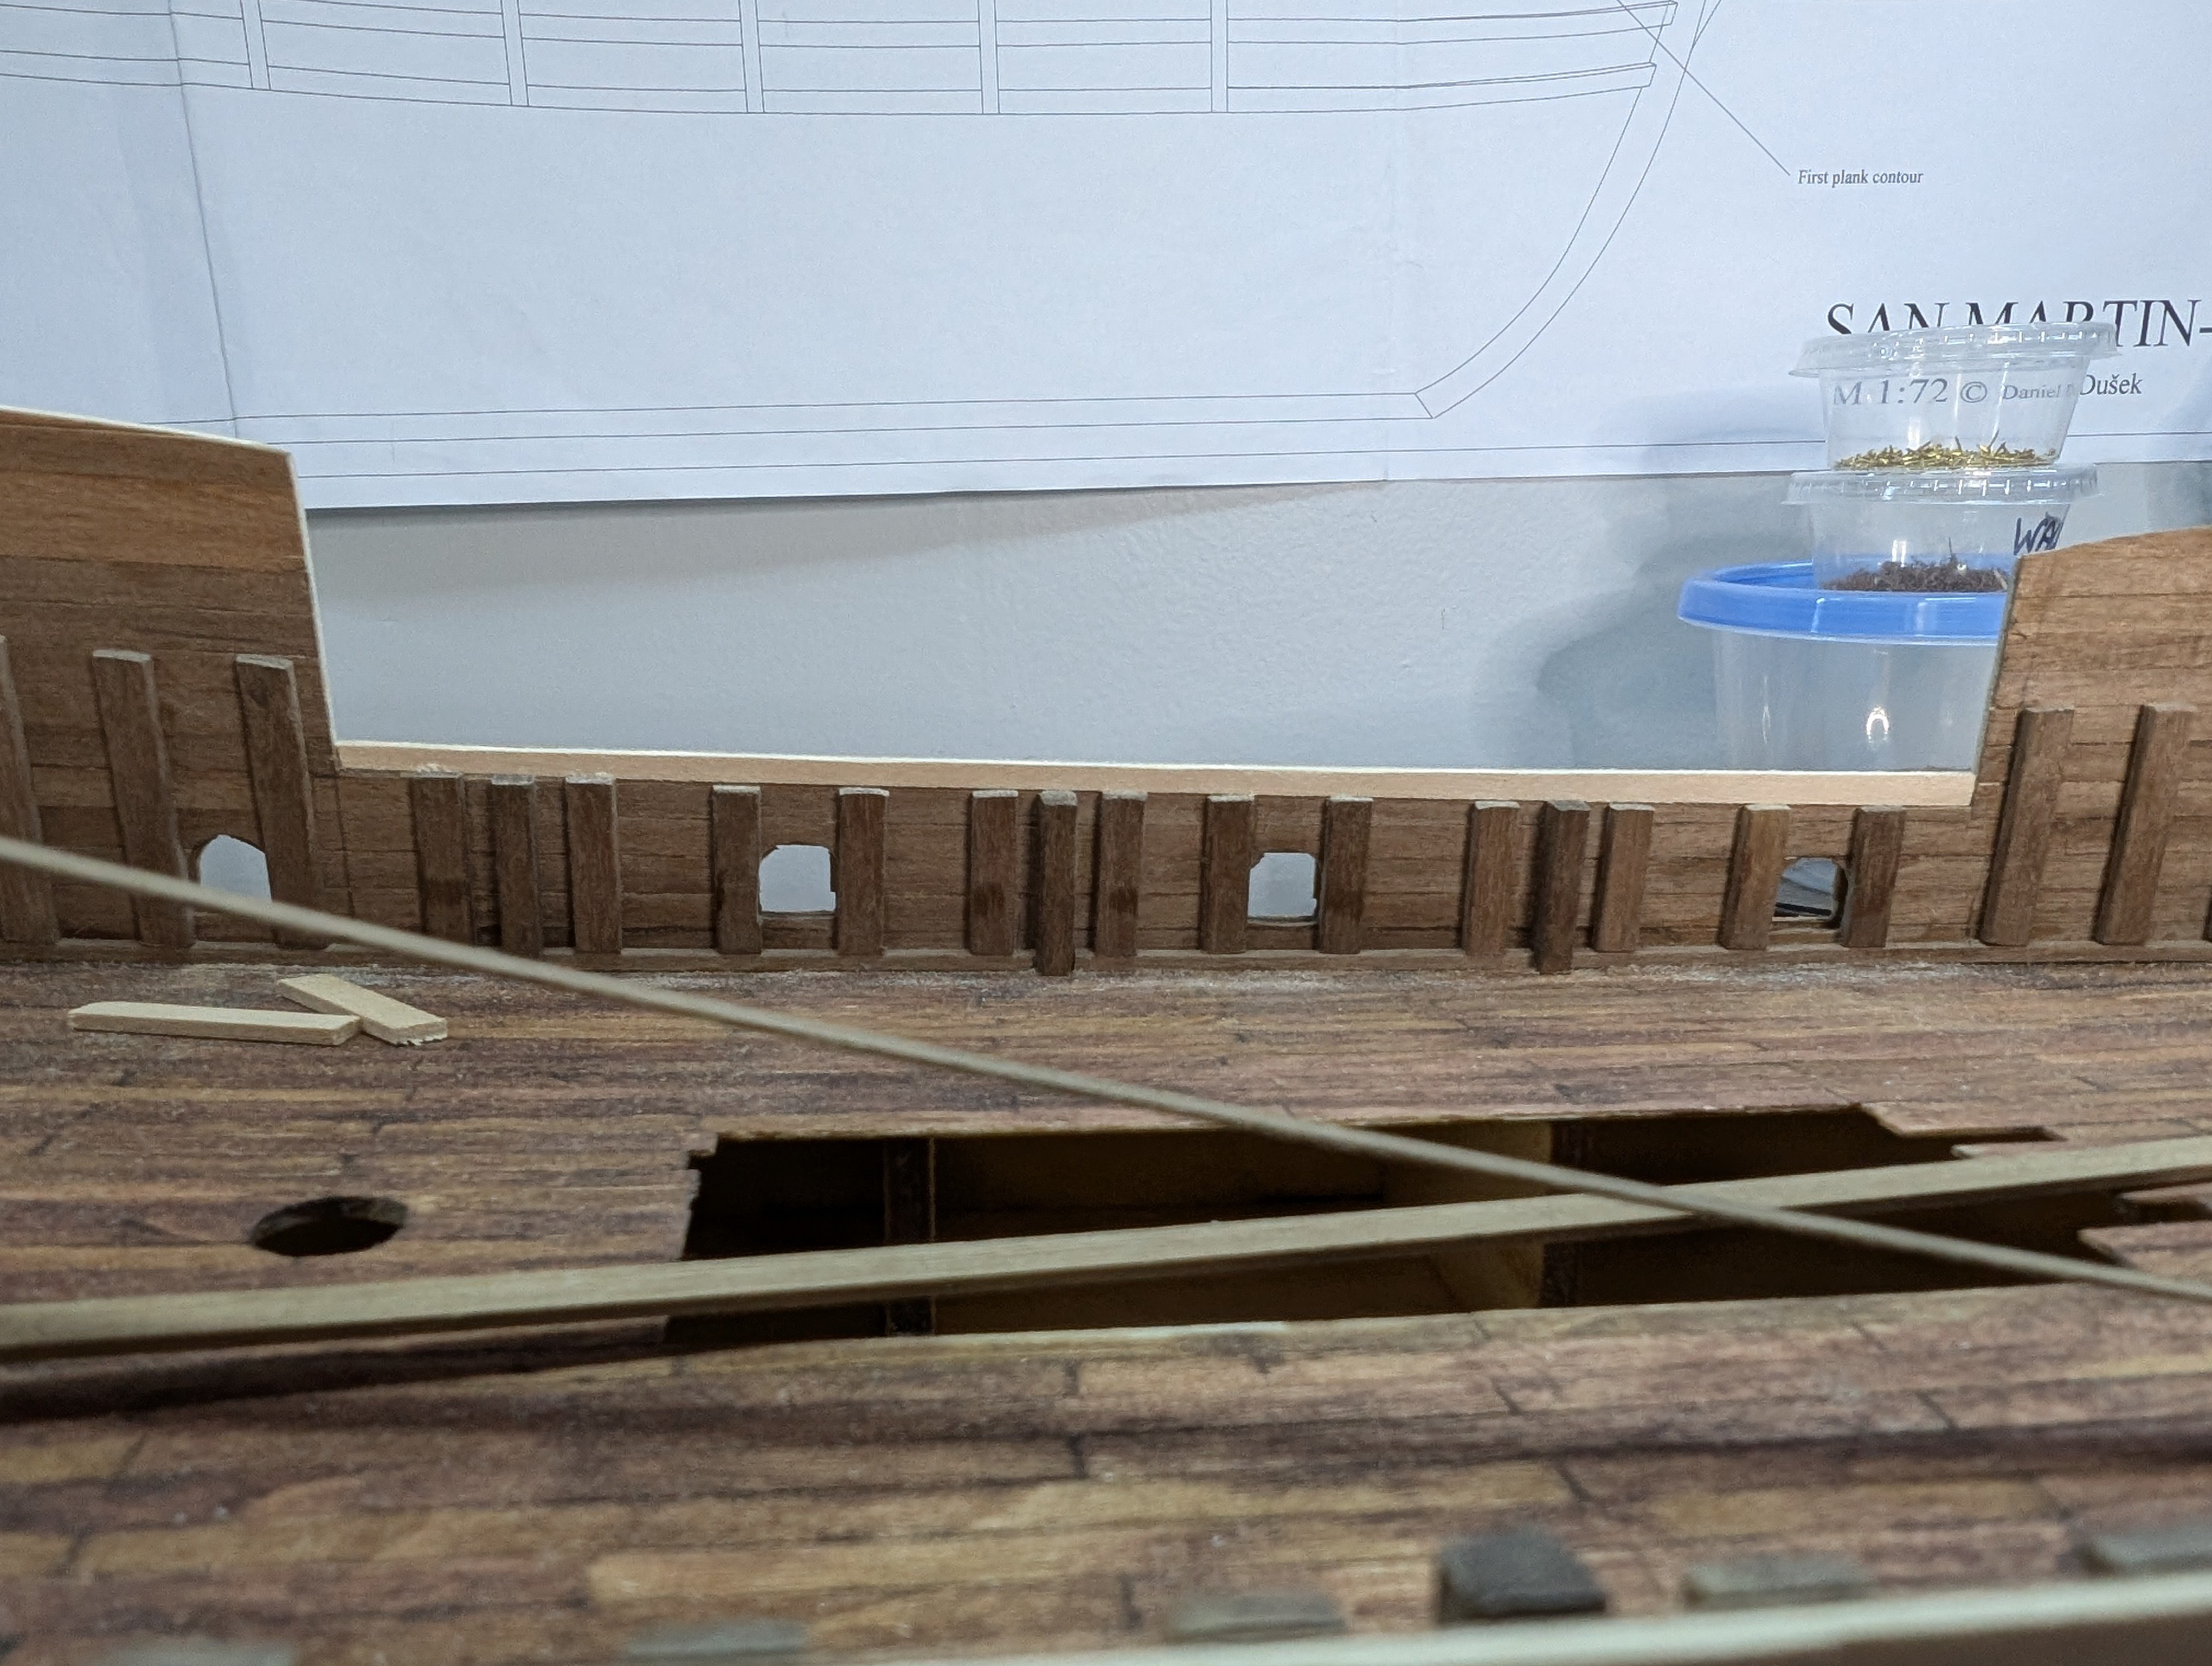
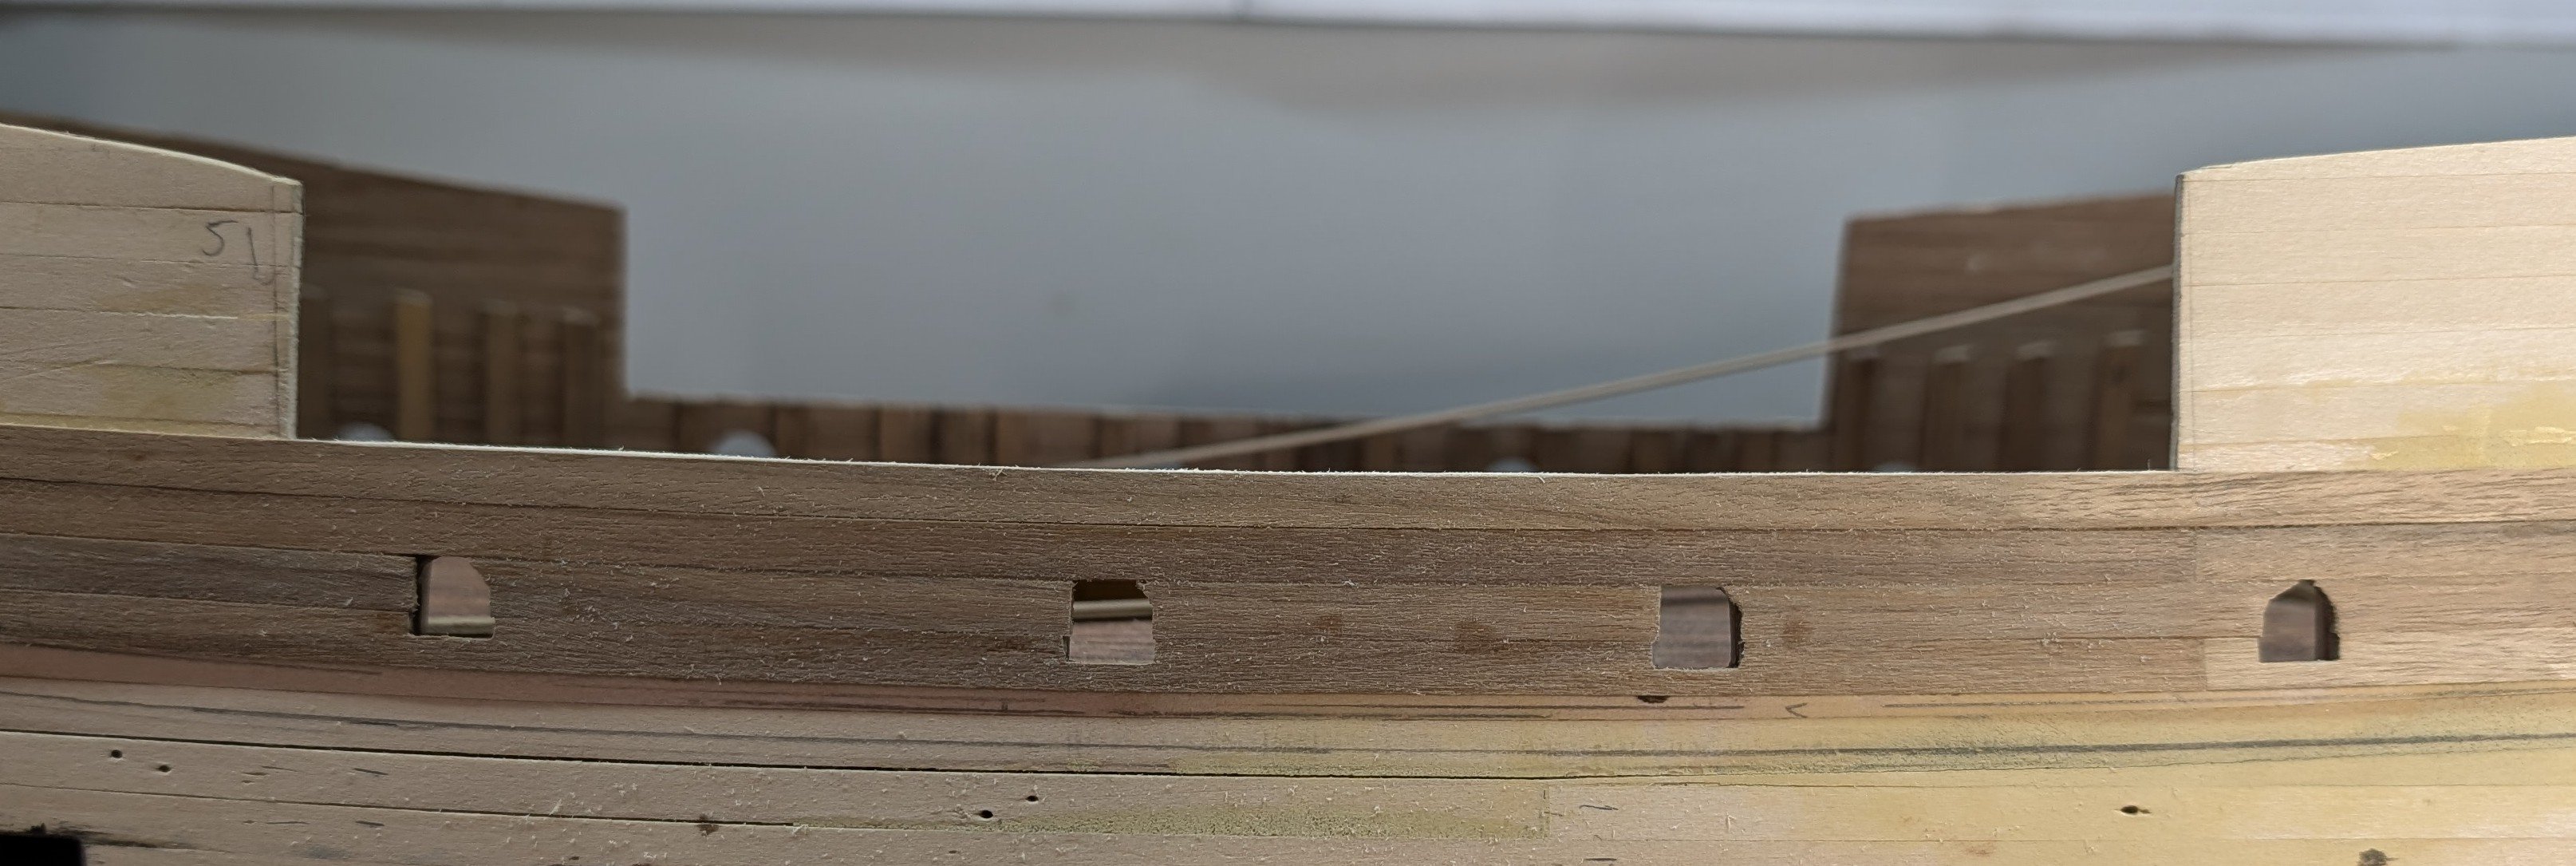
Little by little she starts to come together. 'Tis a slow go to get everything lined up and fit.
-
San Martin by MikkiC - Dusek - 1:72
MikkiC replied to MikkiC's topic in - Kit build logs for subjects built from 1501 - 1750
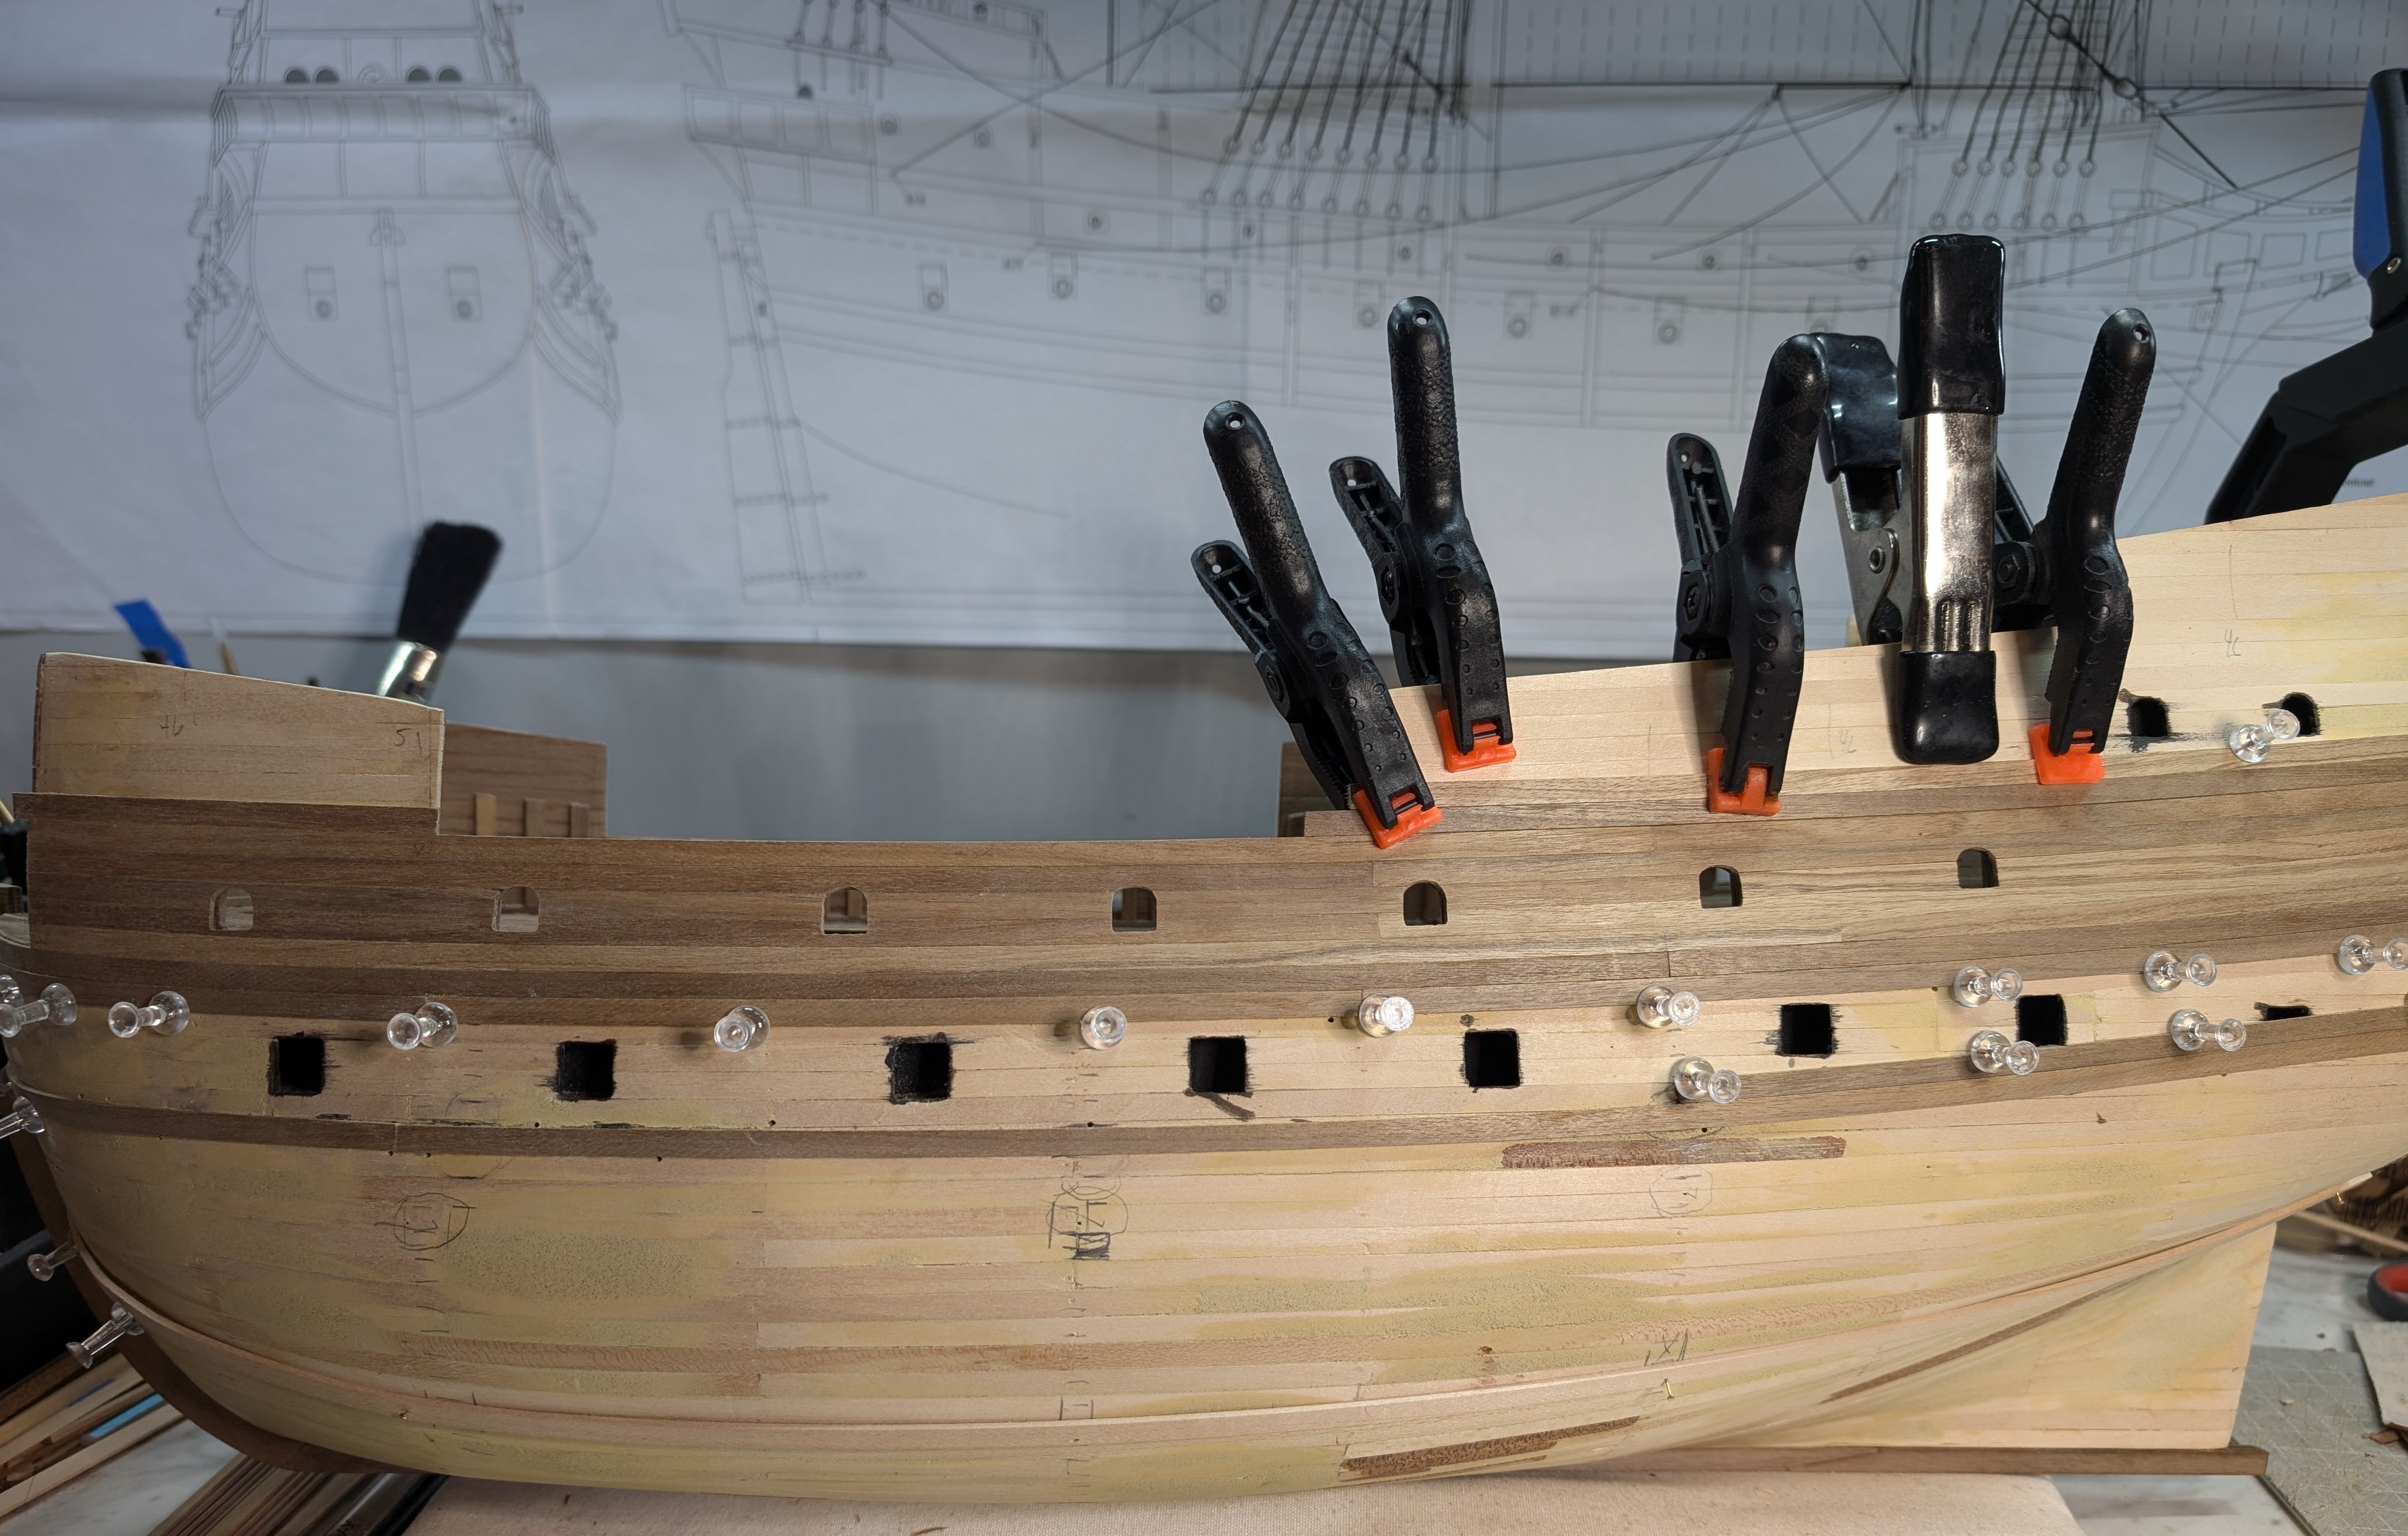
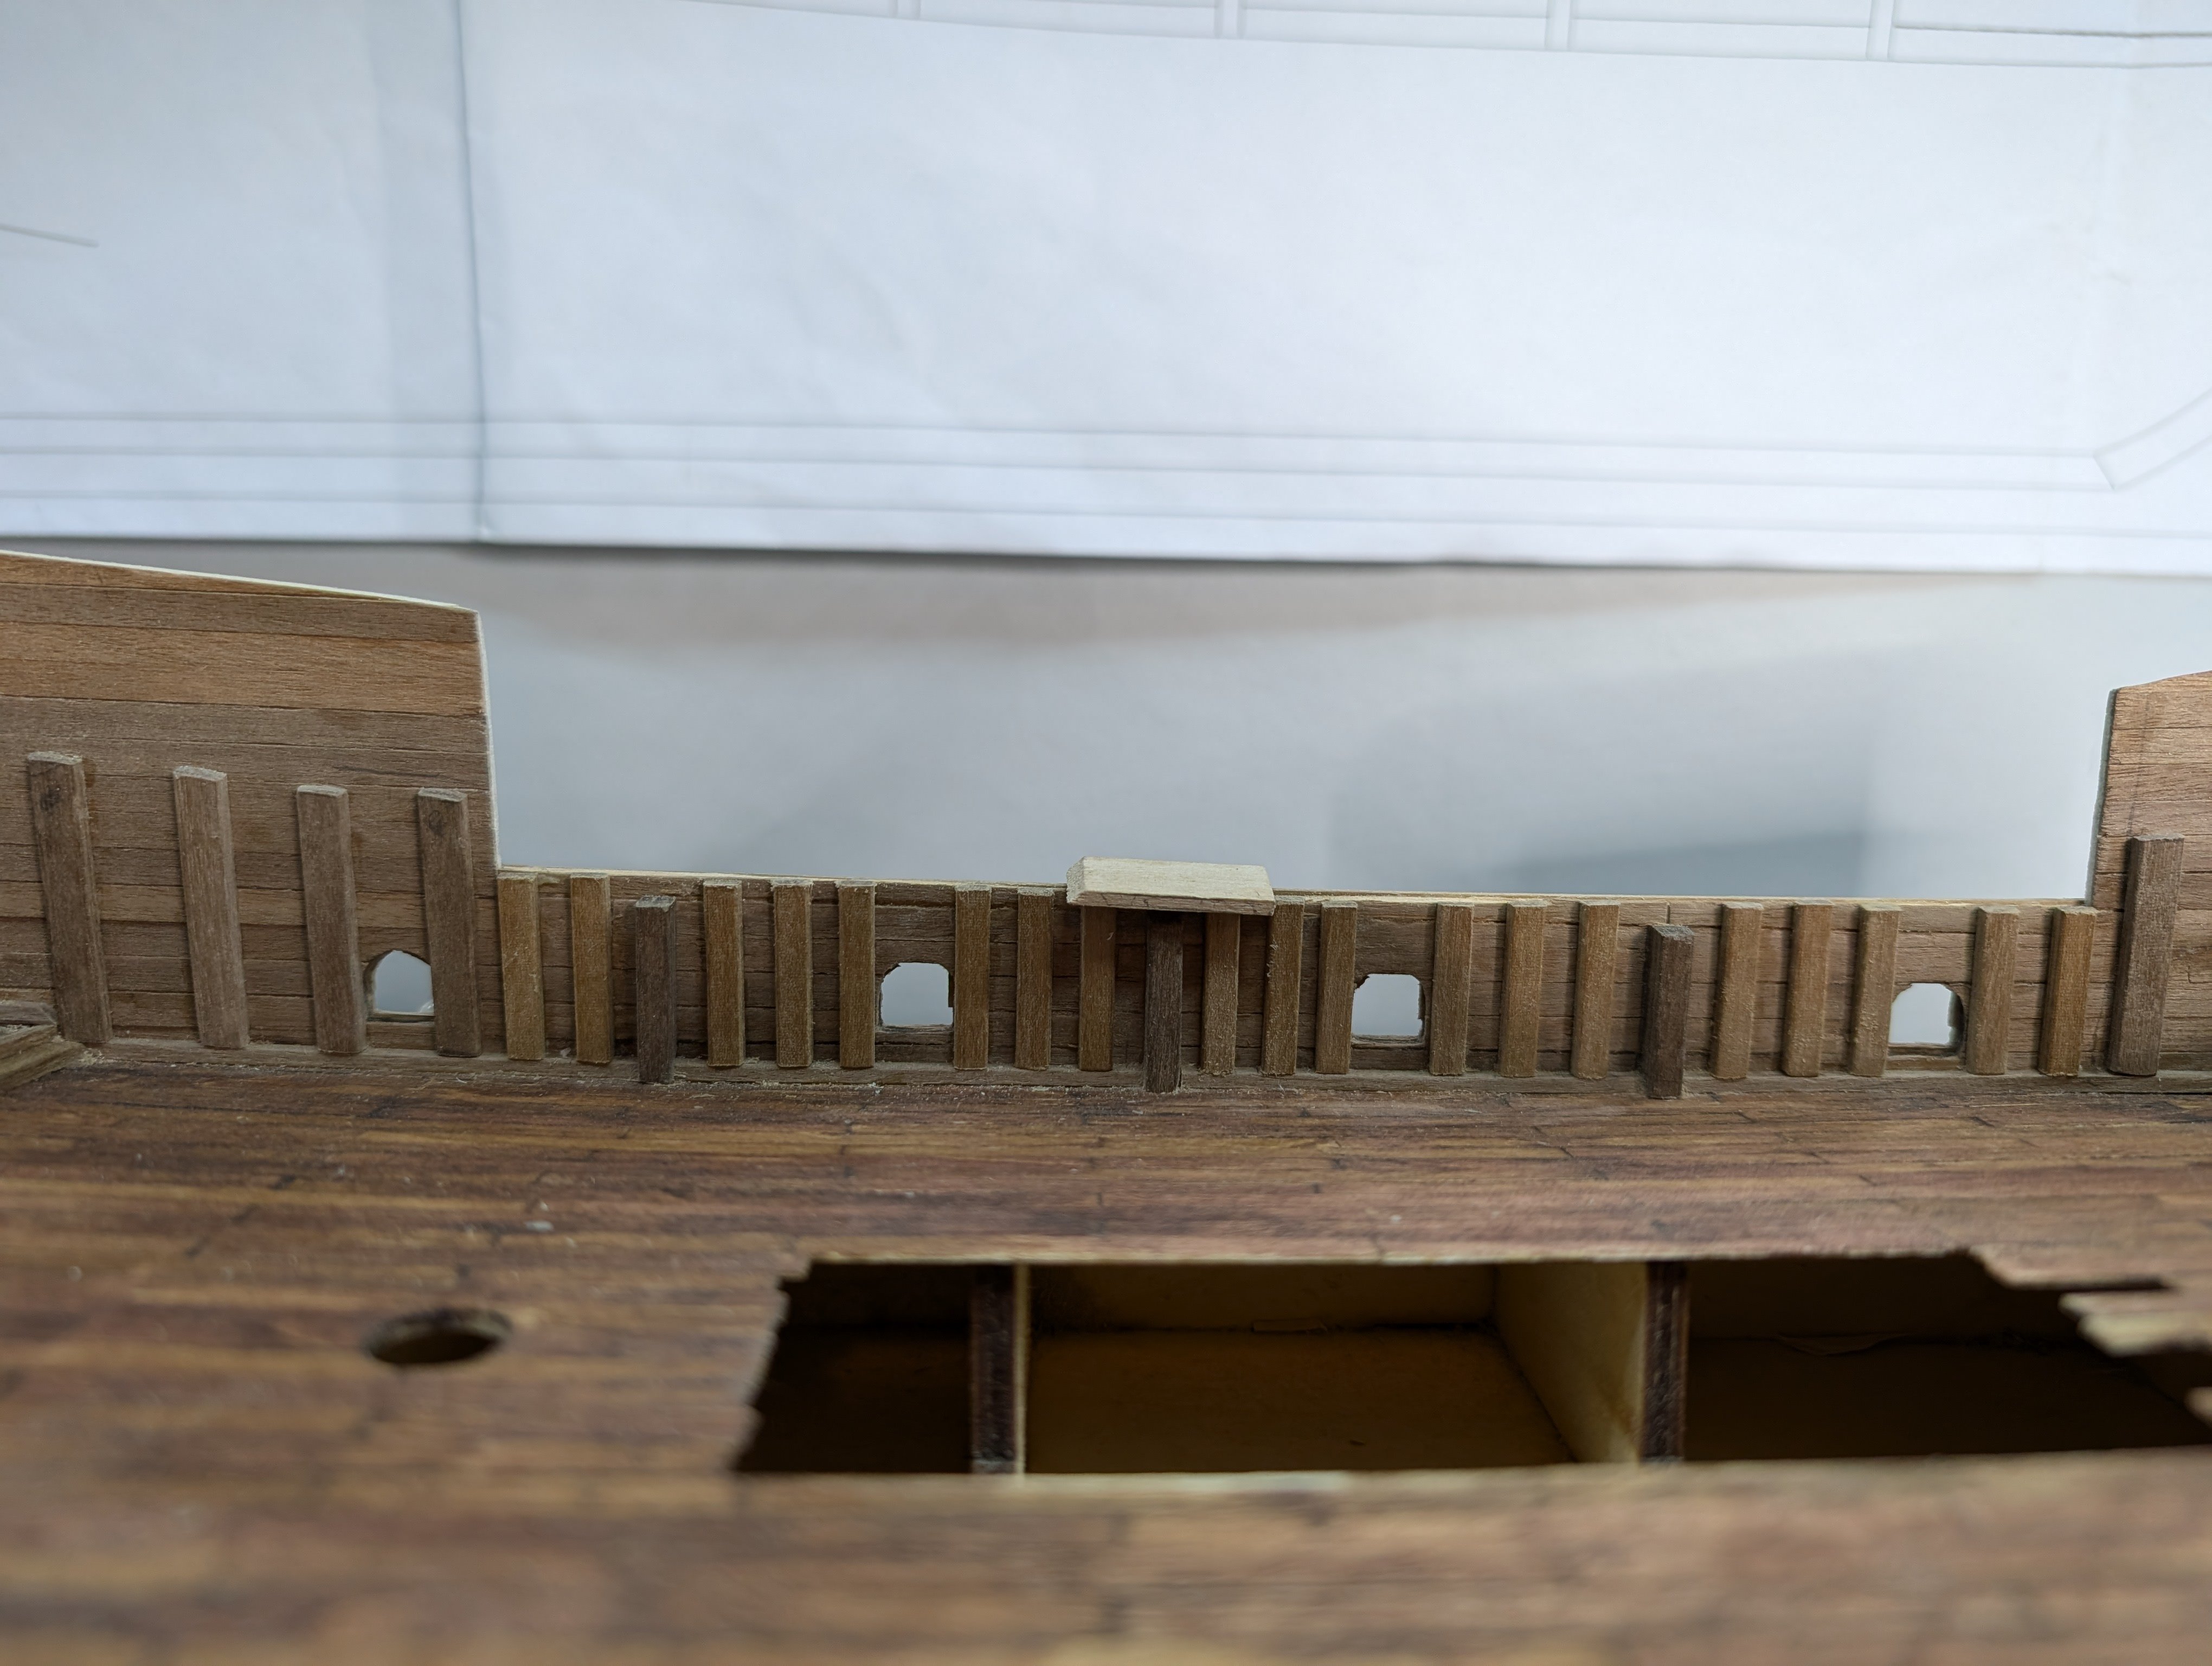
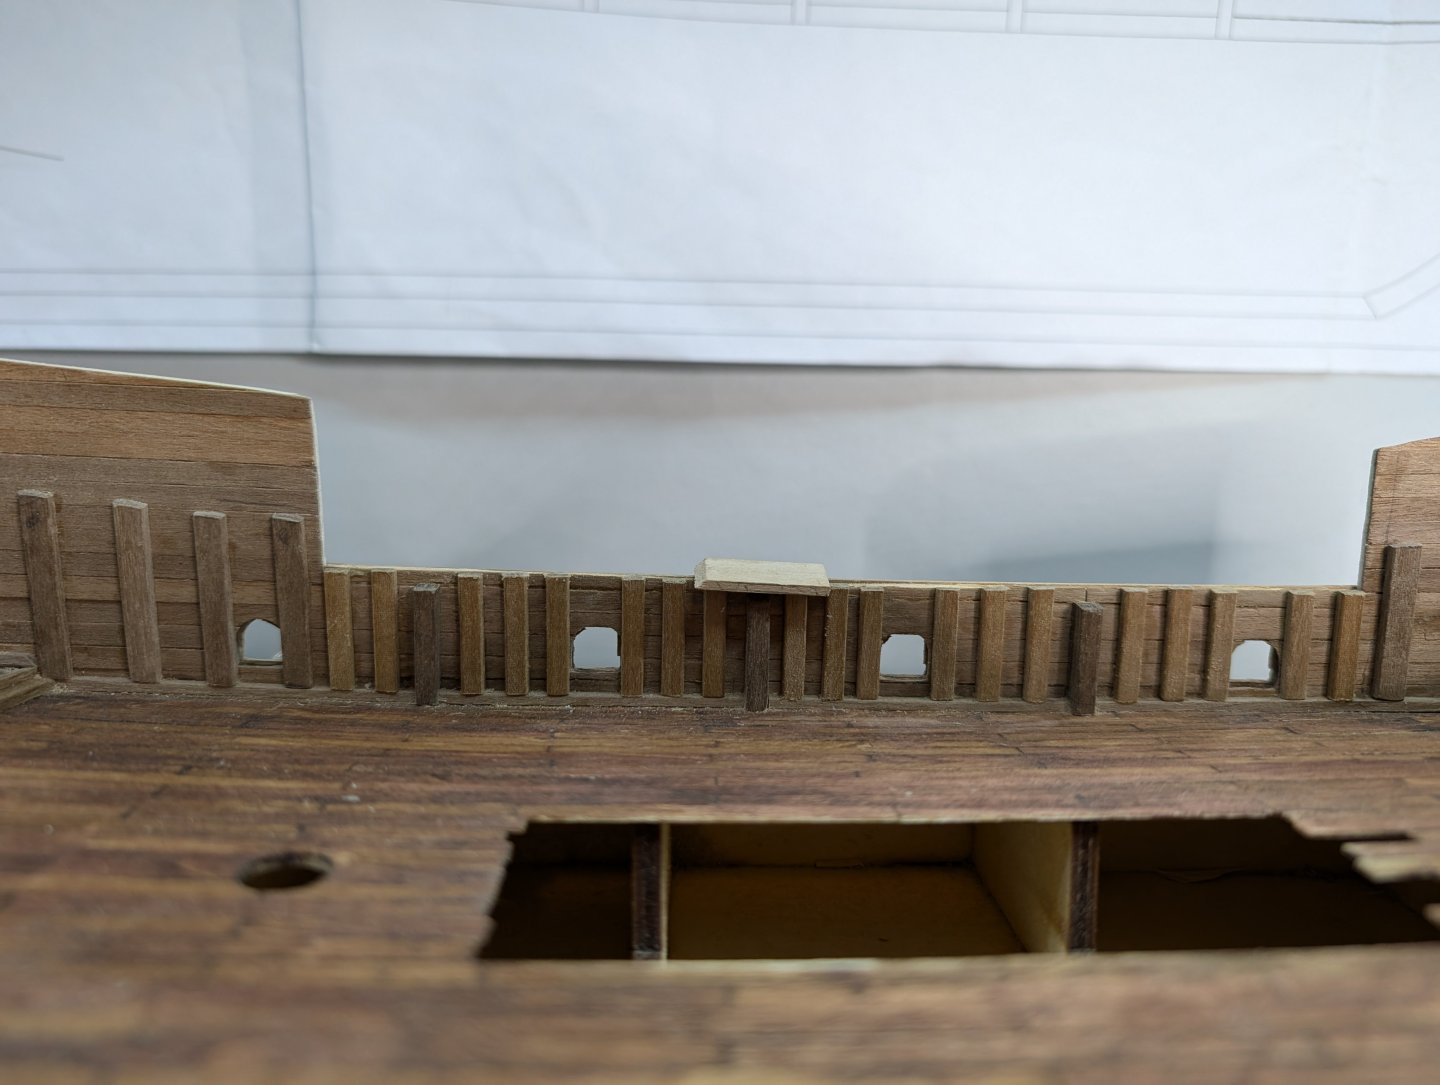
And as this is in the line of many: I've hit a small obstacle. The area that gets the painted decorations should be 15mm, but I somehow ended up at 13. I could have probably left it, but then I would have to sacrifice those 2mm from a strake. It would not look right, so.....I built it to where it should be, added another 1st layer of planking behind it, tore out the bulwark supports (that was not fun), cleaned it up, and put in new supports. Yes, it's a setback of my own making, but at least it was fixable. I still have some filing and sanding to do. Onward

-
San Martin by MikkiC - Dusek - 1:72
MikkiC replied to MikkiC's topic in - Kit build logs for subjects built from 1501 - 1750
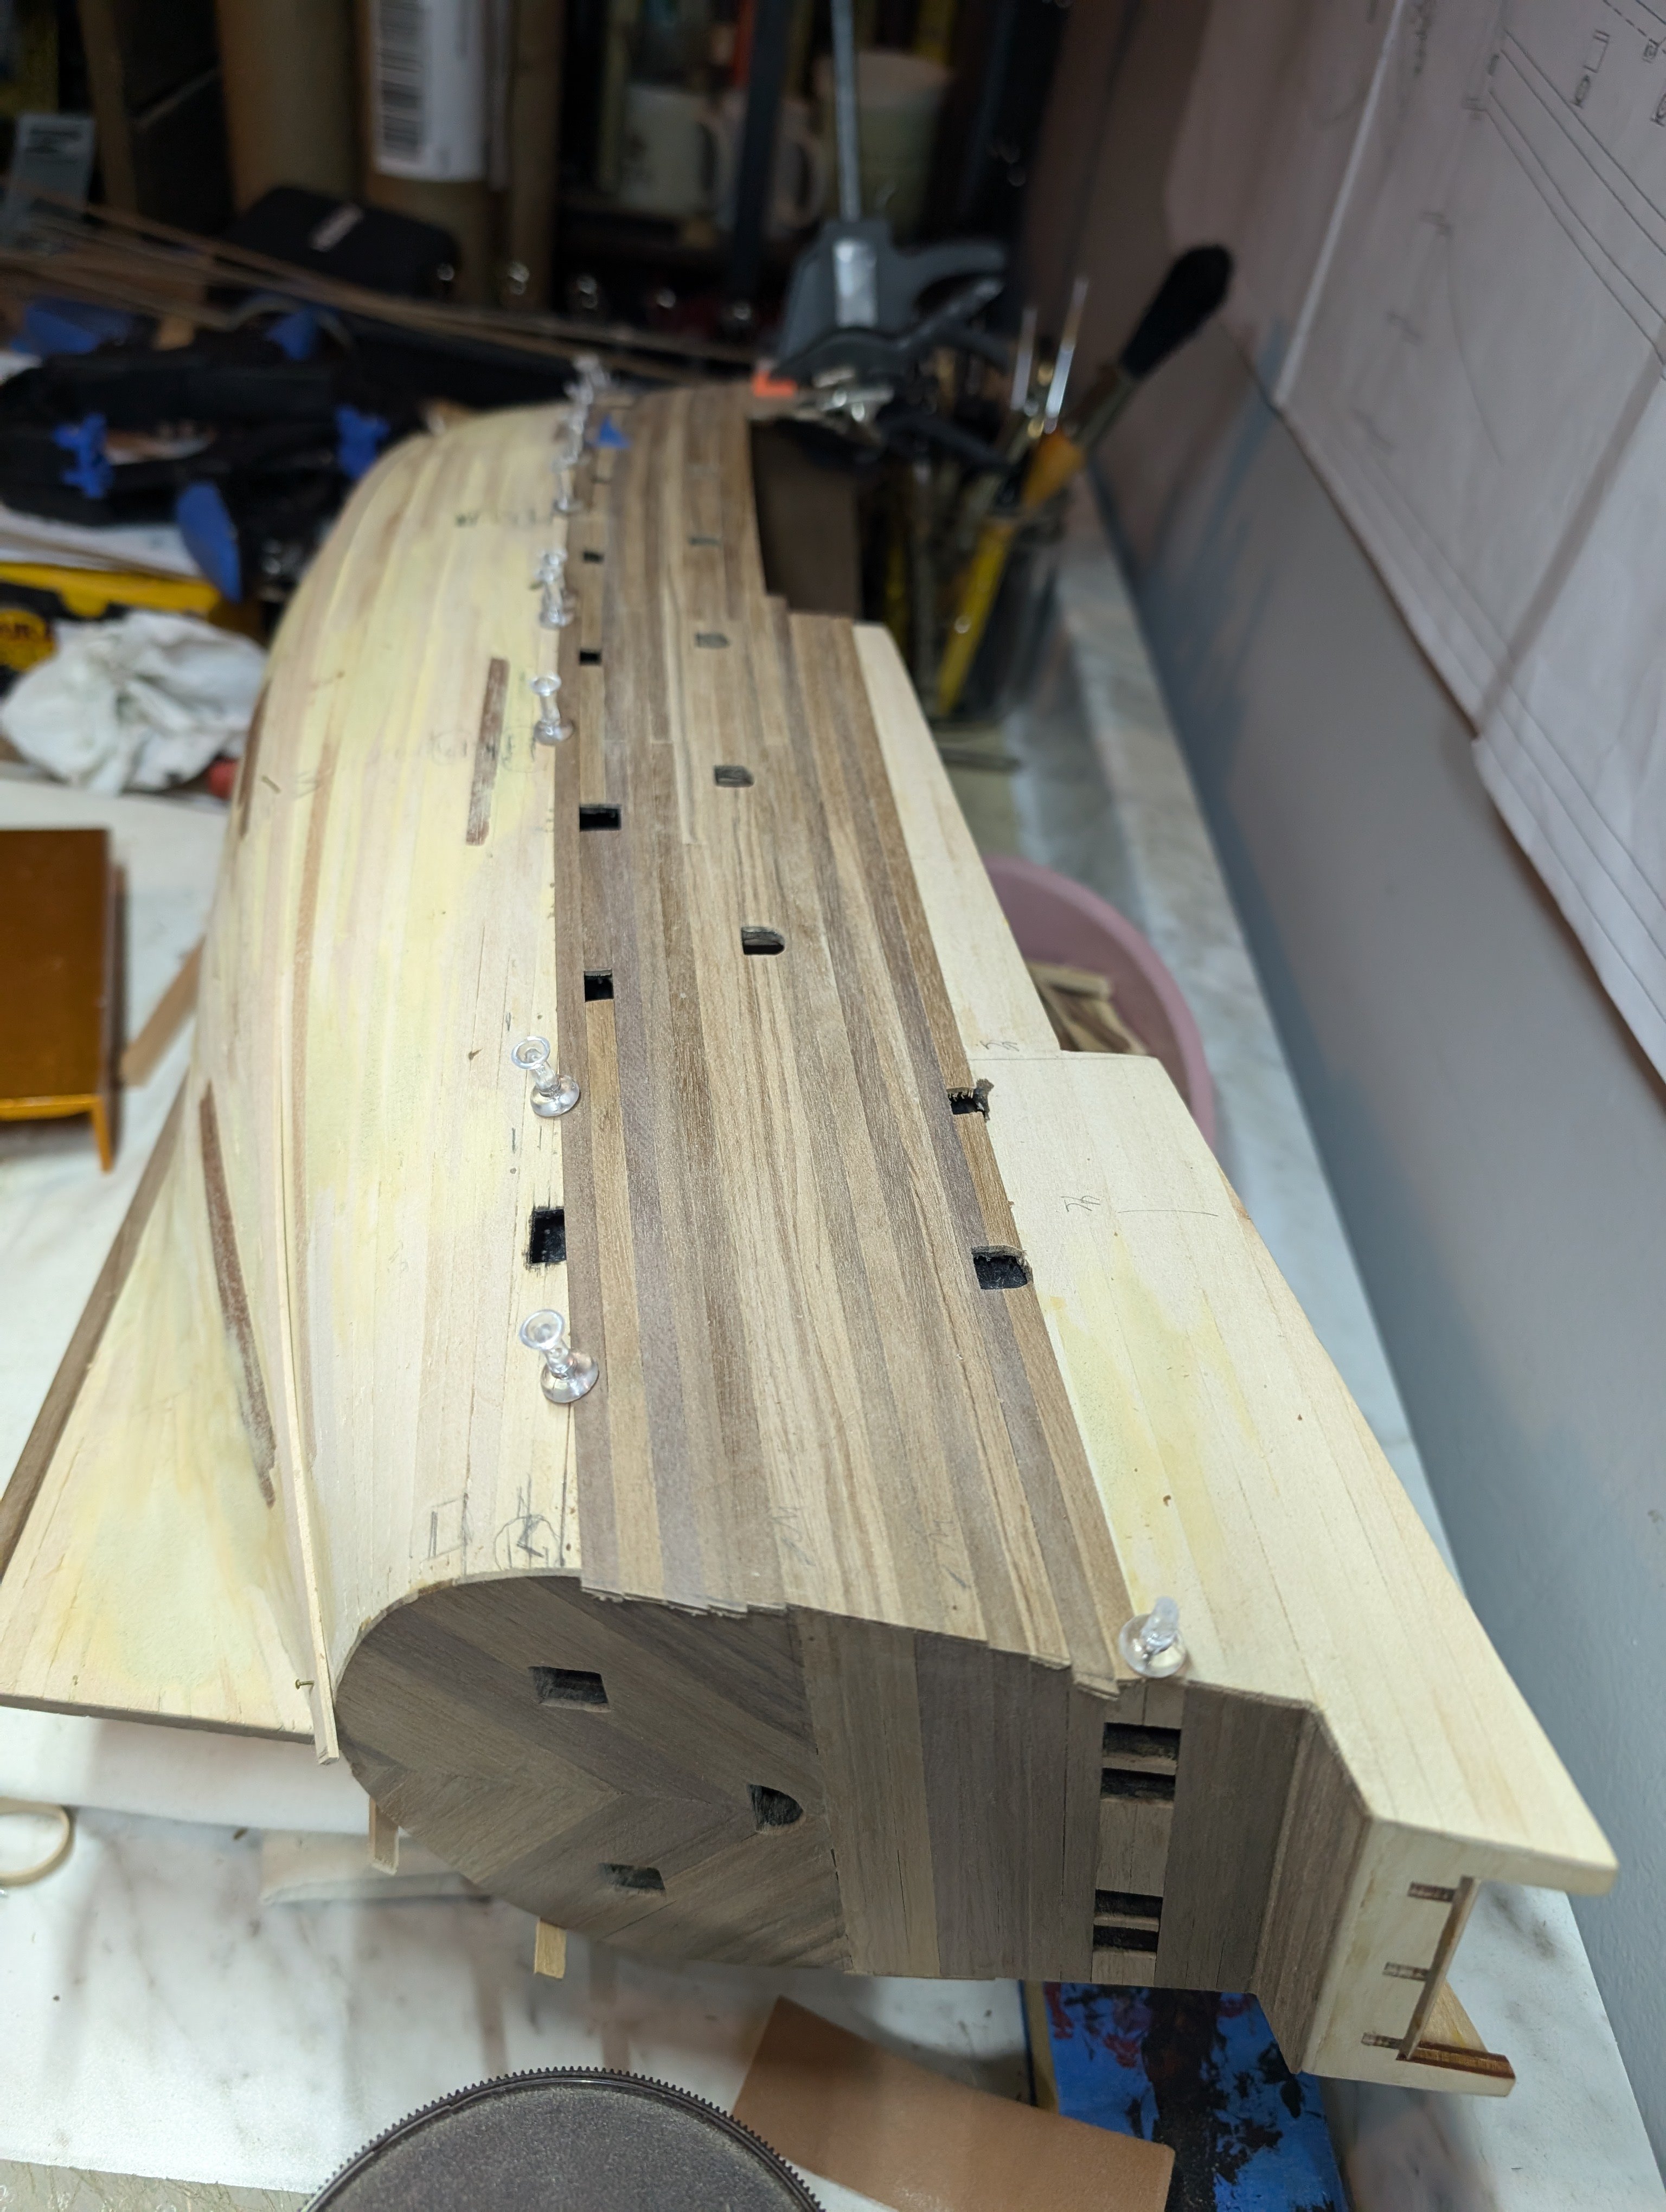
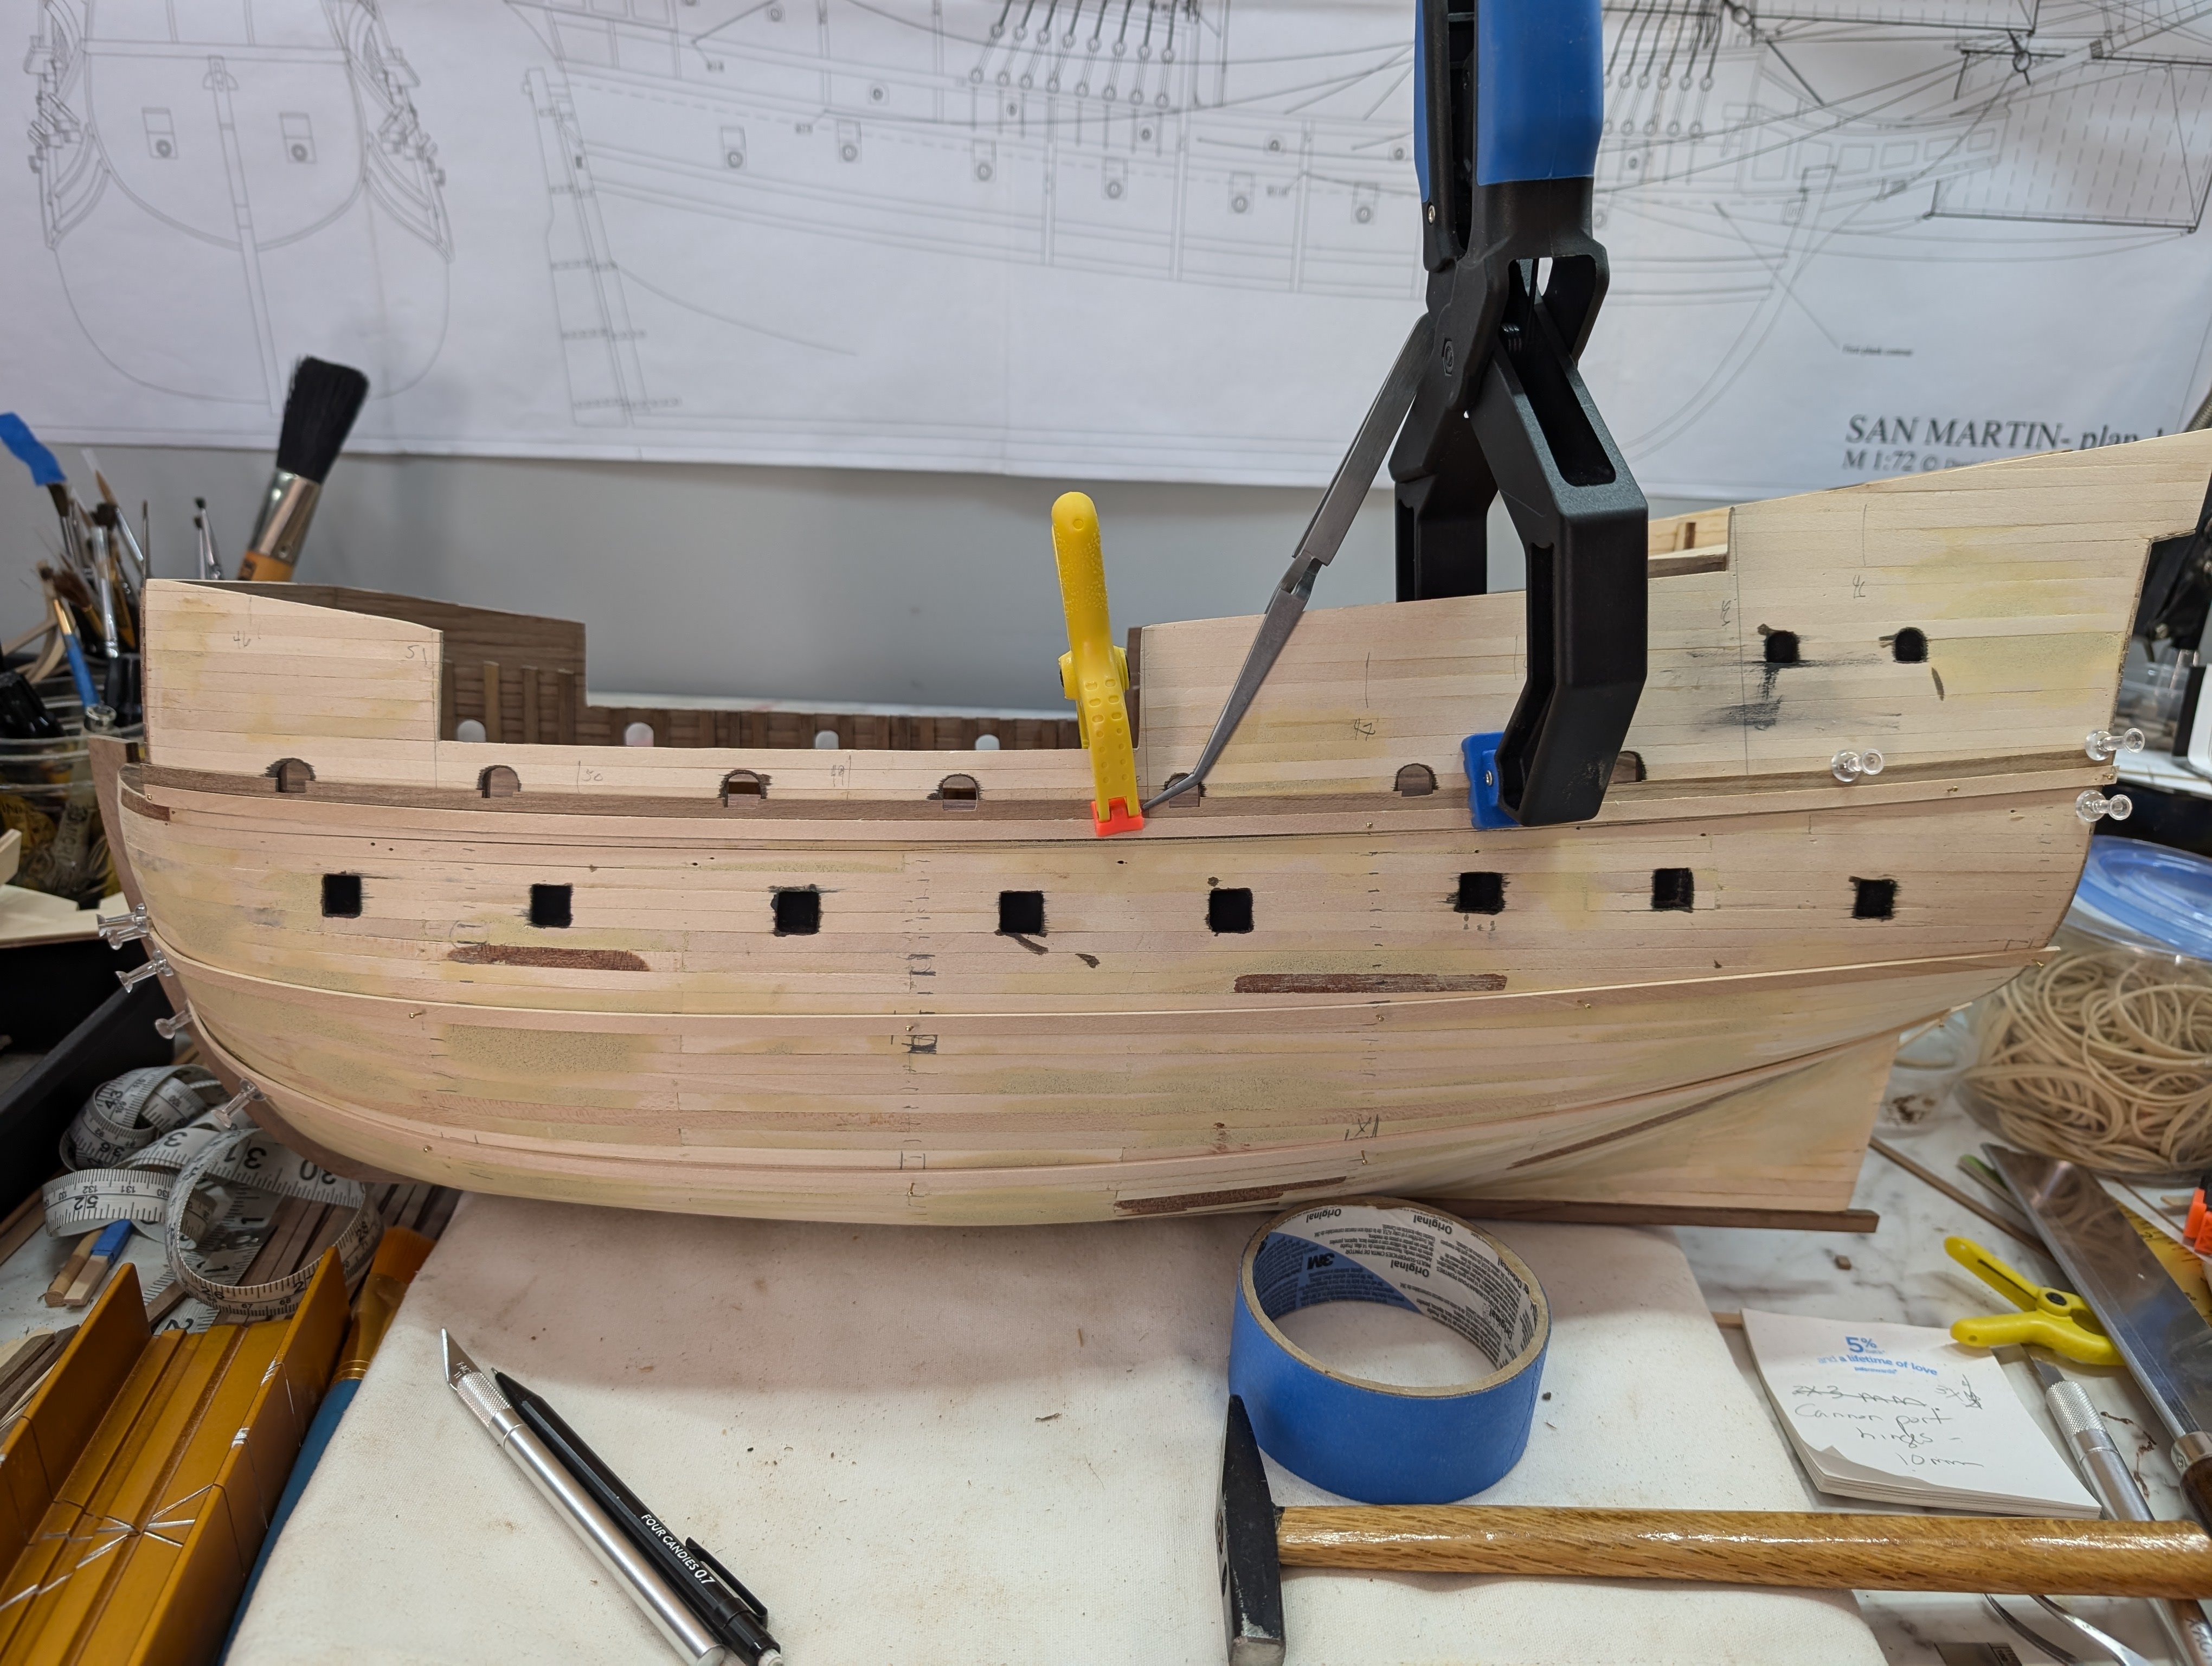
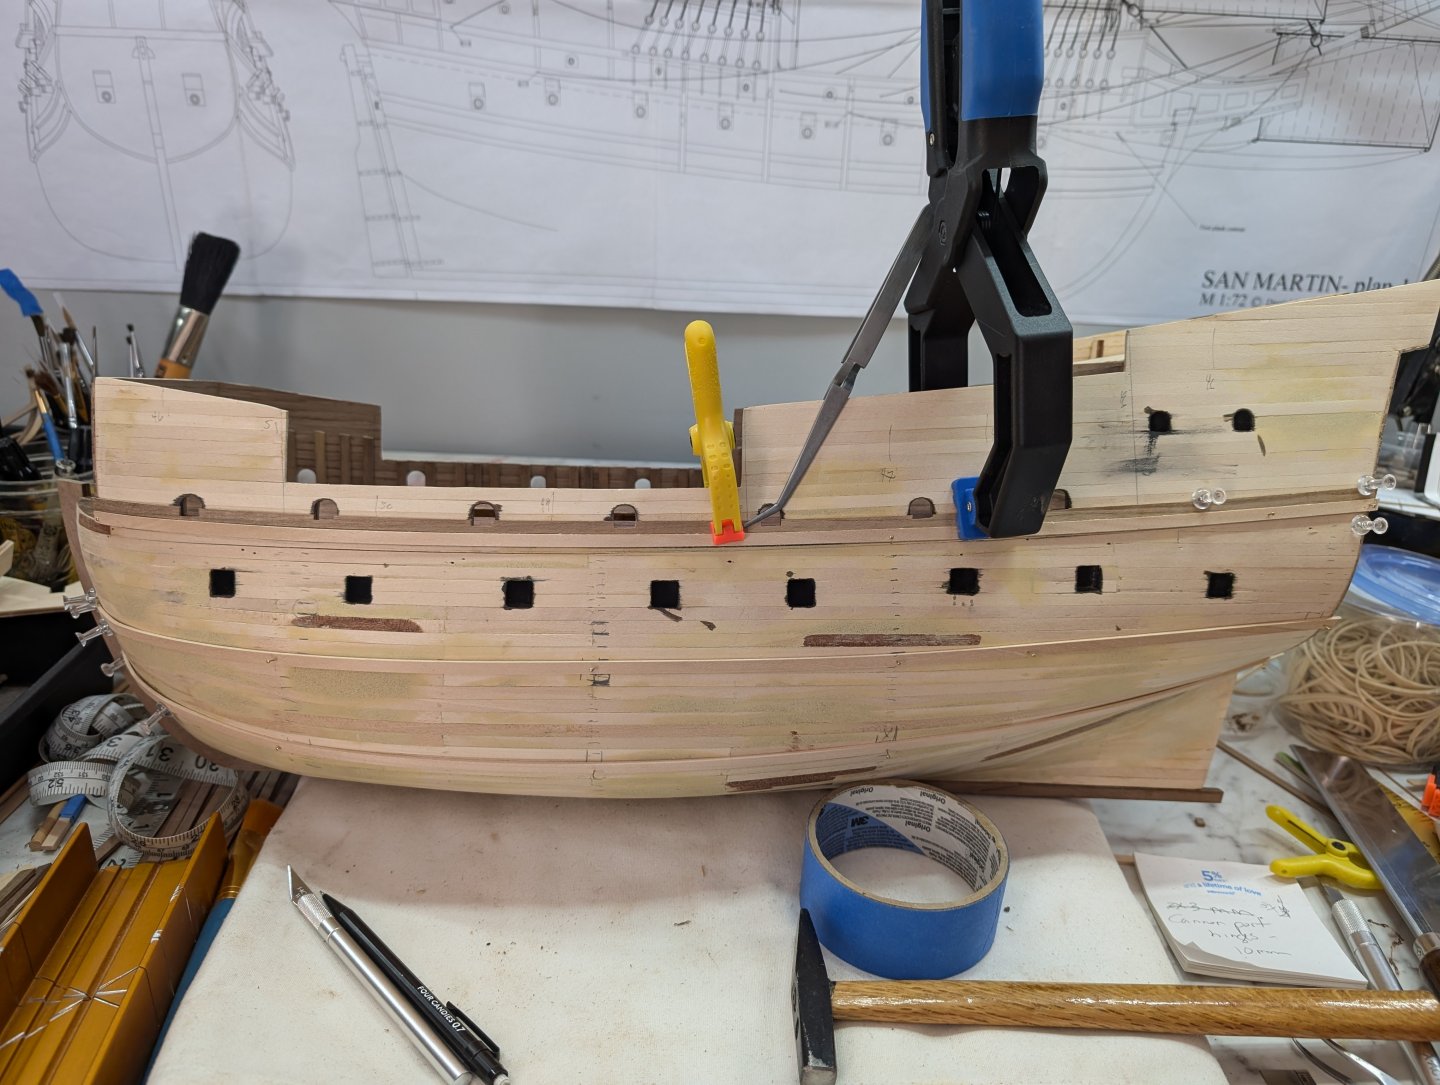
Finally starting to put walnut on the hull! Still have to attach the stern post....of which I think I've made 3? Now to find the correct one..... I still have some filing to do, but I tend to cut around the cannon ports a little larger and file to size.
-
Amazing
-
Very nice work Eric. I enjoyed this build log and seeing how you overcame obstacles. Every kit has its issues to work out. For me, that's part of the fun. Our neverending drive to figure things out coupled with our unending resilience helps us build the confidence we need to keep on trying and building more difficult projects. Thanks for sharing this. I look forward to your next build.
- 86 replies
-
- 1
-

-
- San Francisco
- Artesania Latina
- (and 2 more)
-
Maybe no one will notice a missing foremast except maybe @Louie da fly, and he will absolutely be gentlemanly about it. You know, something like, "nice work Patrick. Have you considered a foremast?" 😁 That frame has to take a good bit of weight, so I vote for max crossbeams and center beams (plan c) since triangle is strong(est) structure.
-
And she sure looks quite good. This is a very nice build! Thank you for sharing it.
-
Yes, we're all waiting for the glorious forecastle
-
San Martin by MikkiC - Dusek - 1:72
MikkiC replied to MikkiC's topic in - Kit build logs for subjects built from 1501 - 1750
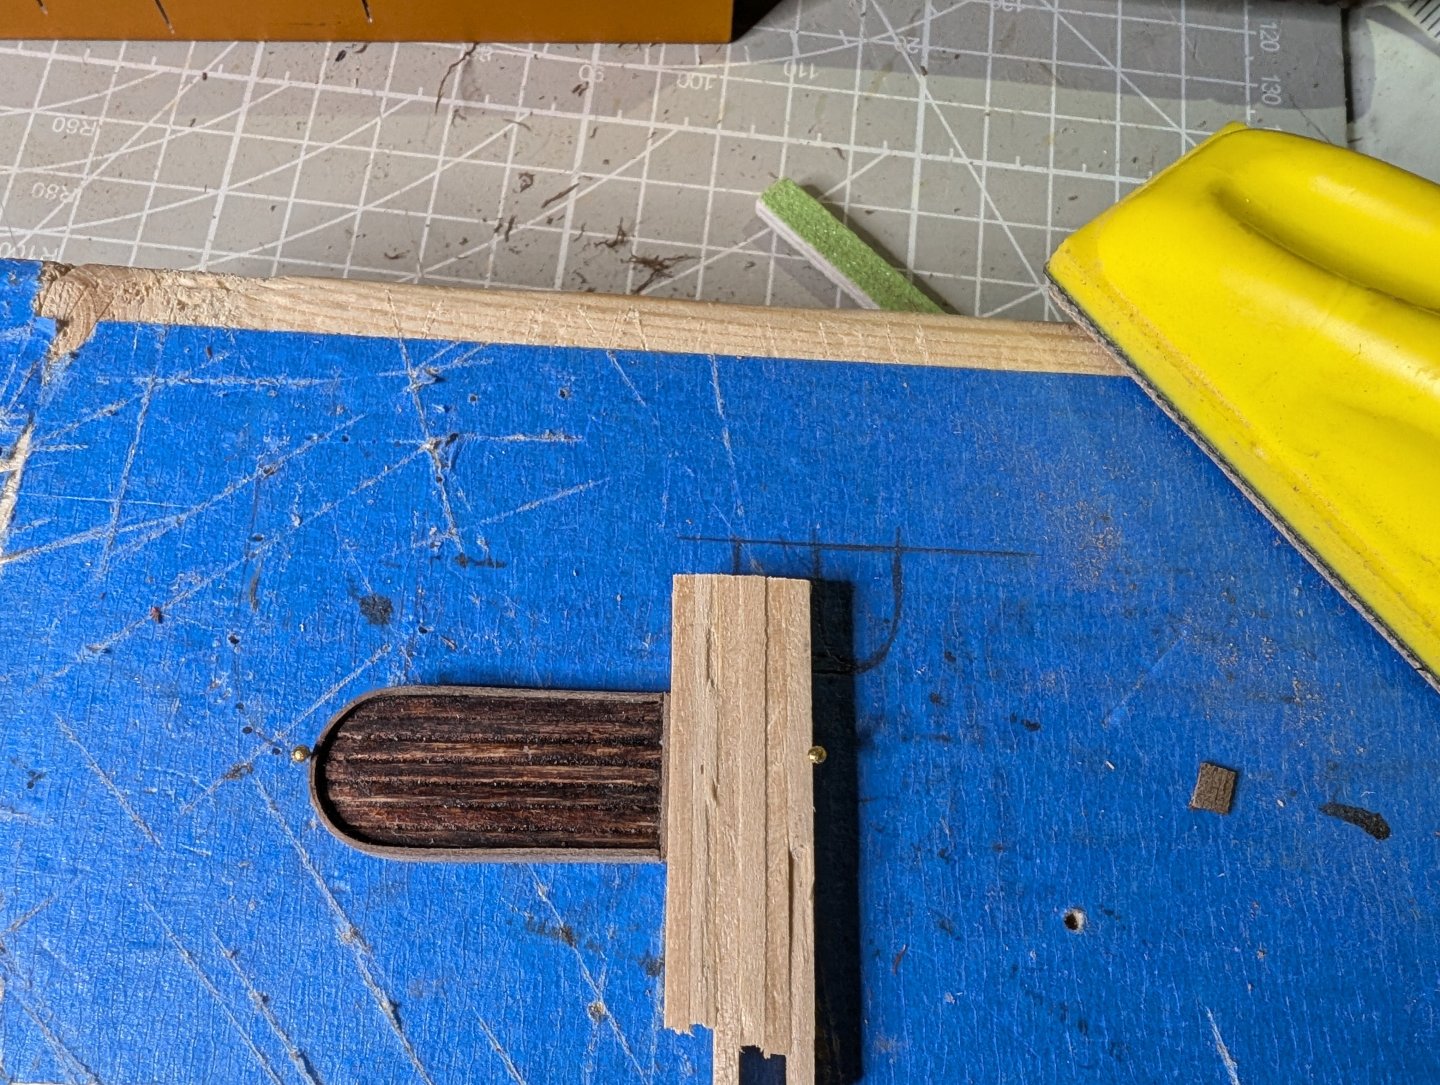
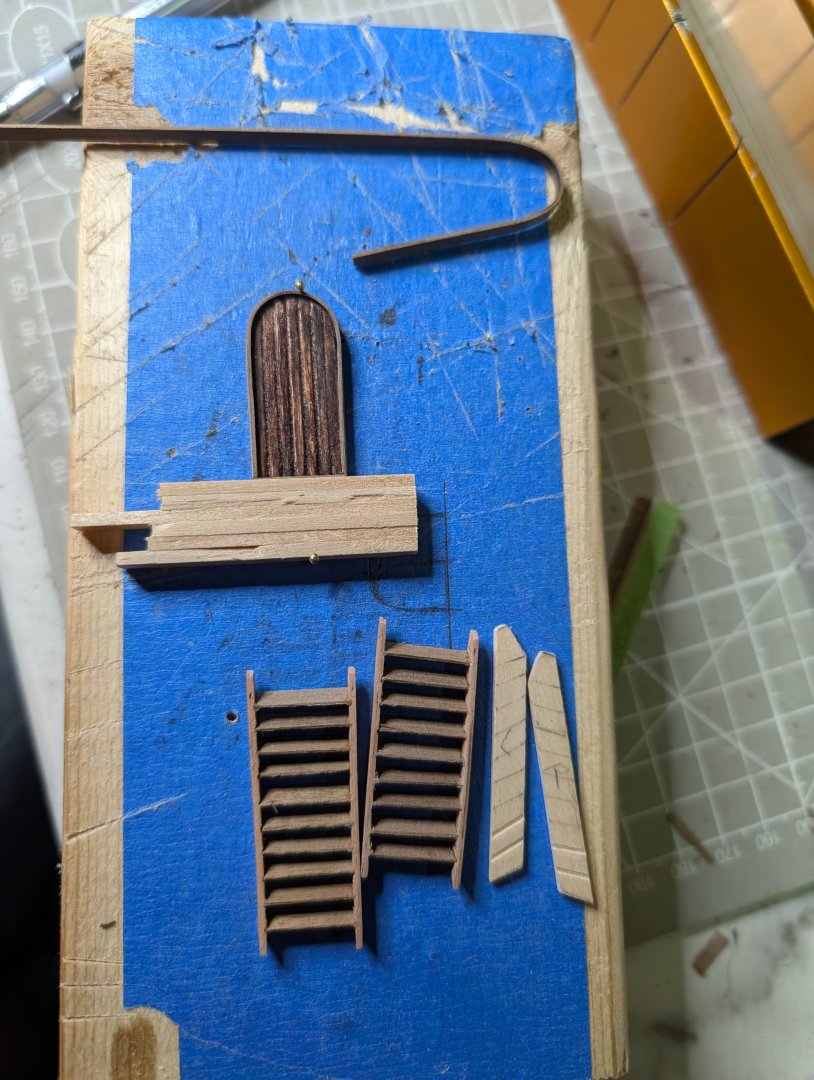
Rather than post a bunch of pics, I thought this would be easier. I made some templates from a different model and kept them. I used scrap wood for rails and the ends of the 0.5 x 4mm that was left from inside bulwarks for the rungs. For the door trim: I traced door onto a pice of scrap, cut it out, soaked some 1 x 3 walnut and let it sit in the form for a bit. I glued it on and used nails to hold it. Not sure what I'm going to do about door hardware yet. On the door pic, I didn't decide to put a base on trim until afterwards. If it doesn't clean up well, I'll try something different on the next one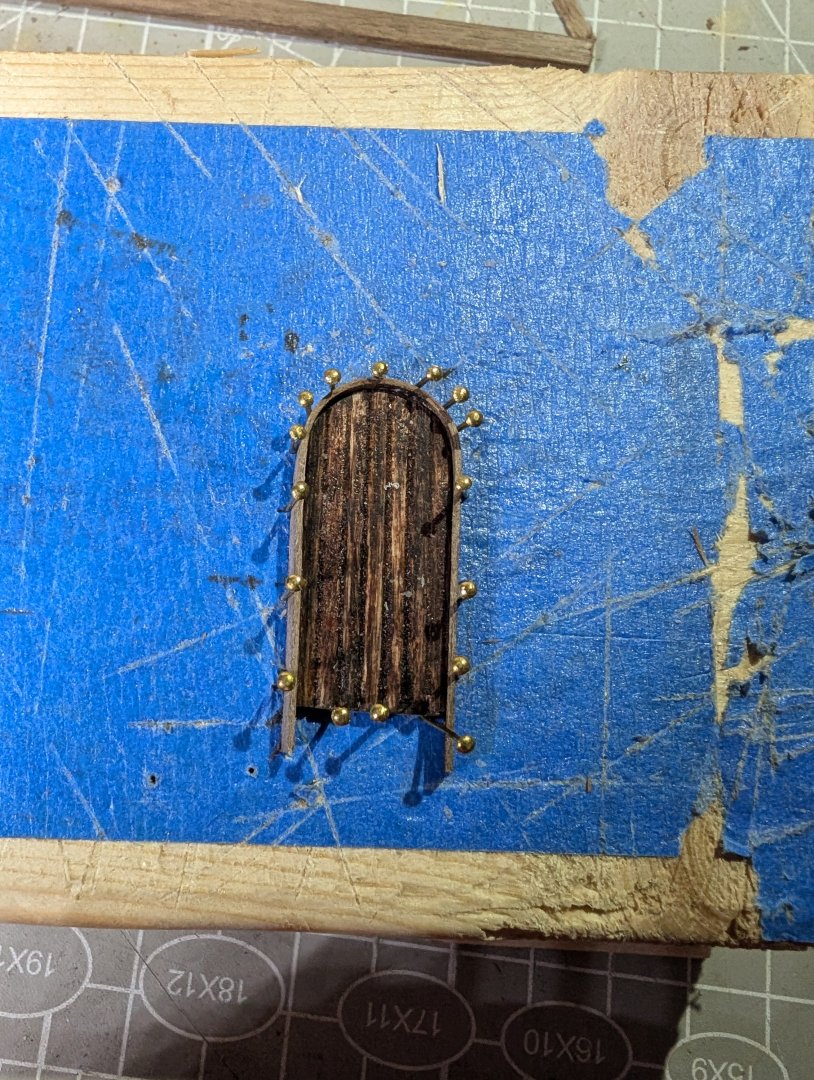
-
San Martin by MikkiC - Dusek - 1:72
MikkiC replied to MikkiC's topic in - Kit build logs for subjects built from 1501 - 1750
Well I'm still putting in supports. Need to finish one side so I can make the other side level. While I'm waiting for glue to dry, I decided to work on those toothpick doors and build a few ladder rather than watch the glue dry. 😁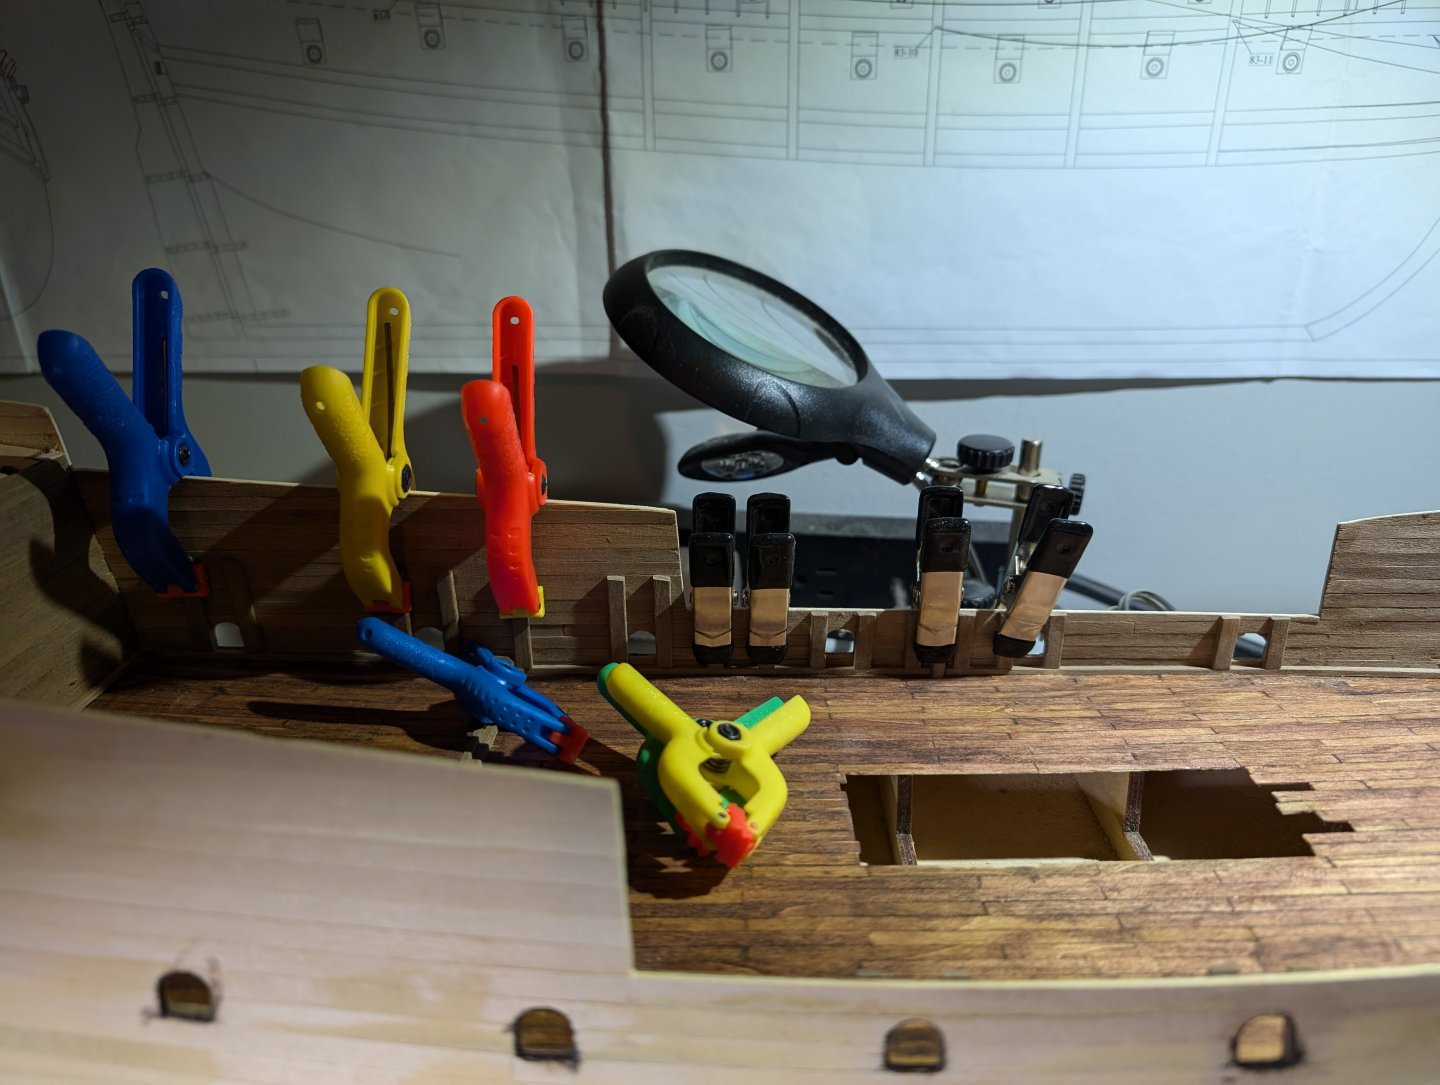
-
San Martin by MikkiC - Dusek - 1:72
MikkiC replied to MikkiC's topic in - Kit build logs for subjects built from 1501 - 1750
Of course. I'm honoured. And any advice you have is gladly taken. -
Can't wait for this to unfold. Your dedication to research is as admirable as your building skills. This is gonna be fantastic!
-
Bravo! Well Donne Mate! I'm always mesmerized at how people build a ship from a picture or drawing or carving, etc. Phenomenal!!!!!! And as @Baker asked: what's next?
-
I commend your bravery for working with oak in this small of a scale. 👏 Nicely donne.
-
Welcome and nice, neat work. I find some plans are a bit overkill and others quite lacking. I, too, am working on a kit with little instruction. While frustrating at times, I've learned a lot and really honed my problem solving skills. In more advanced kits, the instructions are sparser because the designer assumes we know. That's fair. Glad I found your log. I'll be following along with great interest. I think the Bounty I built was a Mamoli kit. Great plans and instructions but the wood quality and fittings were less than desirable.
- 32 replies
-
- 1
-
-
- Bounty
- Constructo
- (and 1 more)
-
San Martin by MikkiC - Dusek - 1:72
MikkiC replied to MikkiC's topic in - Kit build logs for subjects built from 1501 - 1750
Slowly but surely I'm moving along. I'm working on deck trim so I can install supports. I changed the deck colour from golden oak to red oak. I prefer darker colours. I should've gone with red oak at first. That change took a bit of sanding.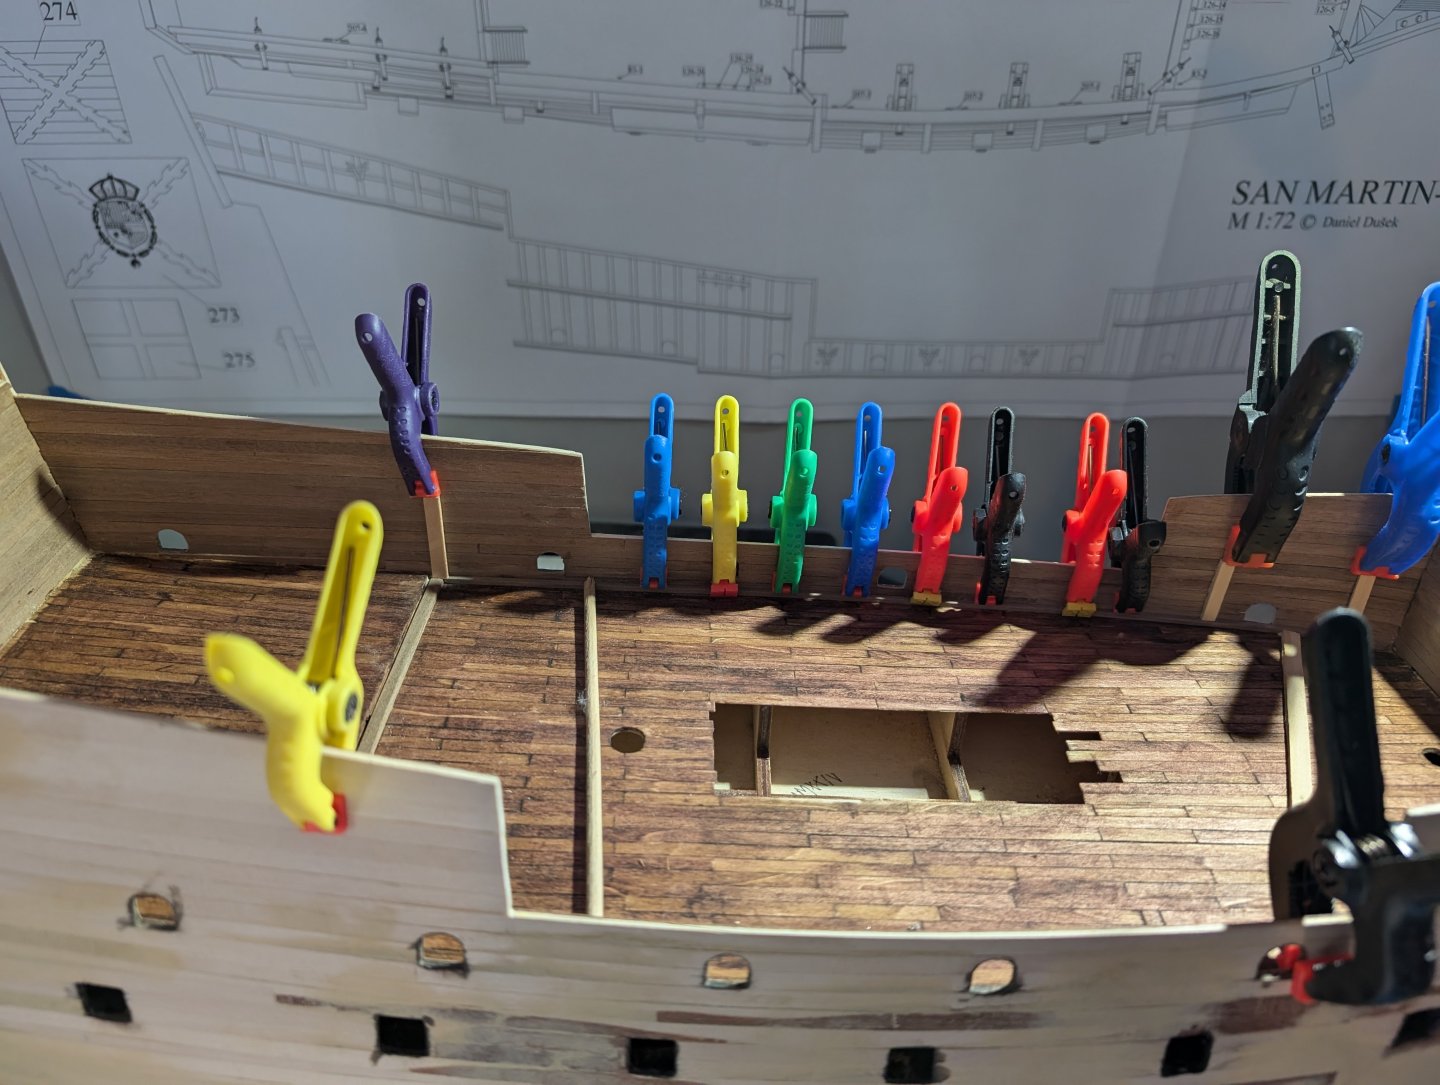
-
Bravo! This is an enjoyable build log. I'm jealous of your shop.