MORE HANDBOOKS ARE ON THEIR WAY! We will let you know when they get here.
×
Paul0367
-
Posts
512 -
Joined
-
Last visited
Content Type
Profiles
Forums
Gallery
Events
Everything posted by Paul0367
-
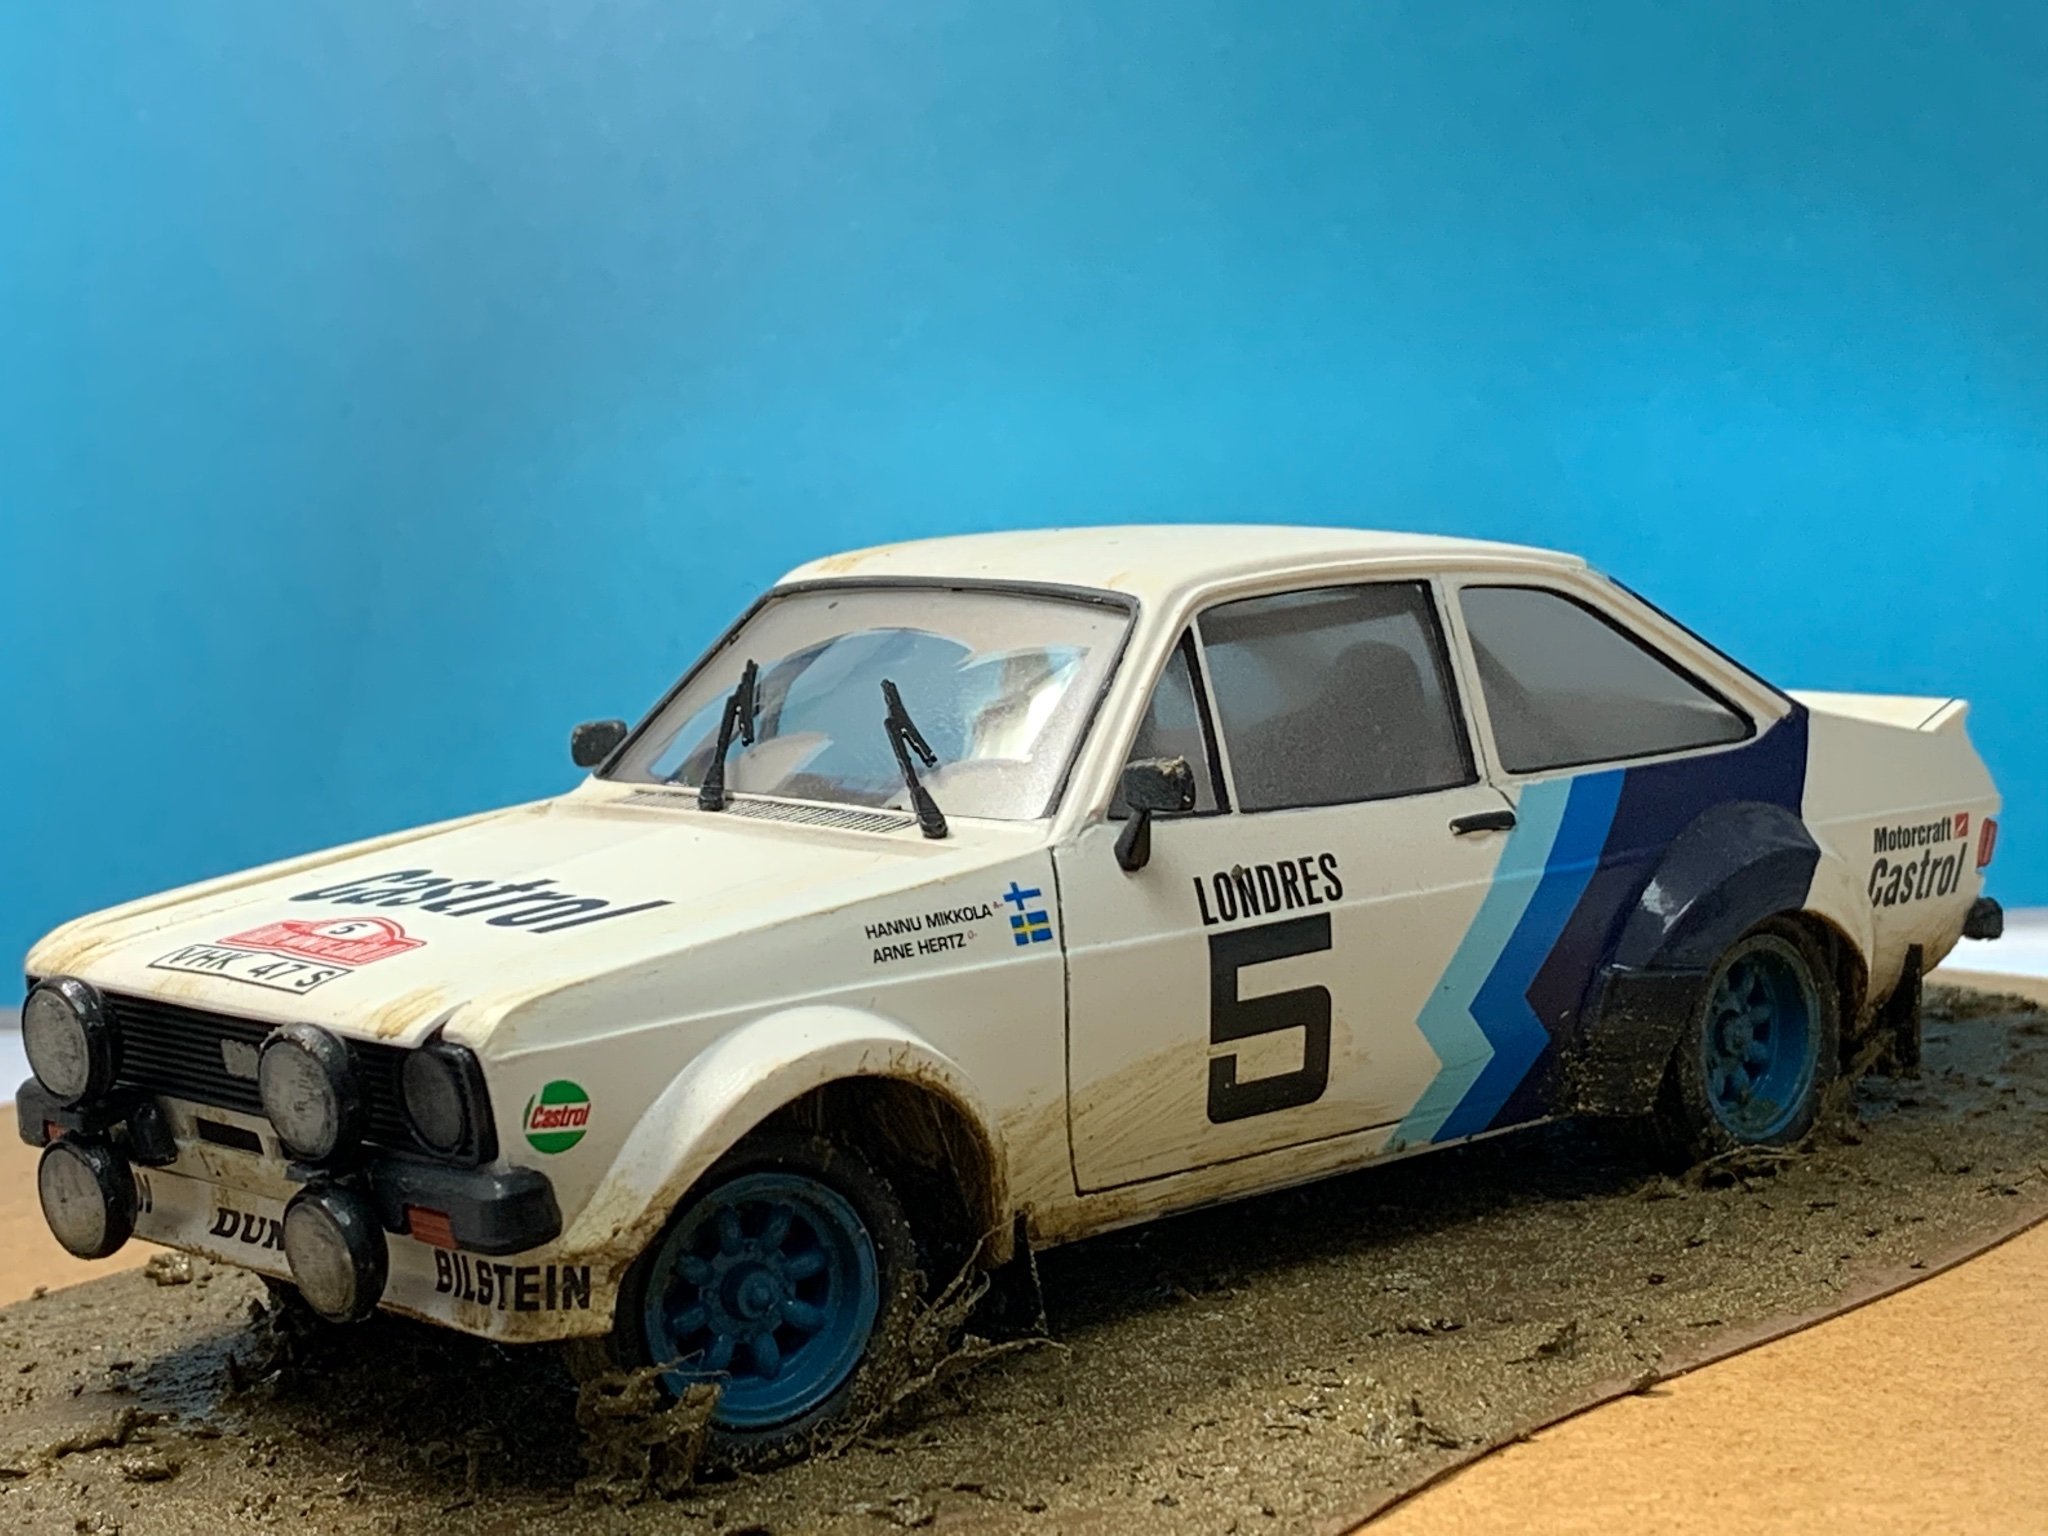
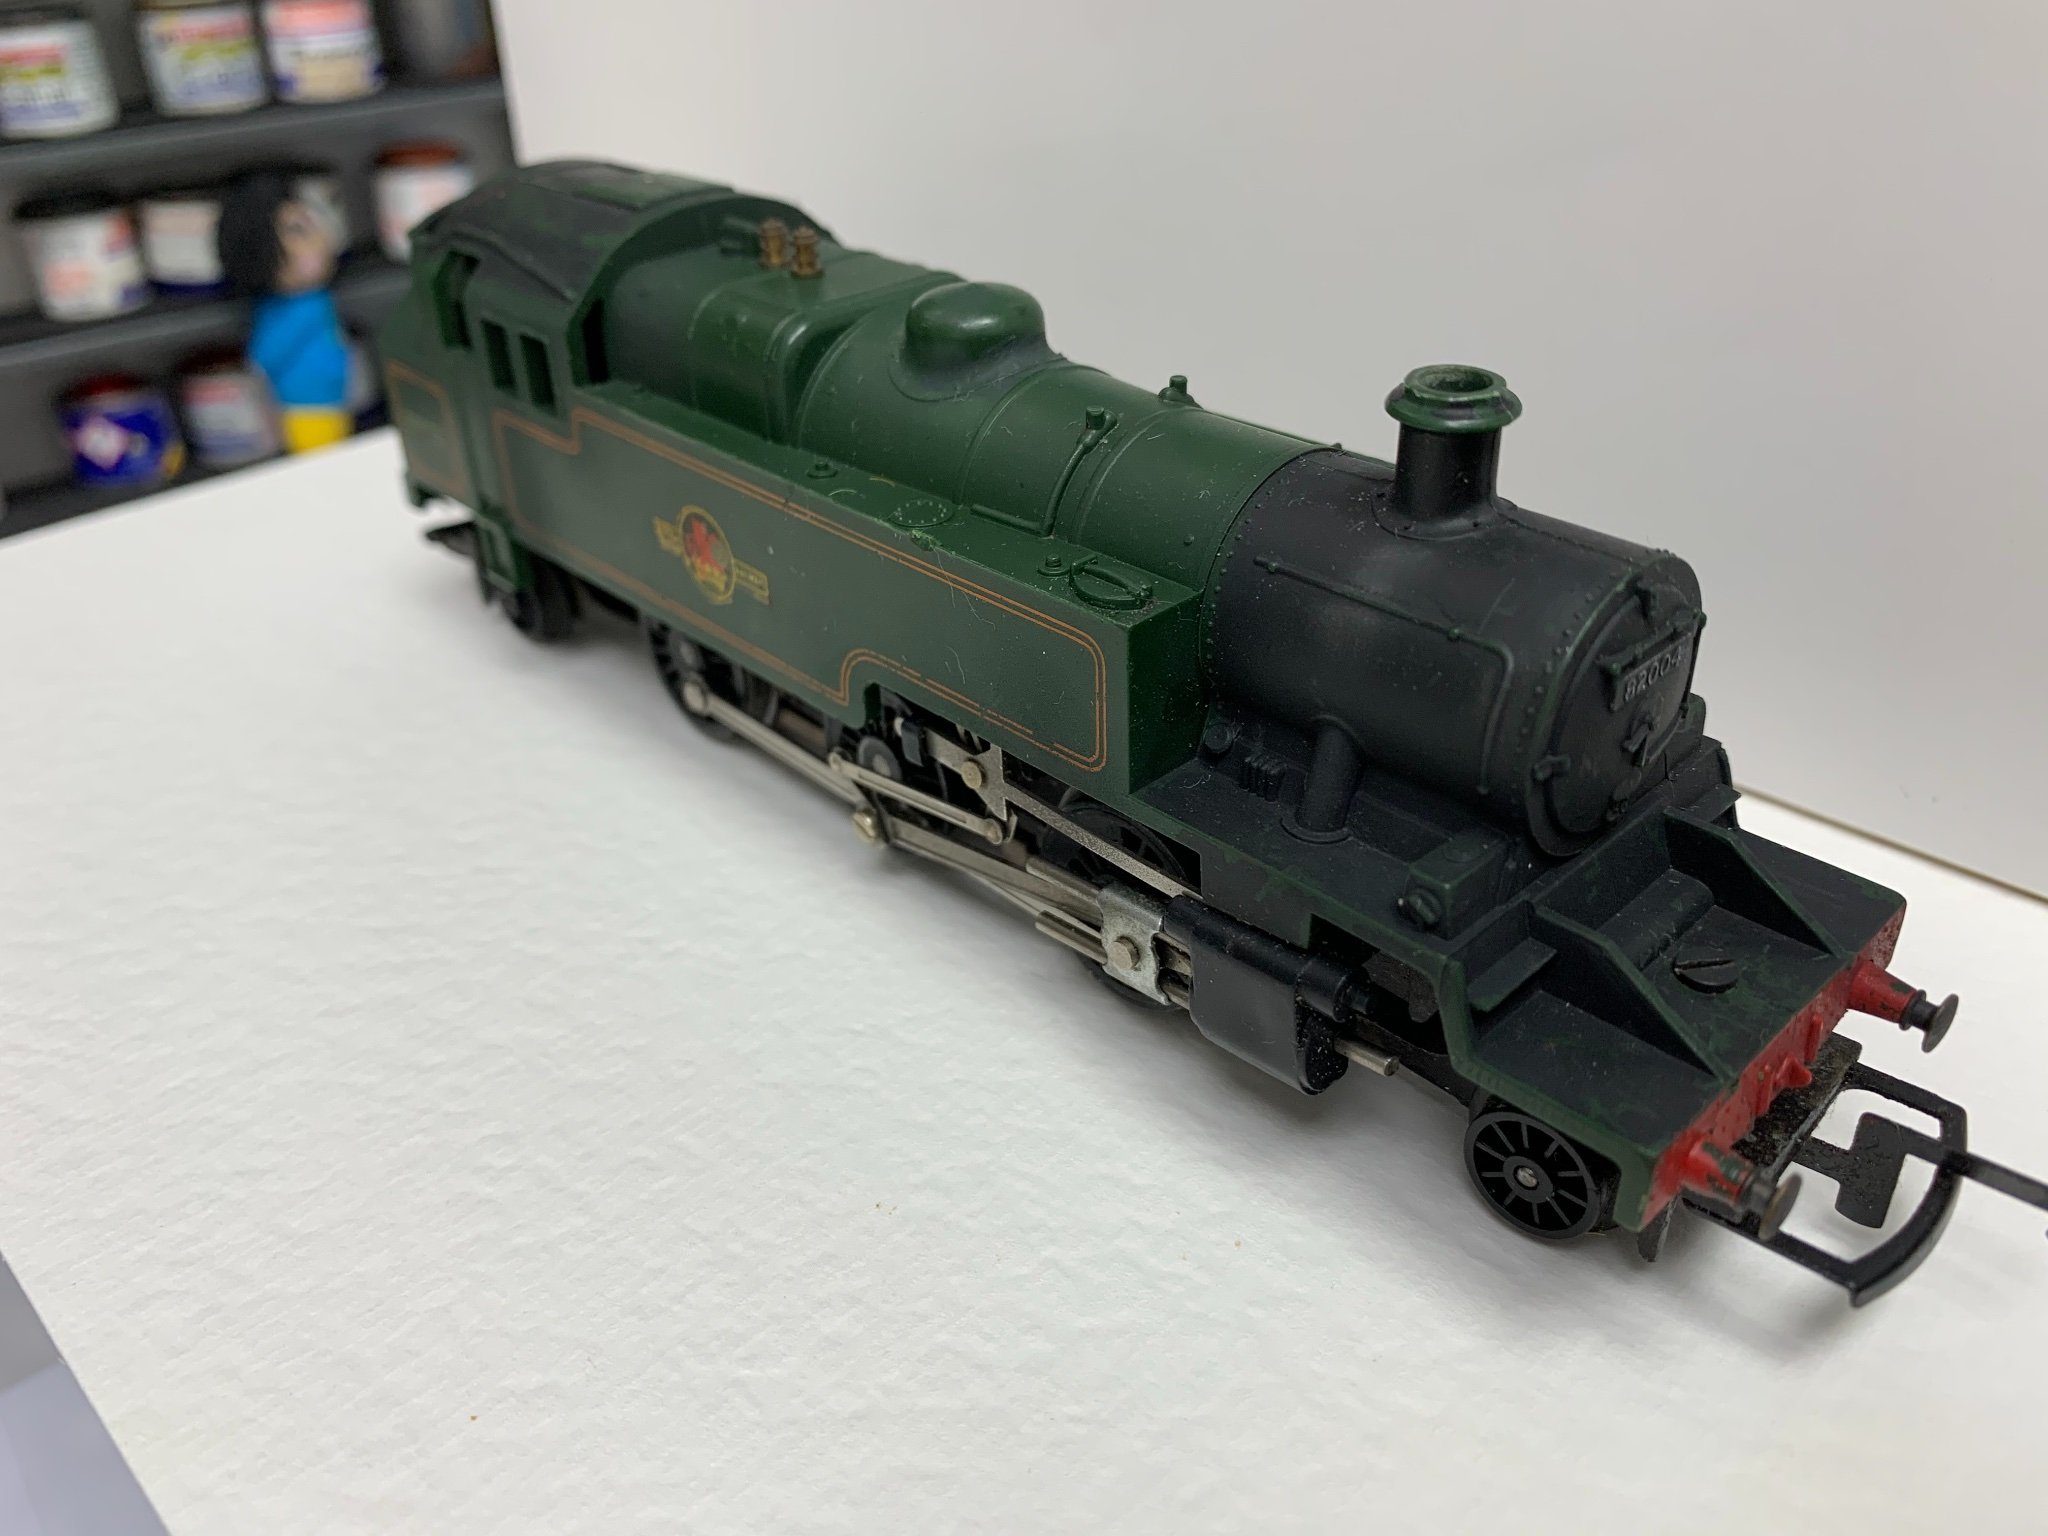
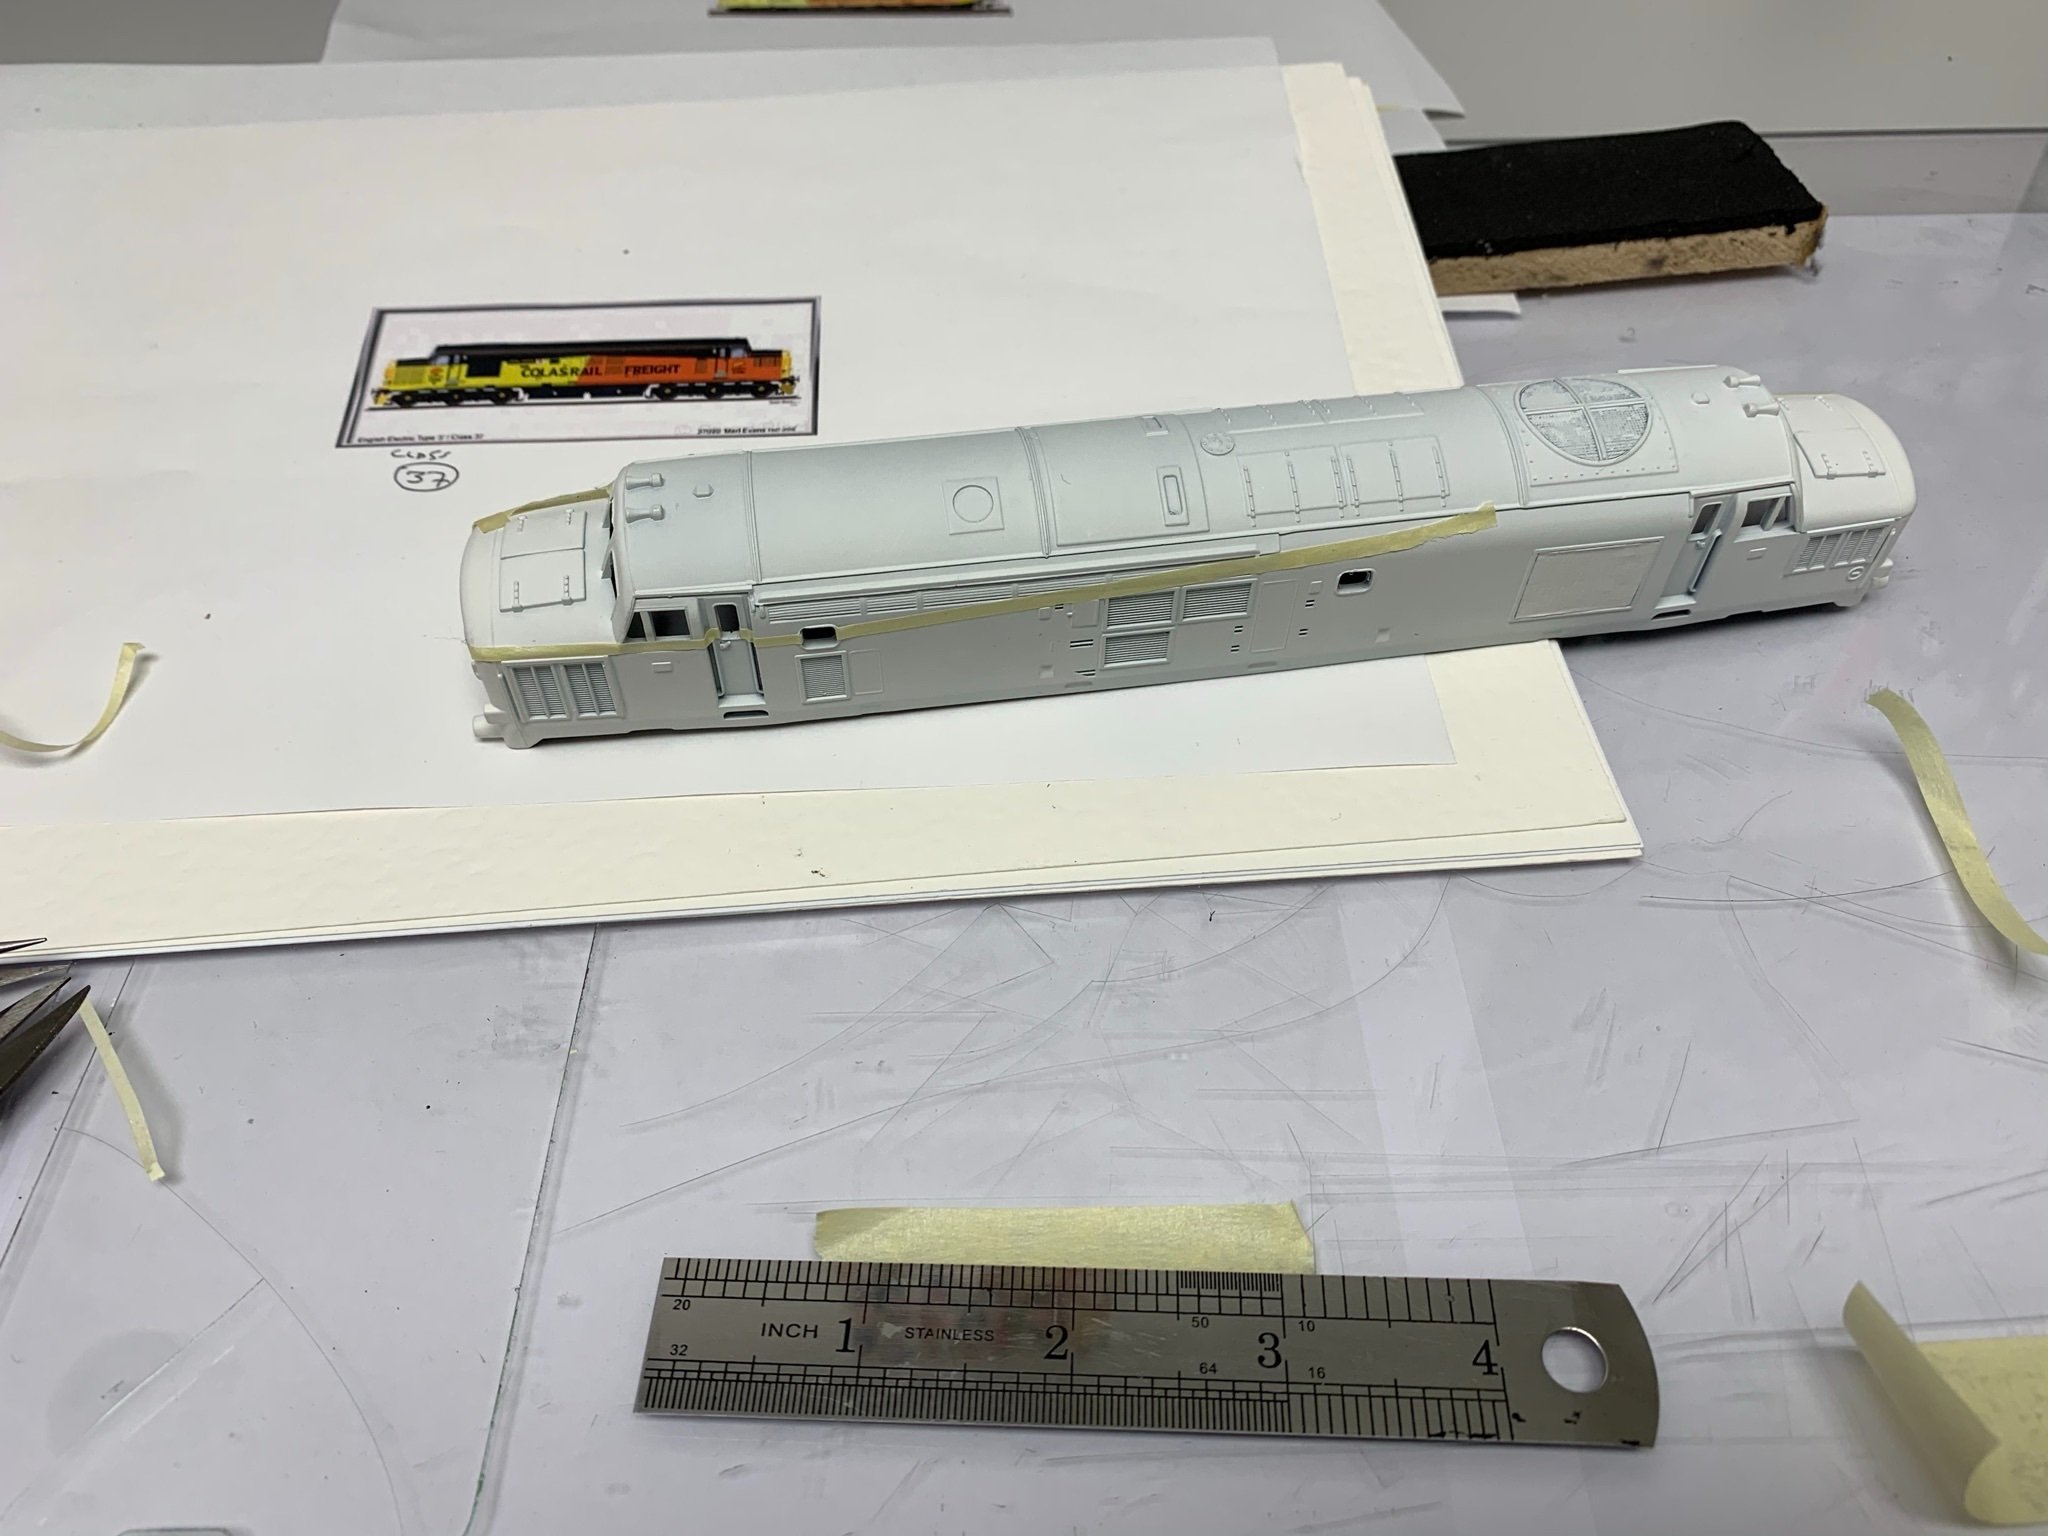
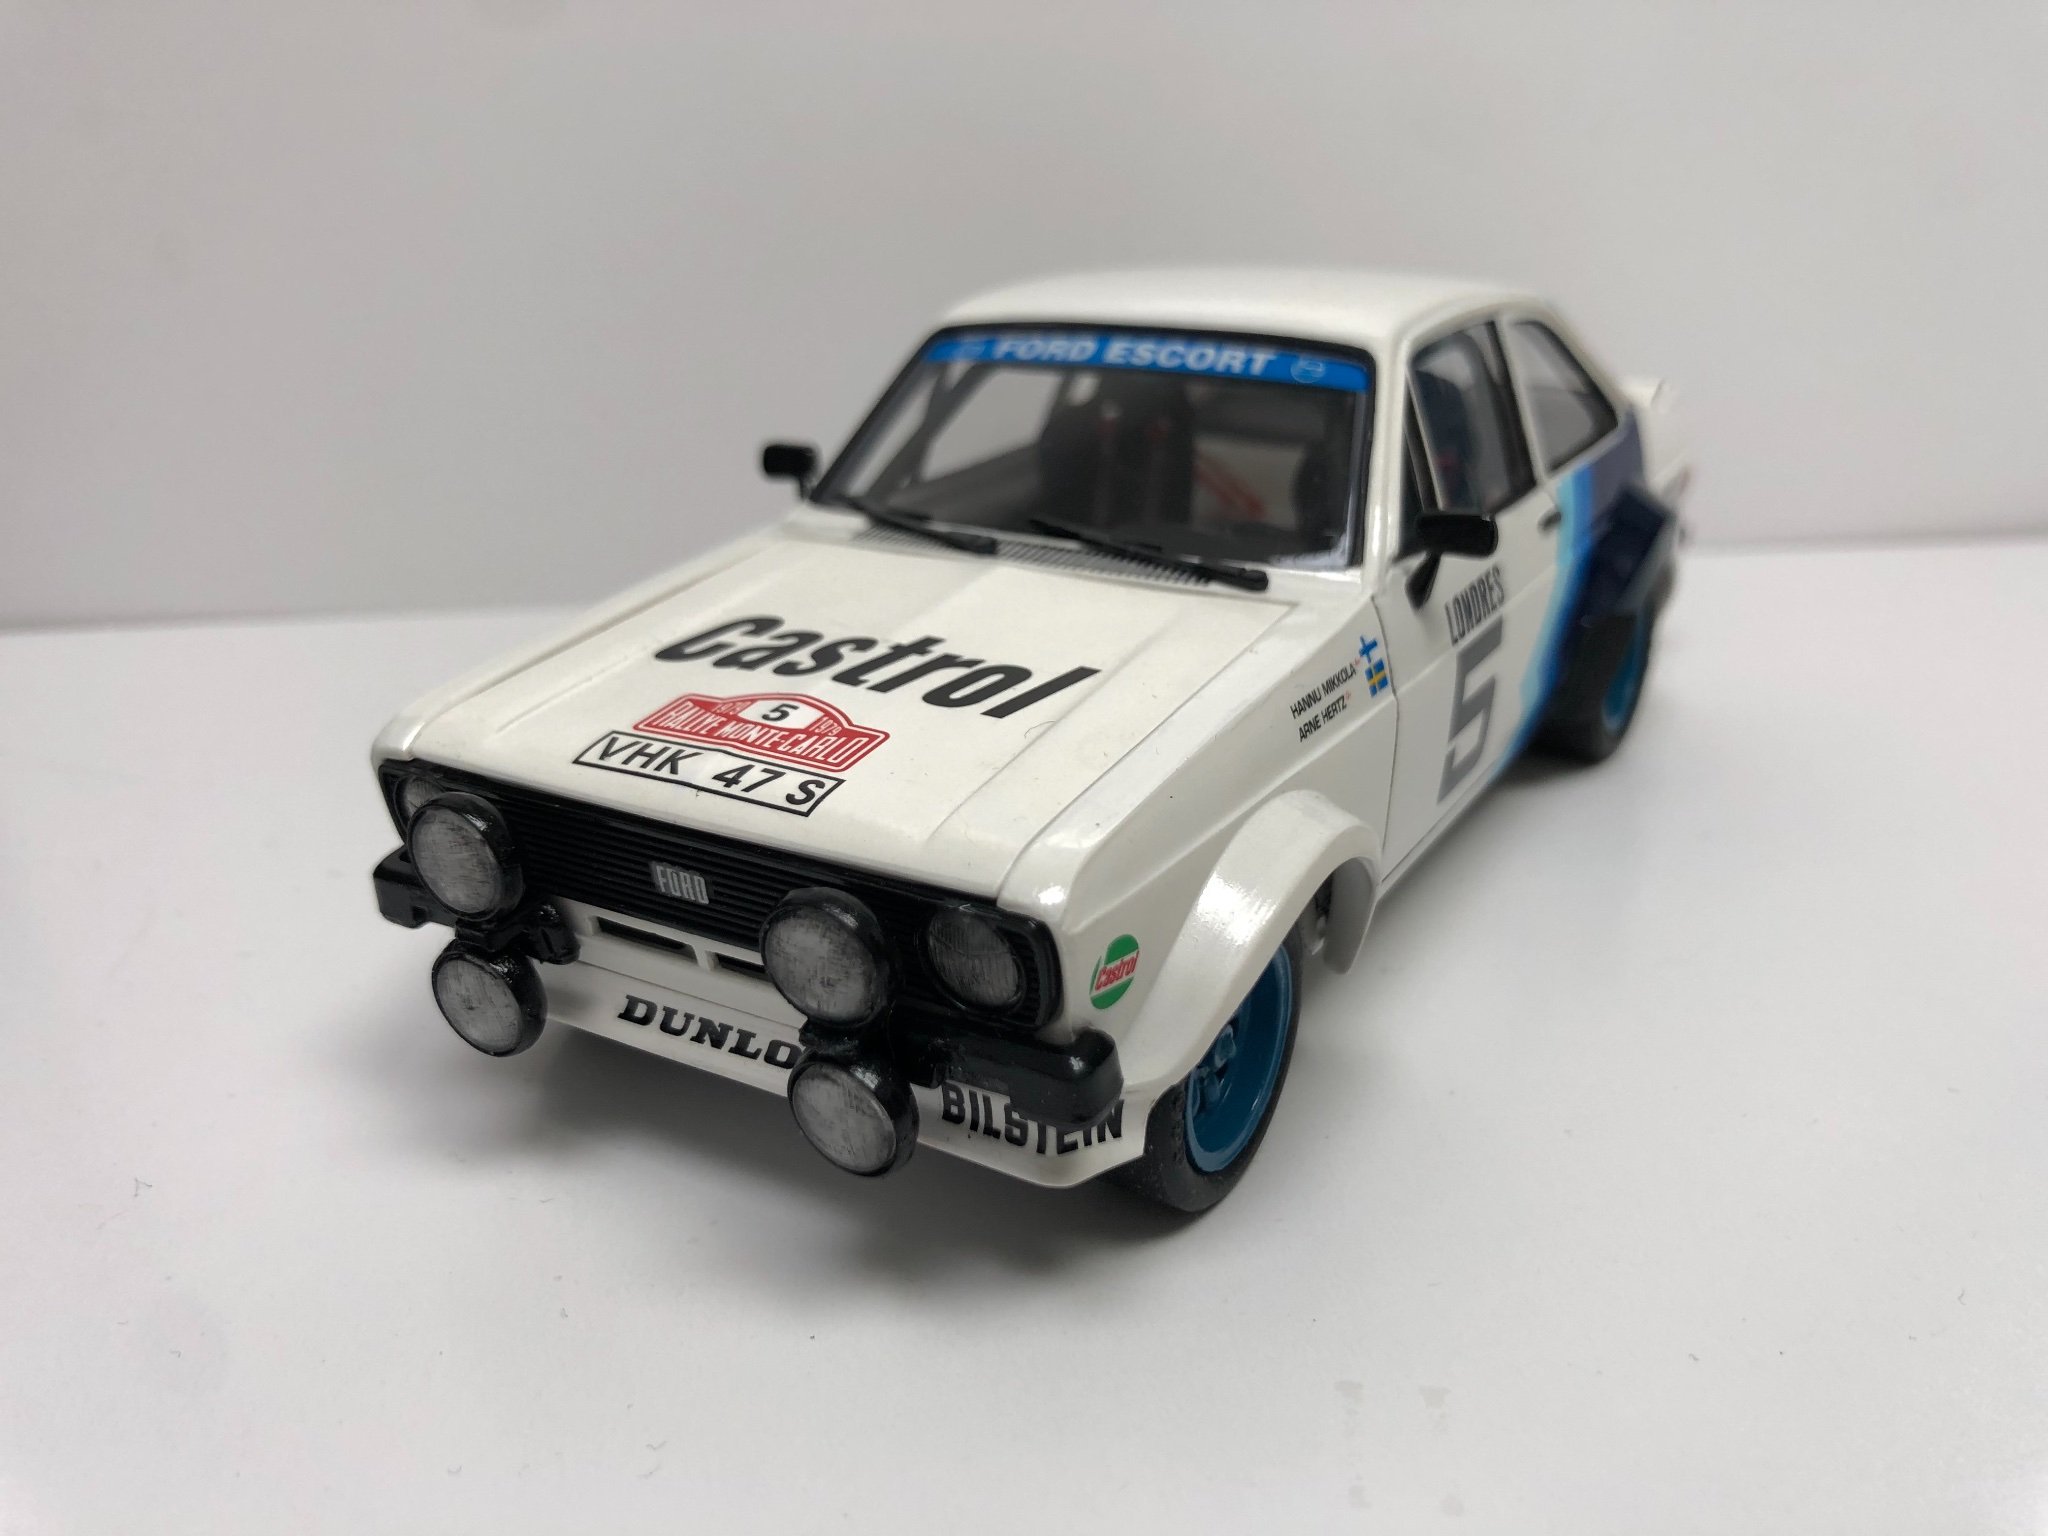
 Wow how time flies, I never have picked her up again, she still sits there awaiting the restart. I cannot believe I posted that so long ago, I still do models of different types, although many have been livery changes on my bosses trains. Ok not ships on a ship site but we’re all modellers ain’t we. The ship will be picked up as the winter/fall moves closer in the uk. Sorry I diverse a lot from ships here. I hope all the modellers have got through the bad times we’ve all had


- 708 replies
-
- 4
-

-
- victory
- constructo
- (and 1 more)
-
Hi all out there cutting, chopping and glueing. I would love to say I’ve been doing the same but, I haven’t, for over 12 months she just sits there docked, longer than the ship she’s modelled from. Well I managed to get COVID 19 on 28th sept and believe me it’s not a game, I was ok for three days and managed to do some lower ratlines before realising I needed the stowed bedding behind before I block them off. The illness set in and once again I’ve stopped but I have gained some momentum to restart her soon
- 708 replies
-
- 4
-
-
- victory
- constructo
- (and 1 more)
-
Hi Well its 3 months into 2020, and actually my birthday today and I have'nt touched the Victory in many a month, generally ive lost the interest in it since loosing my mother inlaw who I used to joke about her housing the finised model. Also my wife, who is training to go to Jet 2 having been made redundant from Thomas cook when they went under. Normally when she is flying I do the model but otherwise my time is spent with her when she is home, Summer is a big game changer too as we want to be out there living and not cooped up in a room building. Your post have also stopped, have you chaned your buid or having a break ?
-
Wow its been a while since I've been on this site, or even touched the ship, not since April have I picked up tools. We lost a close family member and the ship gave me great memories of her and I've found it difficult to venture in the model room let alone pick up the victory build again. As always leaving for long periods makes the restart difficult, remembering what to do, when, where and whats next. I have started on the lower ratlines and the mast supports (really needed too after sails have been fitted). There weight shows without the lines for support. Well in April 2020 she will be in her 6th year of construction, how long the real ship took. Without many breaks of course.

- 708 replies
-
- 4
-
-
- victory
- constructo
- (and 1 more)
-
Steve, she is a credit to you, job beautifully done and sails too, well done, Most modellers don't go for sails and say its because they hide the detail, I believe it doesn't hide any, just move your head it's all there. It is just very difficult to fit them with sails, not to mention added research and the time that and the actual making and fitting sails takes. Furled lowers show decks detail anyway. Hms Victory spent years at sea and would very rarely be seen naked. OK furled but not naked. Basically it's like building a model car and leaving off the wheels to me. It's a sailing ship at the end of the day. Most modeller fit copper plates on hull, why bother, they were hidden below the waterline on the real ship and never seen during Victory active service and they really do hide the beautiful planking work. There fitted because there supposed to be there, a bit like sails. I know its each to there own and I would like to have left the sails off knowing what I now know but it's a sailing ship. We'll now my next ship if I make a second may not have sails fitted, ha ha but mine will be nothing to do with detail lost, more the effort involved. We'll done mate in producing a beautiful model.
-
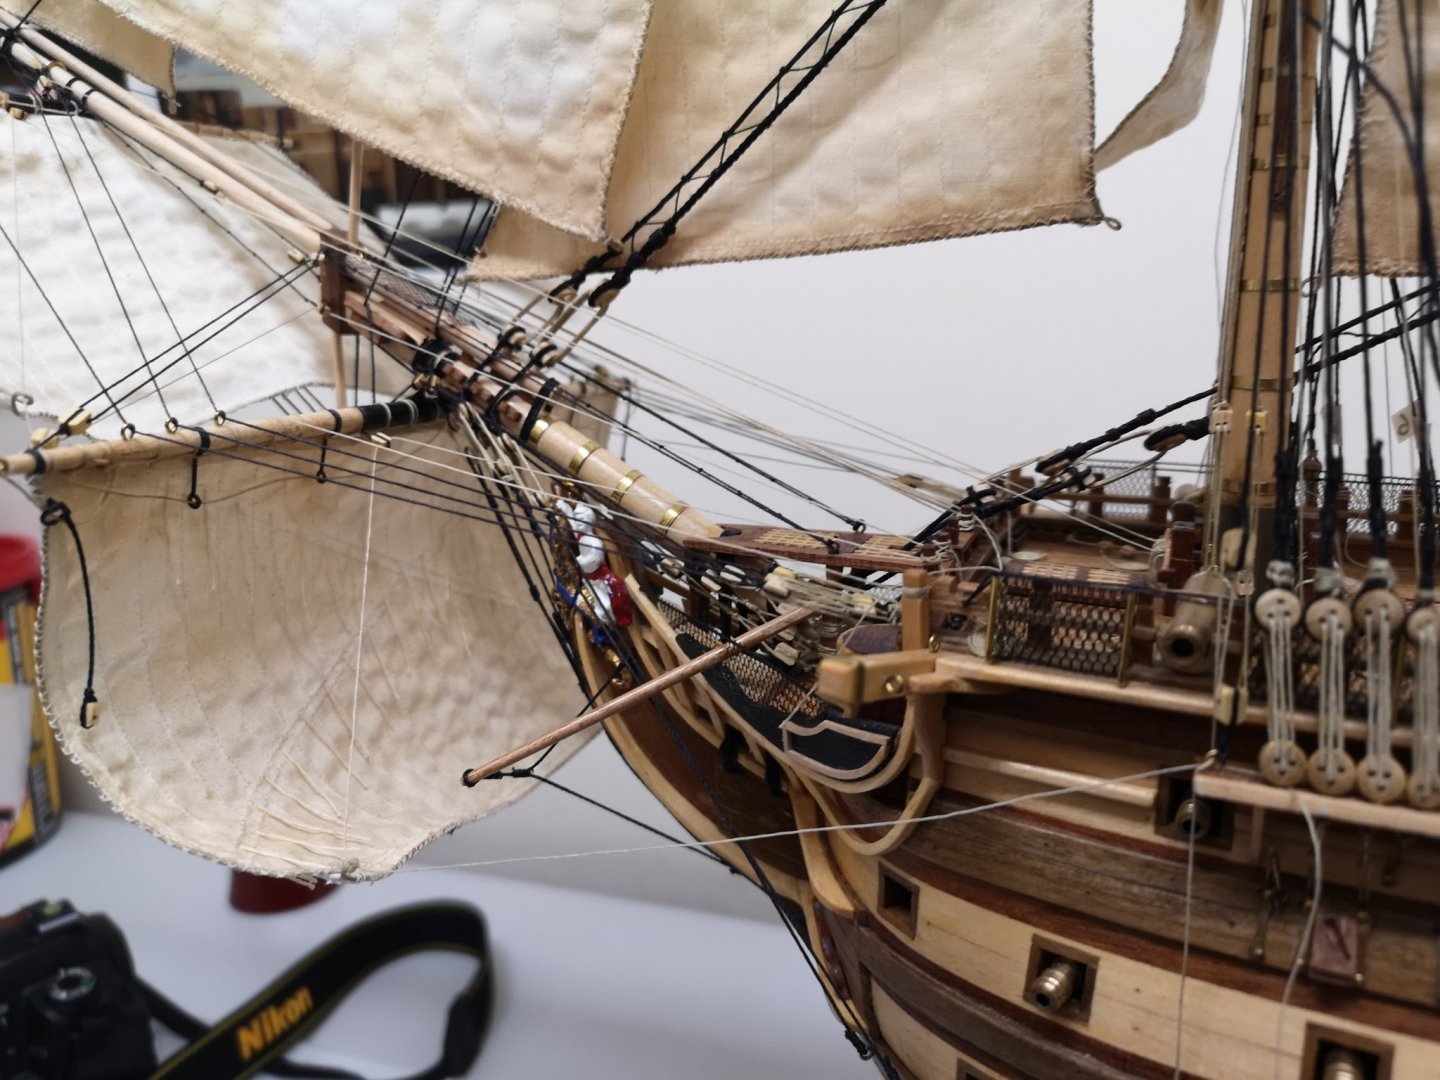
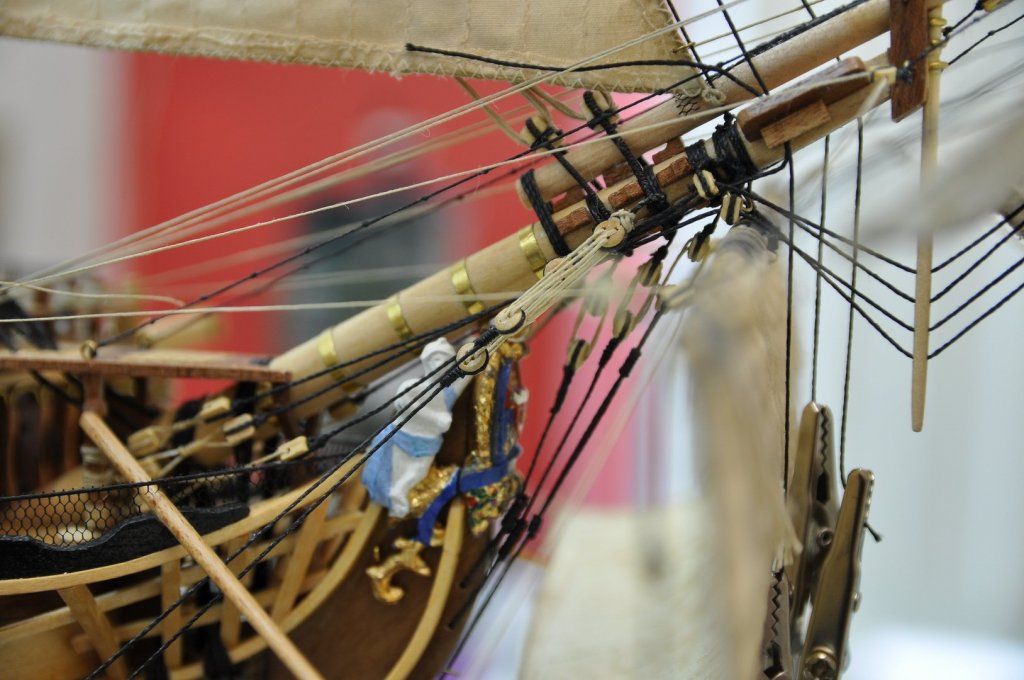
Almost completed the bowsprit section of rigging, some ropes require the ratlines for fixtures which due to access to the masts are late to the party. Now off to the Spanker before moving centrally to the masts.

- 708 replies
-
- 4
-
-
- victory
- constructo
- (and 1 more)
-
Hi mate So glad you are back and able to build whats going to be a beauty, First wooden ship and you are pre thinking Fibre Optic, brave man. I have to confess I have never been on your site, Sorry, I just never seam to surf the site of other builds especially from a mobile, so I am on my laptop and thought its time to look around. (this site is humbling and makes me realize I have a lot to learn, stunning ships) I remember you were prepping for the build and whaaaaaaaaaat, prepair you sure have, love the man cave that's on another level, tool station will be borrowing your stock. Very clever approach to the stern Gallery, I had a nightmare with mine. I have tagged your build and will be getting notifications on your post to keep an eye on how she is progressing. I have just passed year five of my build, I could see without glasses when I started. keep up the good work
-
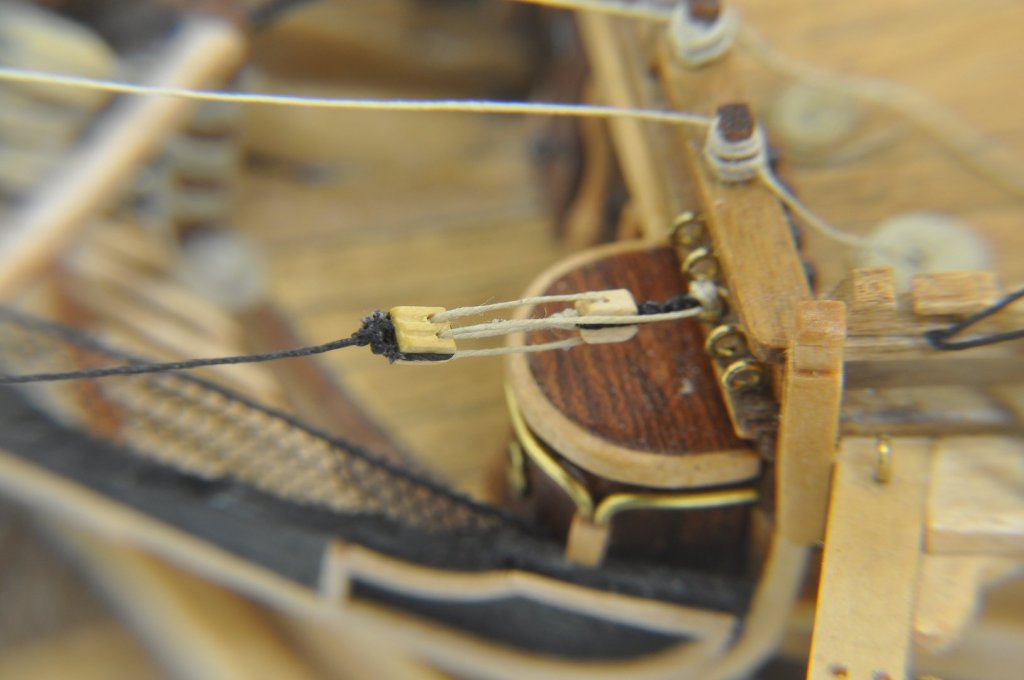
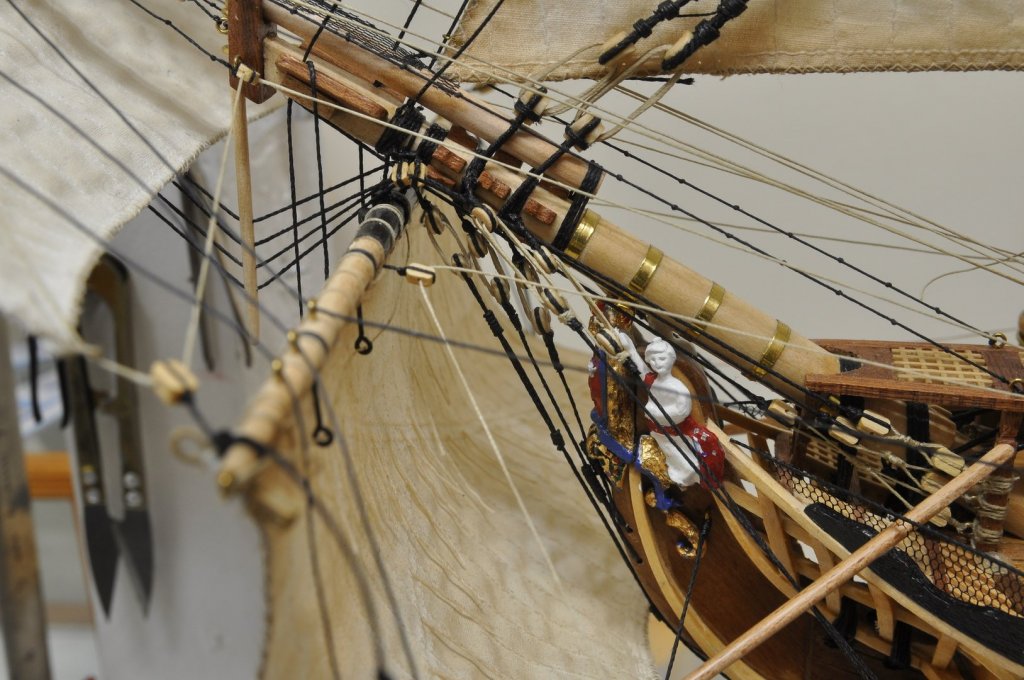
First tensioner for bowsprit, unable to tension much as only the one side fitted Few more images, I have been fitting the blocks for the foremast, if your are to build this kit and want a more scale look you will need to pre order many blocks, all the blocks here are not part of the kit
- 708 replies
-
- 2
-
-
- victory
- constructo
- (and 1 more)
-
Oh I’ve just realised, I have officially passed my fifth year of this build. The real ship only took six. That said in my defence I take months off for life’s adventures and let’s be honest interest/will to venture into the build room wains and wonders from time to time. Thank you all of you that have got me this far, not only with direct help but images and chats you post on MSW. I look in awe at ship you guys create on here. Oh and thank you to the MSW guys that run this site.
- 708 replies
-
- 1
-
-
- victory
- constructo
- (and 1 more)
-
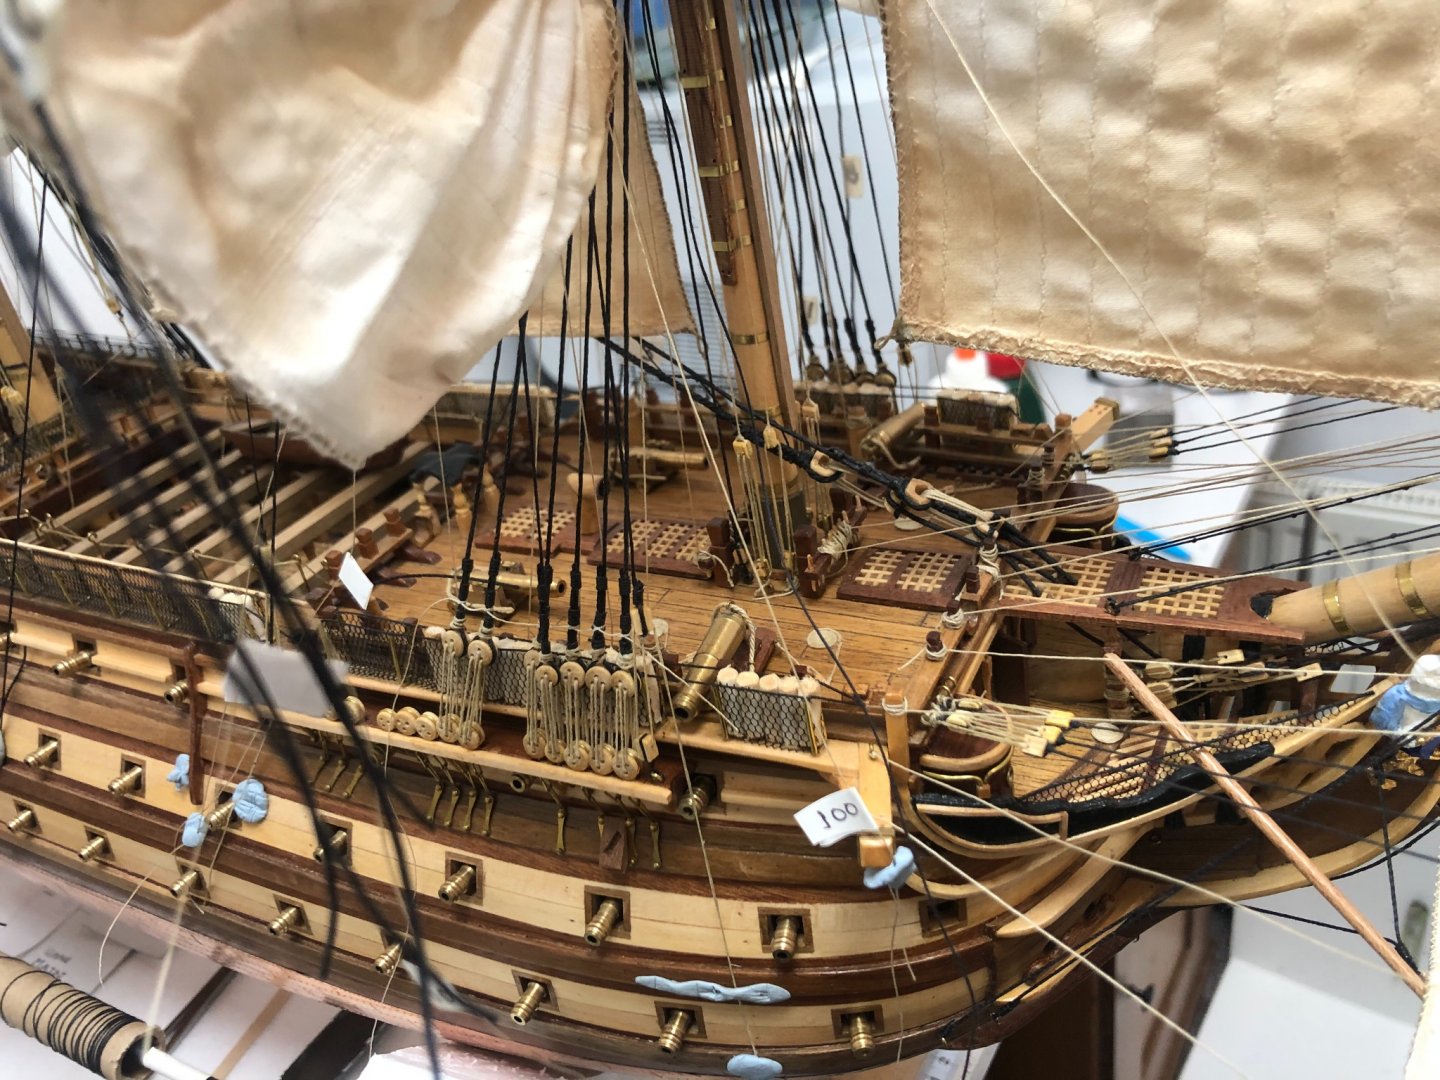
I have been adding more detail to the bowsprit, this means more blocks ordered for the tensioning of the lines not detailed by the kit. This means I am short, the kit just instructs we tie them off on pins. Being short of blocks is normal with the kit if we are to rig her anywhere near the real ship, not to mention those that just jump off the tweezers, never to be seen again. Only the one tensioner added as my blocks have now run outMore rigging


- 708 replies
-
- 3
-
-
- victory
- constructo
- (and 1 more)
-
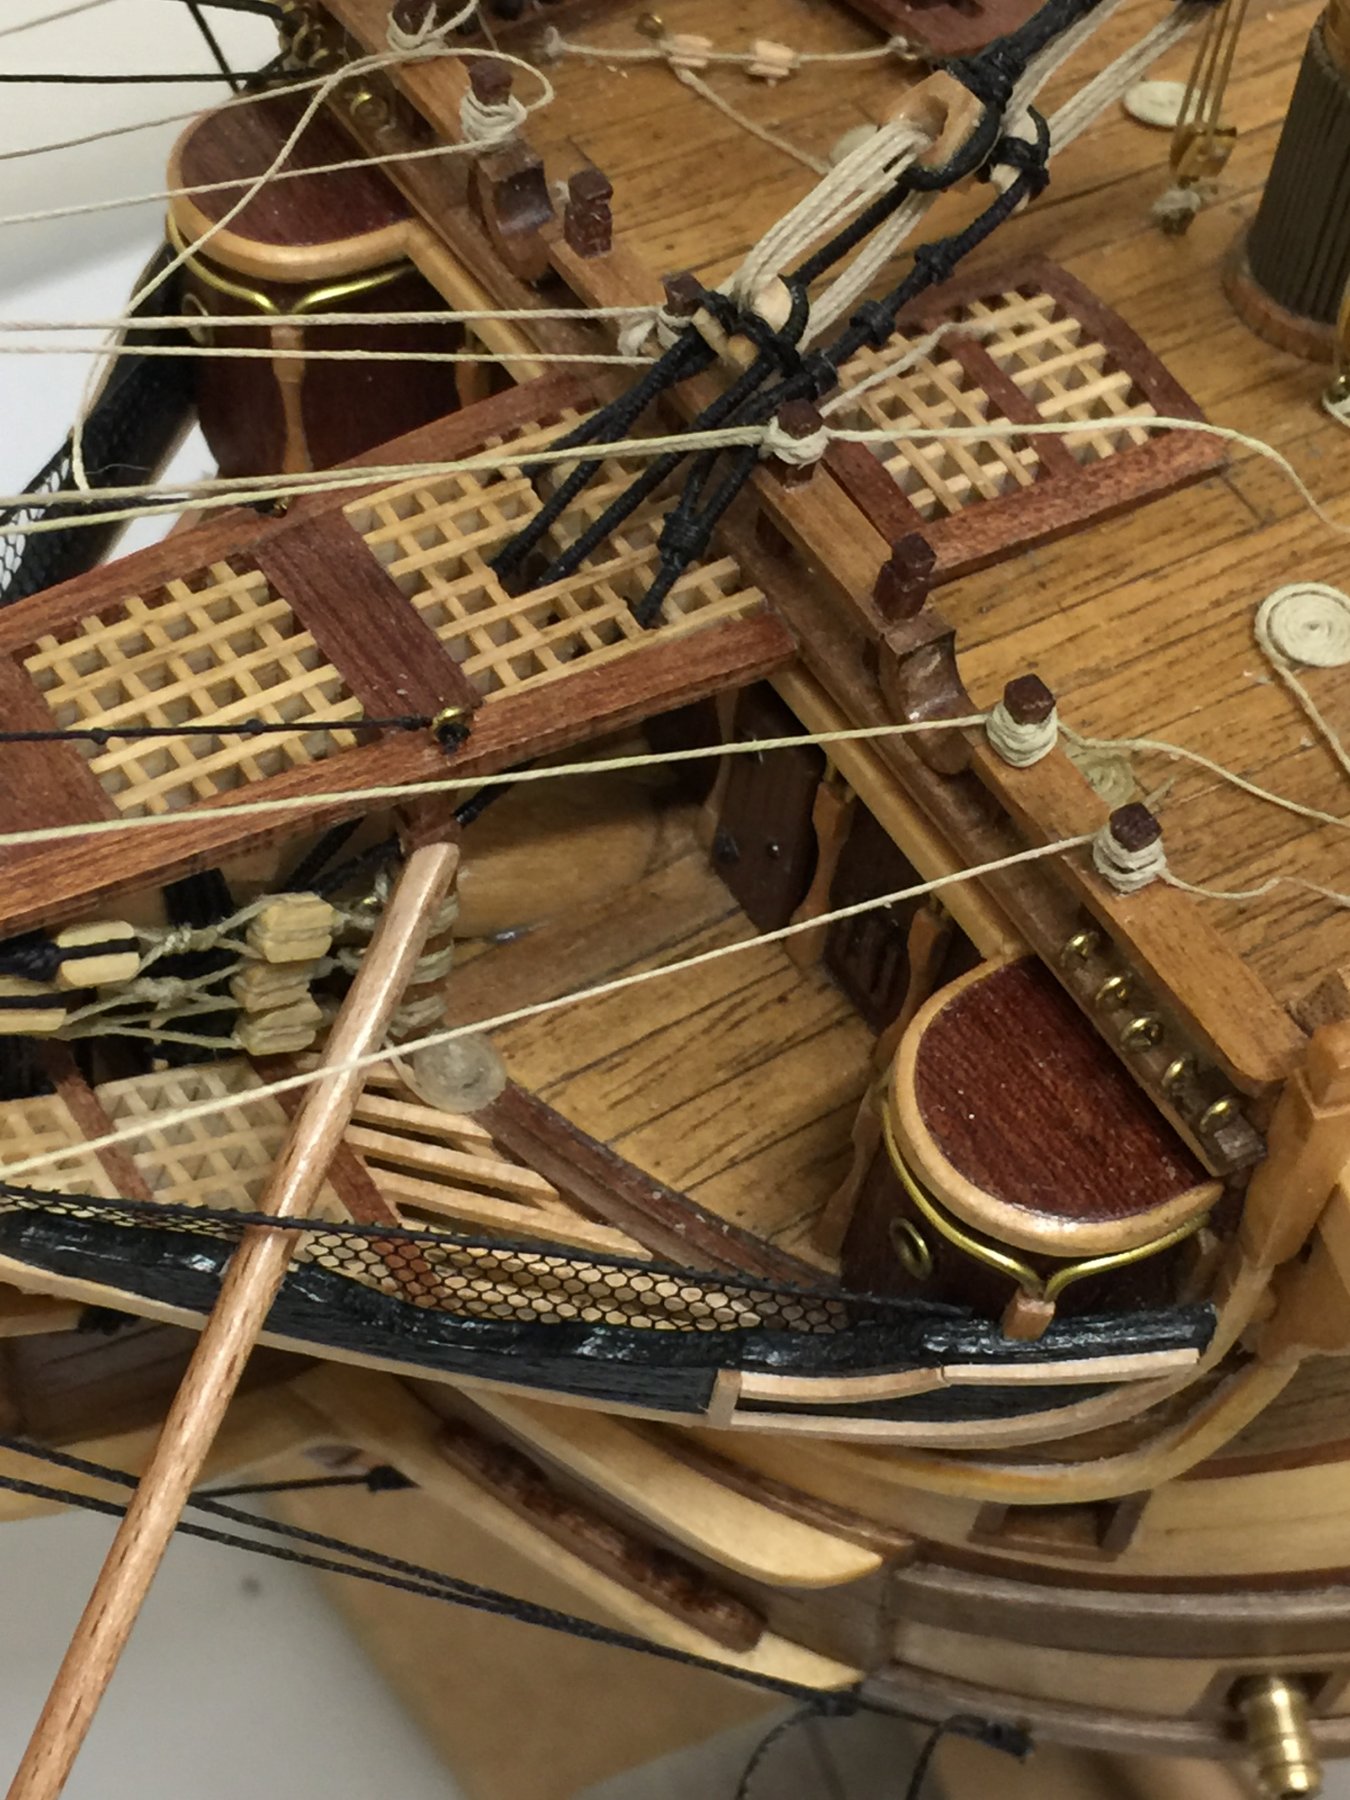
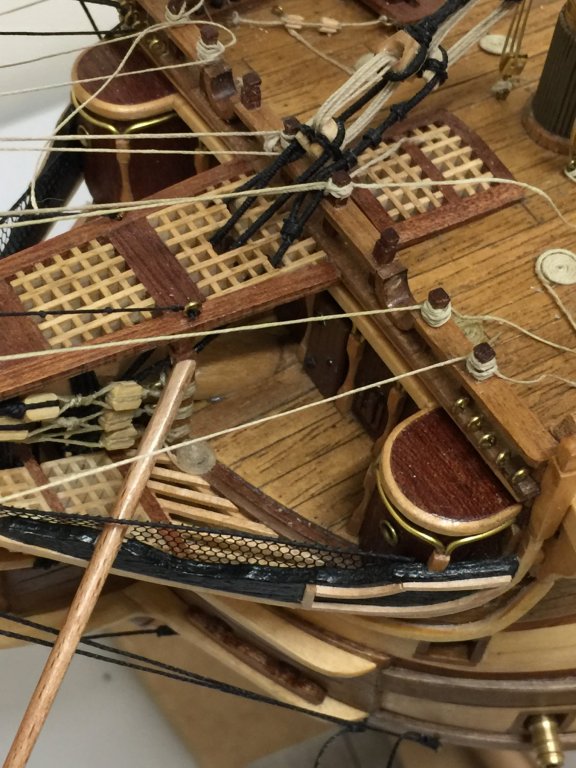
I managed to grab a few hours on Sunday to fit few details on the bow section before I lost the ability to gain access as the rigging takes over
- 708 replies
-
- 3
-
-
- victory
- constructo
- (and 1 more)
-
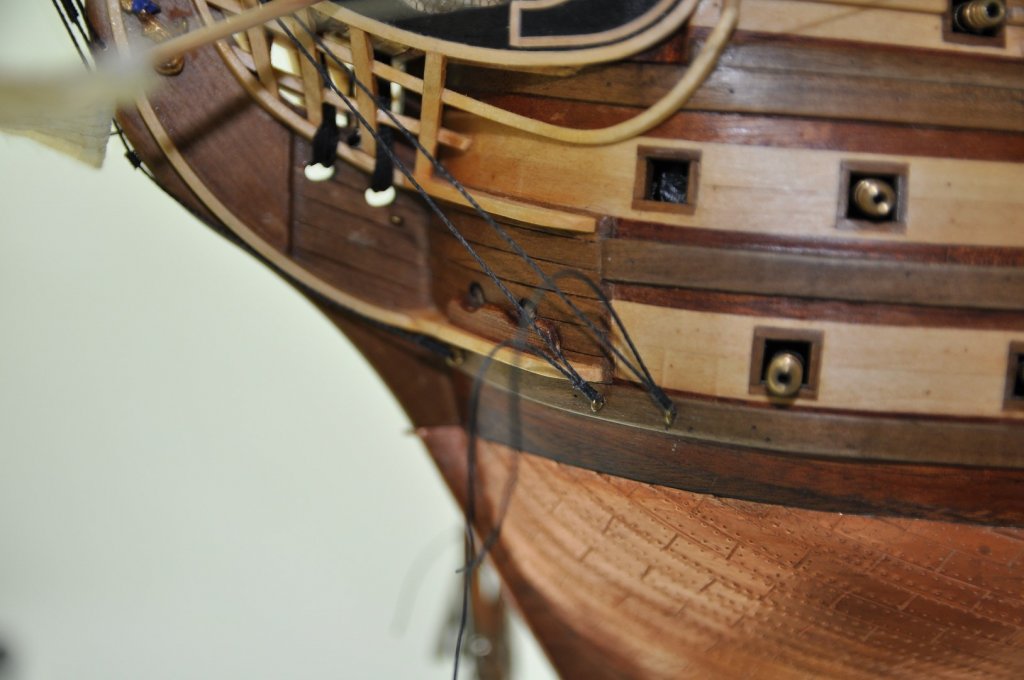
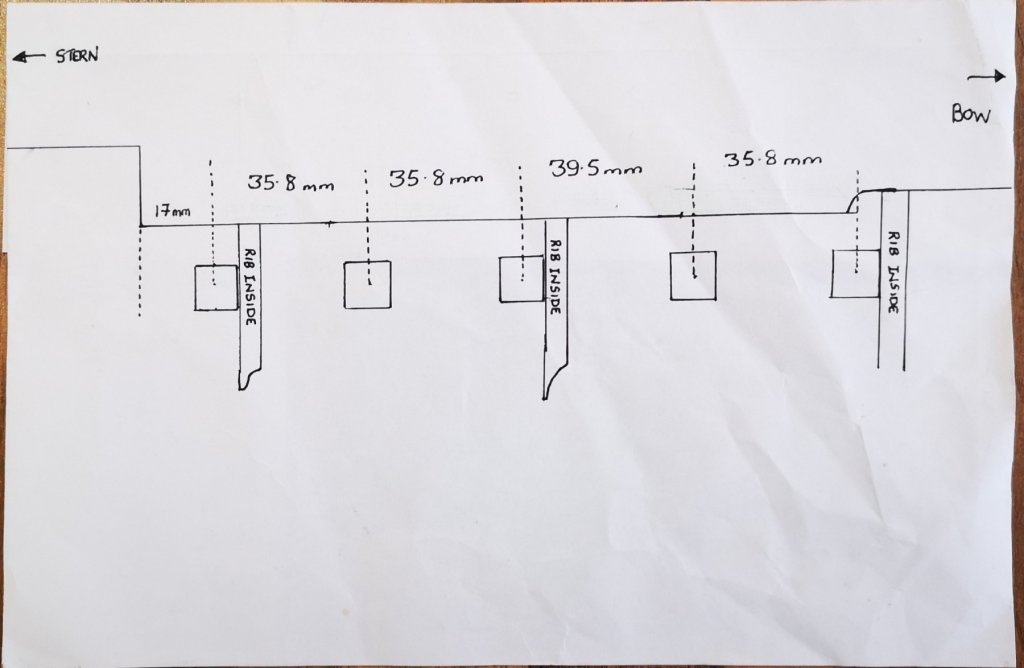
Wow this is a memory stirrer, offer the plan upto the ship before you plank and you will find some canon portholes are lined up with the frames, I had to carve out the frames through the holes that collided in this way. I don't see the Construct changing from kit to kit so they must all do this. Maybe route through other builds and see if it's common place issue. I had to move the Canon holes slightly on the deck where they are seen from behind, they can not afford to collide with these ribs as they are visable. The image was my positions, shocked I still have this after so many years.
- 708 replies
-
- 1
-
-
- victory
- constructo
- (and 1 more)
-
I agree. If a Victory is on your list and you think you will reach the finish line, the JoTika one is the best. I wasn't sure I could manage this hobby so I chose a cheaper supplier of the Victory as my first ship, that said its been a great learning tool.To be honest if you put it into perspective of how long these models take to create, the JoTika version spread over several years is actually worth the money especially for what you finish with. Enjoy what ever you build, and see you in the forums
-
Well I have been adding bits and removing them, studying books and pics and then re adding them and realise there are extra blocks needed in hard to reach areas that the Constructo gang ommited when making this kit. (I often wonder if they have actually seen the ship they modelled) Some of my lines fitted are to be replaced for thicker thread, I have to put up with a lean on the upper mast due to sails unsupported weight this is because I have to ommit the back stay fitting/tension (well all stays are loose fitted) whilst they grant me access to the inner rigging areas, it's a juggle, and an unknown for me, as it is for all first timers.
- 708 replies
-
- 2
-
-
- victory
- constructo
- (and 1 more)
-
The centre section if far taller then the front and rear. I find info on these stowages quite illusive.
-
I may cover one side to indicate what you say, I have a question for you, the centre storage racks for the beds are taller than the front and rear, are these packed smaller or lay down. or do they protrude above the racks Thanks for any help Marc.
-
Staining. You maybe a little supprised what that is. Coffee, airbrushed on.
- 708 replies
-
- 1
-
-
- victory
- constructo
- (and 1 more)
-
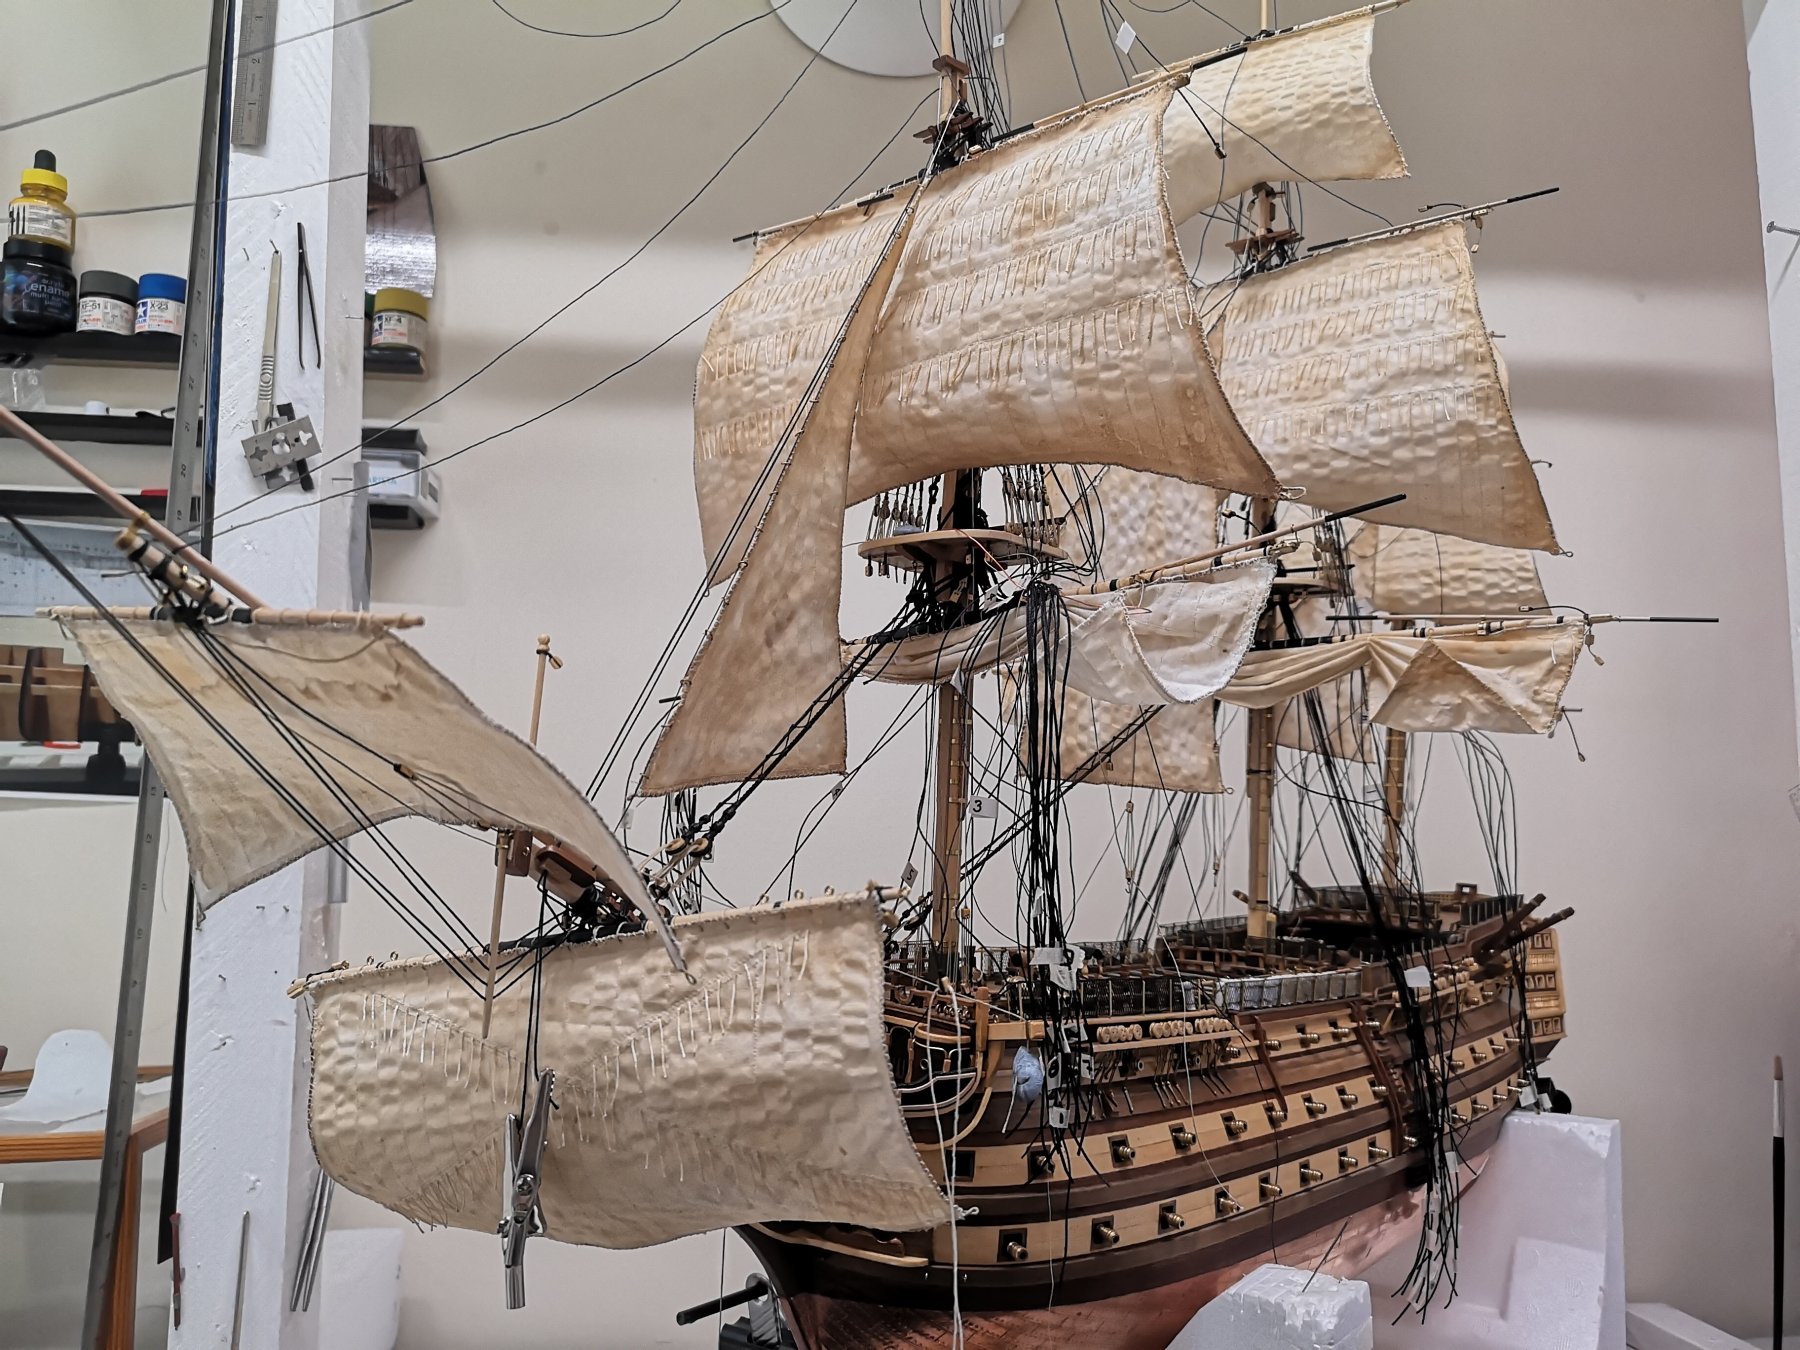
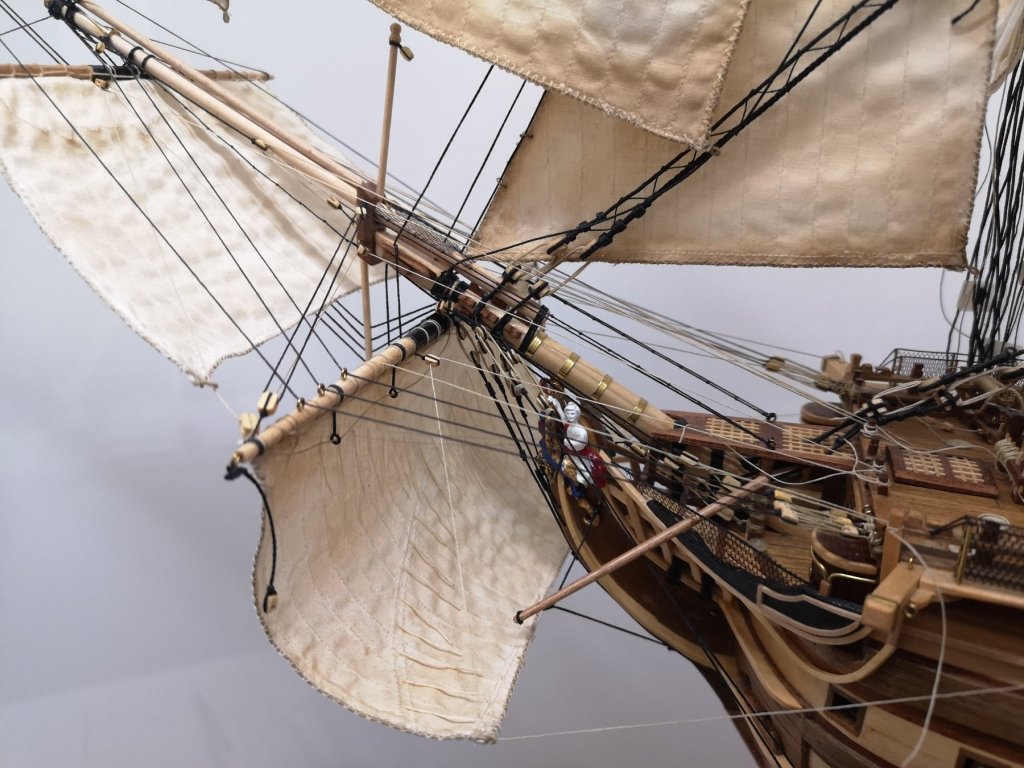
I'm not sure where the little cubes on the sails have come from, may be sewing machine tension or the watered down glue to keep the shape, could have dried that way but I suppose I will have to live with it. As a guess I think many don't do sails because a lot of work done is relatively hidden with them. That said you don't build a model car and leave the wheels off because it hides the suspension and discs or likewise the bonnet (hood). Sails seamed to be a minority thing but again, so are gherkins but doesn't stop a well known burger outlet slapping them on every burger leaving us to pick them off.
- 708 replies
-
- 2
-
-
- victory
- constructo
- (and 1 more)
-
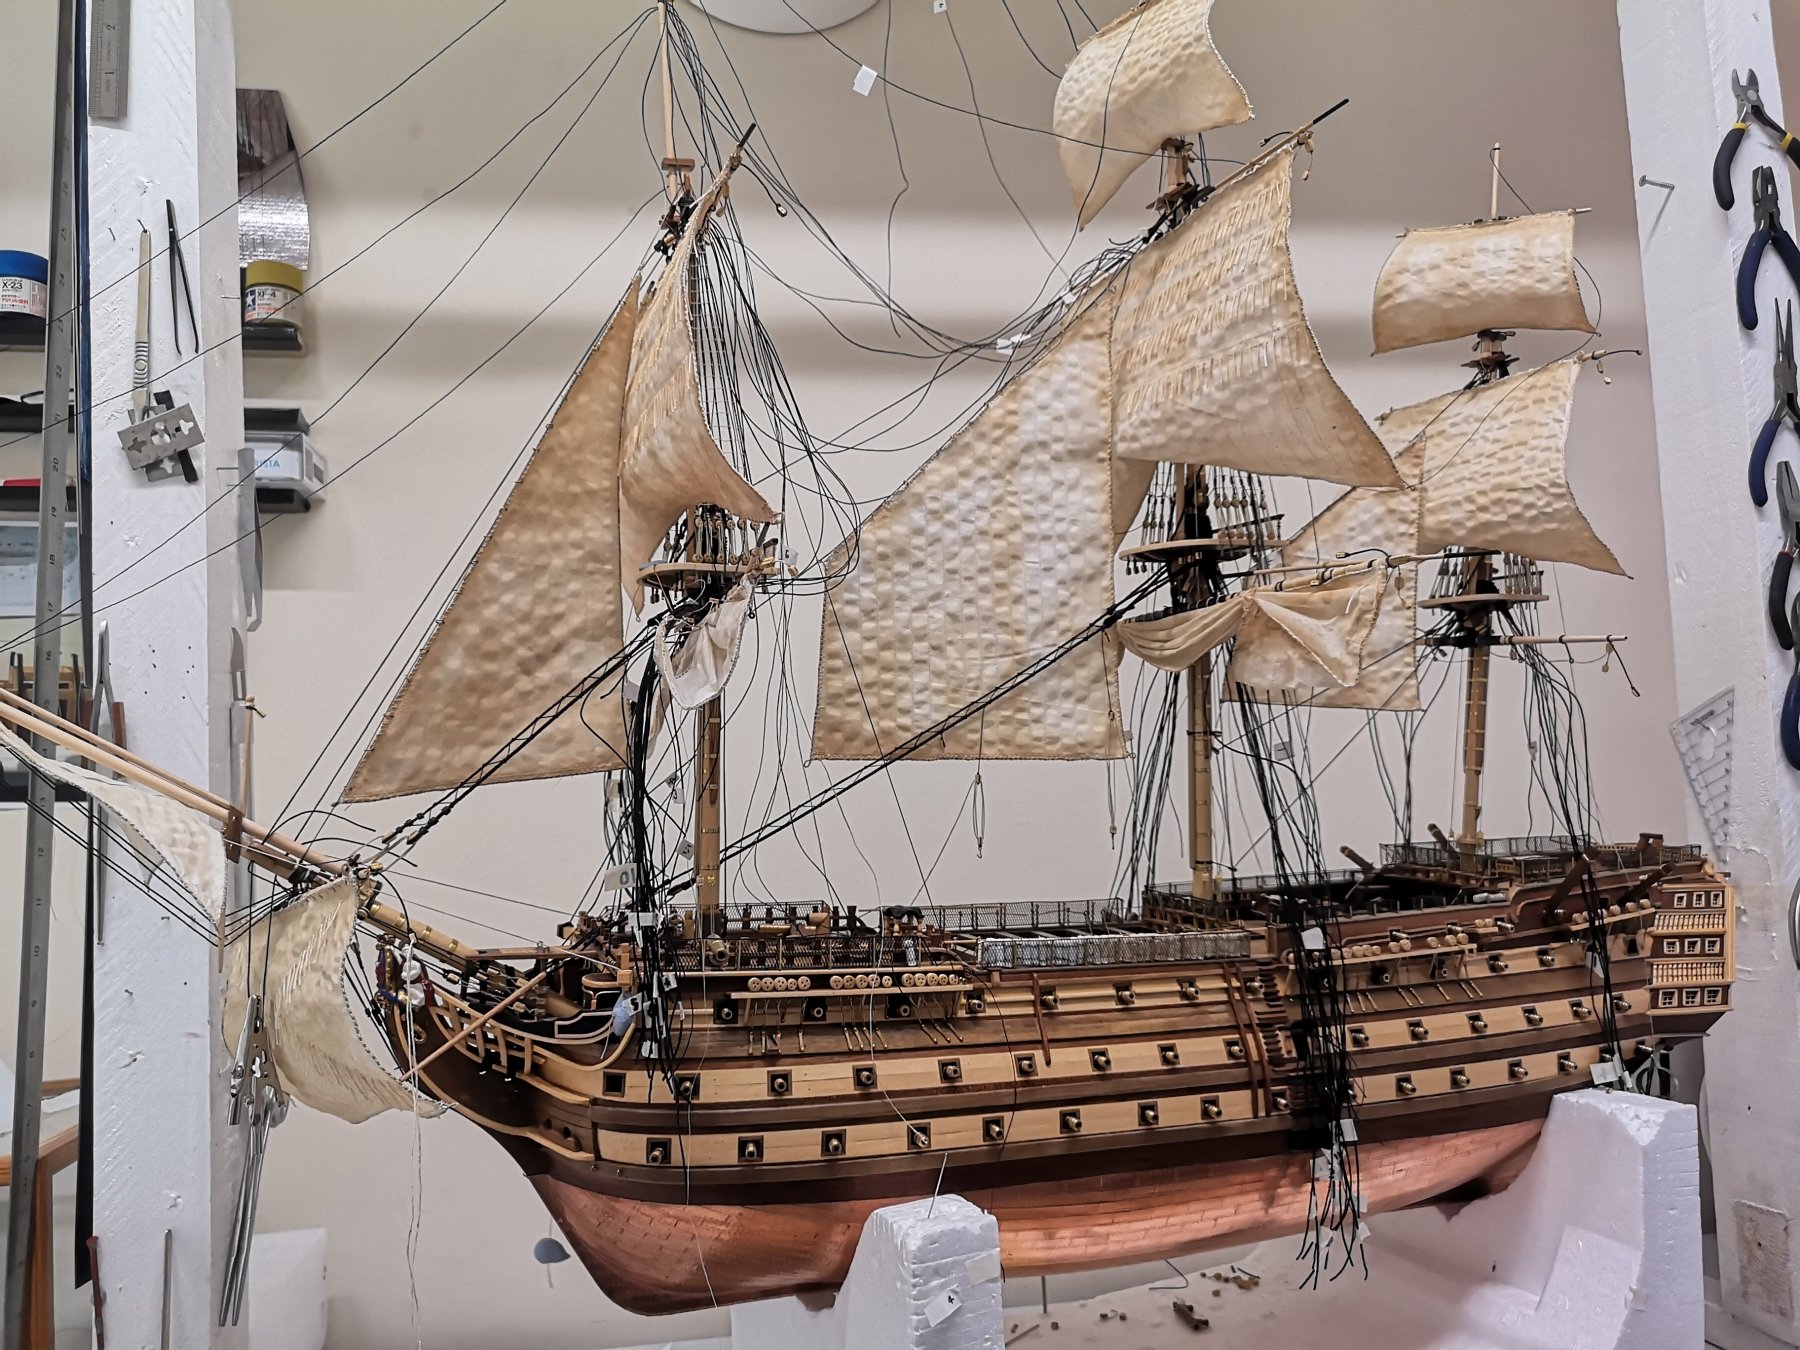
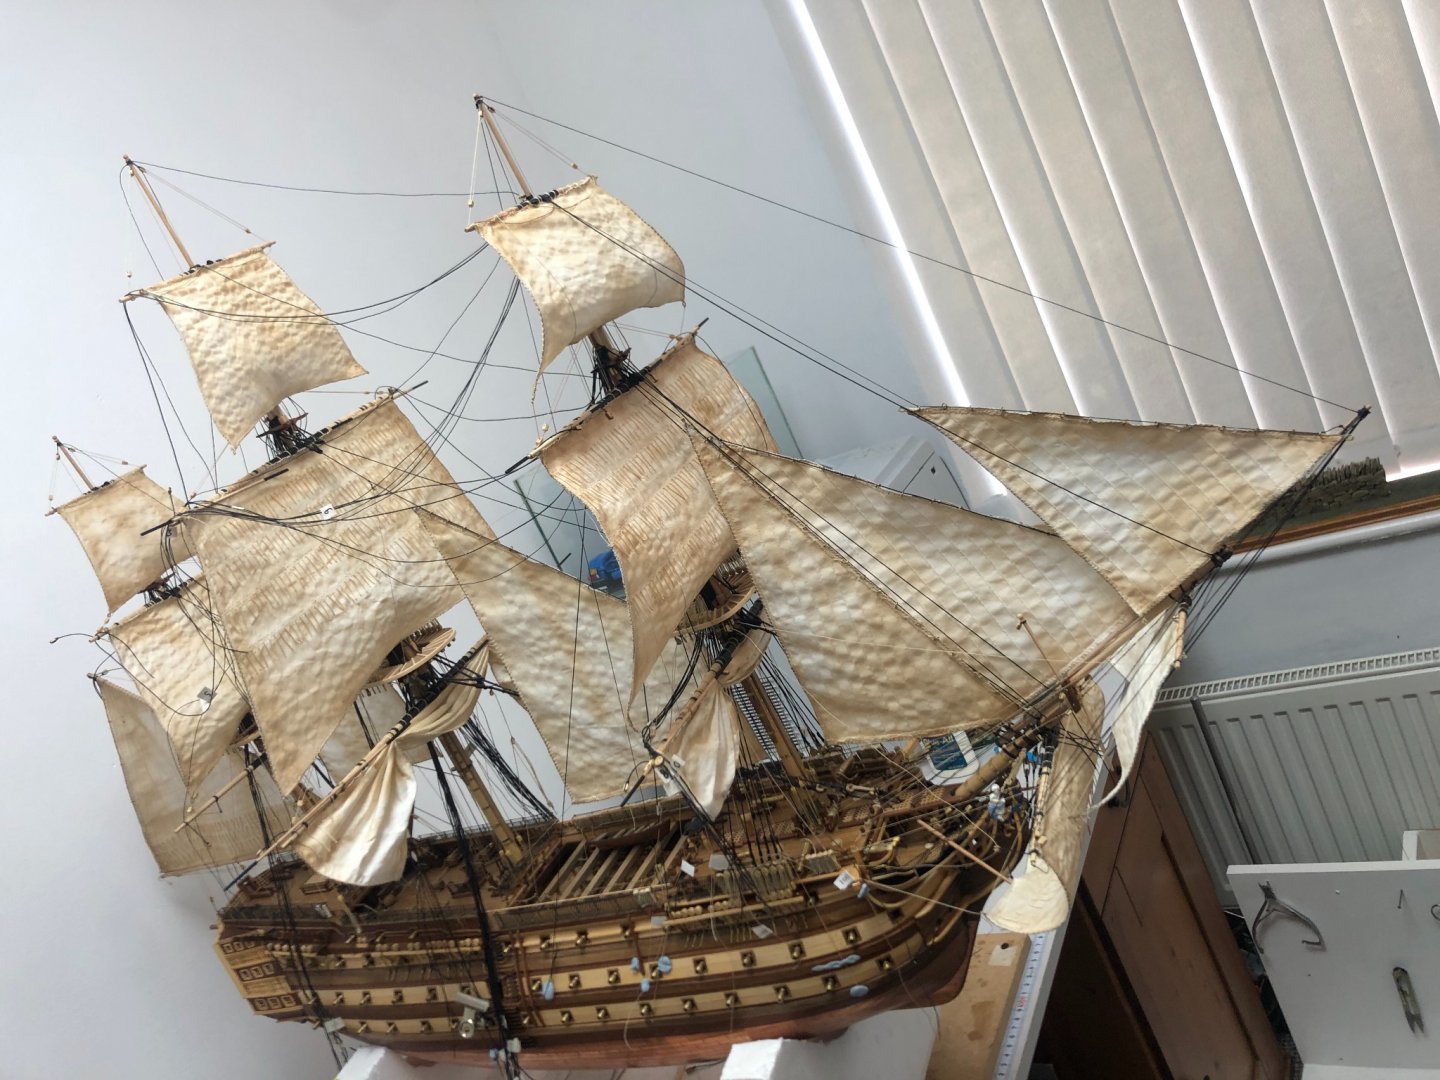
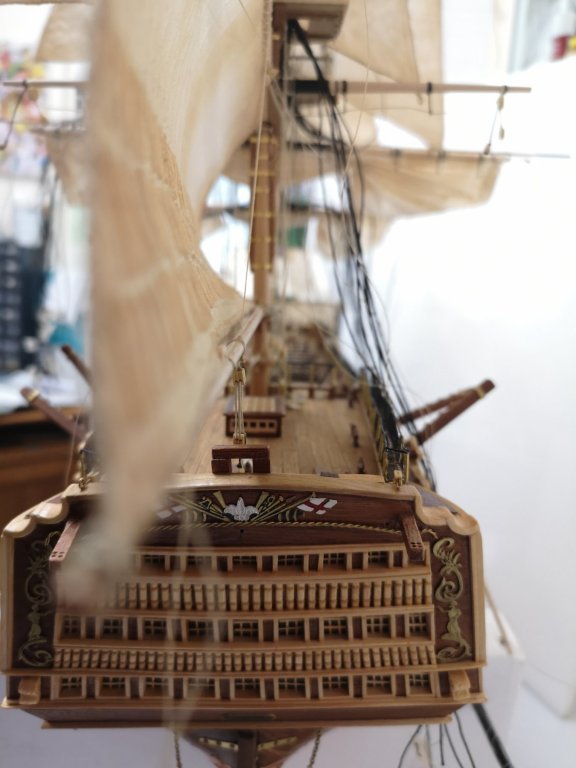
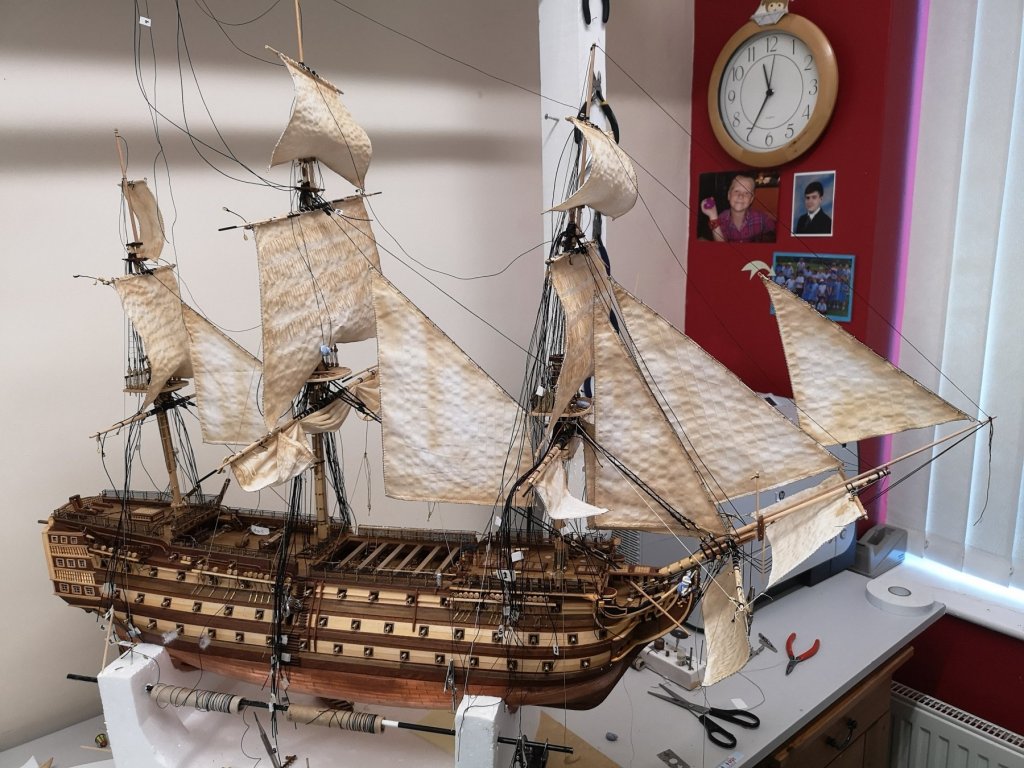
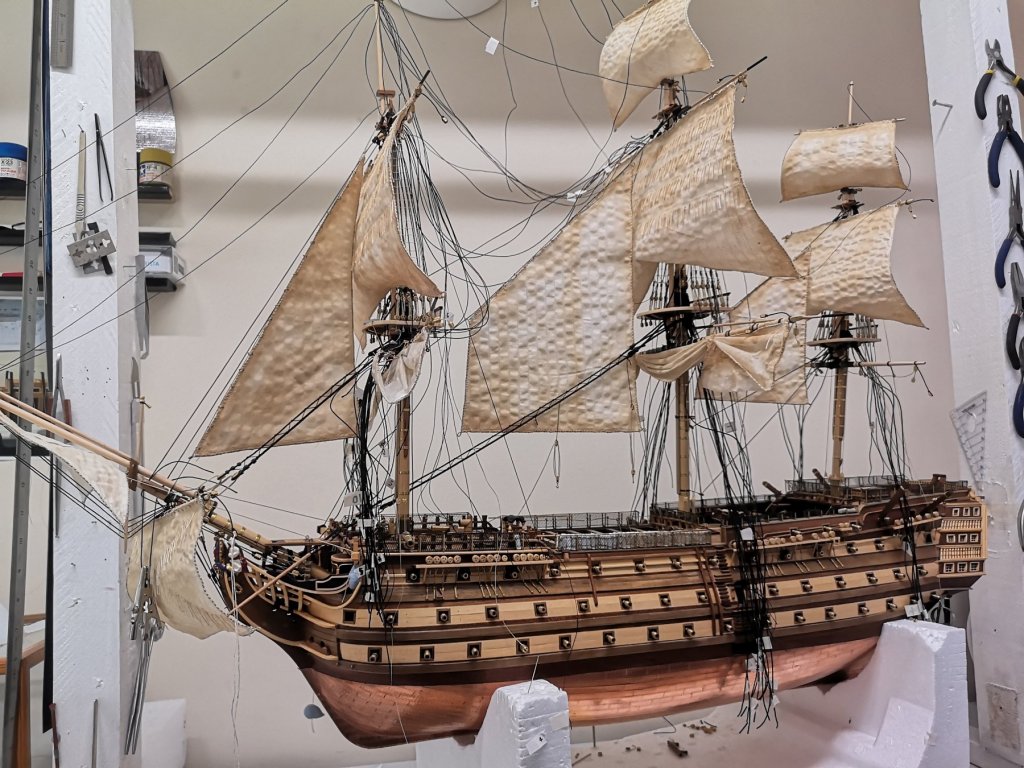
It's been a while since I've been in the Vic build room, what with work commitments, time and basically being in the mood to build, we've all been there. This is a problem because trying to pick up where I left off is a nightmare and also spotting errors made in the rigging routes and having to change them. Making/adding sails has added to the build time but I always wanted sails and expected the extra work, (Not a race) also the rigging of a sail filled ship is difficult getting good info on, as to where goes where and to what. I have also the issue of leaving all the standing rigging and lower ratlines off to enable me to gain access to lower mast centre anchor points. This in turn puts a load on the unsupported sail loaded masts. It's certainly uncharted territory for me as a hobby but we all started somewhere. As you can see the sails are not clean, I personally prefer them to look weathered and not bright. I furled the lower main sails due to the cannons being rolled out but will be dropping the rest. So far the sails are going on and anchored and then I will be adding all the rigging that enables the raising and lowering and other fixings. All the lines, well all that needed to be are numbered to enable me to put them where I have found they live on the decks etc. Thanks for all you comments and help, it's really appreciated.


- 708 replies
-
- 4
-
-
- victory
- constructo
- (and 1 more)
-
The only reference material I have is downloaded C Mamoli HMS Victory kit rigging instructions and the book HMS Victory her construction and career by Alan Mcgowan. there is quite a lot of info in them.... The Caldercraft version gives the builder far more information than the cheaper kits but its a case of you get what you pay for but as a first timer in this hobby it was a big ask to spend that money for a model that I may not even be able to build. Check you email, sent you a link
- 708 replies
-
- 2
-
-
- victory
- constructo
- (and 1 more)
-
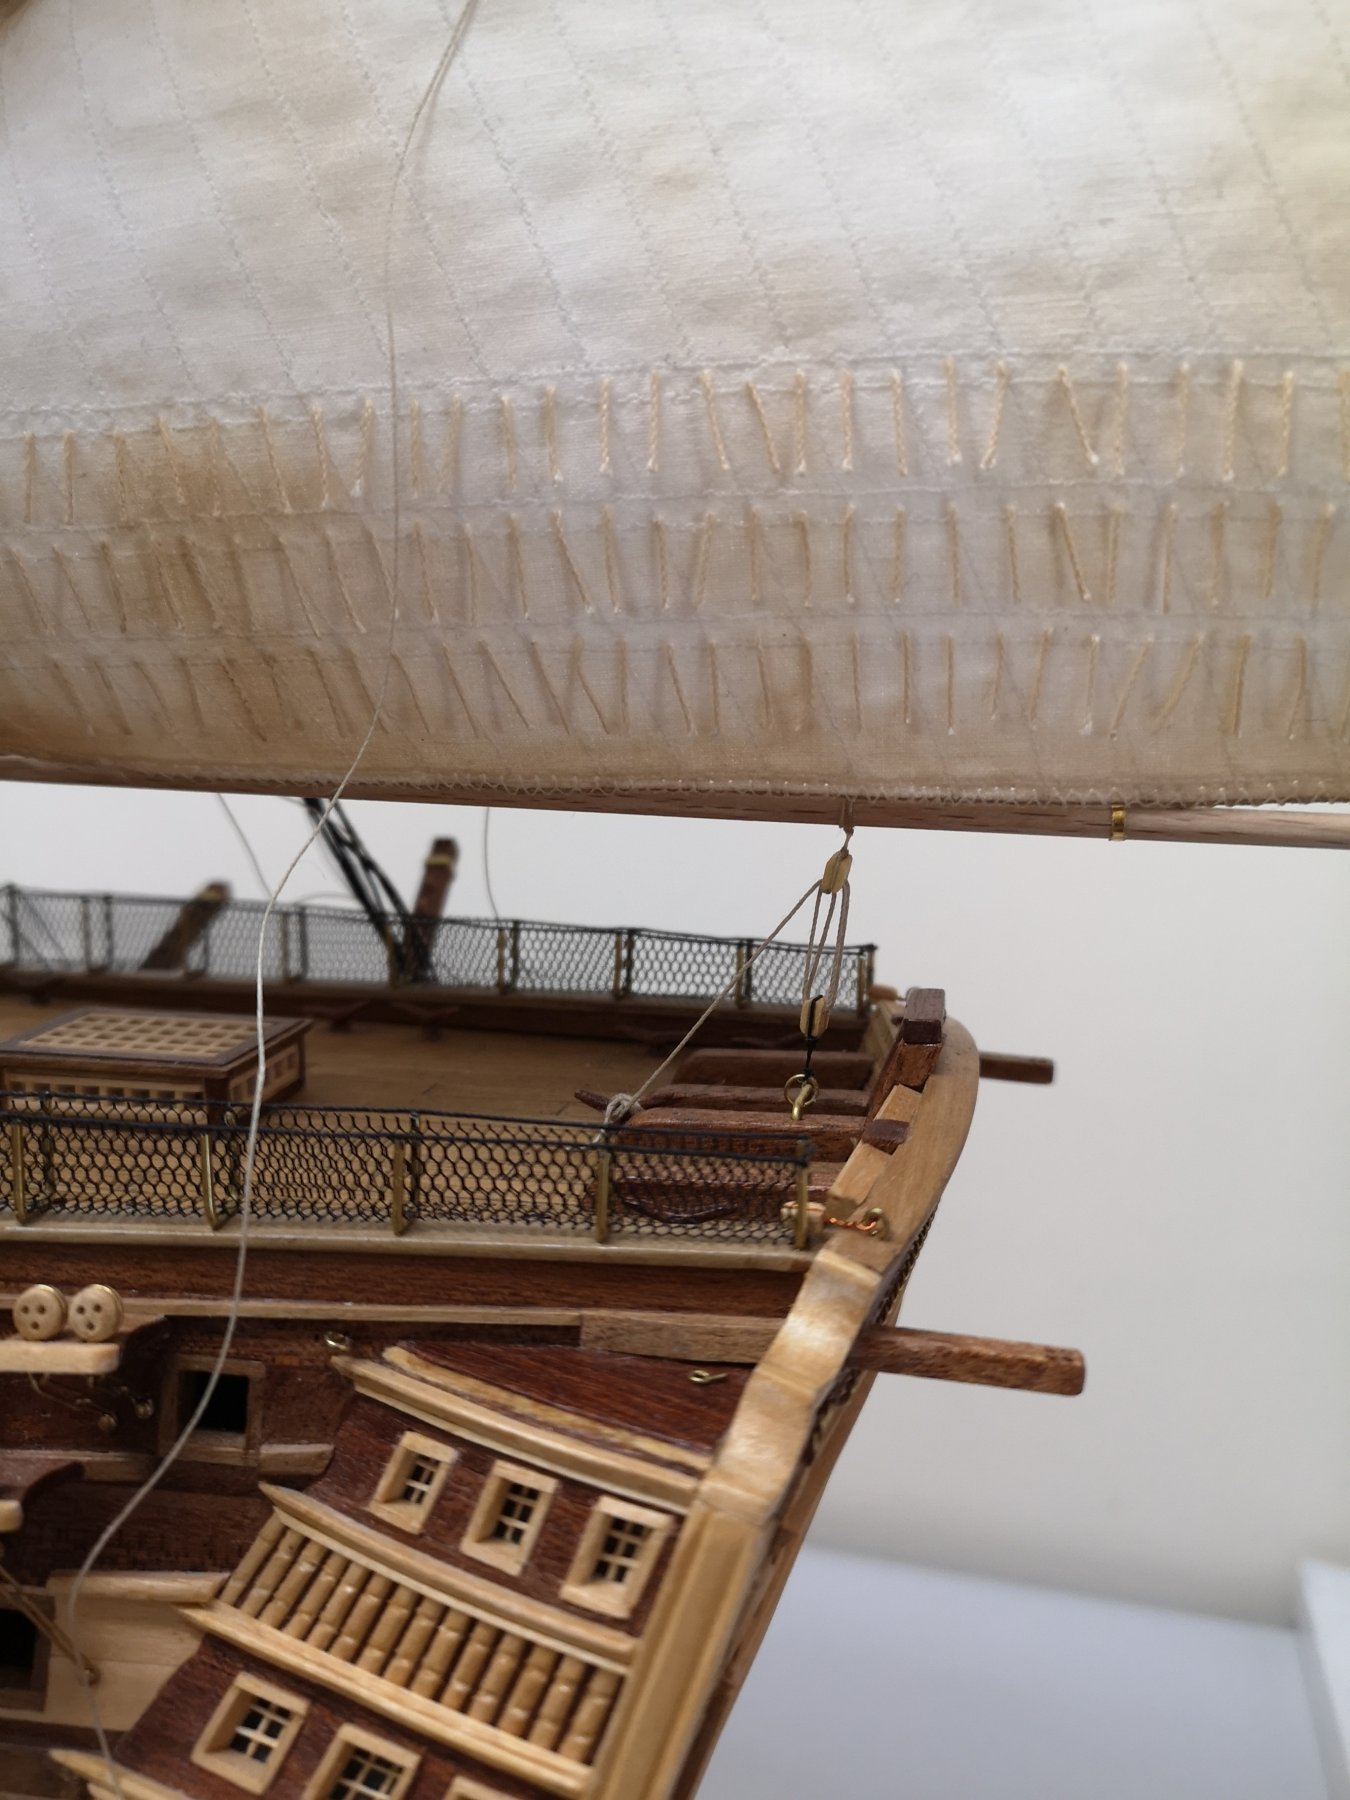
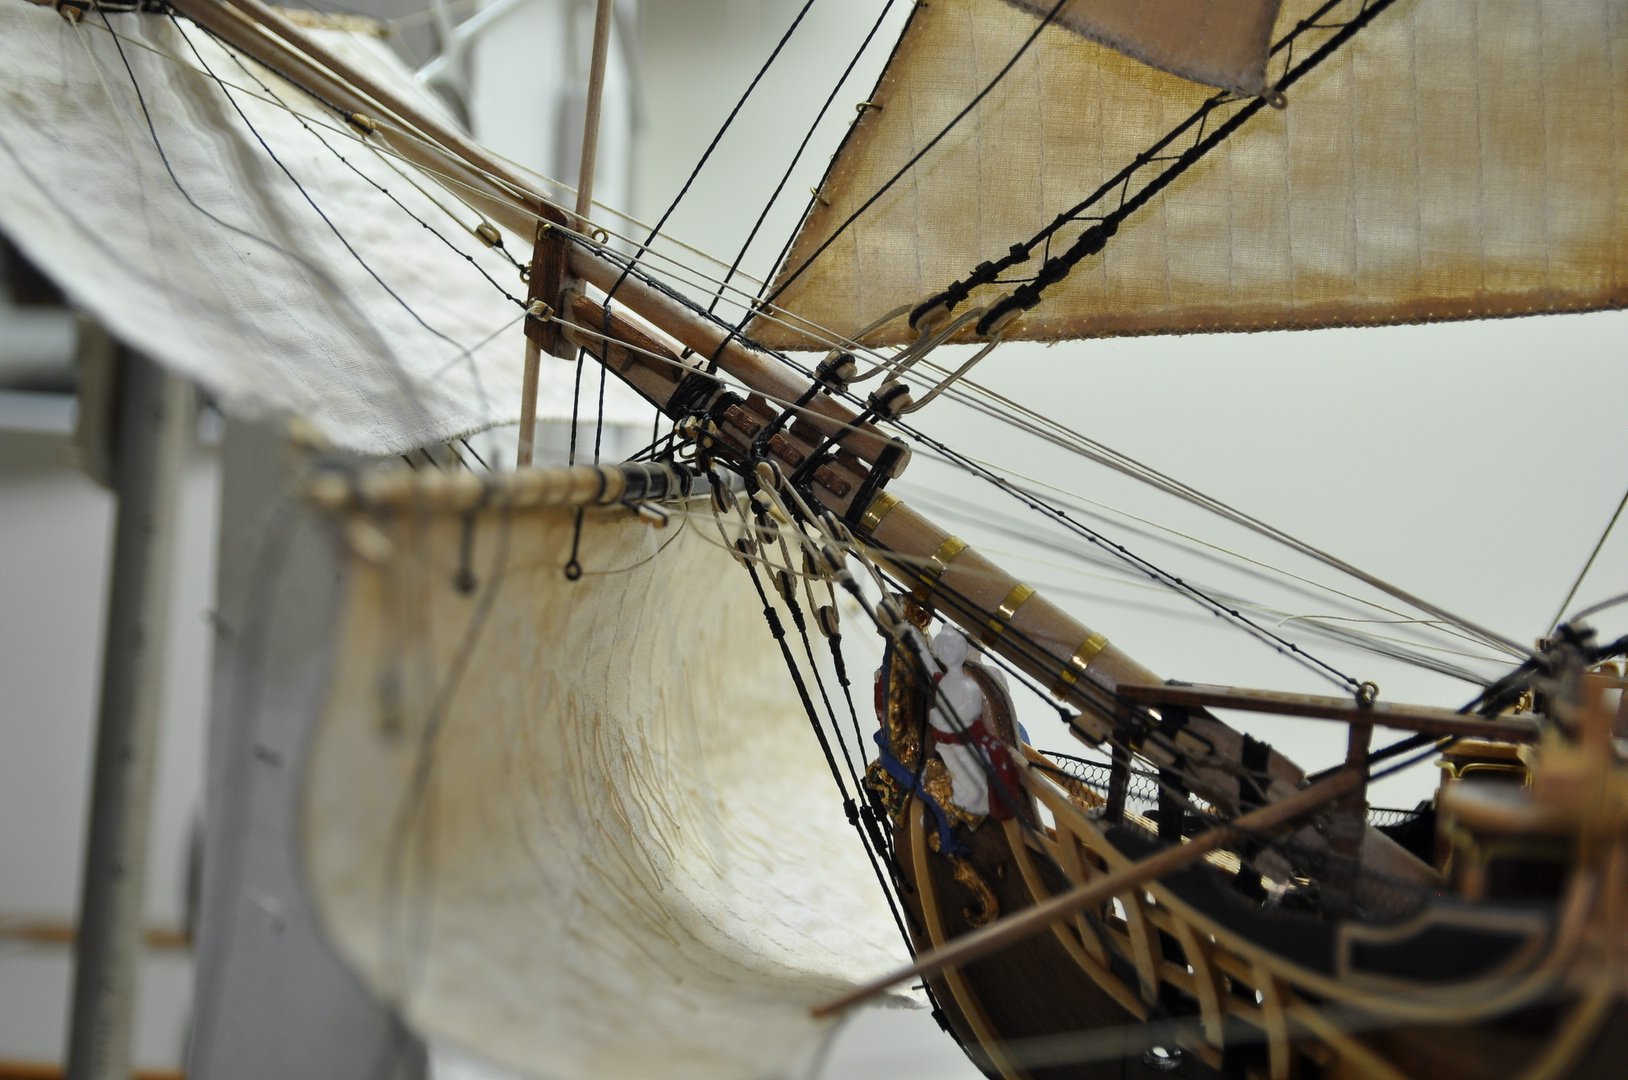
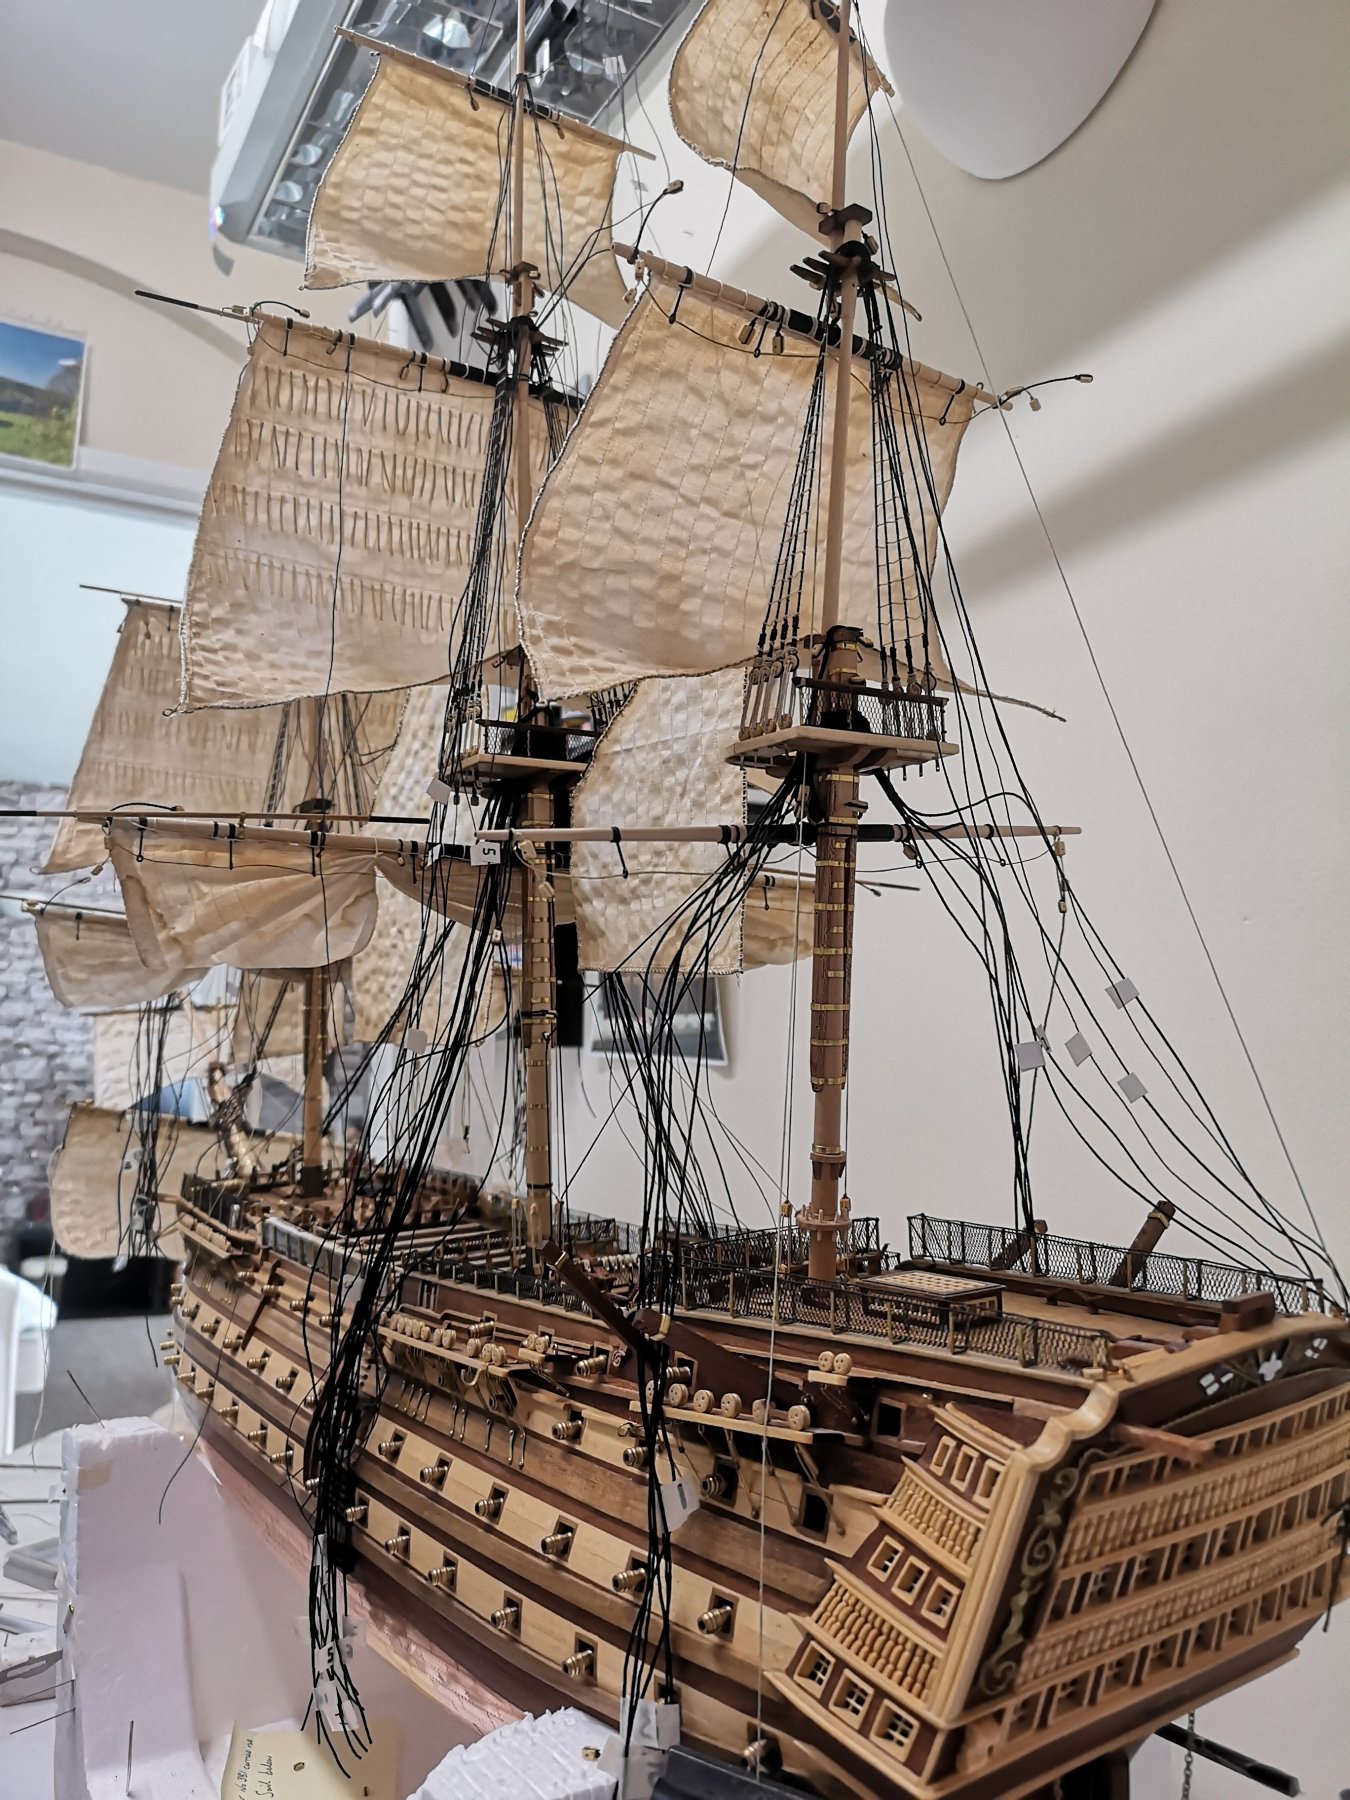
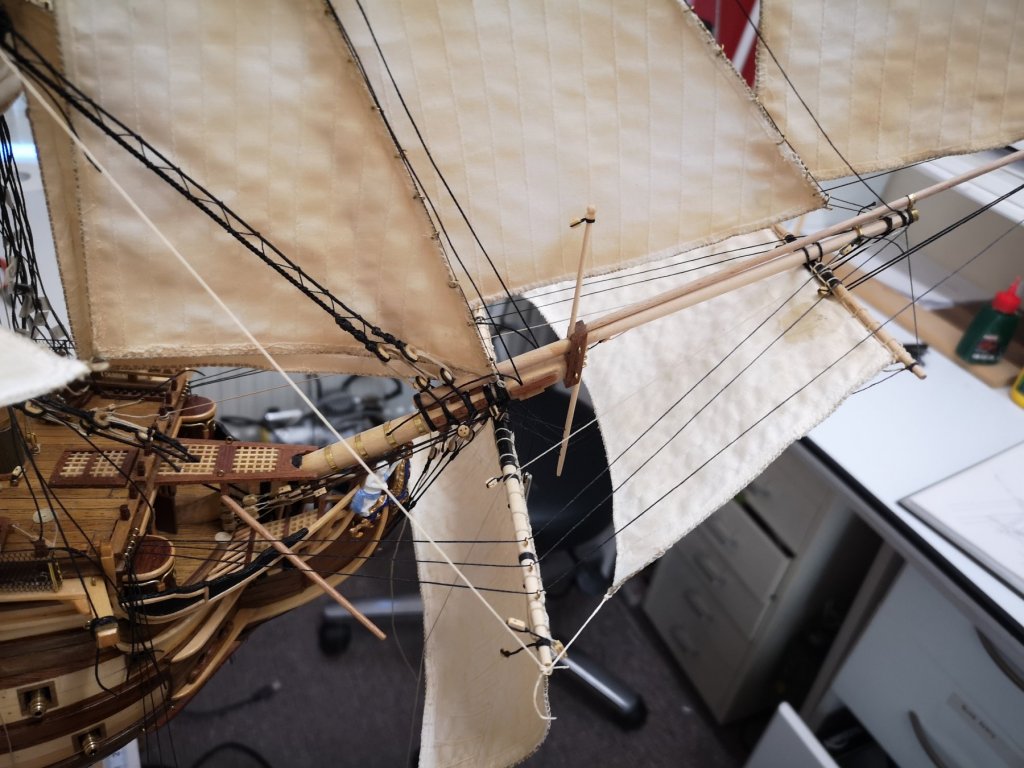
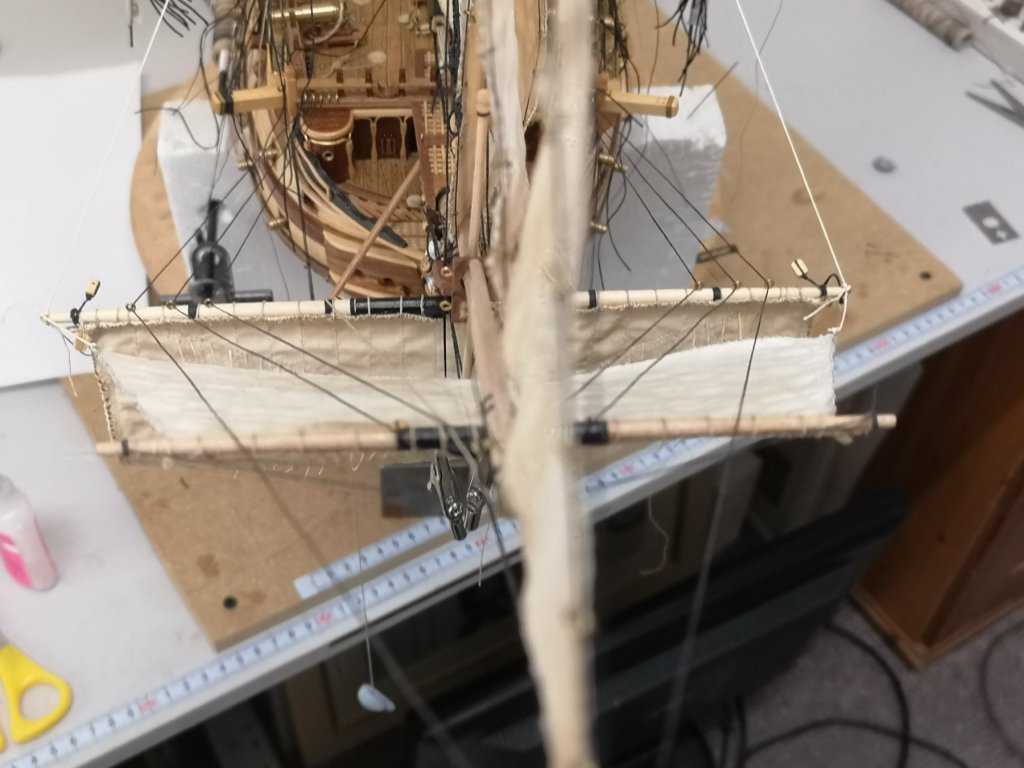
Rigging slowly moving forward, trying to plan ahead to ensure I have access to the lower mast for tying off lines and blocks, putting spars on now and trying to replicate the real fixing which is tricky at this scale but the kit has very simplified fittings and far from how they would be fitted. Sails are pre fitted to the spars as this would be impossible trying to do in situe. Oh If any one is building this kit, fit the deck netting on as late as you can, you will catch them several times.

- 708 replies
-
- 5
-
-
- victory
- constructo
- (and 1 more)
-
Stunning, well done on your build.
-
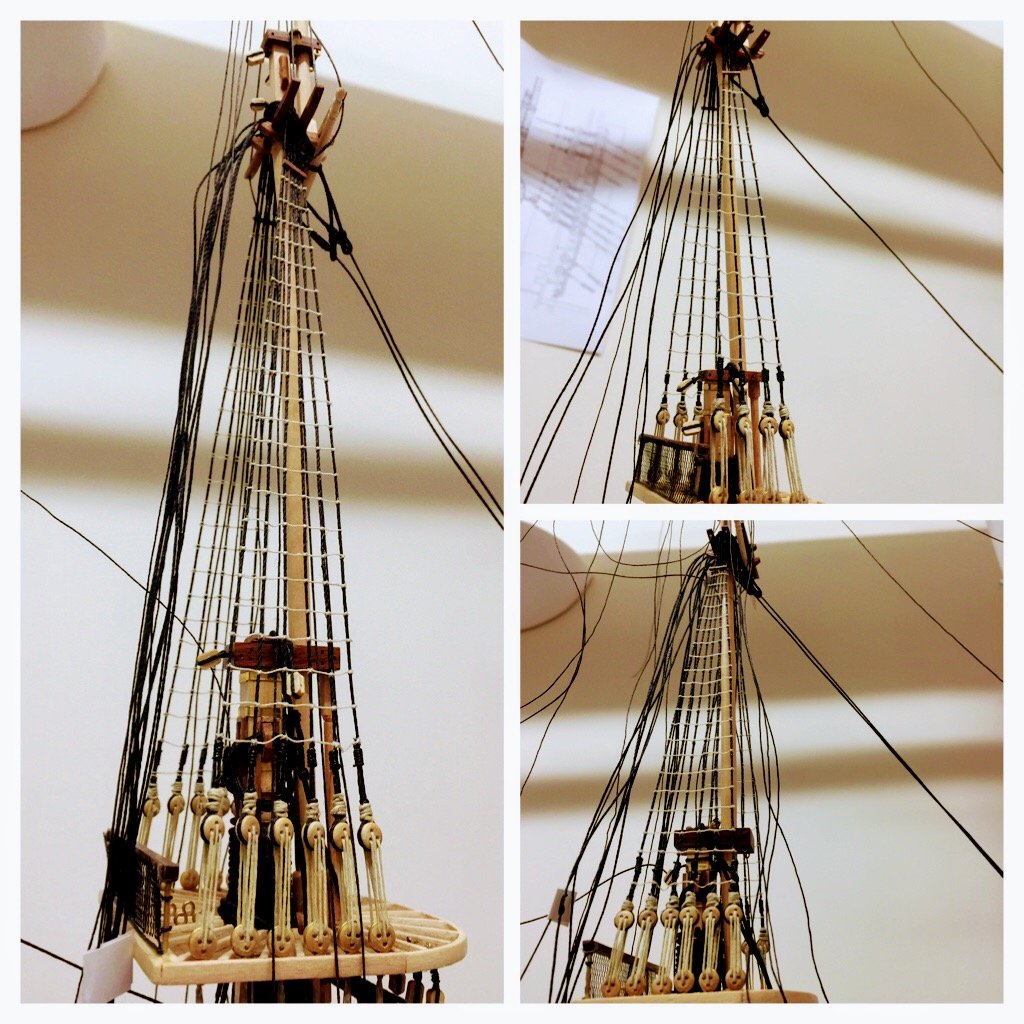
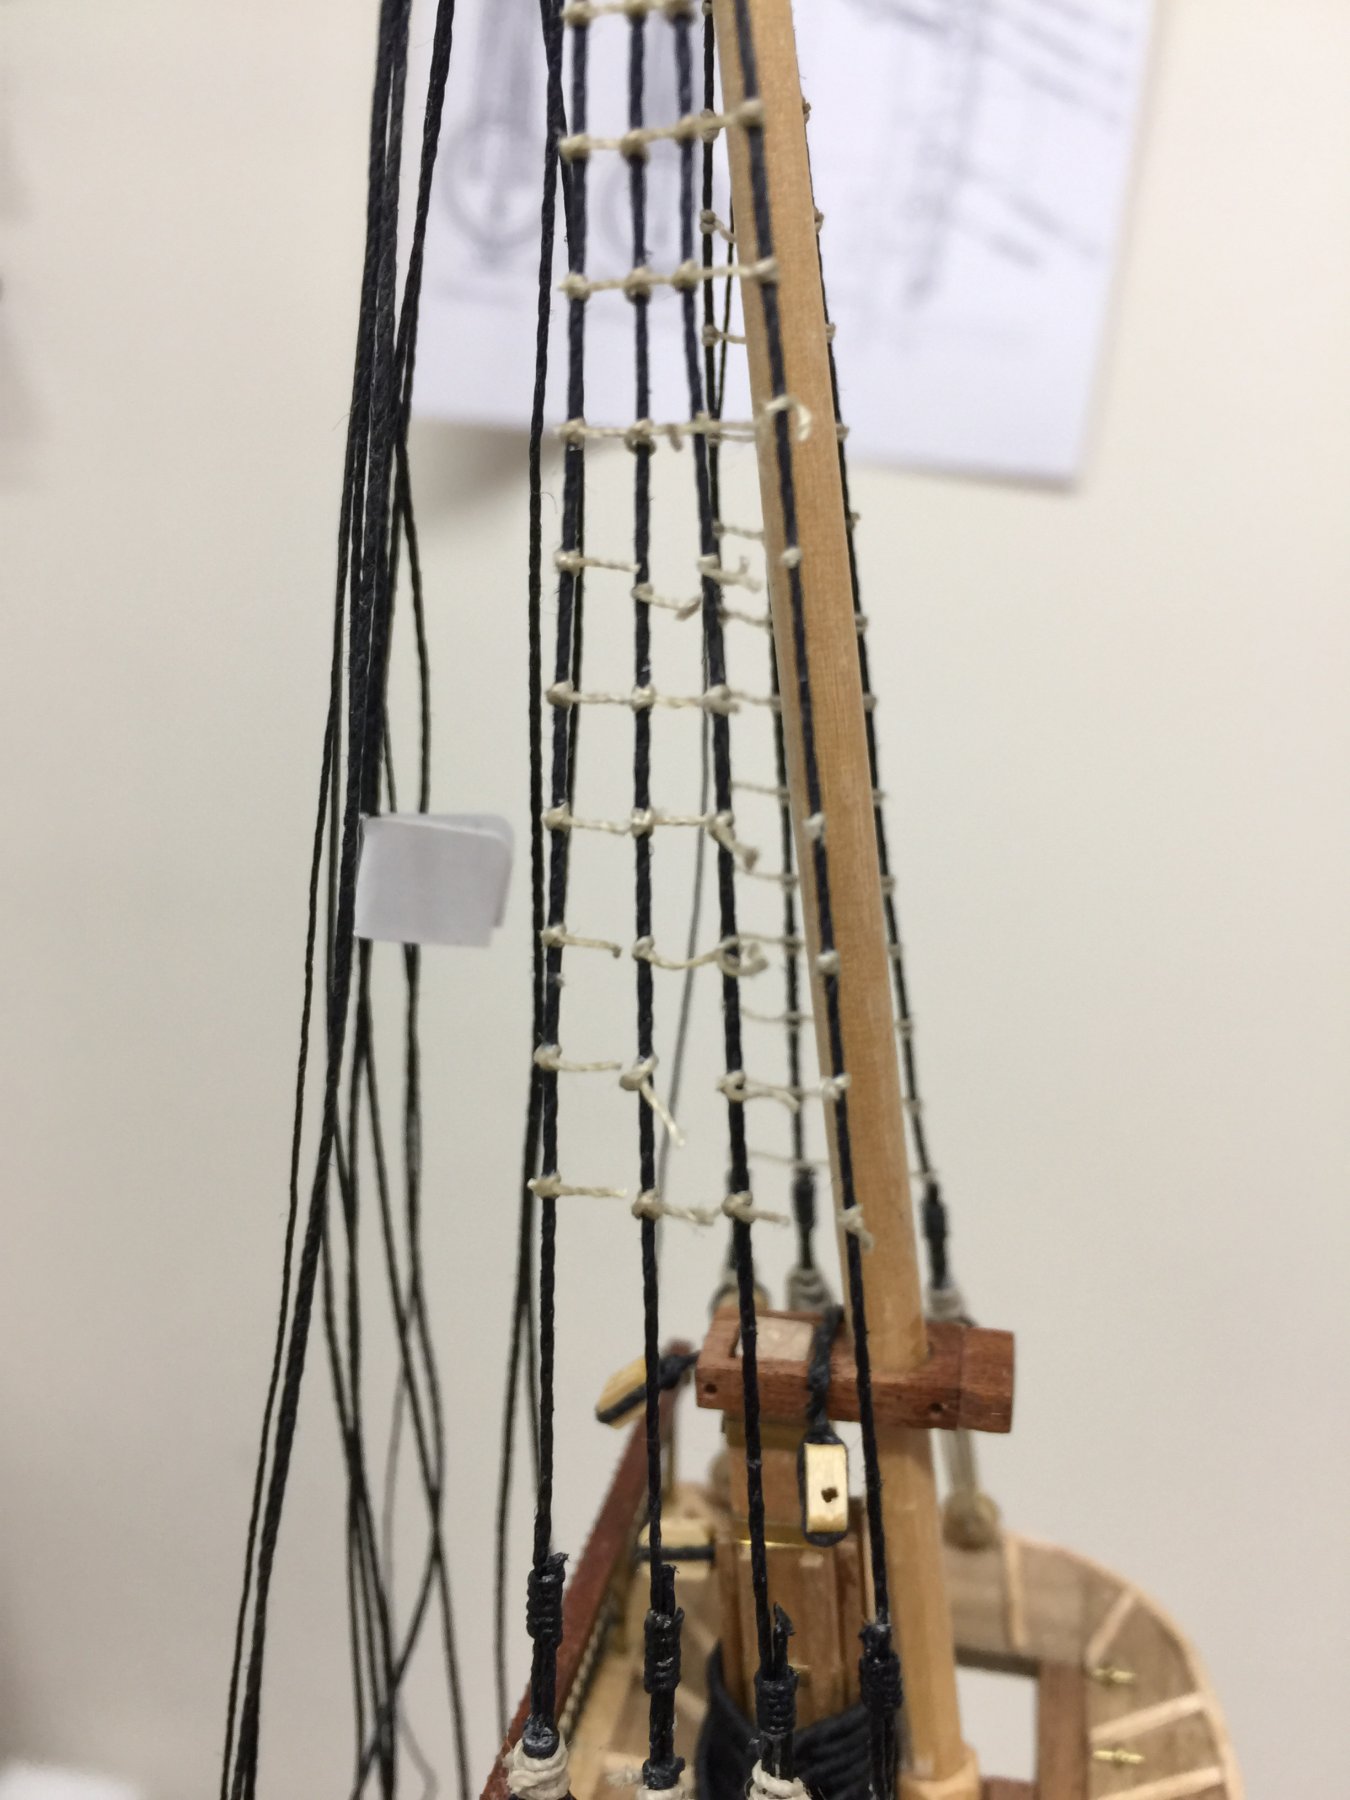
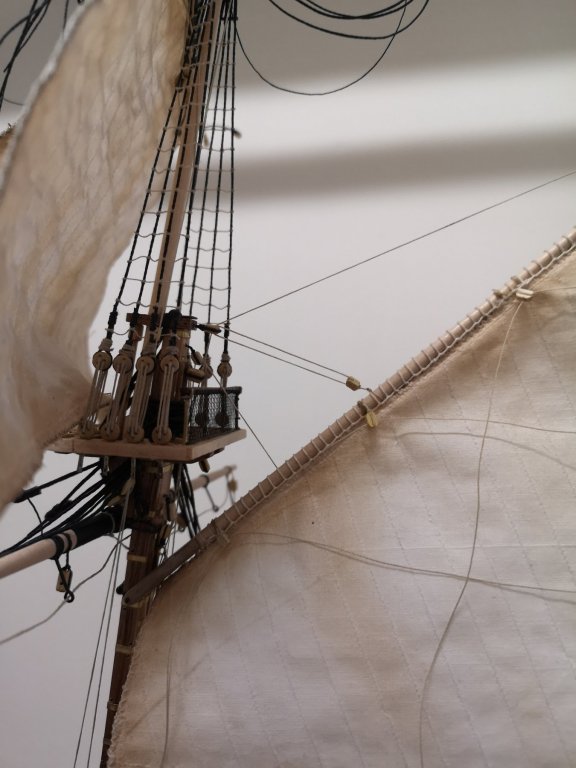
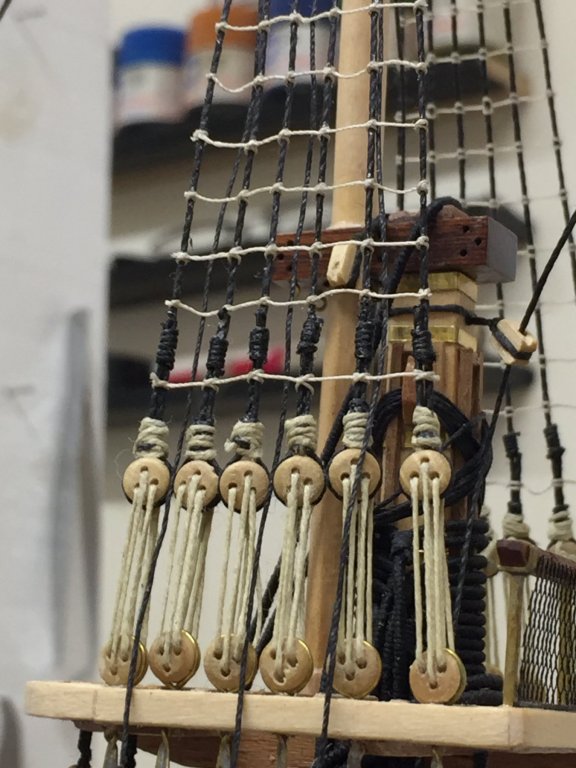
Grrrrrrr I have entered into one of my Rip out and start again stages, Ratlines, I was happily installing my lines but I had nagging doubt they were two heavy and as I procedded the nagging got worse. Well I am back tracking and due to tacking with PVA it’s a pain. Images of the real Vic indicates these horizontal ropes were quite thin in comparison with the vertical drops from the masts, paintings or drawing enforce this thick approach but have them too thick. One step forward and many back approach strikes again.
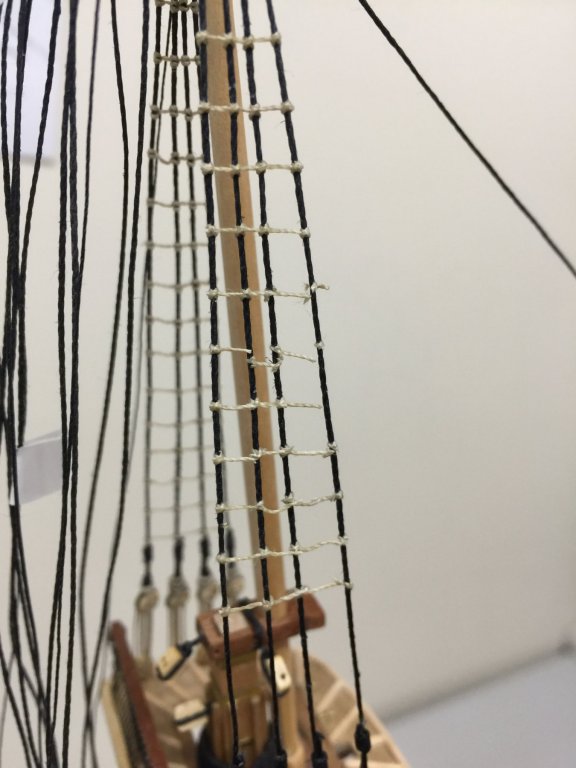
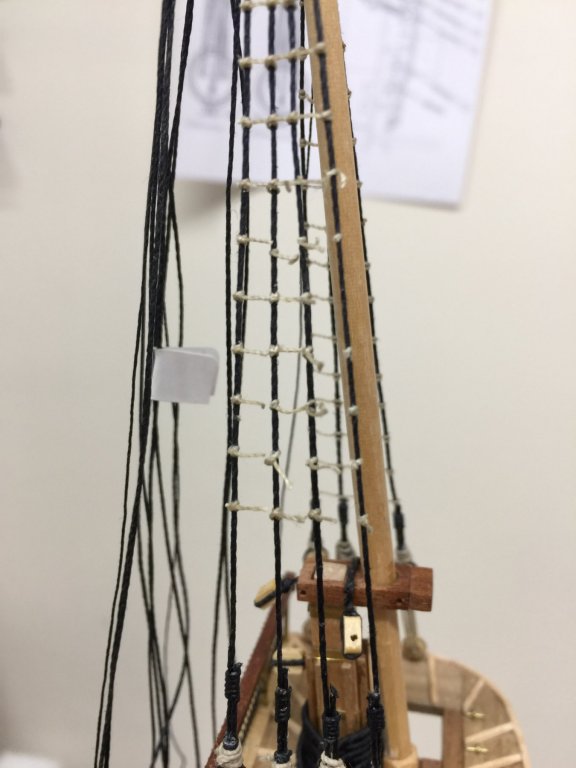
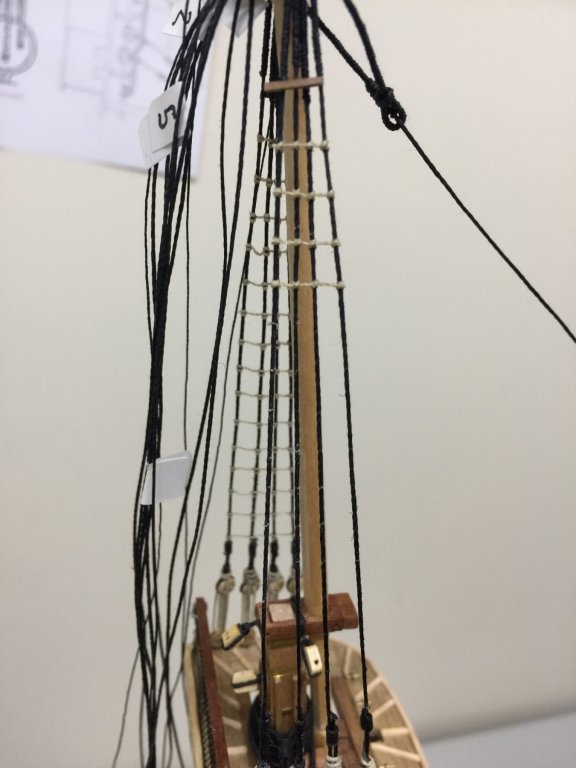
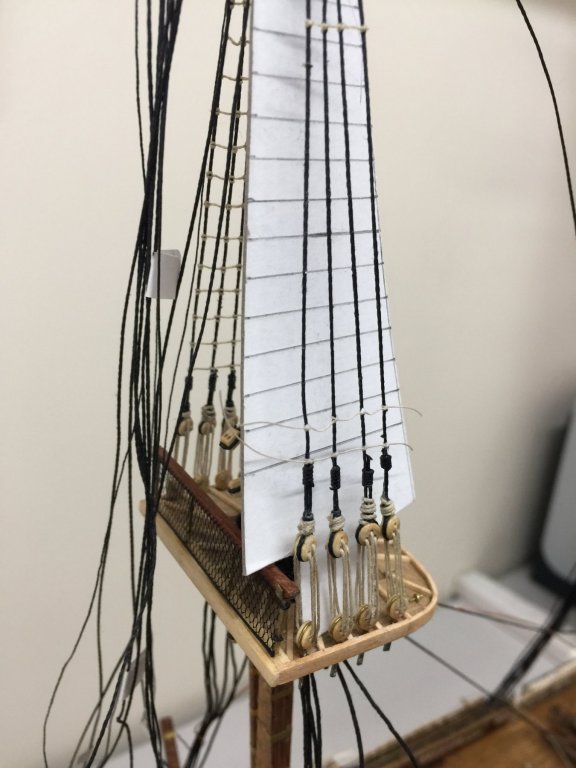
-
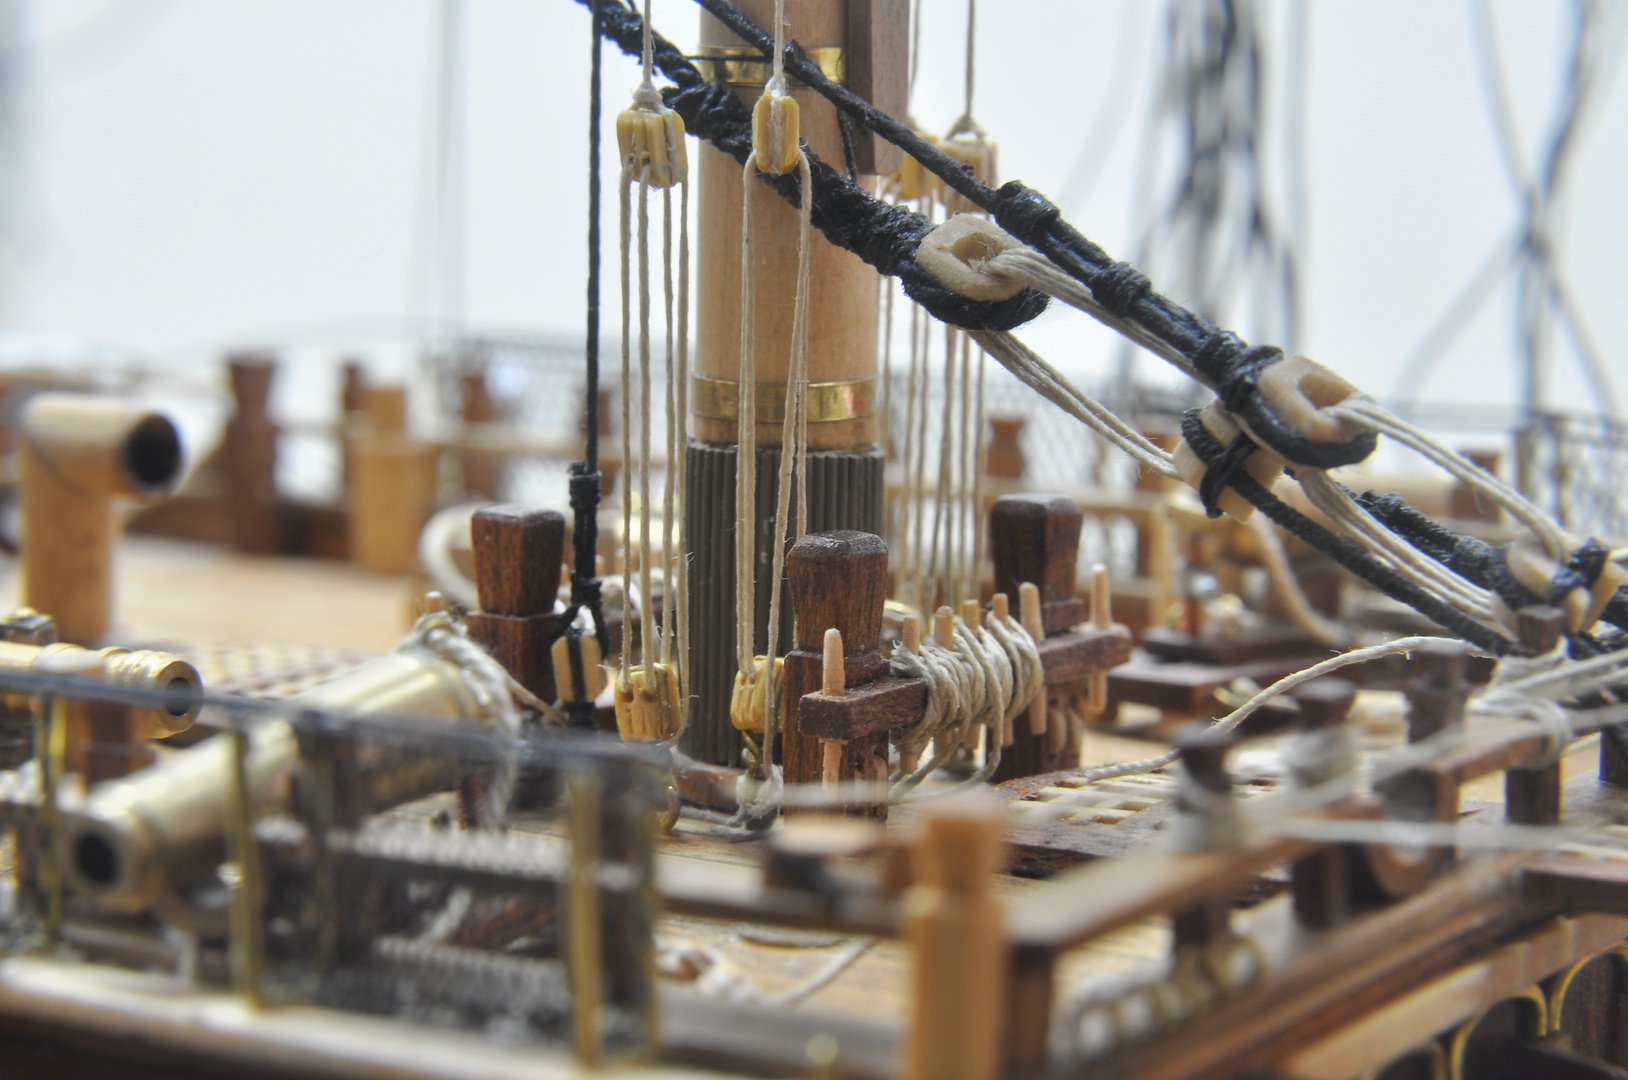
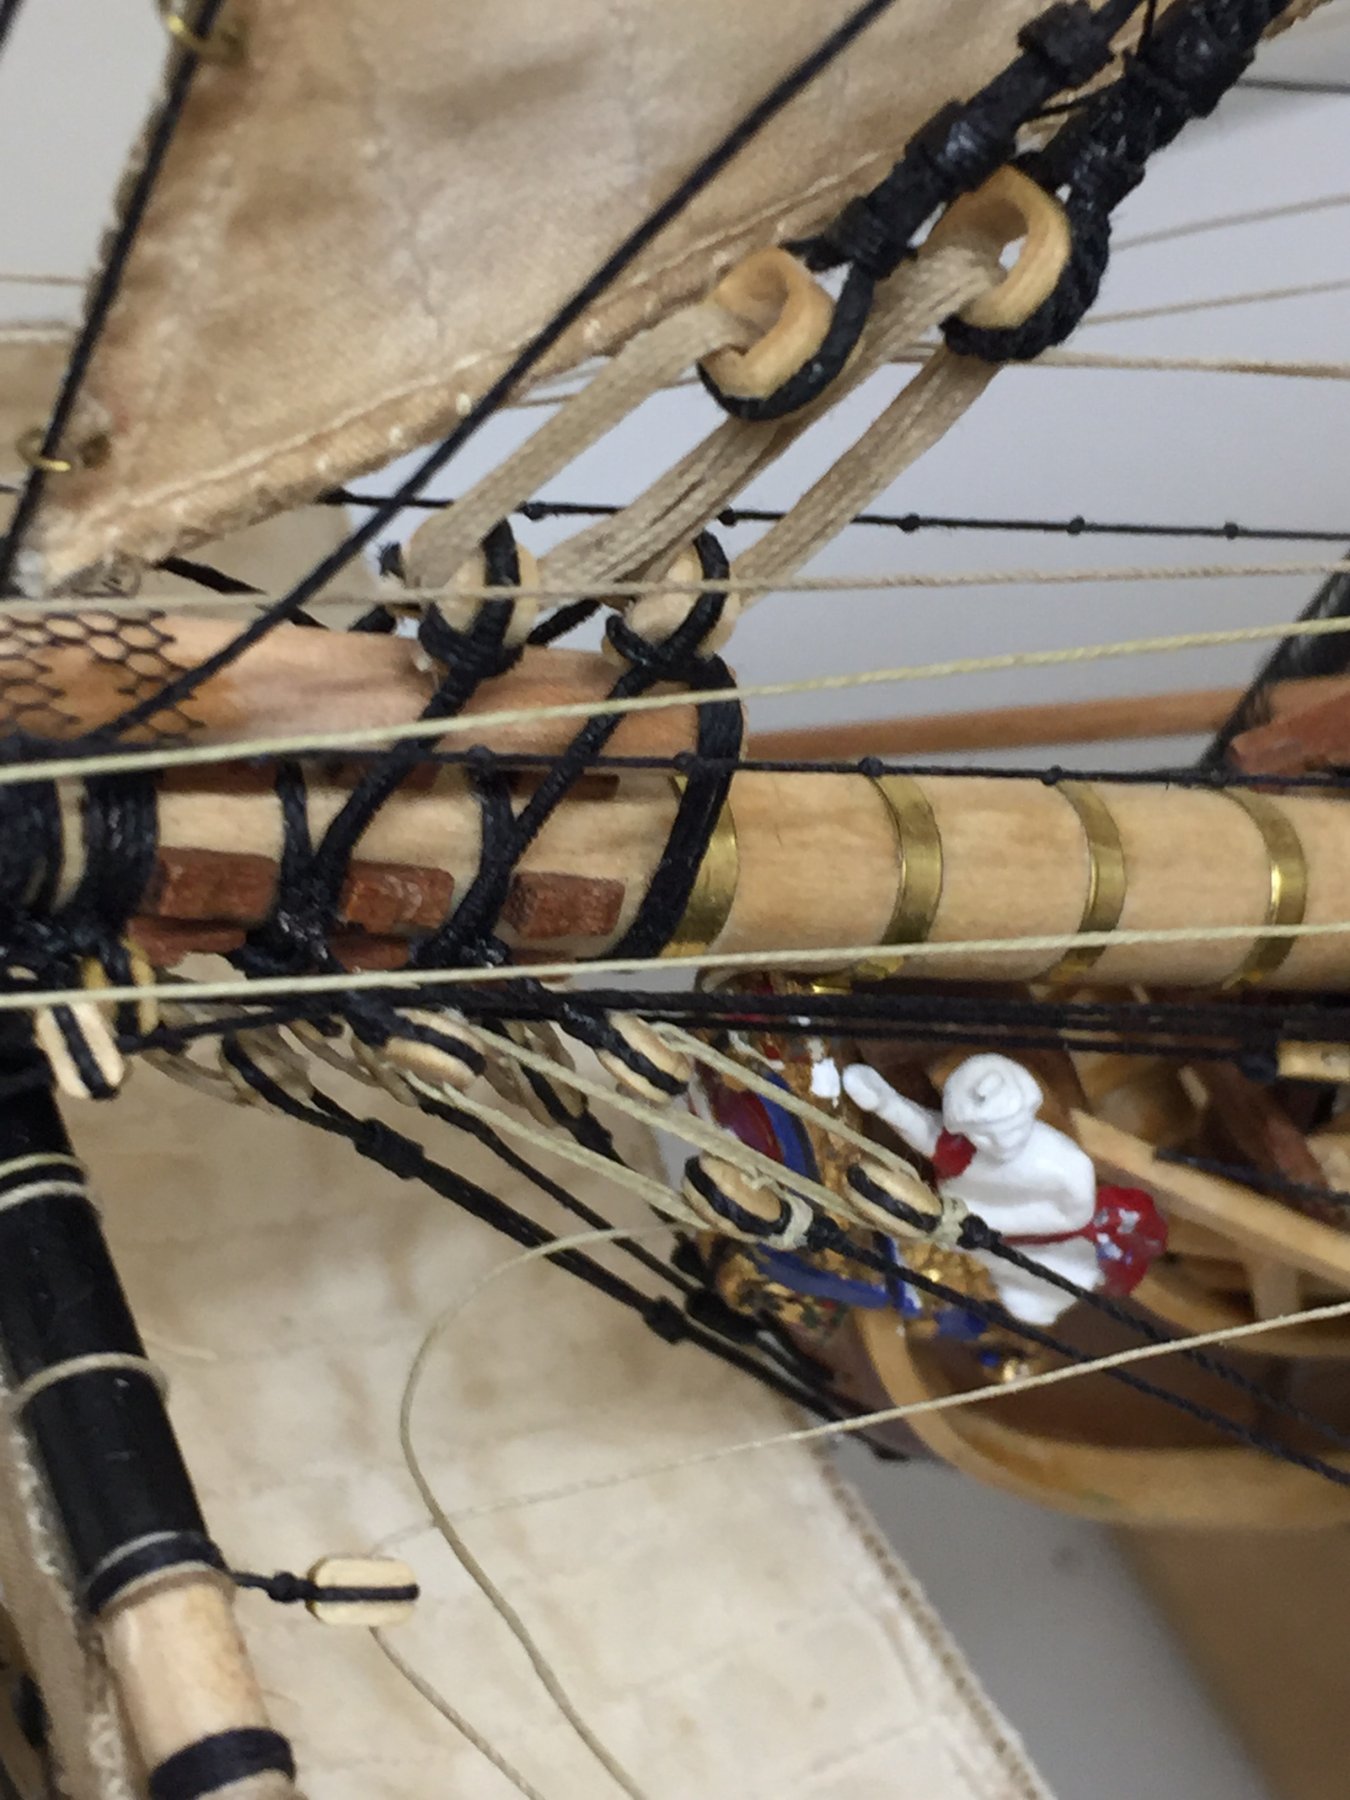
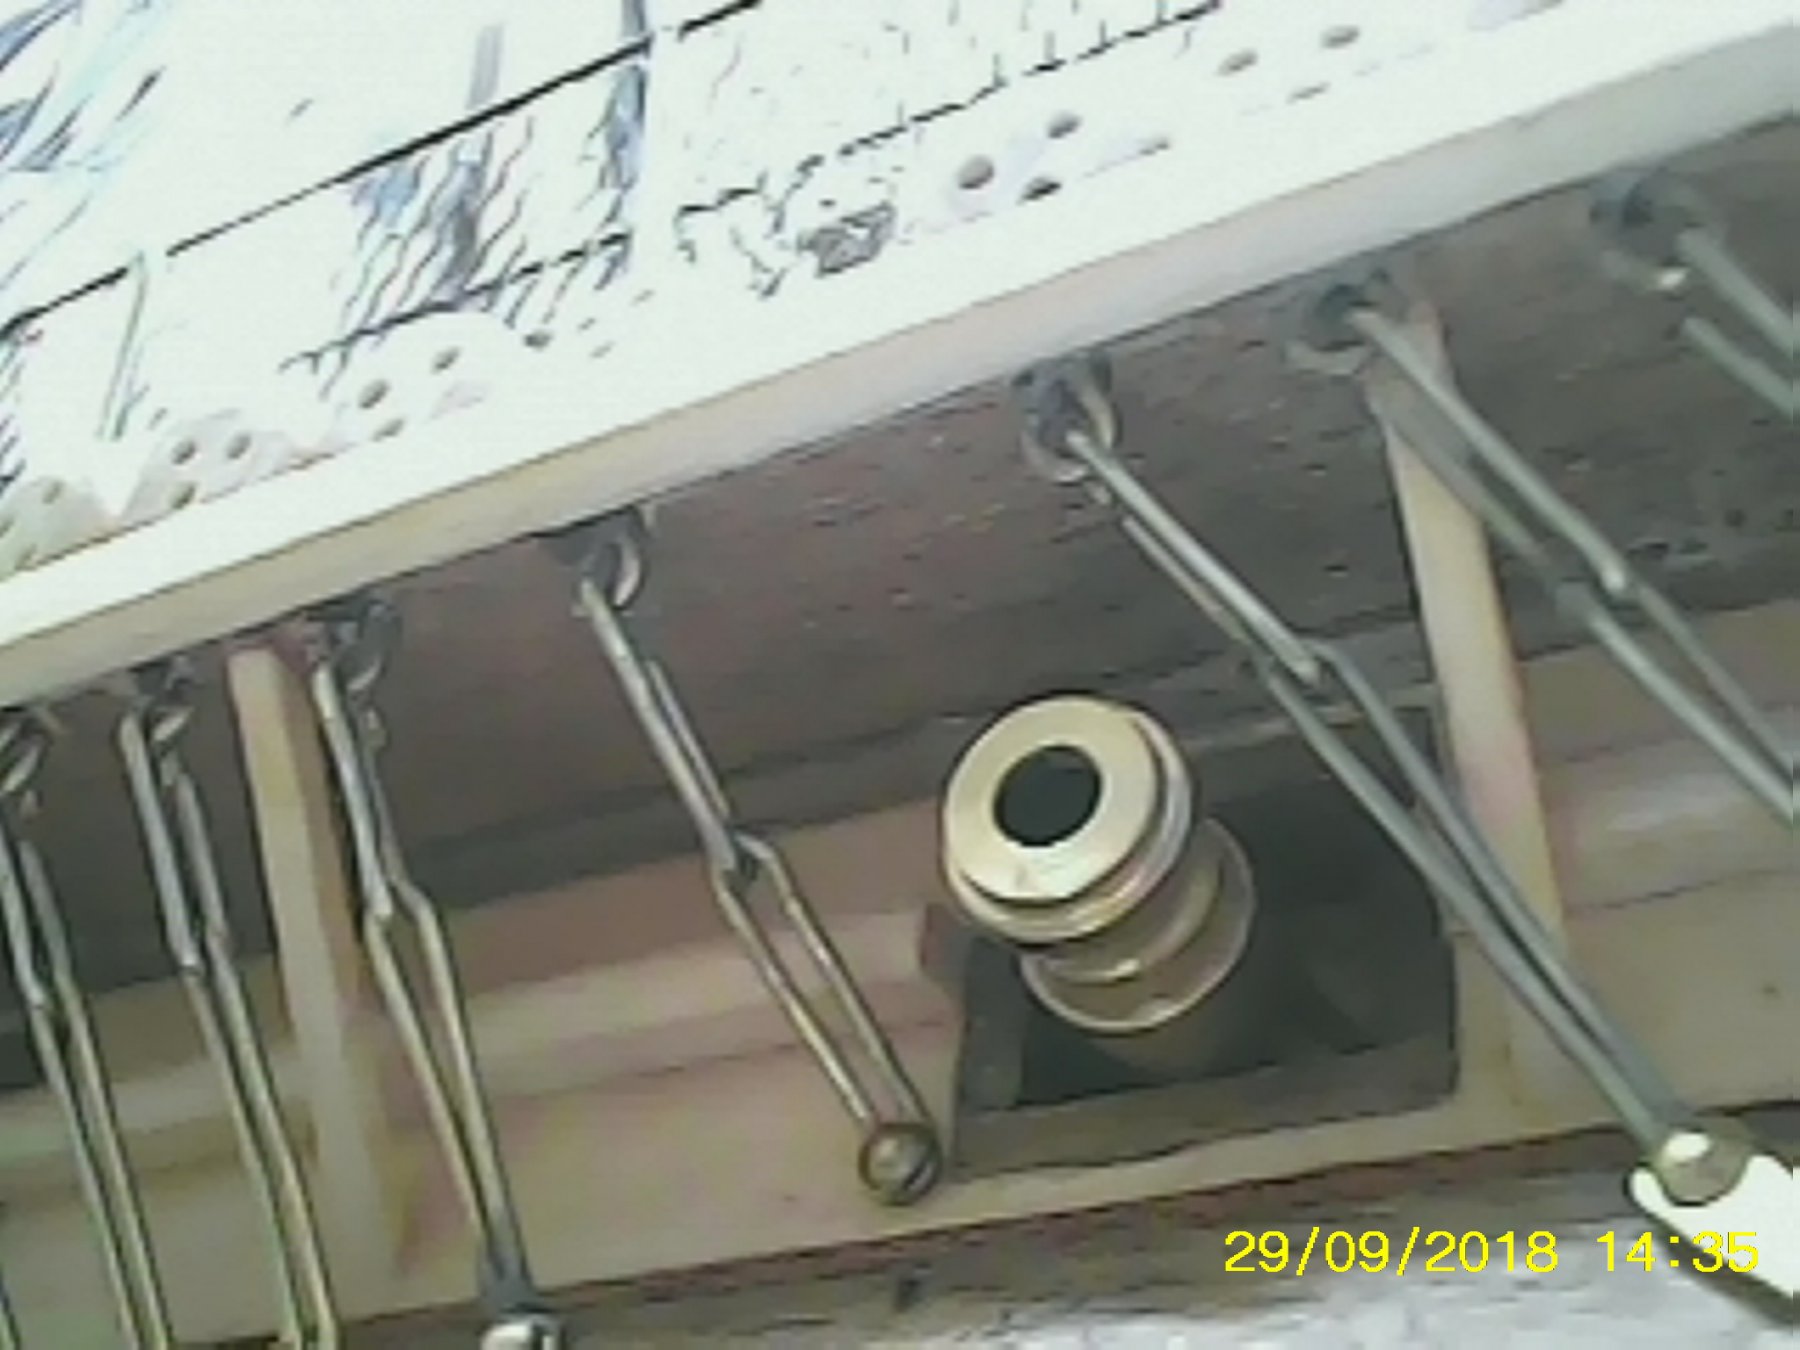
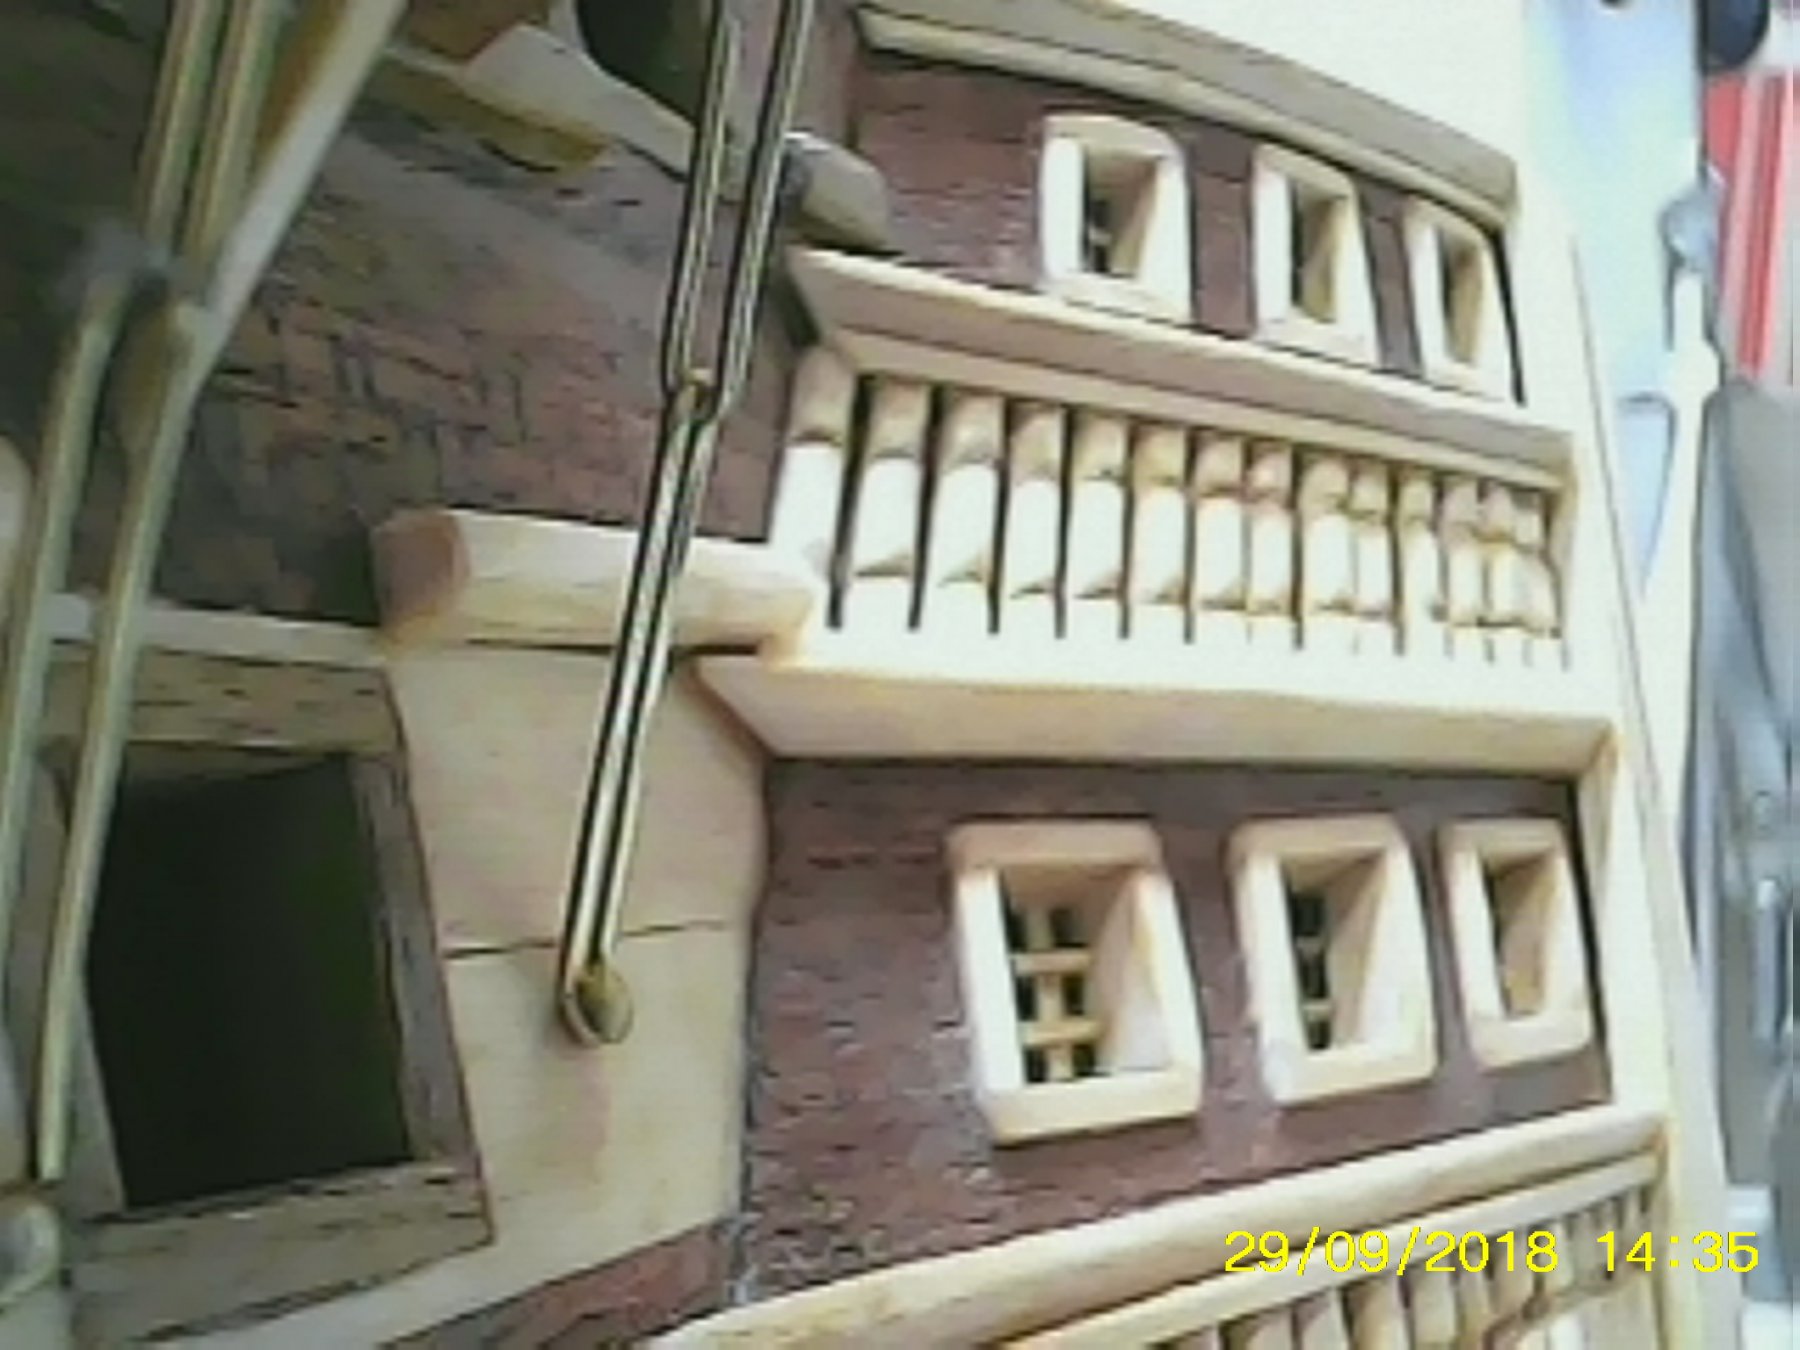
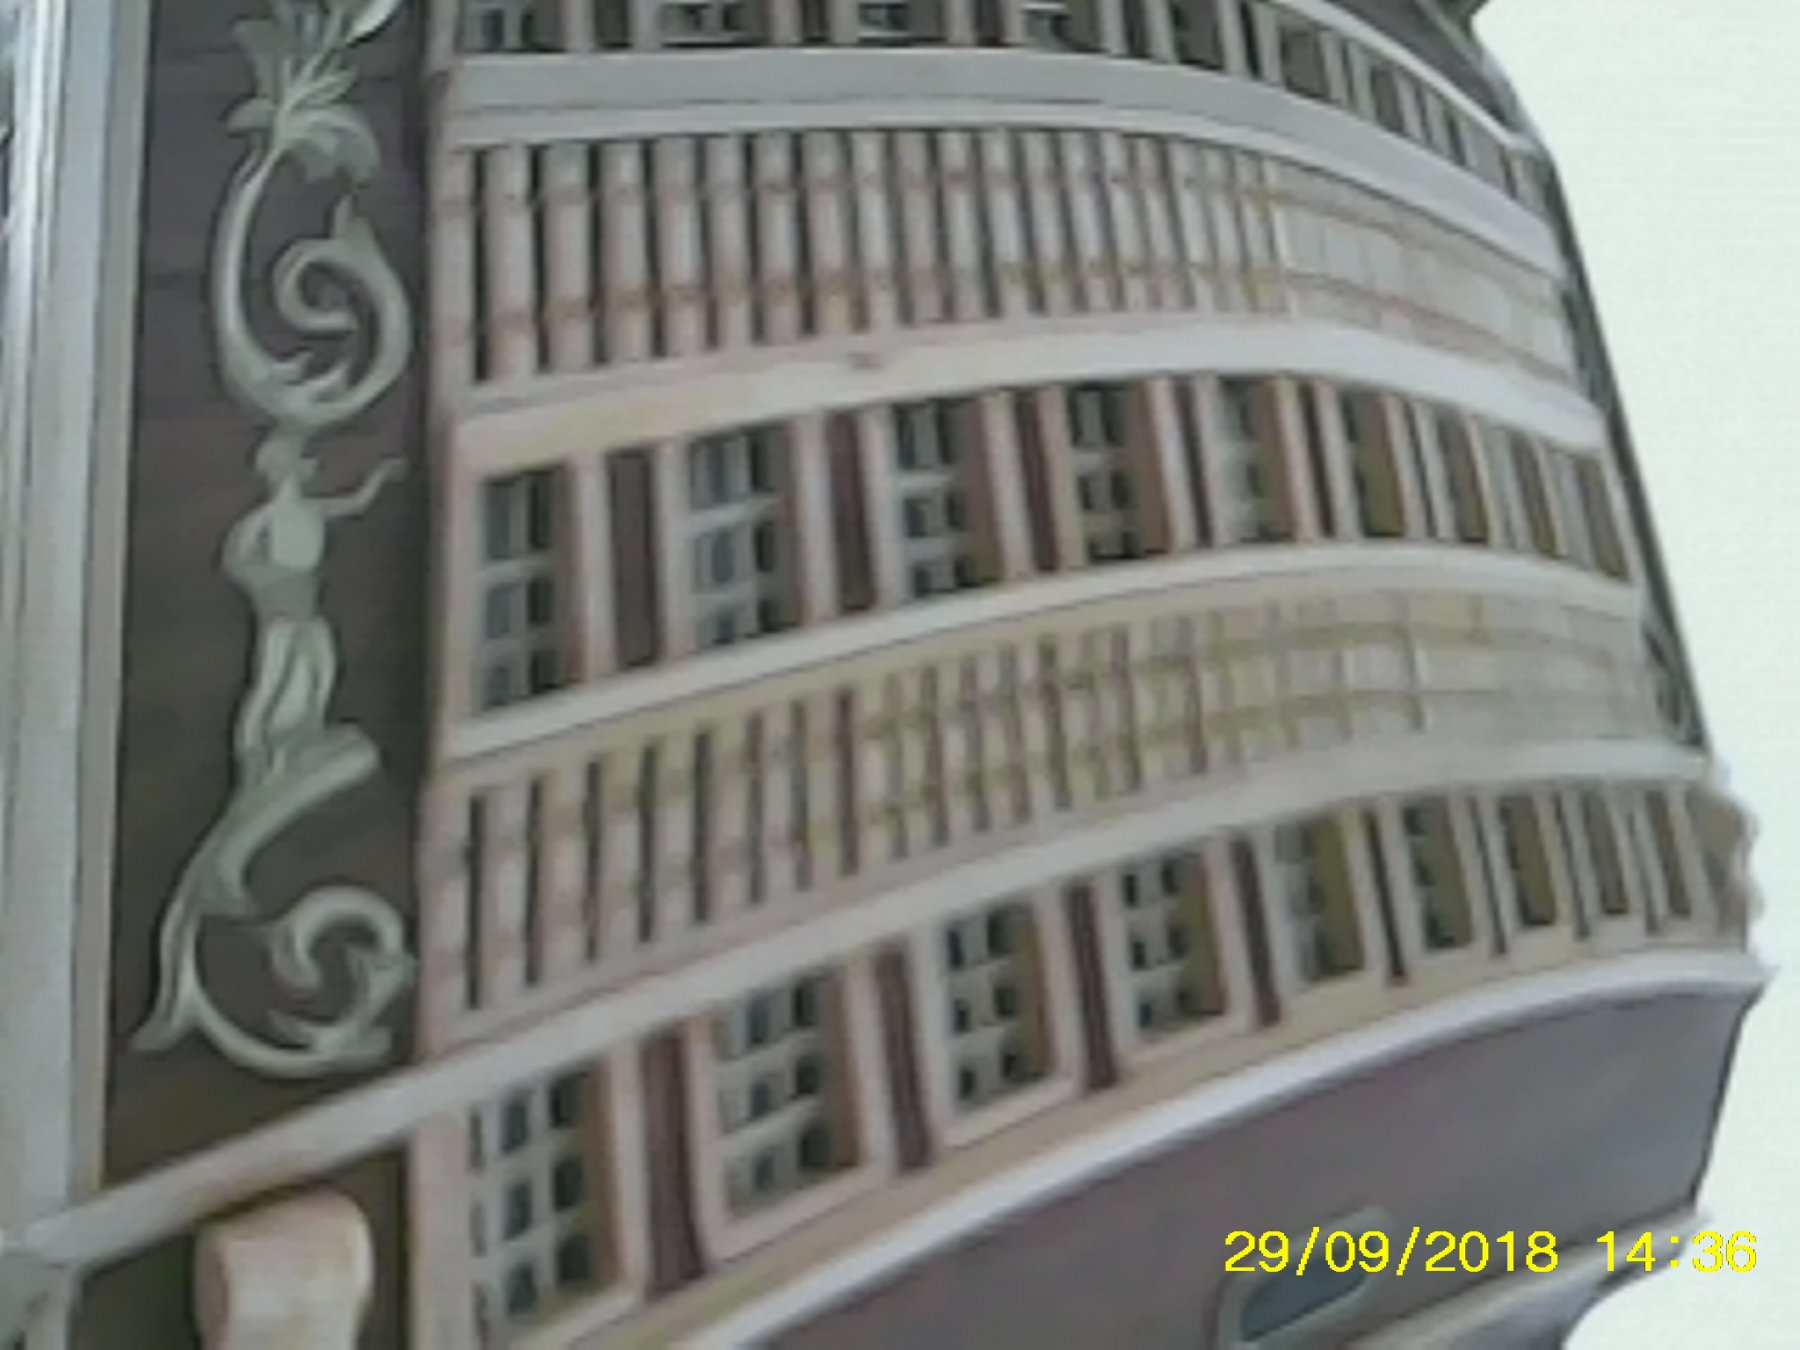
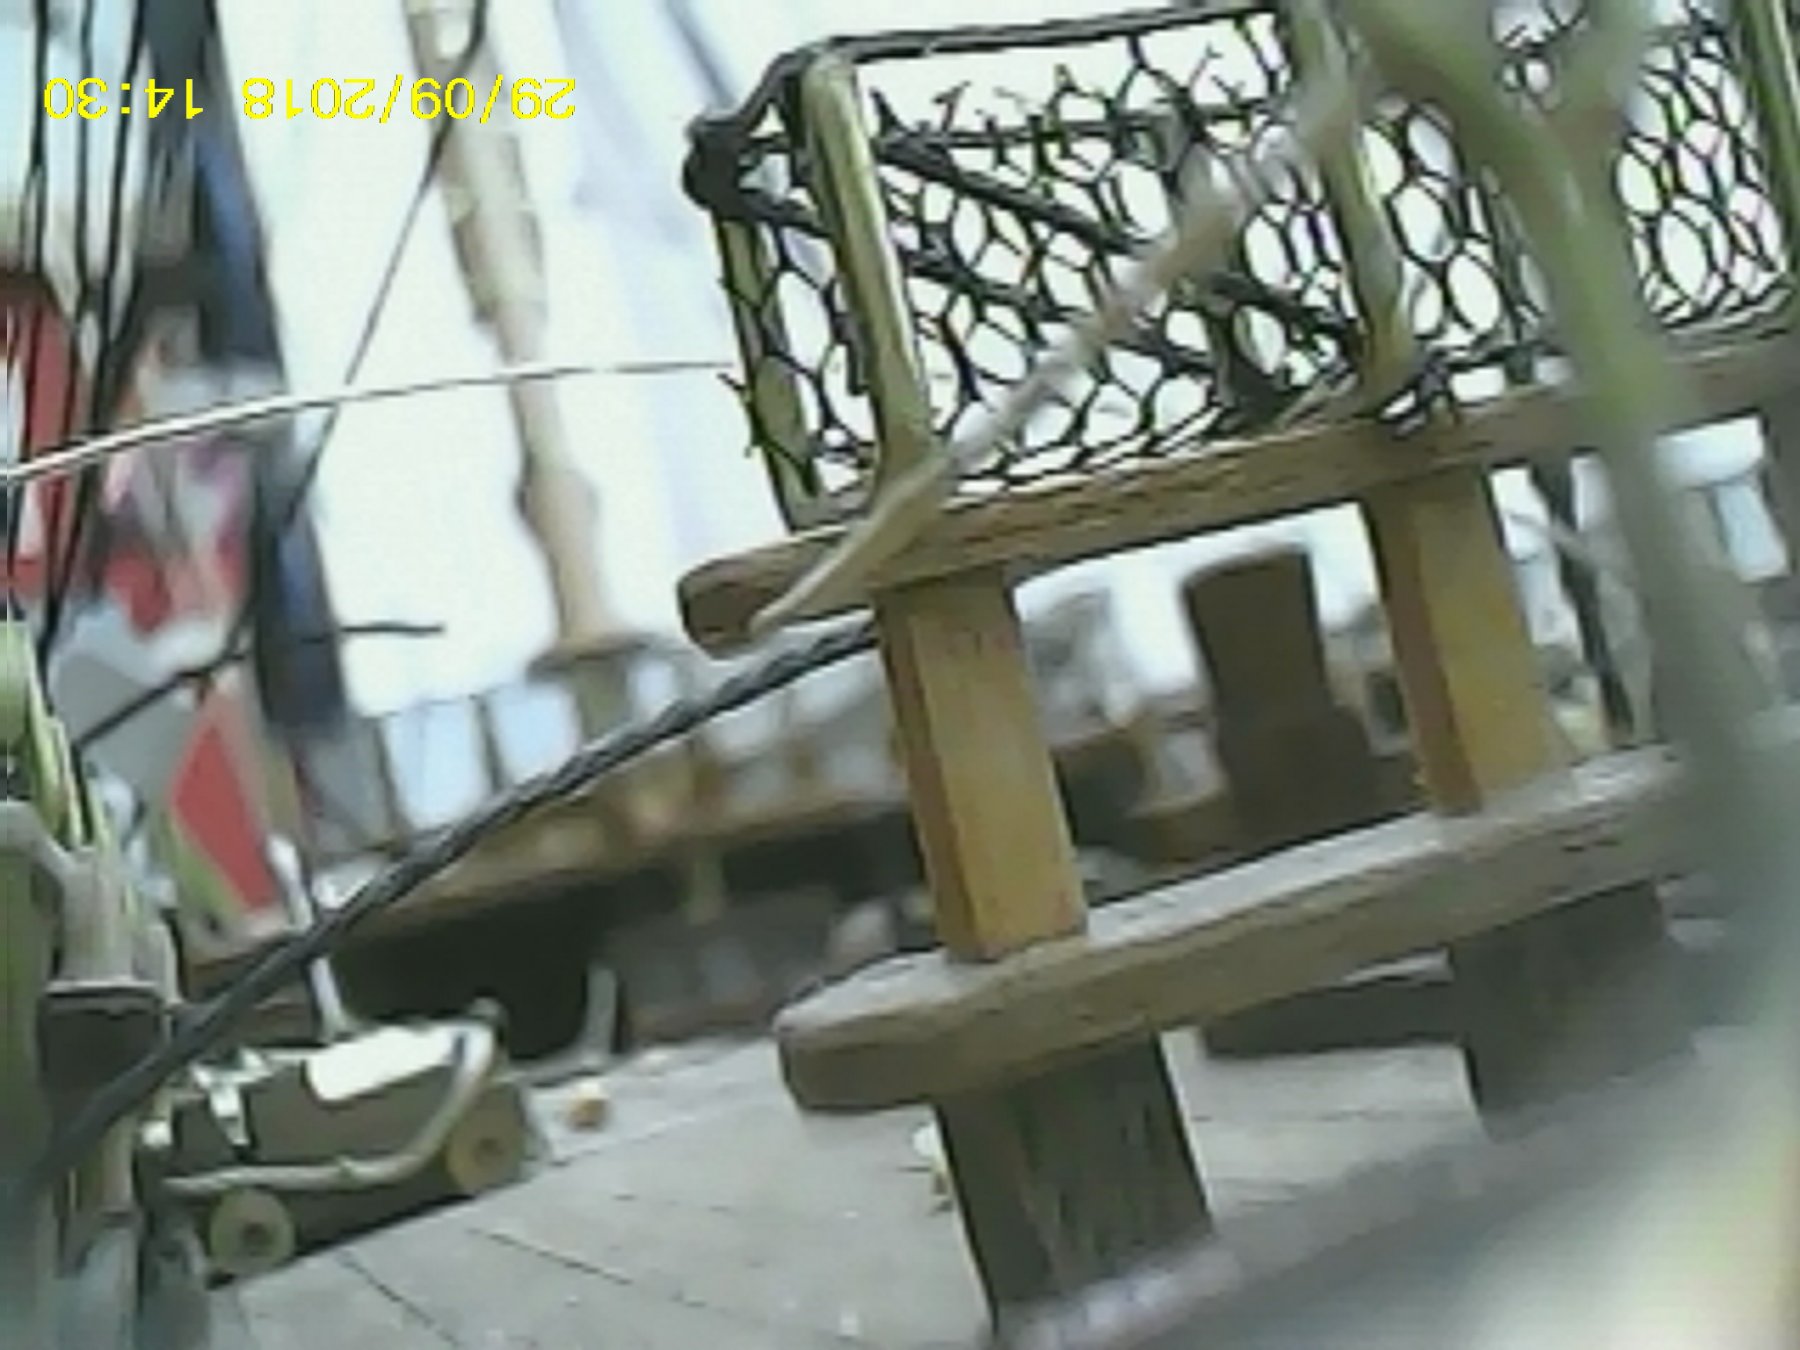
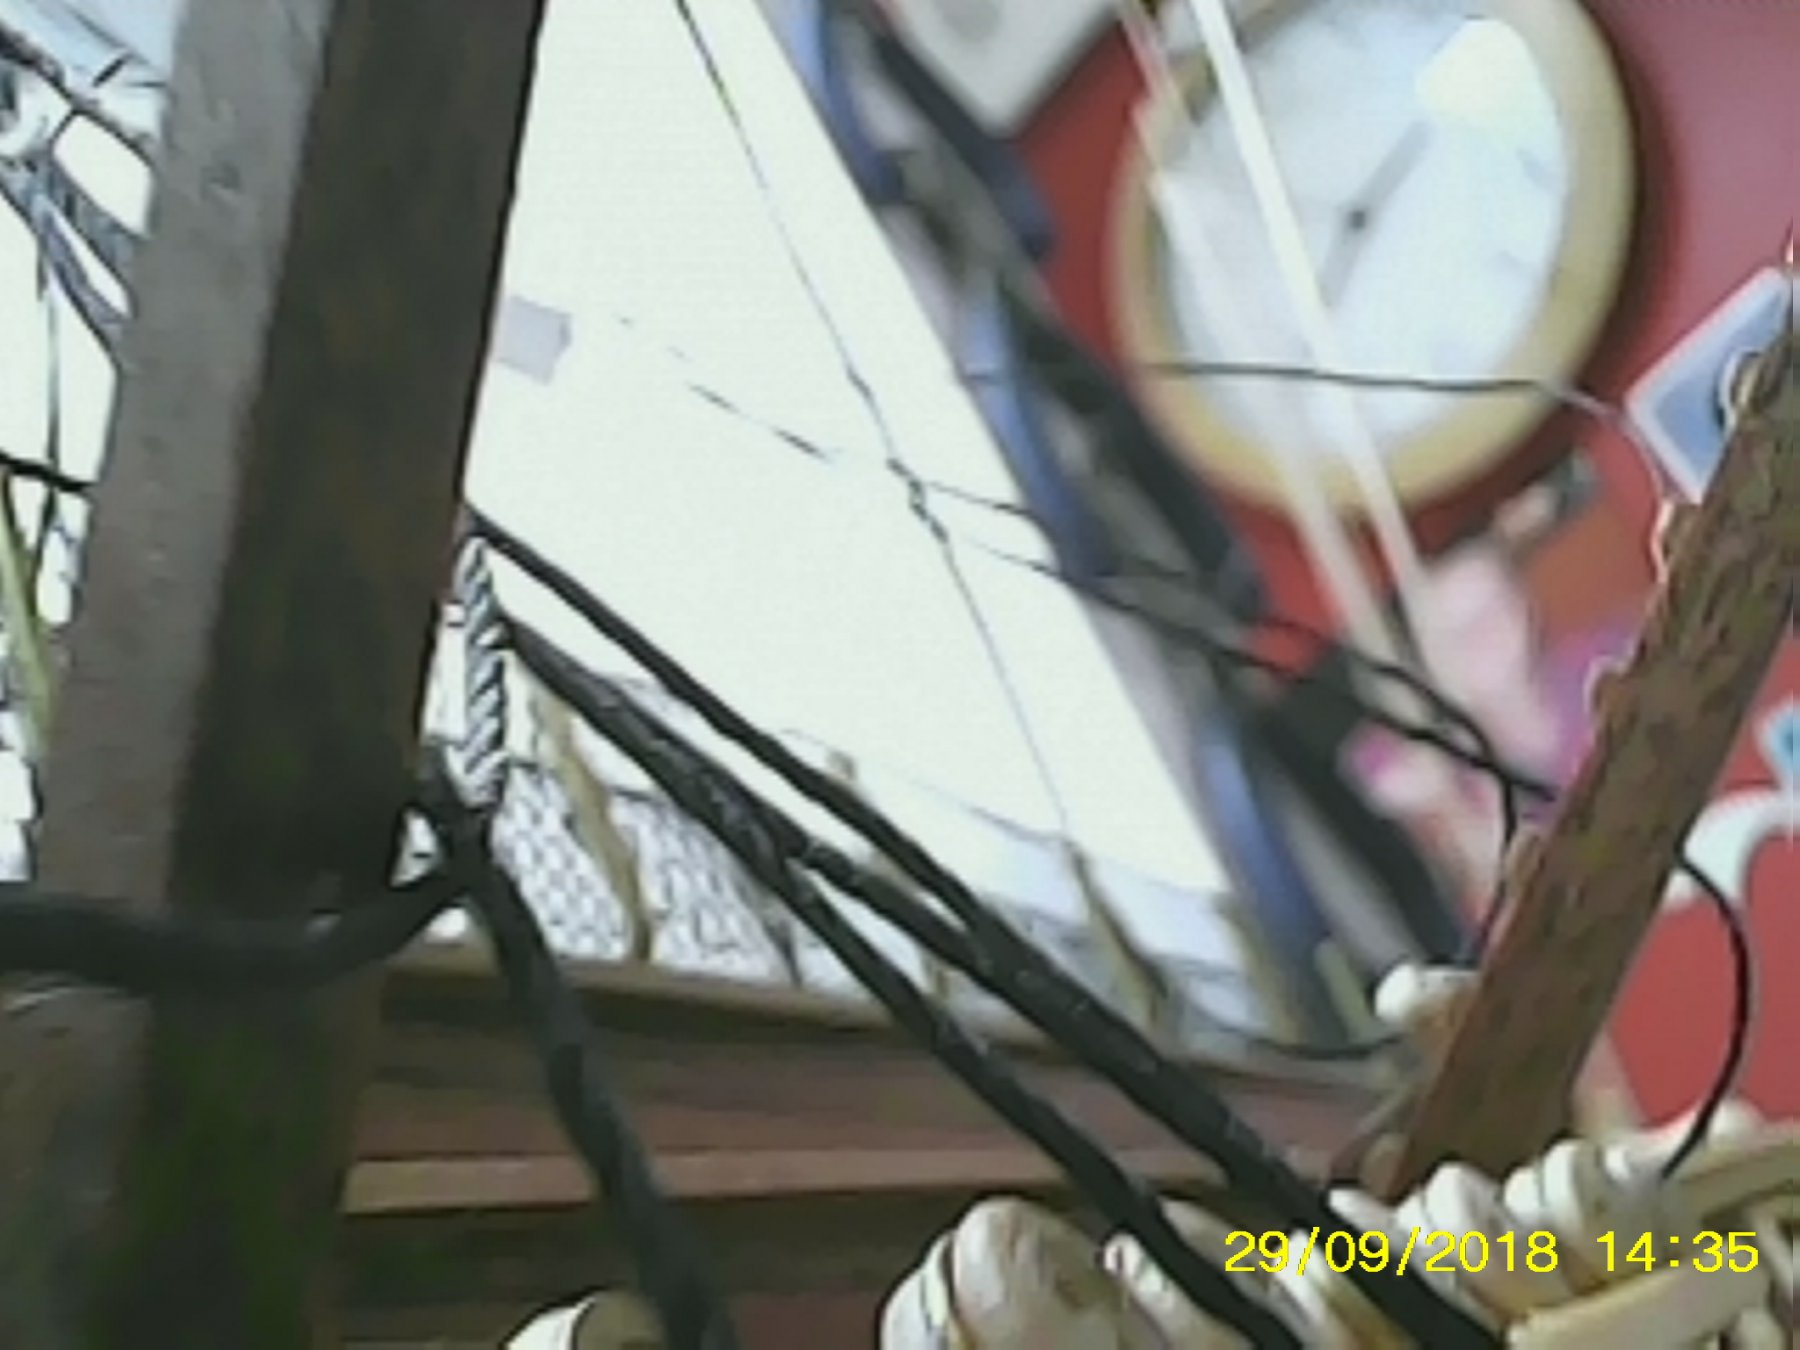
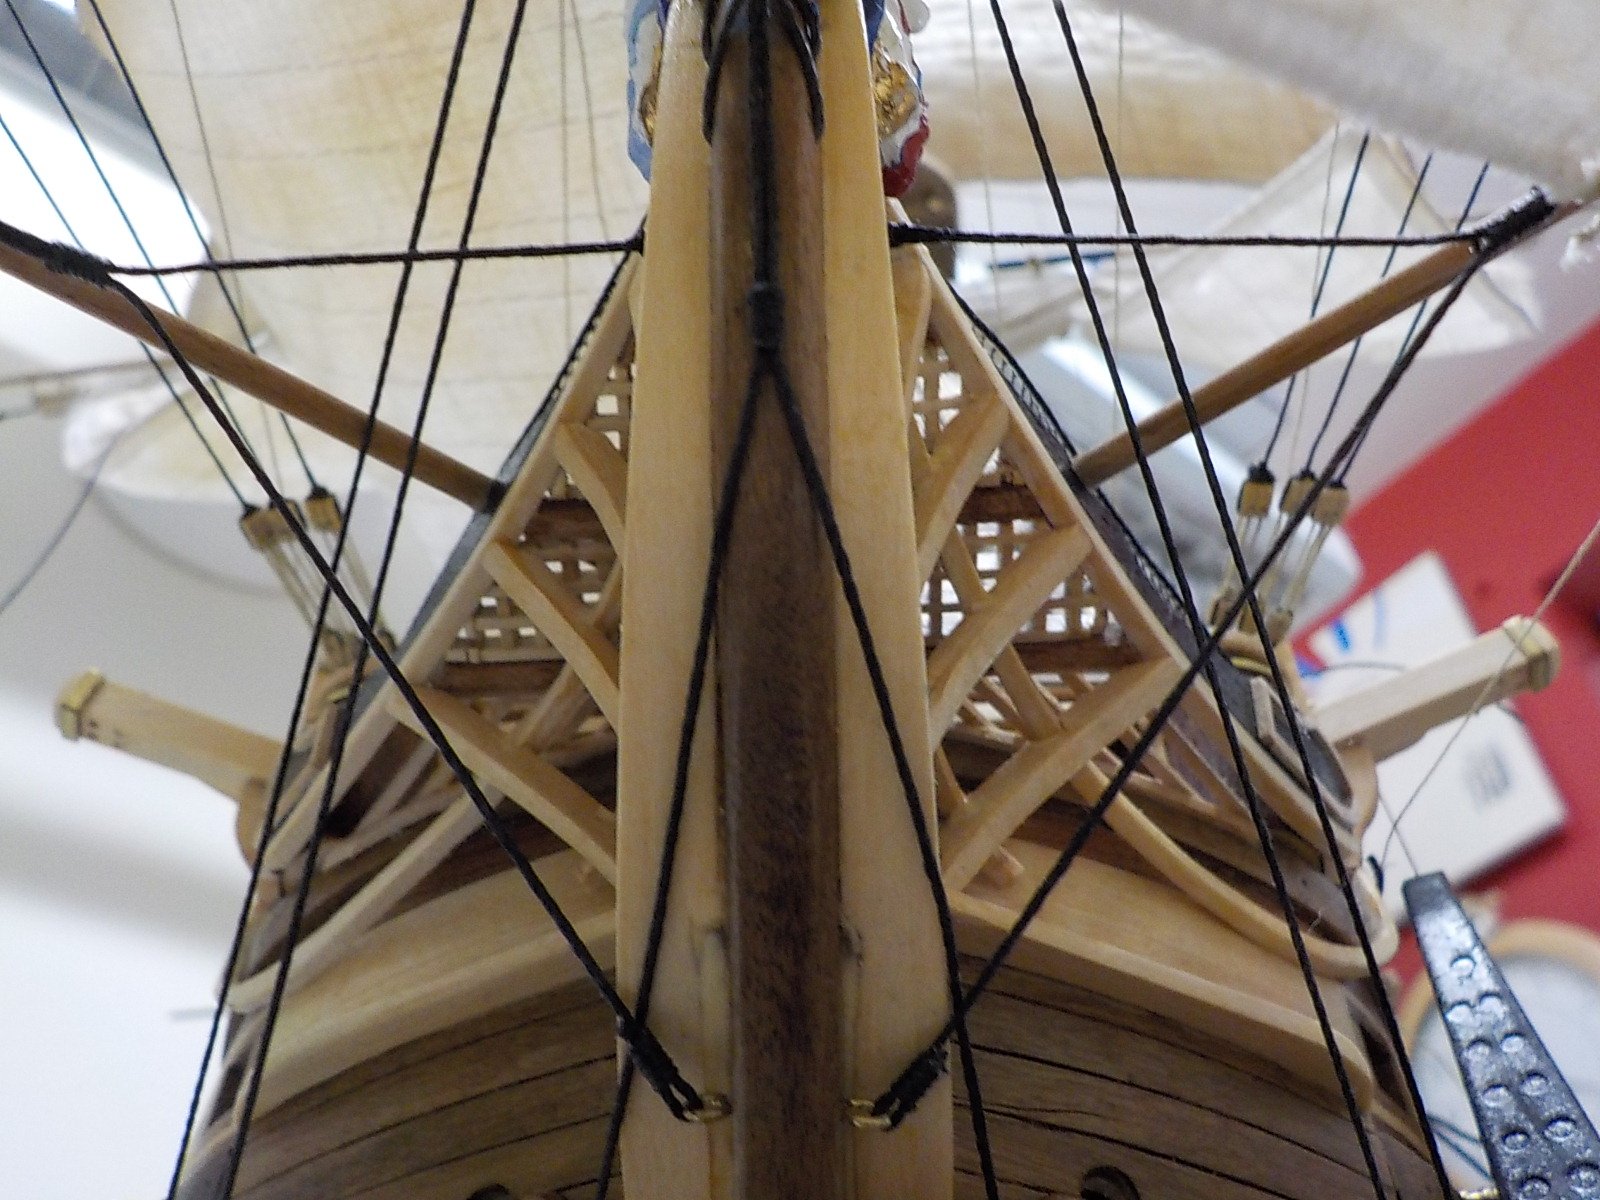
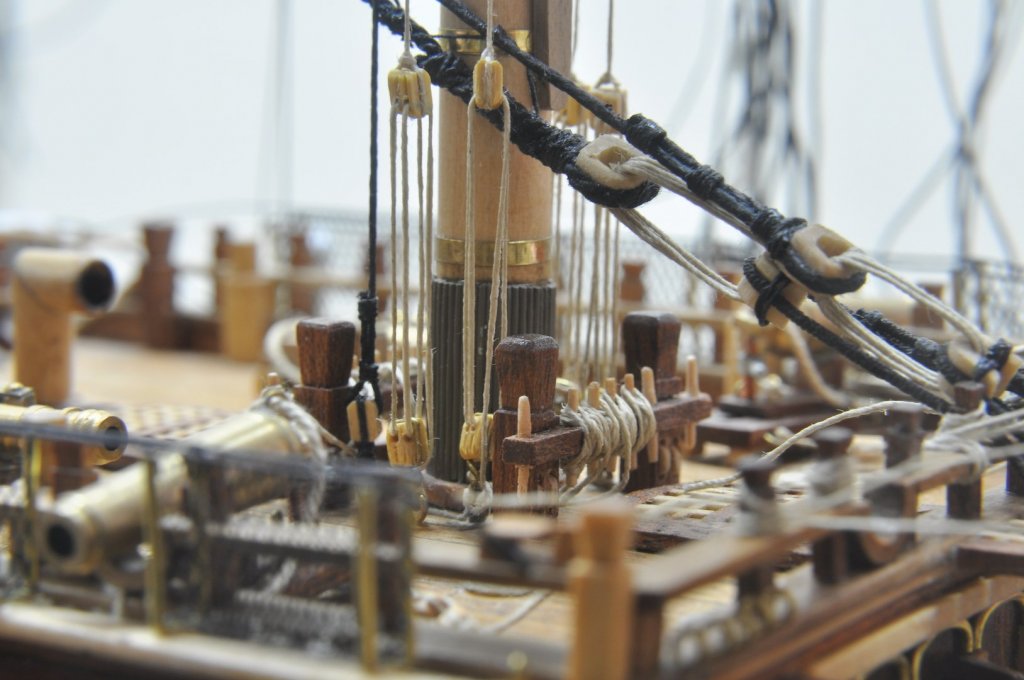
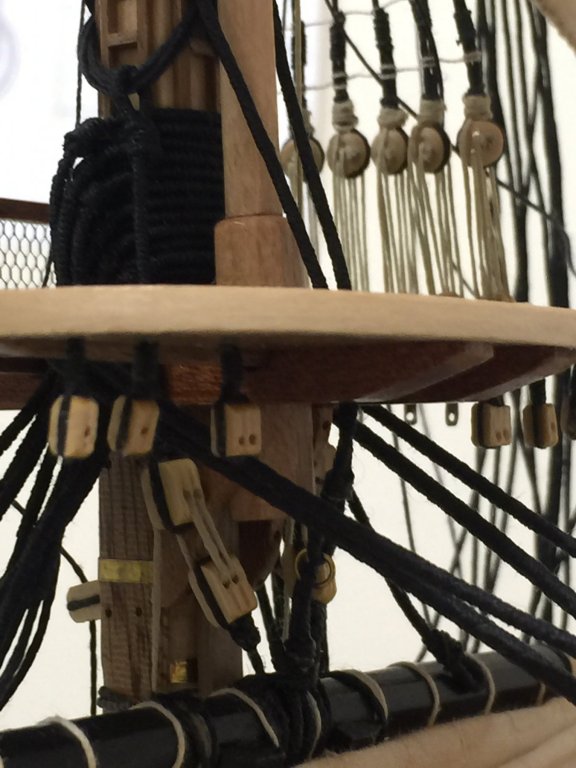
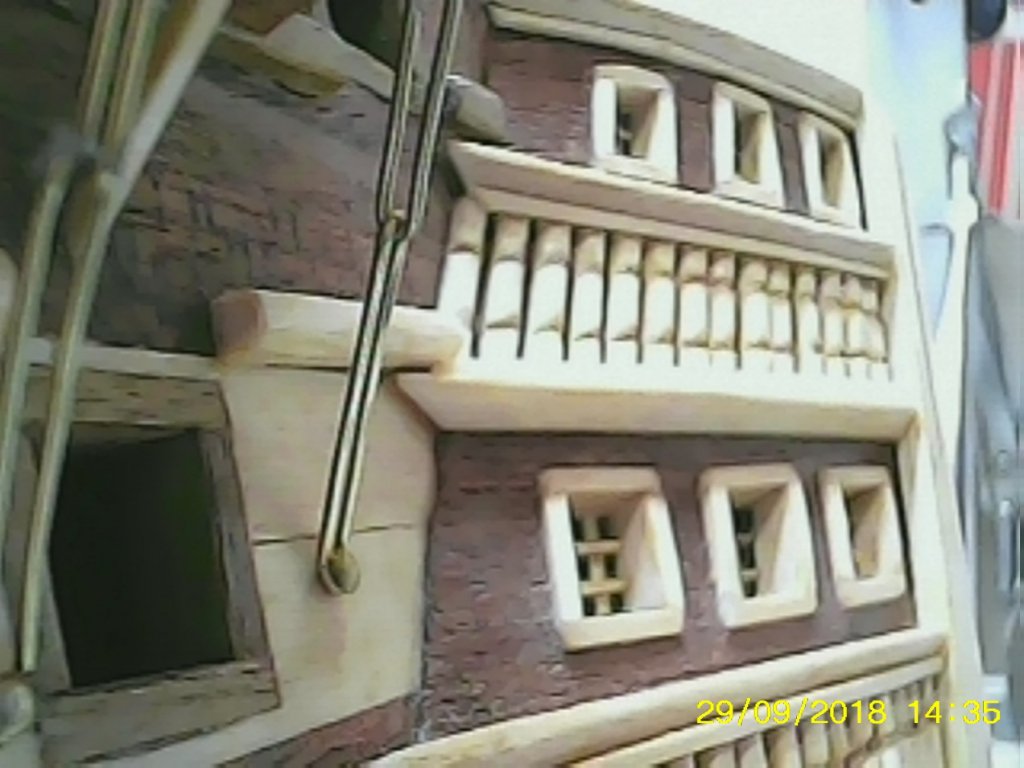
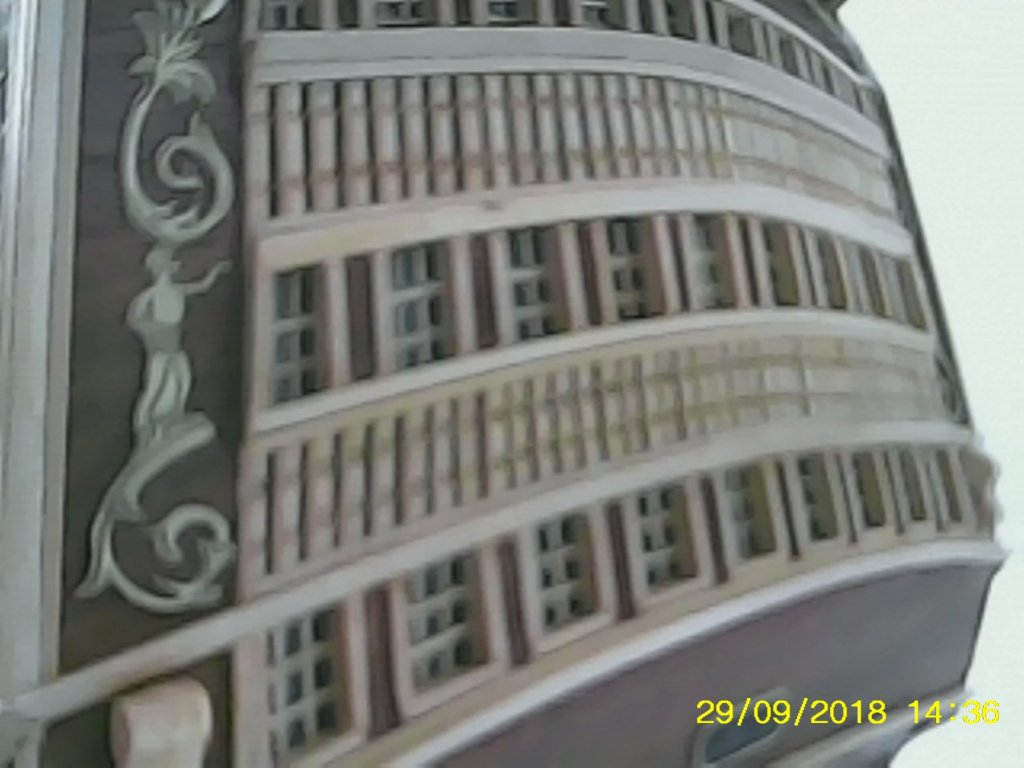
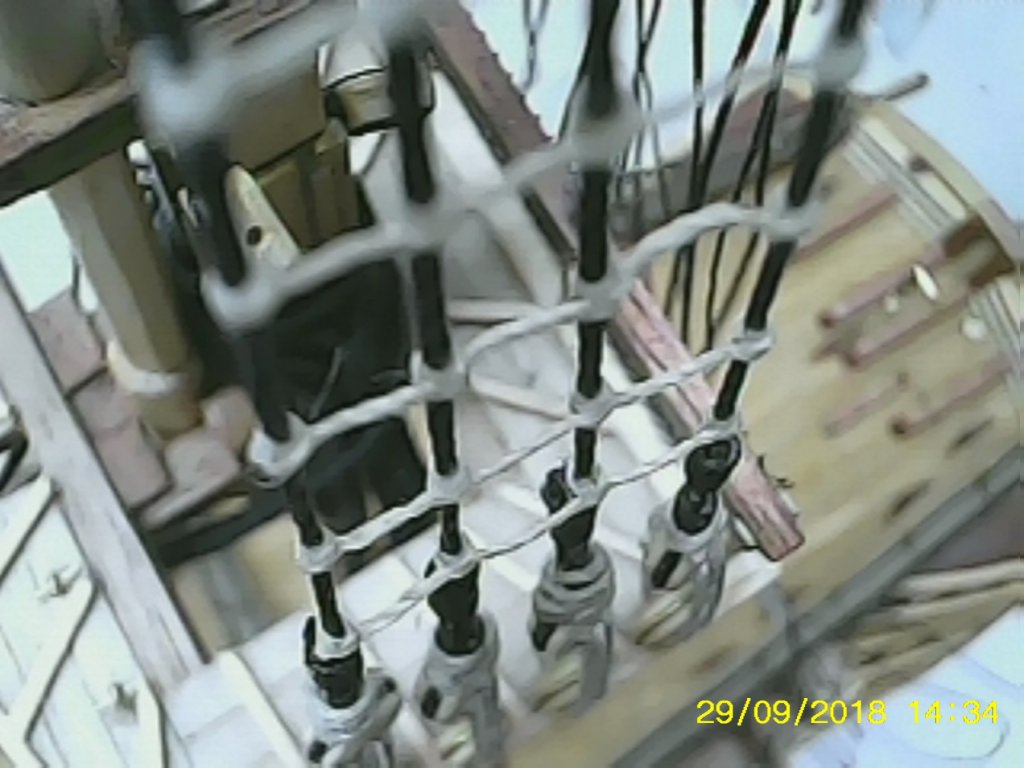
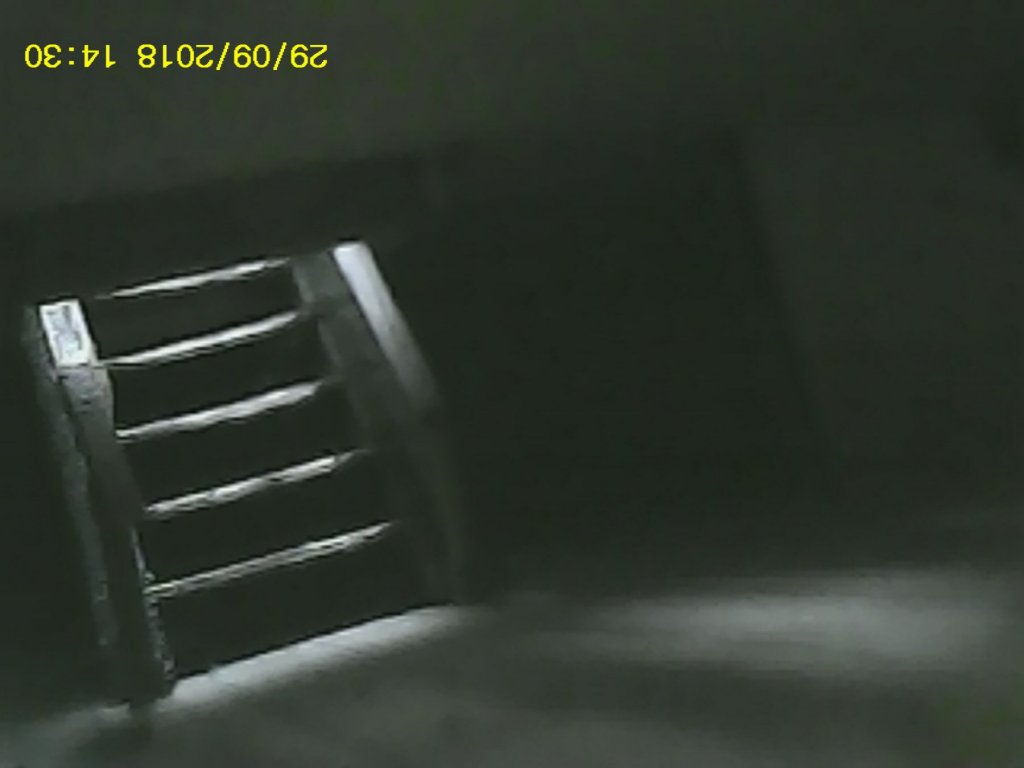
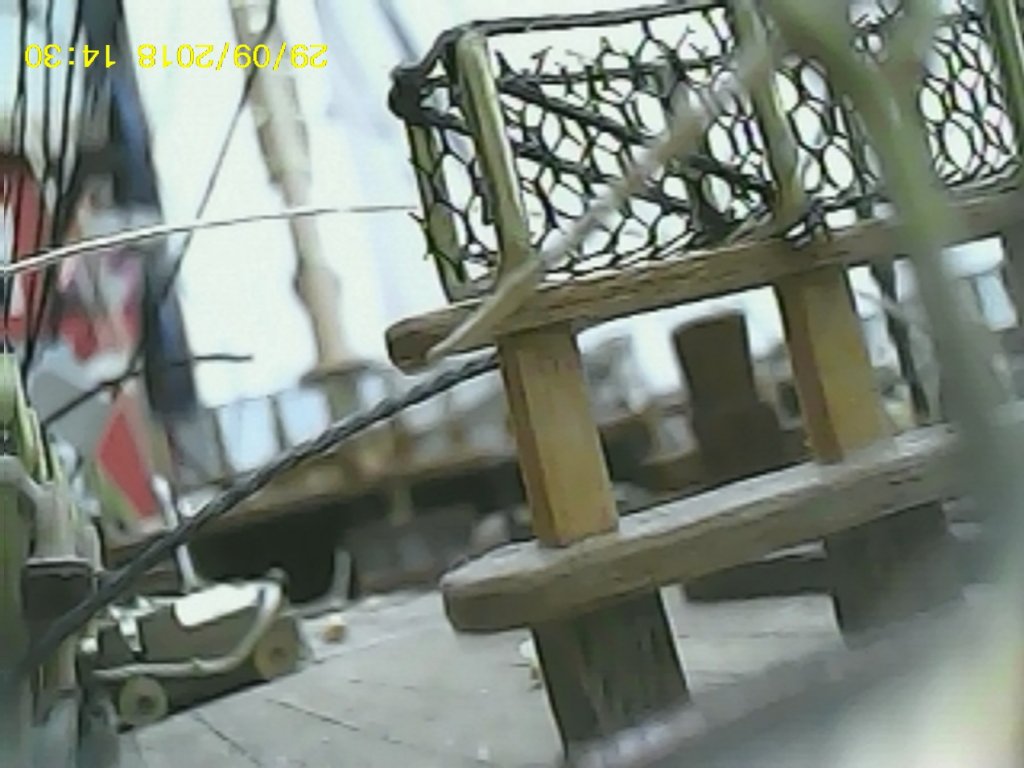
A few pictures taken with a boroscope, different perspectives


- 708 replies
-
- 4
-
-
- victory
- constructo
- (and 1 more)