MORE HANDBOOKS ARE ON THEIR WAY! We will let you know when they get here.
×
Paul0367
-
Posts
512 -
Joined
-
Last visited
Content Type
Profiles
Forums
Gallery
Events
Everything posted by Paul0367
-
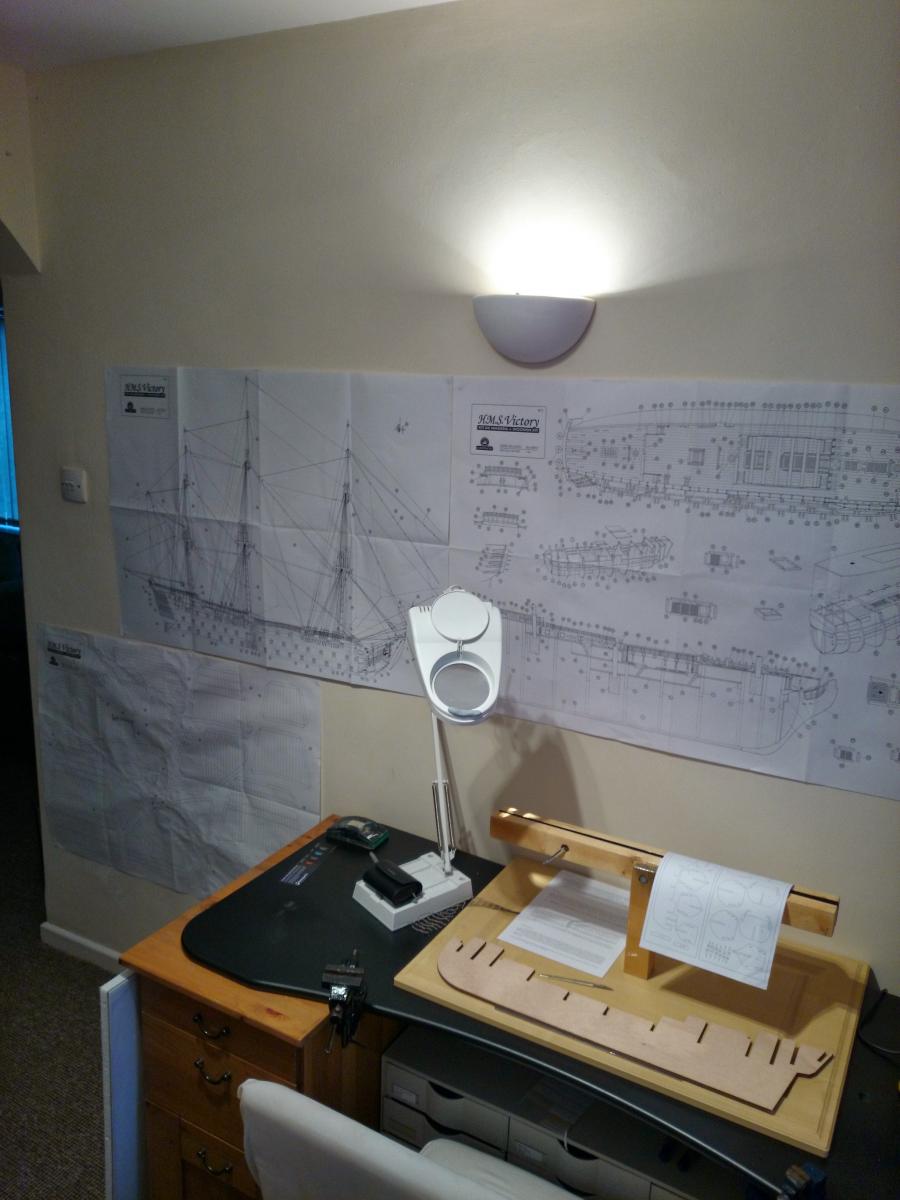
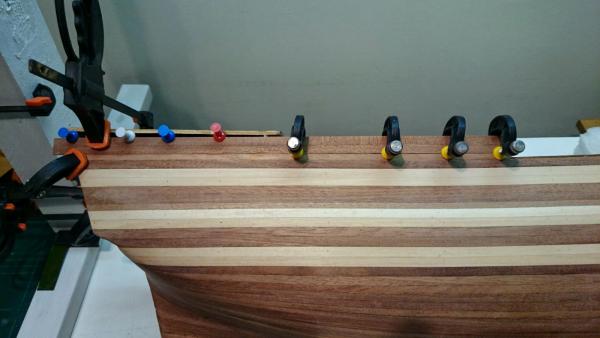
 Anyone building this kit, treat yourself to some strips of Walnut and ditch the Manzonia, the images are of the Manzonia bent, but I wastred a lot of strips trying to achieve this. The wood grain runs similar to what I can only describe as ply, and trying to bend so tight just split, split, splits and more splits before I got it to bend. Hot water, Steam, you name it I tried it. I will be replacing the lost strips with Walnut which appears the same. Colour matching of the same timber in the kit, don't get me started with that one. I may paint her but still haven't decided so the wood has to at least be reasonably close match Oh, just to let you know if your feeling brave to attempt it, well lets face it you have the Manzonia timber, use a plank bender, the pliers type that just creases the back with a blade and be careful, you need a lot of pressure but to much and watch it fly past your shoulder. Crimp as close together as possible mm even and bend as you crimp, they will behave eventually.
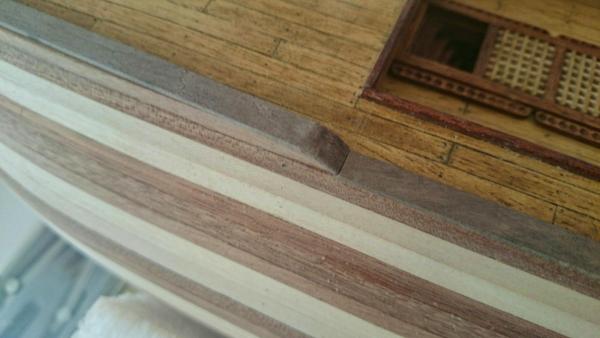
- 708 replies
-
- 8
-

-
- victory
- constructo
- (and 1 more)
-
Cheers guys, Ha ha contructo can't - bend - the -wood club, really would prefer my membership be cancelled. The other issue with that timber is colour shades
-
Has any one tried to bend Manzonia timber 6mm x 2mm, I need to bend it quite sharp for capping my bulwarks, Constructo Victory. Hot water doesn't work as its very dense, it is listed on the web as steam bendable. Has anyone achieved this without it splintering
-
Been browsing over you work, beautifully built mate
- 1,756 replies
-
- 1
-
-
- constitution
- constructo
- (and 1 more)
-
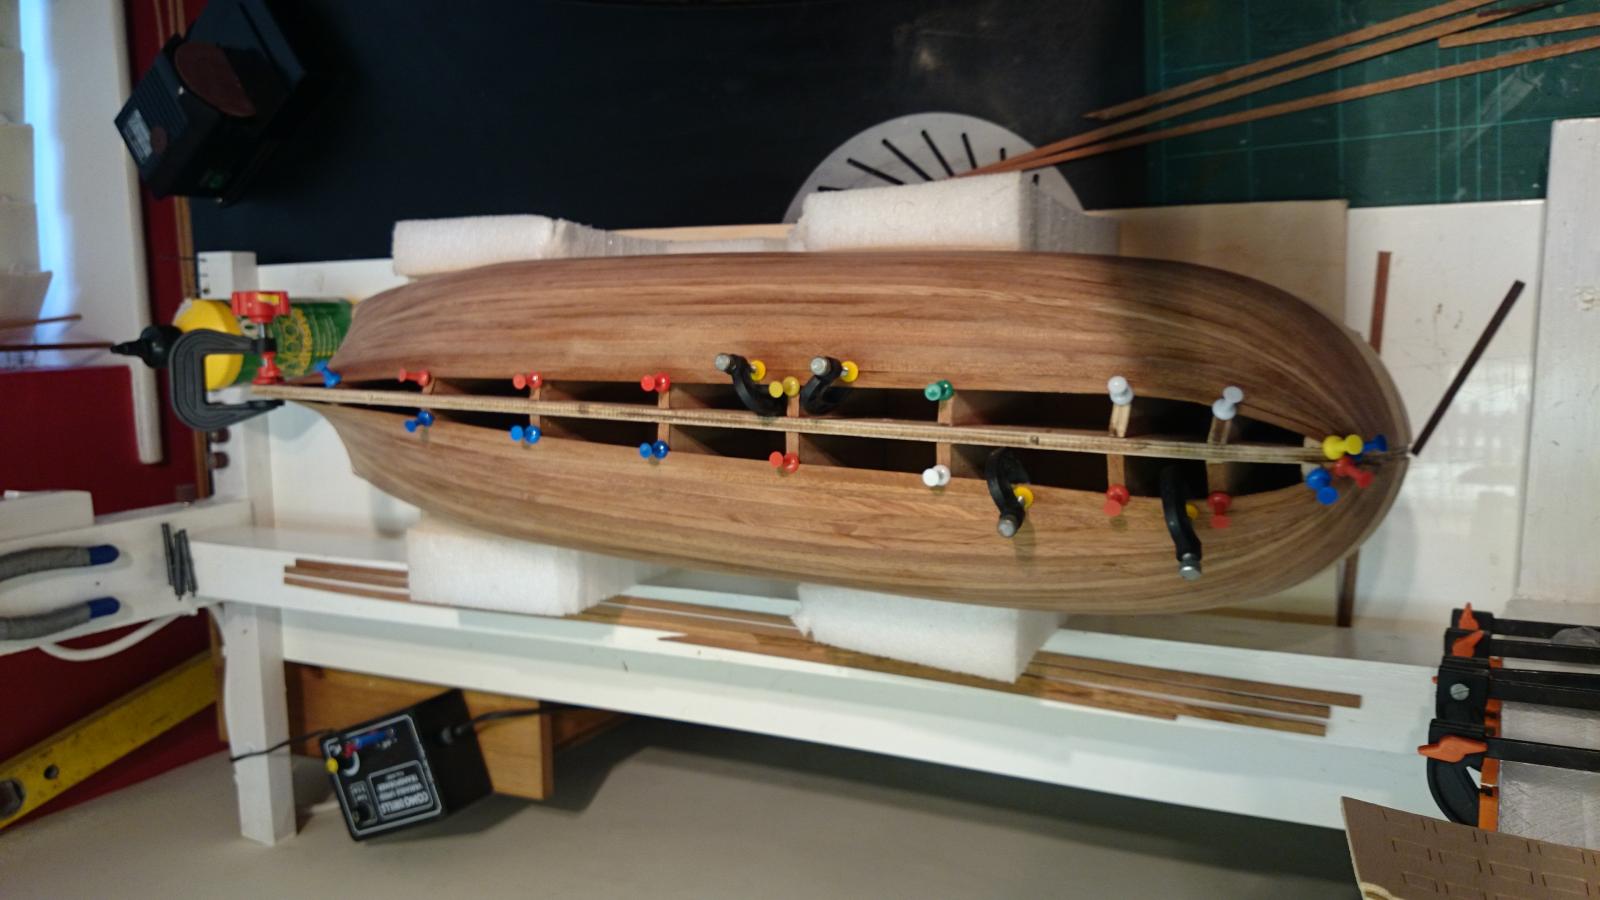
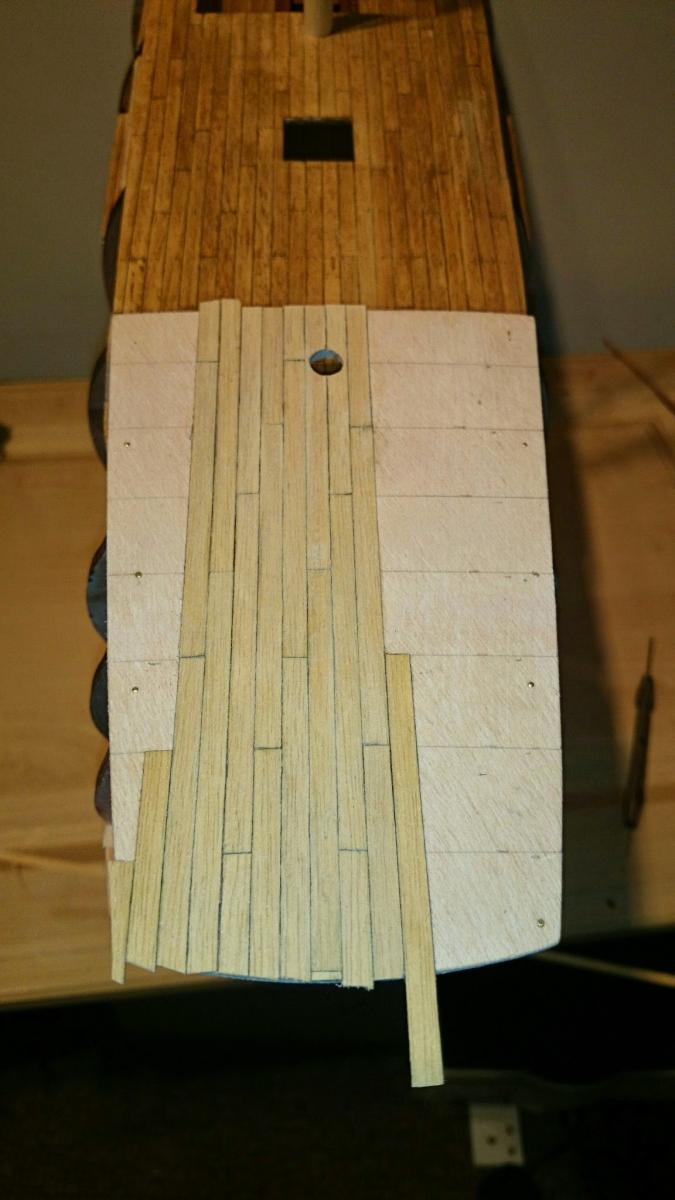
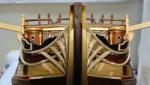
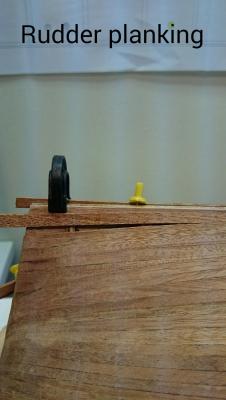
finished planking rear quarters and started the bulwarks.
- 708 replies
-
- 9
-
-
- victory
- constructo
- (and 1 more)
-
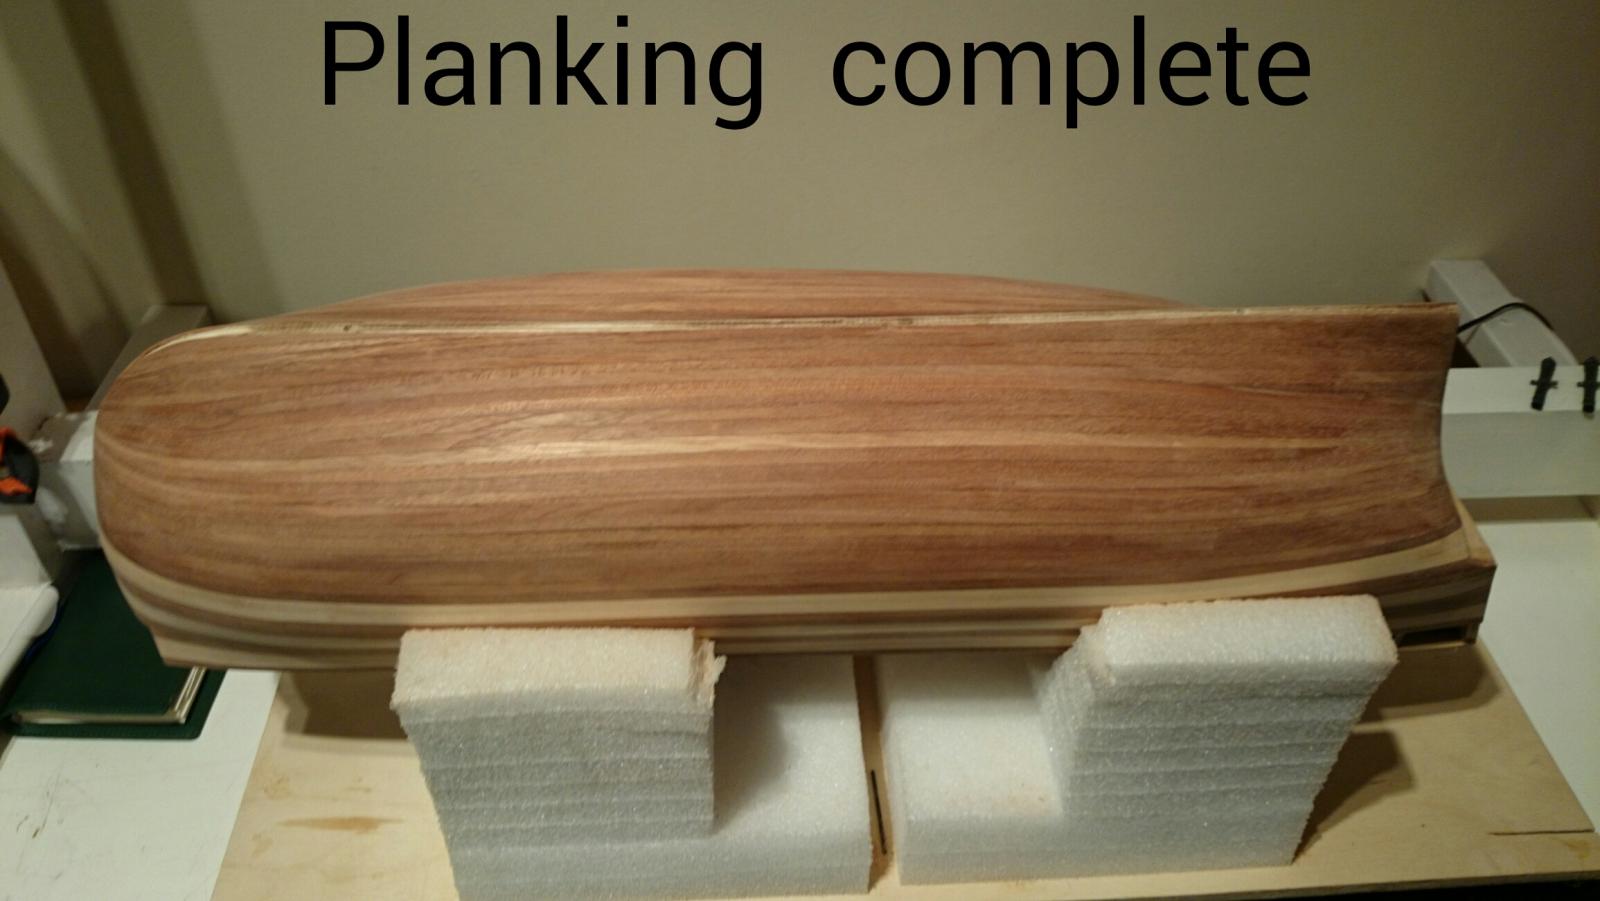
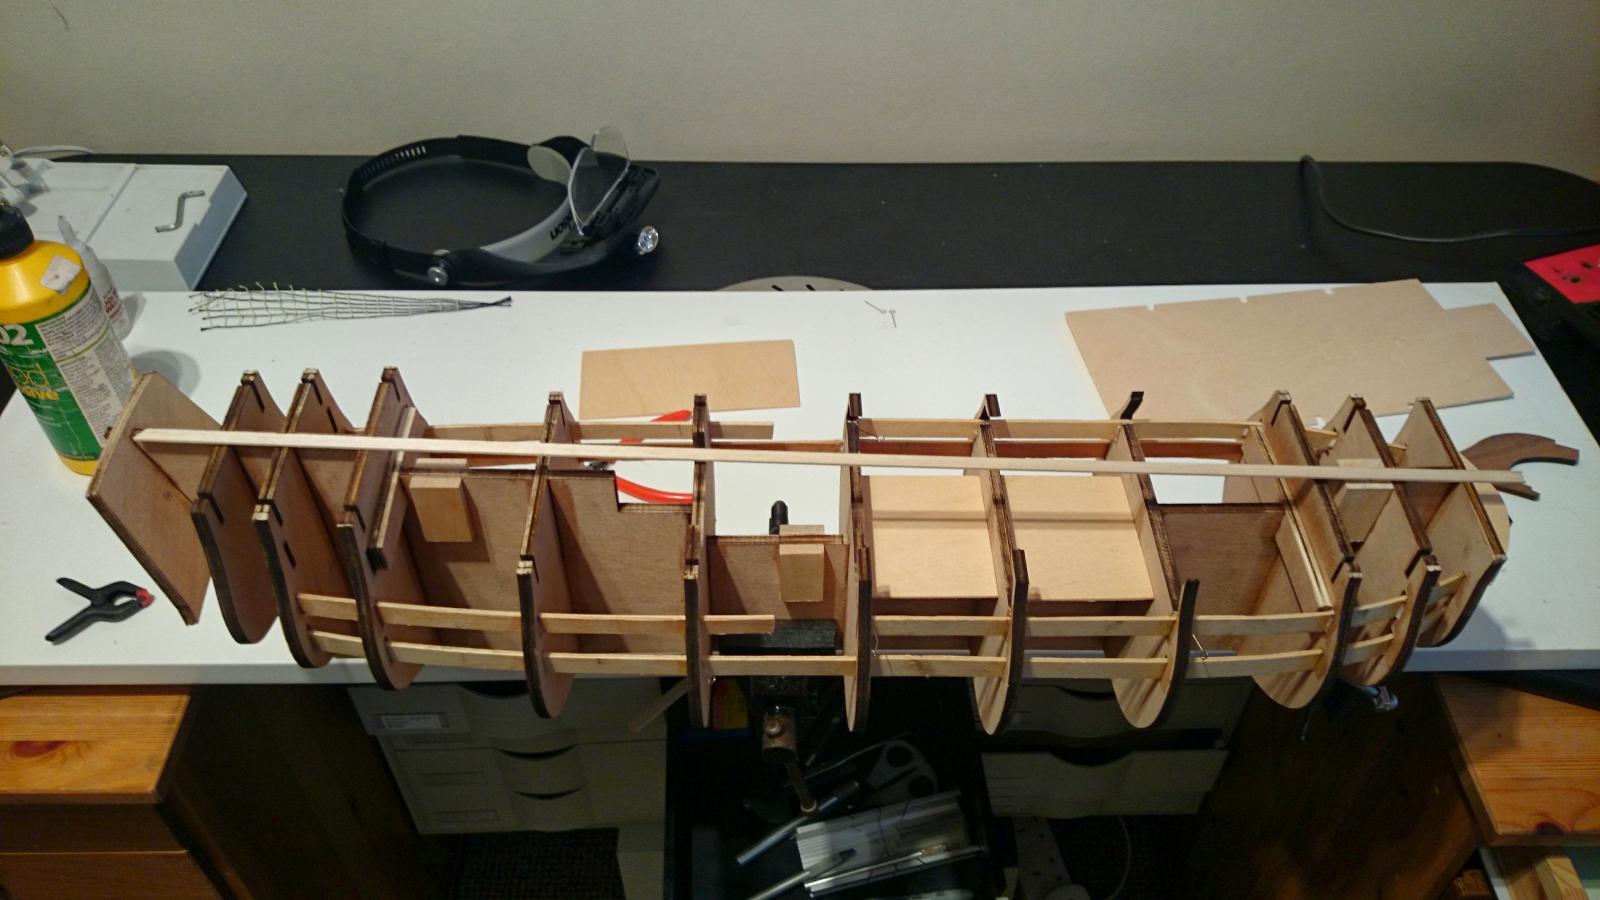
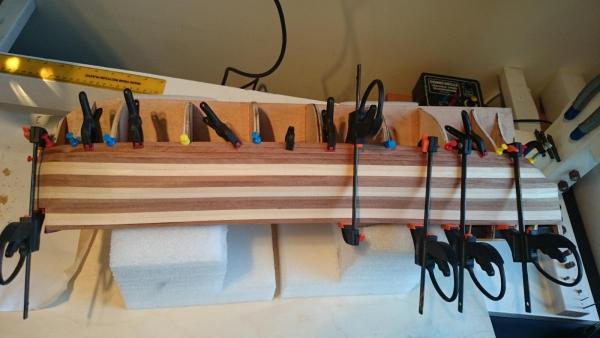
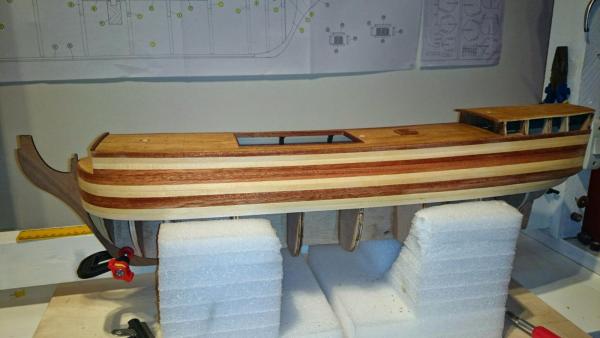
After 31 days and 61.5 hours I have finally planked the hull.

- 708 replies
-
- 10
-
-
- victory
- constructo
- (and 1 more)
-
Thank you Rich, I've almost finished the planking process but also intend to add copper too

- 708 replies
-
- 6
-
-
- victory
- constructo
- (and 1 more)
-
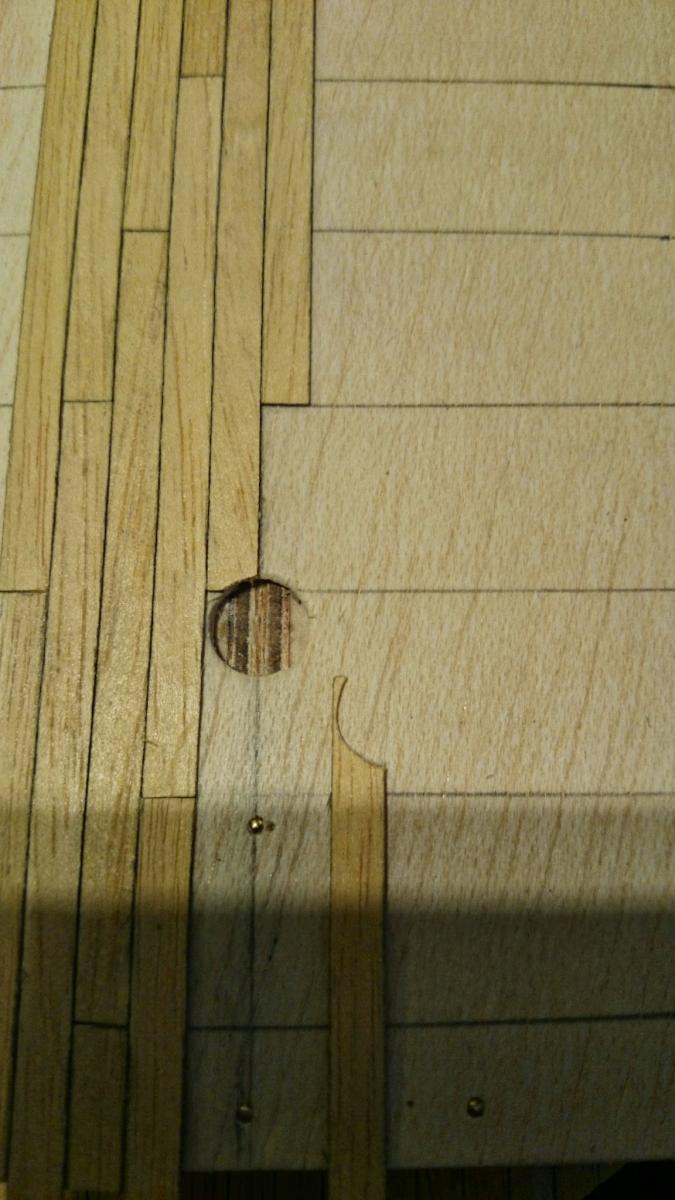
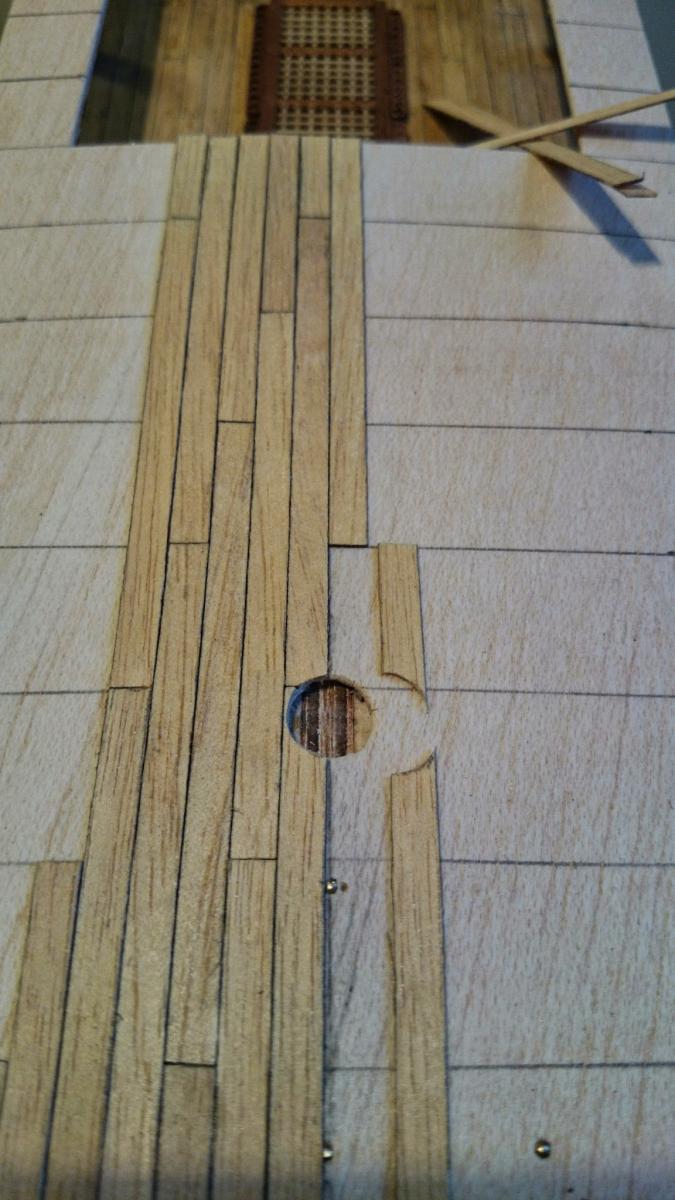
Be careful with your Sapelly planks for the hull. Do a stock check and ensure they are all the same thickness of 2 mm. I have 6 X 1.5 mm mixed in, the other thing is to look for cross grain, these will snap rather than allow you to plain them, I lost a few to this phenomenon. I have decided as I only have 6 planks to finish the hull that I'm going to use some vaneer as packing to acheivce the 2 mm required. I will message you the quantity of planks I have used to give you an idea how many by our likely to use.
-
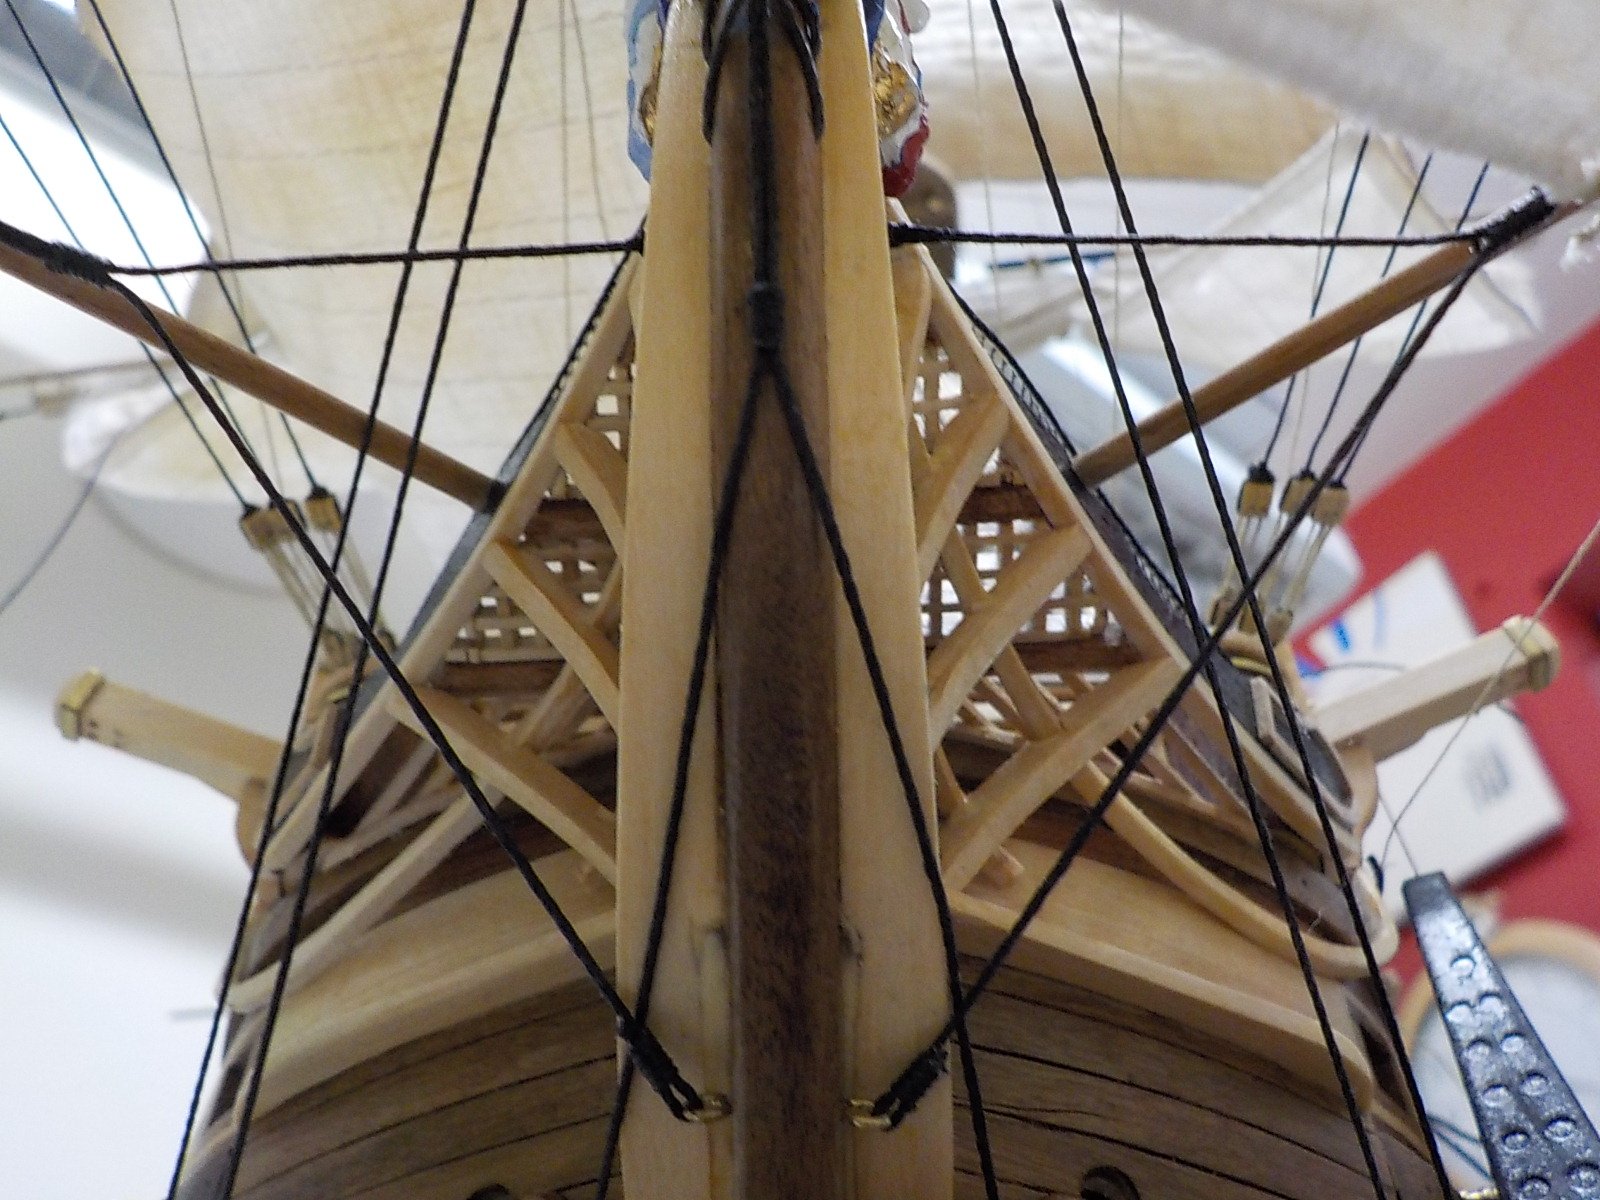
Just reading your build sifting through the images, wow that ship looks huge. Stunning cabin detail guys.
-
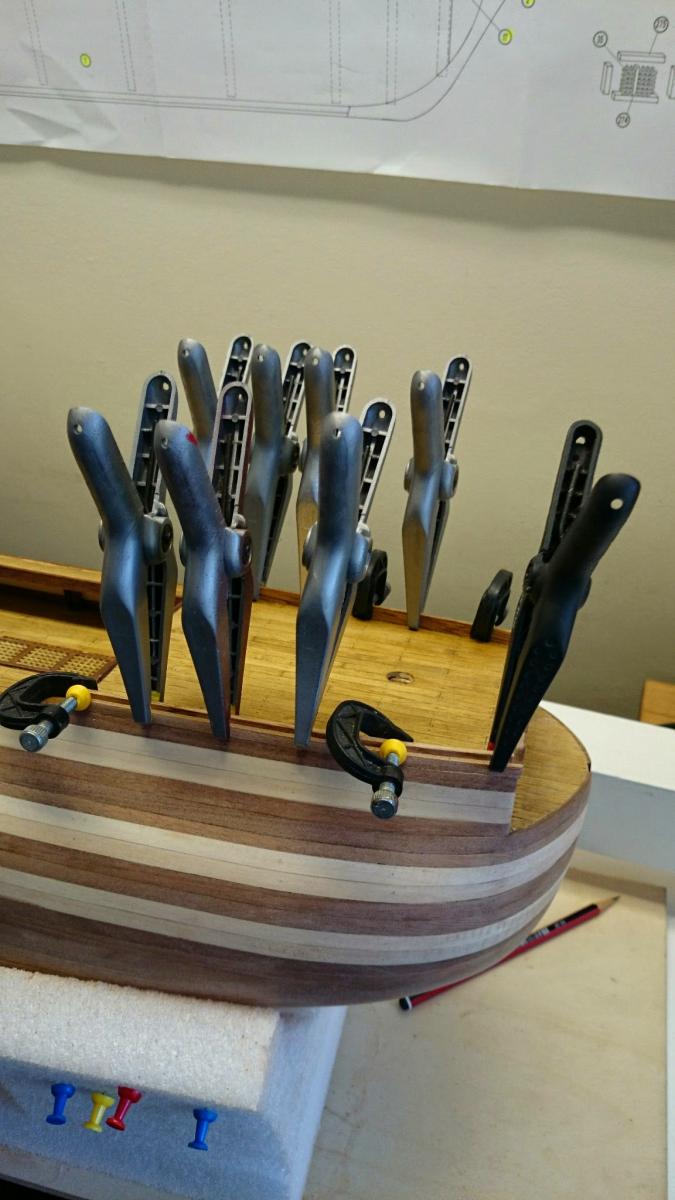
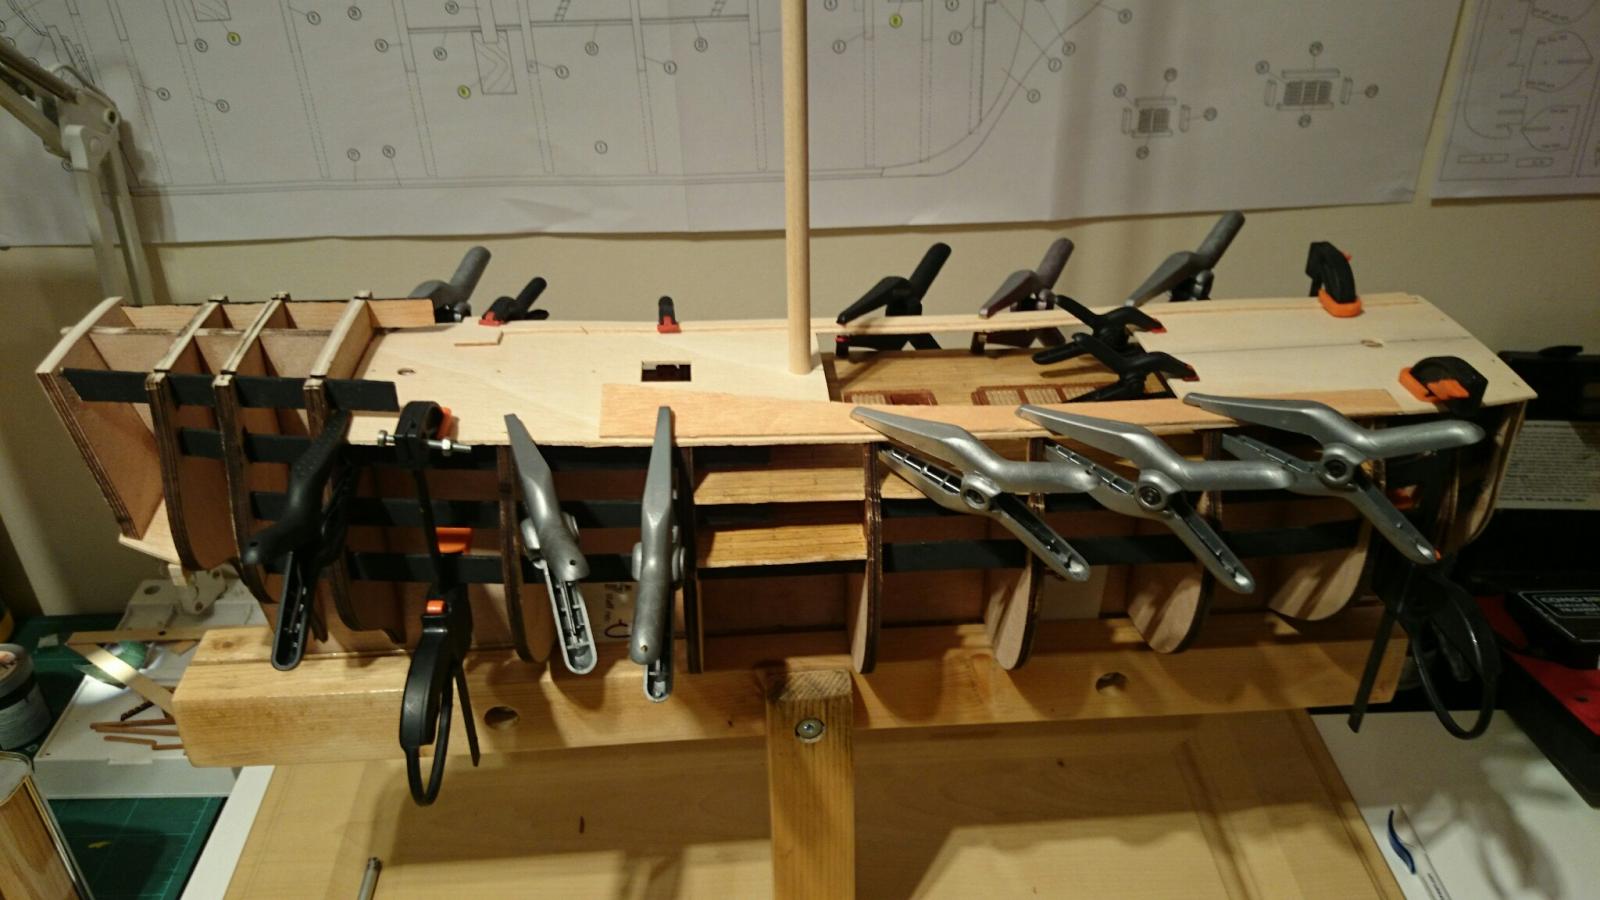
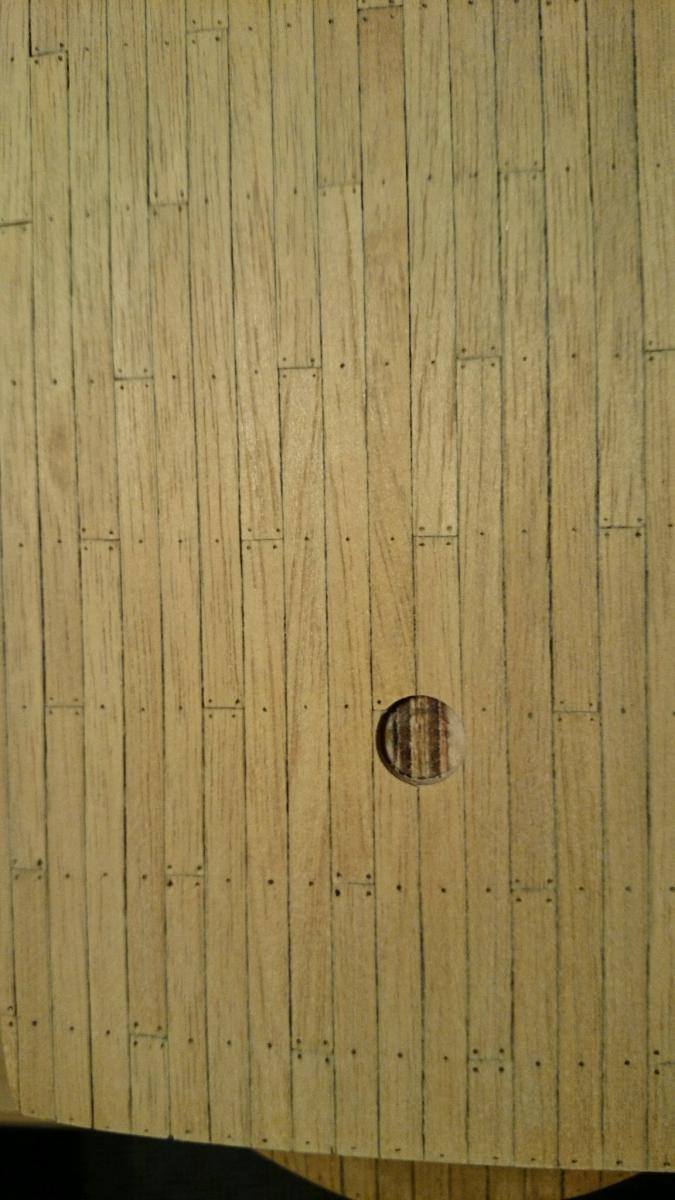
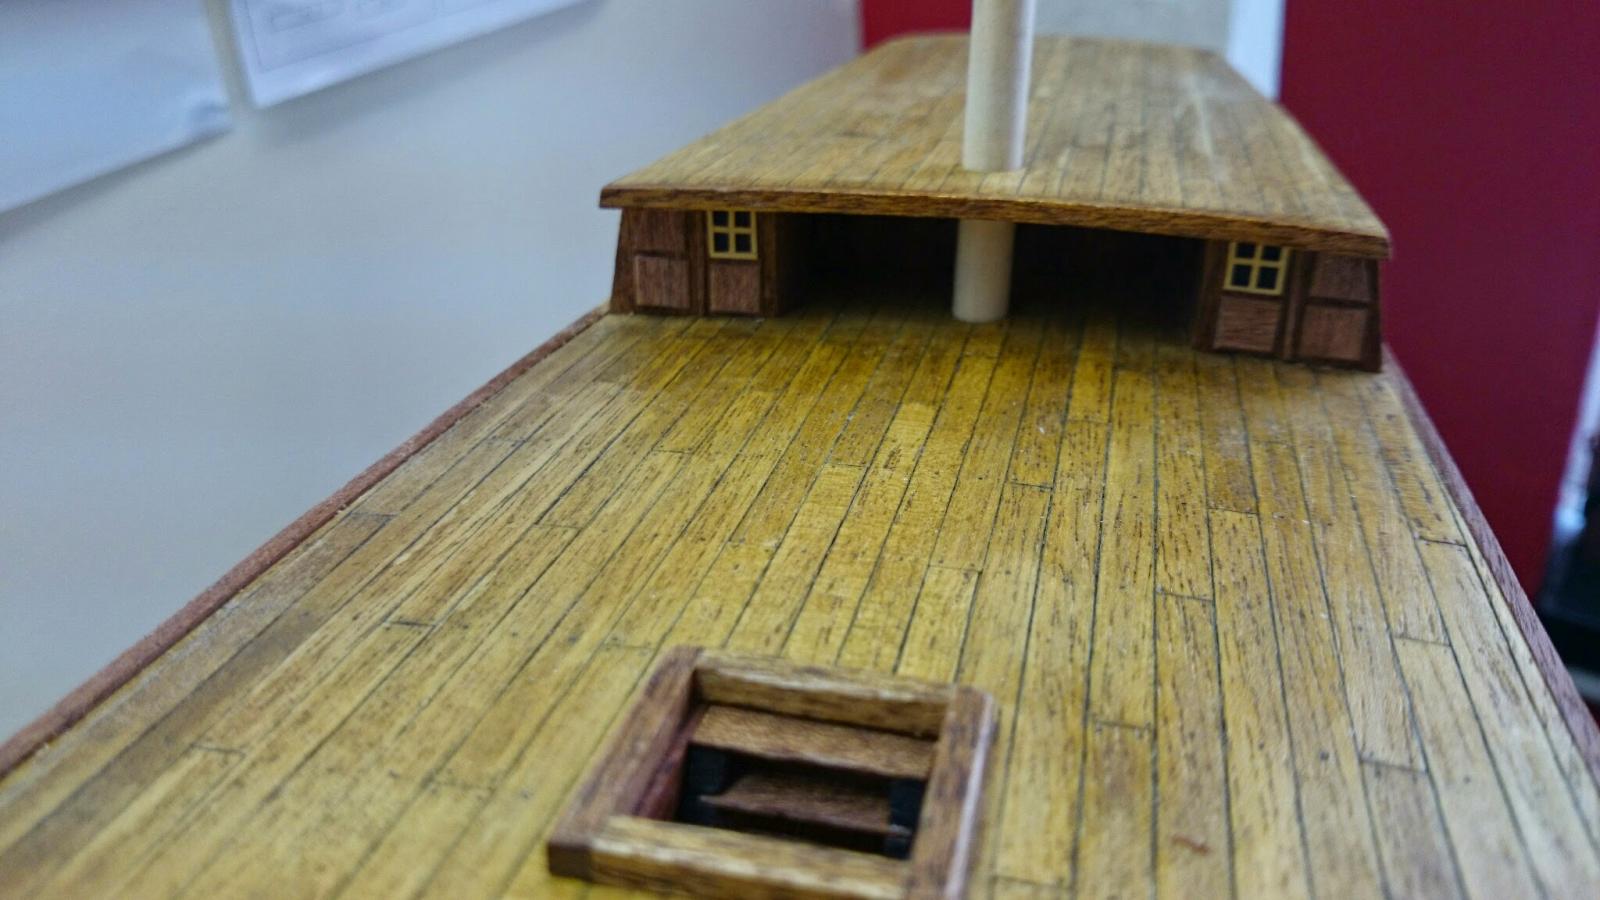
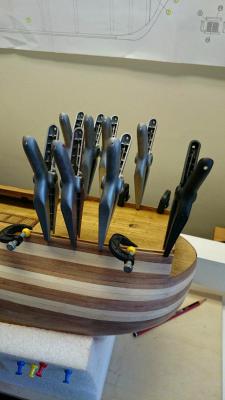
Oh, planking is a huge time absorber mainly as due to clamping your looking at two and evening, I have been sanding as I go along rather than all at the end. I have fitted 22 each side so far and I'm close the the bottom most sharp curve looking at 9 each side to hit the bottom but its slow and repetitive stuff, that said not as difficult as we read about but I've the tricky keel to hit yet. Oh just to help, I found the Sapelly very tough to work with especially on the aft section where the curve is extremely tight. I snapped a few I'm my learning and finally found for me the only way is soak in boiling water about 20 mins and apply the thick part of a soldering iron to the area and gently pull up as I slide the iron over the area. I would if I build another purchase the proper iron / bending mould but its patience because just when you think you can just go that bit further, snap, a long time wasted and I've done it a few times as I said. I am concerned regards my plank stock as 5 strips were quite a lot thinner than the rest.
-
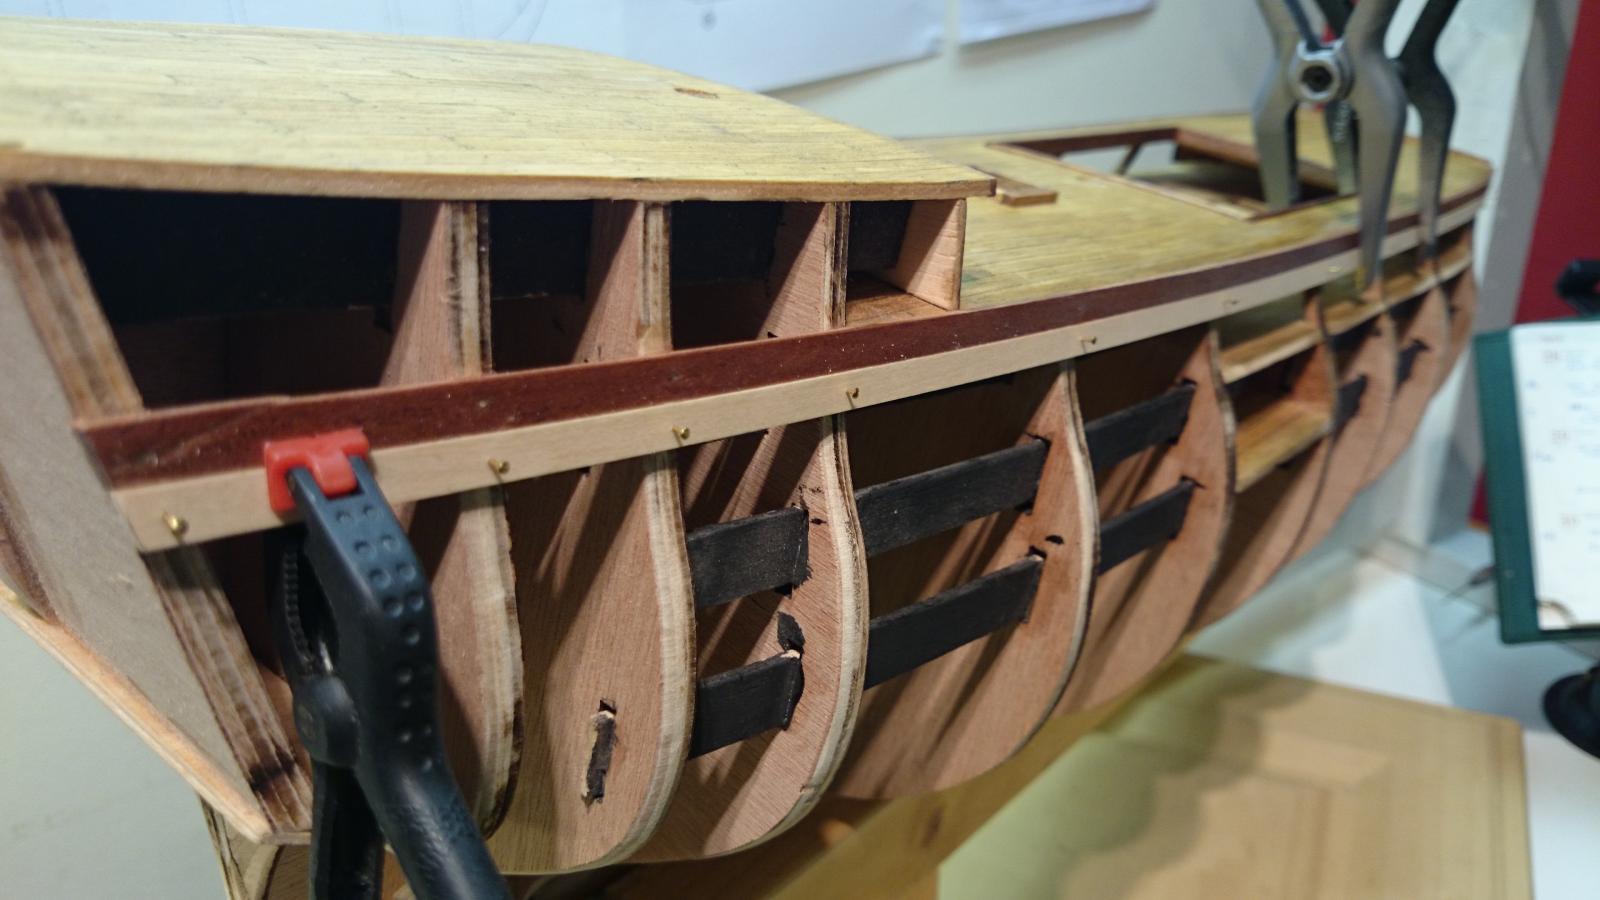
Oh you said you were a chicken regards tackling the gun ports, have you passed the job on to some one else, Victory, its basically all gun ports and not mush else its like a sieve with all the holes
- 708 replies
-
- 1
-
-
- victory
- constructo
- (and 1 more)
-
To be honest I will do the same as you did , it should be OK as the kit manufactures put a lot of effort into trying to make it all line up for us builders. Just maybe not the best at putting into words what is expected of us and sometimes in the right order
- 708 replies
-
- 2
-
-
- victory
- constructo
- (and 1 more)
-
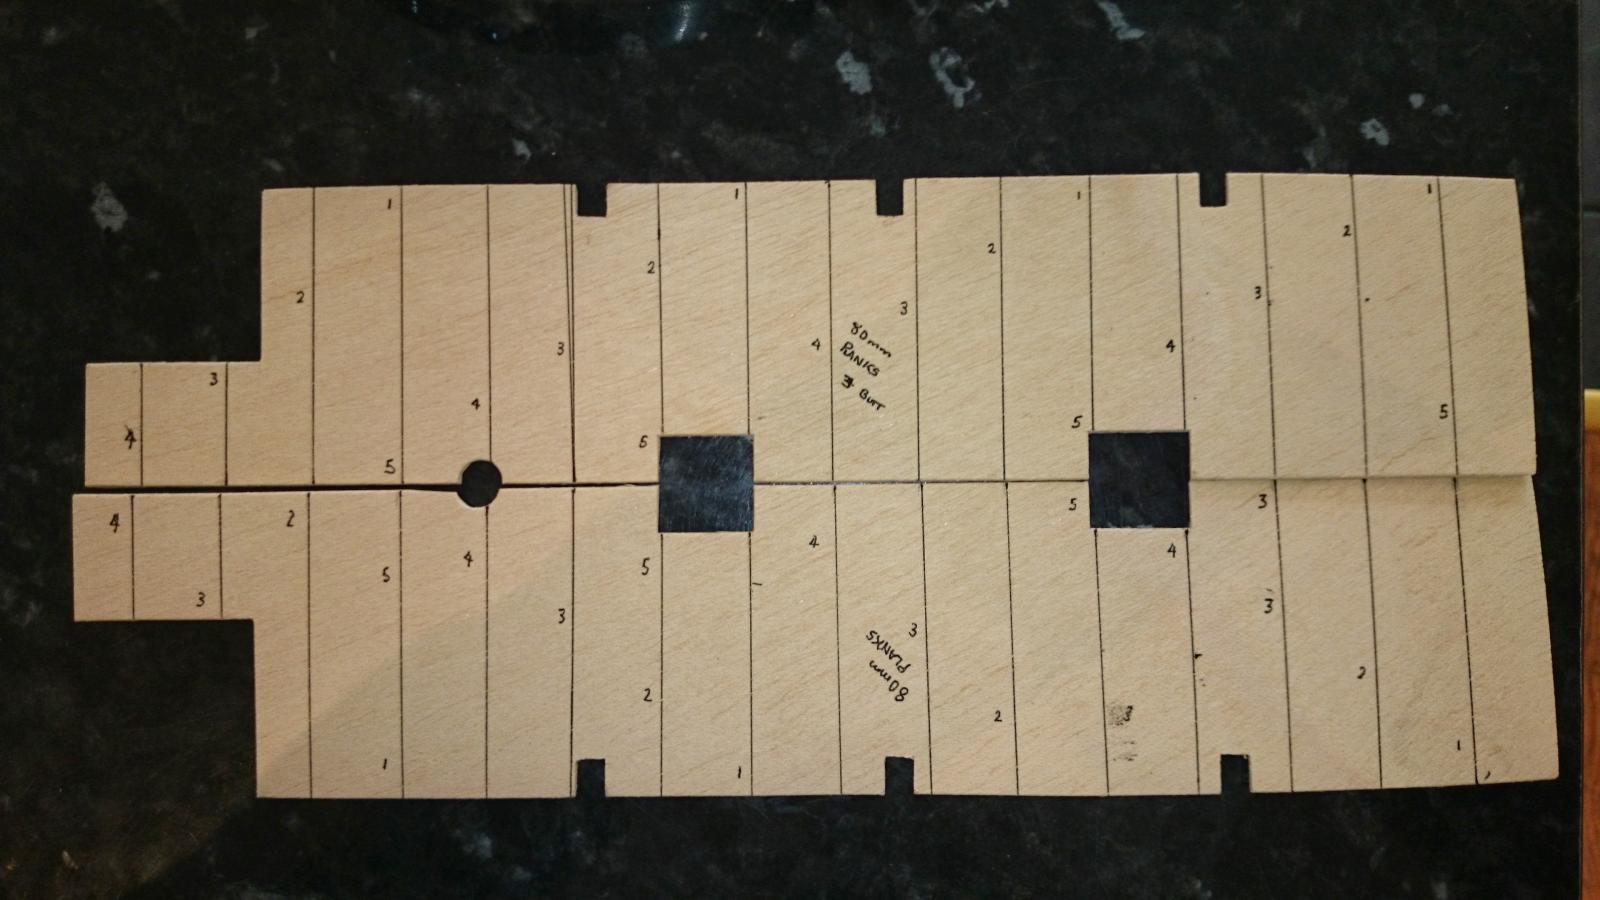
Ha ha, I'm looking ahead and thinking its a lot of measuring. Caldercraft pre cut them but not this one. I'm planning on finding all the centres first but cutting out, not sure what to use yet, no room for errors at all.
- 708 replies
-
- 3
-
-
- victory
- constructo
- (and 1 more)
-
One picture was taken on my board upside down but the other on its side I'm not sure, Oh pins come out easy with a twist. Taken on my phone Sony Z1
- 708 replies
-
- 1
-
-
- victory
- constructo
- (and 1 more)
-
latest pictures, planking the hull, planking a slow process as I'm sure many have done many times but this is my first so I have no idea what pitfalls lie ahead.


- 708 replies
-
- 11
-
-
- victory
- constructo
- (and 1 more)
-
pilidk, where did you get the copper plates from to match the scale as I intend on having her look she does in dry dock. Tinyelle if you using the pliers that snip the plank to enable the bend, be careful, too deep on the light wood and you can sand into the compressed wood and it will show a line, I have sanded and have 4 visible near the bow. Oh if you were to use the Vaneer sheets how on earth are they to follow the contours of the hull. I did a dry fit to get the look but they want to buckle to conform to the curves. PLANKING is slow, very slow, two an evening if I'm lucky, due to clamping the first. Oh just a helper, I started using a tiny drill bit and drilling the plank then using the kit brass tacks and putting then 3/4 through, this works fine if a pin head doesn't come off but I later snapped my ideal drill bit and started using the plastic headed drawing pins and they are far easier to use.
-
Looking good, I'm, time wise quite far ahead of you as the planking of the hull eats time for fun. I have at this point decided to colour my model as she sits in Portsmouth and have the cannons as per real ones and not pretty brass. This decision was made and helped along by the wood grain / colour, the wood is, well wood, and the grain and colour differ from strip to strip as one would expect. I struggled to get enough planks what I would call suitable to sit side by side to be varnished to match box art but that said when I went for this Beautiful ship the colour was also part of the look. I don't take well to painting wood as wood is lovely natural look. What is your intension regards finishing, varnish or paint
-
After making the first 3 steps I still have 4 full length sides that's 2 L/H & 2 R/H plus half a length of each also, I'm not sure why your so short on stock. That said you can always make your own sides from stock timber if you do fall short.
-
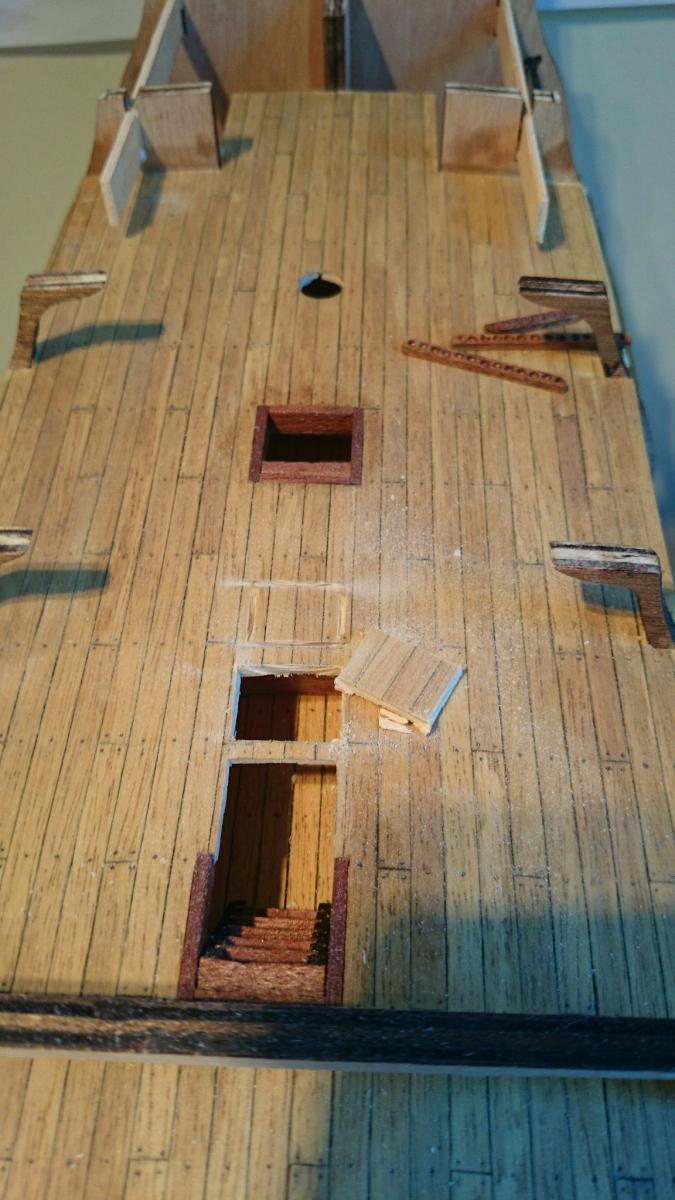
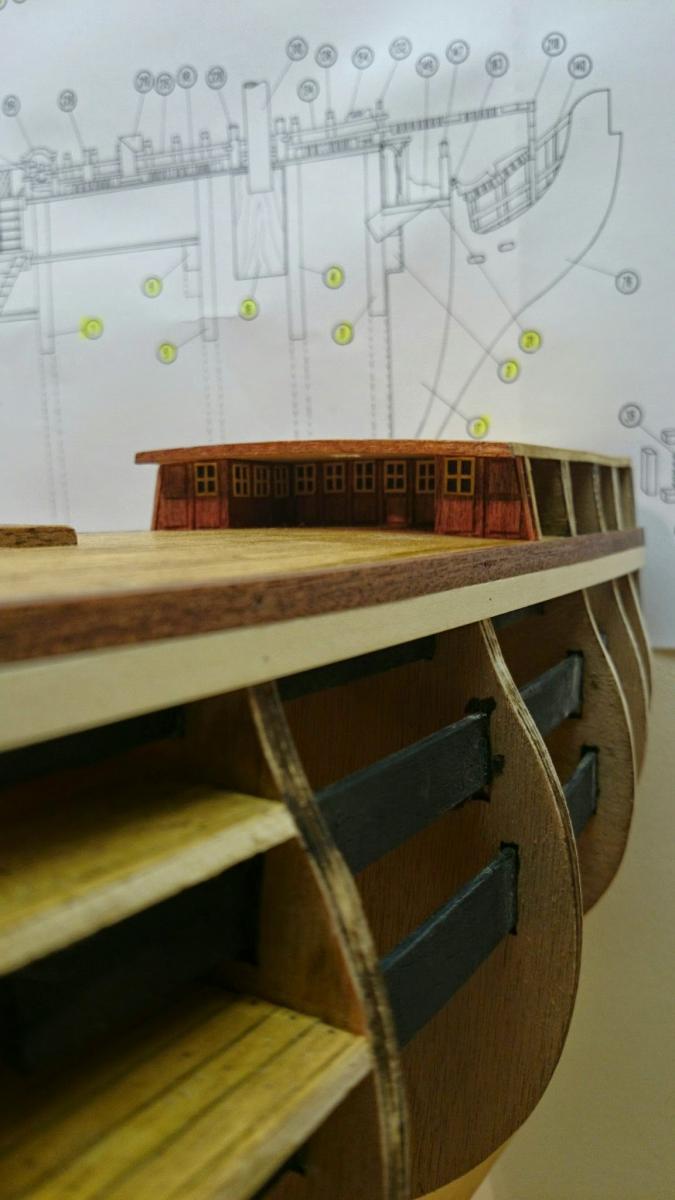
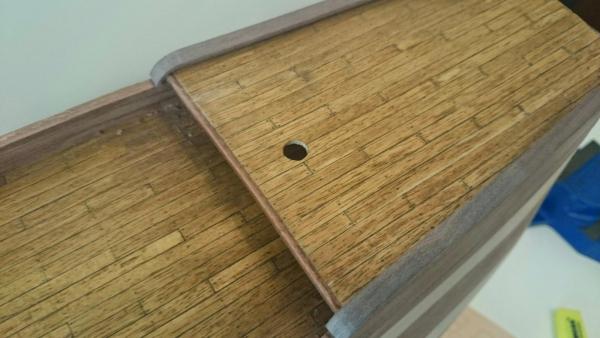
Im not sure what you mean re steps but there is another 2 sets to be made which go up to the poop deck above the captains quarters, as for caulking I used pencil around the edge of every plank and the finished look is great. I put images on but being new I put them in finished models section. Whoops sorry admin, we need to email to prevent cluttering your log
-
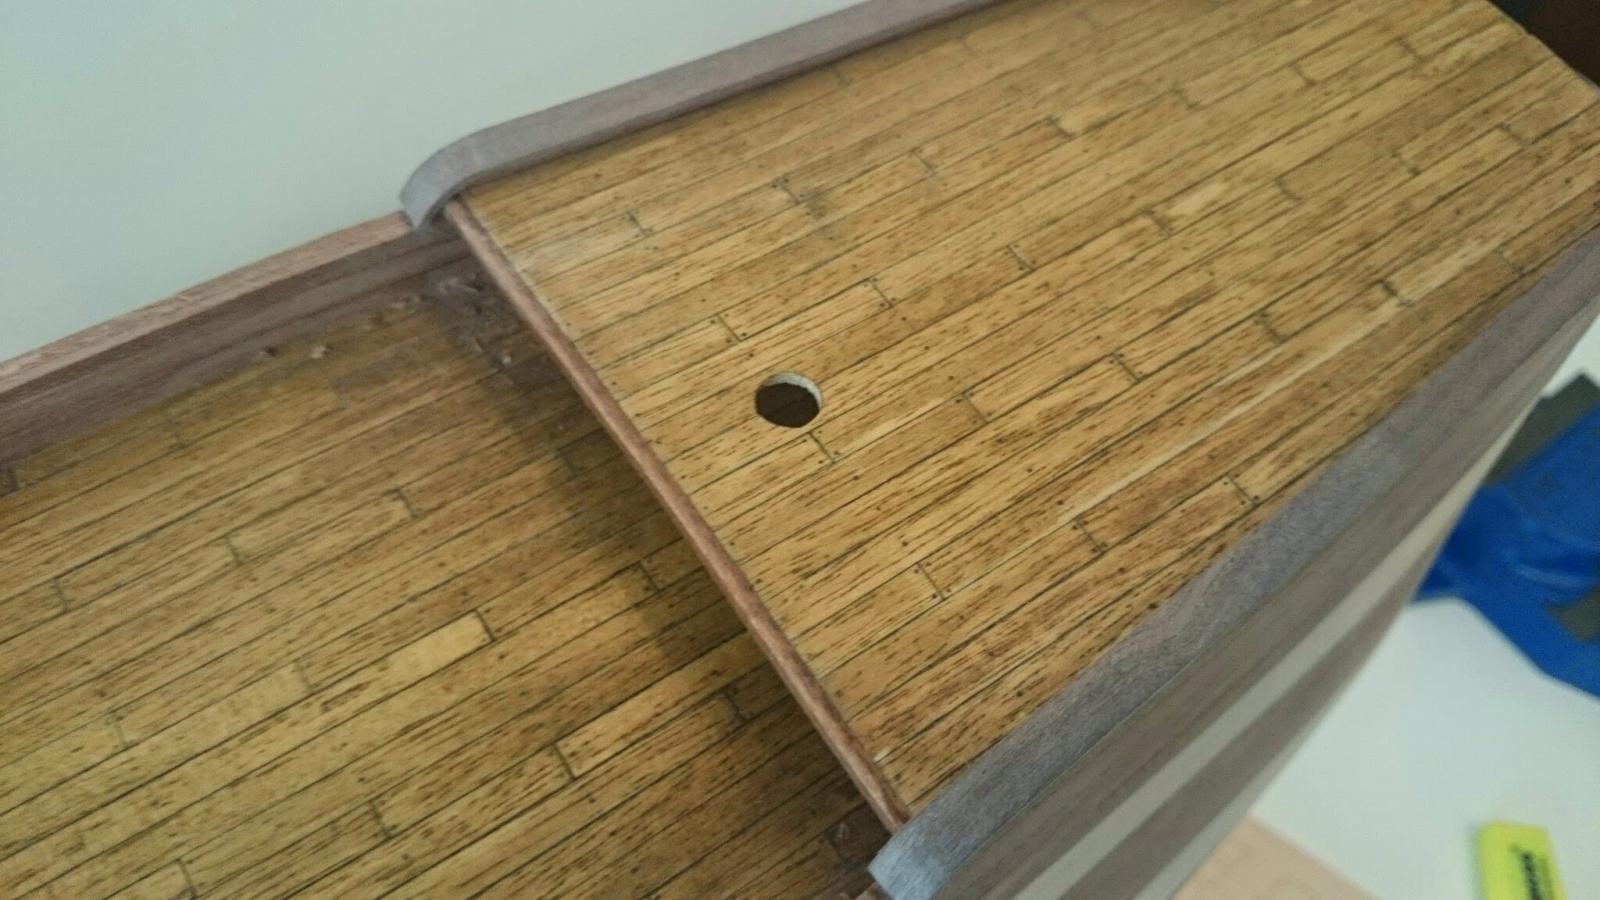
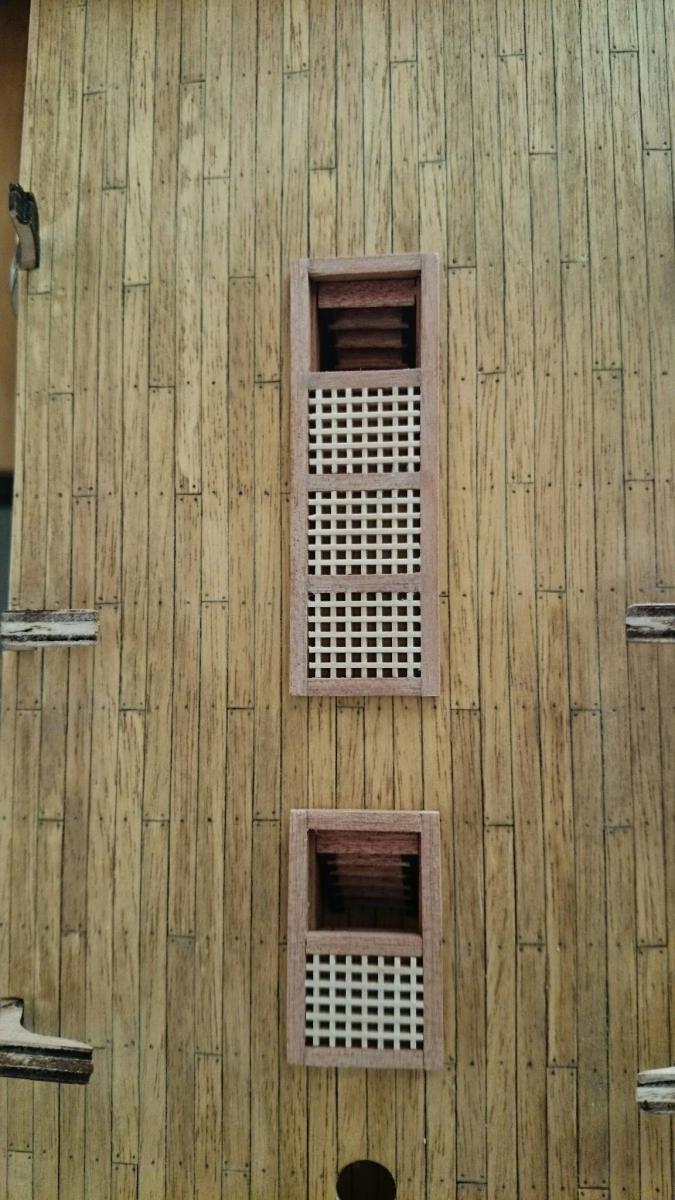
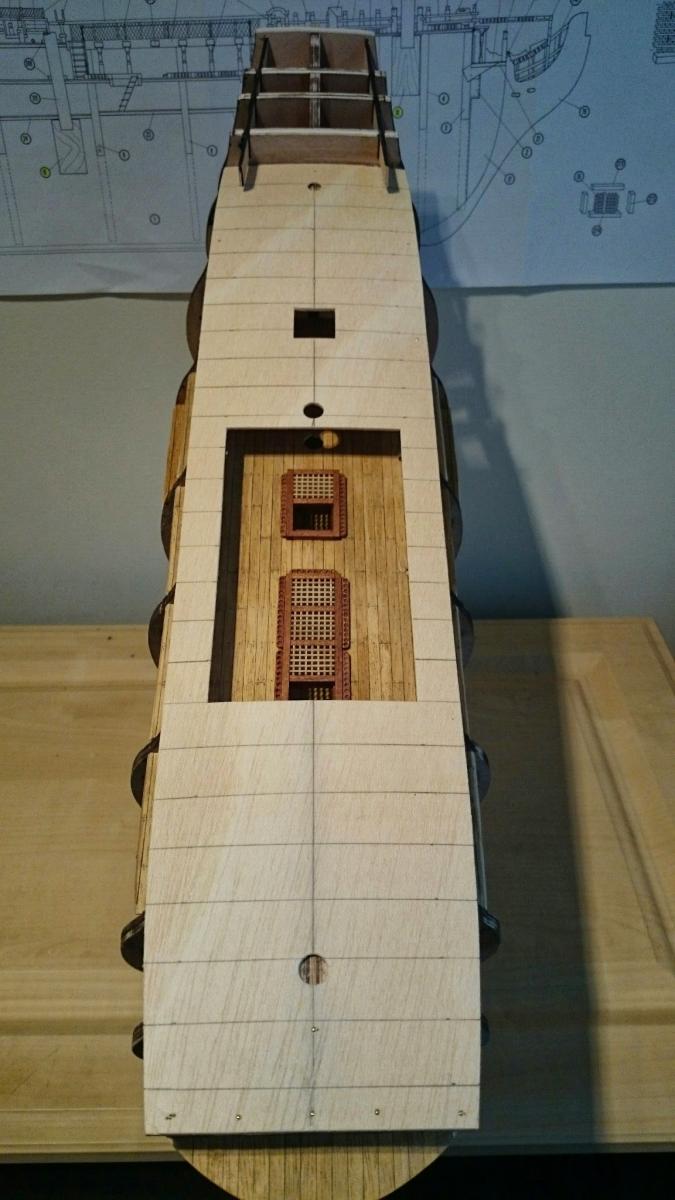
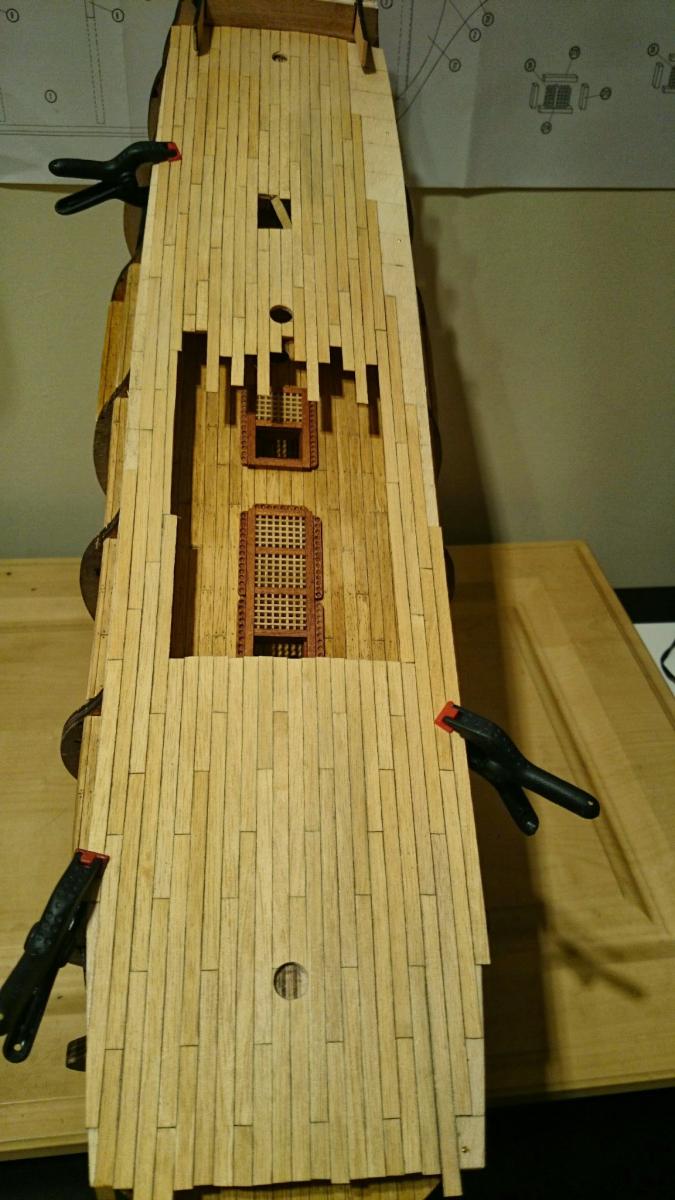
http://i91.photobucket.com/albums/k295/Paul0367/Mobile%20Uploads/2014-05/PICT_20140504_003204_zpsakqlhqq_edit_1399209339495_zpsmmyuvihn.jpg I'm not sure regards the posting of images on this forum so here goes. Please note the error made on the constructo kit, the grates or grilles as some call them should be the same as those on the top deck, the main parts, meaning the solid as viewed from above should run fore to aft but for some reason the lower deck runs from port to starboard, why, not sure but I found this info after I installed them. Hope the image posts ok
-
I have the same kit and looking at where you are we are almost at identical points. ( obviously when you posted this back in February ) I decked the lower decks as per manual but end up putting another layer on with the addition of caulking to the planks. As this is my first post I am struggling to post images. or even find out how Builds looking good Paul