HOLIDAY DONATION DRIVE - SUPPORT MSW - DO YOUR PART TO KEEP THIS GREAT FORUM GOING!
×

bensid54
-
Posts
531 -
Joined
-
Last visited
Content Type
Profiles
Forums
Gallery
Events
Everything posted by bensid54
-
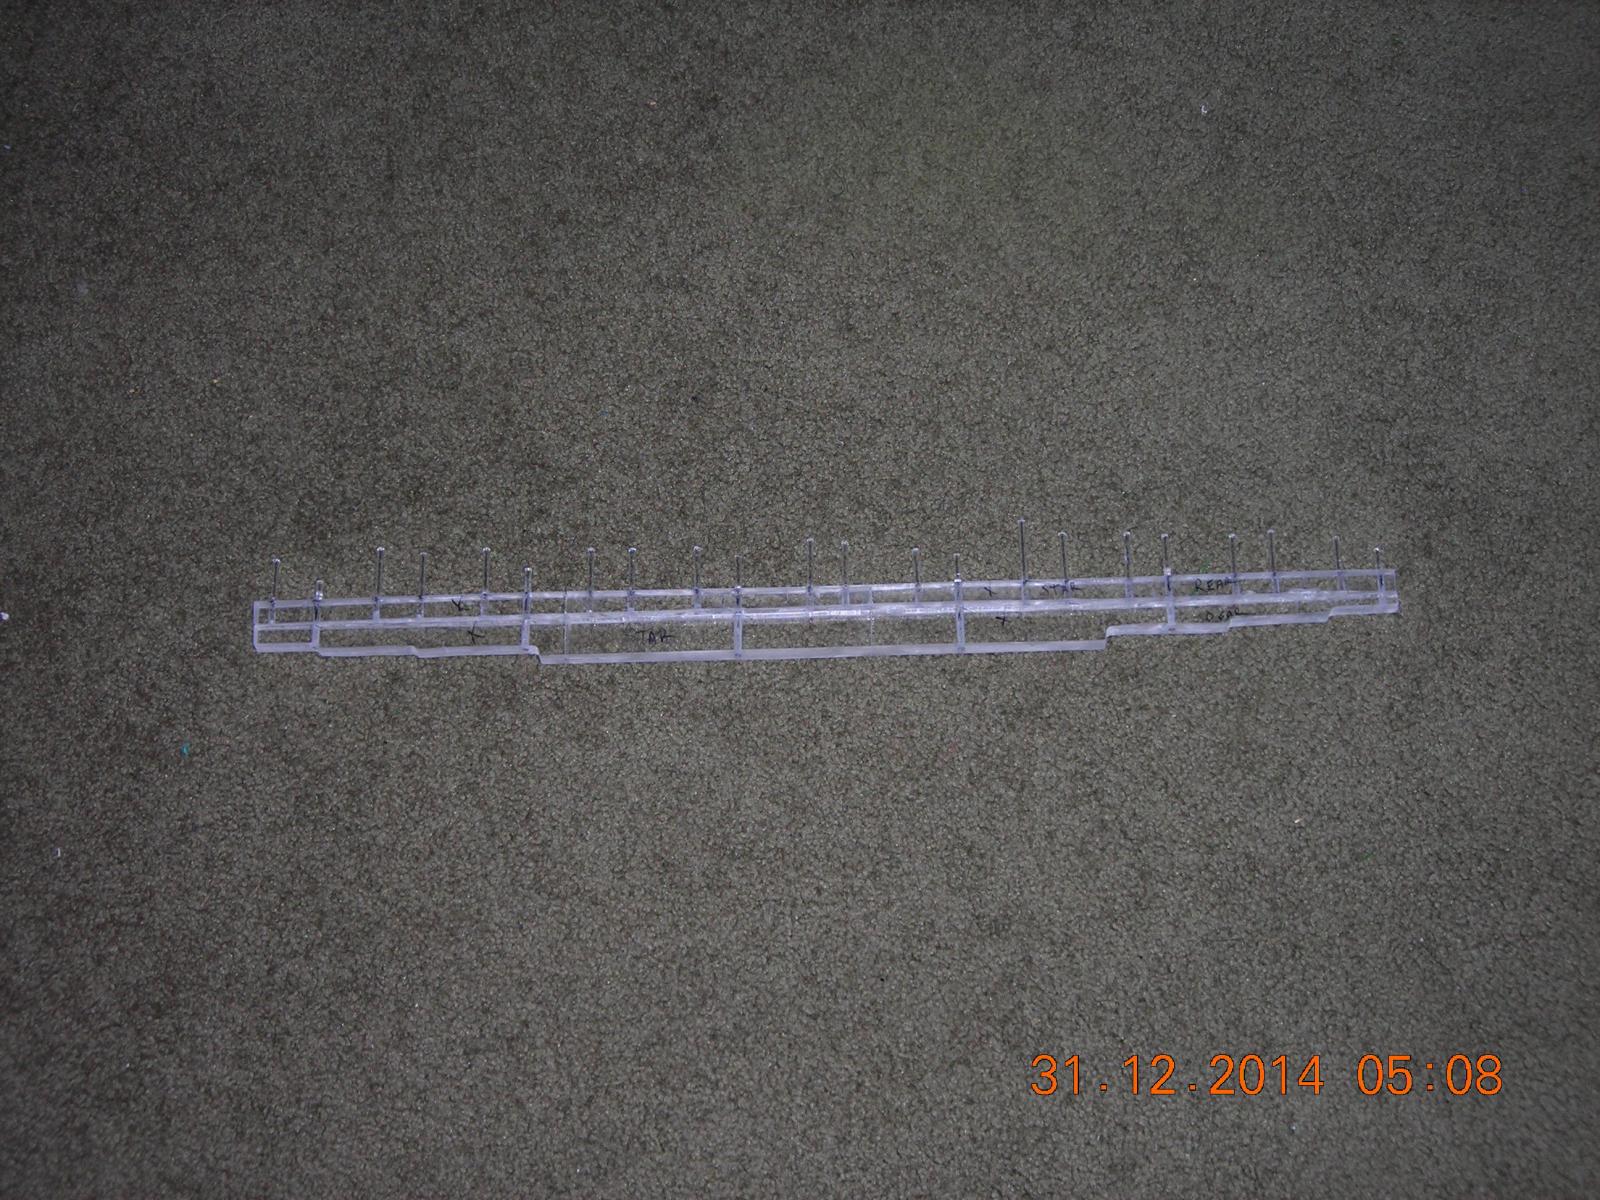
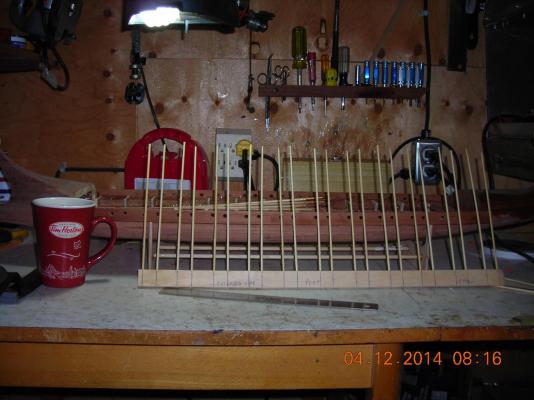
 These two pictures show what the final look of the oar racks will be.
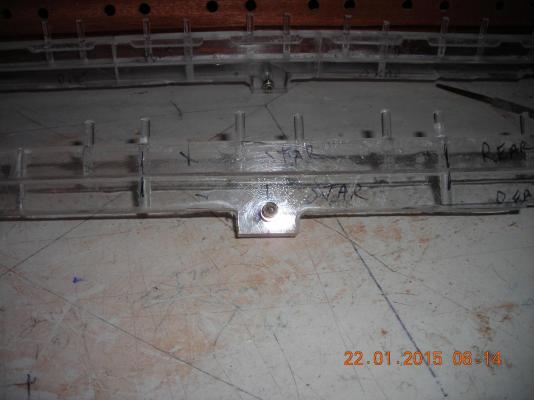

-
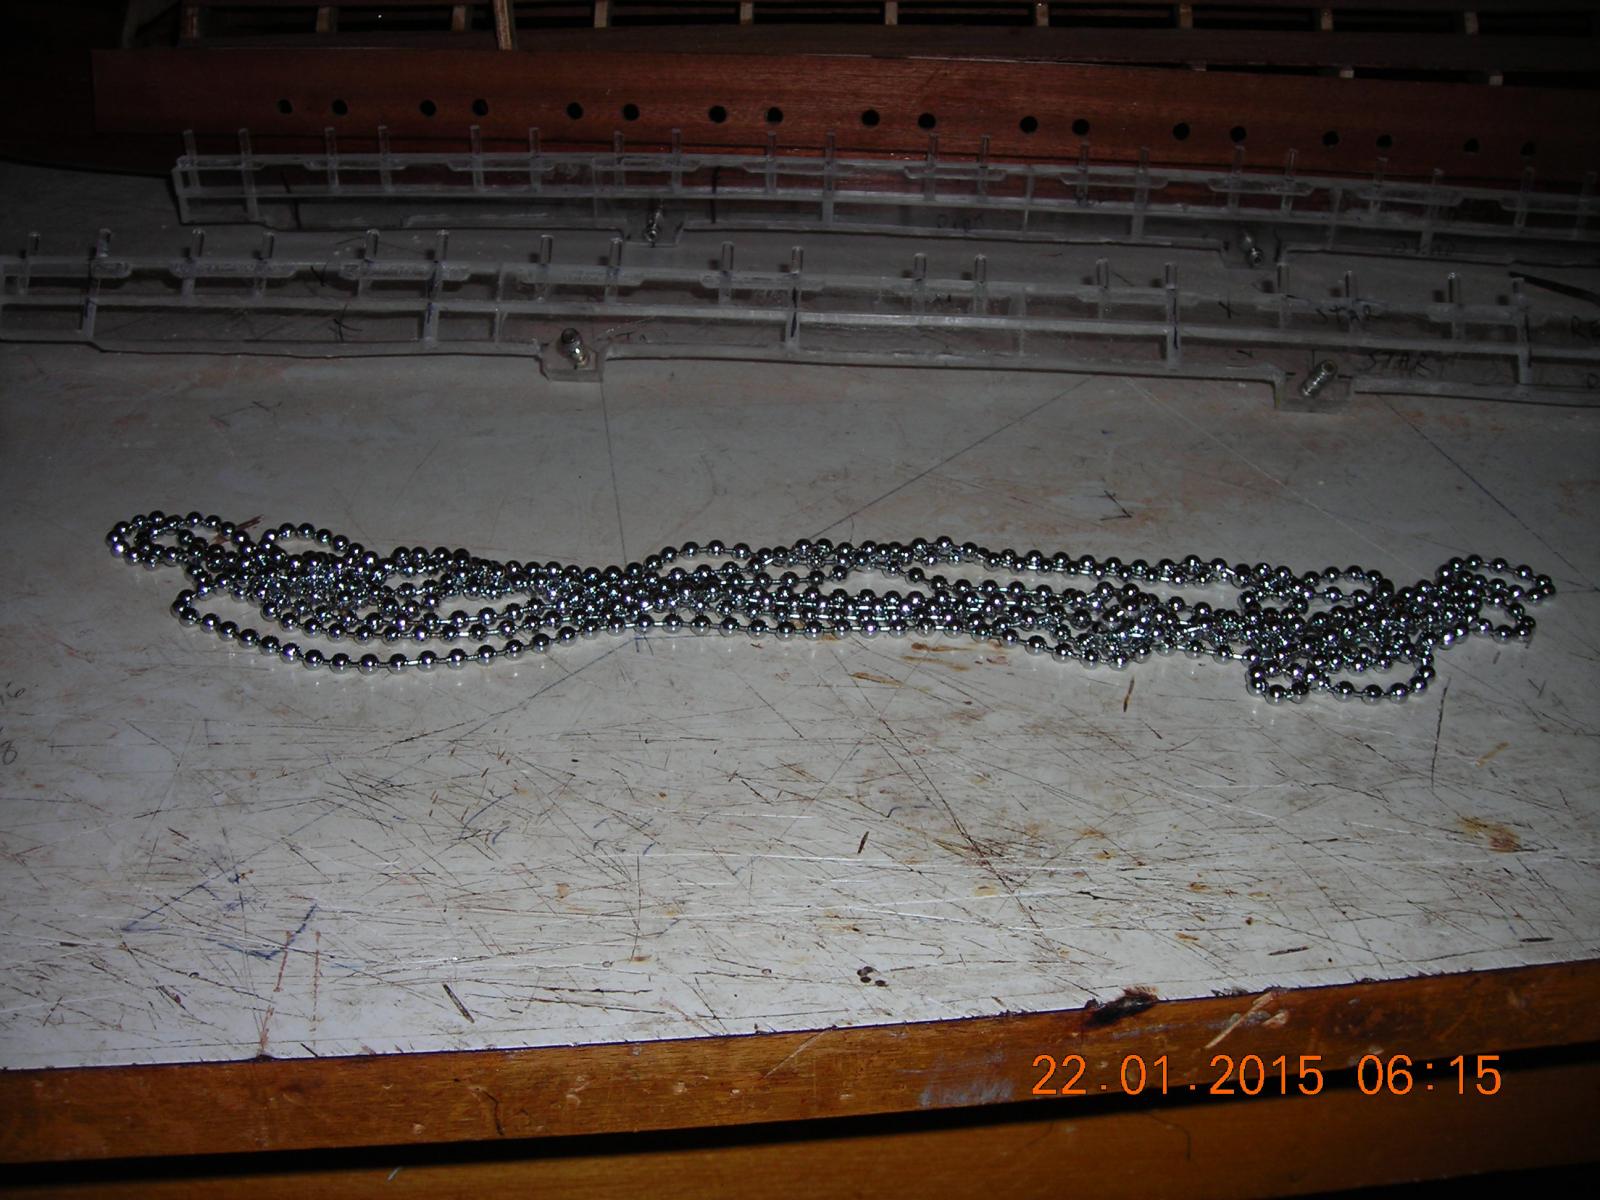
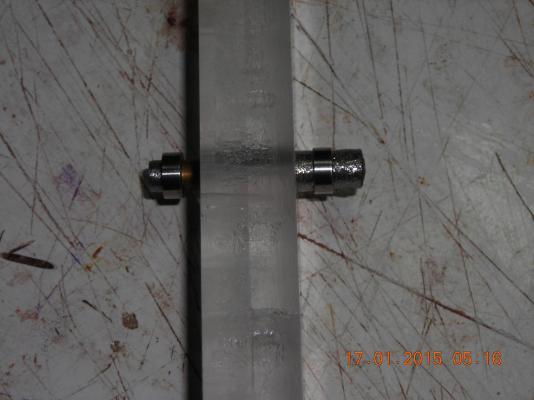
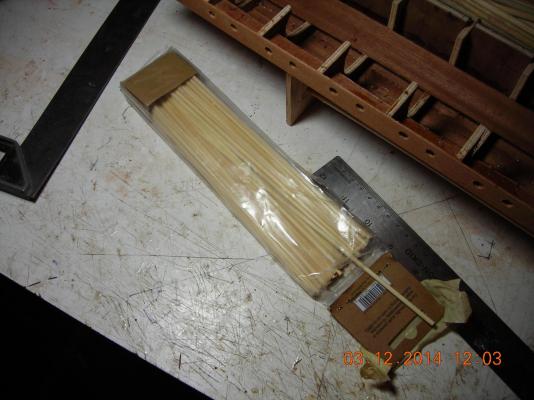
Machined the nuts and bolts for the race track followers, they look rough because I used a rough stone in my Dremil while spinning them on the lathe, mounted nuts, bolts, spacers and bearings on oar racks. I machined the nuts and bolts down so they would not get in the way of the race track. The picture with the white bag is my supply of oar retainers they will be split and cut in half.


-
Thanks for the compliments! I'm going to change racetrack make the radius of the corners a little bigger, when I woke up this morning it occurred to me the corners may put too much strain on the oar racks.
-
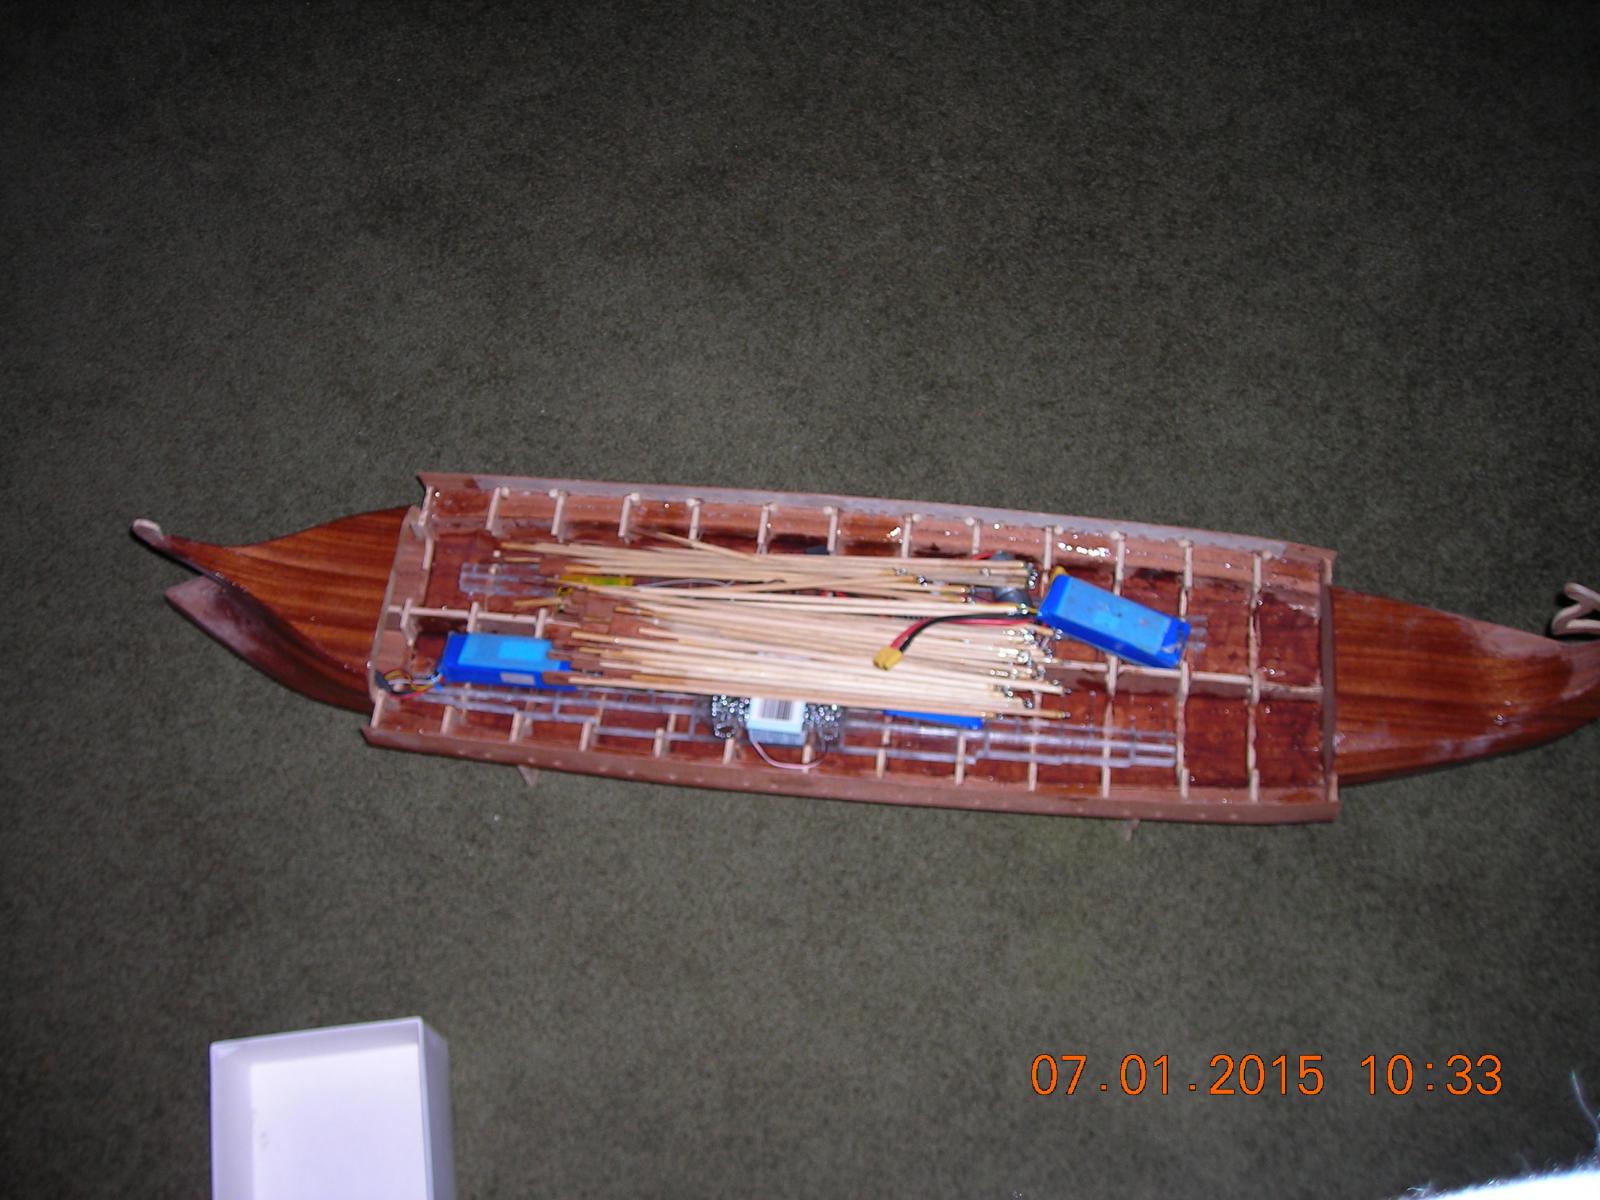
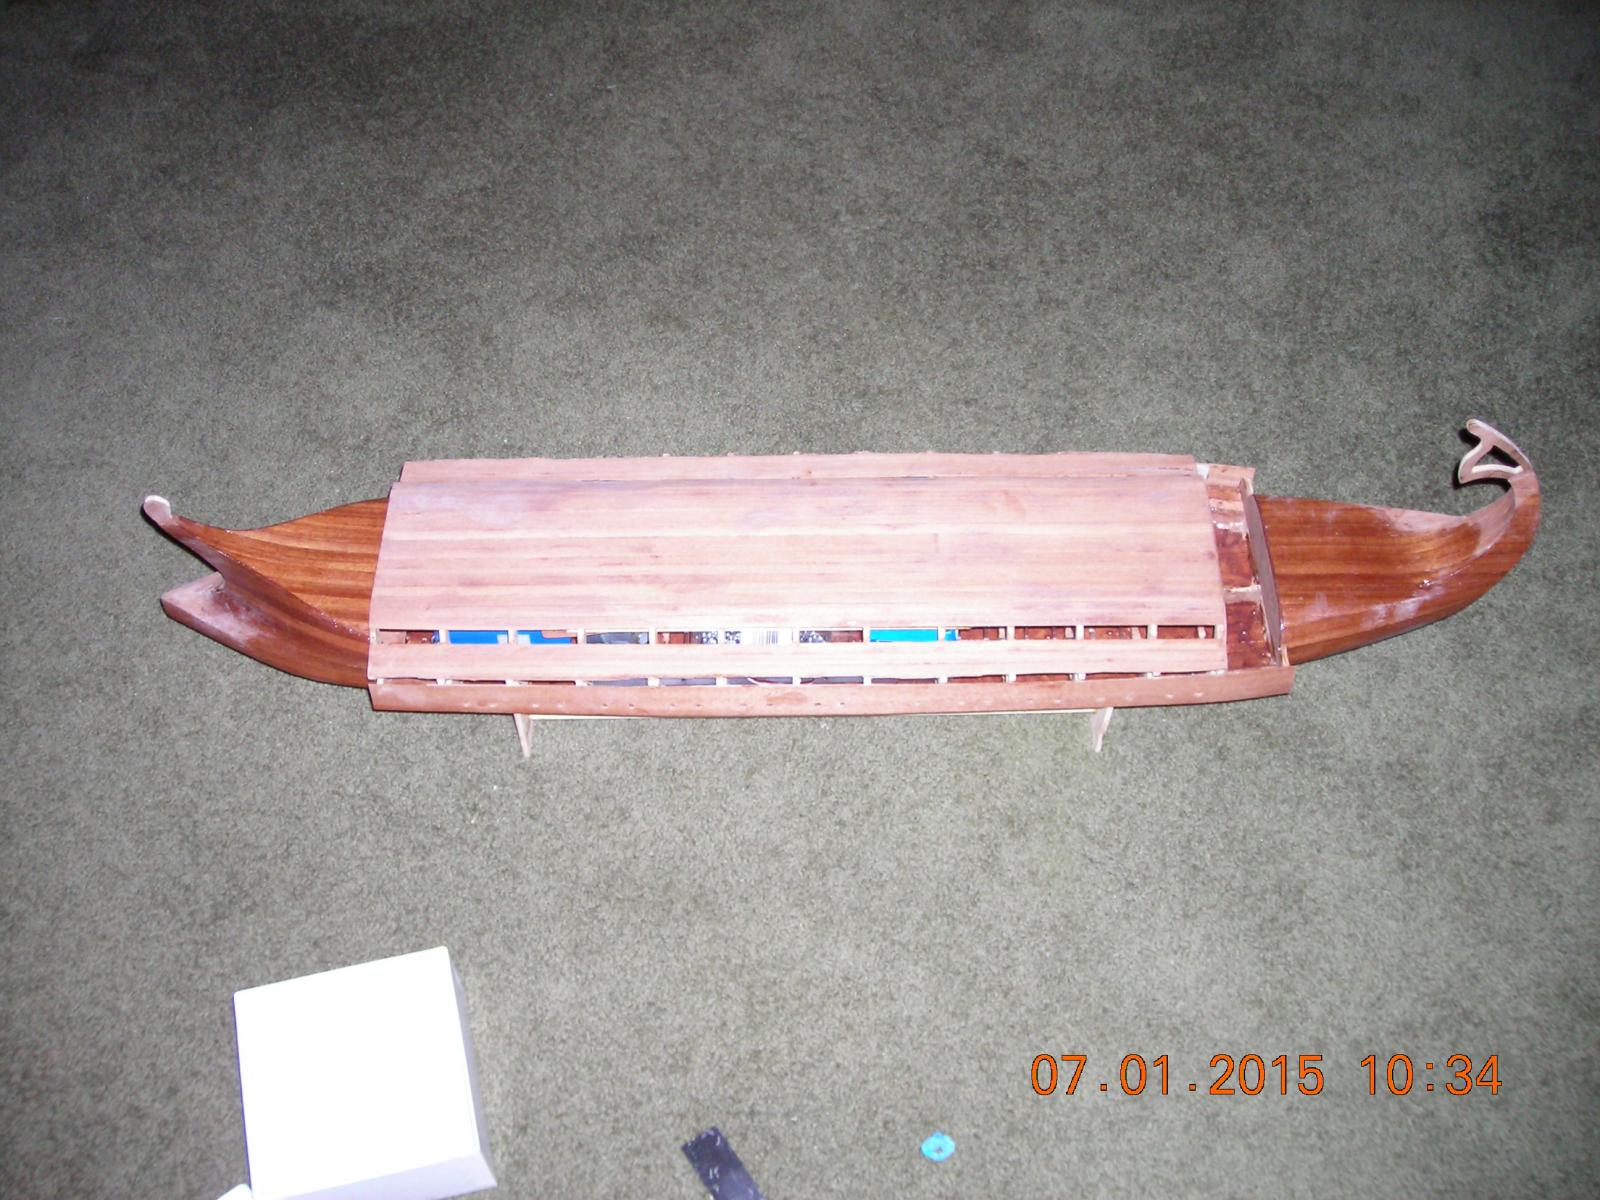
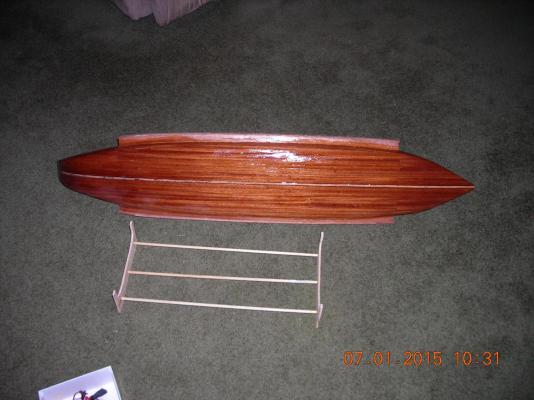
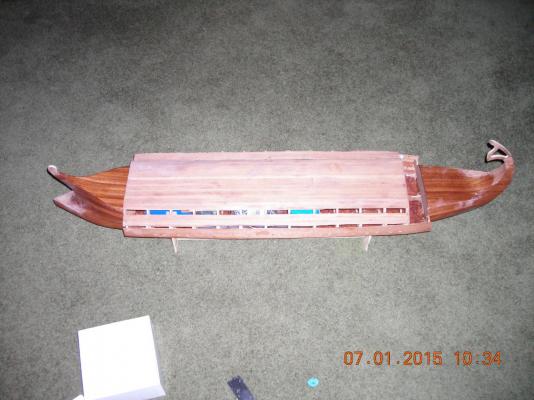
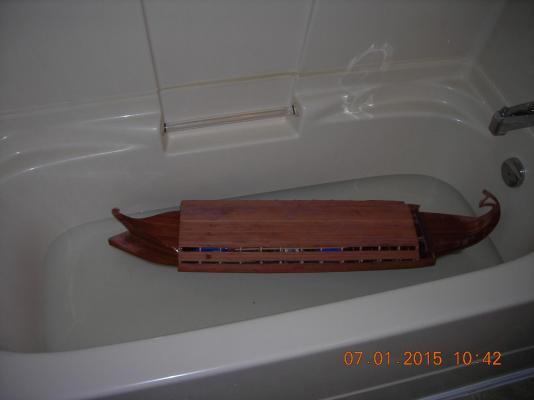
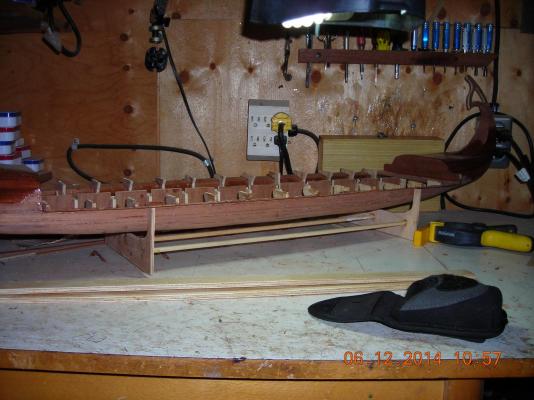
The first picture is the bottom of the hull sealed, well it turned out a leak was found in the starboard bow of my ship. The second picture is the load it will carry at sea plus two lypo to make up for the missing mast and unfinished staining and painting. The next picture shows the deck in place before placing in my tub to find out how low it will sit in the water so I can gauge the parameters the oars will travel in. The last picture shows my ship in it's first time at sea.

-
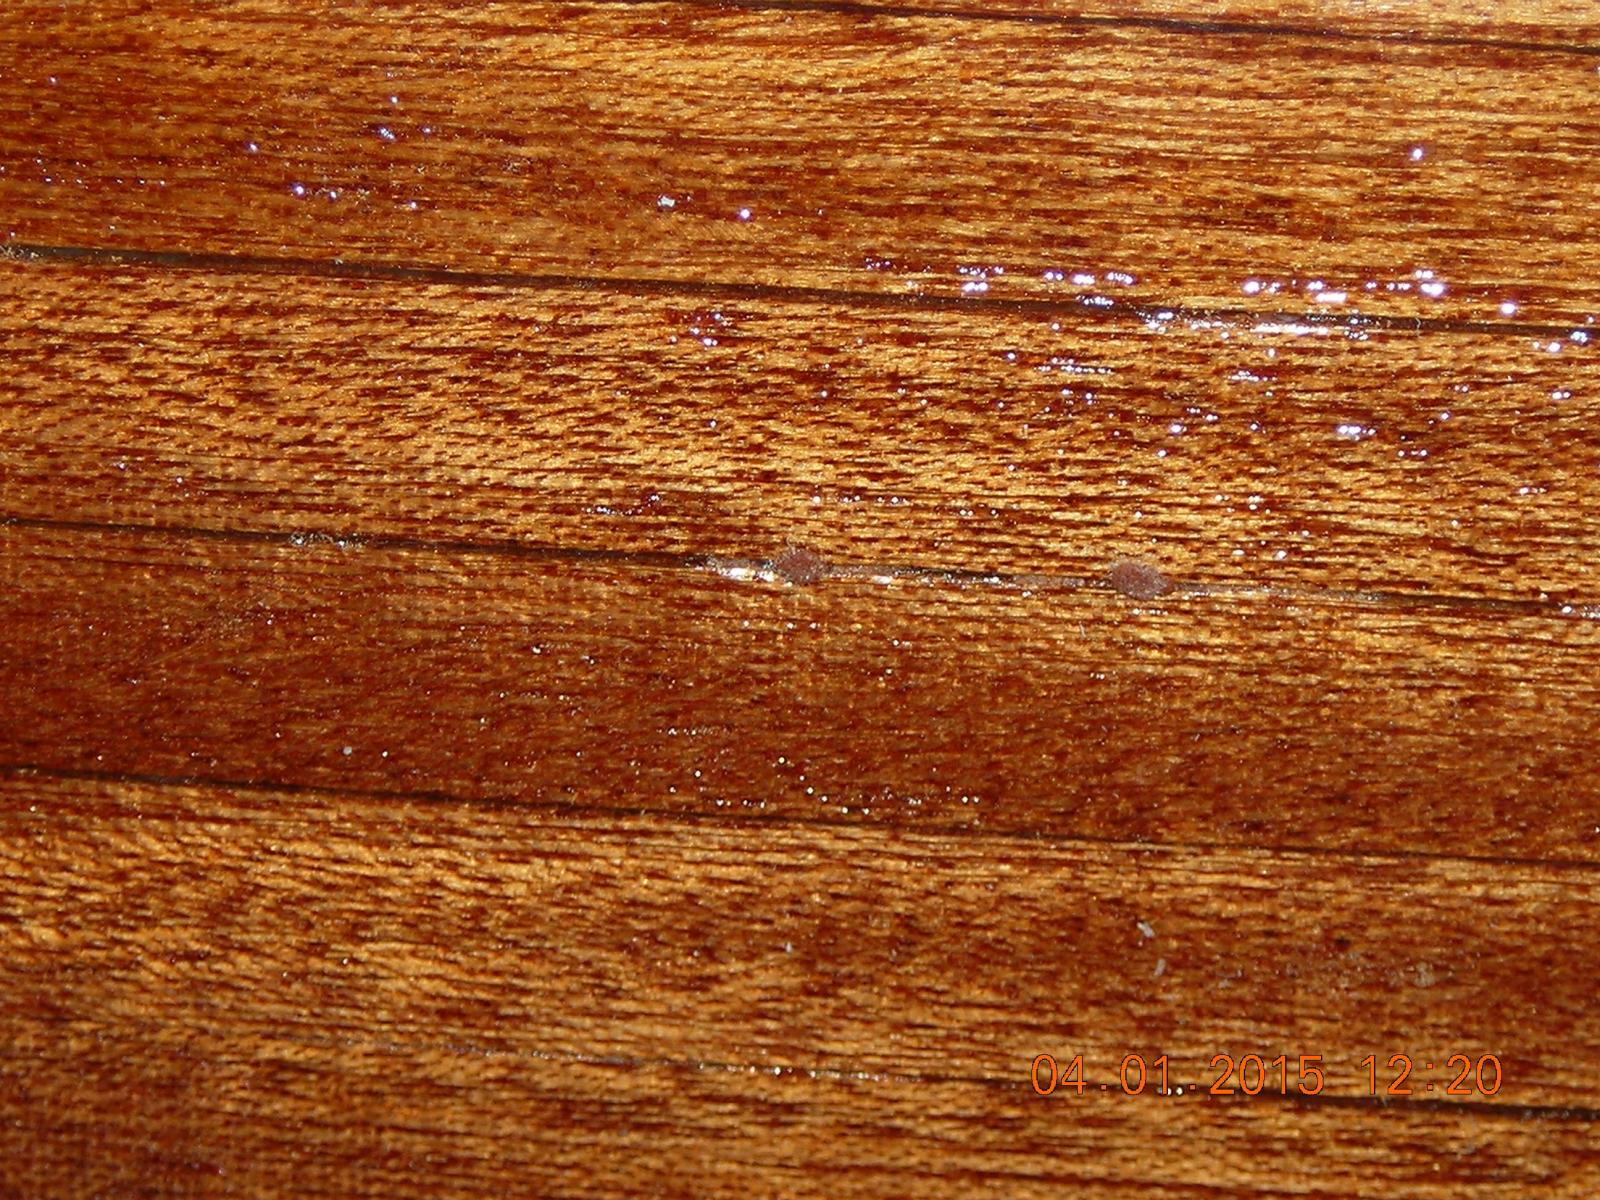
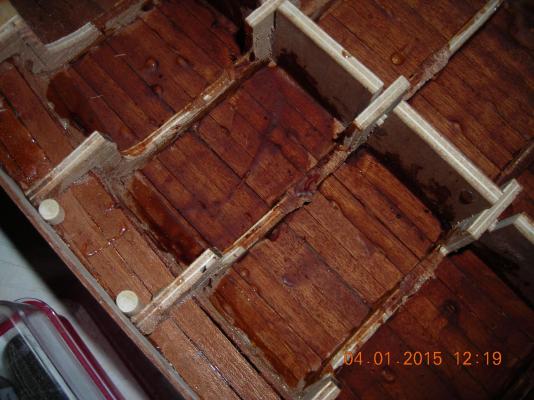
I have to seal the hull at this point even though the rest of the wood work isn't done because I need to locate the water line when it's fully loaded. The build is plank on frame with the planking side by side so there are gaps or cracks where water could get through so I make up my own filler. I'm sure this is an old trick but I never heard of it before, what I do is produce some sanding from the wood I'm building my boats from mix it with wood glue and then force it into the inside of the hull filling all gaps and cracks the end result is a stained, sealed interior of the hull and little blisters of my mixture on the outside of the hull as you will see in the pictures.
-
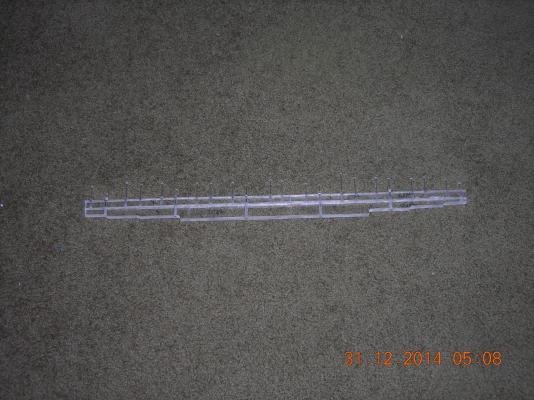
The new improved plastic oar rack and altered oar eyes. I scrapped the wood oar racks because I don't think they will stand up for long. Still some alterations to do I will explain more at the next posting.
-
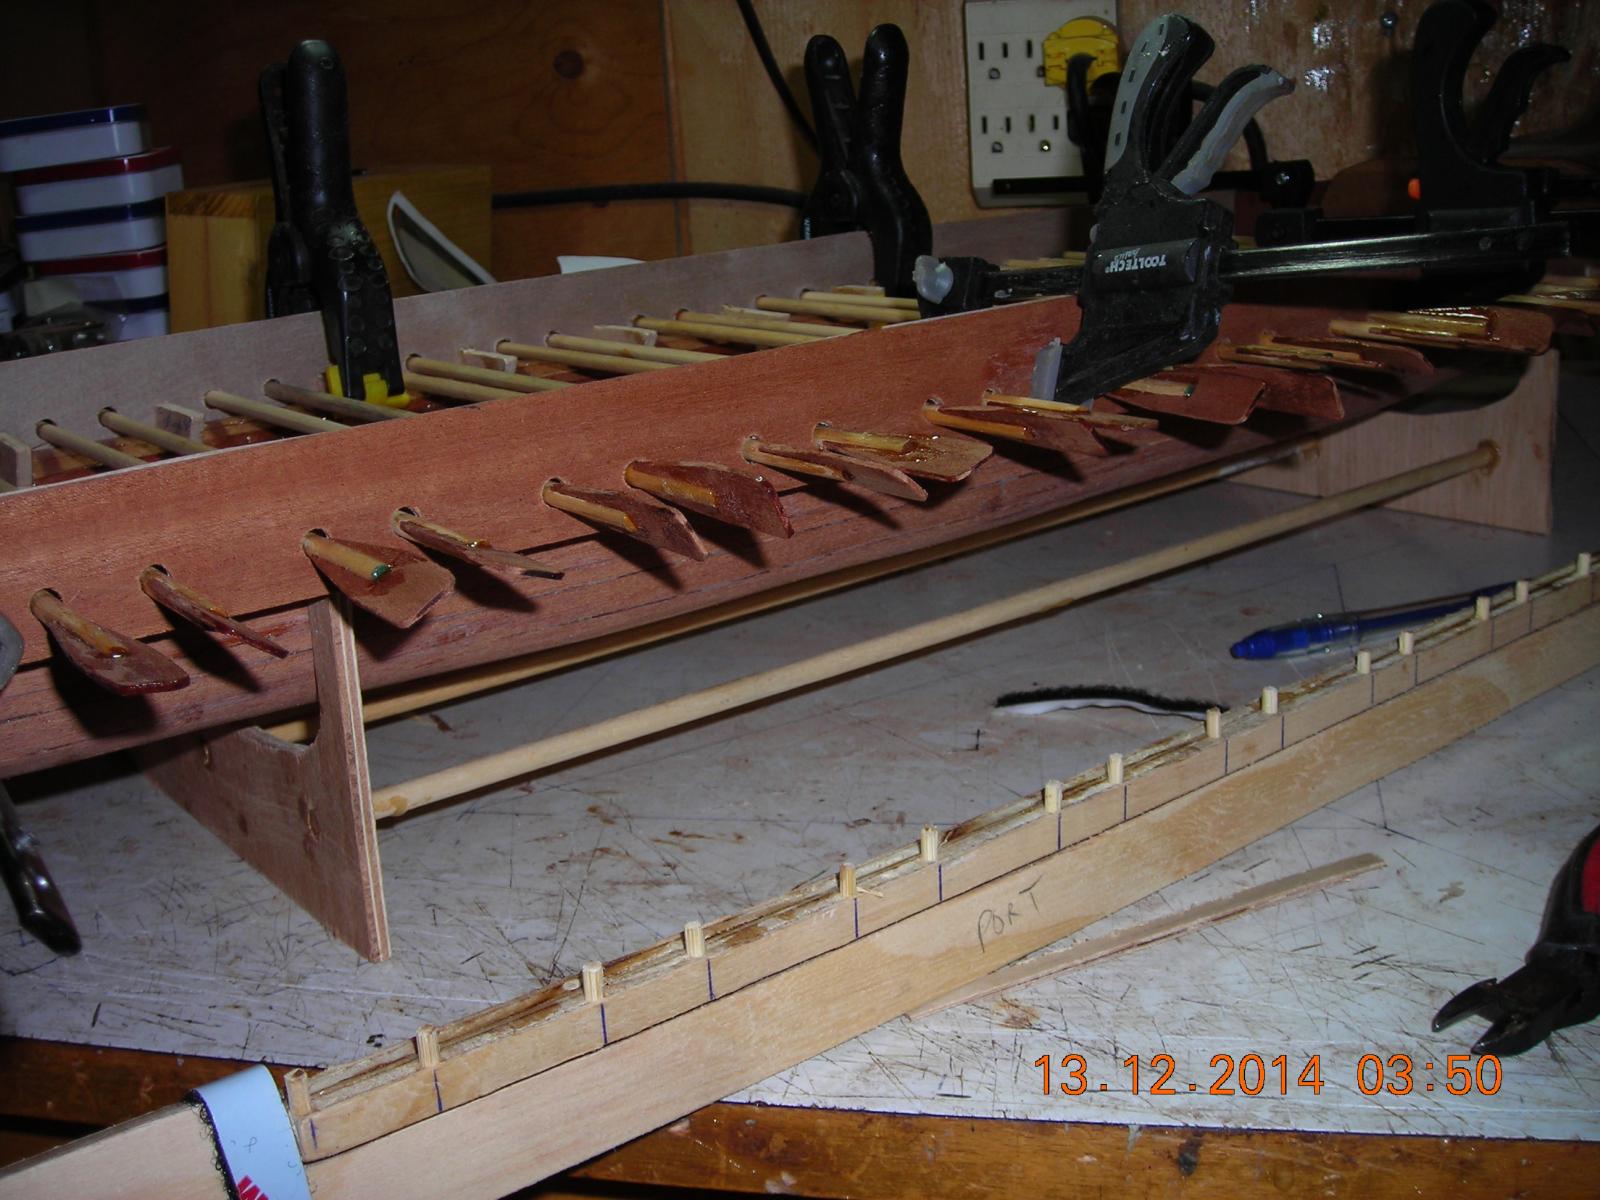
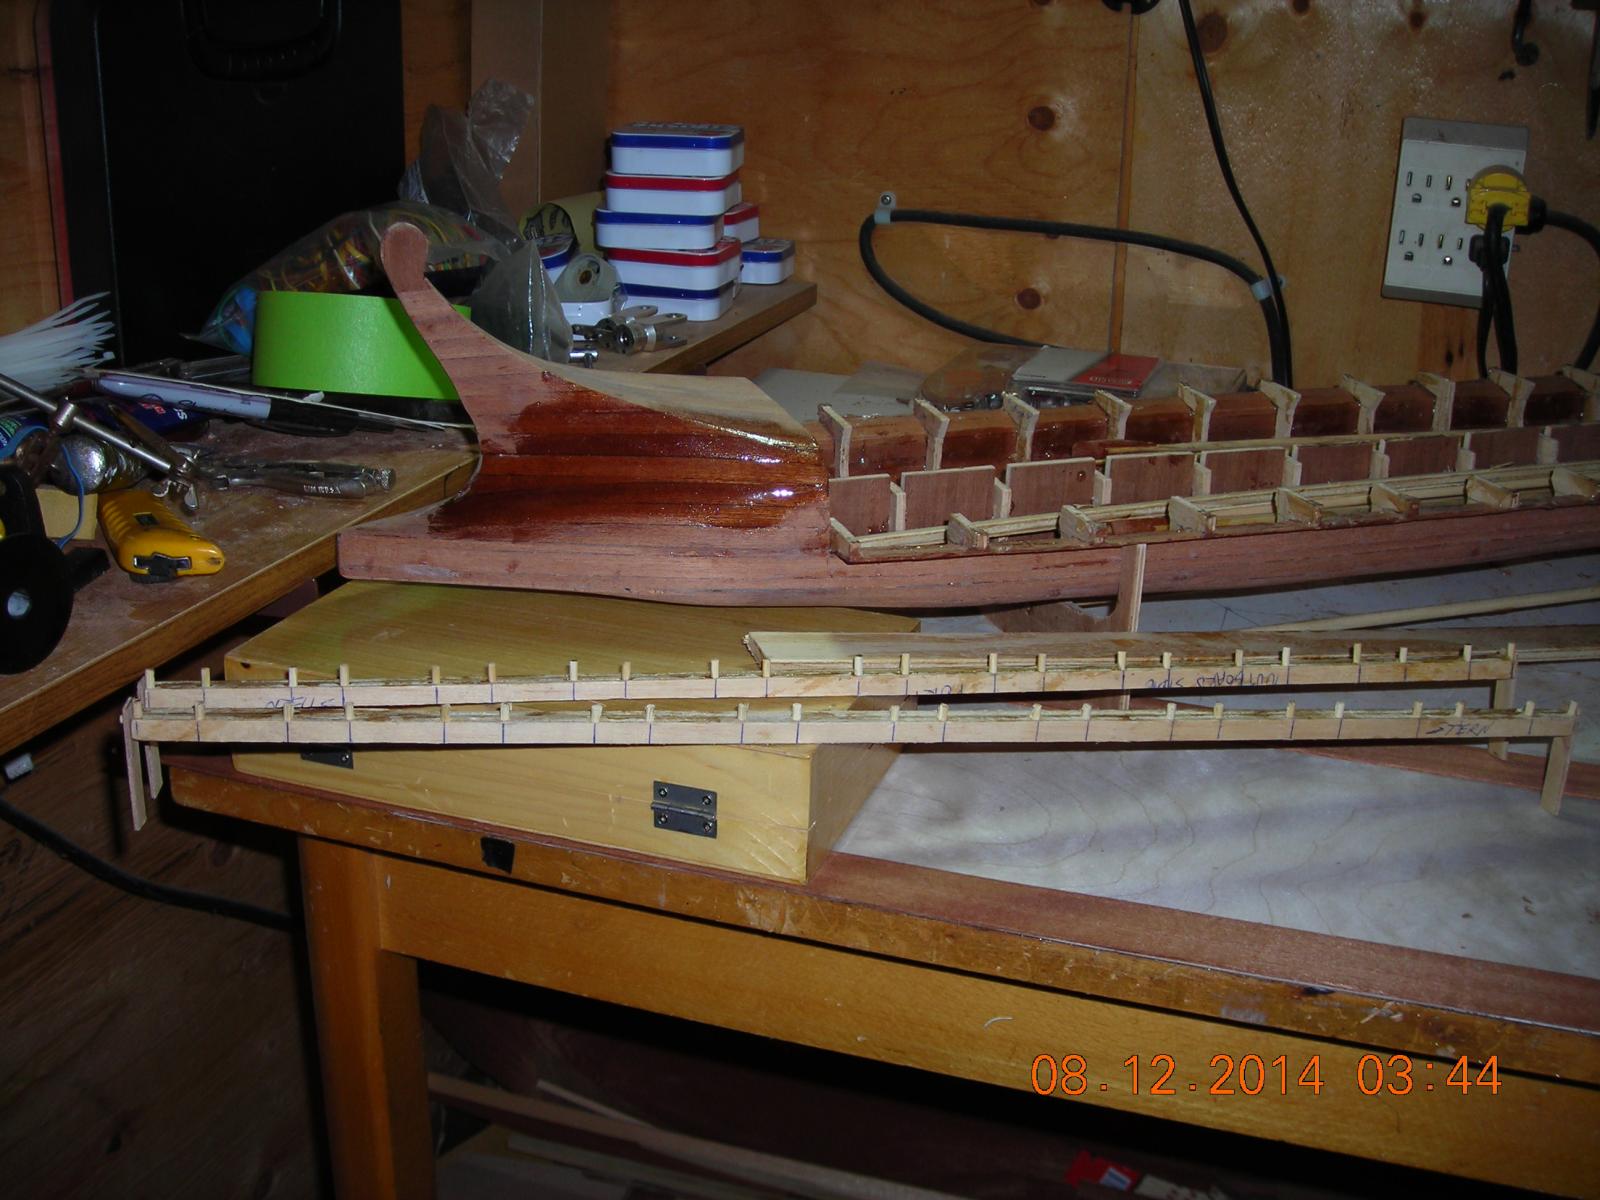
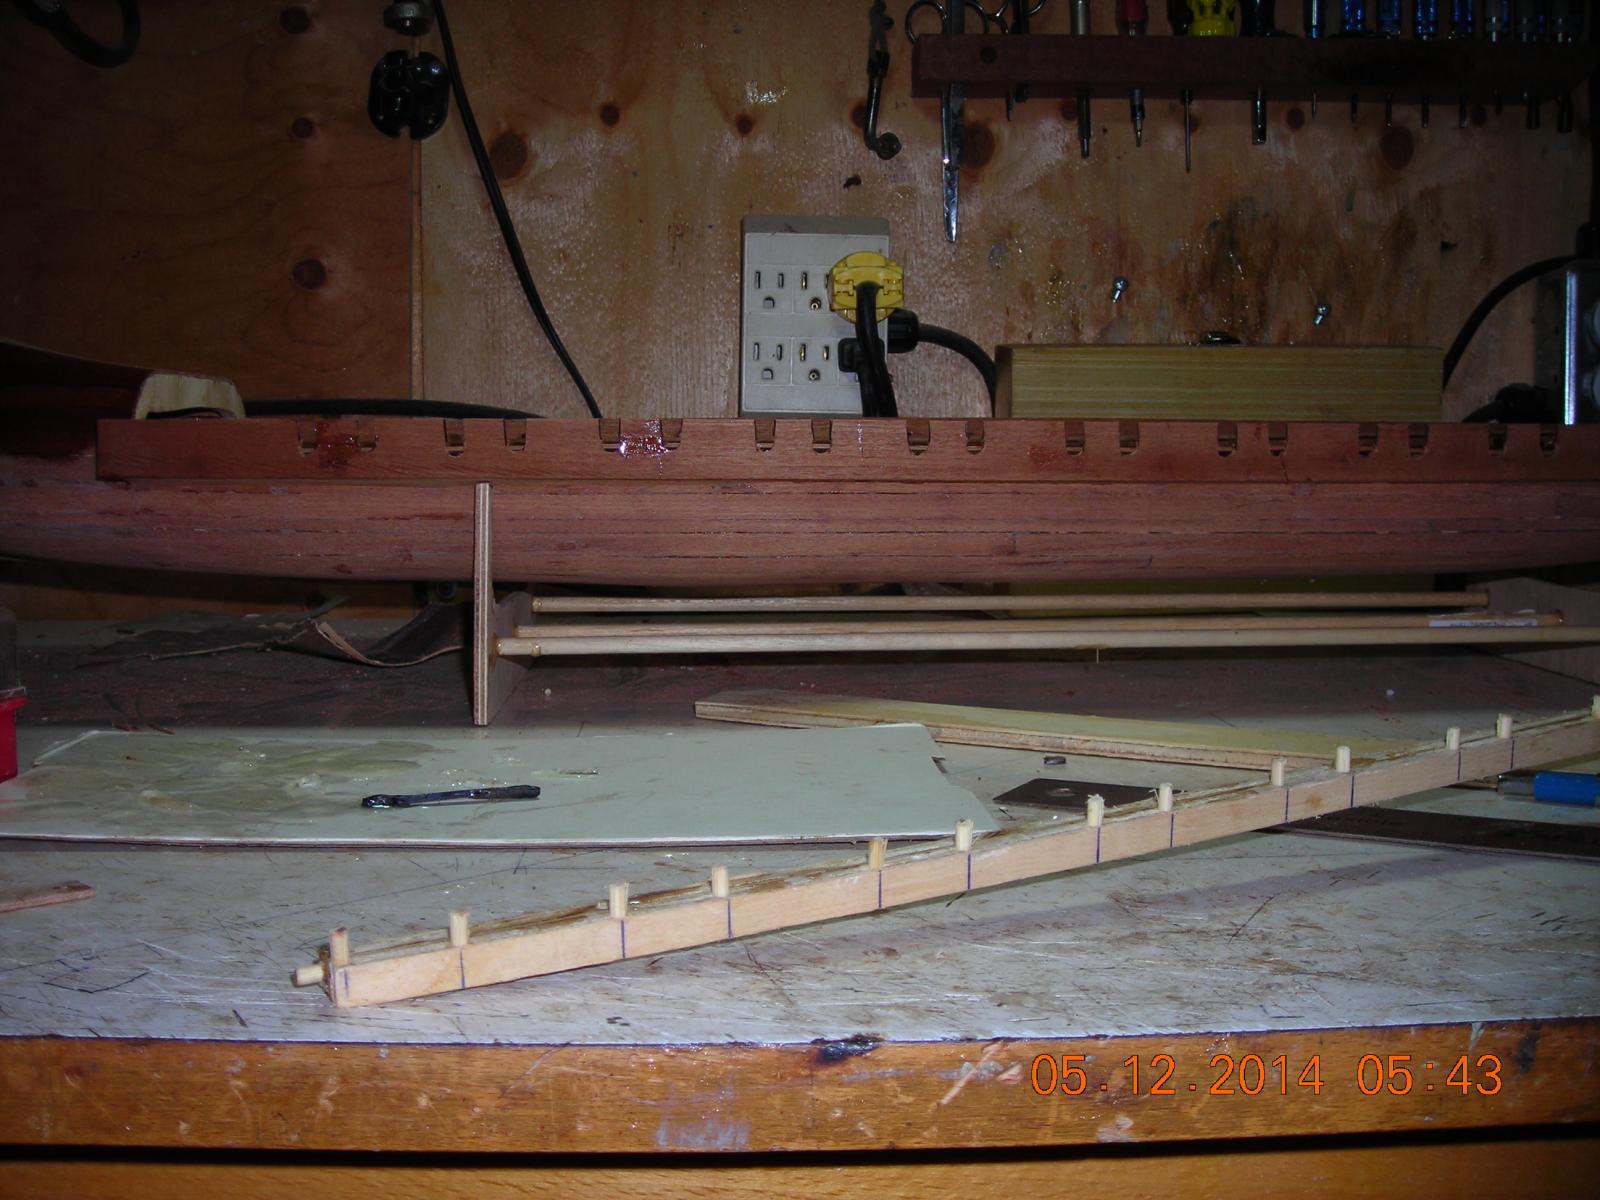
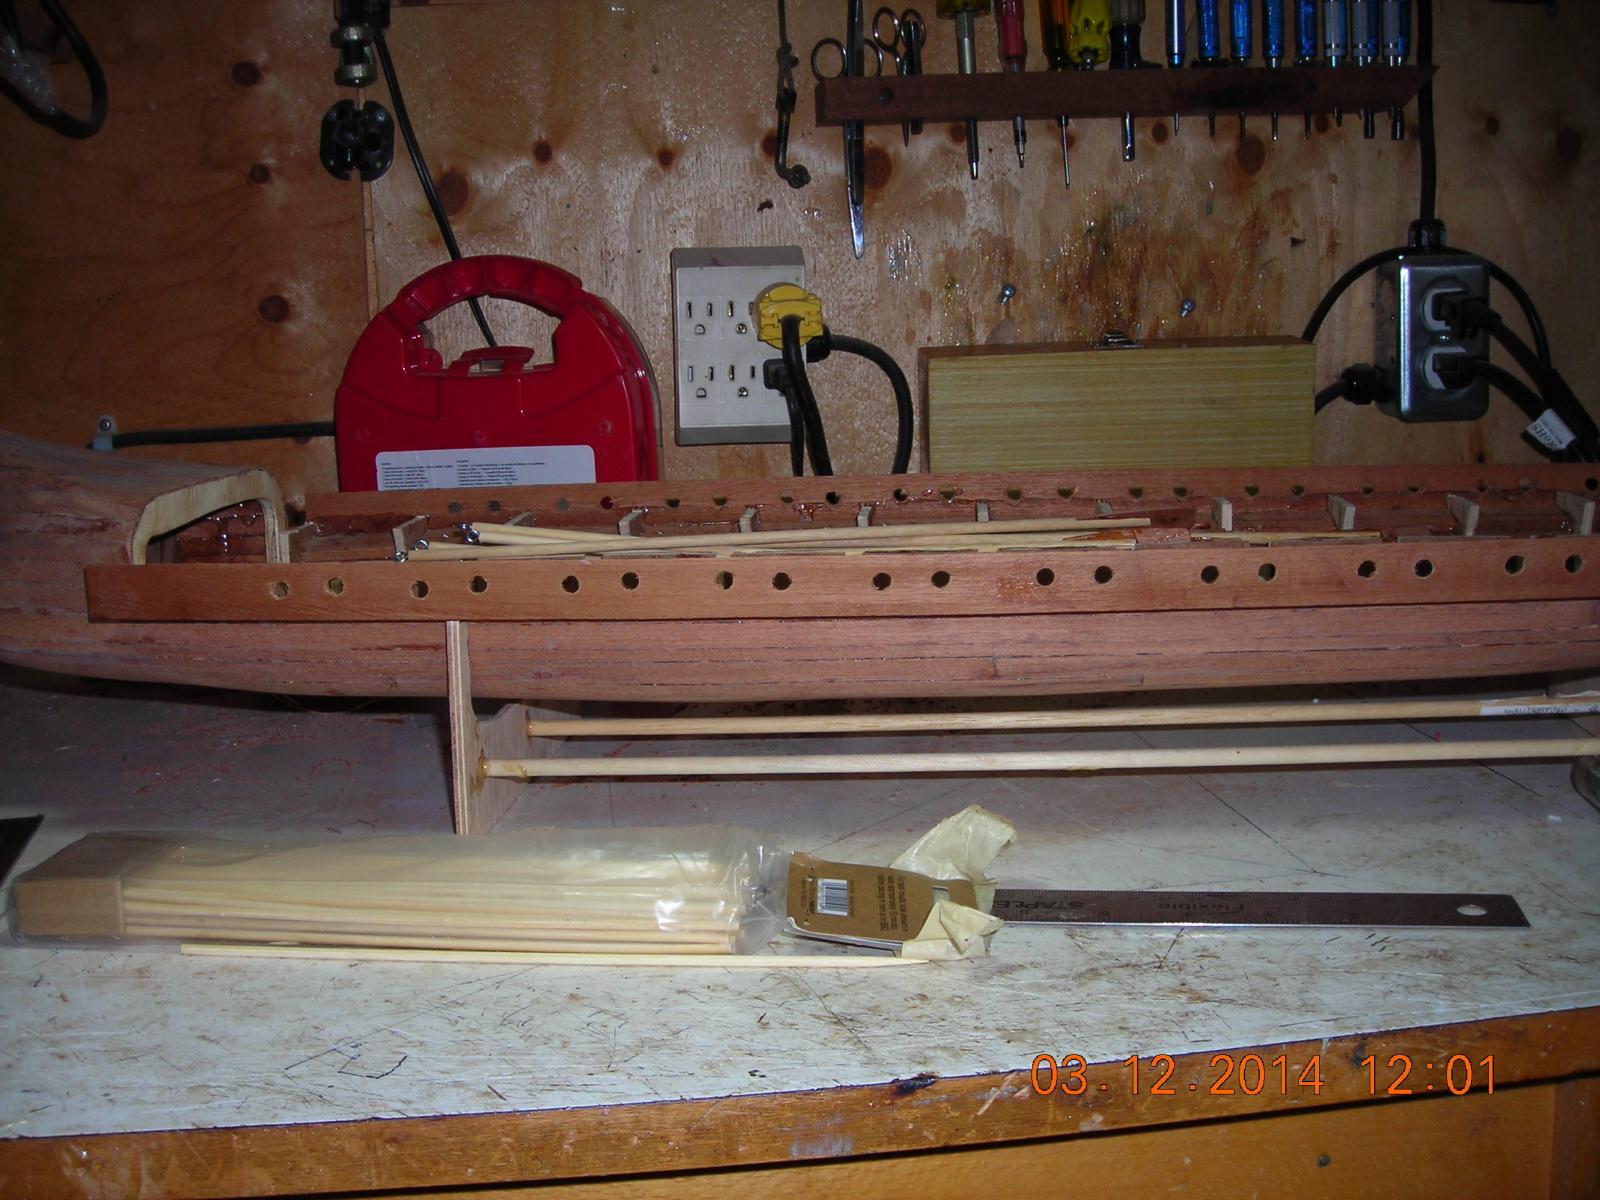
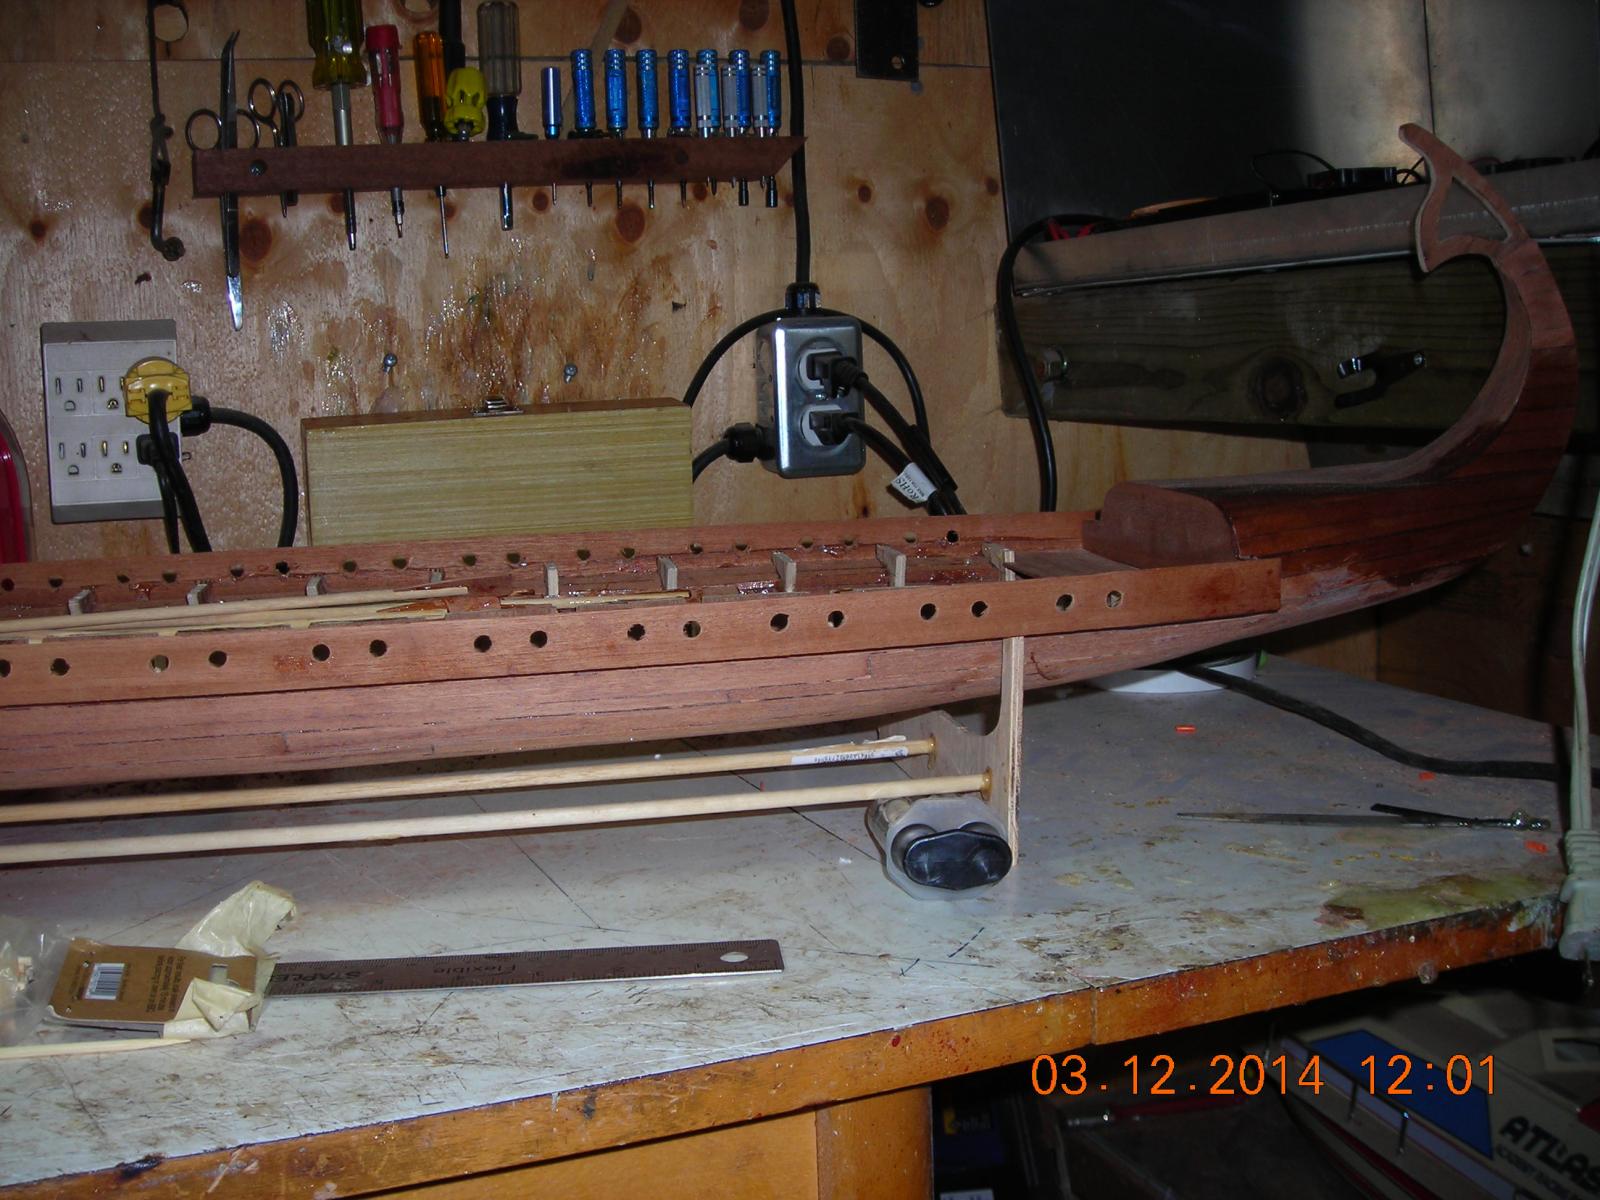
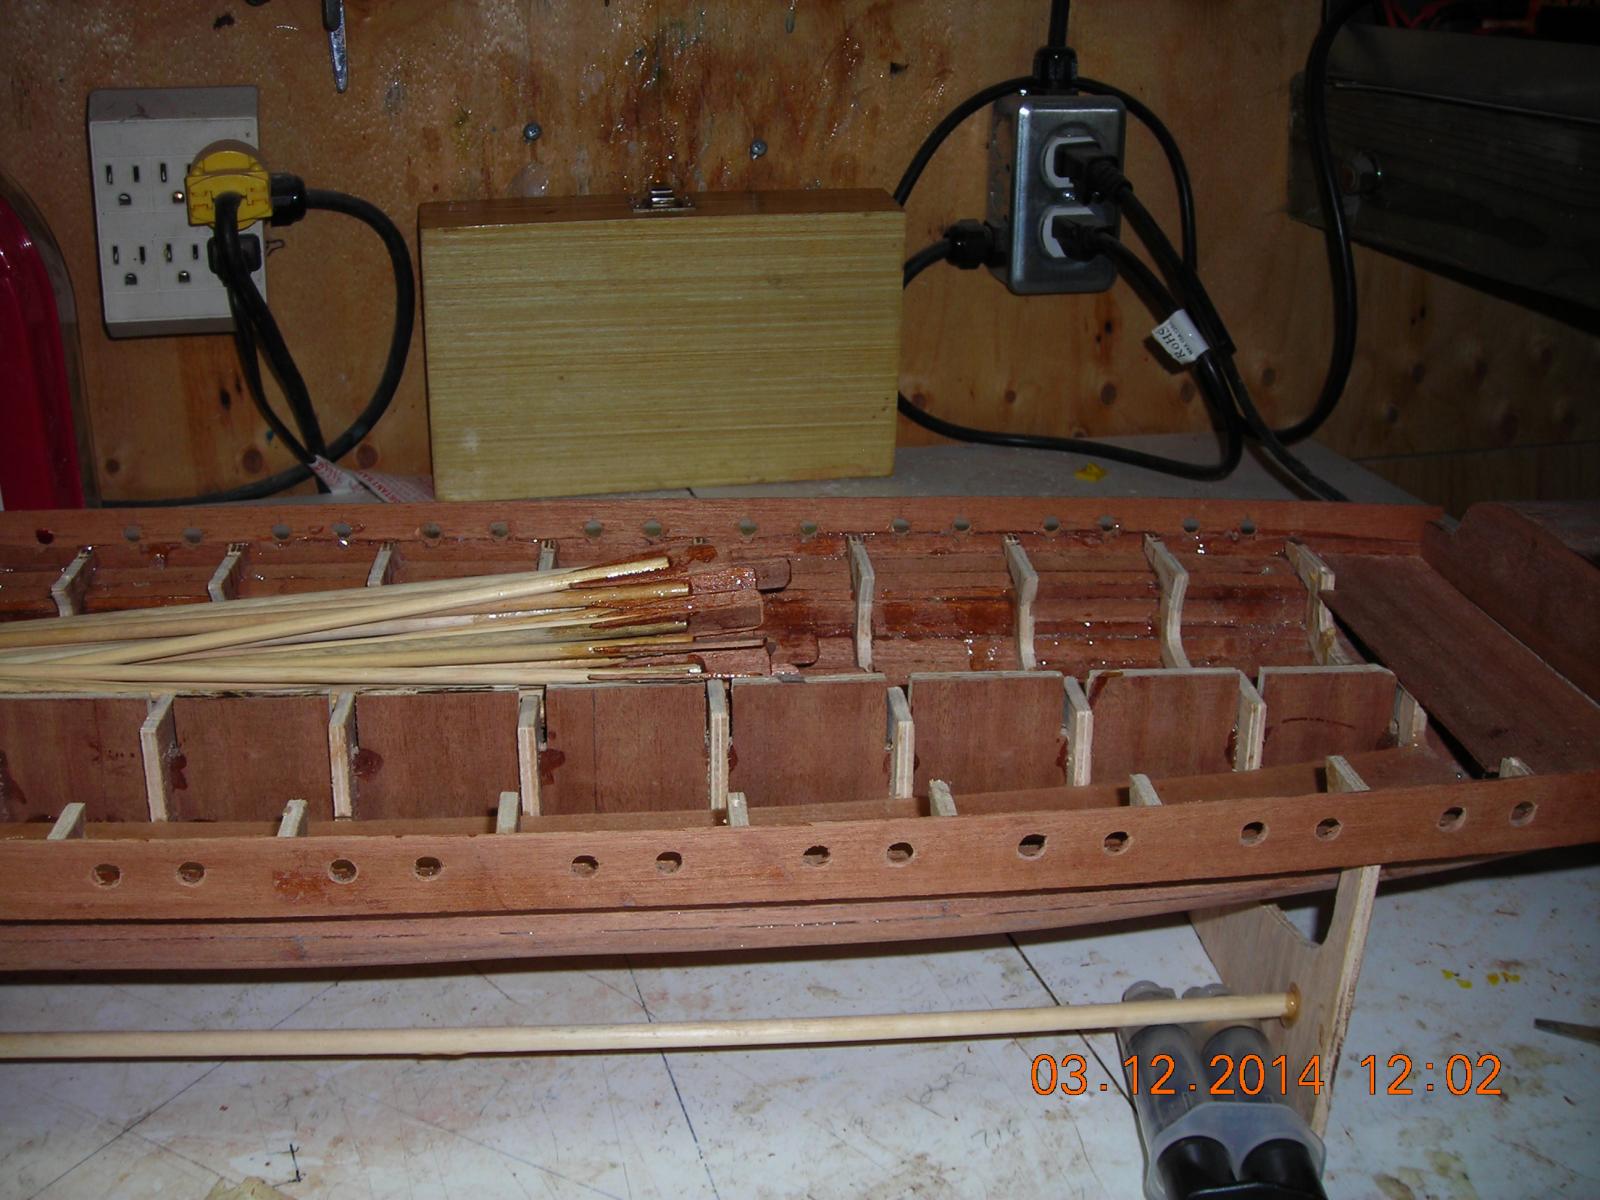
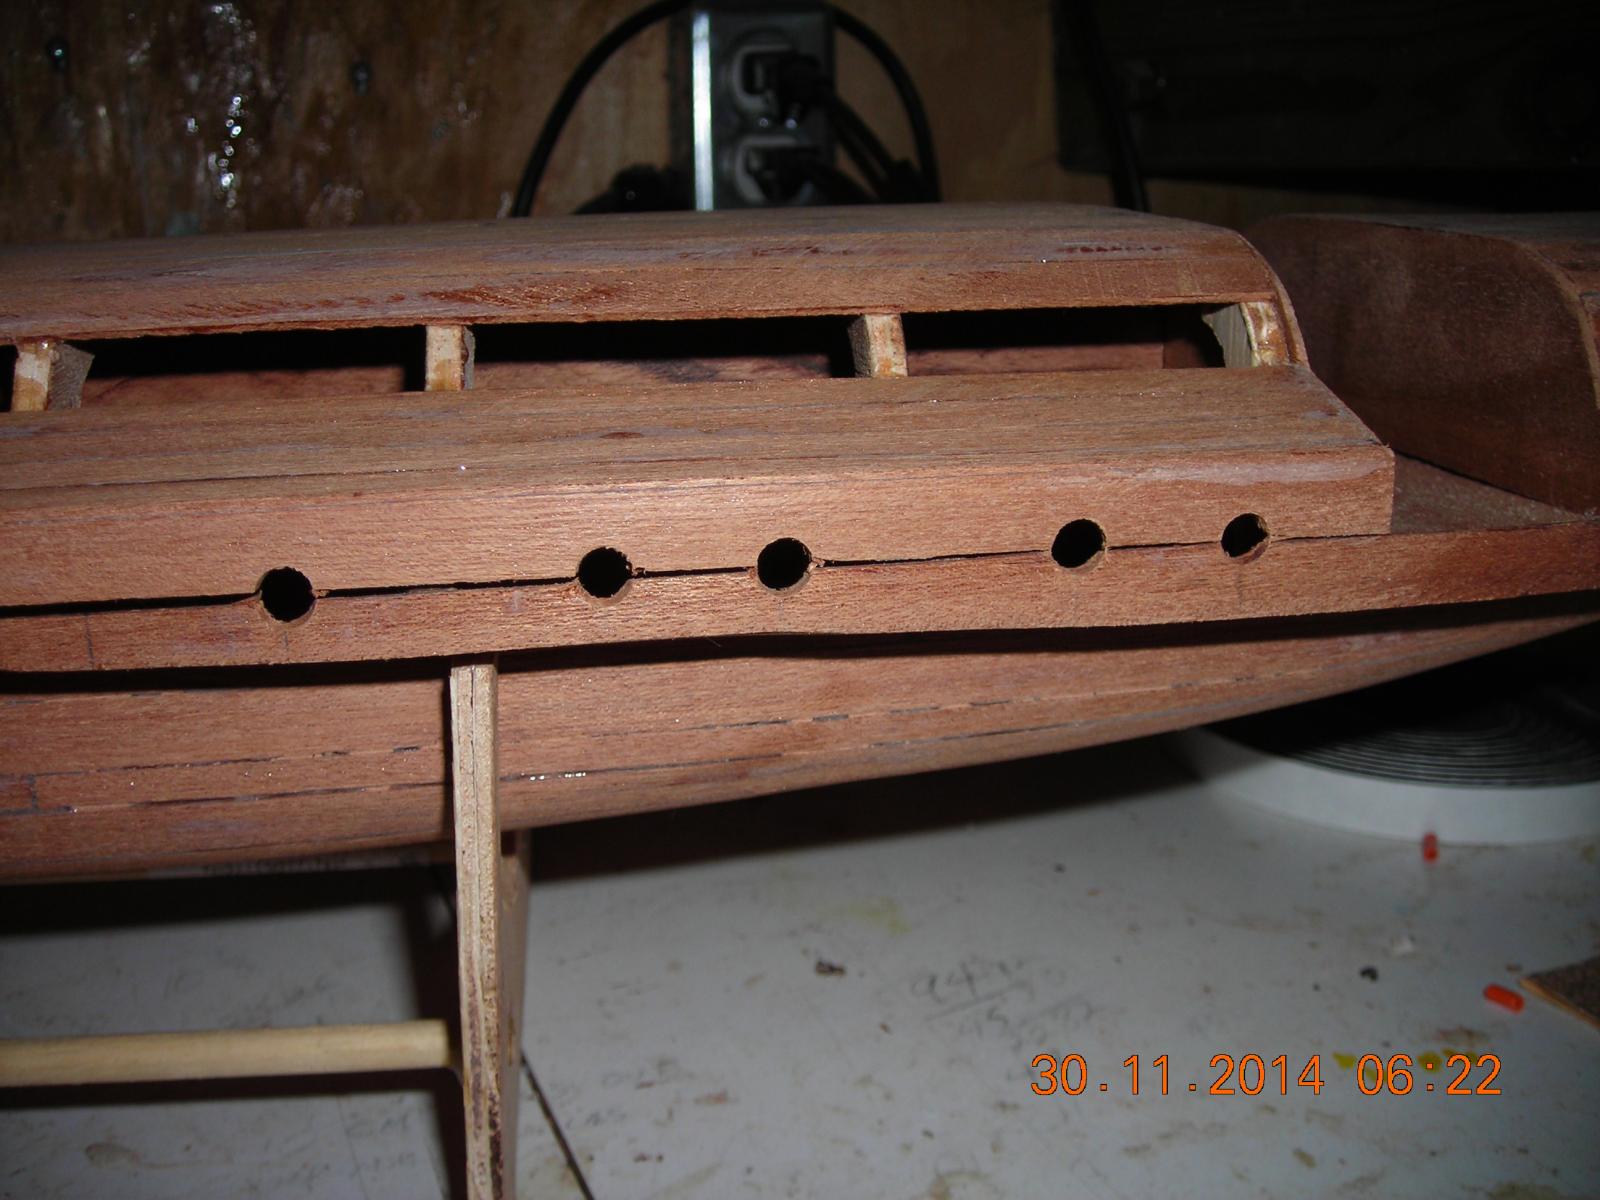
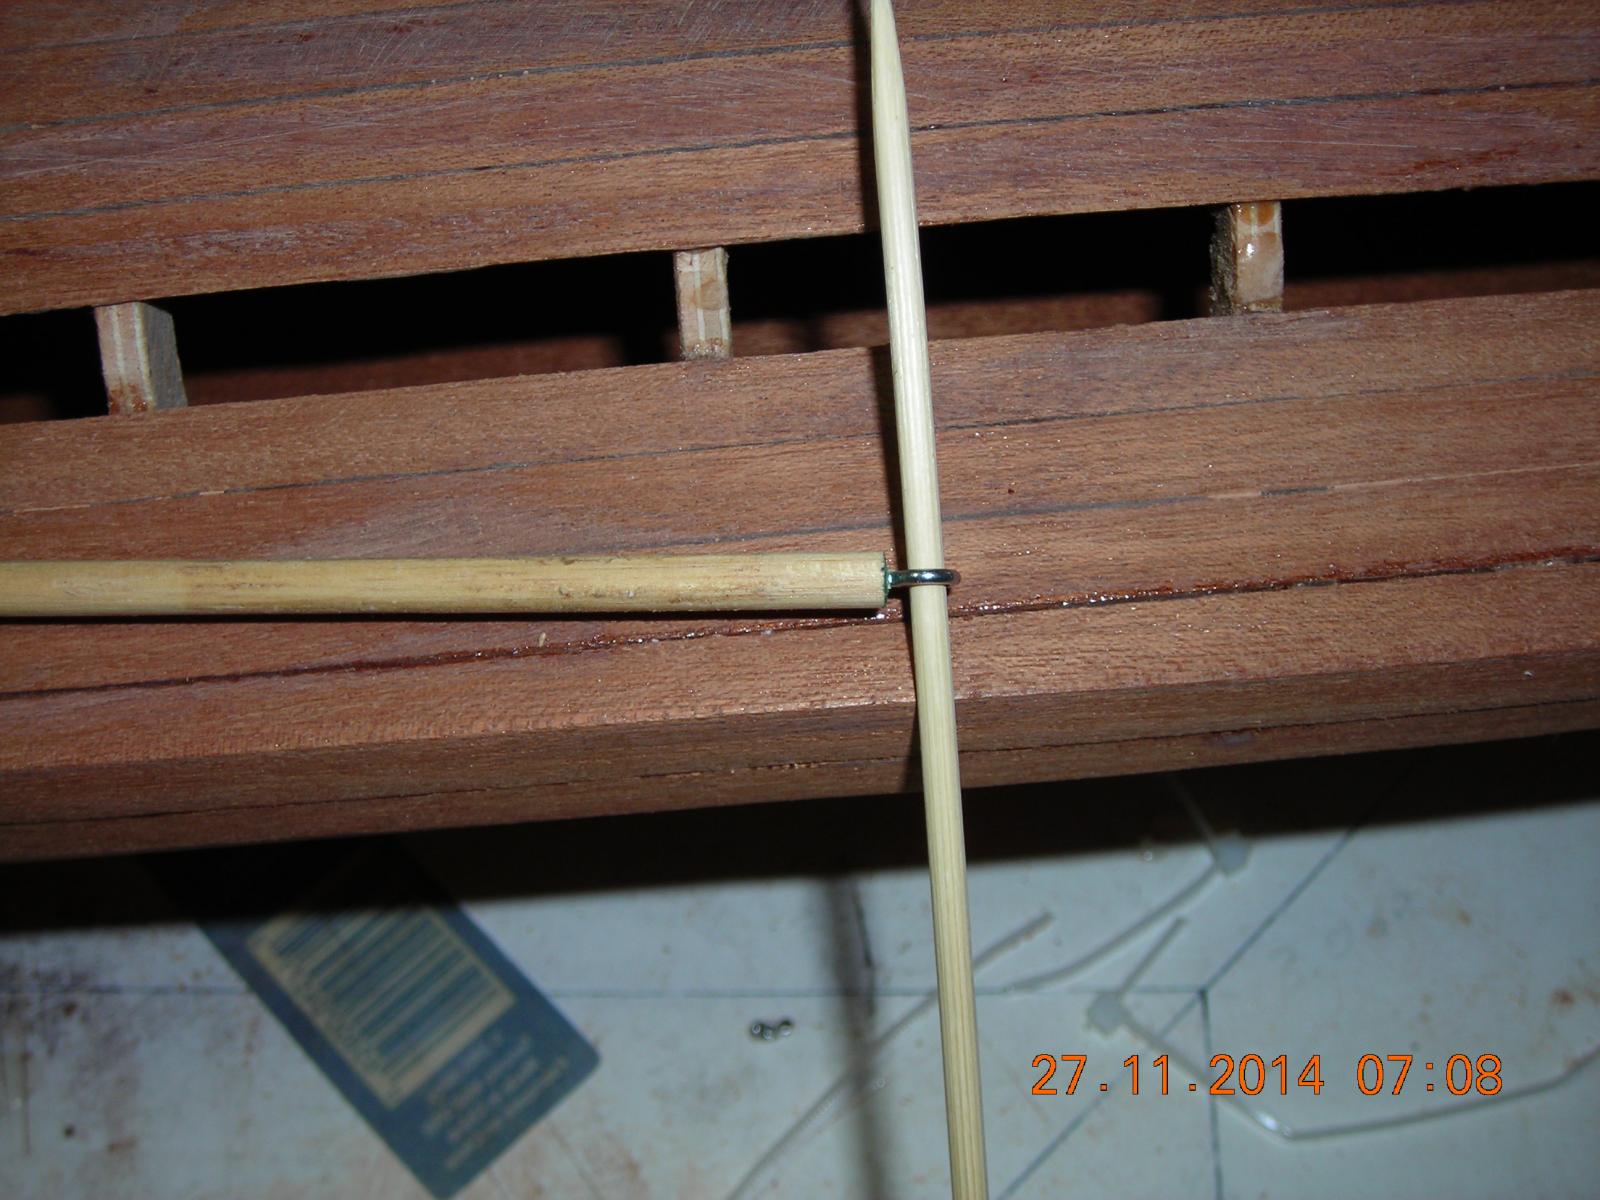
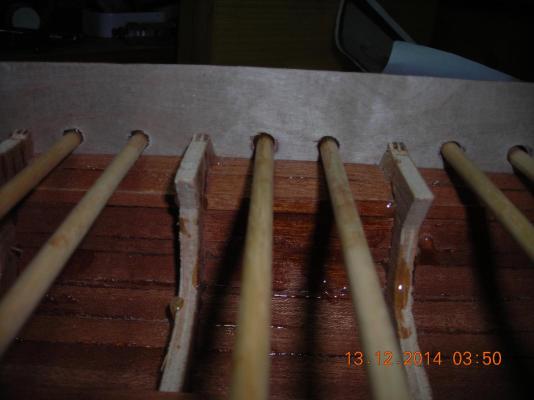
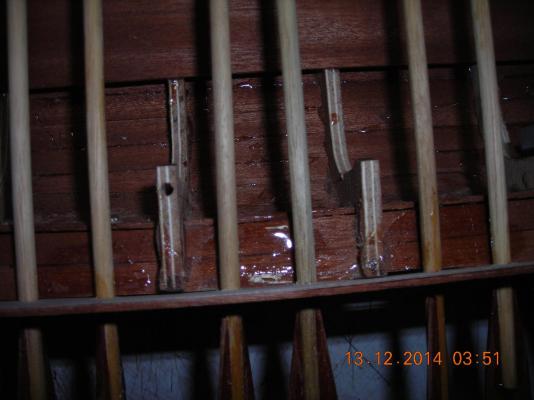
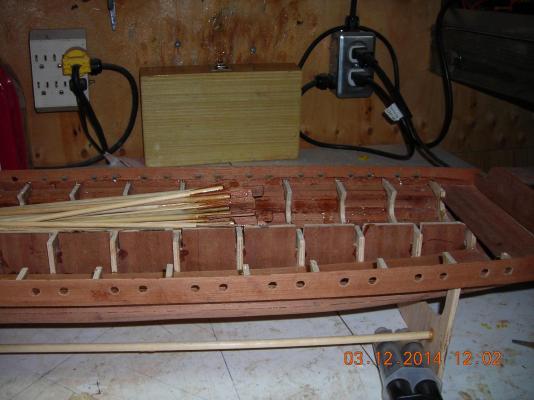
The start of the removable oar ports, they will be lined up using dowels glued to the oar port planks and the oar port planks will be held in place with Velcro pads on the bottom, the removable upper deck will have three sets of Velcro pads per side to hold the top of the oar ports in place and hold the upper deck in place on the ship. The oar port planks will be trimmed to size once the planks have been fitted. The holes you see in the bulkheads are for the upper deck alignment pins or dowels.
-
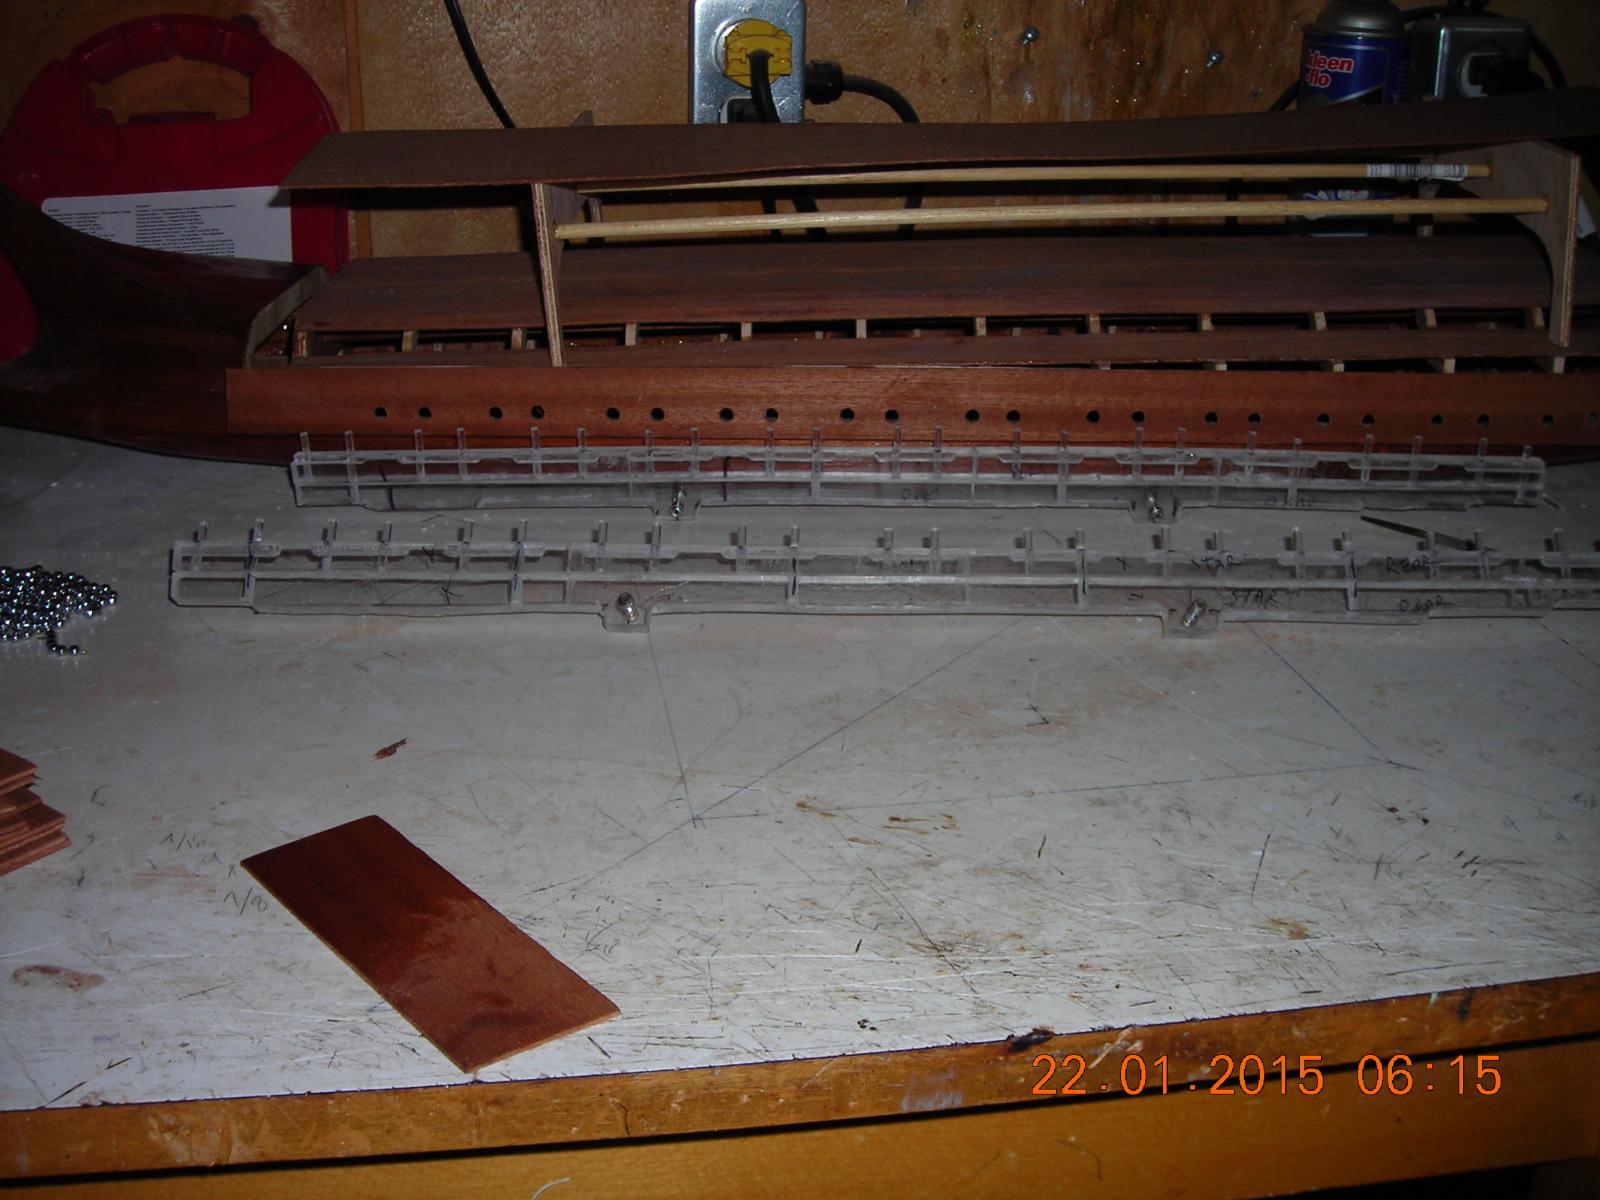
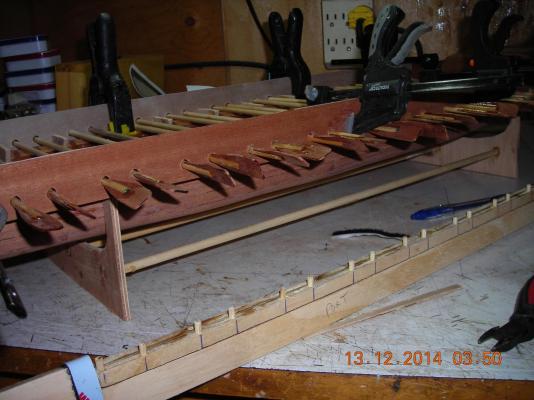
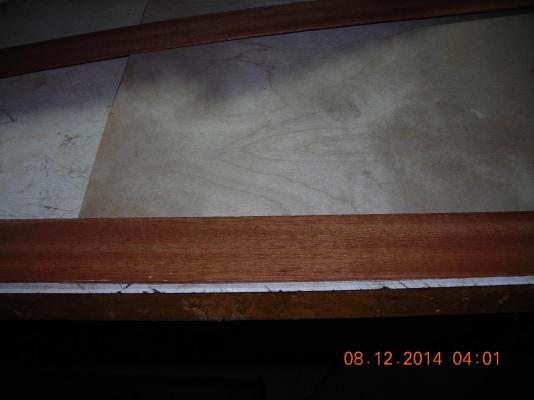
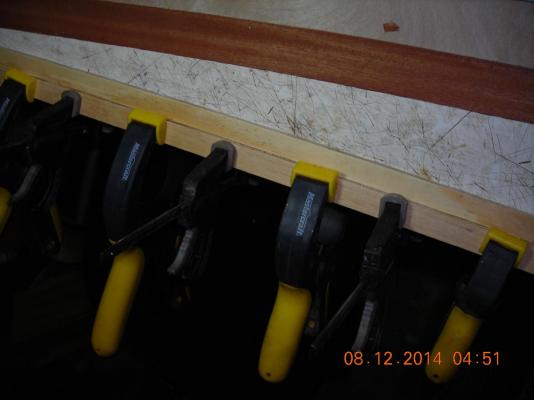
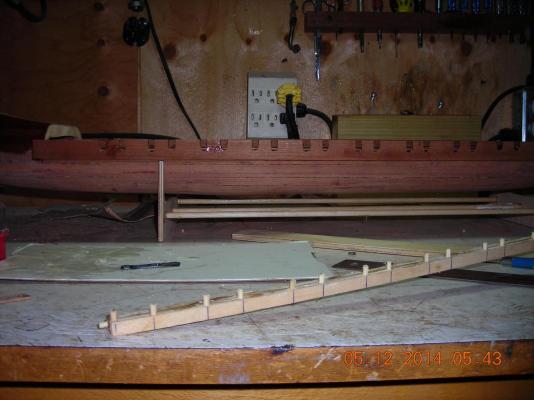
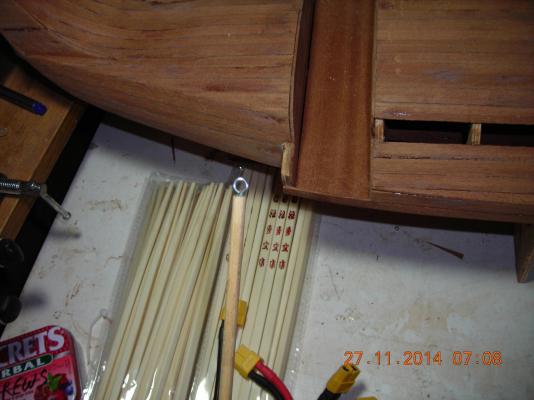
The picture with the darker wood on top of the lighter wood is Sepili hardwood glued to hobby grade aviation plywood that is going to become oar ports in the end. The other pictures of the two 1/4 plywood pieces glued together is what the oar rack will be attached to, the next posts will give a better idea of how the mechanics will look.
-
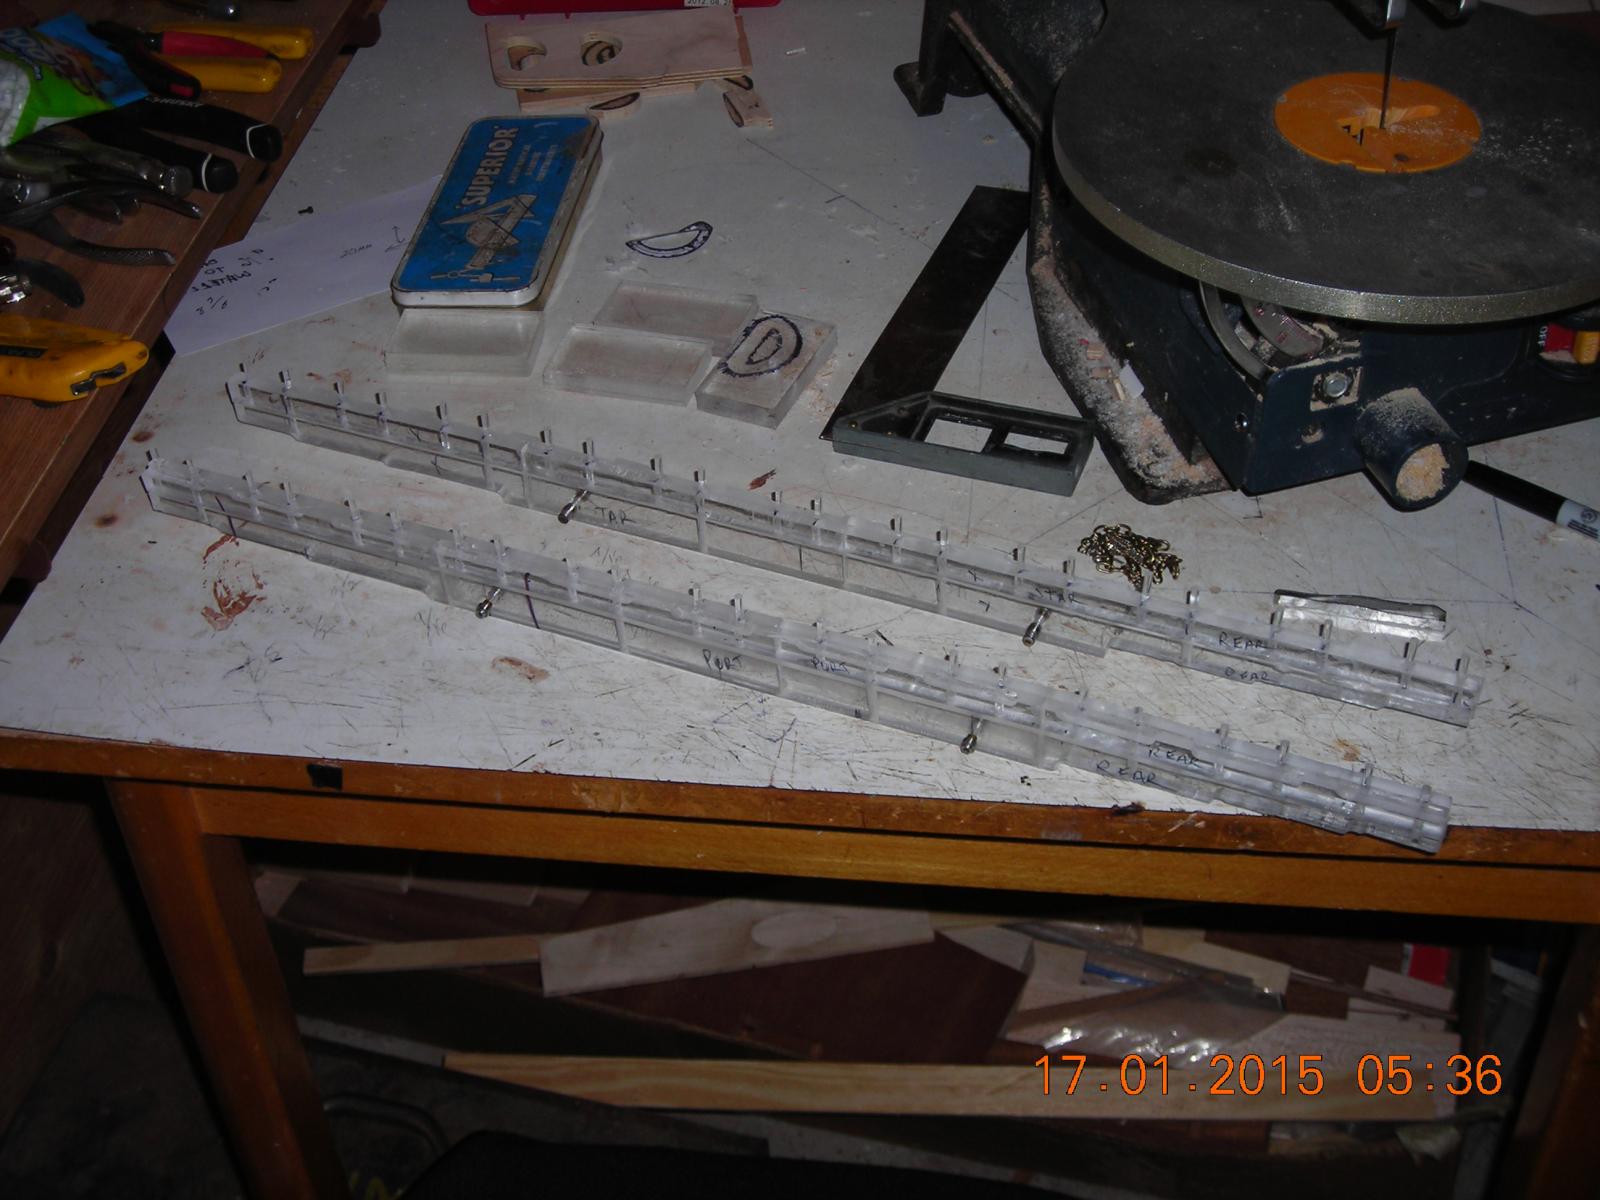
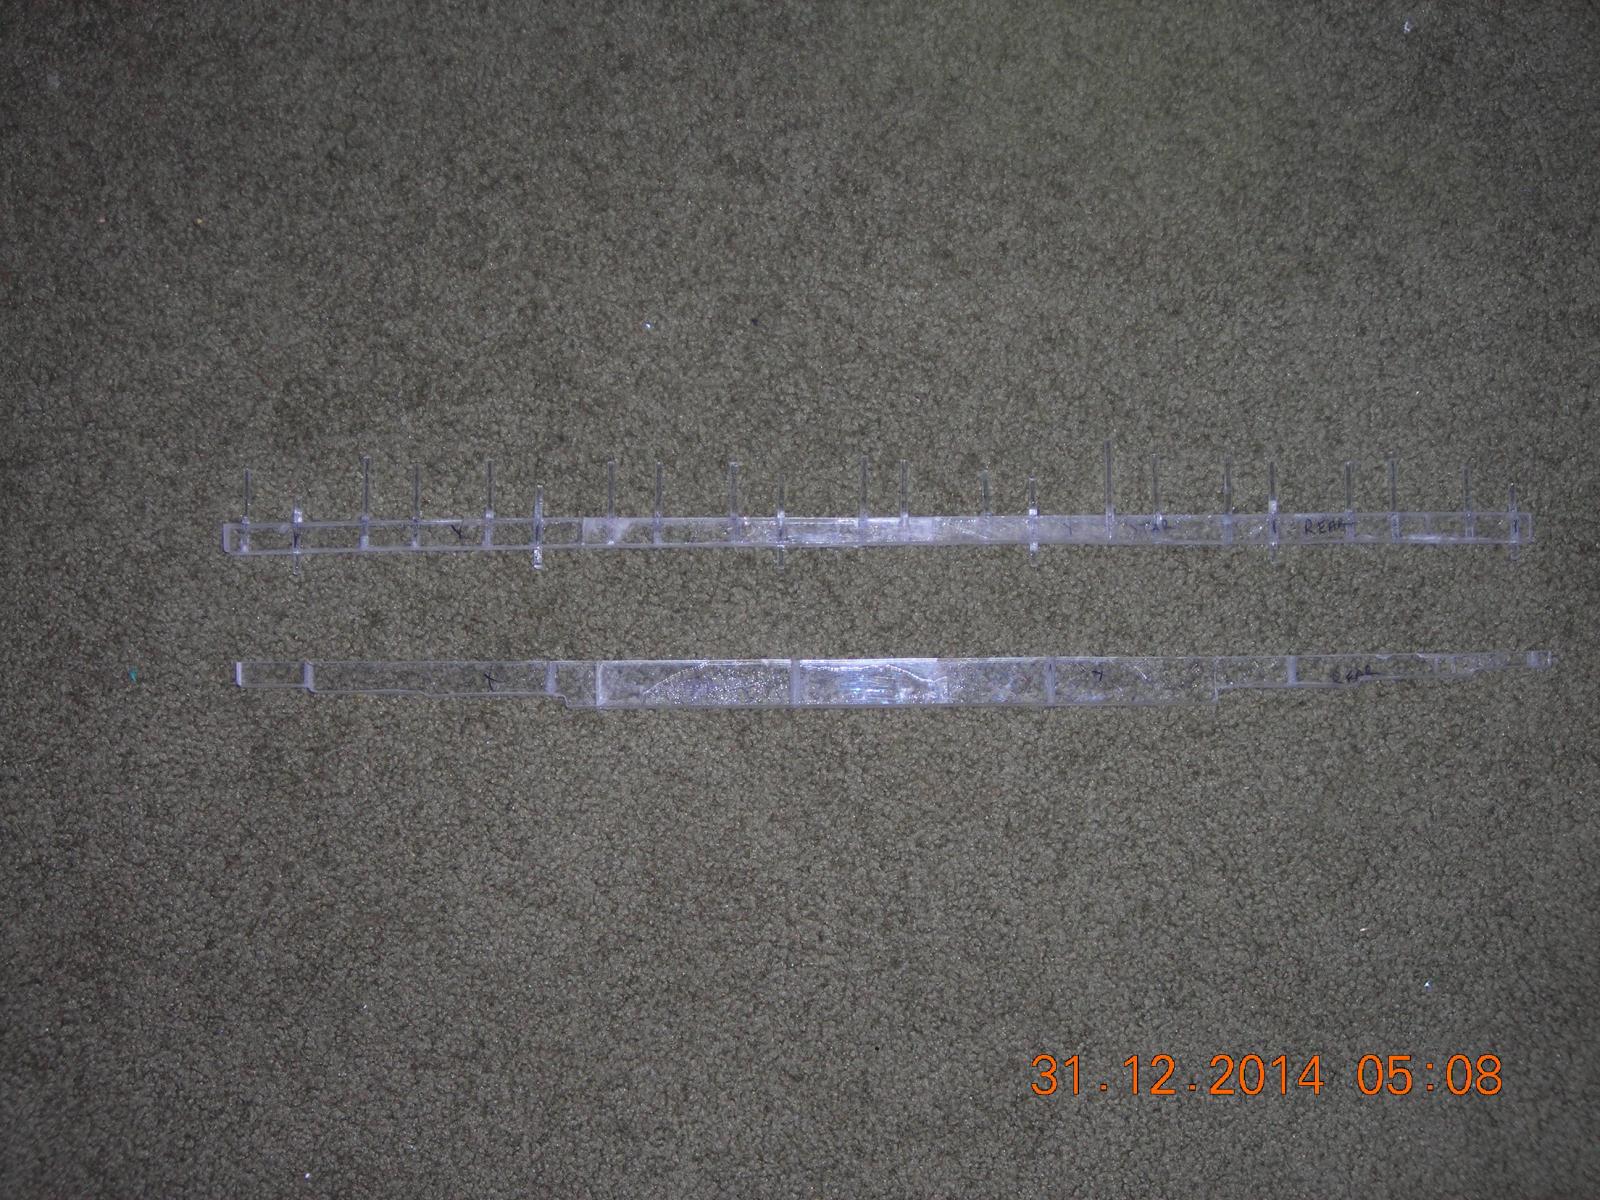
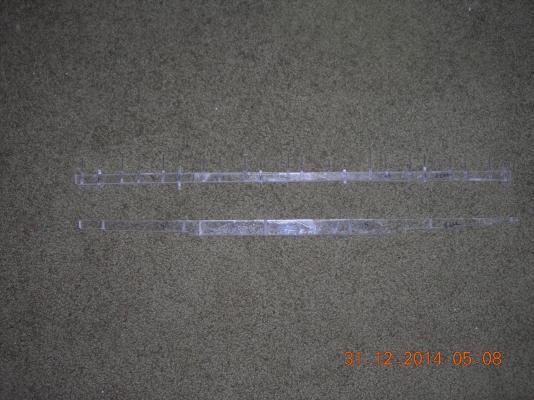
Both oar racks complete next to make the second part of the oar rack, that part will be directly involved with the mechanics.

-
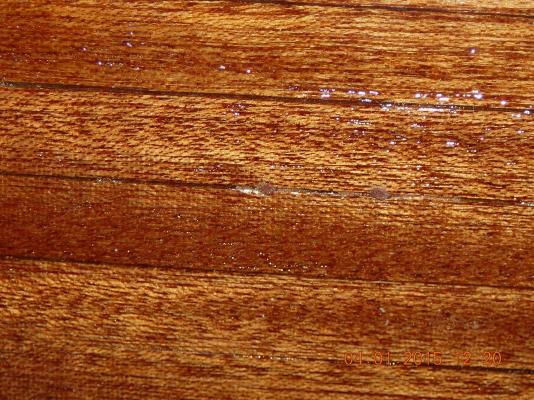
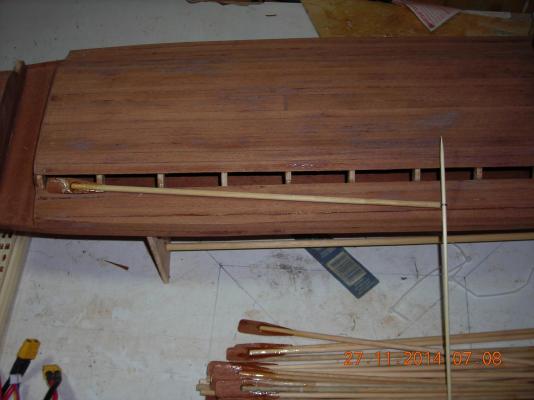
The existing oar ports would not allow the oars to go deep enough into the water so I removed them, the next oar ports are going to be removable. If you are wondering about the shiny patches on the hull that would be epoxy I had left over that I rubbed into the cracks between the planks. I think I'm going to get a fast boat to play with this summer coming because I'm starting to wonder if I will finish this on time for summer.
-
Oar ports are undergoing another change I'll post pictures later and explain why I'm making these changes.
-
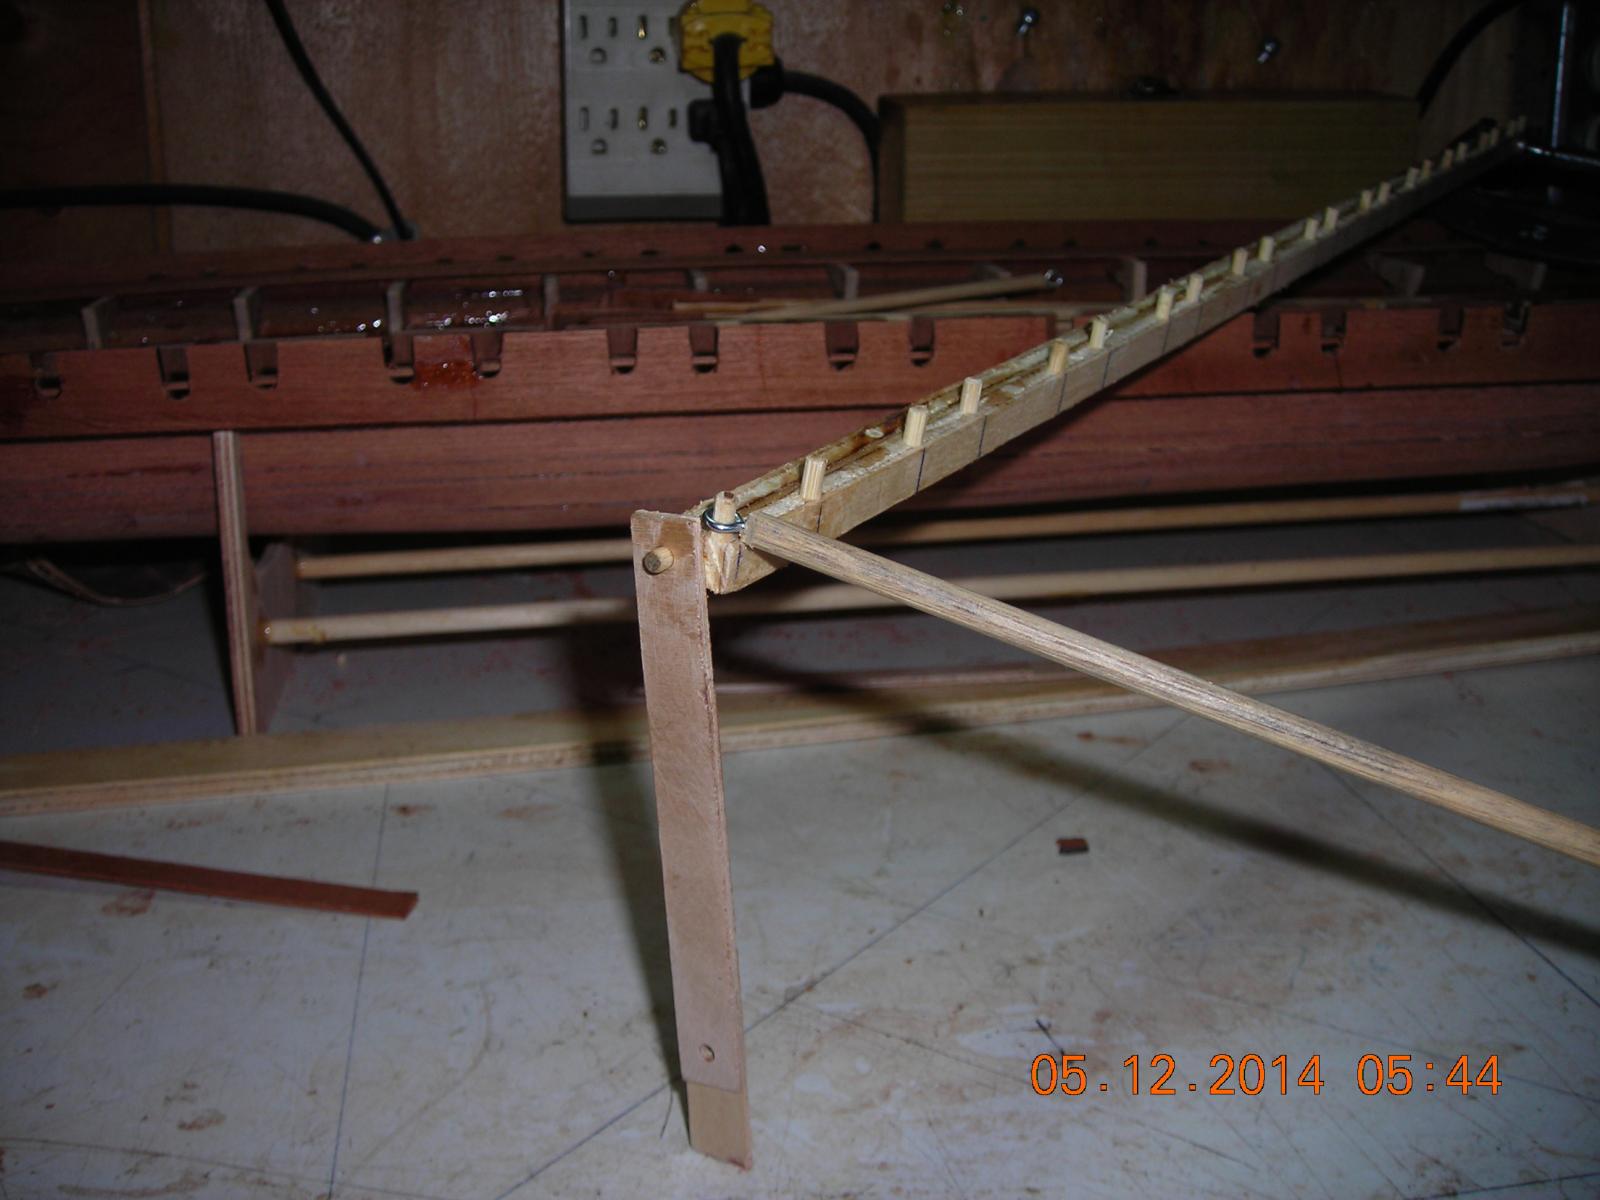
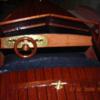
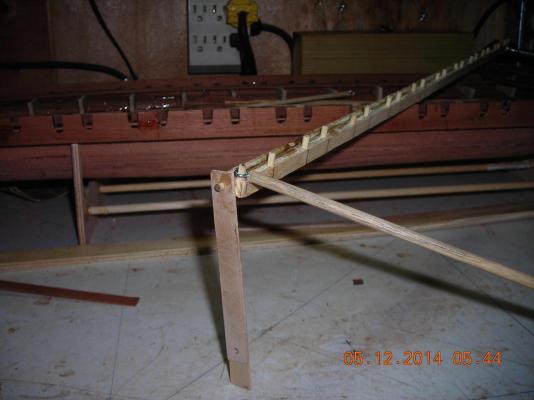
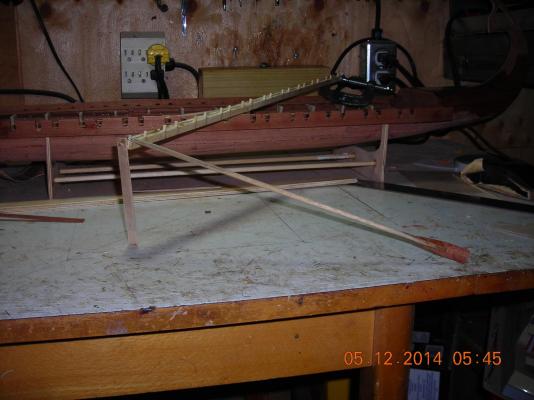
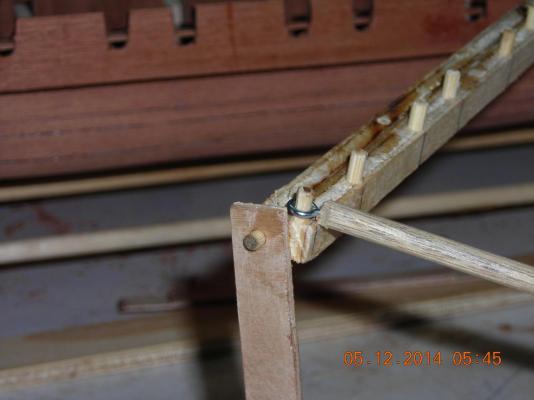
The oar rack and how it will function, the pivoting rack will lift the oars in and out of the water, The oars will swing back and forth by pivoting on the vertical rack pins. The pivot pins at the ends of the rack will have the ability to be removable by spreading the drilled tabs at the ends of the driven member and allow the complete set of oars to be lifted out.
-
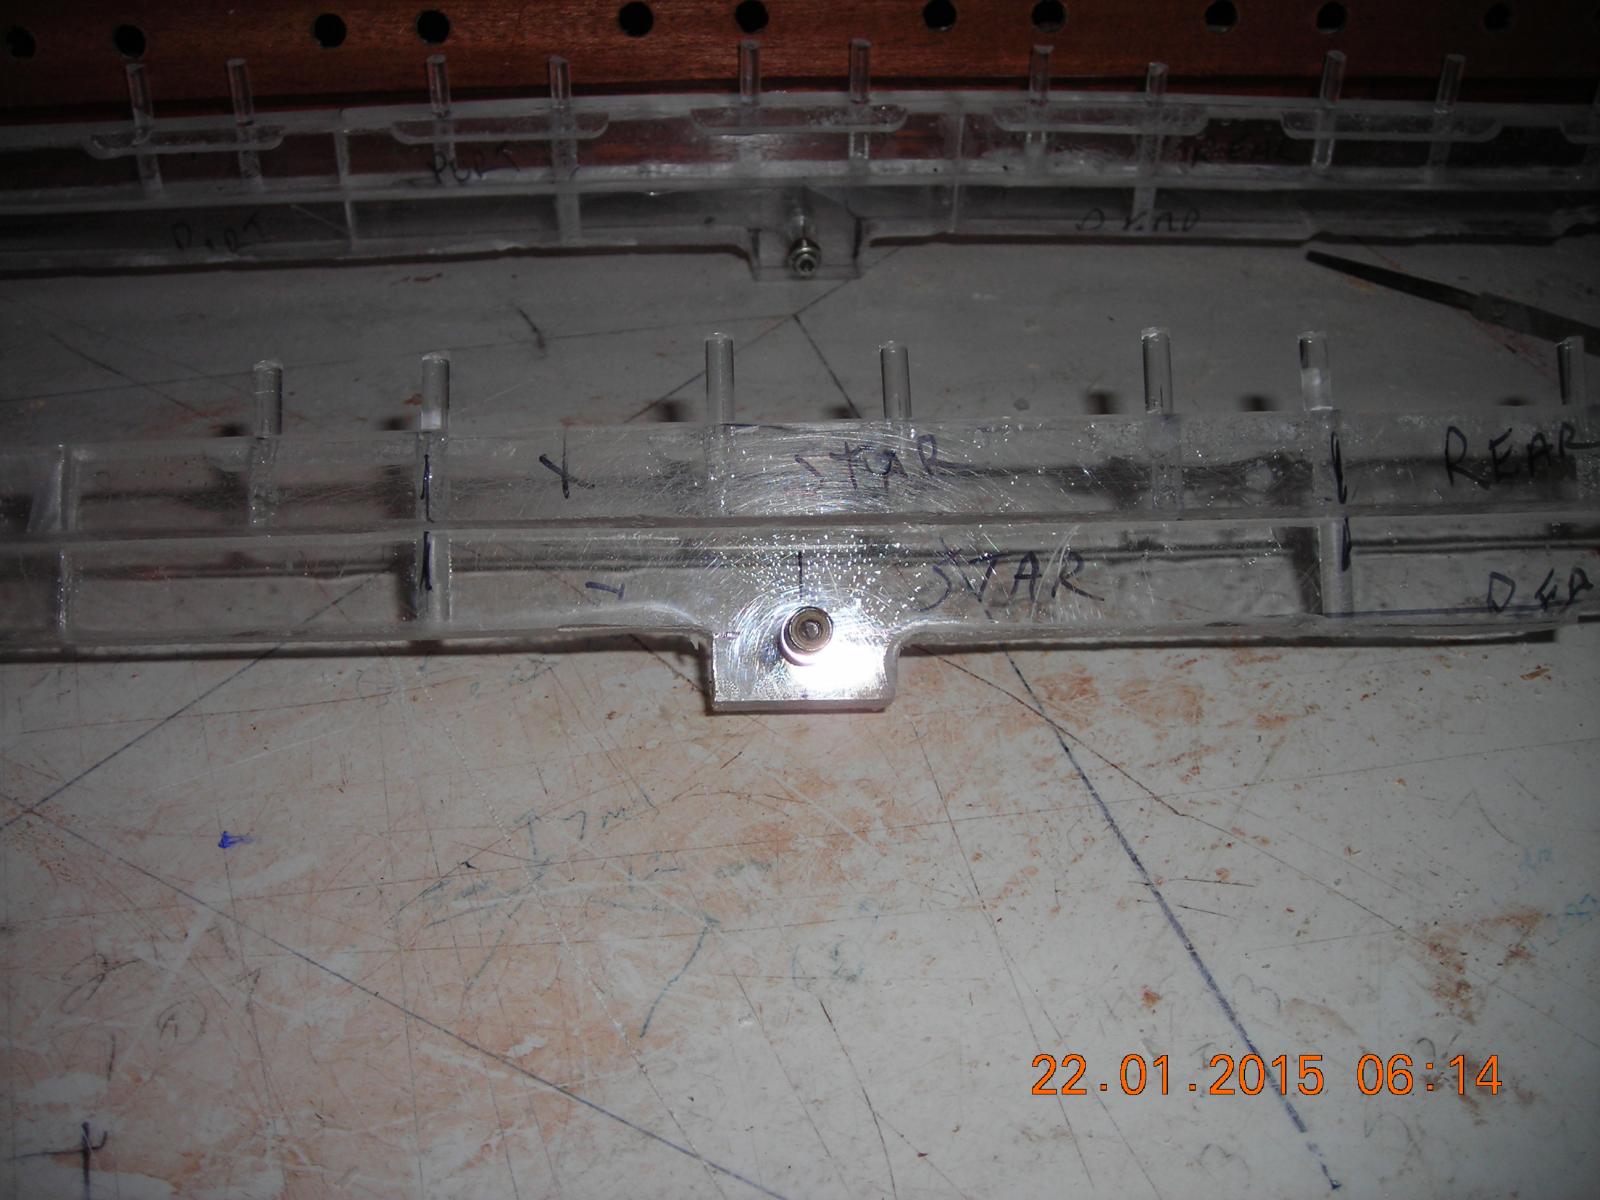
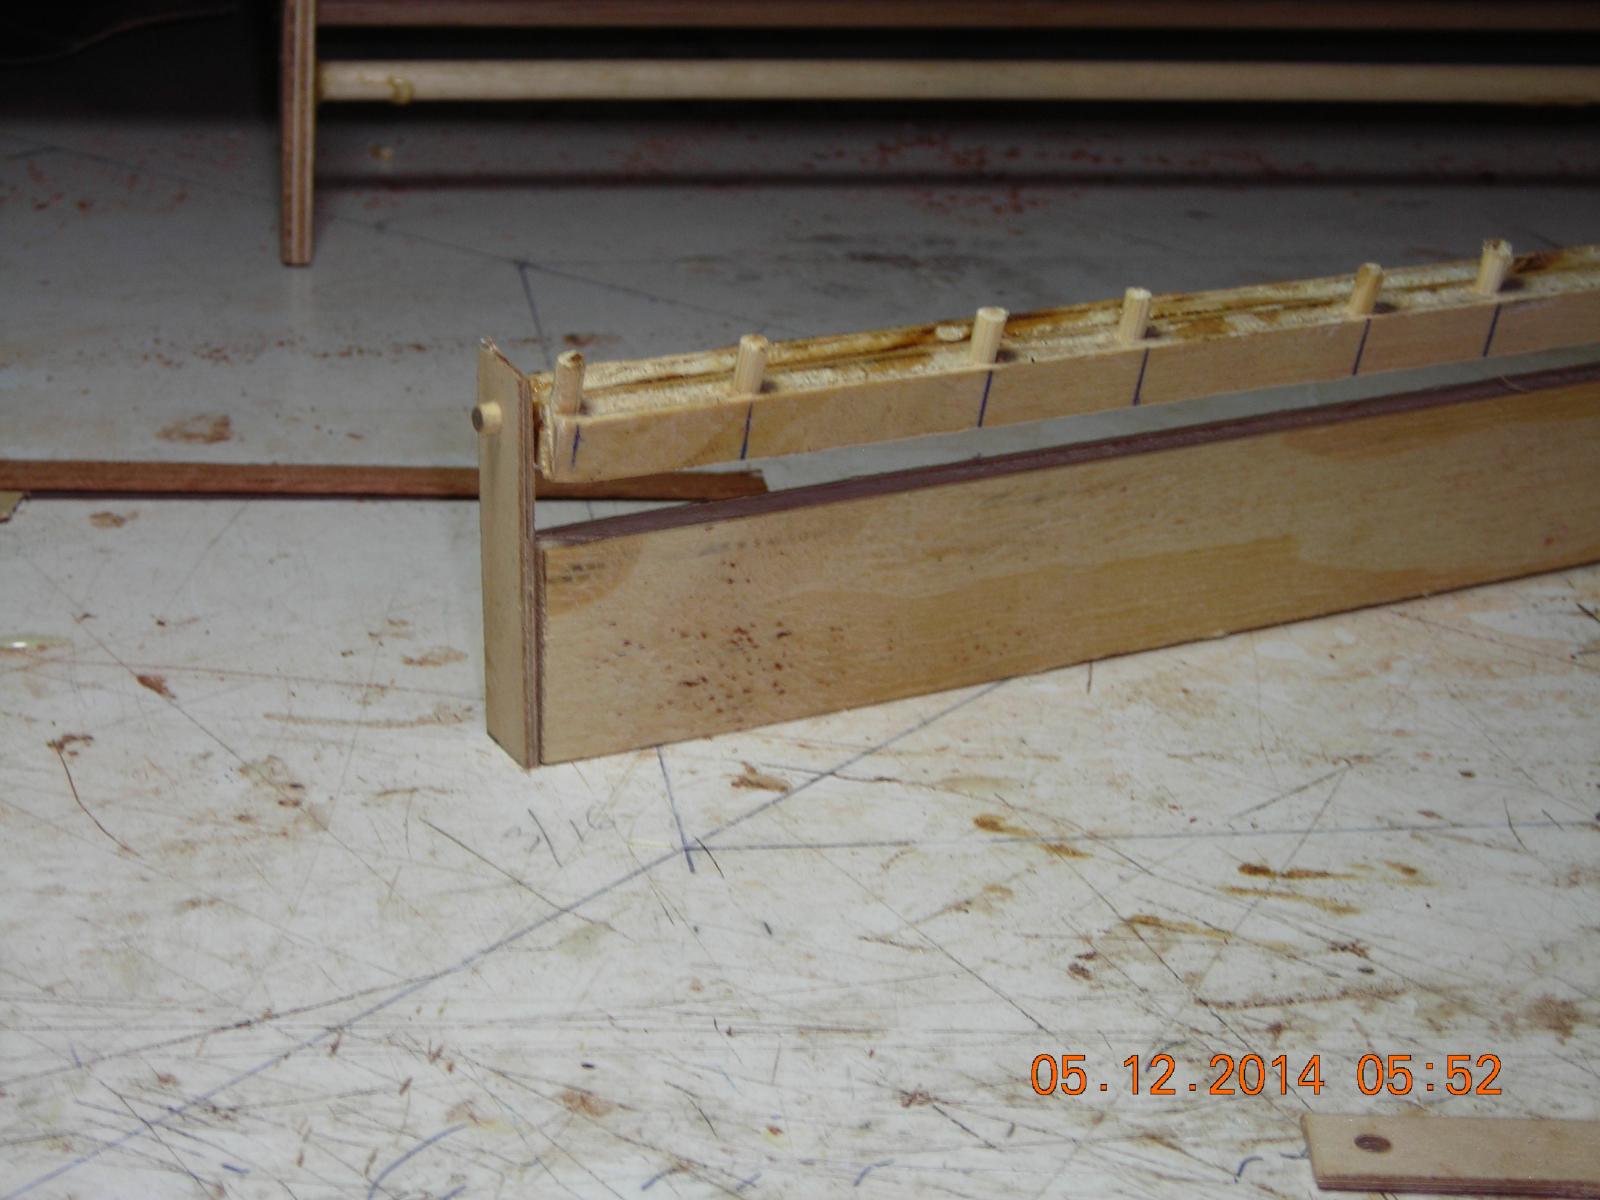
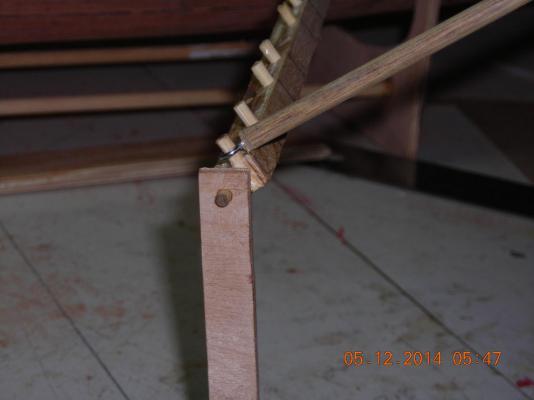
Oar rack with newly installed pivot pins. Oar rack with pivot pins with soon to be driven member.

-
All the work done in this post and the last is going to be scrapped! I'm not happy with the looks of this so I'm starting over in a more precise direction.


-
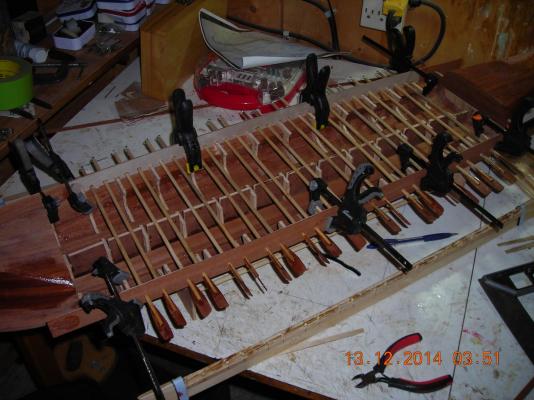
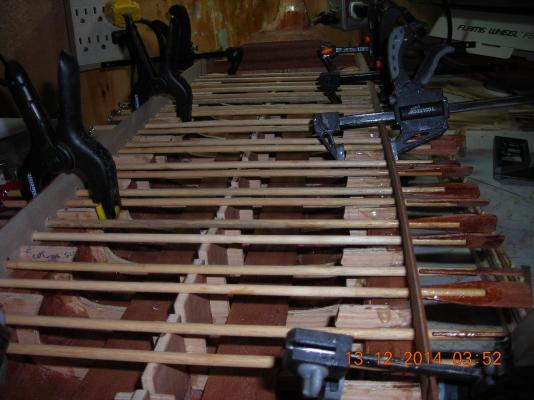
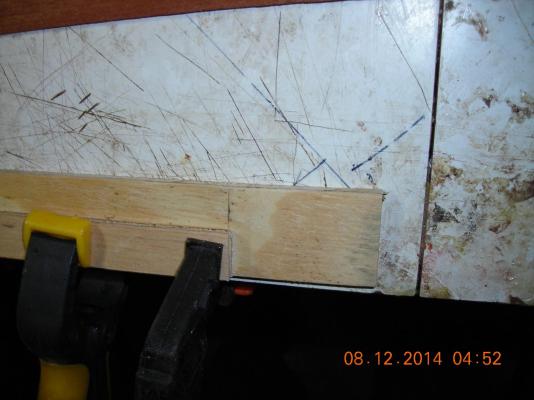
As in the previous posts you can see how the two halves of the ship met, I was trying to drill in that location but my choice of wood however did not want to co-operate. The result was too much repair work was needed if I carried on down that path, so I came up with a new plan. Like the kit models I ran a solid plank down both sides of the ship, epoxied it in place then drilled for better results and much less repair work. A little side note here that may interest some, I rarely build from a kit, I rarely build something that isn't RC and I never have a set in stone direction as to how my builds will progress. During my builds I normally think three steps ahead and have often had to change direction, normally for the better but not always, those ones are the projects I scrap. So if you wonder where my builds are going, most of the time I have an idea where I want them to end but a whole lot of different paths on how to get there I just don't always know which path I'll take.


-
Scale speed is one thing but what I found with that my boats using brushless motors gives better torque and if you want it more than scale speed. You can always cruise at half throttle for scale effect but it's always nice to have a little extra muscle for when you want to play. Keep the build thread going even the smallest changes and work done can be interesting to people who follow your thread.
-
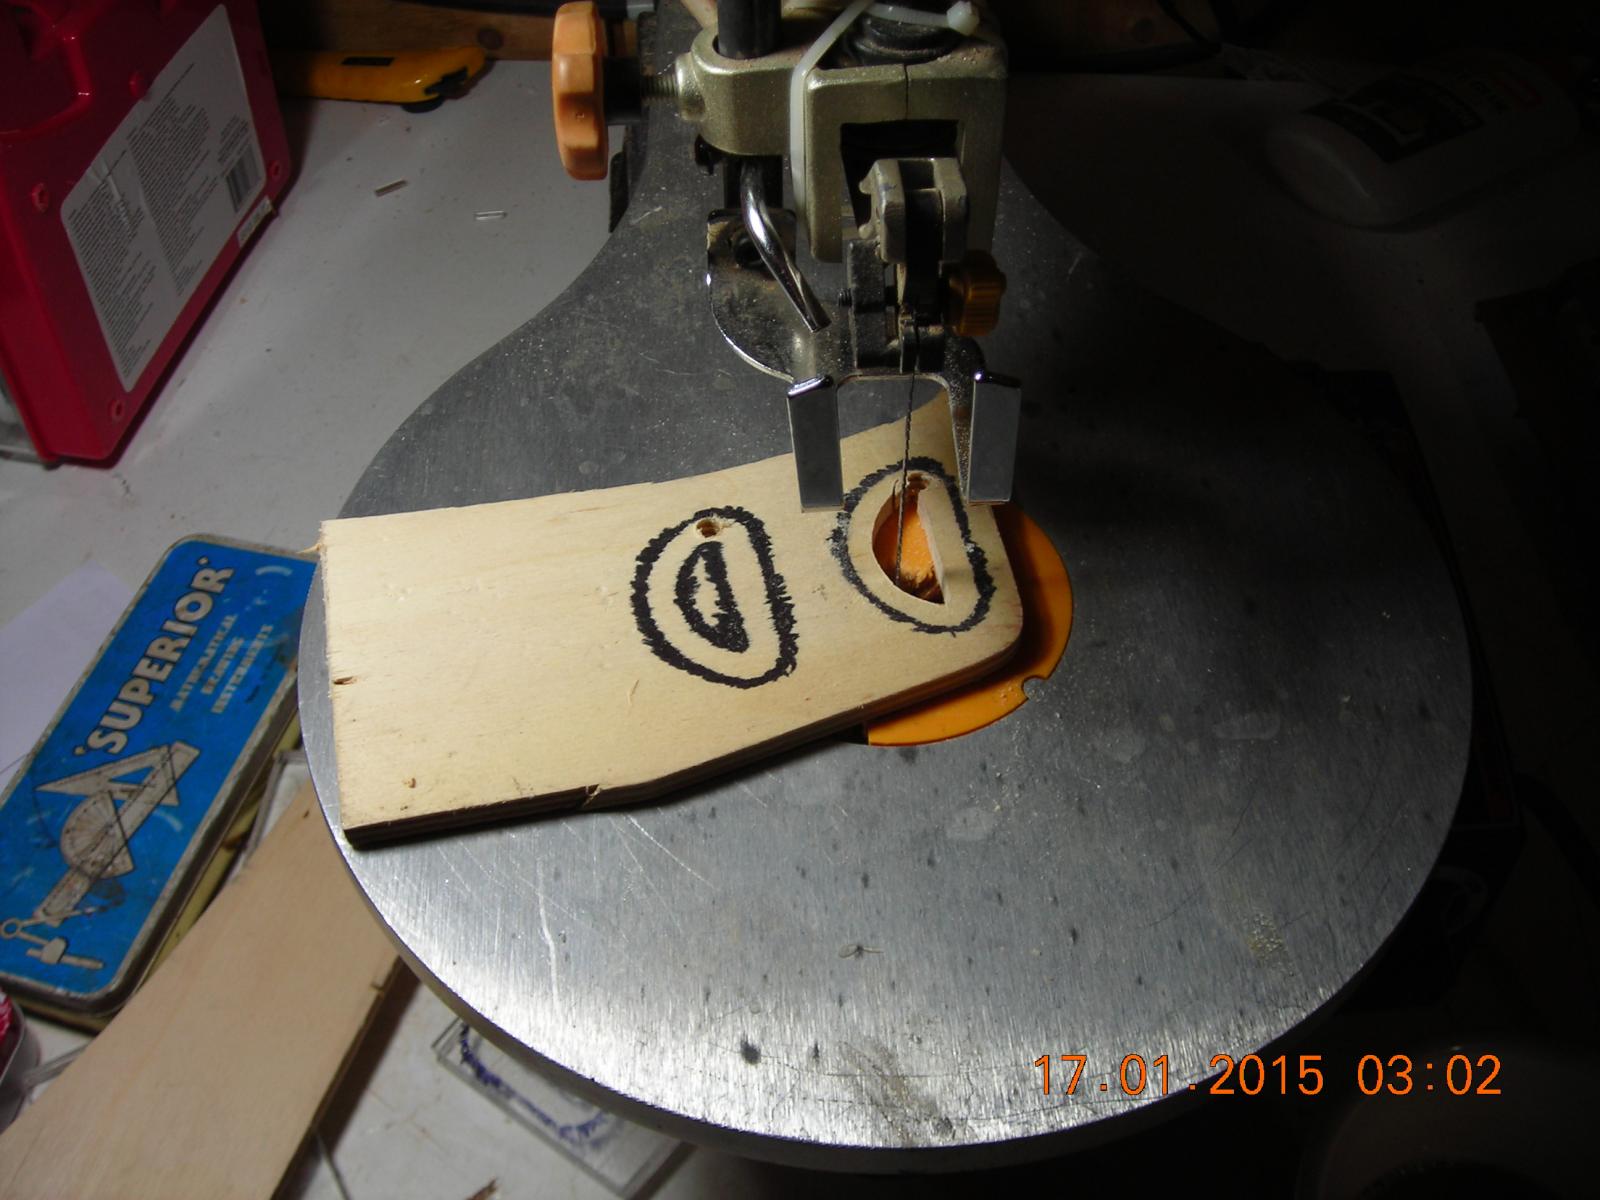
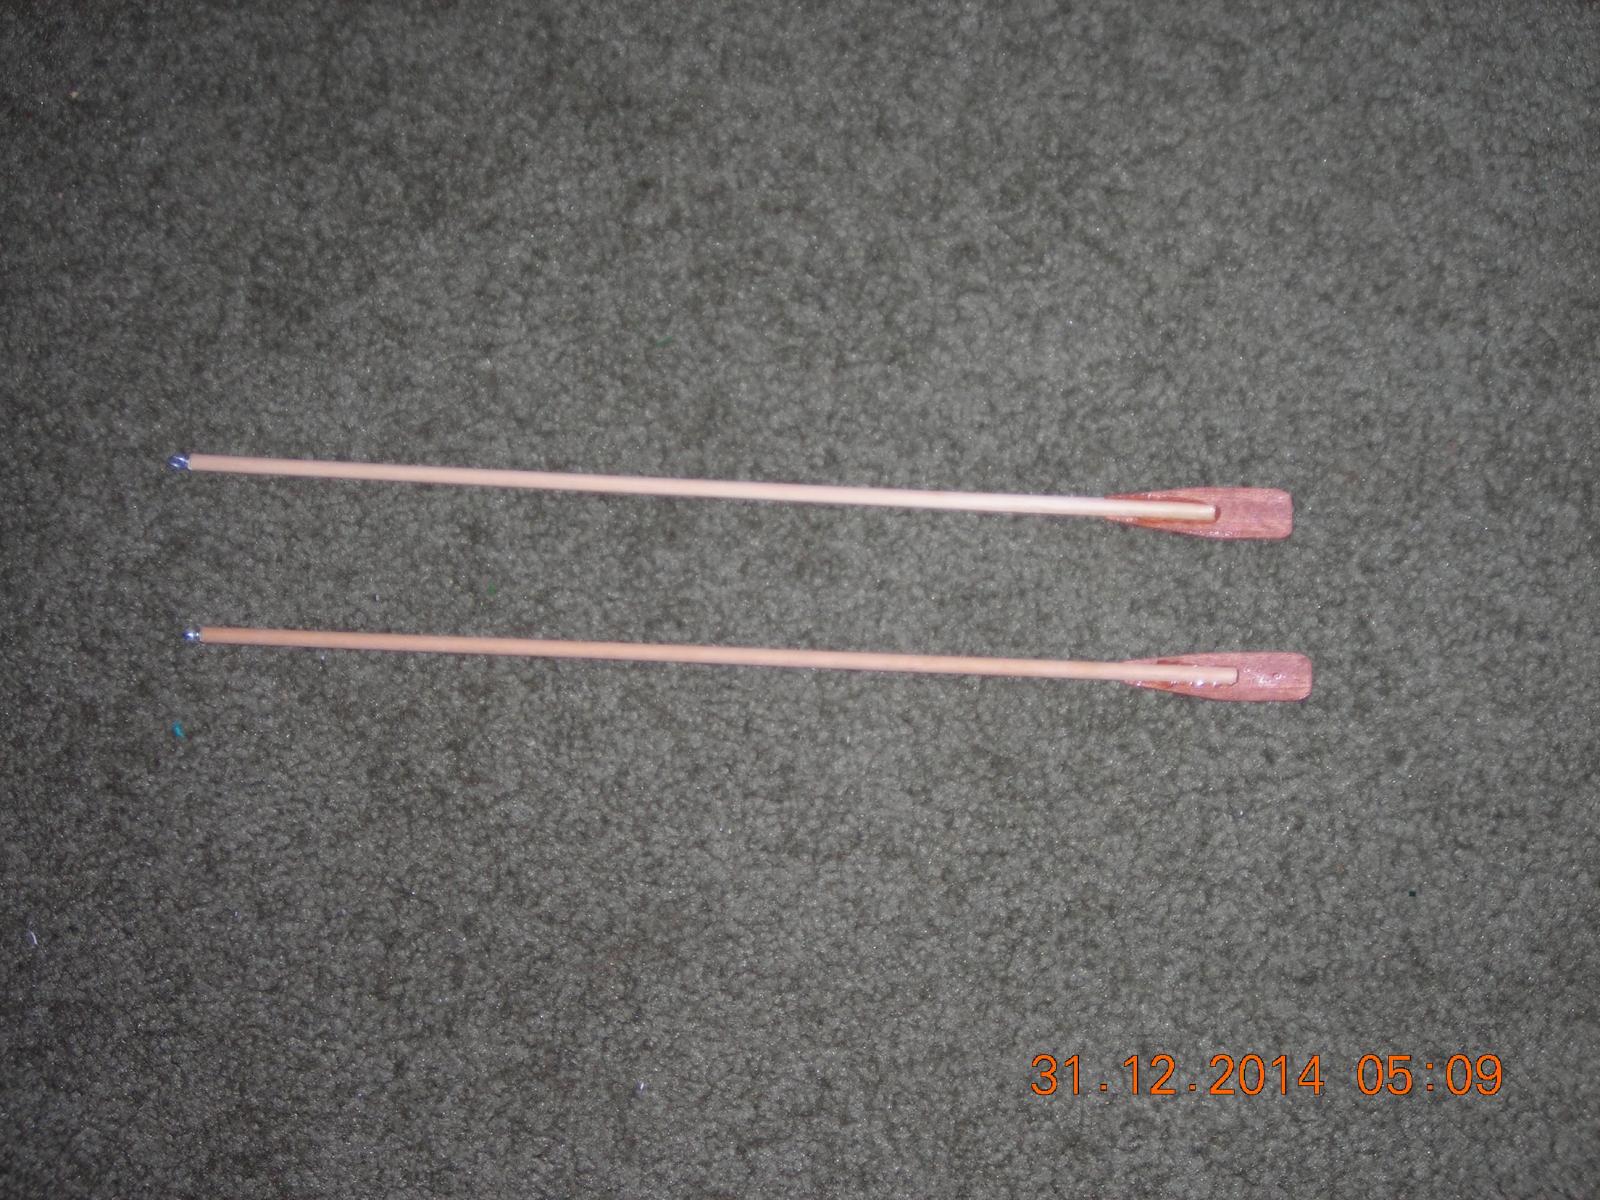
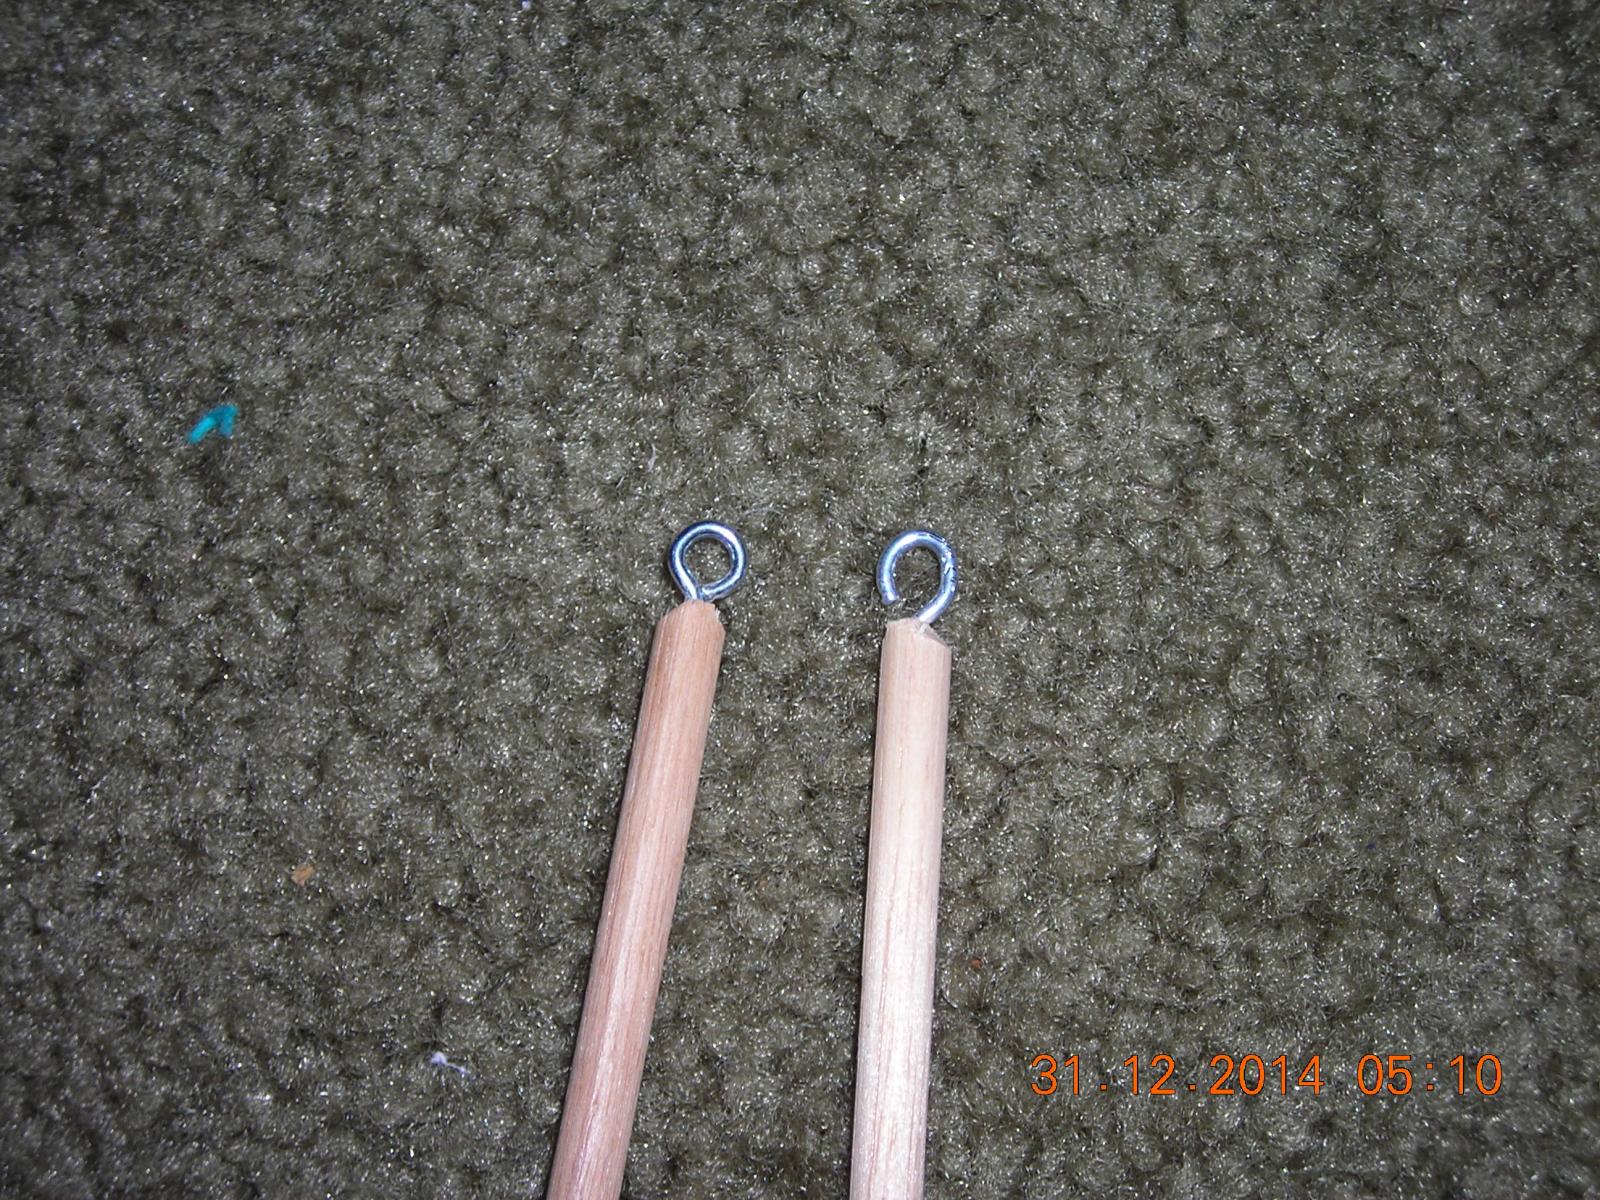
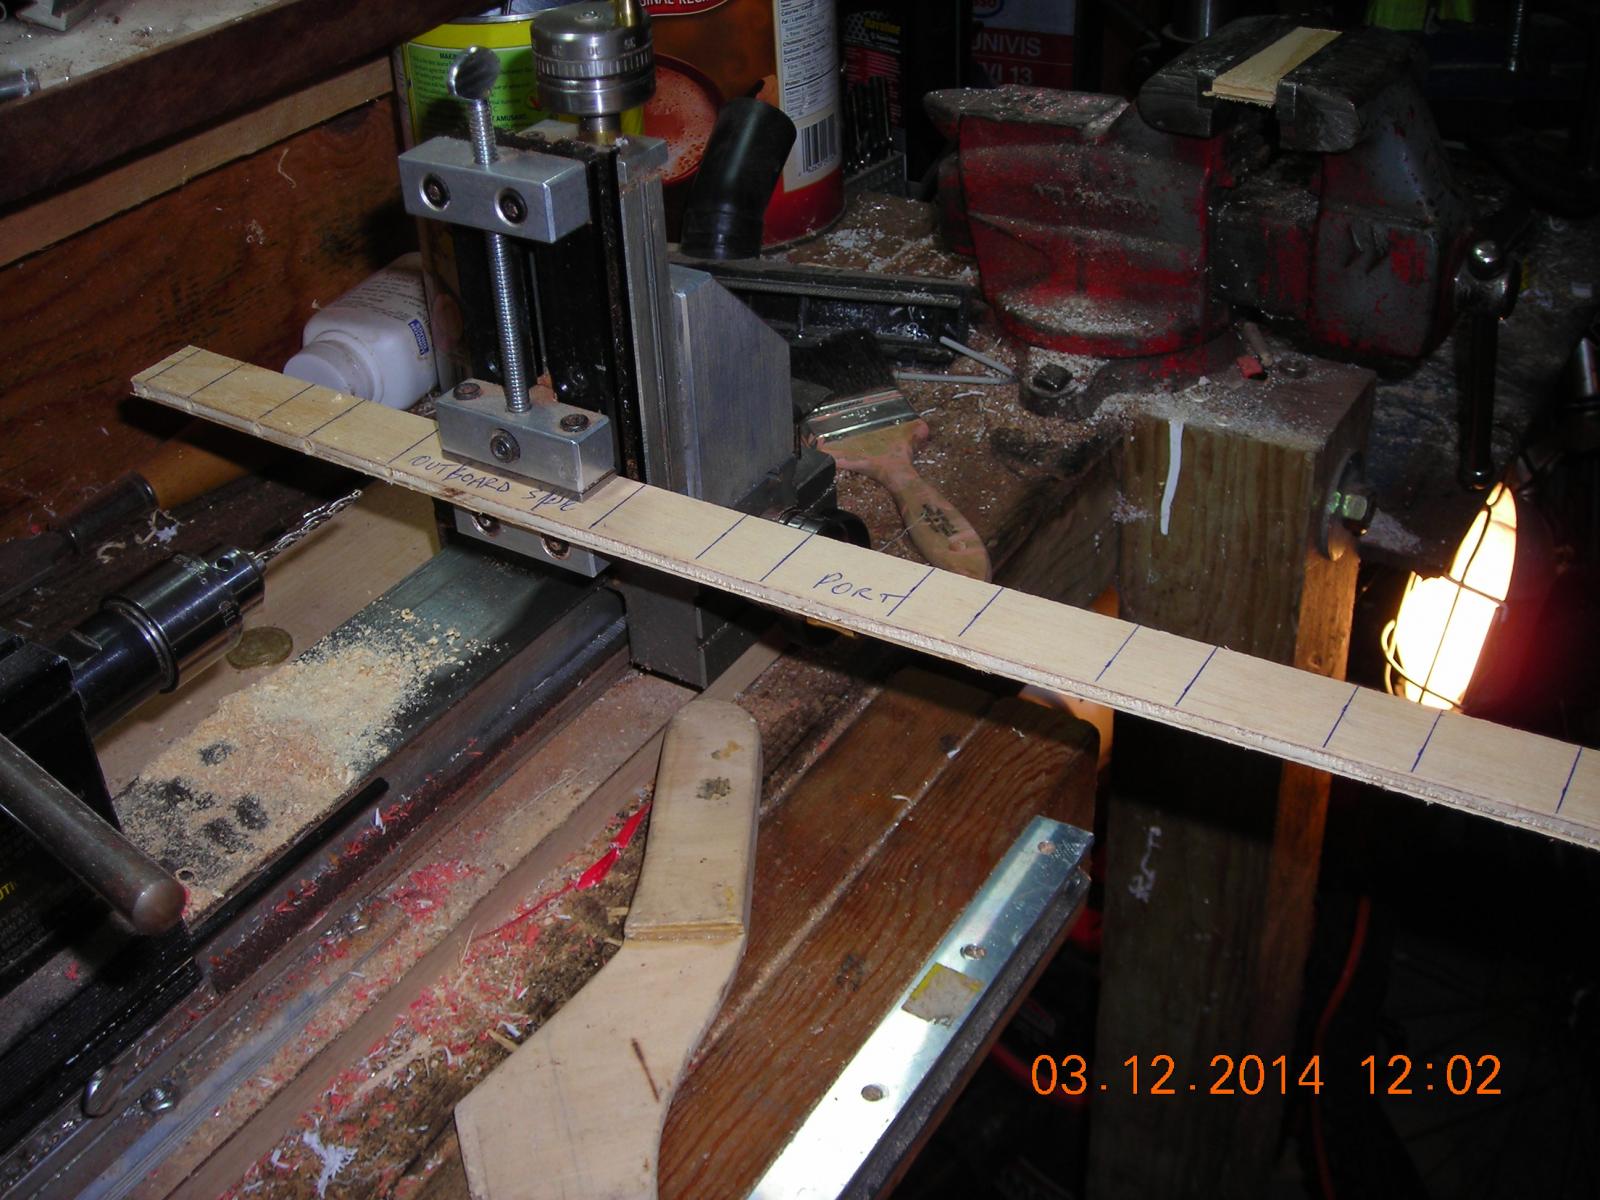
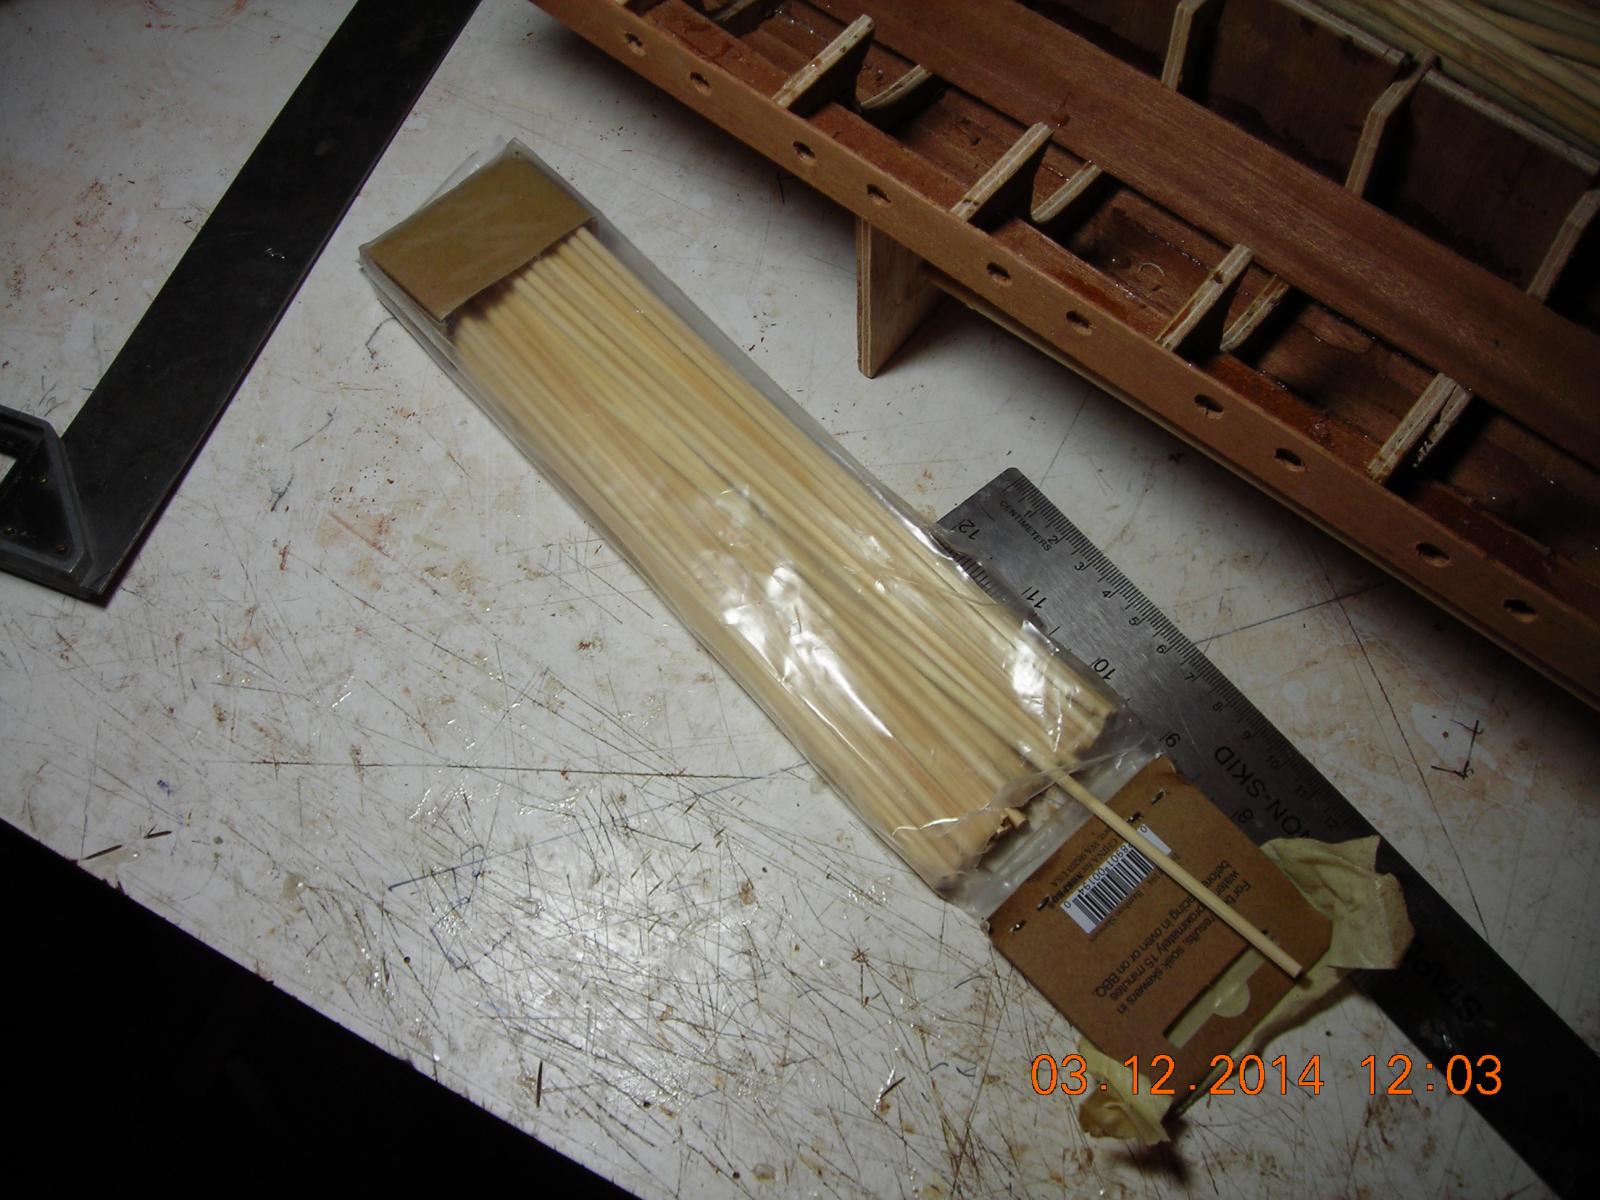
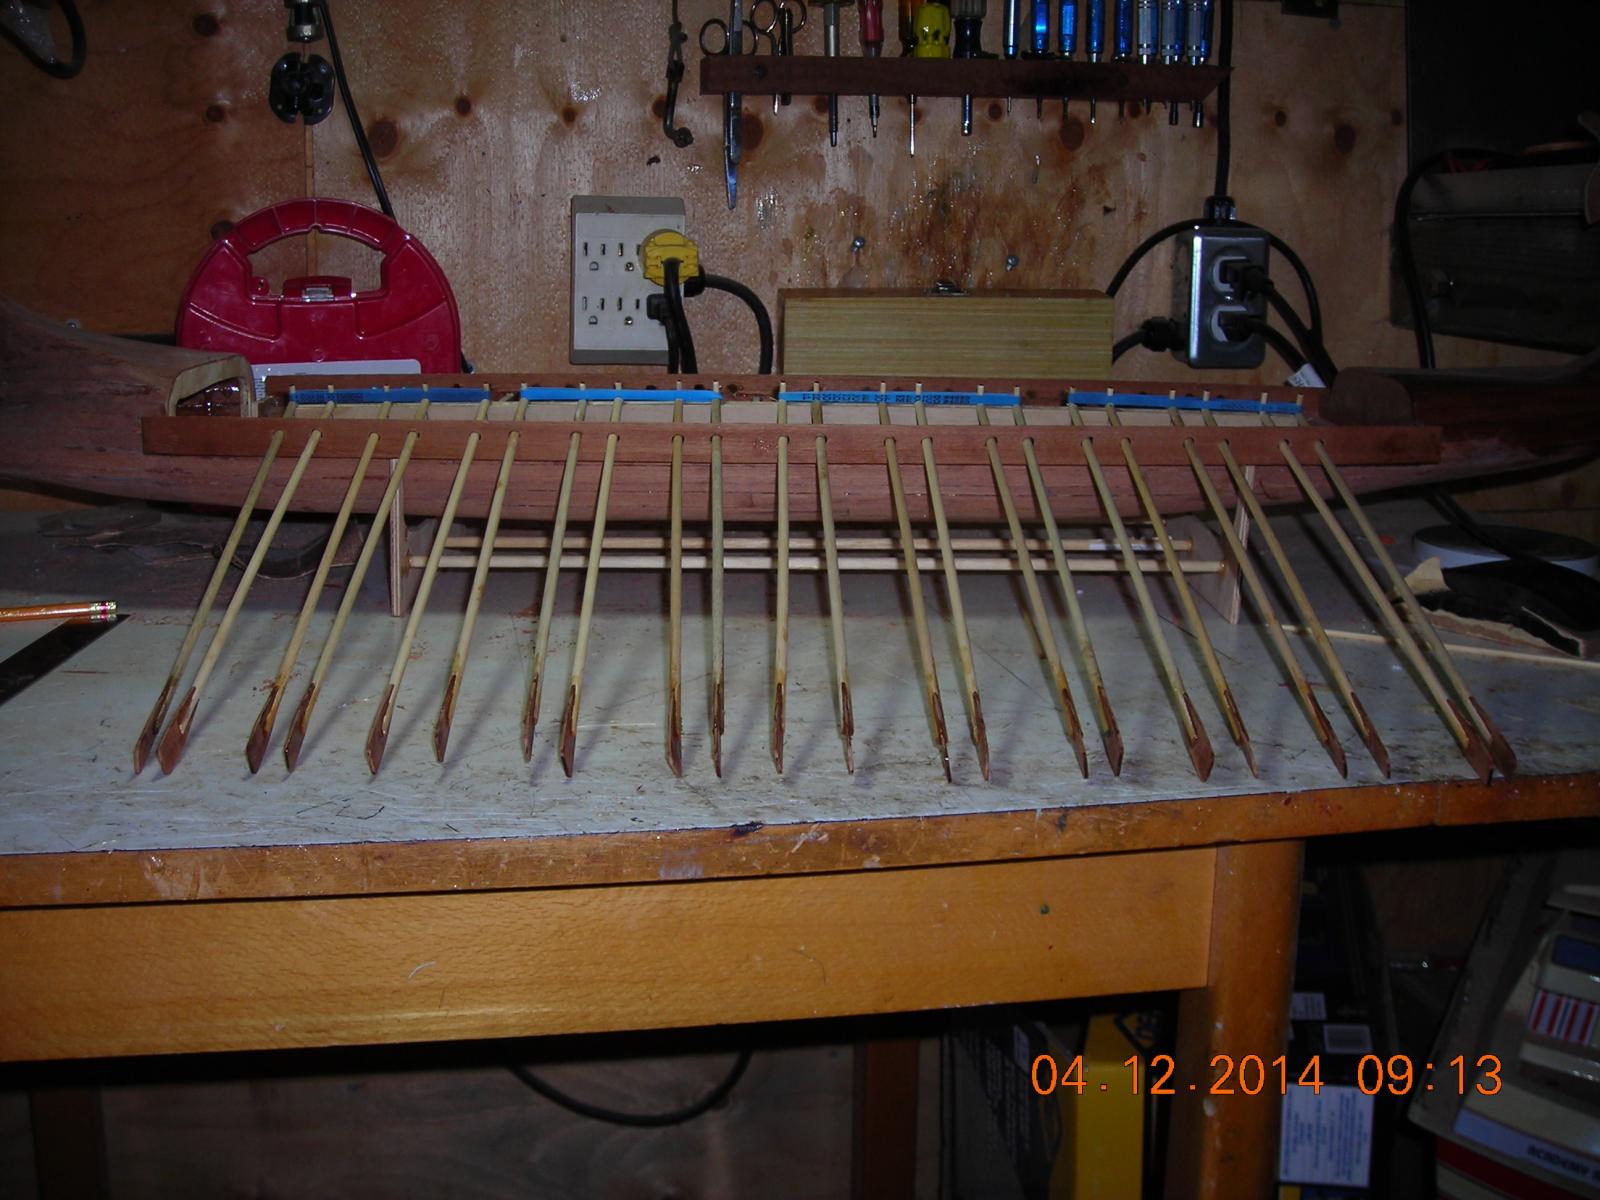
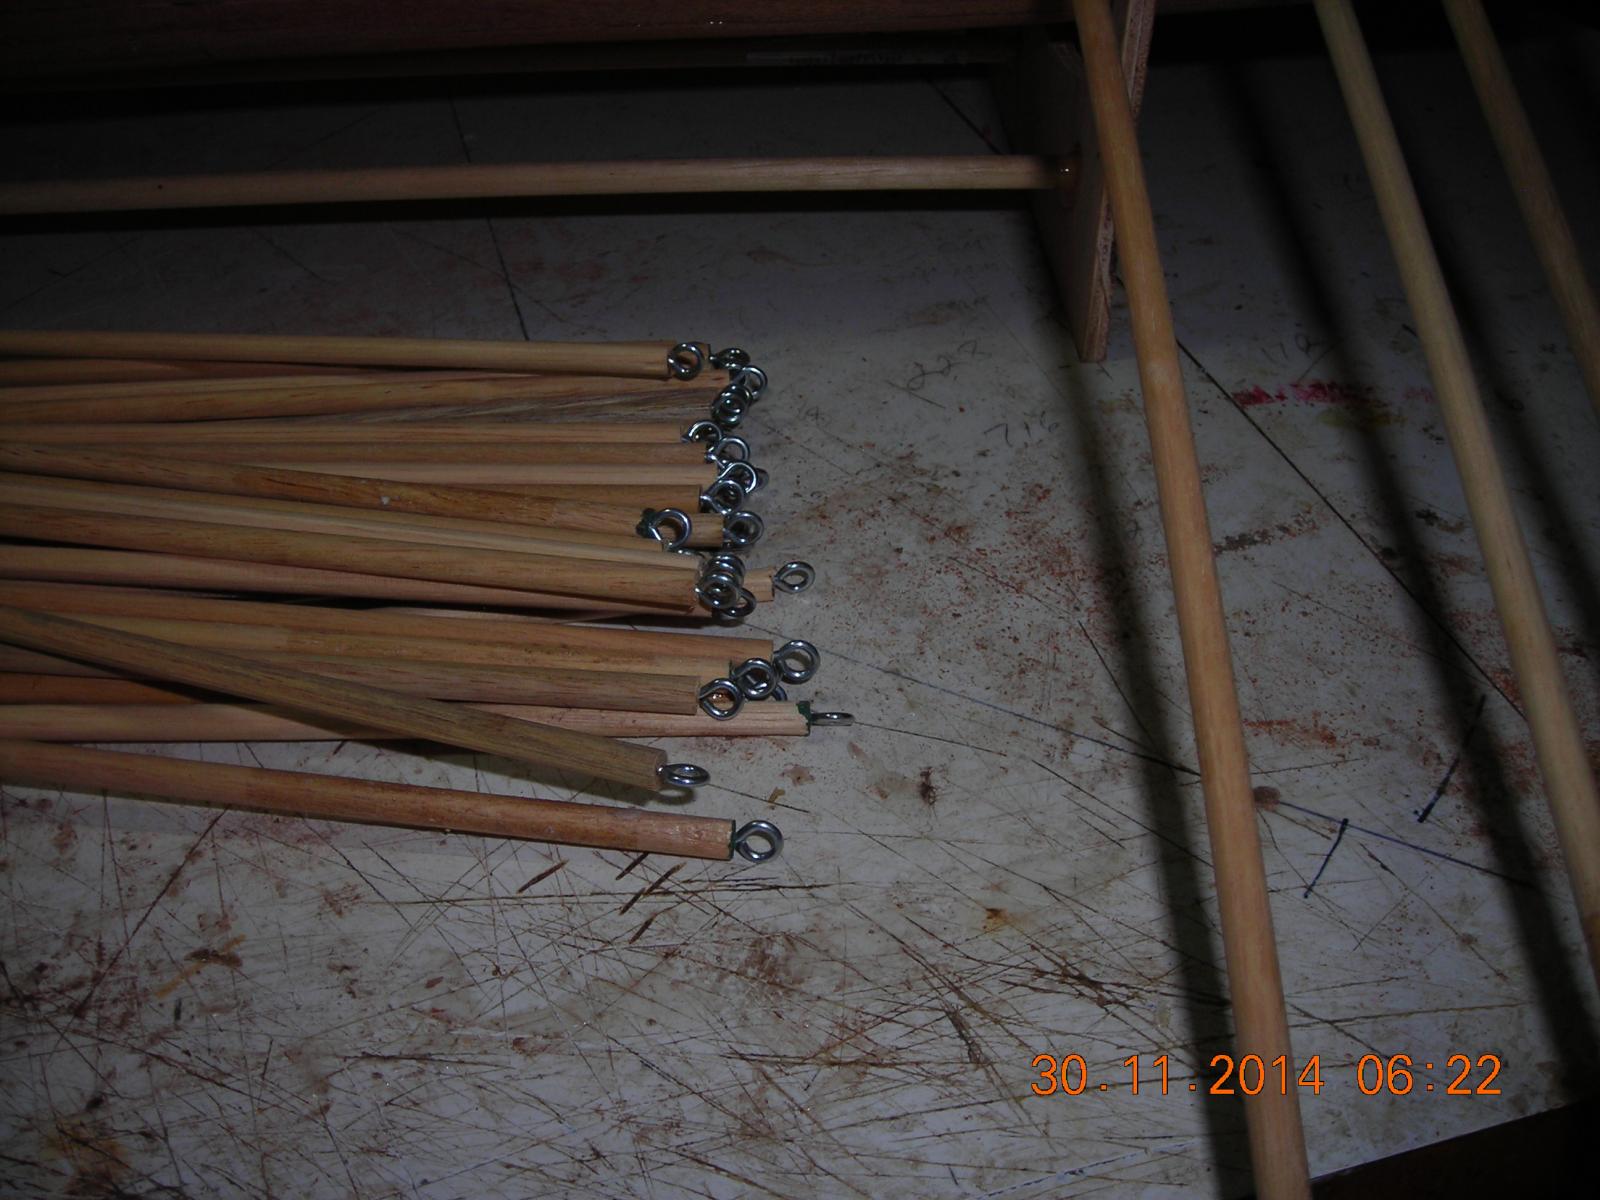
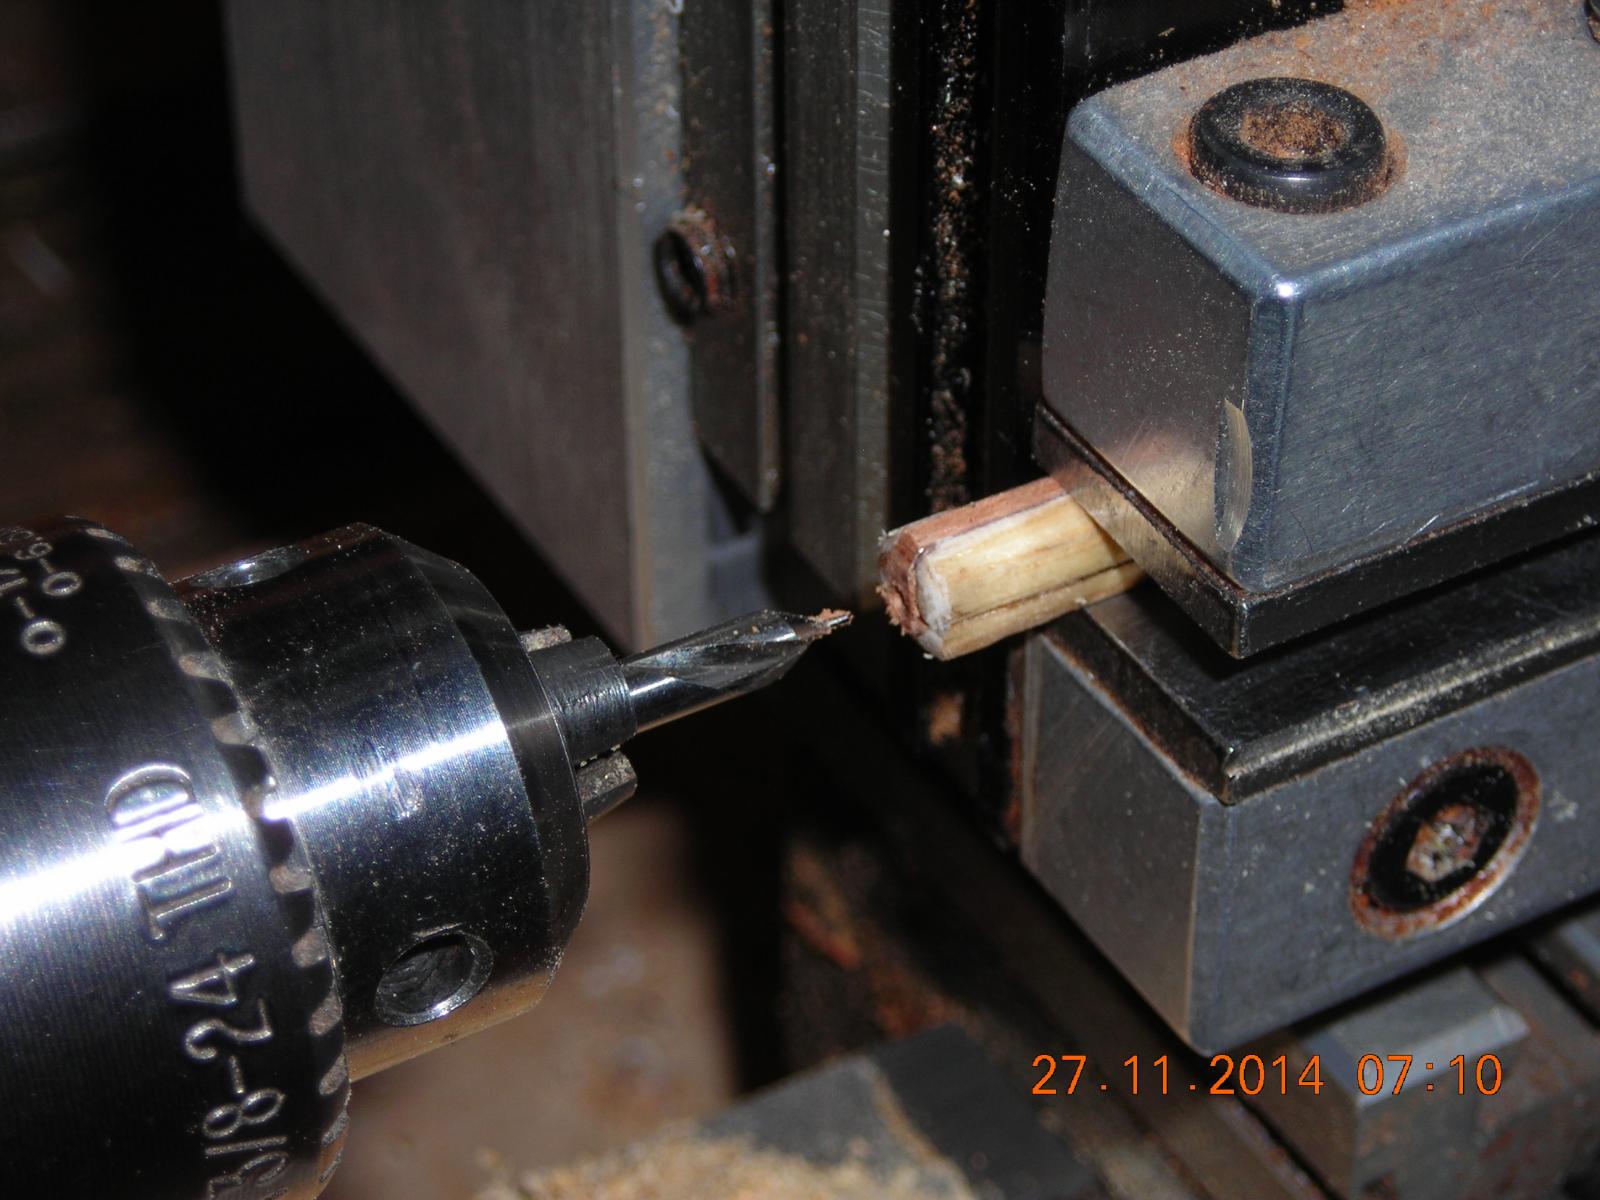
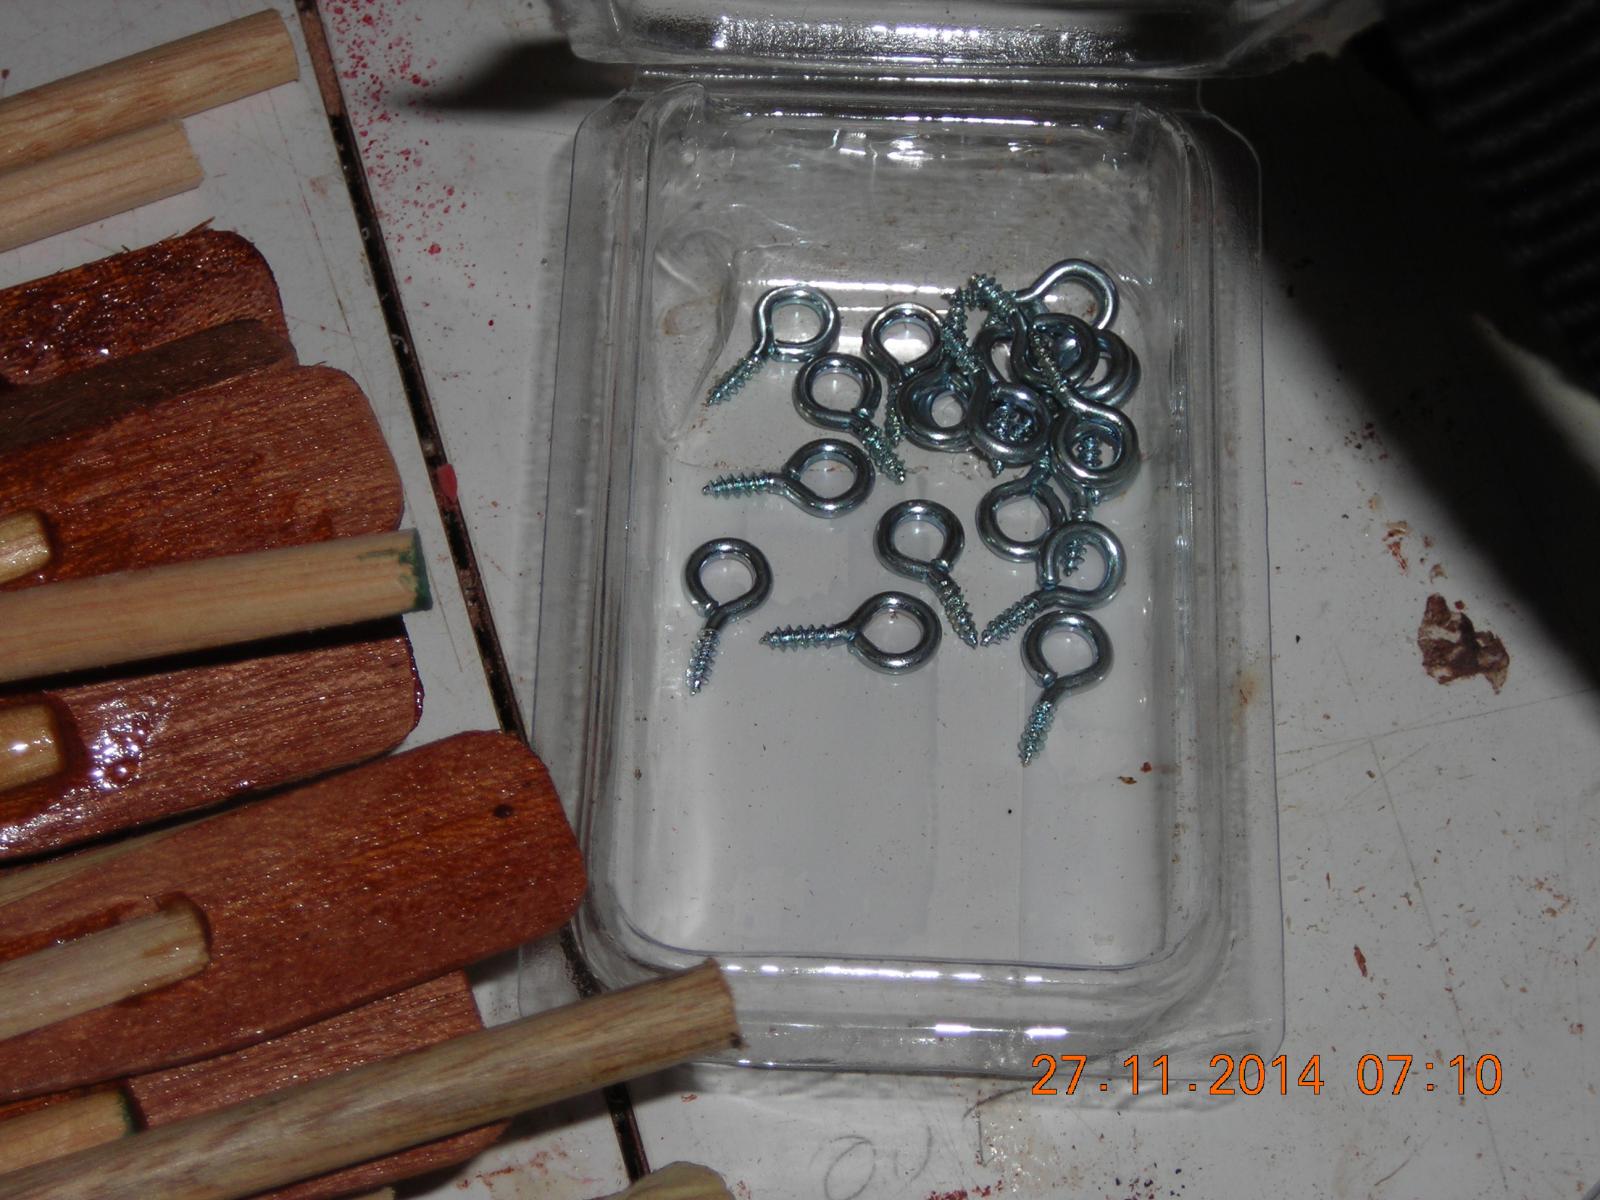
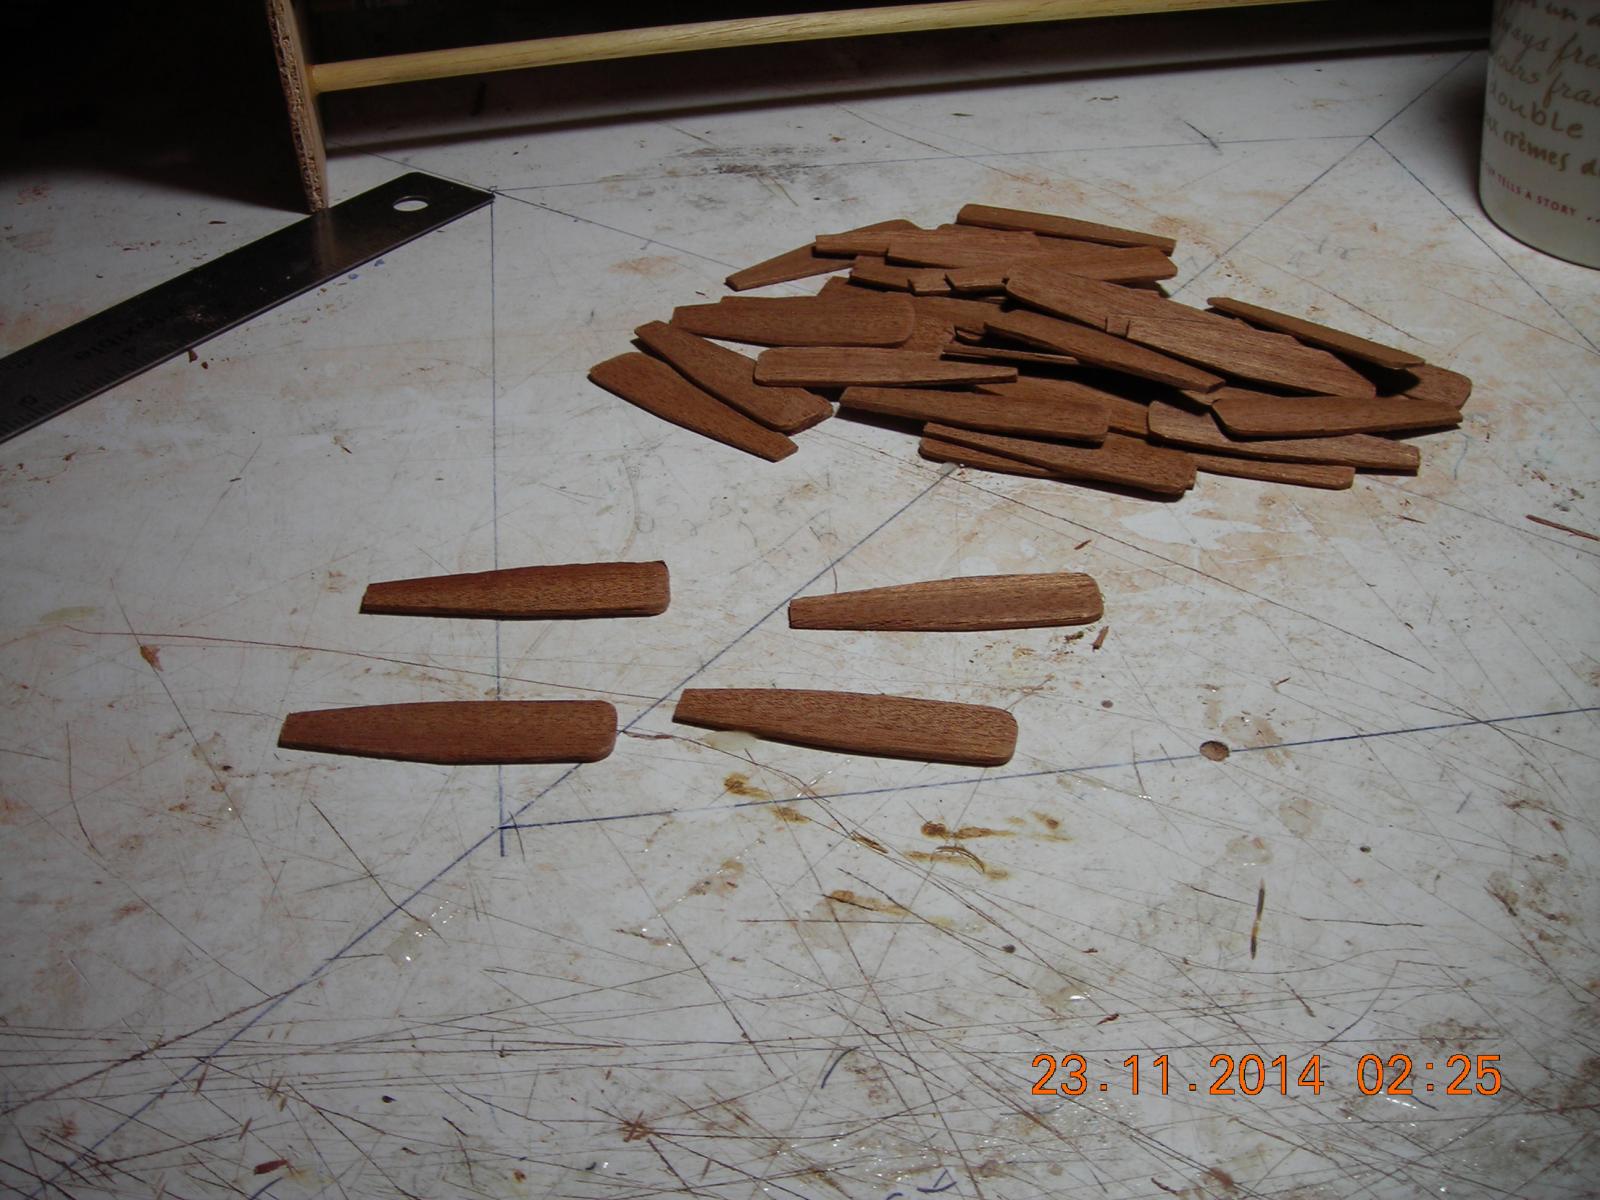
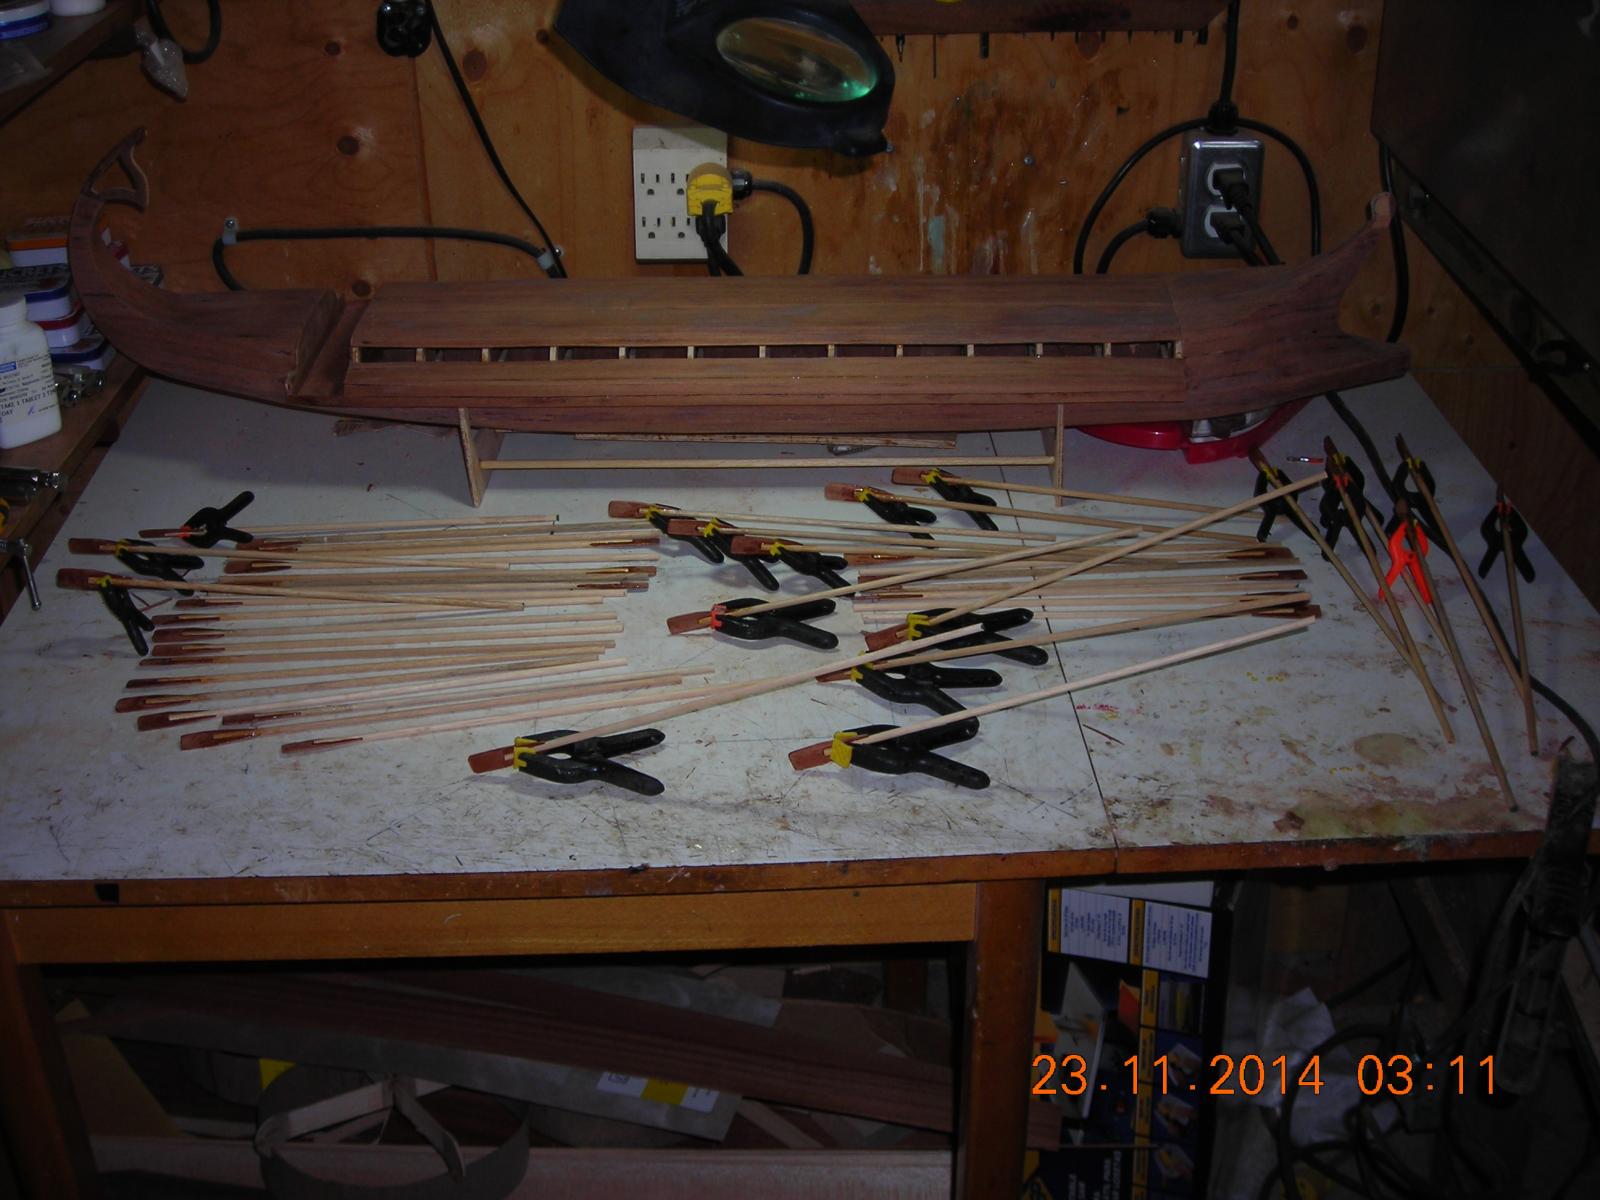
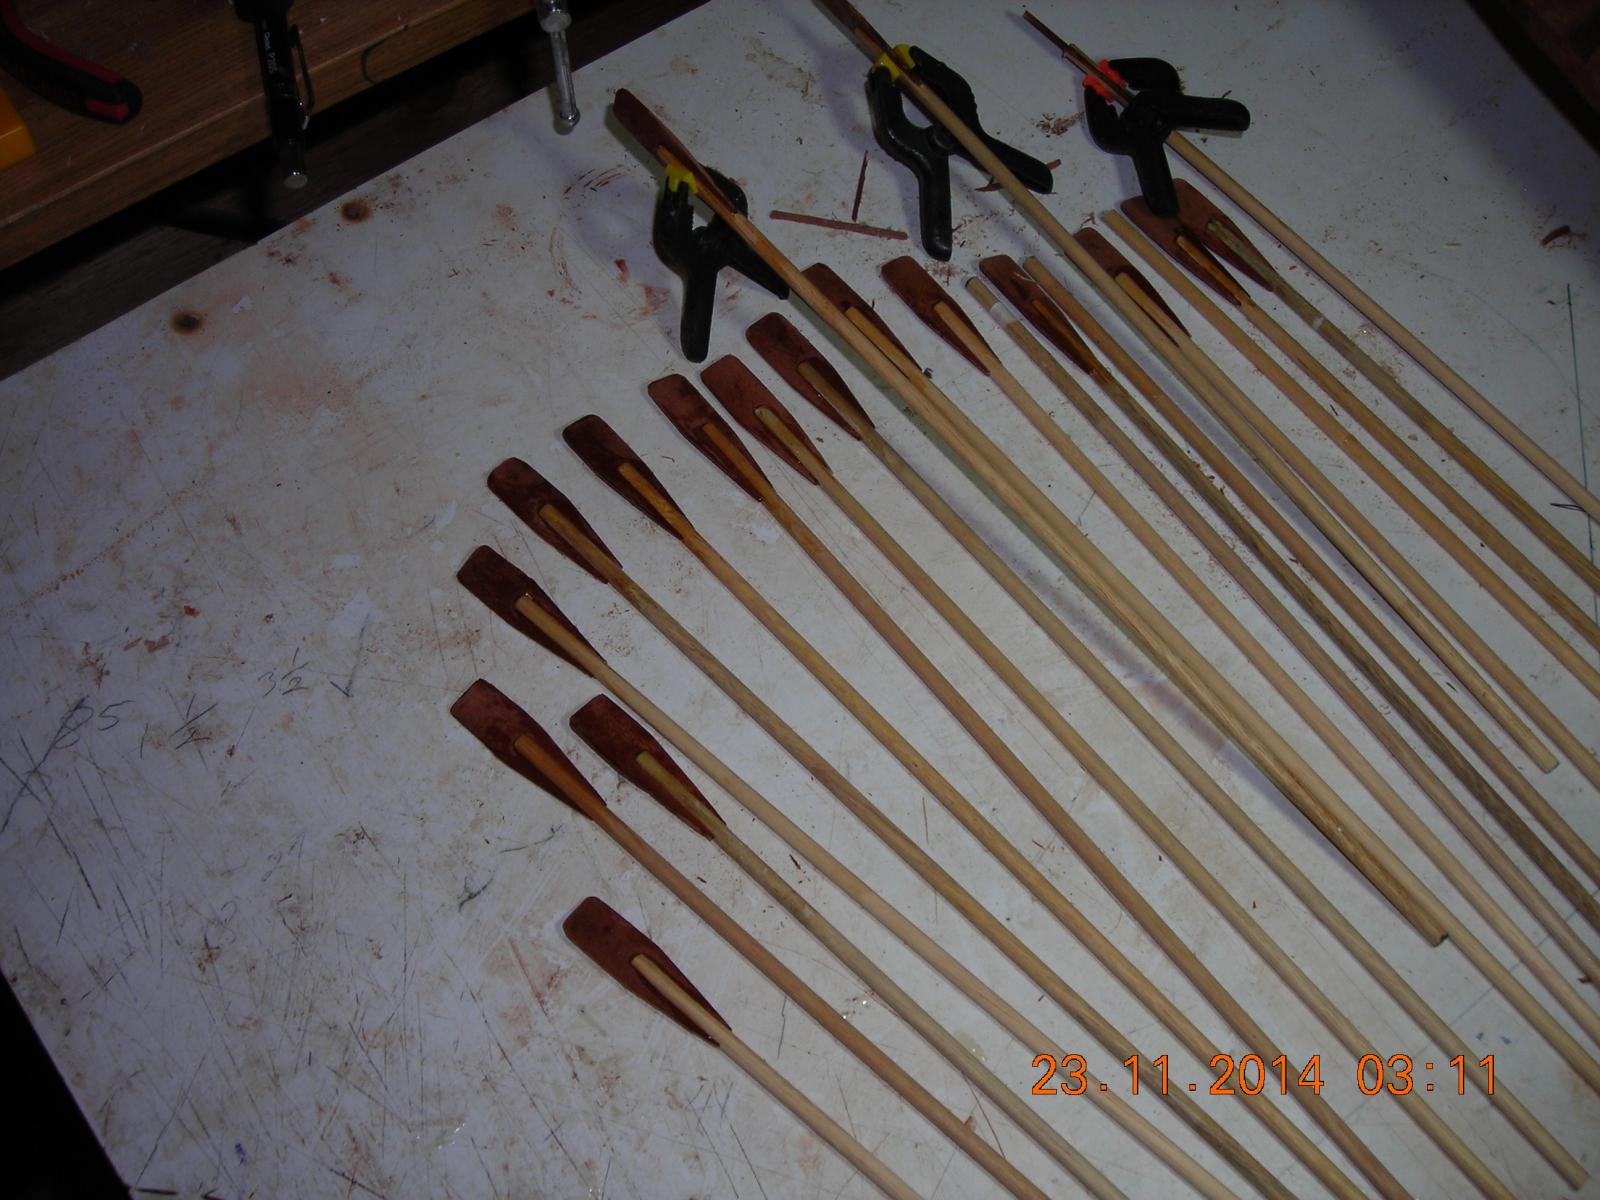
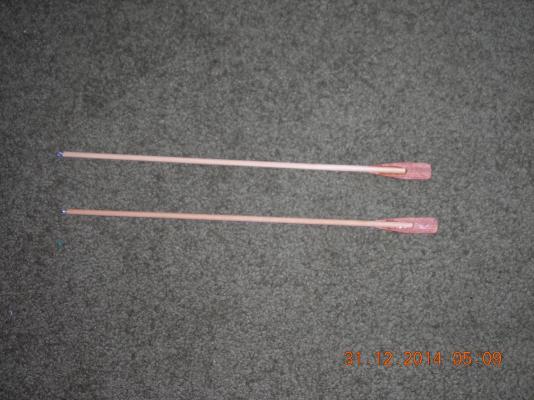
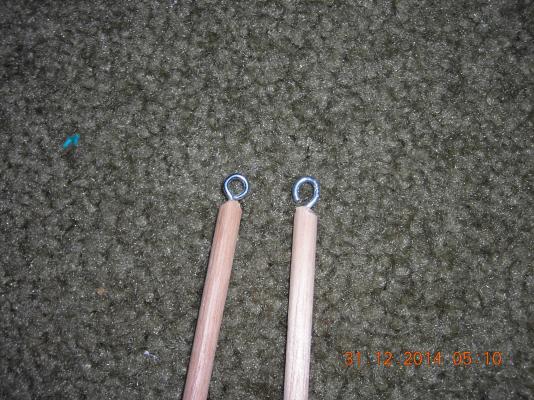
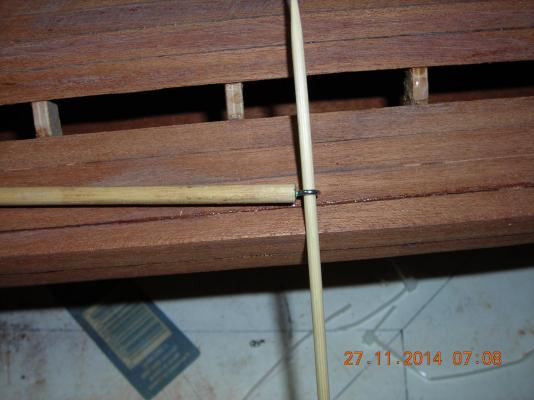
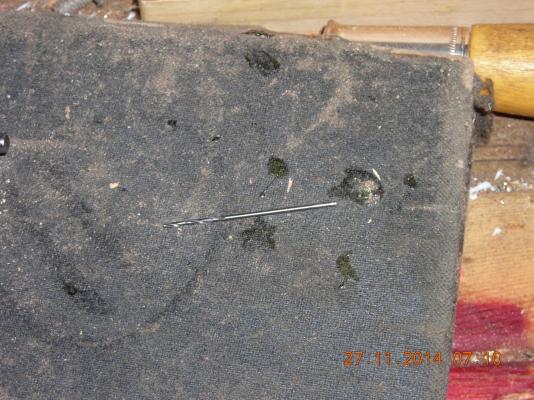
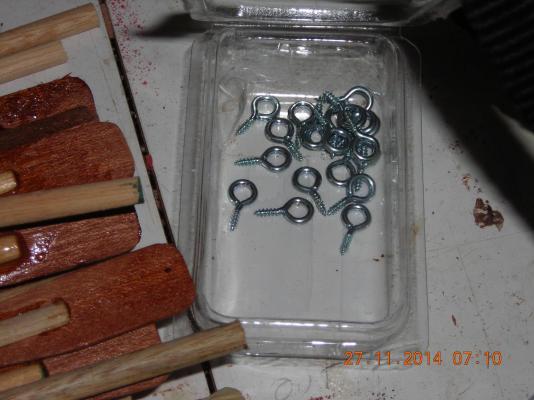
Drilling Oar ends and installing eyes into the ends of the oars at 90 degrees to the paddles. These ends will slip over bamboo dowels which will be installed on the moving rack. All sorts of fun still to come.

-
Thanks Steven I will post pictures of the finished oar assemblies later today.
-
Thanks for the compliments, next I will be finishing the oars then making the drive will begin. I had to have the oars done first so I can make sure they go to the right depth and plan the arc the oars will need to take when entering and exiting the water, that is going to be the meat and potatoes of this build..