HOLIDAY DONATION DRIVE - SUPPORT MSW - DO YOUR PART TO KEEP THIS GREAT FORUM GOING! (Only 53 donations so far out of 49,000 members - C'mon guys!)
×

j21896
-
Posts
287 -
Joined
-
Last visited
Content Type
Profiles
Forums
Gallery
Events
Everything posted by j21896
-
 Crisp, clean and beautiful detail work as always Bob! Cheers, Robert
 -
Thanks Alistair. I'll be looking for your re-posted log! And thanks Timmo. Her lines really sealed the deal when I was choosing a ship to model. Cheers, Robert
-
Thanks Carl. My re-post speed is right up there, thanks to the features in the new MSW site! However, my build speed has an unfortunate history of falling off to zero for long periods of time. But I'm working on it! Robert
-
Hey Hakan -- I just happened to be over at your re-built build log!!
-
Hi Hakan, This build log repost gives me the chance to ask a question on some of your older work -- what type of wood did you make those beautiful belaying pins from? Cheers, Robert
-
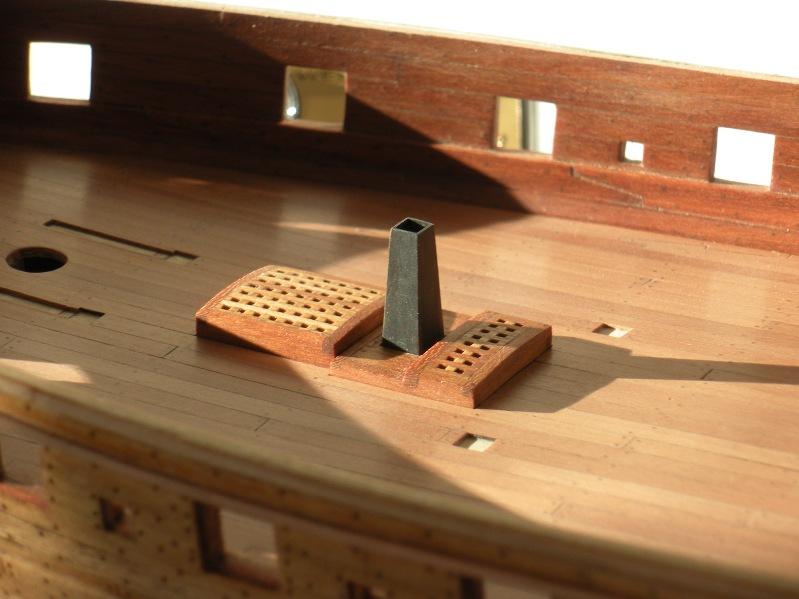
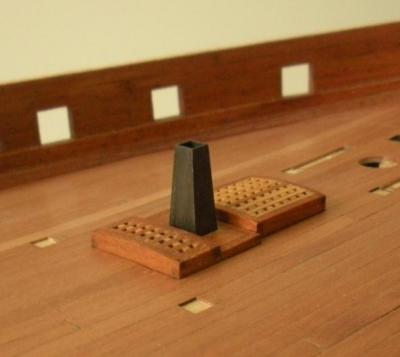
Galley Flue Another thing I chose to add -- this one picked up from the NMM plans -- is the galley flue. To add this, I had my first foray into the world of silver soldering! The plans show a taper in the flue from 15 inches at the base to 10 inches at the top. I created a wooden “plug”, to which I ca glued the brass fore and aft sides of the flue. I applied silver solder paste to the edges, clamped the brass sides in place with a little overlap, and applied a bit more solder paste to the outside of the joints. A quick pass of the torch was all that was needed! I then trimmed the edges, filed, and immersed in acetone to dissolve the ca and remove the slightly charred wooden plug. The flue was blackened using Birchwood Casey brass black. Robert

-
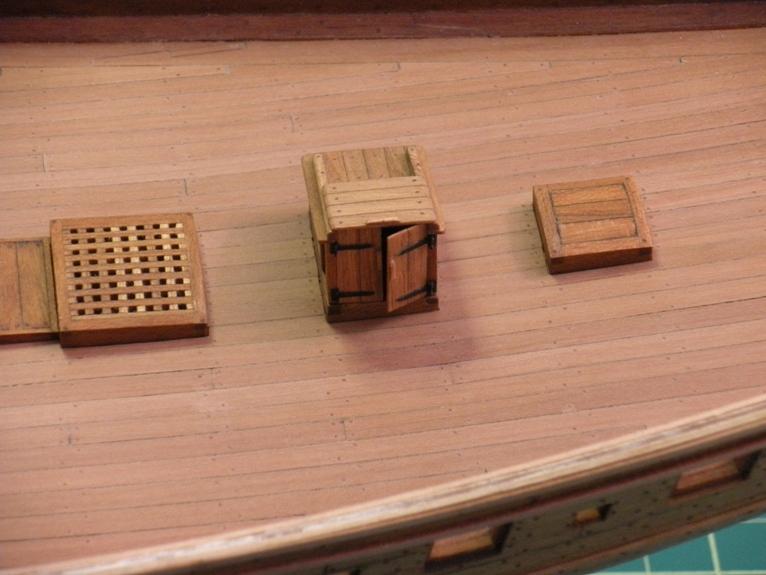
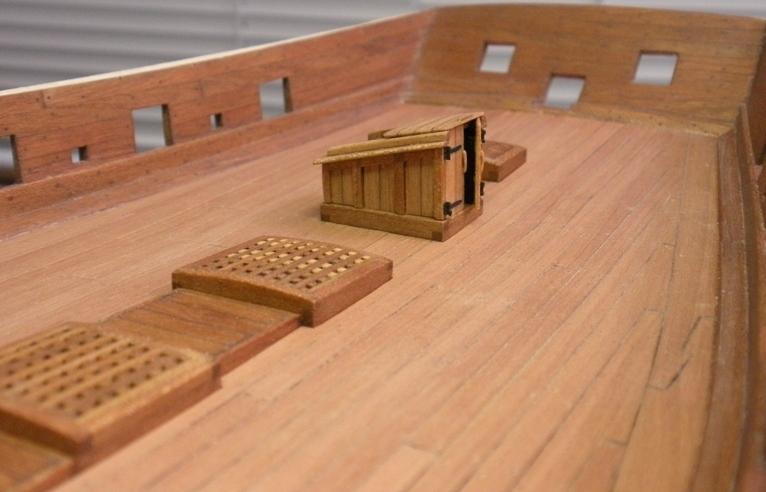
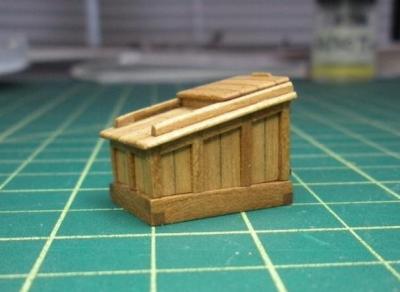
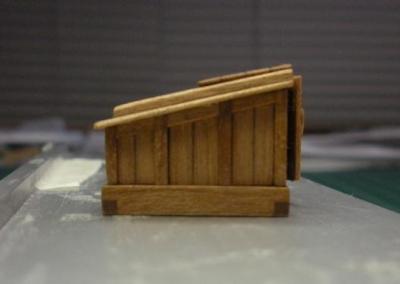
Companionway To get myself back into building after a year-long layoff, I decided to tackle a “model within the model”. Early on I decided that I would like to add a companionway deck house, so that’s what I chose to tackle a couple of weeks ago. The design was pretty much ad-libbed, as I didn’t have any good reference photos. Hopefully it’s at least close to proper for the period – I think the Caldercraft HMS Snake kit includes a similar type structure with a sliding top hatch. I think it kind of looks like it belongs. In any event, it will have to do for my version of Mars. Sitting atop the coaming, the highest point of the roof at the hatch is about 3’ 9” off the deck. The doors are each 3 feet tall by 16 inches wide, for a total opening width of 32 inches. The hinges are blackened brass. Cheers, Robert PS. It is very easy to create and add to a build log on the new and improved MSW site! A big thanks to all the admins for all the work you do! Glad to have MSW back on-line!


-
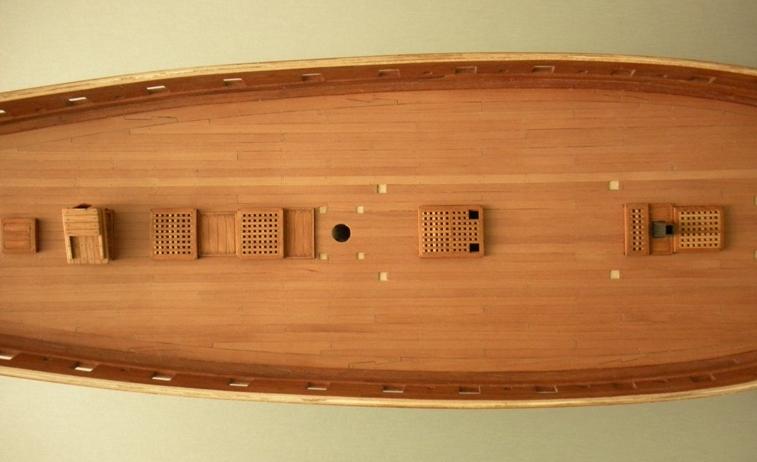
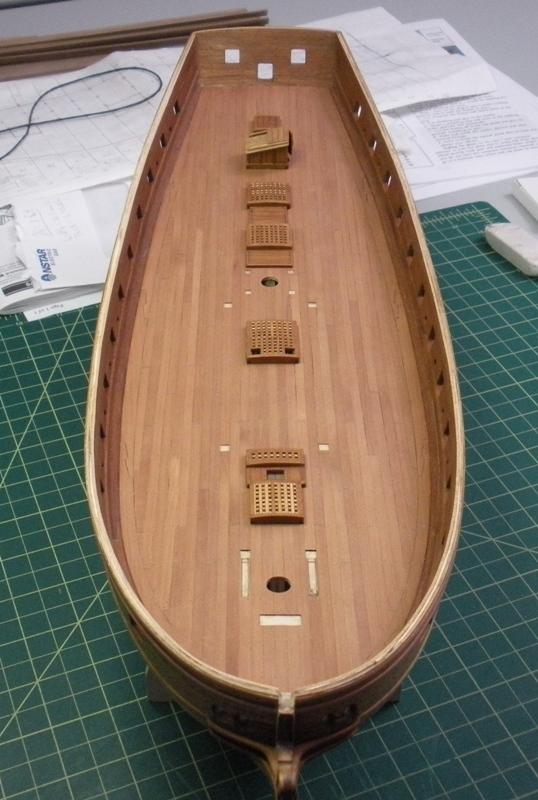
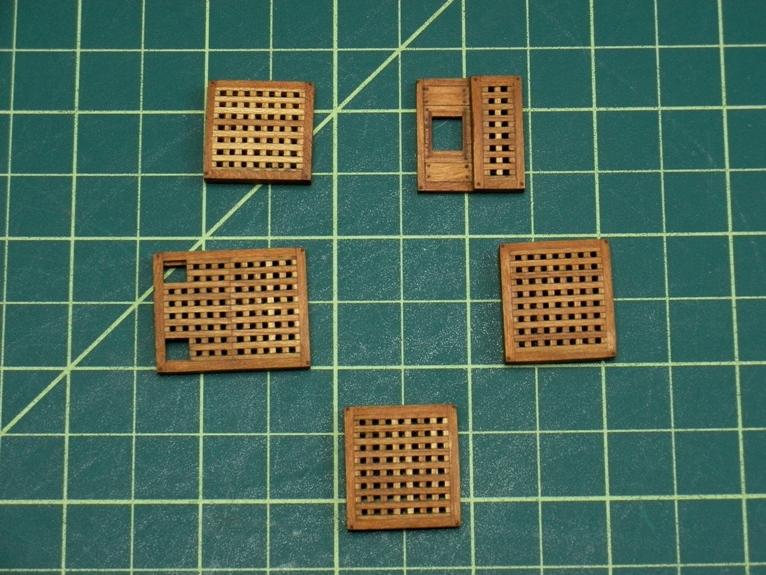
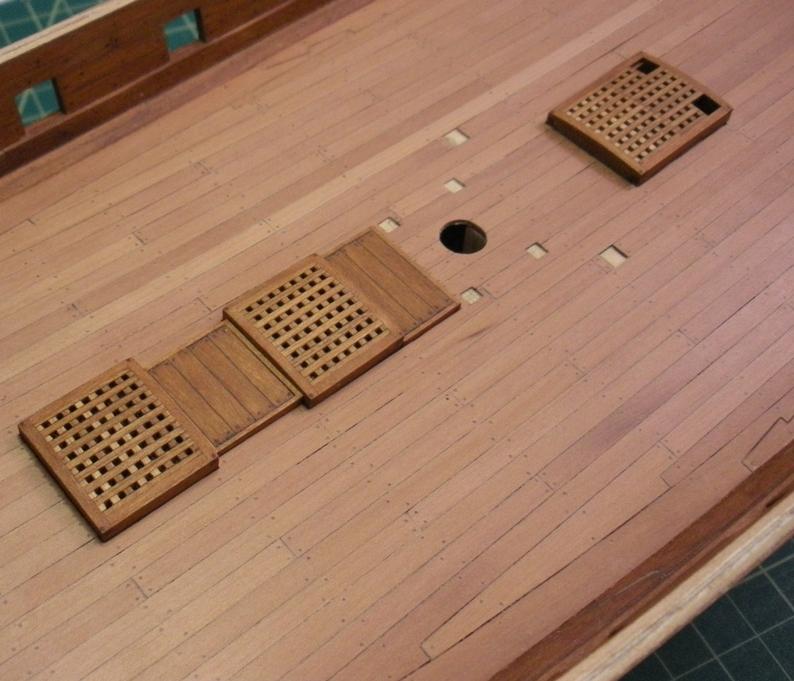
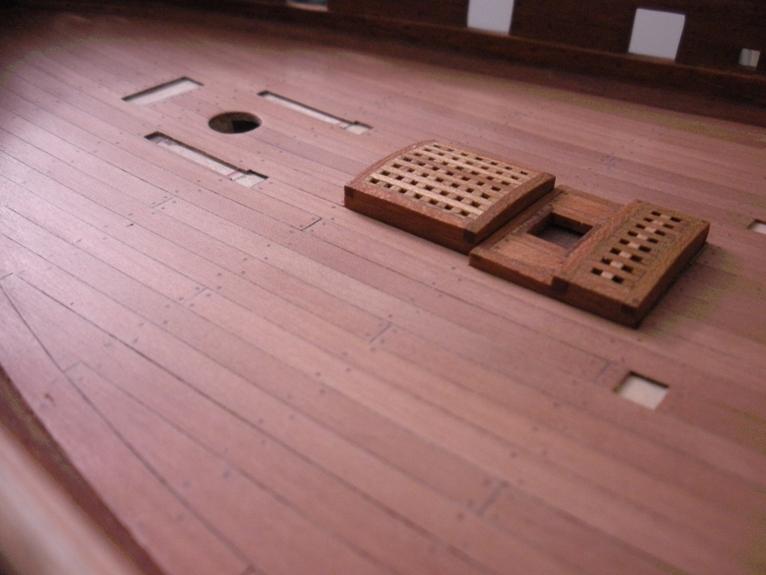
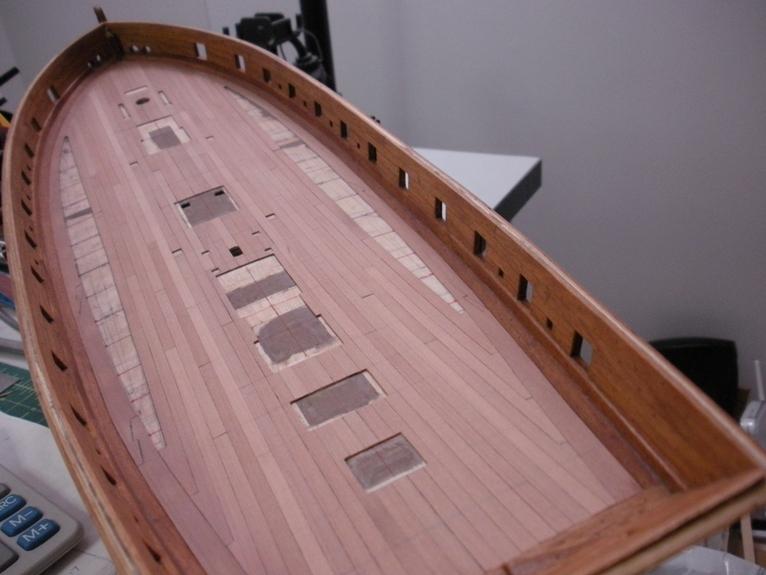
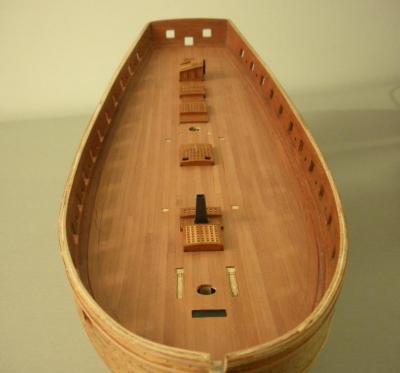
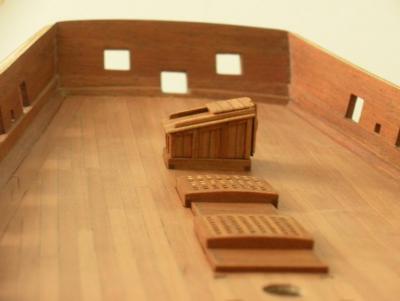
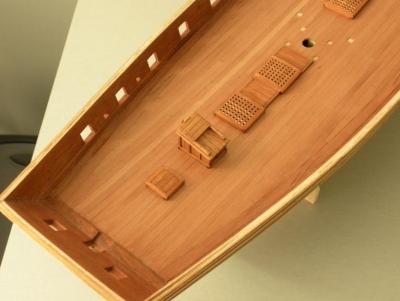
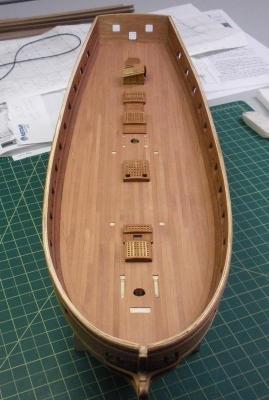
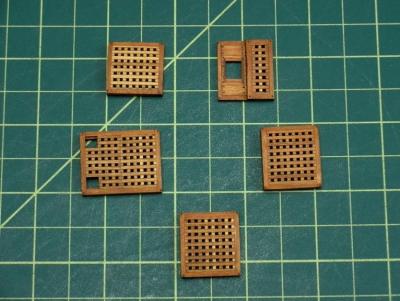
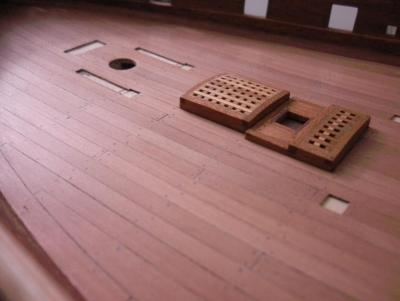
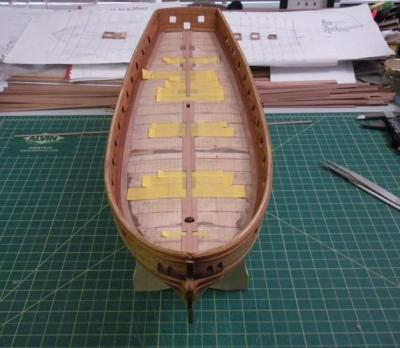
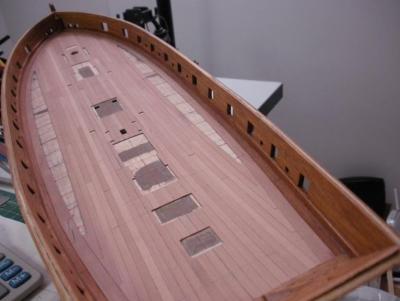
Gratings Since I’m not using paint or stain on this build, I wanted to replace the kit-provided white gratings with a darker wood. I did these a year ago – before I decided to order a table saw – so I purchased pre-made cherry (or so I thought) grating strips from Model Expo. Between their 1/32” (2 scale inches) and 3/64” (3 scale inches) offerings, I preferred the look of and went with the slightly larger than practice 3 inch strips. Another lesson learned: Oil the grating strips to bring out the color BEFORE assembling and gluing into the coamings! I didn’t, and it turns out that not all of the strips were cherry – or at least they’re not colored as such. Oh well, just more aggravating color variations that I’m going to live with – though these in particular really do ... uh, grate on me Again, I took liberties in straying from the kit's deck layout, and designed my own with ideas from the NMM plans. Robert I added a couple of platforms -- one for the capstan, and one for the pumps. Another platform with a hole for the galley flue.


-
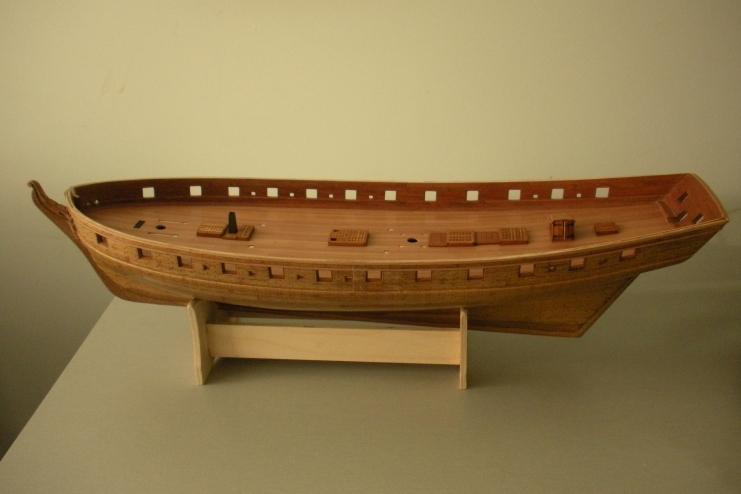
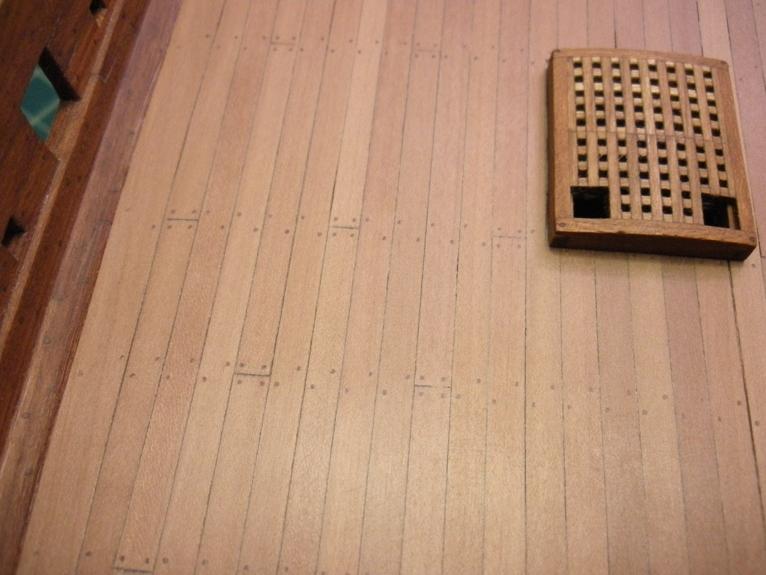
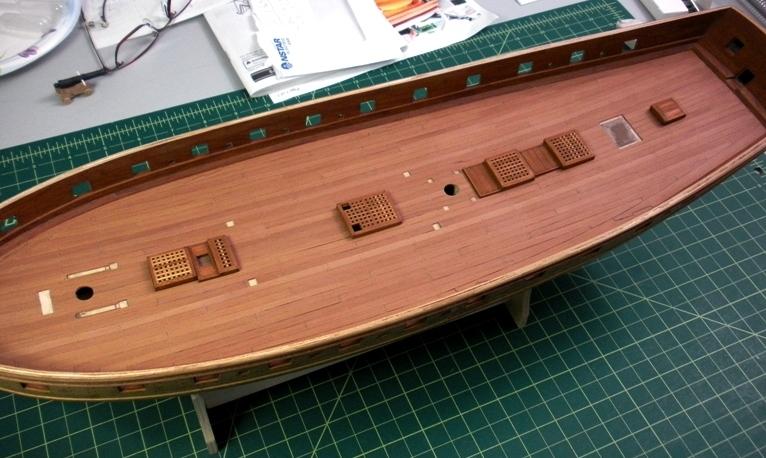
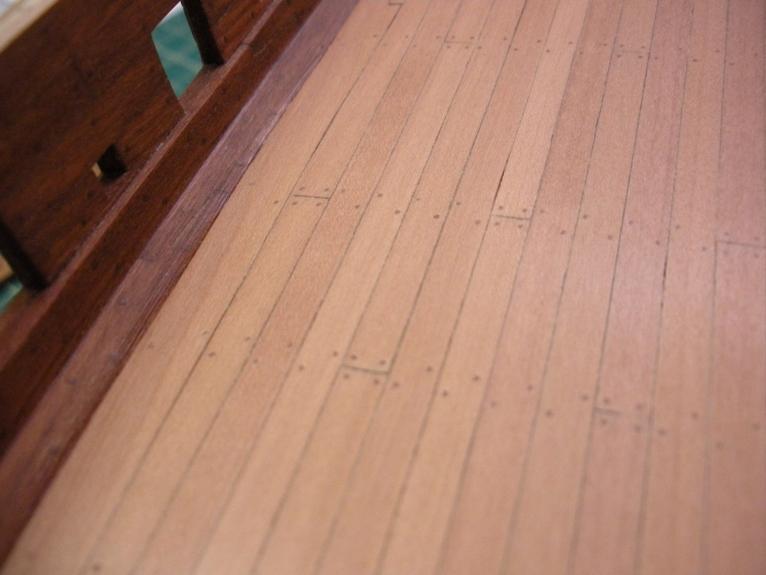
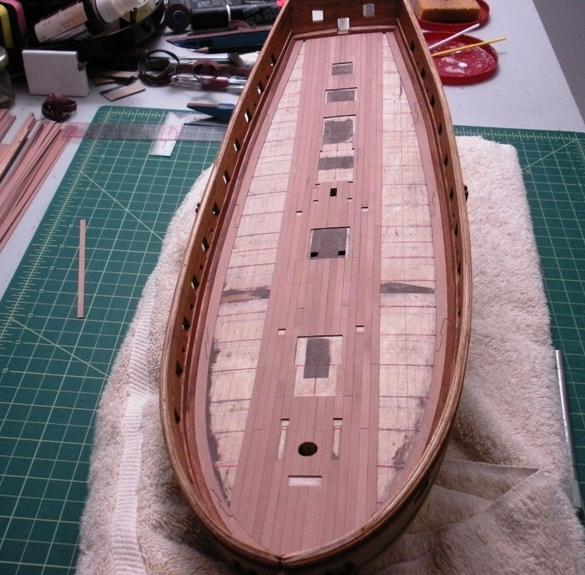
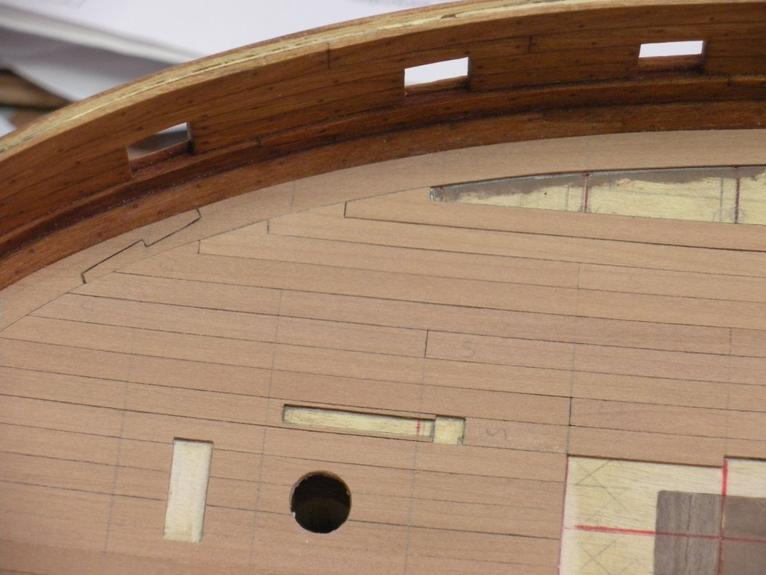
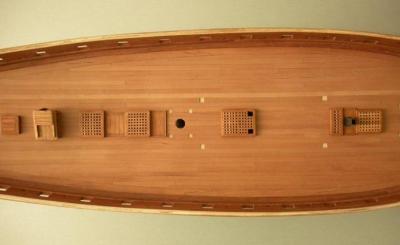
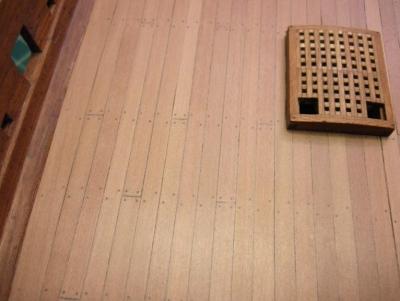
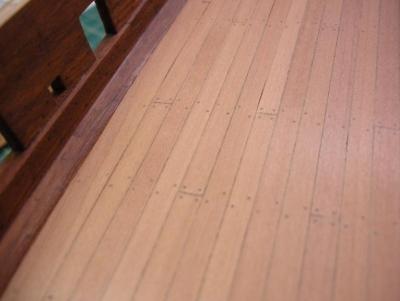
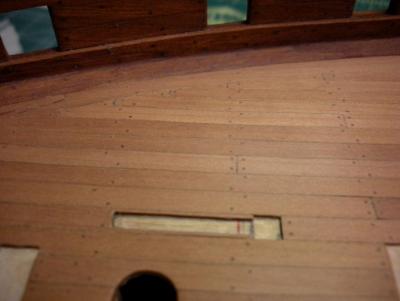
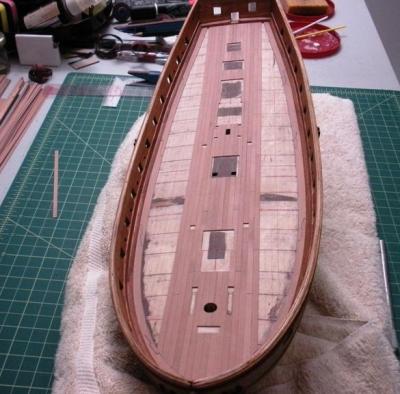
Deck Treenailing and Finishing Finally back in the shipyard after over a year, I’ve actually started some new work. However, I thought I'd post some pictures of how I left Mars, way back when. I had said that photos of the finished deck would follow “soon” – meaning of course, some 14 months later! I used a satin, gel coat wipe-on poly (from General Finishes) and knocked back the sheen with a Scotch Brite pad. Caulking was simulated with a no-bleed fabric marker, and treenails are Swiss Pear. Robert

-
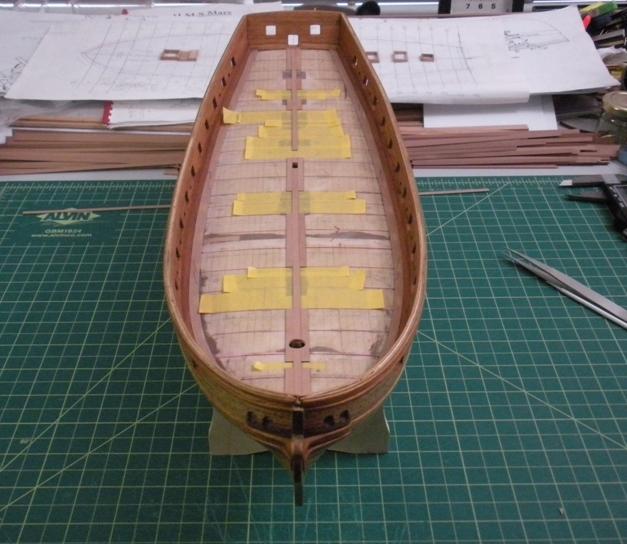
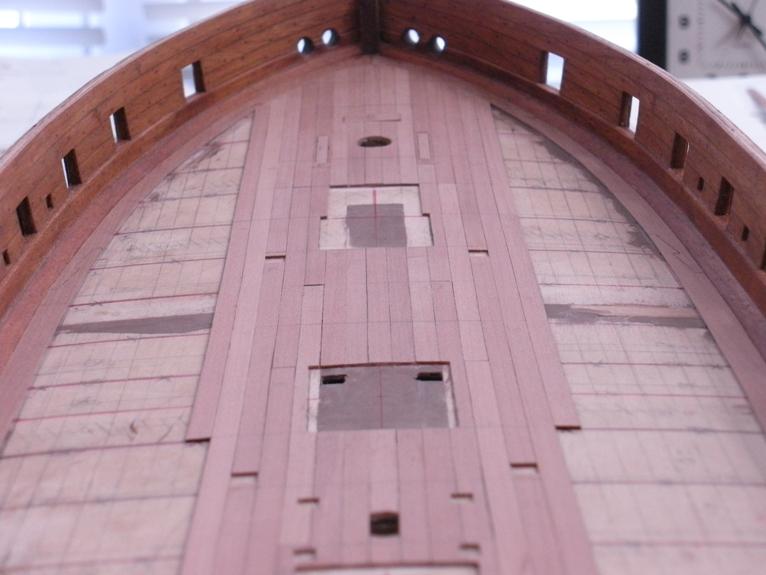
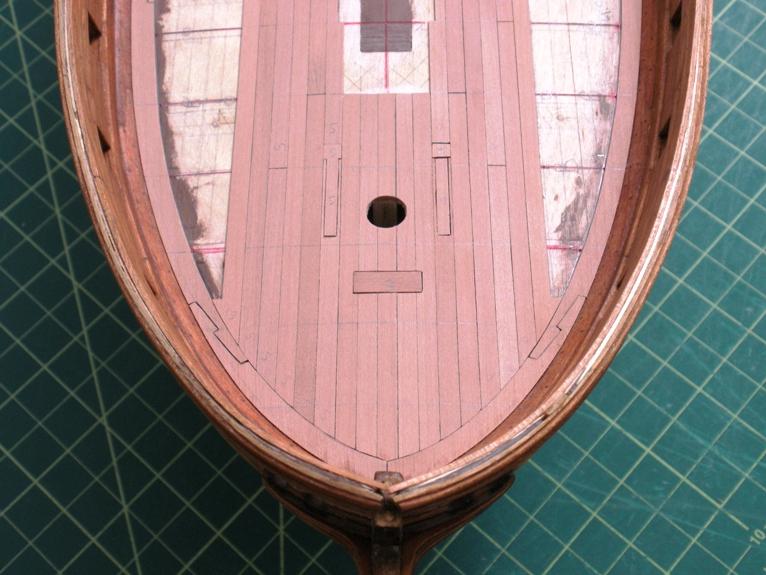
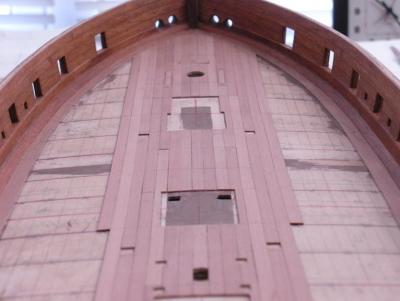
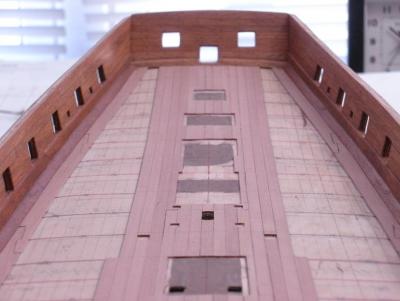
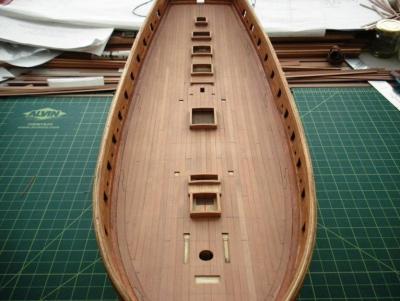
Deck Planking It seemed like it took me forever, but I finally got to the planking of the deck! For whatever reason -- perhaps because I’m not using any paints or stains -- I did not envision this model with the classic light colored deck. So, after much deliberation I decided to plank the deck with Swiss pear. Had I known about Hobby Mill and the availability of Swiss pear at the outset, I probably would have done the entire model in this beautiful wood! It has been great to work with and the way it holds edges made the cutting of hooked scarphs really fun. Robert


-
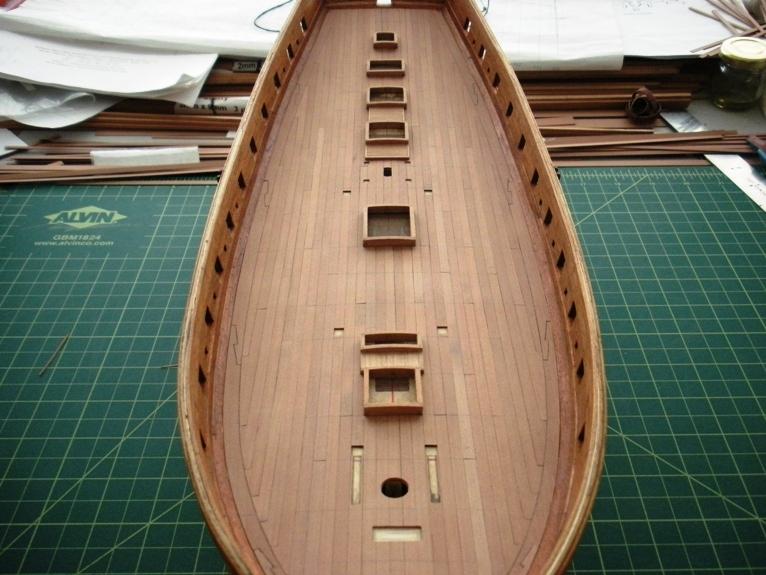
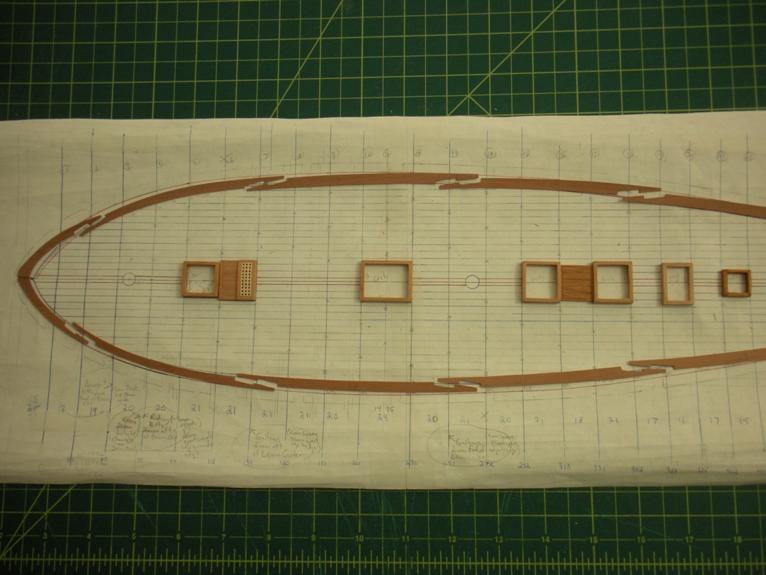
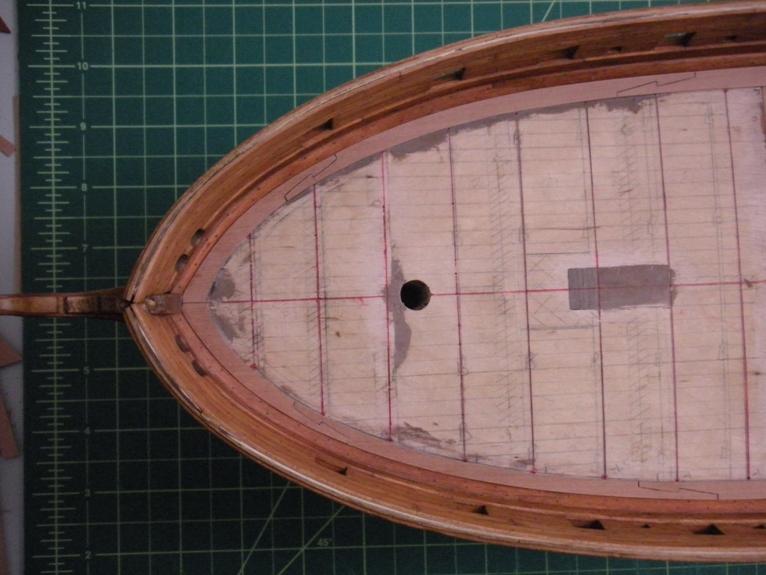
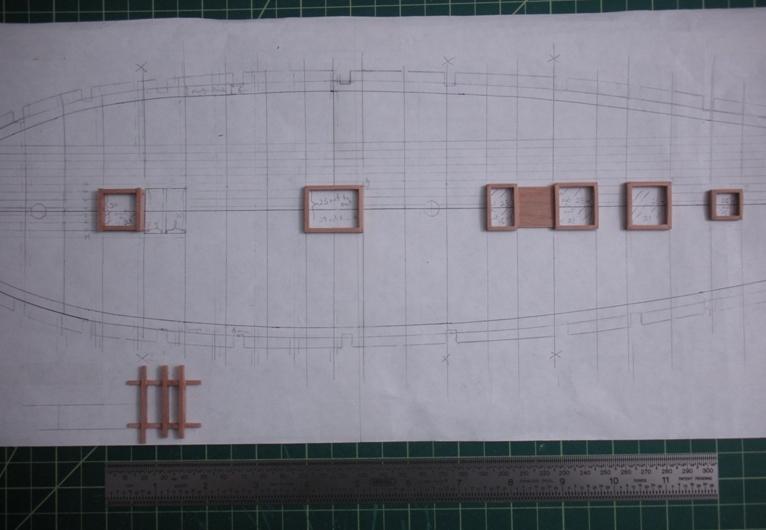
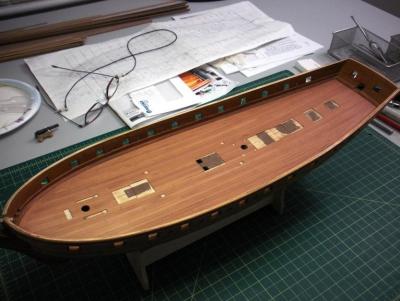
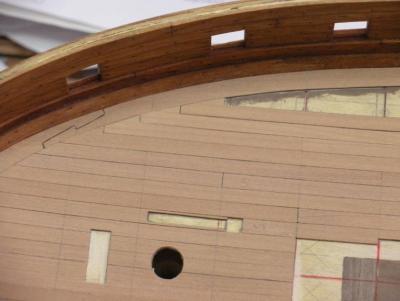
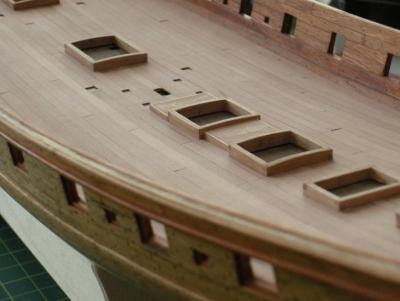
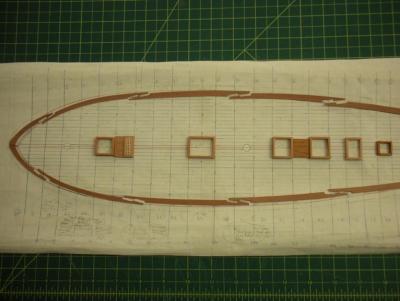
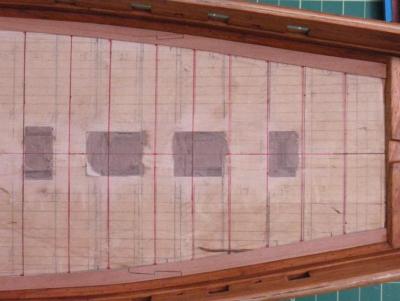
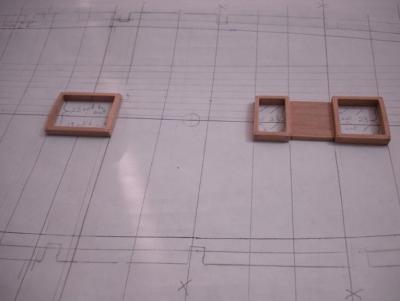
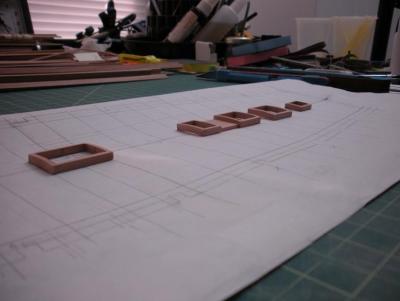
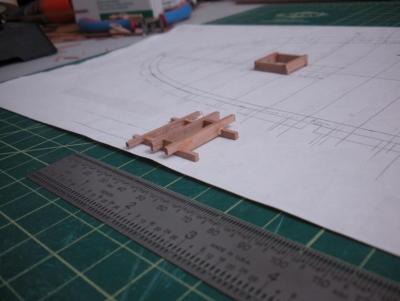
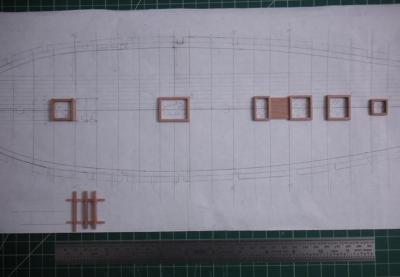
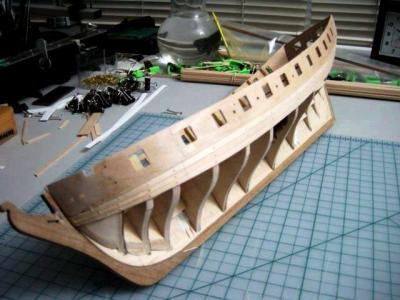
Deck Furniture I got plans from the NMM and now have three versions of Mars/Orestes! As fit-out in 1782, as re-fitted by the British in 1790, and as “re-fitted” by Caldercraft for the kit. While the NMM plans aren’t as detailed as some I’ve seen on MSW for other ships, there is enough detail to determine significant differences between 1781 and 1792. As well as, enough to determine that neither of those matches up with the kit plans! At first I was pretty confused by all the differing information and was having quite a time trying to figure it all out. But then I realized I could just take the easy way out, and simply continue building "my own version” of her. In any event, by combining elements from all three layouts in the different plans, I drew up yet another deck plan, and have begun building coamings and ledges for the deck furniture. The following pictures show them in various stages of construction. (I revised the deck layout several more times after these, until I finally locked it down!) Cheers, Robert
-
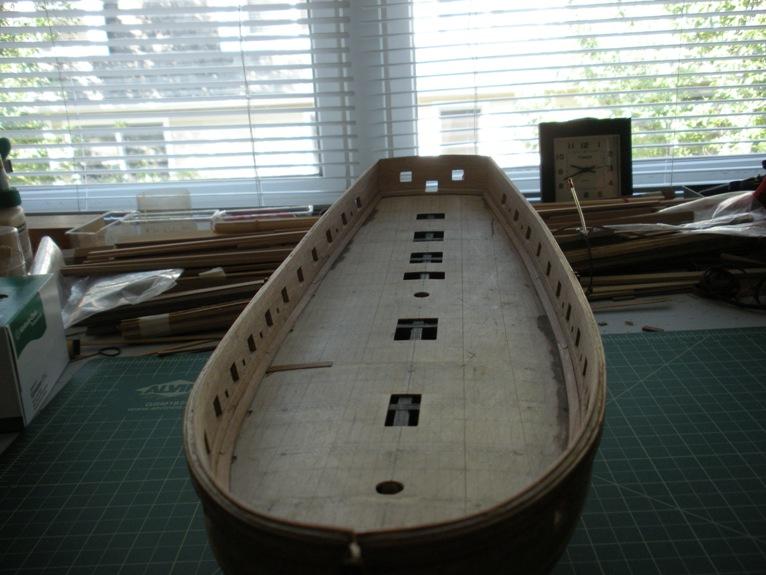
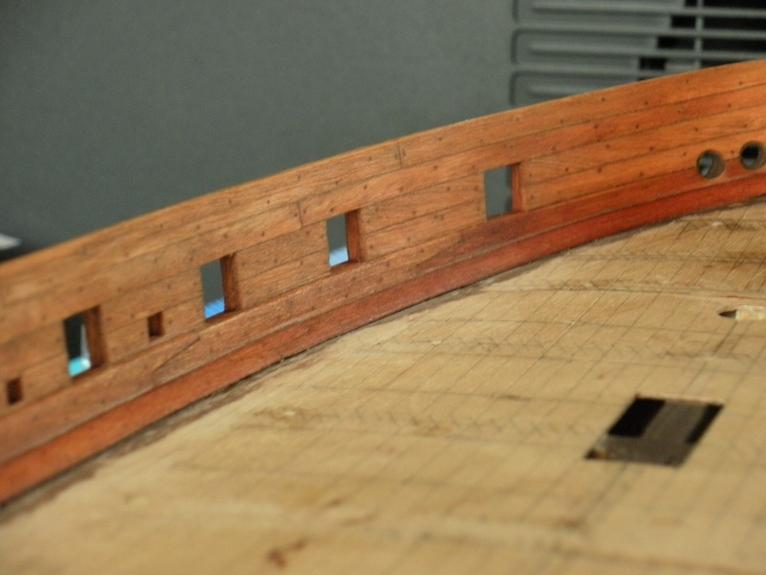
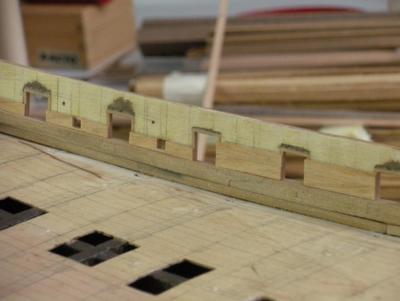
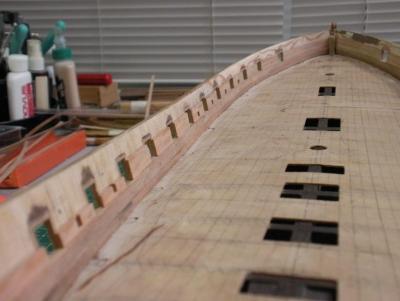
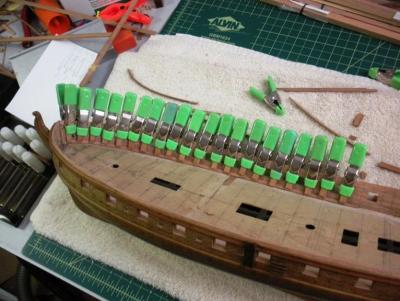
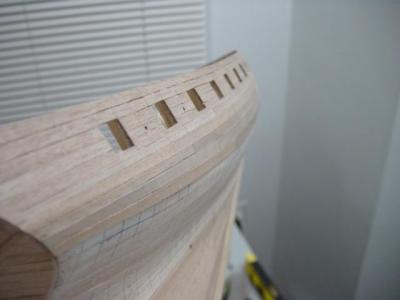
Planking of Bulwarks Departures from the Kit Plans: 1. Lined all gunports and sweep ports 2. Installed Spirketting with scarph joints 3. Fashioned and installed Waterway with scarph joints 4. Installed treenails 5. Used cherry for the bulwark planking as well as all of the above Unfortunately I had only just discovered Jeff at HobbyMill, so once again there are variations in the coloring of the wood used for the regular planking, spirketing and waterway. Cherry darkens with age, so we’ll see how it looks as time goes by. This first photo shows a "backing strip" below the spirketting, to which the waterways will be glued.


-
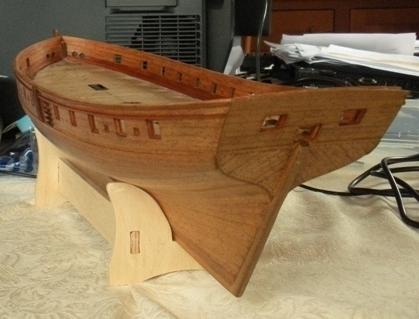
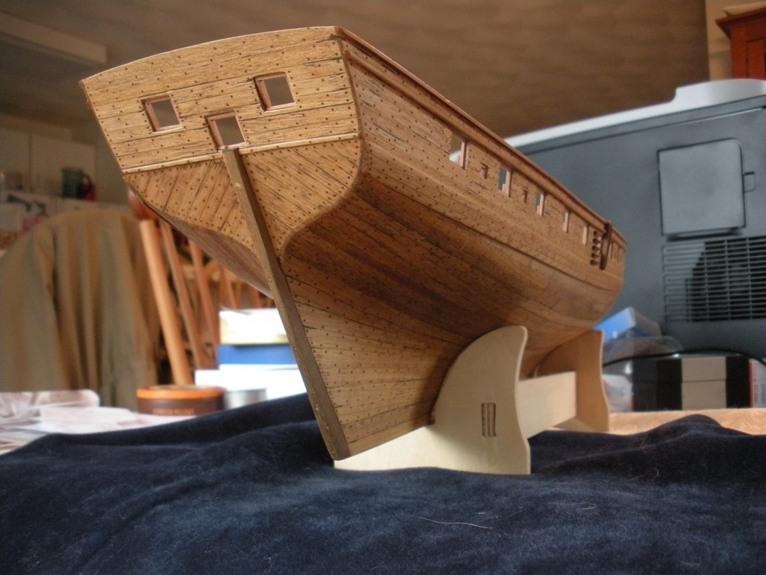
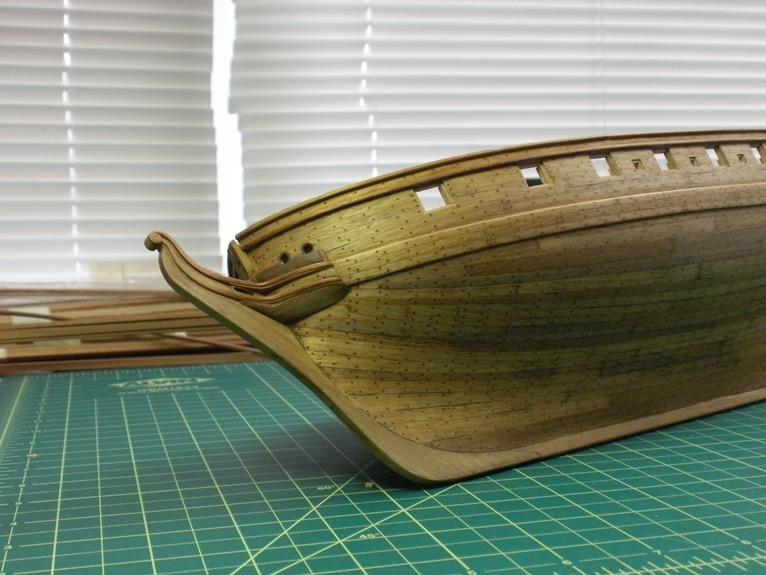
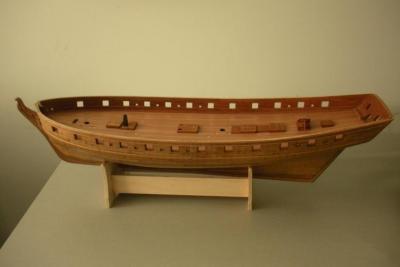
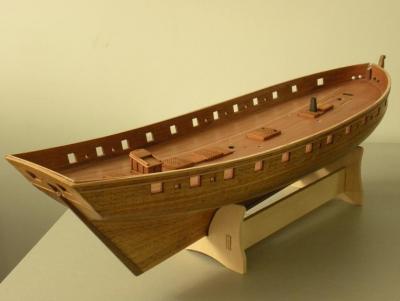
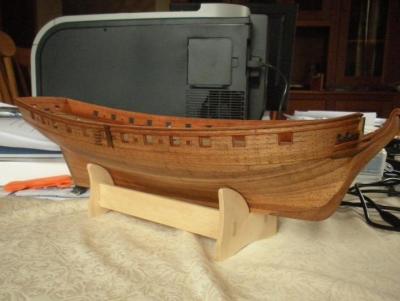
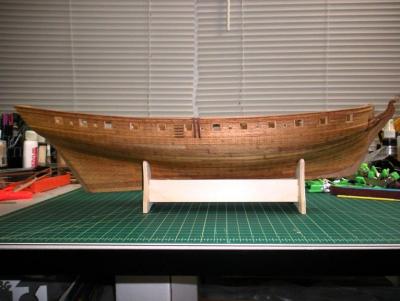
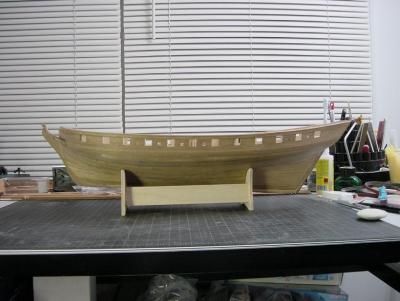
Finished Hull


-
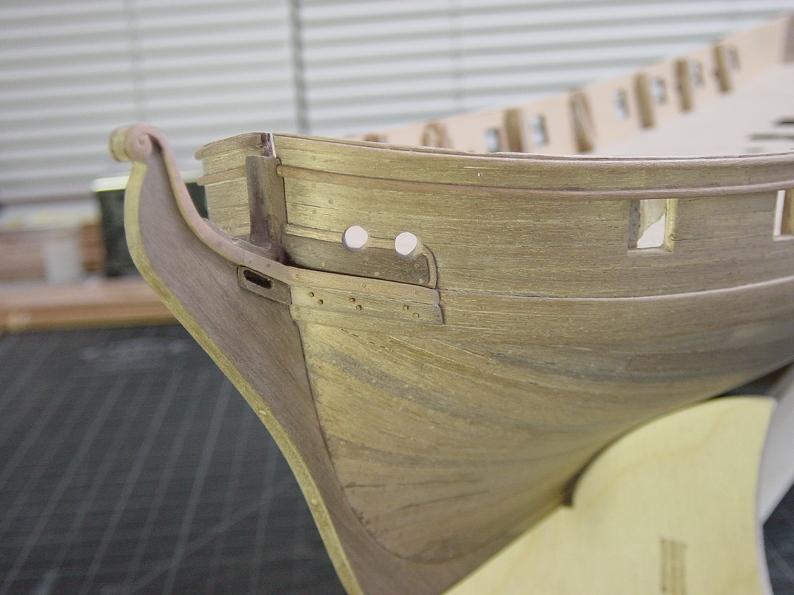
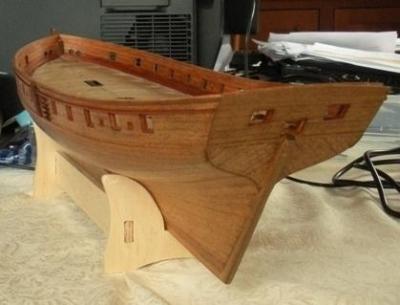
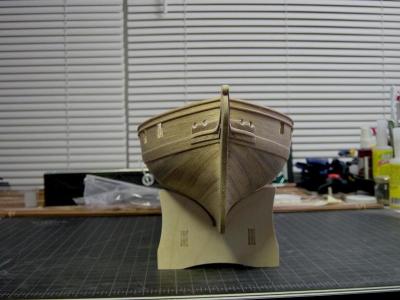
Scratch-built Head Since the kit parts were plywood, I decided to make my own bow cheeks and bow rails. I took some more “artistic liberties” and added a couple of hawse hole bolsters, as well as wash cants.


-
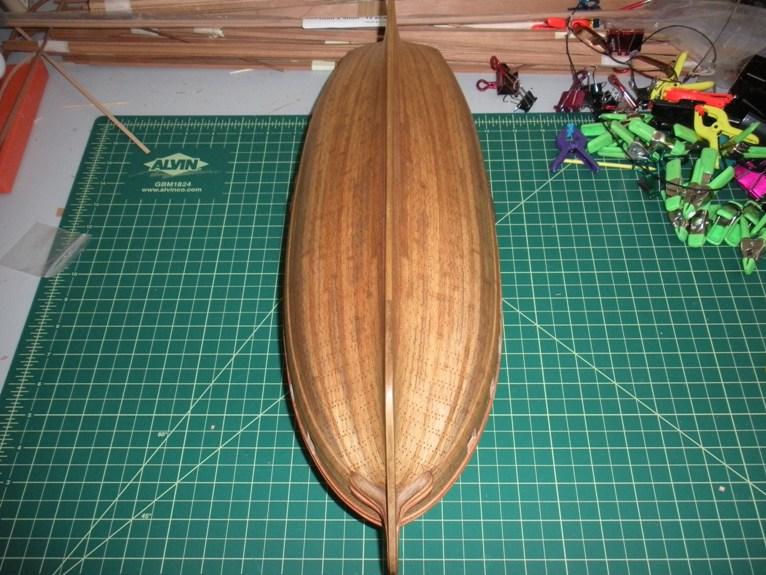
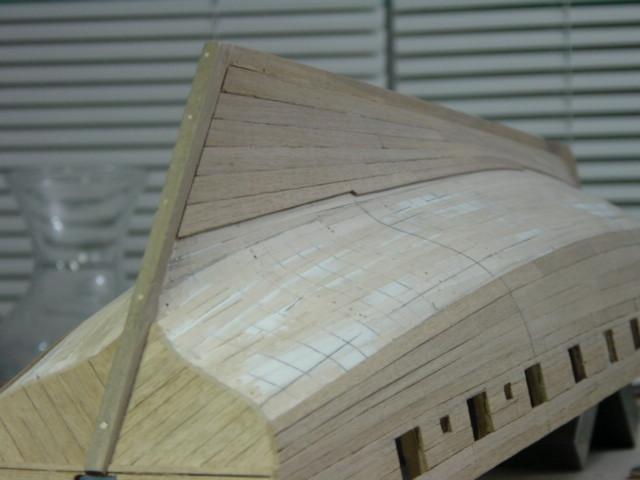
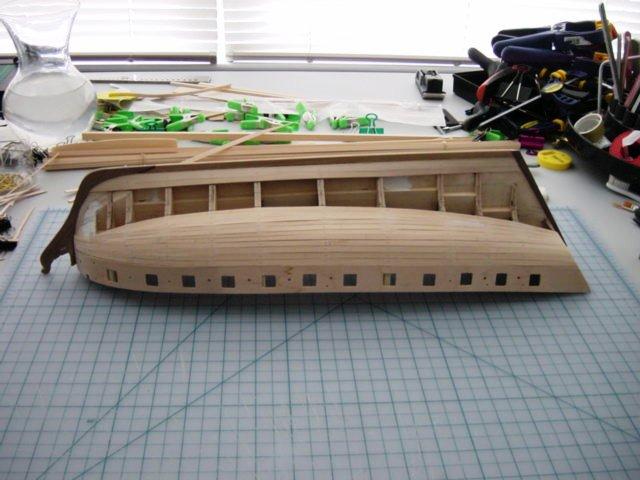
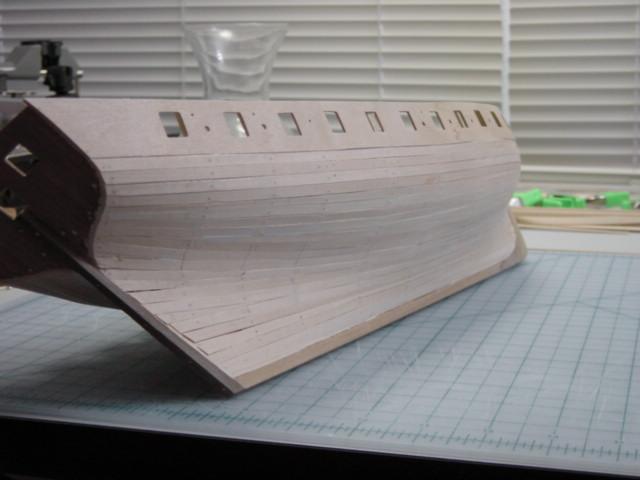
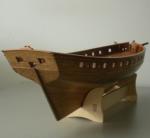
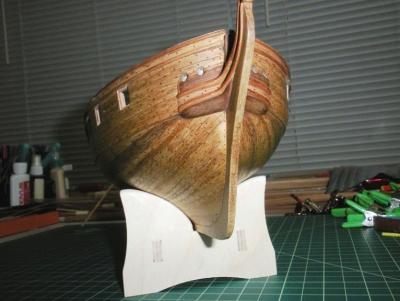
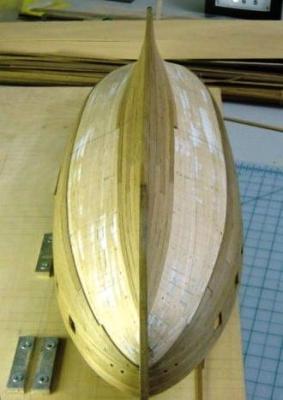
2nd Planking Came out okay, except the run-of-the-planks at the bow is completely wrong. About three quarters of the way in, the "light came on" and I realized what I should have been doing! However, I decided to press on. (That decision still haunts me, as the bow planking really bugs me, but it's way too late to turn back now, almost 5 years later!) Next time I will definitely plank the wales first. Also, I just recently found a fantastic tutorial on planking that Chuck has posted in the MSW Database (find it under Articles and Downloads on the MSW Home Page) It is an excellent guide on how it should be done!


-
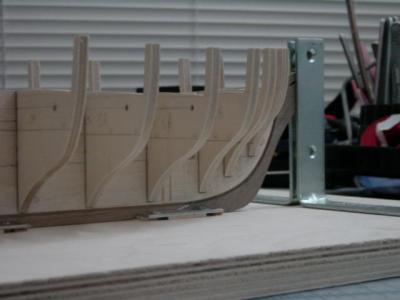
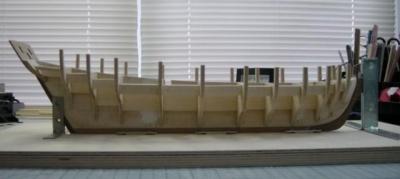
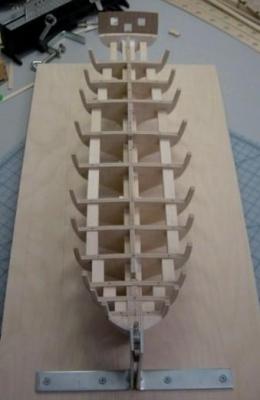
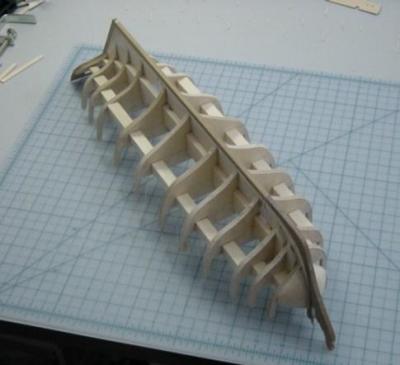
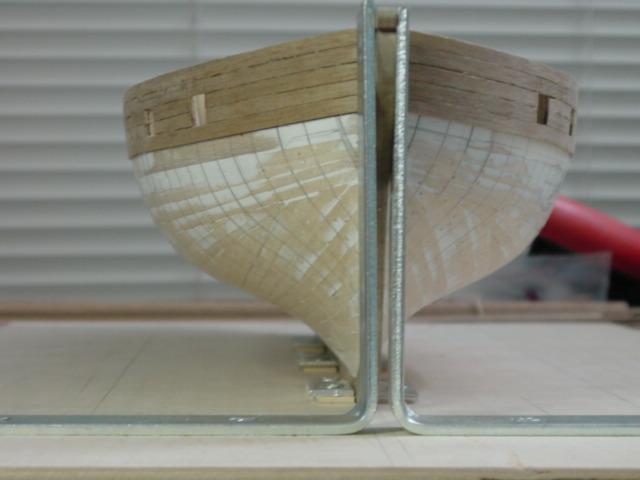
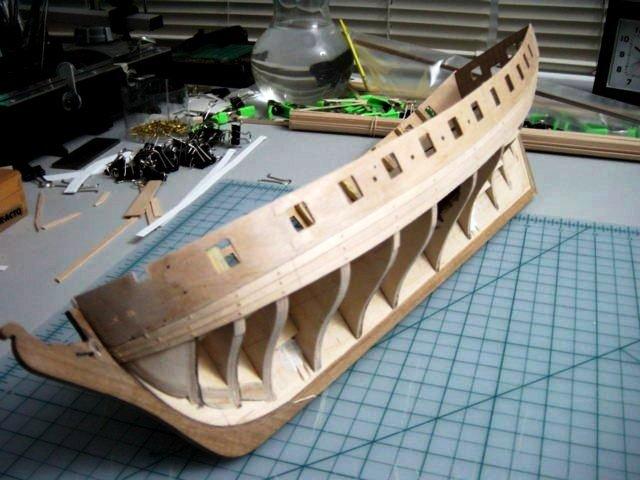
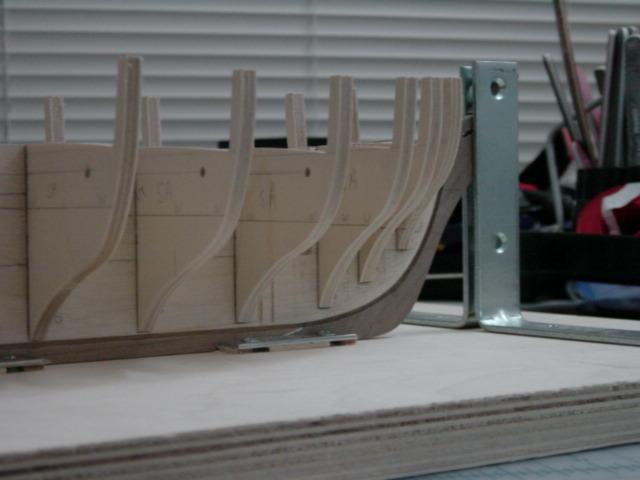
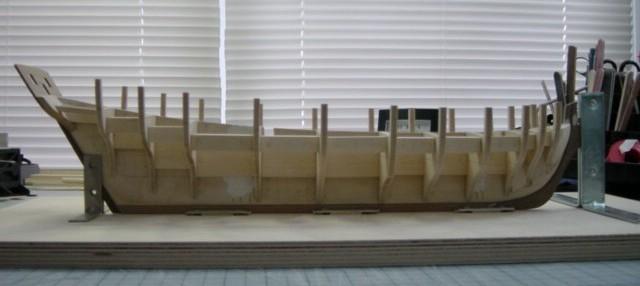
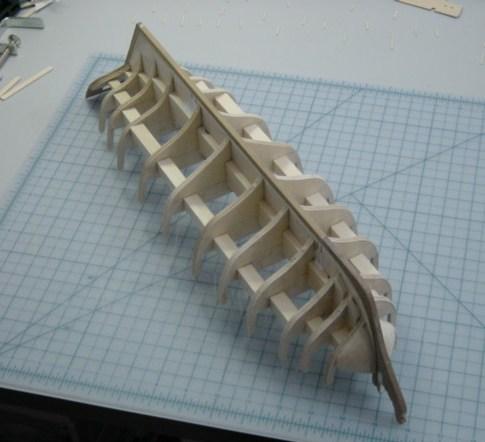
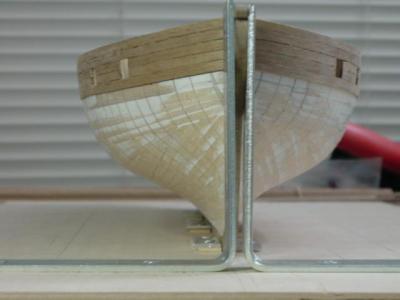
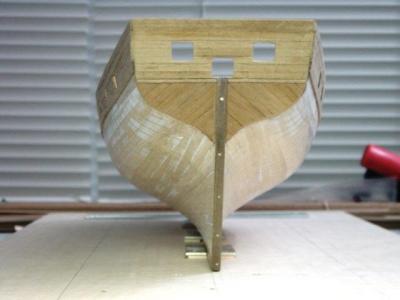
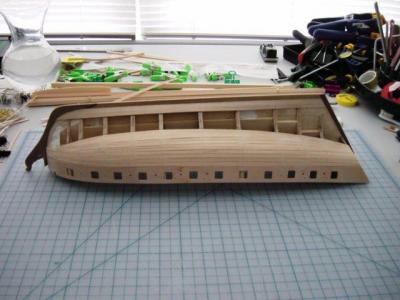
1st Planking

-
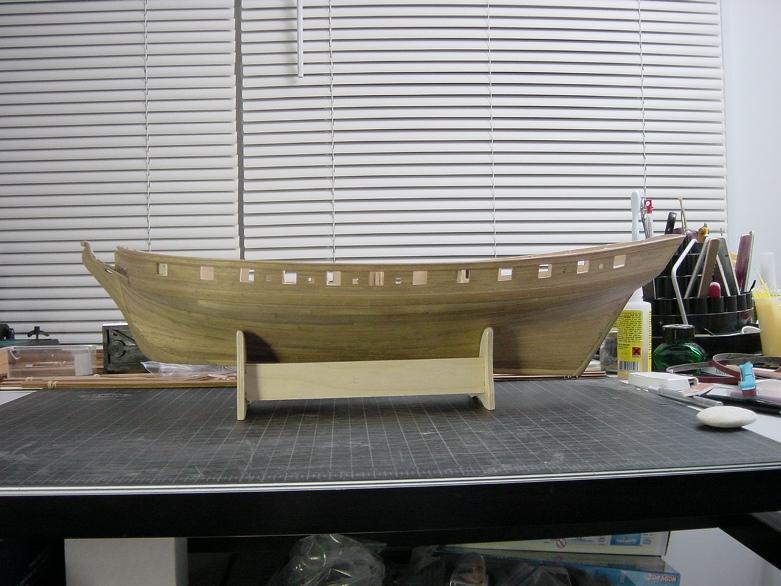
Hi Folks, My name is Robert and I am building the Caldercraft kit of HMS Mars a/k/a HMS Orestes. It’s my first wooden ship model, and I’ve been working at it on and off since 2007. I decided at the outset that I wanted to leave her with an all natural wood finish -- no paint or stain. That would necessitate some scratch built replacements, as the kit includes “finish” parts made of plywood such as the gun carriages, capping rail and head components, that would not look right unpainted. Also, certain items like waterways were not included in the kit plans or parts, and I really think they belong, so it will be up to me to build them. Cheers, Robert