HOLIDAY DONATION DRIVE - SUPPORT MSW - DO YOUR PART TO KEEP THIS GREAT FORUM GOING! (Only 64 donations so far out of 49,000 members - C'mon guys!)
×

j21896
-
Posts
287 -
Joined
-
Last visited
Content Type
Profiles
Forums
Gallery
Events
Everything posted by j21896
-
 Lovely work as usual Bob. As I'm getting close to drilling some holes myself, I had been wondering how the eyebolts and ringbolts for the gun rigging are supposed to line up -- whether directly in line vertically with each other or not. These photos seem to answer that question. Thanks, Robert
 -
Hi Jason, Yes, the davits are included in the plans for a cutter. I've got my hands full with everything else, but I'm actually thinking about adding a longboat or a launch stowed amidships at the gallows. Cheers, Robert
-
Hi Larry, I don't know if it's the same Maple, but Bernard Frolich uses it for decks, as described here: http://modelisme.arsenal.free.fr/artdumodelisme/fichelabellepoulegb.html Cheers, Robert
-
Hi John, I guess I really must be young at heart, because those are exactly my thoughts on your build: That's so cool! Cheers, Robert
-
Hi Timmo, I just found your build log. Granado is looking great! Very nice, clean and precise work. I look forward to following your progress. Cheers, Robert
-
She looks beautiful Bob! I'm looking forward to more pictures of her. Cheers, Robert
- 81 replies
-
- 1
-

-
- kingfisher
- lauck street shipyard
- (and 1 more)
-
US Brig Syren by Gahm - Model Shipways
j21896 replied to Gahm's topic in - Kit build logs for subjects built from 1801 - 1850
Hi Thomas, I'm a new arrival to your log as well. Your Syren is just beautiful! Fantastic work. Cheers, Robert -
Wow Adeline! You've chosen quite the ship for your second build, and you've got her looking great already! Sounds like you're doing quite a bit of traveling -- for fun vs. work I hope -- but I'll be looking forward to your next updates for sure. Cheers, Robert
-
Thanks Patrick! It's been a little bit since your last update on Niagara -- I hope all is well with you and yours. Hi Adeline, great to hear from you in MSW2! Mars was built by the Dutch as a privateer in the late 1770's, but captured by the British in 1781. And now, through the magic of the link in your signature, I can see what new project you've chosen to tackle Cheers, Robert
-
Thanks John, B.E., and Augie. It's pretty close to the old one, and so small you can't really see the rail, but that last shot is now my new avatar. Cheers, Robert
-
Thanks John! It would be nice if I were the only one to know where all of her faults are as well Cheers, Robert
-
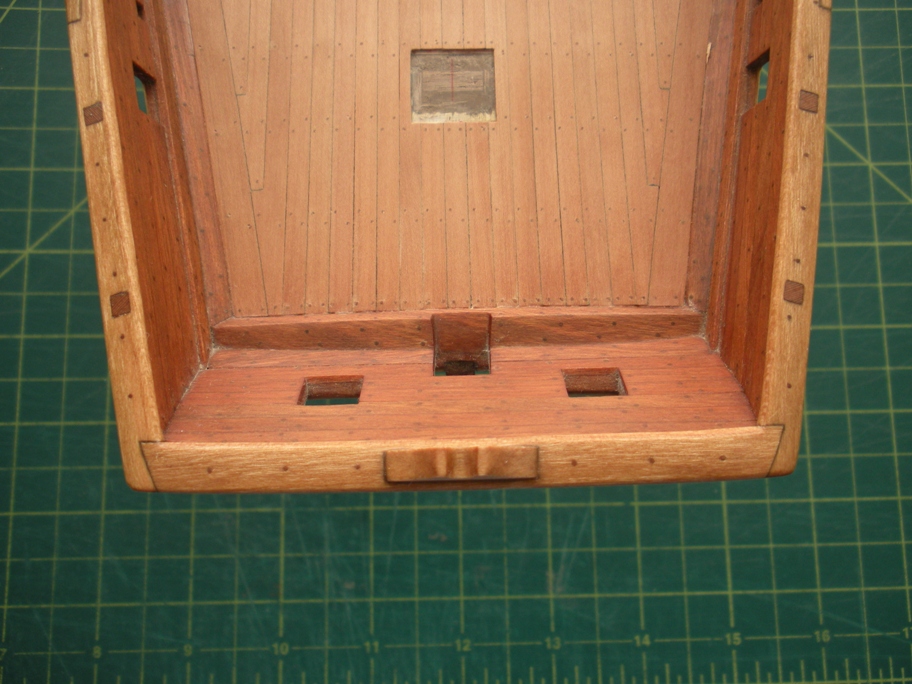
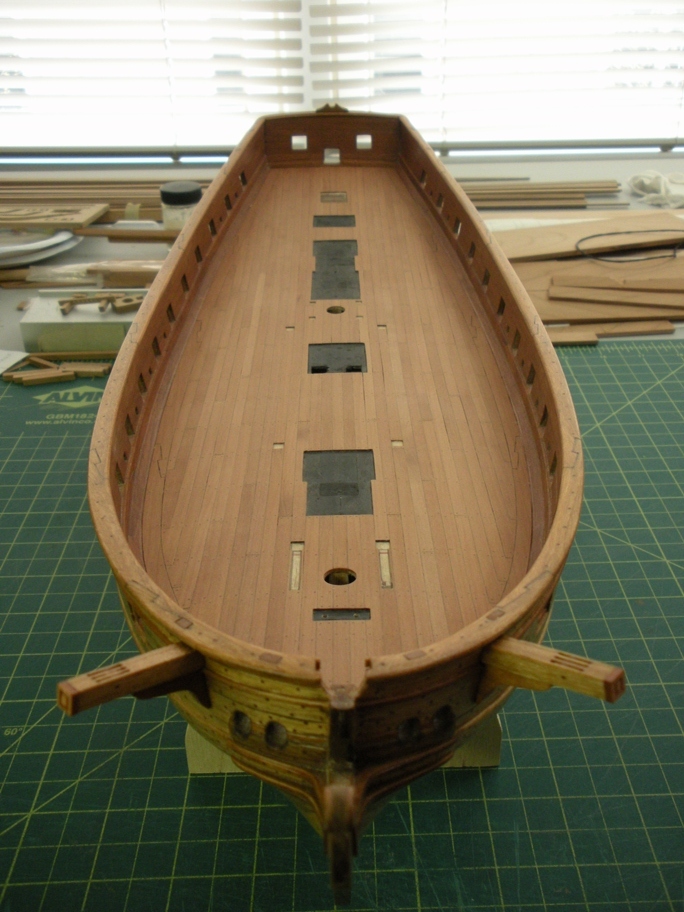
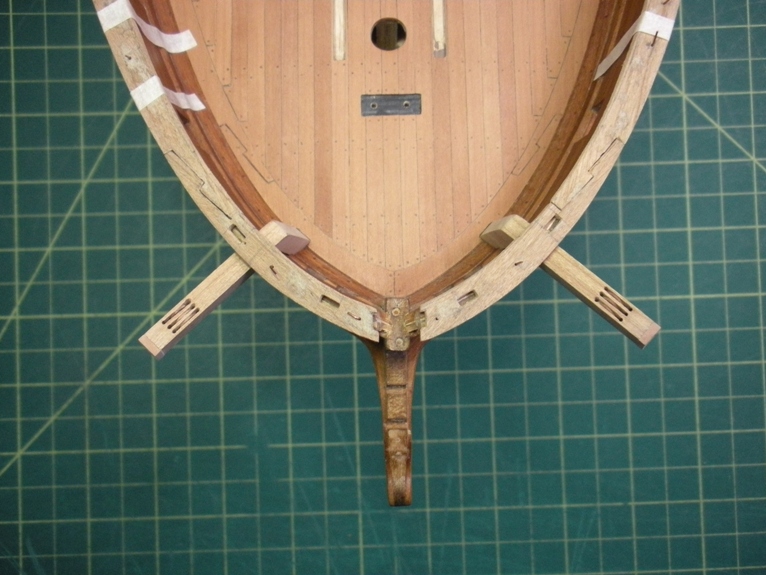
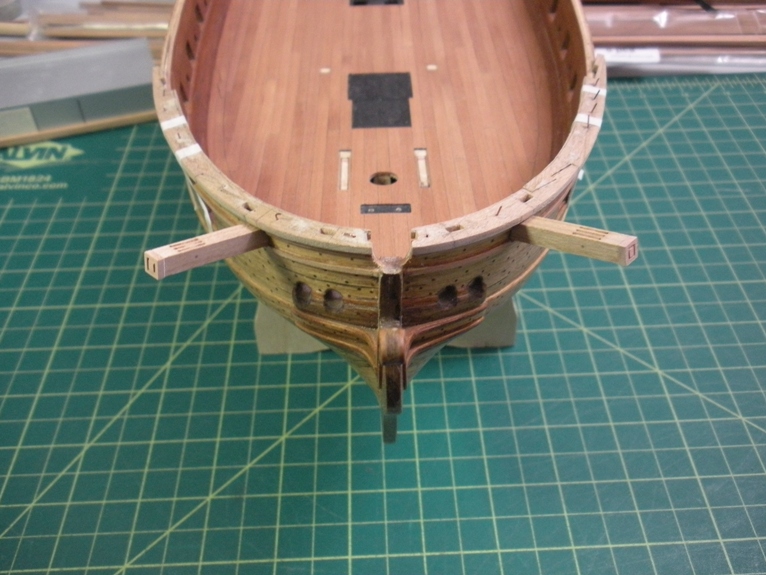
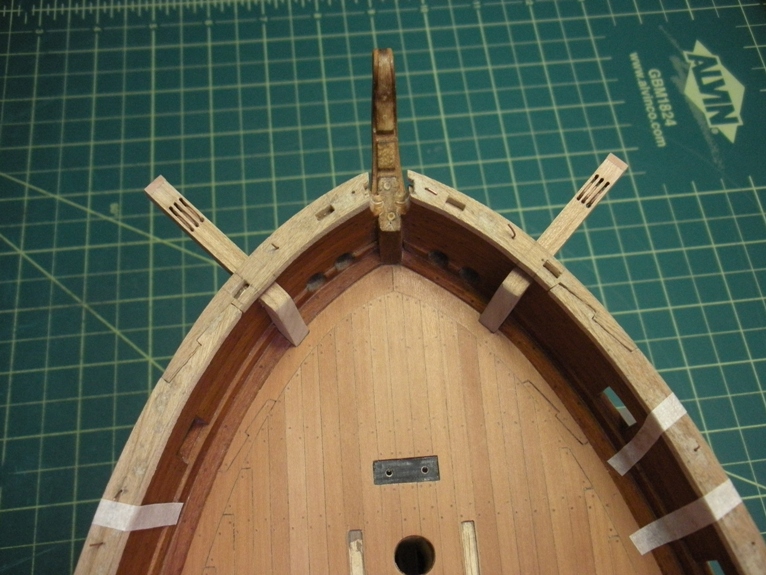
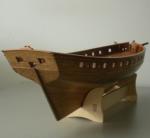
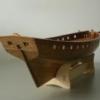
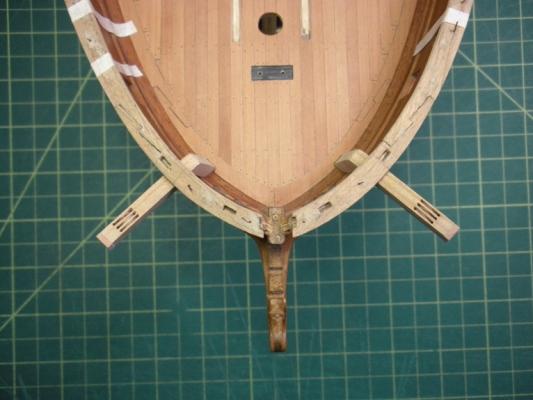
Capping Rail and Catheads – completed Well, I feel like this is a huge milestone! The work that I had to do on the cats and the capping rail is done. Now it’s up to Father Time to do his bit – that is, darken the cherry to match the bulwarks! (When I finished the bulwarks a year and a half ago, they were about as light as the current shade of these newly finished components.) Proper alignment of the rail while gluing in place was greatly aided by the holes drilled during the initial fitting. I could get the section of the rail ready as shown, apply glue to the bulwarks top, and just slide it down into place. Then it was just a matter of making lots and lots of sawdust to get them to their final shape and size, drilling the rest of the holes, treenailing, and applying tung oil. I used pencil on both plank ends at the scarphs for caulking. Maybe a bit too evident now, but once the cherry darkens they should be more subtle. For some reason I really like the jointing that I decided to use where the side rail meets the stern. I don’t know if it’s necessarily “proper” for that junction, and it’s just a small thing, but it really made sense to me anyway. Of course now I realize that it will be hidden once the boat davits are installed I forgot to specifically photograph them, but the cathead supporting knees are at least partially visible in this shot. And finally, a purely gratuitous shot from my favorite angle to showoff the lines of Mars ... ah, greatly enhanced by the capping rail to be sure. Time now to finish the various deck fittings!! Cheers, Robert


-
Nice work on that stateroom rebuild John! Cheers, Robert
-
Nicely done Jason. Robert
-
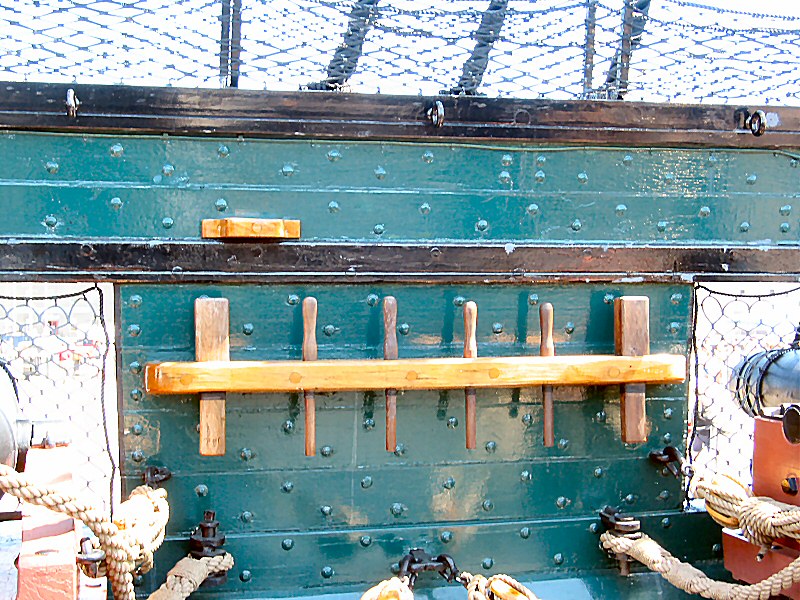
Hi Ron and John, Thanks very much you guys. Around 6 to 9 inches deep is much more in line with what I was thinking. And you know Ron, I have the Davis book too -- of course it's the only one I didn't consult -- duh On my build, the channels will be in the older, lower position below the gun ports, so they won't align with the racks. However, from the pictures, as well as my recollections of visiting ships like Constitution, Charles W. Morgan, etc. I think about 3.5 to 4 feet off the deck would be reasonable. That would probably come up to just about below the rib cage of a 5'7" sailor. Cheers, Robert
-
Thanks Frankie, but I just don't think that 16 inches is correct. I just found this picture from the USS Constitution on-line, and it doesn't look that deep. Robert

-
Hi Folks, Are there any standards for bulwark-mounted belaying pin racks? The kit-provided parts for my HMS Mars build, which I am replacing, are 16 scale inches deep, which seems a bit large. She's a late 18th century, 18-gun brig, and specifically I'd be interested in standards for: depth of rack (from bulwark to inboard edge) mounting height off of deck Thanks, Robert
-
Hey Augie, I know I shouldn't, but it's contagious: what are you preparing for, a ... yard sale? 'But seriously folks', the yards look great! Cheers, Robert
- 1,668 replies
-
- 2
-
-
- syren
- model shipways
- (and 1 more)
-
Looking very crisp and clean Jason! And the new chain looks perfect. Cheers, Robert
-
Hi Peter, Now this is one interesting craft!! And you're doing some fine, precise work on her. Well done. Cheers, Robert
-
Hi John, Your KoM is coming out beautifully! I also see you have quite a bit of diversity in your previous builds. Rocket Locomotive? Very, very cool! Cheers, Robert
-
Just beautiful Hakan! Congratulations, and enjoy the view! Robert
-
Thanks Augie! I've looked and looked for a setting on my camera that matches my eyesight: tired-old-worn-out-pixels. Maybe in the next generation of digitals. By the way, I got to see the "extreme miniature" work of Donald McNarry descendant Philip Reed in a gallery, up close and personal, a few years back, and it just boggles the mind! Those guys are just in a whole different league. Robert
-
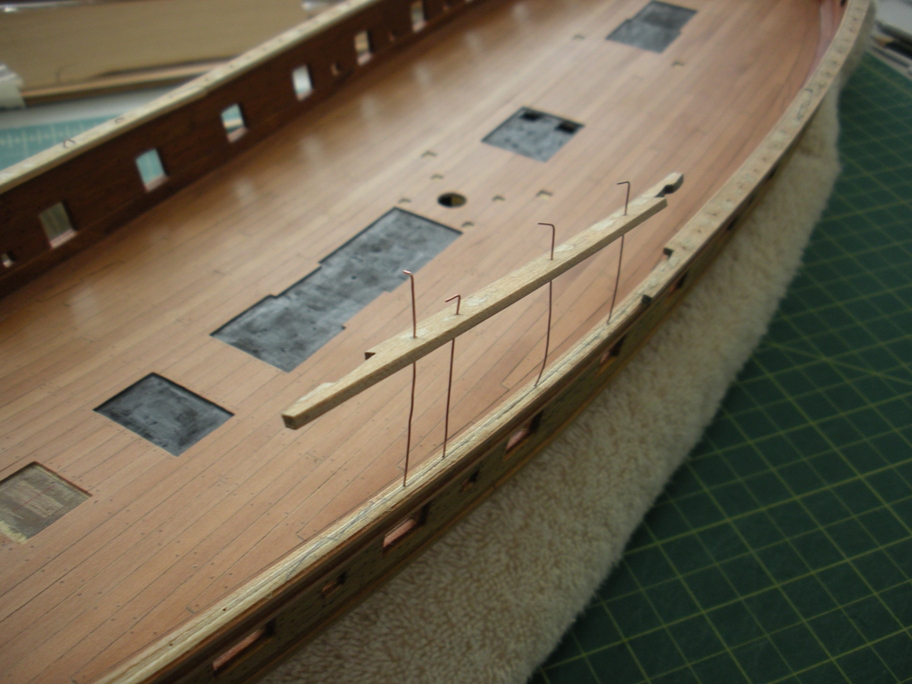
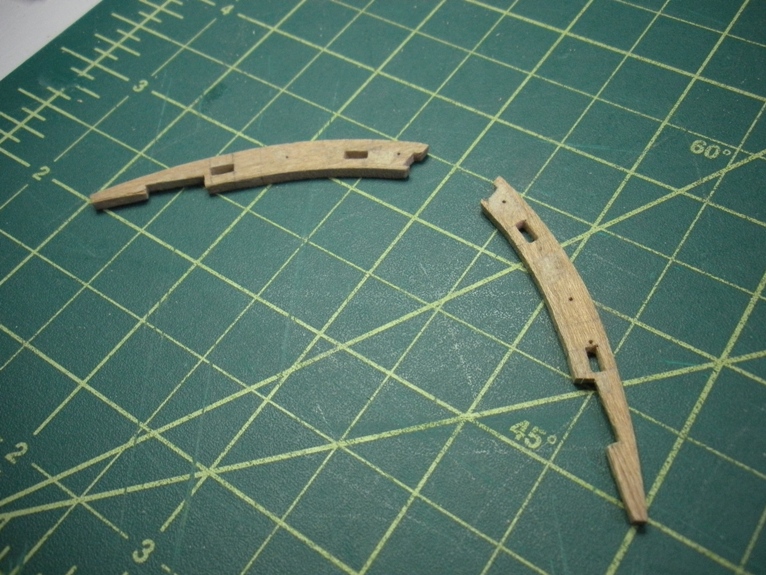
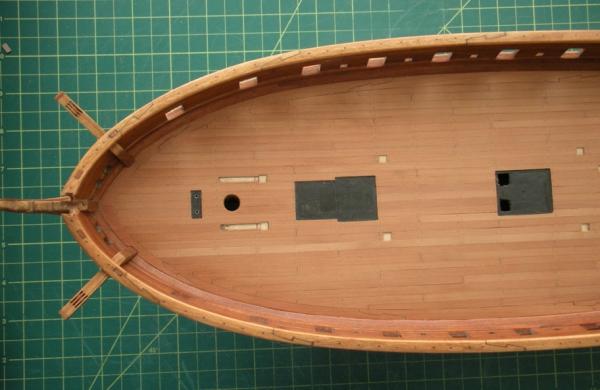
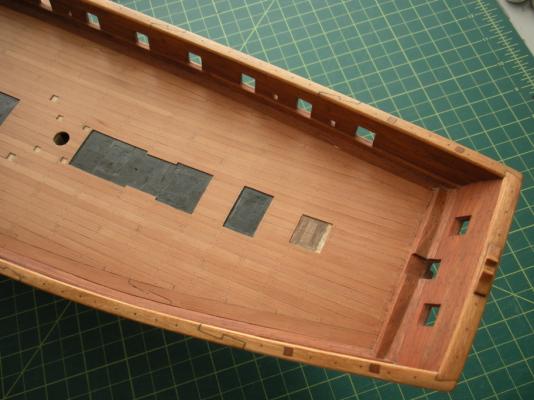
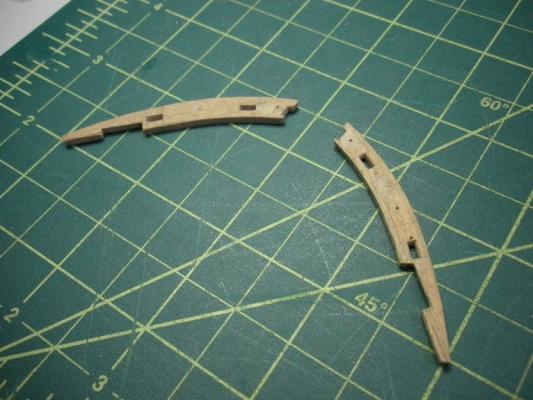
Catheads & Capping Rail – continued Before installing the capping rail, a little more “excavation” This time to the capping rail – and not so bad. Using a drill, chisel and files, made openings for timberheads and knightheads. Then, just a test fit to check positions and angles, etc. I think -- I THINK -- I’m finally ready to install the cats and the rail permanently. To be continued …


-
Just beautiful Bob! Where is she currently berthed? A custom-built case? Also, could you share your technique for making those perfect rope coils (hanks?) on the belaying pins? Cheers, Robert