HOLIDAY DONATION DRIVE - SUPPORT MSW - DO YOUR PART TO KEEP THIS GREAT FORUM GOING! (Only 53 donations so far out of 49,000 members - C'mon guys!)
×

j21896
-
Posts
287 -
Joined
-
Last visited
Content Type
Profiles
Forums
Gallery
Events
Everything posted by j21896
-
Perhaps a dumb question, but if you are making your own rope with a ropewalk, do you dye the component threads first? Or do you dye the finished rope once it's made up? Thanks, Robert
-
 Thanks very much you guys! Elia -- I'm realizing that my eyesight certainly ain't getting any better For the inlay work, I could have used more magnification than my store-bought, reading glasses provide. I tried to augment their magnification by also looking through the magnifying lense of my fluorescent desk lamp, but the clearance needed between the lamp lense and the chisel blade handle wouldn't allow me to get close enough to the piece to bring it into focus. Could be time for an eyewear upgrade. Augie -- This ship model thing sure is a lot of fun, huh? Having this MSW community and the resources on the site, make it even more enjoyable! I know you folks had a cool sub-group of Syren builders, but I'm glad you're in the main forum so the rest of us are more apt to discover your work! (Now give us some more updates to your rigging ) Patrick -- I can't deny my "itch to scratch" but I'm not going anywhere until I actually see Mars through to completion! That said, I did happen to take delivery of a Byrnes thickness sander and table saw this past week, so ... Cheers, Robert
 -
That's right Hakan: haste makes waste -- wood! Robert
-
Nice "teaser" Hakan I can already see that this is going to be good! Cheers, Robert
-
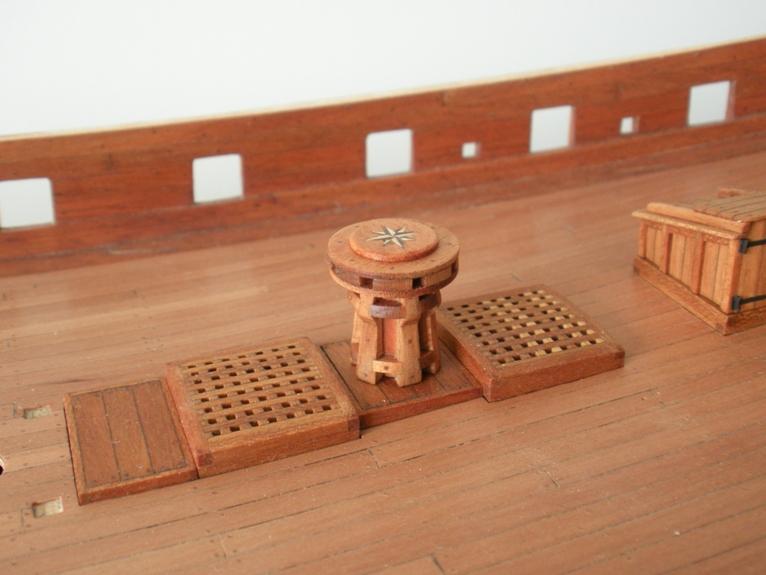
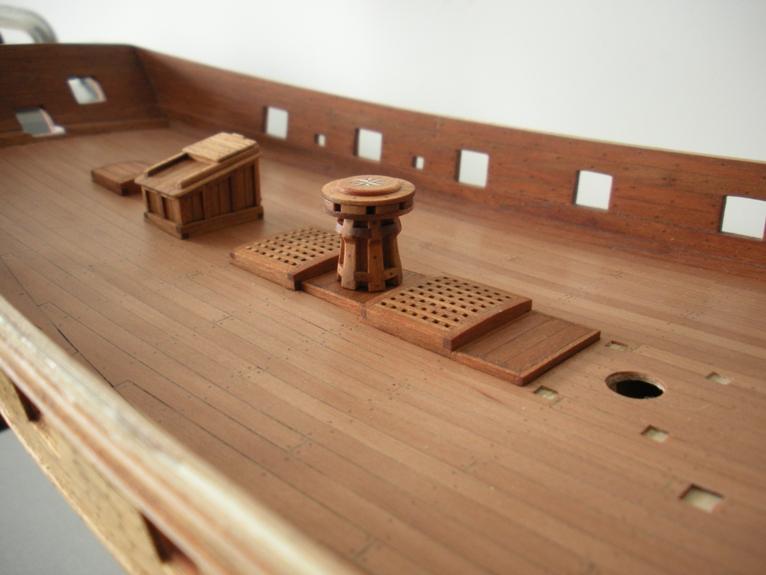
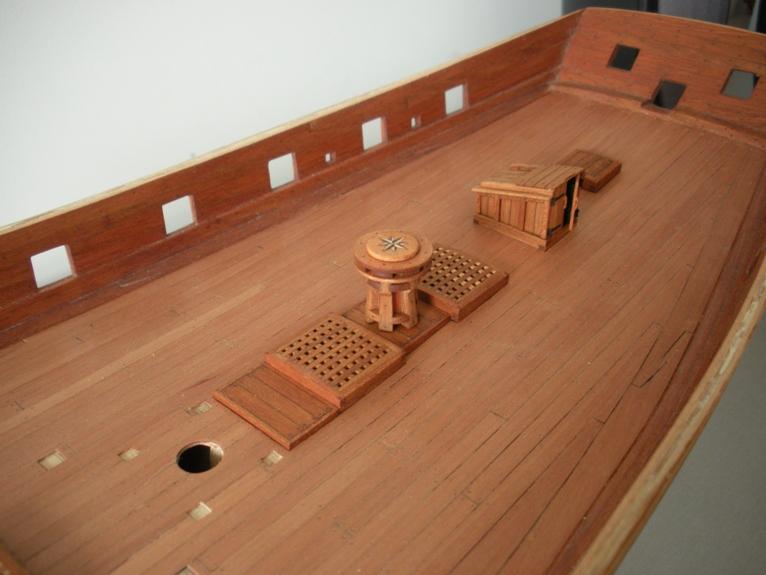
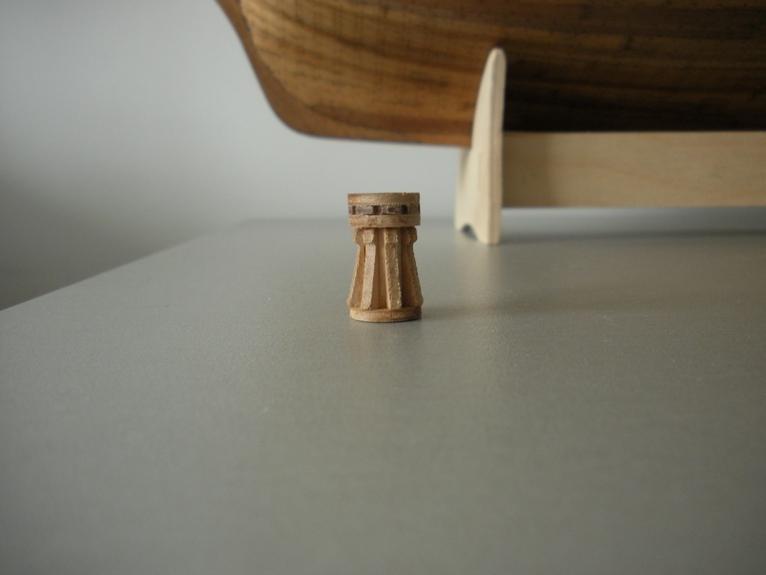
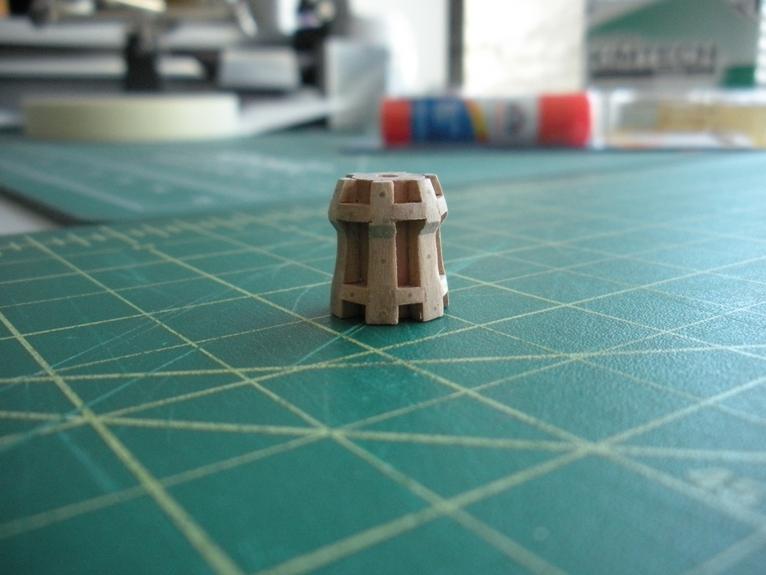
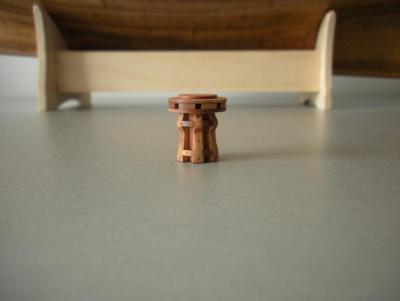
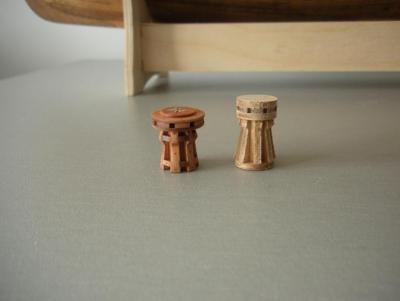
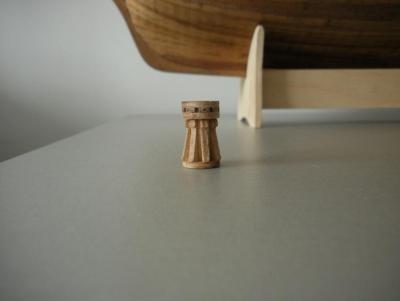
Capstan – completed I had drilled a hole all the way through the center of the spindle, so that I could match-up and center the drumhead on the body, and the cap on the drumhead. I also drilled a hole in the capstan deck platform, so that placement on the platform could be centered using a short piece of dowel as a locator pin. I used 100% tung oil for the finish. A tale of two capstans: Scratch-built vs. Kit And finally, a few views of it in place on deck.


-
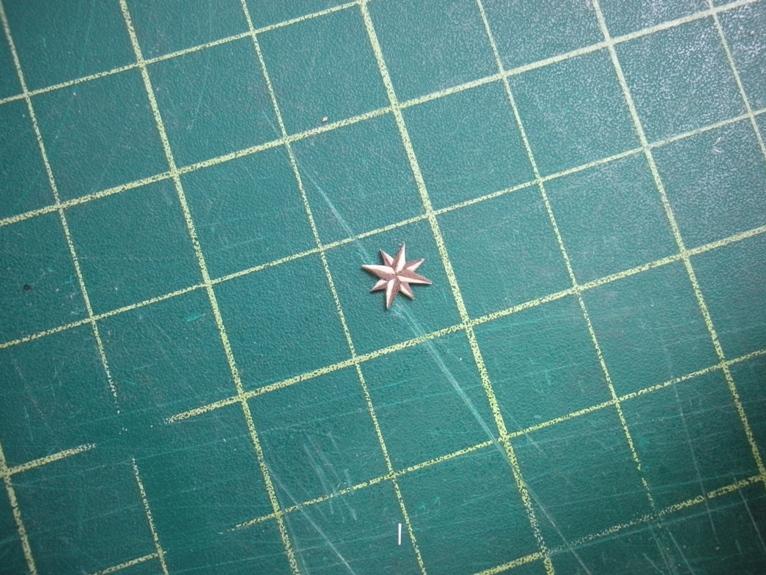
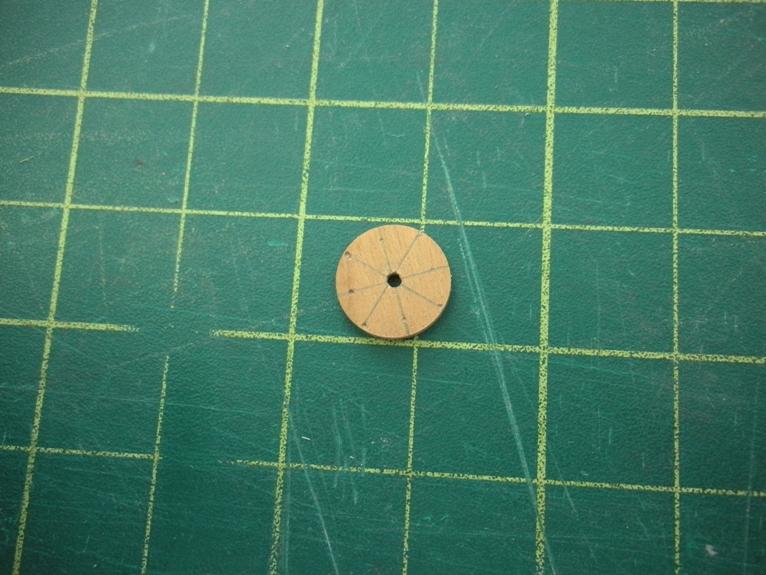
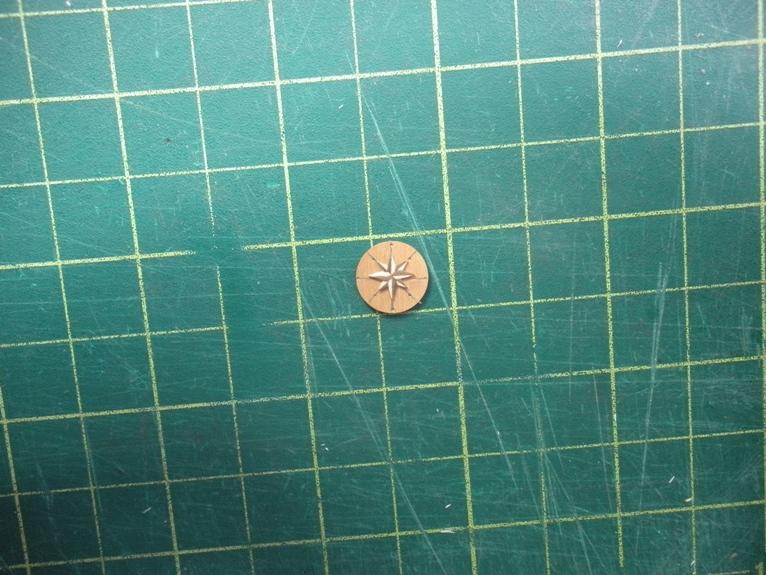
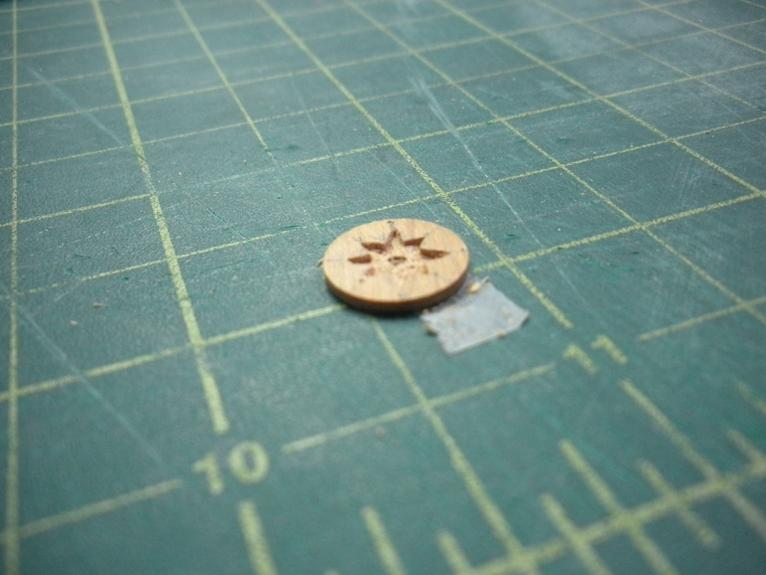
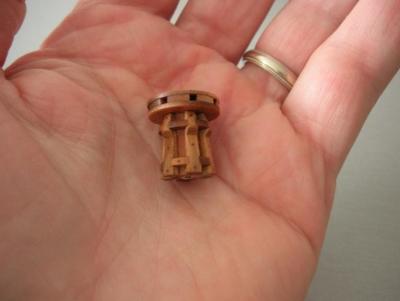
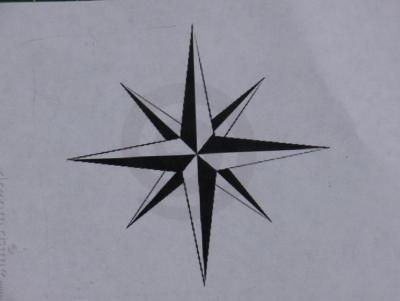
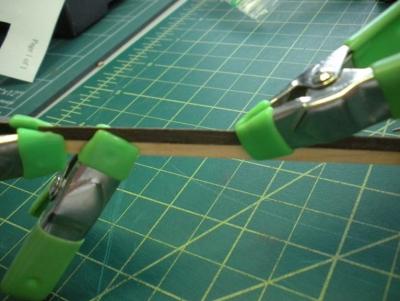
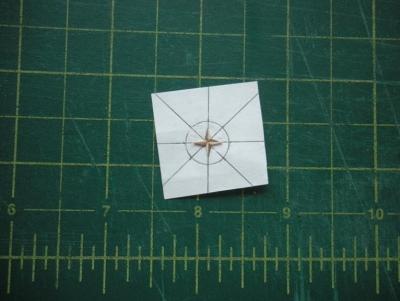
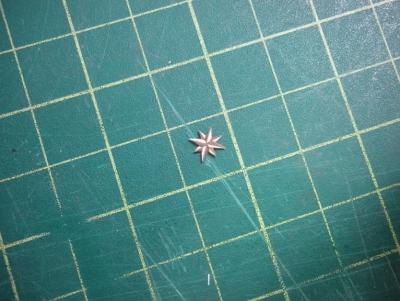
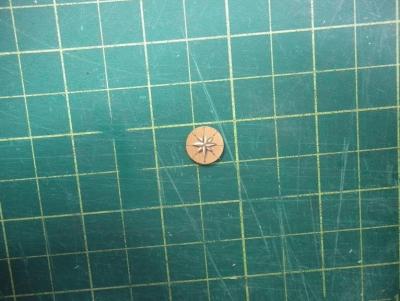
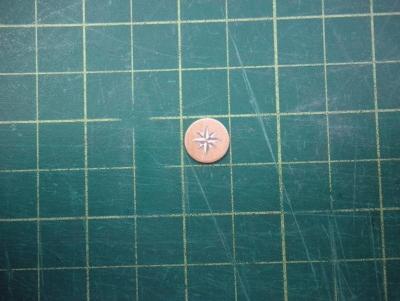
Capstan – continued Okay, time for that “artistic license”! Having read that decorations were often added to the “caps” of capstans, I thought I’d take a crack at it. I figured a nautical star design might be appropriate. For the required contrast, I used some left-over walnut and lime wood strips (about 0.02” thick), and glued them edge-to-edge. Once dry, I sliced down each colored side to a width of 1/32”, for a total strip width of 1/16” for the larger points of the star -- and then a little thinner for the smaller points. Because they were so small, I cut them to shape, and then glued them to a paper backing to aid in alignment, as well as strengthening. Once the glue was dry, I trimmed around the edges. I used another cherry disc for the cap, and marked it up to align the star. Then I used a micro chisel blade to carve out the area, and I inlaid the star. Next up will be final assembly, and some tung oil -- to hopefully make the color contrasts in that star "pop".


-
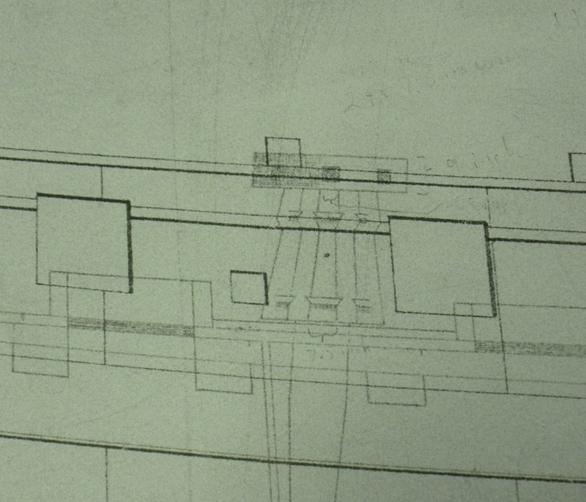
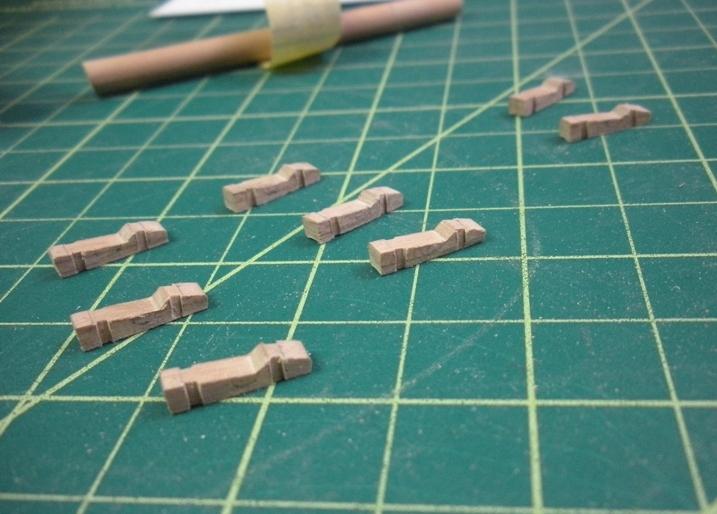
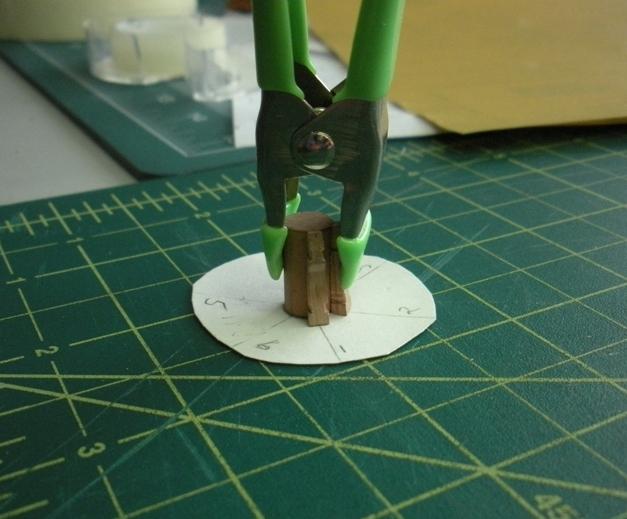
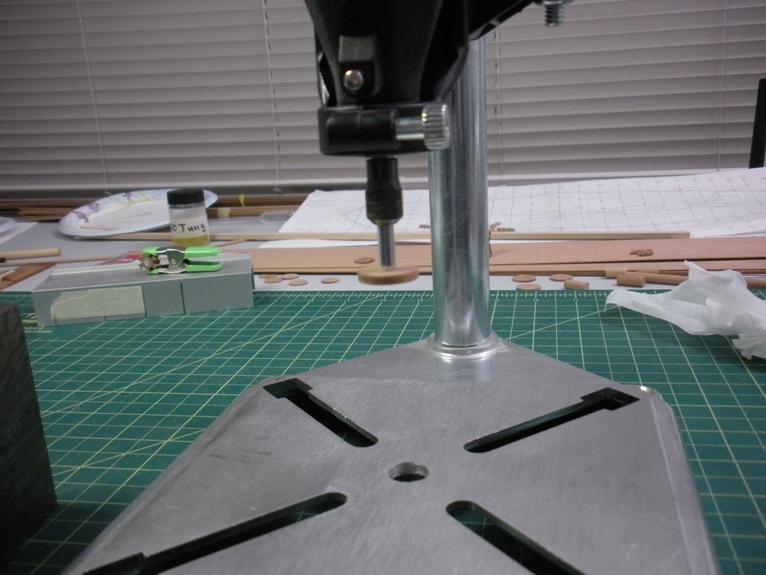
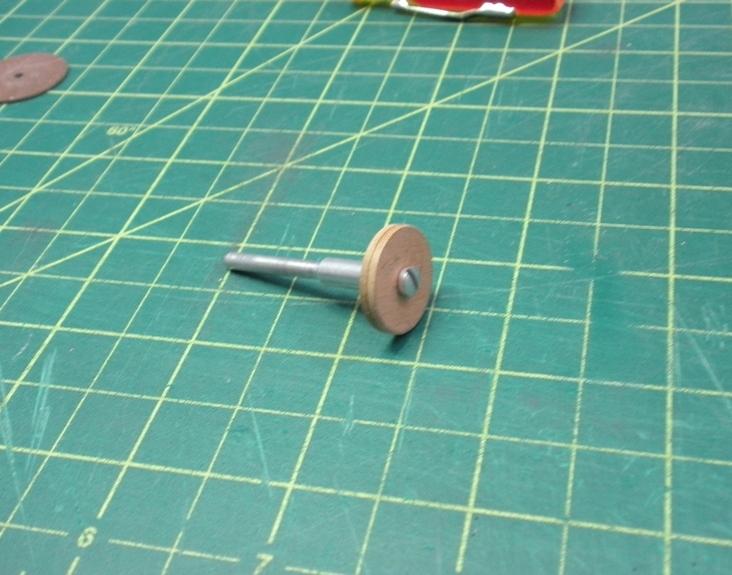
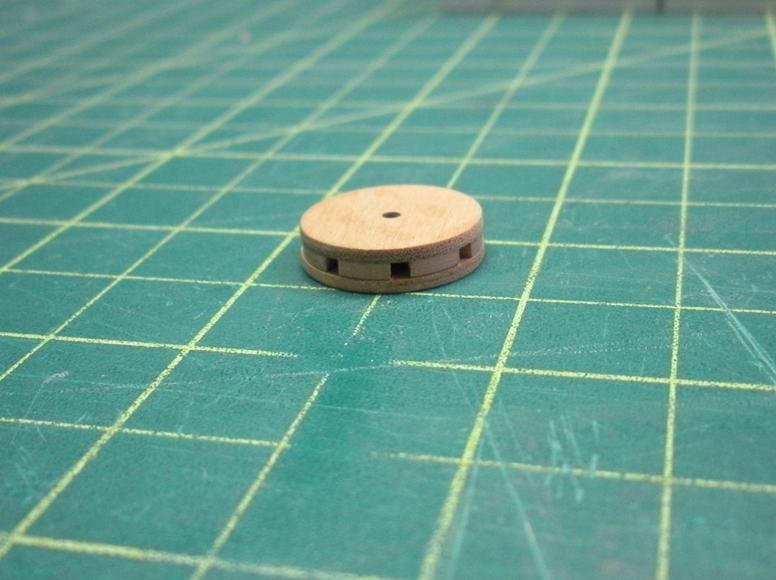
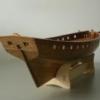
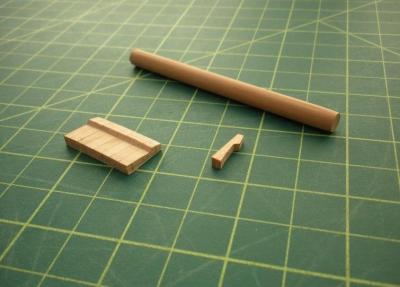
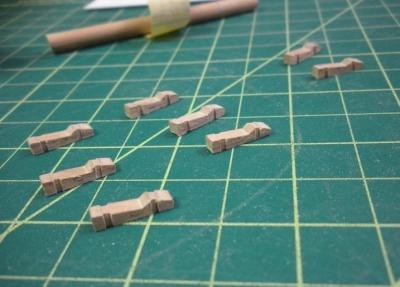
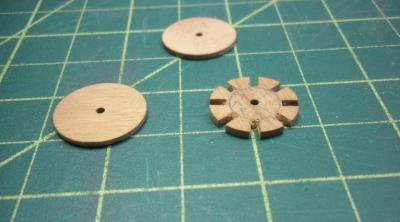
Capstan The kit-provided capstan was made of plywood, and since I’m not using paint on any parts of the ship, it was time for a scratch-built replacement. (I also wasn’t crazy about the shape of the kit capstan. Plus, I really just want to scratch build the rest of this ship anyway!) Unlike the companionway – which was improvised – there is a drawing of the capstan on the NMM plans which I could use. I couldn’t however, resist taking a bit of “artistic license” with some aspects of the piece. Kit-Provided Capstan vs. NMM Plans The spindle was made from Swiss pear, and to fabricate it, I got some practice using the technique for making masts that should come in handy later: I planed down some square stock to 8 sides, then 16 sides, and then sanded it round. The welps are made of cherry – shown here temporarily glued together side-to-side, for uniform shaping with a file. (I would ultimately use only six of them, but I made a few extra just in case. And yes, they came in handy!) Next, slots for the chocks were cut, and the welps were tapered and glued around the spindle. The chocks were then fabricated in cherry and added – which took about five times more effort and time than the rest of the capstan components combined! To make the drumhead, I used a compass to draw circles on cherry sheet, and roughly cut out the discs using my new scroll saw for the first time (Very roughly! I definitely need practice scrolling!) I trimmed them a little closer with an Exacto knife, drilled a hole through the compass point in their centers, and screwed them into a Dremel mandrel. Using a Dremel drill press and sand paper held against an angle iron, I sanded them round. (see the many “just in case” extra discs in the background!) I cut out the slots for the capstan bars using a micro chisel blade – destroying several of those "extra" discs before getting it right -- and assembled the drumhead.


-
Ah Elia, you do have her back up! Excellent! Robert
-
Thanks Augie and Jason! On the waterways Jason, I chose to tackle them in two pieces rather than one: a "backing strip" that would be hidden (you can see it in the earlier photos beneath the spirketting), and the visible waterway strip itself, which is glued to that backing strip. I first determined what I wanted the dimension of the "diagonal face" of the waterway to be (I think around 8 to 10 scale inches). To obtain that, I took a 1/8" x 1/8" square strip and planed it down to a triangular profile. I left a little flat lip at the bottom of the diagonal face, roughly equal to the thickness of the margin and deck planks, for them to butt up against. The "backing strip" was made of strip stock 1/16" thick (equal to the thickness of the spirketting) by 1/8" high (equal to the height of the back face of the triangular waterway strip). After that had soaked in hot water for a bit, I clamped it in place to form it to the curve at the bow, and glued it in place once dry. After a couple hours of soaking in hot water I clamped the waterway strip up against the backing strip and false deck to form it to the curve at the bow. Once dry, I removed it and did a little sanding of the back, right-angle portion of the triangle where necessary to get it to sit flush with the backing strip and false deck all the way around. Then I cut the scarph joints using an exacto knife, and filed/sanded them to fit. From there it was just glue and clamp. The "backing strip" is completely hidden by the waterway and spirketting. Once the margin plank was installed, I fine sanded the waterway as best I could to form a smooth transition to the deck. I hope this helps. Robert
-
Wow, thanks for the encouragement Elia! I'm a big fan of your work -- ever since I first saw your Oneida on the old Dry Dock Models forum! All treenails throughout were made with my trusty Jim Byrnes draw plate and the holes were drilled with my Dremel. I know there were 6,500 in the hull, but I stopped counting when I moved inside to the bulwarks and deck, so I'm not sure what my total is now. I hope you'll be posting pictures of your Oneida in the Gallery of completed ships here. And hopefully you can recreate your Goddess build log too. Cheers, Robert
-
What an improvement! Thanks Jason. Robert
-
Hi Jason, I was actually posting a reply to your build log in the first iteration of the new MSW, just as The Great Crash hit! I hit "post" and everything seemed to freeze up, and that was the last time I was able to access MSW until all was restored. I wanted to tell you that your model of Snake is looking great! Your workmanship all around is so crisp and clean, and your paint job is very nicely done! I am also working on an earlier Caldercraft offering, and I'm taking a similar approach of revising and adding things with reference to NMM plans. I am interested in replacing the bulbous little belaying pins that came with the kit, and recall that you had obtained some nice looking ones. Could you give me the info on those? Thanks, Robert
-
HMS Victory by EdT - FINISHED - 1:96 - POB
j21896 replied to EdT's topic in - Build logs for subjects built 1751 - 1800
Hi Ed, I'm a big fan of your work, having enjoyed your logs on the old MSW. You mention that those photos were for the NRG contest in 2011 -- I have to believe she did very well in that! Cheers, Robert -
Man Alistair, you really did a fabulous job with her! And those rope coils look just amazing! Cheers, Robert PS. Oh, and do get some nice photos of her up in the completed models gallery!
-
Hi Ron, I was a long time "silent follower" in the old version of MSW, but it's time to speak up. Your work on Oneida is just fantastic! She is a real beauty, and I'm glad the new MSW makes it so easy to follow your progress. Cheers, Robert
-
Hi Dave, I was away for a bit, and boy do I have some catching up to do! Looks like you'll be stepping masts and rigging any day now Nicely done! Robert
-
Hey Aldo -- Welcome back to you and Ms. Peggy! Robert
-
Hi Patrick, I'm brand new to your build, and glad I found it! She looks just great. I especially like the serving on your shrouds and stays -- really fantastic! And your small boat is awesome too. I'll be following you the rest of the way. Cheers, Robert
-
Hi Frank, Ah, memories! Just look at Supply sitting there in the shipyard, back when she was all shiny and new! As I recall, the years had begun to show on her considerably I had been away for a bit, but now that I'm back I'll be following along and watching your Supply "age". Cheers, Robert
-
If that's your motto Augie, then mine would definitely be: "(see Augie's motto)"
-
Hey Hakan -- if only these ships went together as fast as these logs can be re-built She's beautiful!! Cheers, Robert
-
And just how many thousands of posts had you gotten up to John? Seriously, it's great to see you and Stag back on-line! Cheers, Robert
-
Thanks Augie! Funny, but when I look at painted and coppered models like yours, I kind of wish I had gone that route. Both approaches certainly have their merits -- I guess I pretty much just love all kinds of ship models Look forward to seeing you through to your quickly approaching completion of Syren! Robert
-
Hi Augie, This restart has given me the chance to discover your build -- and it's a beauty! Really, really nice work. I look forward to following your progress (and the new MSW makes that an easy process)! Cheers, Robert