HOLIDAY DONATION DRIVE - SUPPORT MSW - DO YOUR PART TO KEEP THIS GREAT FORUM GOING! (Only 44 donations so far out of 49,000 members - C'mon guys!)
×


mtdoramike
-
Posts
2,094 -
Joined
-
Last visited
Content Type
Profiles
Forums
Gallery
Events
Everything posted by mtdoramike
-
Yes, especially the big models. When you get over 32" long models, the prices like double and then double again for cases over 48".
-
Ok, I'm getting close to being finished with the Montanes, so the hunt for a display case begins. Now it would be easy just to reorder the same display case from Abordage that I bought for the HMS Victory, But upon checking with Abordage, although the display case remained the same at $825.00 for a mahogany and wood case, the shipping jumped from $150.00 to $195.00 UPS. So here is w hat I found: Abordage = $825.00 + $195.00 shipping UPS Acrylic Plus = $656.00 for a 5 sided acrylic box, but I would have to make my own display base for the box. So depending on wood used, this could cost up to $200.00 if I want walnut or mahogany. Caseforcollectables.com = $483.22 + 273.56 Freight This is not a kit and will come assembled with a black plastic base Shoppopdisplays.com = $910.01 + $190.08 freight same style case as above. Acrylicjobs on Ebay = $990.00 free shipping. this is a kit and will come with a wooden base beautycn on Ebay = $699.00 from China same case as the one above. These all have 1/4" acrylic
-
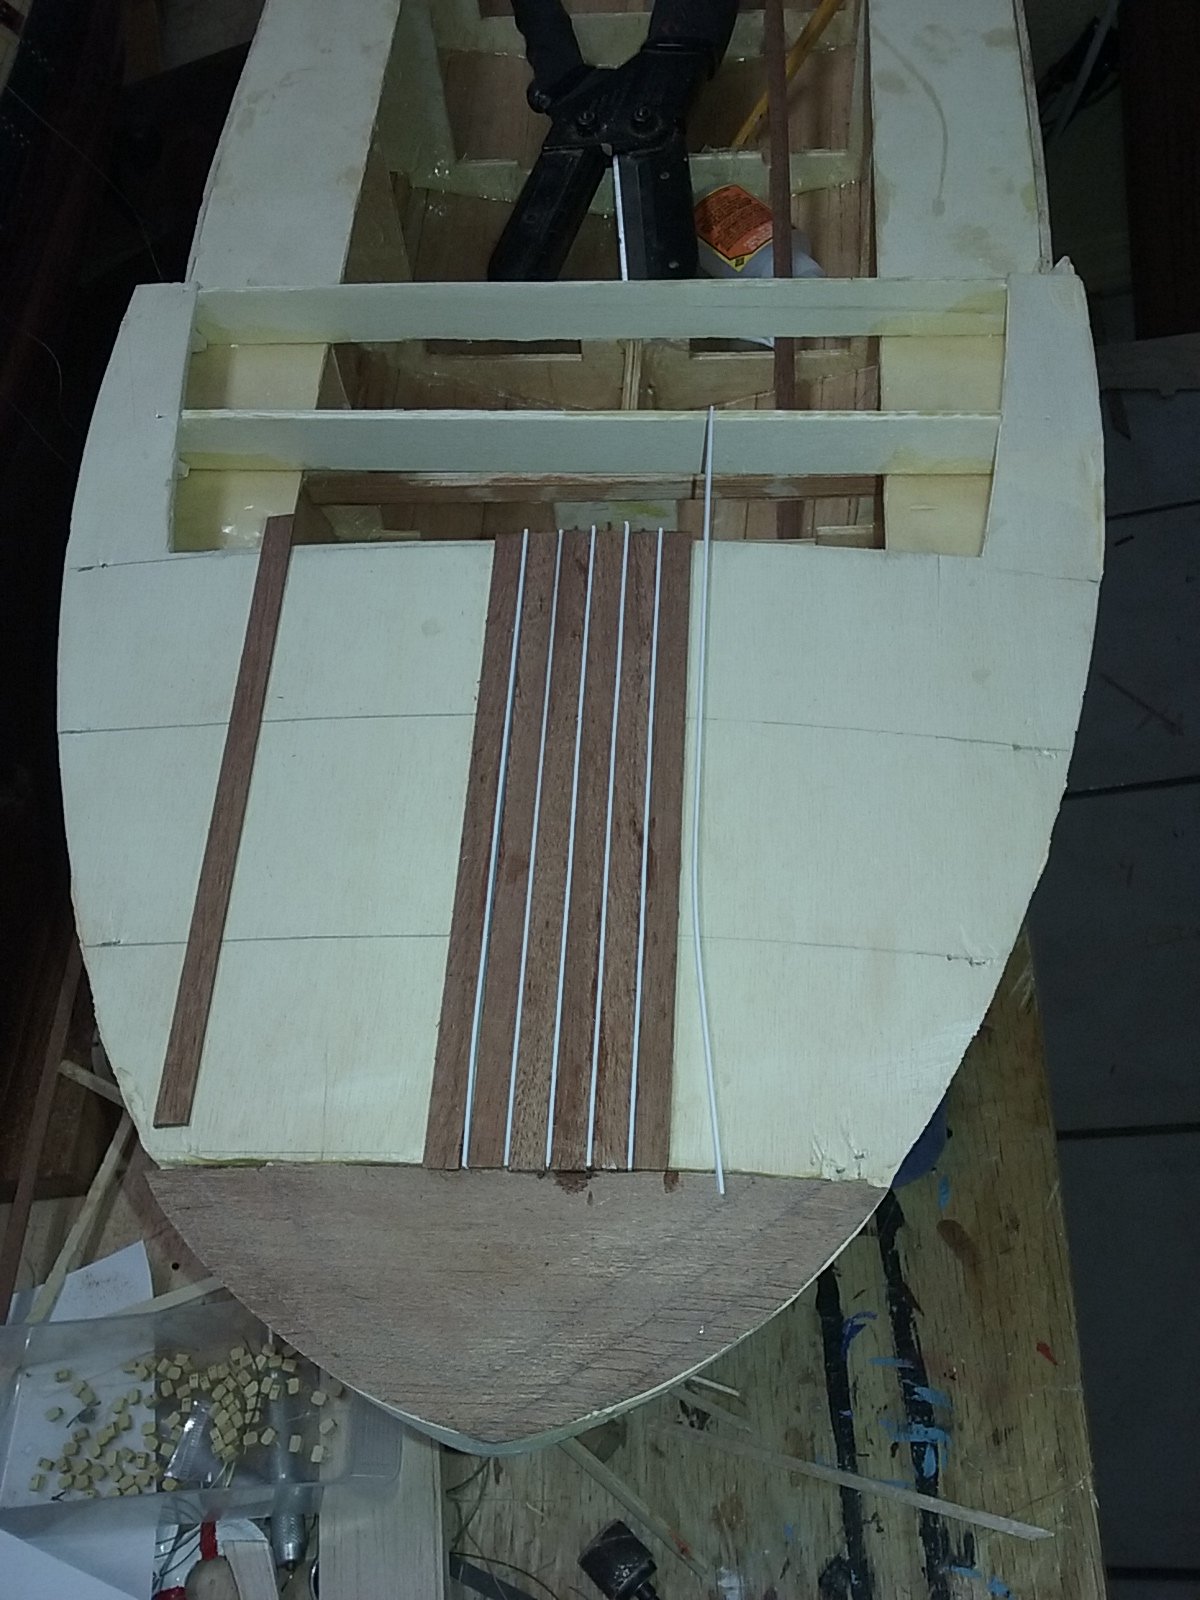
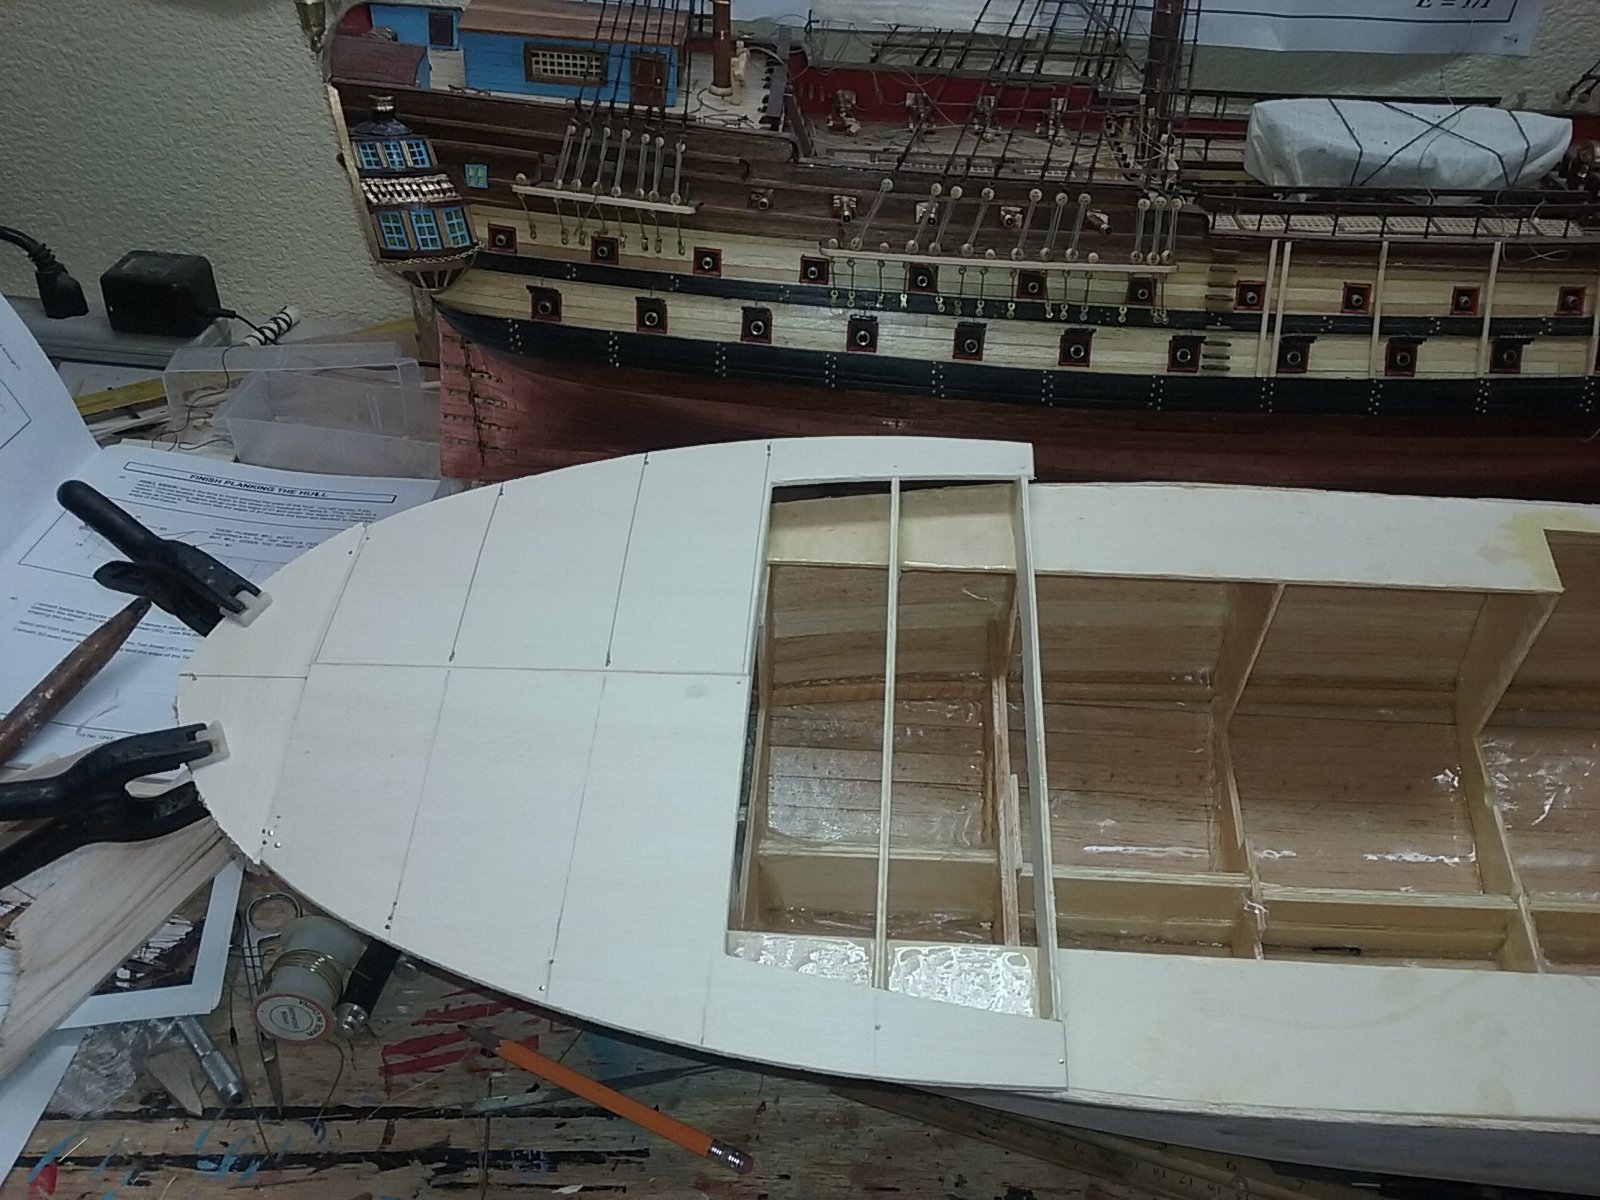
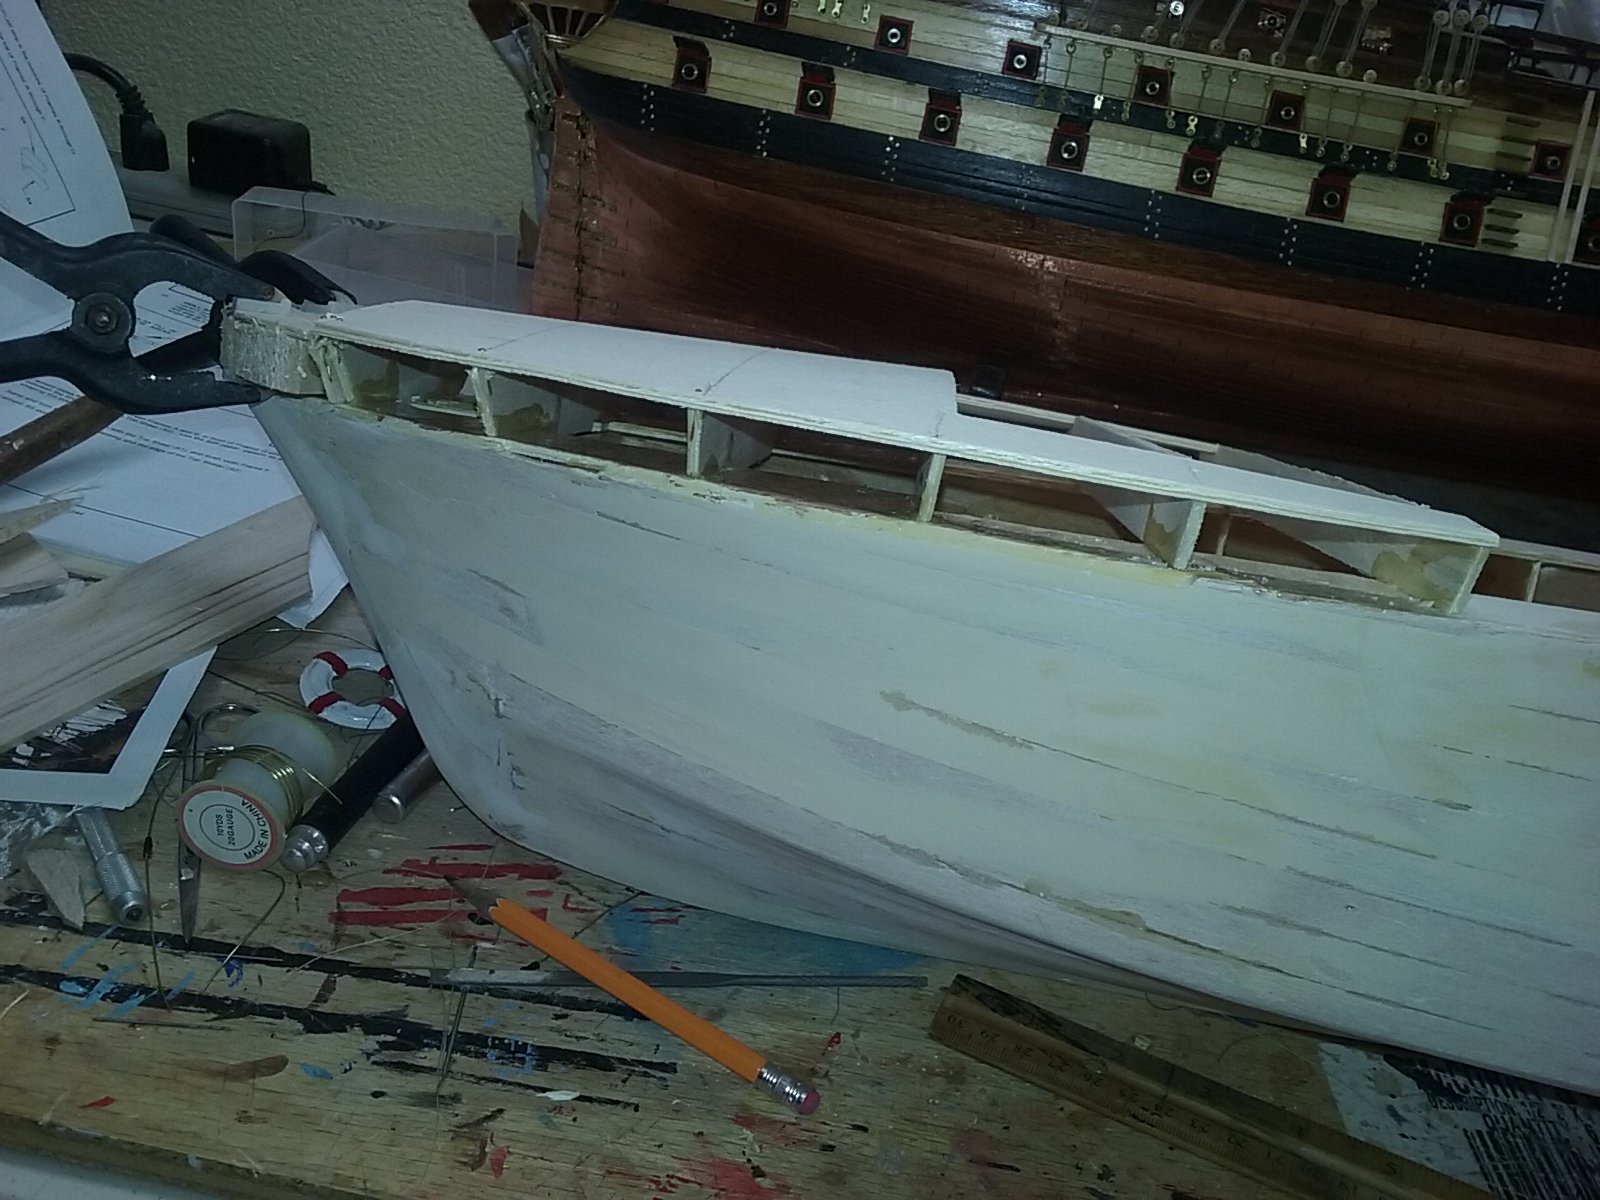
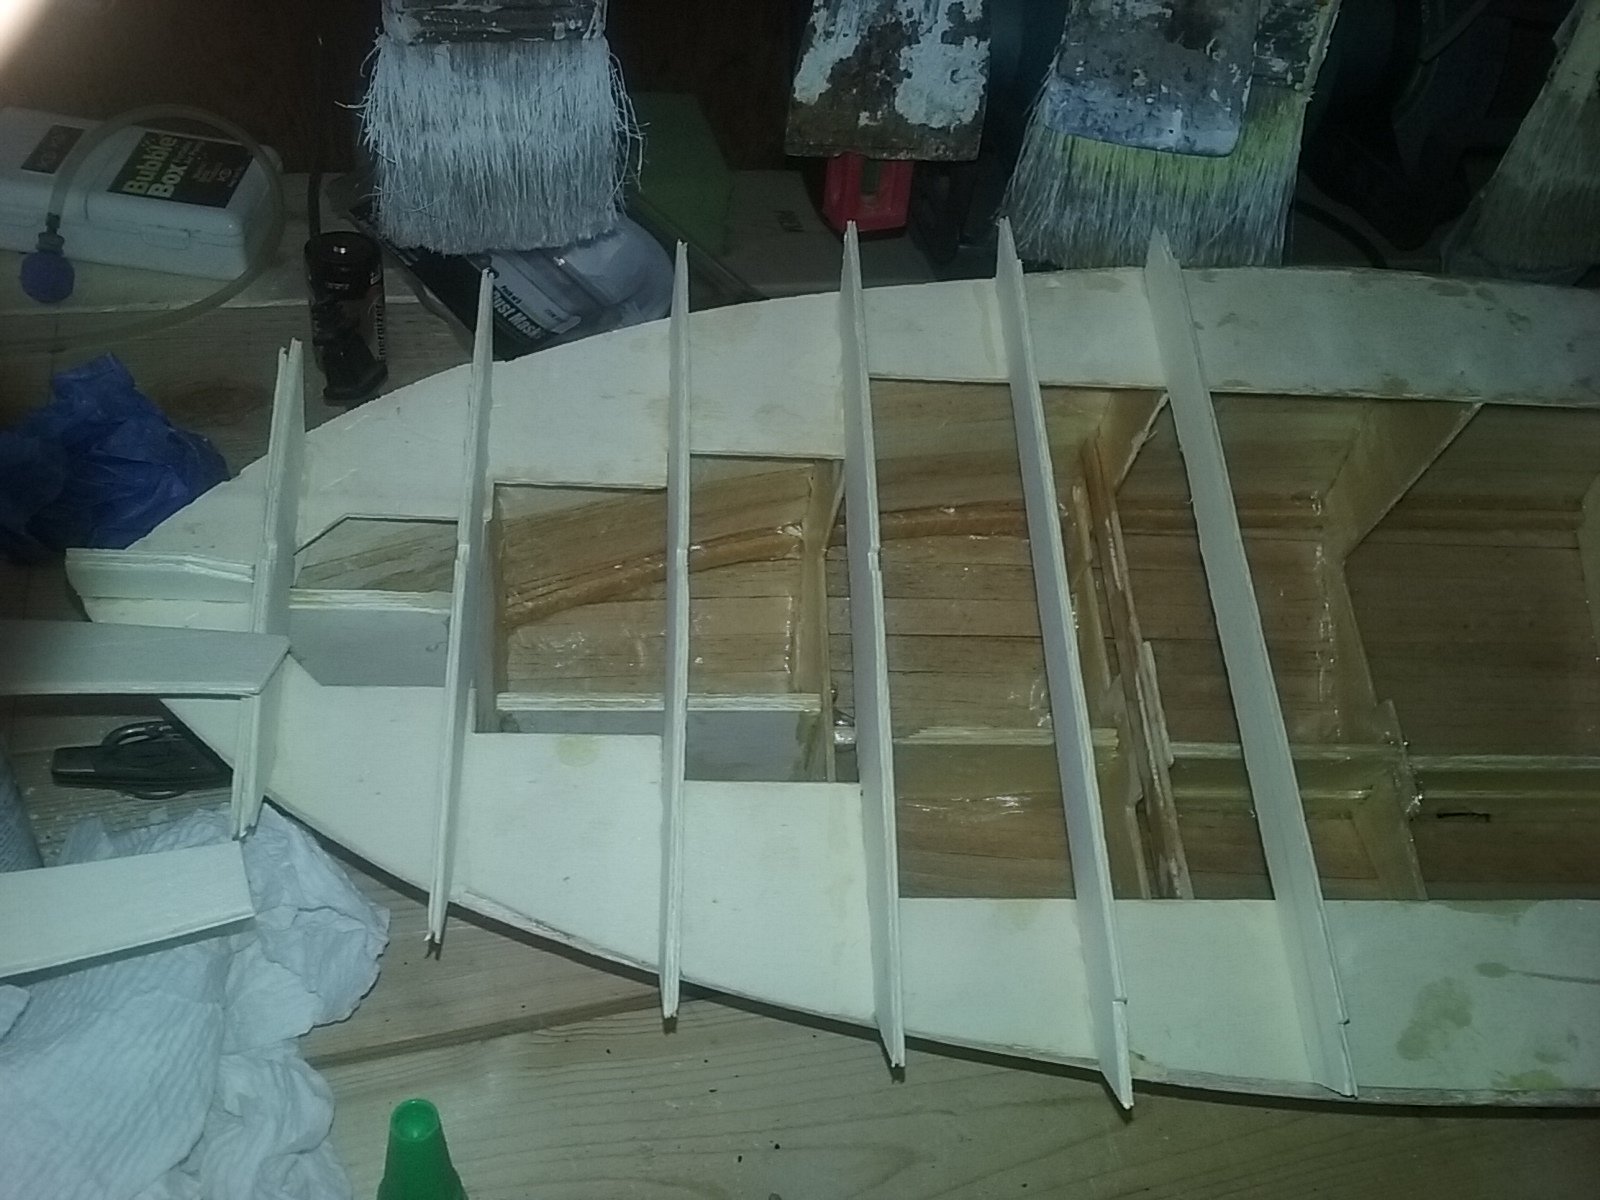
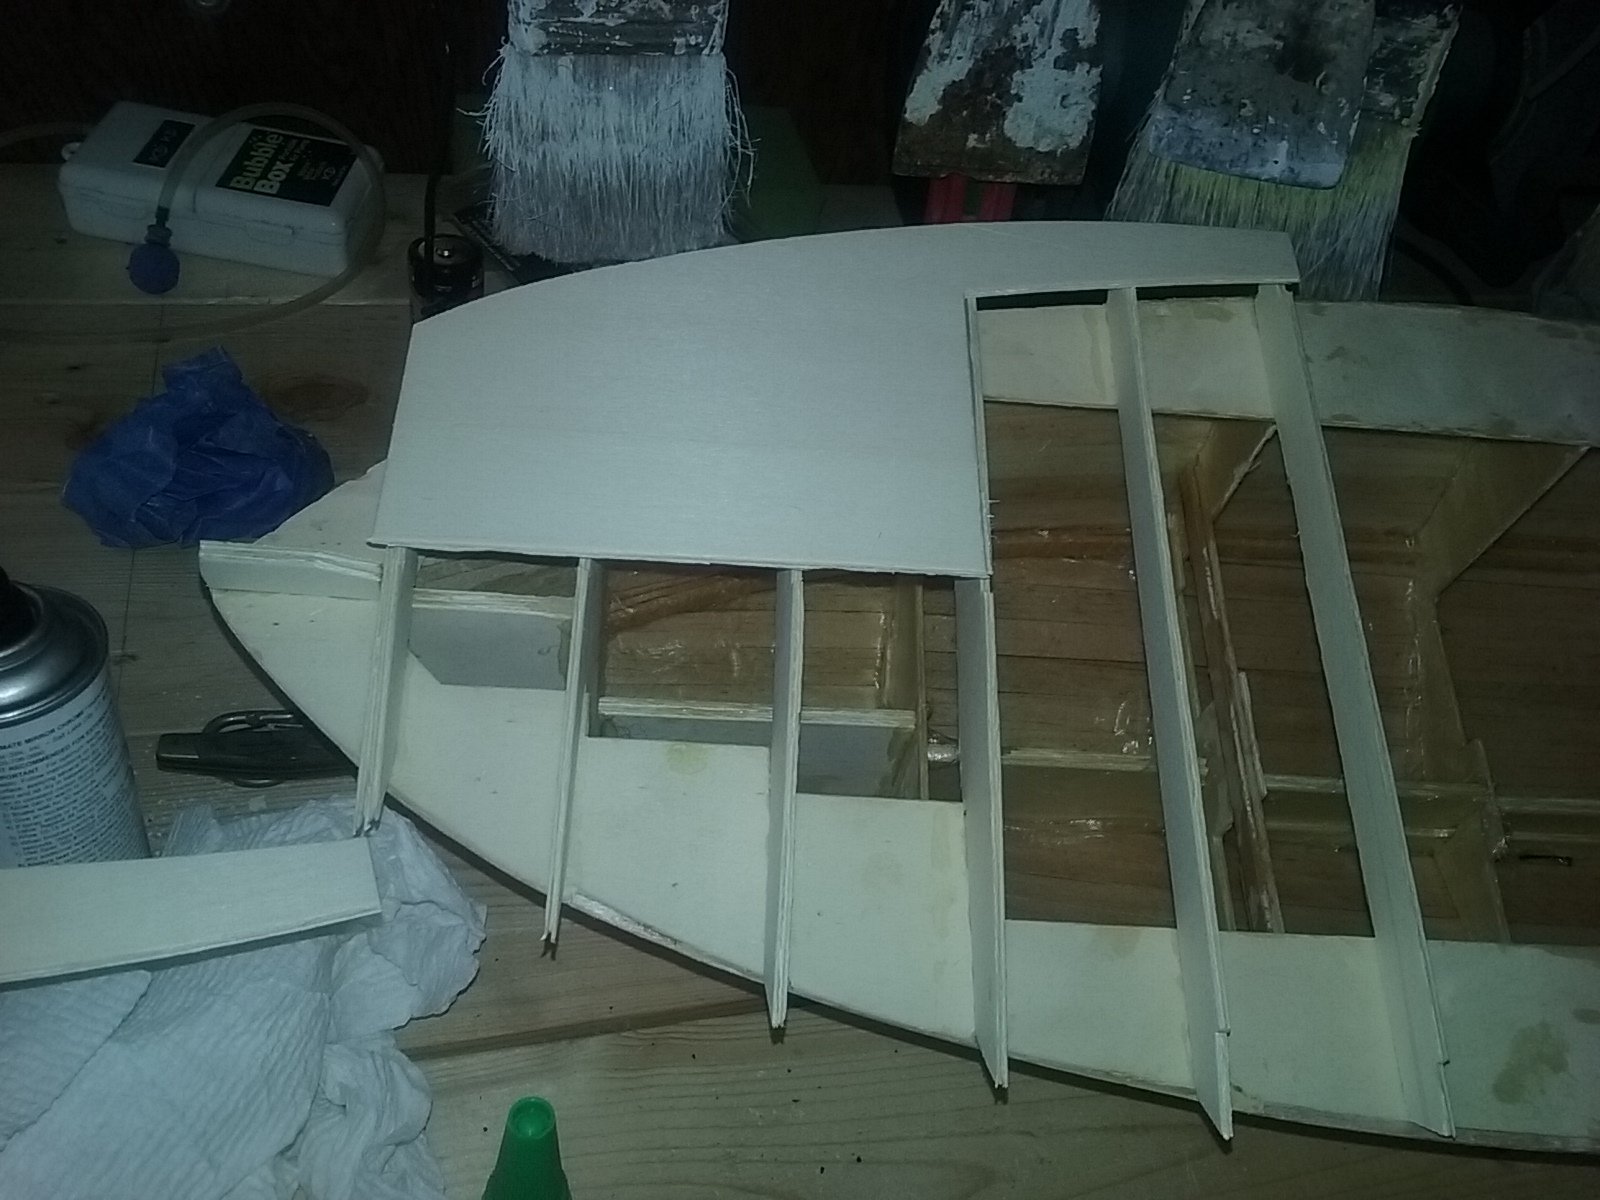
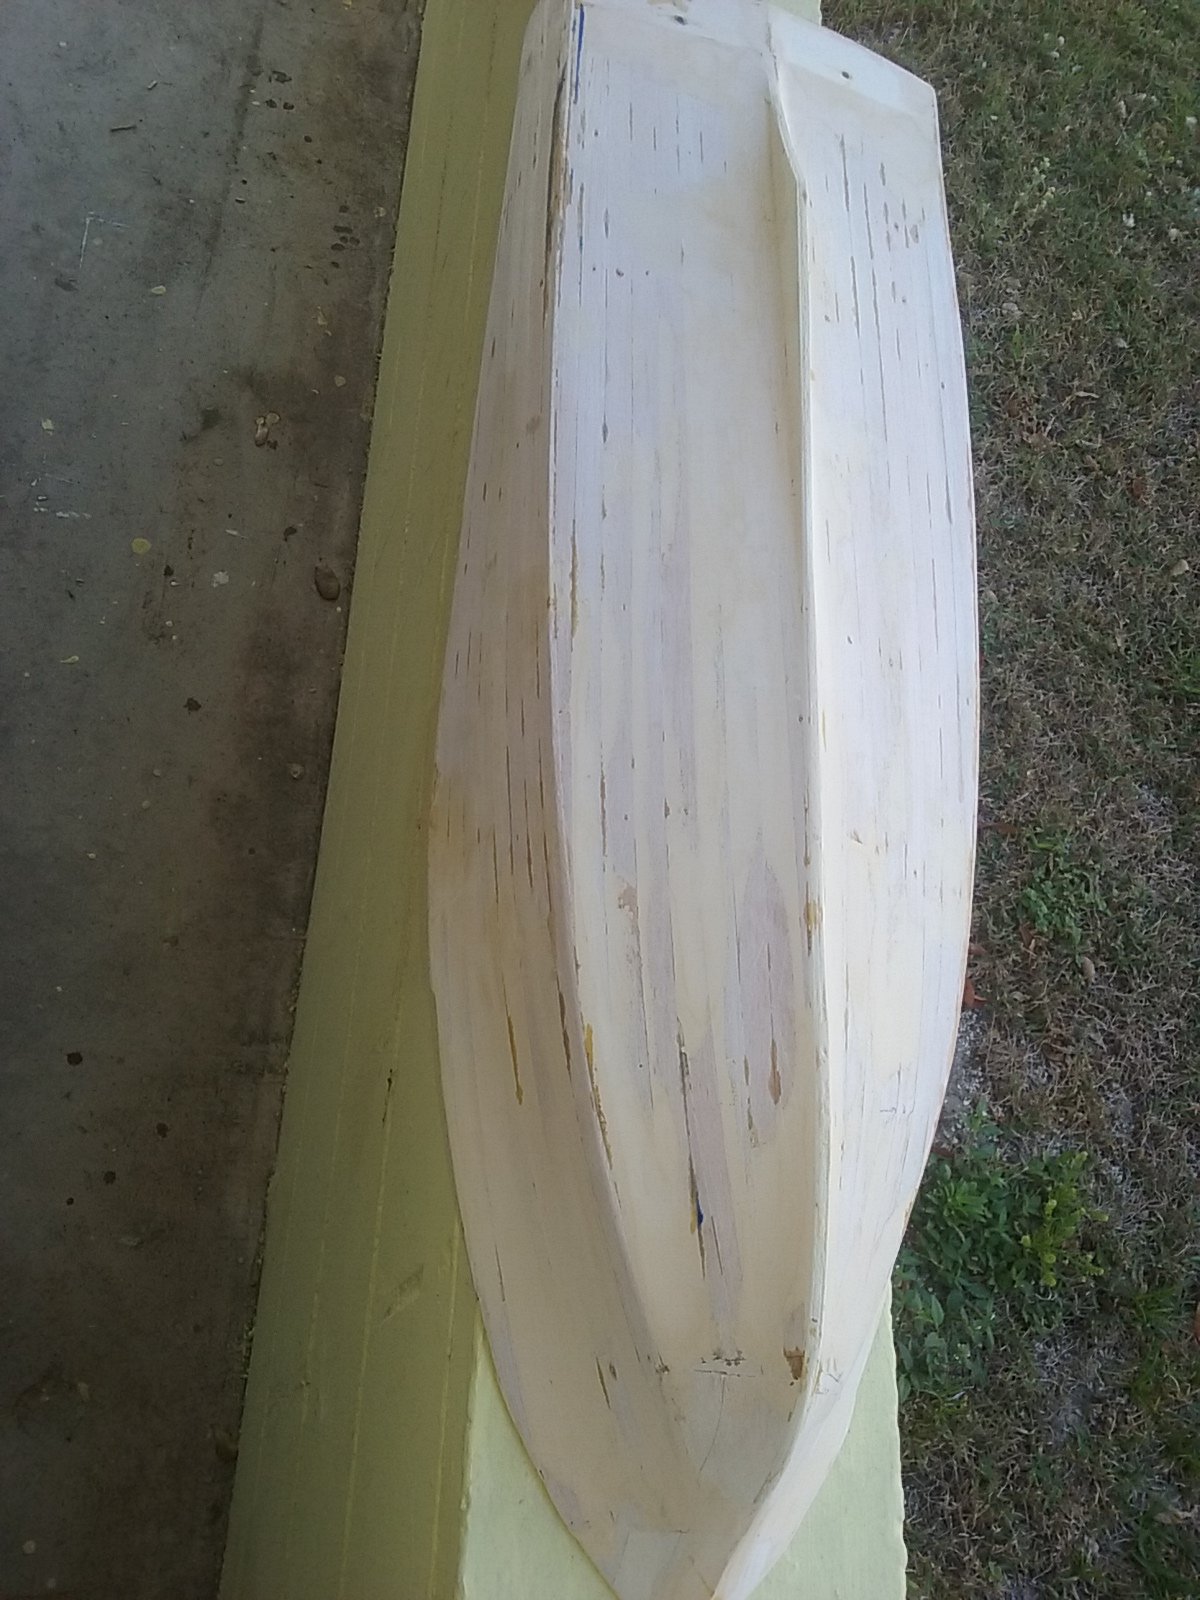
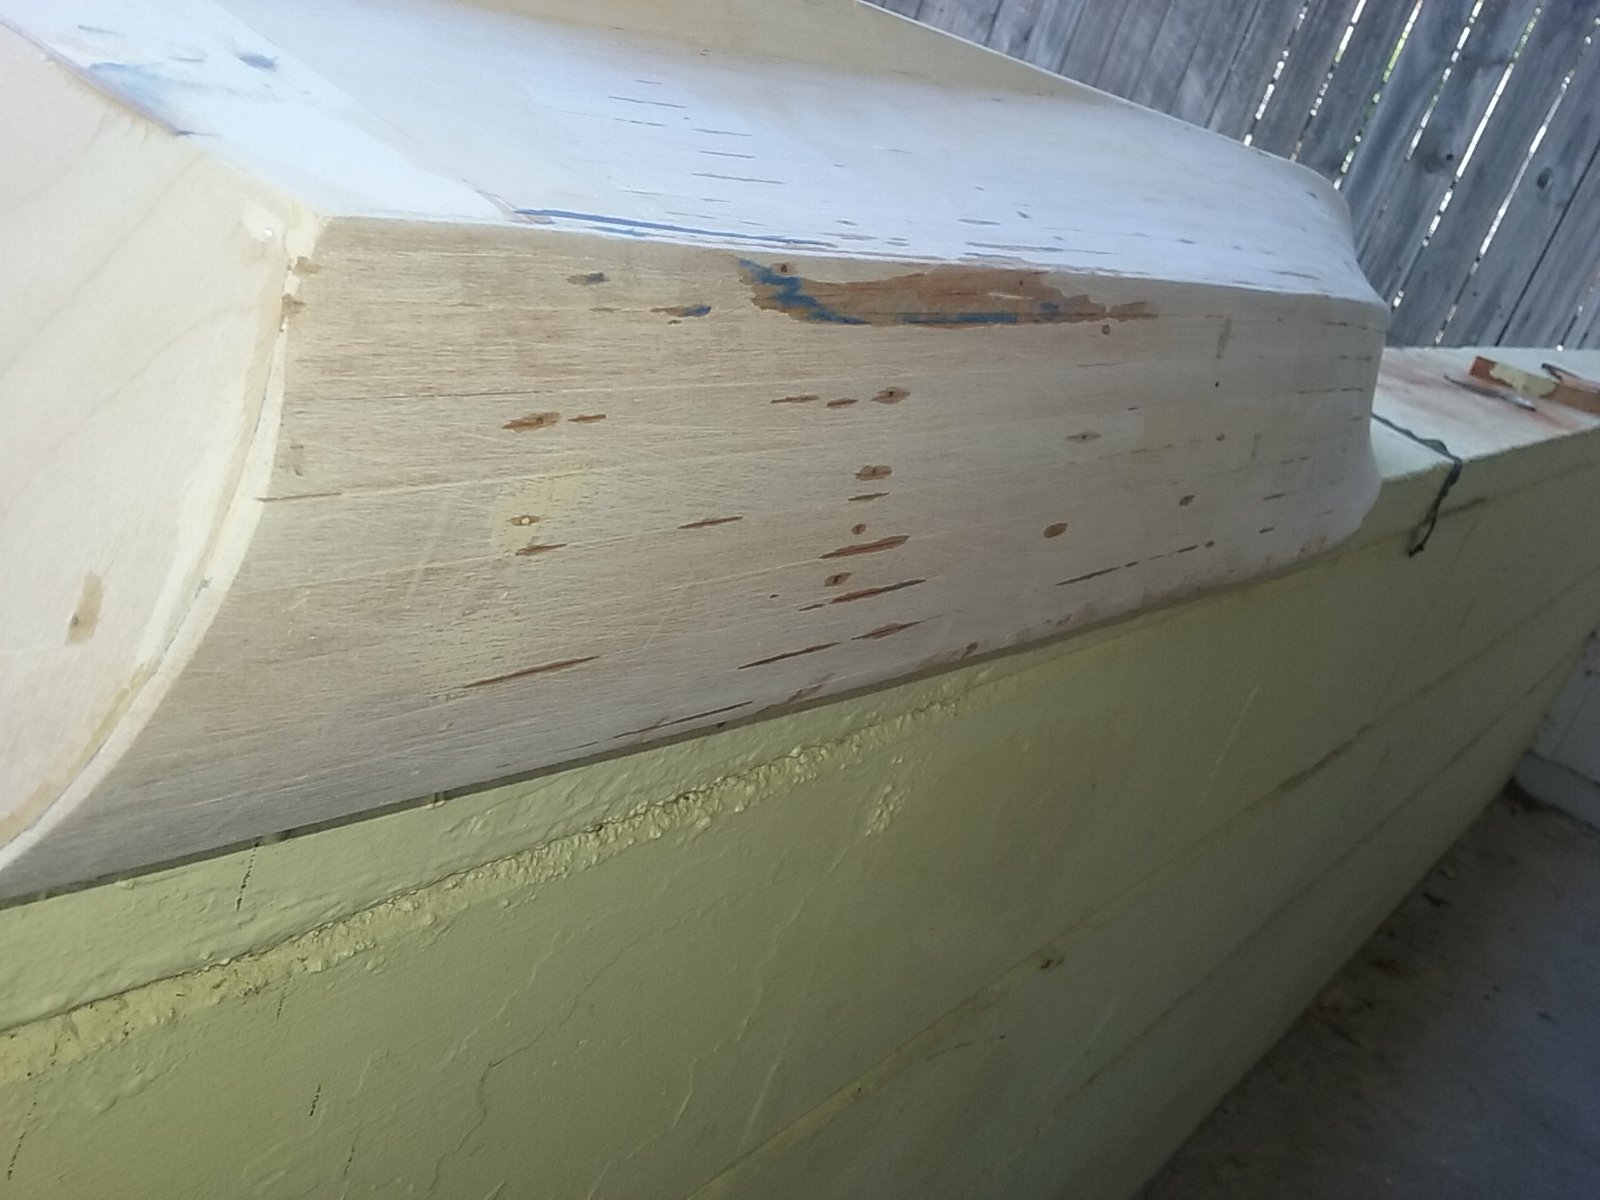
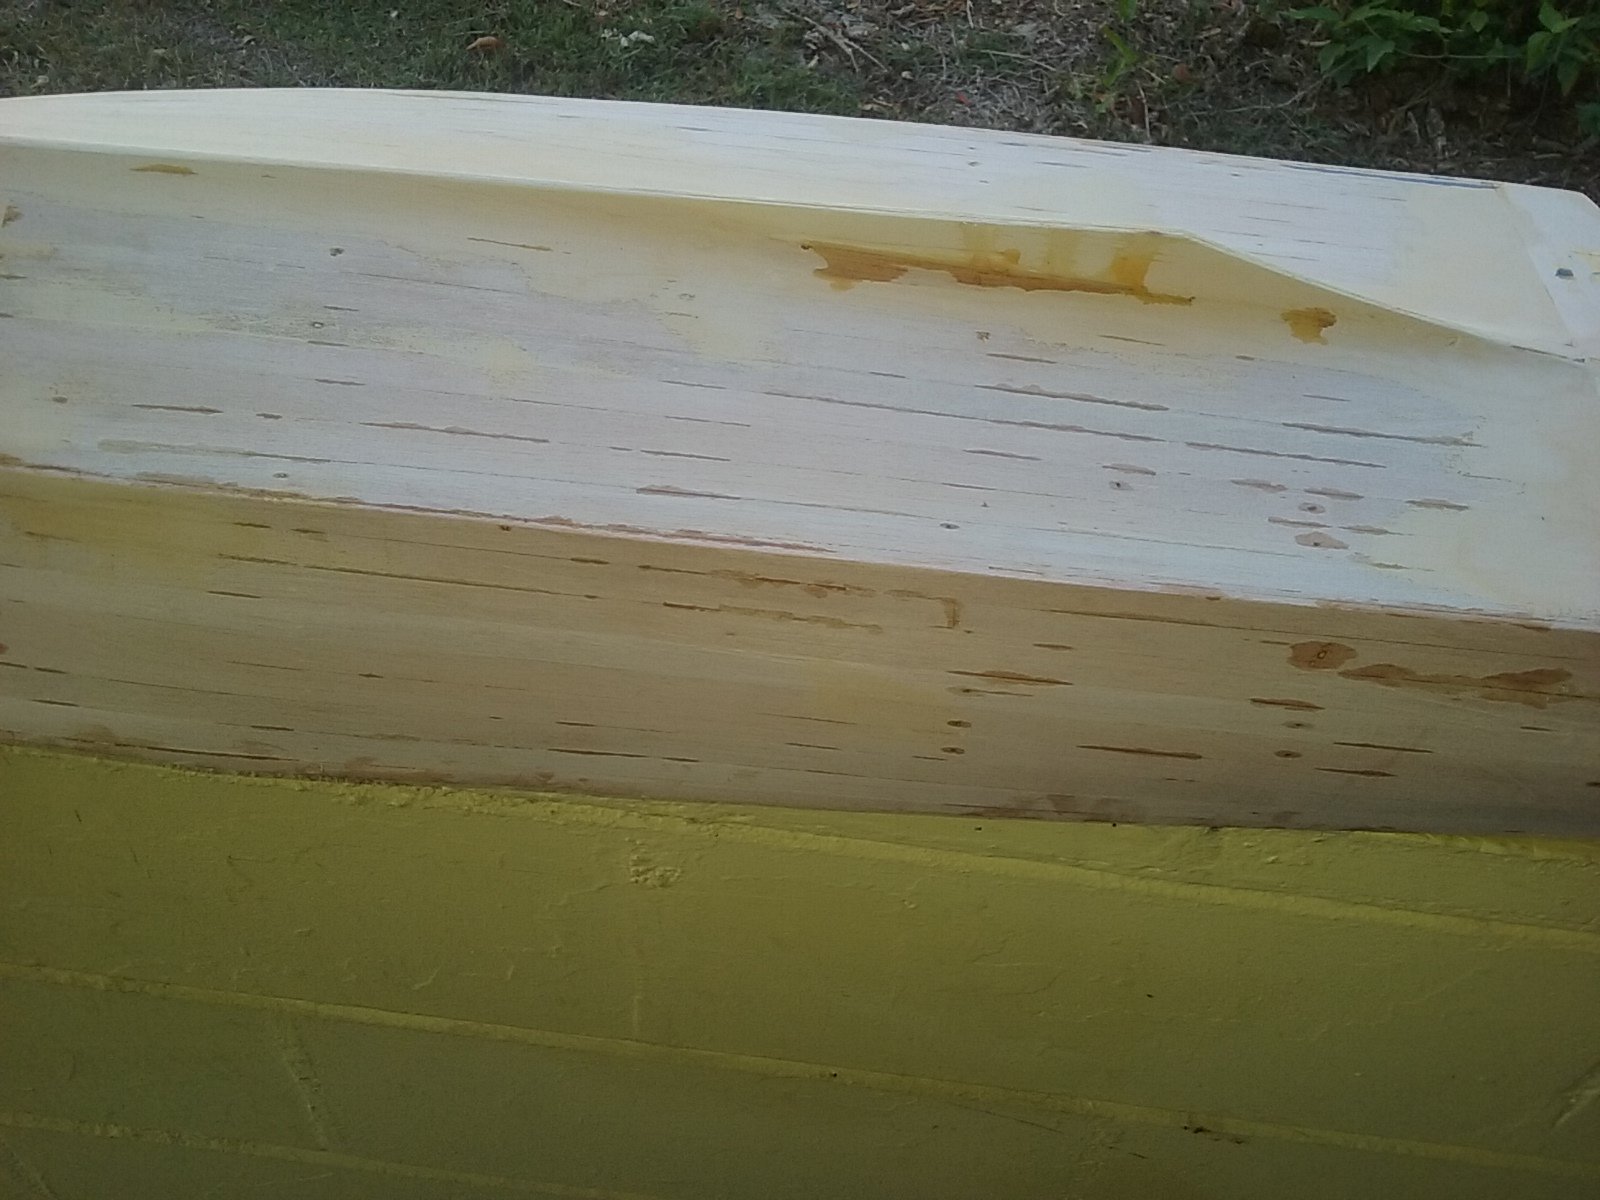
I started the front decking. Starting to look pretty good.
- 146 replies
-
- 1
-

-
- dumas
- Chris-Craft Commander Express
- (and 2 more)
-
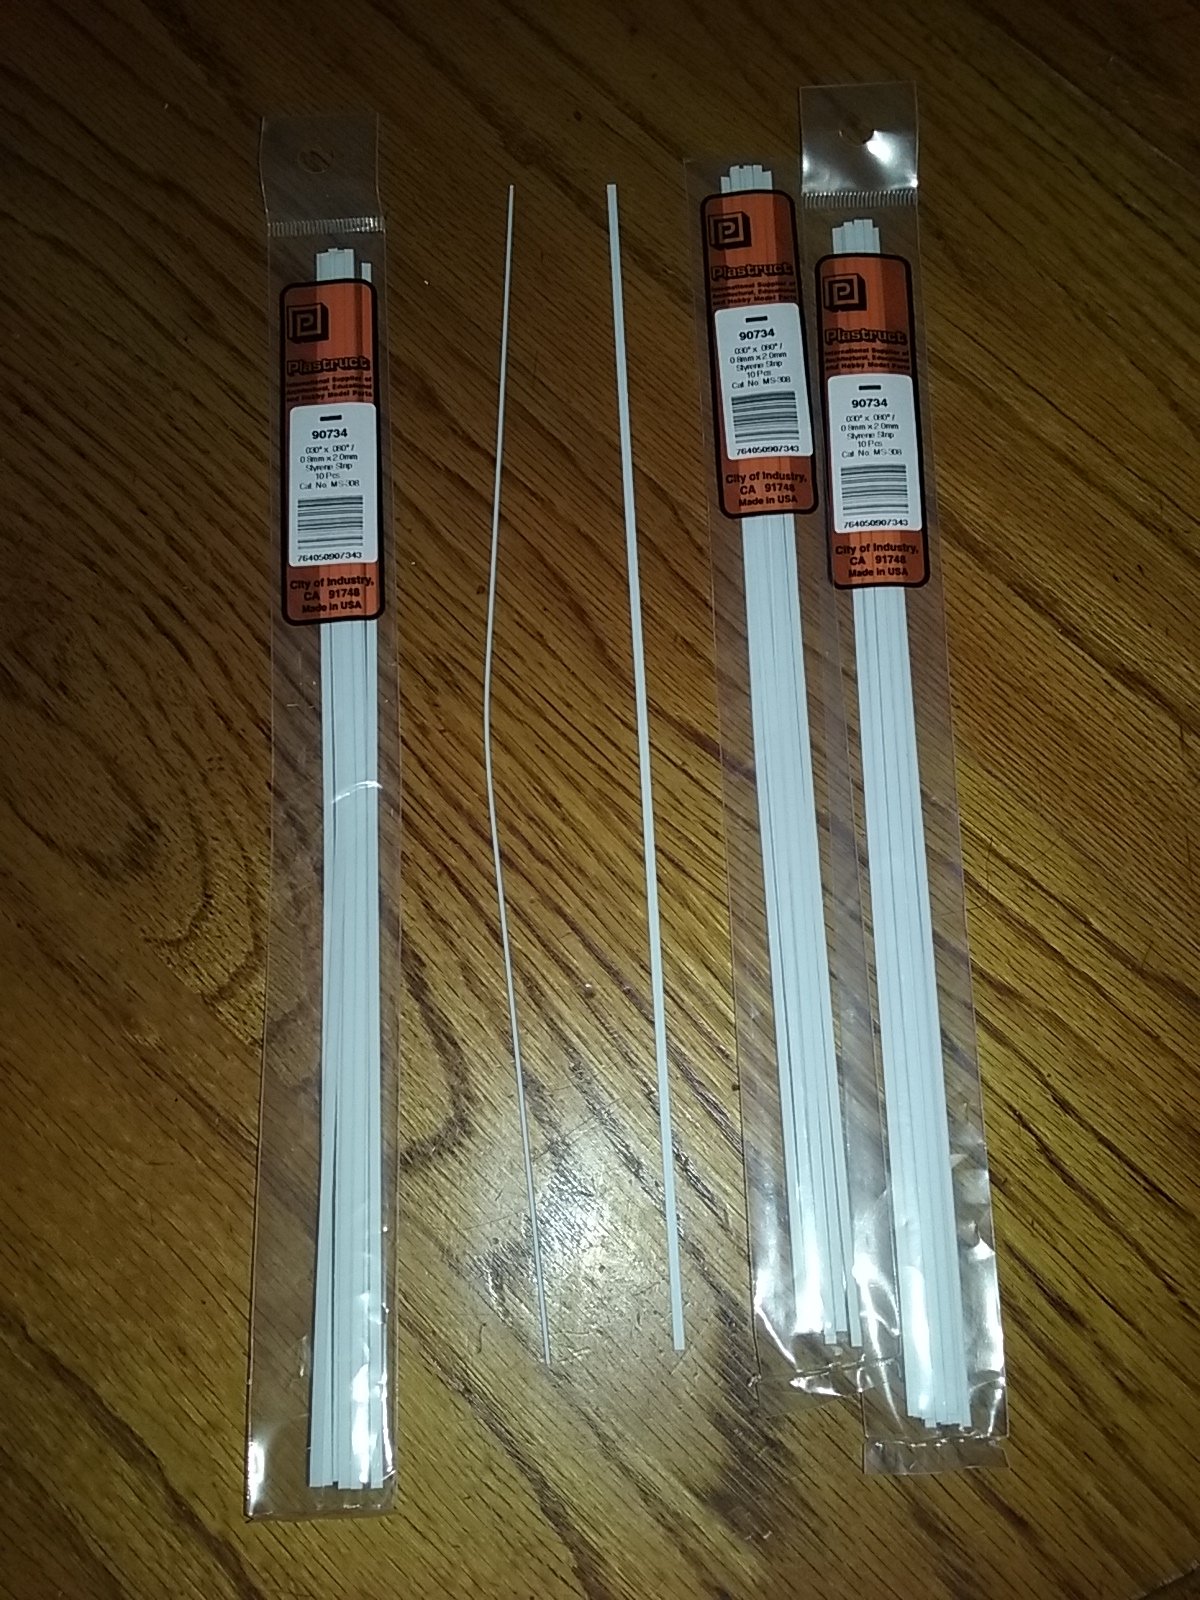
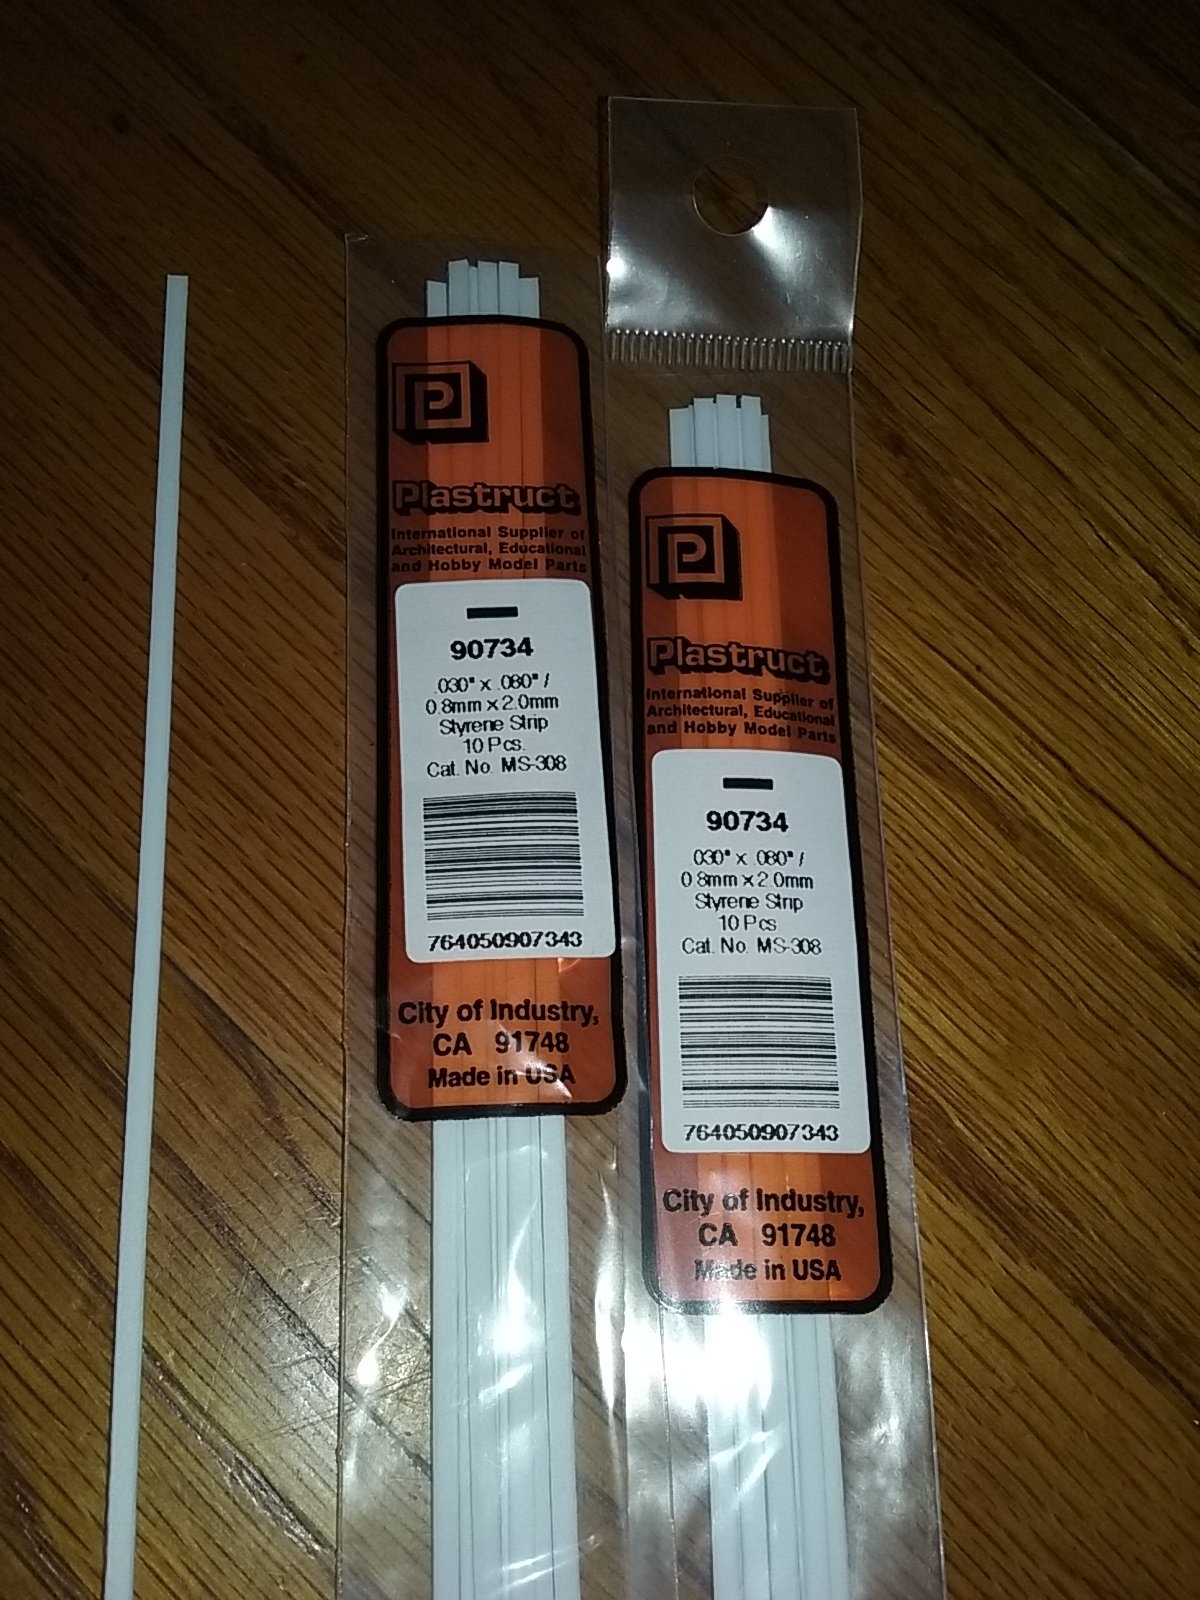
I bought these plastic strips from my local hobby lobby store in their train section. I will use these as caulking strips in between the planking strips. for the decks. mike
- 146 replies
-
- 1
-
-
- dumas
- Chris-Craft Commander Express
- (and 2 more)
-
Talk about a hobby being hazardous to your health, while using a rotary tool to get the profile of the nose right on the Commander, the power cord got hooked up under a cutting board that I use on top of my work table. I pulled on the power cord, which pulled the cutting board off of the table and onto my foot, breaking my big toe. So that took care of my hobby work for a few days. mike
-
i would guess about 1/2 pound at least, you can tell the added weight i'm working on the front deck now, before covering the hull.
-
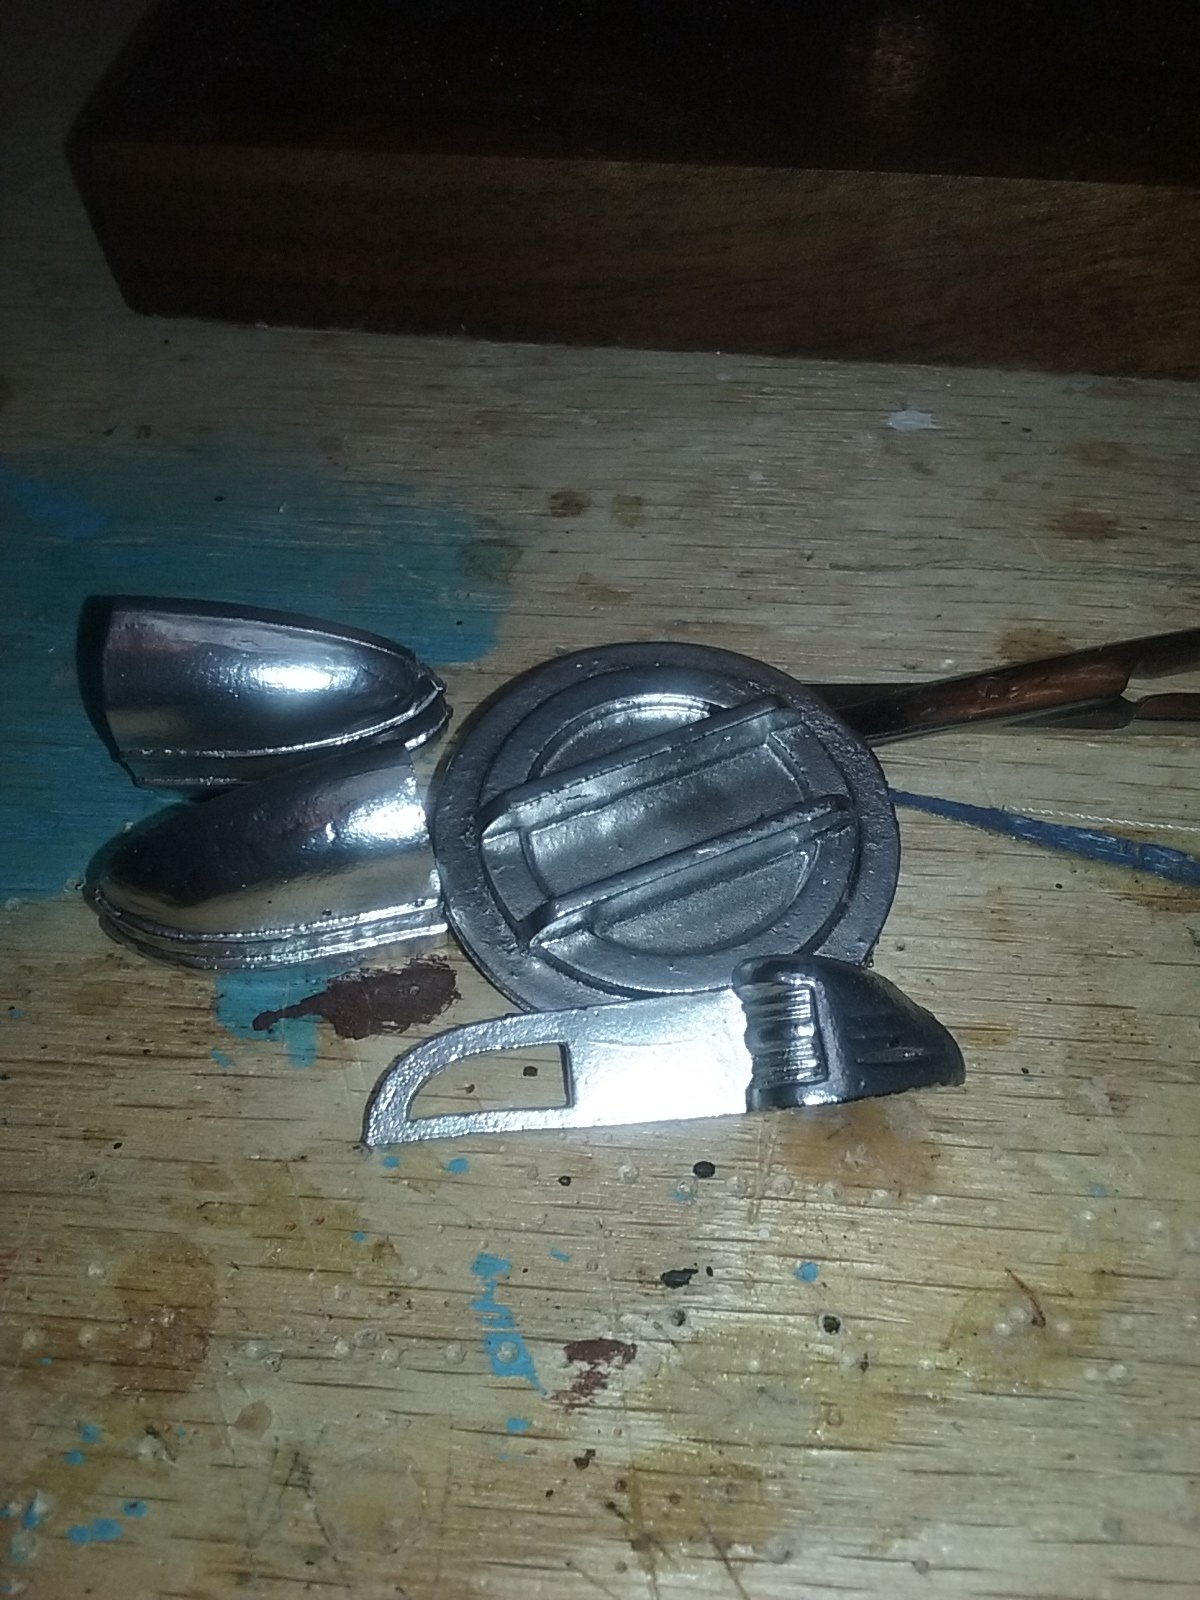
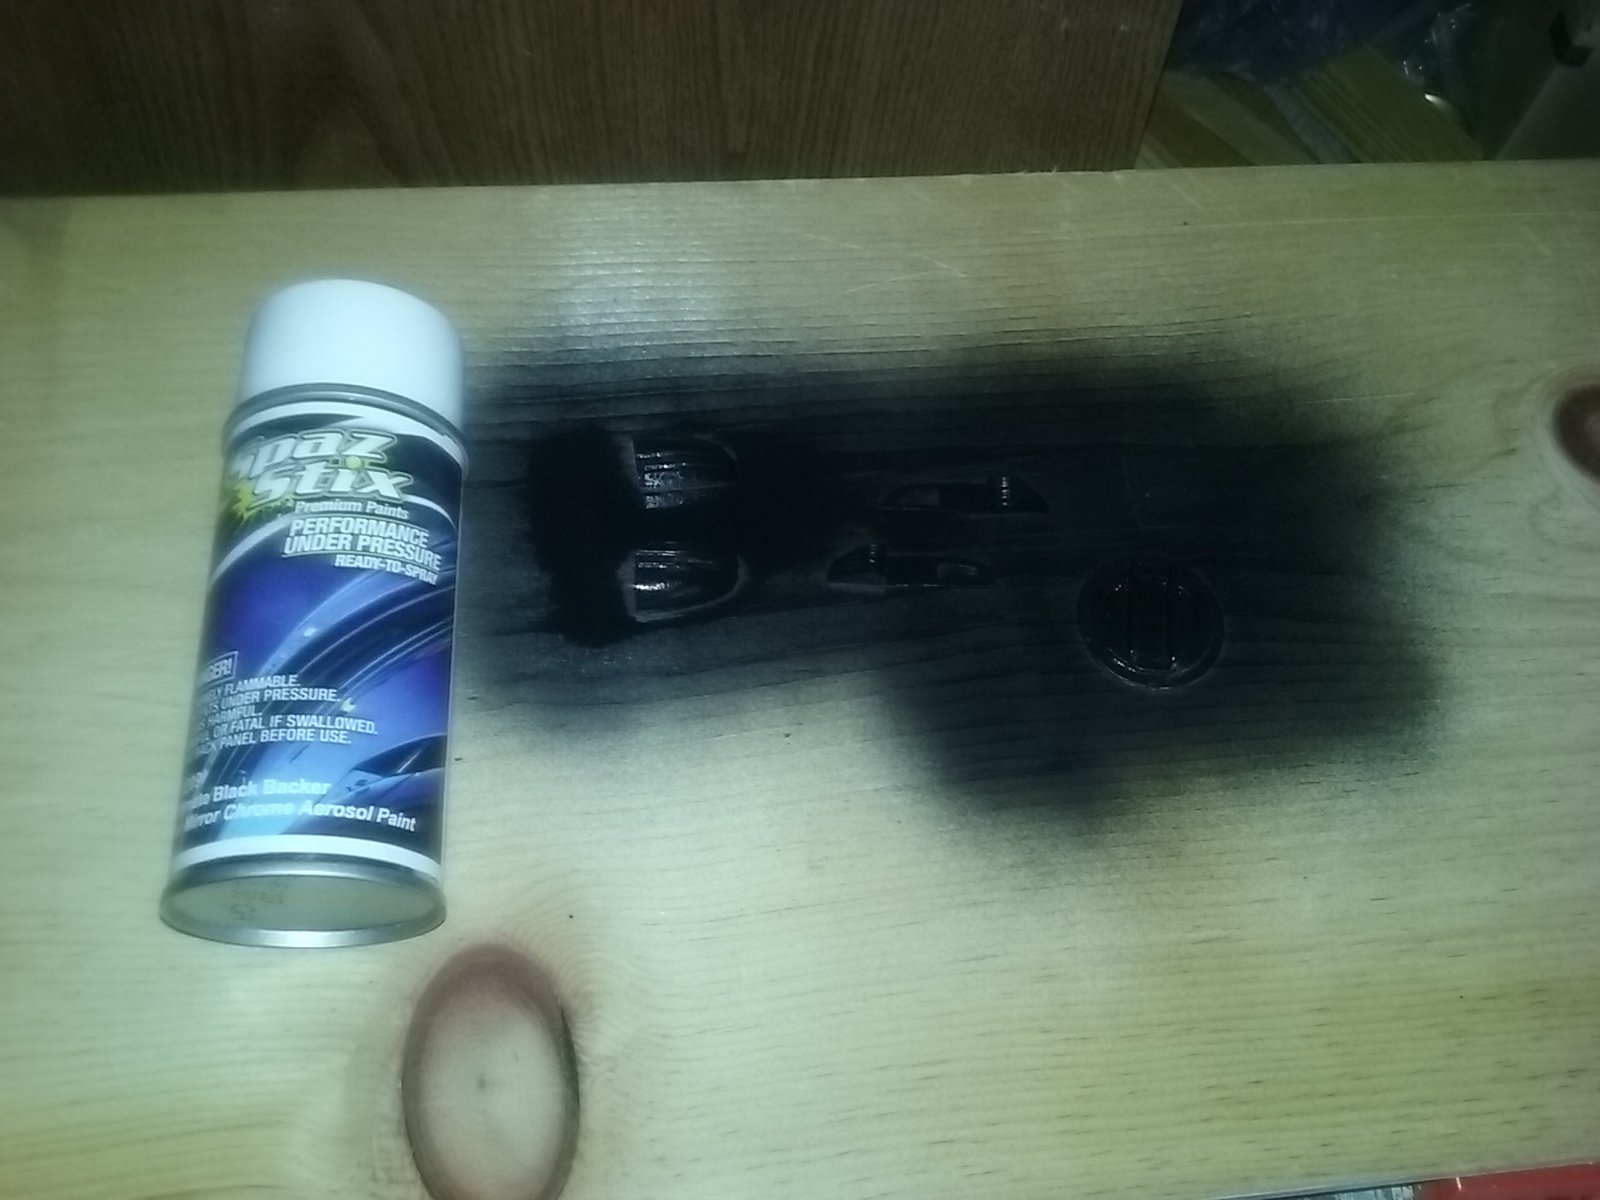
This is with a second thin layer of mirror chrome aand then aa light buffing with a buffing wheel and my rotary tool. My opinionn is, for the cheap price, of a spray on finish, you can't beat. But to me, it looks more like a nickel finish rather than a chrome finish.
- 146 replies
-
- 1
-
-
- dumas
- Chris-Craft Commander Express
- (and 2 more)
-
This can be fixed. One, soak the keel in water, get good and wet, then place the keel on a hot surface like a flat spot on a concrete driveway outdoors, then place weights on top covering the keel and let sit to let dry thoroughly. I have done this in the past and it has worked. Also, you the thickness of the keel isn't that important as it's relatively close. and will support the frames.
-
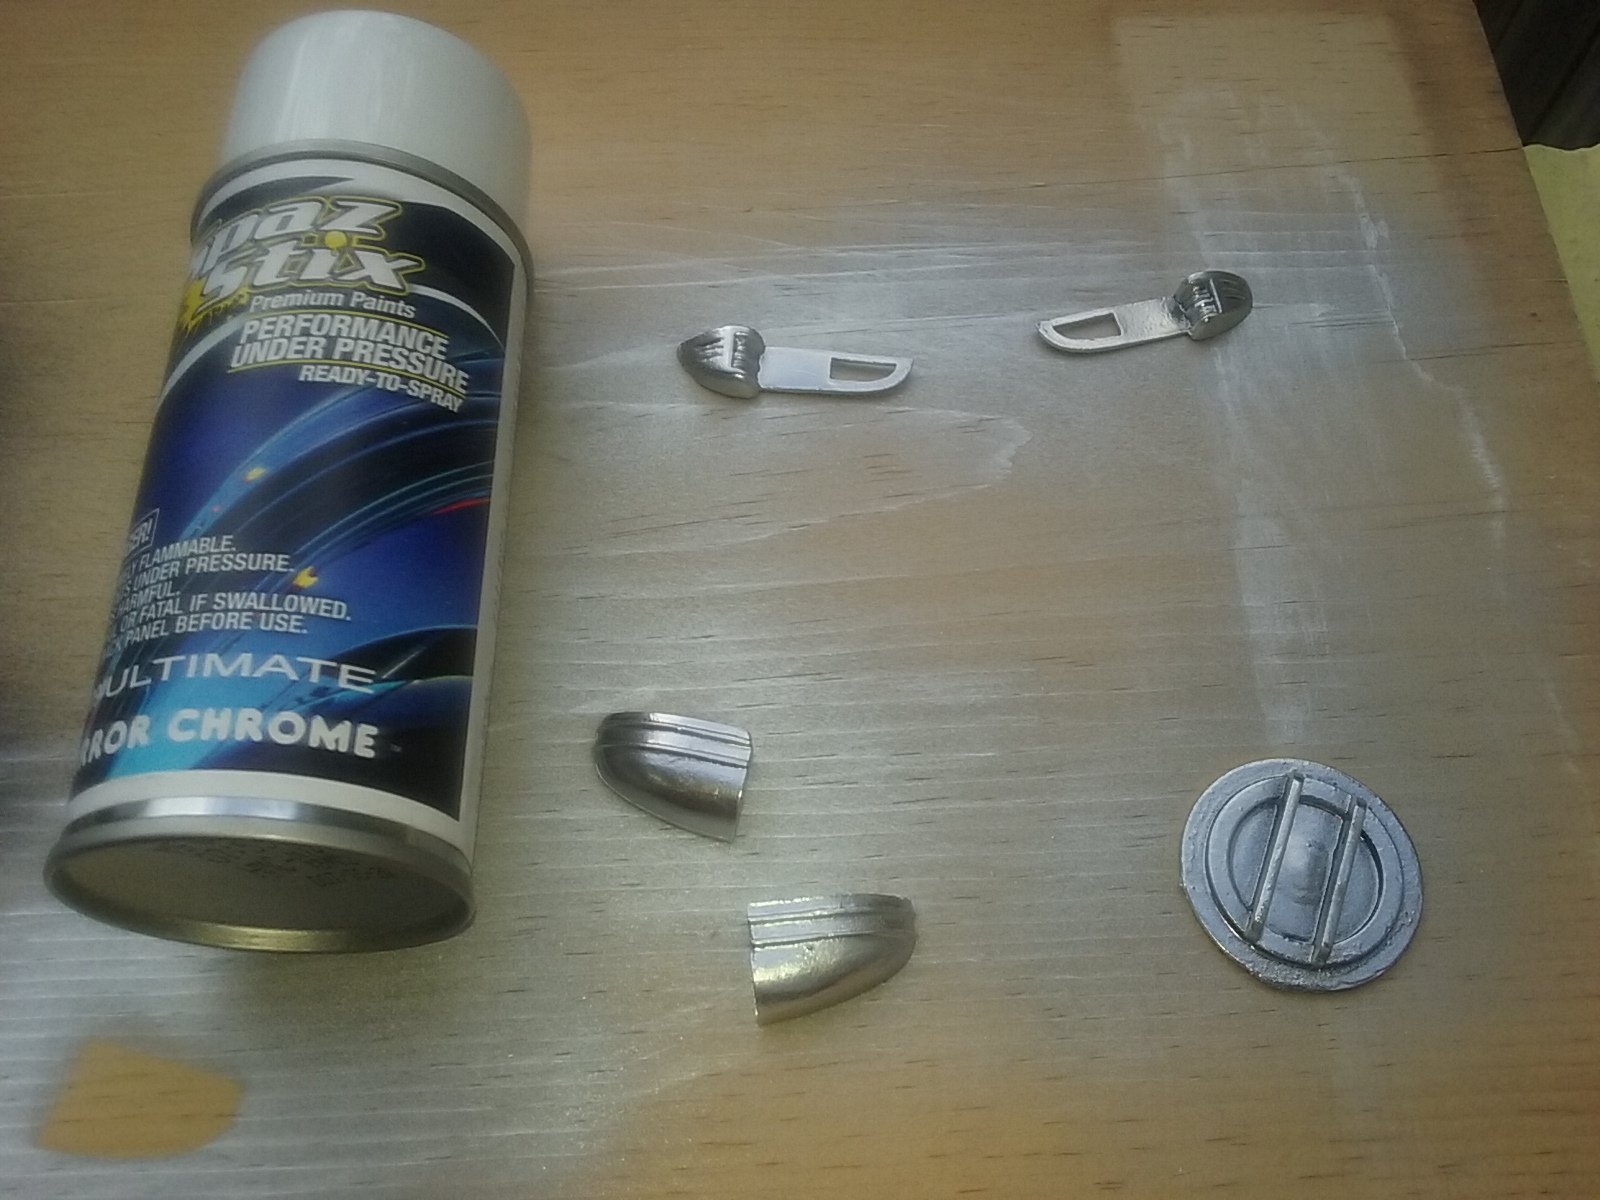
https://www.amazon.com/Ultimate-Mirror-Chrome-Aerosol-Paint/dp/B0015H1FGA/ref=sr_1_1/132-7879930-8102943?ie=UTF8&qid=1493118985&sr=8-1&keywords=spaz+stix+mirror+chrome Here u go, Amazon has it for like $5.99 a can plus shipping, I paid like $12.00 for the can of mirror chrome from a not so local hobby shop. You will also neeed the black backer paint as well. There is a how to video on You Tube using the Spaz stix spray, which is where I saw it and liked the finish they got with it. mike
- 146 replies
-
- 1
-
-
- dumas
- Chris-Craft Commander Express
- (and 2 more)
-
OK, I covered the parts in two thin layers of the black backer paint. Then one thin layer of mirrror chrome spray paint. I will give a couple more thin layers of the chrome.
- 146 replies
-
- 2
-
-
- dumas
- Chris-Craft Commander Express
- (and 2 more)
-
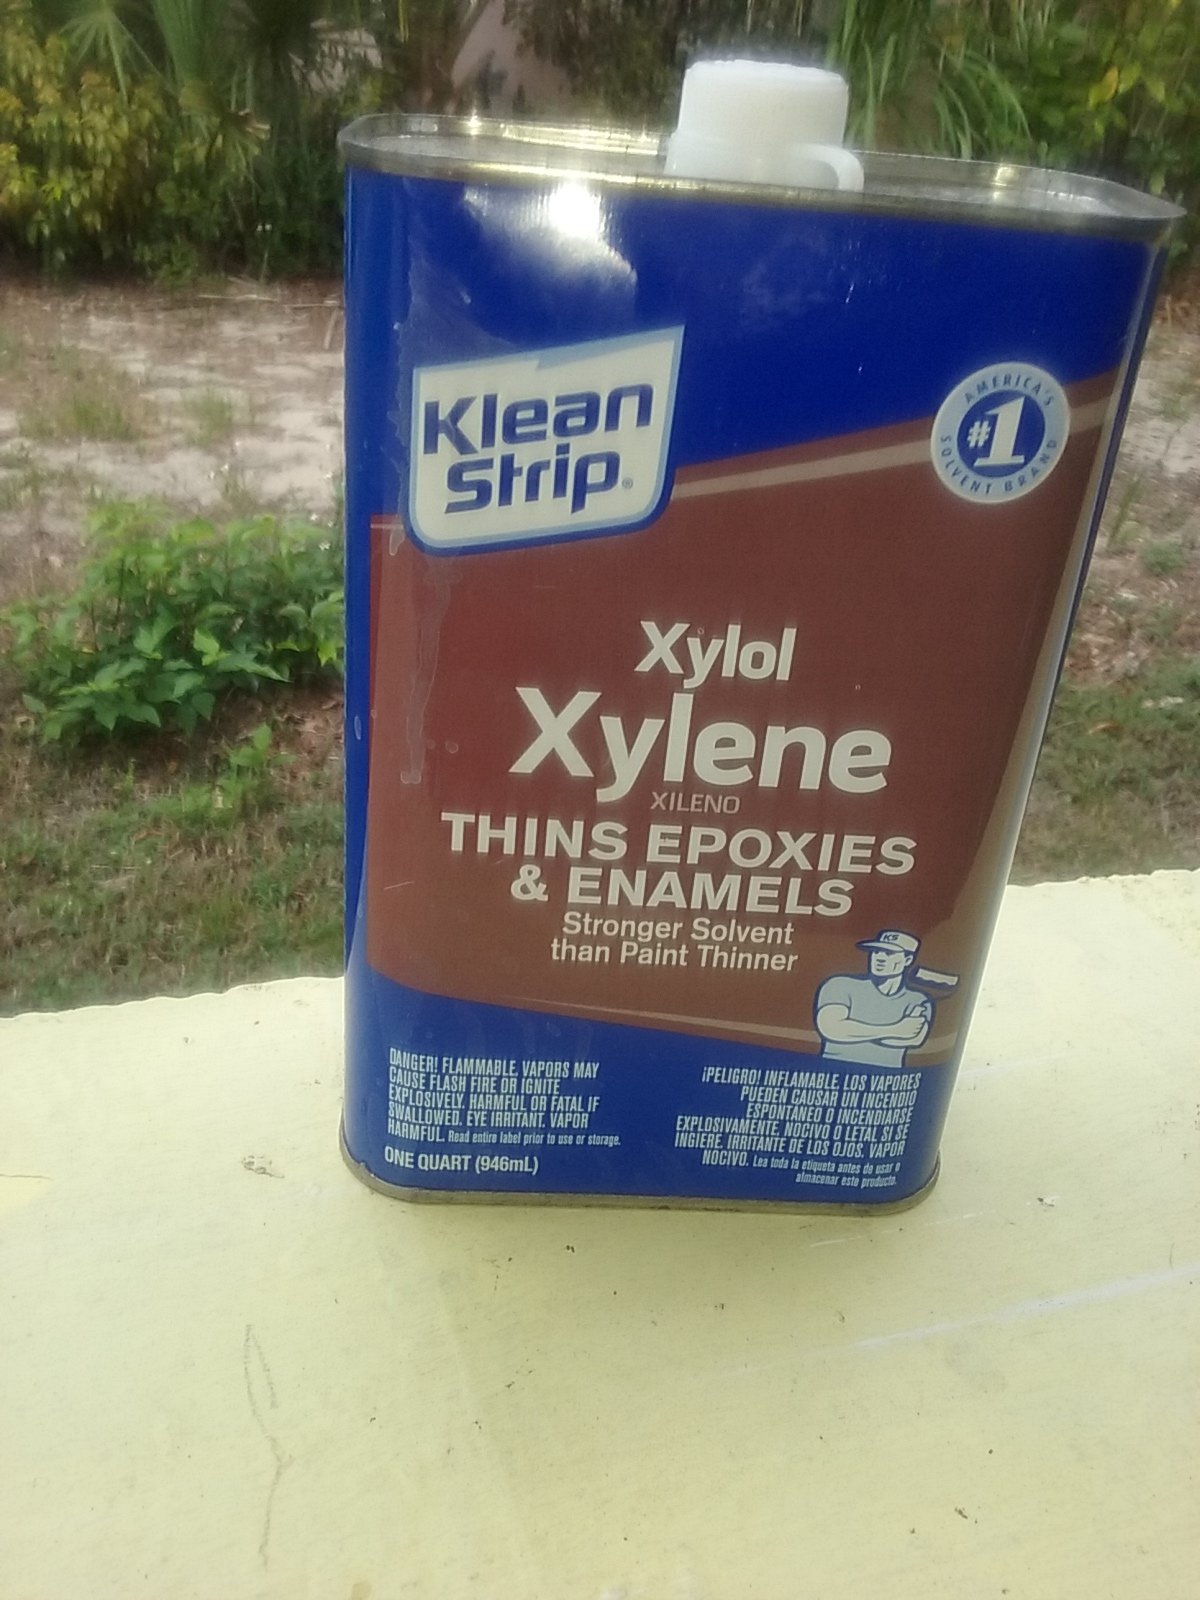
This is the stuff that I used to thin the resin and it is some rough stuff. heavy fuming.
-
If you start out with a warped keel, you will end up with a twisted keel when finished. I would try an take the warp out first, if that doesn't work, I would make a new keel with sime 1/8 or 1/4 inch plywood.
-
Once the interior was dry, I removed the masking tape to reveal a bunch of small holes, cracks that would have bbeen a bear to cleanup afterwards. mike
- 146 replies
-
- 1
-
-
- dumas
- Chris-Craft Commander Express
- (and 2 more)