HOLIDAY DONATION DRIVE - SUPPORT MSW - DO YOUR PART TO KEEP THIS GREAT FORUM GOING! (Only 44 donations so far out of 49,000 members - C'mon guys!)
×


mtdoramike
-
Posts
2,094 -
Joined
-
Last visited
Content Type
Profiles
Forums
Gallery
Events
Everything posted by mtdoramike
-
I'm deciding whether or not to install sails. I put sails on the Victory and loved the finished product, but I'm thinking the Monte may look better without sails. mike
-
hahahahaha, Thanks Gemma, problem is, then I would be long on kits and short on time. mike
-
WOW, I didn't post this thread with the intentions of looking for a buyer, but mainly to get an idea of how I plan to proceed with the build. But I have had 3 offers within the last few hours, some wants it with everything, one wants it with just drive train and one wants it with a gas engine in it. Like a friend told me once, "just build it and they will come" was spot on. mike
-
This is the way I might go with it.
-
Thanks Gemma, I have all the equipment needed to make it operational. But I was just trying to feel out the demographic to see which way they would prefer to buy it if given the opportunity and had a need for it. To me it's kind of like building a house and you wind up over building for that particular market or location. You end up cutting down the amount of folks who would be interested in the house forcing it to sit on the market for a long time. This has happened to me a few times when building radio control planes.
-
I'm going to be starting a build of a Dumas Chris Craft Commander Express 36" cruiser in a few weeks. This model will be built for either static or RC operation. But here is the situation, I first bought the kit to build for my son in law, only to find out he isn't into RC and has no interest in the boat. So I decided to build the boat for sale. Now here is my question: 1. If you were interested in buying this finished boat model, would you prefer it to be built fully operational, ready to go into the water with motors, speed control, battery, battery charger and radio. Basically all you would have to do is turn on the switch to boat and radio and hit the throttle and go at say $900.00? shipping would have to be in two boxes. 2. Or would you prefer to add the drive train like motors and all the other incidental equipment yourself? The only thing that would be added to the build would be the running hardware, which are mainly the props and prop shafts which really need to be added during the build for say $600.00? shipping would be in one box. Now I'm not in the position to keep the model nor do I want to, but I am interested in building it just due to it being quite different than the stuff that I have built over the years and to give me something to do. Any thoughts on this would be appreciated. mike
-
I'm looking at ZPoxy finishing epoxy resin and some non starched 1 OZ fiberglass cloth to finish off the Commander. I'm getting close to starting the build on the Commander within the next couple of weeks. I hope to at least get the sails mounted to the Monte before putting it aside for a little break and fiddle with something else for a change of pace. mike
- 146 replies
-
- 2
-

-
- dumas
- Chris-Craft Commander Express
- (and 2 more)
-
Now that is pardy right there, I don't care what they say.
- 339 replies
-
- 4
-
-
- dumas
- Chris-Craft
- (and 3 more)
-
That is why they sell magnification head bands that have up to four different lens with different magnifications. I have a set and old age has humbled me to the realization that without them I would also have to give up the hobby. mike
-
No, there will always be a fox in the hen house and thieving rogues running a muck. mike
-
I will be starting this build in about a month. I should be pretty close to being finished with the Monte by then. So if any interest here, let me know. mike
- 146 replies
-
- 3
-
-
- dumas
- Chris-Craft Commander Express
- (and 2 more)
-
Model Expo sells quite a bit of kits as well as other products on Ebay. They also buy and resell kits from estate sales as well. mike
-
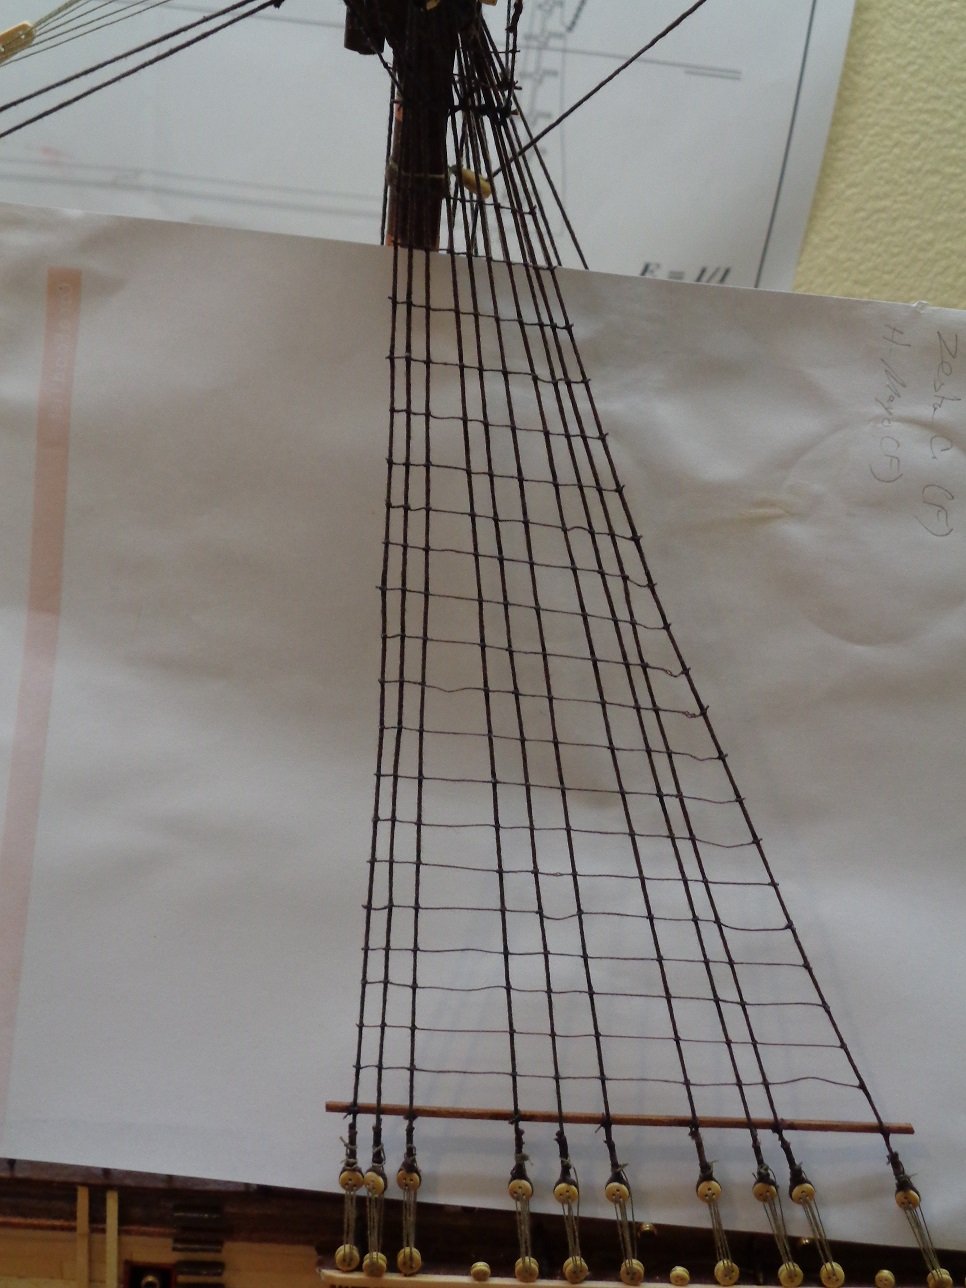
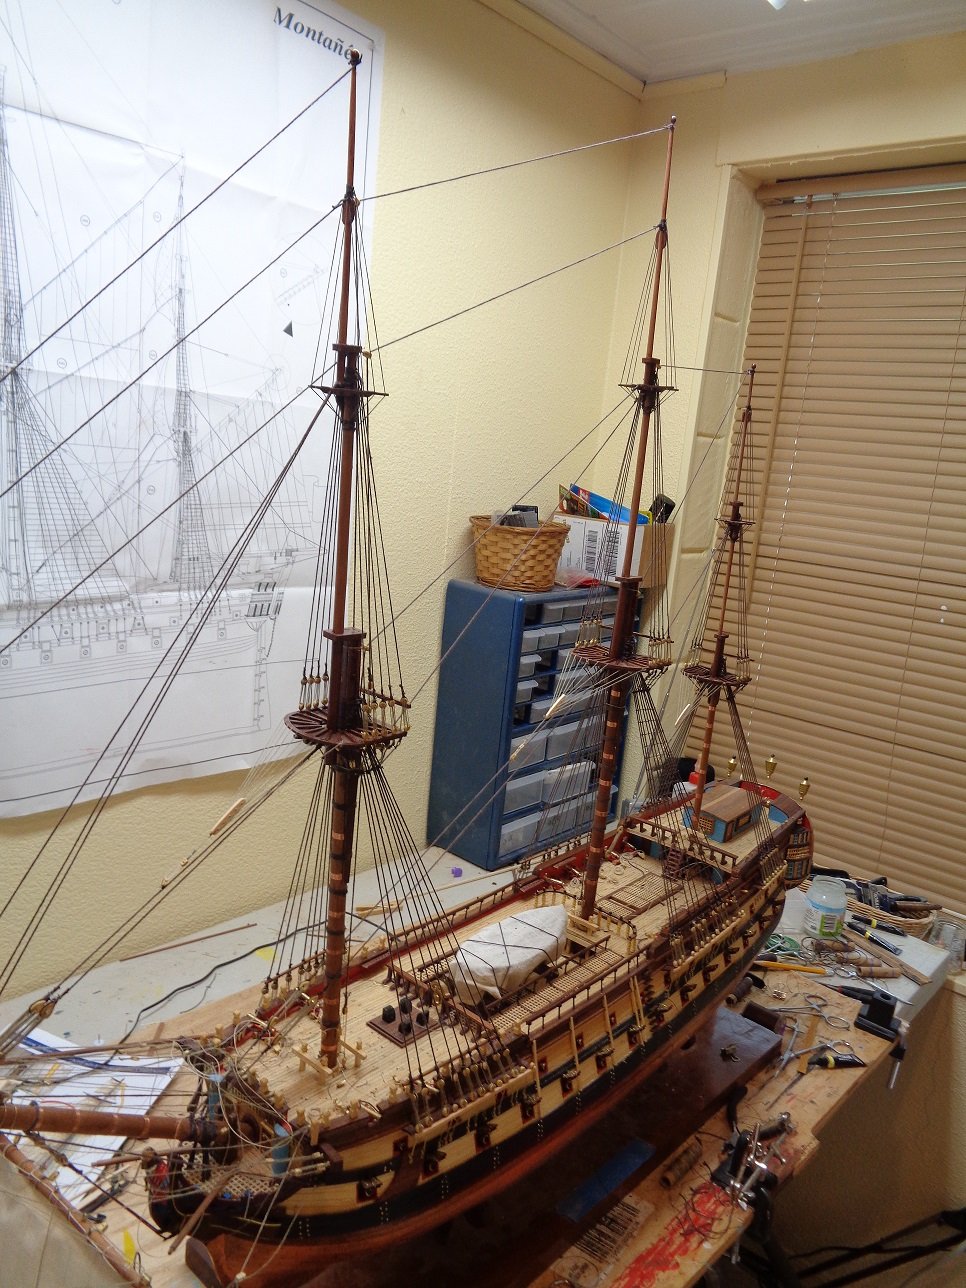
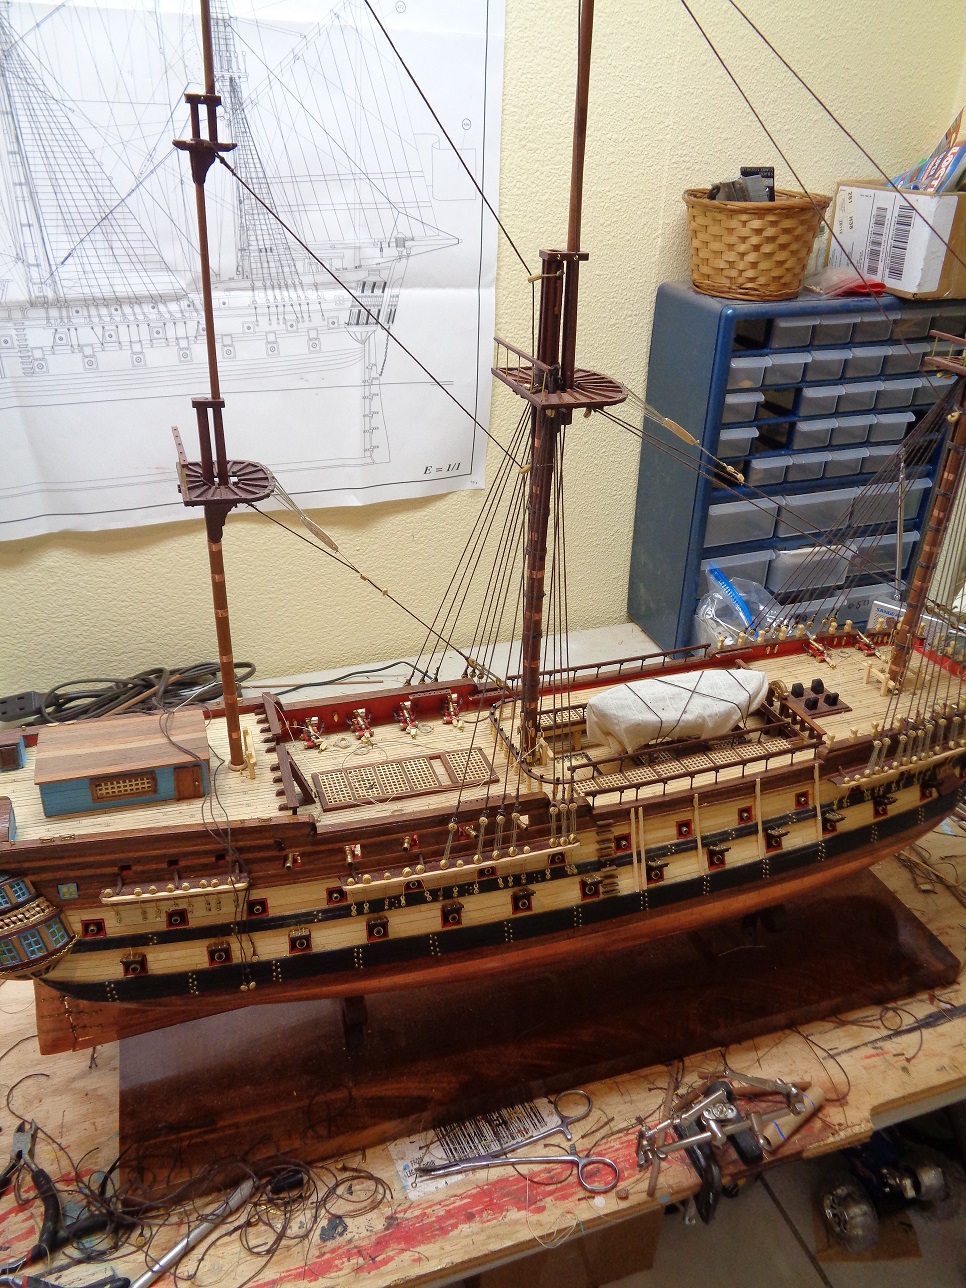
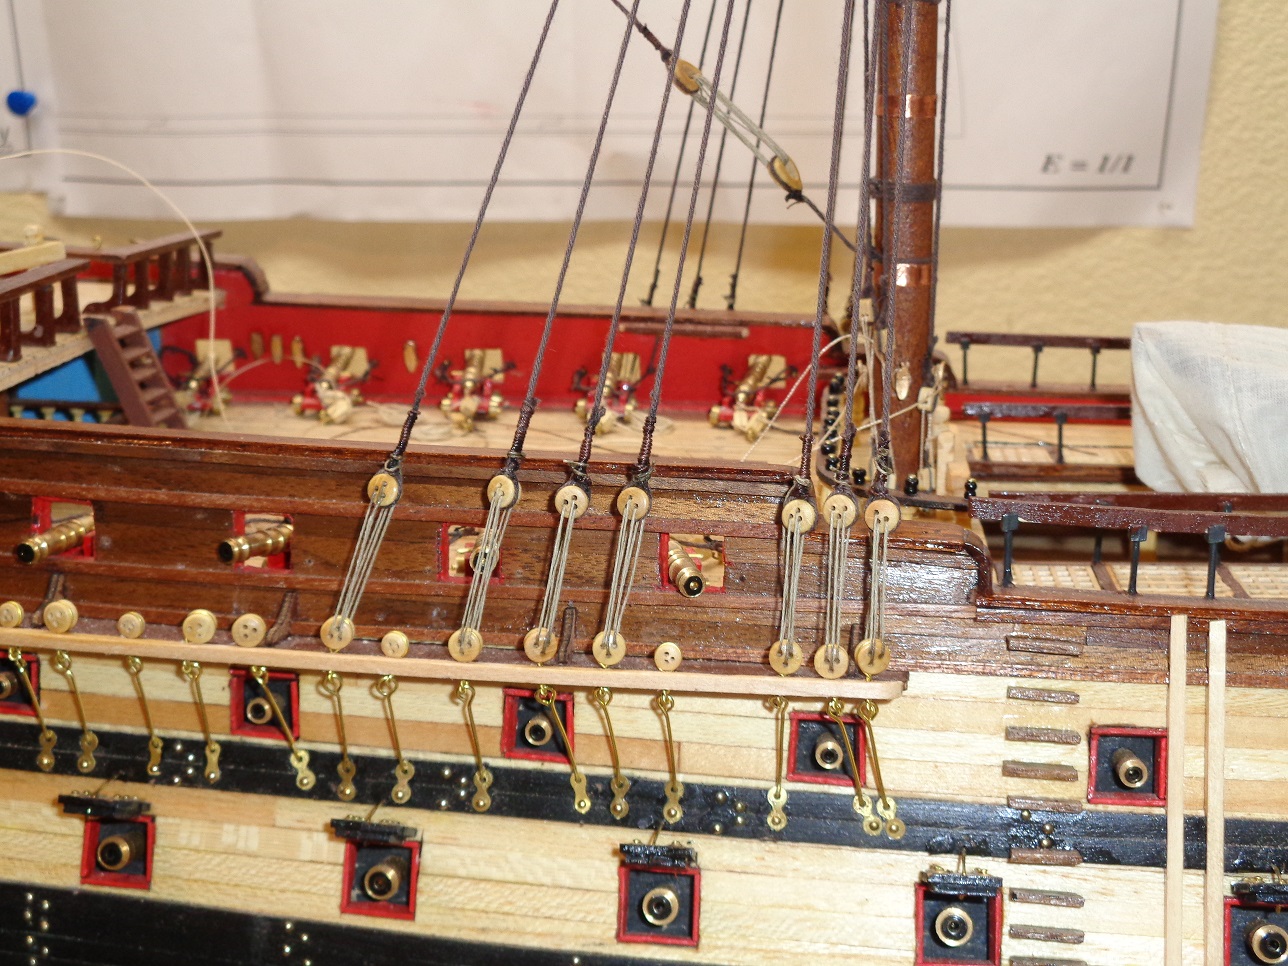
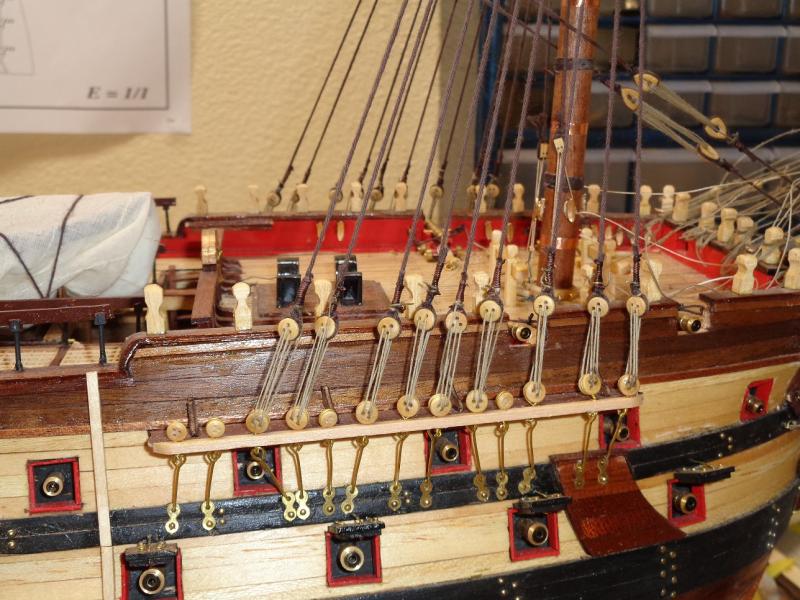
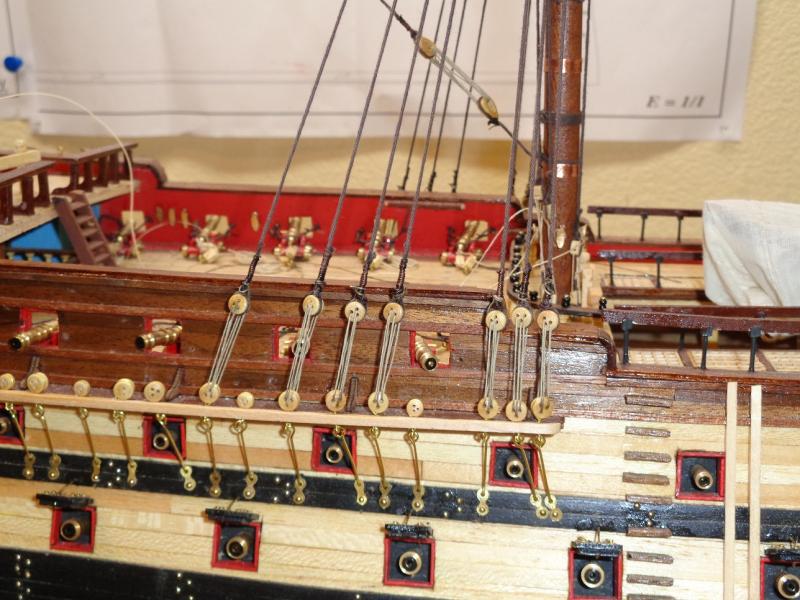
Well it's been a while, but I have made some progress with the Monte, I've started with the standing rigging as well as the ratlines and shrouds.

-
What is the most EPIC kit available???
mtdoramike replied to Rossi46's topic in Wood ship model kits
To me, it's not so much the ship that makes a kit EPIC, it's the story behind the ship of the history of the ship that makes it epic. Take for instance a ship that started it's life on the open sea as a slave ship during the height of the slave trade, then eventually was captured and turned into a slave ship hunter that actually went out and hunted those bastards down. Like the Amistad, a slave ship, where the cargo (slaves formed a revolt and took control of the ship). Even the HMS Bounty is a ship with a colorful history. But these ships weren't well adorned nor pretty. To me if it's just eye appeal, you can't beat the Sovereign of the Seas or Wasa for prettiness. To me it's the history of the ship that makes the build come alive. Like the model I'm currently working on now, the Spanish ship Montane's. I liked the history of this ship because the spanish people of the mountain area financed the construction of this ship. mike -
Well for one thing, I'm not an artist, I'm a hobbyist and about average at that. I'm no perfectionist so my procedures when it comes to copper plating is the same when it comes to hull planking, which ever is easiest for me to achieve the look that I'm after even if the ends justify the means. You can over think anything, but eventually the rubber will have to meet the road. Now as far as why I prefer shiny copper hulls and pretty ships versus weathered copper hulls and beaten weathered ship is for looks. I have built them both ways and a weather beaten ship model with weathered greenish hulls I couldn't hardly give them away and clients when given the opportunity asked to leave the hulls shiny because they liked them better that way and they sold way easier and for more money. Like I tell everyone who ask and some that don't: I'm not a perfectionist nor a purist and I don't build museum quality models. I build decorator pieces for homes and offices. This is about all I can contribute to this thread other than I use copper foil tape for copper plating no matter the size of the model and I have built some up to 50 inches long. I use a dress makers pattern wheel to make the rivet marks on the copper tape. I can buy a roll of copper tape which usually has 50 feet of tape for about $7.00 where as copper plates would cost me hundreds of dollars if applying them to a 50" model and they look great and serve the purpose. mike
-
It's not blasphemy at all. I have built ship models for clients who wanted a model for various reasons and I didn't question who where or why as long as their money was green and the colors didn't run when wet The ship models you get on Amazon are a joke at best and would be fine if putting in a childs room as decor. Now for Ebay, most if not all of those so called museum quality ship models listed on ebay if decent looking are usually made in some sweat shop in Indonesia or other third world country where the works are lucky to get a few pennies a day for their time. They are built mainly for export. I built two Constitutions for sale, a smaller 38" Connie that I sold to a Computer software firm in New Jersey and then built a second Constitution which was larger at 48" long and it was commissioned by an Insurance Corp in CT. The smaller version I sold for around $1200.00 and took about 8 months to build, the larger version I sold for around $2500.00 and it took over a year to finish. I averaged about 50 cents to 75 cents an hour for my time. A tad better than sweat shop prices, but it was by choice as a hobby and not forced or having to do it as a living. So my point here is this, why not save your money and when you get about $1000.00-$1500.00 then go looking for that special ship model, which you will find a much better quality with a ton more detail at that price range than those travesties you are currently considering. mike
-
Yeah, I tried that on my last birthday, it wasn't no hobby stuff and when I brought it up to my wife, she said get out here Then I went for the hobby stuff. mike
-
Chuck's words are golden. My budget is not unlimited contrary to what my wife says. But a hobby should never come down to buying a hobby item or paying the bills or eating. It should only be what I call disposable income or money that doesn't need to be spent some place else. Like for me, I limit a couple hundred bucks every couple of months to buy hobby items or when I buy ANYTHING on ebay, I call that disposable money and I won't have a stroke if I lose it on a bad deal. I will also ad here that a ship model kit, is a ship model kit, is a ship model kit, after building thirty or so of them, I have come to the realization that a kit is just a box of sticks and it's up to the modeler to make something incredible out of it. My point here is this, no matter how expensive a kit is, it's still a kit. I would only buy a kit if it's a subject that I'm really wanting to model and then I would use the kit as a basis for beginning the build and then go from there and try and build the best representation of that model as I can with research, changing things like castings, even parts of the ship if during your research you find that the kit was off in some areas, which quite a few are. mike
-
I thought you had already finished the planking I'm checking in from time to time to see this beauty take shape. mike
-
Thanks Pat, I hope to be starting the project within the next several weeks once I get my current project pretty close to being finished. mike
- 146 replies
-
- 3
-
-
- dumas
- Chris-Craft Commander Express
- (and 2 more)
-
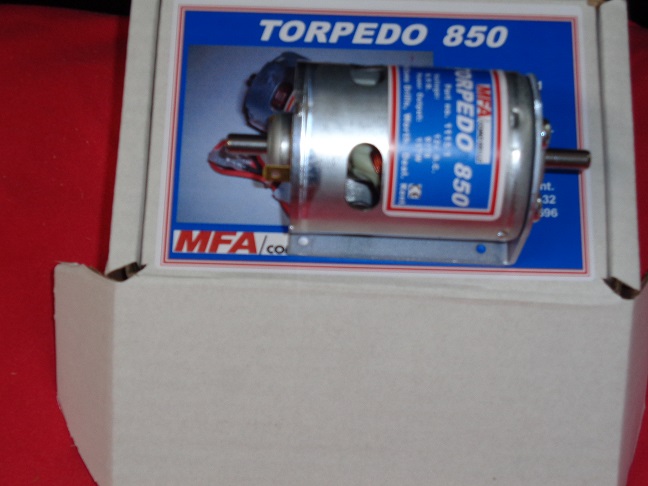
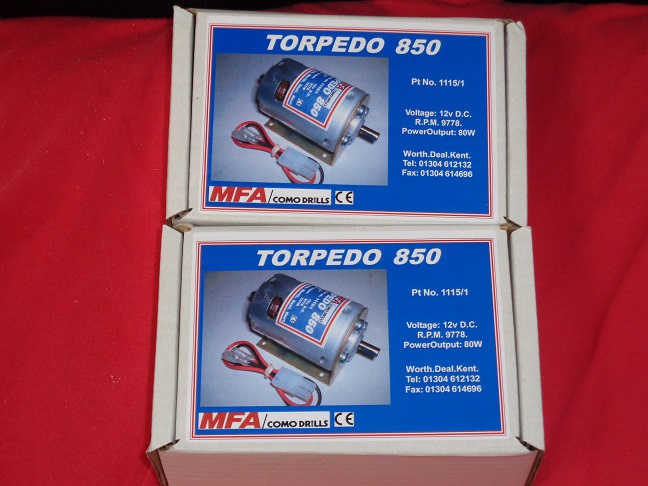
I received the two motors today for the Commander. They are a bit bigger than I thought they would be. But these motors should get this boat up onto plane pretty quickly. I had to order these from England since finding any decent brushed motors around the US is difficult. mike
- 146 replies
-
- 3
-
-
- dumas
- Chris-Craft Commander Express
- (and 2 more)
-
Glasses for detail work (changed by mod)
mtdoramike replied to Bob Blarney's topic in Modeling tools and Workshop Equipment
I wear glasses and yes, they help especially when you get my age and your eye sight starts waining a bit. Have you tried getting the adjustable head band with removable lens of different magnification? These are a god send to me. mike -
Glasses for detail work (changed by mod)
mtdoramike replied to Bob Blarney's topic in Modeling tools and Workshop Equipment
Well you could have one short arm and one long arm mike