


Rich_engr
-
Posts
307 -
Joined
-
Last visited
Content Type
Profiles
Forums
Gallery
Events
Posts posted by Rich_engr
-
-
Nice shop!! You're definitely all set there! Love the pop of color from the clamps!
 And you have a TV???
Well, I have umm... I have bacon.

Good work- just keep checking and re-re-rechecking the plans when fairing the hull.
-
Lol- dried mud on a tree trunk!!! I felt the same way with the paints at first- had to thin the heck out of them! Also, the paint job on my inner bulwarks/gunports didn't turn out as good because I used that @$#@@ awful primer!!! The outer hull, all deck pieces, guns, etc. do not have any primer on them. That stuff was like an oil slick and almost bled into the paint (even after being dry prior to painting). So from now on, I'm not using the primer at all...
But yours looks really good- painting the inside was a pain (I masked the stringer, then did the red port frames free-hand). I only masked the waterline on the hull, and painted after planking was complete.
She's looking good- keep going!!!
-
Edwin- that's fantastic news there! I hope all goes well for you!!!
Like I said, I doubt there'll be much building going on- maybe the only "shop time" I'll get is just to pack everything up (my kit is coming with me, even if it's just me moving right now).
But at least I pretty much accomplished what I wanted to when I was initially laid off- that is to complete the hull and deck fixtures, which I am about 90% done with (minus the hammock rails, catheads and some small stuff), so that's fine by me for now.
-
Ken,
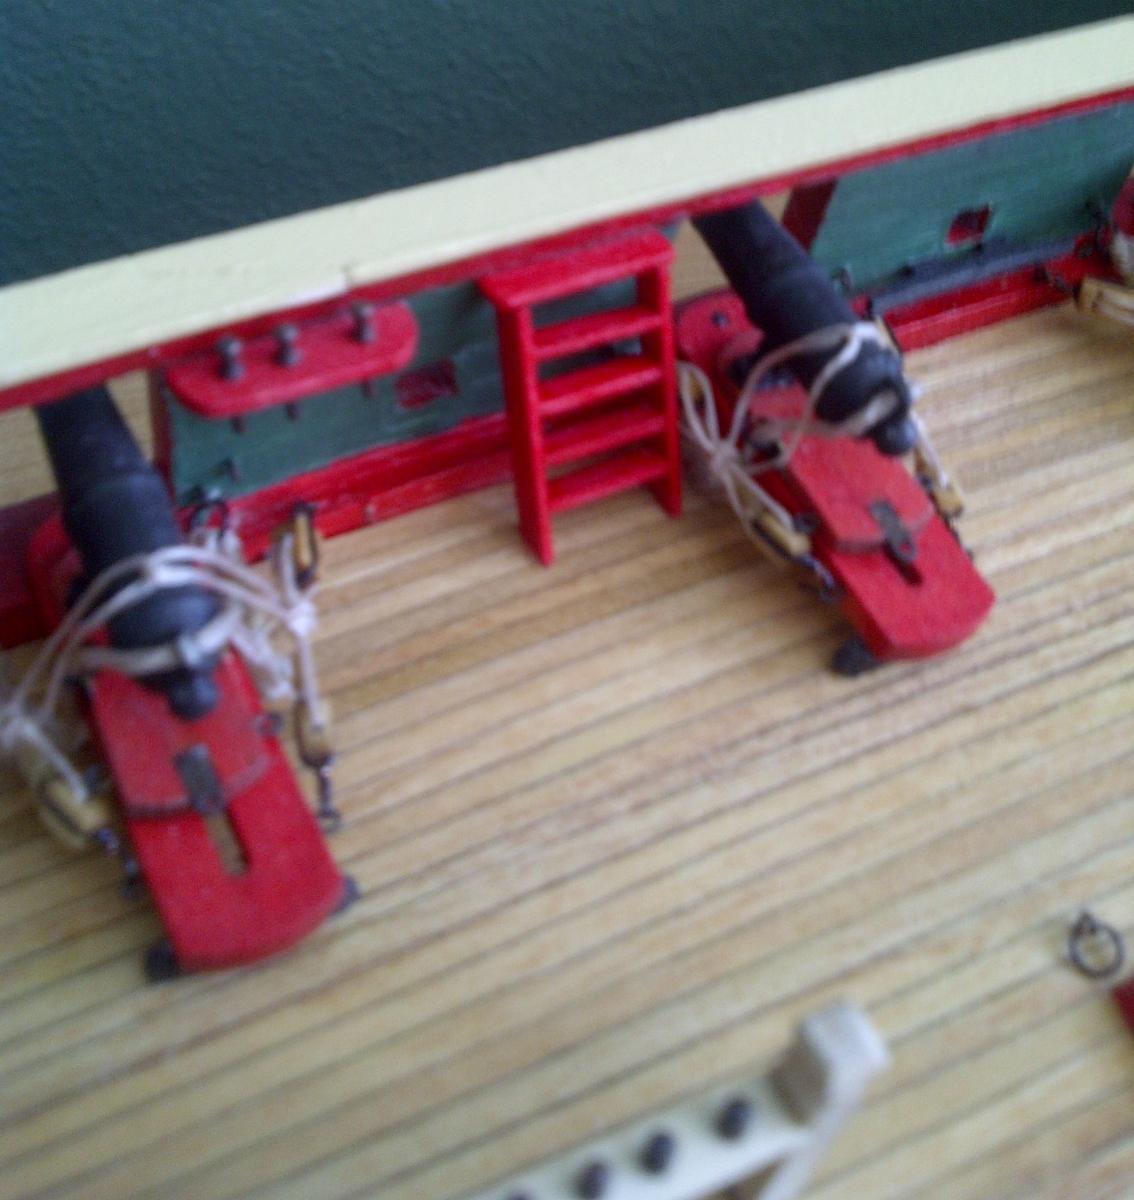
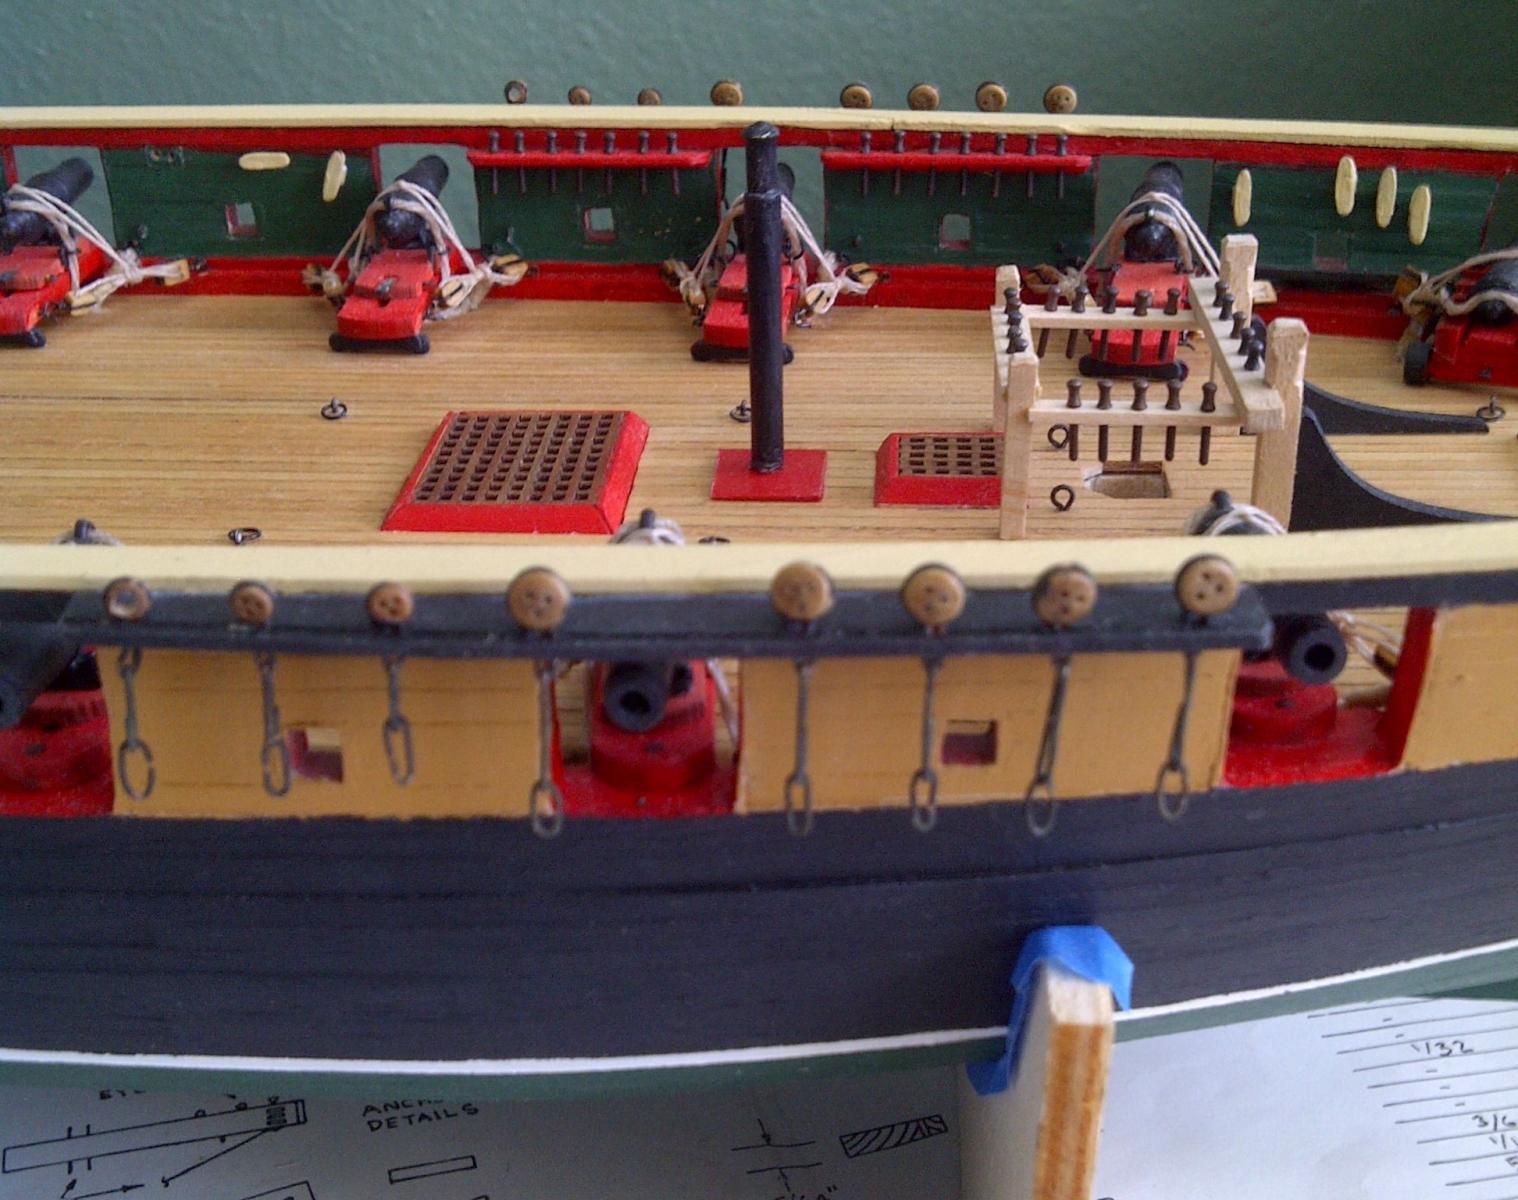
Due to potential clutter, I only installed the train tackle (attached to the lower carriage) and the breech lines. The gun tackle consists of a double block attached to the bulwarks, while the single block is attached to the gun.
For making the hooks, I stropped the blocks with some wire and twisted the top (like a coat hanger), then bent the end into a hook (did not drill a hole and insert a hook). I have some pics on my log showing my stropping/hook process if that helps.
The single blocks (on the gun) have the rope seized to them (when stropping the SB's, leave a little space on the inside for the line to be seized).
Also, remember when stropping, the reeve holes are closest to the hook side.
Hope this helps!!!
-
Ken- nice! It's good to take a break from the hull and make some of the deck fittings. Everything looks really good! Now that your winter down under is setting in you should have lots of time to make awesome progress!
-
Ah- Ken, I'll be moving to Virginia (working in Dahlgren). It's a position for Communications/electronic warfare engineering, which will be fascinating to learn more of and help develop the field. I'll find out more once I start (mid-Nov or so). Sounds super cool, right up my alley and what I want to learn and what I can bring to the table, and the area/region is gorgeous (trees, rivers, hills- gorgeous outside).
-
Thanks guys! It's funny, bc we actually had reservations tonight at this nice steakhouse/ranch (can I say super fresh and awesome steaks!)... Well, I got the offer after plans were made, so needless to say it was a nice surprise during a wine toast.
So I'll probably be on the phone calling family, etc. this weekend, and gotta let them know by Tuesday if I accept/negotiate. And I doubt much building the next few weeks due to preparing to move, etc., but I'll dry to do some small stuff.
You guys have been awesome for your support- it has definitely helped me throughout this tough time. Whether it's our builds or personal lives- MSW members are the best caliber of friends that really care! I thank all of you sincerely, and will never forget your support!
So... once I get settled then some serious building will resume... but obviously I'll be checking in.
Thanks guys!!!
-
UPDATE: I GOT THE JOB!!!!!

Now to start negotiations!!
I'd start in 5 weeks or so! YAYYYY!!!- realworkingsailor, trippwj, mtaylor and 4 others
-
 7
7
-
I've heard everyone say good stuff about Morope- wherever you can get that... and Chuck's rope looks great. I haven't seen anything I like at Michaels, and I haven't checked out Hobby Lobby yet. I'm trying to find a good cost-effective solution, especially since I'll need a ton of it (replacing all that came with the kit, and also since I'll be turning my own diameters on the ropewalk, which means 3 x's the length).
Sam, I'm not quite sure about the scale diameter of the cannon rigging, but I do know that for the breech lines I used 3 strands of the 021 line in the kit. The tackle lines were 3 strands of the 008 line.
Last night I managed to cut slots in the catheads and add small sheaves (used super thin slices of the 1/8" dowel). I'm working on their fitting/shaping onto the hull.
-
Cool- thanks for the tips. That's definitely something to consider, so more options the better.
-
Thanks Patrick- these little bits seem to go a little easier than I thought, and they turn out ok for my first try. One thing I'm definitely going to rethink is the rigging line- I'll probably switch to cotton or something less shiny/more authentic than the synthetic that came with the kit. I want a softer, more natural feel for the rigging, not the stiff/plastic feel of the nylon stuff.
Especially with how my "blackened" parts keep turning out- more of a dark rust than true black, so I want the rigging to reflect that look and feel. Clean (as clean as I can do anyway), yet worn/broken in.
I'm also thinking of a simple way to make the hammock rails, with minimal or no soldering... maybe just some bent brass strips, etc...
-
-
-
I'll agree with Patrick- go ahead and paint the bulwarks first before laying the deck (less chance of getting red/green on the deck).
And for making the nibbing strake- he's right in that you will need to soak the planks in water and bend. Due to how much they curve at the bow, use a wide plank (soak, bend, re-soak and bend some more. File or sand the curve to get it to match up to your waterway.) How you make the notches/nibs is up to you- you can do them in-place on the ship, or trace them directly from the plans (like I did). Whichever seems to work for you.
The nibbing strake is the same thickness as the rest of the deck- 1/16" I believe. Also remember when you add the deck structures and gratings later, if you cut out holes for them, follow the plans for the correct heights. Otherwise, if you just glue them directly on top of the deck (without cutting holes), remember to trim them down the 1/16" in height.
Which other ships has your father completed? Do you have any pictures of his work? So far your Niagara looks very, very good!!
-
AJ- looking good!! Good idea using supports for the bulwarks to keep them aligned.
She's gonna turn out really fine! -
Yay- finally a bit of positive news: talked to HR today and she said they're pressing forward!
They'll be verifying my references this week and some other stuff, then should have an offer soon thereafter once all goes well! Once I accept, then begins the "probing" for interim clearances, etc... once that all checks out THEN I can start (if interim doesn't clear, then it's back to square one, which I doubt).Of course, she couldn't give a timeline or rough estimate due to all the gov stuff and shutdowns, recent security "issues" in the news, etc, so it may take a while. I may just take a 2-3 month contract gig to tide me over until I get the all-clear.
So at least I'm still in the running and there's movement.
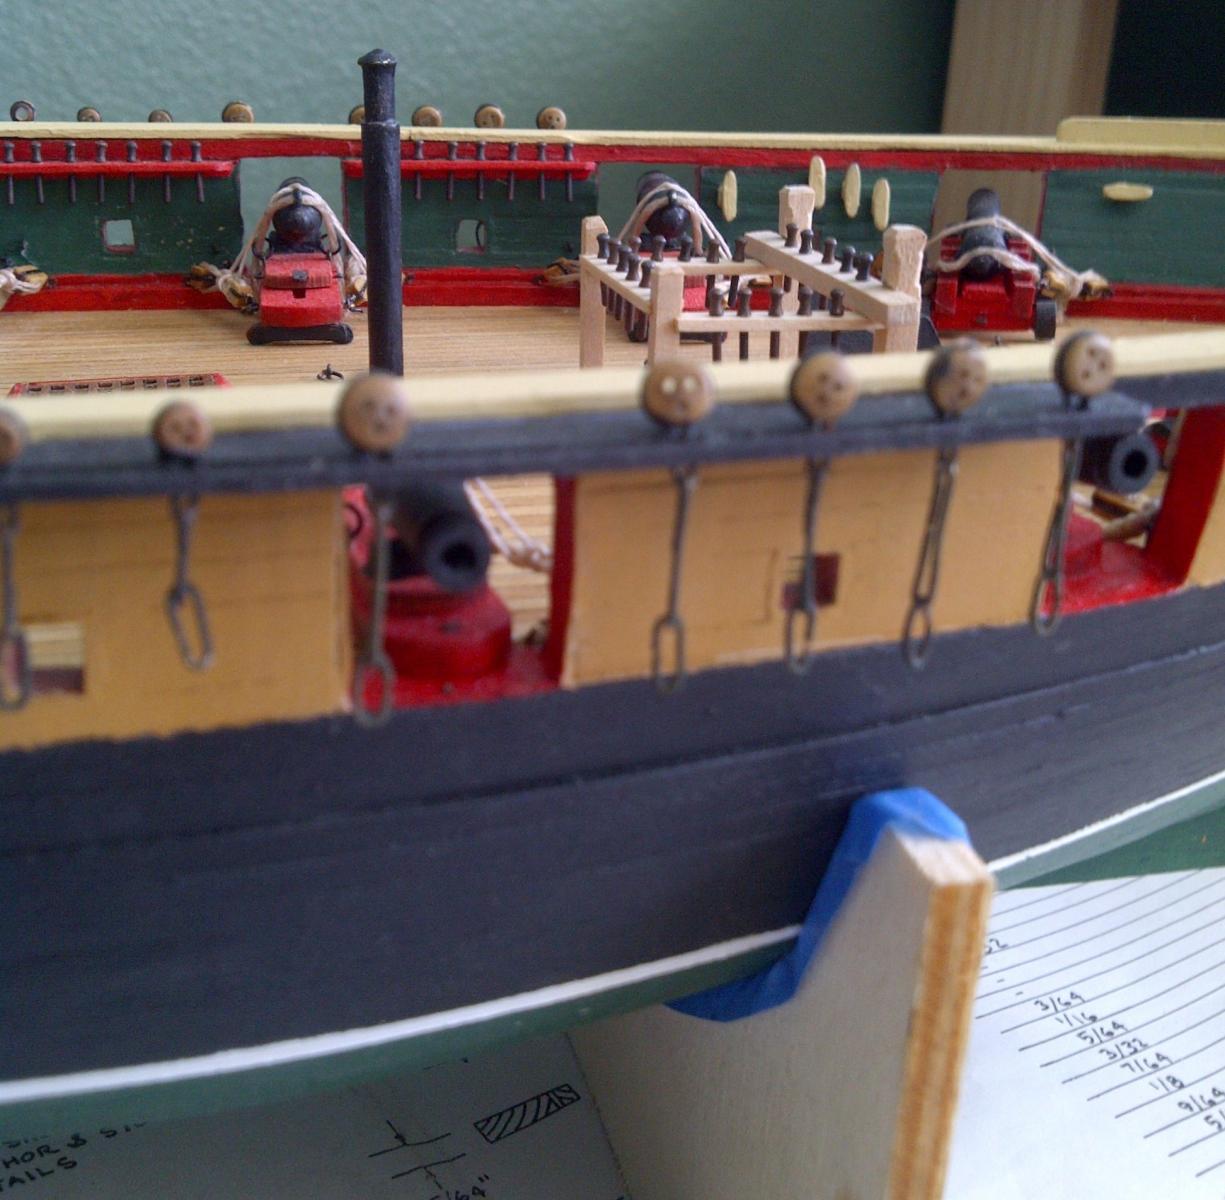
Build update: I have the ladders installed and I'm working on the catheads. Once they're installed I'll get pics up I promise!!!
I may hold off a bit on installing the main's channels and quarter davits (less stuff to break during a potential move, but re-attaching the smokestack shouldn't be a problem if it comes off). So I'll be working on the remaining hull stuff for now. Bowsprit, masts & spars will be a while (still somewhat intimidated by those for some reason- perhaps it's my tapering "skills," but no matter.) -
Steven,
Welcome to MSW and the un-official Niagara Club. All of us are sorry for your father's passing. Here, you will find that all are here to support each other, and not just with our builds, but with all aspects of our lives.
The friendship, support, wisdom, and craftsmanship here is quite possibly the best you will find anywhere- the members here are quite fantastic in all regards! And you are not alone with a build in-memoriam, since I have seen quite a few that are being build in honor of a loved one.
[Perhaps the mods could create a build forum for just that, but nevertheless the support is always here for those in need!]Now, on to business: Yes, Floyd is right in asking if you have all of the parts and plans for the kit. If not, just ask Model Expo (some of their staff are members here) for whatever parts you may be missing. Check the inventory/bill-of-materials sheets and check off the parts you have (some have already been used in the framing and planking that has been done thus far).
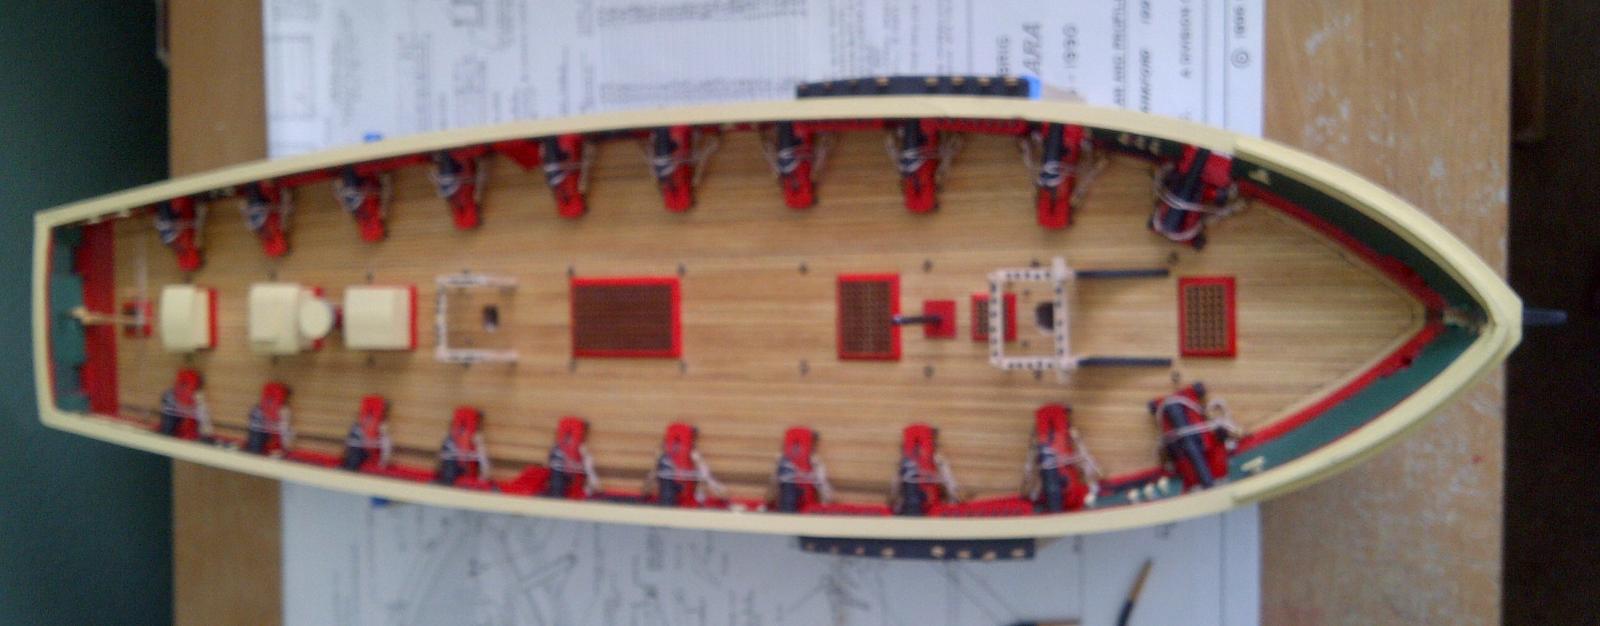
Regarding the deck and gratings, fittings, etc., there are a few ways to do this. One, you could plank the entire deck (you would need to make the nibbing strake- check out my build for some ideas, and various builds also), with or without tapering the planks (narrow at the stern), or with/without butts. After planking then you would cutout holes for the gratings and their coamings.
The other way is to assemble the gratings and their coamings first, install them to the deck (make sure they're aligned and square- just use a ruler), and then plank around them.
But with either method, you would first need to make the nibbing strakes- they kind of set the pace for the rest of the deck planking in my opinion.
After the deck is planked, then you can move onto the eyebolts & blocks on the bulwarks, etc. But that'll be a little while until then- just take your time and enjoy it! Have fun- that's what your dad would like to see!
And as always, if you're unsure of something, just ASK!!! Look around, follow the builds, ask ask ask!!! We're all here to help each other!!!
Good luck- we'll be following along with you!
-
Hello fellow Texan (I'm in Tyler)!! Welcome to the "Niagara Club"!!!
Great to have you aboard- we look forward to following your build, and feel free to follow along with ours as well. We're all in this together, so don't be shy. -
Cool man- looks good there! Very clean paint work- perhaps I'll take a cue from you and Larry and pre-paint inner planks before installing them.
Good to see some progress- must feel great!!!
-
I agree- honesty is the way to go, especially with how involved they get nowadays with background checks, etc... One teensy little white lie= you're out!
Still, I just hope that the gov gets their act together and ends this shutdown and gets things moving again, and especially finds some resolution on the debt limit (which is absurd to me). [Yeah, that makes sense: if a person/family is about to default on their mortgage, credit cards, etc., instead of reducing their spending (shopping sprees, latte's, huge donations to organizations, keeps growing their family size, makes those who pay for their debt have to buy products they don't need, etc.), they just get the banks to increase their credit limit, and they have someone else pay the bill (and increase their payments) when it comes in the mail, with zero accountability and responsibility...]
Sorry to get political, but unfortunately these days sooo much is inter-twined and it's all related... And we have to stop this looming trainwreck- both the gov and We the People (which, gov forgets that they work for us, since we elected them. We're the boss, not them.)
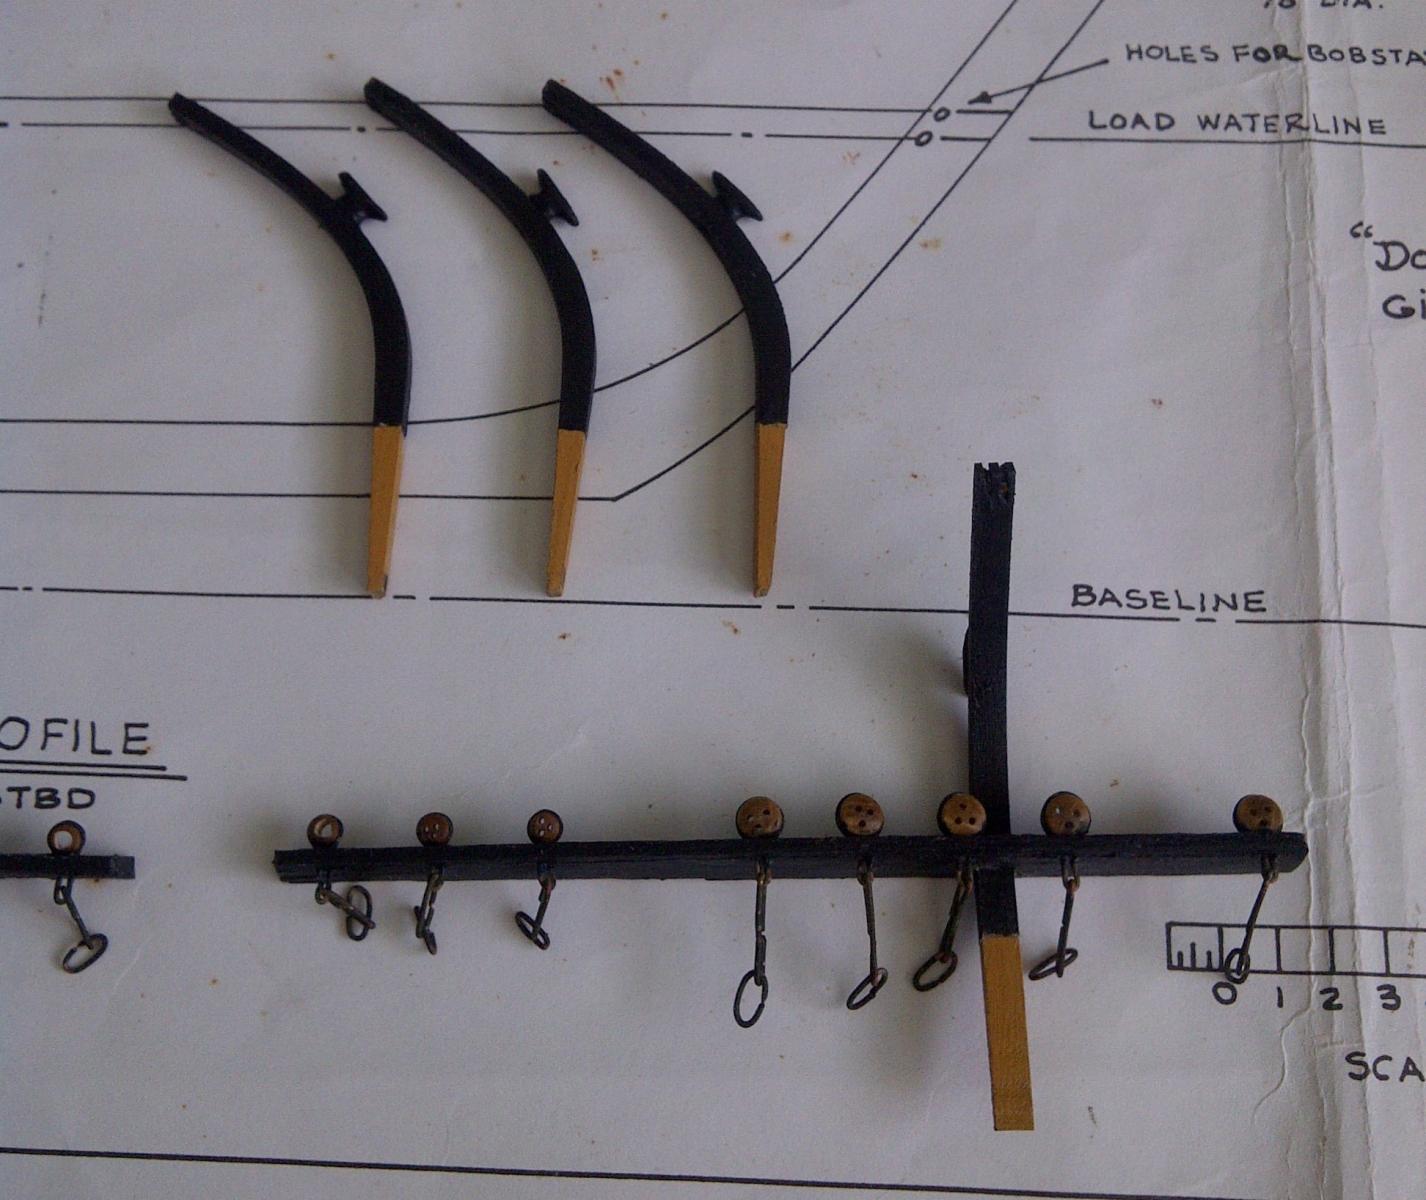
Oh well... Build update: finished painting the quarter davits and last night I made the boarding ladders (will paint this weekend and install- gotta shift some gun tackle to get them in the right location on the bulwarks). I also installed and painted the steps on the outside of the hull.
After ladders are installed, I'll work on the catheads other stuff at the bow.
-
Yeah, I see your point(s). But regarding "design experience", they want to see so many years (5-7 yrs) of it and what you did design, how good are you with the software, etc. I've been asked that during phone interviews, and I answer honestly, and also offer that I am willing to learn it, but they need someone who already knows it. And while looking for project engineer/manager positions, most require PMP certification, which takes a couple of years.
Really, I'm just in a weird middle/grey area. I've even tried some entry-level ones, but no response on those (probably too qualified in some areas).... So, trying to think how to broaden the net and really stretch what's relevant. I'm even looking into the oil&gas industry here in TX, but again no experience there. And going back to school is out of the question, since I need $$$$ now to pay the bills, not additional debt.
But still pressing forward and digging around. Something has to come up soon!
-
I see postings all over the place for embedded systems & designers (and application verification, whatever that is), but I have no idea what the hiring market is like (don't know anything about that area).
I'm just in a weird spot, since I'm an RF/SATCOM/antenna engr, but with zero design experience (and certainly no software/programming- hated taking Java in school). So I'm a cross between technician and project engineer, but w/o the management certs... I can manage it, build and test it, but can't design it. lol~
-
Yes, I did take it apart and stuck my DMM to it- I think it's the relay switch, but I have no idea where to get the part and how much... so I just got a new one for $30. If I could have found the switch (and waited for it to arrive, since I doubt I'd be able to find one locally), I would have fixed it myself. I might fix it anyway in the future so we have a spare (like for when family visits- we can drink a few gallons of coffee a day).
Heck, I don't think I've seen a Radio Shack in town (assuming they have the specific type of relay I need)... so onto Digikey, etc...
But my MAIN concern at the moment is of course waiting to hear positive news about the job. But I think the delays (even HR is wondering why so long, according to her updates) have to do with all of the gov't stuff and the shutdown. I wonder if the company's people have been furloughed, since they are basically contractors doing work for the military, so who knows.... Still trying to find stuff to apply to (related stuff is coming up scarce lately) and hoping to hear from someone, anyone at this point...
So back to hunting today- maybe get some building done this weekend or something (finish the quarter davits and then work on catheads, etc. Might use some small staples for the hammock rails, but we'll see...)
-
Speaking of sanding, I generally use a small sanding stick (#80 thru 440 glued to a block or stick of wood) for sanding large areas (hull, deck). For planing and lapping, I'll use a whole piece of sand paper taped to the bench- works well for planing parts down to a certain thickness and for ensuring parts are flat. For smaller areas, even beveling & shaping planks, I have used my files and riflers. Haven't tried the emory boards yet, but might once I begin work on masts and spars.
Sanding: crushed rock + paper + wood = smoooooooth~~ ahhh~~~

Niagara by Rich_engr - Model Shipways - 1:64
in - Kit build logs for subjects built from 1801 - 1850
Posted
Thanks guys! I just sent my acceptance this evening (unfortunately there wasn't any room to negotiate, but at least we tried). Still, I got a plan taking shape and should work out just fine.
Sad thing is that I'll pack my shop up in about 2 weeks... (But all is coming with me!)