-
Posts
41 -
Joined
About TurkSailor
- Birthday 08/17/1988
Profile Information
-
Gender
Male
-
Location
San Jose, CA
Recent Profile Visitors
The recent visitors block is disabled and is not being shown to other users.
-
 GrandpaPhil reacted to a post in a topic:
Felucca 1887 by TurkSailor - FINISHED - Amati - N/A
-
 mtbediz reacted to a post in a topic:
Fifie by woodartist - Amati - 1/30 scale
-
 Ken_2 reacted to a post in a topic:
Fifie by Ken_2 – FINISHED - Amati/Victory Models – 1:32 - Scottish Motor Fishing Vessel
-
 TurkSailor reacted to a post in a topic:
Fifie by Ken_2 – FINISHED - Amati/Victory Models – 1:32 - Scottish Motor Fishing Vessel
-
 TurkSailor reacted to a post in a topic:
Rebuilding the fleet by mikegr - 1/700 - restoring old plastic models
-
 mtbediz reacted to a post in a topic:
Fifie by TurkSailor - Amati - 1:32
-
 mikegr reacted to a post in a topic:
Fifie by TurkSailor - Amati - 1:32
-
 TurkSailor reacted to a post in a topic:
Carving from Belgorod
-
 TurkSailor reacted to a post in a topic:
Fifie by TurkSailor - Amati - 1:32
-
 mgatrost reacted to a post in a topic:
Fifie by TurkSailor - Amati - 1:32
-
 king derelict reacted to a post in a topic:
Fifie by TurkSailor - Amati - 1:32
-
 Mirabell61 reacted to a post in a topic:
Fifie by TurkSailor - Amati - 1:32
-
 TurkSailor reacted to a post in a topic:
ELBE 1 1948 by Mirabell61 - scale 1:87 - Lightship
-
 TurkSailor reacted to a post in a topic:
ELBE 1 1948 by Mirabell61 - scale 1:87 - Lightship
-
 TurkSailor reacted to a post in a topic:
ELBE 1 1948 by Mirabell61 - scale 1:87 - Lightship
-
 TurkSailor reacted to a post in a topic:
ELBE 1 1948 by Mirabell61 - scale 1:87 - Lightship
-
 TurkSailor reacted to a post in a topic:
ELBE 1 1948 by Mirabell61 - scale 1:87 - Lightship
-
 TurkSailor reacted to a post in a topic:
ELBE 1 1948 by Mirabell61 - scale 1:87 - Lightship
-
 JpR62 reacted to a post in a topic:
Fifie by TurkSailor - Amati - 1:32
-
 Mirabell61 reacted to a post in a topic:
Fifie by TurkSailor - Amati - 1:32
-
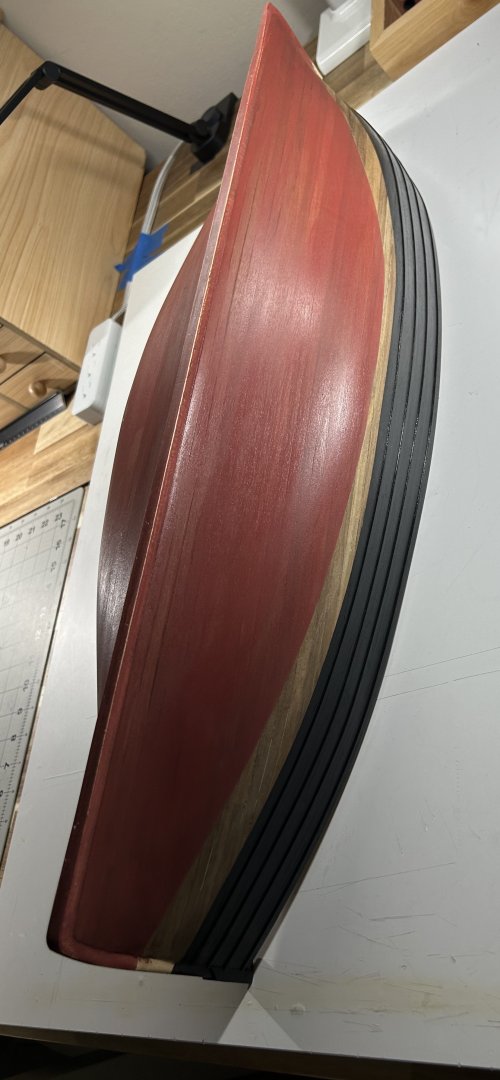
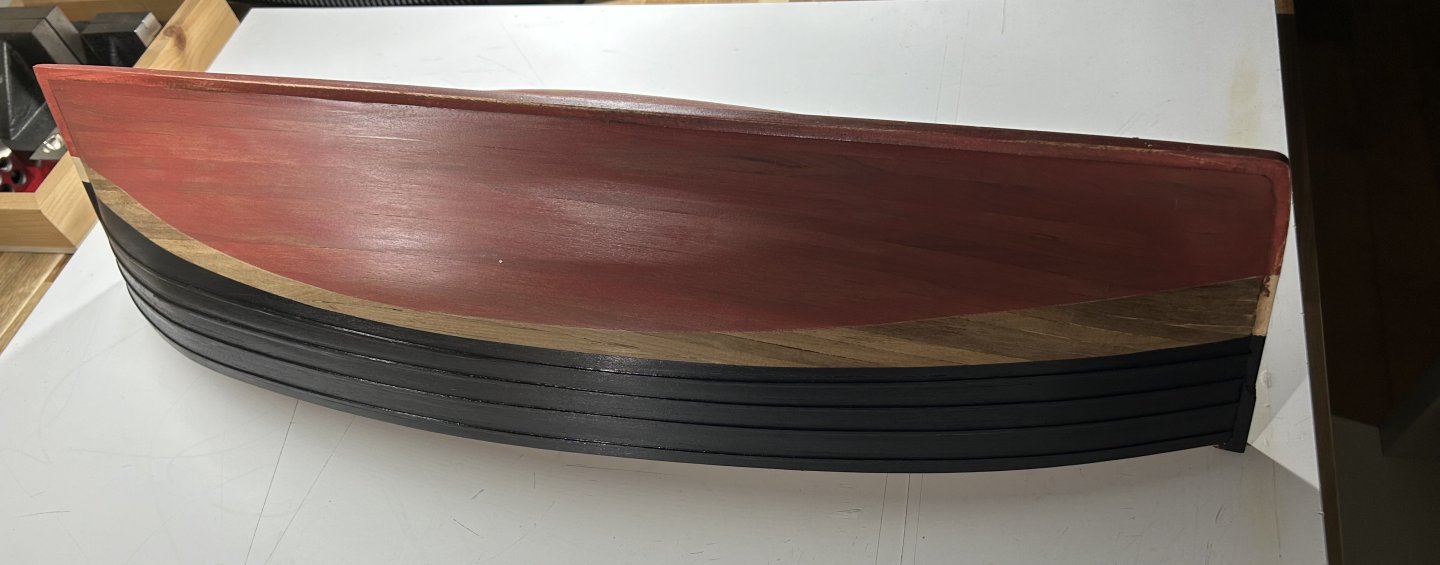
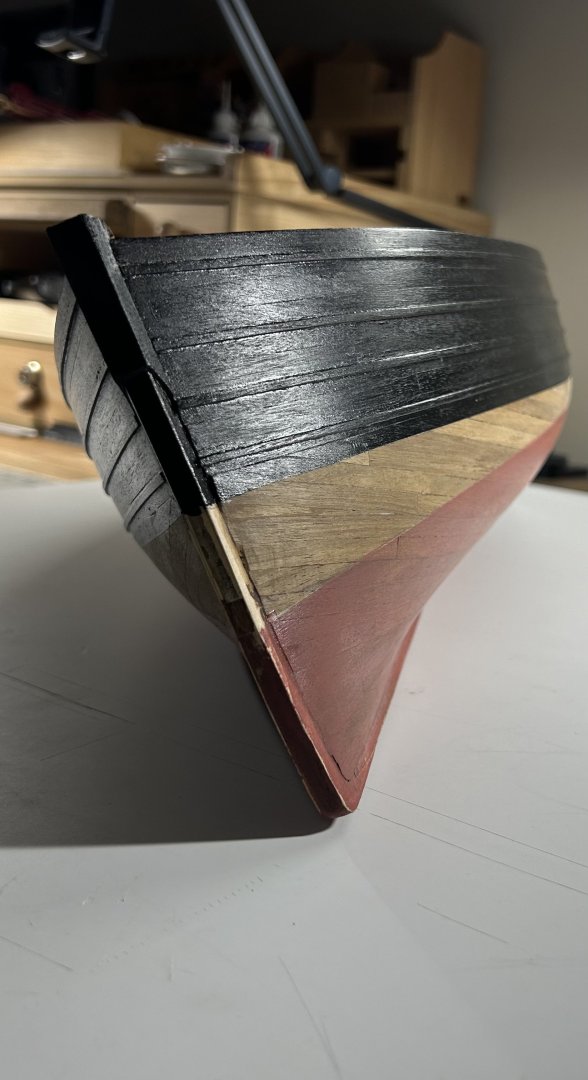
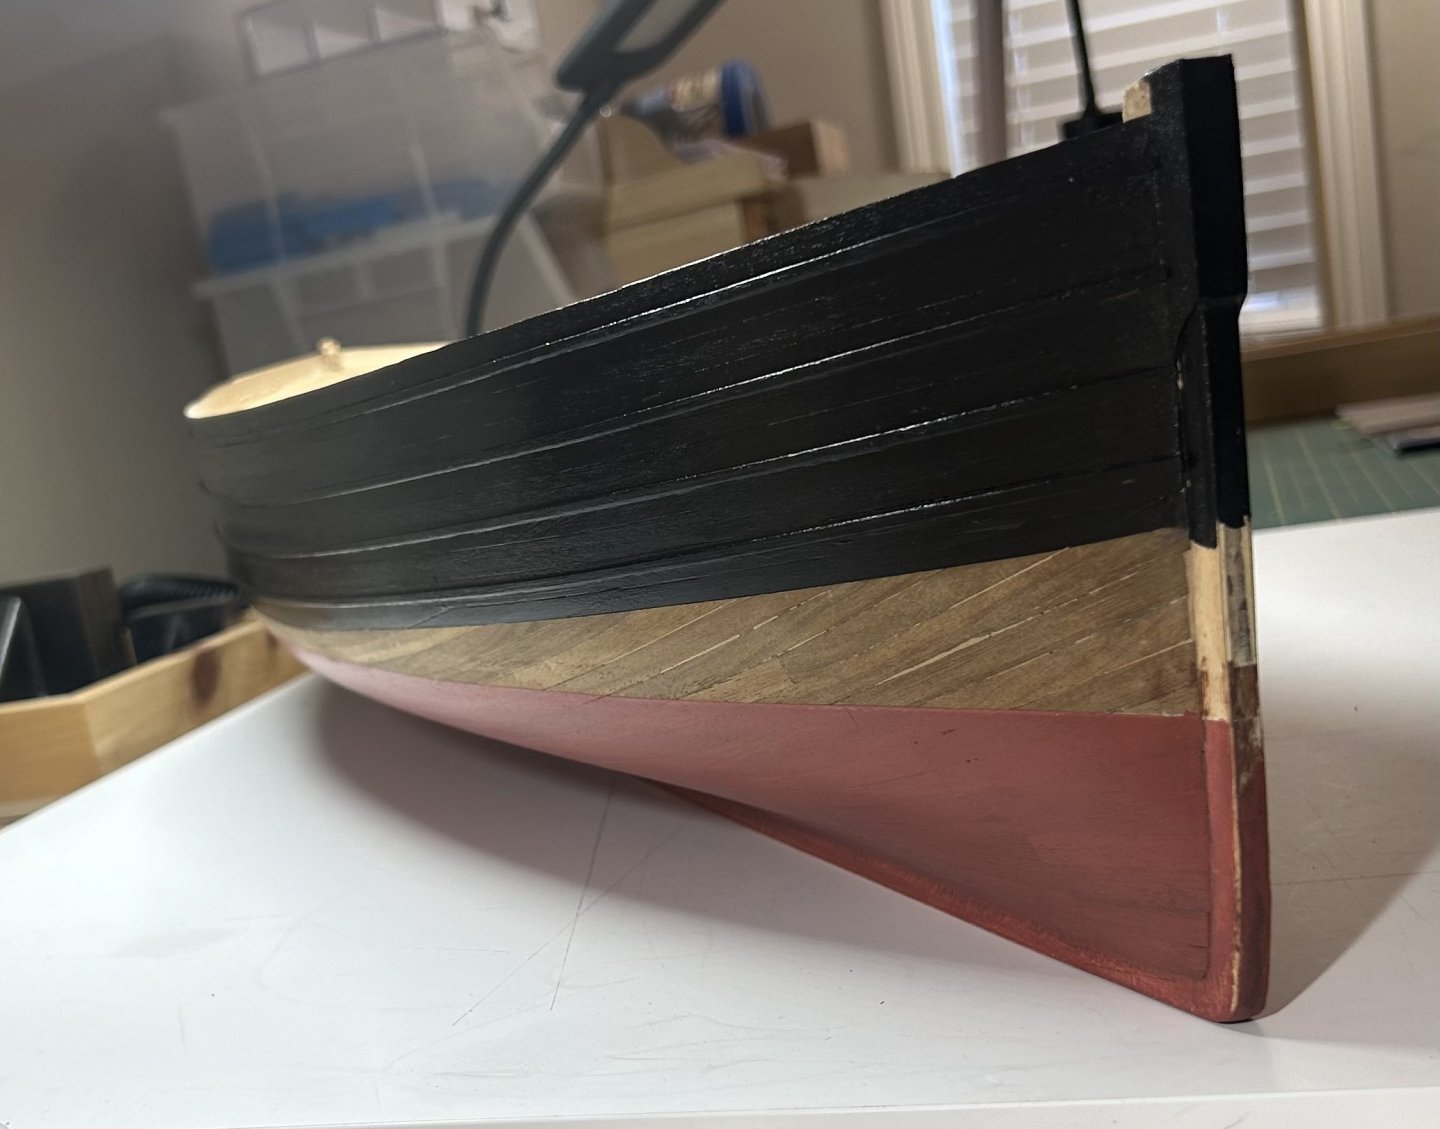
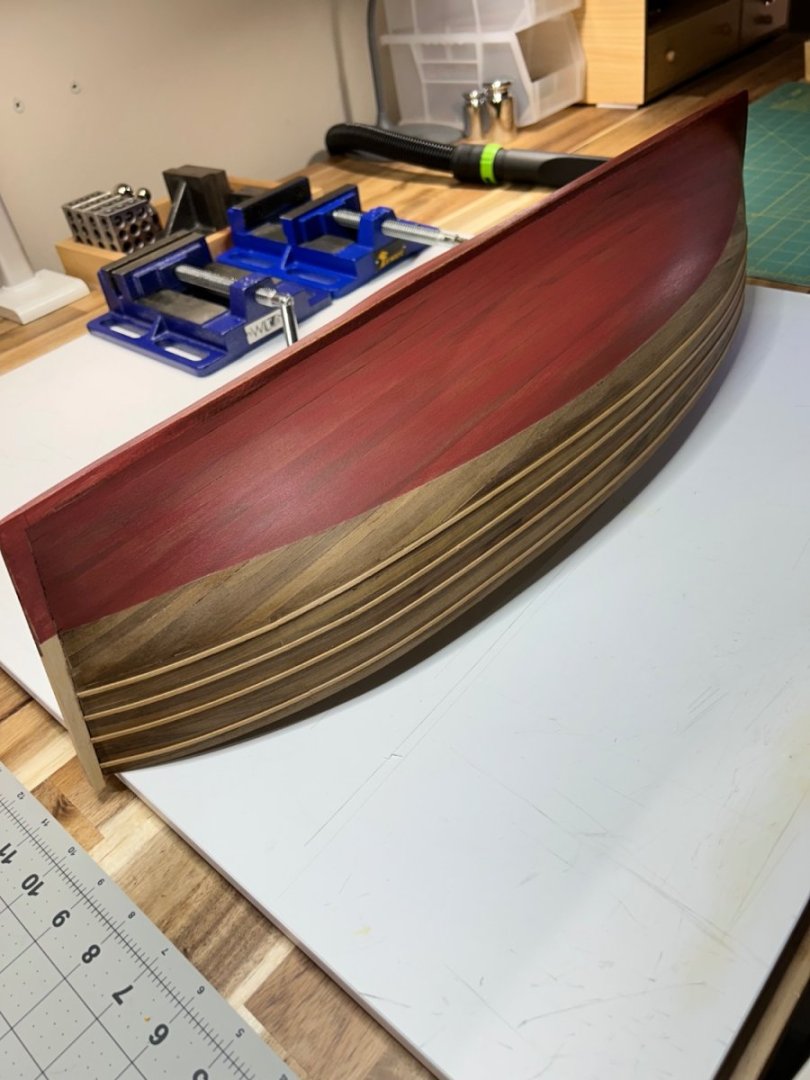
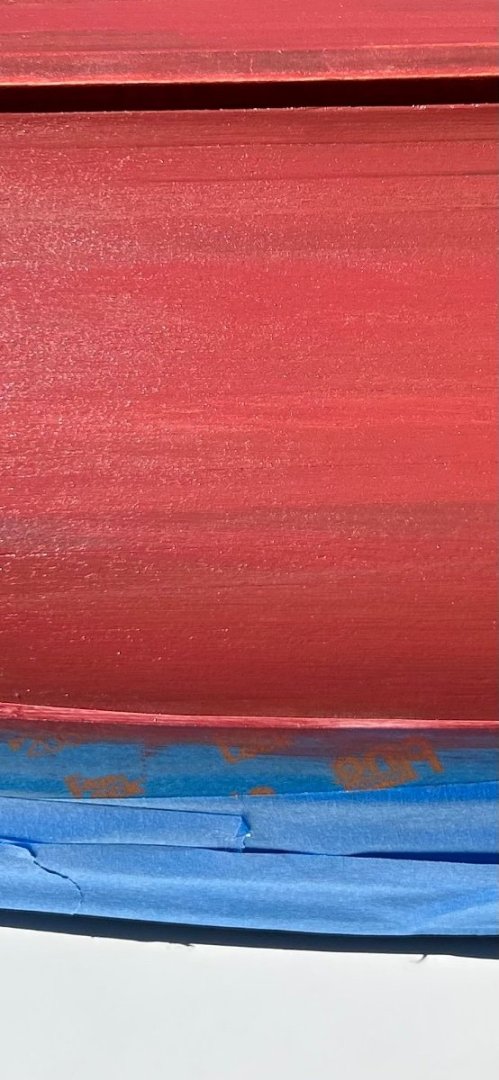
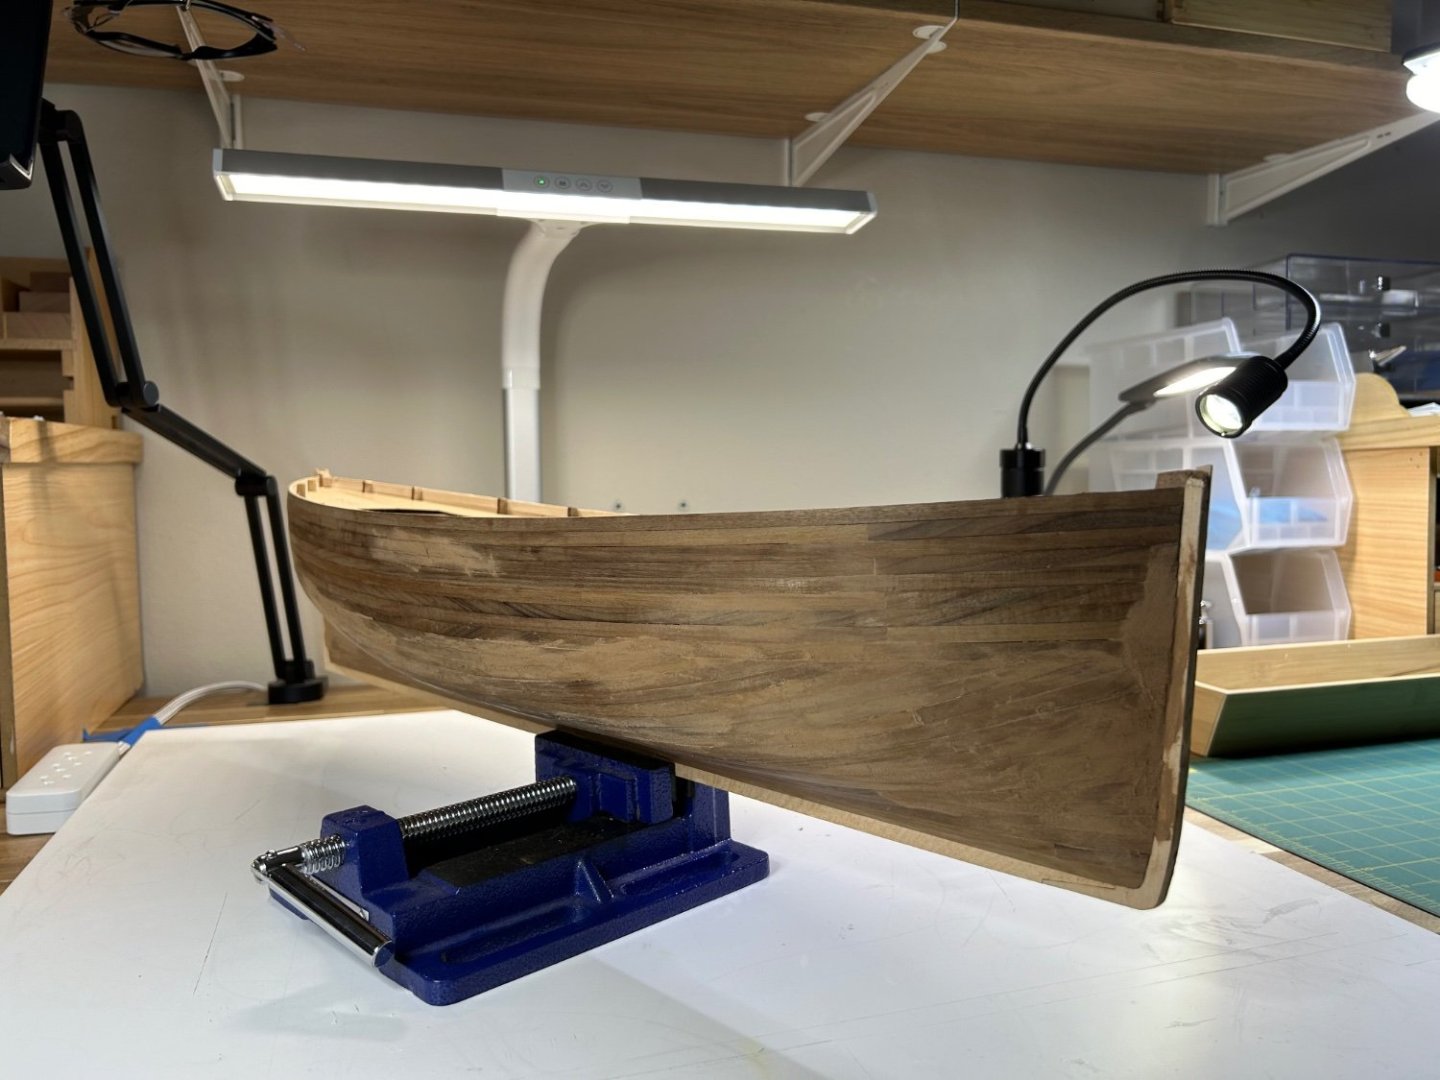
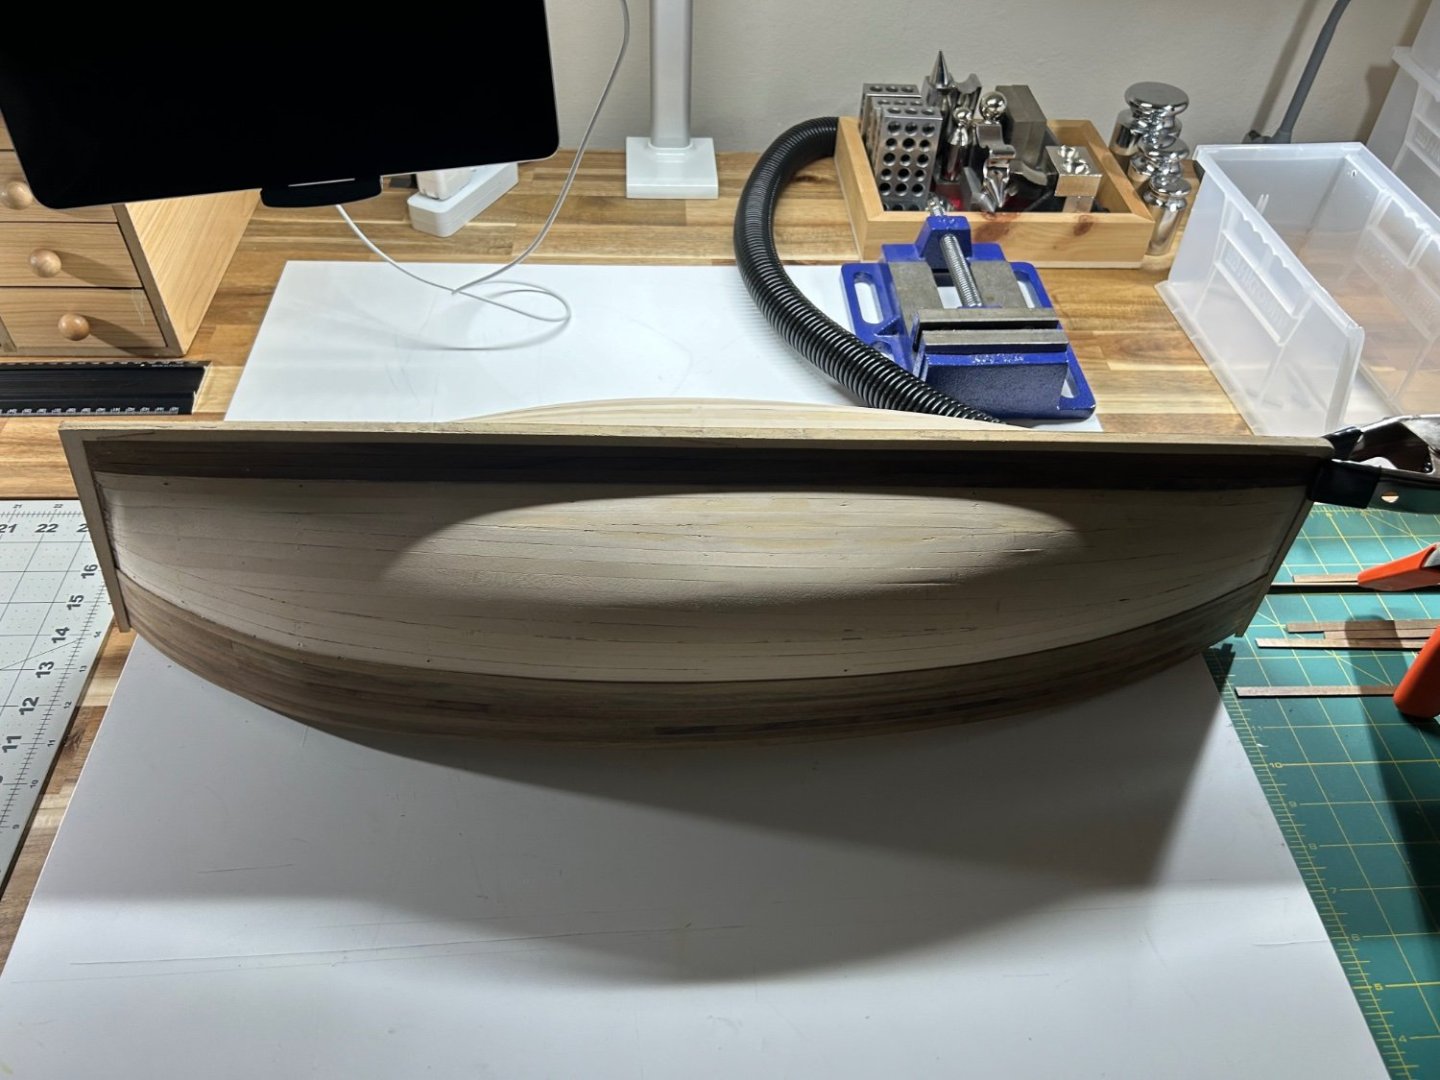
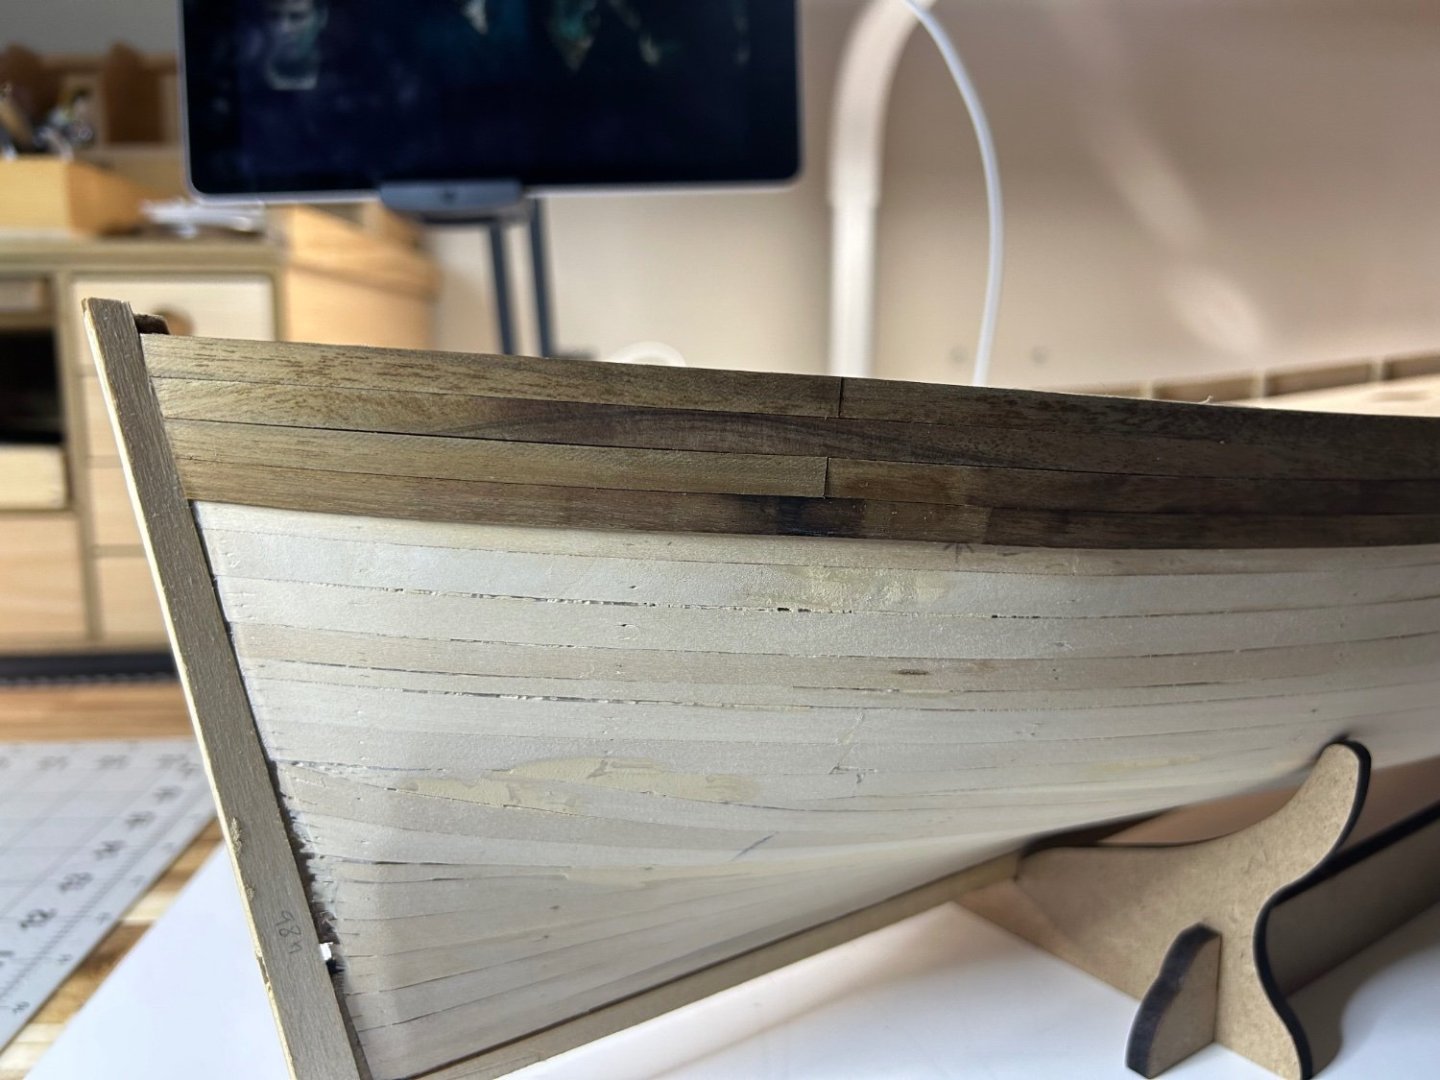
I used a “semi transparent” stain for the upper hull. I’d argue it’s actually opaque. Still, I think it turned out well enough. I’m allowing this to dry a bit before I paint the white. Folks, I’m not an airbrush user, well not yet. I’m going to use some sanding sealer, apply a Vallejo primer with a foam brush, then matte white with a brush. Any advice here would be appreciated. I’m knee deep in the paints section here on MSW, hopefully this method will work for me. Another option was to use a gesso base, then brush on an oil based titanium white. Though I’m concerned it’ll be too thick. I’m going to try and setup some space to take better pictures, but currently I’m doing some major home renovations so it’ll have to wait till after. Thanks for stopping by my log!
-
Disaster averted! I was anxious about how to finish hull for good reason. I’ve never succeeded in staining anything. Initially I chose a stain that I thought would look good. So I brushed it on naively without pre stain conditioner. I was very disheartened by the result. So I slapped on another layer hoping it’d cover more and perhaps hide the blotchy bits. Unfortunately this just made it look worse. I waited till the stain fully cured and sanded as much of it down as I could. This was surprisingly easy as it hadn’t actually penetrated the wood. In my second attempt I used a water based stain conditioner, then applied an opaque “barn red” stain. After 2 layers I felt satisfied with the results.
-
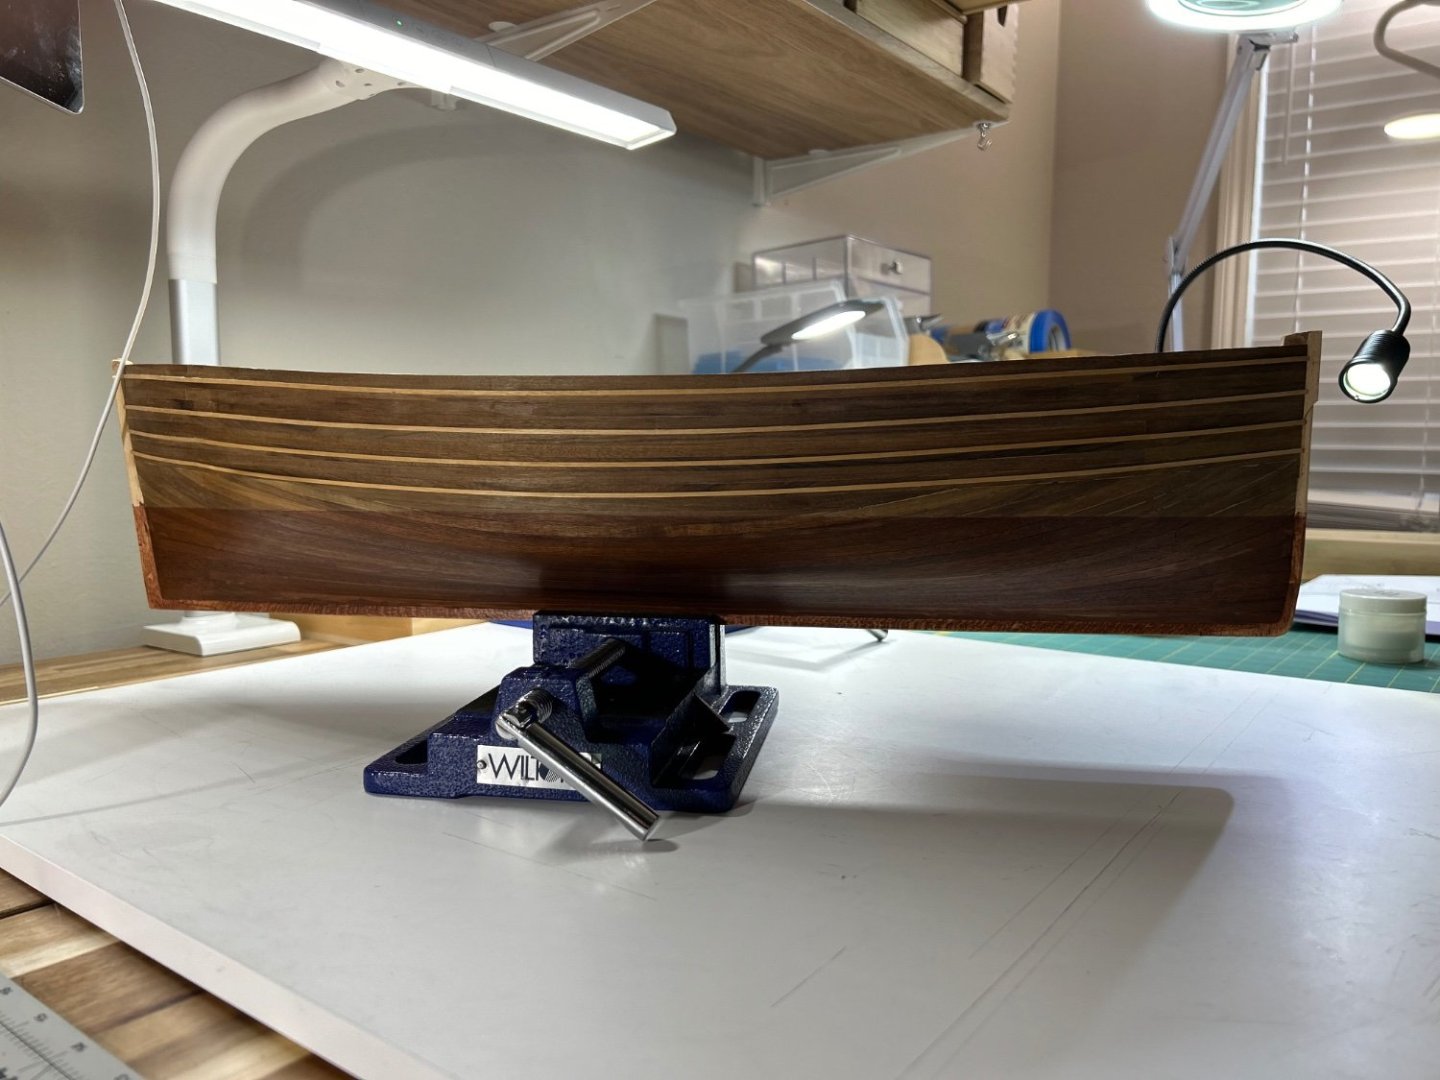
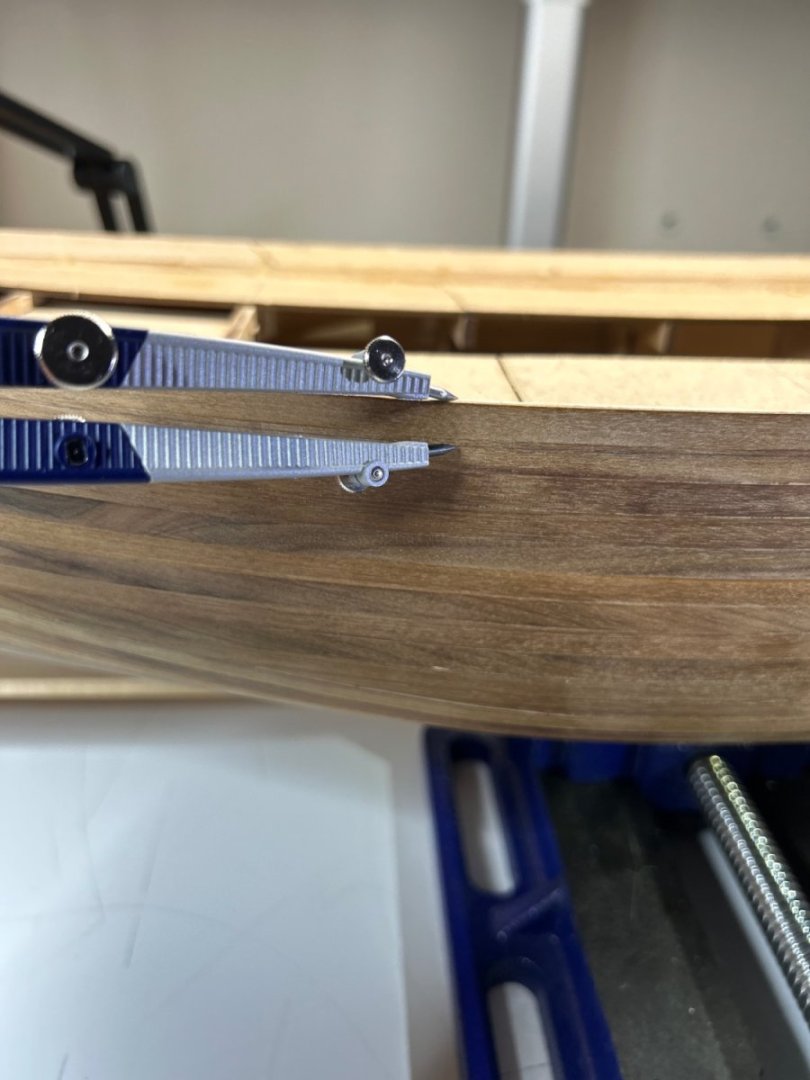
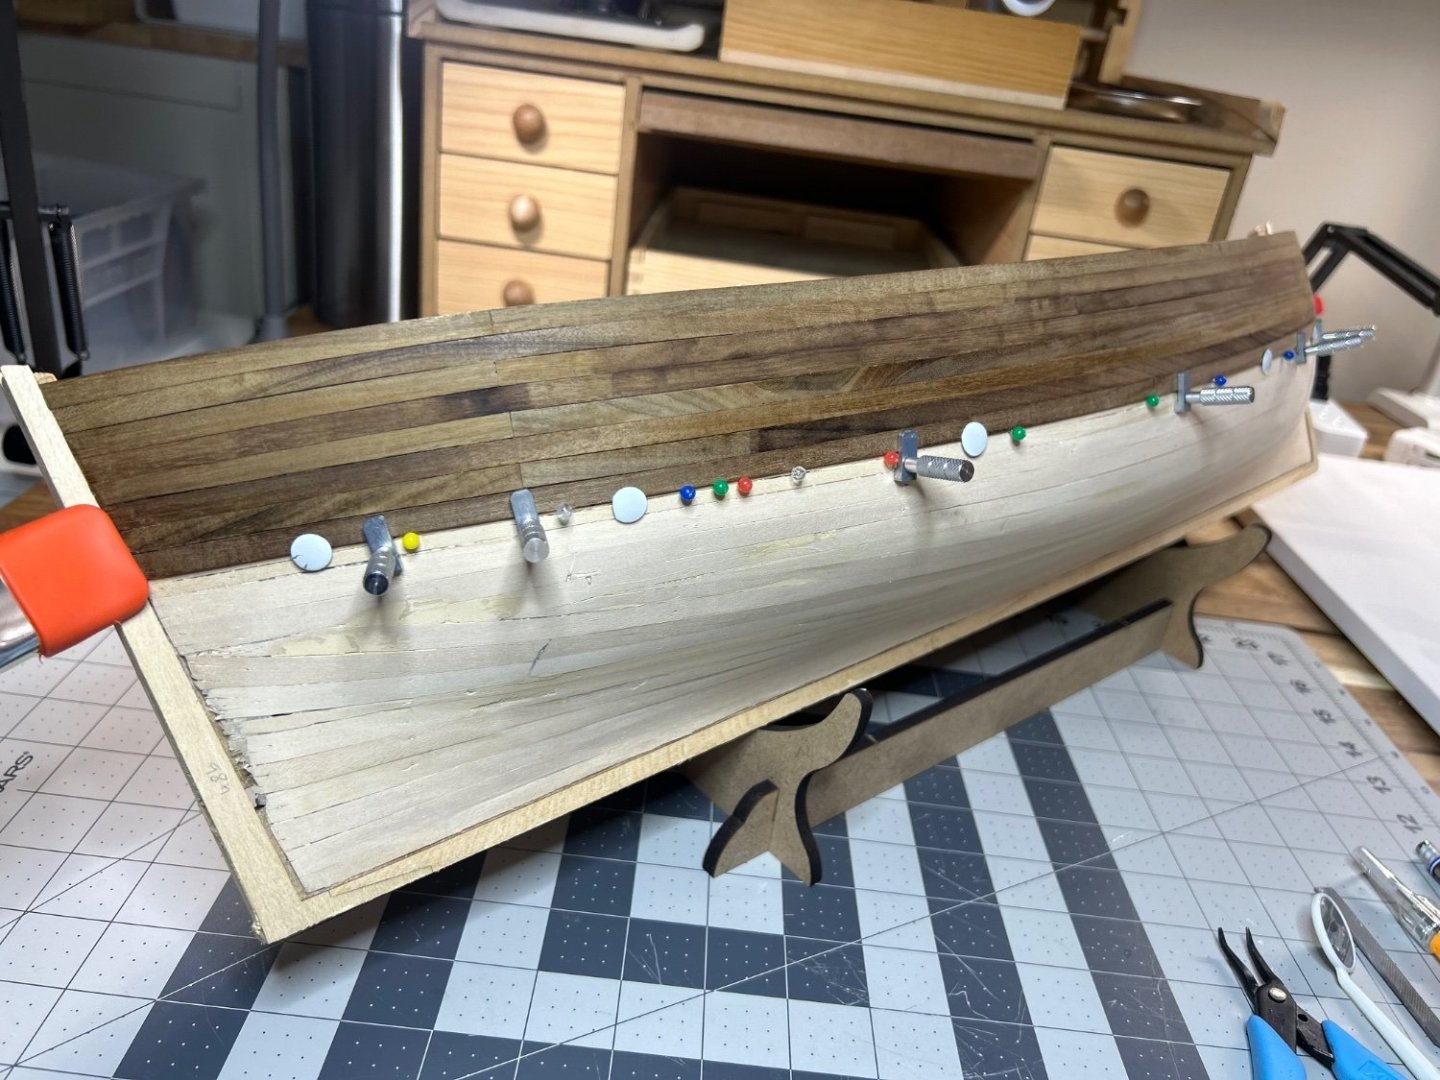
Moving merrily along. Did yet more sanding, and along with that noticed more flaws in my second planking, never mind the accuracy. Almost done with the rubbing strakes. I used a compass and the plans to get these on as accurately as I could. Still ruminating on the finish. I’m thinking to emulate a color motif that I saw here using a dark red stain, an oil based white, and an ebony stain.
-
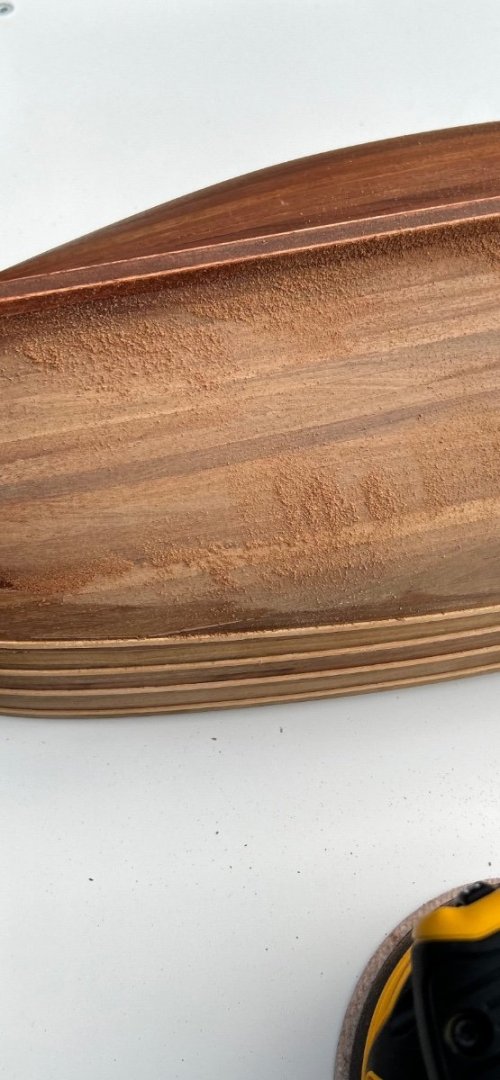
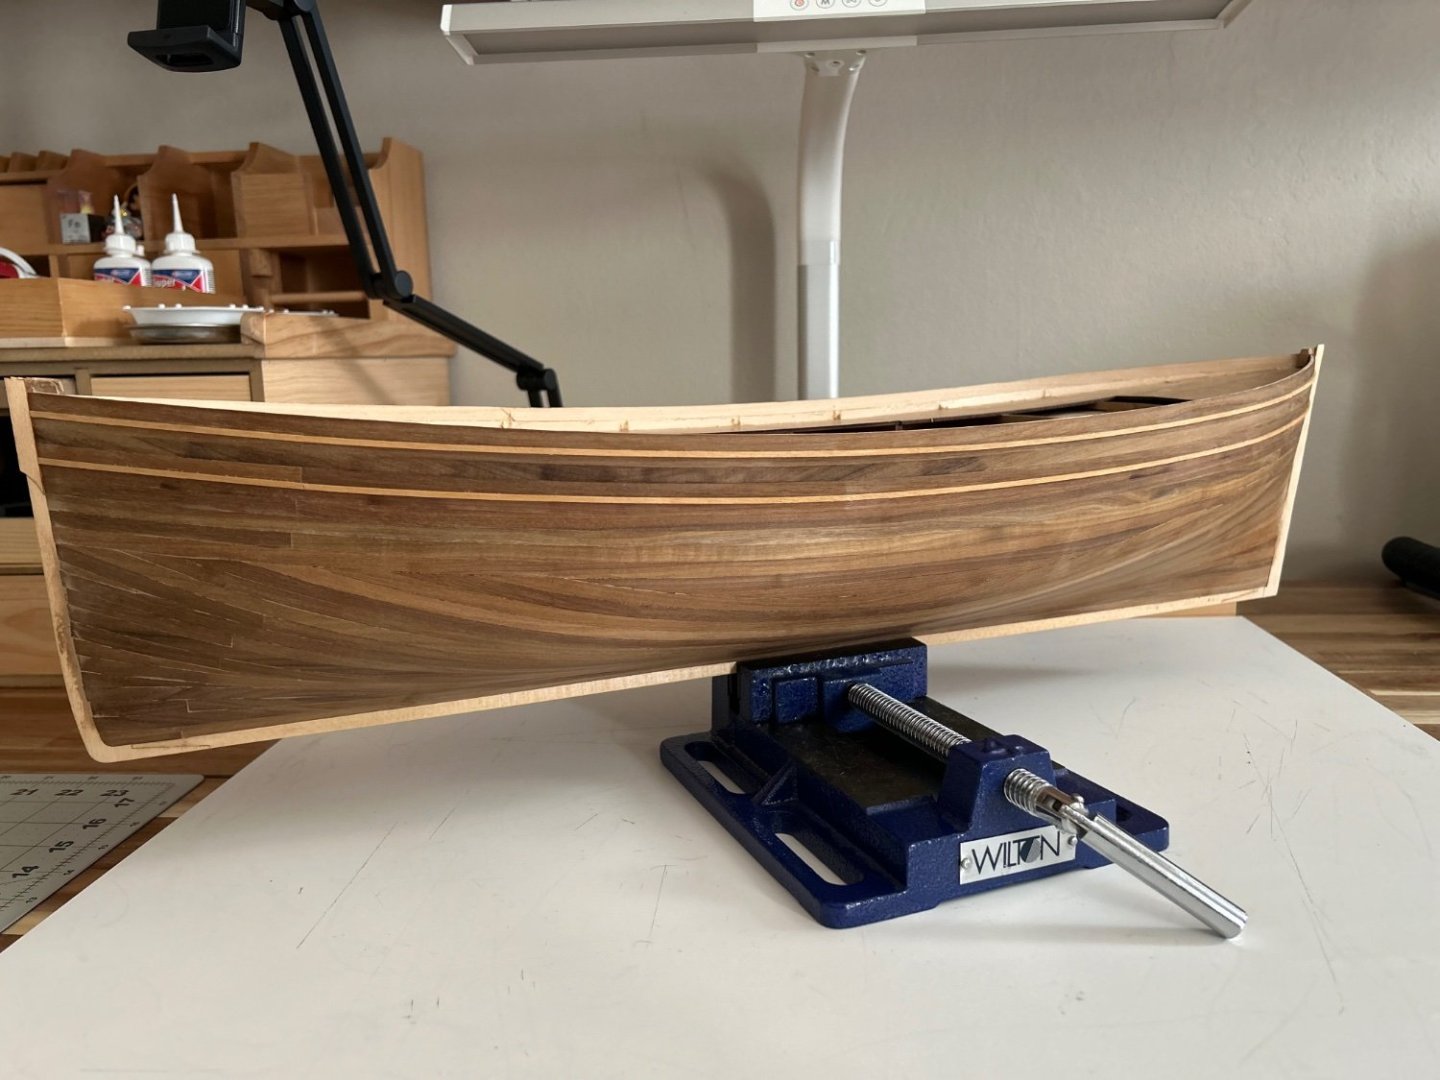
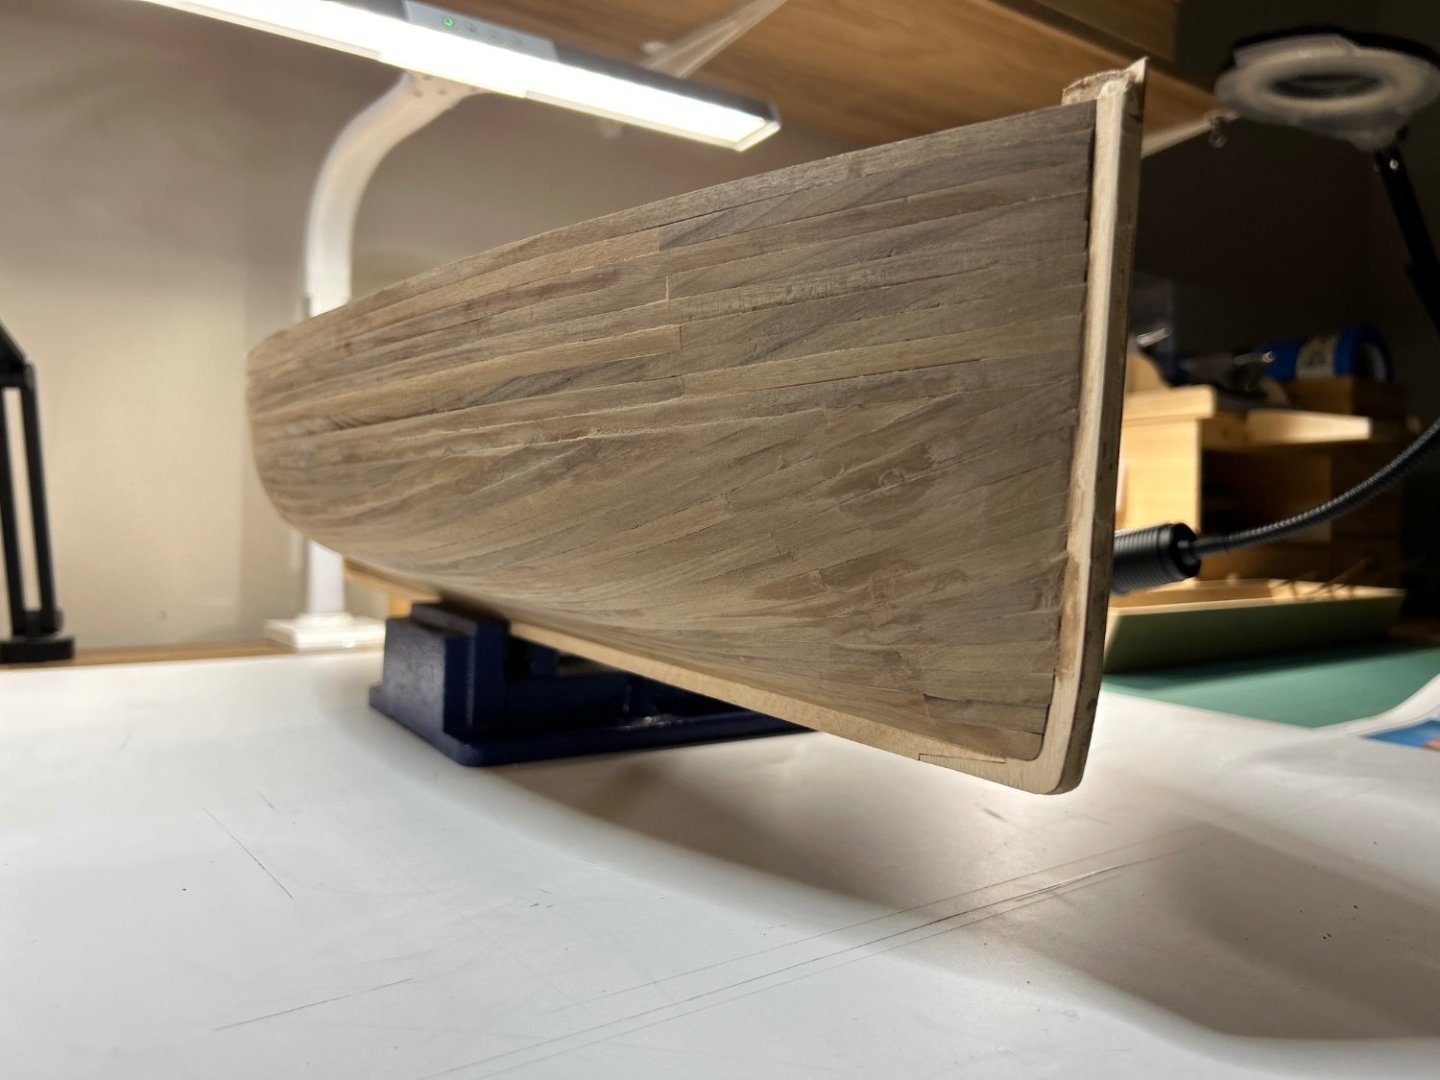
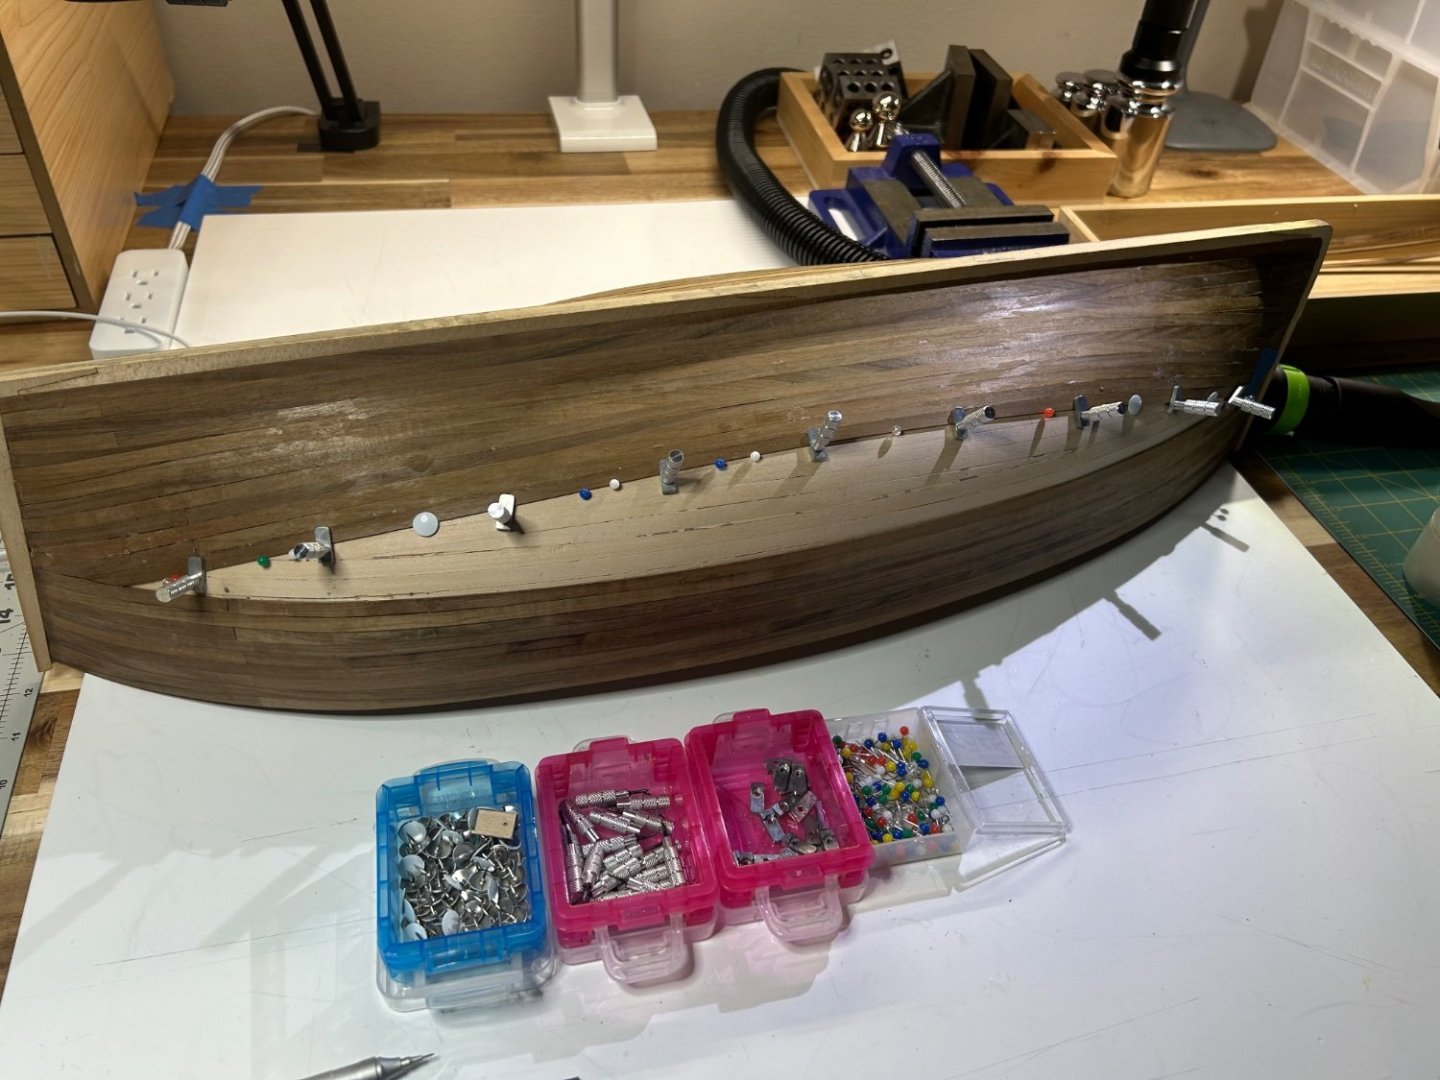
Moving steadily onward. Certainly gaps have been an issue. As well as less than perfect cuts. But as my first go, I reckon it looks well enough. I’ll be using a little bit of walnut plastic wood to fill in the gaps before sanding. In the meanwhile I’ve been reading more on planking, and studying builds here on MSW. It’s obvious that I’m hardly doing this correctly, however, I’m not going to just get up and quit. I’d love to emulate how they made ships properly one day. That’d have to be a scratch build. Perhaps in 20 years? 😅
-
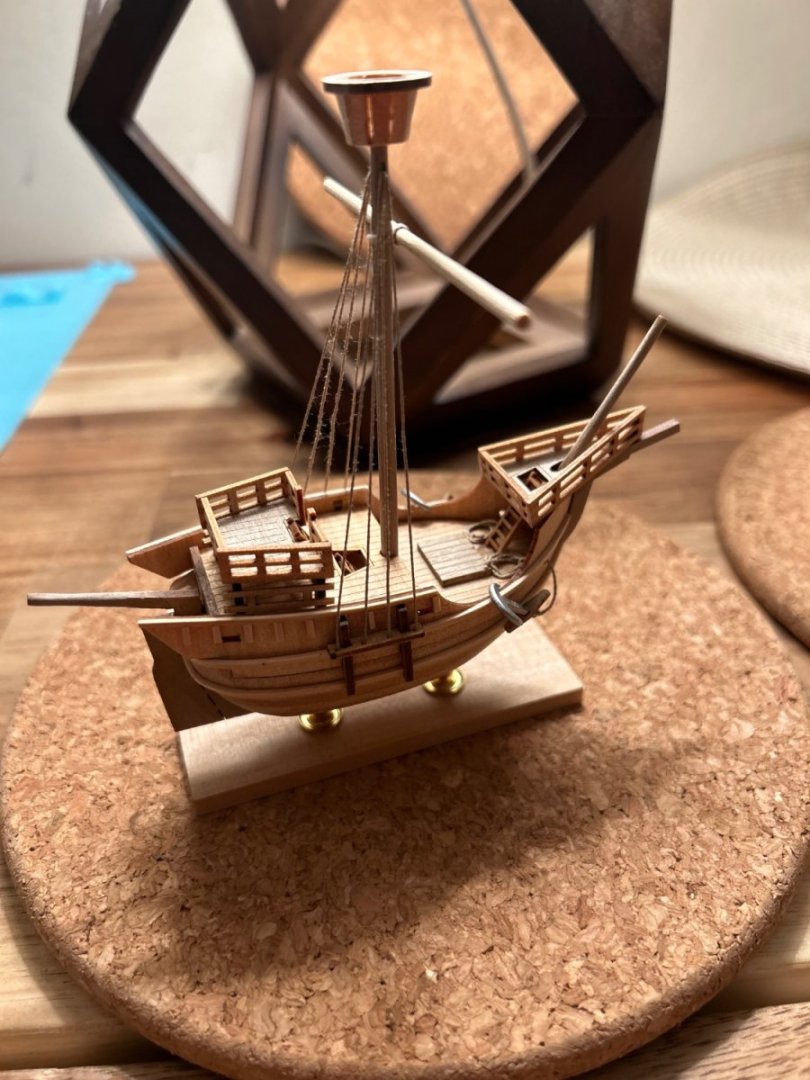
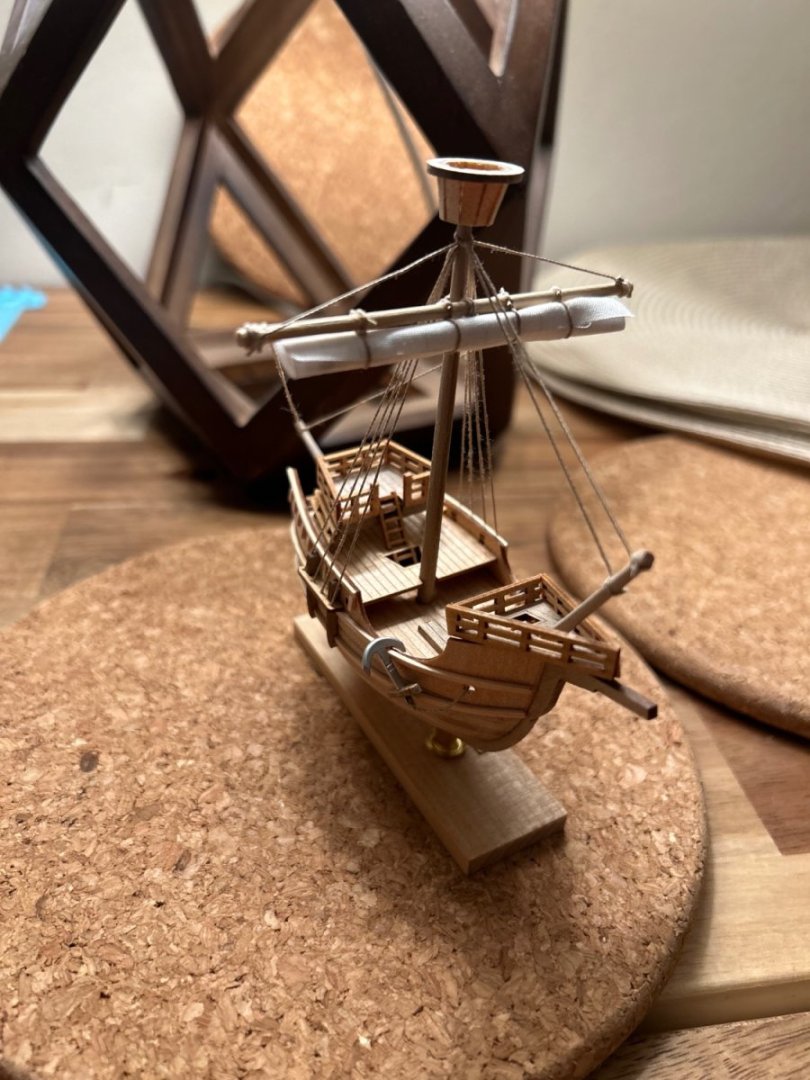
So far so good…quite chuffed with my progress. For the next vessel, I’ll try my hand at measuring things out. Before I started my Fifie I had found a very small Woody Joe kit in my cupboards. The Catalonia. This was really fun to put together albeit at a size that I struggled with. Here are some pictures. I just couldn’t manage the sails at this size so opted to roll them up. Cheers!
-
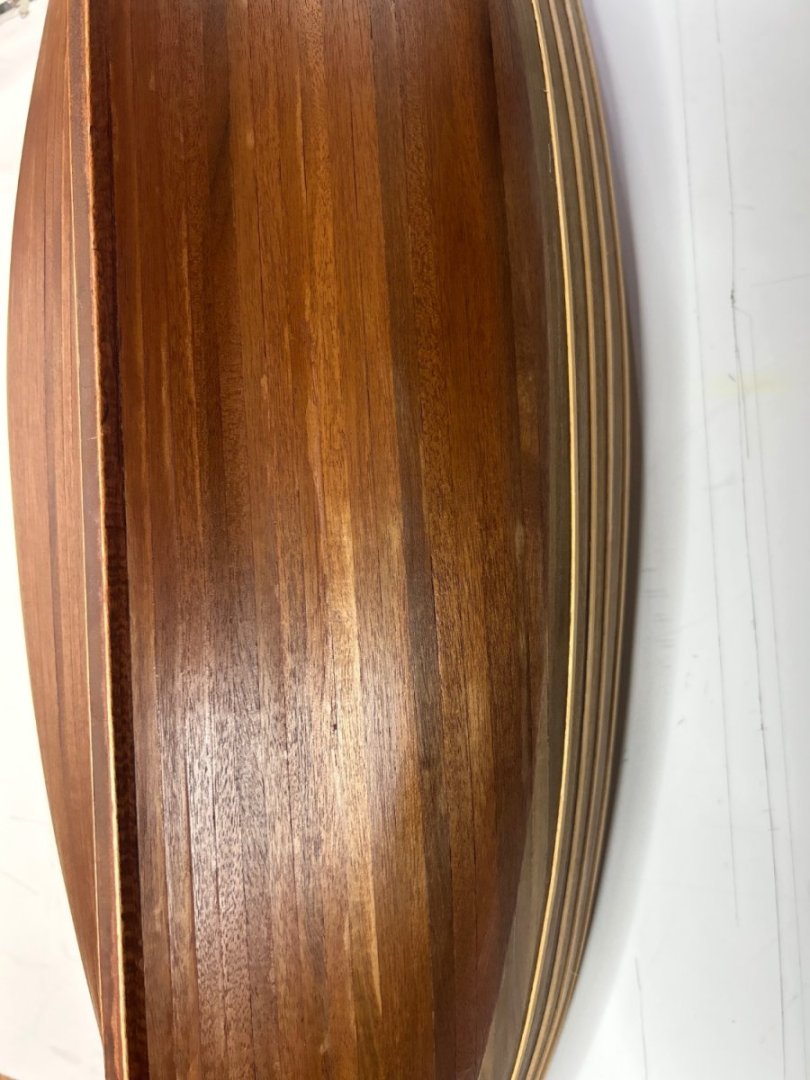
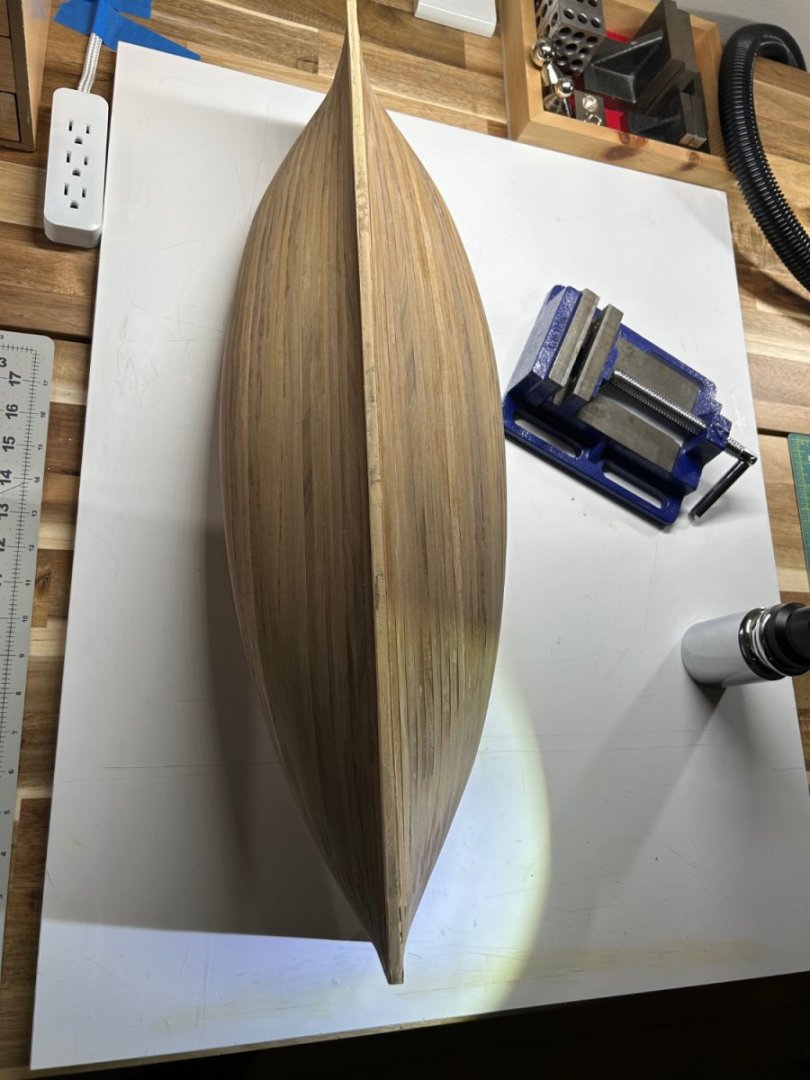
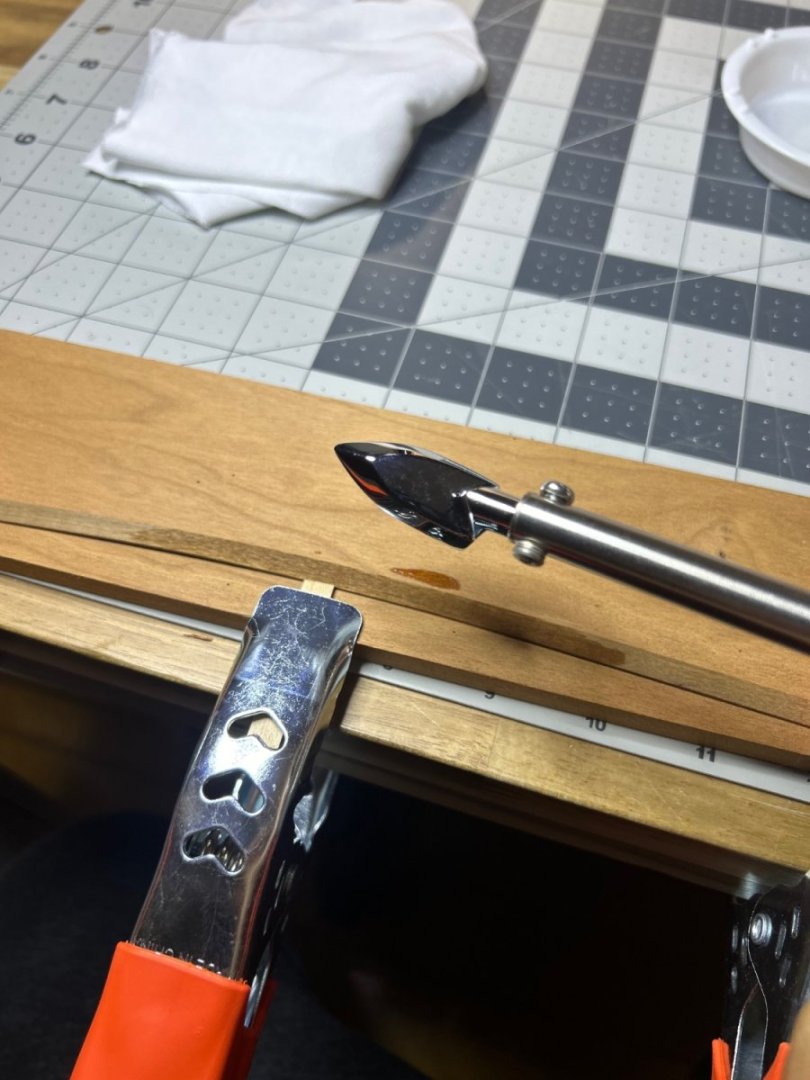
Some progress with the second planking. I’m giving myself a break considering it’s my first time doing this. I am a perfectionist in my trade but learn best through doing and just wanted to jump in. I really enjoy edge bending and I’m really surprised by how much easier it is to fit the planks. So far everything has just been by eye. As a result the Fifie has a few imperfections and scorches. Notice also a little wobble. I’ve used a rasp to sort that for the planks that come after. Hopefully it’ll turn out ok. I was quite worried about the second planking but I’m pleased with how it is turning out so far. Opting not to make it harder for myself and cutting the planks into small bits is a trade off I’m willing to live with for this model. So far I’ve been using Titebond white glue, but may switch to the quicker and thicker variant as I approach the belly of the hull (forgive my terminology).
-

USS Constitution by mtbediz - 1:76
TurkSailor replied to mtbediz's topic in - Build logs for subjects built 1751 - 1800
Bravo! Hızlı ve bu kadar detaylı çalışıyorsun! -
Hi Loracs, You’ve done a wondrous job thus far. I can only dream of being this good! I must ask, and apologize if it has been asked of you before. Can you share the details of that absolutely incredible building slip you use? I MUST have one! It looks invaluable. I find myself using drill press vices and various other things, but nothing compares to what you have. Thank you,
-
Very inspired by your work. I’m well behind on my Fifie and certainly didn’t take as much care with the first planking as you did. I’m very nervous to tackle my second layer.. however I’m glad it wasn’t just me. The curves on this boat call for so much twisting. But I’ll admit, I adore the shape!
About us
Modelshipworld - Advancing Ship Modeling through Research
SSL Secured
Your security is important for us so this Website is SSL-Secured
NRG Mailing Address
Nautical Research Guild
237 South Lincoln Street
Westmont IL, 60559-1917
Model Ship World ® and the MSW logo are Registered Trademarks, and belong to the Nautical Research Guild (United States Patent and Trademark Office: No. 6,929,264 & No. 6,929,274, registered Dec. 20, 2022)
Helpful Links
About the NRG
If you enjoy building ship models that are historically accurate as well as beautiful, then The Nautical Research Guild (NRG) is just right for you.
The Guild is a non-profit educational organization whose mission is to “Advance Ship Modeling Through Research”. We provide support to our members in their efforts to raise the quality of their model ships.
The Nautical Research Guild has published our world-renowned quarterly magazine, The Nautical Research Journal, since 1955. The pages of the Journal are full of articles by accomplished ship modelers who show you how they create those exquisite details on their models, and by maritime historians who show you the correct details to build. The Journal is available in both print and digital editions. Go to the NRG web site (www.thenrg.org) to download a complimentary digital copy of the Journal. The NRG also publishes plan sets, books and compilations of back issues of the Journal and the former Ships in Scale and Model Ship Builder magazines.


