
HOLIDAY DONATION DRIVE - SUPPORT MSW - DO YOUR PART TO KEEP THIS GREAT FORUM GOING! (Only 13 donations so far - C'mon guys!)
×


Jack12477
-
Posts
5,663 -
Joined
-
Last visited
Content Type
Profiles
Forums
Gallery
Events
Everything posted by Jack12477
-

Going...going...gone? The London wreck.
Jack12477 replied to druxey's topic in Nautical/Naval History
Every one of which was an Internationally recognized "war grave" ! -
All the kits I've purchase since the 70s gave their address as Barcelona Spain. No idea where their manufacturing site was located.
-
Here's a wild suggestion. Try the buffing rouge they use on a strop to fine polish the edge of woodcarving knives/gouges. Scrape some powder onto a piece of polishing cloth then use the cloth to polish the model.
-
Thanks, Craig.
-
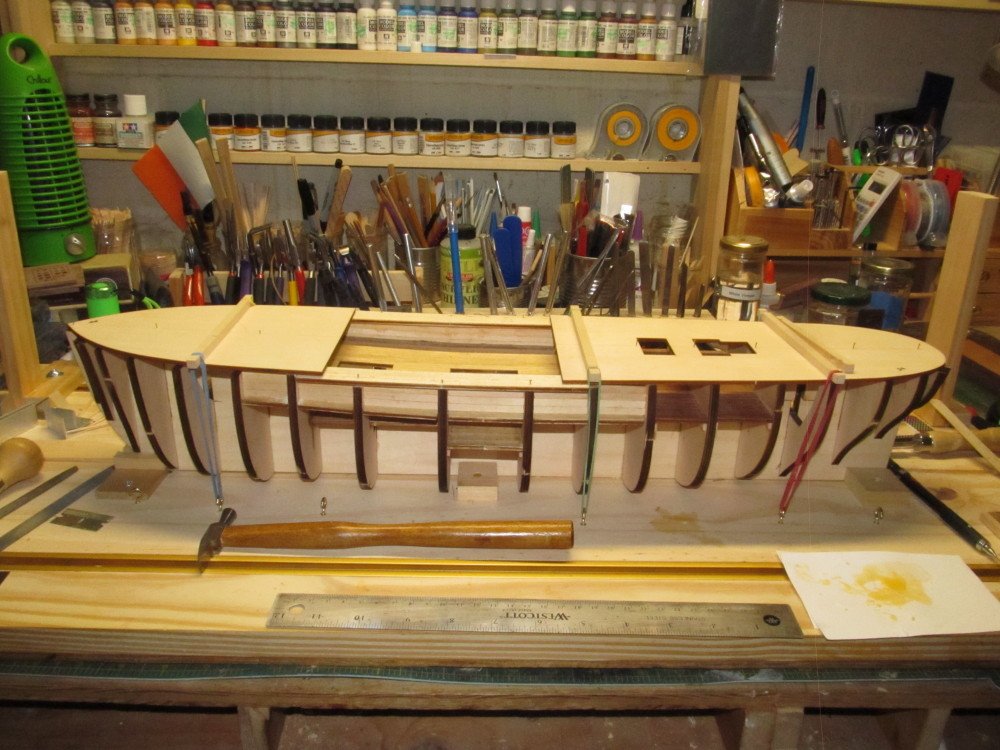
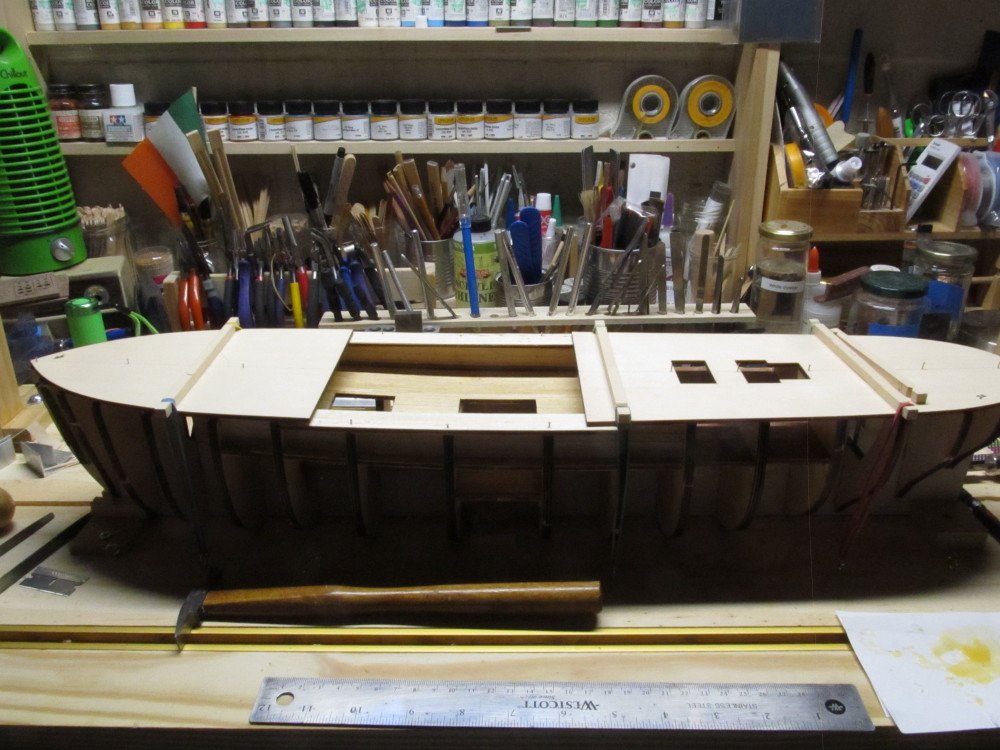
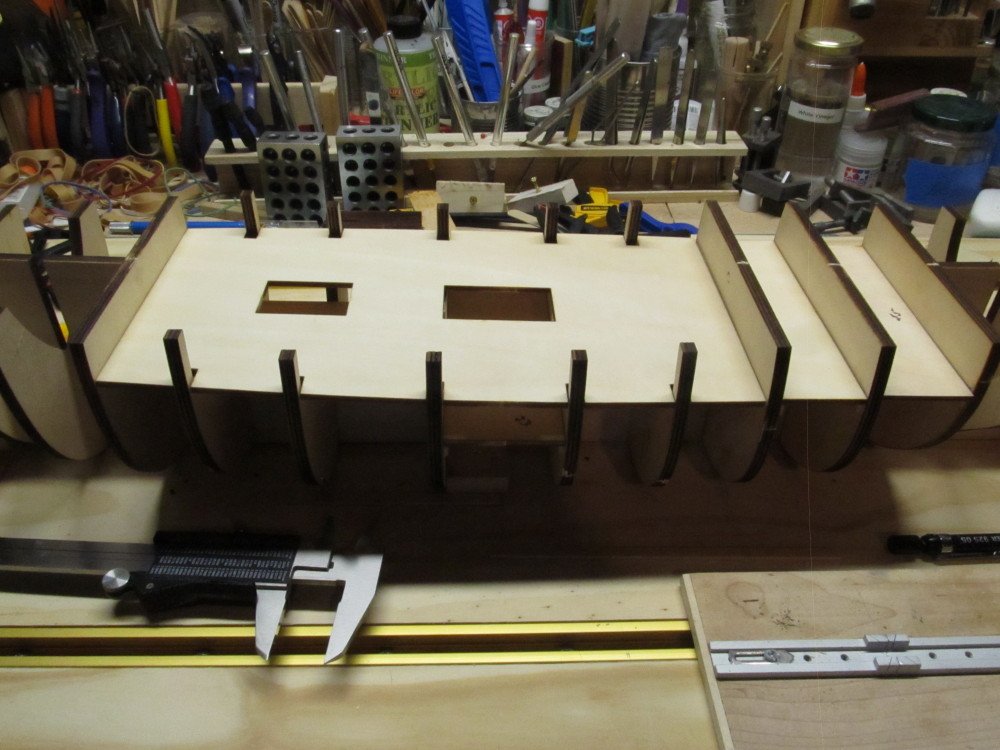
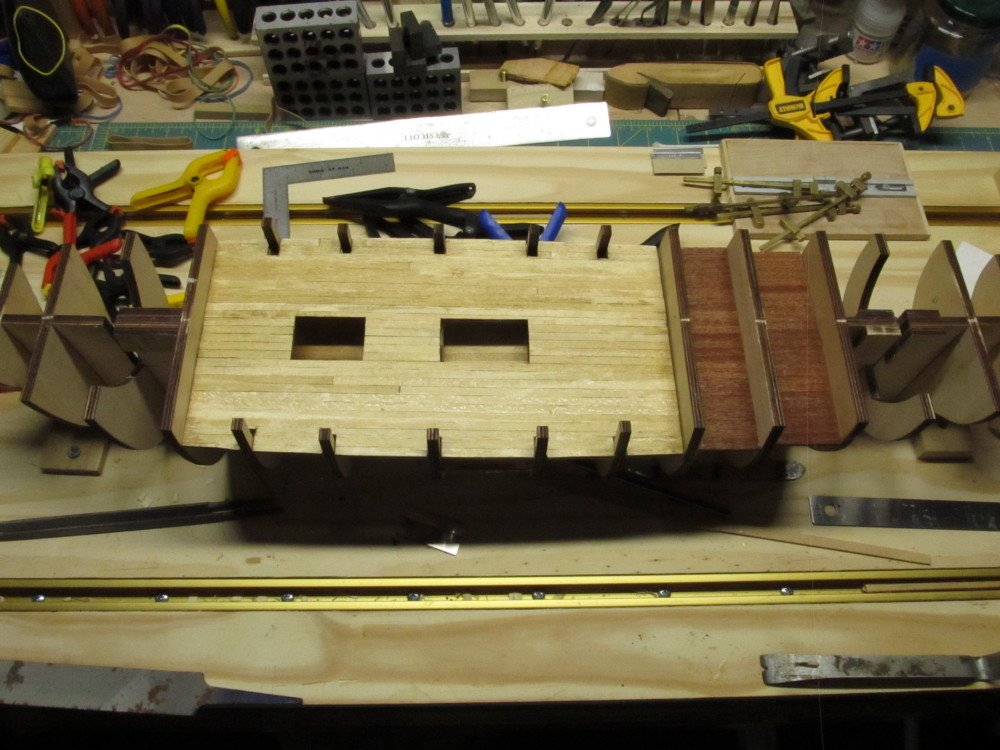
Progress has been slow for many reasons. One of which is the very poor English translation in the instruction manual and difficulty reading and interpreting the picture book instructions. As advised by a couple of modelers who've built this kit before me I have not glued the main decks or catwalks down - for now I drilled small holes and set some nails in to clamp them down until I figure out where the cannon go and get them installed, then I will come back and glue the decks and catwalks in place permanently. Some photos The other reason the shipyard slowed down is because we had to euthanize our 14 year old Corgi last Monday June 29th due to rapidly deteriorating health issues. She has been with us since she was a 6 month old puppy. Her other photo is my avatar photo.


-
Acesulfame potassium is not good either.
-
Actually Carl, there is no sweet taste or flavor in spite of the listed ingredients.
-
My personal hamburger recipe is 2 lbs 80-20 ground beef, mix in 1 pkg of Lipton brand French Onion Soup mix, or their Beefy Onion soup mix, in powder form, knead well, shape into quarter pound patties and grill. The soup mix keeps the juices in so the burger stays moist. Great flavor. Oh ! Here in the "colonies" 80-20 ground beef means 80% lean beef and 20% fat (ground chuck).
-
Haven't found a fast food burger joint around here that had a burger I liked. Arby's had a great BBQ sauce roast beef sandwich but their franchisees don't last long in my area for some reason. Carl's Jr opened a franchise here that closed 6 months later.
-
Guess I must not be American, cuz I hate anything and everything Diet xxxxxx. Yuck !
-
Ah yes ! A glass of Coca-Cola aka Coke, for example, is called "pop" in some parts of US and "soda" in other parts of US, Carl. Gets really confusing.
-
American - yes! Gourmet - ah ??????? It is edible !
-
Looks like a Carl's Jr soda cup to me, they are a large Hamburger fast food chain, had one here but it closed. Like Wendy's, Burger King and McDonalds
-
Not your imagination Craig, they did it deliberately because we were pushing the ship builds off the list with our frequent posts. Happened as part of the "mass migration" of the two ship forums into era subforums. I had to go into all the builds I was following and click FOLLOW. Now I use the "show me all the thing I follow" search to find us. And for new builds I have to actually open the forum to see what is new.
-
Lookin good, mate !
-
If you can find a pair of lint free white cotton gloves like they used back in the days of film photography, they well prevent the finger oils from marring the finish. Not sure if nitrile gloves would work. Nice finish on those outdoor photos.
-
Great job, Denis. Looks good
-
I'll pass on the grits. 😝 I'll have them with scallops, pan seared in butter, garlic and a bit of wine. 😁
-
Are they serving that saucy shrimp with grits or scallops ?
-
Welcome Ryland.
-
Oh yea ! That's right ! Well, maybe you rigged a left-handed sky hook to anchor the bos'un chair. At any rate, welcome to the party.
-
Me too! It's getting there !
-
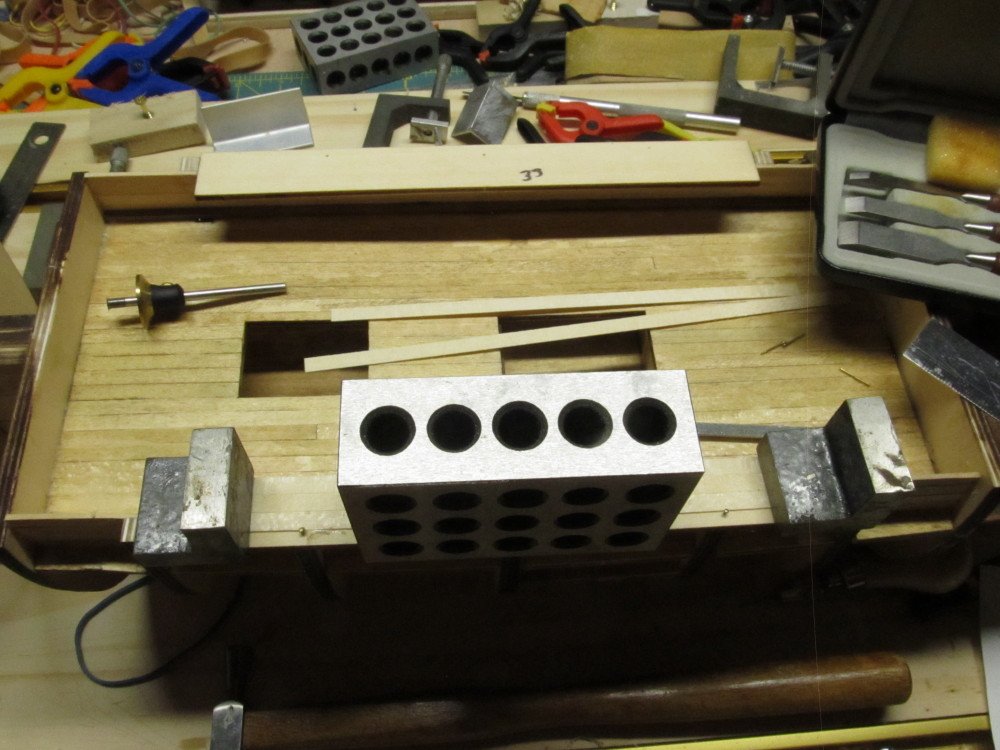
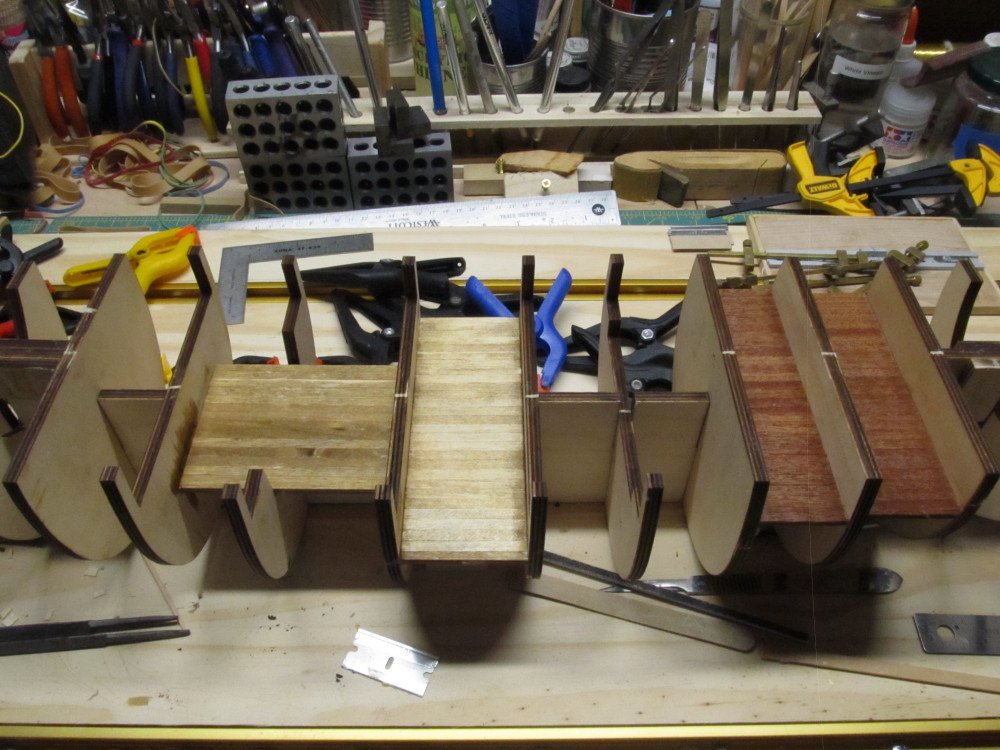
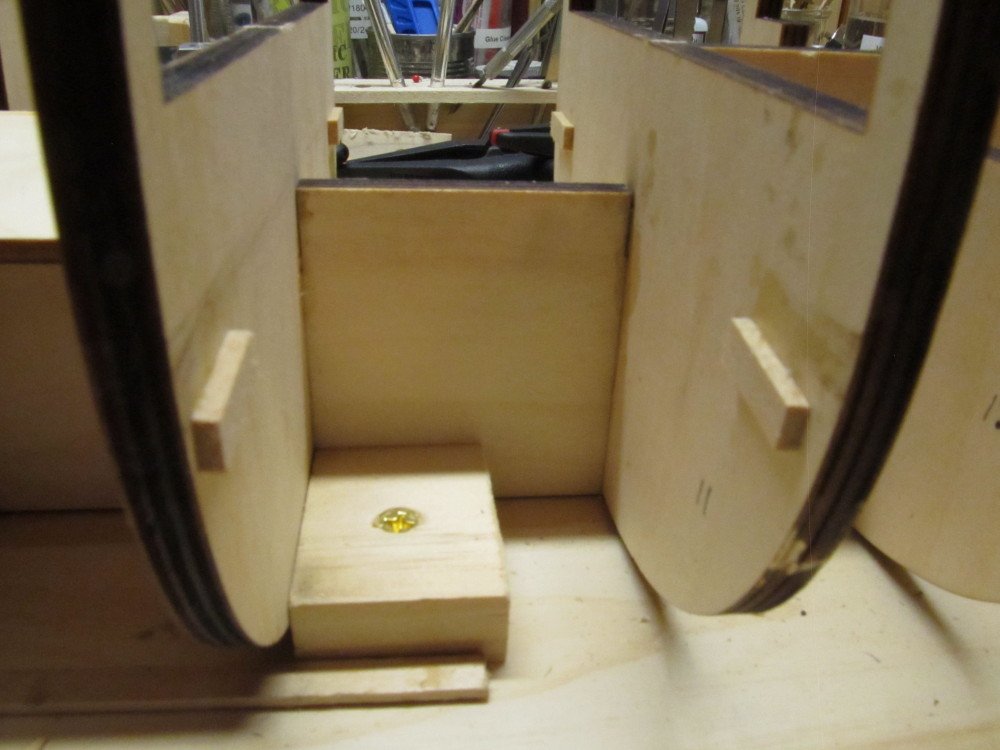
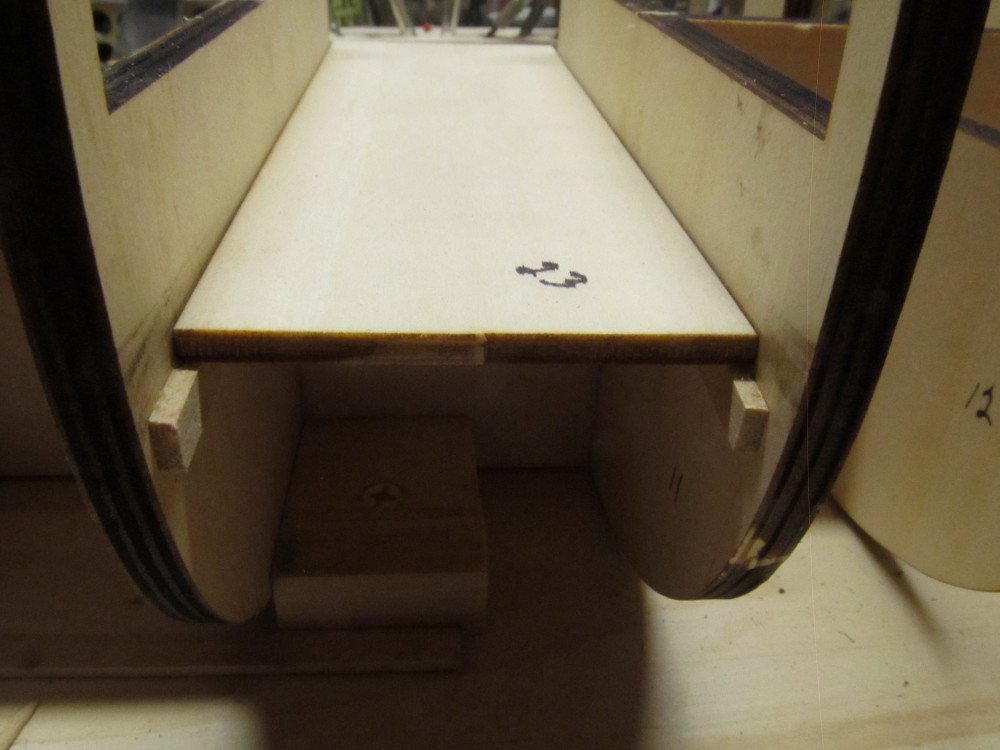
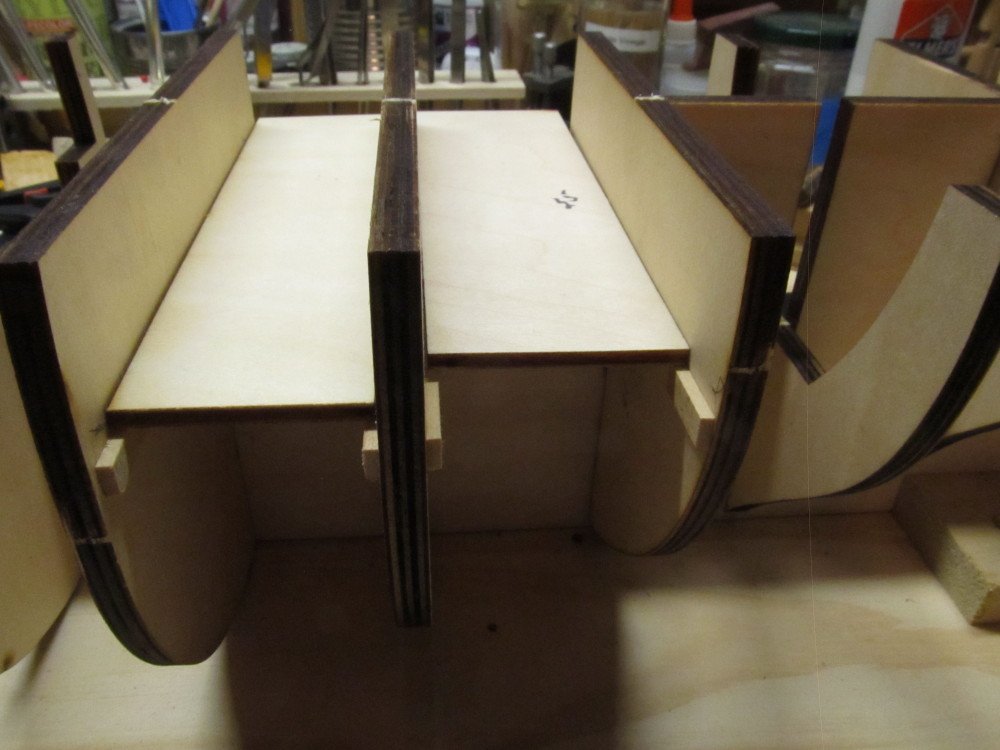
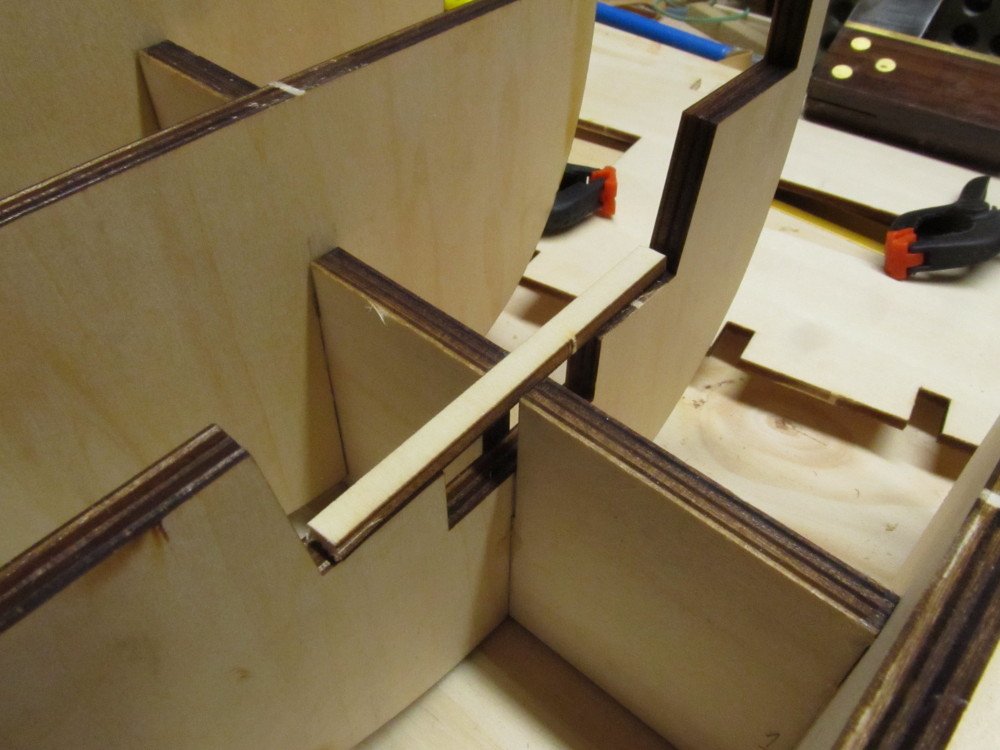
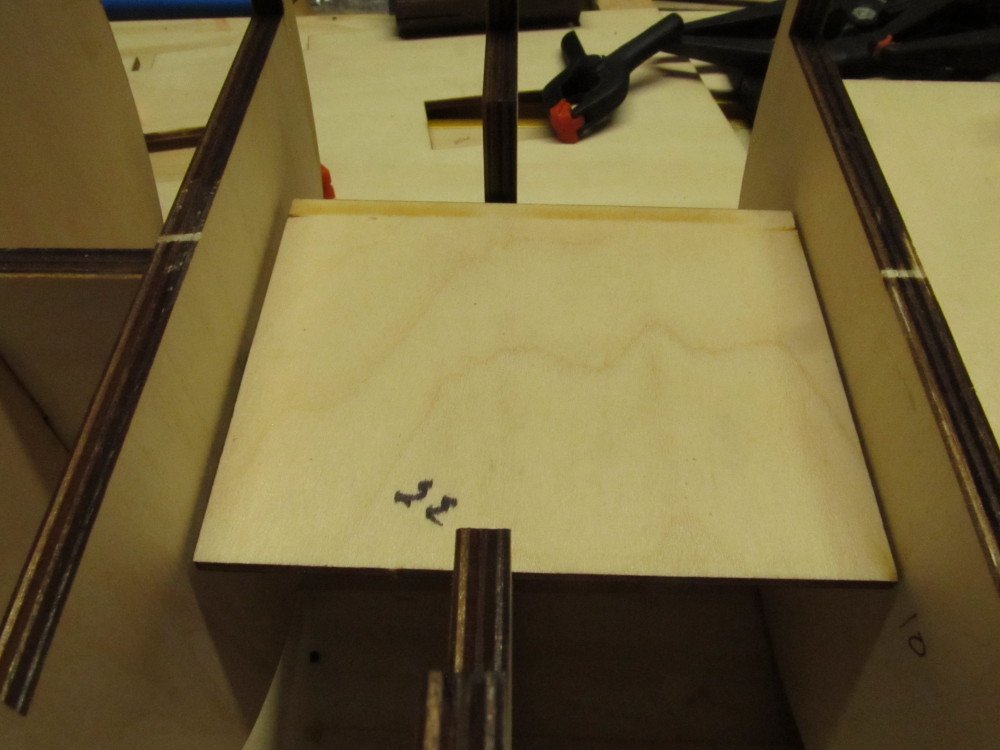
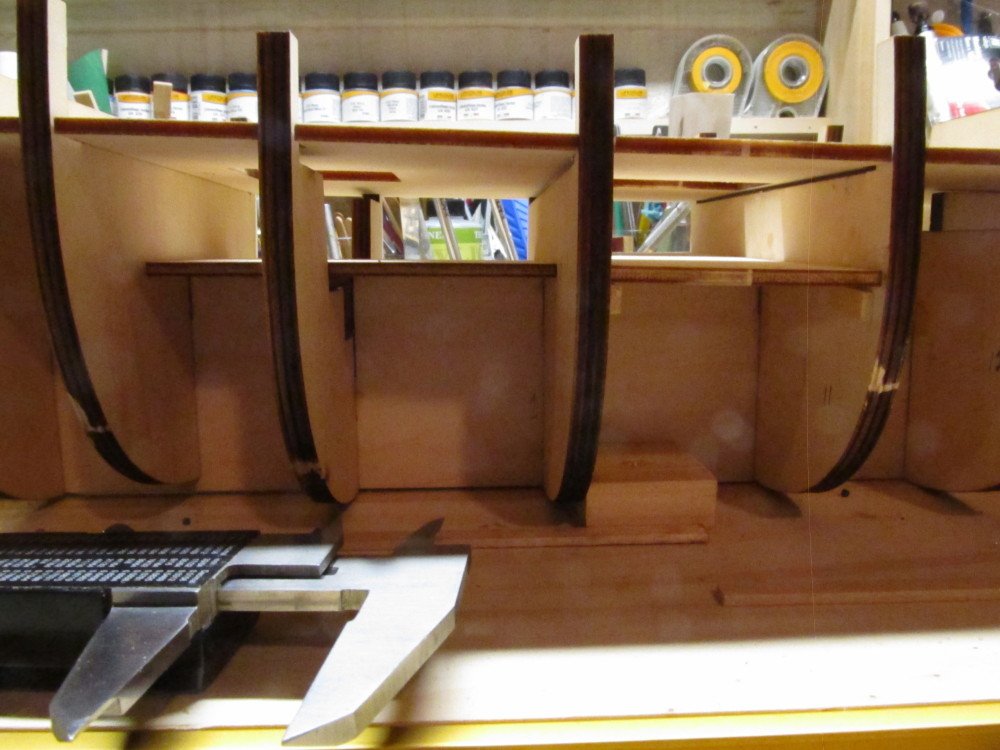
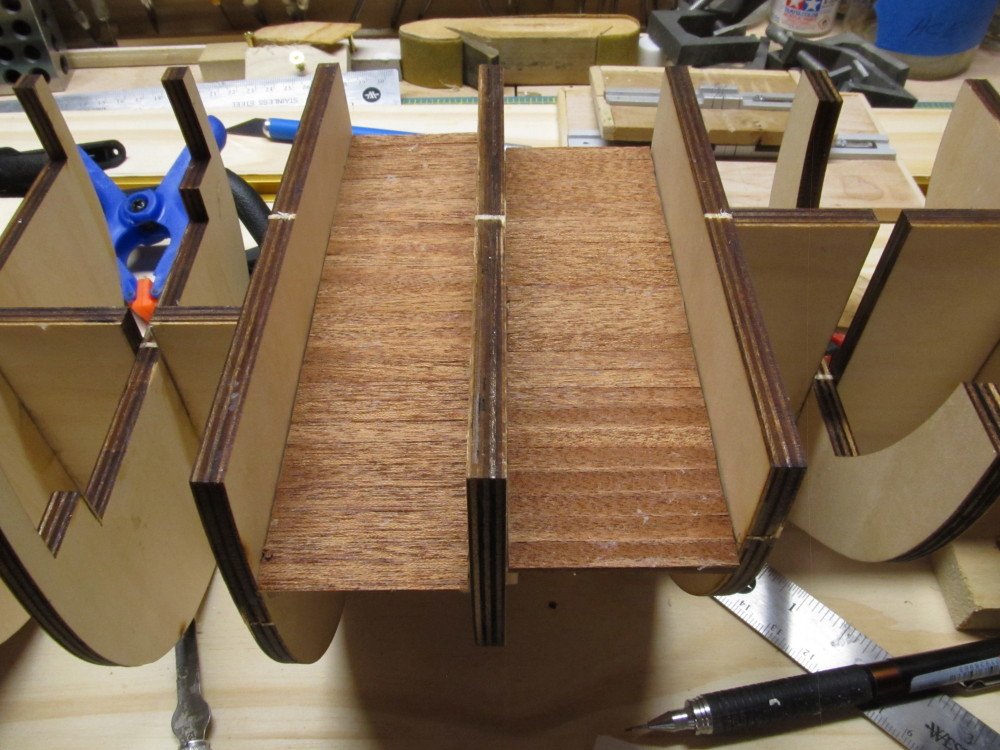
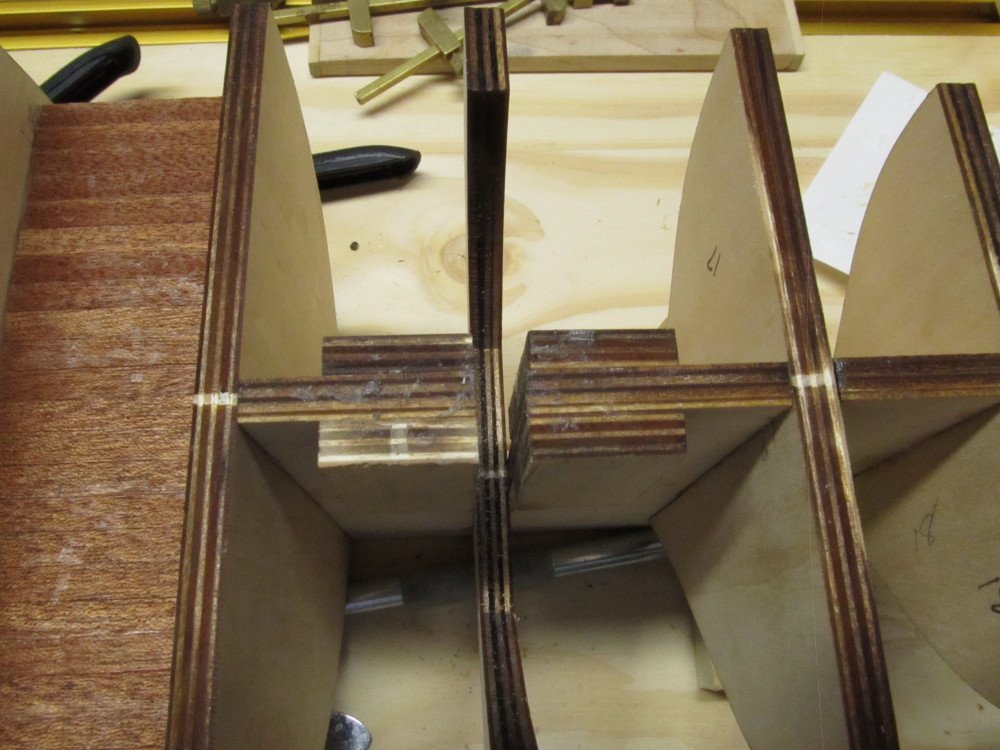
Small progress update: After gluing and squaring all the bulkheads to the false keel. I started on the lower decks. Totally misread the instructions on the Mukali wood and started using the darker "walnut" veneer instead, after doing the two most aft decks I caught the mistake and switched to the pale yellowish Mukali wood. Which they had printed photos in this kit like they've done in some of their other kits I've built. After installing some cleats to support the outer most edges of the decks so they don't become a "teeter-totter", I installed the lowest decks first. Tried applying some stain directly to the wood but it looked to dark even tho I wiped it off immediately. So for the other decks I put some Wipe-On Poly on a cloth and went over the planks with that first then applied the stain over that, wiping off the stain almost immediately. Finish came out looking a bit weathered to my eye. After this I glued all the lowest decks in place, added the reinforcing blocks for the masts, but left the middle deck just dry fit for now, until I double check all drawing for anything that needs to be added to the lowest decks before I paint myself into a corner - so to speak. Photos follow Dry fitting all decks first Then adding the planking, staining and gluing in place Reinforcing blocks for masts

-
Nice job, Denis !
-
Well done. Interesting insignia


